AreyPotter
-
Posts
6 -
Joined
-
Last visited
-
 SiriusVoyager reacted to a post in a topic:
Lowell Grand Banks Dory by AreyPotter - Model Shipways - 1:24 - First Build!
SiriusVoyager reacted to a post in a topic:
Lowell Grand Banks Dory by AreyPotter - Model Shipways - 1:24 - First Build!
-
Desertanimal reacted to a post in a topic:
Lowell Grand Banks Dory by AreyPotter - Model Shipways - 1:24 - First Build!
-
Bryan Woods reacted to a post in a topic:
Lowell Grand Banks Dory by AreyPotter - Model Shipways - 1:24 - First Build!
-
AreyPotter reacted to a post in a topic:
Lowell Grand Banks Dory by AreyPotter - Model Shipways - 1:24 - First Build!
-
AreyPotter reacted to a post in a topic:
Lowell Grand Banks Dory by AreyPotter - Model Shipways - 1:24 - First Build!
-
AreyPotter reacted to a post in a topic:
Lowell Grand Banks Dory by AreyPotter - Model Shipways - 1:24 - First Build!
-
Ronald-V reacted to a post in a topic:
Lowell Grand Banks Dory by AreyPotter - Model Shipways - 1:24 - First Build!
-
Dan Poirier reacted to a post in a topic:
Lowell Grand Banks Dory by AreyPotter - Model Shipways - 1:24 - First Build!
-
druxey reacted to a post in a topic:
Lowell Grand Banks Dory by AreyPotter - Model Shipways - 1:24 - First Build!
-
 JacquesCousteau reacted to a post in a topic:
Lowell Grand Banks Dory by AreyPotter - Model Shipways - 1:24 - First Build!
JacquesCousteau reacted to a post in a topic:
Lowell Grand Banks Dory by AreyPotter - Model Shipways - 1:24 - First Build!
-
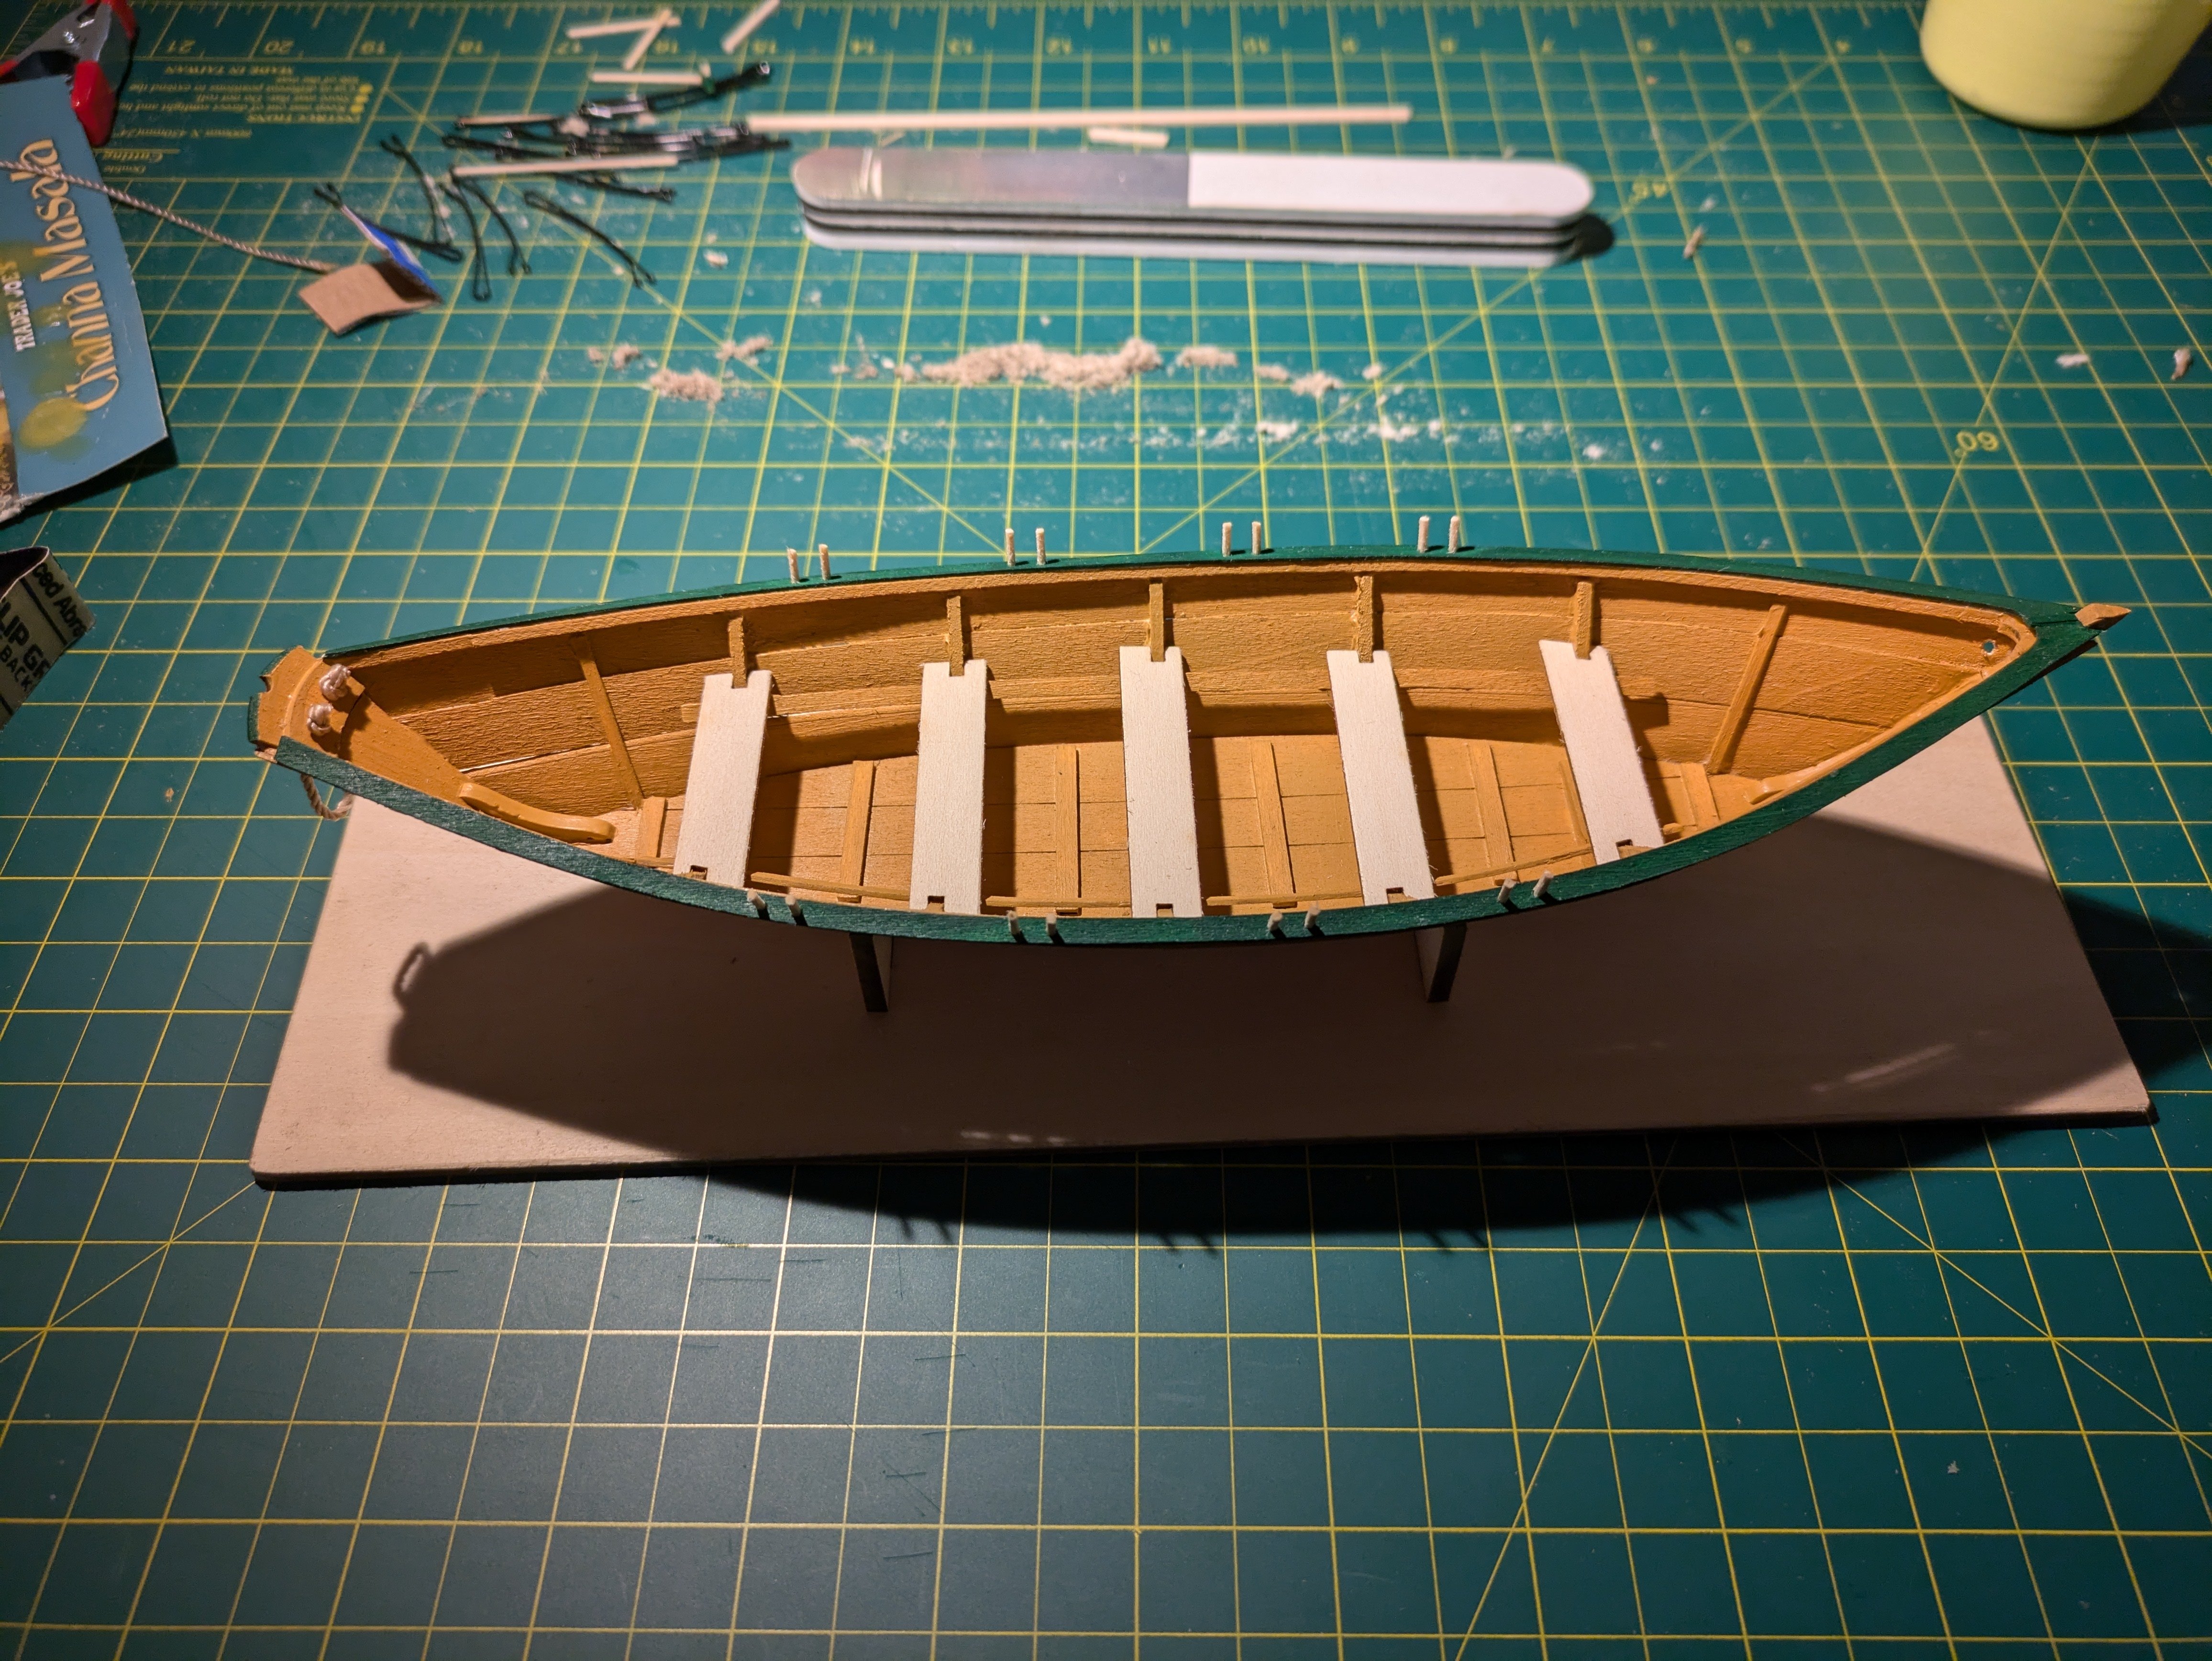
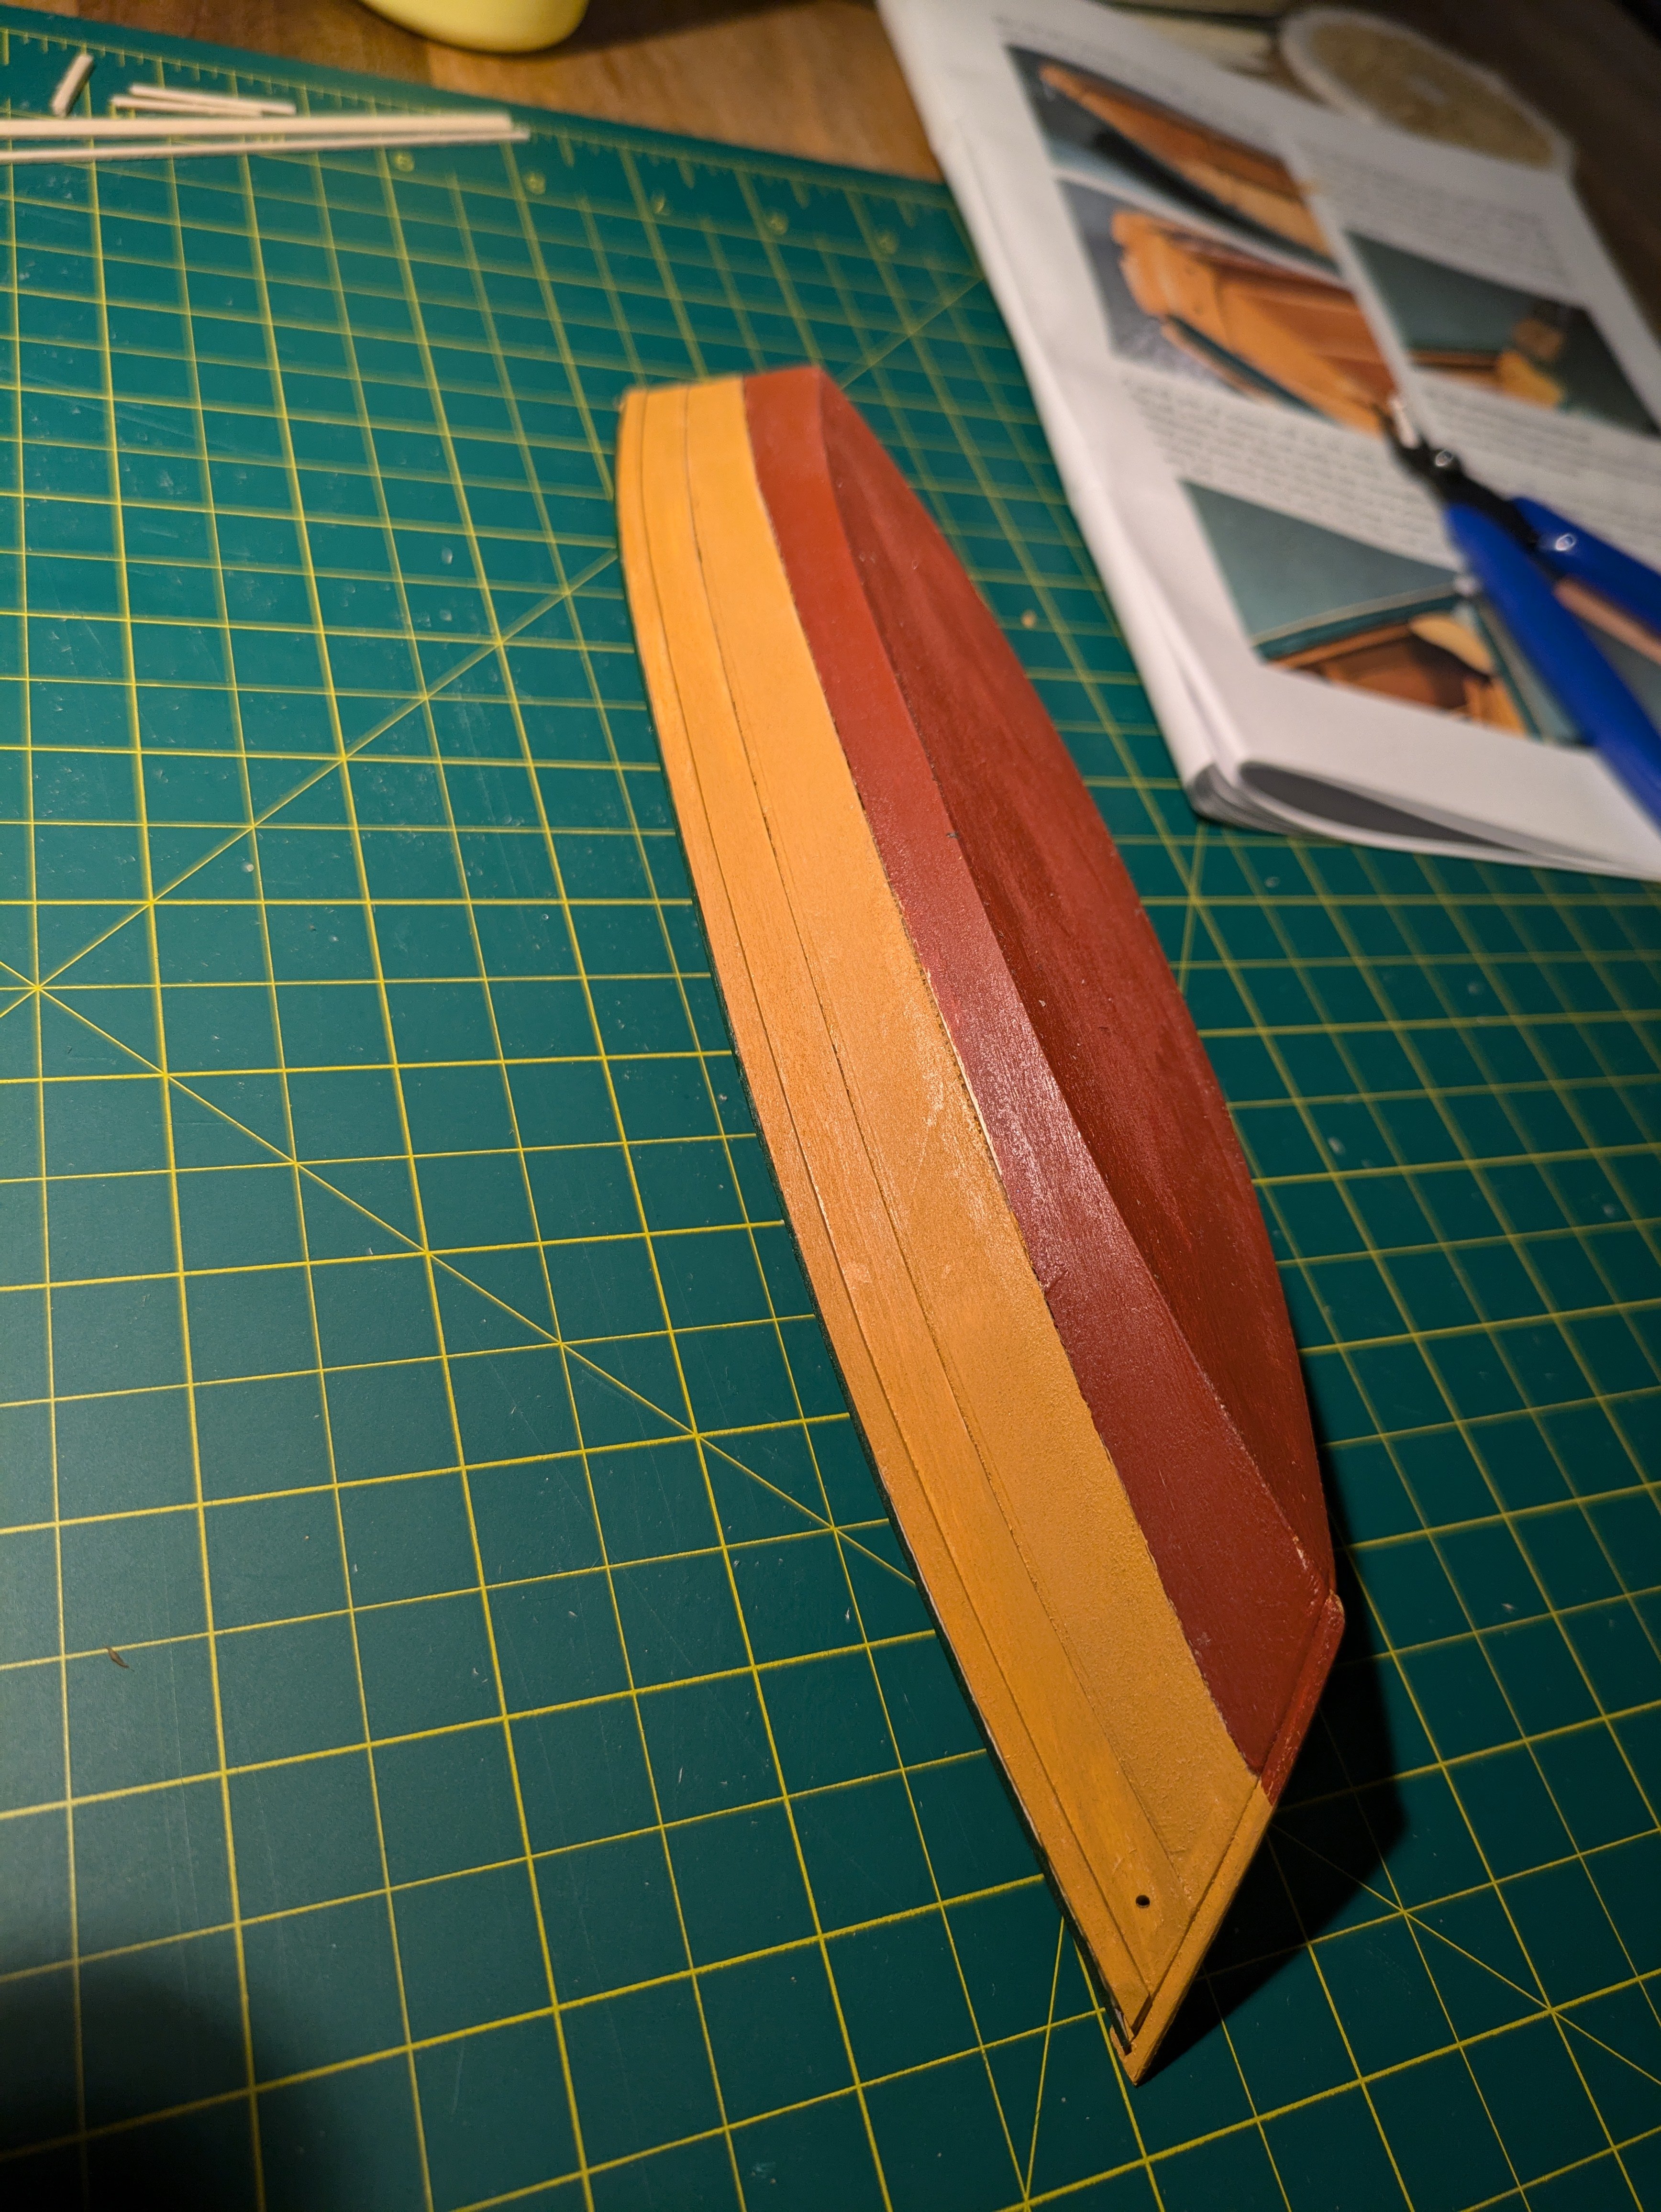
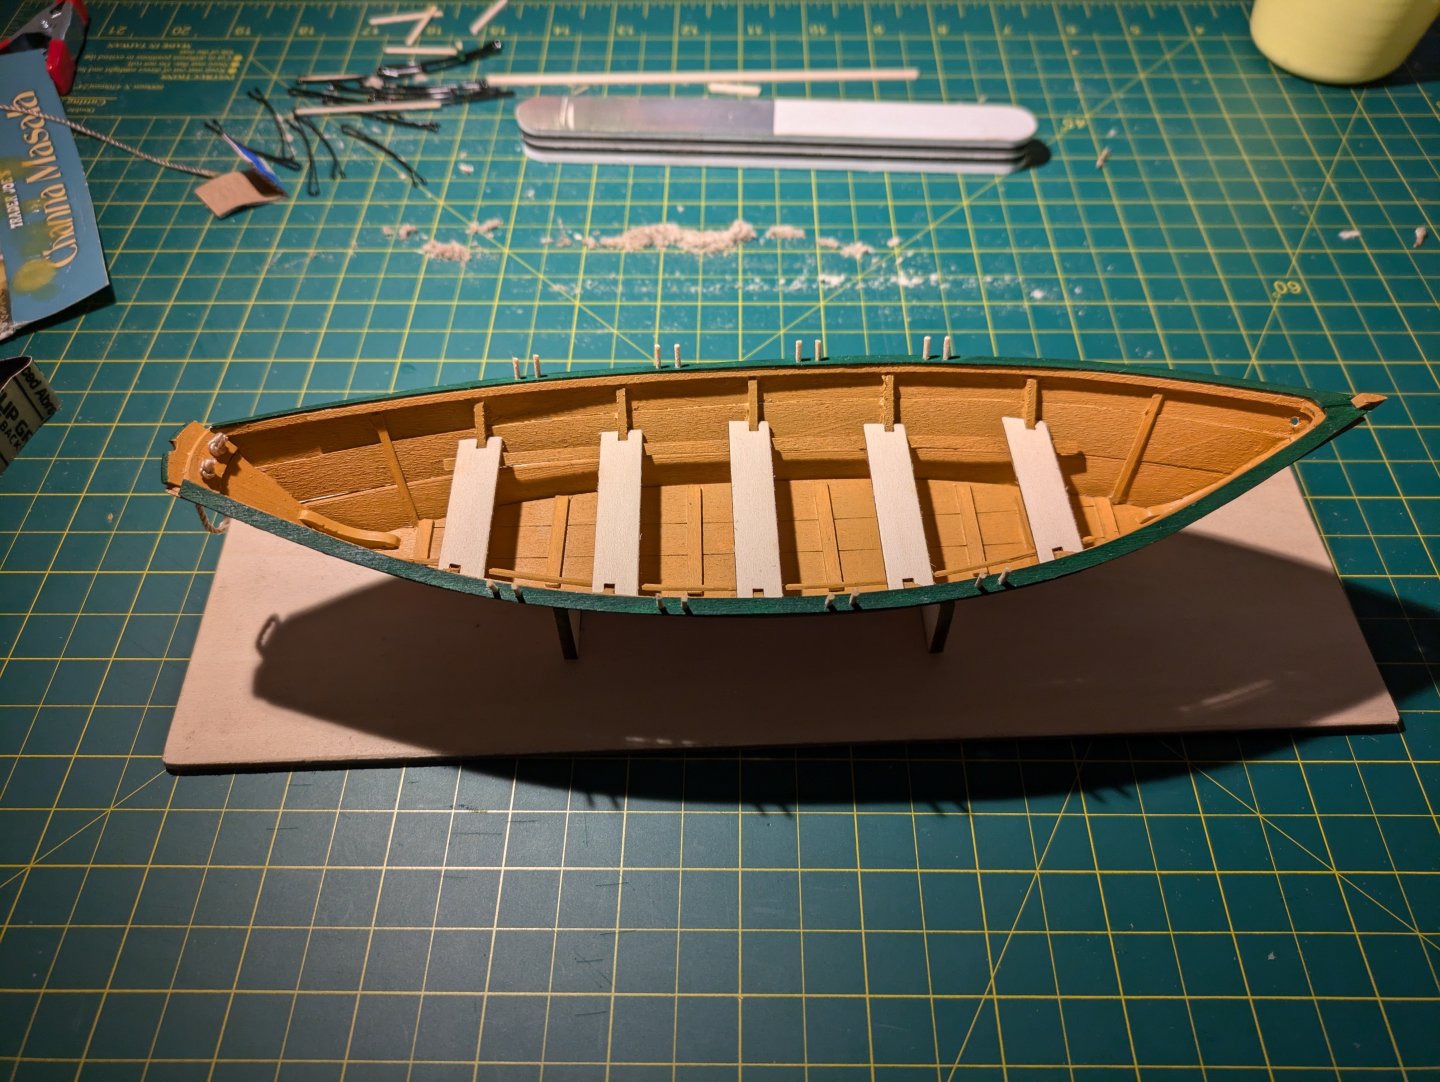
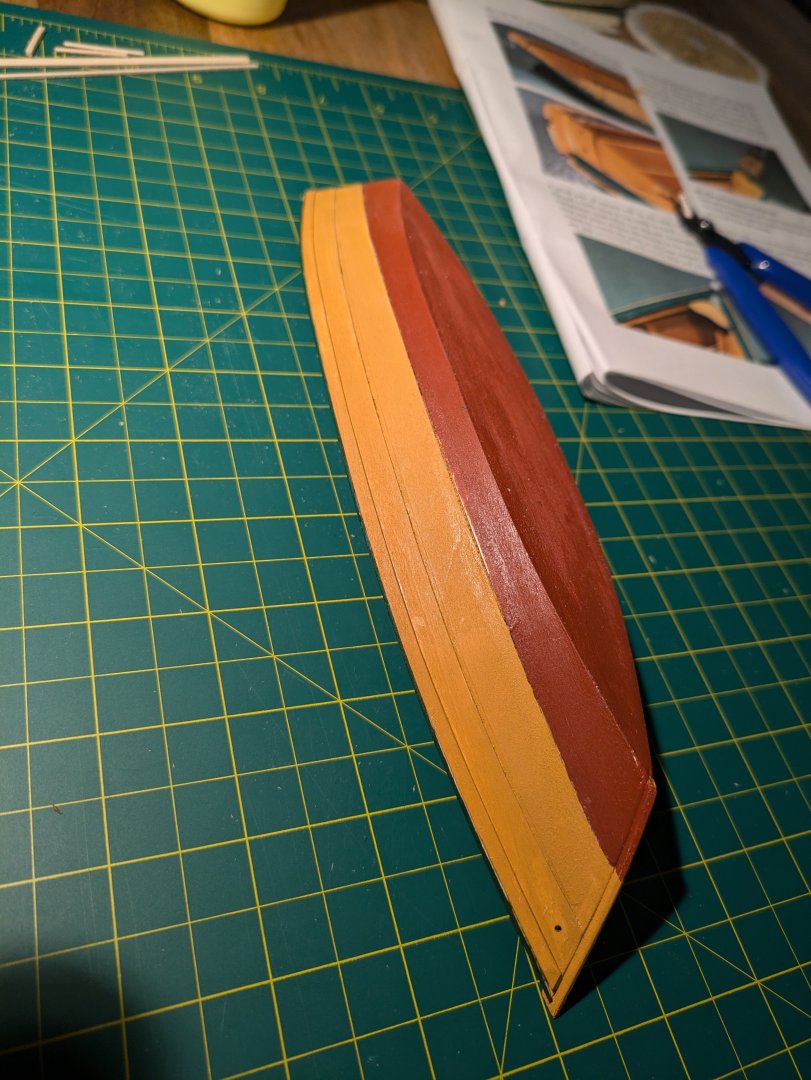
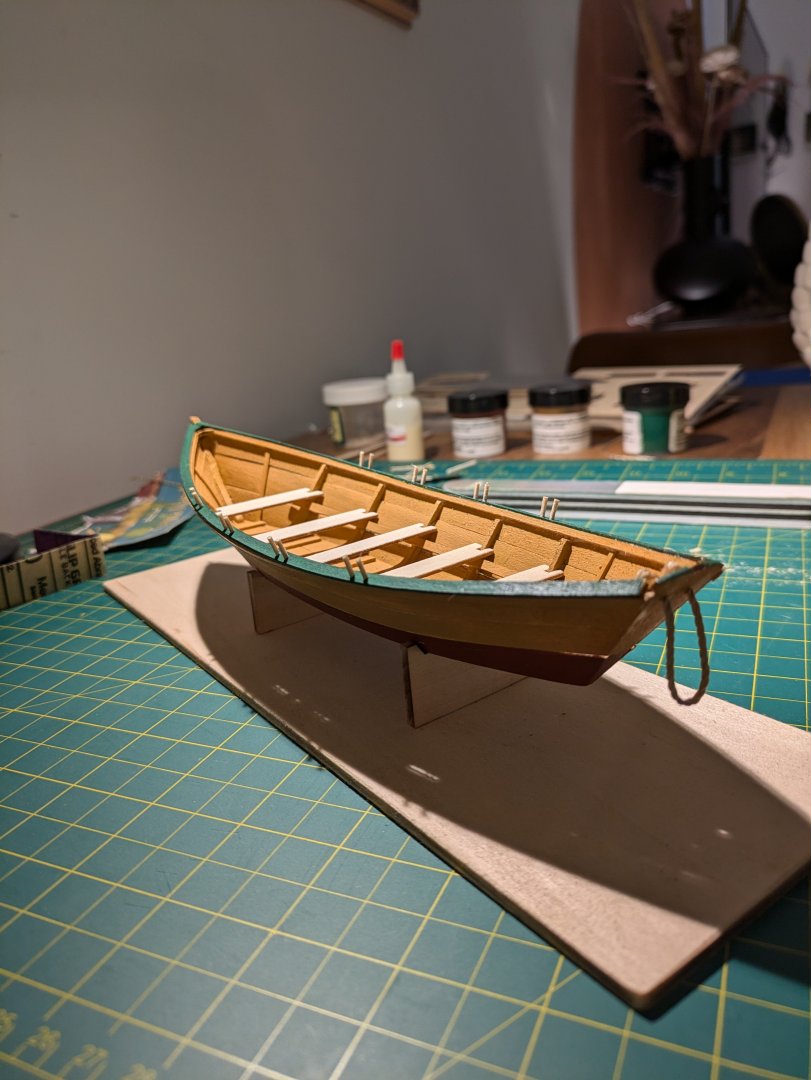
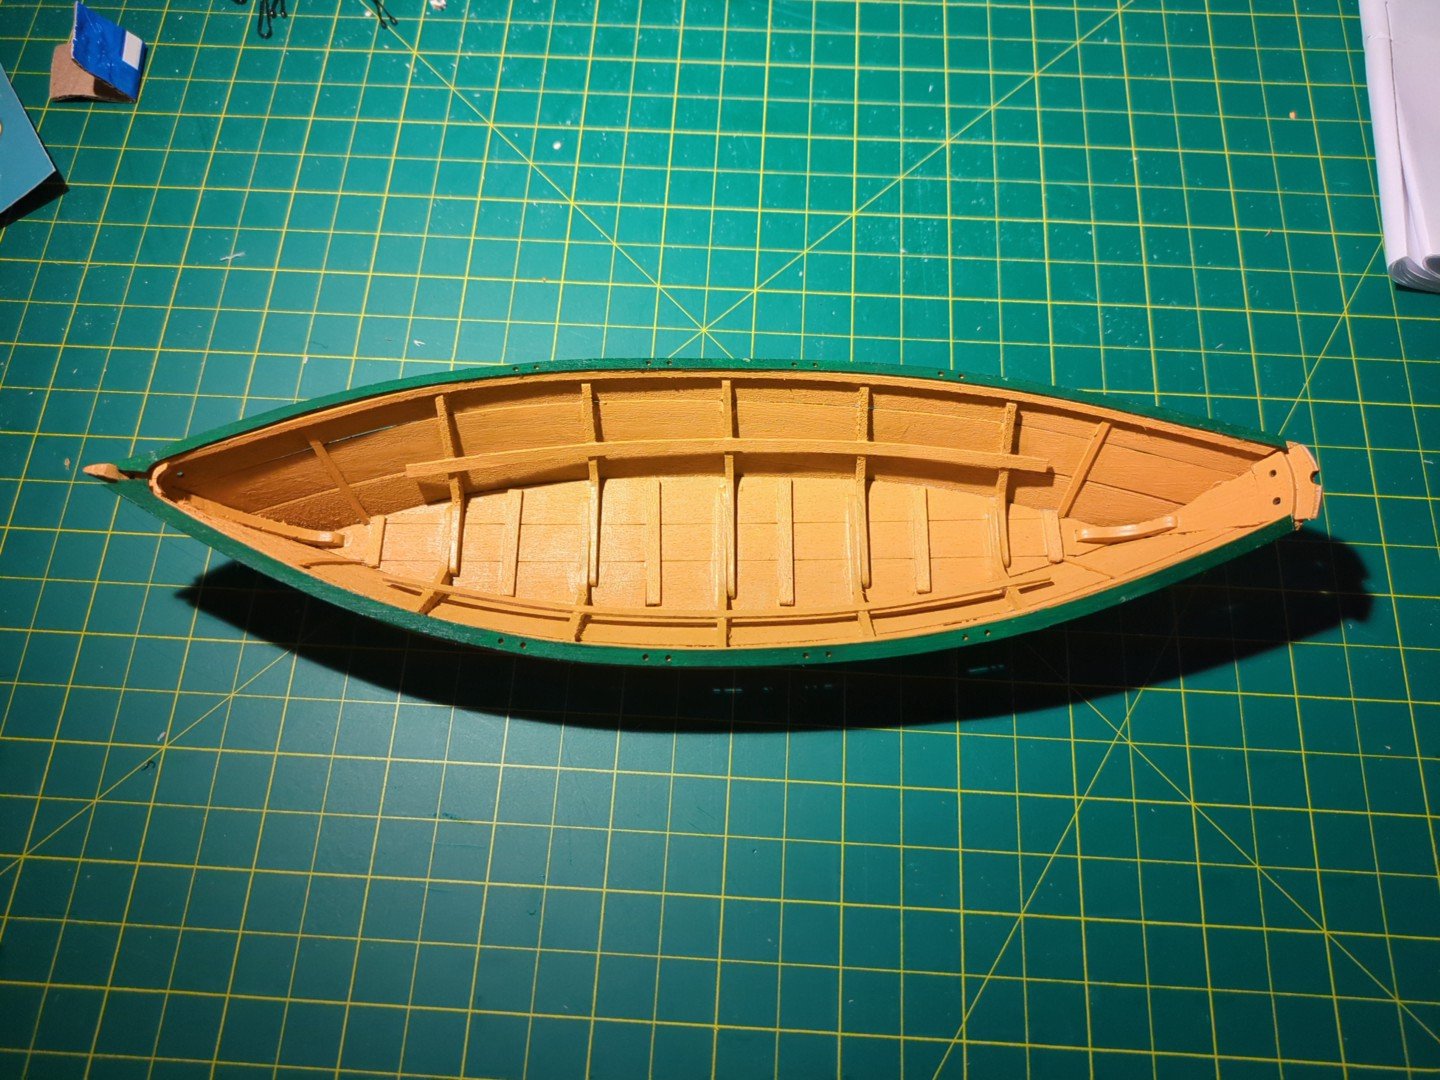
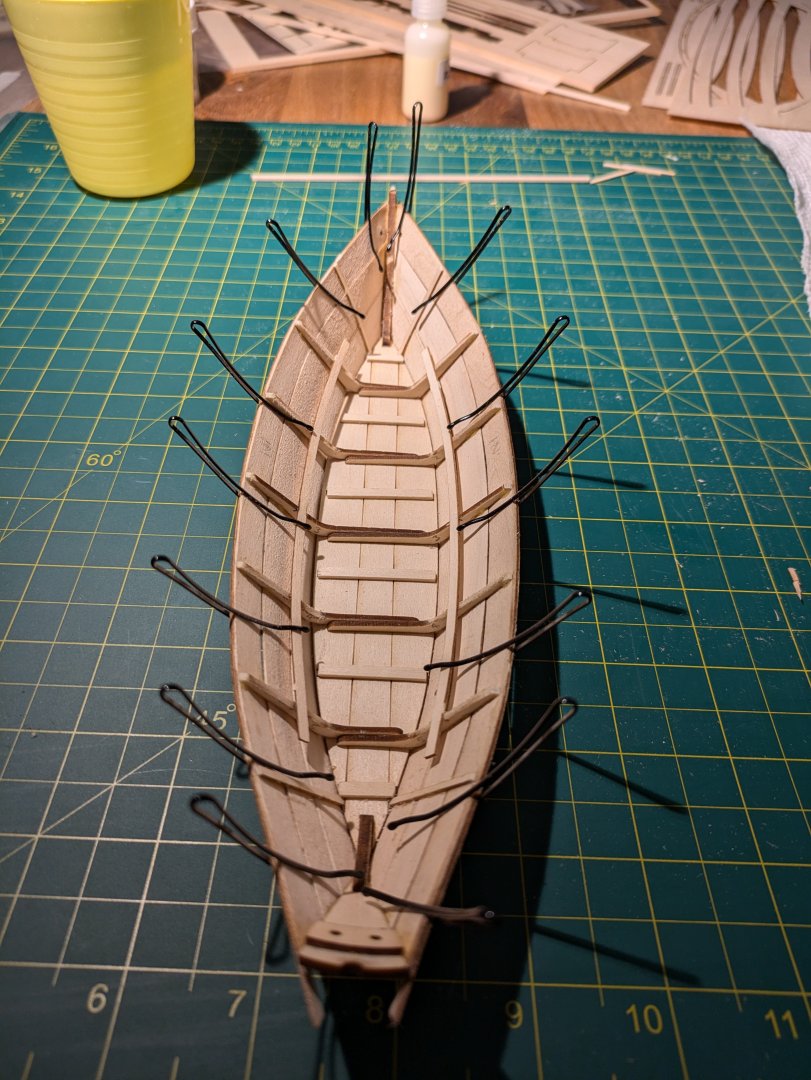
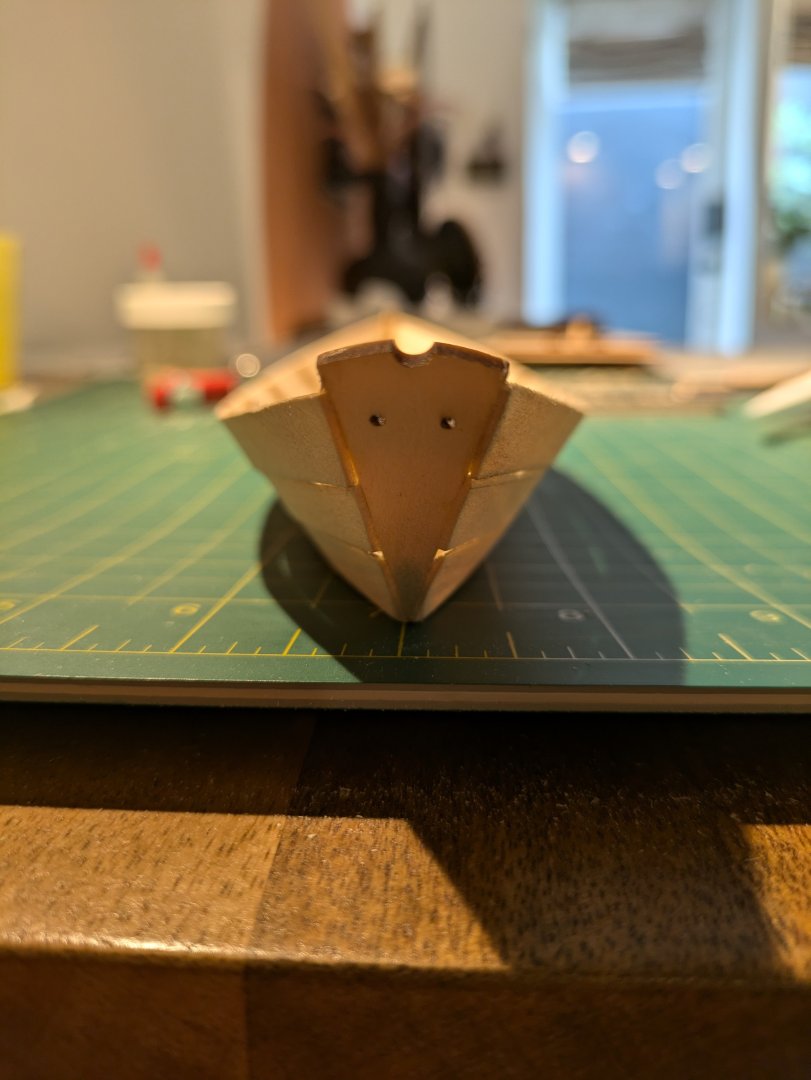
 Whew, although I continued chipping away at the dory, life got a little busy and I could never find the time to reply with updates! And before I knew it I was actually finished with my first model. I don't have any good, instructional photos or helpful tips for tricky parts, but fortunately, those are widely available in many other, more detailed build logs. I'm mainly just posting a dump of the photos I did take along the way. Bobby pins continued to be the best darn tool I had, as well as these other hair clips that I stole from my wife. It is not hard to see the plethora of mistakes and gaps in my dory, but overall I really enjoyed building this model, learned a lot, and am happy with the final outcome. I had a surprising amount of fun with the painting, as it's rather therapeutic and really makes the boat come to life. I didn't bother spraying it before painting, as suggested in the book, so the wood looks a little rough, but I still love the final product. I fully intend to keep learning the craft and improving my skills, but at some point in this build, I decided to just have fun with it and not worry about the imperfections. Even from the beginning, I was never too enamored with the dory but knew it was the right place to start for a beginner. I am much more excited to start working on the Norwegian Sailing Pram next, though - it is a beautiful boat. That one I plan to focus a little more on and try to perfect stuff when I can. Thankfully, I've already found many more helpful build logs for that as well!
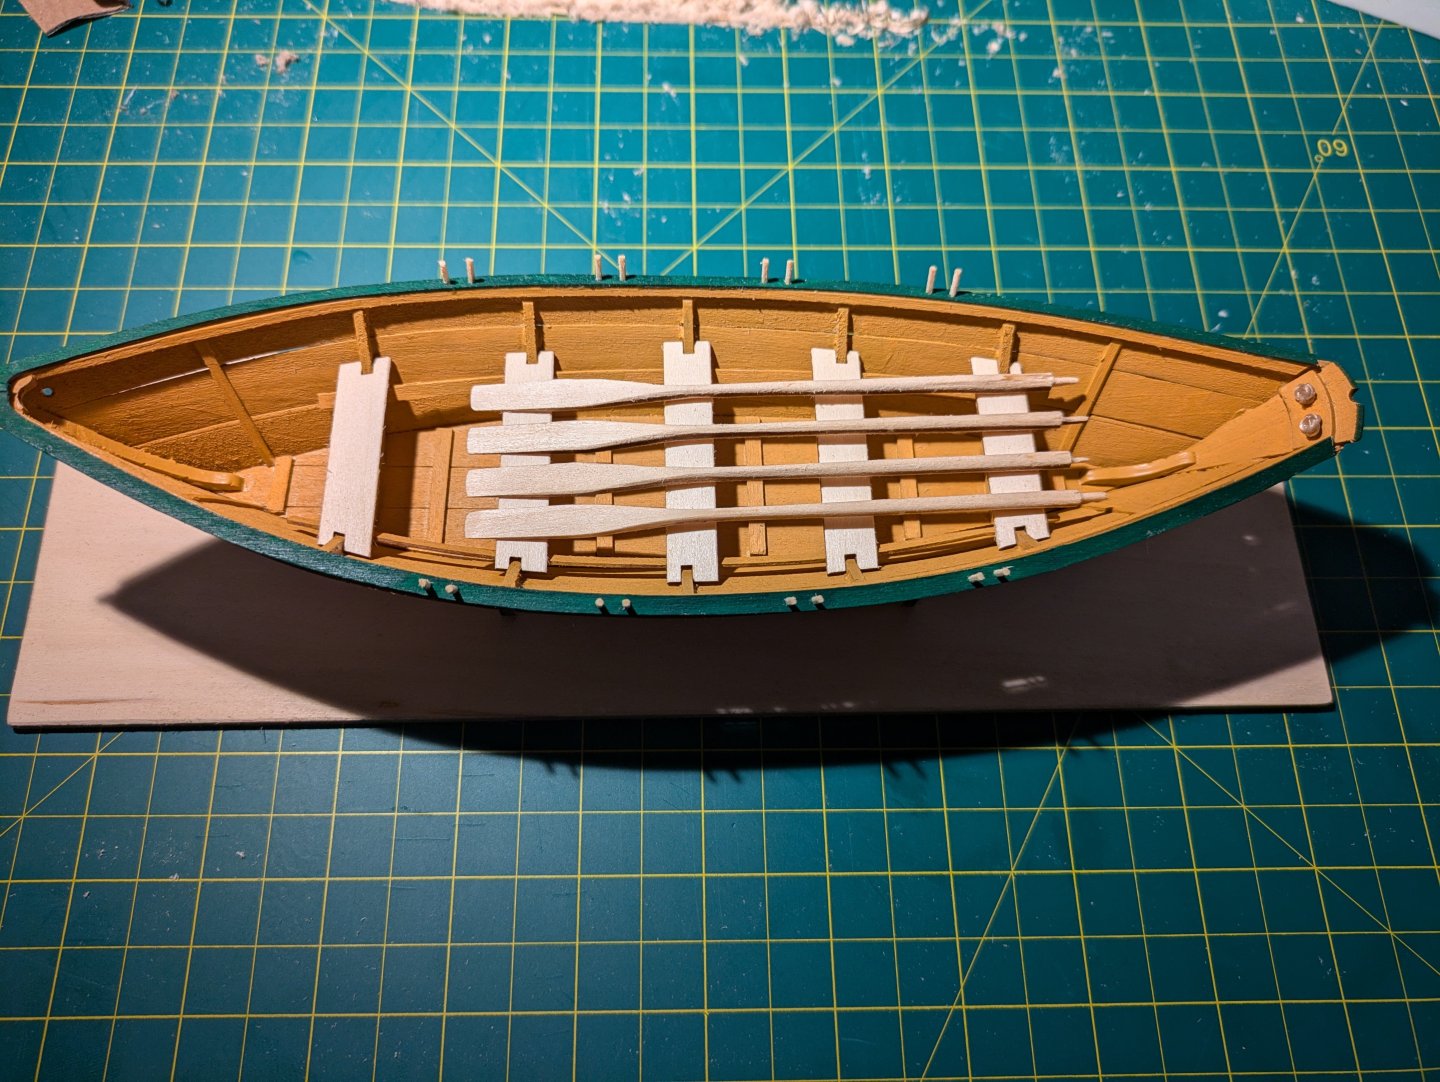

-
MajorChaos reacted to a post in a topic:
Lowell Grand Banks Dory by AreyPotter - Model Shipways - 1:24 - First Build!
-
MajorChaos reacted to a post in a topic:
Lowell Grand Banks Dory by AreyPotter - Model Shipways - 1:24 - First Build!
-
SiriusVoyager reacted to a post in a topic:
Lowell Grand Banks Dory by AreyPotter - Model Shipways - 1:24 - First Build!
-
AreyPotter reacted to a post in a topic:
Lowell Grand Banks Dory by AreyPotter - Model Shipways - 1:24 - First Build!
-
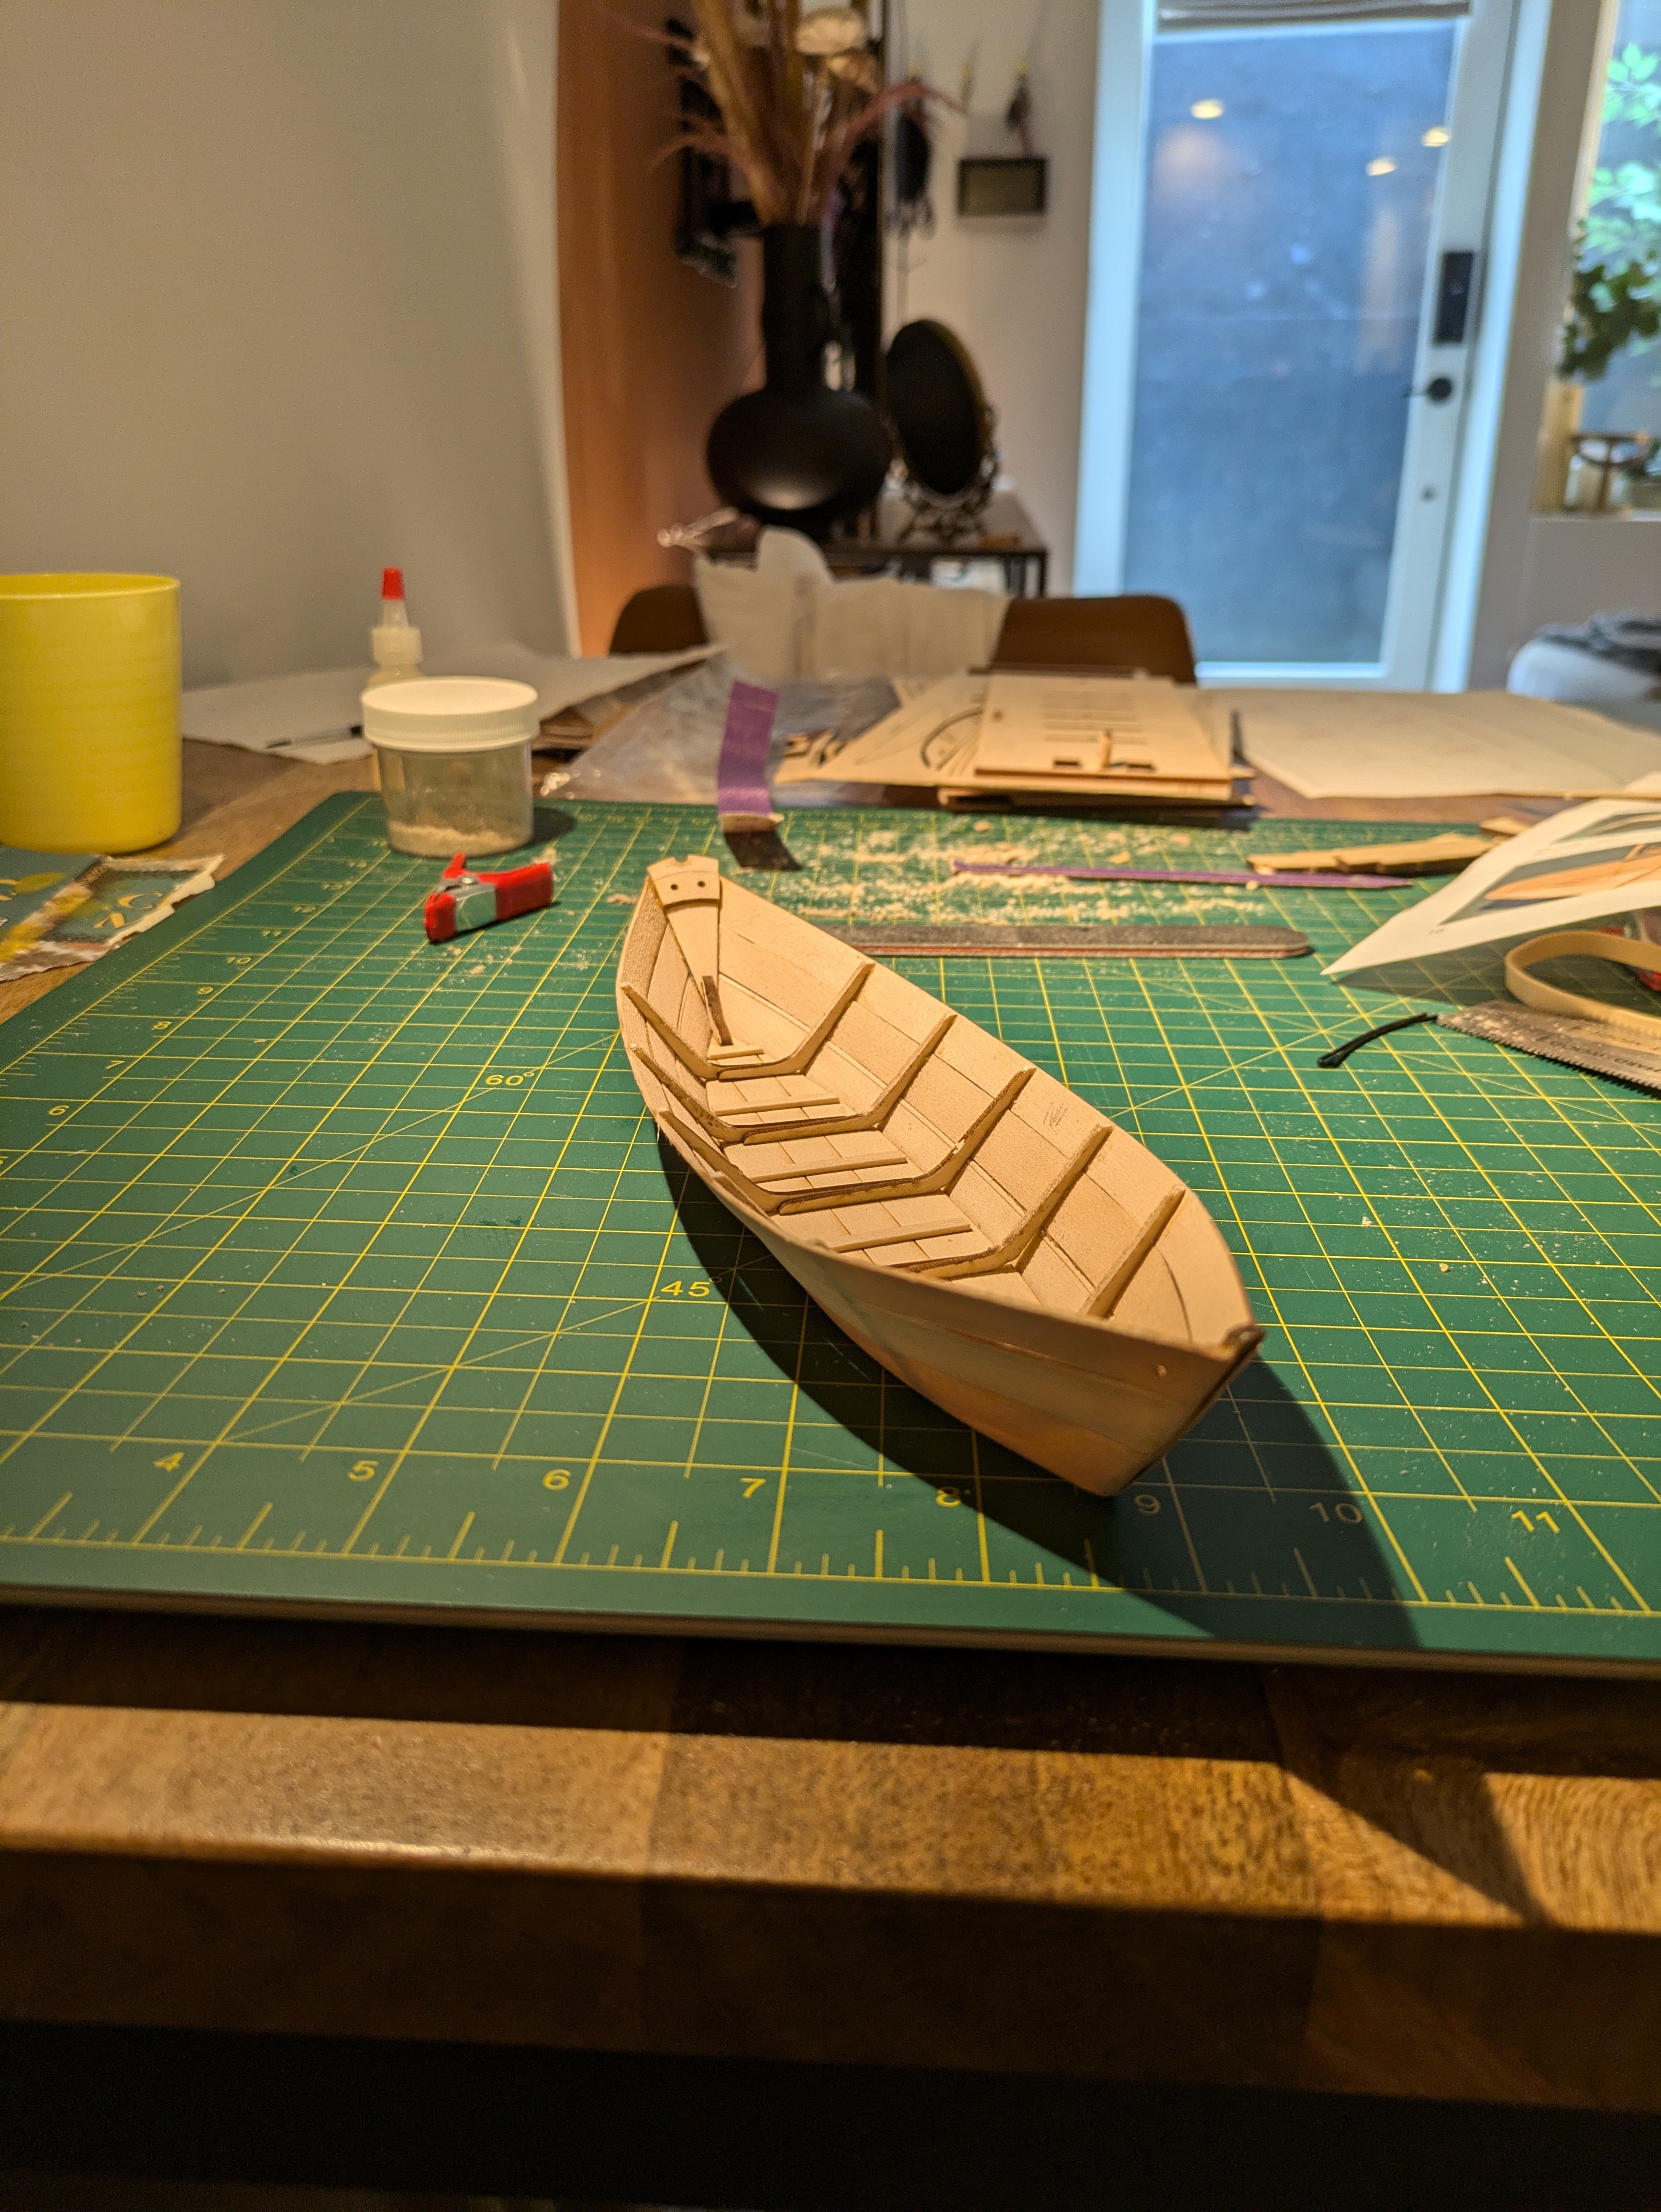
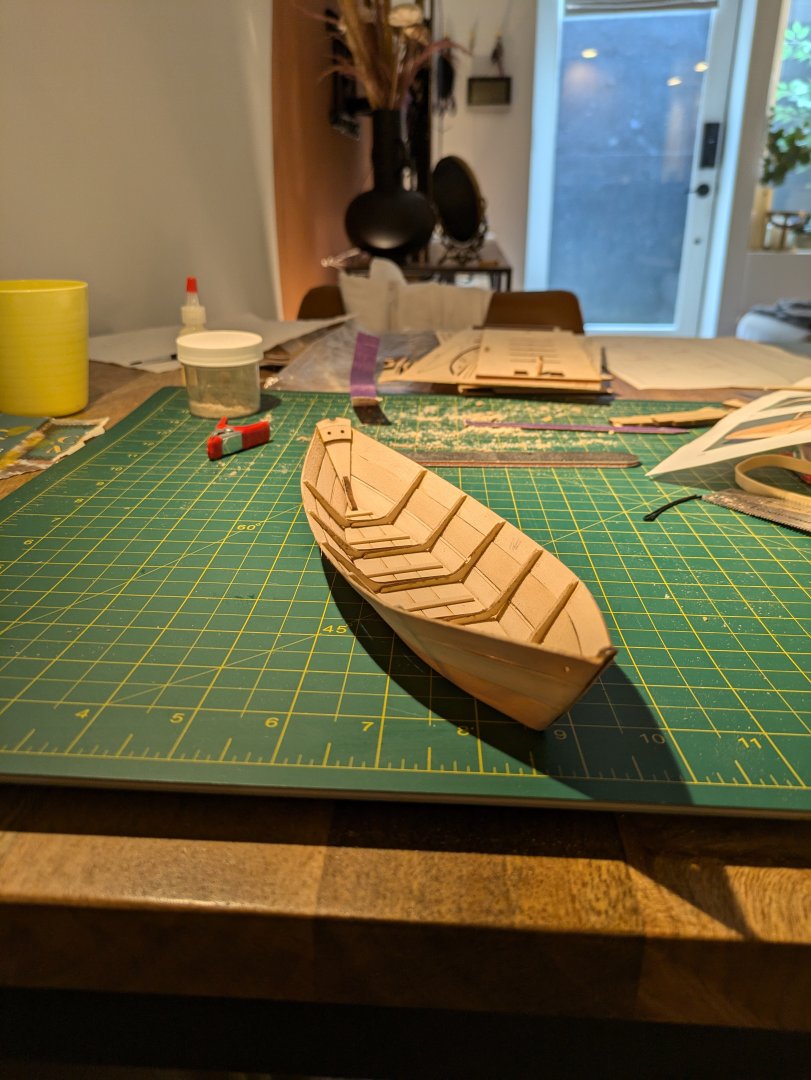
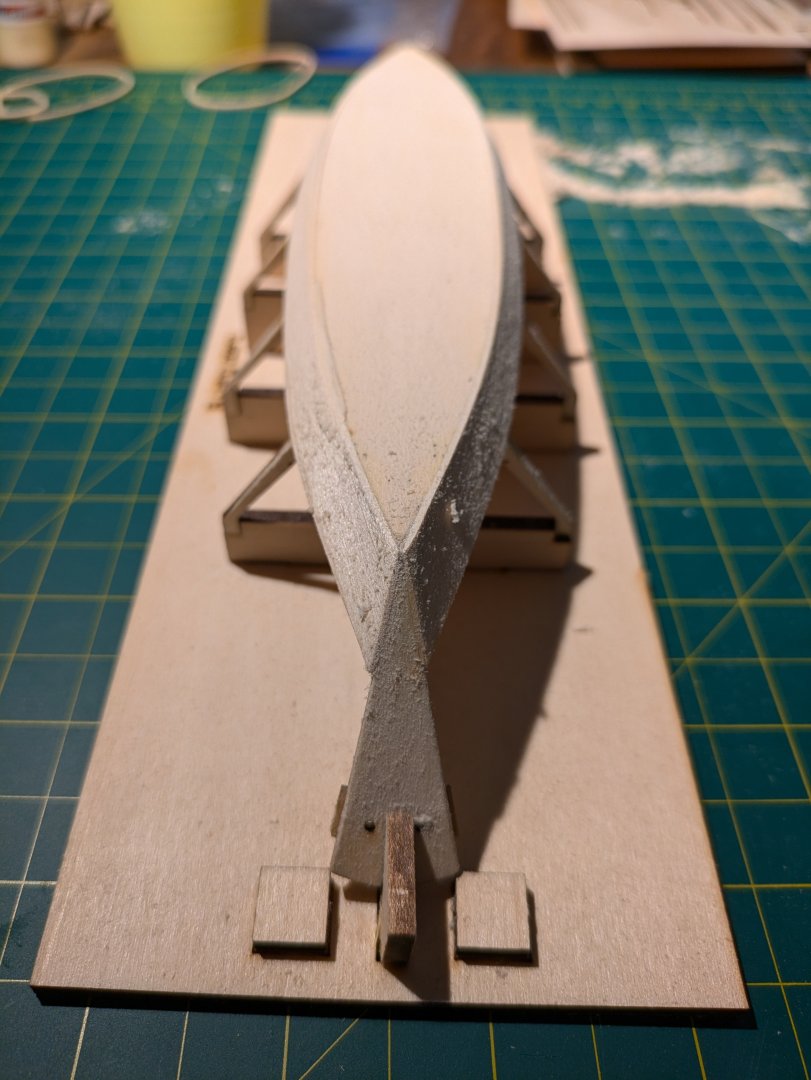
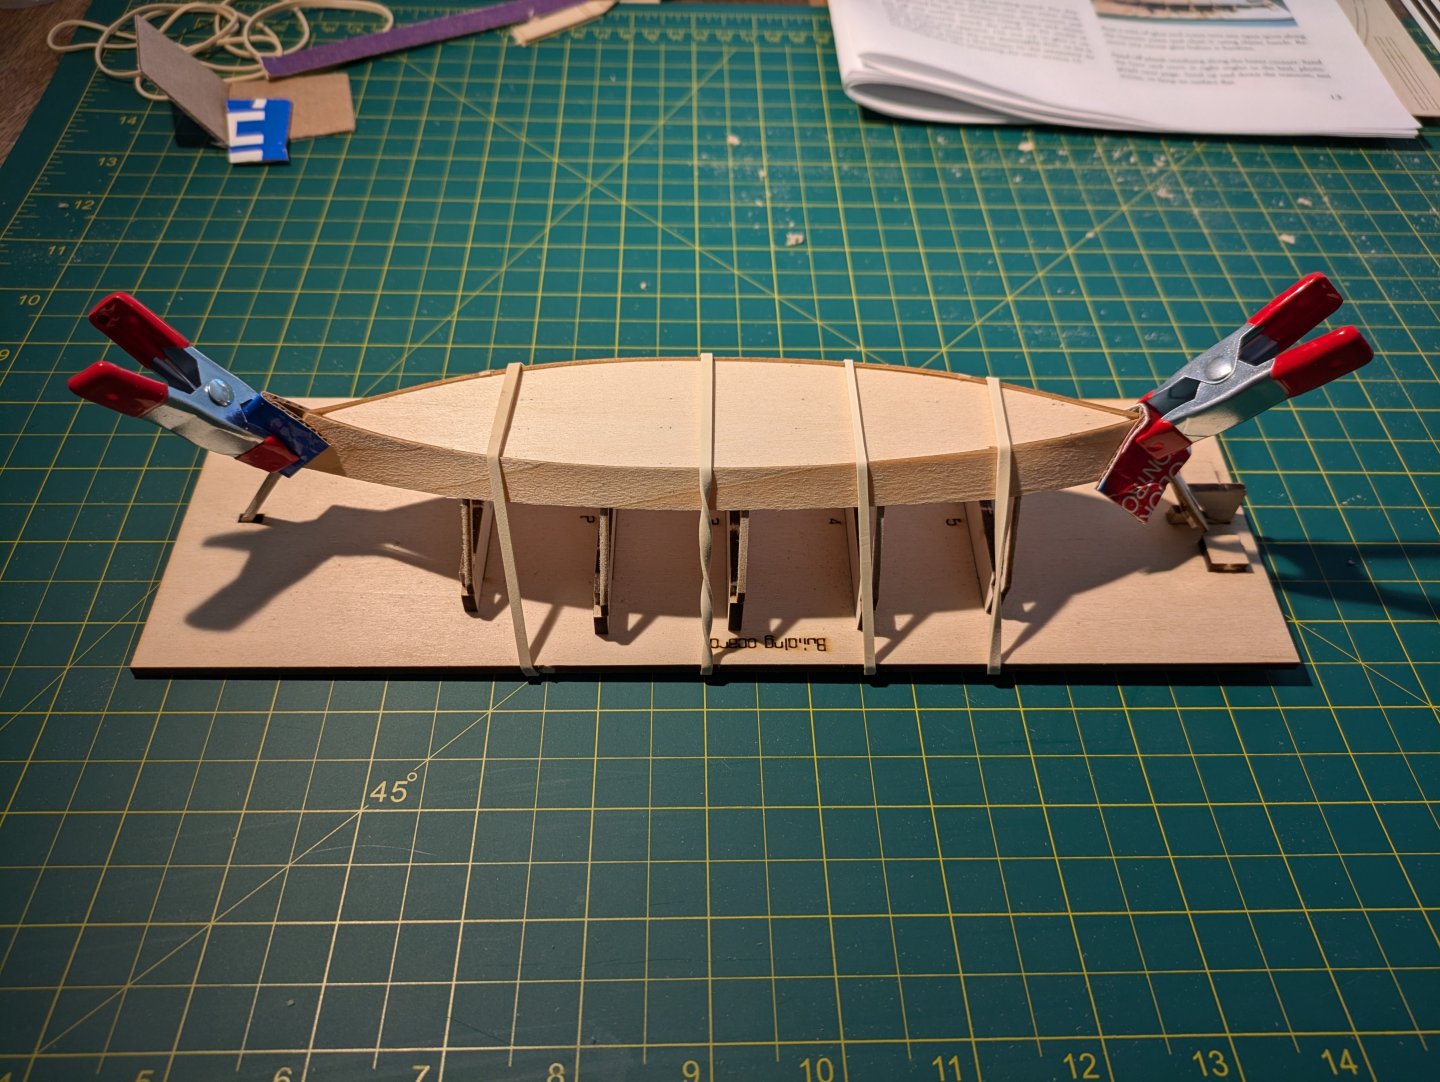
Dang, thank you for that! Learning about boats and their construction is such a cool extra piece of this hobby. That helps it make a lot more sense. And also now makes me realize I glued the garboard in the wrong orientation - whoops! I feel pretty good about how I sanded the bevel. However, since I didn't fully understand it at first, I accidentally glued the bevel facing the inside of the boat. Now, looking at your diagram and rereading the instructions it's finally clicked how/why it's supposed to be on the outside. I'm still quite happy with how it's coming out and, while I know it may affect how the next plank lies, I'm gonna keep rolling with it. This dory will be named the S.S. Rough Draft. Wow, your homemade oar looks so nice. I tried shaping a second one from the kit and it turned out much better this time, but yours is next level! Some more pictures below: The dry fit turned out really well and, while I know people get creative with their clamps with great success, the simple setup from the instructions worked well for me. Gluing/sanding the garboards was a step I was really looking forward to, as I feel like this is where the boat really starts to take shape. My overlap of the garboard edges over the bottom of the boat was a little uneven, but I'm loving it. Where the plank meets the transom is so satisfying. Finally, very rookie question, but does anyone have a good method for wiping off sawdust from the wood? I always give the base a few taps on my work surface but a lot of it still clings on. Thanks!

-
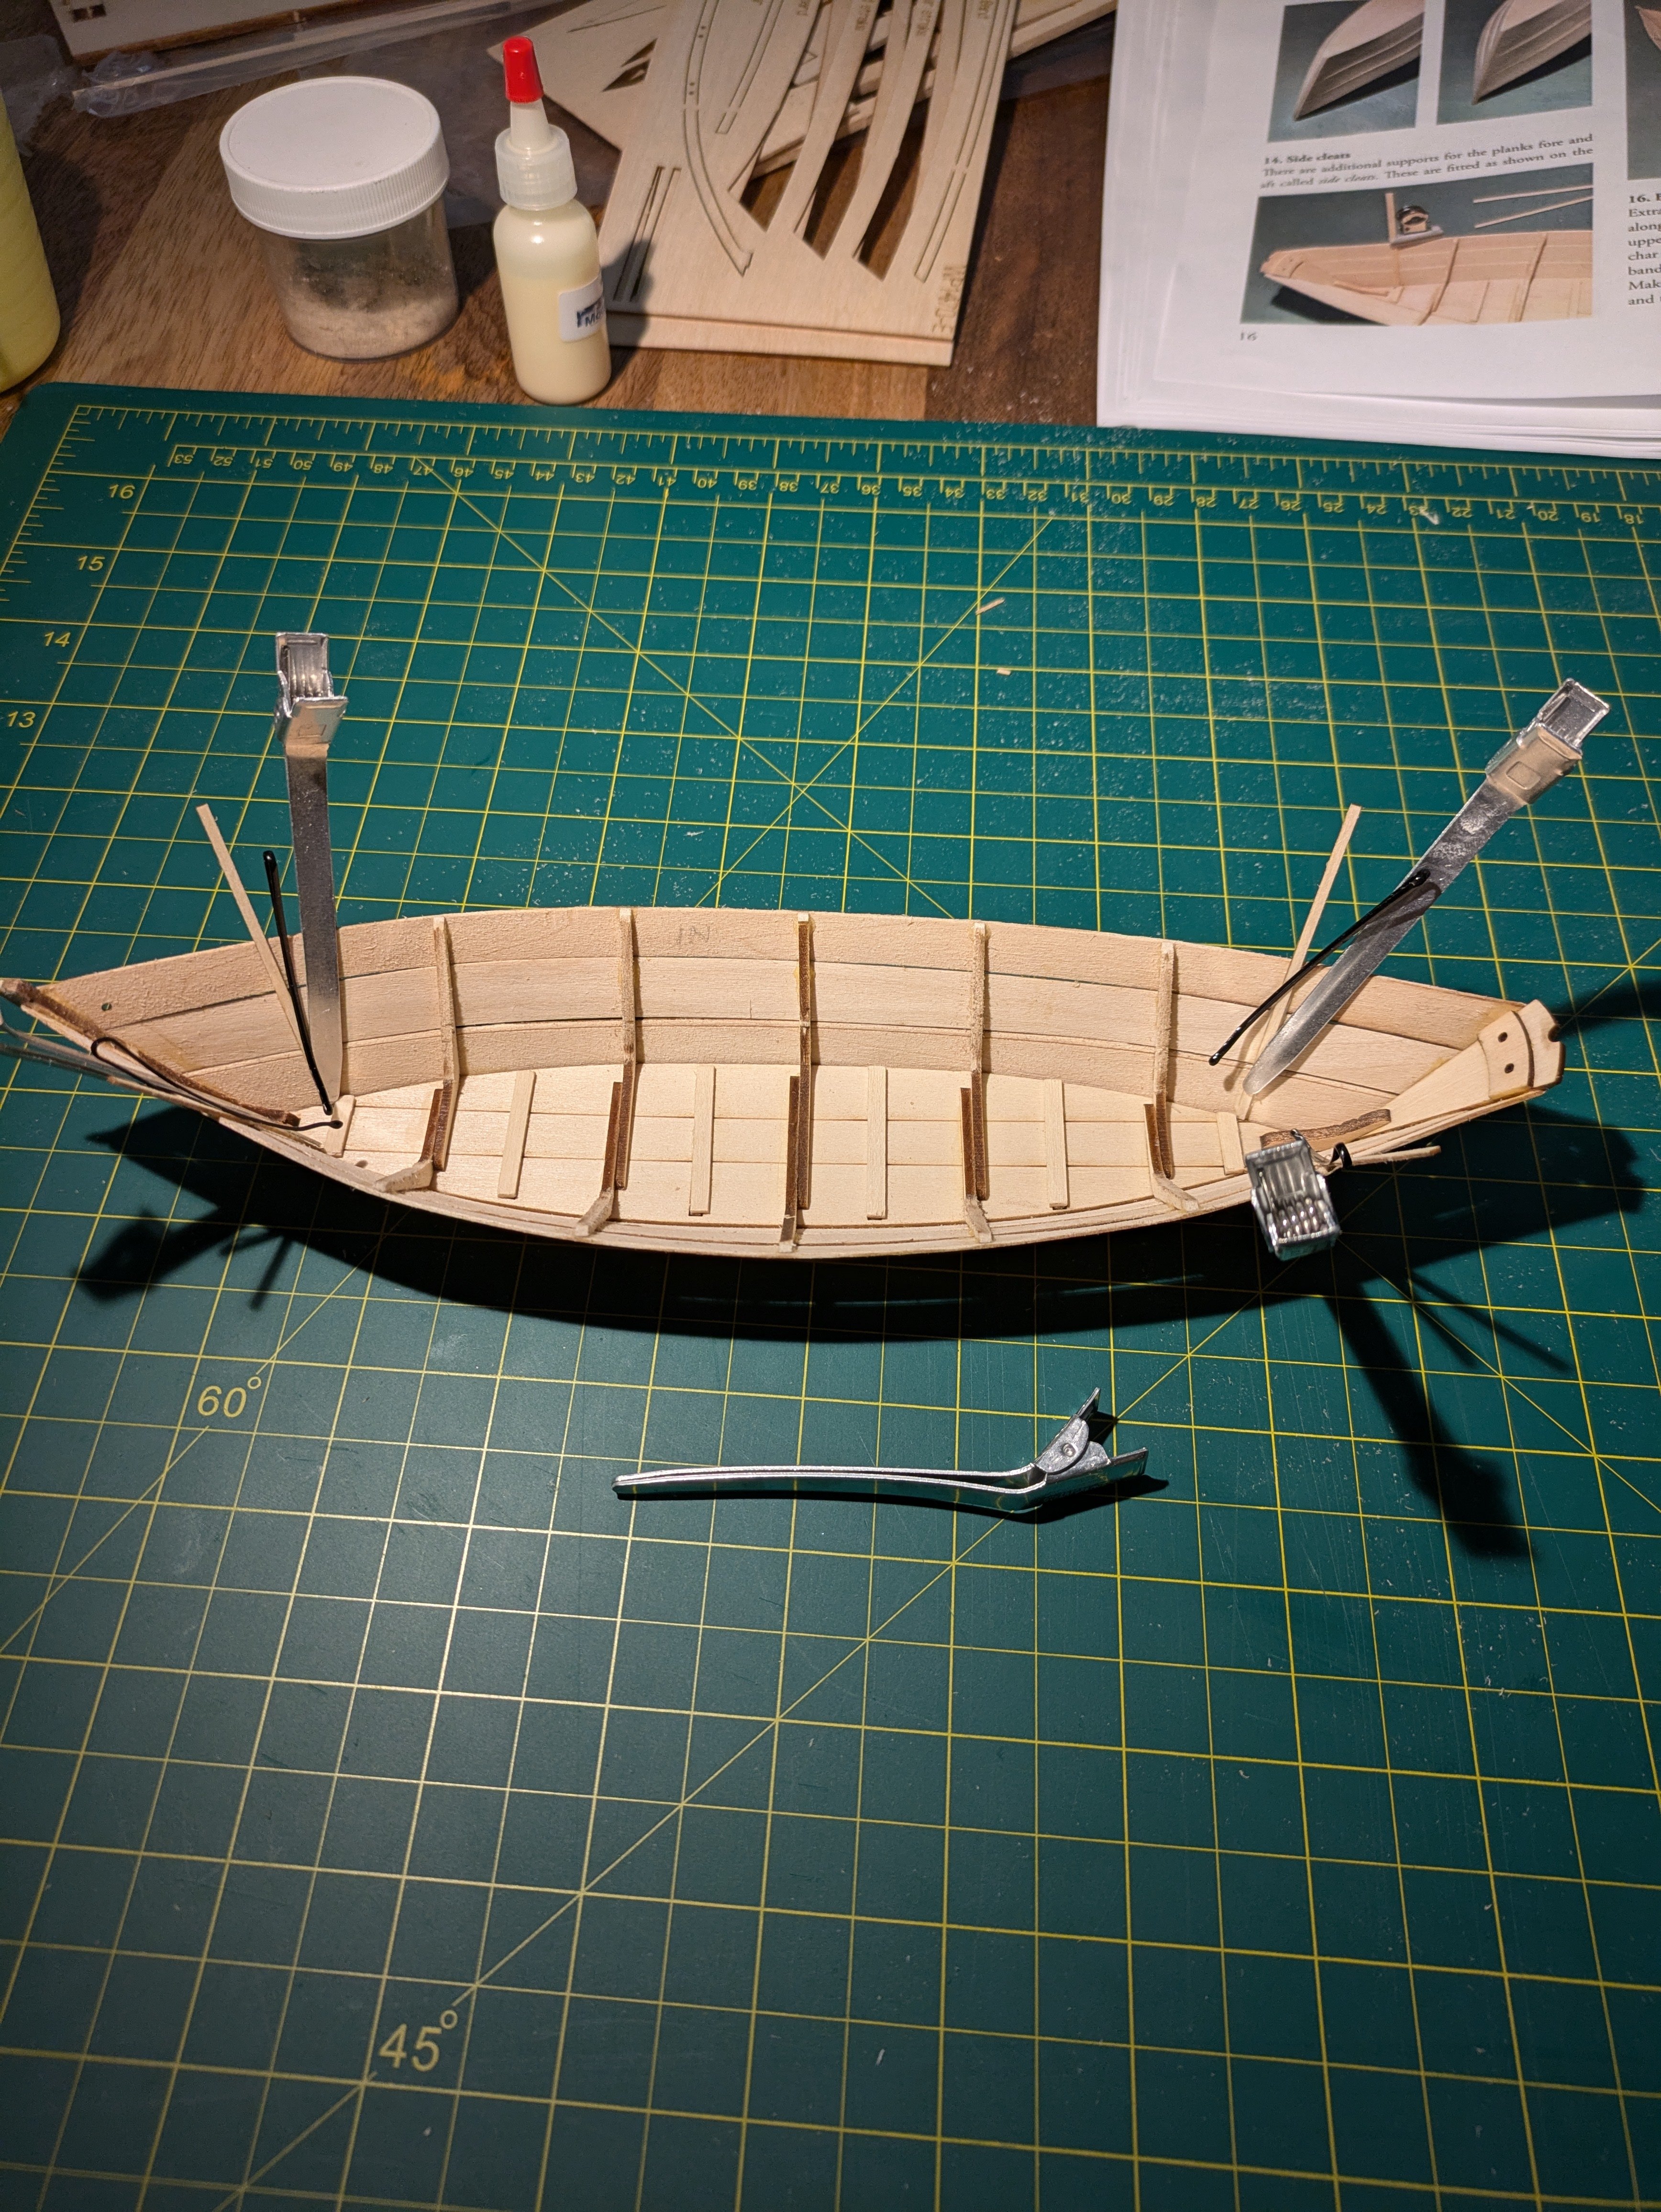
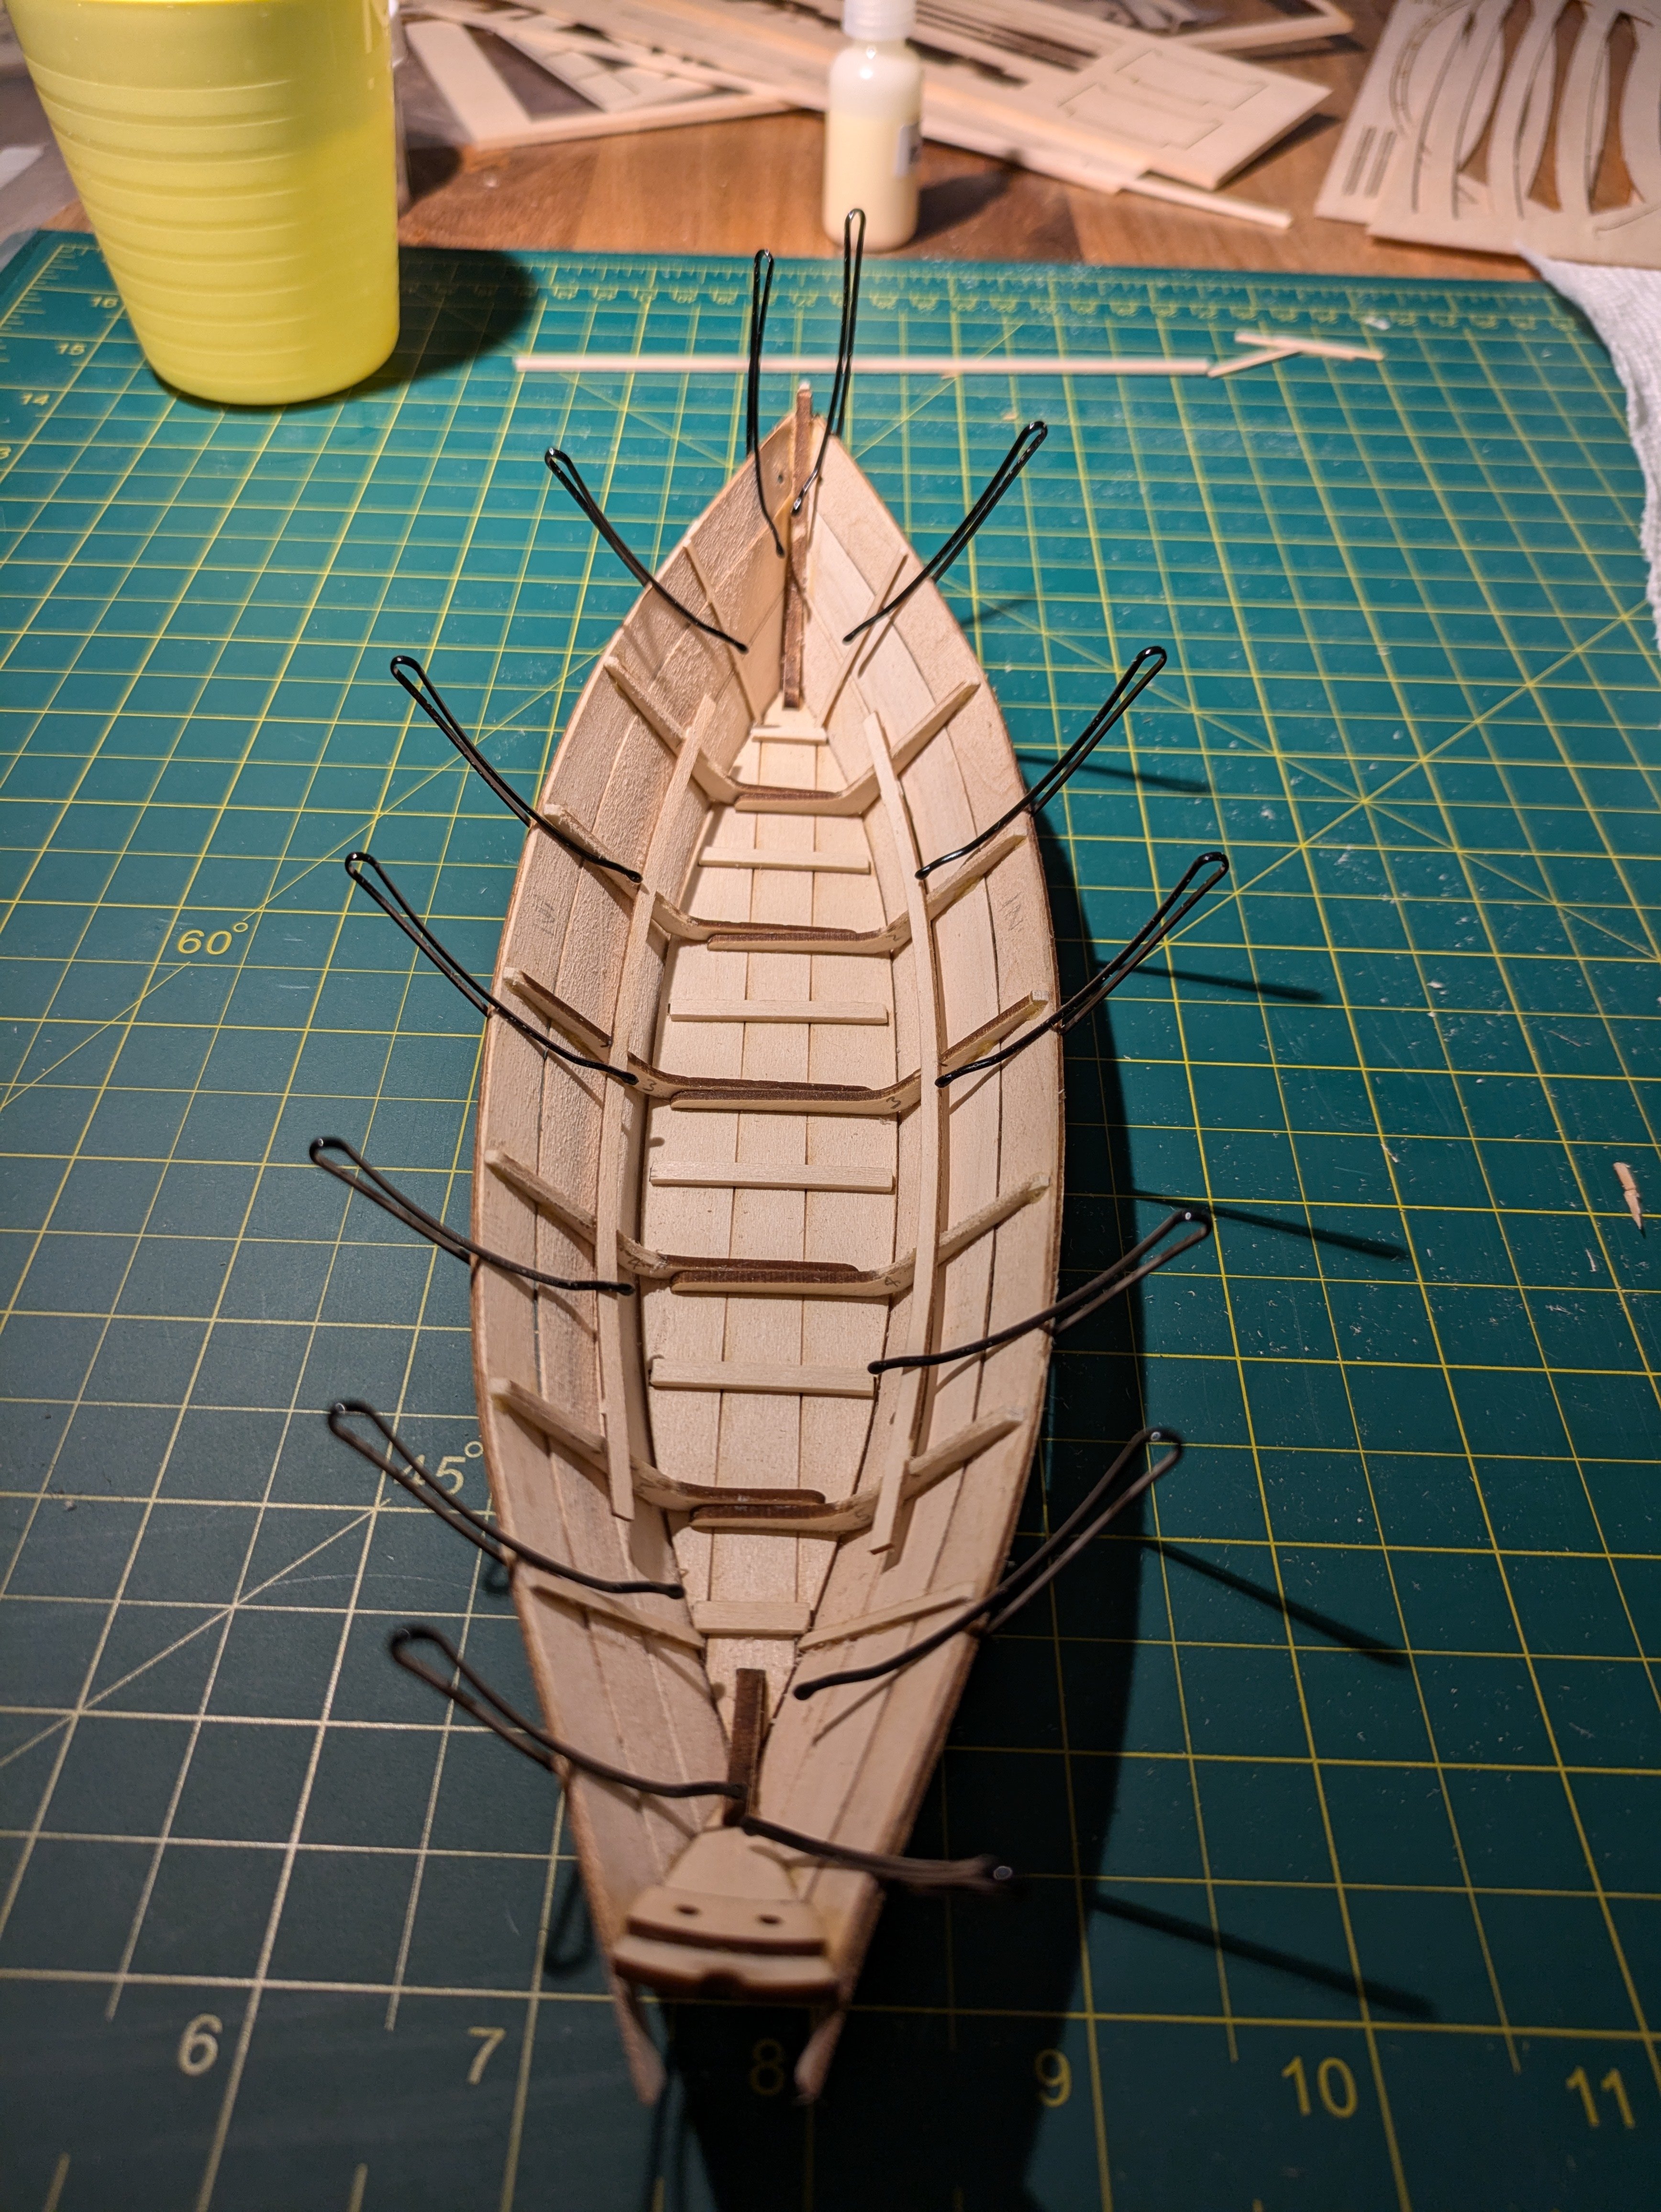
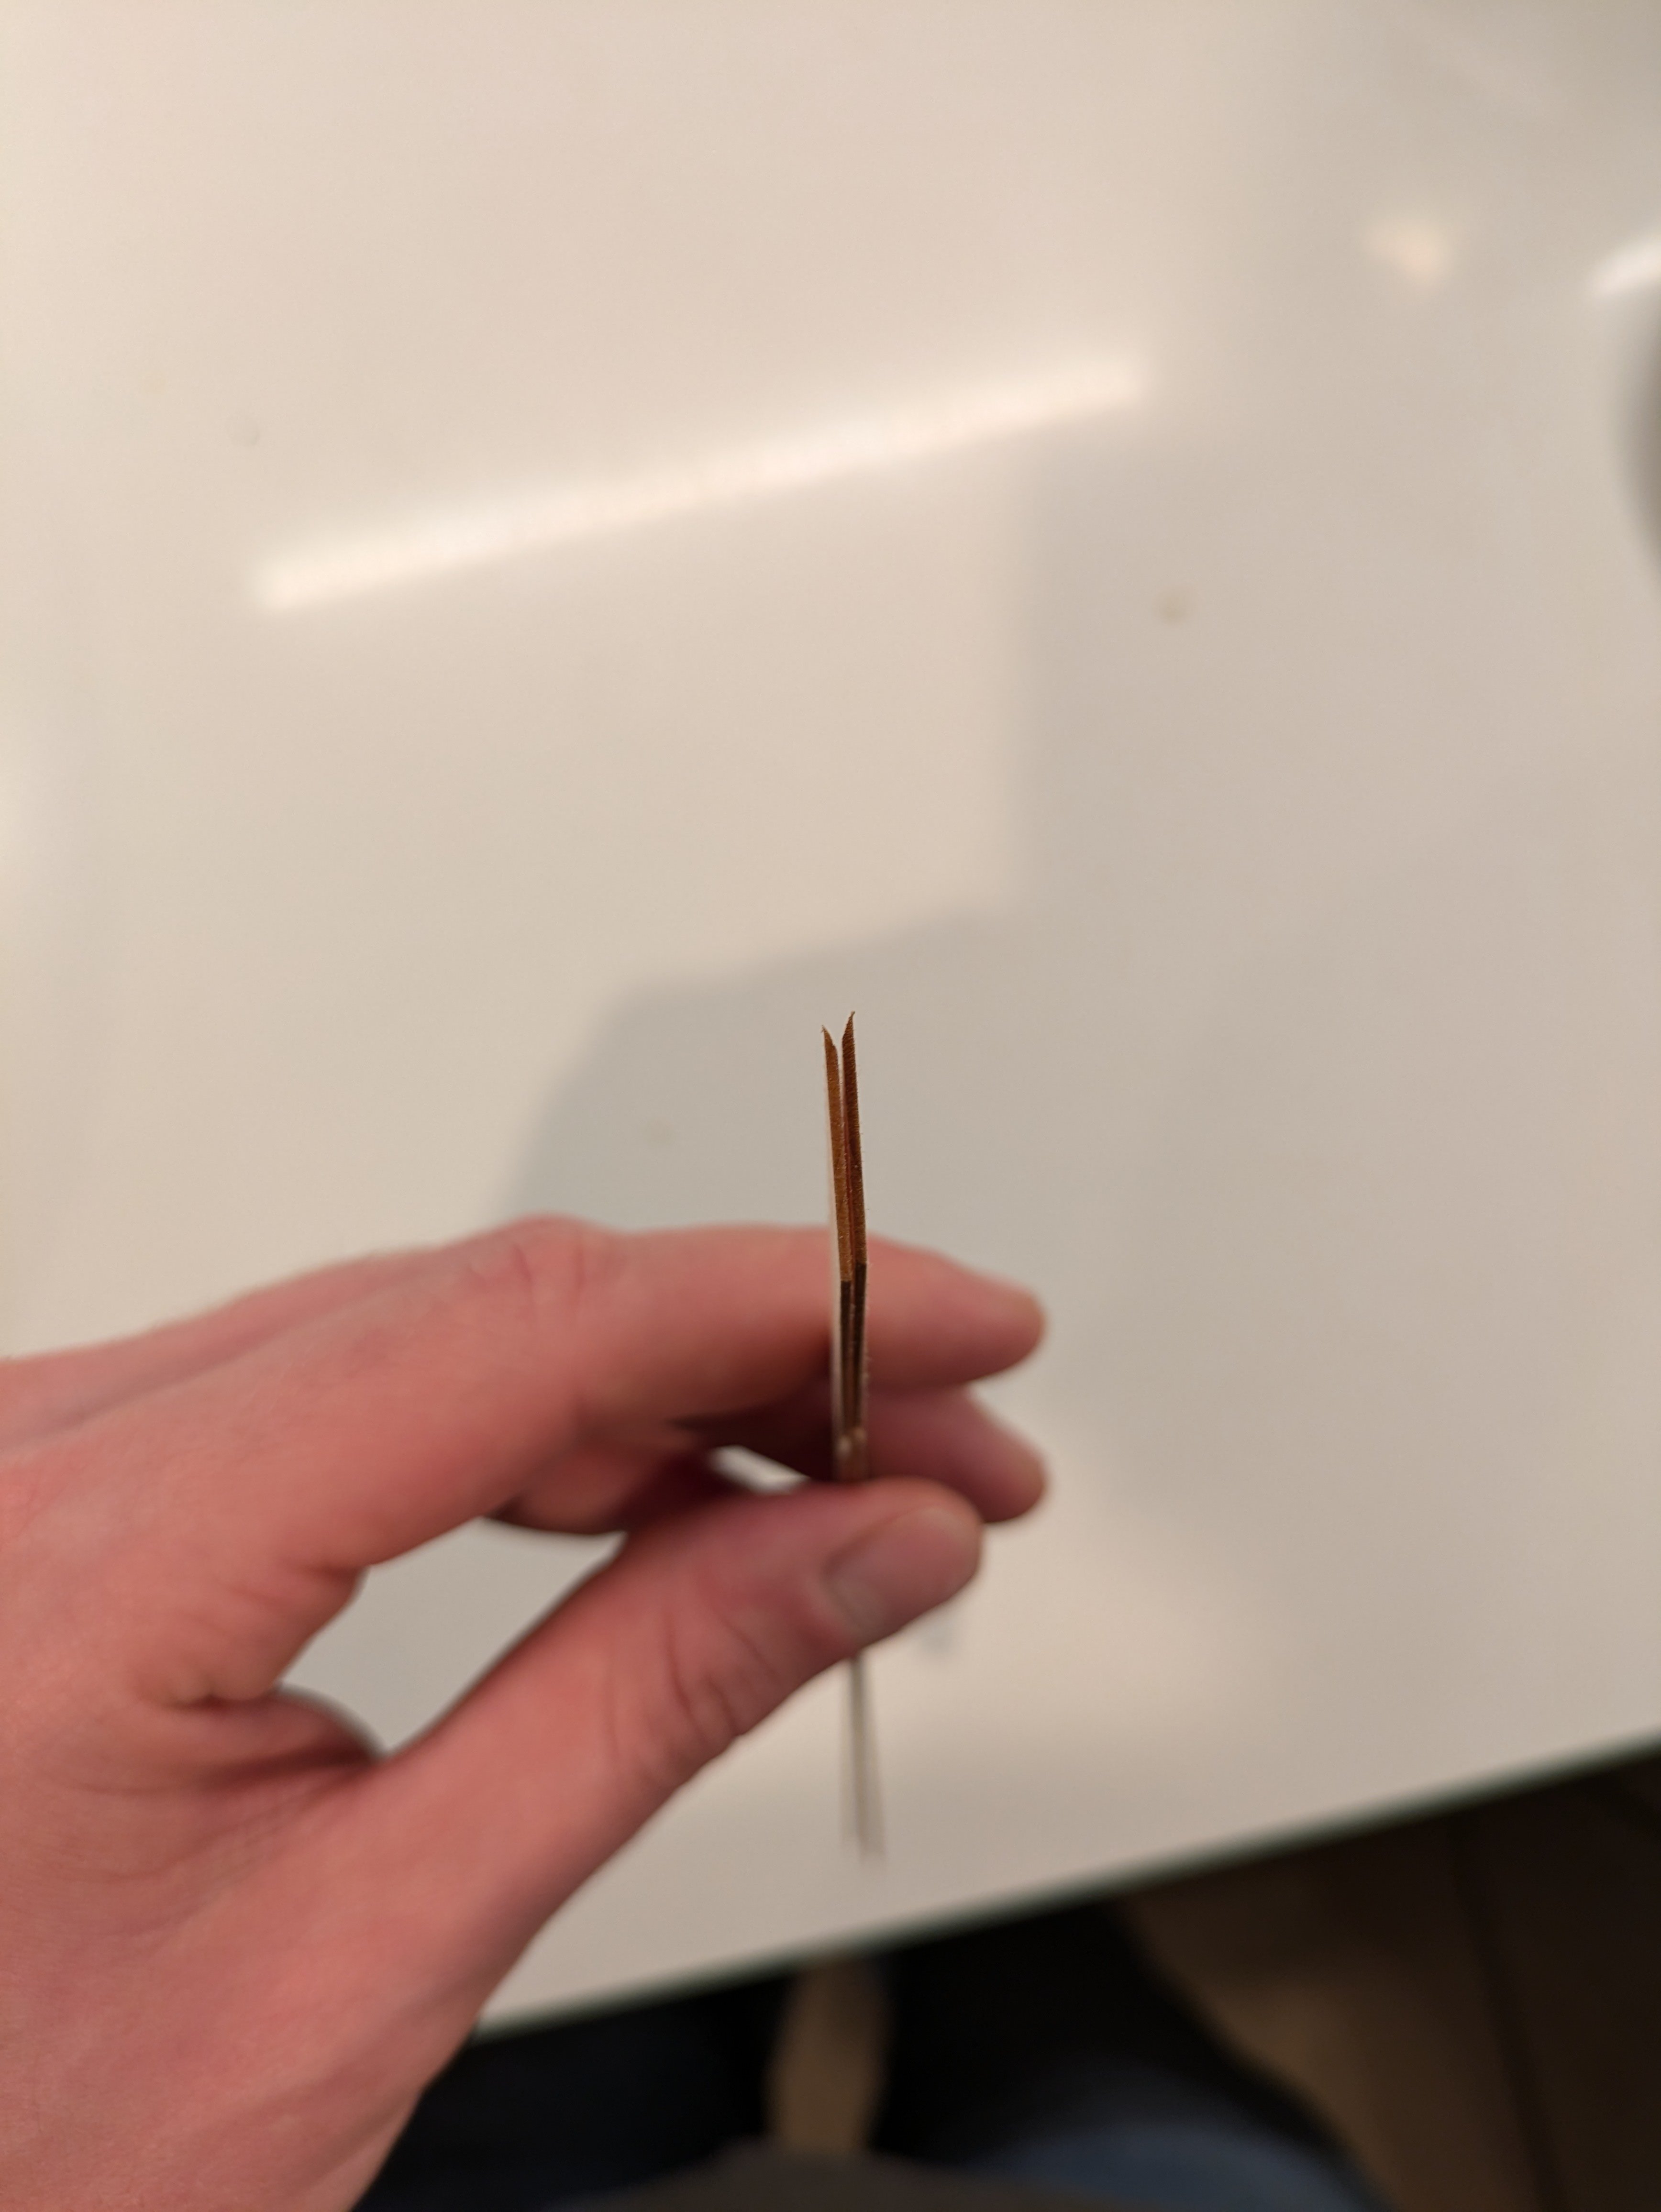
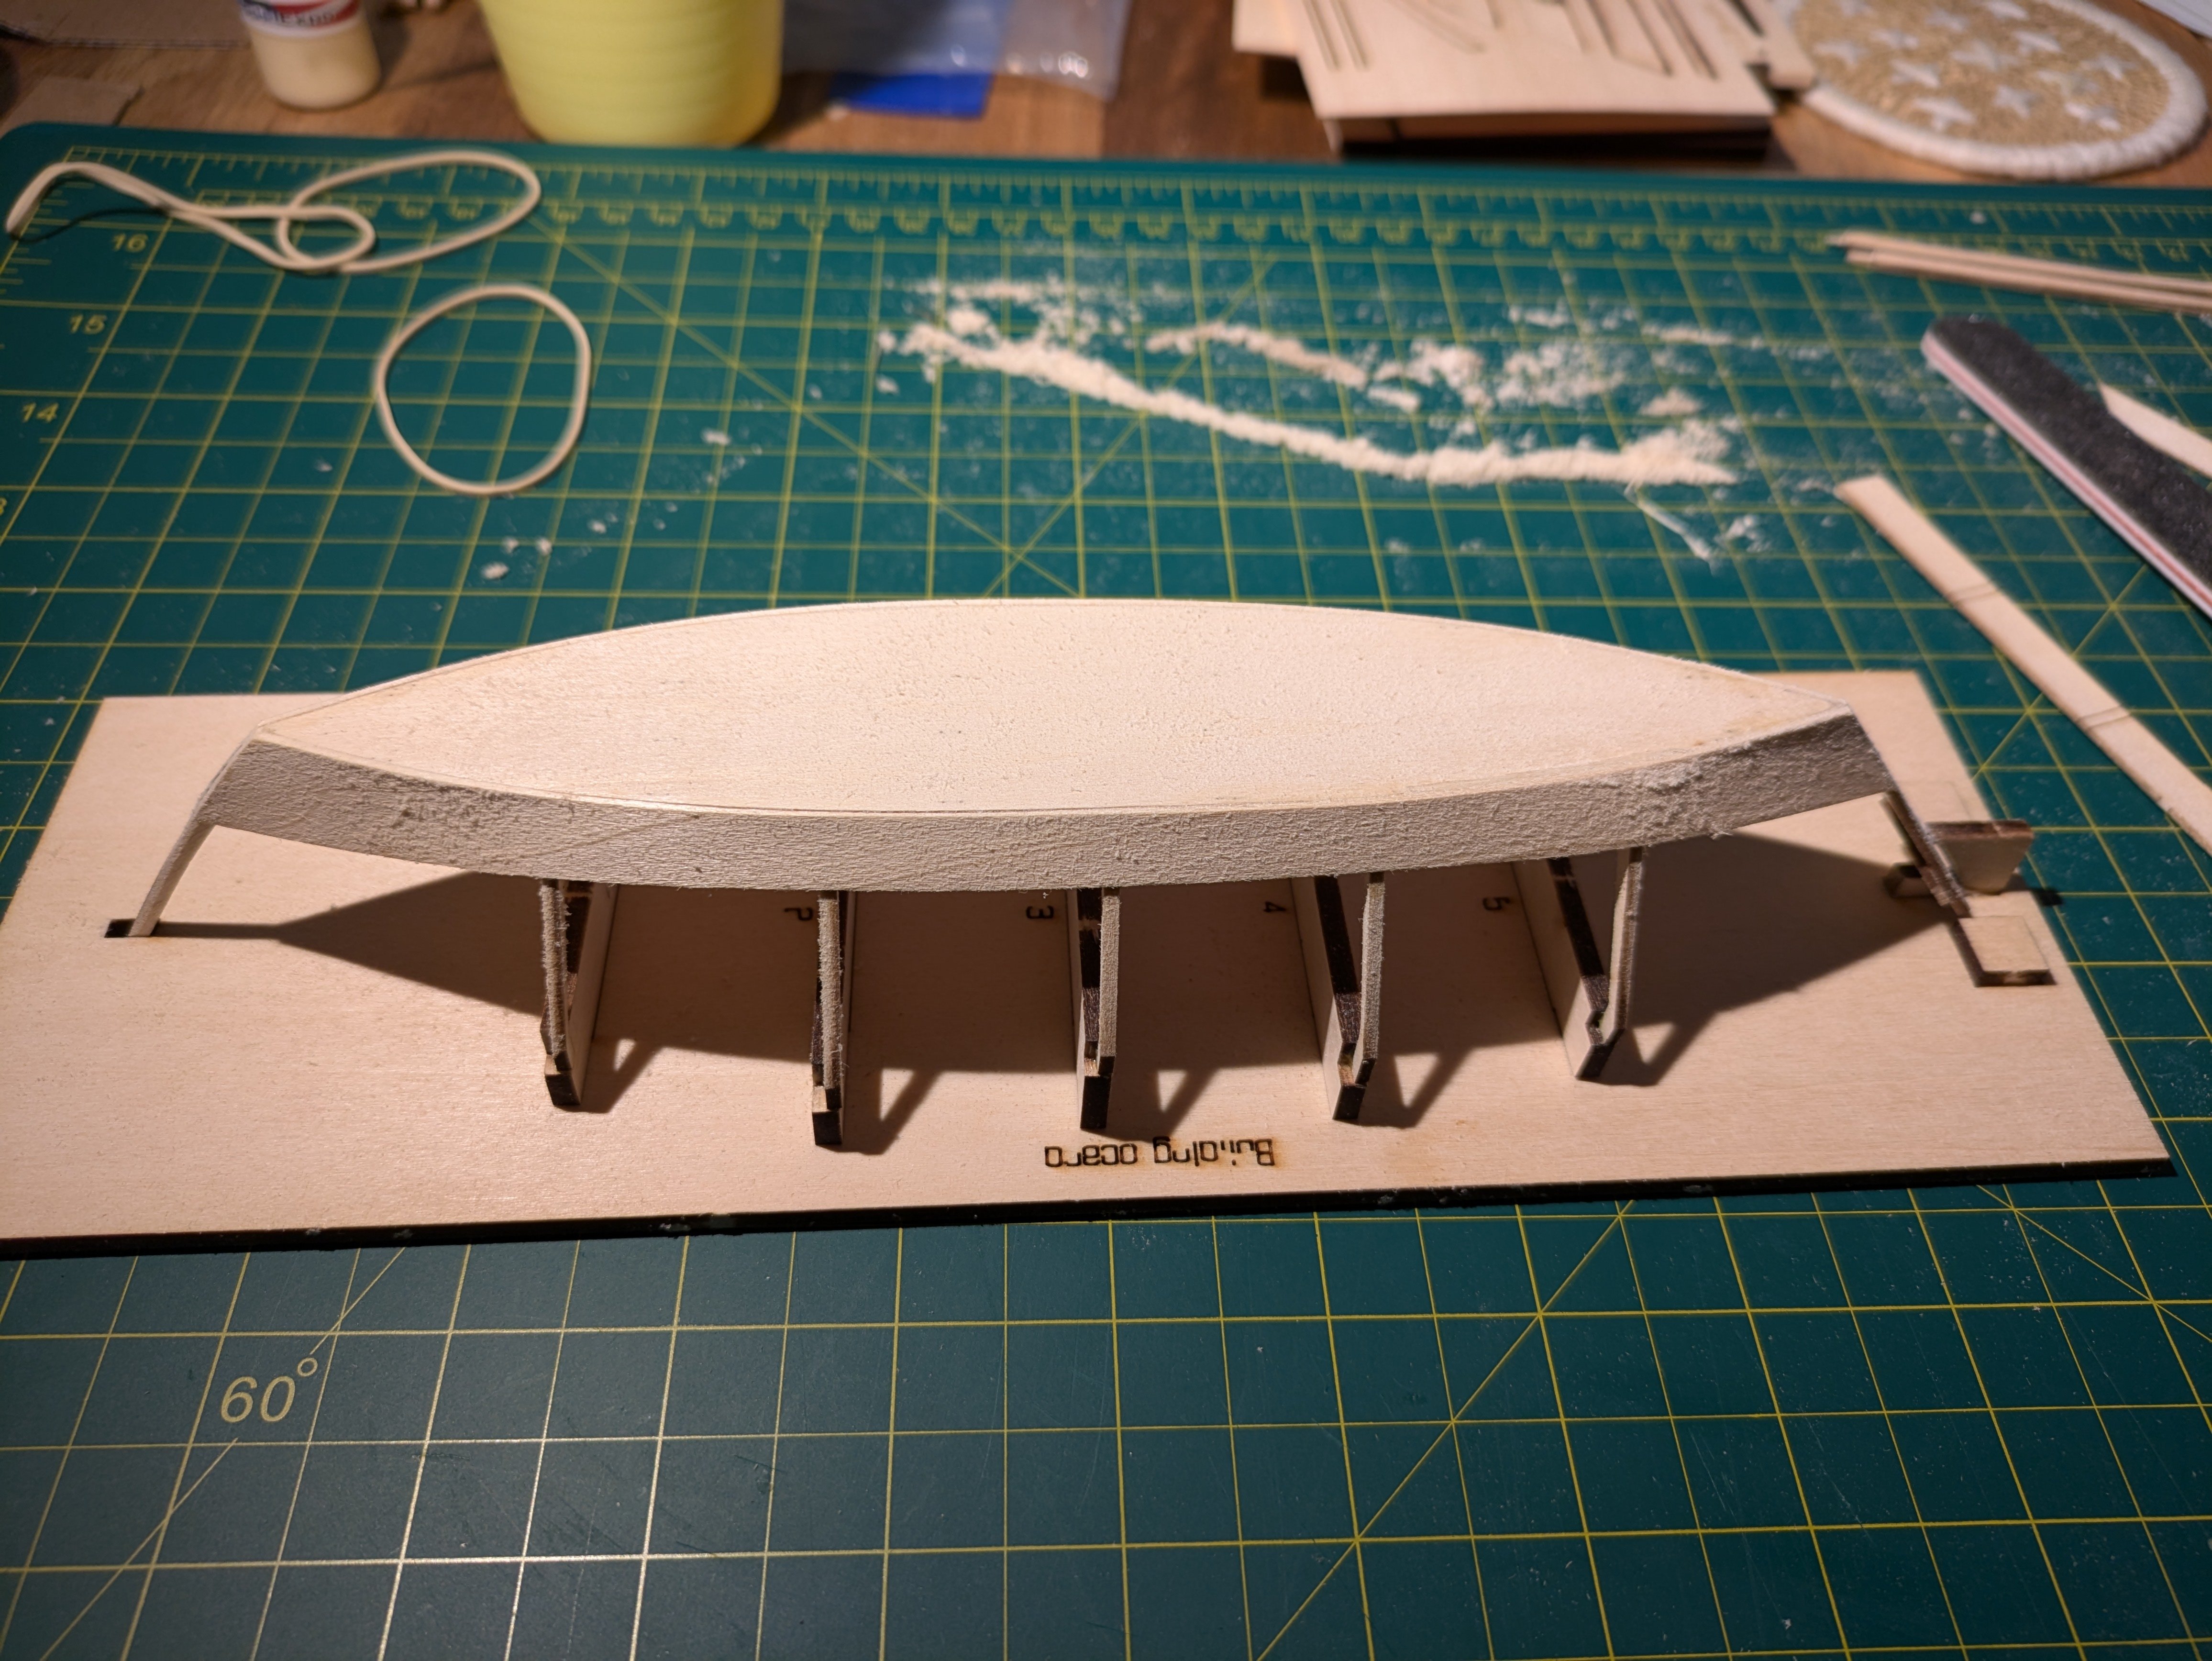
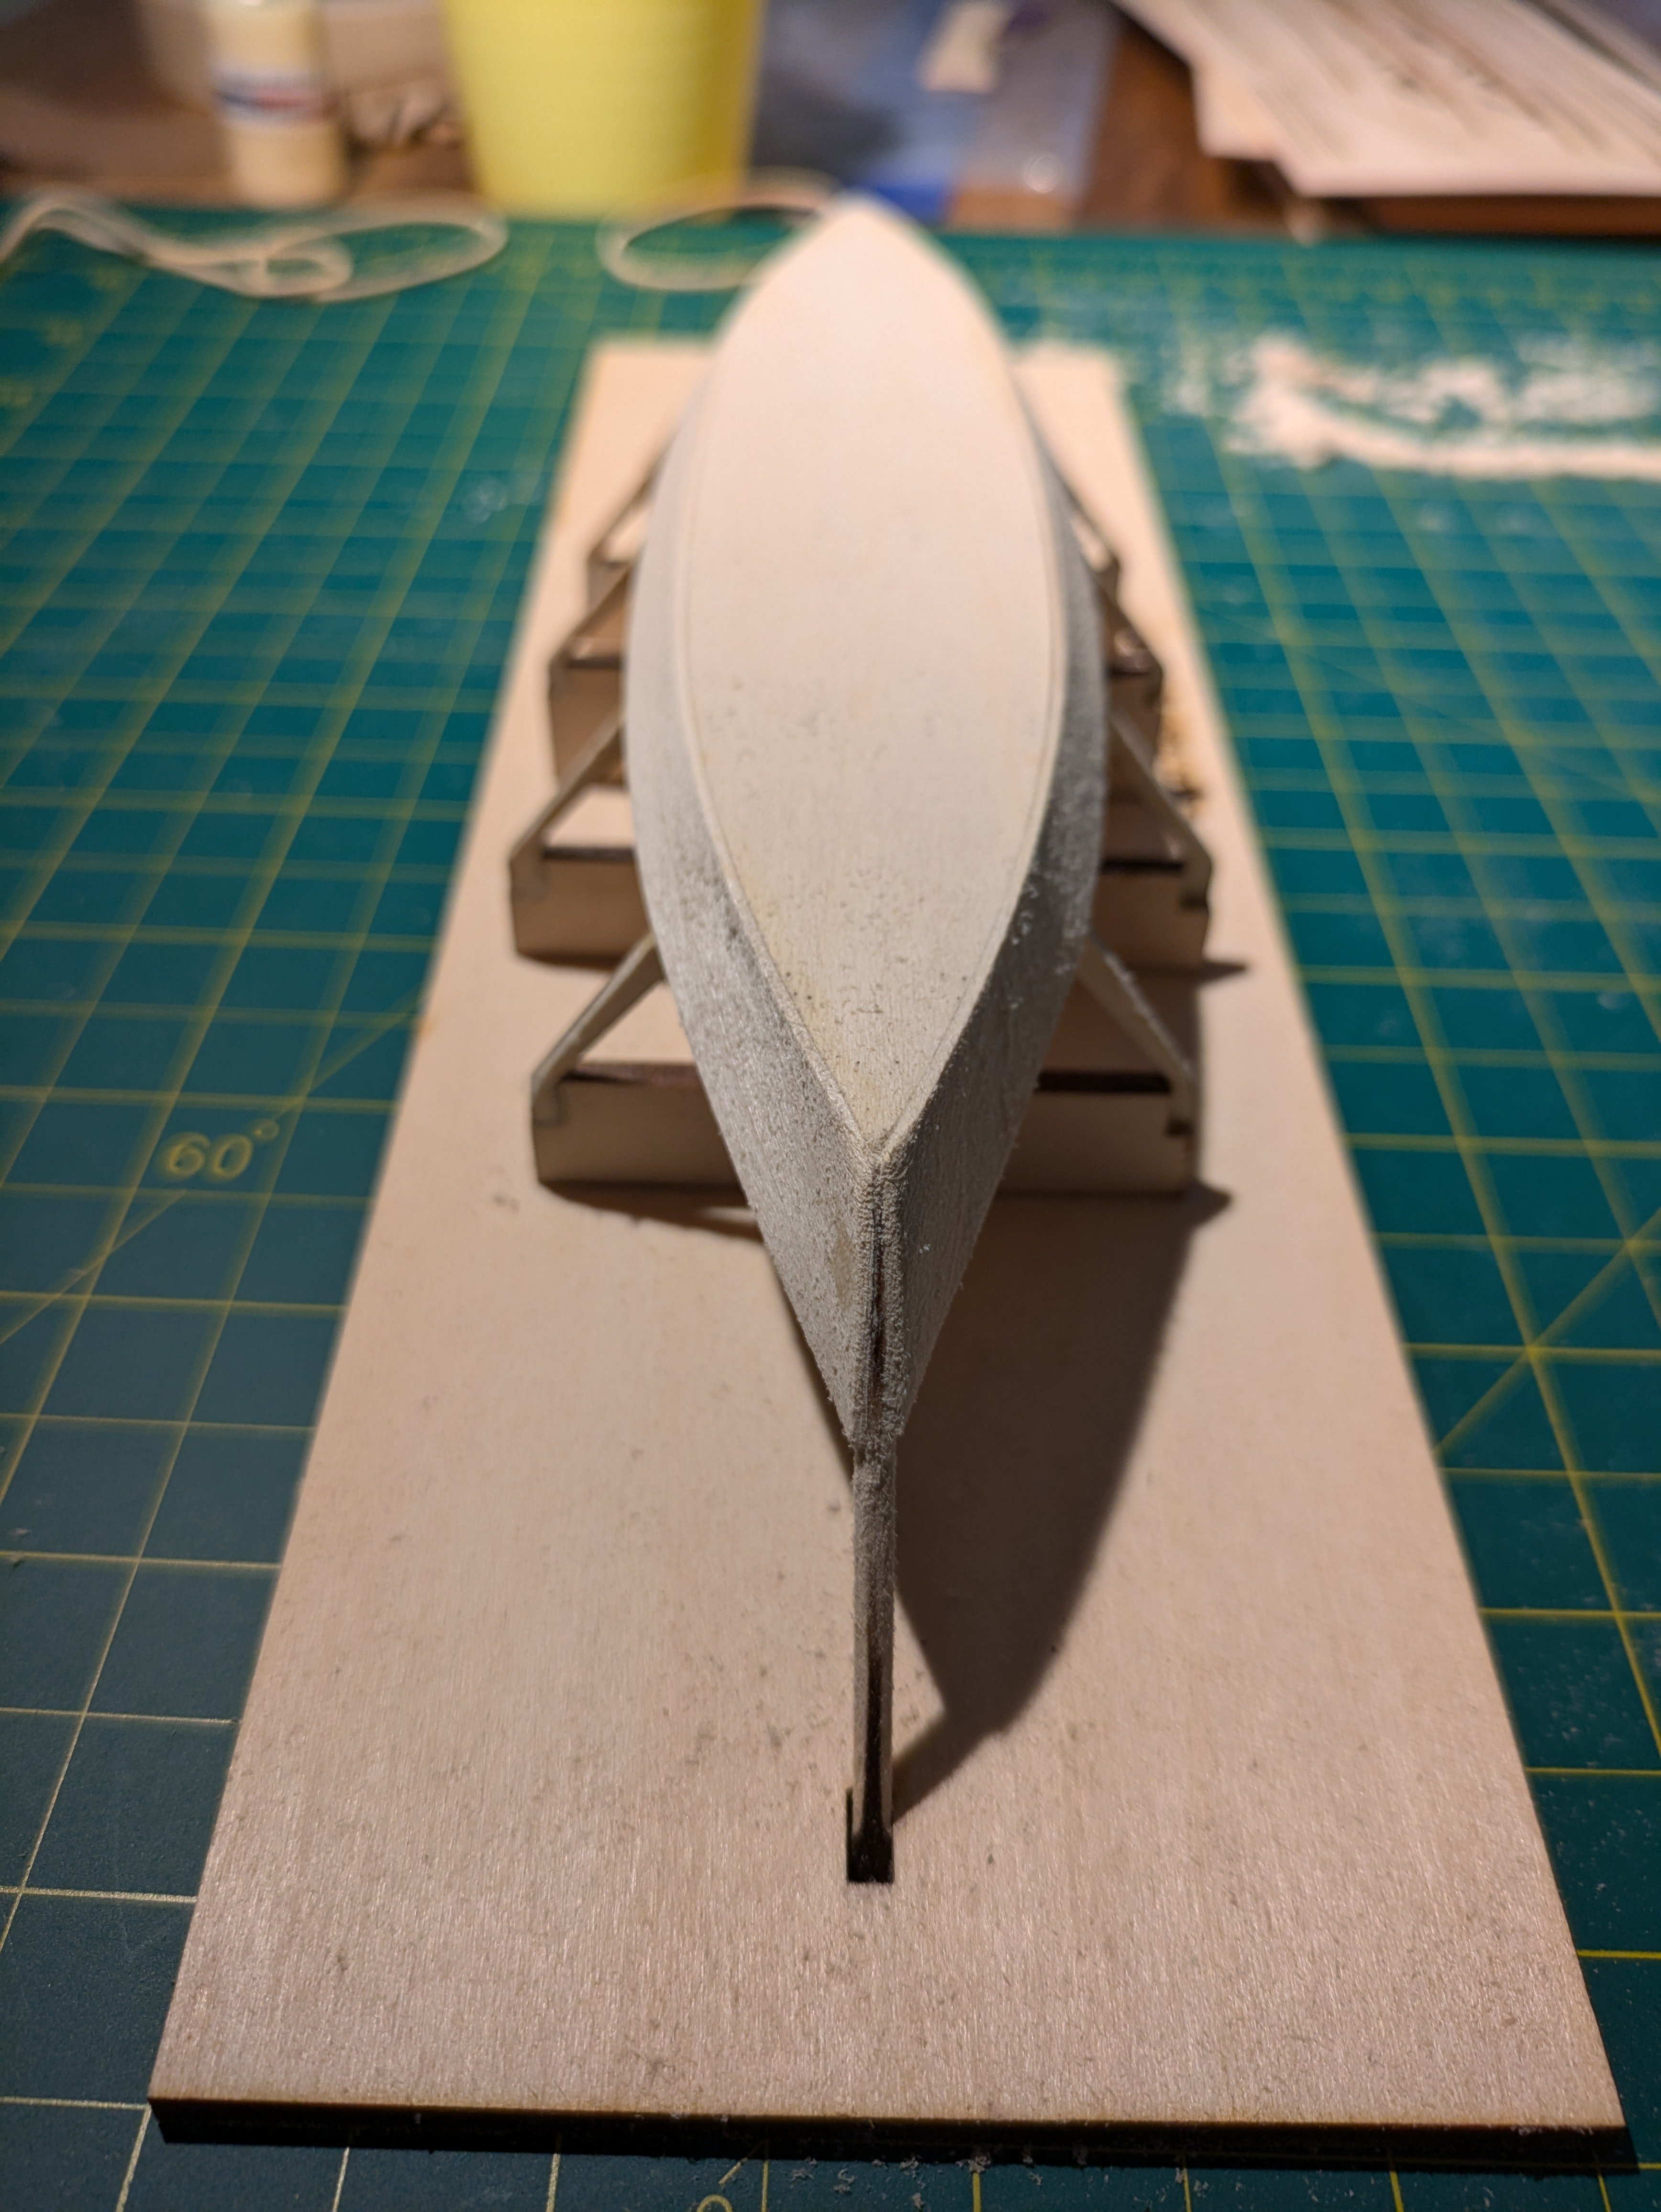
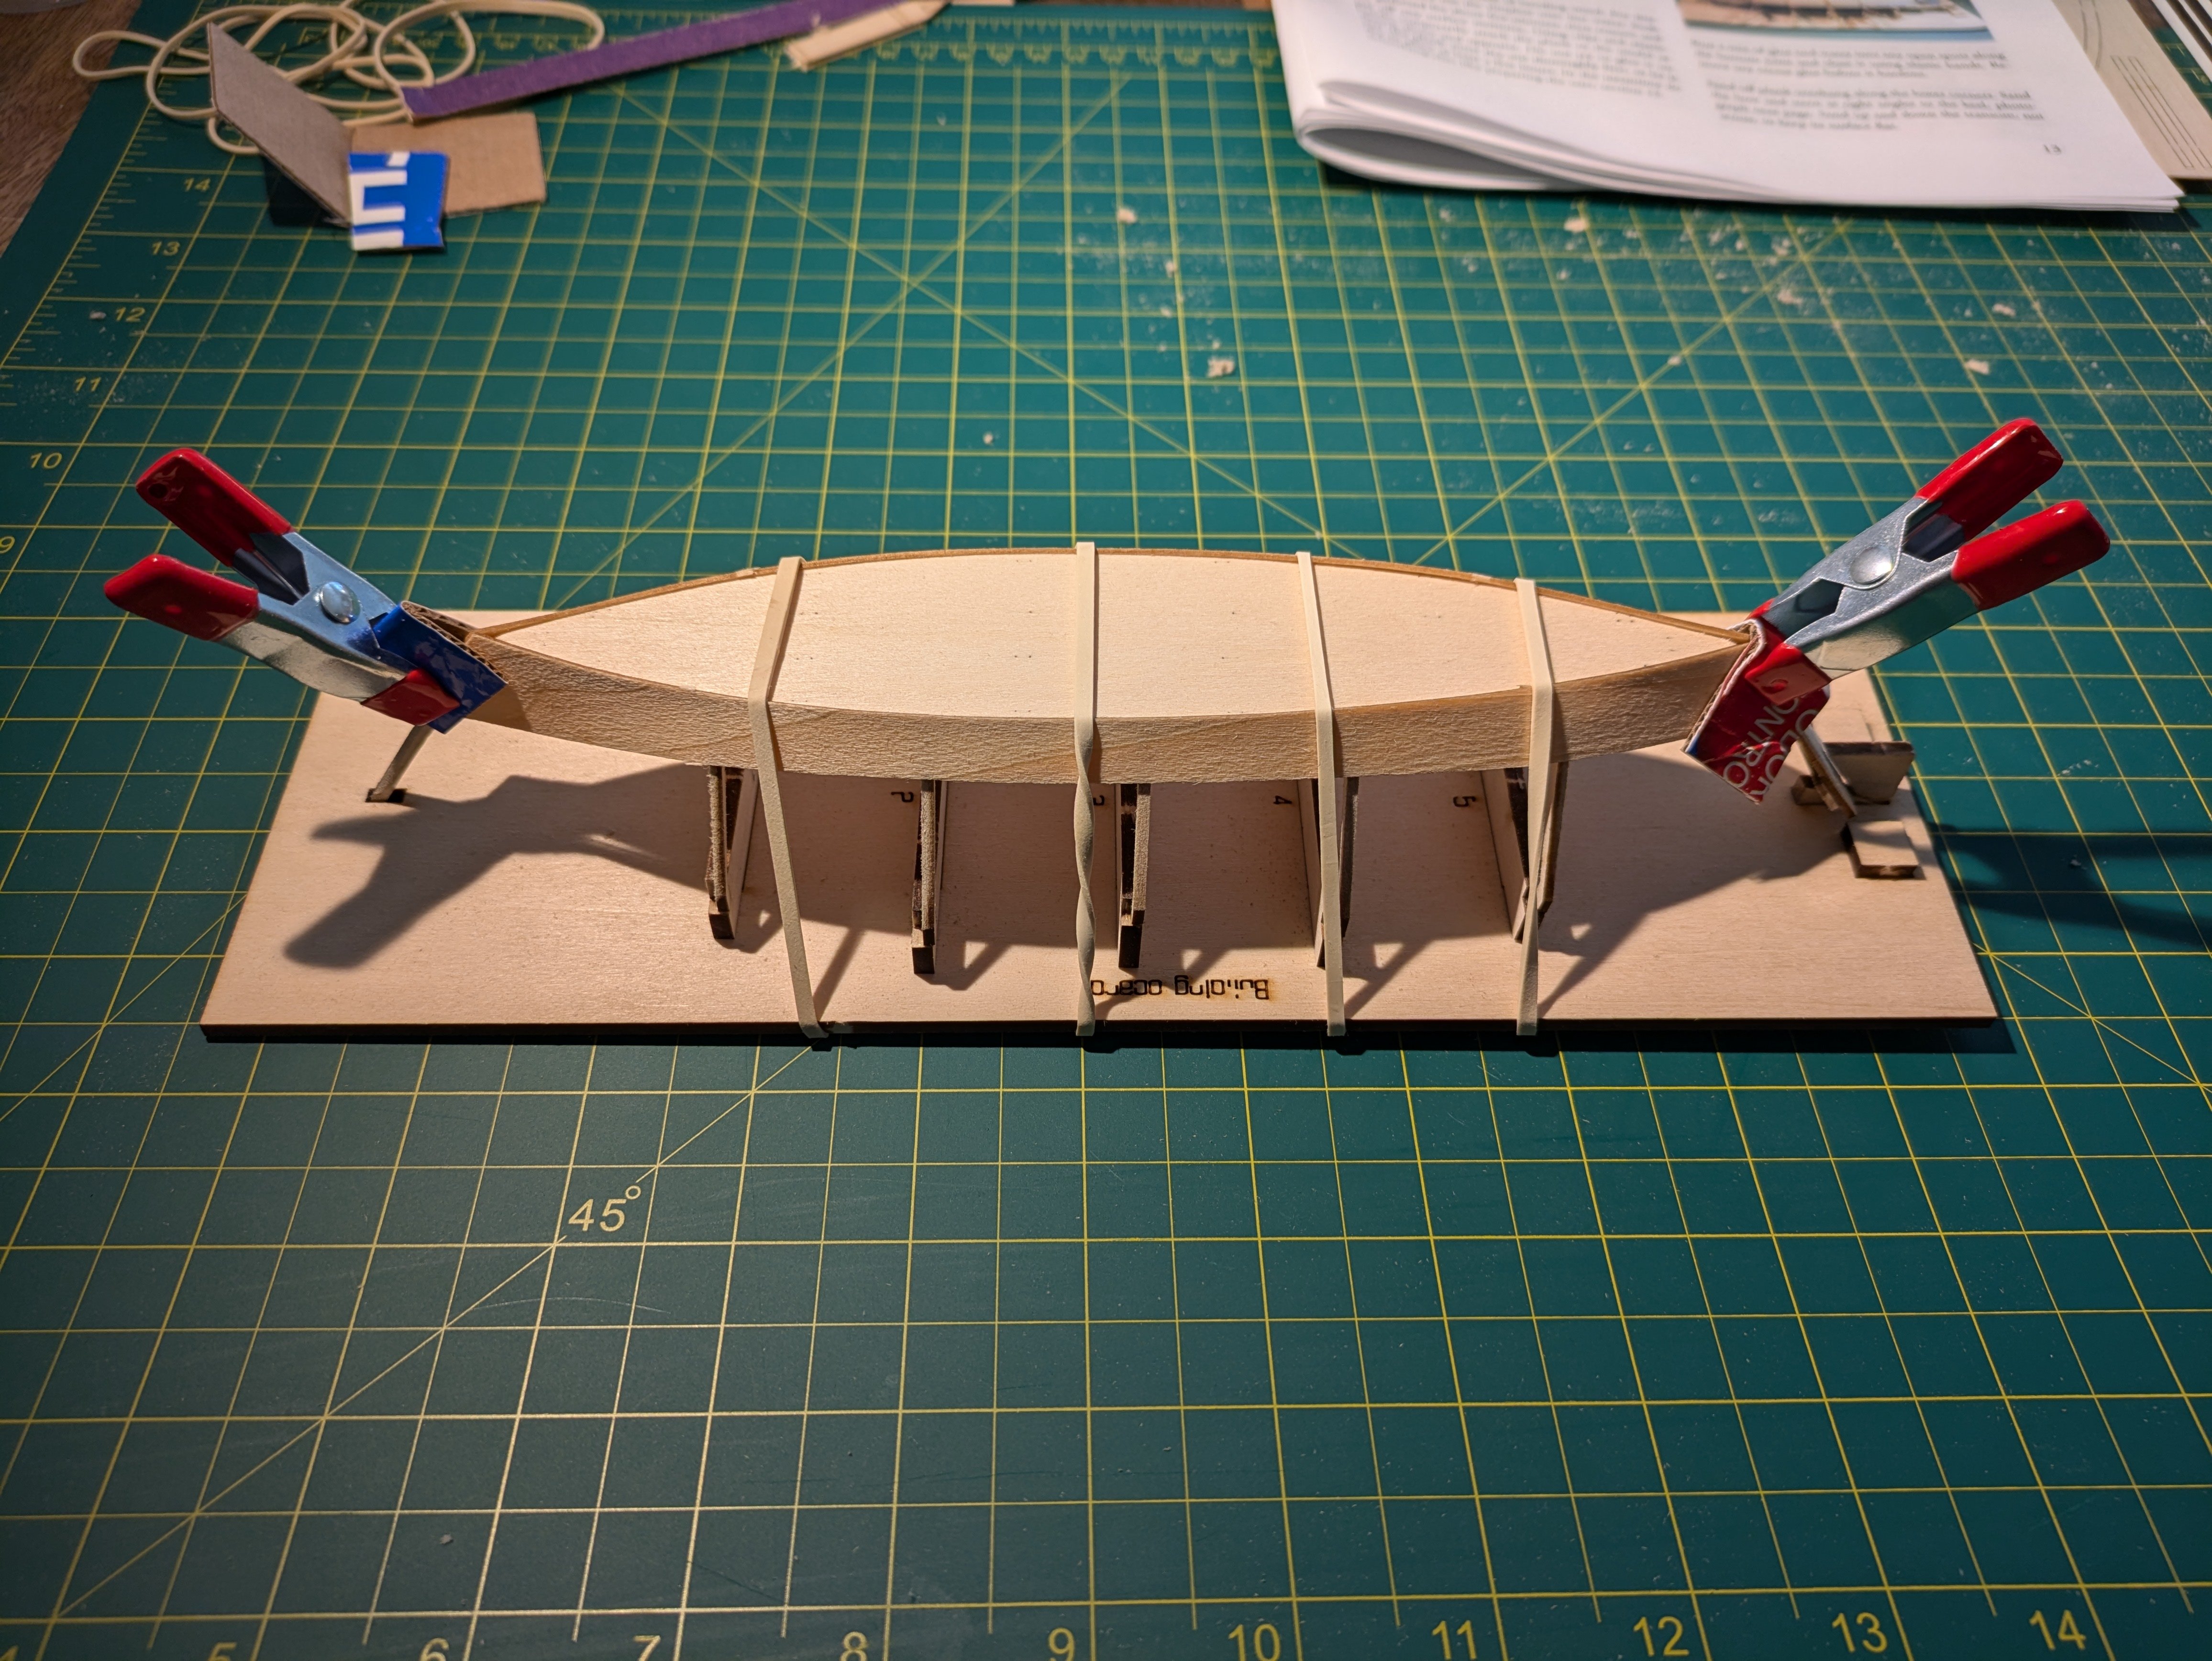
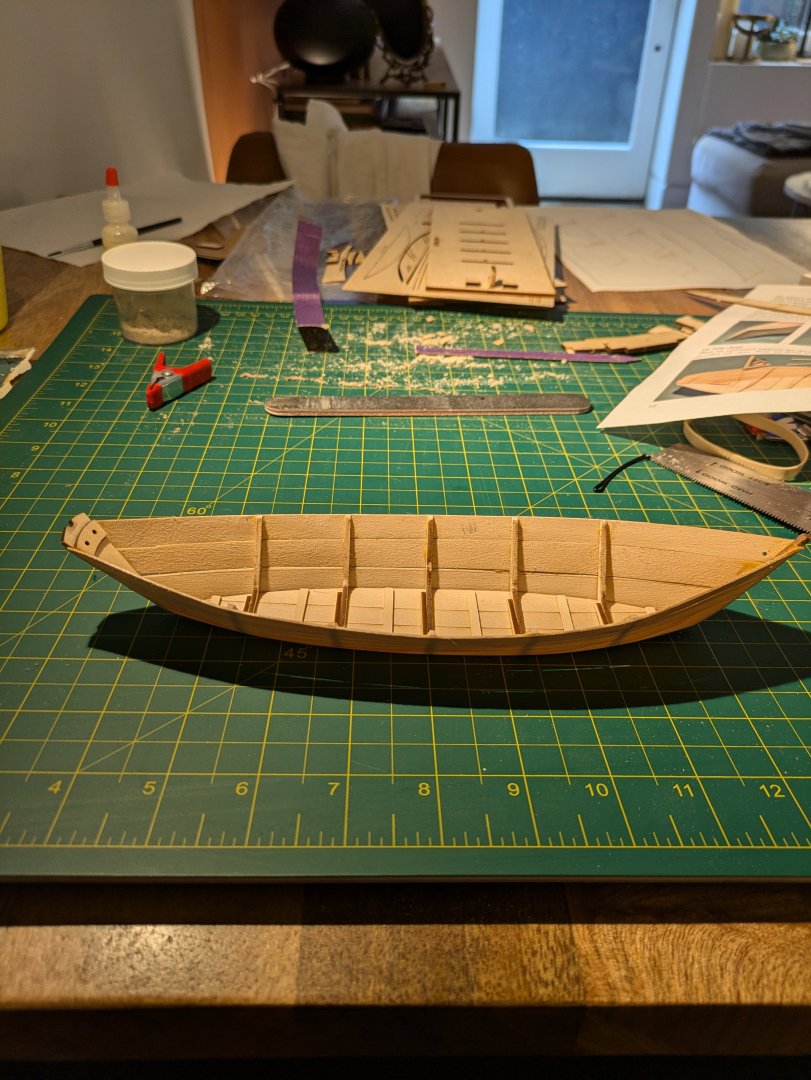
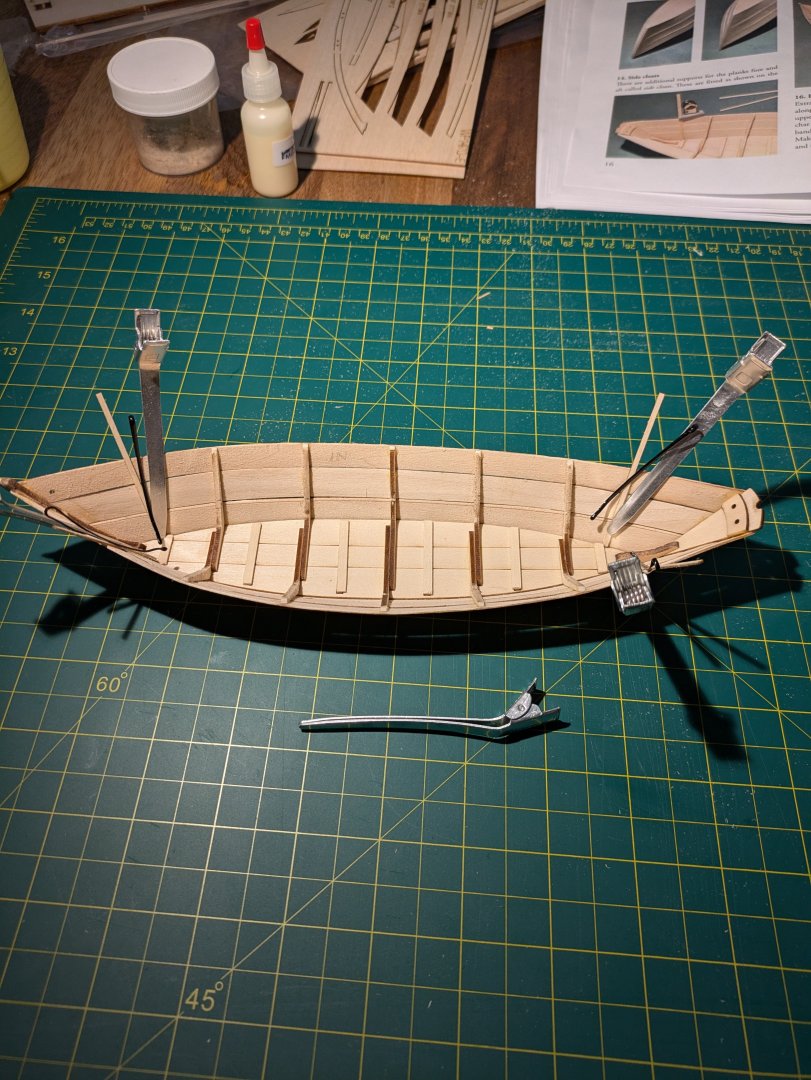
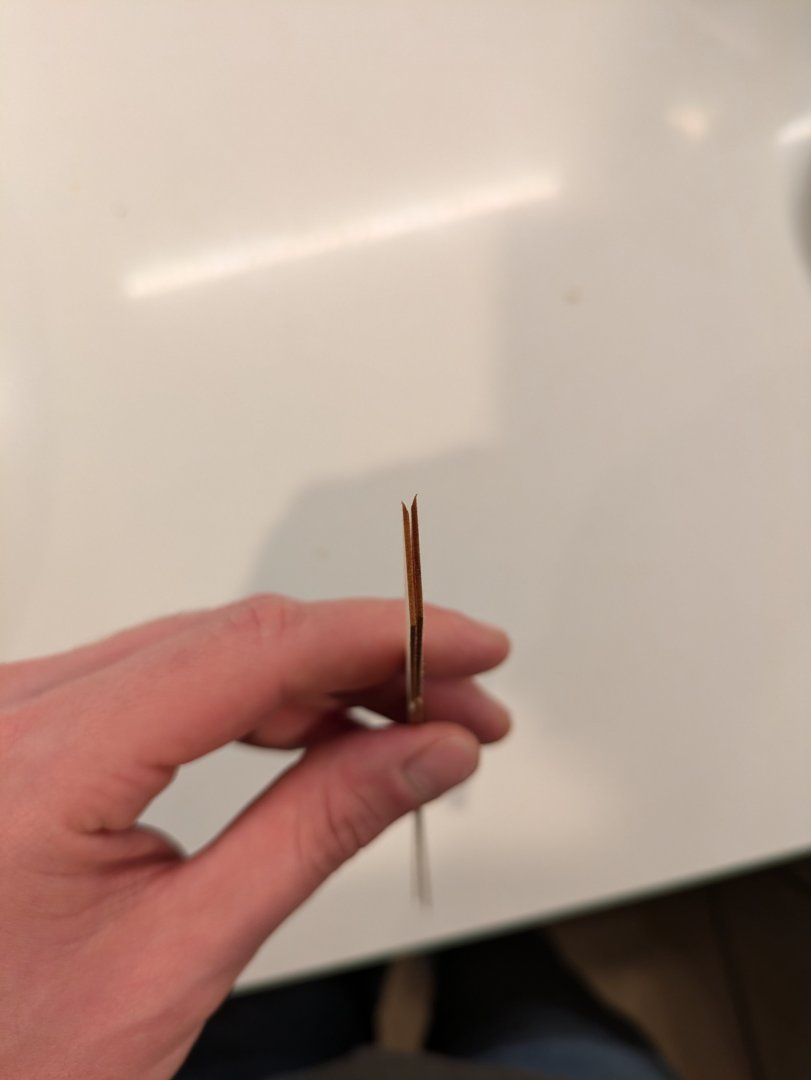
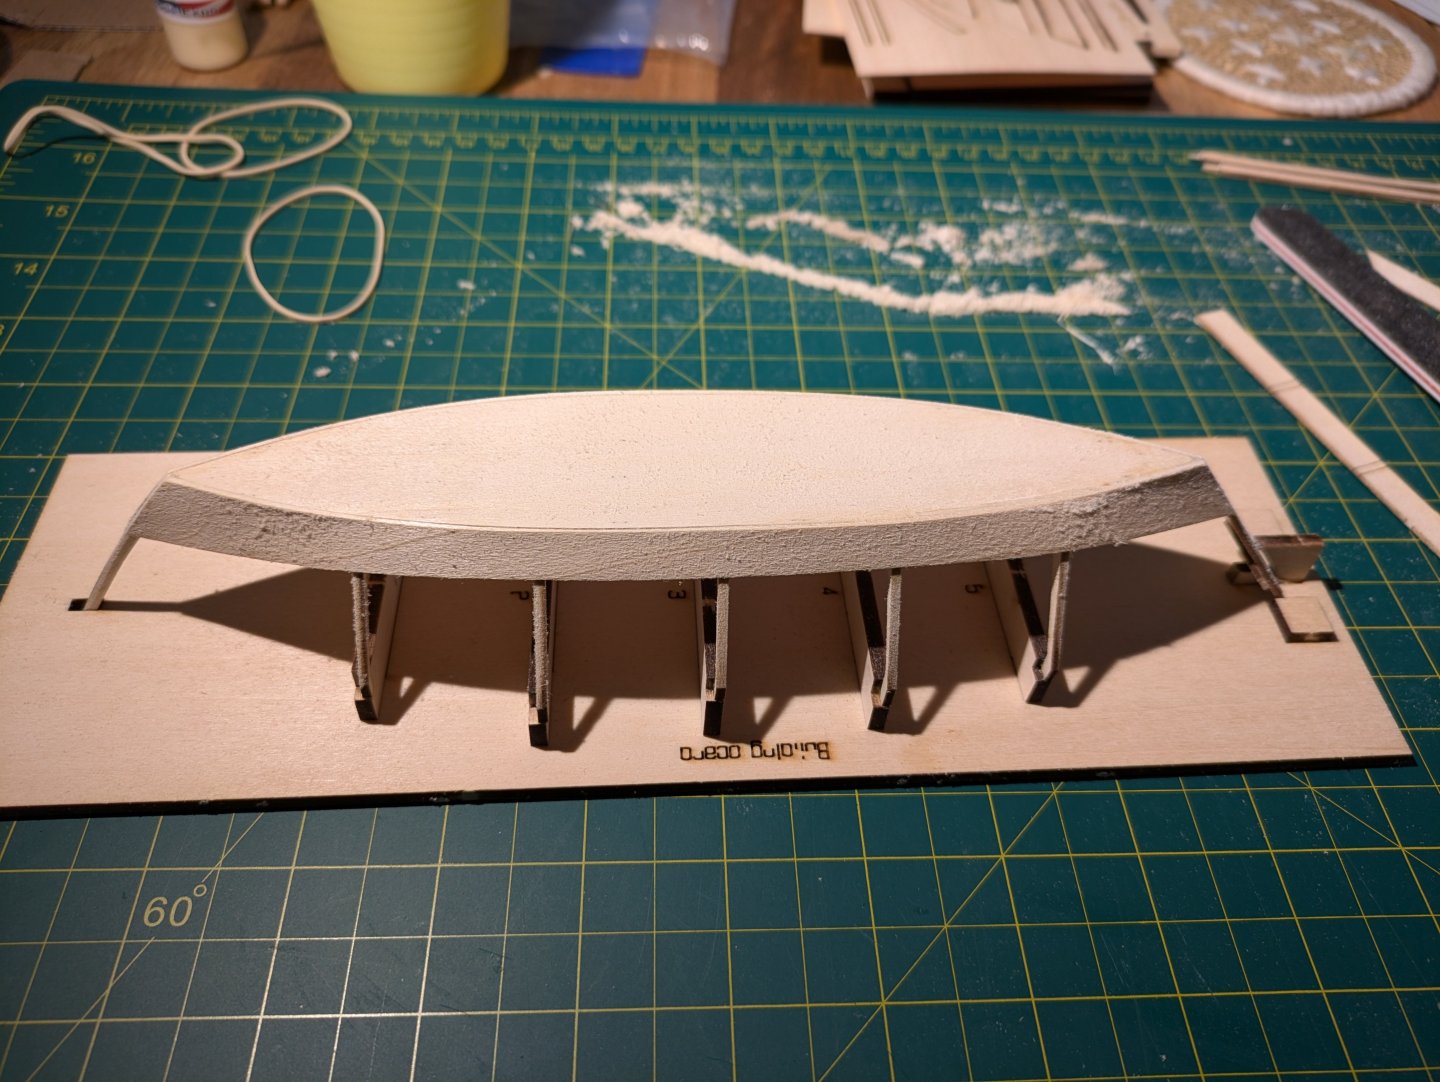
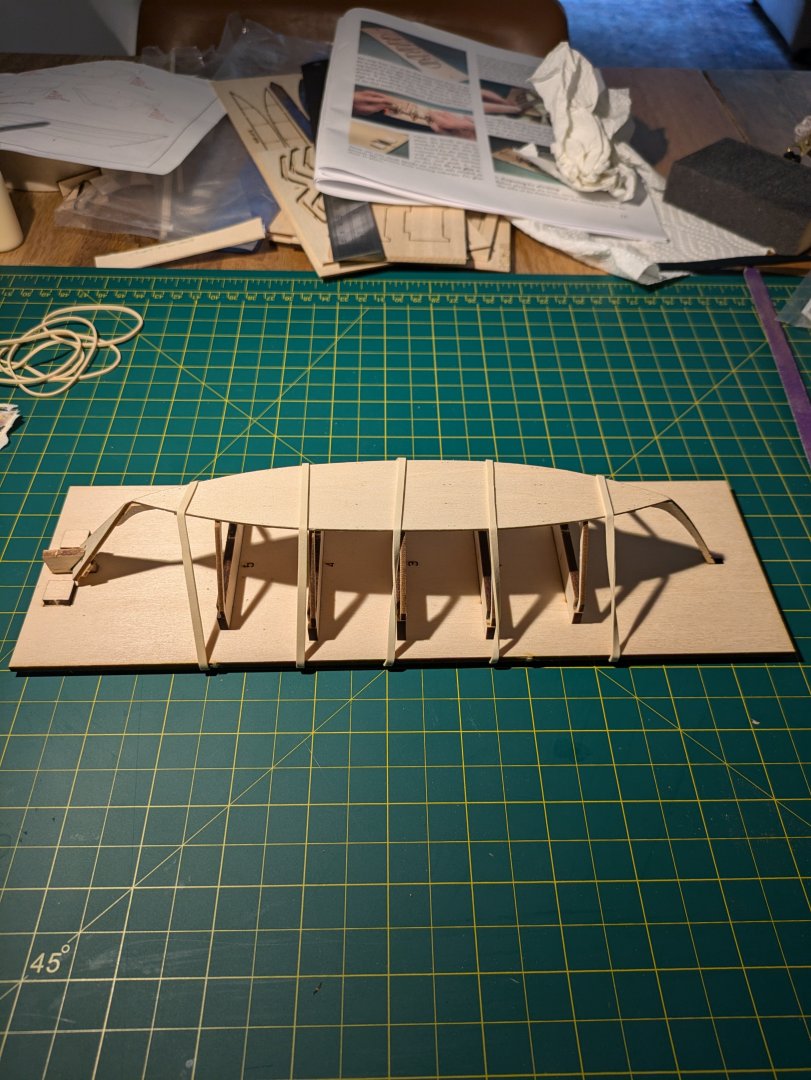
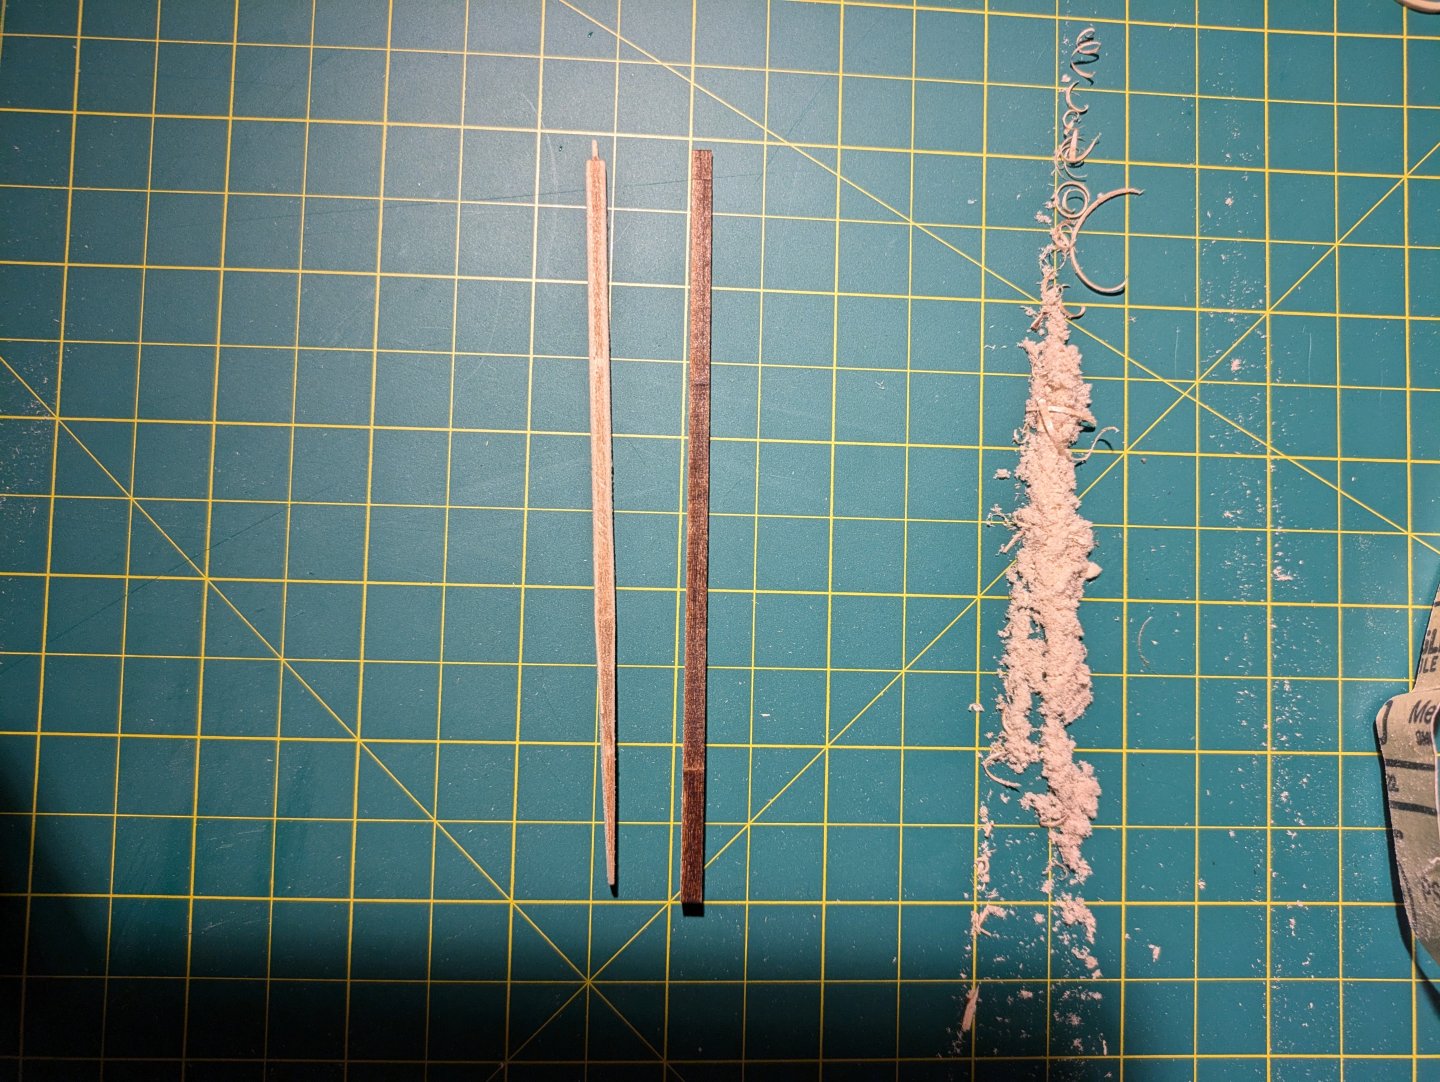
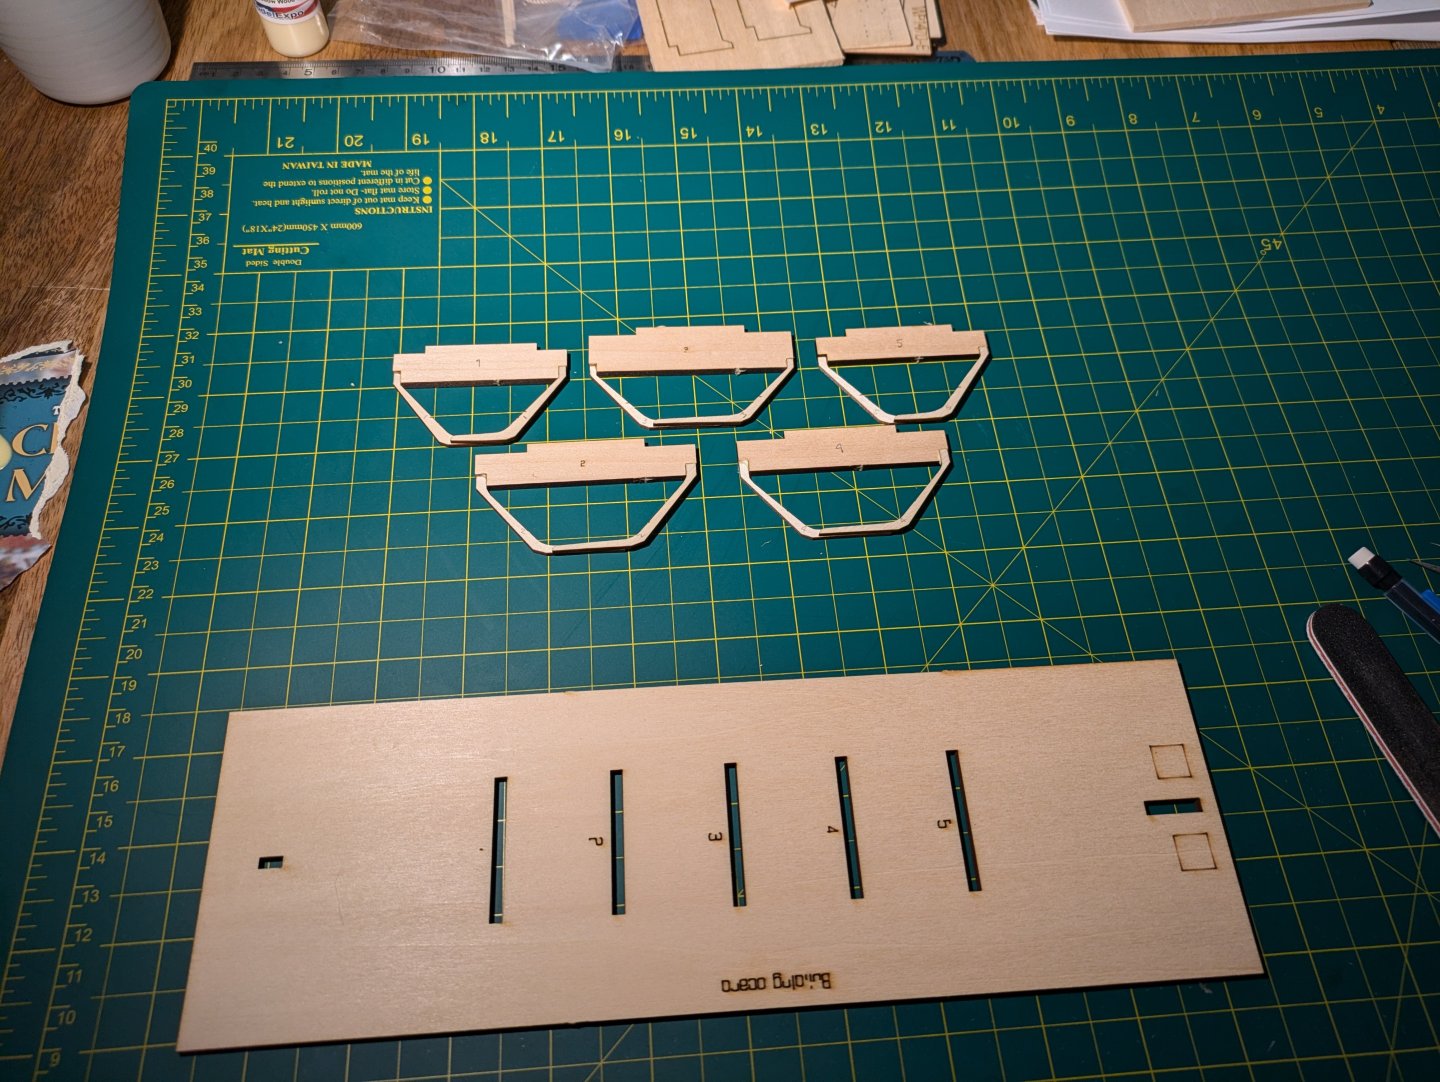
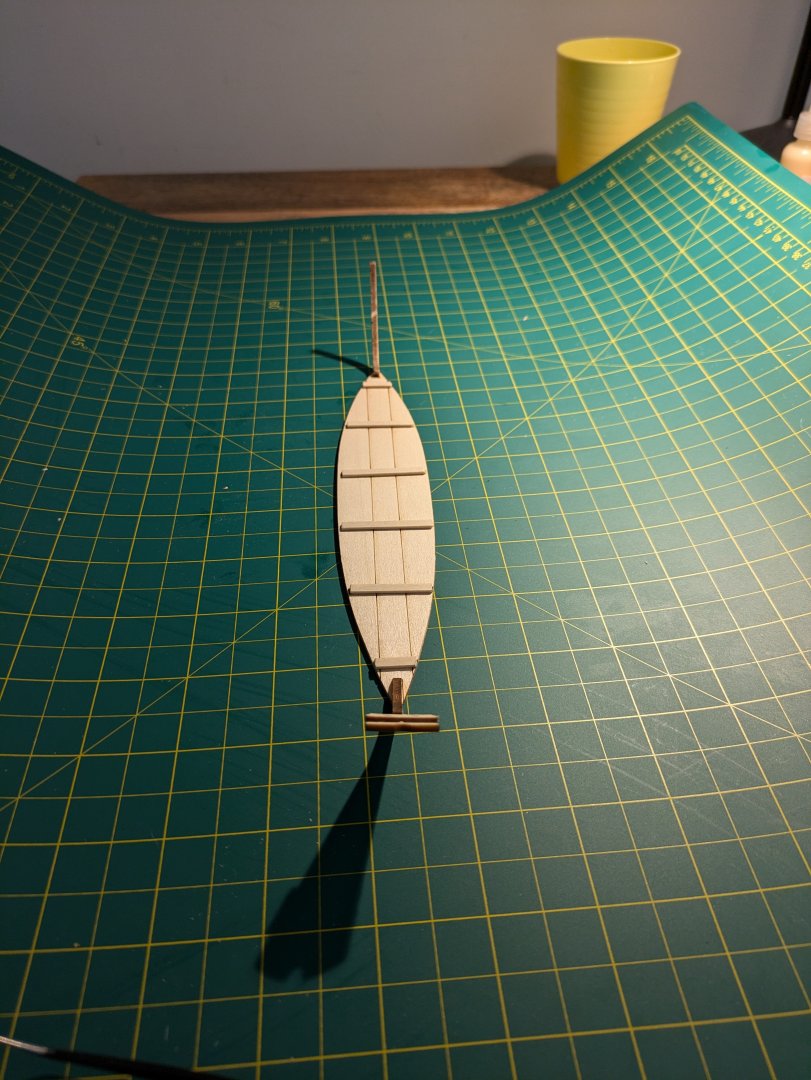
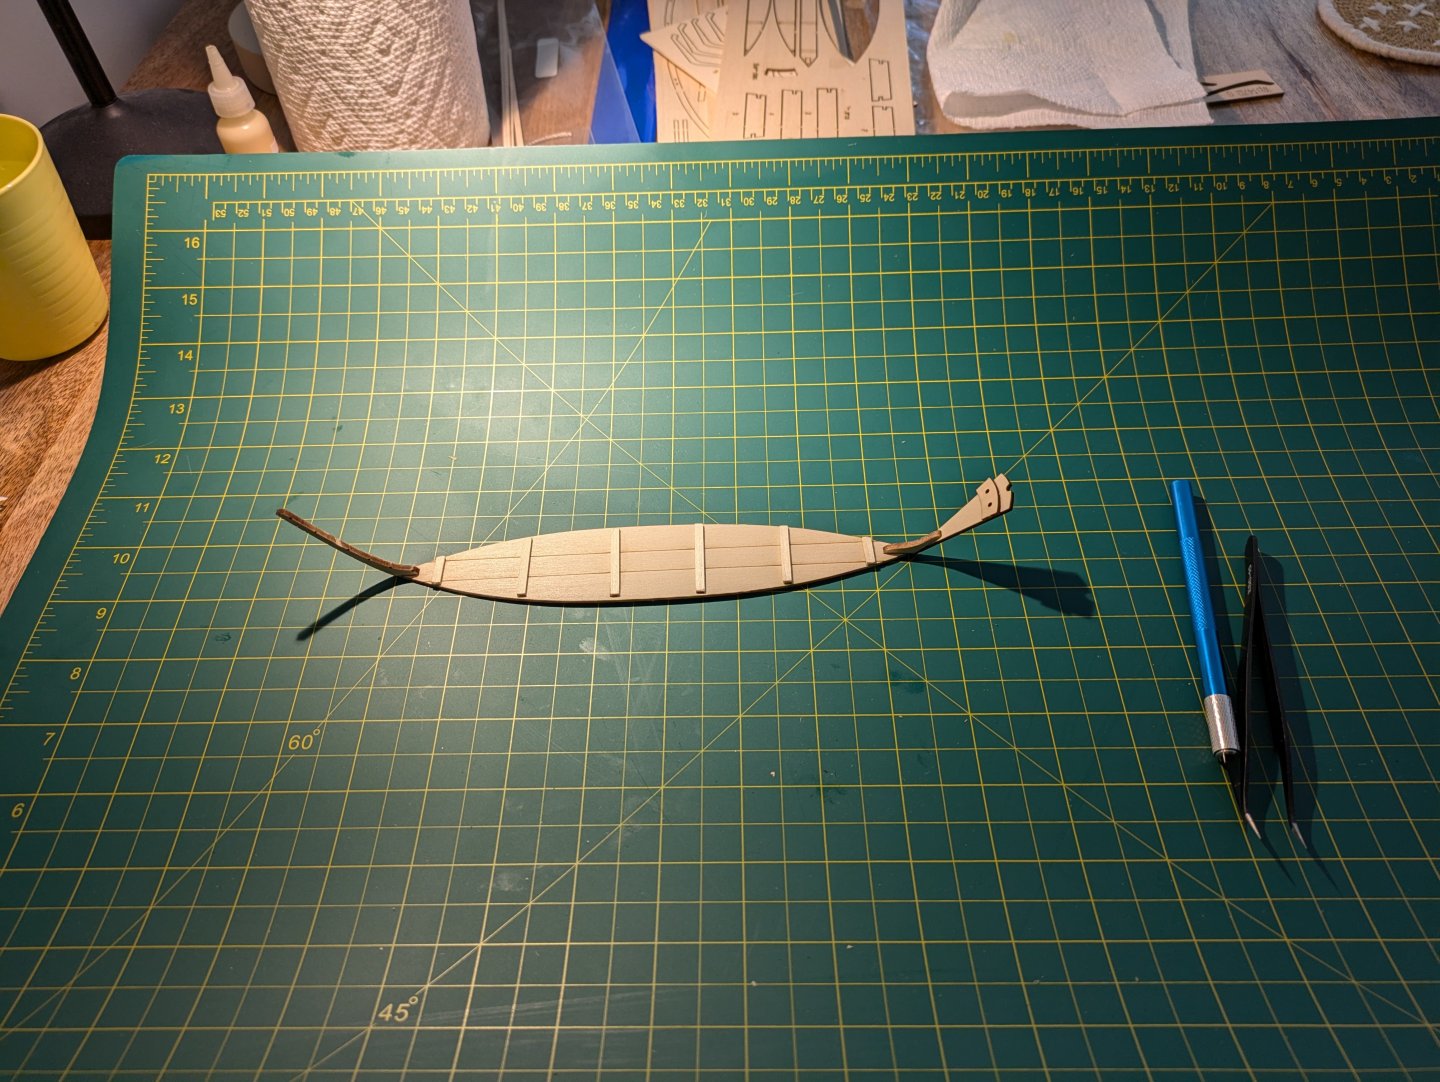
Alrighty, made a little more progress and a lot more mistakes haha. Gluing these frames was a tad tricky as I get used to the fine motor dexterity required for this hobby, but all in all they look pretty good. It was a little nerve-wracking as I went to glue the bottom onto the frames and slip on the rubber bands without it moving too much, but fortunately I think it turned out pretty well and looks straight! This is despite my continuing troubles with the transom, as I accidentally broke the transom holder while I snugged it into place While waiting for the bottom to dry, I tried shaping an oar like I saw in @Jacques build because it seemed like fun. It takes a little while with just 150 grit sandpaper but it was indeed fun! I think I can get the paddle a little thinner but I'm happy with the shape and the rounding, except for the handle which became a thin stick before I even knew it. I will have to be much more careful with the remaining oars and I guess this will be my practice one! Anything to distract me from the upcoming planking, which I am nervous/confused about after reading the beveling instructions haha.
-
Thank you! I have already looked through your build log a few times haha. I'm using yellow wood glue which came with the kit, not really sure of the differences, but I was going to try taking it off like you mentioned. It's hard to tell which little mistakes can be worked out later and which will have a larger impact! That's a good tip. I started off very confident and already am wondering how people do this so precisely haha. It's way trickier than it looks. But I will definitely try that.
-
AreyPotter reacted to a post in a topic:
Lowell Grand Banks Dory by AreyPotter - Model Shipways - 1:24 - First Build!
-
AreyPotter reacted to a post in a topic:
Lowell Grand Banks Dory by AreyPotter - Model Shipways - 1:24 - First Build!
-
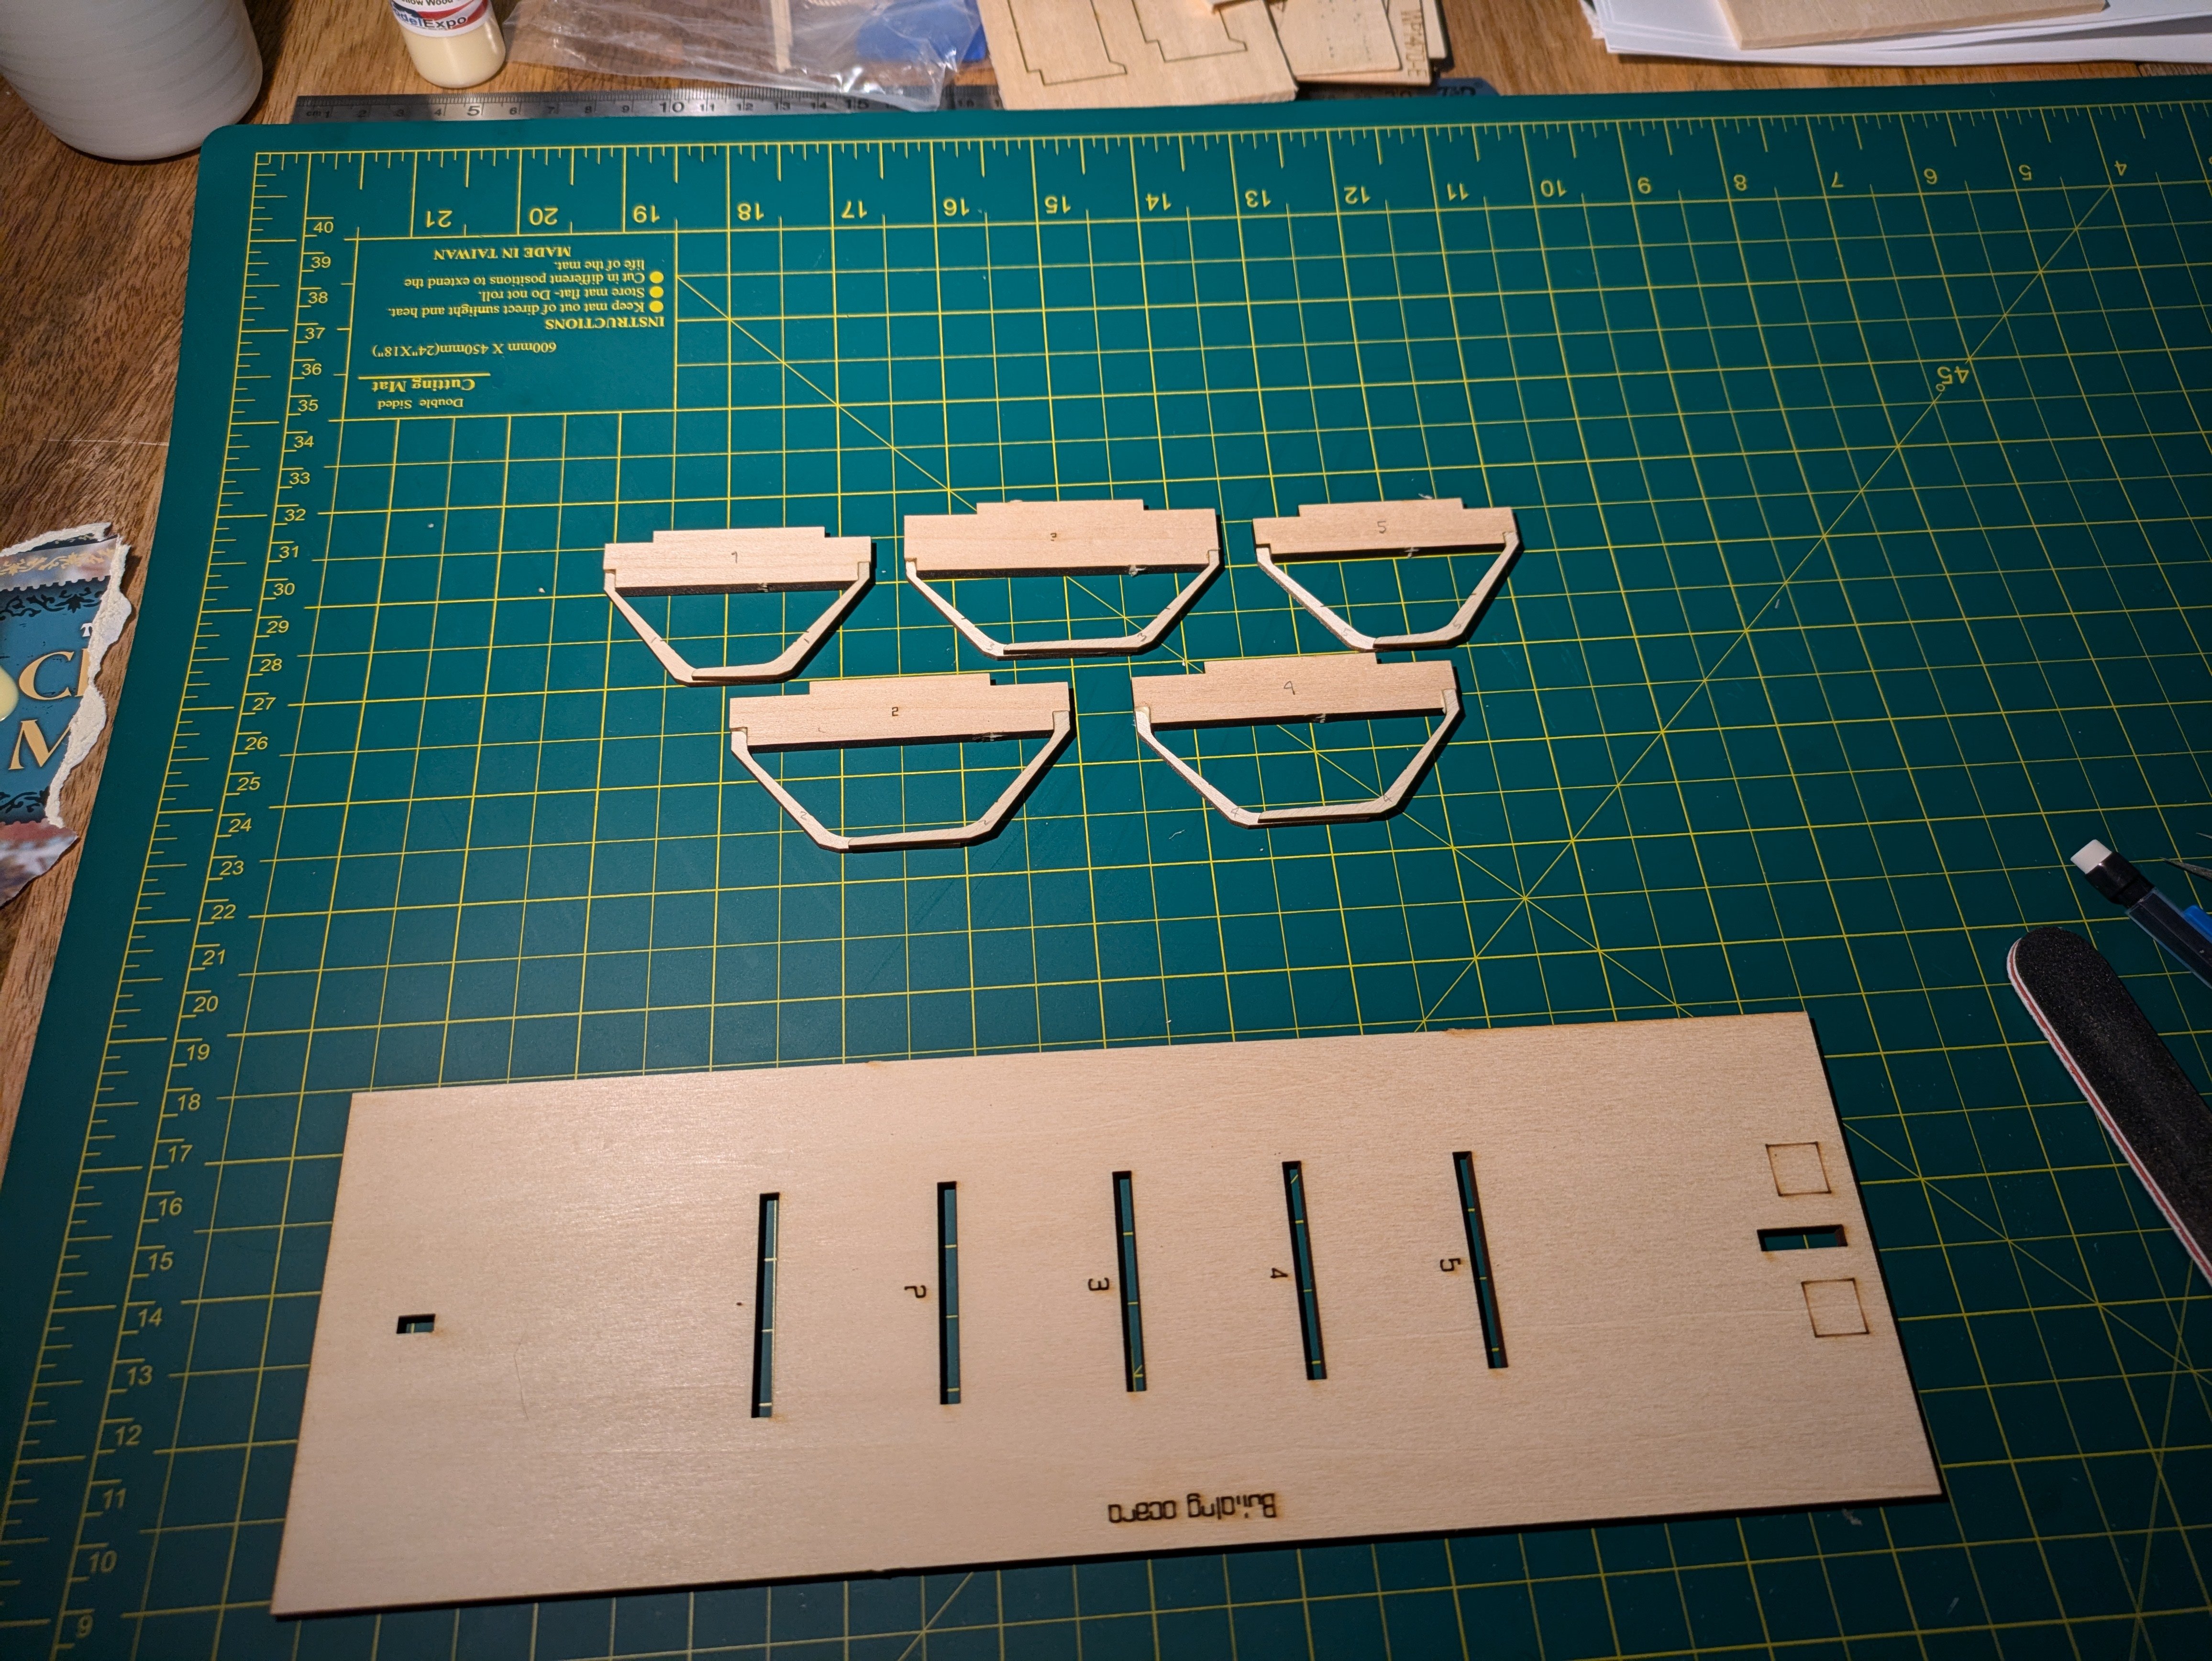
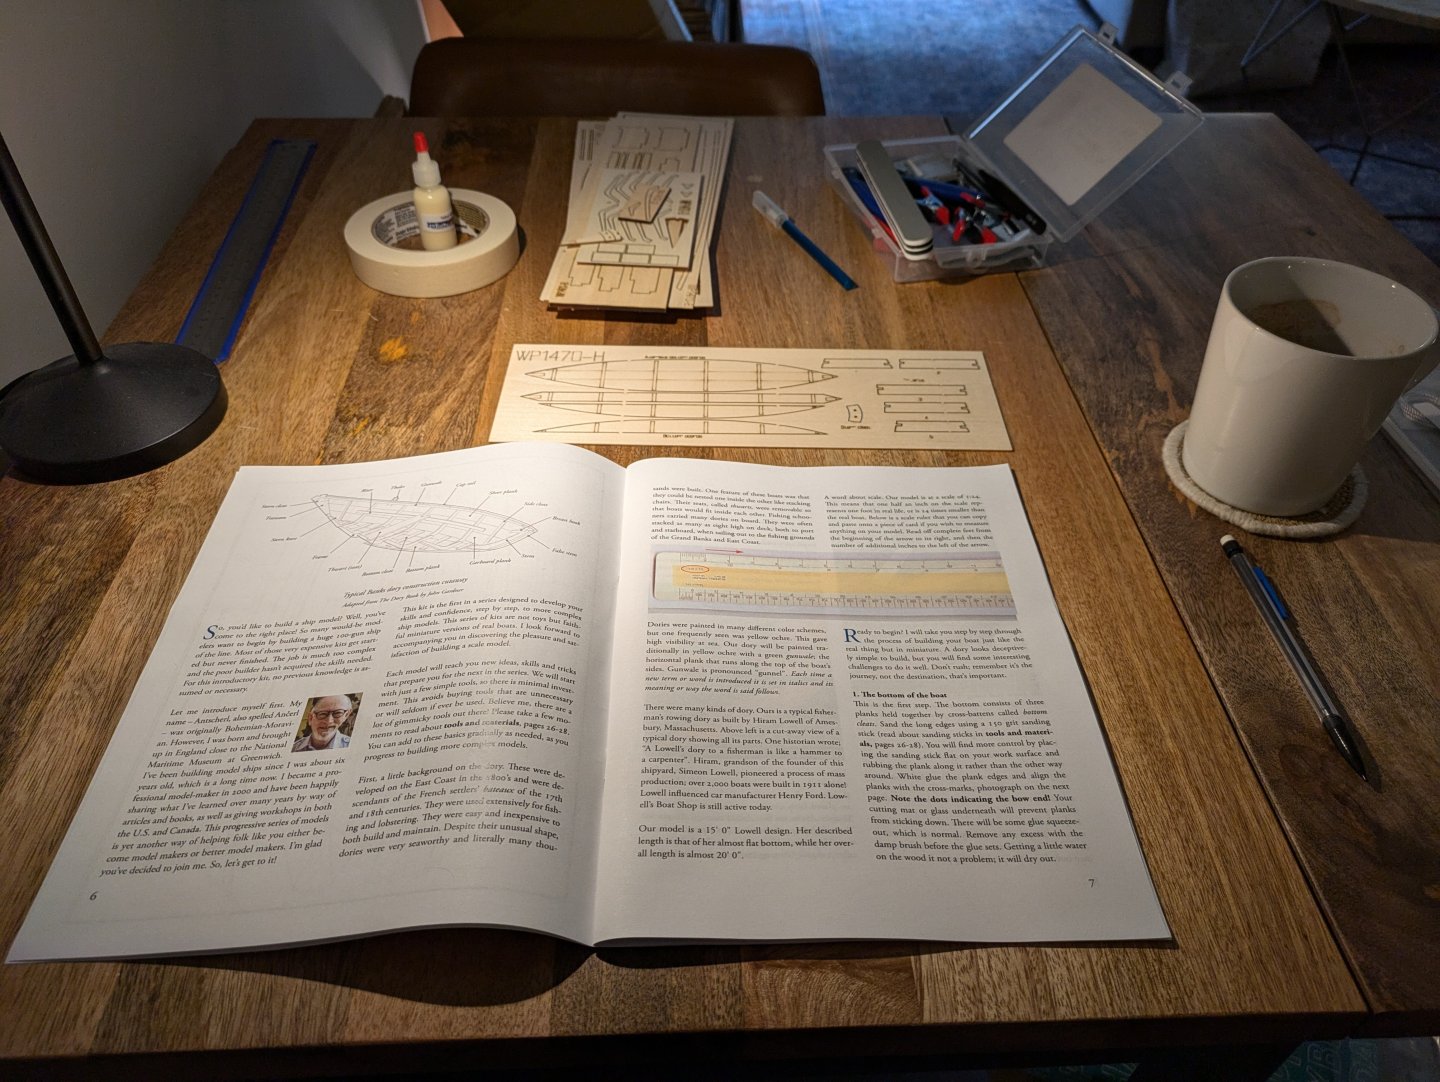
And so it begins! Felt like a kid on Christmas as I opened up the kit. The quality of everything seems very good and the tool kit had even more stuff in it than was listed on their website. I know the cutting mat is curled like crazy (flattening it now with good results) but I was too excited to begin. Right off the bat, I've already made a few mistakes but am learning from them. I mainly need to slow down and be more precise with my placement before letting the glue cure. I also think I need to look at the build from all angles as I'm gluing, as I was solely focused on laying pieces where they're marked on the wood and didn't realize it looked off until I zoomed out and looked at the model as a whole. The very first cleat/thing I glued was slightly crooked (middle left cleat in the 2nd photo), but the bigger issue I think is the transom is also slightly crooked as you can see in the last photo. I got a little confused on this step as these terms are all new to me and I glued a couple pieces in the wrong order. I may mess with it a little to see if I can get it a little straighter, but I'm just gonna try to learn and move on from most of these things for now. Hopefully it won't cause too many issues down the line, but only time will tell! -Scott
-
Ahoy MSW! I just discovered this hobby/forum about a week ago and could not be more excited. I am brand new to model building of any kind but this really seems like it could hit everything I've been looking for in a new hobby. A few years ago I built an acoustic guitar with my dad and it was one of the most interesting/rewarding projects I've ever done and is one of my prized possessions. I've really wanted to get more into woodworking in some form, but my options are limited since I live in a small condo in DC. Enter: model ships. I enjoy working with my hands (union electrician by trade), paying attention to small details, and have always loved the look of a grand sailboat. My 3-kit beginner combo from Model Shipways will arrive tomorrow, and I can't wait to dive into the Lowell Grand Banks Dory. I plan to do a build log since it seems like a fun way to extend the hobby and learn from others. Just wanted to say I appreciate the work everyone does to keep this an active and positive community! Cheers, Scott
- 9 replies
-
- 10
-