DONATION DRIVE - SUPPORT MSW - DO YOUR PART TO KEEP THIS GREAT FORUM GOING!
×


Argaen Lok
-
Posts
37 -
Joined
-
Last visited
Content Type
Profiles
Forums
Gallery
Events
Everything posted by Argaen Lok
-
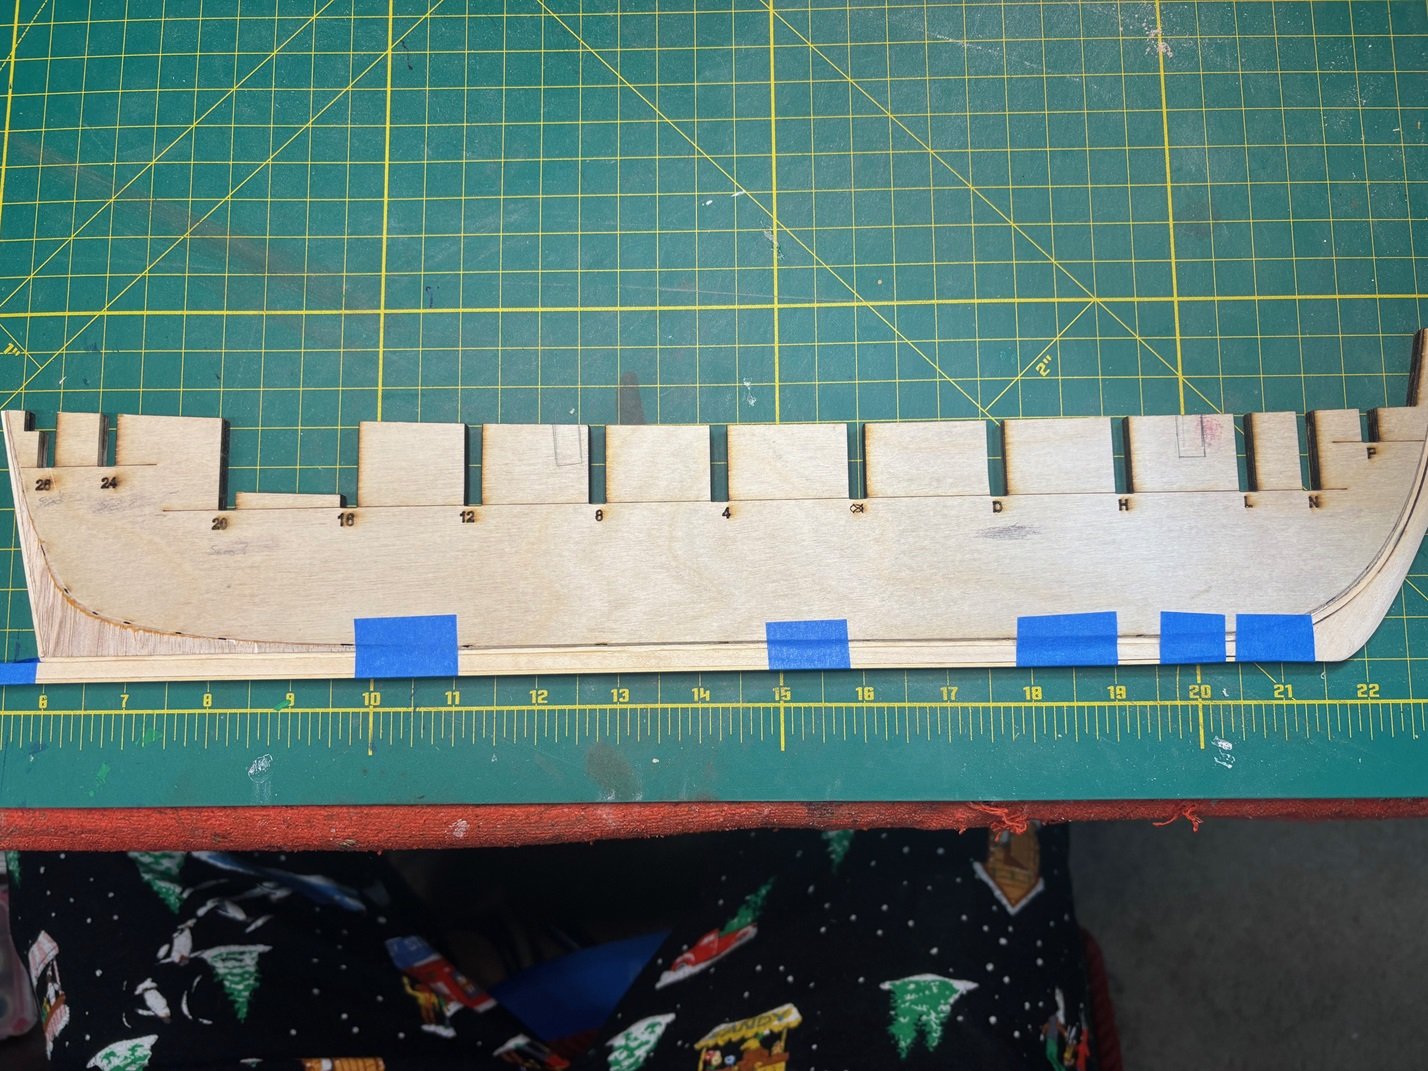
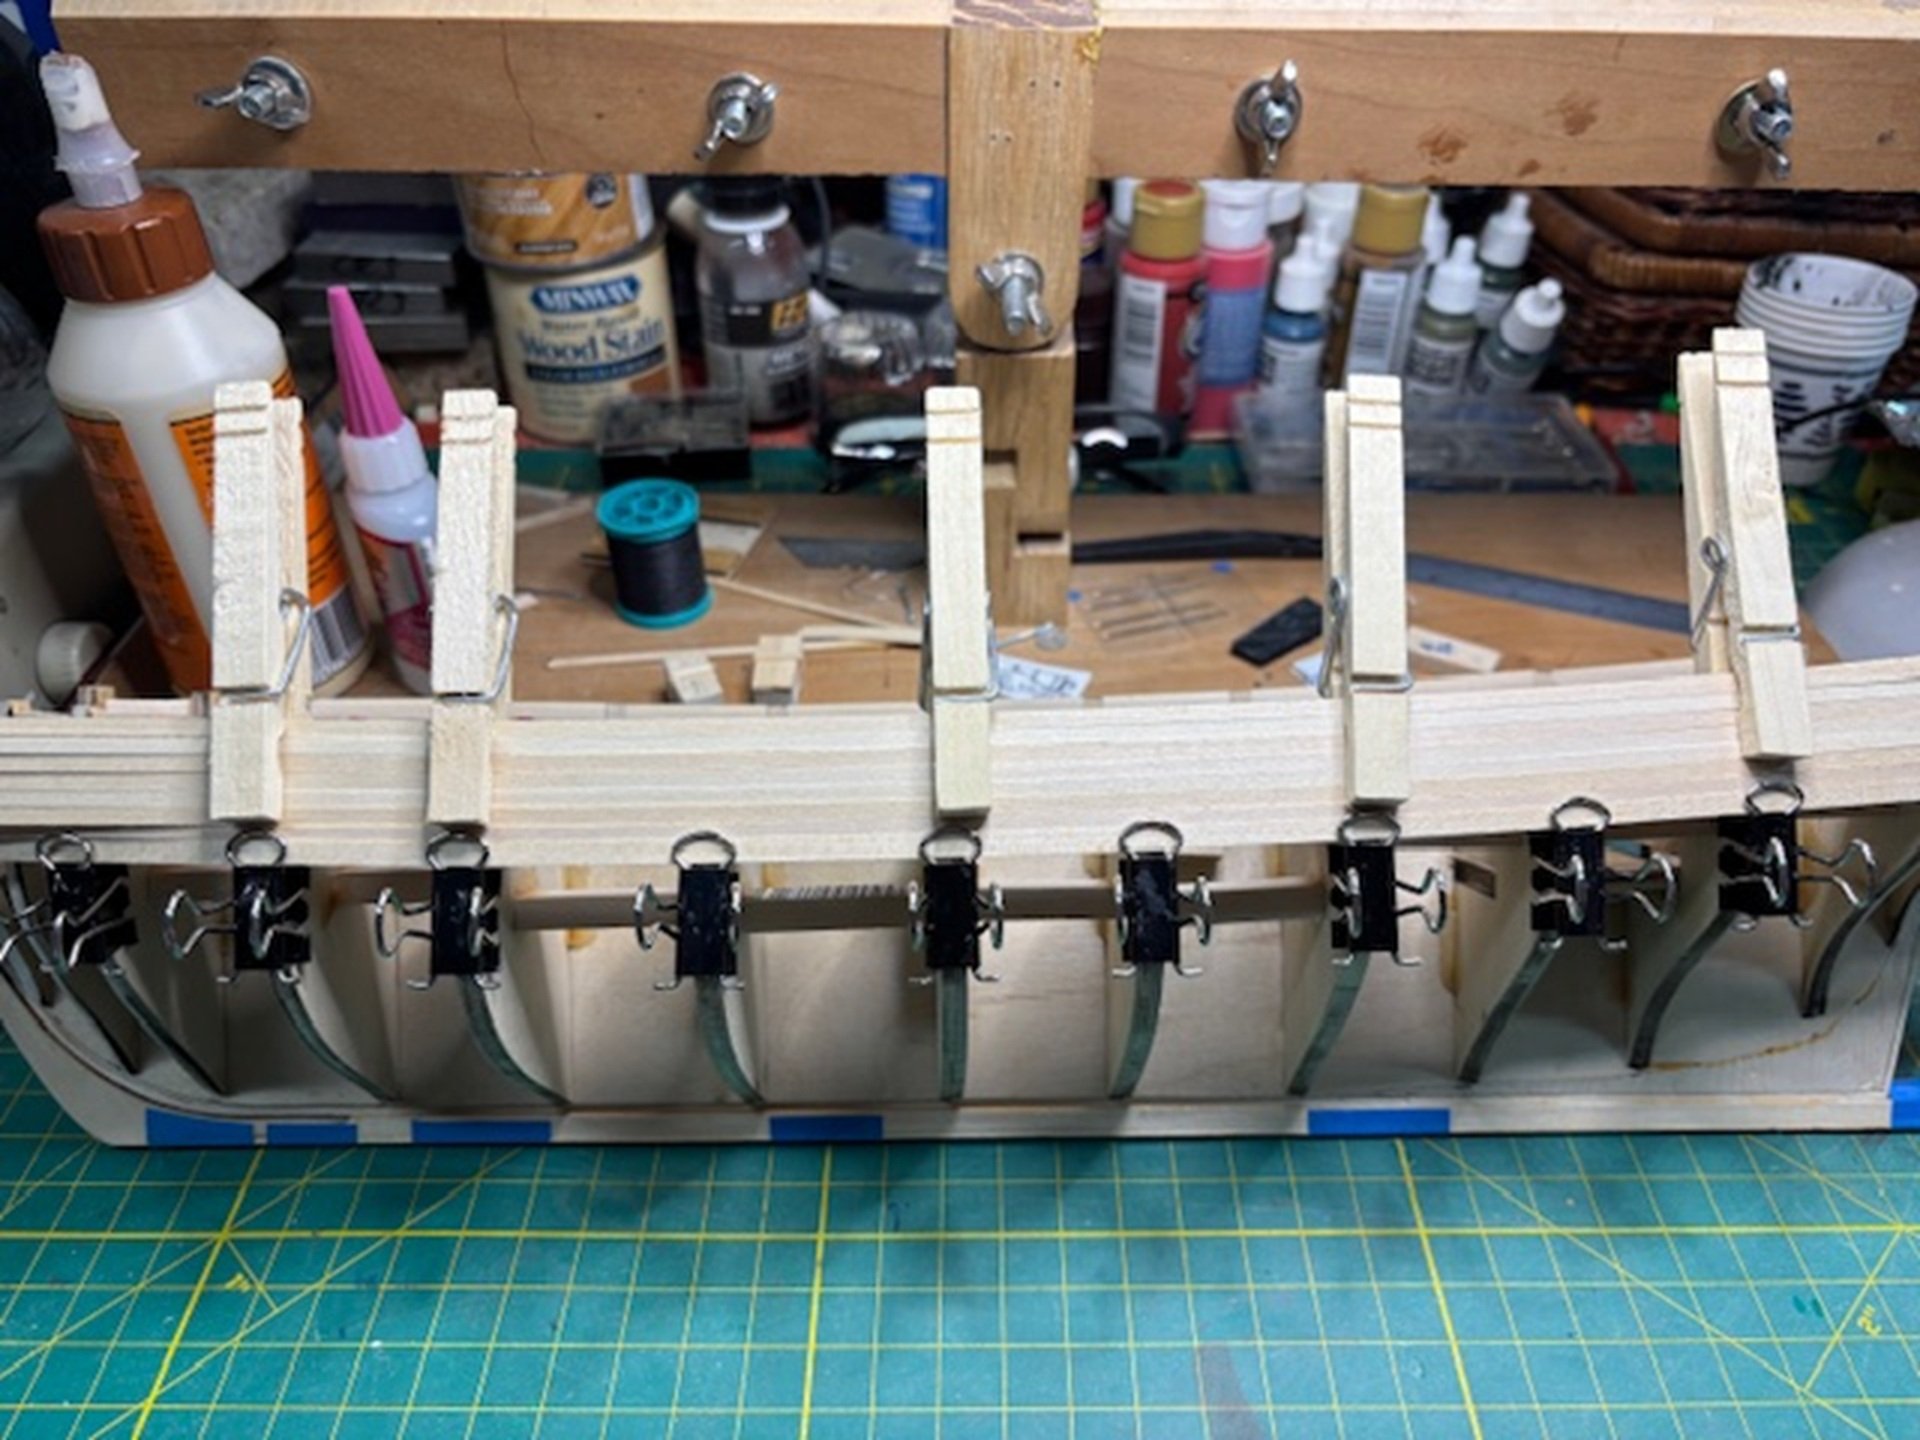
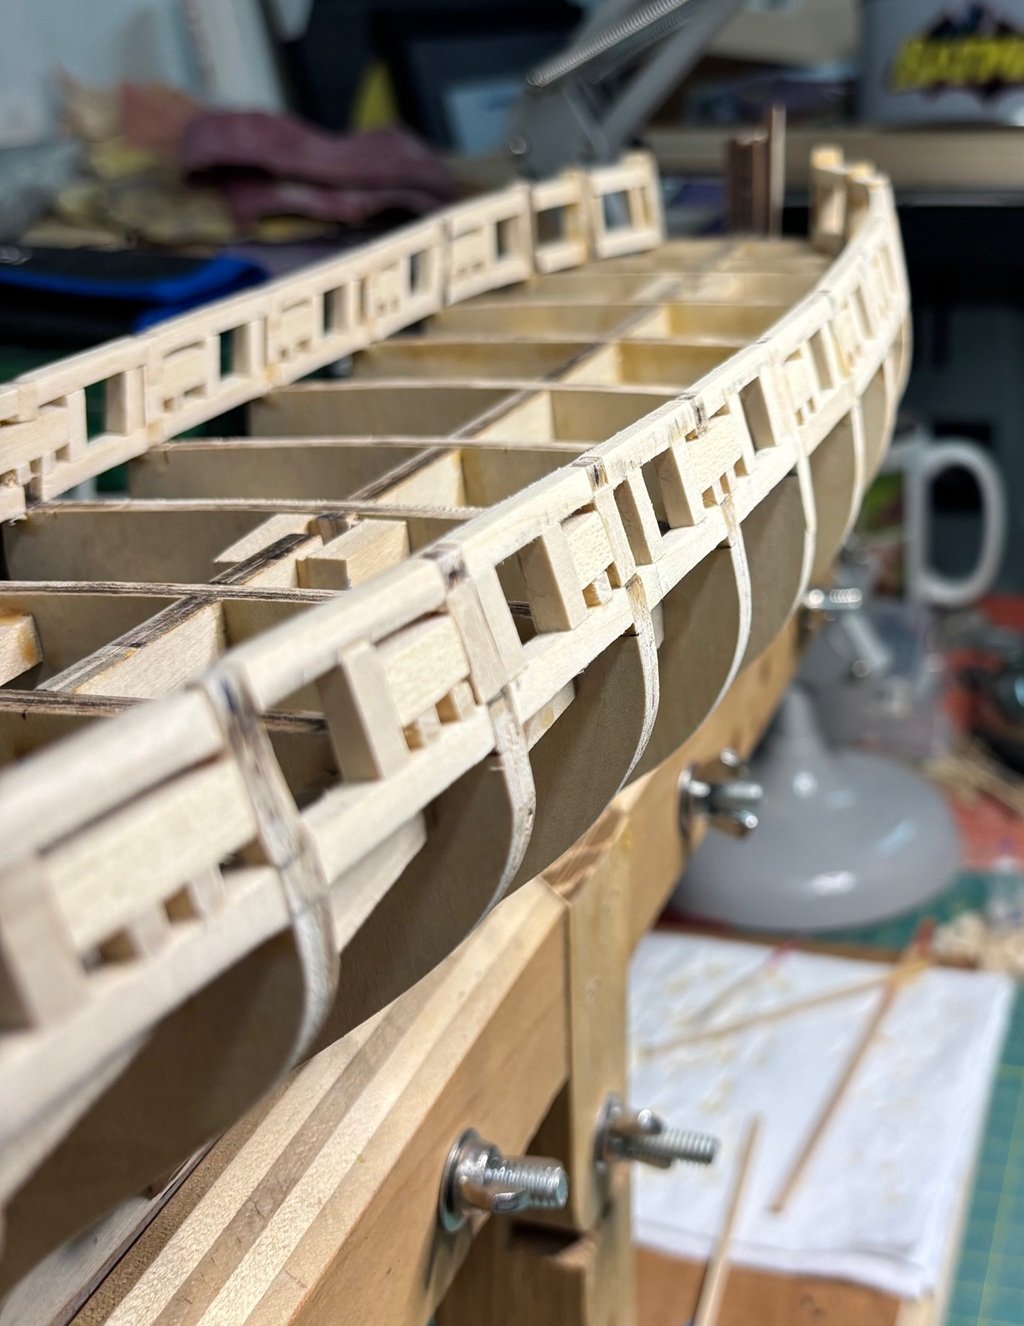
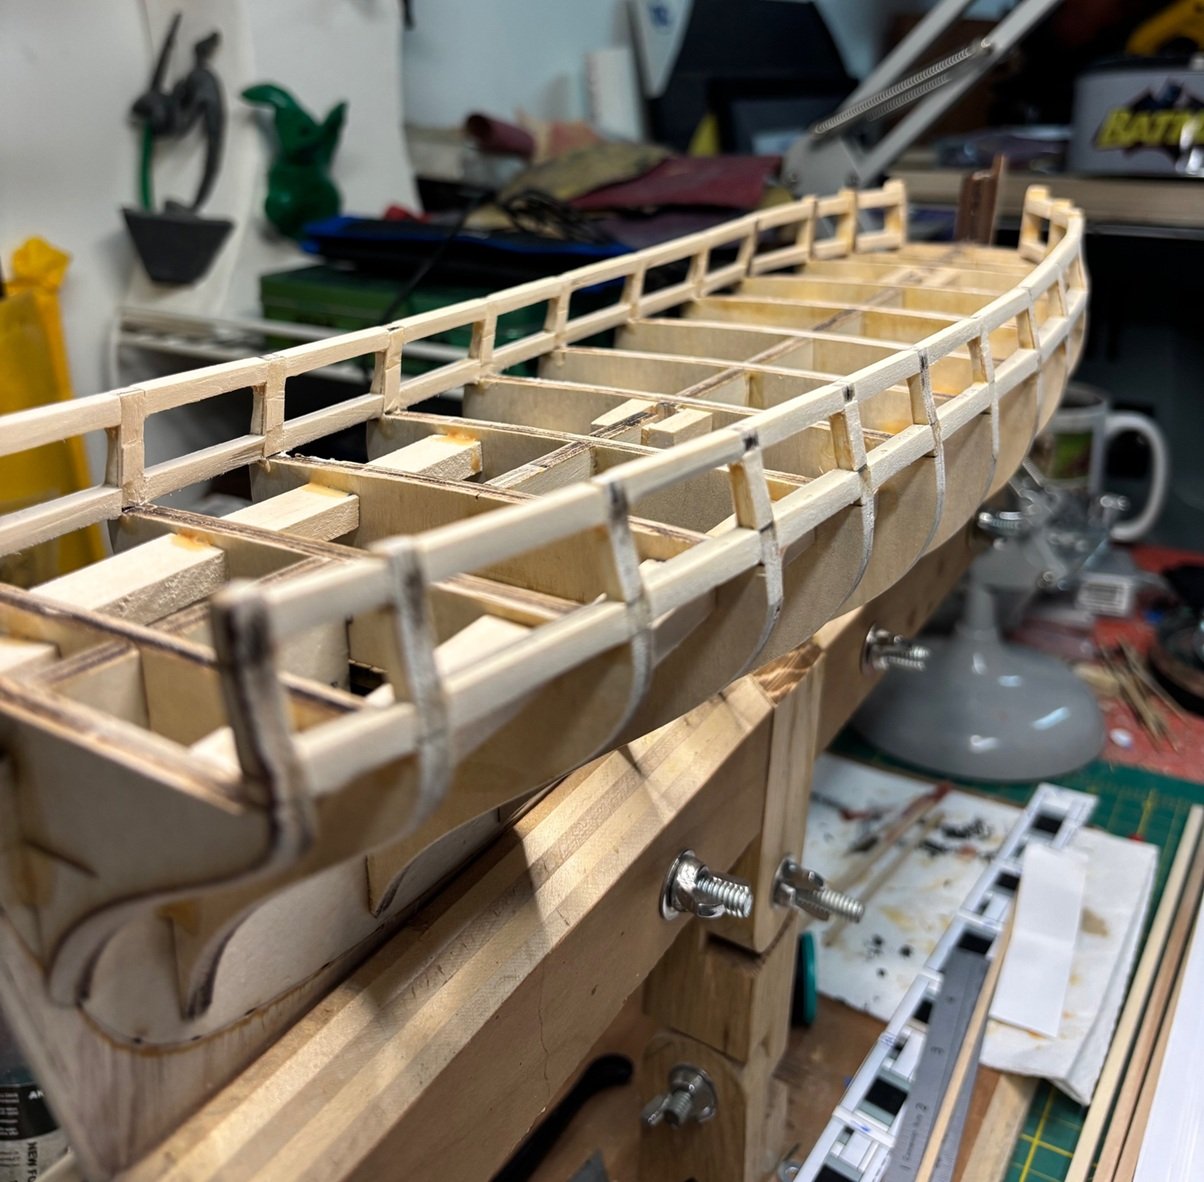
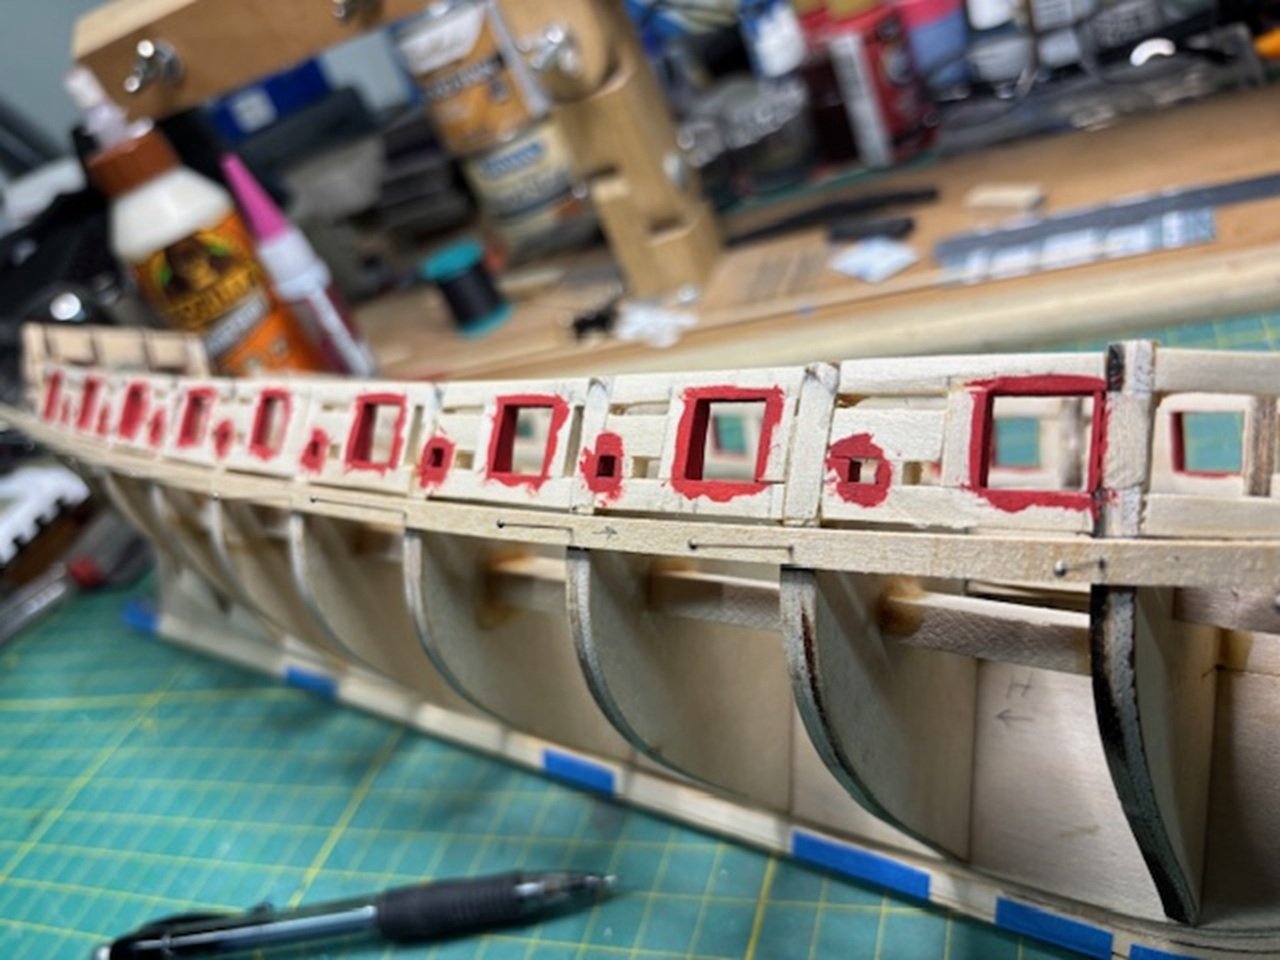
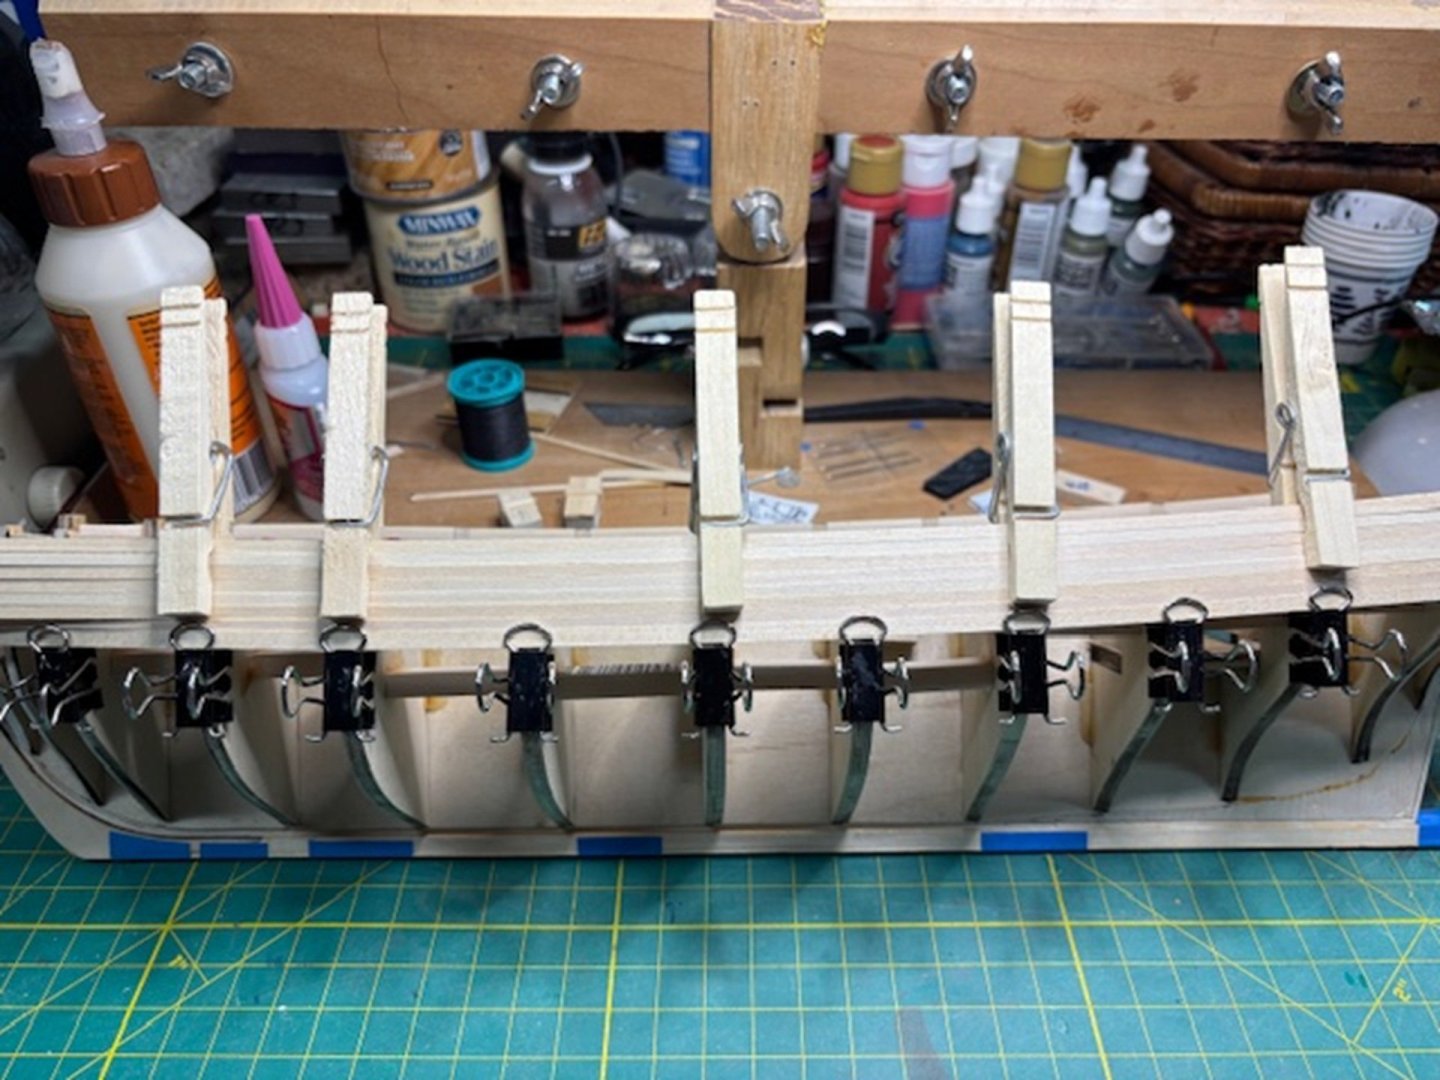
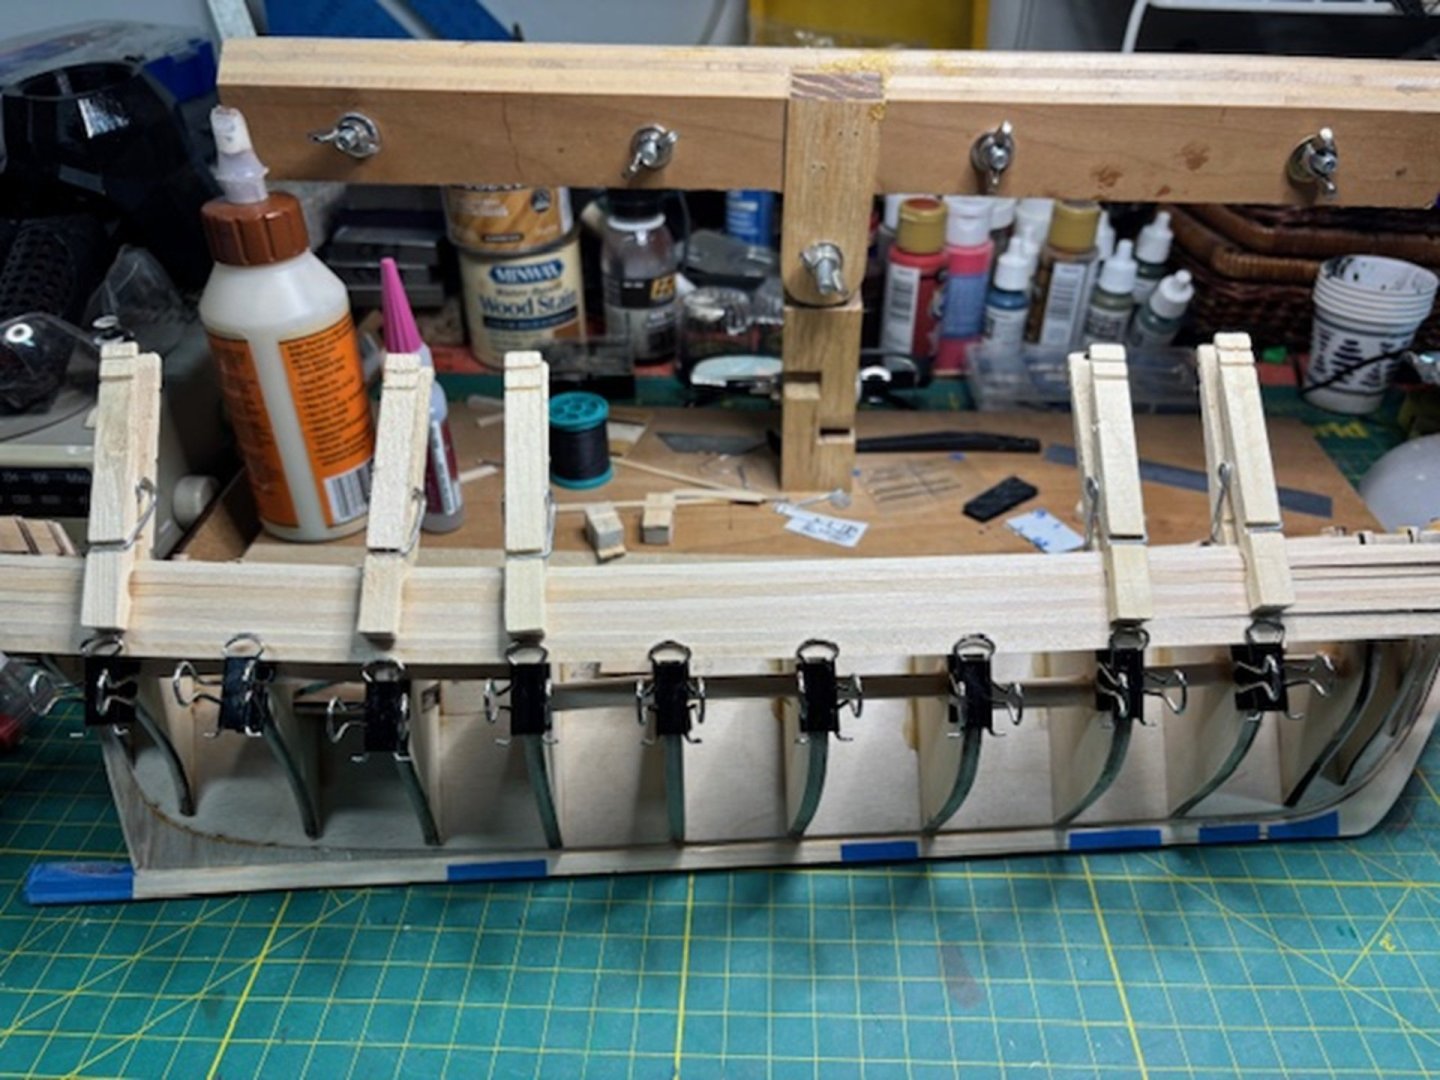
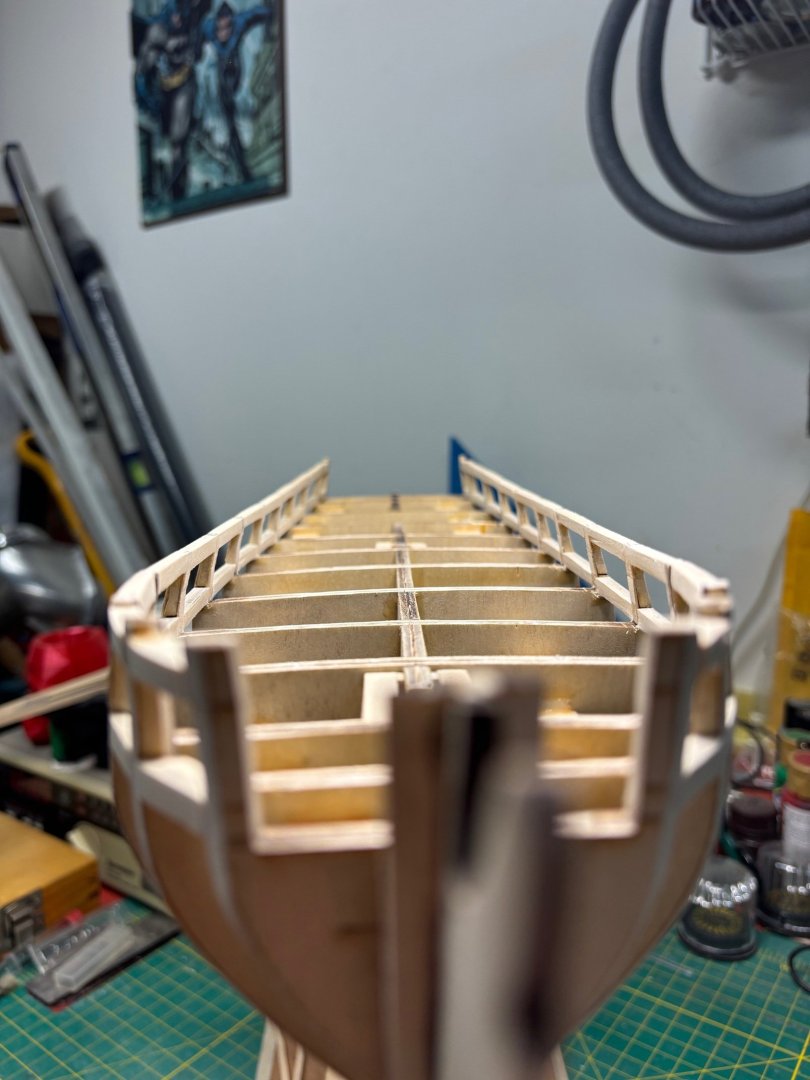
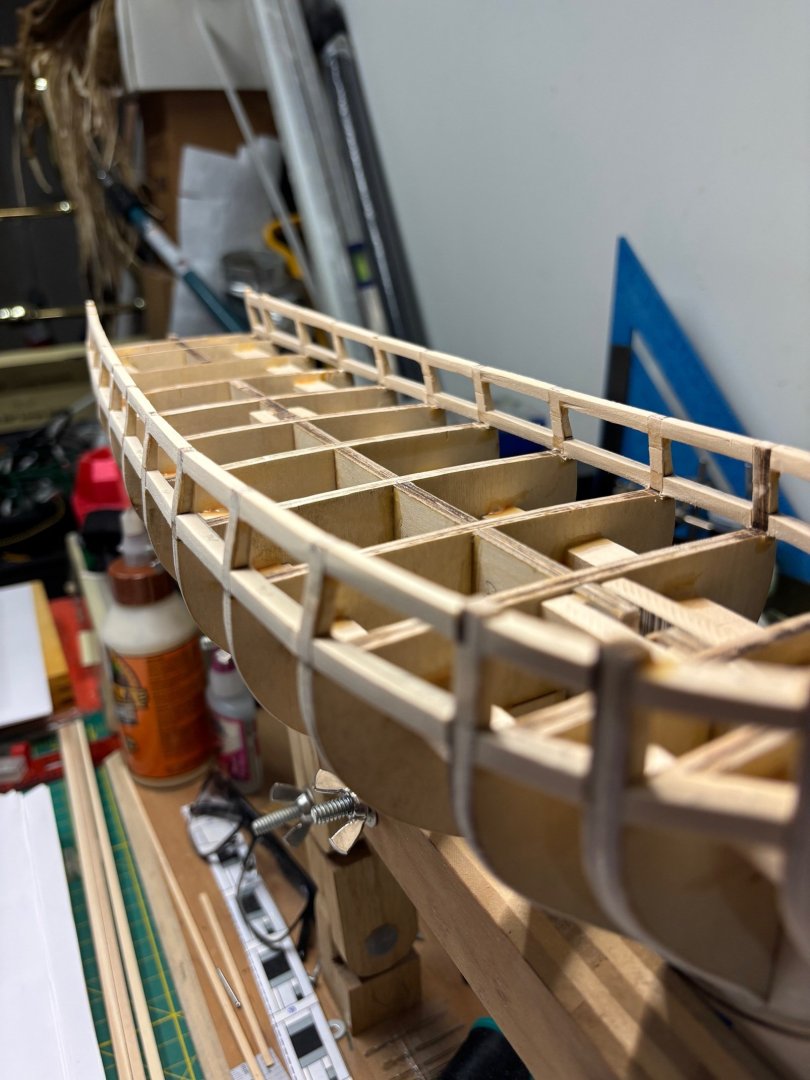
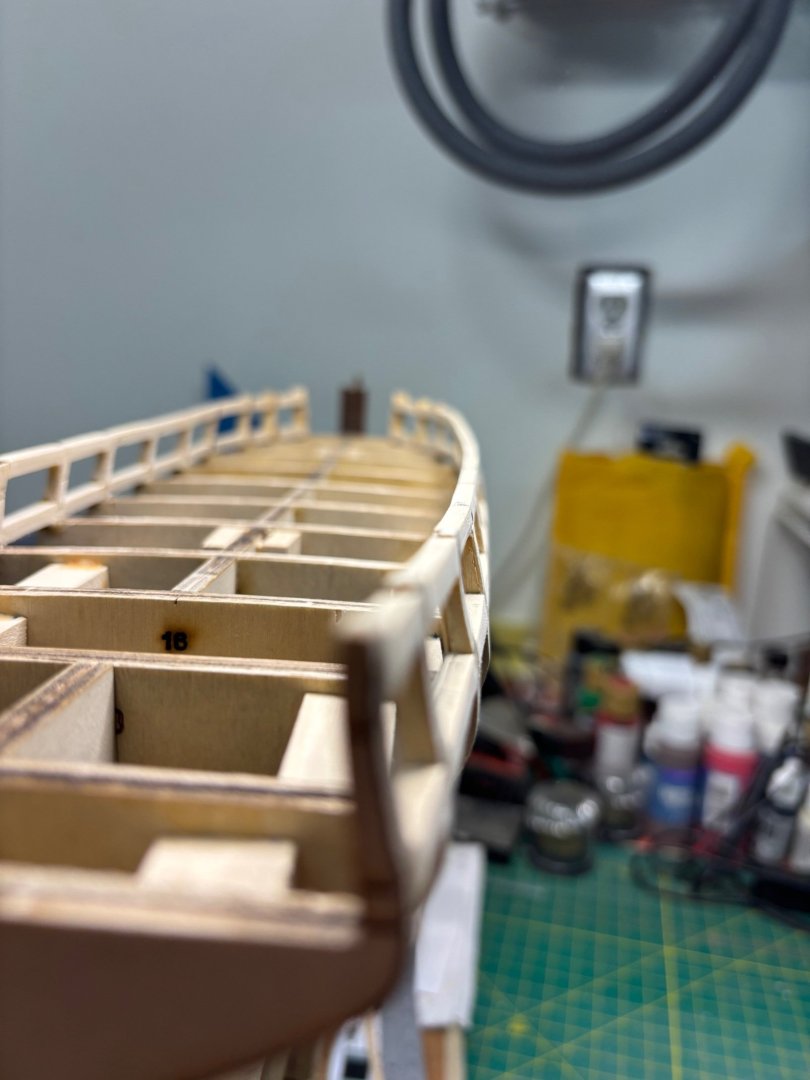
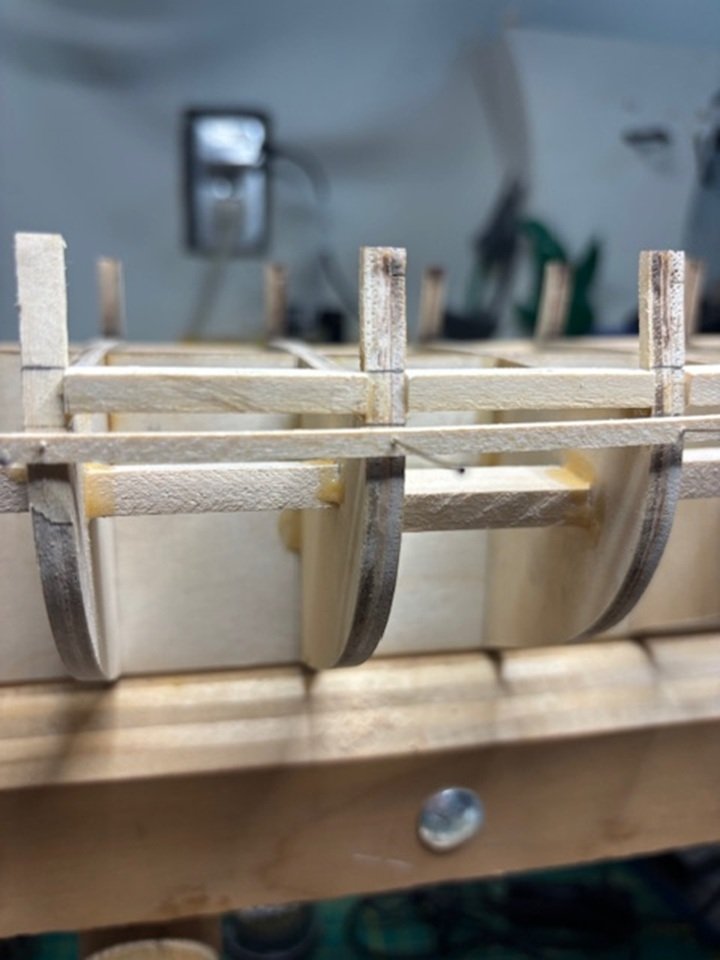
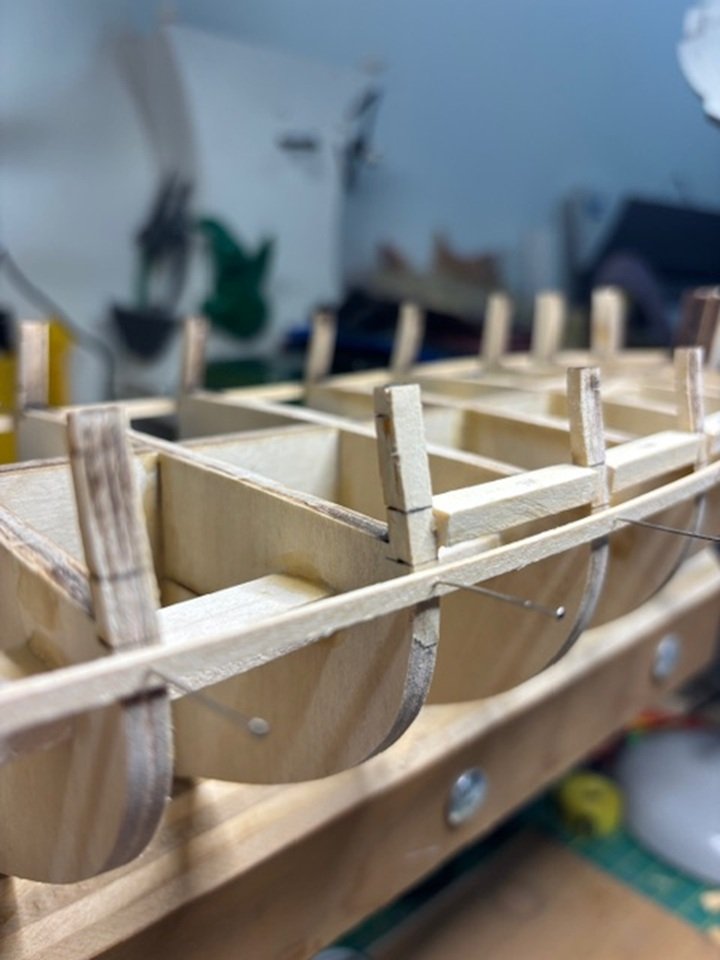
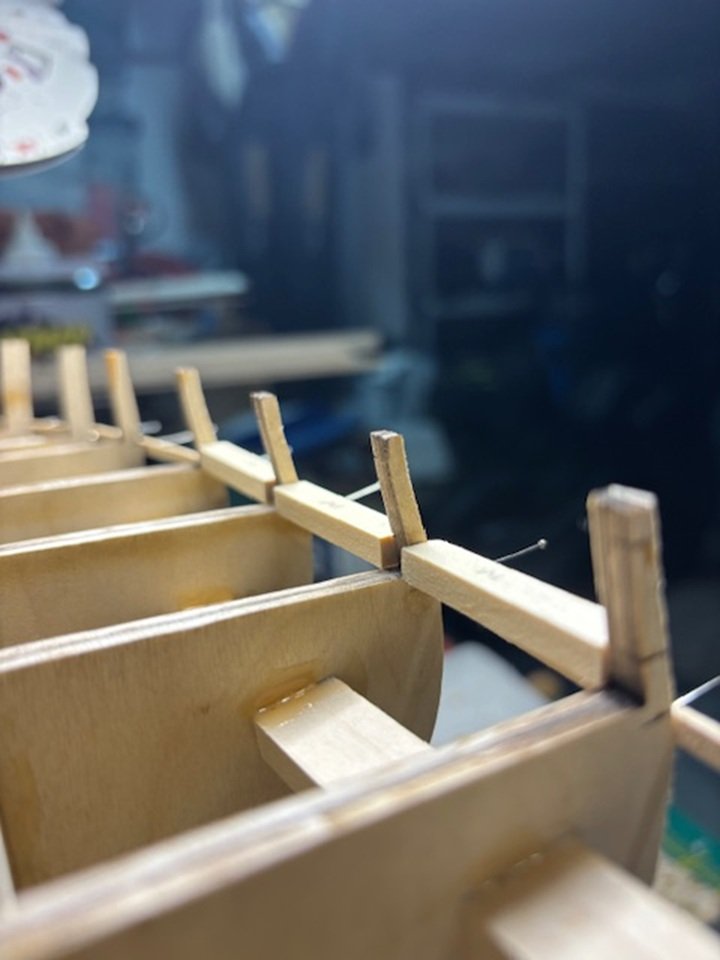
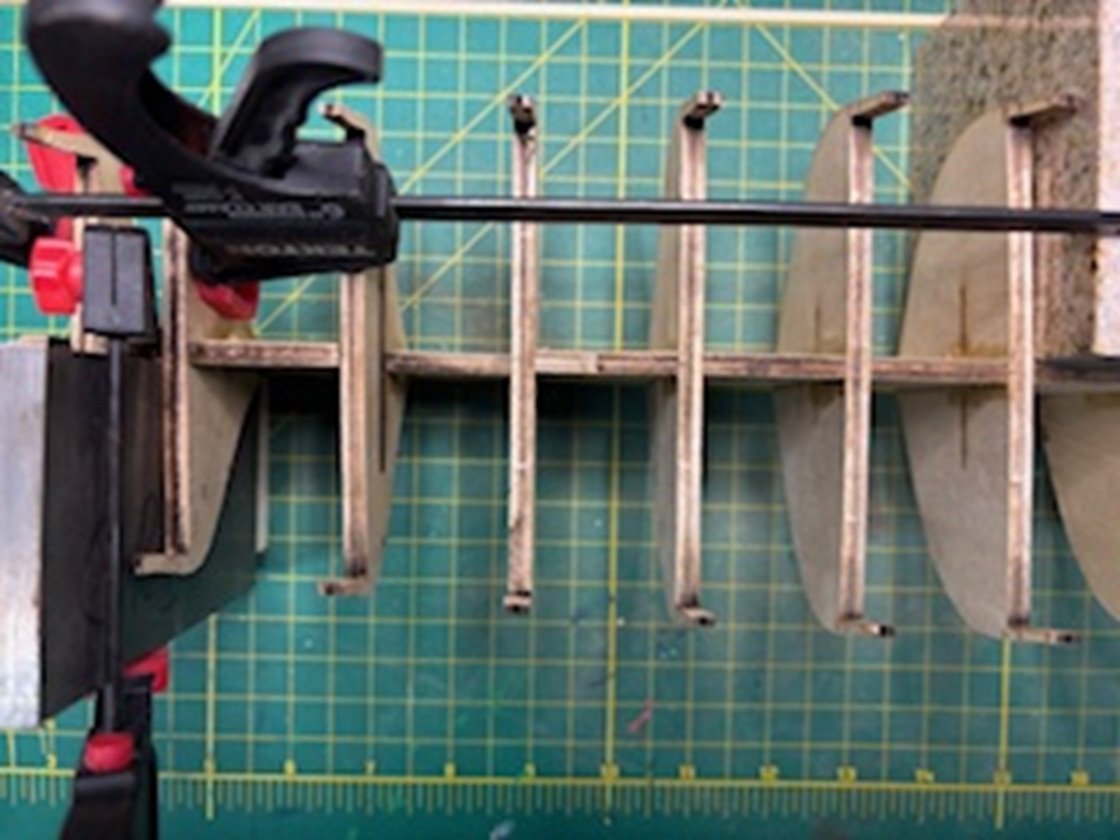
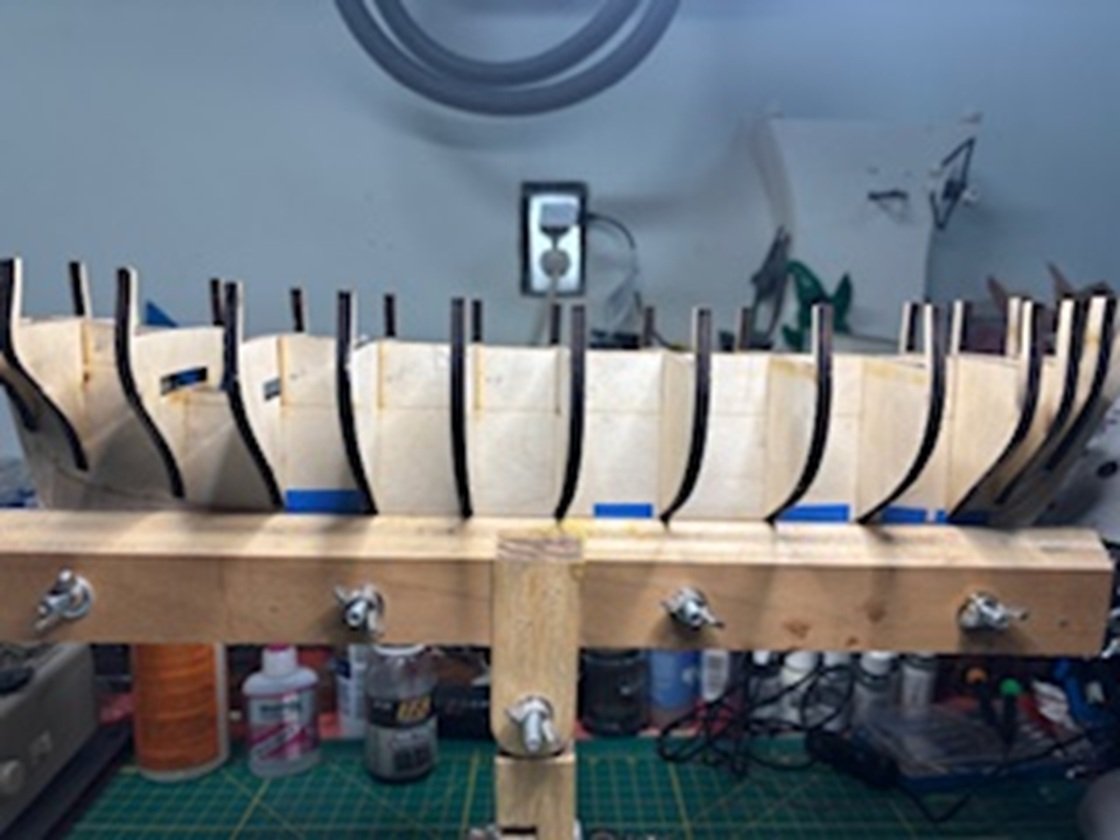
 Decided to post this work a bit earlier as this chapter is very crucial to the model. Got the ports painted red. I did the Batton lines marked, then I used my plank holder clips to hold the batton in place as I tried to fit on the 7 gunwal planks. I think I nailed it as the 7 boards fit right to the top of the ribs as they should. Either I got luckier than I should be or the building skills are coming back after my hiatus.
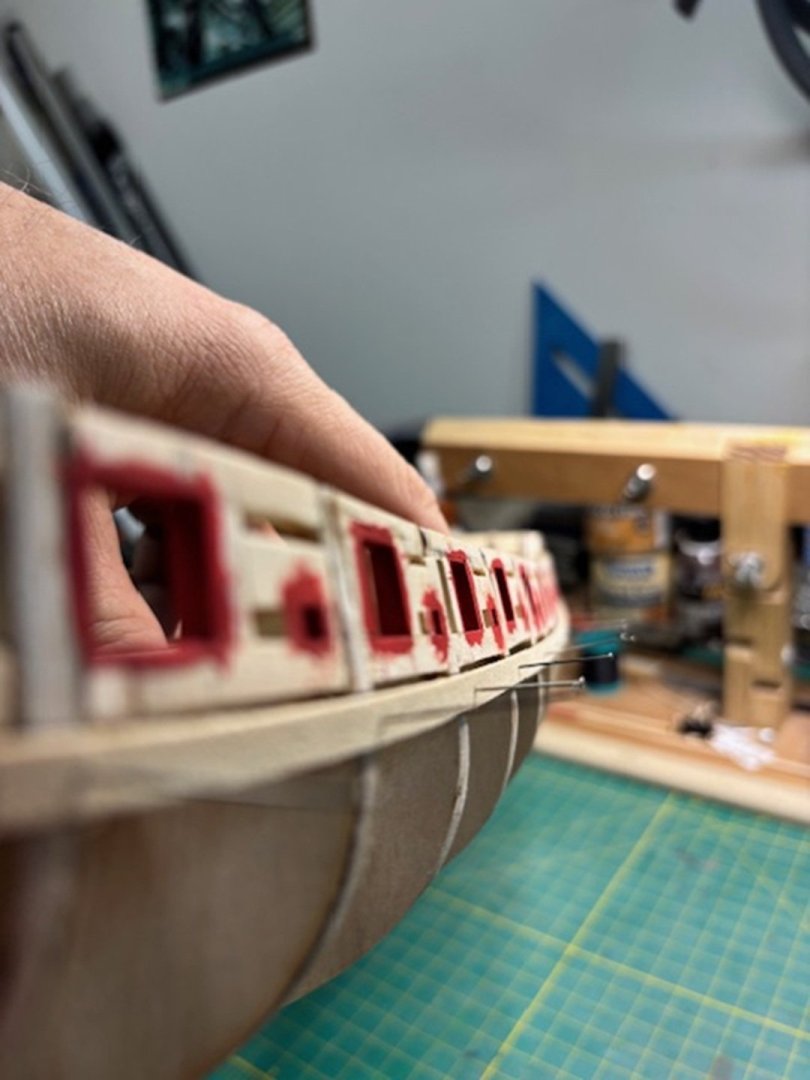
-
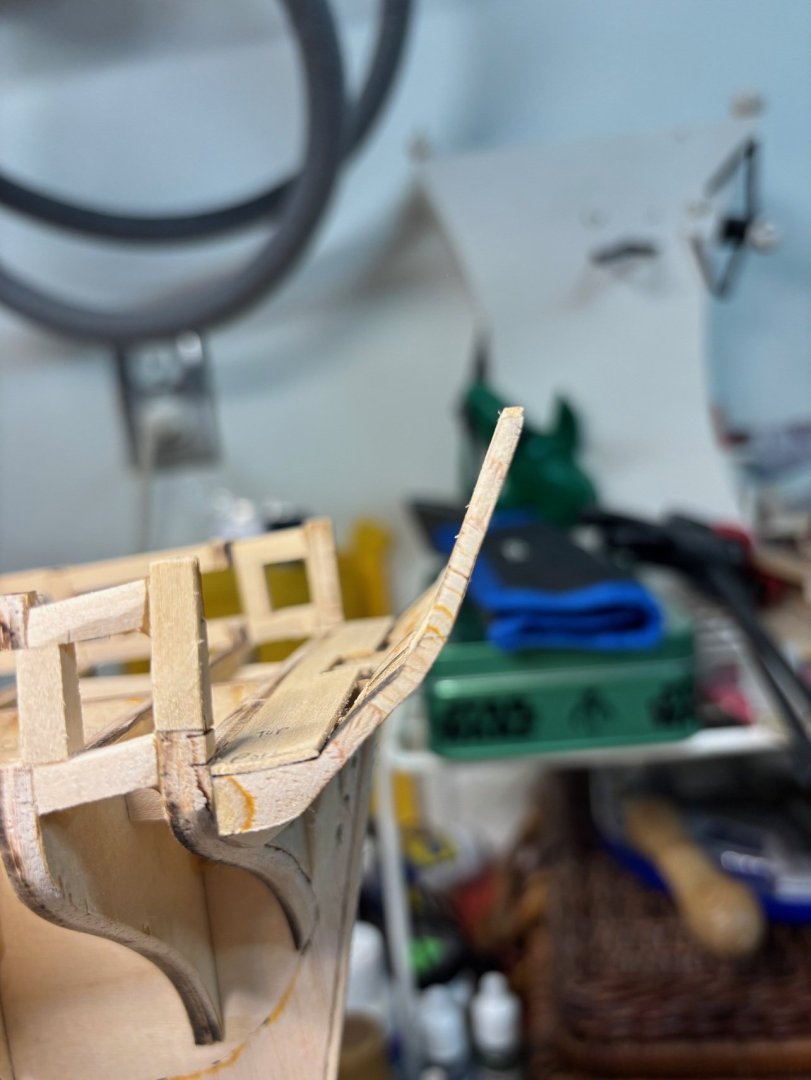
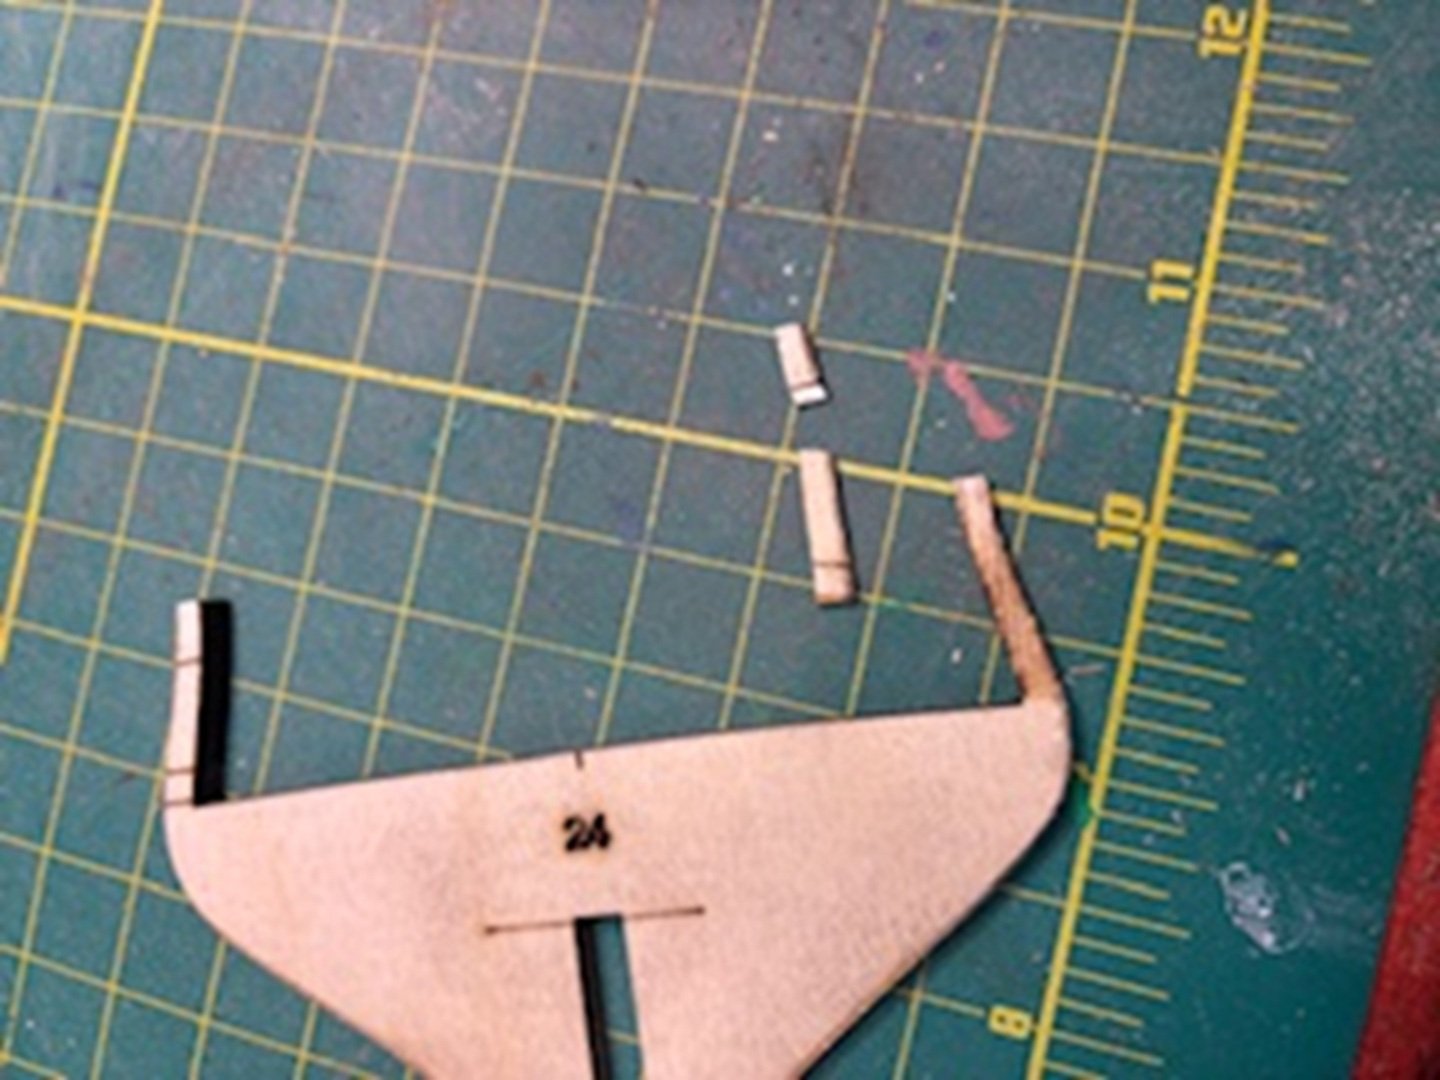
Okay, next chapter done. This chapter was a bit shorter than others but no less important. The manual said to be careful not to break the stern posts, so I was very careful. Ended up breaking the glue lines of the cannon ports twice. Luckily, they were clean breaks, and I was able to super glue them back into place. I was pleasantly surprised I was able to make the stern posts actually line up. I usually don't have that kind of skill or luck. LOL Then there are the two cannon ports. This was probably the most difficult part according to the instructions, and I would agree. Had to use a combination of my large nail files and my smaller jeweler files. It was during this step that I broke two different tops of the cannon ports. But like I said, they broke at the glue line with no wood damage, so it was a simple glue back into place. I do suggest taking your time here, it is difficult to hold the ship framing and file these extra stern pieces as they are. I put two pieces of scrap wood in from my Niagara build here. I see some people used a piece of wood to fill in the entire back. Instructions say either is fine. I see some people built the stern piece detached and then put it in place, but I don't think you can add these extra pieces of wood until the stern is in place. So take your time.

-
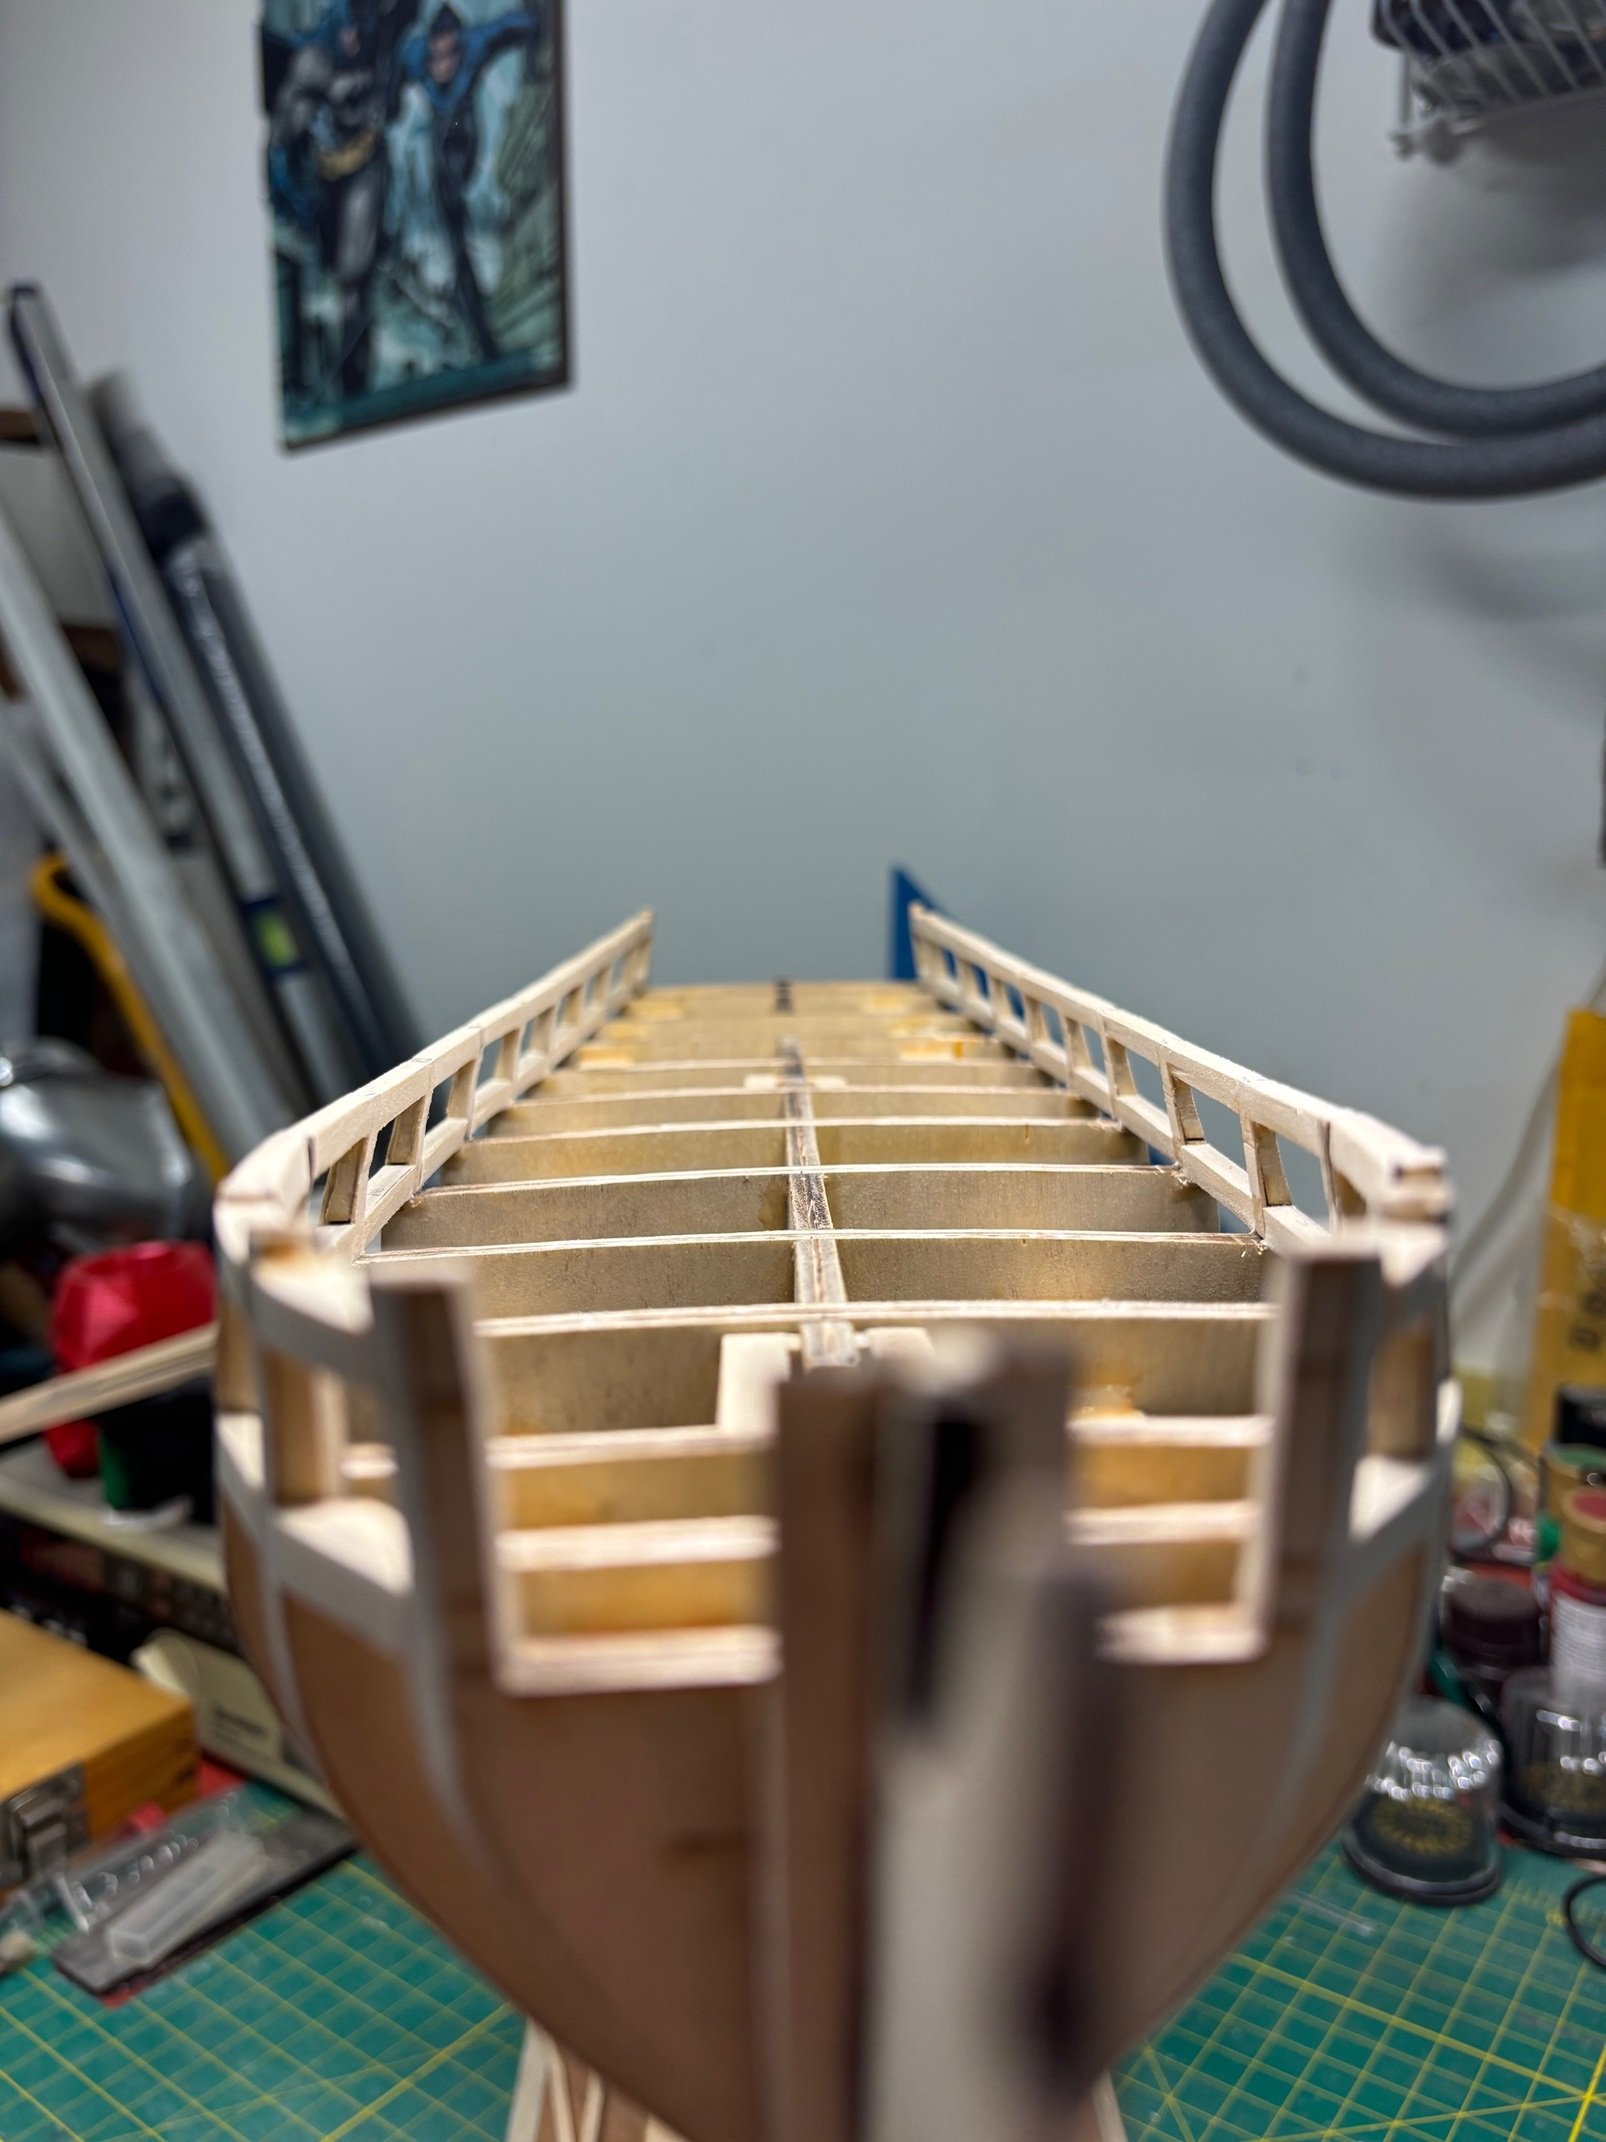
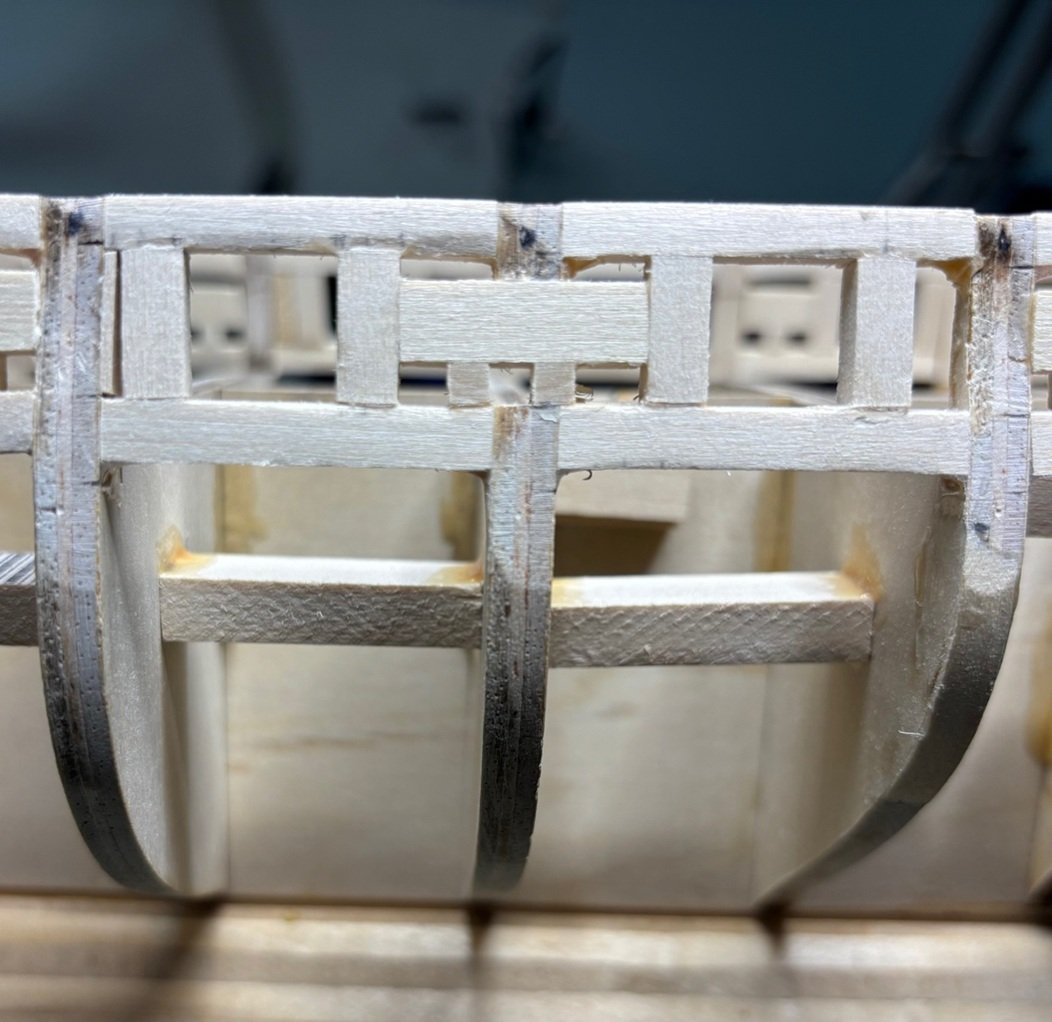
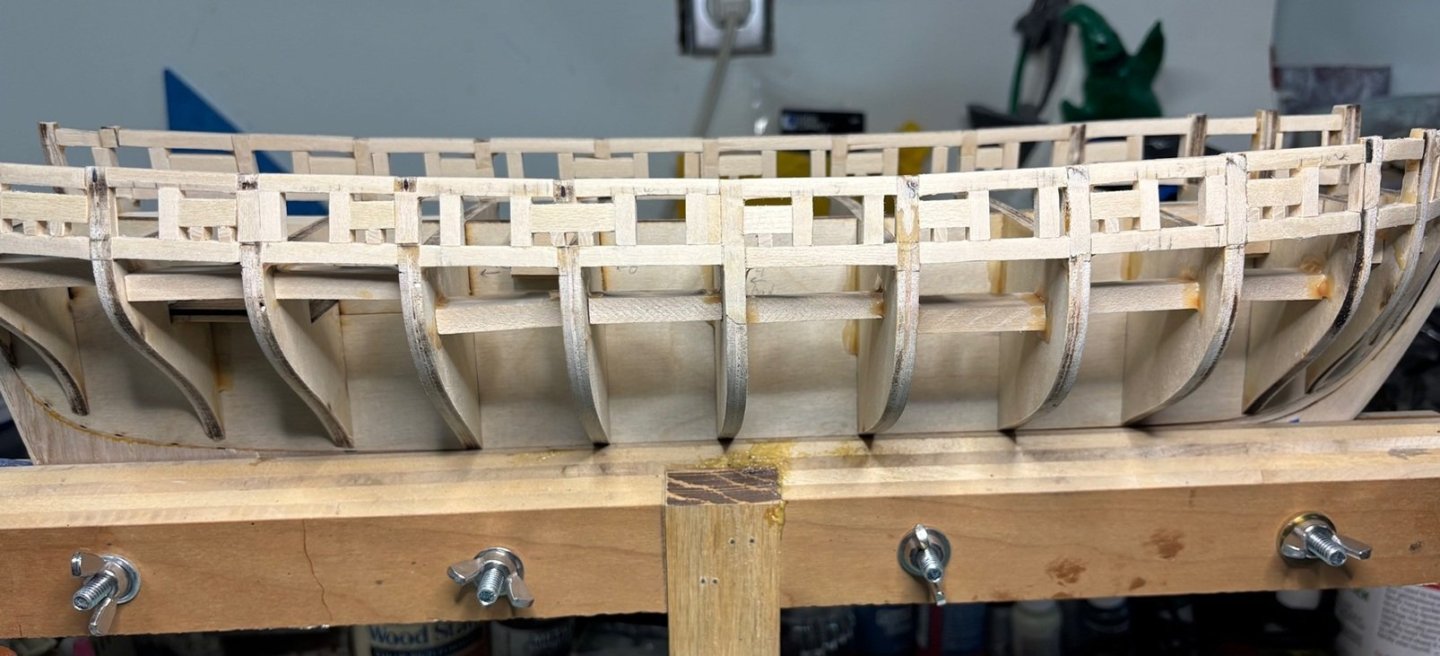
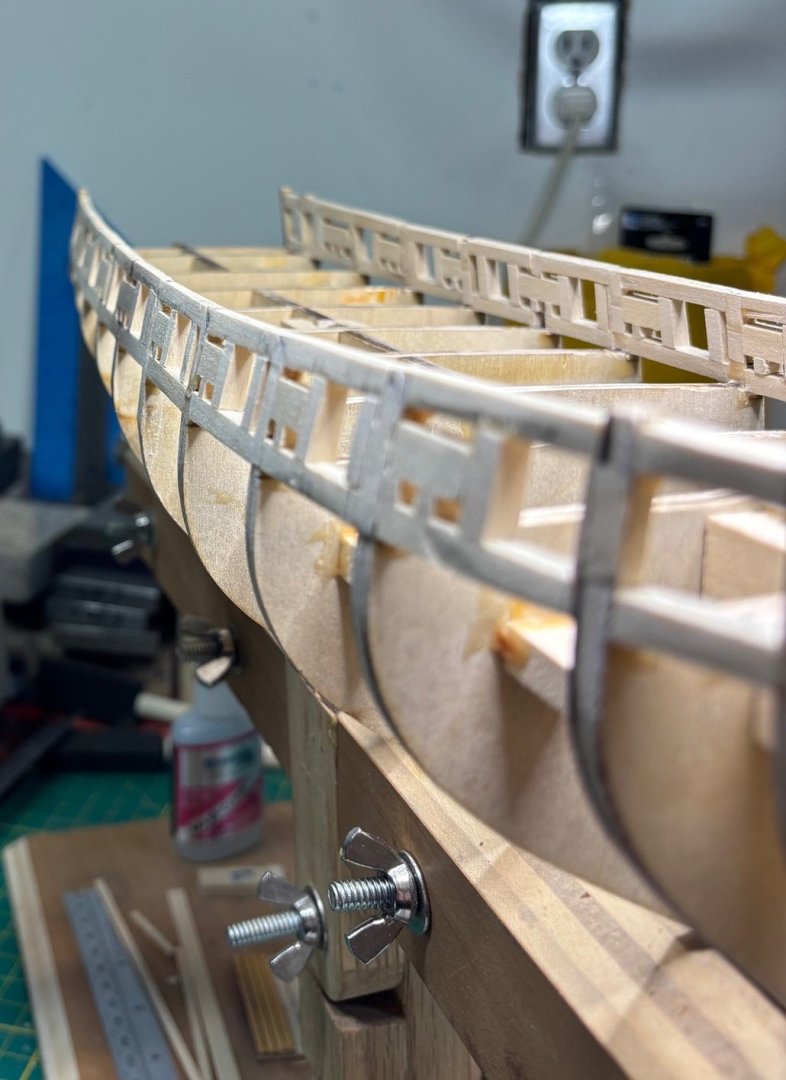
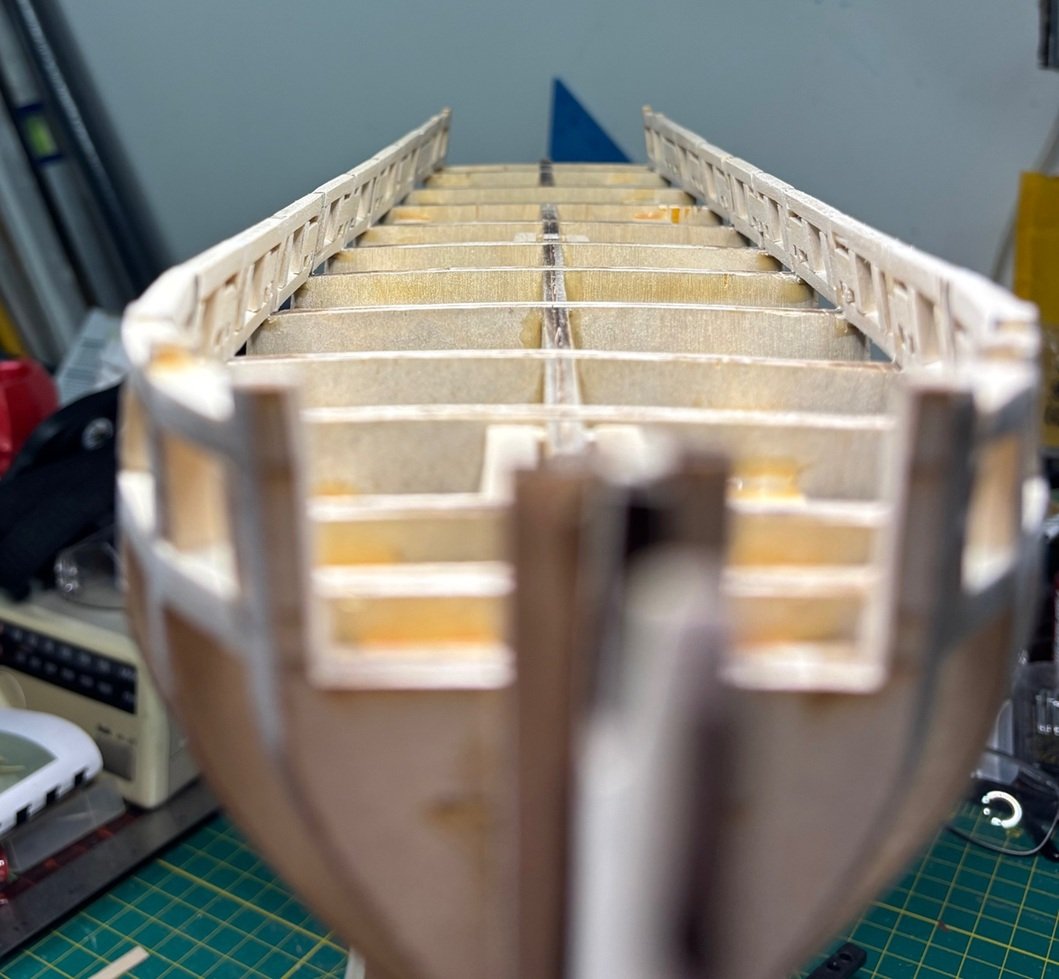
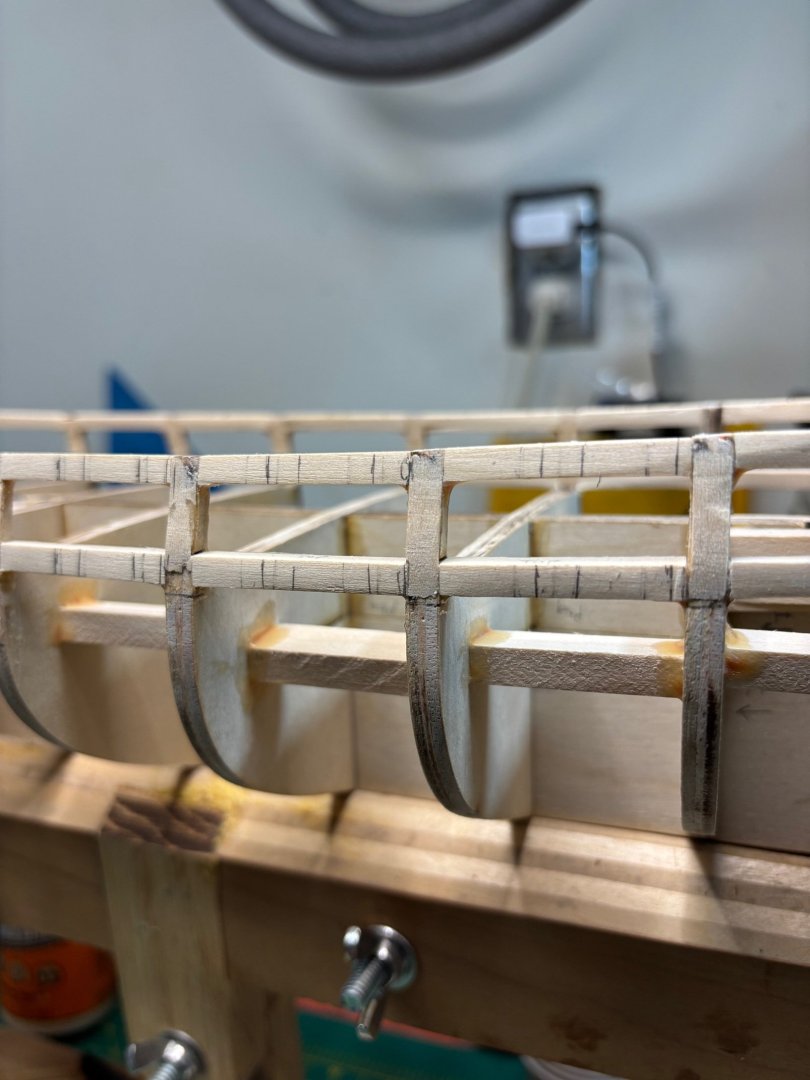
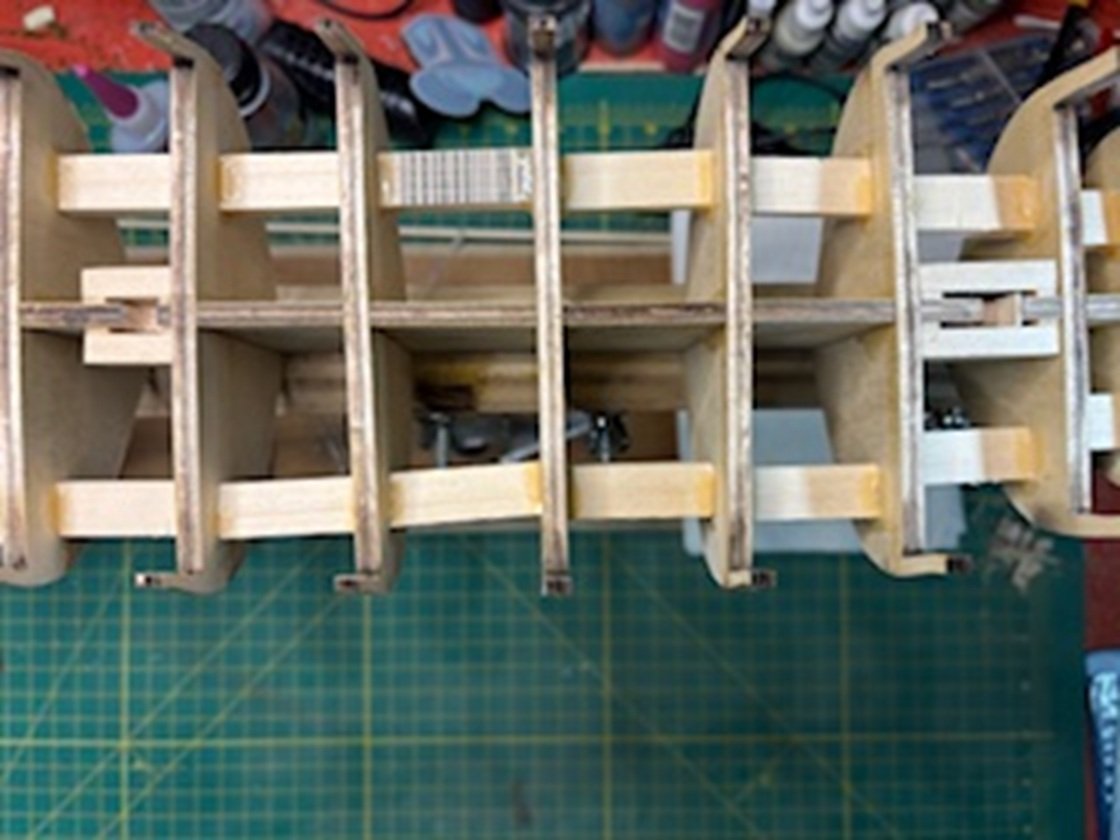
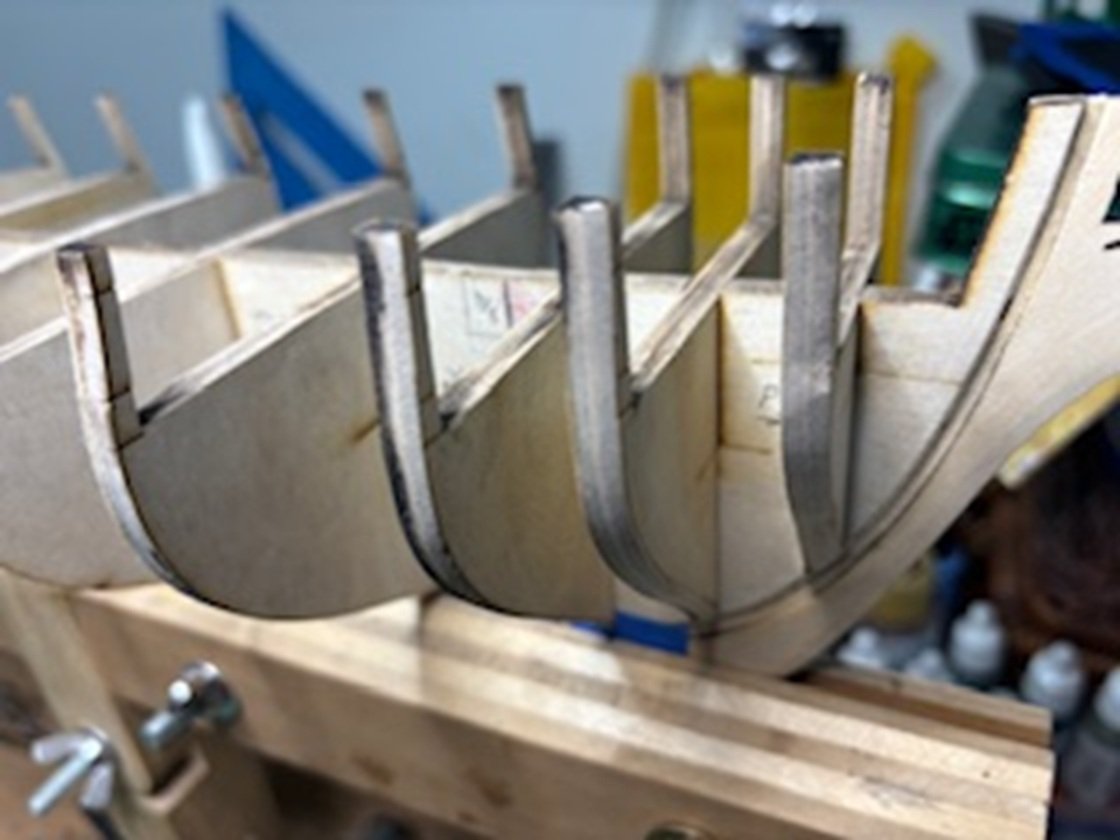
Okay, finished the carronade and oar port framing. Took a bit longer than I expected but it's done. Got a lot of wood sanded and cut off the framing pieces. I don't have a lot of advice as I finished this chapter. My biggest advice is to read all the way through the chapter to make sure you know the dimensions of both ports. The instructions didn't give you those until almost the last paragraph. I also made a jig for each of the ports, so uniformity was met. Without further ado, here are the pics of my work. The instructions said to cut out this rib but I decided to cut and sand just enough so it would frame in the top of the oar port. The instructions want you to completely remove it and leave it free floating. I thought this would make for a stronger frame.

-
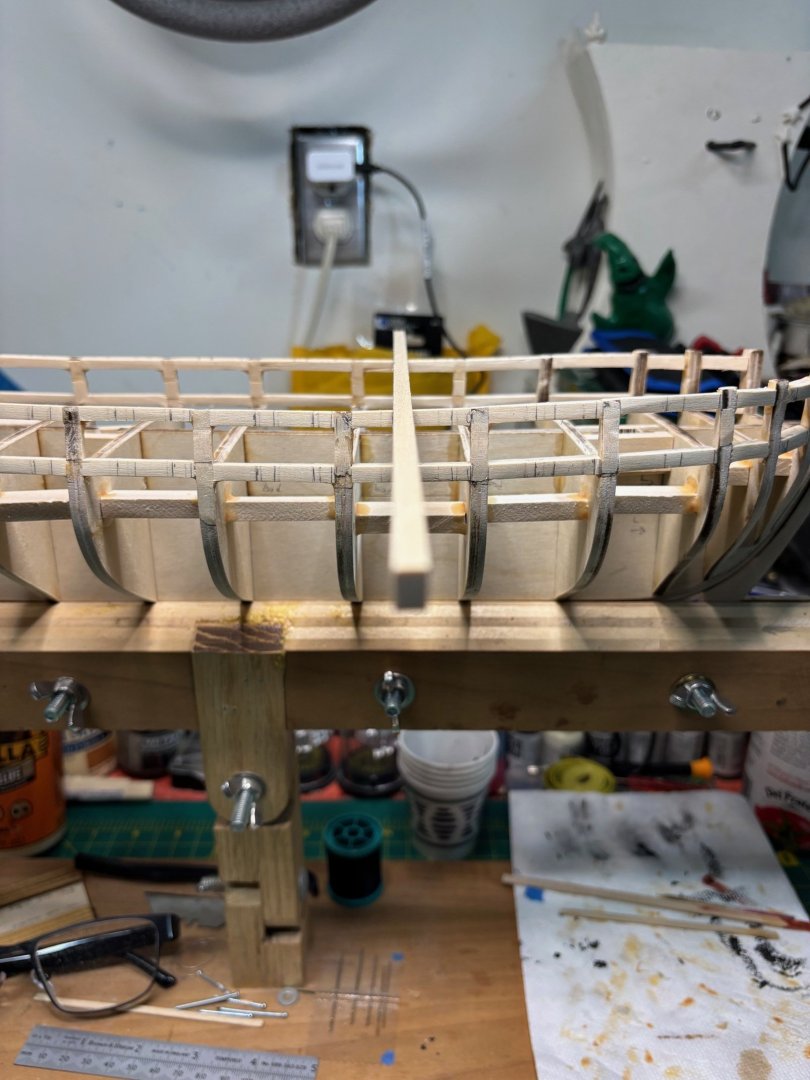
Okay, here's a warning! I thought my bulkheads were rather straight / perpendicular to the false keel, but apparently, three of my bulk heads are not. Not a big deal when putting in the top and bottoms of the gun ports. Buuuuuutt, when you are trying to make sure the gun ports line up across the ship from each other, while putting in the side walls of the guns, it makes a difference. So, I had to go back to the last properly lined up bulkhead and measure from there. Used the nice big prints to do the measuring. The instructions want you to cut out gun port sacrificially paper for this, but since those three didn't glue in properly, that trick wouldn't work. Took a little extra time to get both sides lined up; but I think I got it. Luckily it was only 3 bulkheads, but it still made for extra work. We'll have to see how the sweep ports line up next. So, I used a strip of wood that make up the gun port sides and basically eyeballed it. But only after careful measuring. Belts and suspenders. See pics below.
-
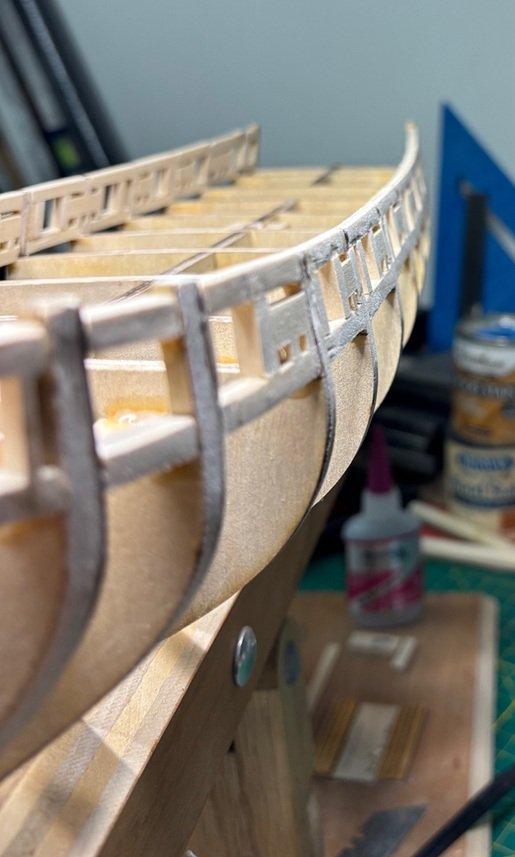
Okay, I said I would only post at the end of the chapters, but this first step took so long I thought I'd post some up to date pics. I've got the tops and bottoms of the gun ports glued in and sanded. Had a few issues in the sanding process. Like while I was sanding the insides and outsides, I accidently ended up sanding the tops of the ribs, which ended up putting divots in the ribs and I had to fill in my oopsies with some thin wood strips and sanded them down into shape. You will see the corrections in the second and last pics. I ran a piece of wood up and down the sides to make sure there was a smooth transition up and down the sides. I was a little upset with myself, but frankly it was an honest oops. So, this is where I am up to now. I also accidentally lost my book of instructions. I always kept the book sitting on top of my wood box of special X-acto knives just to the left side of my work bench. Then POOF... gone. Looked all over the place multiple times. Oh, I was so upset with myself. So, I panicked for a bit but got onto model expo's web site, found the Syren link and thank goodness, the instructions were in a pdf format for downloading. Boy did that save my BUTT!

-
I just took a measurement, and it looks like I got it correct. I wish the instructions were a little clearer on that when doing this step. Even though this is my third wood ship build, I'm still probably way too cautious. The Niagara I built didn't make me as nervous as this one is.
-
I have been following your build. Rather closely too. I like your work and appreciate your tips and experiences.
-
Never minds guys. I reread the instructions and read forward into chapter 4 about the batton line and now I understand it better. Moving forward.
-
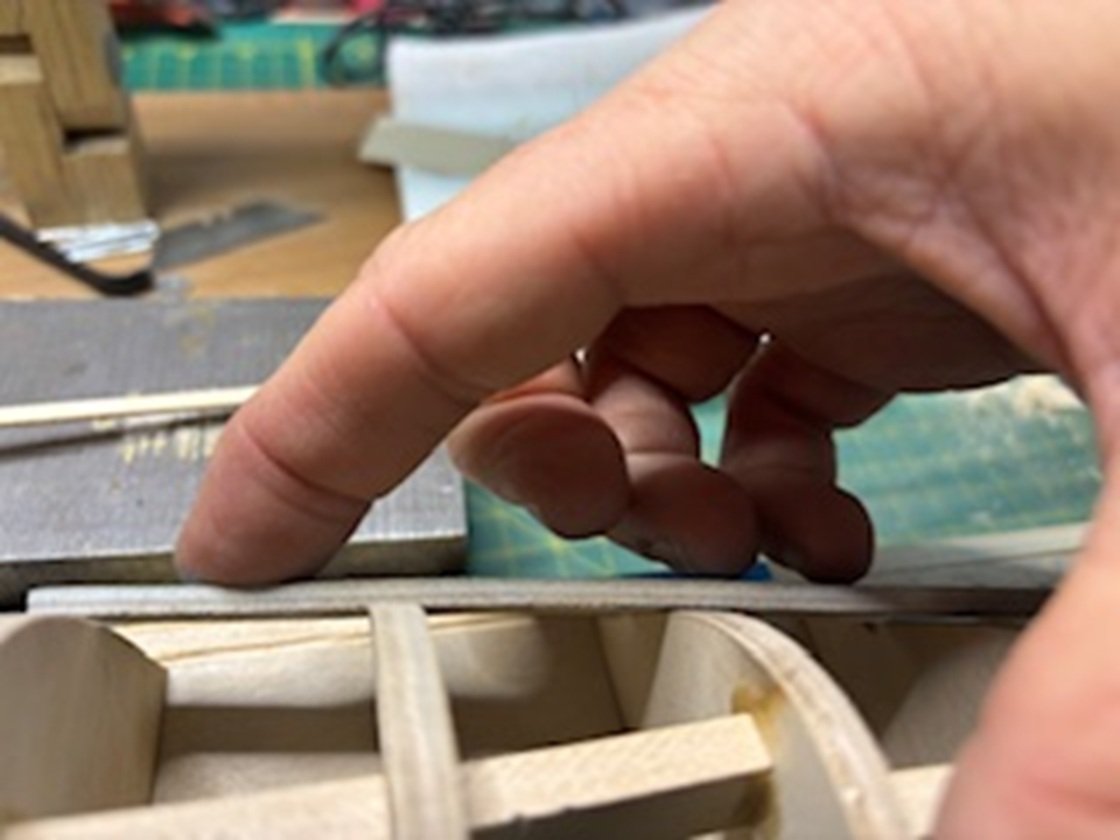
Quick question on the batton line vs. sill wood. I've looked at two different WIP sites and see two different processes. So I need another explanation or clarification for putting in the sill wood. I saw one person seemed to put his sill touching with the batton wood. But for my build, that seemed too low according to the middle cut laser line on the wood that makes up the gun whalls (SP?) As seen in these first two pics. But when I read the instructions, or at least thought I read them correctly, it seemed that the top of the sill (SP?) should line up with the middle laser line and site at the same level as the rib that crosses over the FB board. As shown below. It would seem that the batton wood was really in place to make sure the ribs form a nice line for lining up the ribs and curvature for the hull. So which version is correct? I'm leaning towards the sill wood should line up with the middle laser line. When I hold a piece of wood where the top of the gun port would go, it seems to make the required 15/32 measured opening. Opinions / suggestions?
-
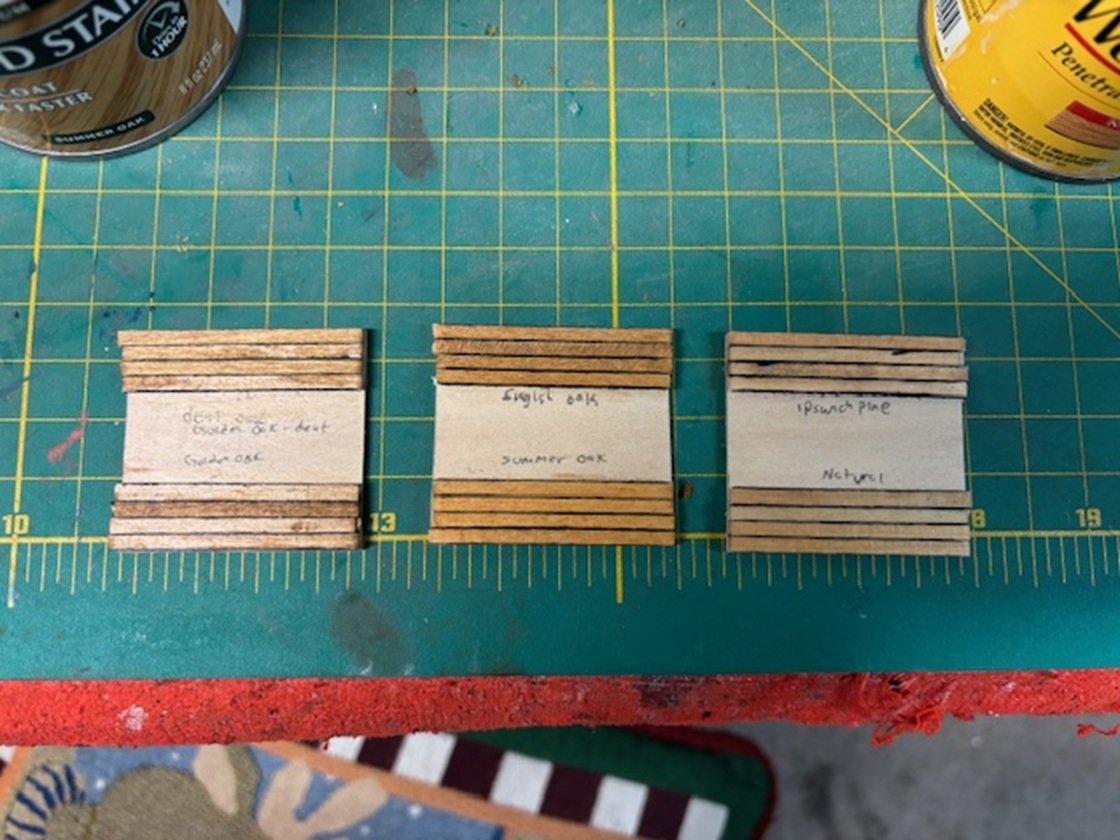
Okay, I did some stain samples last night for 5 different options. See below. I'm thinking the summer oak in the middle sample bottom, would look best for the outside hull that would normally be painted on ochre color. I think this stain is a good representation of an ochre-like color. And I'm liking the English oak, middle sample top, for the deck. What do you all think?
-
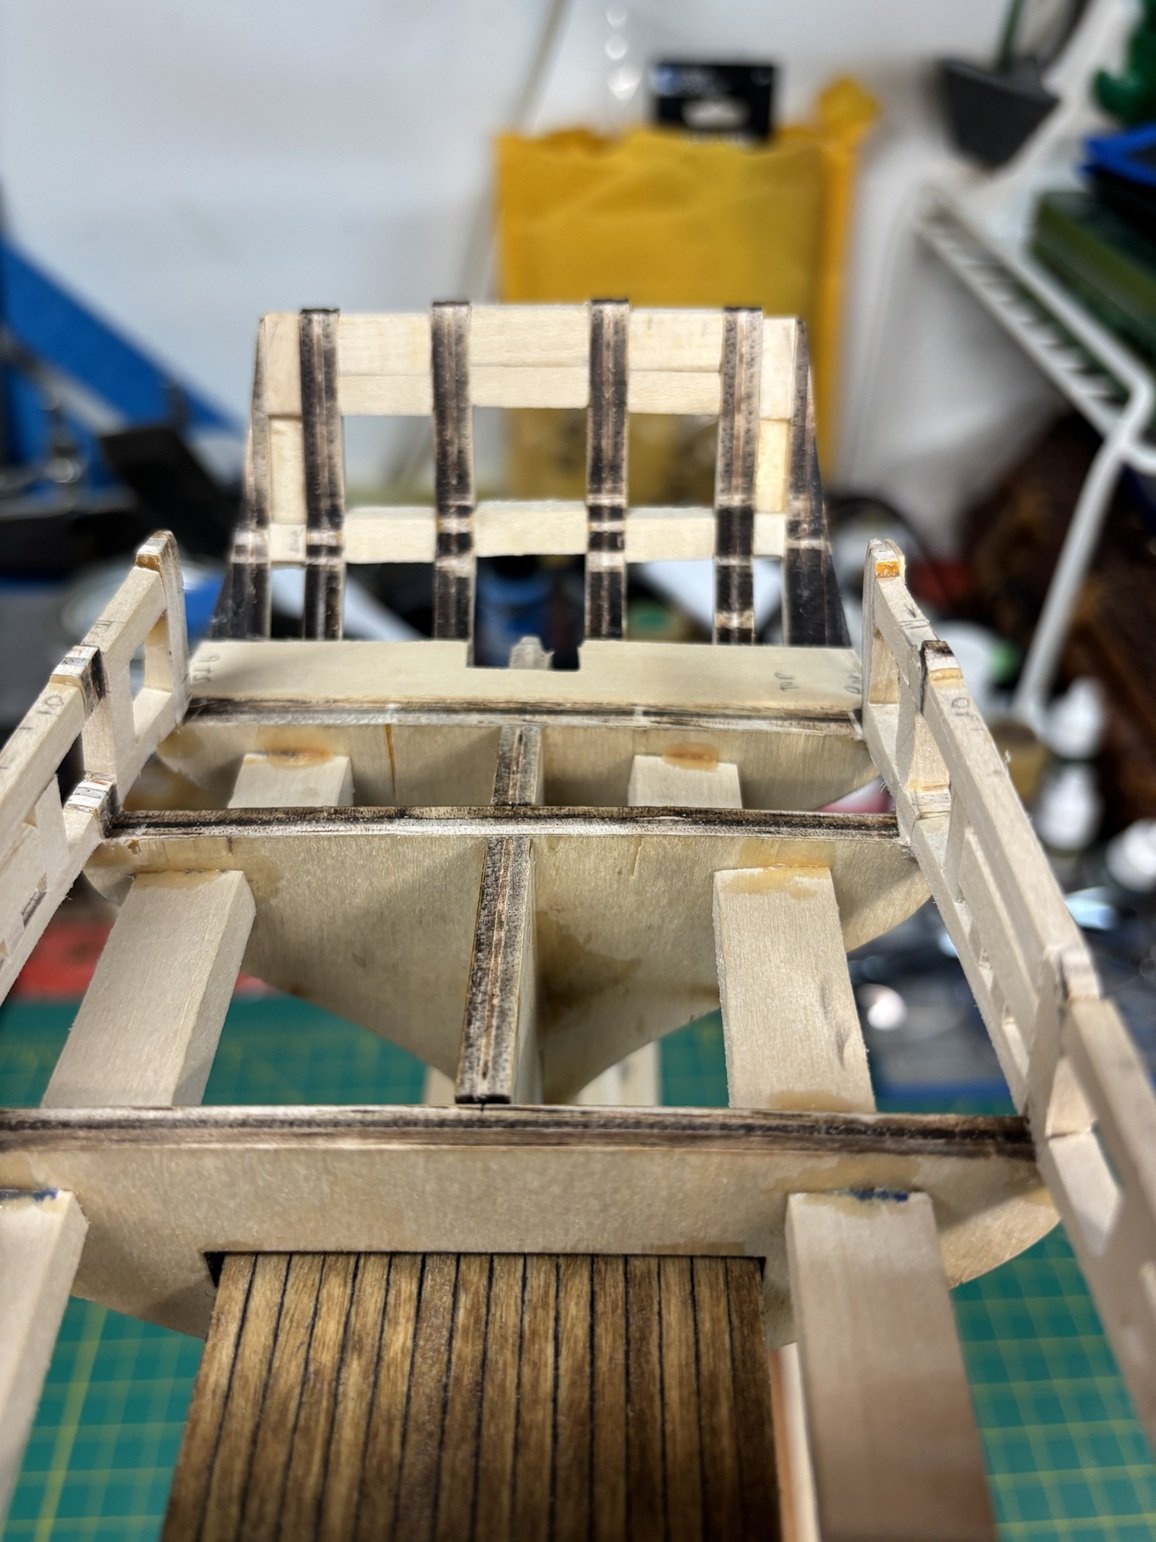
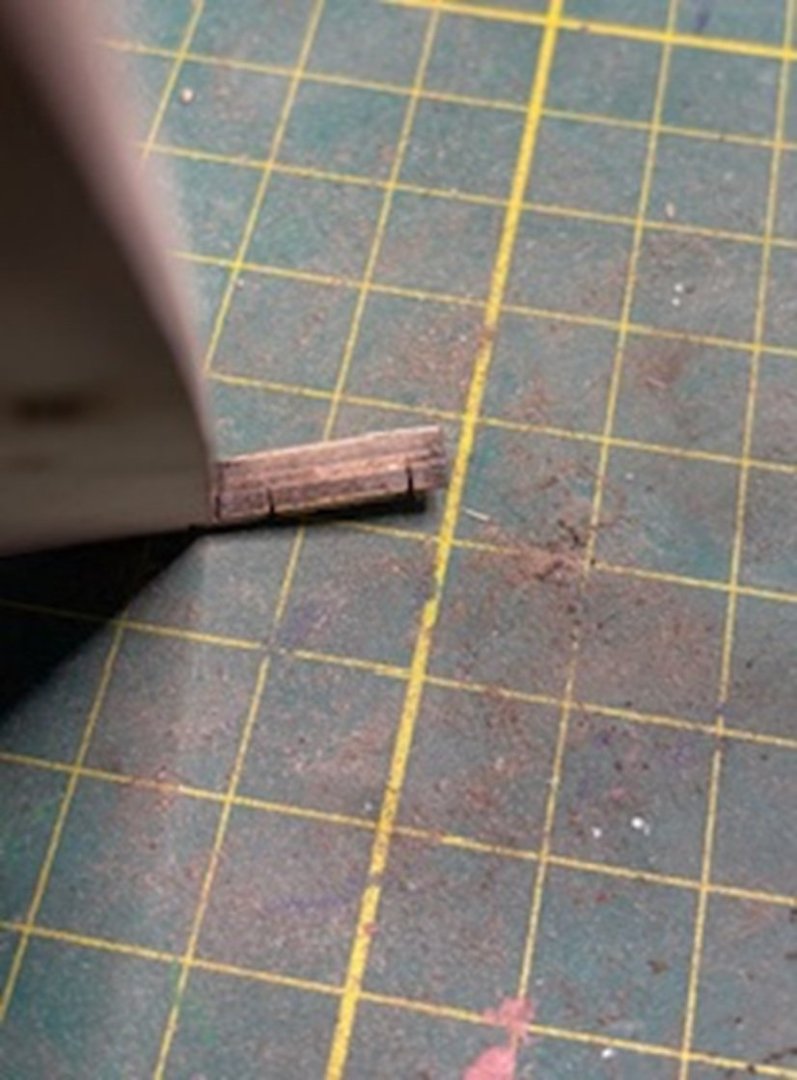
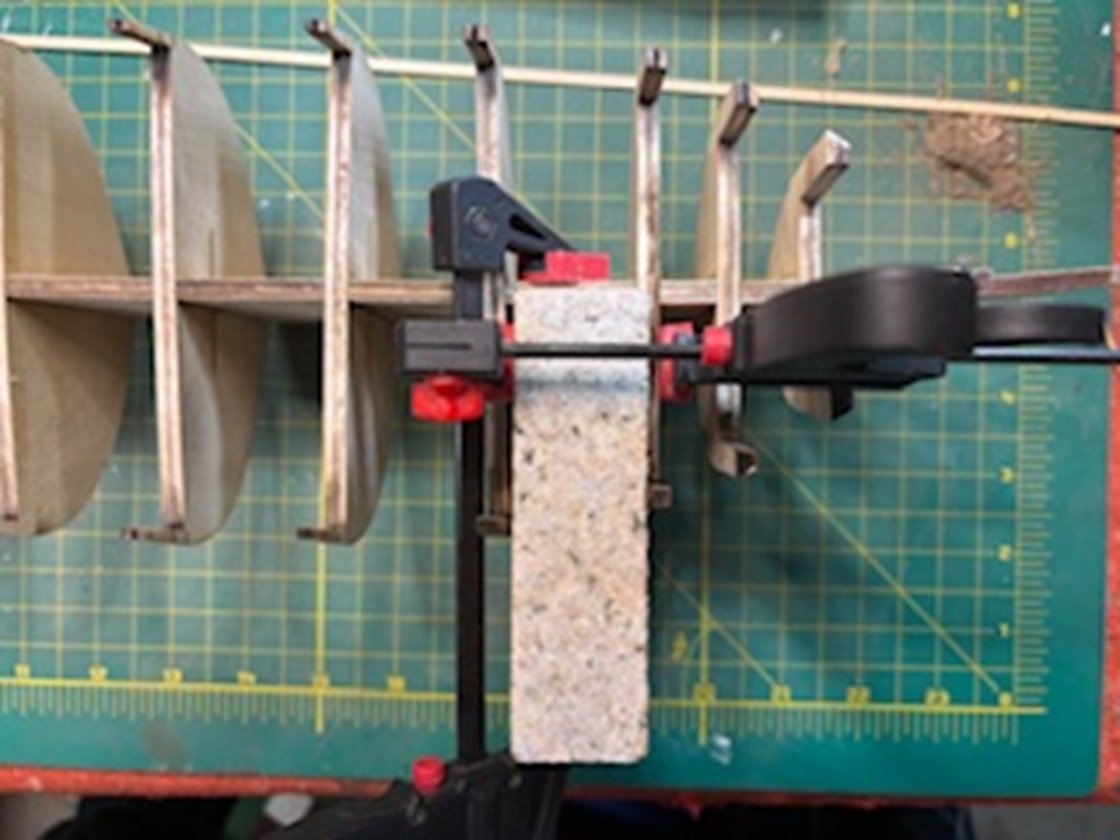
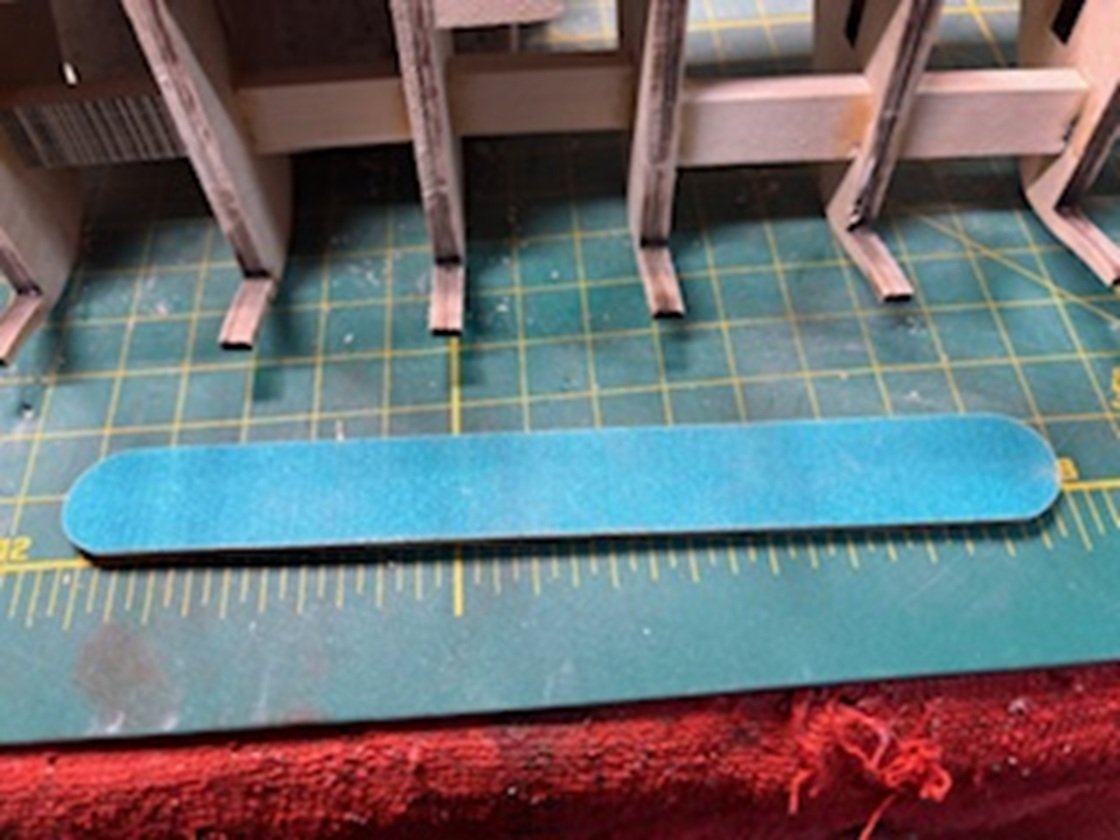
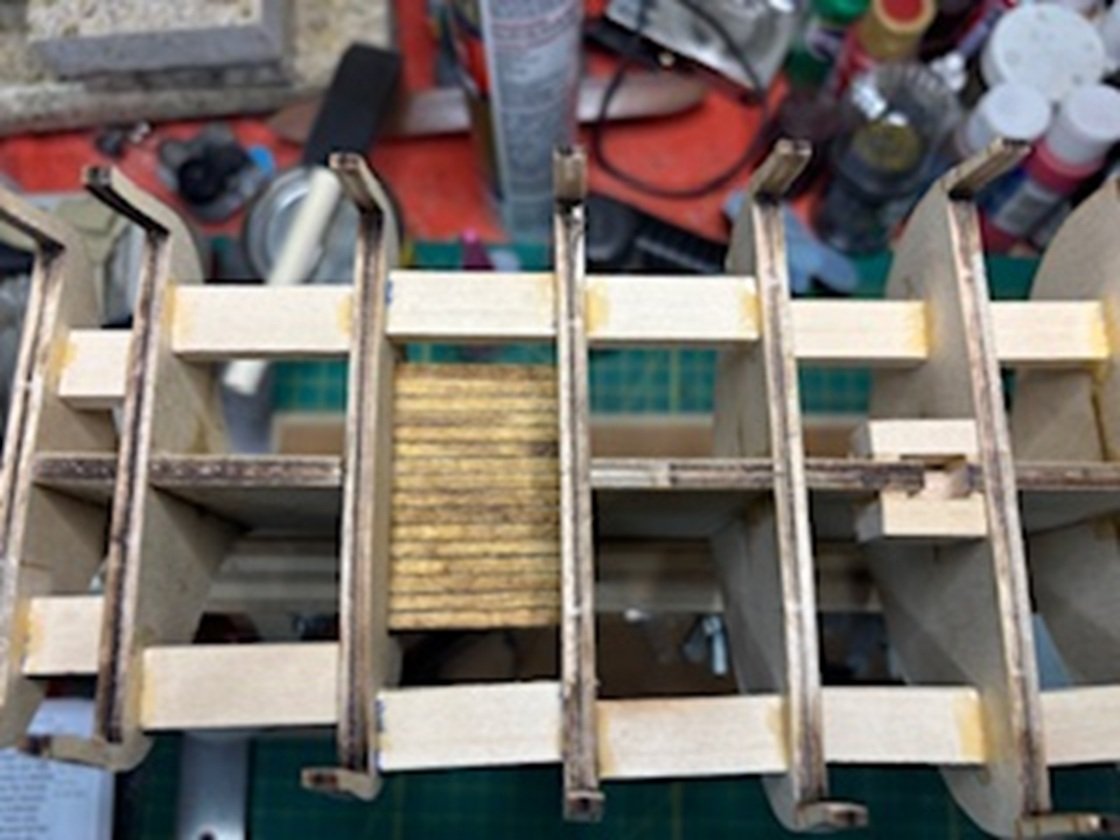
Okay kids. Chapter 2 of the build is complete. As per previous, I'll put in the pics and hopefully comment on what I learned so anyone coming along doesn't repeat my mistakes or you all can leave comments on improvements as I've haven't started Chapter 3 yet. So, I got a wee bit of a shock during the individual sanding of the ribs before they were put on the for base form. Note in the pic just how deep the laser cutting went. Which then led to the wood delaminating during the sanding process. Thankfully these were nice clean breaks, and I was able to glue the pieces back on. Once I got the initial sanding down to almost the laser lines on some of the ribs, as per the instructions, I used a sample from my granite countertop to square the ribs with the form board and two smaller clamps. Those granite countertop guys know how to cut 90-degree angles. For the ribs that were closer together, I used a piece of scrap aluminum which was machined to a 90 degree. I also put a little extra glue in the corners to add some strength to each rib. Once those were good and set, I added the spacers between the ribbing. The instructions say and show using much larger blocks of wood between them. I didn't have easy access to such large light weight blocks, so I used 1/2 X 1/2 square wood and cut to size. I again added extra glue to the corners to reinforce these spacers. My sanding of the blocks wasn't perfect but for the most part I was close enough. And for the larger blocks that I really messed up, I simply set them aside and cut them down for the narrow gaps for the ribs at the bow and stern. Didn't want to waste wood. Also note in the pic that I put in the mast holes and created 5/8 diameter boxes for the masts to sit in. Got that idea by reviewing other WIP threads here. The front foremast is straight up and down but the mainmast has a 5-degree angle back, according to the drawings. I used a small coping saw and files to cut out the formboard. Next came the fairing of the ribs using a planking strip. I like to use these big salon emery boards that I get at Target. As you can see, they are long enough to cover up to three different ribs. By sanding back and forth it can simulate a planking board. But only to a point. They don't work well up by the bow where the curvature is much more extreme. But for about 75 % of the fairing, they work well. They also work well on the ribs when sanding along the rib length down to the beard line. And finally, the fairing completed. I did end up having to put in Shims on two different ribs. It takes a fine eye and patience to get this fairing correct. So don't rush and take frequent breaks. It's easy to tire your eyes and get anxious when doing this. Finally, was the second to last step in the chapter, putting in the lower deck. I used a thin piece of wood cut to shape first, then put the deck planks on. Remember that you can't cut the wood to the exact size of the open space. You have to be able to fit it in after the ribs are permanently done. I found it safe to go about halfway into the ribs for distance. That way you can angle it in, push the wood down and then glue it with the ends about 1/2 way over both ribs. When I glued the planks on, the wood underneath did start to bow up on the ends a bit. To remedy that I used a few of my scrap metal weights over the top to flatten it. I had thought about painting the ribs on either side black but haven't settled on that idea yet. To simulate the tar-soaked rope that was often squeezed between the planks, I use a black fine point sharpy, not extra fine or bulky, on both sides of the wood. Also note that the instructions say to use Minwax Golden Oak to give the wood a nice yellow warm finish. I call BS on that one. I had the stain, and my wood was much darker than the pics in the book. Now I'm not losing my mind over this because it doesn't look too bad, and it will barely be seen once the ladder is put in. But I don't think I want to be using that darker stain if I'm trying to keep a nice warm feel to the wood along the bulwarks on the outside of the hull or the main deck itself. Unless someone reviewing this thinks otherwise. I used a natural stain on my Niagara deck, which came out nice, but the Niagara was built out of unaged pine. So, the pine-like look seemed more historically accurate. I did go out and purchase a lighter stain. Couldn't find Minwax at my local Home Depot. Used to be able to. I wonder if Varathane bought out Minwax. Any of you know? Anyways, I think I'll repeat the lower deck step, stain with both cans and put it up on the sides so see which would work better if tree nails and the black paint that I believe is used on the hull. Sorry for some of the blurred pics. I didn't notice it until I enlarged these pics for posting. Perhaps I'll stick with smaller pics for the next chapter. Anyways, let me know what you think and if you have any staining suggestions. TTYL.
-
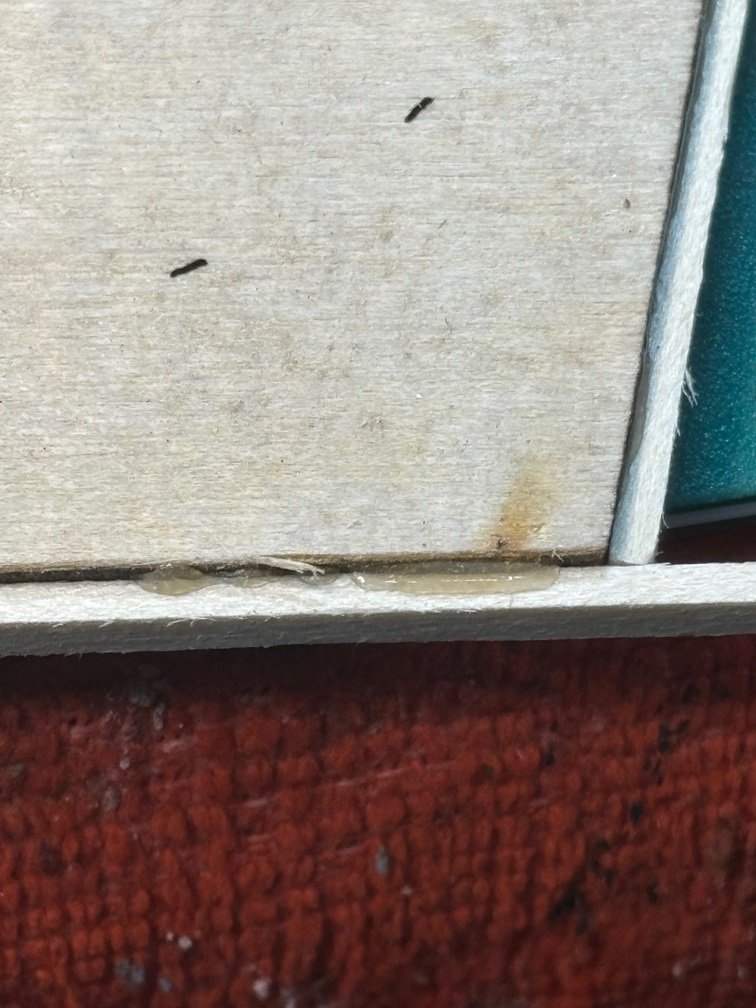
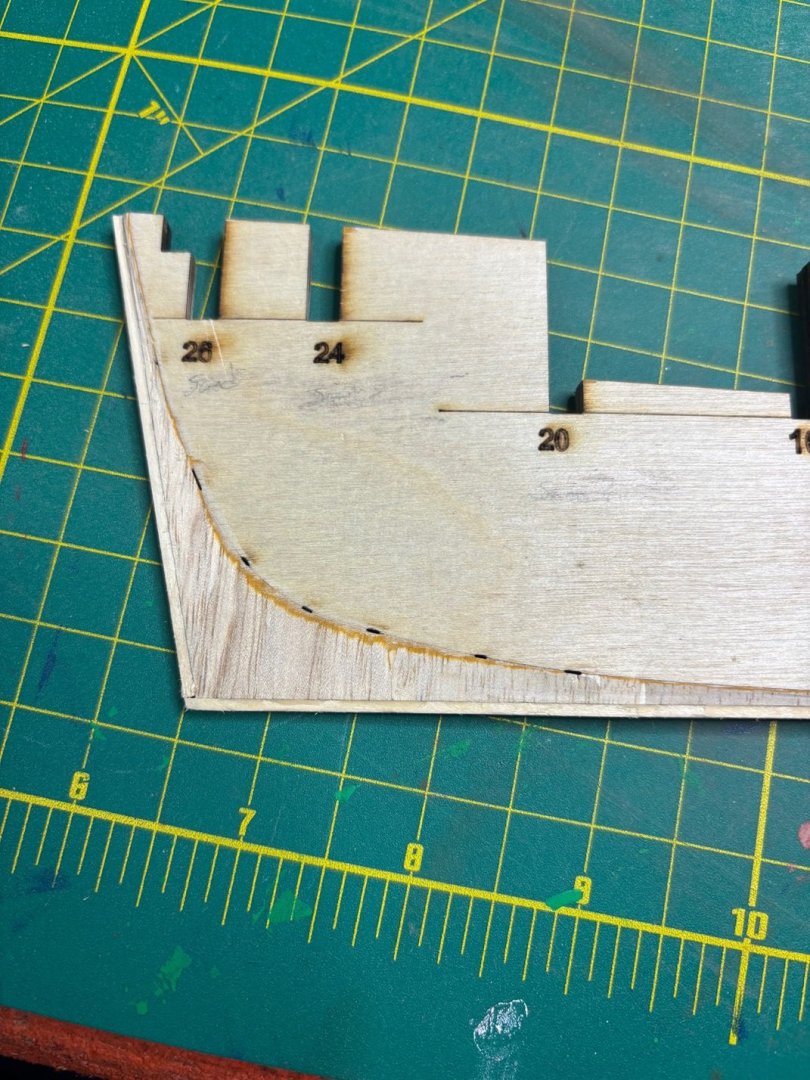
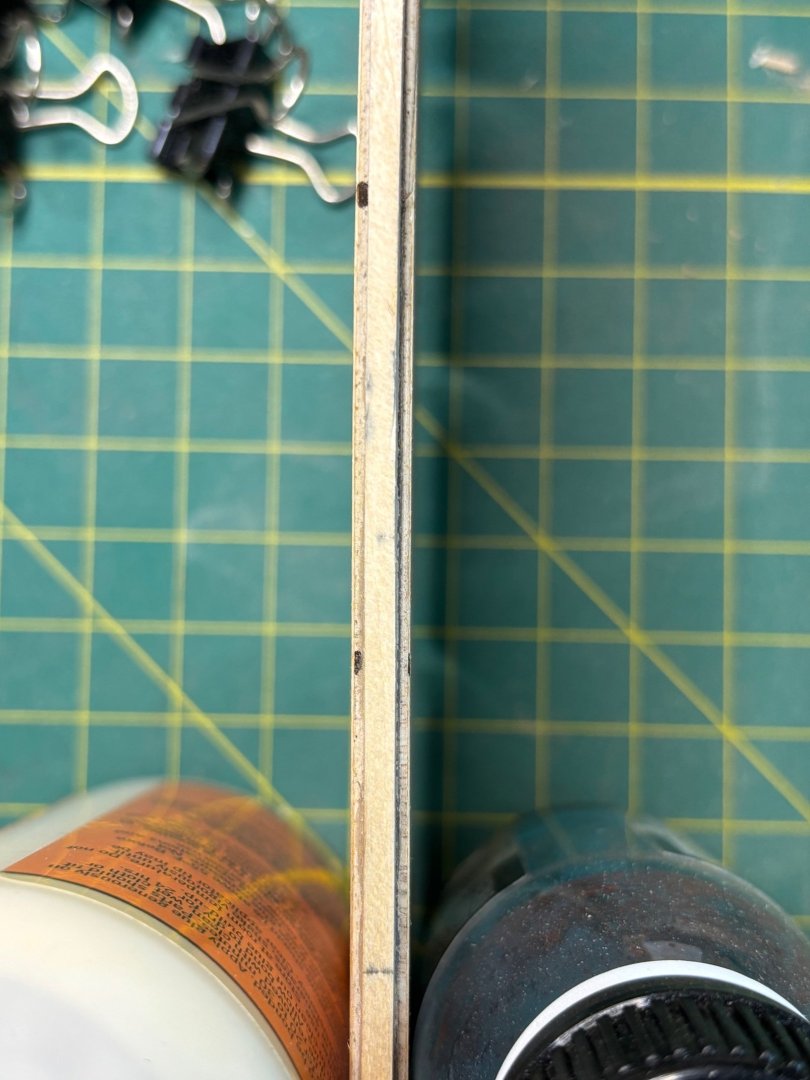
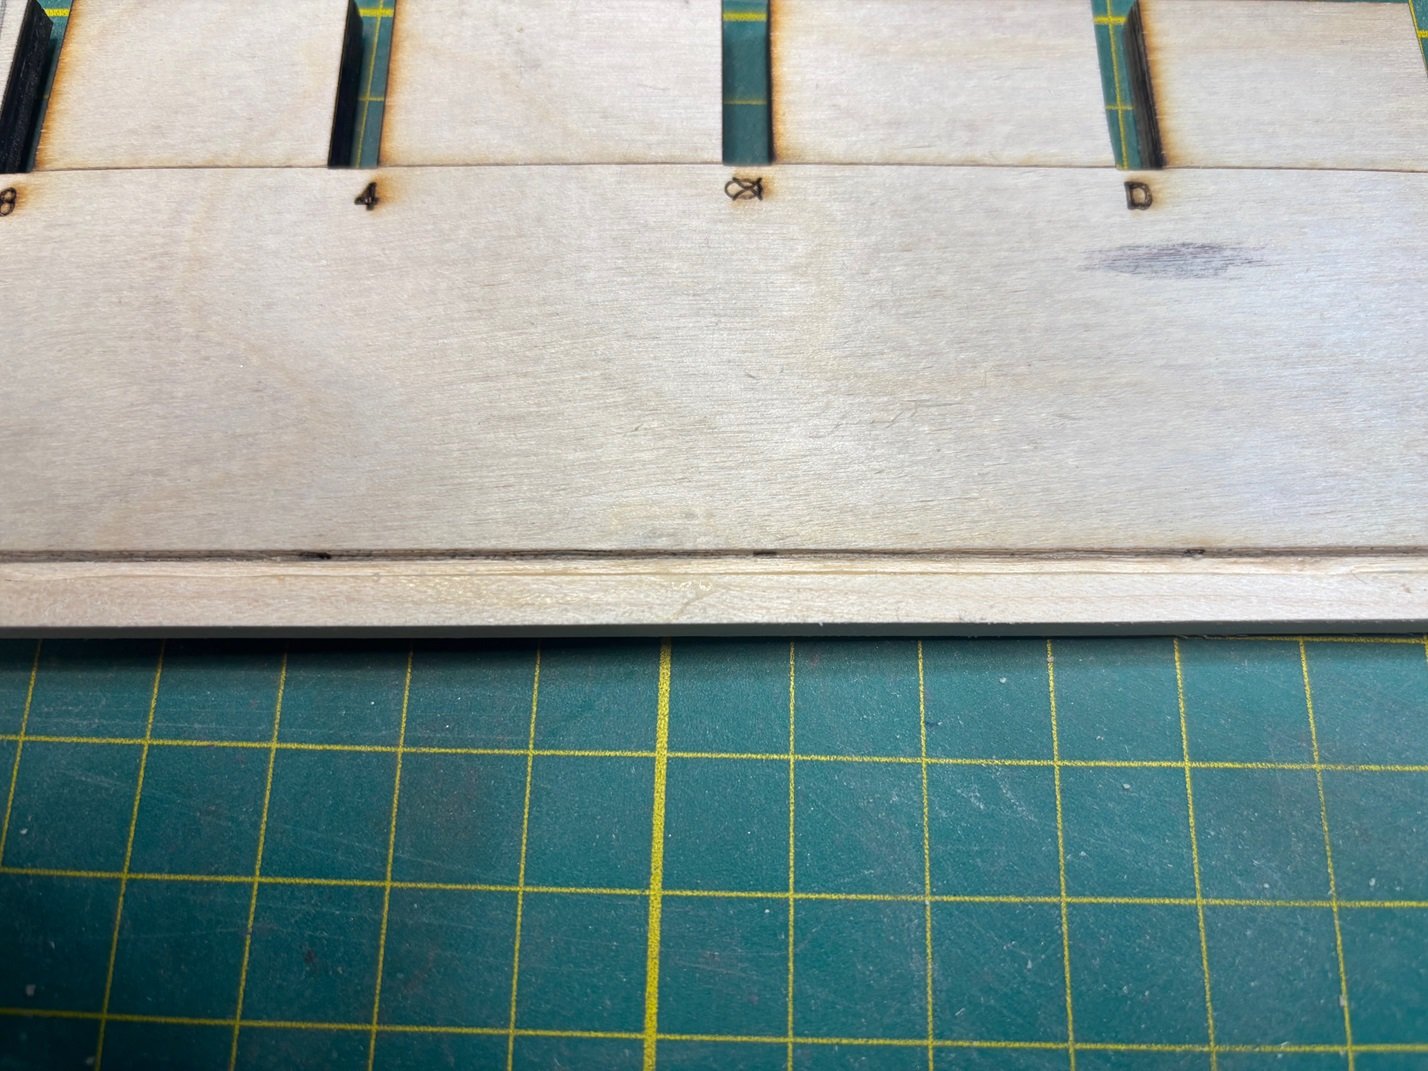
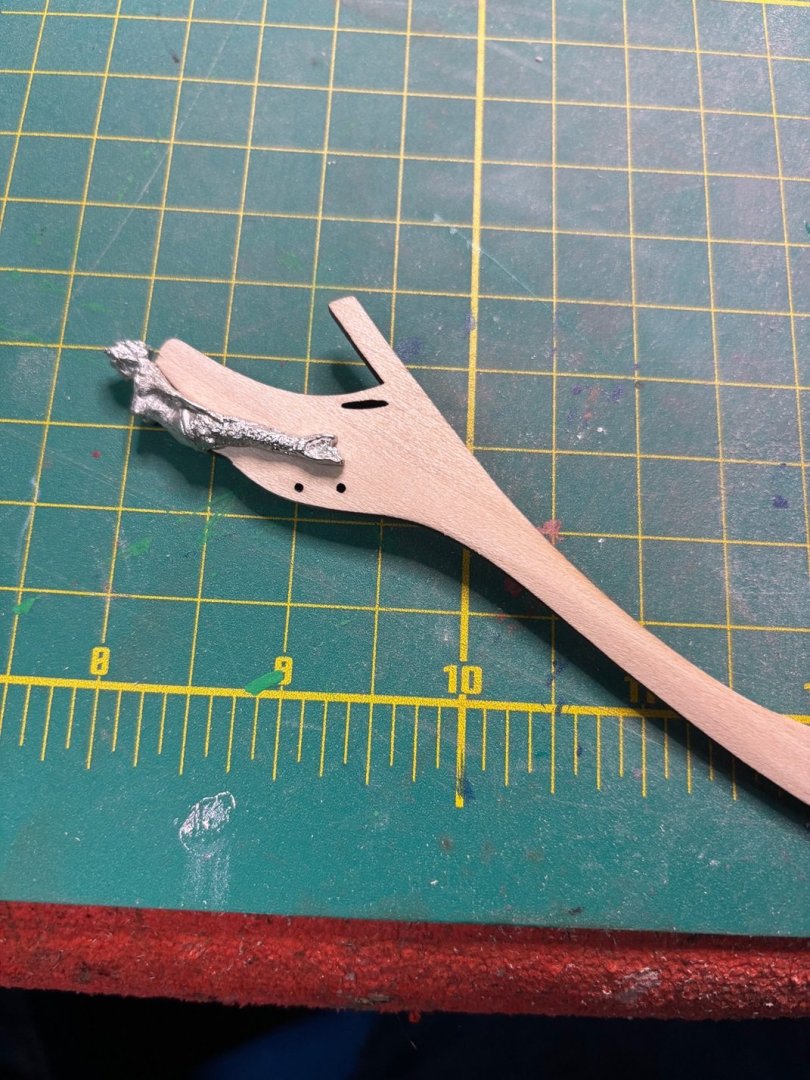
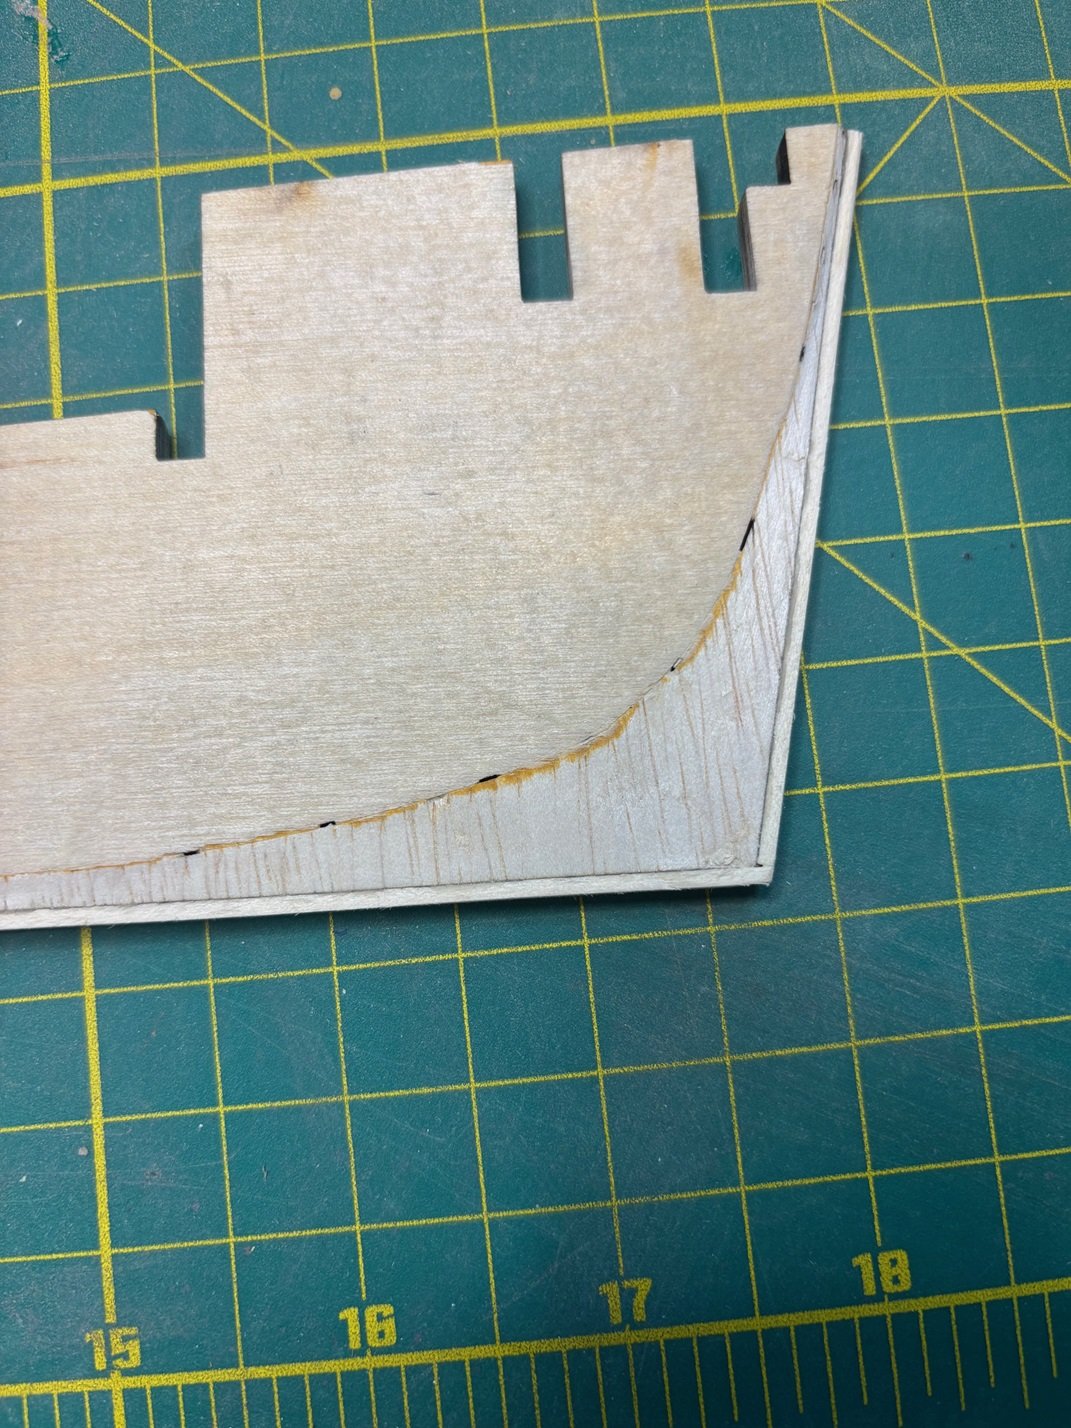
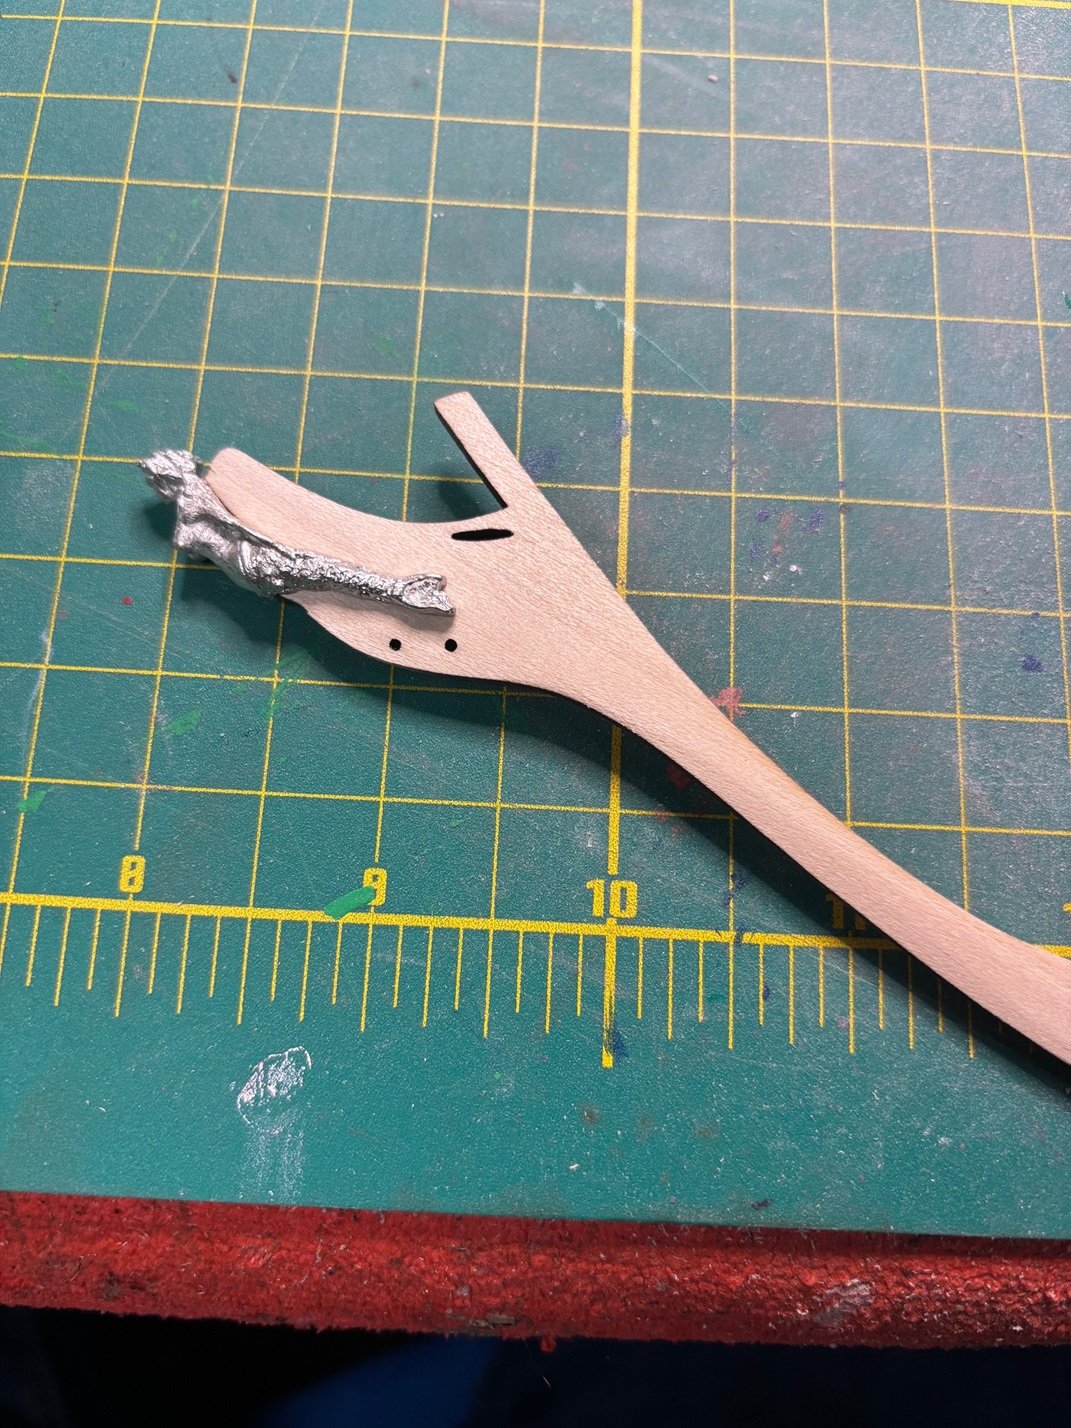
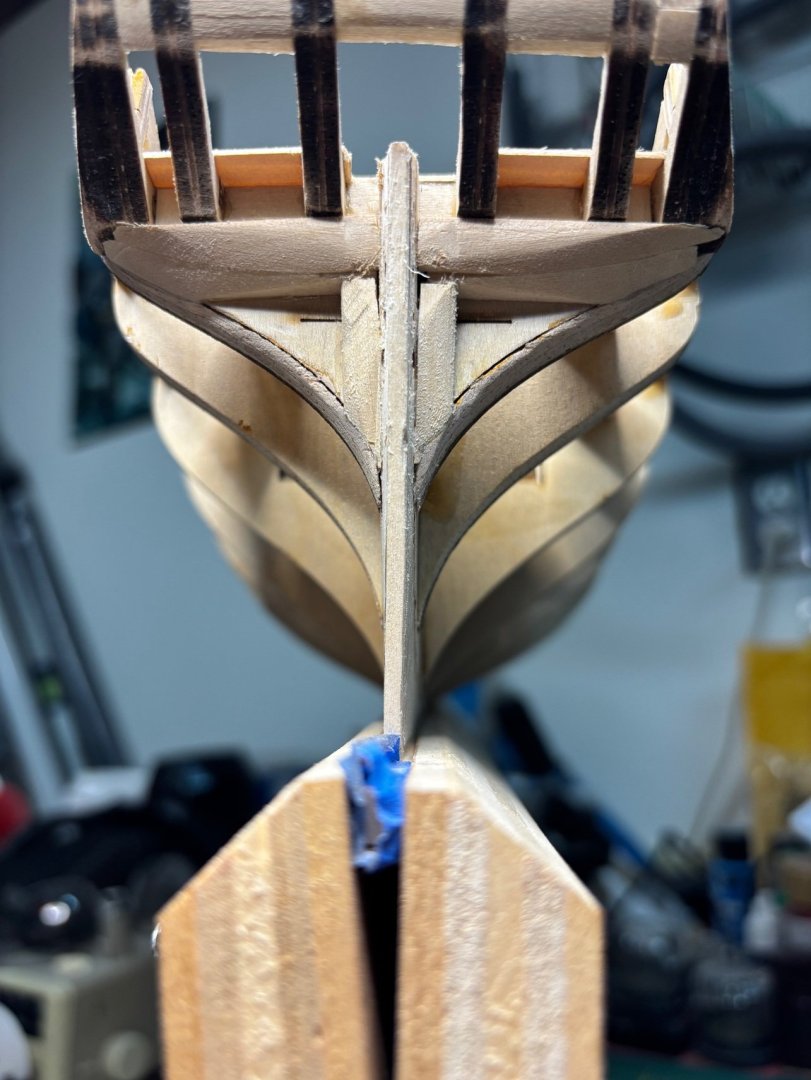
Hello again everyone, I'm back after a long hiatus between builds. Previously I had logs for the Rattlesnake and Niagara. Sold the Rattlesnake to make room for a new build, one I've had my eye on for a while, while lurking in the shadows. The US Brig Syren from the Barbary wars and the war of 1812. Since I left, I picked up two additional hobbies. Cosplaying a Mando Merc and a Jedi and trying to learn the violin. So, this build log may not get updated as frequently as my last two, which were both before I acquired these newer hobbies. My intent is to posts pics per chapter while watching other Syren builders logs to see how they concurred this kit and hopefully I can build a ship I can be proud of. This will be my first ship with copper siding, so that will be a new challenge for me. I think I can take a lot of what I learned from the Niagara building and apply it here. Plus, I may try tree nails this time we'll see how adventurous I'm feeling. So, without further ado, let's set sail on this, my newest build log. Sorry for the pic order, haven't learned how to post pics and add comments under each one, but I'll describe what are shown below. One thing I noticed when gluing the beard line wood, some of the glue squished out and dried, so I had to delicately use an Xacto knife to cut the clue out. So that was an oops, but, with a steady hand, I was able to cut it out and use a little square file that just happened to fit in the gap. Next are the pics for the beard line carving at the stern. I again used an Xacto knife but with the chisel head. I took my time but I'm not so sure just how precise the angle I created. It may not be at the exact angle shown in the instructions, but I did the best I could and gently sanded out any rough cuts. I think it'll do Next is a long look at the bear line wood. I saw some people on other logs talked about cutting out the wood prior to adding the wood. I started doing that on one side of the former board and stopped because I started noticing that I was not sanding out the wood evenly. My suggestion is to glue on that beard line wood first and then sand the former board. You'll get a better, and more even, cutting.  You don't want to cut out too much and leave nothing for the bear line wood to be glued to. Next, I added the keel and stem knee along with test fitting the figure hear now. Easier to handle the stem knee as a small piece then the whole ship later. And finally, I added the false keep and taped it in place as instructed.  So, a few things I learned that I wanted to pass along to others. Hope the things I learned here will help you if you follow me. Not a whole lot to cover in chapter 1, but it's a start.