bruceh
Members-
Posts
39 -
Joined
-
Last visited
Content Type
Profiles
Forums
Gallery
Events
Everything posted by bruceh
-
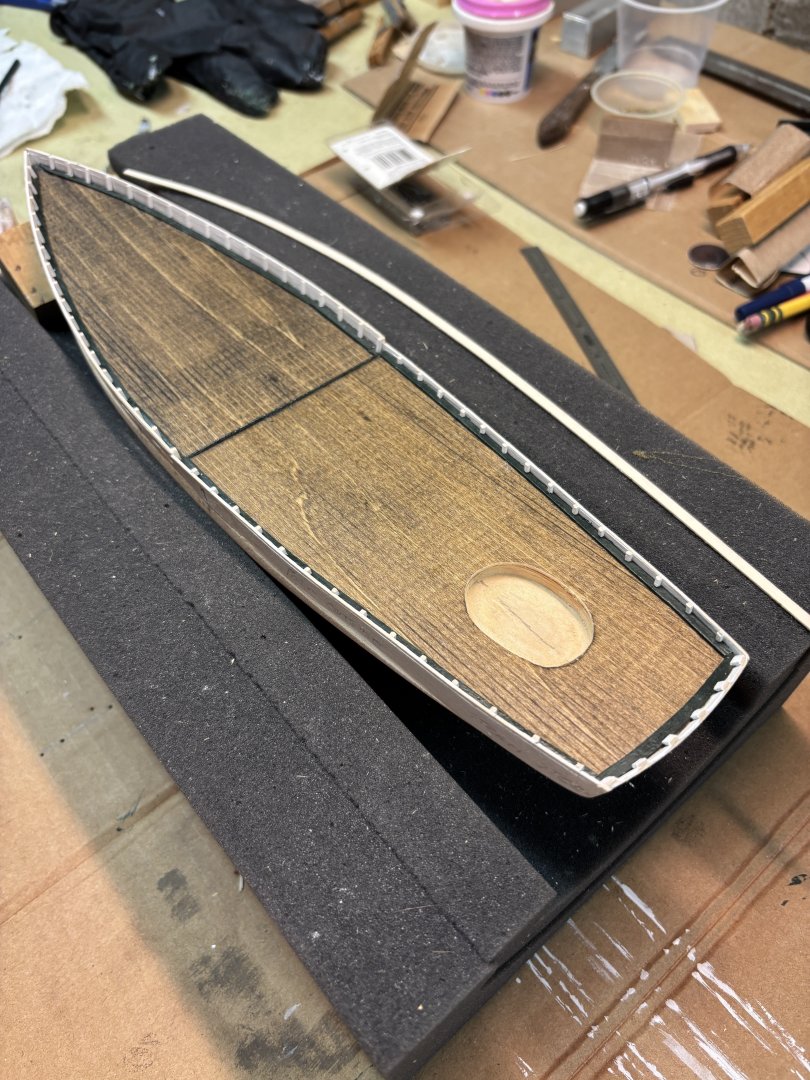
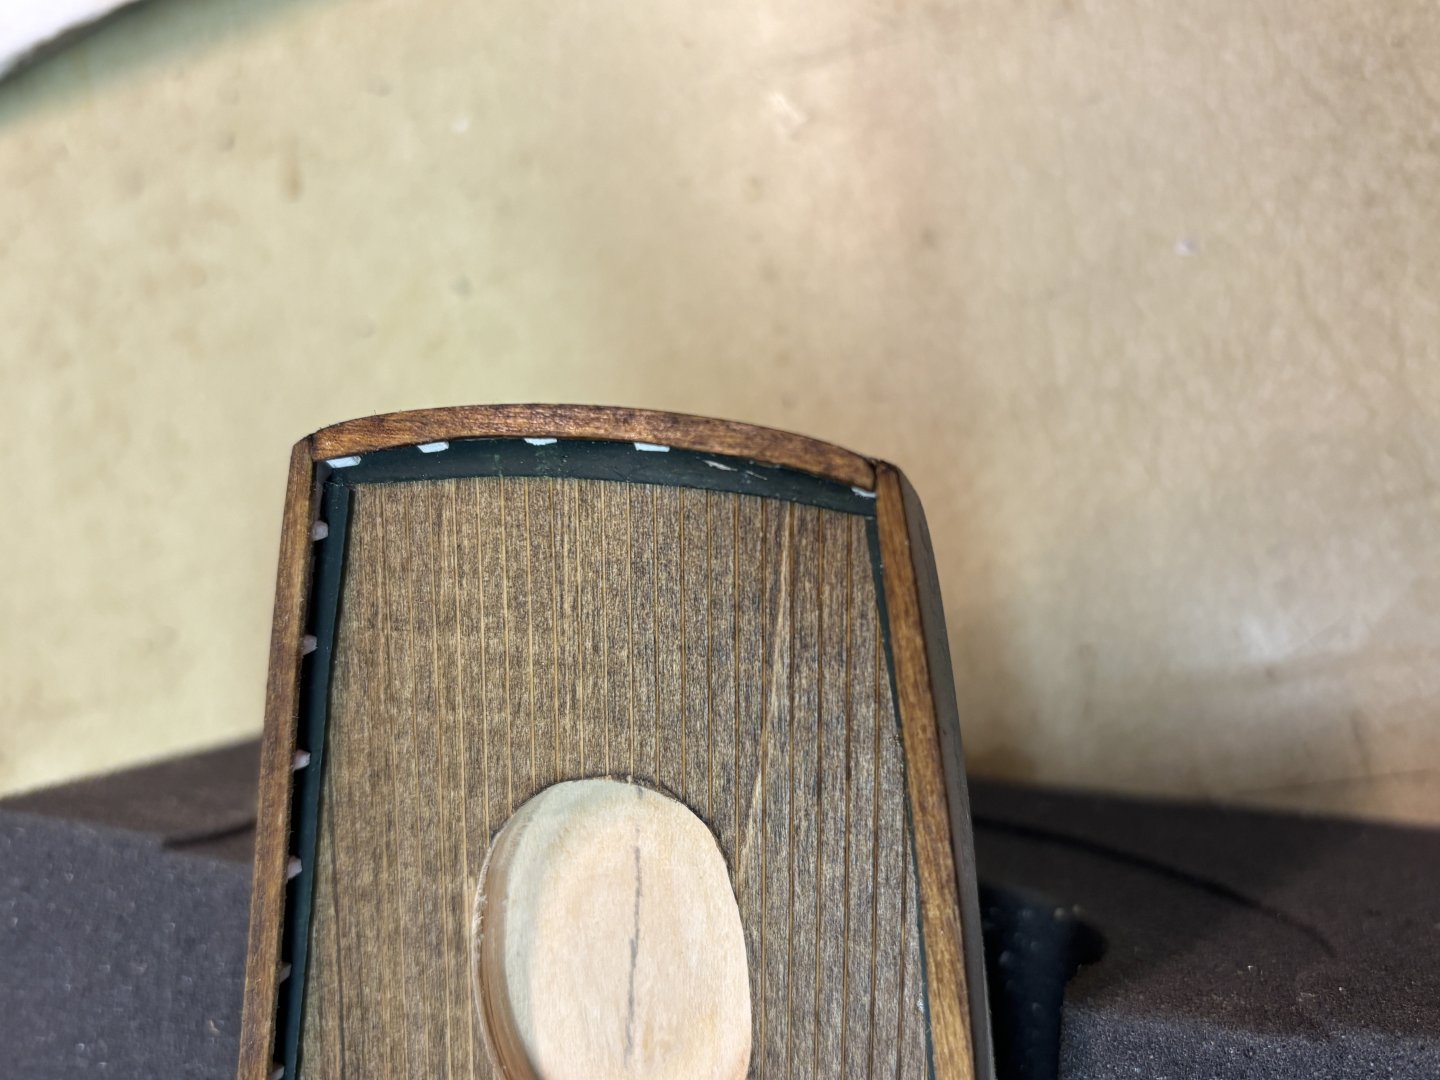
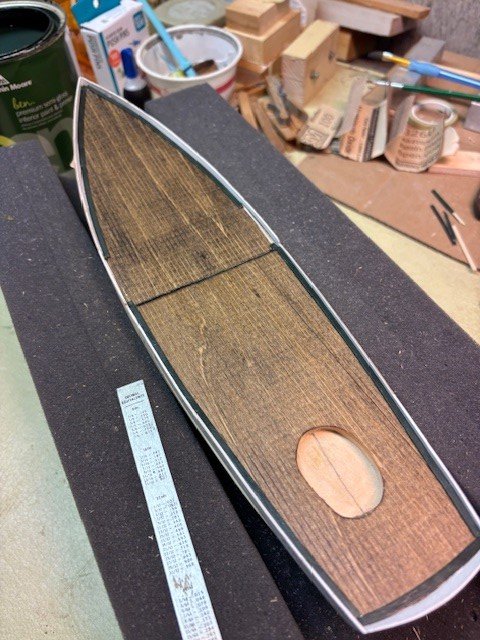
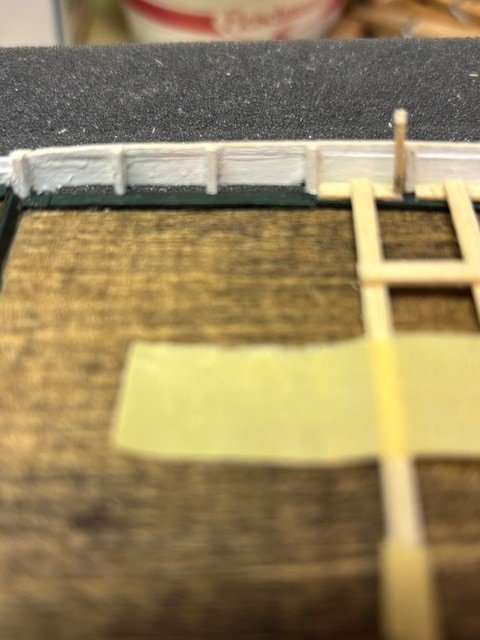
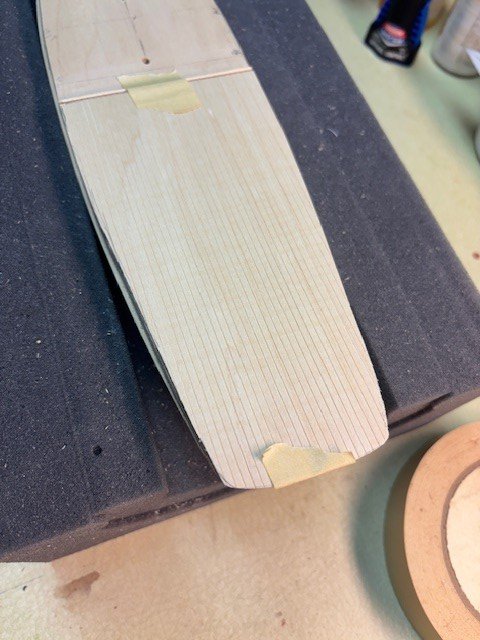
Timberheads and cap rails in place. As you can see, I decided to continue with stain along the rails. It struck me as more authentic than painted black. It may be difficult to see but the stain on the rails is lighter than the deck. In some places, I blended both stains. All stained areas were lightly wiped with a cotton cloth after application. Thanks.
-
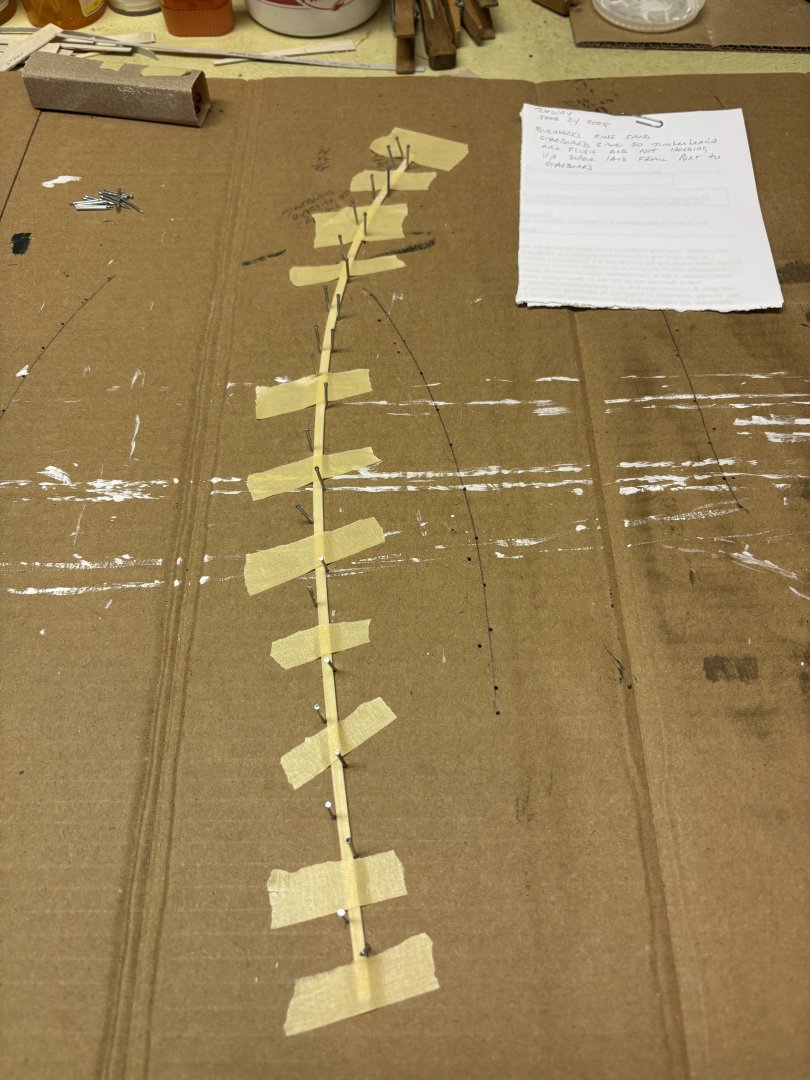
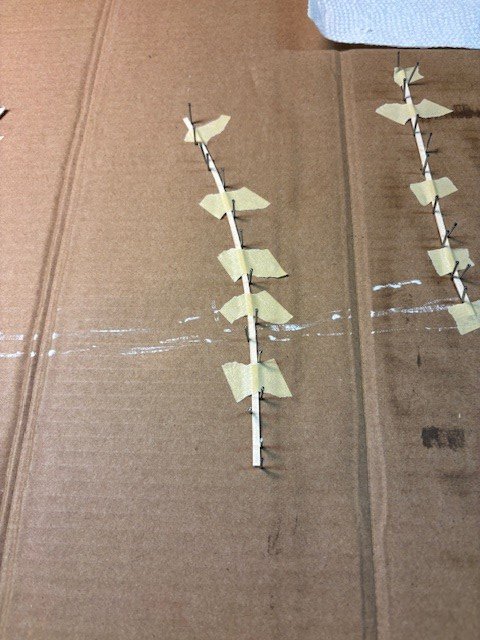
Hello, Recent progress. Had to add some height to the bulwarks. Took a while to get that under control. Pictures show installation of timberheads. Made a simple fixture which provides the 3/8 spacing plus, generally, good vertical location as well. Also picture showing the shaping of the waterways. Used the deck template and drew a line on heavy cardboard. Then just push in brads, soak the waterway stock, tape in place and wait overnight.
-
Hello, Could anyone advise an effective method to clamp the bulwarks to the hull? I plan on using Elmer's wood glue and can pin the bulwark to the hull. That would not provide any real clamping though. Secondly, I am confused on the shape of the stern. It looks like it has a very sloping or angled stern, but the templates are a distinct oval oblong shape. Thanks for your assistance.
-
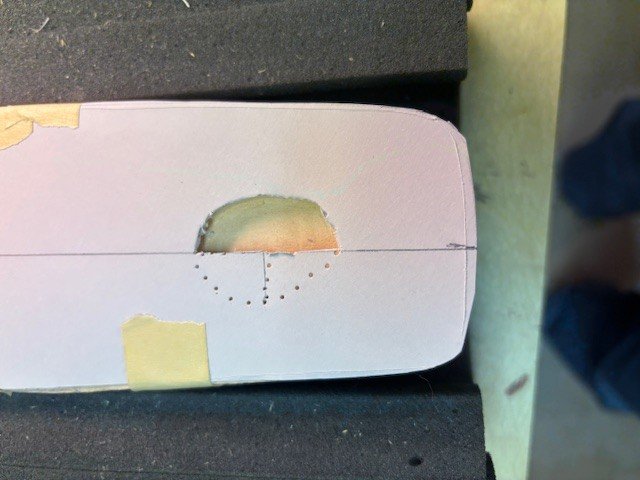
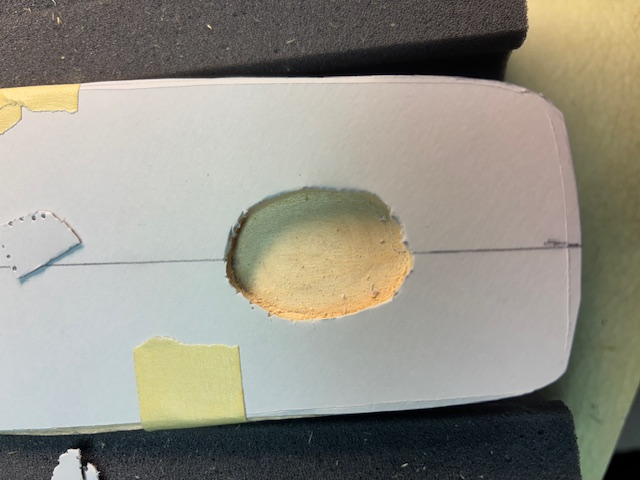
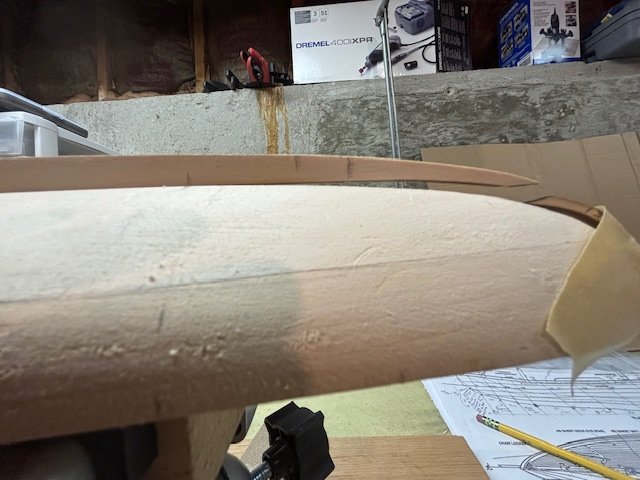
Hello, Here are hopefully current pictures of the build. Most of the bodywork is completed, the sternpost is in place, the rudder has been fitted and shows a reasonably parallel line with the sternpost. One of the problems I encountered was the supplied keel, while laser cut, had quite a warp to the forward 2 inches. That caused misalignment with the stem. Wood filler and a lot of cautious sanding has got the area looking much better. The tool shown is a Dremel round cutter. I used that to create the small cutout to accept the flat at the top of the rudder. I also worked on the cockpit area. The problem I ran into there was the supplied cutout was oblong and to the right of center.
-
Thank you very much Bill. Another person commented that with basswood you could just brush water on the dings and the fibers would rejuvenate. I haven't tried it. As you can see from the pictures there was a significant gap between the keel and the stem. I am actually still working on that although I have just about finished the bodywork so that there is a reasonable curve rounding up to the stem and continuing.
-
Thank you. I will try that. However, I disagree somewhat with your Apple observation. The first pictures I posted on the build thread were from my previous iPhone and there was no issue loading and posting. Below are two images which would not load from my other PC. This PC has Google loaded as the browser, I think the other has MS Edge. However, I previously had no problems uploading my first pictures.
-
There is still a problem here. I inserted these images using Microsoft's Snip Tool. I am still not able to upload successfully to this thread. However, I am able to successfully upload these same images in another area where I had asked for assistance with this problem. It seems that there is a problem with this build thread that does not occur elsewhere.
-
I should also comment that I was able to use Microsoft's "Snip Tool" to insert an image into the post before having rebooted my phone. Ok, I should mention that there is a further problem. The two images below will not load to my build thread file. But they will load here. Thinking that the problem was solved, I still get the error 200 message in my build log file. This would indicate to me that there is something corrupt in the build log file or the possibly the server is treating the images as spam in the build log thread.
-
Thank you all for your suggestions. The problem has been resolved. I am going to explain how the problem was resolved. The problem: Purchased new iPhone would not upload pictures to this site. Received message stating: Error Code 200 Sorry, unknown server error occurred when uploading this file'. Solution. All new iPhones cameras are formatted in HEIC mode (High Efficiency Image Capture). This is a compression feature which Apple uses to reduce storage demand on iCloud servers. This feature should be turned off and the camera switched to Compatibility mode. This is very simple and is done by going to: Settings, Camera, Formats, tap on Formats, and tap on Most Compatible. Then and, most importantly, back out of Settings and reboot your phone. I had tried everything else and had forgotten the simplest of all rebooting your phone or device to make sure the changes are applied.
-
Hello, I am a recent new member of MSW. I had started a kit build log thread and had no problem uploading pictures from my phone. A few days ago, I started to receive "Error Message 200" Sorry, unknown server error. Unable to upload this file. I started receiving the message after I had purchased a new iPhone. I have reviewed all the settings and they are correct meaning I am not transferring an HEIC(High Efficiency Image Capture Apple's default on all new phone) image but a JPG image. I have been uploading pictures for years and have never run into this problem before. Can anyone advise if I am doing something incorrectly or additional settings need to be modified? Note, I transfer the picture from my phone to an email to myself and save from the email to a file resident on my PC. I then upload from my PC to MSW website. That is the procedure I used with no problem. I am unable to upload pictures from my new phone using the same procedure. Thank you, bruceh
-
With Gary's help, I think I found the reason photos were not uploading and will explain. Before that, I am only able to show a picture of the keel with wood filler in place. The pictures I had showed the condition of the keel prior to wood filler being added. Wood filler is completely dry now and a bit of sanding and shaping should have this component of the build pretty complete. Weel my test and upload fix didn't work. So I'll try again.
-
Keel has been fitted, attached, and gaps filled with wood filler. The keel had a bad warp starting about 1.5 inches from the bow end. Thats the reason for the stake at the bow. Hopefully, I'll be able to visually repair some of the misalignment when sanding out the putty. The other issue I ran into was the gap from the hull to the supplied keel. It's obviously supposed to fit more closely as shown on the plan. I really didn't do much sanding in the bow area and accepted using wood filler. Thanks. Not sure what happened to the upload. I'll post again.
-
Accomplished a fair amount on the stern area. Keel pretty much completed. Just need to get some wood filler and I can move ahead on that. Then some final sanding of the hull. I shaped the stern using an Exacto #10 general purpose carving blade. After getting used to how to angle it correctly so as not to dig in to deeply, it could be used as a plane. I was able to shave off very fine layers of wood and had great control over how much stock was coming off. I have learned from previous sanding mistakes how easy it is to get into trouble. Starting to move along. Thanks.
-
Hello, Continued working on hull shaping. Most of the hull now conforming to templates. Still needs fine sanding. Trying to eliminate as much of the future bodywork as possible. The supplied blank had numerous dings and dents, but the hull is gradually coming together. Spent today cutting the notch for the rudder post. I am placing one picture which shows the assembly of the keel plus stem. If anyone who has built the model or one similar could advise if it is not unusual for the forward part of the keel and stem area to require so much body work? Thanks.
About us
Modelshipworld - Advancing Ship Modeling through Research
SSL Secured
Your security is important for us so this Website is SSL-Secured
NRG Mailing Address
Nautical Research Guild
237 South Lincoln Street
Westmont IL, 60559-1917
Model Ship World ® and the MSW logo are Registered Trademarks, and belong to the Nautical Research Guild (United States Patent and Trademark Office: No. 6,929,264 & No. 6,929,274, registered Dec. 20, 2022)
Helpful Links
About the NRG
If you enjoy building ship models that are historically accurate as well as beautiful, then The Nautical Research Guild (NRG) is just right for you.
The Guild is a non-profit educational organization whose mission is to “Advance Ship Modeling Through Research”. We provide support to our members in their efforts to raise the quality of their model ships.
The Nautical Research Guild has published our world-renowned quarterly magazine, The Nautical Research Journal, since 1955. The pages of the Journal are full of articles by accomplished ship modelers who show you how they create those exquisite details on their models, and by maritime historians who show you the correct details to build. The Journal is available in both print and digital editions. Go to the NRG web site (www.thenrg.org) to download a complimentary digital copy of the Journal. The NRG also publishes plan sets, books and compilations of back issues of the Journal and the former Ships in Scale and Model Ship Builder magazines.


