HOLIDAY DONATION DRIVE - SUPPORT MSW - DO YOUR PART TO KEEP THIS GREAT FORUM GOING! (Only 13 donations so far - C'mon guys!)
×

Der Boss
-
Posts
30 -
Joined
-
Last visited
Content Type
Profiles
Forums
Gallery
Events
Everything posted by Der Boss
-
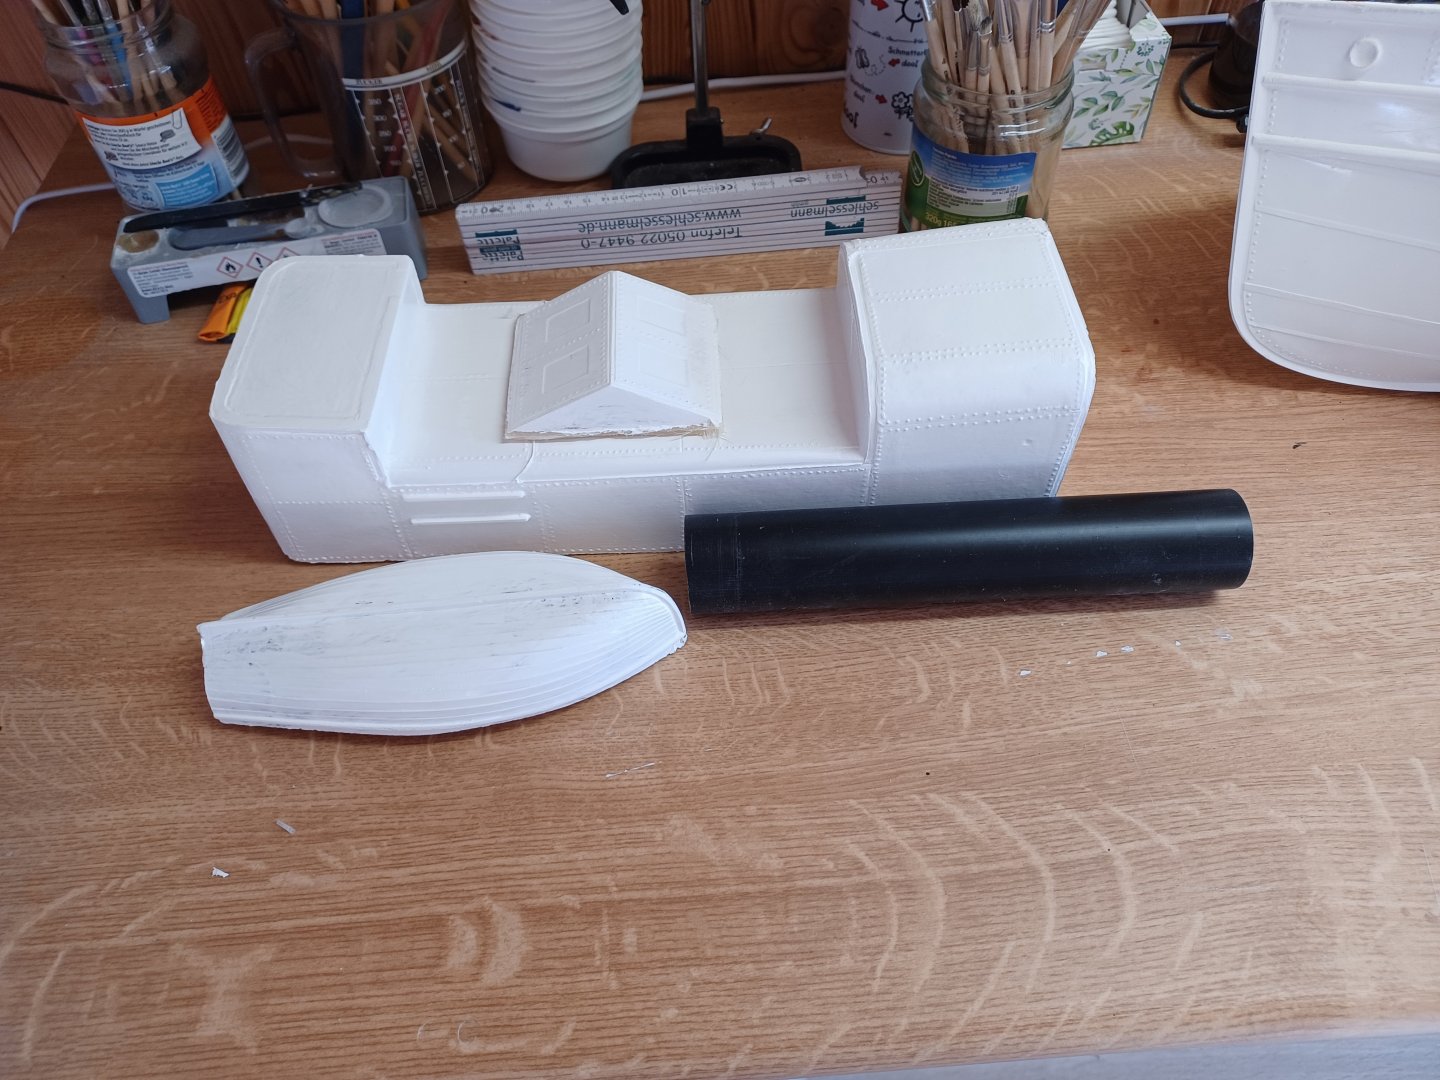
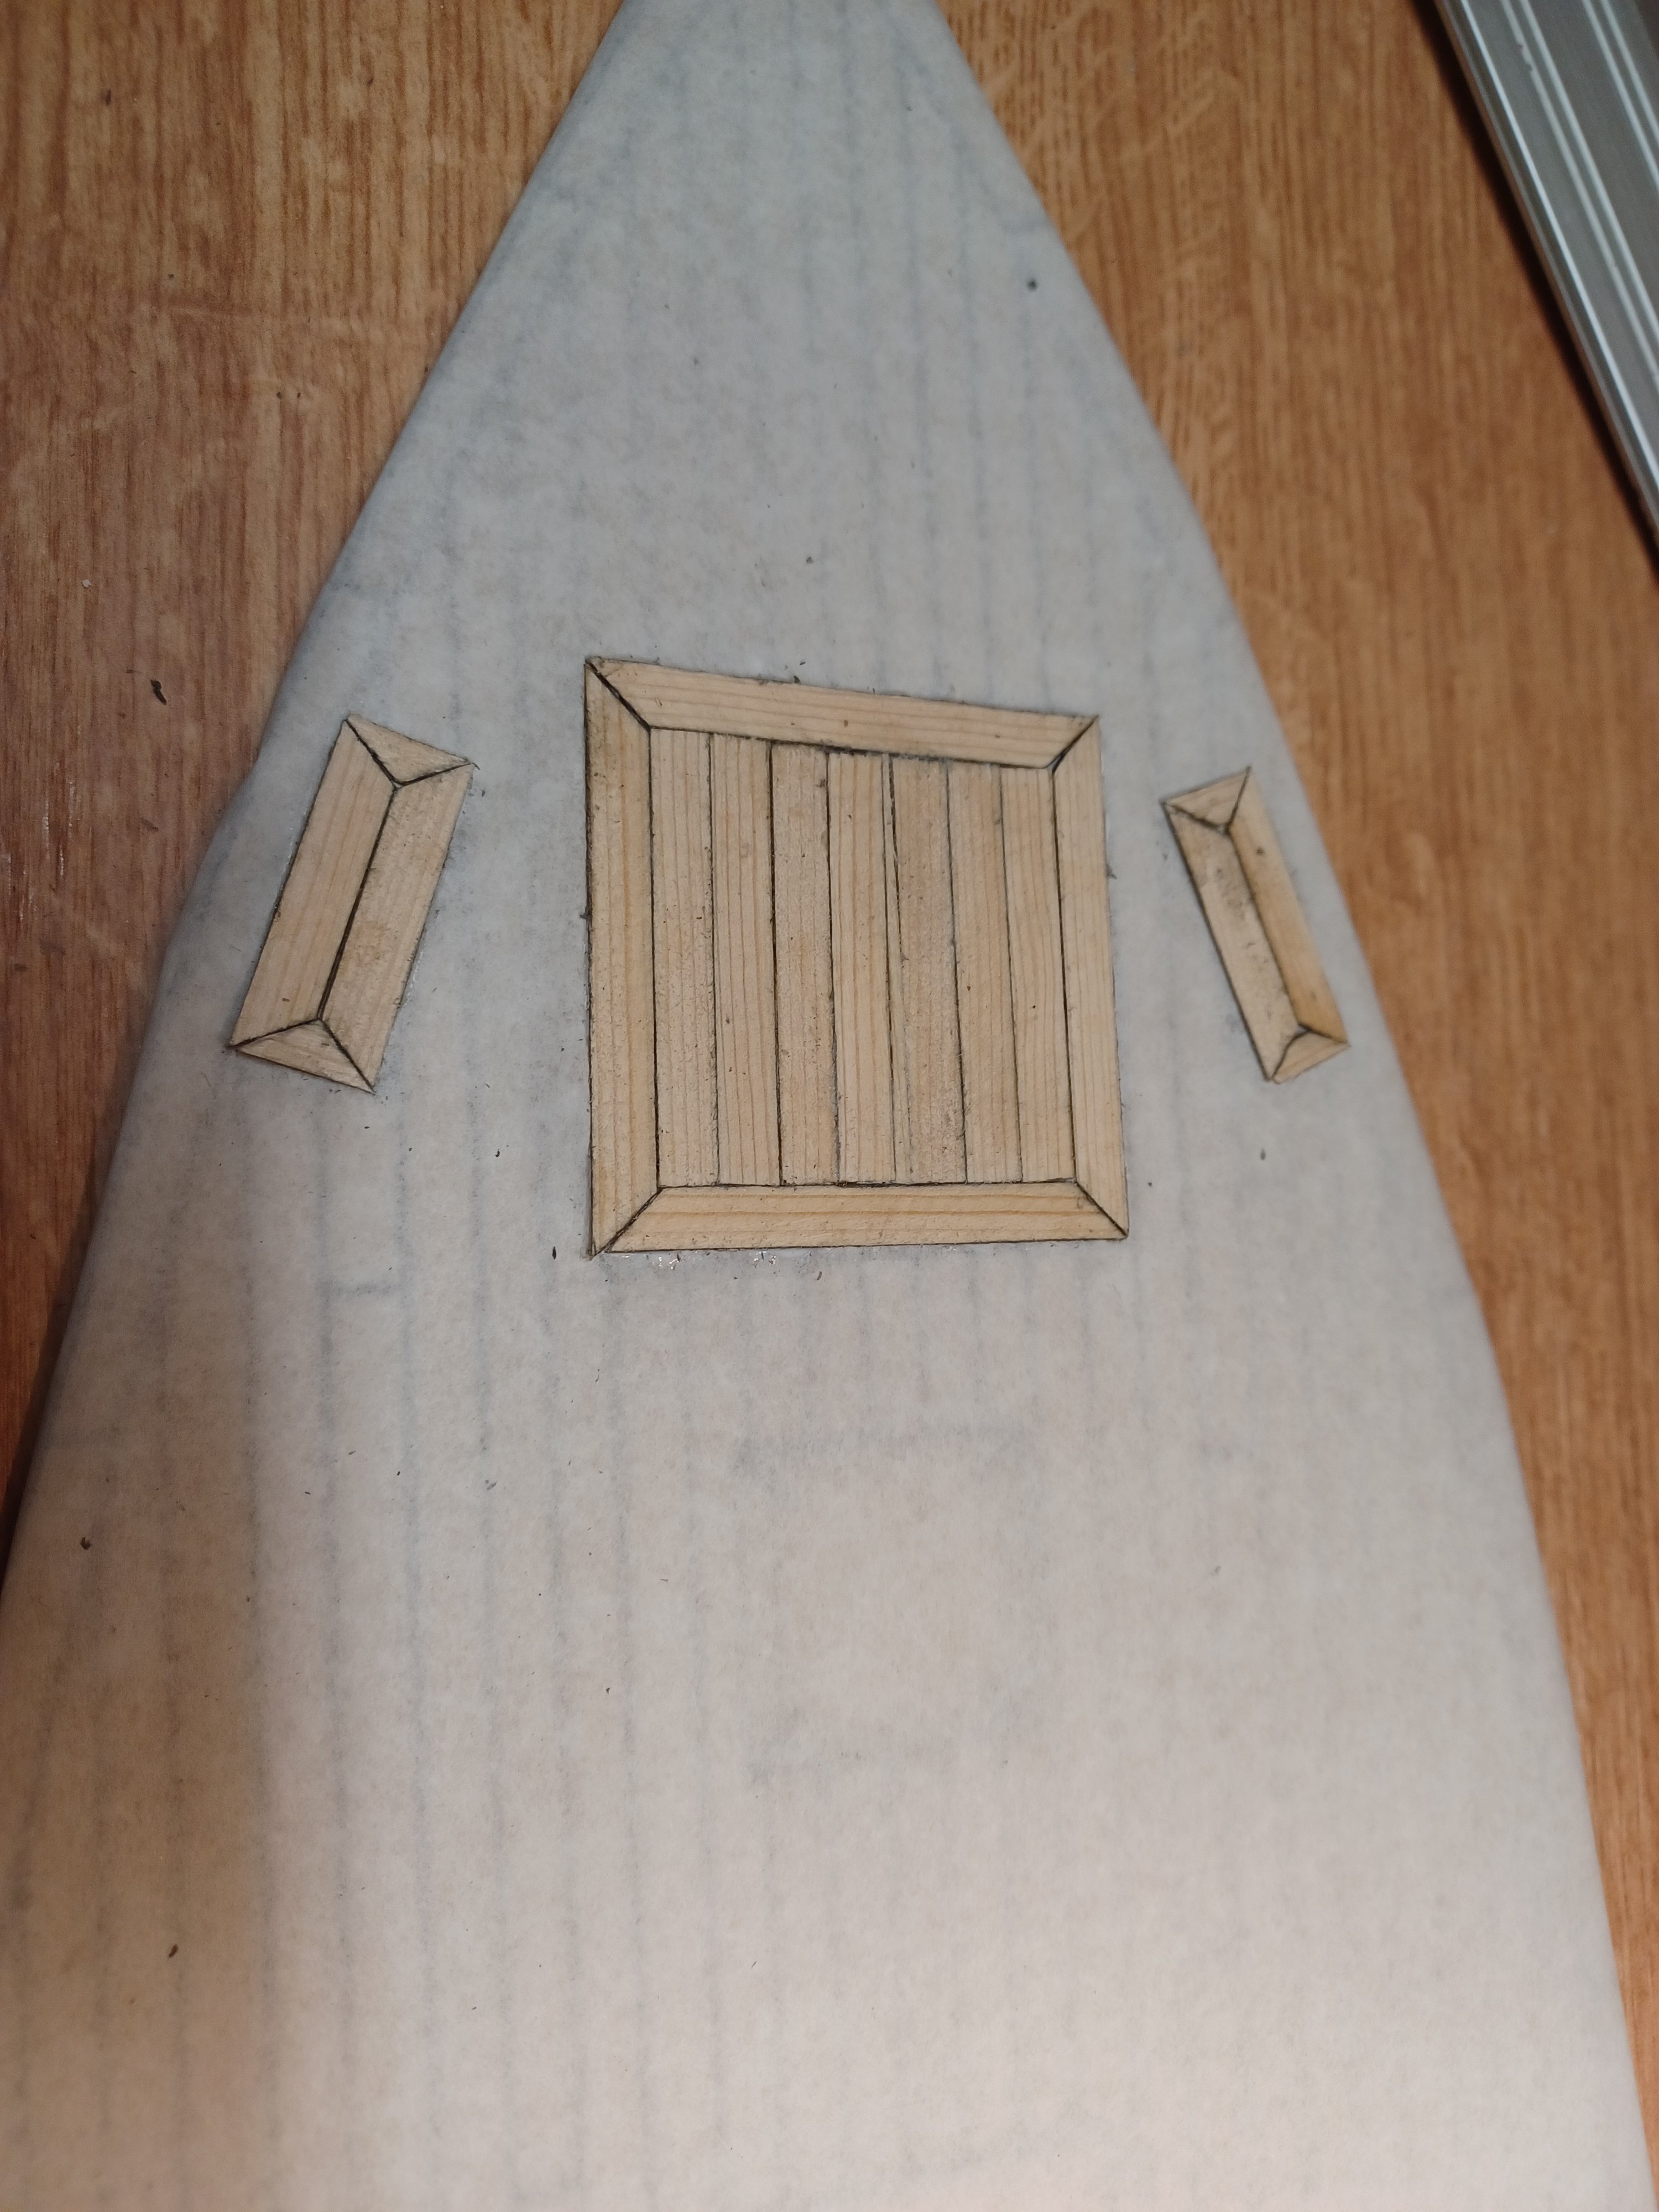
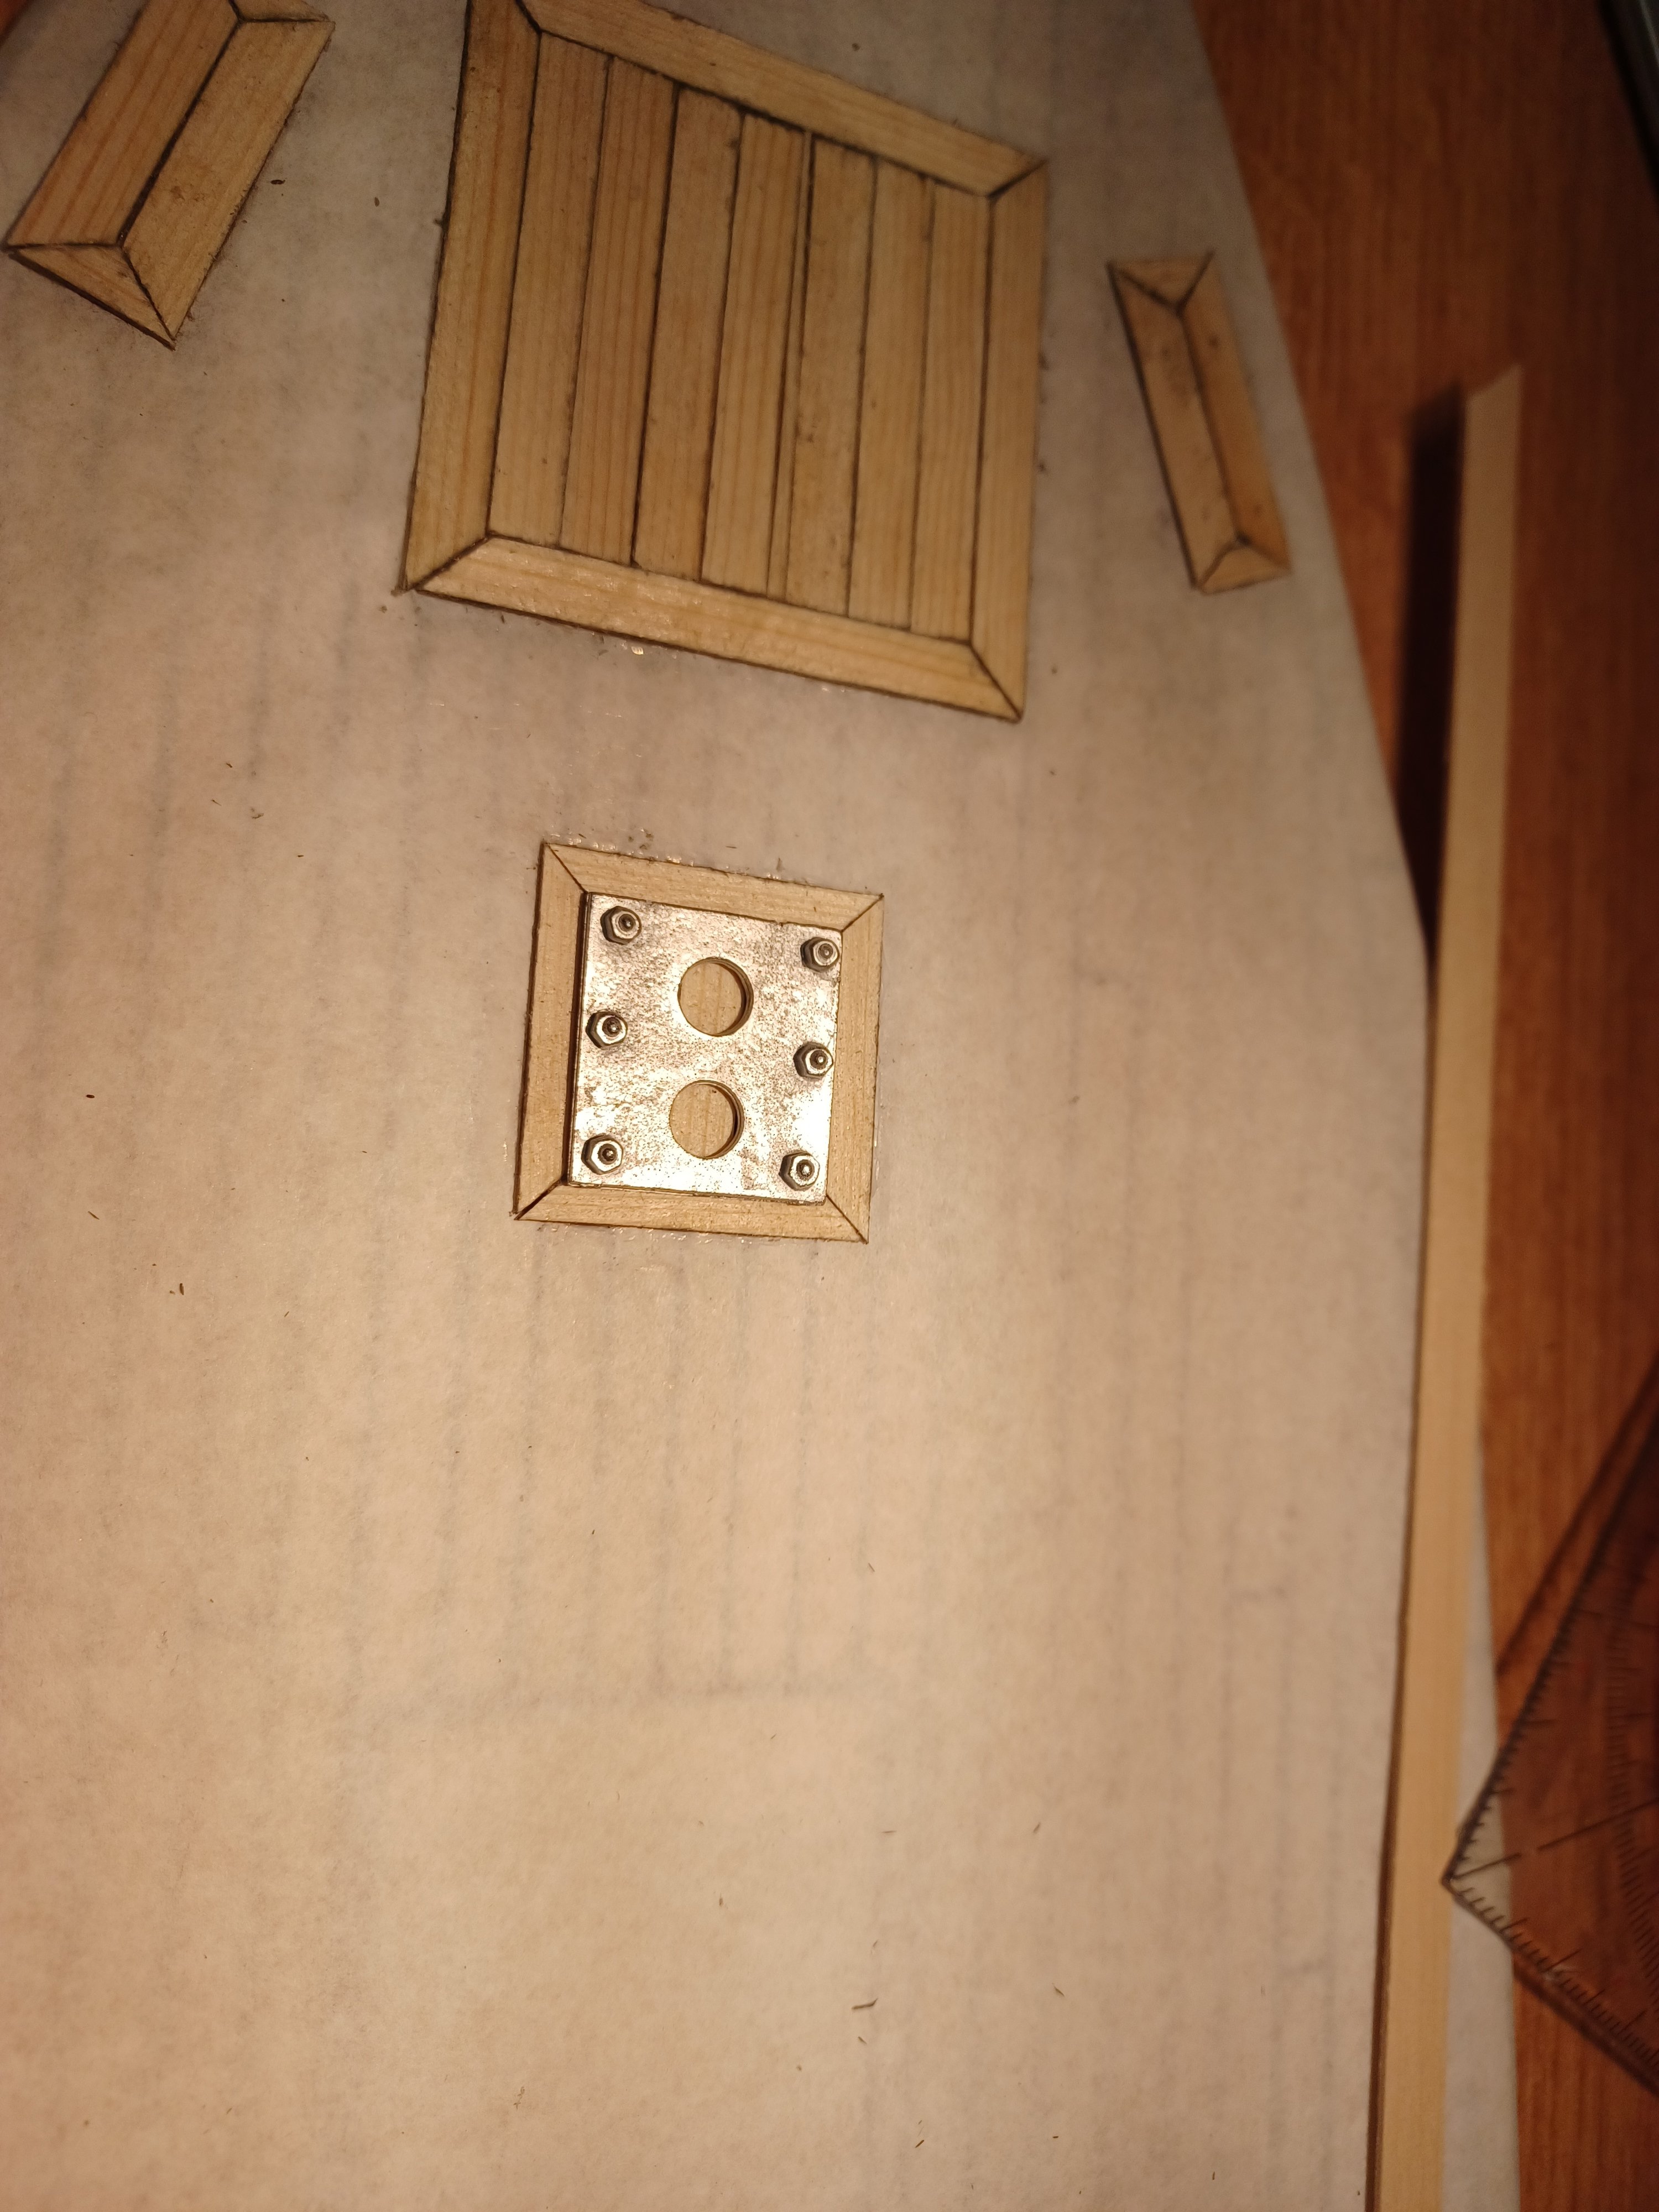
 Hello Small upgrade The skylight is also finished. I have also started on the second small deckhouse and glued 4 Kant mouldings to the thin walls all round. Pictures will follow.
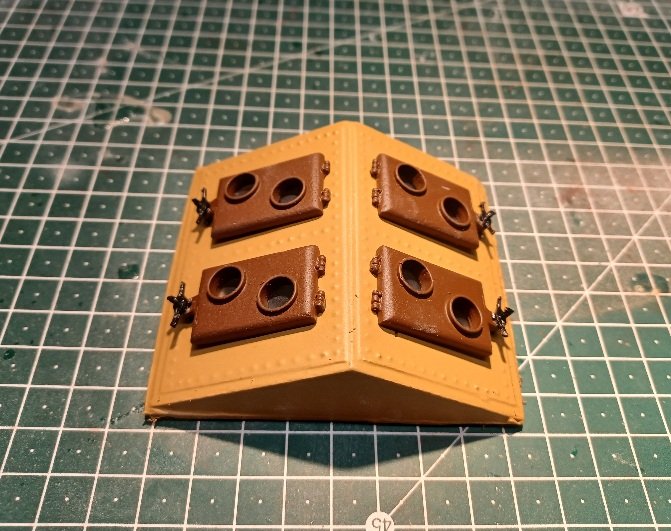
- 35 replies
-
- 1
-

-
- Britannia
- Mountfleet Models
- (and 1 more)
-
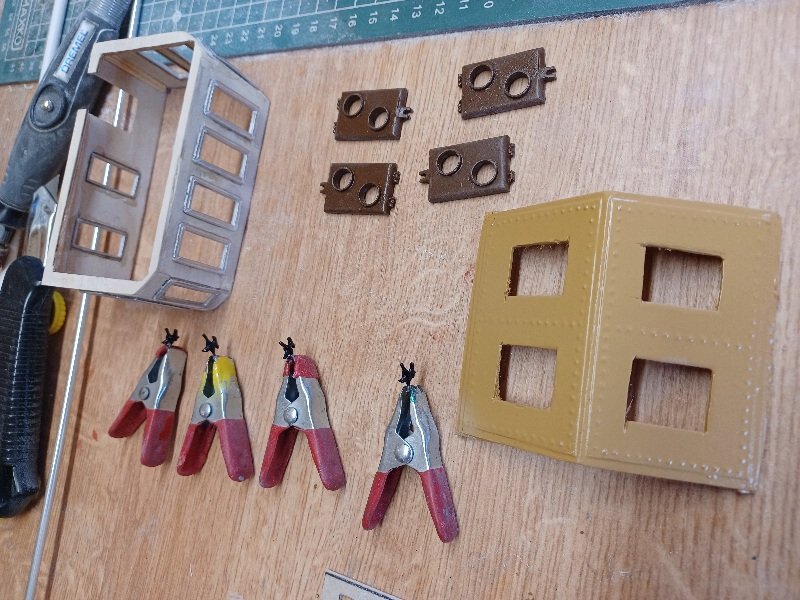
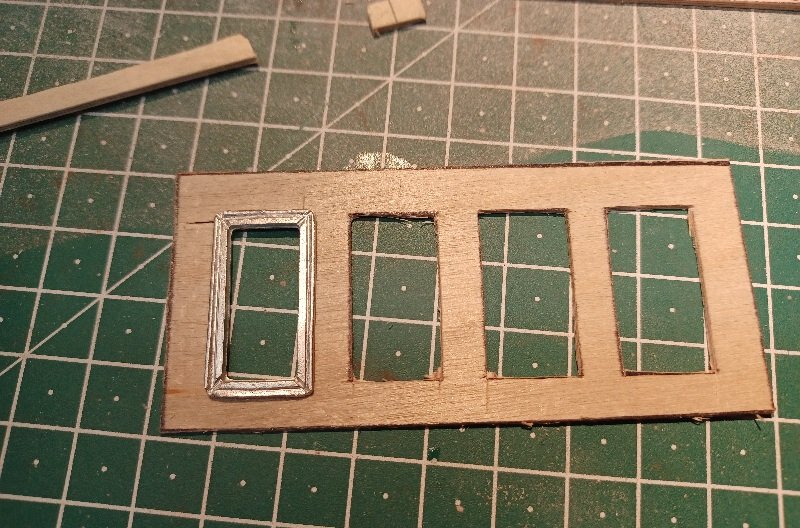
I continued a little on the bridge house. The skylight, the flaps and the closures painted, glued the window frames and cut out the openings for the doors at the bridge house.
- 35 replies
-
- 6
-
-
- Britannia
- Mountfleet Models
- (and 1 more)
-
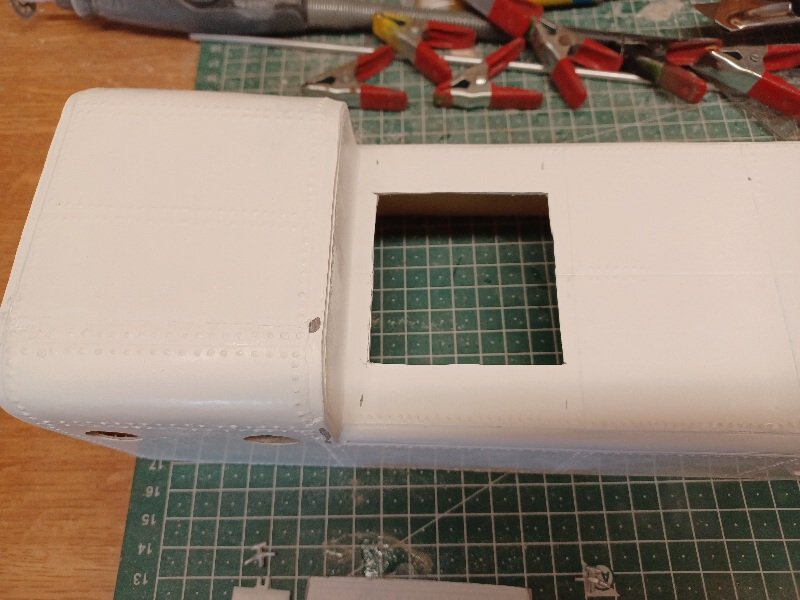
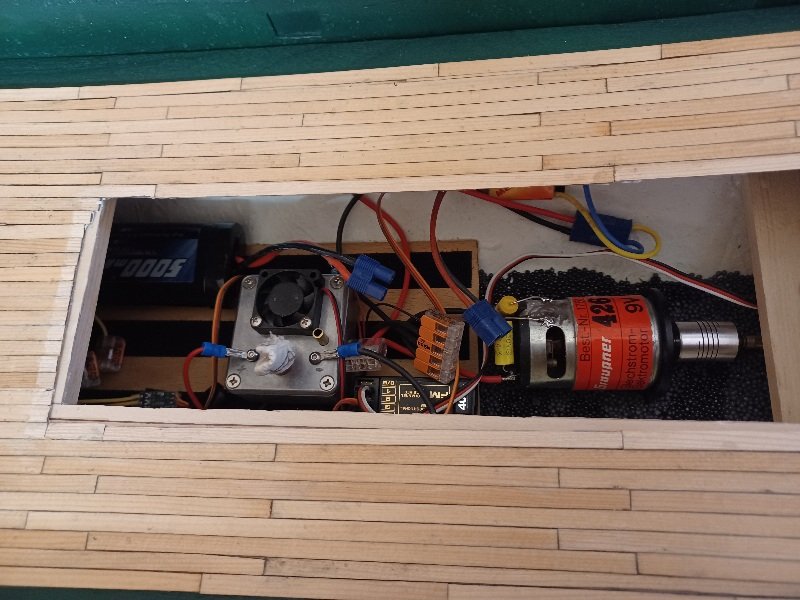
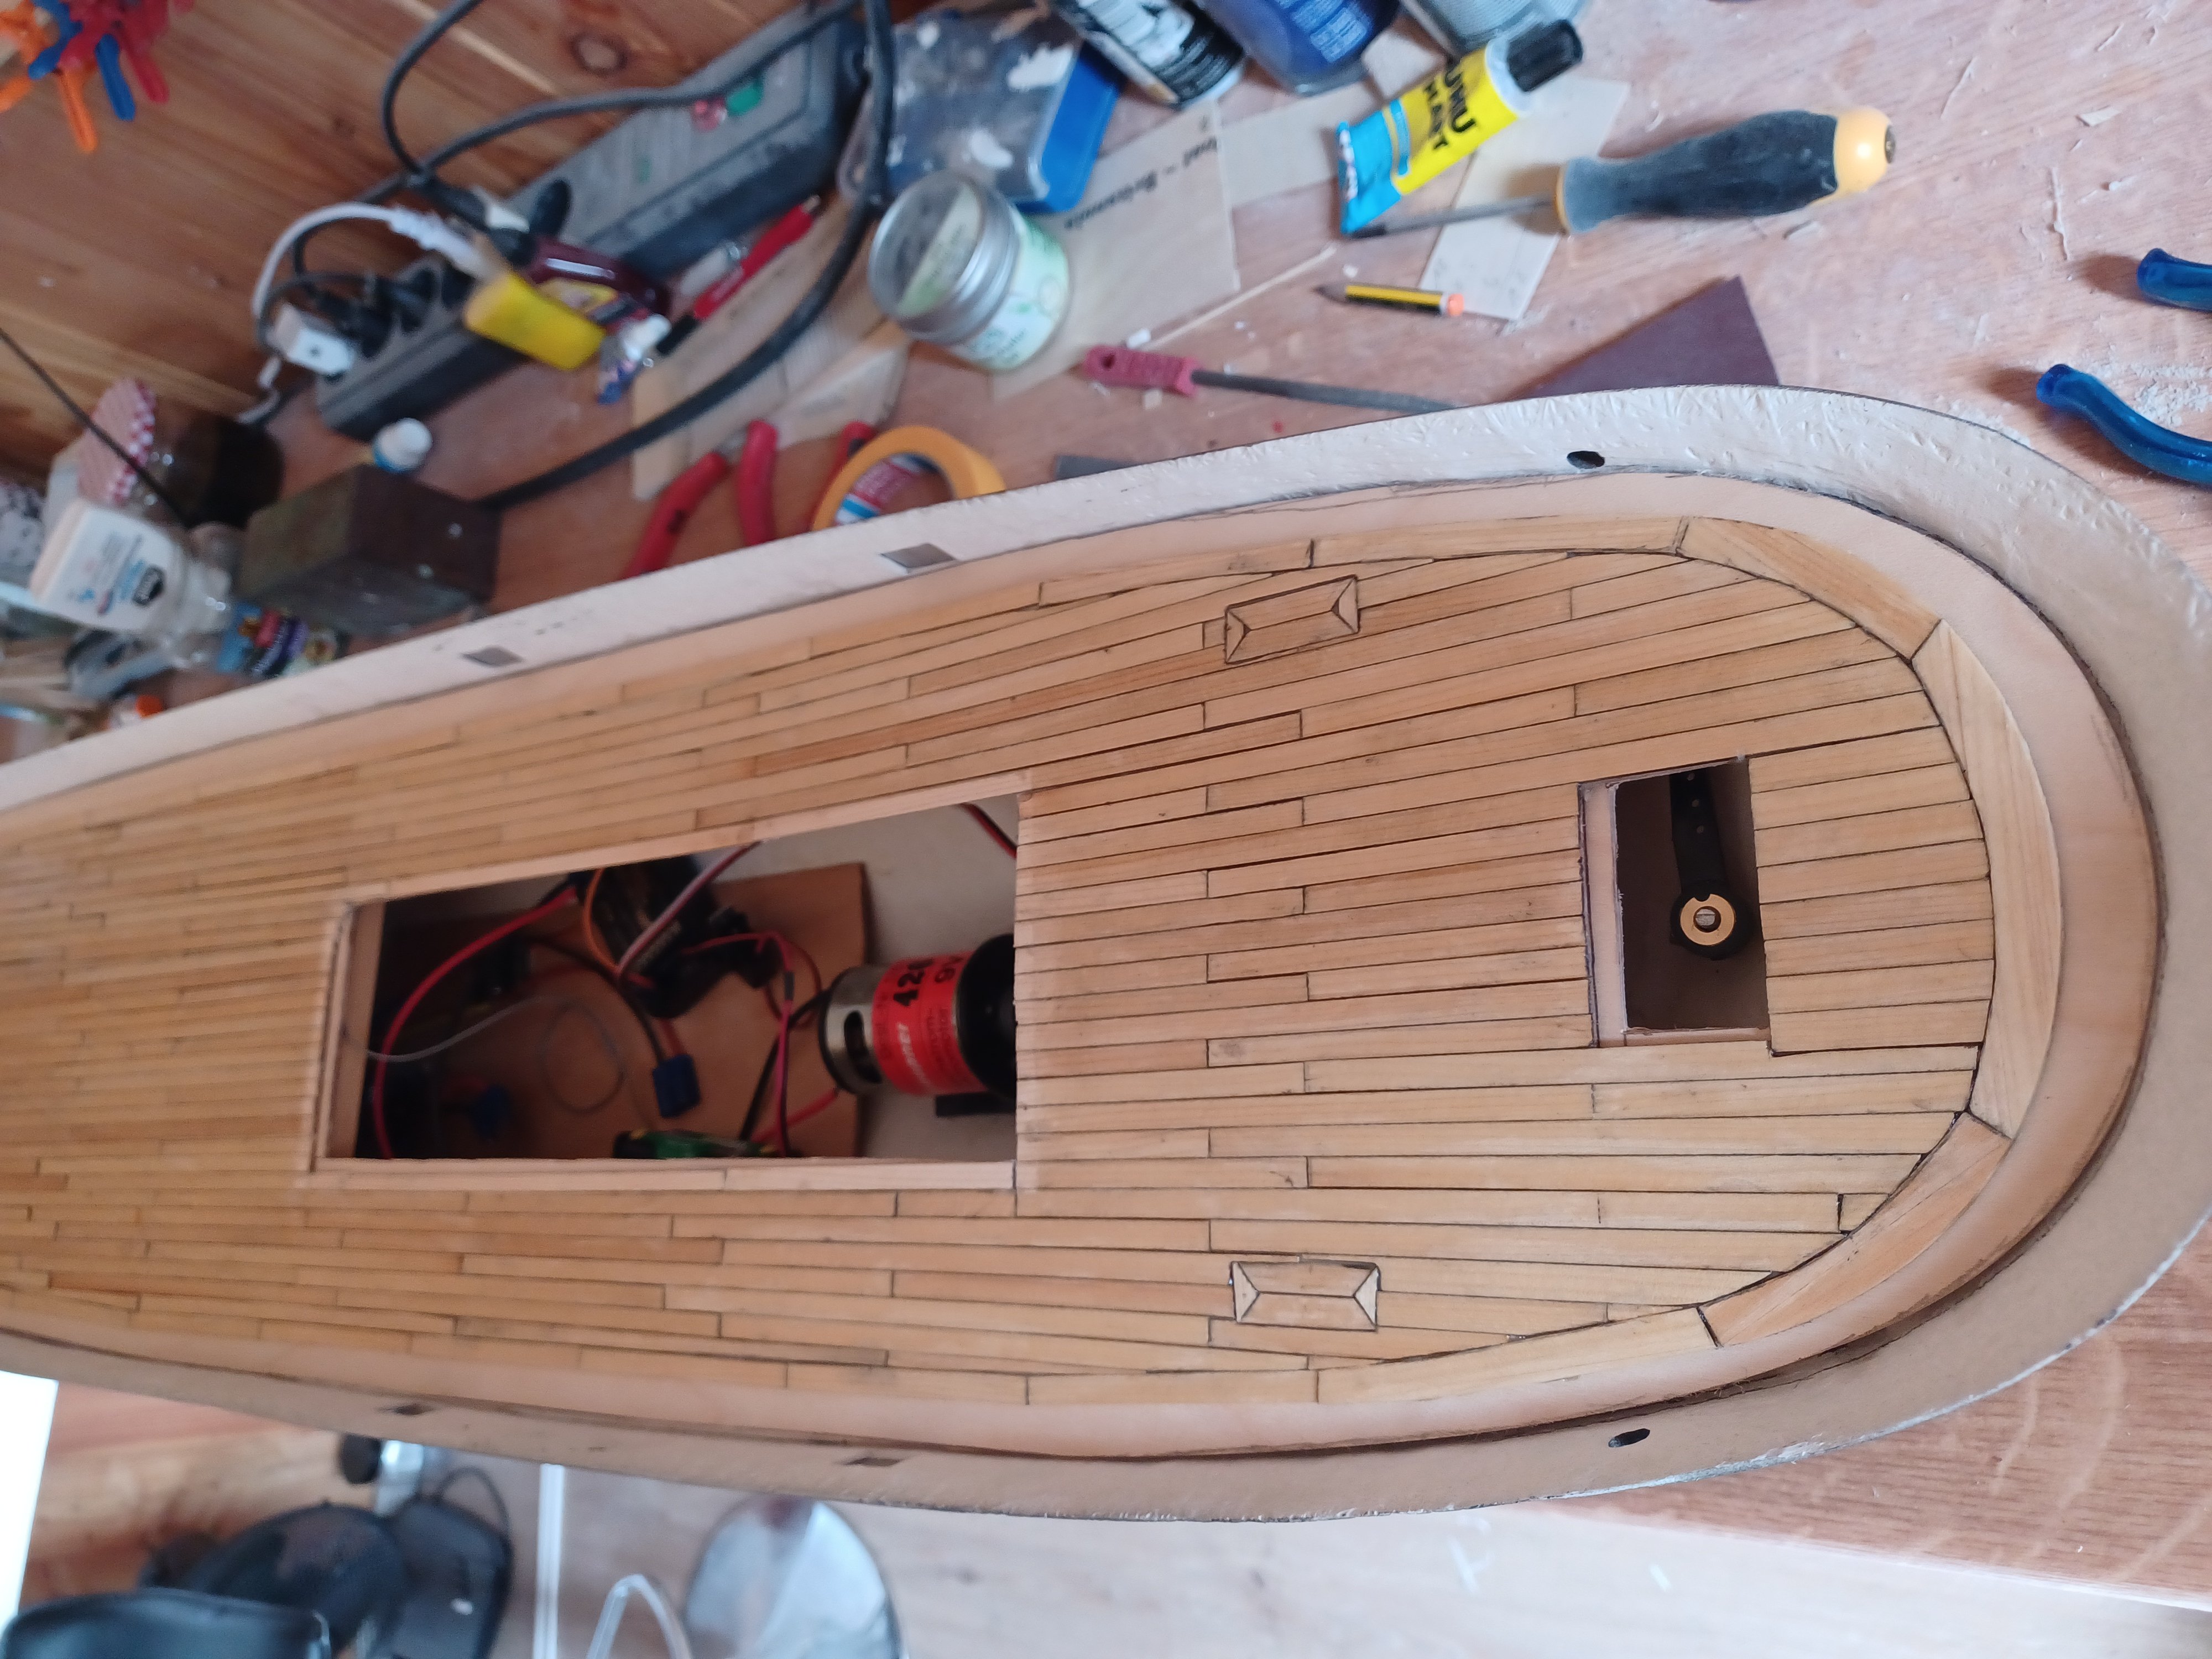
Hello Next, I cut a hole in the deckhouse for the skylight. Holes had to be cut out there too. Then I attached the RC components such as the battery, smoke generator, controller and receiver with Velcro tape.
- 35 replies
-
- 6
-
-
- Britannia
- Mountfleet Models
- (and 1 more)
-
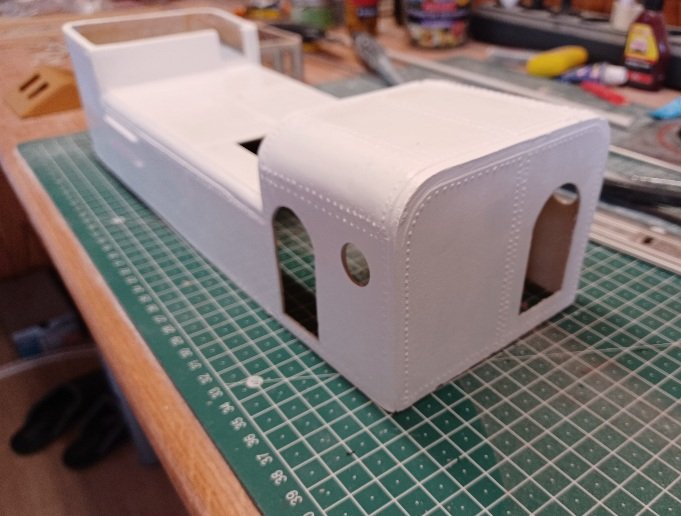
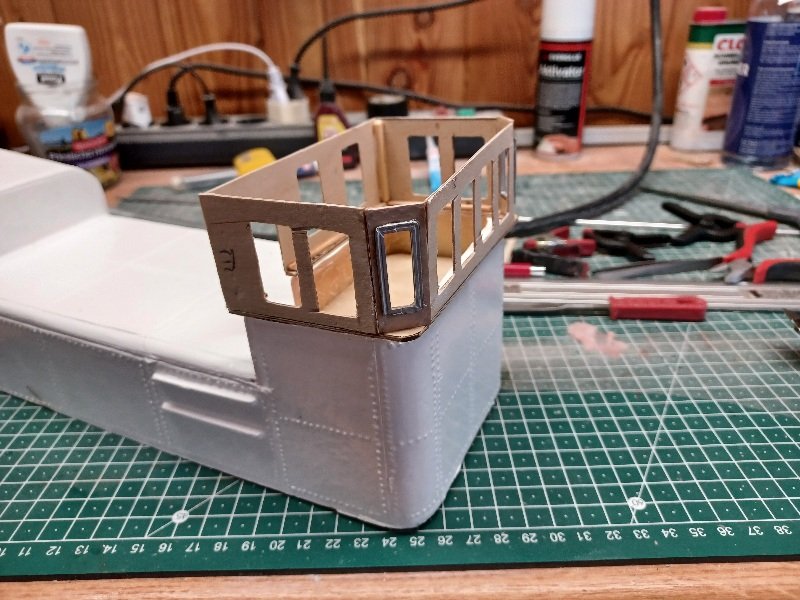
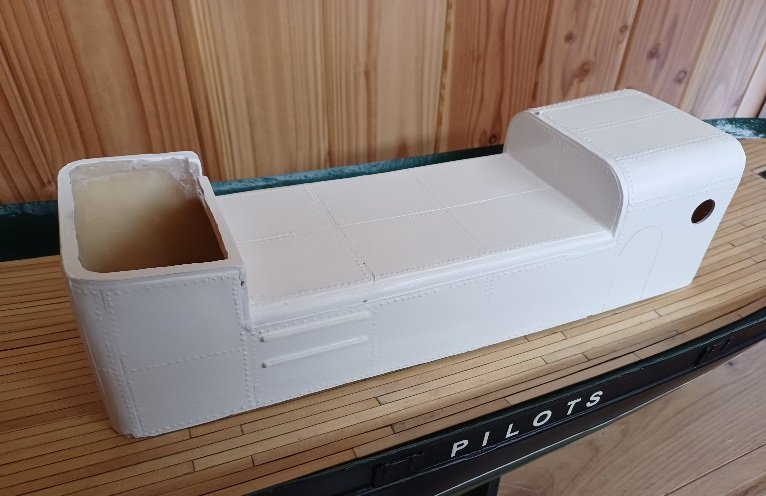
I've also got the wheelhouse together. The window frames still have to go in. A bit of filler and then we'll see. It looks a bit big for the lower part but that's the plan. We'll see what else I can improve.
- 35 replies
-
- 3
-
-
- Britannia
- Mountfleet Models
- (and 1 more)
-
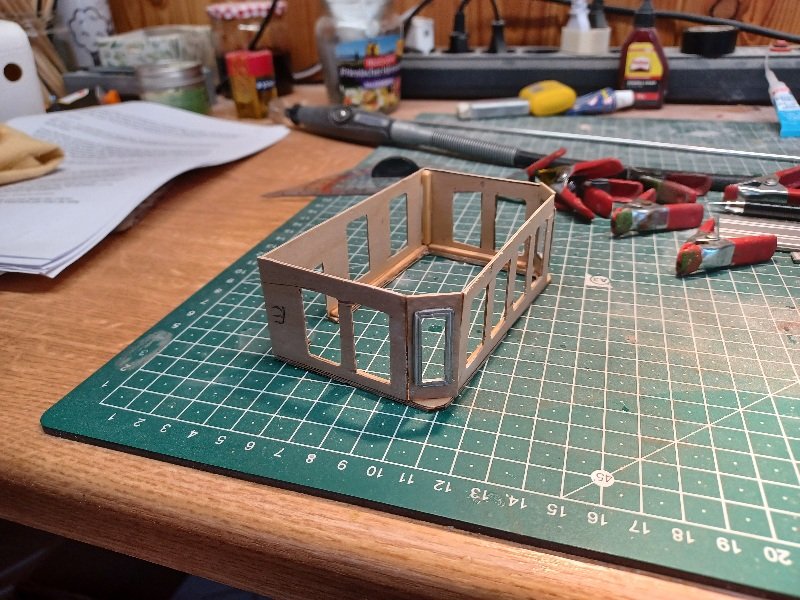
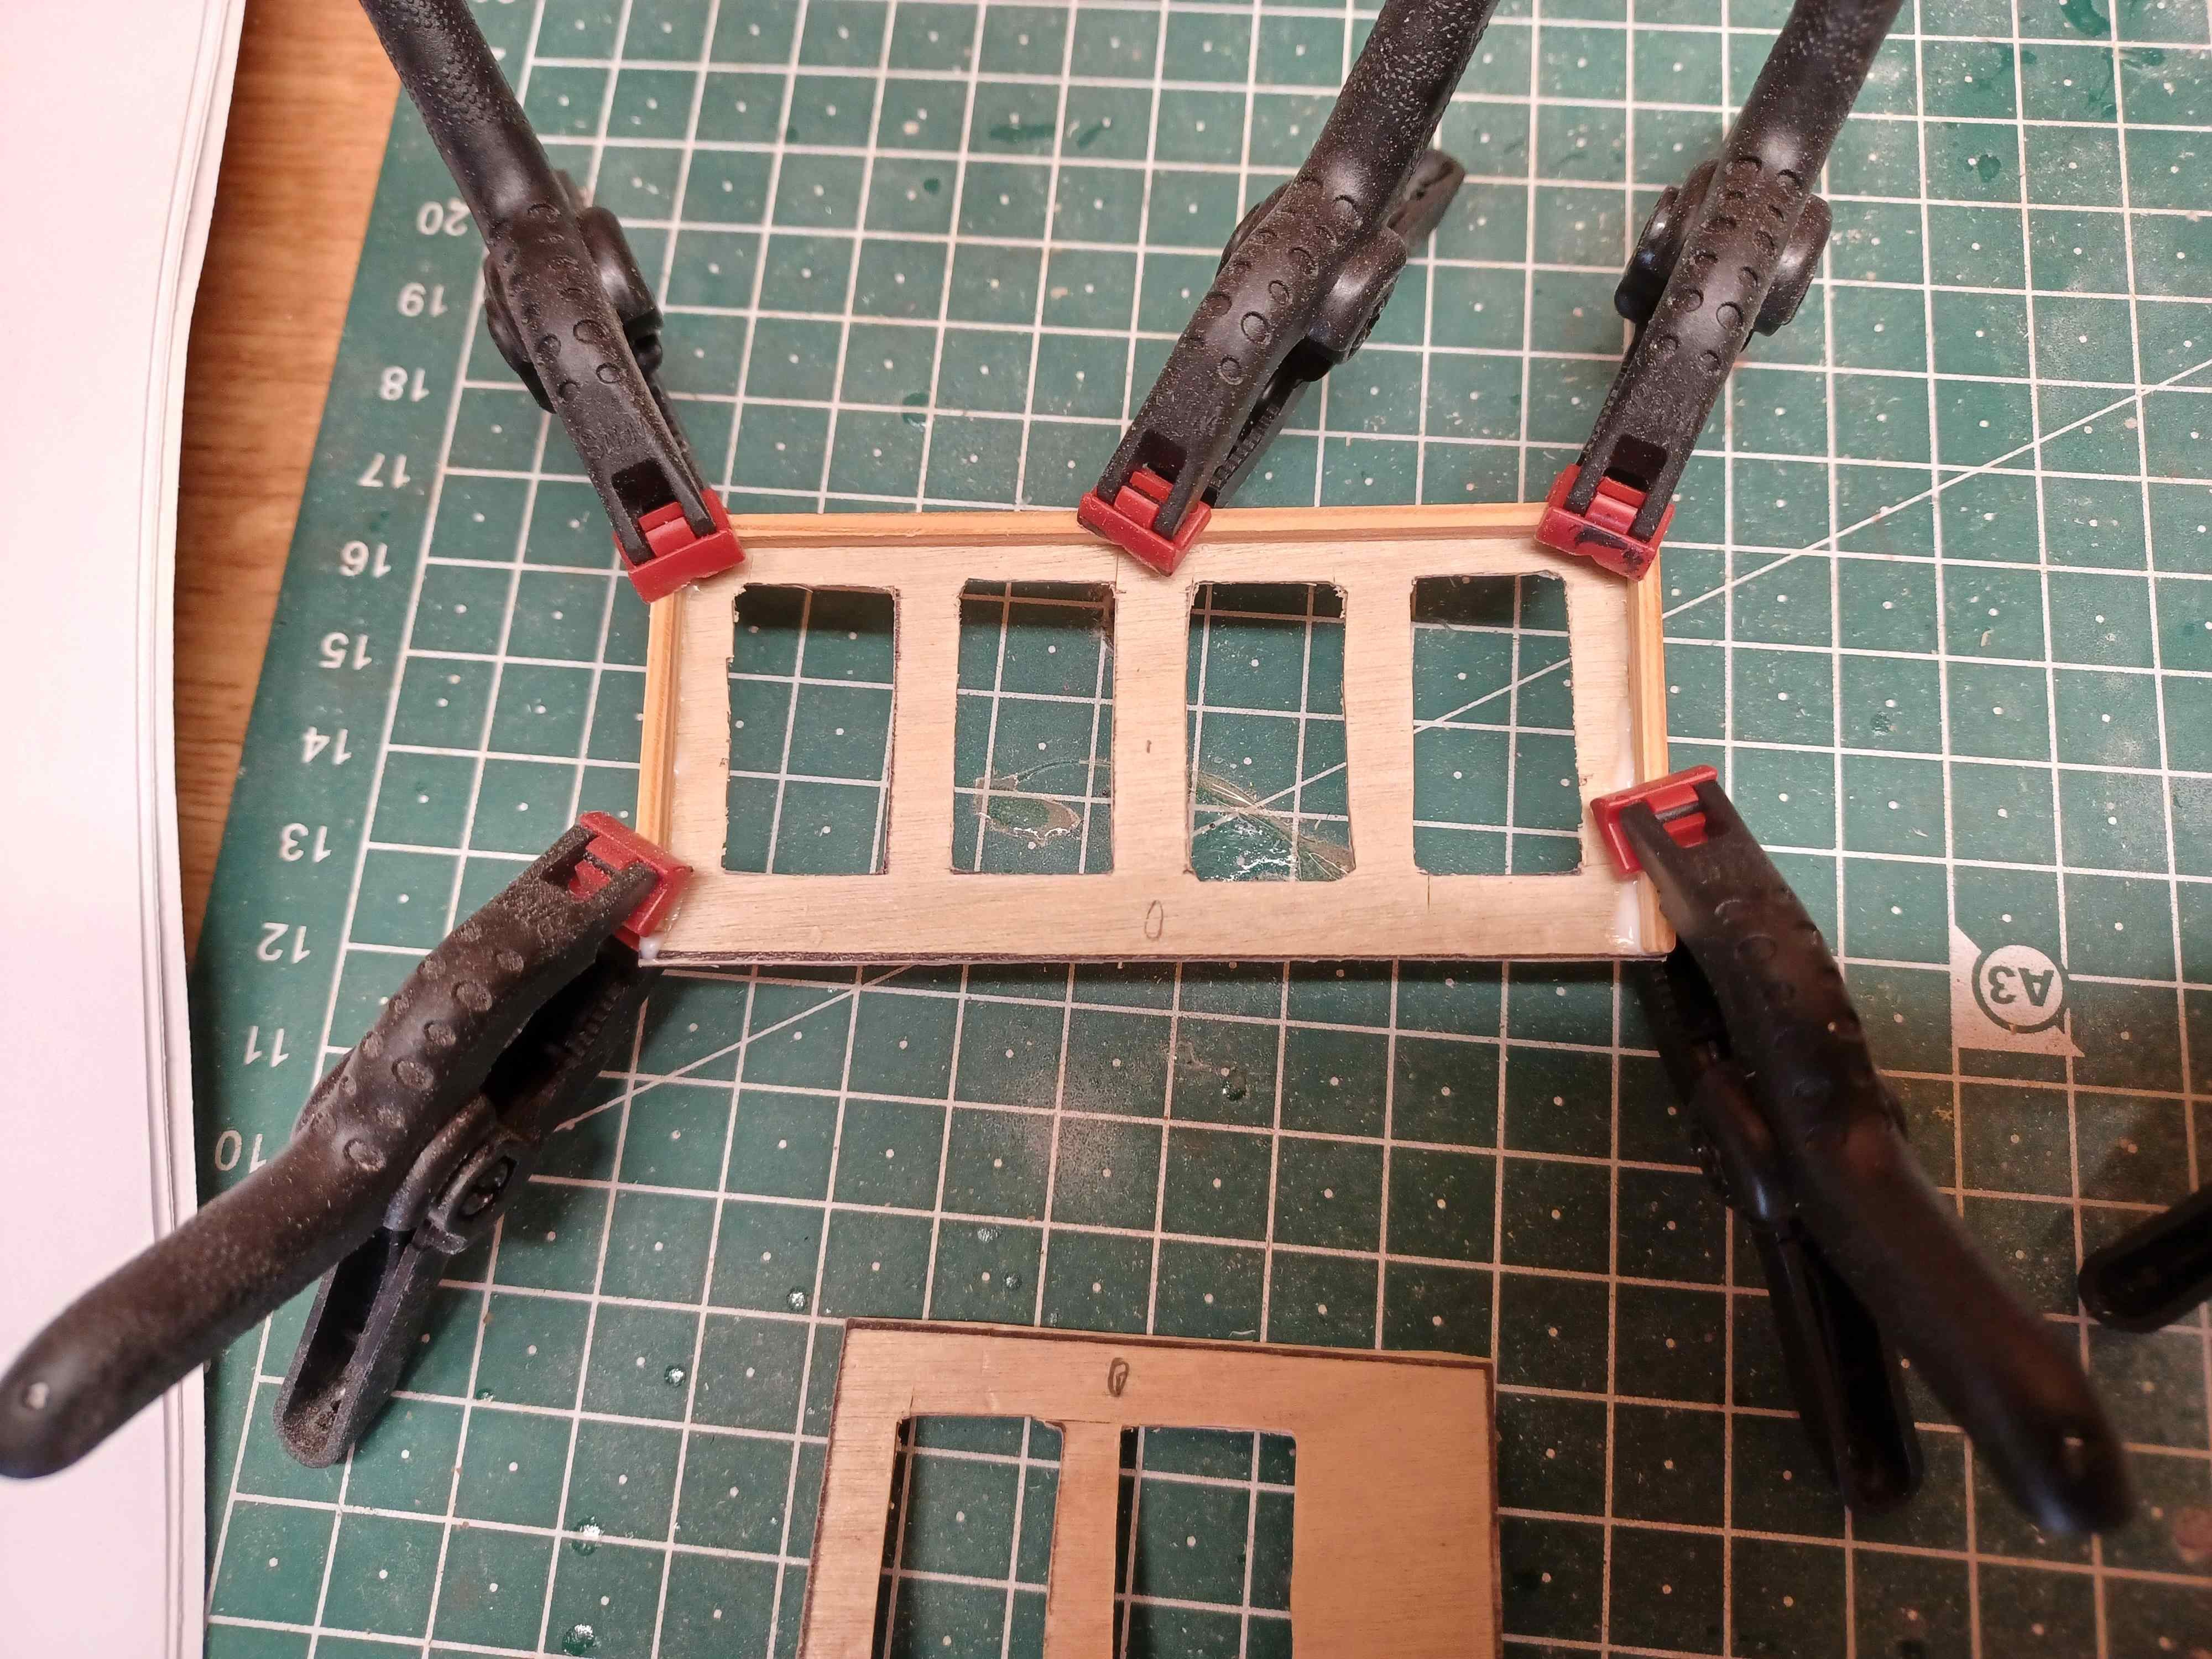
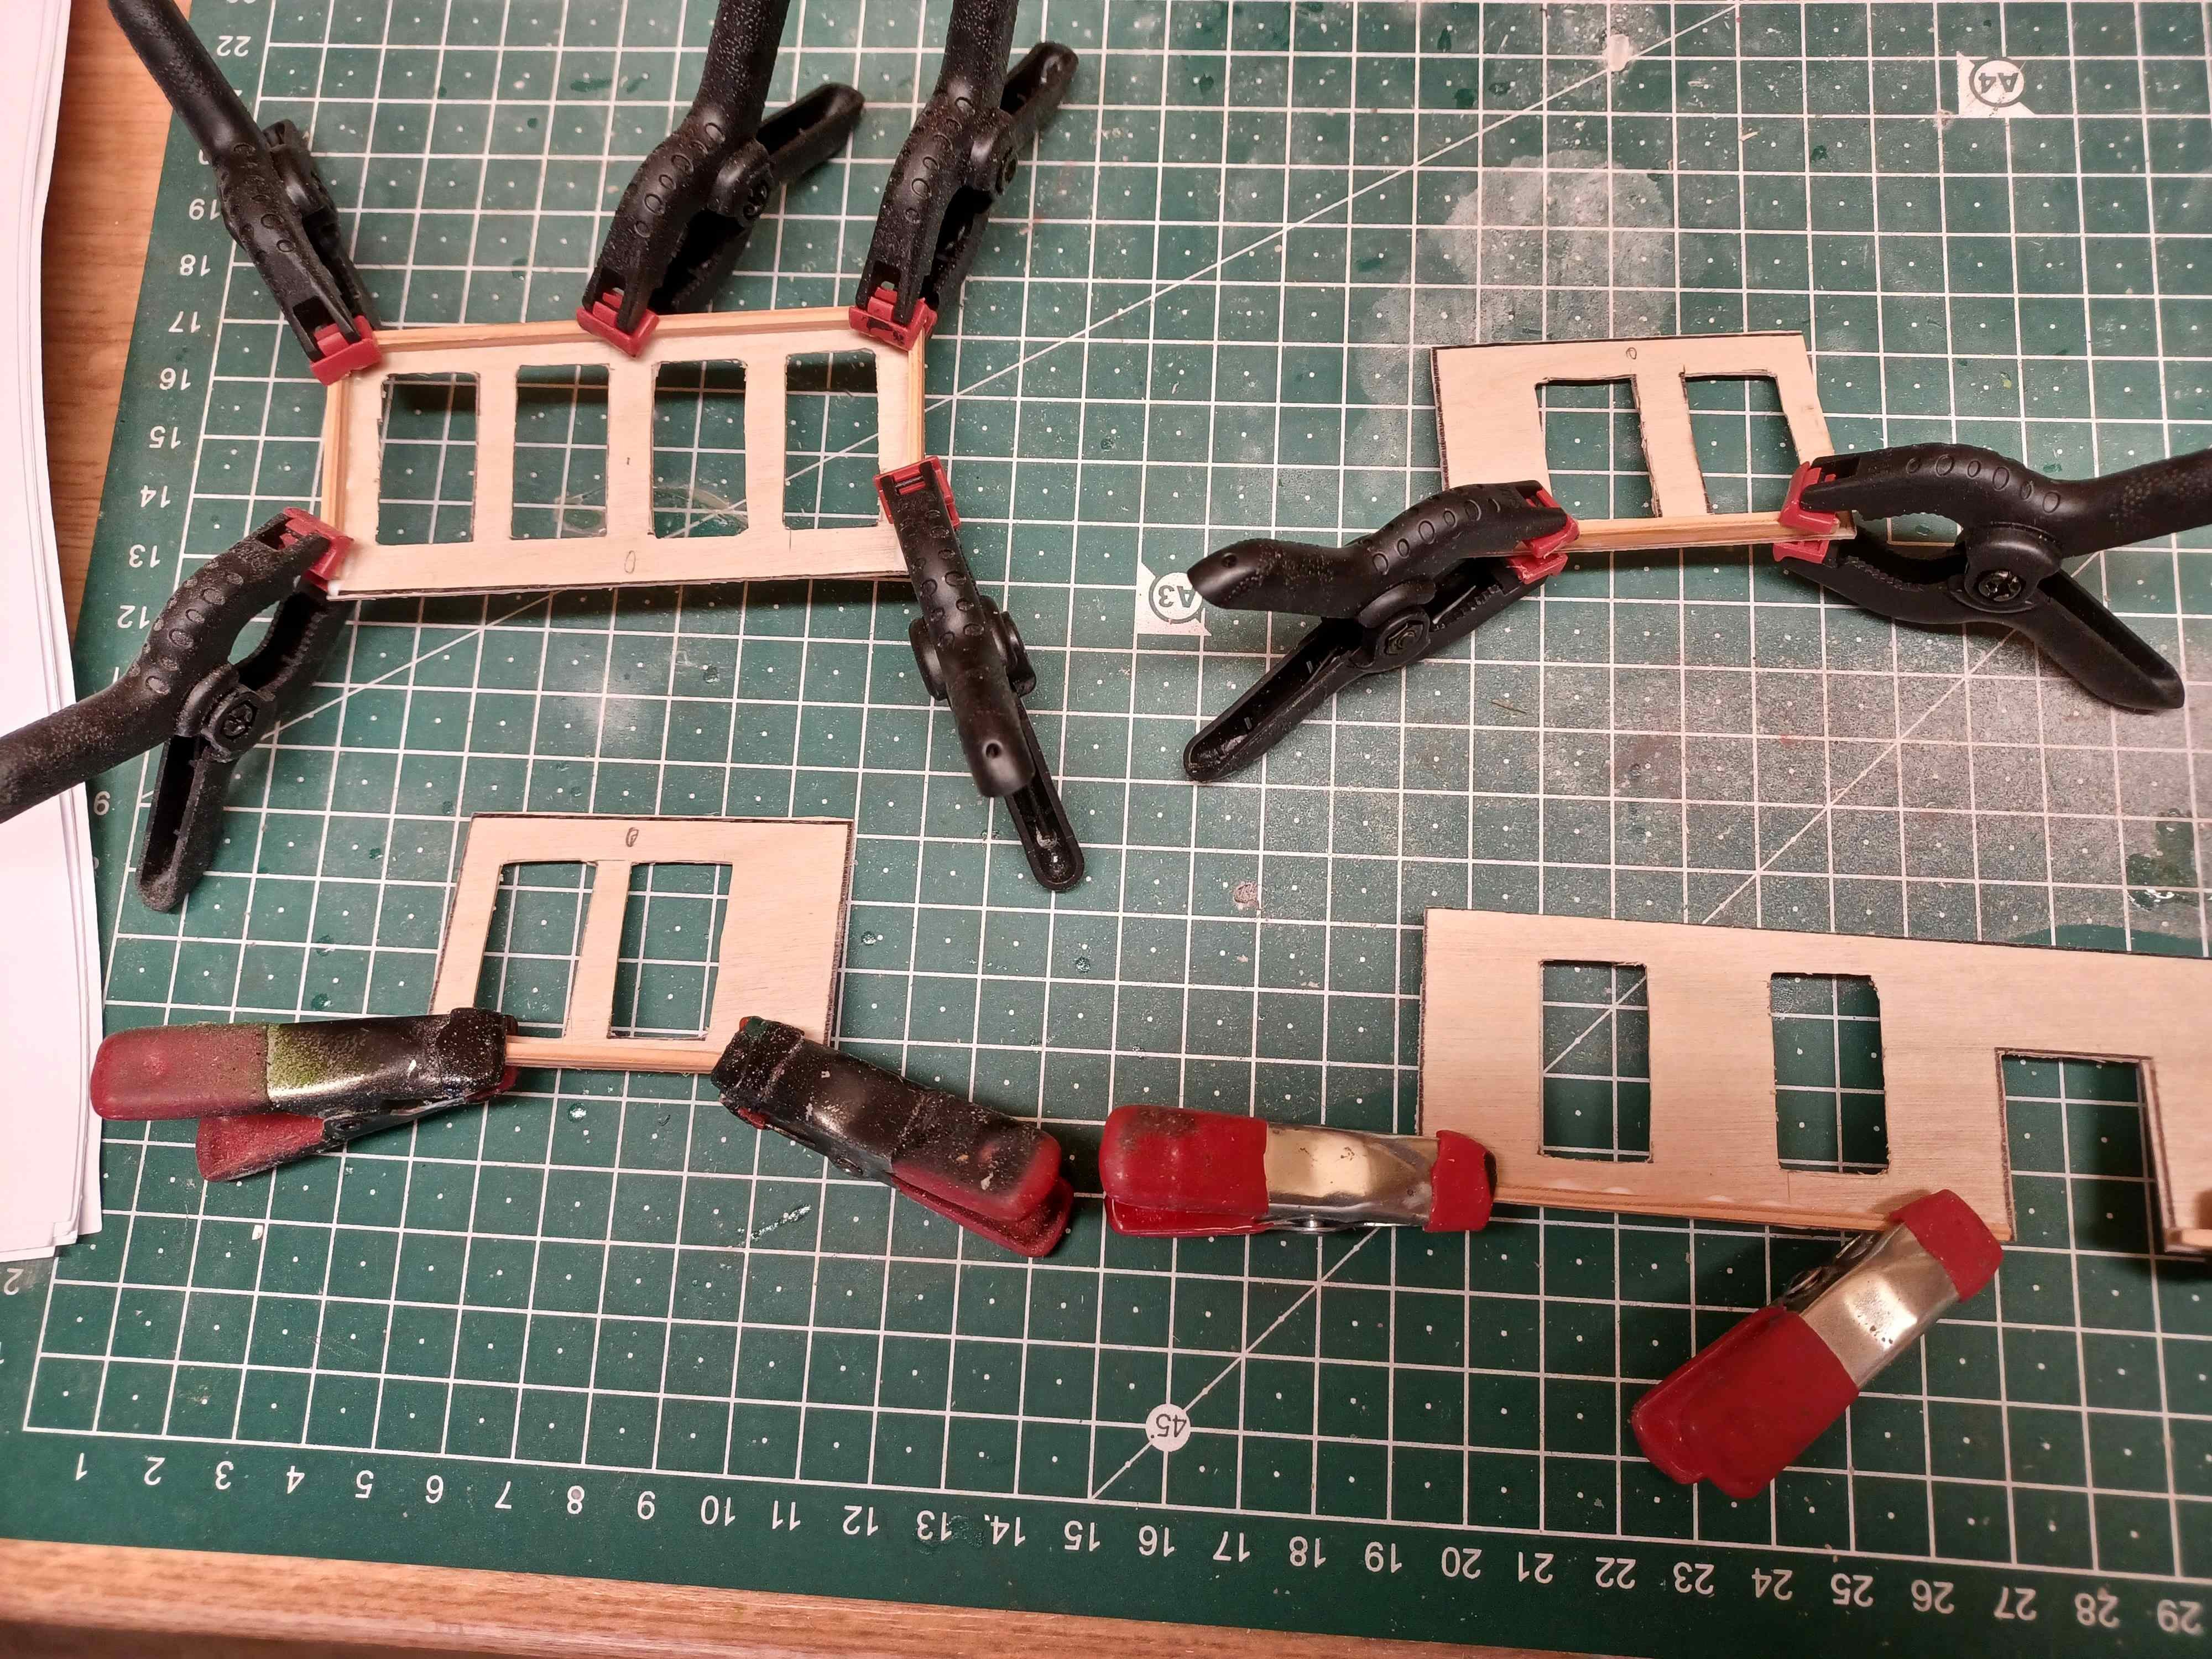
Small upgrade Window frames are all fitted. Now the steering house is glued together. For this I glued small wooden strips 3 x 2 mm as reinforcements from the inside. According to the plan, this was not intended, but it seemed sensible to me. That has to be dry now.

- 35 replies
-
- 2
-
-
- Britannia
- Mountfleet Models
- (and 1 more)
-
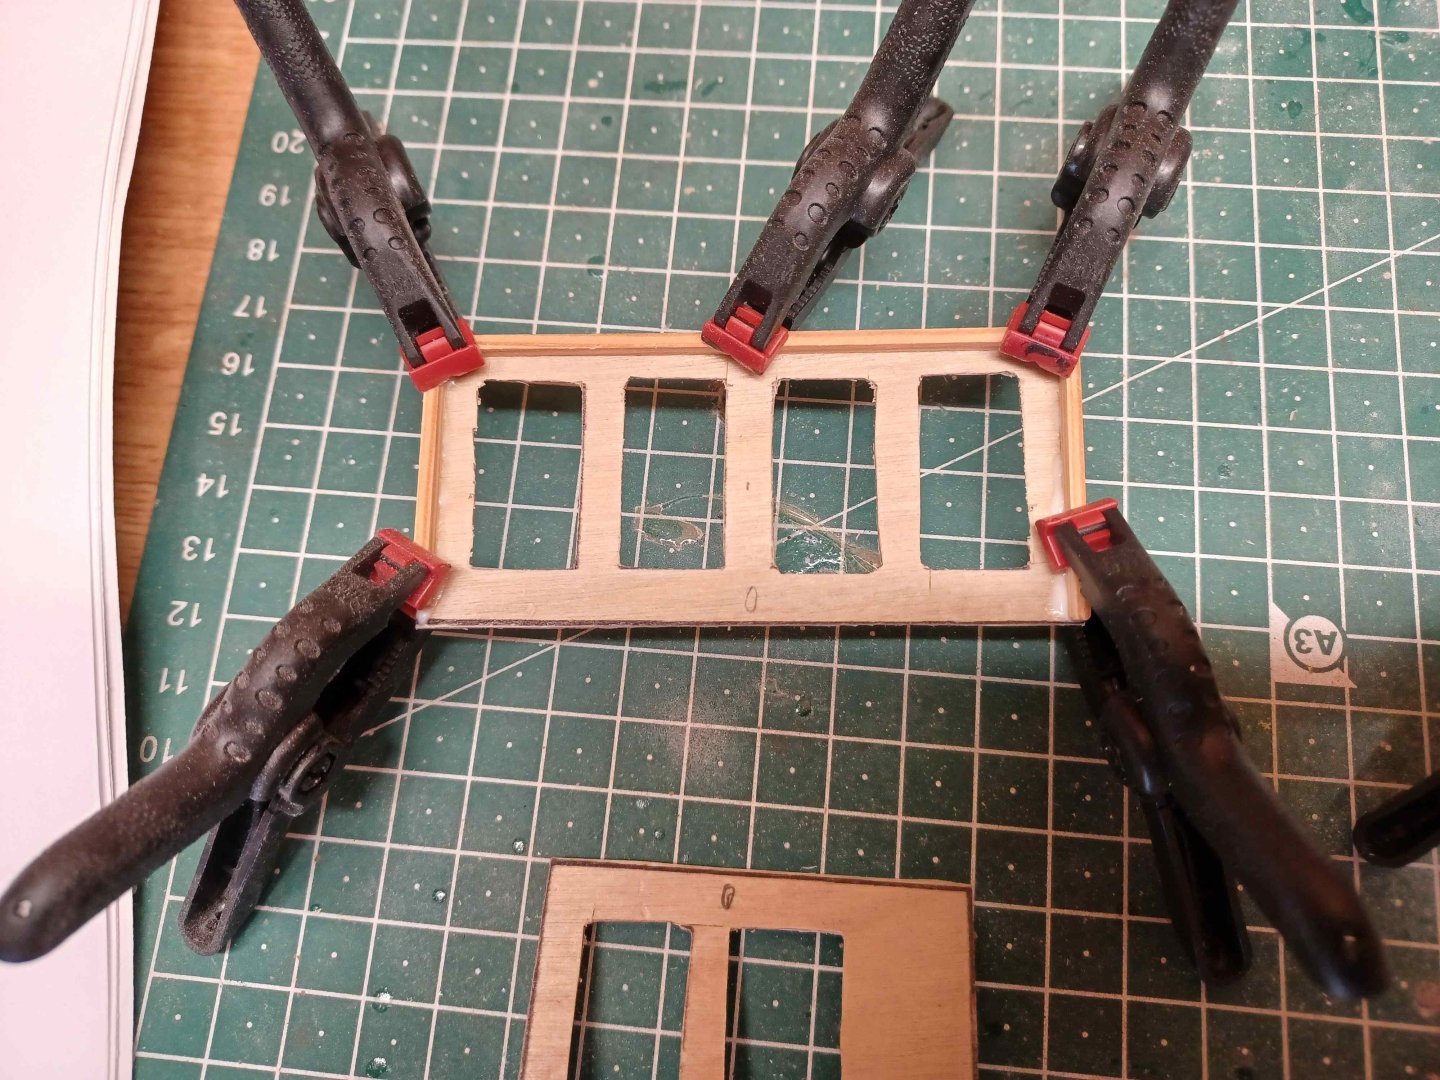
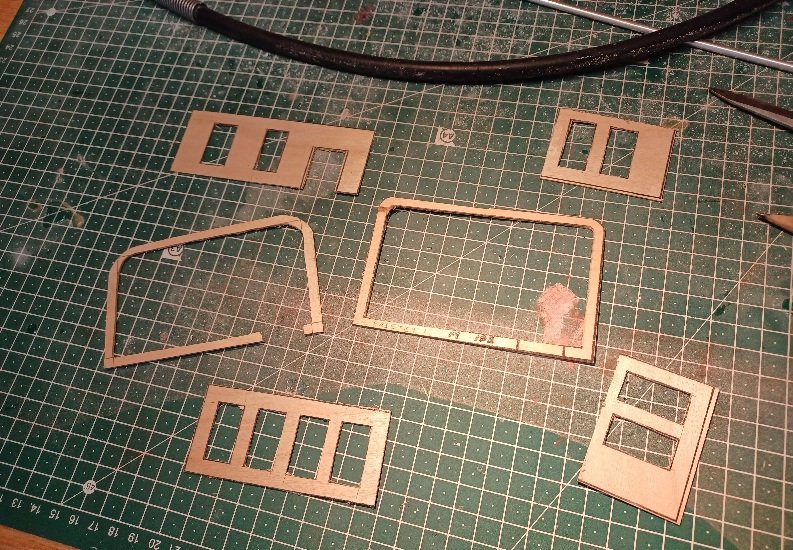
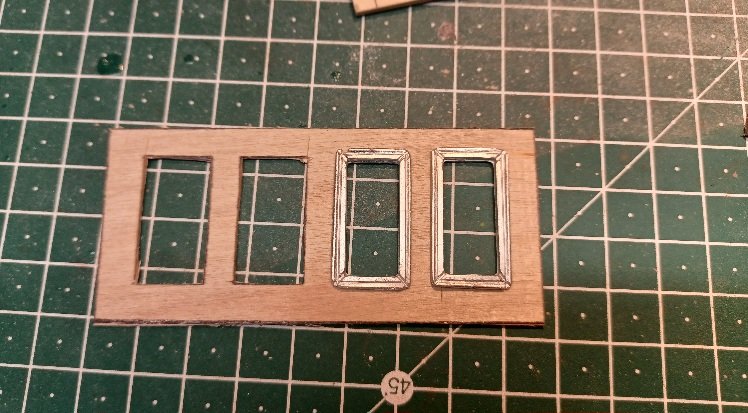
Hello Then it's time for the bridge superstructure. The wheelhouse will be added later. A total of 10 window frames have to be fitted.
- 35 replies
-
- 4
-
-
- Britannia
- Mountfleet Models
- (and 1 more)
-
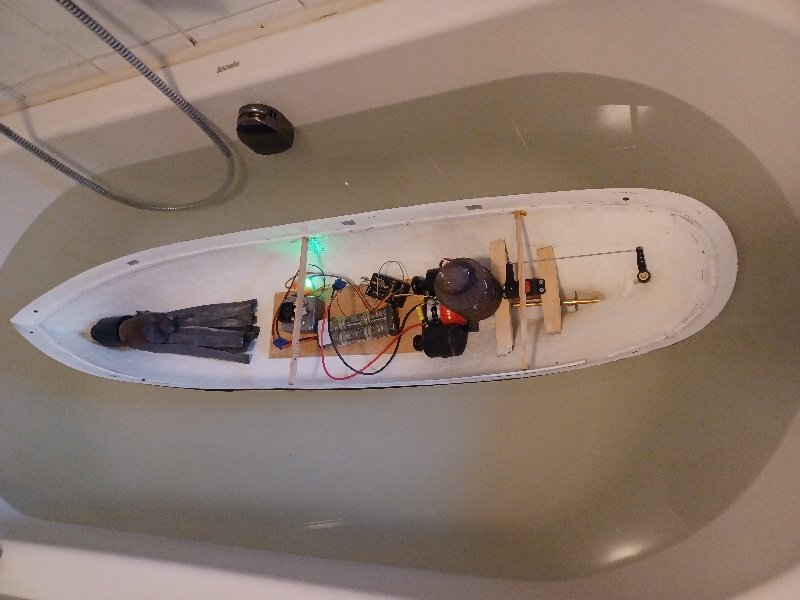
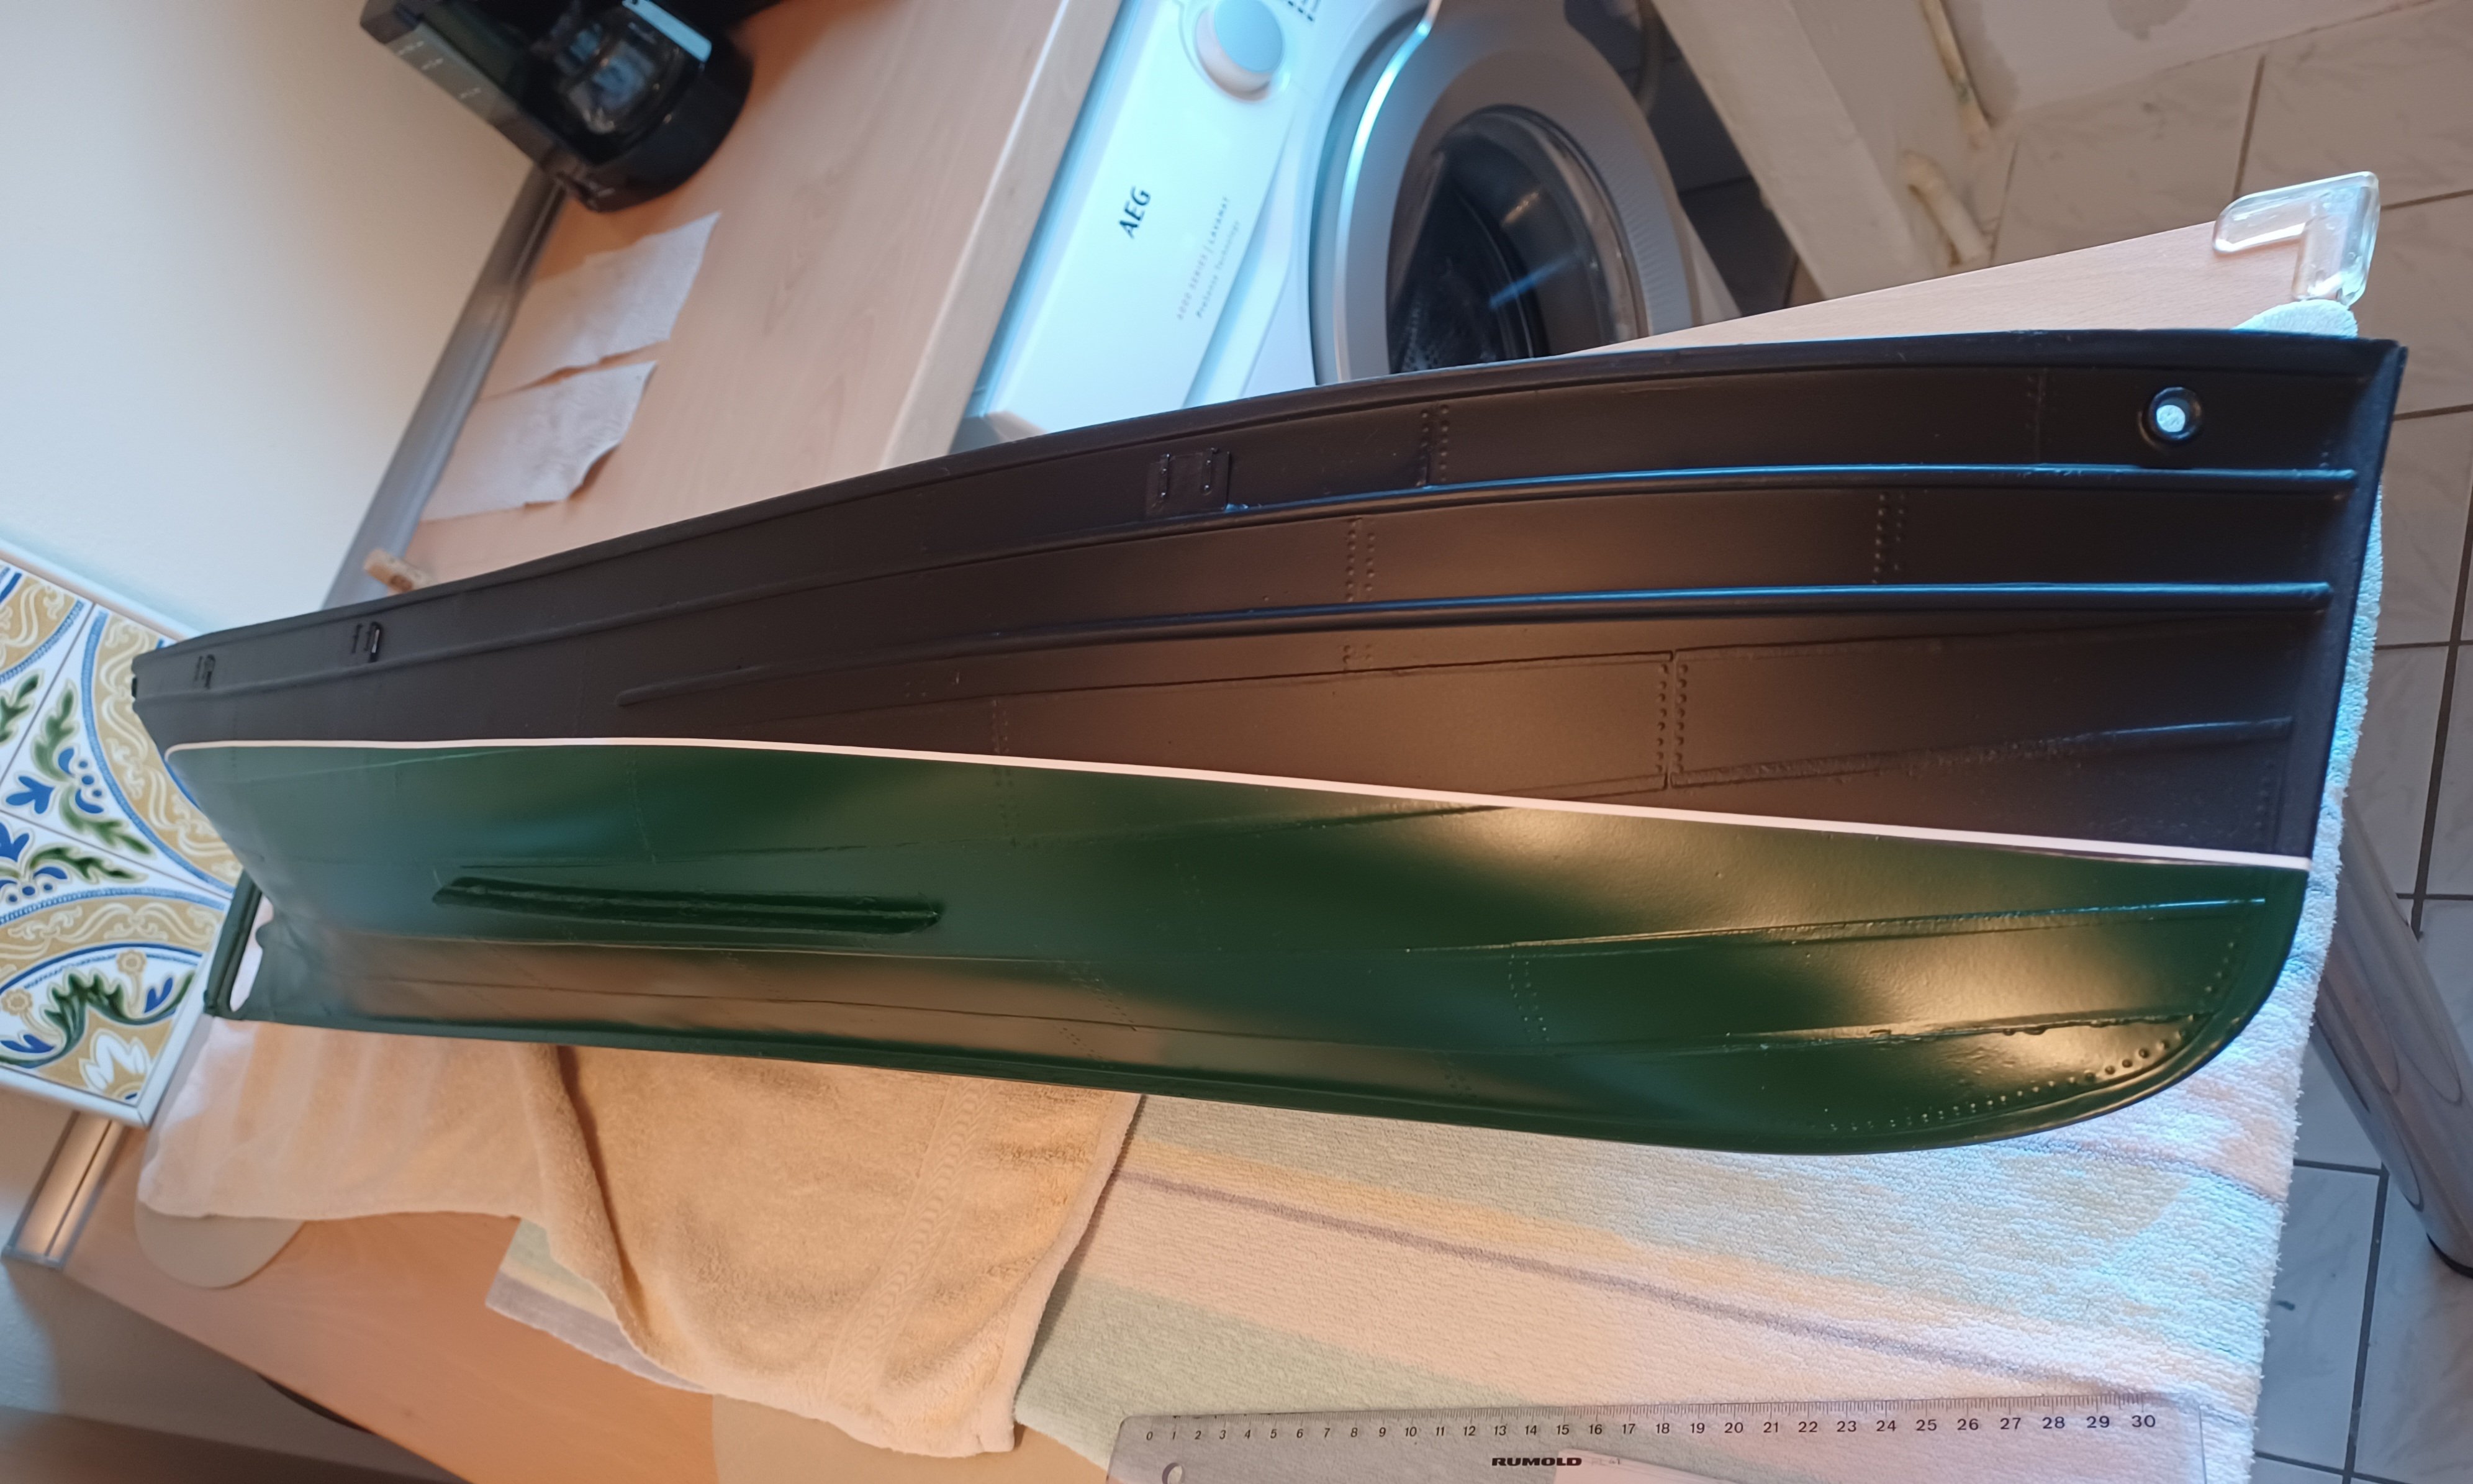
Hello I put the boat in the bathtub to determine the waterline. I have to pack in a good 5 - 6 kg of ballast.
- 35 replies
-
- 3
-
-
- Britannia
- Mountfleet Models
- (and 1 more)
-
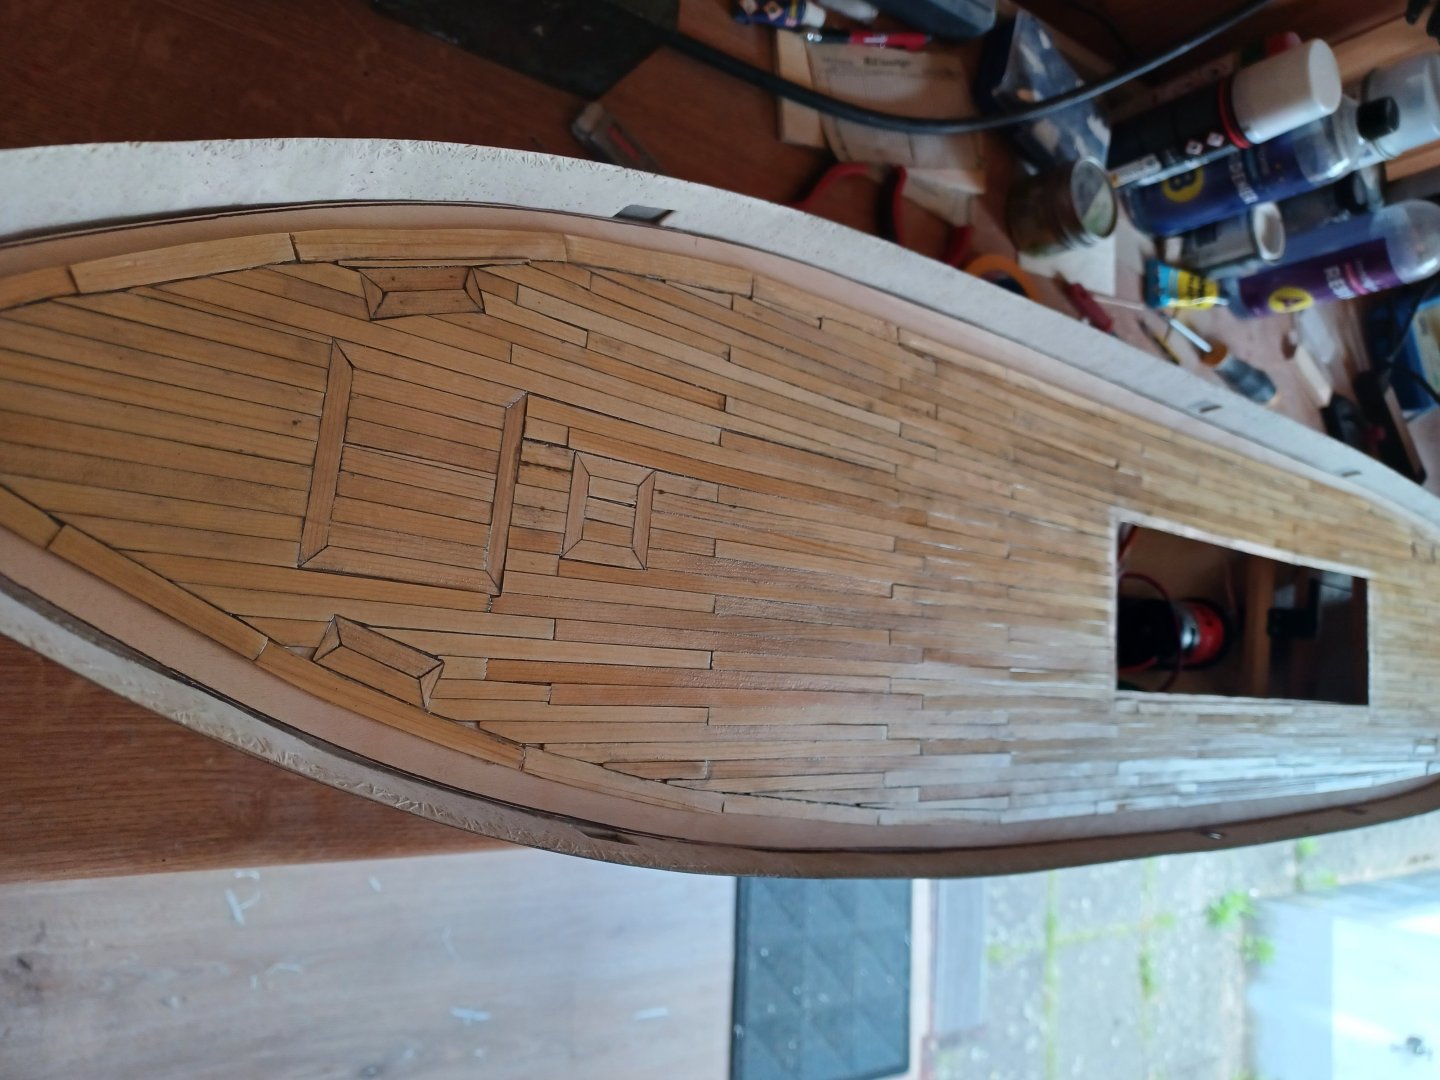
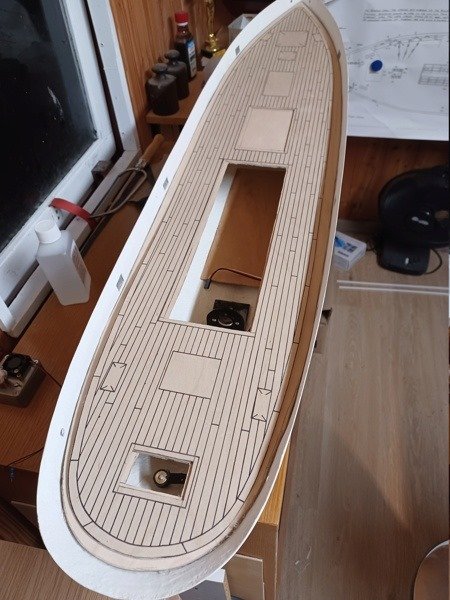
Hello Here again the deck after painting it with a boat clear coat. It is only loose.
- 35 replies
-
- 7
-
-
- Britannia
- Mountfleet Models
- (and 1 more)
-
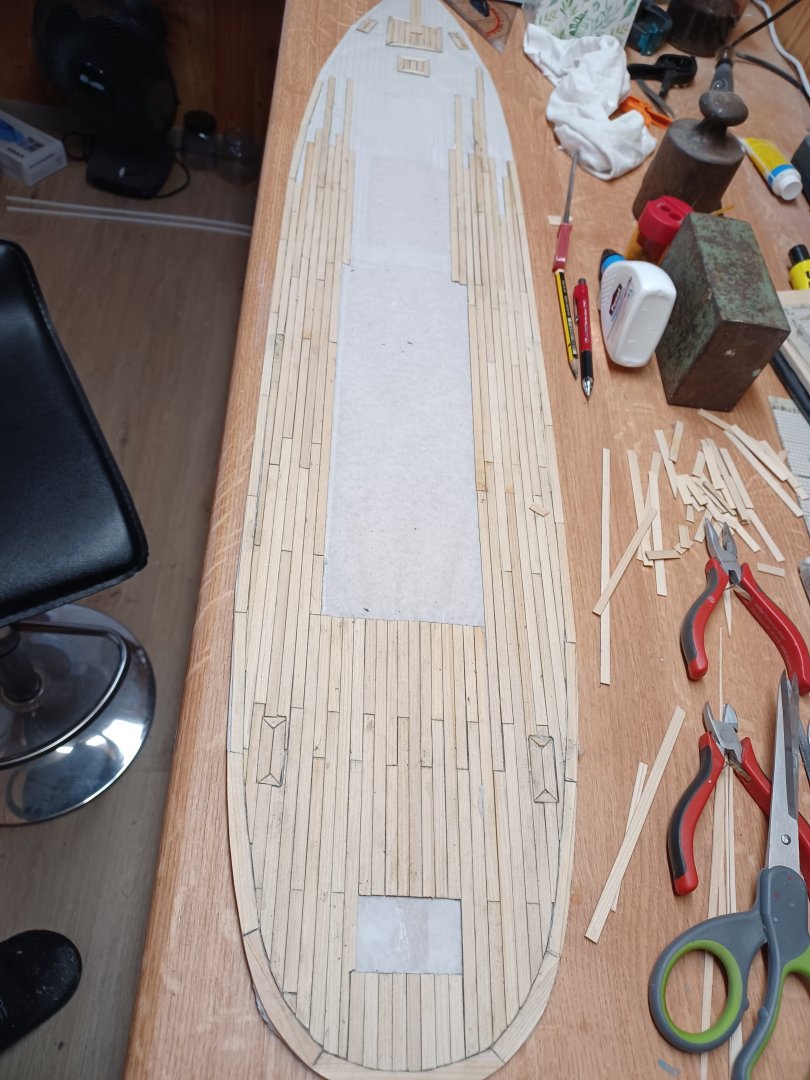
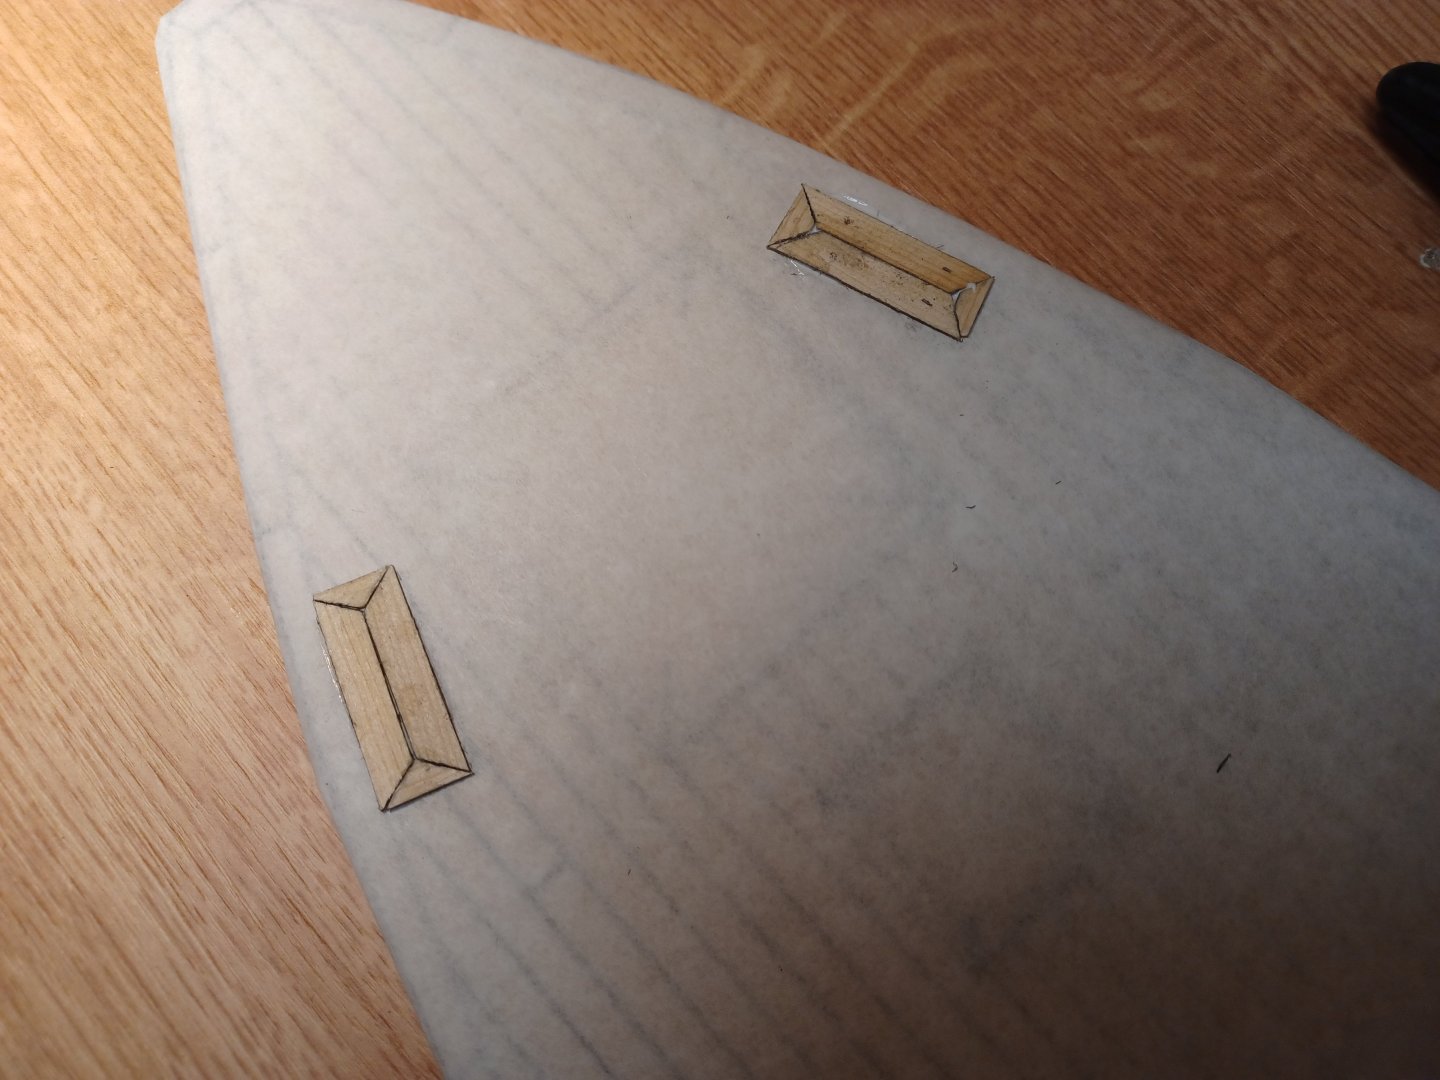
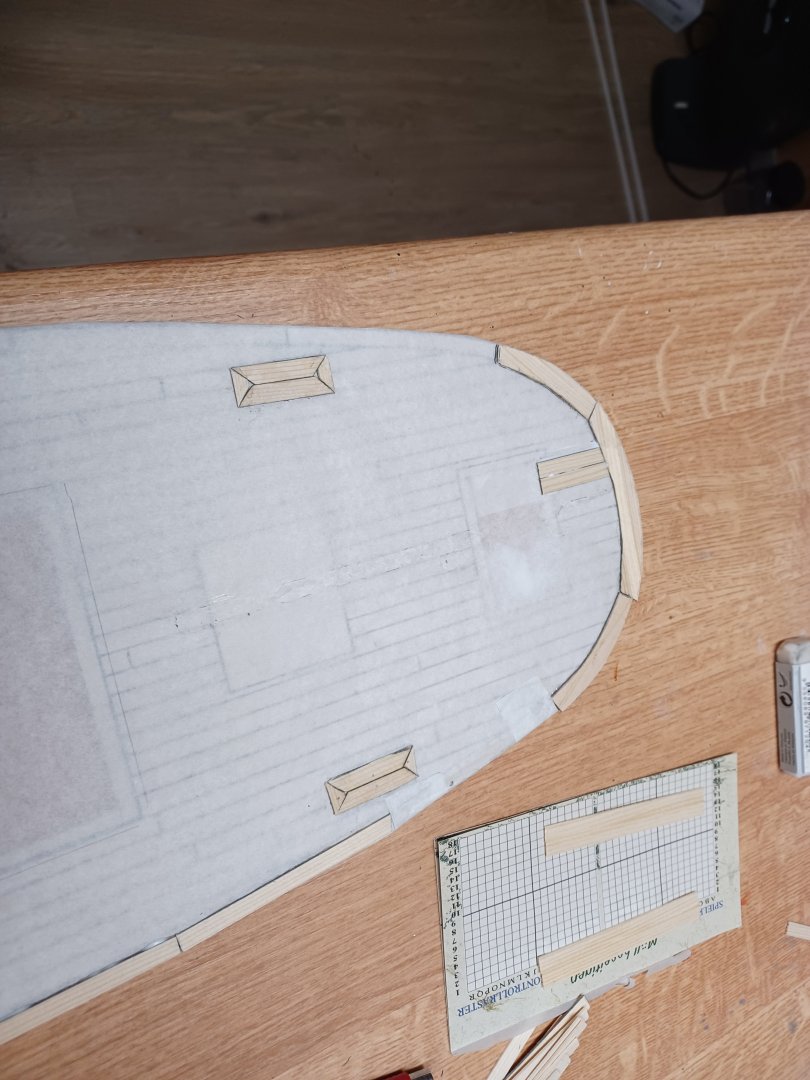
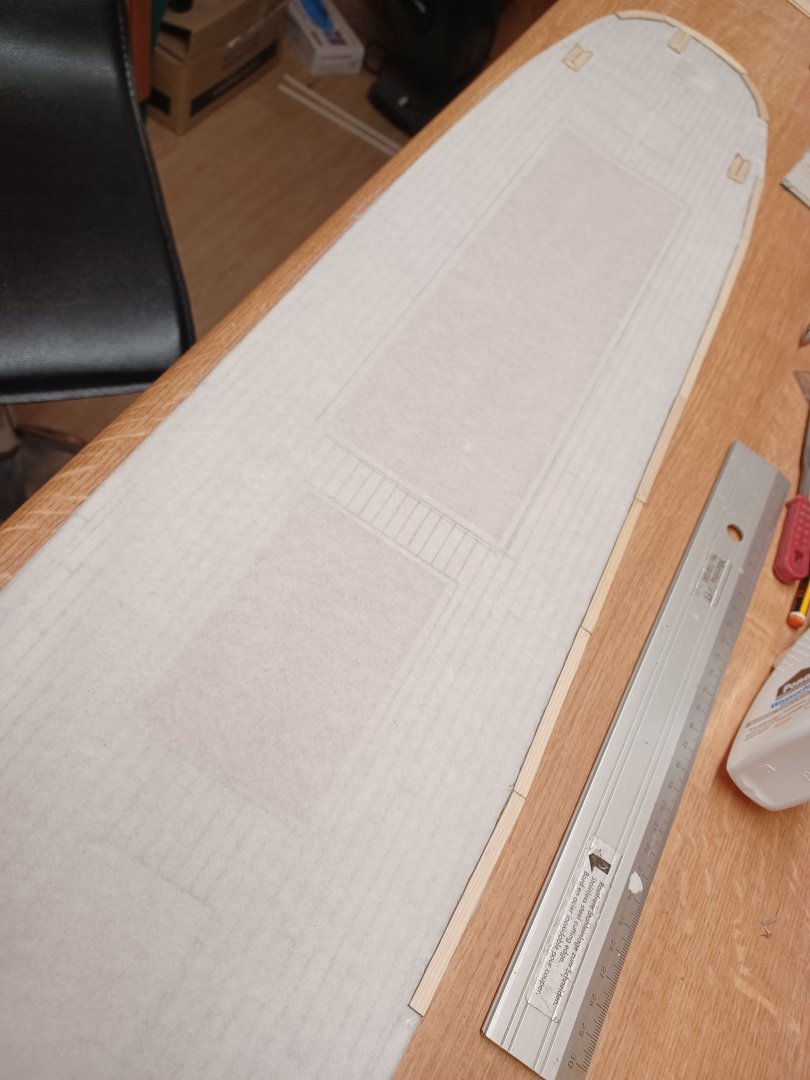
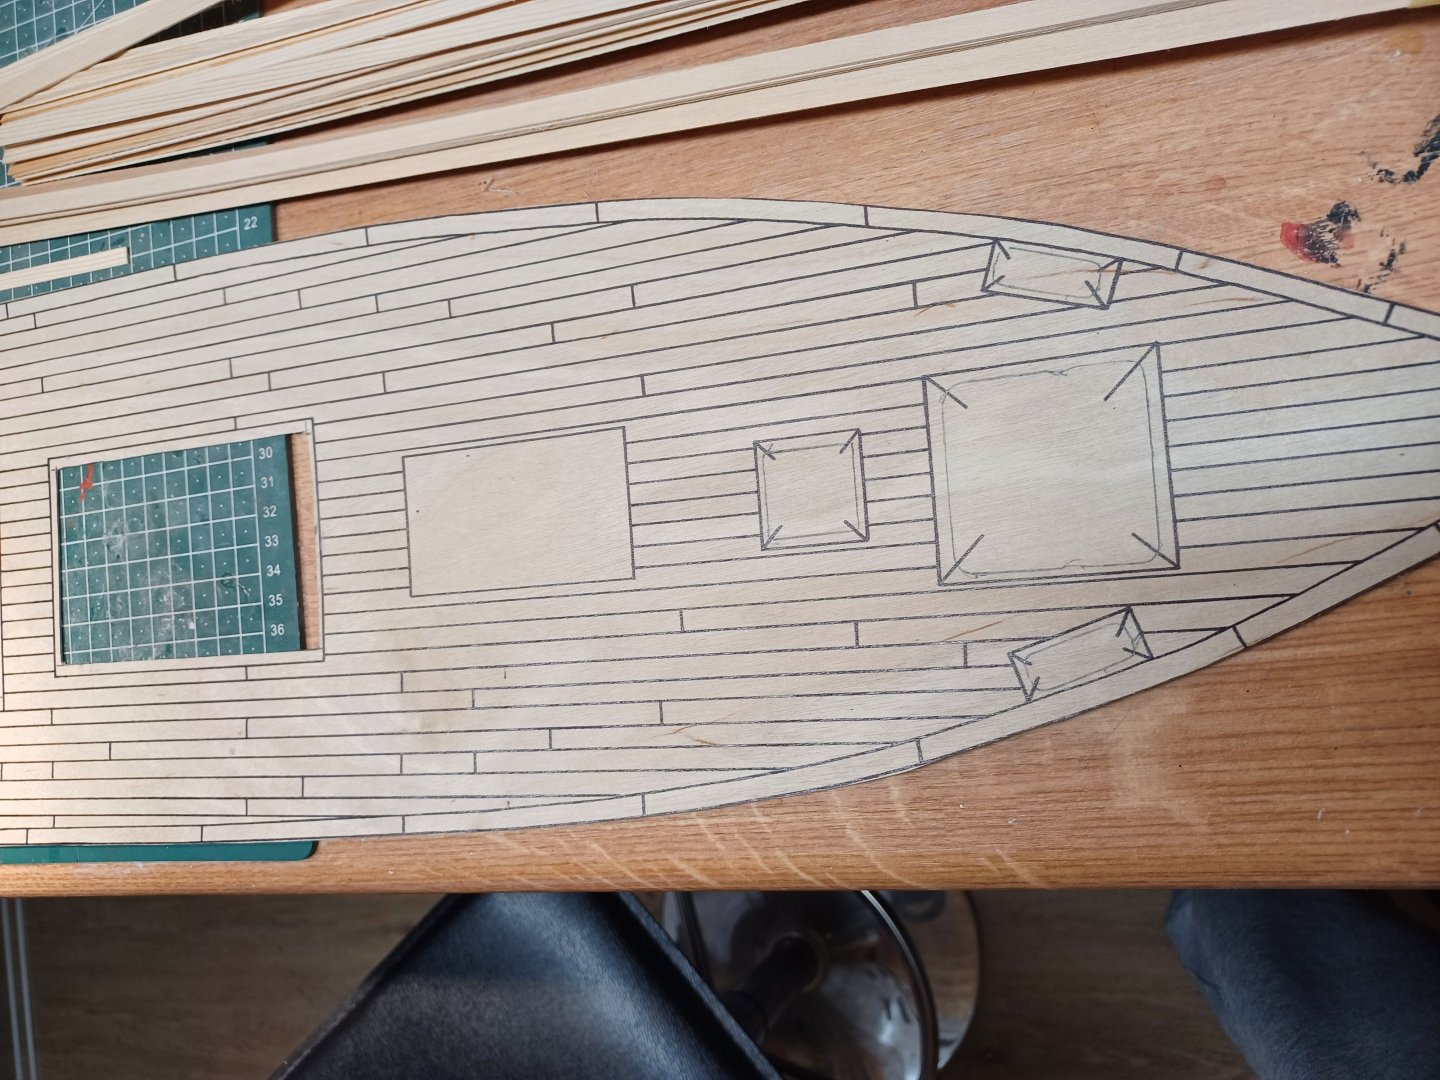
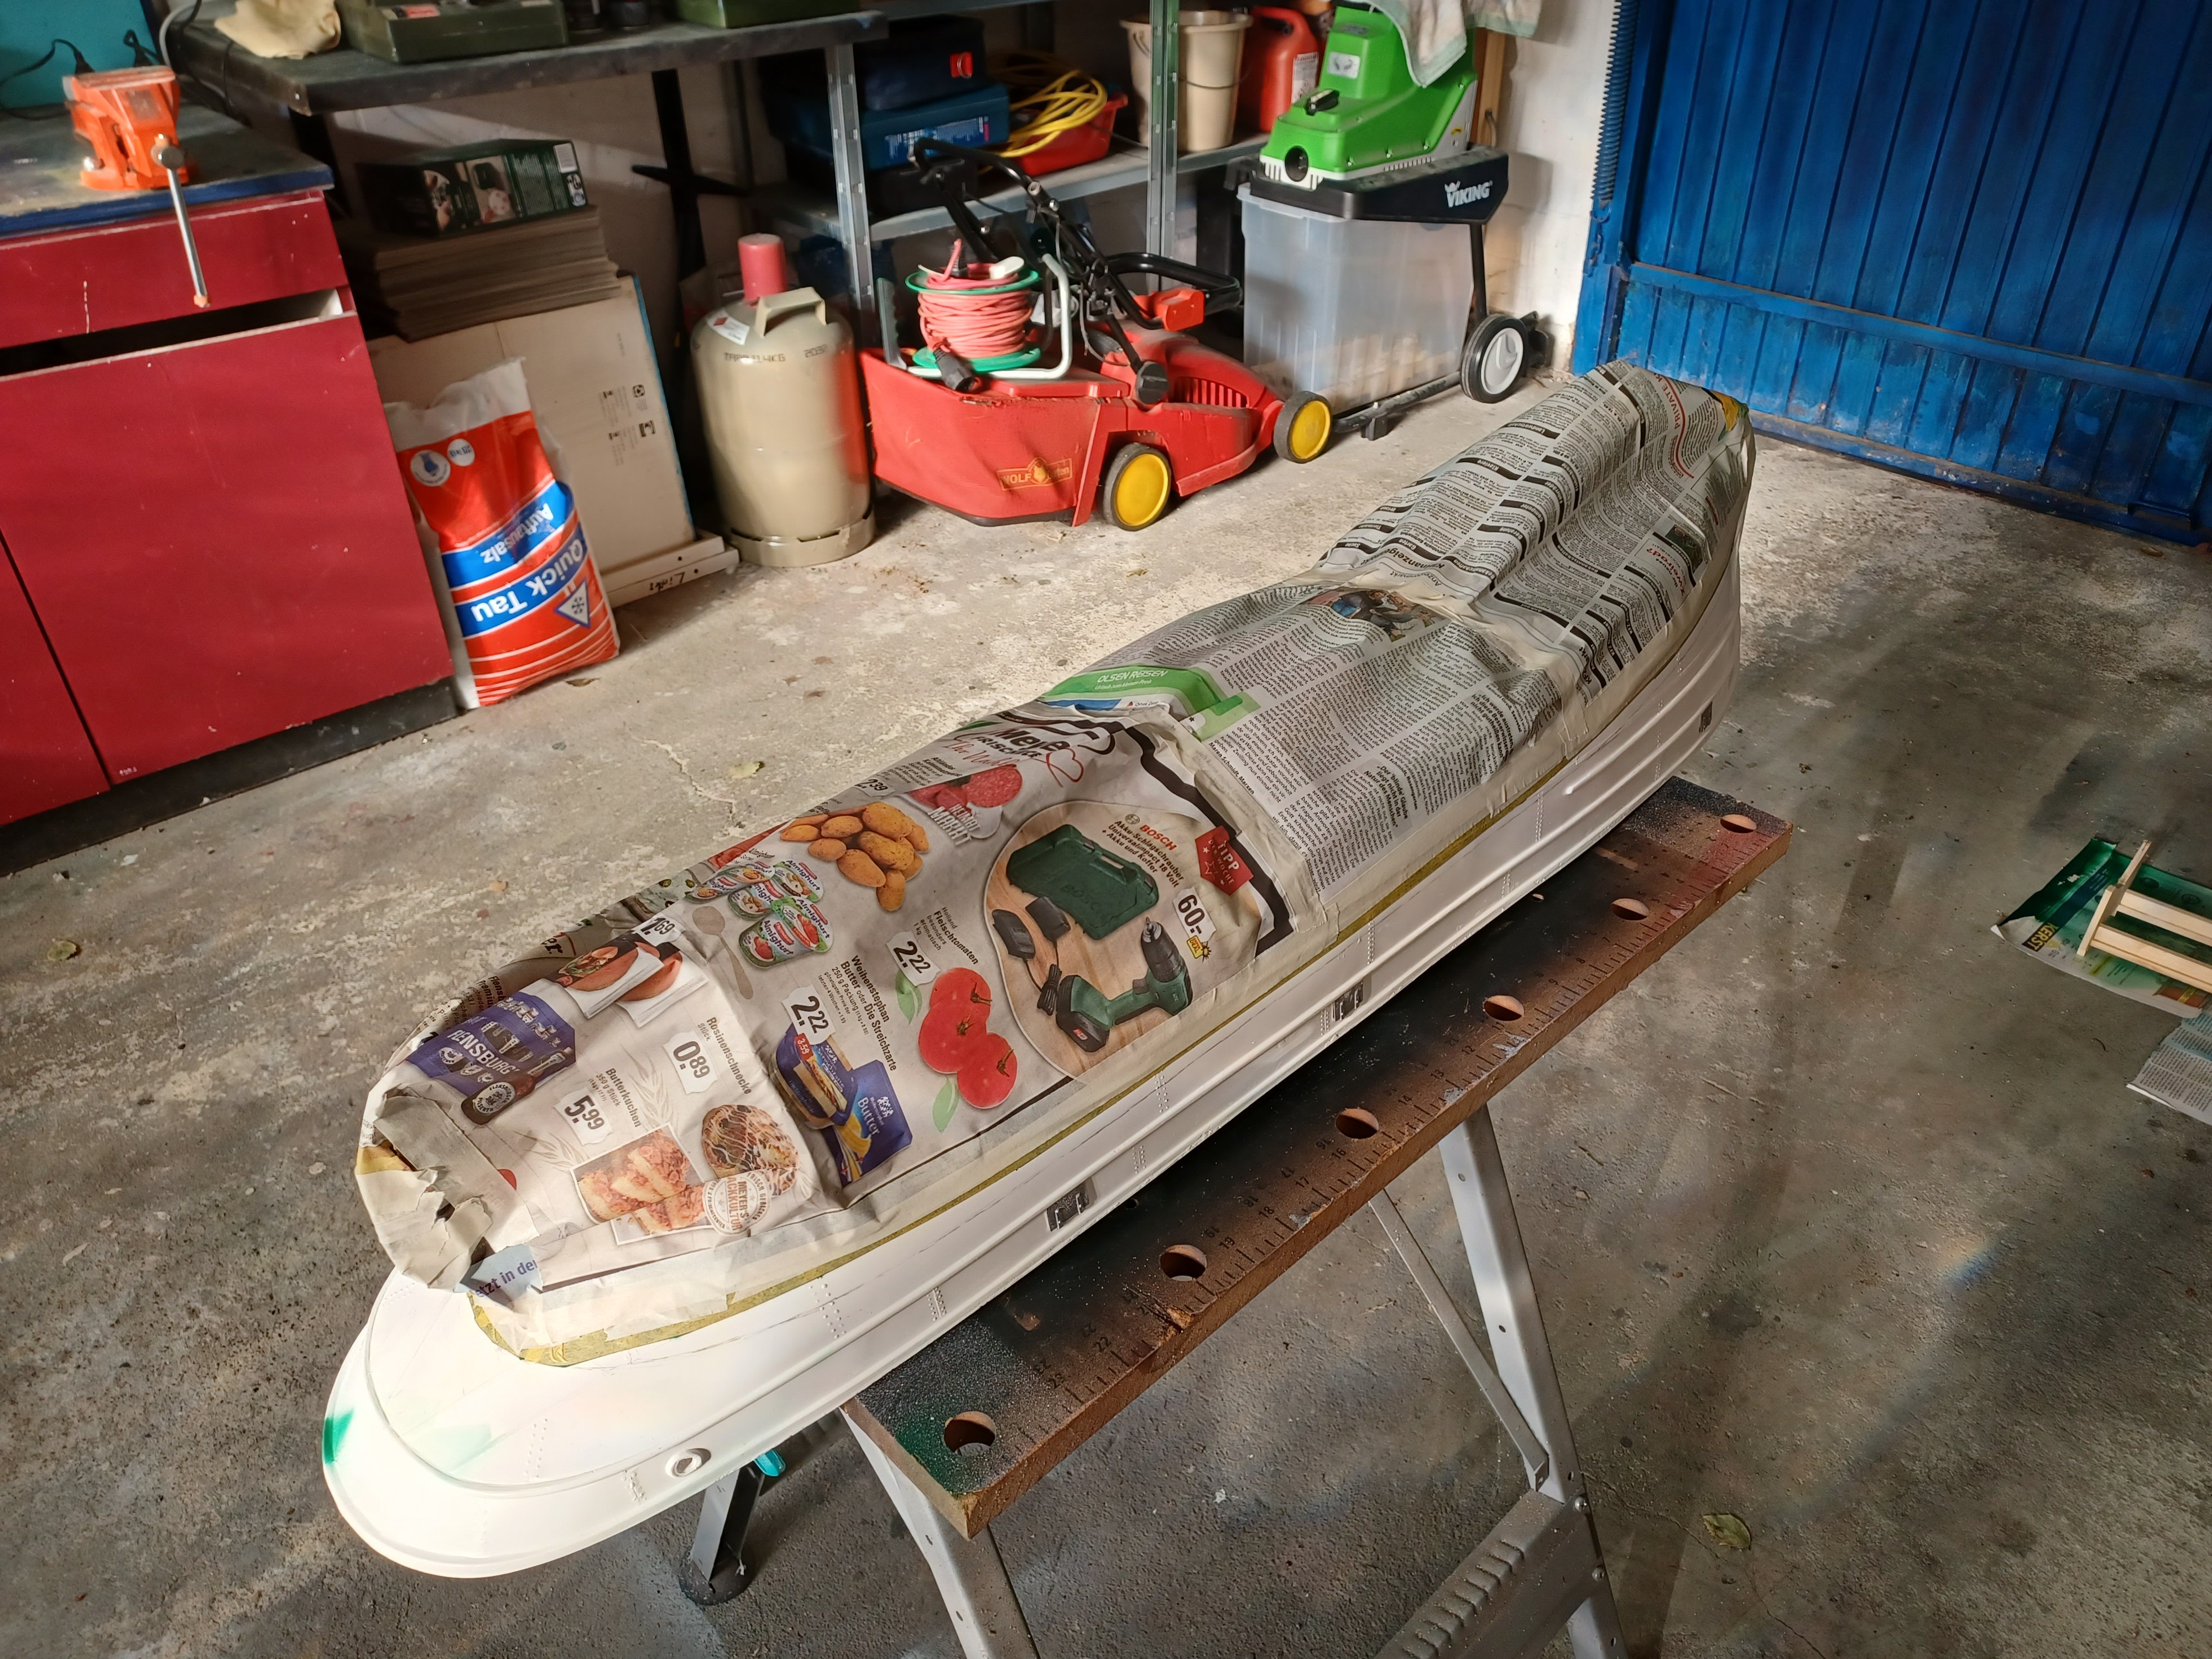
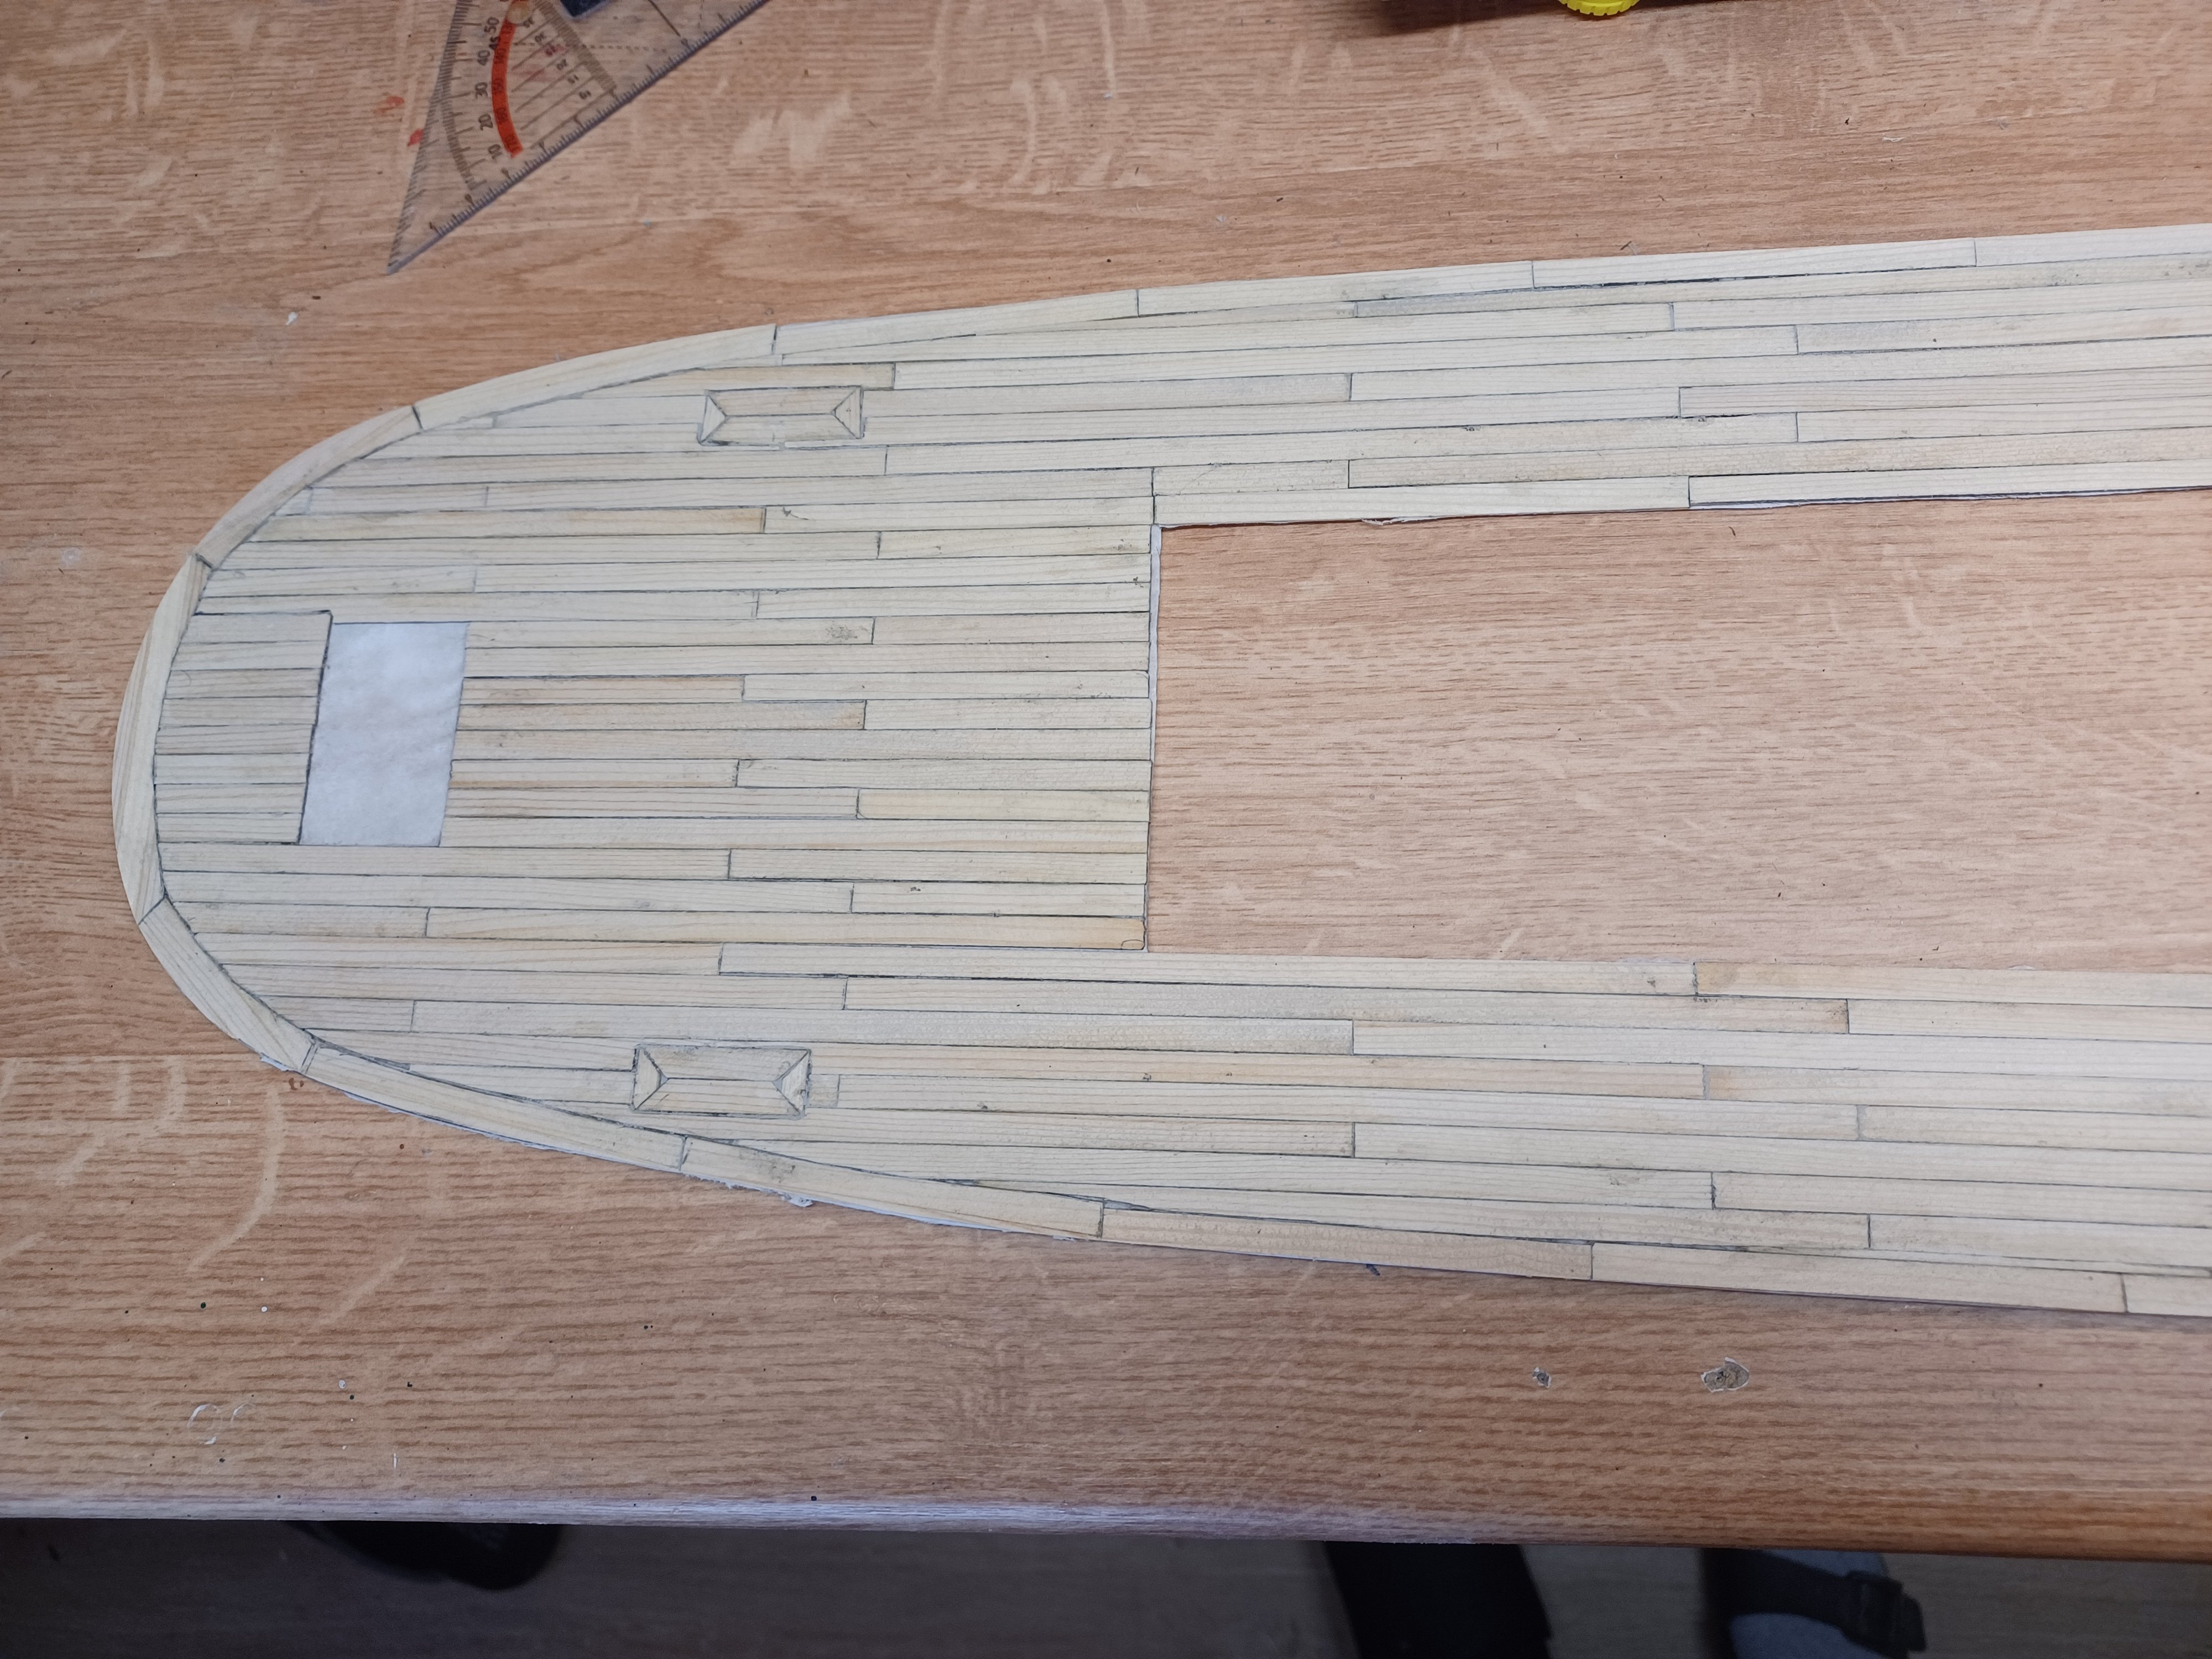
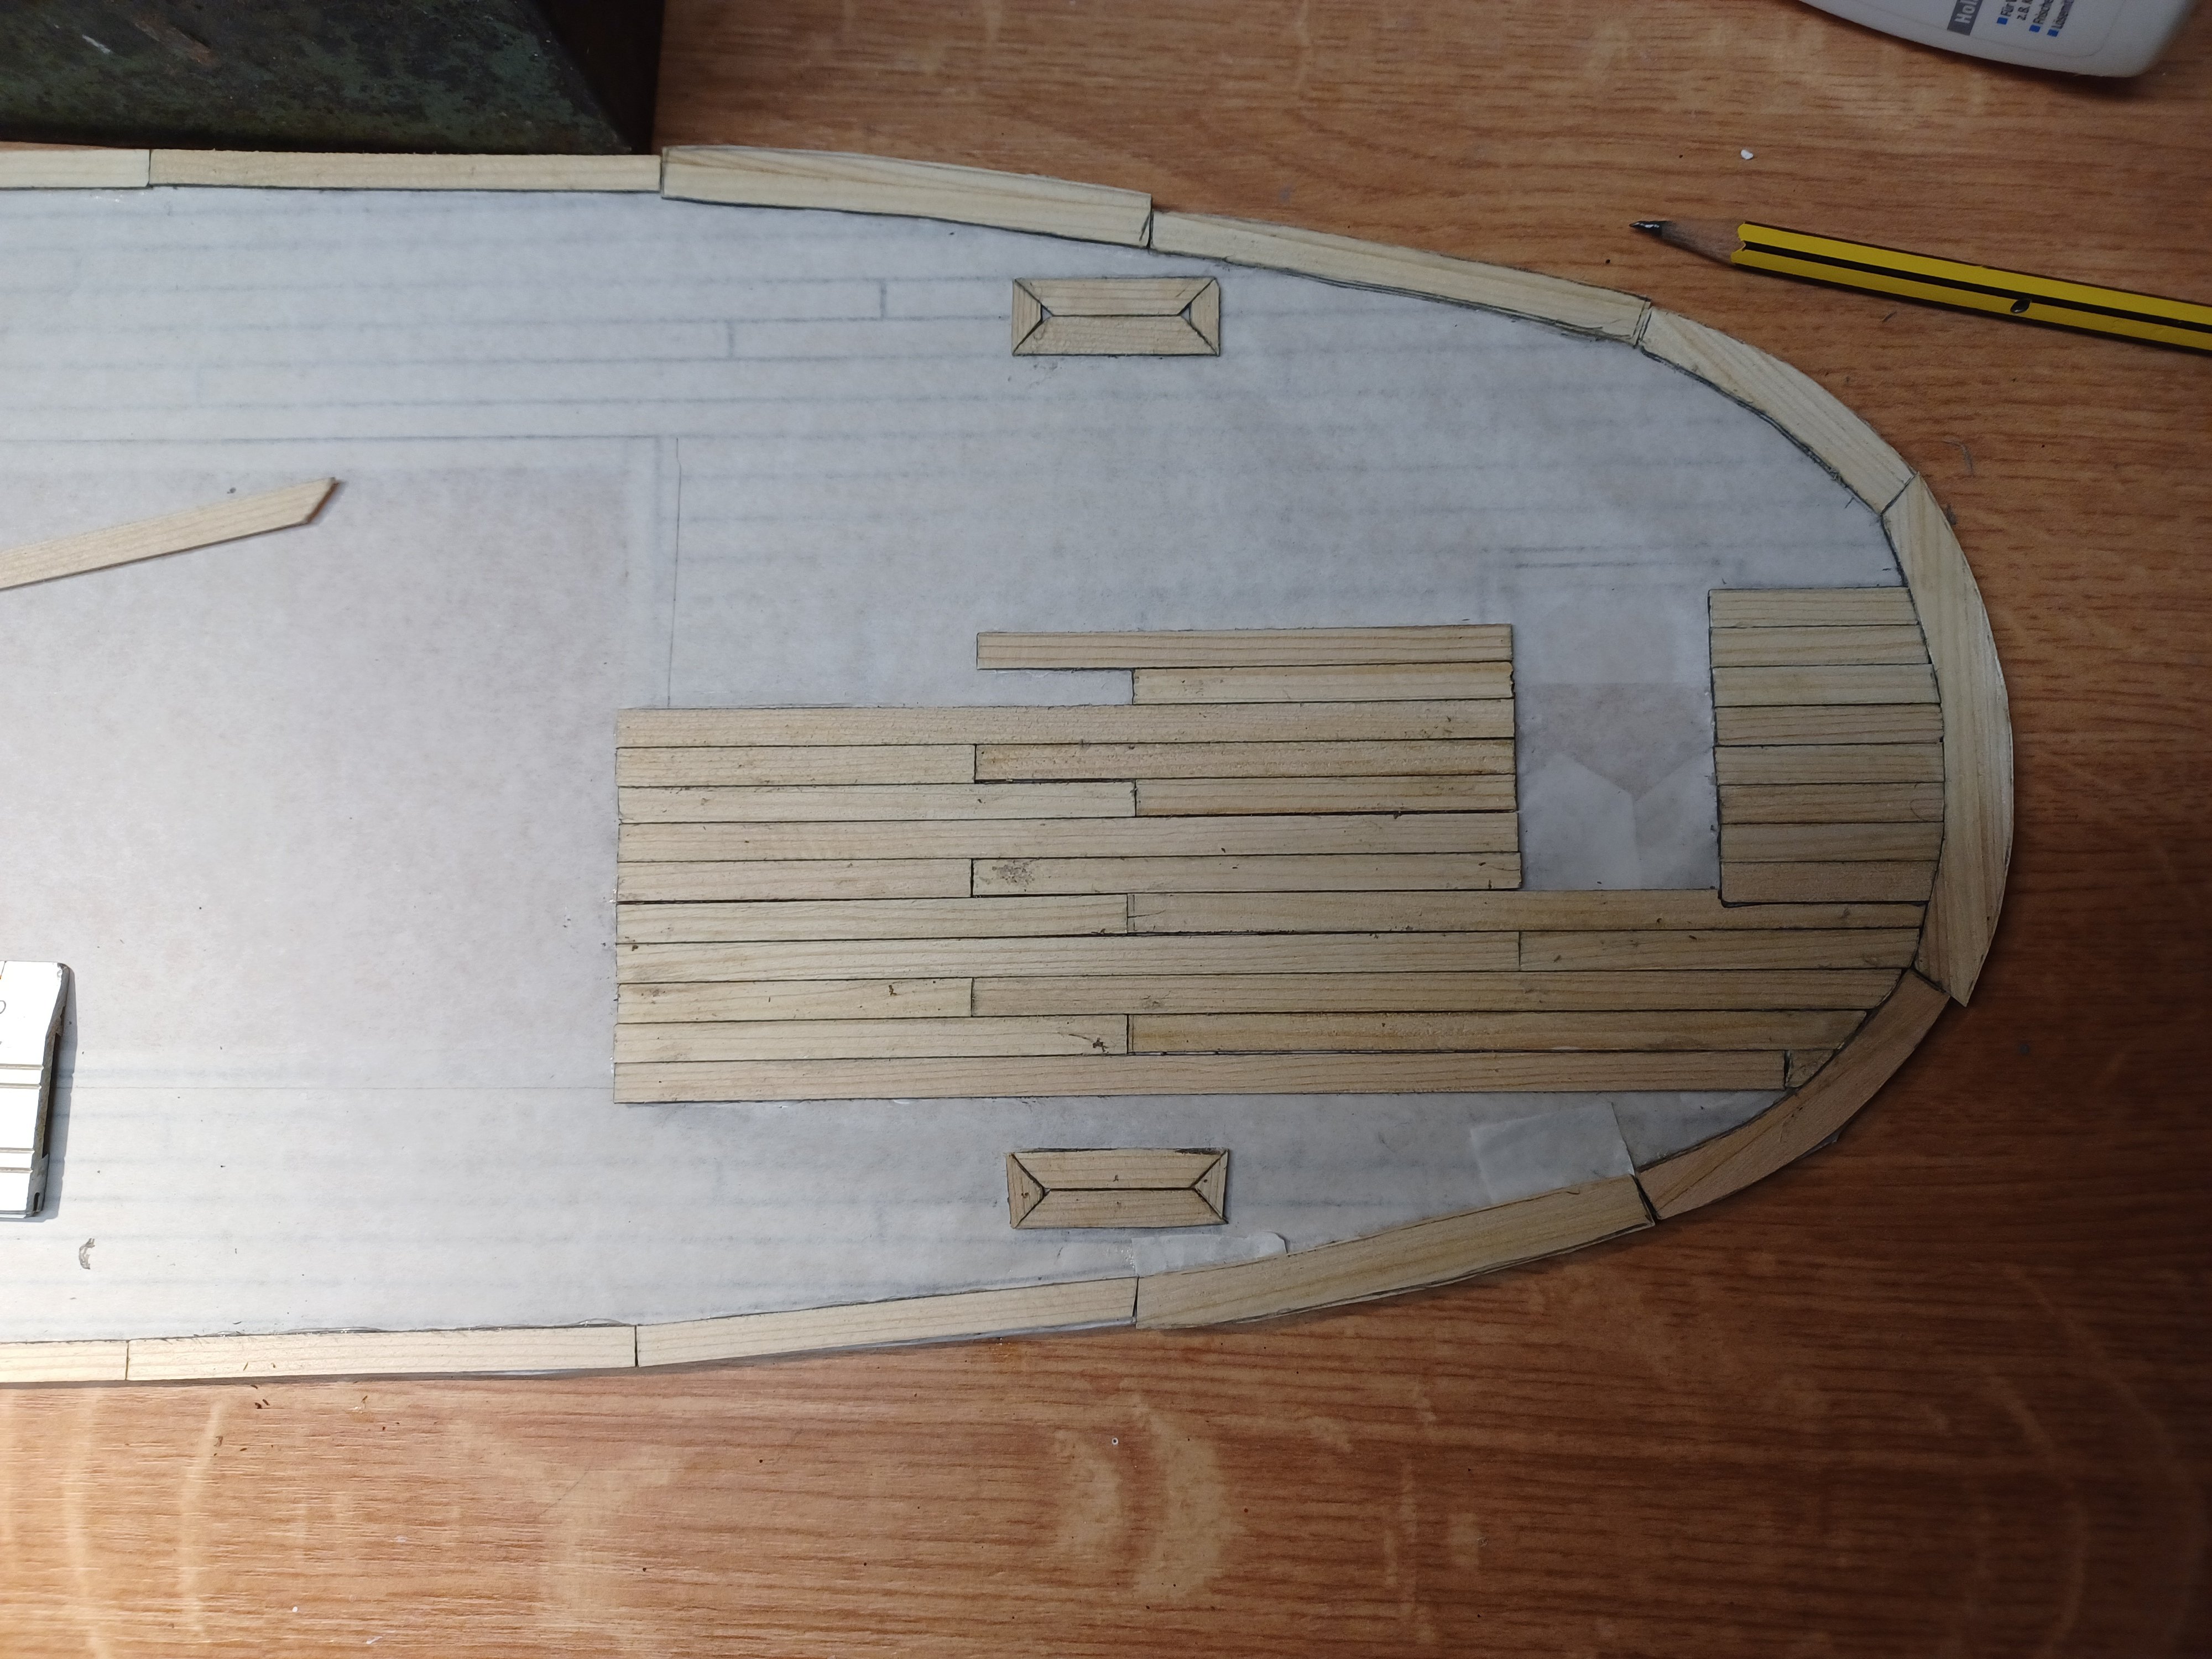
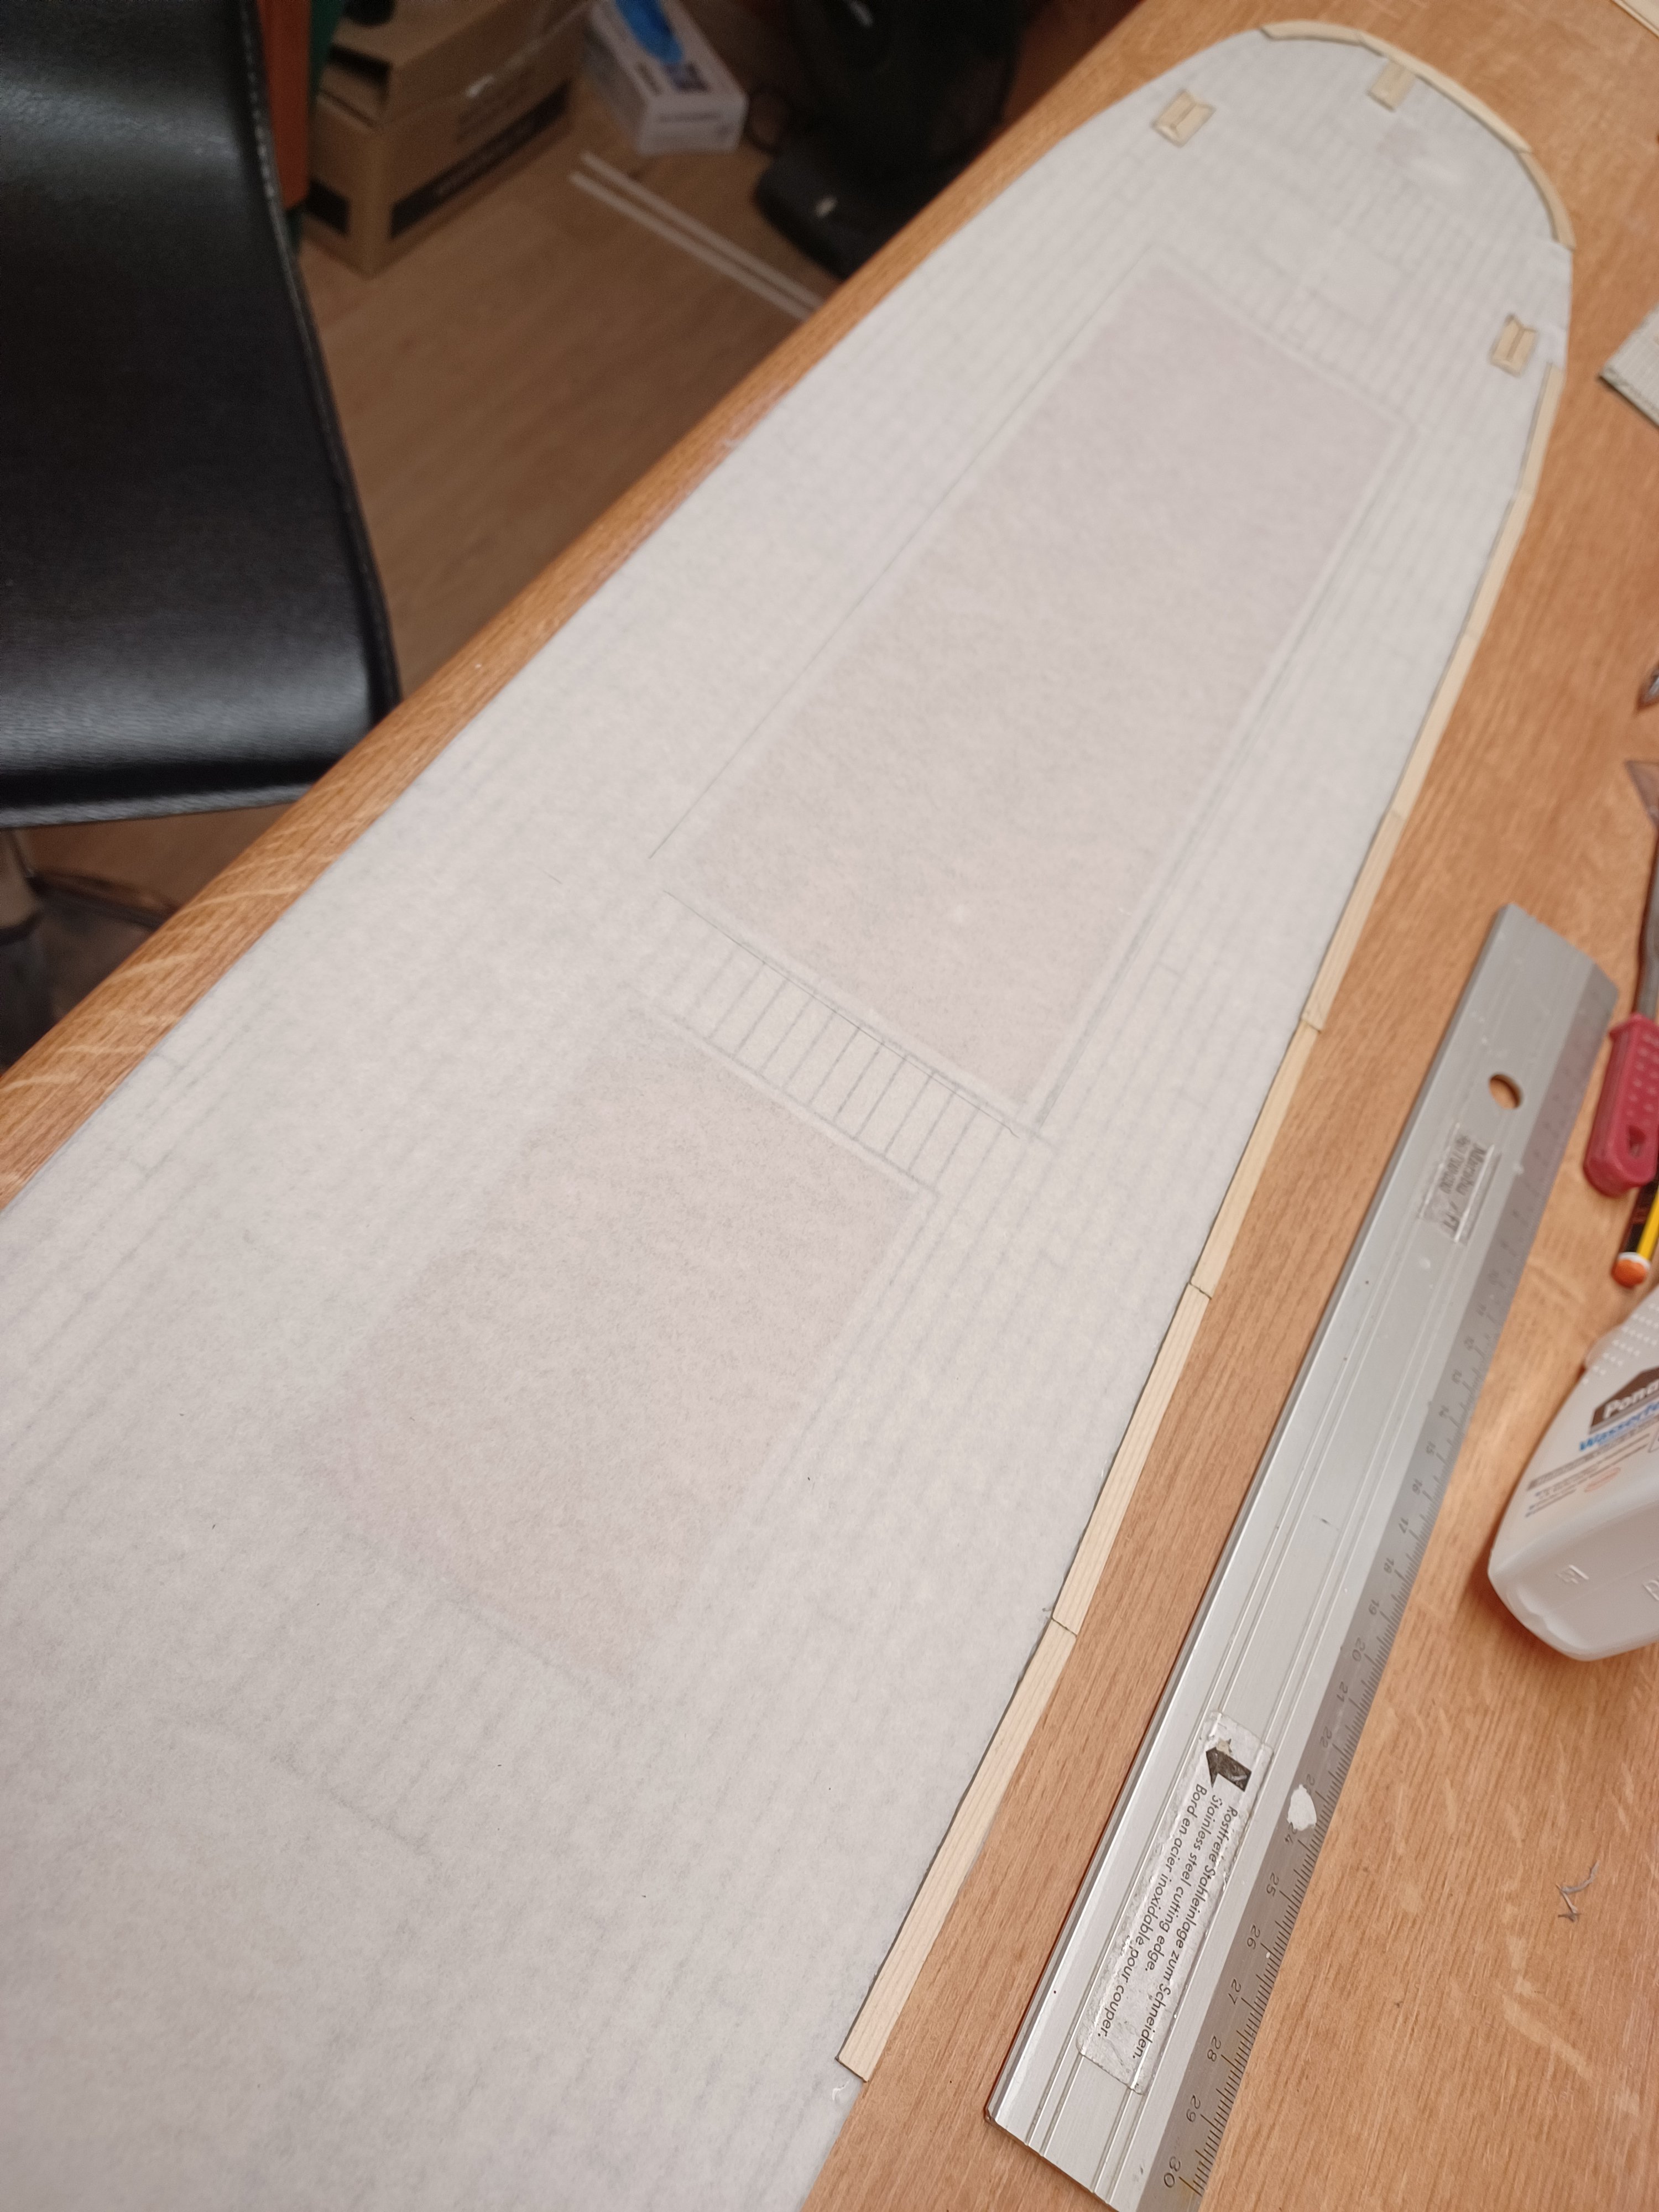
Hello I didn't like the deck. Then I decided to plan it again. I covered the original deck with bread paper and can stick it up 1: 1.


- 35 replies
-
- 5
-
-

-
- Britannia
- Mountfleet Models
- (and 1 more)
-
Hello now of course the name is still missing. Letters made of brass, white painted.


- 35 replies
-
- 8
-
-
-
- Britannia
- Mountfleet Models
- (and 1 more)
-
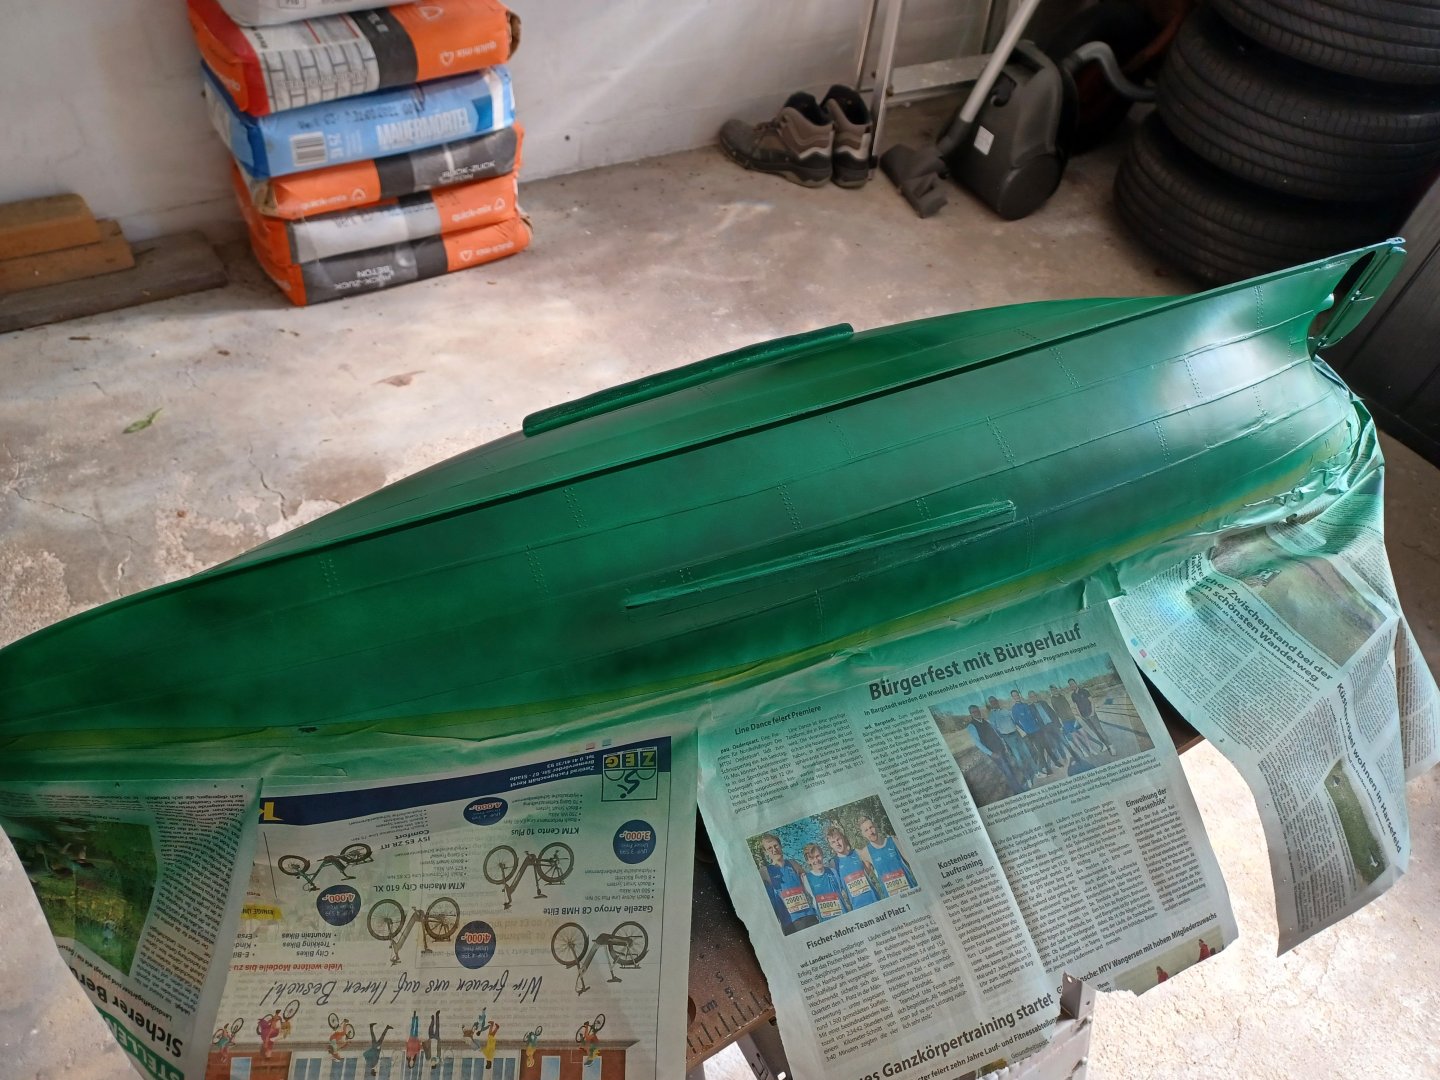
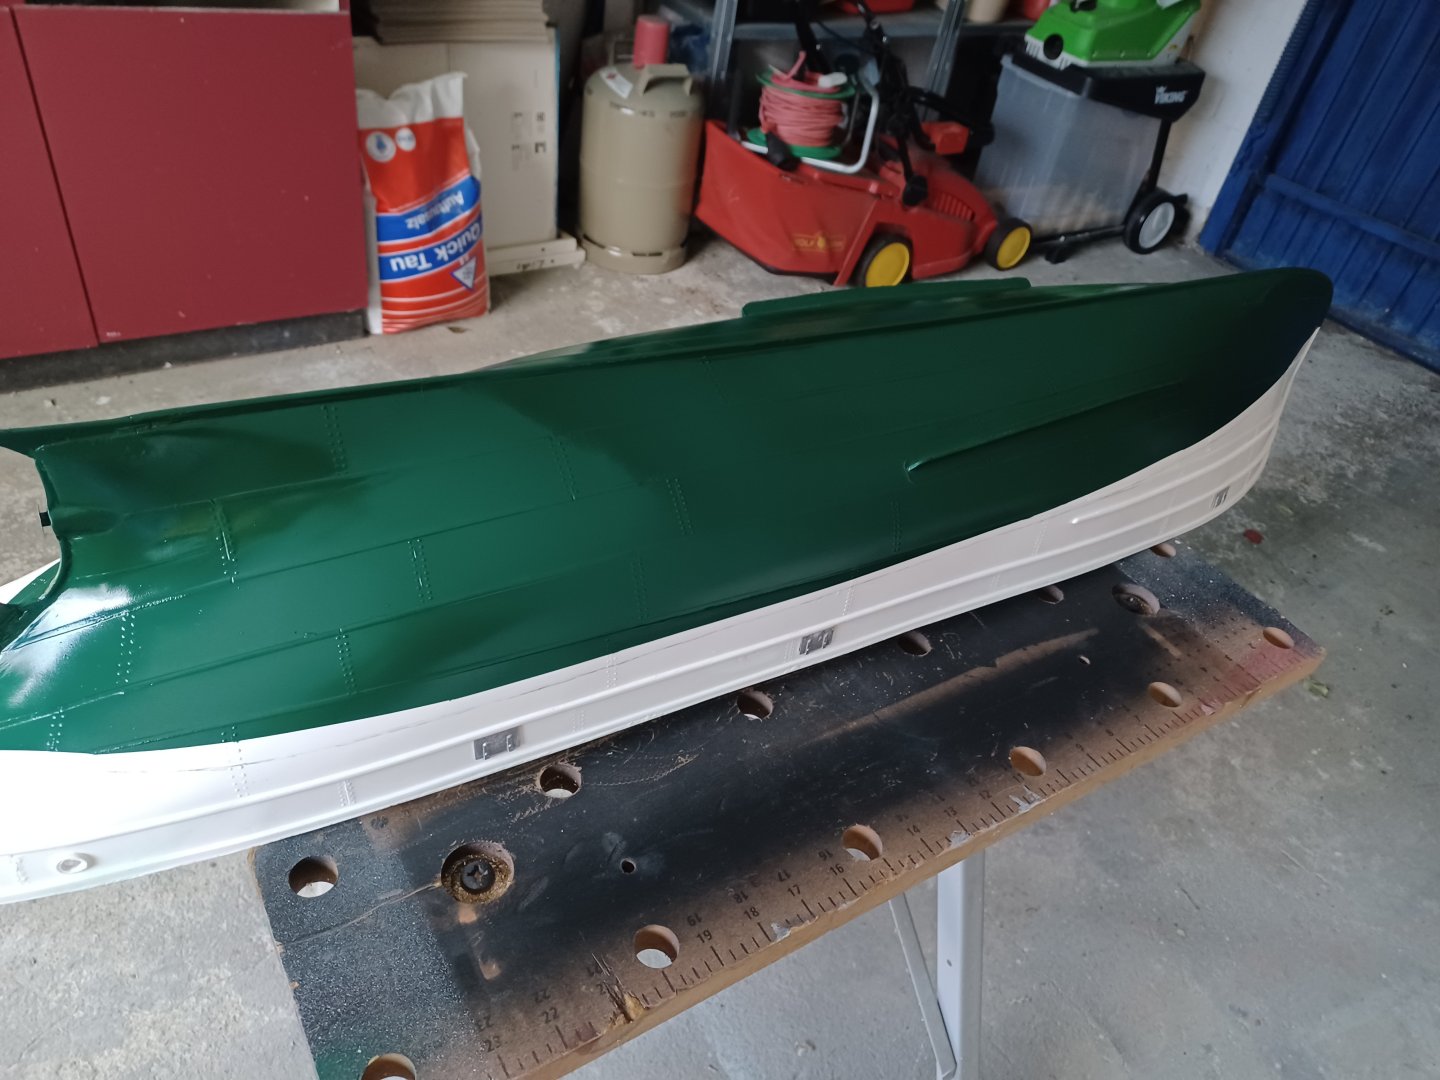
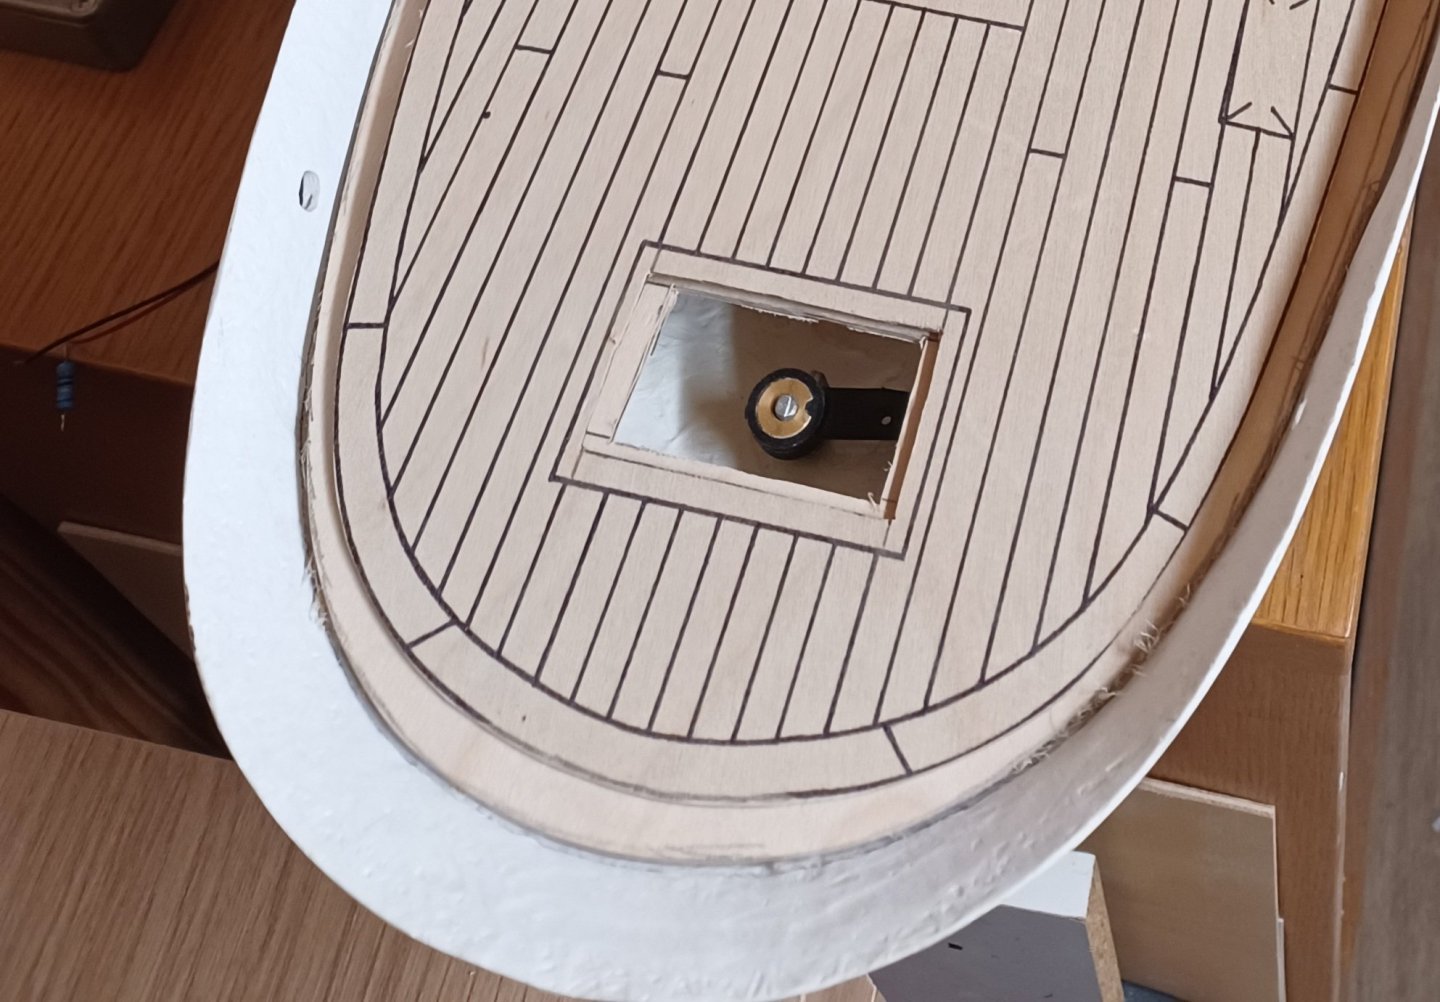
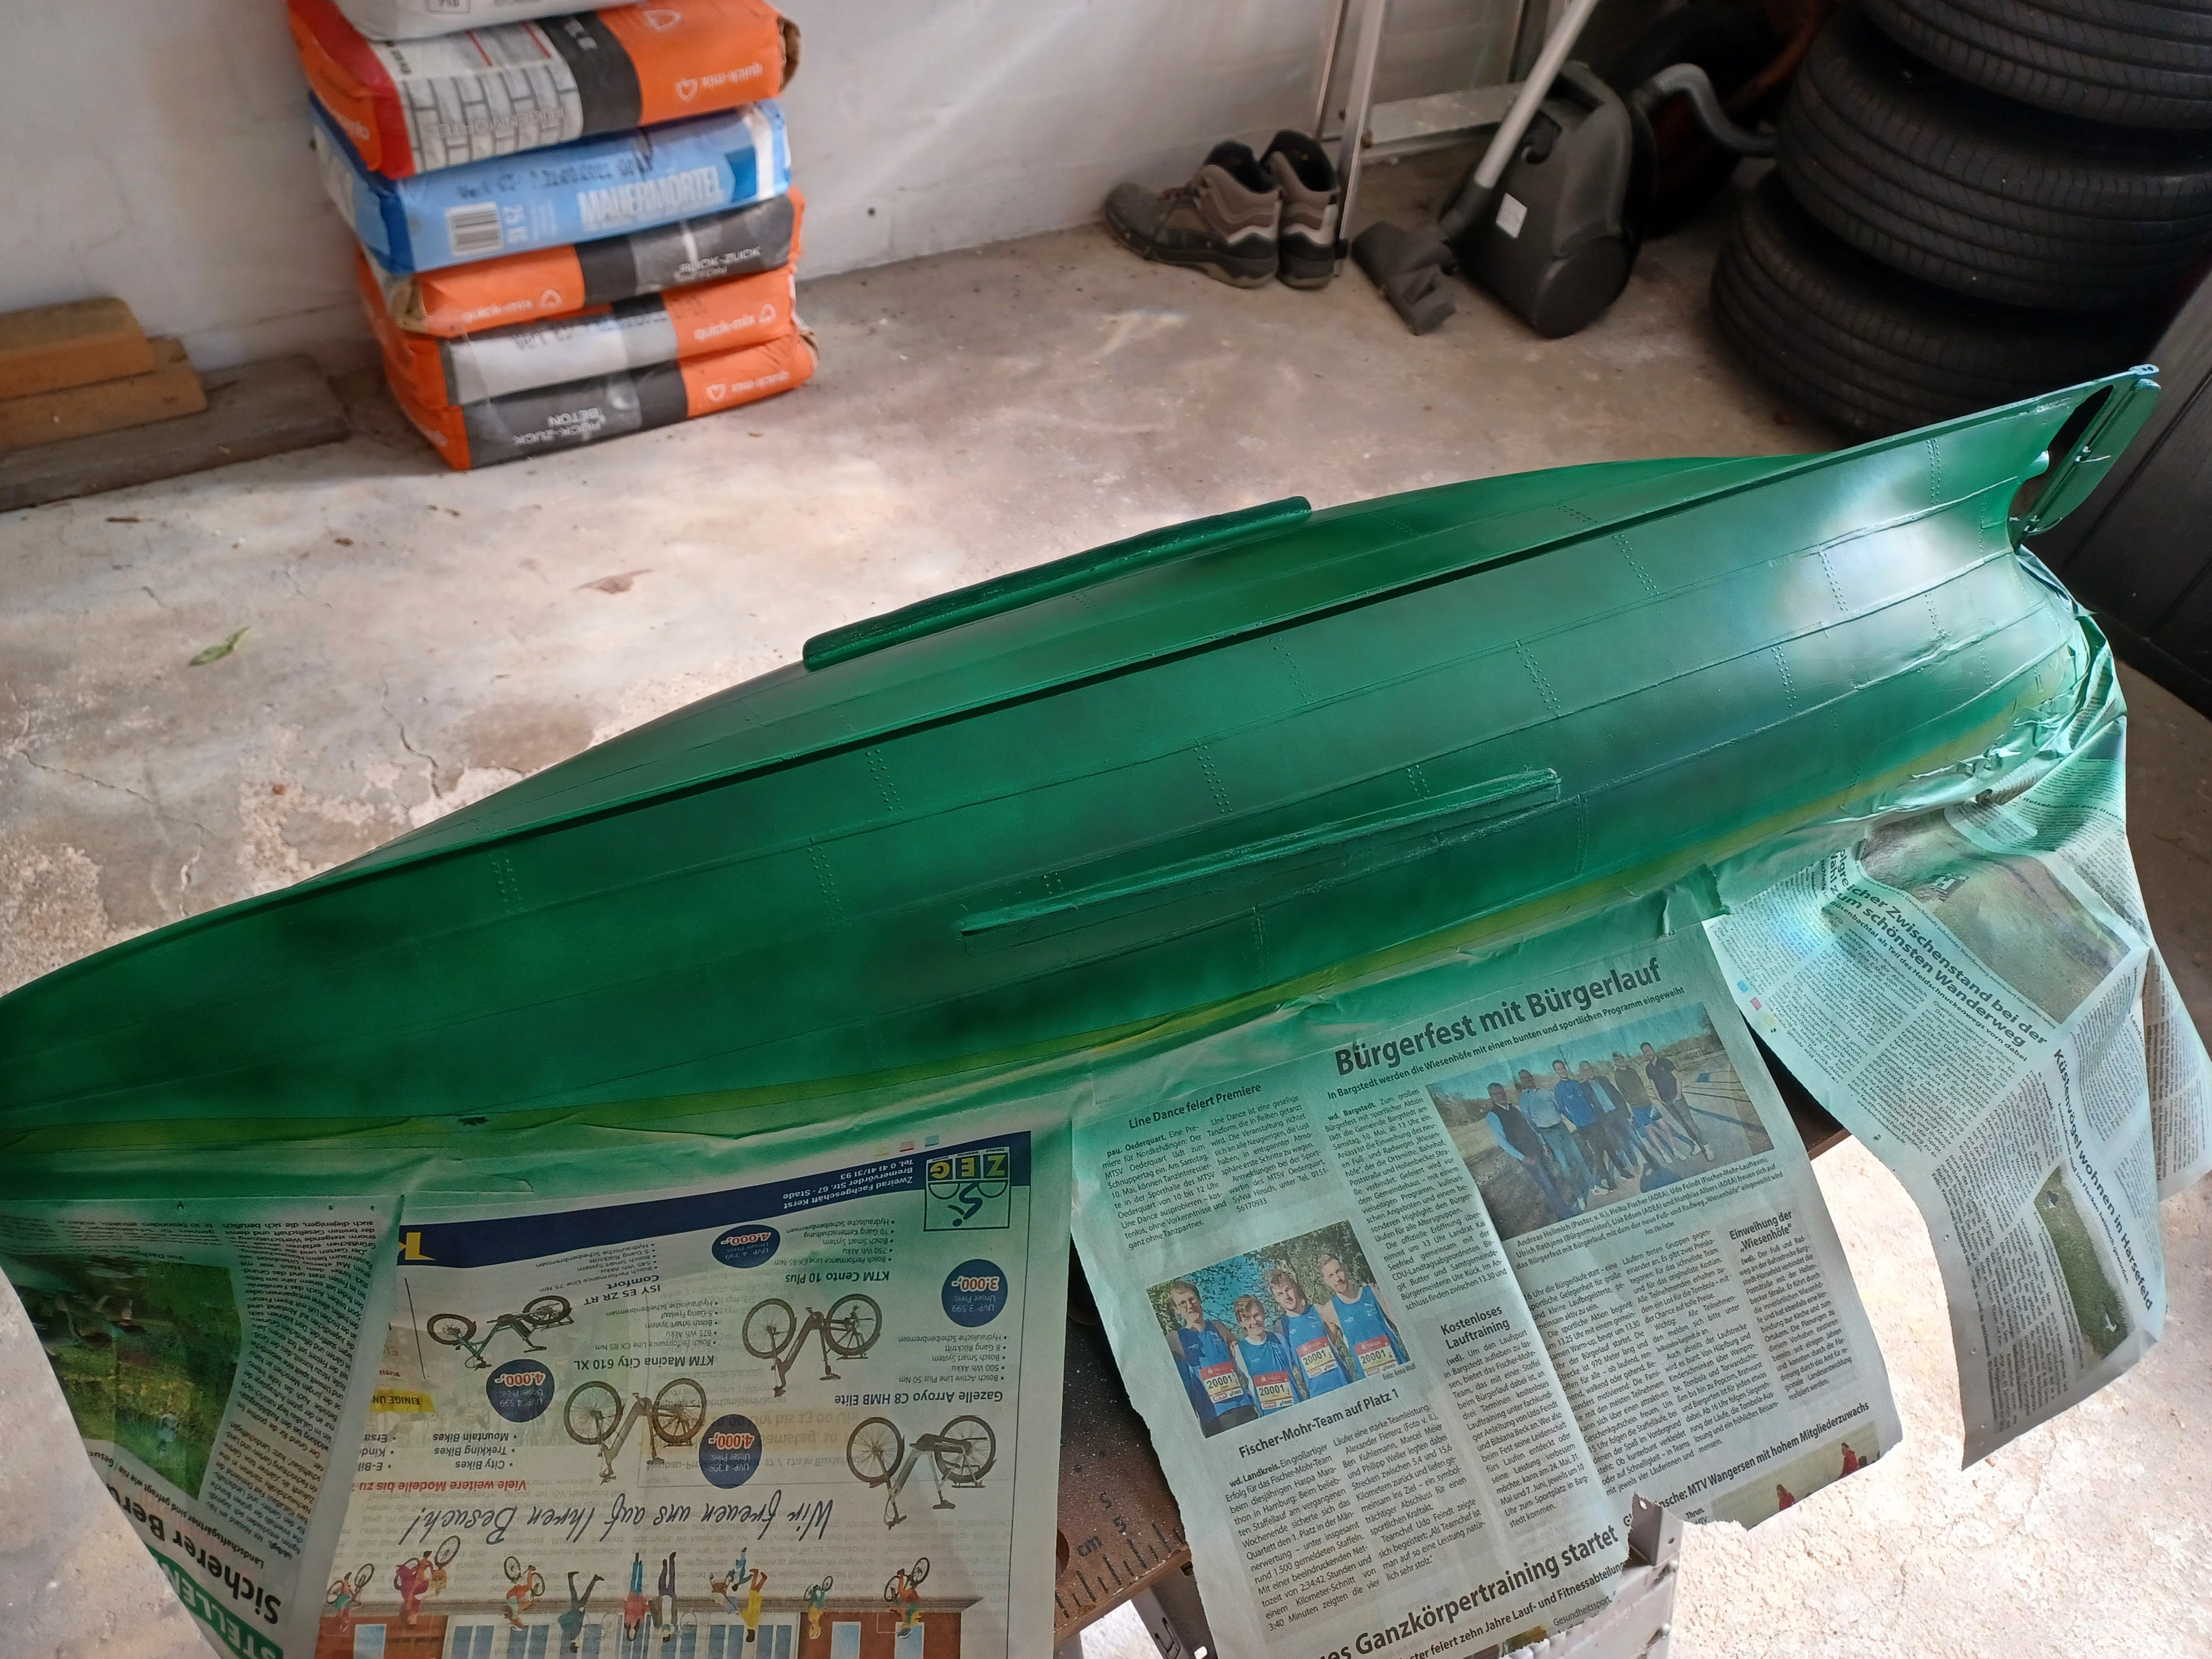
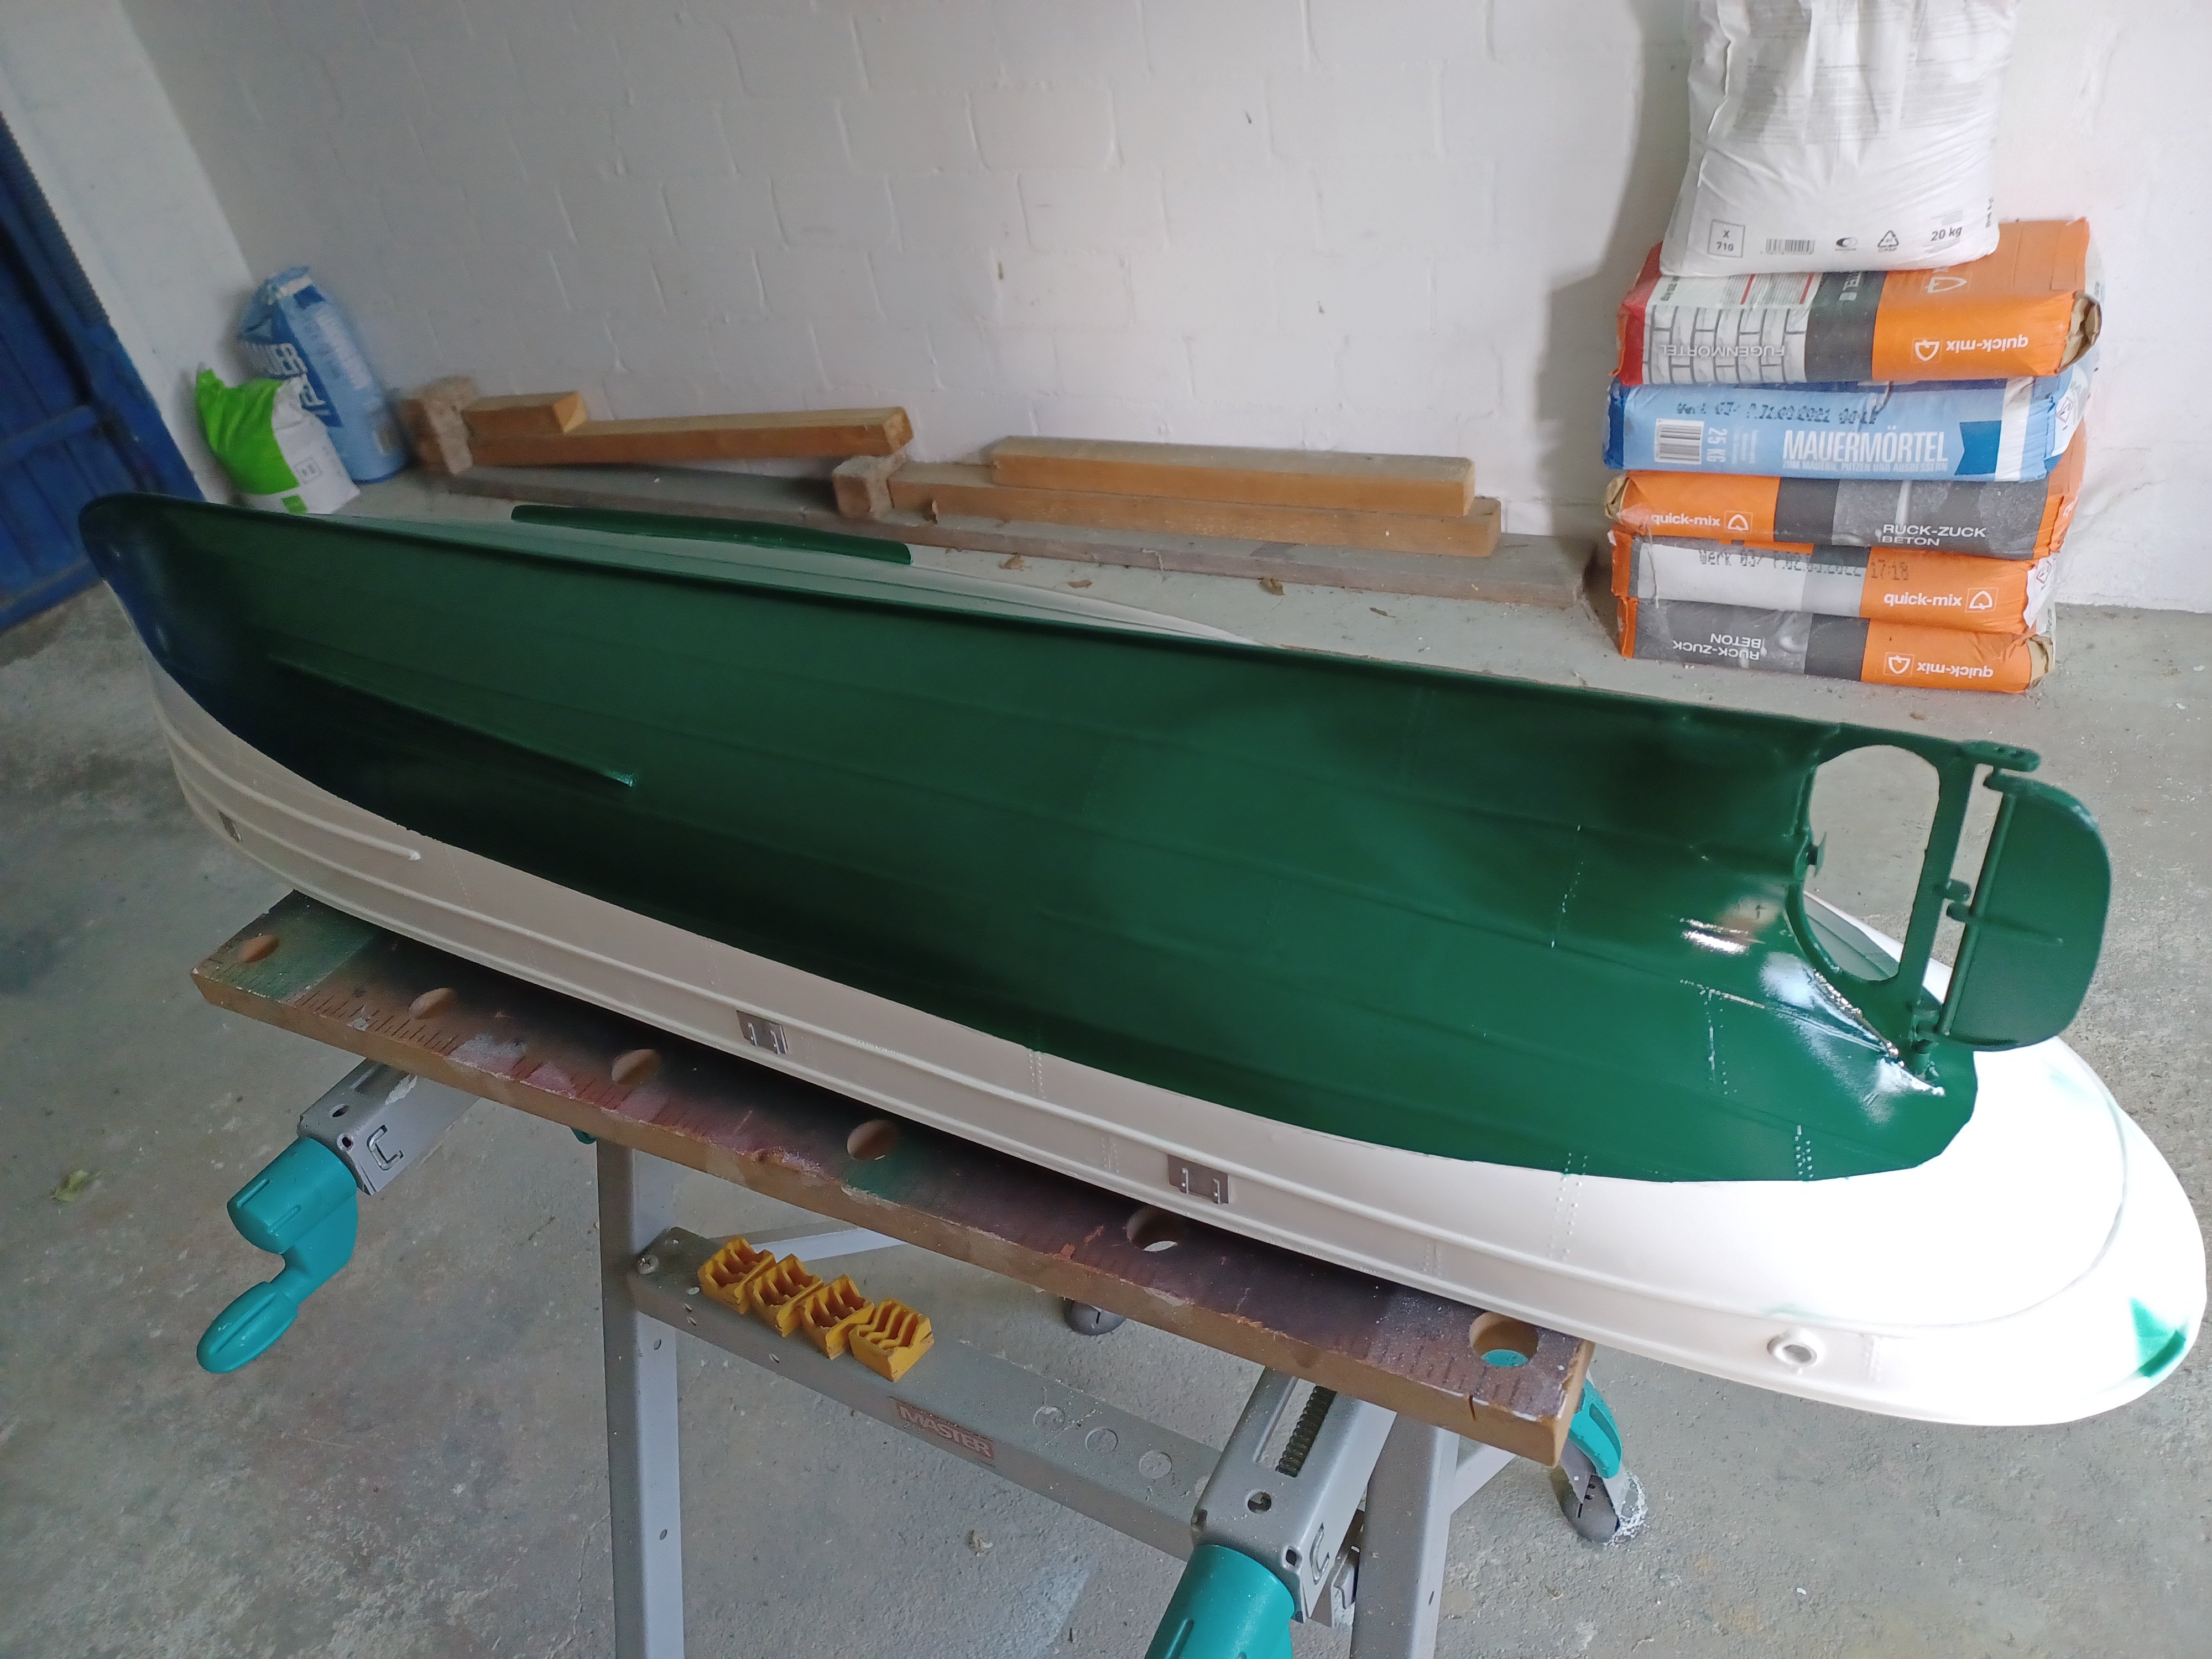
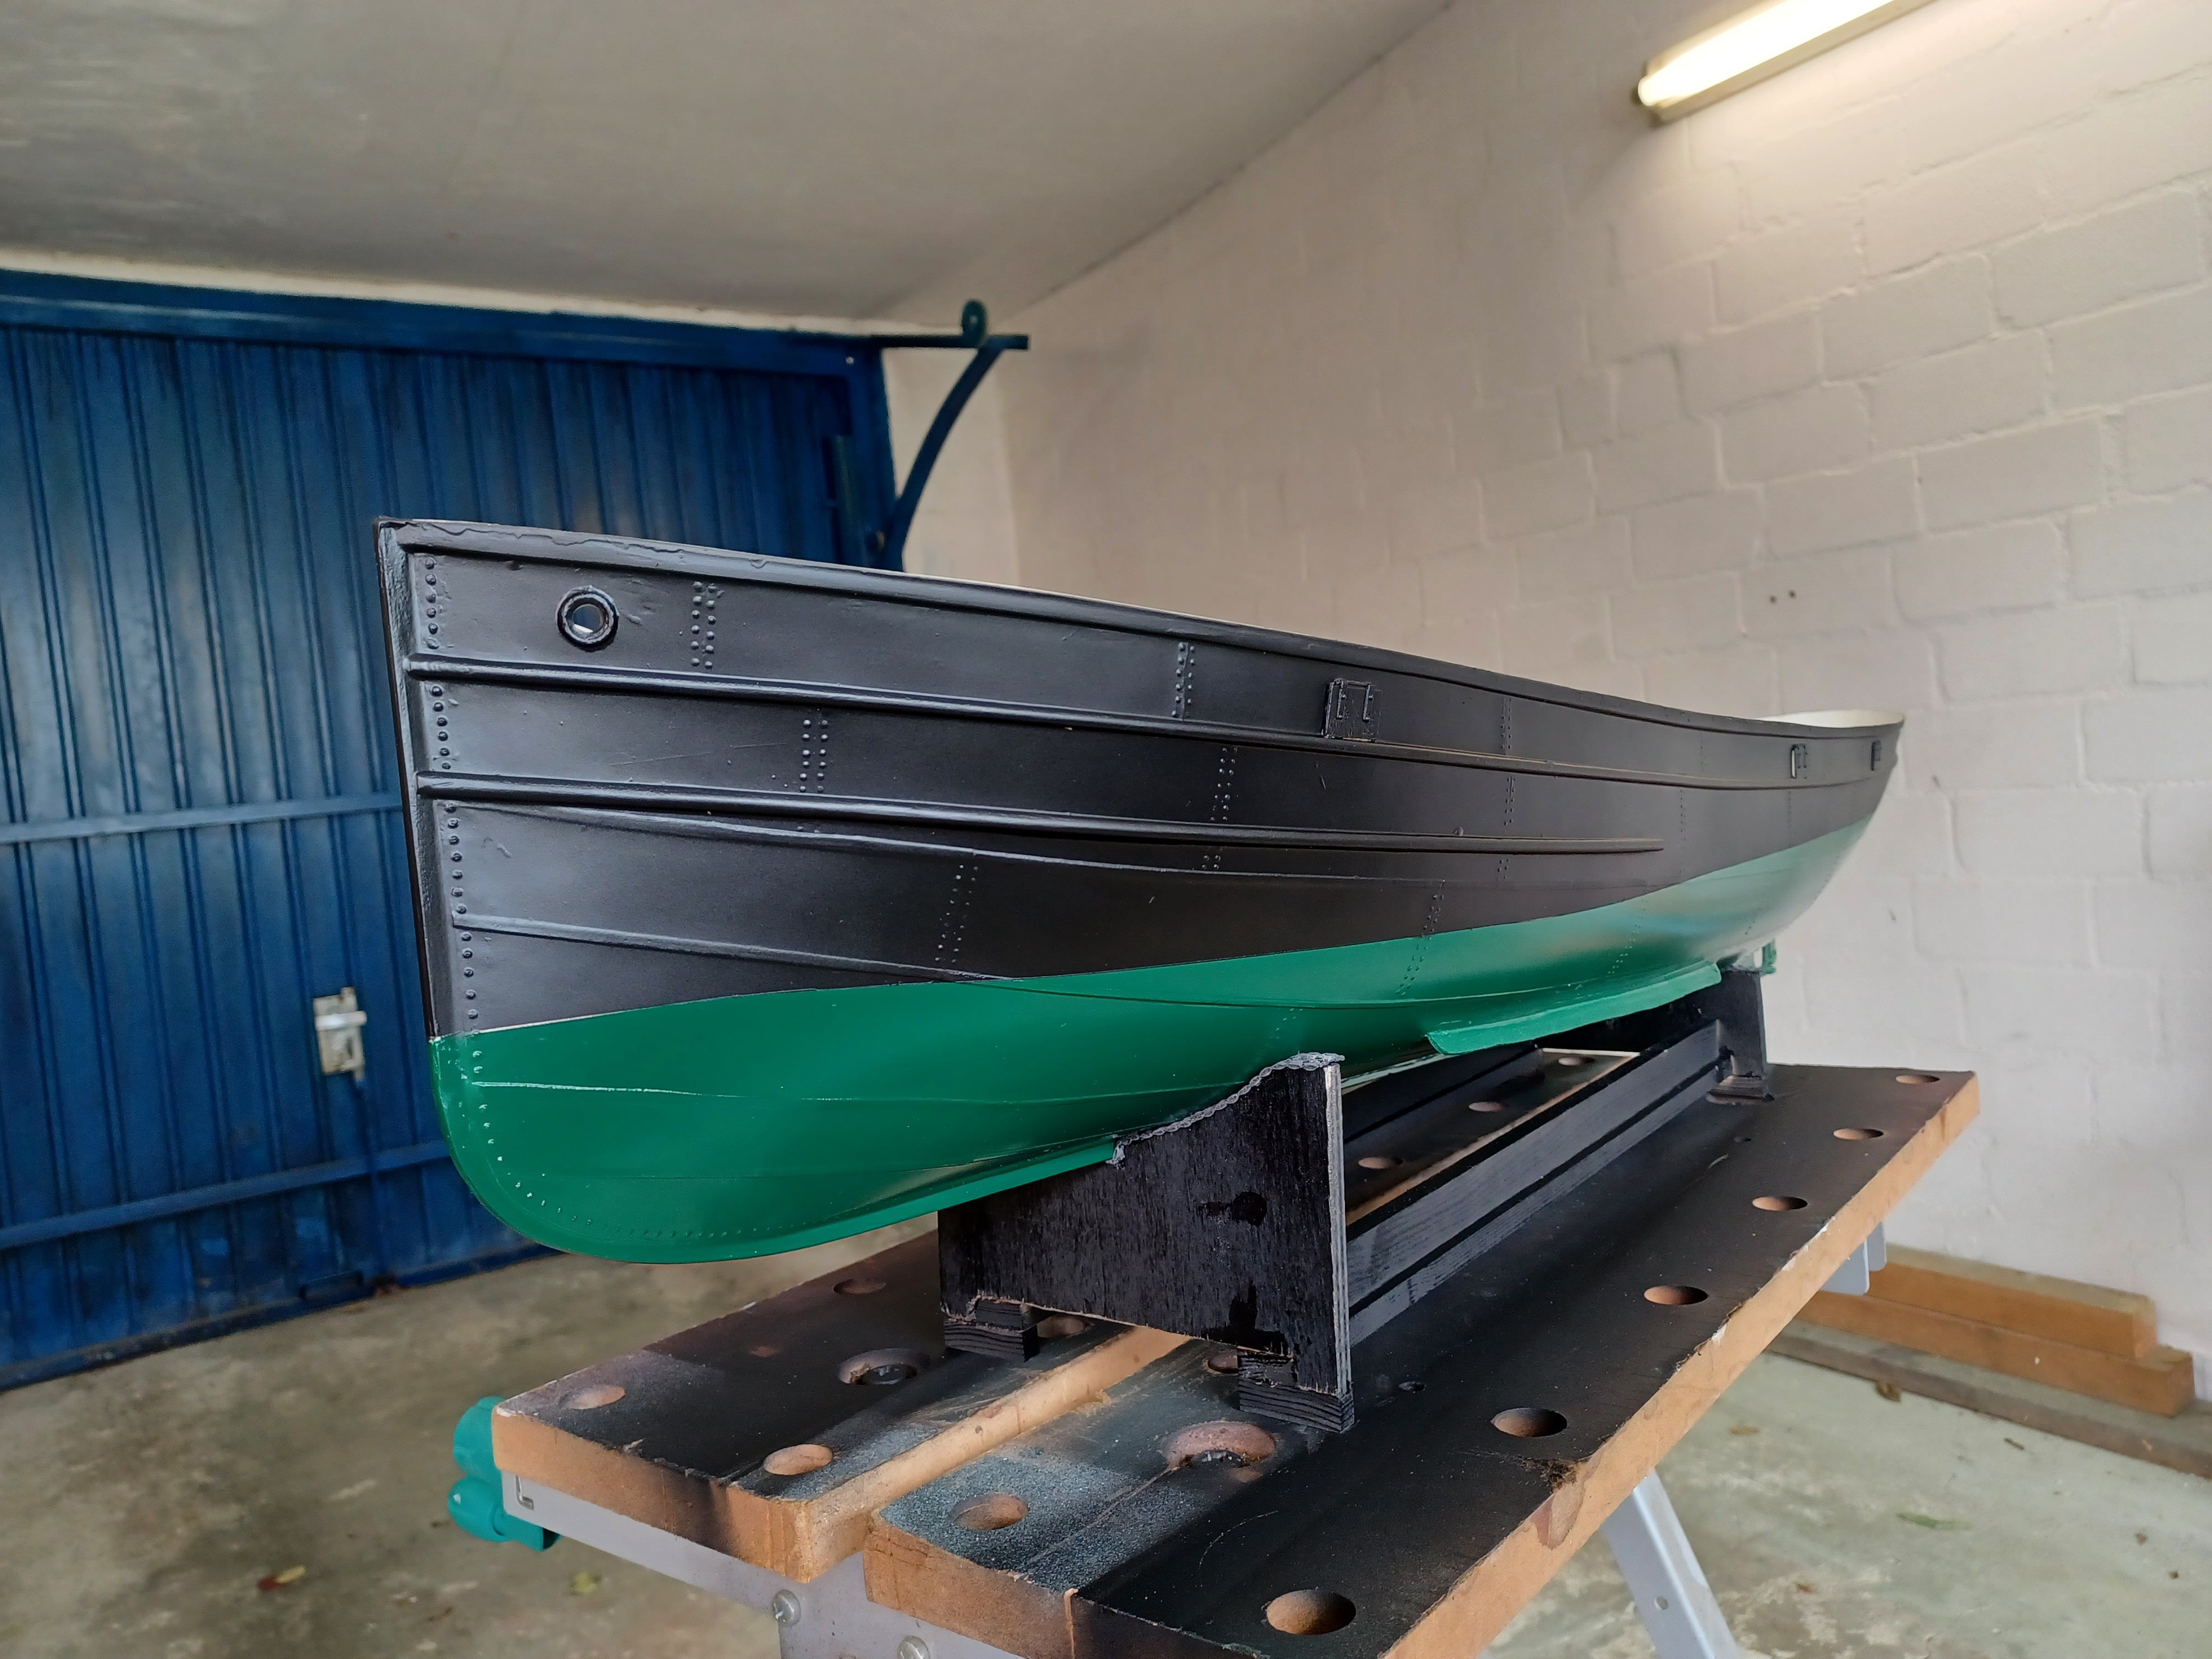
Hello There I am again. The deck has been planked and painted with boat varnish. Then I painted the hull.


- 35 replies
-
- 8
-
-
-
- Britannia
- Mountfleet Models
- (and 1 more)
-
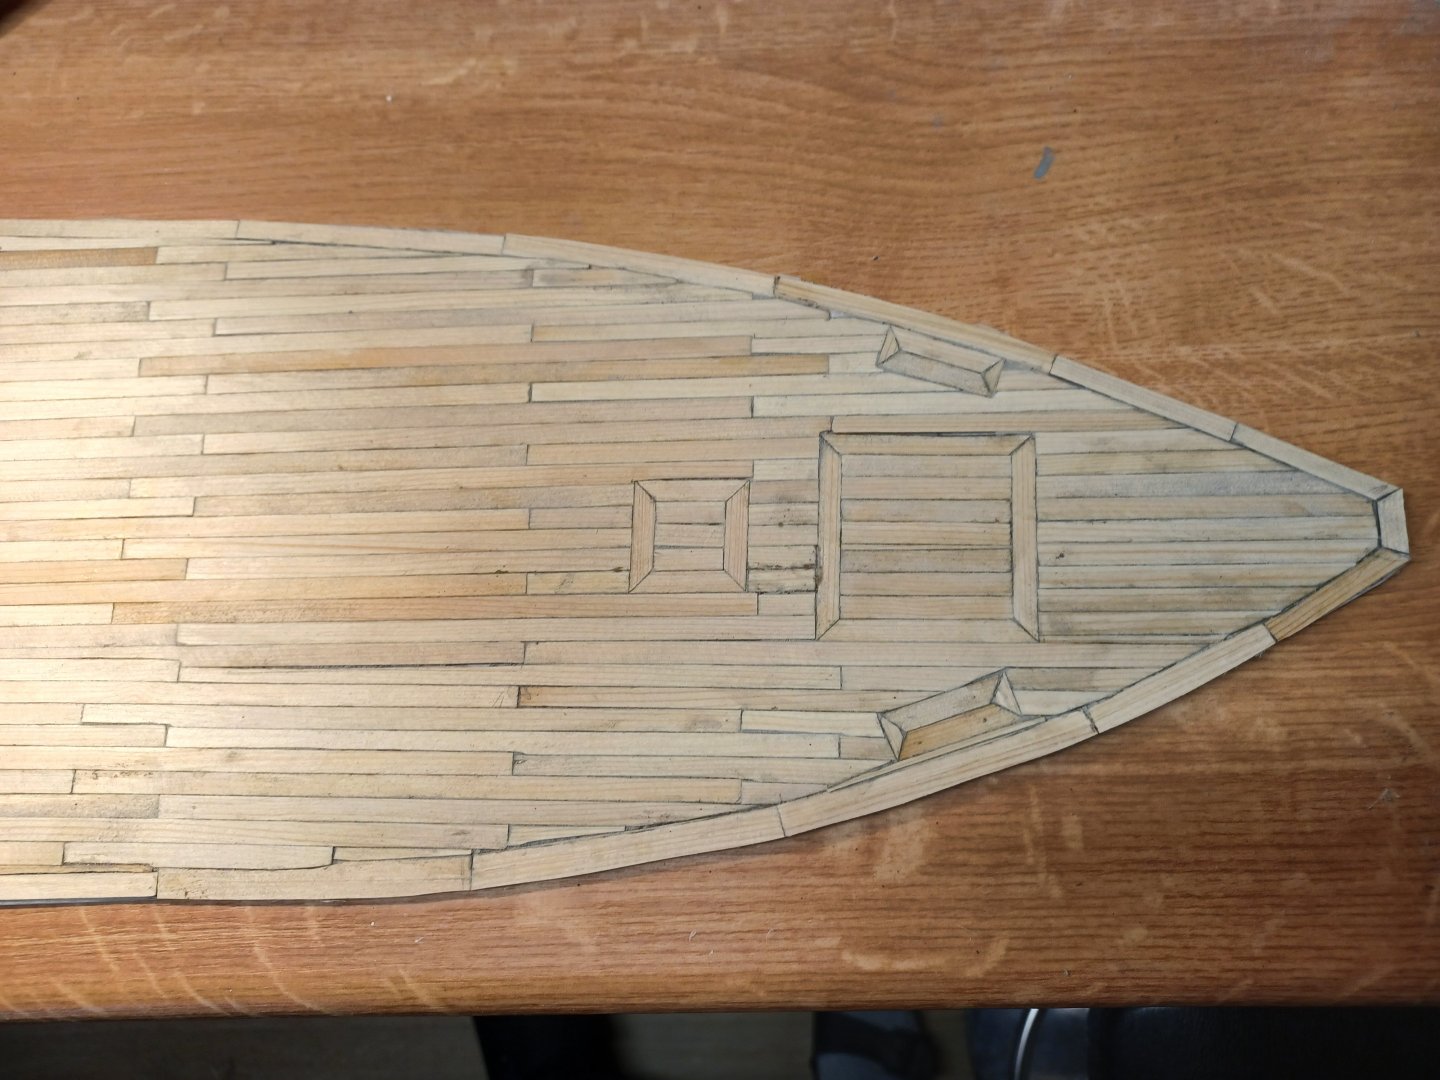
Hello there I was back in my construction trailer today and made some progress with the deck again.

- 35 replies
-
- 2
-
-
- Britannia
- Mountfleet Models
- (and 1 more)
-
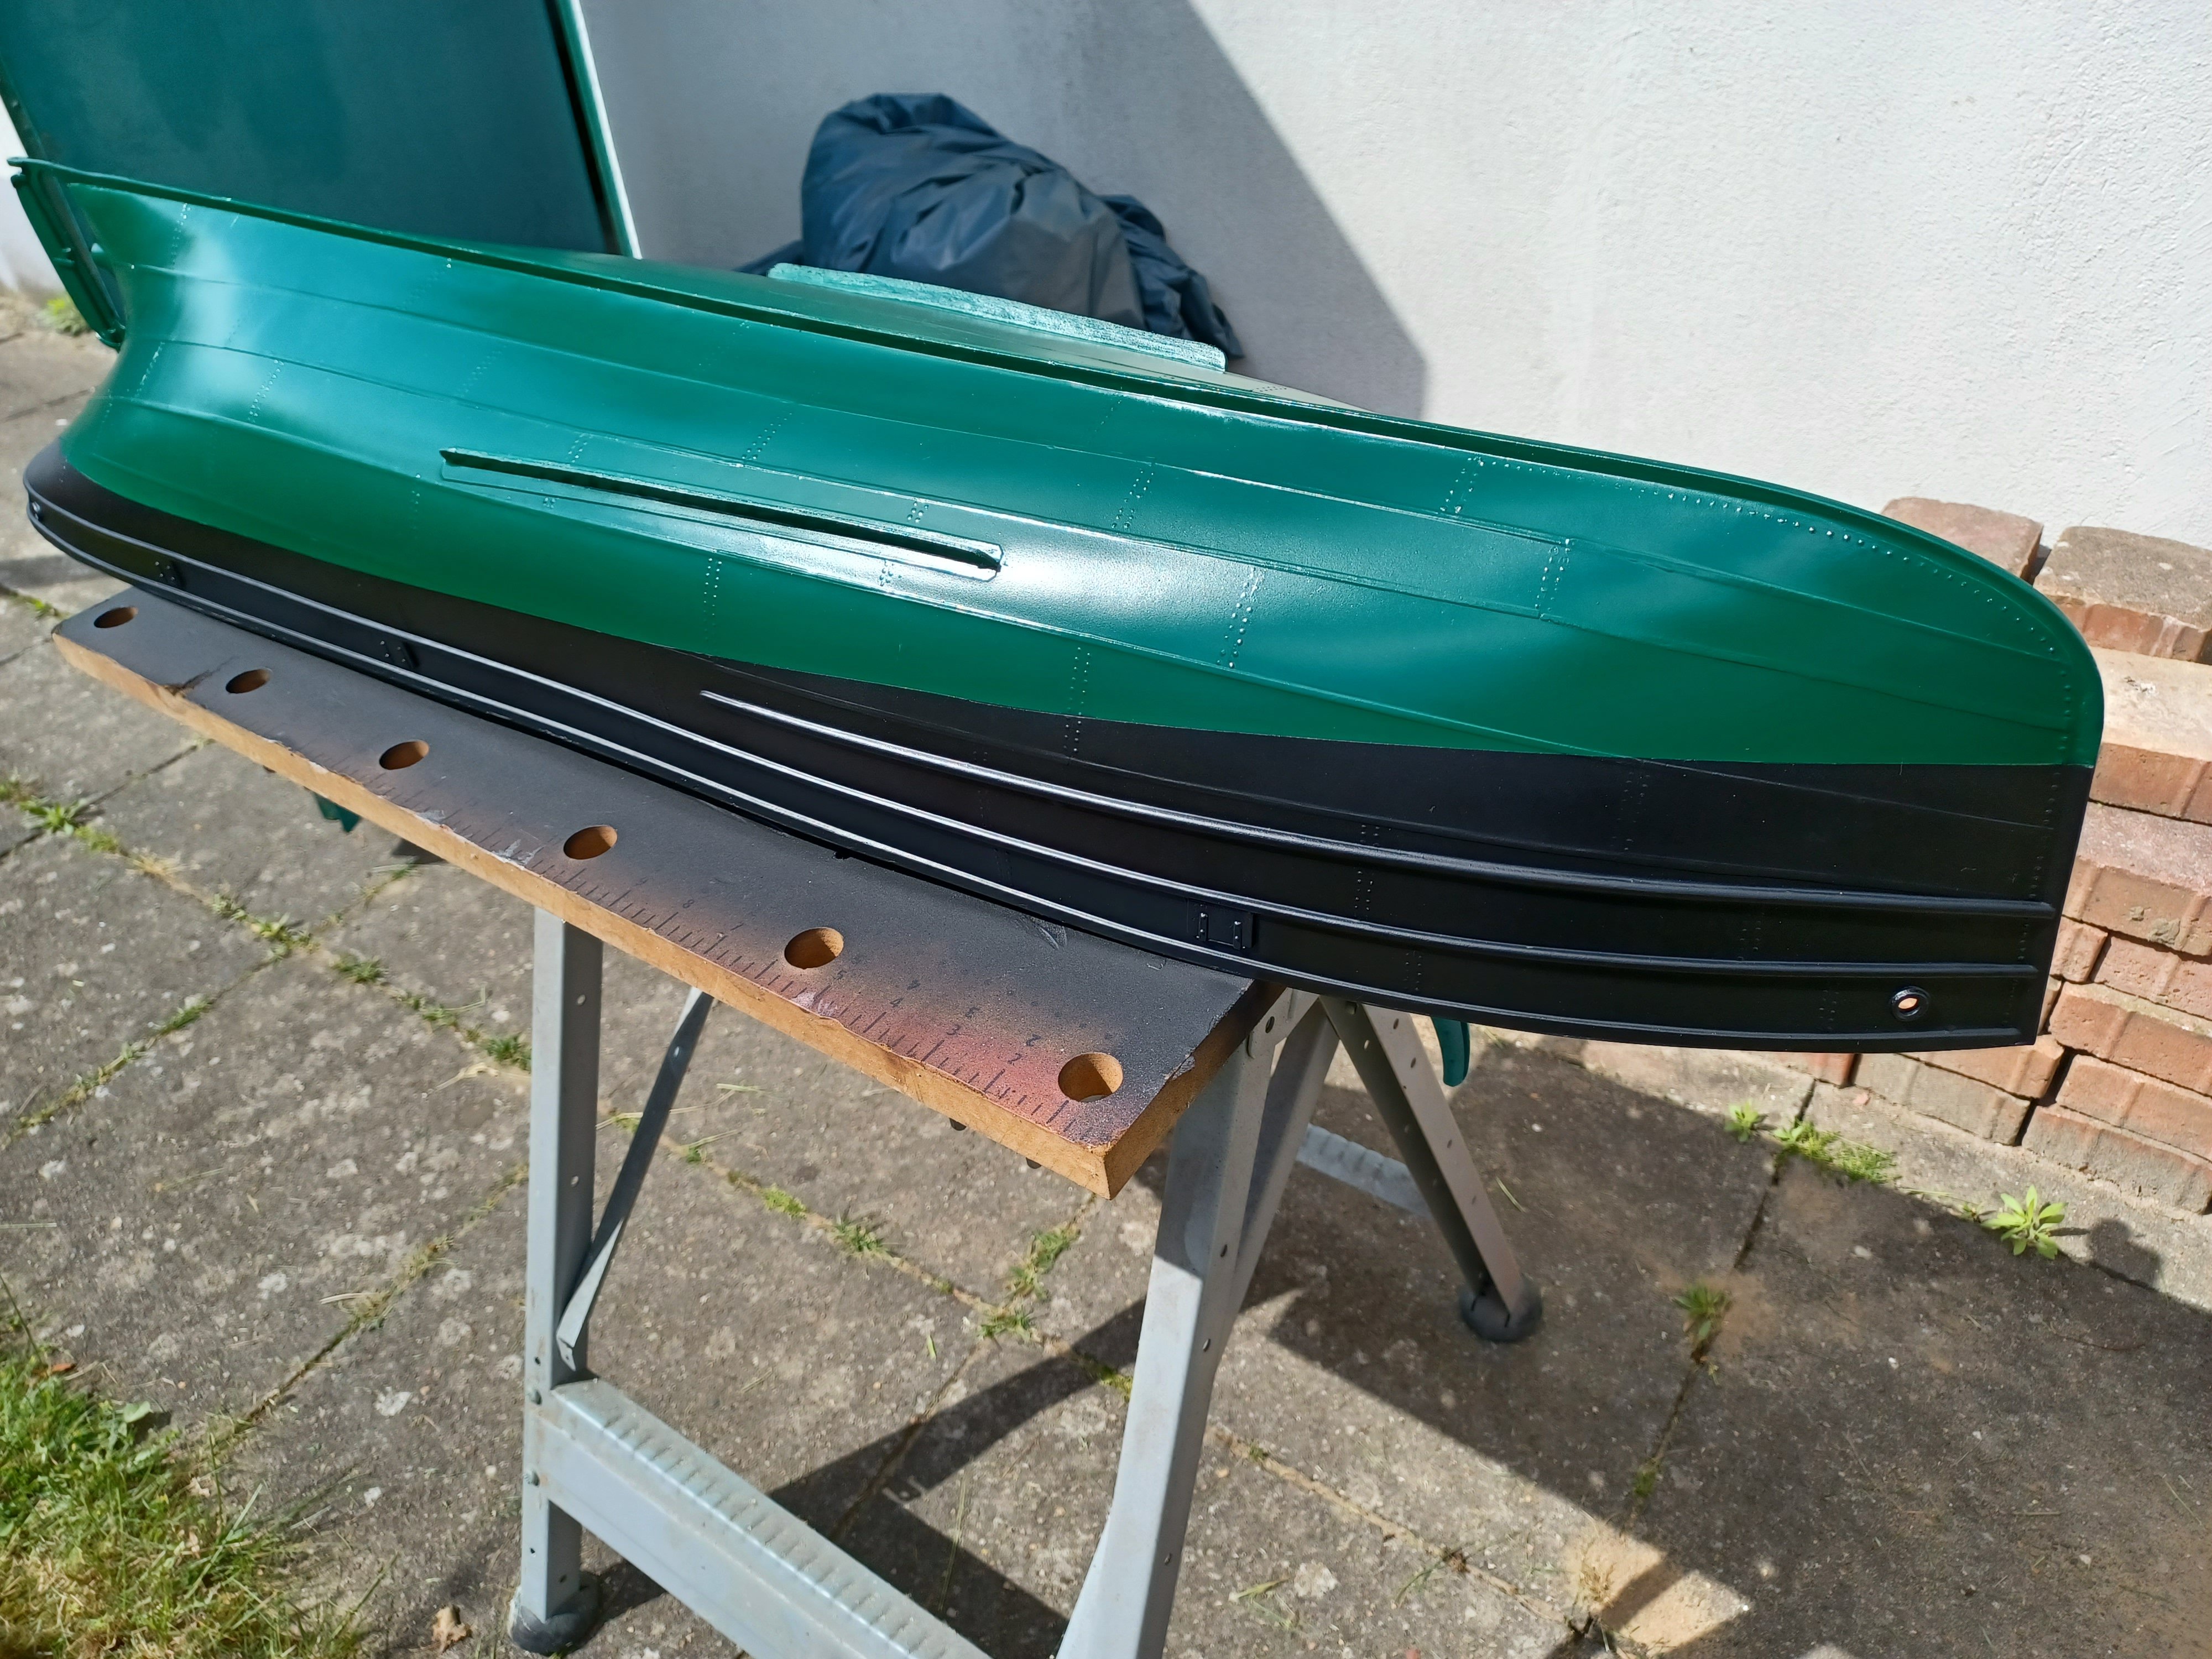
Hey, it's slowly coming together. The rear is almost finished.
- 35 replies
-
- 4
-
-
- Britannia
- Mountfleet Models
- (and 1 more)
-
Hello And a little further again. What a fiddly job
- 35 replies
-
- 3
-
-
- Britannia
- Mountfleet Models
- (and 1 more)
-
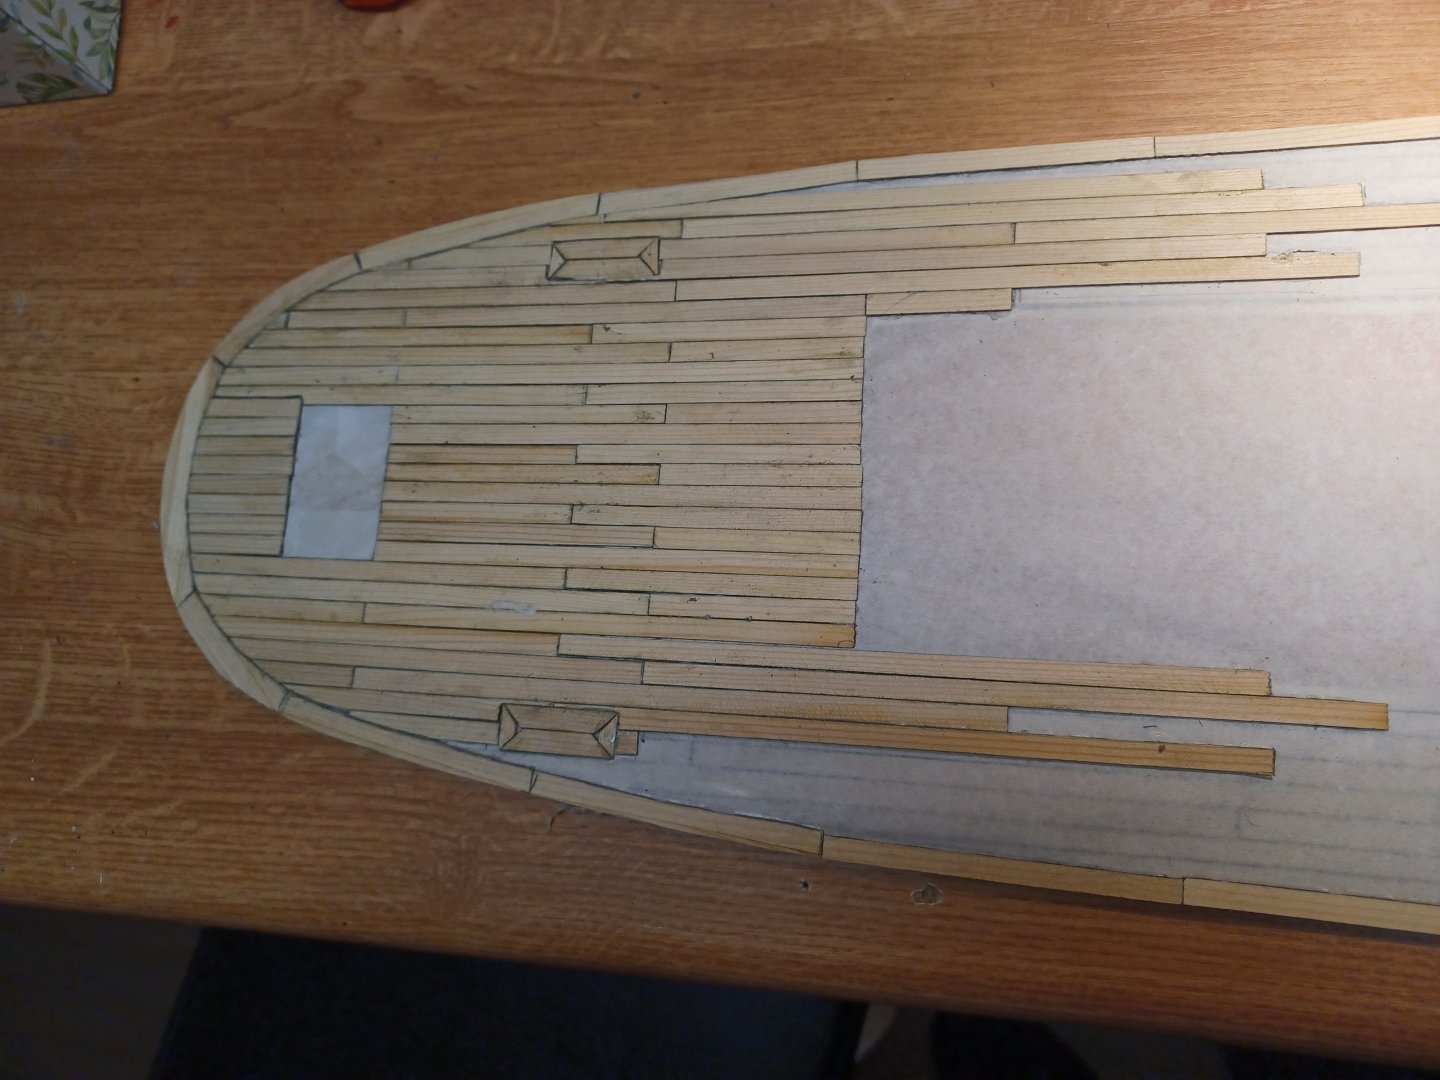
And a little further. Everything that sticks out at the edge will be removed.

- 35 replies
-
- 5
-
-
- Britannia
- Mountfleet Models
- (and 1 more)
-
Hello SJSoane I have just read the first few pages of your construction report and admired the pictures. I am deeply impressed by your work. Now I know why I don't dare to tackle a ship using frame construction. I simply couldn't do it. I wouldn't have the patience or the craftsmanship. I take my hat off to all the members here. My utmost respect. And I am glad that you have included here anyway. Thank you.
-
Hallo Damit man das Originaldeck noch sehen kann, habe ich das Deck in Brotpapier eingewickelt. Die Planken werde ich direkt 1:1 auf das Brotpapier kleben. Die Verstemmung werde ich vorher mit Bleistift anzeichnen. Alle Posts jetzt zeigen den tatsächlichen Baufortschritt.


- 35 replies
-
- 5
-
-
- Britannia
- Mountfleet Models
- (and 1 more)
-
I thank you🤝
-
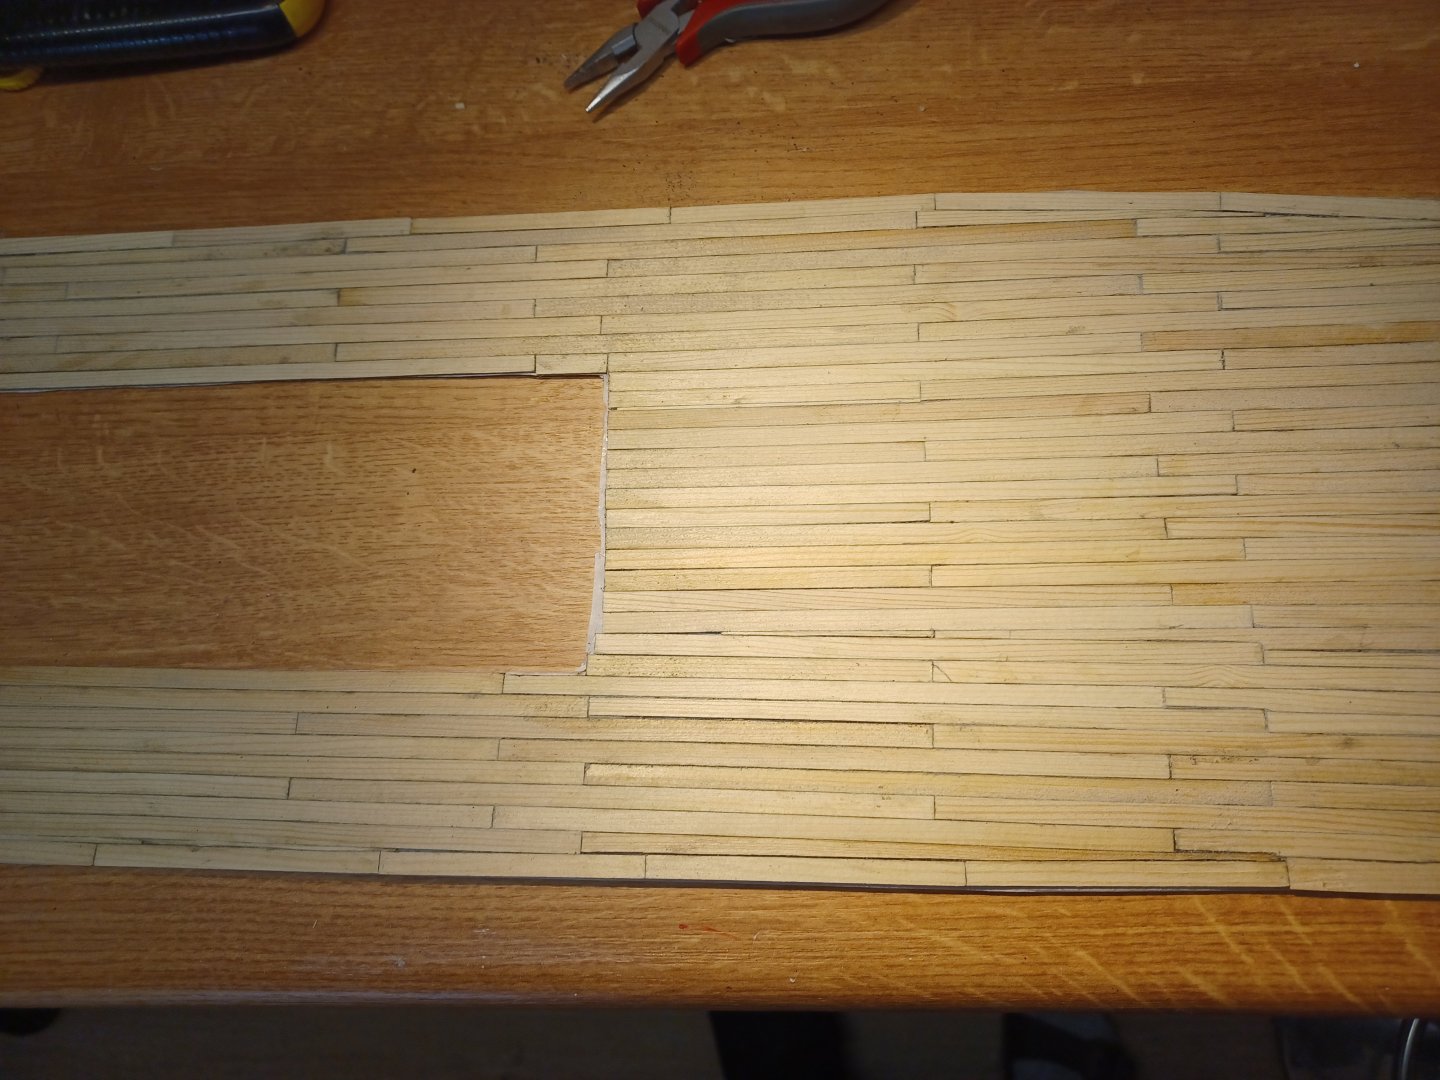
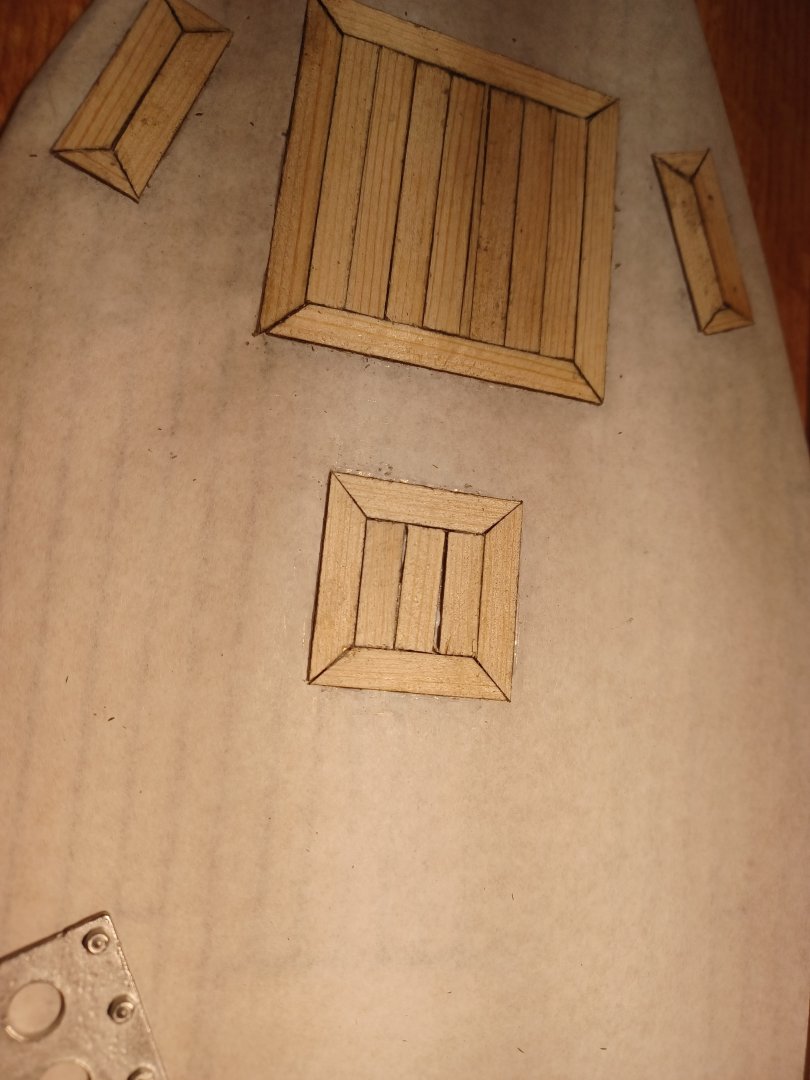
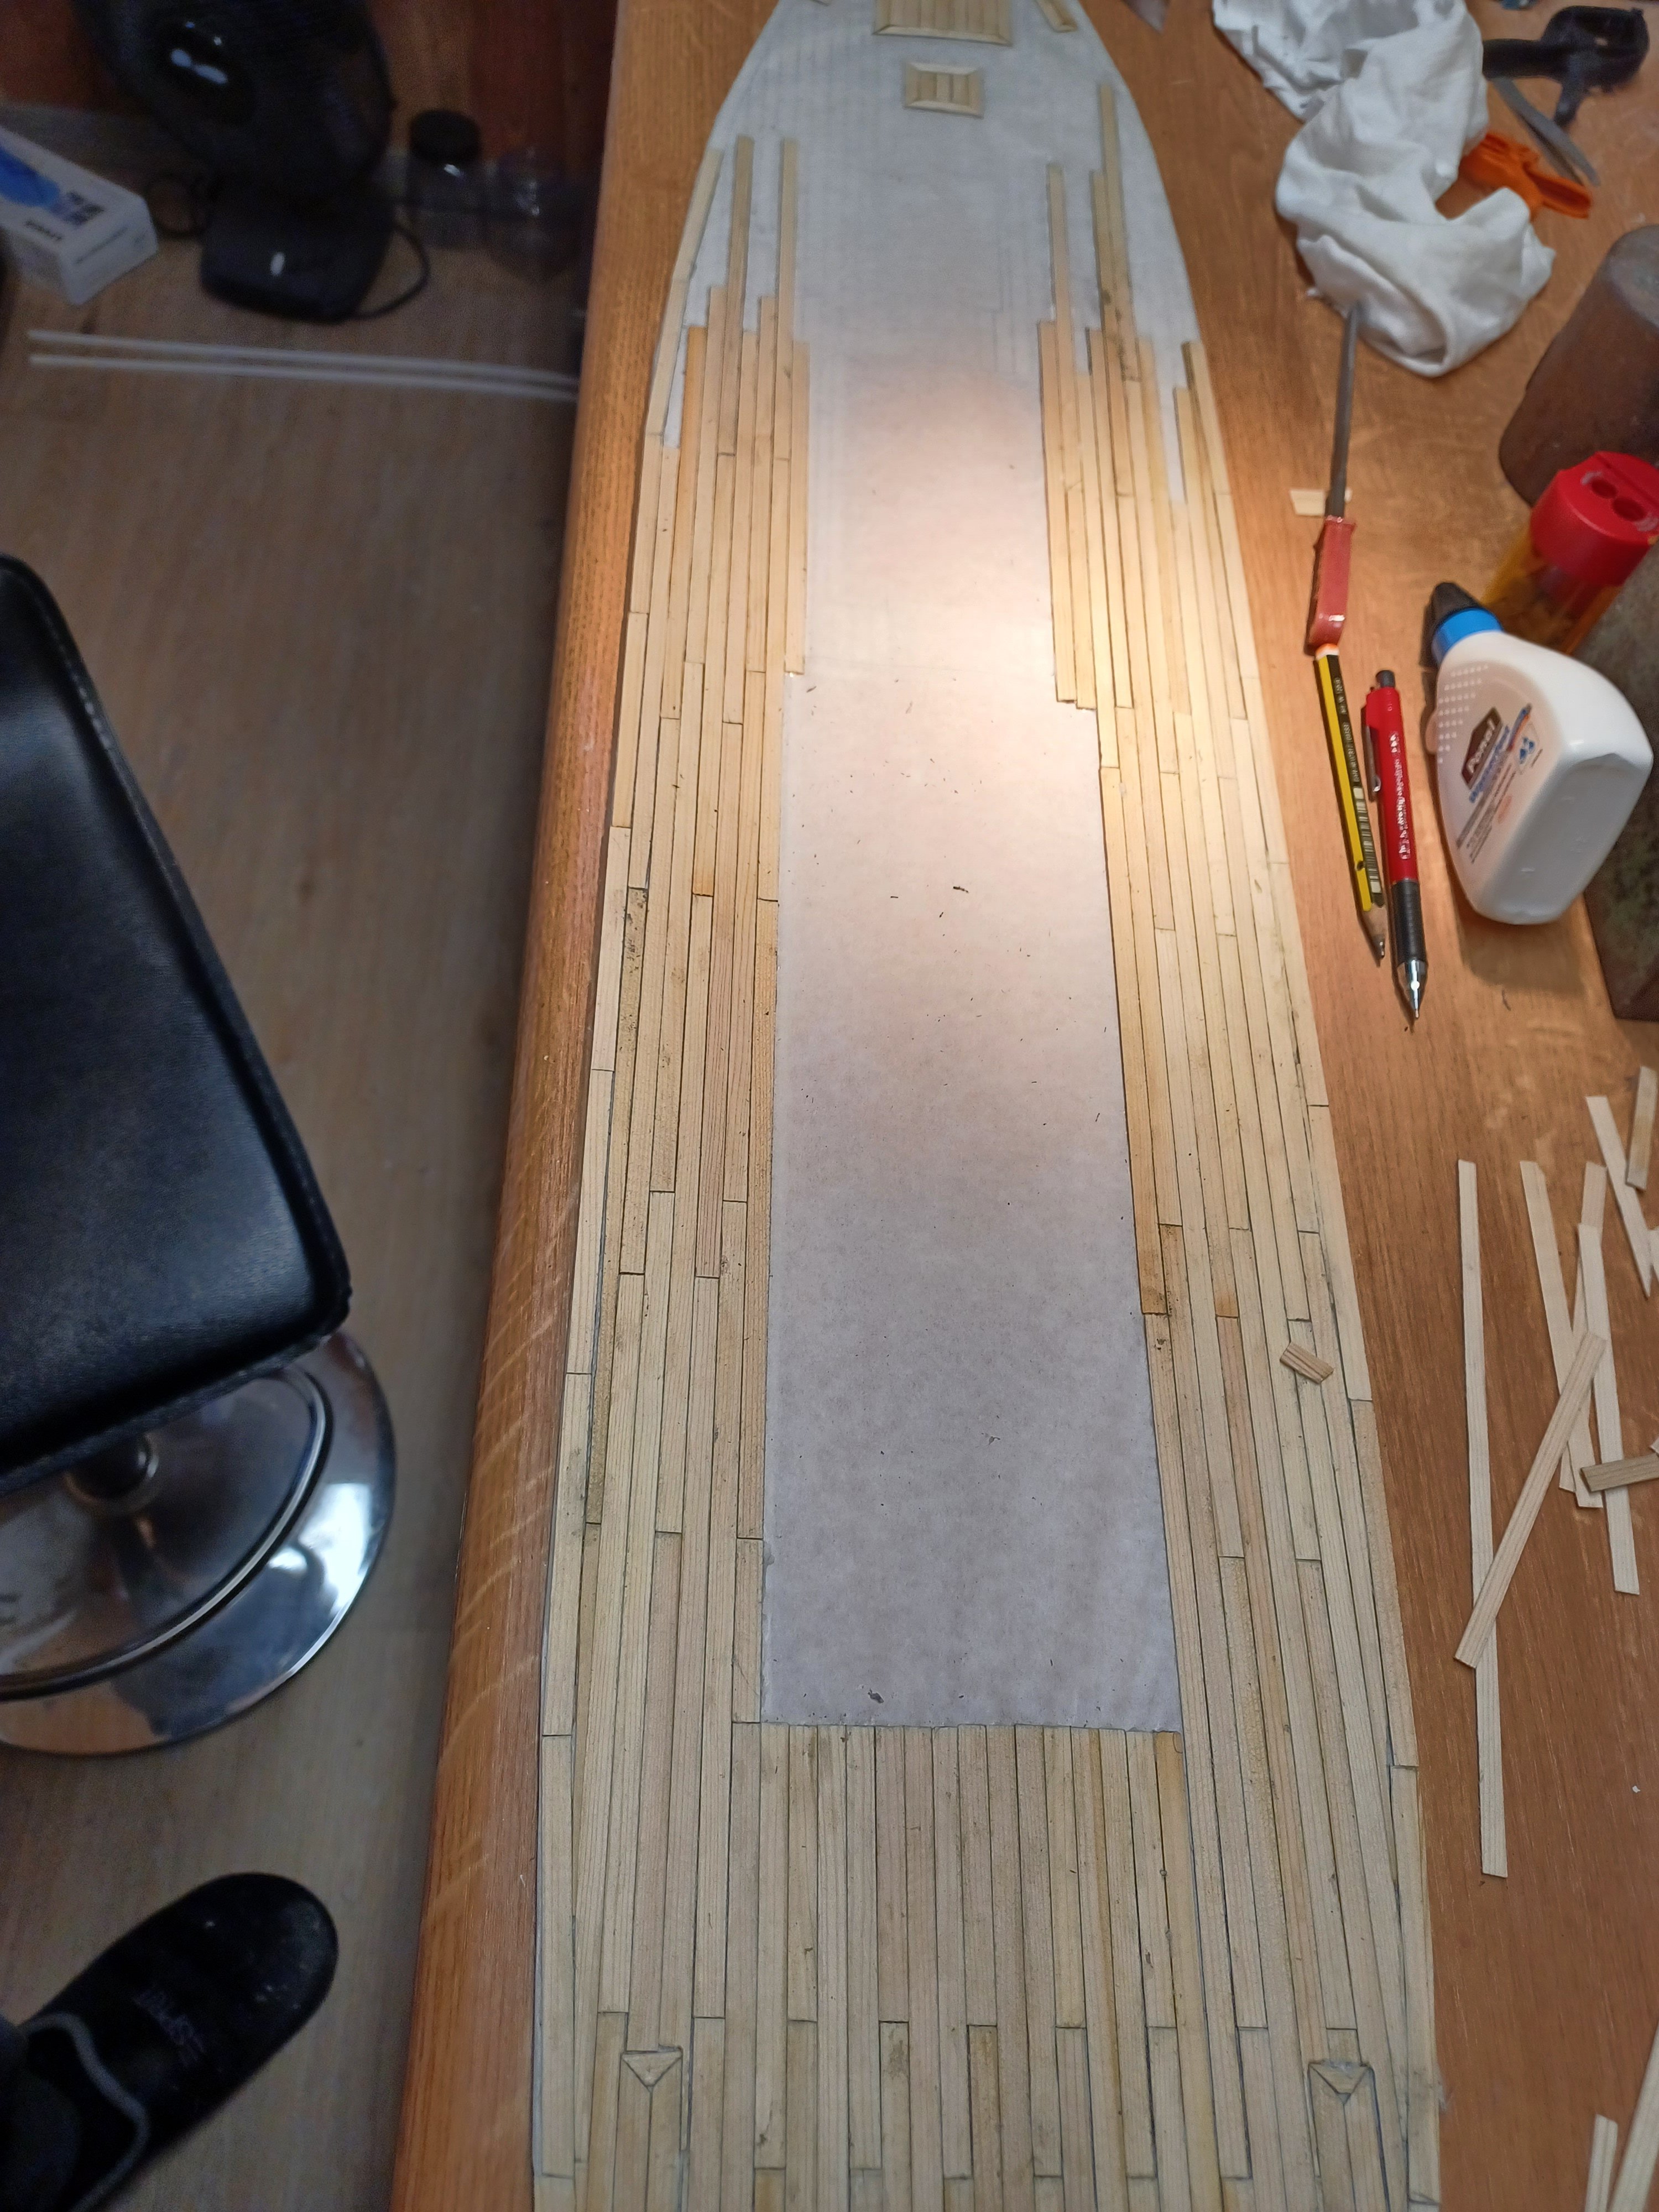
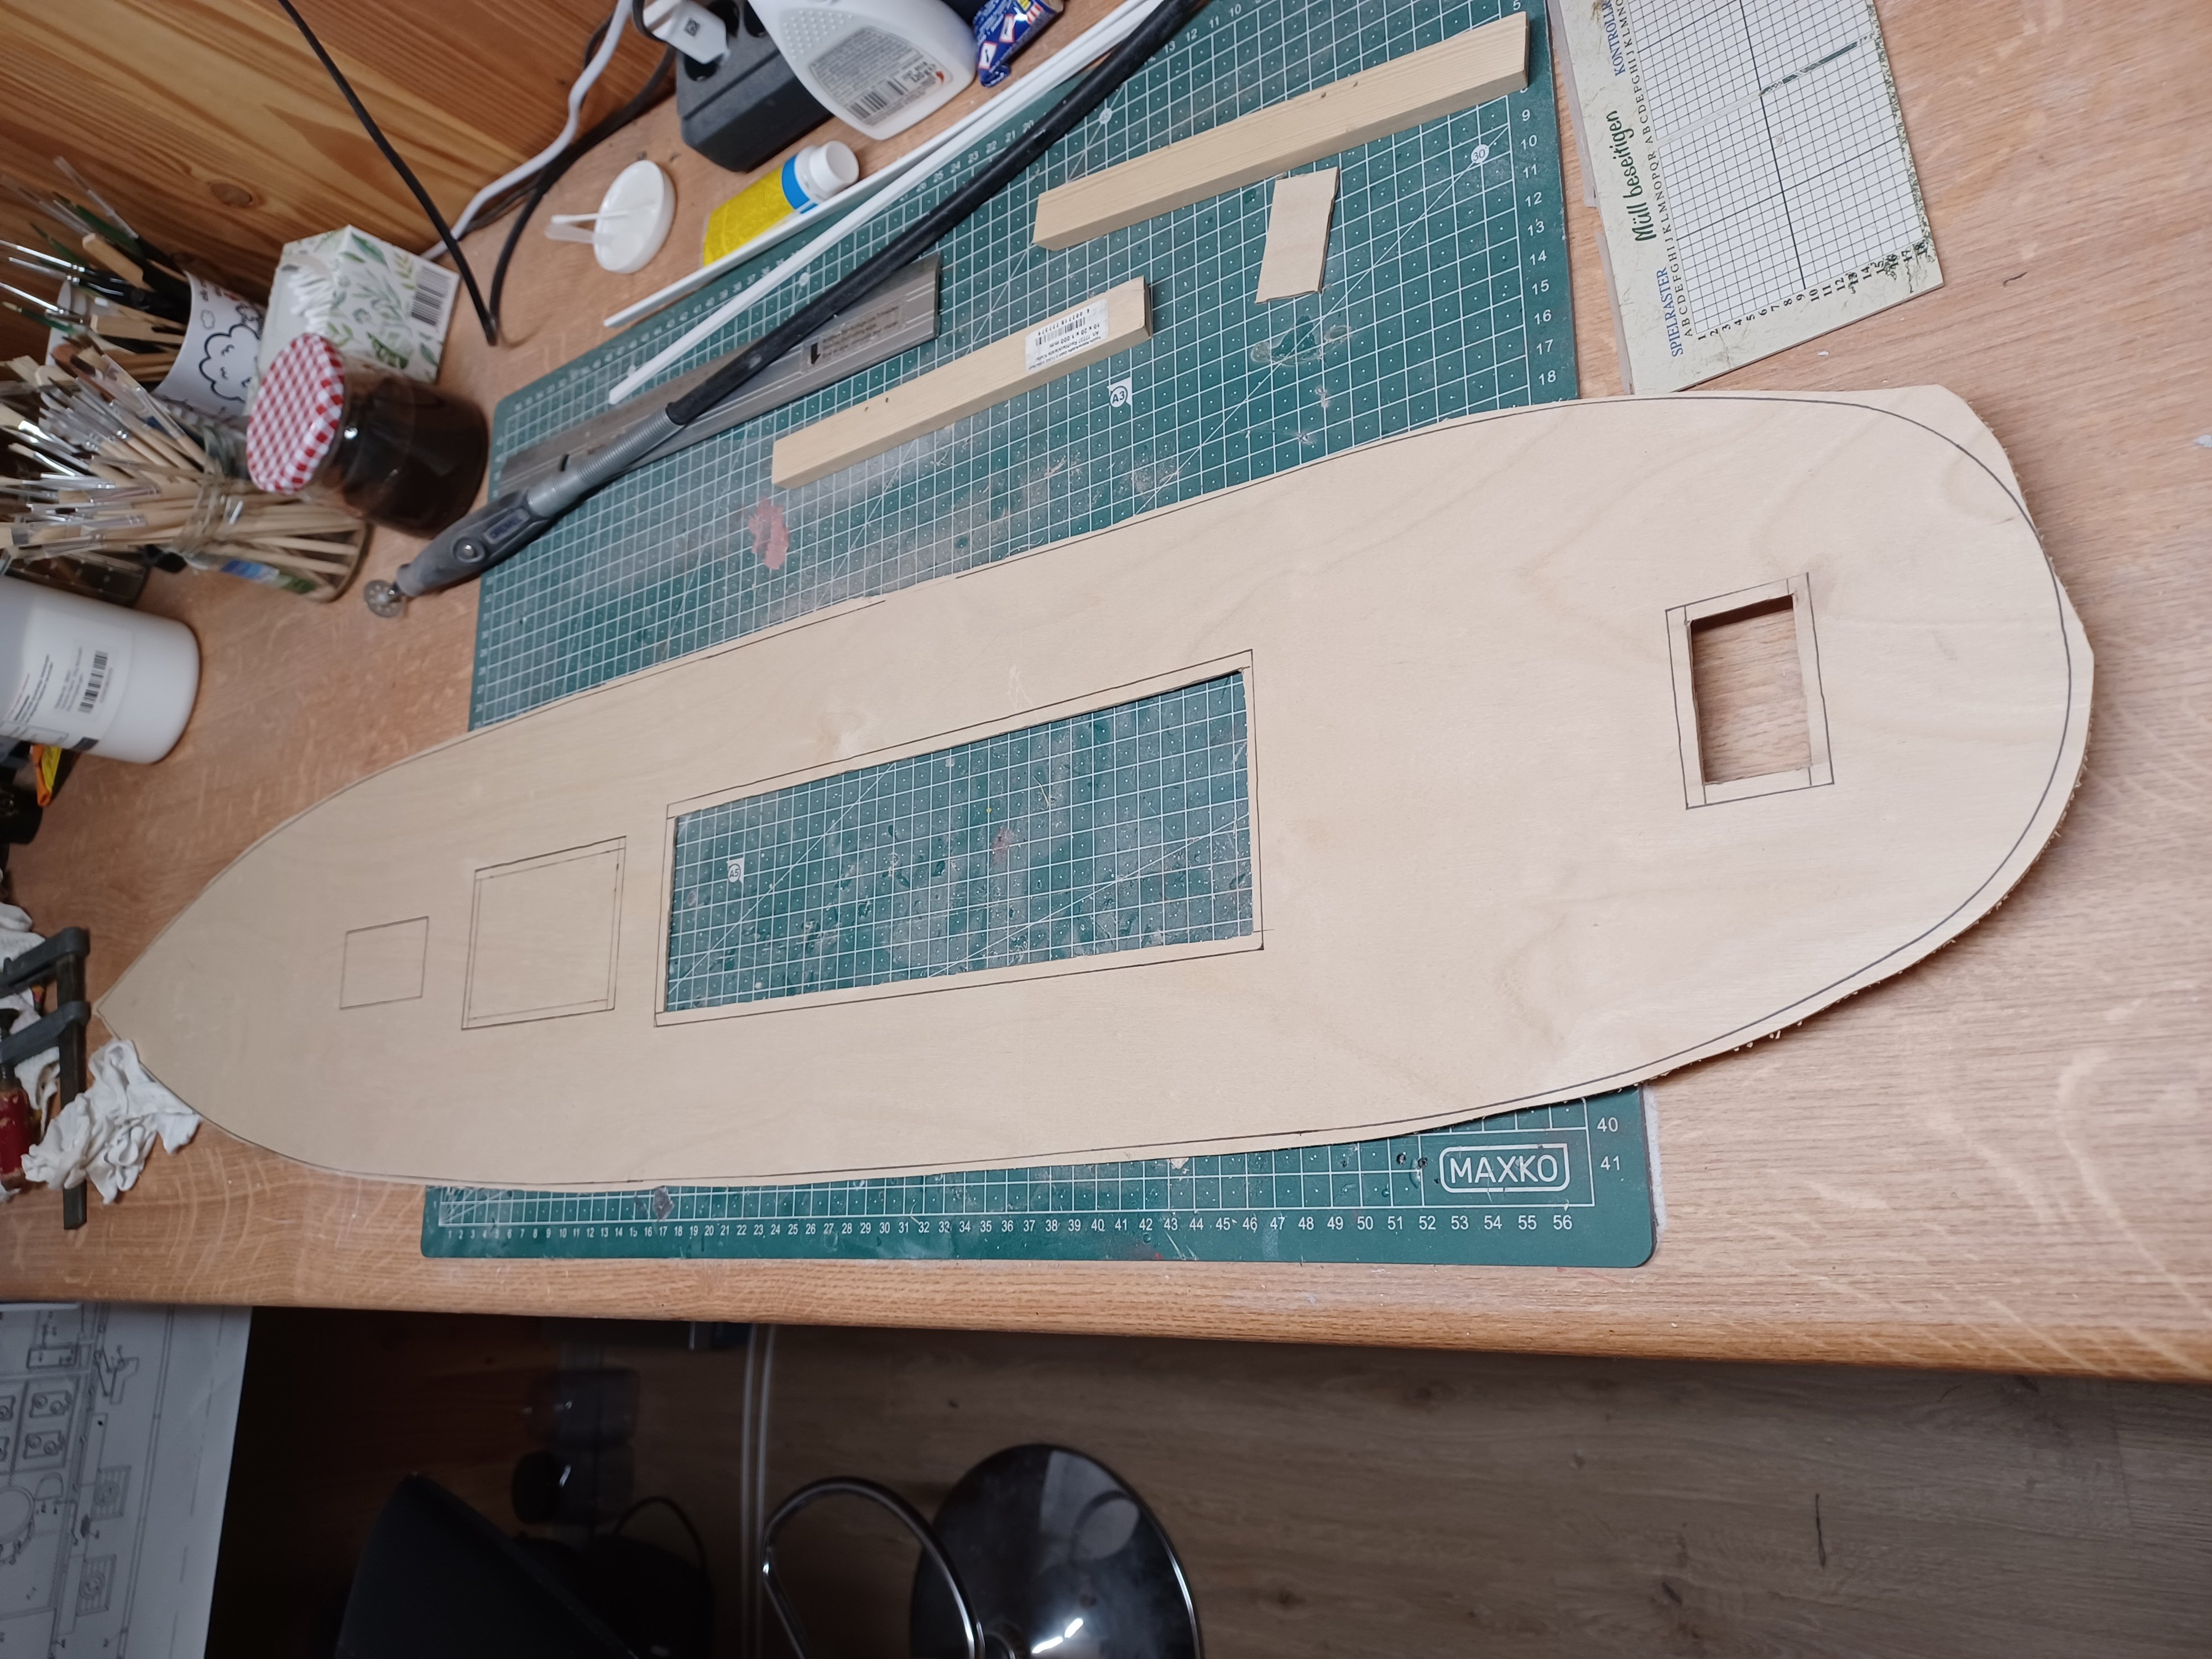
Then came the second deck layer. I will be completely re-planking the deck.
- 35 replies
-
- 7
-
-
- Britannia
- Mountfleet Models
- (and 1 more)
-
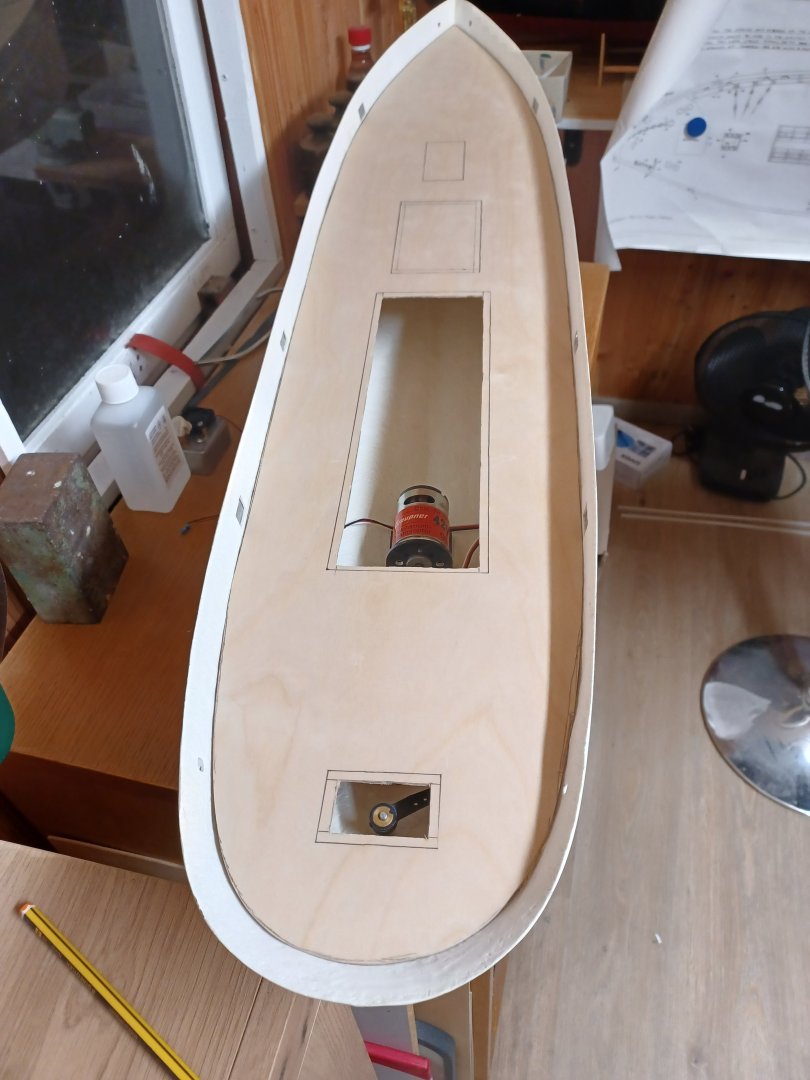
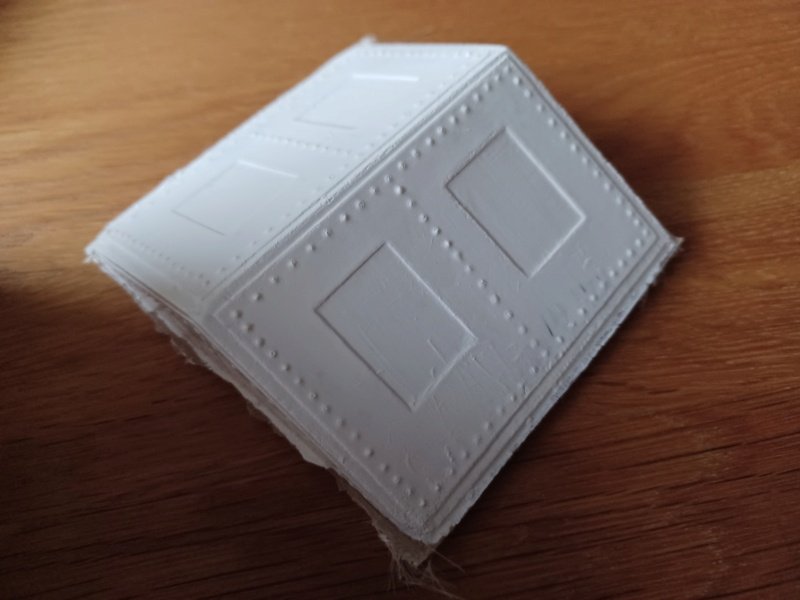
The Deck consists of 2 wooden panels. This is cut to size and fits. It is not glued in yet, that will come when the hull is painted.

- 35 replies
-
- 8
-
-
- Britannia
- Mountfleet Models
- (and 1 more)
-
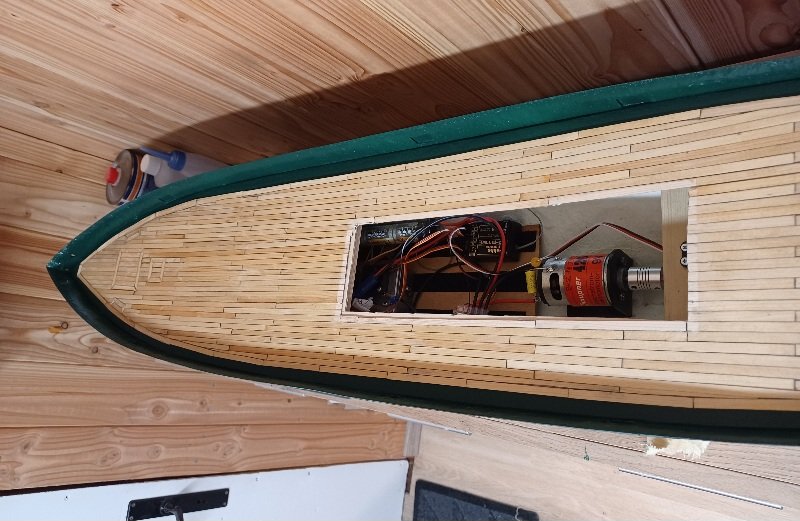
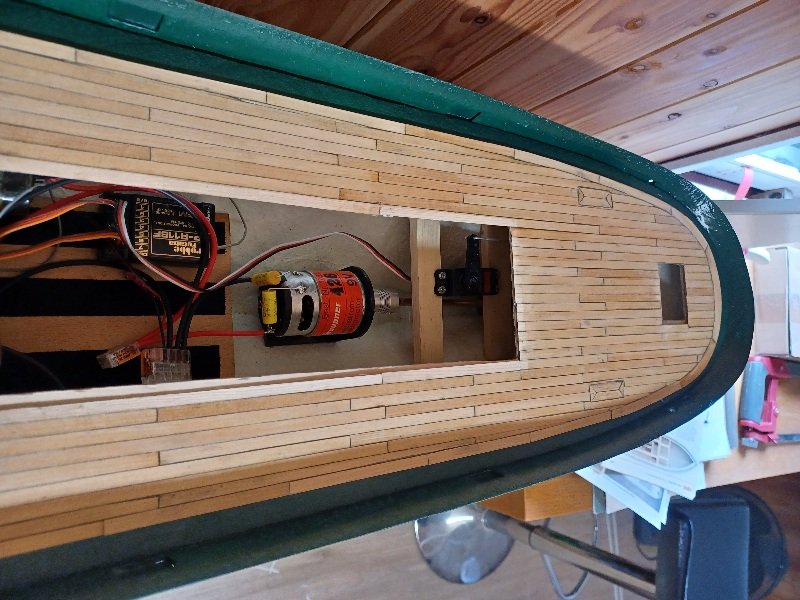
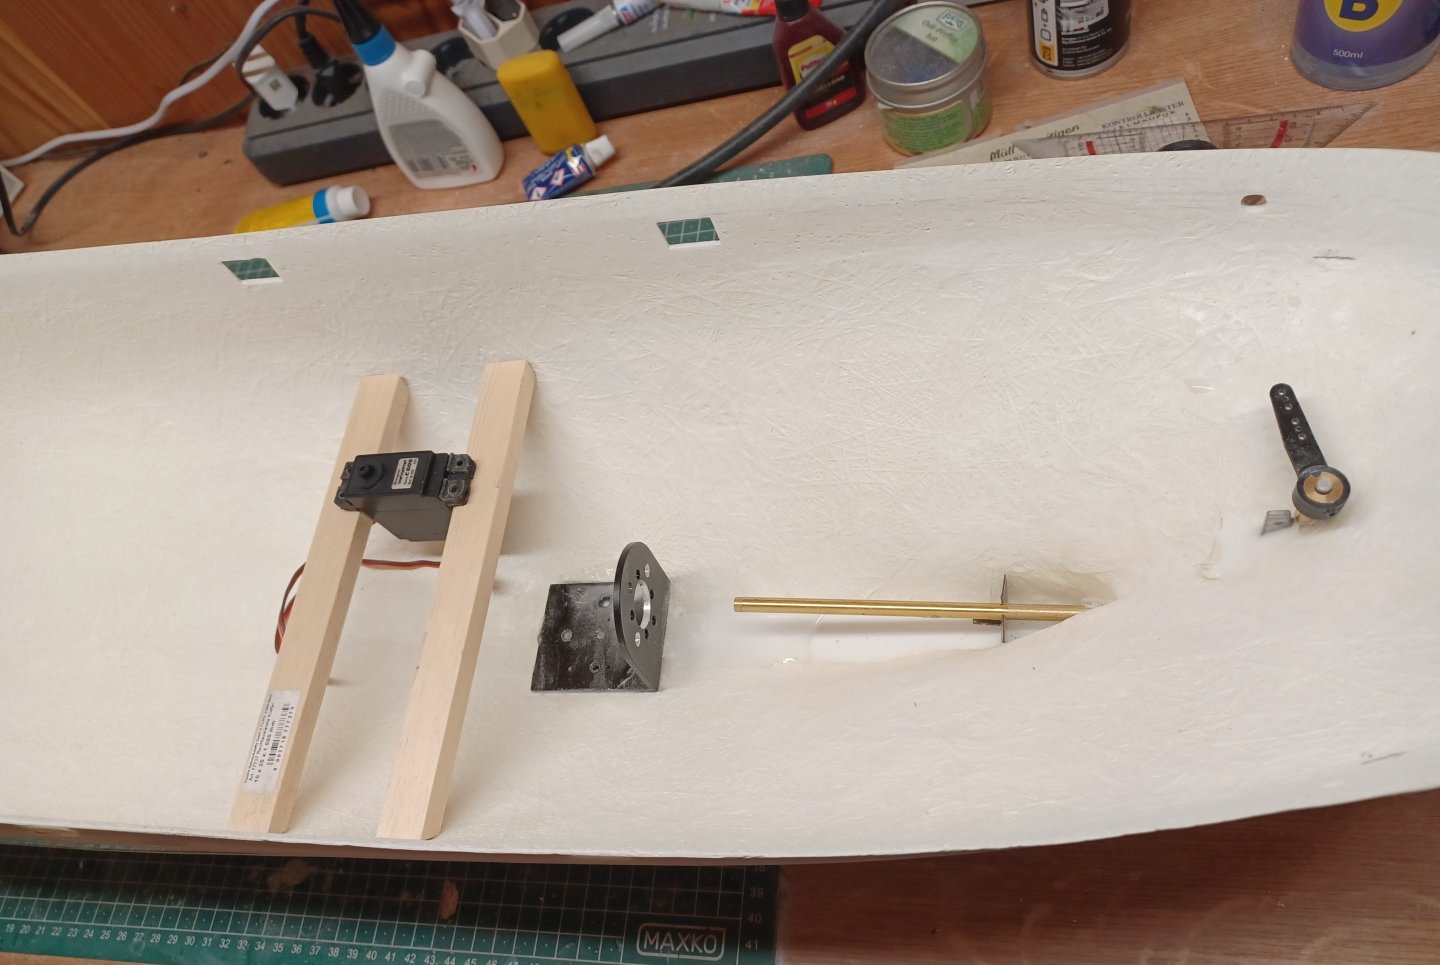
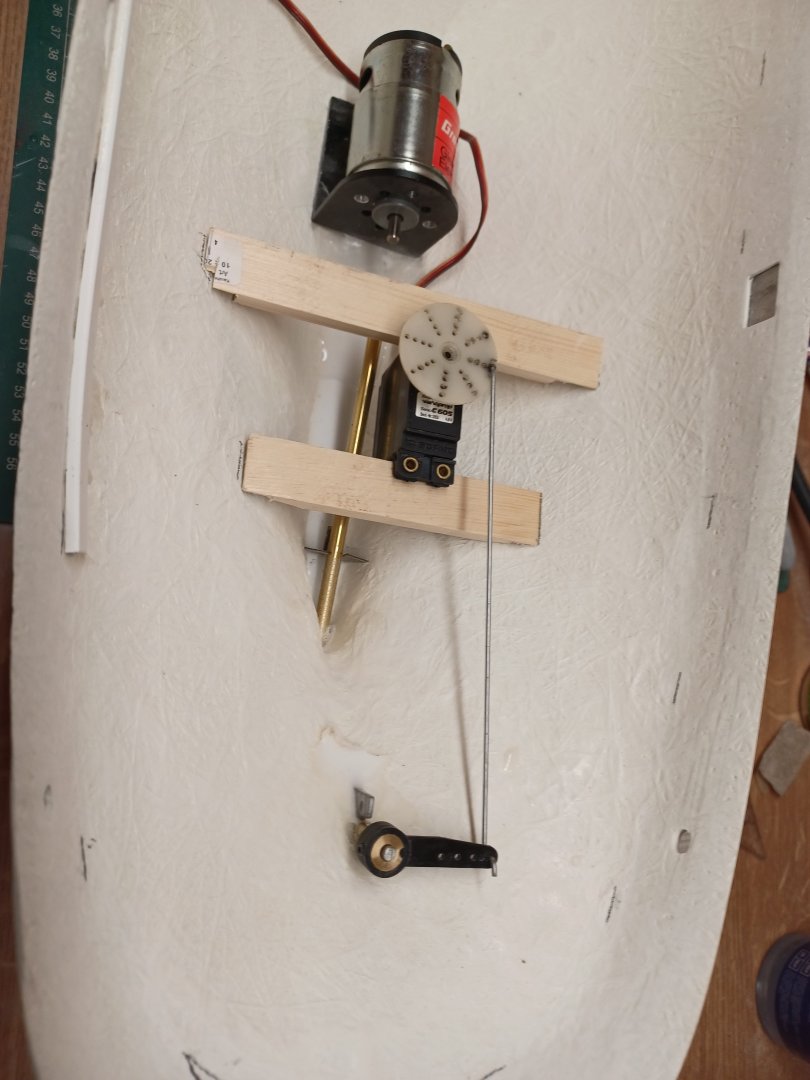
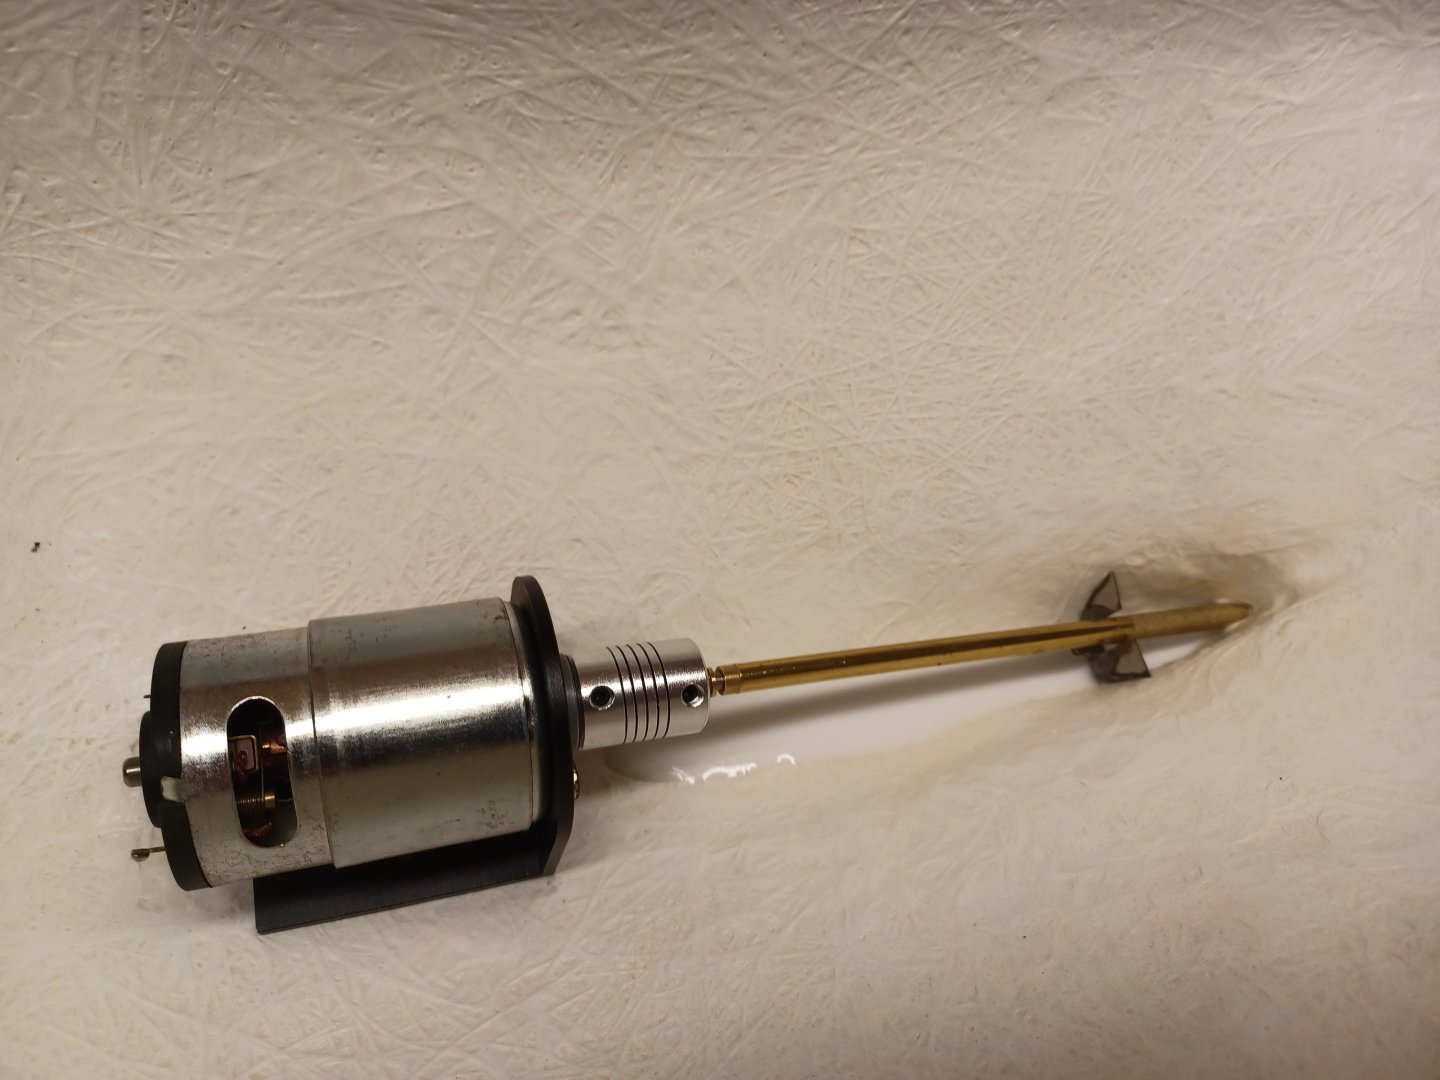
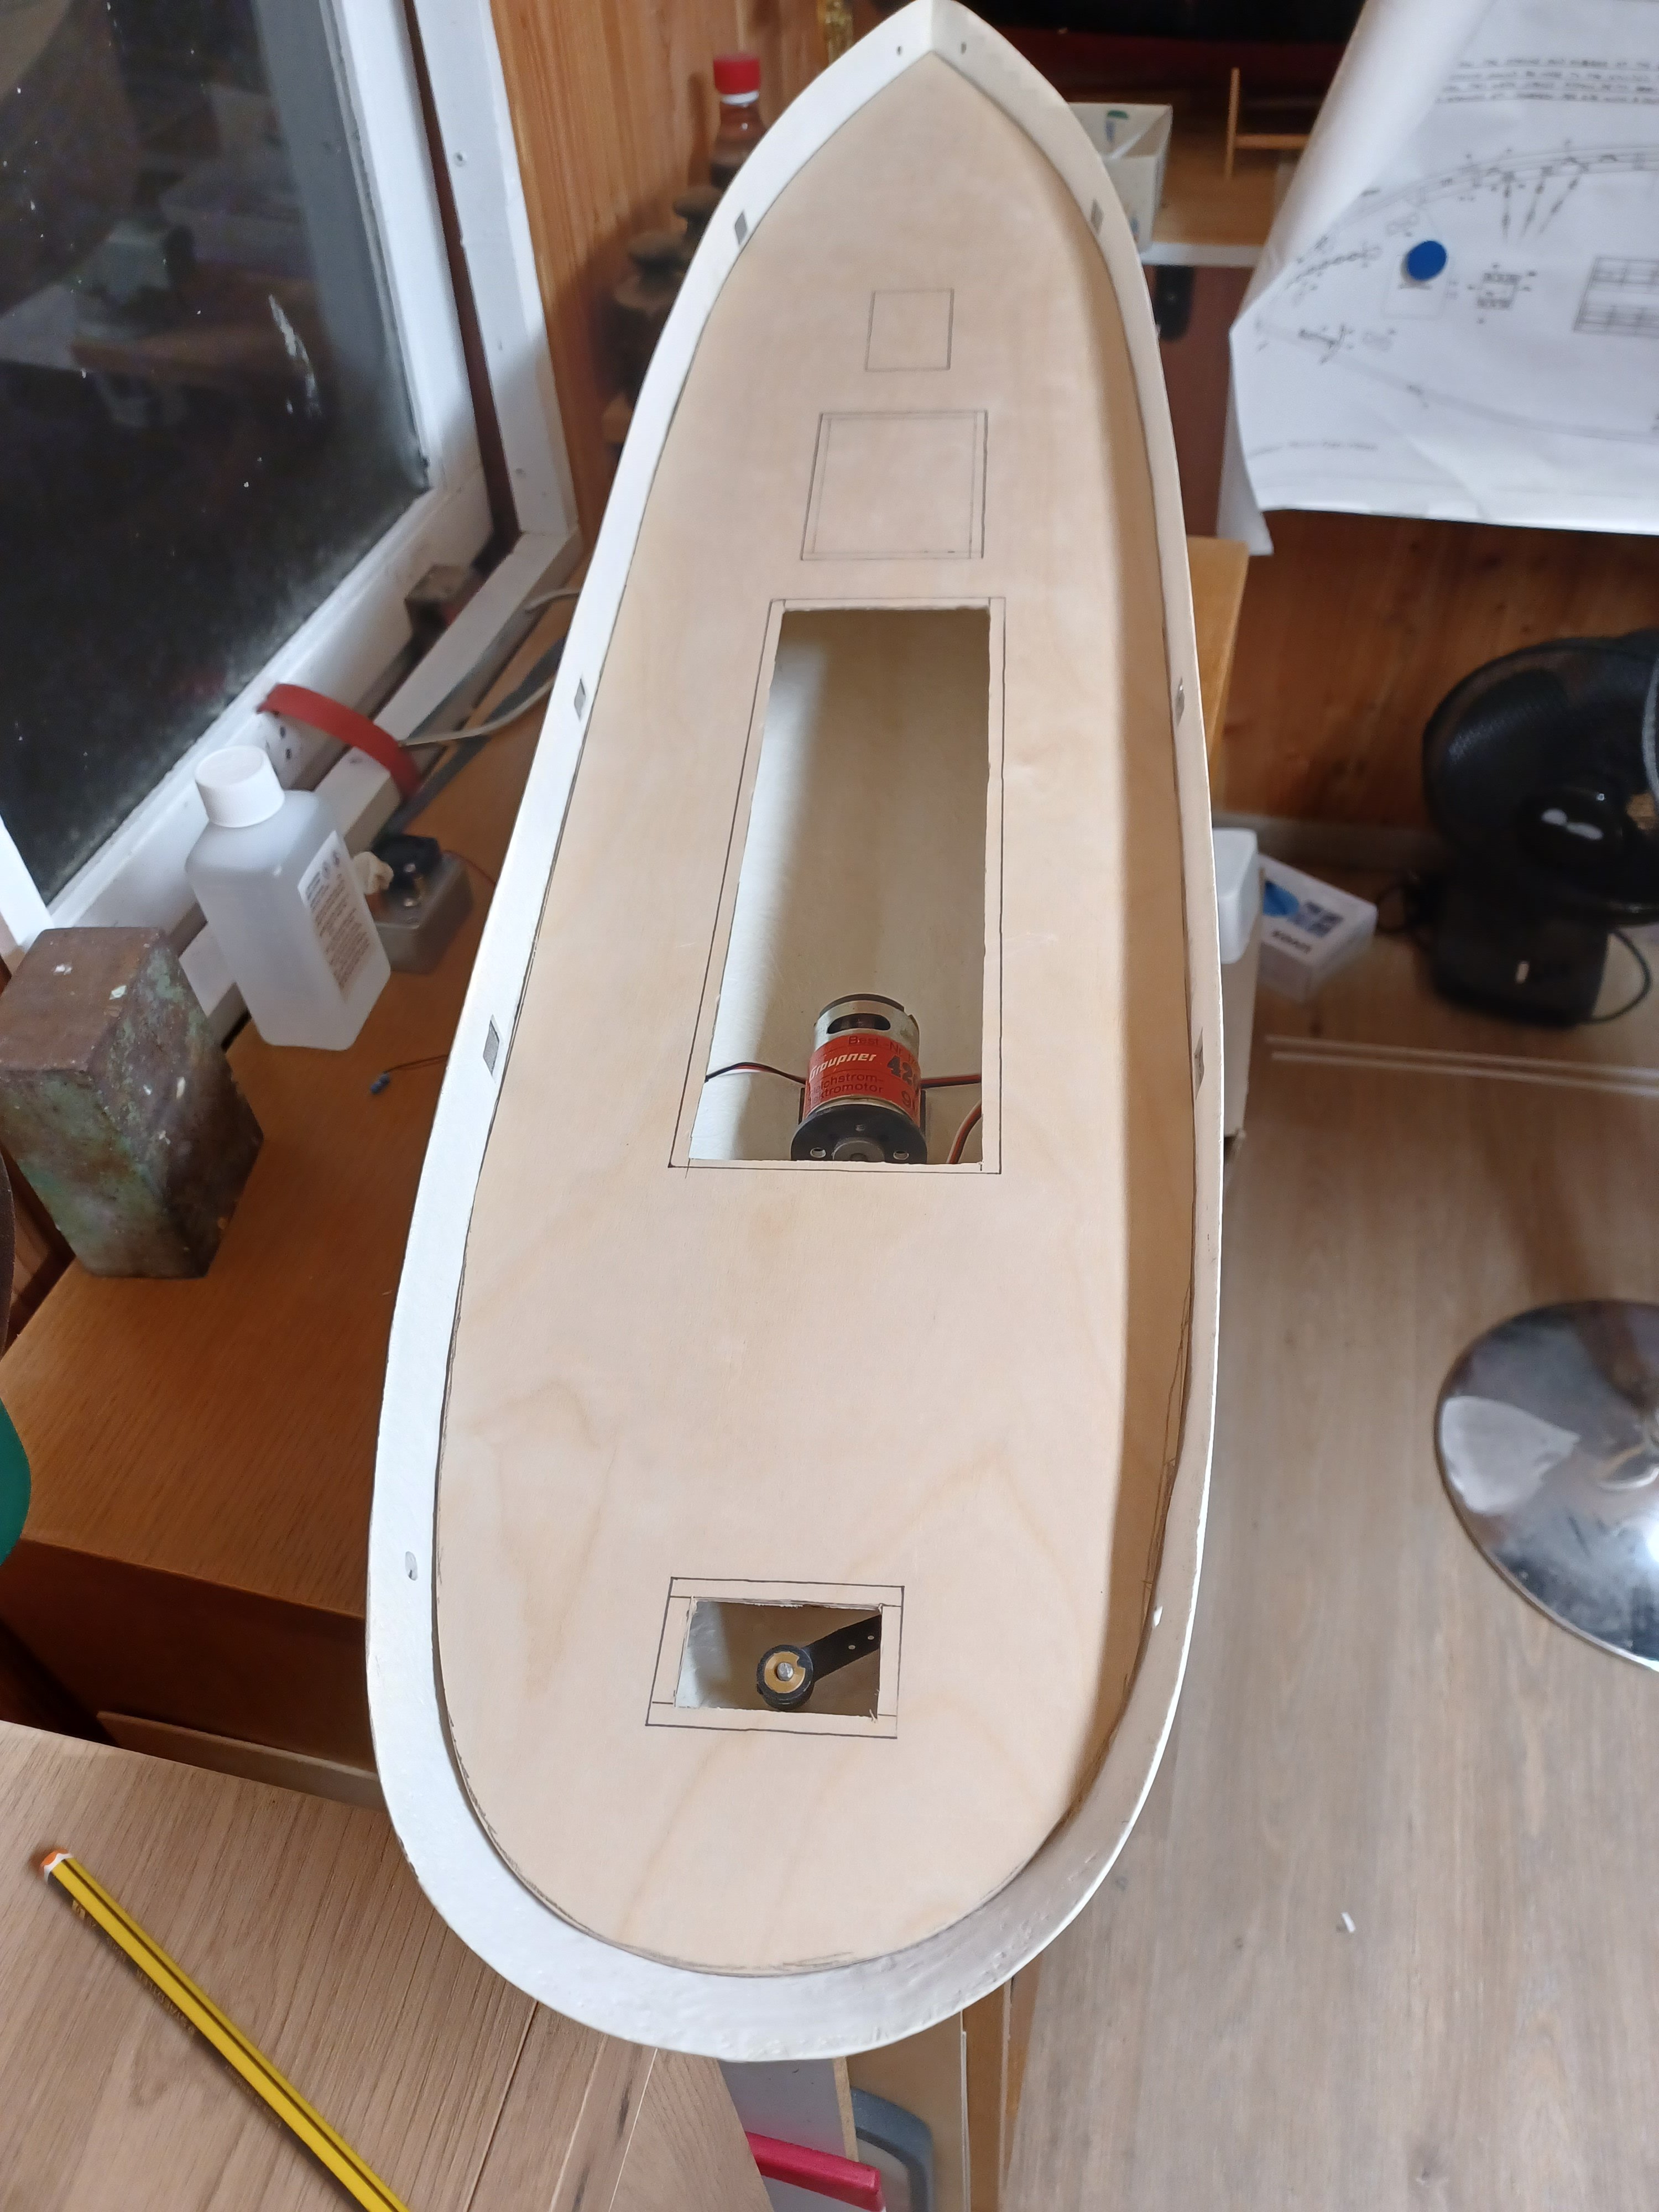
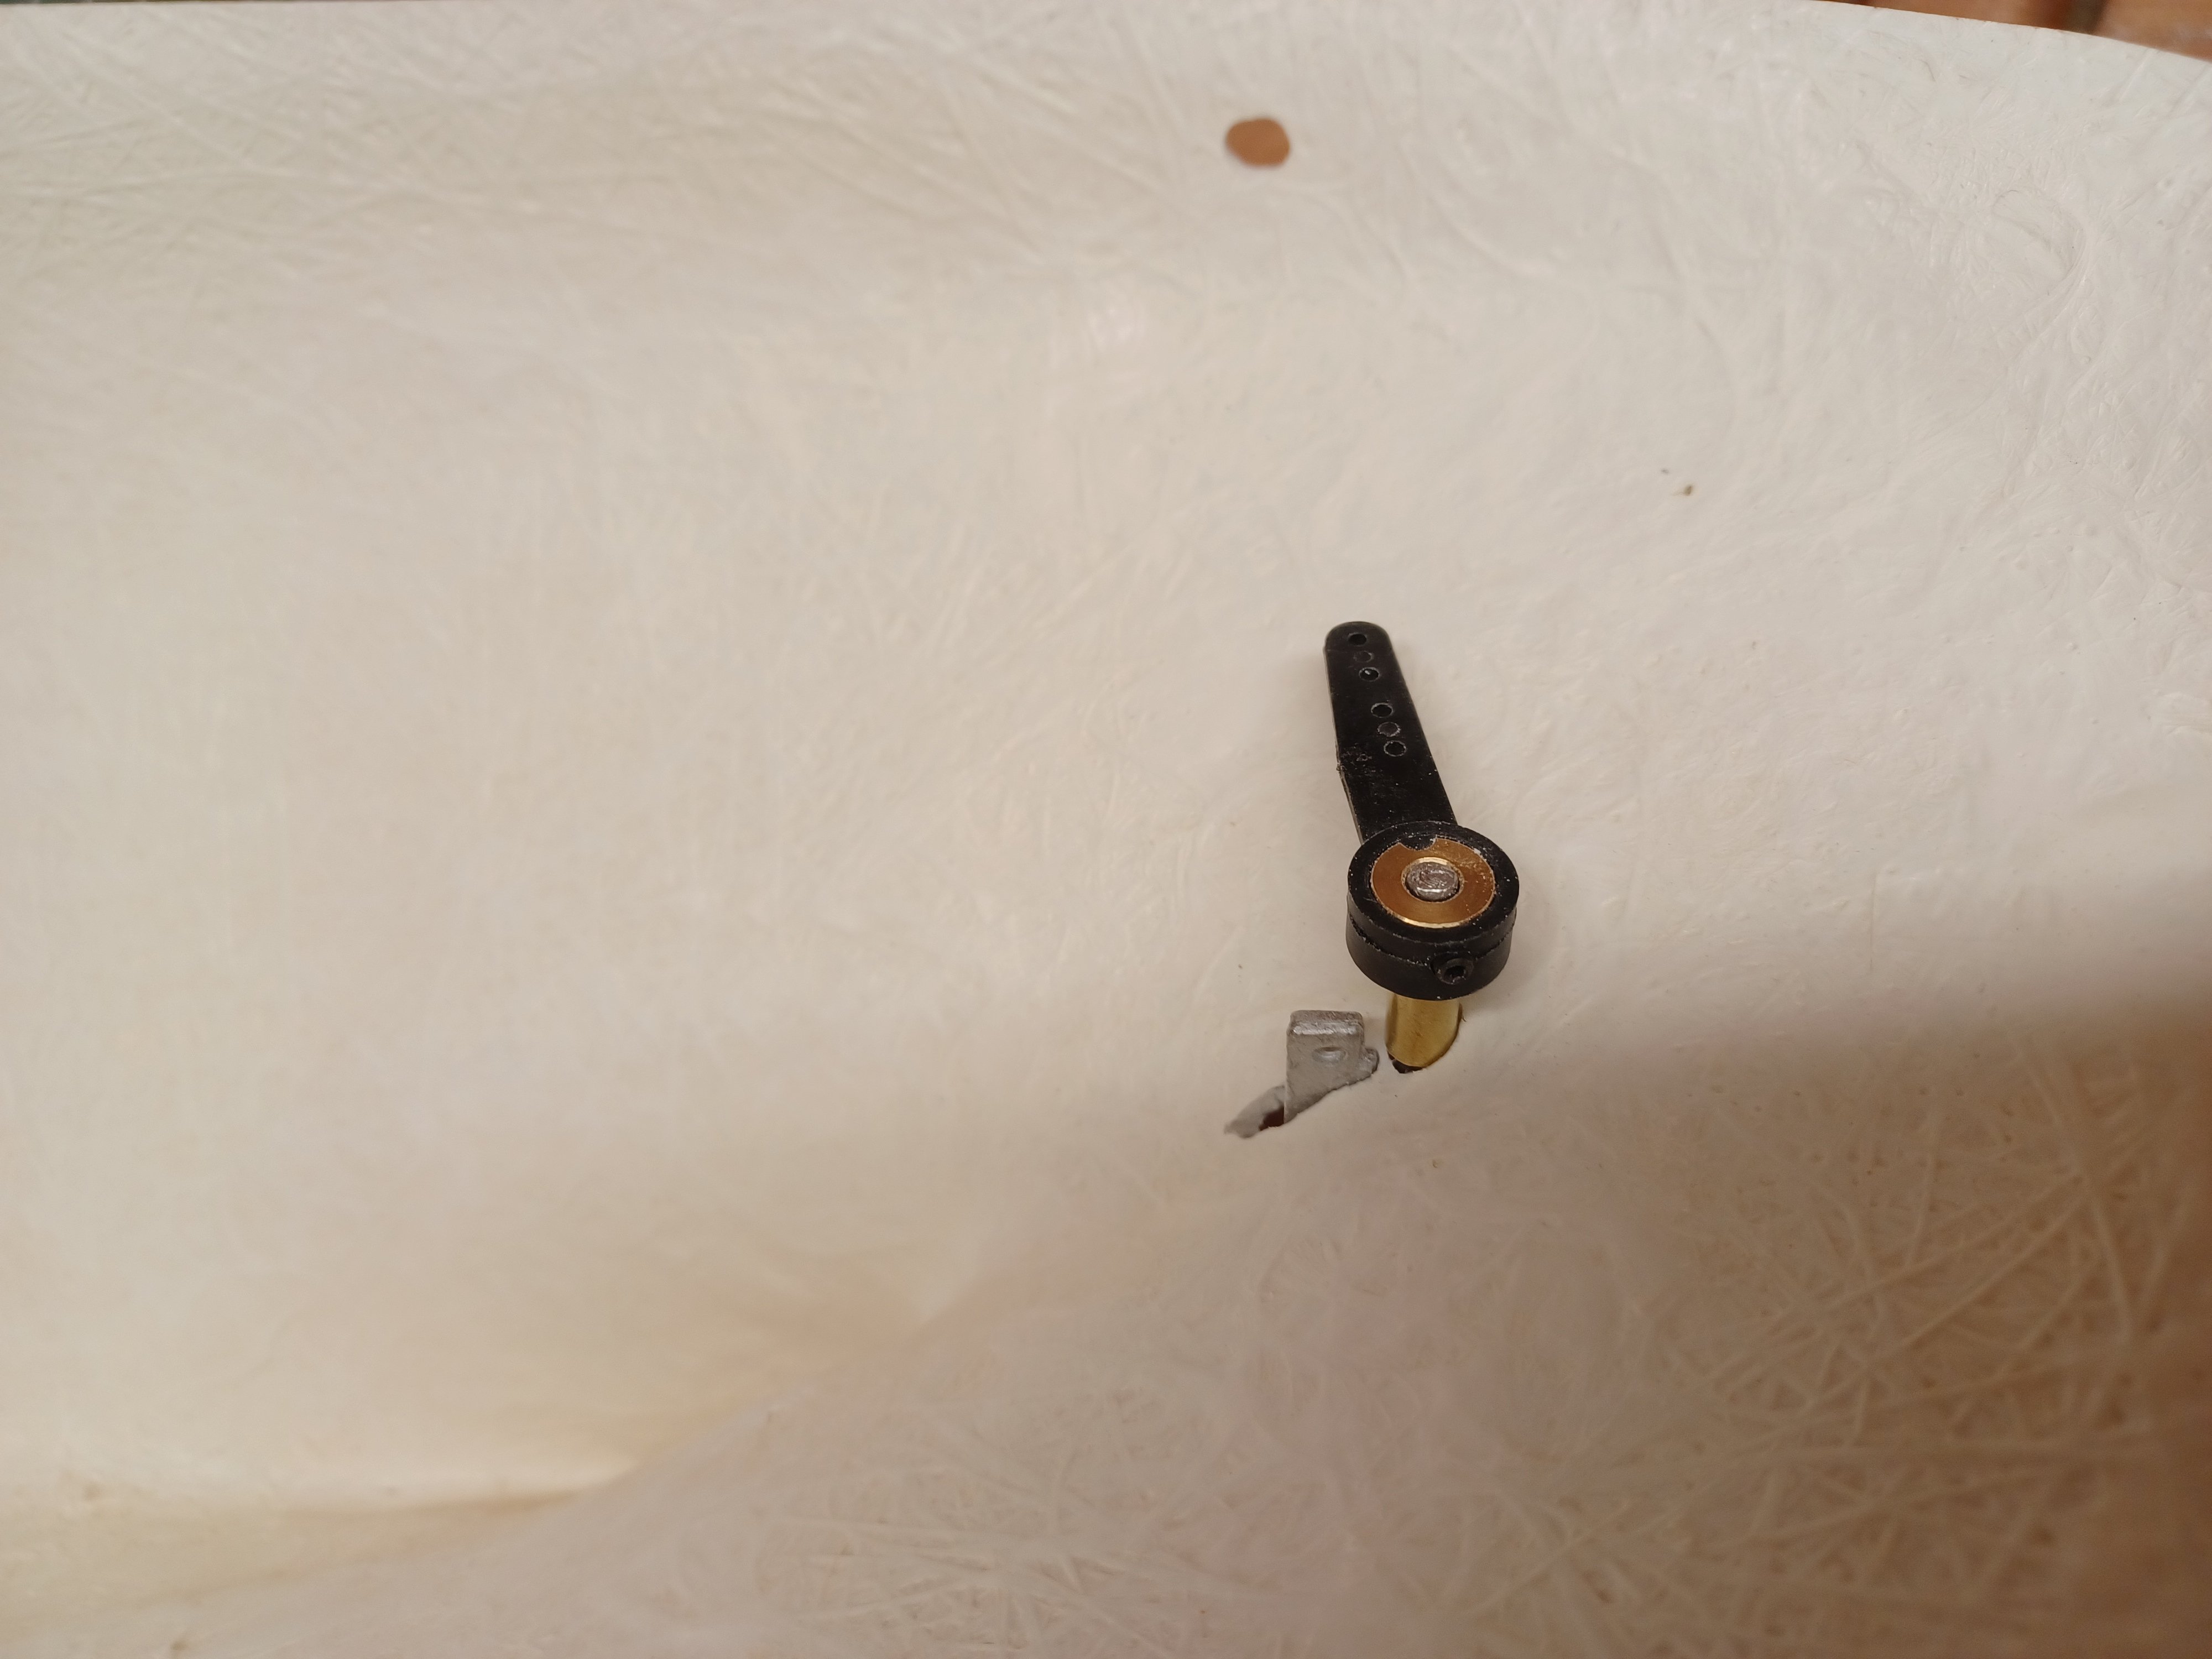
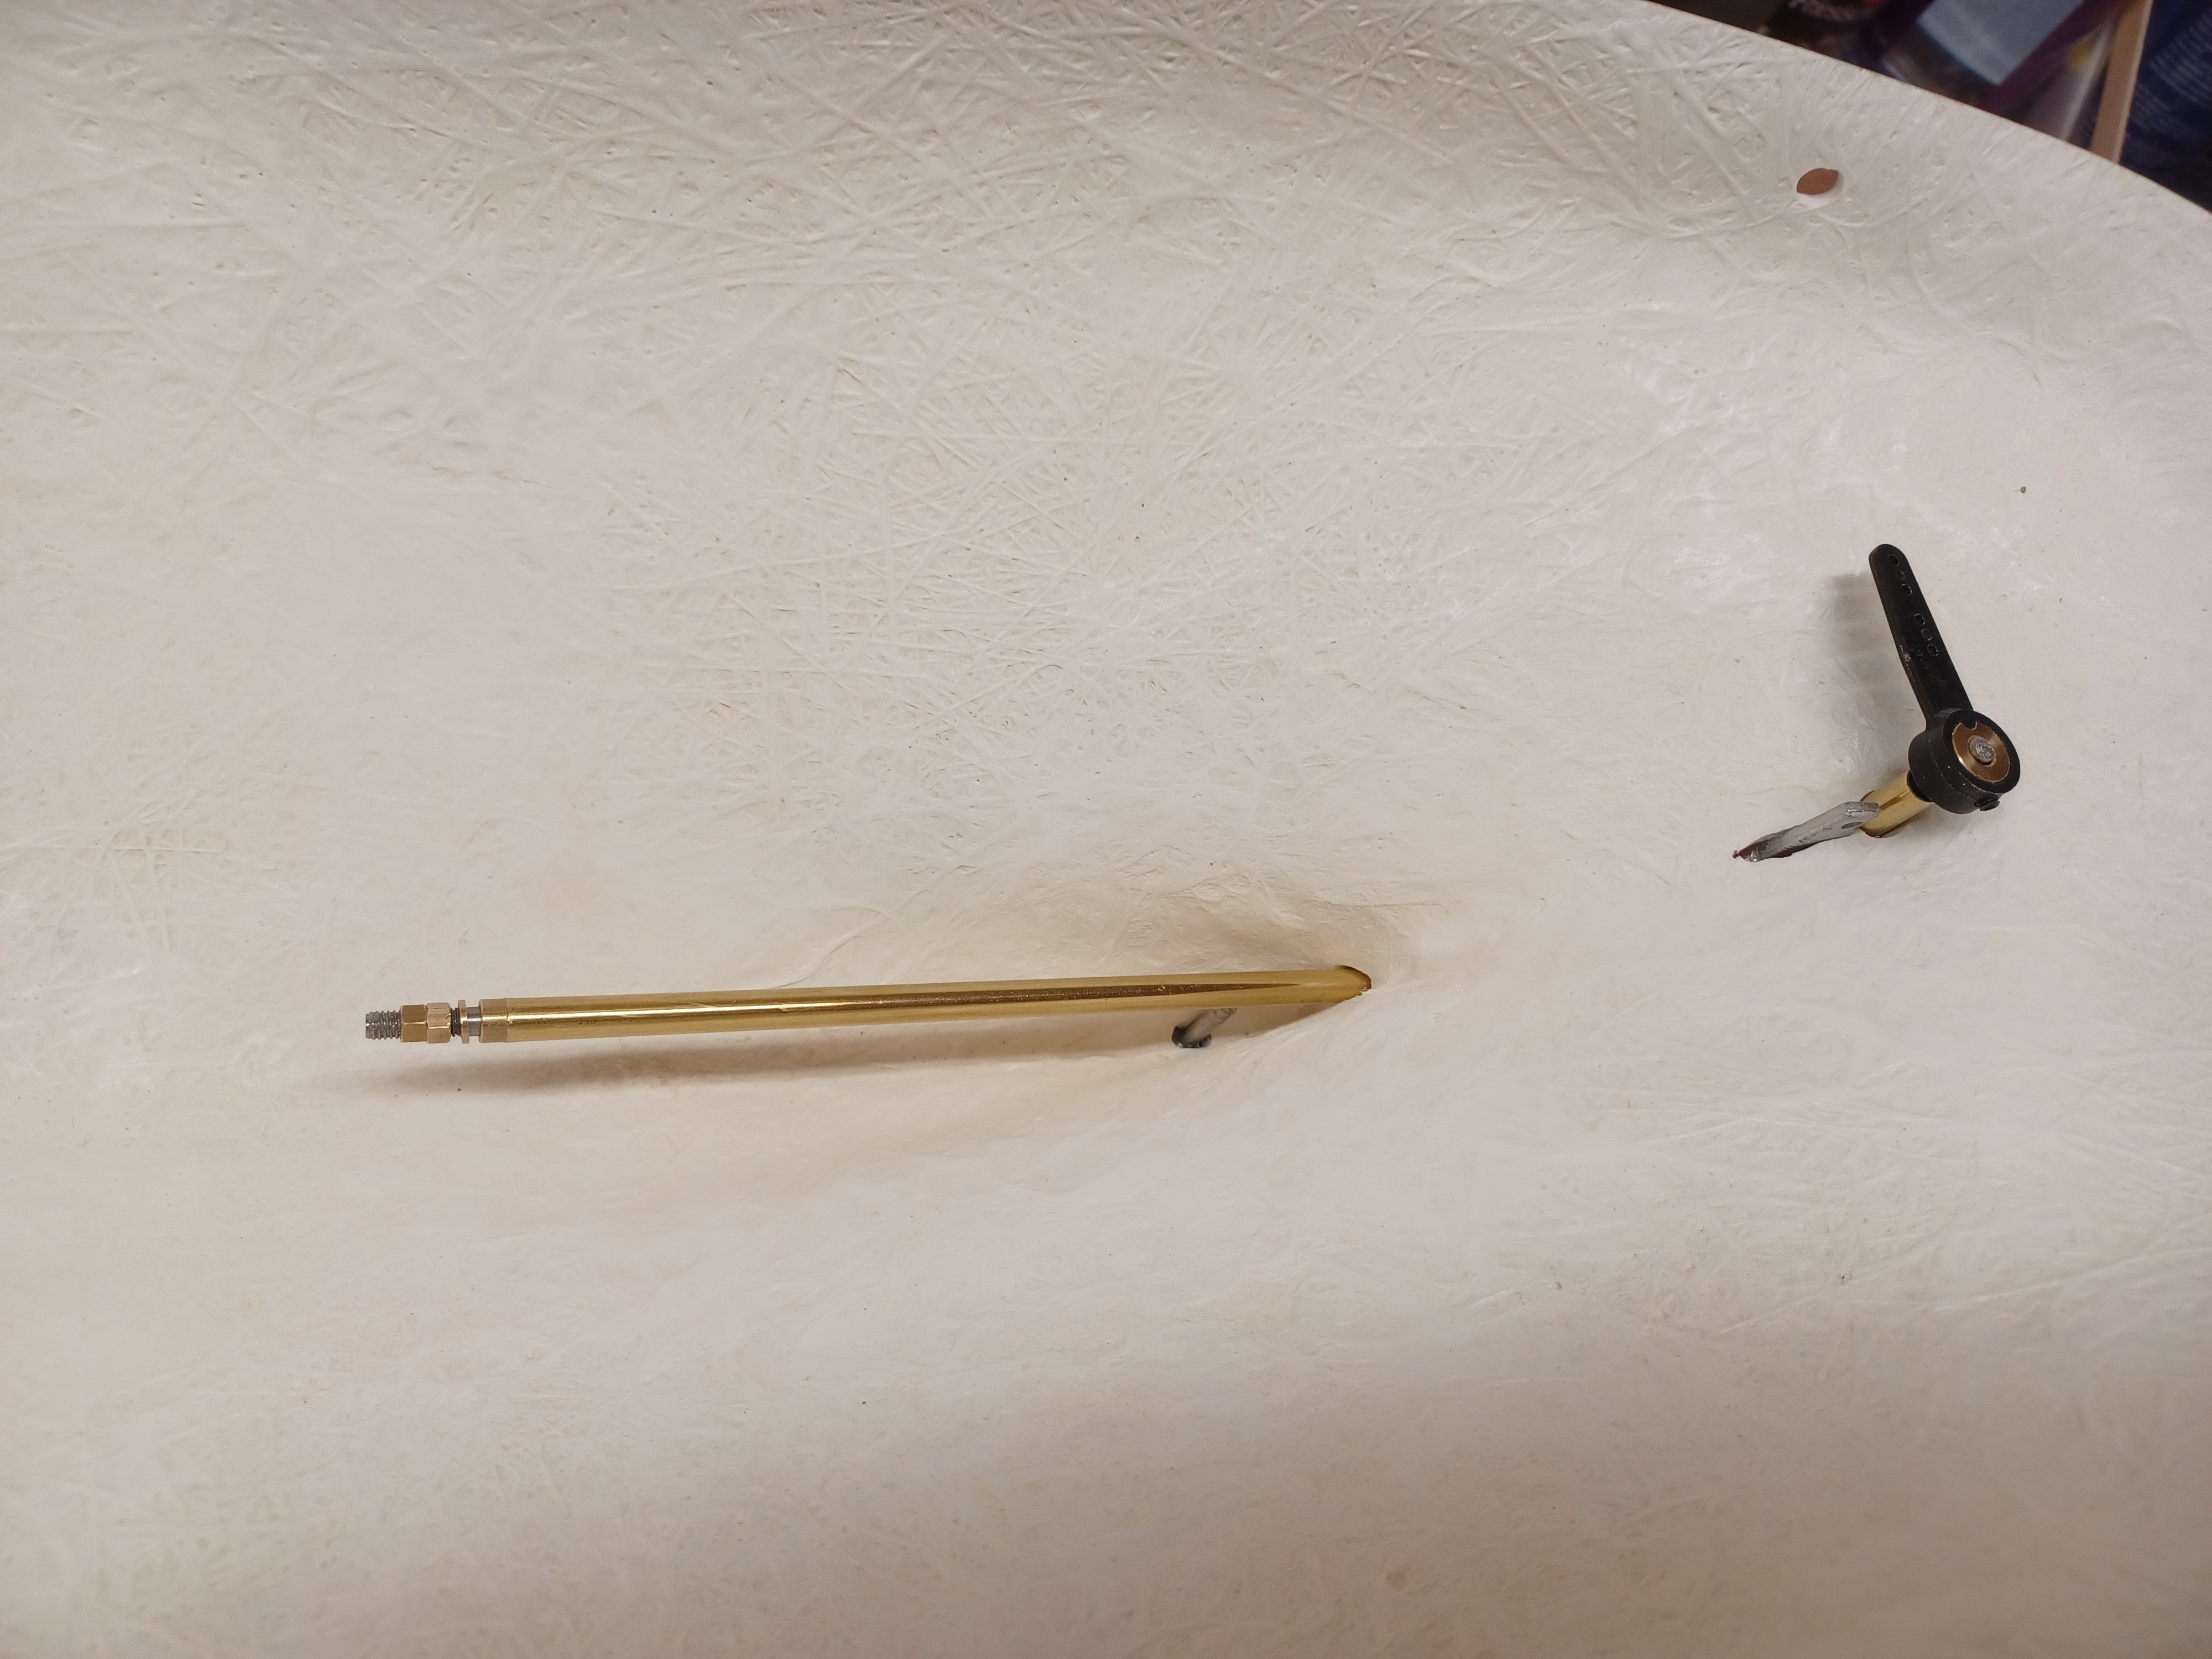
Thanks Nils. I'm glad you're looking in. The servo and the anti-roll keels are also attached. And the motor is in place too.

- 35 replies
-
- 4
-
-
- Britannia
- Mountfleet Models
- (and 1 more)
-
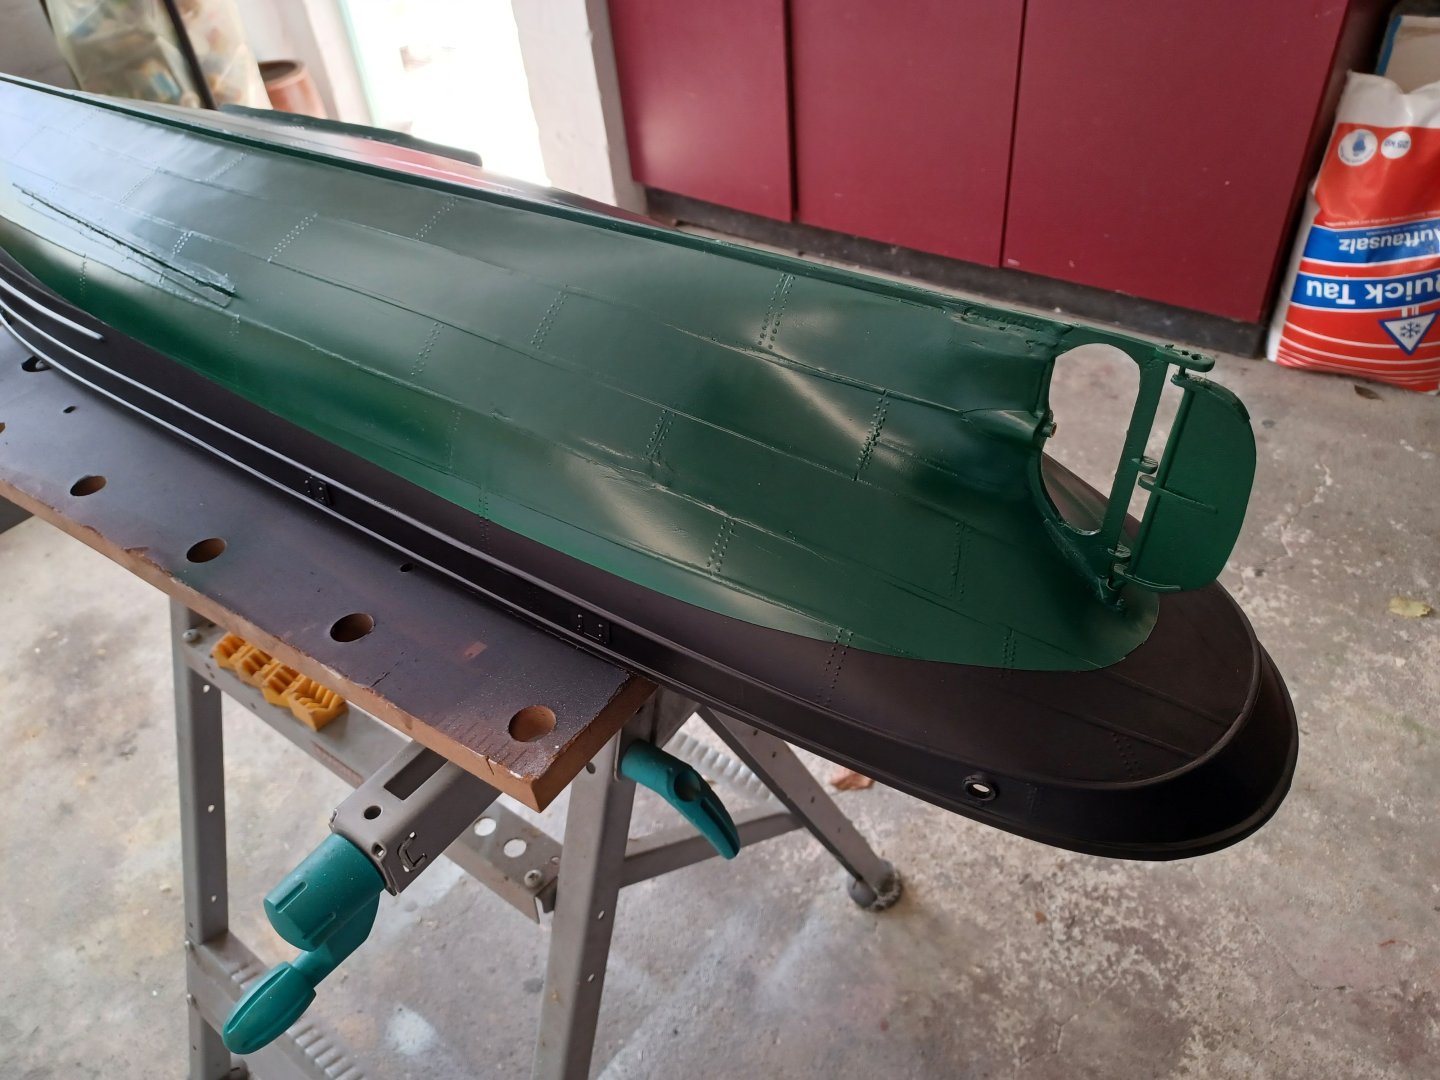
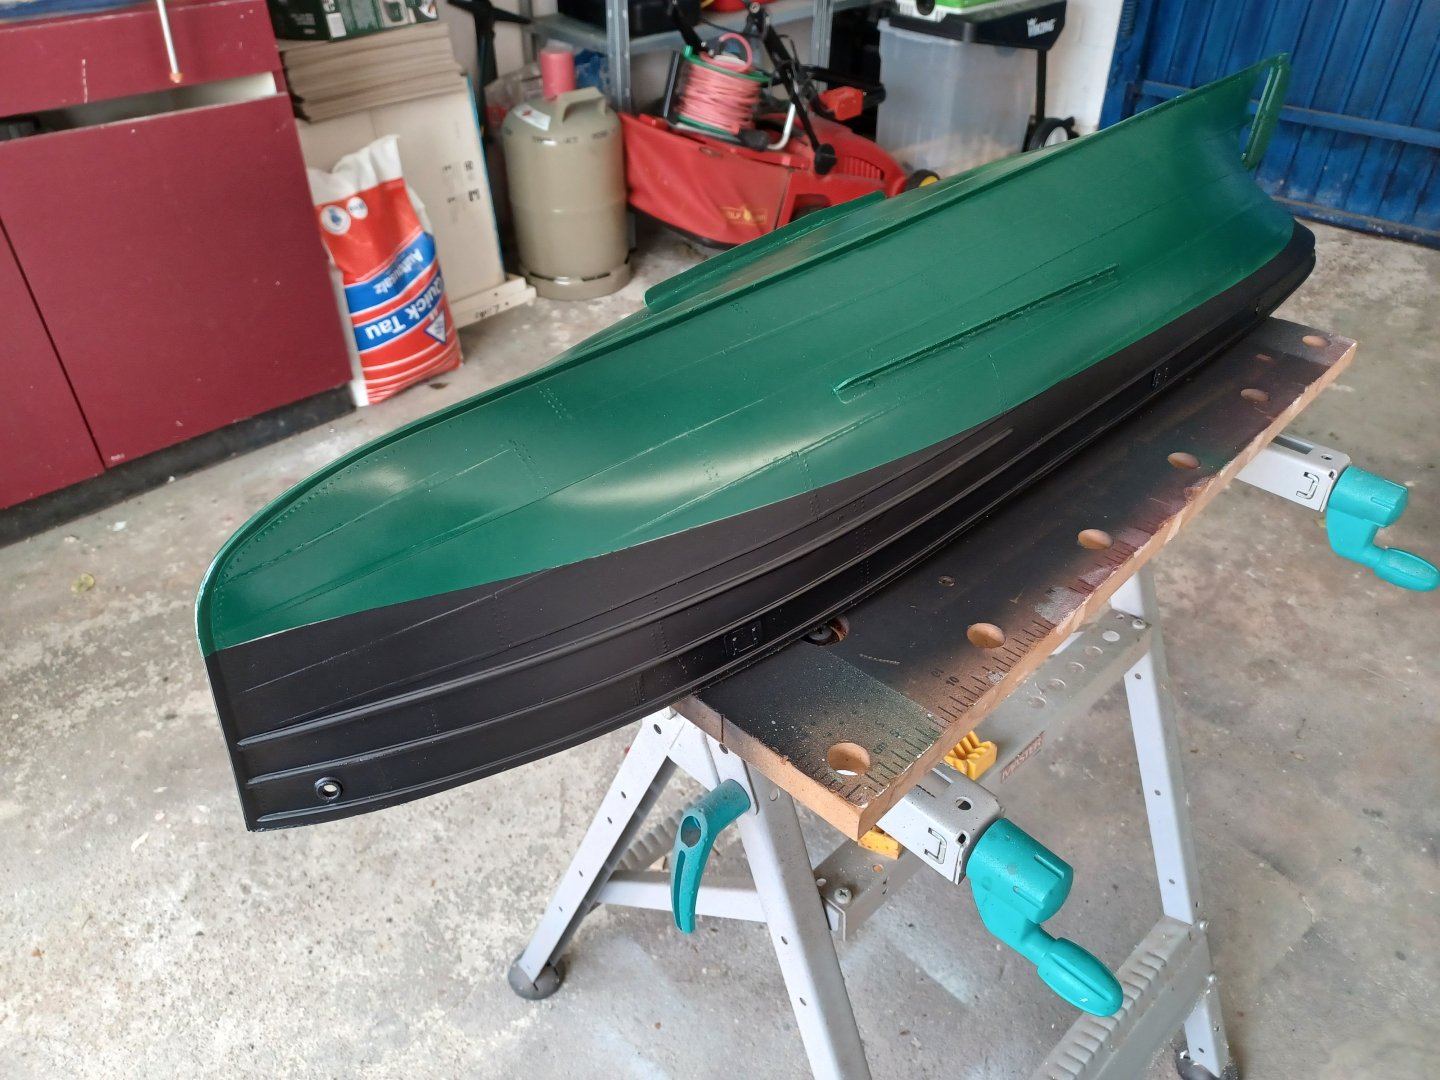
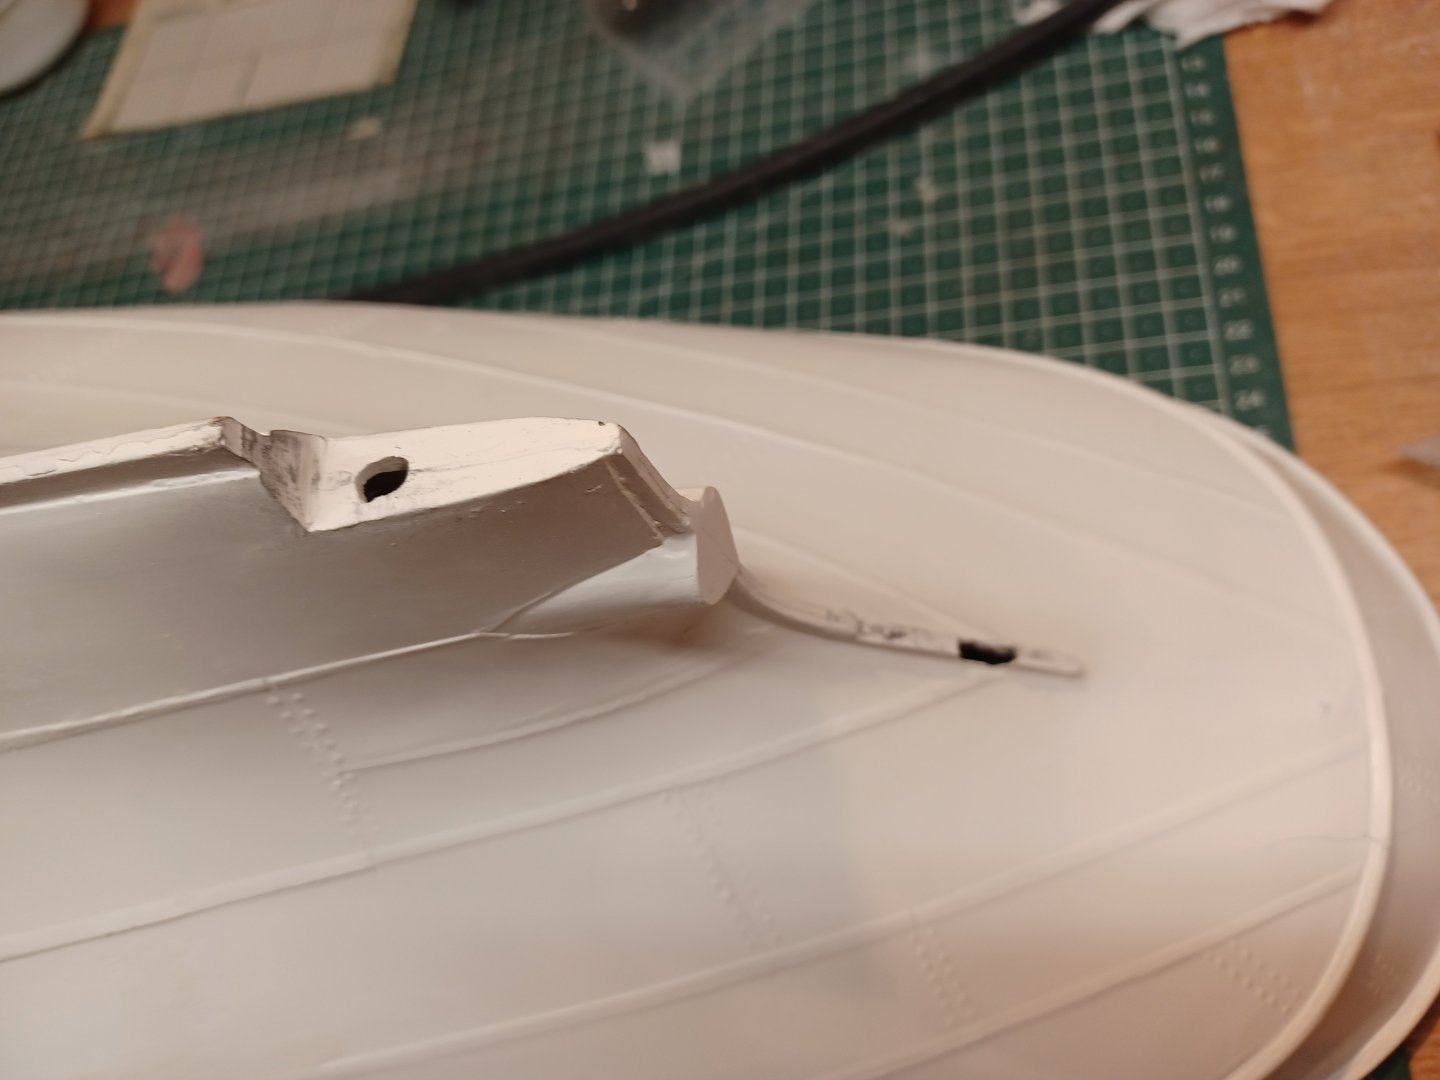
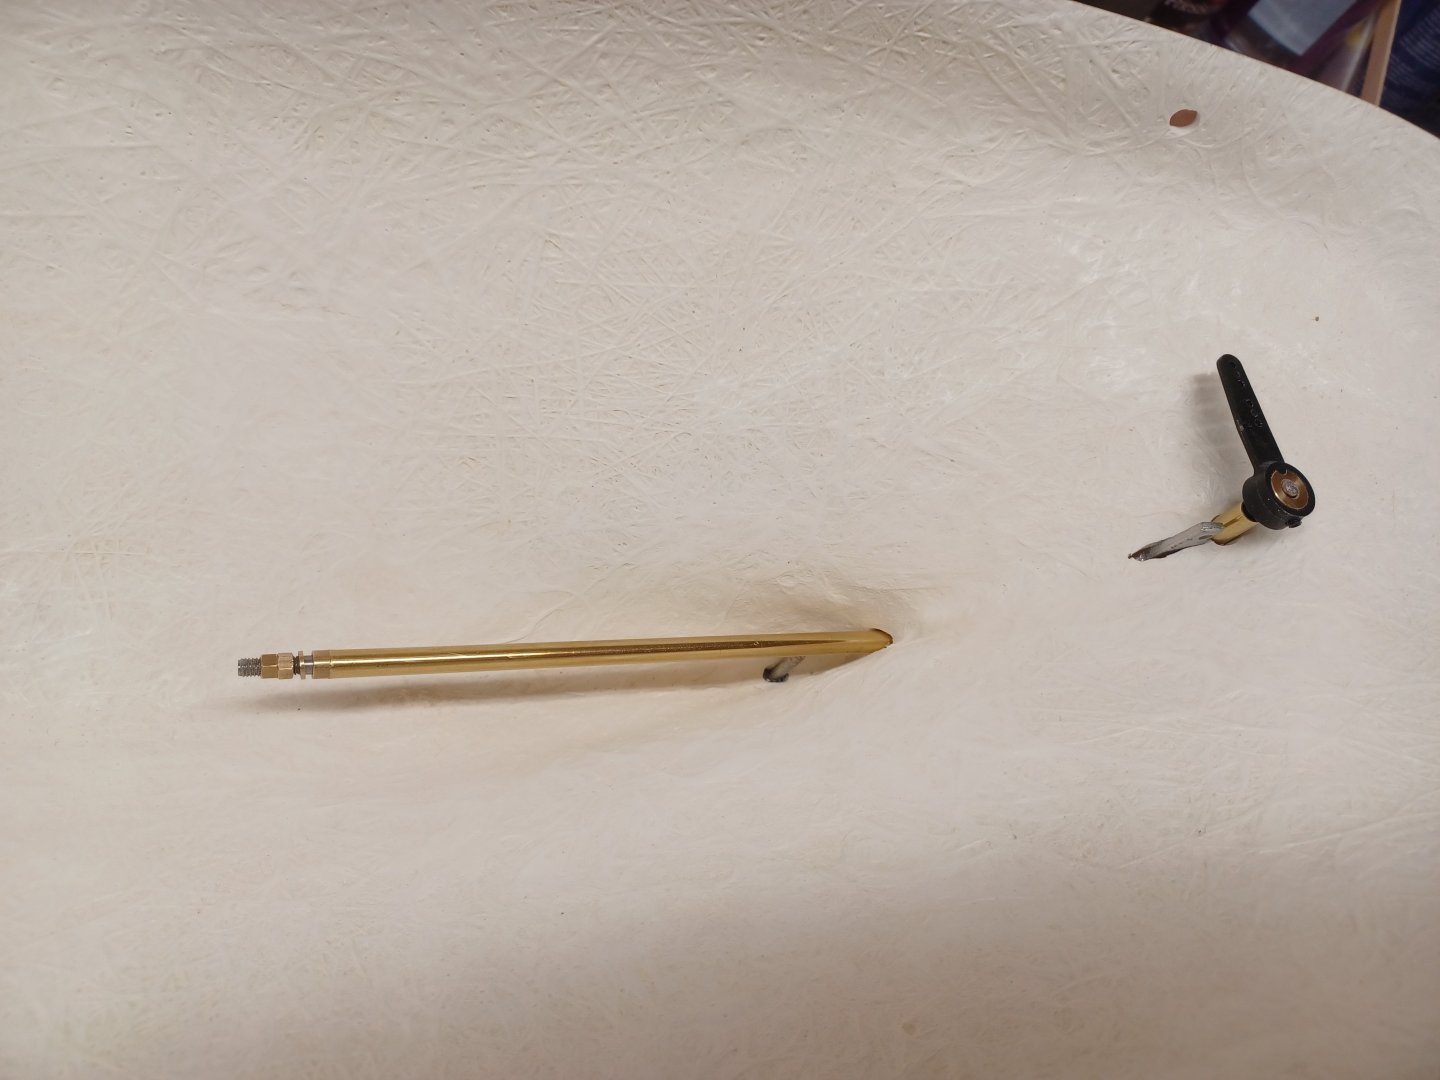
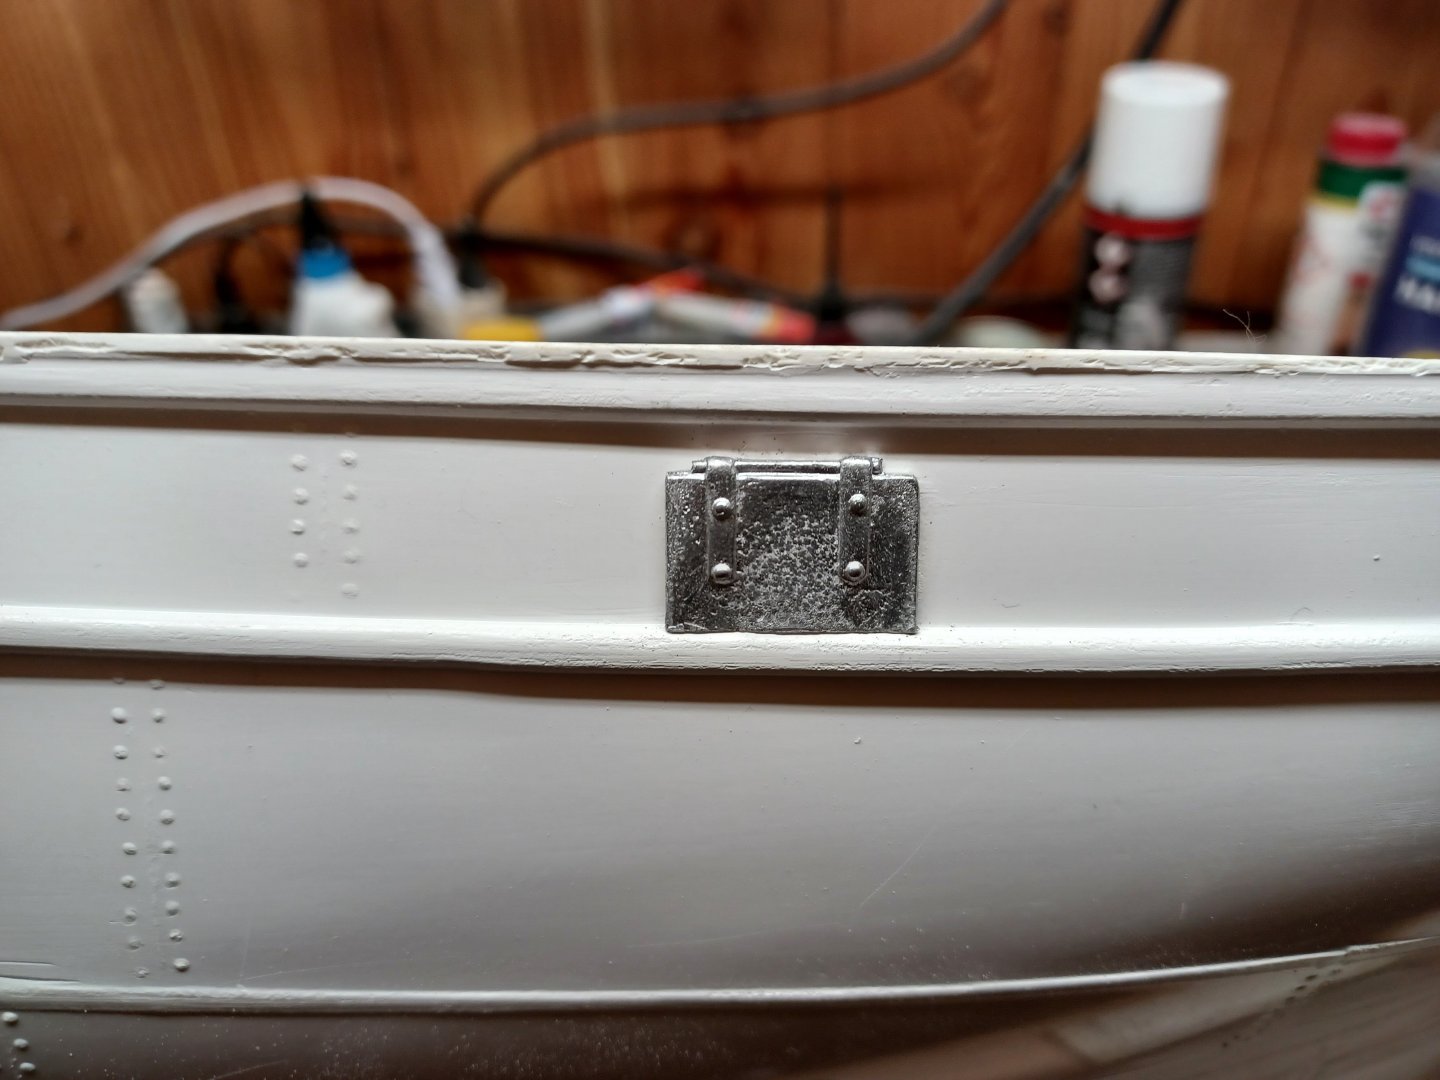
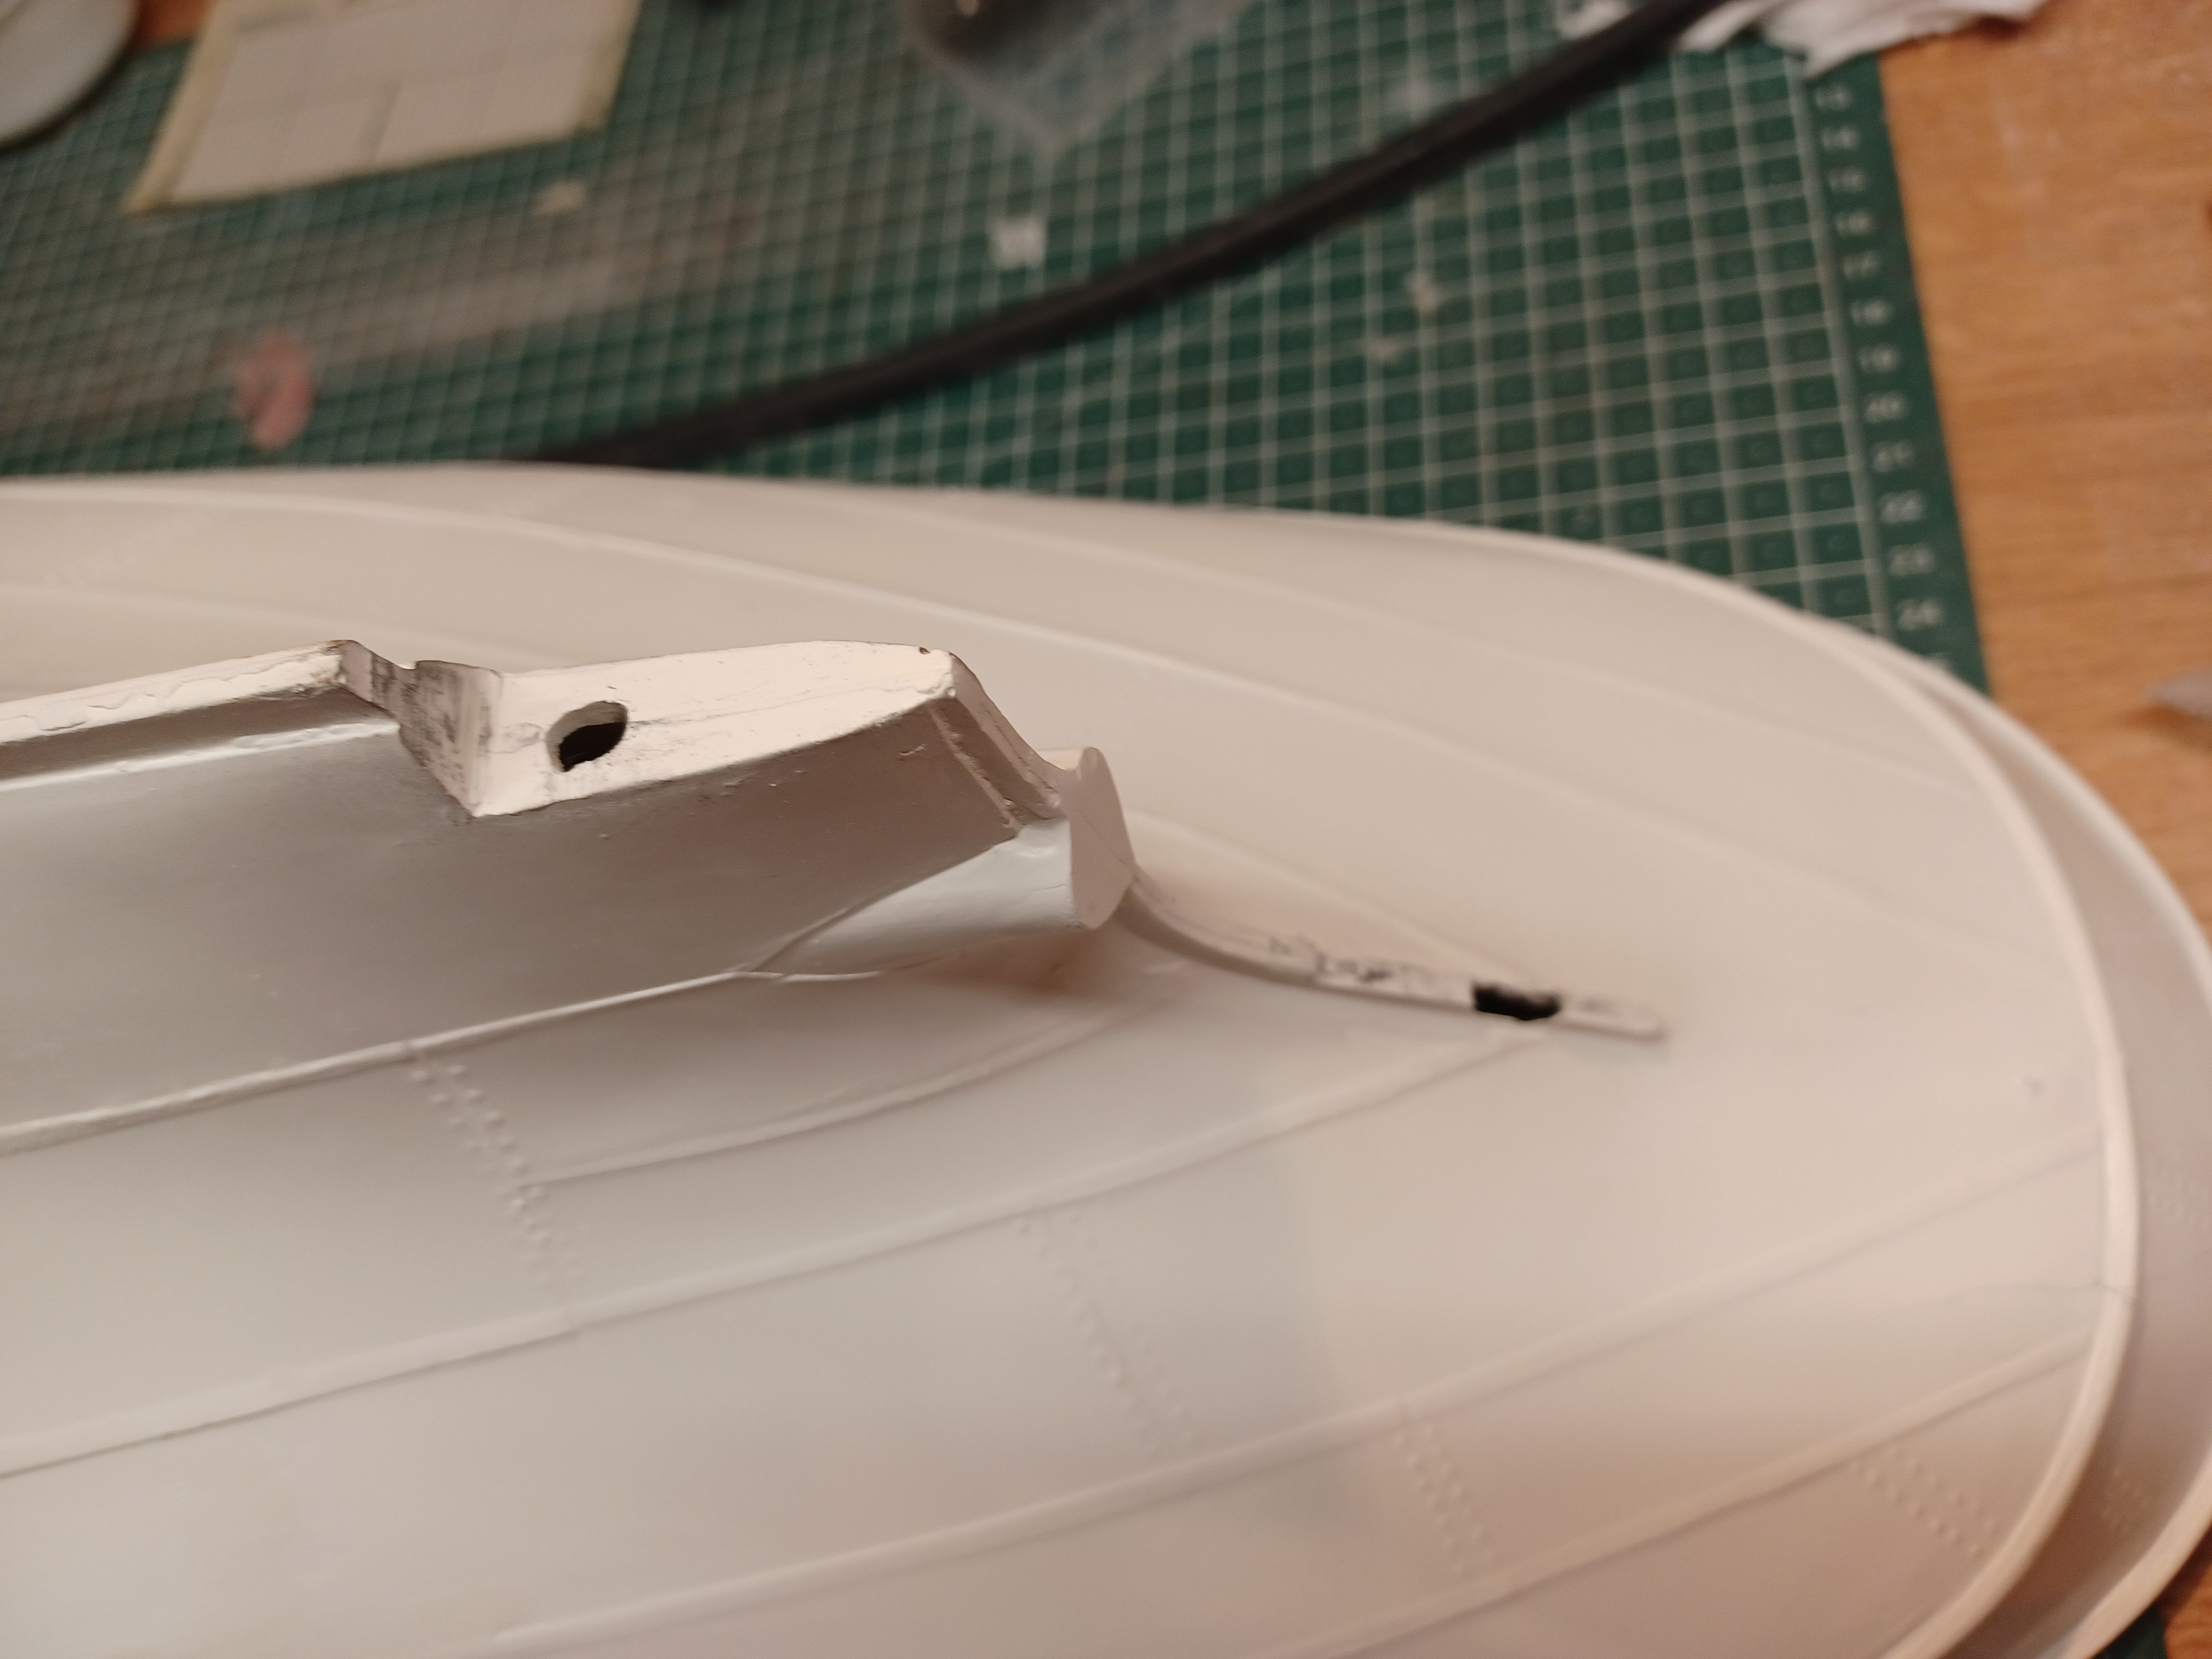
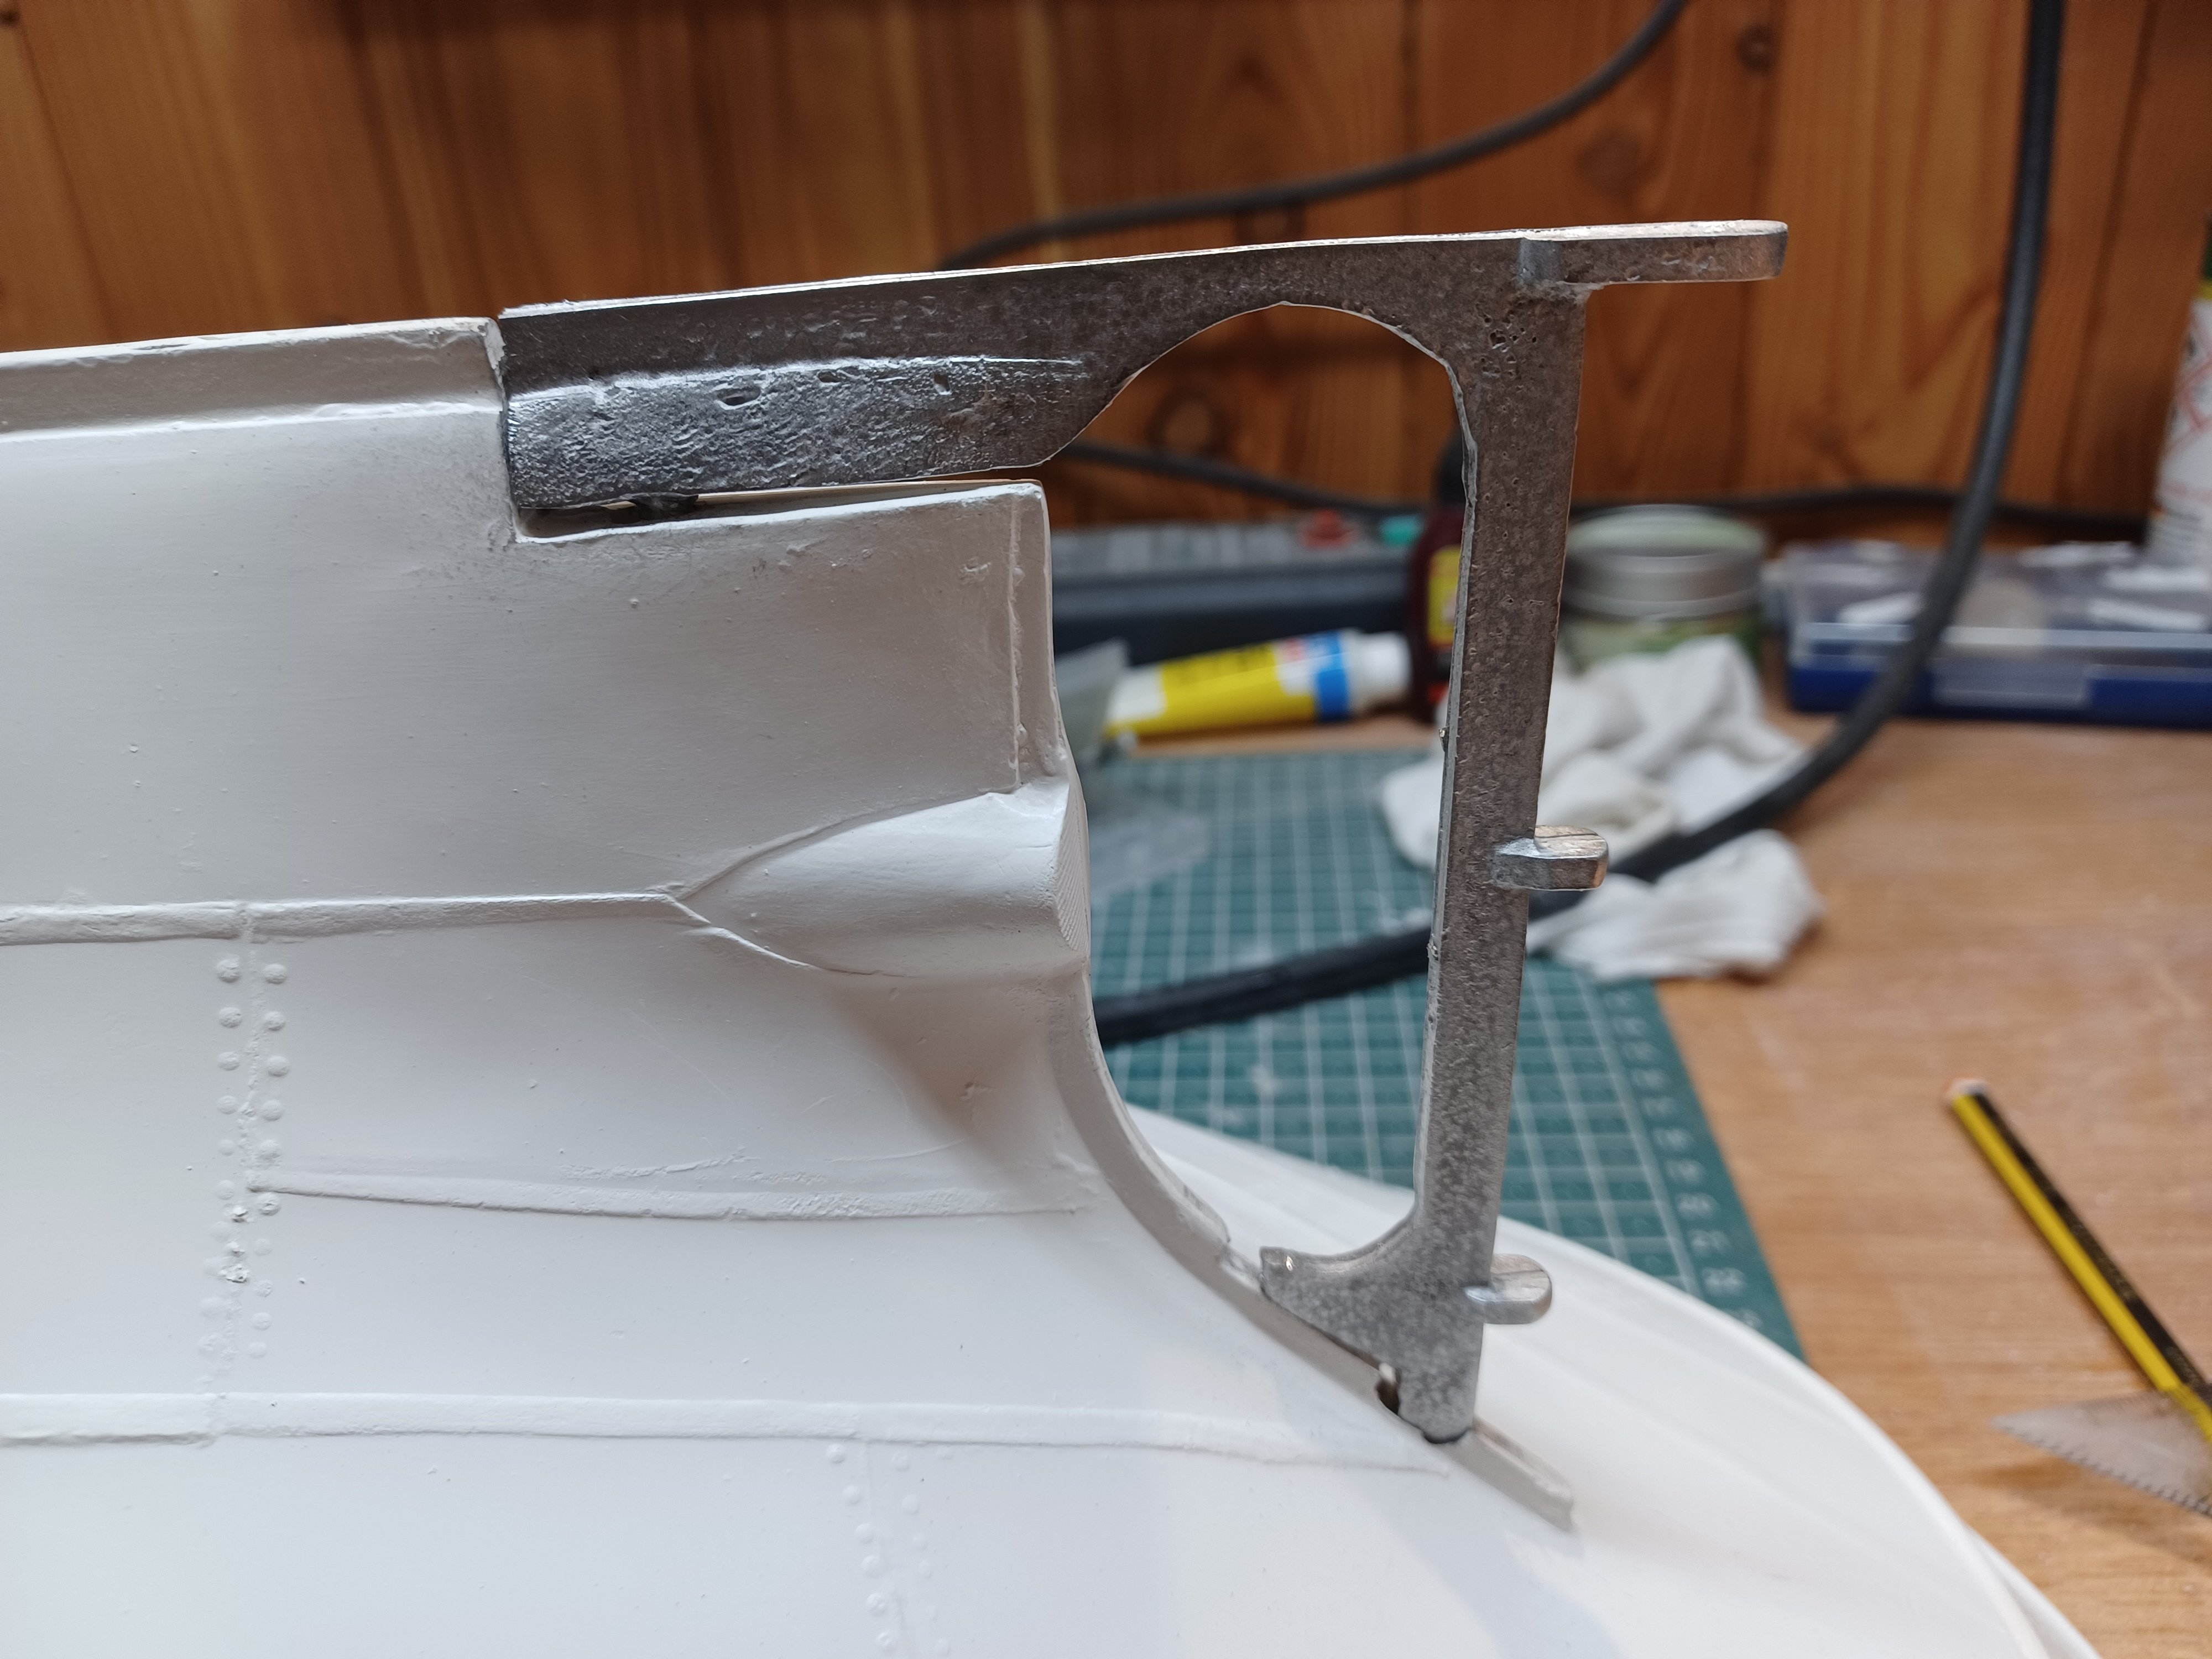
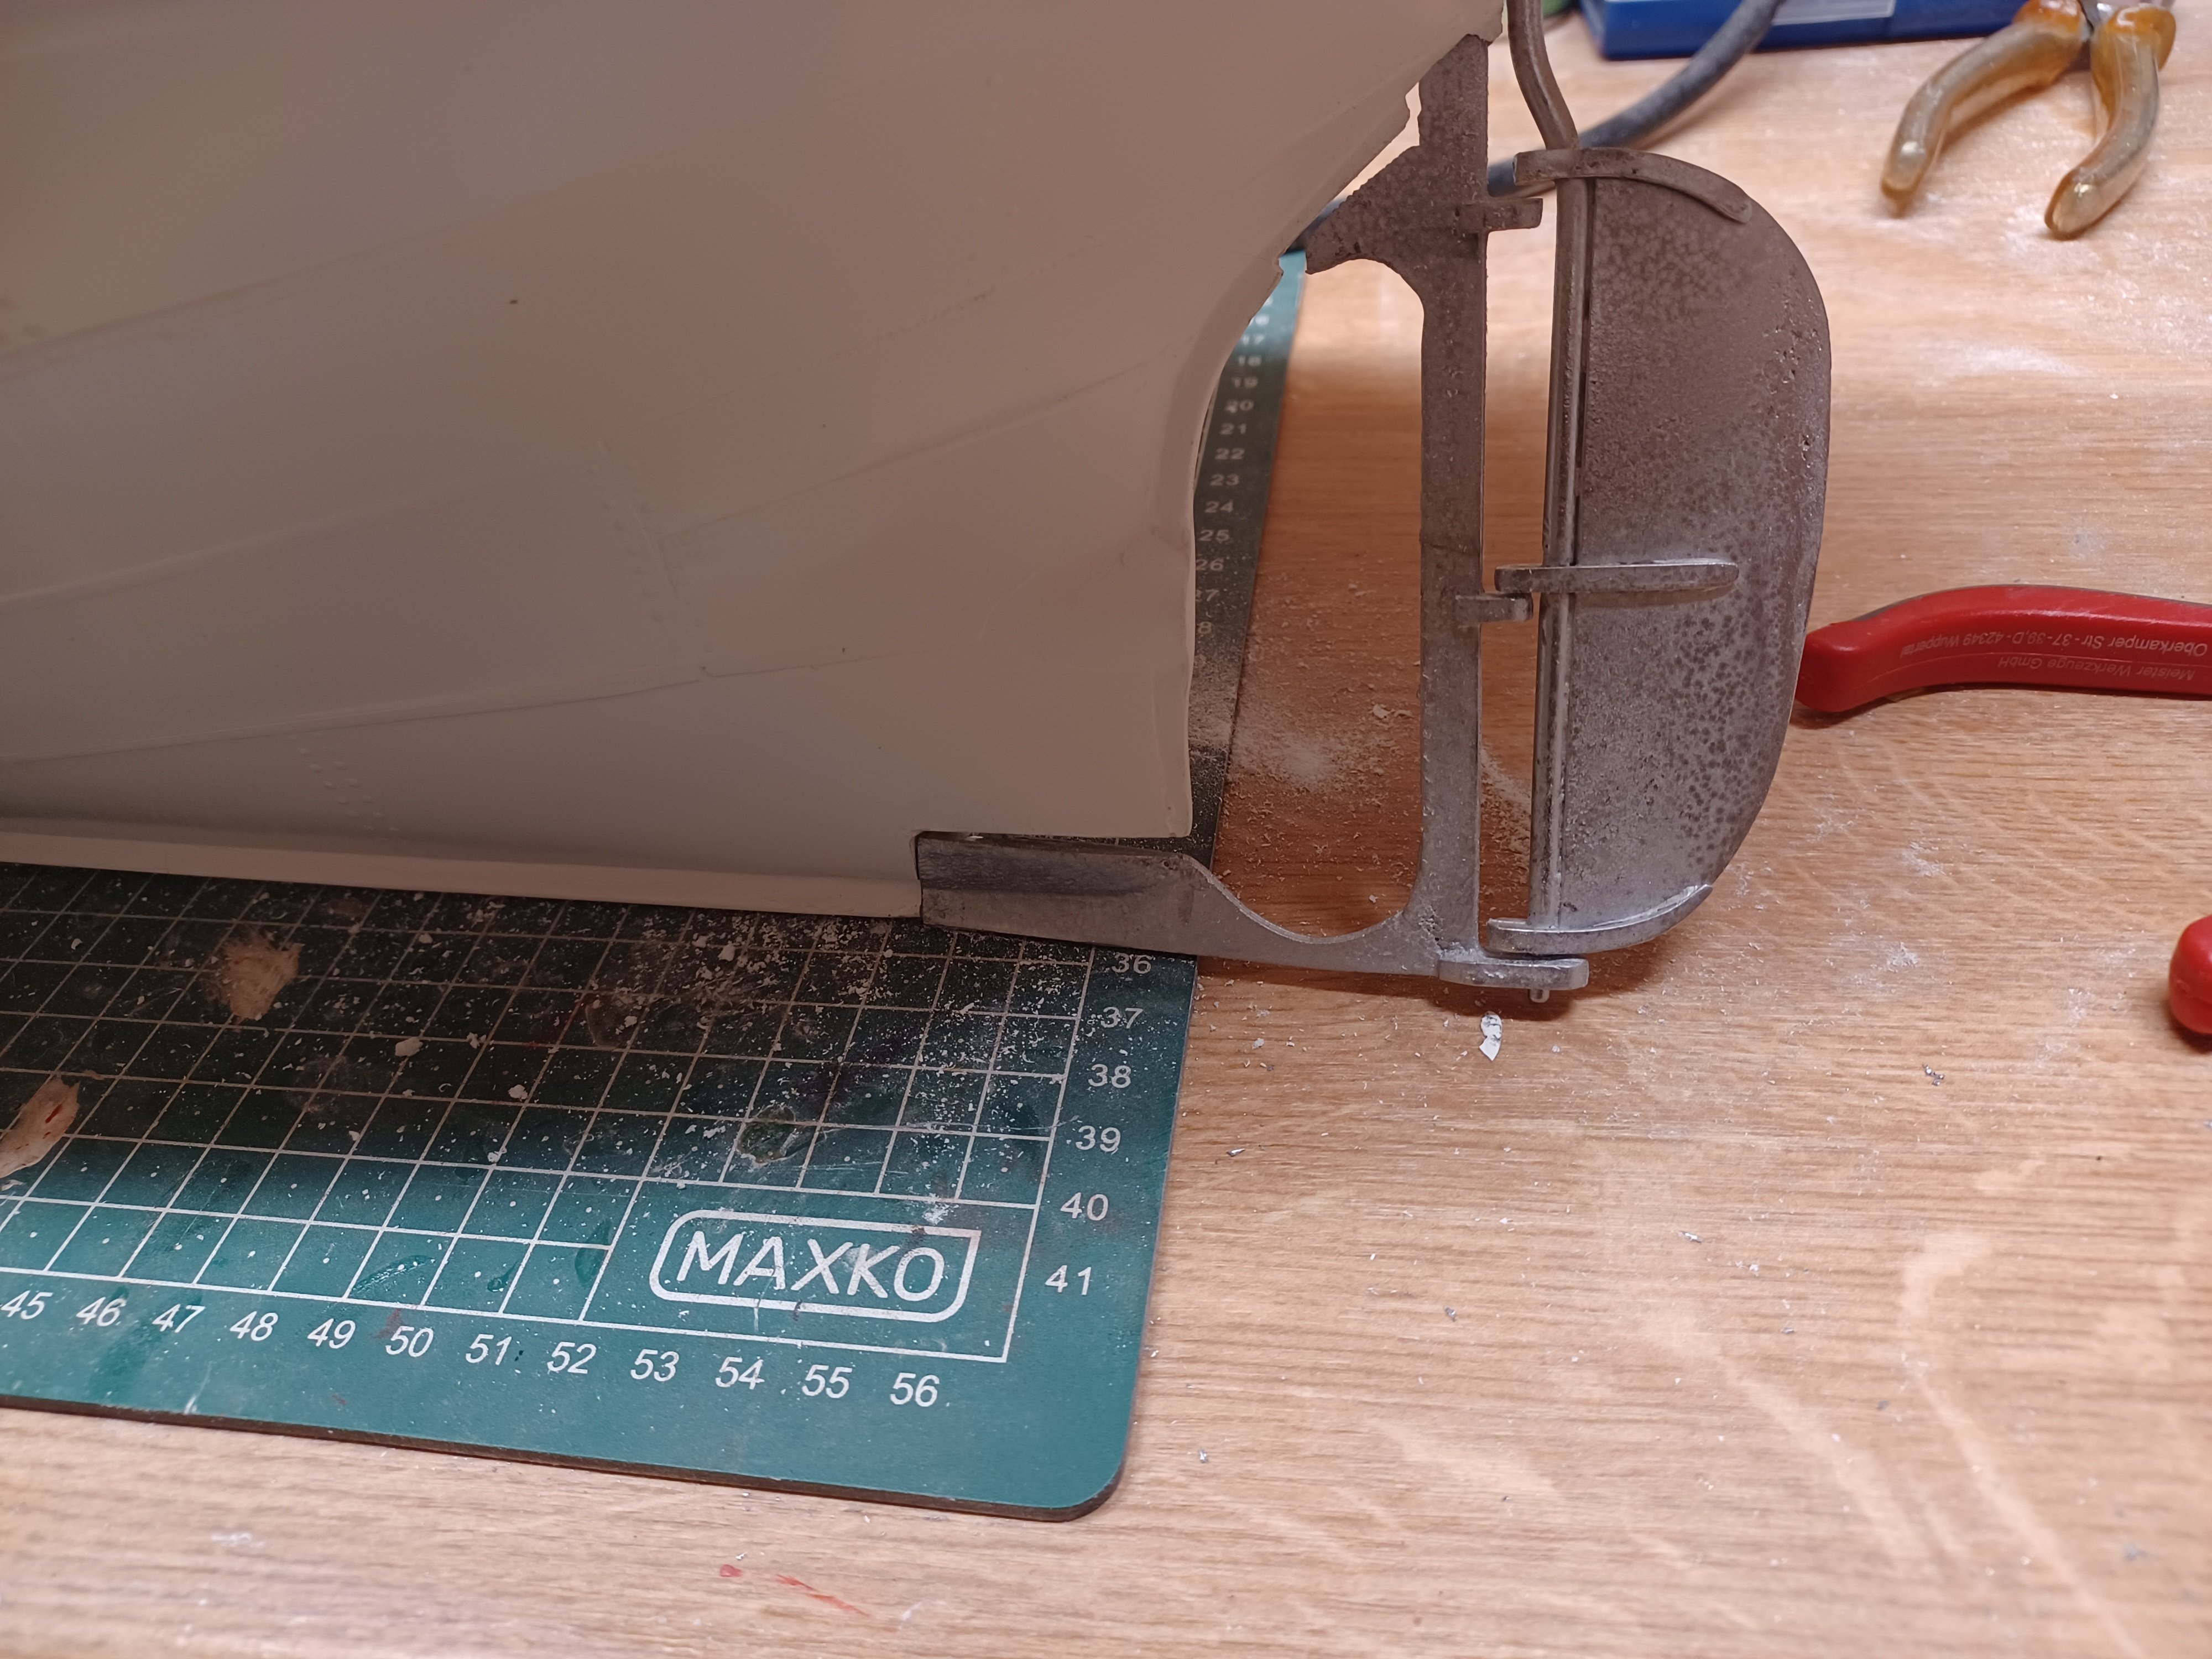
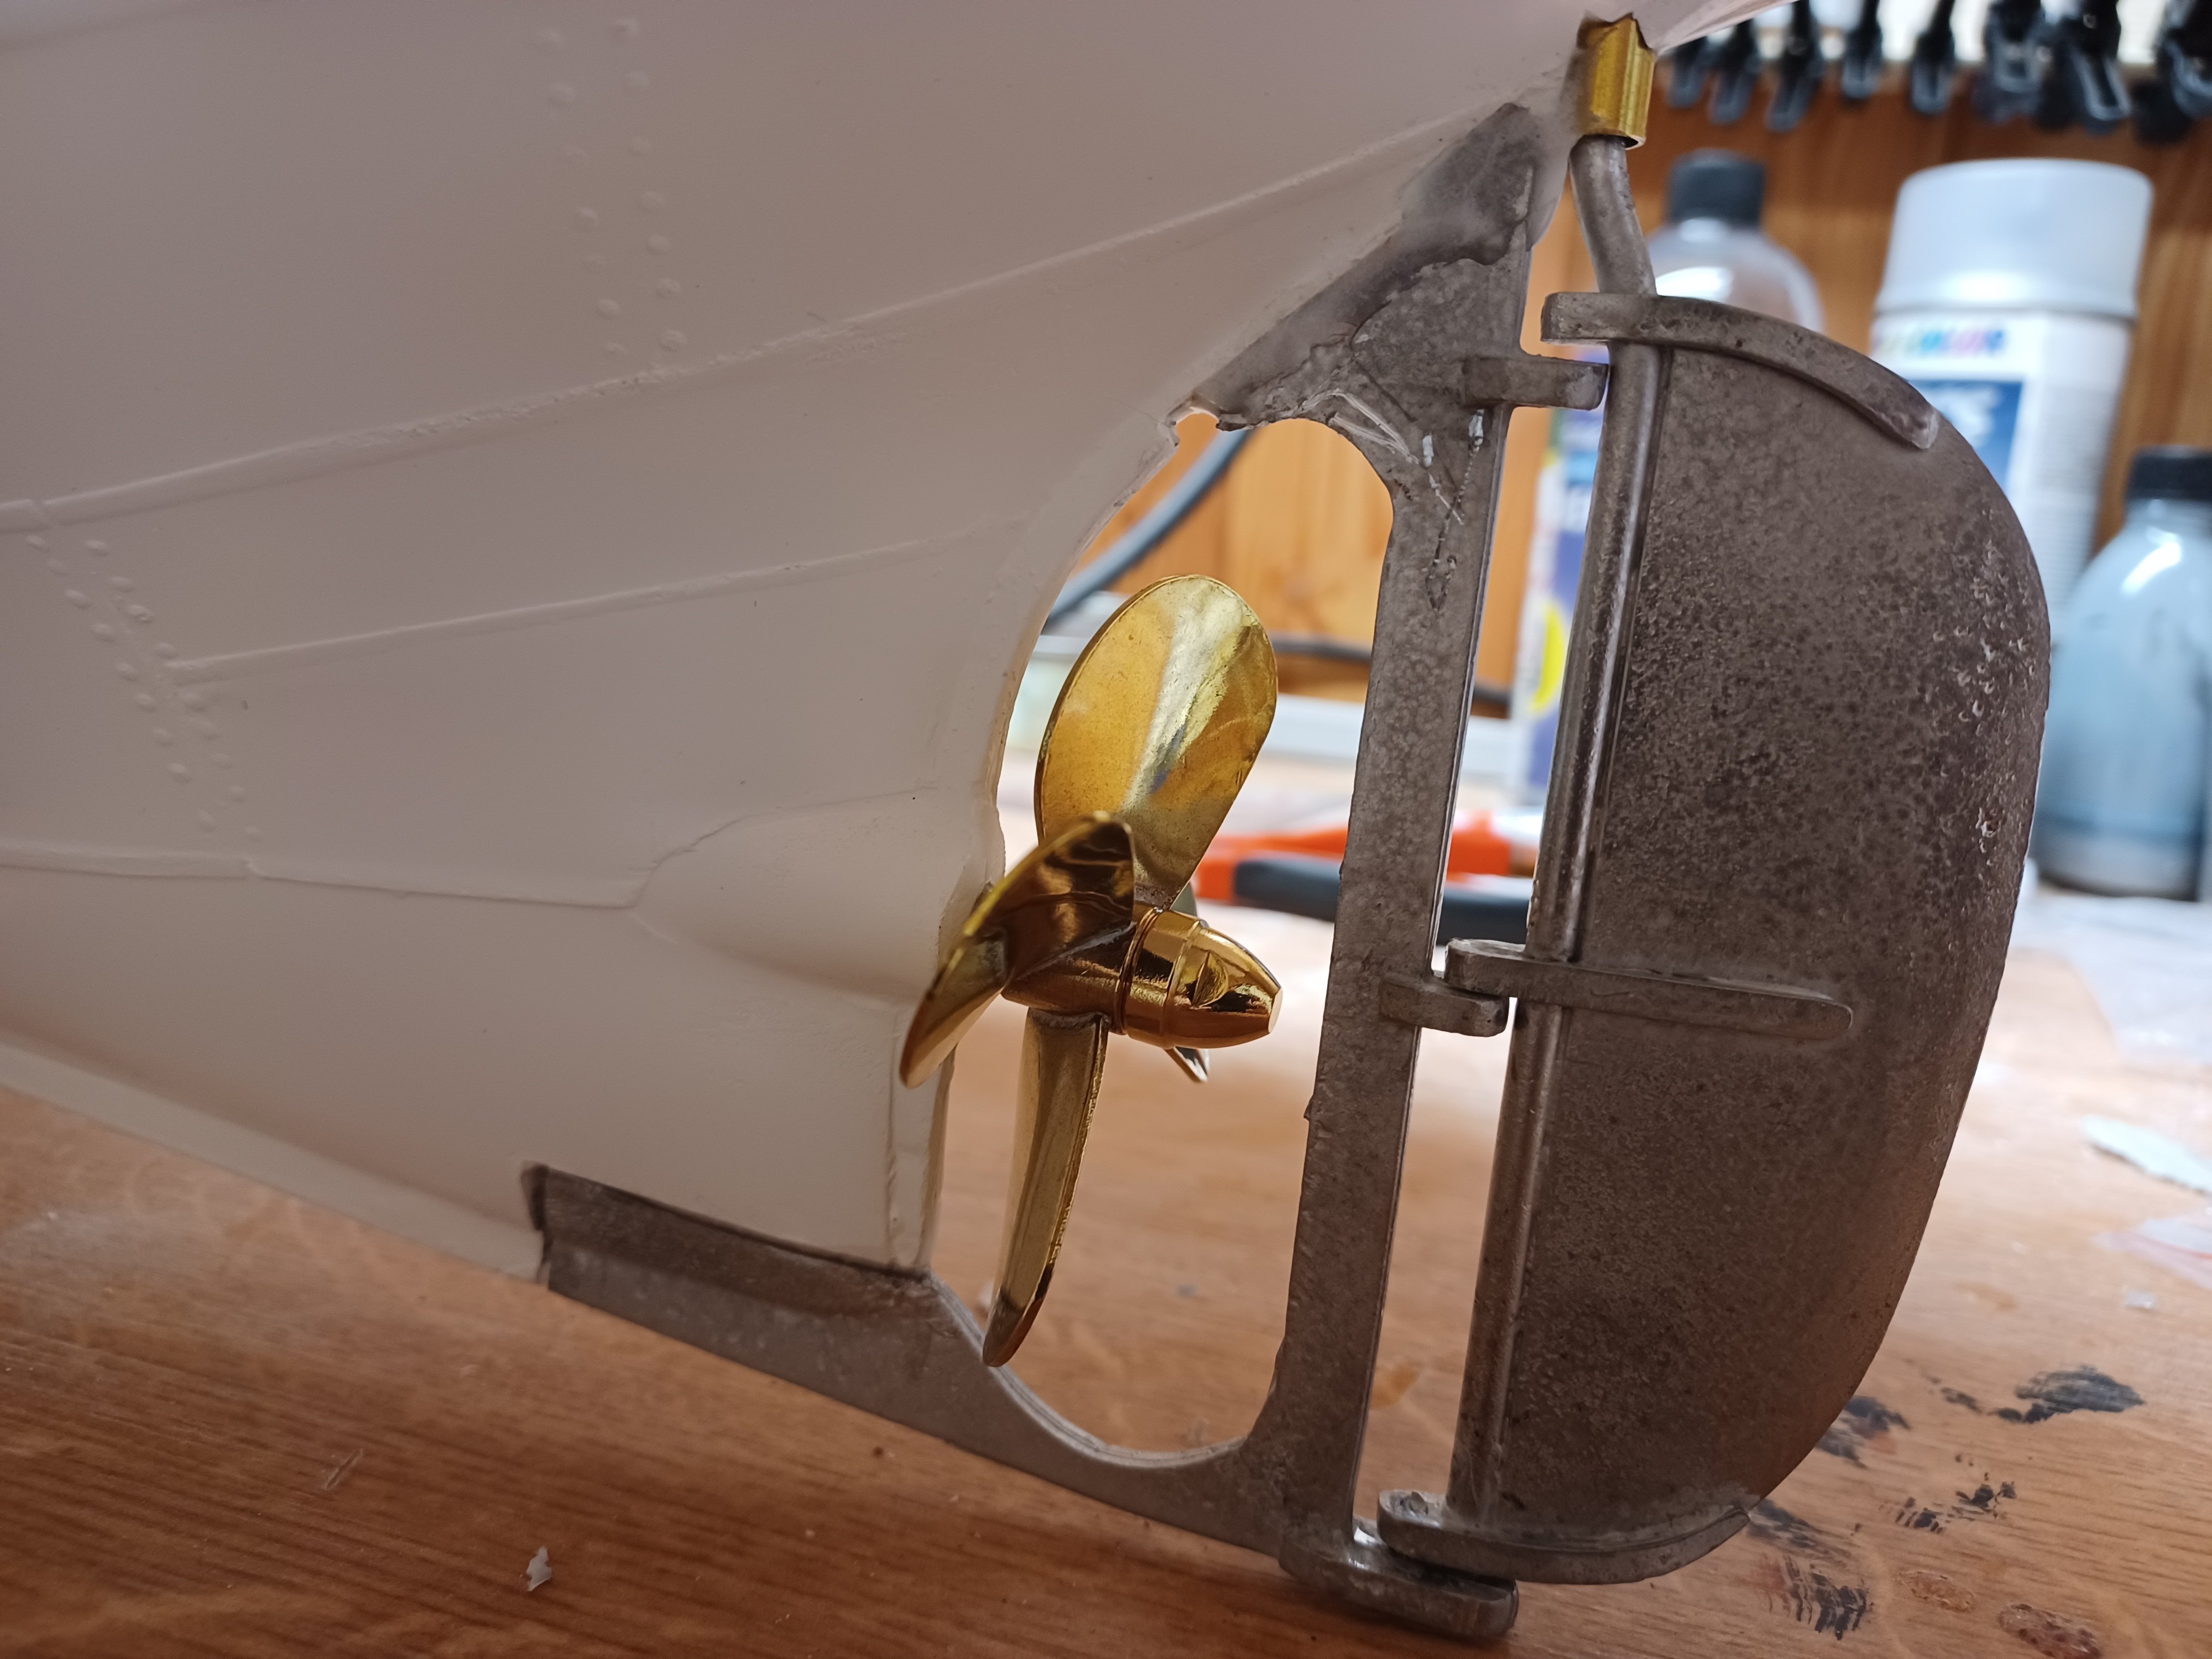
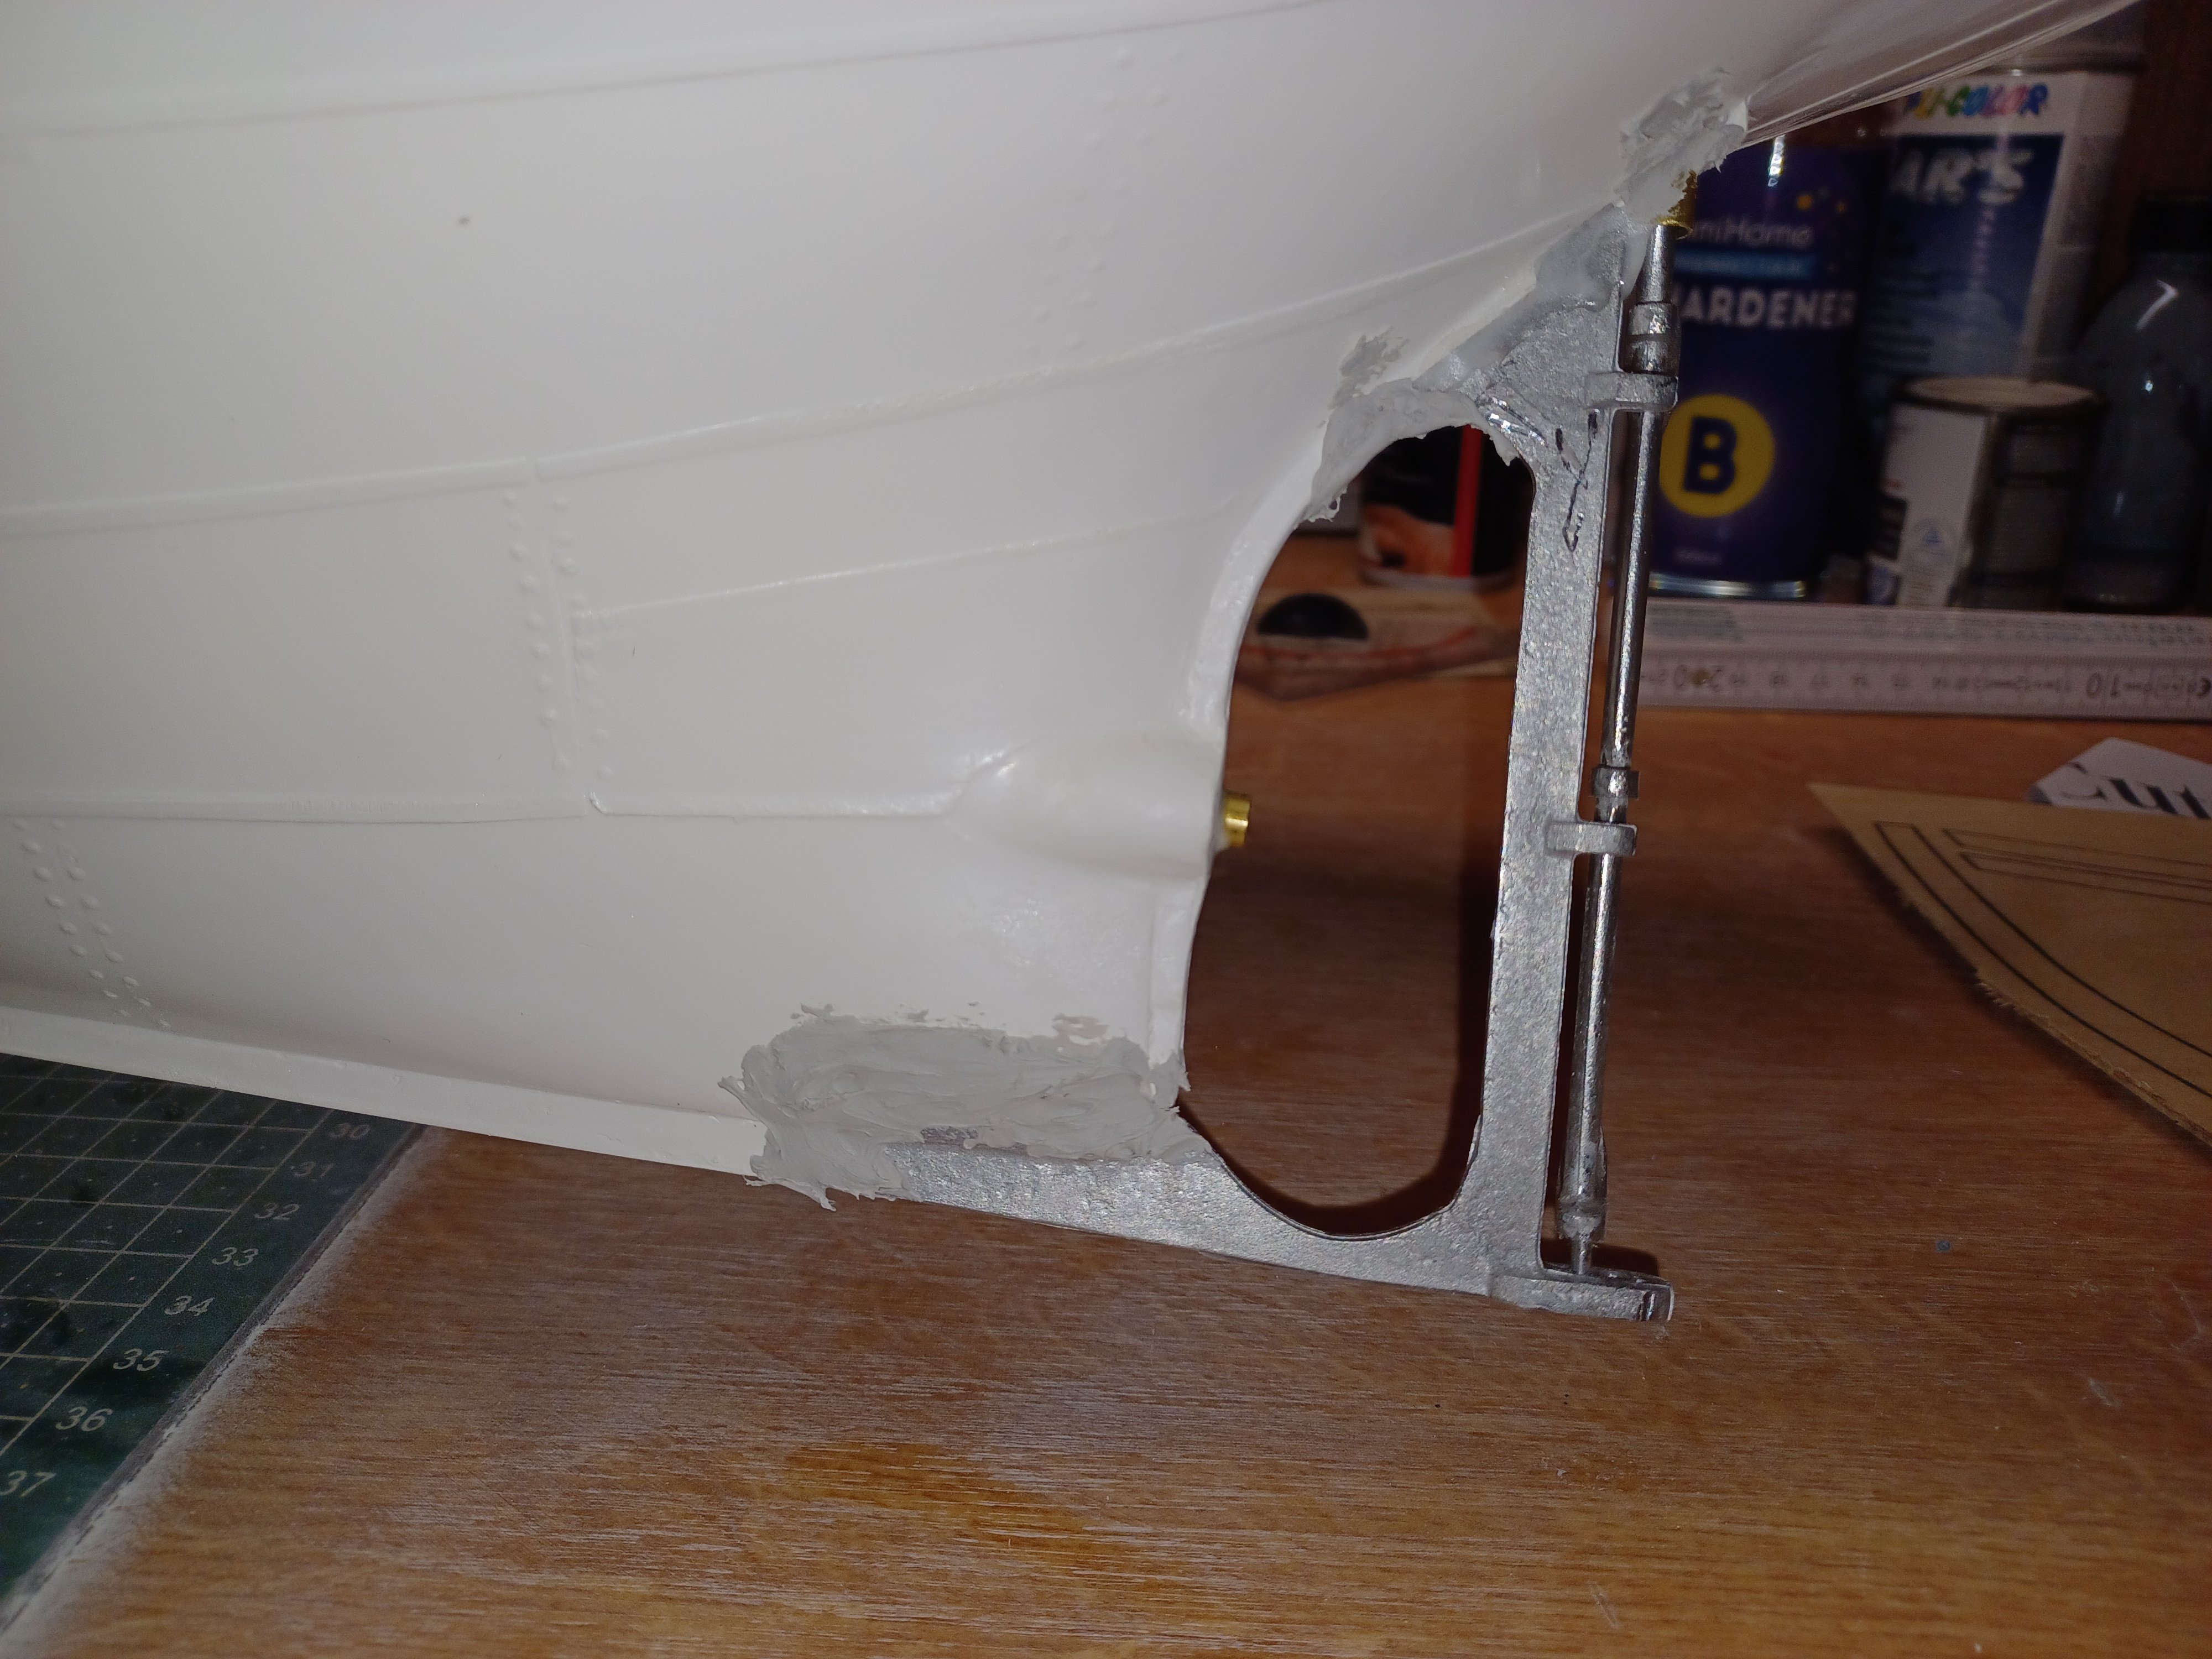
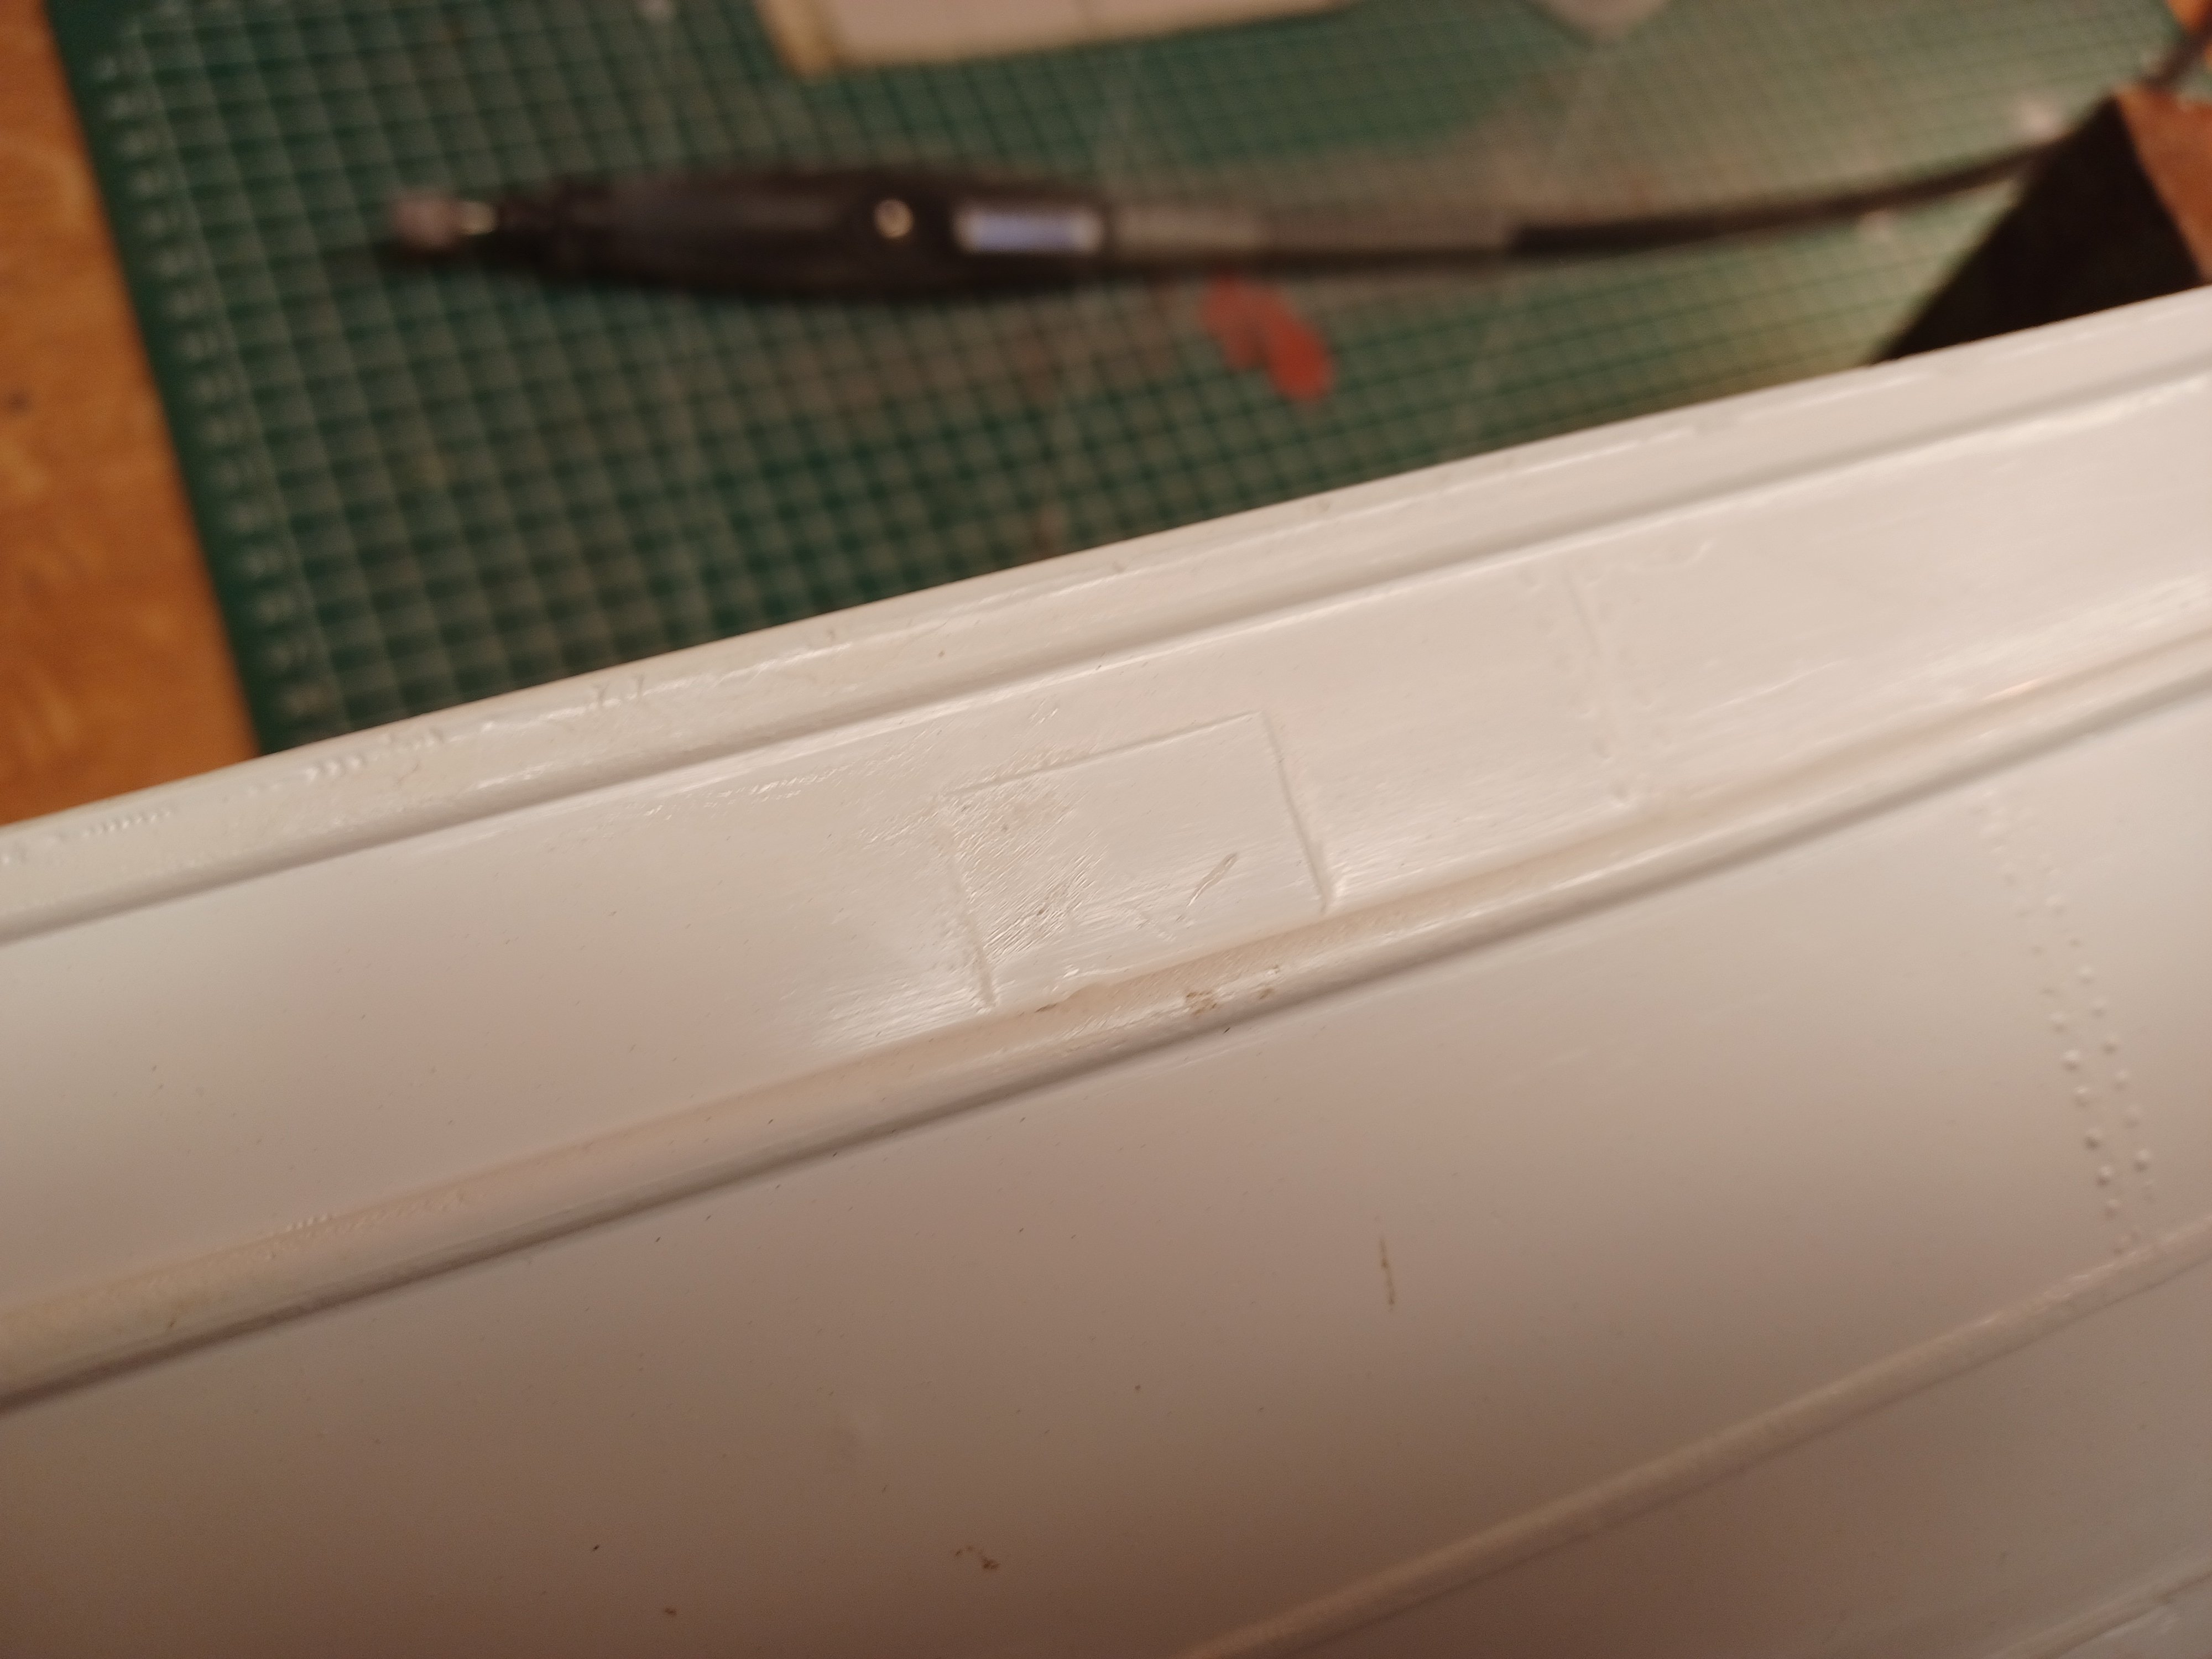
So we continue with the rudder bracket or rudder stand. For this I had to drill more holes in the hull and I didn't feel comfortable doing it but what must be done must be done. Then I adjusted the rudder bracket. I will glue it in like this later, the gaps will no longer be visible afterwards.


- 35 replies
-
- 4
-
-
- Britannia
- Mountfleet Models
- (and 1 more)
-
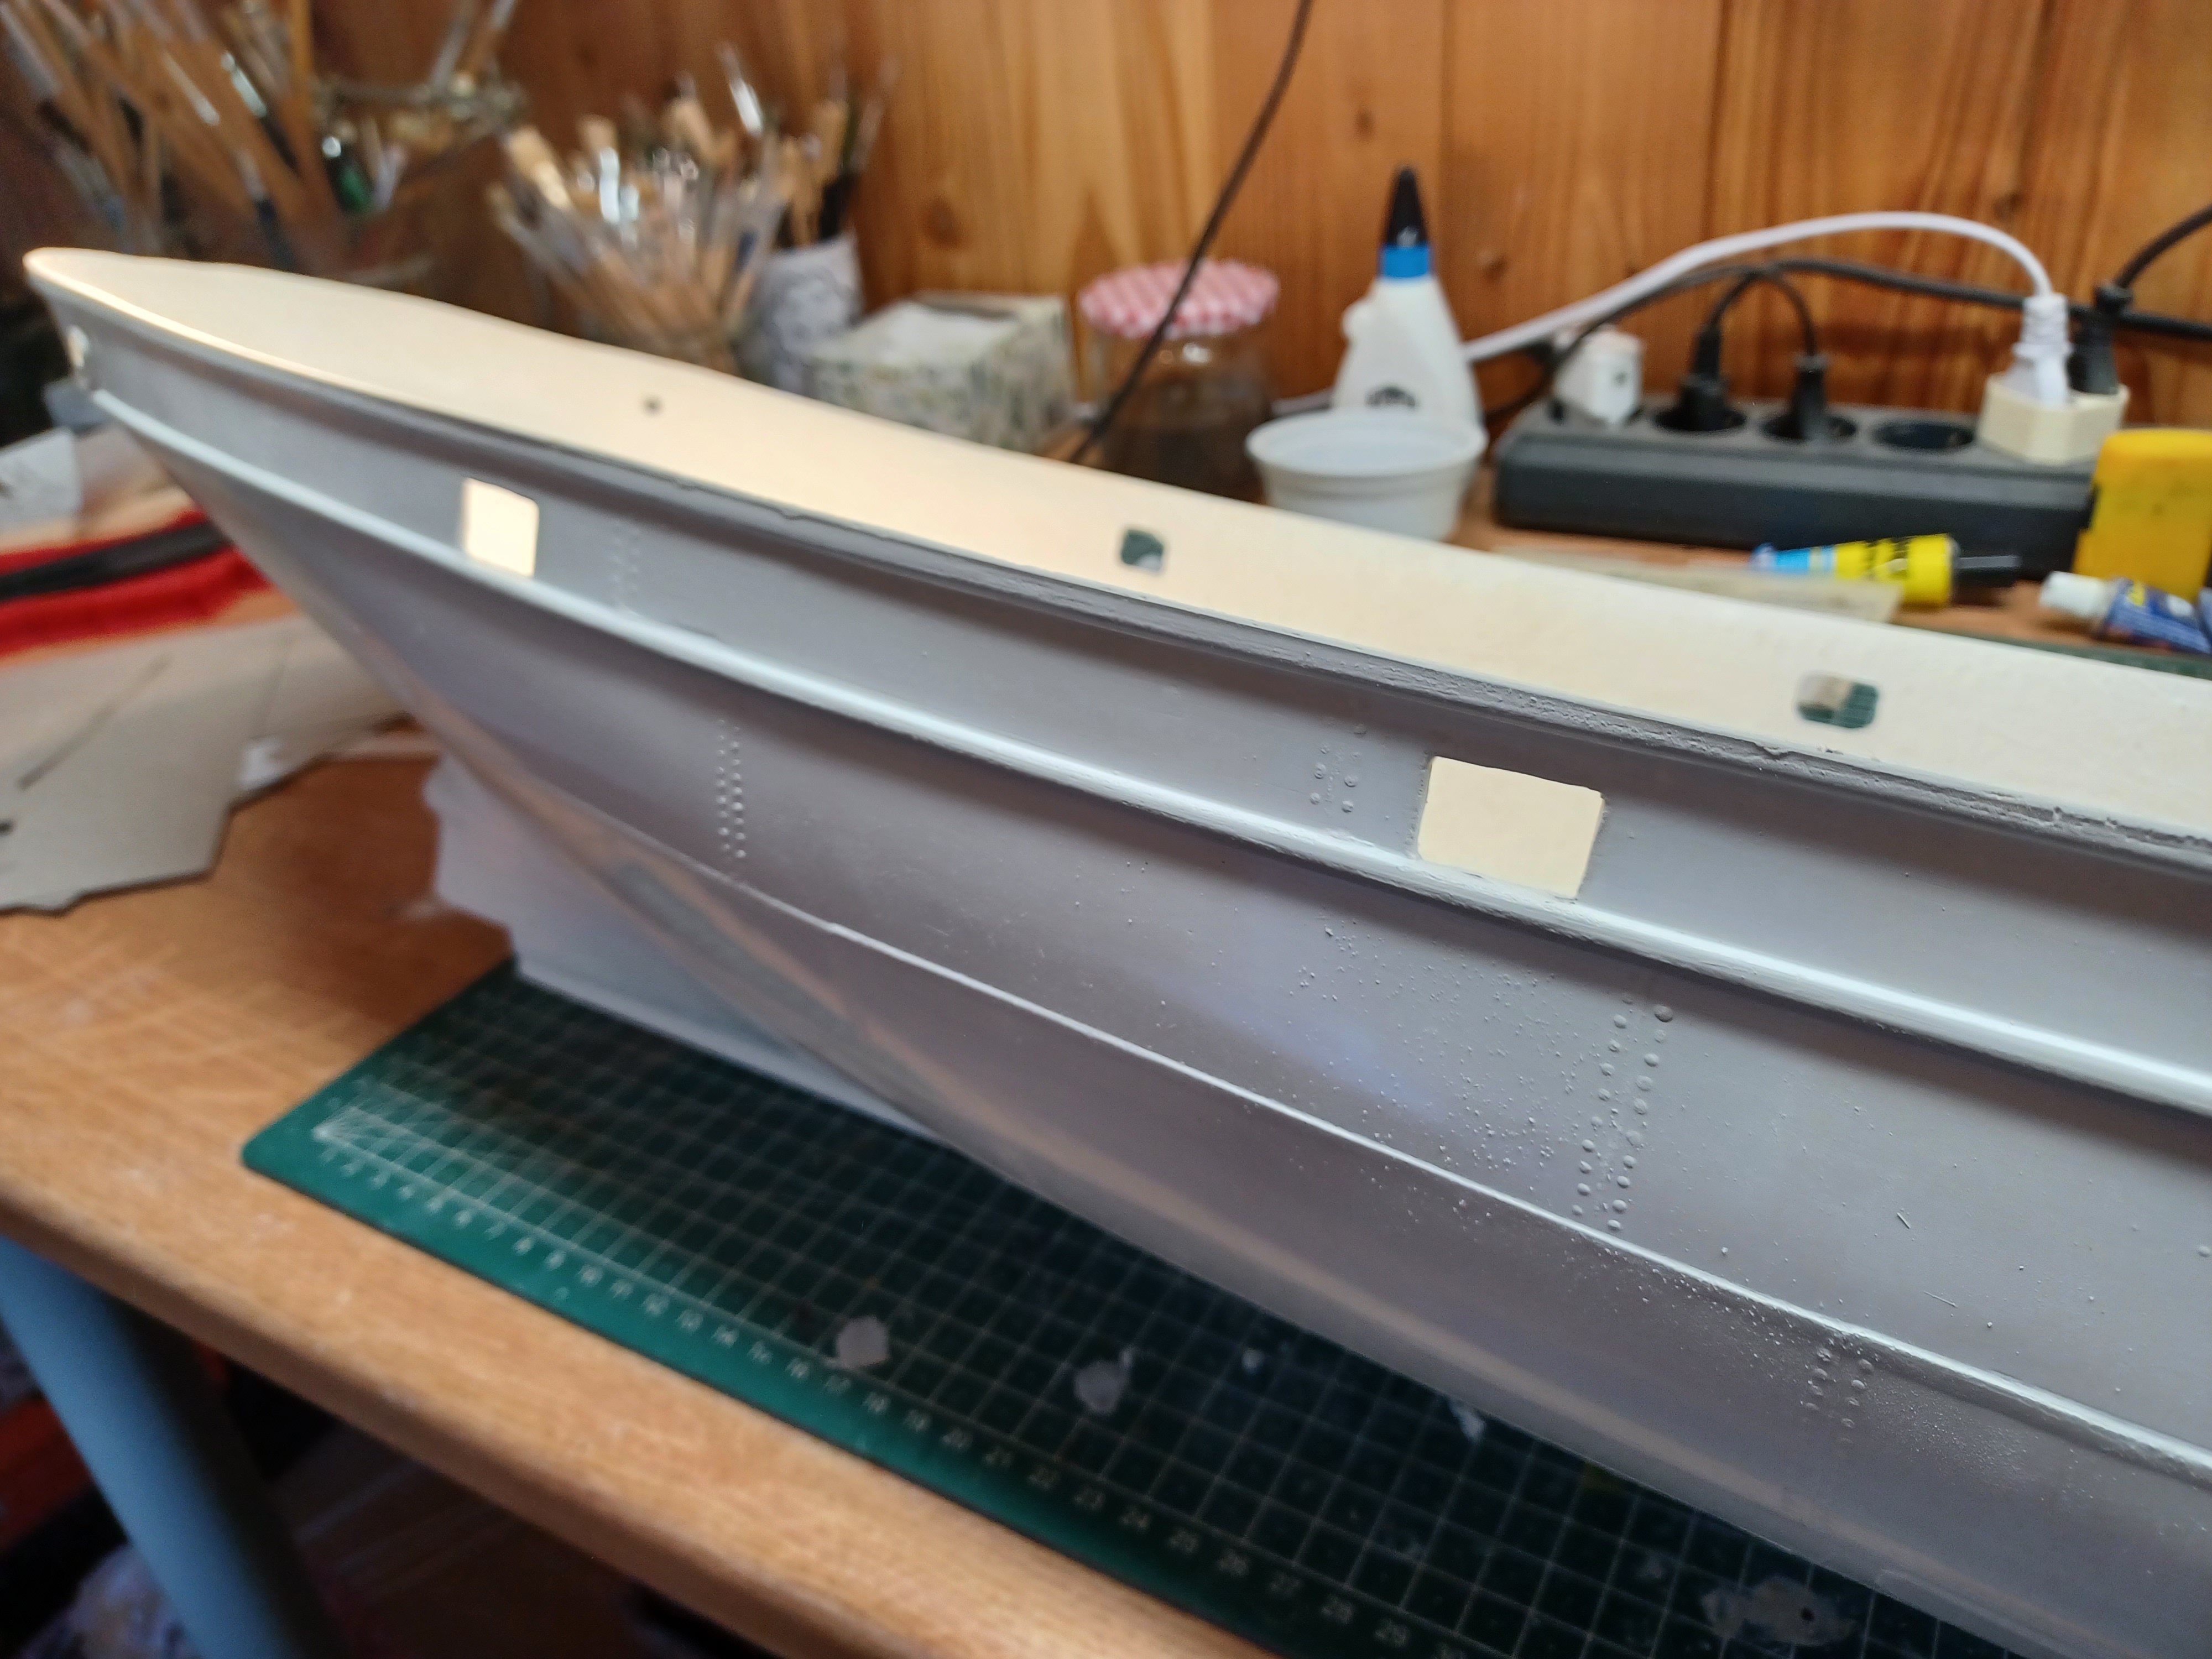
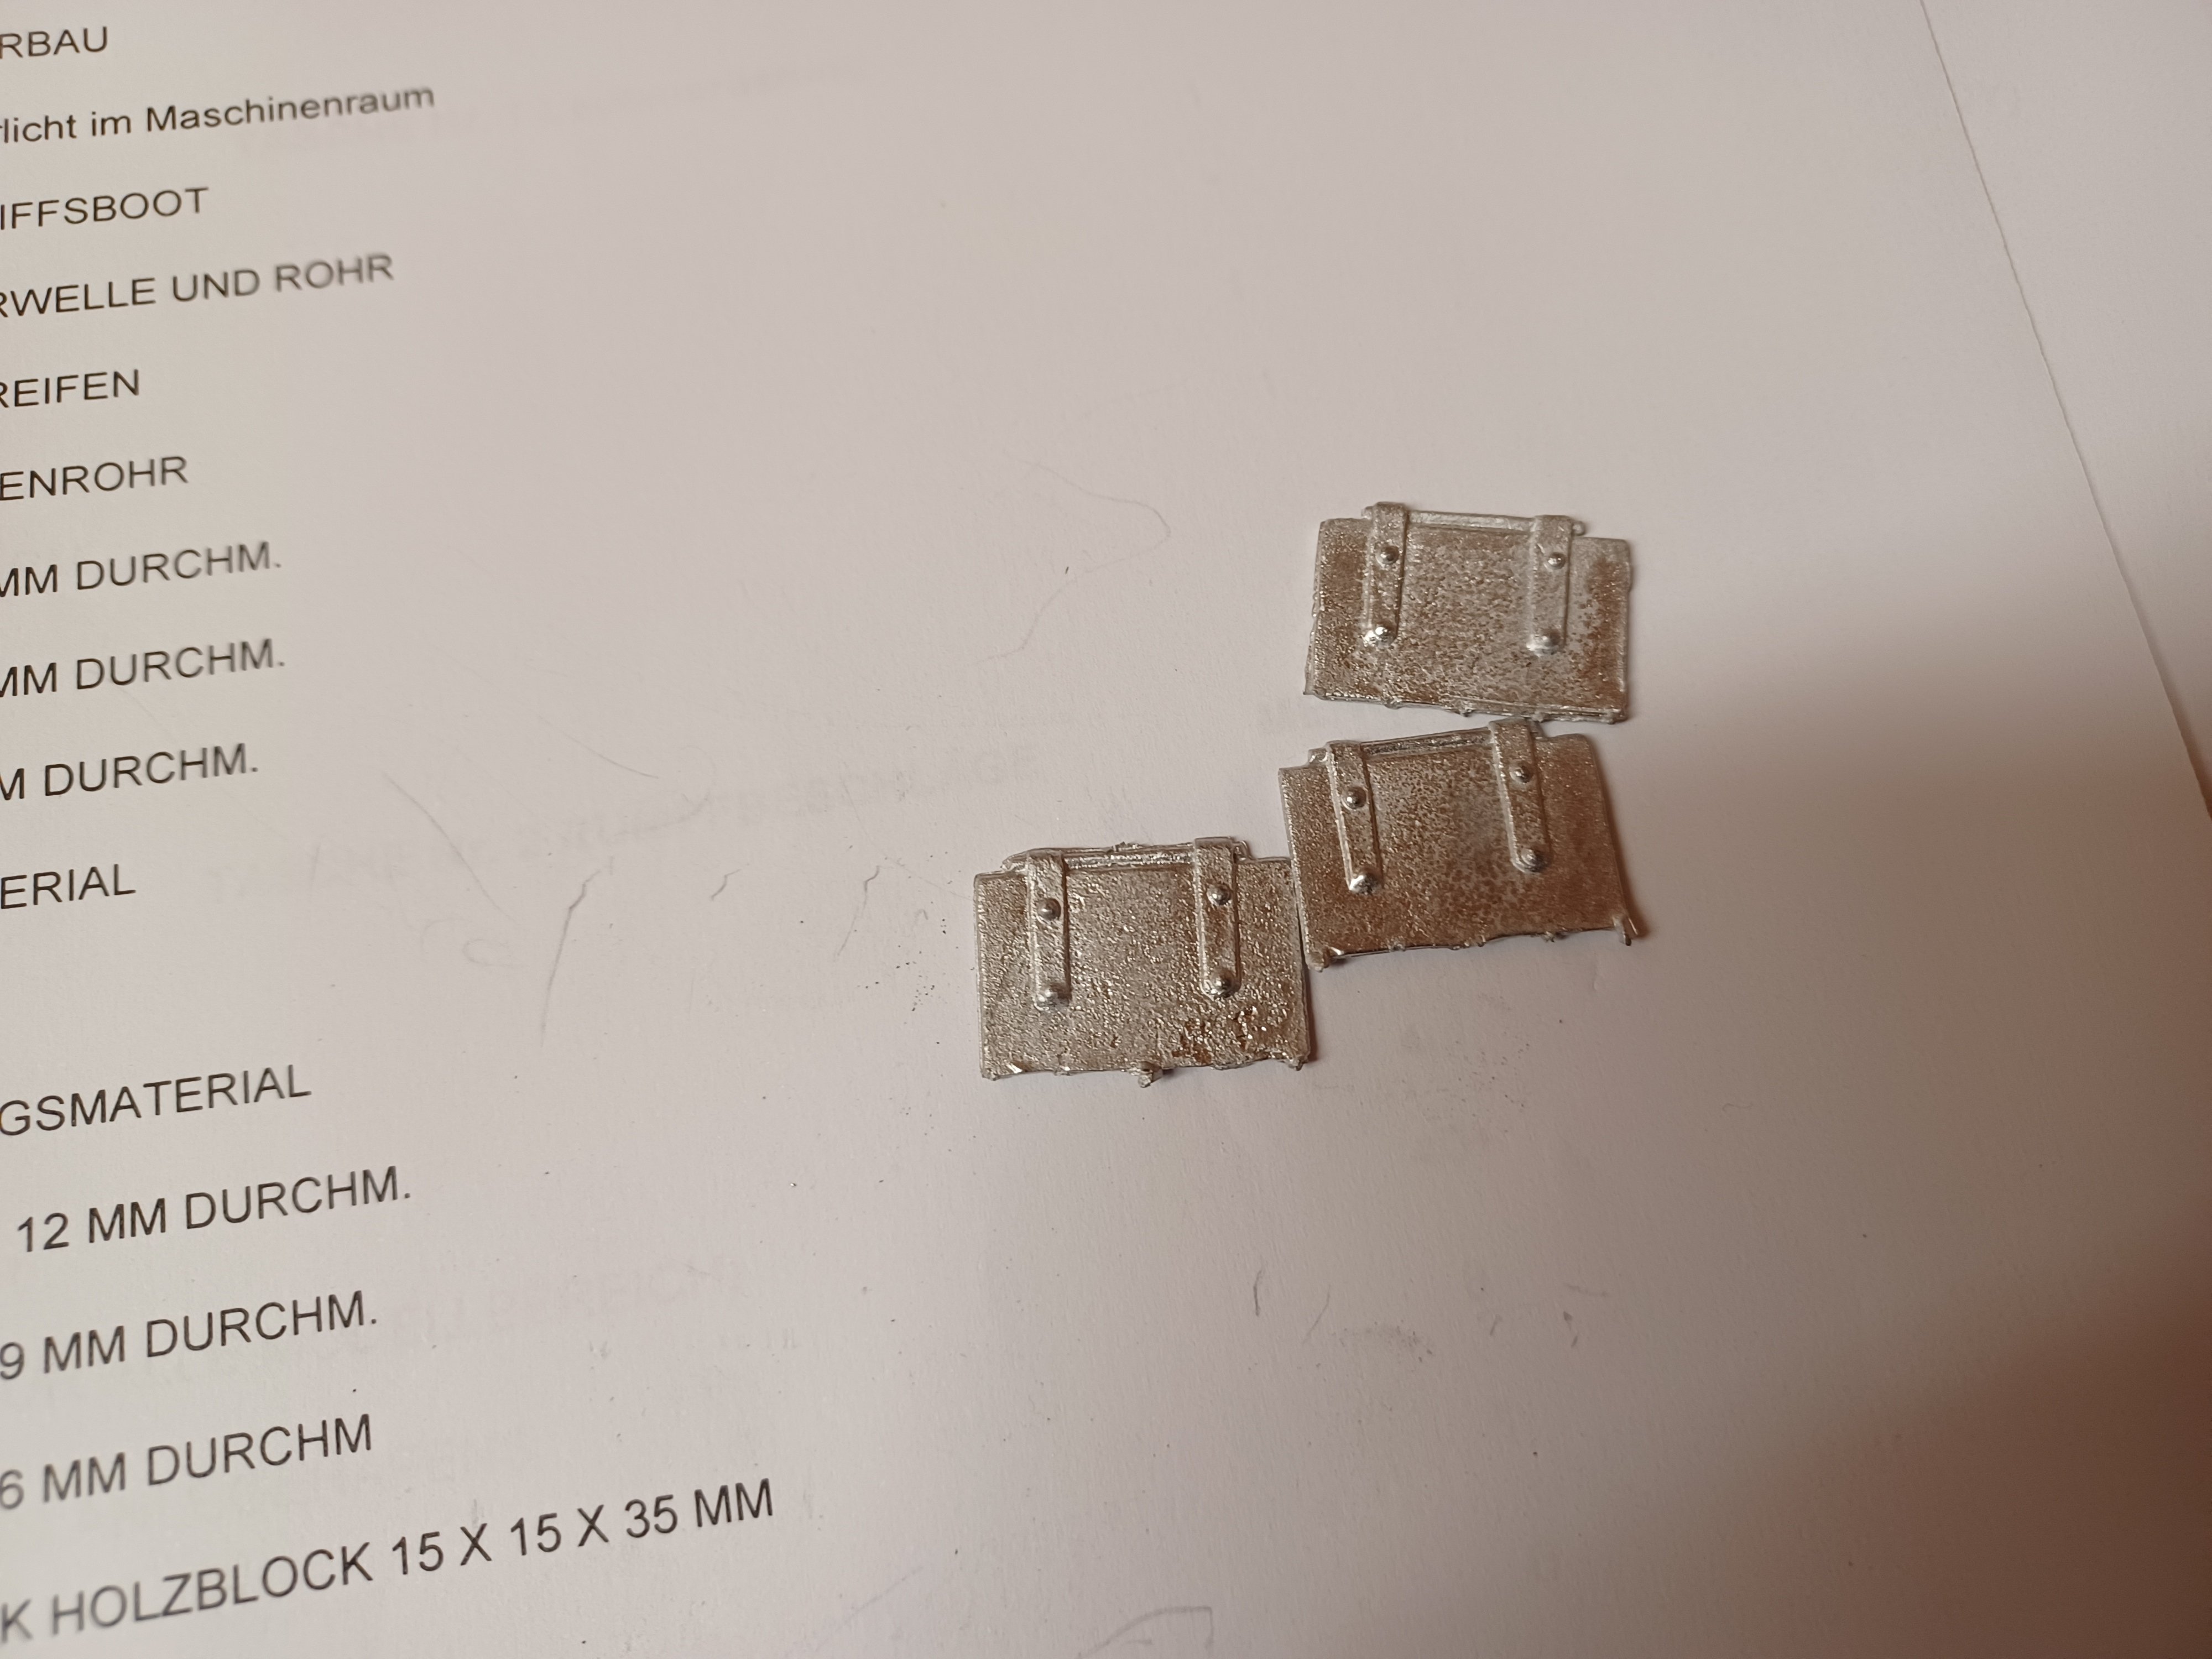
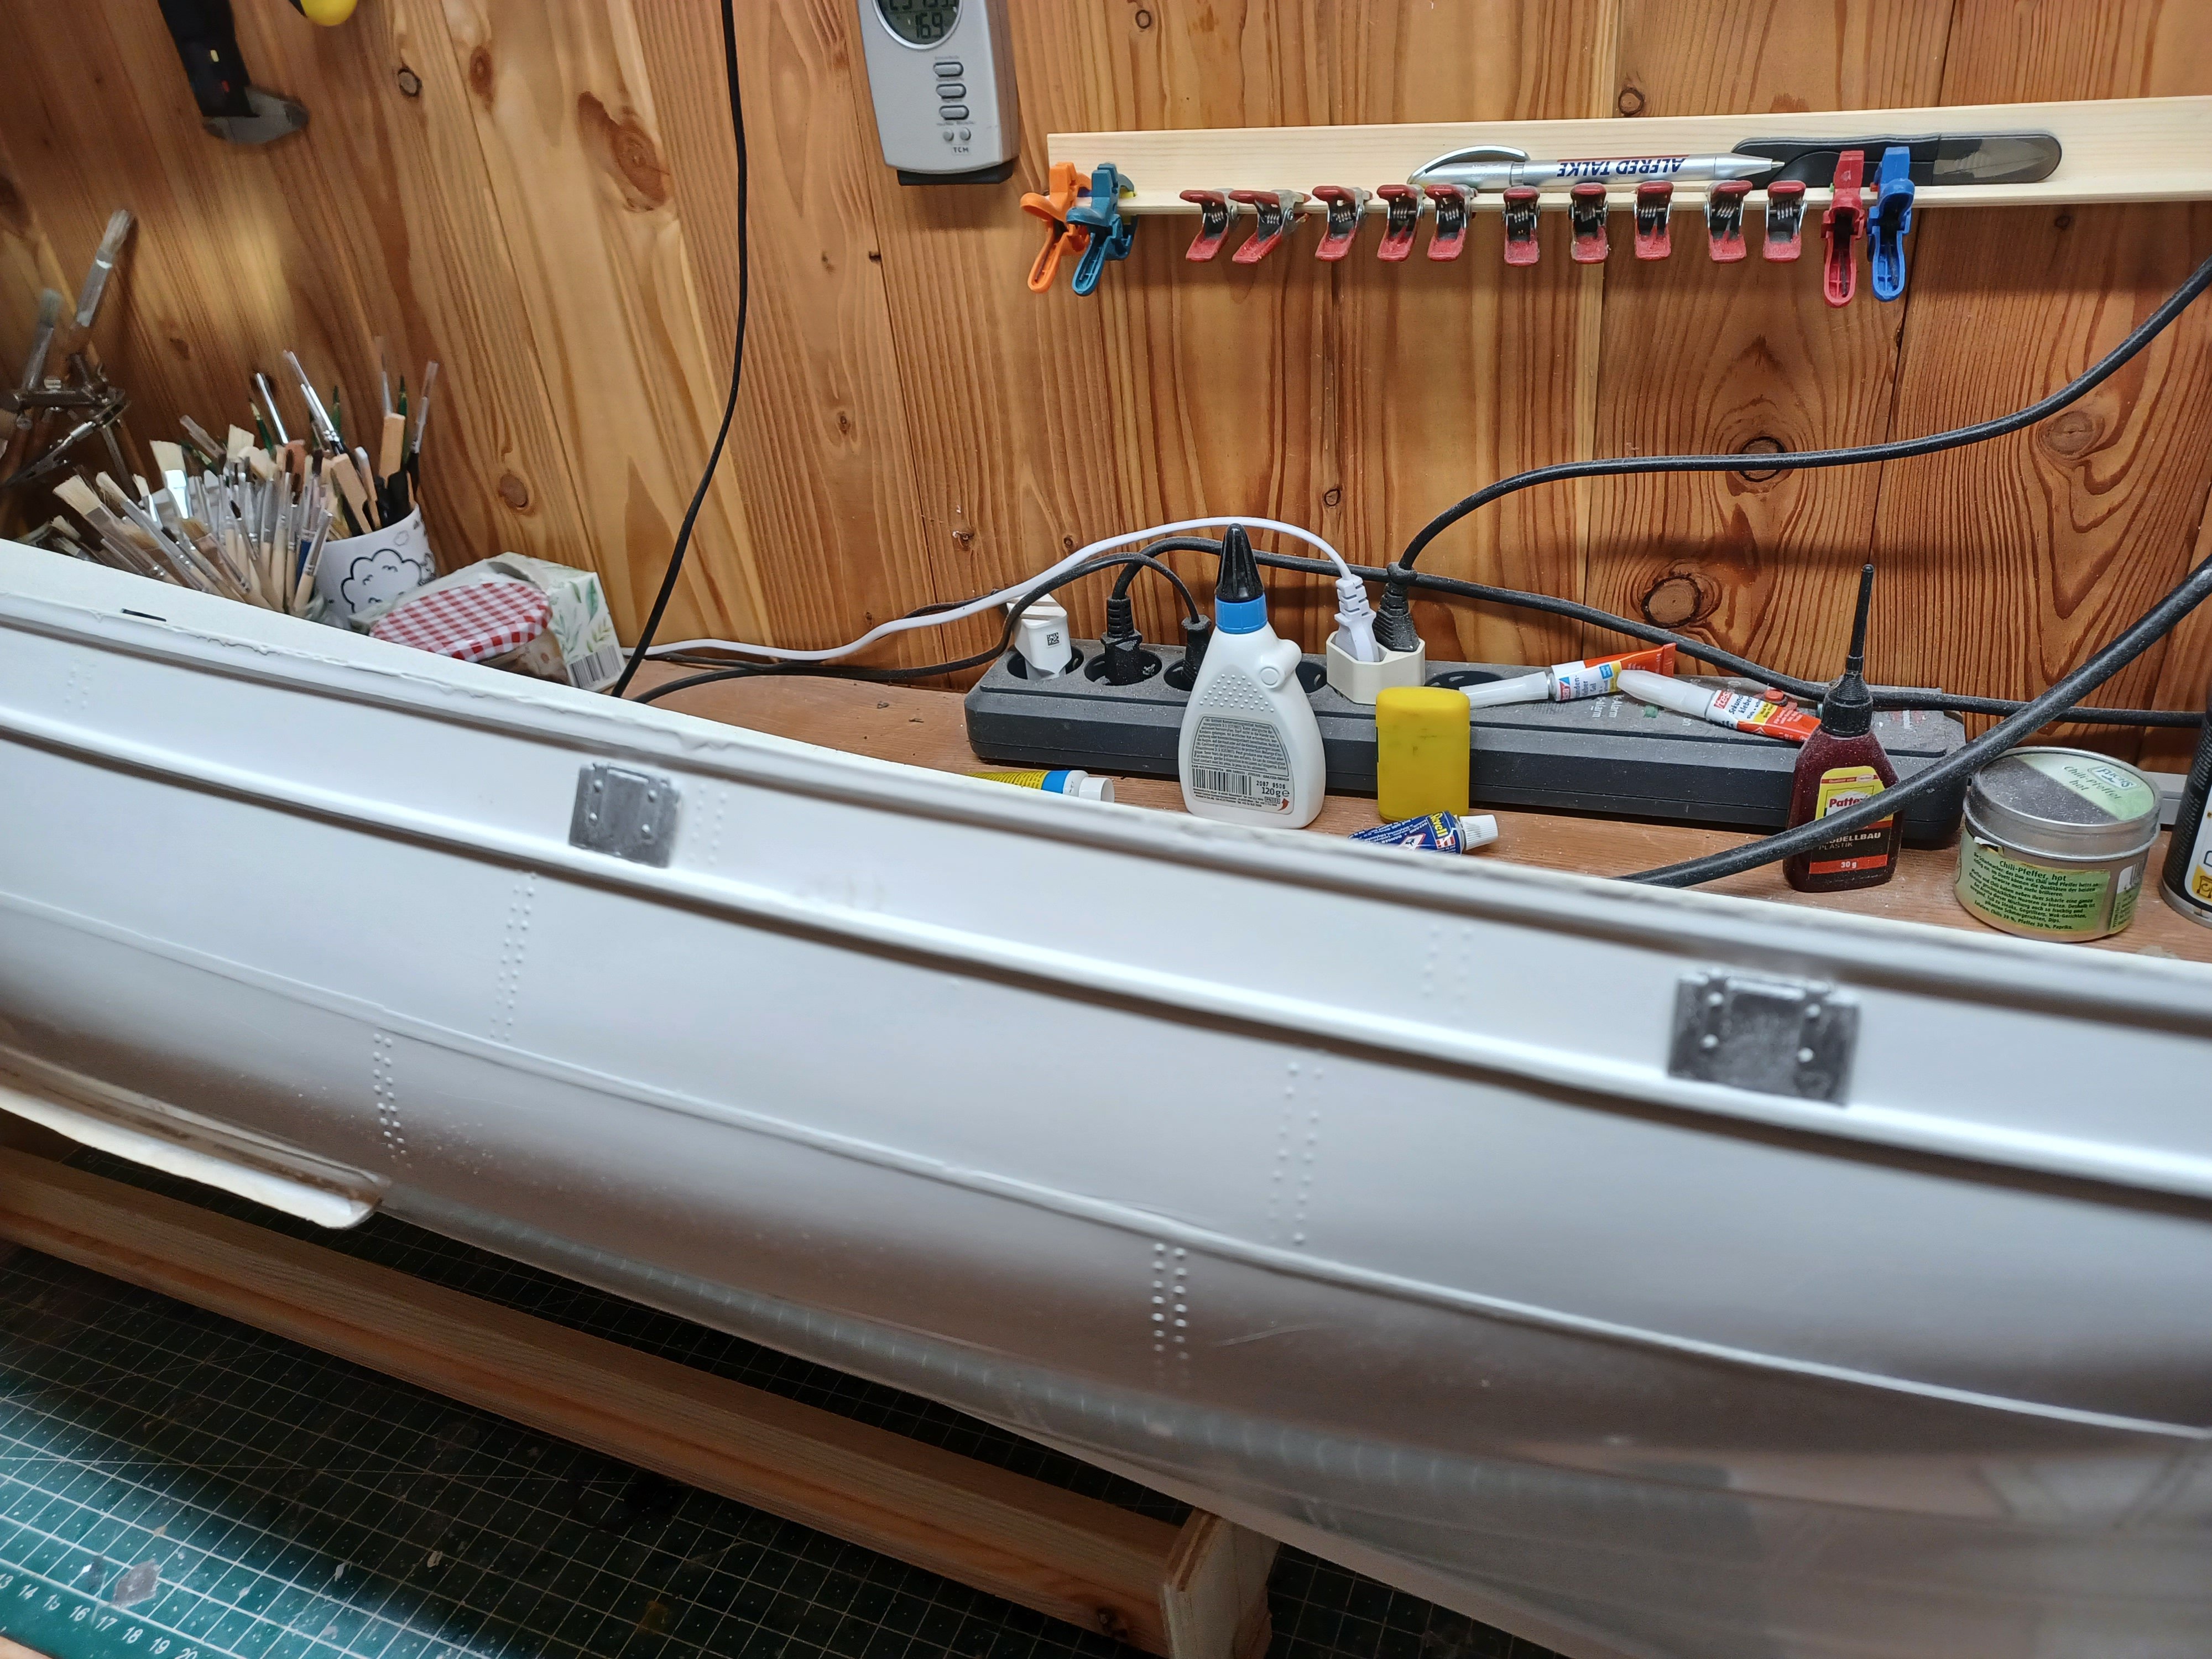
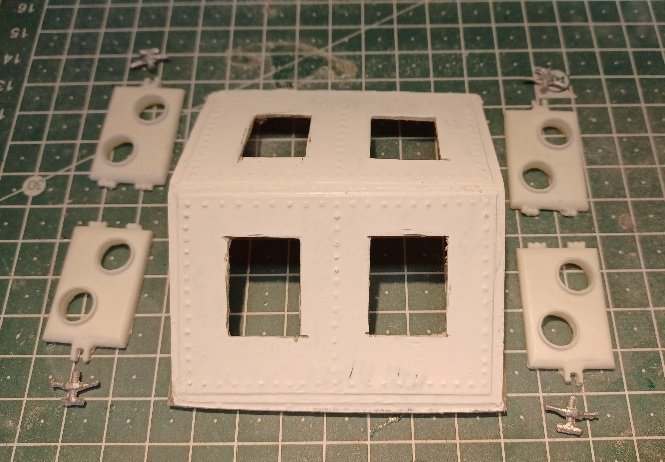
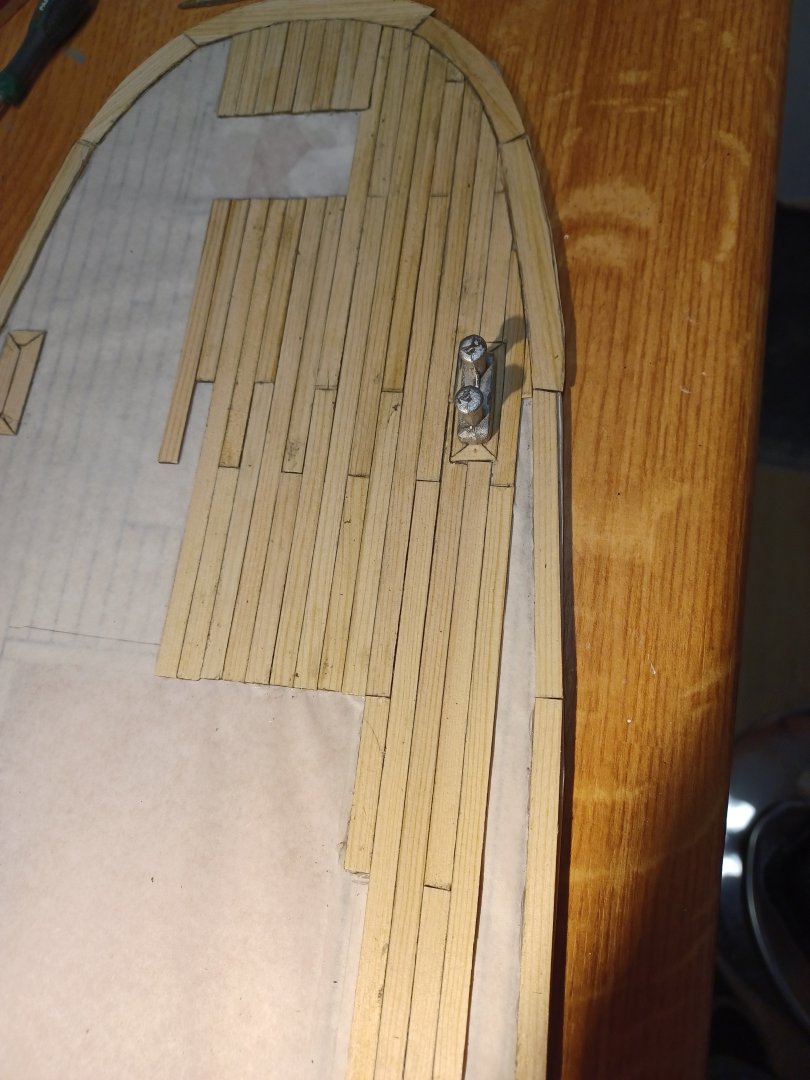
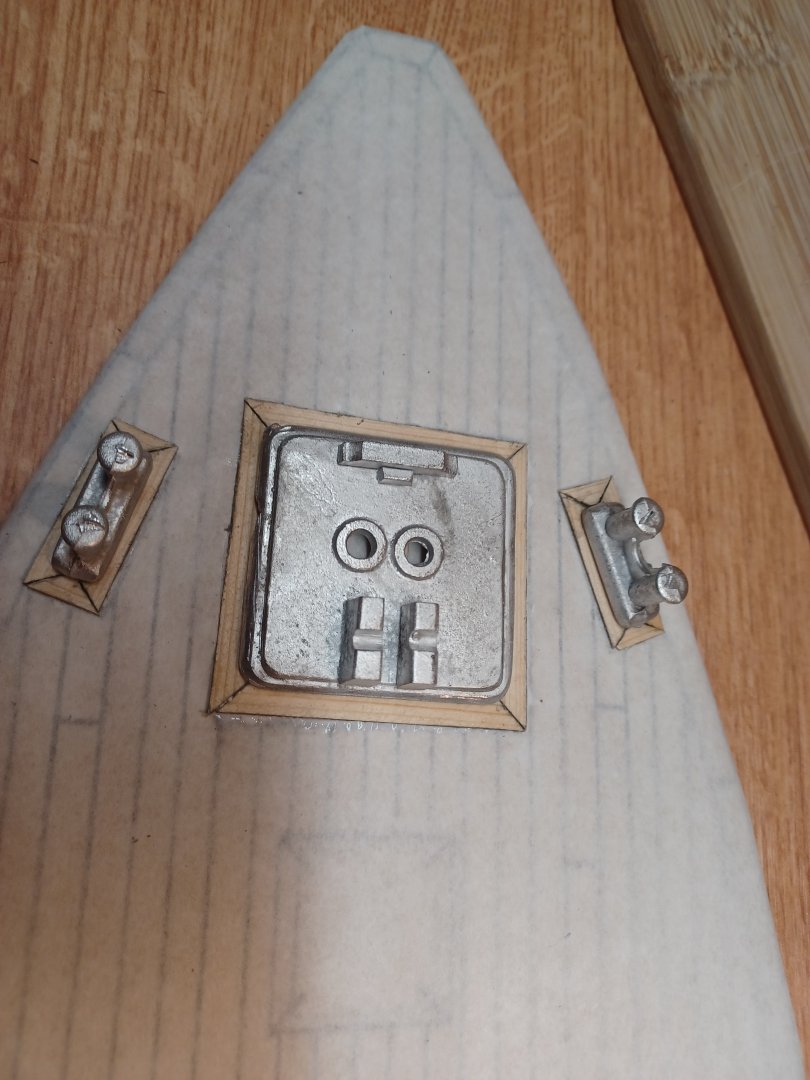
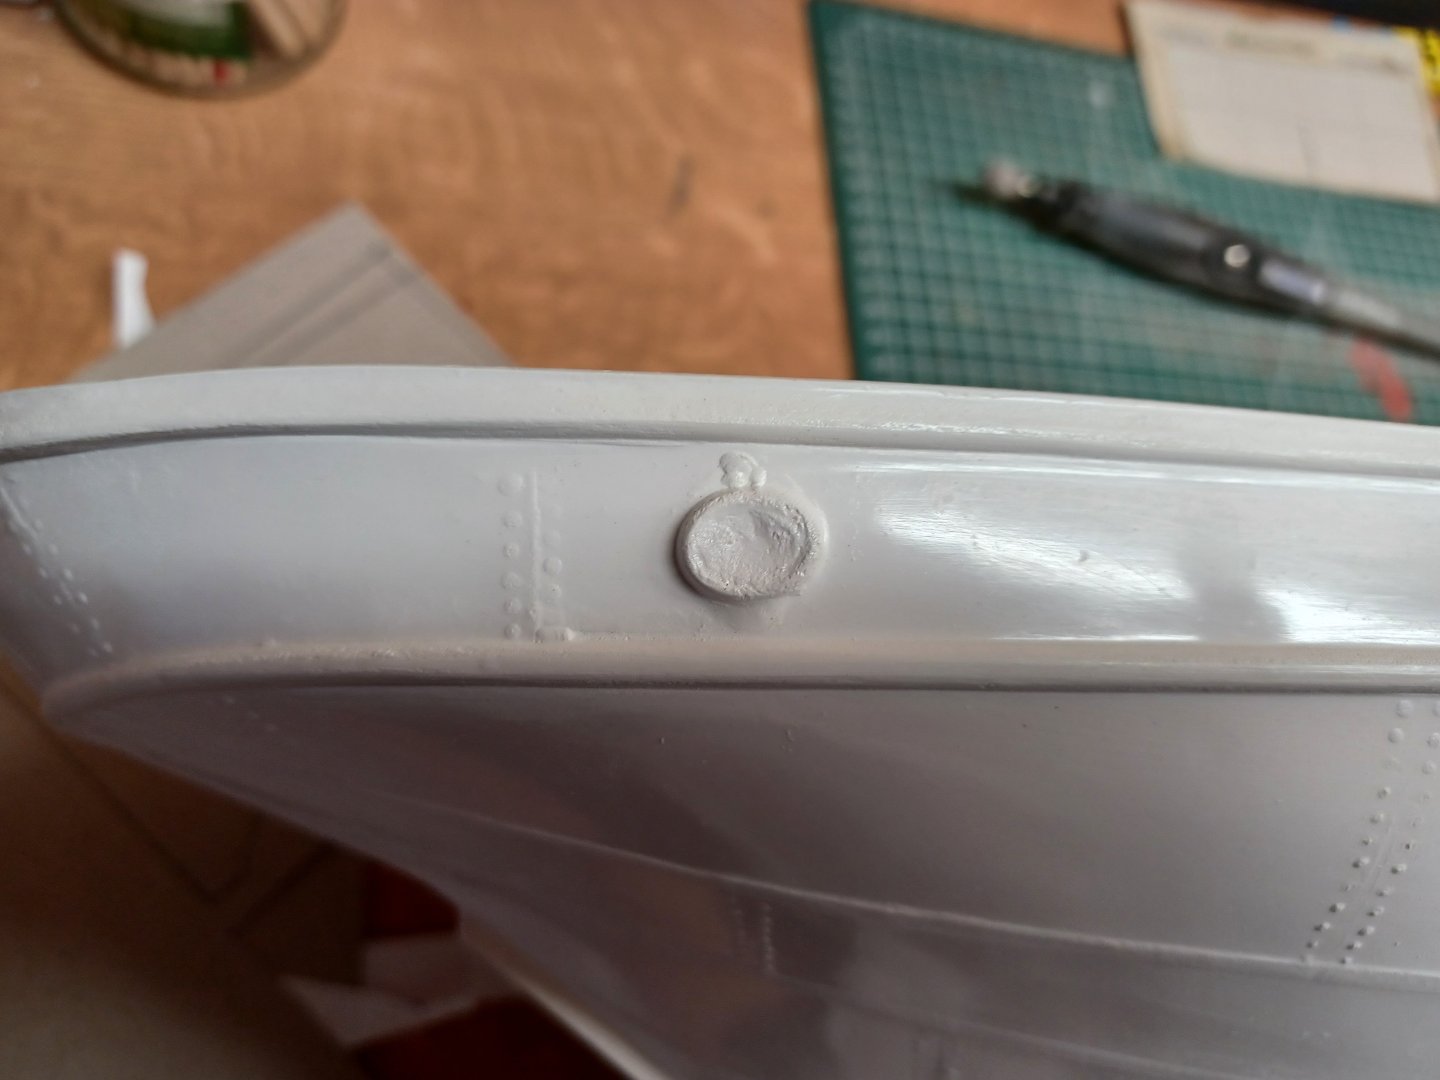
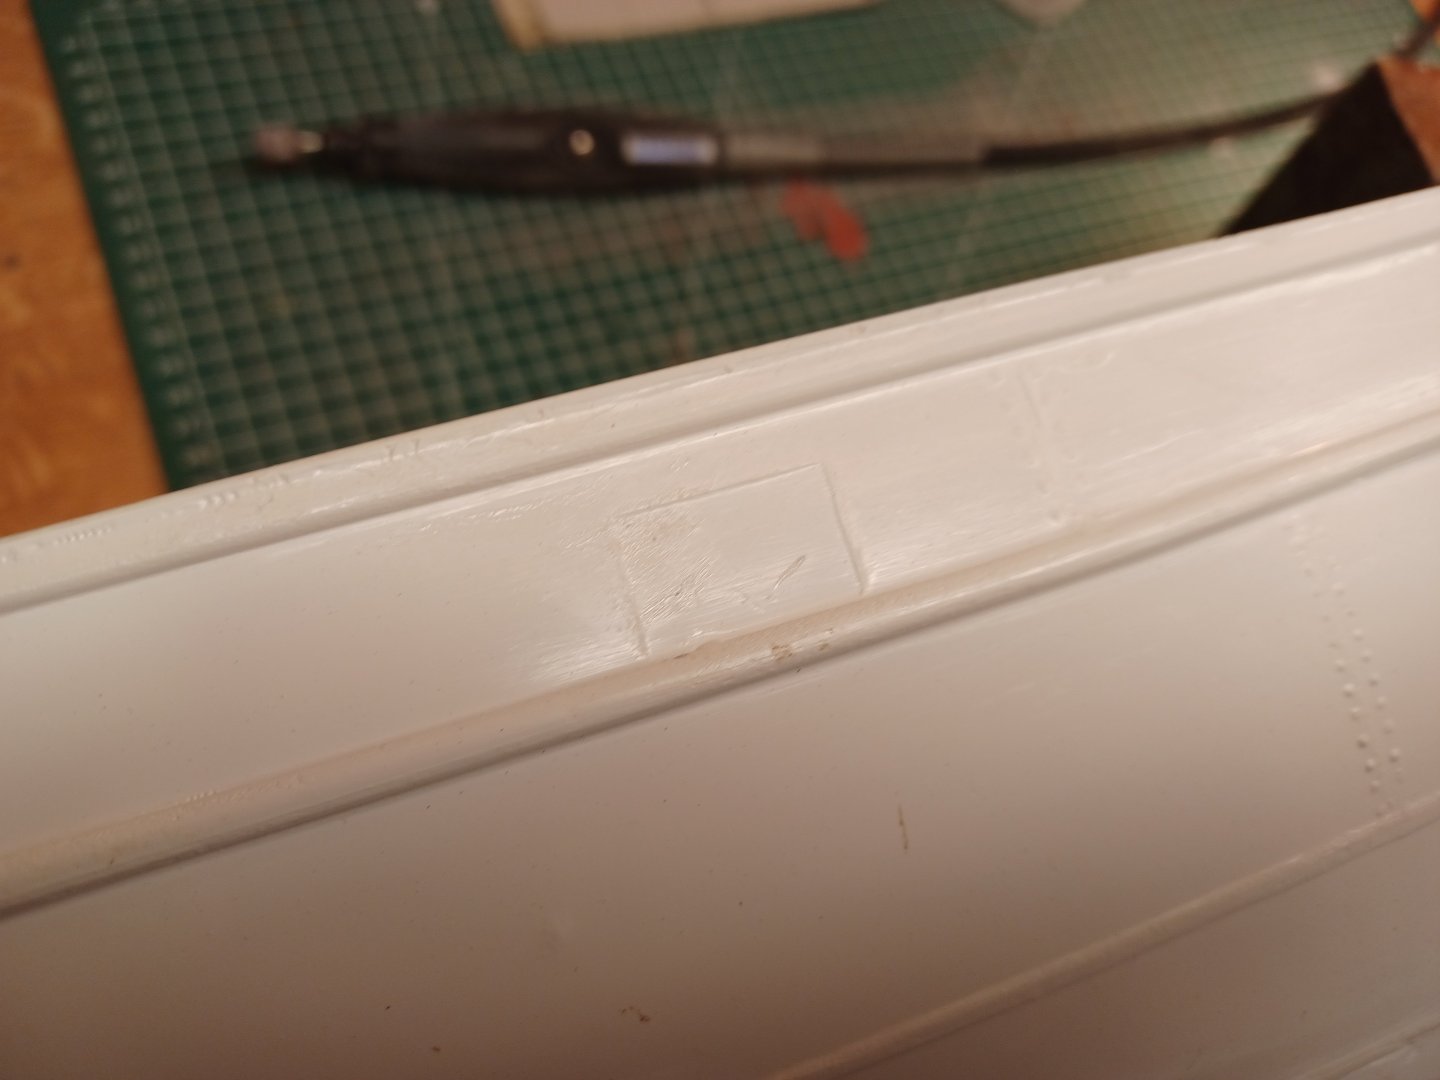
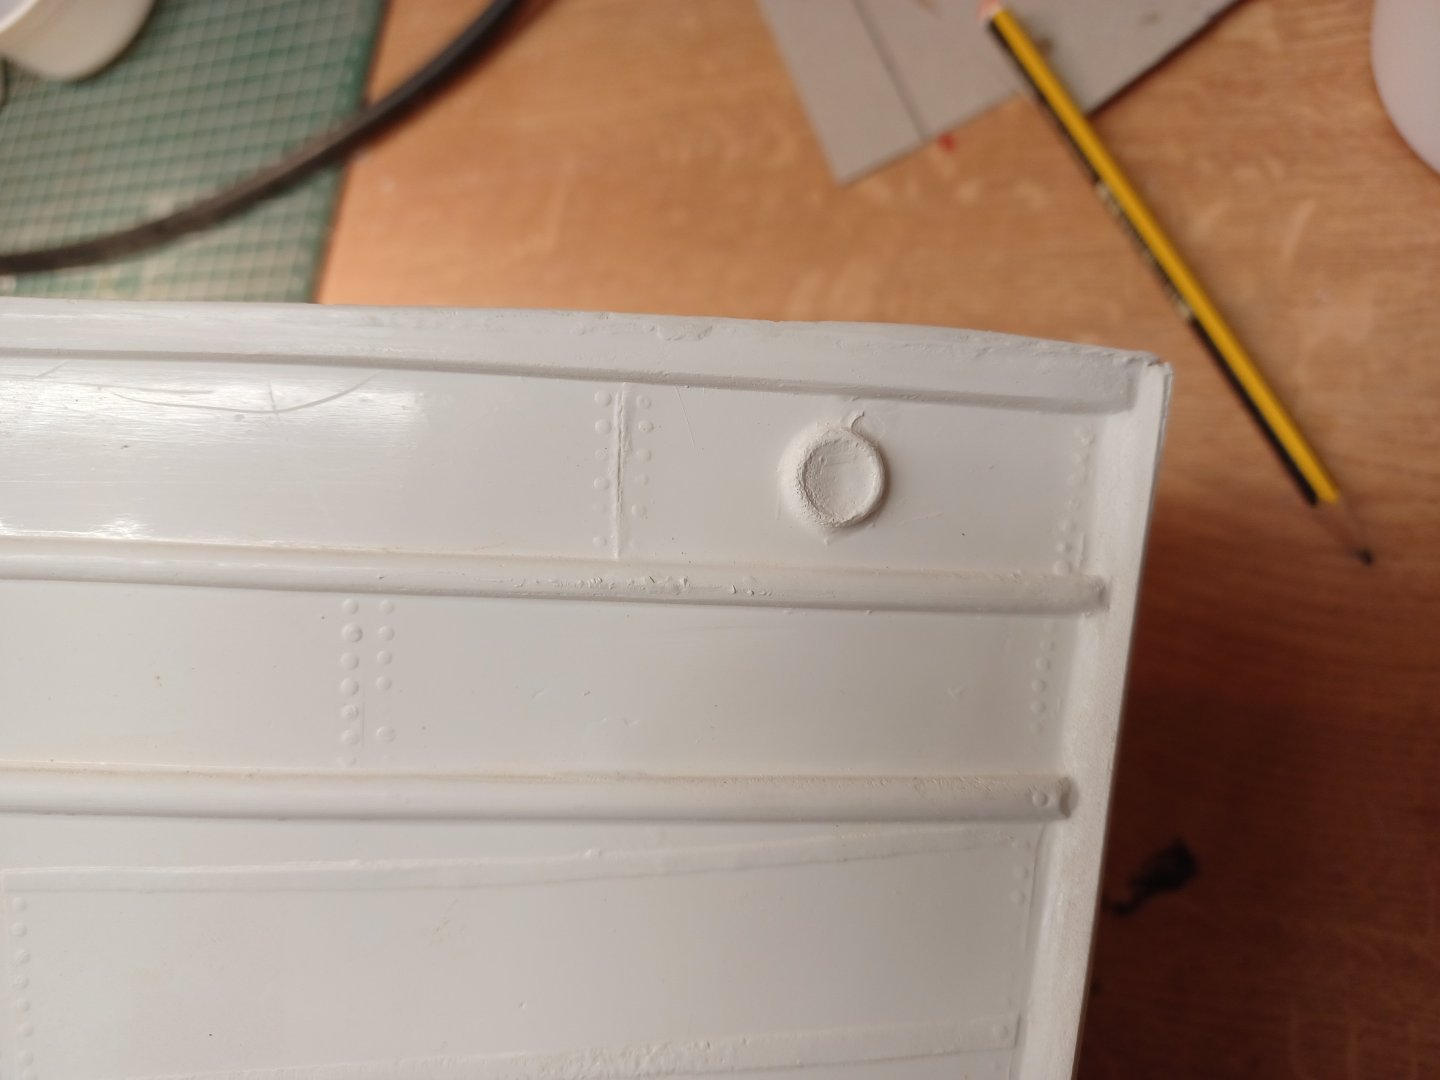
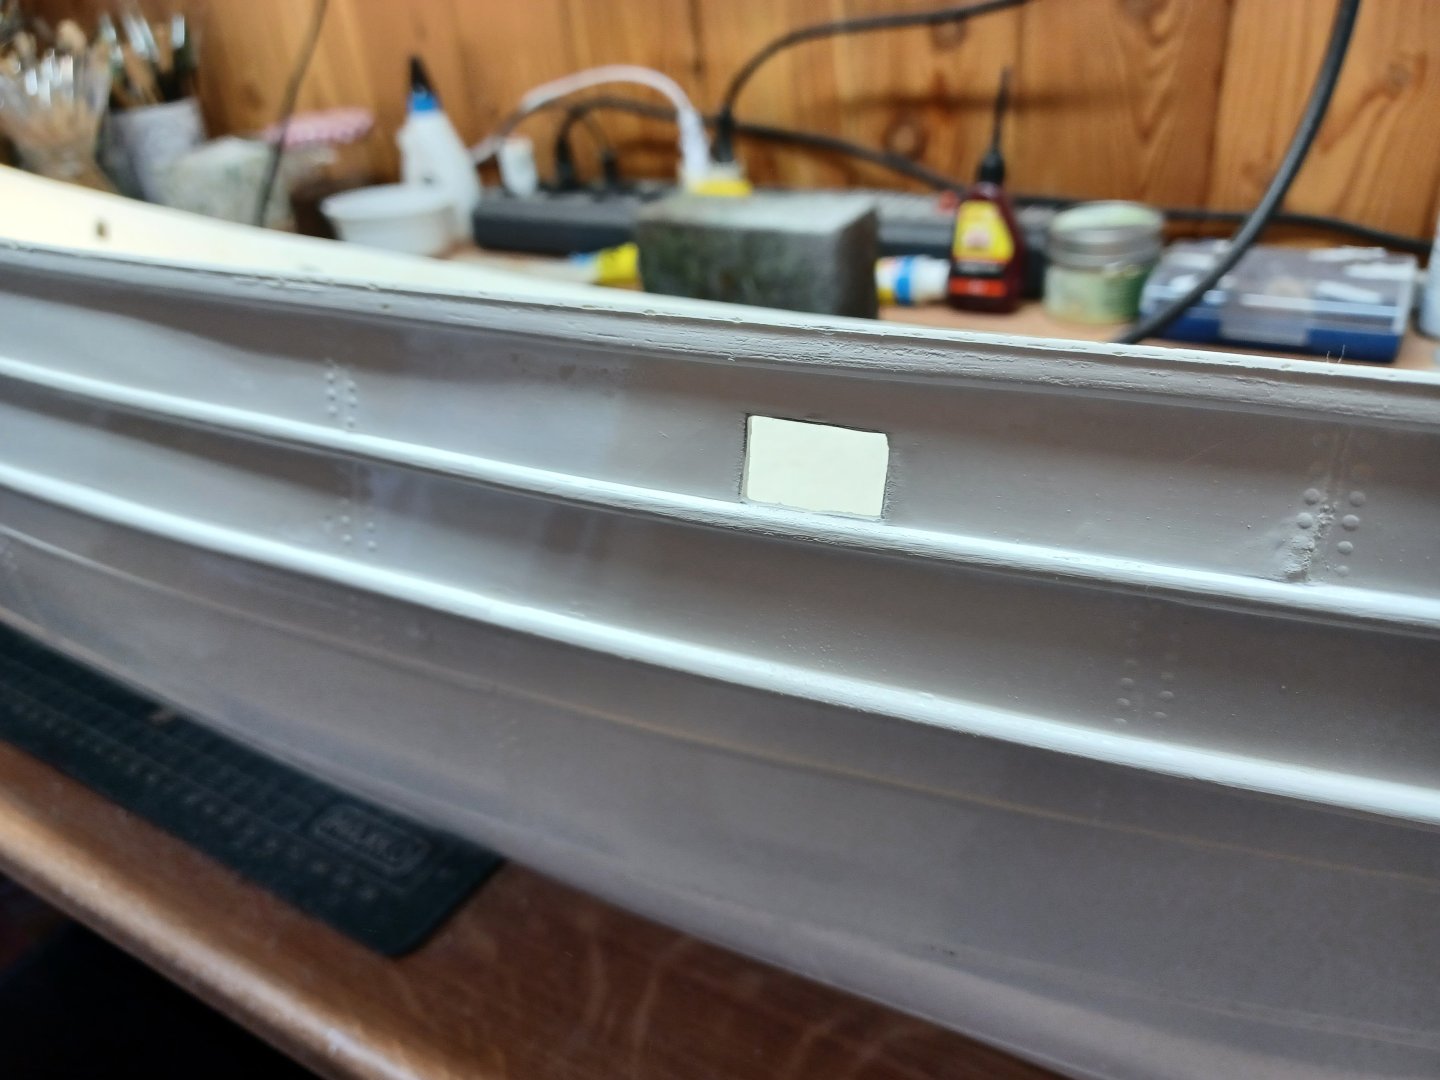
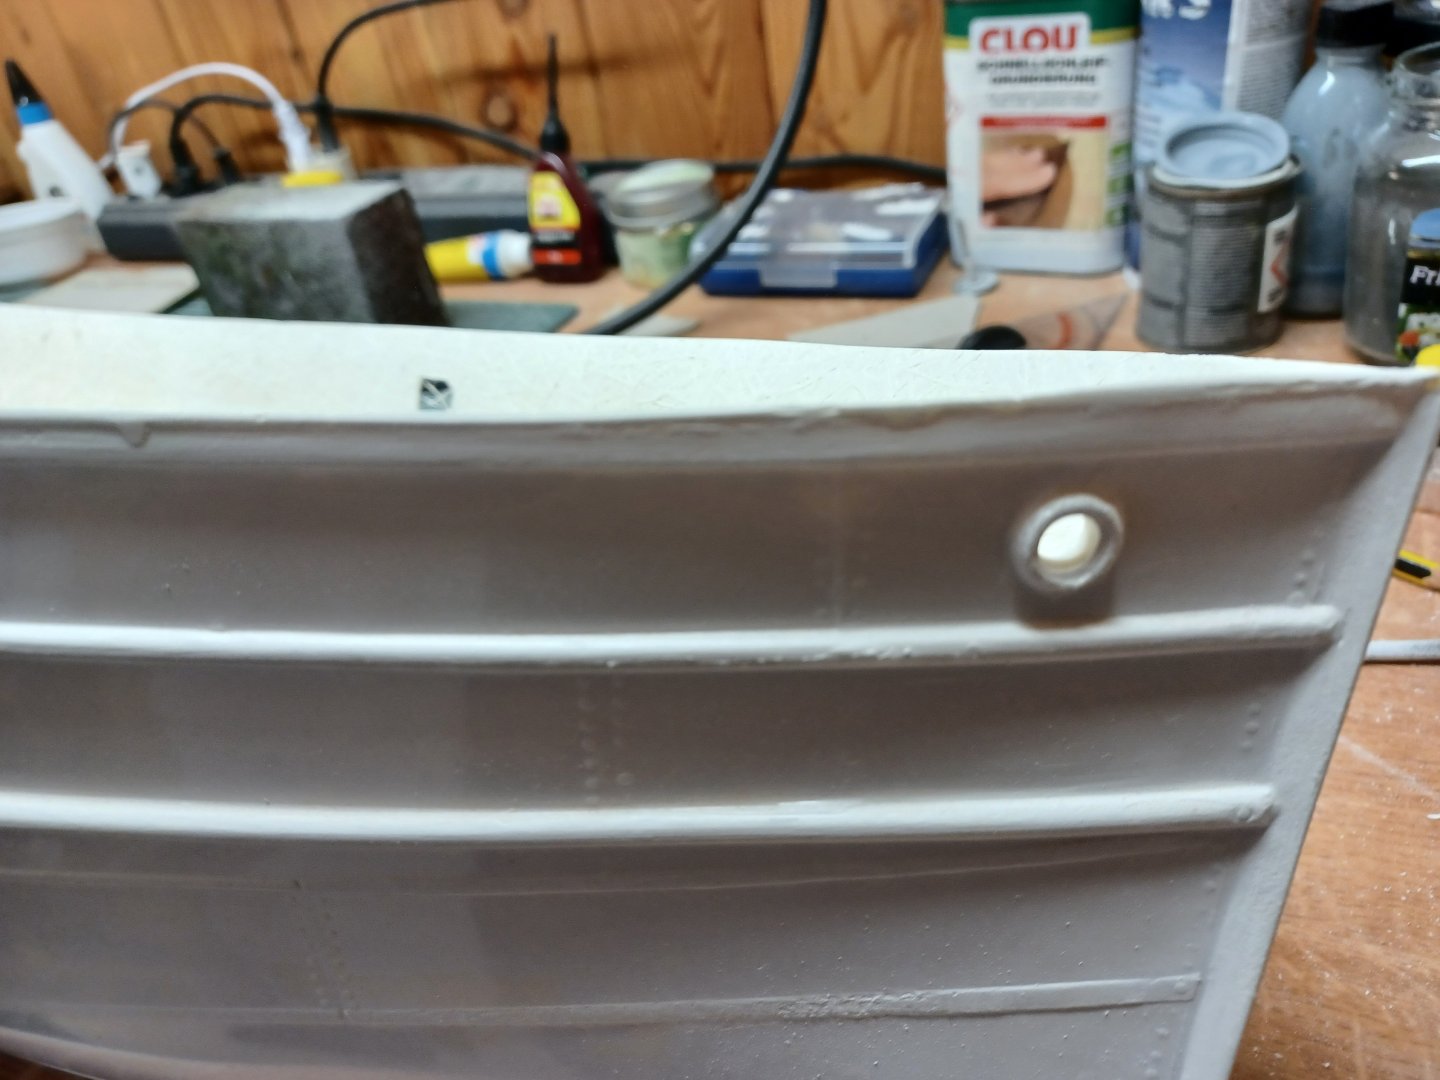
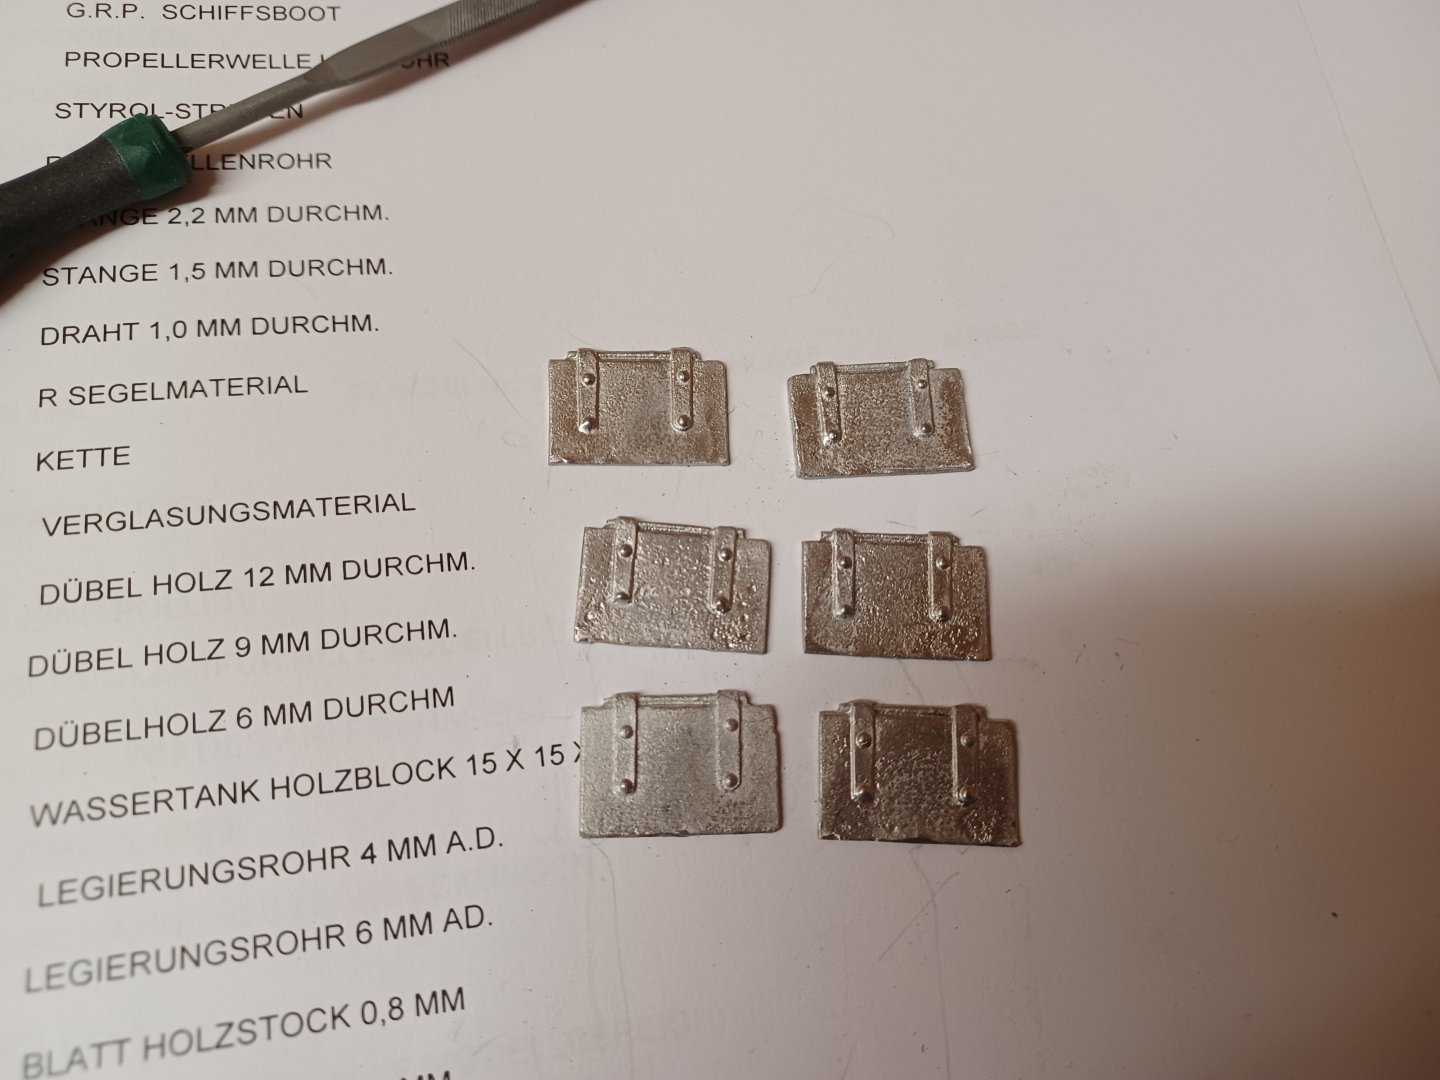
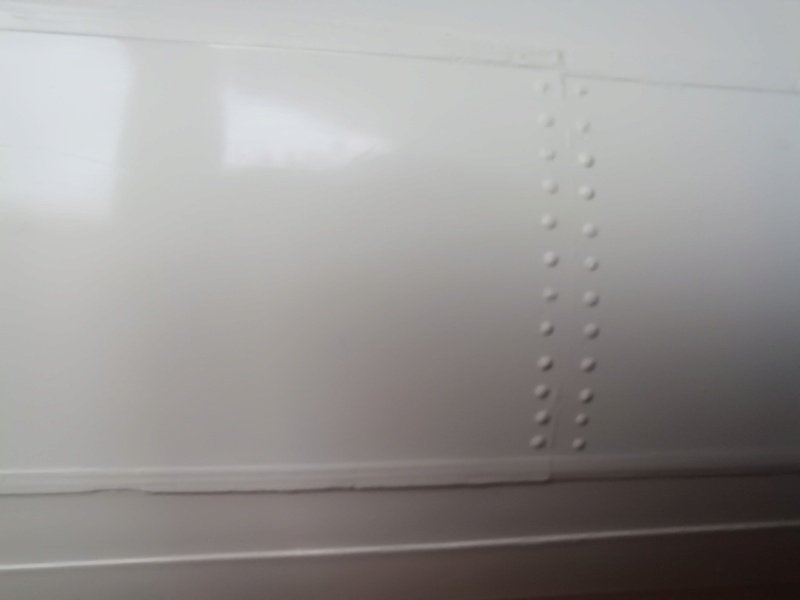
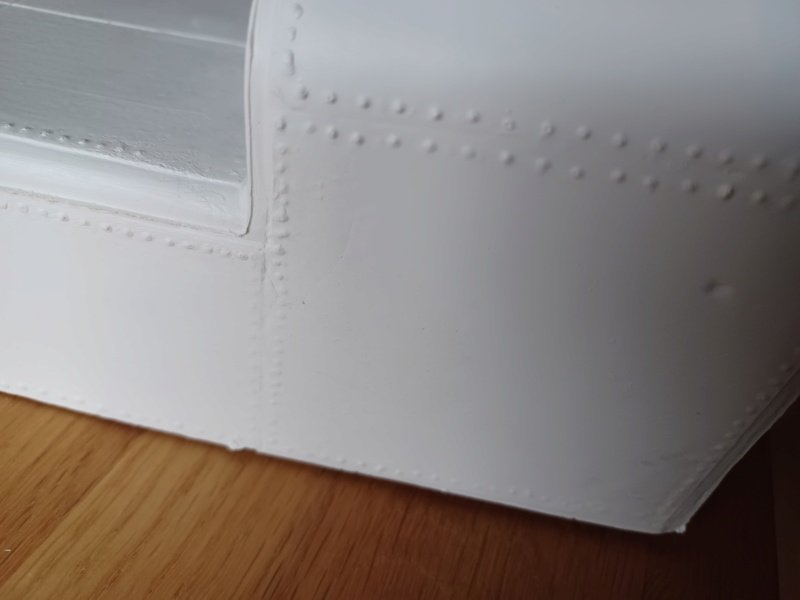
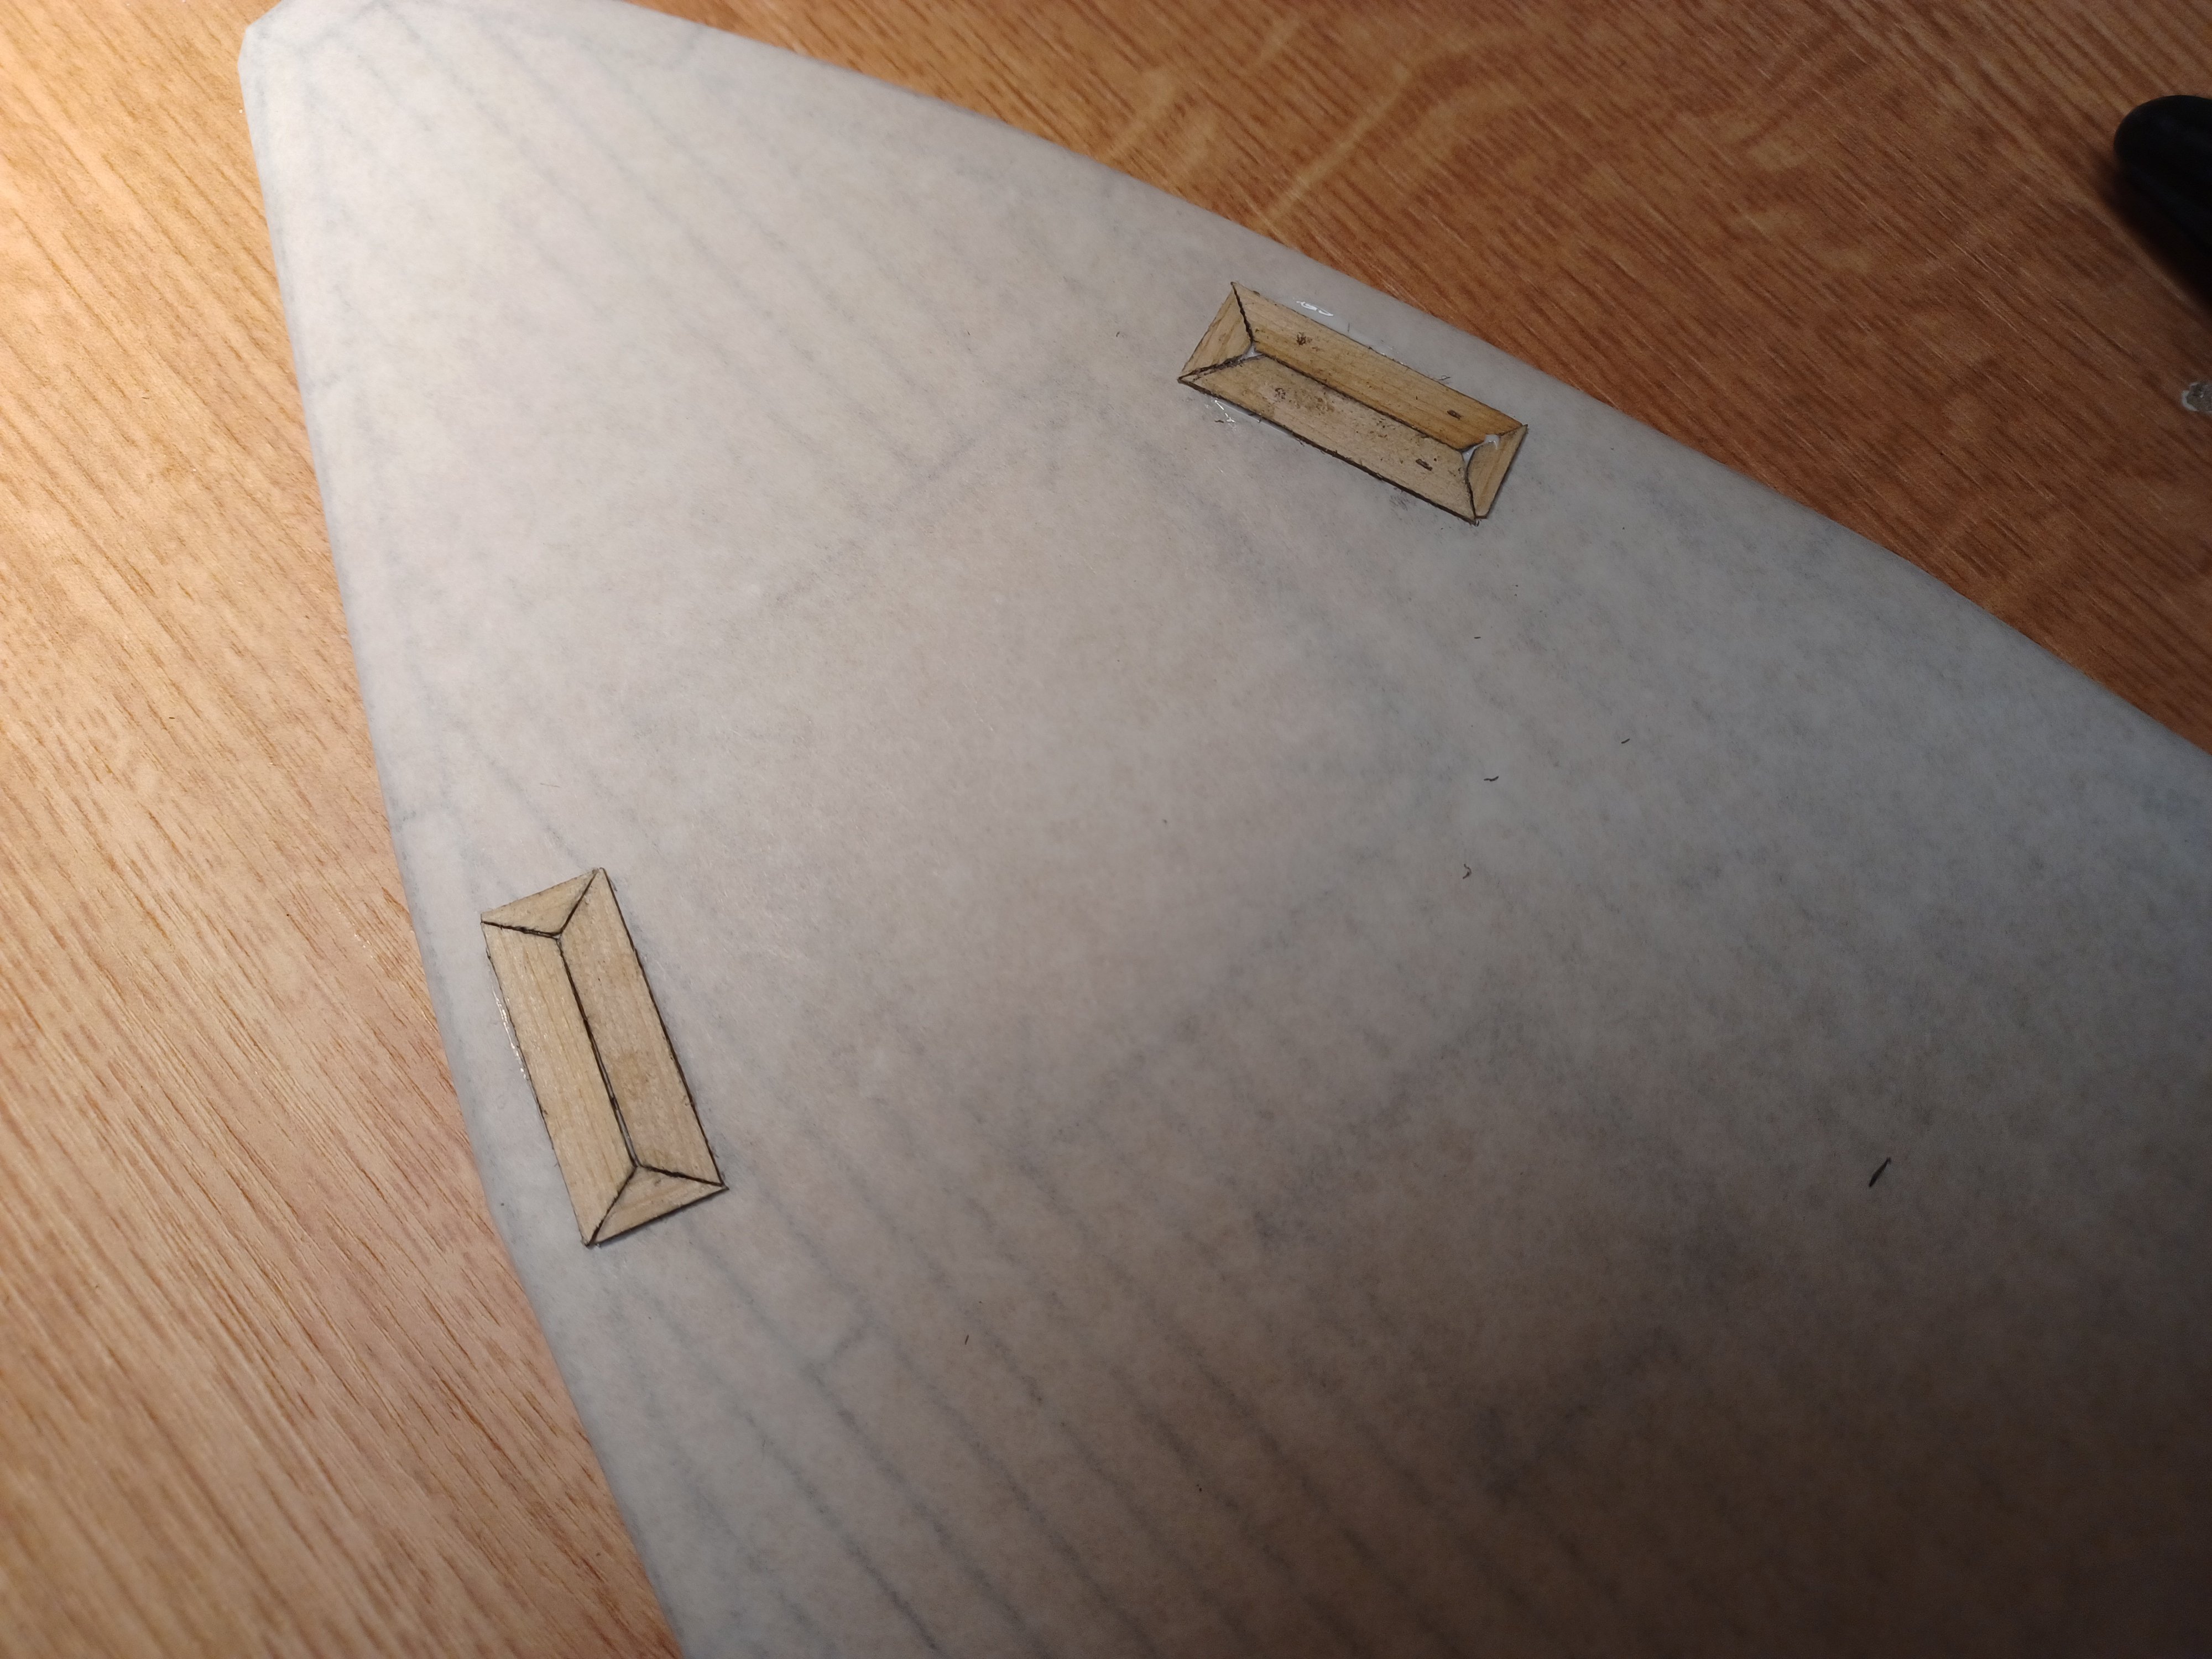
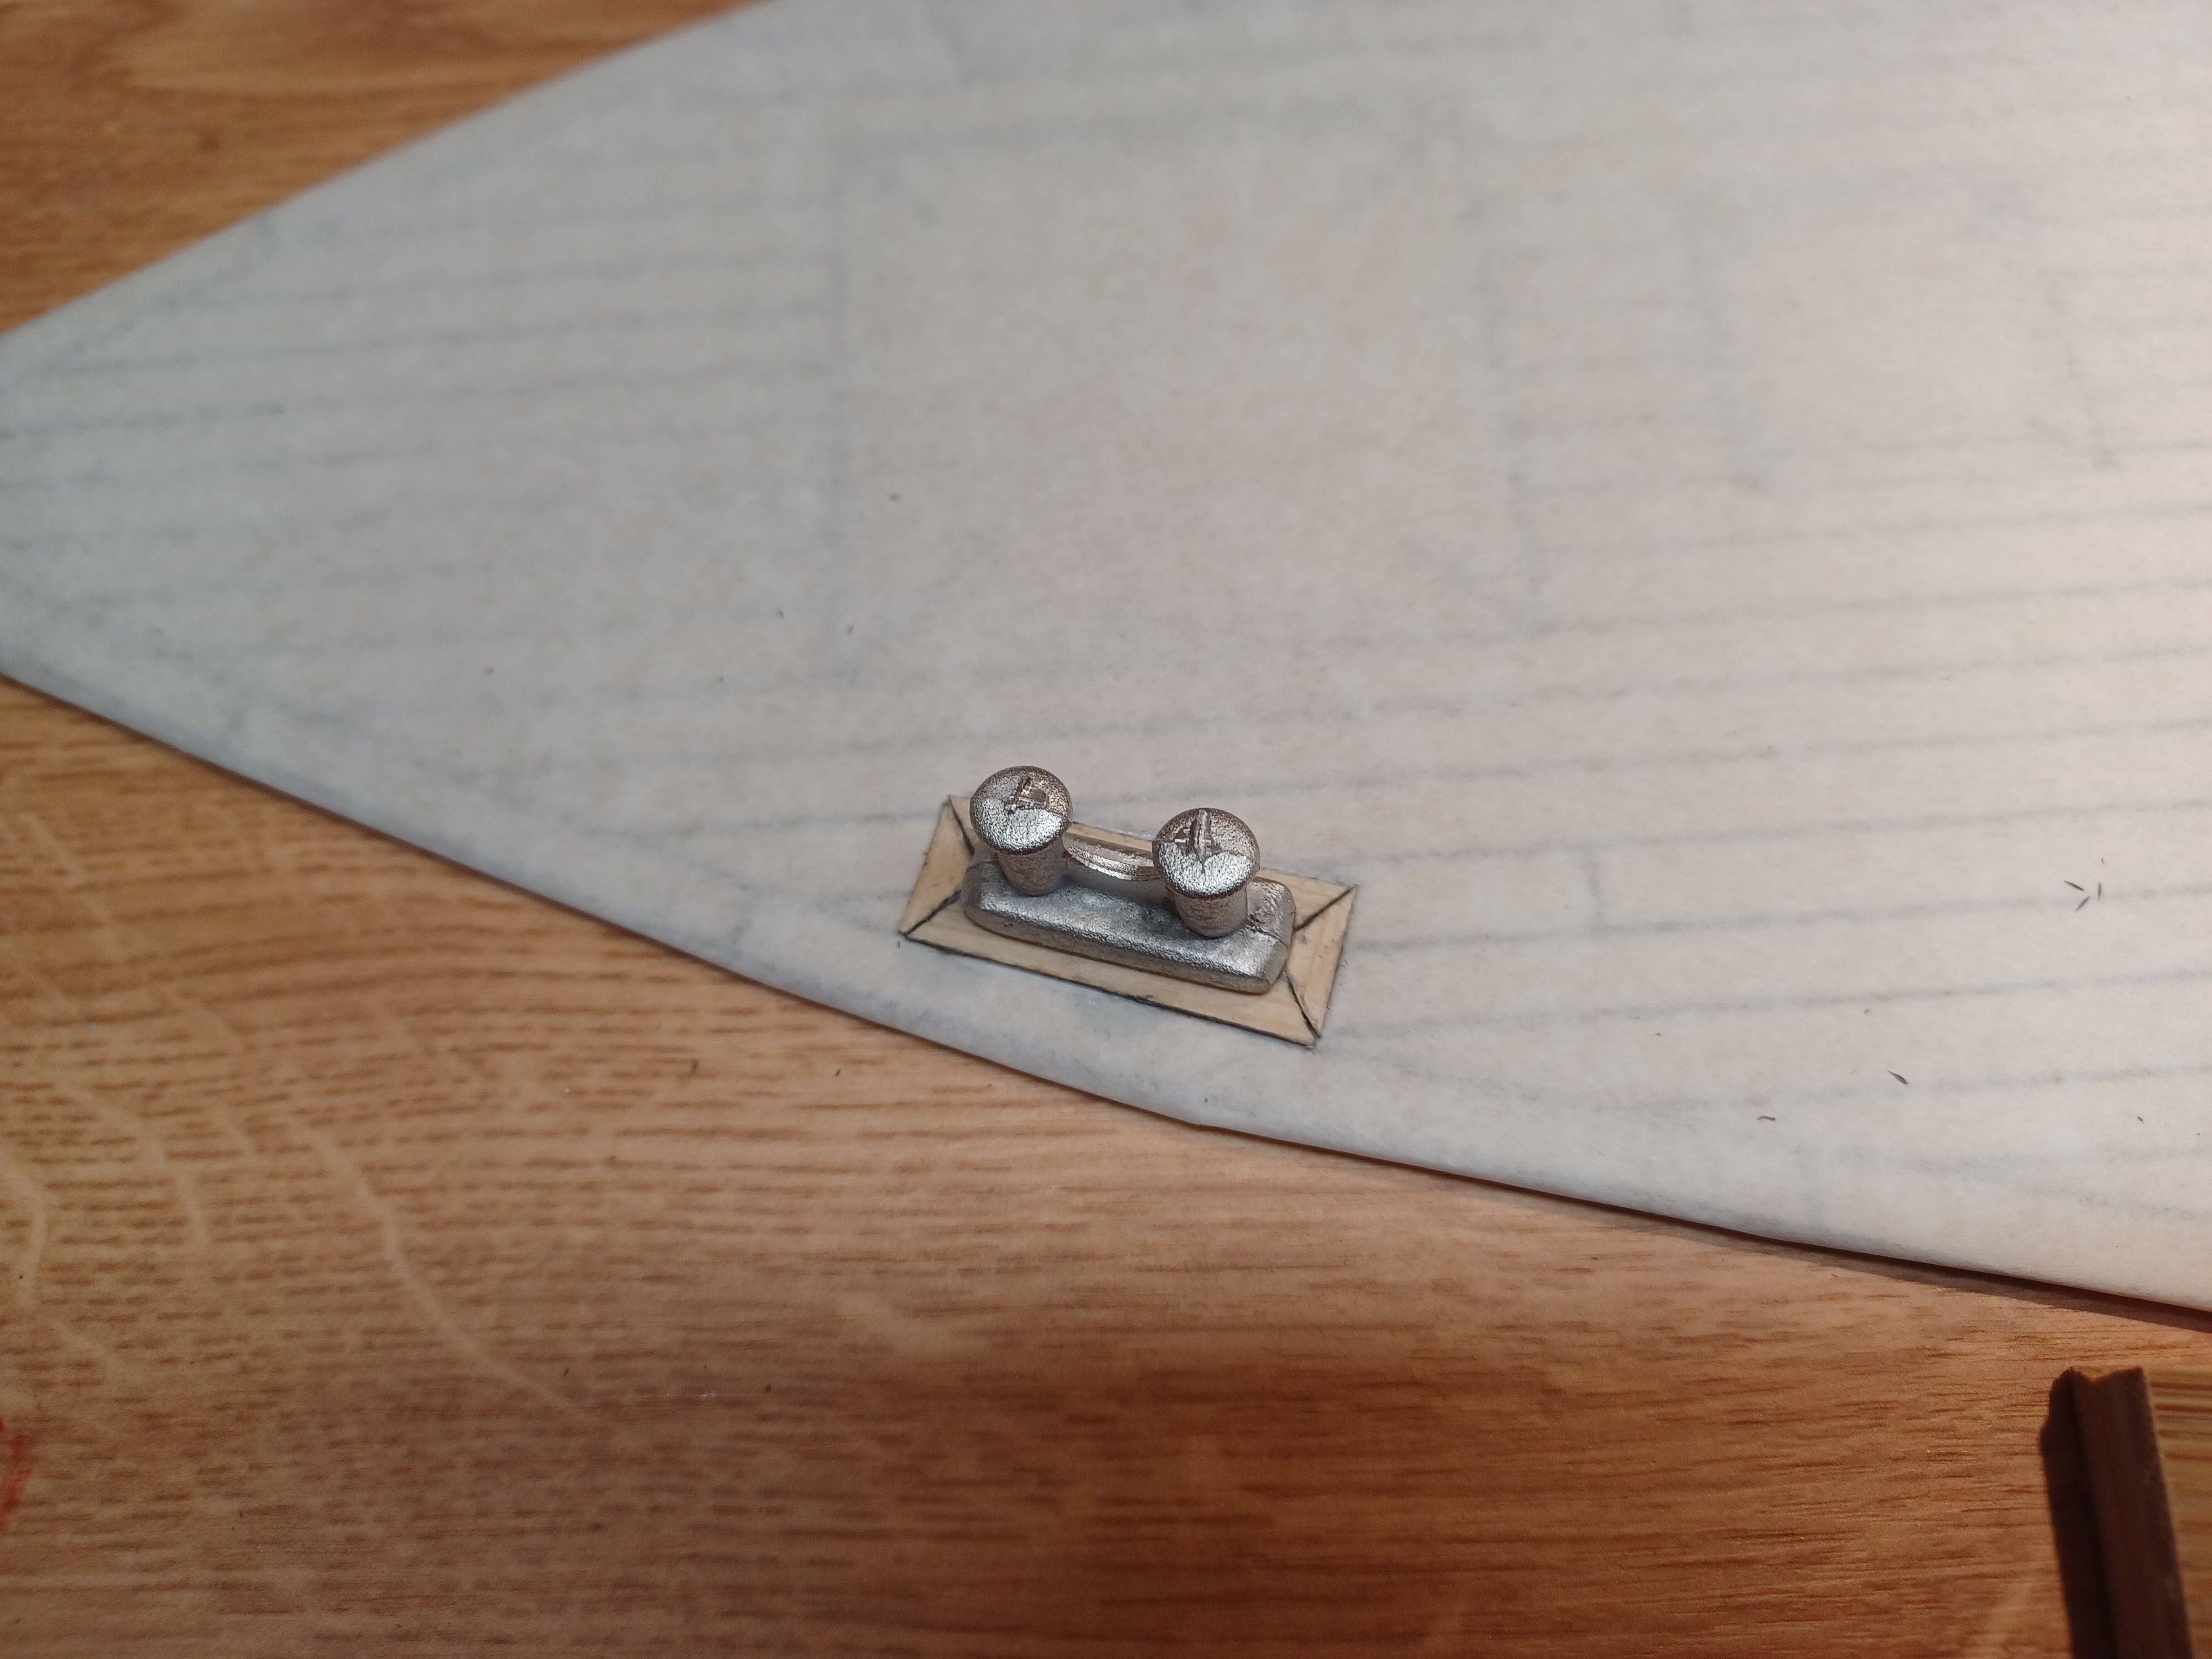
First I drilled and cut open the scuppers and hawsers. This is where the first white cast iron parts come into use. Of course, they also had to be worked nicely first.
.thumb.jpg.e6ca03ff56c374bf9347606ff95adfb7.jpg)


- 35 replies
-
- 7
-
-
- Britannia
- Mountfleet Models
- (and 1 more)
-
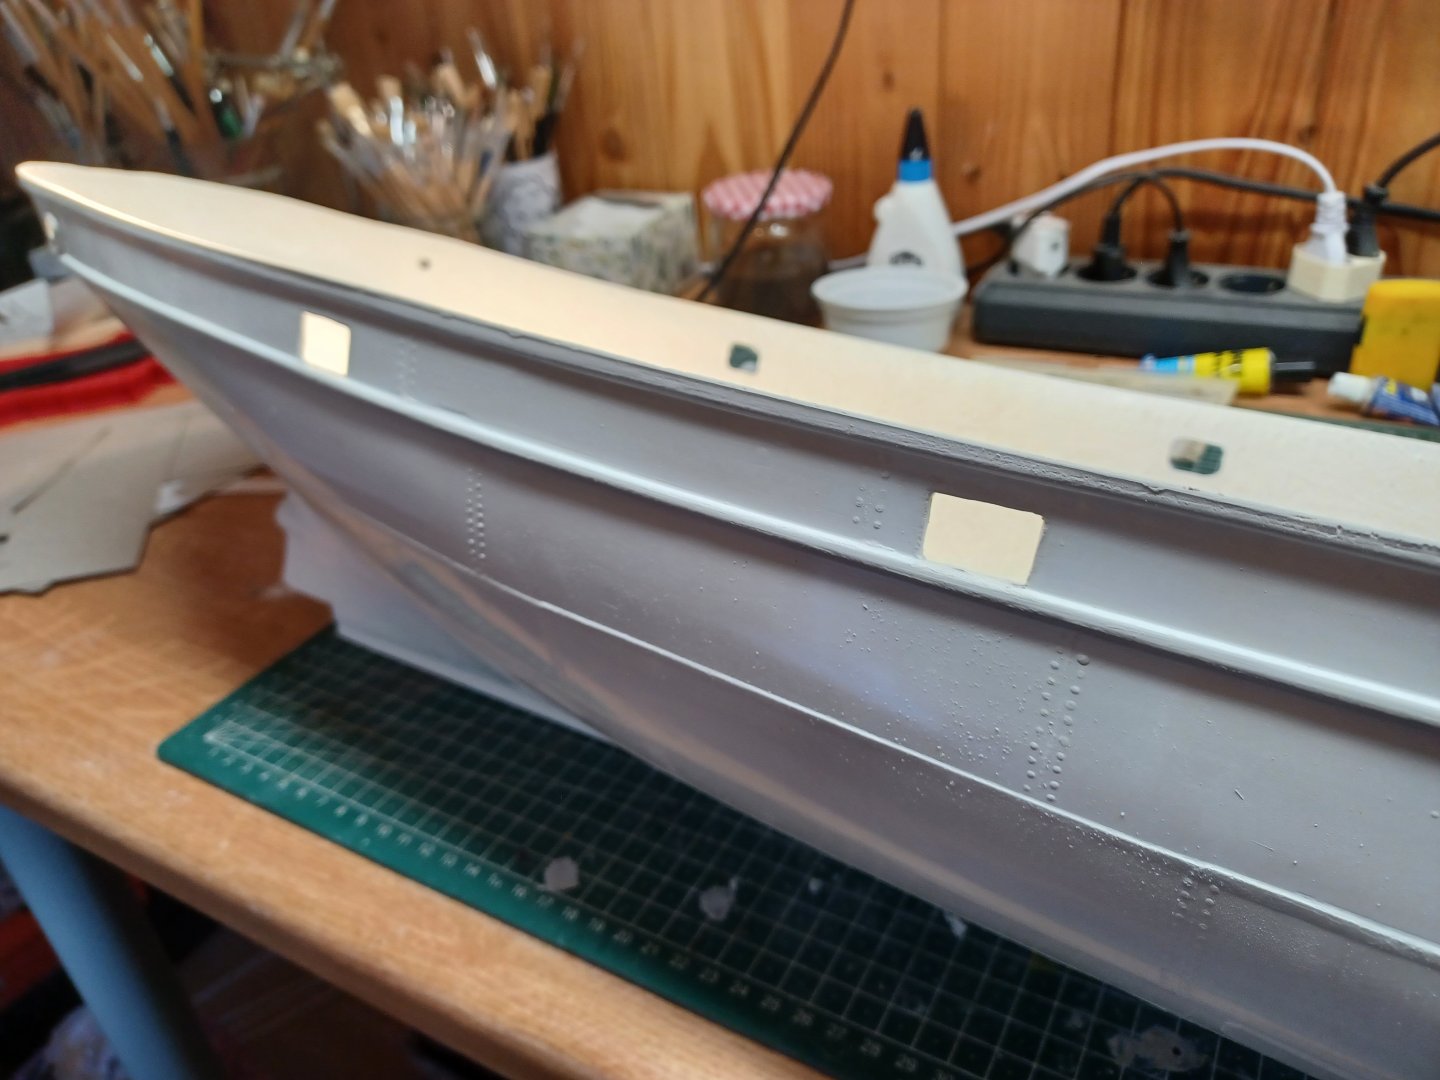
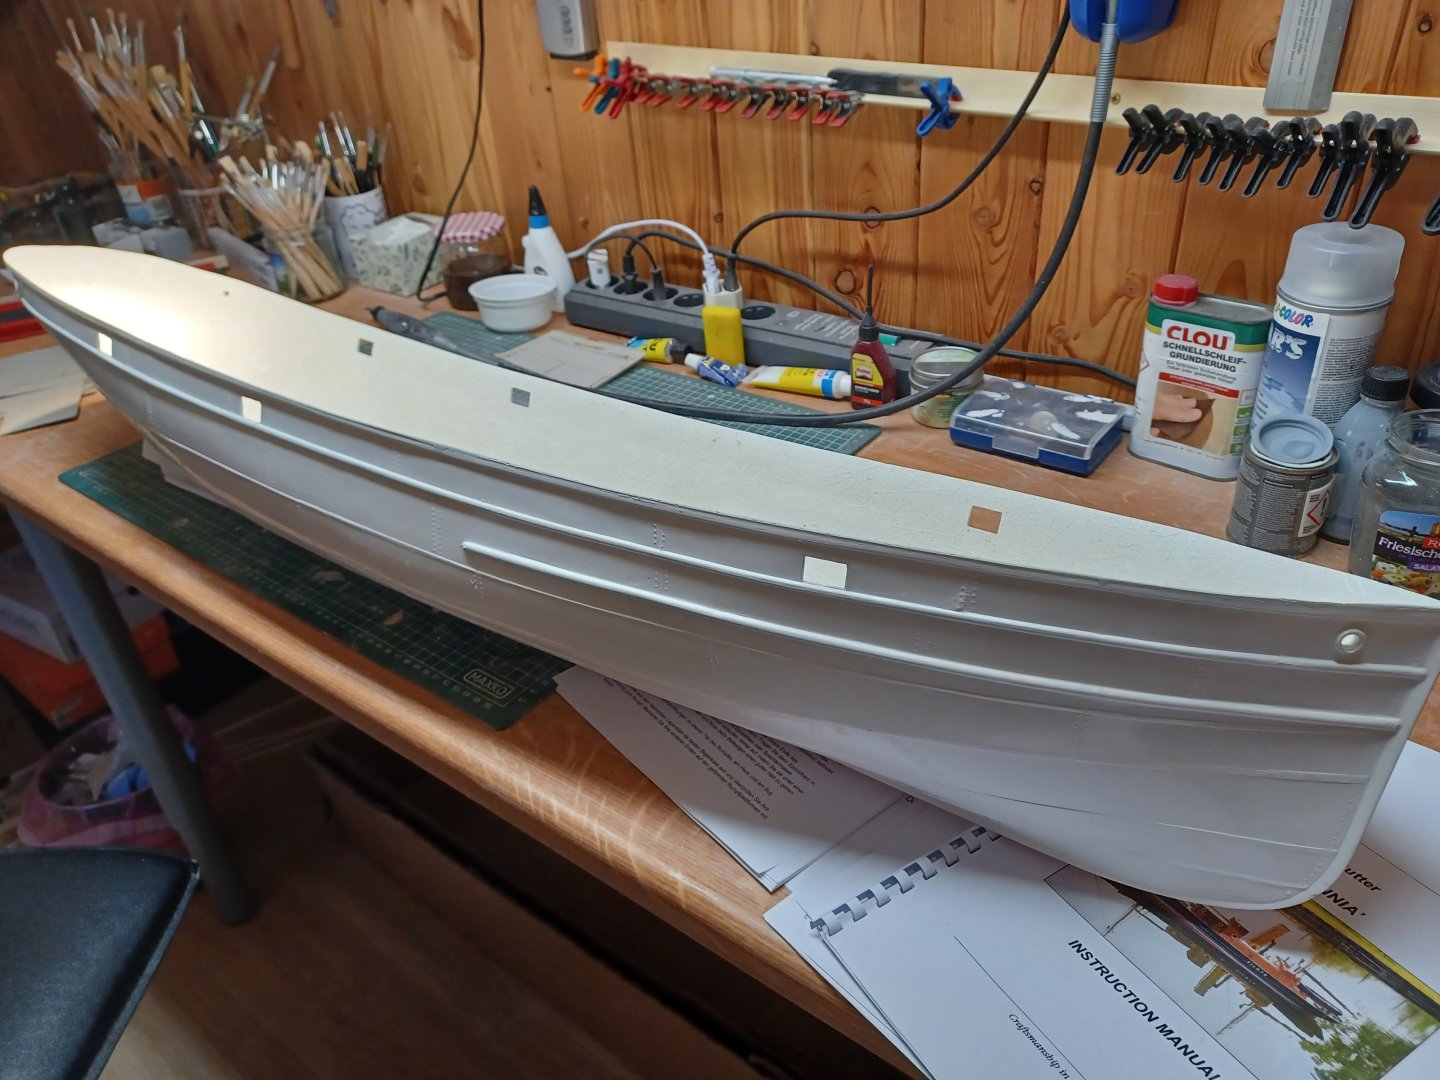
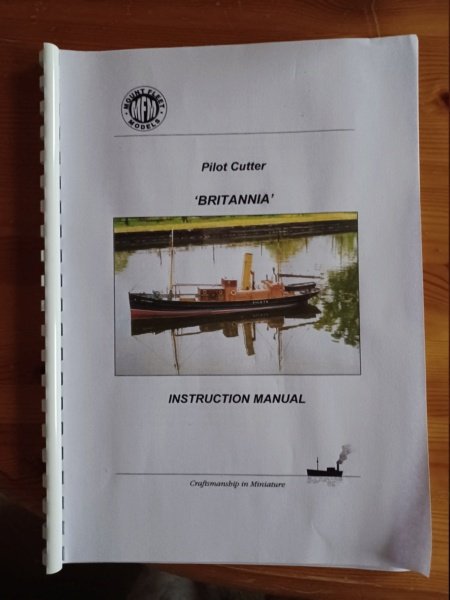
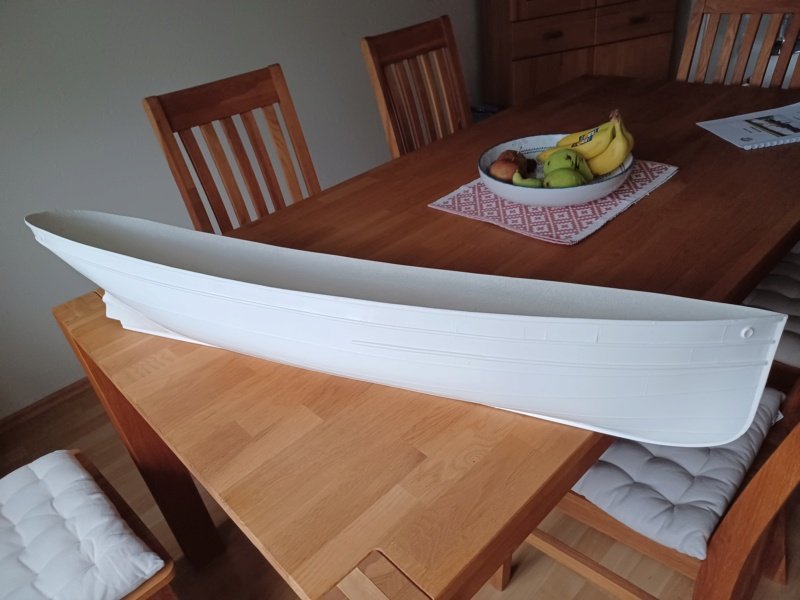
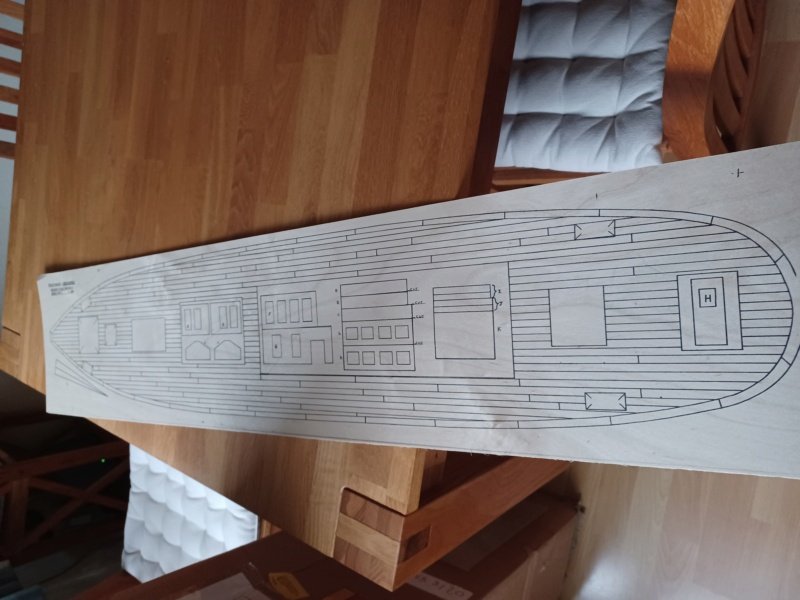
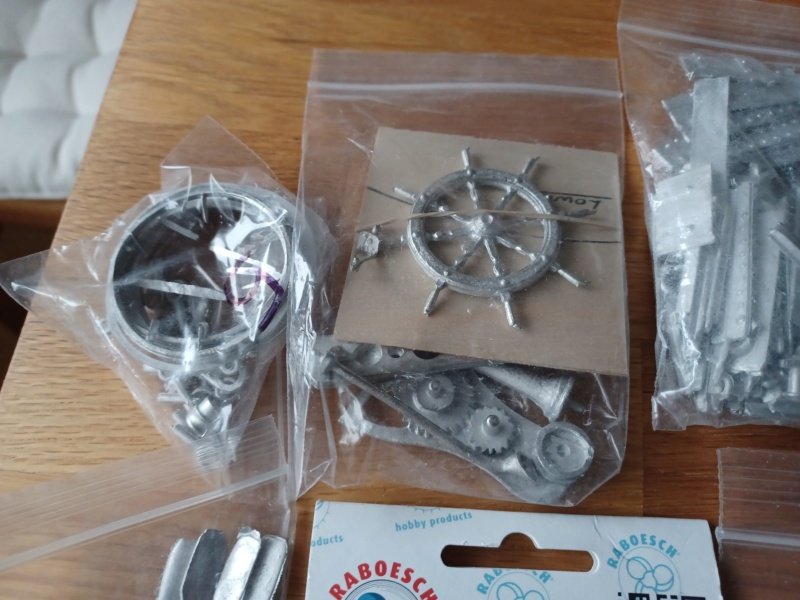
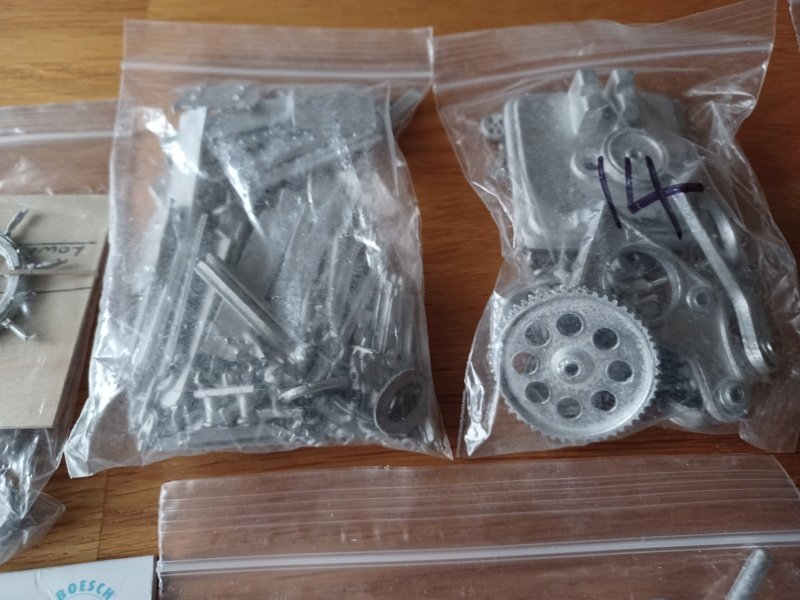
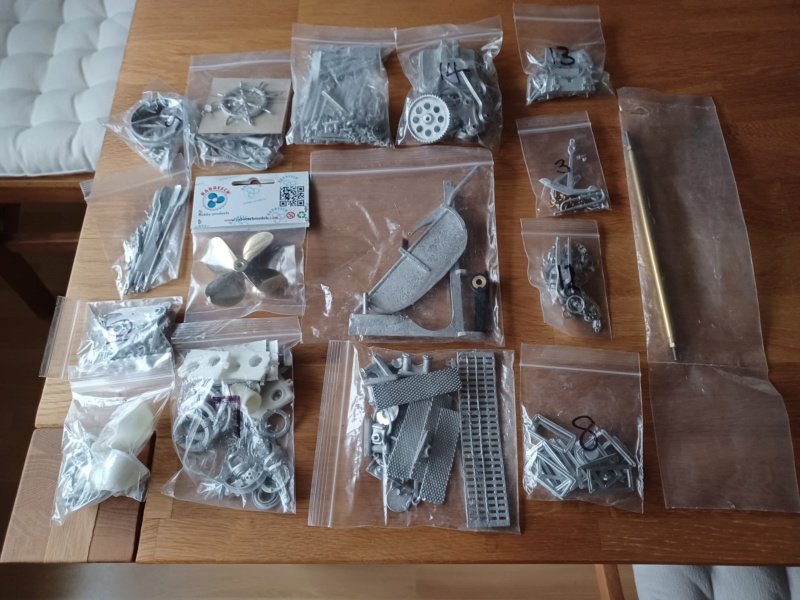
Hello OK, here we go. The Britannia is 43 inches long and 9.25 inches wide. The weight will be around 18 pounds. Here are a few pictures of the kid. Here is a link I hope I did everything right. https://www.mountfleetmodels.co.uk/product/pilot-boat-britannia/
- 35 replies
-
- 9
-
-
- Britannia
- Mountfleet Models
- (and 1 more)
-
Hello, thank you for the warm welcome. I will begin the construction report of the Britannia shortly. I have already started building it, but I am still at the very beginning.


.jpg.26582f3beaa33a262edd8591a61ab045.jpg)