TheFace
-
Posts
35 -
Joined
-
Last visited
-
 SiriusVoyager reacted to a post in a topic:
18th Century Armed Longboat by TheFace - Model Shipways - 1/24 Scale - First Build
SiriusVoyager reacted to a post in a topic:
18th Century Armed Longboat by TheFace - Model Shipways - 1/24 Scale - First Build
-
SiriusVoyager reacted to a post in a topic:
18th Century Armed Longboat by TheFace - Model Shipways - 1/24 Scale - First Build
-
Pitan reacted to a post in a topic:
18th Century Armed Longboat by TheFace - Model Shipways - 1/24 Scale - First Build
-
Pitan reacted to a post in a topic:
18th Century Armed Longboat by TheFace - Model Shipways - 1/24 Scale - First Build
-
Pitan reacted to a post in a topic:
18th Century Armed Longboat by TheFace - Model Shipways - 1/24 Scale - First Build
-
Nirvana reacted to a post in a topic:
18th Century Armed Longboat by TheFace - Model Shipways - 1/24 Scale - First Build
-
robert952 reacted to a post in a topic:
18th Century Armed Longboat by TheFace - Model Shipways - 1/24 Scale - First Build
-
robert952 reacted to a post in a topic:
18th Century Armed Longboat by TheFace - Model Shipways - 1/24 Scale - First Build
-
robert952 reacted to a post in a topic:
18th Century Armed Longboat by TheFace - Model Shipways - 1/24 Scale - First Build
-
eatcrow2 reacted to a post in a topic:
18th Century Armed Longboat by TheFace - Model Shipways - 1/24 Scale - First Build
-
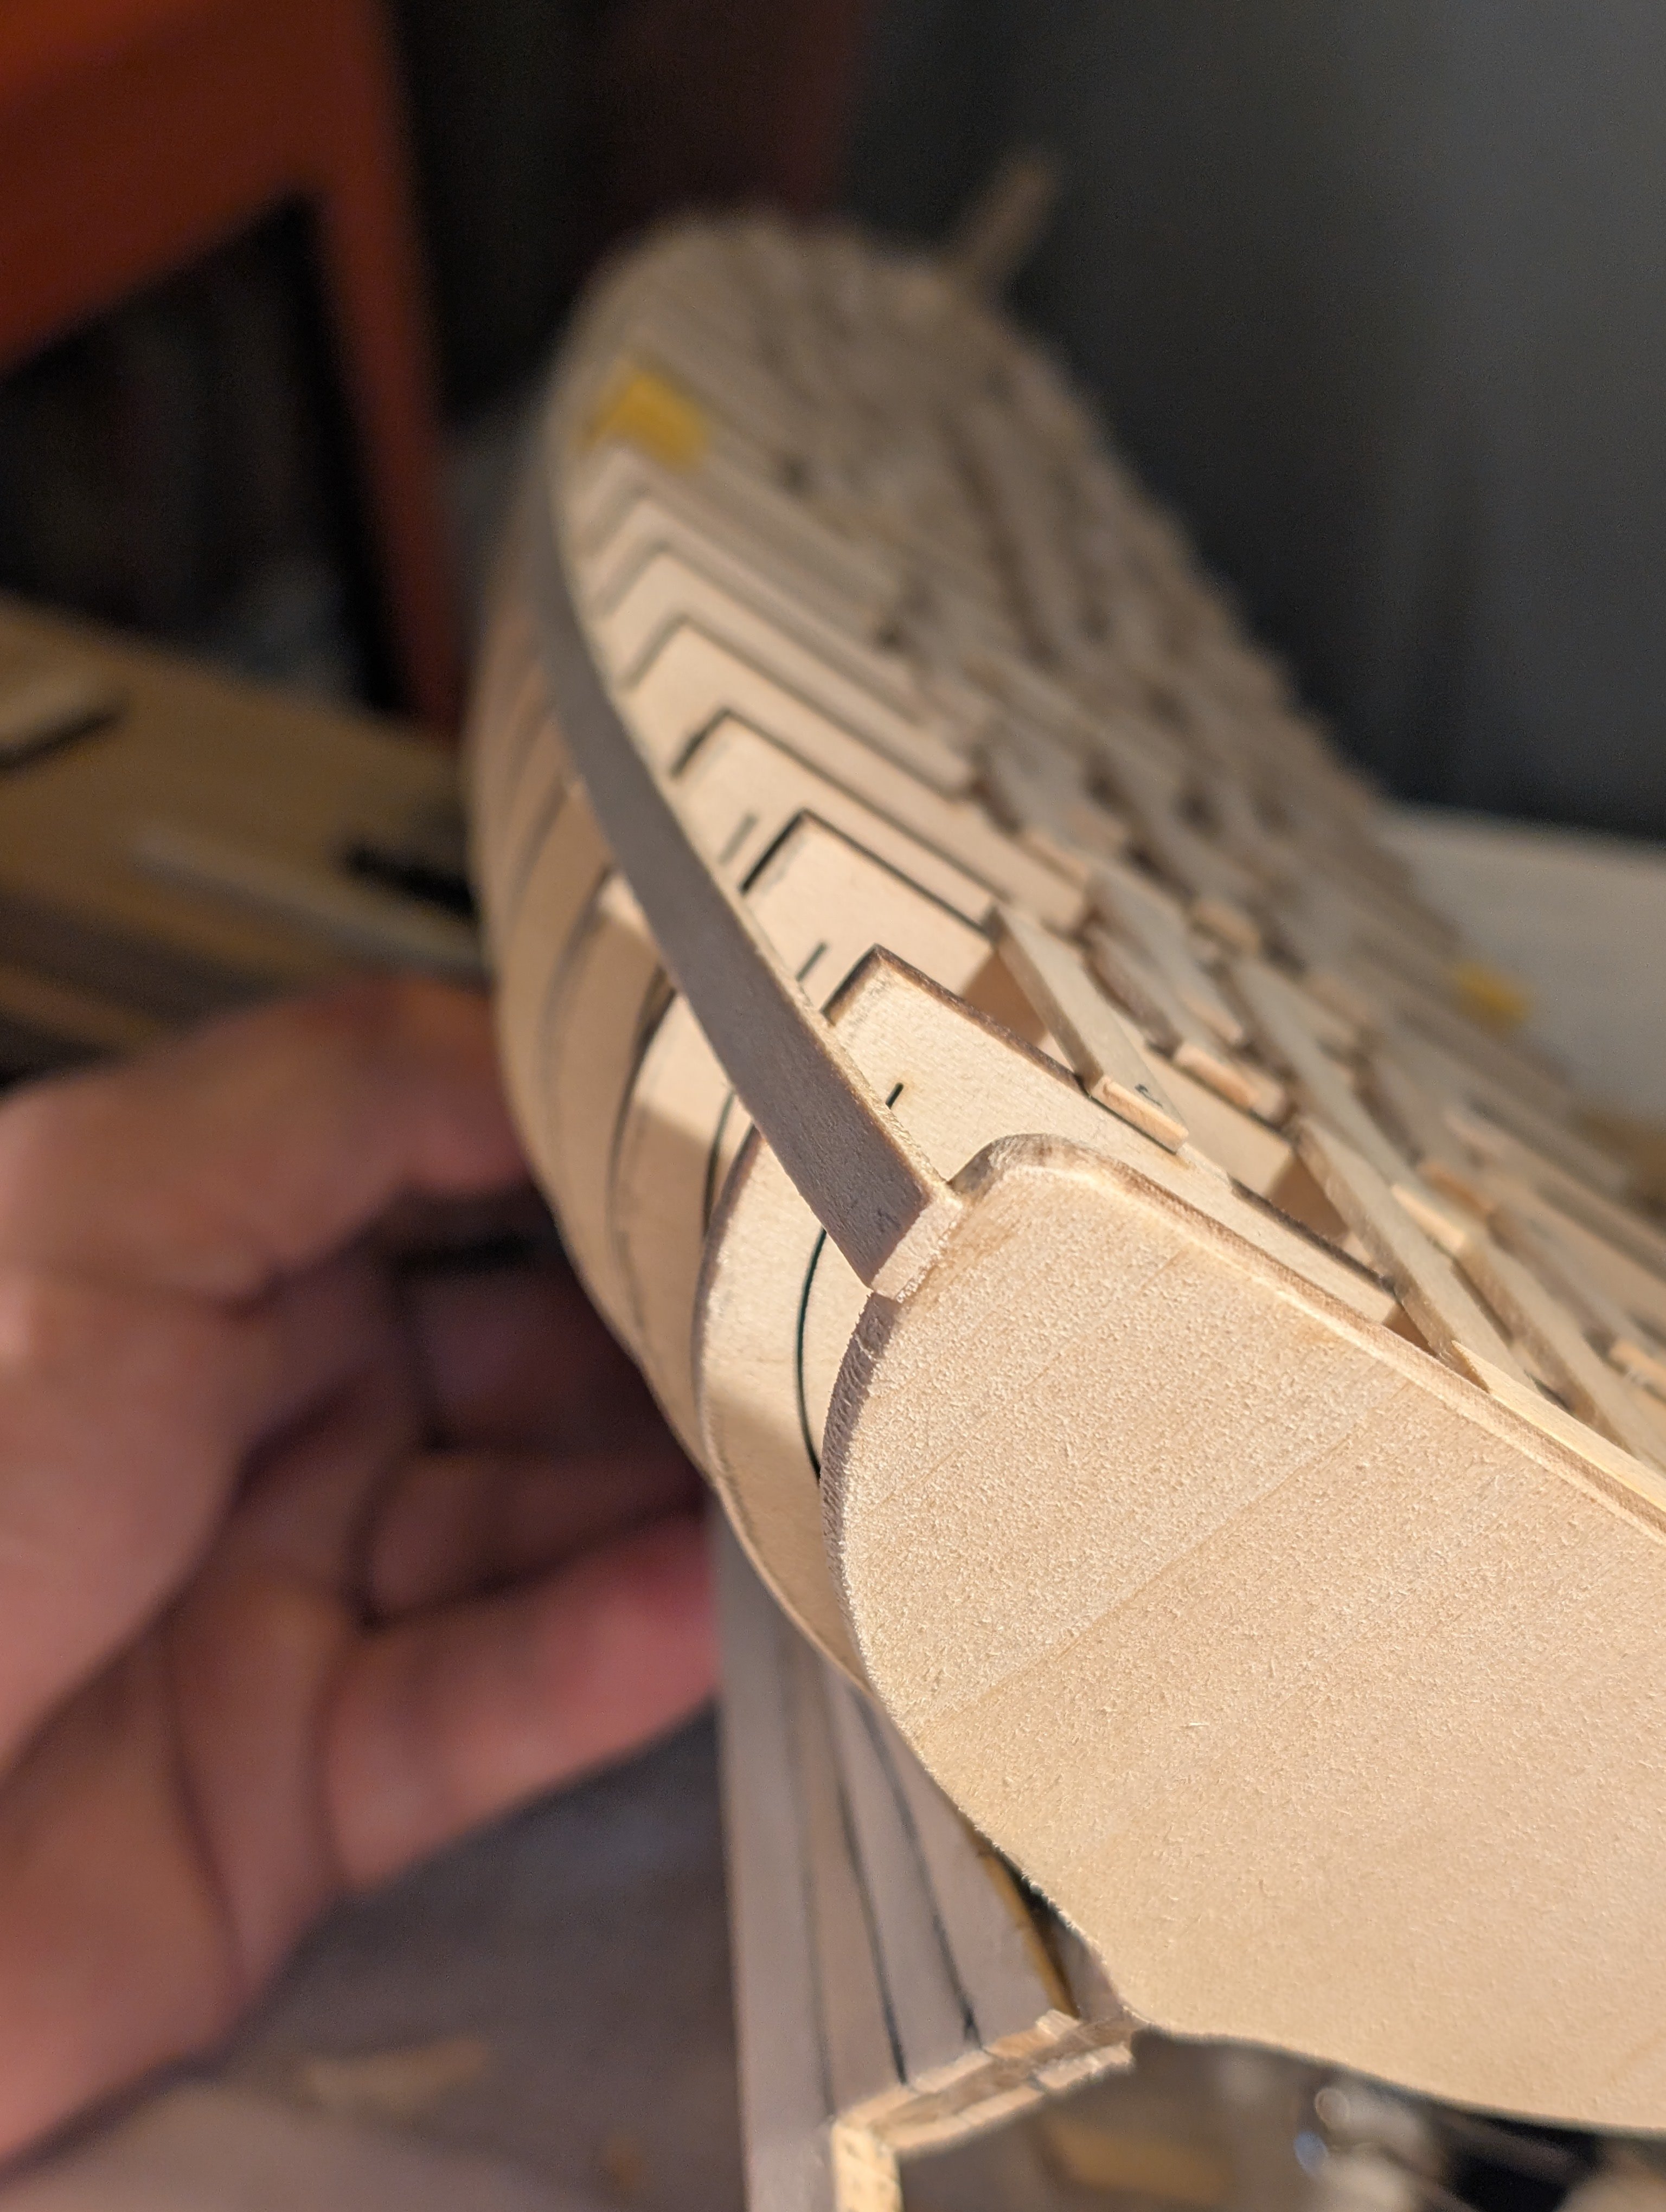
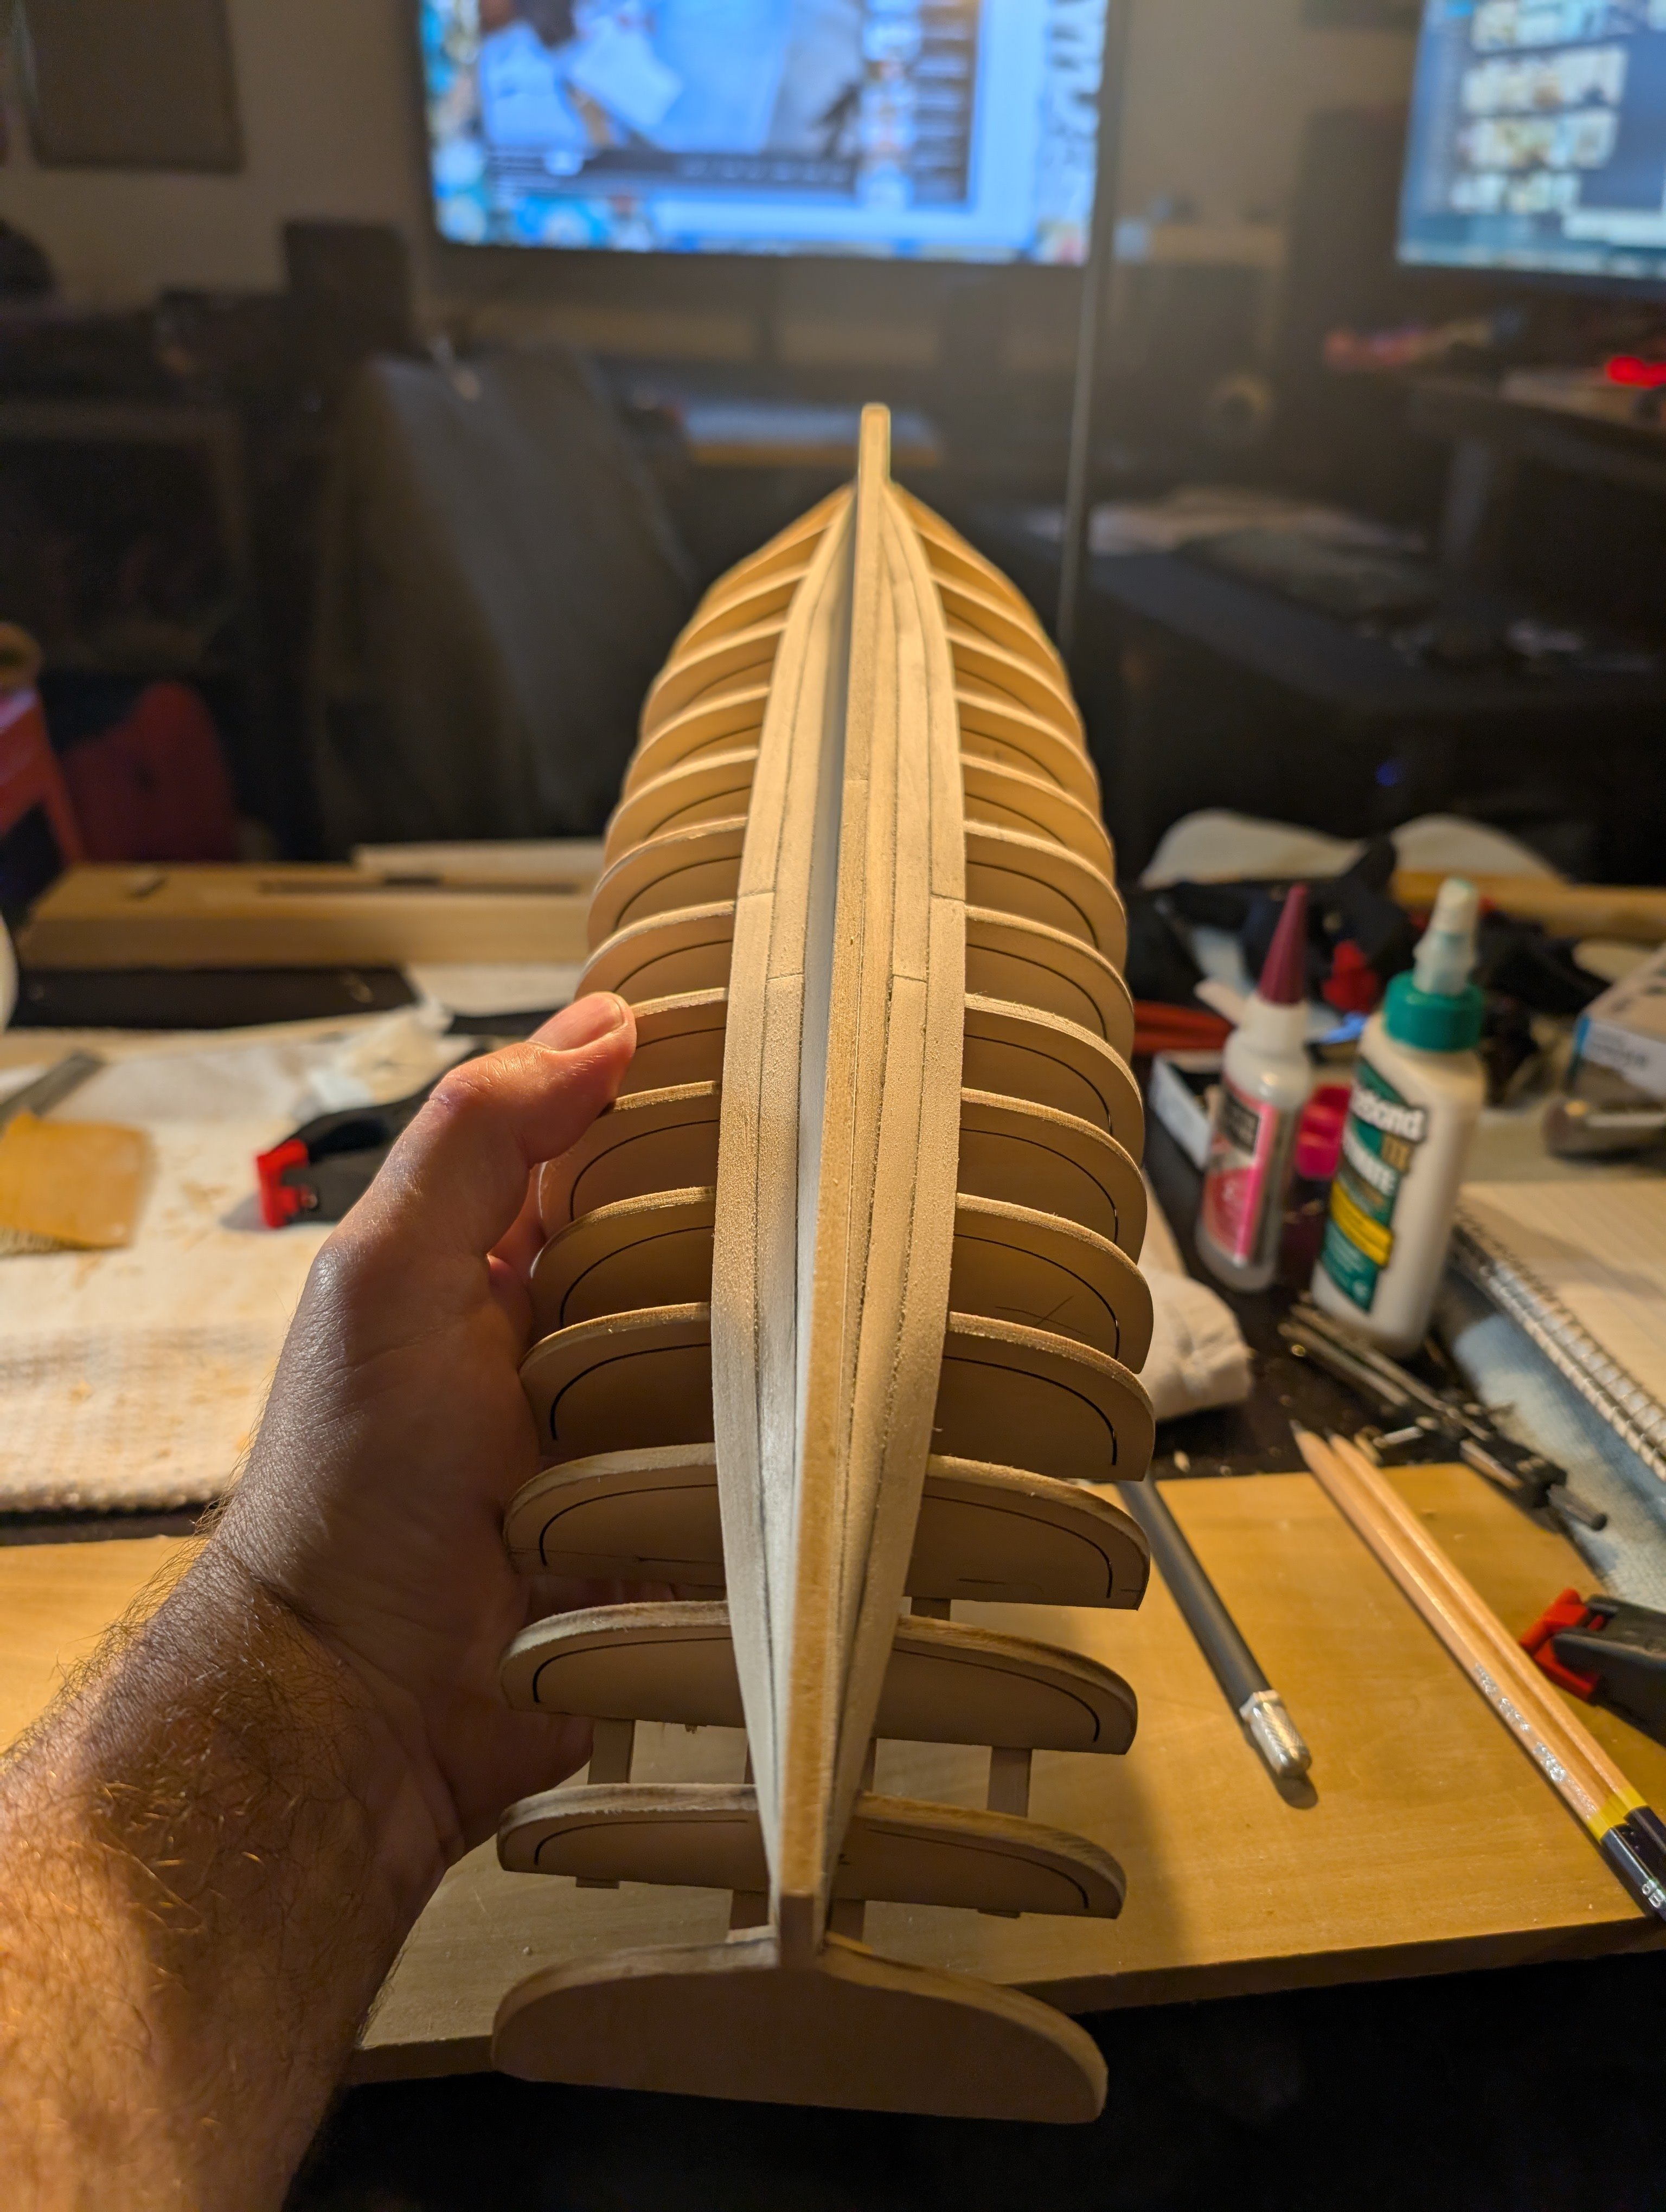
 Sheer plank on both sides is fully in, and the lines are looking good.
- 33 replies
-
- 6
-
-
- Model Shipways
- 18th Century Armed Longboat
- (and 1 more)
-
TheFace reacted to a post in a topic:
18th Century Armed Longboat by TheFace - Model Shipways - 1/24 Scale - First Build
-
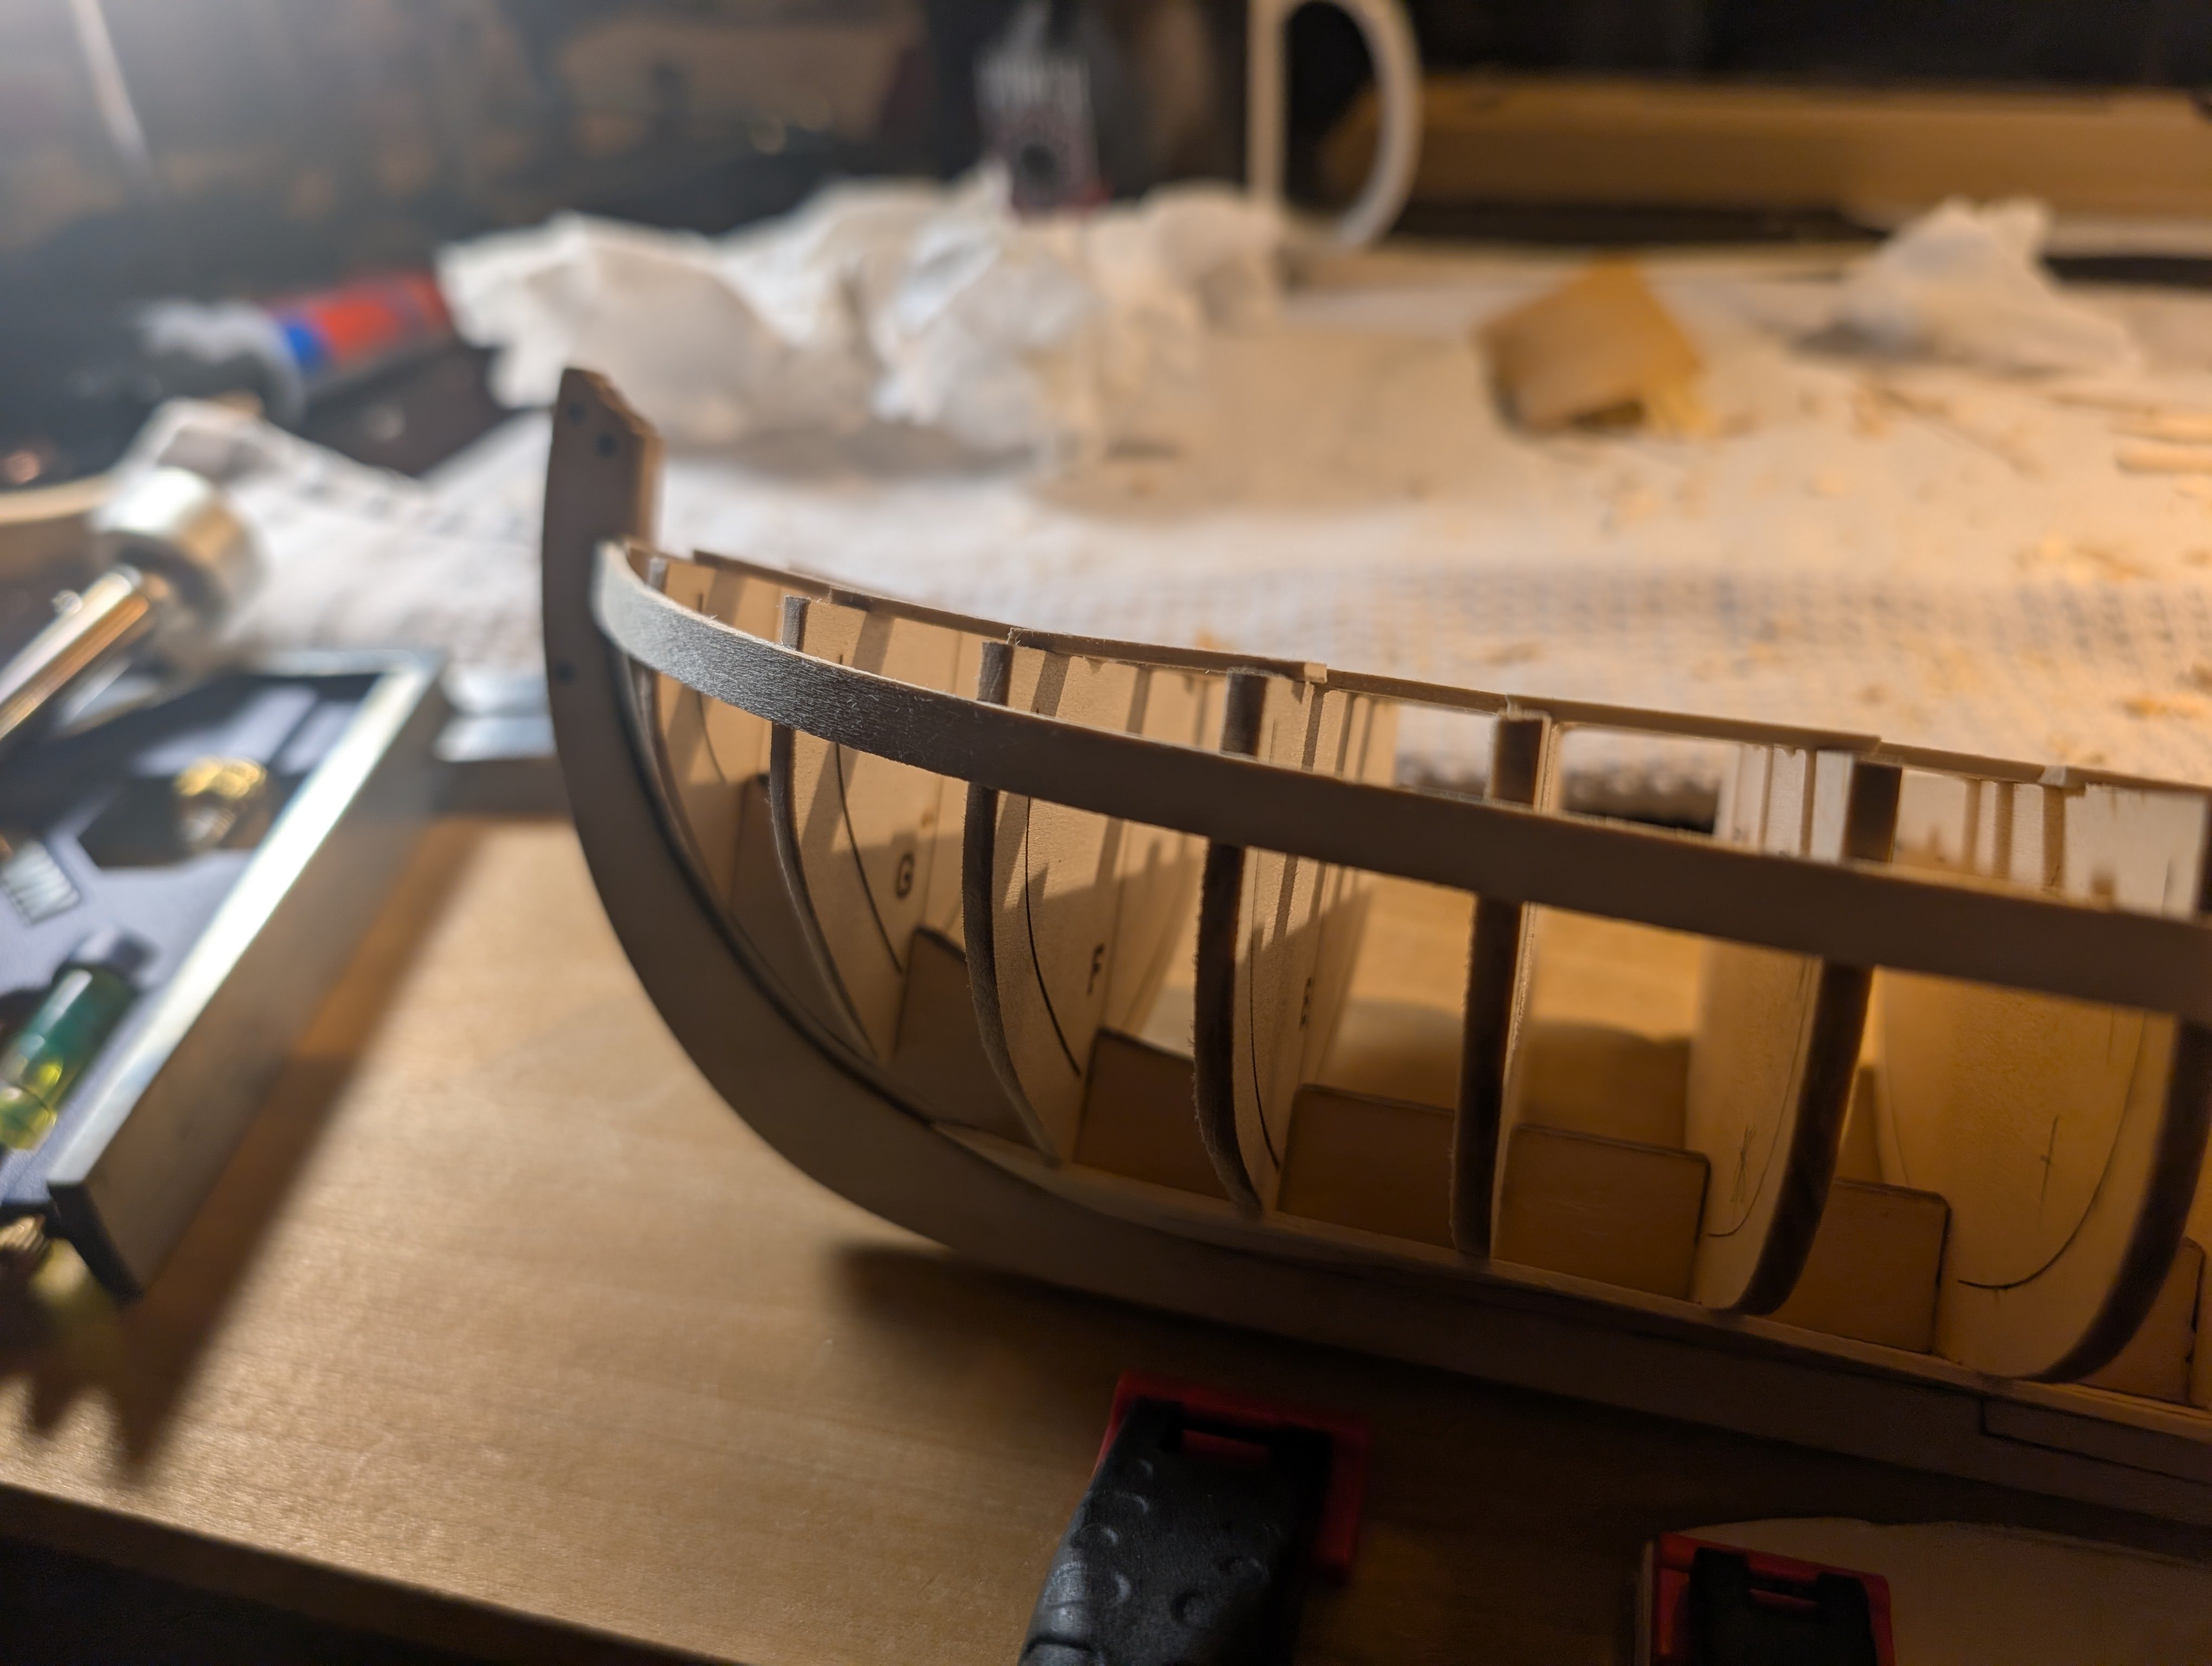
Sheer planks installed on the front half to bow both sides.

- 33 replies
-
- 6
-
-
- Model Shipways
- 18th Century Armed Longboat
- (and 1 more)
-
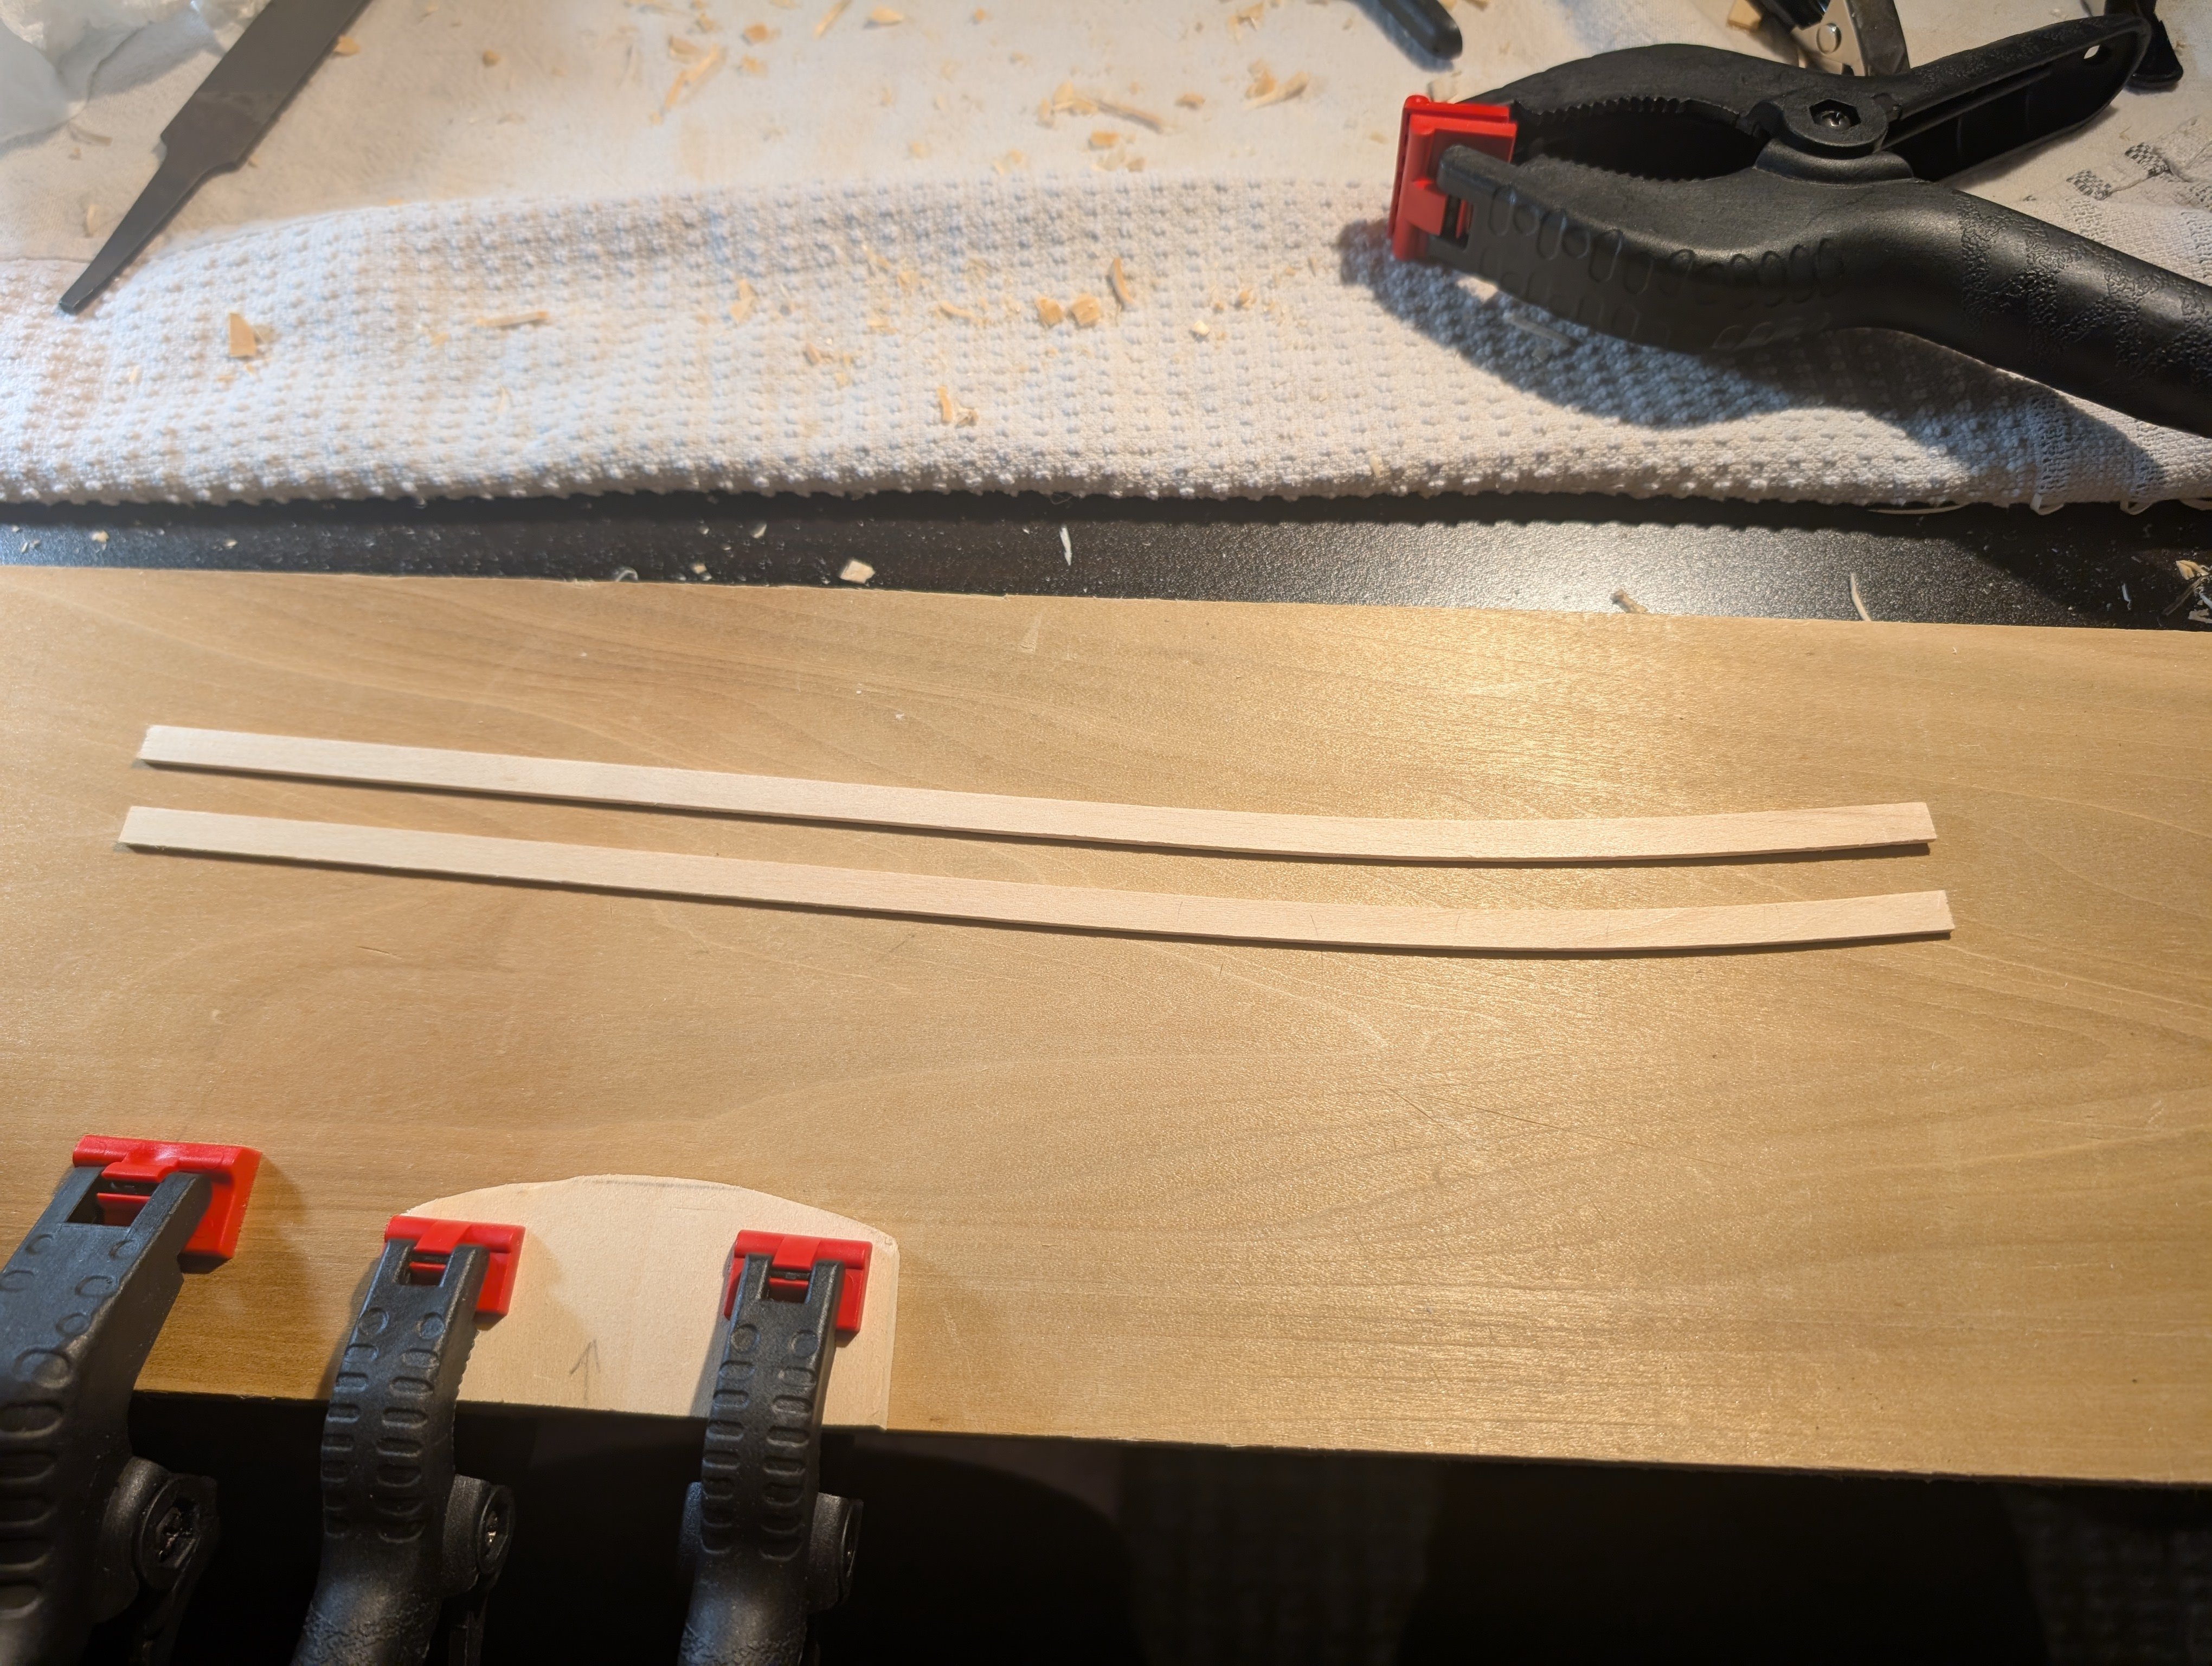
#4 sheer planks (bow end) bent and ready to install.

- 33 replies
-
- 6
-
-
- Model Shipways
- 18th Century Armed Longboat
- (and 1 more)
-
#3 strakes on both sides installed. I started with Chuck's method of planking with a jig and a clothes iron. I feel that this method is nice to get the edge curve, and the wood is ready to lay down after the shape is bent in. I don't think I would have had an issue with #2 strake having a slight bit of pinch had I used this method for #2. Stern is out of alignment now, mostly because the false keel cracked underneath, so some minor surgery was needed to repair it.


- 33 replies
-
- 4
-
-
- Model Shipways
- 18th Century Armed Longboat
- (and 1 more)
-
First two strakes installed. Not perfect but happy with the results.

- 33 replies
-
- 5
-
-
- Model Shipways
- 18th Century Armed Longboat
- (and 1 more)
-
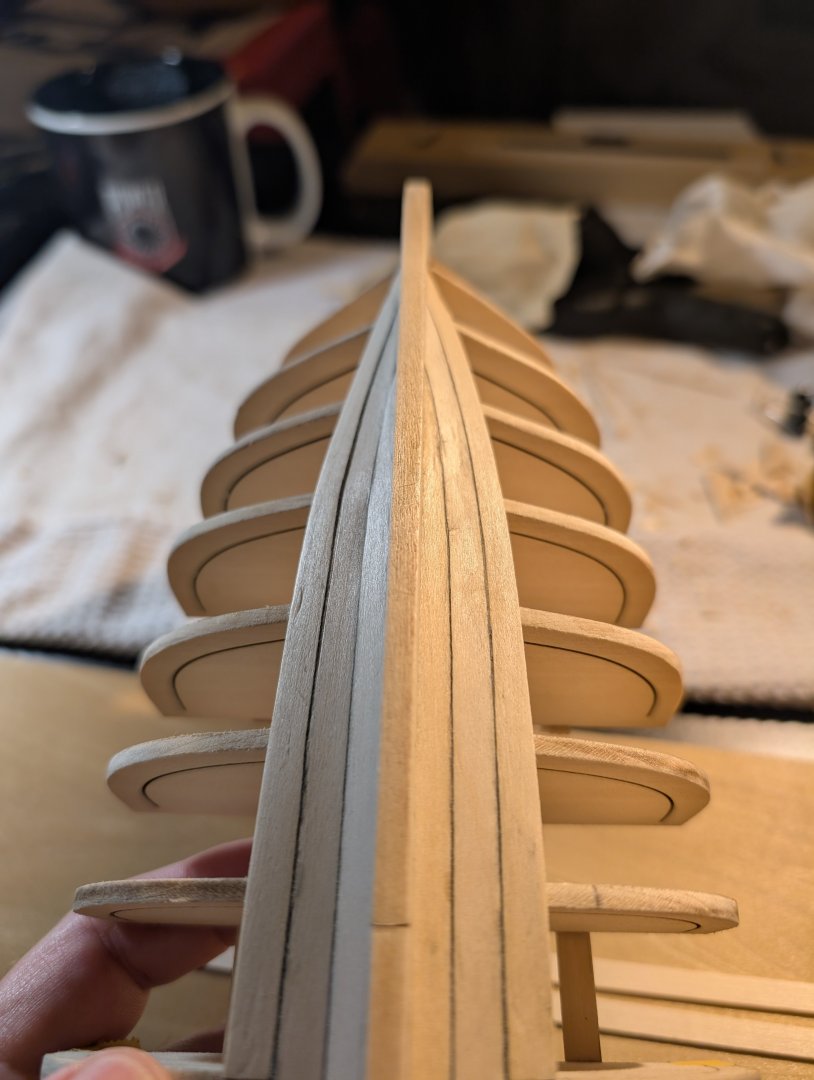
I had to adjust the garboards slightly, but after adjusting the garboard, the first side plank #2 is in place. There is only a small odd spot toward the front that should sand out.


- 33 replies
-
- 3
-
-
- Model Shipways
- 18th Century Armed Longboat
- (and 1 more)
-
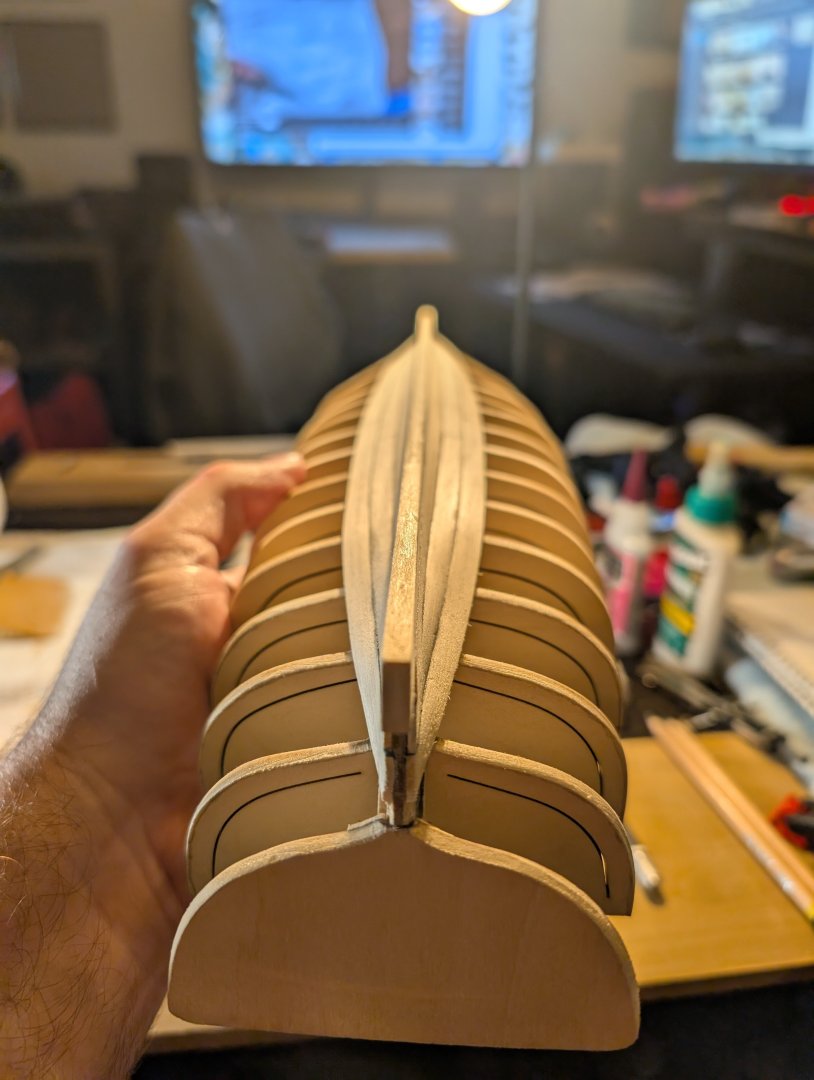
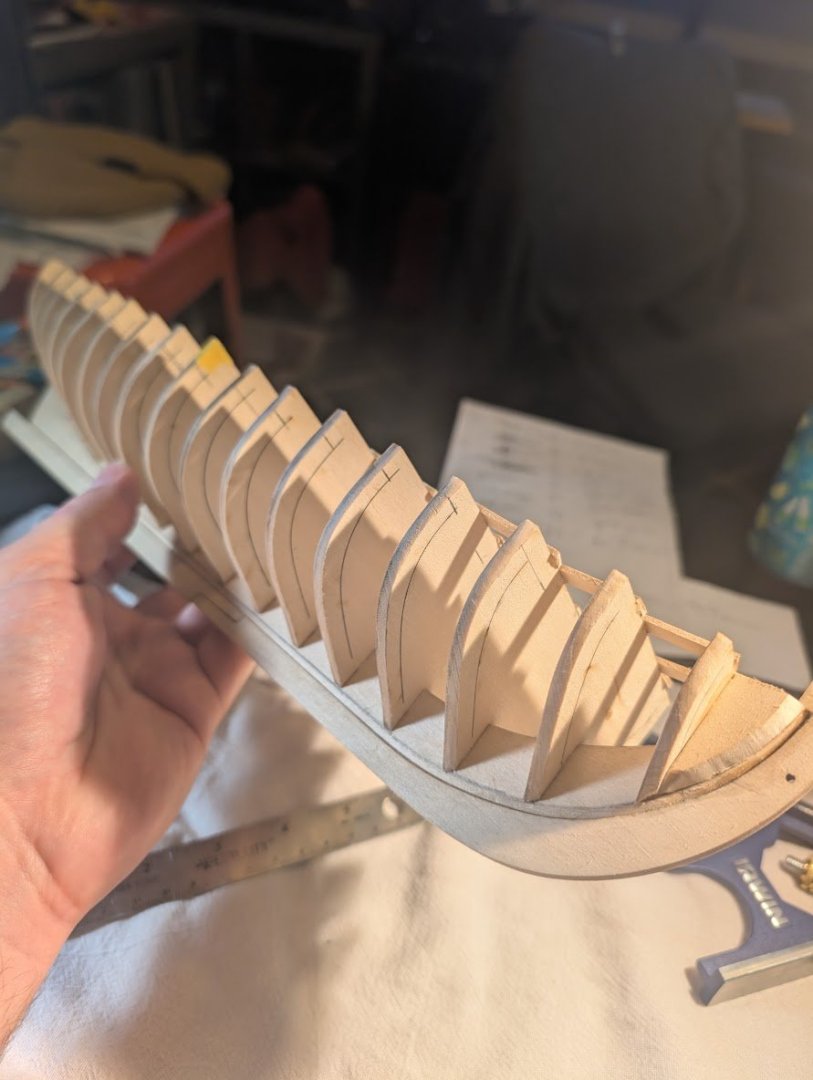
Opposite side garboard strake laid down.
.thumb.jpg.a081e032dc8725f4708fe7e17f4e6ff2.jpg)
- 33 replies
-
- 5
-
-
- Model Shipways
- 18th Century Armed Longboat
- (and 1 more)
-
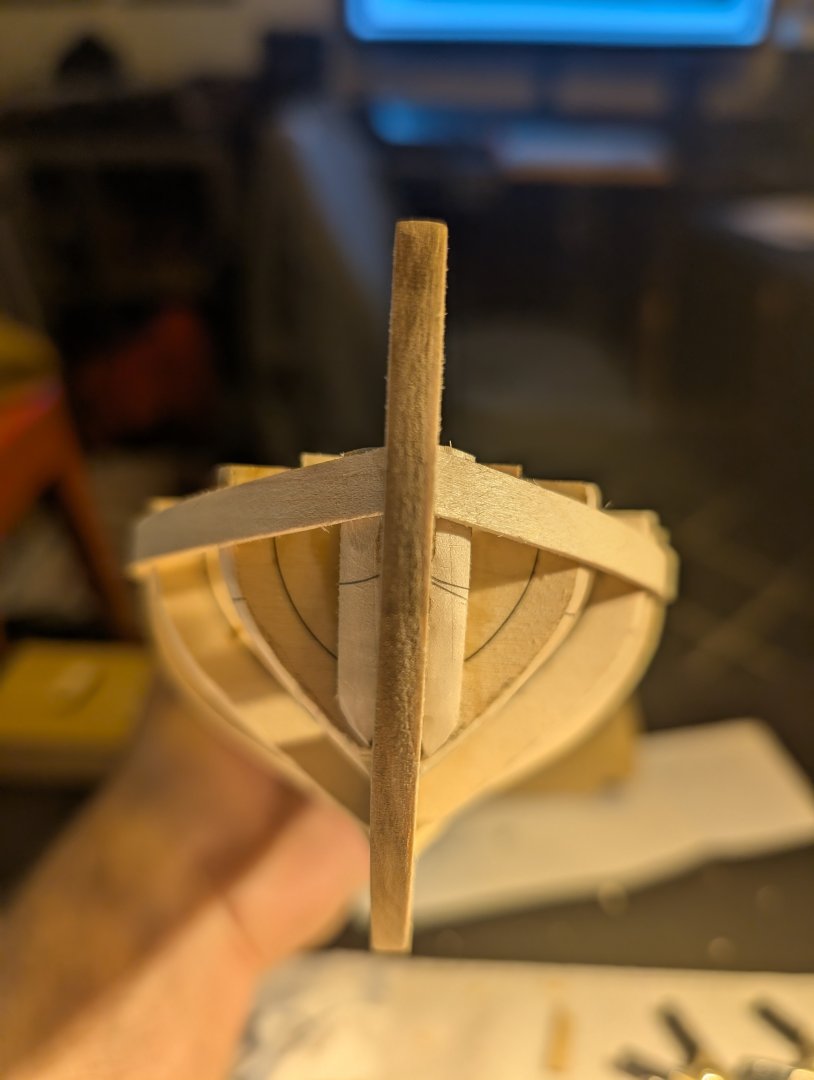
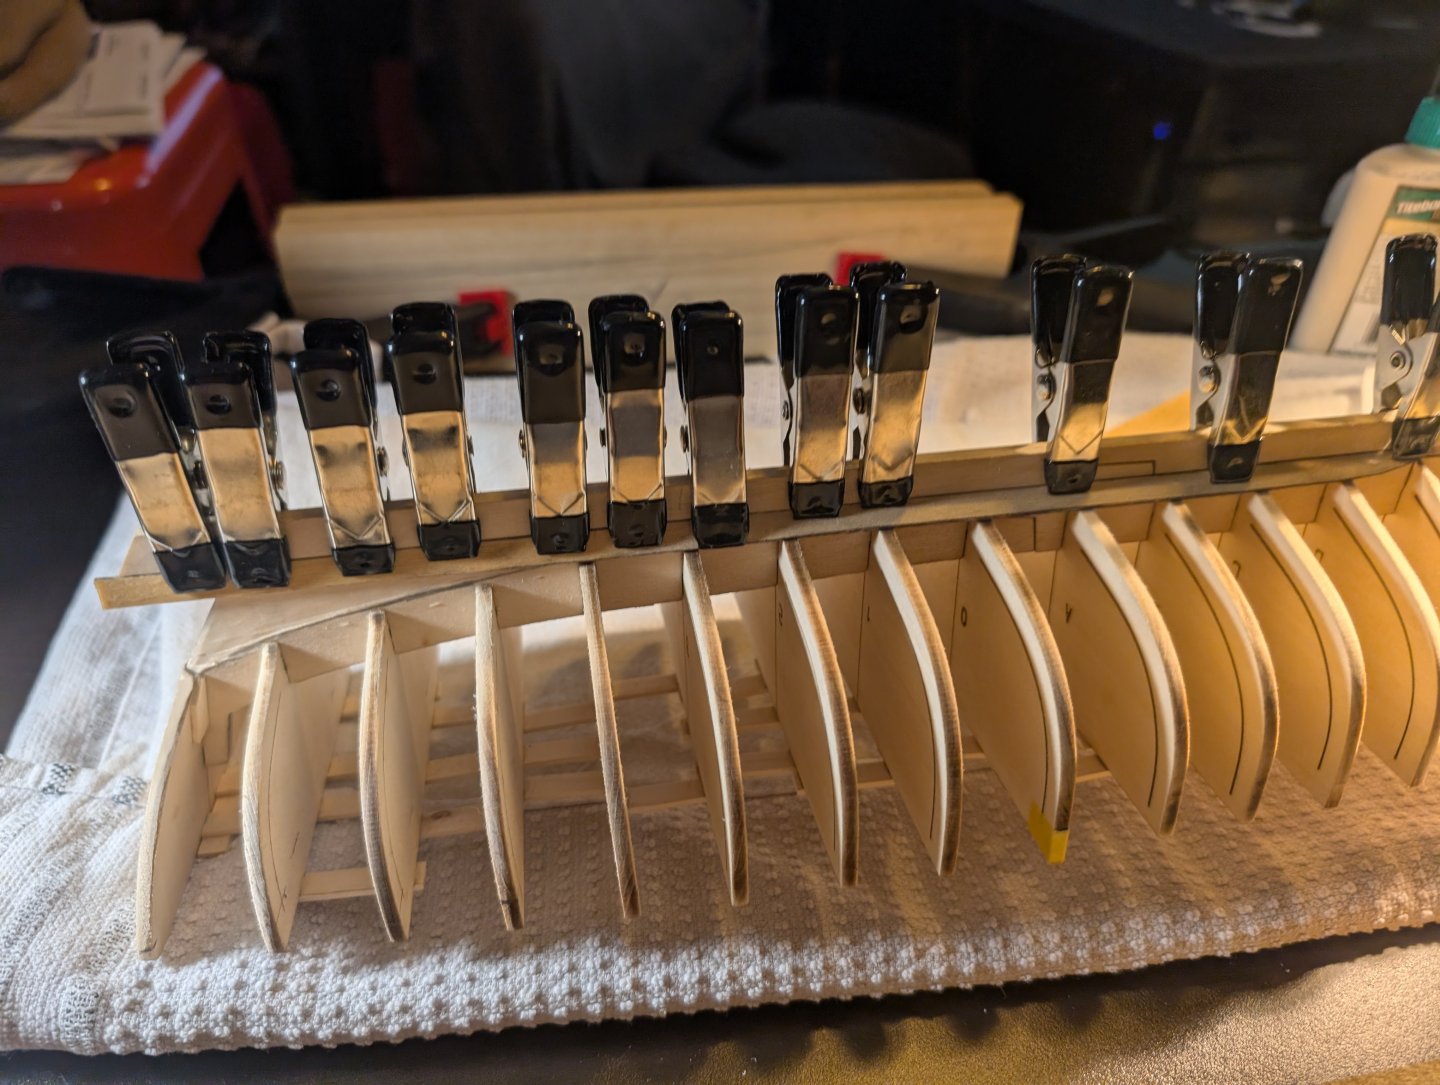
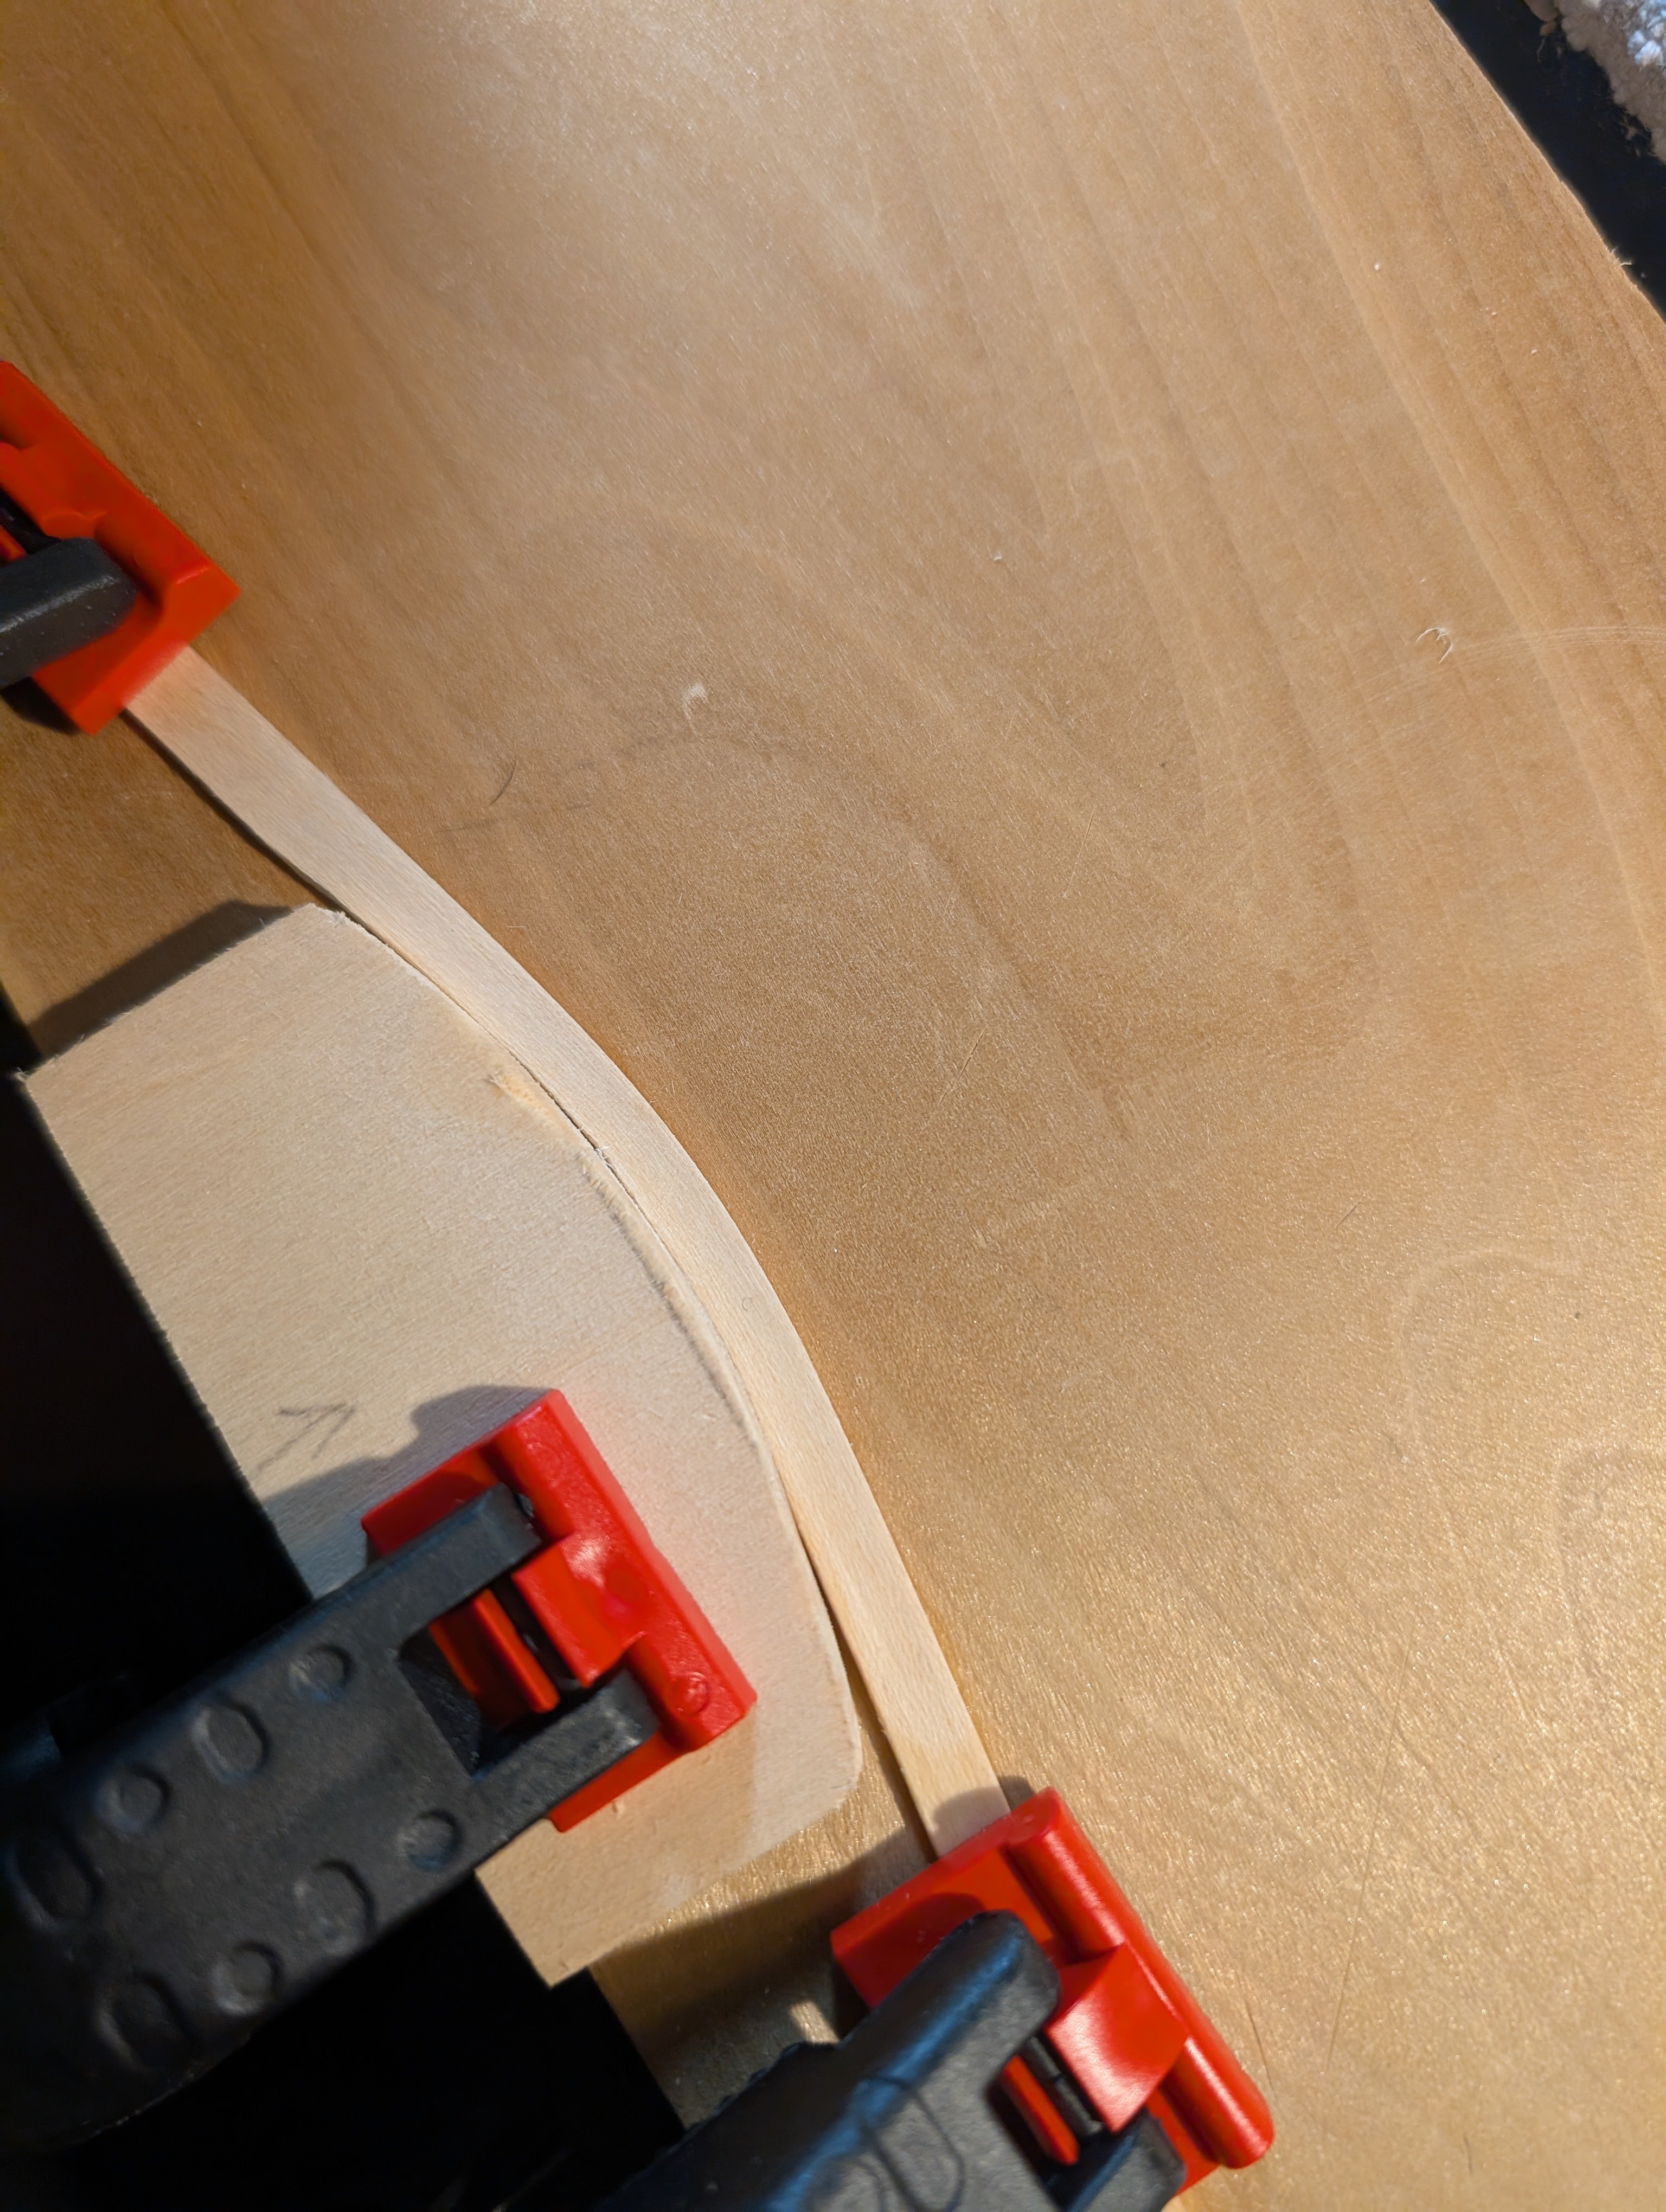
Garboard plank prep and install on the first side is now complete.


- 33 replies
-
- 6
-
-
- Model Shipways
- 18th Century Armed Longboat
- (and 1 more)
-
TheFace reacted to a post in a topic:
Yellow Cedar Barrel by TheFace - Syren Ship Model Company
-
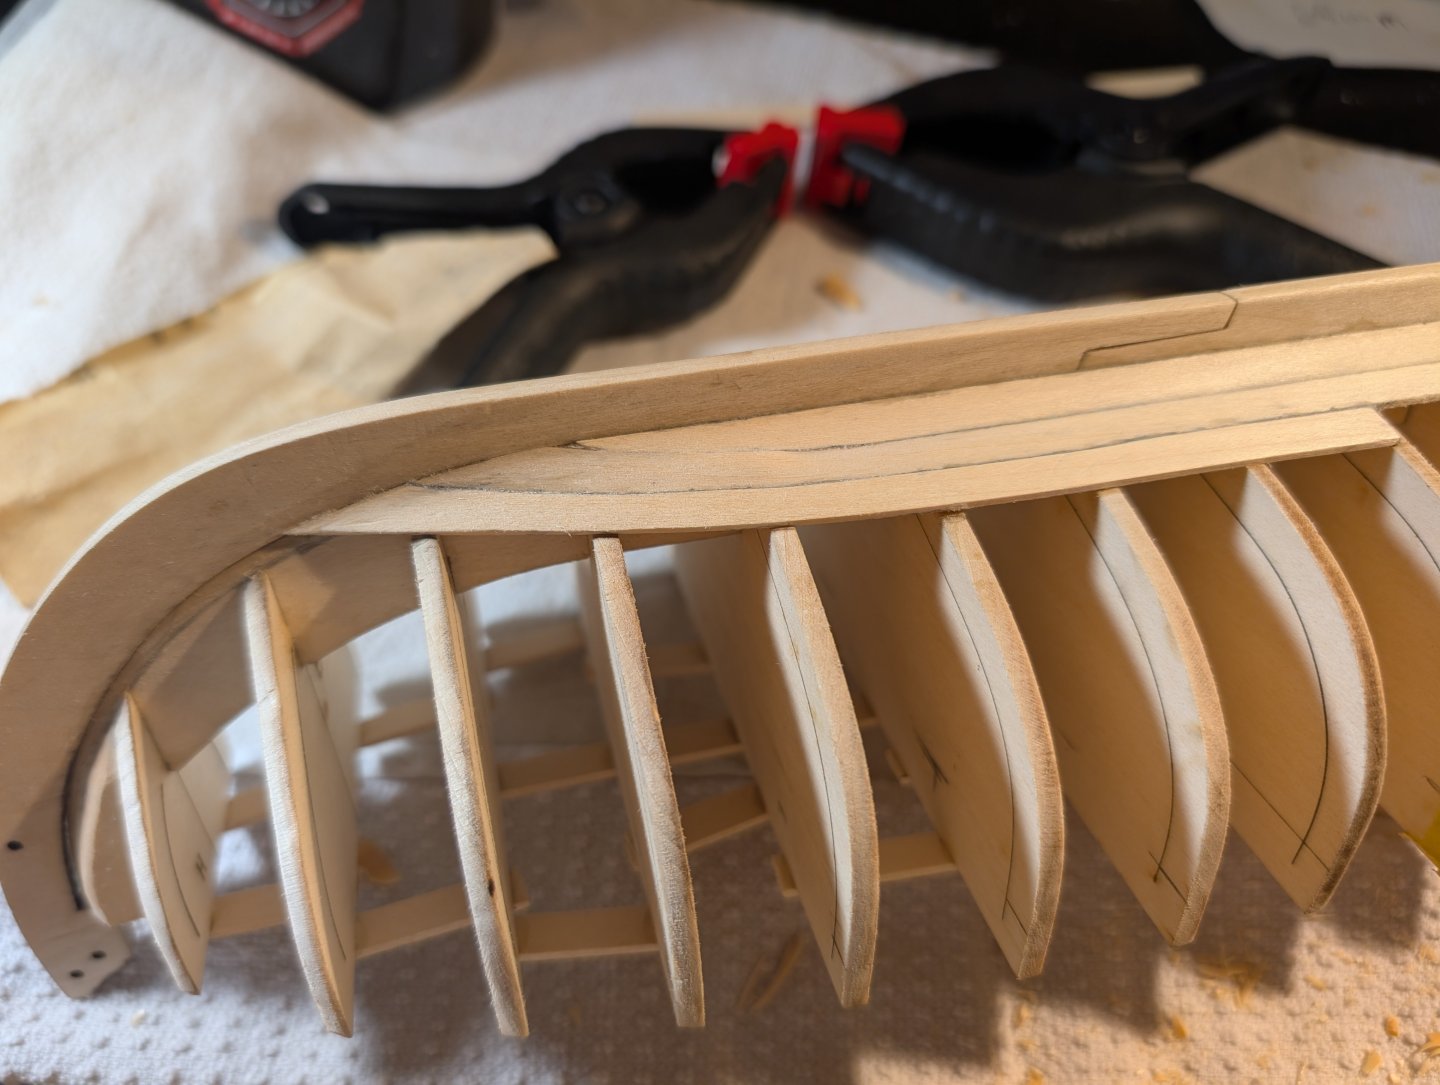
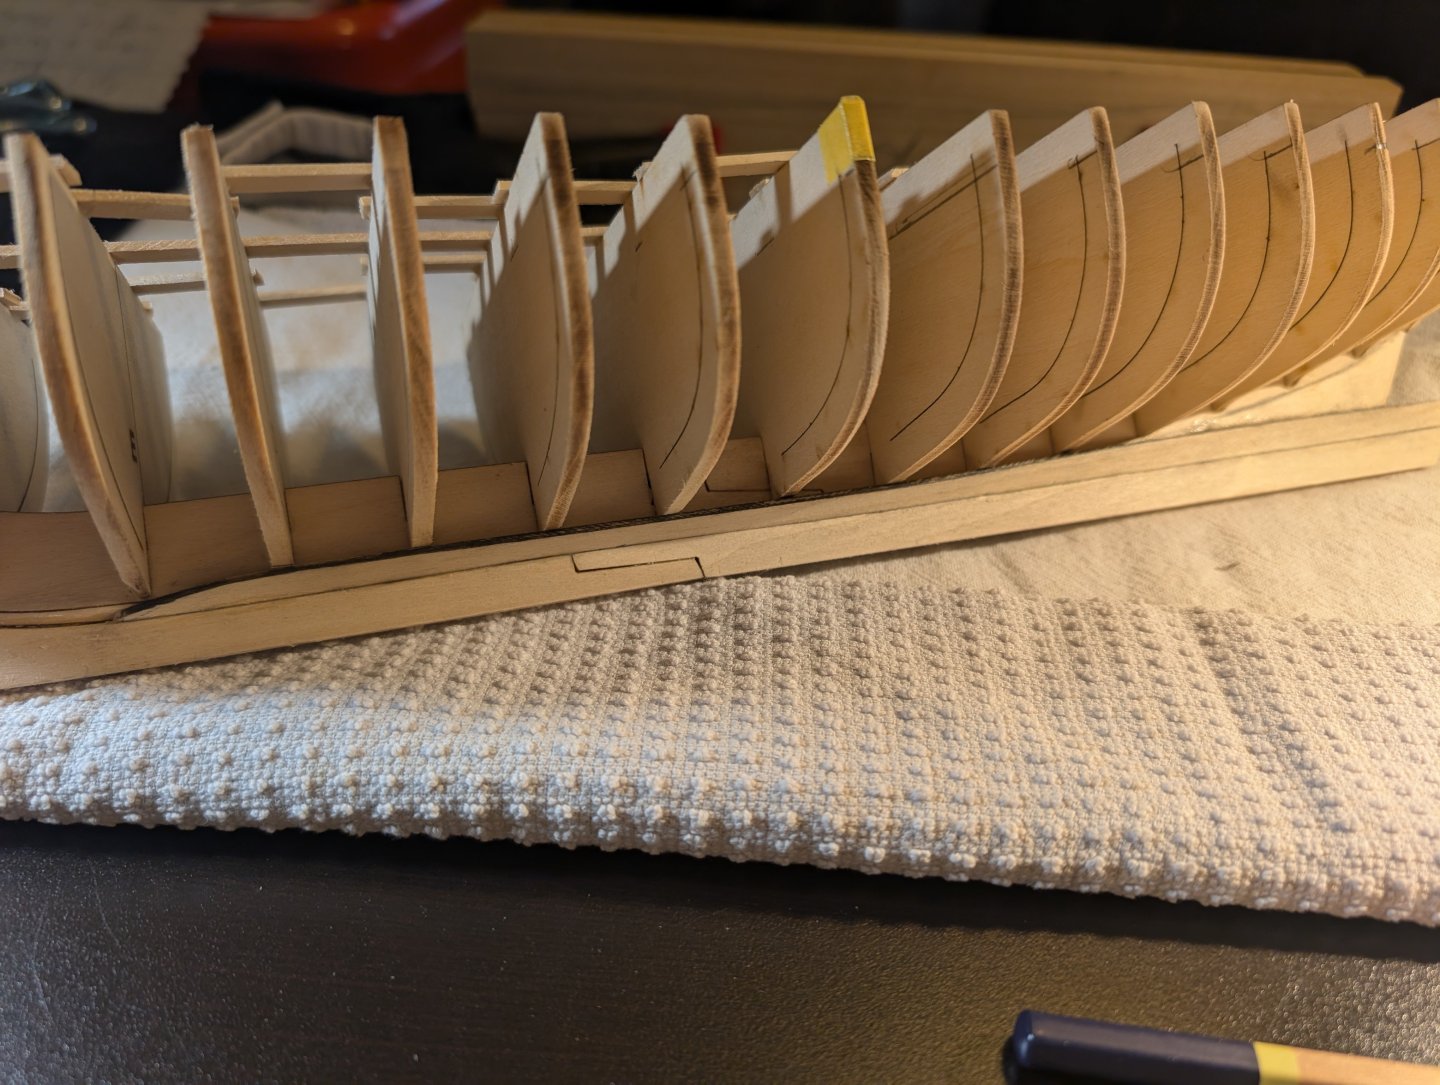
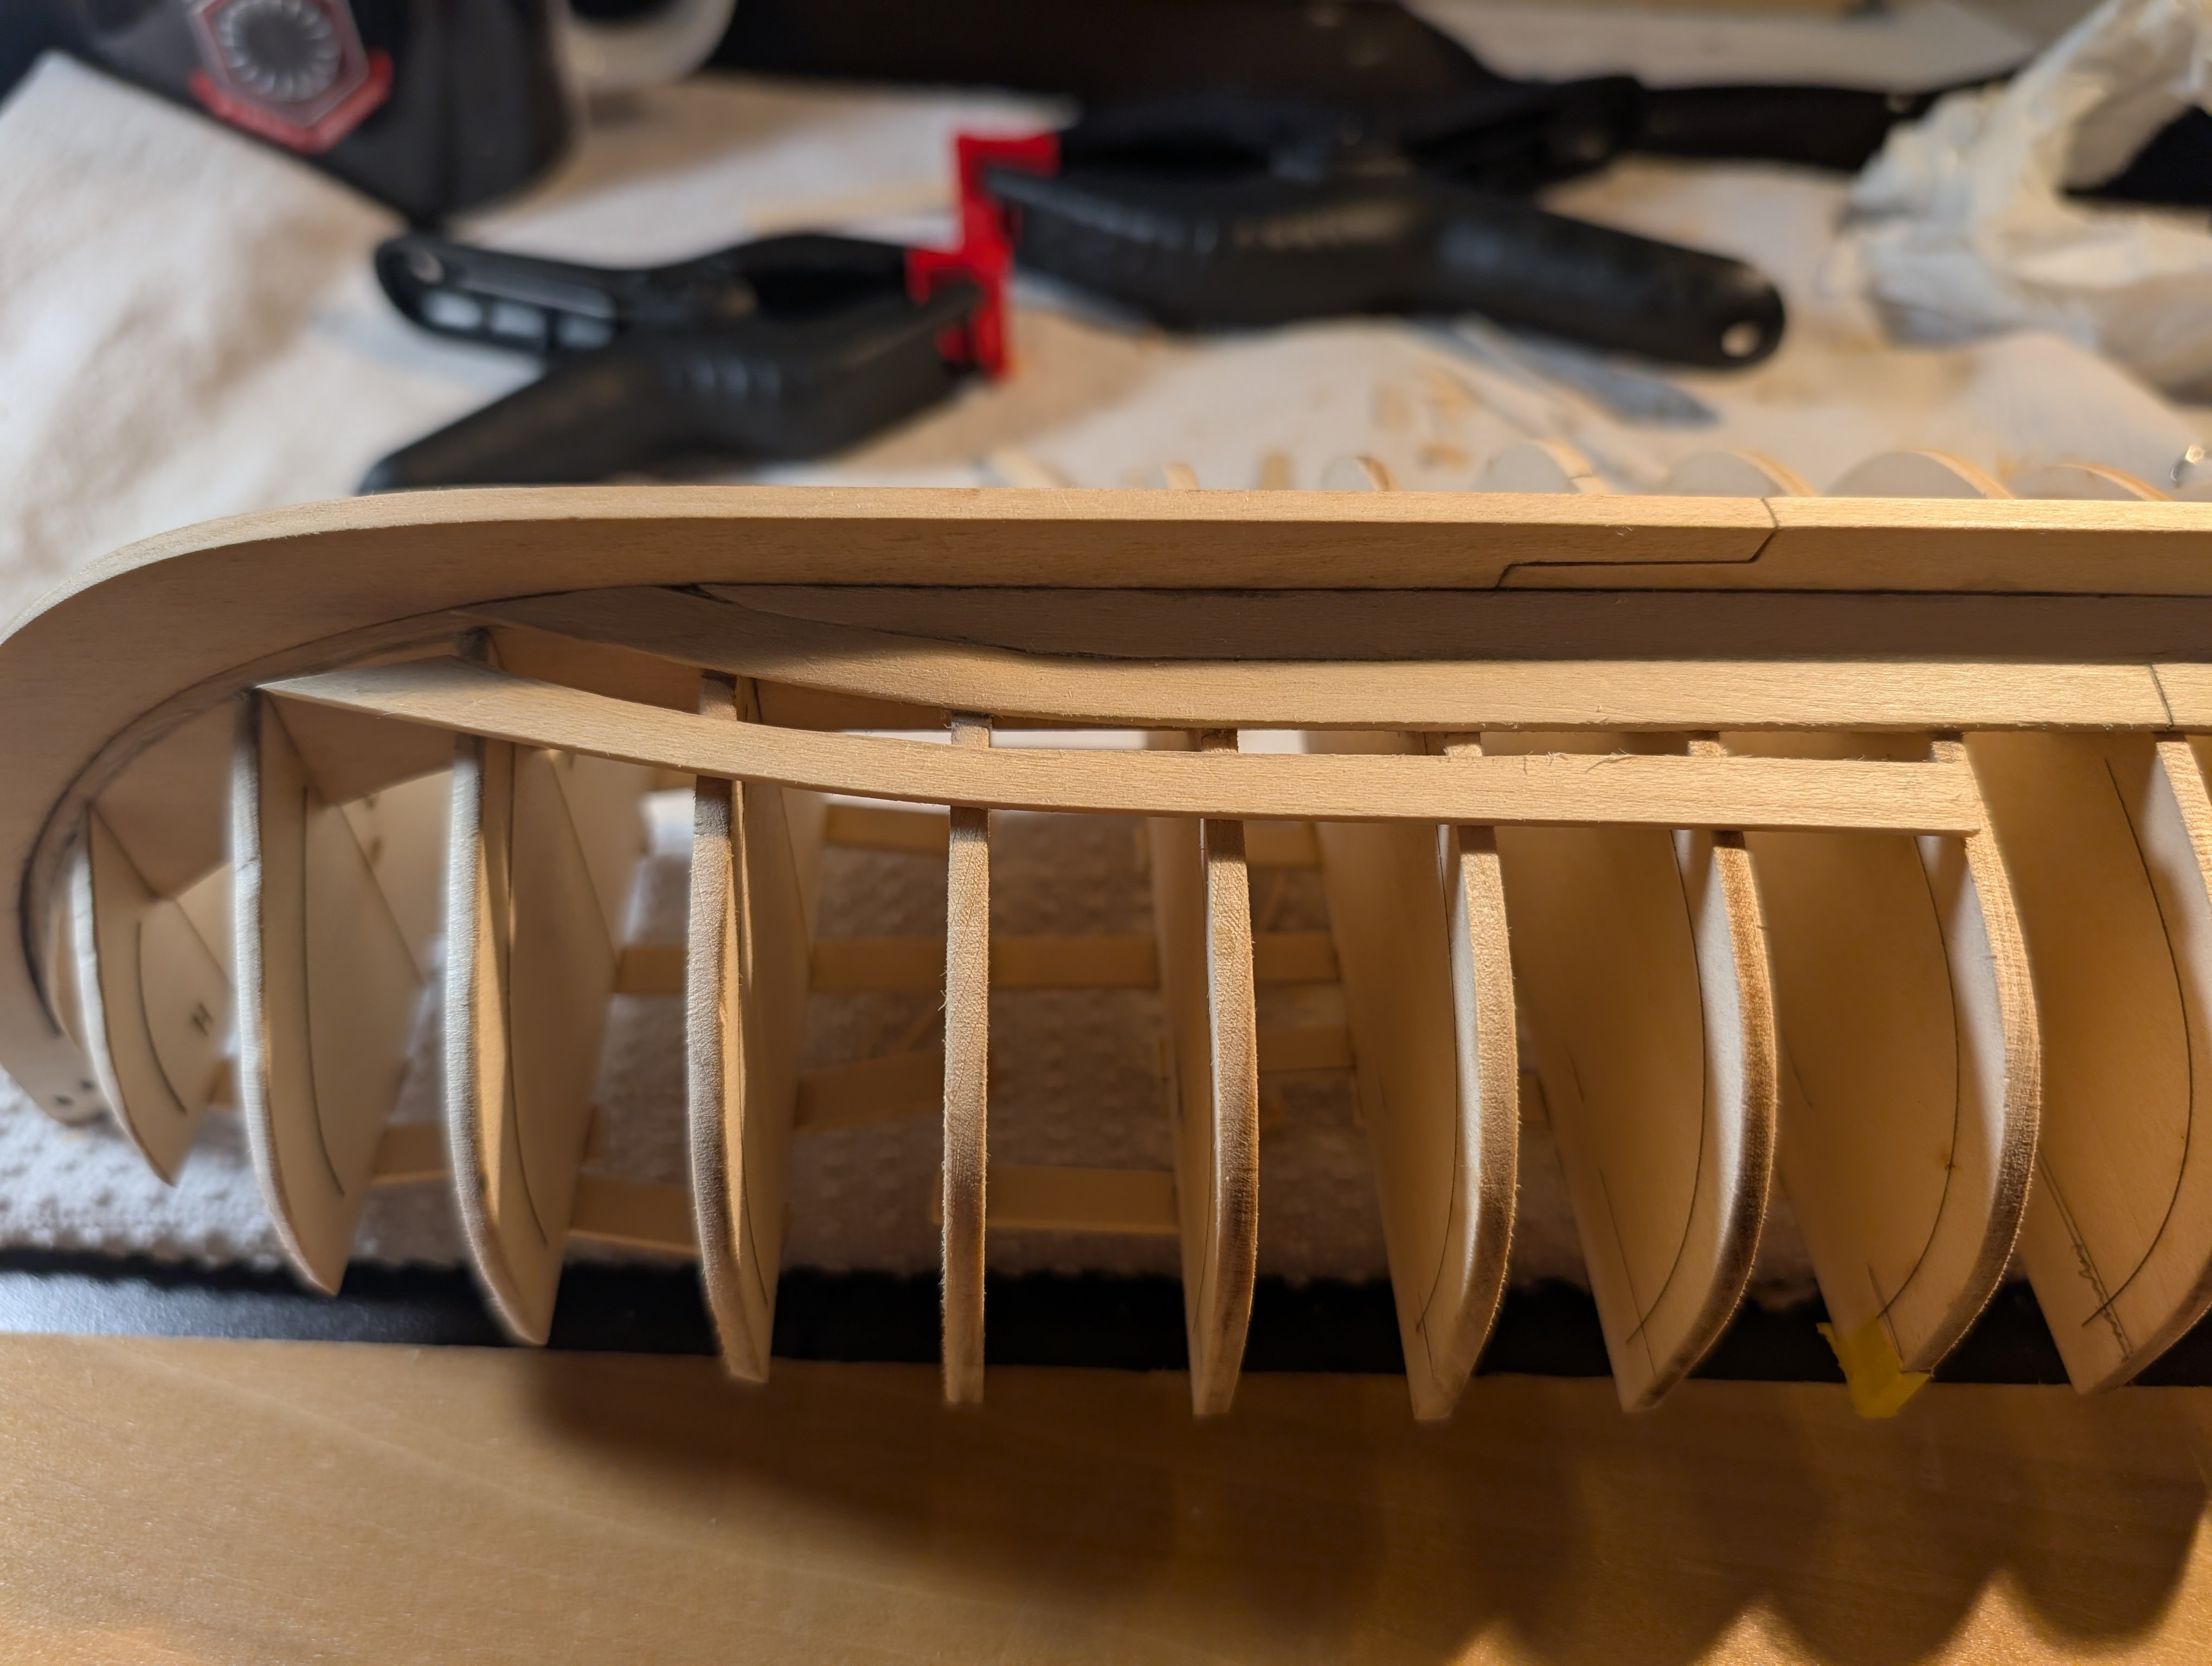
Marking the top strake across the frames complete. Planning and marking for the strakes is next.
- 33 replies
-
- 5
-
-
- Model Shipways
- 18th Century Armed Longboat
- (and 1 more)
-
Yellow Cedar Barrel by TheFace - Syren Ship Model Company
TheFace replied to TheFace's topic in Non-ship/categorised builds
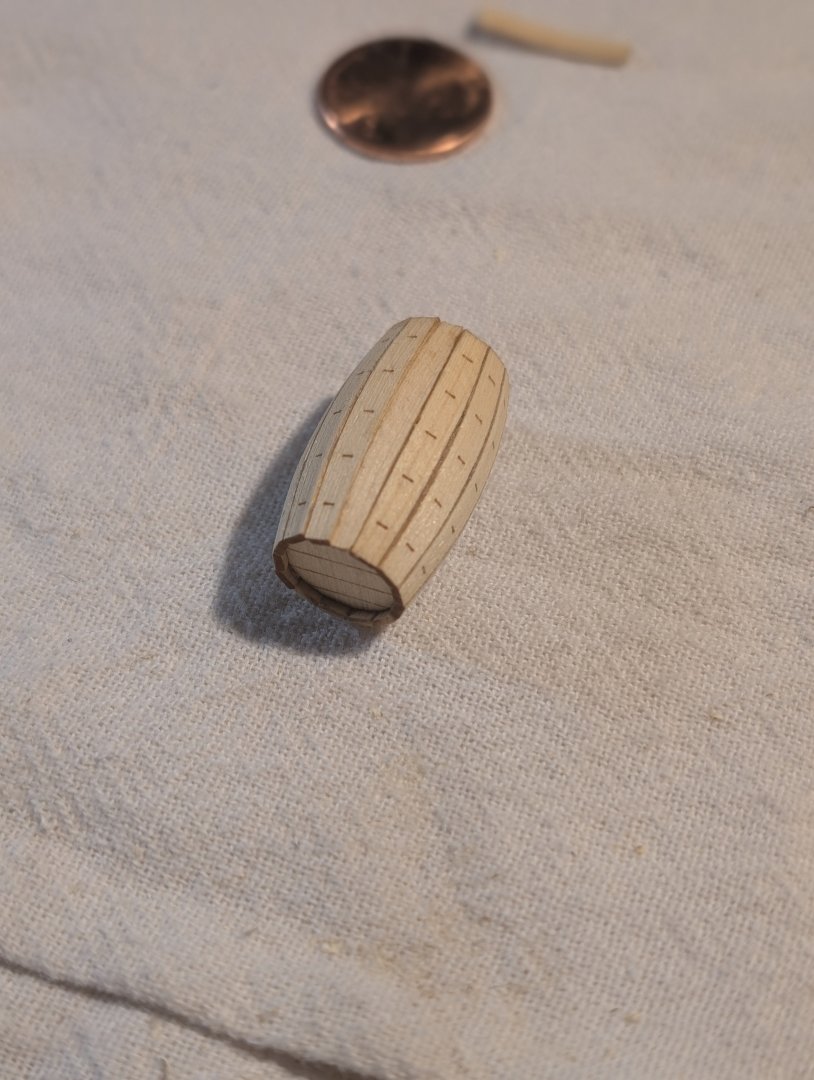
Off to the hardware store to get some conditioner and finish to apply. -
Yellow Cedar Barrel by TheFace - Syren Ship Model Company
TheFace replied to TheFace's topic in Non-ship/categorised builds
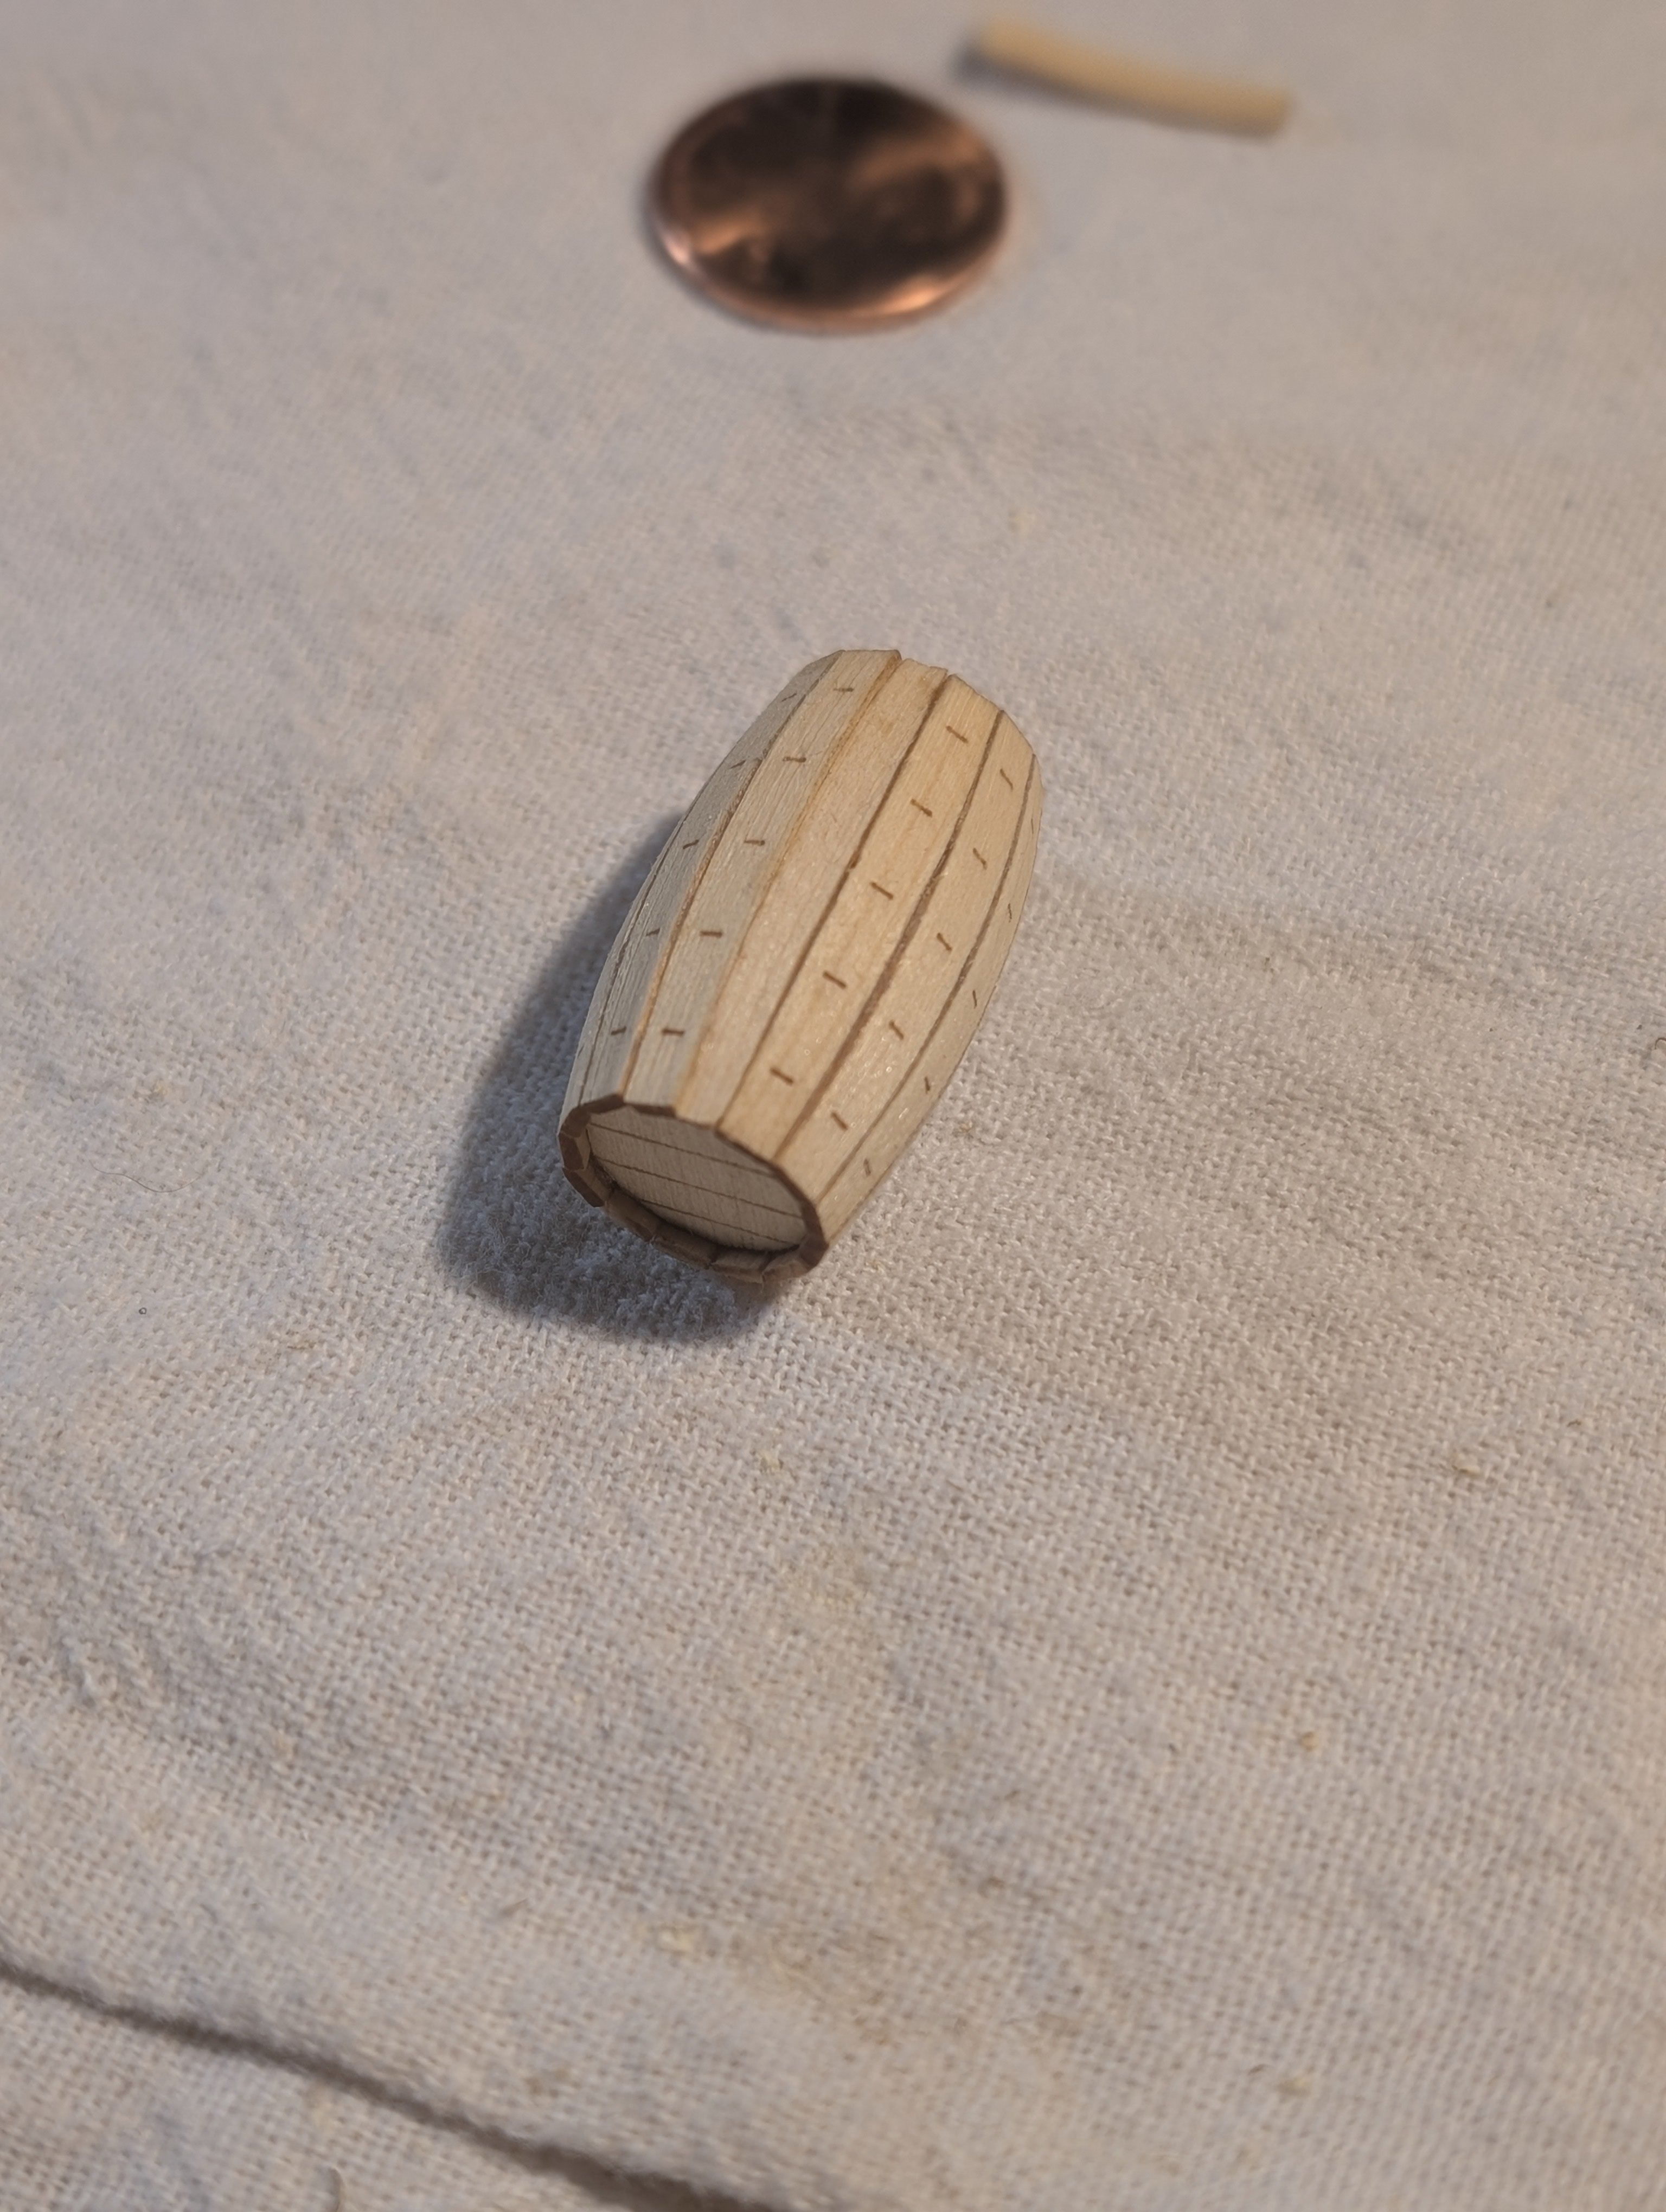
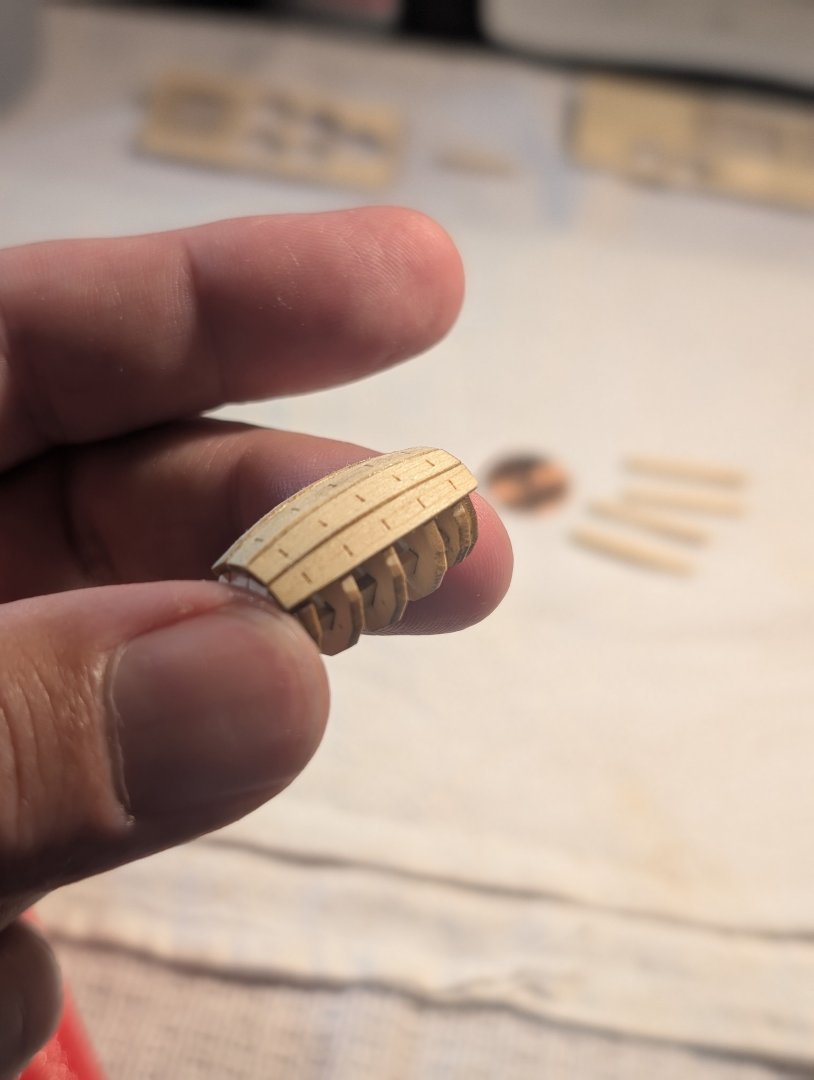
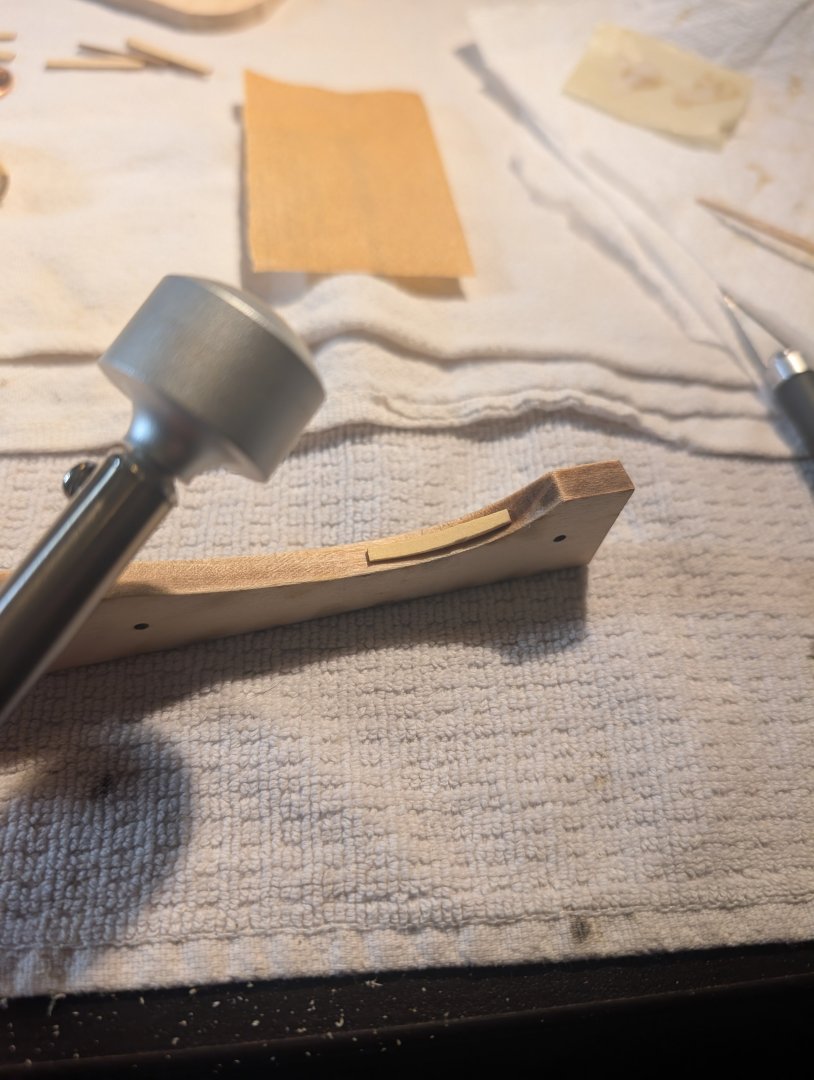
After sanding: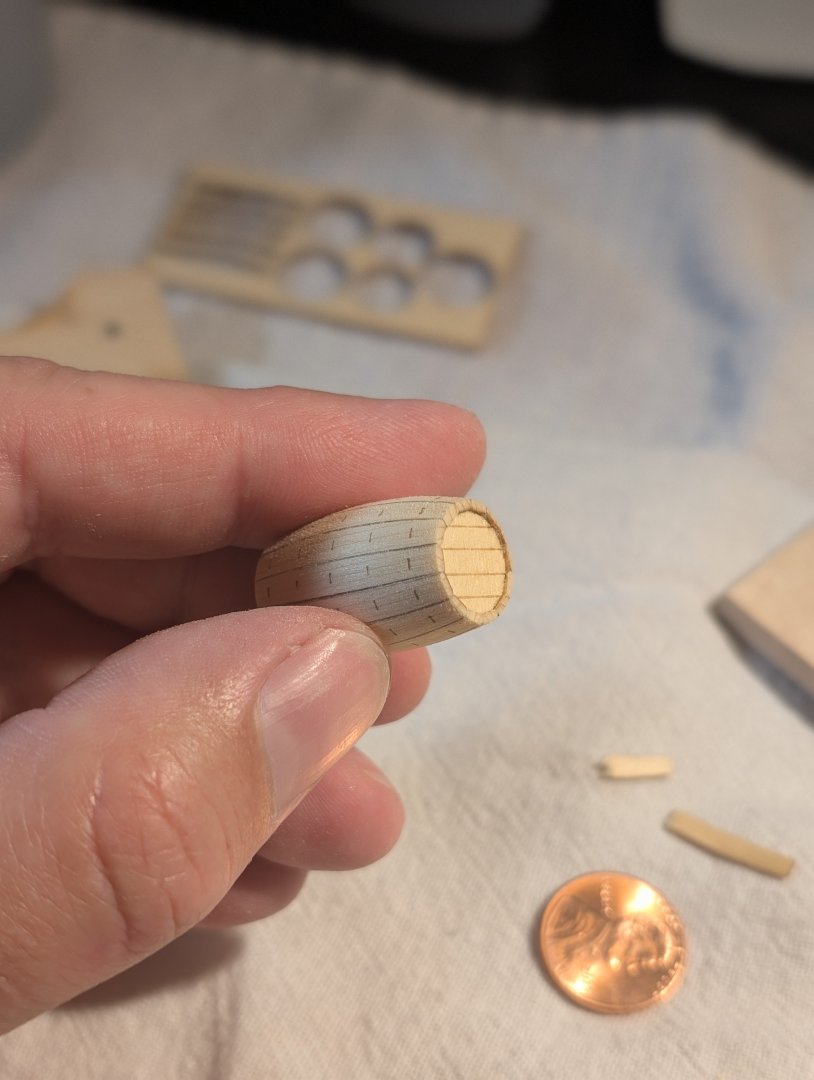
-
Yellow Cedar Barrel by TheFace - Syren Ship Model Company
TheFace replied to TheFace's topic in Non-ship/categorised builds
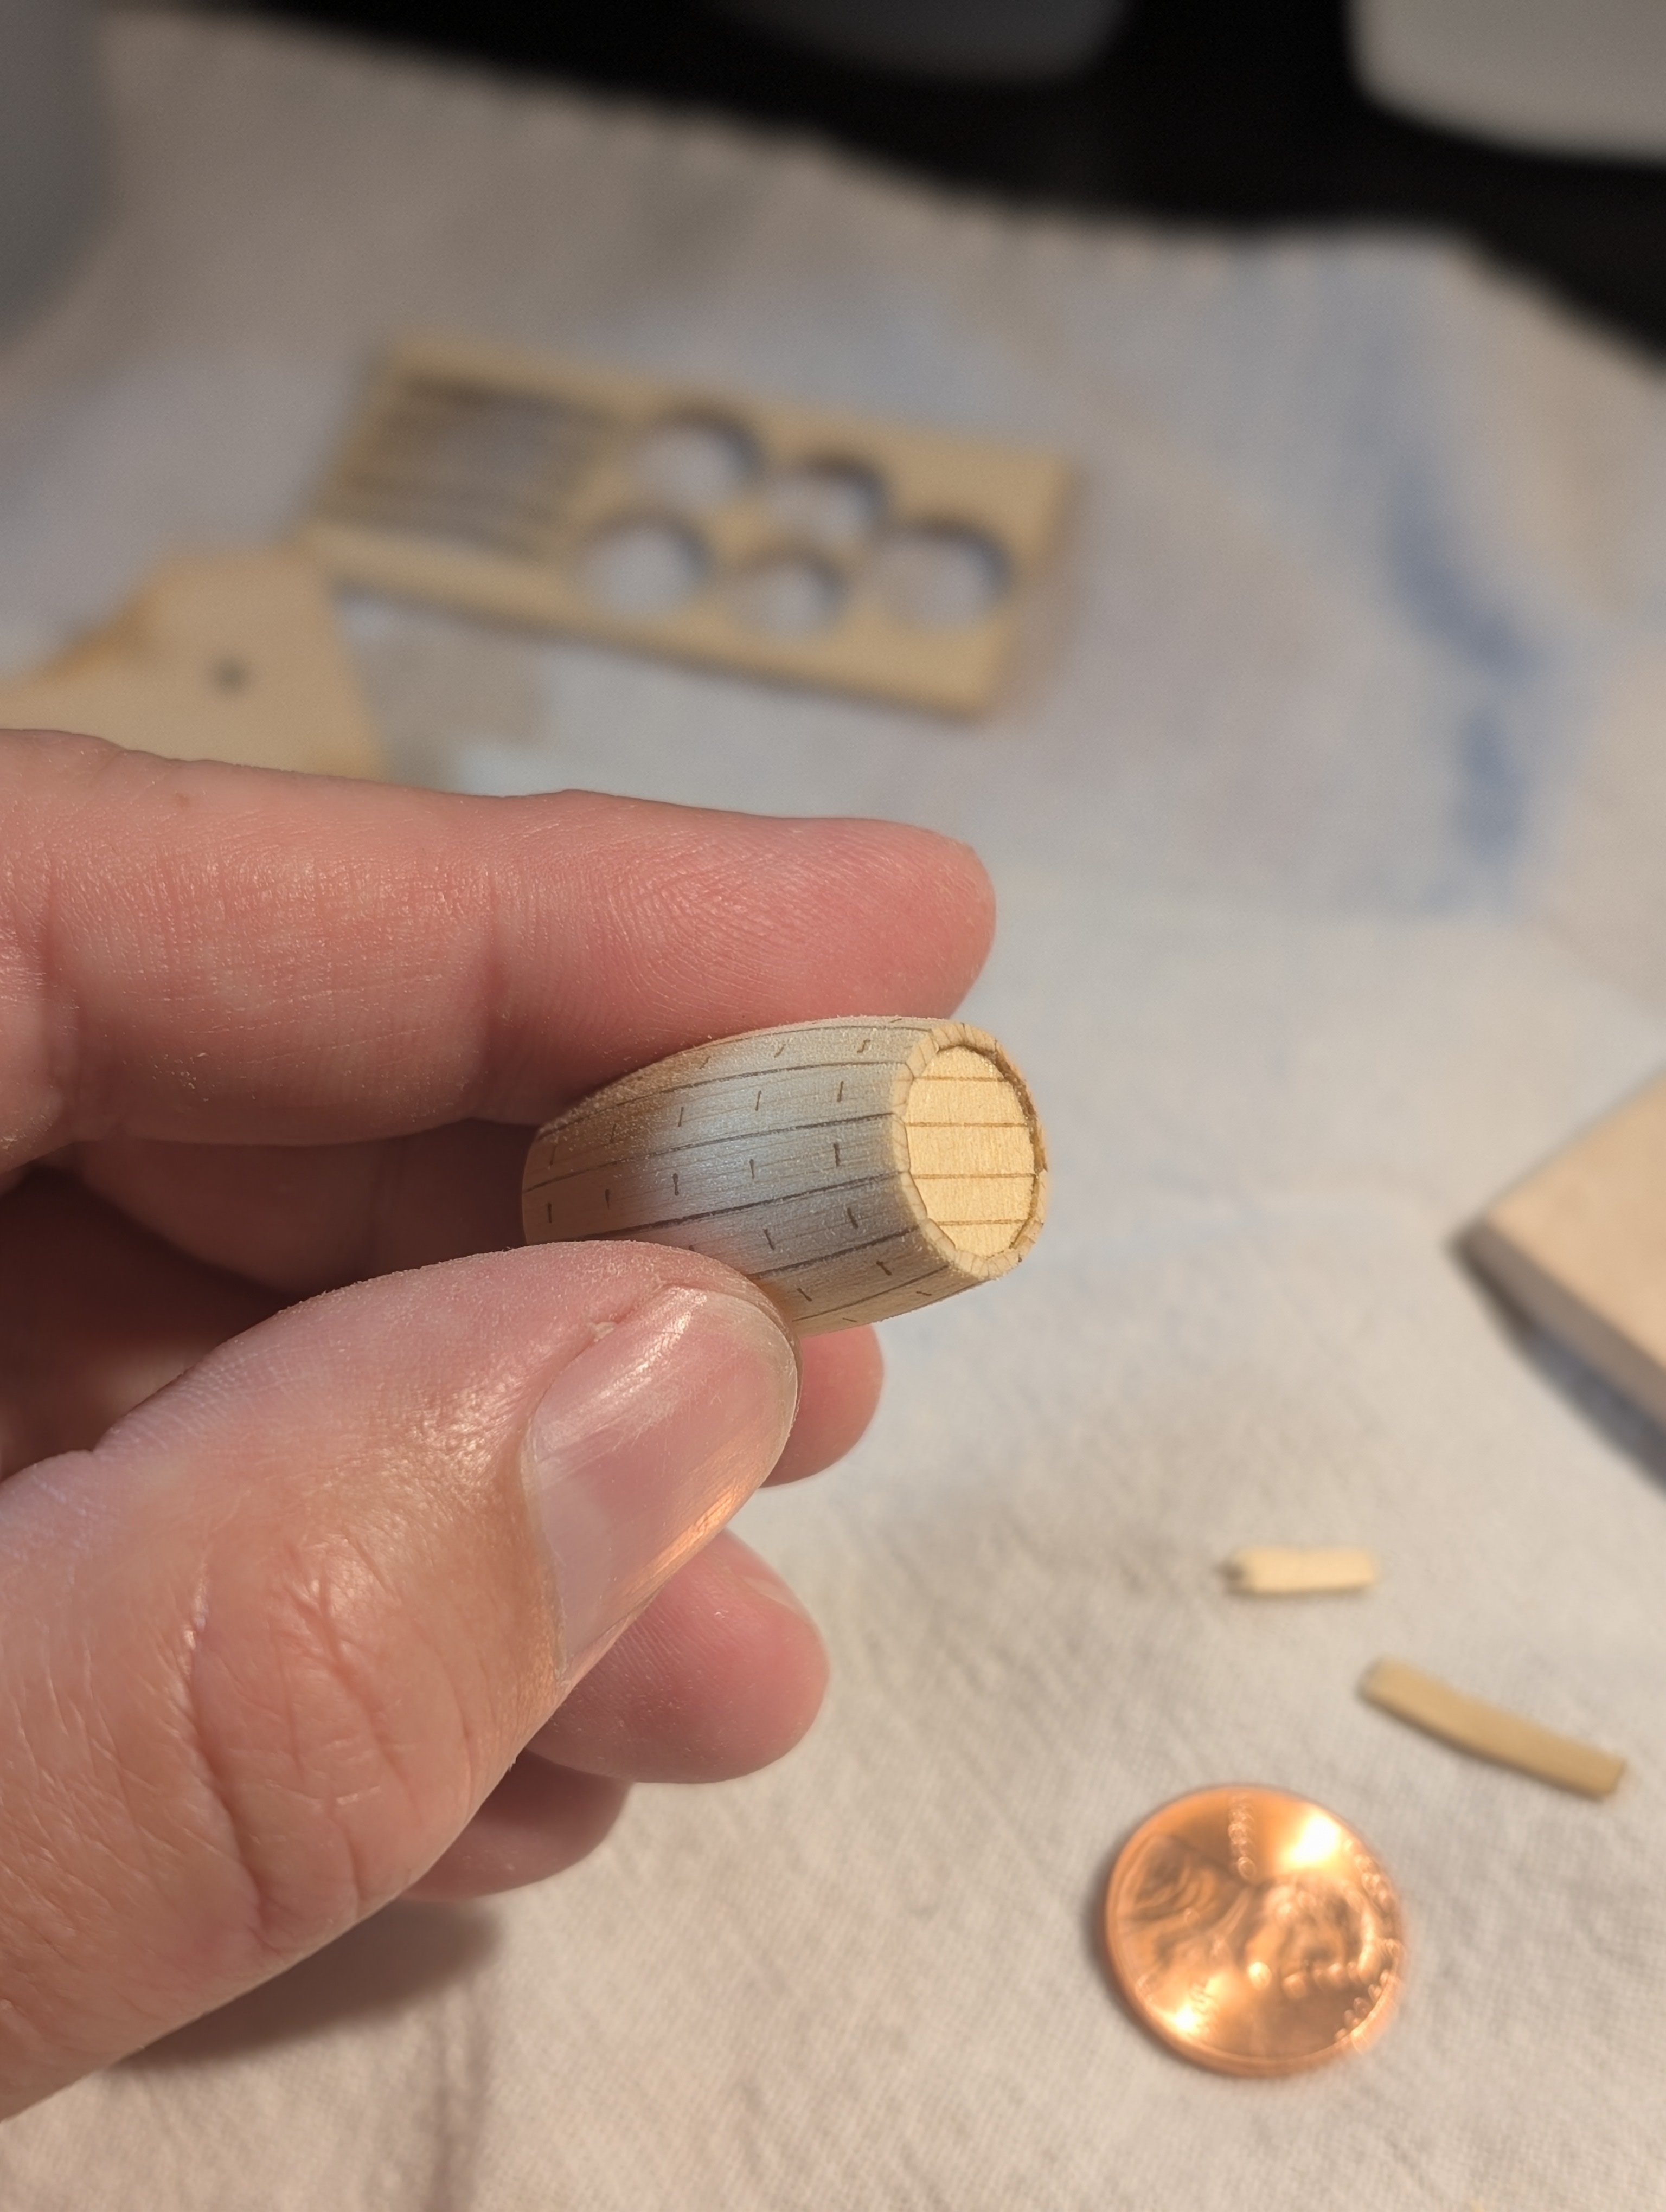
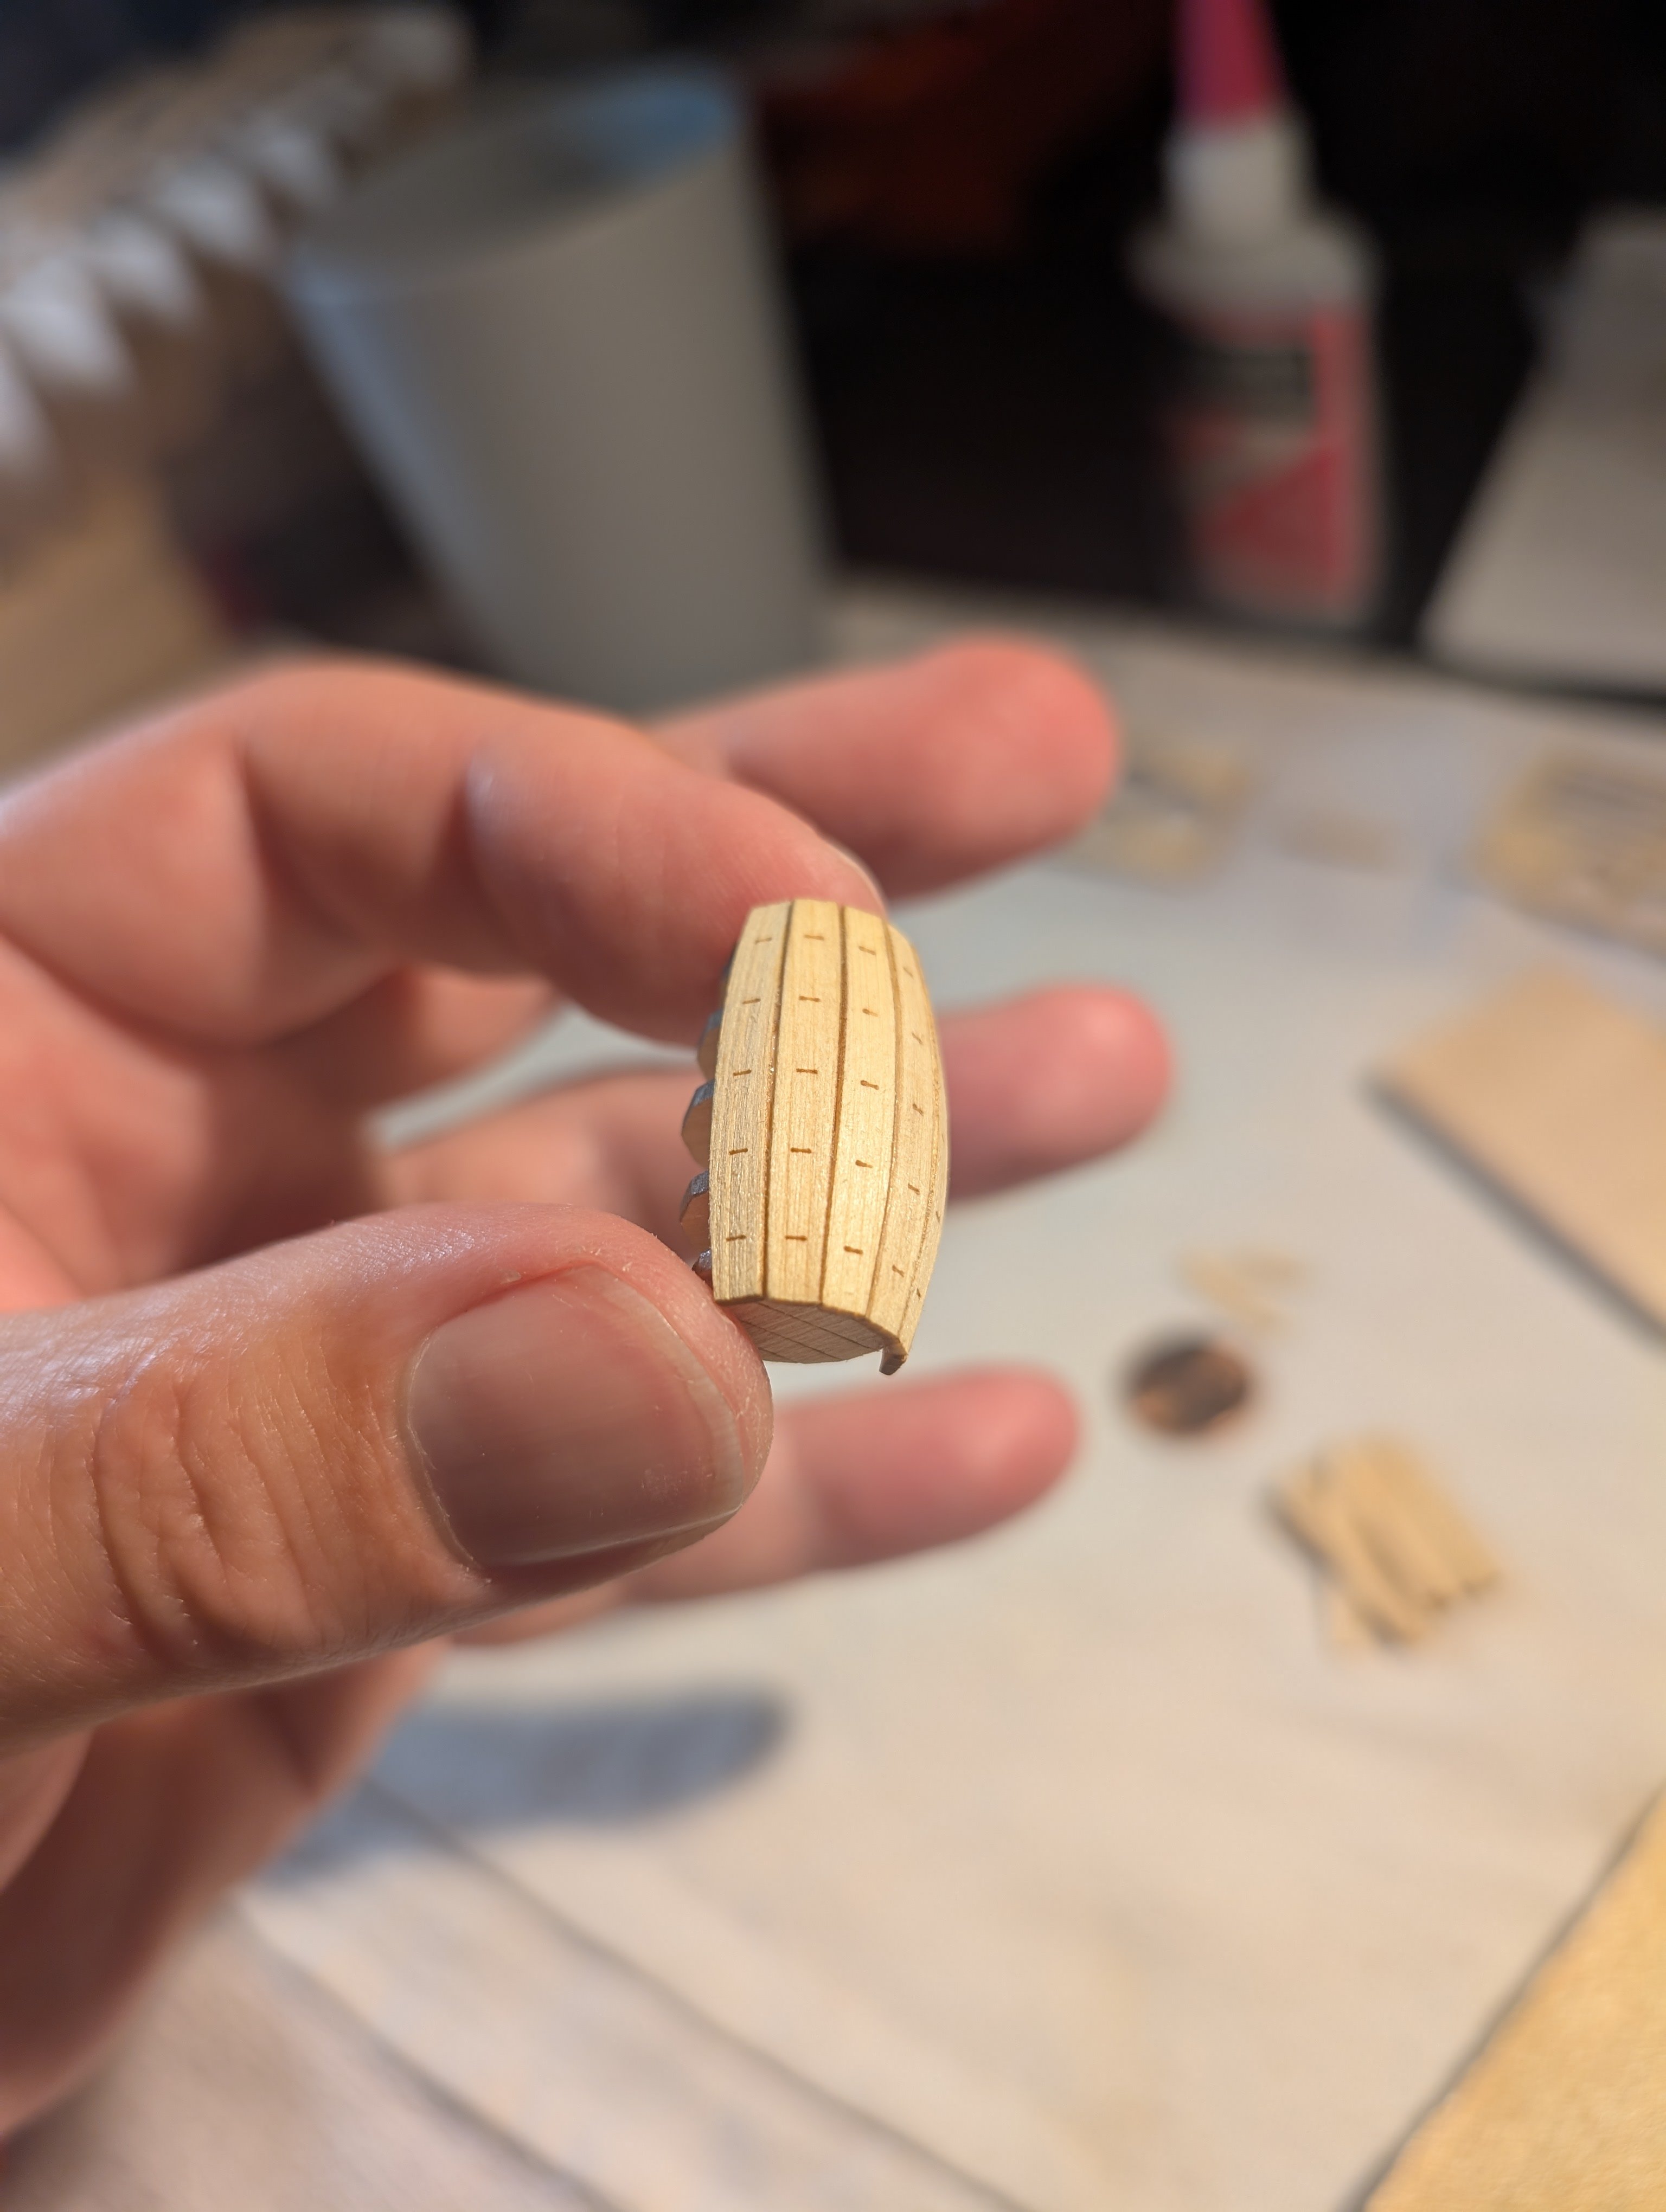
Full planking went well, and the last plank used one of the smaller spacers Chuck includes. The kit has 3 different size spacers to help with making the last plank fit really well.


-
Yellow Cedar Barrel by TheFace - Syren Ship Model Company
TheFace replied to TheFace's topic in Non-ship/categorised builds
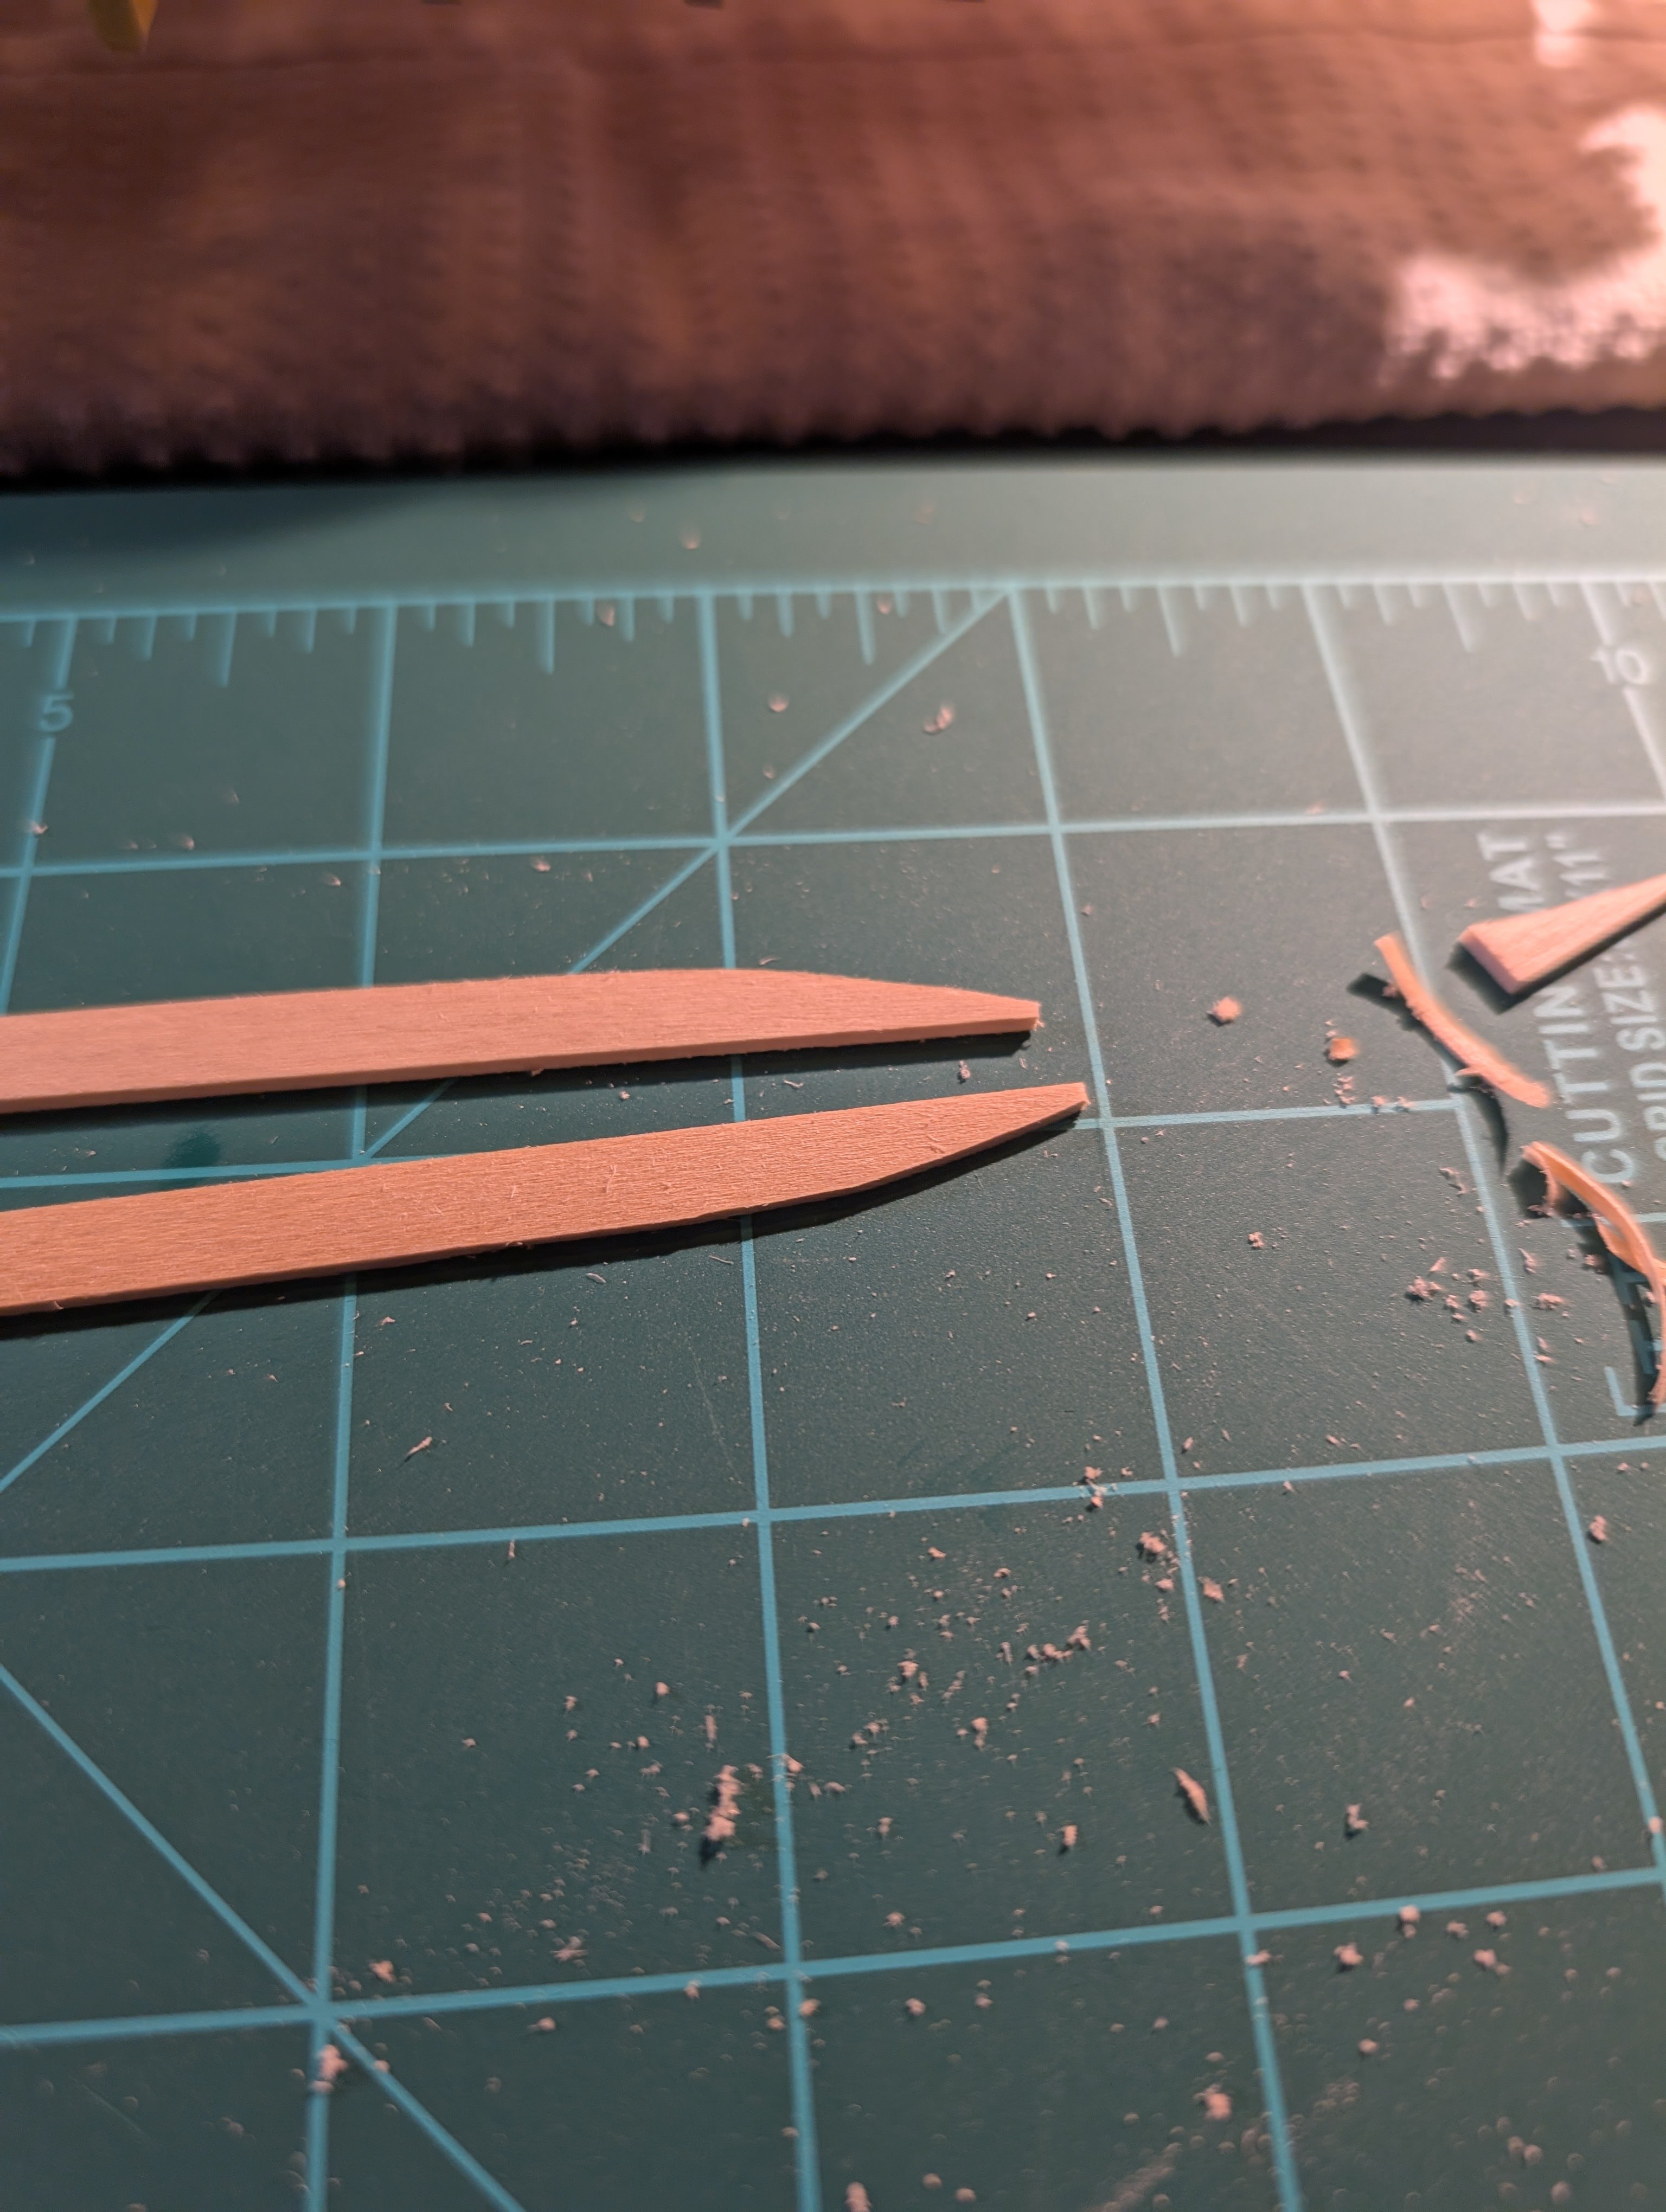
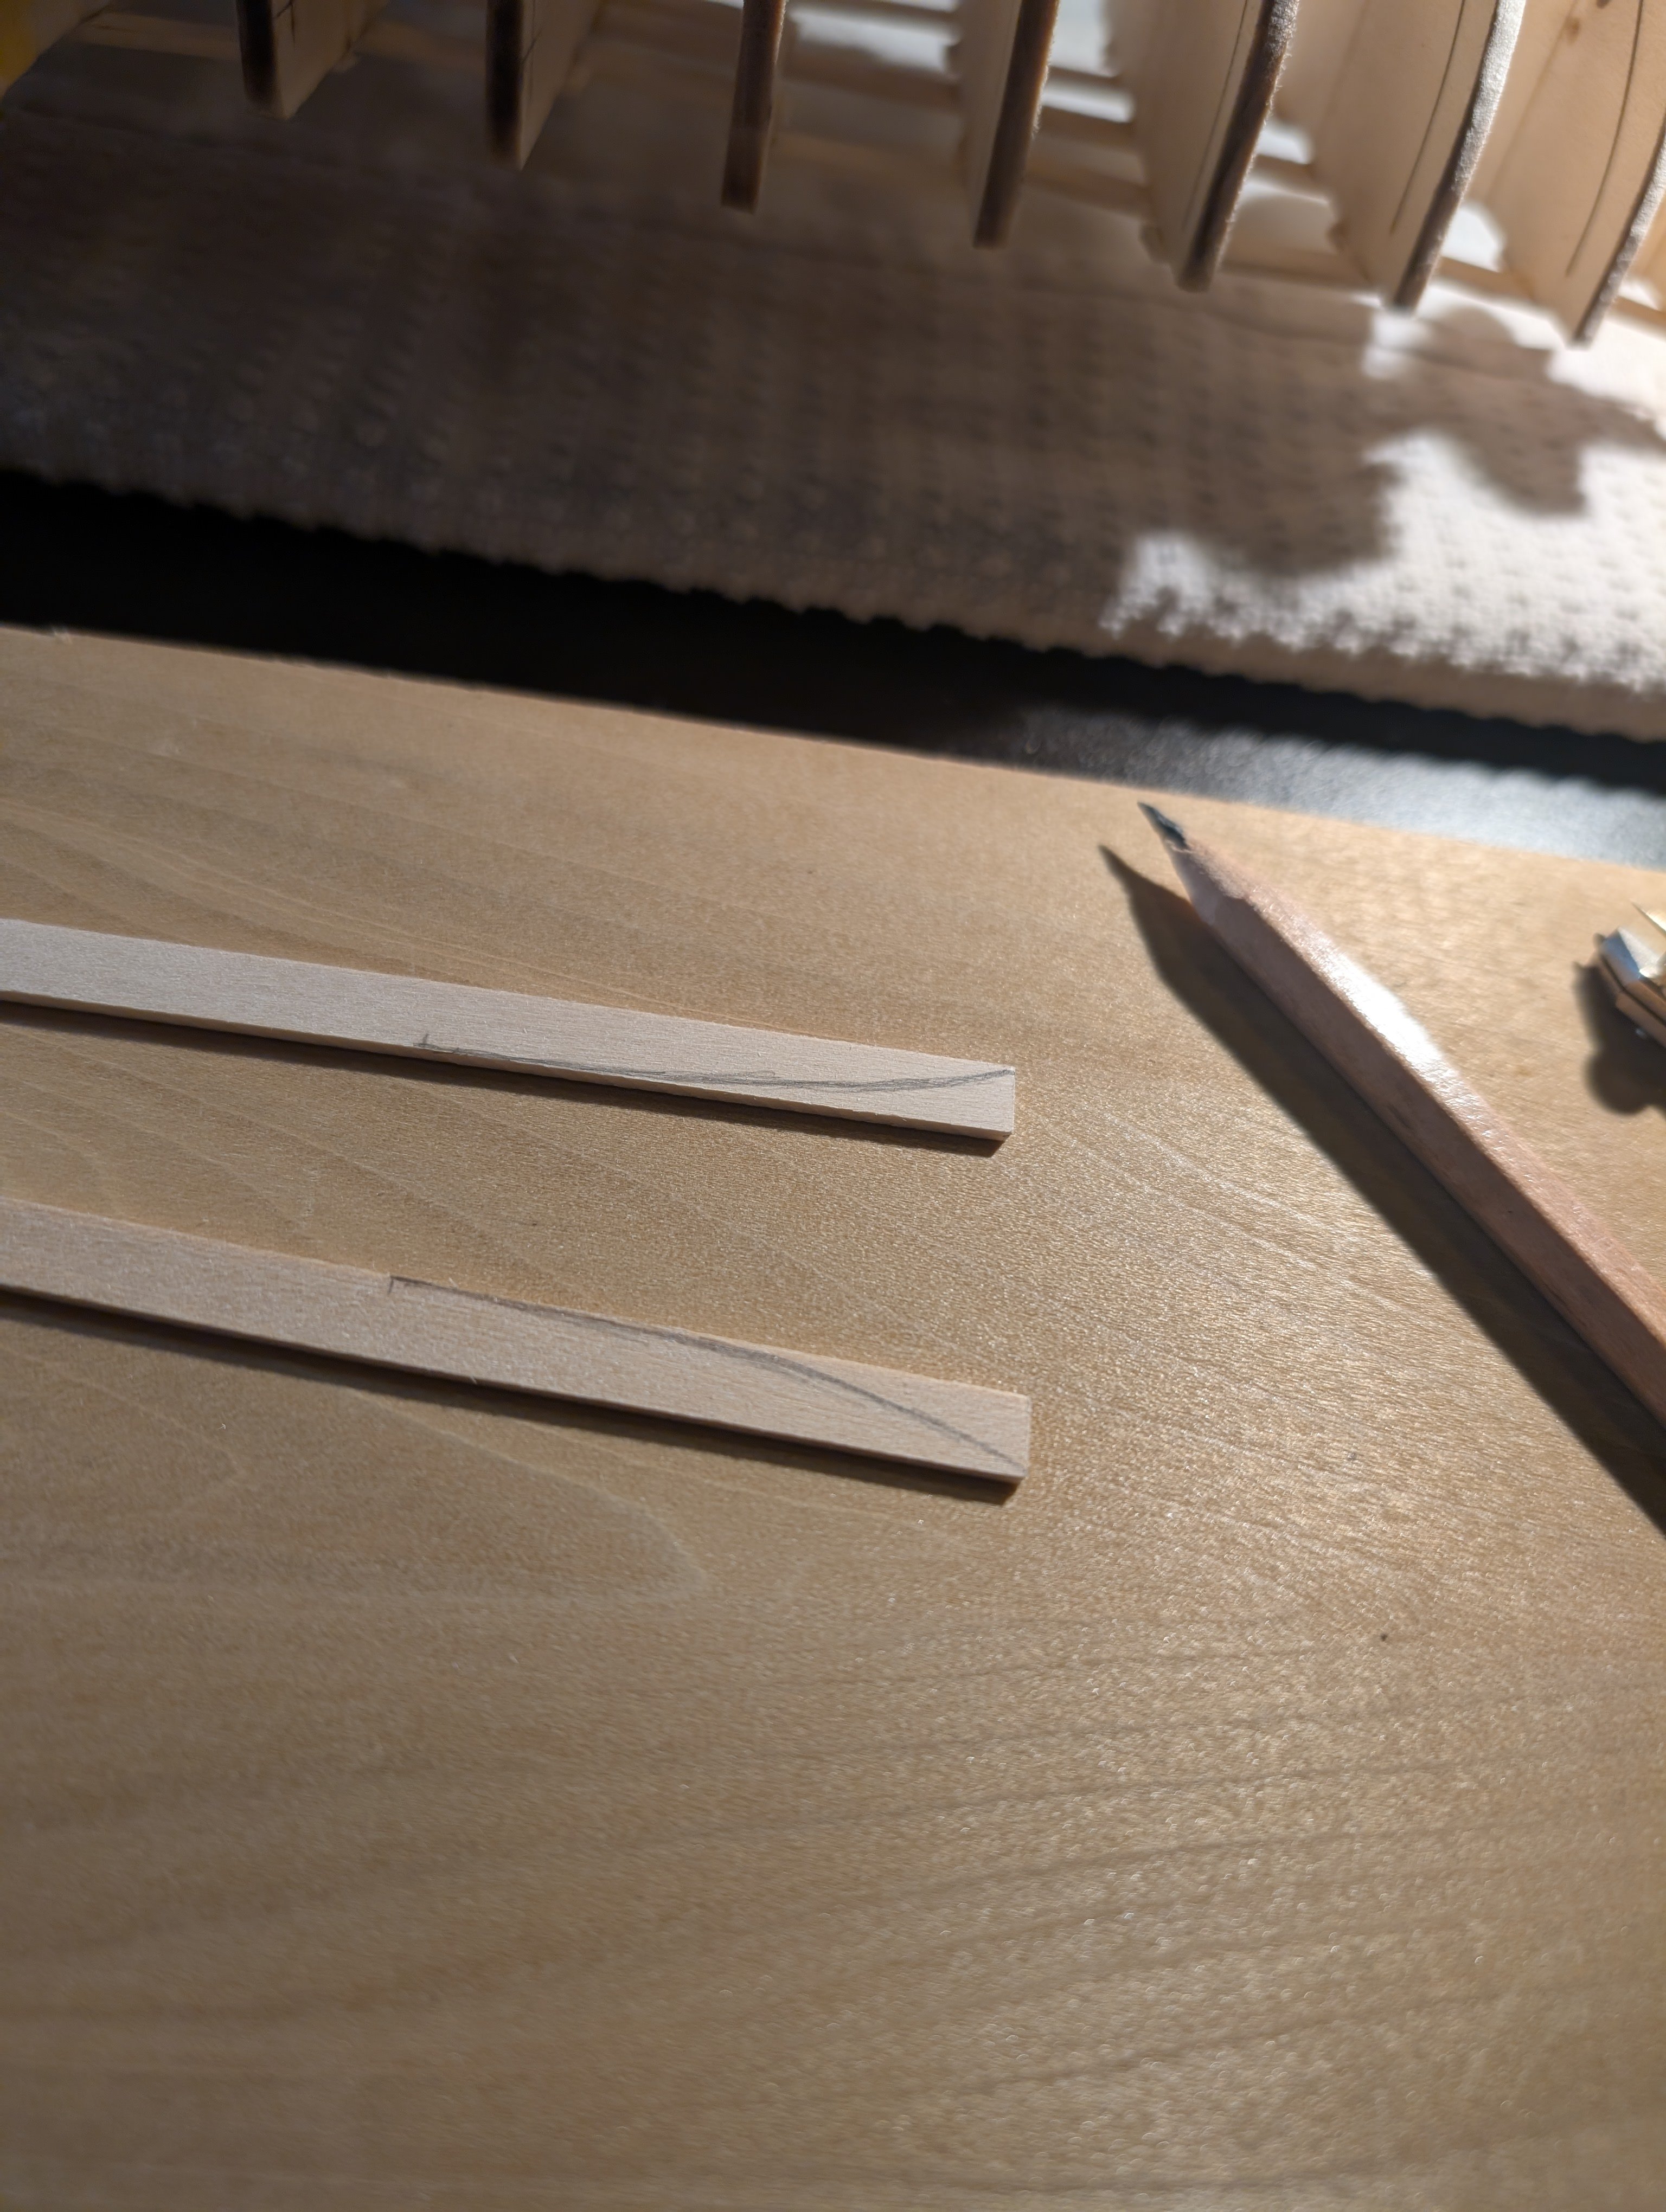
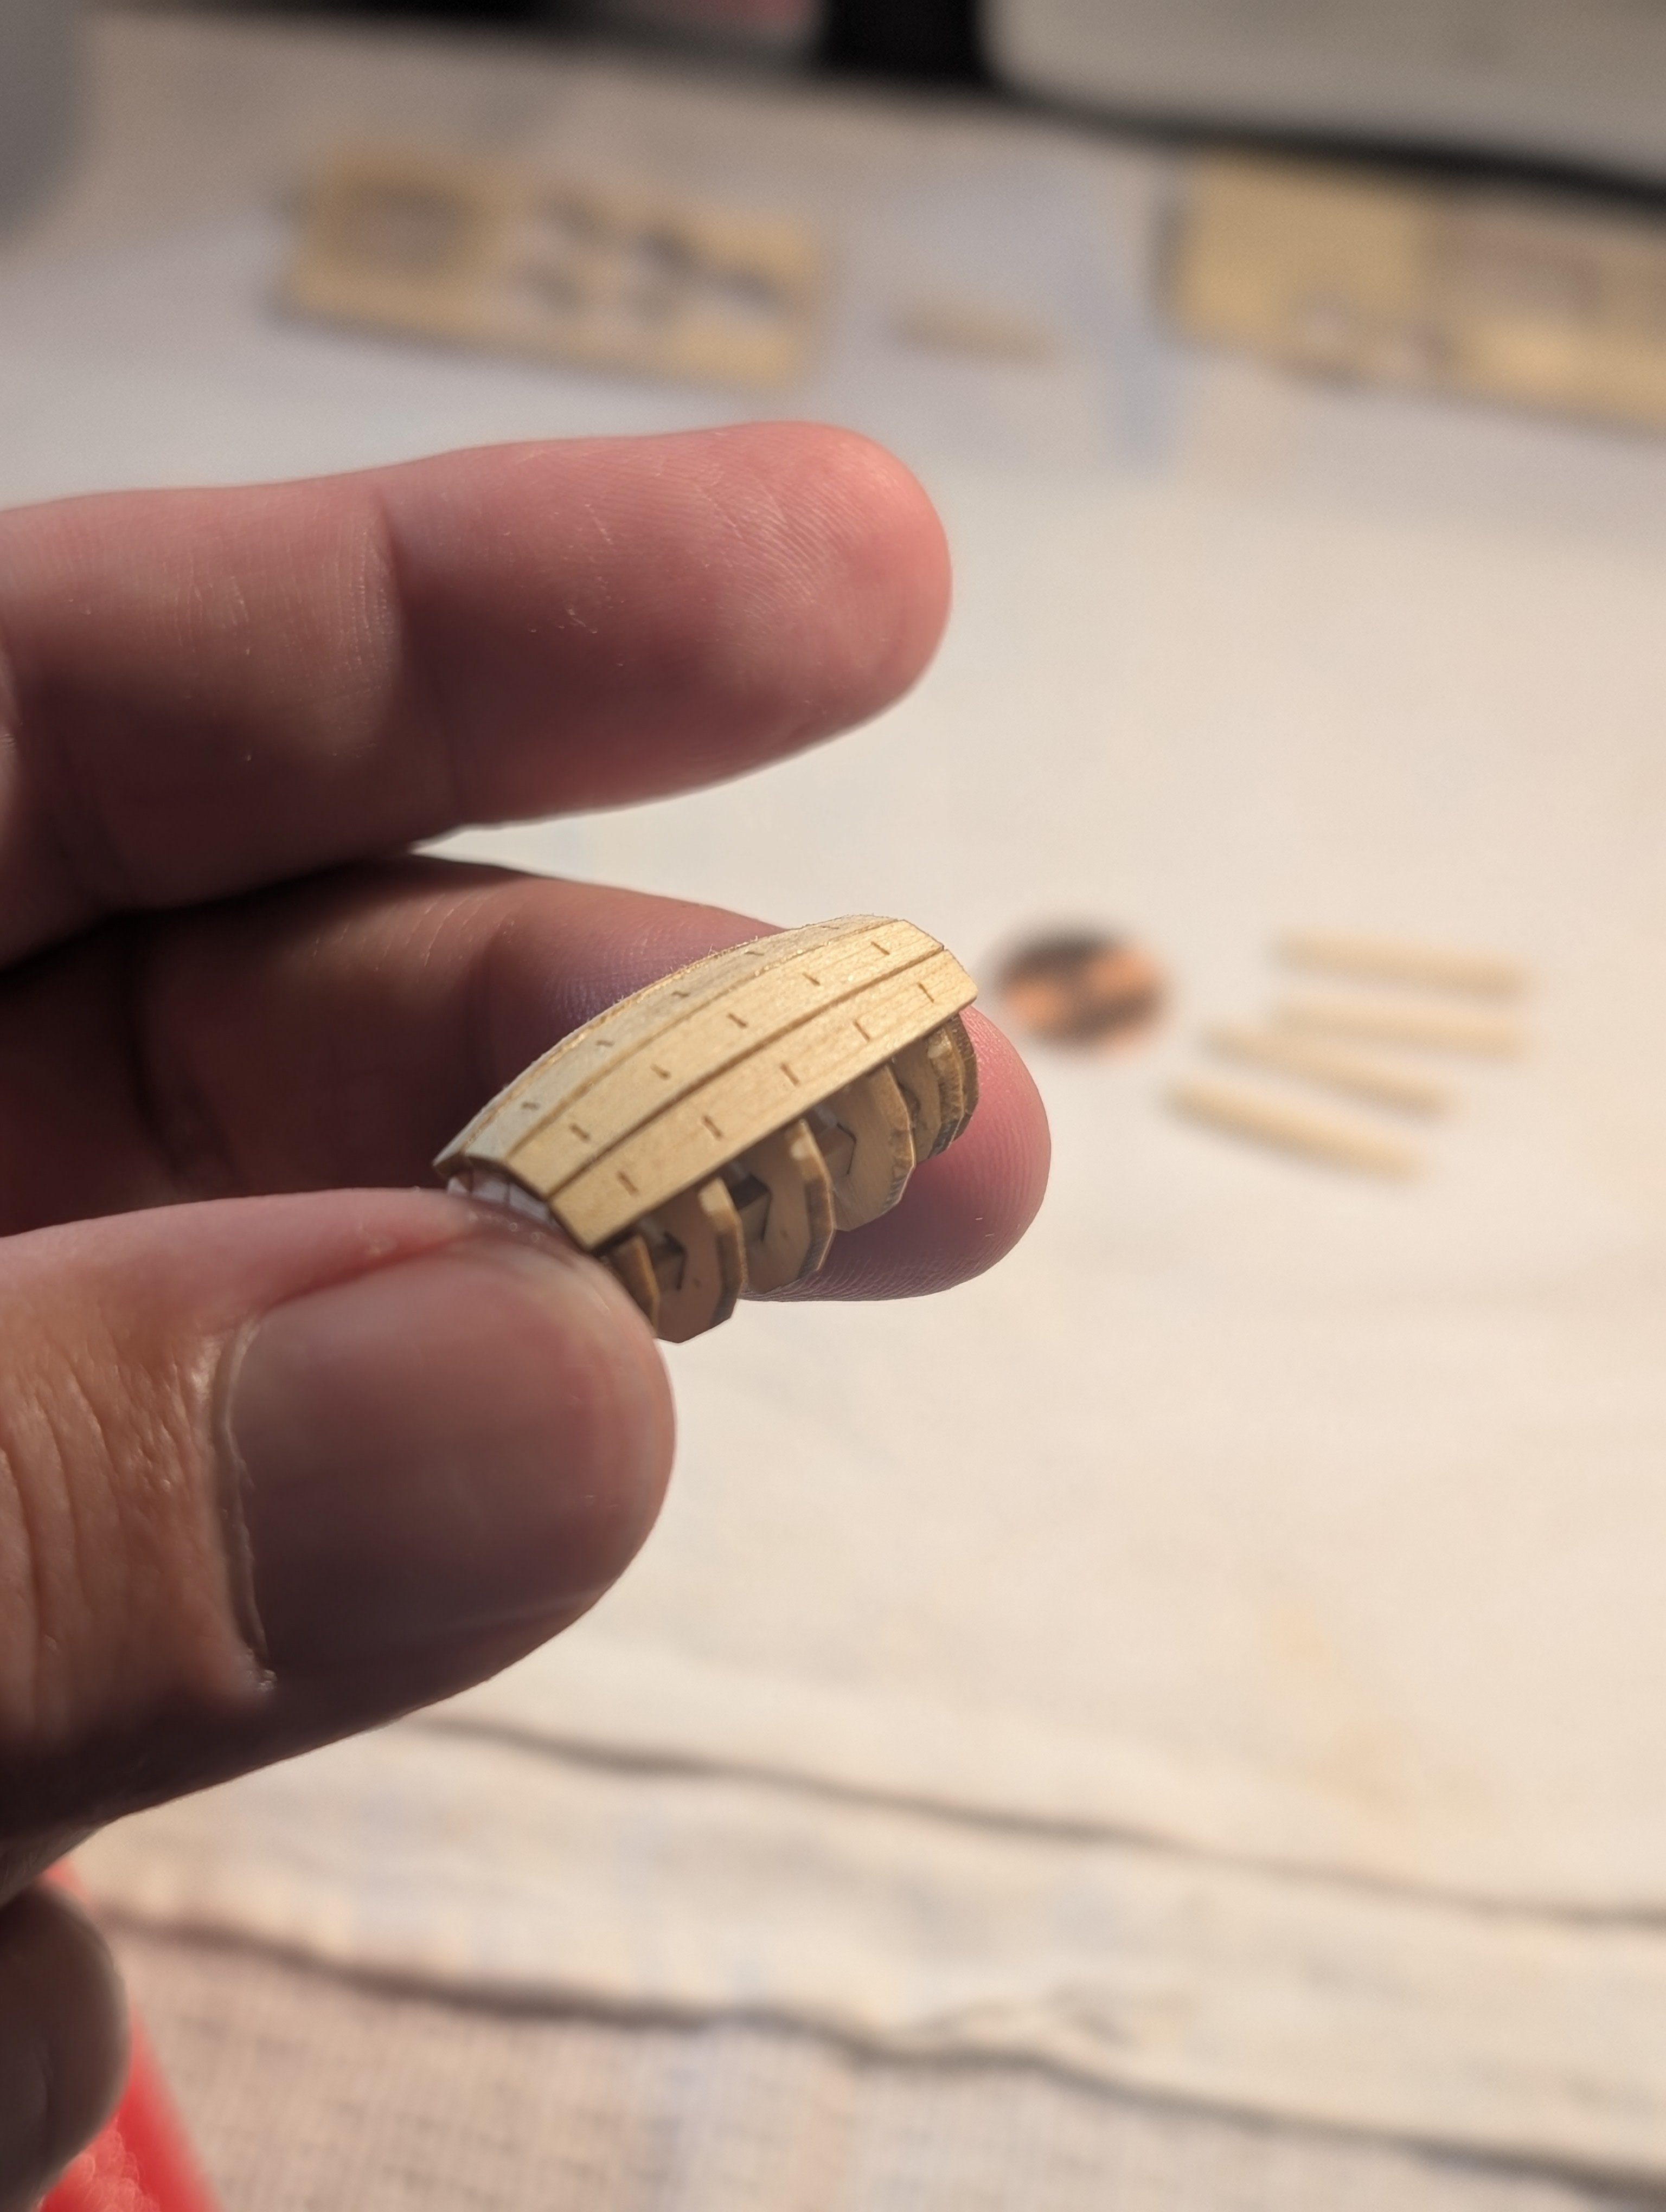
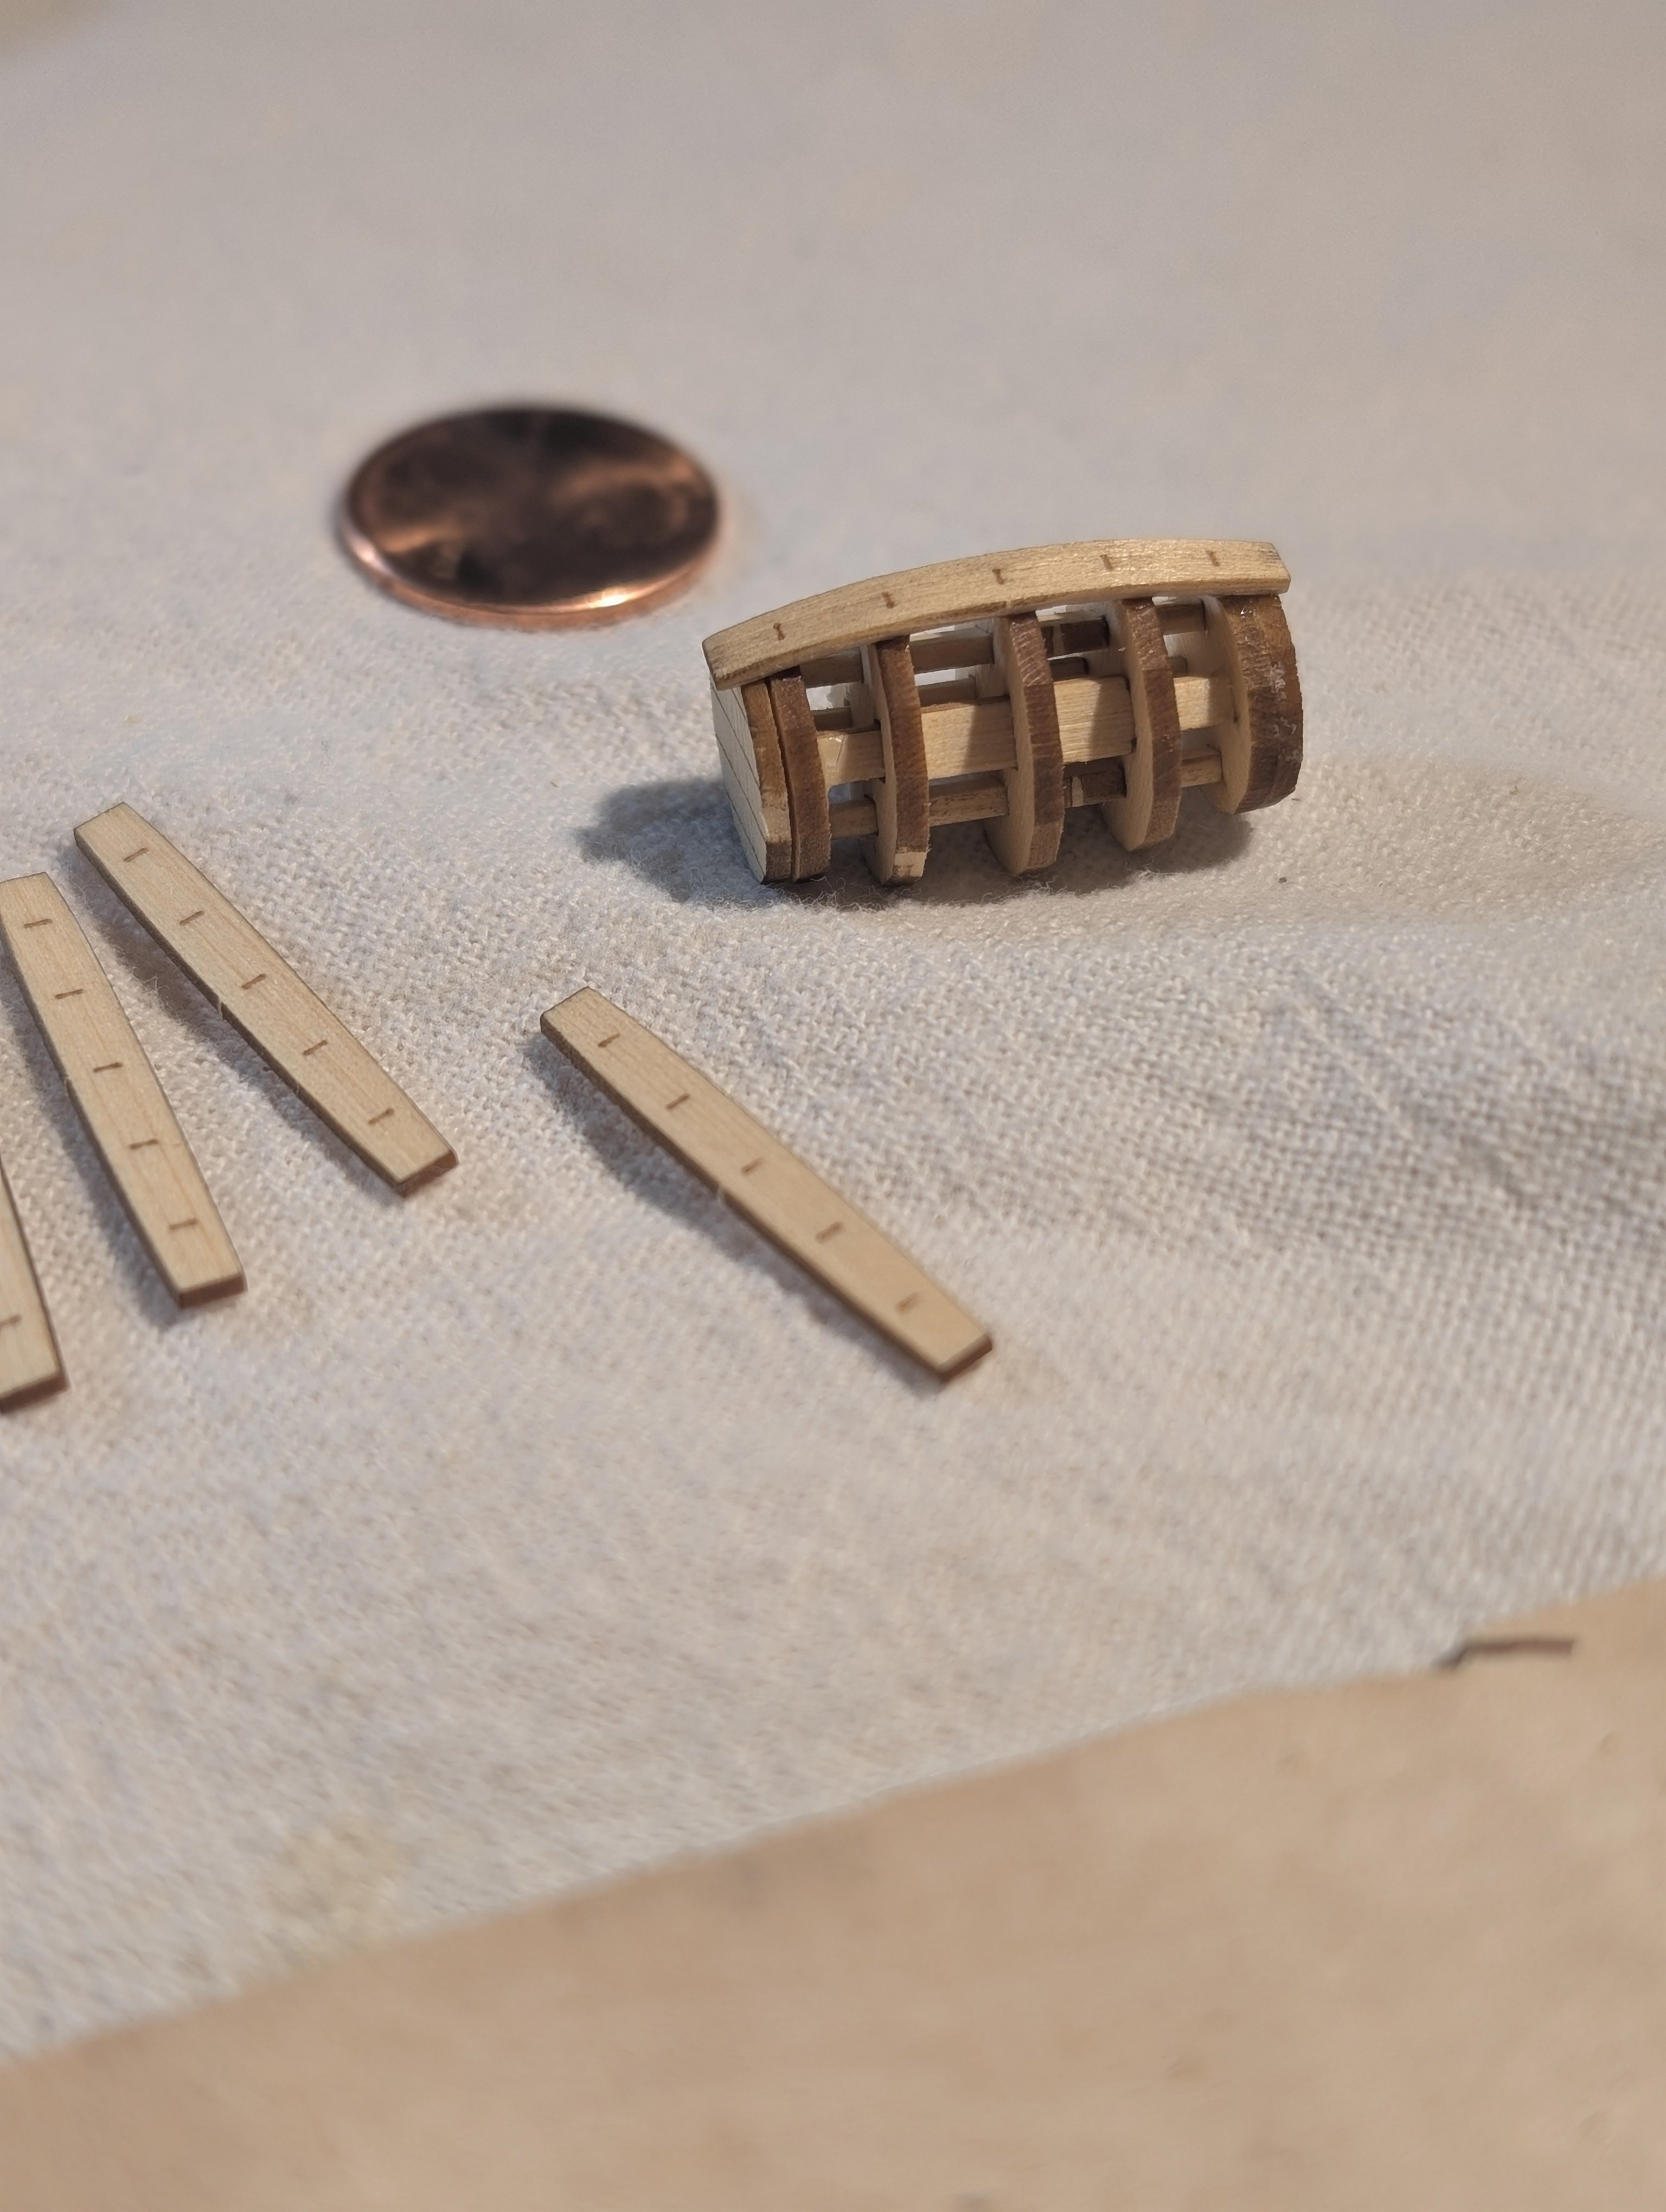
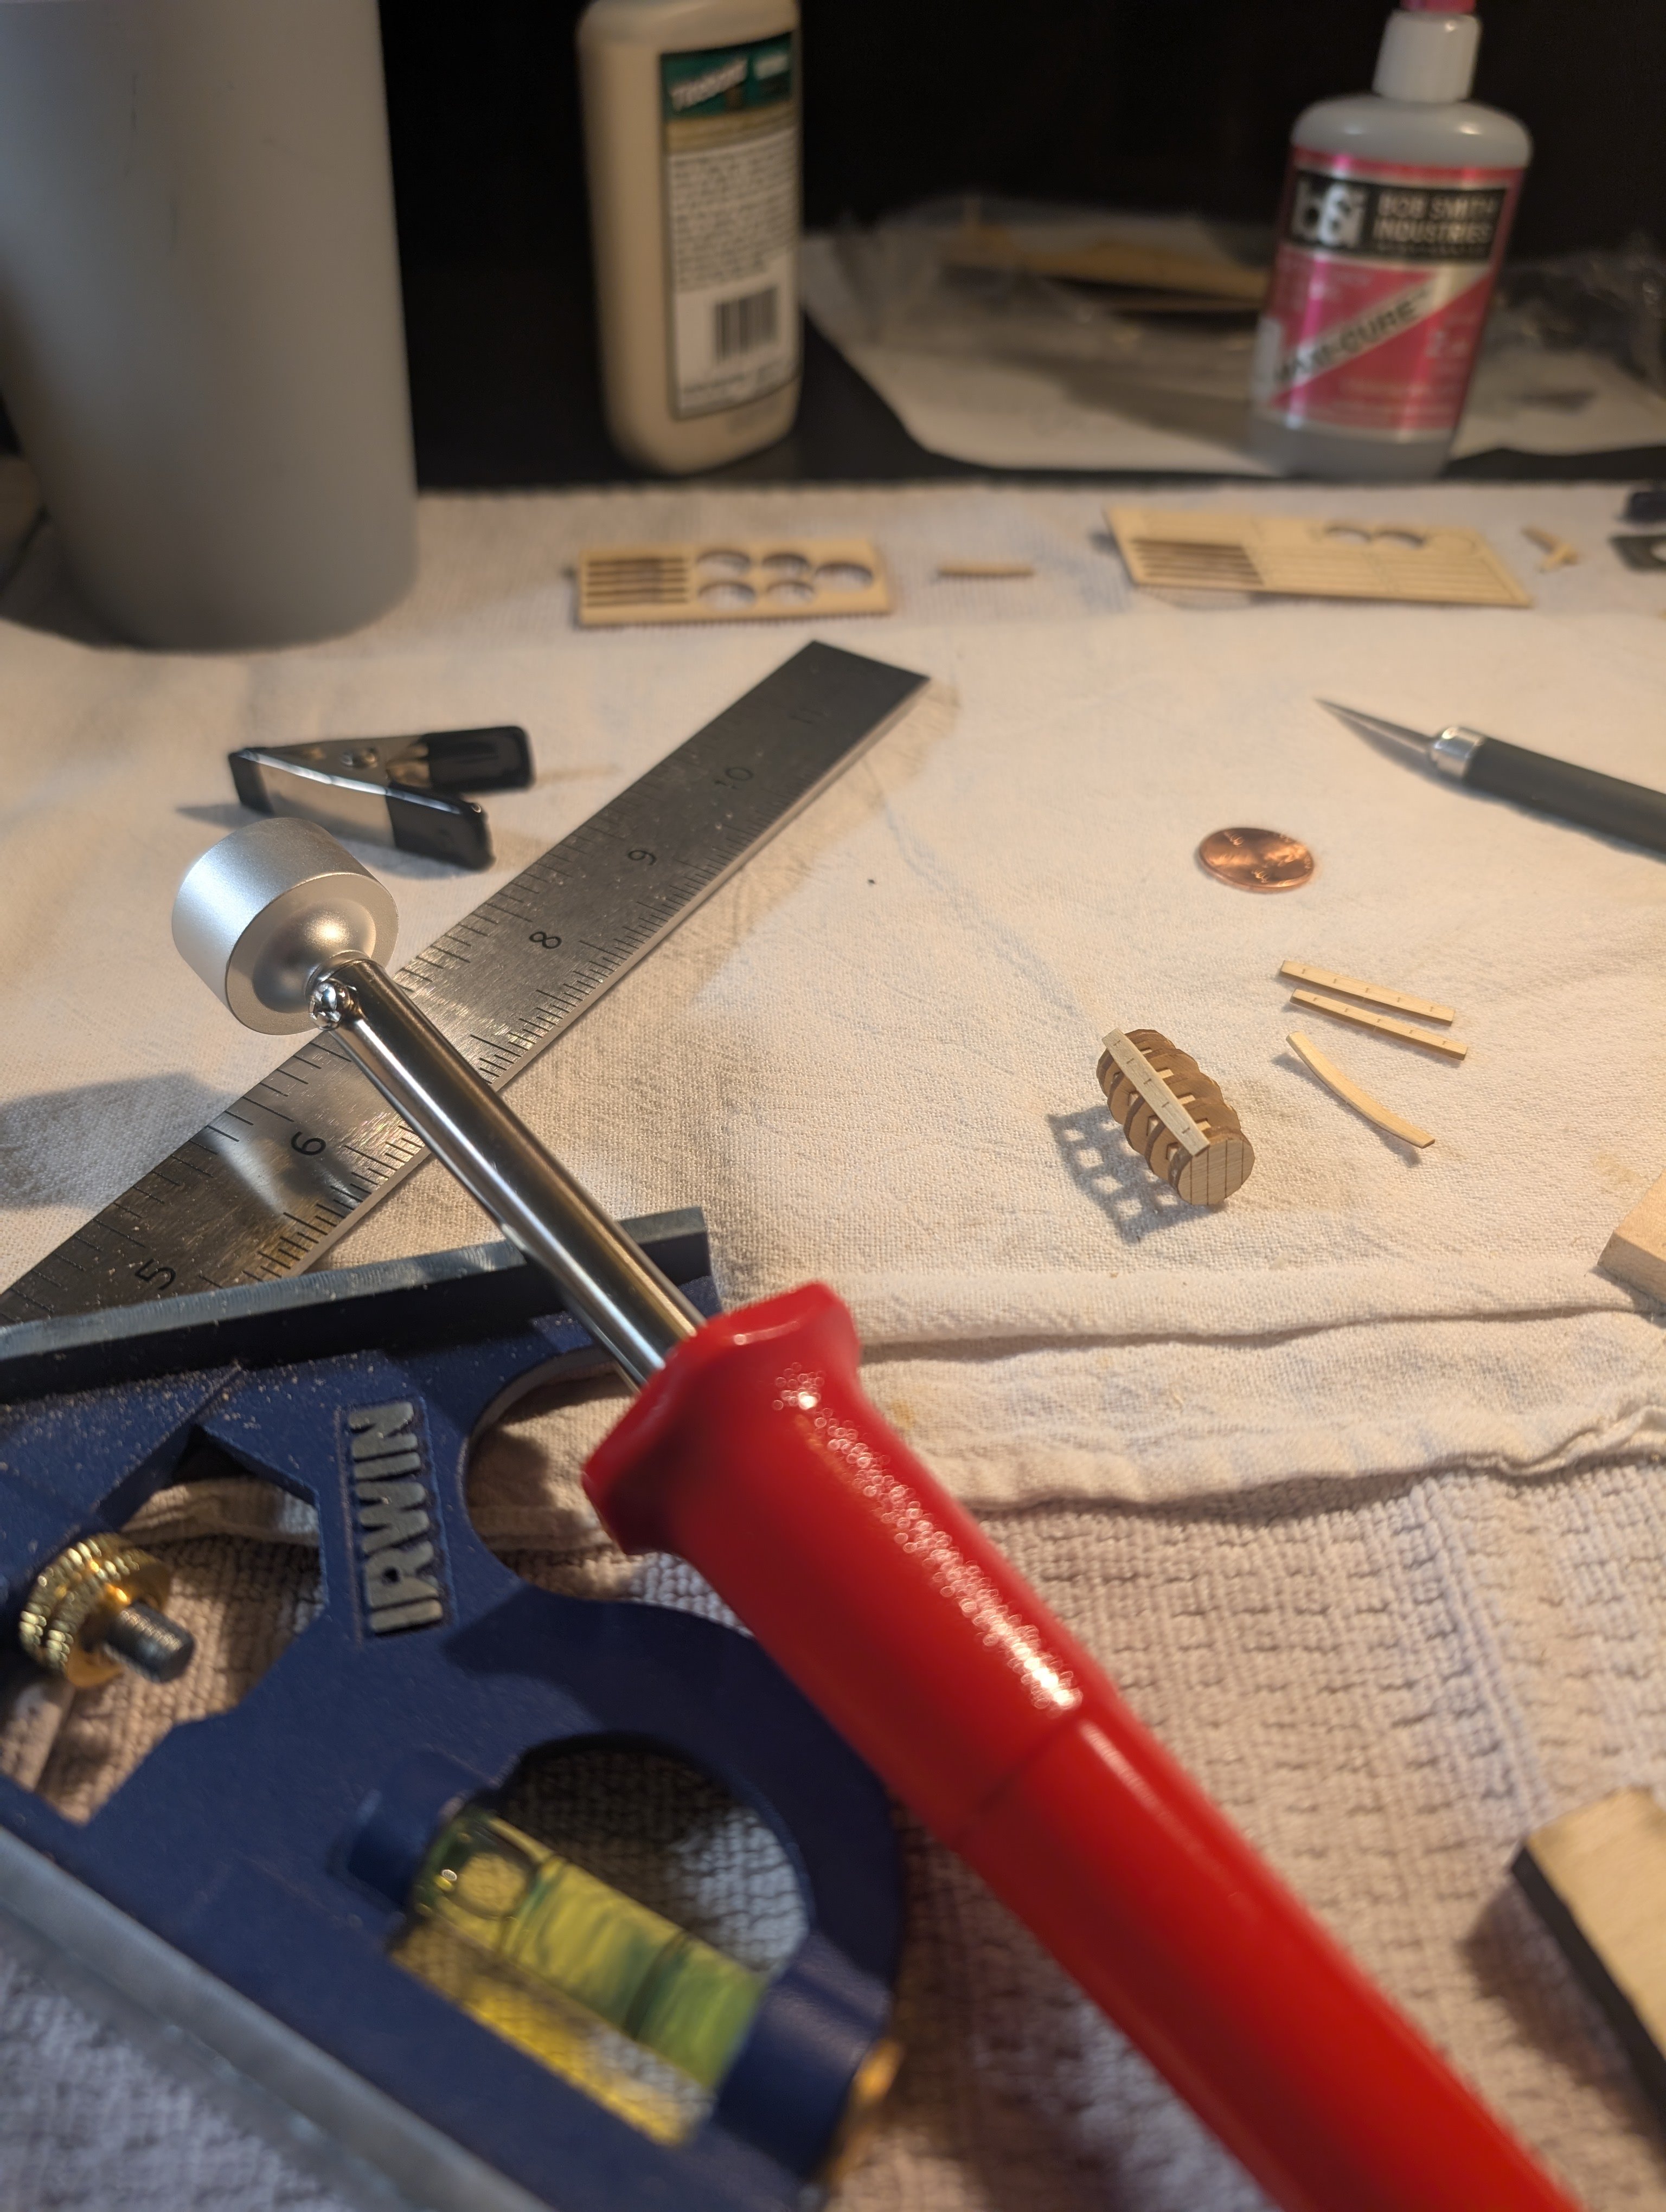
Next is planking the barrel framework. I used Tightbond on the edges, and thick CA dots on the frame connections. Plankes were given an angle to the edges with a #11 blade. They were bent using Model Shipways plank bender. Super easy and only broke one plank.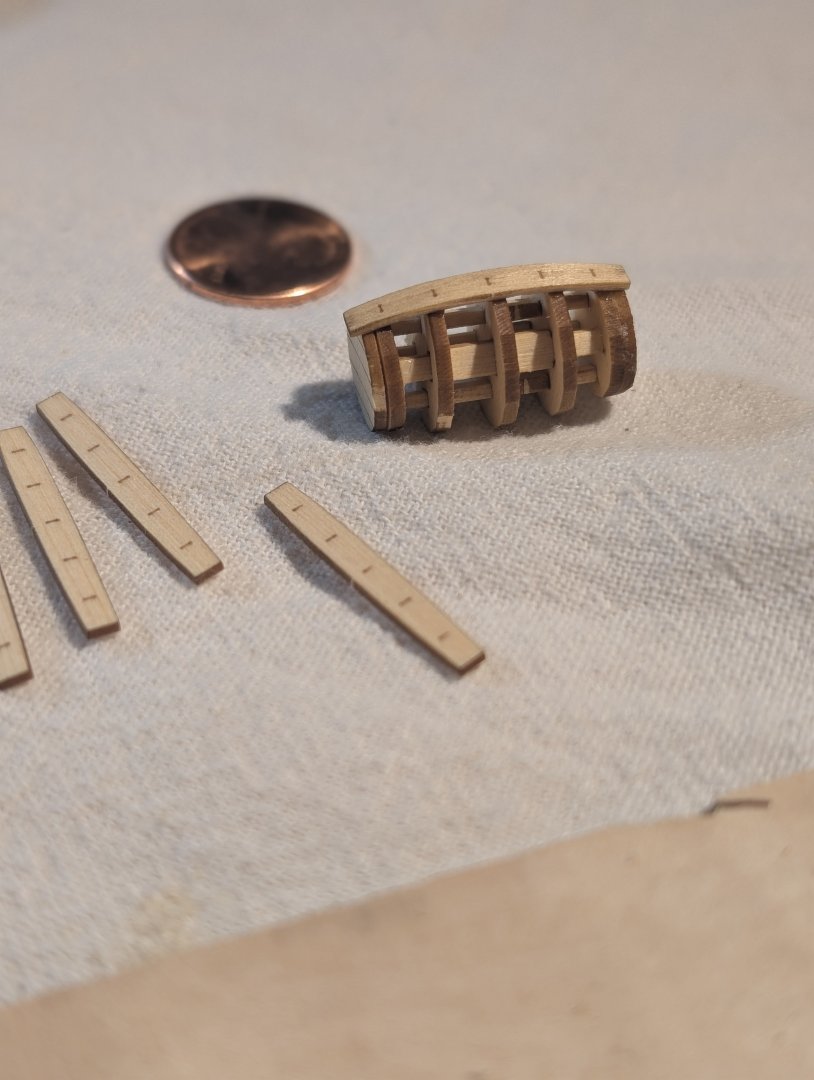

-
Yellow Cedar Barrel by TheFace - Syren Ship Model Company
TheFace replied to TheFace's topic in Non-ship/categorised builds
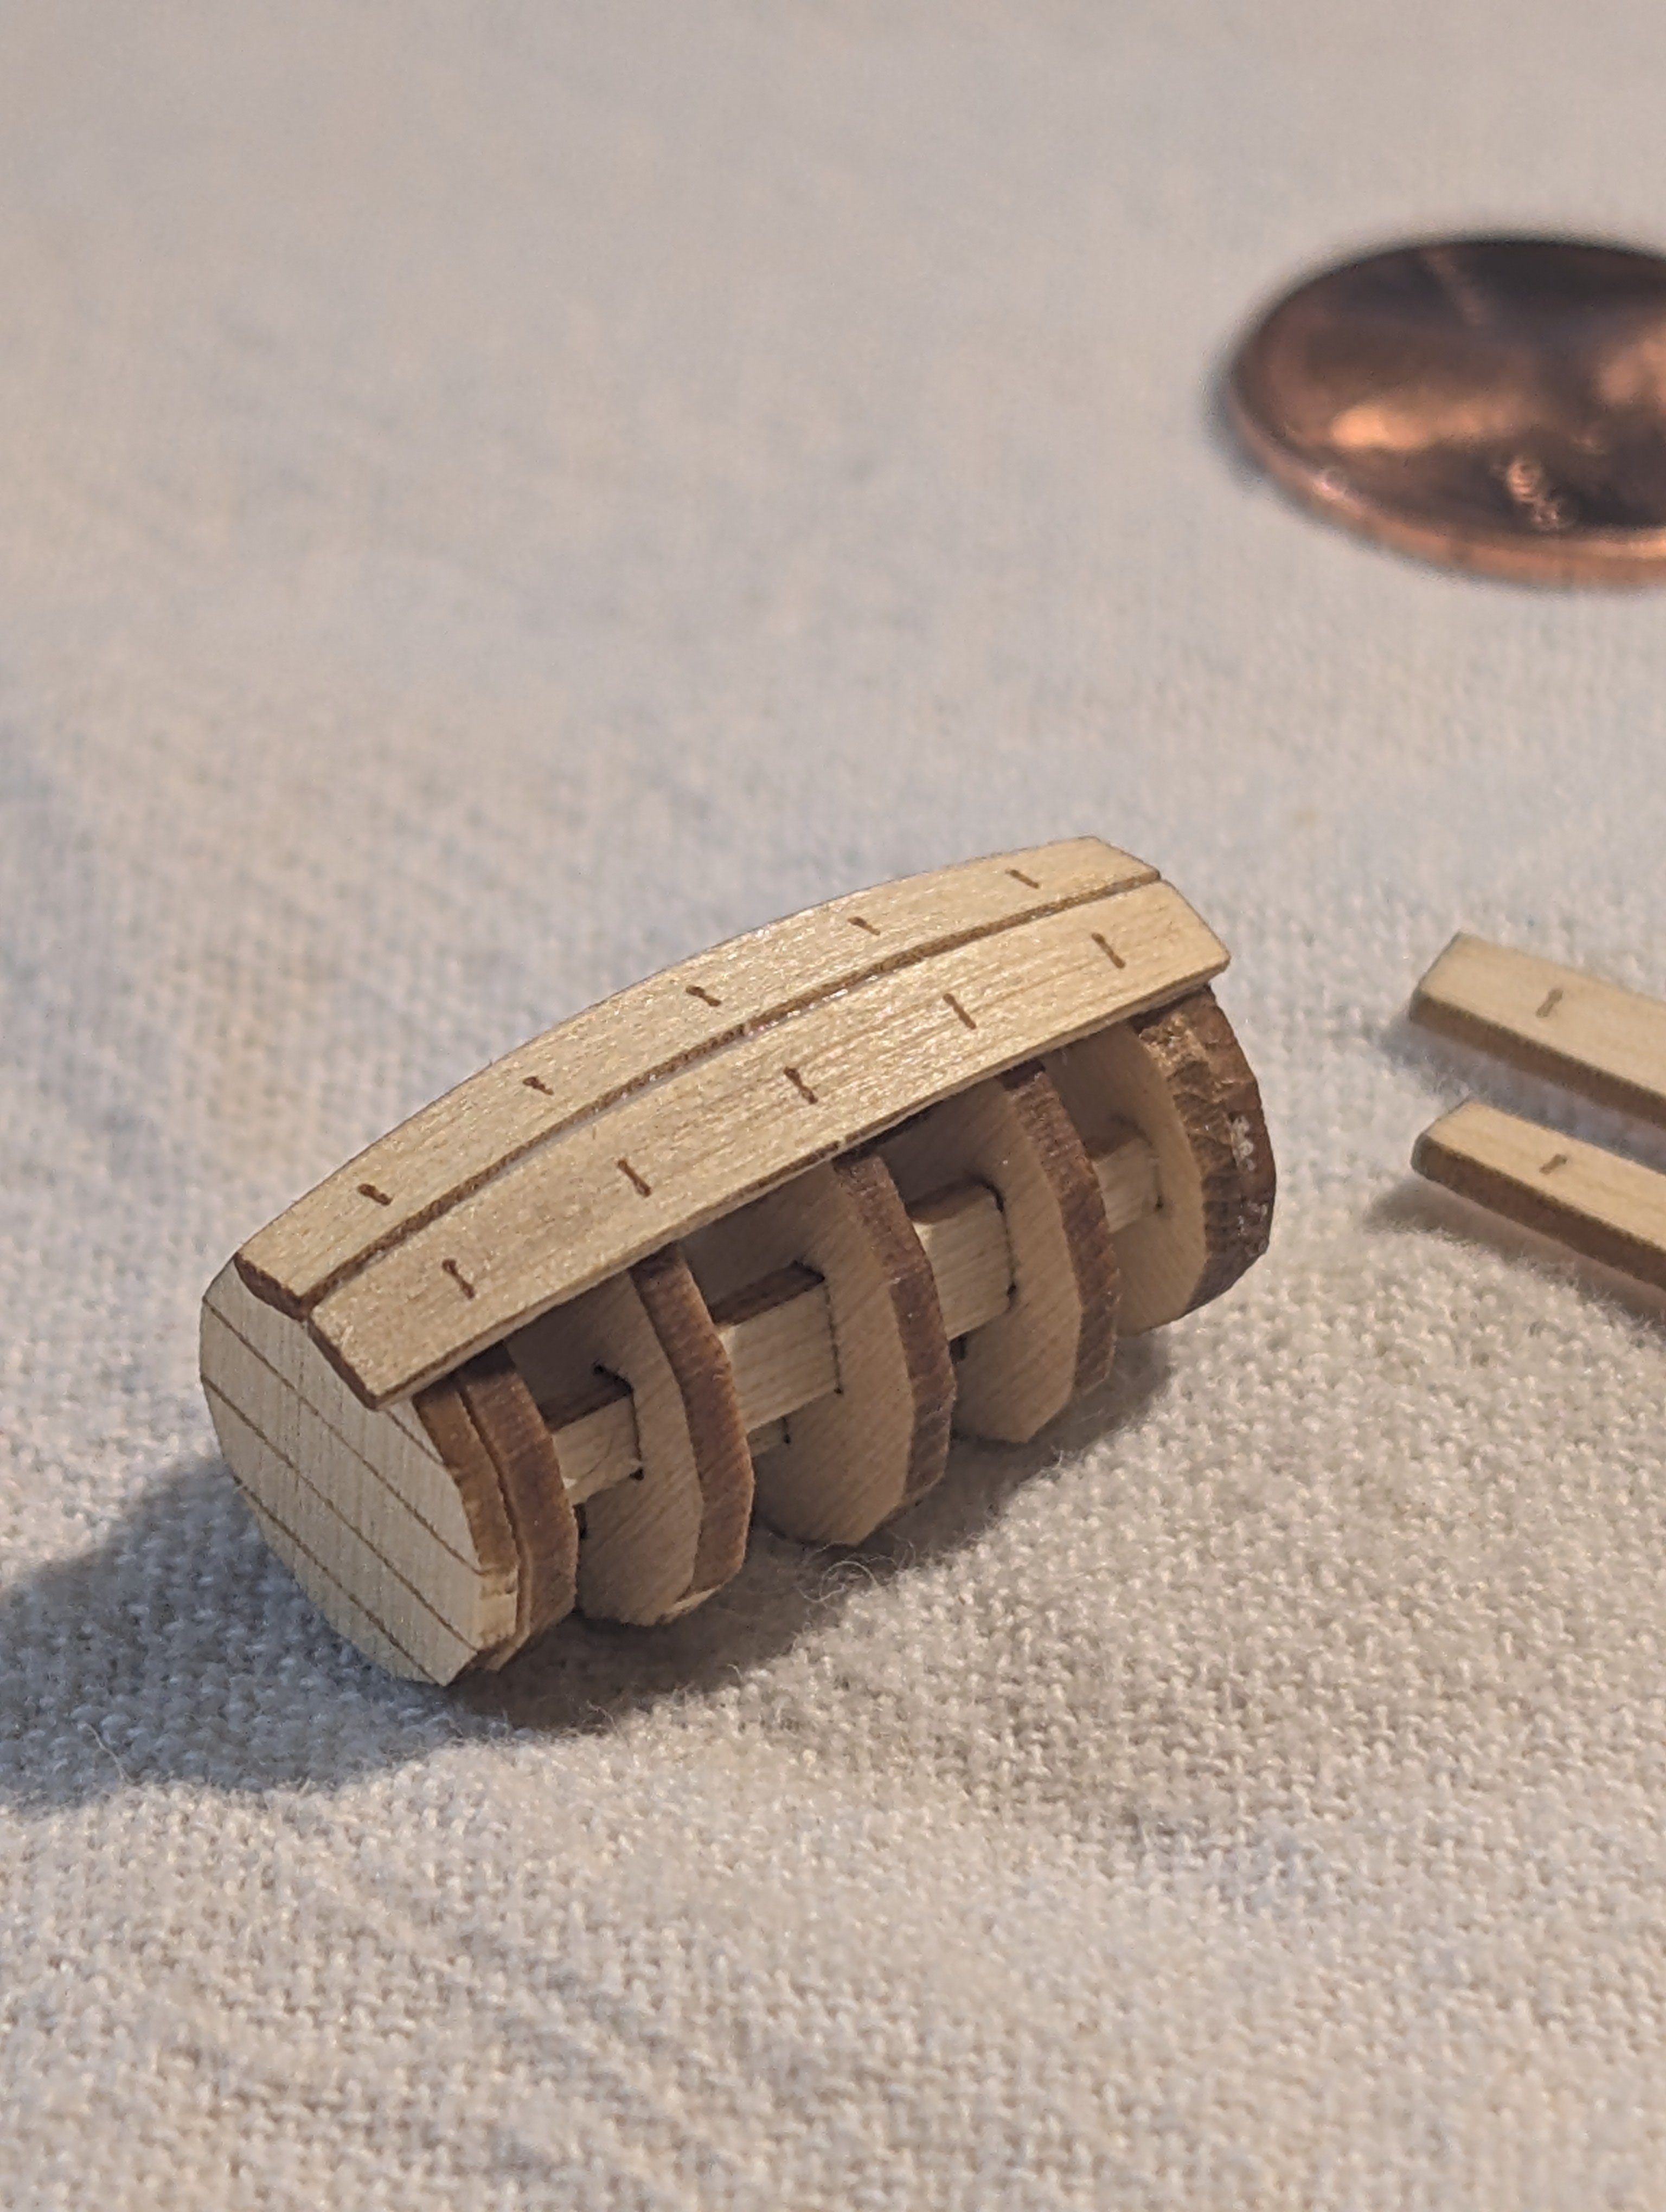
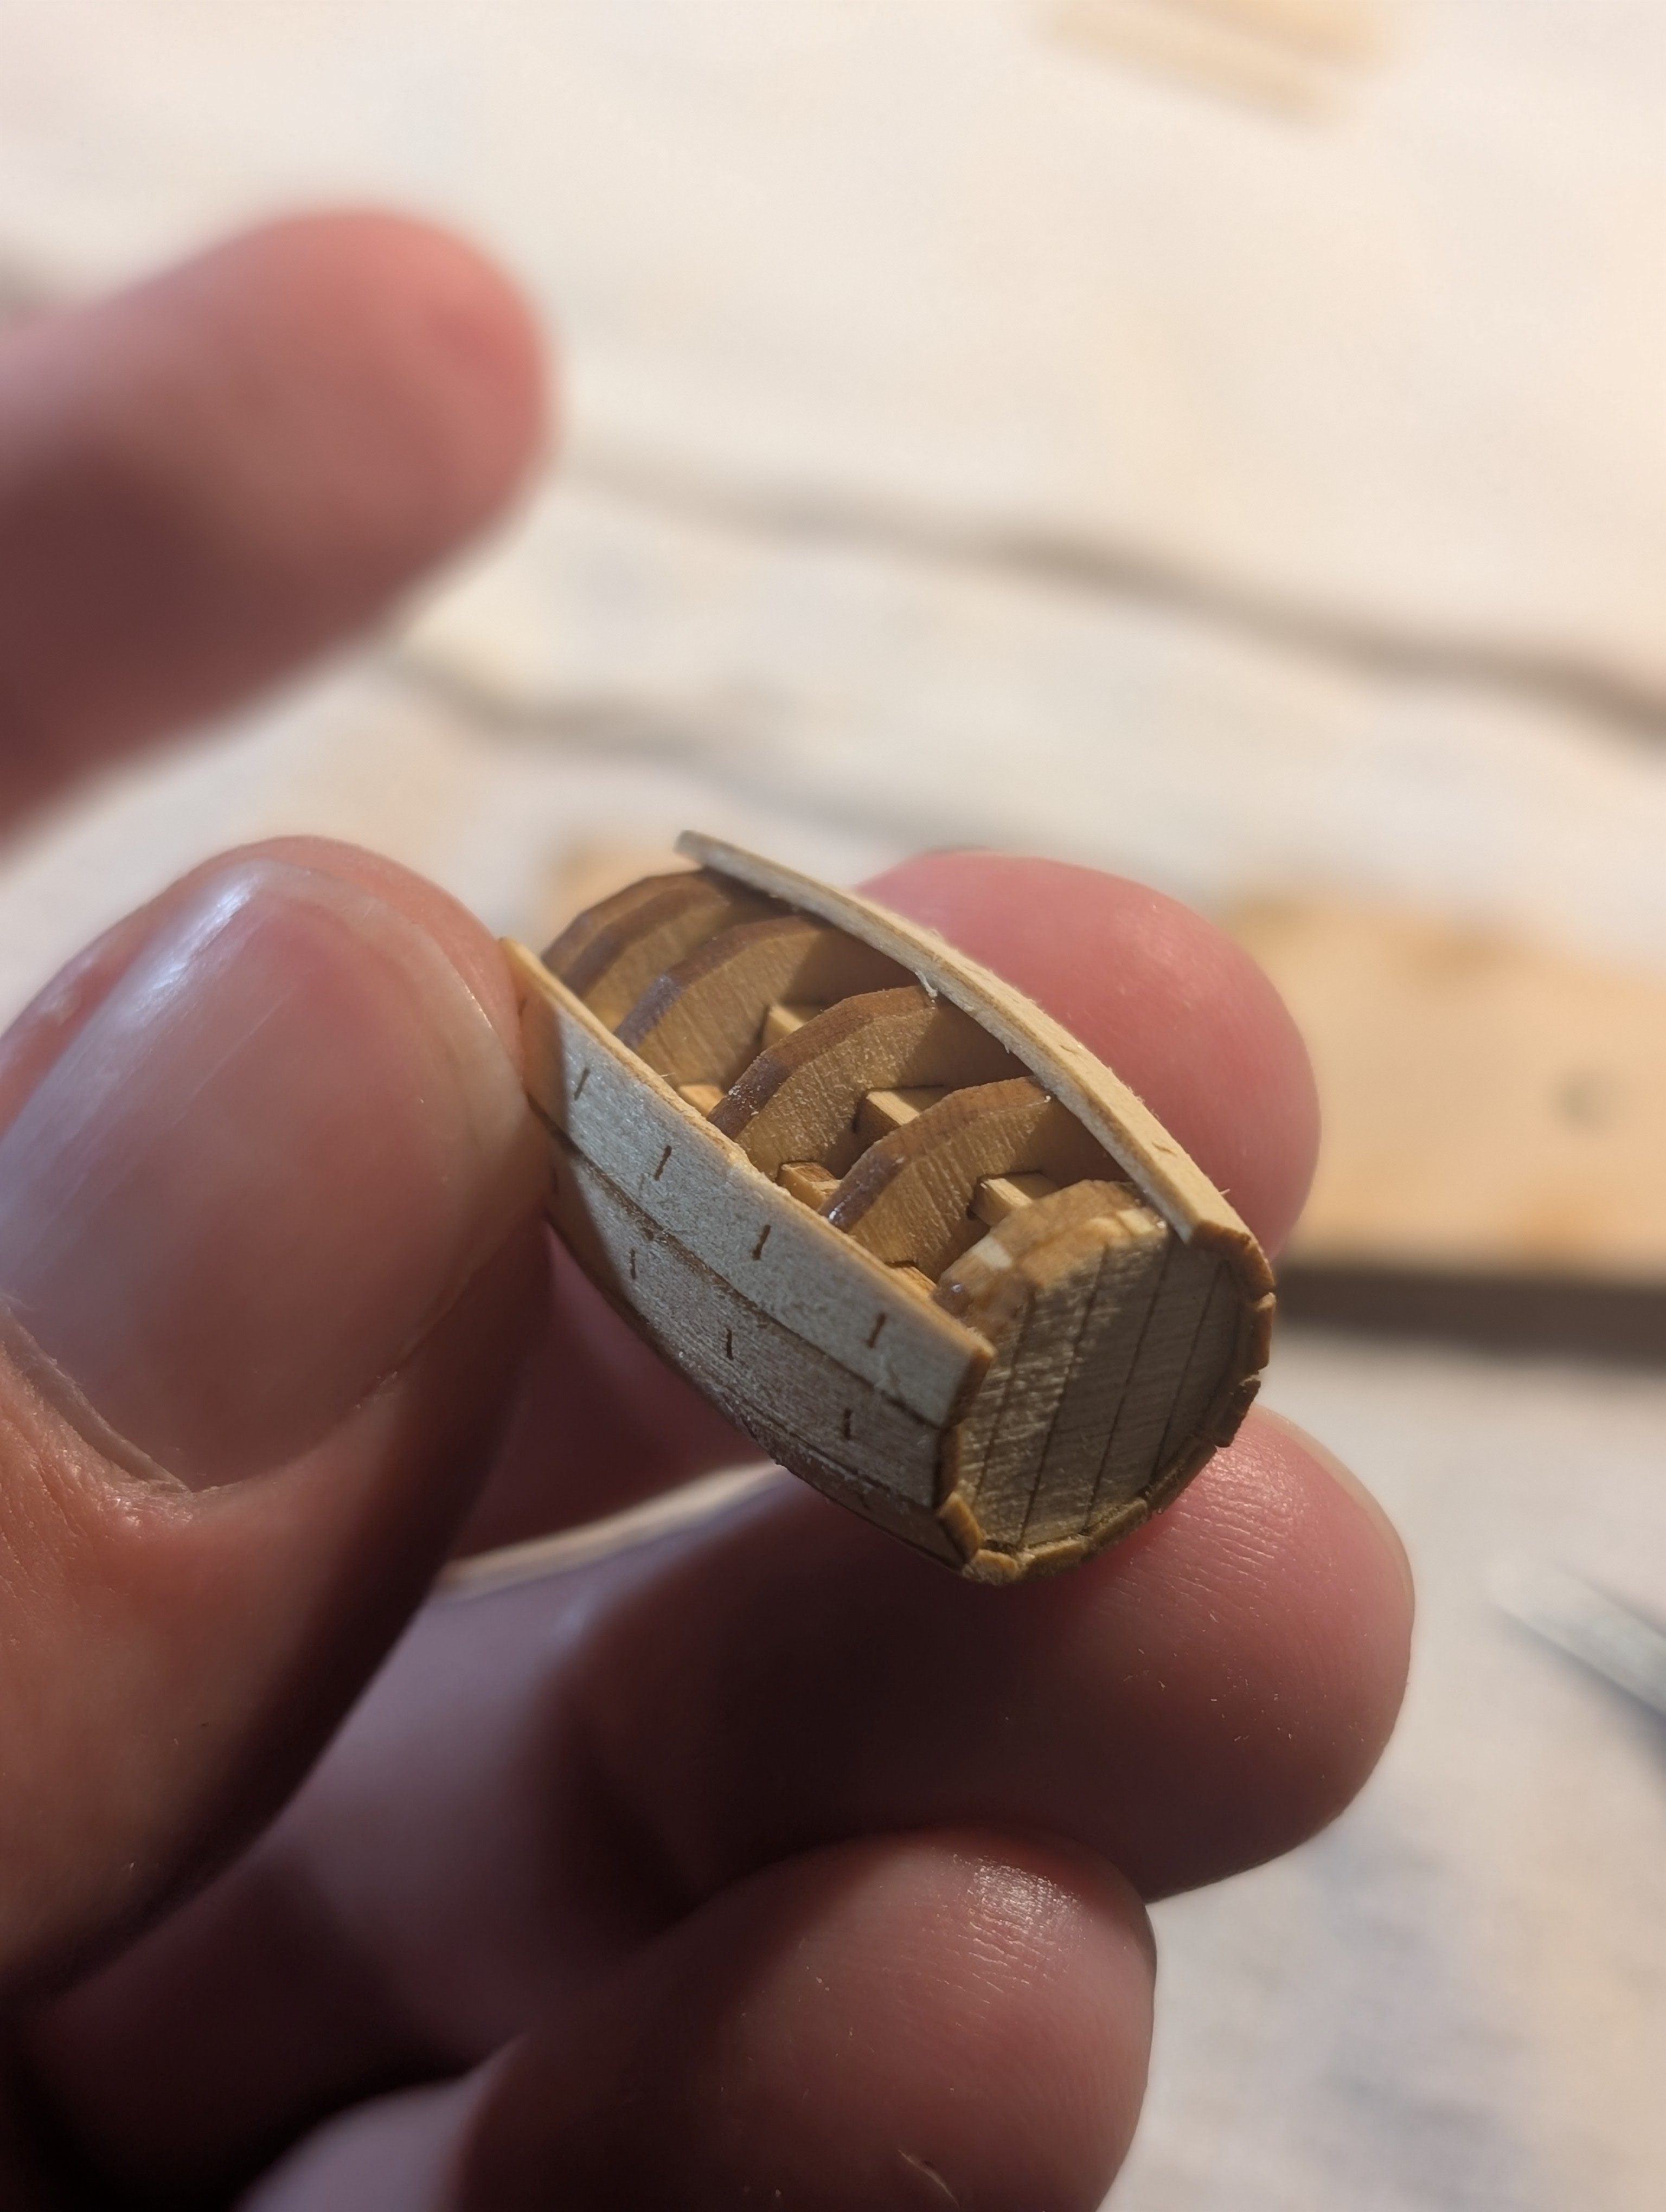
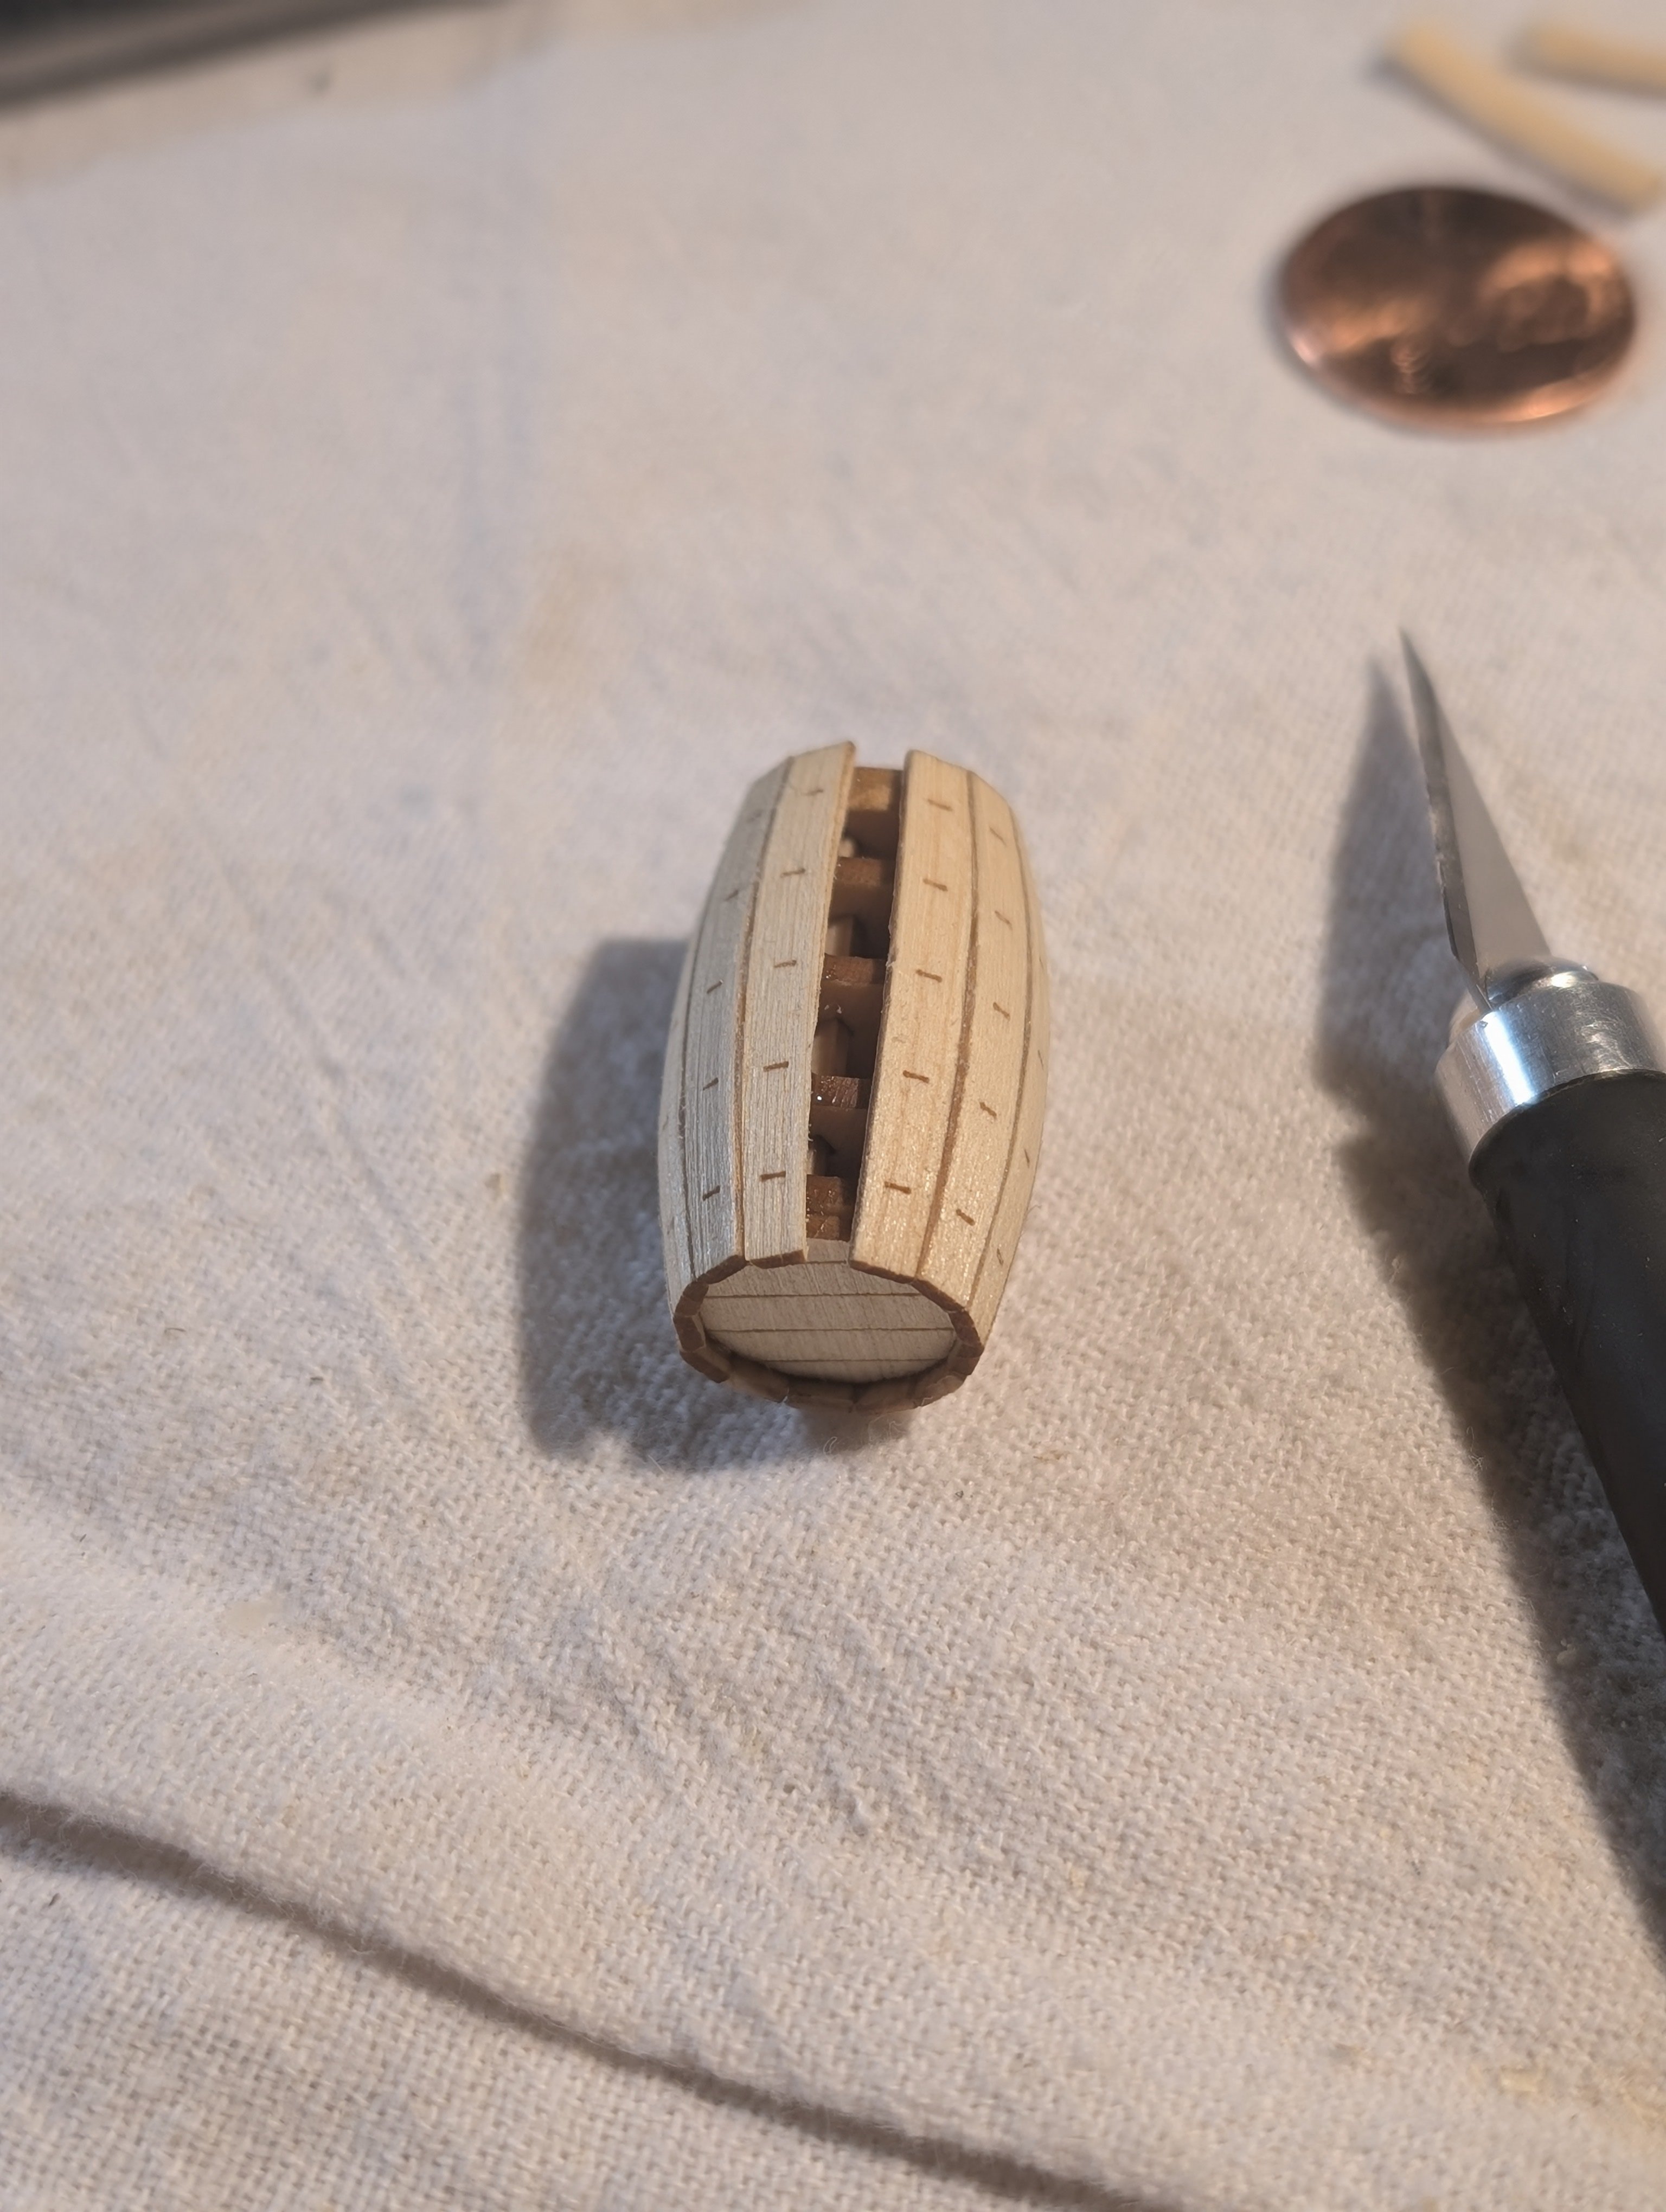
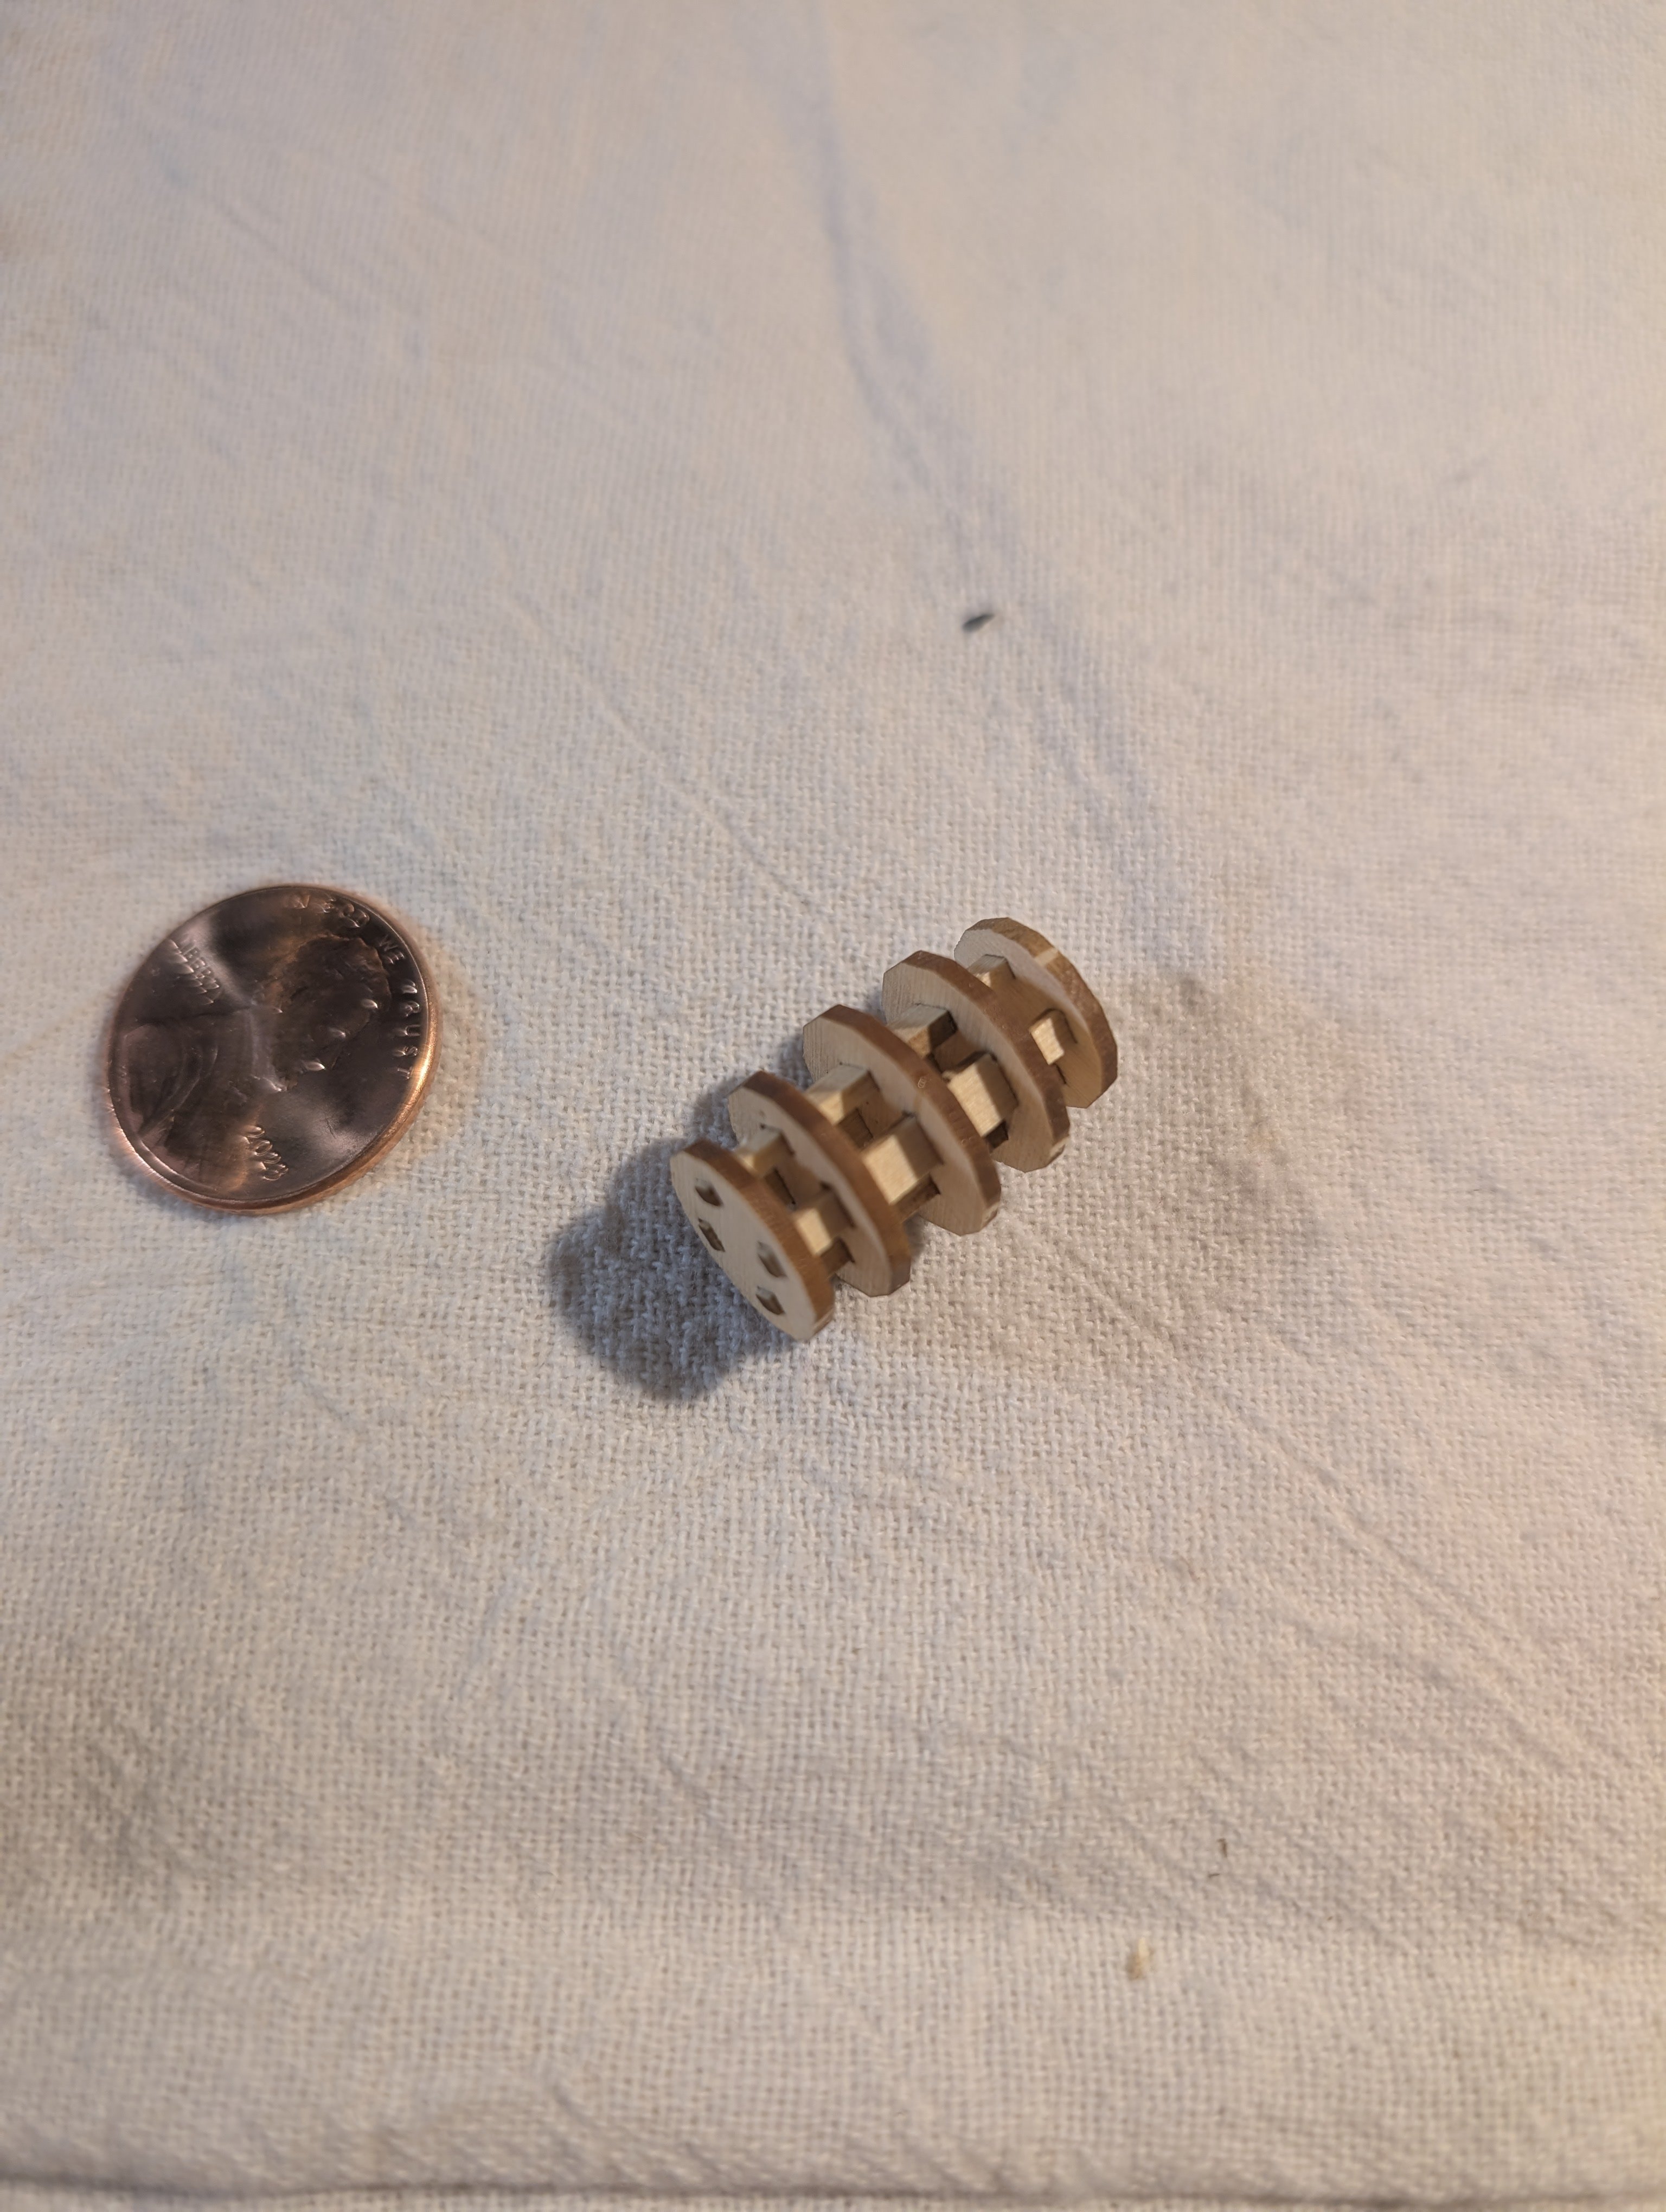
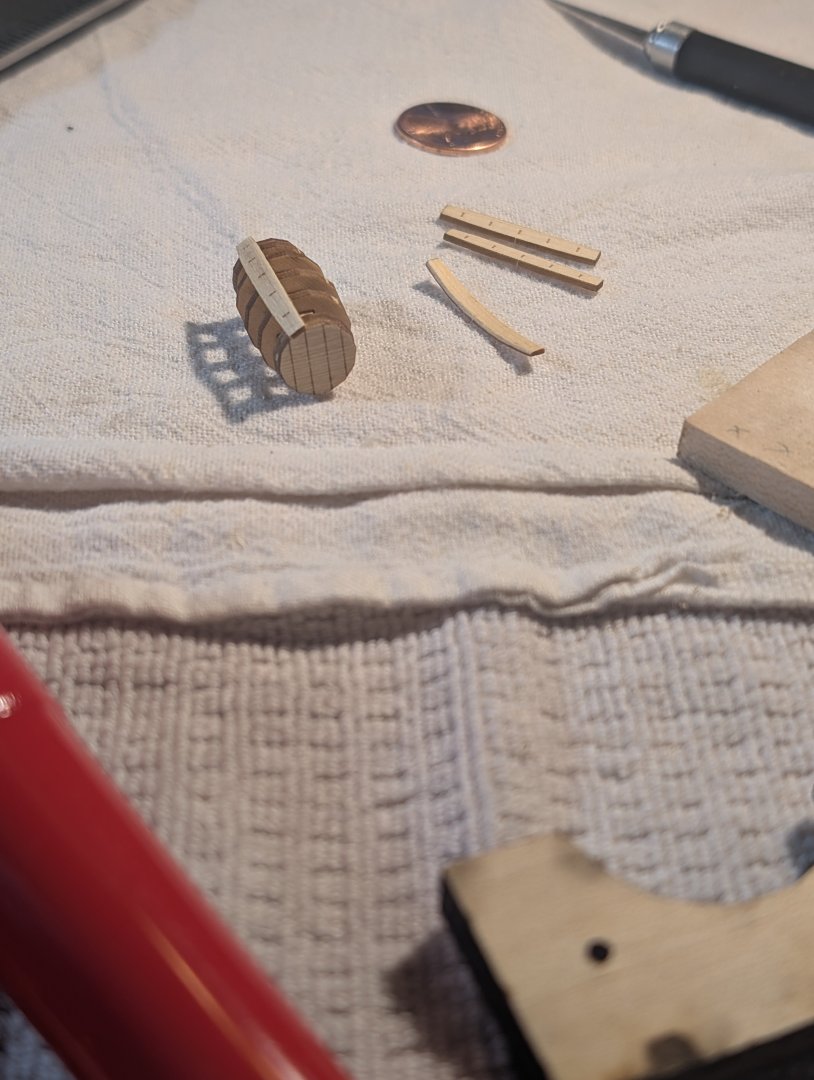
Once everything fitted together, I dry fitted and then glued the frames. Then the caps with the laser cut frame details glued on each end.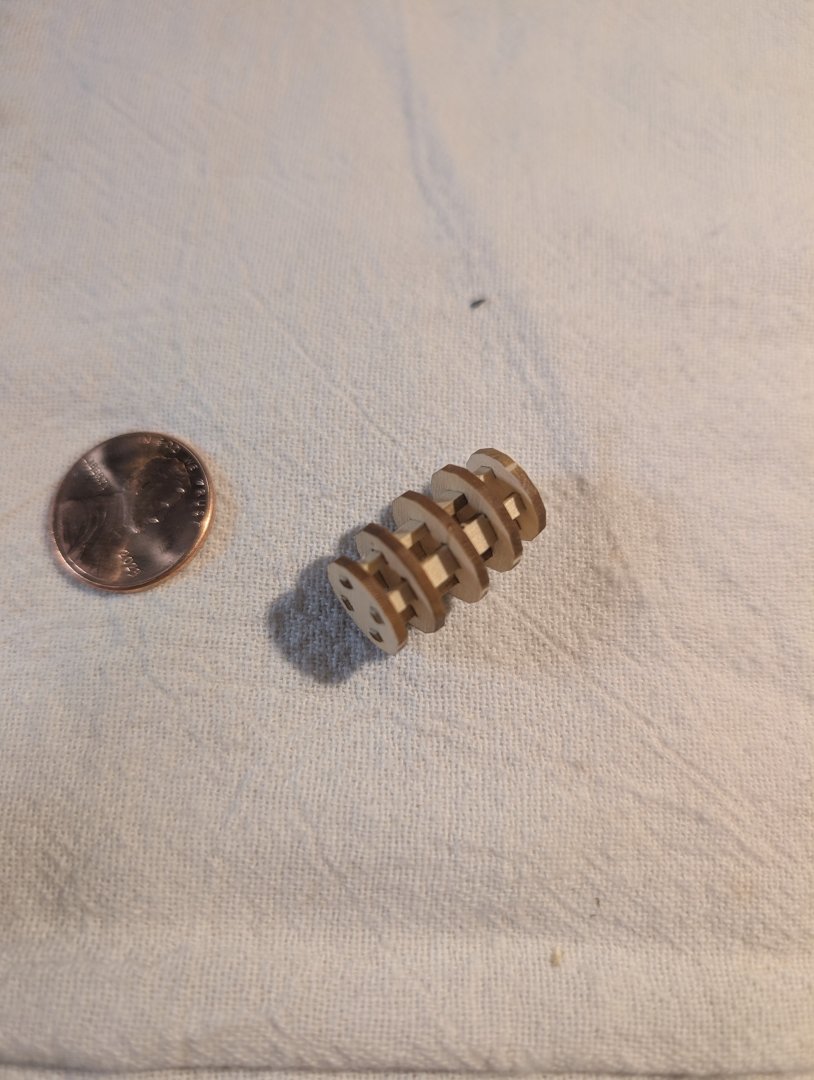


.jpg.1dde9b94ff80bce16465986aef4d243f.jpg)