gkharrin
-
Posts
93 -
Joined
-
Last visited
Content Type
Profiles
Forums
Gallery
Events
Everything posted by gkharrin
-
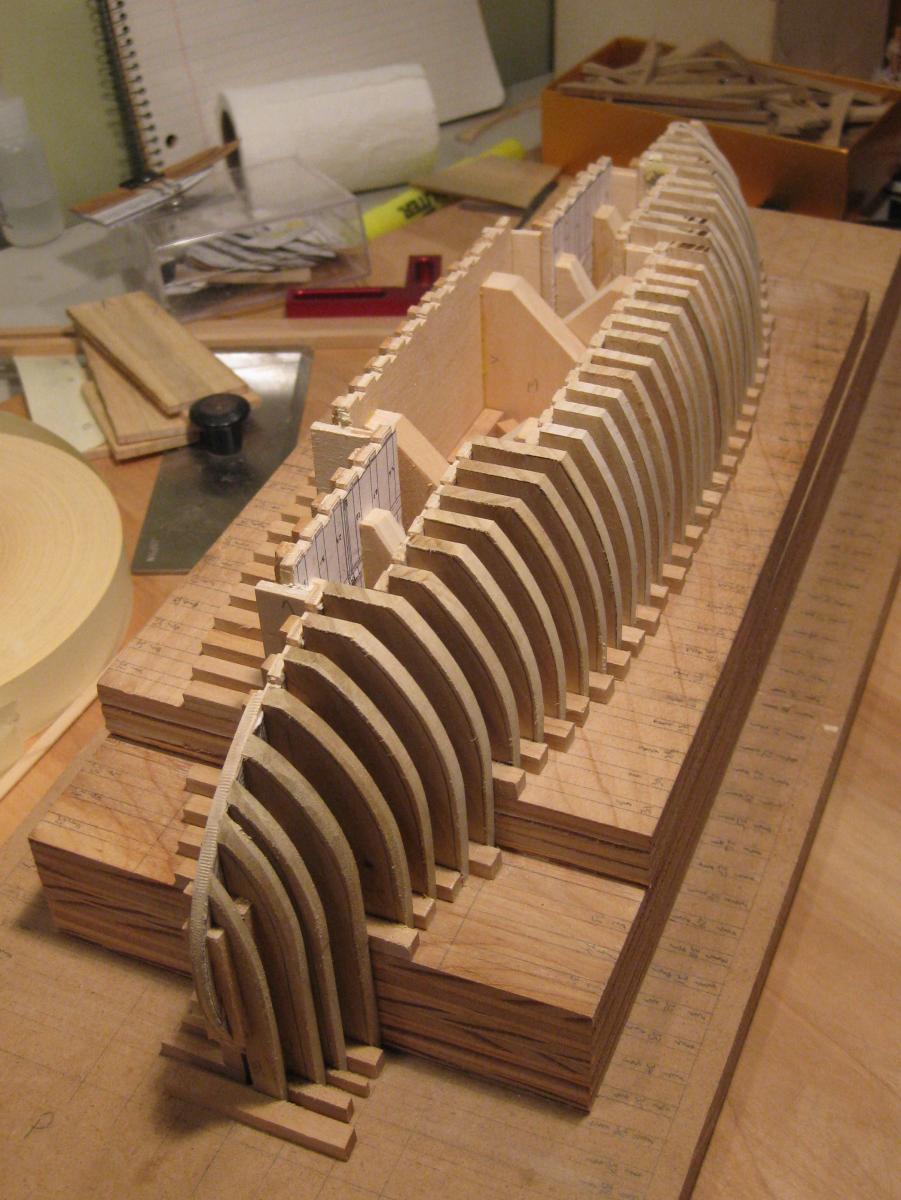
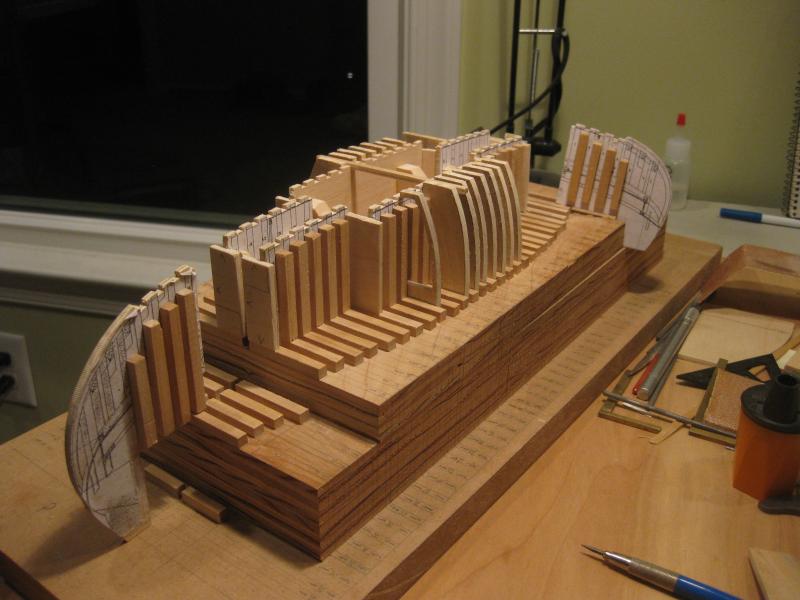
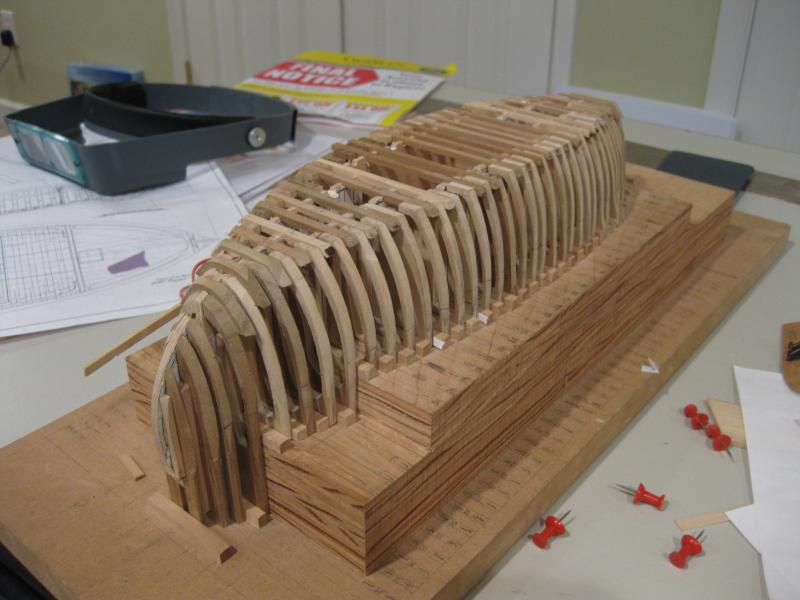
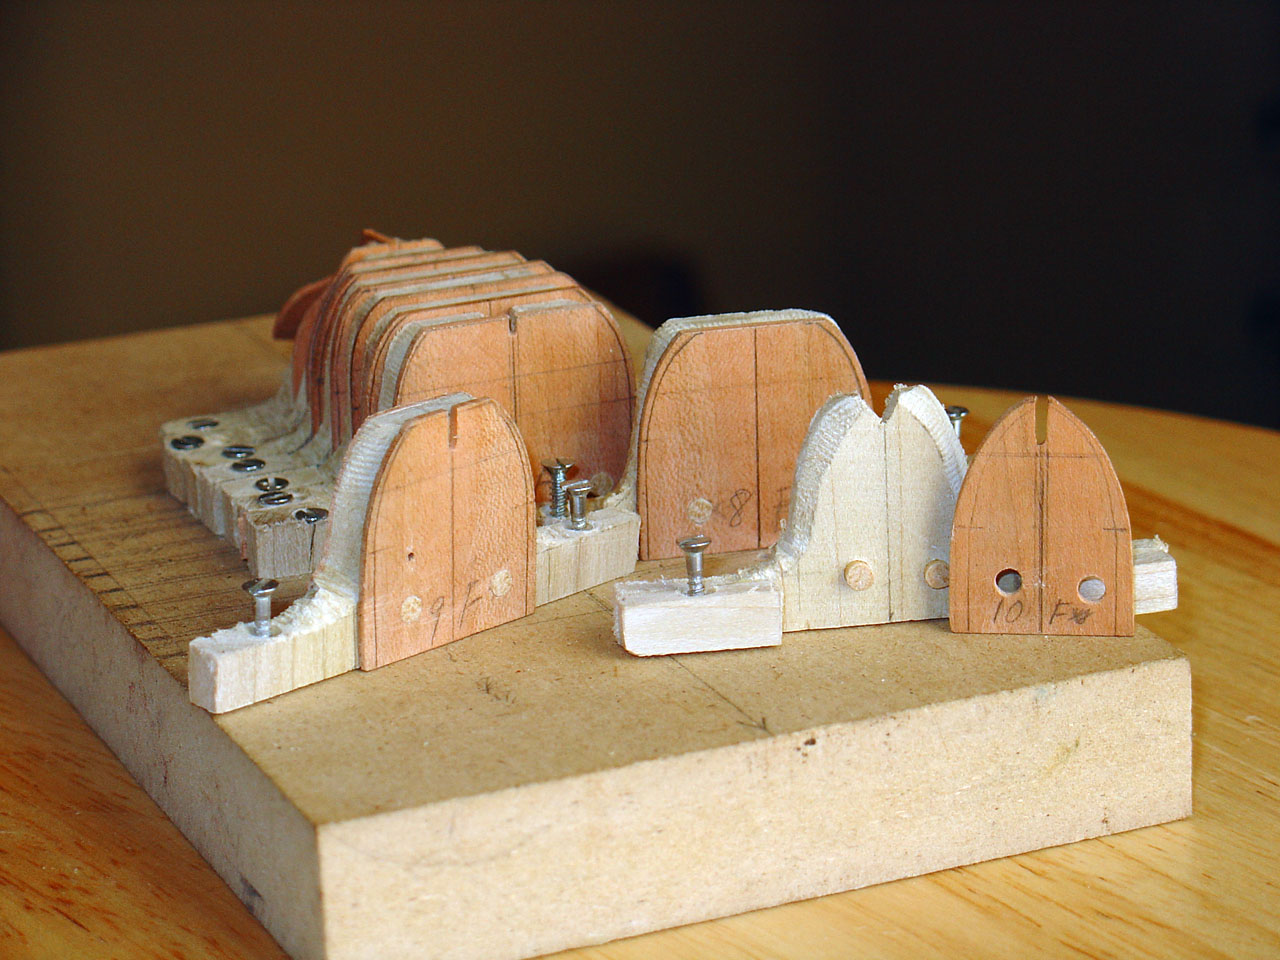
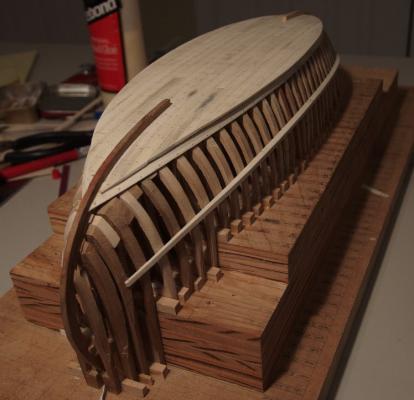
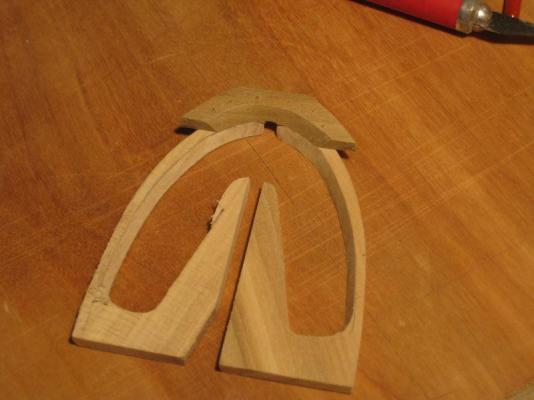
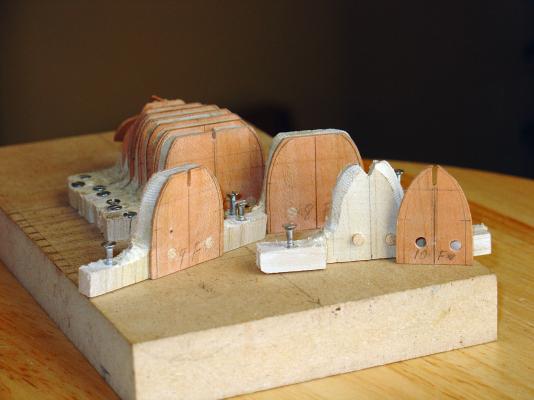
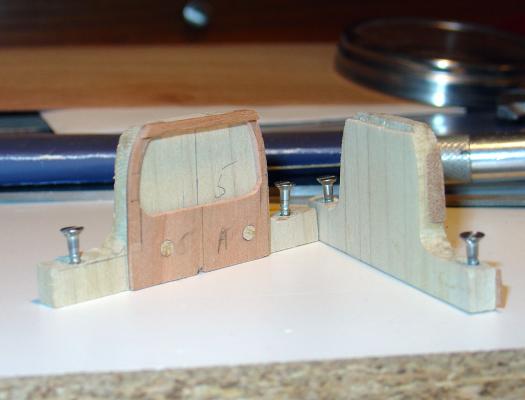
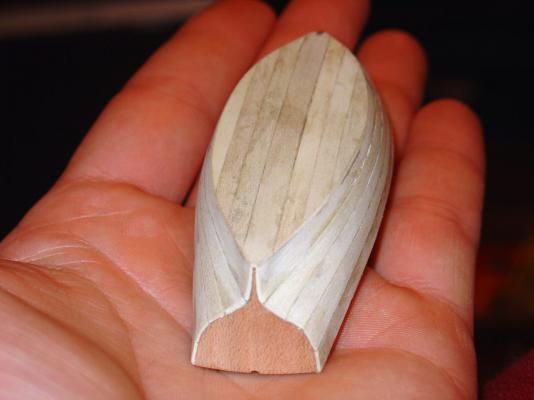
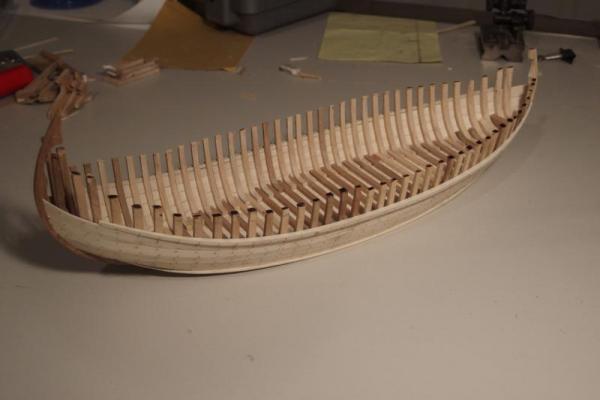
Culé Hull Construction As with the chata, I was not confident in my templates, and resolved to do final shaping on the building board, remove the side fames, cut away the inside shape, and then attach the floors. There is too much rocker to easily build it right-side up, and too much sheer to build it upsidedown on a flat board. So I created a wedding-cake (layered) board to add stability and minimize wasted material. Given the larger scale, I did not need solid spacers and full-width blanks, as with the chata. So I created an interior framework, wider toward midship. The pieces at the ends needed to be removable so that they could be replaced with the stem and stern pieces. To the outside of the framework were added vertical and horizontal spaces to keep the individual side-frame blanks in place. The blanks were a friction fit between the spacers. With humidity changes it was sometimes necessary to do a little sanding or add paper shims. When I made a mistake I was able to toss a side frame and replace it. This picture shows the side frames with the outer shaping mostly complete. Once the outer shaping was done, I could cut the inside to shape and add the floors. Each entire frame assembly was removable, and I had to replace a few poorly done ones. Here is a frame toward the bow being assembled. And here is the planking underway. More pictures and text can be found on my model club page for this build.


-
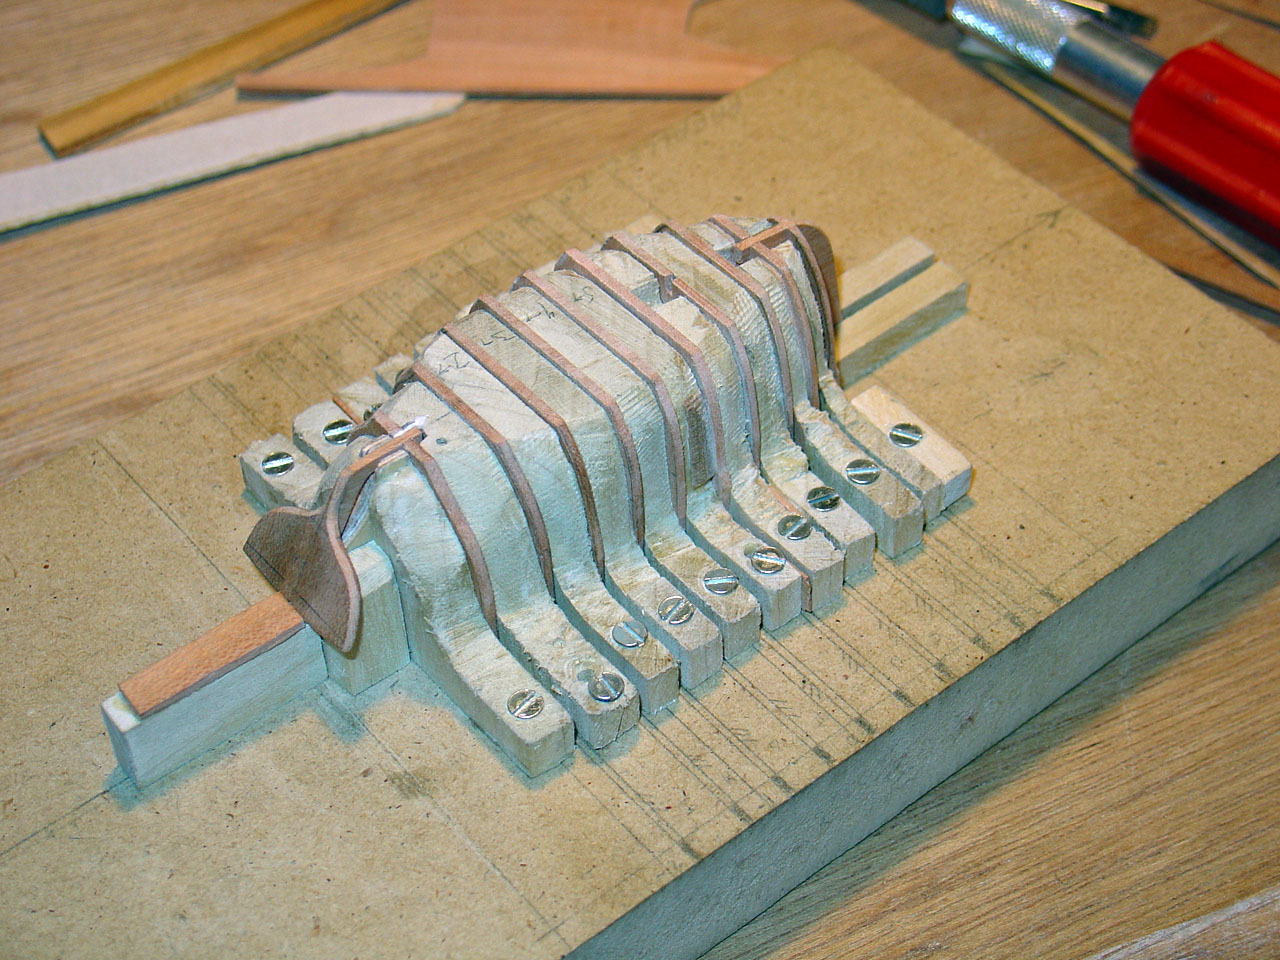
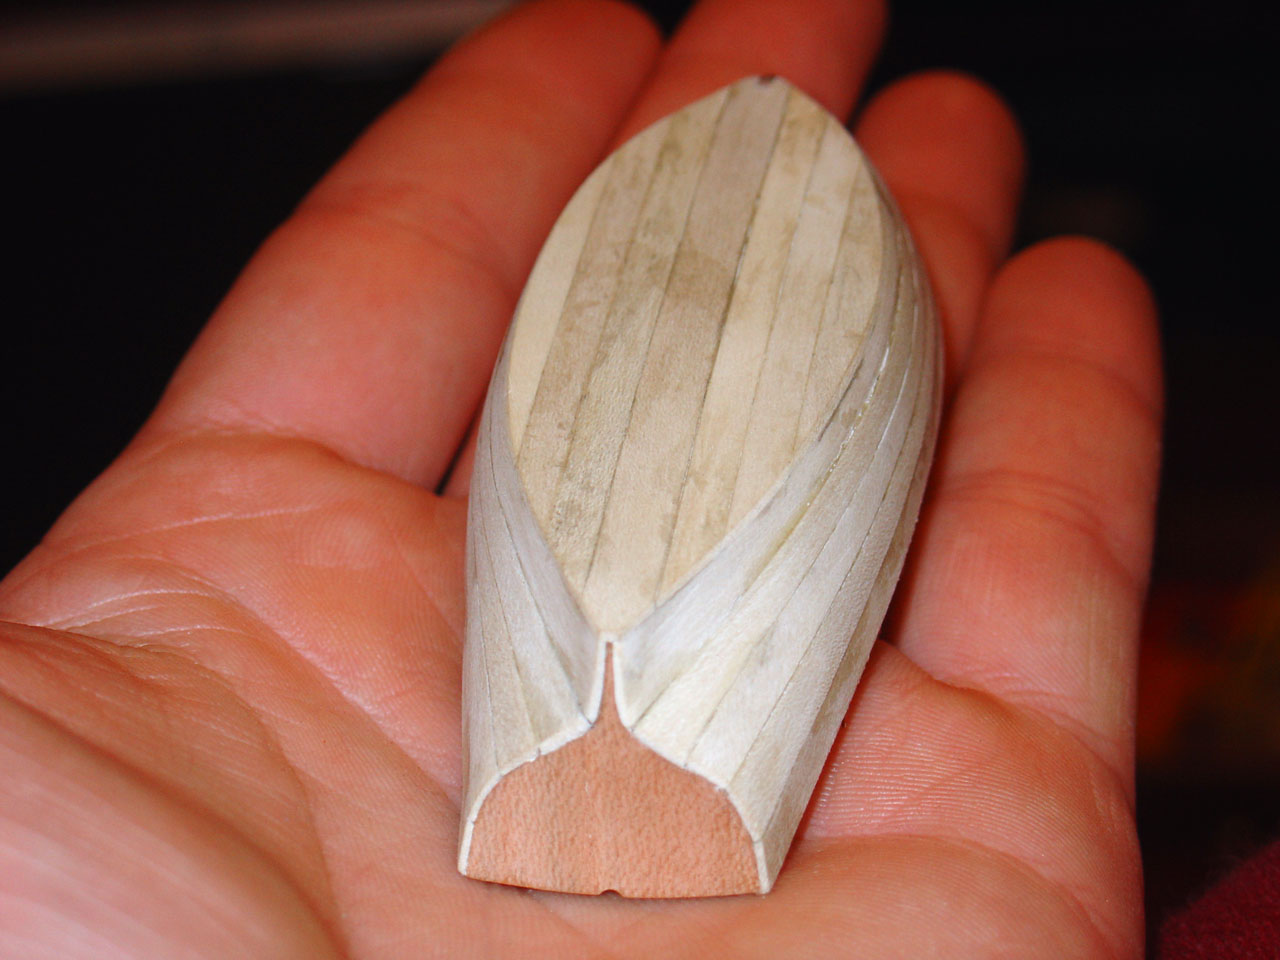
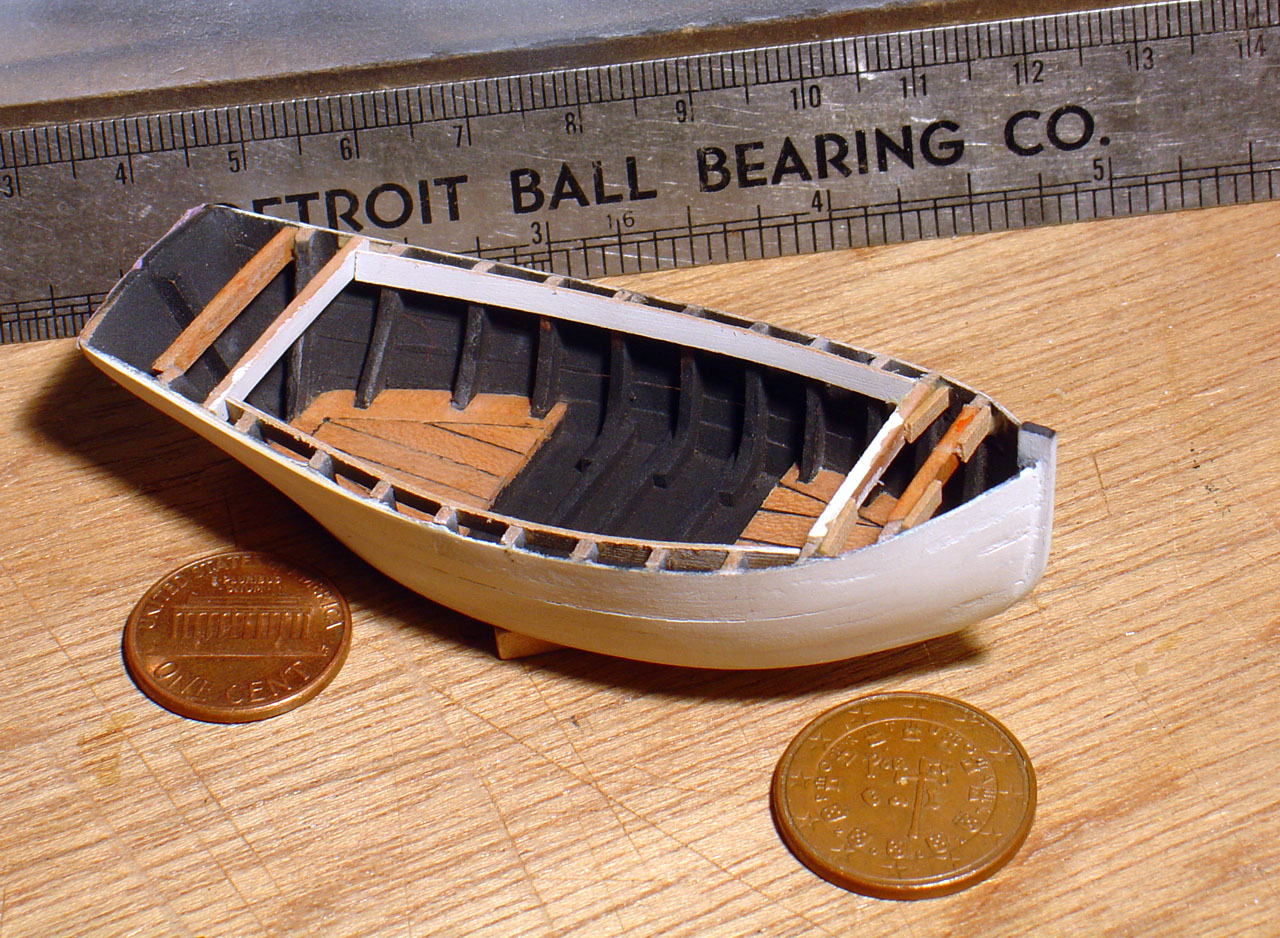
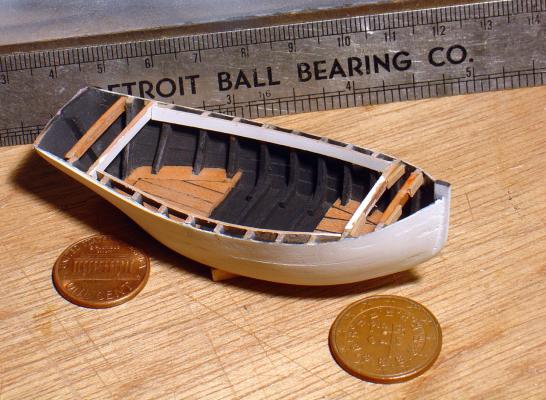
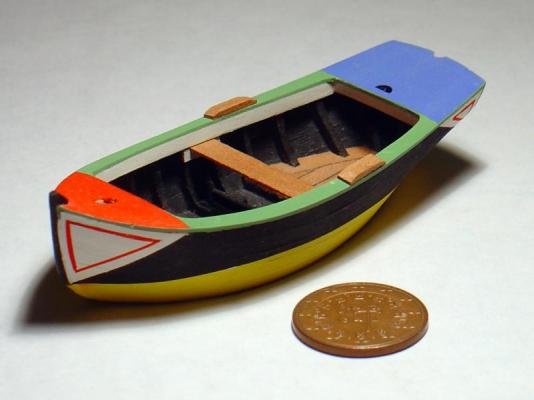
Construction of the chataThe ribs were created from 0.05" (1.25mm) blanks of cherry. I was not confident in the accuracy of the drawings nor the templates I created from them, so I planned to do final shaping after assembly on a building jig. This required the ability to remove the blanks after shaping so that the inside could be cut away. Since there is no keel, temporary spacers held the frames in position and provided support while shaping the delicate pieces. The spacers could be removed, and pegs allowed each blank to be removed from its spacer, the inside cut to shape, and then returned to the same position. Once all the frames and spacers were attached to the building board, the stem and stern pieces were added (being necessary to properly fair the frames). The inside cut creates separate port and starboard side-frames. These are connected by a floor lapped to the side of the frame closest to centerline. Once the floors were added, the frame assemblies and spacers (now notched for the floors) were reattached to the building board. Side and bottom planking underway, and complete. The planks are 0.02" (.5mm) holly. Interior details being added More pictures and text can be found on my model club page for this build.


-
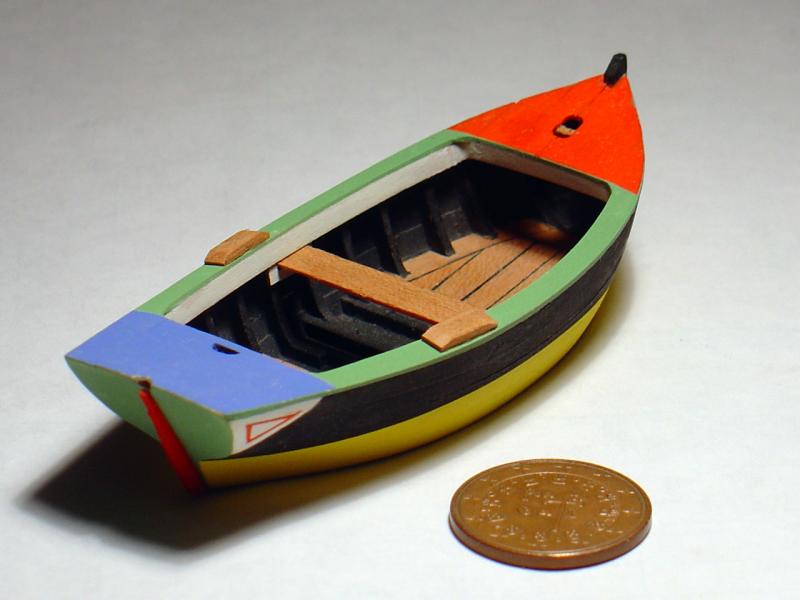
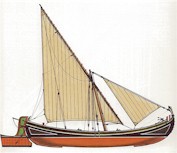
Culé ou Barco de água Acima I got the plans for this boat at the Museu de Marinha in Lisbon when our cruise ship made an all-too-brief stop there. The museum is incredible. Barco de água Acima roughly translates to "boat of the upper river". It is designed to transport cargo from the shallow upper reaches of the Tagus River and via canals. The cruise was in 2005. I started work on the boat's tender in 2006. As you have already surmised, there have been long periods of inactivity... The boat's tender is called a chata, which directly translated means 'flat', but in this context it means a flat-bottomed boat. I think the chata reached it's current nearly-complete state a couple of years later. I did not start on the main vessel until December 2012. The picture below shows it when it was cut away from the building jig just a couple of weeks ago. There are two more rows of planking above the wale that have not yet been added. The big challenge with both the boat and its tender is that they are carvel planked but with no keel. So I had to come up with my own building jig. I've since seen some similar approaches, but not until after I had derived my own. When time permits, I'll add some more posts showing the progress from the beginning. Also, you can see my page on our club website:

-
Thanks to you both. If you can cite any references, I would appreciate that info too.
-
To be clear, we are talking about both treenails and spikes in the same joint, not in different locations of the ship (all treenails here, all spikes there). Why use both in one joint? Perhaps the spikes give some immediate grip before the treenails have had a chance to swell?
-
The drawings from which I am building my model do not include fastener details. So I am using a book on another type of vessel that, though not very similar in appearance, does share some key characteristics. I have a question about how to interpret a drawing from that book. The question is whether a detail for connecting frame timbers using treenails is 1) only treenails or 2) a combination of treenails and spikes The drawing and more details on the question can be found on a page for our club site. Opinions will be gratefully received. Thank you, Greg I've found the link with the anchor does not always work. If it does not go directly to the section on fasteners: 1) go to http://www.hrsms.org/home/Cule+and+Chata 2) Click on the tab for Research 3) Scroll down to nearly the end of the page, where you will see a heading for fasteners