Garth O.
-
Posts
10 -
Joined
-
Last visited
Content Type
Profiles
Forums
Gallery
Events
Everything posted by Garth O.
-
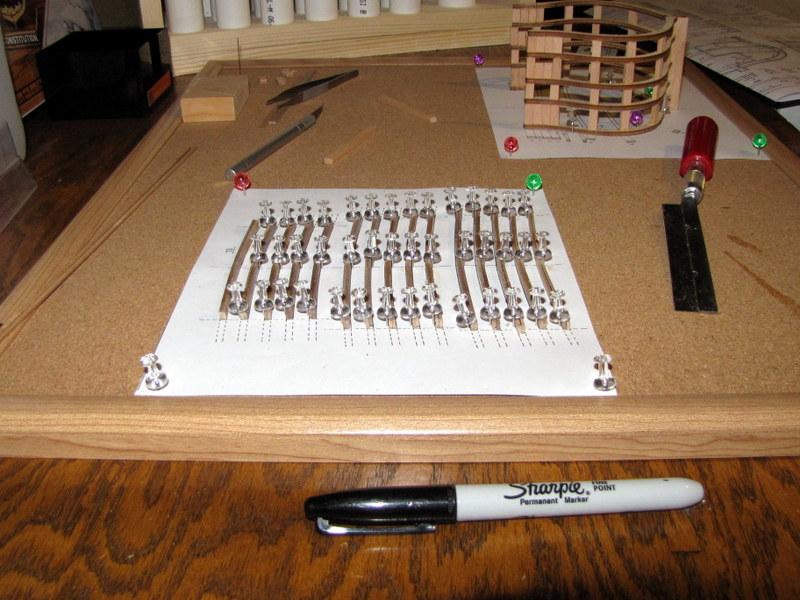
Tim, I got my tape off of amazon, it is Studio Pro 1/4-Inch Copper Foil, and it cost about $7. I also bought a Pounce Wheel 7/16" to make the rivets, it was about $6. Garth
-
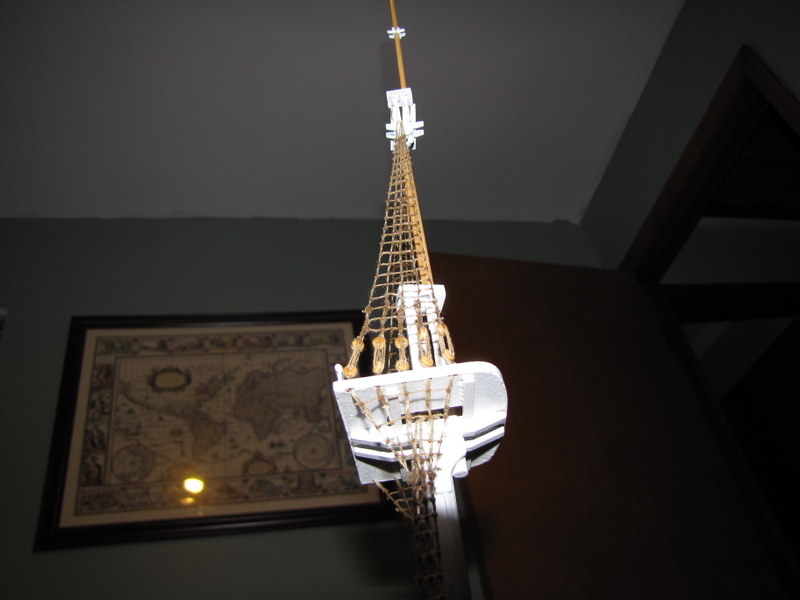
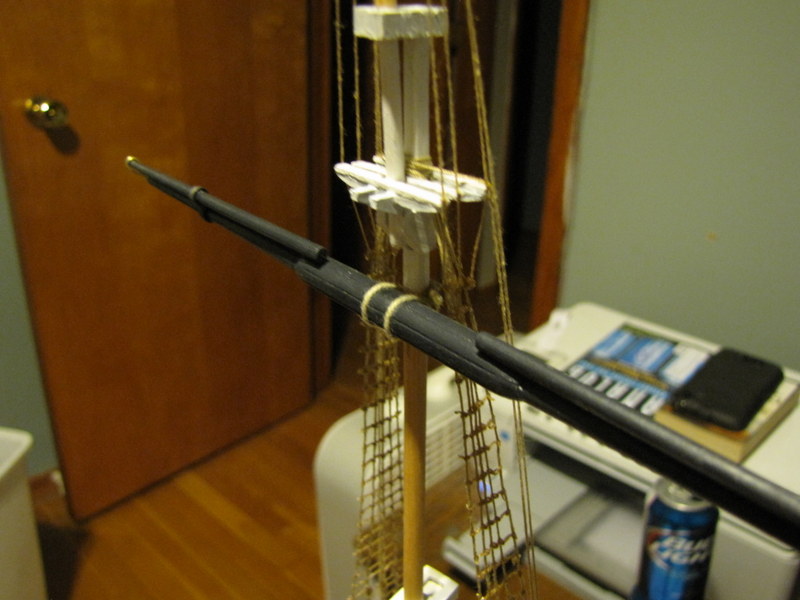
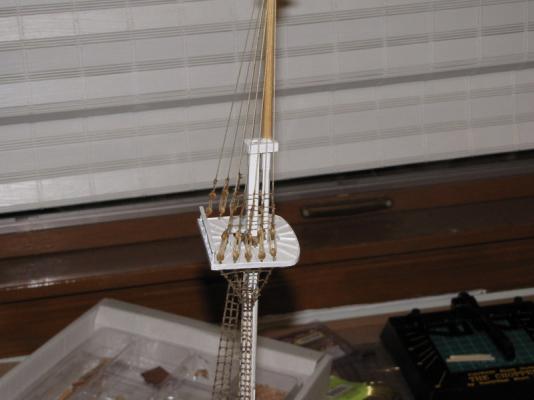
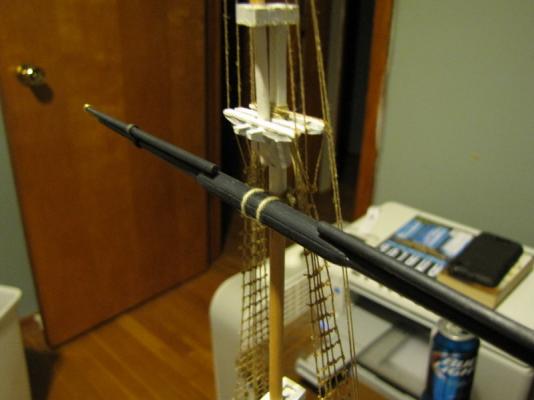
It has been a while since I have posted an update. I have finished the ratlines and am now starting on the Yards. These are the ratlines for the upper part of the mast. Finished Ratlines. Shroud and Backstay The first Yard is attached. I have been having a devil of a time with the rigging so far. This is the first project that I have done that involved this much, and I am was getting frustrated. I did not know how to tie the shrouds to the top of the mast, so the spacing is inconsistent and made tieing the ratlines difficult. the deadeyes kept turning and rotating so I think that they look sloppy and I am not sure how to get them to stay put. I had been sulking over this for a while and then decided that it's the best that I could do with my limited experience and it was time to move forward and improve my technique for the next project. Anyway this is where I am at today.

-
Norman, I believe that the European way of noting a decimal is with a comma, so a 0, 5x3 is the same as a 0.5mm x 3mm and 1, 5x4 is a 1.5mm x 4mm. I hope that this helps.
-
Mathewp - I started this kit thinking that it would give me a taste of a full model. I have never built a planked model before so I thought it would give me a good introduction. Then I opened it and got my first good look at everything. The first thing that I noticed was the instructions were translated into english - oddly worded but readable, but the materials list was still in Italian. Not being an expert in ship terminology, I couldn't tell what was what. So I scanned everything and ran them through an program that spits out text documents from scanned images, then looked up the meaning of the words with an online translator and replaced the Italian words with the english meanings, At least I had heard of those before, and it made it much easier. The instructions were very sparse, I did have the builds from the previous version of this web site to follow and that helped out a huge amount. If I were to build this model over again I would modify the build order. I would finish the hold before adding the deck beams and flooring above it, and build it from the hold up that way. The decks are so close together that it was difficult to get the pieces where I wanted them and the rigging for the guns about drove me crazy (note: the model does not have you rig the guns or do the trenailing in the decking - I added that on my own.) All in all I am happy with the model, it was hard but not impossible. About the pictures I did have more of them on the 1.0 version of the site I can add some more if you like. Anything in particular you would like to see? Thanks for the kind words Geoff!
-
Thanks for the kind words. Mike: The Admiral thinks like you do. Maybe as path of spring cleaning.
-
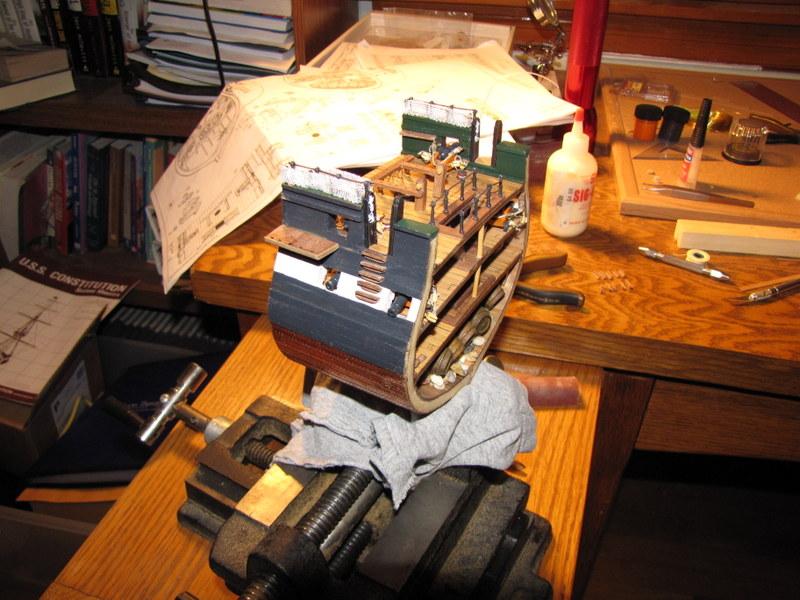
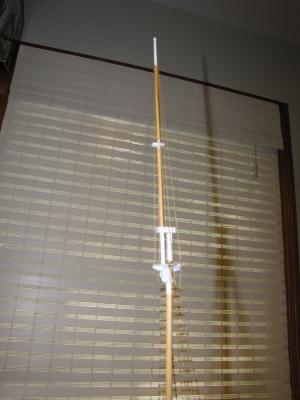
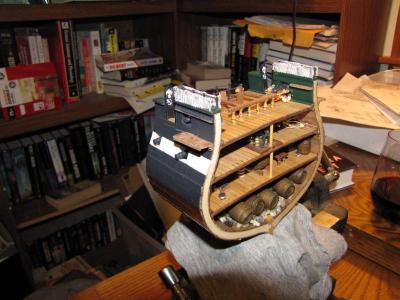
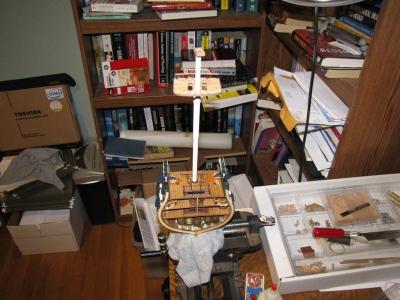
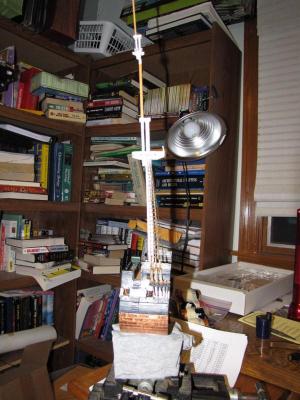
Main deck complete, Ladder added. Main part of the section complete - now for the mast. Added the bottom of the mast. Complete mast. Starting the rat lines.


- 21 replies
-
- 1
-

-
- constitution
- mamoli
- (and 1 more)
-
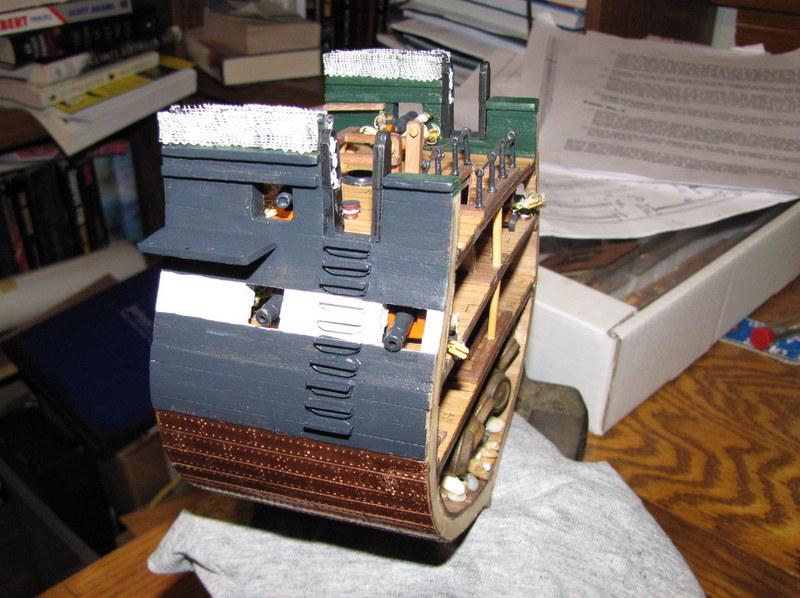
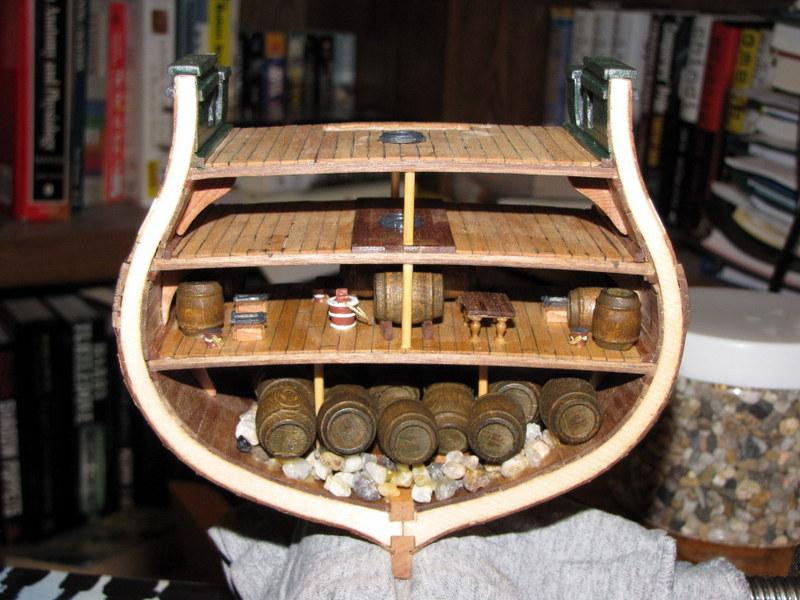
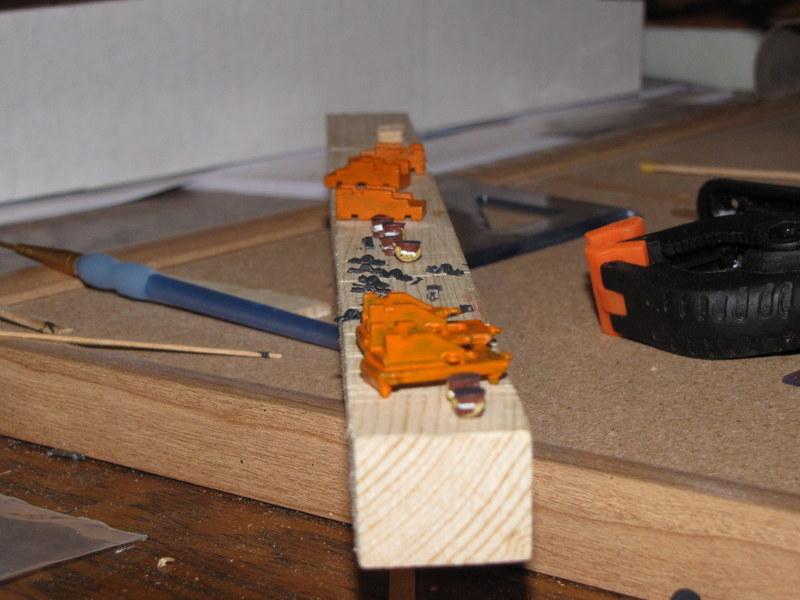
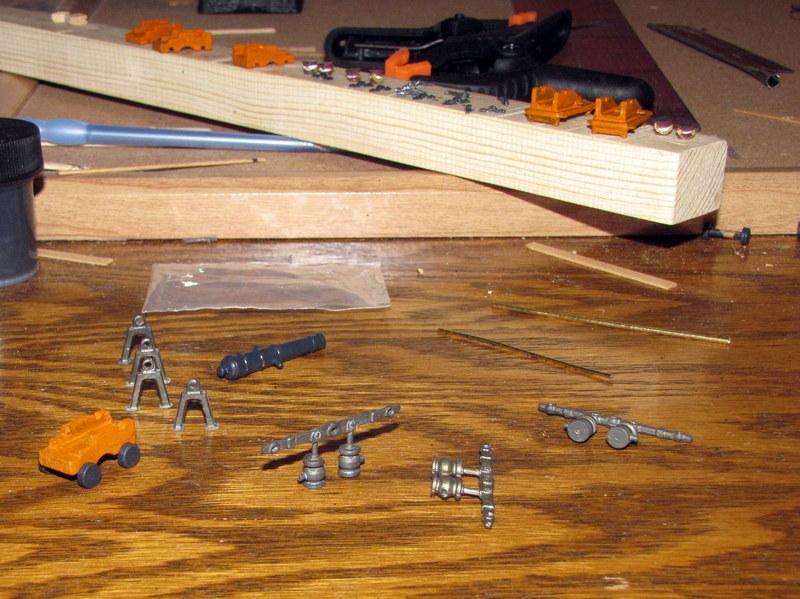
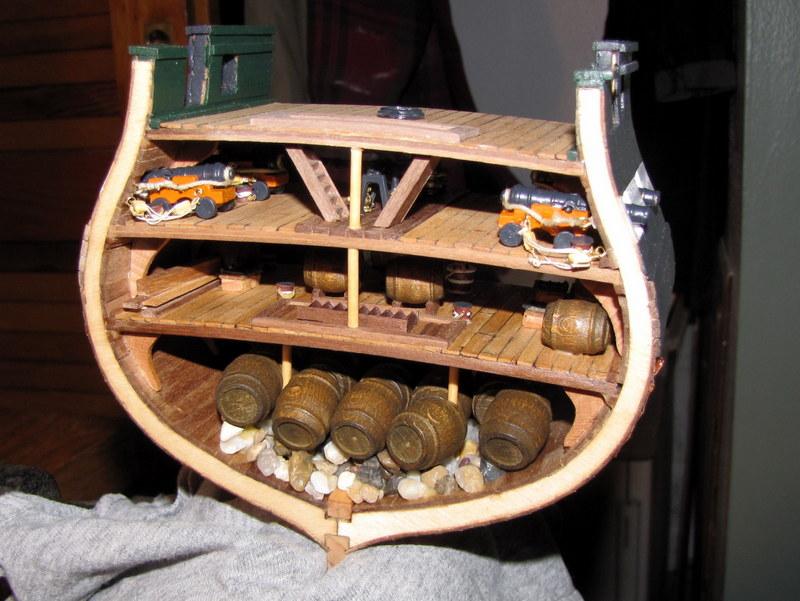
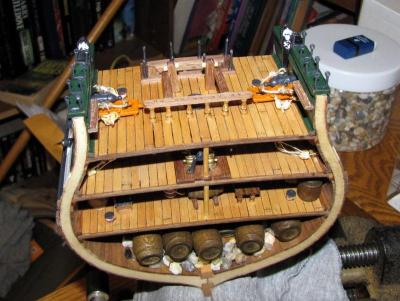
Bottom two decks planked. Starting the copper bottom and painting the exterior, Almost finished with the coppering. Bottom two decks complete. Carronade frames. Carronades and long gun with pumps. Long gun with rigging. Hold and bottom two decks. Top deck started. Almost finished with top deck.


- 21 replies
-
- 1
-
-
- constitution
- mamoli
- (and 1 more)
-
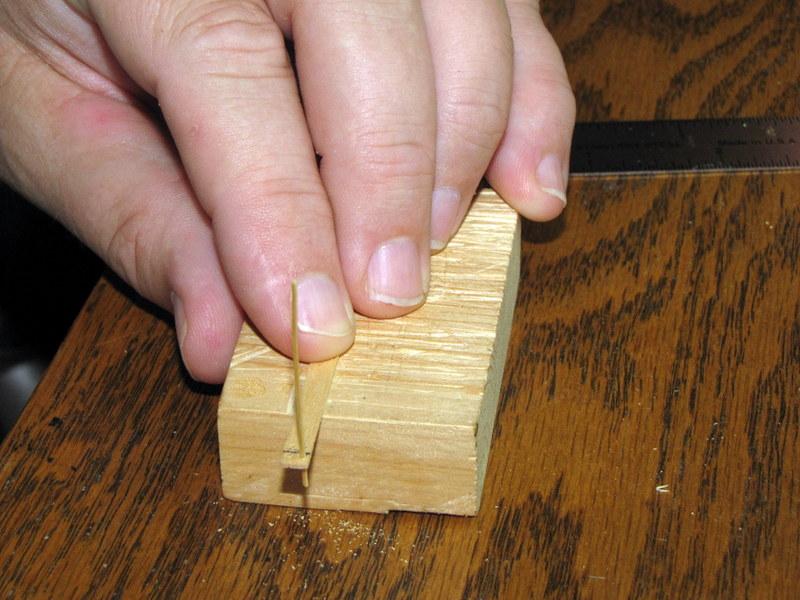
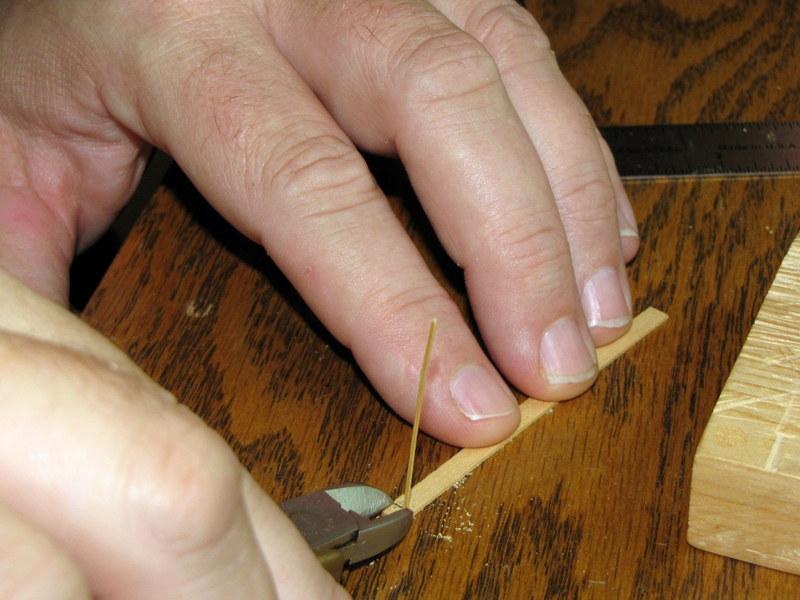
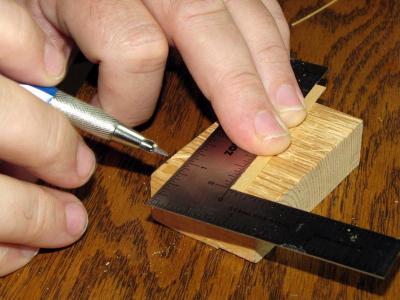
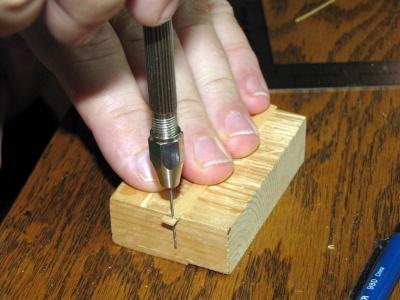
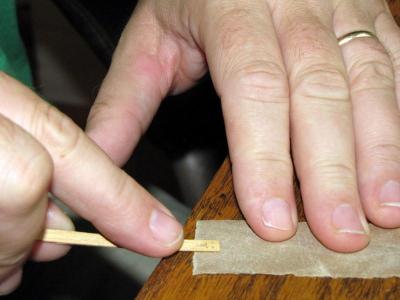
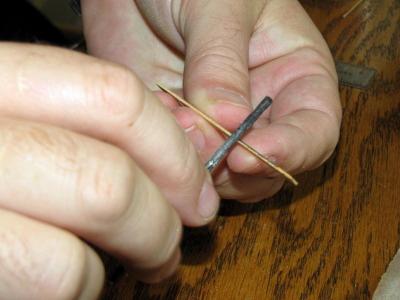
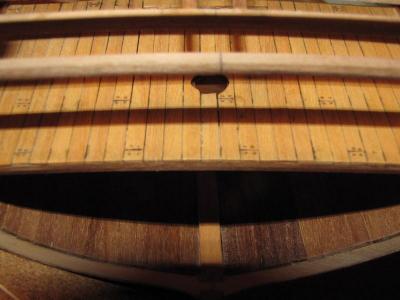
This shows how I did the fake trenails, since I could not do real ones because the deck beams were in the way. Measuring the distance. Drilling the holes. Checking the fit. Cutting to length. Sanding smooth. Blackening the edges with a charcoal stick. Lowest deck complete. Blowup.


- 21 replies
-
- 1
-
-
- constitution
- mamoli
- (and 1 more)
-
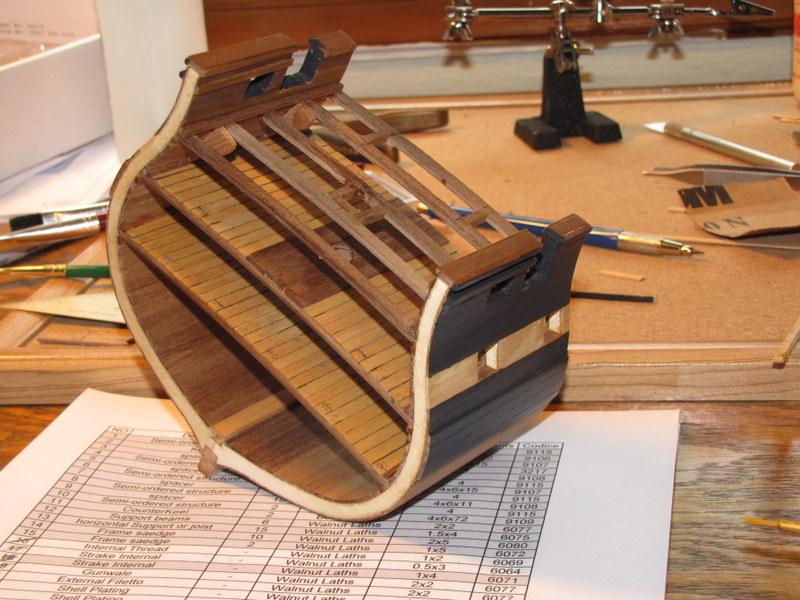
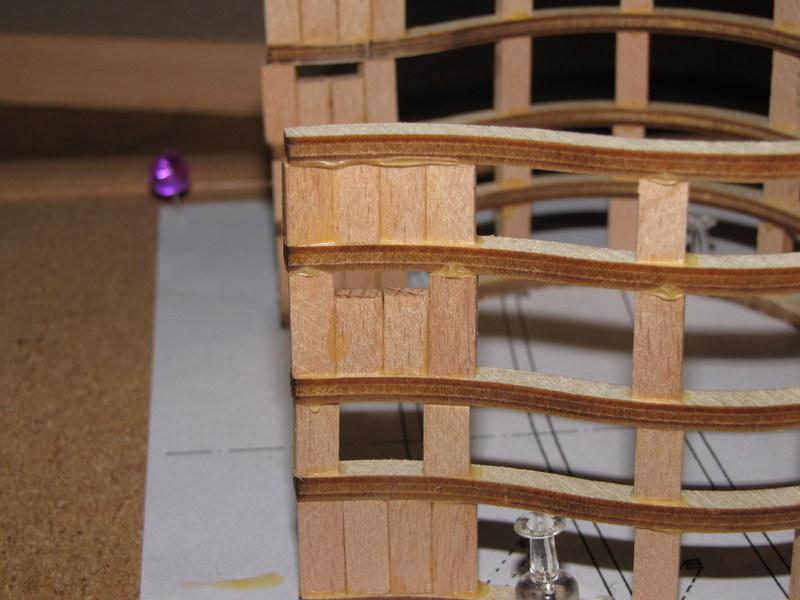
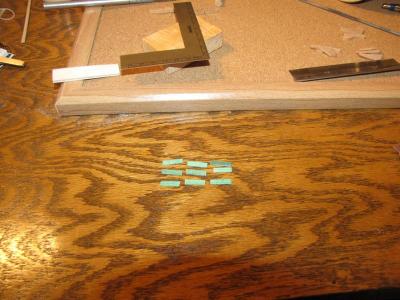
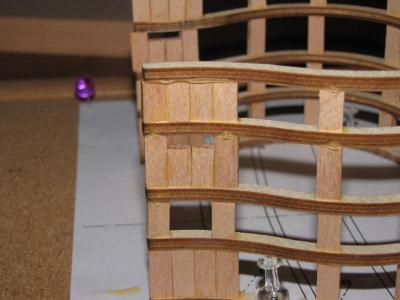
Next I started on the planking Here is the start on the interior planking. Interiro and Exterior planking complete with gun ports and bulwark opening. The green rectangels are what was included in the kit for the copper bottom. They were not uniform in length and the ends were not cut square, so I decided to purchase some copper tape, a pounce and make my own copper bottom. Adding in the railing along the bulwark and the beam supports for the mast and stairs.
- 21 replies
-
- 1
-
-
- constitution
- mamoli
- (and 1 more)
-
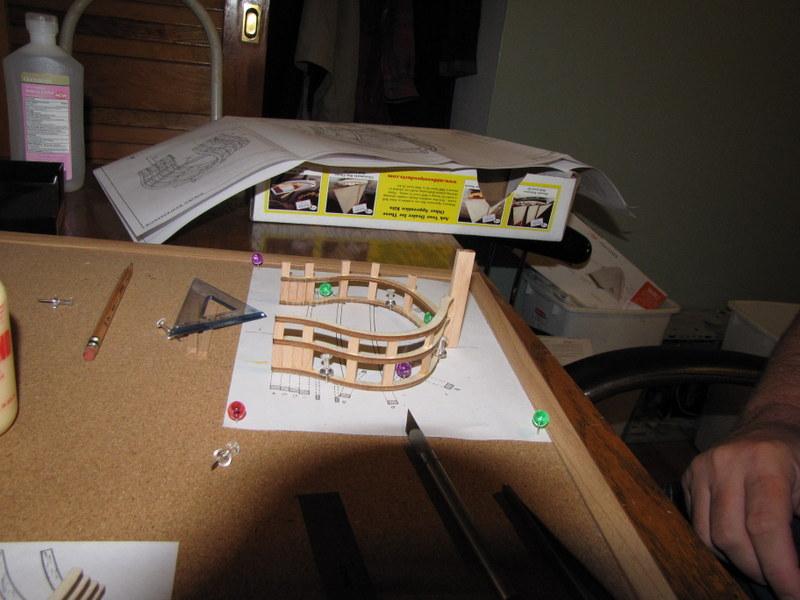
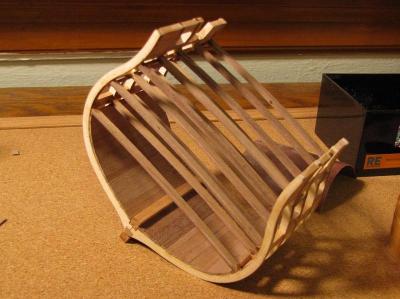
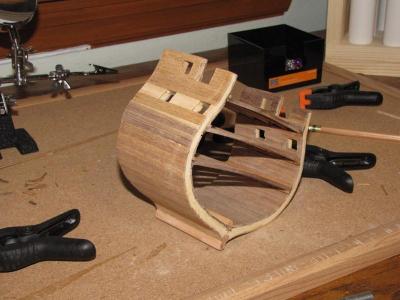
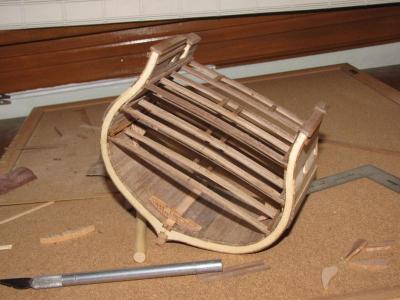
This will be an abbreviated log up to where I am now with my build. Here it is right out of the box. Starting to put the frame together. Closeup of the first error with the kit. There pre-cut spacers for the frames and the kit included not enough long spacers and too many short spacers. So this is my solution. Here I am assembling the deck beams. A shot of the assembled frames and deck beams. Note: If I was to do this over I would have not followed the directions and would have completed the the internal part of the model from the hold up. There was limited space for getting all the stuff between the decks.


- 21 replies
-
- 1
-
-
- constitution
- mamoli
- (and 1 more)