HOLIDAY DONATION DRIVE - SUPPORT MSW - DO YOUR PART TO KEEP THIS GREAT FORUM GOING! (Only 72 donations so far out of 49,000 members - Can we at least get 100? C'mon guys!)
×


jwhineryjr
-
Posts
24 -
Joined
-
Last visited
Content Type
Profiles
Forums
Gallery
Events
Everything posted by jwhineryjr
-
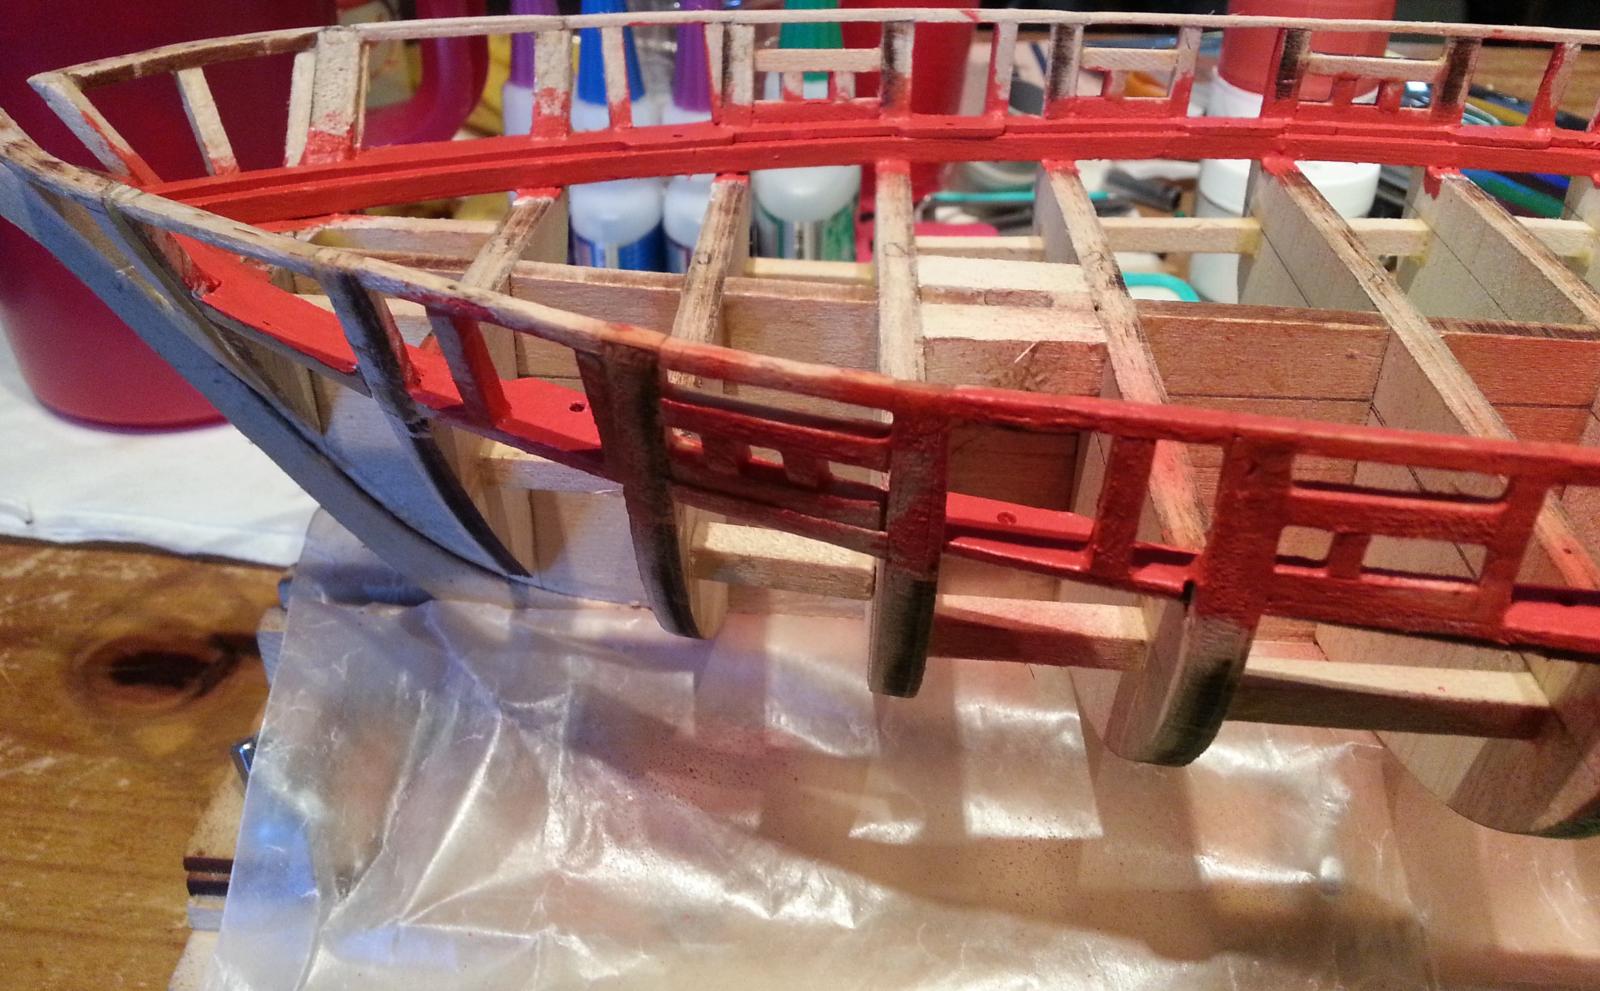
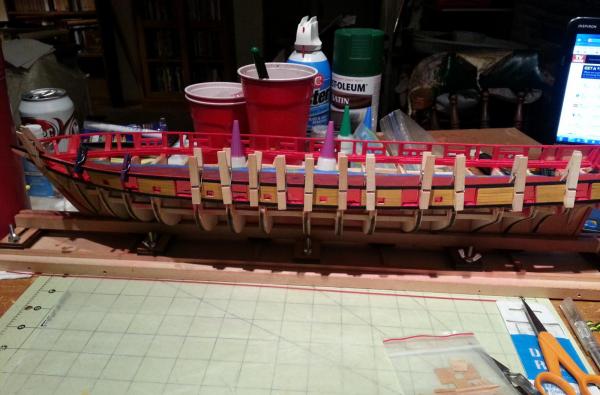
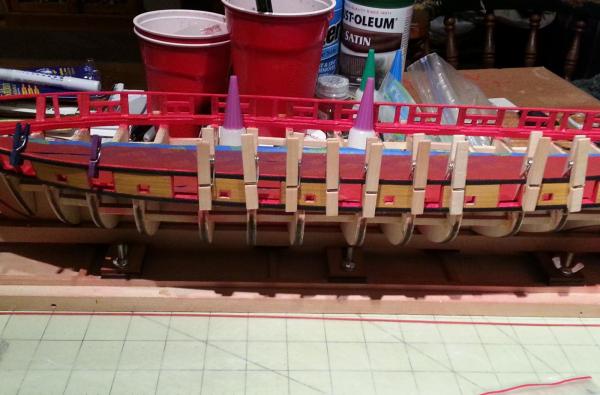
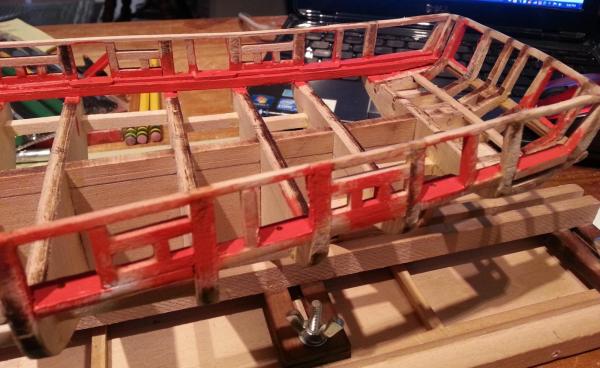
I had a little time finally to do some work on the port side bulwarks. Not really satisfied with the color or the finished look of the wood.


-
I really like the addition of the sails. I wasn't planning on doing them at first but after seeing the ones you've done well now I am for sure going to add them. Your ship is looking really good.
-
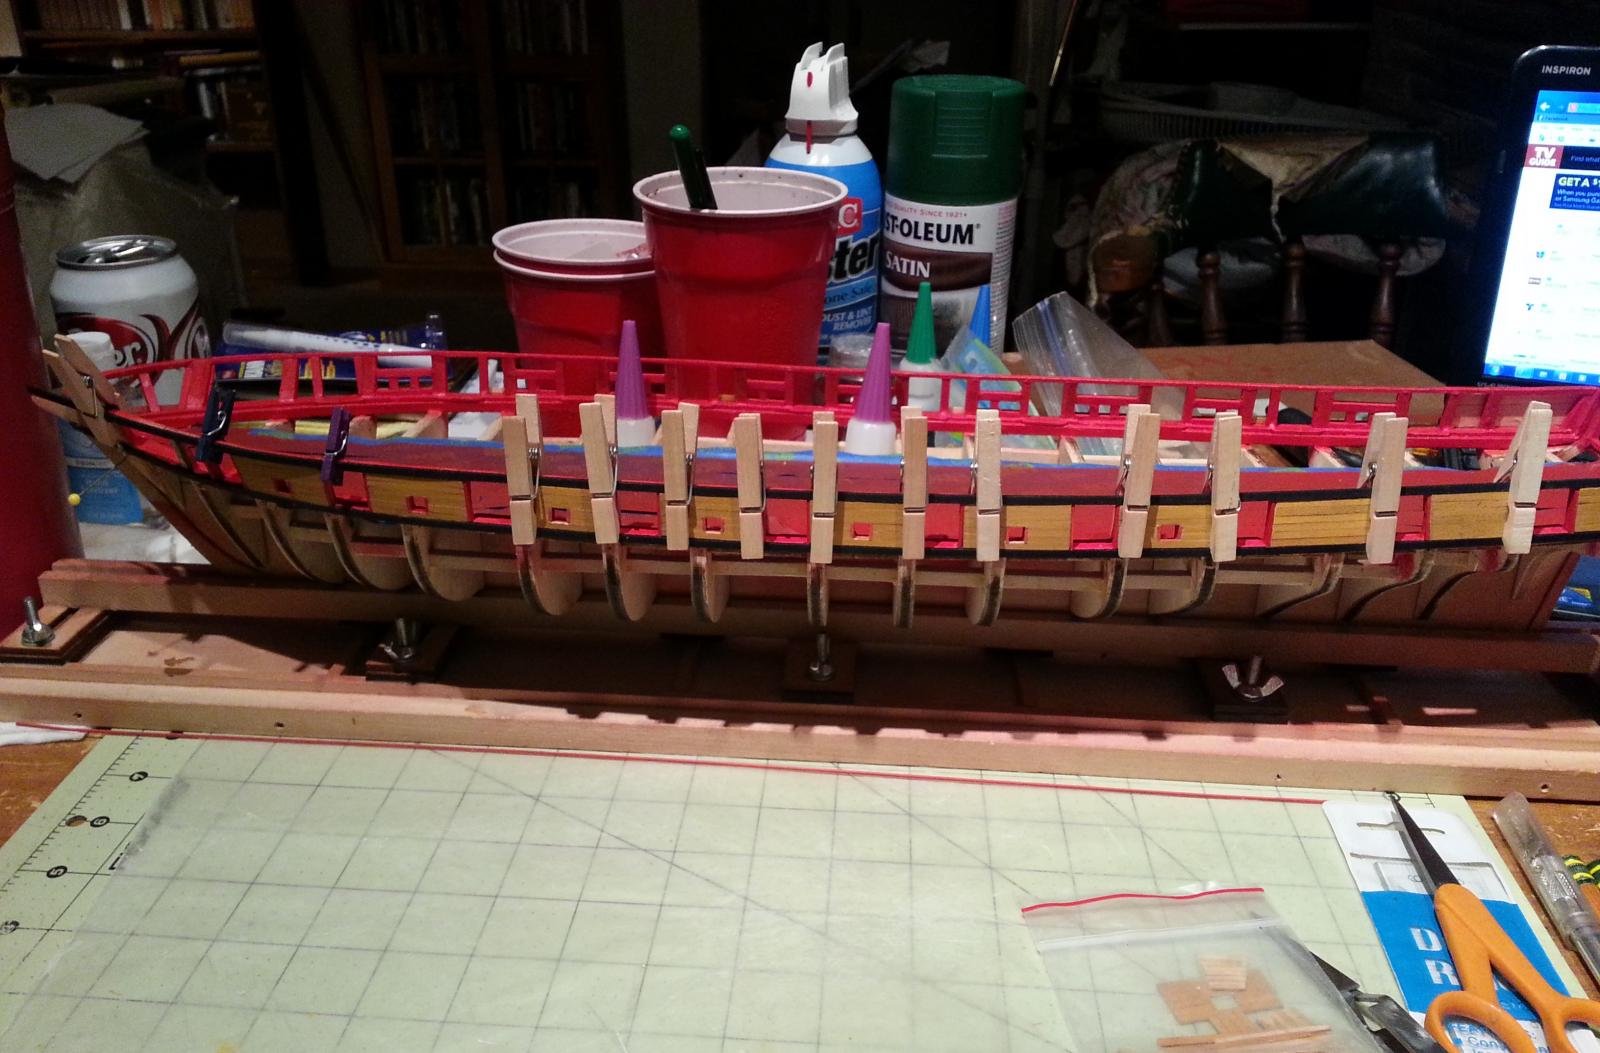
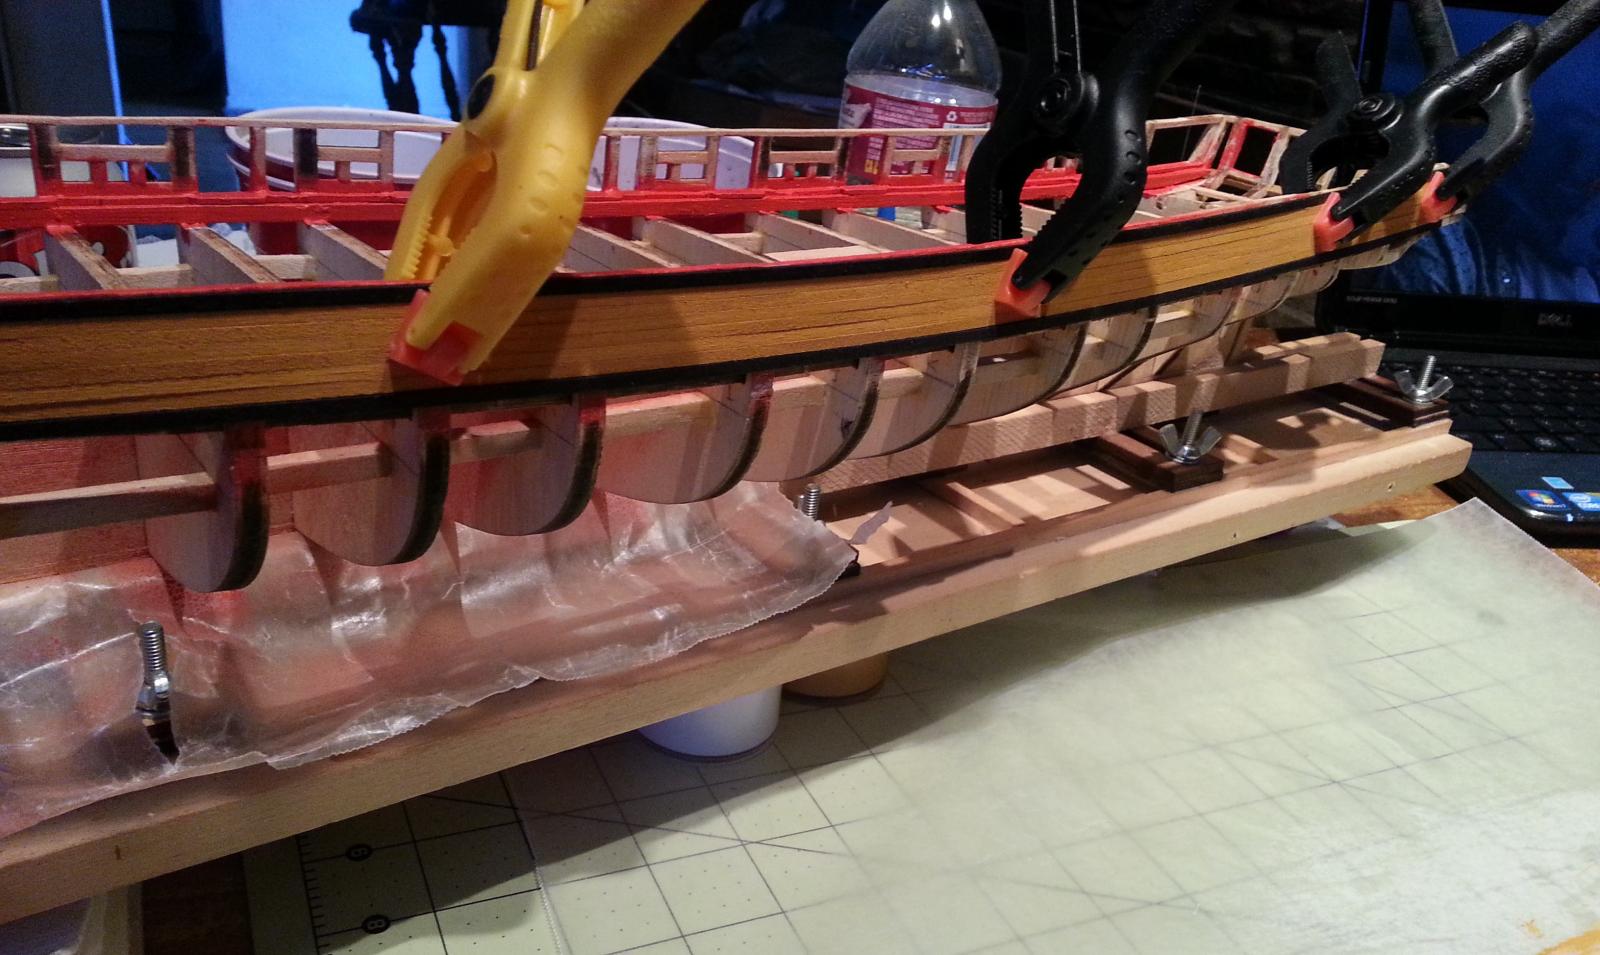
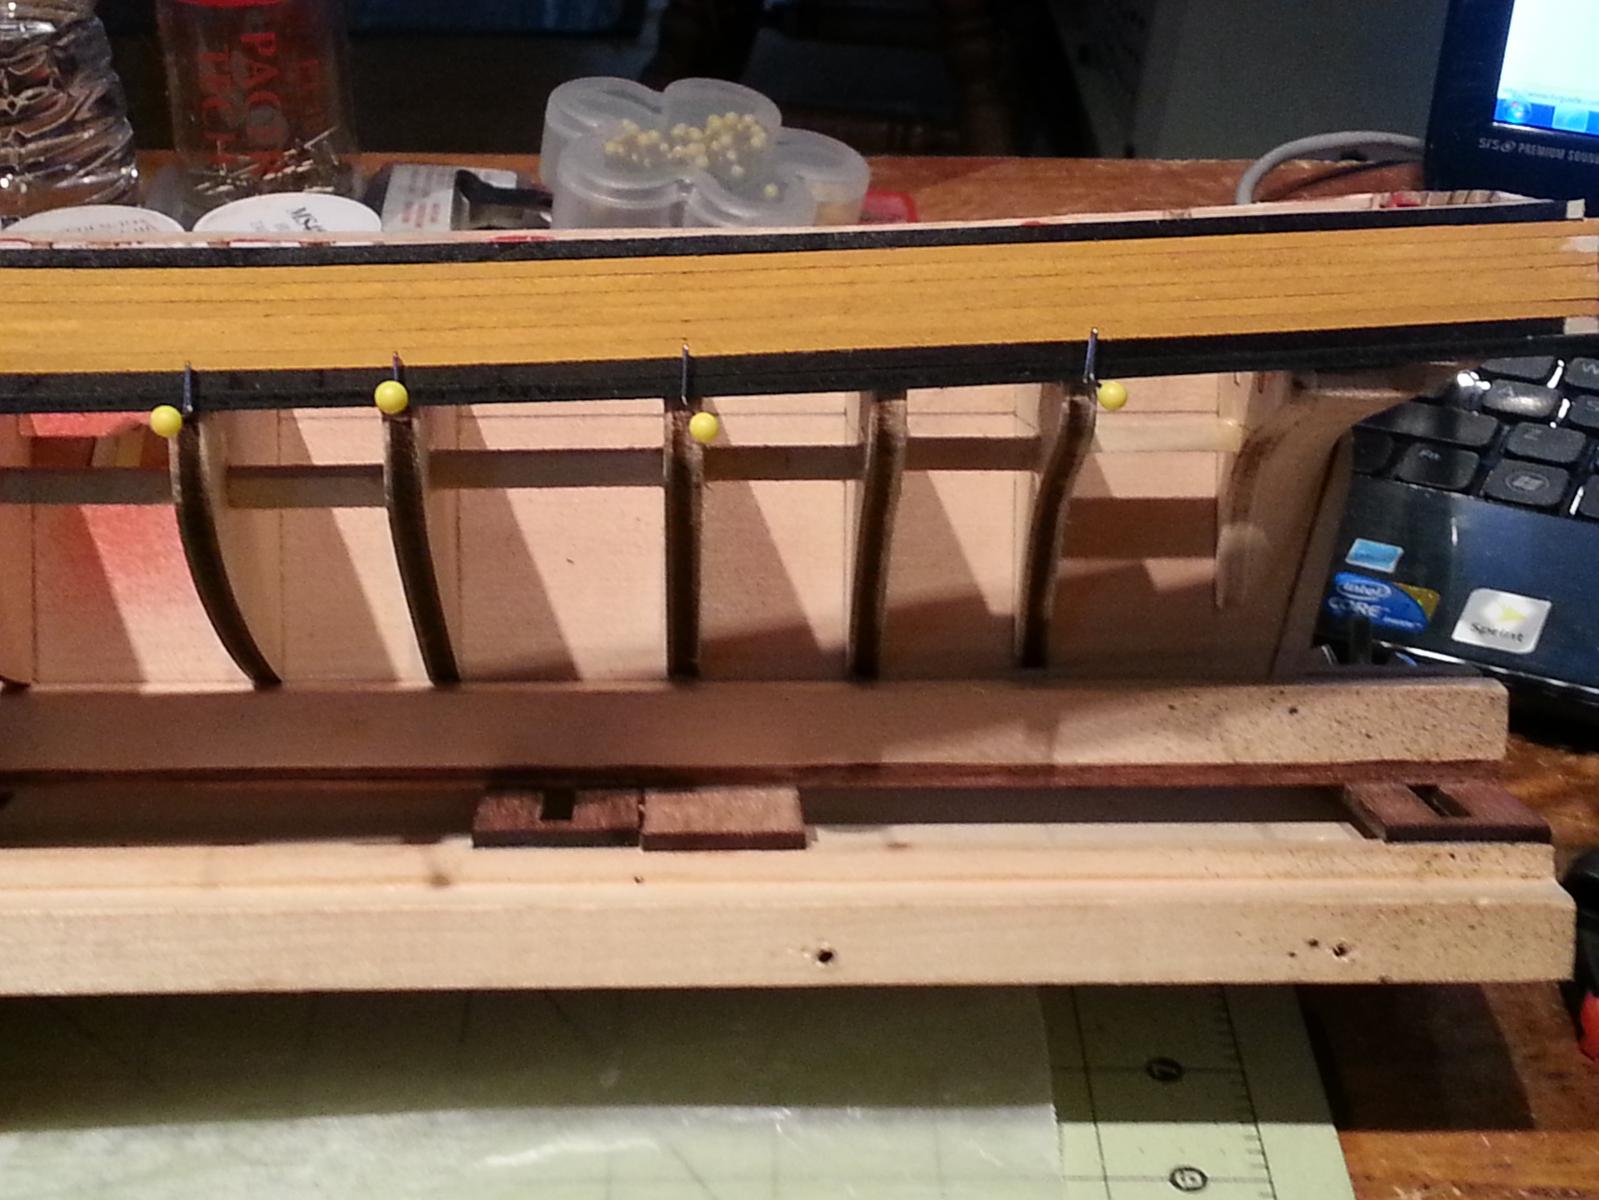
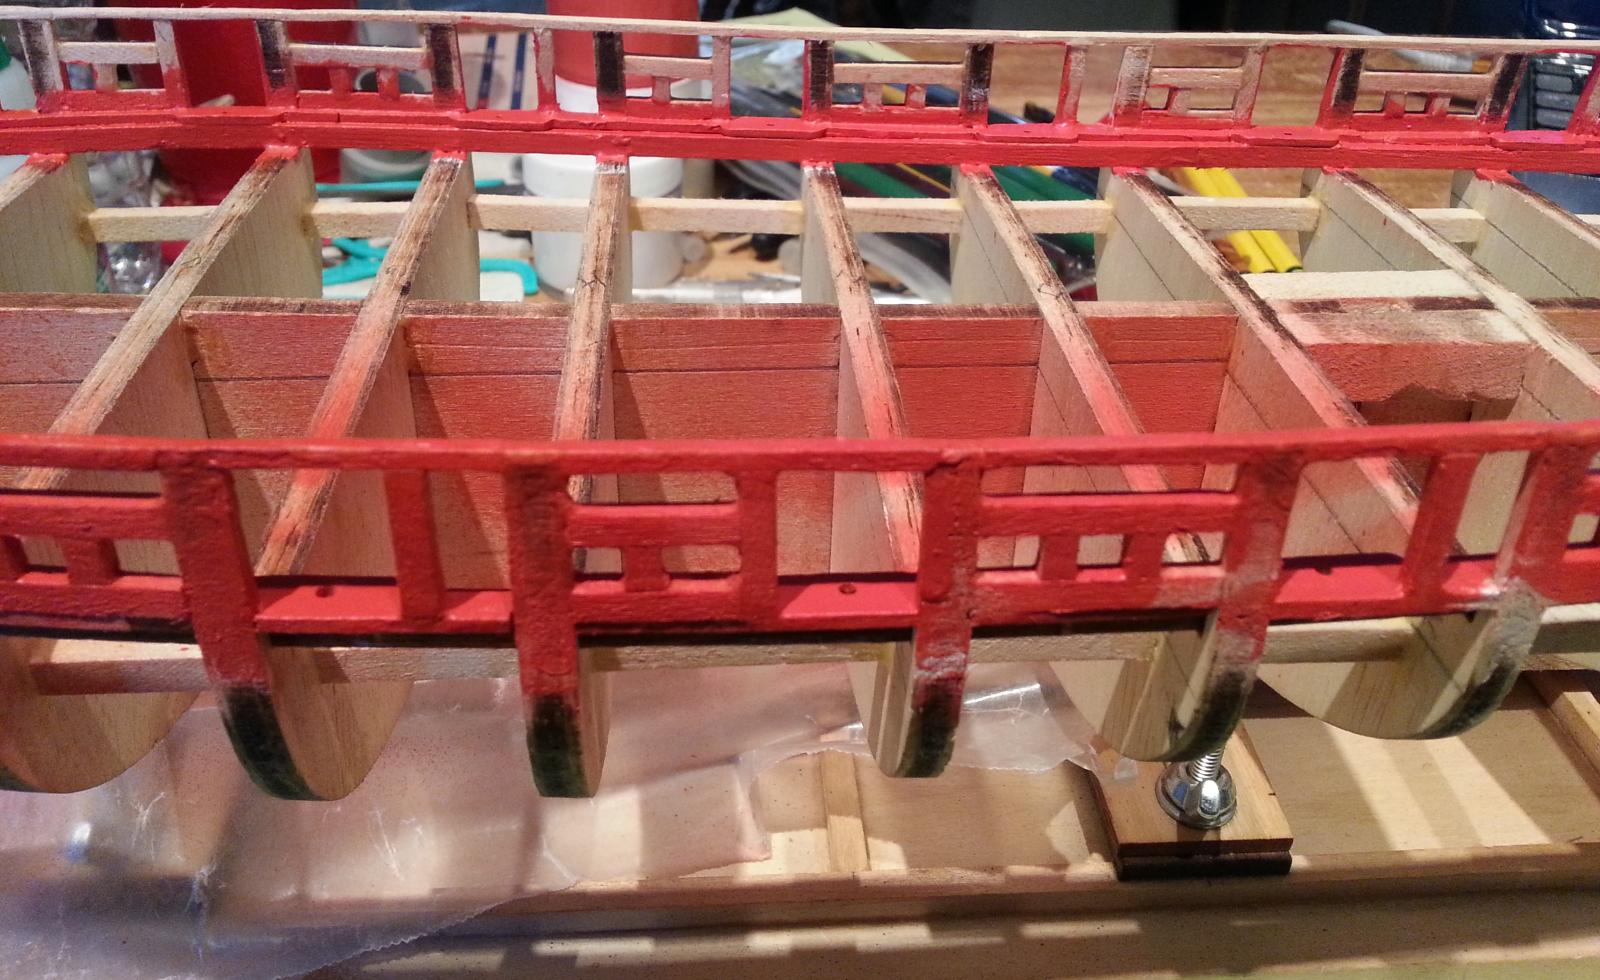
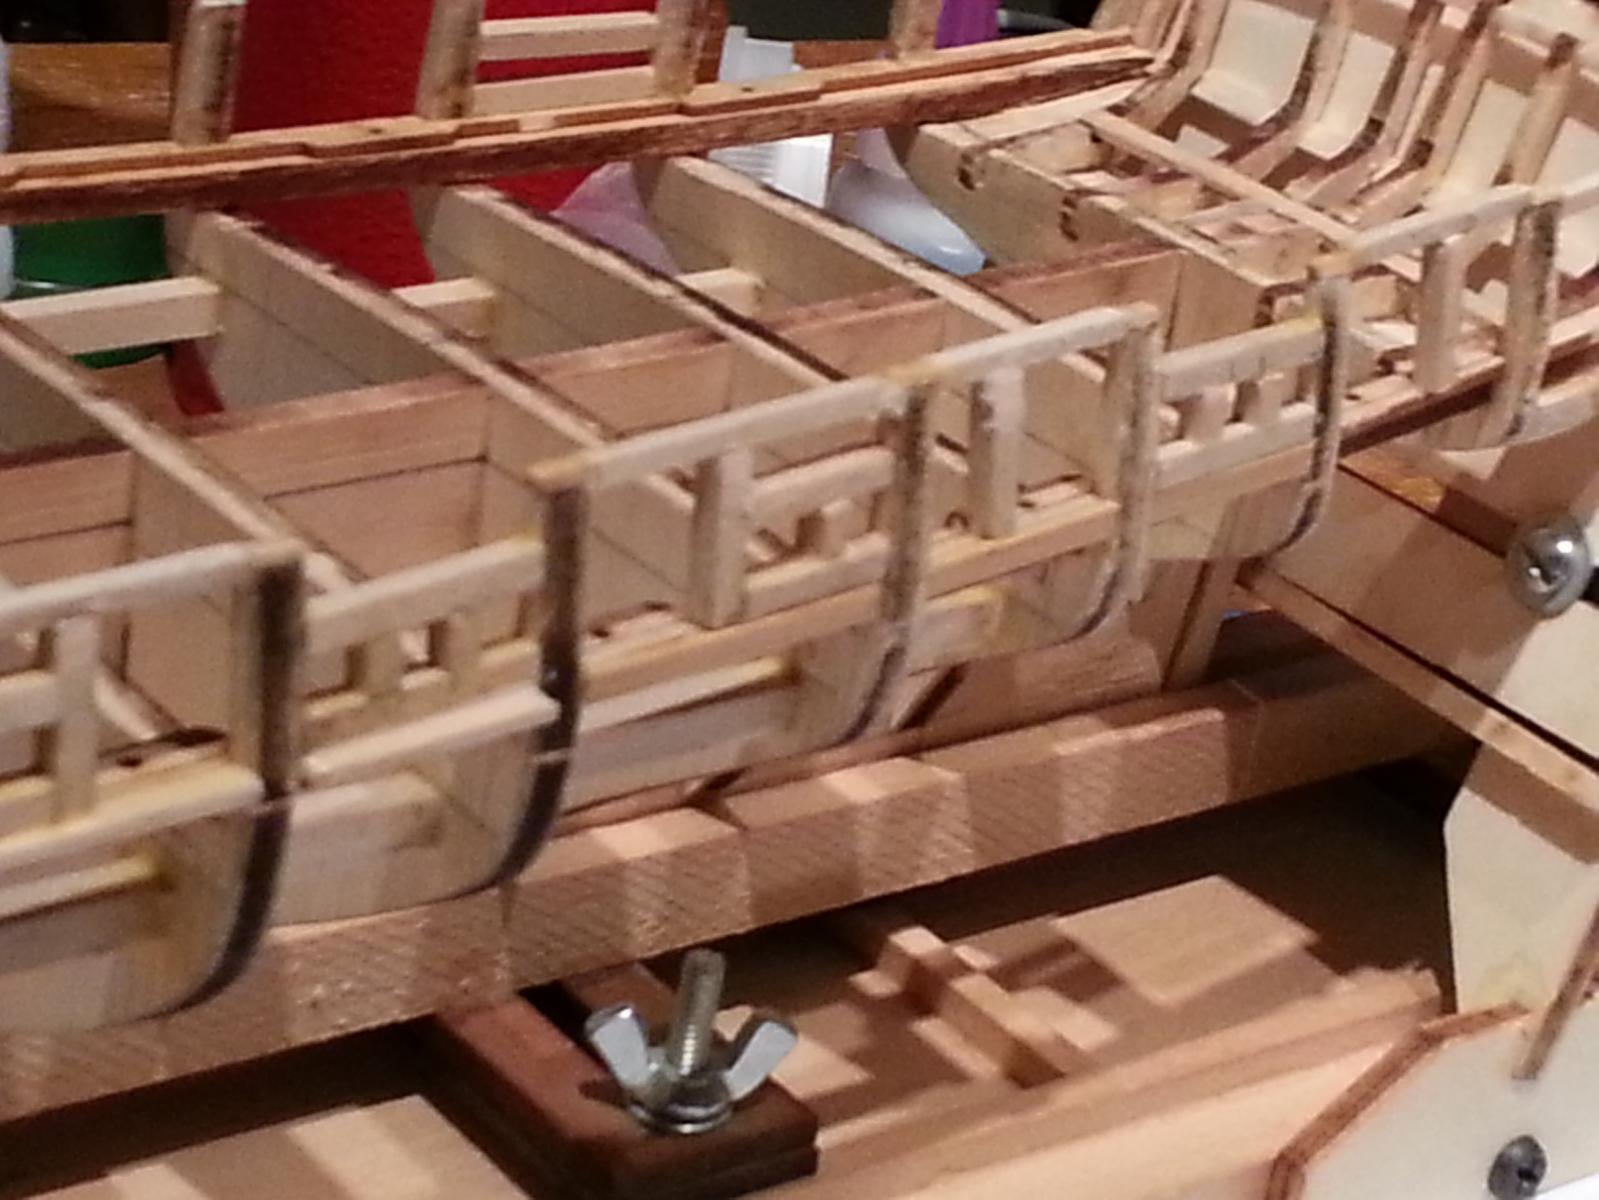
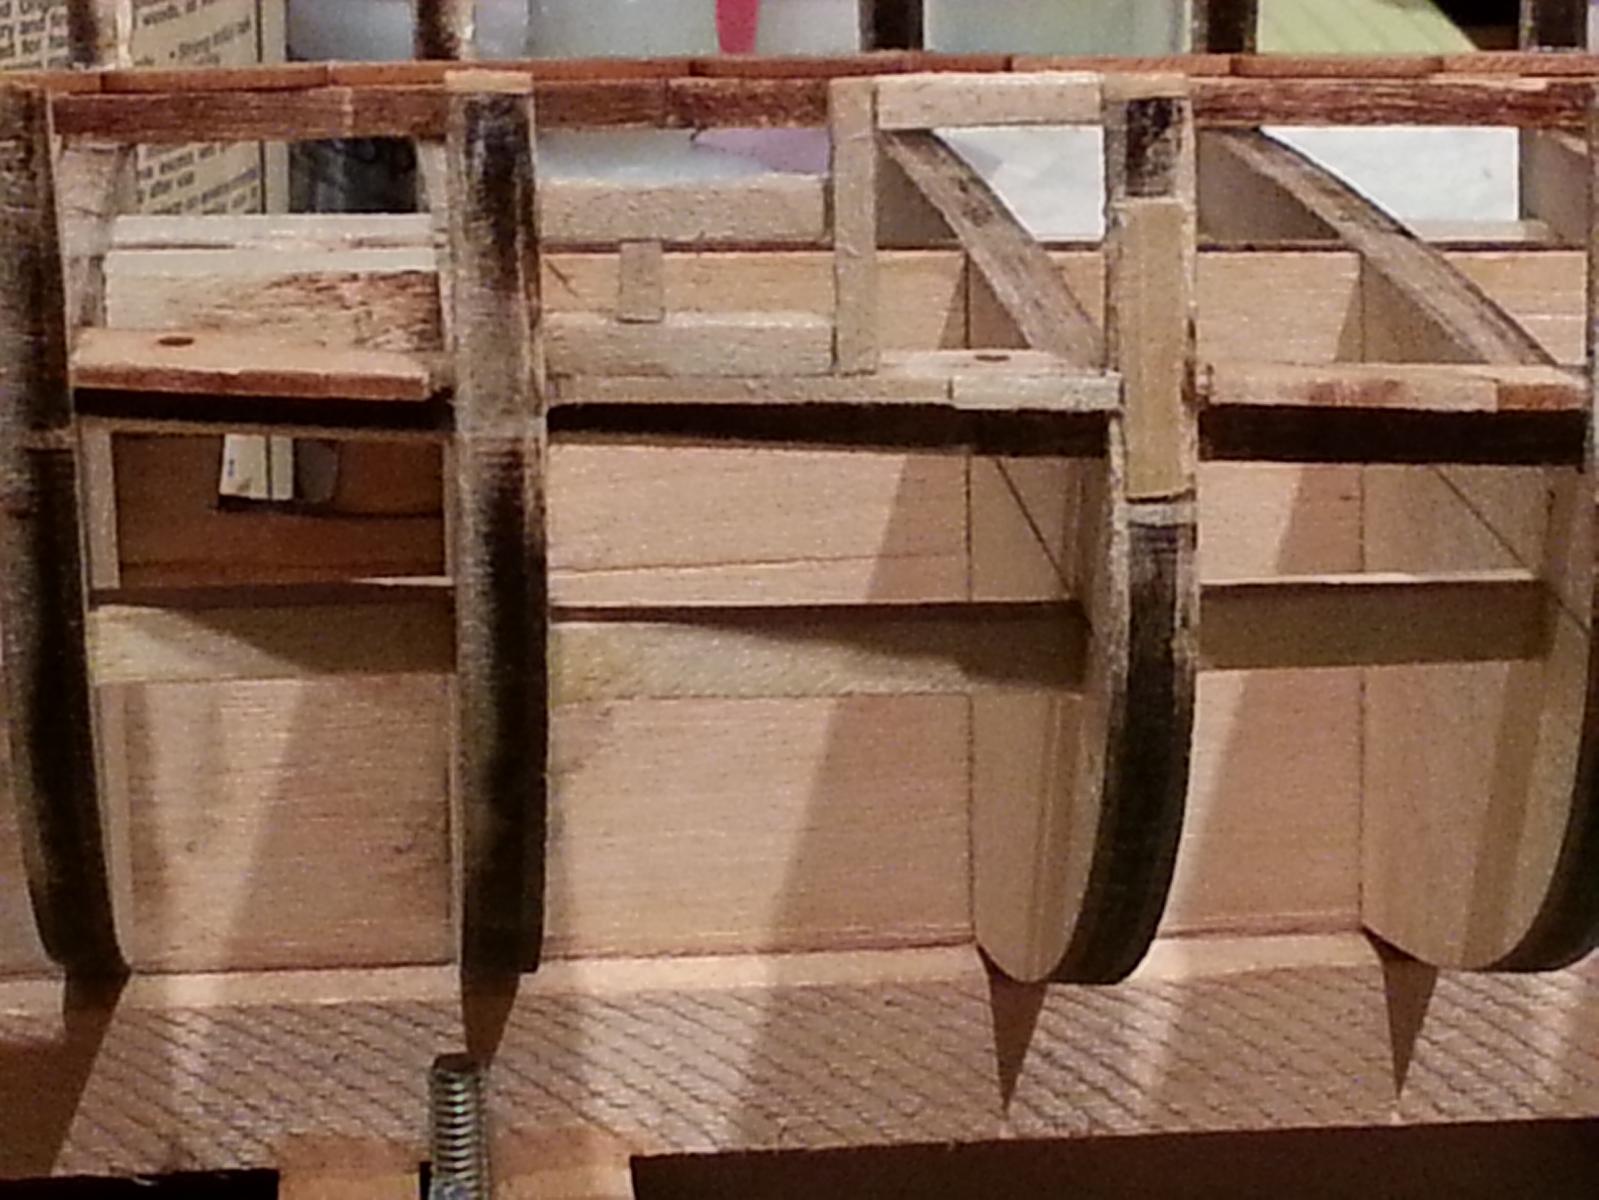
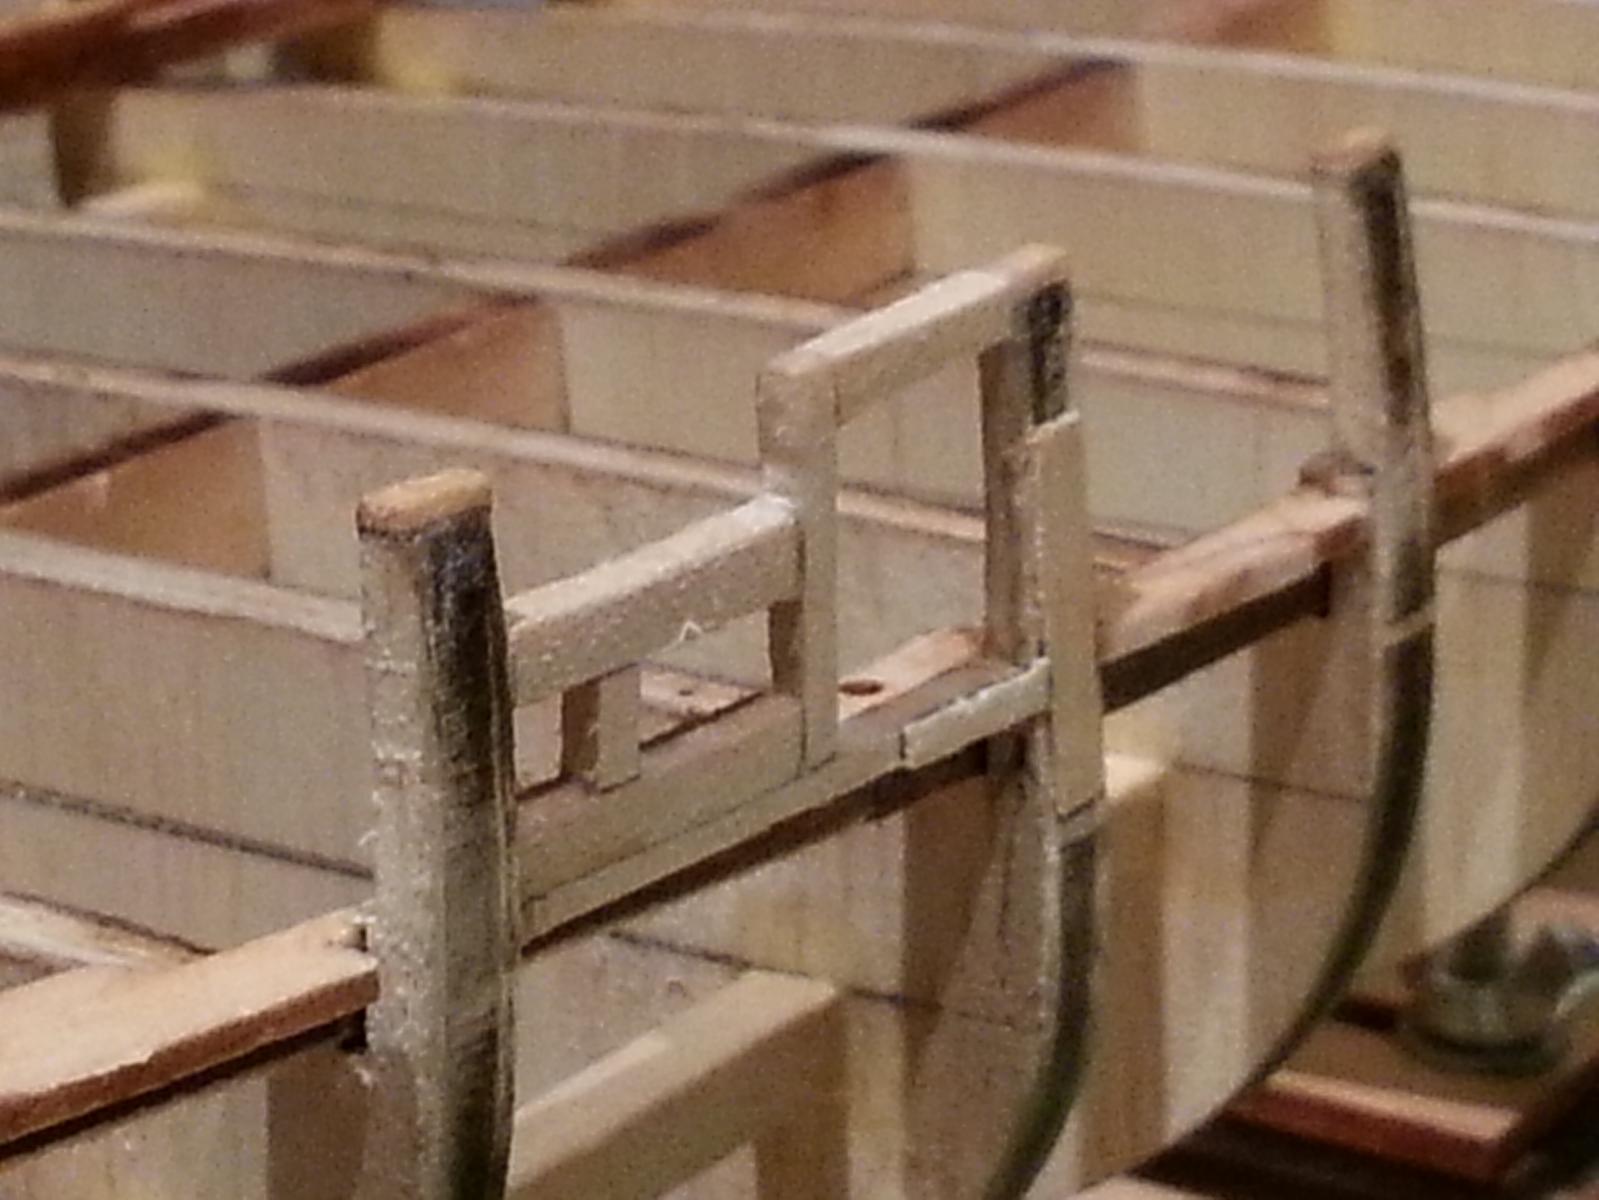
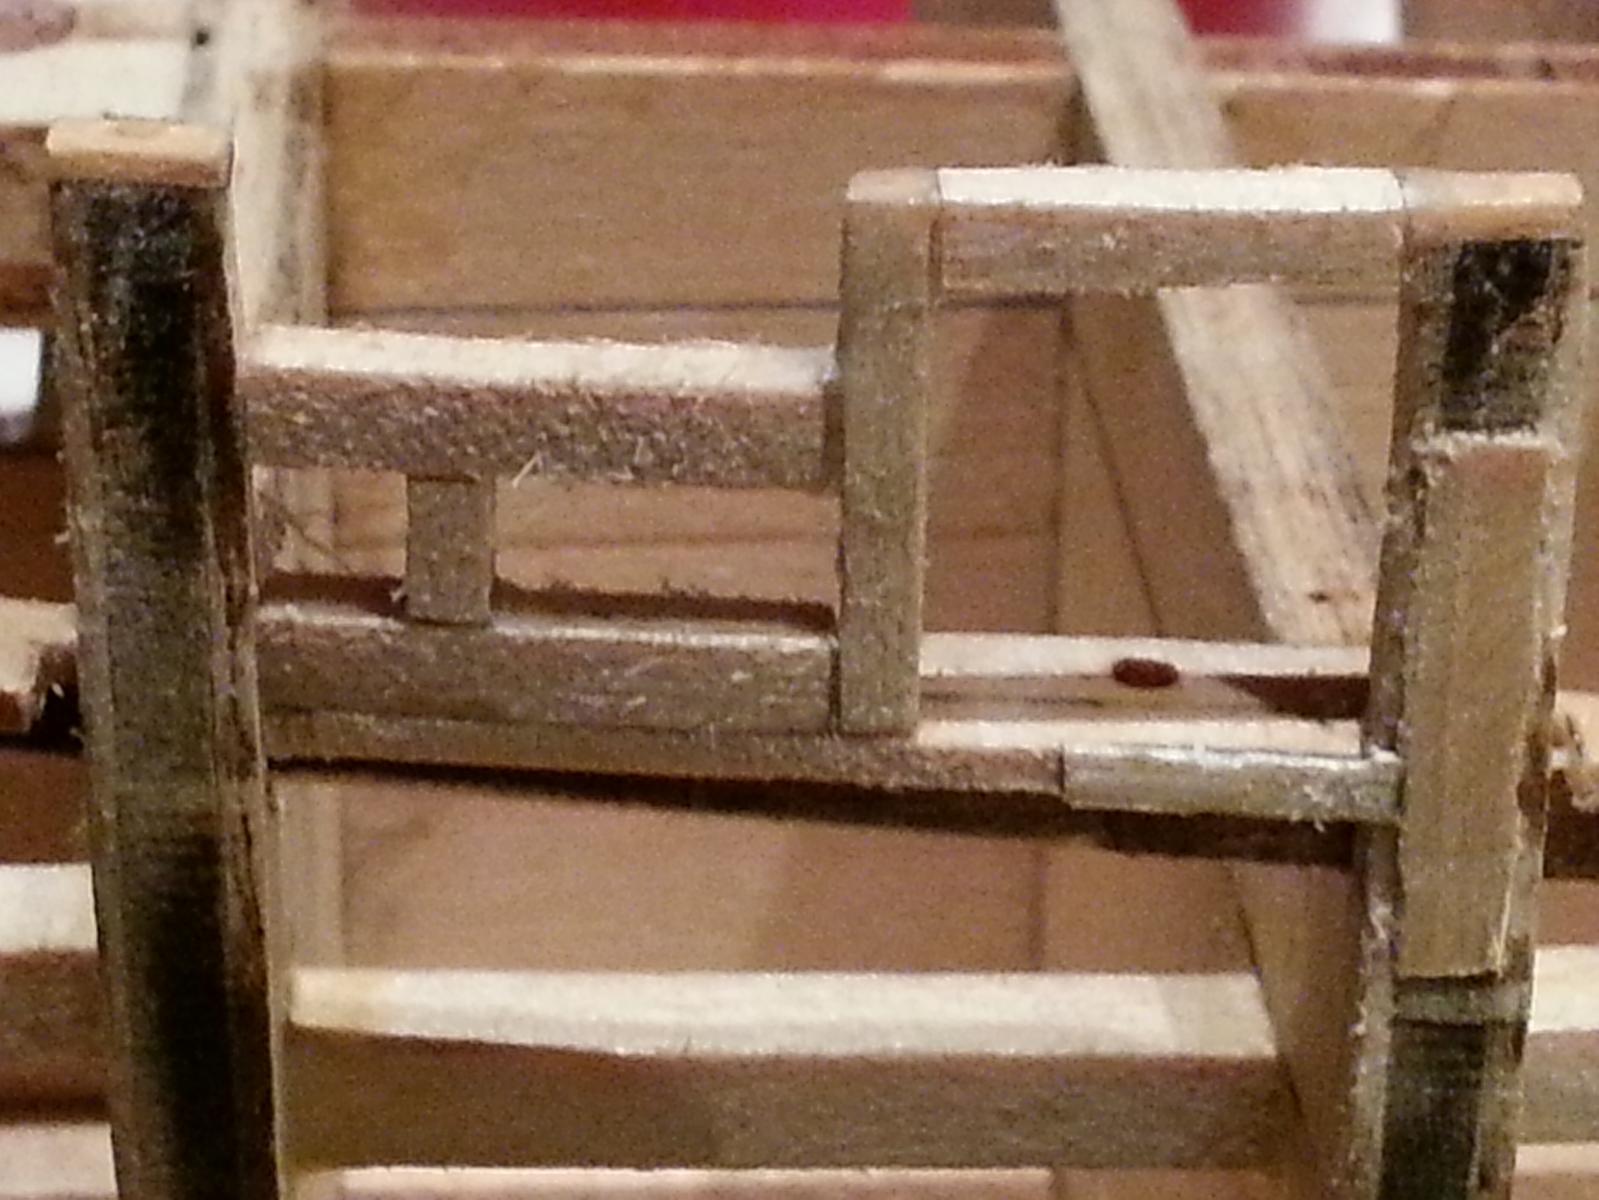
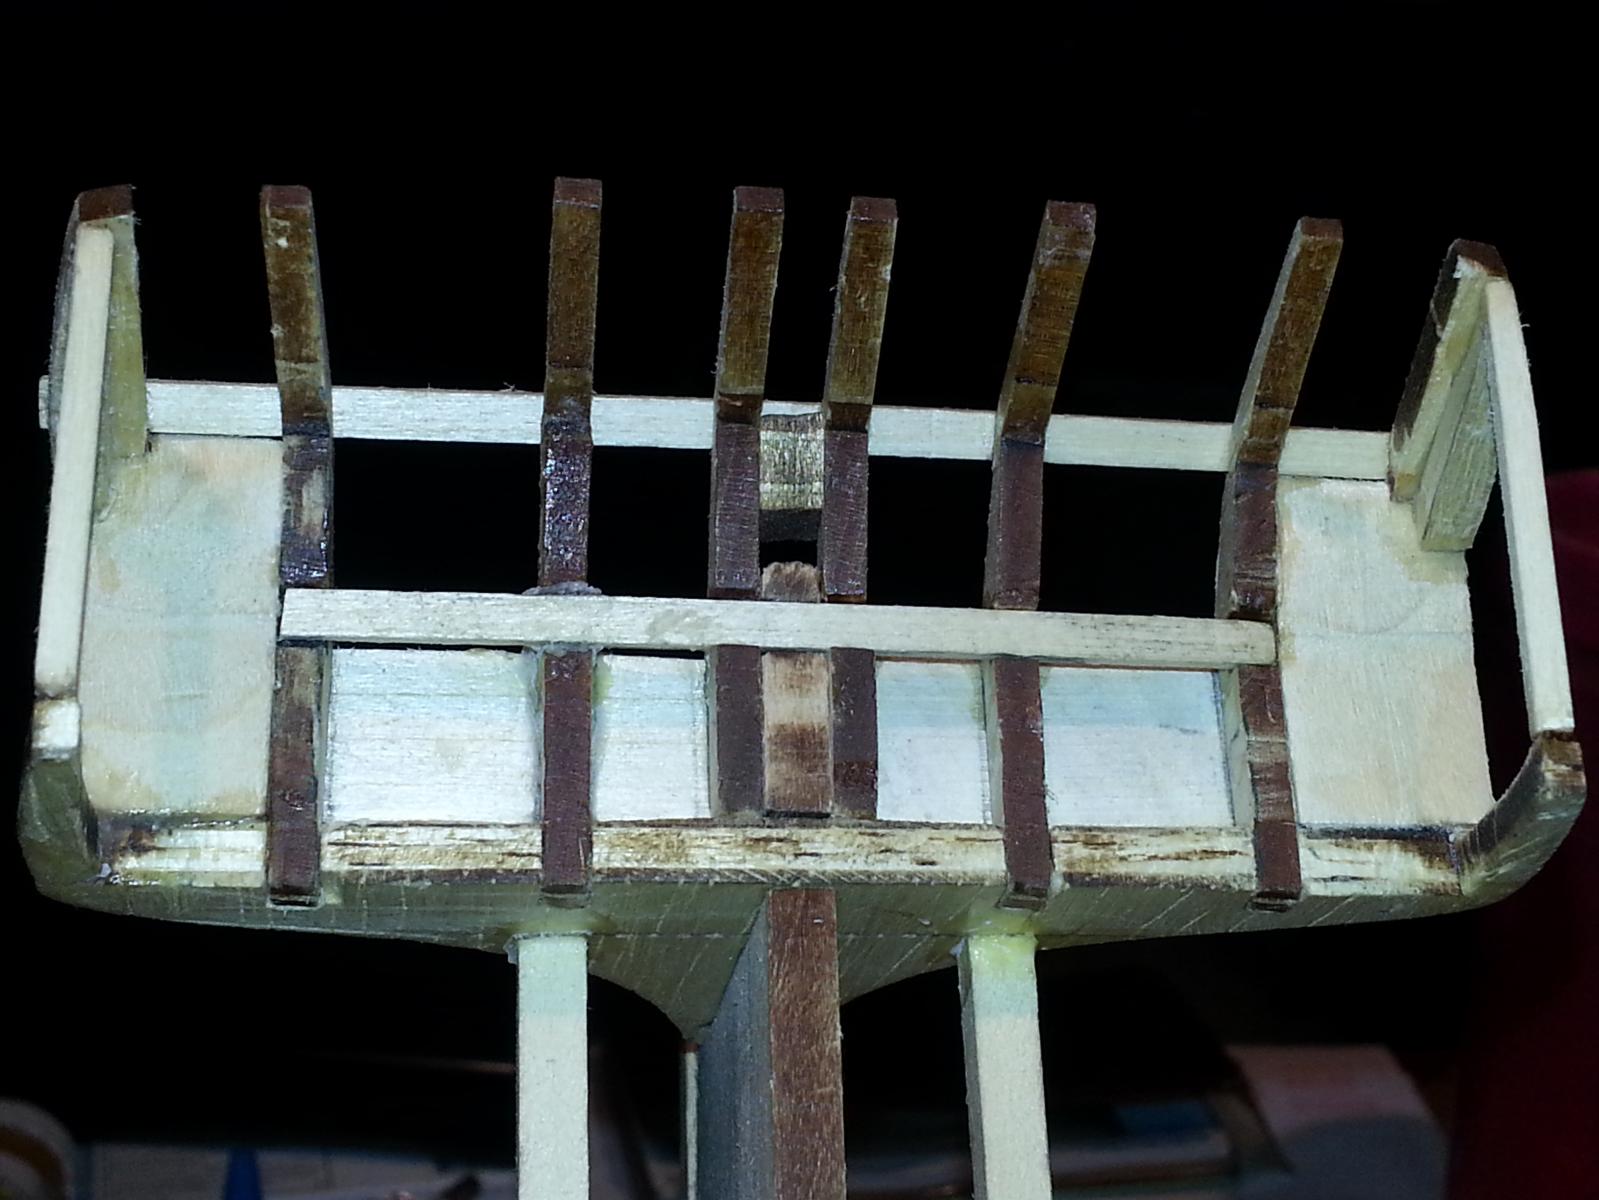
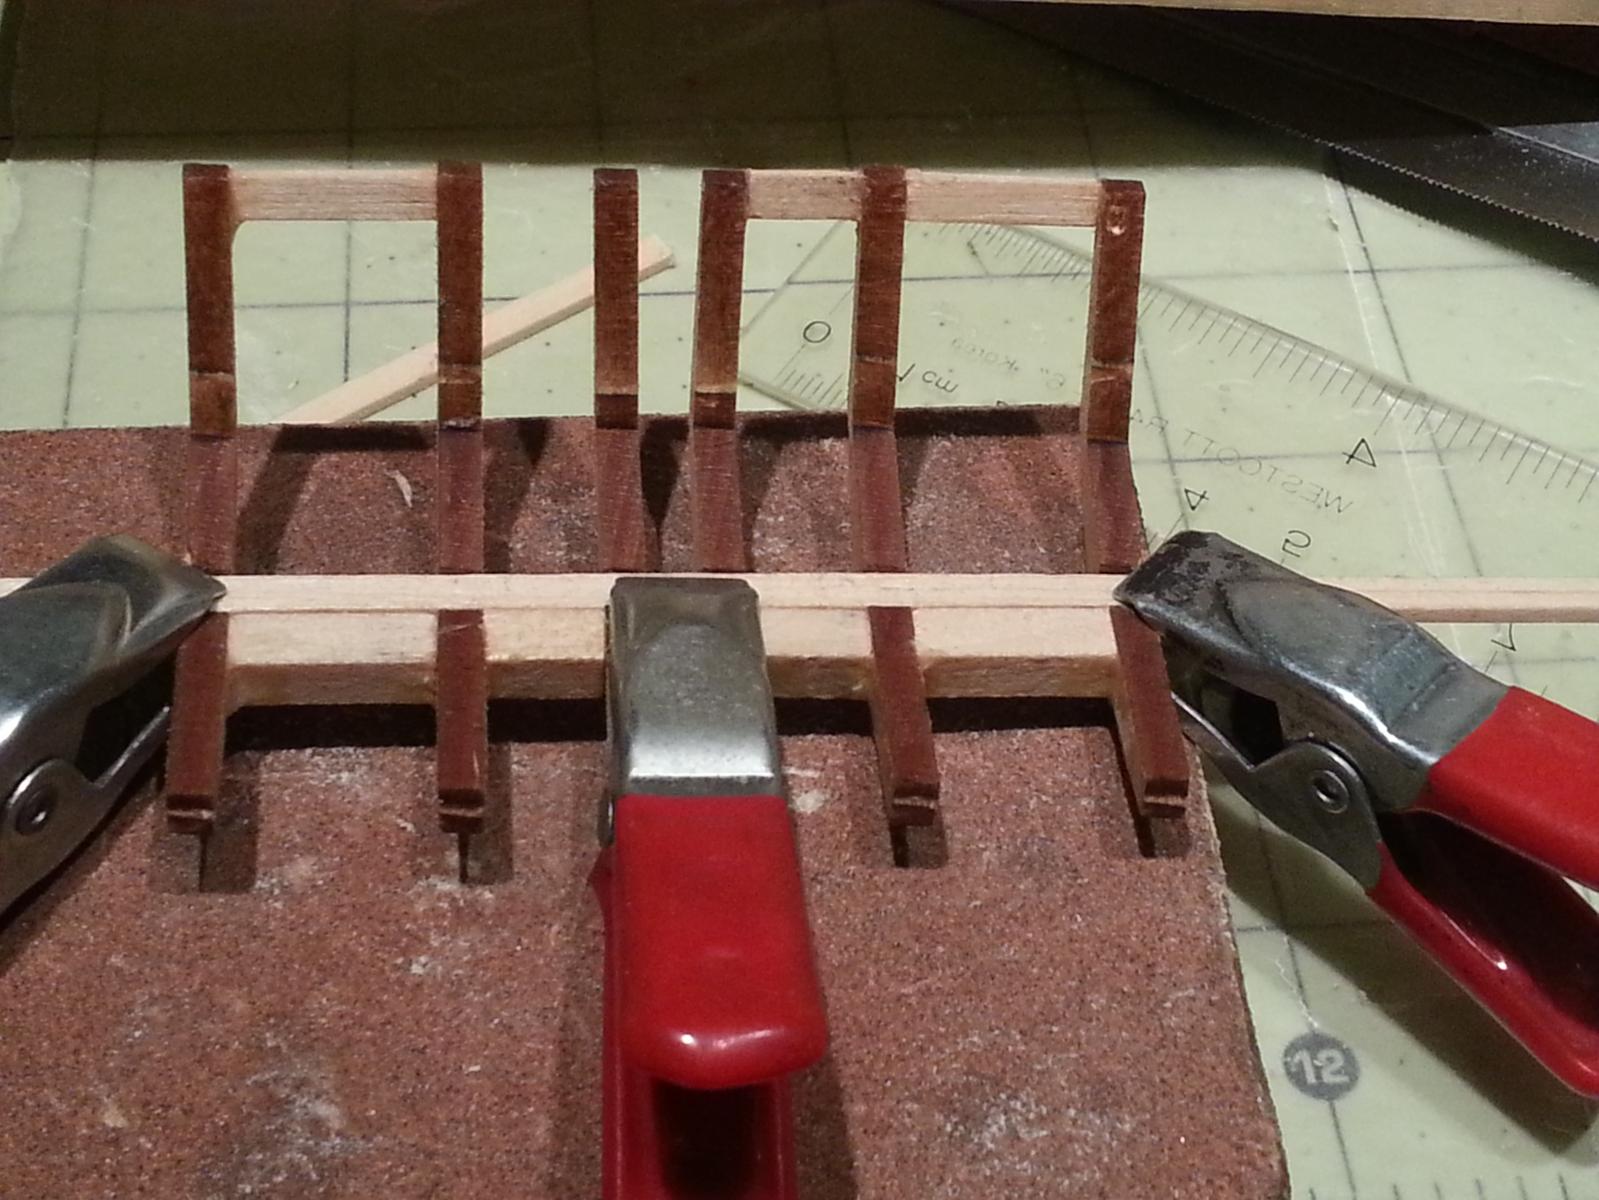
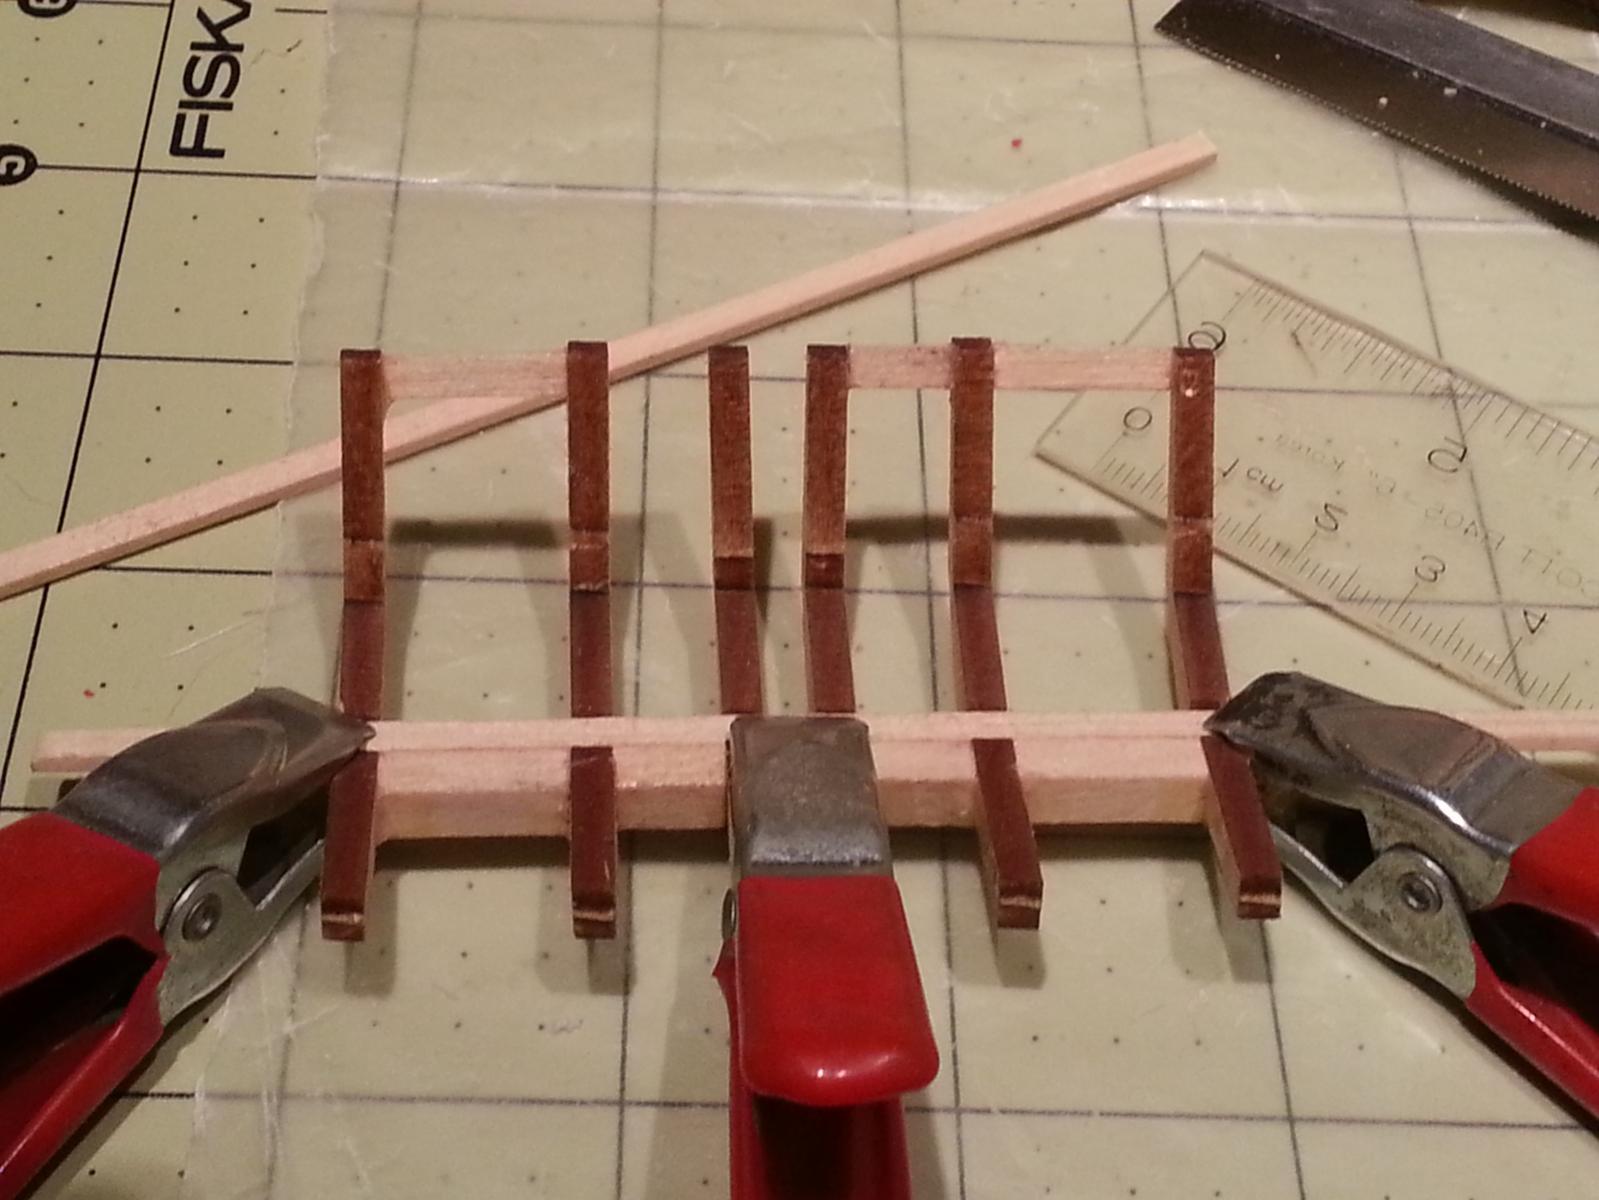
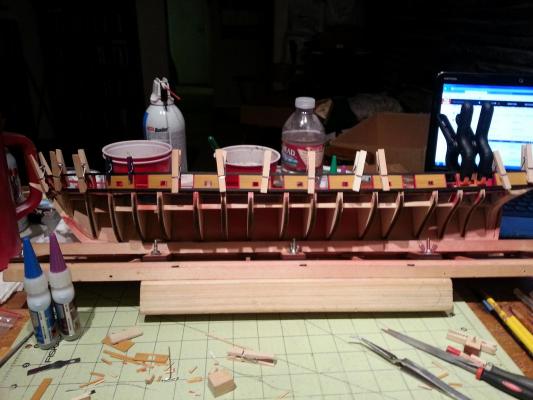
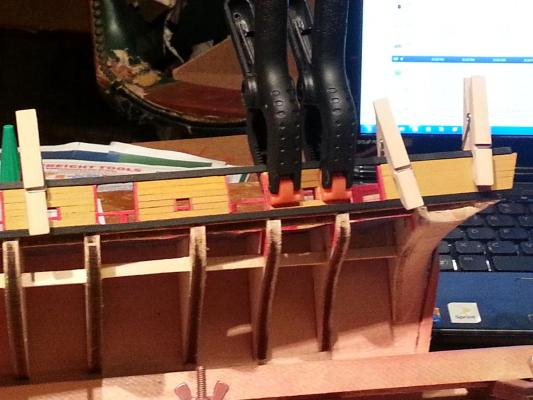
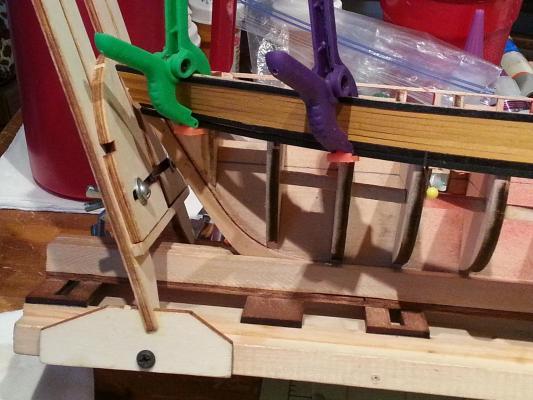
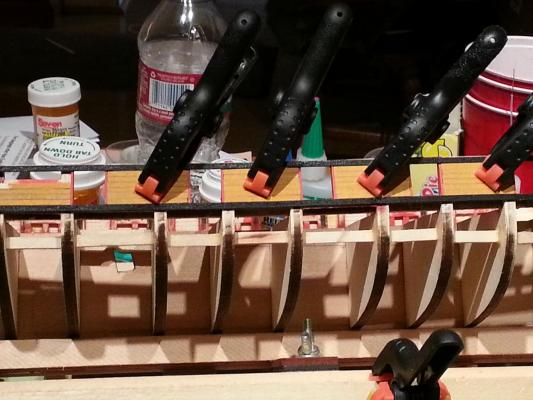
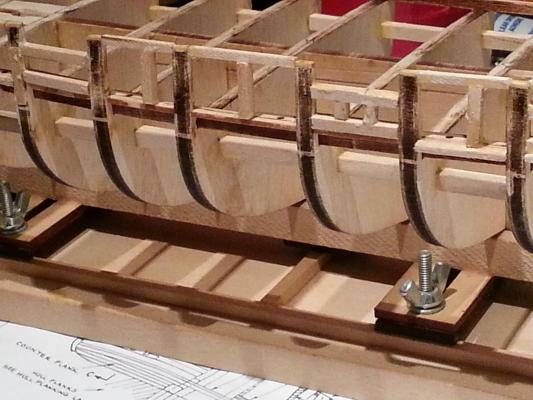
Working on planking the bulwarks. Goofed on one side and didn’t put the trim pieces on the gunport and sweeps so I’m going back and cutting them in. The other side I have the 1/32” trim pieces glued in place and just test fitting the planking.


-
Your build is looking real nice. I hope mine looks as good when I get to the point your at now. John
-
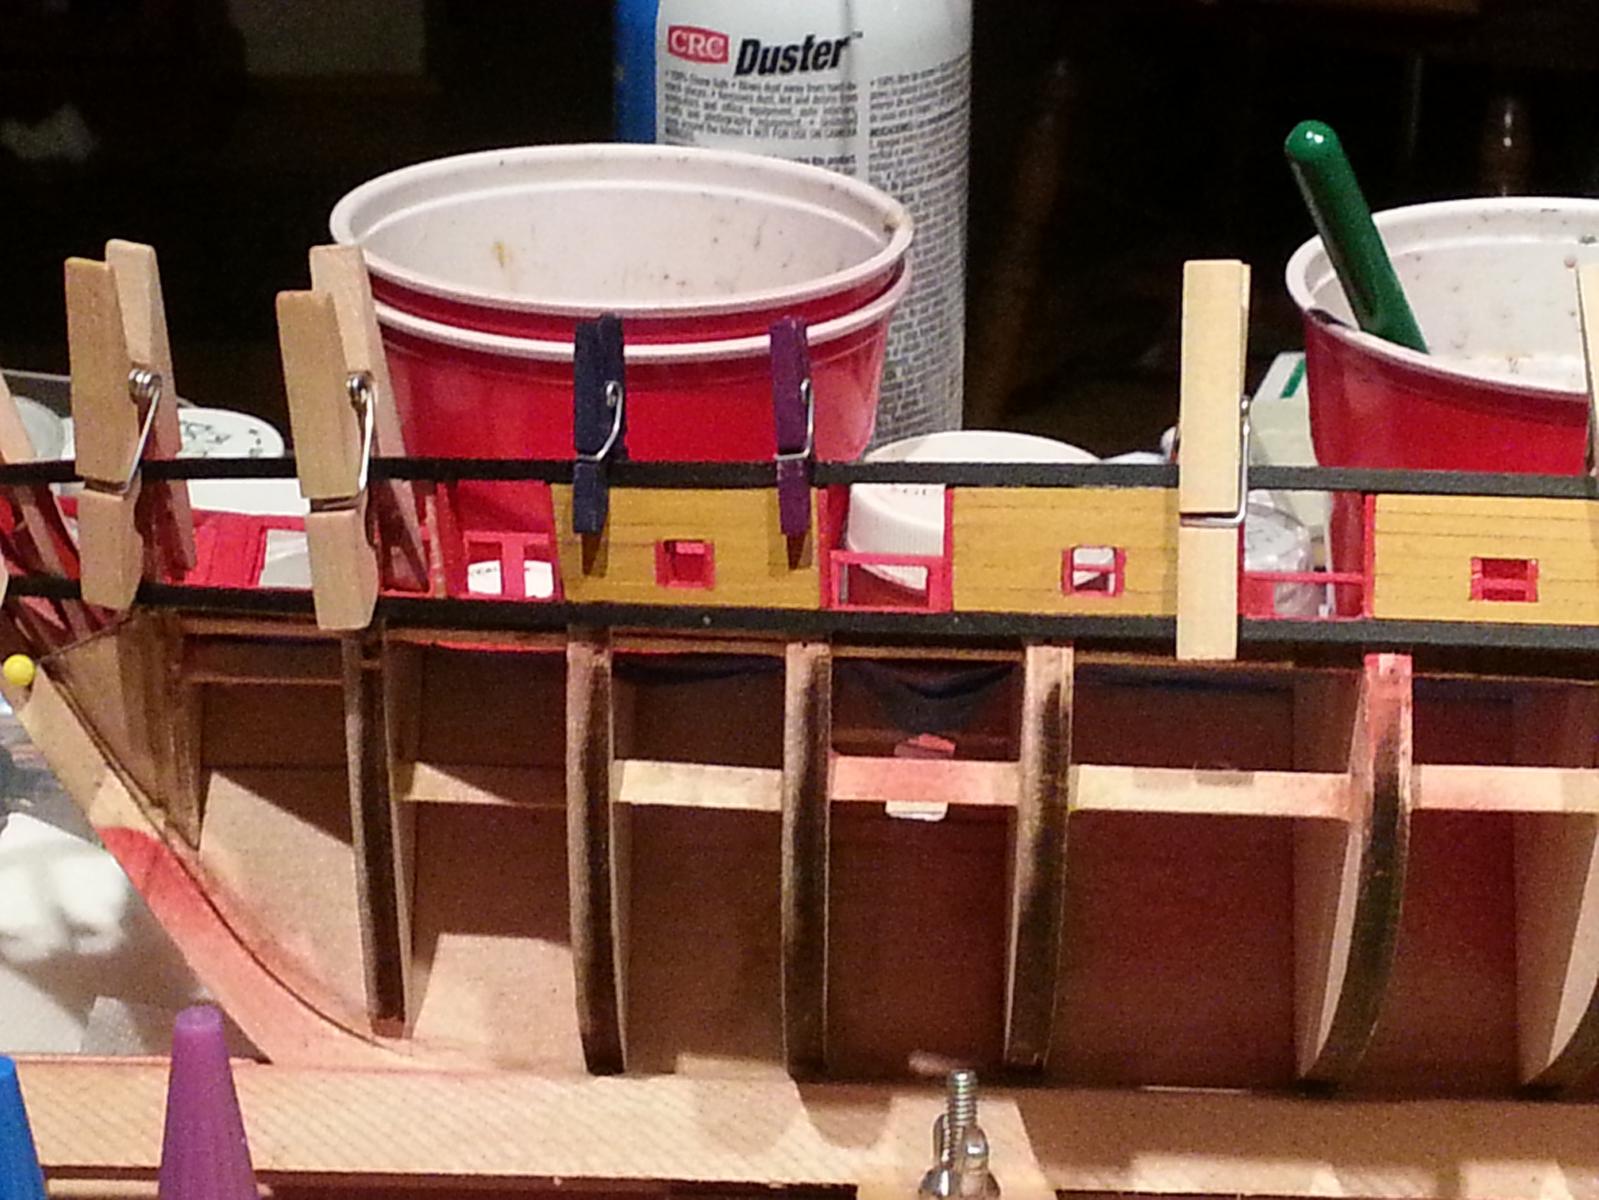
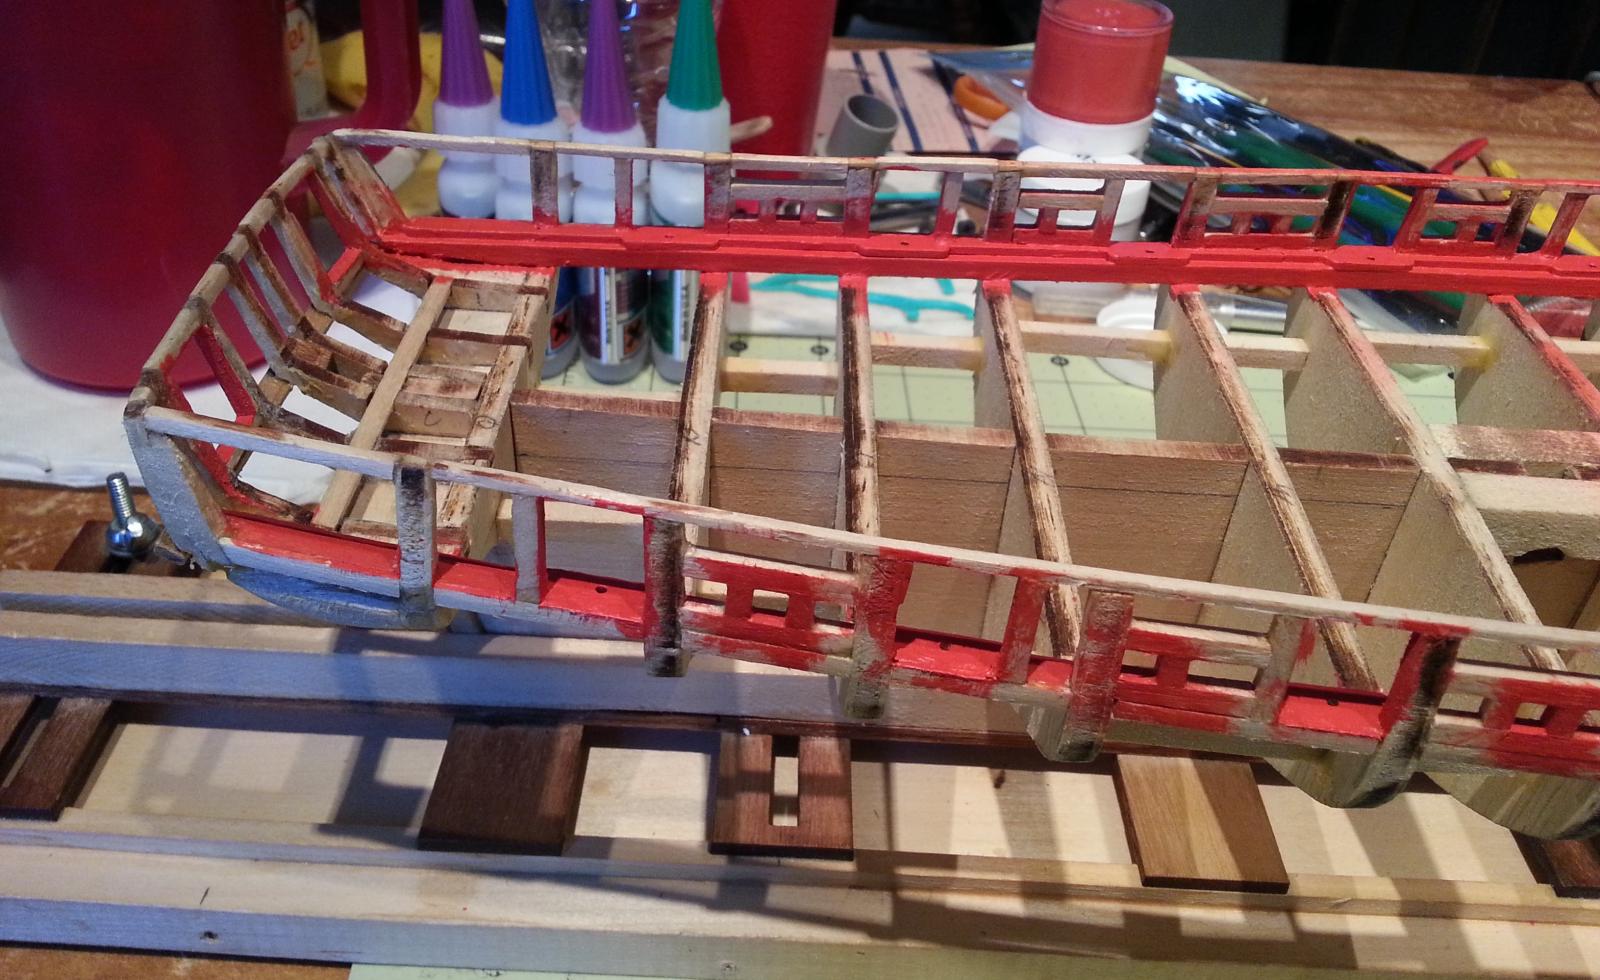
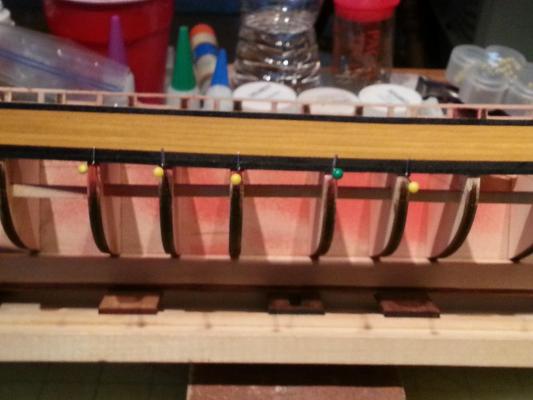
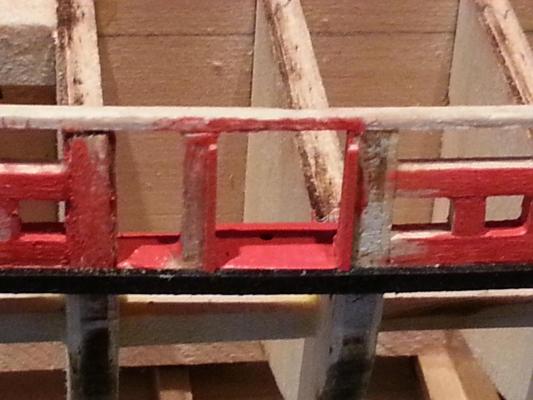
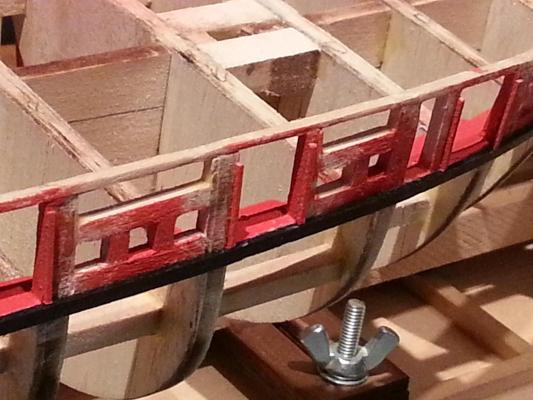
Finally had some time to pre-paint the waterway, planksheer & gun/sweep ports. Started airbrushing but the trigger broke so switched to a brush. Not real happy with results but I’ll touch it up later. And fortunately the airbrush was purchased from ME so it has a lifetime warranty.


-
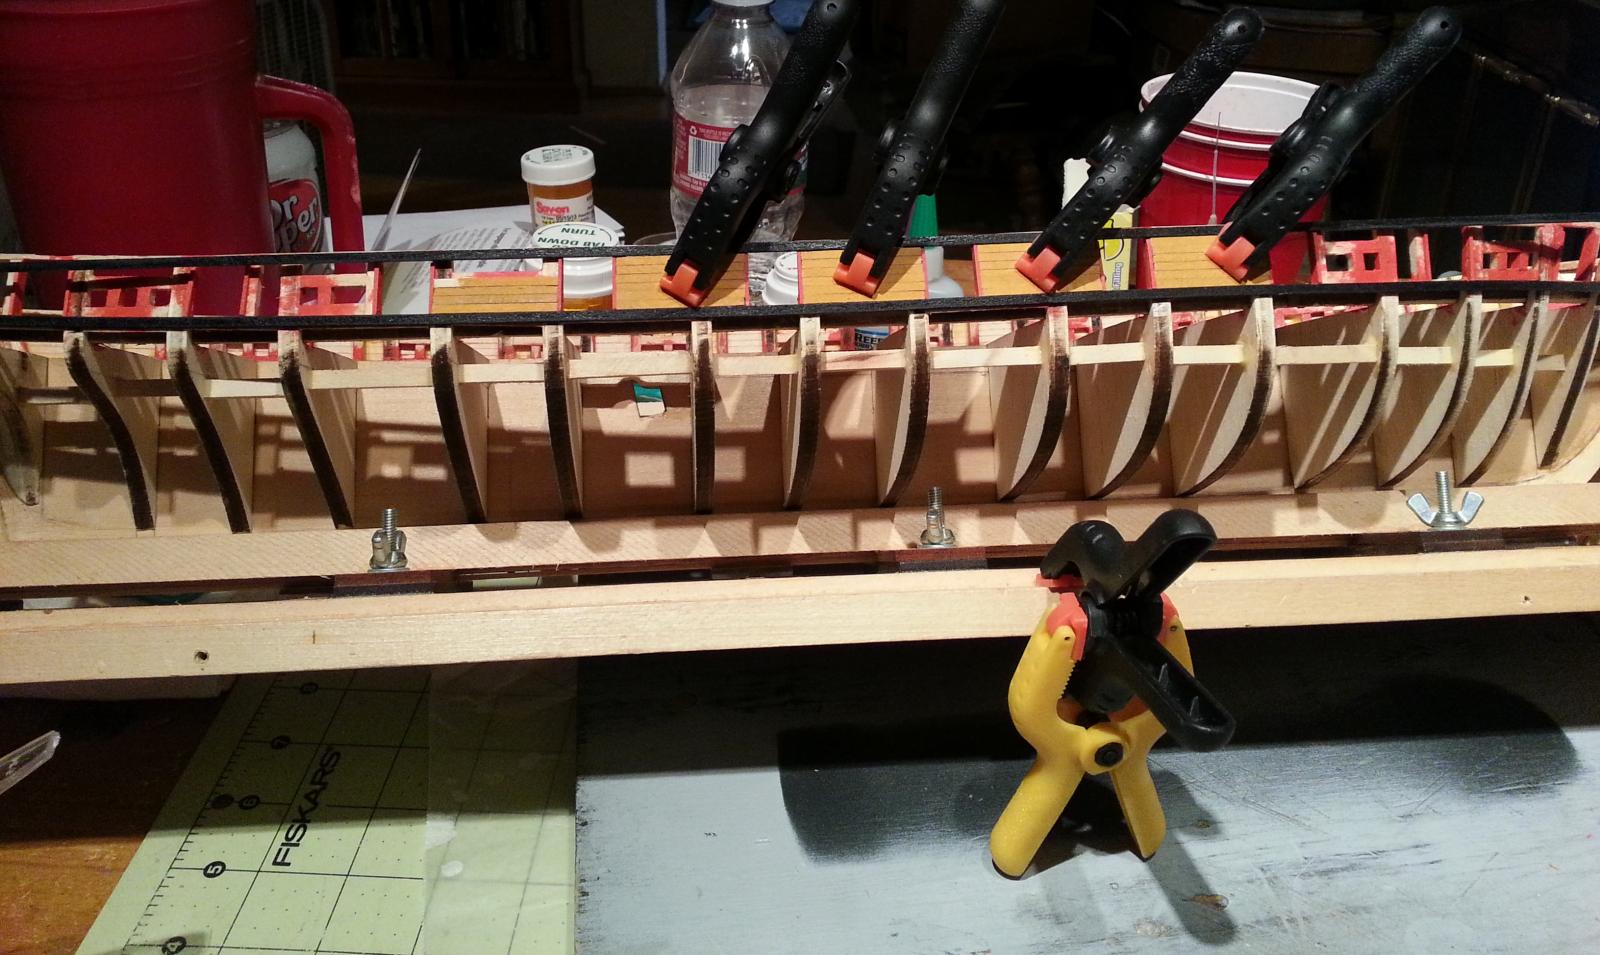
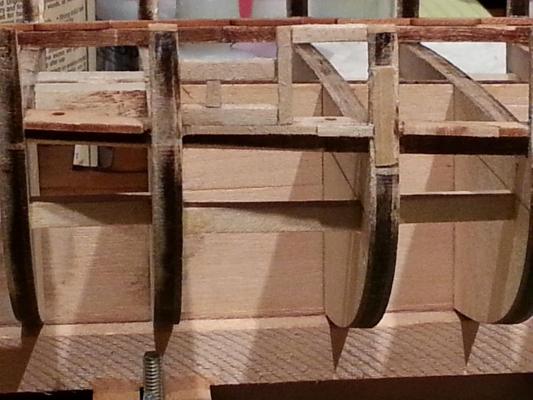
After some encouragement from others on the forum I decided to not be so overly critical with the appearance of something midway through the steps because my work doesn’t look like the pictures of what it should be after the steps are done. So some more pictures of my progress with the gun and sweep ports.


-
Patrick, Thank you for the encouragement. I've looked through other logs and see that the frustrations are pretty much the same on every build regardless of the experience level. I also see that the key seems to be patience and time - when you run out of patience it's time to stop. Thanks, John
-
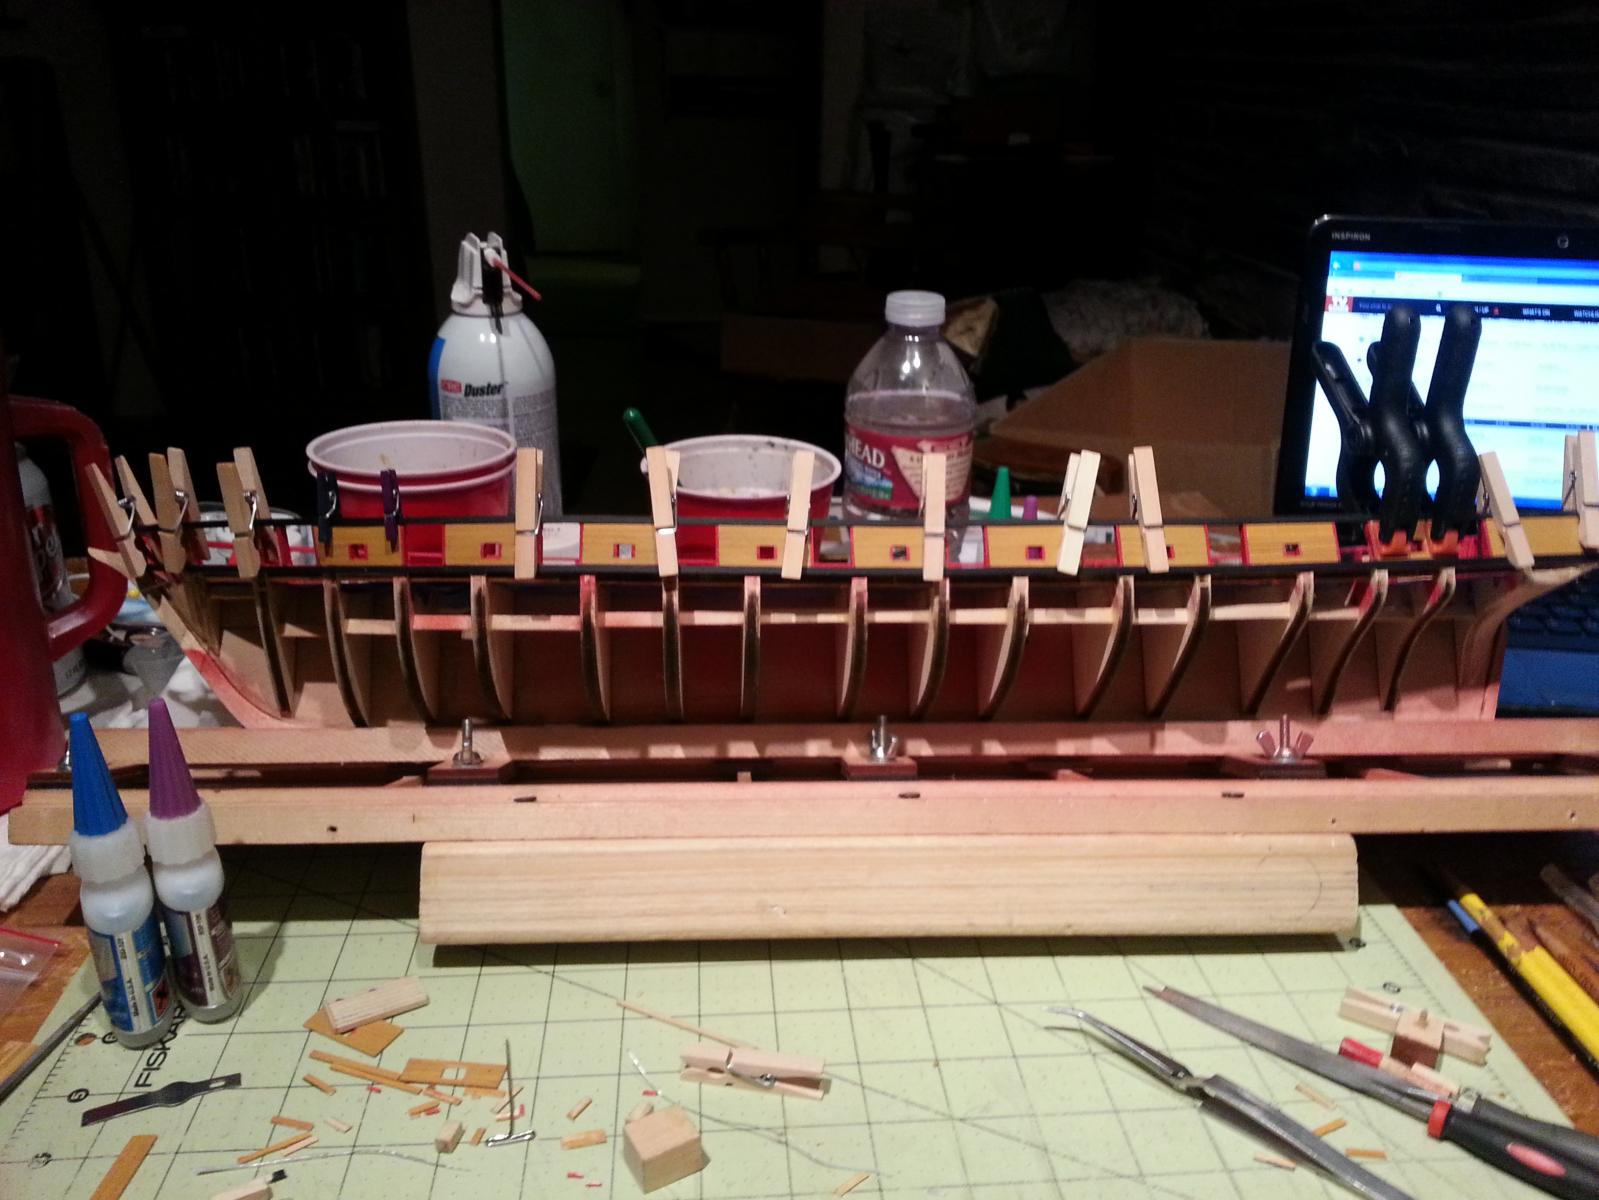
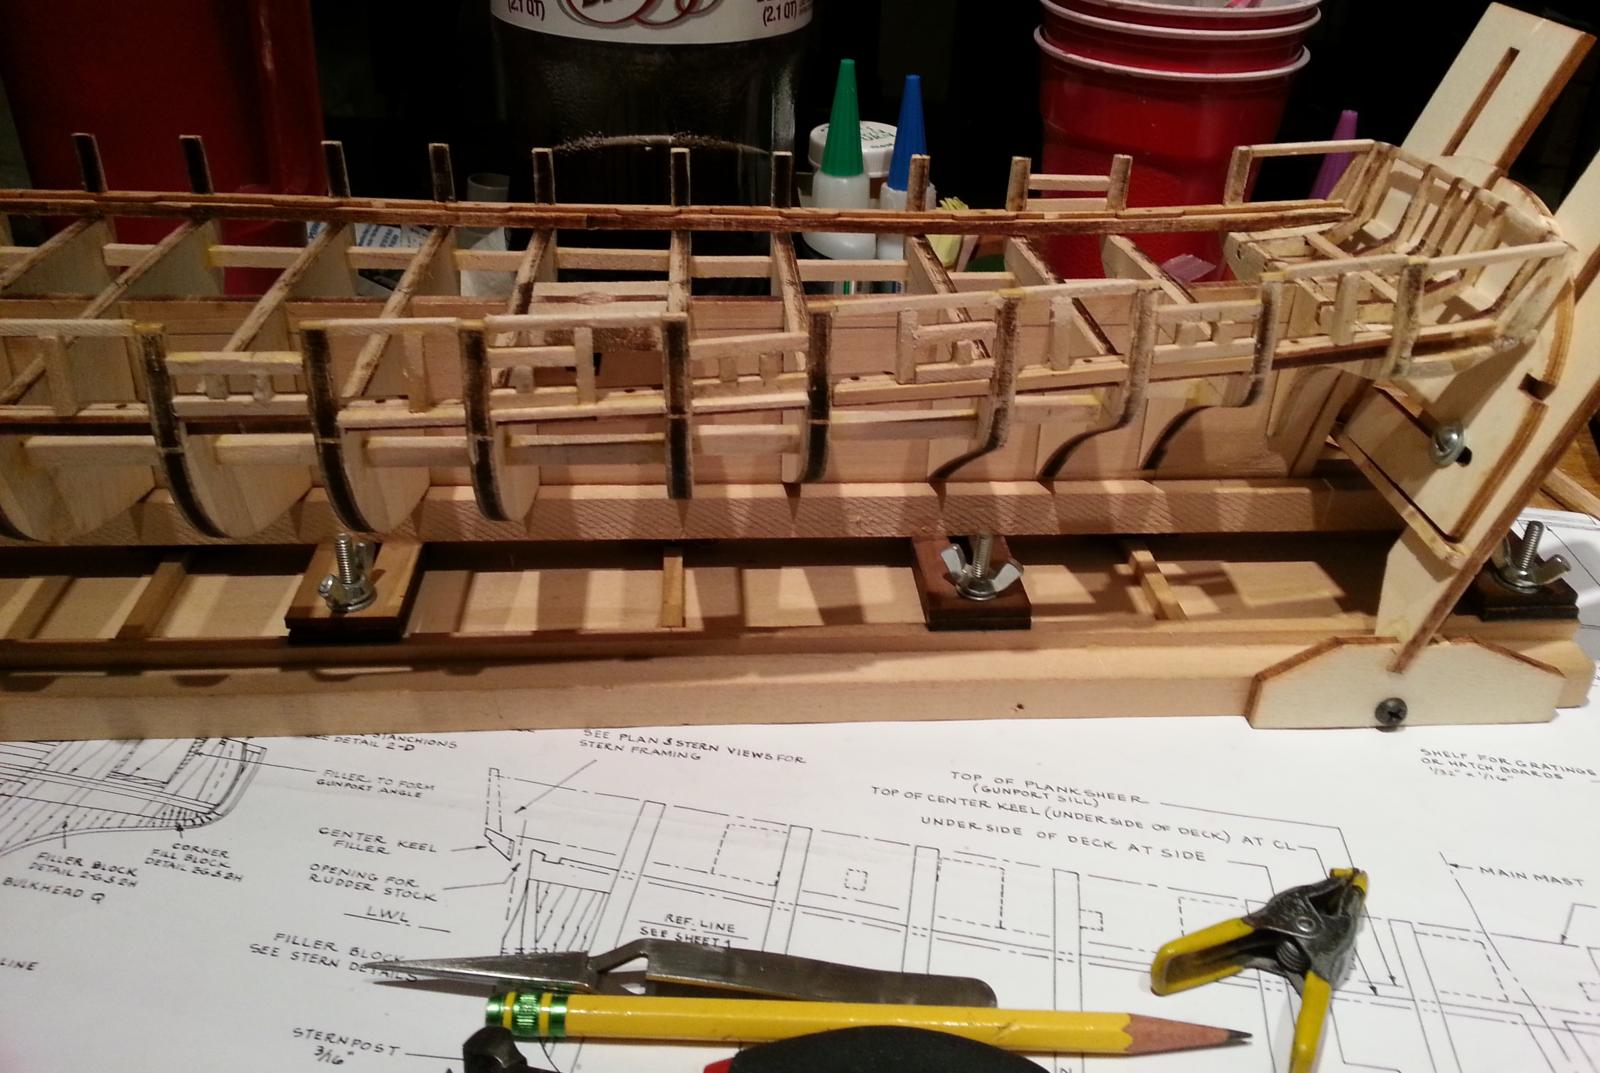
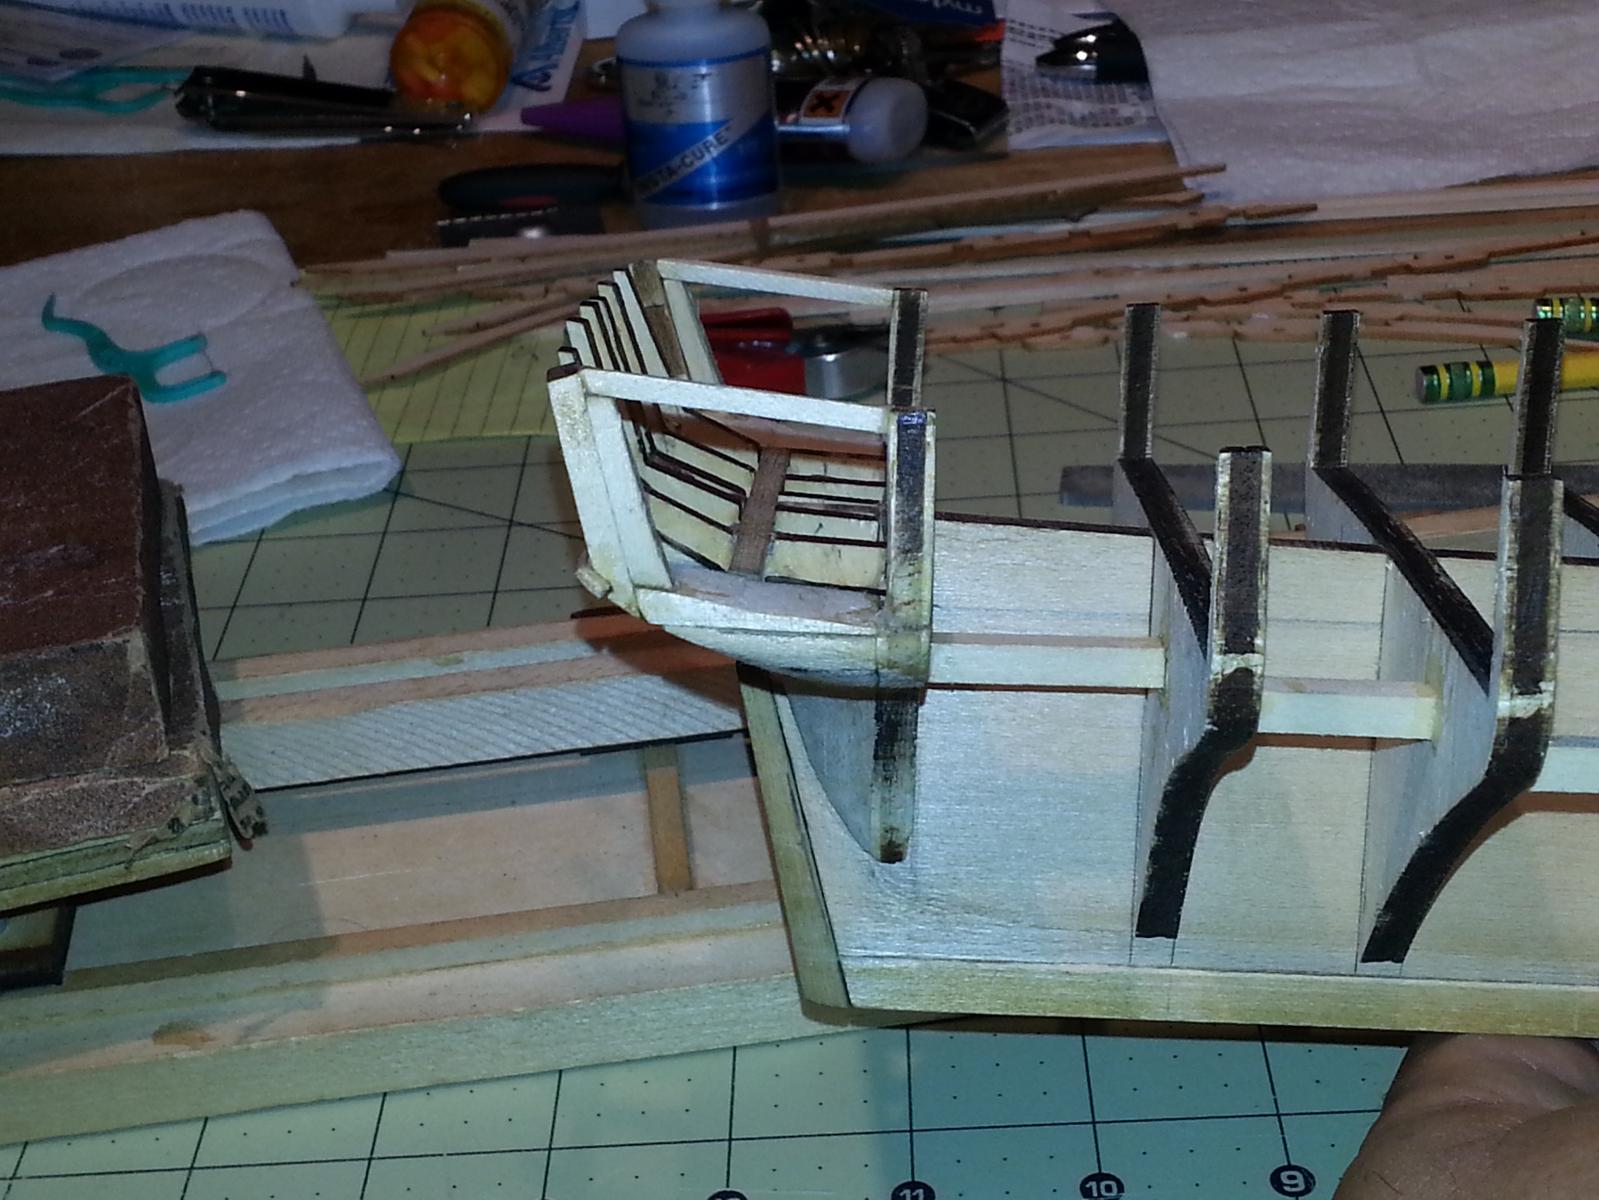
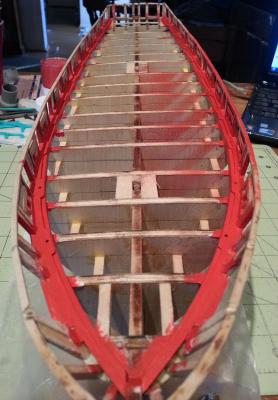
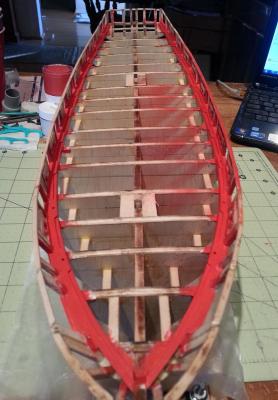
Had some time today to work on fairing the hull and other hull issues. I found I had to add some filler to the tops of the bulkhead timberheads to match the measurements on the plans. Now I’m trying to work out the frames on the gun and sweep ports and not enjoying it at all.


-
Thanks everyone for the words of encouragement. I really appreciate the feedback. Man I really love this model and I want it to look as good as possible.
-
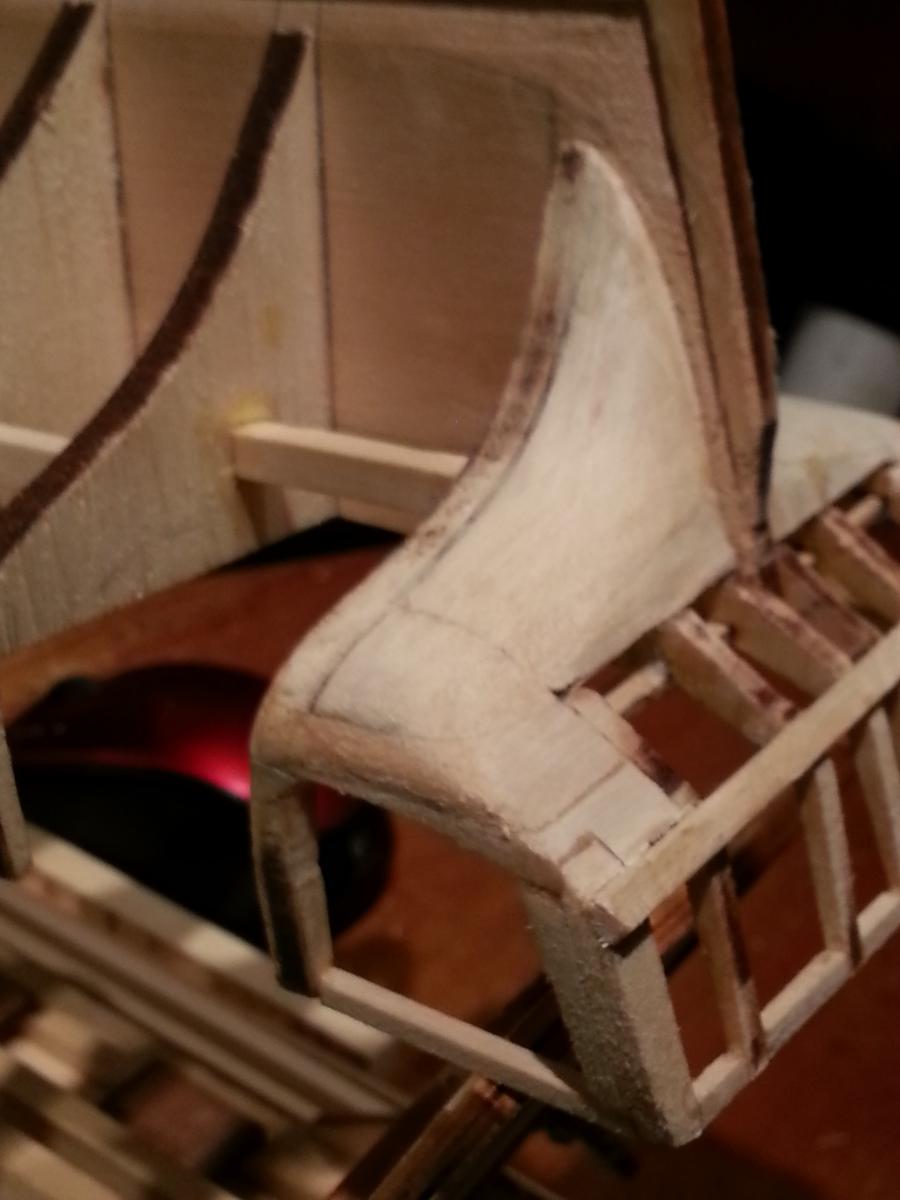
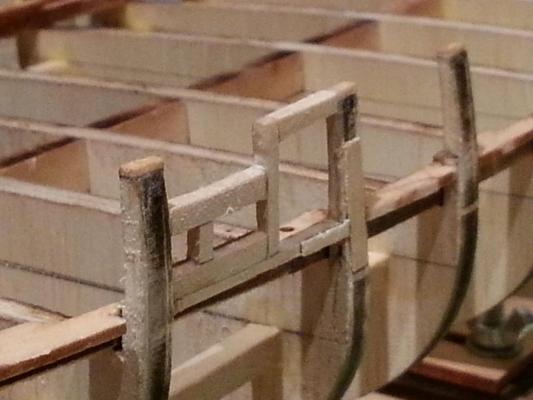
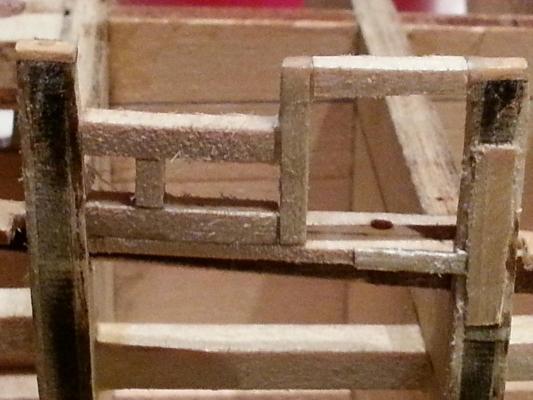
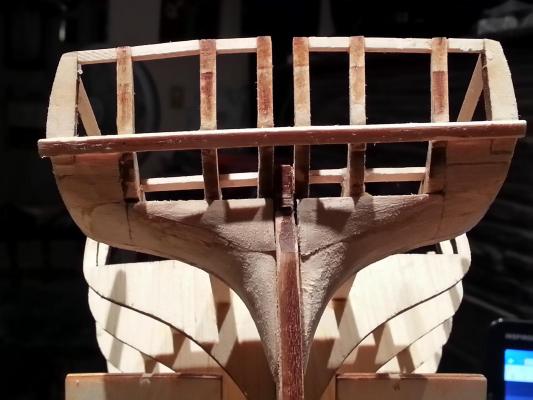
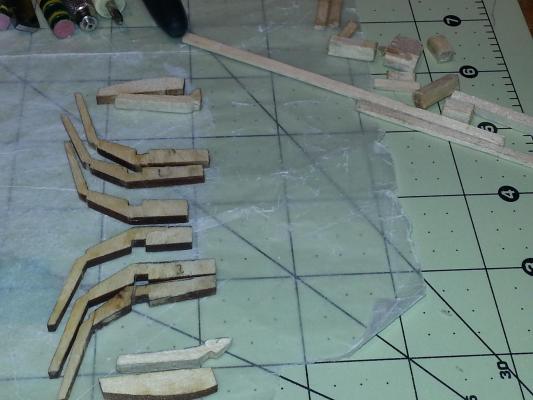
Sanded the filler blocks some more to knock down the sharp bend from the bulkhead to the transom. Still needs a little more but I think I'll wait until I start planking the transom to get a better feel for how much more sanding is needed. I got the timberheads and knightheads along with the top stiffener in place. Going to finish fairing the hull and work on the waterway and planksheer on both sides.


-
Patrick, Thank you for the feedback. I do see what you mean about the filler blocks and I will definitely shave those down more so they flow better for the planking. John
-
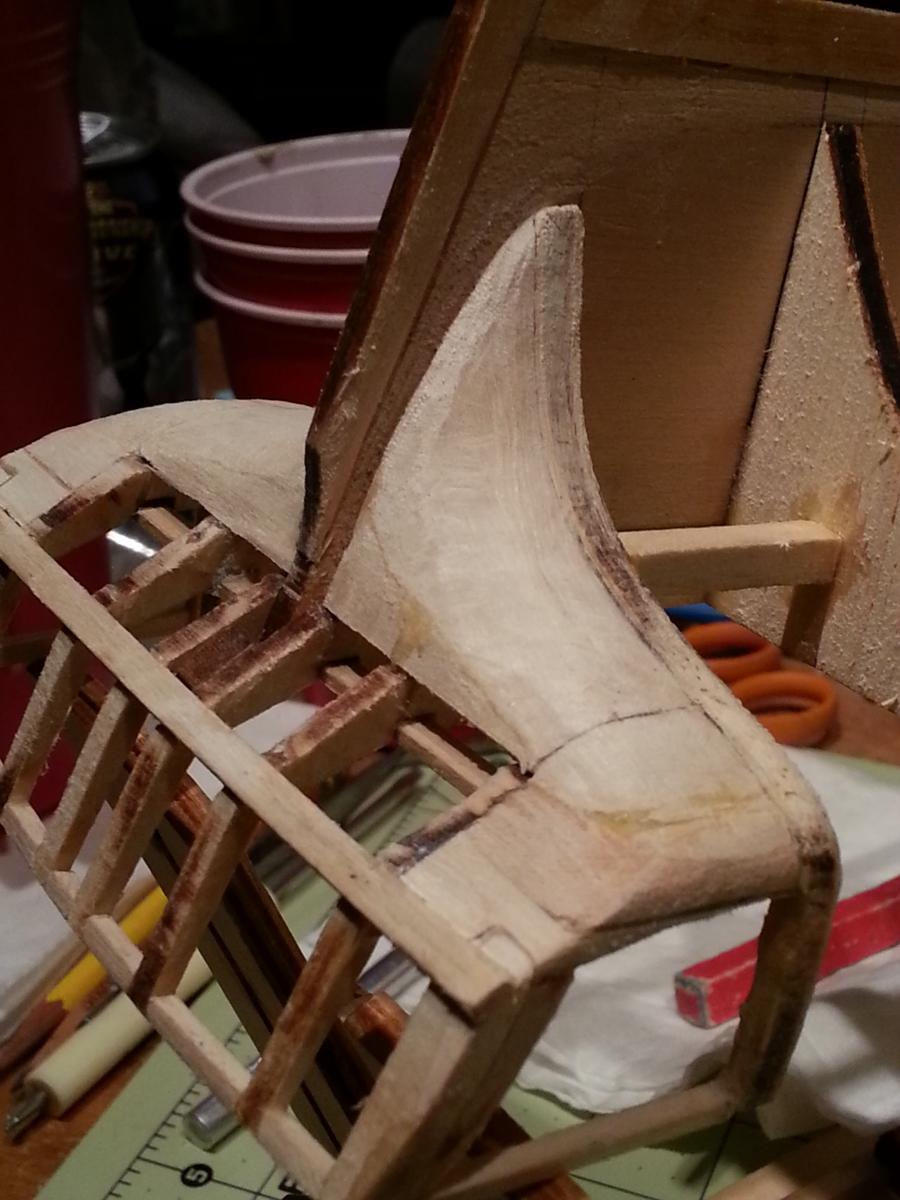
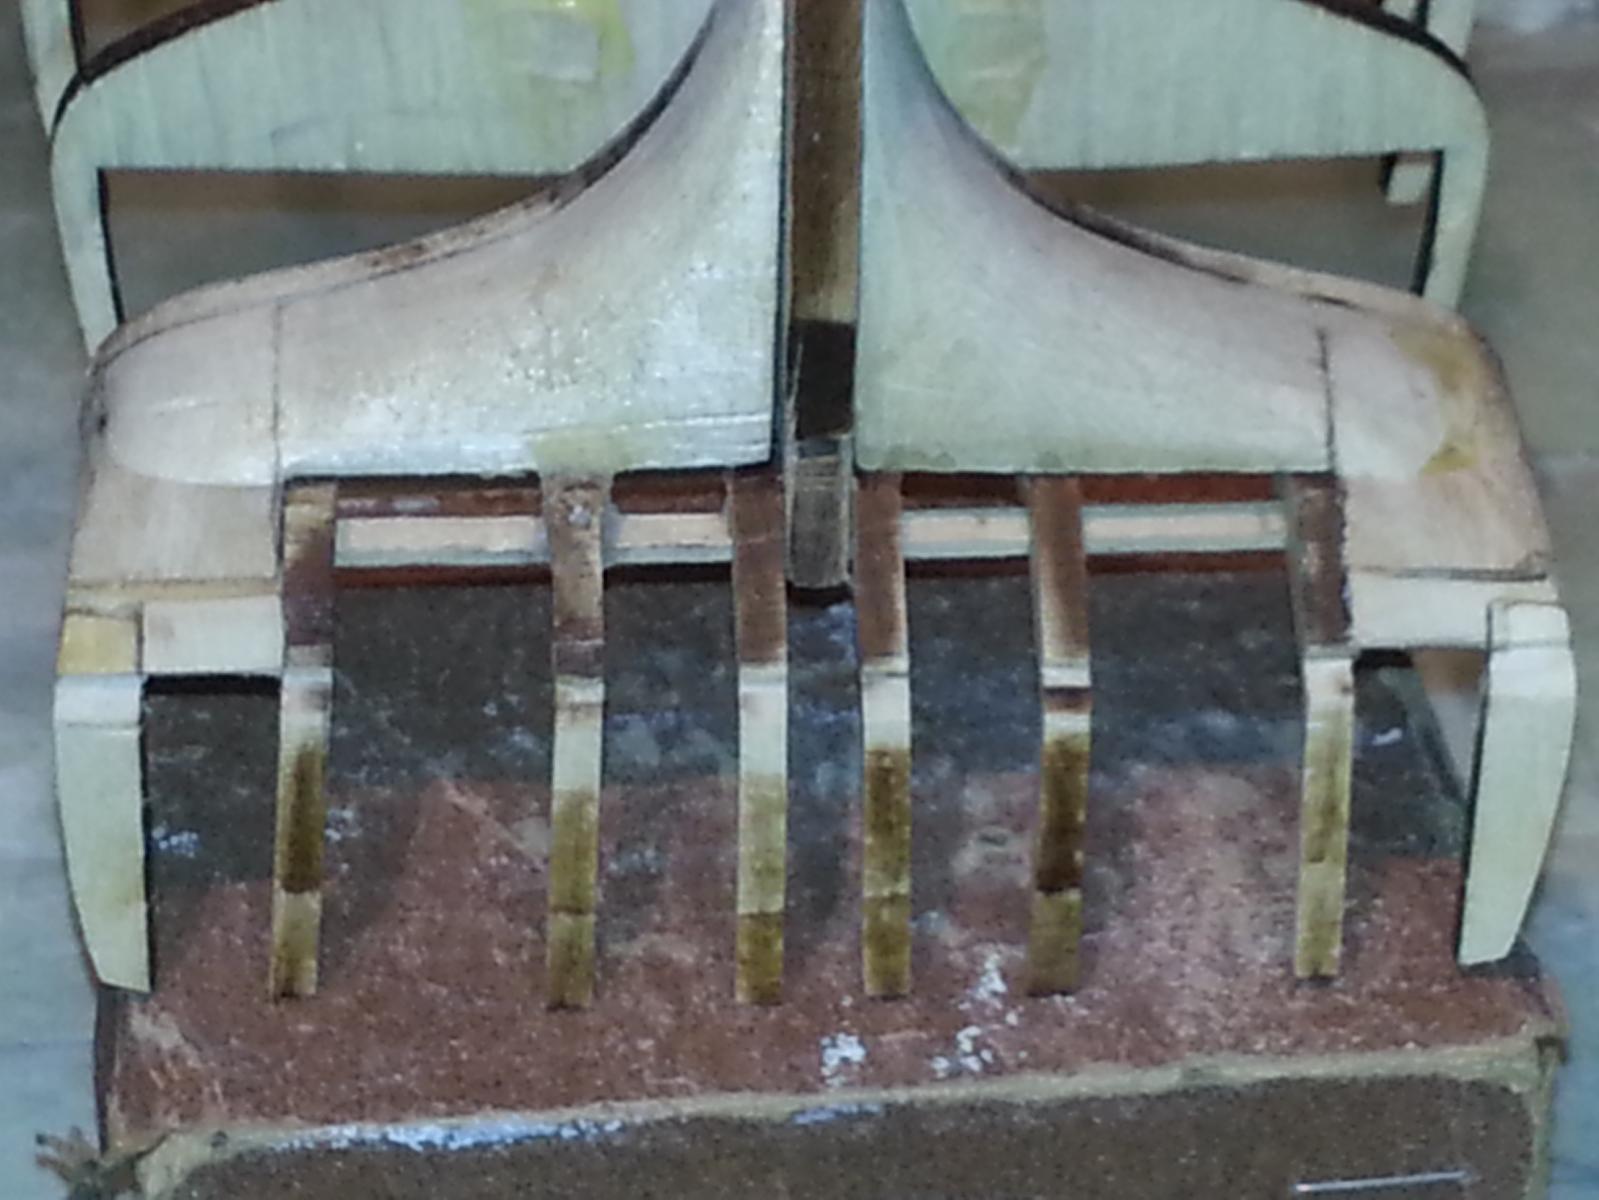
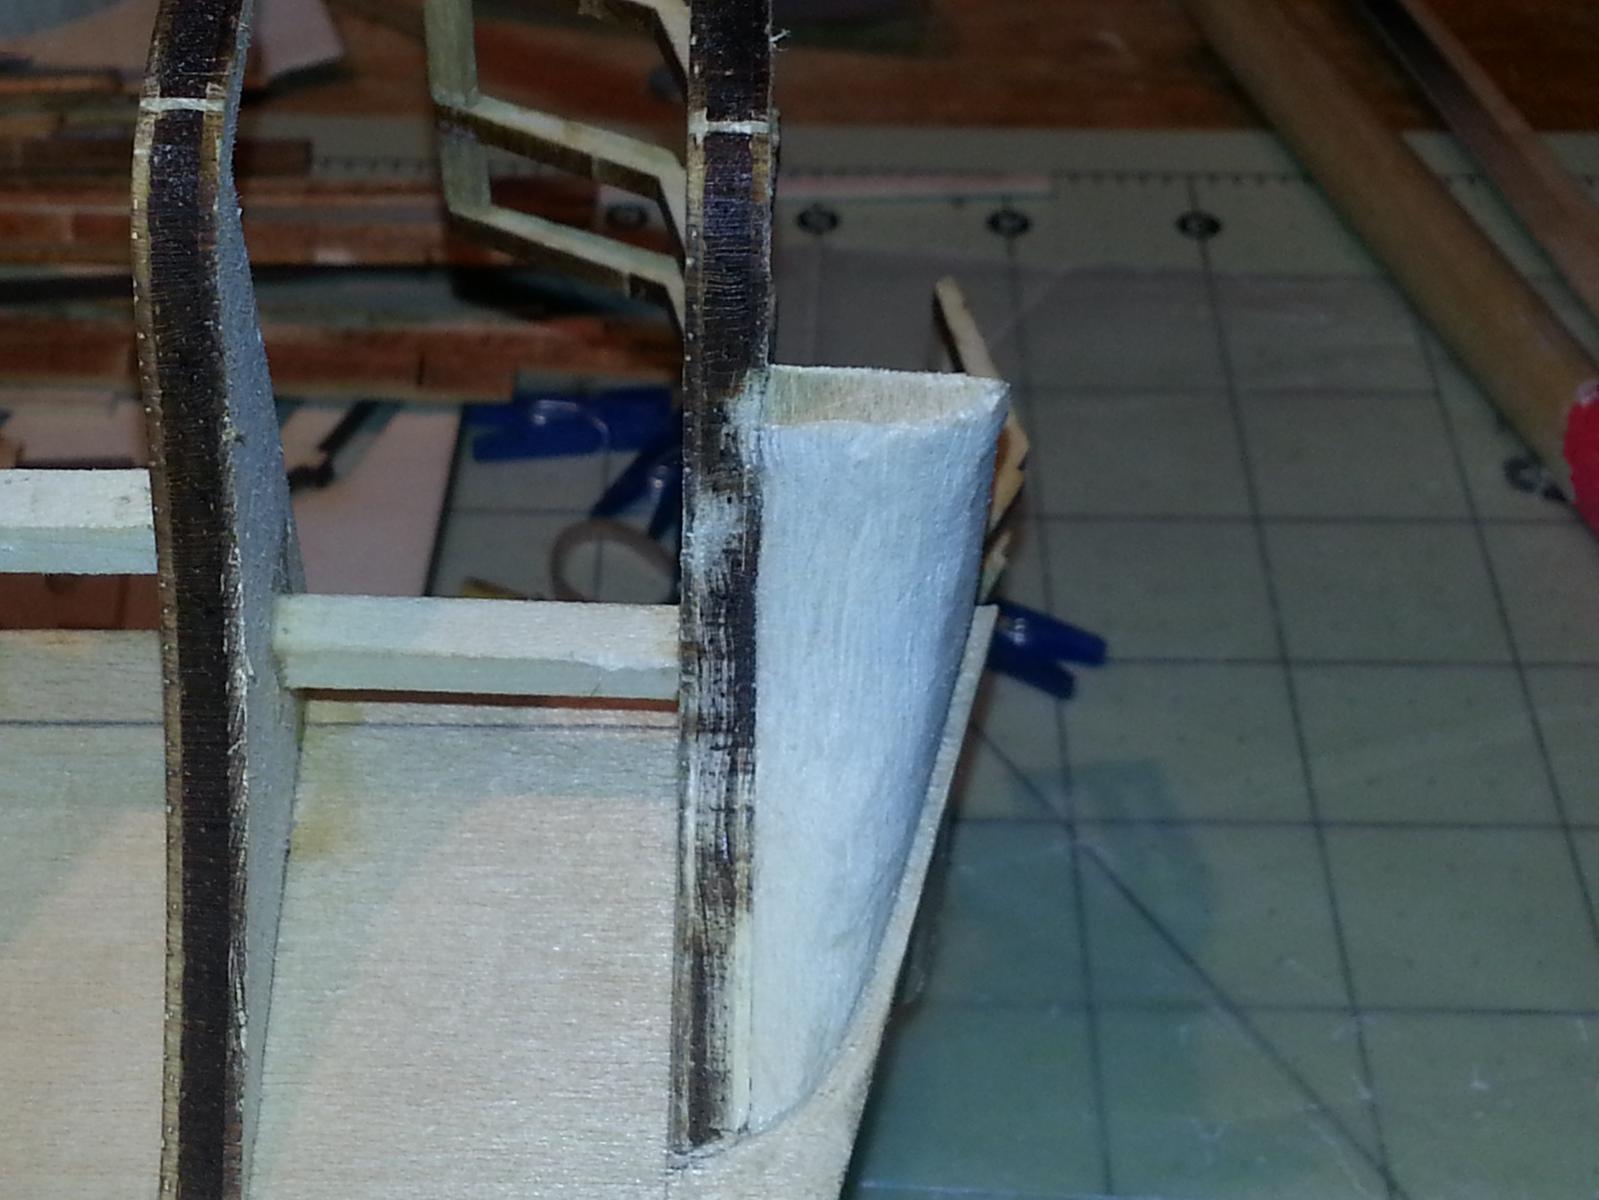
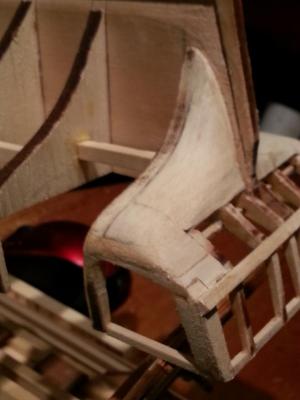
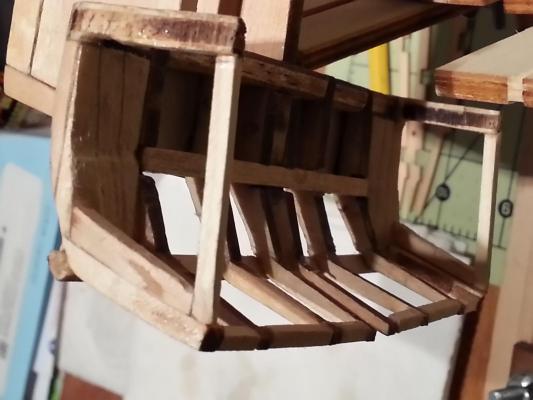
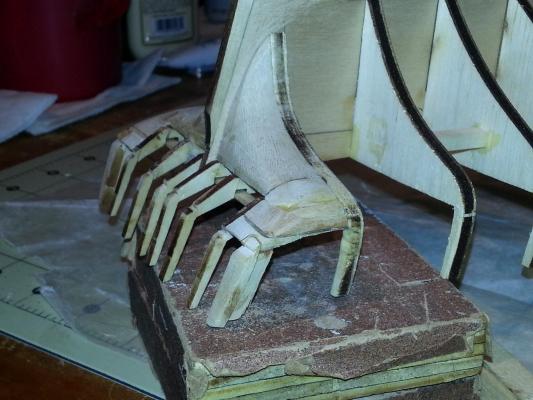
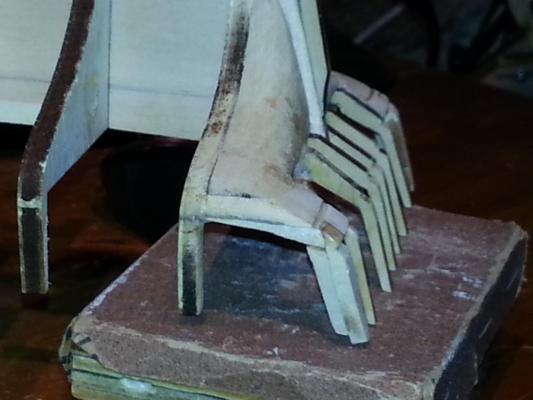
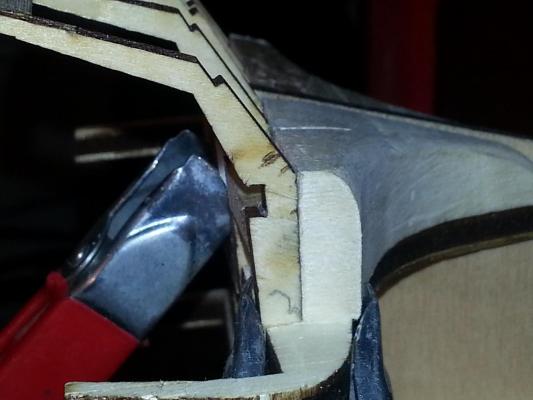
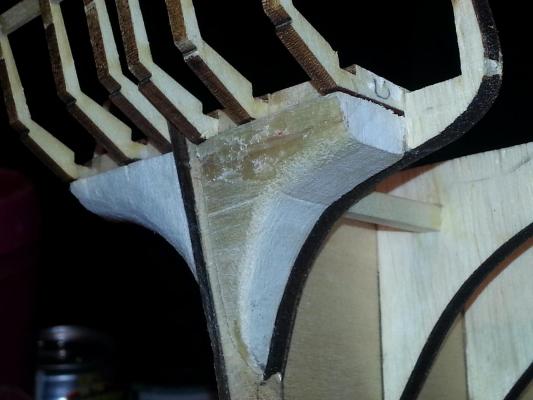
Well, I've reworked the transom and it appears to be much closer to the way it should be. I finally received the replacements parts from ME but I think I'll hold off on redoing the transom from the beginning for the moment. Maybe work on faring the hull a bit and see how it looks. Any and all feedback would be greatly appreciated..

-
Thanks Dale. I took a much closer look at things and I could definitely see the angled cuts. I will definitely spend a little more time prepping parts to even out those cuts.
-
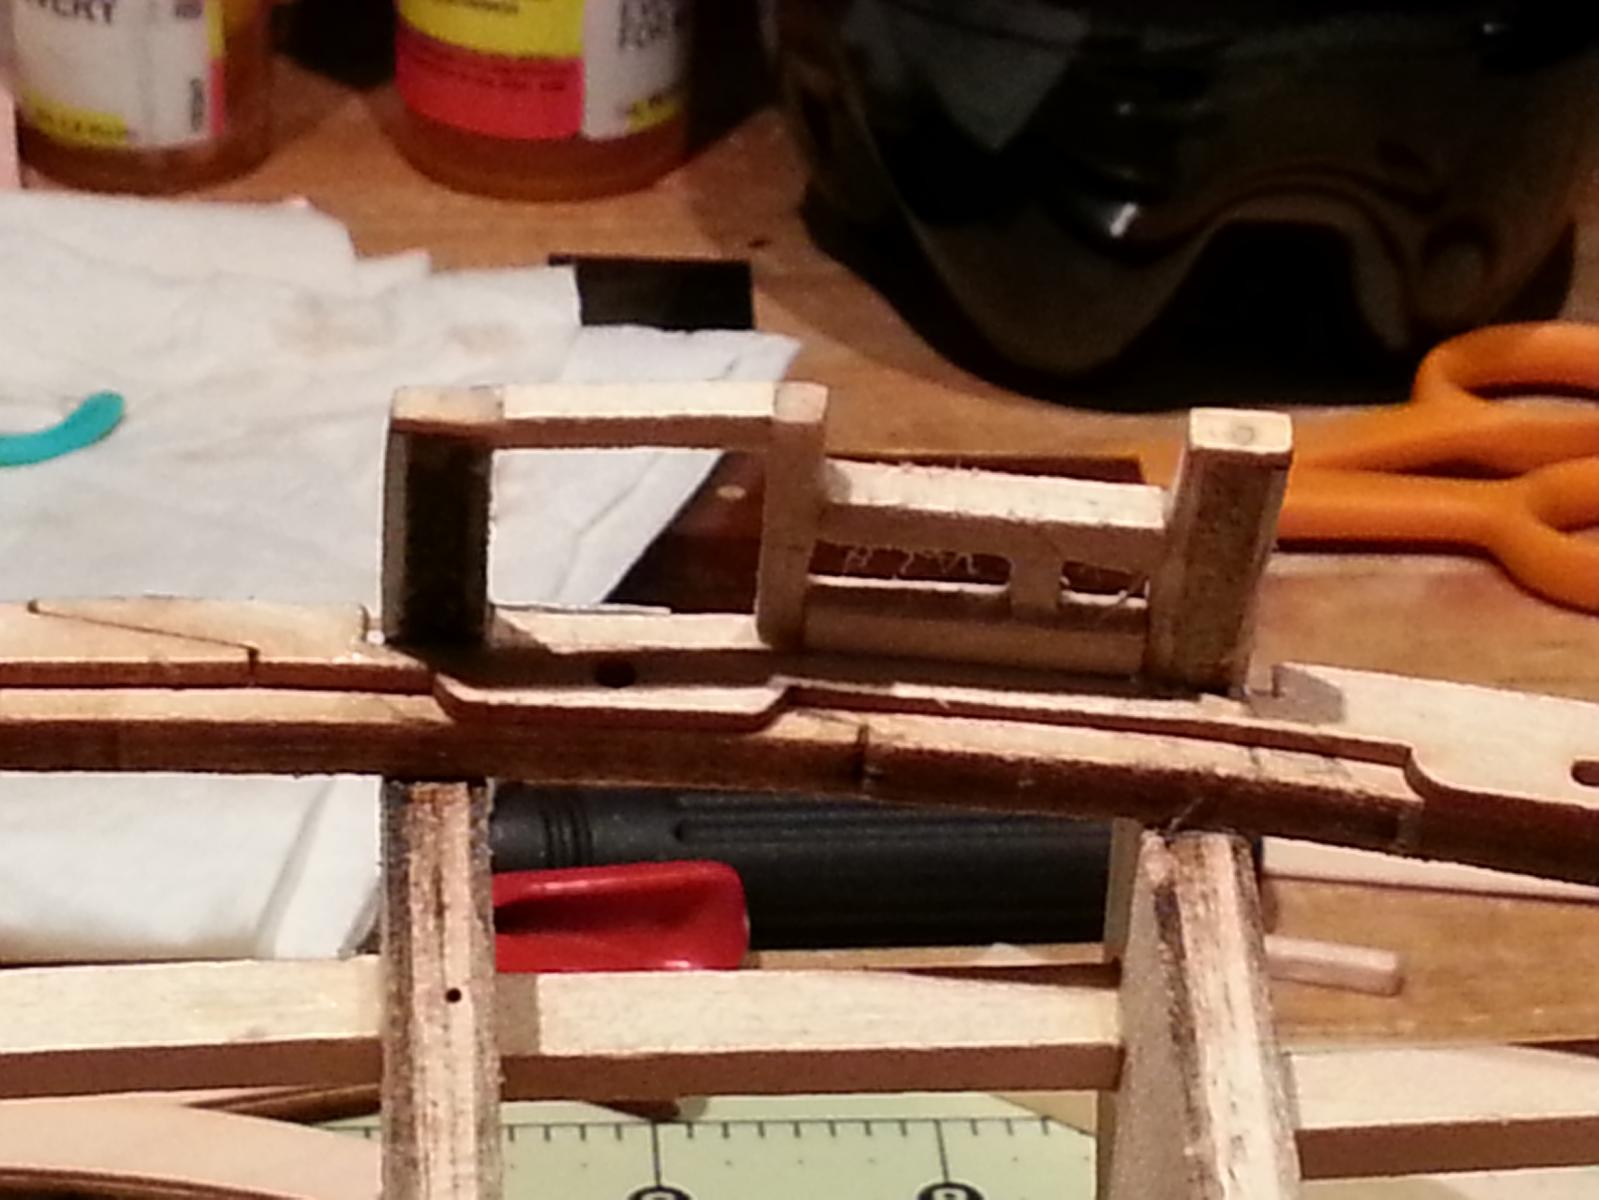
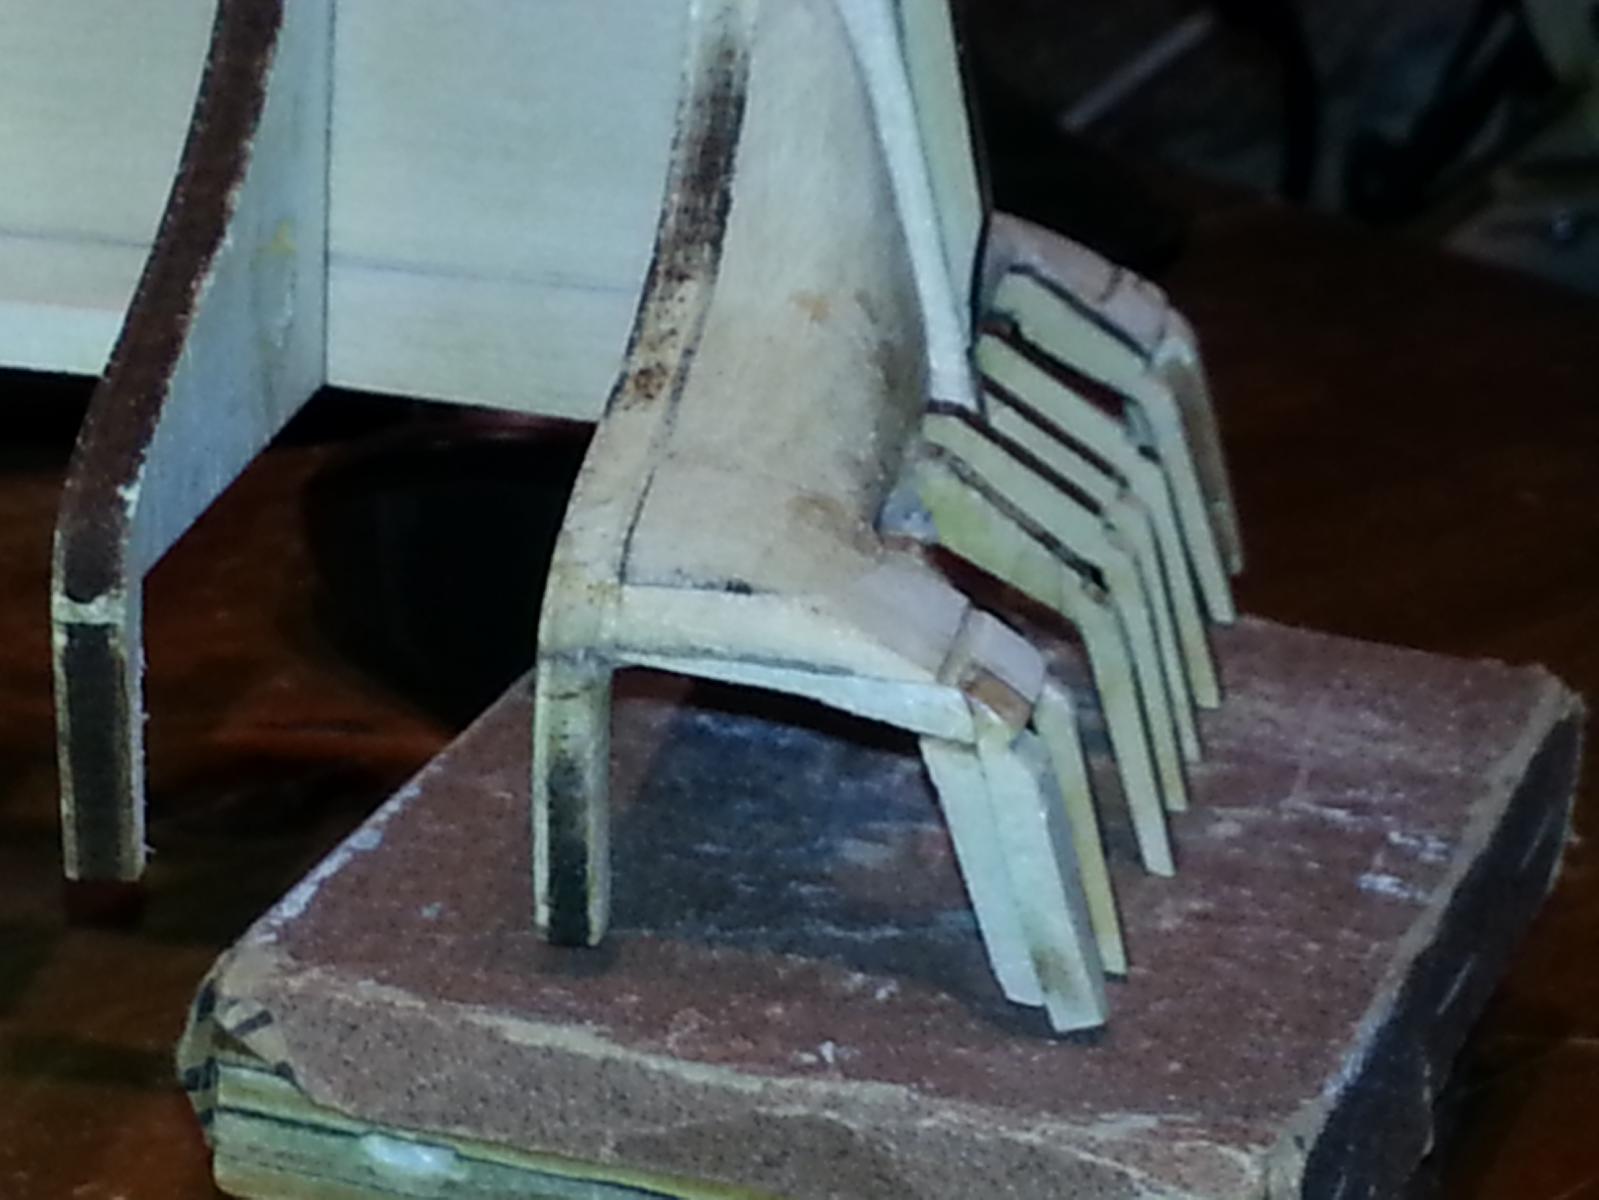
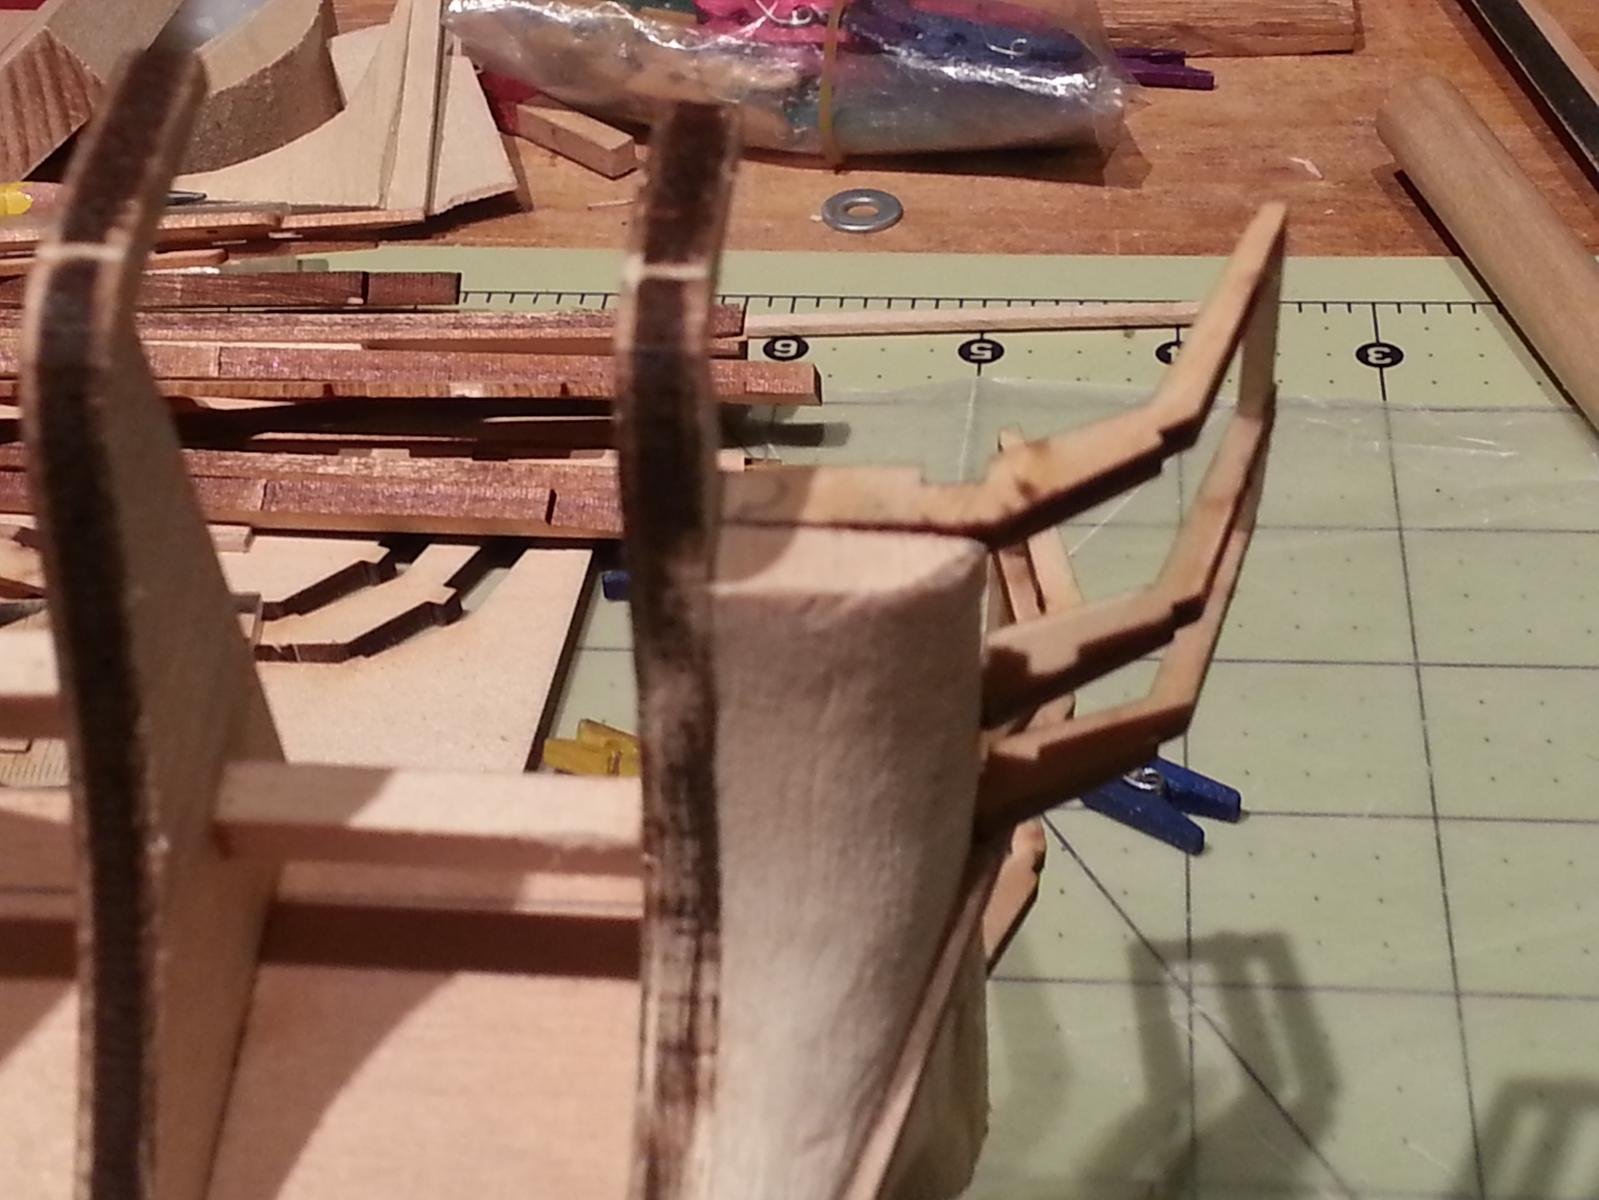
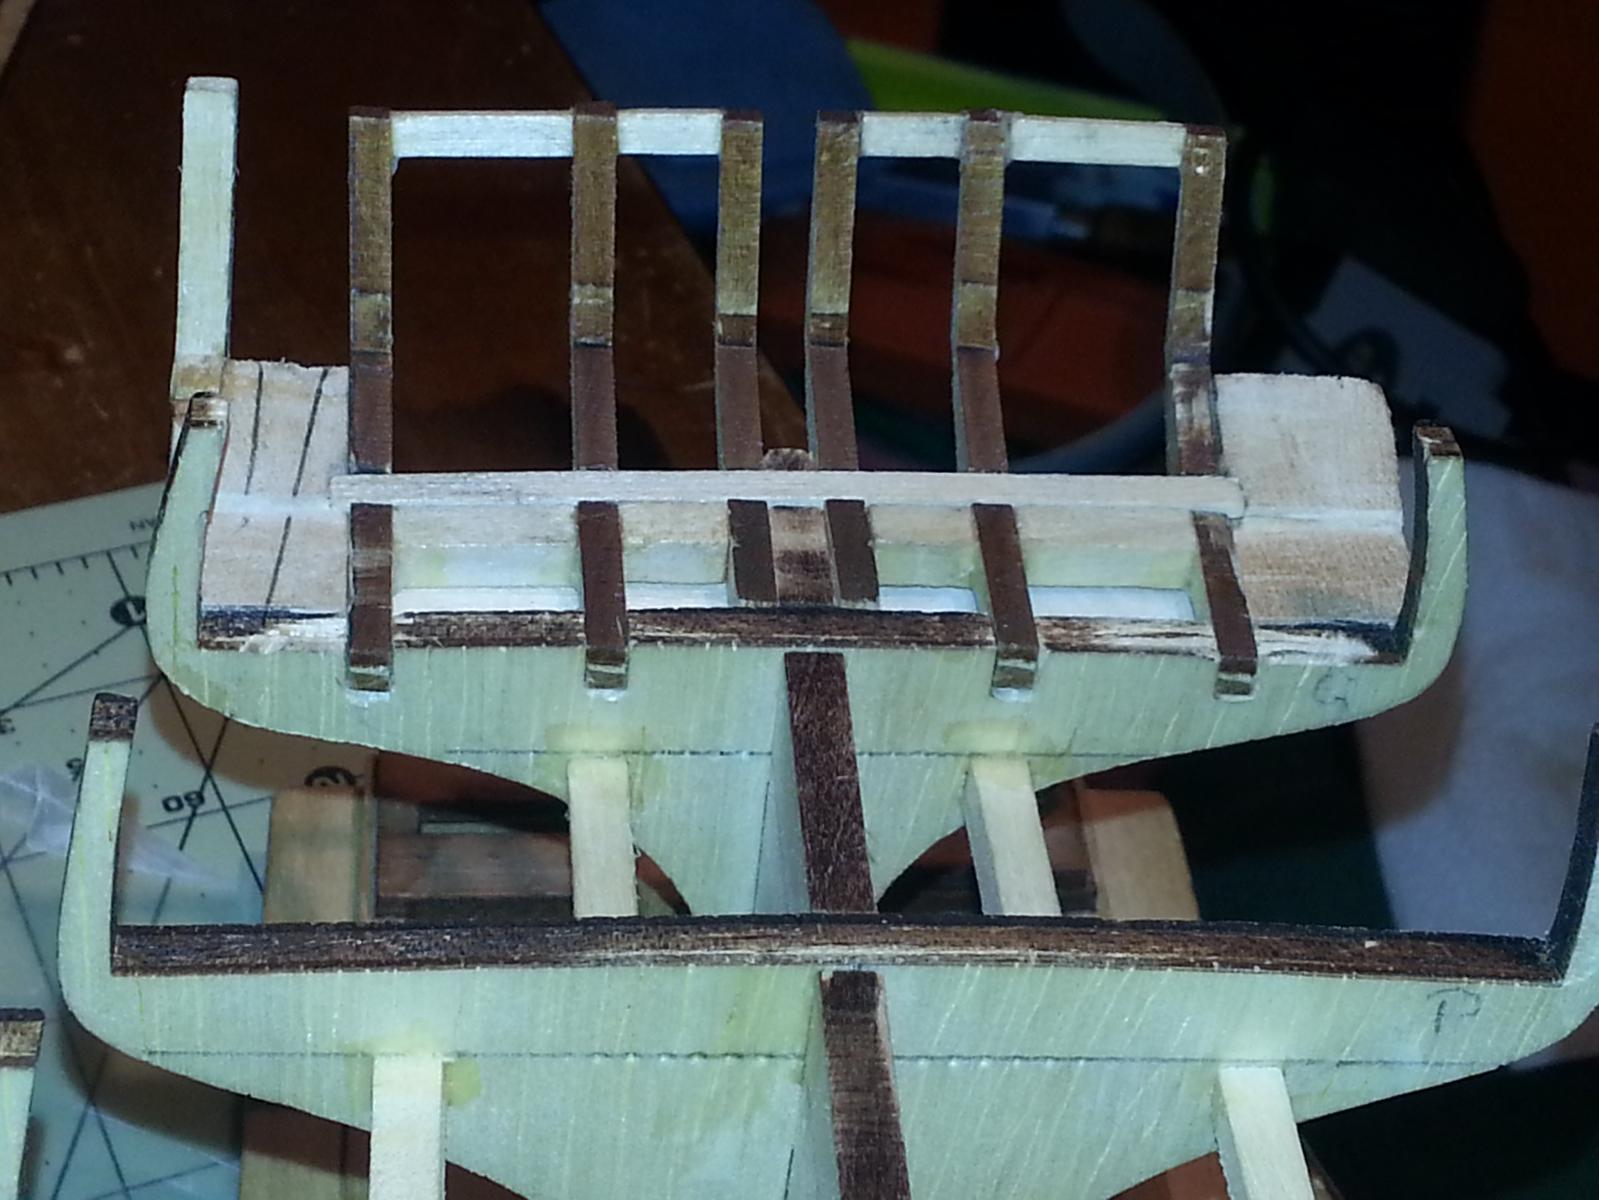
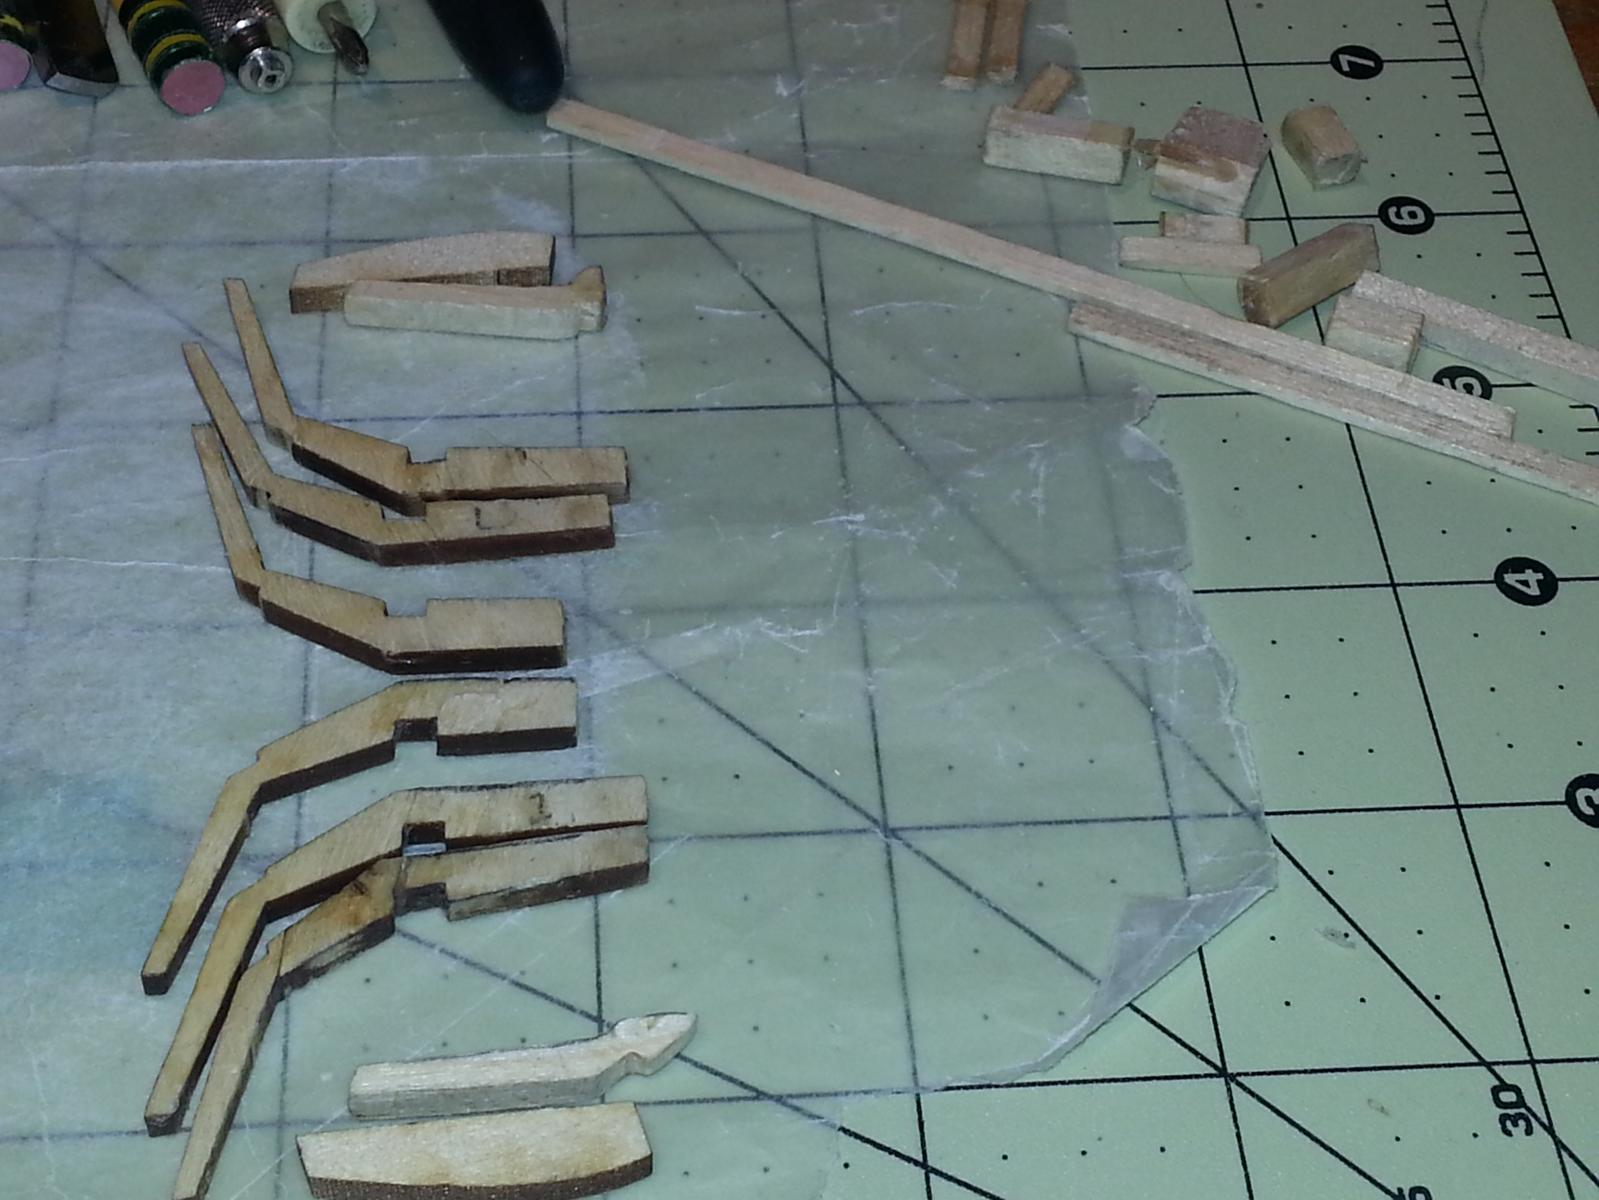
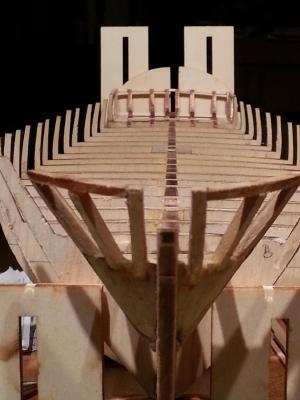
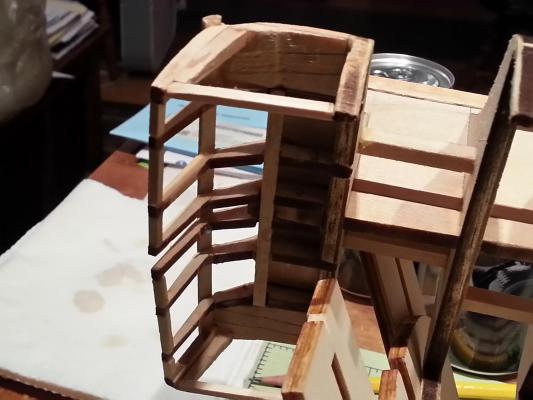
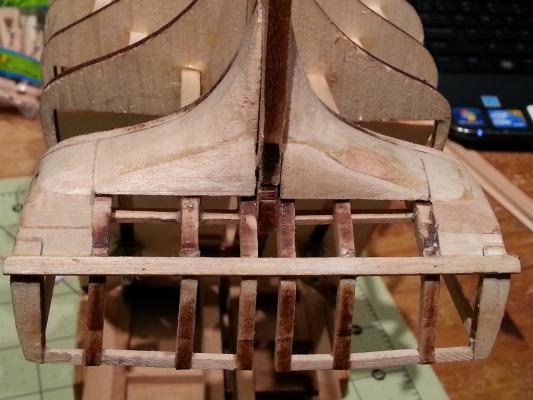
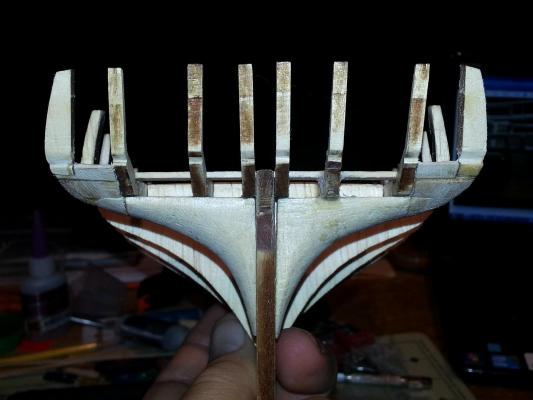
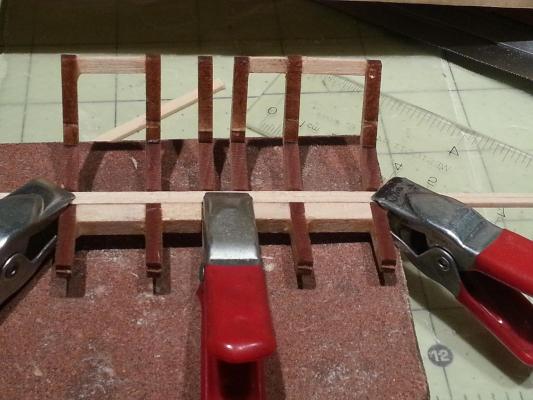
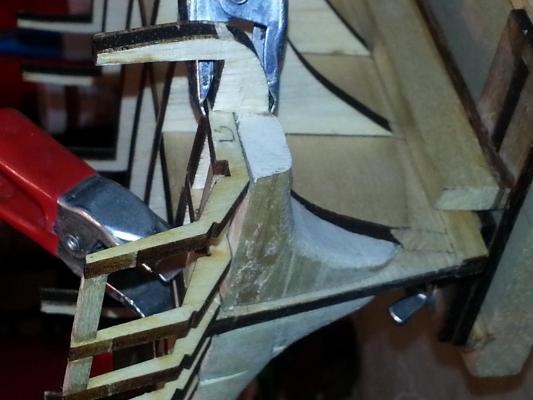
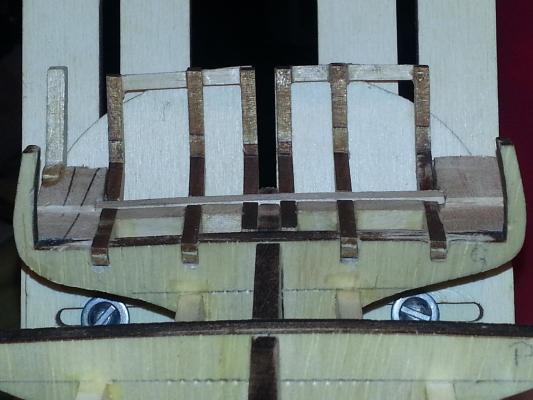
Okay, I’ve requested replacement parts and while waiting thought I’d give reworking the stern one more time. Here are some pictures of what progress (or digress ) I’ve made so far. Doing some more this evening.


-
SgtSki in MI, I bought mine about 8 years ago. and really didn't find it to be as reliable as proclaimed. I use the base to hold the center keel in place and usually one of the end frames to square it up. When installing the bulkheads I use blocks to square them with the center keel while I tack them in place with glue. Hope that helps. John
-
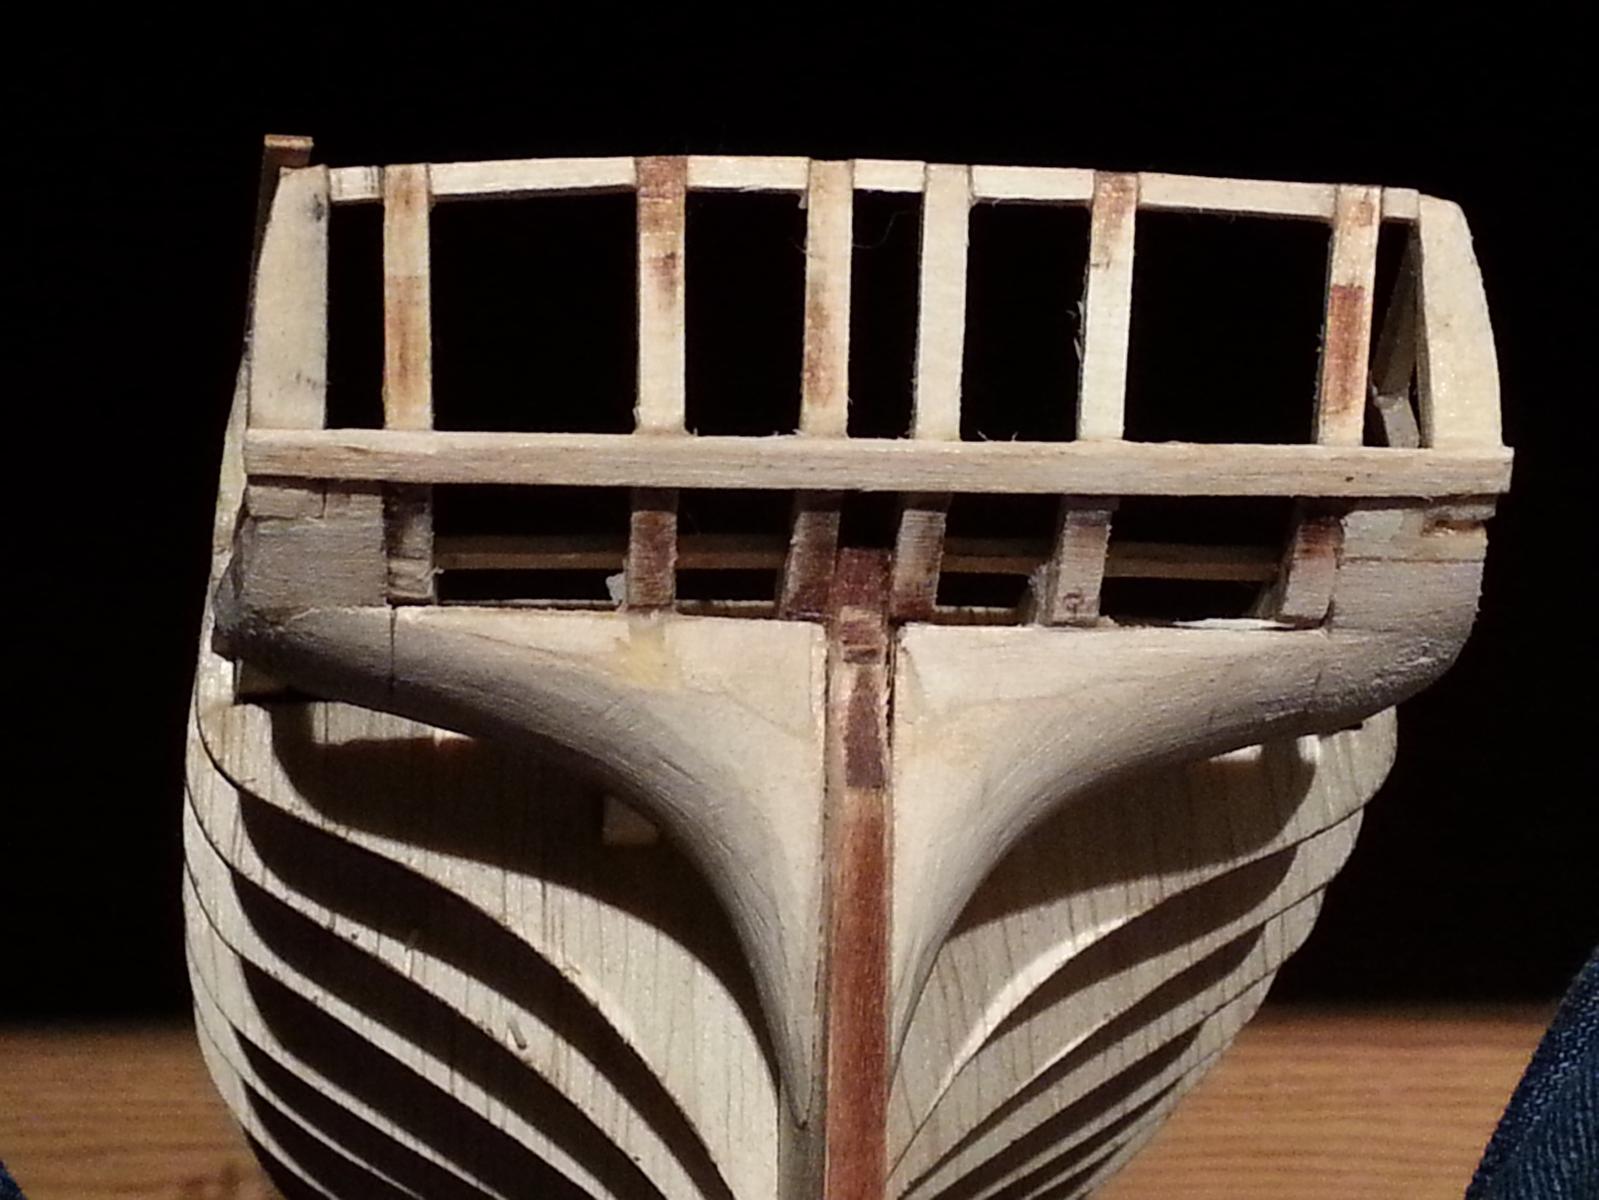
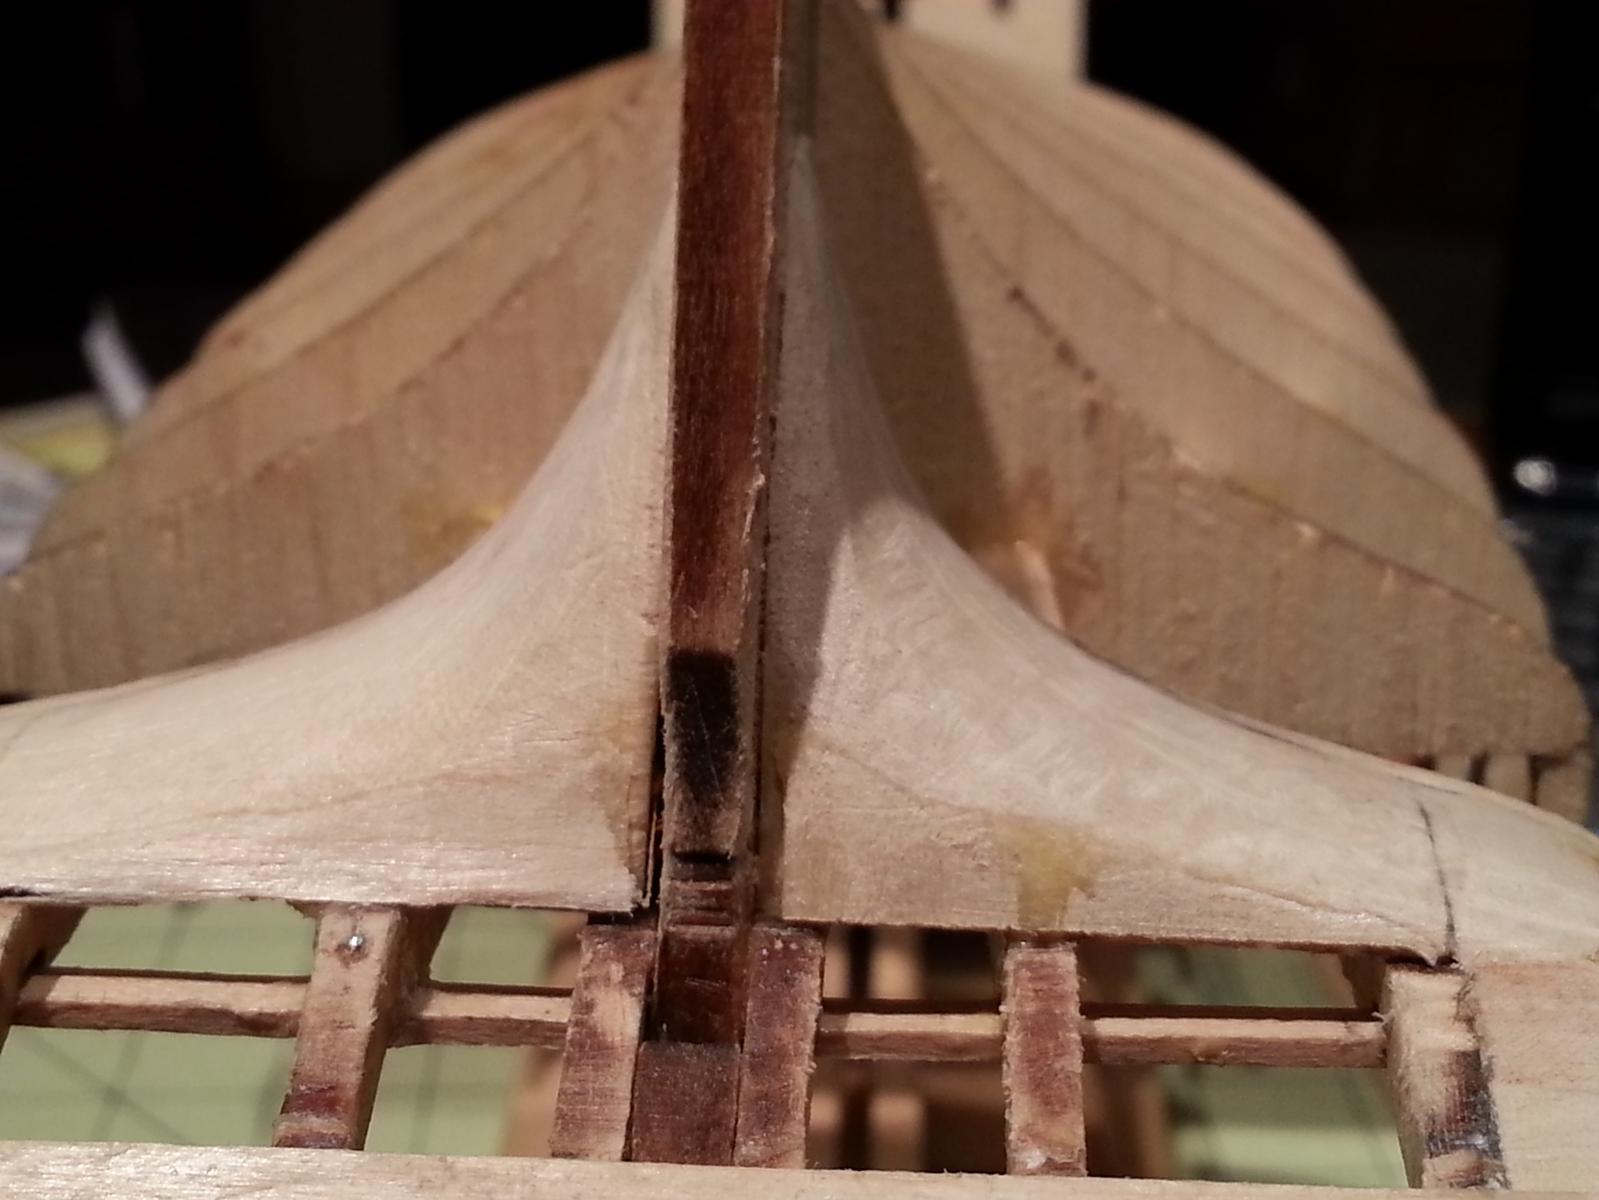
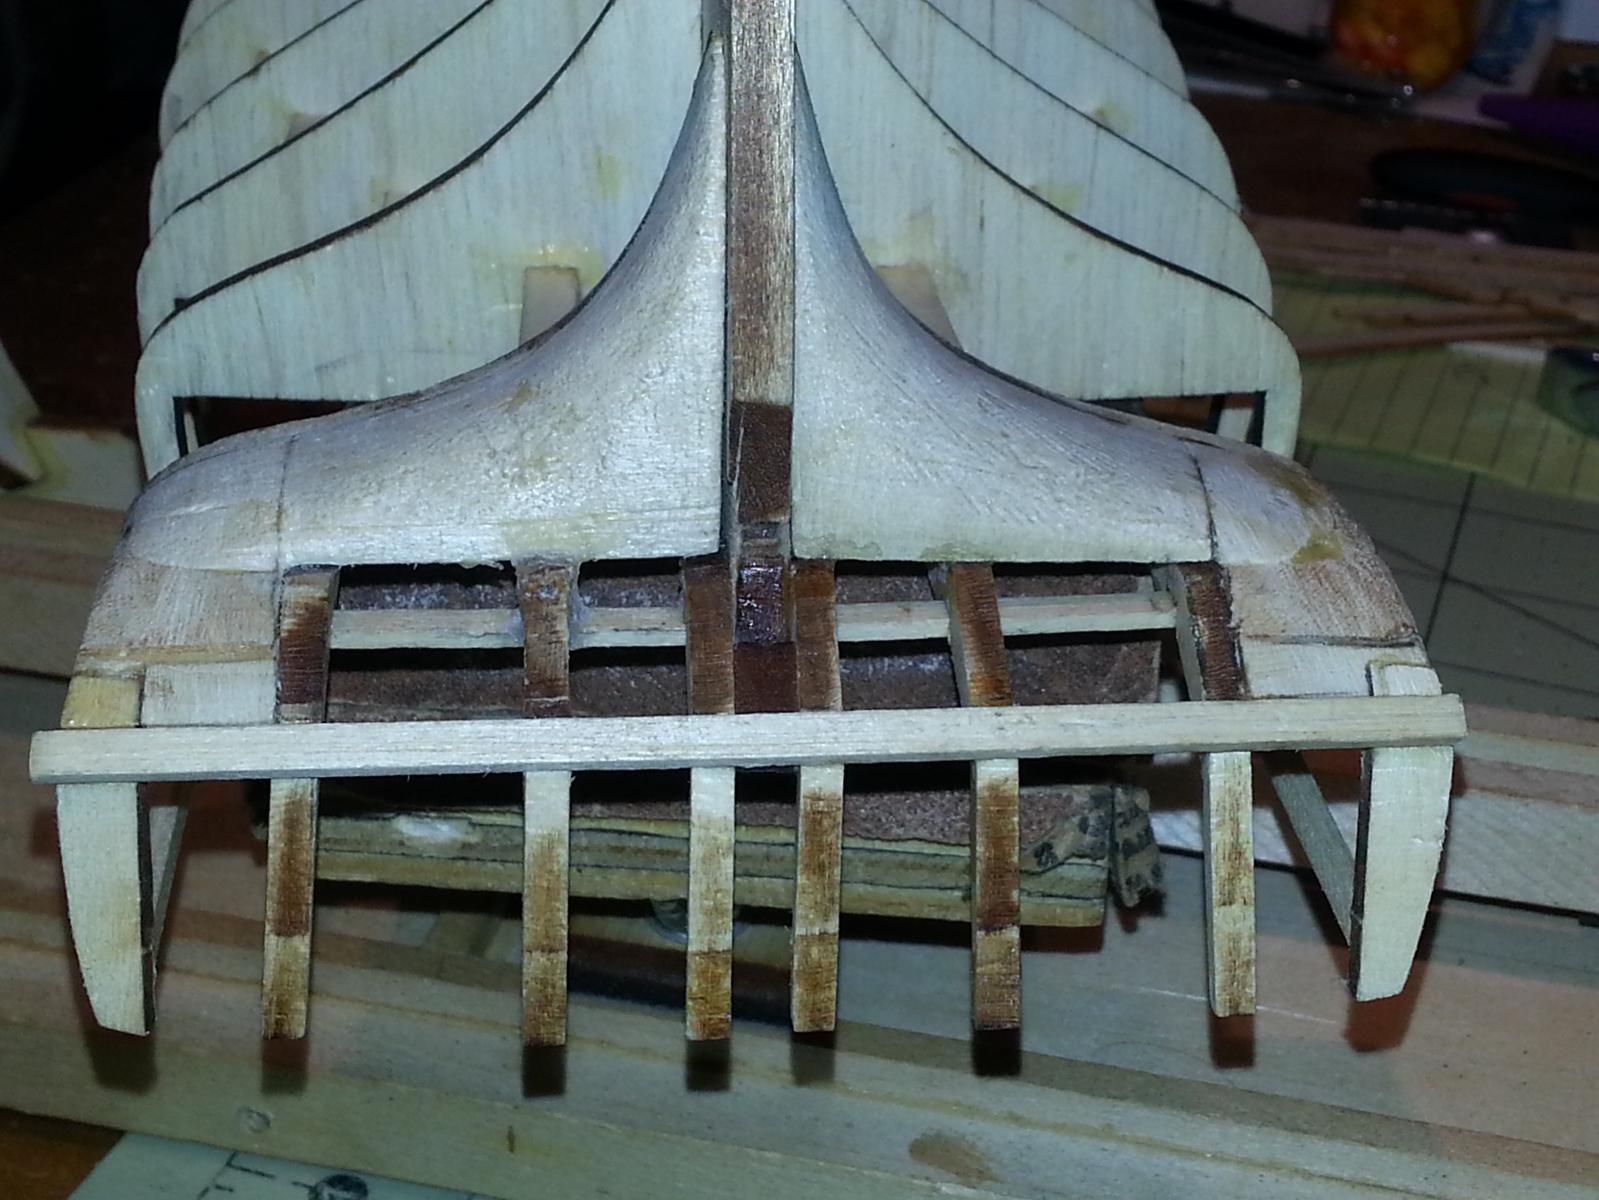
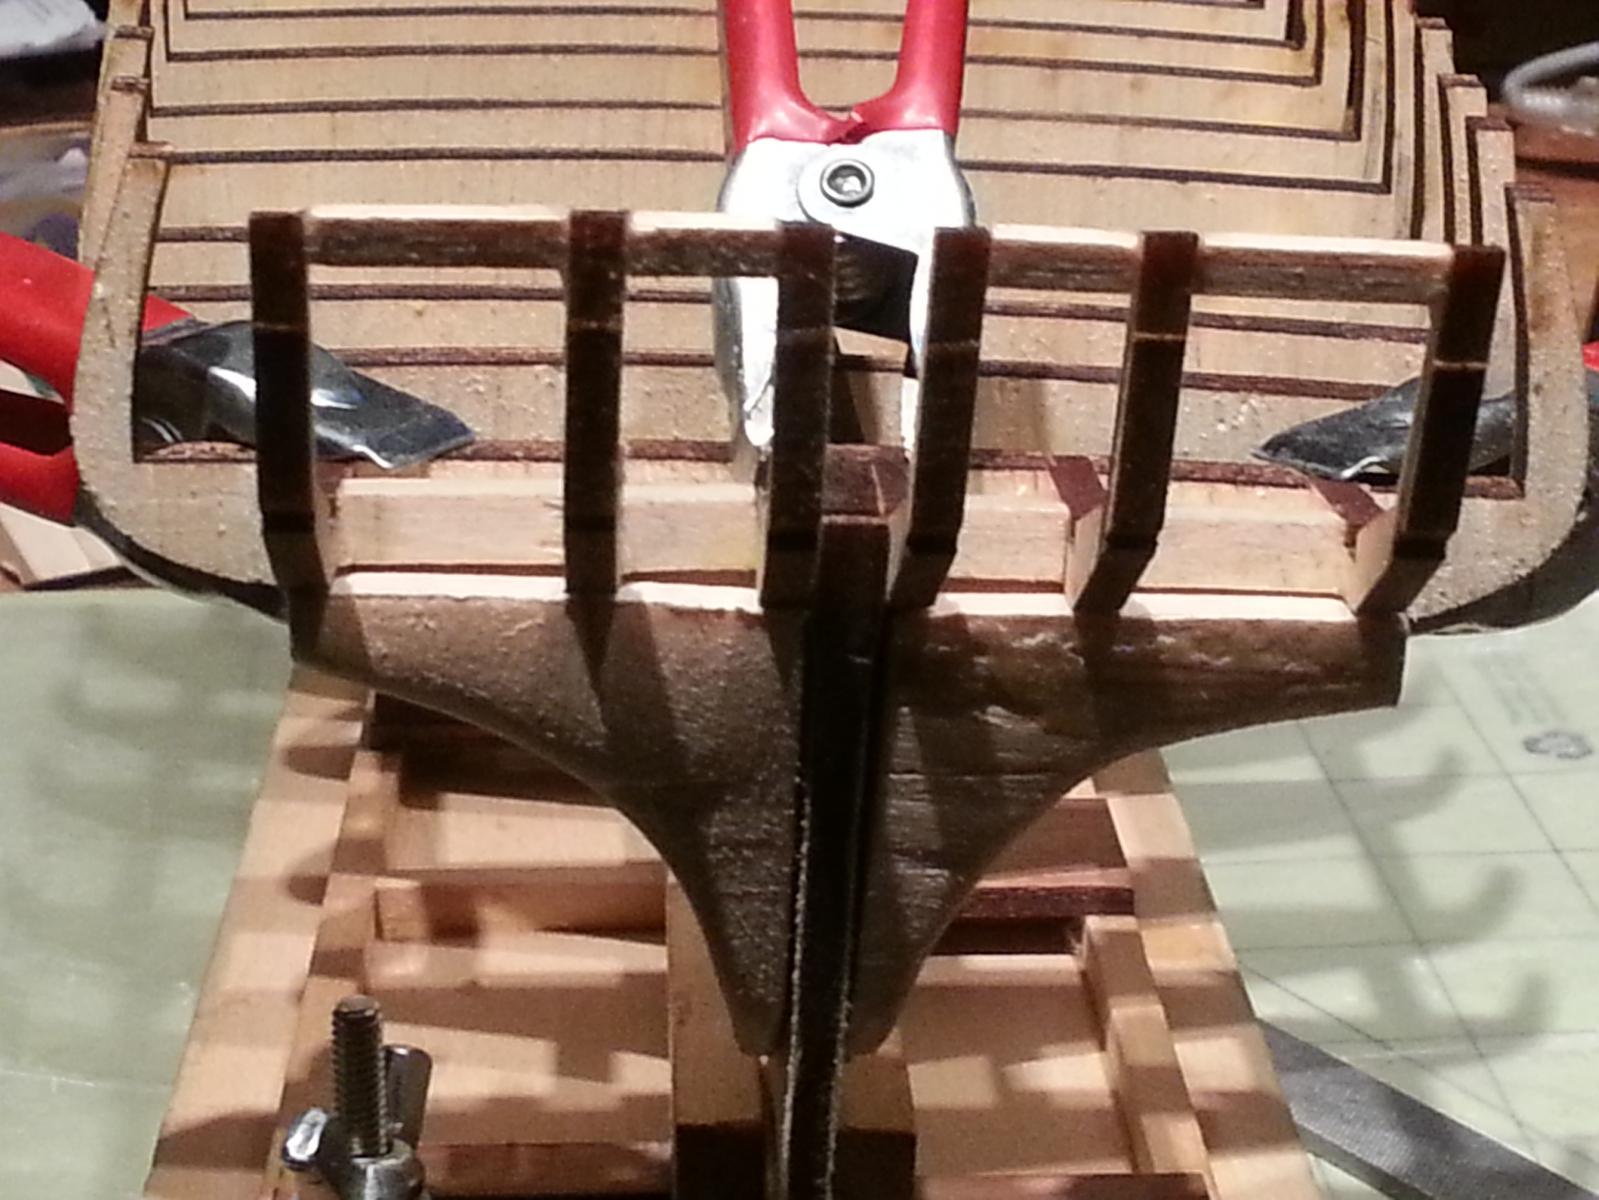
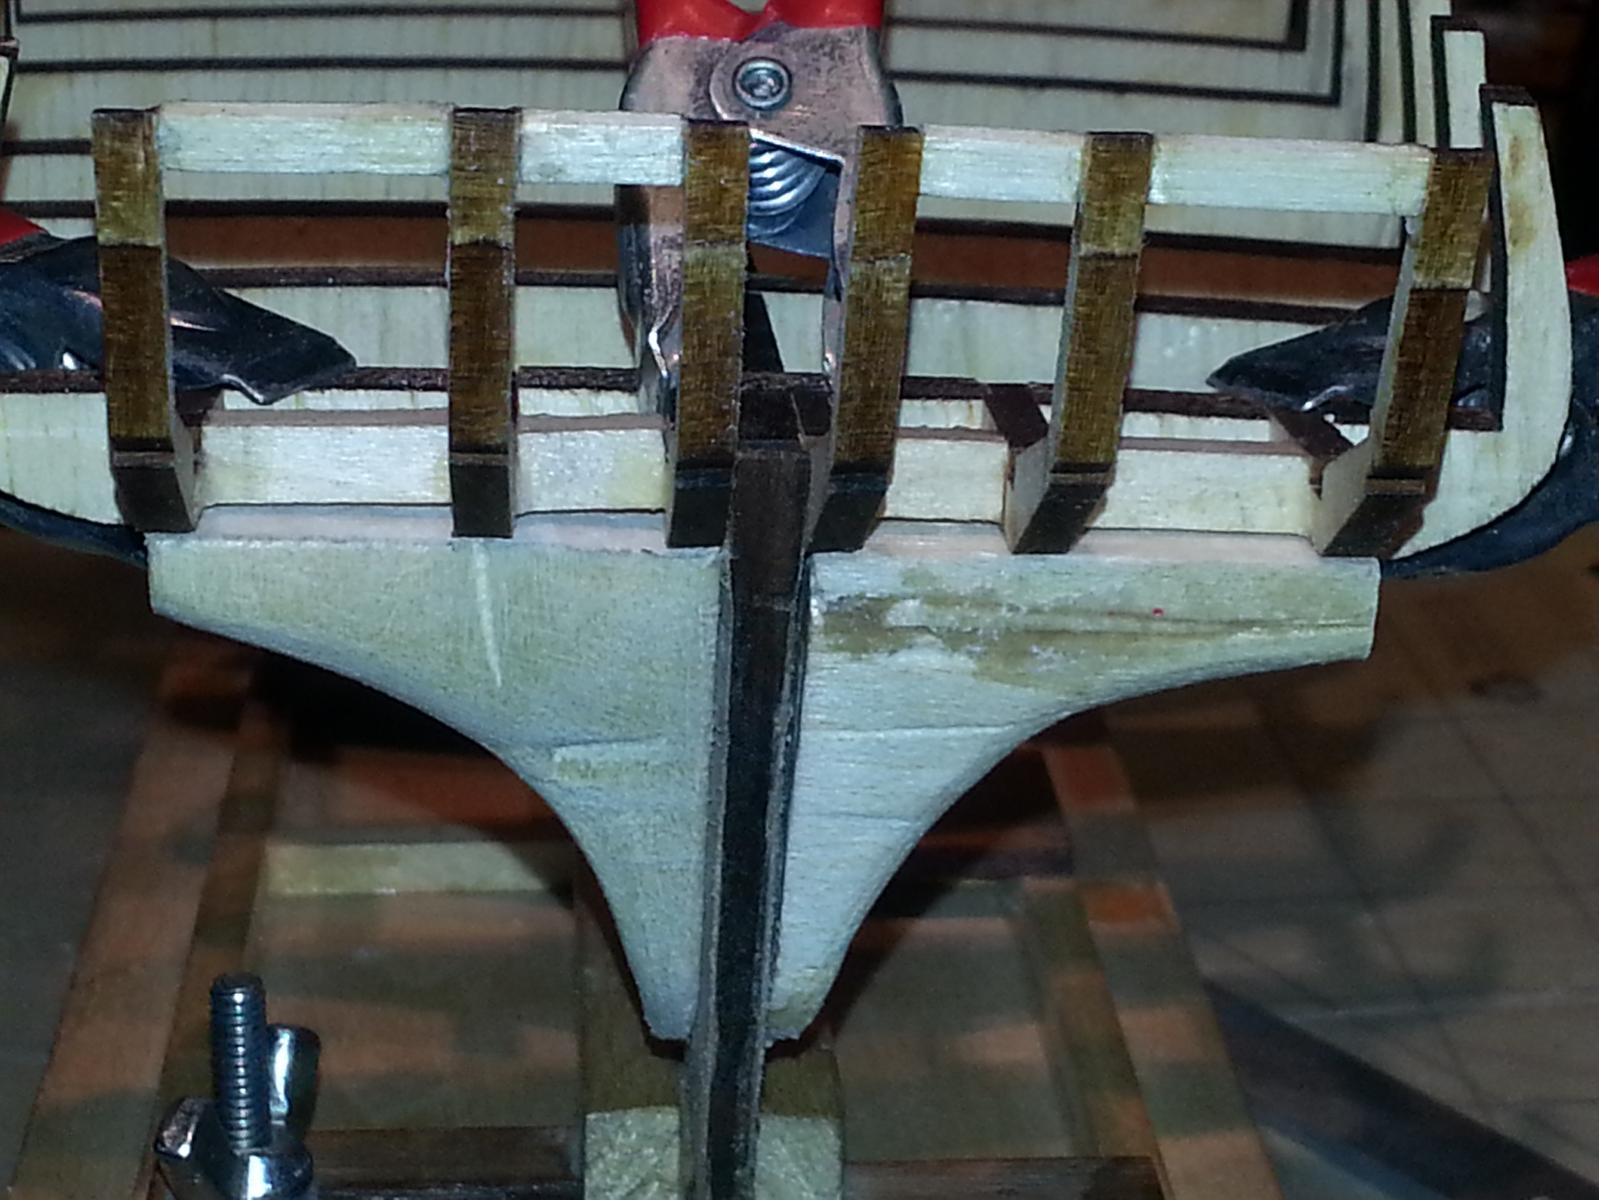
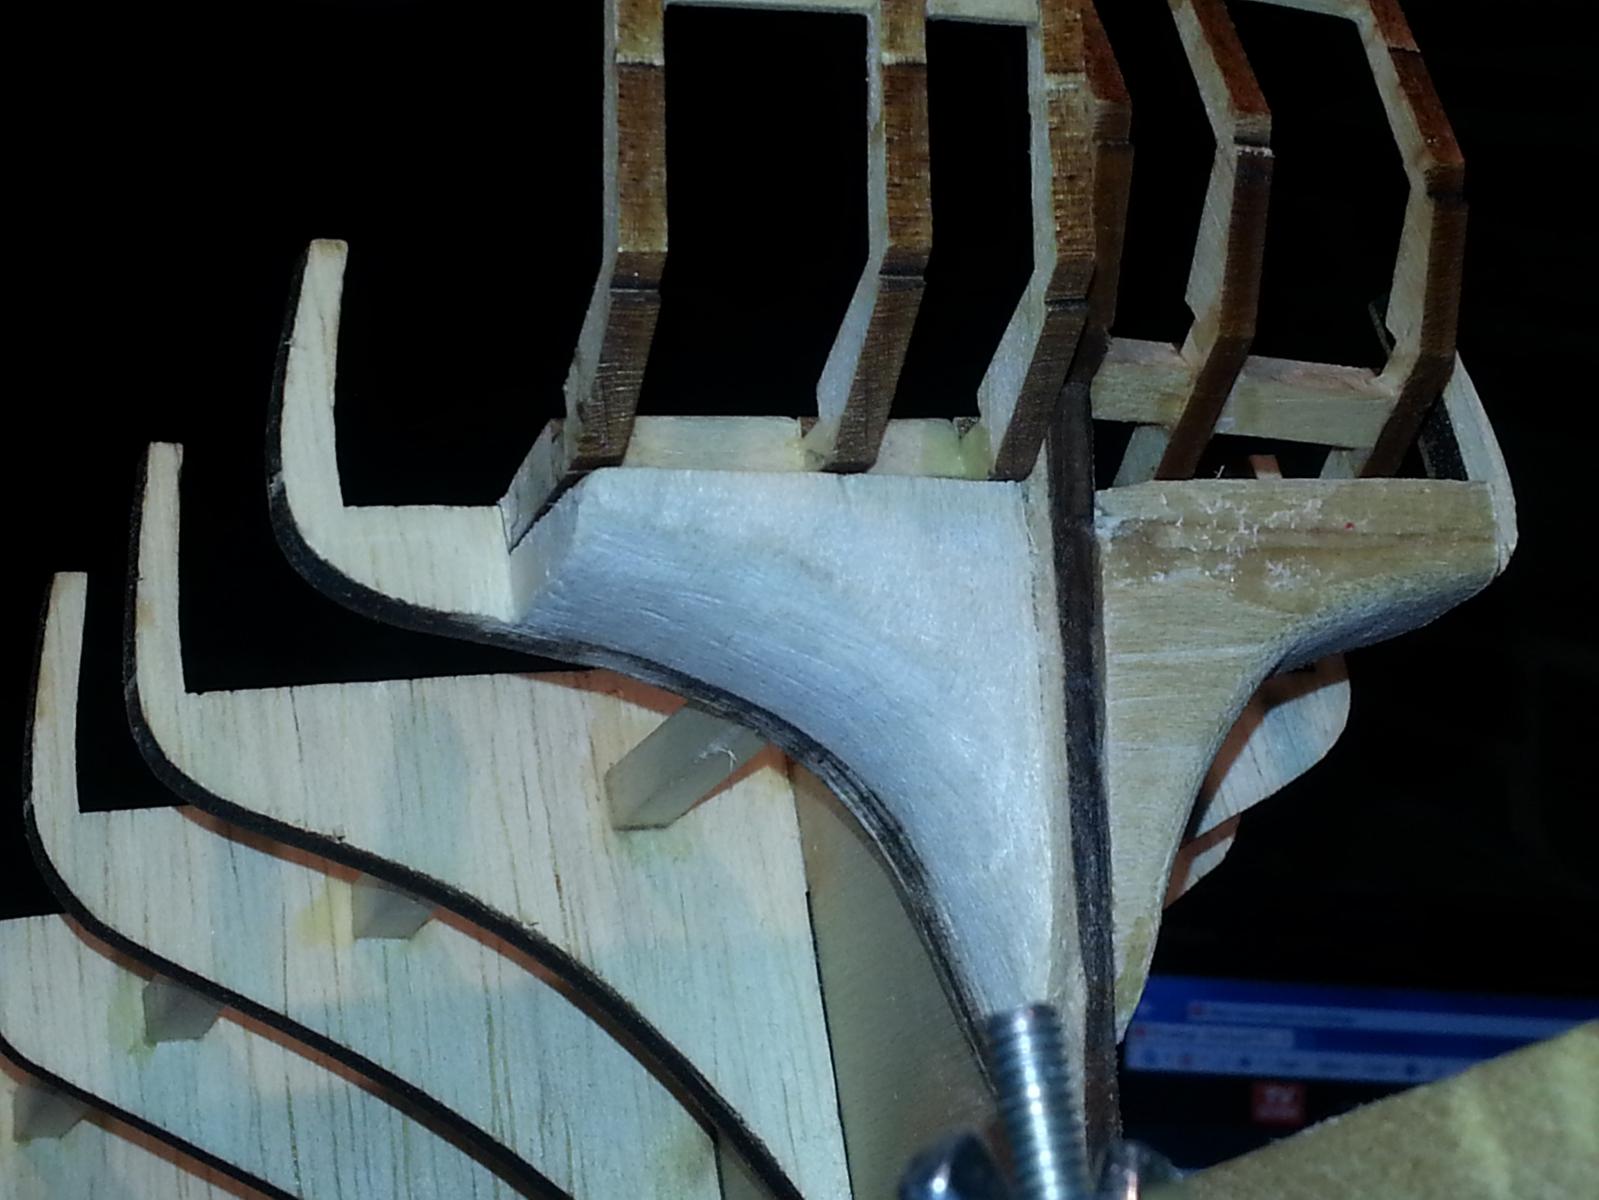
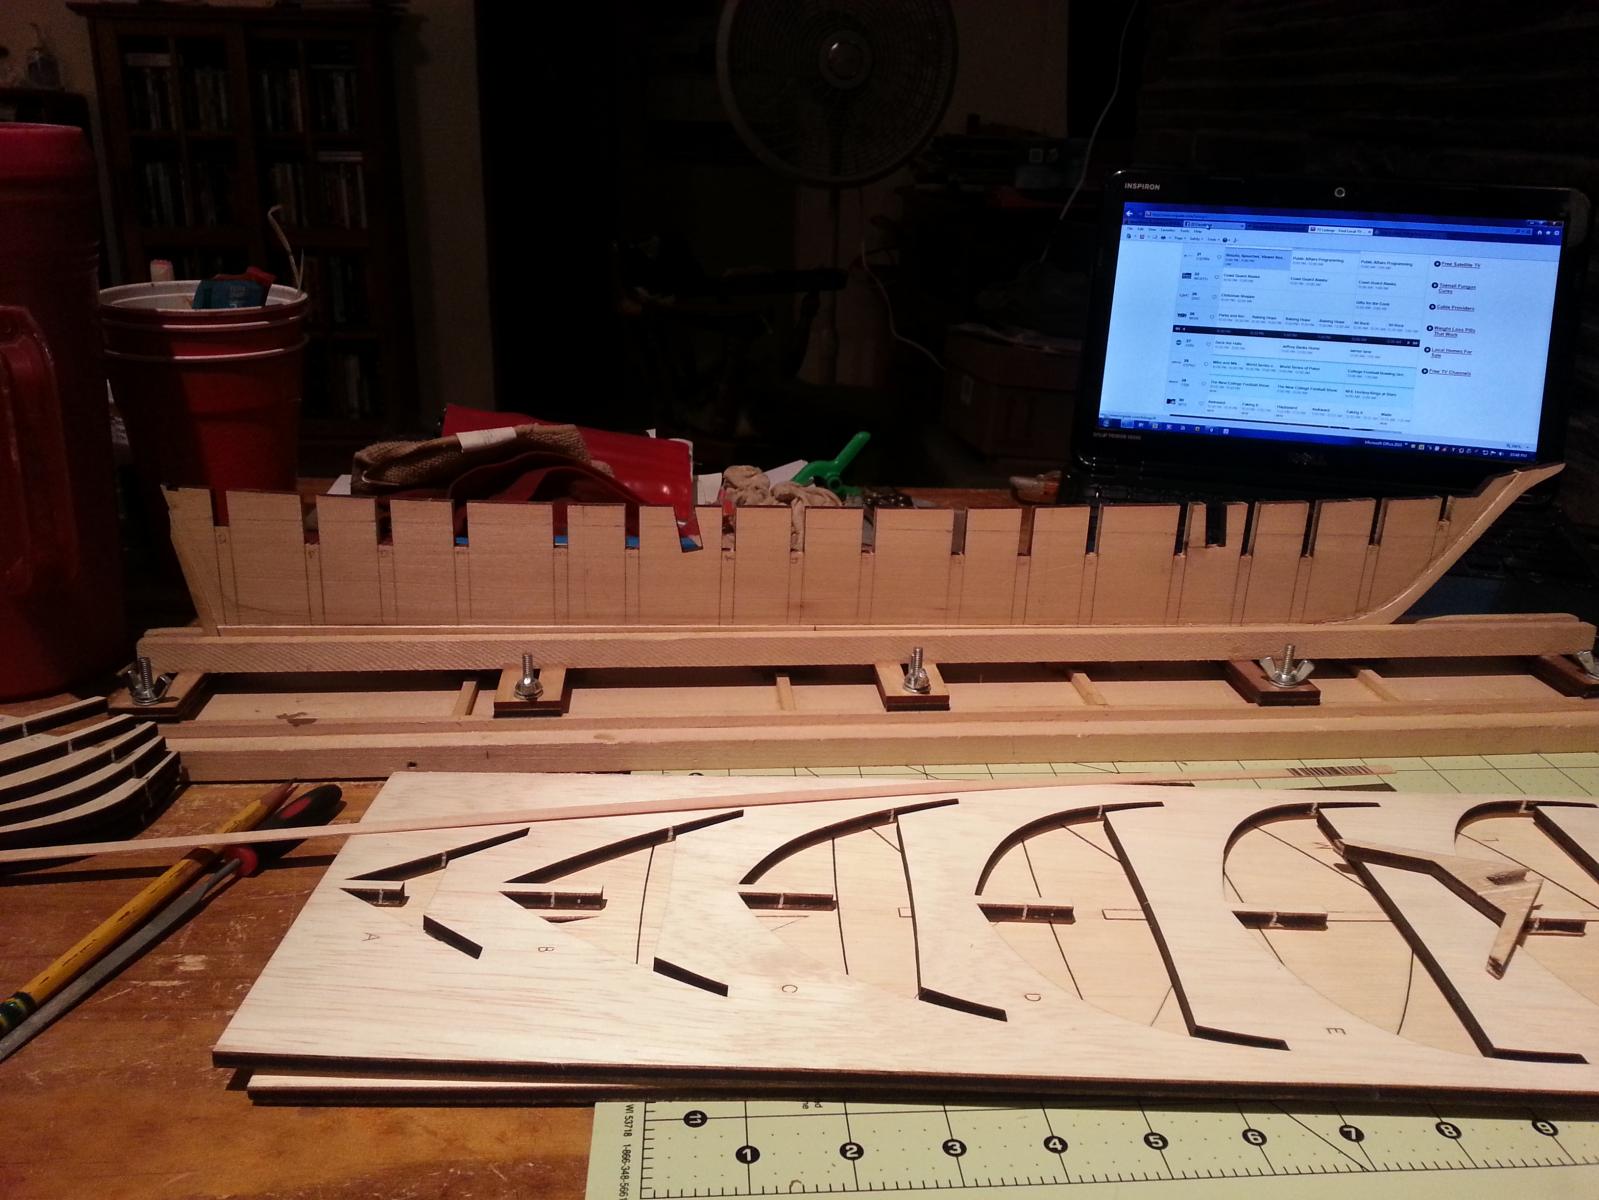
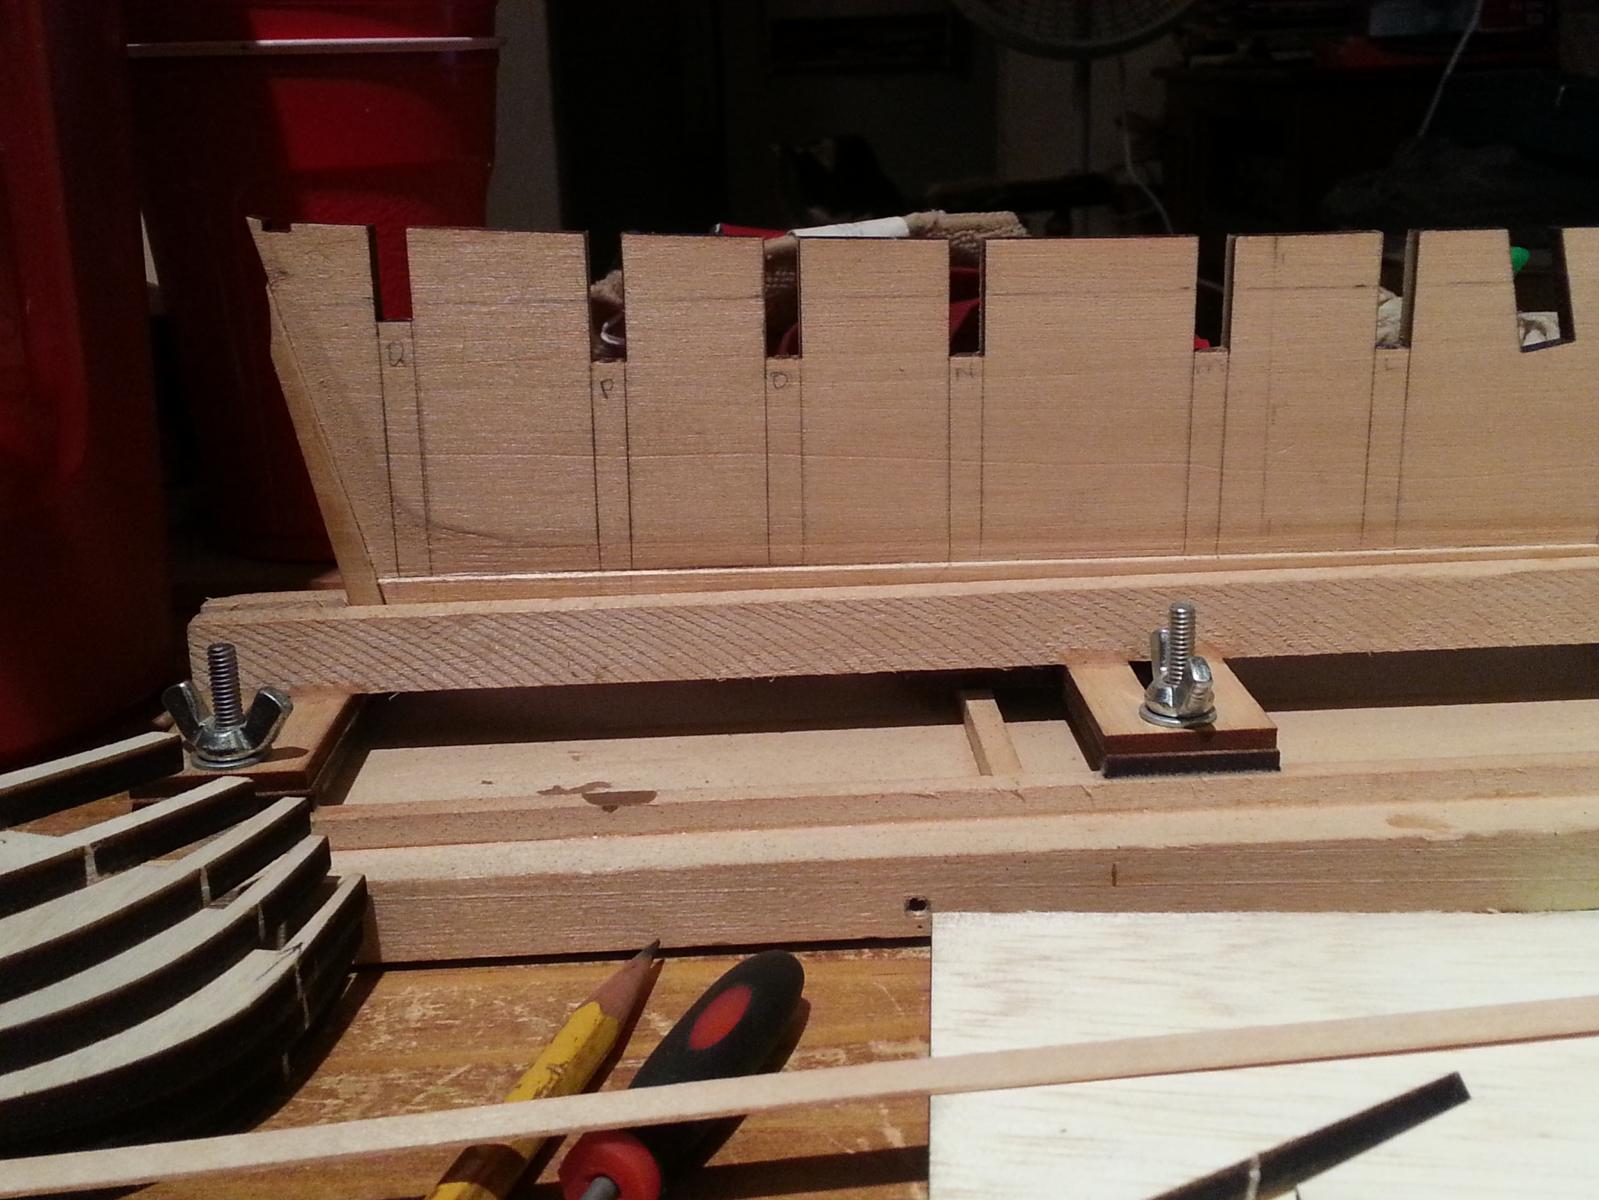
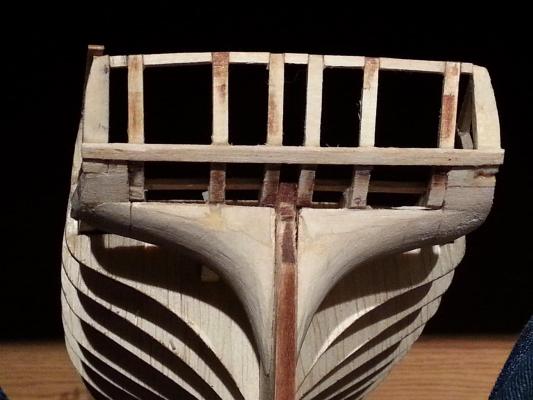
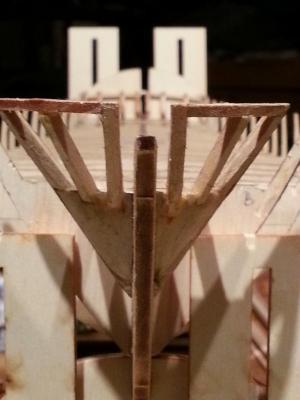
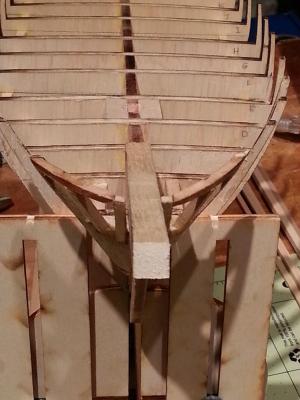
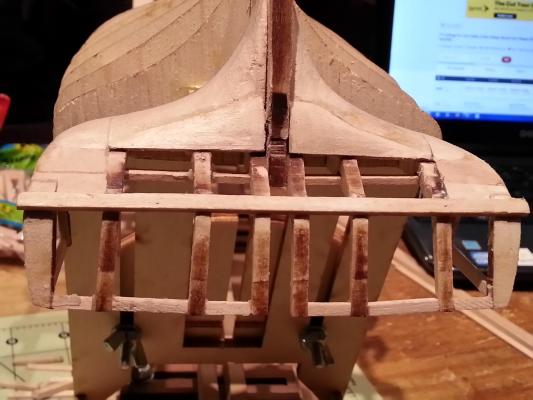
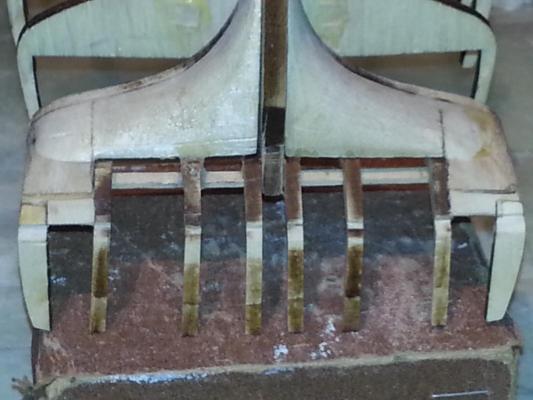
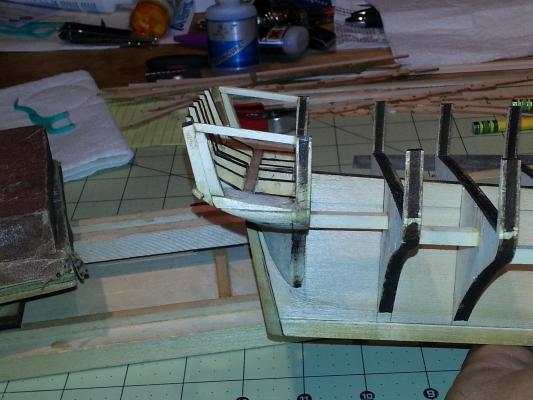
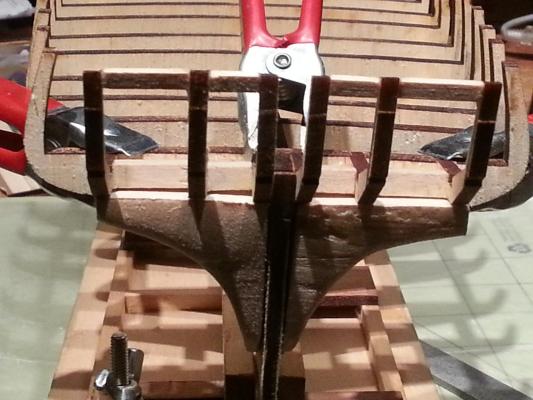
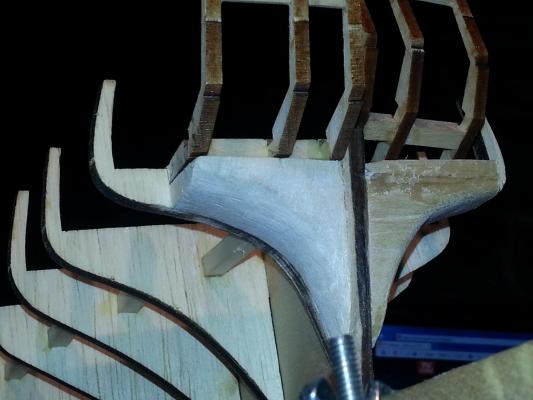
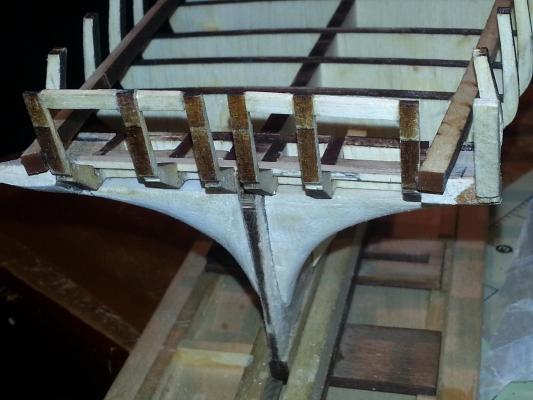
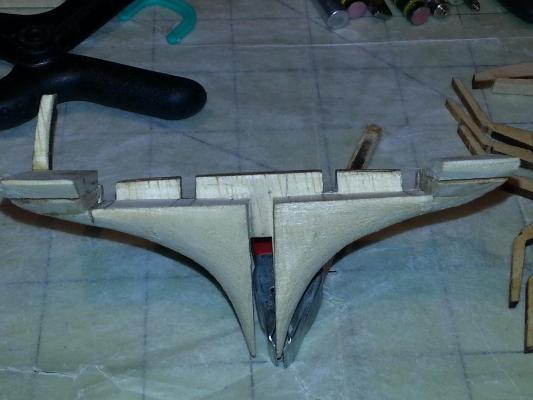
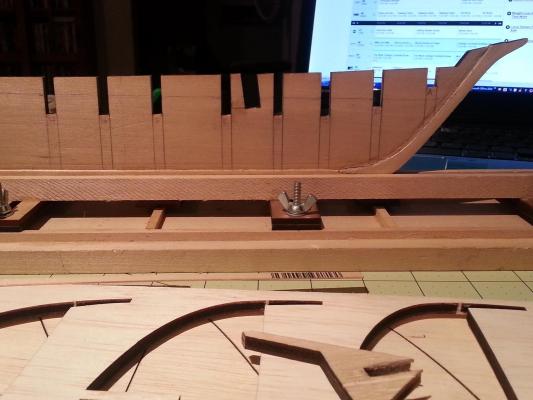
Okay, I think I’ve hit a bit of a road block with the shaping of the stern. Adding the Quarter timbers and shaping the corners is also giving me issues with respects to installing the waterway. It doesn’t sit flush, Now I could gouge out a pathway so that it sits flush on the bulkhead or I could bend it slightly to follow the lines of the corner filler block. Of course as many before I have broken and glued all these pieces more times than I can count and finally contacted Model Expo for replacement Stern Timbers, filler blocks and Bulkhead Q. In the meantime I am reworking that bulkhead to see if I can get it closer to what it’s actually supposed to look like.


-
Hi Scott, Thanks. The bulkheads went pretty smoothly which was surprising. I did have problems with A, F and Q. But with some minor filing I got them close. But won't really know till I start sanding and checking hull fairness.
-
Welcome, I too just started my build. This model is truly a sleek and beautiful example of a shallow water brig. Look forward to seeing the progress.
-
GuntherMT, if you read Page 10-11 of the instructions (figure 1-1 & 1-5) and on sheet 1 of the plans it explains and shows where to draw the reference line on the center keel and each bulkhead. Both the top of the bulkhead and the bottom must be aligned between the reference line and bearding line. Now I don't profess to be an expert but in the few models I've done it's always been that way. If others that have this model have done it differently then I certainly would like input before going any further which is why I joined the forum as I want this larger model to look proper. All of the pieces are just tacked together until I'm comfortable with alignment then I do the final gluing so that everything stays put for sanding. I am reading through other logs for the Niagara here and a couple of other forums trying to glean as much info as possible. John p.s. The instruction book even has a disclaimer that there may be error in size of the bulkheads due to manufacturing glitches (it says all laser cut parts).
-
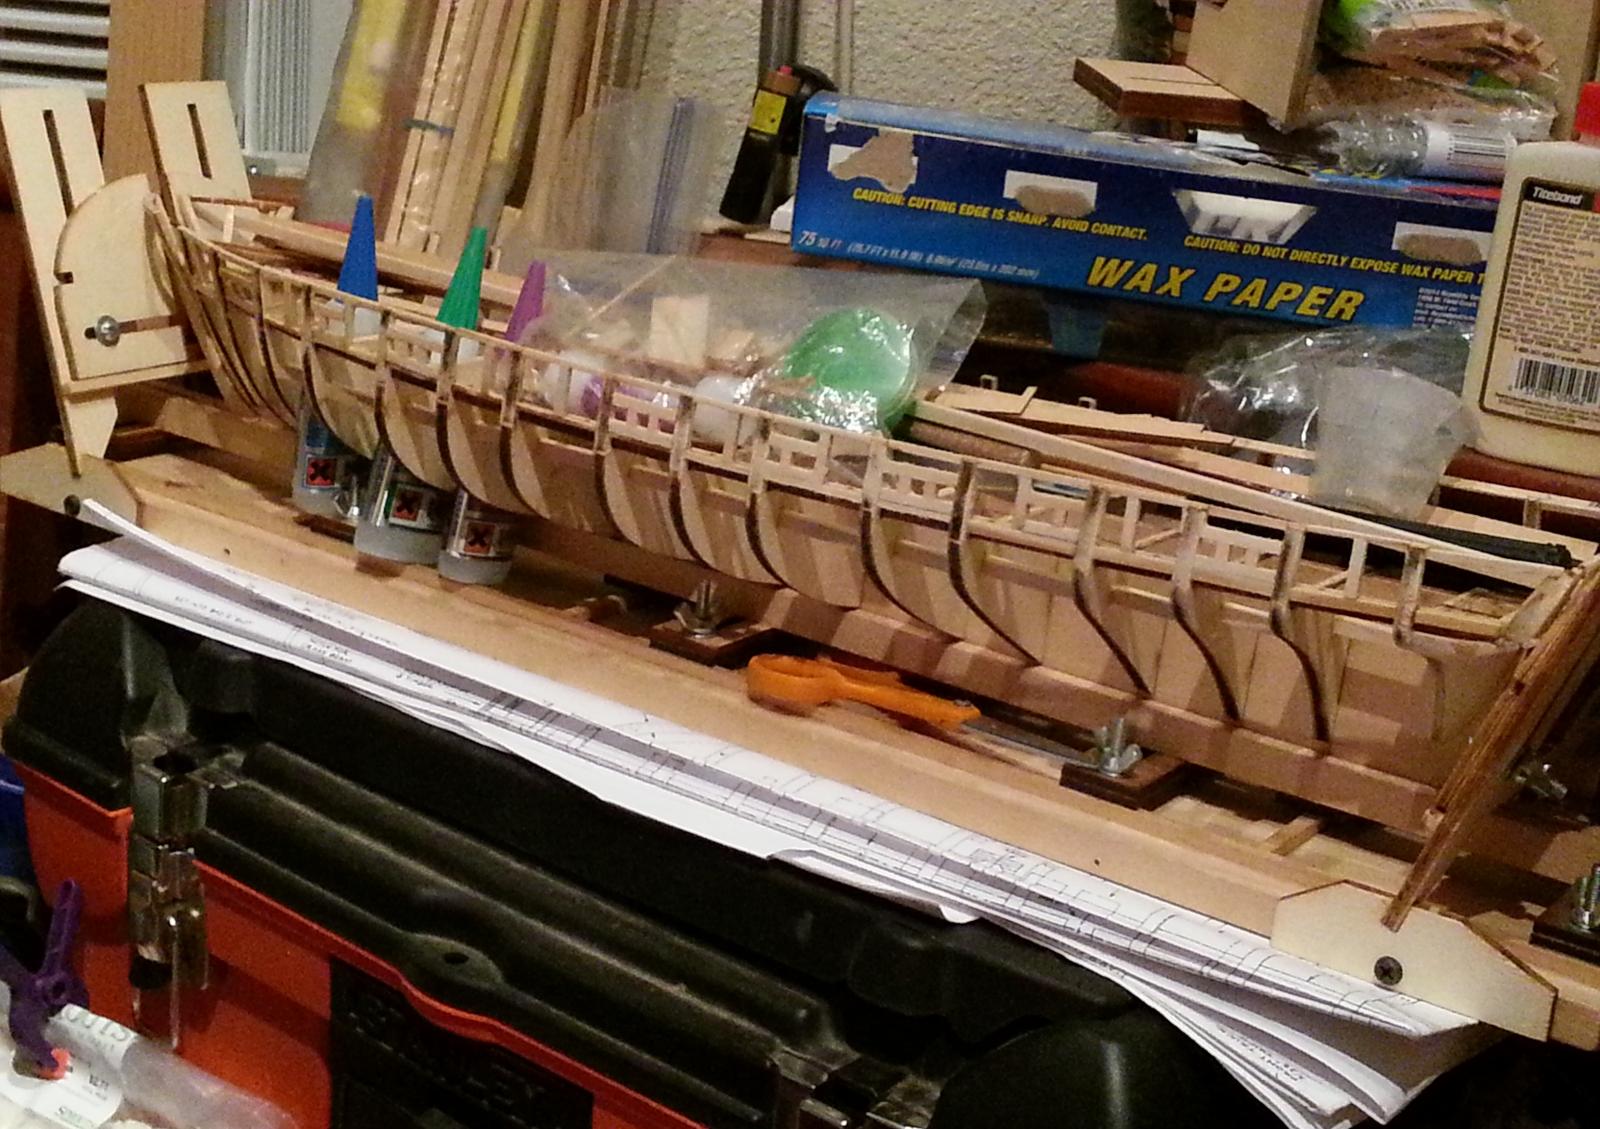
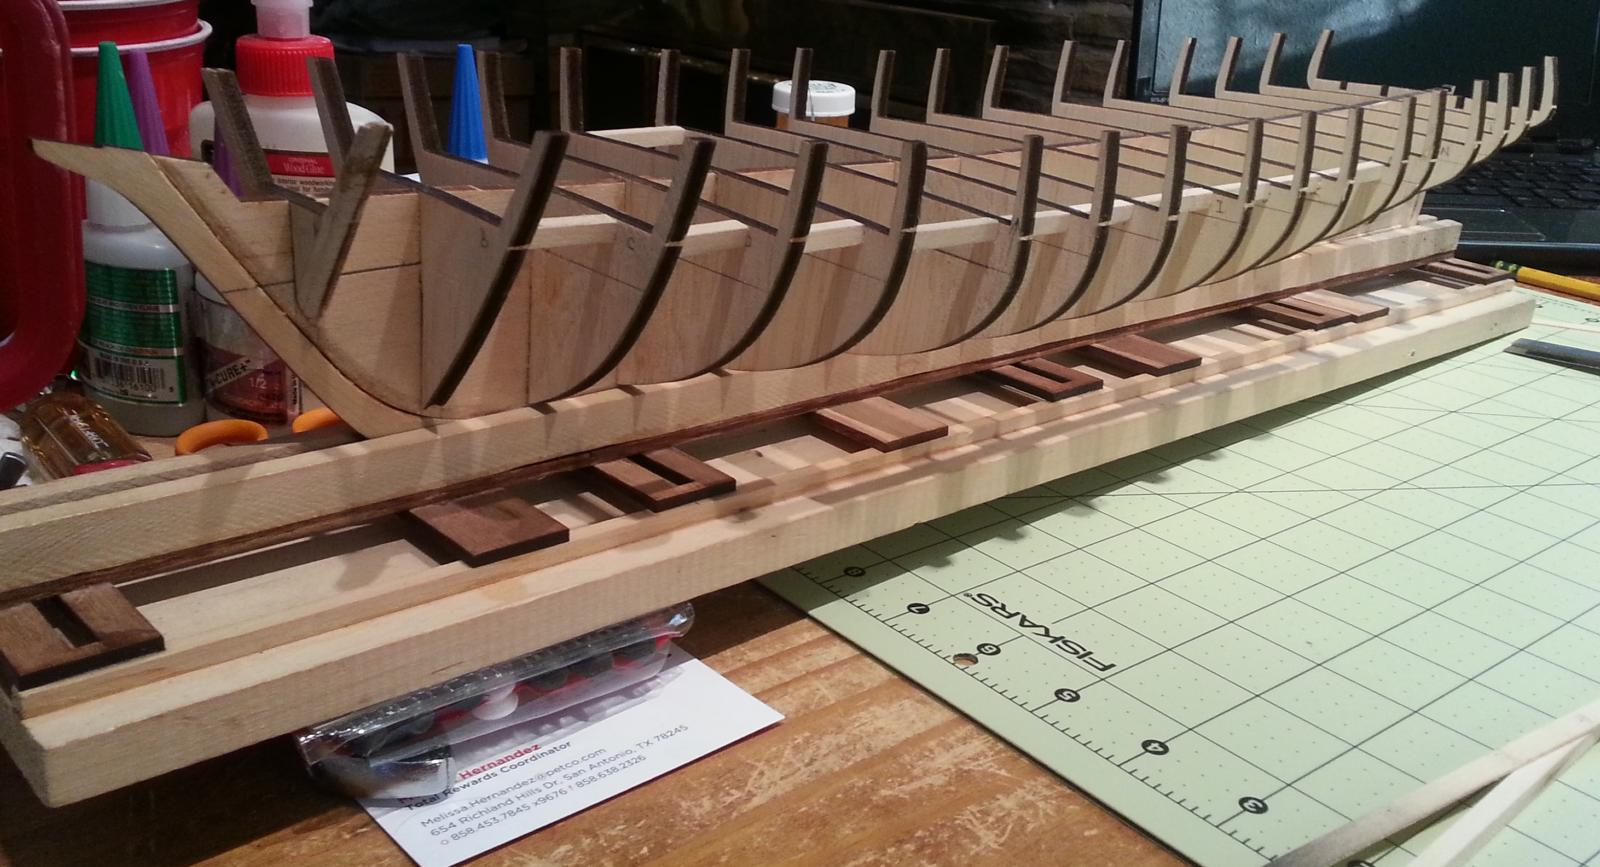
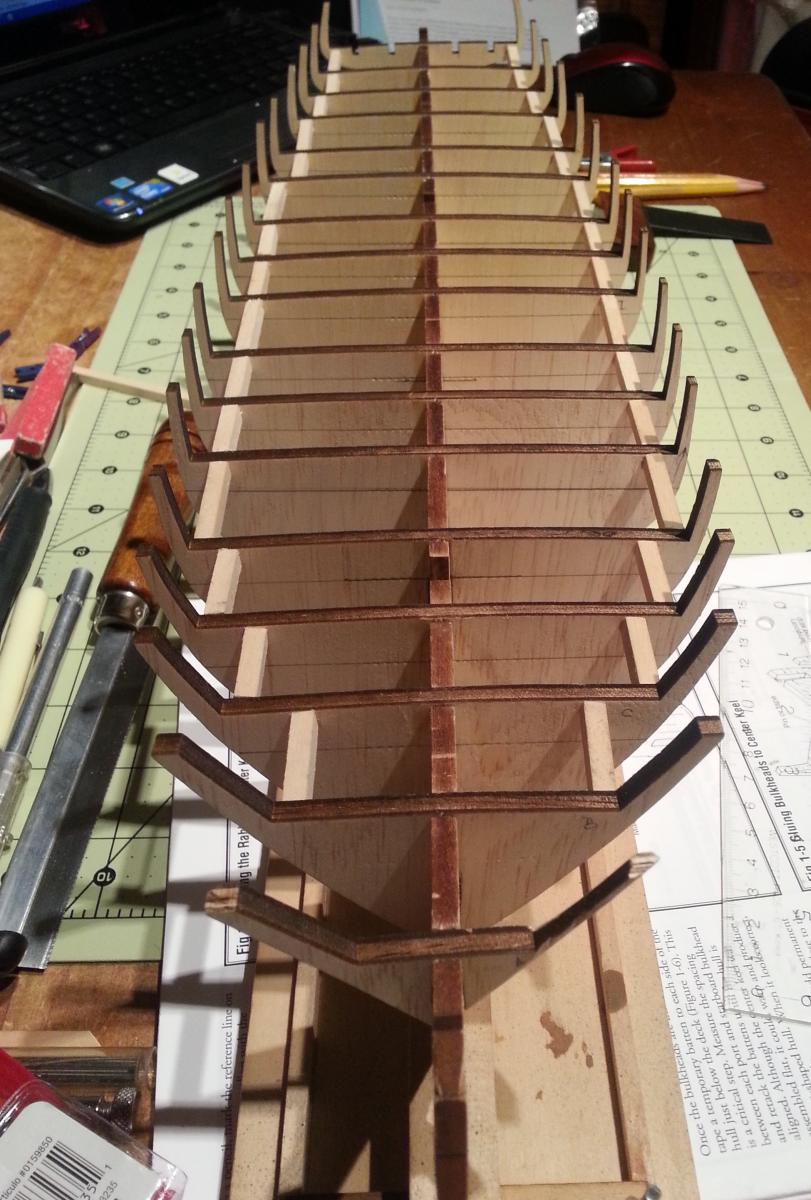
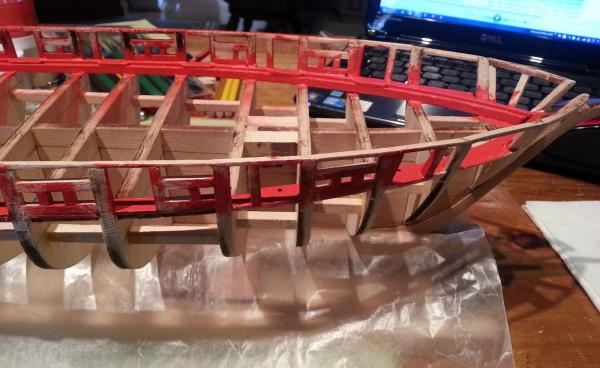
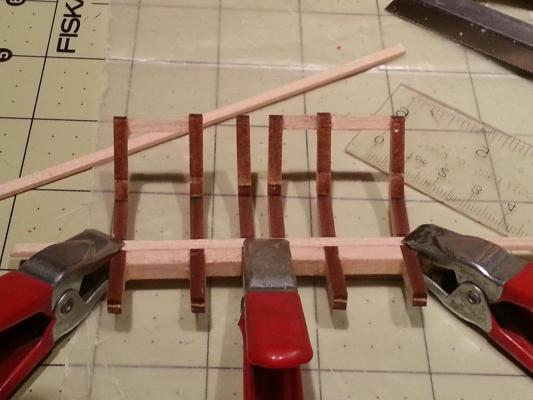
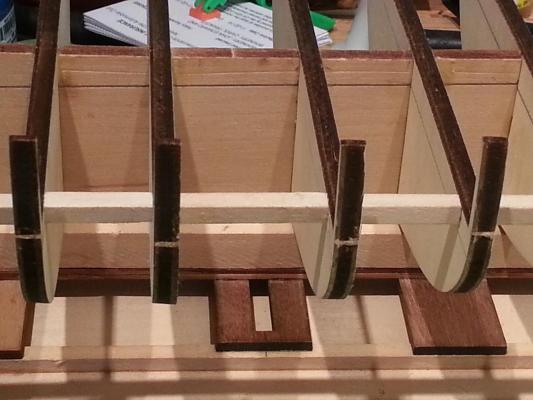
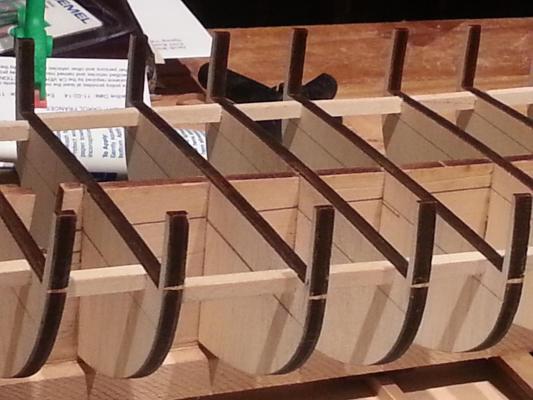
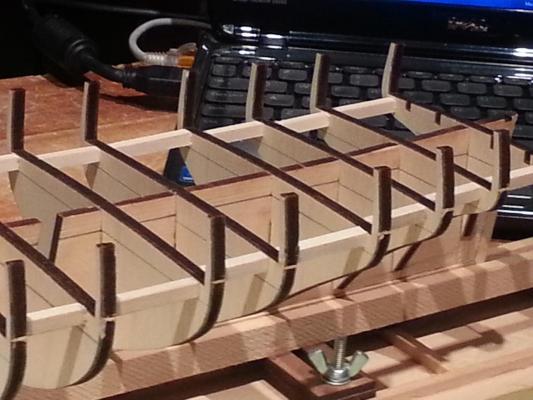
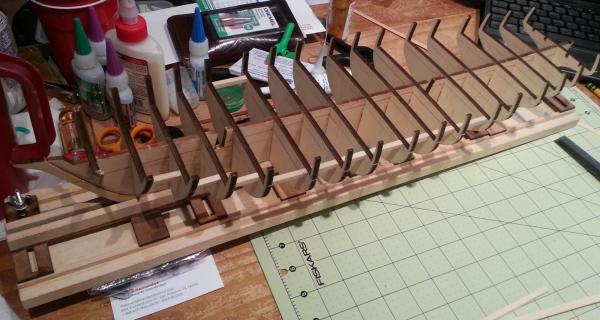
The bulkheads have been glued in place making sure each bulkhead’s reference line matches the one on the center keel. Once the bulkheads were installed, I tacked a temporary batten to each side of the hull just below the deck then measured the spacing between each port and starboard bulkhead until the hull was aligned. Then I cut permanent struts from 3/16 x 3/16 stock and placed them between each bulkhead close to the exterior. I measured to be sure the hull was squared and then glued the struts in place and removed the battens. Next, I will sand the bevels in each bulkhead.


-
Hi RevKB, I know what you mean about trying to buy this kit. I got mine directly from Model Expo when it was on sale for $149. Plus I had a discount code and a credit from a previous build for free kit (Sultana) so I was able to get it for almost nothing. If it hadn't been for all those circumstances happening at the same time I too would be still waiting to purchase this kit.
-
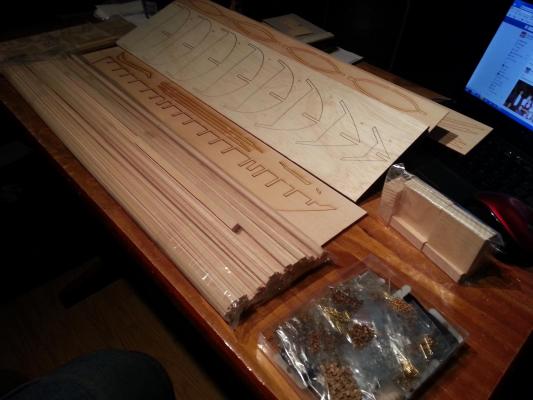
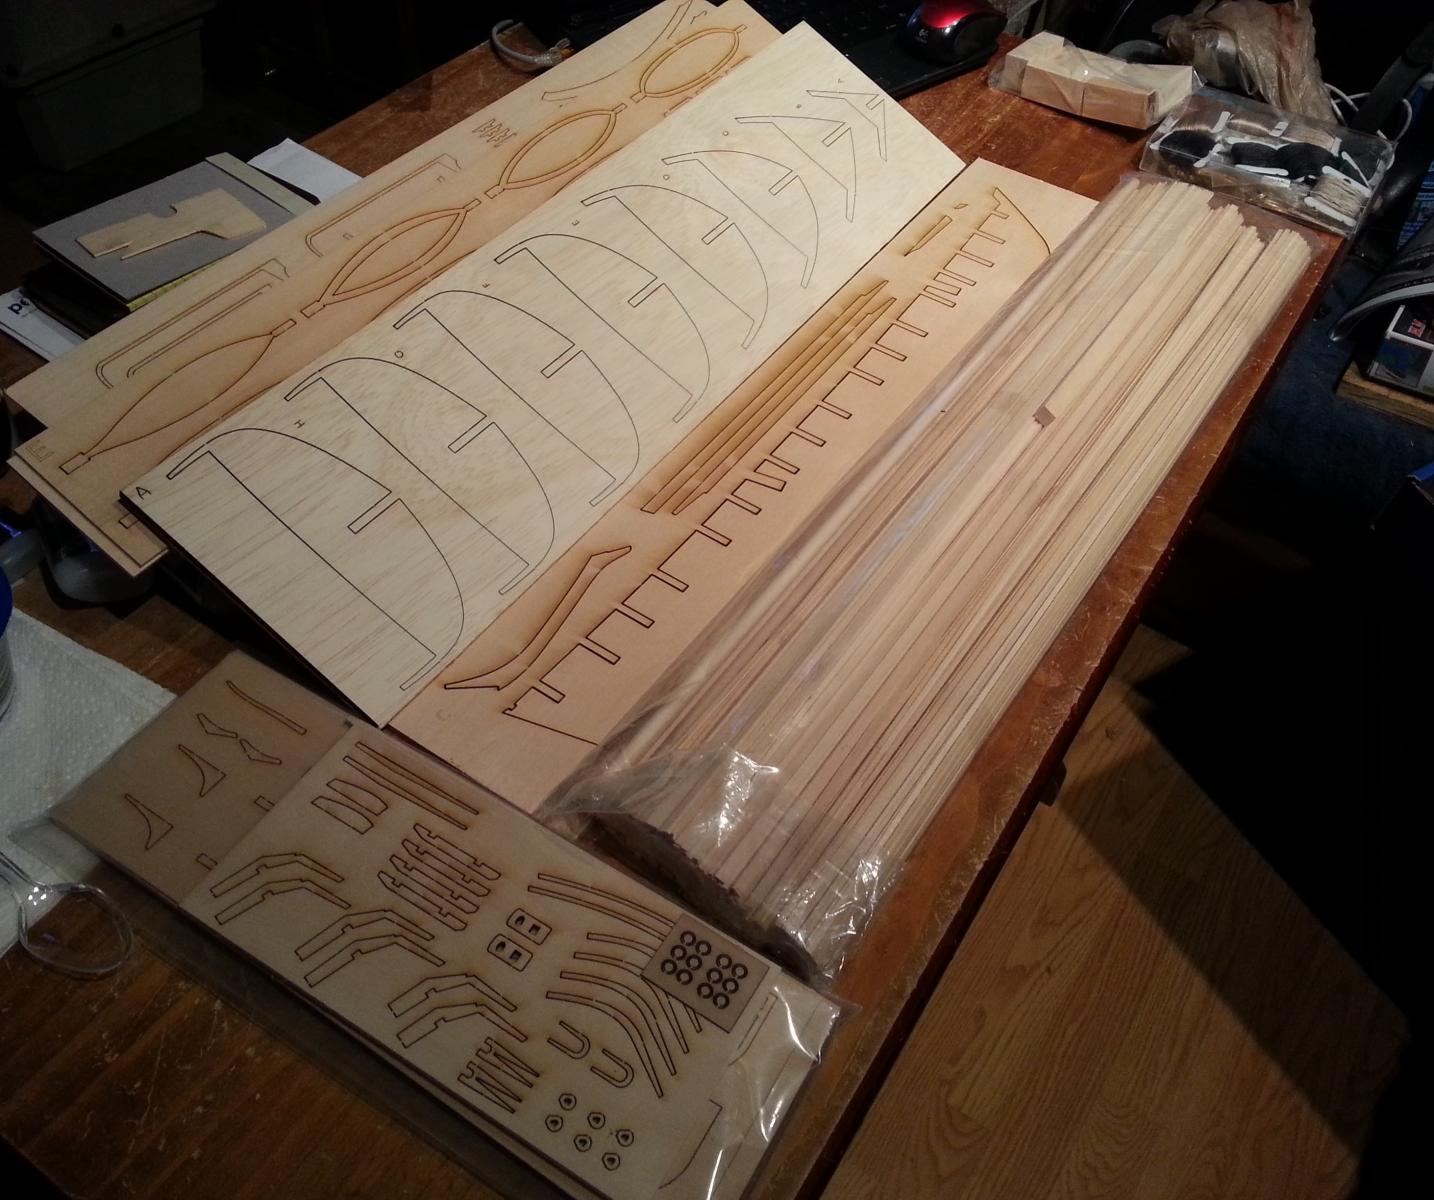
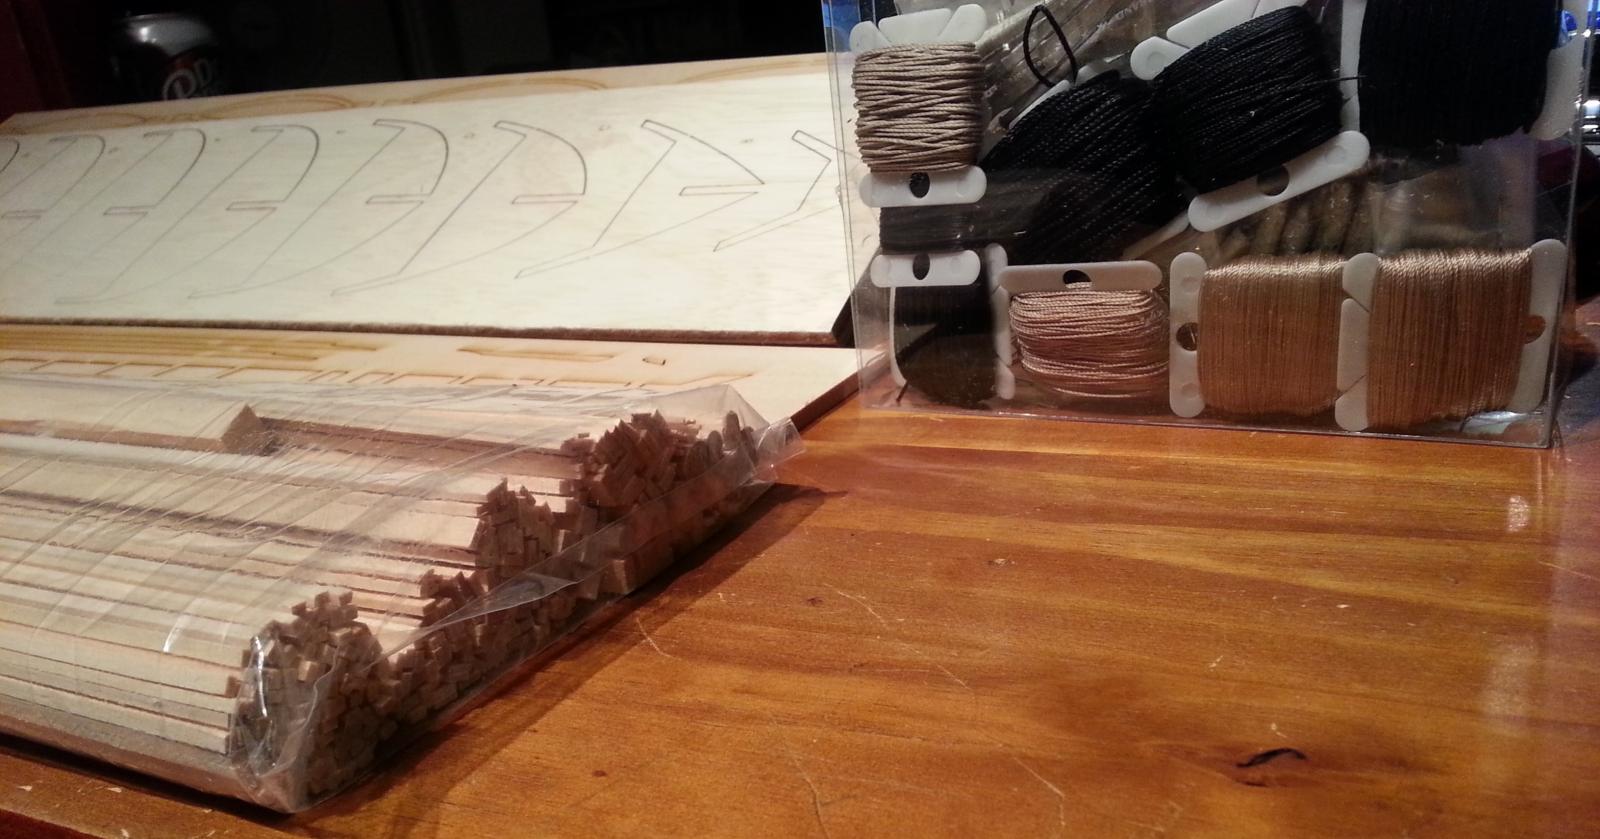
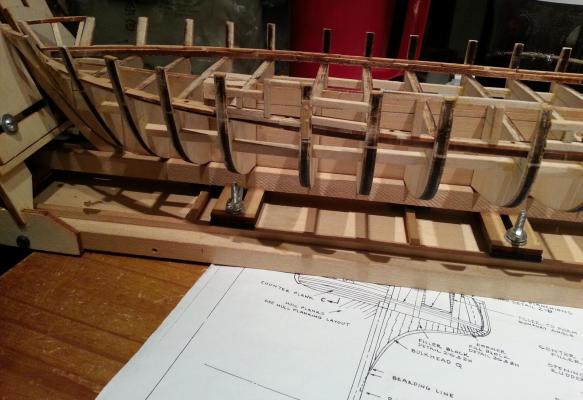
Here we go. The center keel along with the stem, keel and sternpost assembled. I’ve drawn all the reference lines on the center keel and bulkheads including the bearding line. I cut the rabbit into the center keel using 60 grit sandpaper glued to a small piece of wood (3/8 x 3/8 x 2 inches). Now it’s time to prepare the bulkheads and square them up to be glued. I will be using Model Shipway’s Fair-a-Frame to help with this.


-
Thanks everyone for the warm welcome.
-
Hello to all. I am a long time reader but first time posting a build log. My first wooden ship model was from Scientific America and was built back in 1978 for my father in-laws new office. Since that time I continued building ships every couple of years until the hobby shop I used closed its doors. In 2002 I found Model-Expo and started building again. Like most builders I started with solid hulls then progressed to POF and POB models. Then I started doing kit bashing and small from scratch models. Until the Niagara I had never built a ship with a hull bigger than 16”. Anyway I hope I can do justice to this forum and build.