HOLIDAY DONATION DRIVE - SUPPORT MSW - DO YOUR PART TO KEEP THIS GREAT FORUM GOING! (Only 36 donations so far out of 49,000 members - C'mon guys!)
×


cmann
-
Posts
52 -
Joined
-
Last visited
Content Type
Profiles
Forums
Gallery
Events
Everything posted by cmann
-
Thanks.
-
Thanks, I will try this.
-
Lining the bulwarks and upper stern: This step was relatively quick and simple. Next I have to put up the rails and then I will be varnishing the hull, before I do though I have two questions: I already have some clear cellulose lacquer that I am going to use to varnish the model, is there any reason why I shouldn't use this or is there something better that I can use? I don't think that there should be a problem with it but I just want to make sure. What should I use to attach the other parts to the hull once it has been varnished? Will the contact glue stick properly to the varnish and will the bond between the wood, the varnish, and the glue be strong enough? I am guessing that super glue would work but I would prefer not to use that.

- 98 replies
-
- 1
-

-
- artesania latina
- finished
- (and 1 more)
-
Thanks, I have also adopted a similar naming scheme. I have also taken the time to update all of the previous posts so that they now use the Model Ship World forums instead of Photobucket.
- 98 replies
-
- 1
-
-
- artesania latina
- finished
- (and 1 more)
-
Thanks, I think that I will do this from now on, if it's easier for me to do and easier for everyone else to view than there is no reason not to.
-
Not sure, I just did it like that because the first other build log I saw on the forum used Photobucket and the thumbnails also looked a bit neater to me. I suppose I could instead use the forum and full sized images if it is better that way.
-
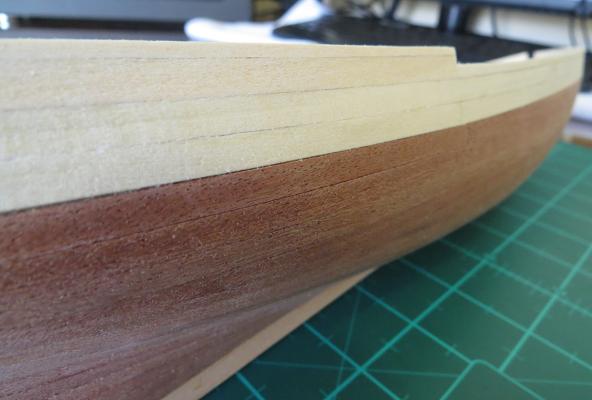
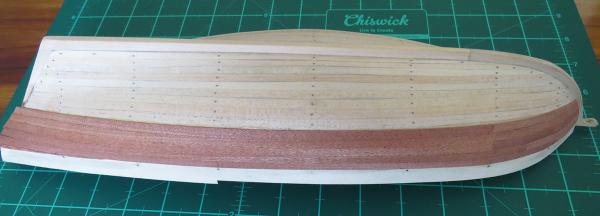
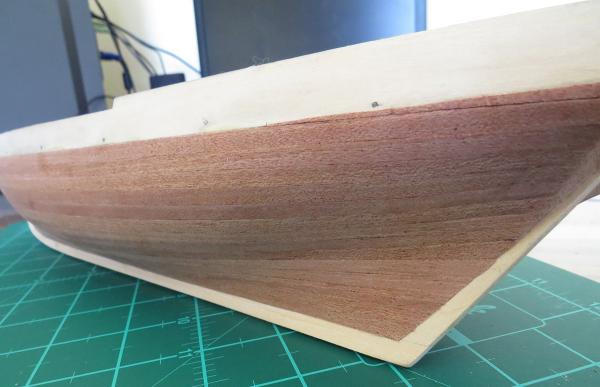
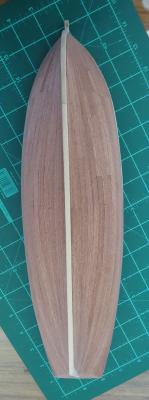
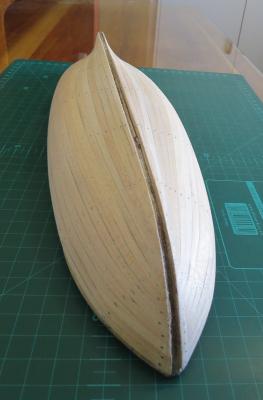
Lining the rest of the hull, halfway through: Completed and lightly sanded (I will probably sand it some more to smooth it out completely and make sure it's clean just before varnishing it for the first time):


- 98 replies
-
- 1
-
-
- artesania latina
- finished
- (and 1 more)
-
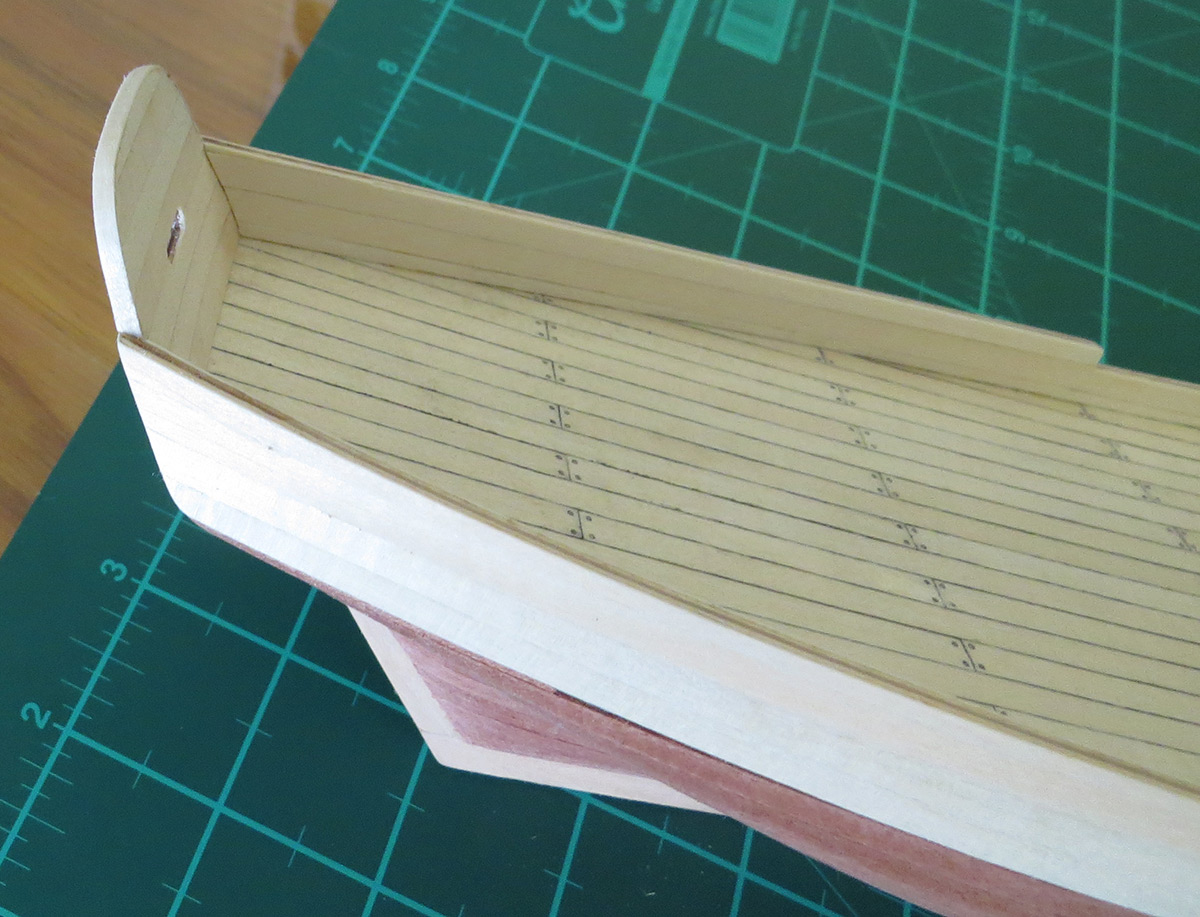
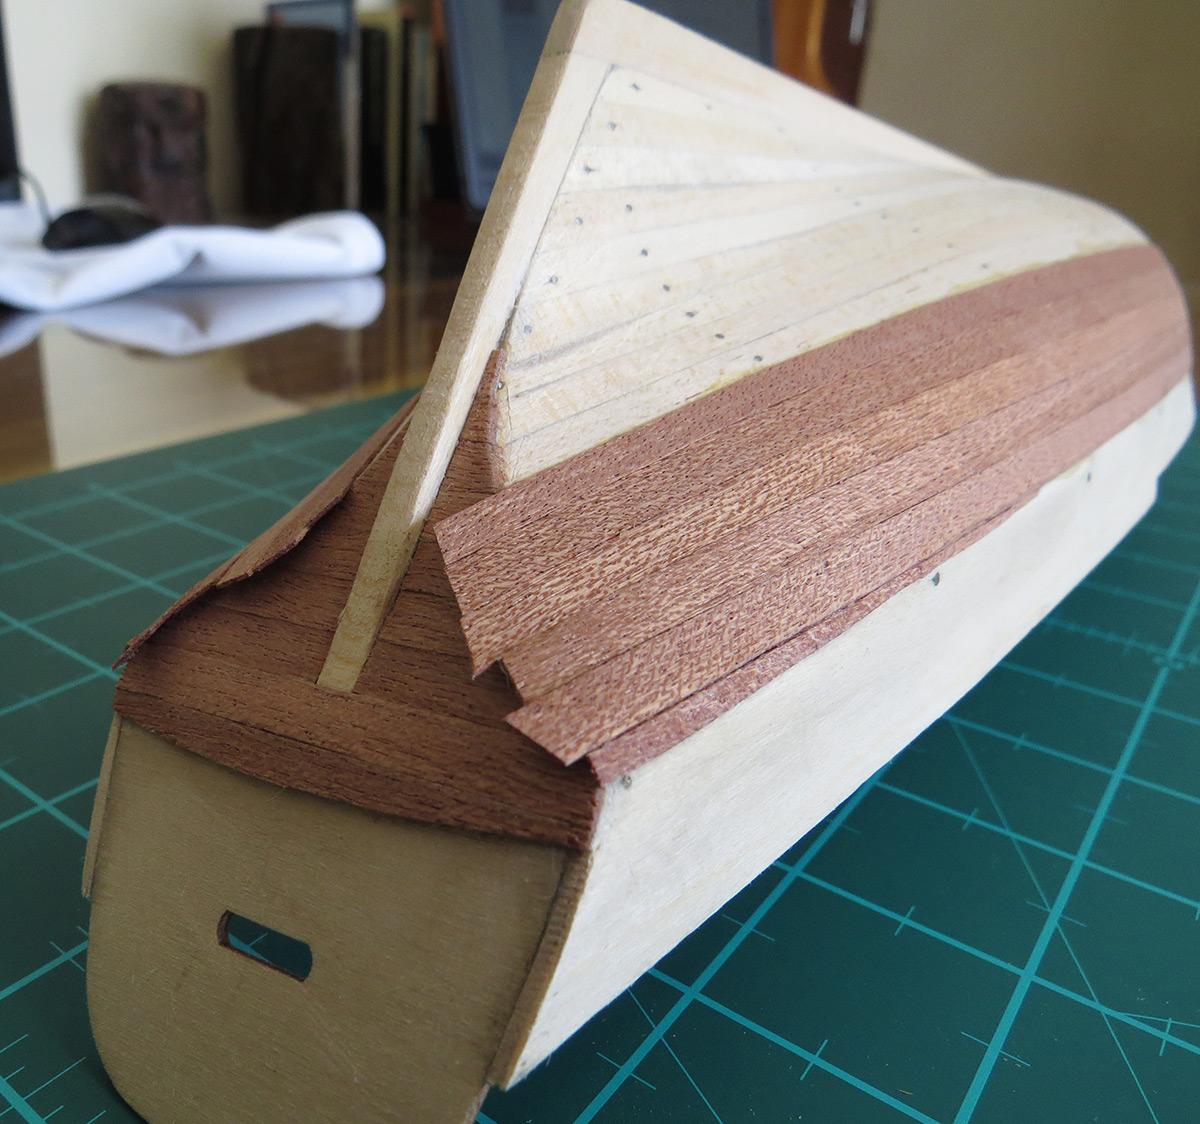
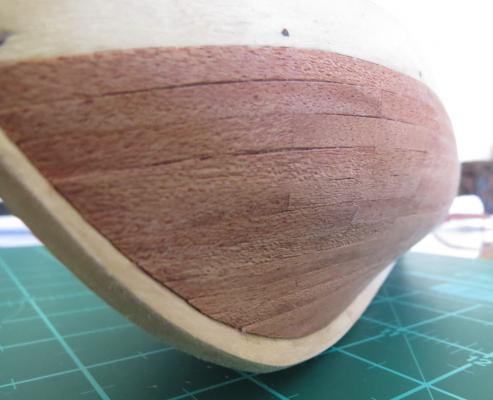
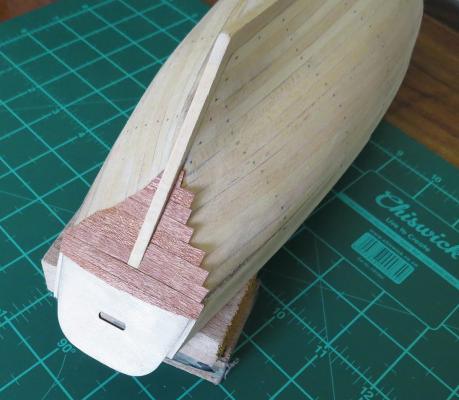
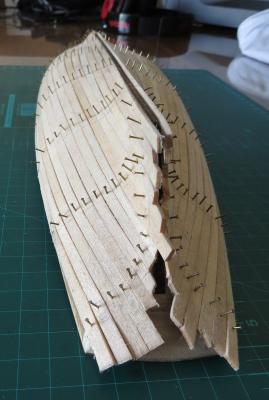
I've had to break the update into multiple posts because it says that I have reached the limit for the number of allowed images. Lining the stern:
- 98 replies
-
- 1
-
-
- artesania latina
- finished
- (and 1 more)
-
Thanks.
-
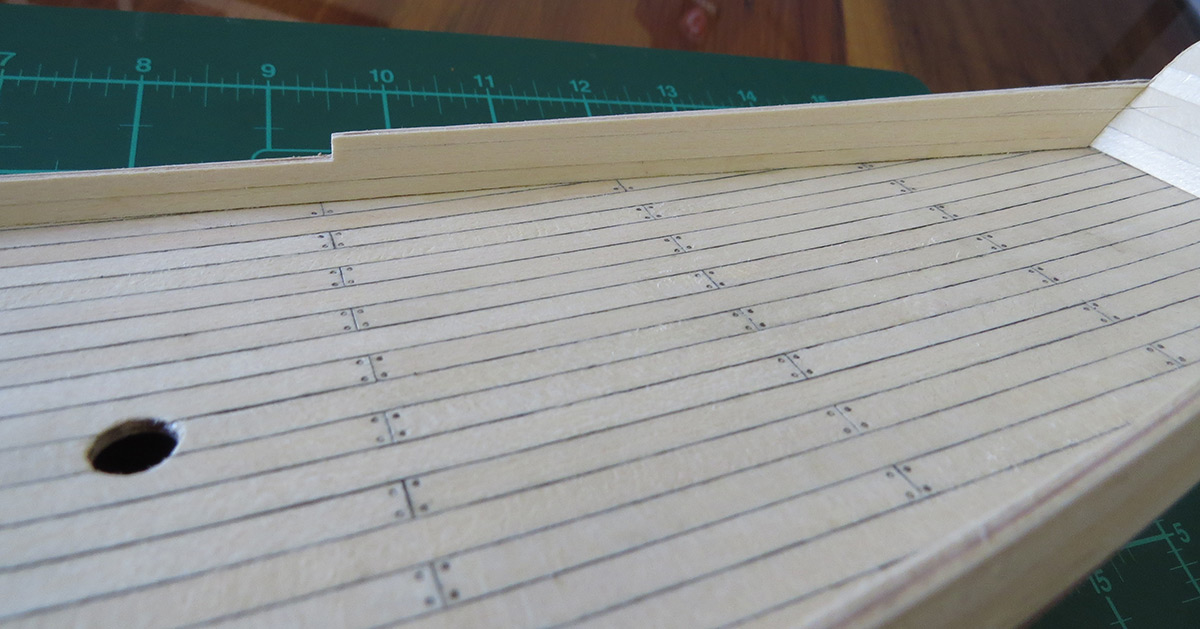
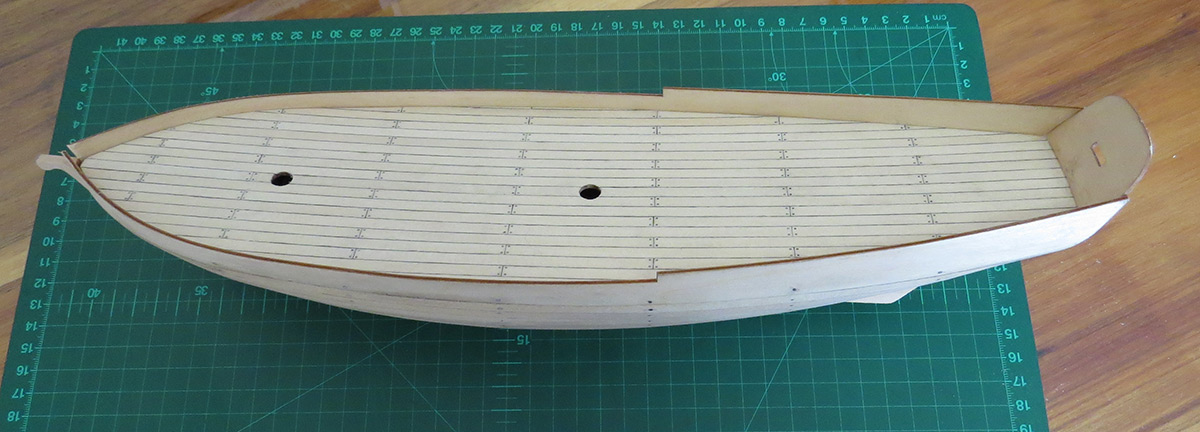
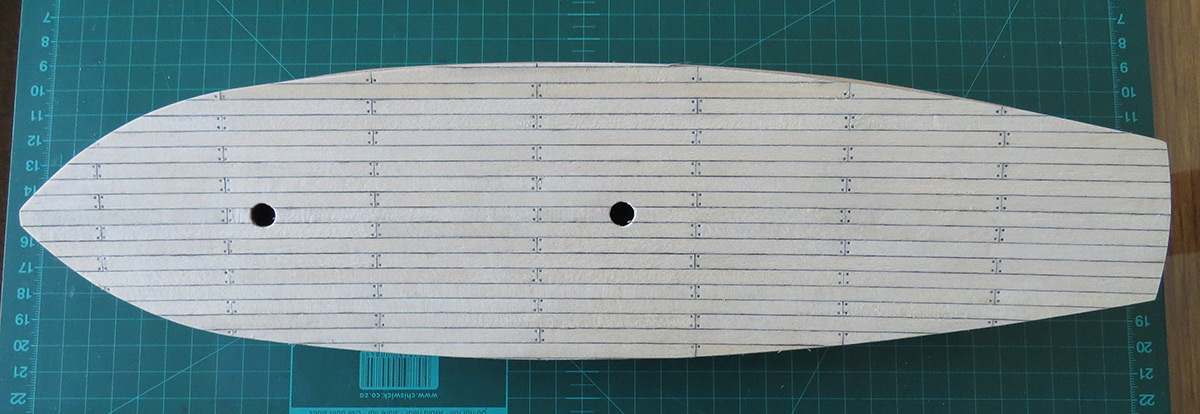
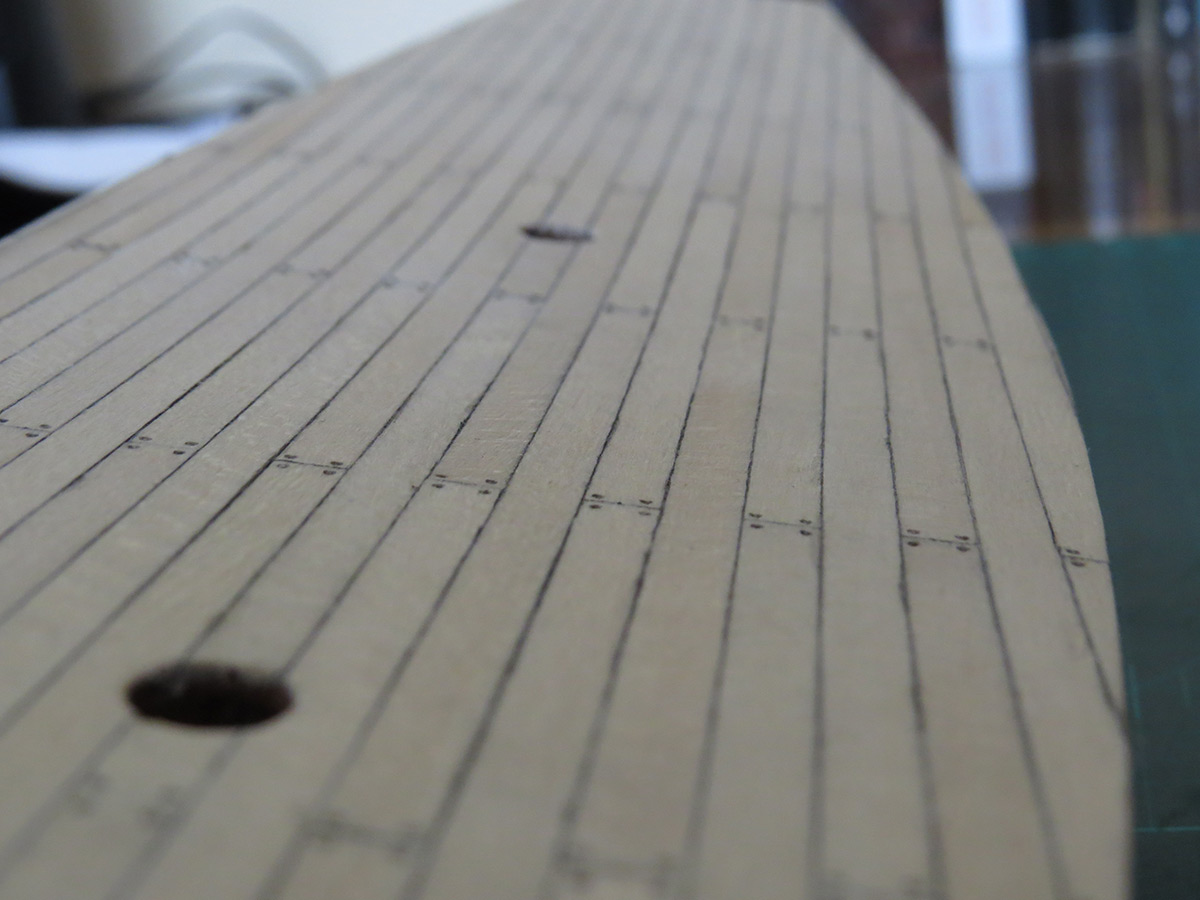
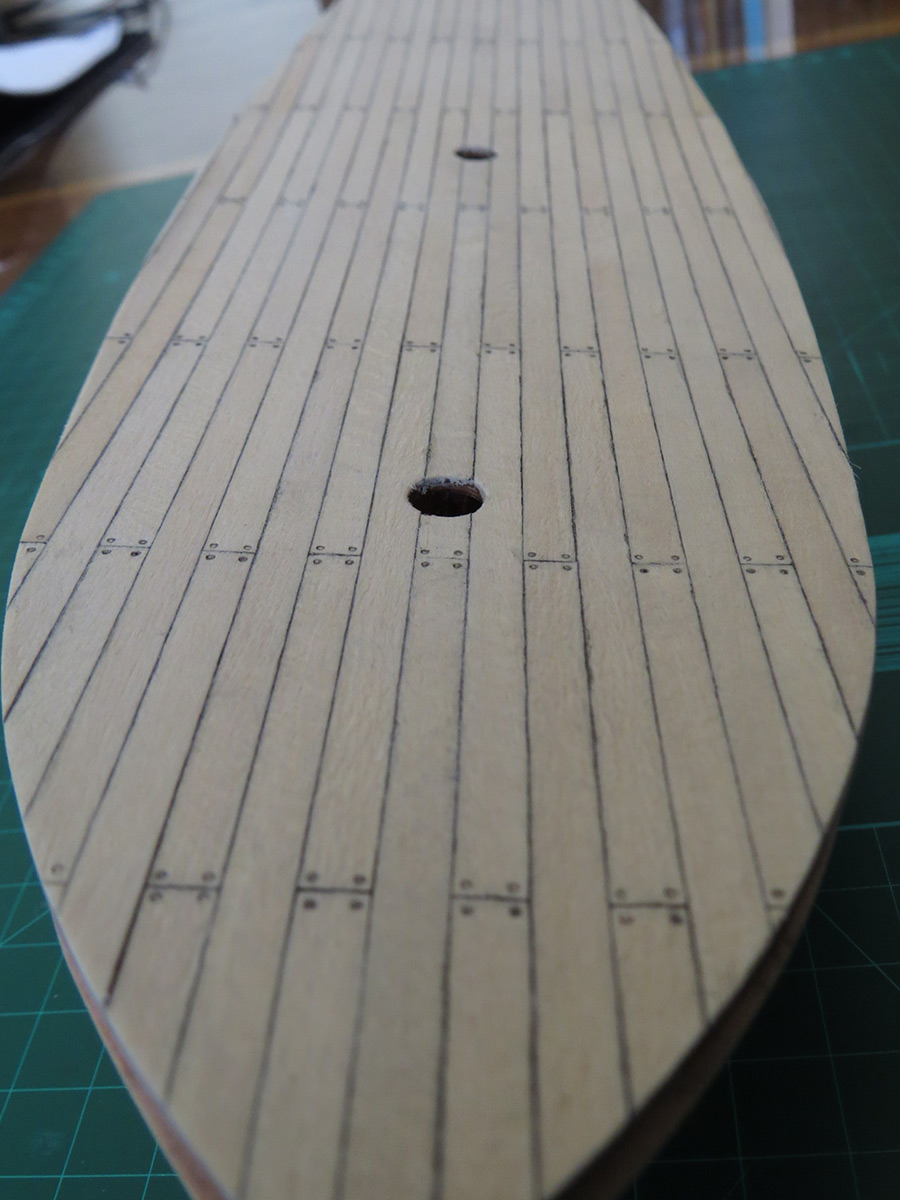
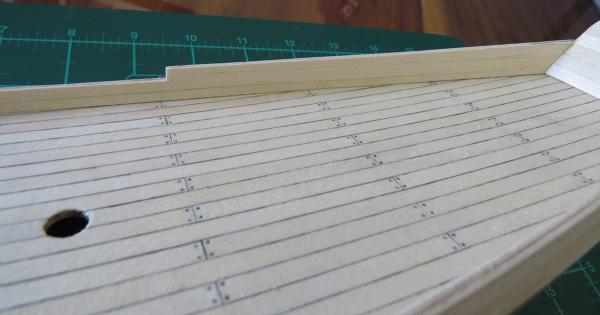
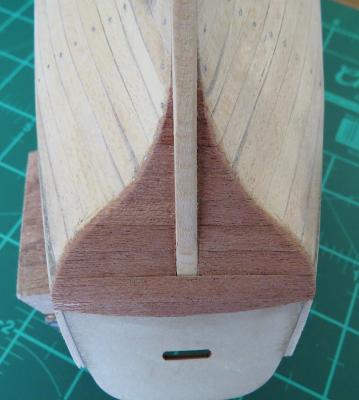
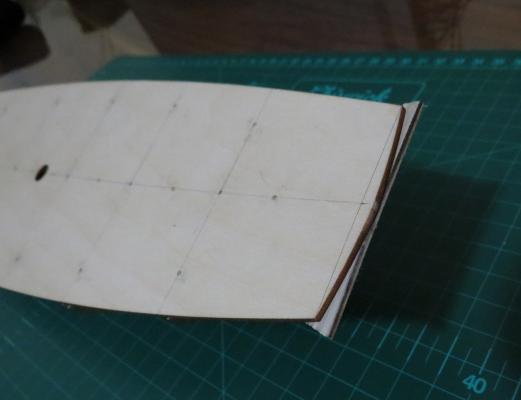
The deck lining completed: I have been using this build log as a reference, and in this case I also followed his example; I lined up the plank divisions with the lines that were already there from when I built the frame, and I used a 4B pencil around the edges of each section. To draw on the nails I used the metal tip of a 0.35mm mechanical pencil. For each nail I would rub the tip on a 4B pencil to get some lead onto it then press and turn it on the deck.


- 98 replies
-
- 2
-
-
- artesania latina
- finished
- (and 1 more)
-
Thanks, it wasn't perfect but in the end after sanding I think that it turned out OK.
-
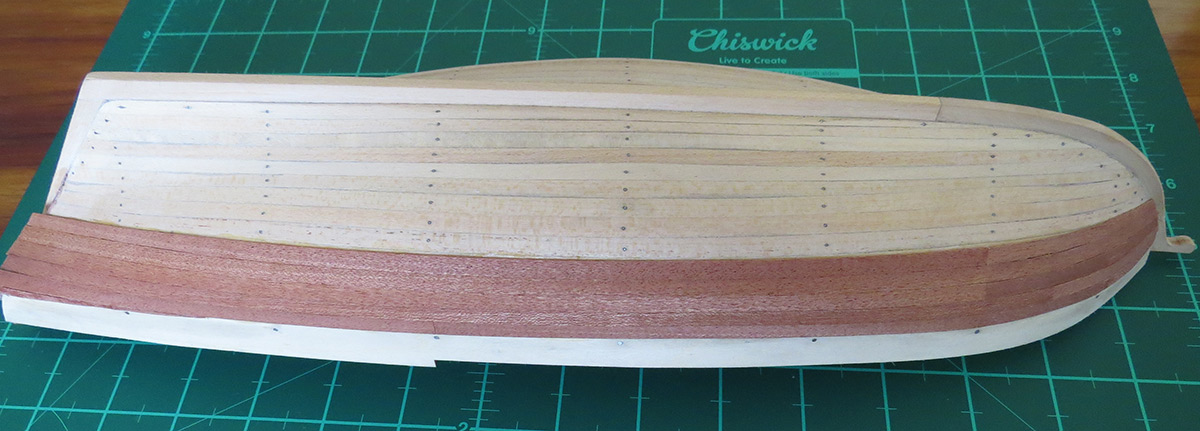
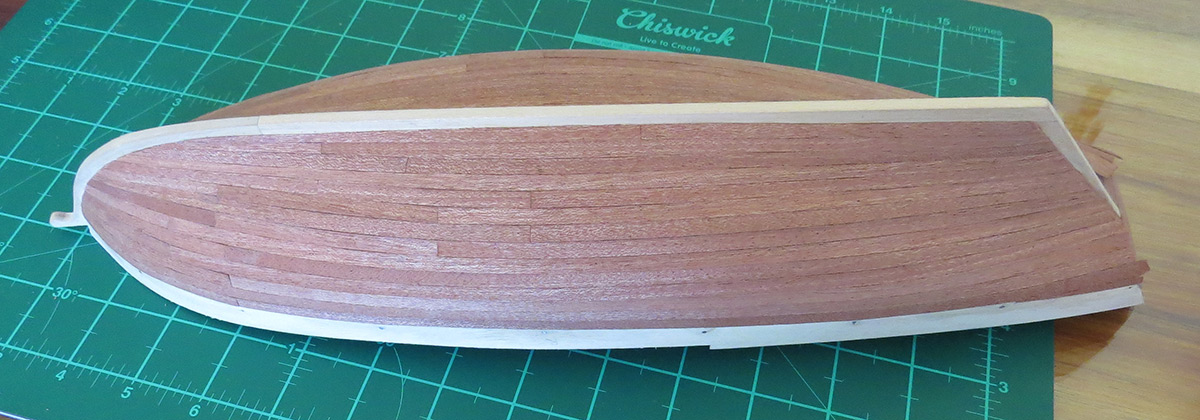
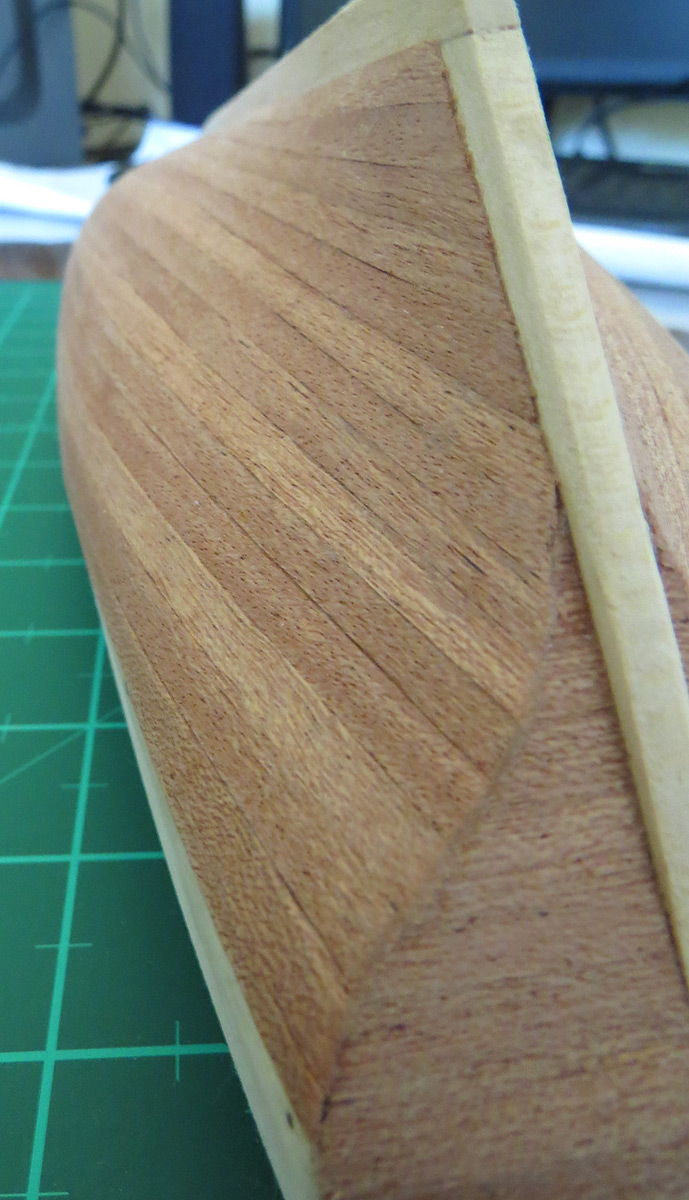
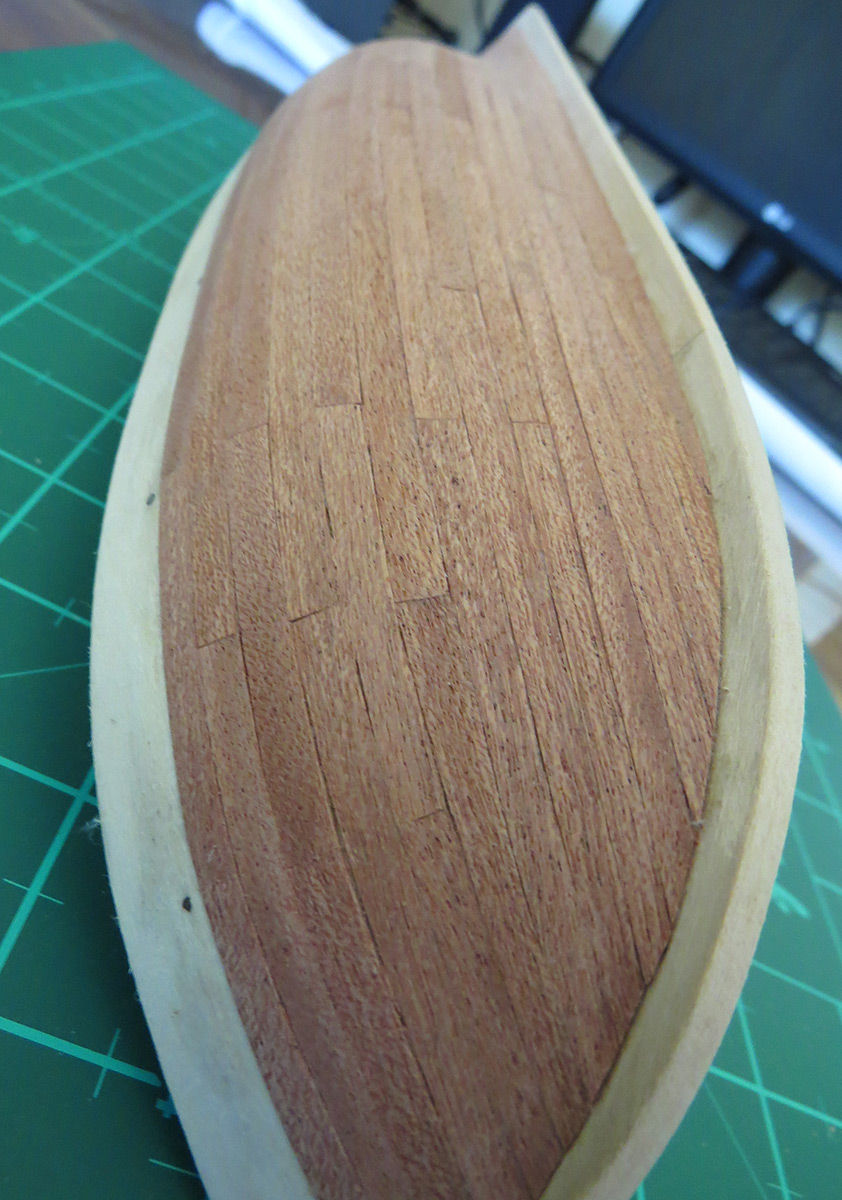
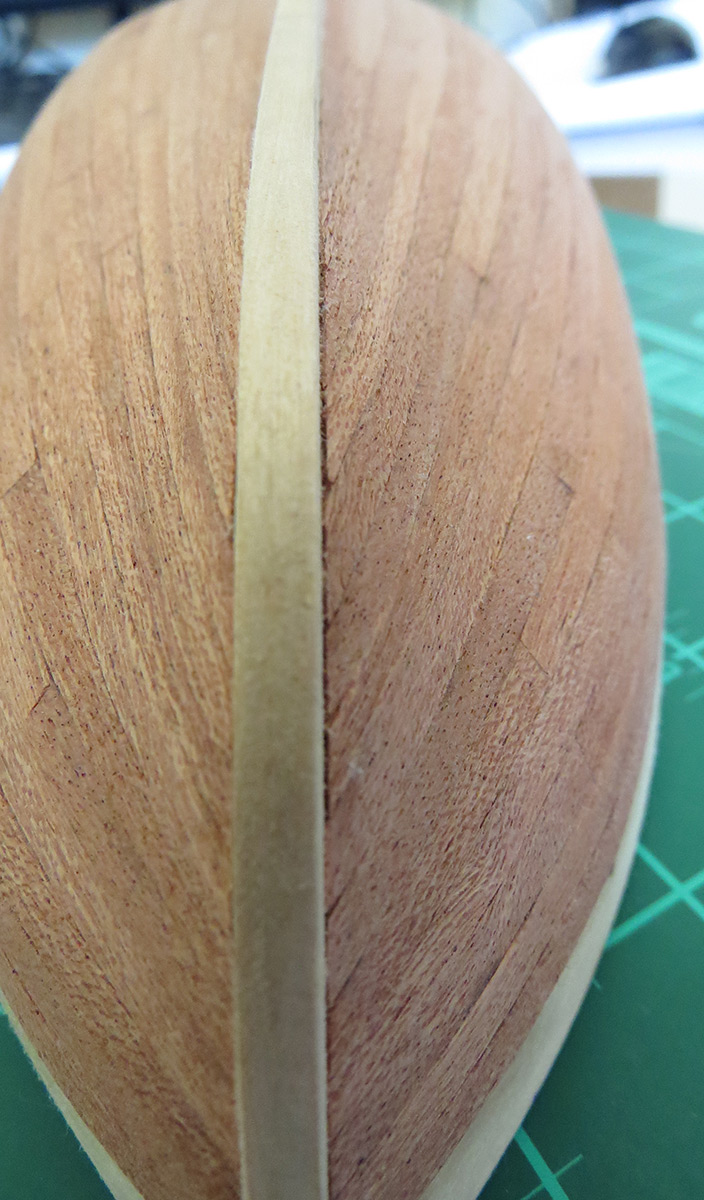
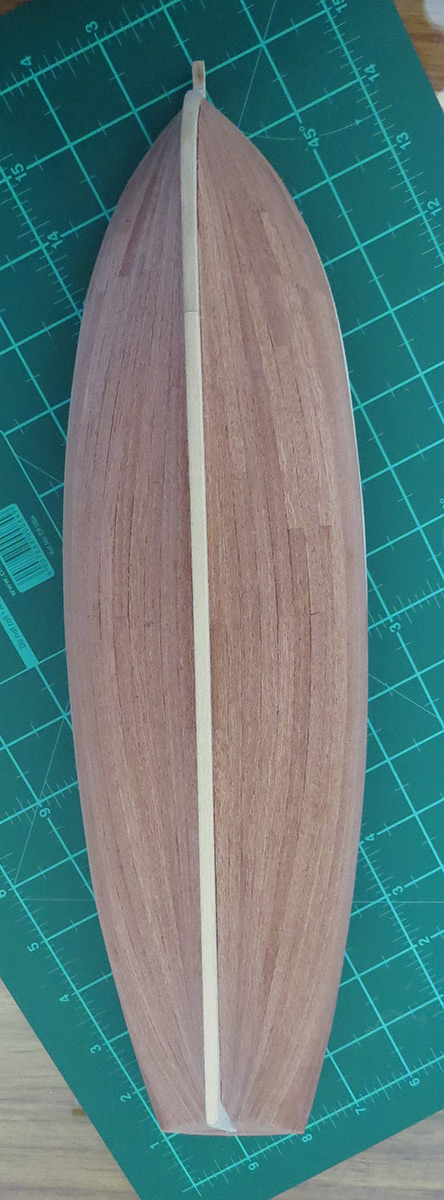
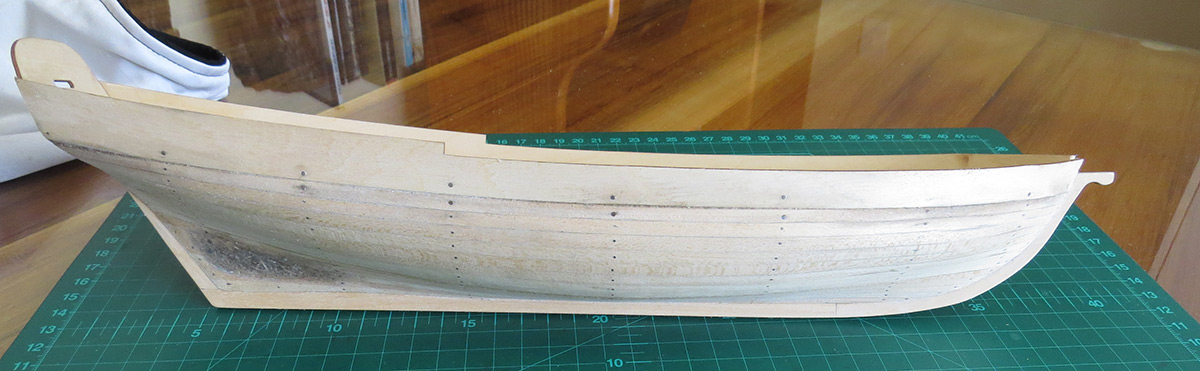
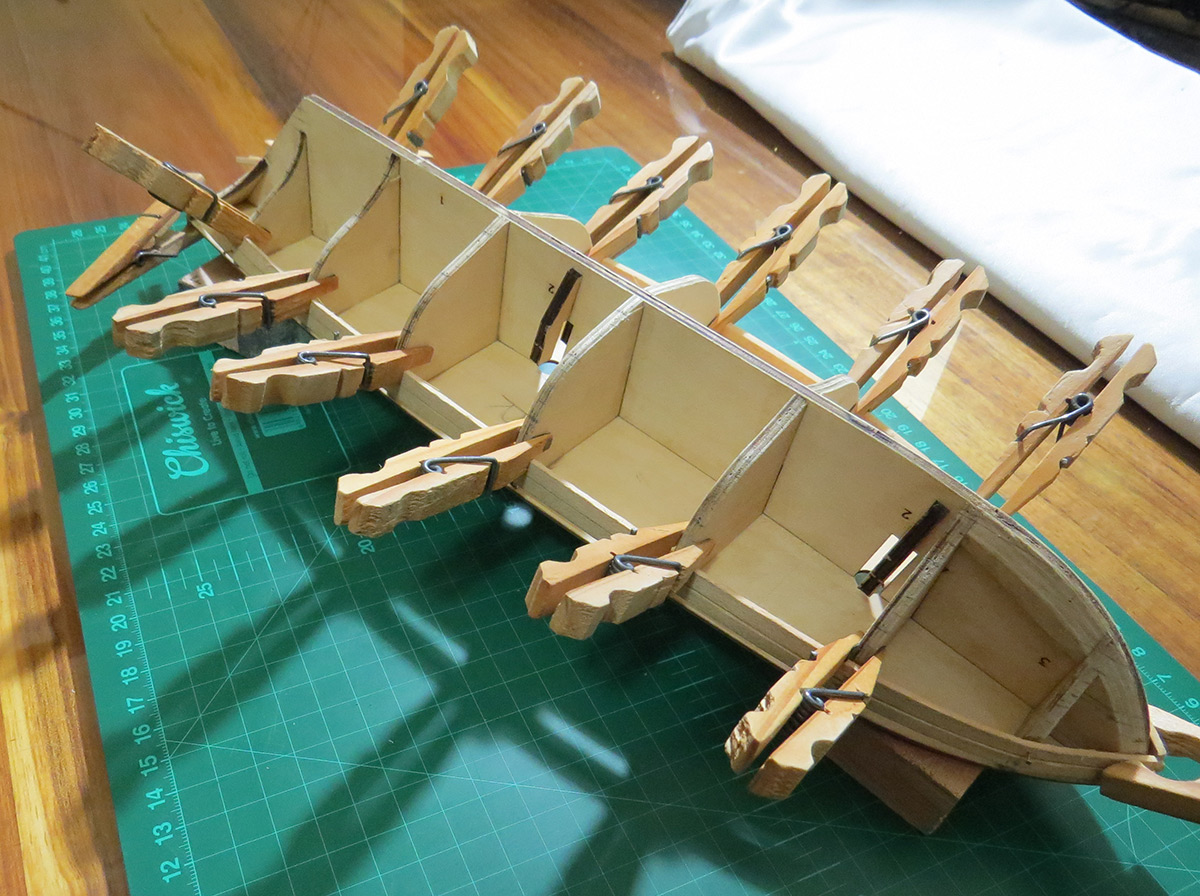
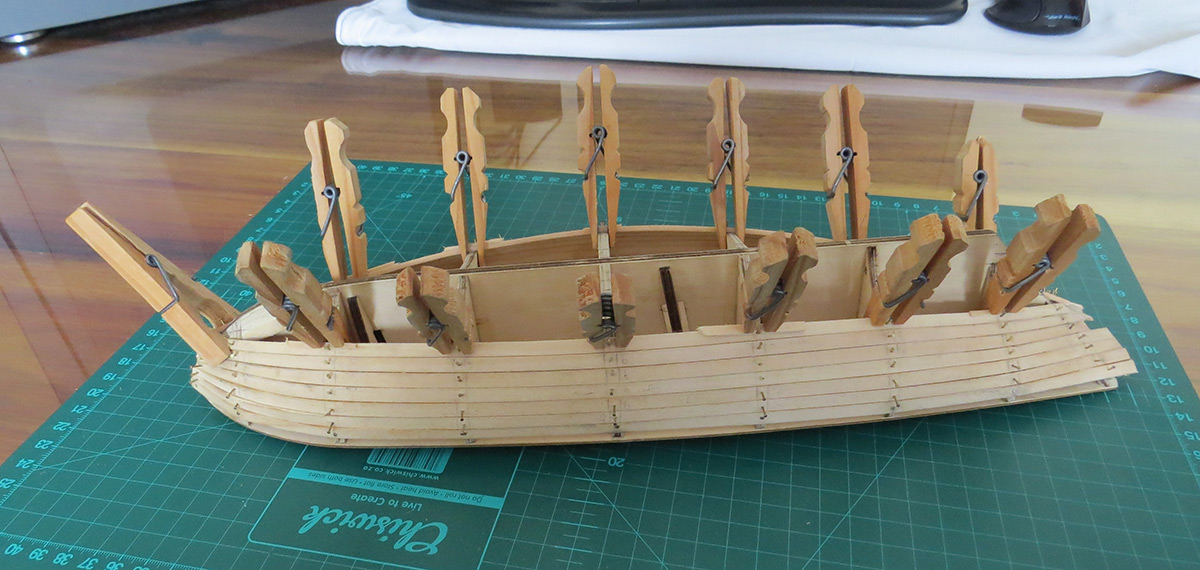
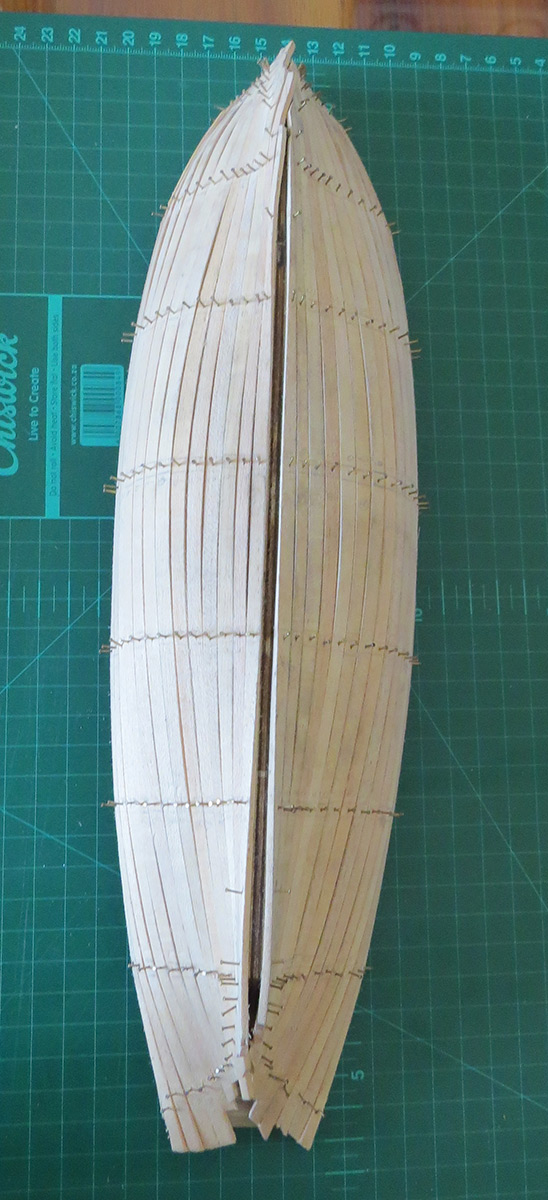
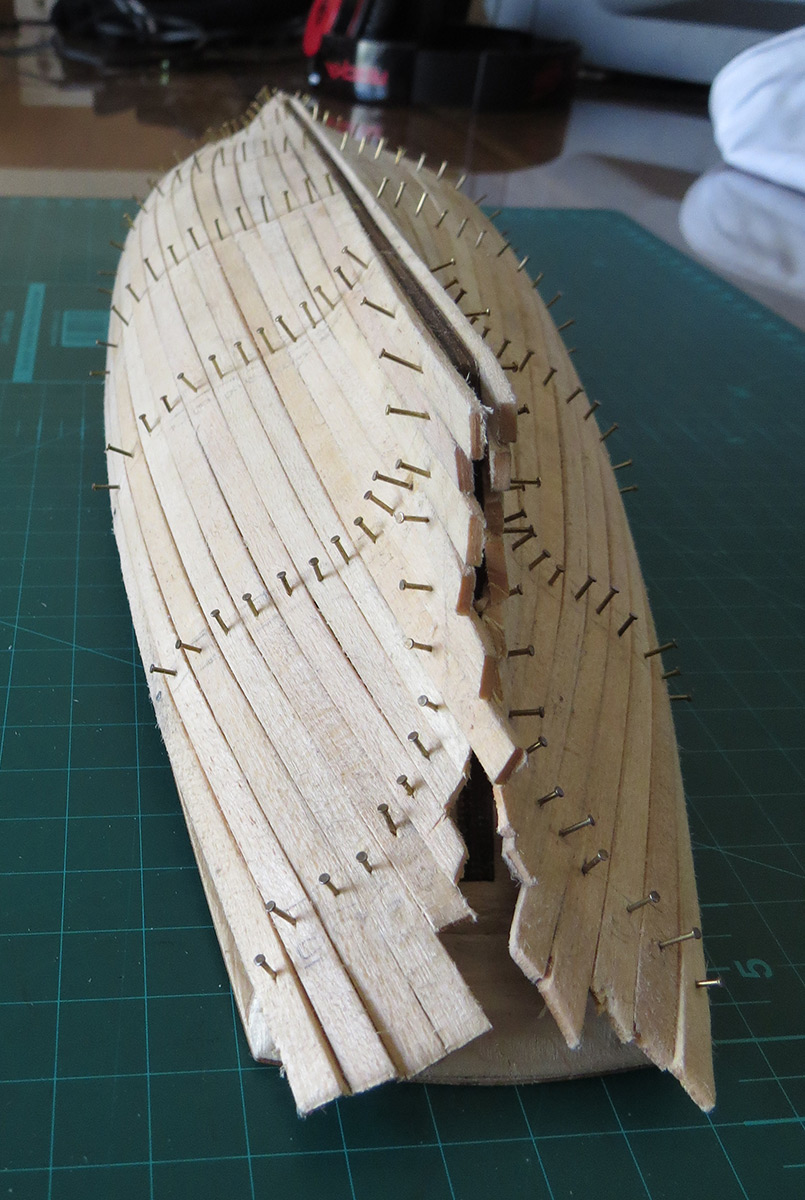
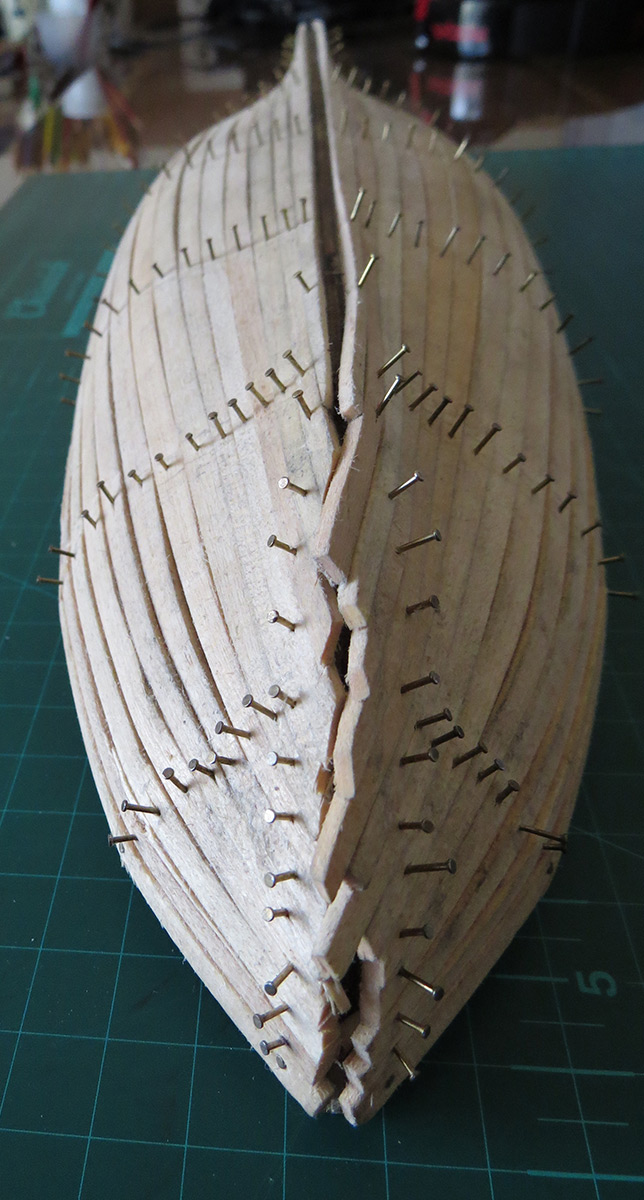
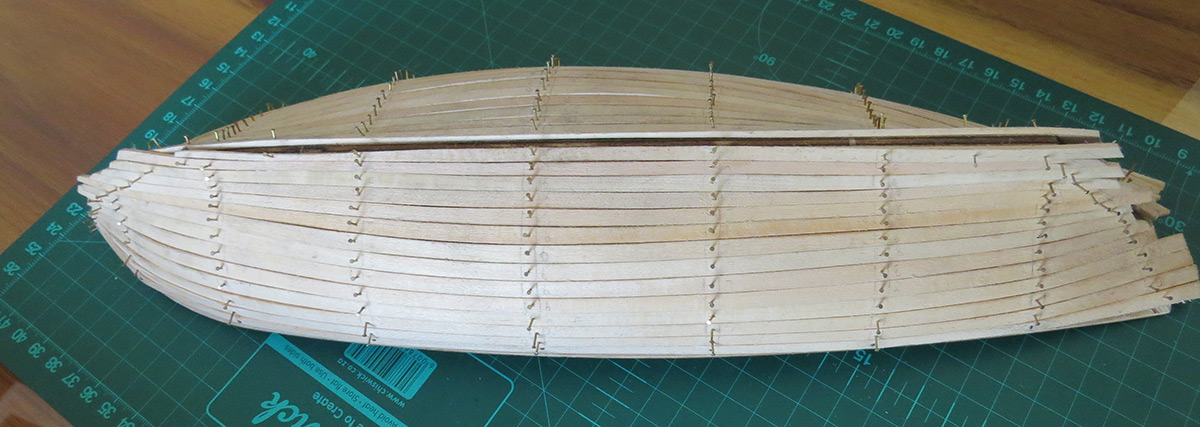
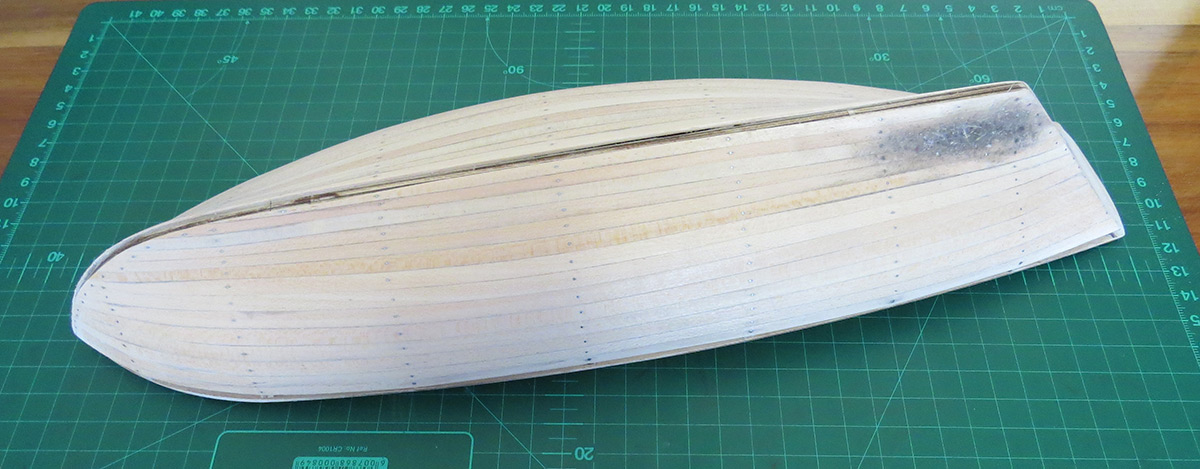
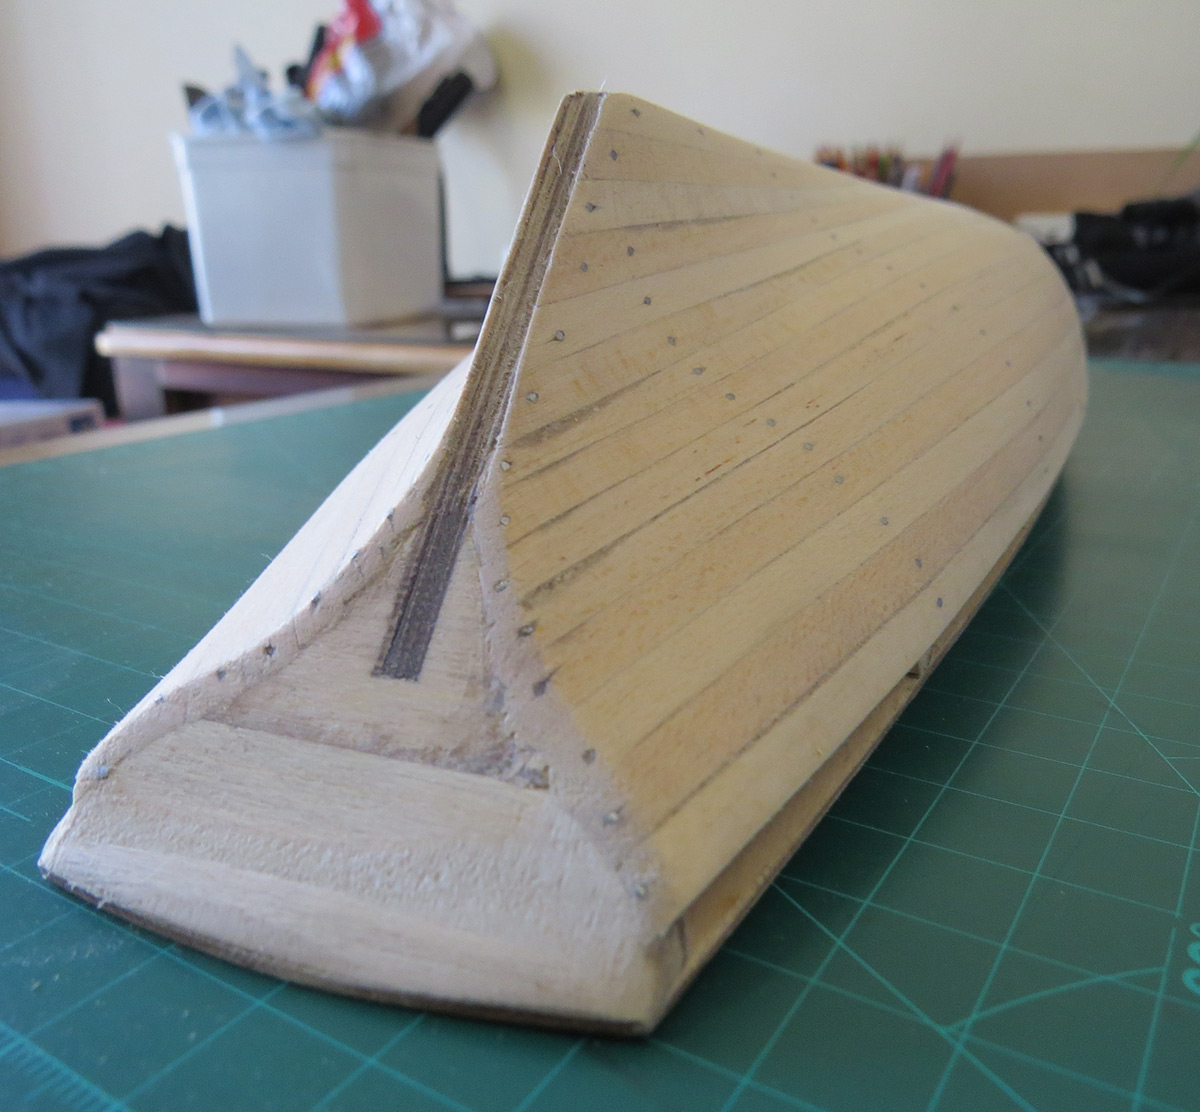
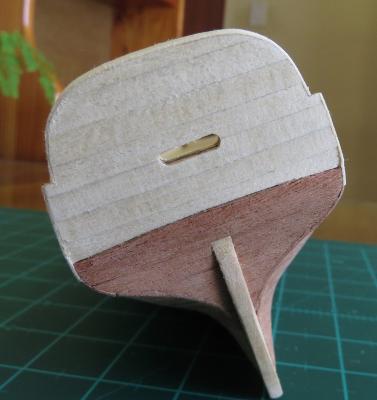
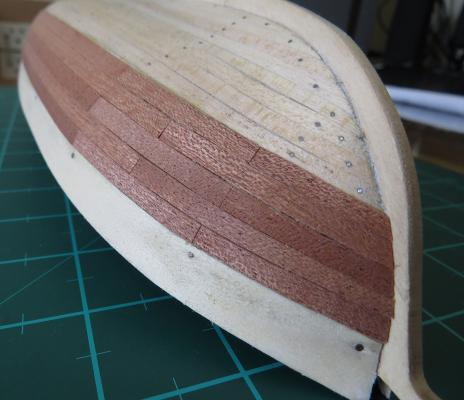
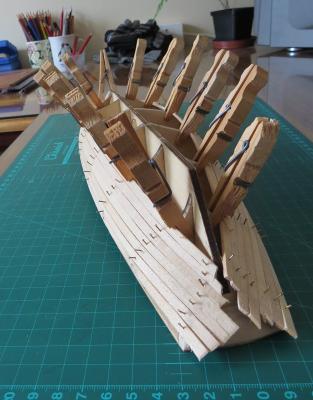
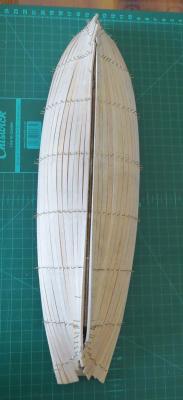
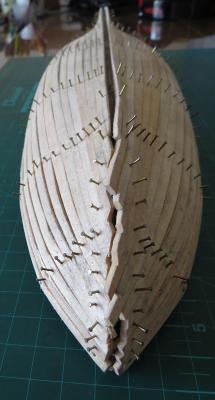
I have now finished the first hull layer. Temporary battens to help spacing the planks: After marking and dividing the section created with the battens: The first two planks attached: (I found the idea for the peg clamps somewhere on the forums here but I can't find it again) Half way through: And completed: After clipping the nails, filling the gaps, and sanding: One of the planks near the back was a bit off so there was a large dent/step between it and the plank above so I had to fill it in:


- 98 replies
-
- 2
-
-
- artesania latina
- finished
- (and 1 more)
-
I have looked at one or two of the tutorial PDFs on this site - the first step is to divide the hull into four sections, then measure them to fit the planks. I will have to taper the planks to fit them correctly but they also talk about cutting out curved planks from other pieces of wood, I am guessing that I wouldn't need to do this? Also, if I look at other build logs here for this model it does not look like they have really done any measurements like this but instead just done it by eye.
-
I'm not sure, I will think about it. If I do though, I have a sheet of 5mm balsa but it seems far too soft for this. I also have some general questions: If I use a crimping tool to bend the planks do I still have to soak them? If I do not use a crimping tool, how long do I have to soak them for? How hot should the water be? Is it better or easier to steam them with a kettle instead of soaking them? The manual seems to suggest starting at the top and bottom and meeting in the middle, what is the reason for this? wouldn't it be simpler and neater to just go from one end to the other?
-
So I should add extra hand made bulkheads in between the existing ones? I would be reluctant to do that, getting the correct shape seems like it would be very tricky.
-
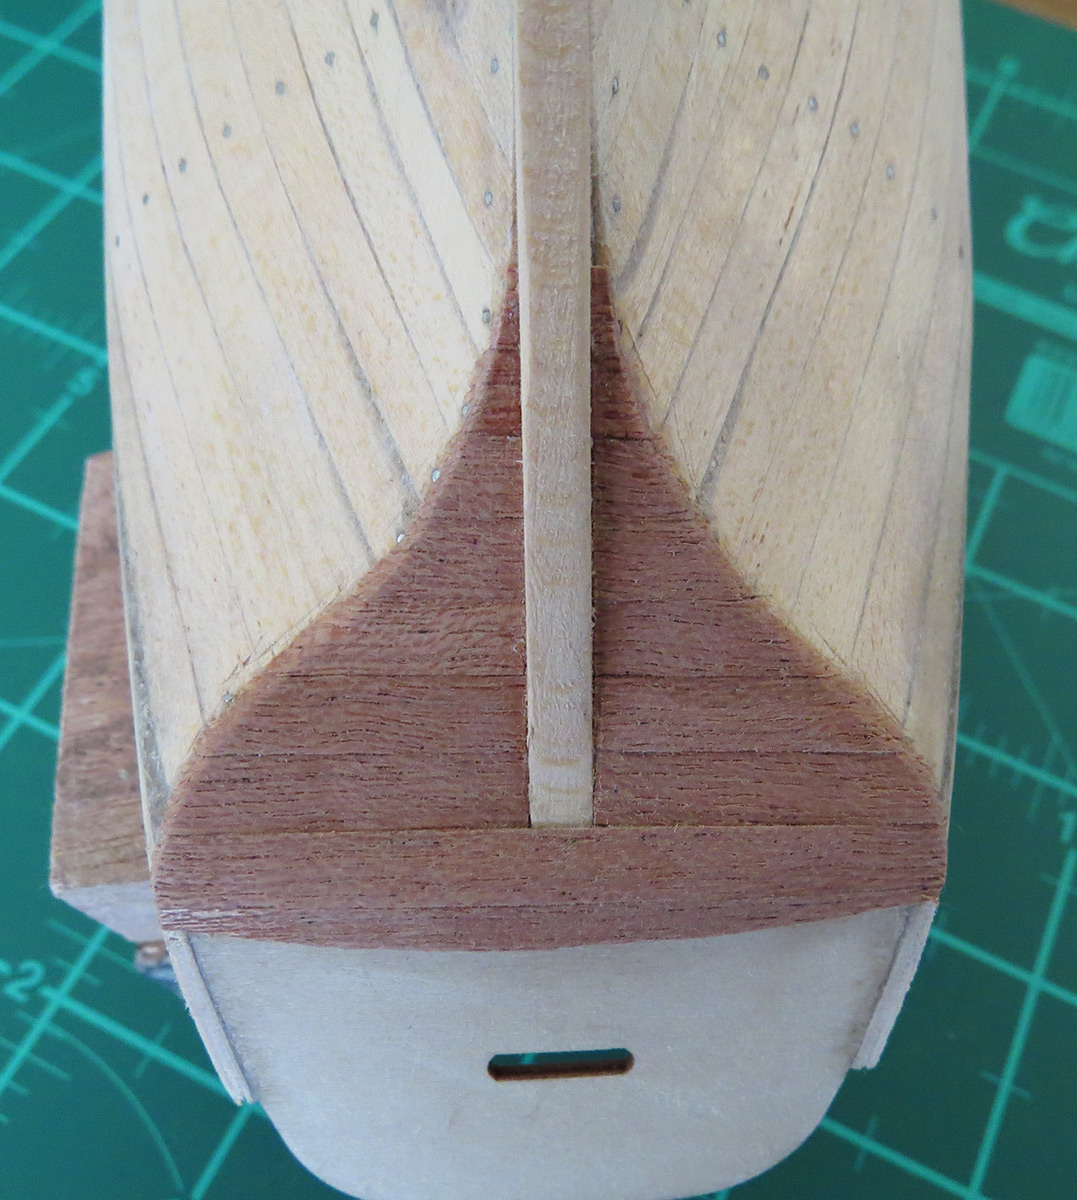
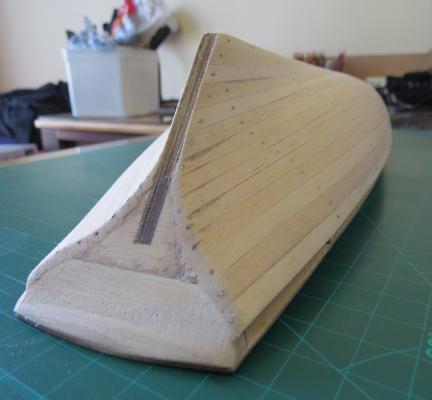
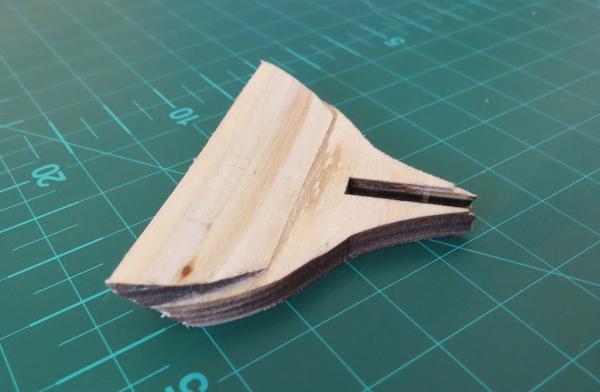
I have now filed down the sides and attached and smoothed the knightheads: Next I am going to do the hull's first layer, does anyone have any tips or advice on the method?
-
So I need to file both the sides and the back to match? I see now in your build log in the second post that you have filed down the transom to match the curve of the deck; but if it is curved here how do I fit the upper stern, which is straight, onto it? I have tried dry fitting it and I have looked through your build log but I can't make out how they fit together.
-
Thanks for the input, I'll keep it in mind. Also, when you say contact cement, is it the same as contact glue or is this something different?
-
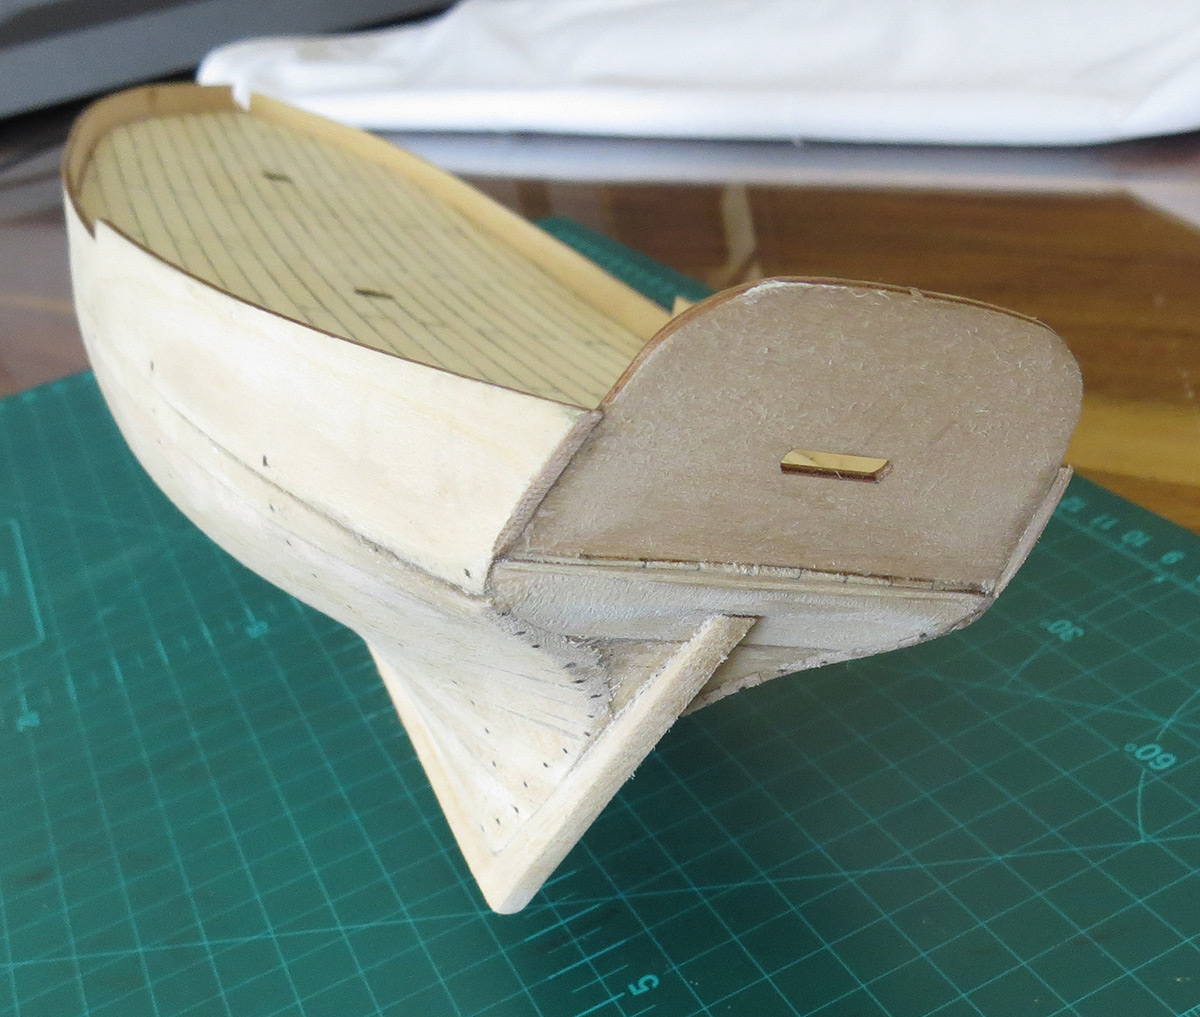
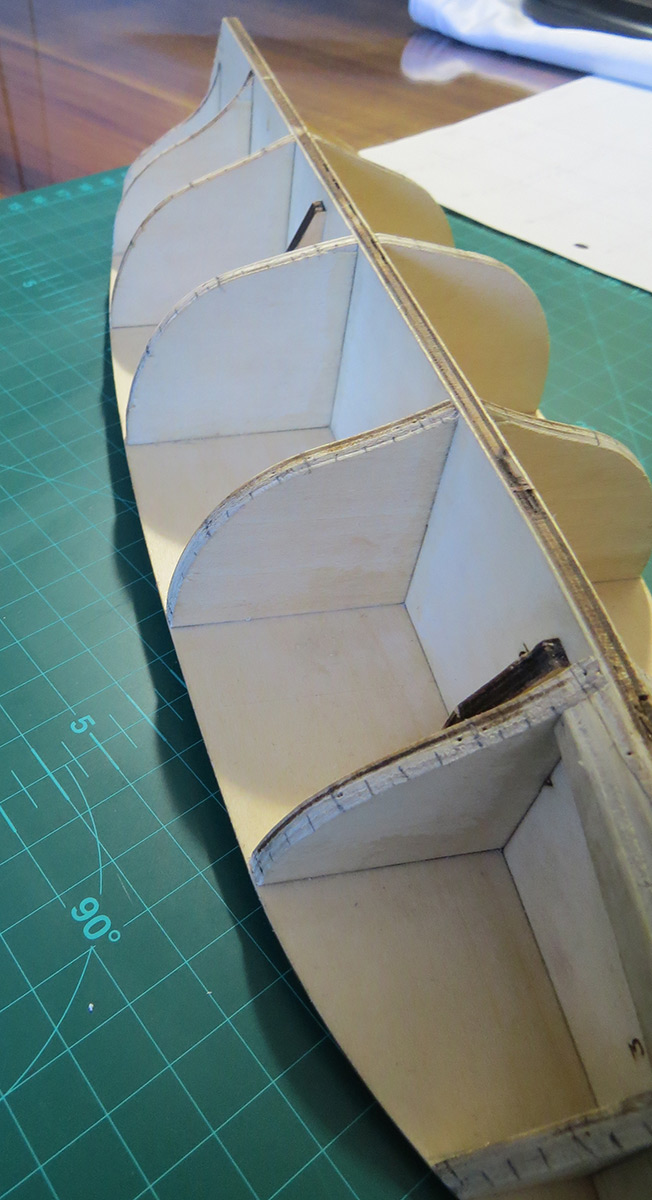
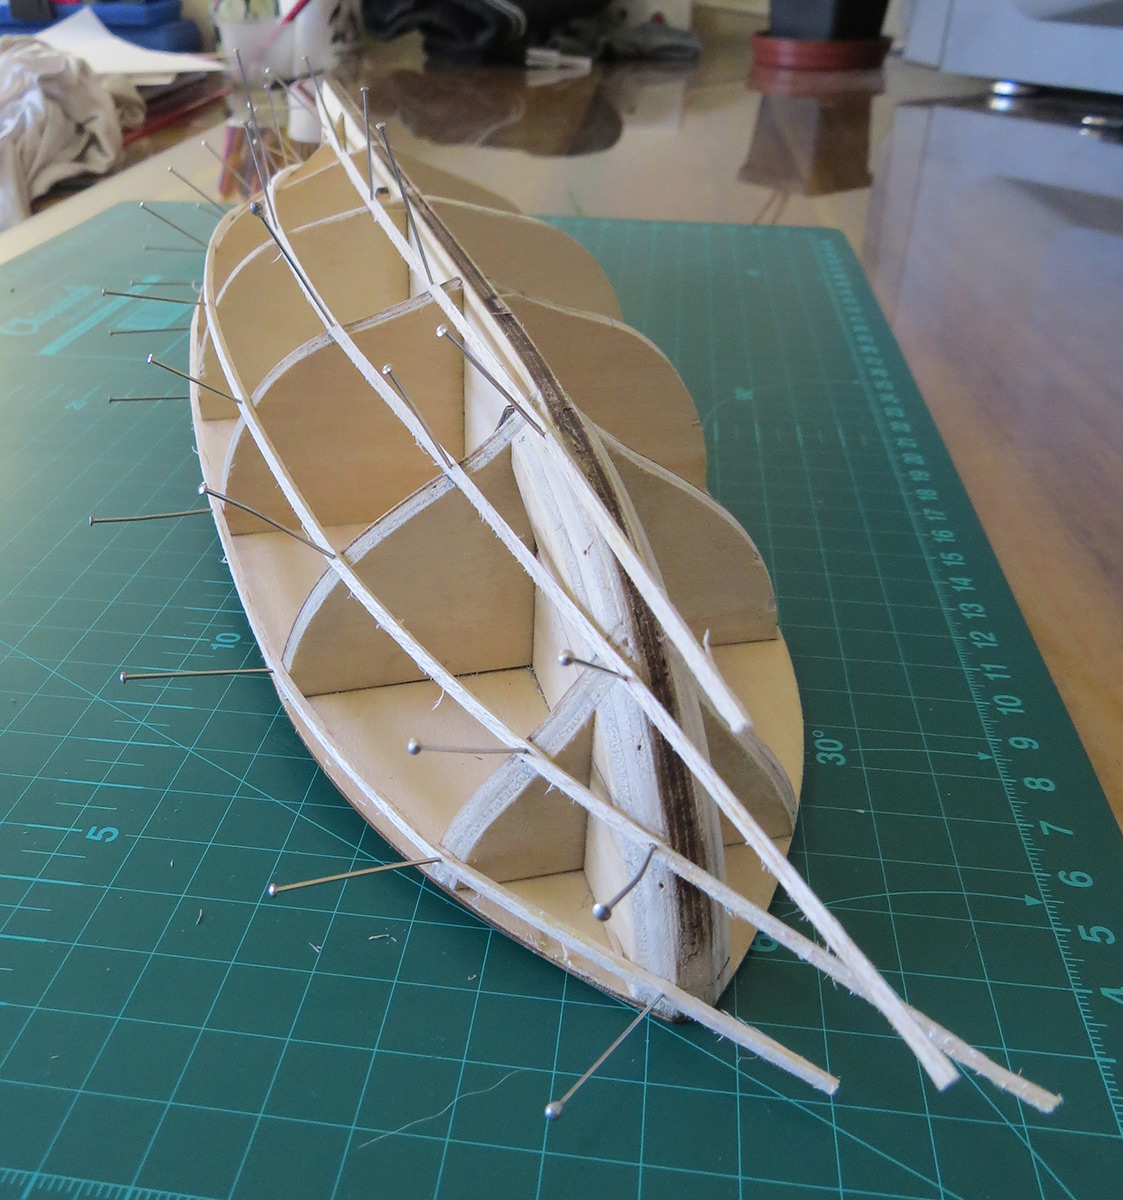
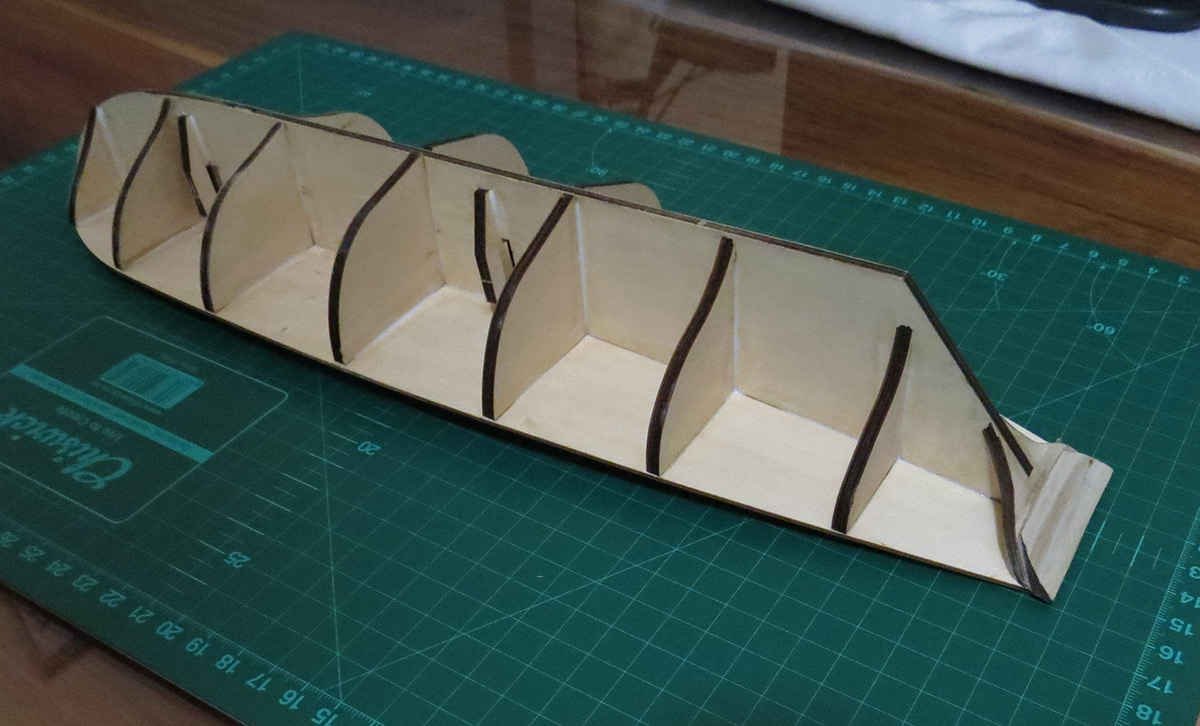
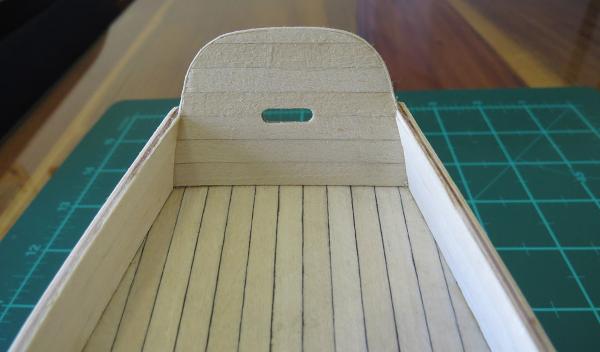
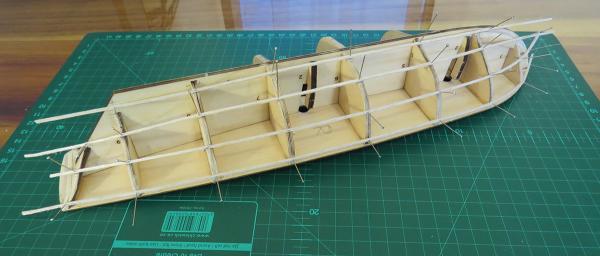
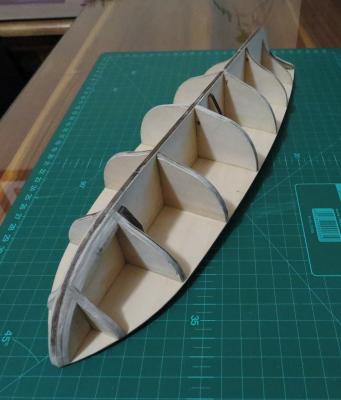
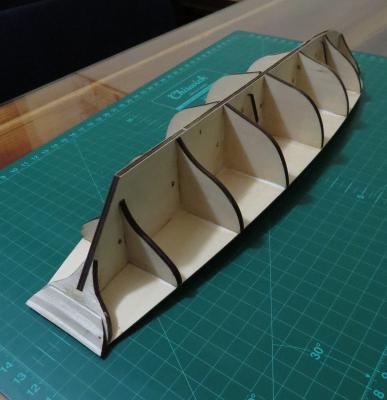
The first part that needed to be built: The wood was surprisingly hard, I might try and smooth it out a bit more before I start lining the hull. Here the deck has been nailed on and the frames have been glued. I found that when I started nailing the deck onto the spine the tension on the deck kept pulling out the screws so I used one or two drops of superglue once I had a few nails in and was sure that the deck was aligned properly. One problem I had was that as I hammered in the nails they would start to go in different directions when they entered the second piece of wood and pull it out of alignment, has anyone else had this problem? The back of the deck here is curved, should I file down the frame below it to match the shape of the deck, or when I line the deck should I rather line it up straight with the back edge? The next step is to line the deck, and then after that line the first layer of the hull. I am thinking that it would be better to do the hull's first layer before lining the deck to prevent any accidental damage, is there any reason why I shouldn't do it in this order?


-
Thanks.
-
When the deck is attached to the frame it will have to bend a little bit, the instructions don't mention anything but I would just like to double check: is it necessary to dampen the deck before fitting it?
-
Thanks for the information. I think I'll stick with the white glue for now, it may take longer to dry but it will be a lot more forgiving than super glue.
-
I have just gone to the hobby shop to pick up one or two things before I start and the owner absolutely insisted that I used this specific superglue that he had called Cyno Bond to build the entire model instead of white glue, he seemed pretty confident about it so I got the glue and if it doesn't work out I can always switch to white glue. Does anyone have any thoughts on this, is there any reason I shouldn't use this stuff?
-
Thanks, mine is also scrambled so this will help a lot.