TJH
-
Posts
21 -
Joined
-
Last visited
Content Type
Profiles
Forums
Gallery
Events
Everything posted by TJH
-
 I did take some more photos that I won't be sharing at this time. I had finished lacquering the hull and attached all of the metal parts and took photos, but the photos made the lacquer look awful. The problem was, prior to laquering I used a wood putty to seal up gaps and dings in the hull that sanding wasn't able to fix, and the putty didn't match very well. To the naked eye, its not noticeable unless you're looking for it, but in the photos it looked like wood where the finish had worn away in places and had weathered due to exposure. Its quite disappointing to look at. I supposed I could sand it down and try to sand away more to the exposed putty, but I'm really worried about ruining the model at this point when it looks pretty good to the naked eyes, so I haven't decided what to do about it yet.
 -
The last photo I'll share this morning is of an impromptu jig I set up for creating the squared off section at the top of the main mast. Using the ring that fits over the mast and secures to the deck, with a rubber band to keep it from sliding down the mast, I used it as a sanding stop to keep myself from sanding too far down the mast. It wasn't perfect, but it worked pretty well, and I continued to use that same technique for the fore and mizzen masts as well.
-
Okay...time to work on the cannons. First, I had to file down the casting seams. In the image below, you can see one that I've filed down on the left, next to one straight out of the box on the right. Once I had them all filed down, I needed to prime them. Here you can see that I've mounted each of the cannons to an old sanding sponge using toothpicks, and then sprayed with a cheap can of metal primer I picked up at Walmart. I then painted each of them with Testor's Gold enamel and glued them down to their mounts. In this picture, you can see me using a dental floss threader to pull the cannon ropes through the holes in the mounts. Now, I don't know if this was the right or wrong thing to do, but the next three pictures show a technique I thought of after I had done a few of the cannon ropes. I think I remembered seeing something like this before, so I tried it, and I liked the results better than the first few I had tried. Basically, I threaded a smaller thread along with the rope through the eye-hook, as seen here. Then I pinched the end of the cannon rope against the main section of the rope on the other side of the eye-hook, and wrapped the smaller thread around the pinched section of rope, like so... Then, once it was all wrapped up, I used a small dab of glue to secure the thread to the rope, and snipped off the end, like so. It was pretty fiddly, but I think it looked better than just gluing the pinched ends of the rope to themselves.
-
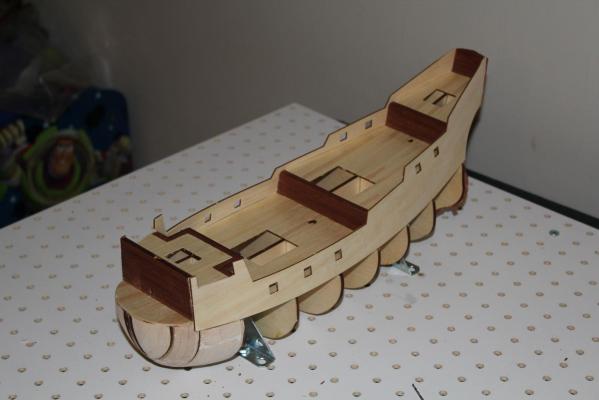
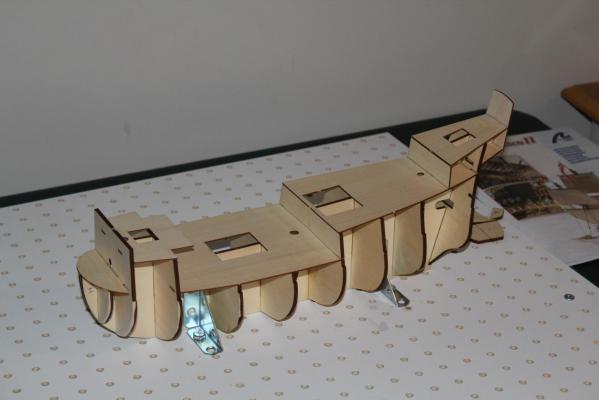
So here you can see where I am at this point. I've completed the planking, and in fact have nearly completed the entire body of the ship. I chose not to use the nails in the hull planking as I didn't like the look of them. I hope it doesn't come back to bite me later. I've also skipped some of the steps because I wanted to varnish as much of the woodwork together w/o any of the metal on it. I'll install the gun-port doors, the doors, windows, cannons etc once I have everything varnished.
-
I finally overcame my trepidation regarding the planking, but unfortunately, I haven't taken any photos since I did that. I take some tonight and post them so you can see where I'm at now.
-
@ aliluke and jheureux: Thanks for the encouragement. Yes, the SFII is still single planked, and the mahogany is definitely brittle. I'm definitely taking it slow.
-
I've been working on fairing the hull, which is why I haven't had any shots lately. Also, I'm really nervous to start planking, as I've never done it before, and is seems like such an intimidating task. I'm just going to have to take it slow, which means there's probably not going to be a lot to see here for a while. Maybe once I get going, it won't seem so daunting, and I'll get into a rhythm with it, but right now, that's hard to fathom.
-
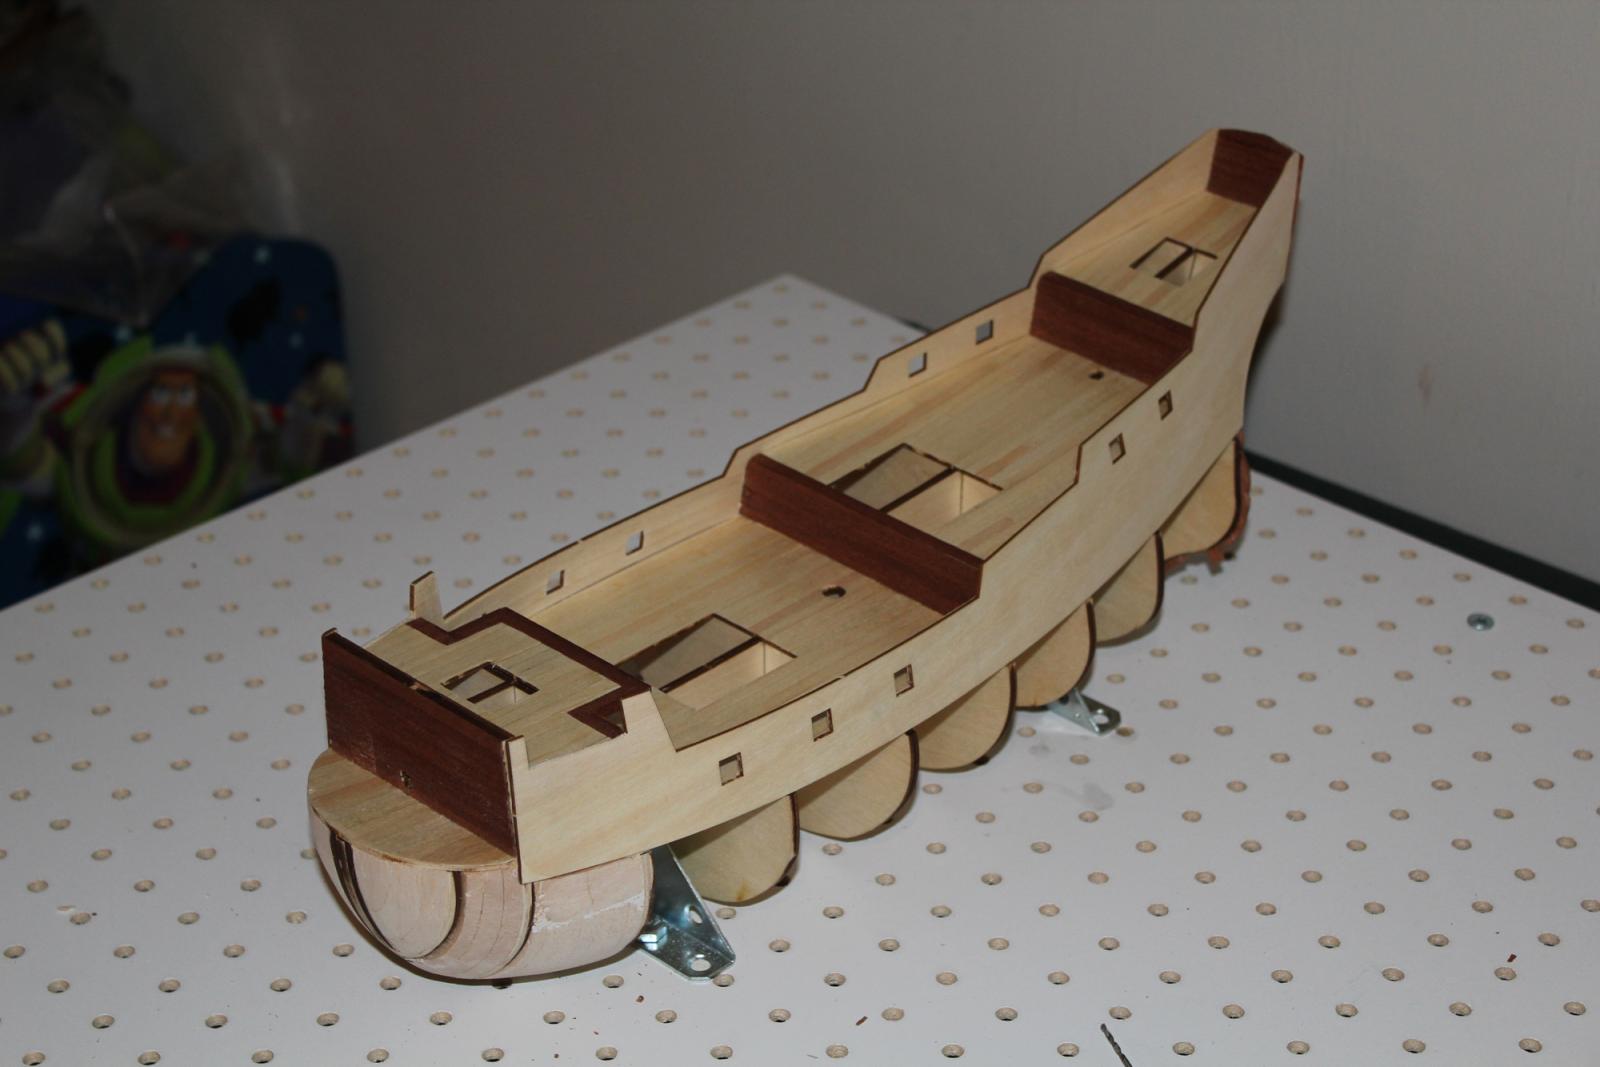
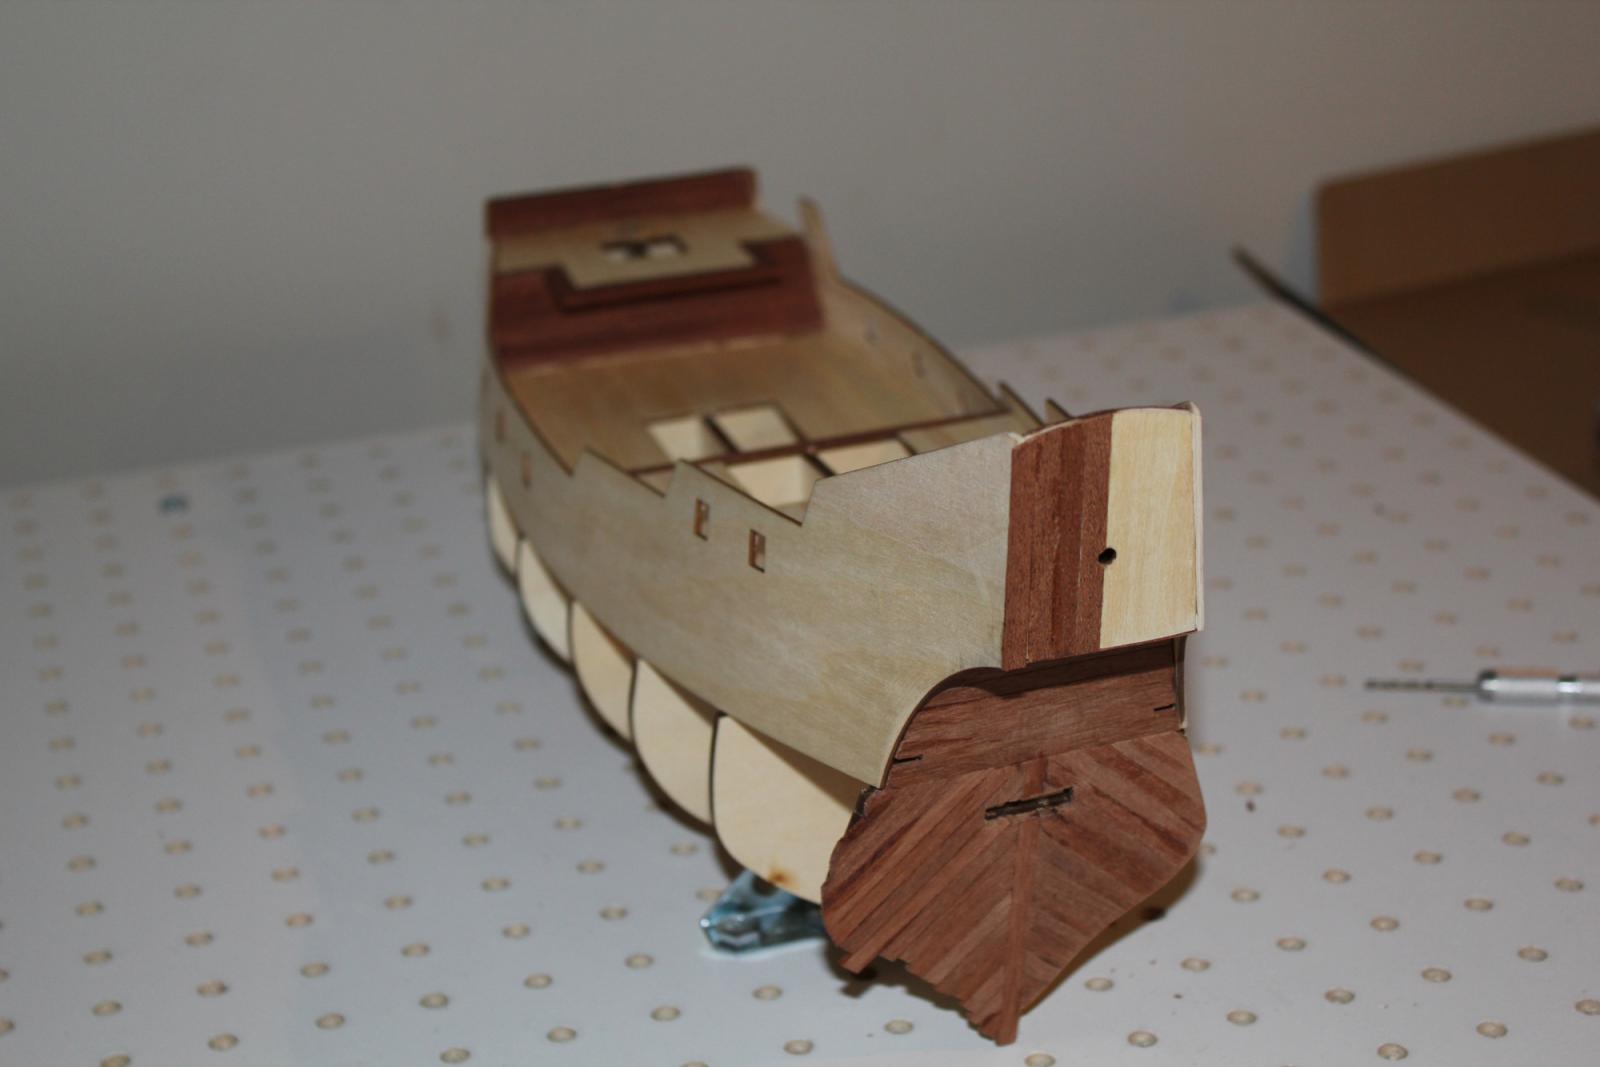
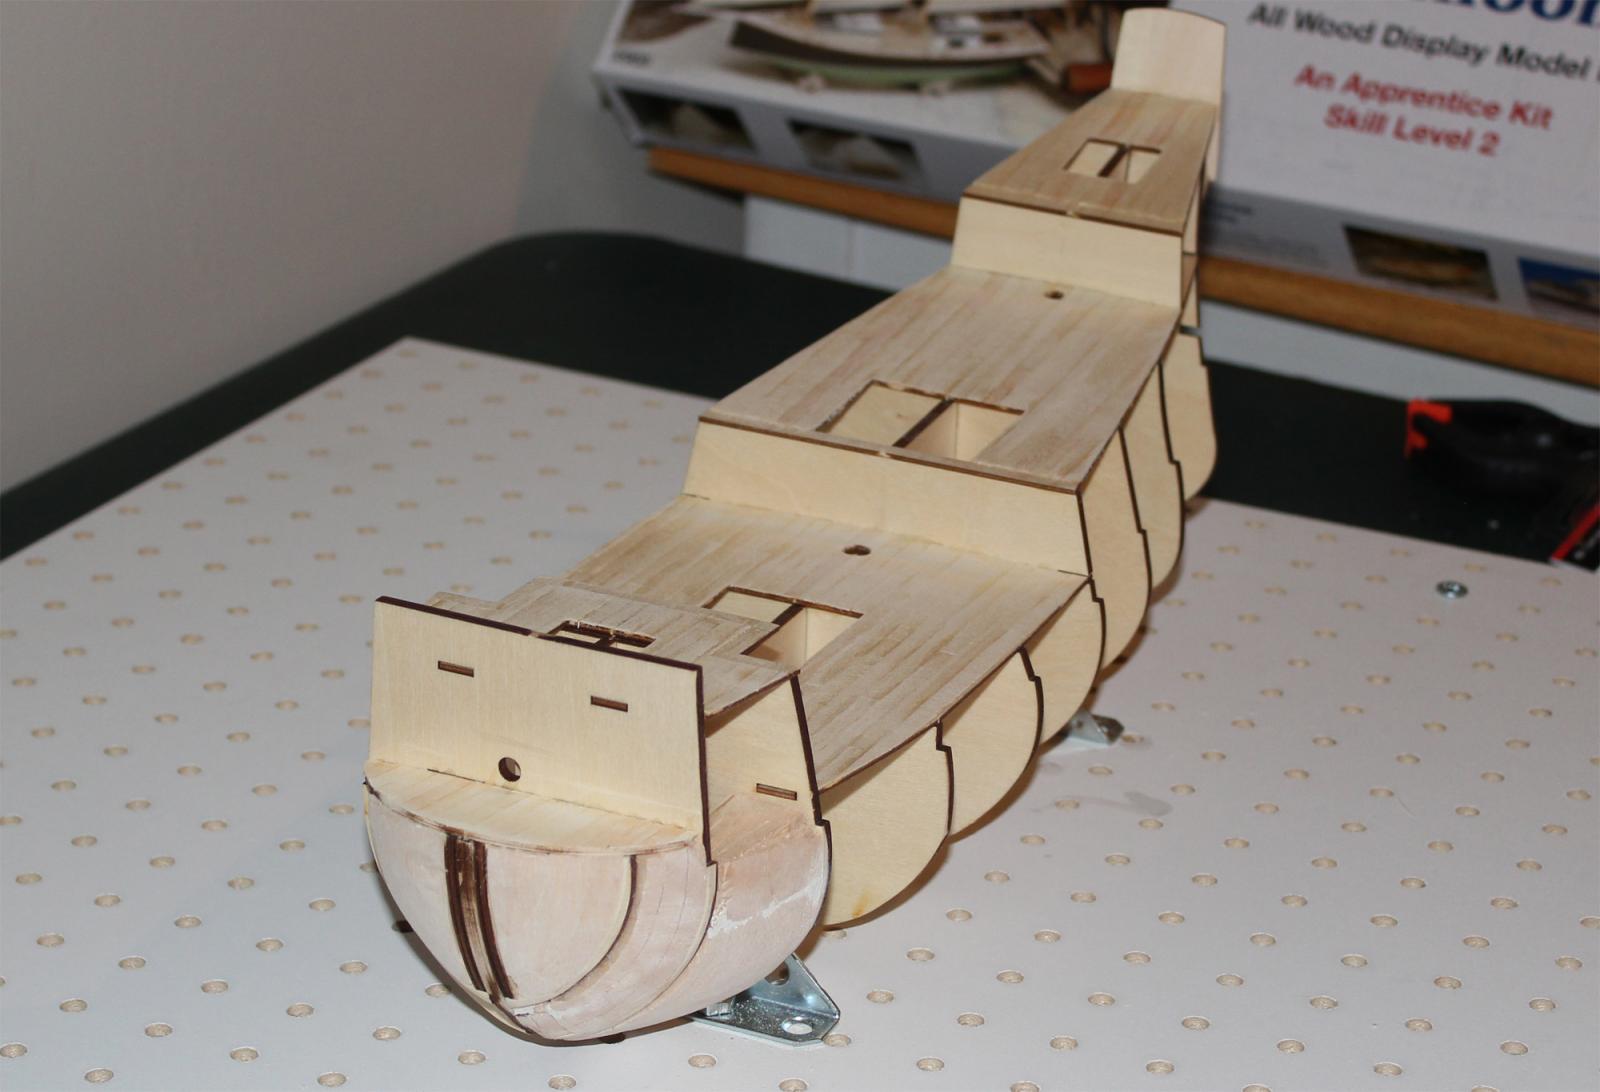
Okay, I've got some progress to show finally. I've lined the bulkheads where they face the various decks. This was a bigger pain than I was anticipating due to the brittle nature of the .6mm x 5mm mahogany strips. Additionally, I think I over clinkered them, because I ended up having to use more strips than were called for in this step. I'm pretty sure I'm going to have to compensate for this, but I've already located a suitable area for this. I appear to have plenty of extra ramin strips for the decking, so I think I'm going to line the top of the stern gallery with those if I don't have enough of the mahogany strips. I've also attached the bulwarks to both sides of the hull. Currently, I'm working on the stern as you can see here.

-
Currently, it is about 17.5" long.
-
I forgot my daughter had a basketball game last night, so no updates. Hopefully I'll get some time tonight.
-
I did some experimenting with deck finishing by taking a bunch of scraps of the deck planking wood and gluing them together into a false "deck". I then attempted to "age" the wood by applying a thin wash of lt brown/grey. Unfortunately, I was not happy with the results so I decided I would just go ahead and paint the deck with a Minwax Polycrylic Clear Coat with a flat satin finish. Before starting this, I tested the Polycrylic on a small section of a thin mahogany strip, to see if I could get away with not staining the mahogany. This was also unsatisfactory, as I felt it didn't really bring out the rich red of the wood. So, I tested Minwax Cherry Wood Finish on a similarly small strip of the mahogany, and liked the results. Once I've finished painting the decking, I'll post a new pic, probably tomorrow night.
-
As promised, here is a new pic showing the decking and the bulkhead filler.

-
Okay, I finished planking the deck (with the exception of the mahogany deck edging). I'm trying to decide how I'm going to finish the deck surface. I also started to block in the bulkhead at the bow. As I'm getting closer and closer to the planking stage, I've been studying up on Simple Hull Planking Techniques for Beginners in the tutorial section here. I'm hoping this and some patience will help me do a decent job on my first planking. I'd attach some pictures, but I just noticed that they turned out like crap, so I'll have to retake them tomorrow.
-
Thanks Markku! If I buy any more AL kits in the future, I'll definitely keep this in mind. I wish I had caught this earlier, so I could have at least experimented with it a little to see if the extra work was worth it. The end result may have been the same, but its nice to be able to make informed decisions. That being said, I am probably going to skip adding treenail details, as it seems that would only accentuate the scale problem.
-
I have a question regarding scale. So I've started planking the deck, and I noticed that the planks seem awfully wide for the ship's scale, so I measured it out. The planks are 5 mm wide. At 1:90 scale, that makes them 450 mm wide in "real life", which, for those of us not on the metric system translates out to just under 18 inches wide per plank. I don't know a whole lot about these boats, but does that seem really wide to anyone else? Were/are decking planks really that wide? Not that I can or even would change it now...I've gone too far as it is, but if the planks weren't really that wide, it gives me something to look at for future builds.
-
Okay, I think I'm done for the night.
-
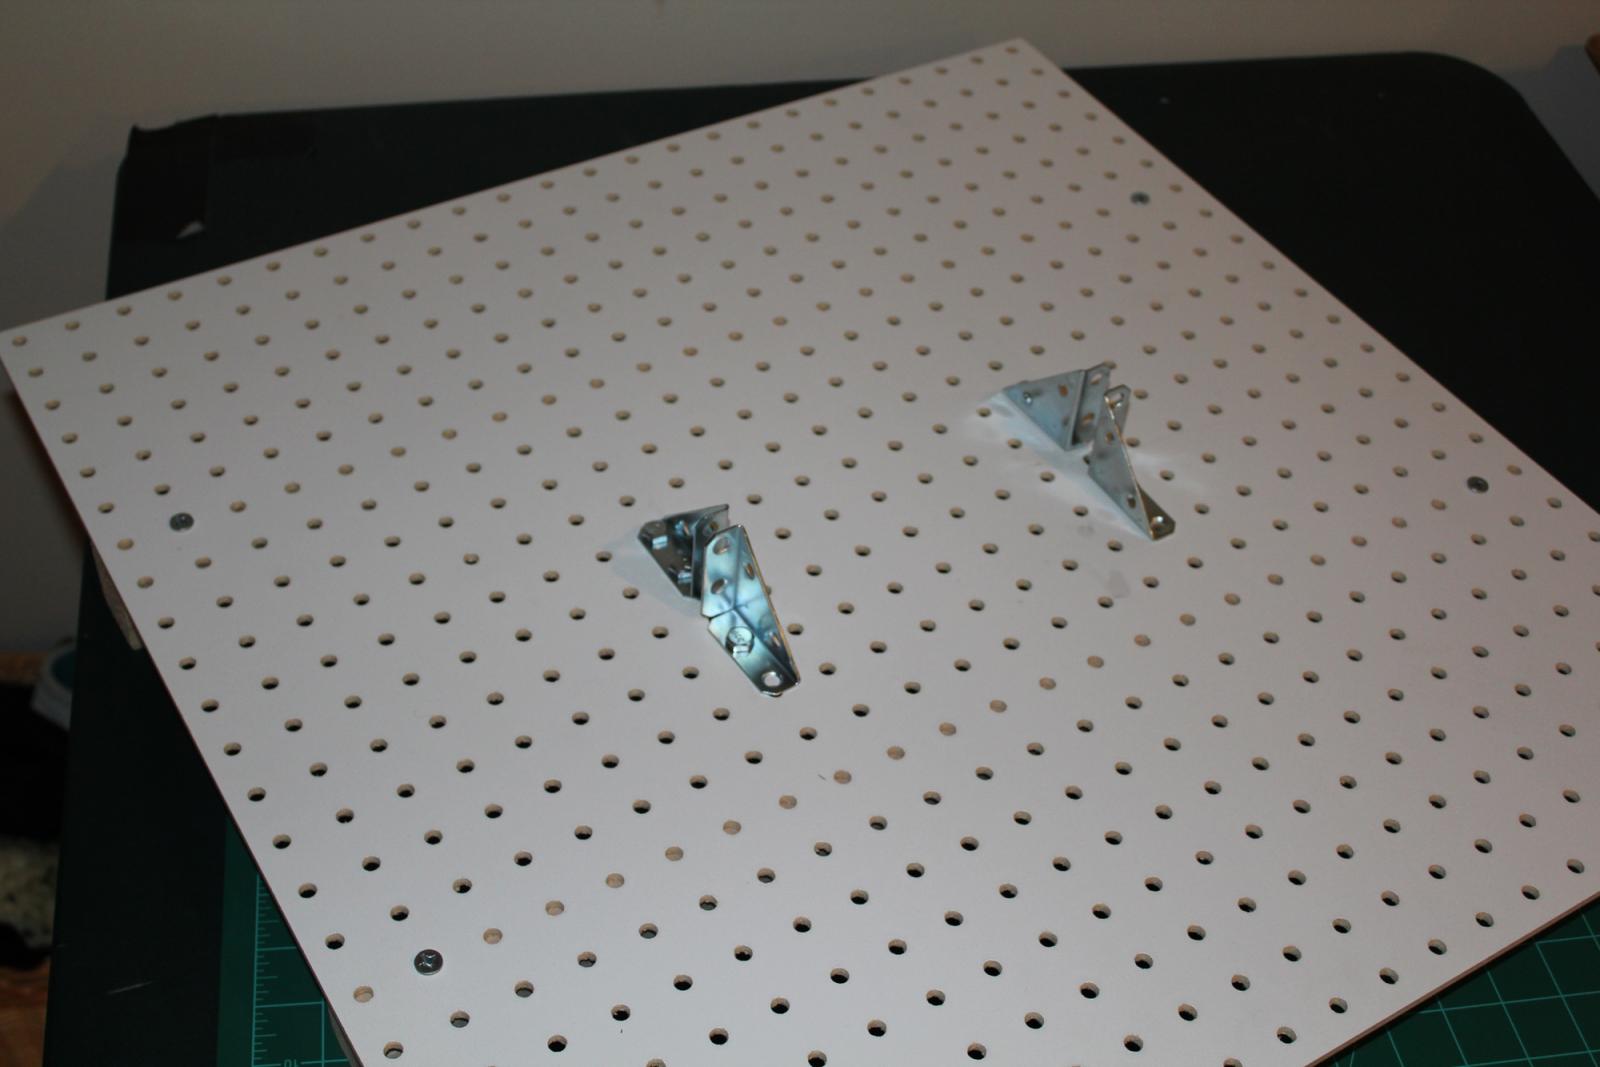
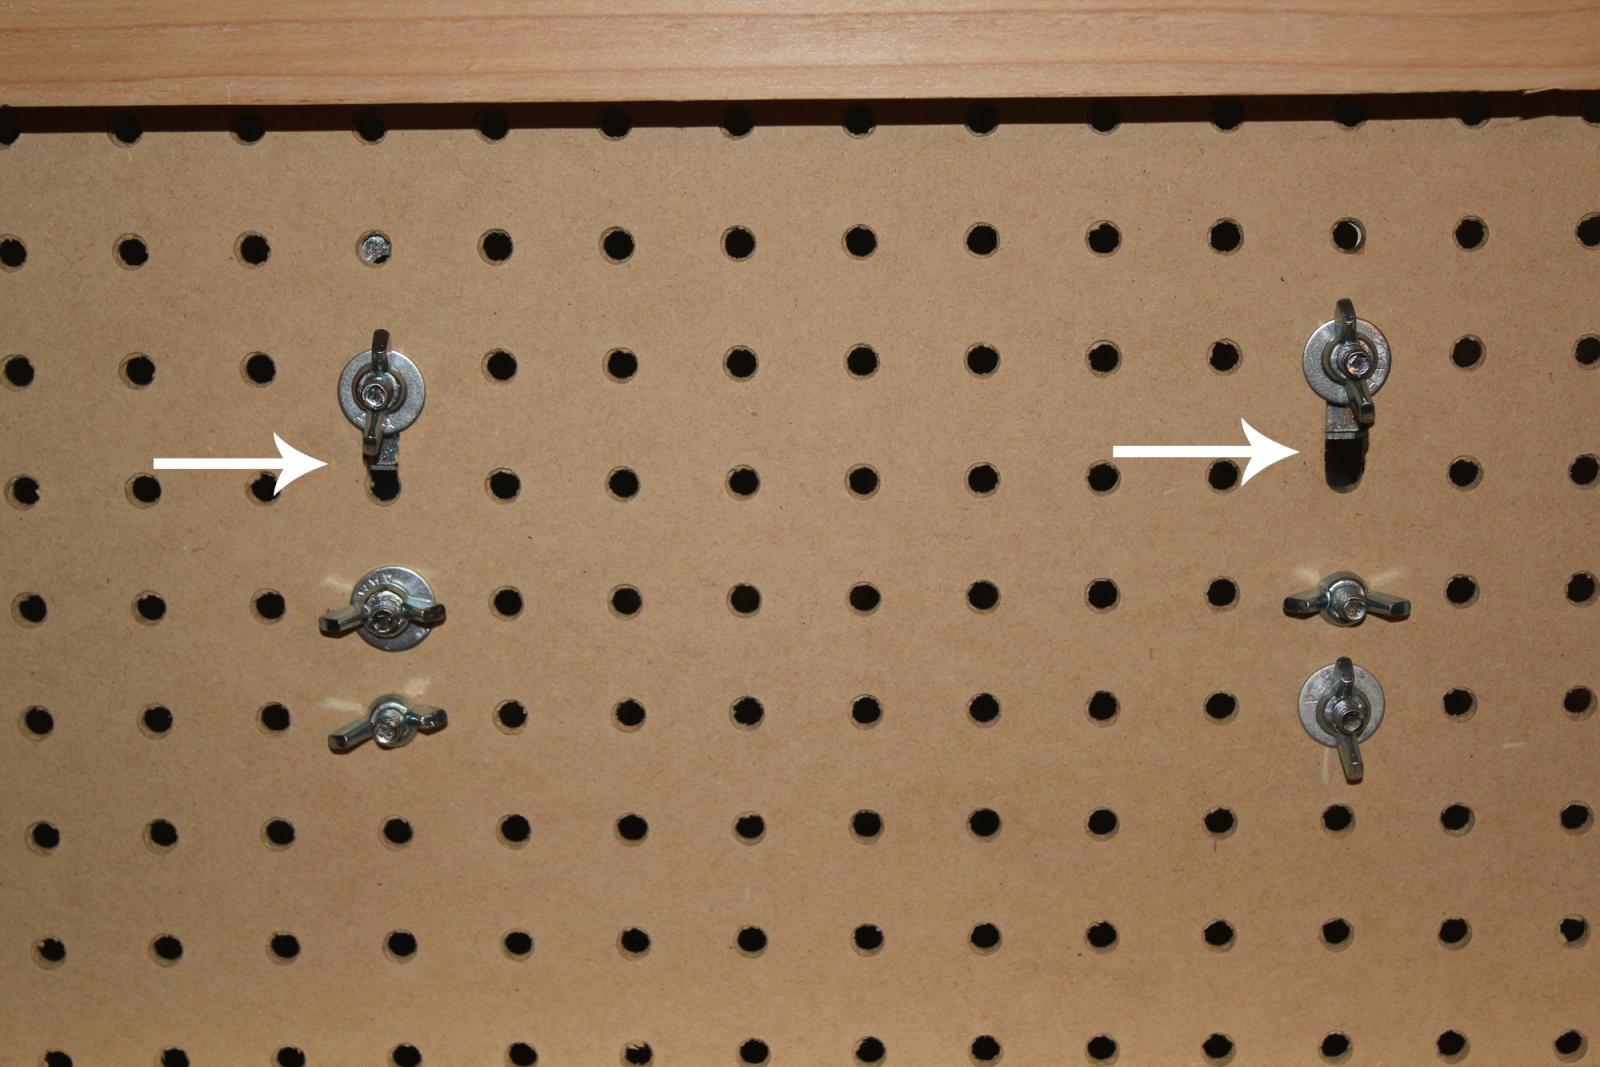
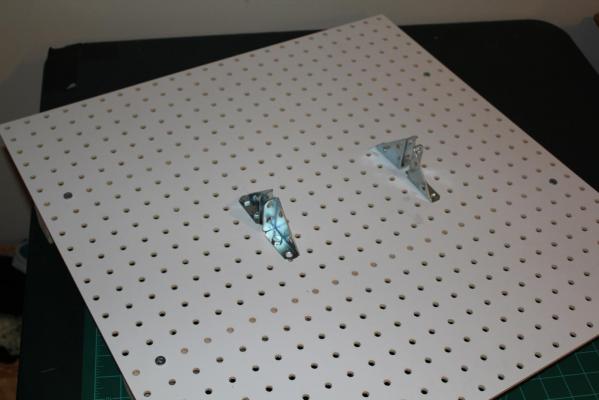
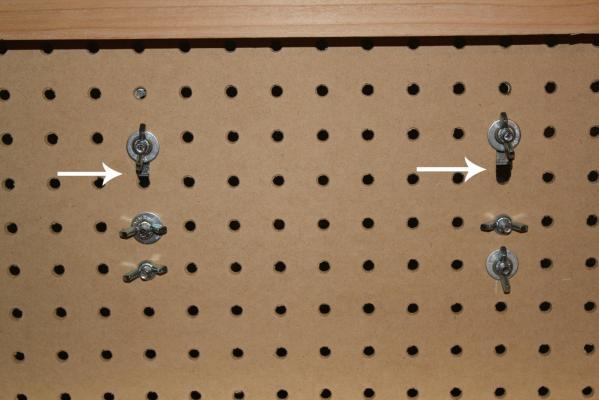
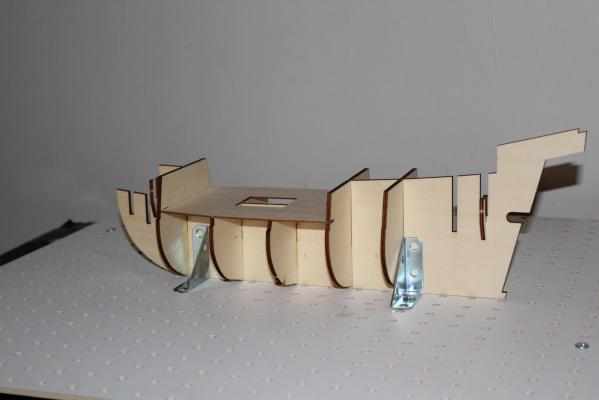
Okay, I've got my work area set up, and have constructed my jig for holding the false keel perfectly perpendicular to the table to assist me in making sure the bulkhead frames are level when their installed. Here you can see that I've attached 4 corner braces to a peg-board table, The two braces in the rear are fixed, while the two in front are able to slide back and forth to create clamps to hold the keel in place. A side benefit to using this type of brace is that the triangular side of the brace attached to the two arms creates yet another 90 degree angle allowing me to use it to butt up against the individual bulkhead frame to ensure that they are perfectly perpendicular to the keel. Here you can see the underside of the jig table showing where I cut away the material between two holes to allow the corner braces to slide together with the fixed braces. And here you can see the jig in action. A pretty quick and dirty jig, but so far I like what I'm getting out of it.
-
Thanks Brian!
-
Hmm...can't seem to add a link to this thread to my signature. It says, "You cannot change your signature until you have 2 more approved posts". Not sure what that means, or what it takes to get more "approved posts", but I guess I'll update my sig once I'm able. Edit: nevermind...I guess it just means posts in general, because after adding this post, it now says I just need 1 more post.
-
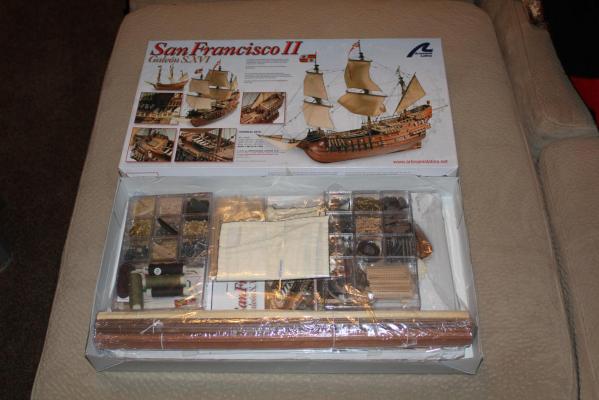
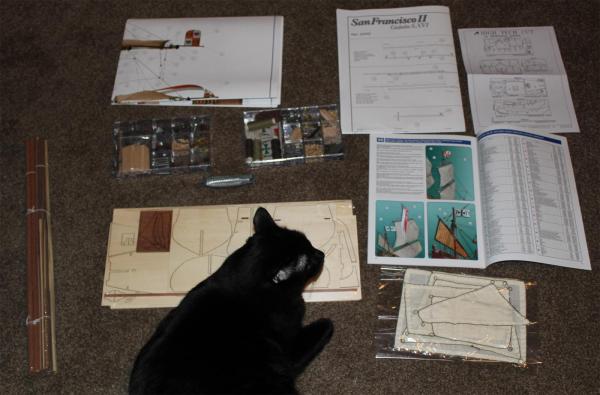
My kit came in tonight. Here are a couple of shots of the contents. I'm going to be studying the intructions and plans tonight, and then tomorrow I hope to get to the hardware store to get the stuff I need to get my work area properly set up. And of course, as soon as I got things laid out for a better view, the cat had to plop down in the middle of it... I'll post some more pics once I get things underway.