Duncan68
-
Posts
17 -
Joined
-
Last visited
Content Type
Profiles
Forums
Gallery
Events
Everything posted by Duncan68
-
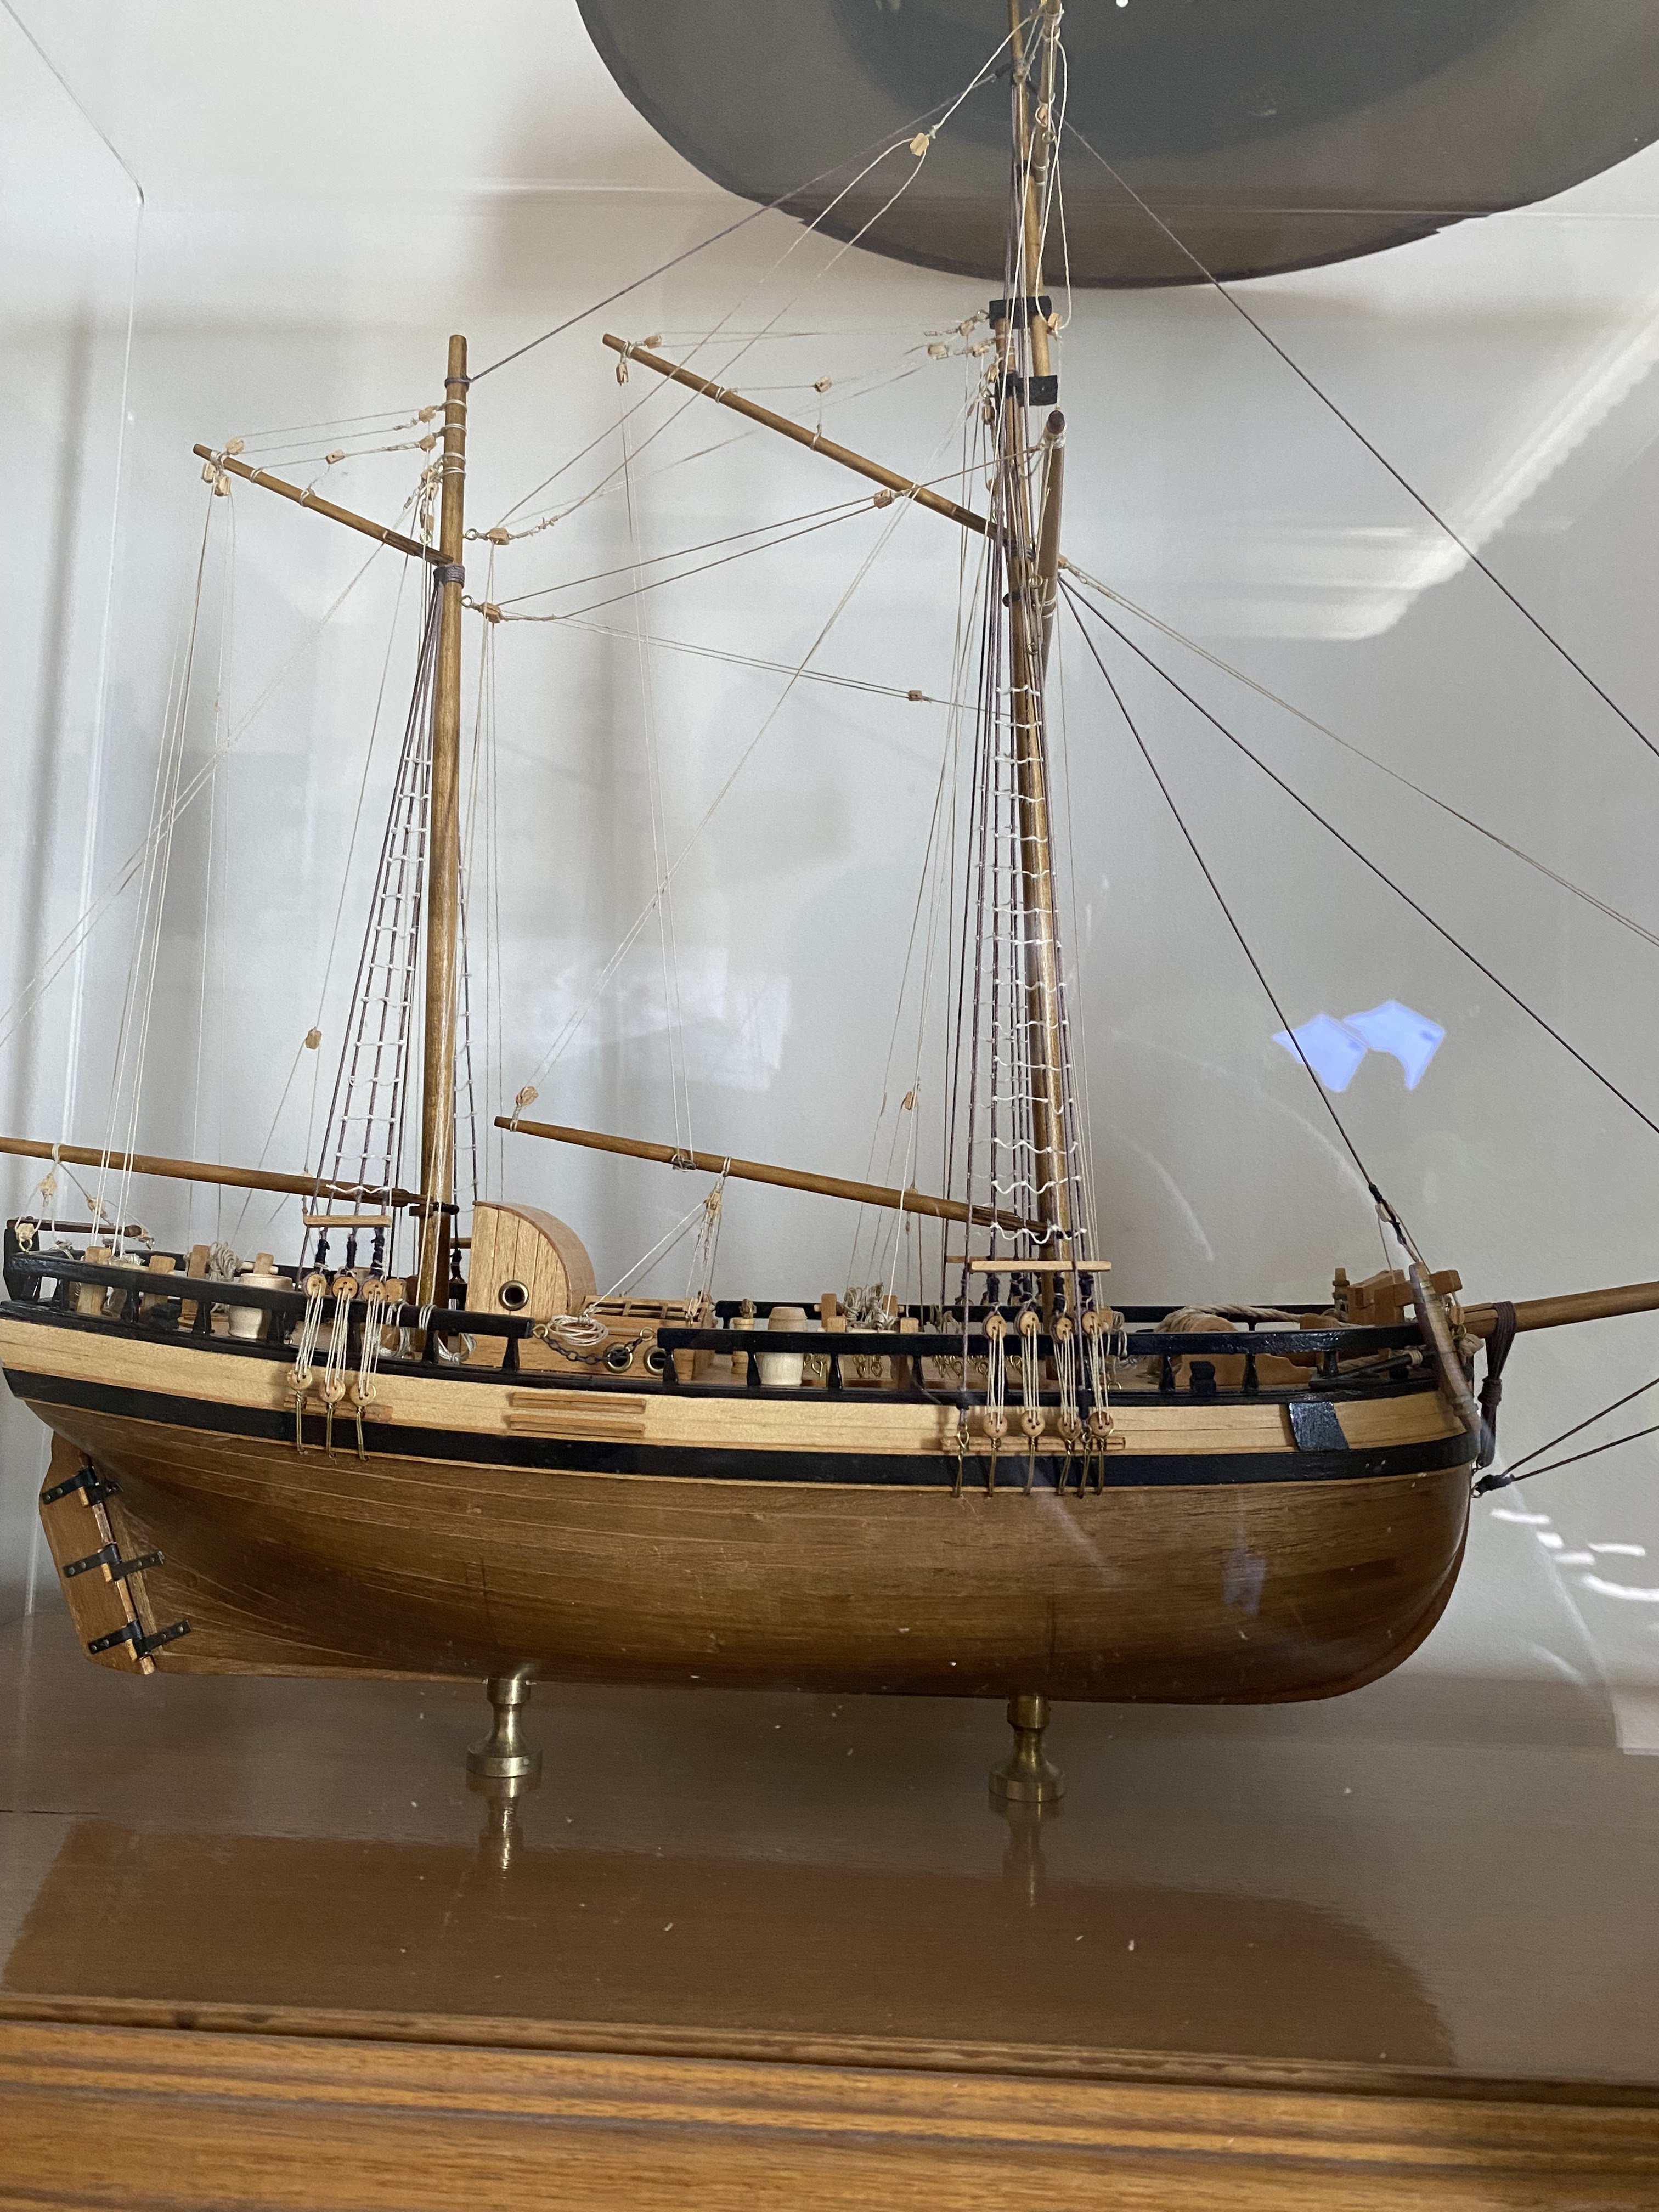
I've finished the Mary Byrne, but I've been struck with a few health issues. From looking at the site, clearly, I'm not the only one. I will post some photos of her in a nice cabinet shortly.
- 24 replies
-
- 1
-

-
- Modellers Shipyard
- Mary Byrne
- (and 1 more)
-
Hi guys Not scared off by the 'hijack' of this thread. I think the comments by all are of value. I have fallen into the trap of opening a new box, the Endeavour, and getting caught up in a new exciting adventure. Bulkheads on and fared, deck half planked, etc, before the Mary Byrne caught my eye and said "finish me". All that is left to do is some of the finishing touches and some rat lines. So I will shortly finish this build log as promised. First though, a couple of points. Modellers Shipyard have a great product for newbies. As an introduction into this fascinating hobby, their own range are great, IMO. Their instructions are well written, their models are well thought out and their DVDs are extremely useful for a first timer. However, the Mary Byrne certainly has issues, albeit minor, with the instructions not offerings definitive detail in some areas. I have read some of the other build logs and found that other kits have issues too, but all that I found can be rectified through references within their instructions (ignoring historical errors). My new build (Endeavour) has errors, but I have reference to detailed scaled (1:1) drawings that includes deck, cross section and all spars. Mary Byrne only has a scaled deck plan and overall lengths for the spars. The rest is guesswork. Finally thank you for the comments and feedback; the rest is on its way. Duncan
- 24 replies
-
- 1
-
-
- Modellers Shipyard
- Mary Byrne
- (and 1 more)
-
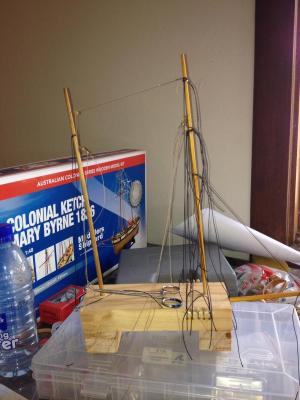
Spars & Rigging It's hard! Initially I was unsure how to approach this so I built a model of the model. Having never undertaken any rigging, I decided to try and build a model of the rigging which had all the key components of my model. I used some pine dowels from the local hardware store and some rigging components,a such as cord, deadeyes, blocks from my local model shop. I even found some fuse wire to secure the deadeyes. I used these to practice and refine techniques that I was happy with. Whilst I never completed the model model, it provided a great way to a) show that I could do it and helped to resolve a number of dimensional issues that the kit didn't provide details on.
- 24 replies
-
- 1
-
-
- Modellers Shipyard
- Mary Byrne
- (and 1 more)
-
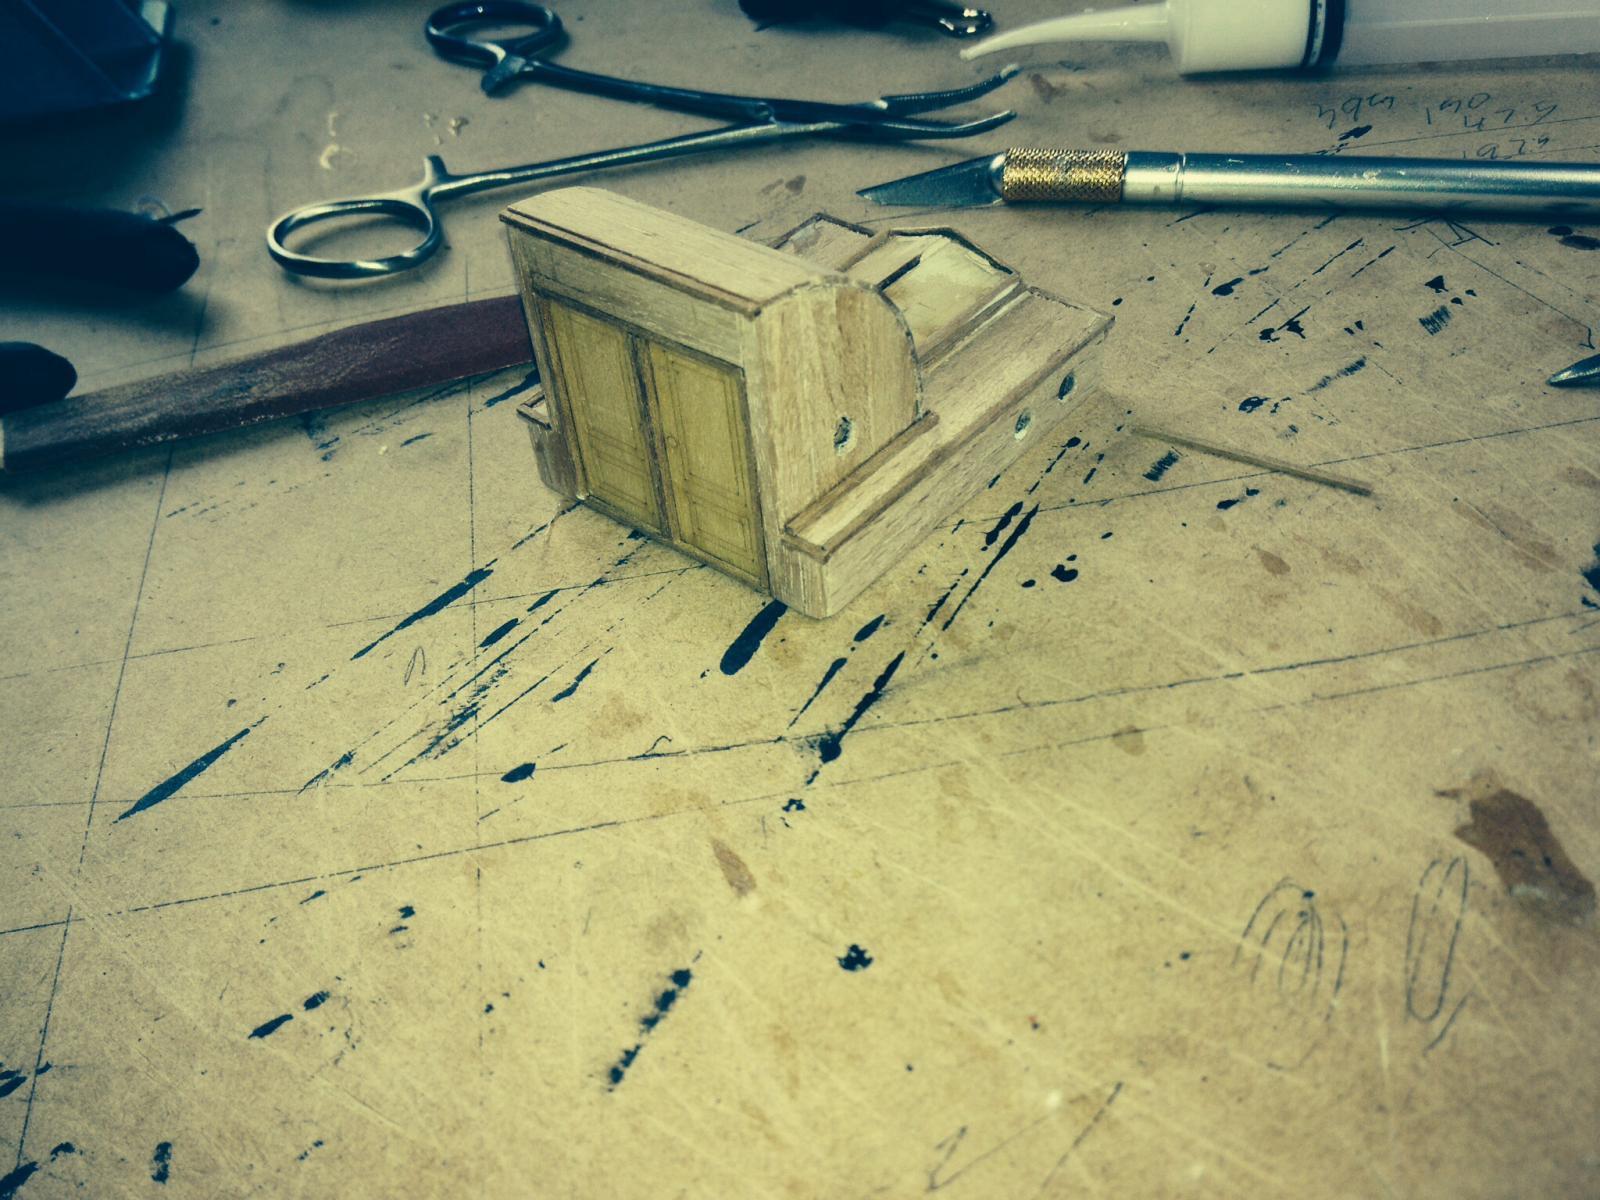
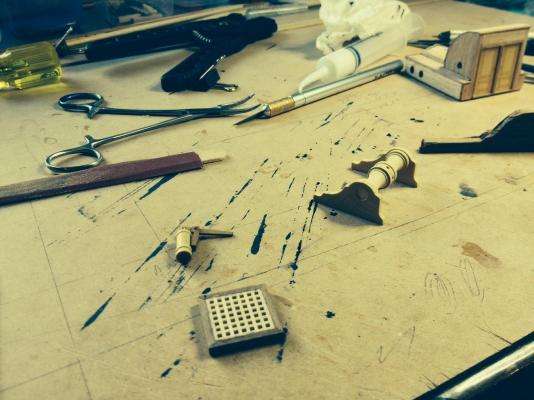
Deck Furniture This was a long but rewarding process. The kit had excellent instructions and photos, with (surprisingly) some dimensions including a deck plan at 1:1 scale. The parts provided with the kit were of good quality. One criticism, the hawses couldn't be fabricated from the parts provided. The kit came with plywood parts, but they were too thin to shape and I used some spare timber I had lying around (maybe walnut) which I used. Interestingly, the detailed photos provided in the instructions show the hawses fabricated from solid timber, not ply! A few photos of part finished deck furniture.

- 24 replies
-
- 1
-
-
- Modellers Shipyard
- Mary Byrne
- (and 1 more)
-
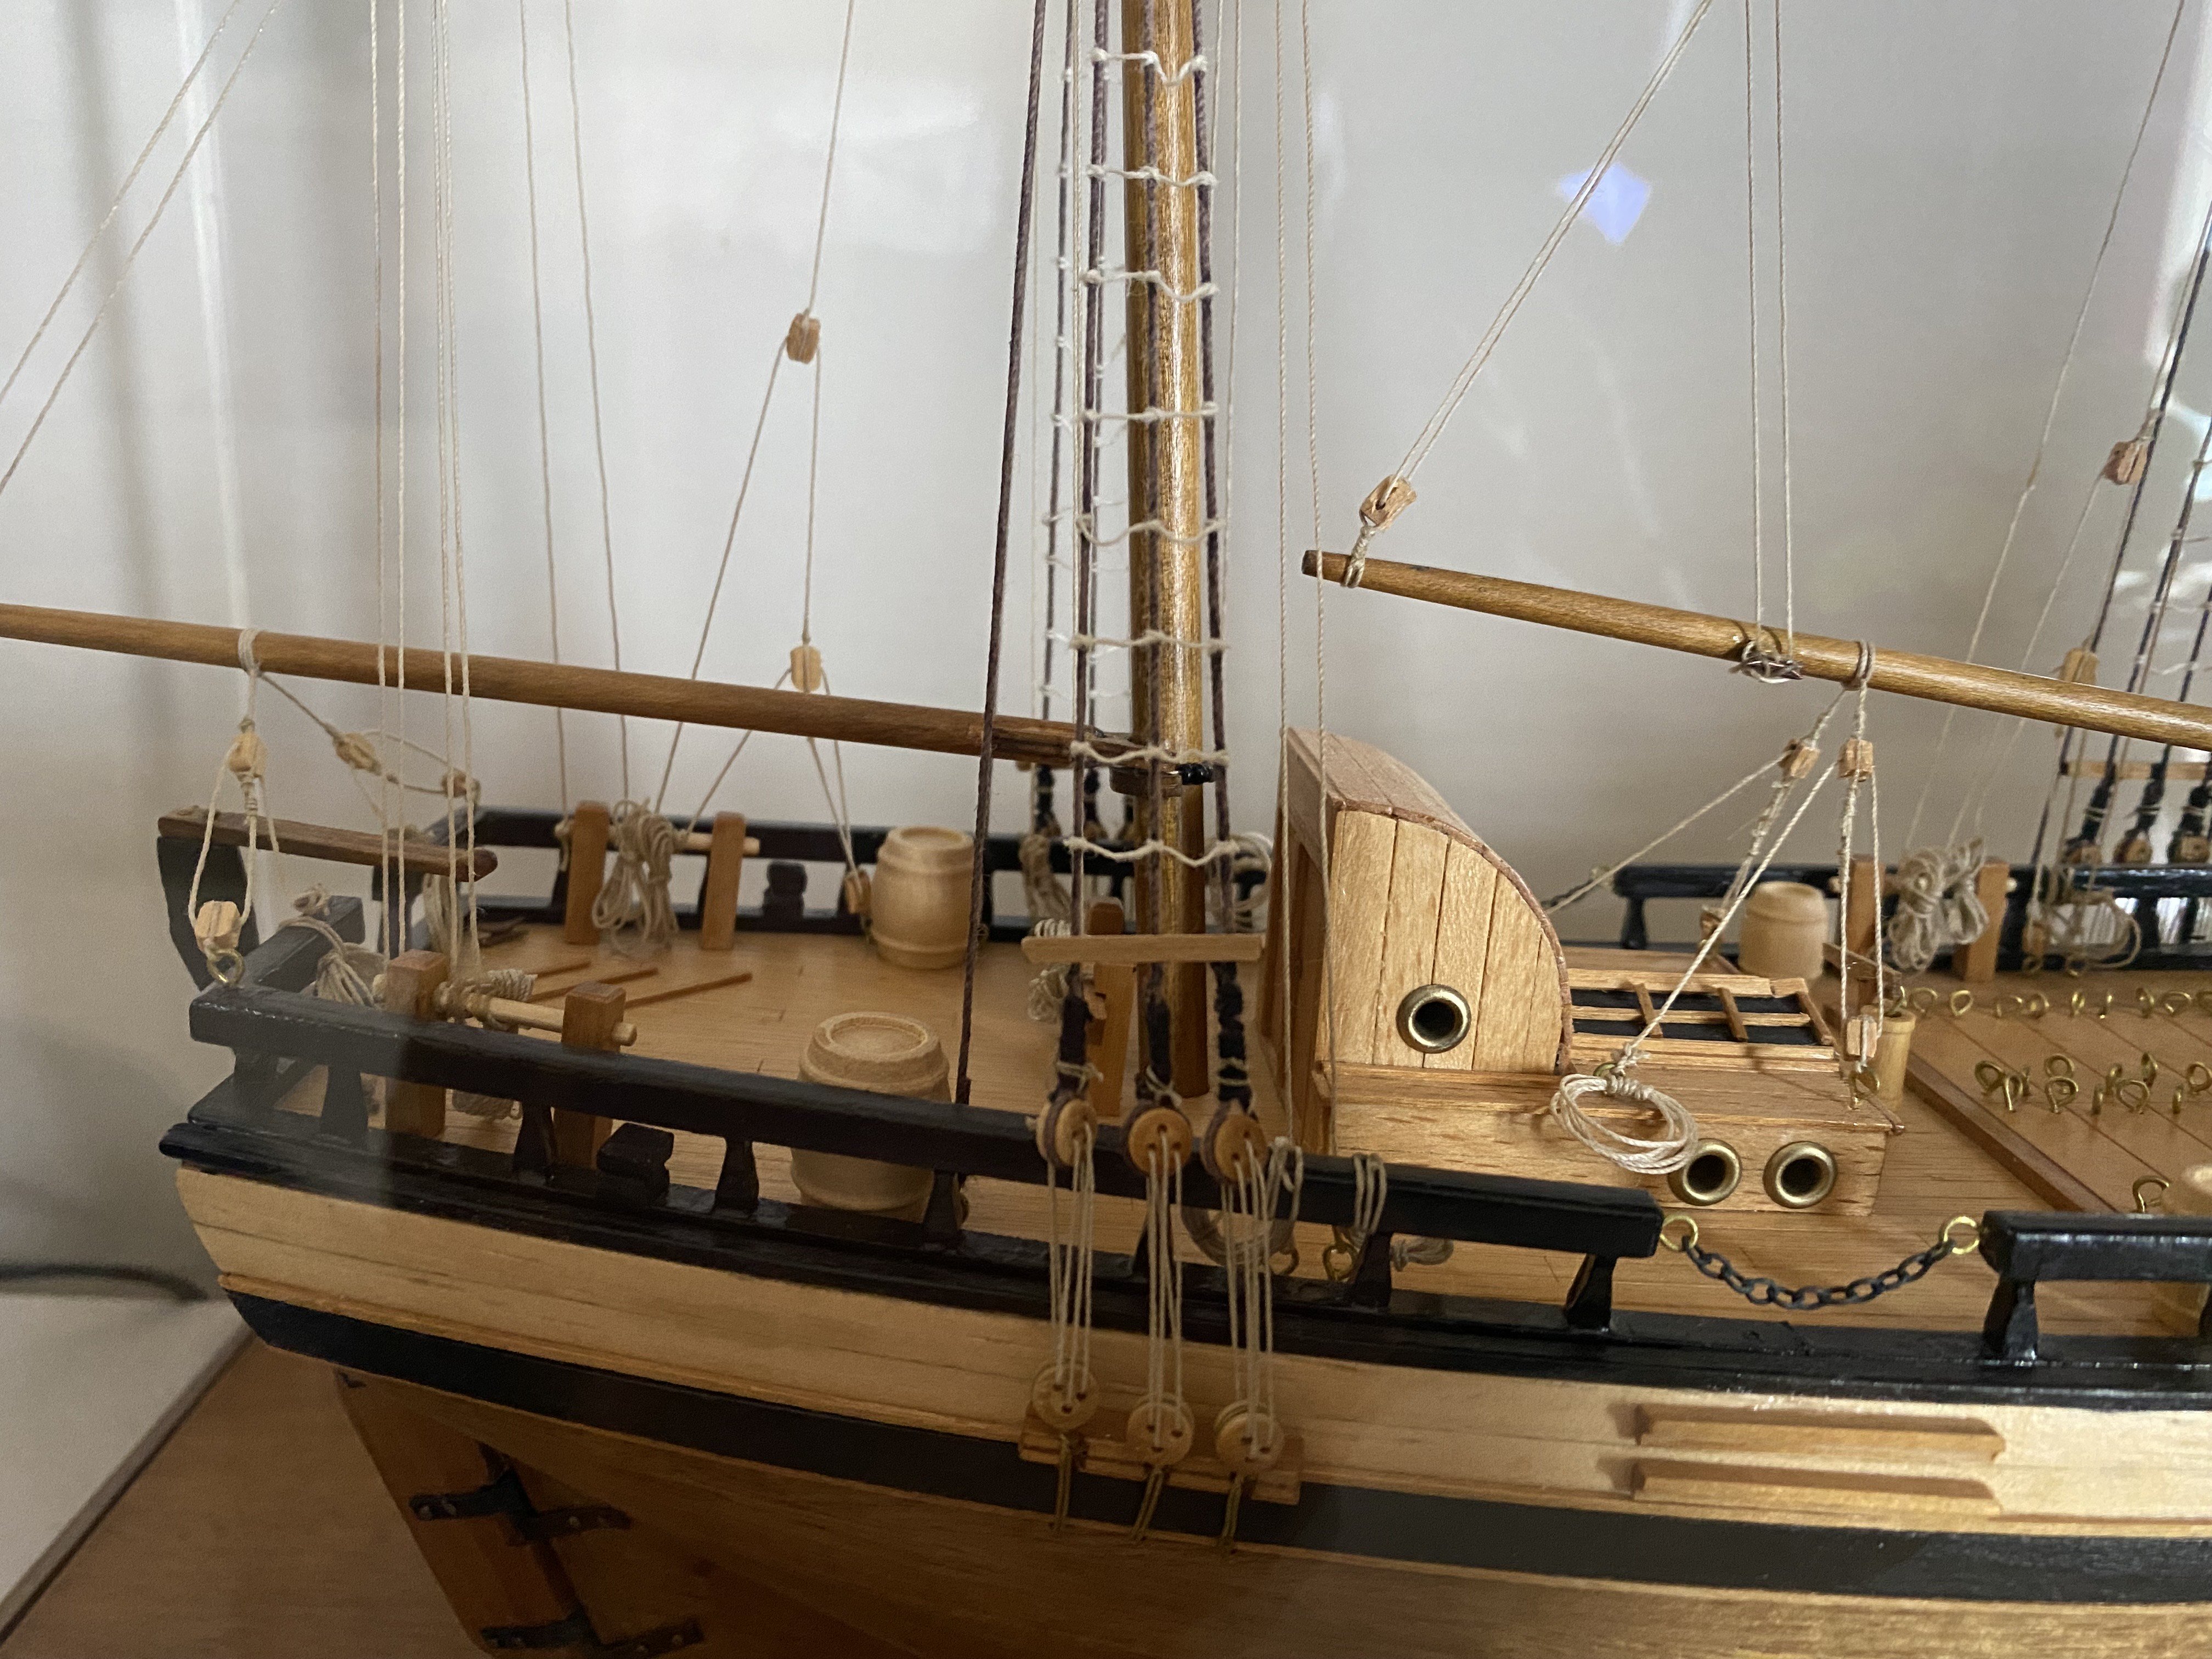
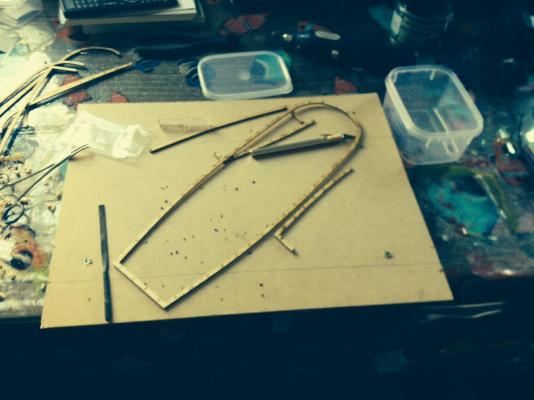
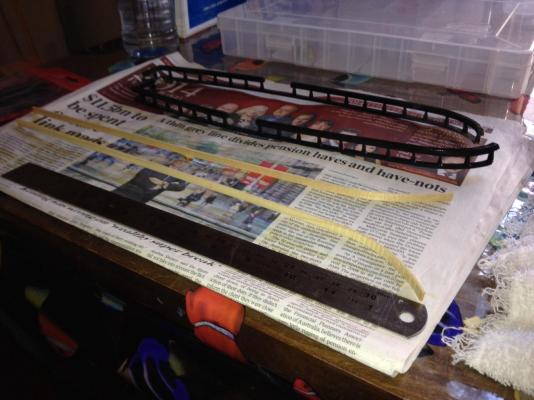
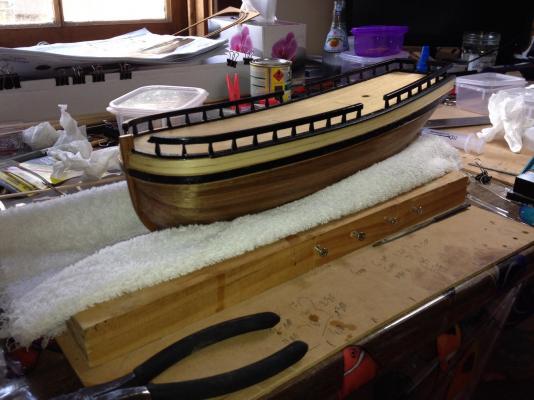
Deck Fence This element was simple to assemble but hard to fit. The top and bottom rail were of plywood and the stanchions were of a hard "cardboard" which were simple to touch up with a file and fit. What I didn't anticipate was how ridged it would be once glued and painted. The deck has a nice curve on it, maybe 12mm, but the assembled fence would not bend this far. Essentially the assembled fence was acting as a truss and was very stiff. In a number of locations the cap rail needed to be removed, for gangway, hawsers and tiller. I removed these portions and suddenly the whole assembly became very weak at these points and broke in several places. Nothing a little glue and paint couldn't fix, but lesson learnt. Photos of the fence during assembly and after painting (& repair), and with fence fitted.
- 24 replies
-
- 2
-
-
- Modellers Shipyard
- Mary Byrne
- (and 1 more)
-
Stern & Stem Post, Keel This is where I had my first serious challenge. These pieces in the kit were plywood which fitted well but had to be veneered with the teak to match the hull. I fitted them prior to the second layer of planks, but decided to veneer them after the hull, not before. I think this was the best approach but it was difficult, particularly the stem. With only 6mm wide strips of timber to play with, I had to have joins in the veneer around the stem. And the only template I had was the plywood sheet the post was laser cut from. I ended up creating a paper template for each part of the post one at a time, which I tested and then trimmed against the hull until I was happy. I then cut each piece from stock timber, glued and repeated the process. Overall I was happy with the result. It was here that I discovered my first timber quantity error of the kit. There was simply not enough stock teak to do the hull, posts, keel and stern, not to mention channels. Did plenty of sums, assuming at first it was my error. But clearly the kit did not have enough stock to do the job. [As an aside, 20+ years in the building game, plus a few years at uni, has taught me how to measure. The kit was wrong.] To their credit, Modellers Shipyard sent me some additional stock at their own expense and postage. They didn't admit any error ("others have completed the kit without any problem") but the did ship the extra. So to them, thanks.
- 24 replies
-
- 1
-
-
- Modellers Shipyard
- Mary Byrne
- (and 1 more)
-
Thx for the tips re next built. Agree Internet has changed a lot of things and price is a key issue. We have a SA based company called Hobby Habit who are very competitive both online and in-store, with all range of hobbies catered for. I picked up the Endeavour by Artesania at a very good price as my next build. Have got the box opened and read through the instructions several times and they are of greater detail (I see lots of dimensions) and quality than MS, but don't have the educational slant that MS has. (And, yes I have glanced at the other build logs highlighting some of the pitfalls). MS should take note of Brian's post. We all wish them well and will support them, but they must take note.
- 24 replies
-
- 2
-
-
- Modellers Shipyard
- Mary Byrne
- (and 1 more)
-
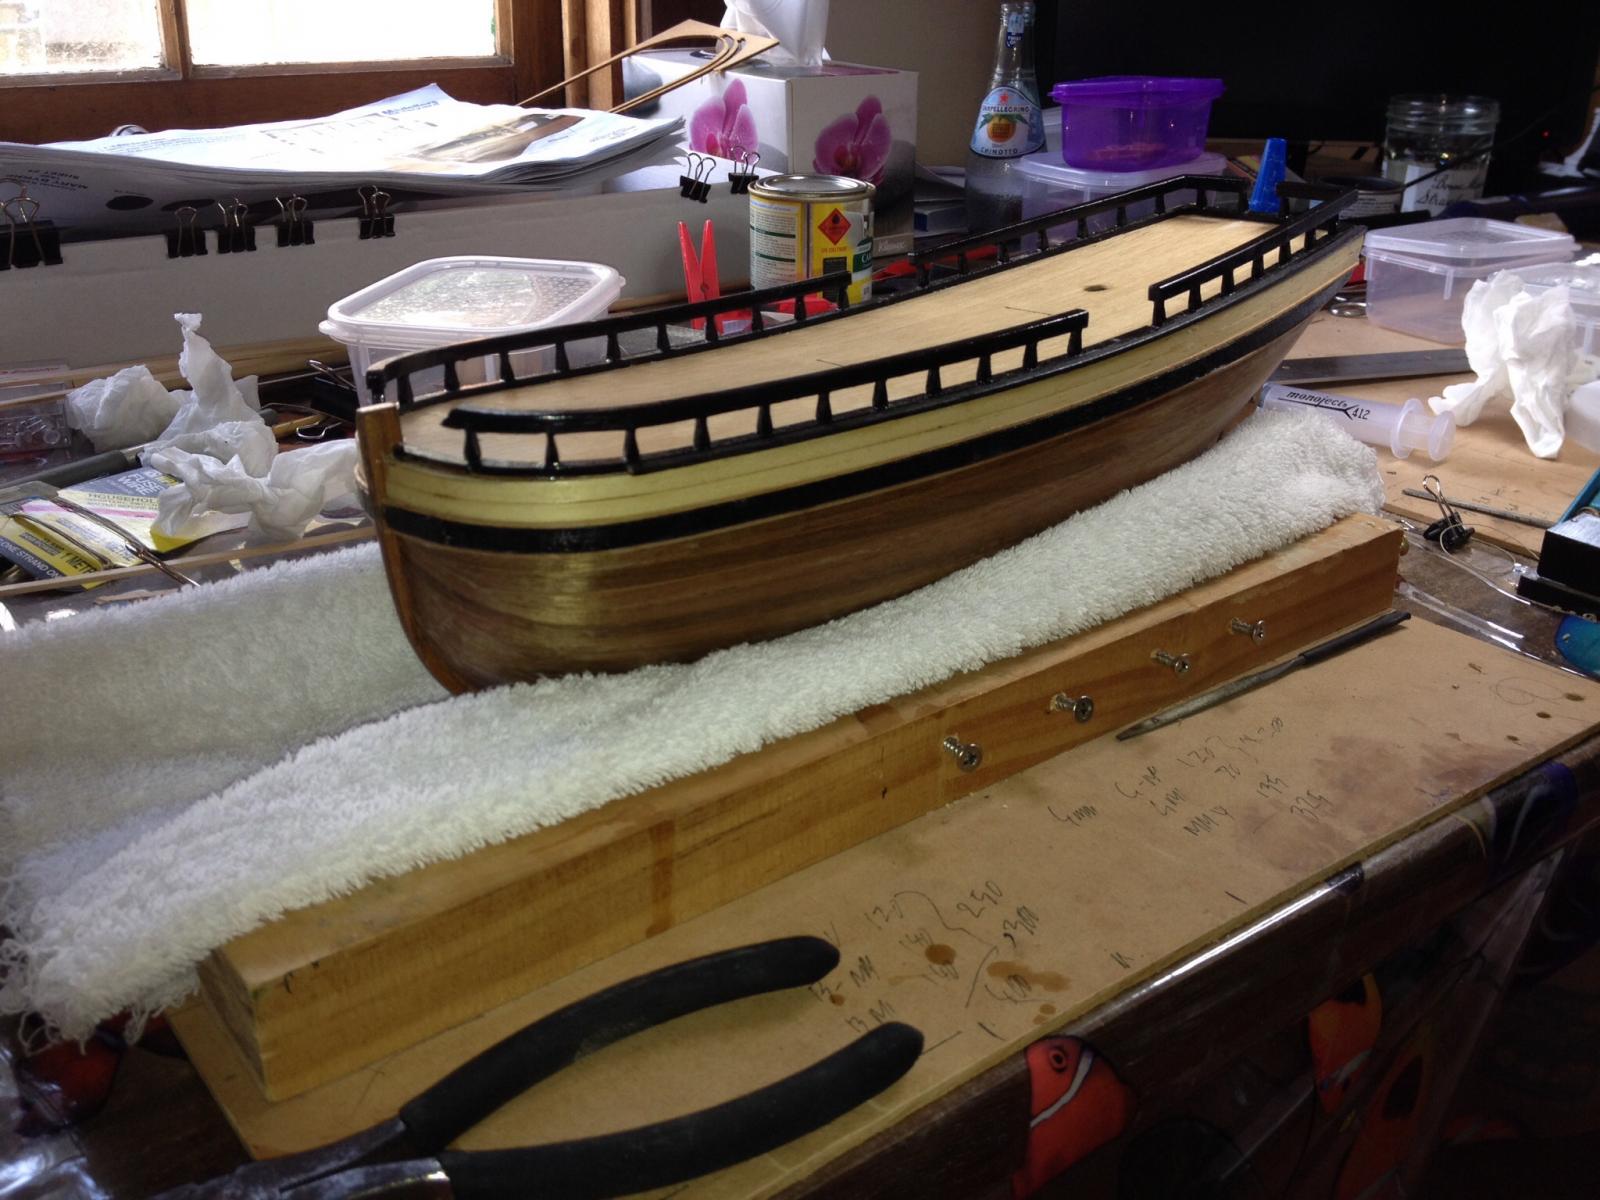
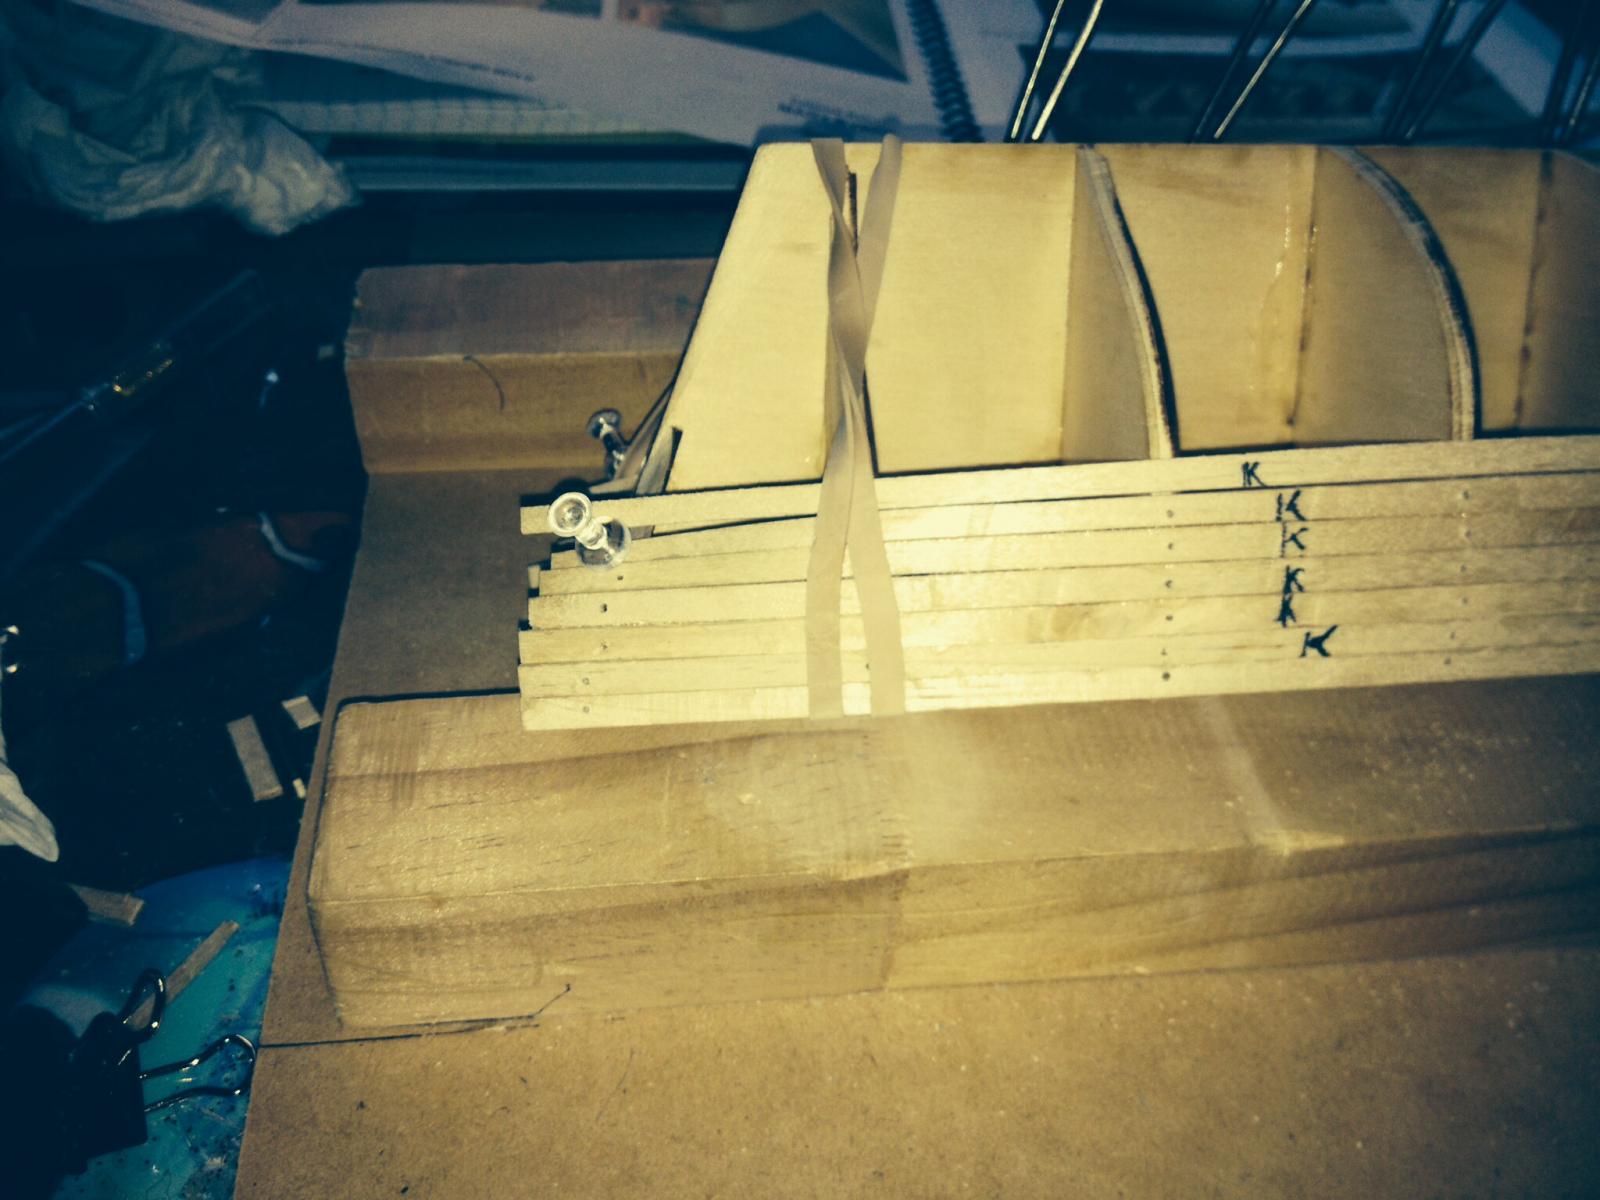
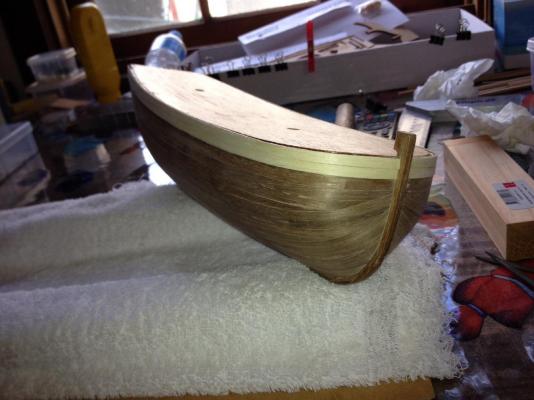
First layer of planking was completed without too much drama, although it was slow. I tapered all of the planks, except the top and bottom. I also changed direction several times at the bow and once at the stern. Once finished, a light sand and a little timber filler at the bow gave me a very nice shape. Second layer if planking was faster. Kit provided 0.6 x 6mm teak which I fixed with a contact adhesive. The instructions suggested I could do 4 strips at a time, but I found it too hard to fit all four before the adhesive had set. Two at a time was much more sensible. All planks were tapered as per the first layer, with several changes in direction. Overall, the finish was pretty good, I think. There were a few small gaps between the planks particularly at the bow which I filled with a matching timber filler from my local hardware store. This also filled some gaps in the grain of the timber. Later, I sanded the completed hull with increasing grades of sandpaper up to 1200 grit, then finished with a clear timber varnish. Finished hull pre sanding, with pre- finished deck below. The lighter timber for the whale flashing is silver ash, which was fixed on top of the teak.
-
Thx Hornet I agree with the dimension issue with Modellers Shipyard. I'm not too fussed with their instructions being not to scale, but if they are not to scale, then they need to give dimensions on everything. I will have a lot to say on that when I recount the rigging. I think there was only two dimensions provided for the entire rigging, apart from how long each spar or mast is. With every drawing marked "Not to Scale" all you can do is make an educated guess, or use trial an error! I ended up spending a day drawing up each spar/ mast with all the rigging points to scale based on all the pictures provided. Even then, there are a number of lines that clash requiring some rework. But, I must say, when I told them of the errors in relation to quantities of materials they indicated were required they did send, at their cost, sufficient to complete the model. So I can't knock them too much, but it is interesting the either won't (or can't - maybe a printing issue?) provide drawings to scale, or won't add sufficient dimension to take the guess work out of it. I'm sure in time, market forces will ensure either they adapt or . . . !!!
- 24 replies
-
- 1
-
-
- Modellers Shipyard
- Mary Byrne
- (and 1 more)
-
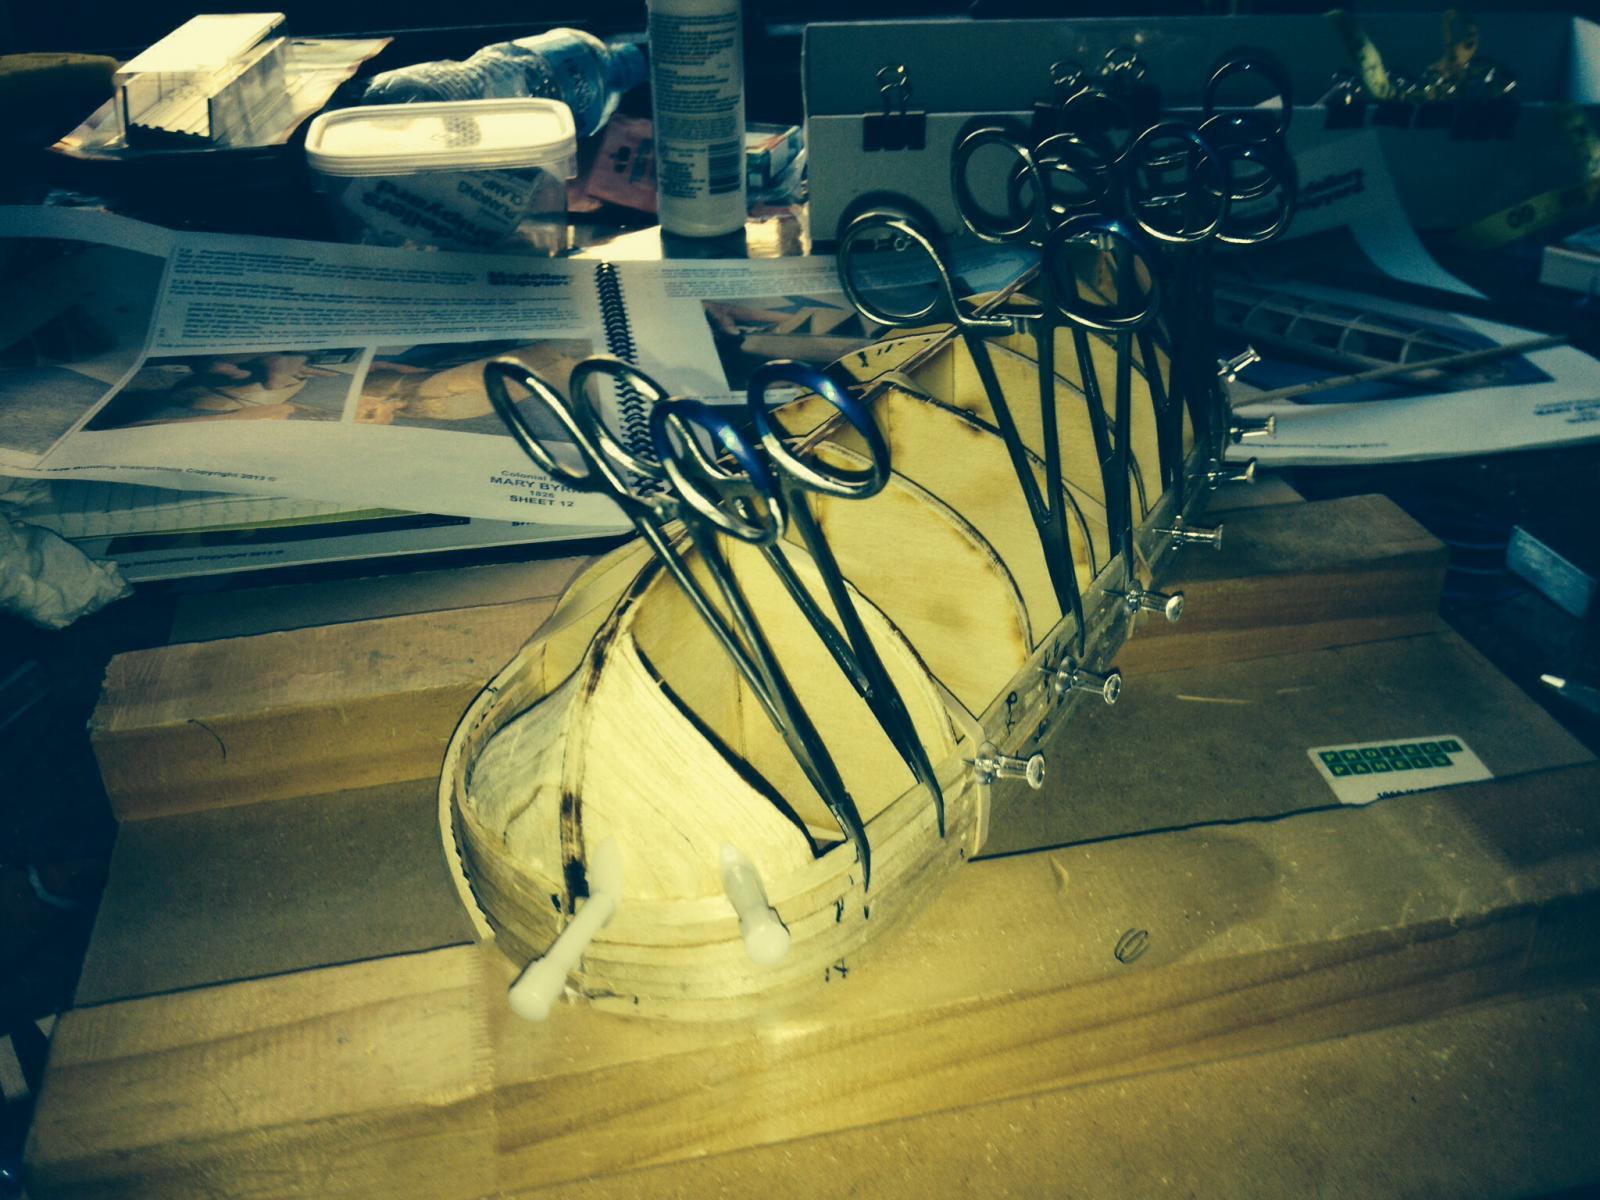
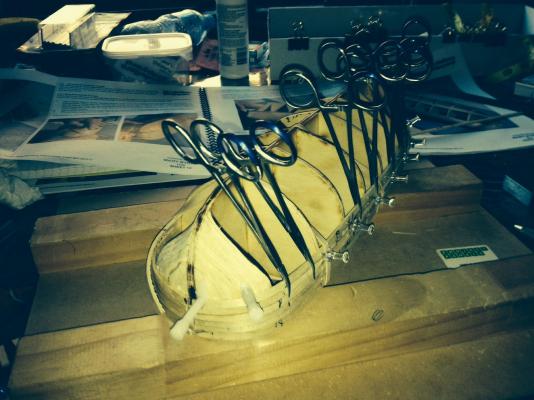
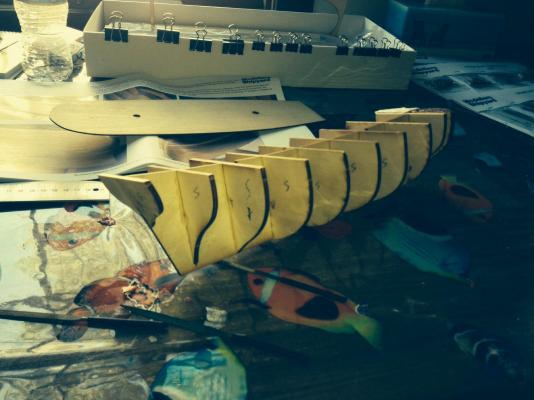
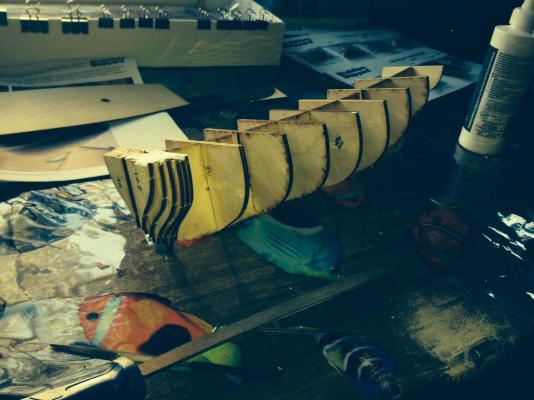
I didn't take any photos of the bulkheads fared prior to planking, but below is several with the first layer of limewood planking in progress. I found the process of planking tricky initially, but soon got into the swing of it. Again, the detailed instructions were helpful, as was a little basic mathematics. I fund it hard to pin each plank tithe bulkheads, so I used a combination of pins, rubber bands, planking screws and forceps to ensure there were no wobbles or bows. Part finished first layer of planking below.

- 24 replies
-
- 1
-
-
- Modellers Shipyard
- Mary Byrne
- (and 1 more)
-
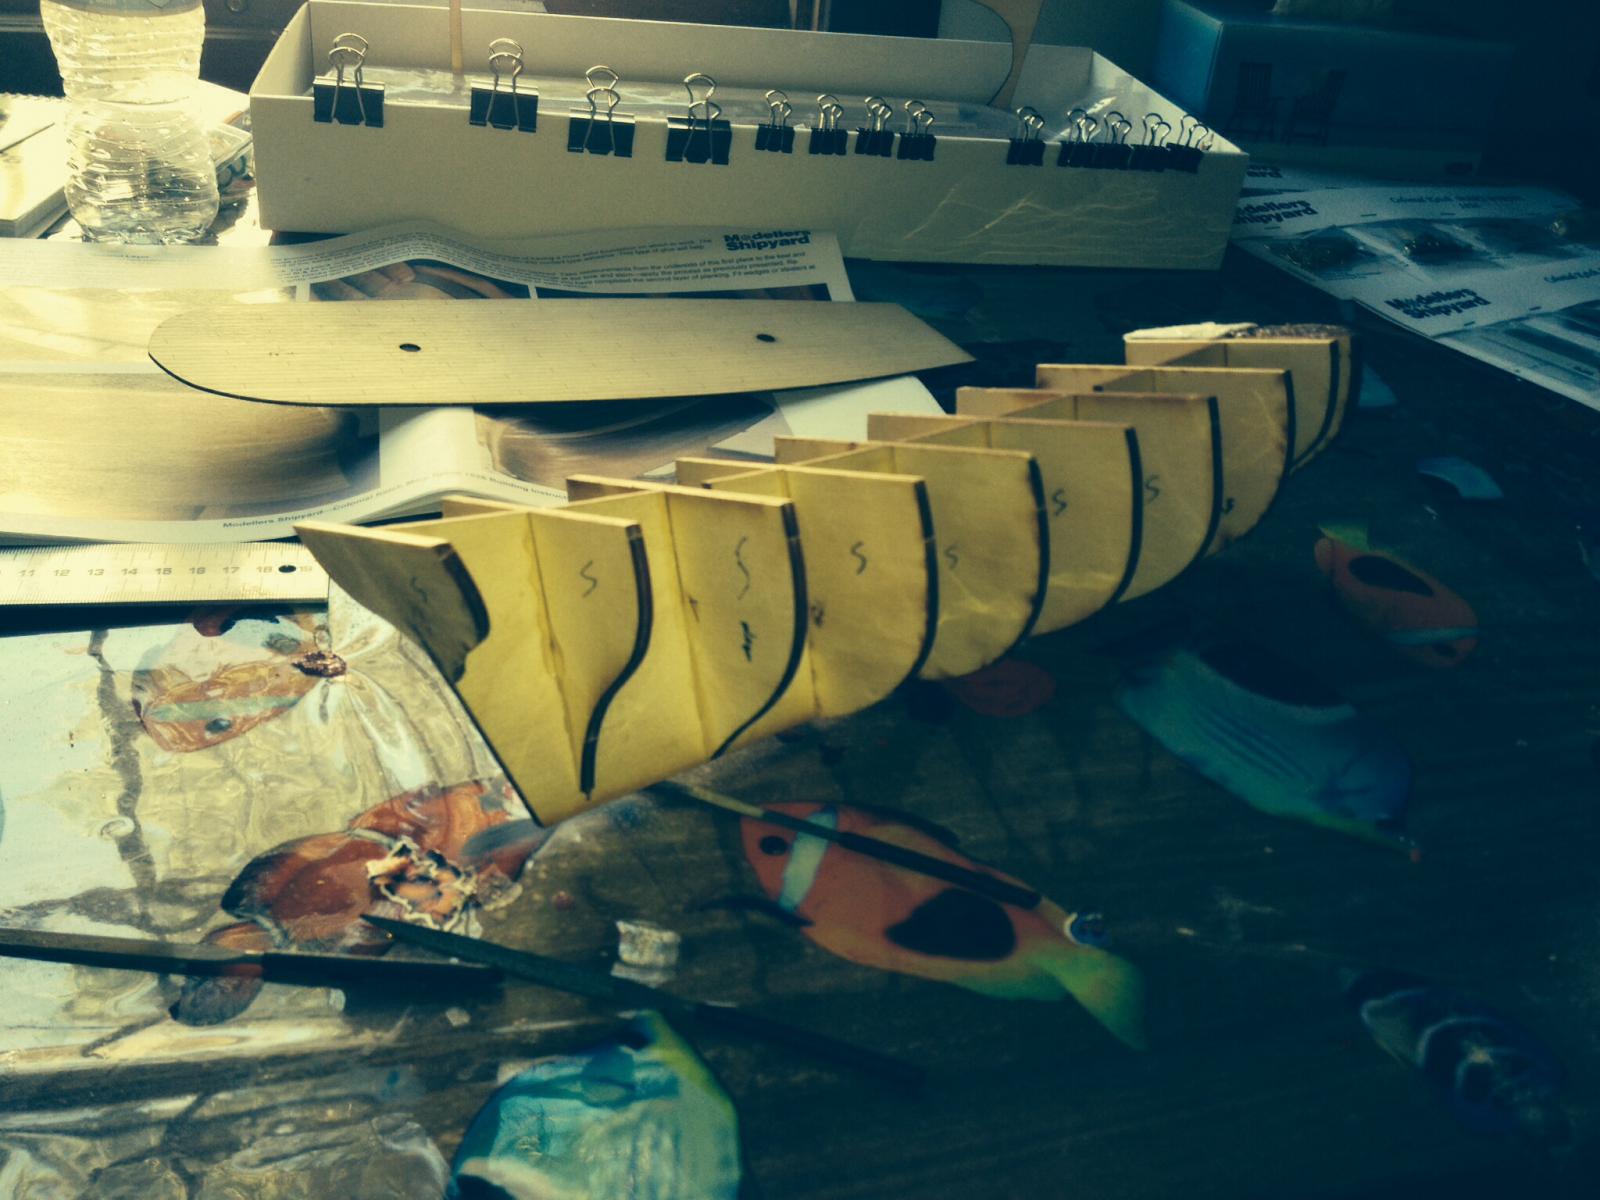
Keel and Bulkheads were of plywood and were not warped. Fitting was simple with only minor filing. The model has a buff bow and this was formed with 6 plywood layers. Once I had marked the deck onto the top, it was an easy, if labour intensive process to create the correct profile. Ditto faring the frames for the double layered planking and the pre formed deck were also done without problem. The instructions provided with the kit along with the DVDs were most helpful here. To complete these steps, the instructions provided 5 x A3 pages of text and 18 colour photos. This included detail down to removing the deadwood area. For the novice, it made it easy.
- 24 replies
-
- 2
-
-
- Modellers Shipyard
- Mary Byrne
- (and 1 more)
-
First a little background. I spent the past 20+ years in senior management positions in the building industry. So whilst I know a lot about the science behind modern construction, the only blisters I ever got were on the tips of my fingers from typing too many emails. I have a very practical and logical mind, but the only experience with hand tools was small projects around the house. So to start building a model ship I needed something not too hard and with good support. Researching the Internet, I came across the Aussie company Modellers Shipyard, who manufacturer their own Australian Ships, as well as supply other manufacturers and parts. With their own kits, they also do a starter pack, where you get a model ship, basic tools and some instructional DVDs. My kit came with 5 dvds with a "master modeller" showing how it is done. Although they don't cover every part of building a model, they were most helpful and turned what would have been a real struggle into a rewarding experience. I chose the Mary Byrne, a 1826 Colonial Ketch simply because I liked the look of her. If I had done more research, I would have realised that this ship never really existed, at least in that name, but the story behind the name and the ship seem to be well founded. As for the model, and the support from the manufacturer, overall it was pretty good. There were a number of minor errors in the instructions, a few resulting in incorrect quantities of materials. But the guys at Modellers Shipyard, whilst not admitting to all the errors did send me 'extra' materials when requested. For their generosity, I will send them a list of all their typos in the instructions which I hope they will take note of. More to follow, along with photos
- 24 replies
-
- 2
-
-
- Modellers Shipyard
- Mary Byrne
- (and 1 more)
-
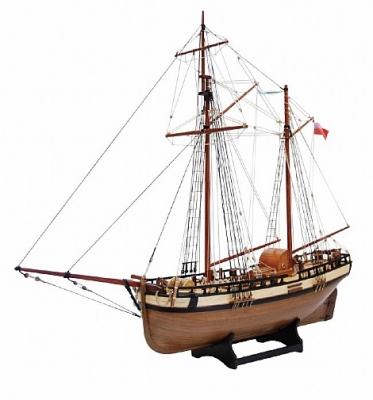
A recent search on how to 'tie' rigging on model ships brought me to Model Ship World and the wealth of knowledge of its members. The information posted on this web site, along with other sources on the Internet has enabled me to finish my first model ship. So to all of you, 'thanks!!' One thing I did notice was no mention of the ship I built, and only a brief mention of the manufacturer, the Mary Byrne, manufactured by Modellers Shipyard in Australia. So I thought over the next few days (whilst watching the cricket!) I would recount in a build log my experiences with this model. Photo is from the web; my build is not quite that good.
- 24 replies
-
- 3
-
-
- Modellers Shipyard
- Mary Byrne
- (and 1 more)