-
Posts
69 -
Joined
-
Last visited
Content Type
Profiles
Forums
Gallery
Events
Everything posted by Livingstoneman
-
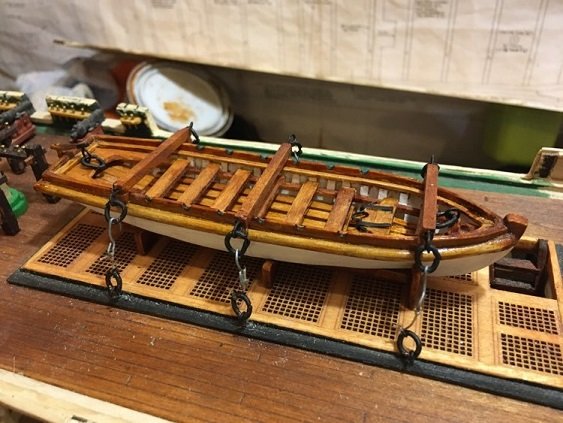
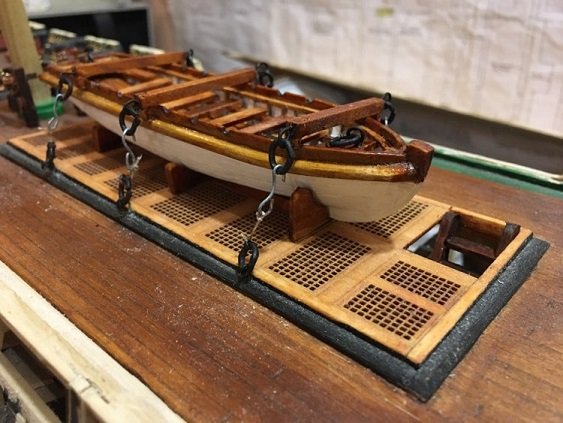
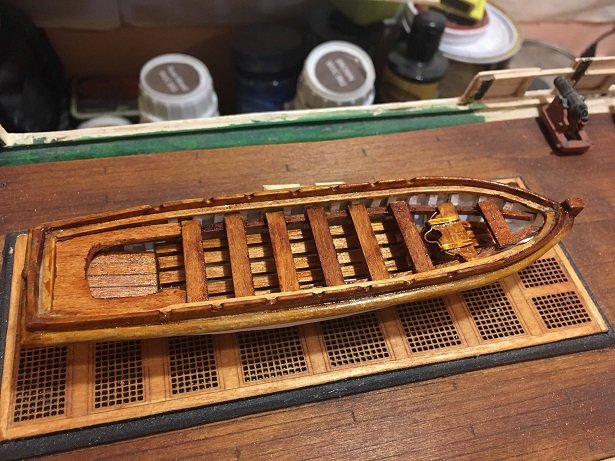
ok I finished the pinnace and mounted it on the deck. I just have the ores, mast and sail. But will do that later. I know the rings are too big and the ropes are practically non existent, but I was trying to think if the ship is sinking and this is the life boat, how could the sailors unlatch the fastener quickly in an emergency, instead of untying a wet rope. So this is what I came up with. They are actually workable and not glued on. And its tight. Sorry blue prints but this is what I ended up with.
-
After finishing my boat I looked up a few other builders and saw a huge difference. Some were just perfect! This one was from XGEN he is in another level then me. I personally like my dark wood weathering look. Also the Lapstrake lines. I do admit that all of my wood parts are double in size as they should be. But all in all the life boat looks good on the Constitution. 99% of the people will not even know that it was not built correctly. Except me.
-
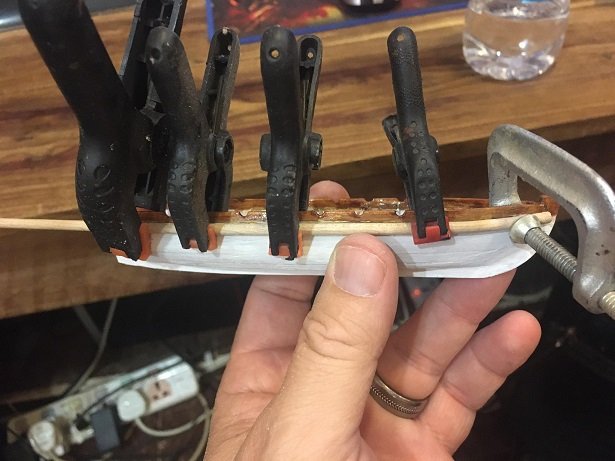
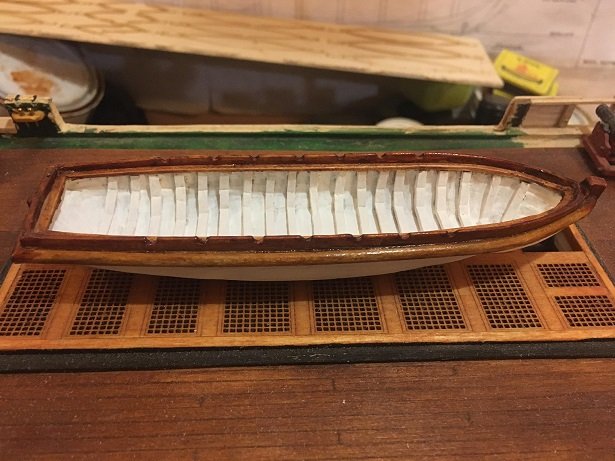
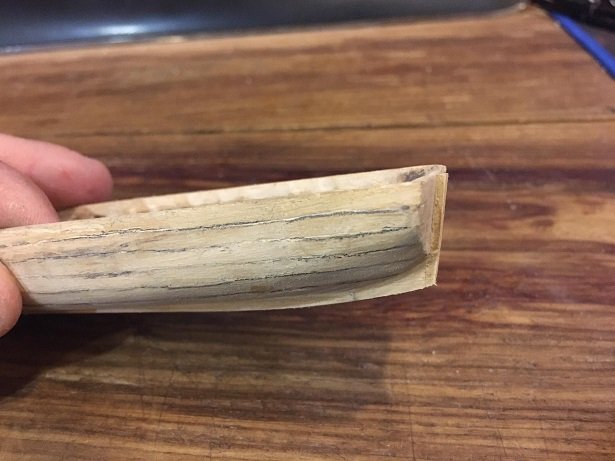
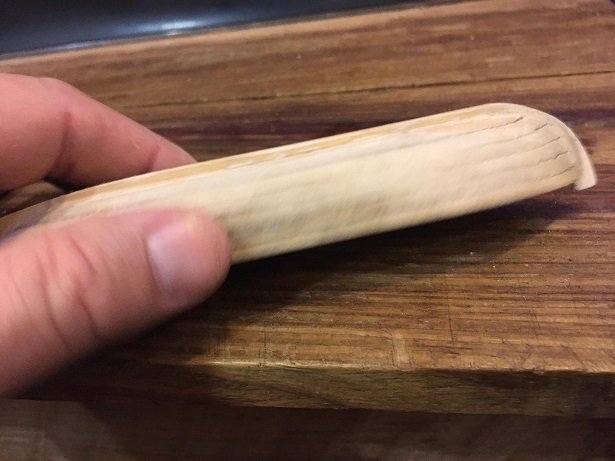
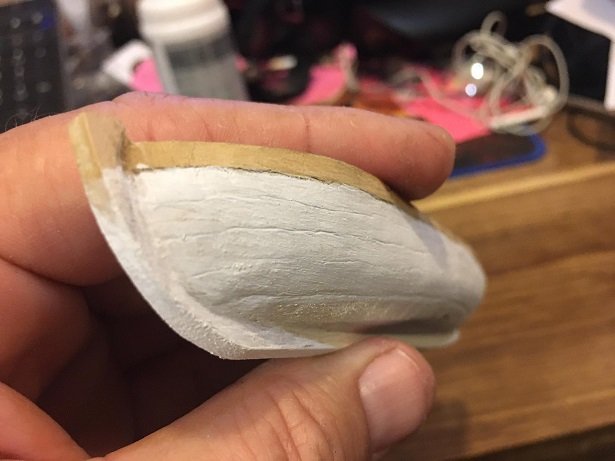
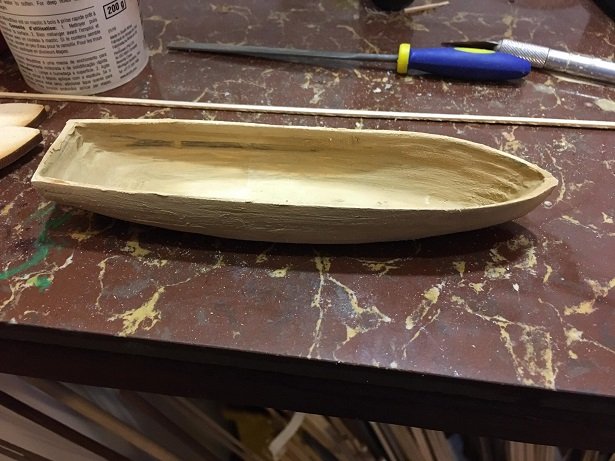
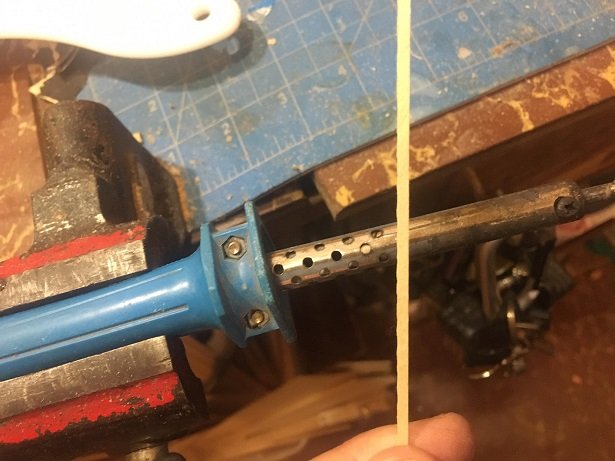
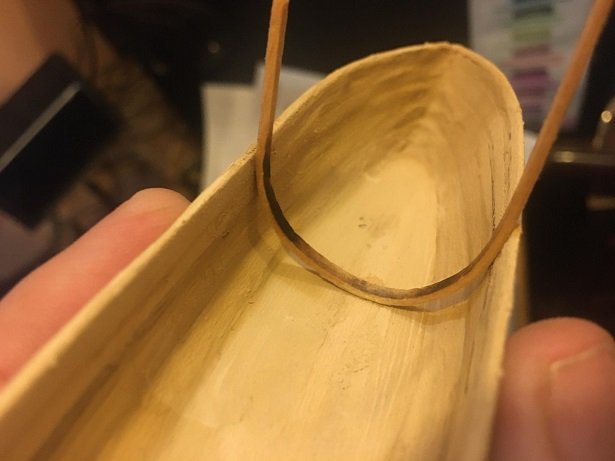
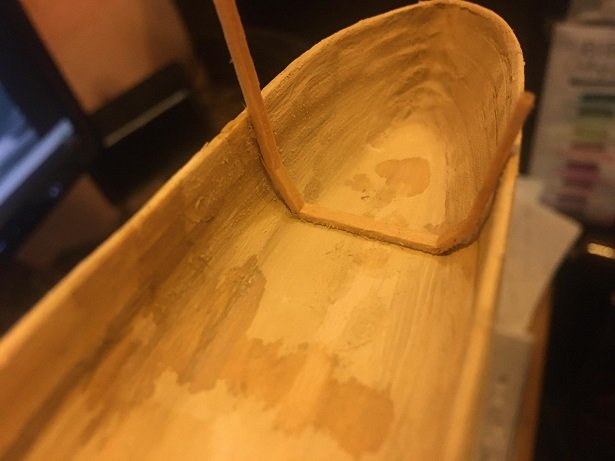
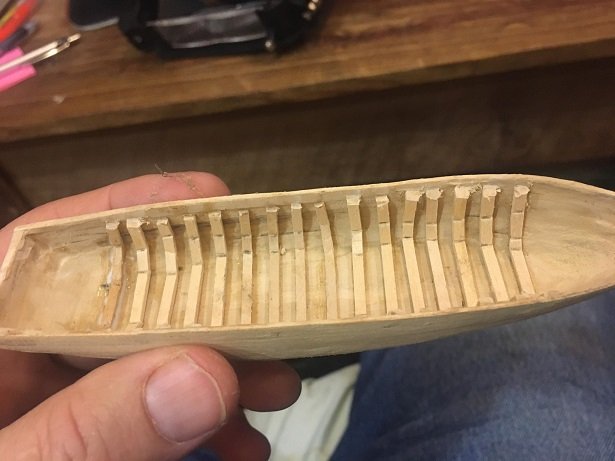
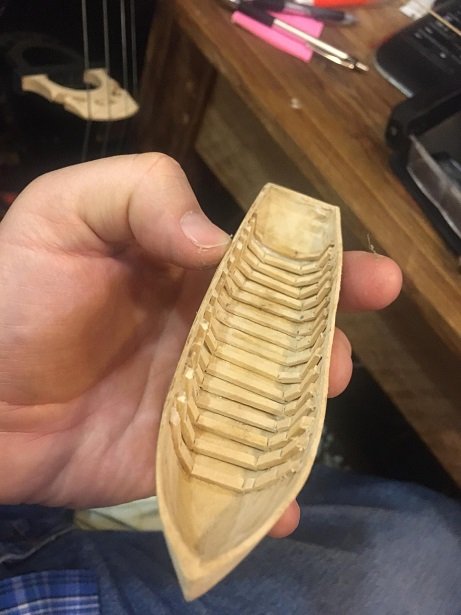
ok. I started on the Pinnace. Or I guess it is a life boat for the USS Constitution. I needed to make the ribs so I got my solder iron and after soaking the wood a bit I just rubbed it a few times to bend it. But I soon found out that it just wasn't going to work like that. So after smashing it a bit I decided on a crude version. Nobody is going to see it anyways. I then put a bit of sketching on the boat to imitate the Lapstrake.
-
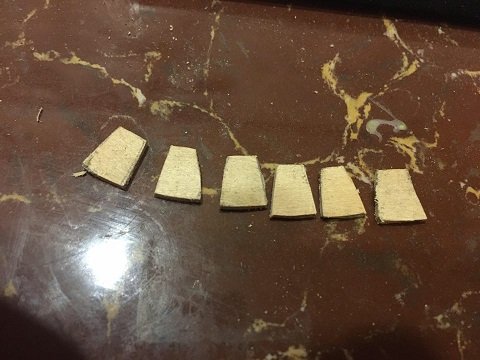
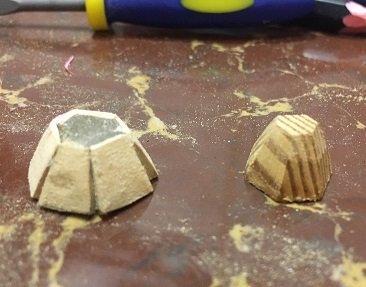
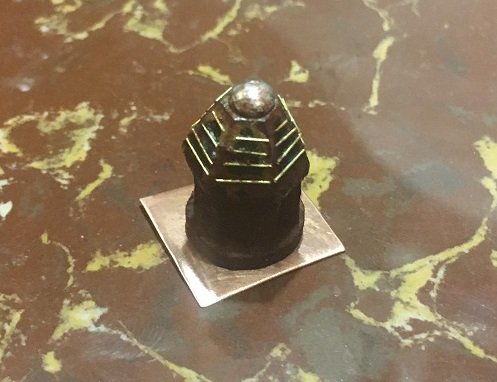
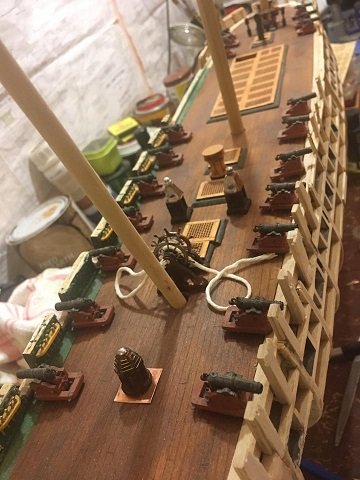
Well, today I worked on the skylight. Some say its not historical but I did it anyway. First I tried to cut 6 pieces and put them together which came out so wrong I abandoned it. I decided to just make it out of 2 main pieces of wood. After sanding it down with my dremel, I added the raised trim. Then put on the brass grill and then a copper flat plate. And of course, did a stain on it. Not perfect but it will do.
-
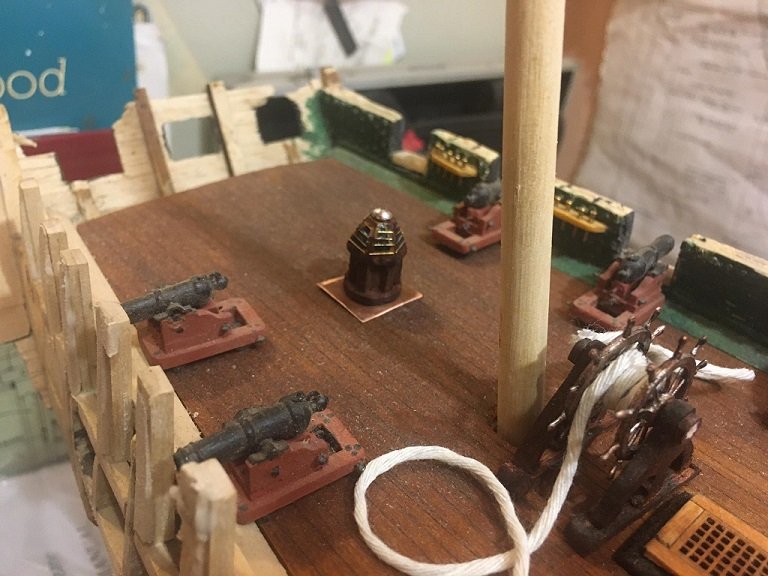
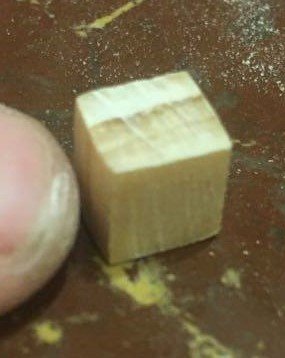
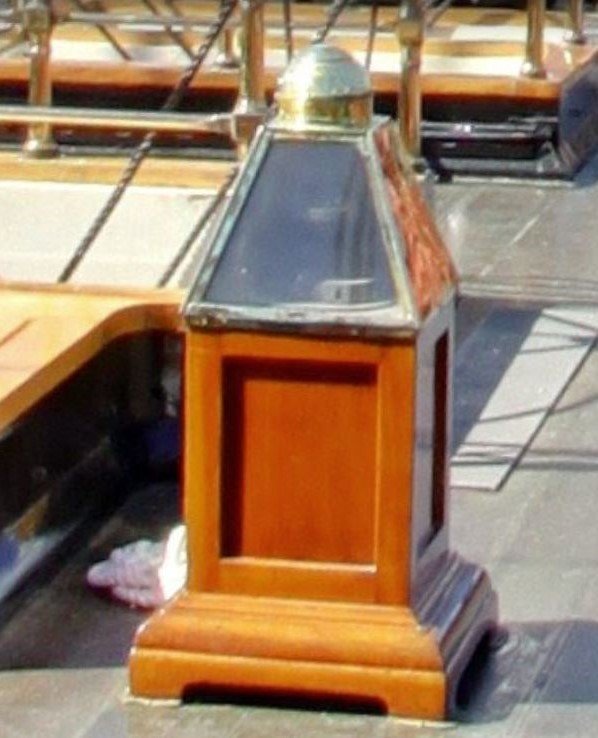
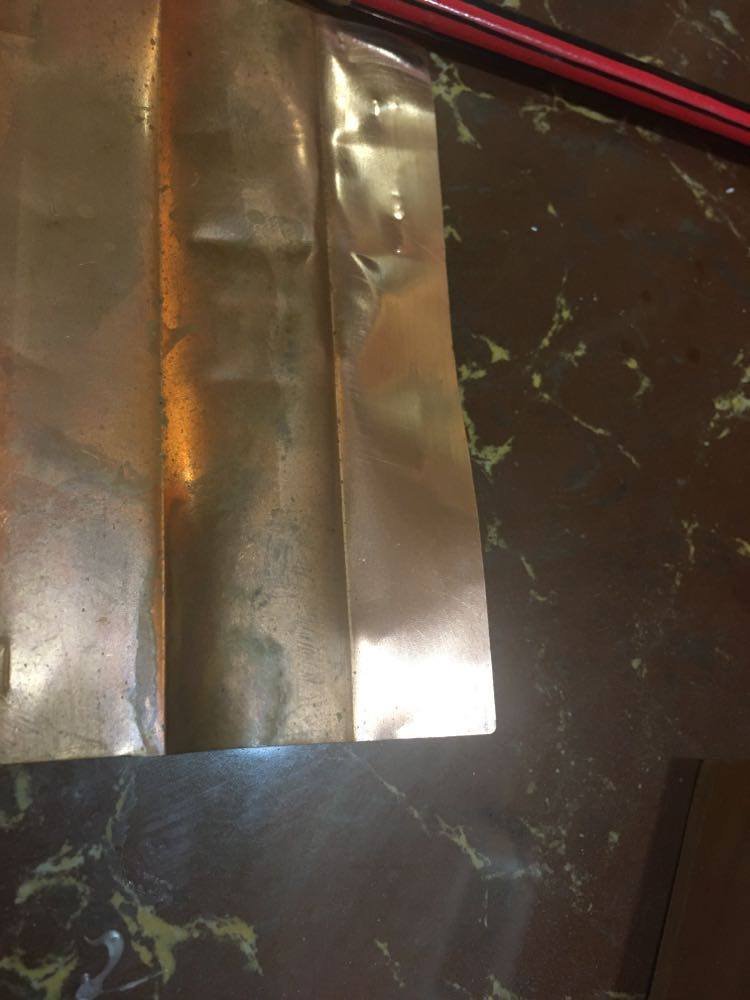
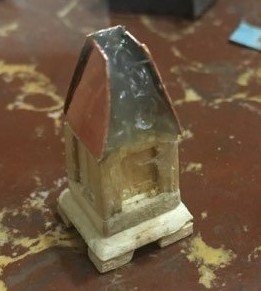
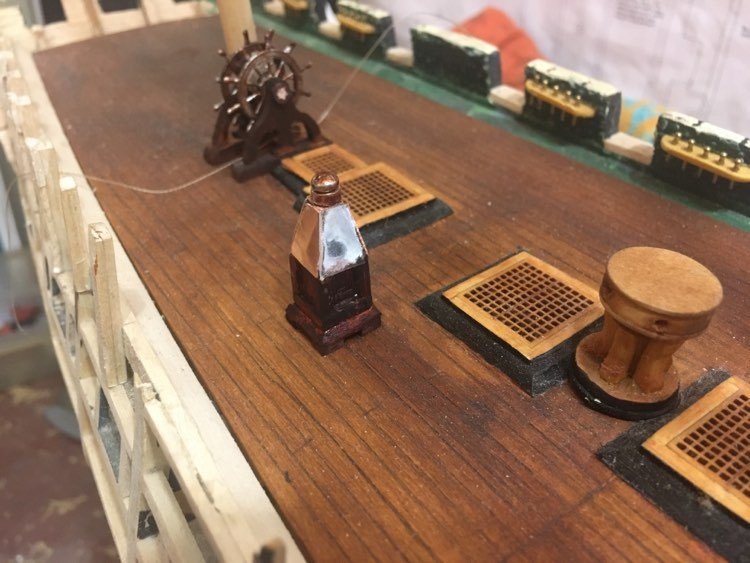
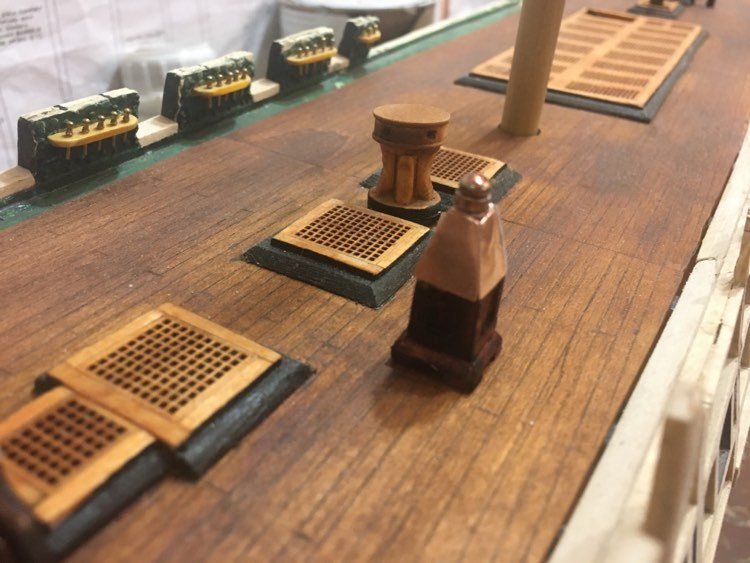
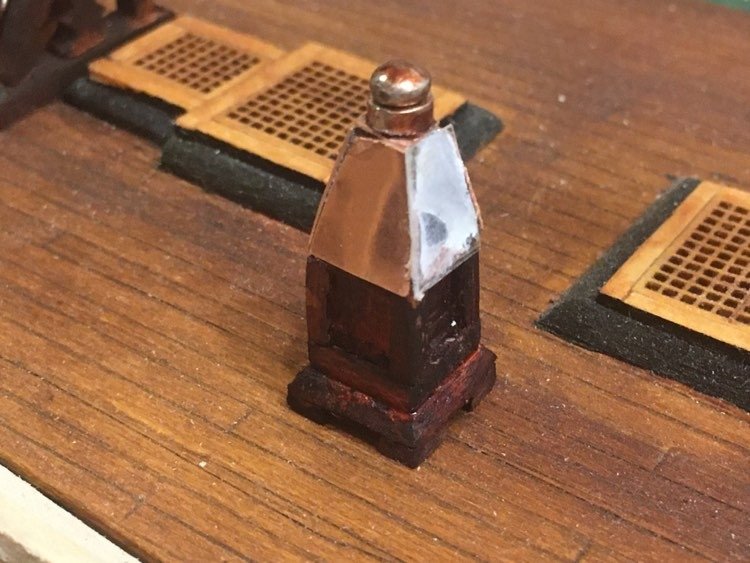
Well, Today I wanted to tackle something small, so I choose the Binnacle. For some reason I have to make 2 of them. I guess they had 2 just in case one stopped working. So after looking at the blueprints and then other builds, it became apparent that these things are small. The width is like 3/16 (5mm) and it supposed to have a recessed panel. Some builds just drill that out and not make the compass box hallow. Well, challenge accepted. But in order for me to do it, I had to increase it a few mm. Wood just can't be that small. So I made the rectangle thing. I put the trim all around. Then got an old piece of copper plate cut it up. Couldn't figure out how to put it together until my rectangle fell off the table into the scrape box... ugg. but that was a good thing as I had to pick up my hot glue and bang, that was it. The vent on top is just the tip of a rivet nail, and the compass inside is the same but reversed. Once the hot glue was cold, I drilled most of it out just enough to make it hallow. I got a piece of hard plastic and super glued it on. Stained it, and that was that. A 2 hour job.
-
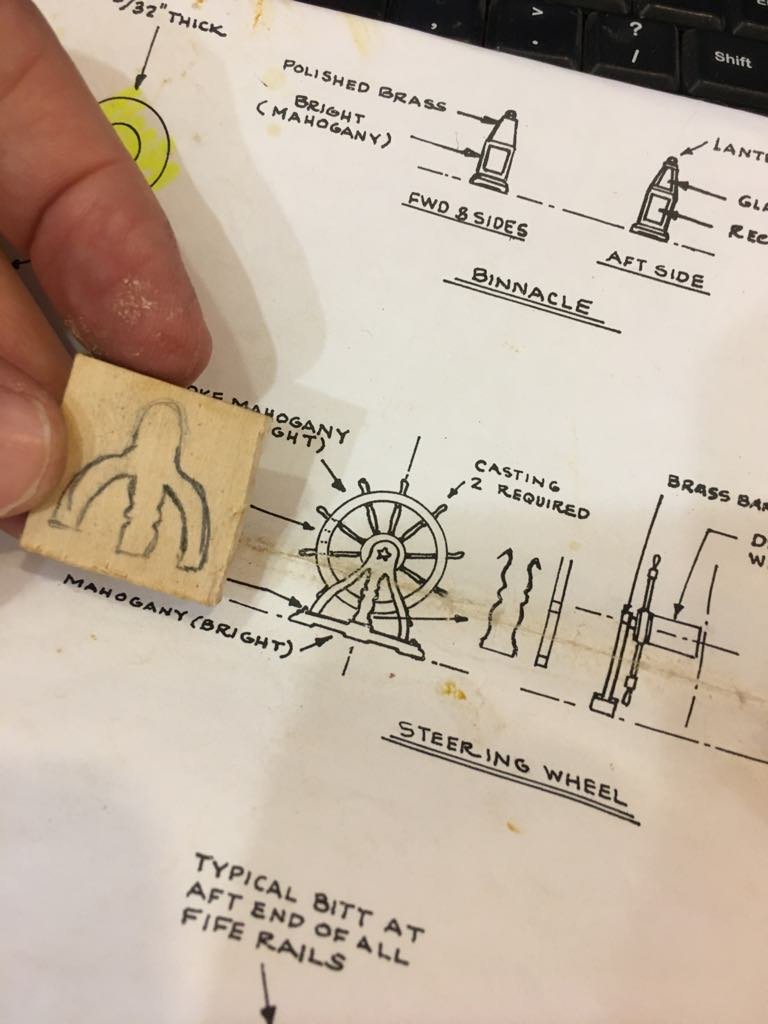
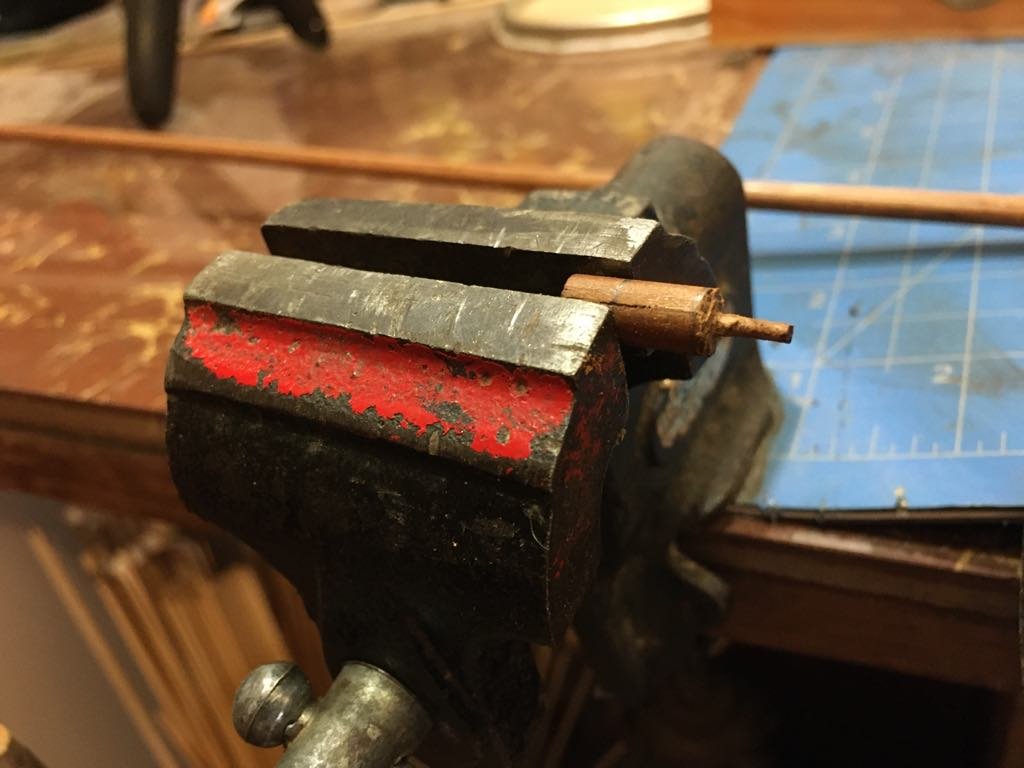
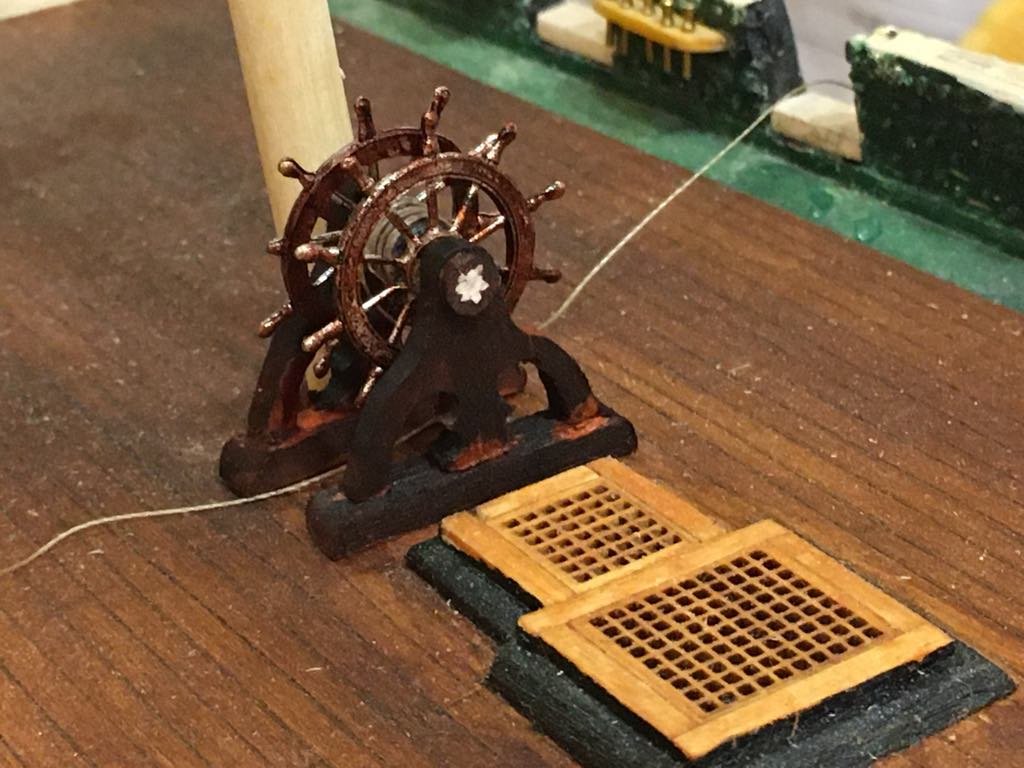
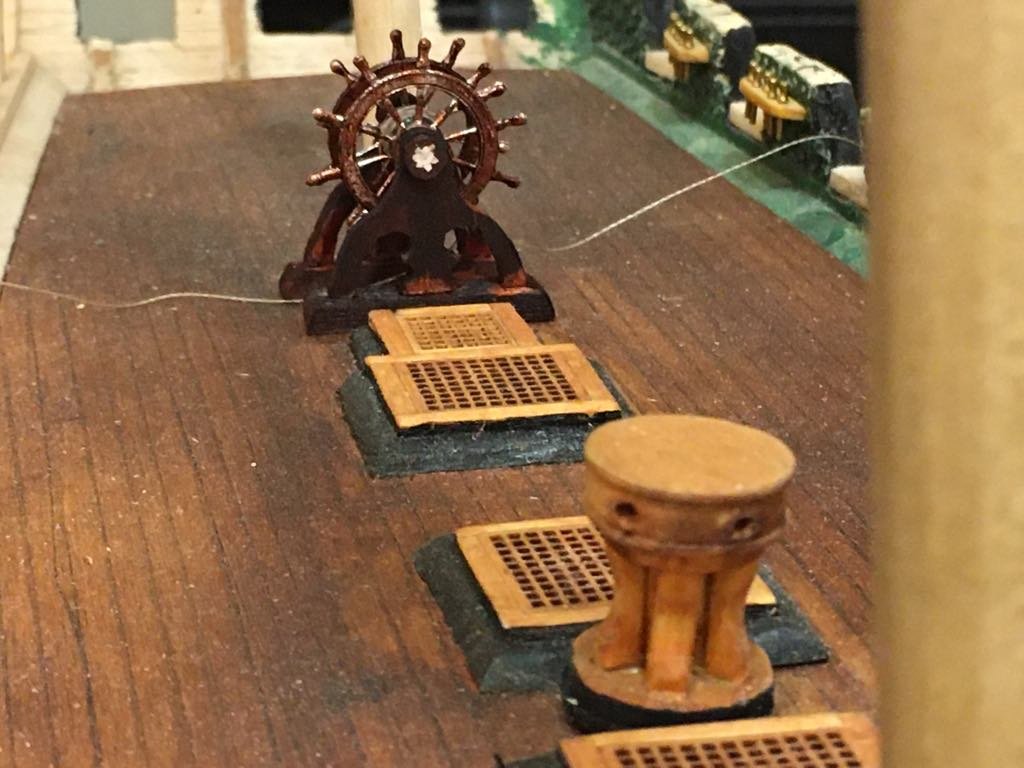
So I put together the ships wheel. It is what it is. One of the wheel handles broke off as that metal is very soft. I will fix it later. The supplied blue prints were not very good for a template. And it was far from the original on the real ship. But as I tried to make it look like the original, the wood just disintegrated. I'm finding out that you can only make wood so small until it is too weak to support itself. So I made it a bit different but again I think its fine.
-
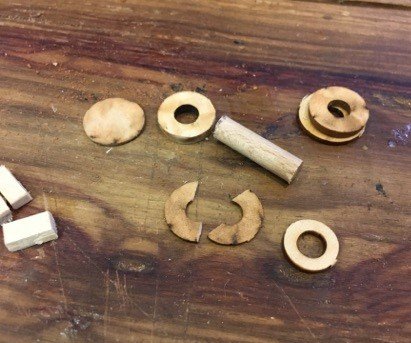
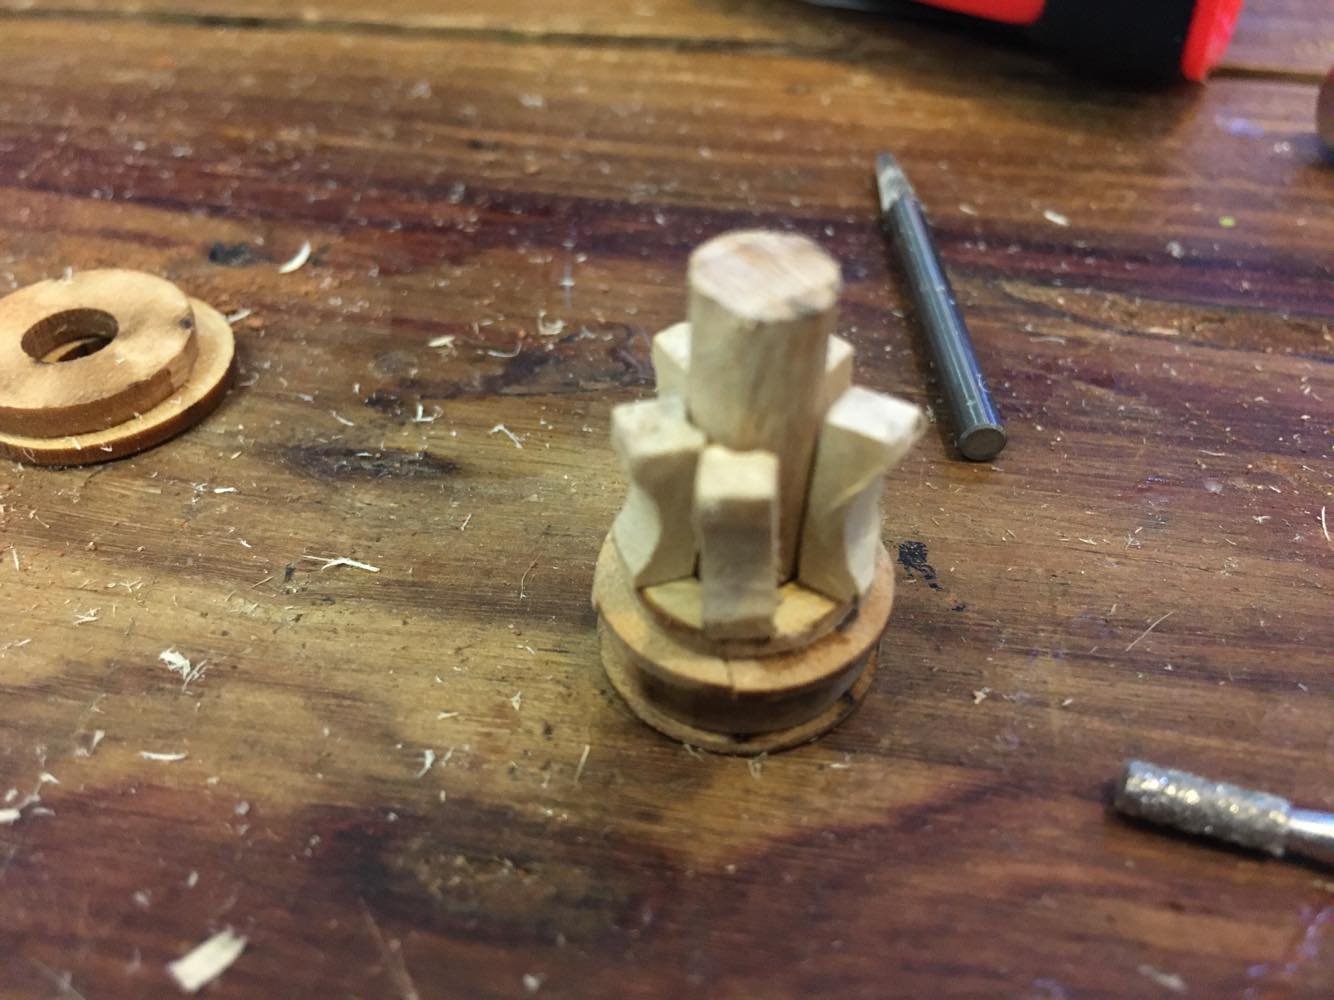
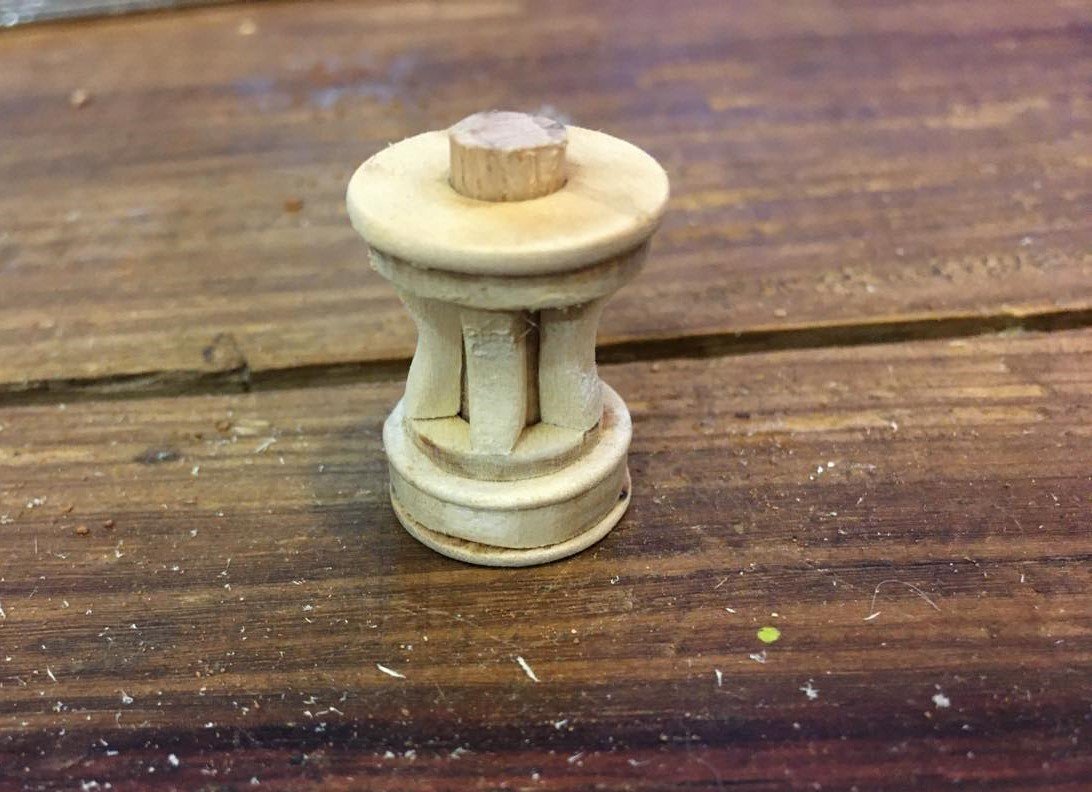
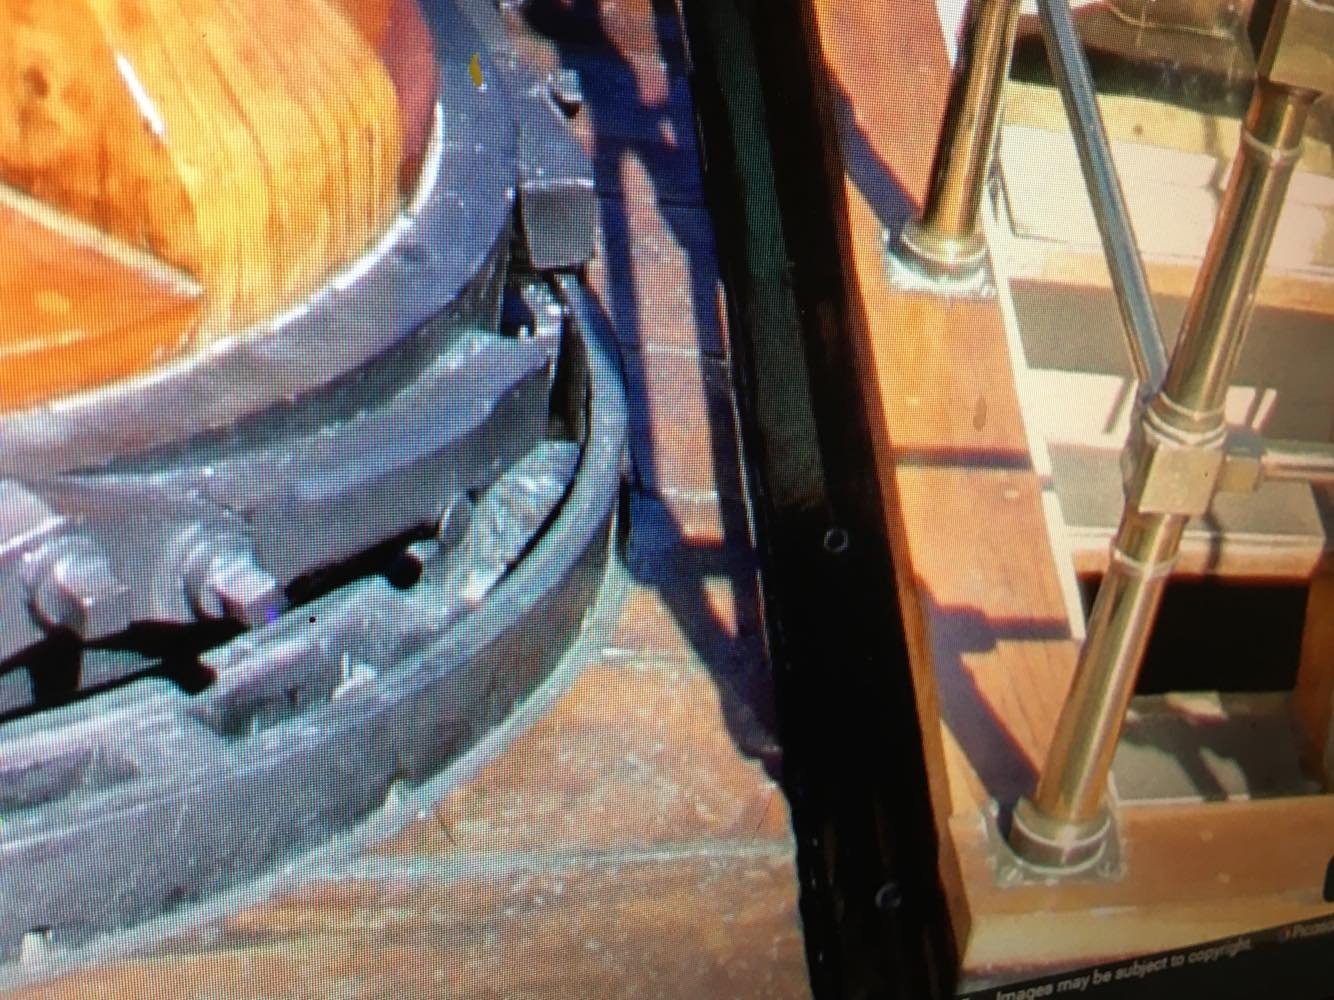
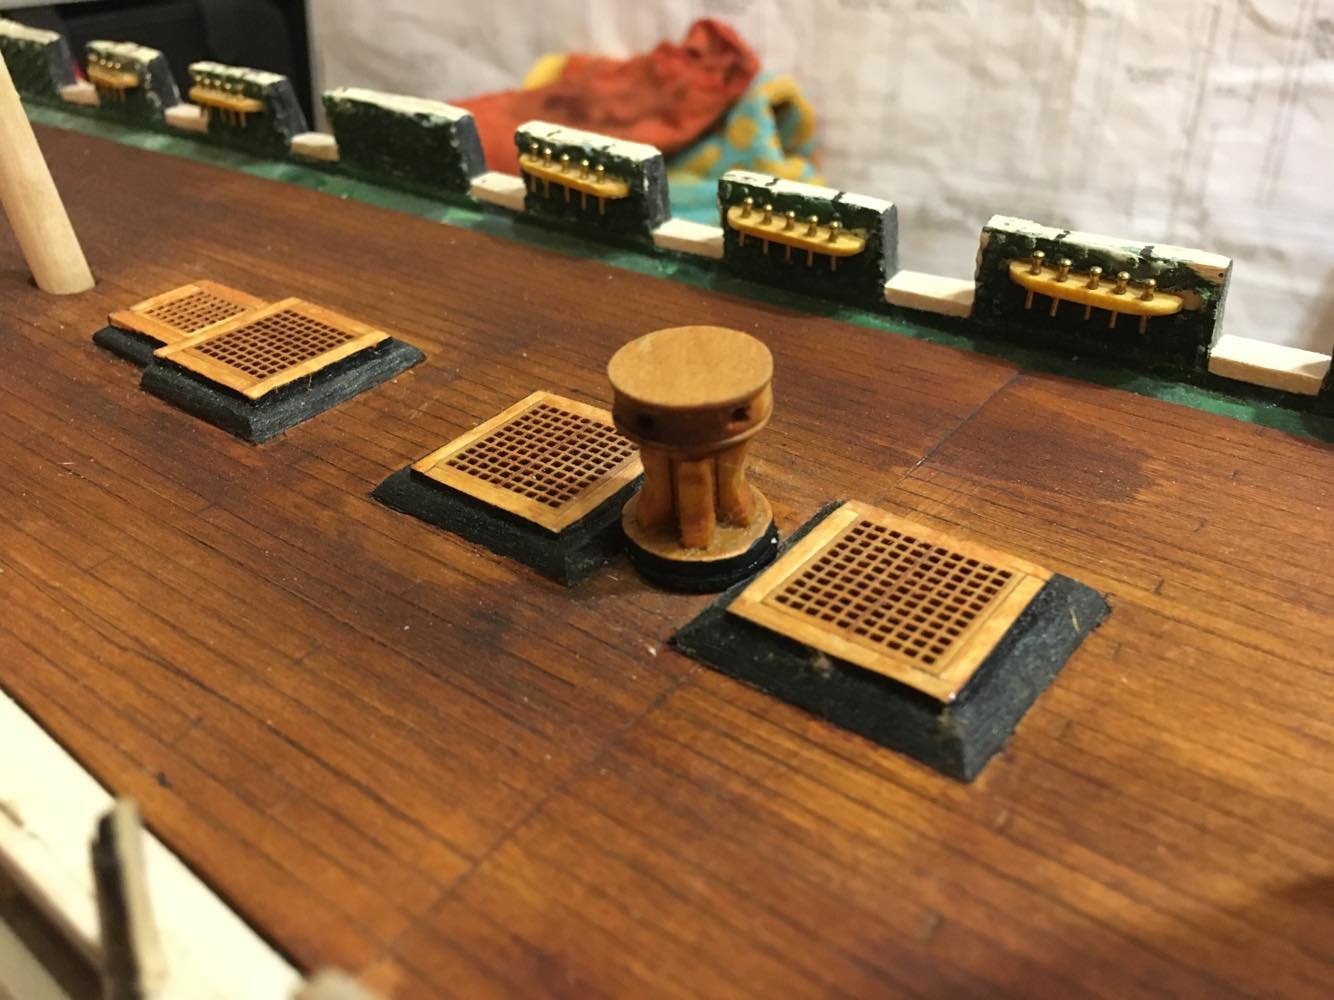
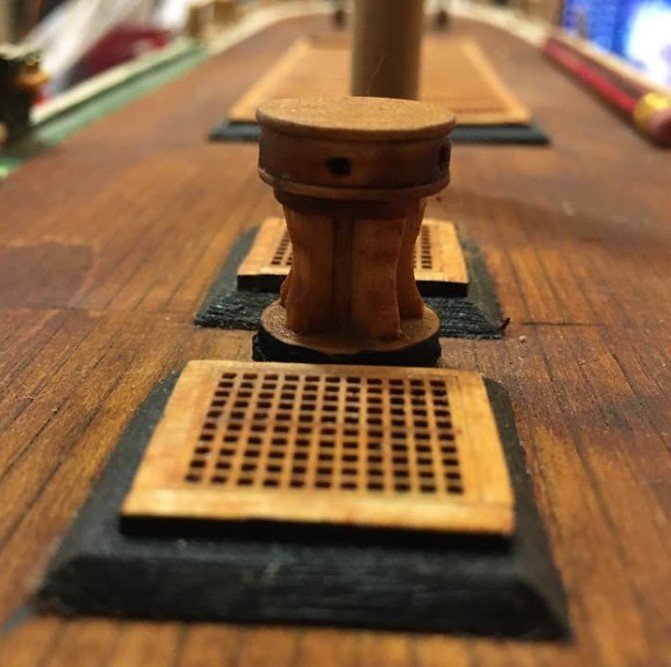
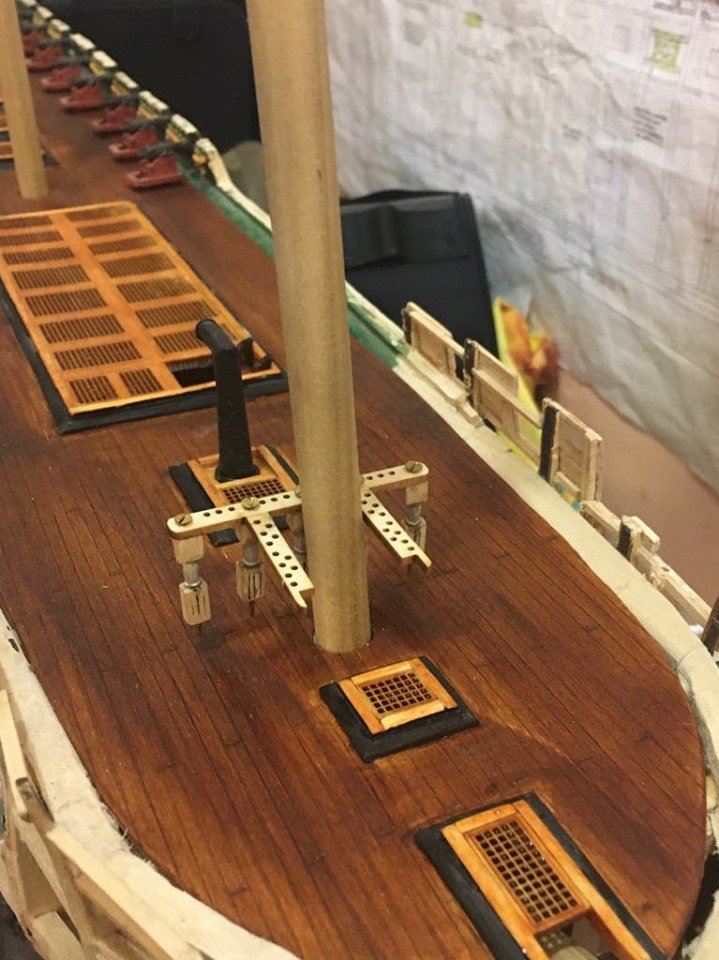
Well, today I decide on the capstan. Got all the pieces together only to find out the termites had gotten to one of the rings, so I just improvised. Those rings are very delicate as one just broke in half. Ugg, but after about some hours, the capstan was finished. I did realize that I had miss judged the distance between the hatches which forced me to file down the capstan and a part of the hatch frame to get it in there. On the original ship I think there is just about 4 inches between the Captan and the hatch frame. Also I think I drilled not enough holes in the top part, is it supposed to be 5 or 6 holes. Oh well I could fix it later. I made sure that I had a dowel longer than needed to mount it.
-
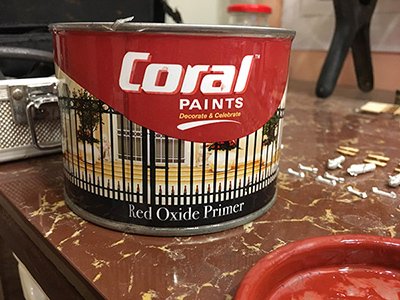
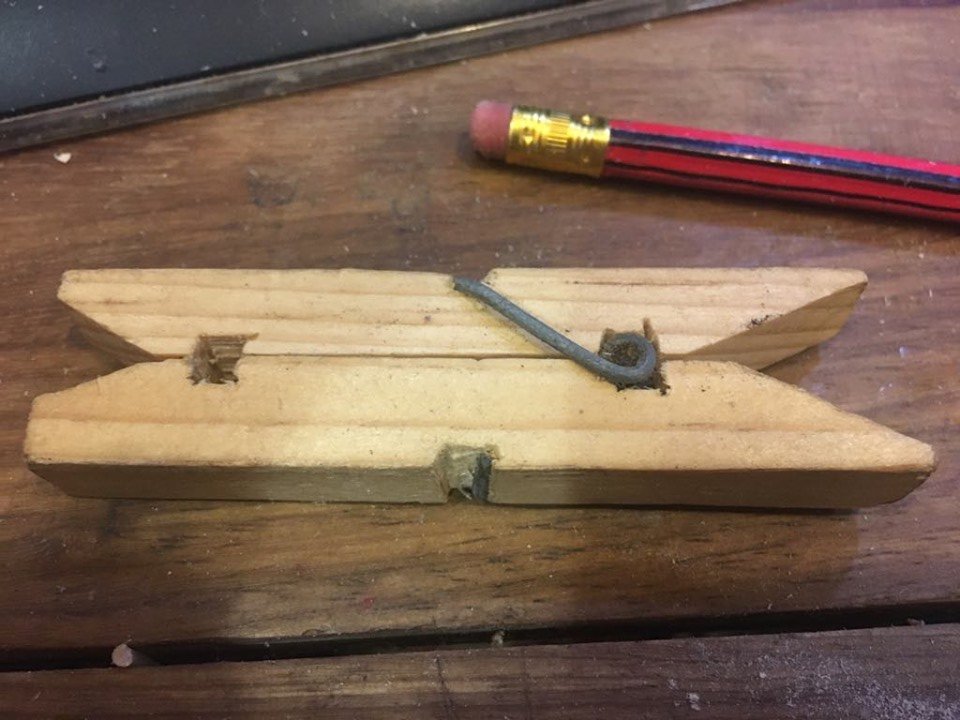
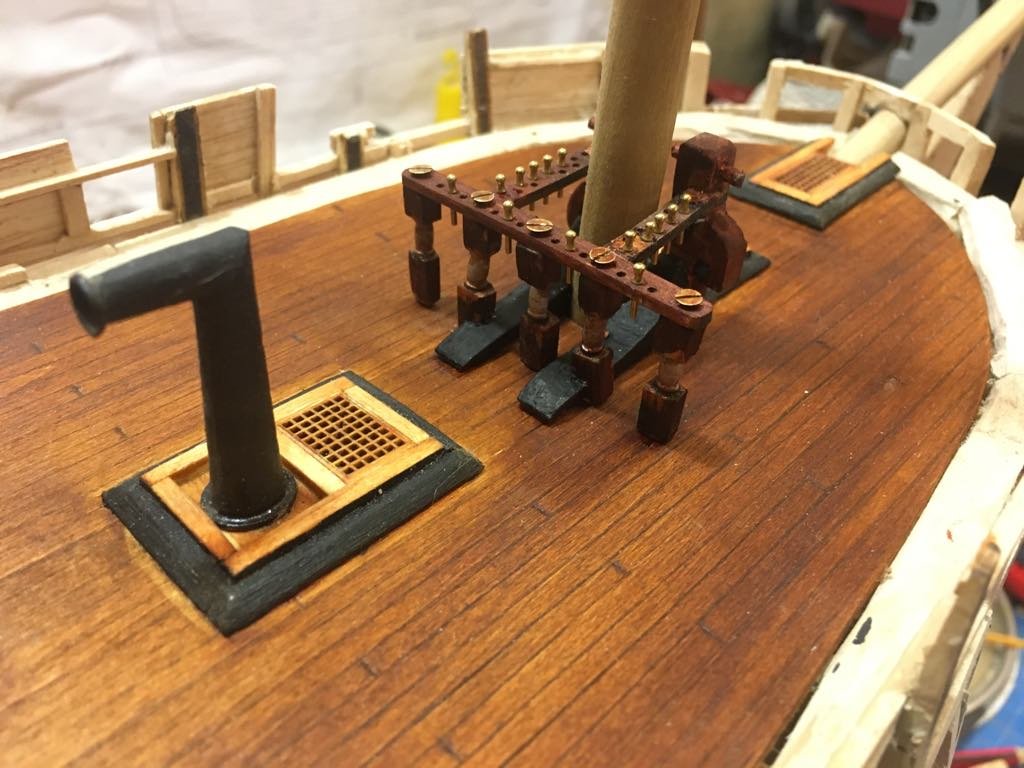
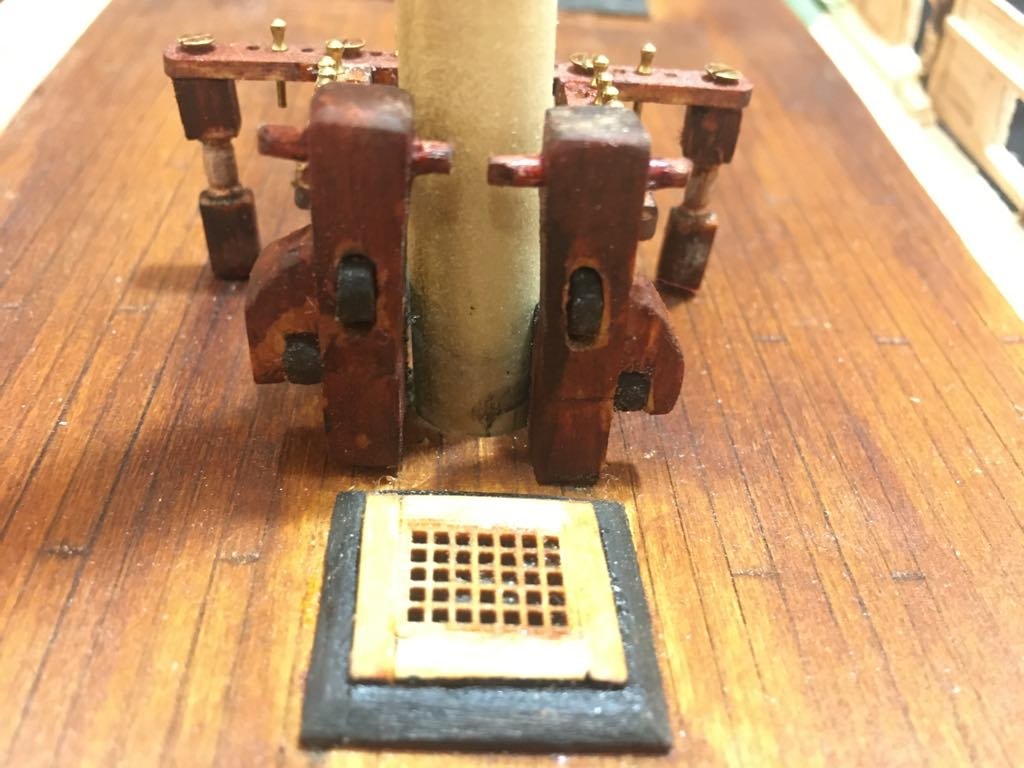
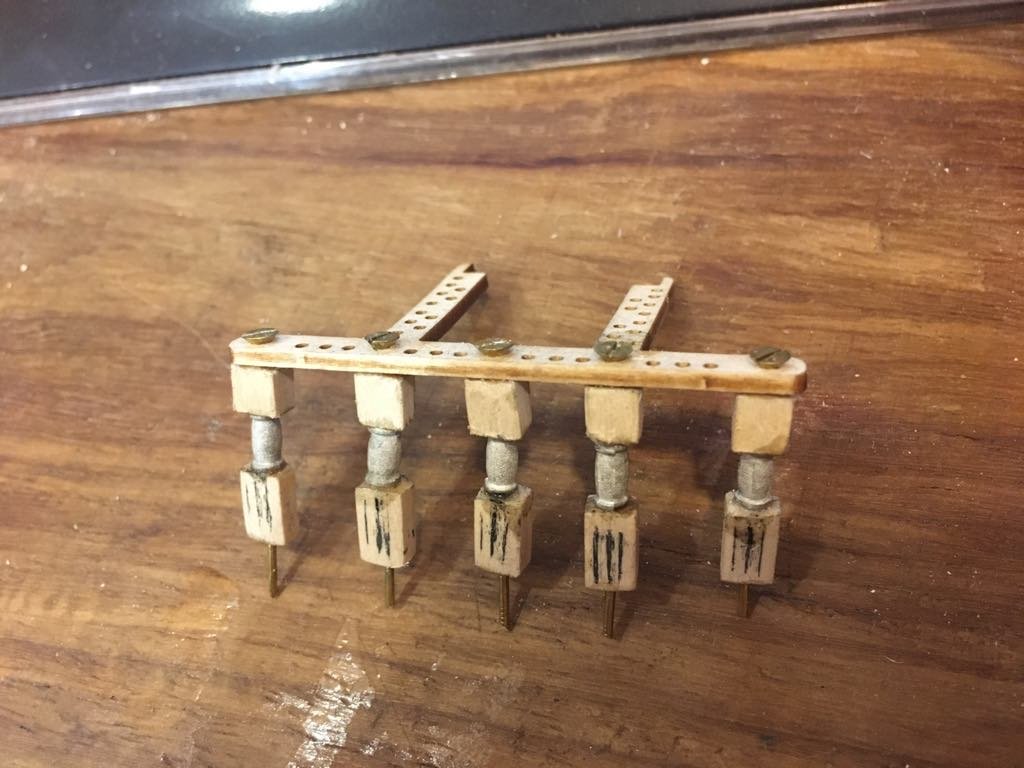
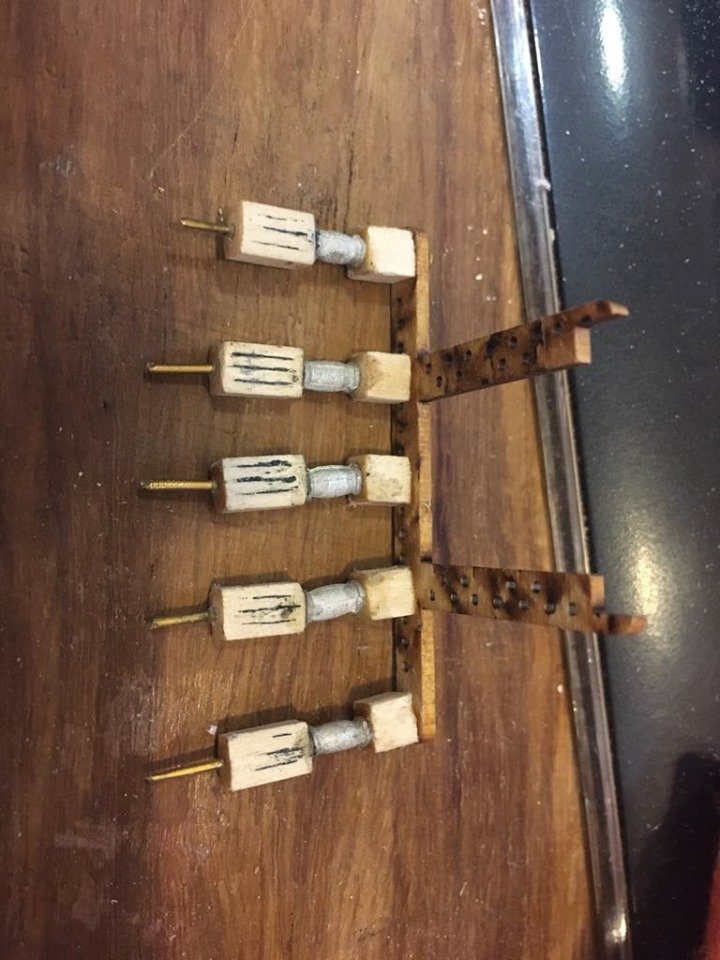
Well, worked on finishing the Fife. What a chore. It took me 6 hours on my Saturday. That thin fife that was provided in the kit was just rubbish. It broke in pieces about 5 times. Thank God for super glue. I decided on making the pulleys and it turned out quite nice I think. So since I didn't have a thick enough wood to make the post, I used a clothes peg. The stain was supposed to be a lighter color, But I decided on a darker one, with some weathering to make it worn. The metal spindles didn't take to the stain, so what I will do later is coat it with a binding agent, red oxide. Also, I'm not sure if I like the screw heads. I might just put wood filler on it to make it smooth, or even melt some fishing line and make it look like a rivet. This was a pain to do, and its definitely not perfect or correct to the true boat, but who cares, I'm done for today..
-
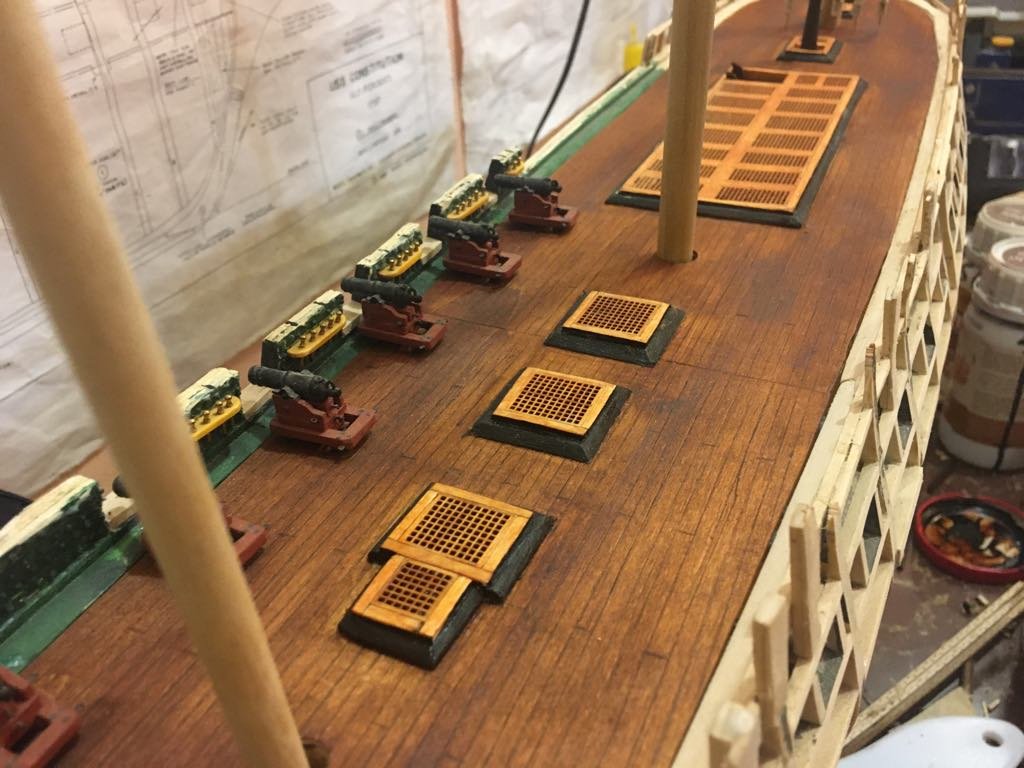
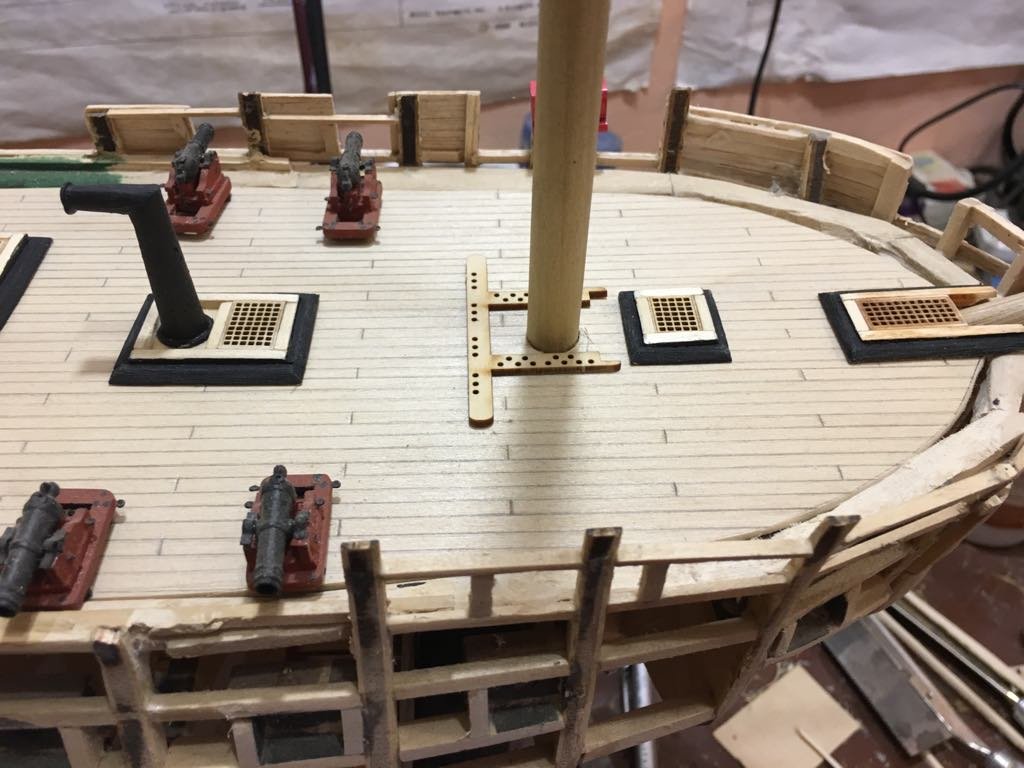
ok, Today I just went for the staining of the deck. I was sooo concerned that I would get it wrong. I looked at dozens of constitutions and everyone has their own opinion. So Since I don't have much of a variety here in the village, I will just use what I have. I used a mahogany stain on the deck and ruba on the hatches. I am thinking of doing a darker trim around the hatches to indicate maybe a different type of wood was used. Still thinking on it. ONE downside to making the deck from one full piece is that when the stain was applied, the wood grain became more obvious. Hmmm. So the snoopers are going to know that I cheated. The deck simulated planking came out quite nice. Oh well. Here it is.PS. I think the stain I had was old or wasn't mixed right as there is darker areas then others. I tried a cloth to evenly to apply it to none avail. I personally think it gave it some good weathering. Like I have done on my Boba Fett costume.
-
I know they are a terrific company as I had them send me the bell that was missing from my kit in the beginning. I don't think they would have sent it to my village here in Africa, and the next time I'm going to Texas is about 8 months. I just couldn't wait that long. So I just have to do with what I have..... Thanks for checking up on me..... I got less than 5 years left to be on the field, then its back home for good. Been here in Africa almost 20 years. Grand kids are on the way..... My goal is to finish this boat this year no matter what.....
-
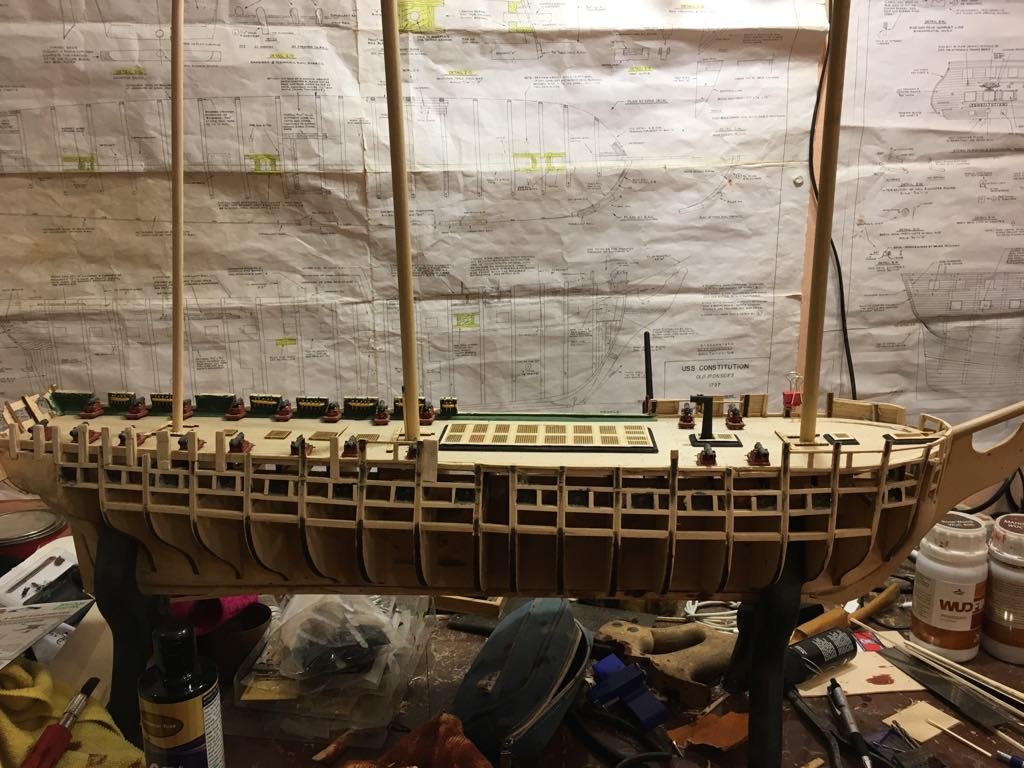
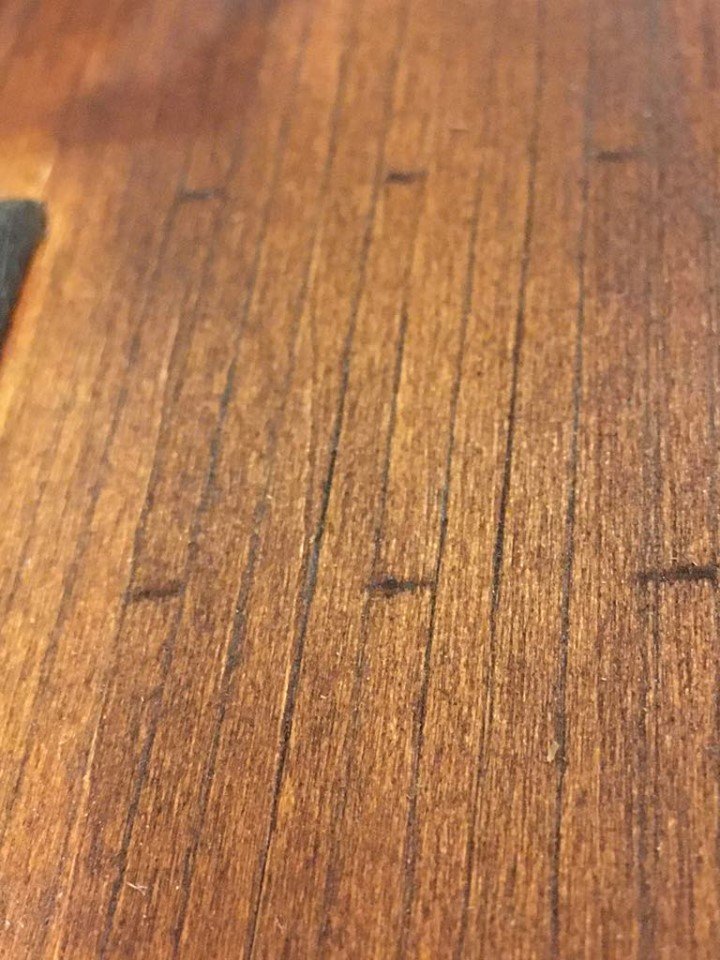
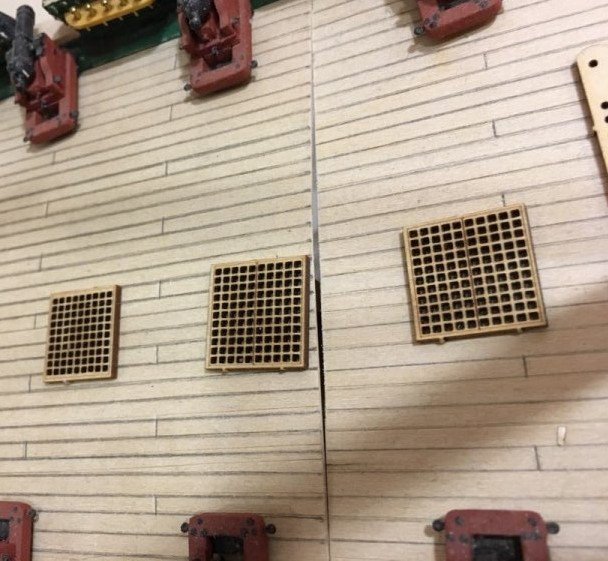
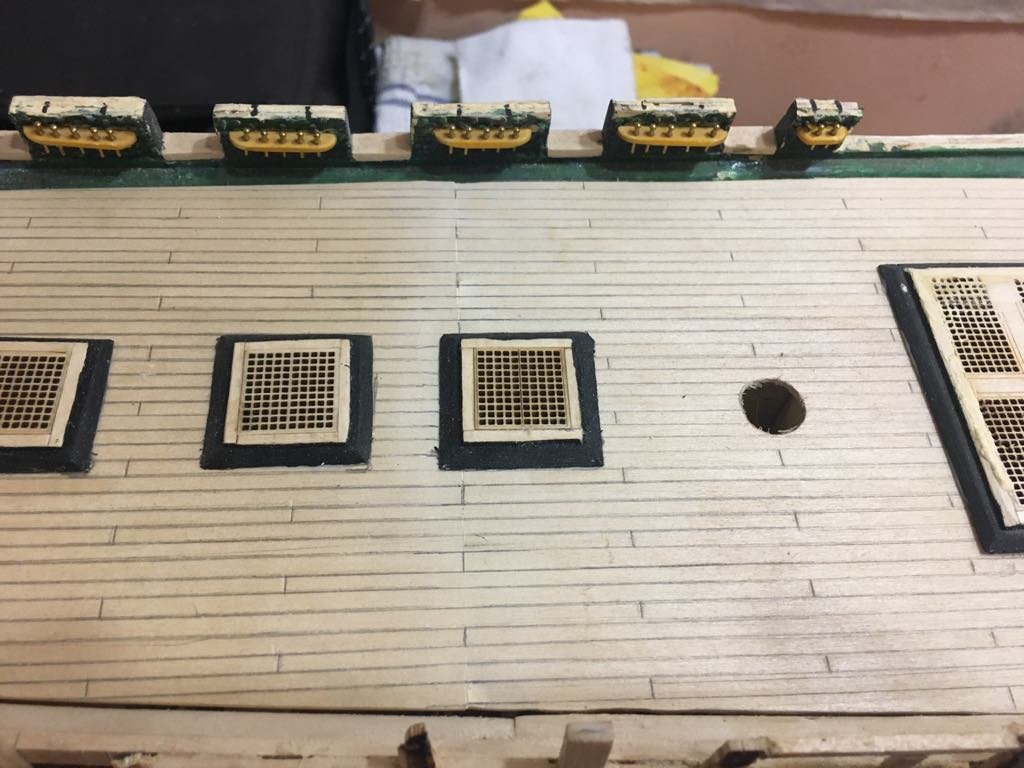
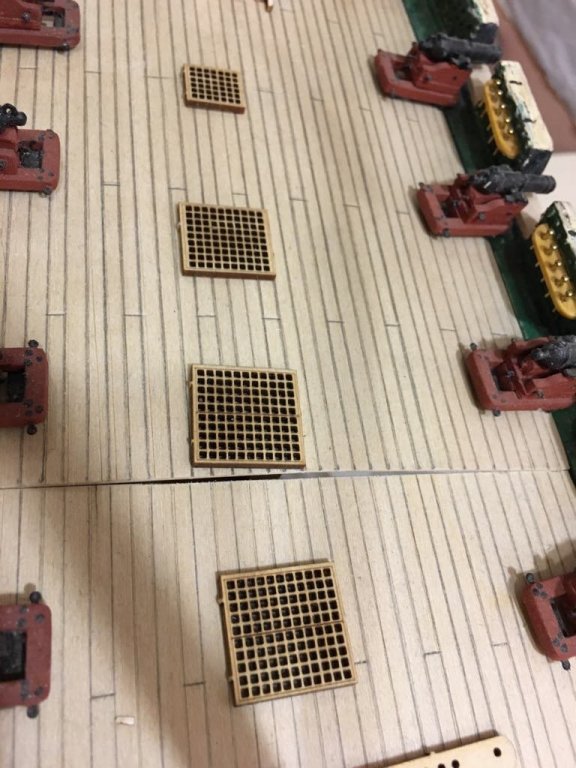
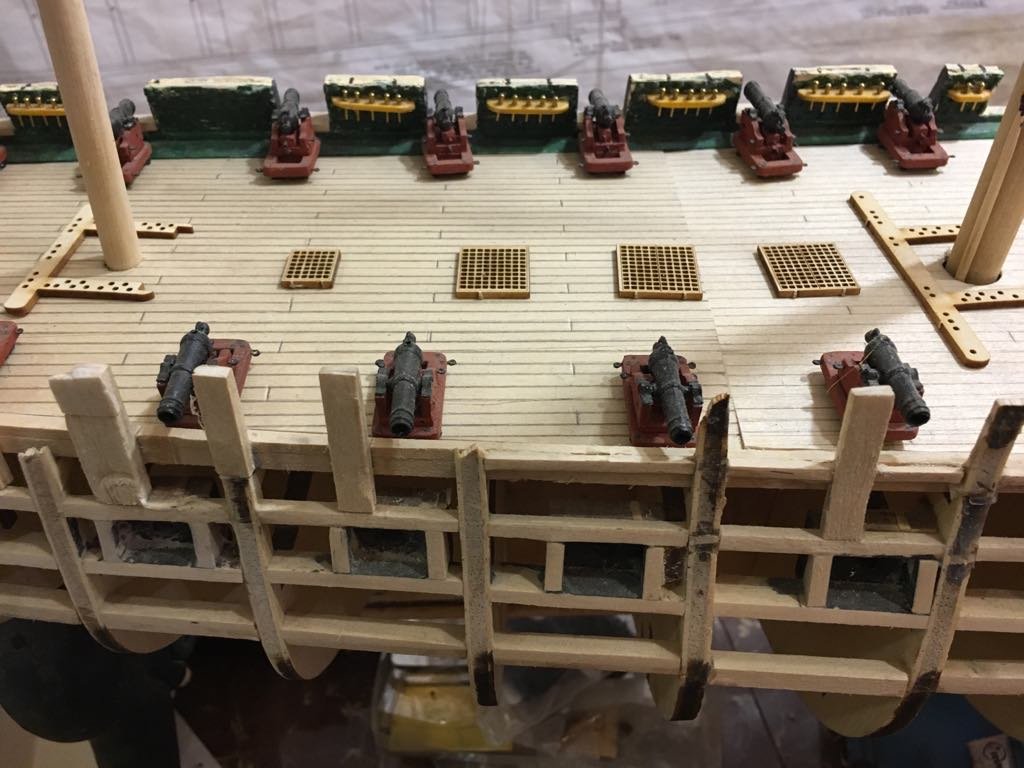
A big thing I was putting off was joining the whole deck together. I have seen a few guys make the deck one piece at a time and that takes skill, which I don't. So I just took the longest piece of basswood I could get and just make lines with a pencil on it and then take an exact o knife and trace the lines, that way the stain will seep into the cracks giving the illusion that its single boards. Well, I came up short, so I had to make the deck into two pieces. So today I joined them. I first glued a few pieces of wood to join it underneath it. Which also meat I had to cut some of the deck beams. It came out so well, I bet ya that you can't even find the joint... HA Before and After picture....
-
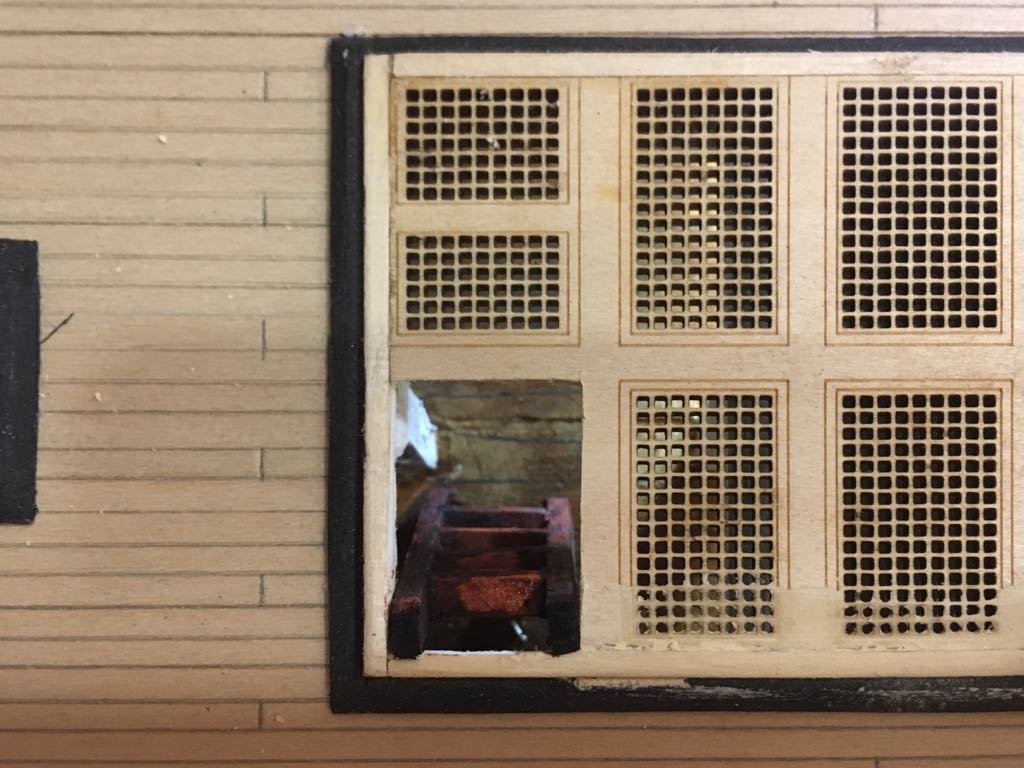
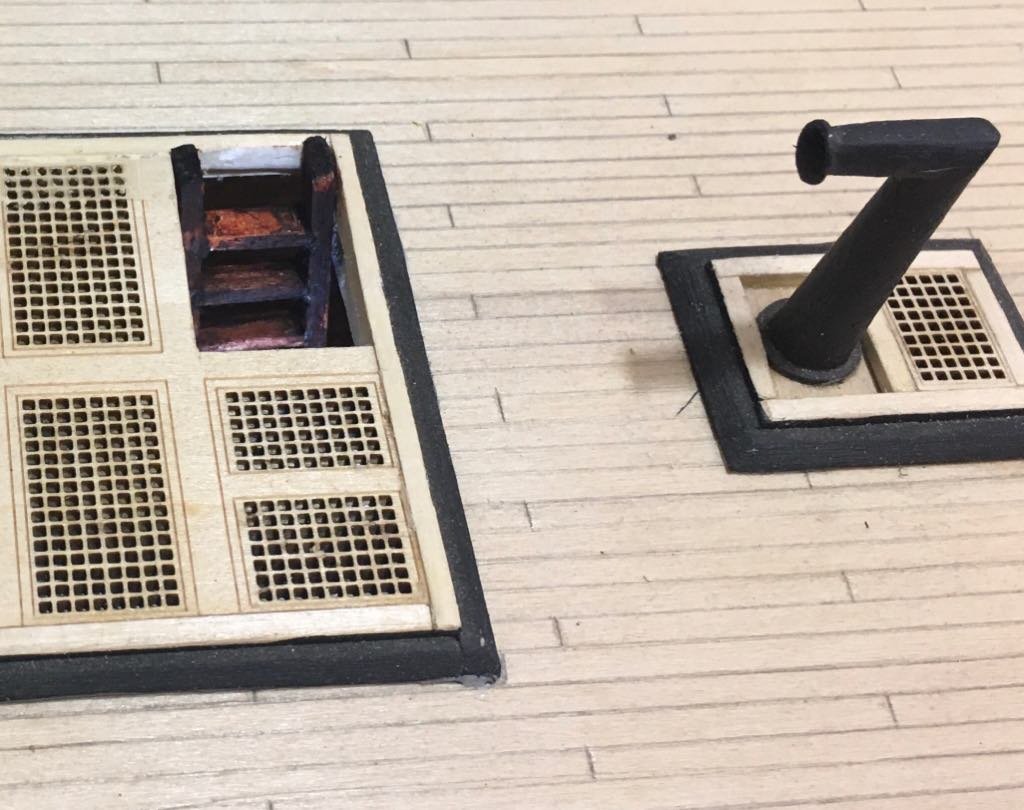
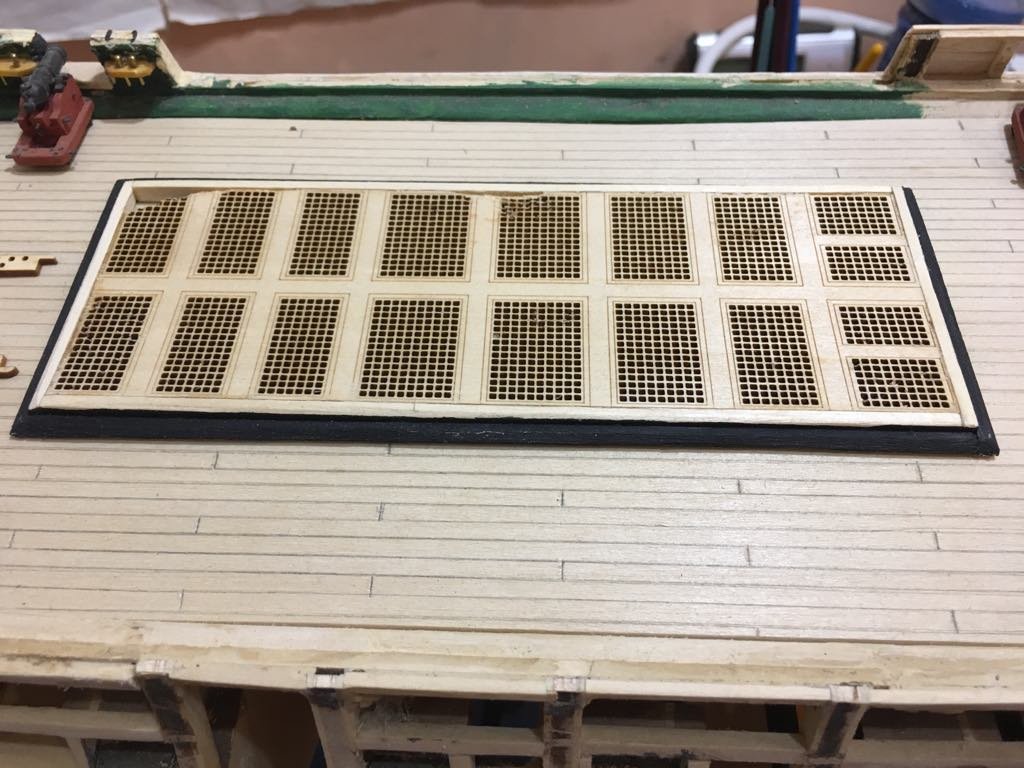
Did a bit of work on the ladder and deck hatches. If you remember, my center hatch was damaged by termites, so today I decided to cut out a small hatch put a ladder there and use the grill that I cut out to repair the damaged hatch. It was intense as pieces kept on breaking off. But after some endurance, I prevailed. It still needs to be cleaned up from a bit of wood filler and the holes dug out plus the paint. Soon coming. To put a ladder down to the second deck, I had to make a small platform just big enough for snoopers to take a glance in. Varnished the platform and the beams and pillars white.
-
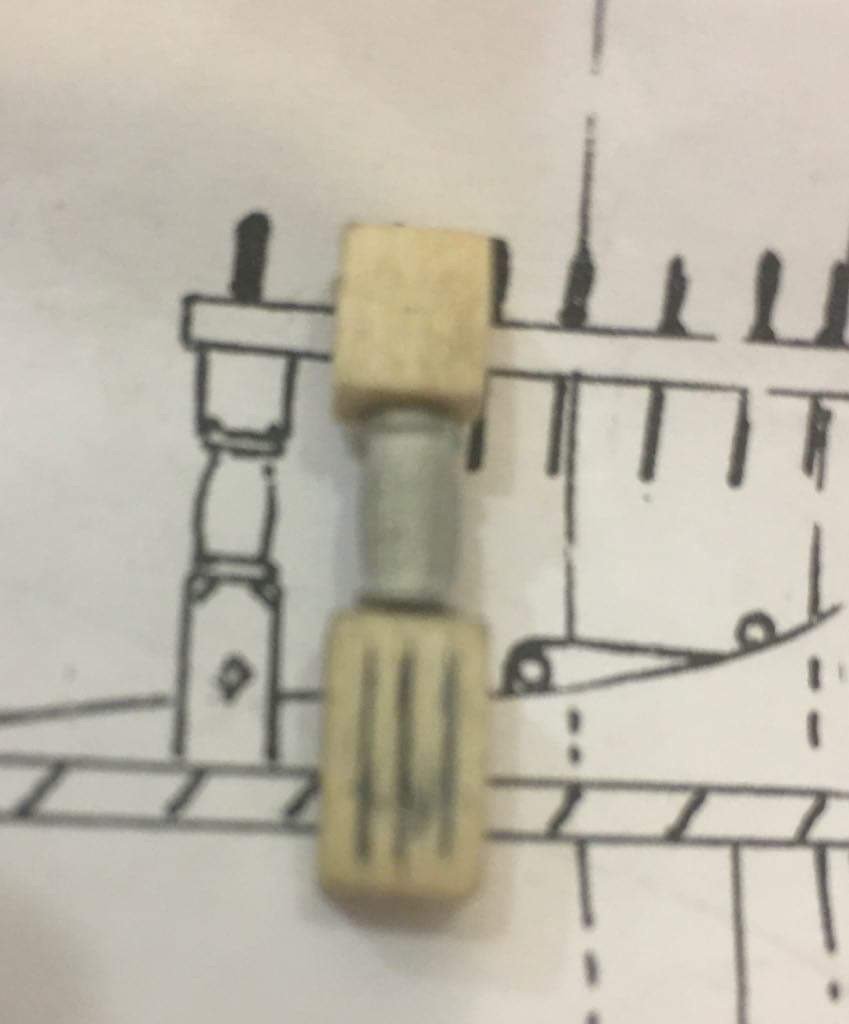
ok, working on the Fife rails. Took a bit of time to get back into it, but here we go again. After looking and investigating on the fife I have decided to go with the supplied Spindles, Mainly is I just want to get this thing done. But as you can see from the photo, the cast spindles are actually too long. But at this point I don't care. So because its a bit too long, I will have to be forced to make the ridding Bitts a bit taller. Nobody will know except me. HA!
-
I have very little option here in the village, but have found a few stains and a varnish. I was thinking of the yellow varnish to put on the hatches and pin rails, and the traditional teak for the deck. The other 3 stains on the sample stick, are all close to the same not much difference, but just seemed too dark. If I was going with what the deck looks like now the dark would be ok, but then the other things like the cannons etc would not stand out as much.... maybe.. I will look one more time in the village before I make the final decision. What do you think?
-
Here are a few more pics of the latest. I will be connecting the deck together but will still make it removable. The planking was done by pencil at first, then I basically traced it with a scalpel knife. Not too deep as this would have cut through it, maybe a third. I did this so that when I put the stain on it should pool deeper on the lines, creating an illusion that its single boards.
-
Well, it has been a long haul since I have been able to get to my Connie. Problems like my wife having a nervous break down, our dinning room building burning to rubble, etc. More stuff that adds to my life. But now I have a bit of time and would like to get back to my late night build. It always gives me a sense of relaxation and peace. So, just to get back into my build, it took several nights just to figure out what to do next. I looked at other builds on this web site and there was many options to go with. But after many hours of contemplating on what to do, I decided to go with what inspires me. Its probably not the right order to do it and it might even bite me in the but later, but I have to do what will keep me going on this long project. On this build there are soooo many different varieties, that I am just going to make a ship that looks good and something that I can be proud of. This is my first wooden build I have ever tempted so here it goes again.
-
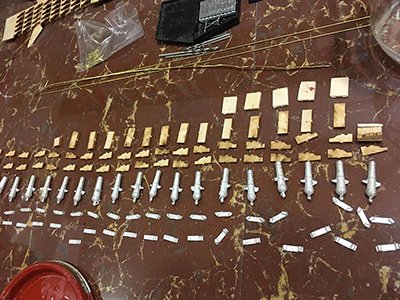
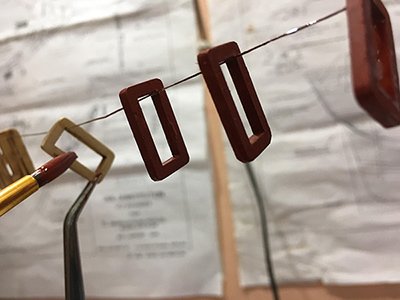
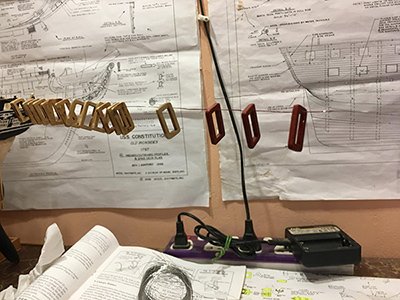
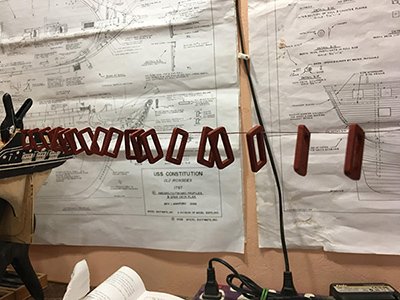
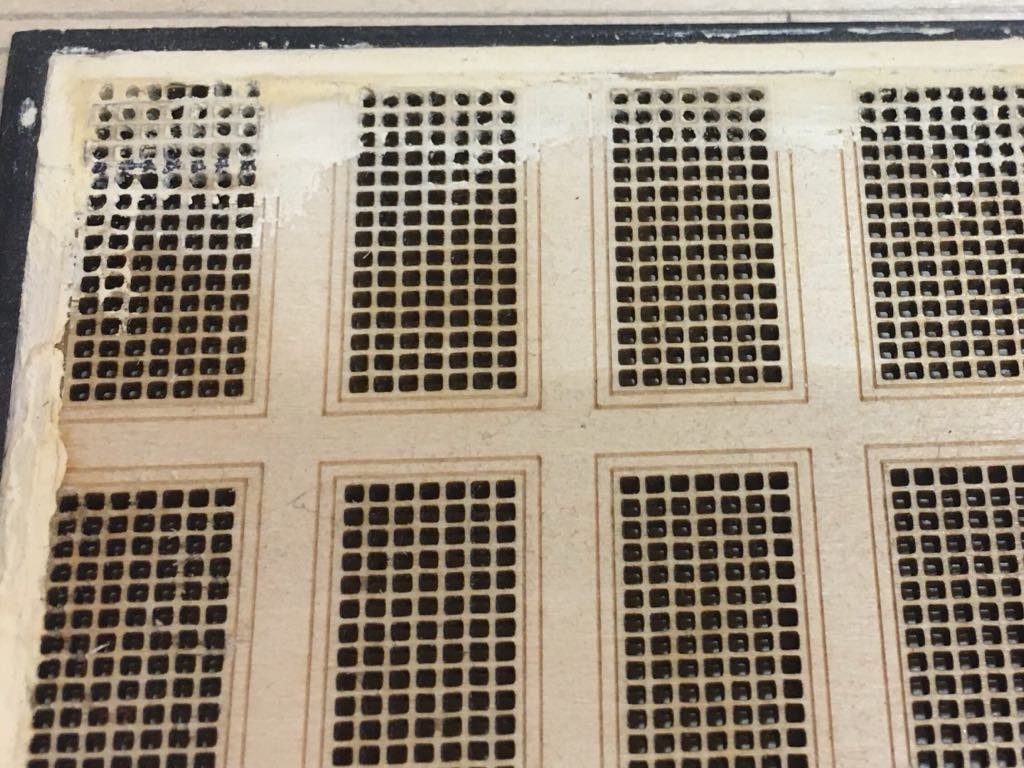
Today I began an assembly line of cannon making. I was going to do them one by one, but that would take me twice as long, so I got started this morning. I first sanded off the corners a bit and inside of the canon platform as there is some uneven parts from the laser cut. Second, I strung up a thin wire to hold the platforms as I painted them and for drying. I used the real iron oxide paint for the platform.
-
JSGerson, I feel stunted by your vast research. So to do it right, the whole cannons needs to be scraped and new correct ones bought. Well, thanks for the truth on this and I appreciate your interest. But again like I stated to Captain Steve I don't have many options here in the bush, so I will be forced to build a lie. HA. This boat, my first build, when finished will sit on the fireplace in my new house that I am building on a mountain. So not many people will see it or for that matter or will know the real truth. But for a great decoration it will be fine. I guess all model builders will have to decide how much accuracy needs to be applied and the purpose. Again, thanks for your comment and hope I will learn more from you. Livingstoneman
-
Captain Steve, Thanks for the advice on the painting of the metal. Unfortunately, I will not be able to get that kind of paint as I live in a village in the heart of Africa. But I will be making a trip to the States in November for a month so I might pick a few things up during that time. Or I might do some research on natural dyes. Hmmm Livingstoneman
About us
Modelshipworld - Advancing Ship Modeling through Research
SSL Secured
Your security is important for us so this Website is SSL-Secured
NRG Mailing Address
Nautical Research Guild
237 South Lincoln Street
Westmont IL, 60559-1917
Model Ship World ® and the MSW logo are Registered Trademarks, and belong to the Nautical Research Guild (United States Patent and Trademark Office: No. 6,929,264 & No. 6,929,274, registered Dec. 20, 2022)
Helpful Links
About the NRG
If you enjoy building ship models that are historically accurate as well as beautiful, then The Nautical Research Guild (NRG) is just right for you.
The Guild is a non-profit educational organization whose mission is to “Advance Ship Modeling Through Research”. We provide support to our members in their efforts to raise the quality of their model ships.
The Nautical Research Guild has published our world-renowned quarterly magazine, The Nautical Research Journal, since 1955. The pages of the Journal are full of articles by accomplished ship modelers who show you how they create those exquisite details on their models, and by maritime historians who show you the correct details to build. The Journal is available in both print and digital editions. Go to the NRG web site (www.thenrg.org) to download a complimentary digital copy of the Journal. The NRG also publishes plan sets, books and compilations of back issues of the Journal and the former Ships in Scale and Model Ship Builder magazines.




.thumb.jpg.ac93fbcdbf61bc7df6eae6eab5b9a85a.jpg)
