DONATION DRIVE - SUPPORT MSW - DO YOUR PART TO KEEP THIS GREAT FORUM GOING!
×


Livingstoneman
-
Posts
69 -
Joined
-
Last visited
Content Type
Profiles
Forums
Gallery
Events
Everything posted by Livingstoneman
-
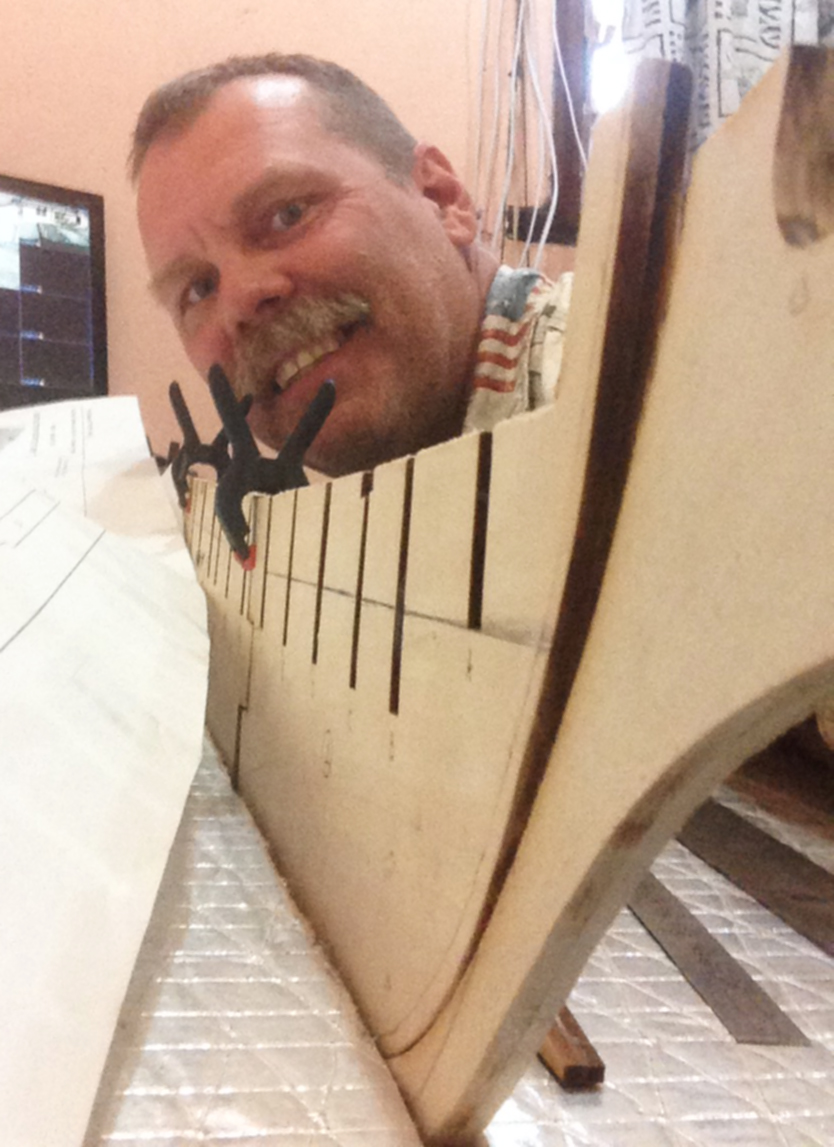
I need some advice, 1. Is the deck of the Constitution supposed to be level or bowed like a banana? If it is supposed to be slightly bowed, is to be from the front of the boat to the end of the boat? I have found out that I have several bulwarks that are not even with the others. This was done by placing a plank across them. I know that I could just clamp them down when gluing, but even doing that, I still see a few gaps. 2. Should I grind down all bulwarks to make level but bowed? I looked at a few other examples, but it is very difficult to determine how much of a bow I should create!!! Livingstoneman Tom
-
Dear Dr. Per, Thanks for your note! Its so encouraging to get a note from the outside world as I am very isolated here. My location is 9°48'48.99"S 28°46'1.12"E To sum up my complicated life I could say I am an MK. Traveled and lived in 14 countries to end up in Zambia. I have a wife and 6 children. Five of which are in Texas most in University. I only remain with my last born son of 18 years who I will be taking to the States very soon. I have been in this country now the longest of 14 years! But 8 in our current position. I have now started an orphanage for vulnerable babies that cant survive without our help. The oldest is 11 years old now and will continue be with us while doing his school. Our intake of orphans is only for those who are 2 years and below. I have many projects going on as I am Jack of all trades and master of none. My last hobby was an old fiberglass boat I found at the bottom of a river. I restored it and is now at my farm located 1 hour south of our orphanage. So my new hobby is this USS Constitution. I will be building my own house and I think a boat like this would look great above the fireplace. I love the water and spend time in canoes and boat as much as I get time for. I am writing a book of my life and adventures I have come across. My wife helping me along the way of course. You can see my photos on facebook or my 2 web sites, www.missionaryfamily.com and www.kazembeorphanage.com Any more questions? Tom
-
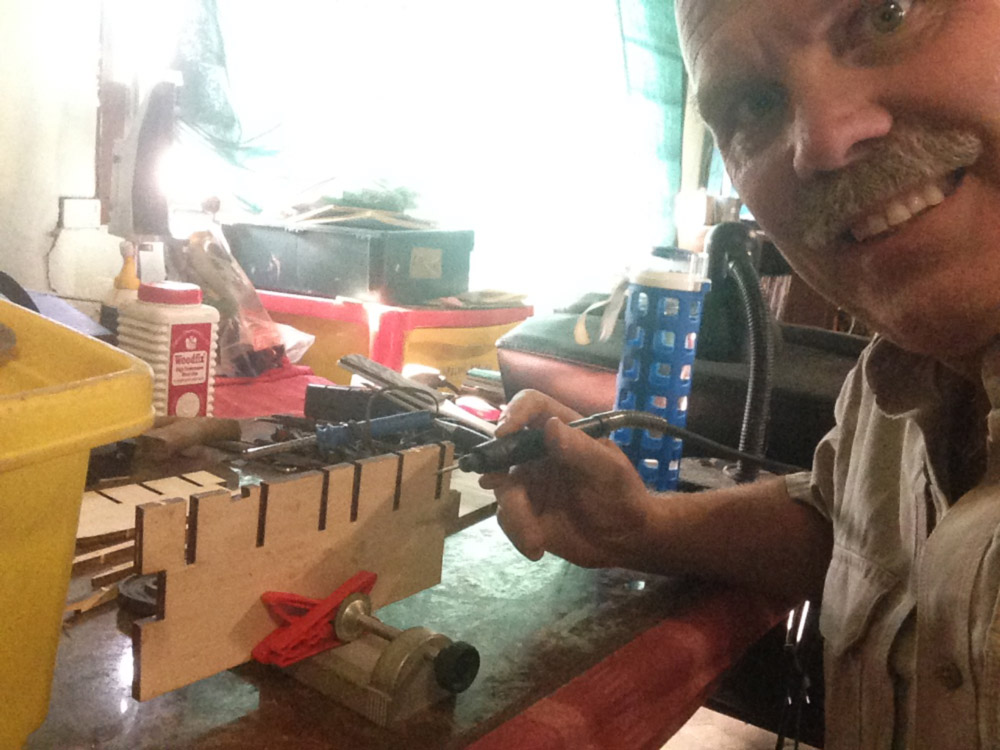
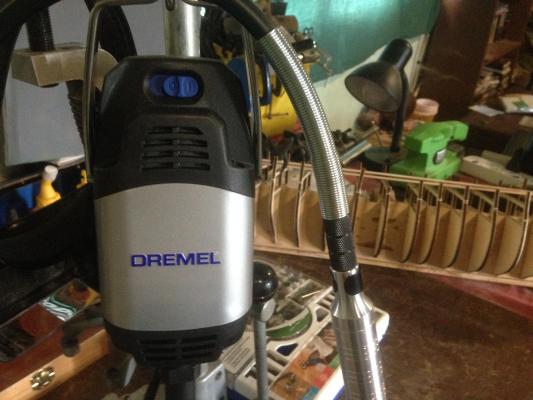
I just got my new Dremel for Christmas! Yeh!
-
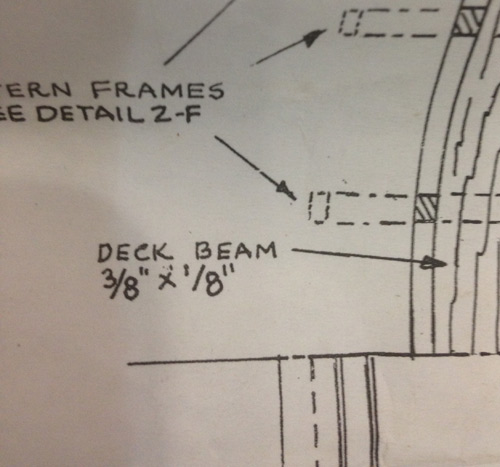
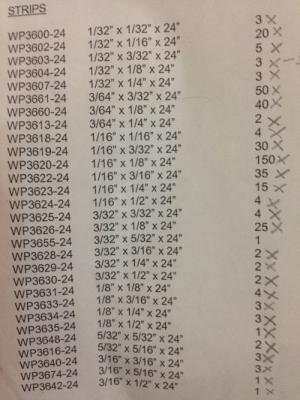
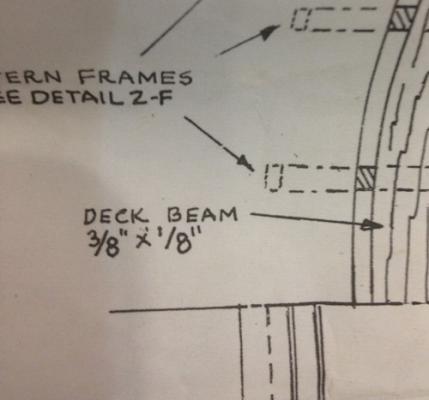
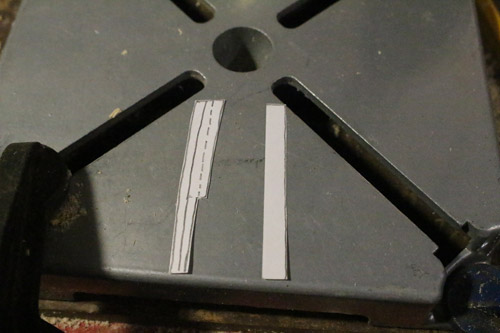
I have been looking for this one strip of wood that is required to be glued to the back of the stern frame, but it is not included. Am I missing something here? It asked for 3/8 X 1/8 Strip for the deck beam. But it was not provided. I guess I should just make one? Tom
-
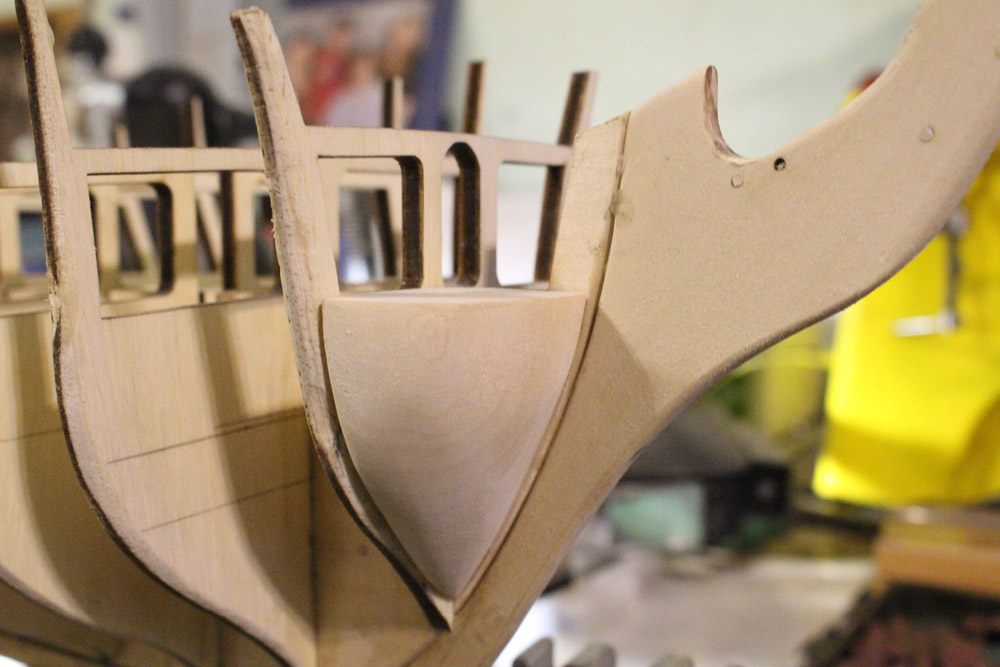
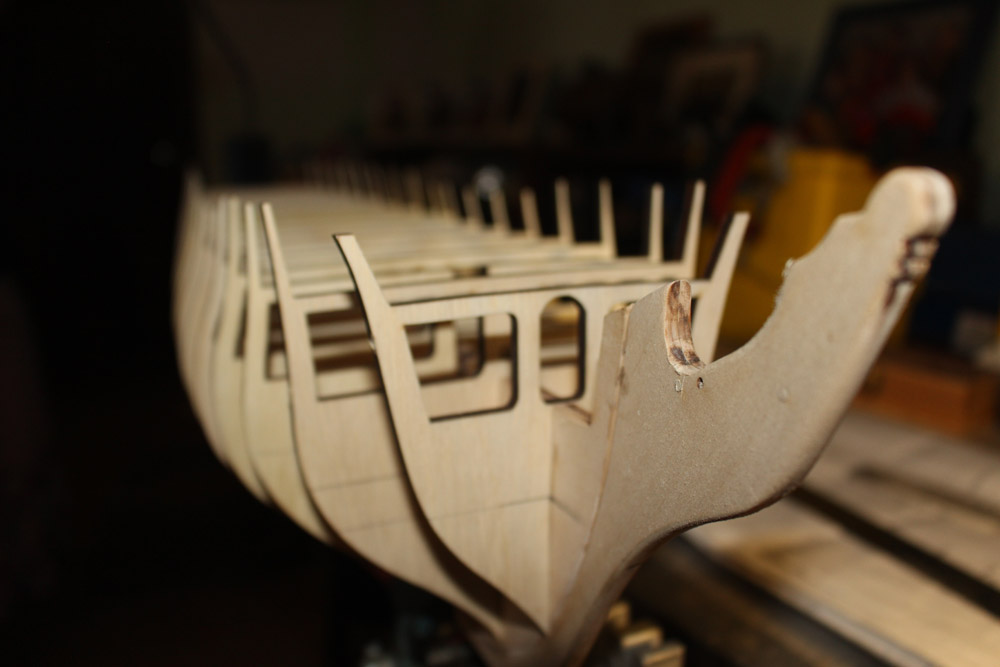
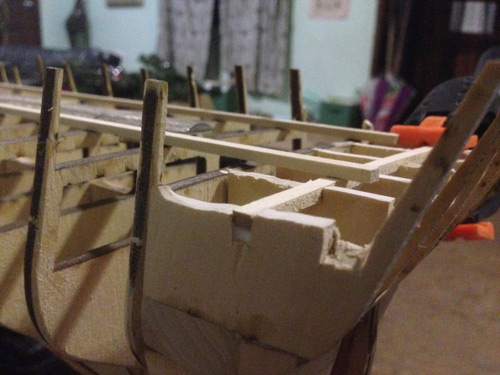
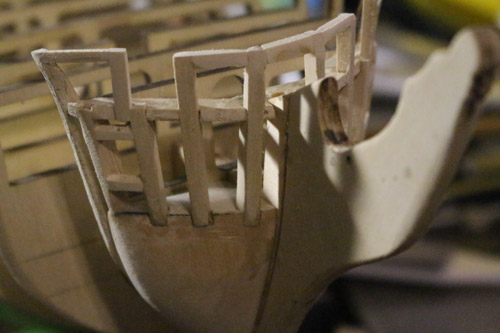
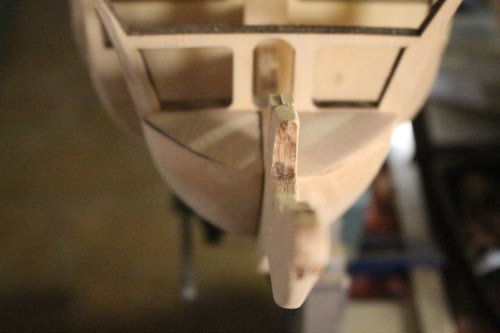
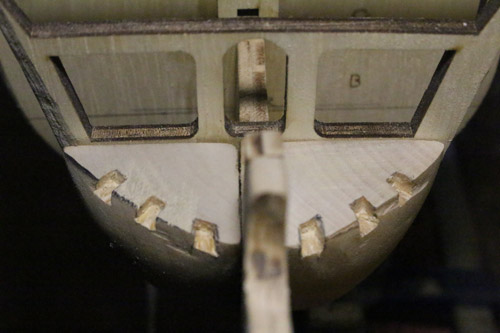
Man oh Man. Made a huge mistake. Somehow the stern frame is too tall at the one end of where the deck is going on, the stern frame is about 1/4 inch too tall. Maybe the stern table block was too thick? uggg. So what I did is just sand down each stern block down a 1/4 inch and re-cut those notches. During which I broke off 2 of those stern frames sticks... Glued them back on. I just hope this isnt going to bite me in the butt later, like for the windows etc.
-
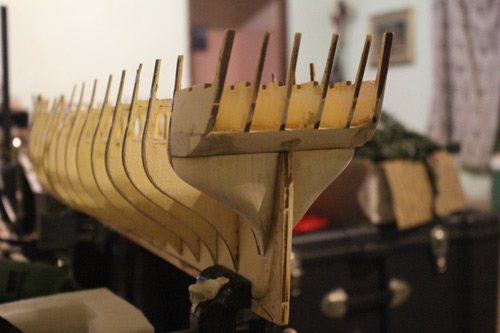
Worked on the Stern. Still needs a bit of touch up, but I think it is enough for today.
-
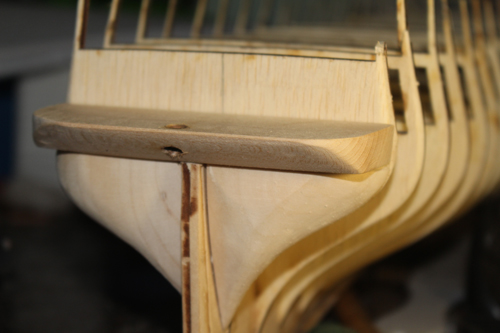
Been busy at the farm (Terra Nova), but I finally spent a few hours on the rear filler block.
-
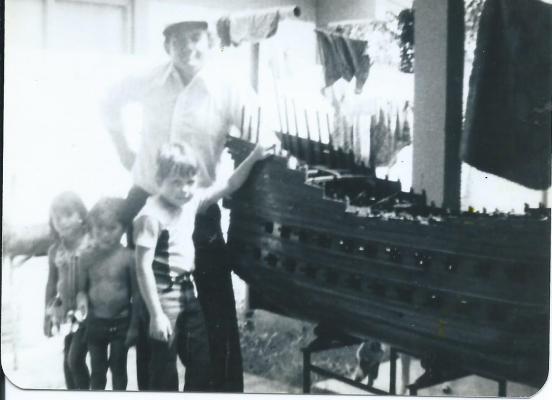
In the same year in Venezuela, my brother and I would go over our neighbors house which was like visiting Captain Nemo. An old Indonesian engineer who decorated his house with things of the sea. Diving bell suit, blow fish as lanterns, giant sea turtles shells on the wall. Etc. In his spare time he built large scale ships from scratch! He had done several and are now in museums in Caracus. Only one photo survives of him that I have...
-
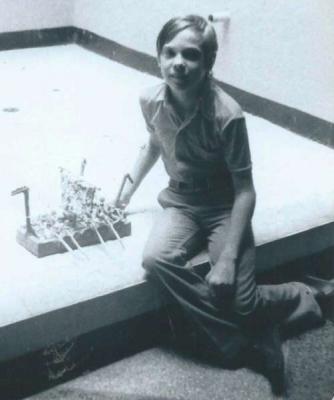
My mom just sent me a photo of me in Venezuela 1979 with my first Viking ship built from scratch. HA!
-
Captain Steve, After comparing your bow with mine, you are correct! Mine are what I call swollen. I will work on that soon. And on the stern, yeh it needs a bit more too. Thanks for the heads up. I was going to try a piece os planking but was concerned that I didn't have an extra piece to use from my kit. I live in a remote village in the heart of Africa, so getting any spare balsa wood is out of the question. But I do go back to Texas once a year from April to June so I could get more supplies if I need it. We have a volunteer coming in December, so my wife said she will buy me a new real Dremel for christmas. YEH. My off-market one has it problems. The flex cable broke as I crimped it. Anyways, thanks for the advice.
-
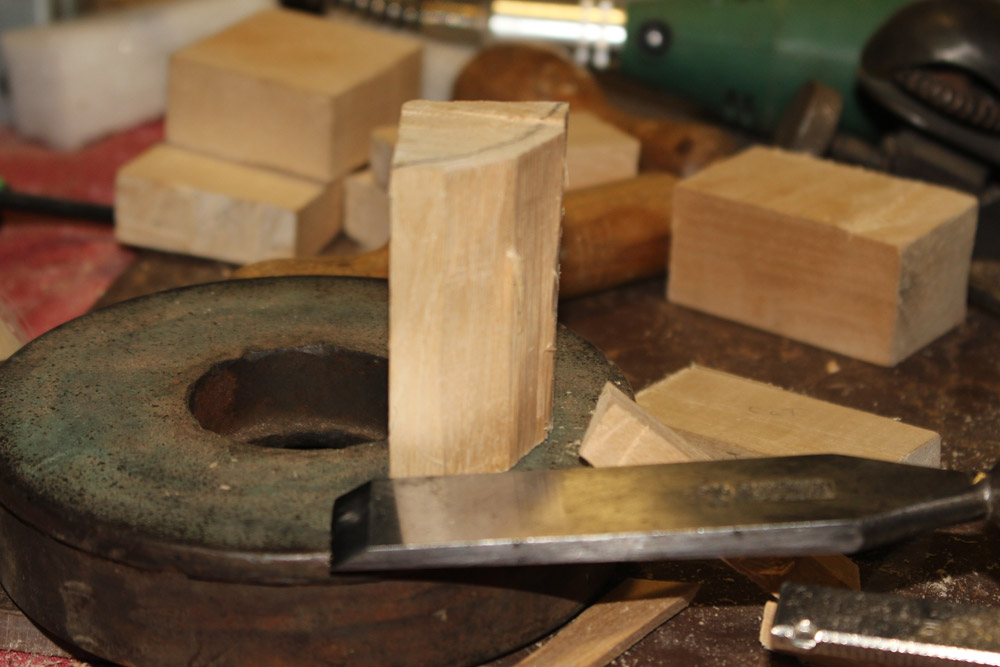
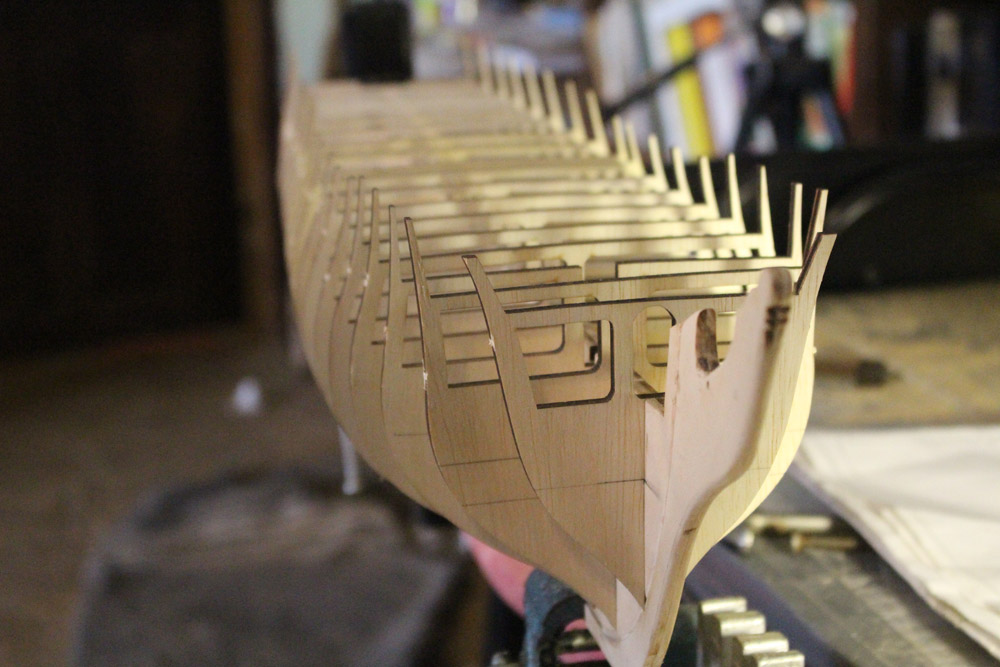
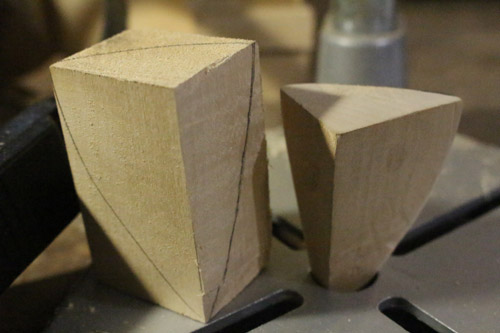
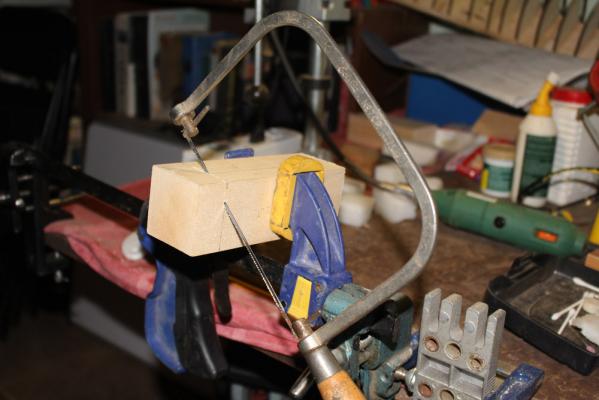
Ok, I have been fighting with these filler blocks long enough, since this is my first build, it's just going to have to do. Its not perfect but it should do the trick. I broke 3 blade saws and many dremel sand papers. Plus a boat load of saw dust. I think I gave my wife asthma. But all is ok now. I hope to stay away from those filler blocks forever!

-
Been busy last few weeks traveling to Lusaka to buy iron sheets for the orphanage. 1000 kilometers away! HA! ok so I think I have finished the front Plank sheer. If that's what you call them. It was tricky as I had to use tweezers to hold a few of the pieces, but I managed. It's not going to be seen from the outside so I think I did an ok job. I have now started on the rear filler block. And it is a challenge! Still not done but I'm on it's way.

-
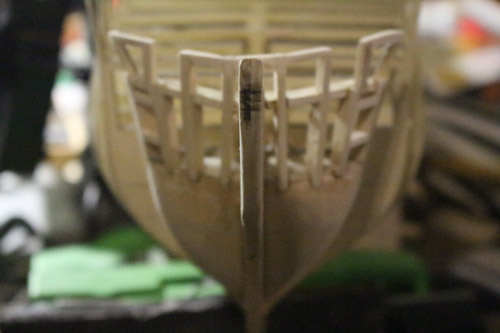
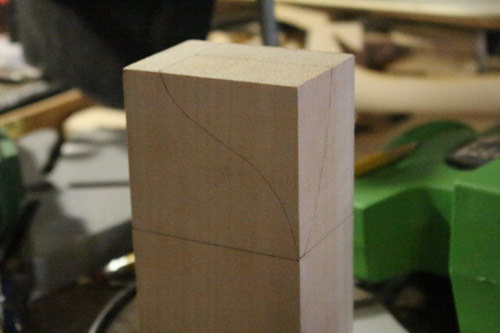
This Saturday I worked on the dreaded post. Took me 3 hours to do it and I am not happy how it turned out. I did just the one side with terrible results. The wood kept splitting. I guess when you deal with such small pieces, looking where the grain is traveling would be helpful. I will sand it down further and use wood filler to fill in the gaps.
-
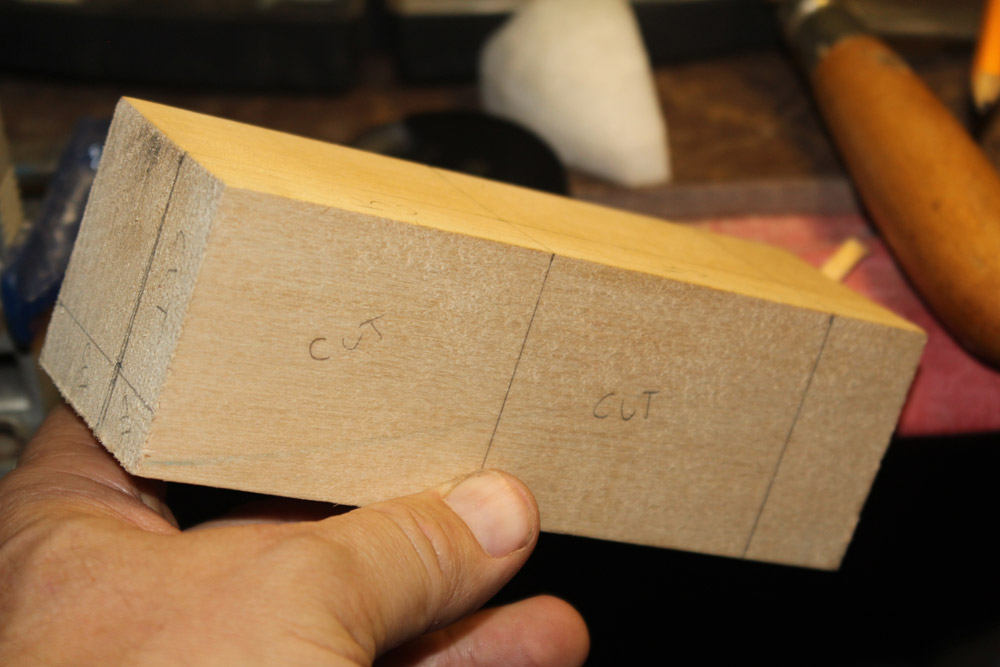
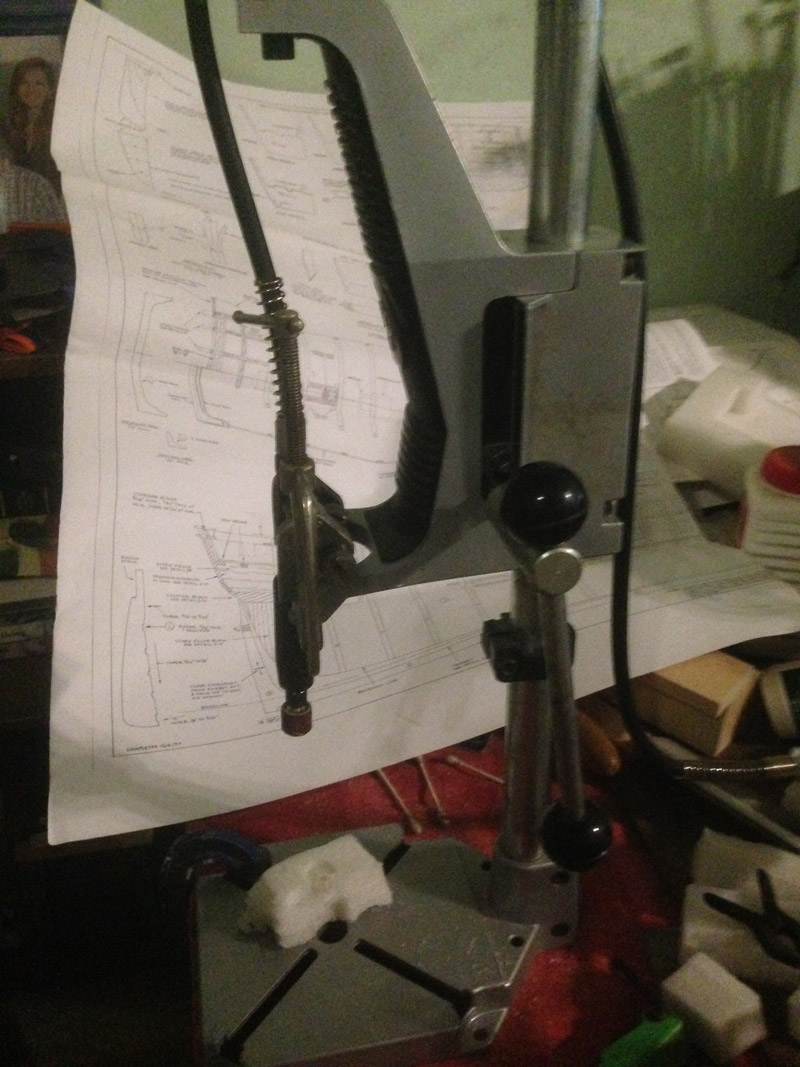
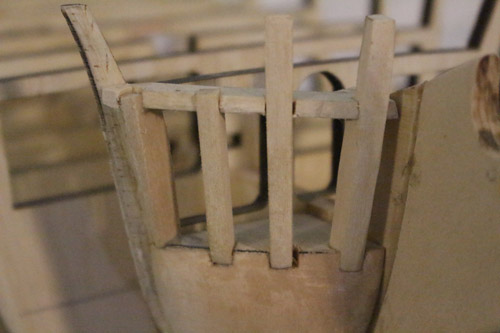
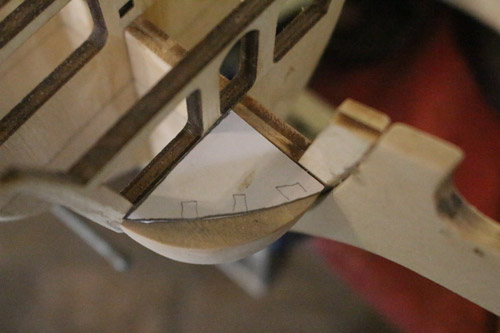
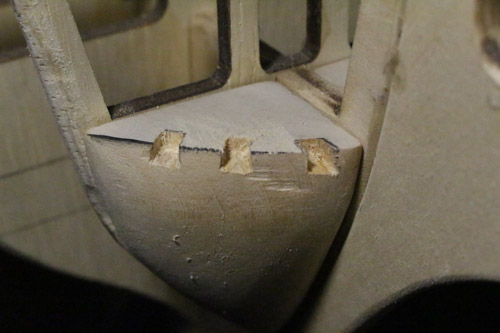
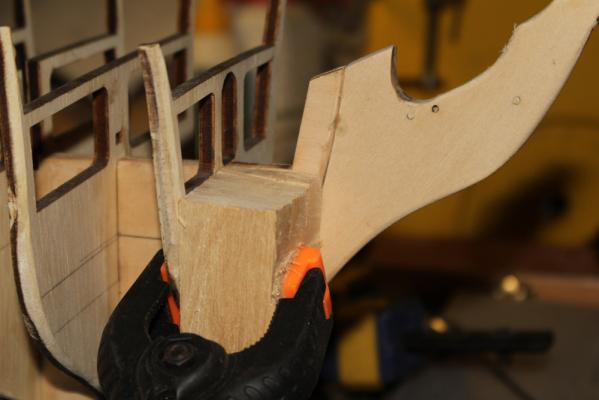
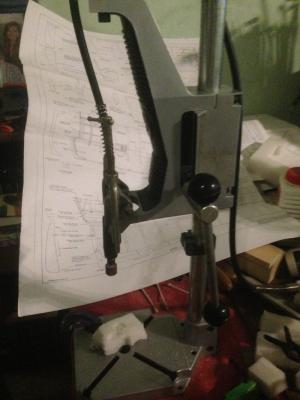
ok, got some extra time to do a bit of sanding. I realized that my filler block was a bit thick, so I traced the print and checked & sure enough, I was way off. So I worked on the block and even finished the other side. Did the notches & started on the supporting rail. I used an old Scanner to do the tracing. After pulling the guts out and replacing it with a led it worked like a charm.

-
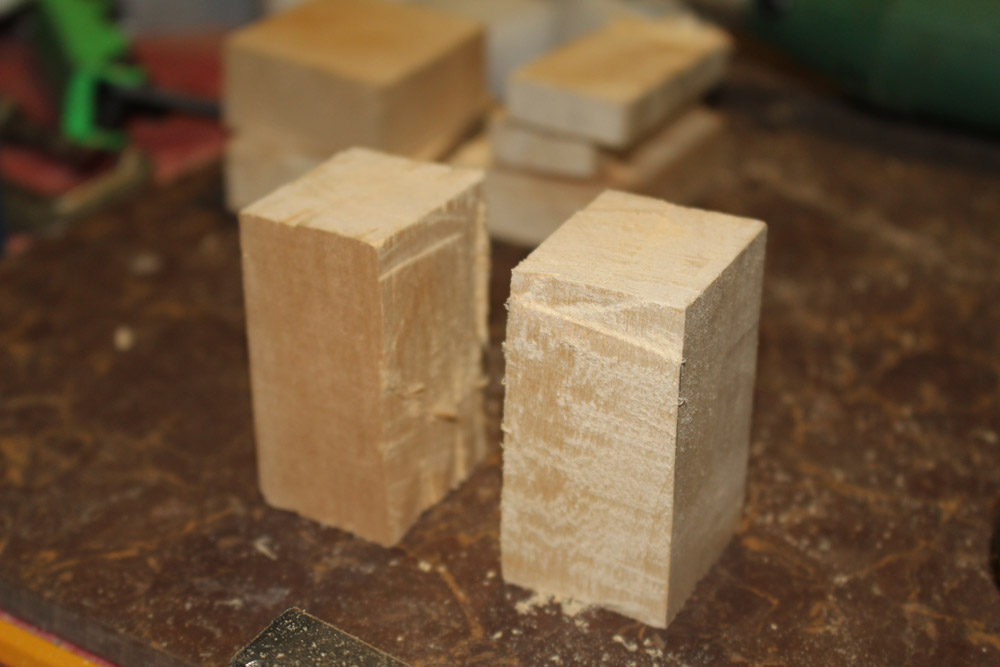
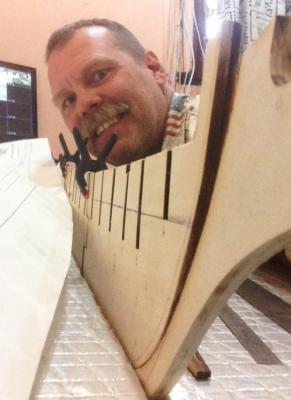
Today my goal was to make a filler block. Tackled just the one, and 3 hours later here are the photos.


-
Thanks Wq3296 for the Luck. Yes, I need all the Luck I can get. The project already started with it's challenges. The kit was missing the second blue prints and a bell. So I contacted the company and with in a month I got in the mail both items for free. I was just lucky that my Mom had planned on visiting me here in Africa, so there was not much a delay. The second challenge was putting glue on the wrong sides! Then gluing a hull in the wrong place. But all was fixed. The part I am working on now is the filler blocks...man this is going to take the cake.
-
This is my first build. And yes I am told I should start with a more simpler model, but my pride tells me I think I can do it. So here goes nothing. I did one plastic ship model by Revel of the Cutty Sark when I was 15 years old. But when it was finished, I got board and modified it into a space ship. This could be a nice reality check to my confidence level. HA!


-
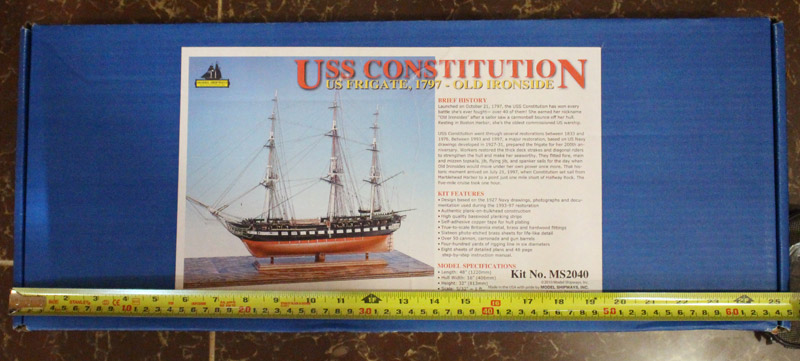
I live in a village in Africa so I had to be very concerned about the length of the box, as I had to make it fit in a trunk to get it on the plane. And Thank God, it fit perfectly!