Jaggy
-
Posts
32 -
Joined
-
Last visited
Content Type
Profiles
Forums
Gallery
Events
Everything posted by Jaggy
-
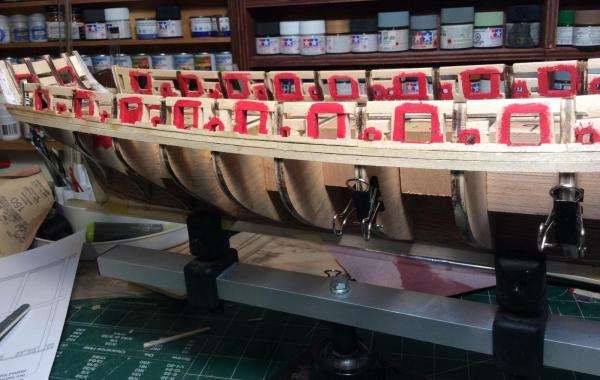
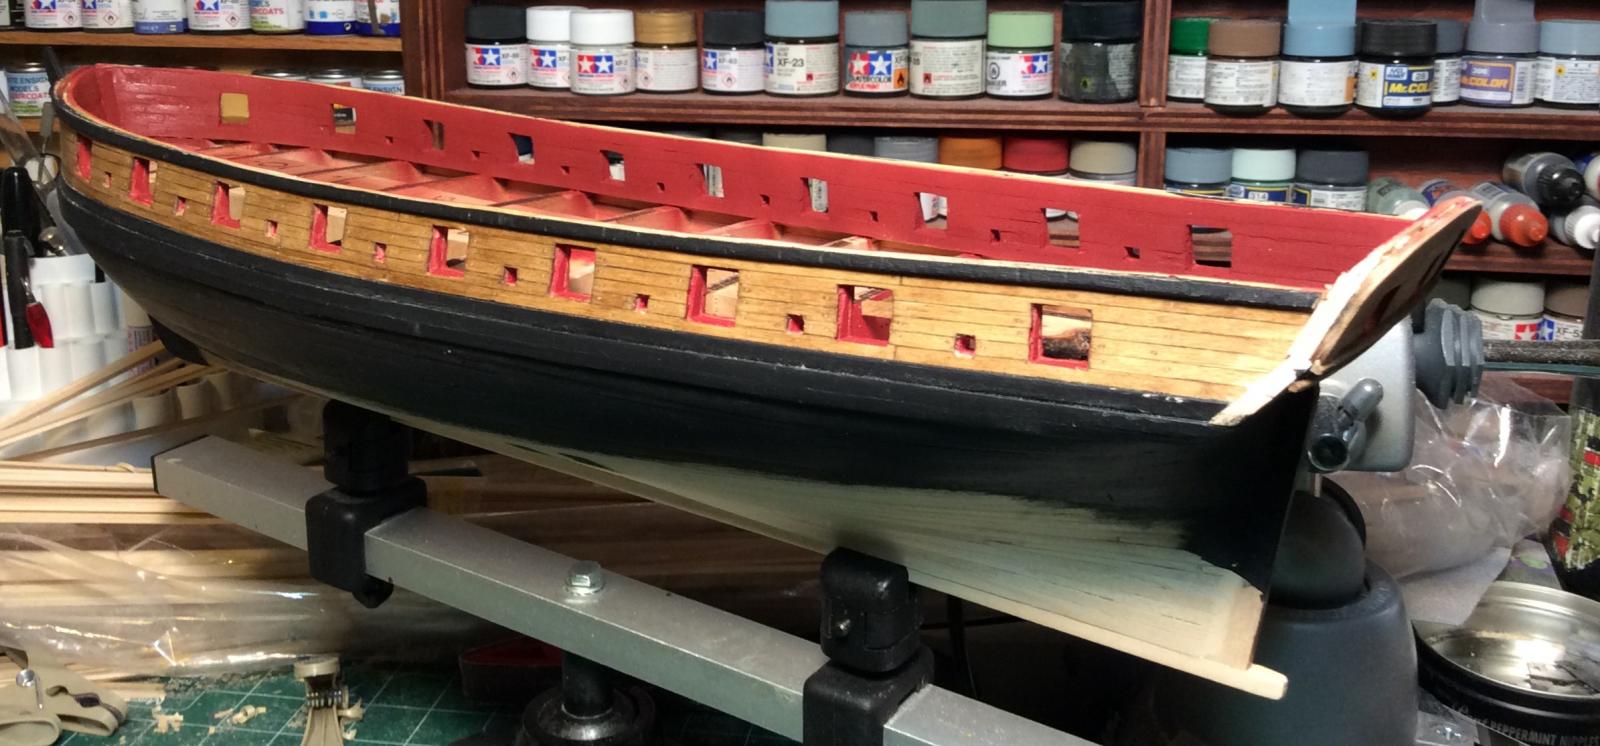
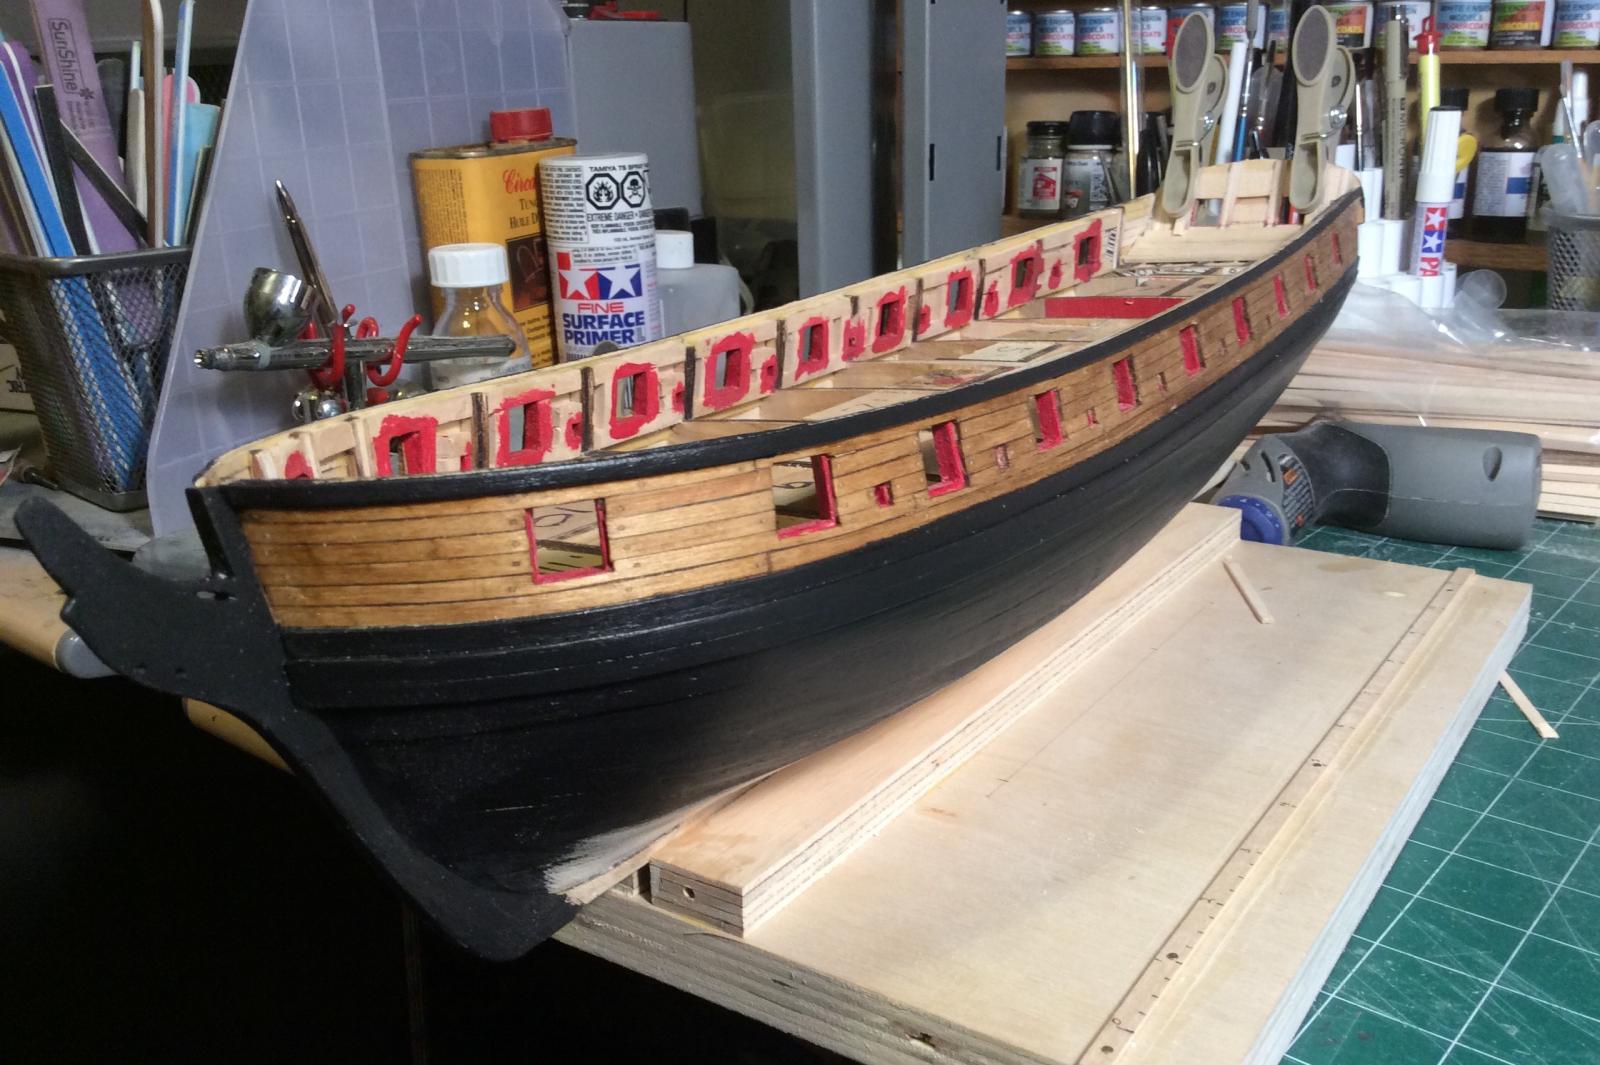
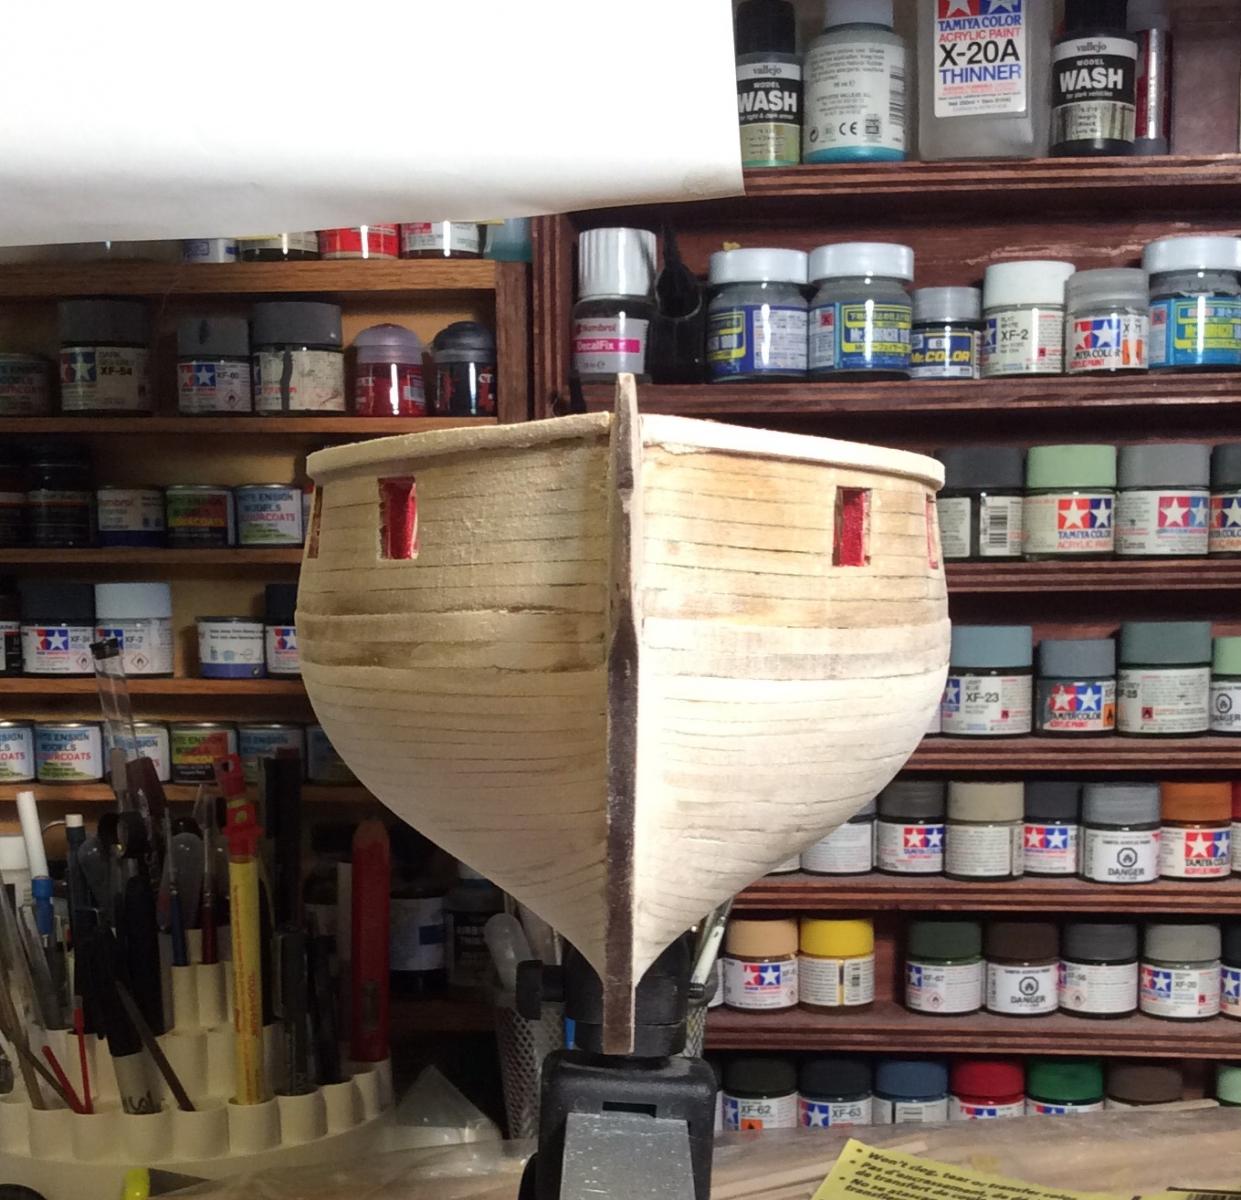
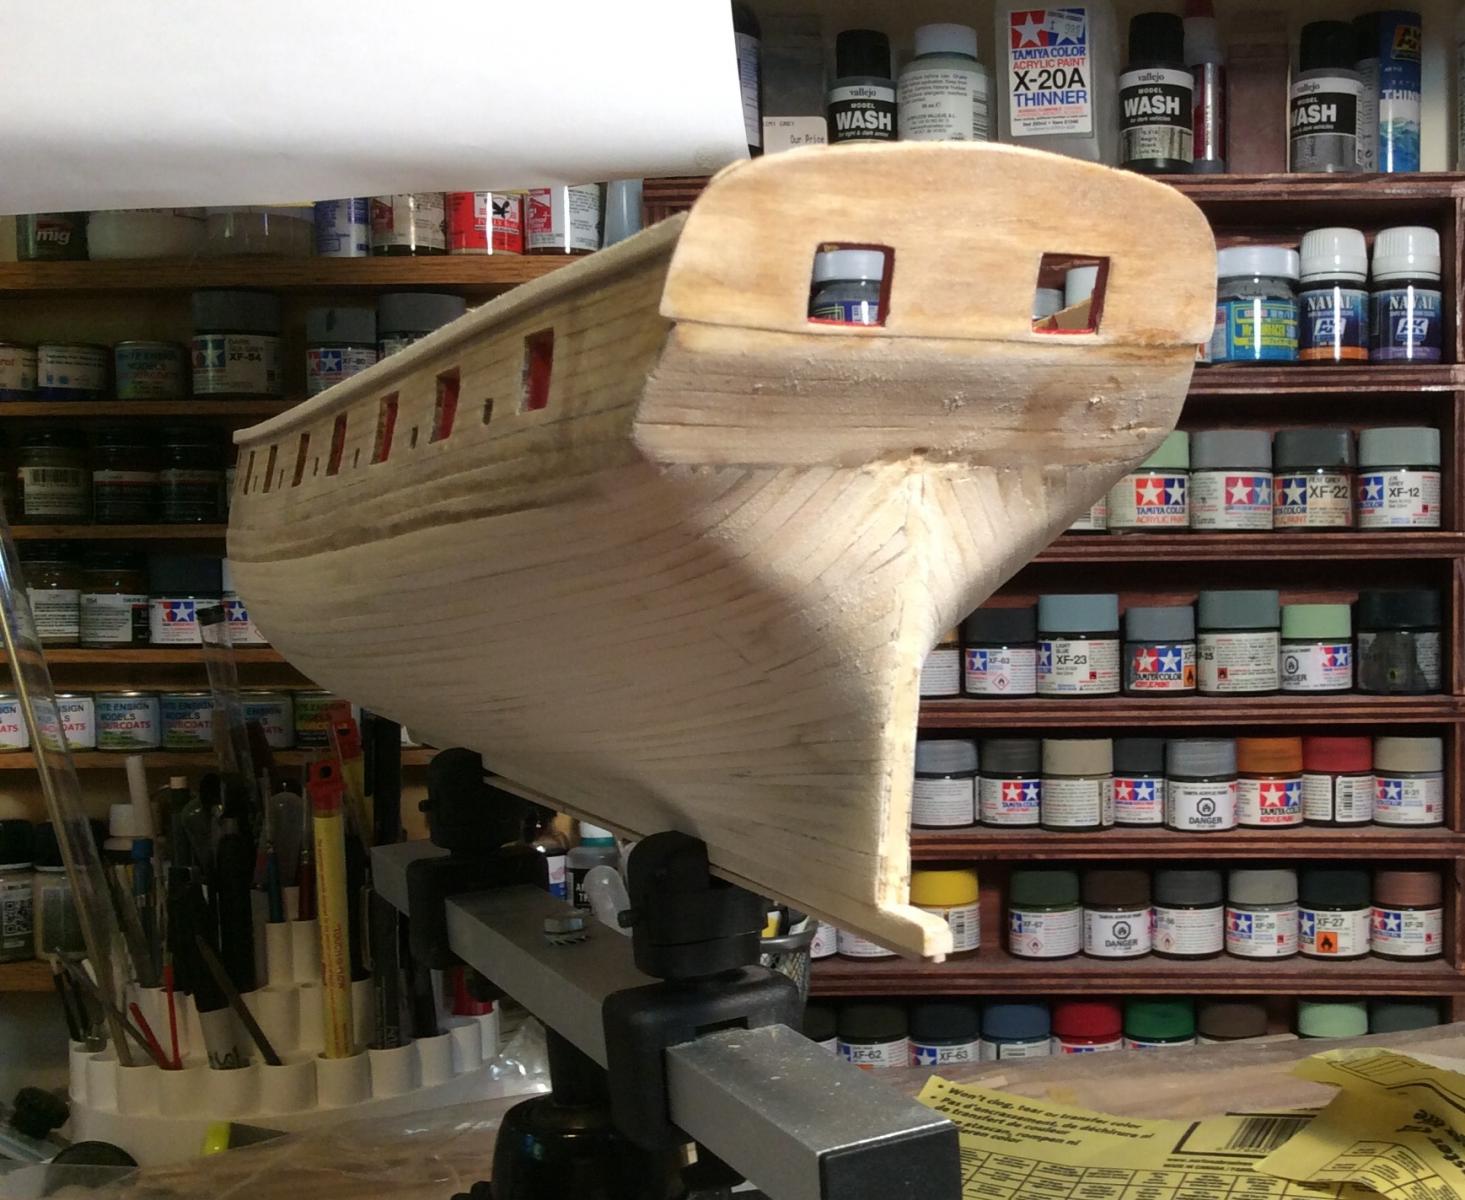
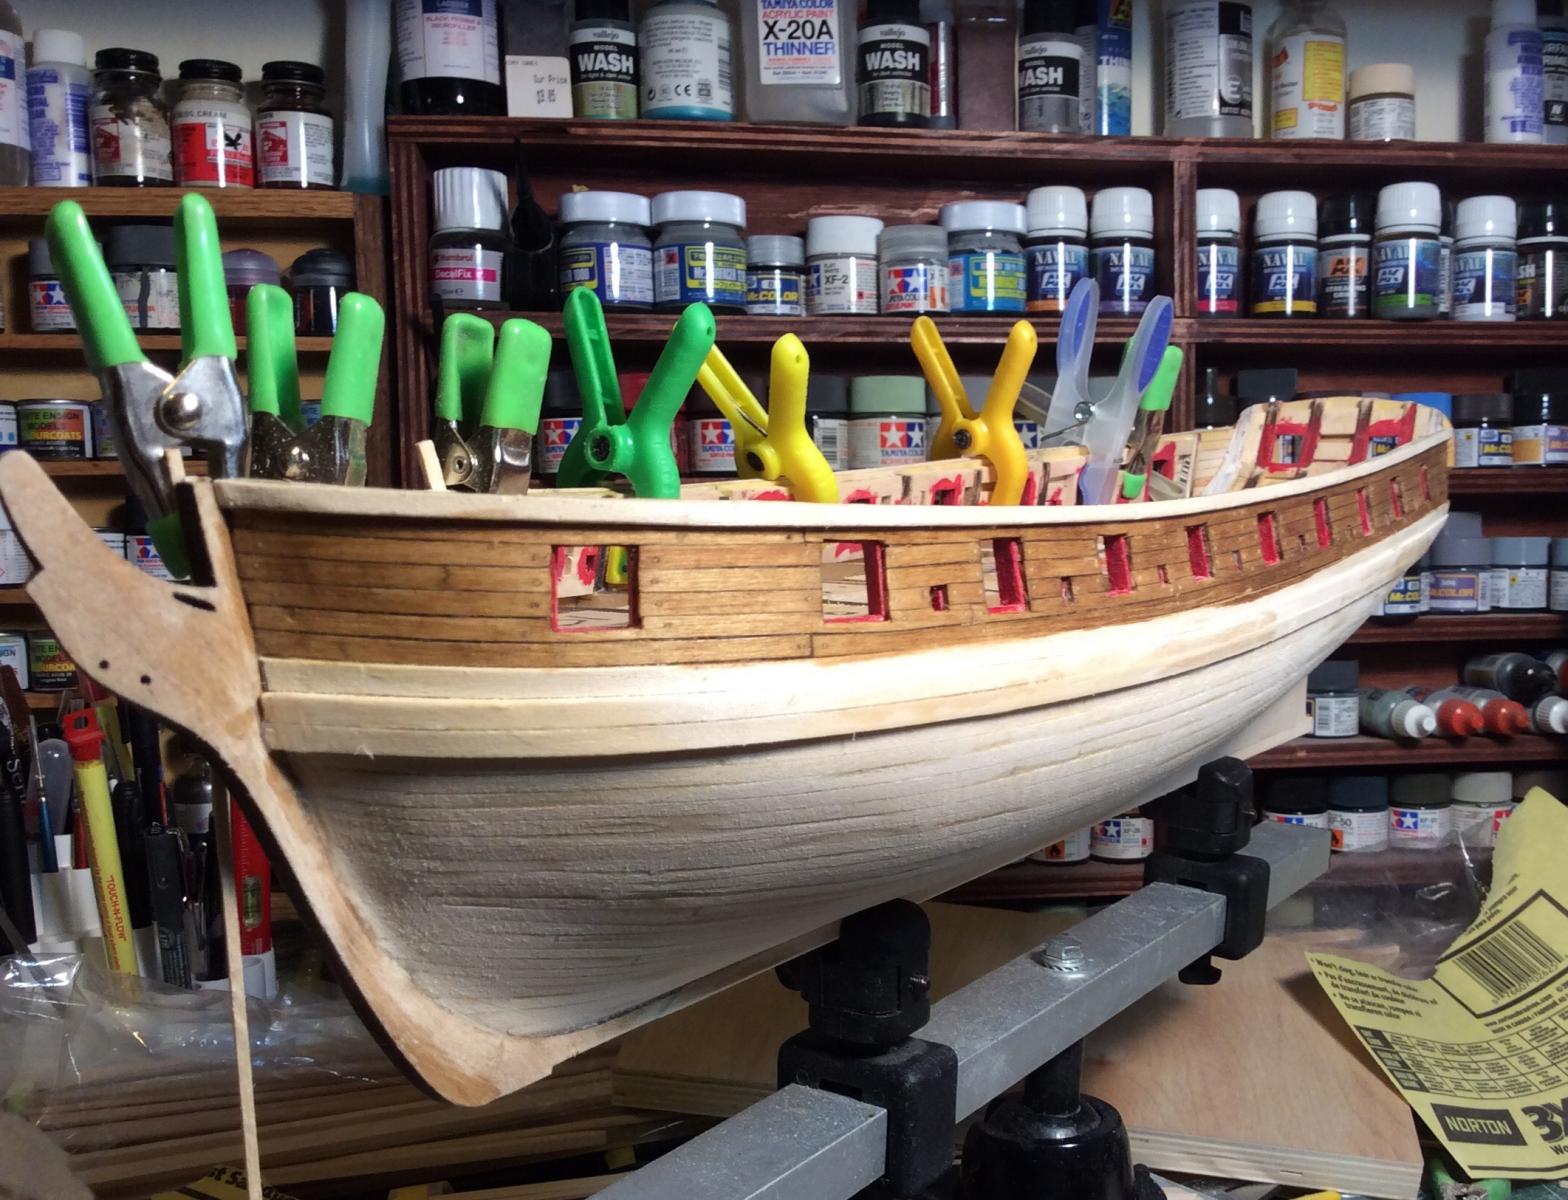
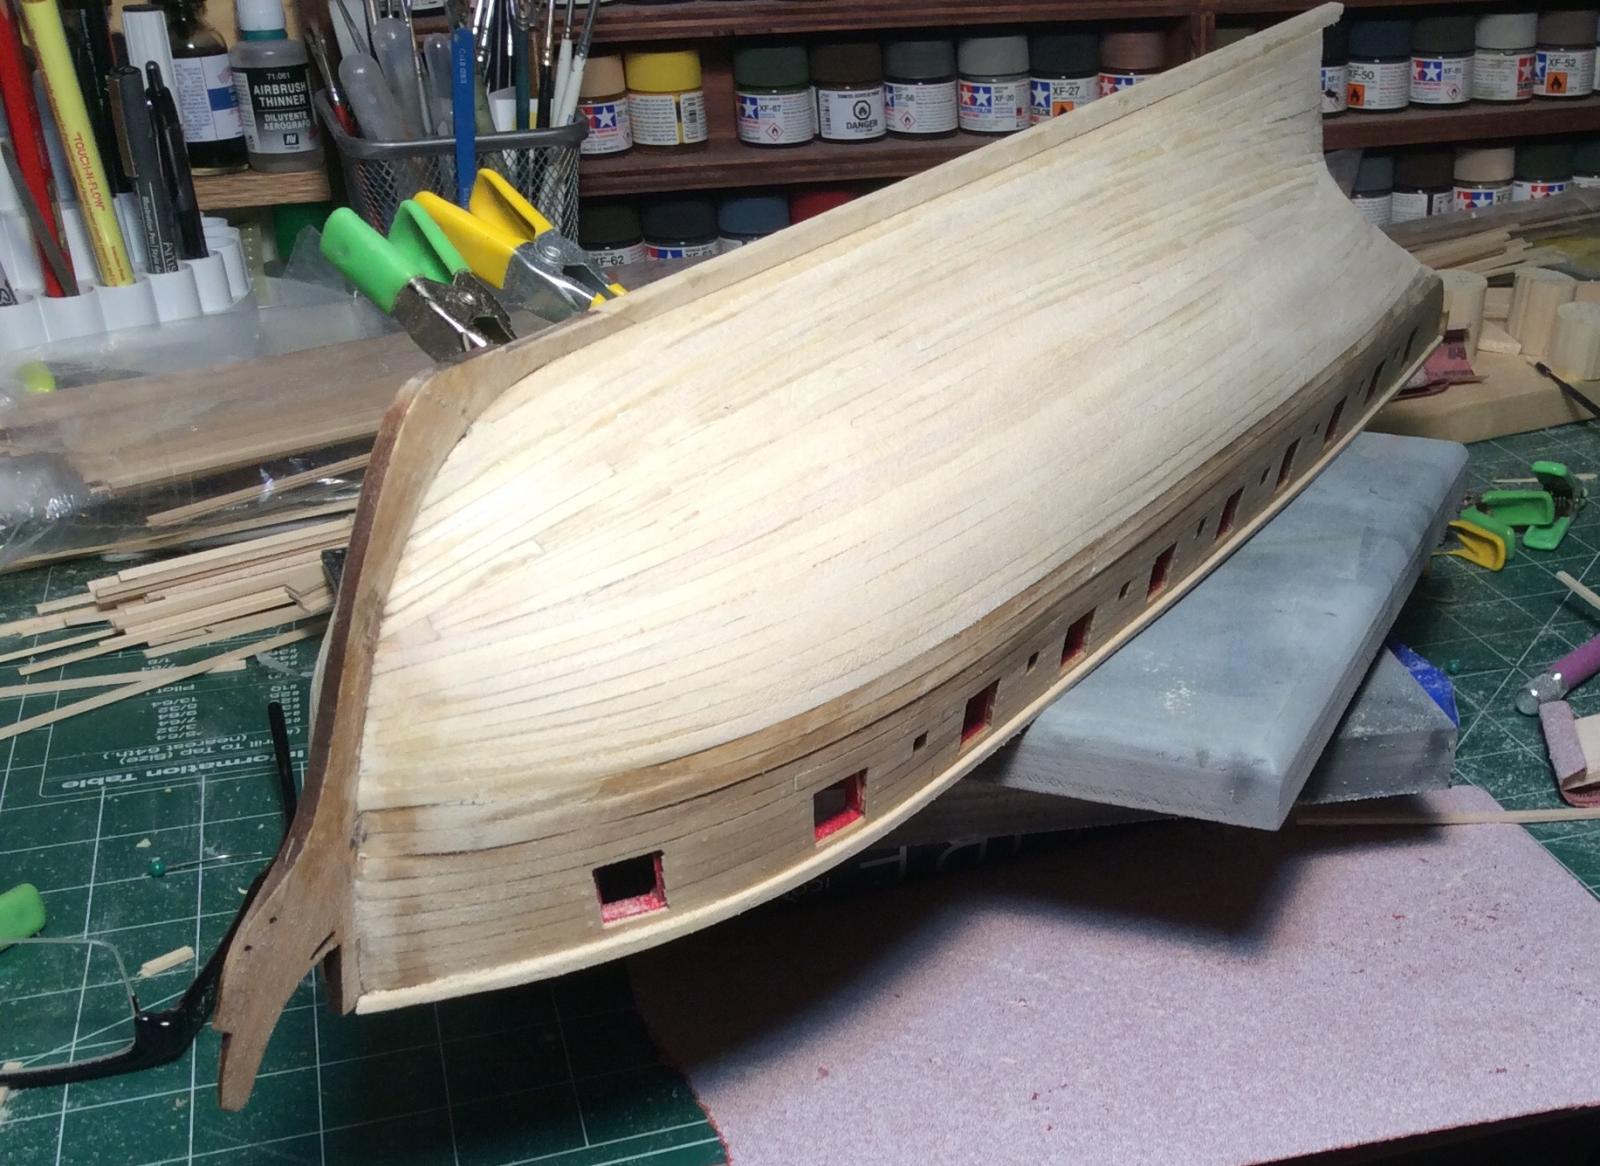
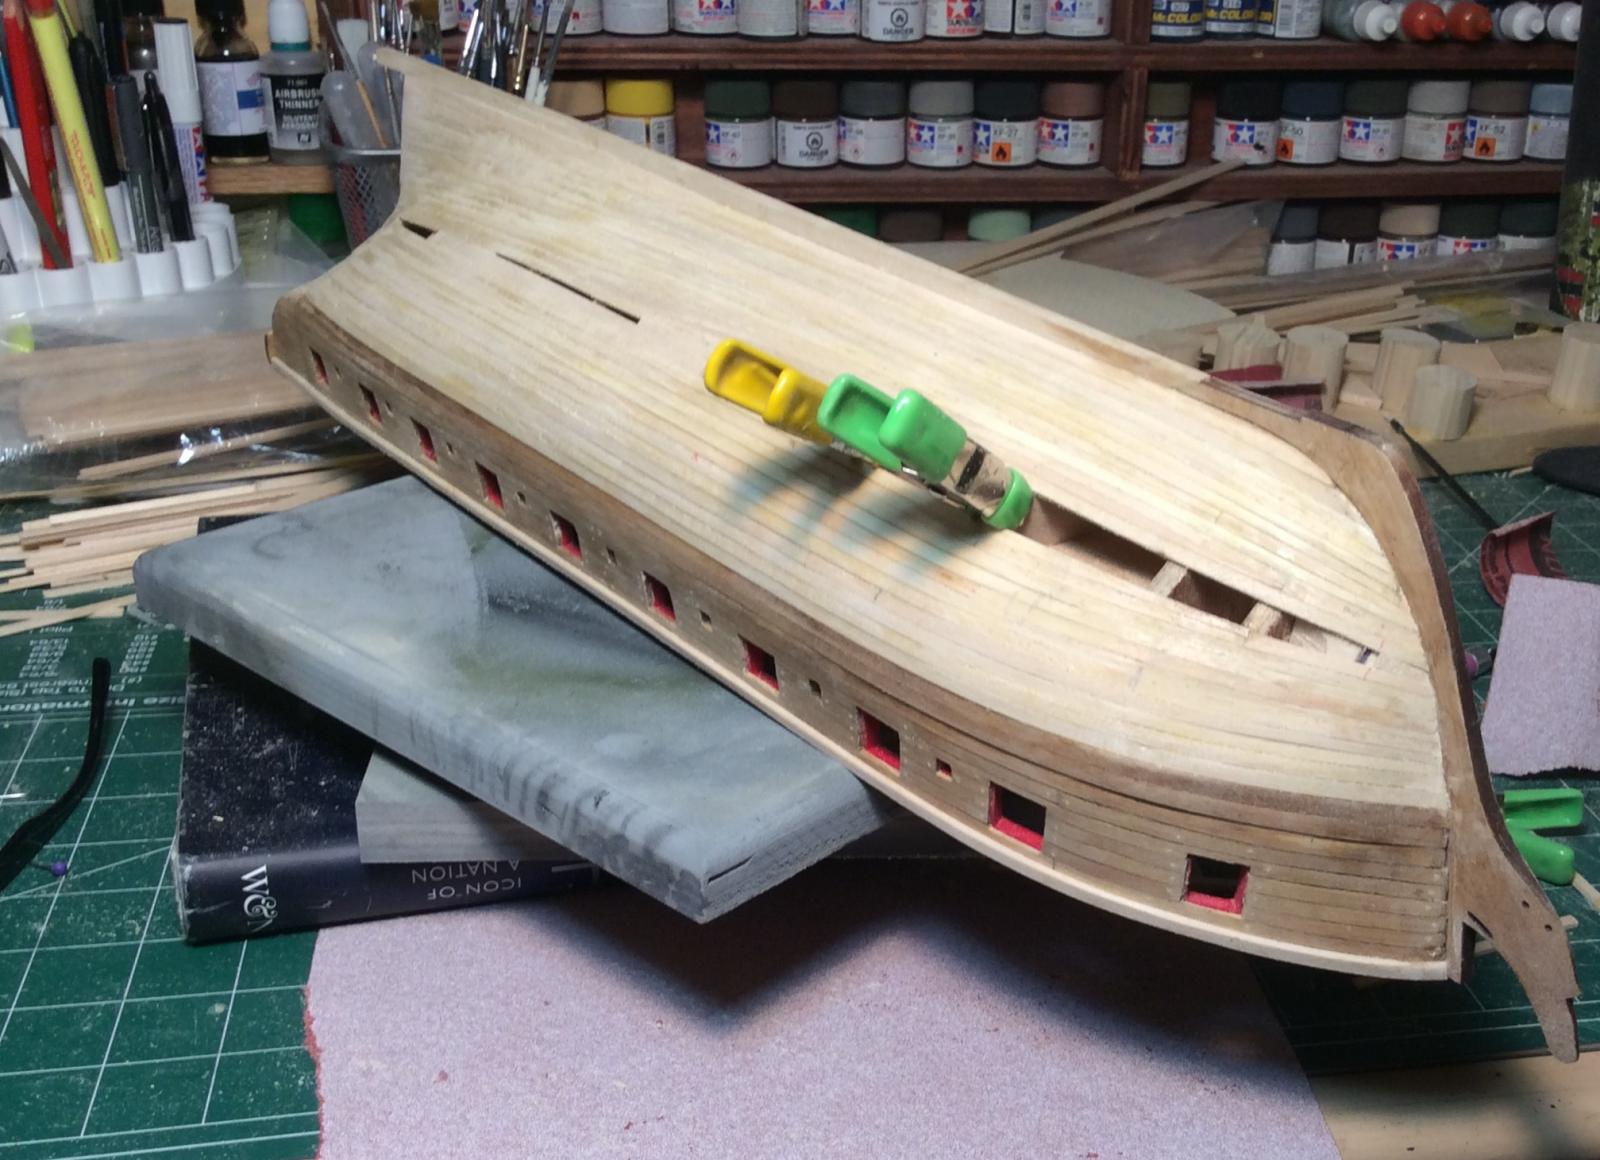
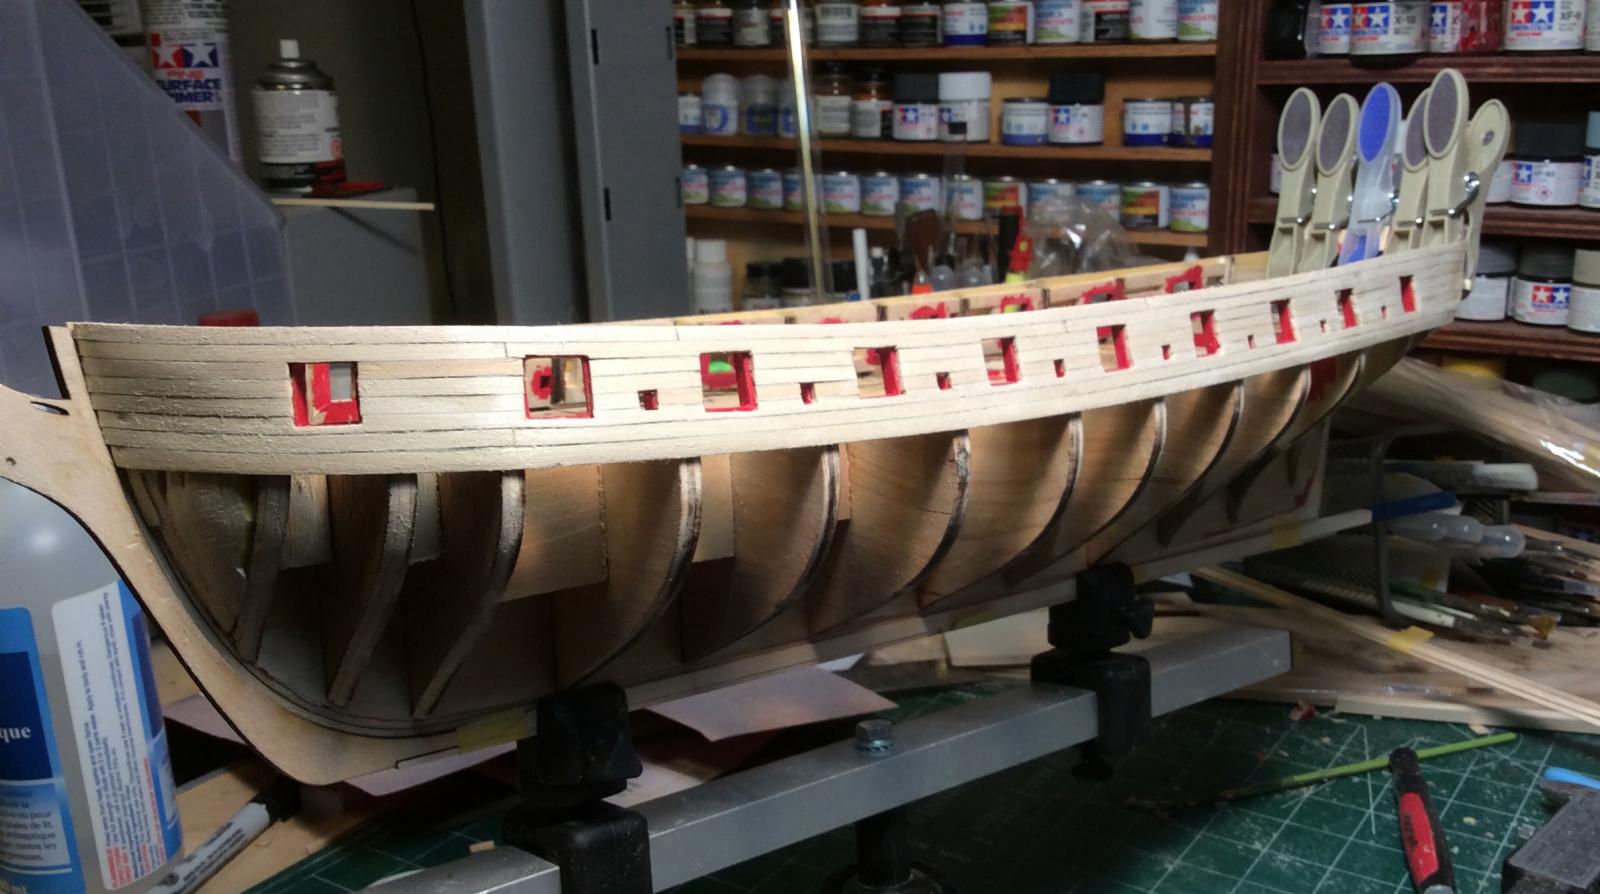
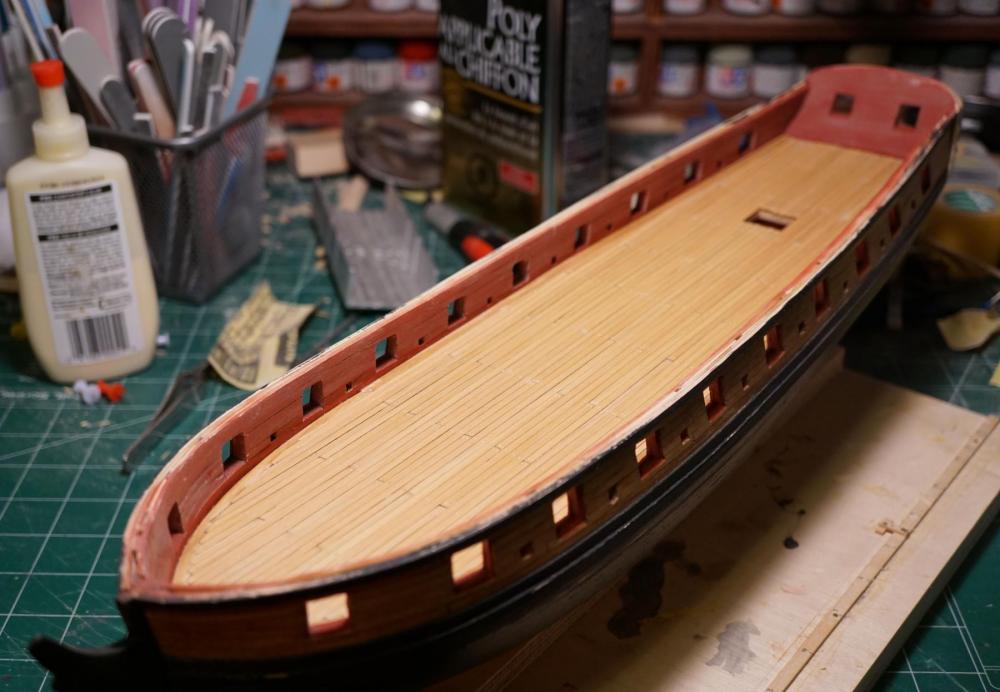
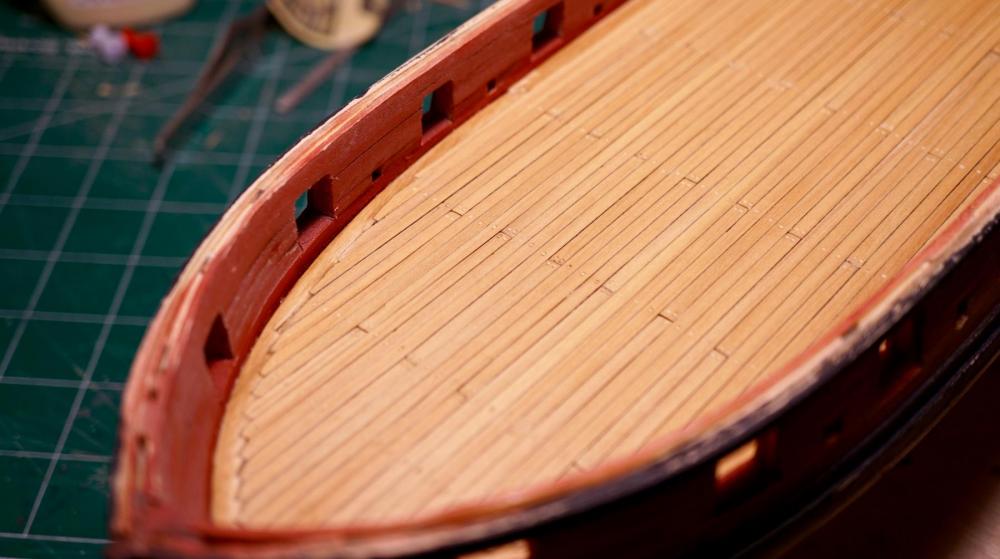
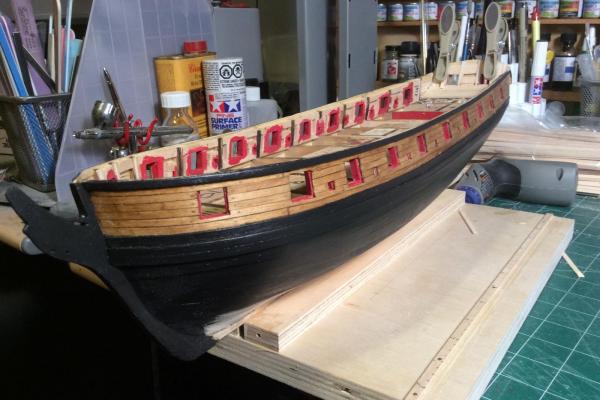
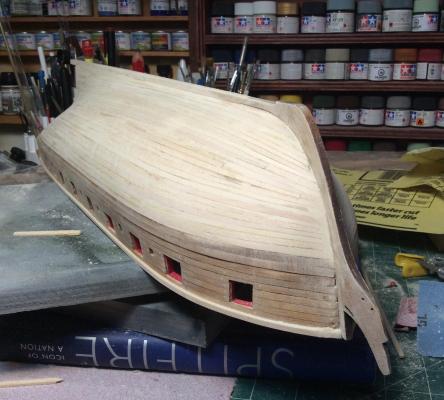
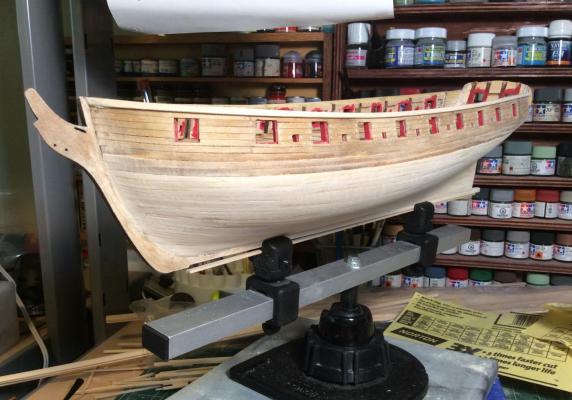
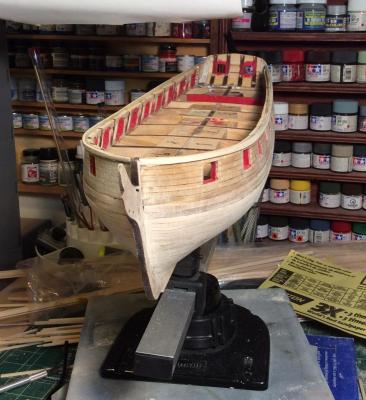
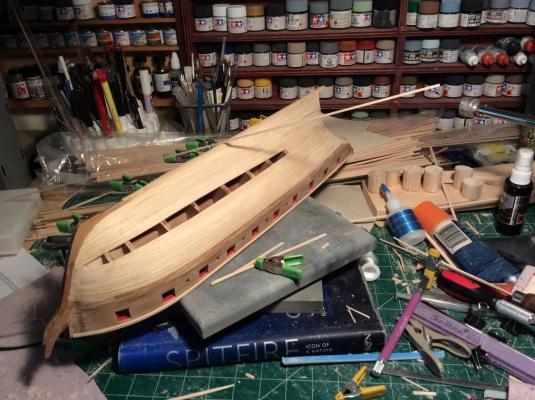
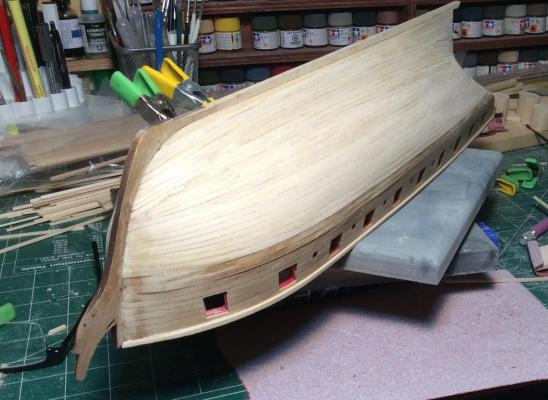
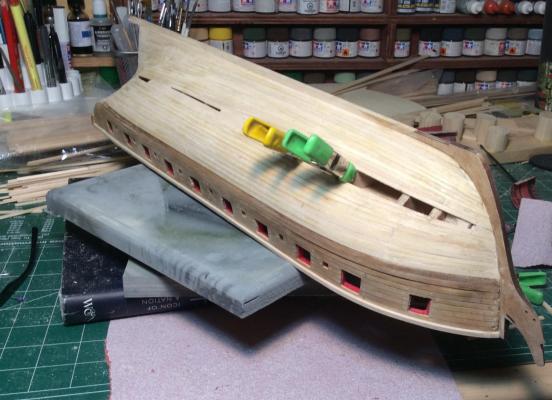
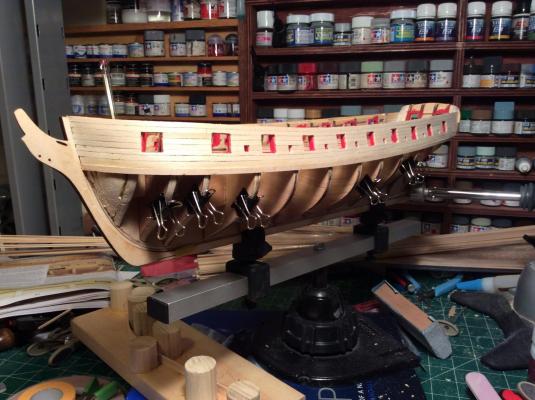
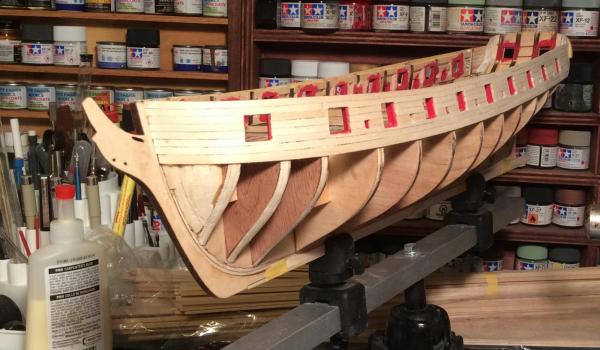
 Hello all, I've not posted for a little while since all I've been doing is planking the hull and frankly I found it to be a bore. Quite a tedious step, I'd rather do a hull any day. So, rather then bore you with a plank by plank photo essay I'll just show you what it looks like today:


-
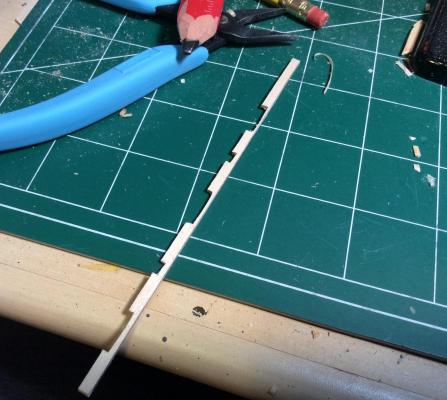
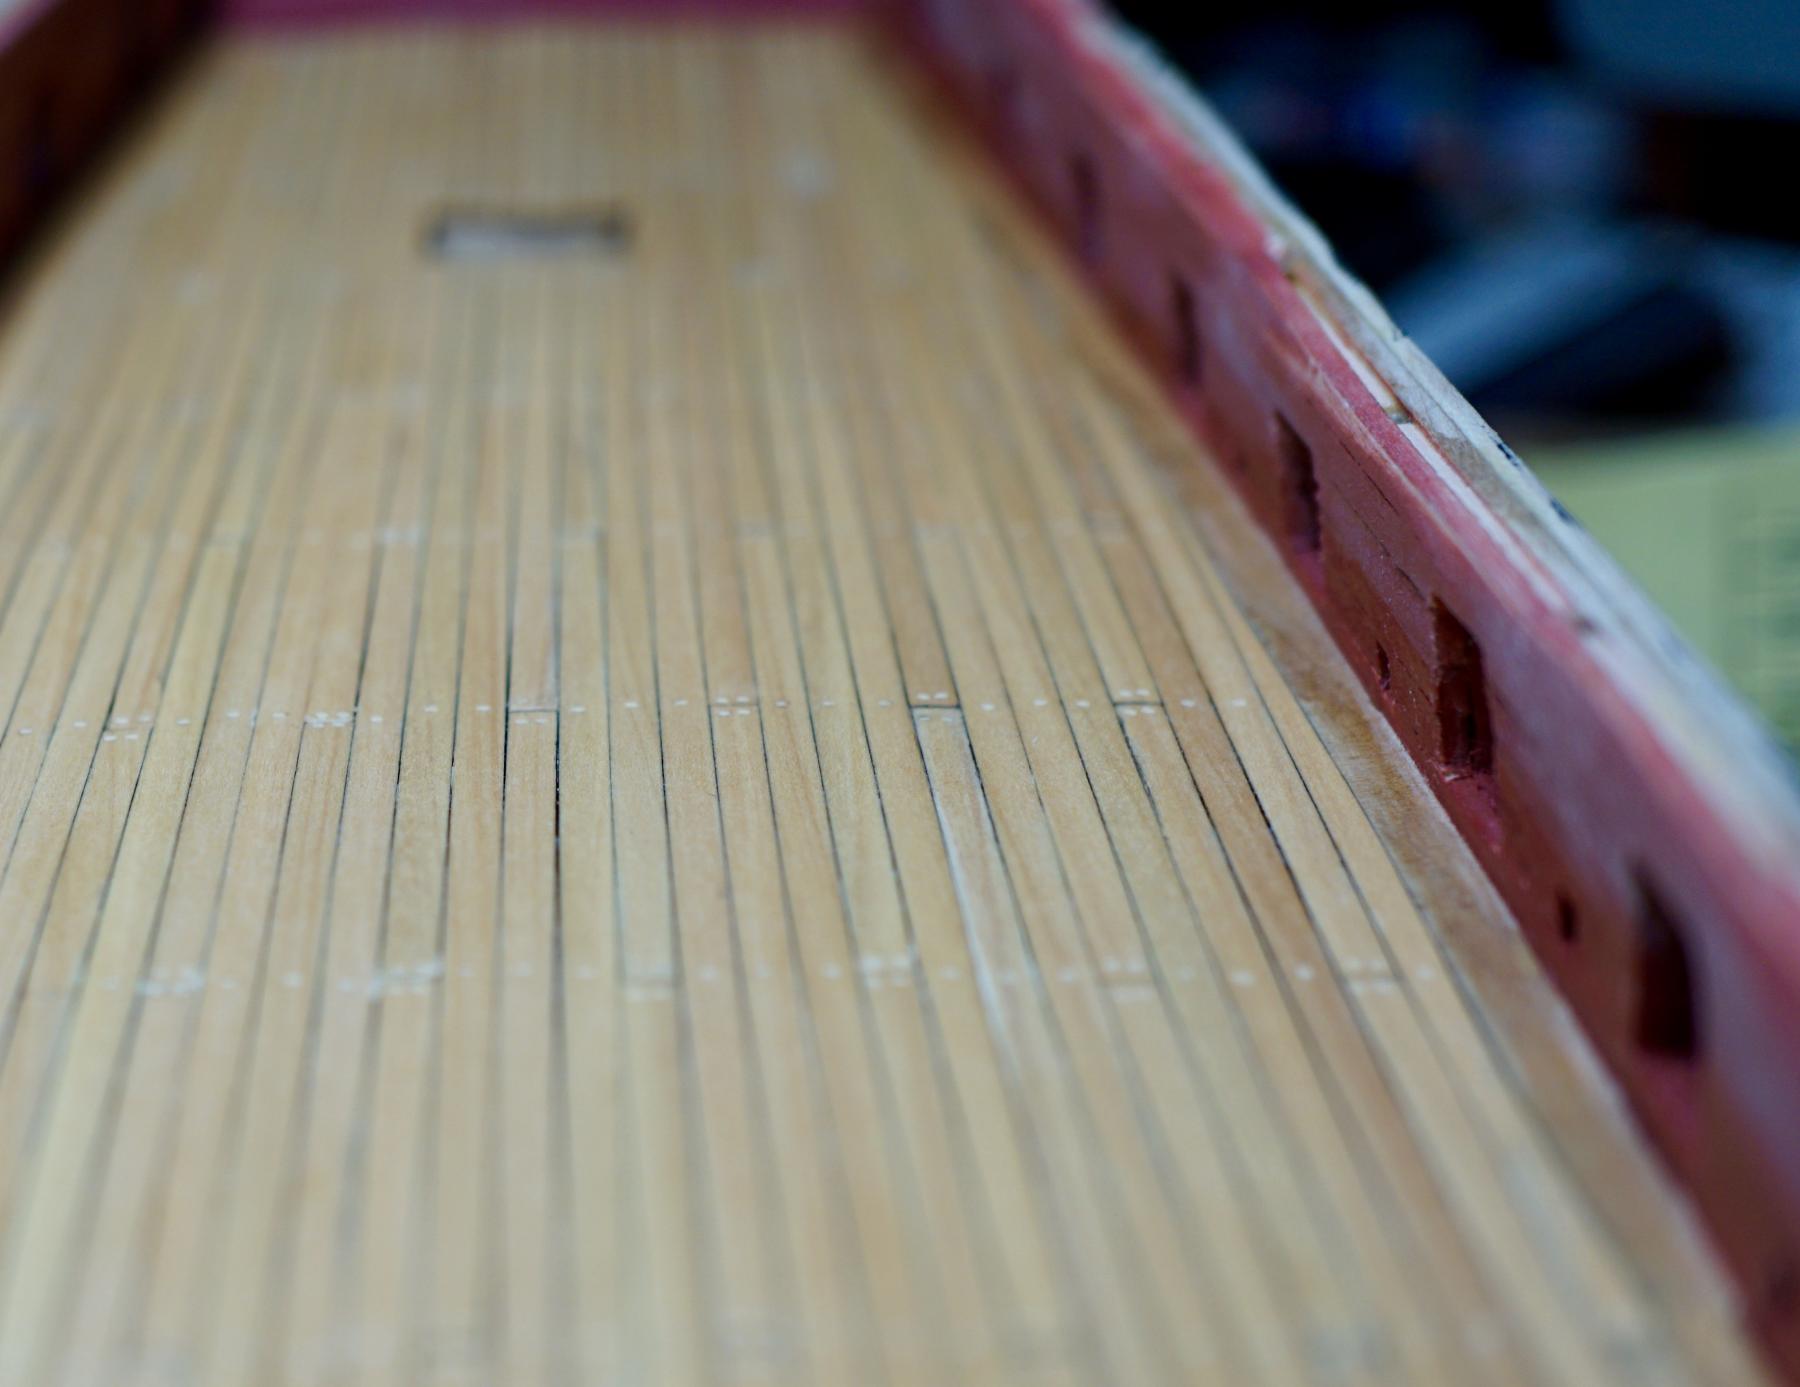
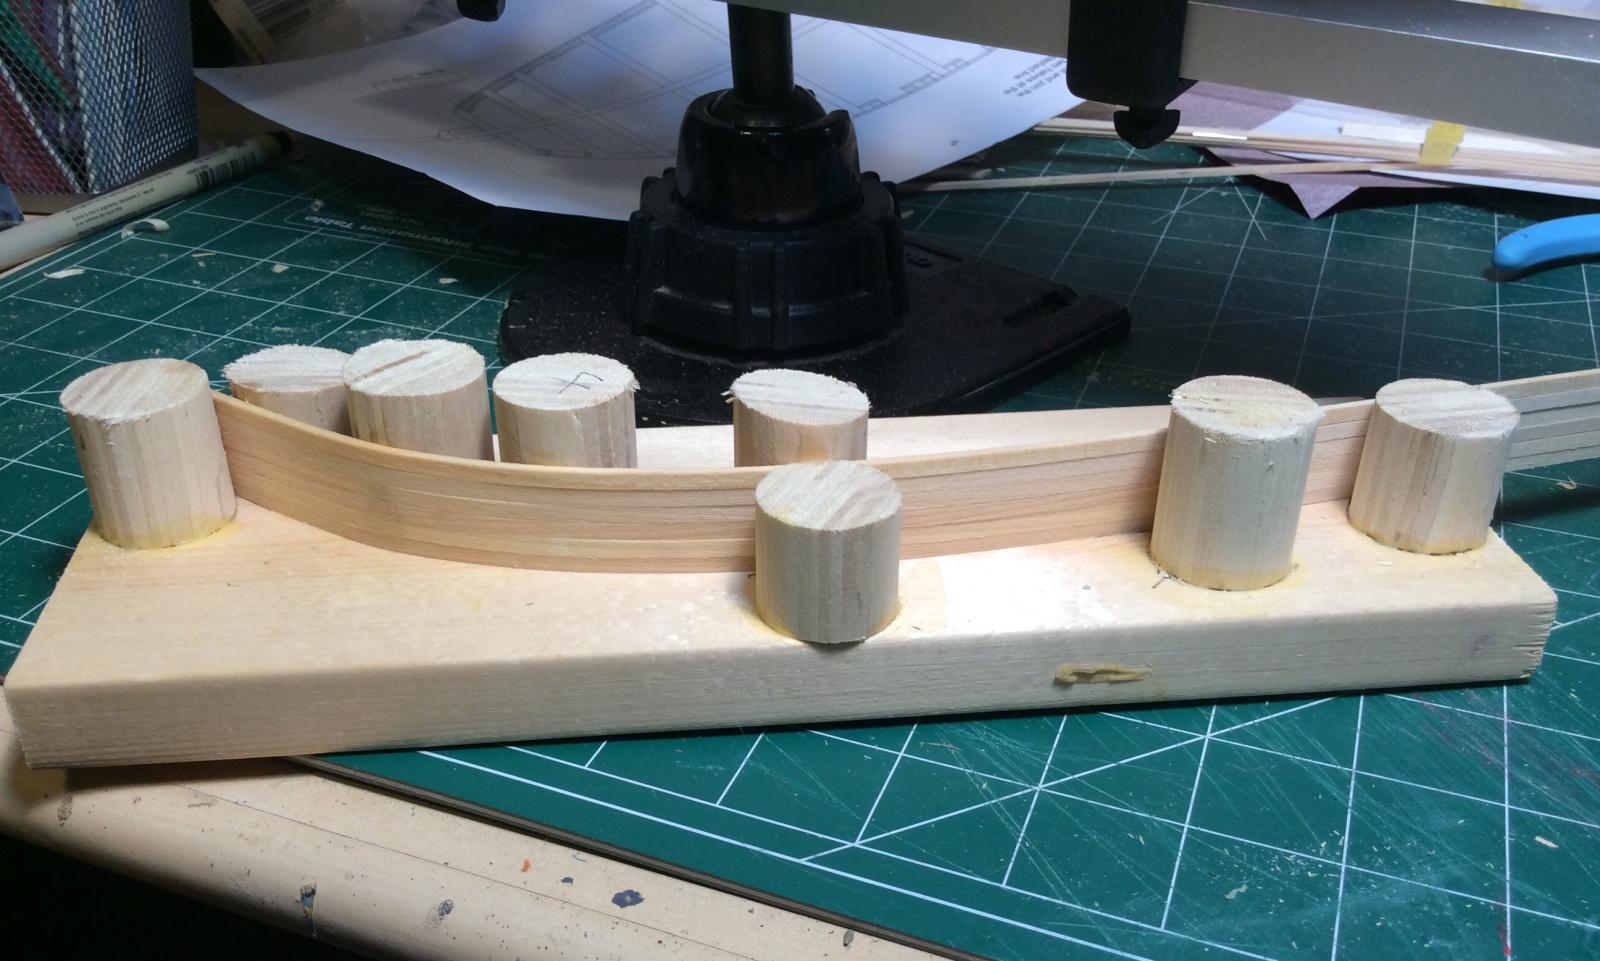
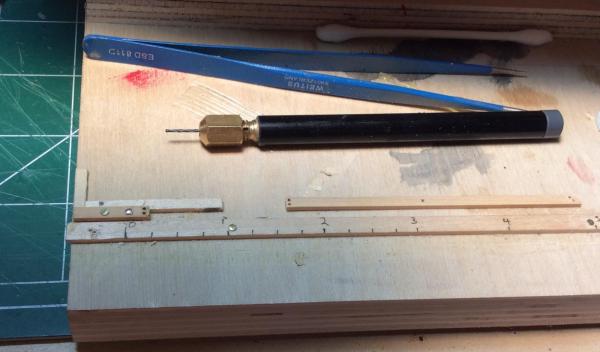
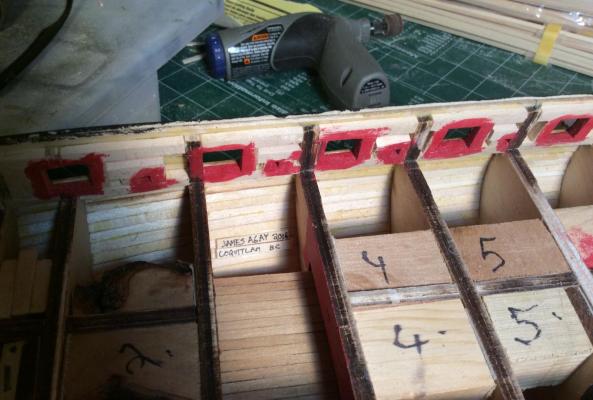
I've given up on finding sanding sealer (not paying $60 a quart on Amazon) and moved on to my deck. I made this jig so my trenail holes would be uniform at the butts. First two in place!

-
My local Home Depot store not only does not sell sanding sealer, they deny its existamce. Same at Rona, so I gave up. Seems it's just not a popular product in Canada..
-
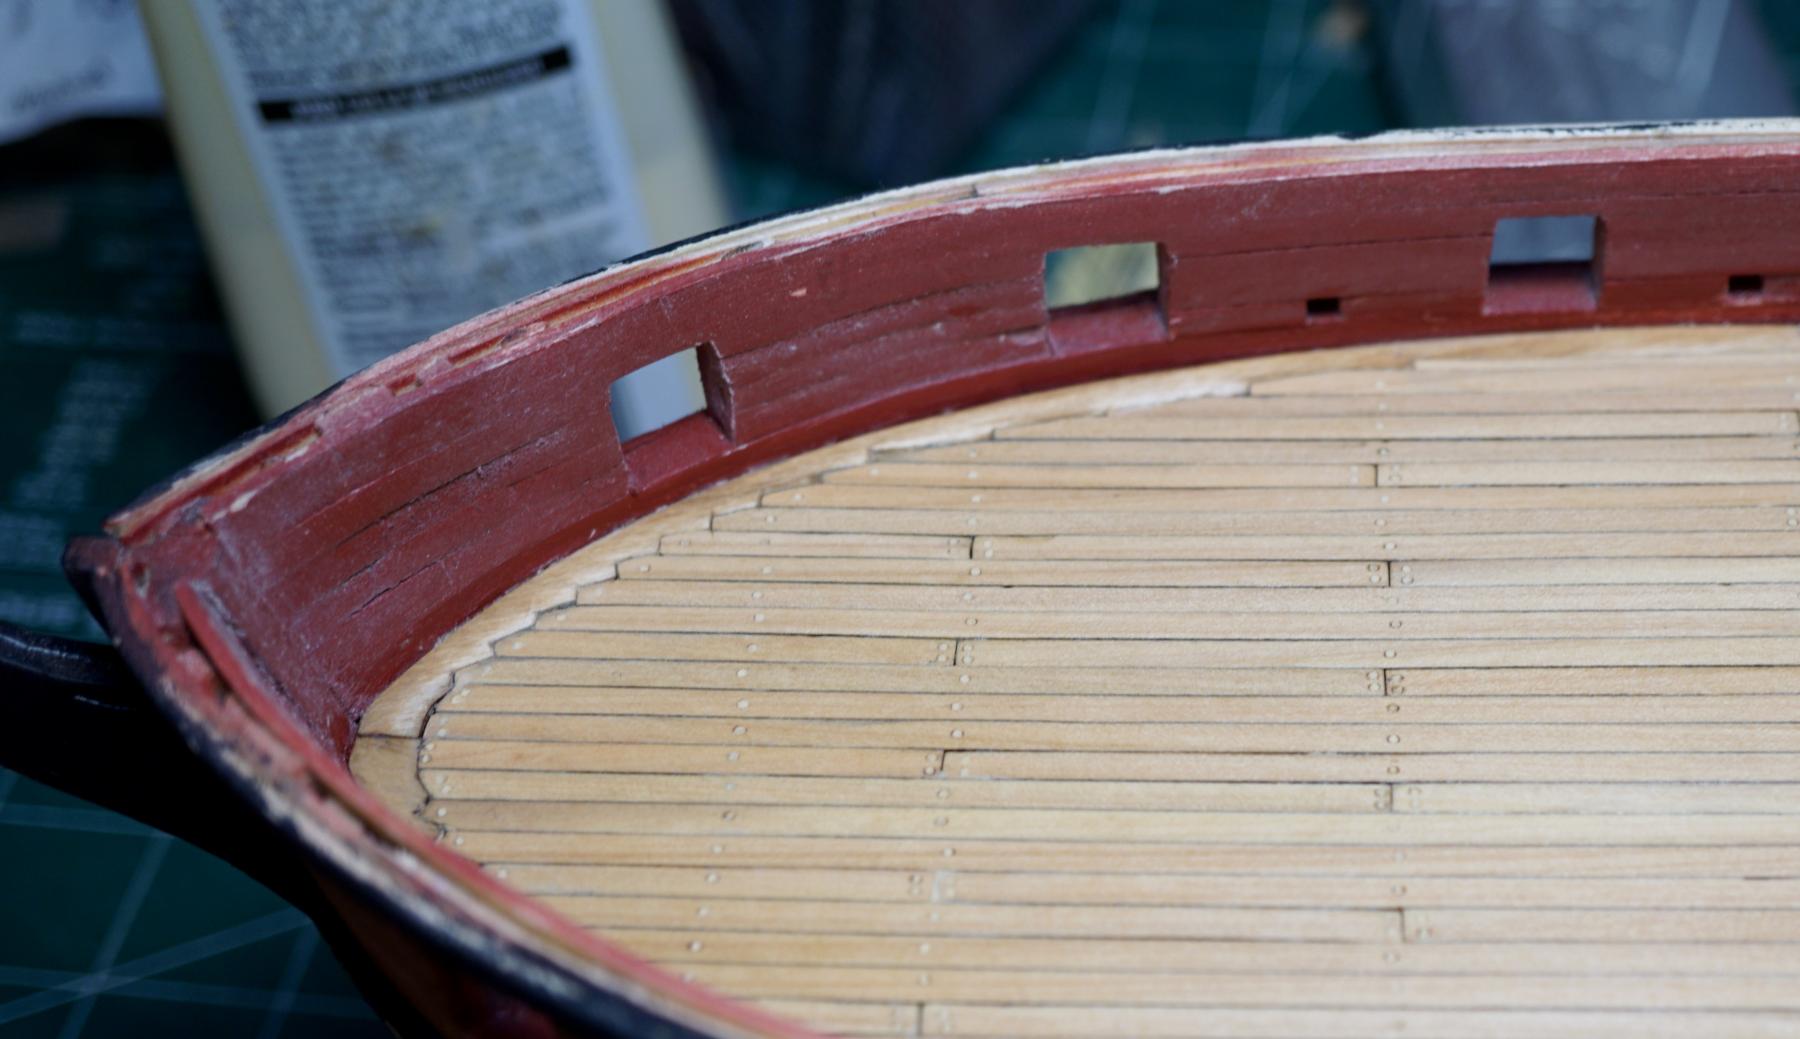
I sanding it to smooth things out and airbrushed another coat on. It looks pretty good, but now I'm upset that the planks are not smoother underneath. They show some compression from the clothespins I used to clamp them, so I'm not entirely happy. Ripping it all up is an unattractive option though.
-
I used US Navy Norfolk Red 65A from White Ensign. I wish I had used a primer first, and responded before applying the color. As it is, I will res and tonight and apply another coat instead.
-
I have a question about what I'm doing next. Chucks practicum instructs me to finish the stern rail and cap rail before doing the deck. I think I'd like to do the deck first, so I do not mar the rails which are going to be pretty soft (really not in love with basswood). Can any of you give me a solid reason not to do the deck next?
-
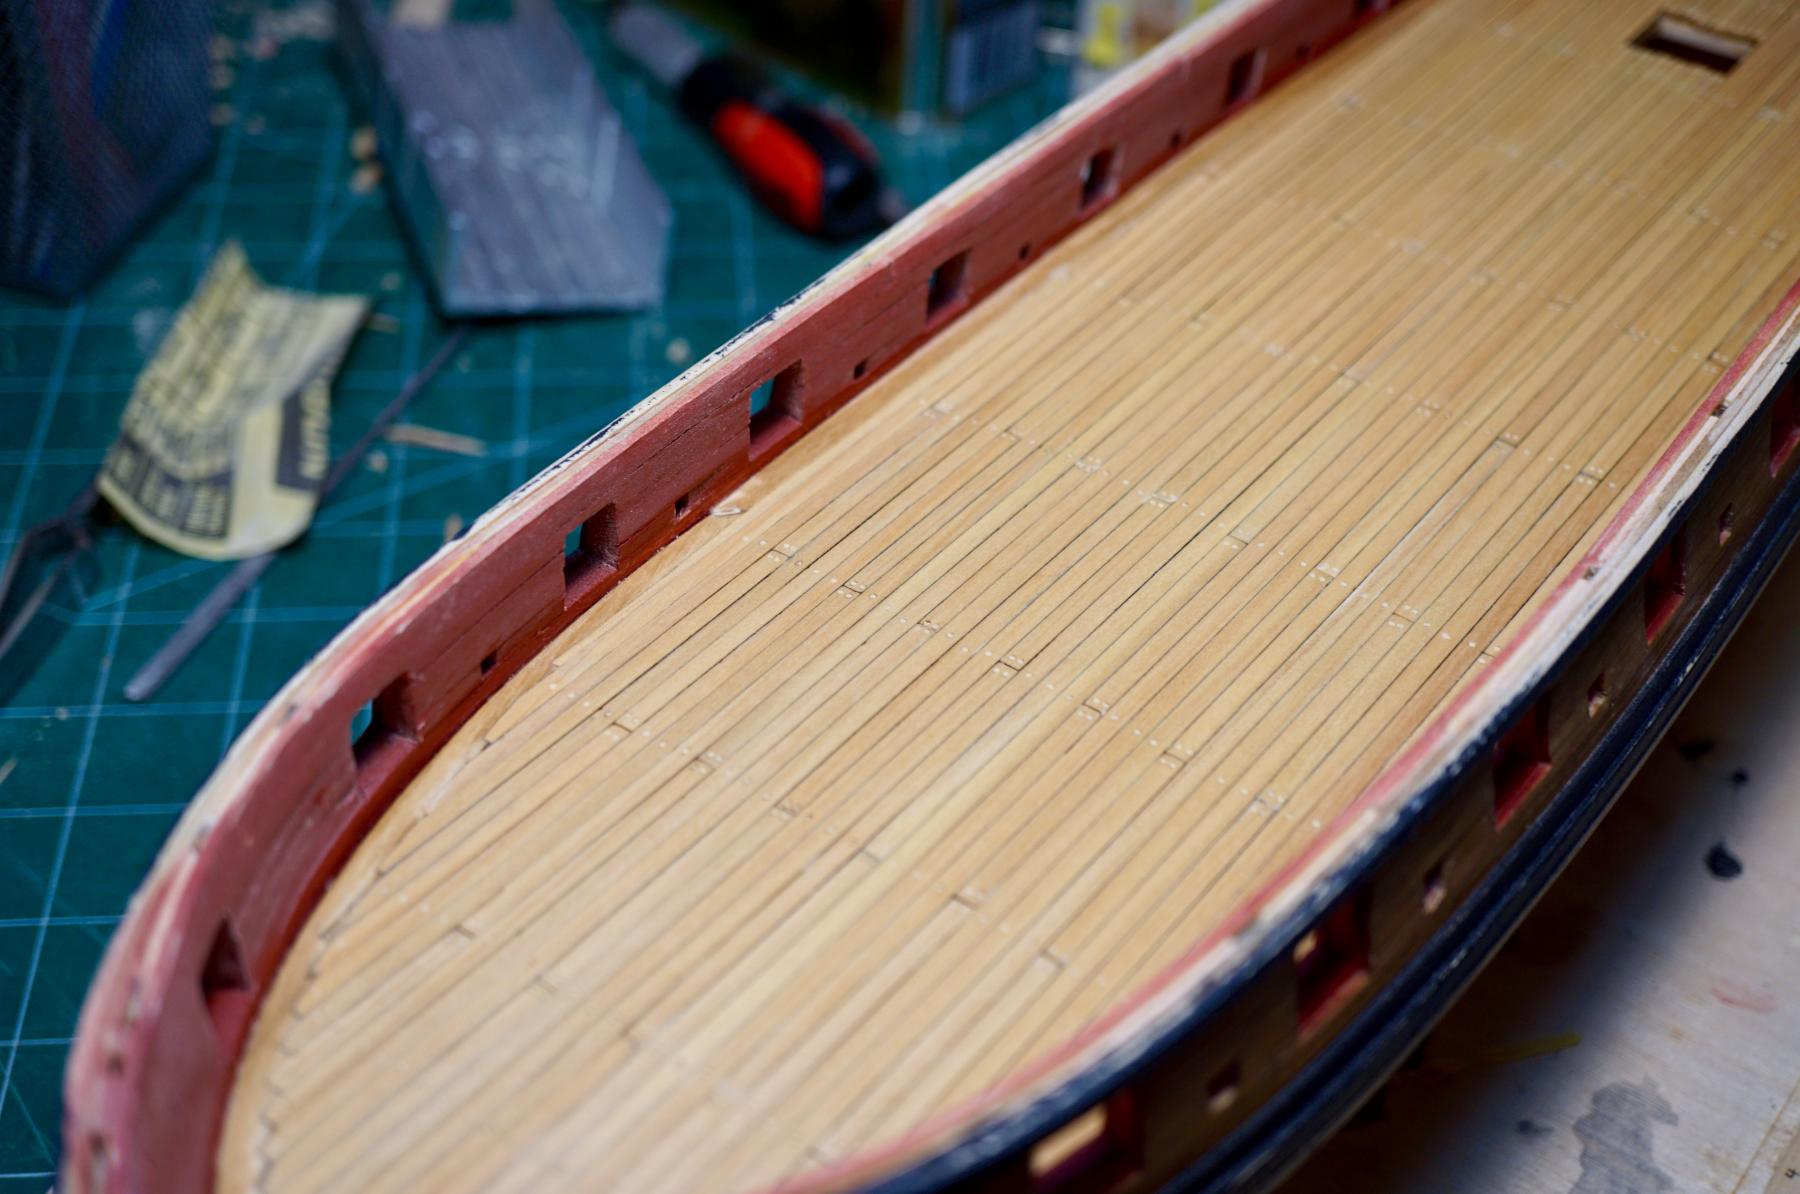
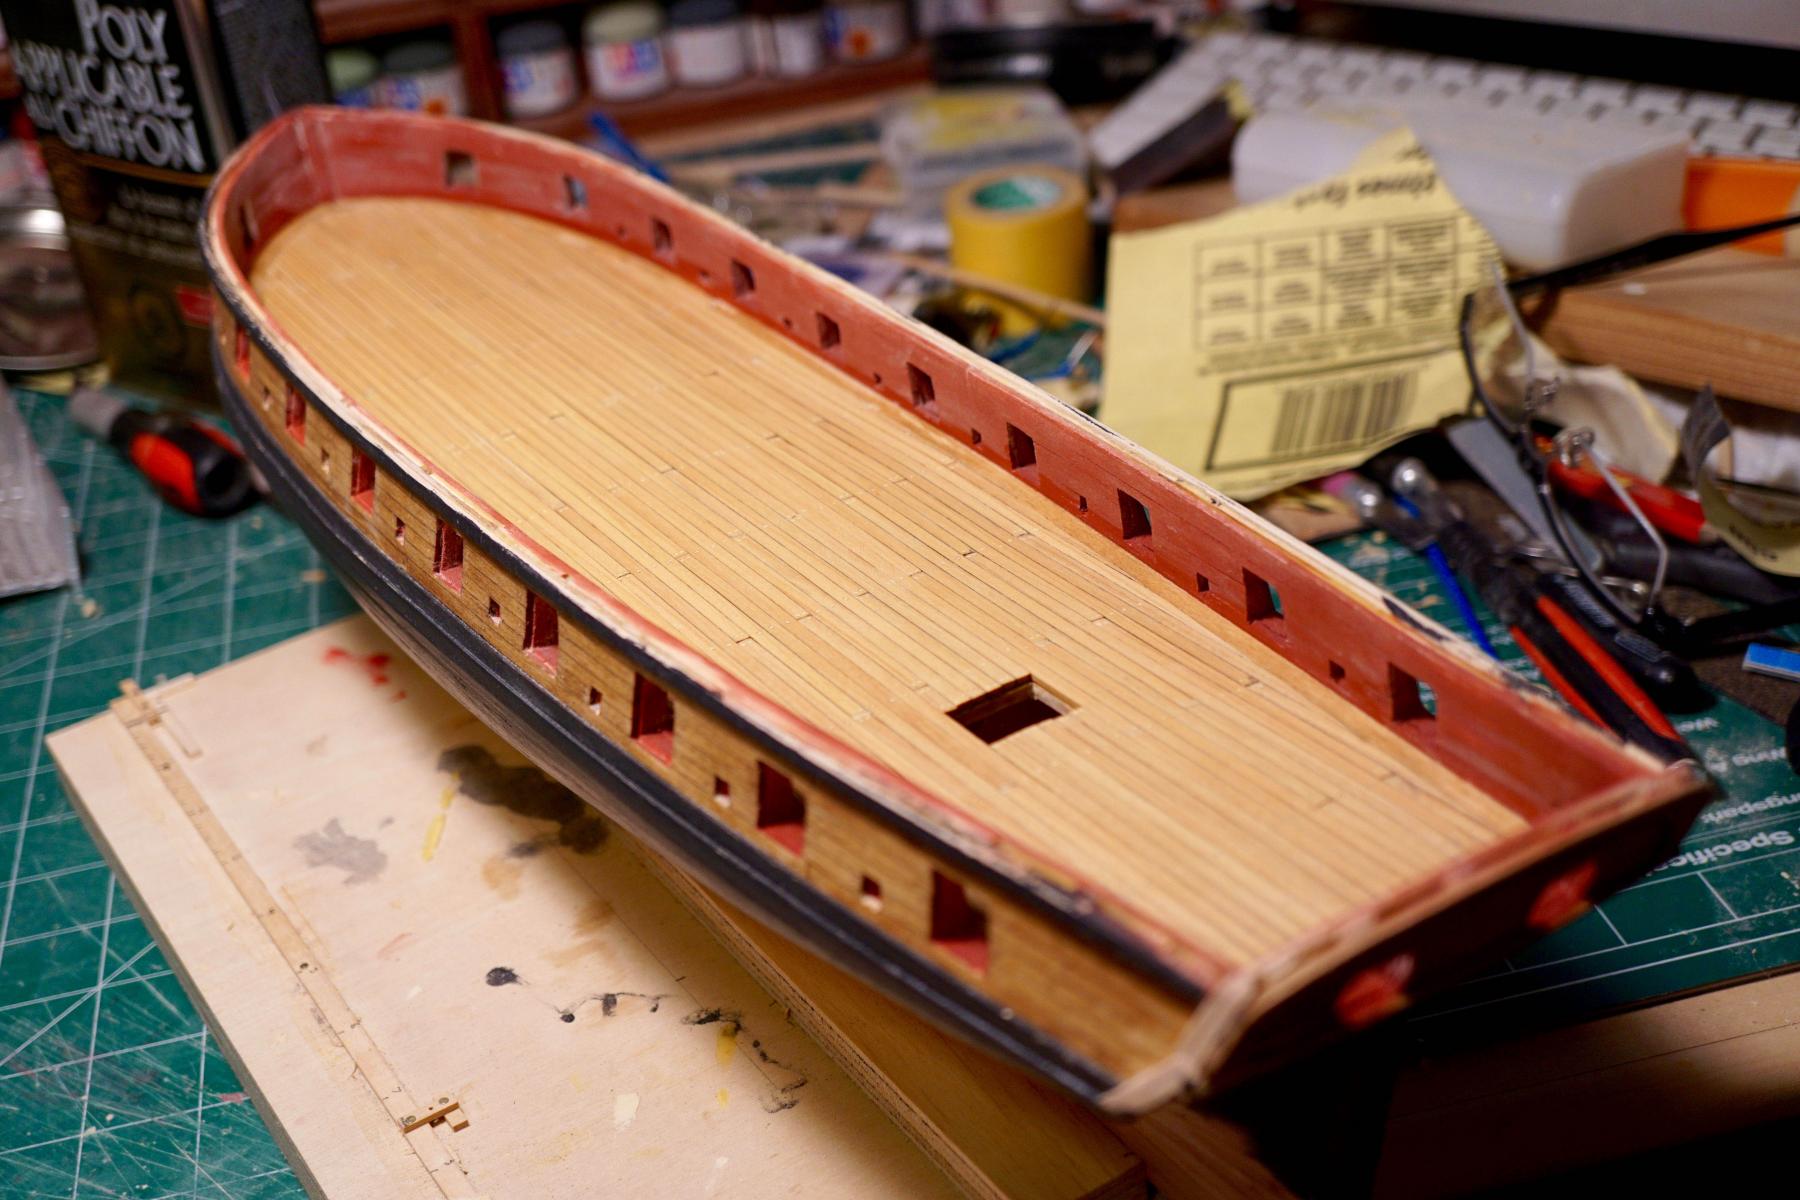
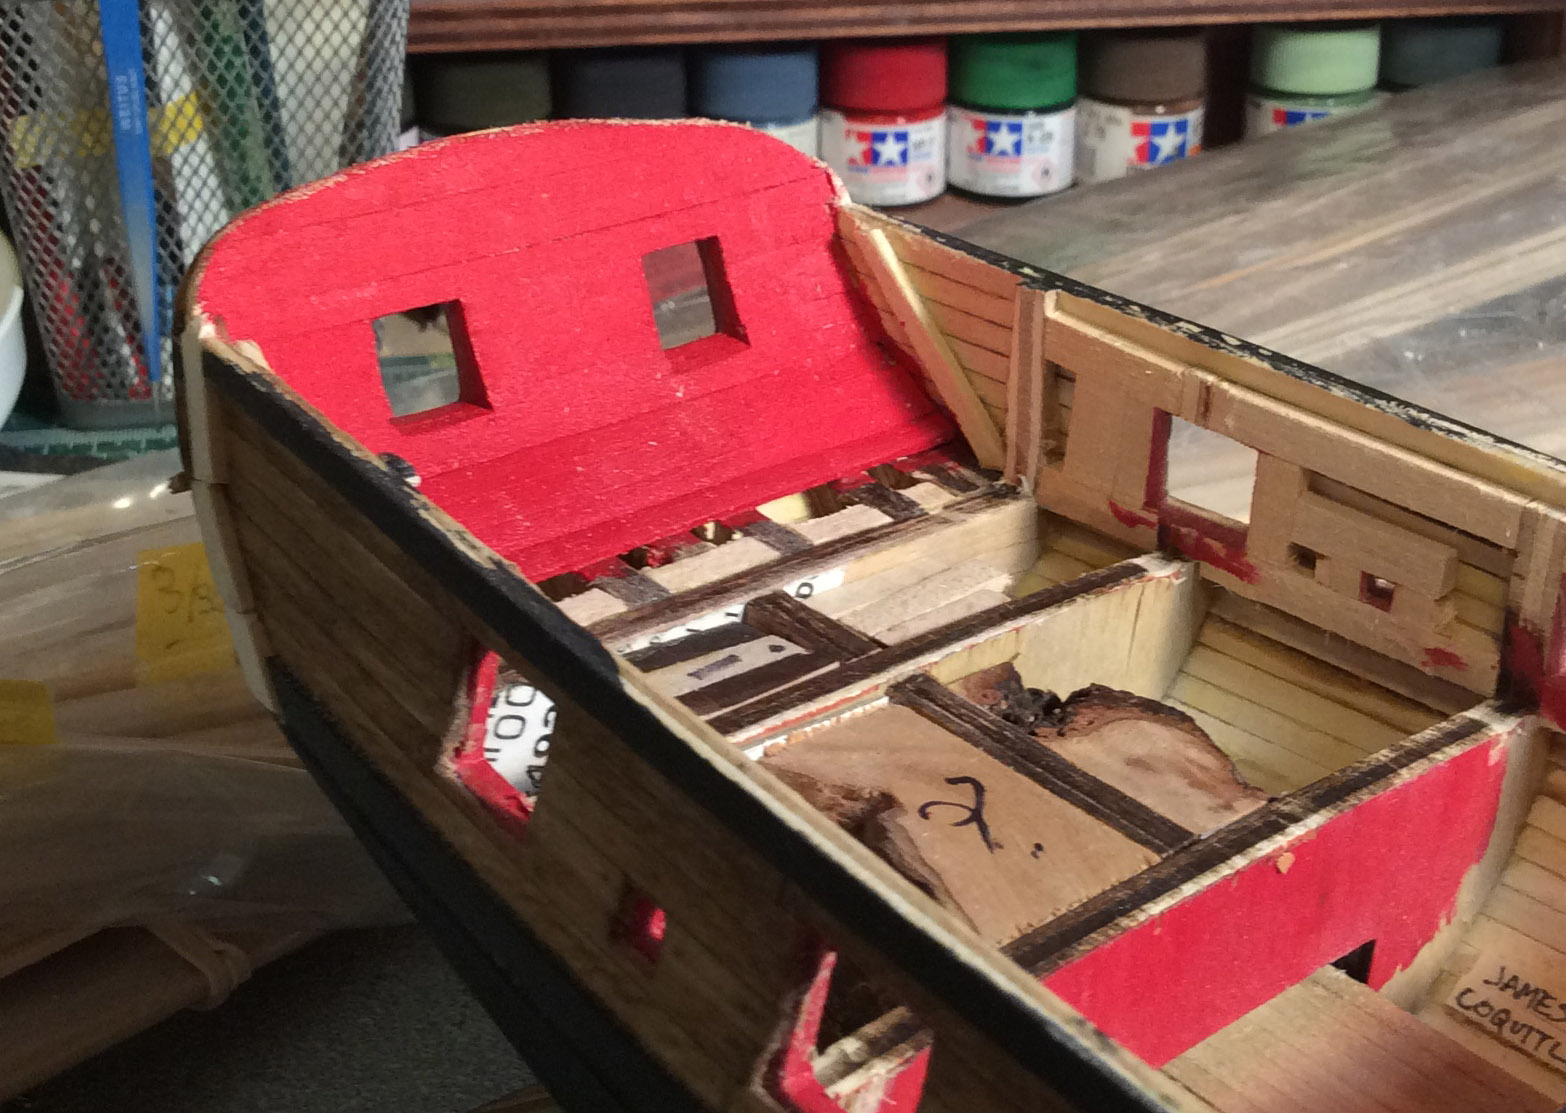
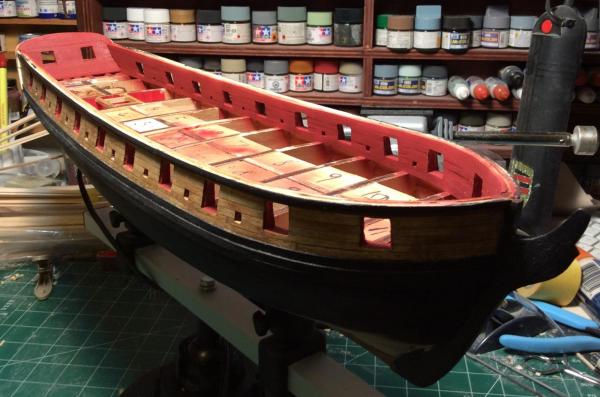
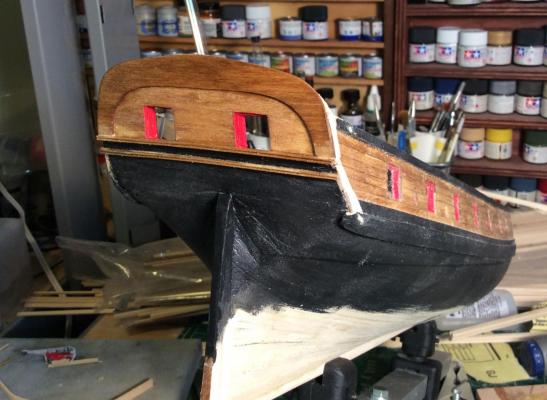
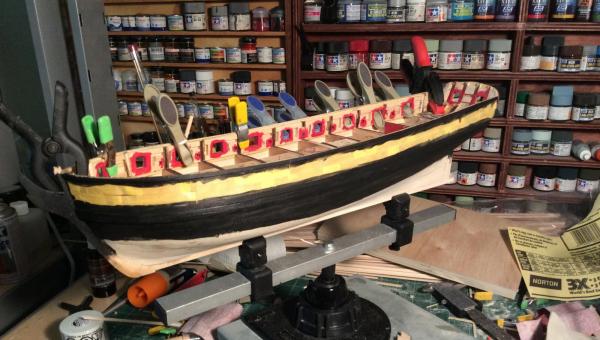
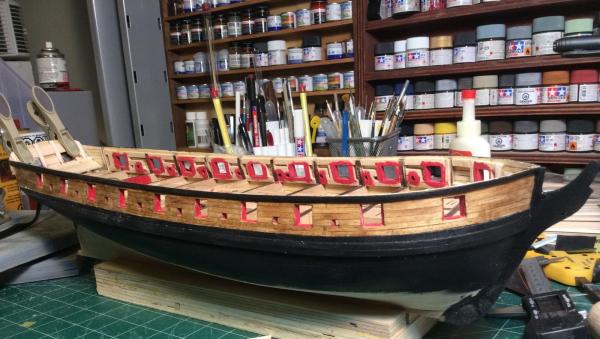
I've caved to peer pressure and tried out a new shade of red. It's still a bit wet in these images and I need to sand and apply another coat, but I think you will like the color now.


-
Ah, then perhaps this is the right shade: https://upload.wikimedia.org/wikipedia/commons/thumb/6/67/HMS_Bounty_Crew_2.jpg/800px-HMS_Bounty_Crew_2.jpg
-
I thought it was supposed to be a bright red, to hide blood in battle. Surely the dark rust primers of 20th C warships are a new invention, why assume they belong here?
-
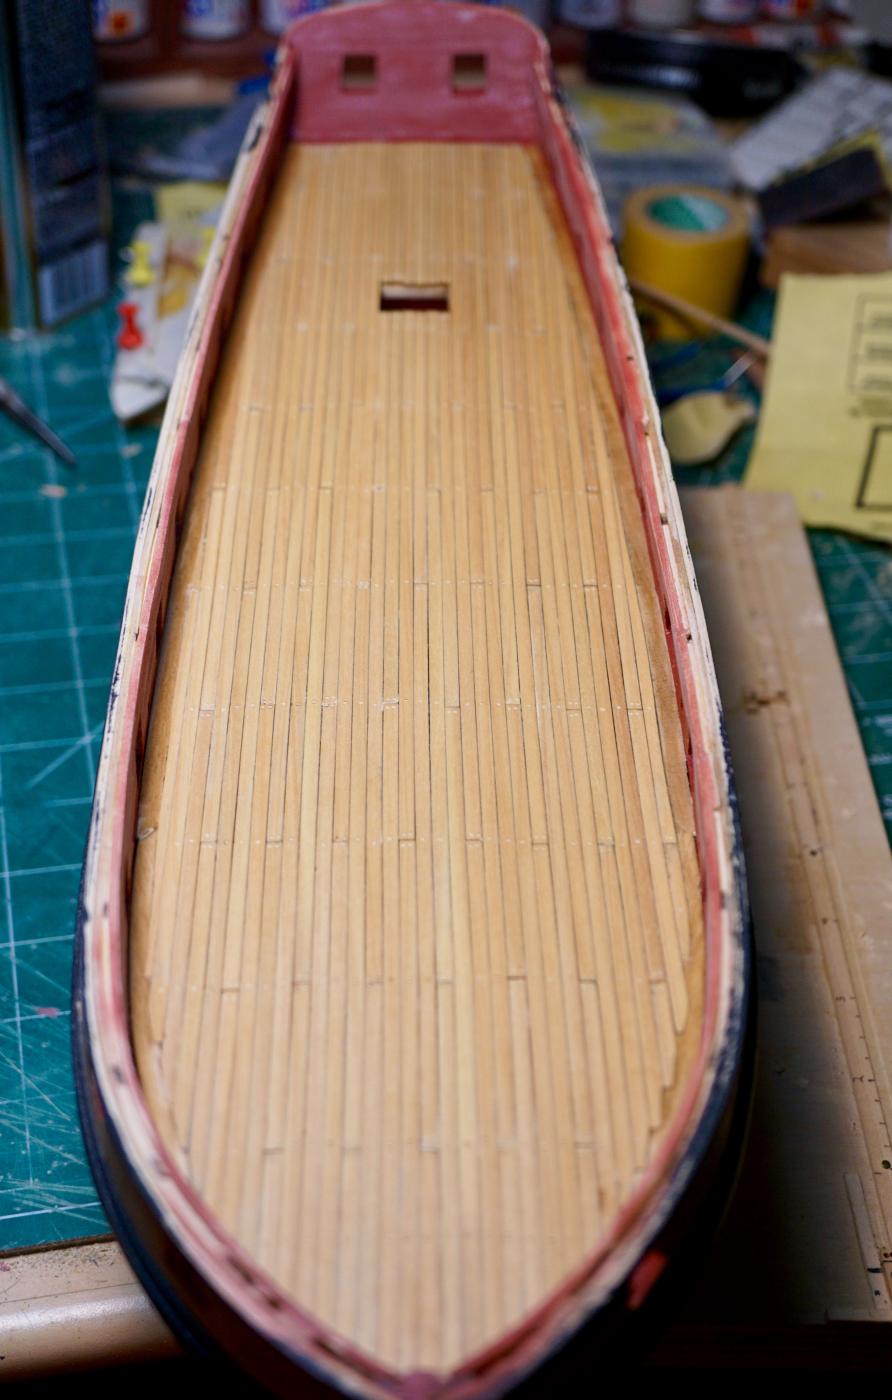
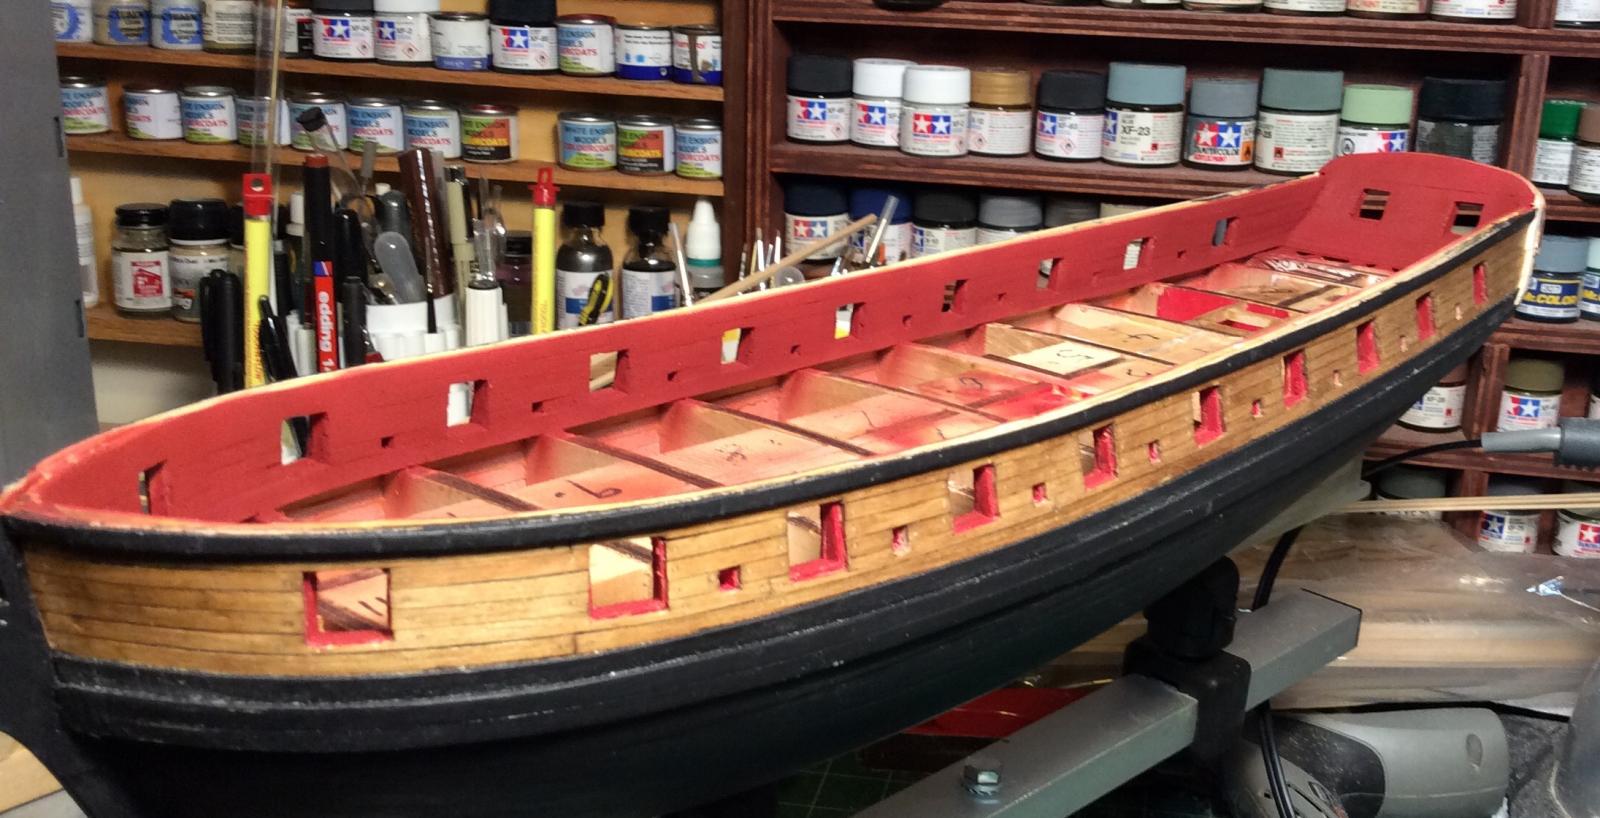
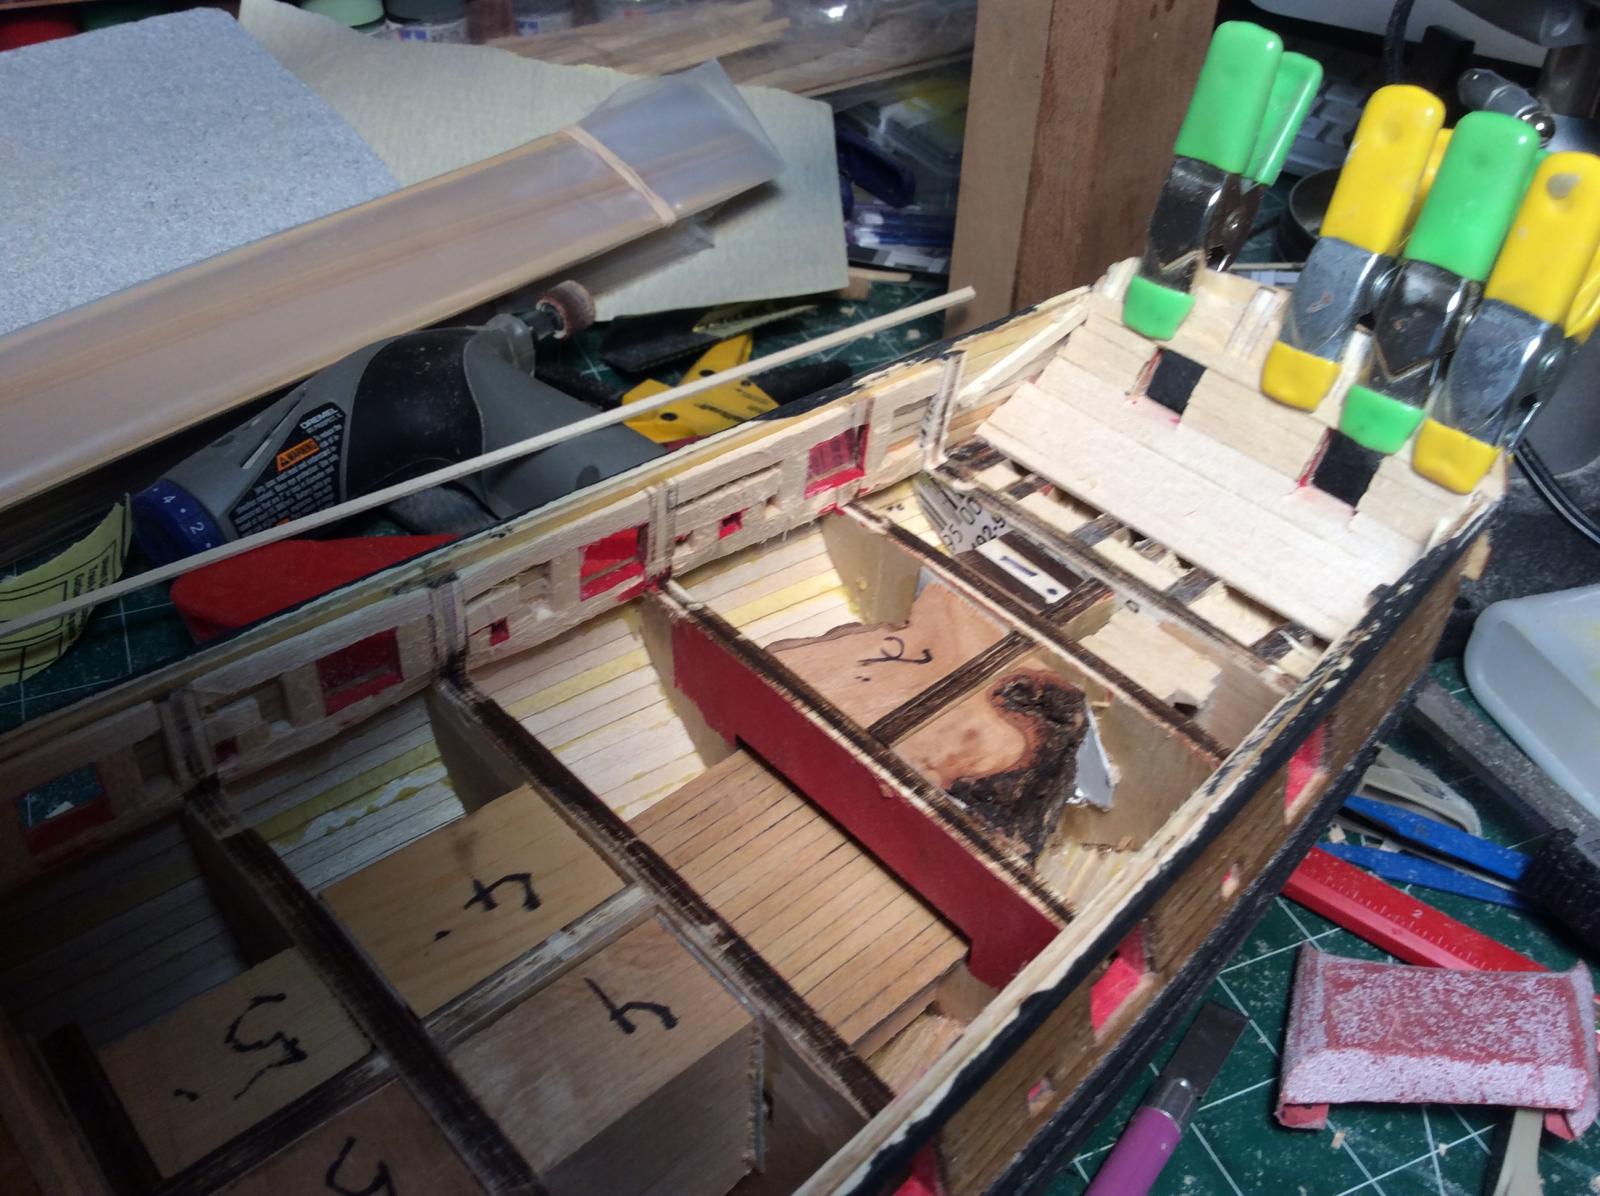
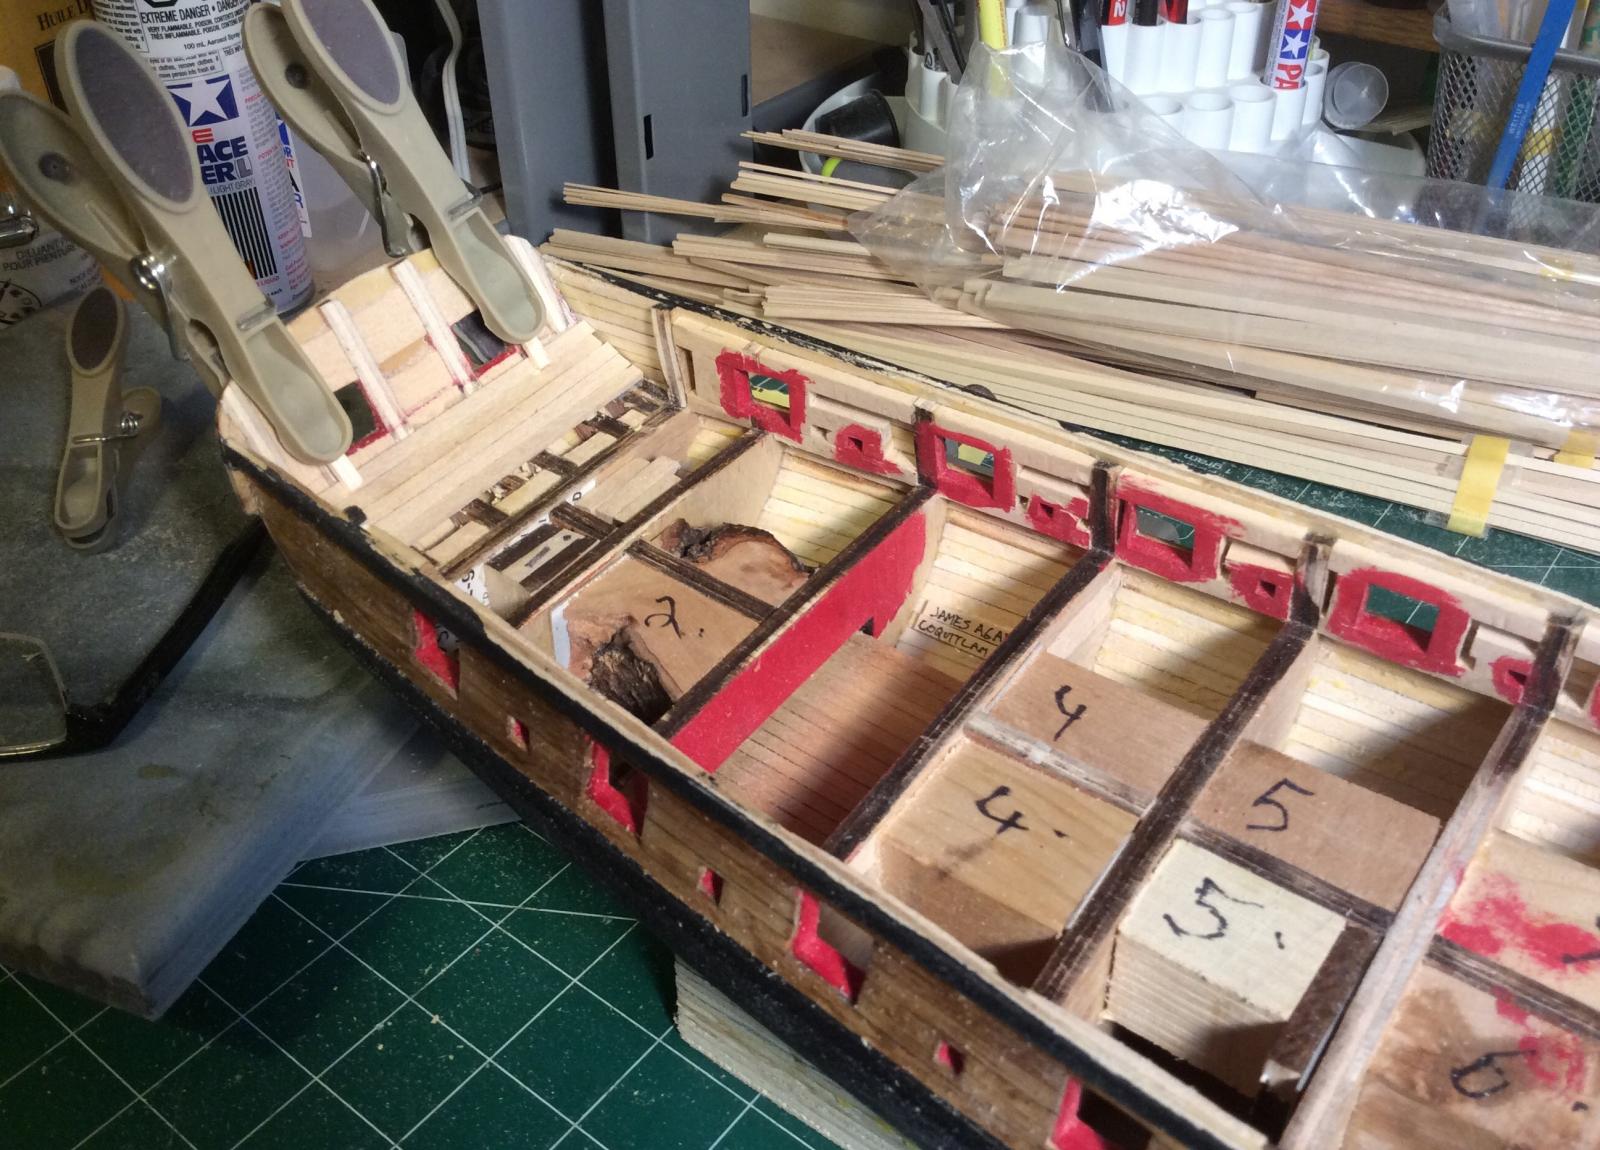
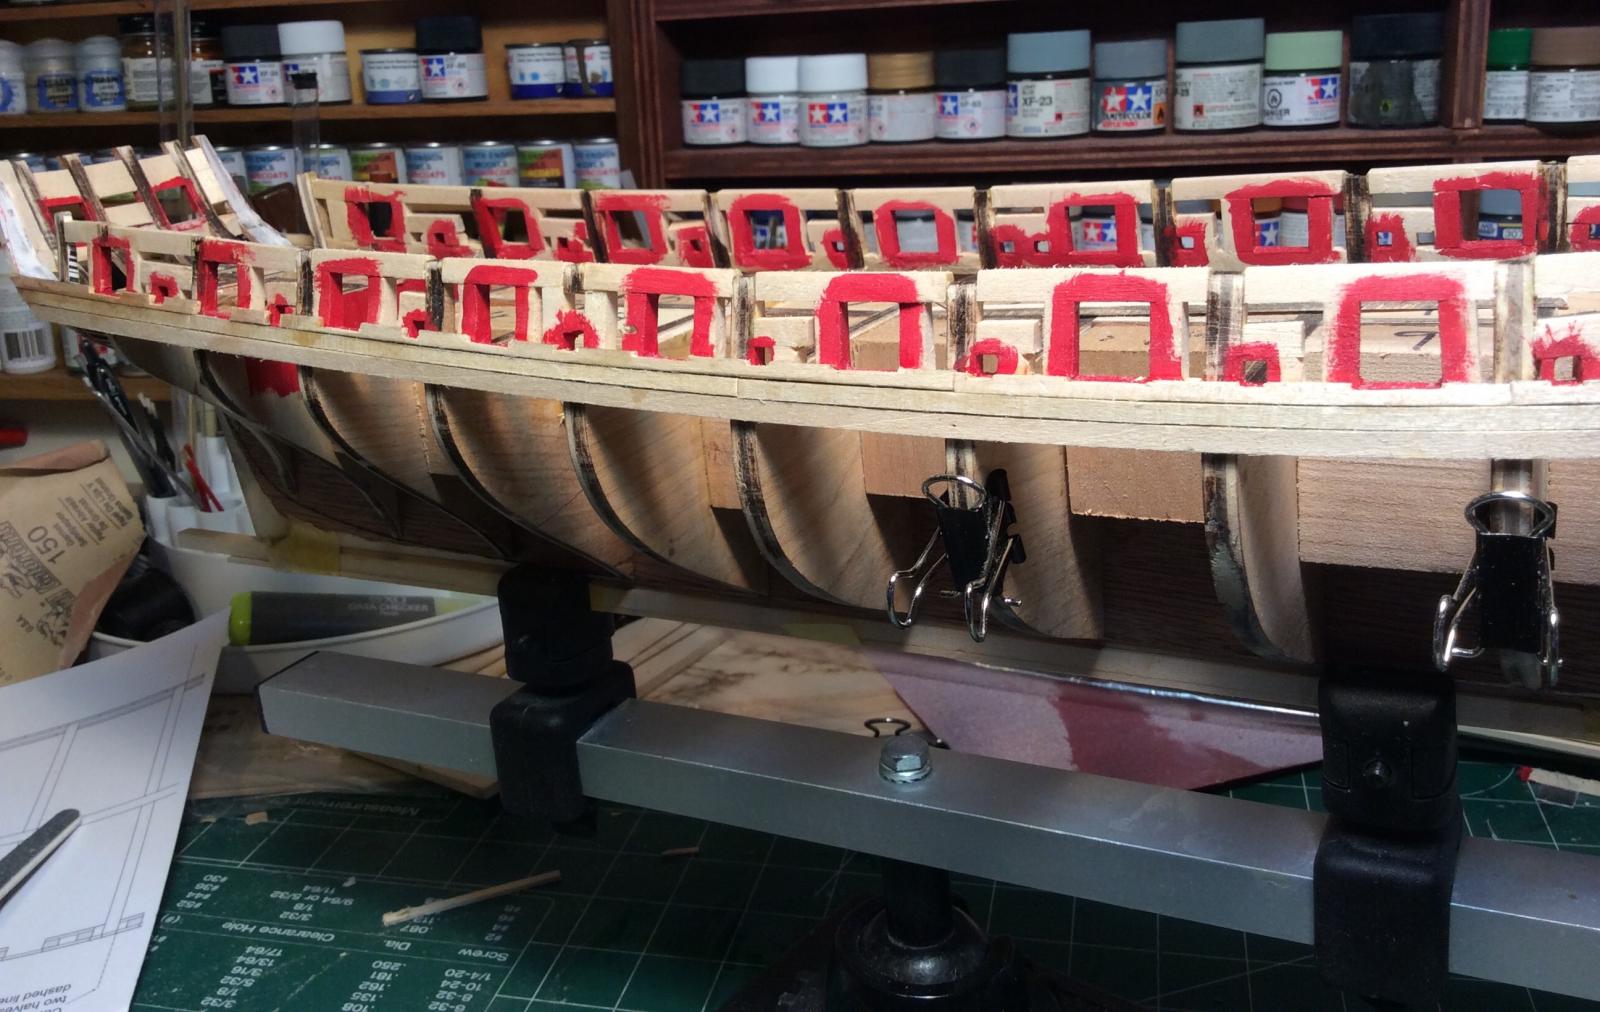
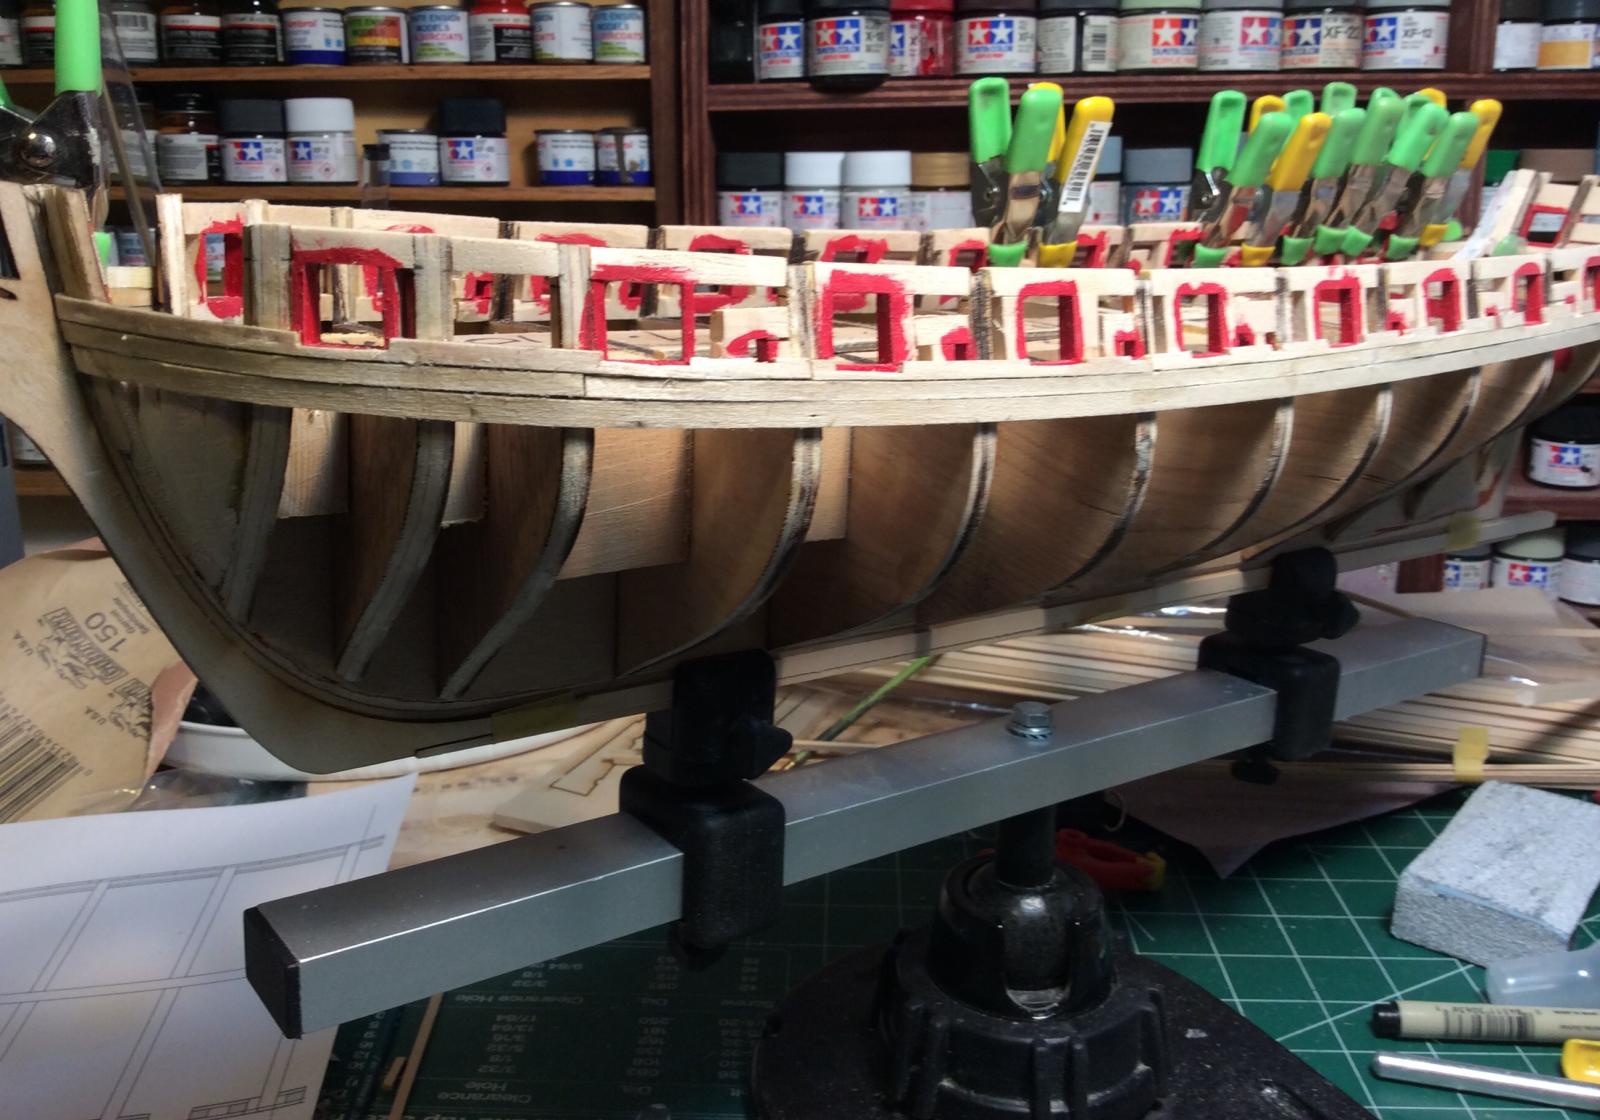
Weekend progress: interior planking is under way.
-
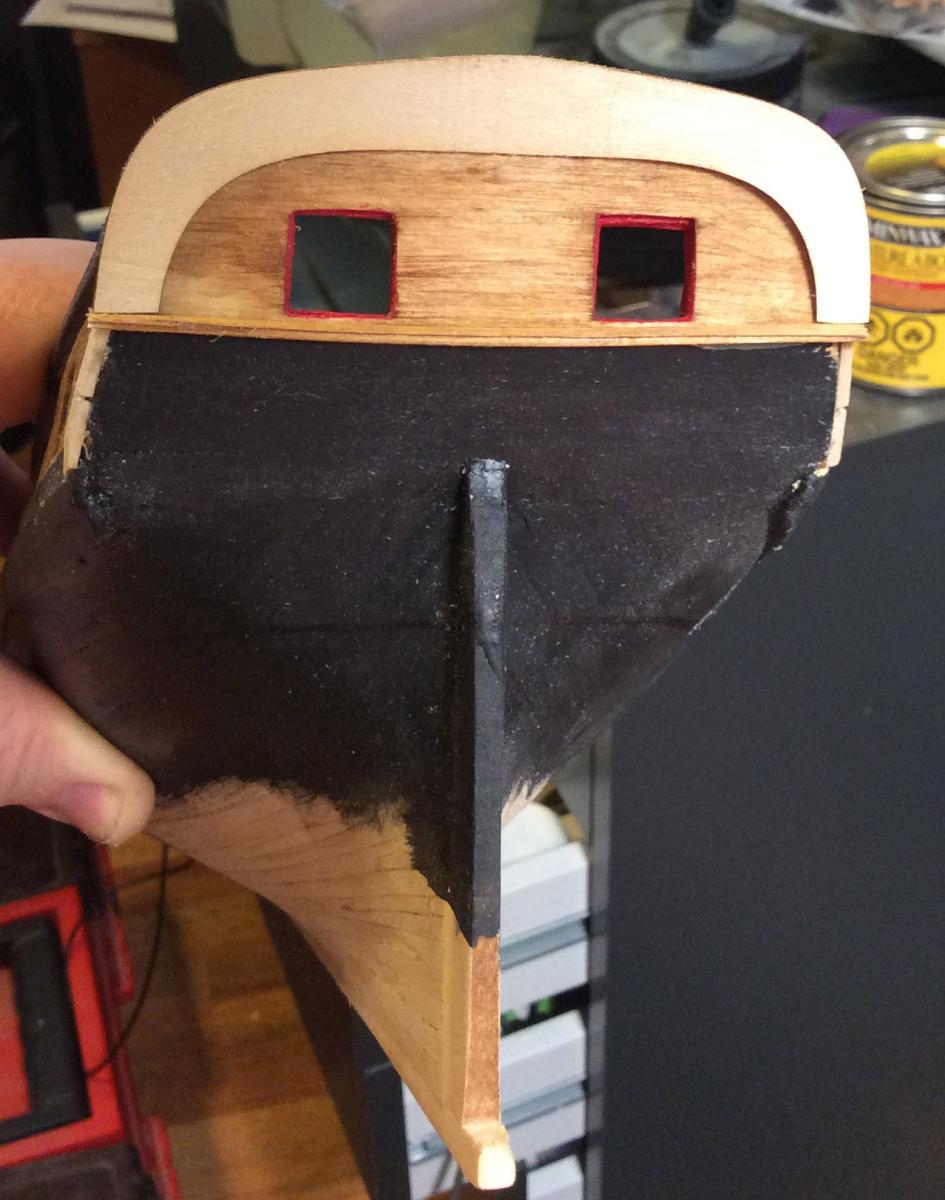
I redid the the trim piece, it now has the proper camber.
-
More progress: I found the carving tricky and had to make a few to get it right. Having done so, and being very worries about the pressure of my clamps crushing it, I chose not to give it the camber of the deck. I think it looks okay, but now I'm second guessing that choice, I may rip it off and start over. It's very red.


-
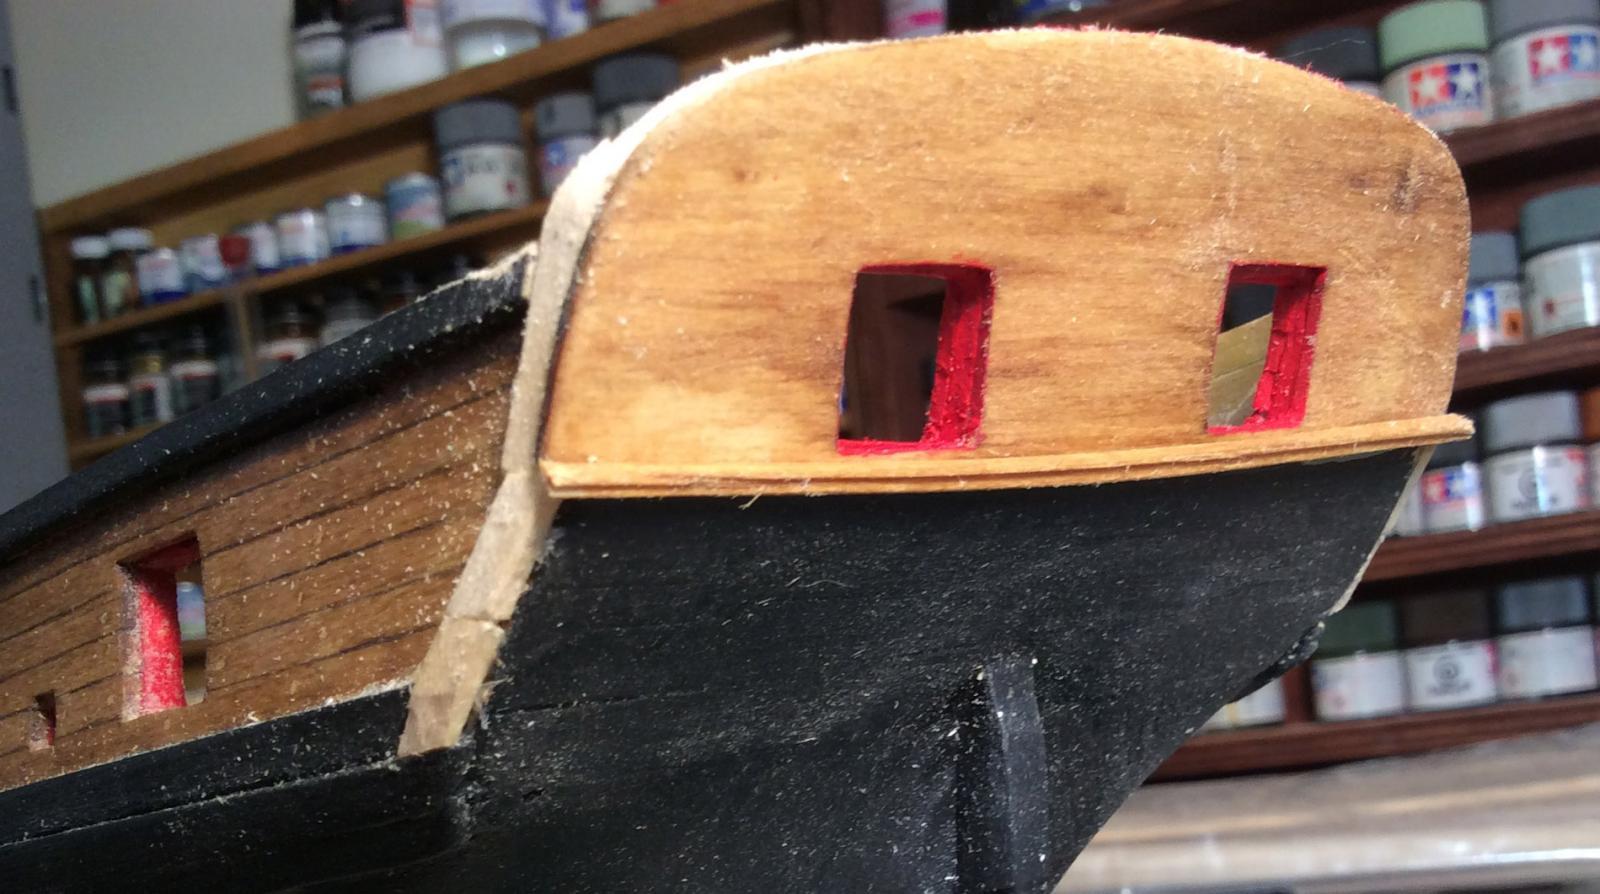
Thanks for the tips. I've now sanded it down successfully:


-
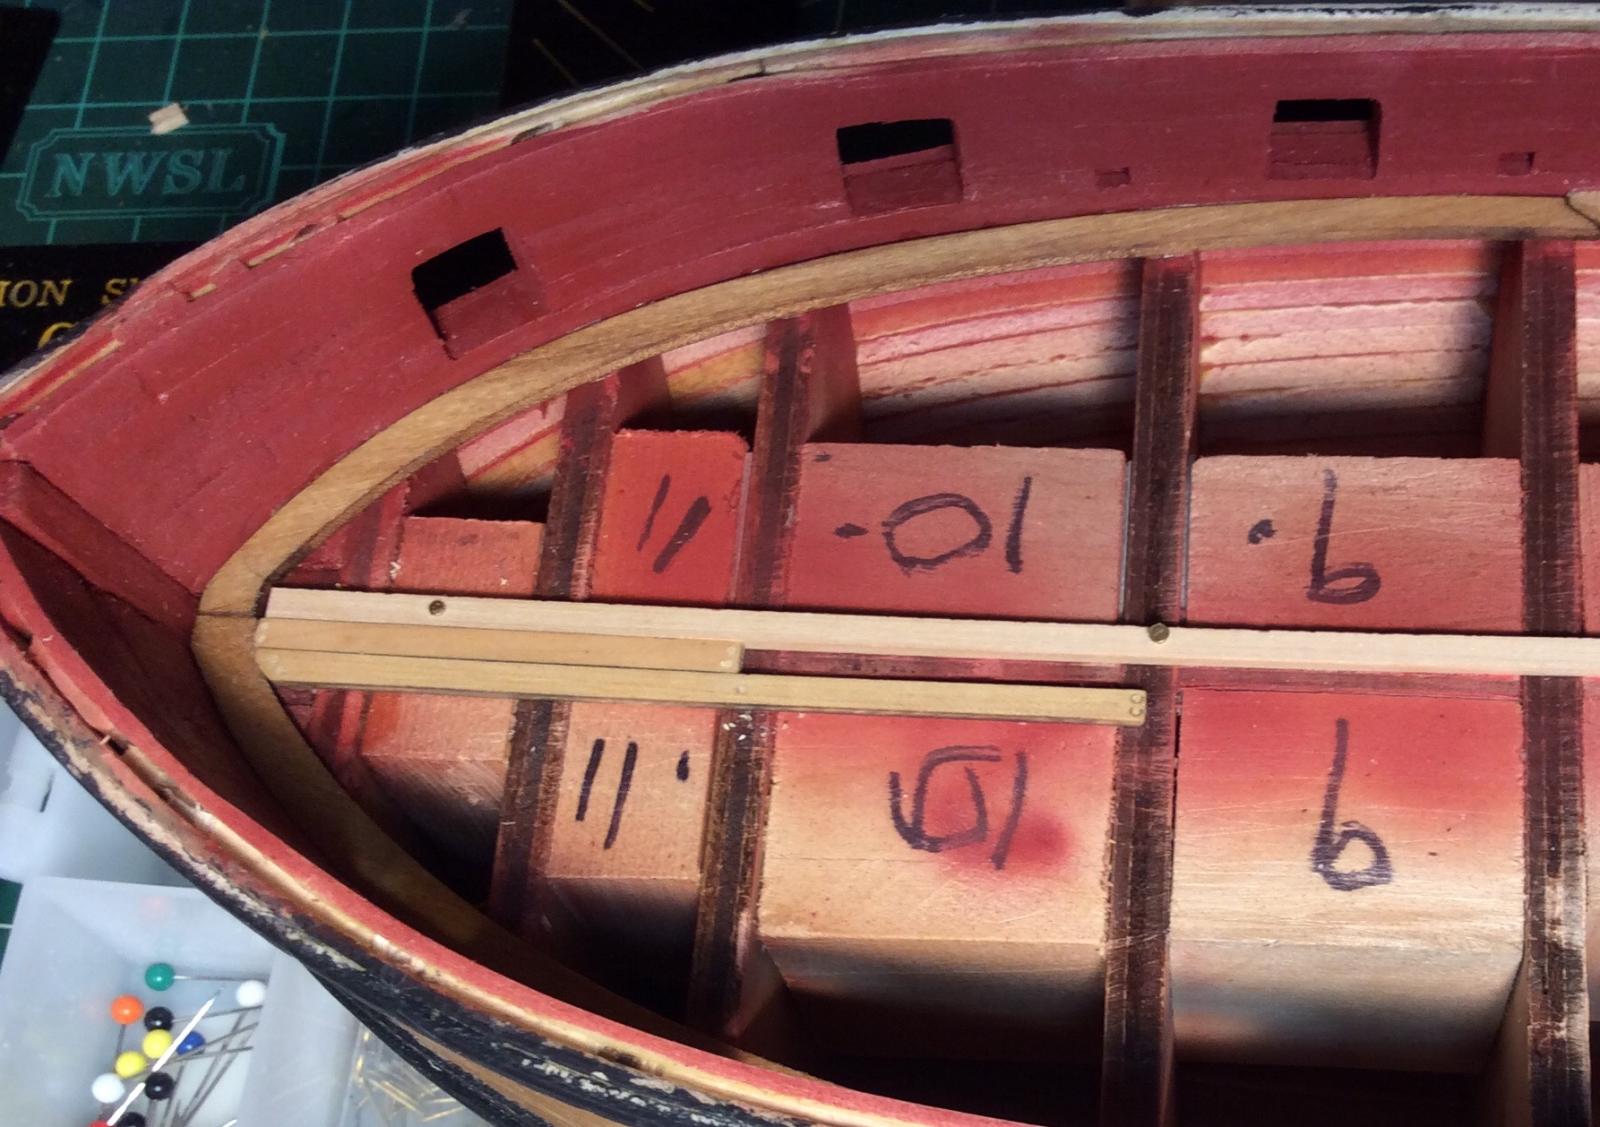
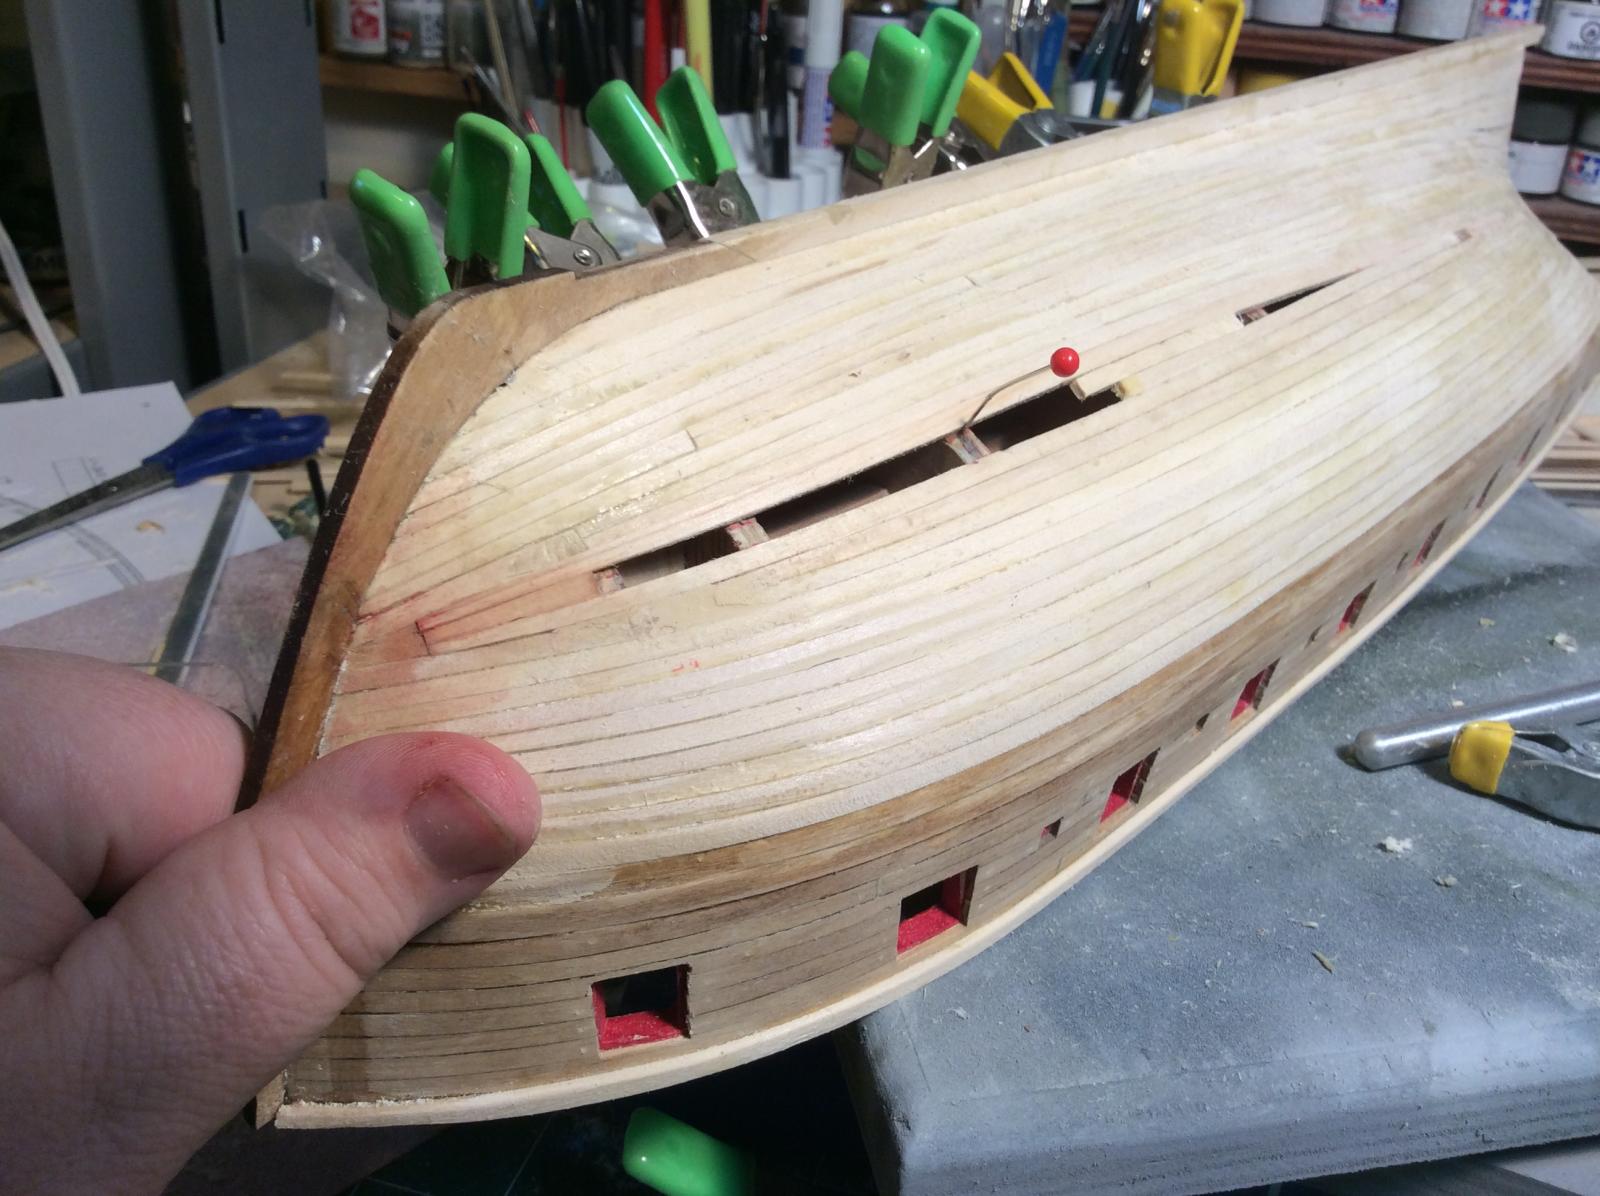
Question for you all: what advice can you offer re: thinning down the interior bulwarks? I've spent quite a while at it tonight and have very little progress to show. Since the bulwarks rake in somewhat I cannot slide a sanding block along the lower edge, the deck surface gets in the way. I'm leery of trying to mow it all down with a Dremel lest I pick mark up the whole thing with irregularities. I've looked at a few of your build logs but it seems to be a topic that passes unremarked. How did all of you do yours? What did you sand with? Thanks James
-
Yep, 2 more coats of Minwax golden oak (3 total). I have some replacement wood arriving tomorrow!
-
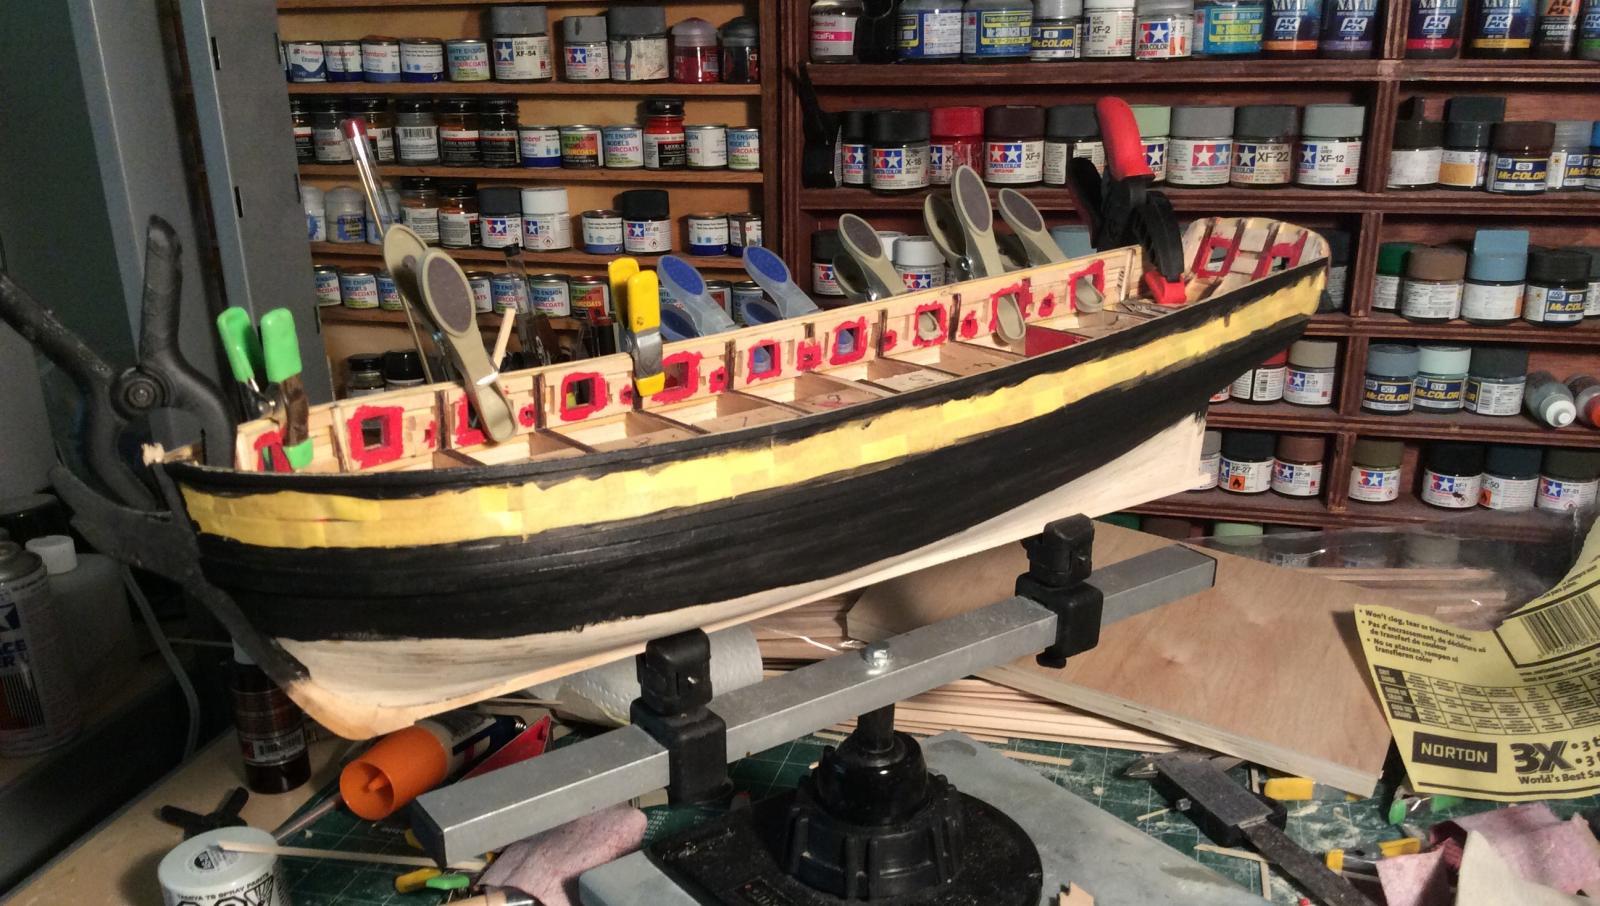
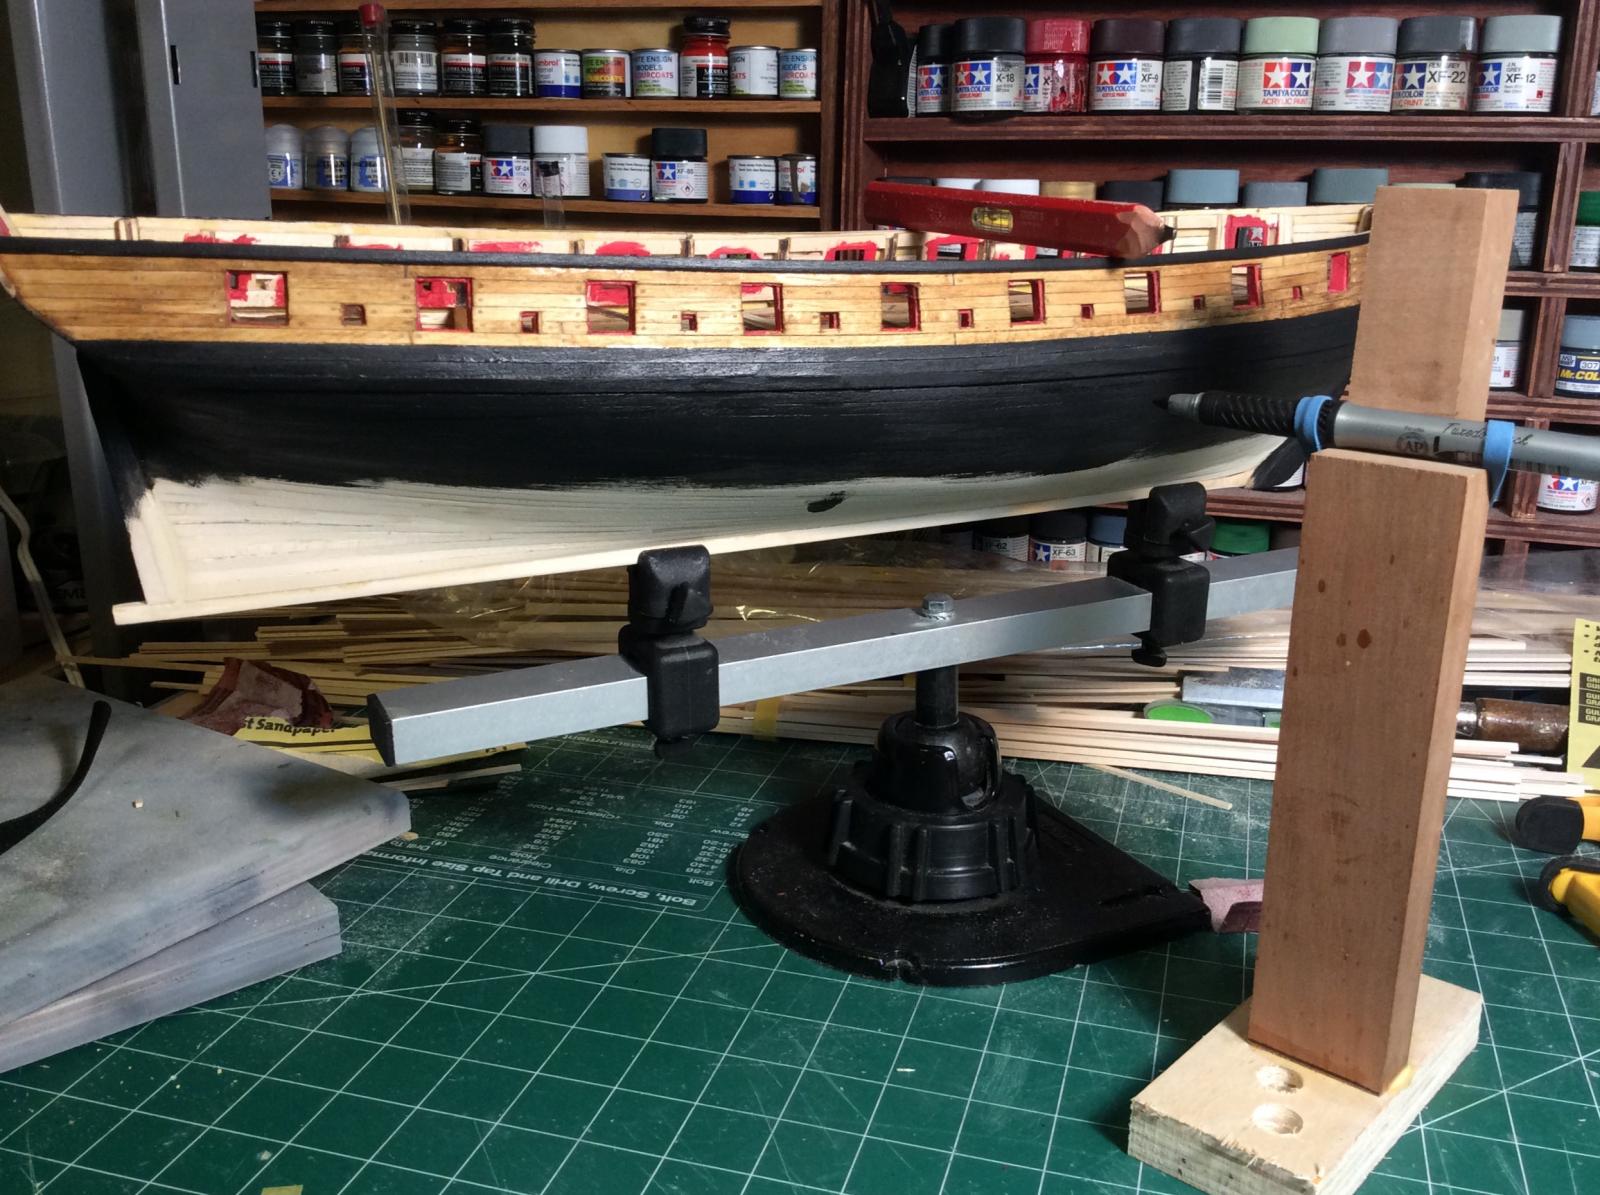
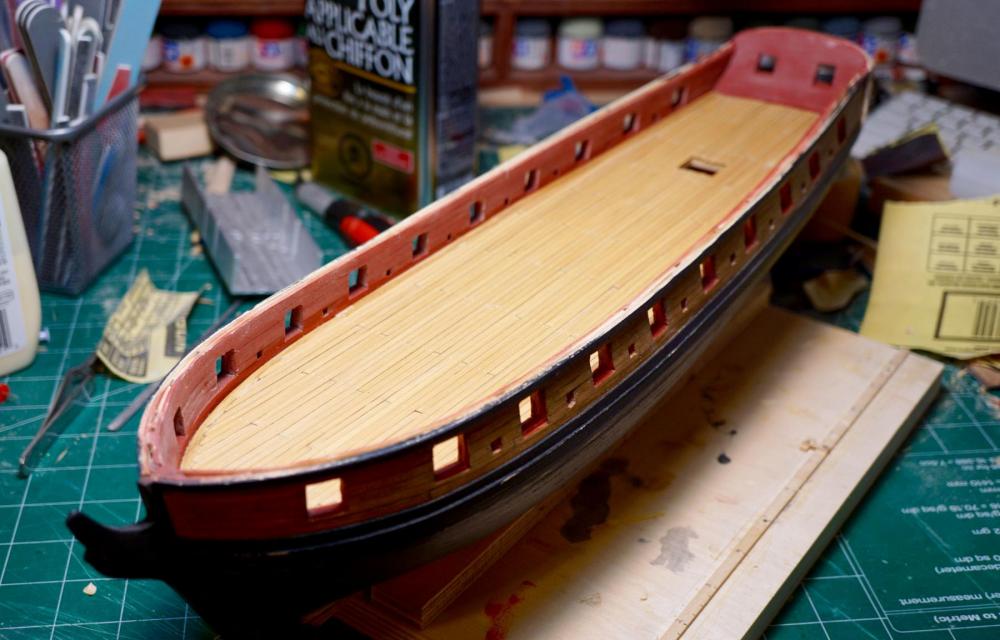
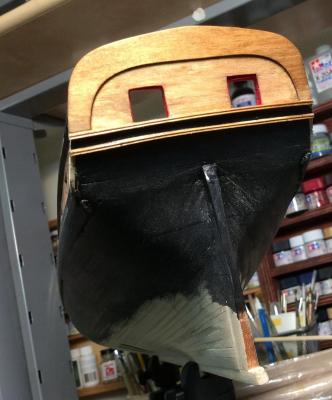
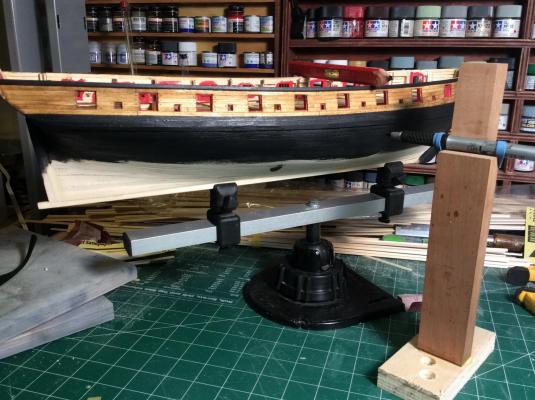
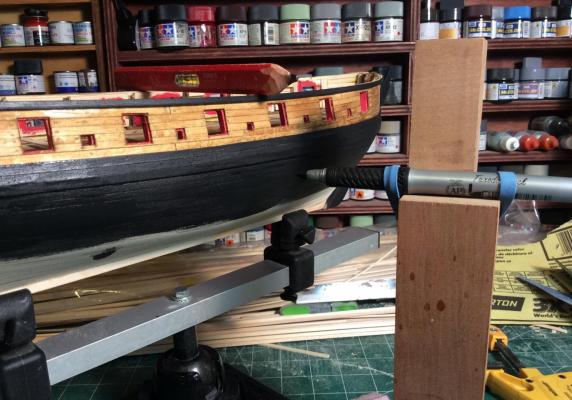
Sunday, busy Sunday... Masking and painting. Marking the waterline Black on black...yeah, I could have been smarter, but I can see it, even if the camera does not. I wanted lots of black to cover any problem gaps in the copper, just in case. Probably silly, but oh well. Paint is cheap. A little hello to the person who smashes the ship apart one day. Sanding this down was no fun, I hated how it flexed. Ugh! Paint is such wonderful stuff!

-
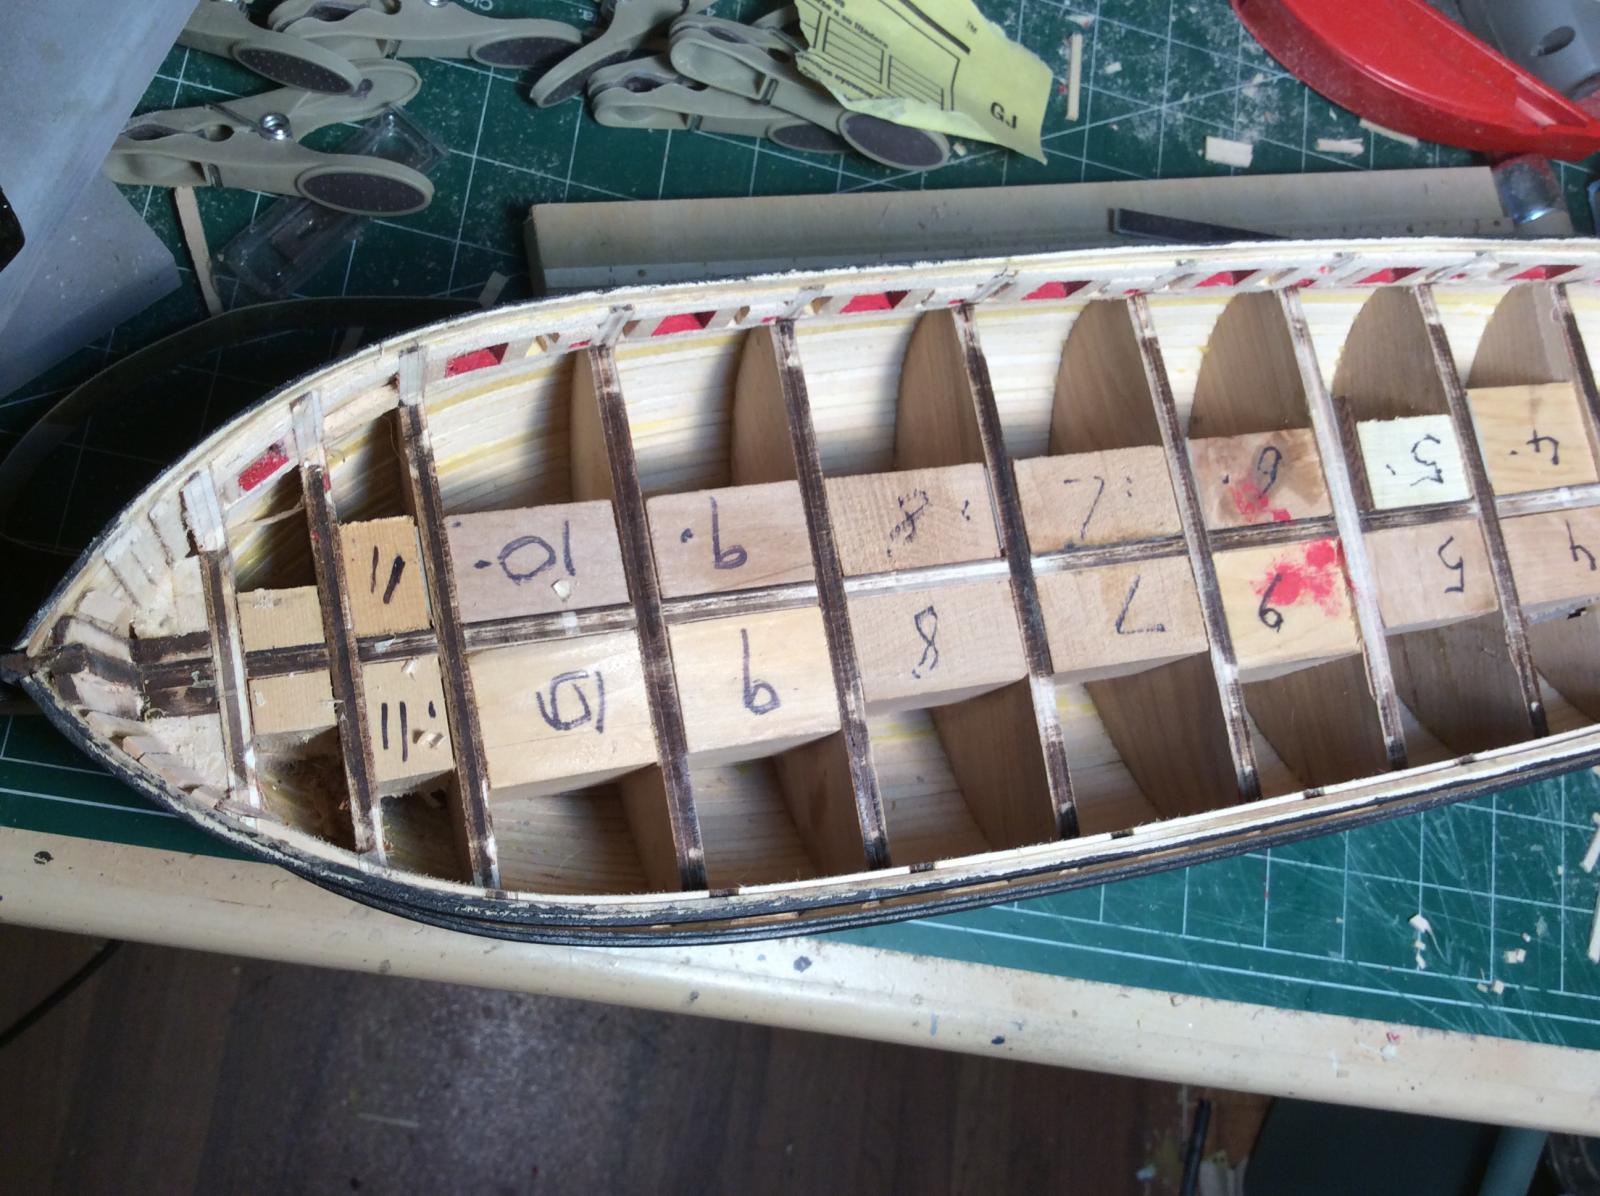
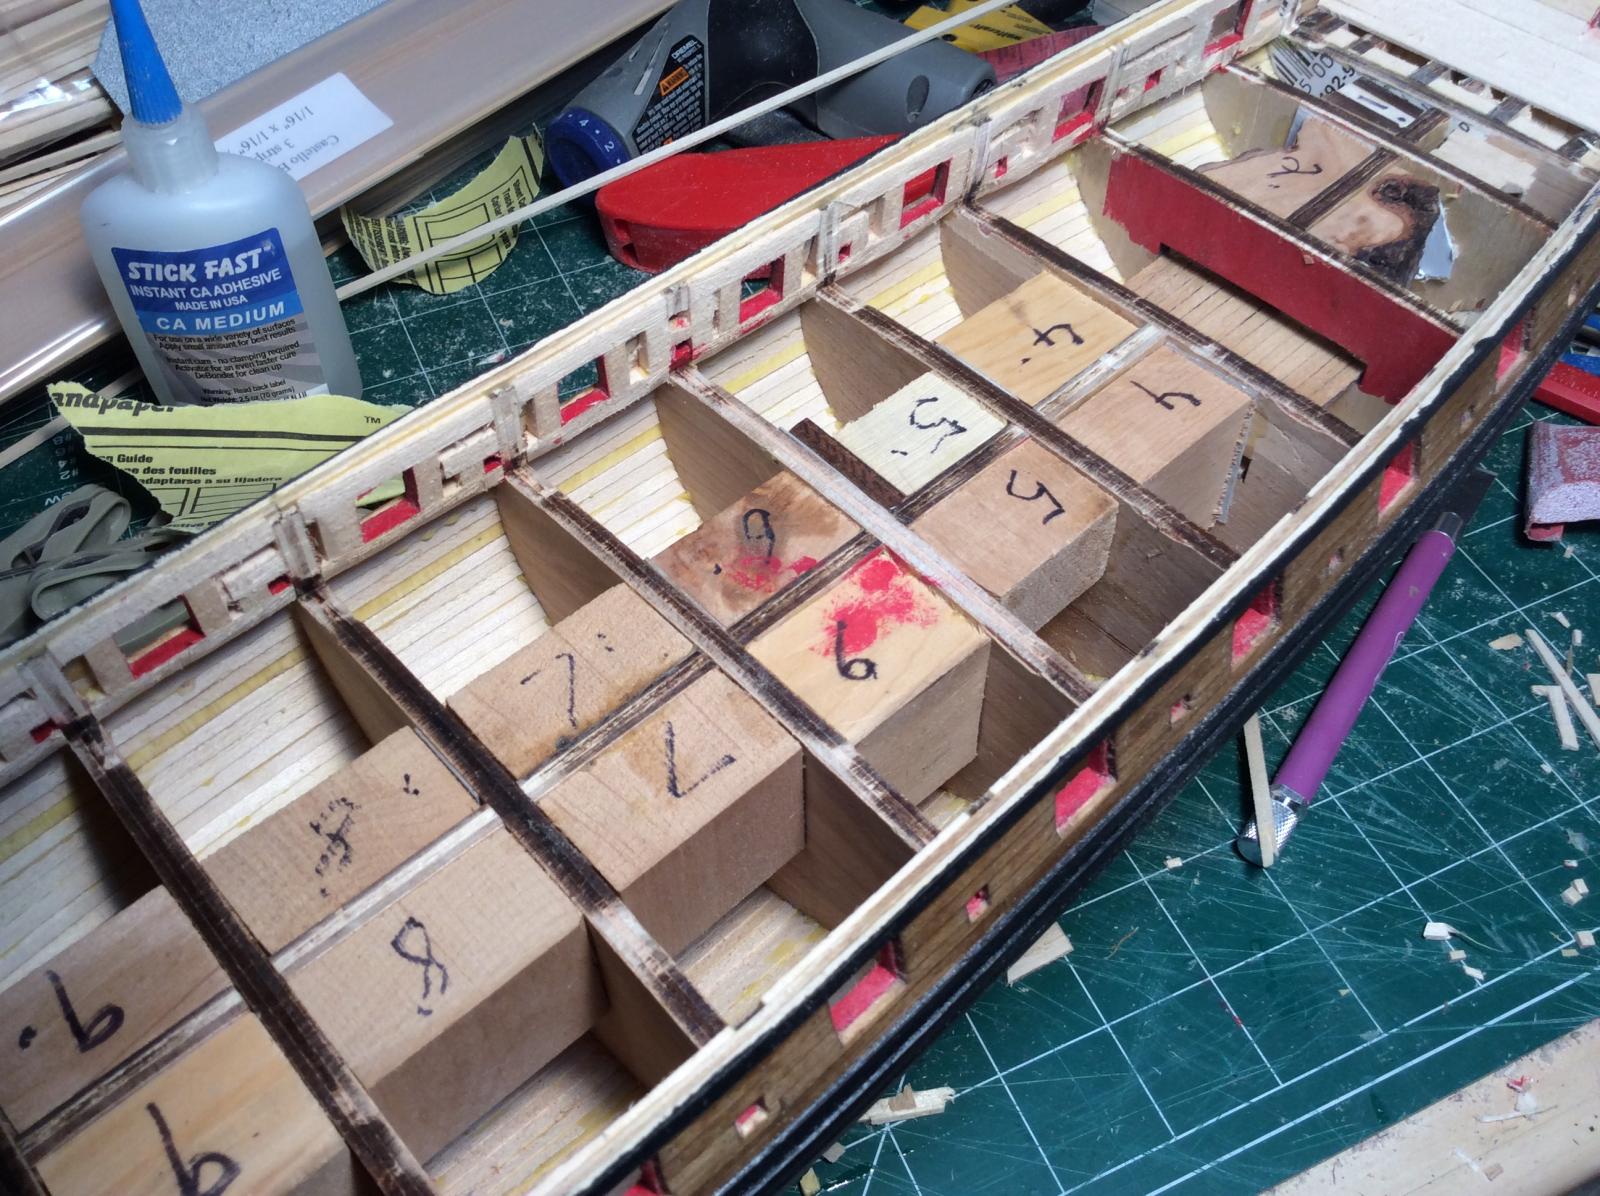
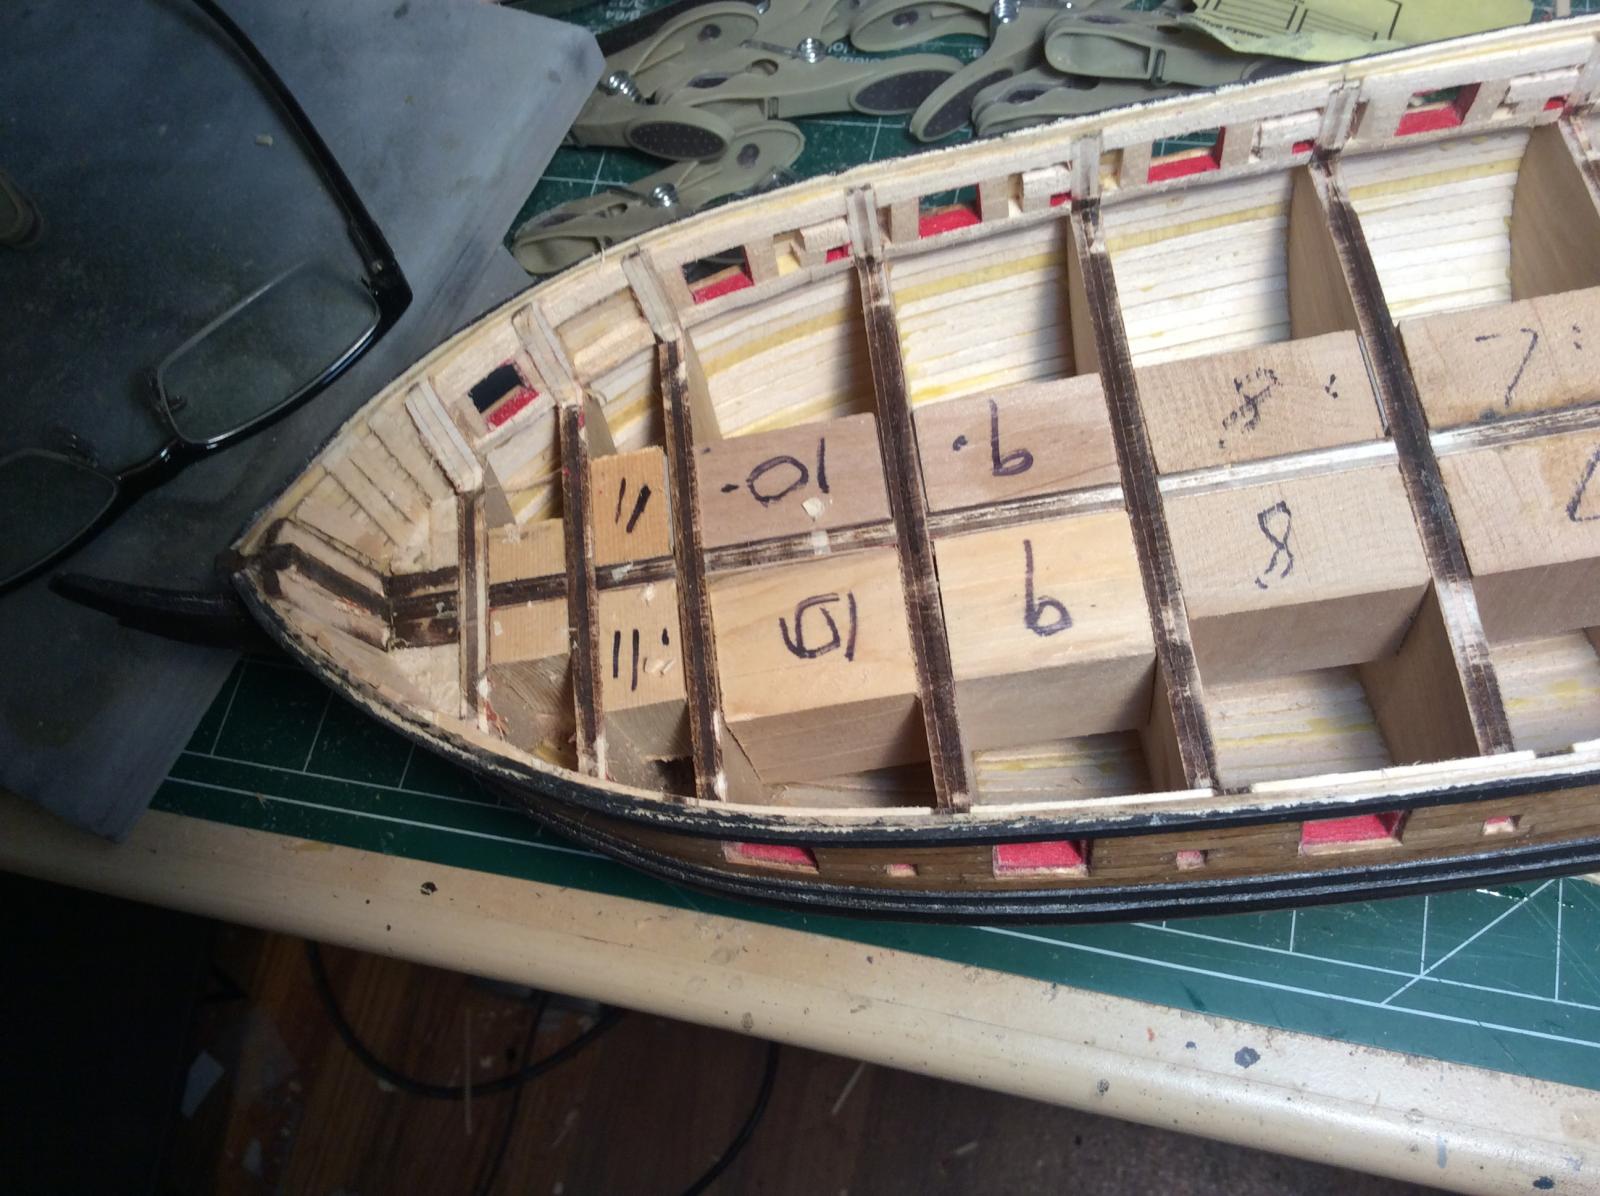
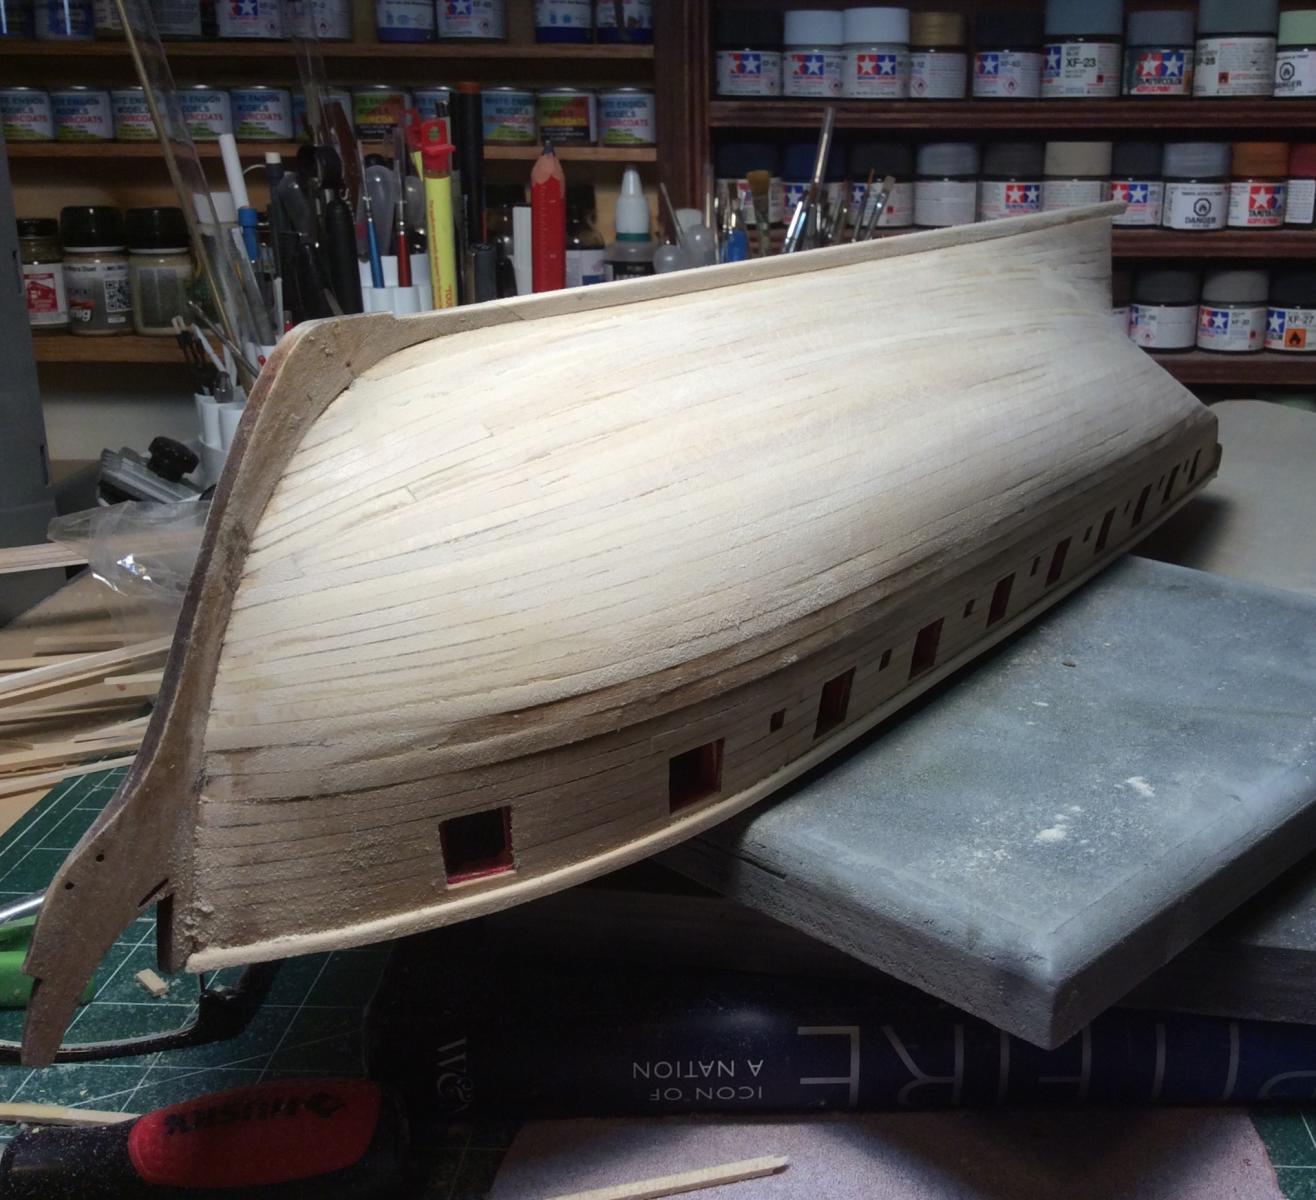
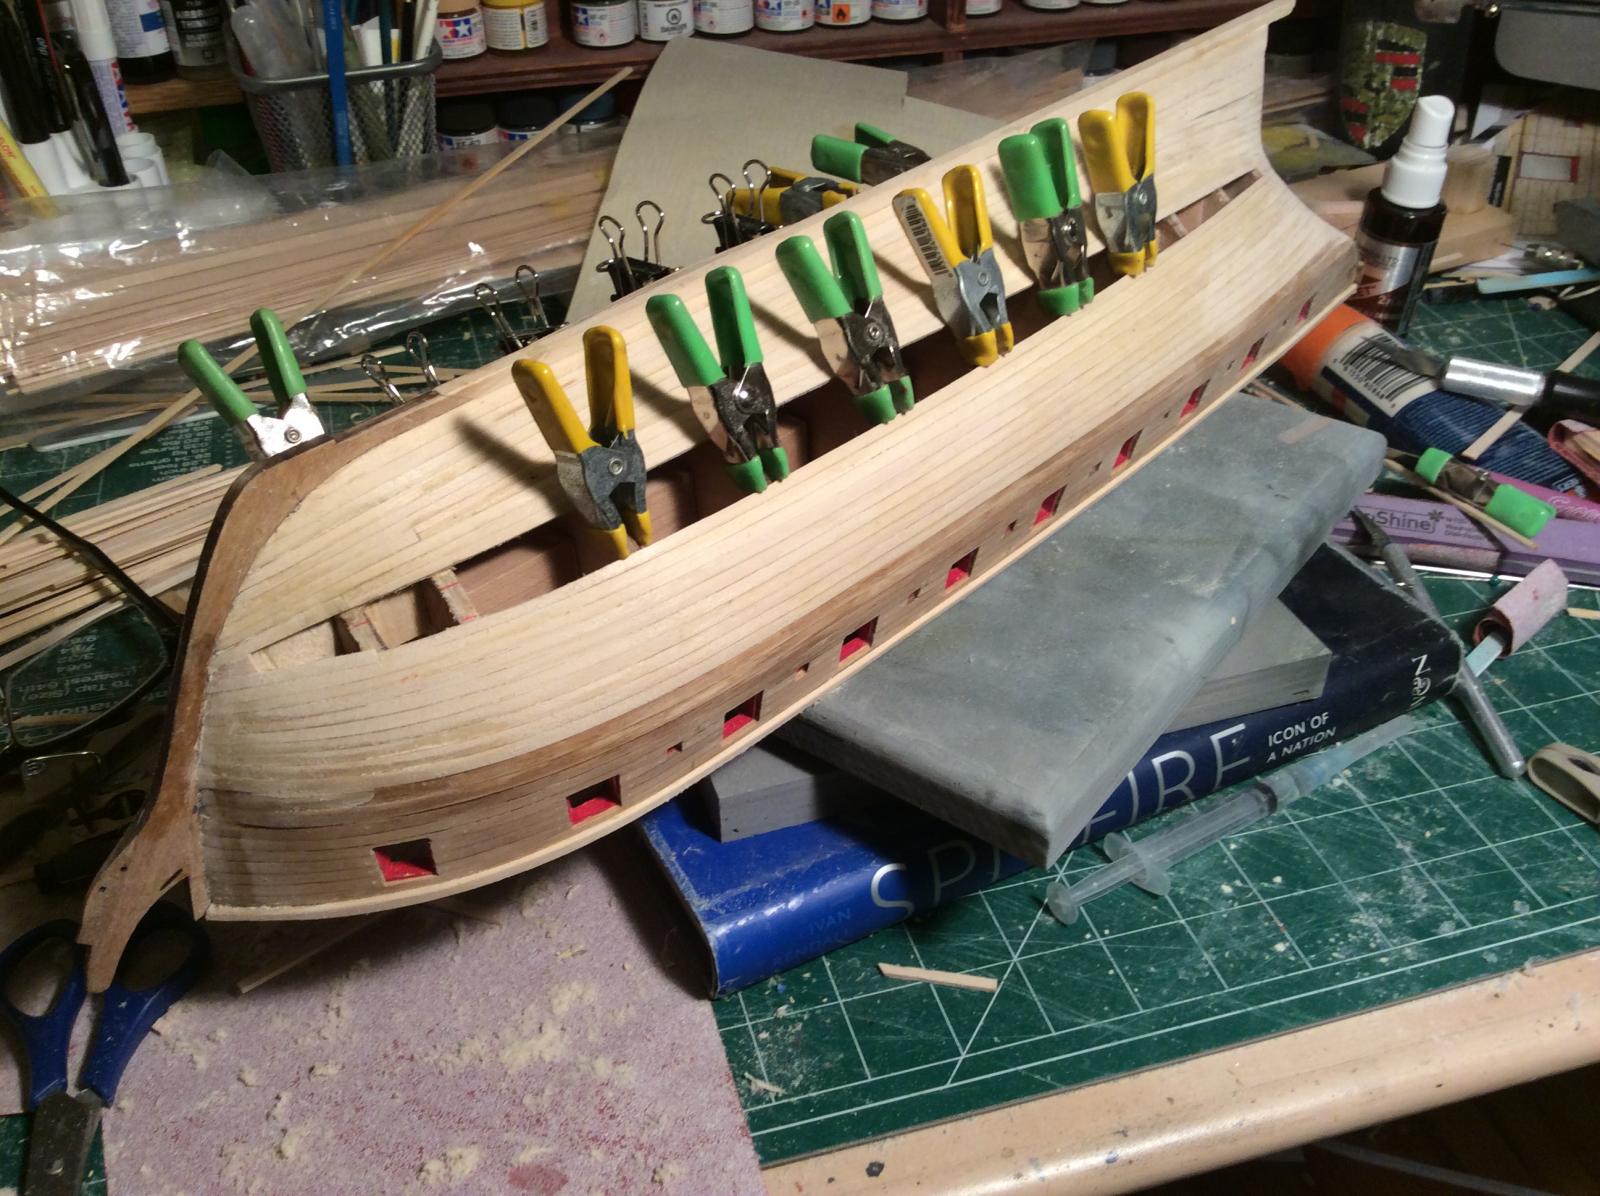
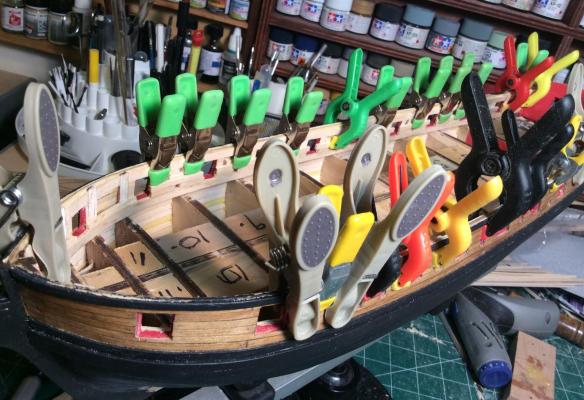
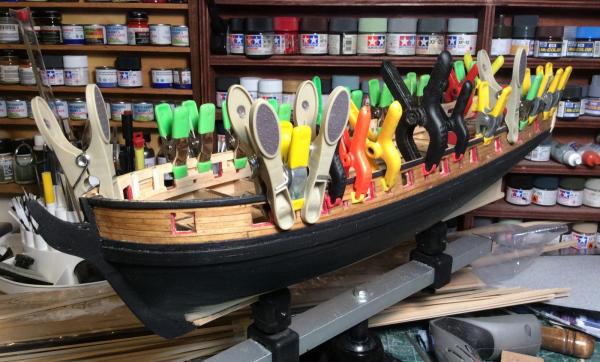
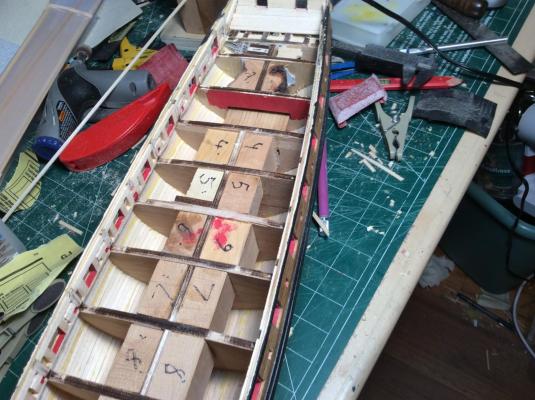
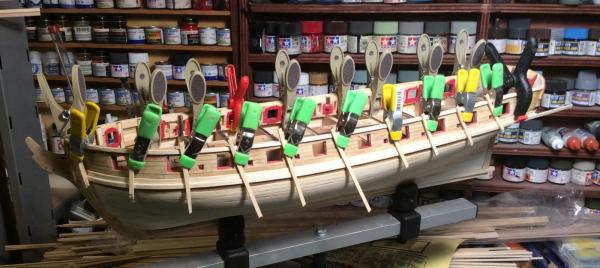
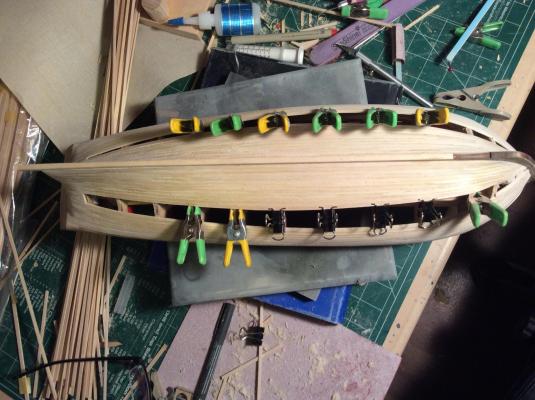
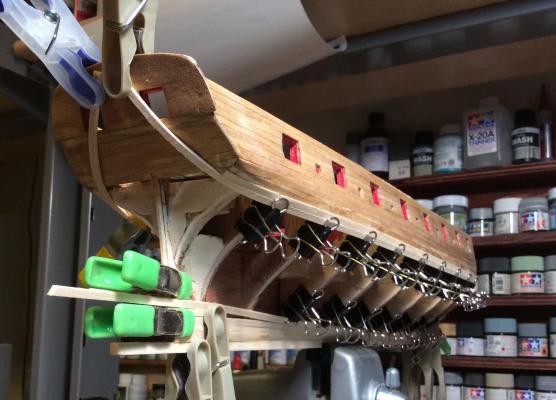
Some more progress to share. I won't narrate much as I'm sure you all know what I'm up too...any questions just ask. I am now seven weeks in on this project. I've worked almost every weeknight for an hour or two, and many hours each weekend. I do not know if my pace is fast or slow, but I'm enjoying it. The wood is so soft my clamps keep marring it. I sand that out, but I'm losing volume as a result. Bah.


-
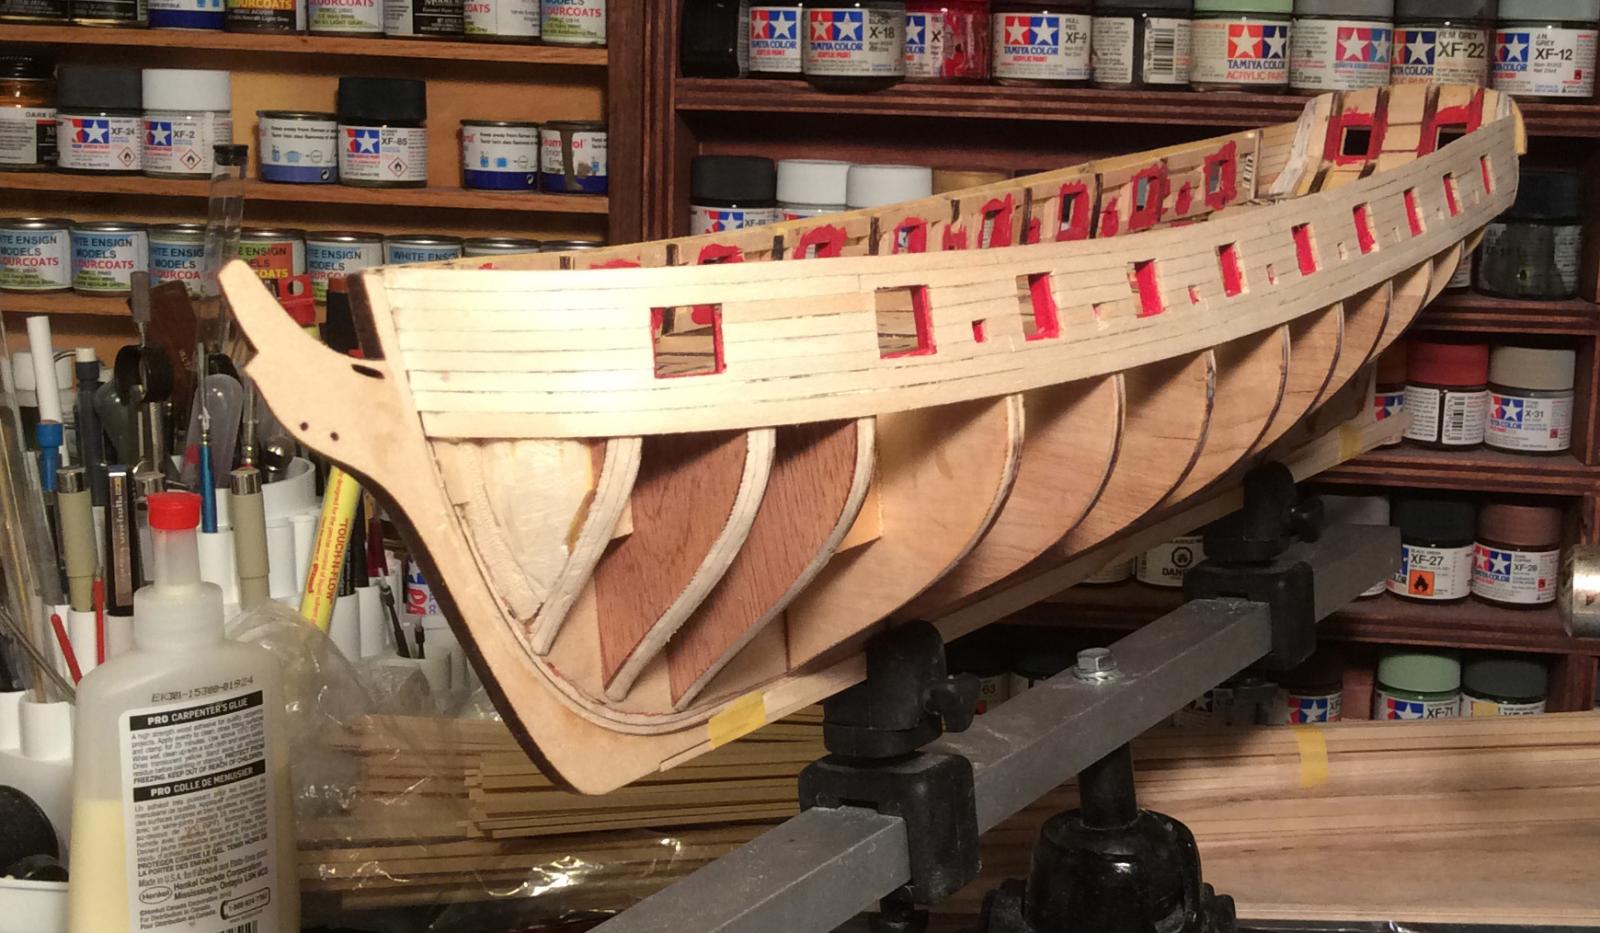
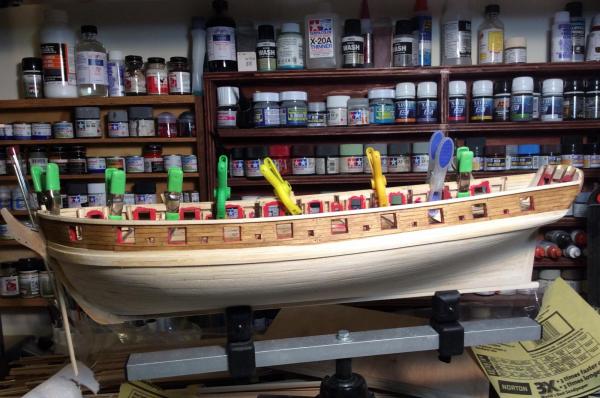
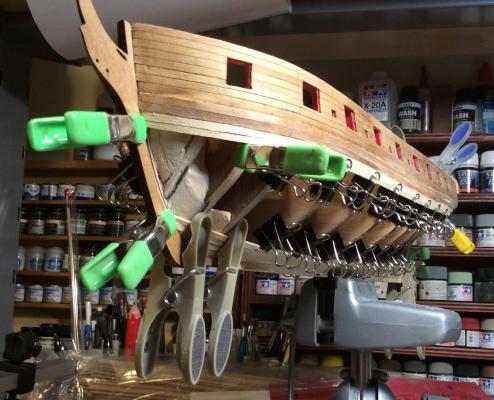
I made some good progress over the long weekend. Wood filler trenails I find the knowledge that copper plates will hide all my planking sins reassuring, though I'm still trying to do things correctly. Here you can see me applying the wrong sort of wood stain. Happily it's an area yet to be sanded, and one to be covered in paint and then copper in any case. So far in the project I've cut myself twice, bleed on the ship once (above), glued my fingers together a few times and glued my fingers to the hull for 40 minutes once. The worst mishap so far was burning the side of my little finger on the plank bender, that one ended the day's session and smarted for a few days after. Late last night I closed up the starboard side. A happy milestone. Much sanding to follow! I'm close on the port side, but after a marathon Sunday session I decided not to rush things. So, that's where I'm at. I'm really looking forward to finishing this stage up. I've enjoyed it, but I want to add some color soon!


-
Basswood with golden oak stain.
-
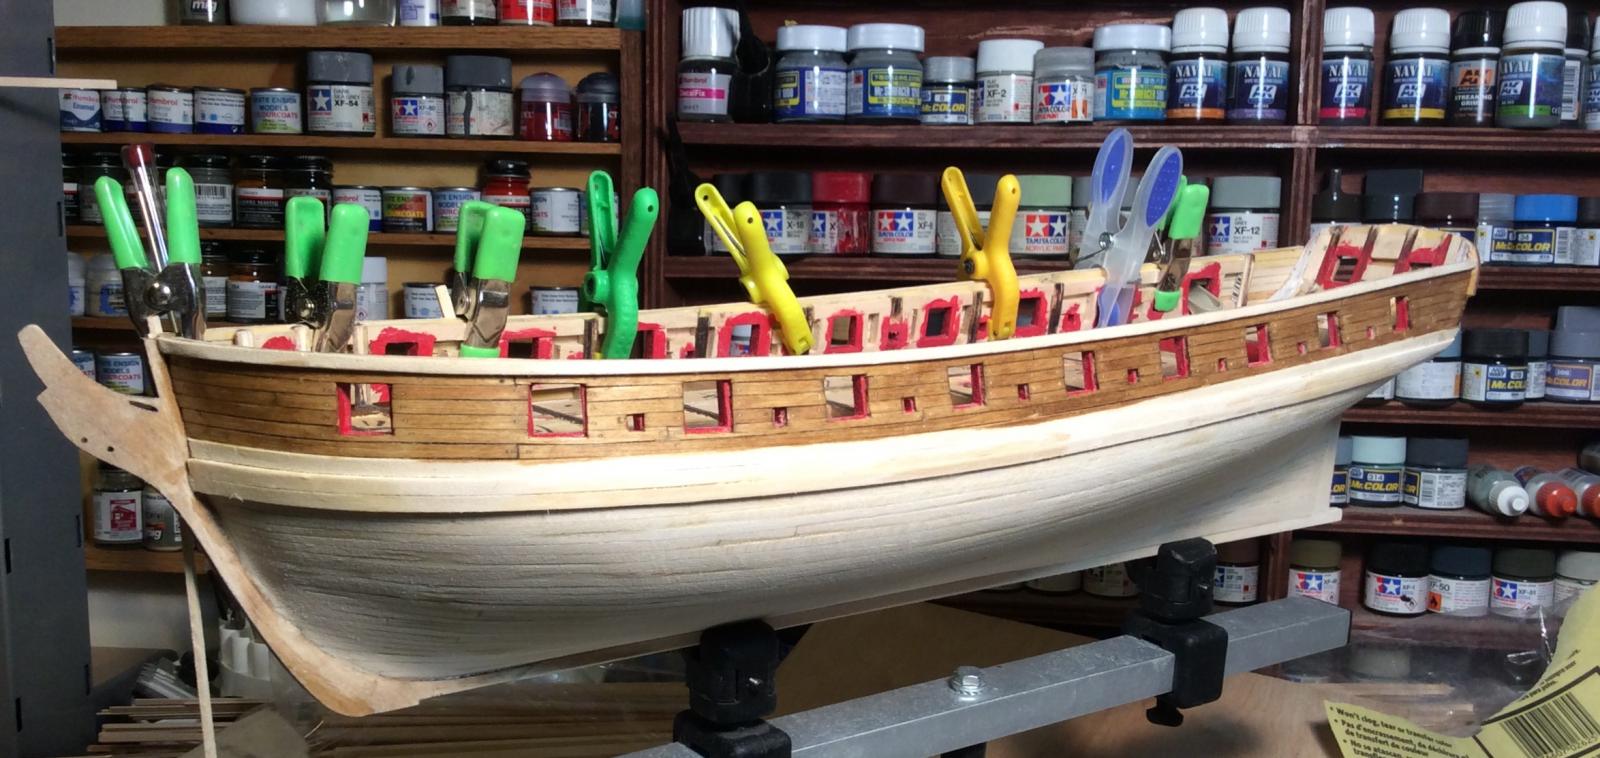
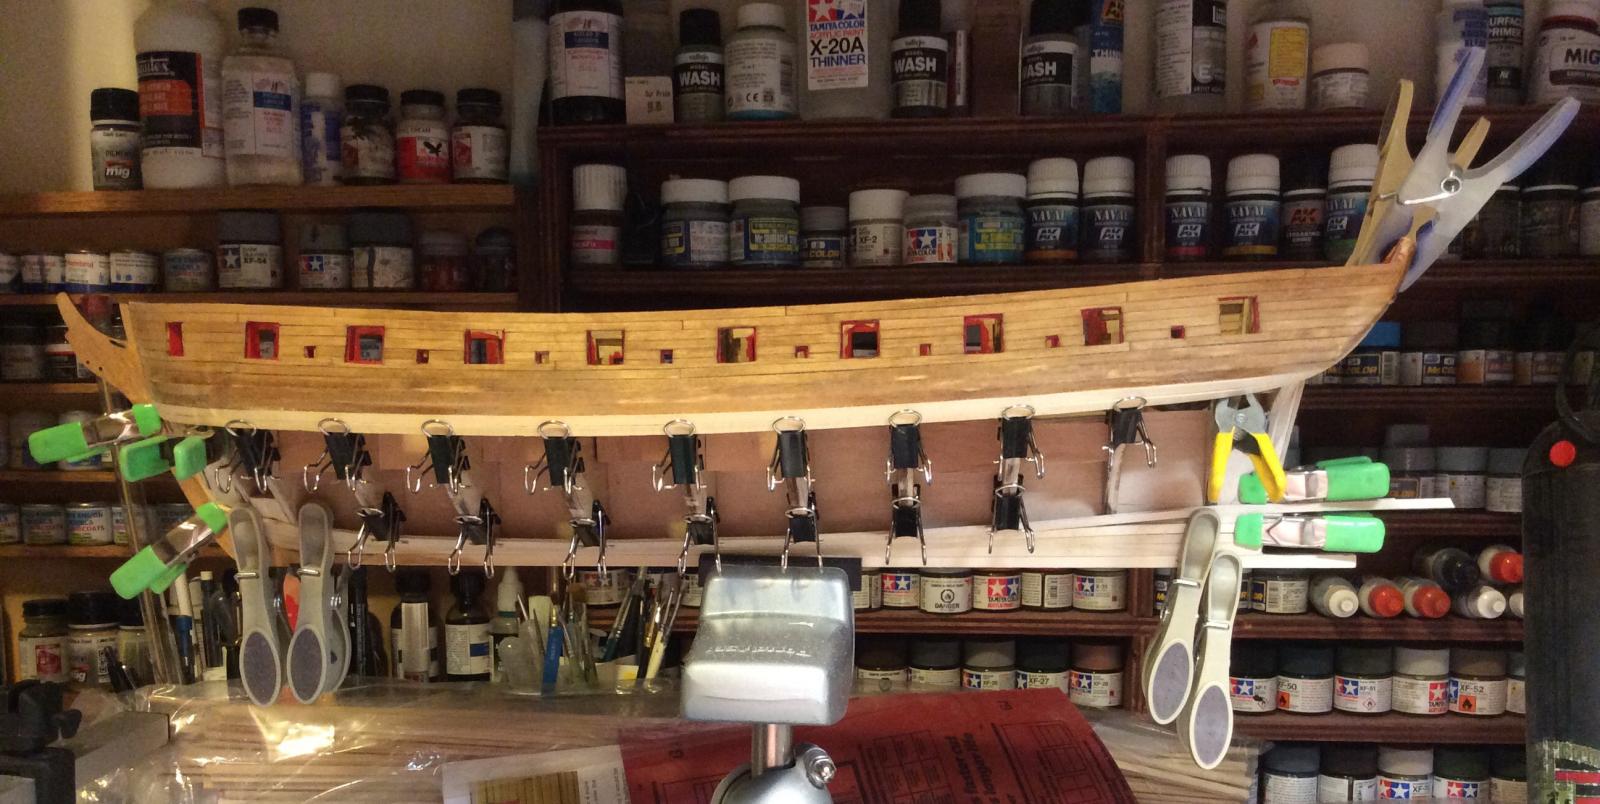
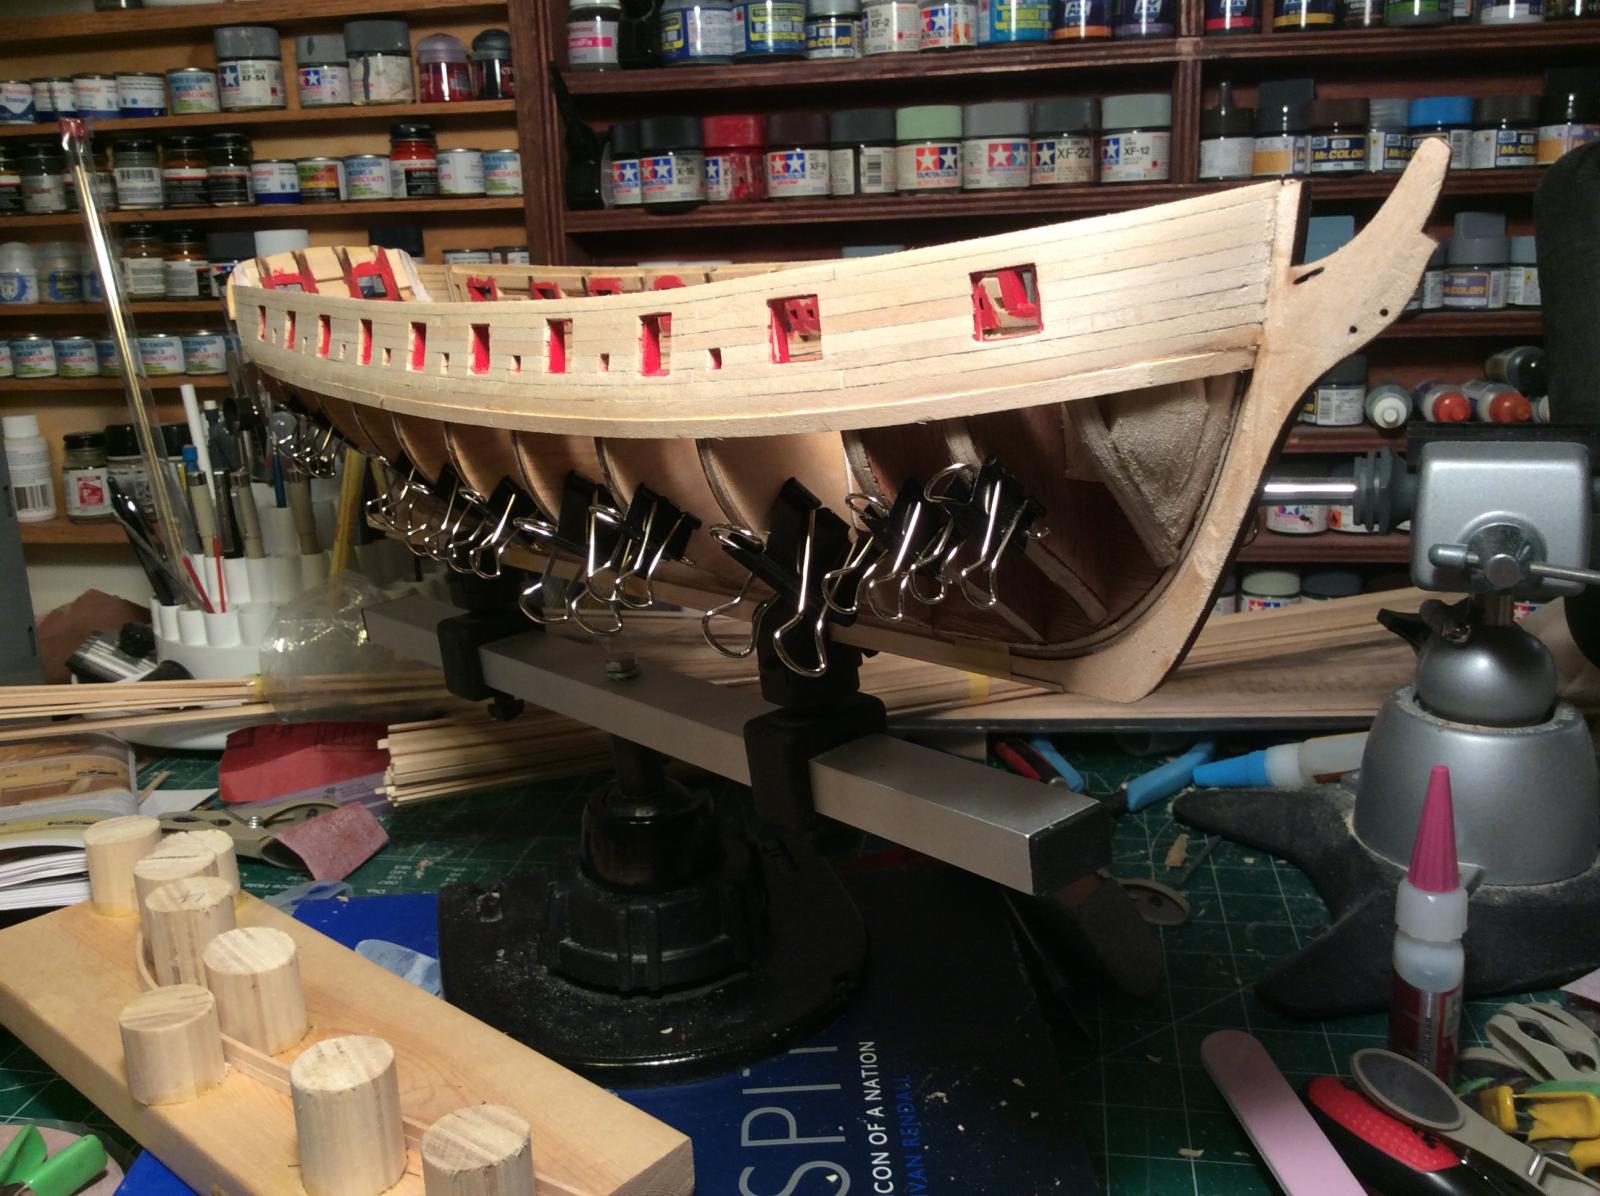
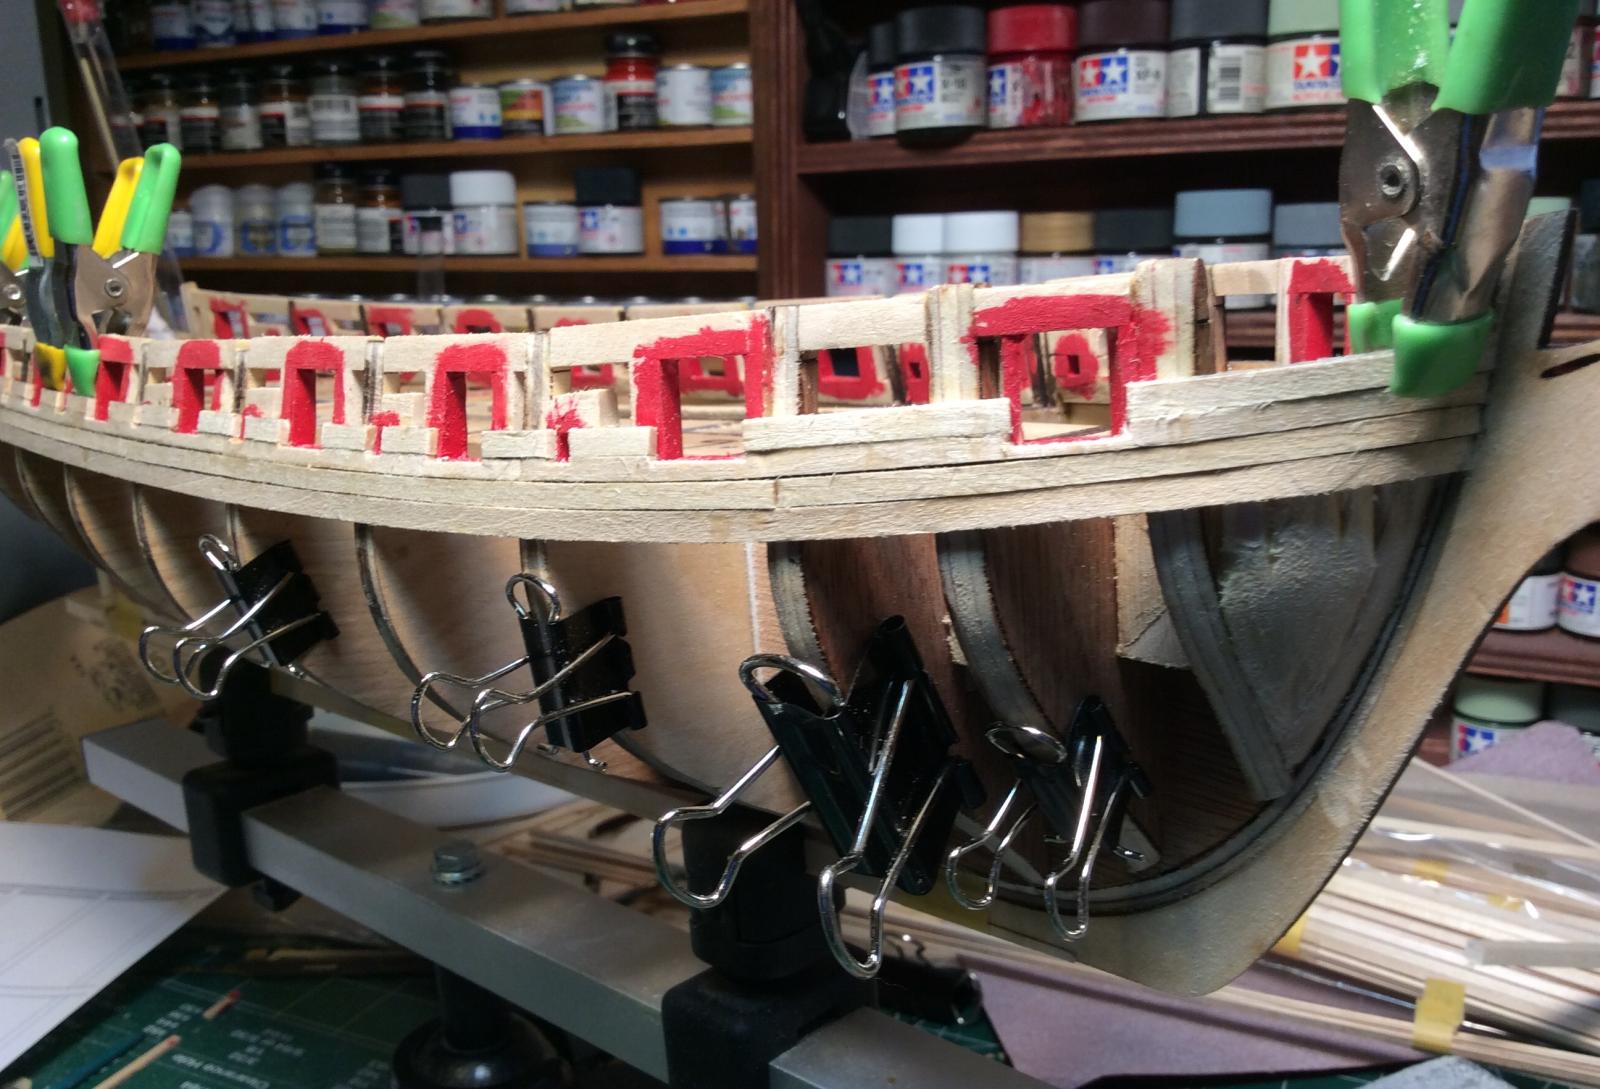
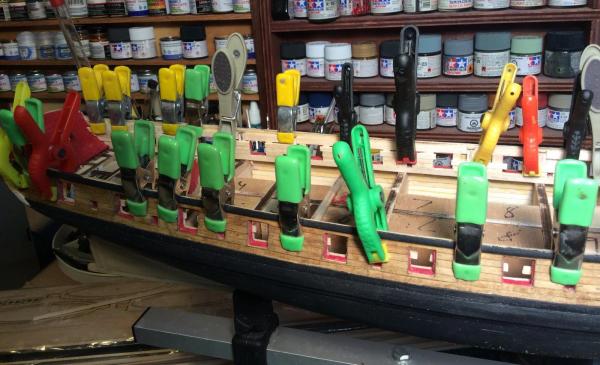
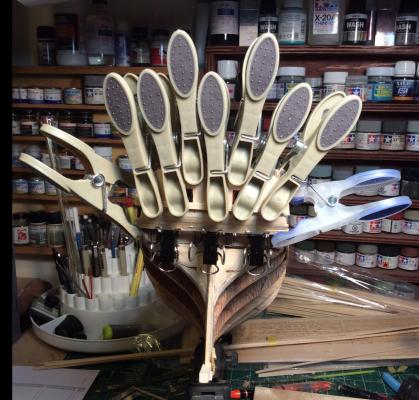
More slow progress. Binder clips are now in my top five tools!

-
Question for you all: Flags aside, if I wanted my ship to be HMS Siren instead of USS Syren, what else would be different? Assuming it was not immediately used as a hospital ship, what would the British have done with her? Would there be more ornamentation, or less? Would they have painted the side in ochre? Has anyone looked into this?
-
More slow progress, I've been working long hours and finding at best an hour per night so little to show today I'm afraid.

-
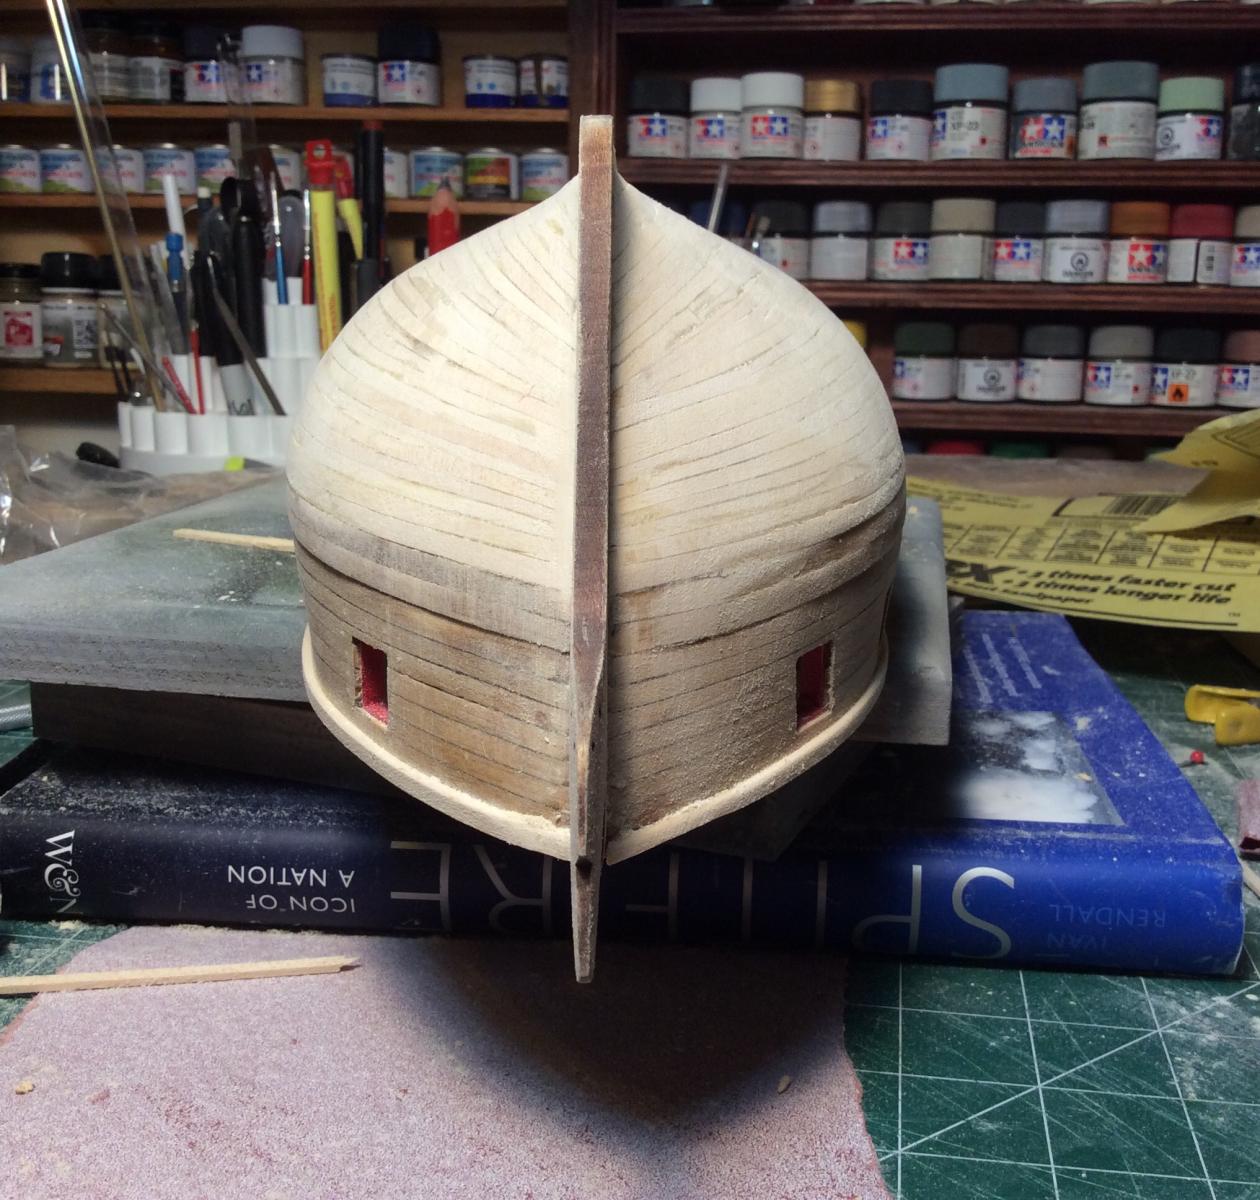
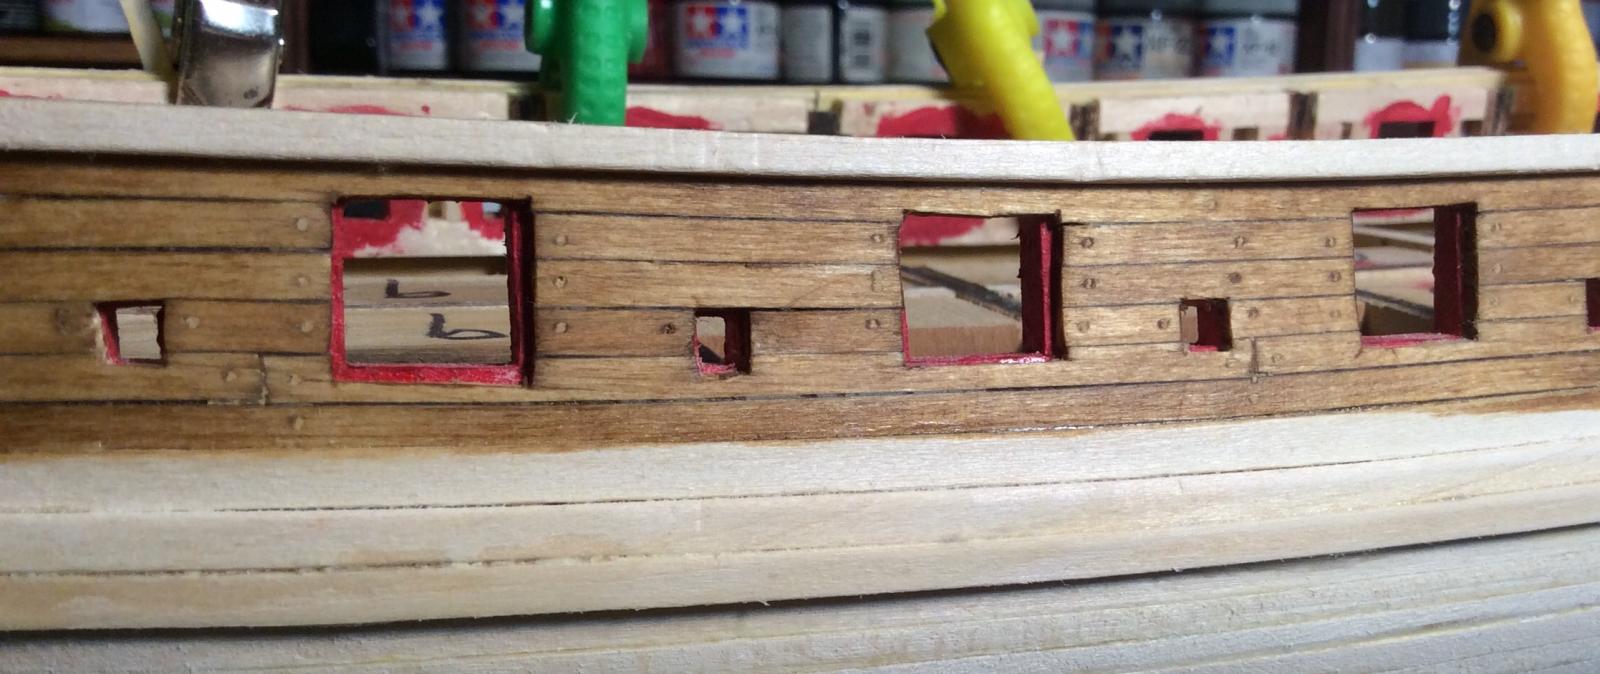
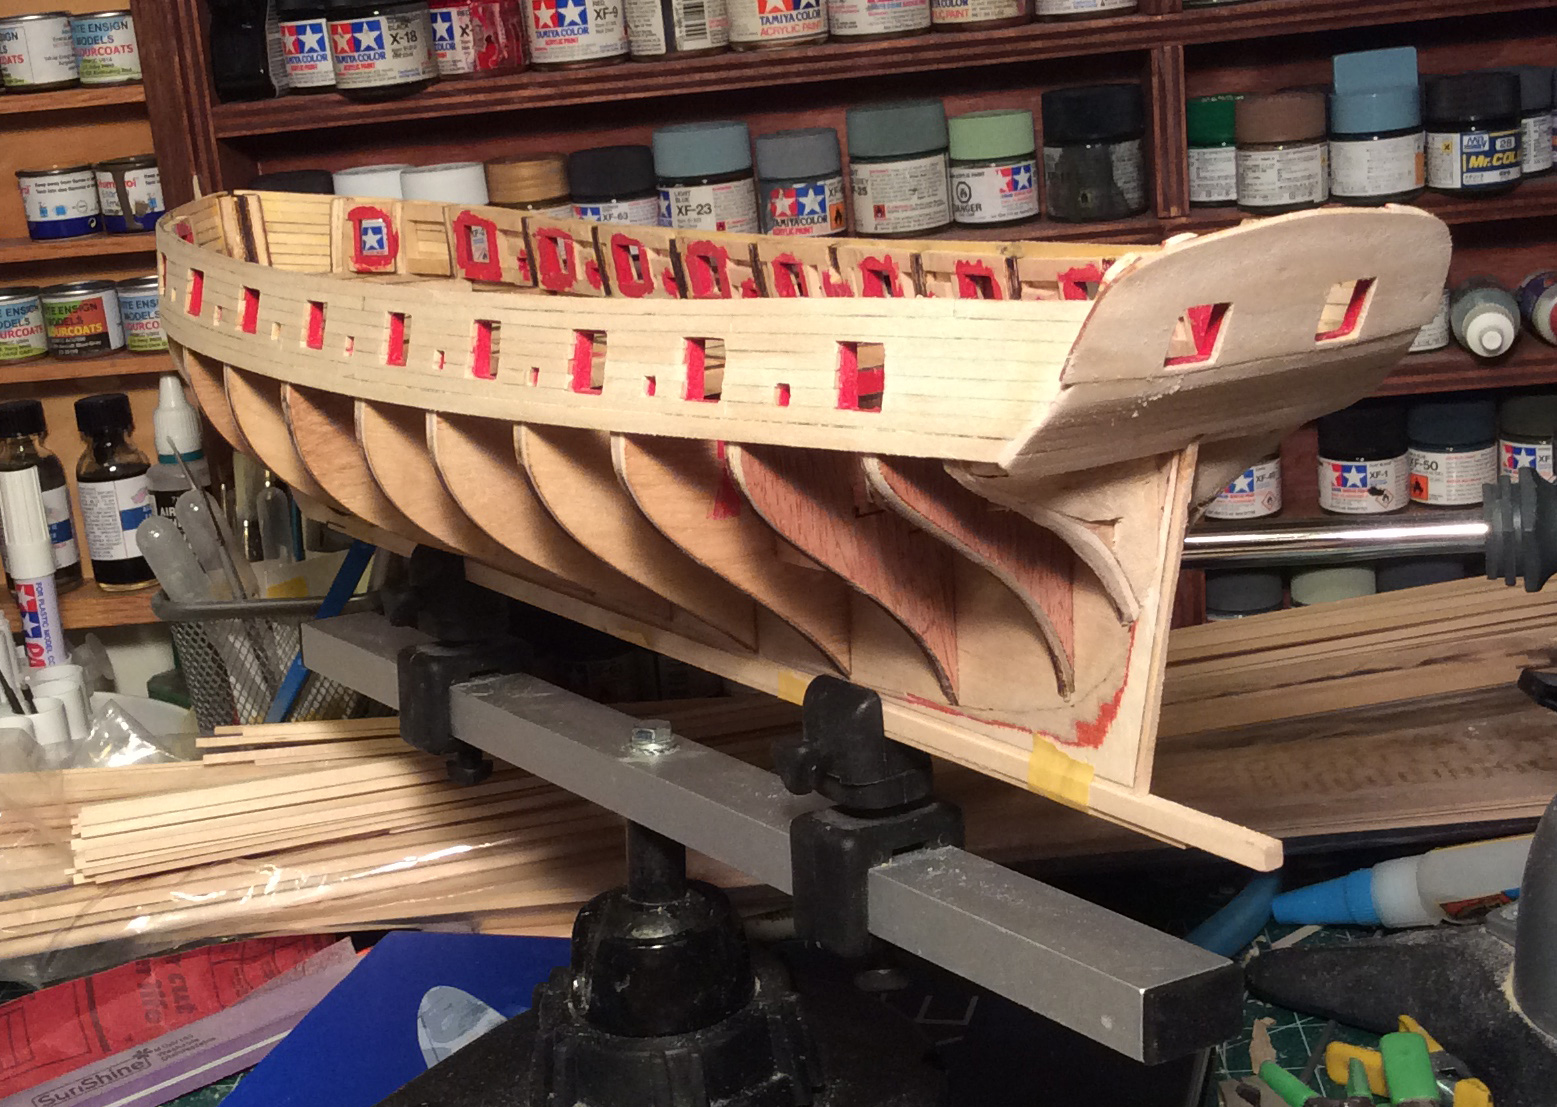
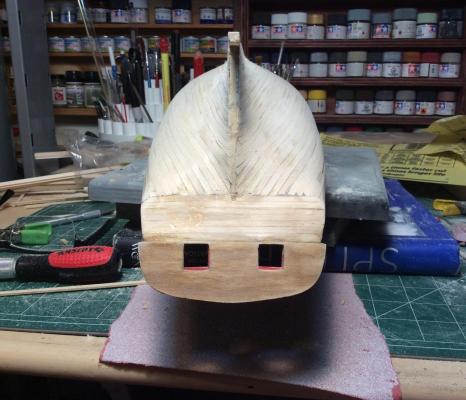
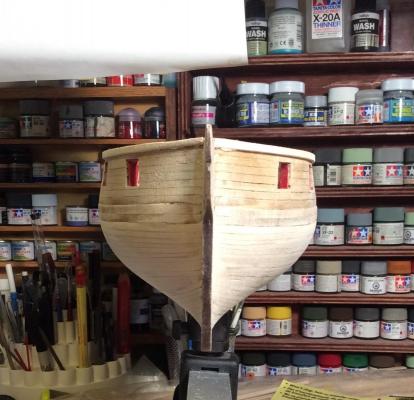
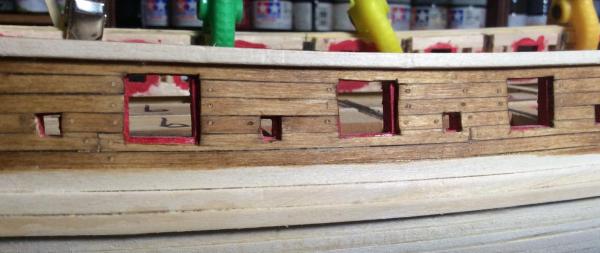
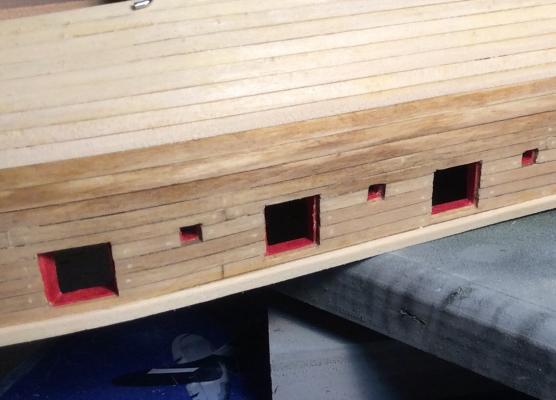
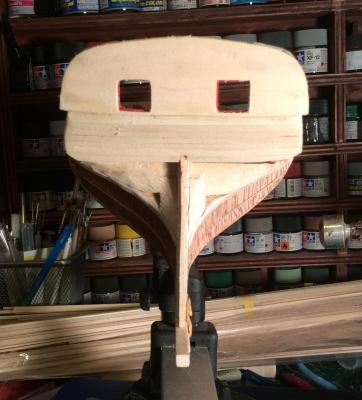
Some weekend progress: I keep finding things that looked good only hours earlier suddenly looking quite off in the photo or on the bench after a little detachment. My sweep ports are terribly uneven for example, yet no one port seemed off when I made it. Sigh. Clamping the transom. It looks better in person, happily.


-
> I keep preaching that, then a reality check. Thousands of people have built thousands of drop dead gorgeous kits with basswood. So what is my problem? I've thought the same. My answer to that is that I'm new at this and have less skill, and so the fewer obstacles I have to overcome the better my result is likely to be. That said, I'm almost done planking about the gunports. It seems rather late in the day to swap. I don't want to contemplate prying my planks off the bulkheads, I'm sure they would shred. I've used mainly wood glue, not CA.
-
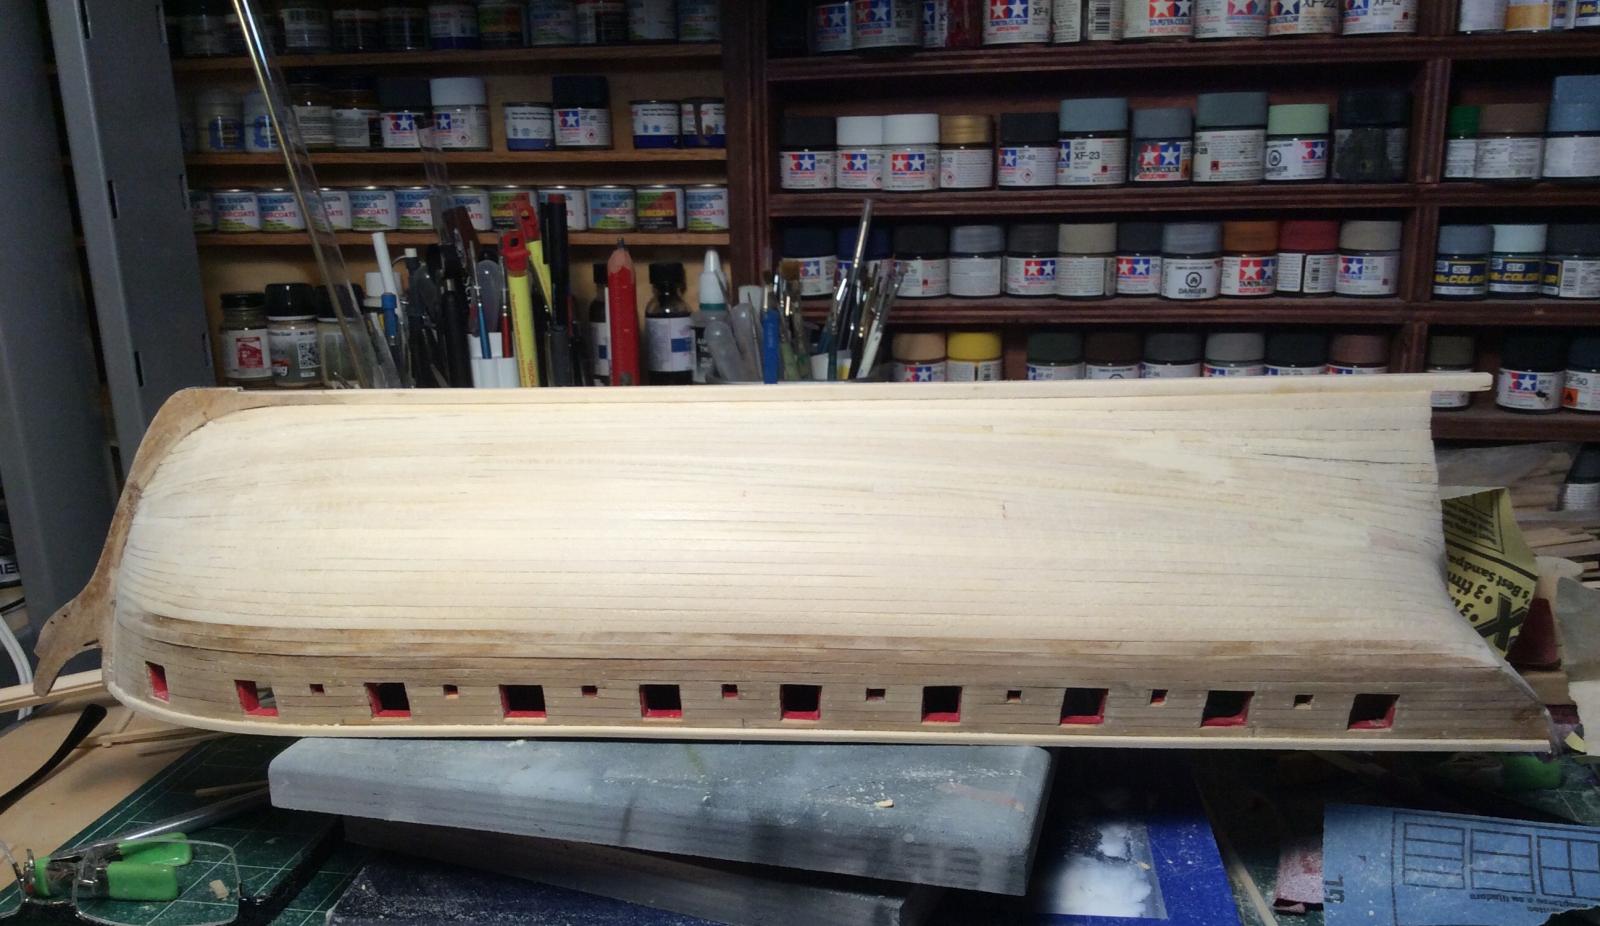
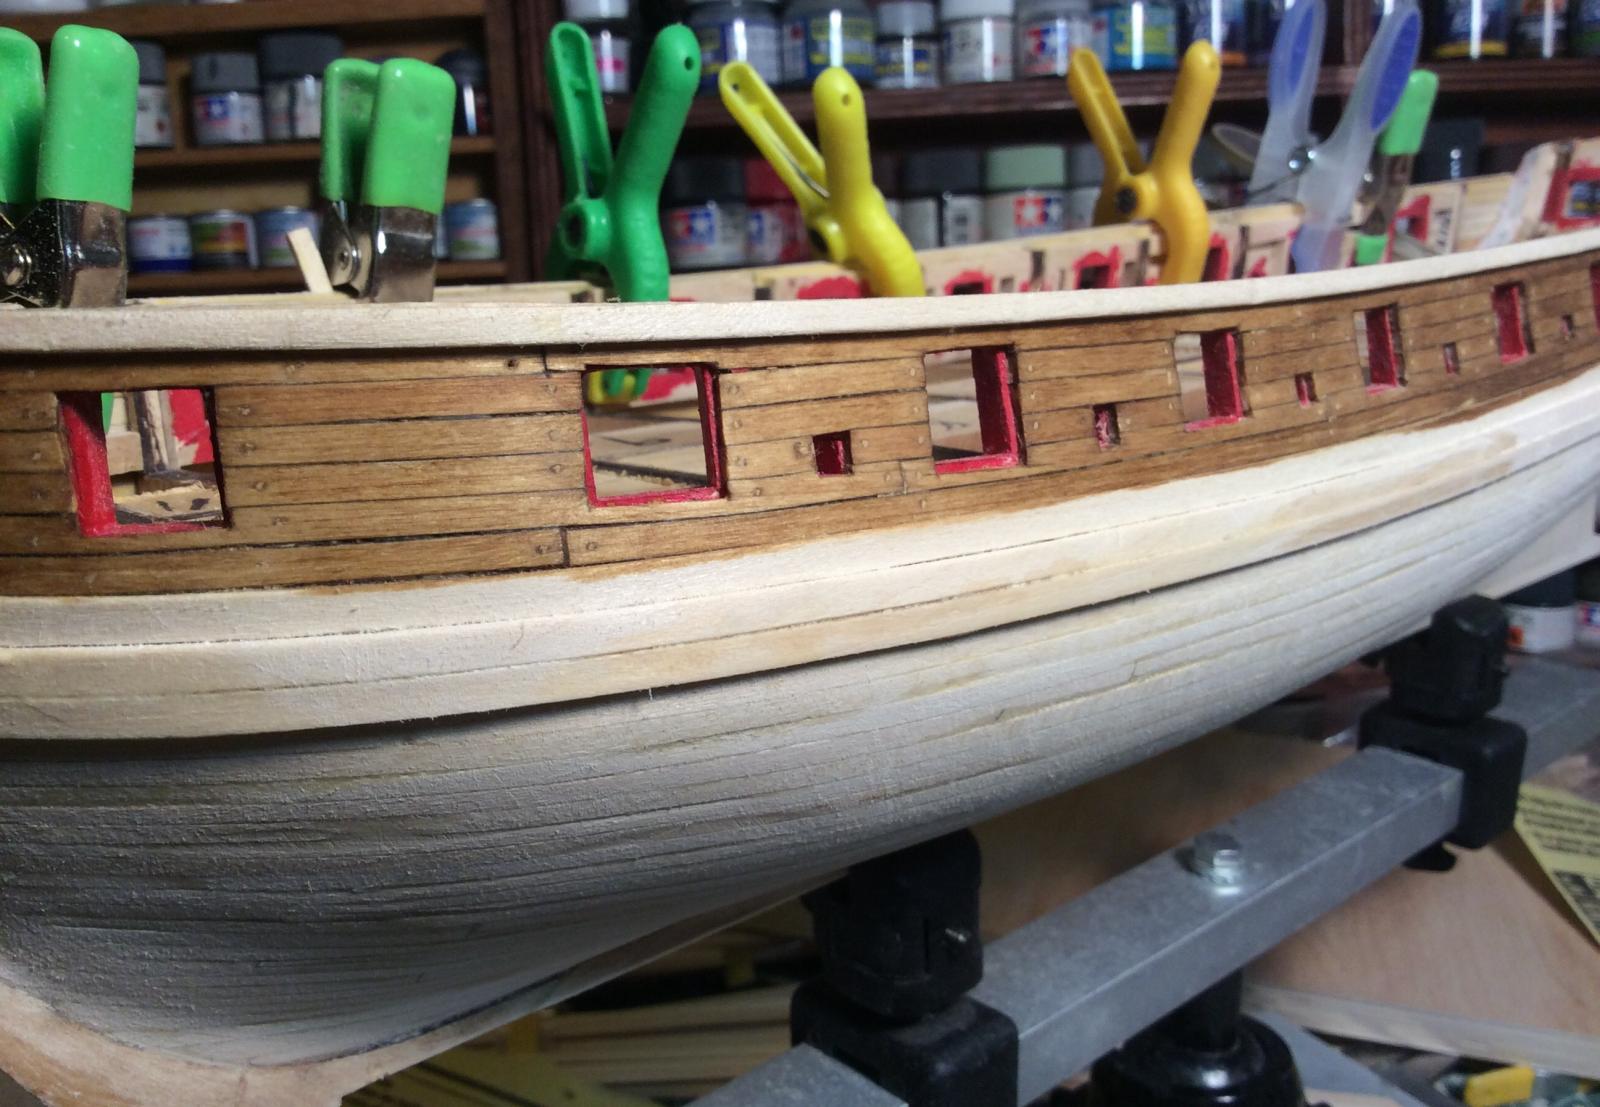
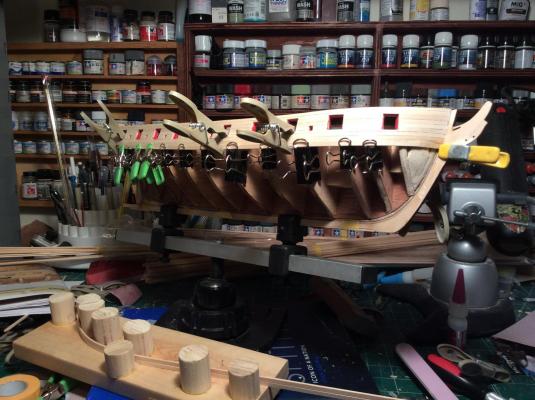
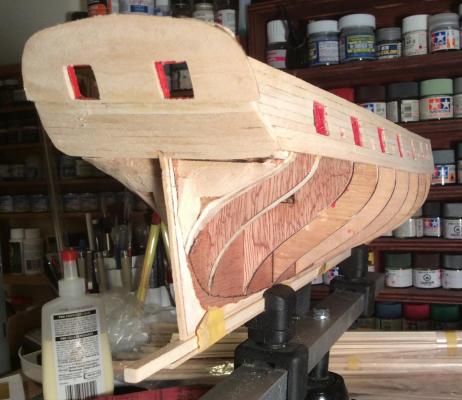
Vic: the big 100+ page color instructions that came in the box that you are on chapter two of IS the practicum. Mikiek: I thought mine were okay, but now I'm mid way through planking the gun ports and I've noticed bad things. I have an asymmetry of height, my port side is perhaps 1mm lower, and so plank 2 and 3 are shaped differently on either side. I think my best option is just to carry on and sand them even on plank 7. Im not thrilled about it at all. I've also changed my mind about the wood. I find what is supplied is so soft that it's frustrating to work with. When wet it takes impressions easily from very light clamping, and will break apart without provocation. When dry, it's difficult to finish because it's so soft it's almost fuzzy. It is not a friendly material to work with. Some progress pictures: