DONATION DRIVE - SUPPORT MSW - DO YOUR PART TO KEEP THIS GREAT FORUM GOING! (91 donations so far out of 49,000 members - C'mon guys!)
×


Jaggy
-
Posts
32 -
Joined
-
Last visited
Content Type
Profiles
Forums
Gallery
Events
Everything posted by Jaggy
-
Has anyone ever compiled a timeline of kit releases? I occasionally see references to various manufacturers and inevitably "there new kits are excellent" but I've no idea when this new leaf was turned. I'm was browsing the kit DB on this site and found myself wishing for the release year. Some kits predate cad, and maybe laser cutting, and others are entirely cutting edge. In the absence of a list, could those of you in the know moninate the 5 most modern offerings on the market? From what I've read the Russian Brig Mercury is probably one of these- what else is cutting edge? How does the Caldercraft Diana compare?
-
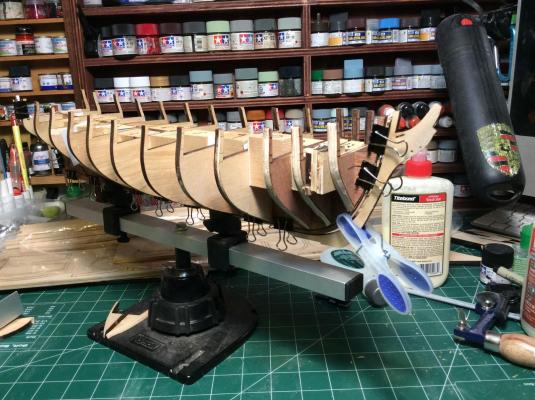
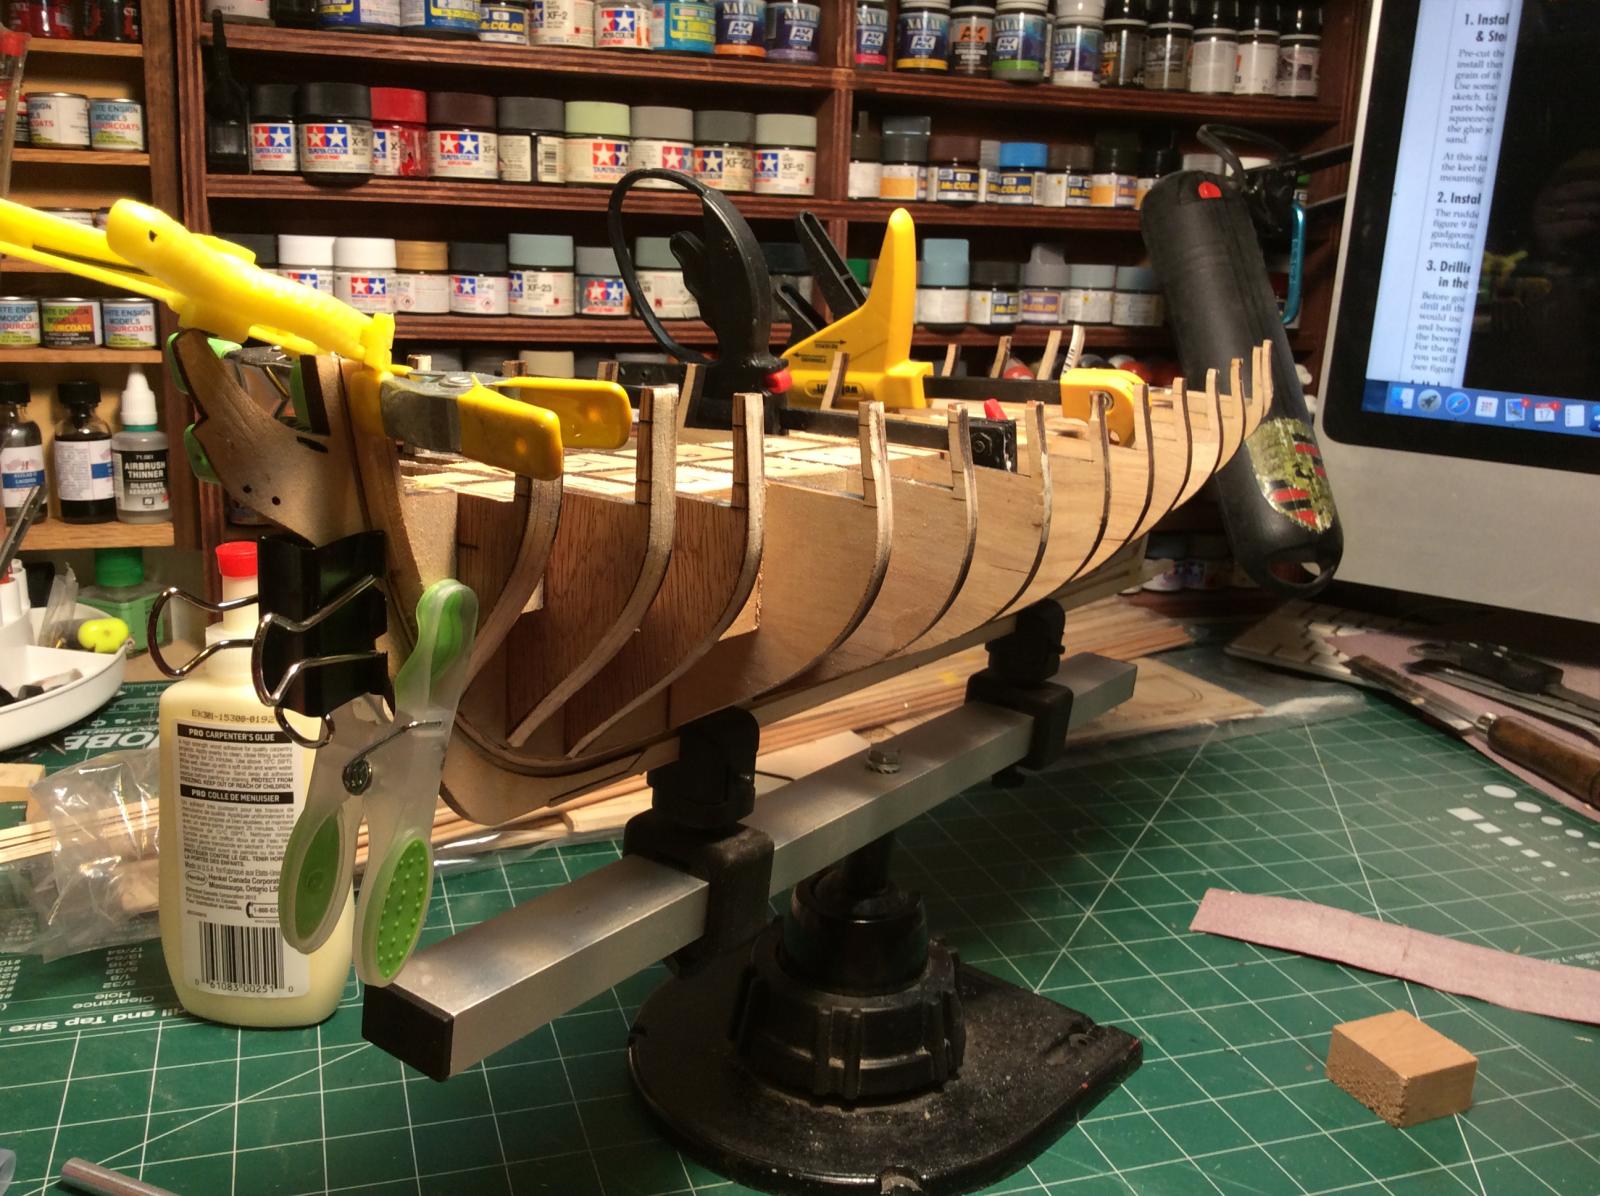
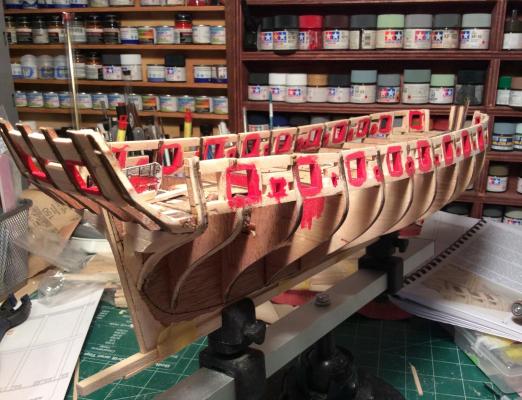
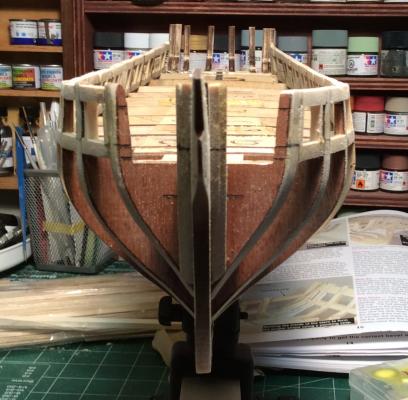
 Turns out I had some of those stern pieces askew, so today I broke it all apart and set them again, this time with temporary filler blocks at 3 points per piece to ensure everything is properly square. This is a learning experience. I also faired the hull some more.
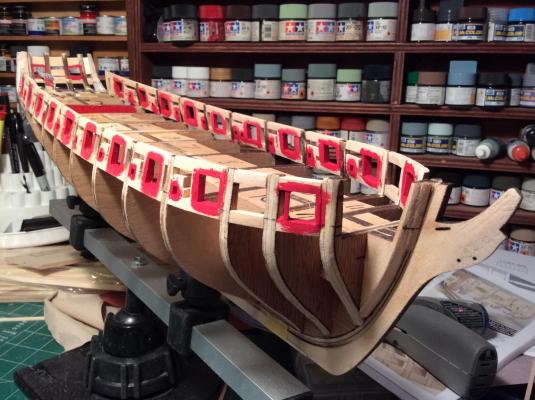
-
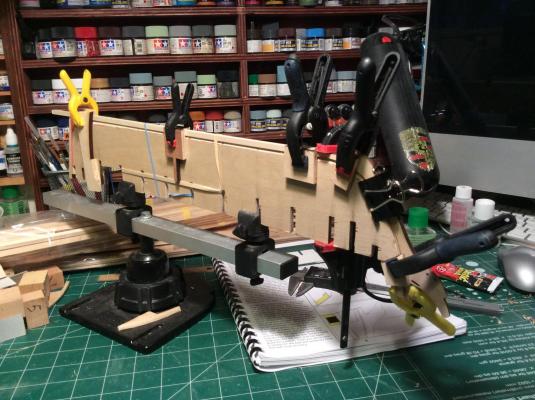
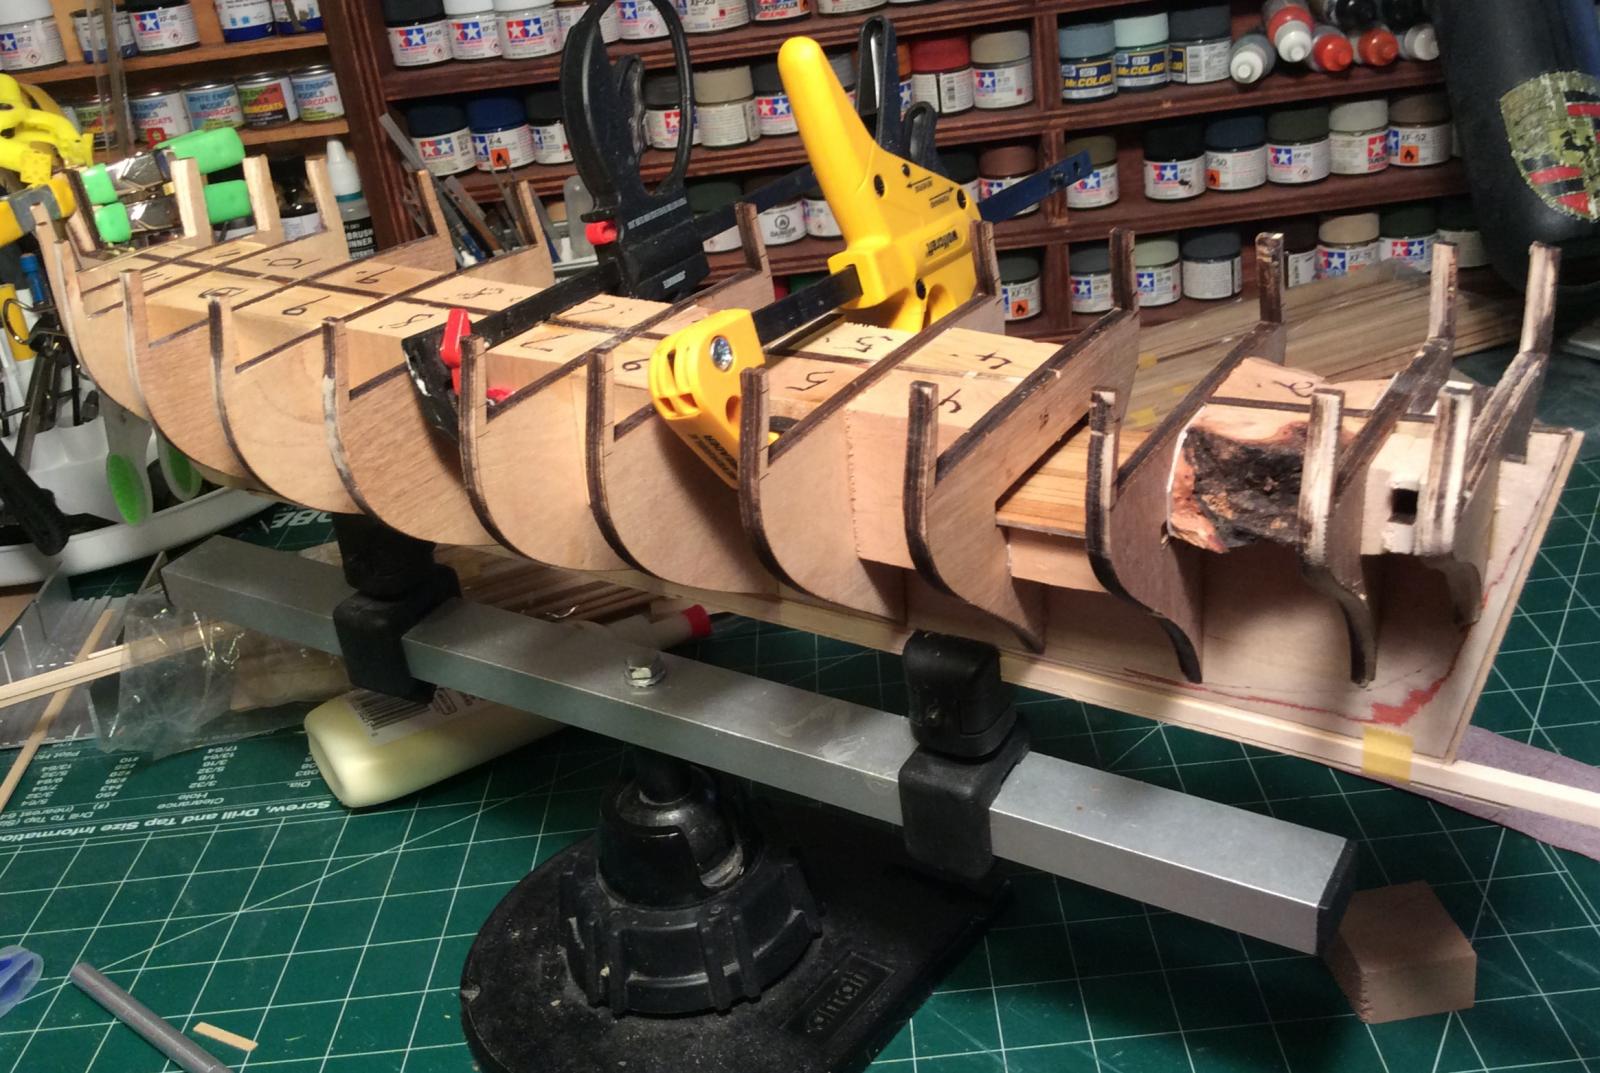
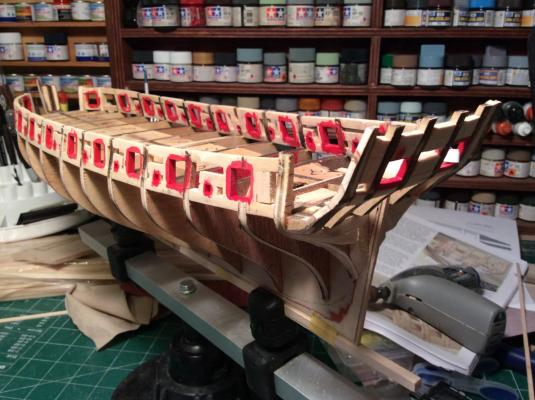
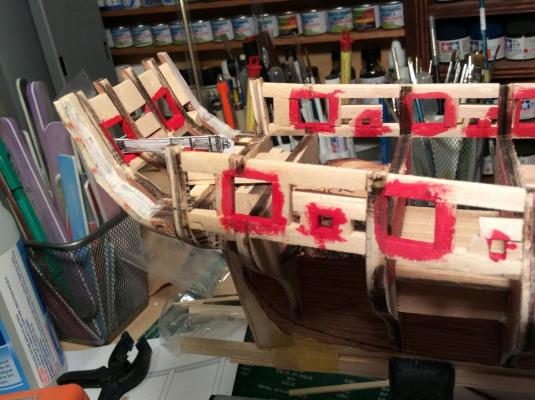
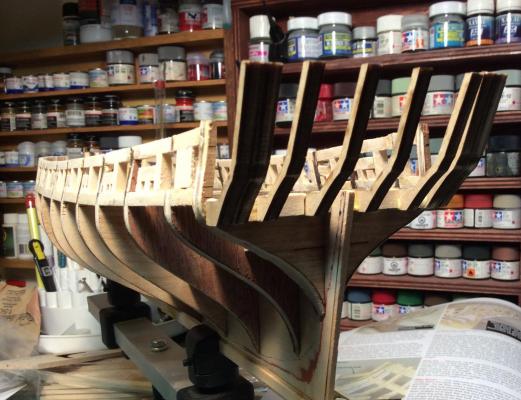
Lots of progress today. I've finished carving my gun ports and sweeps. I found carving with a sharp blade much easier the sanding, and far less messy. It's not 100% faired yet, especially on the inside, but I'm close. I then started on the stern assembly: I have found my Dyson hand vac to be one of my favourite ship building tools!
-
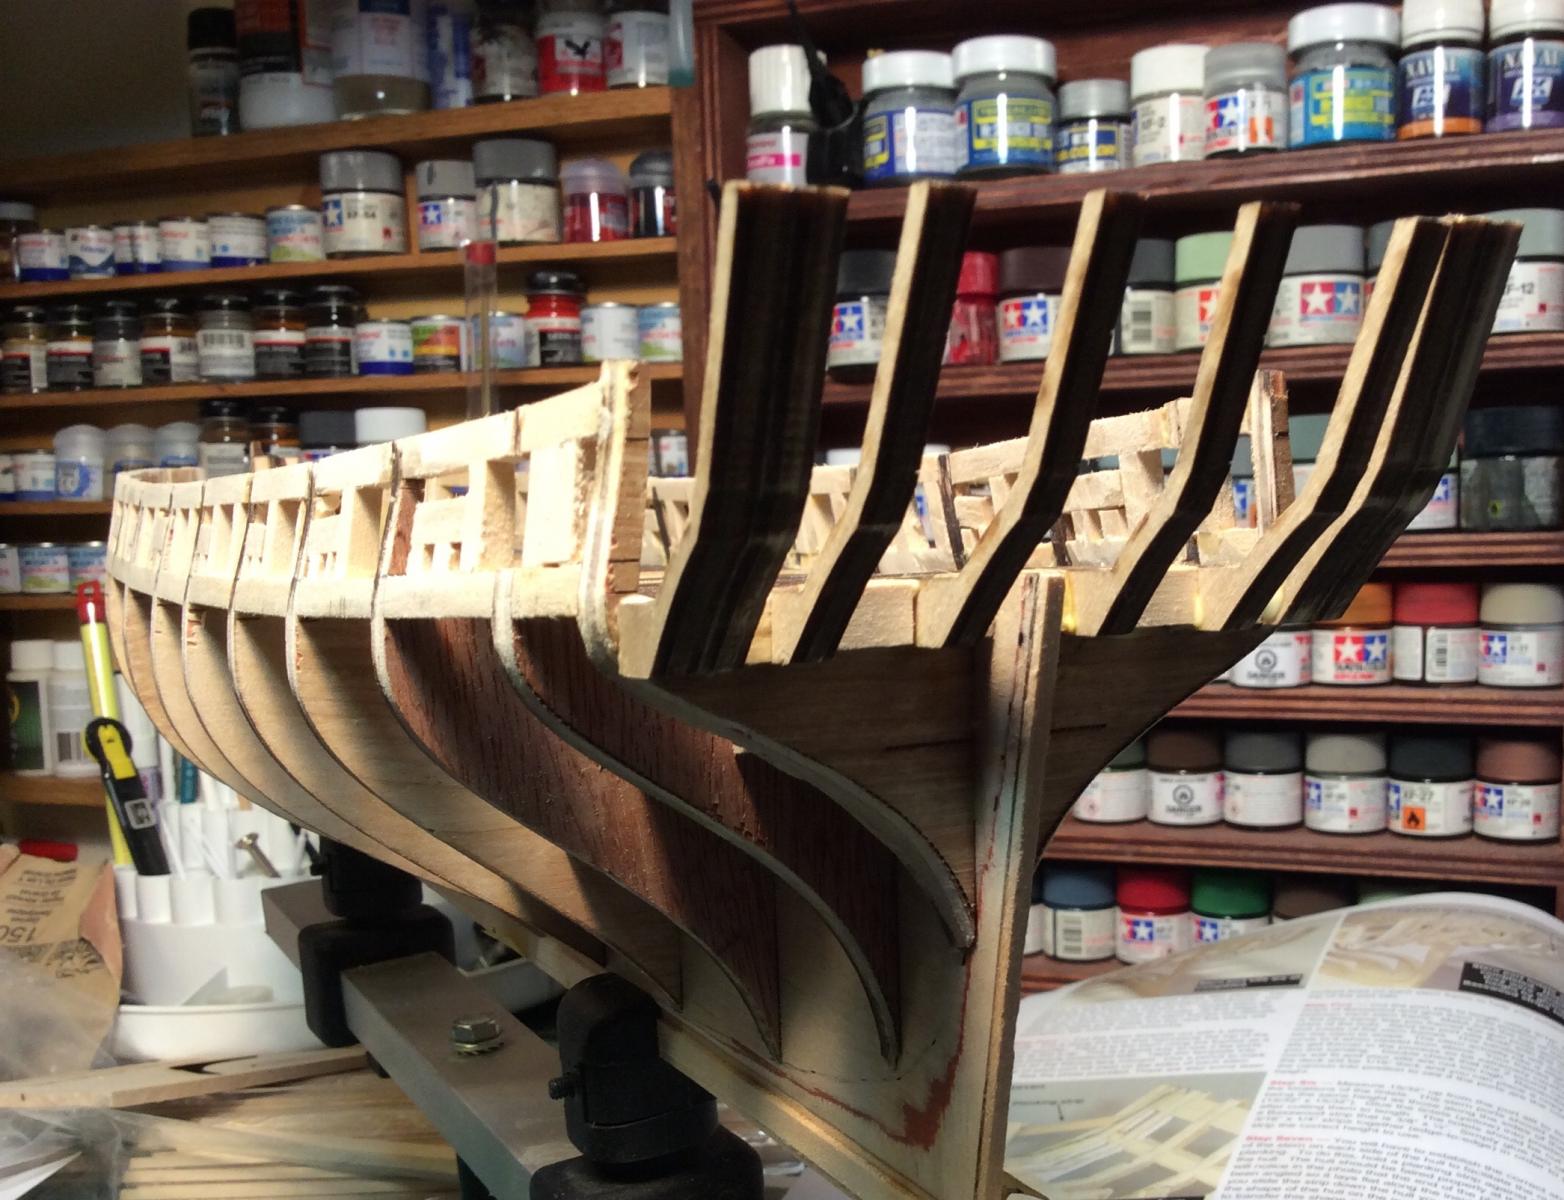
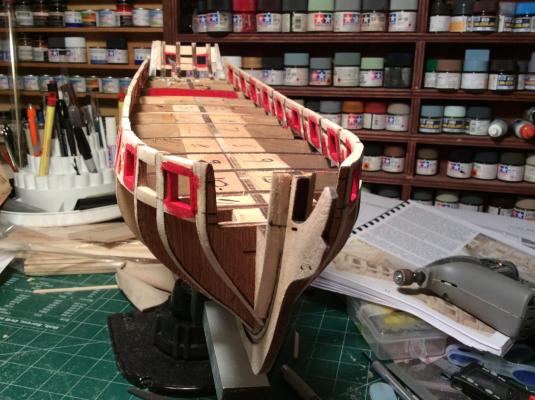
Mike: There are no notches for the masts, they will have to be drilled. I expect I will make a tenon that is narrower then the mast base, and drill that diameter. I expect it will be in my filler blocks, which I think is a good thing, as they are solid hardwood and not the cheap ply of the bulkhead former. The wood in general is not impressive. The ply for the bulkheads and BF is cheap, it splinters, it's pretty fragile and compared to the other other kit I've delta with (Amanti Fly) it's definitely inferior. The decks and hull plank are all basswood or lime. There are no hardwoods or exotics in the kit, aside some walnut for dead-eyes. Despite this, what you are buying when you purchase this kit, first and foremost, is excellent instructions and plans, plus the materials you need all in one box. Like any kit, you can improve on it with better materials. As a beginner, I'm very happy with the kit. I can see where they found some economies, but I'm certainly getting my money's worth in the education in shipbuilding that this project is giving me (Thanks Chuck!). I've read enough build logs to know that a fantastic looking ship can certainly be built with these parts, I know the quality limiter will be me. I'm not overly concerned about the quality of the ply, it's internal and I've improved it with glue and blocks. Here's my progress for the day. I added the port side lower gun port interior rail, and started sanding the forward portion of it. James

-
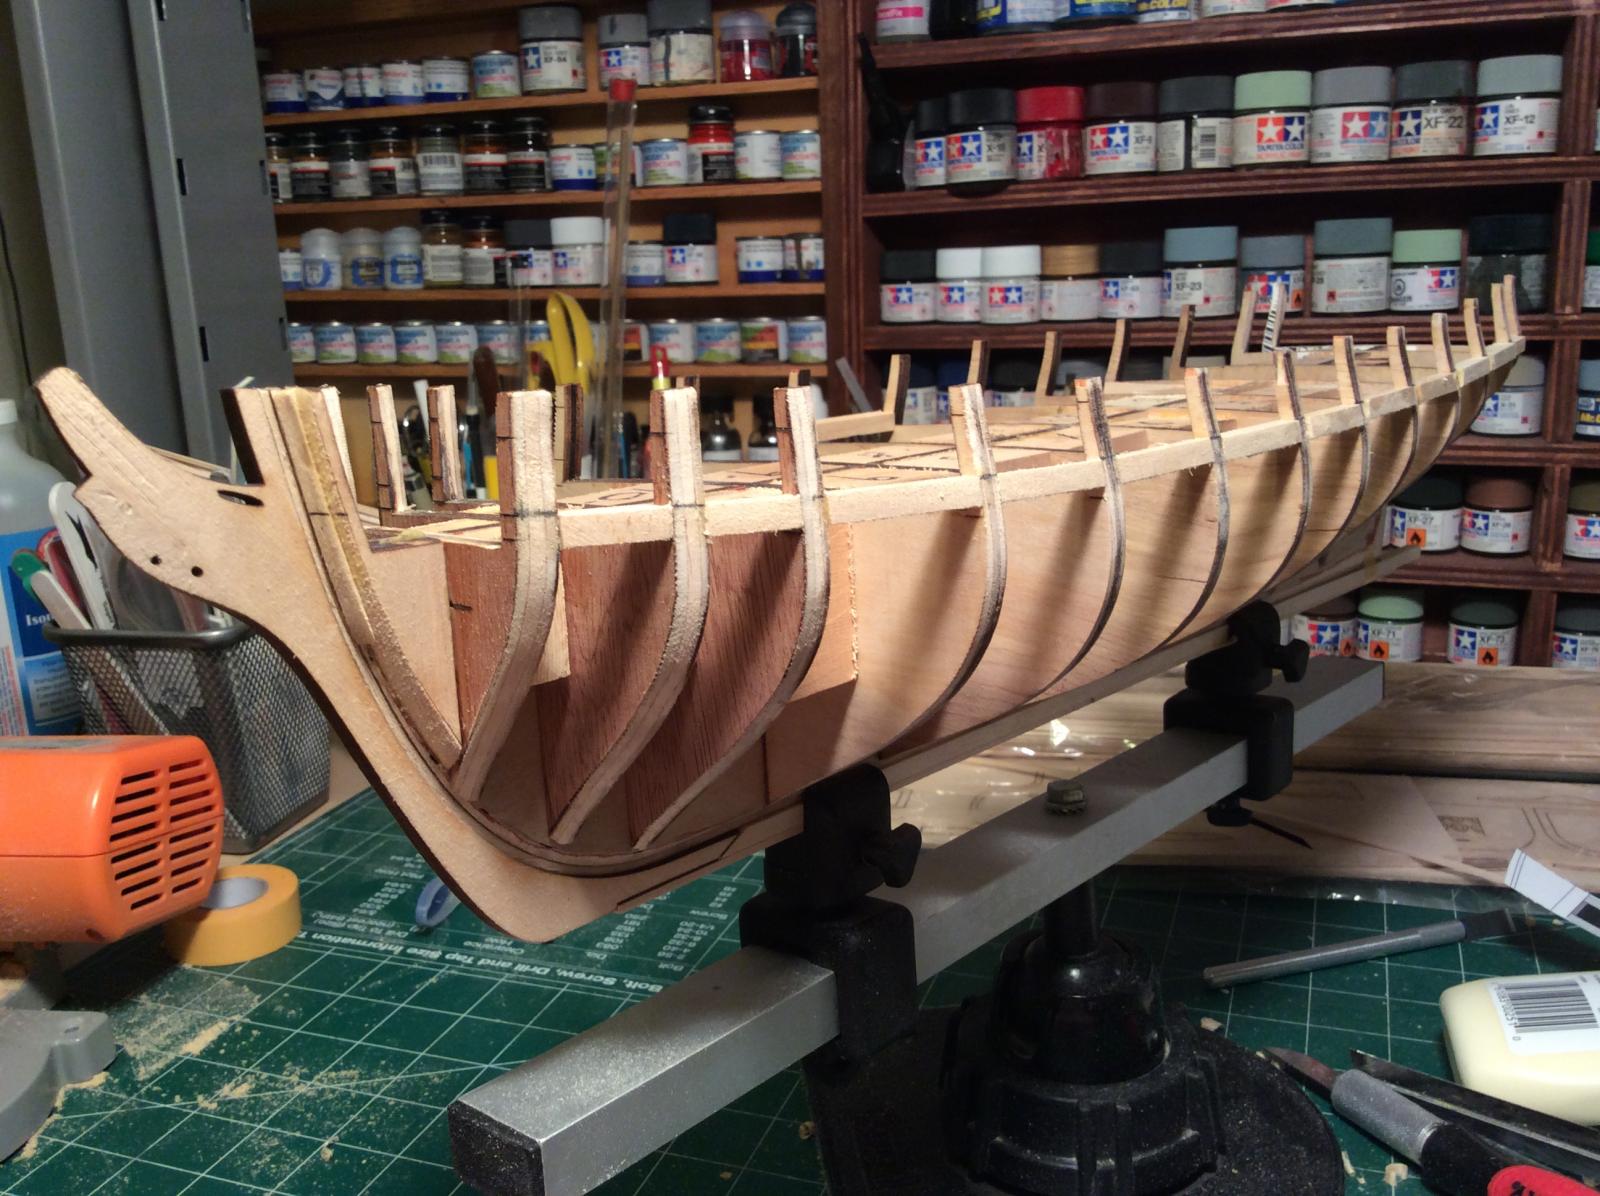
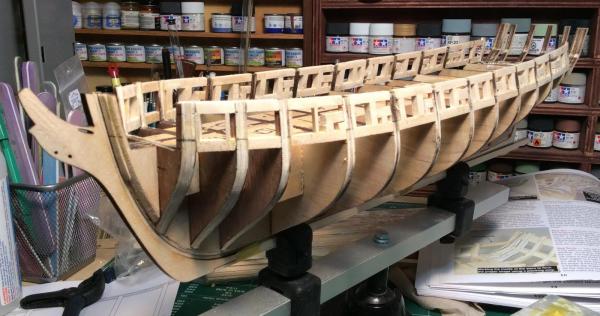
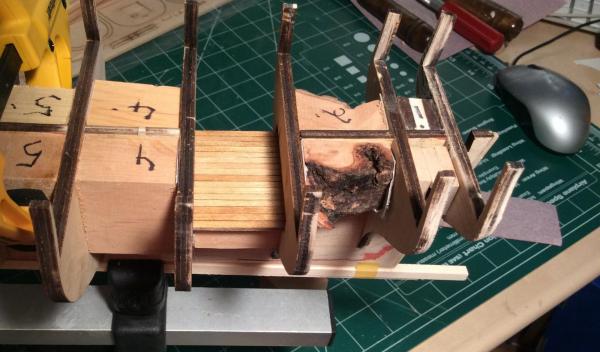
Well Mike, so far no complaints, aside the mistake with the box contents that I assume will be rectified. Last night I attached the bulkheads, filler blocks and bow filler pieces. Everything went smoothly, though I did find some bulkheads were very tight fits with the addition of a little glue despite fitting without issue when dry. Something for me to remember on the next build. I have one bulkhead that s sitting perhaps 0.2mm proud that I plan to sand down because I dared not try to force it in with a mallet- this despite a perfect dry fit. I think my glue hardened slightly as I was working and so it was unable to evacuate the volume between the former and the bulkhead. You probably can't even see it in these photos, minor stuff. Slightly more alarming is the bow filler pieces. It seems I over-shaped them before fitting, though I do not think I deviated from the markings on the pieces. In any case, I made a tiny shim for each and the problem is now solved, as you can see in the abundance of clamps below. My filler blocks were scavenged from scrap in the garage, cut on a band saw and then either sanded or shimmed with card for an exact fit. You can see one section has a little bark, which is just an internal curiosity. For the little platform, I chose to build it out before adding the stern bulkheads behind it. This let me insert the planks from behind, keeping it very easy to apply the glue neatly. I followed Chucks advice, simulated my tar with graphite and shipped the treenails and used minwax golden oak. To add a little interest I give a few plants double or triple applications of the stain. So, tonight I do another pass at fairing the hull shape and then move on to gunports! James


-
Yes I do. I build 1/350 scale ships, and as a palette cleanser between them 1/35 scale armour or occasionally aircraft. My wife mocks my collection as 50 shades of grey- but of course you need that for warships!
-
Hello, This is my first build log, and hopefully my first completed ship (I've started a few, now I'm older and wiser and hope to see it through). I picked the Syren because of the excellent documentation and also the available resources on this forum. My kit arrived on Thursday last week. I will spare you the usual pictures of the box and it's contents as that is well documented already. In doing an inventory of the box I found I have received four anchors and no ships wheel. I'm also short on one of the dowels, which was supposed to have 2x24" lengths but I had 36" total supplied. I emailed model expos parts department but have yet to hear back from them. This is not wholly unexpected as I've found their electronic communication to be non existent. When i placed my order I received no confirmation, when it shipped they sent no notice, and when I wrote to ask for a tracking number I got no reply. Based on that I can only assume they will send the missing part out and it will show up, just unexpectedly. All that said, I really like model expo and their product. I just wish the communicated better. So, on to the build. I'm following the practicum as closely as I can. I left my rabbit strip clamped in place overnight so it would take the curve, and then glued it the next day and waited a further 24 hours before continuing. I used that time to clean up the bulkheads (some of which were not fully cut and required quite a bit of surgery to remove from their sheets), and roughed in their bevels. I also sanded the Stem to fit the figurehead nicely. The following day I dry fit the bulkheads and measured my bulkhead filler blocks: I have lots of scrap wood in the garage so the filler was no trouble. I used maple, because it was at hand, and I thought it would add a nice heft to the finished ship. That brings me up to last night, when I attached the stem and keep, clamped it up, and said goodbye to Syren for another 24 hour spell. I'm finding the patience to wait for the glue to fully cure does not come easy, as I'm fighting the enthusiasm of starting off a new build. Tonight I'm off to see the Canucks (hopefully) beat Minnesota so no progress is likely tonight, but I'm looking forward to fairing the bulkheads next! James