
gsxdent59
-
Posts
85 -
Joined
-
Last visited
Content Type
Profiles
Forums
Gallery
Events
Everything posted by gsxdent59
-
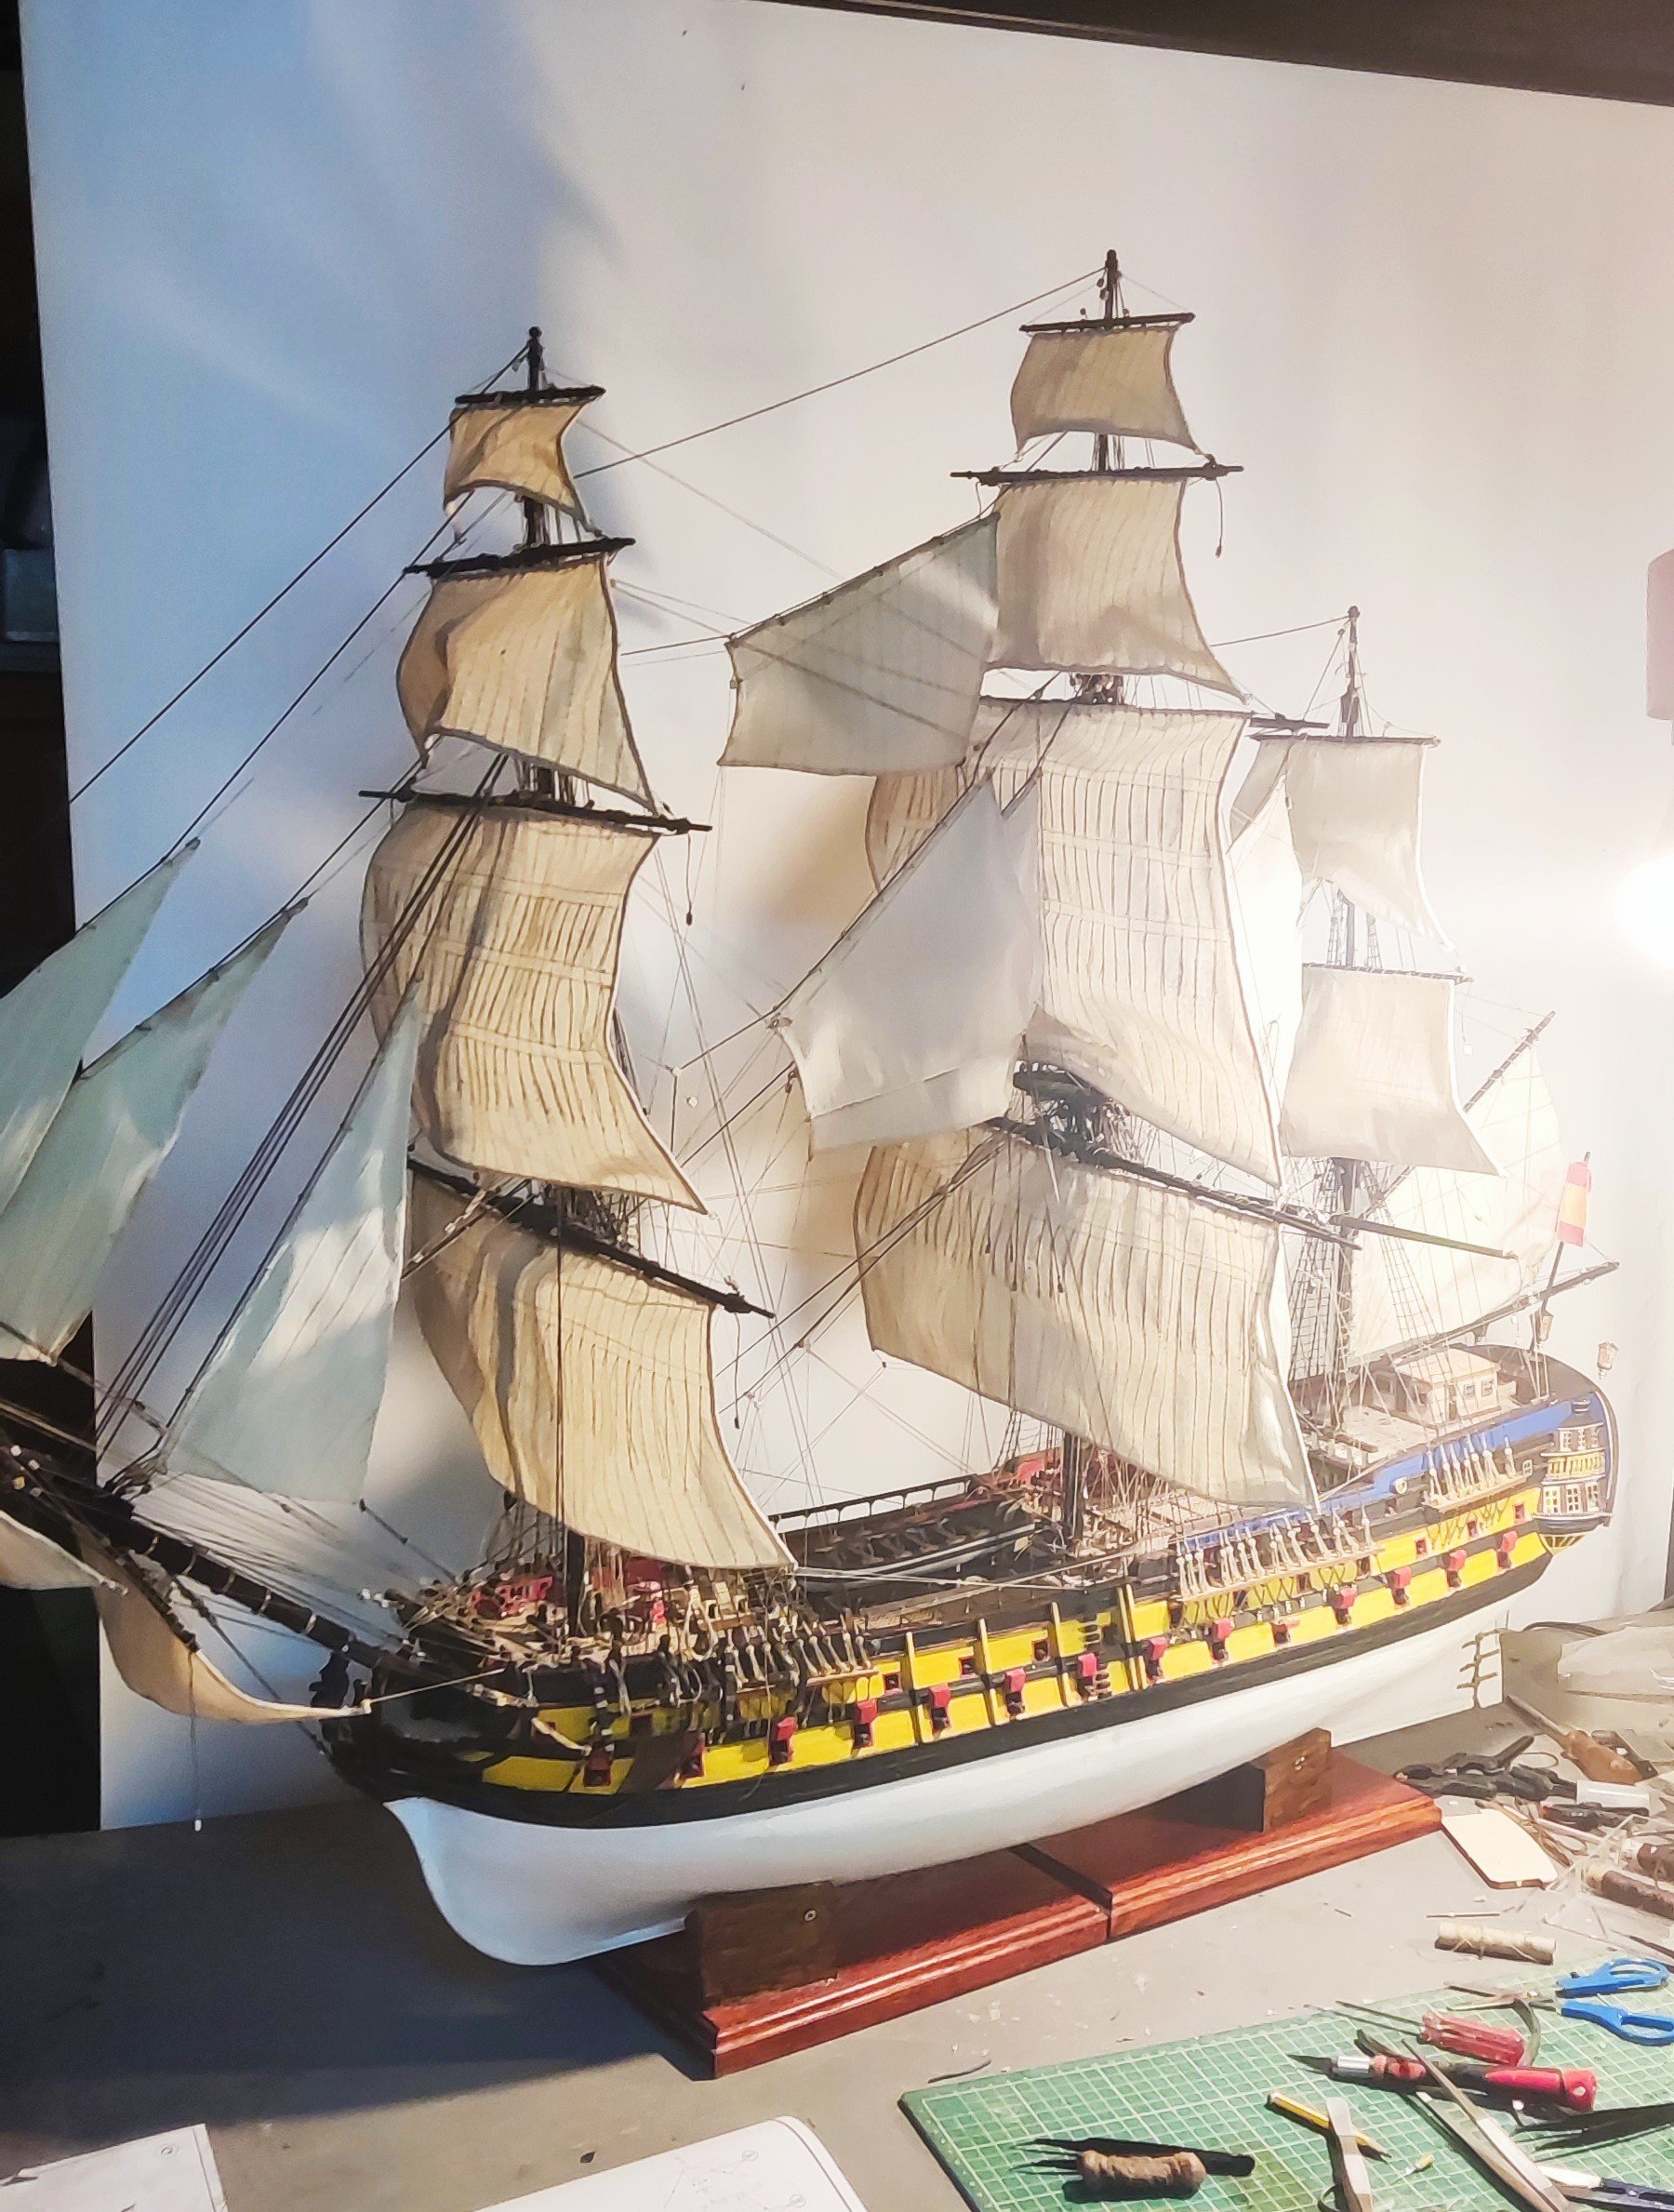
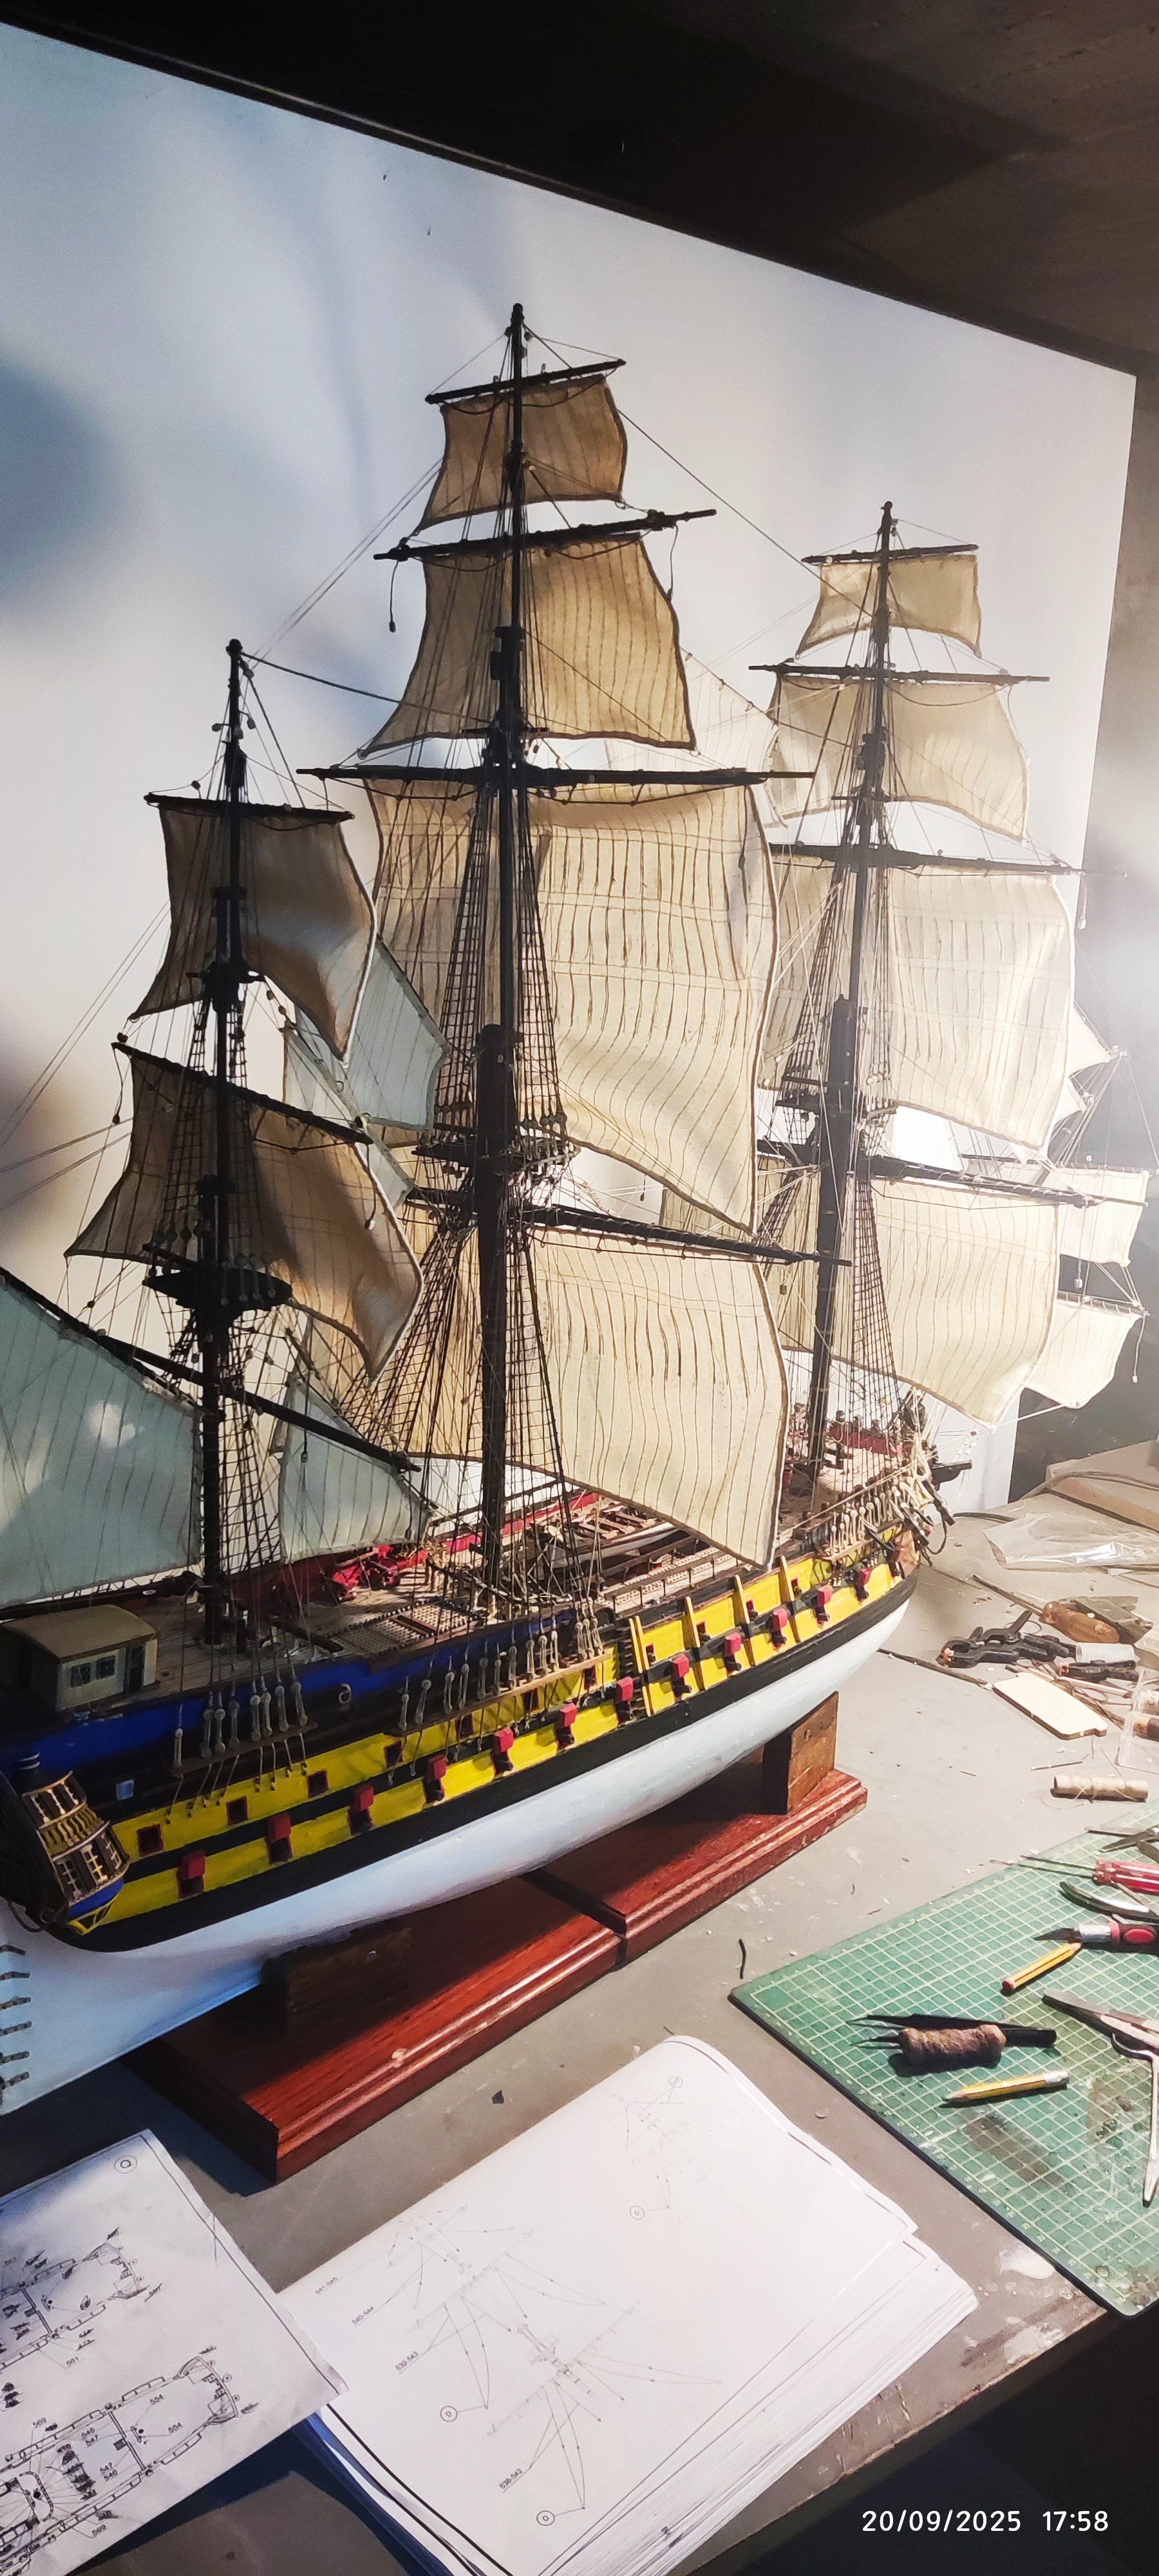
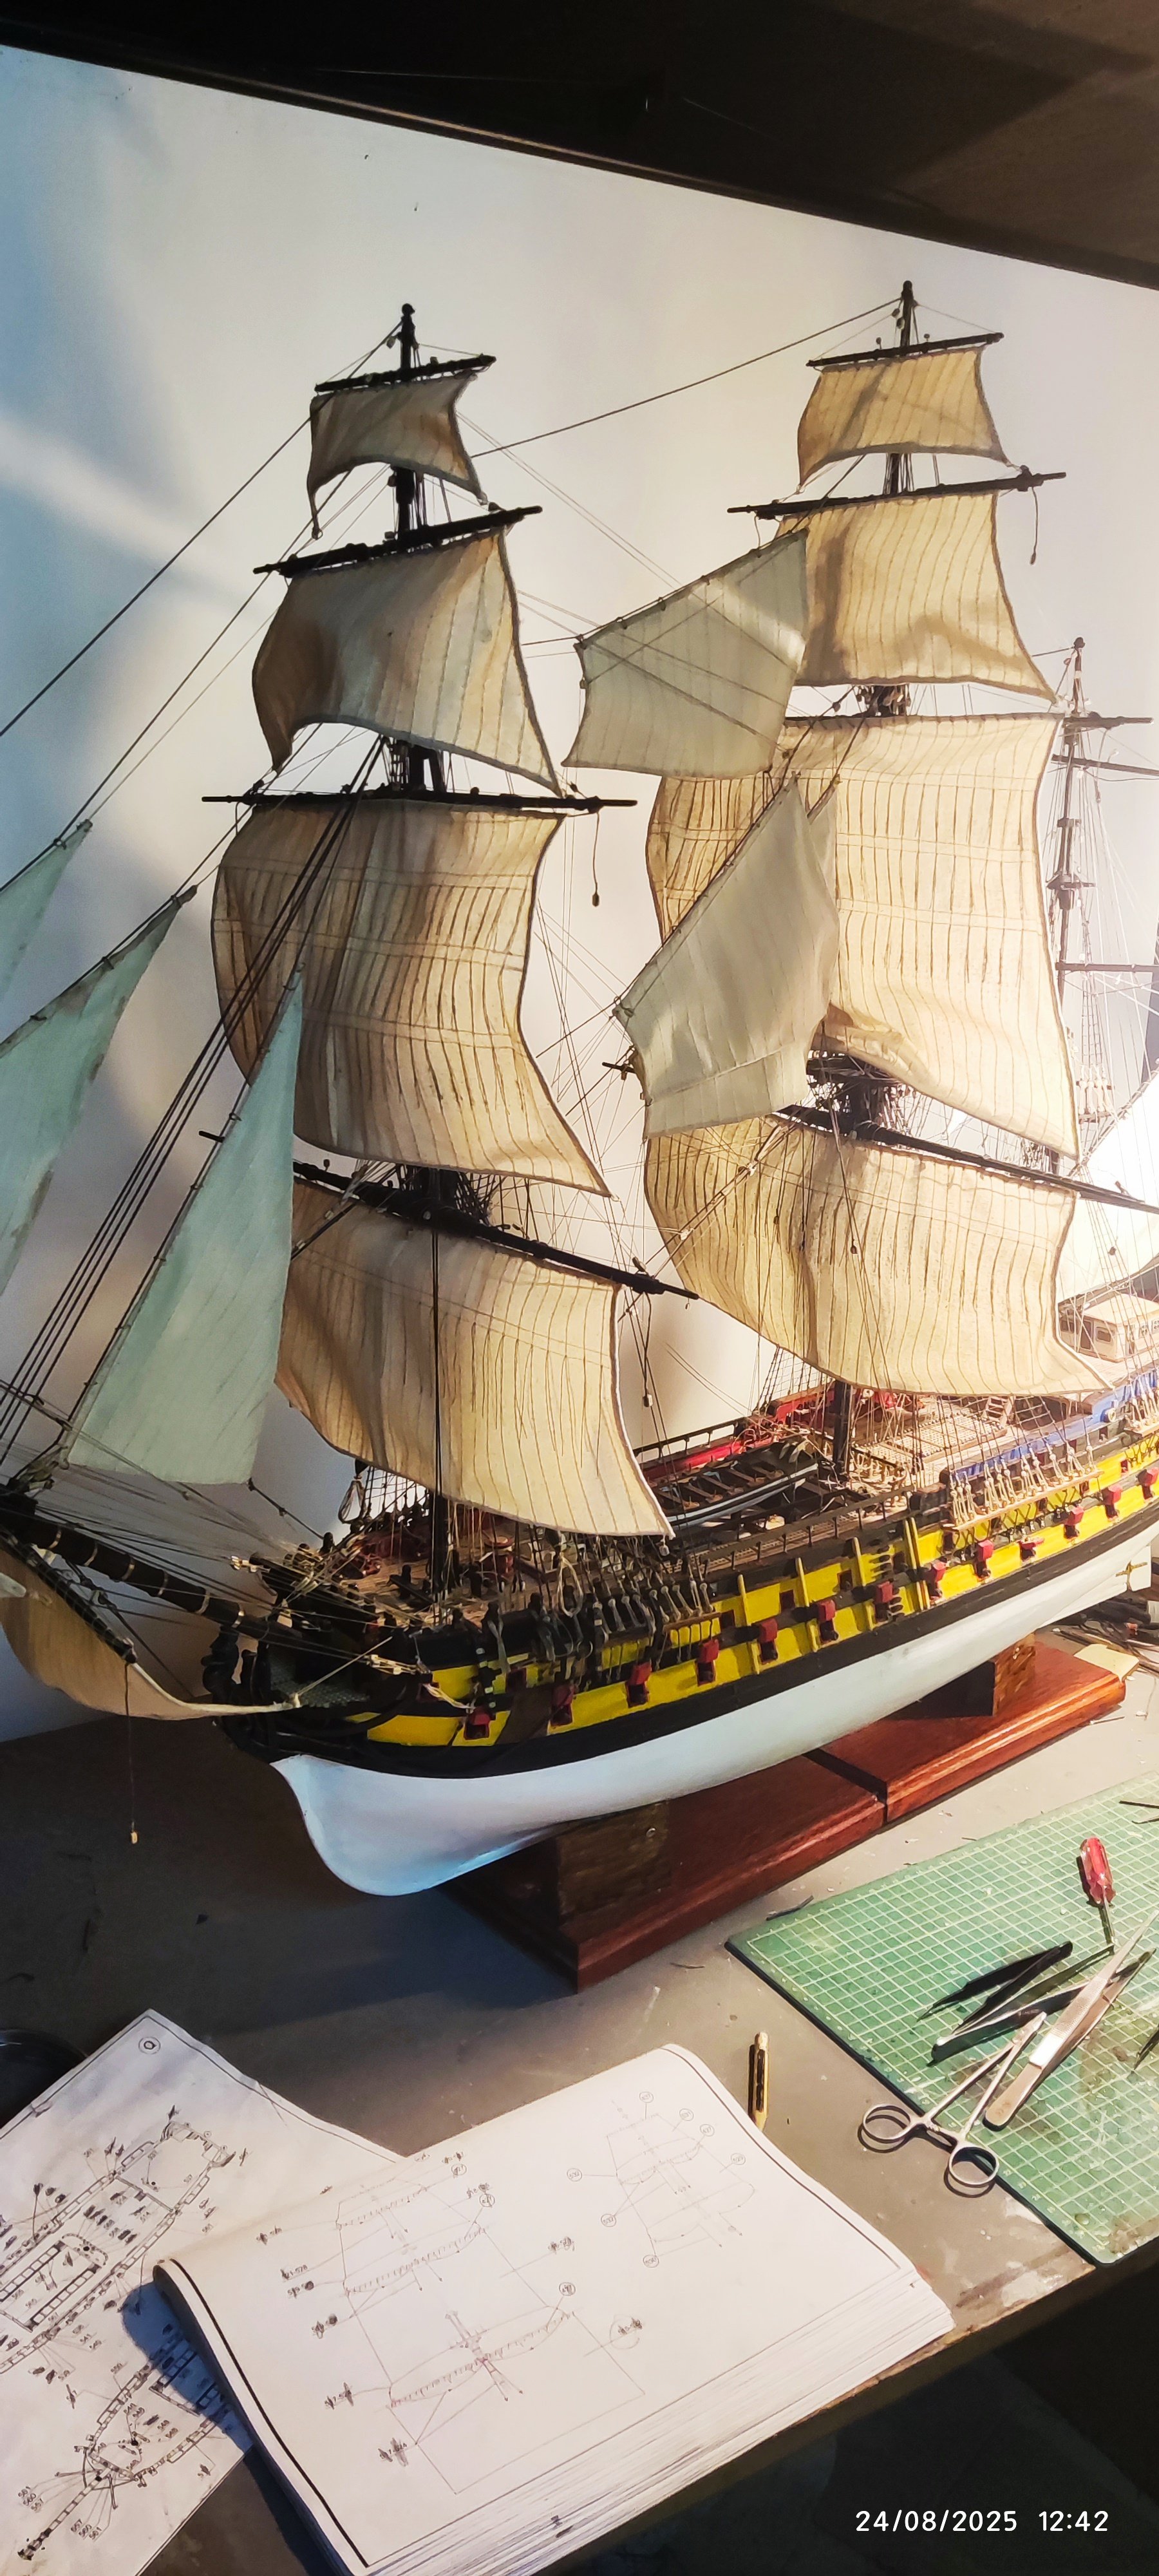
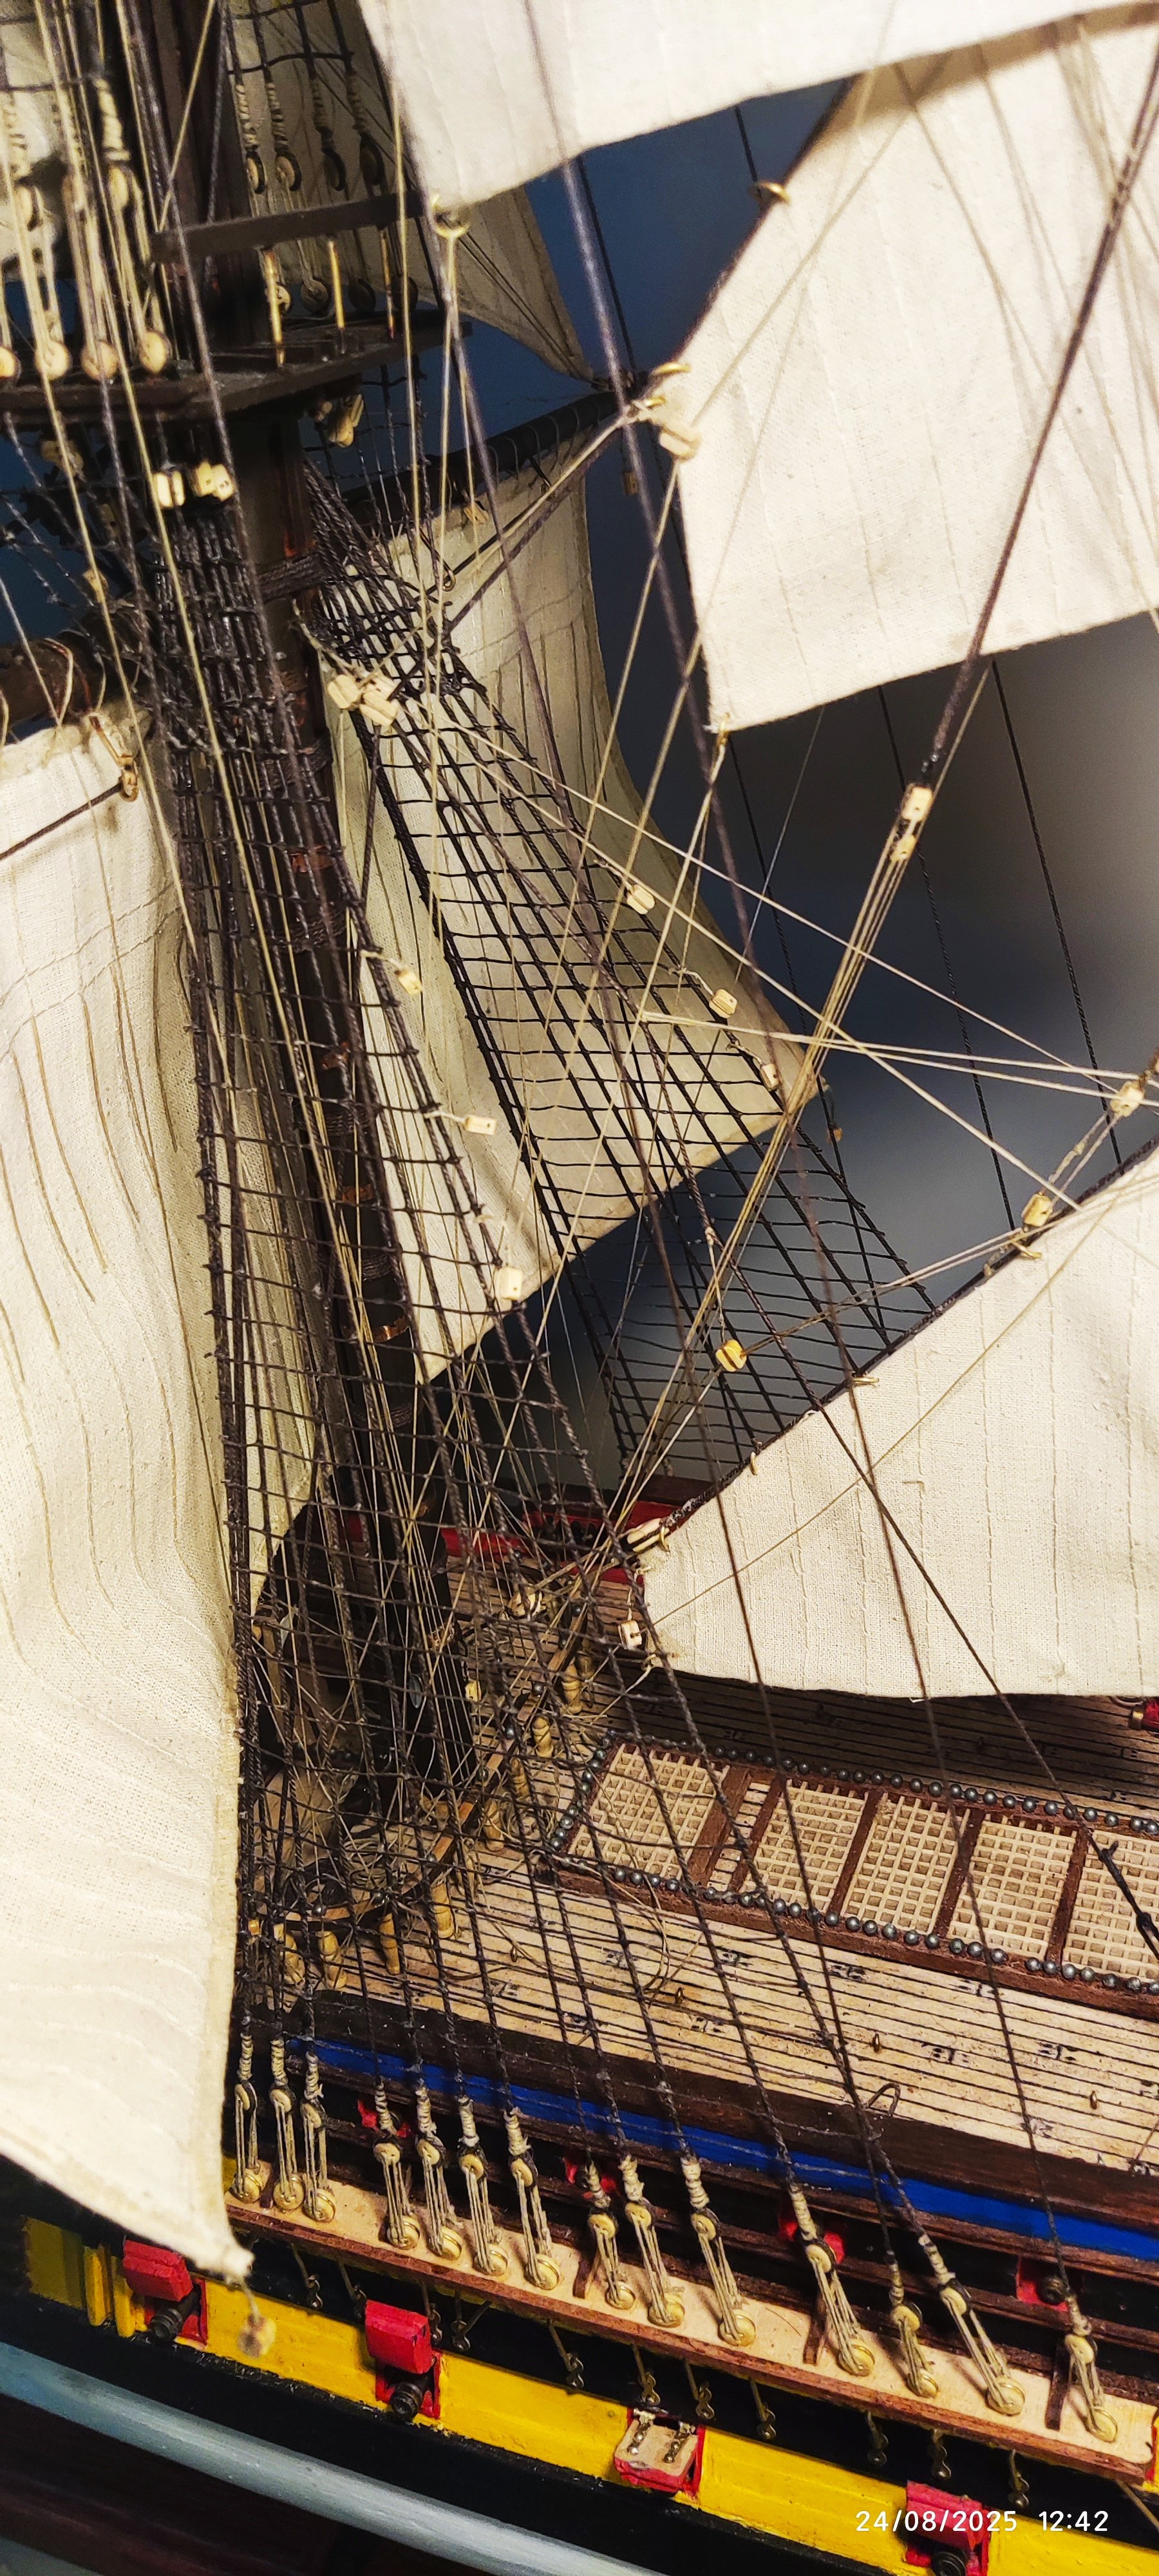
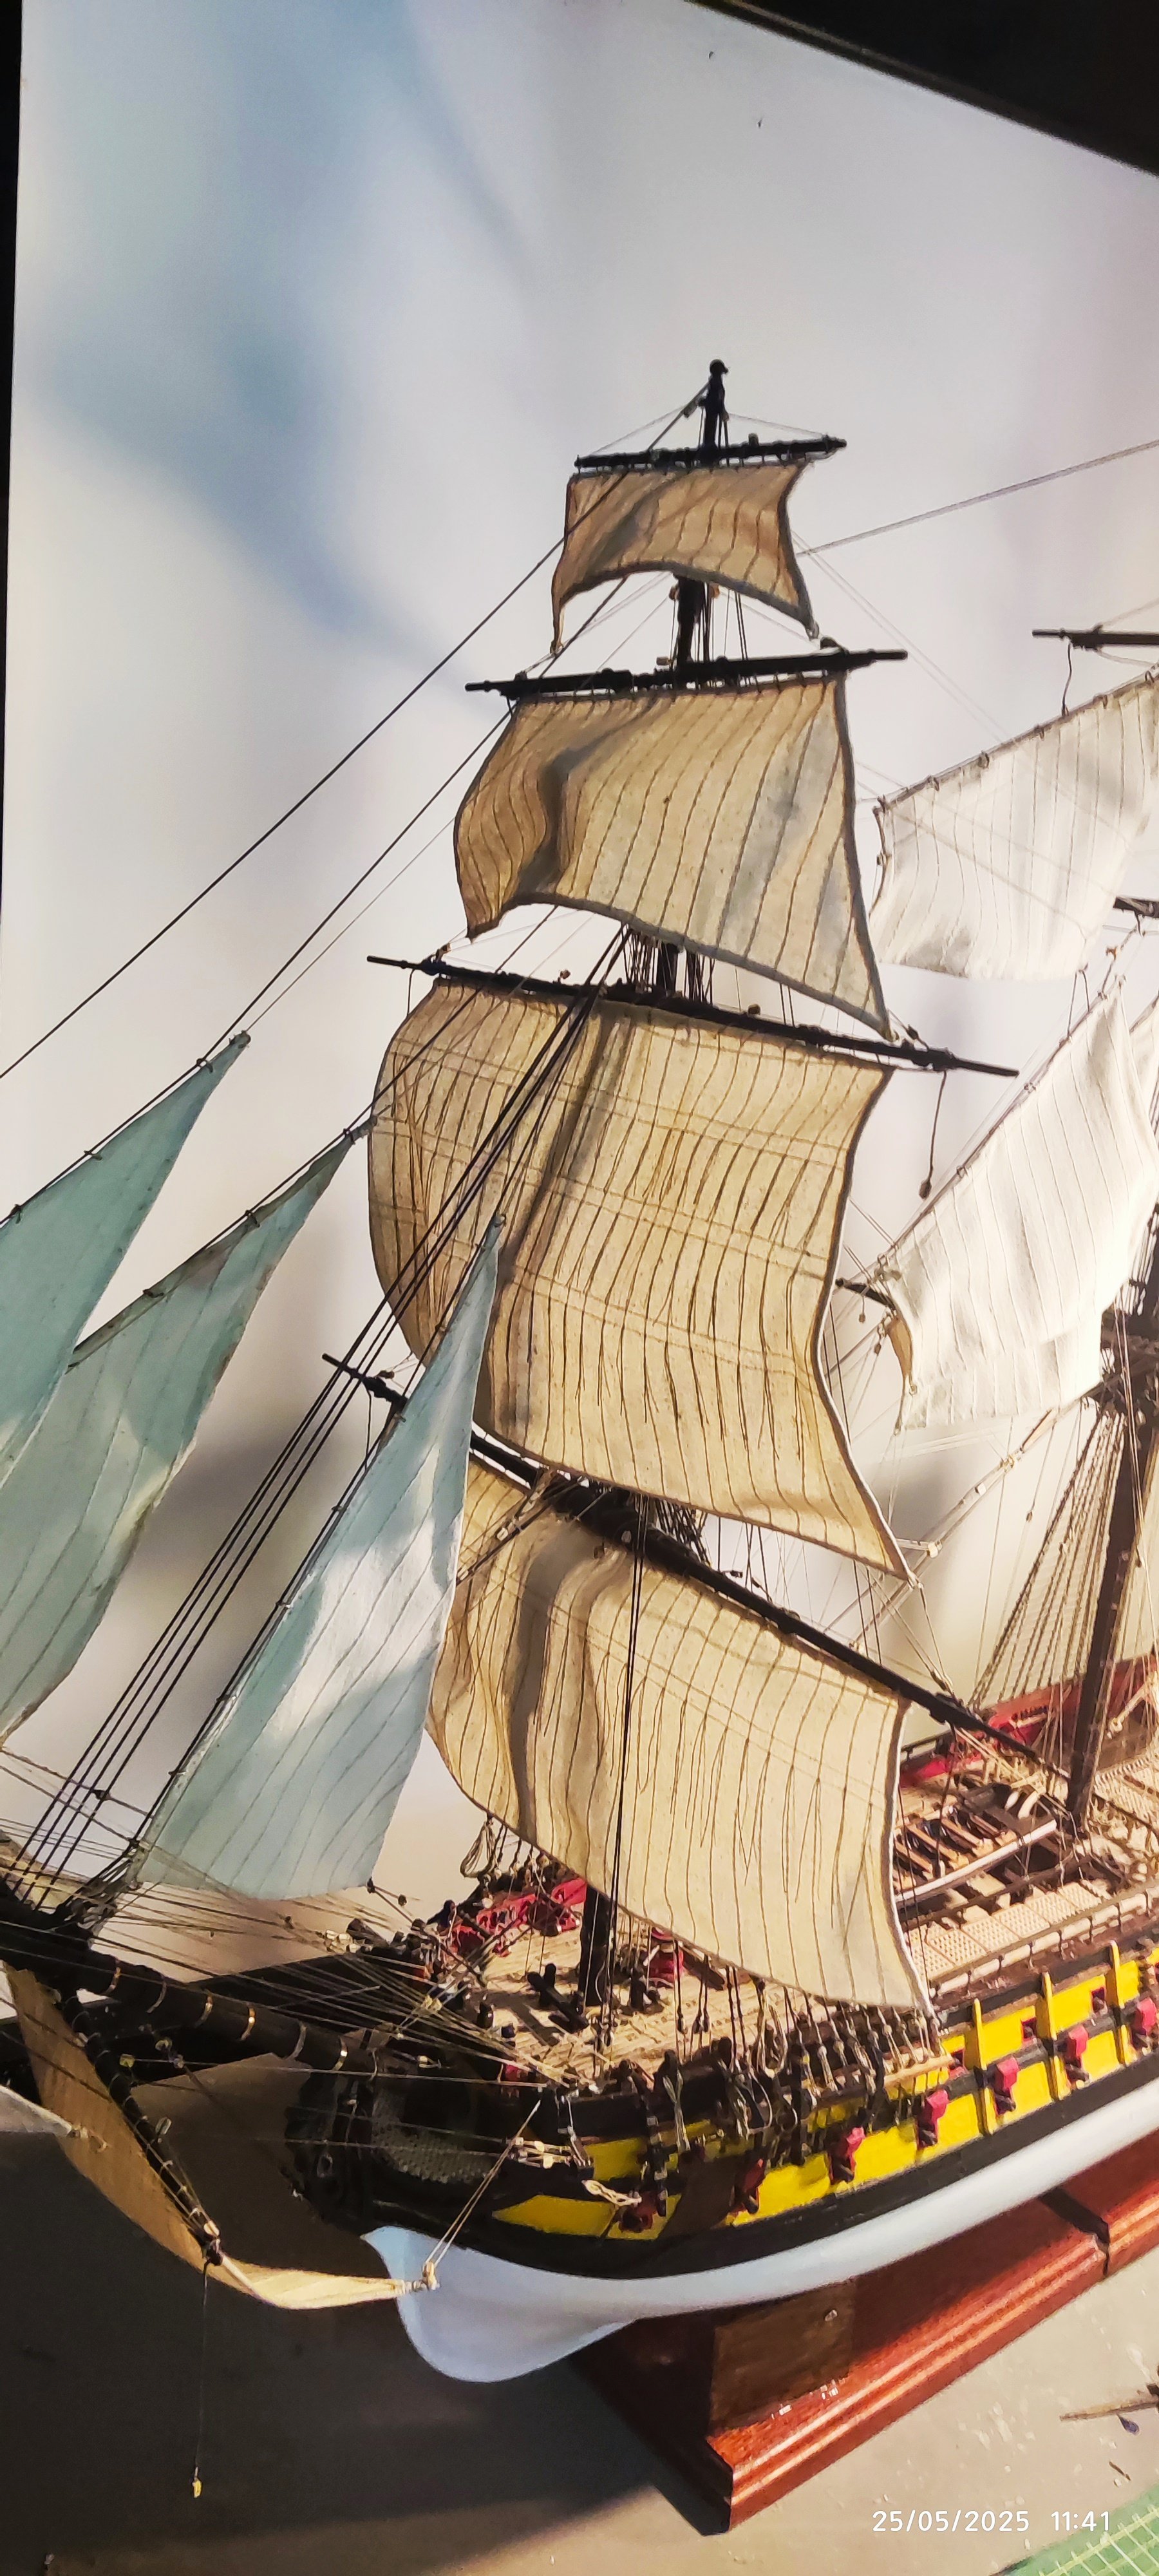
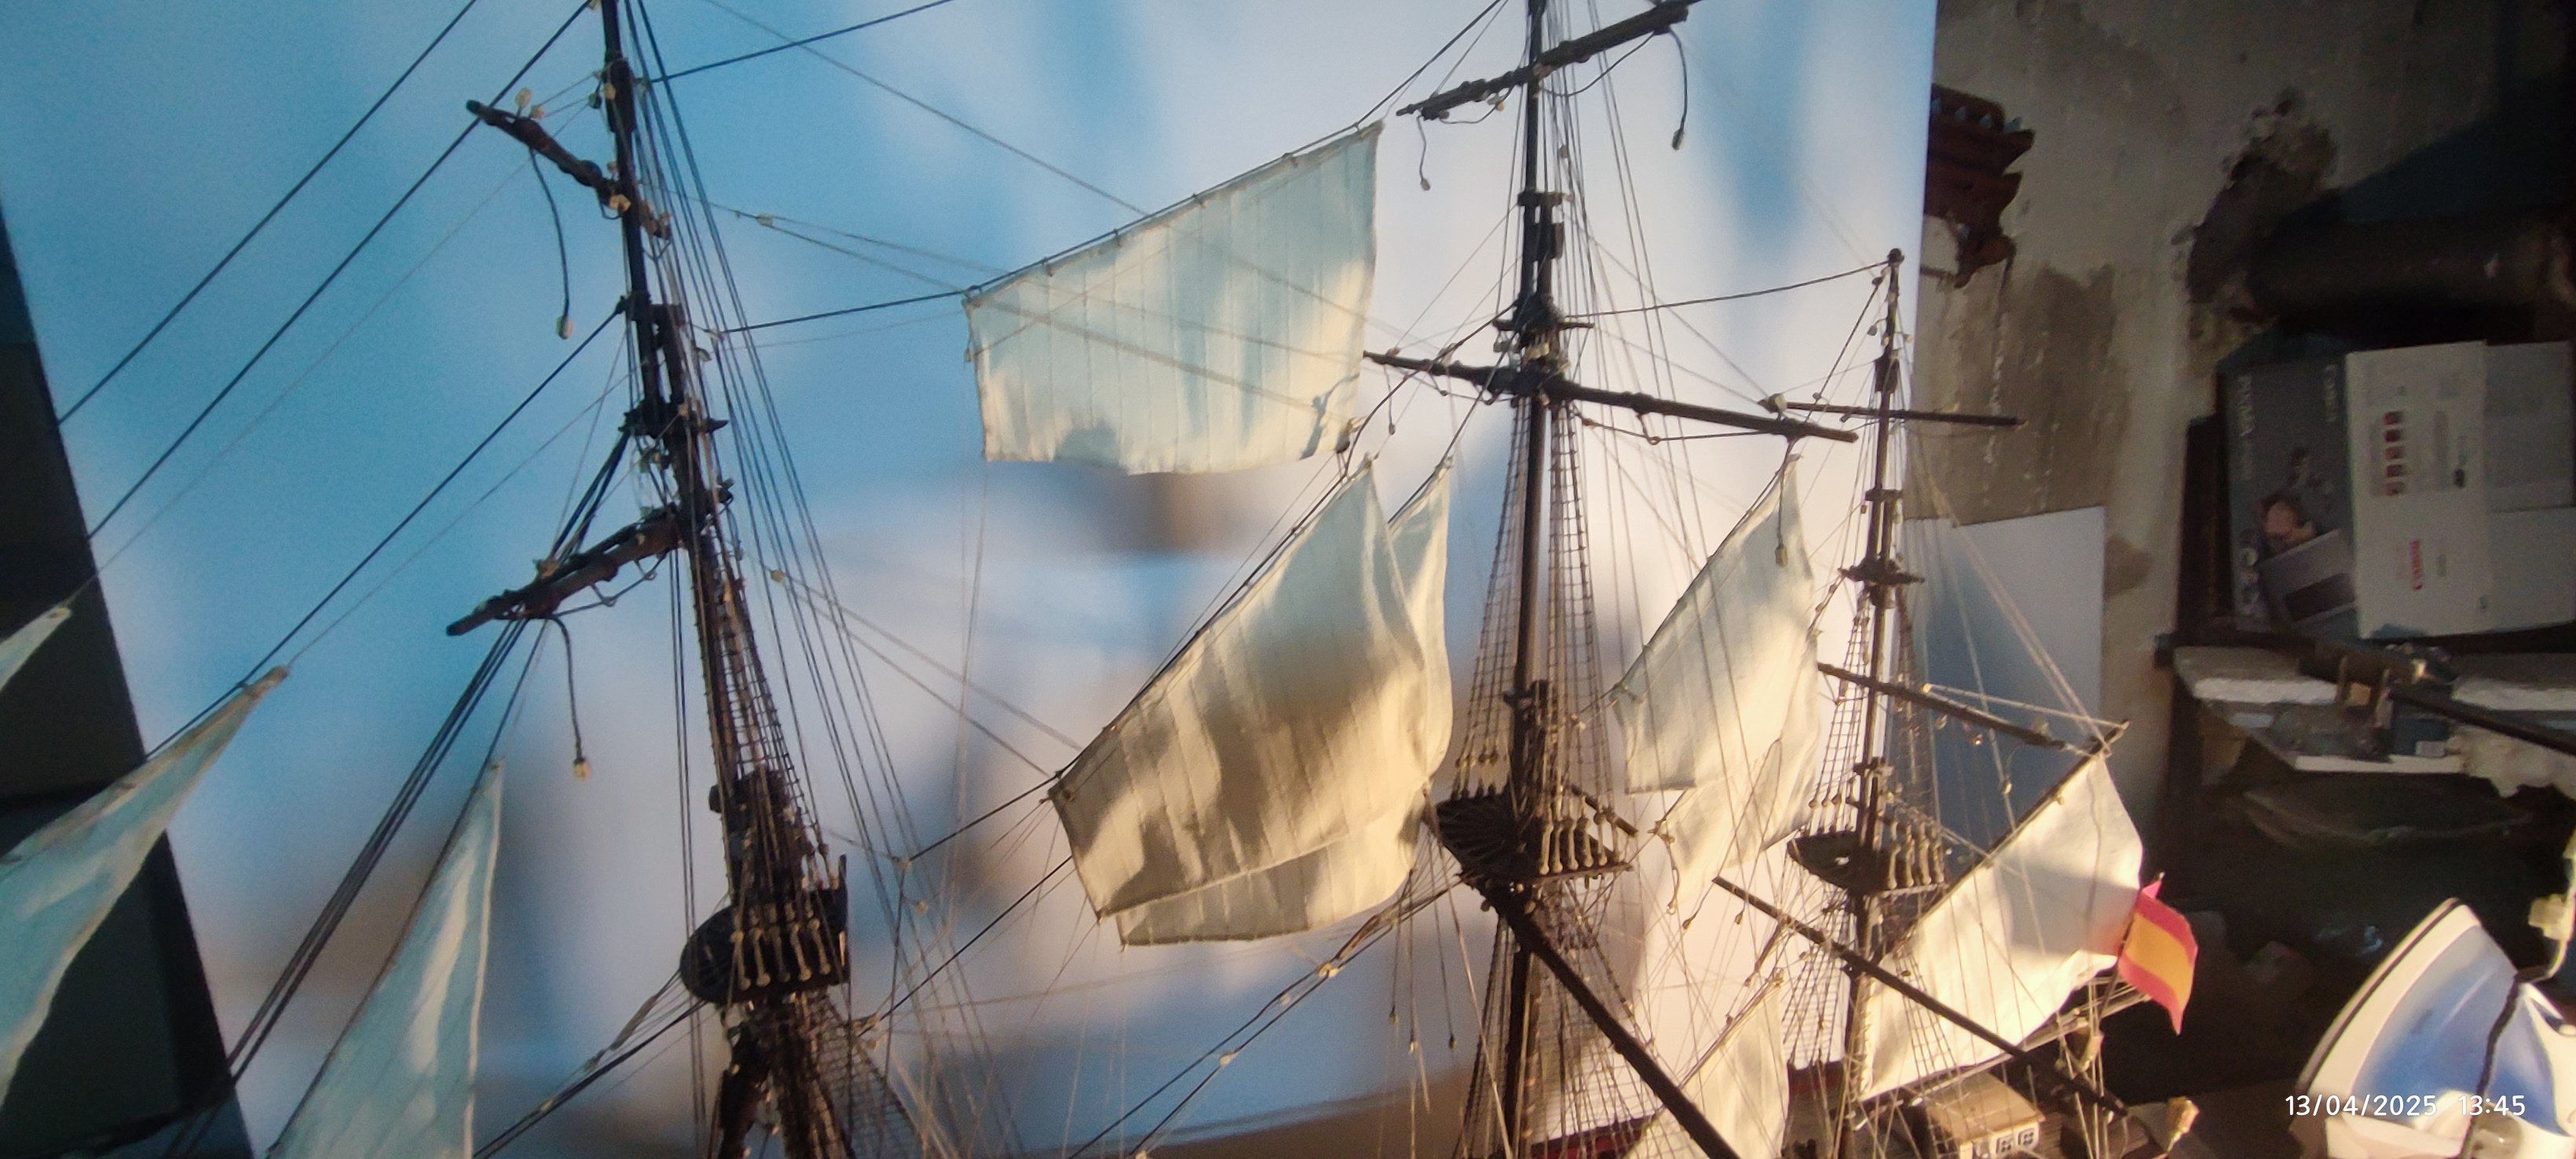
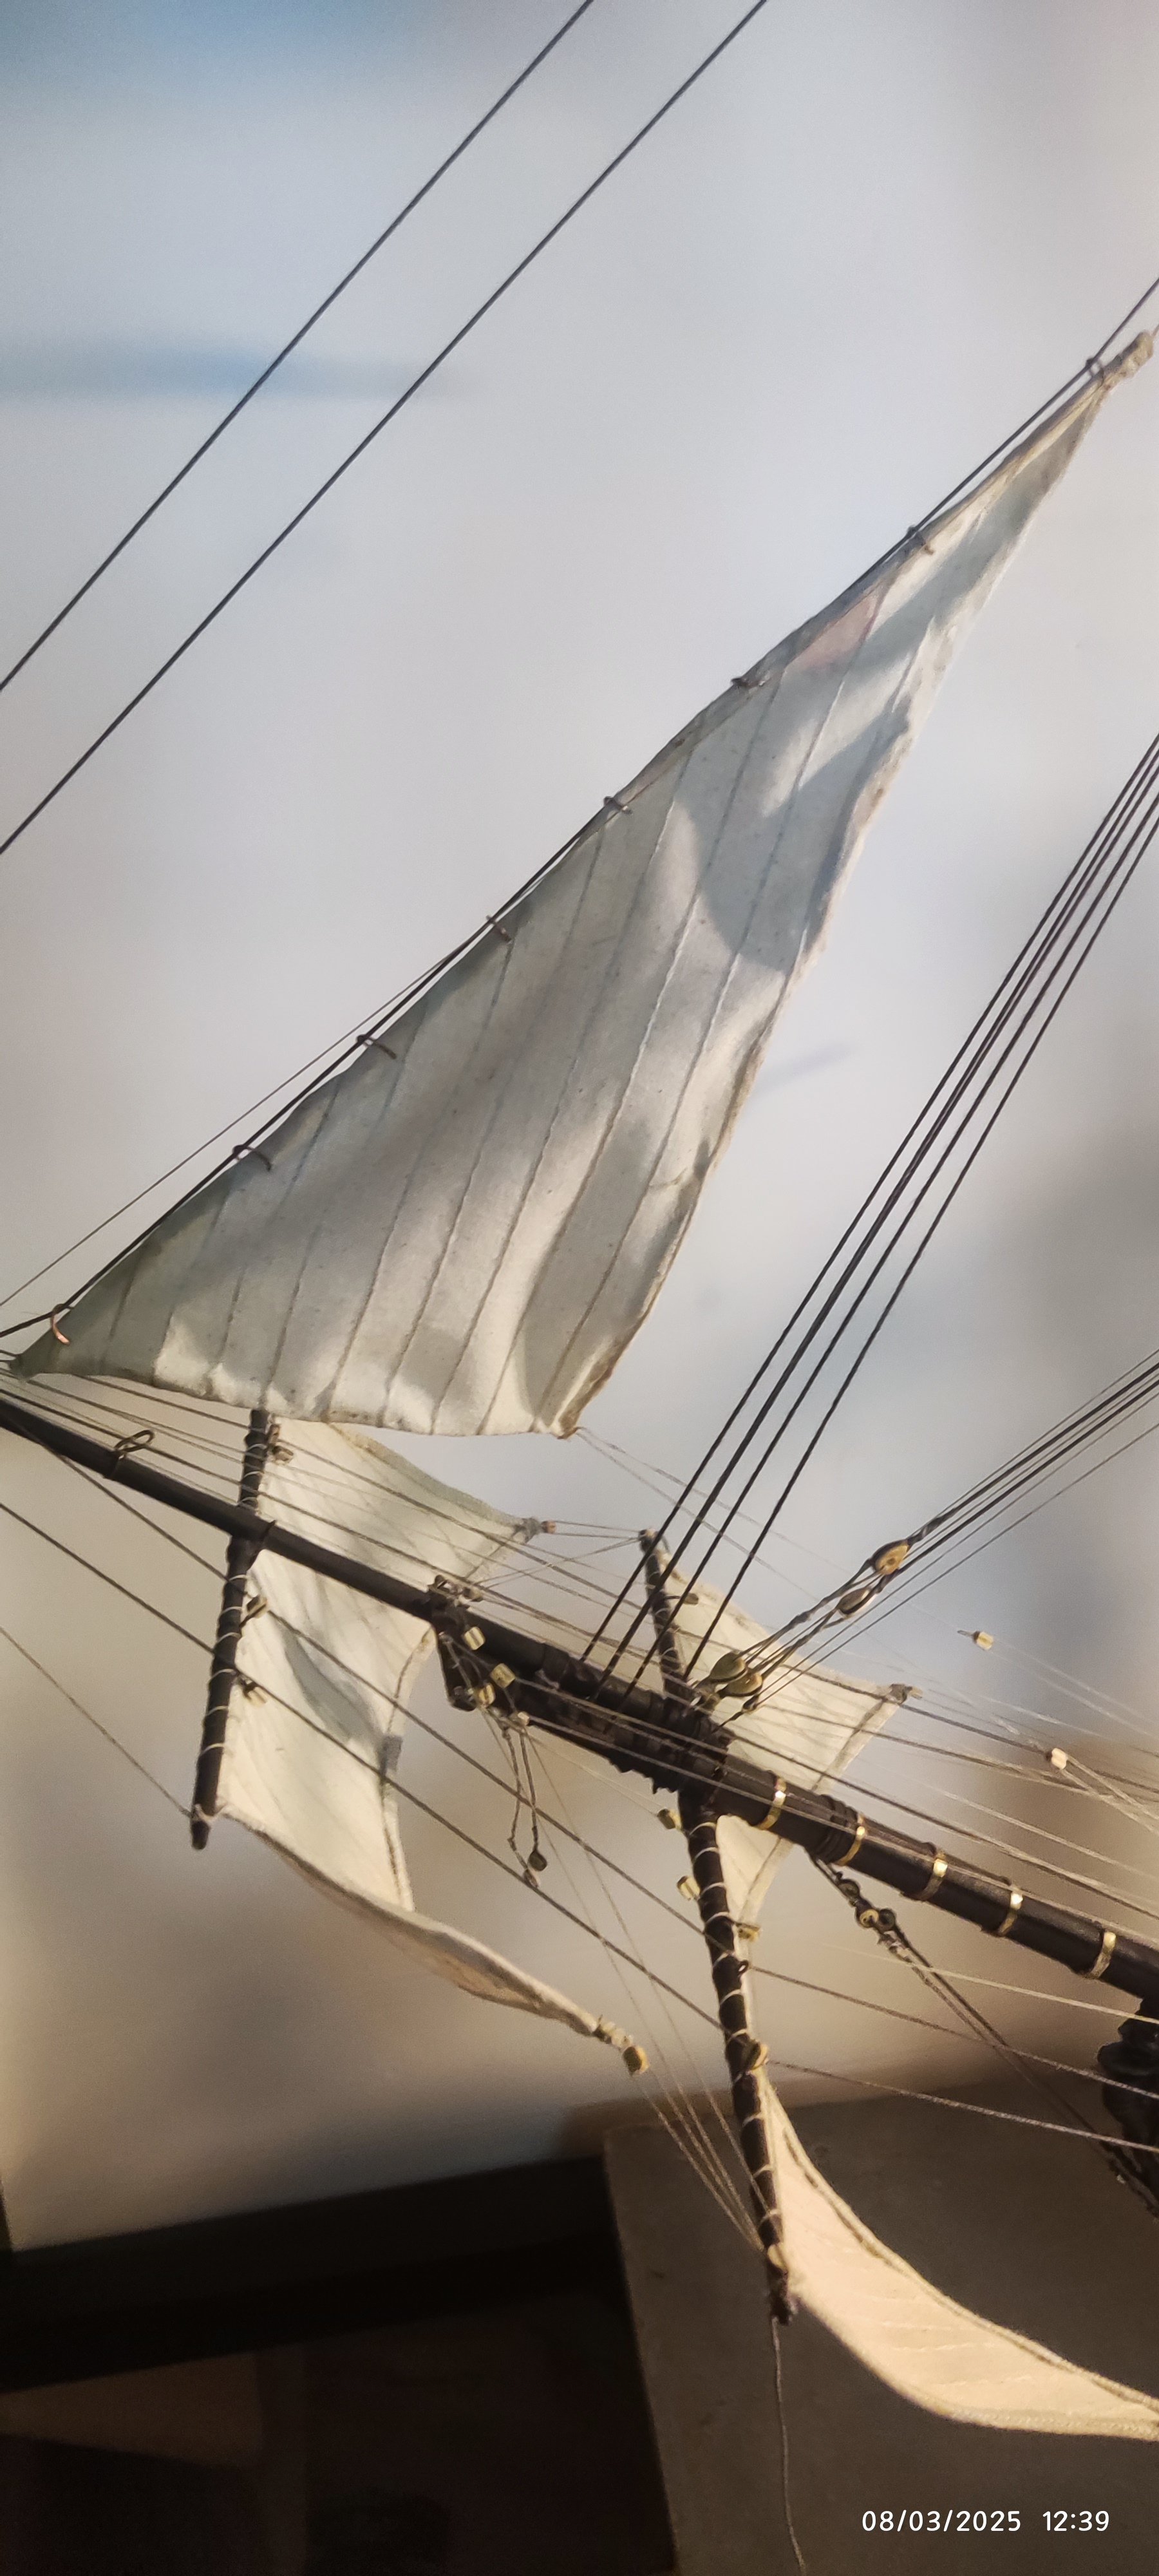
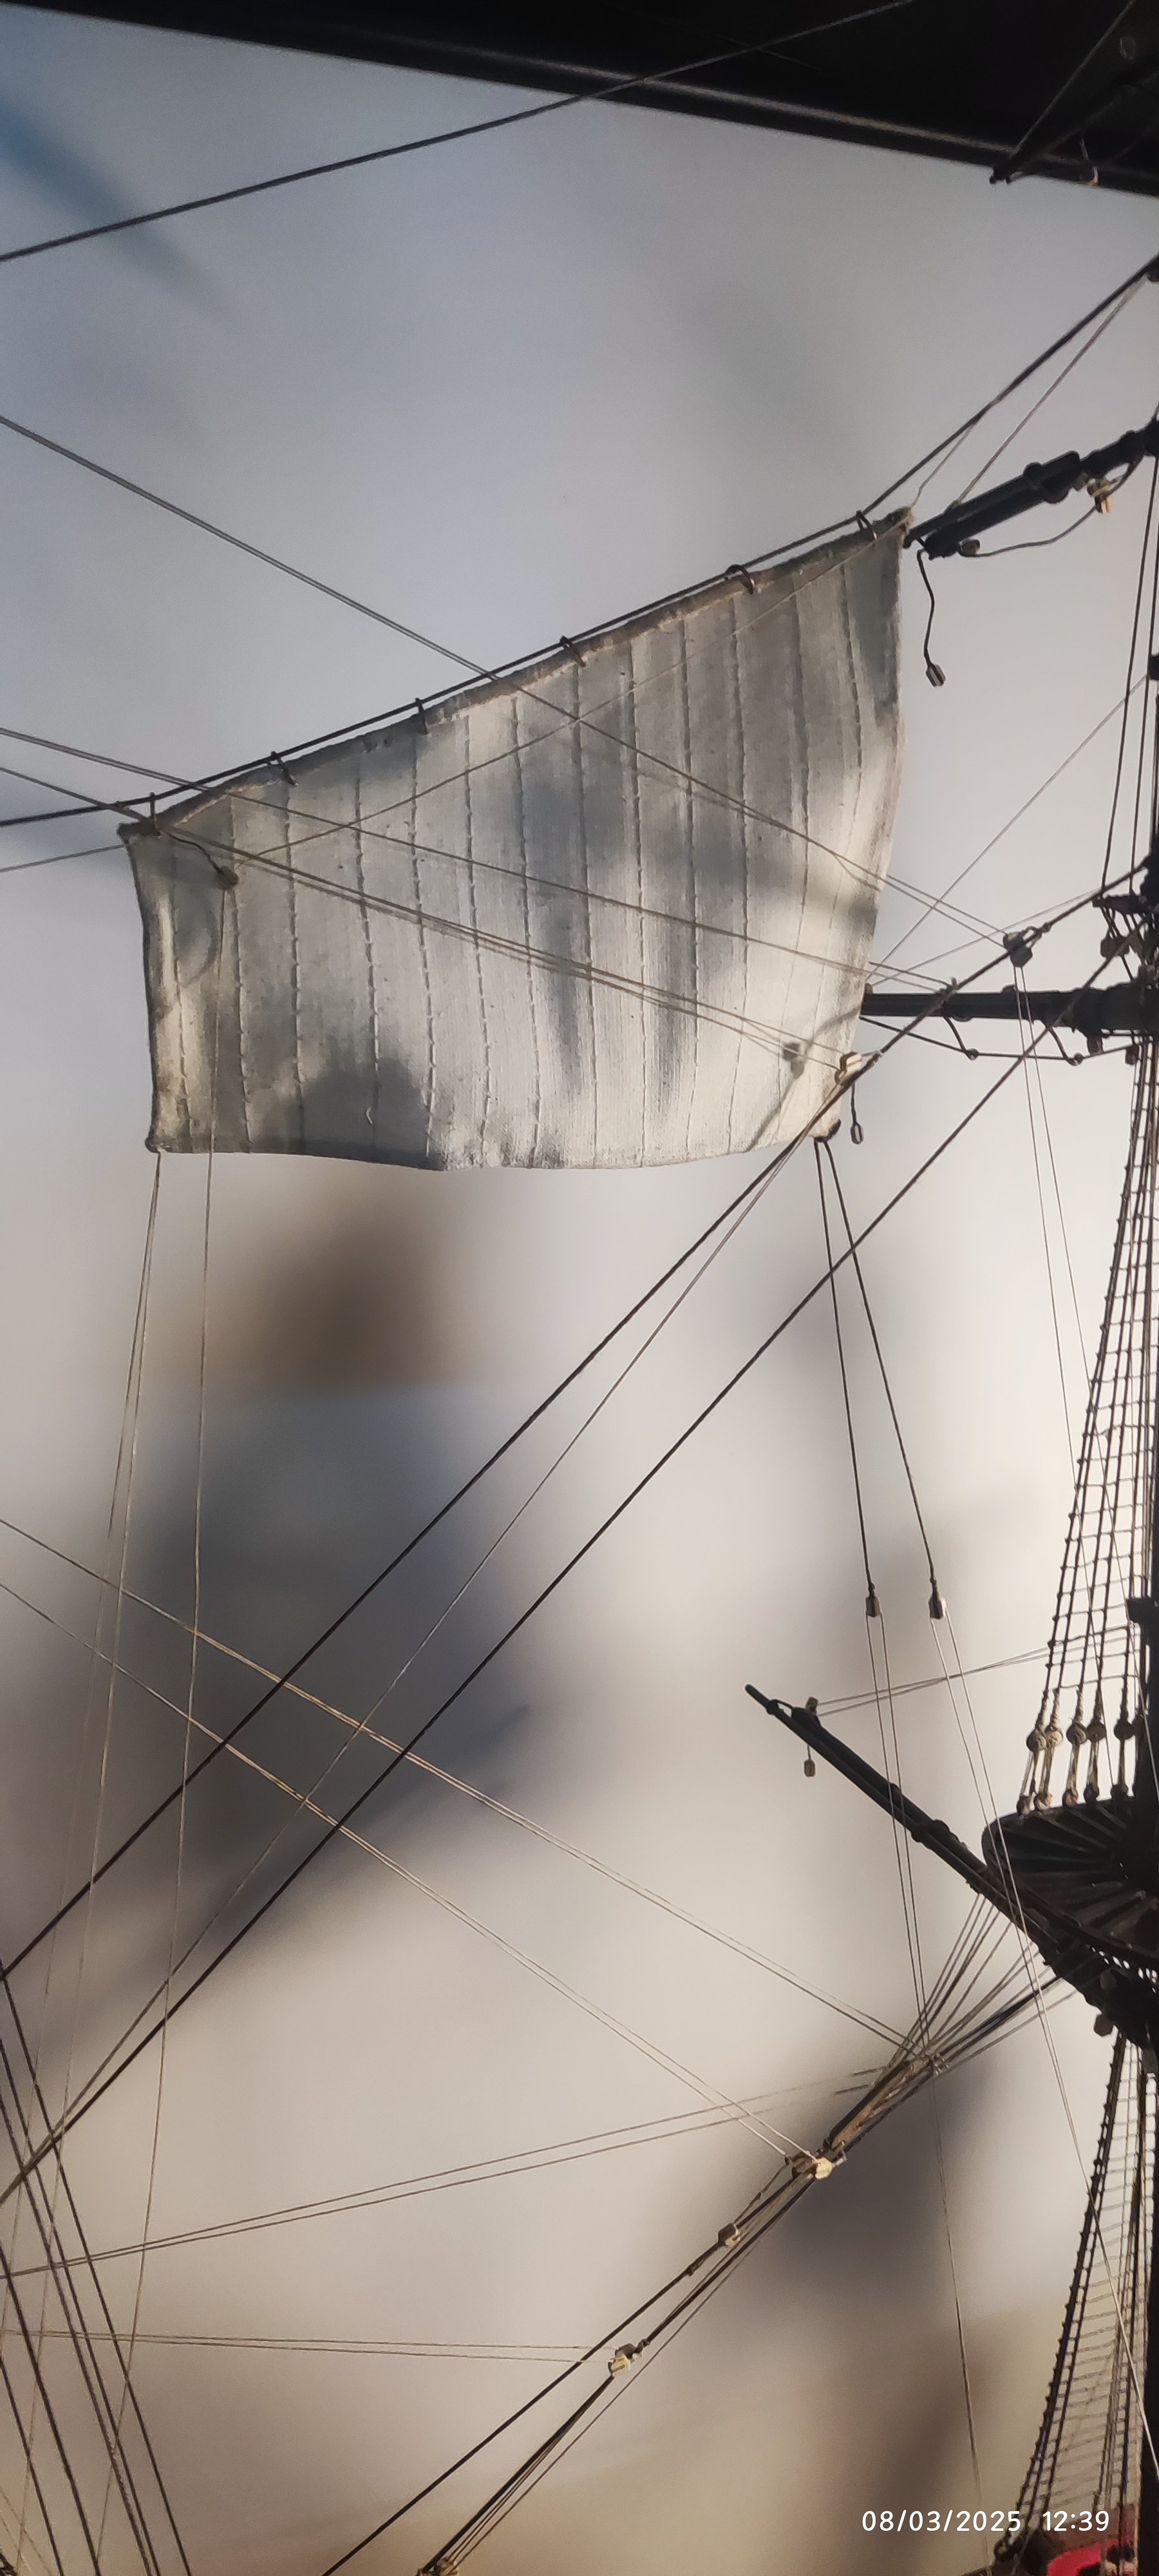
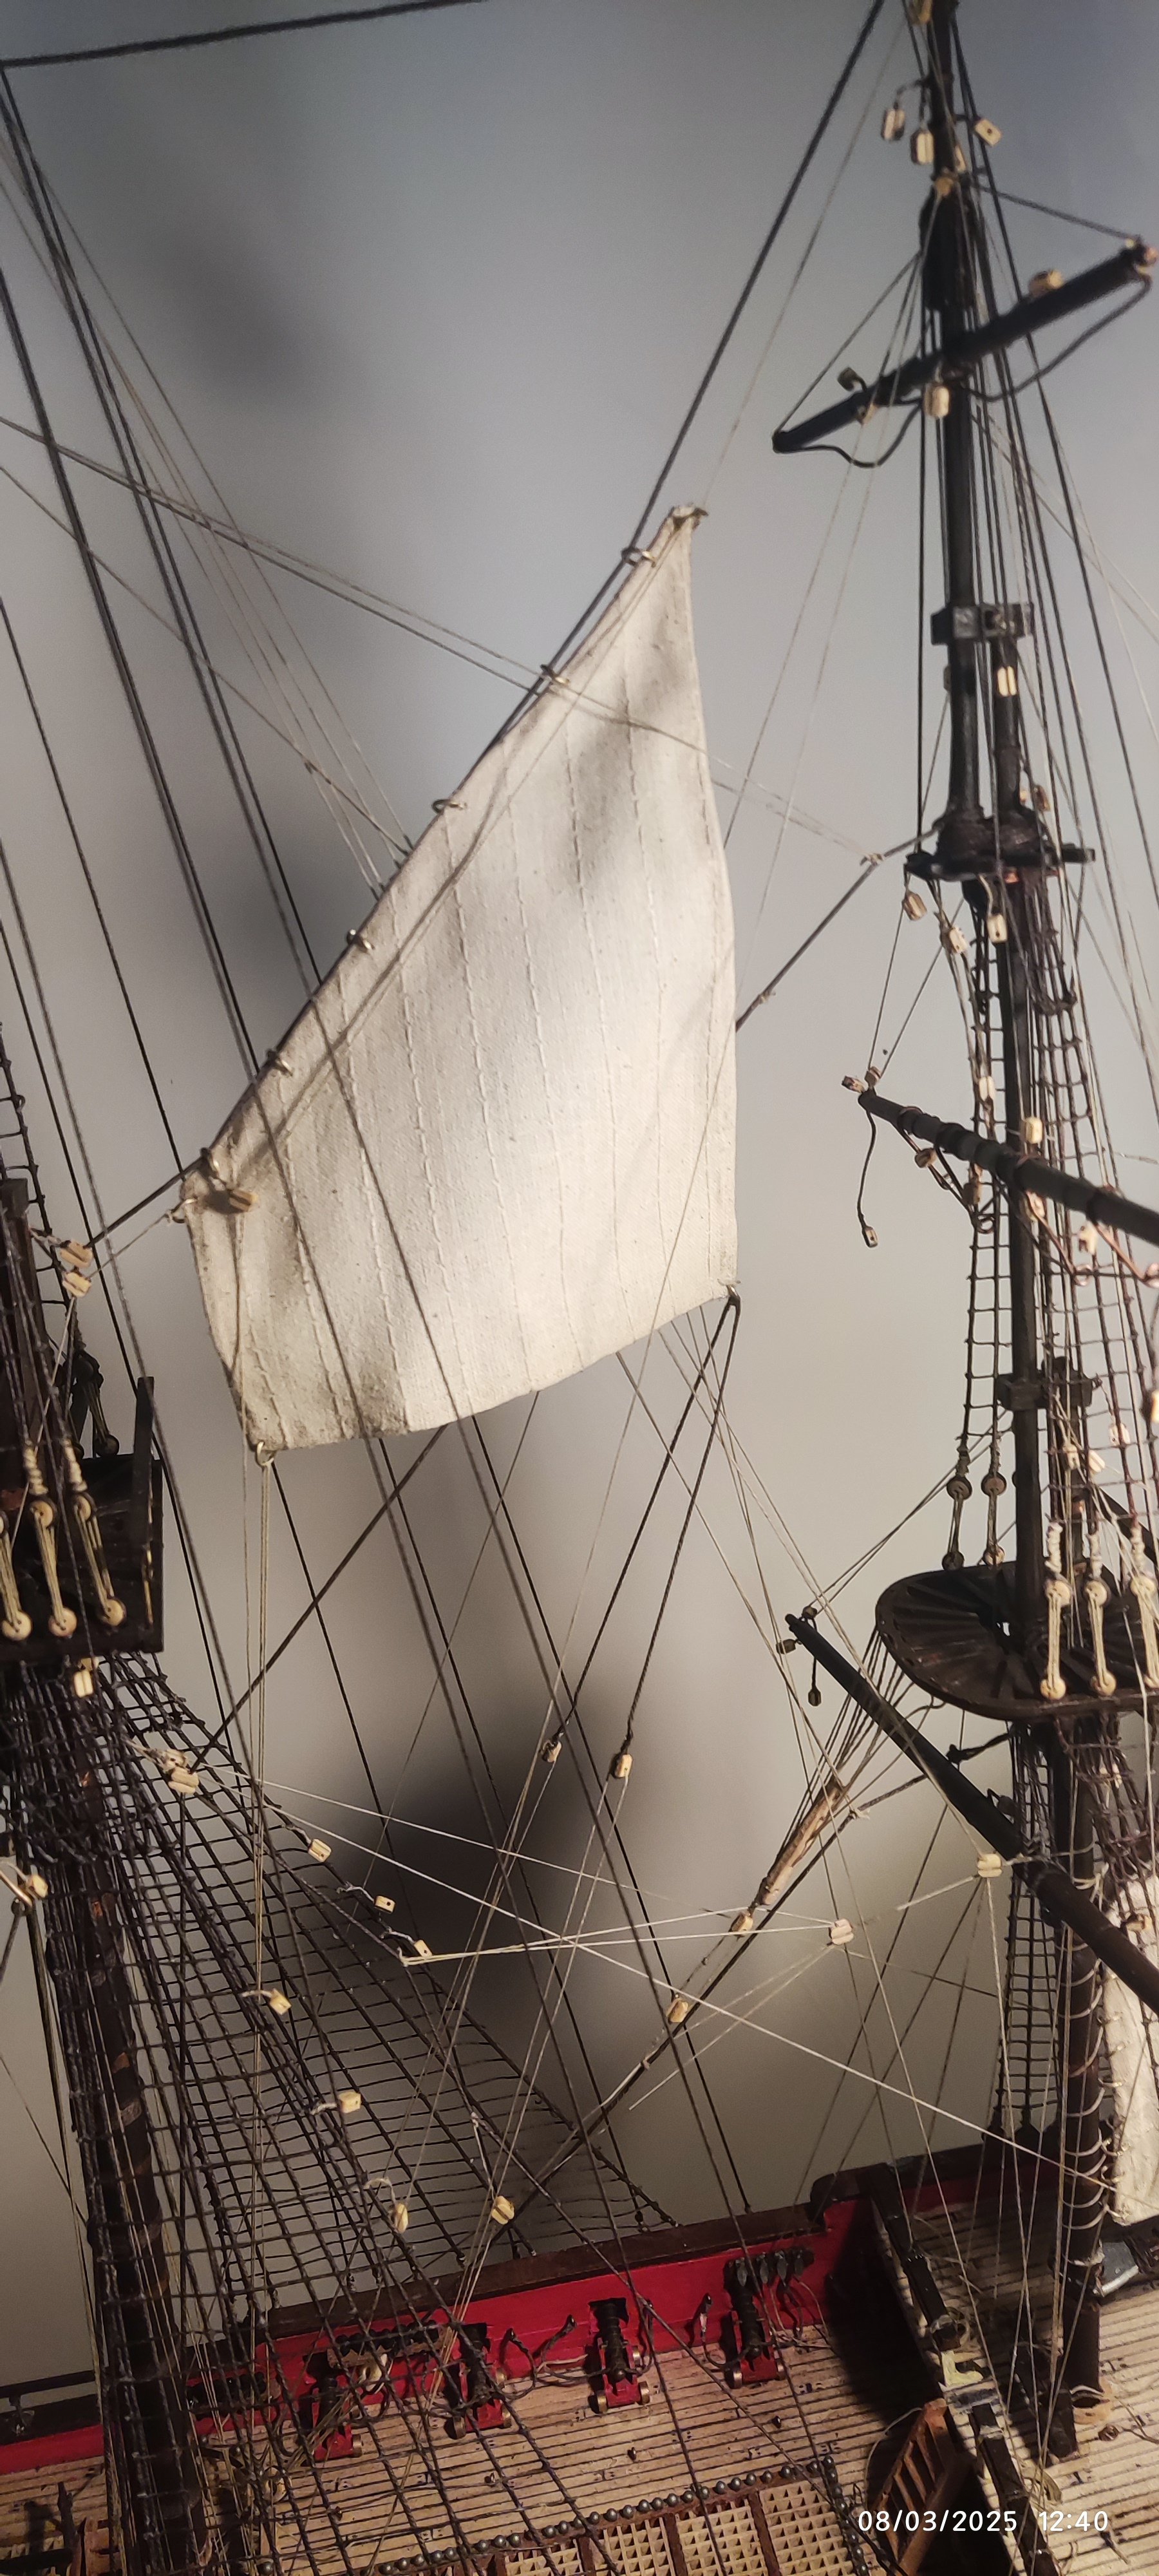
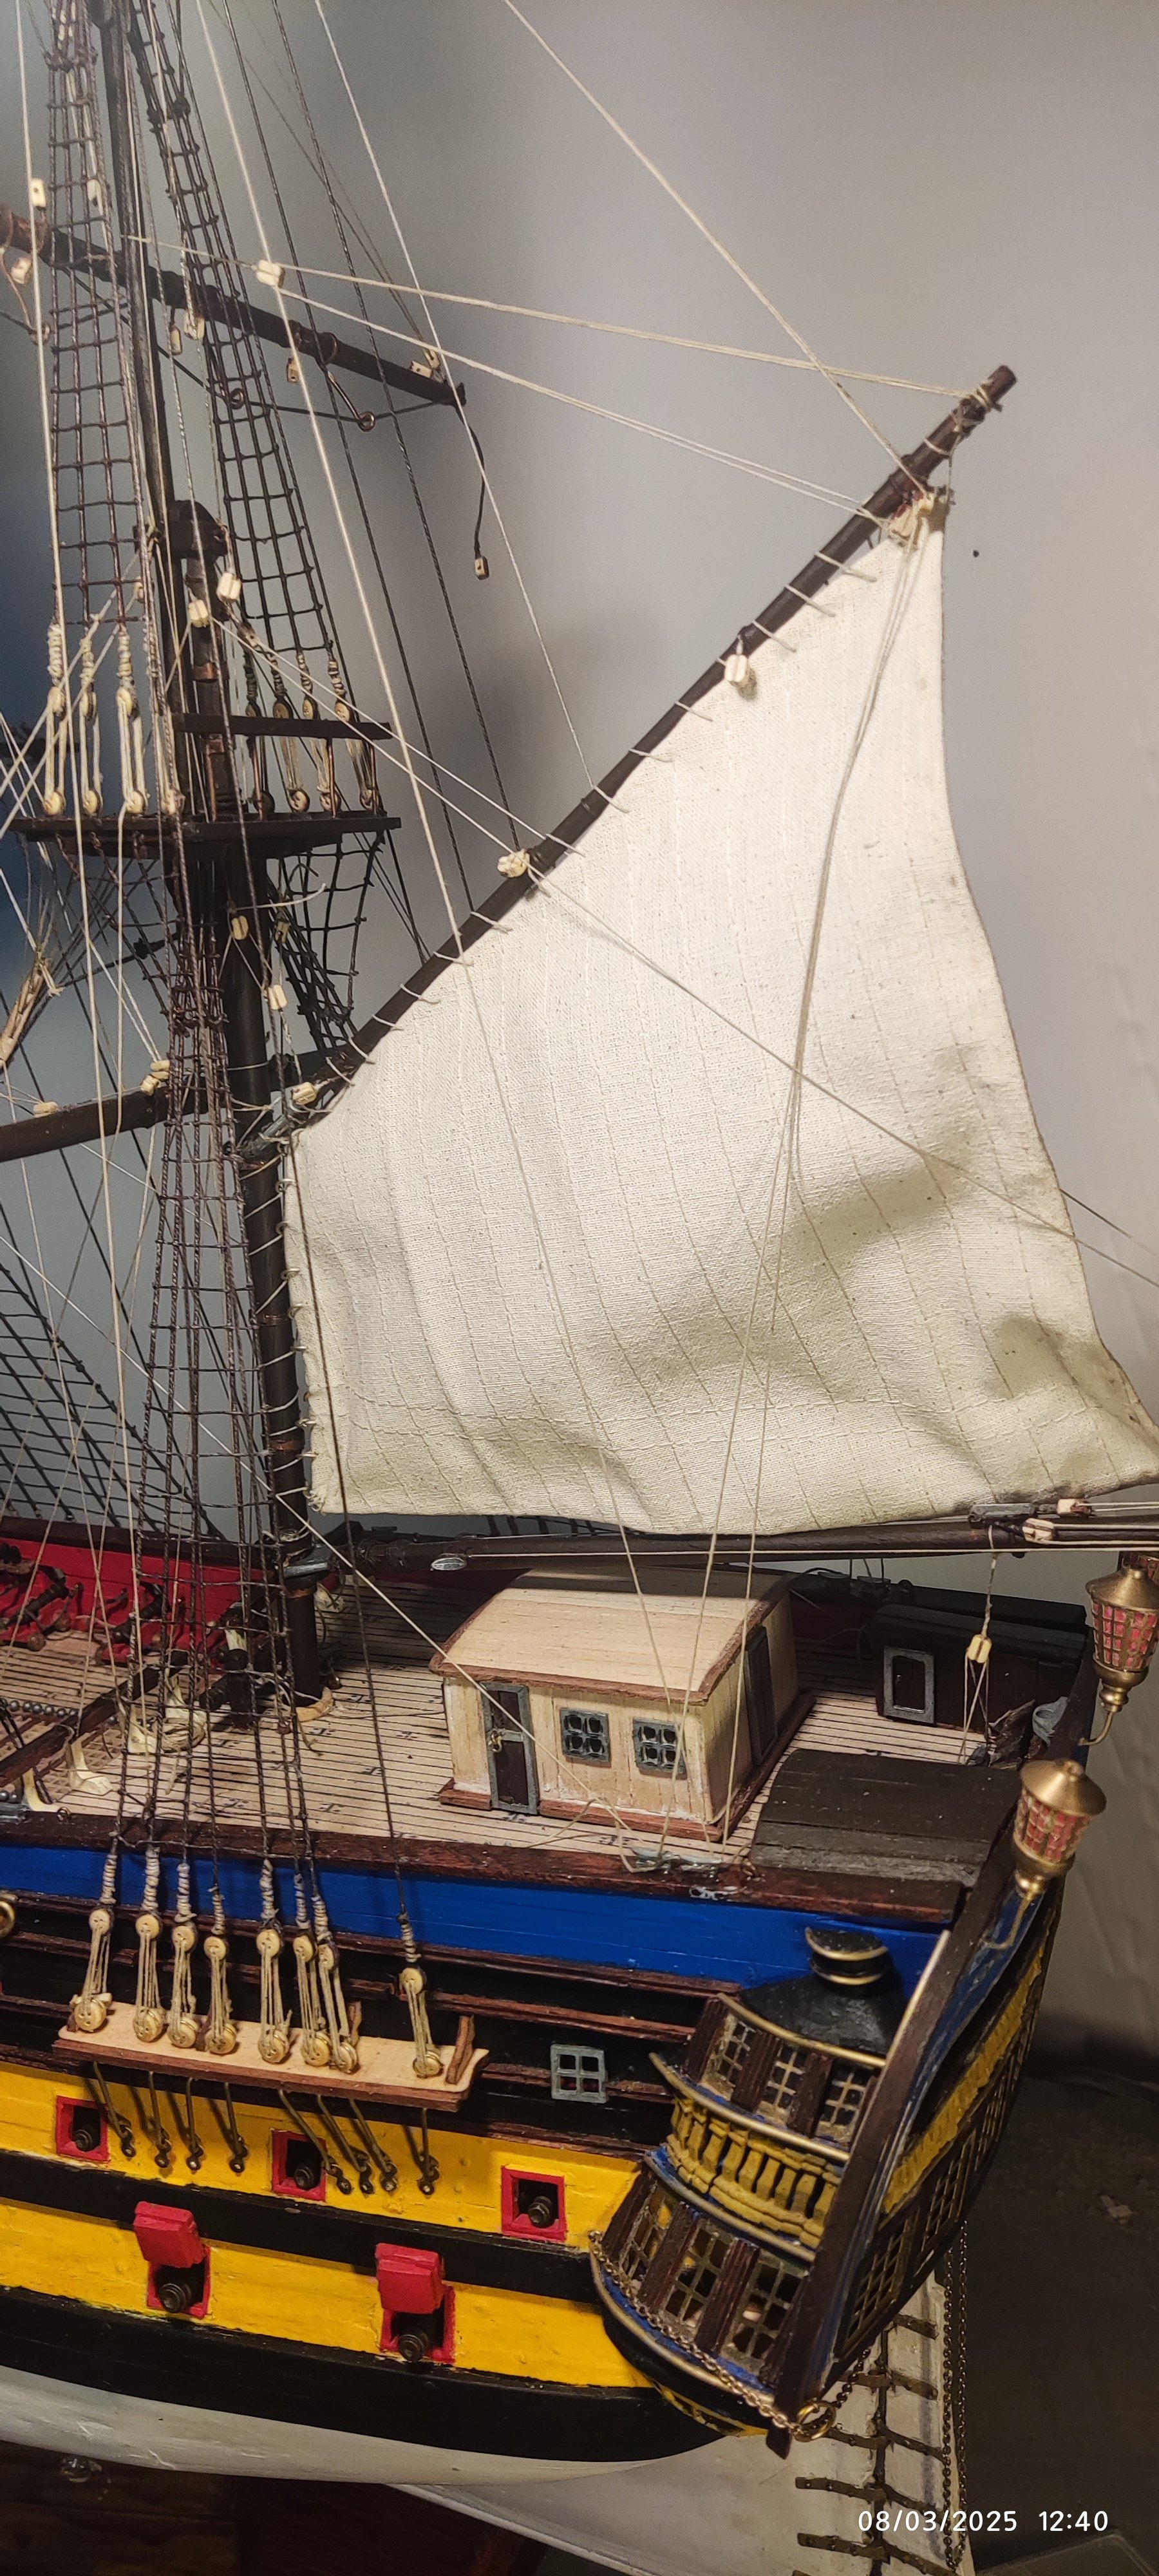
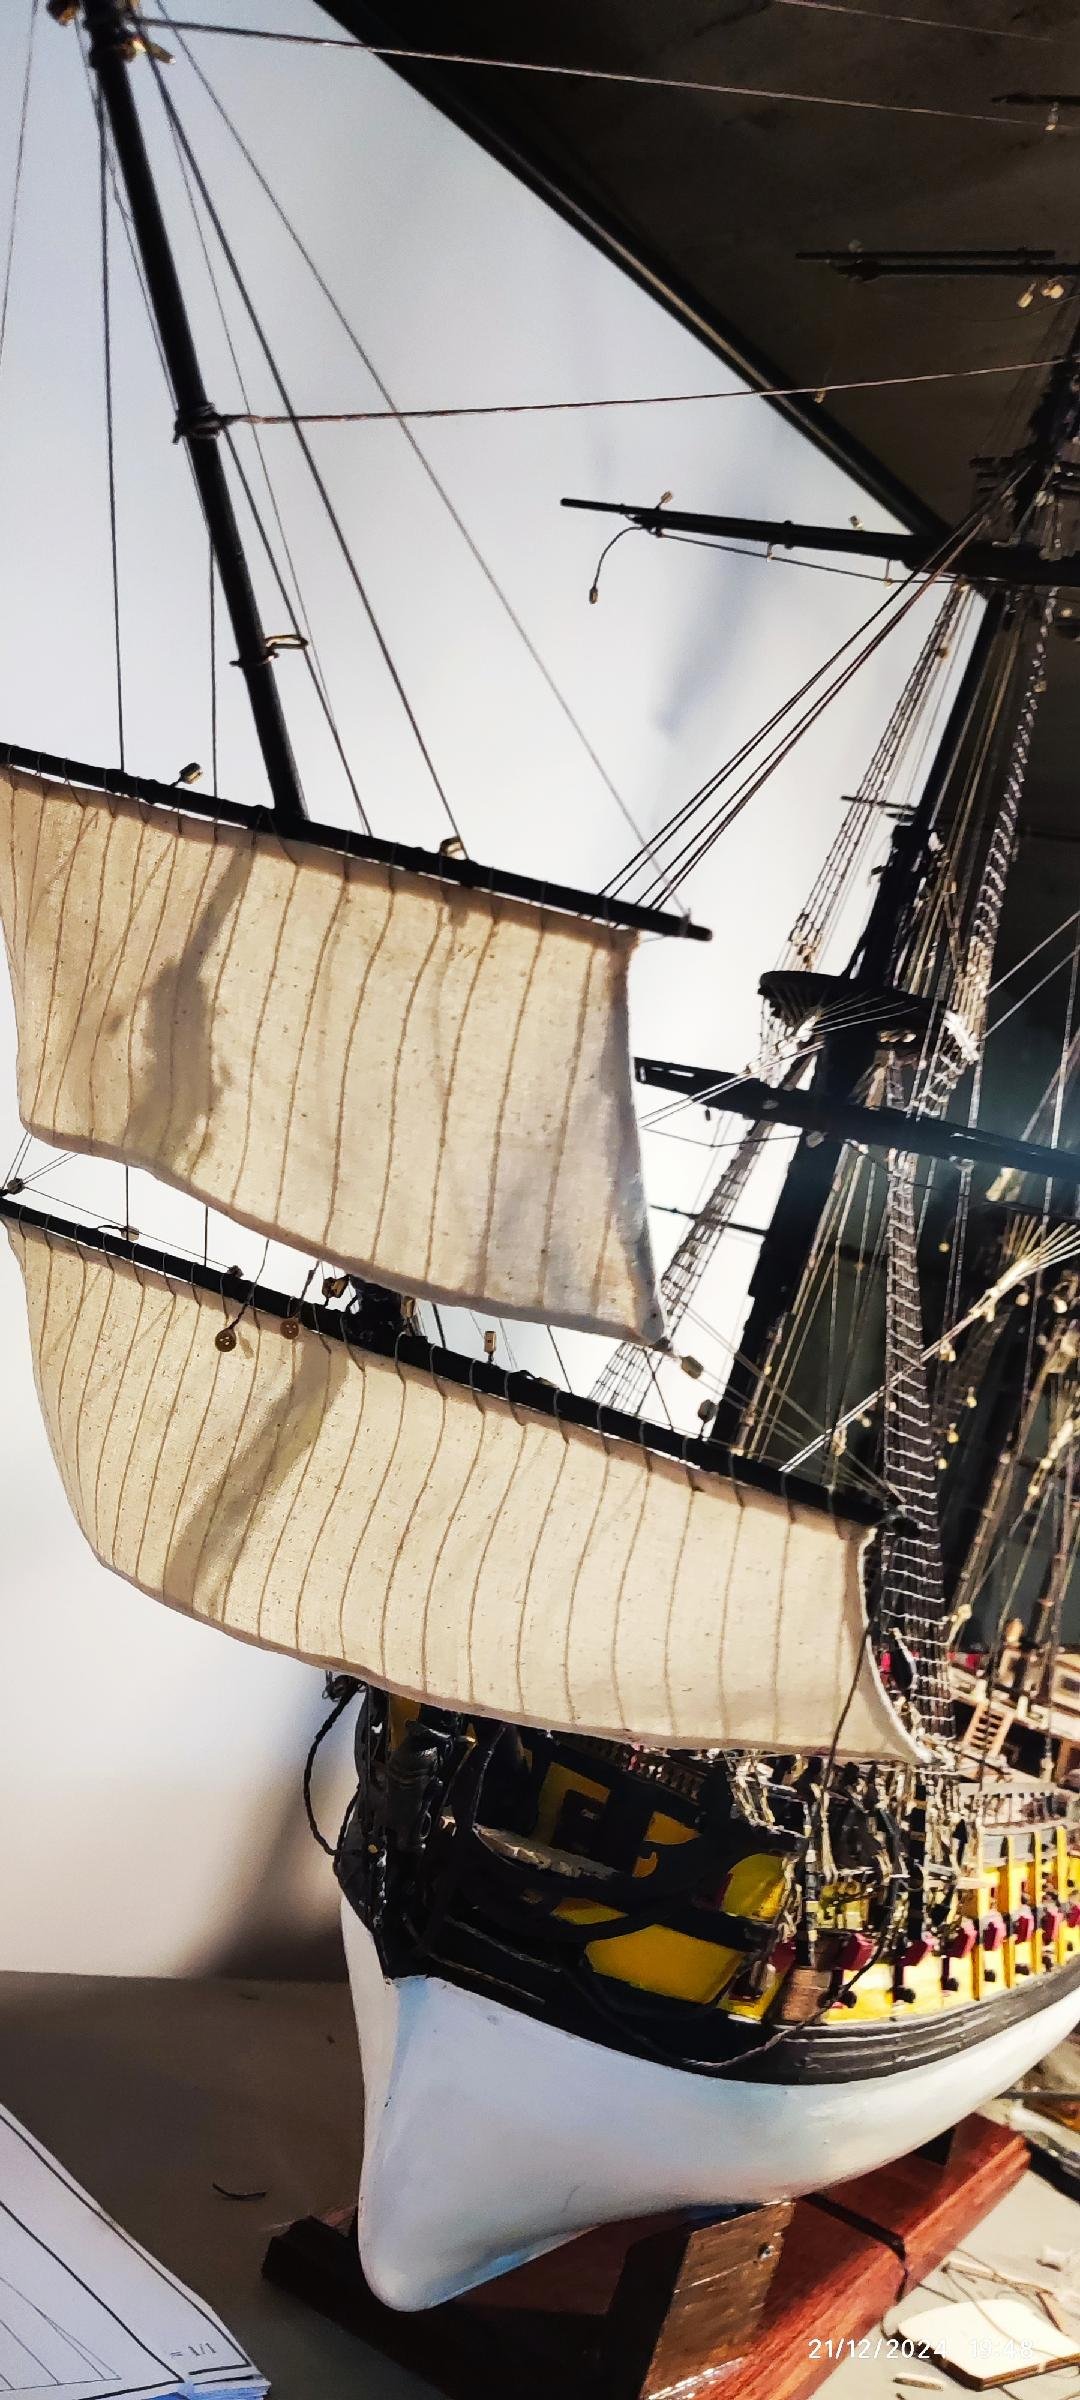
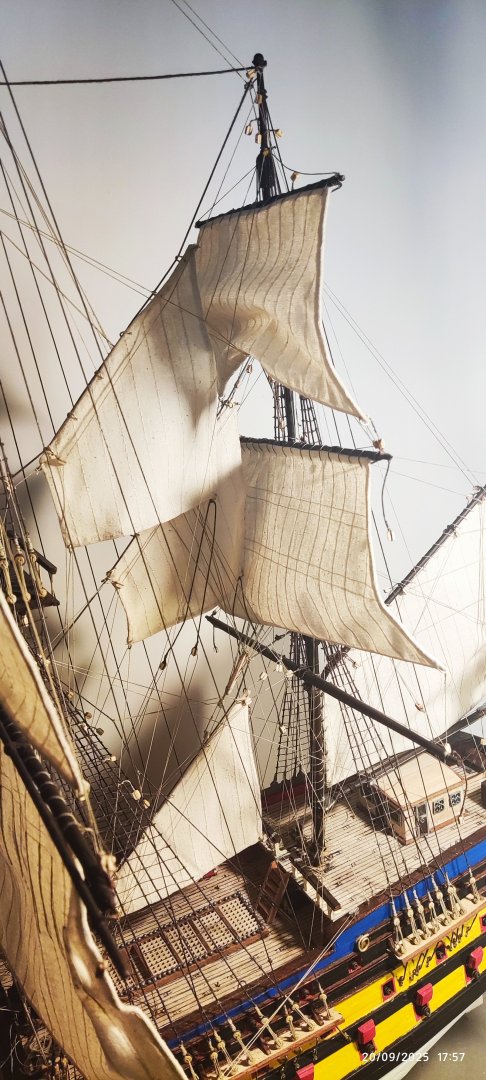
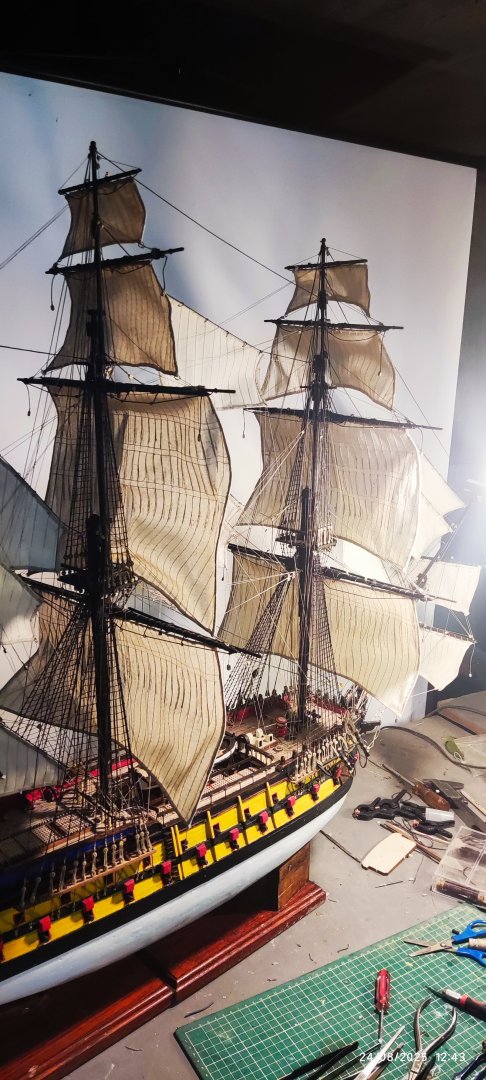
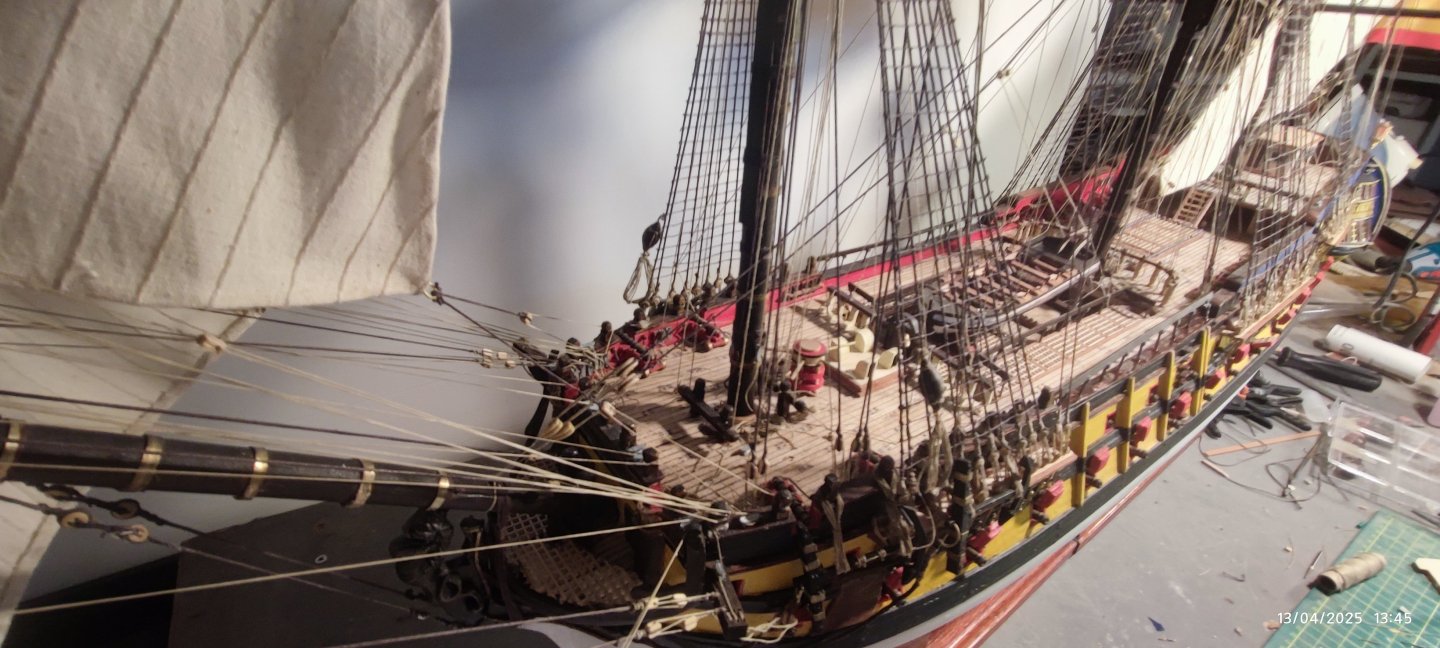
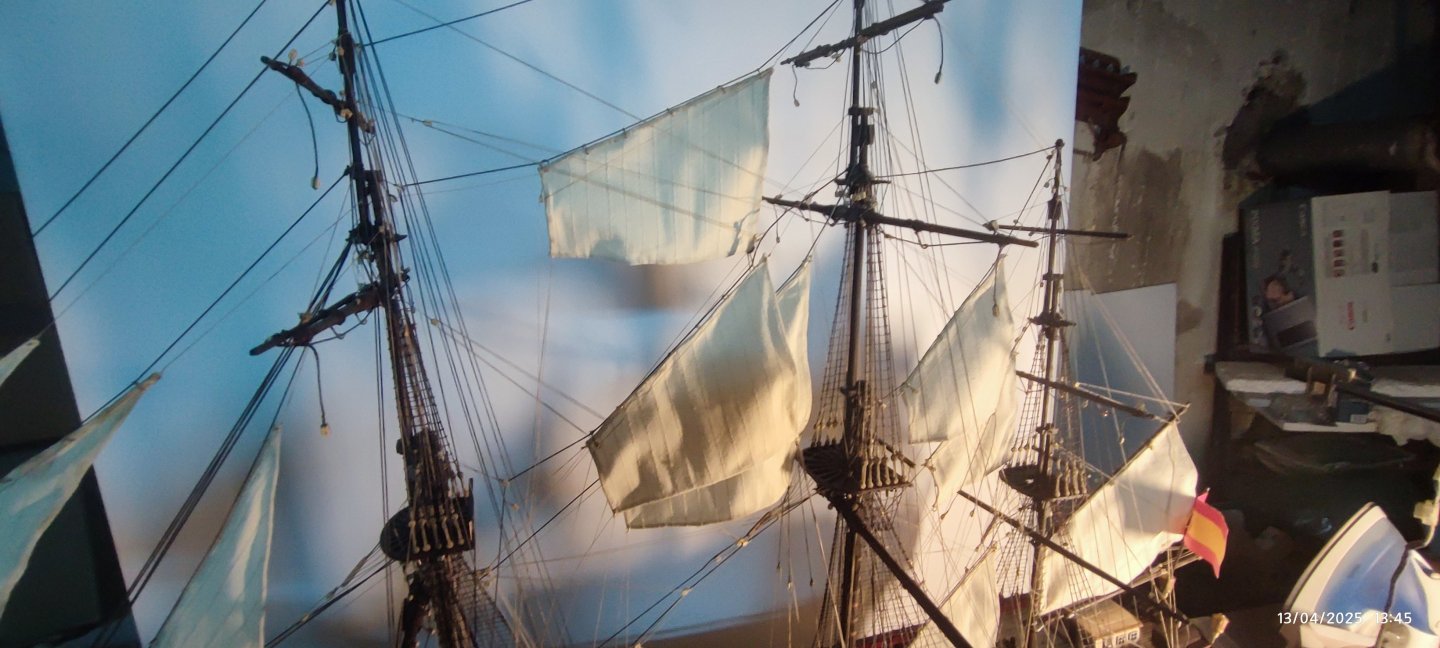
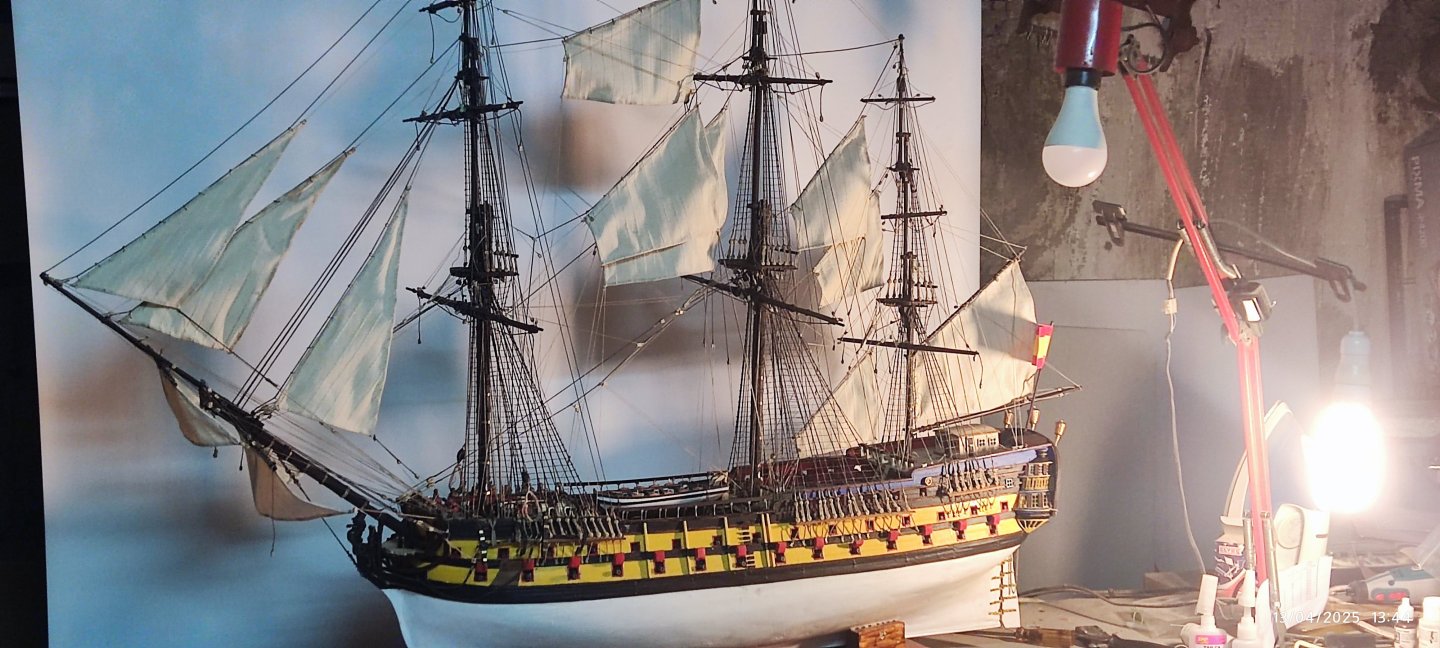
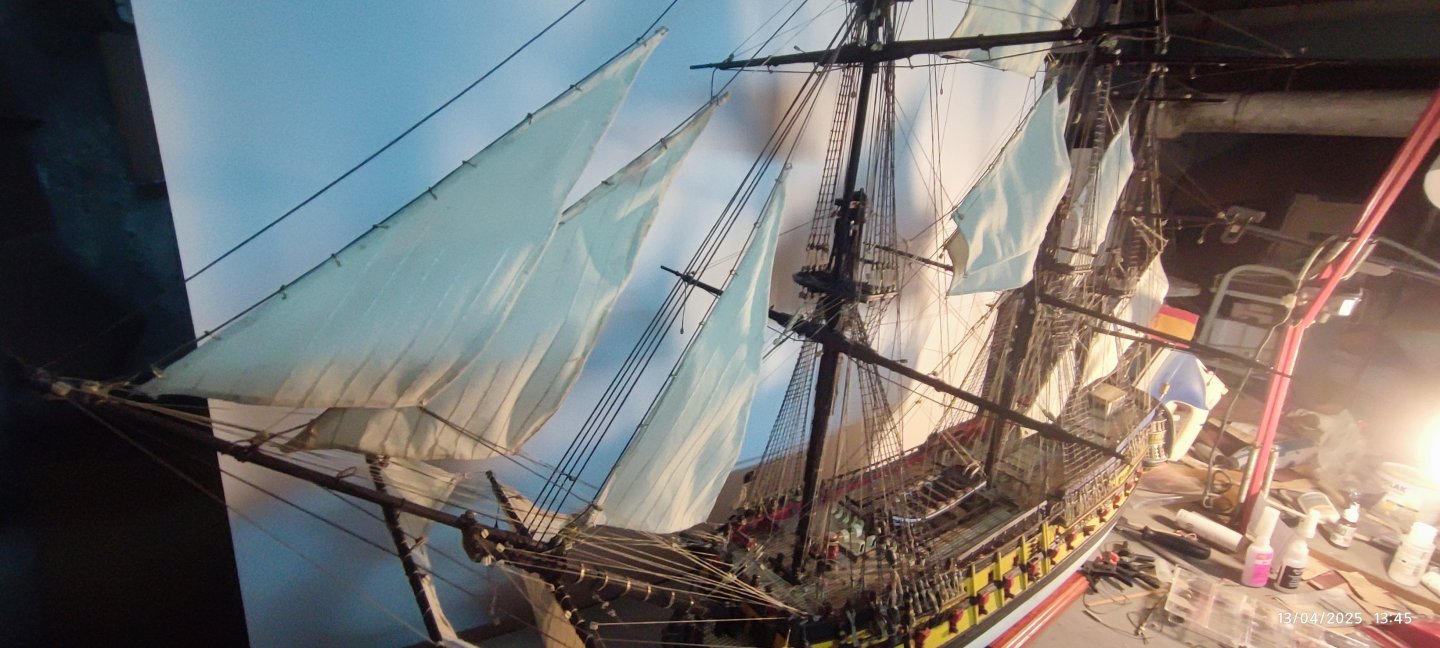
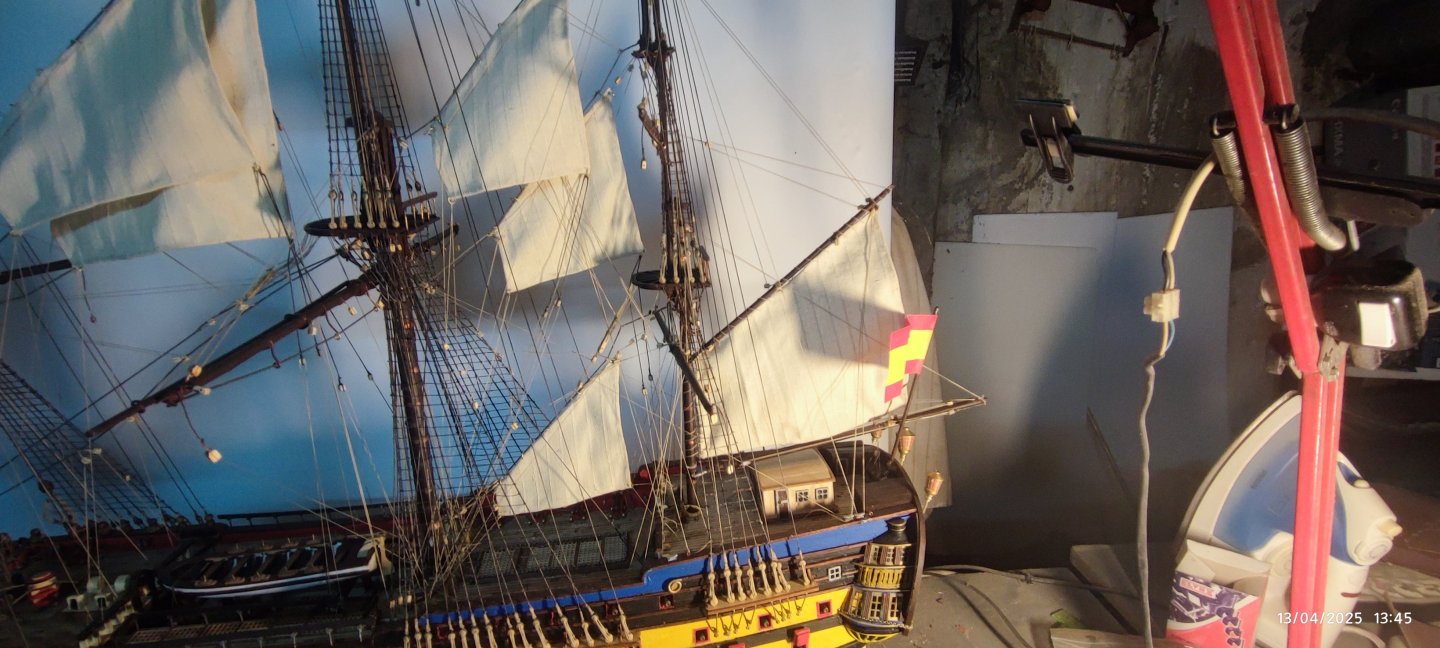
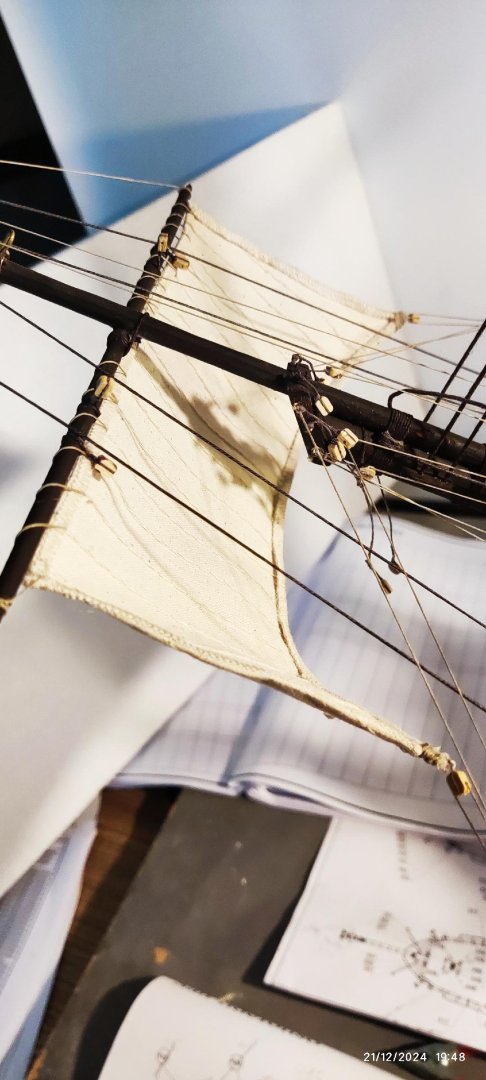
Now all sails are in place. We are in the finish. There some threads left, from the down corner of each sail to the deck, that raise up the sails. The next fotos will be from the full model,because is not need any pictures from the progress.


-
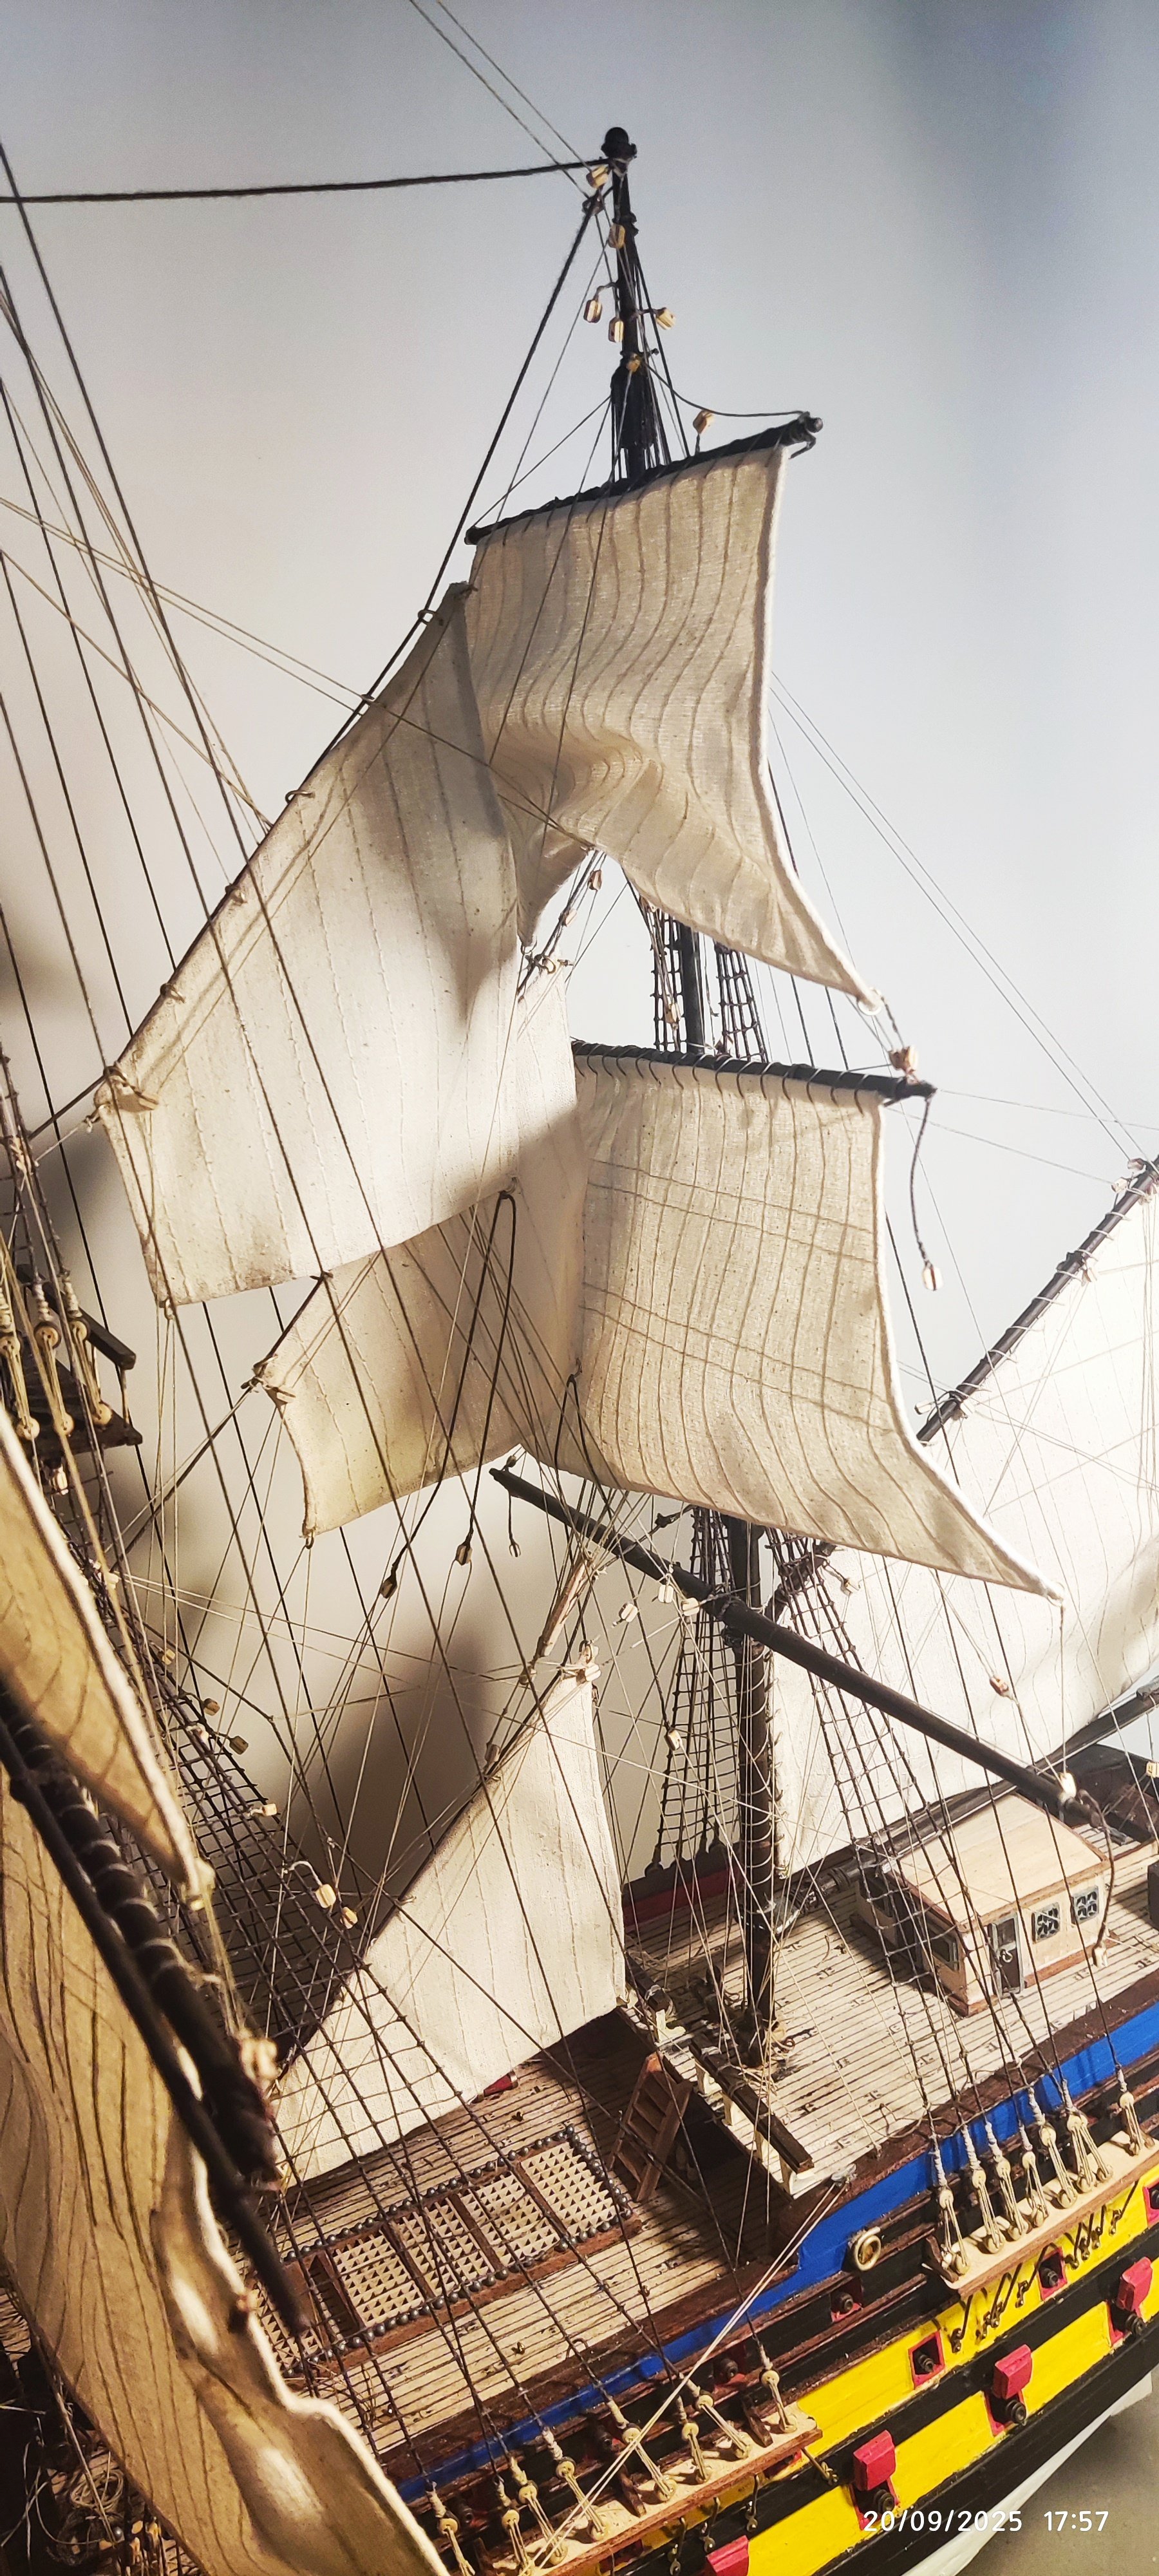
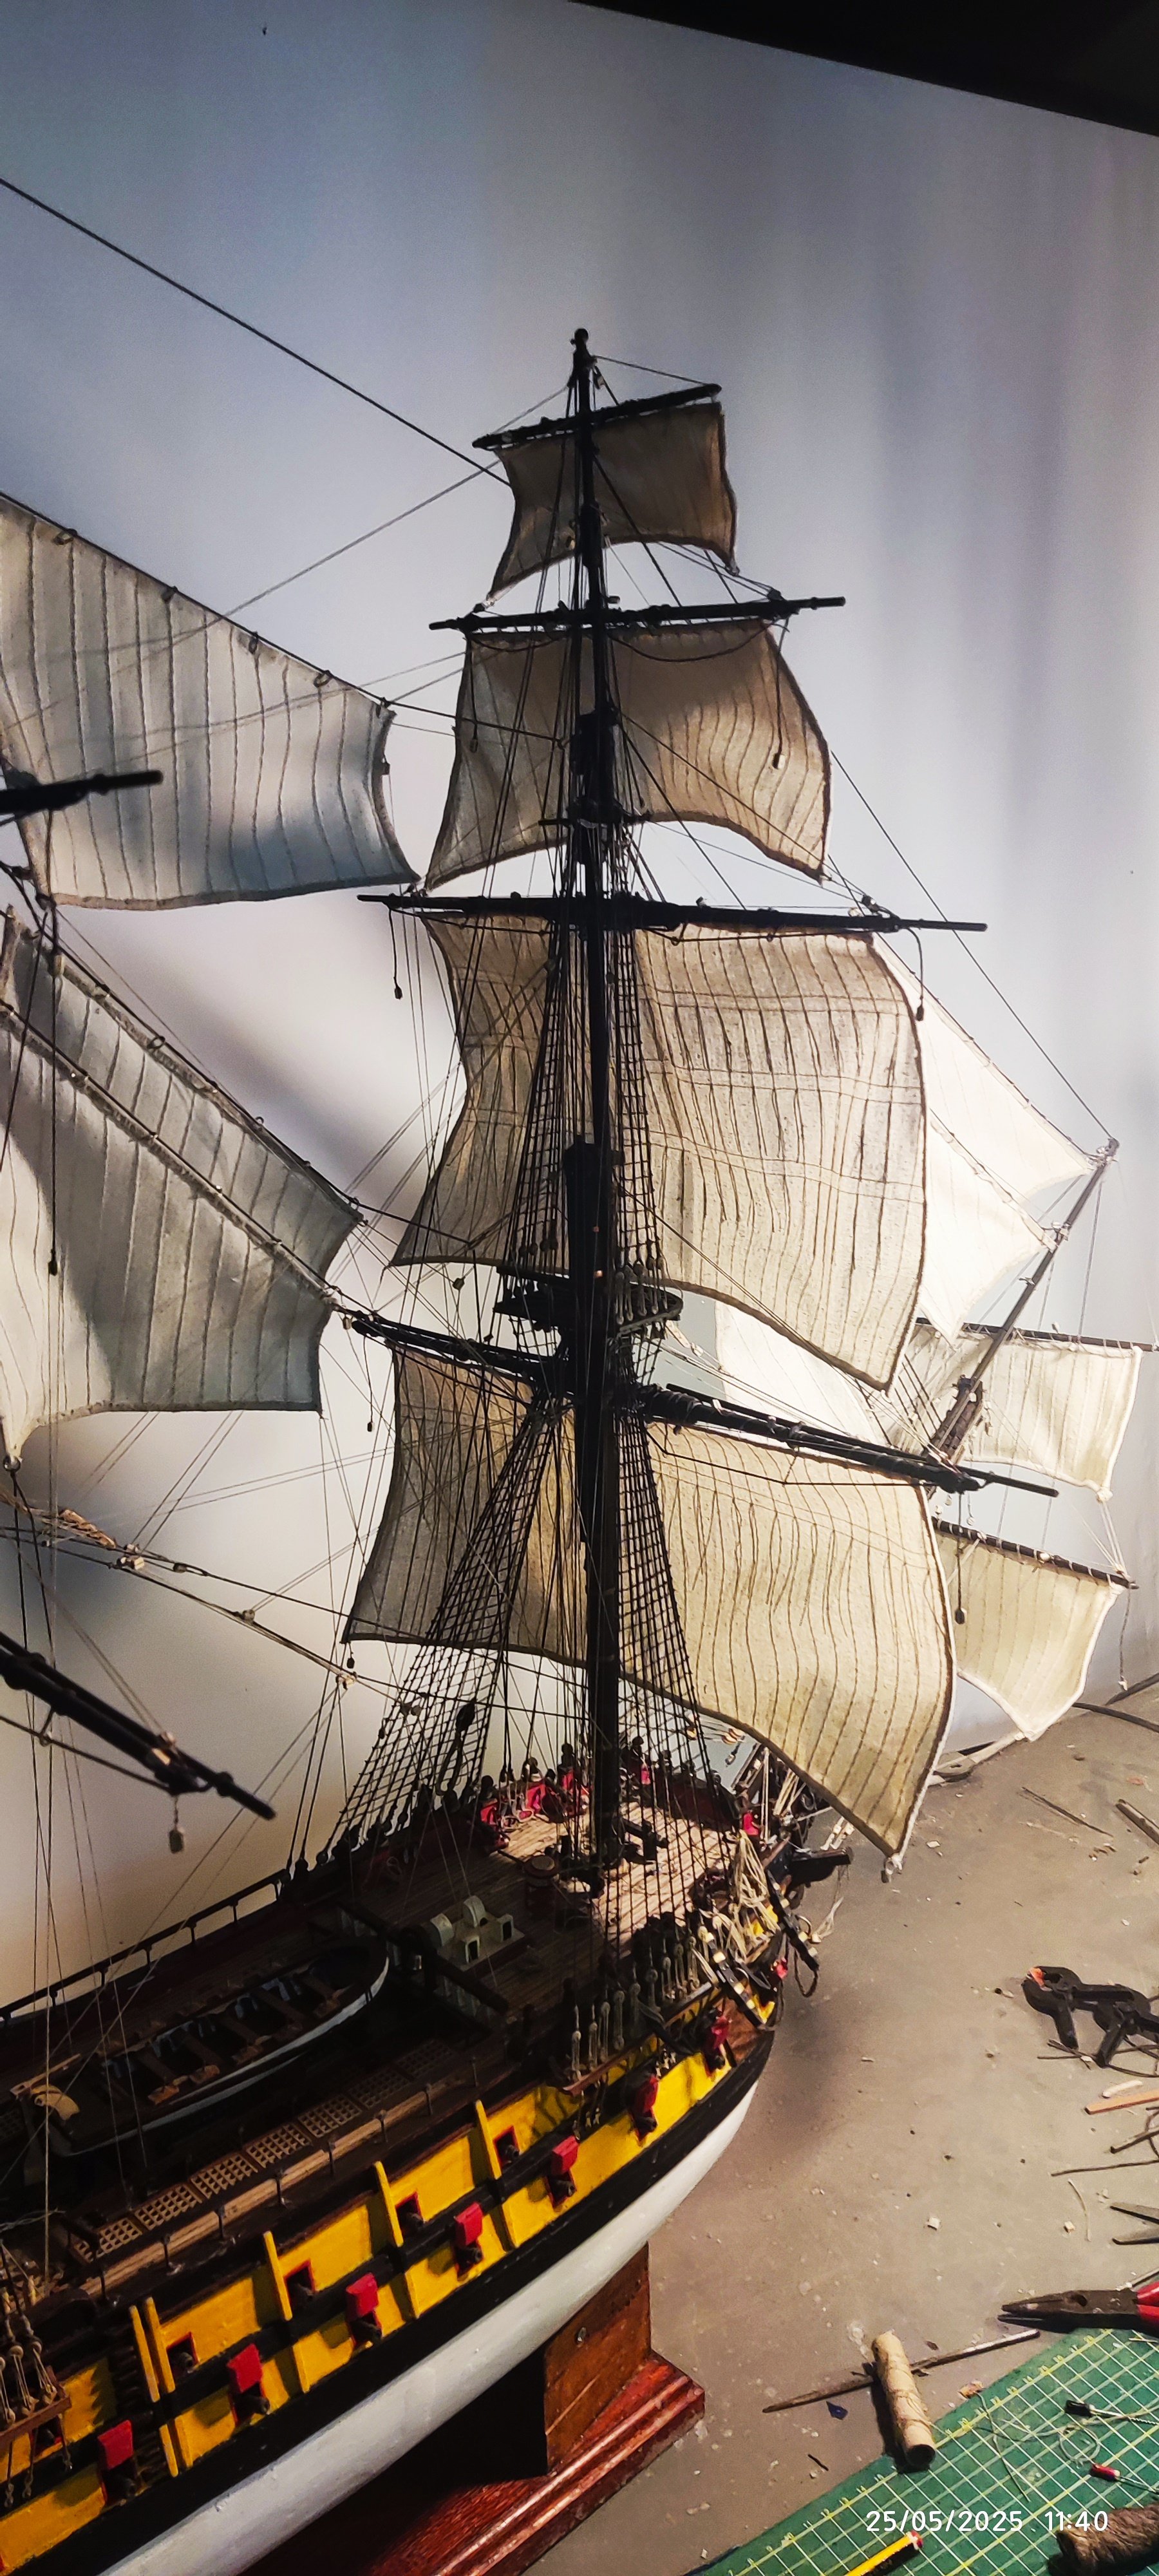
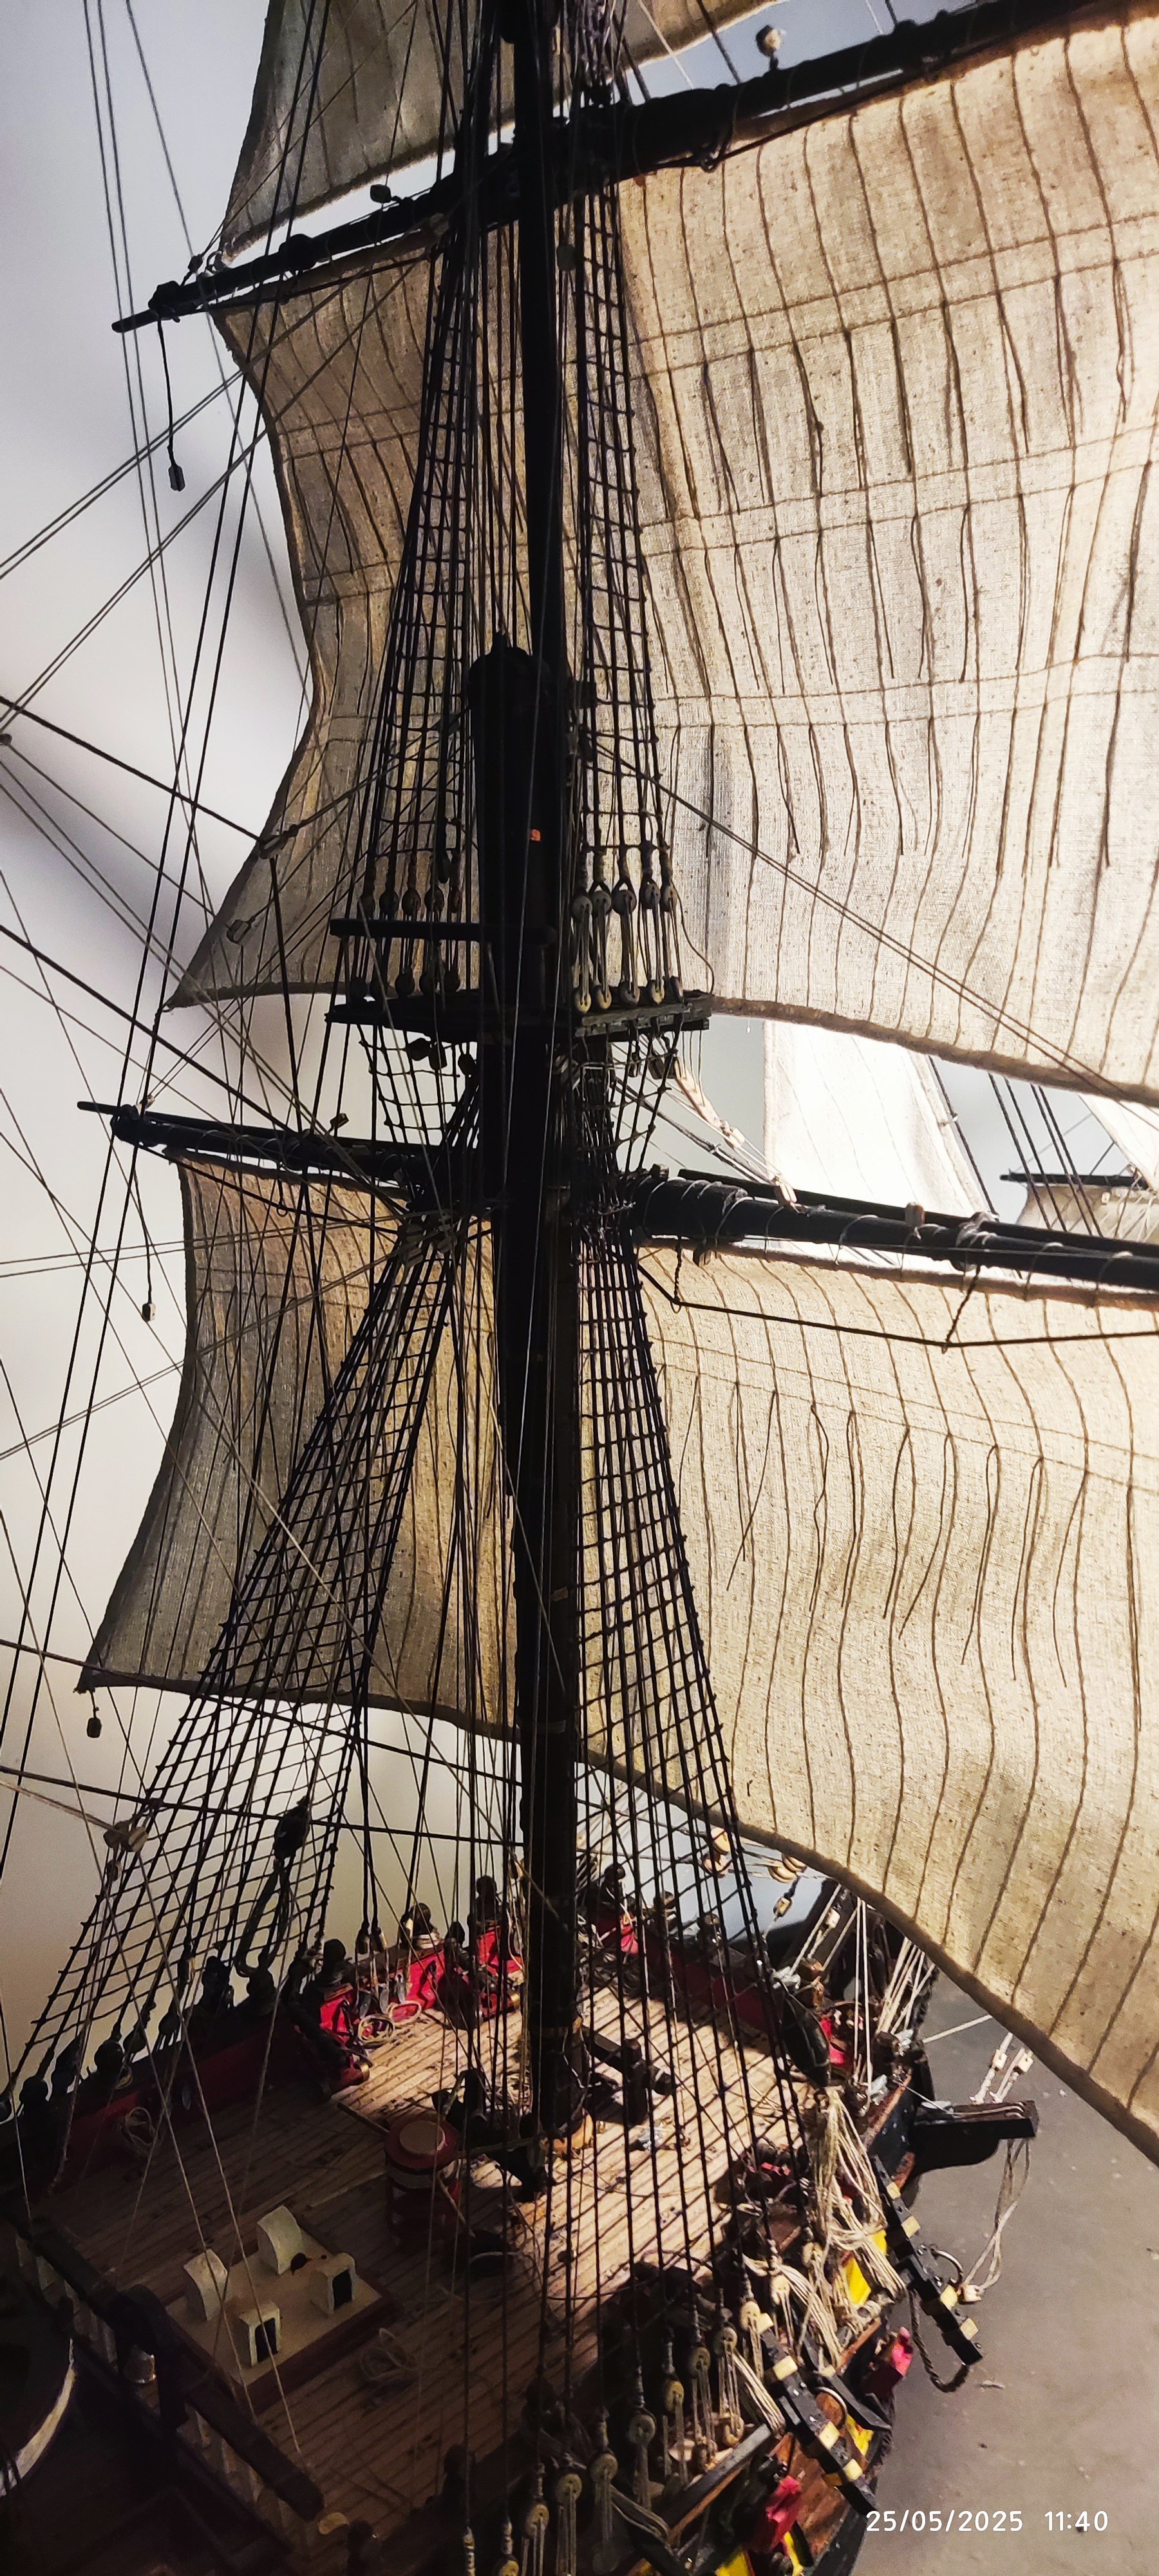
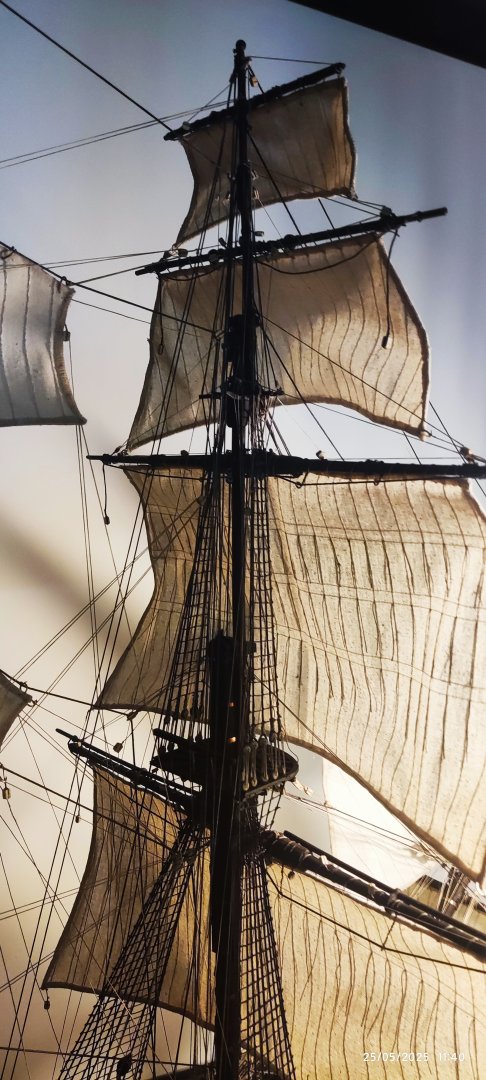
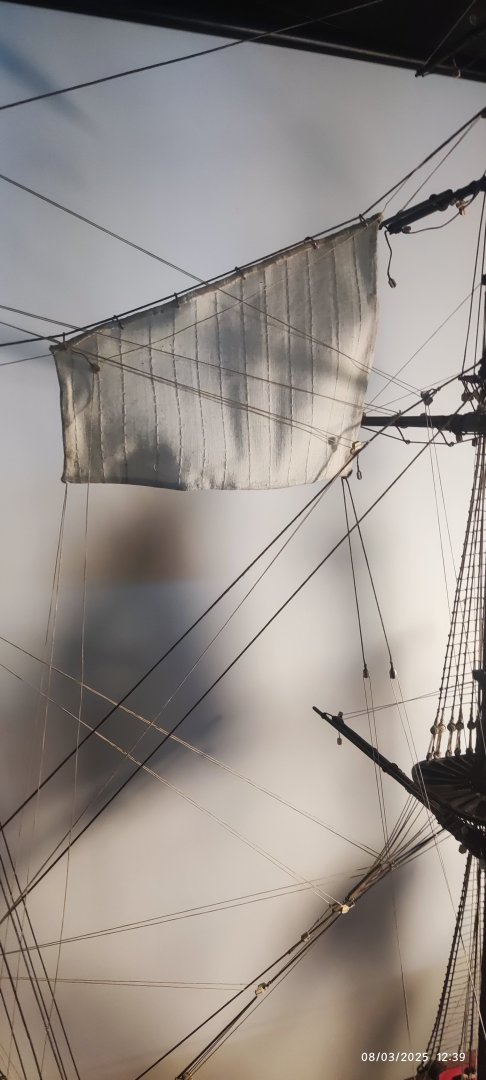
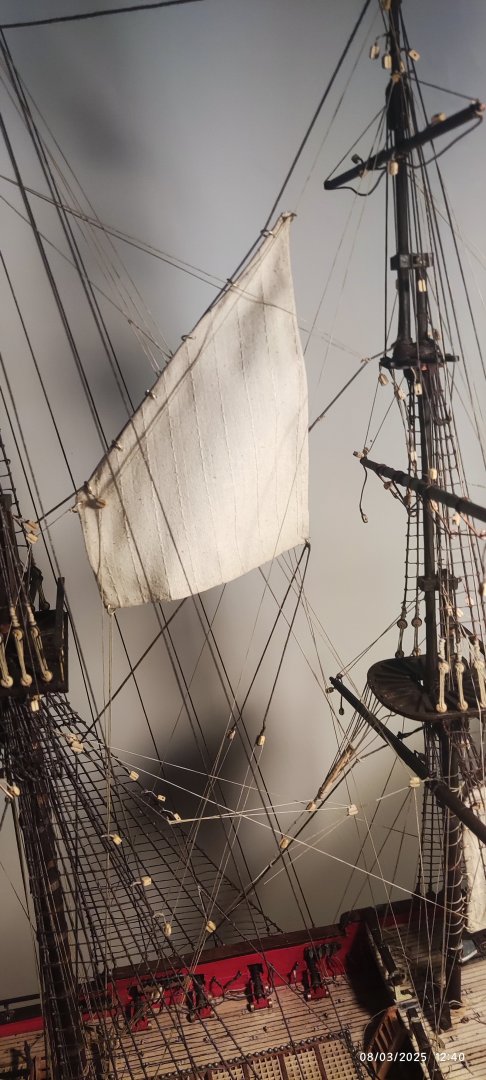
After some time all sails of the main mast are placed. Same job like the formast. Now two more sails are remaining for the mizzzen mast. The job come to the end. Some threads after from the edge of eatch sail.


-
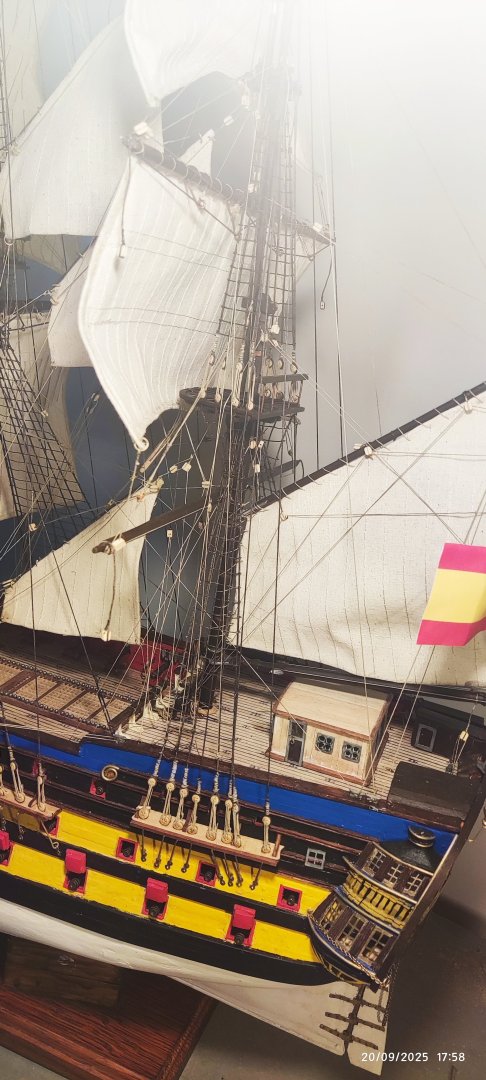
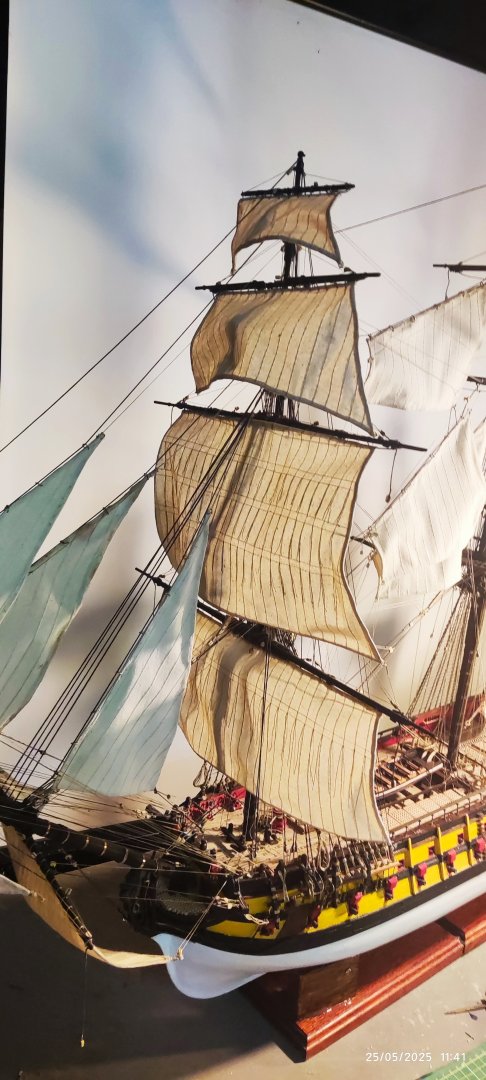
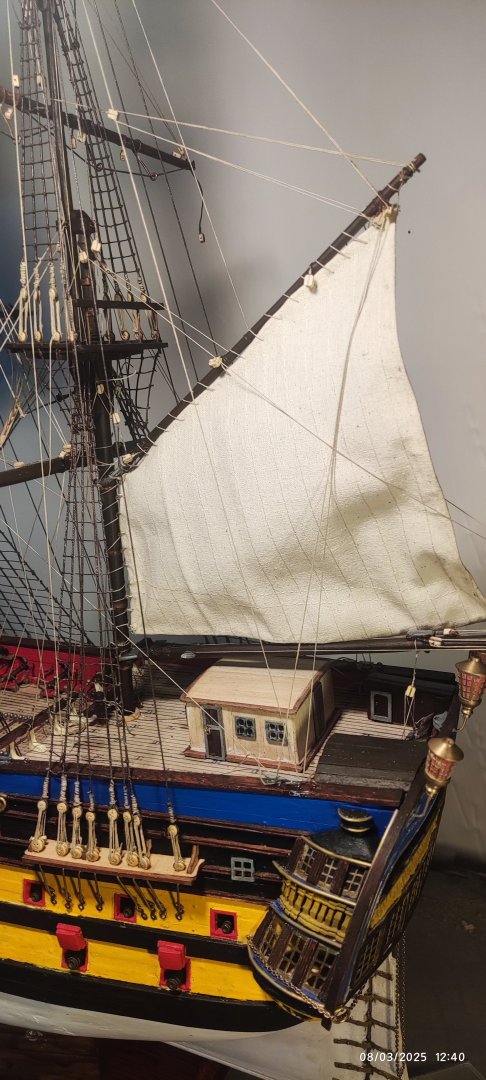
All the sails of the fore mast are in place. Two threads for each one are tiden on specific place of the deck,as indicate the manual. The ammount of the threads make life difficult now...


-
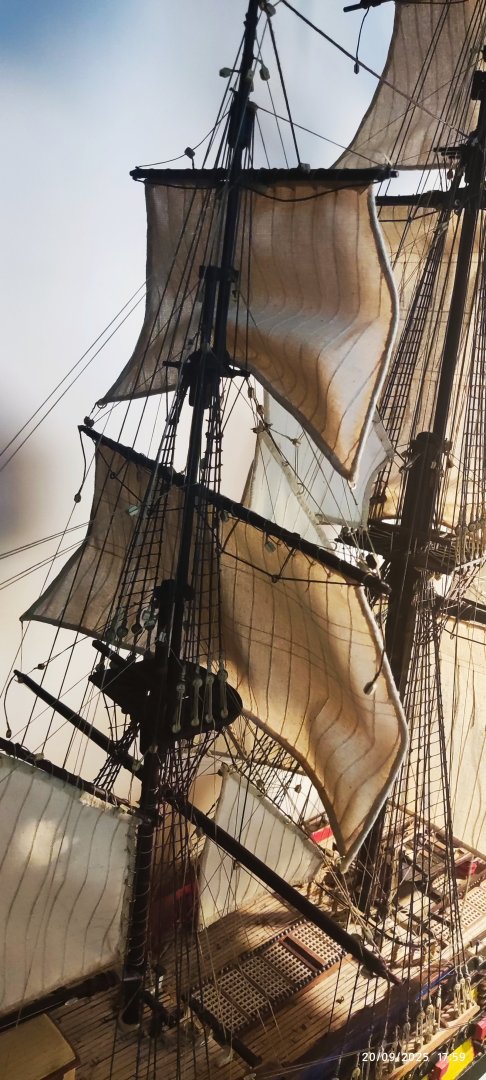
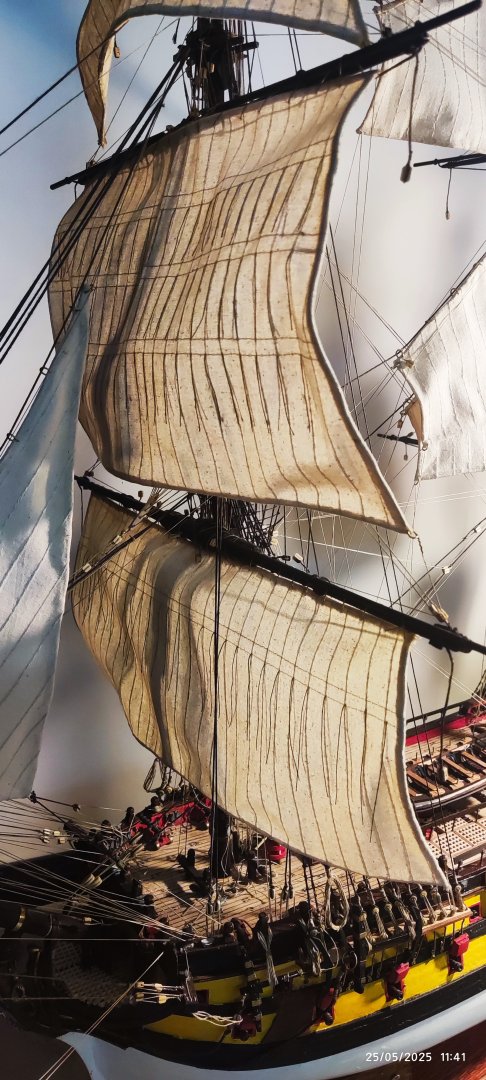
All jibsails are in place, and also all staysails. Now is time for main sails for each yard of the three masts.

-
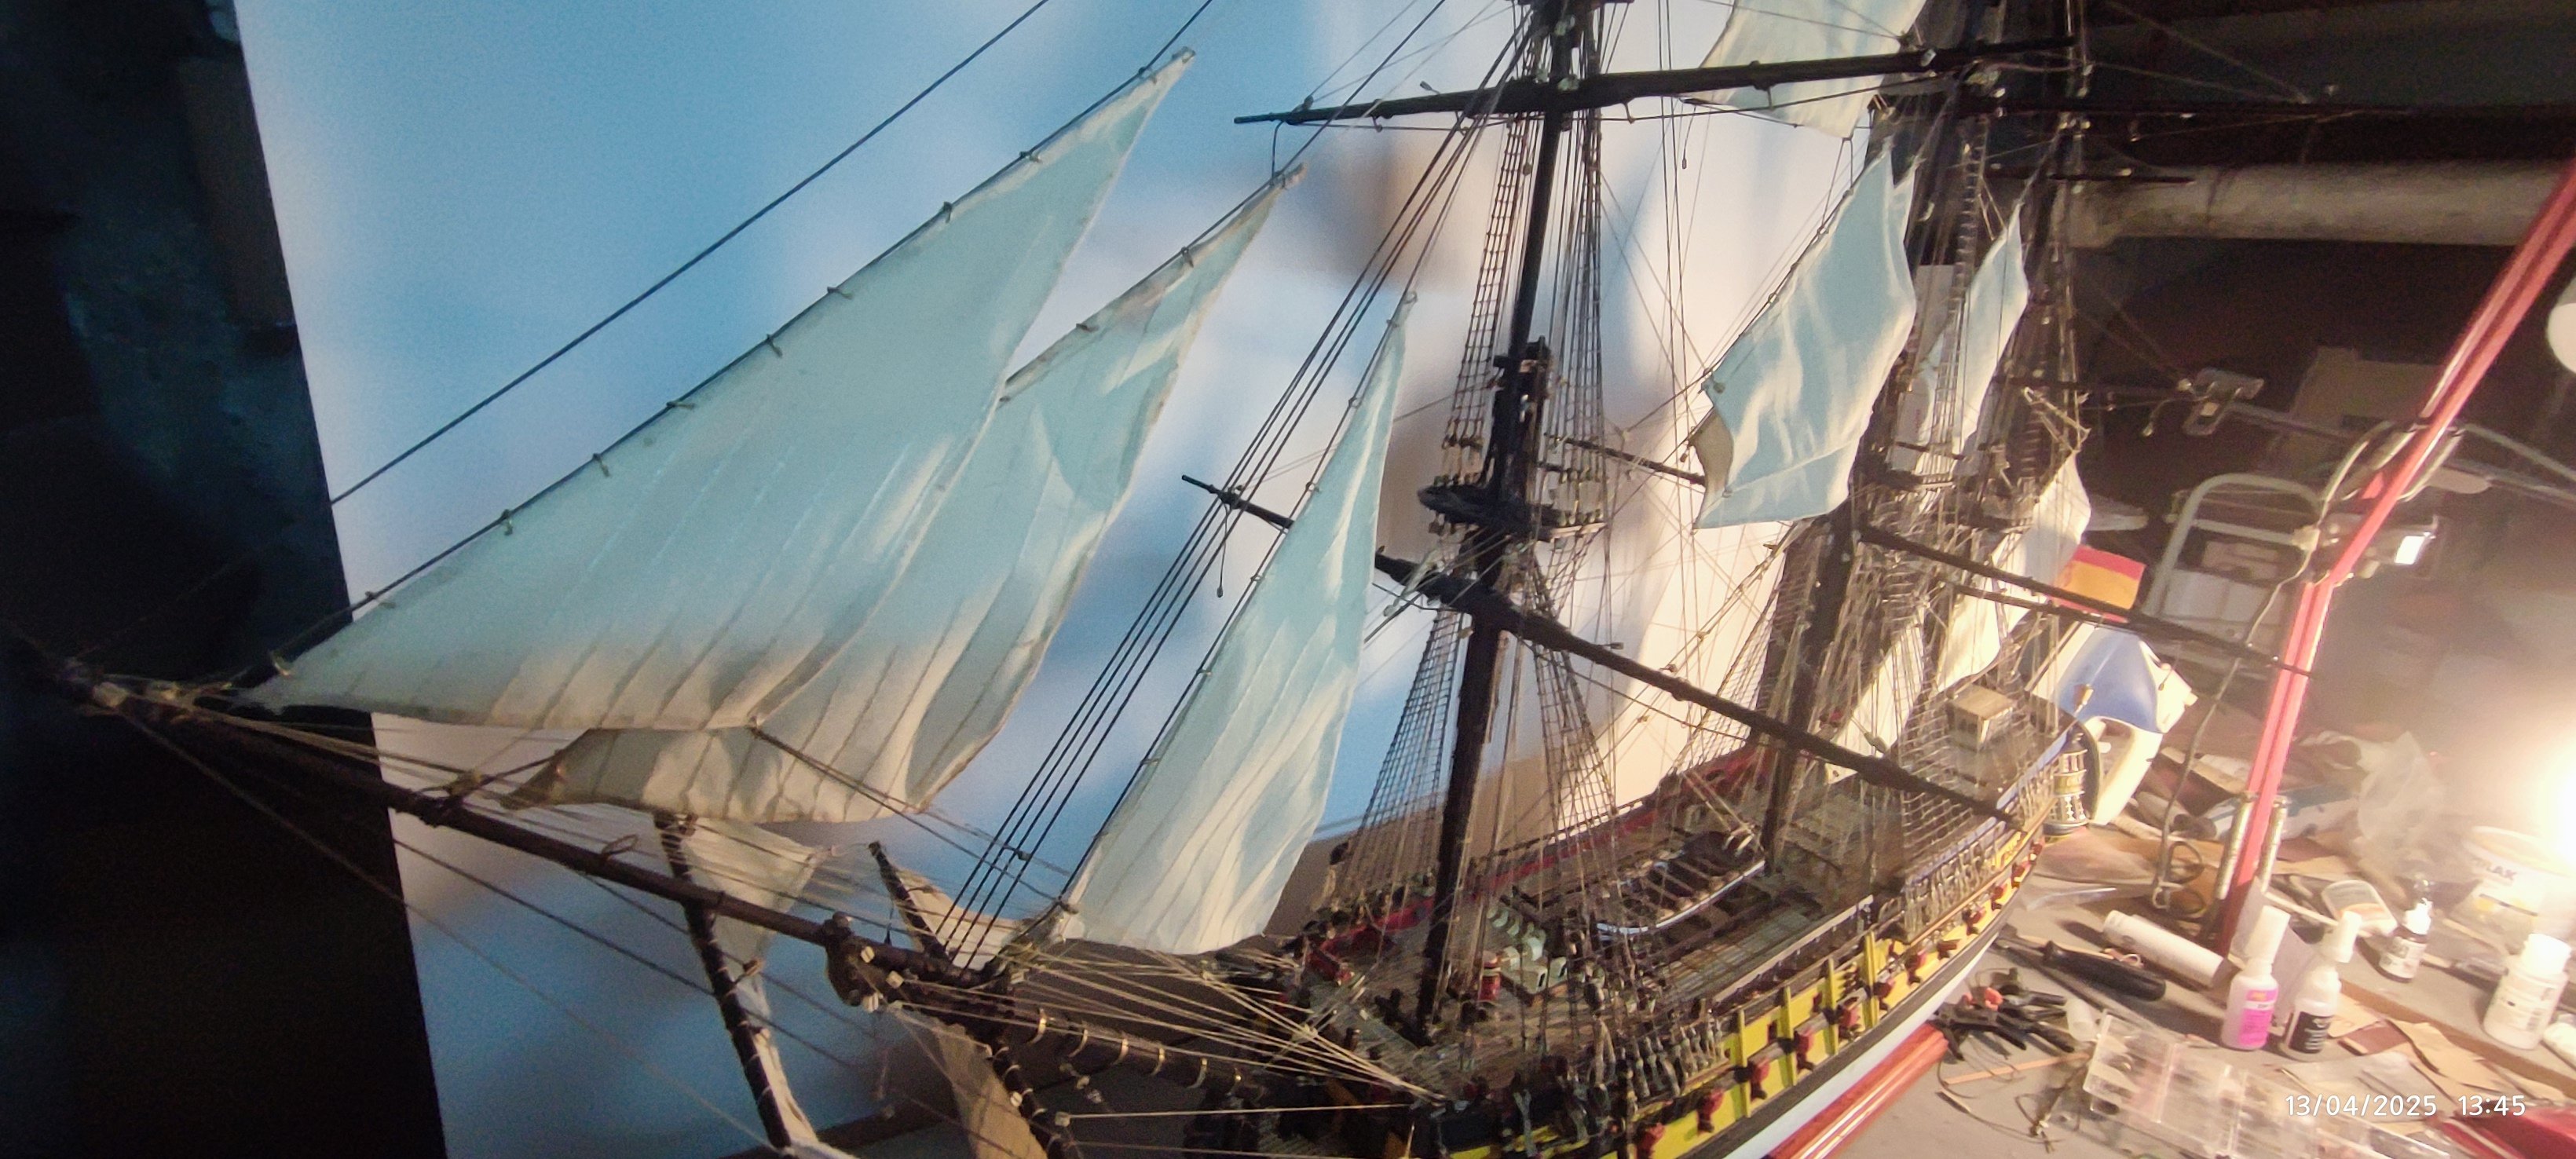
Continue to put in place the sails. The first jibsail, the middle saty sails and the throat on the stern. I use o-rings for this sails and put all the threads for each sail ending them where the manual indicate. Using scissors is necessery for working,because now a lot of theads are present on the ship. And more will come....

-
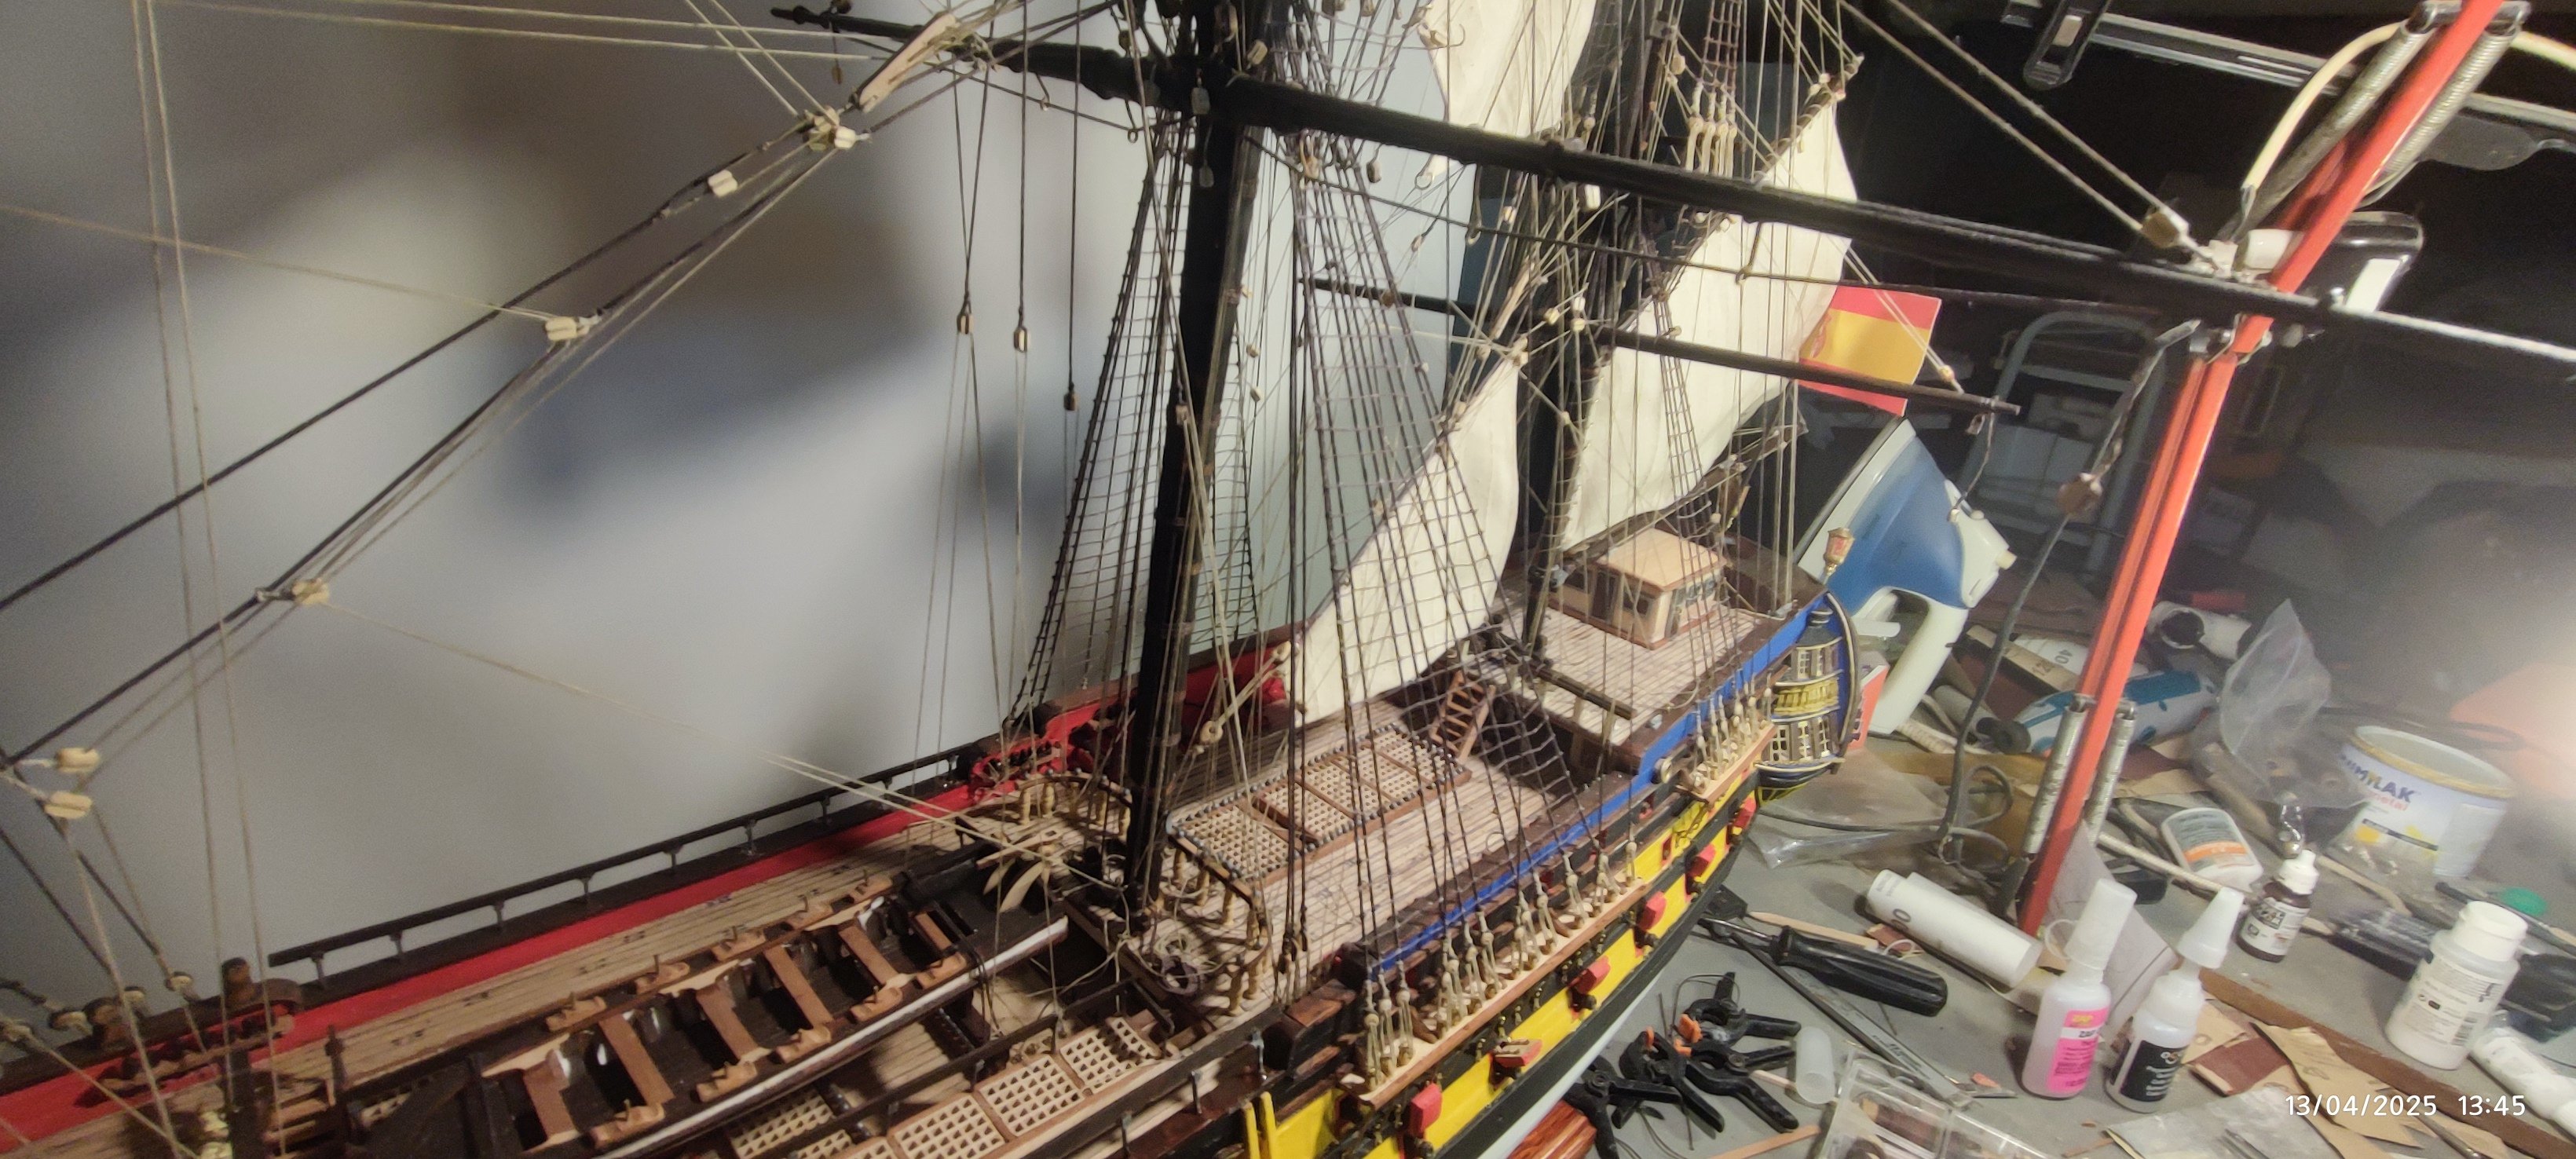
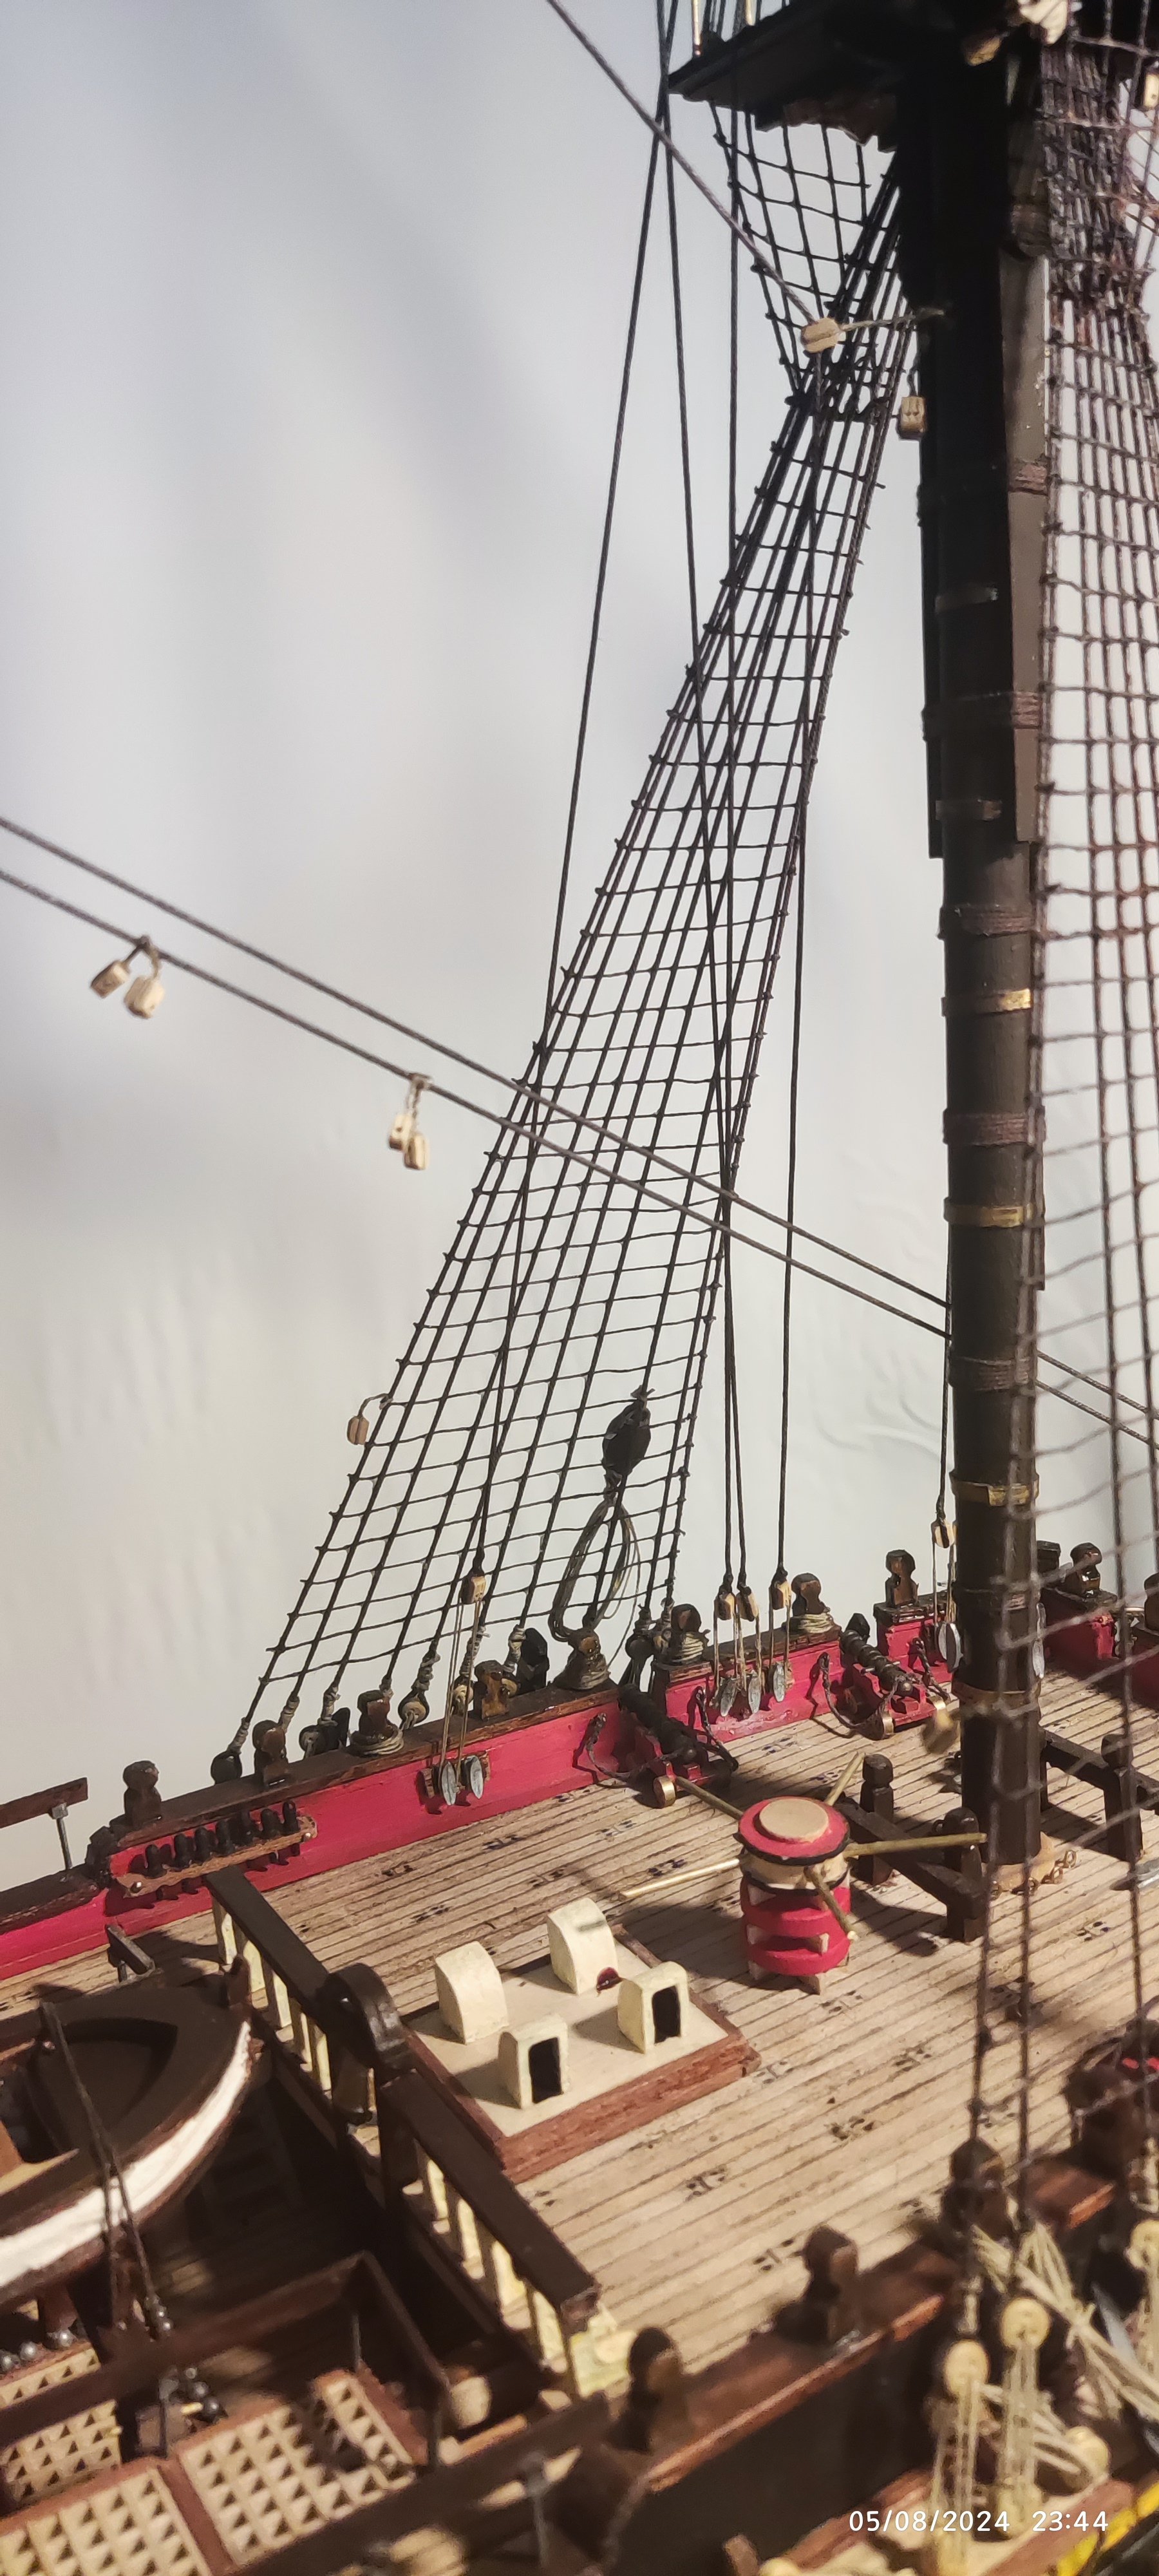
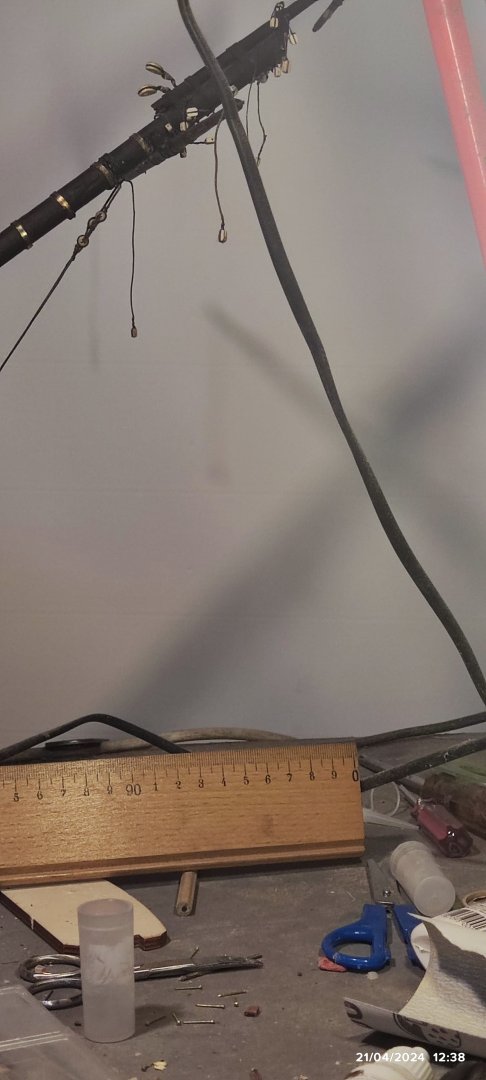
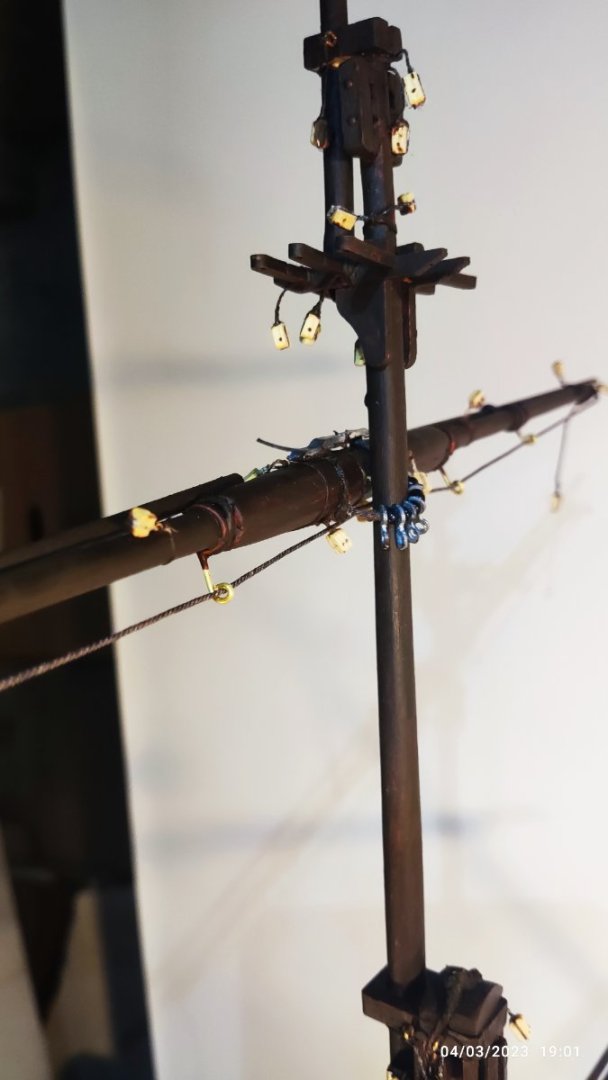
Now is time for the lifts of the yards,that raise and turn the yards to right positon,according the wind. All of them must secure in specific place on deck, according the insturctions. A lot of threads, and the space for the hands limited. Extra carefull movements, not ot brake or damage other things of the ship.


-
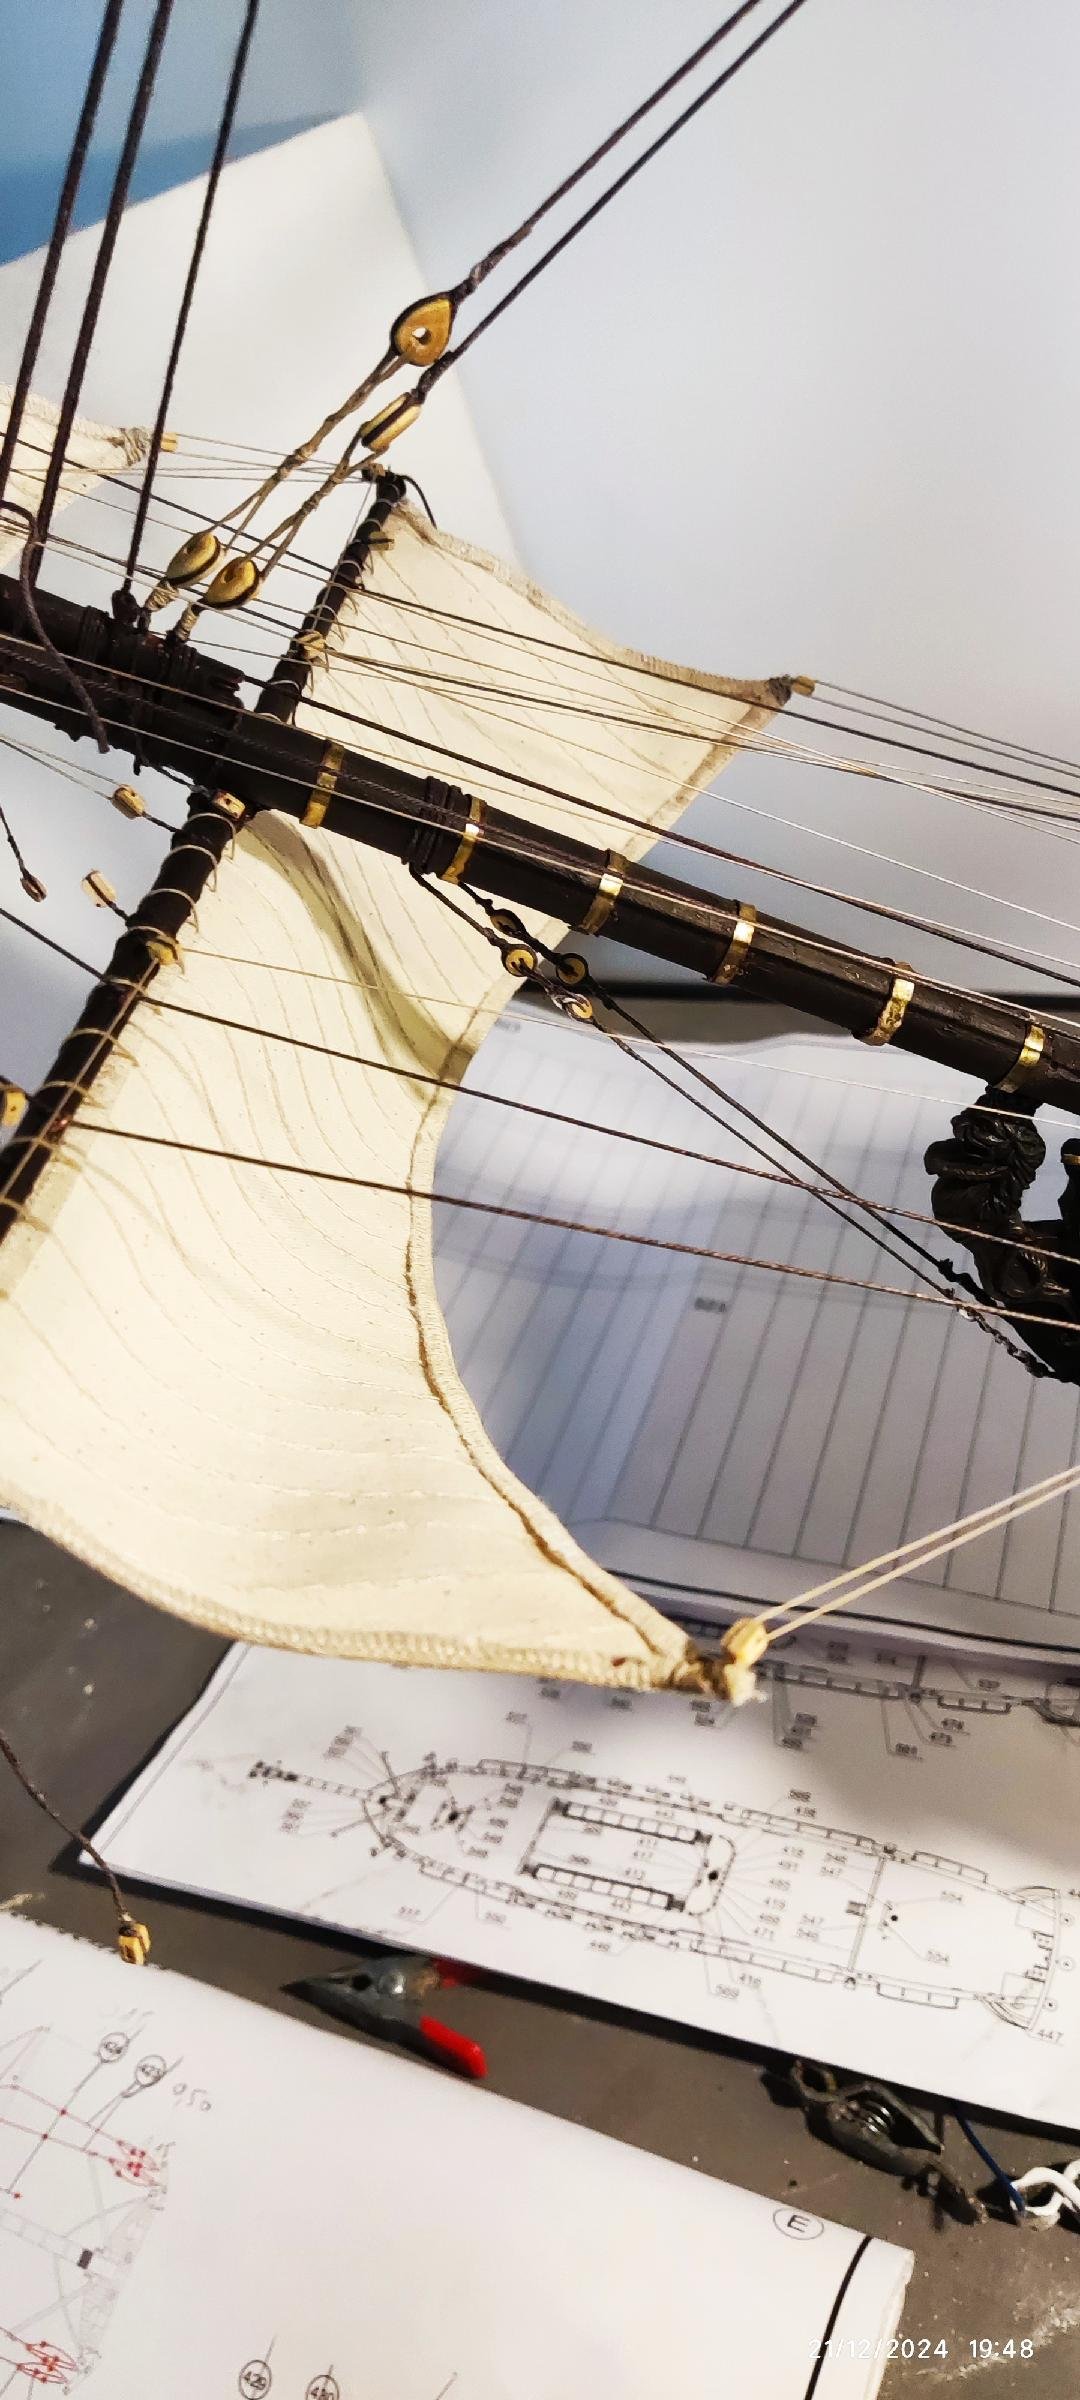
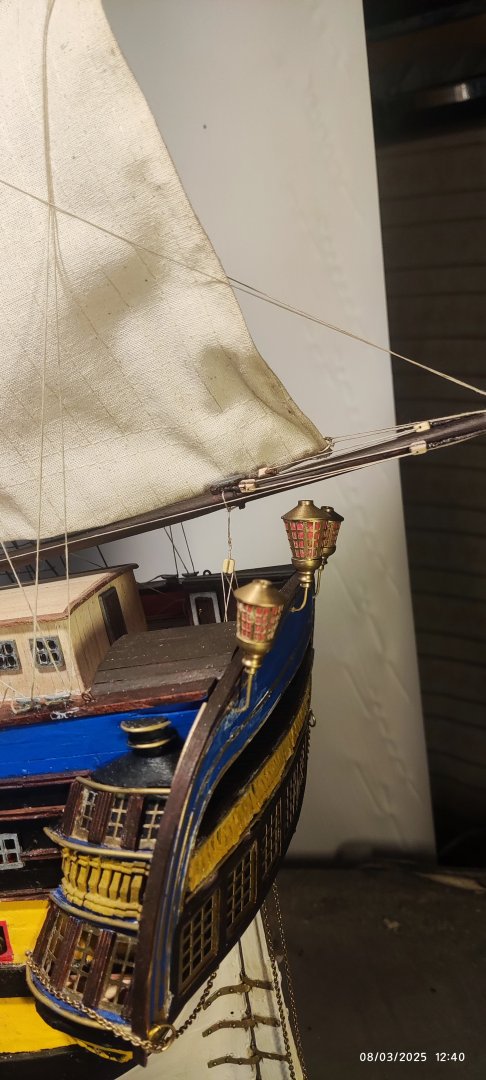
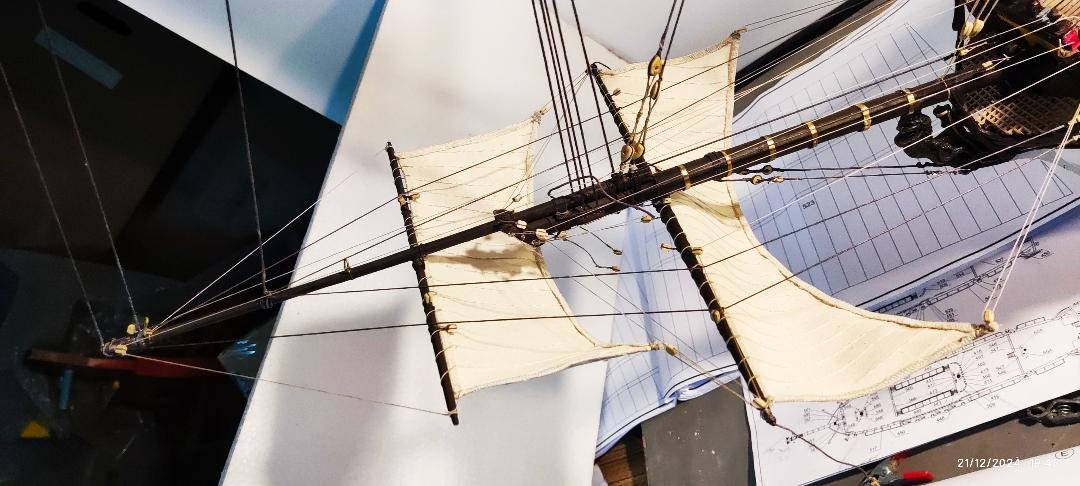
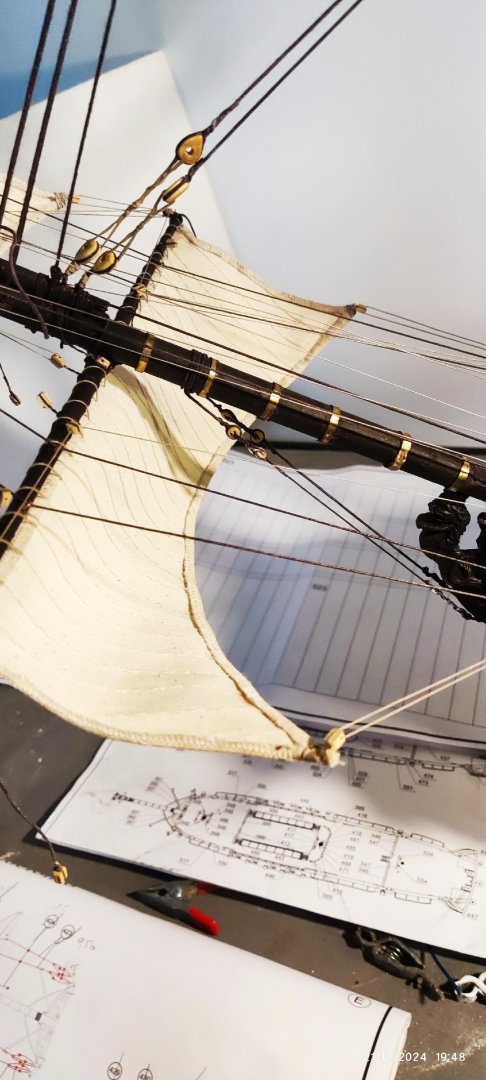
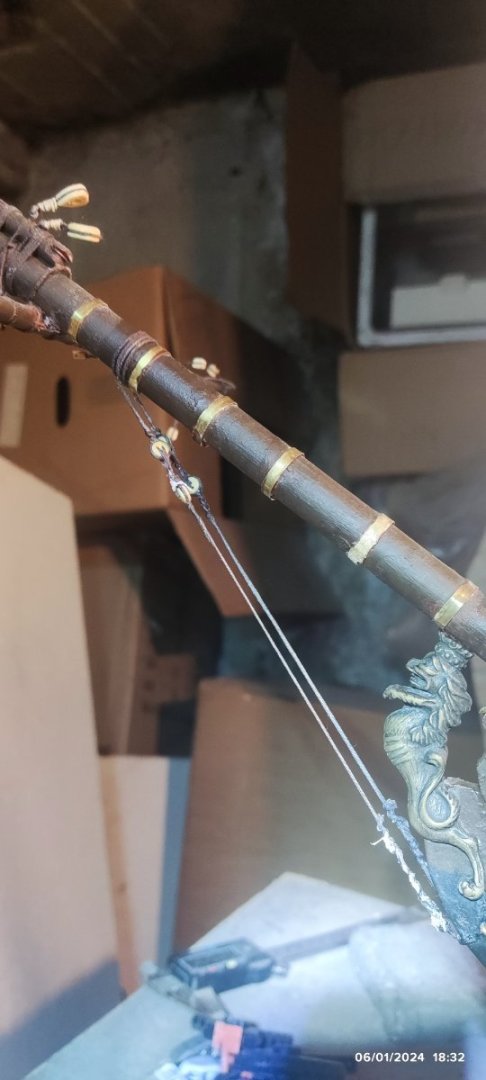
Start of the sails. Here are the two sails of the bow. To give the shape of the blowing sails, i put small wire at the four edges of the sail. All threads all put in place and tident to the specific place as shown in the instructions.Spare thread are placed on the deck

-
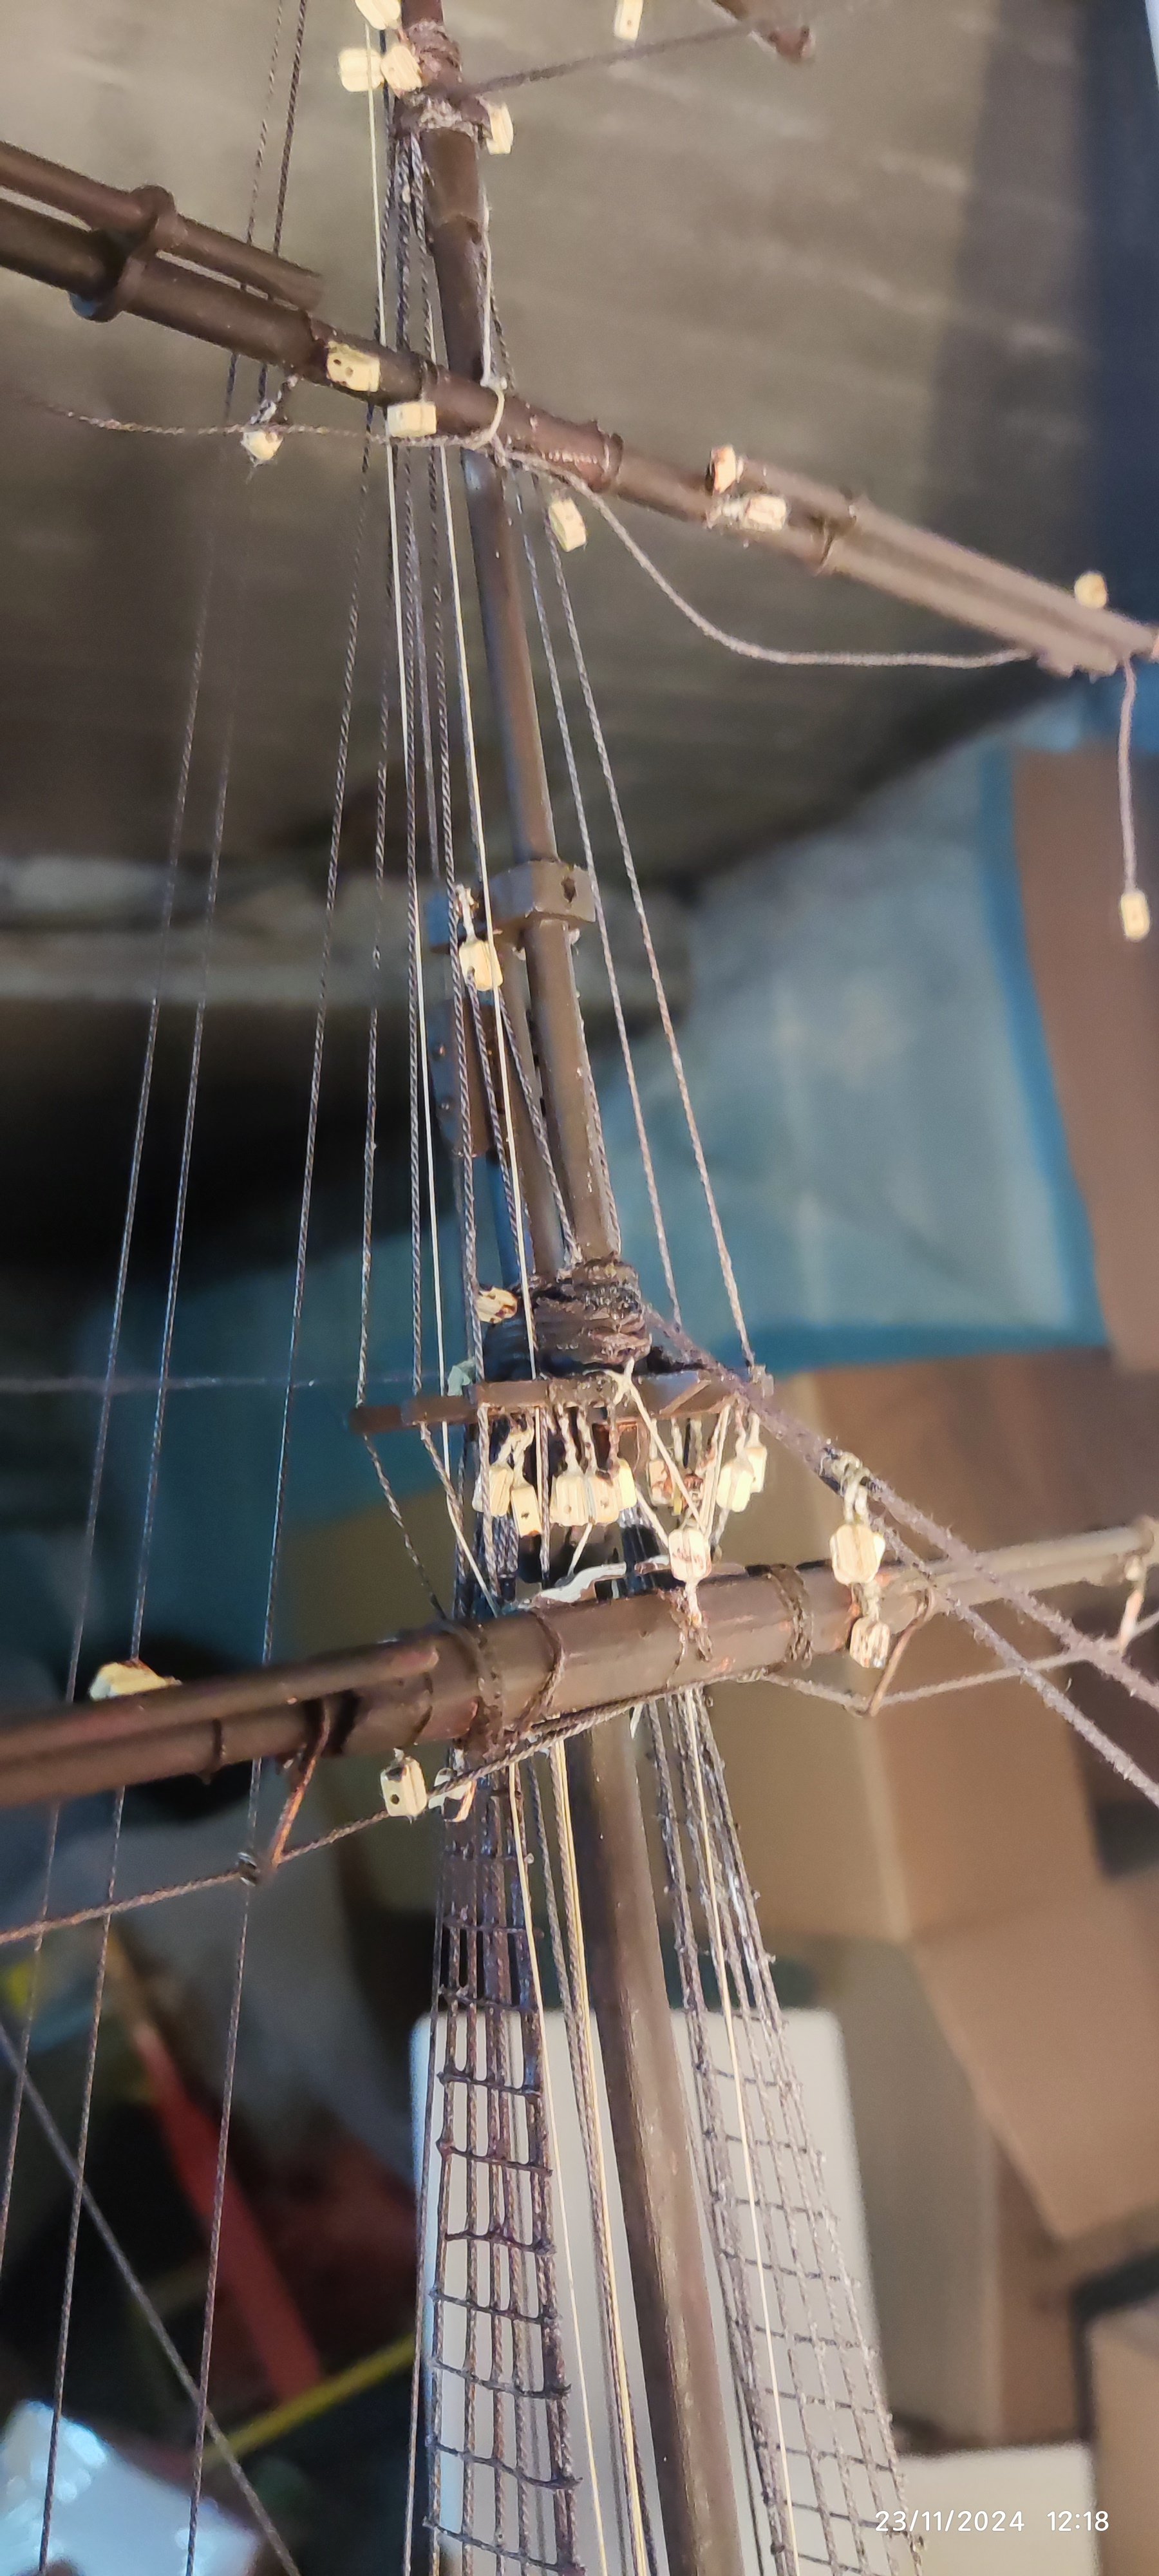
Now i put in place the yards from the main mast and their halyards, that rase the yards up. Spar thread placed on the deck, in the place where the halyards are tiden. Now i proceed to the mizzenmast .


-
All the yards from the fore mast are in place permanent with all threads that they need. Now the work around the model is more difficult, because i can damage the yards working with other threads. I must be carefull with my arms. Now we proceed to make the same job in the main mast


-
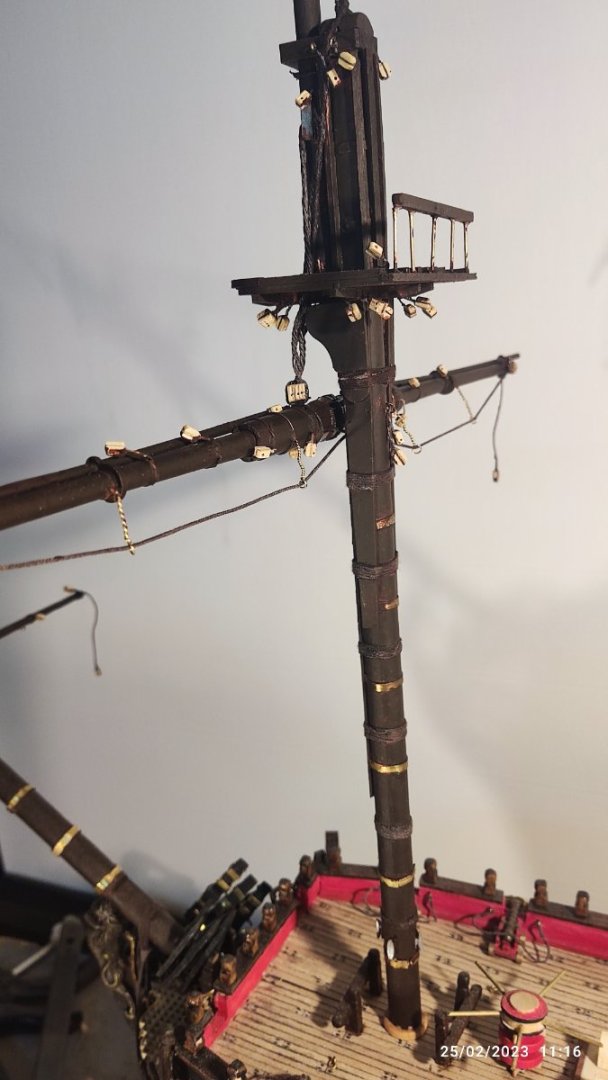
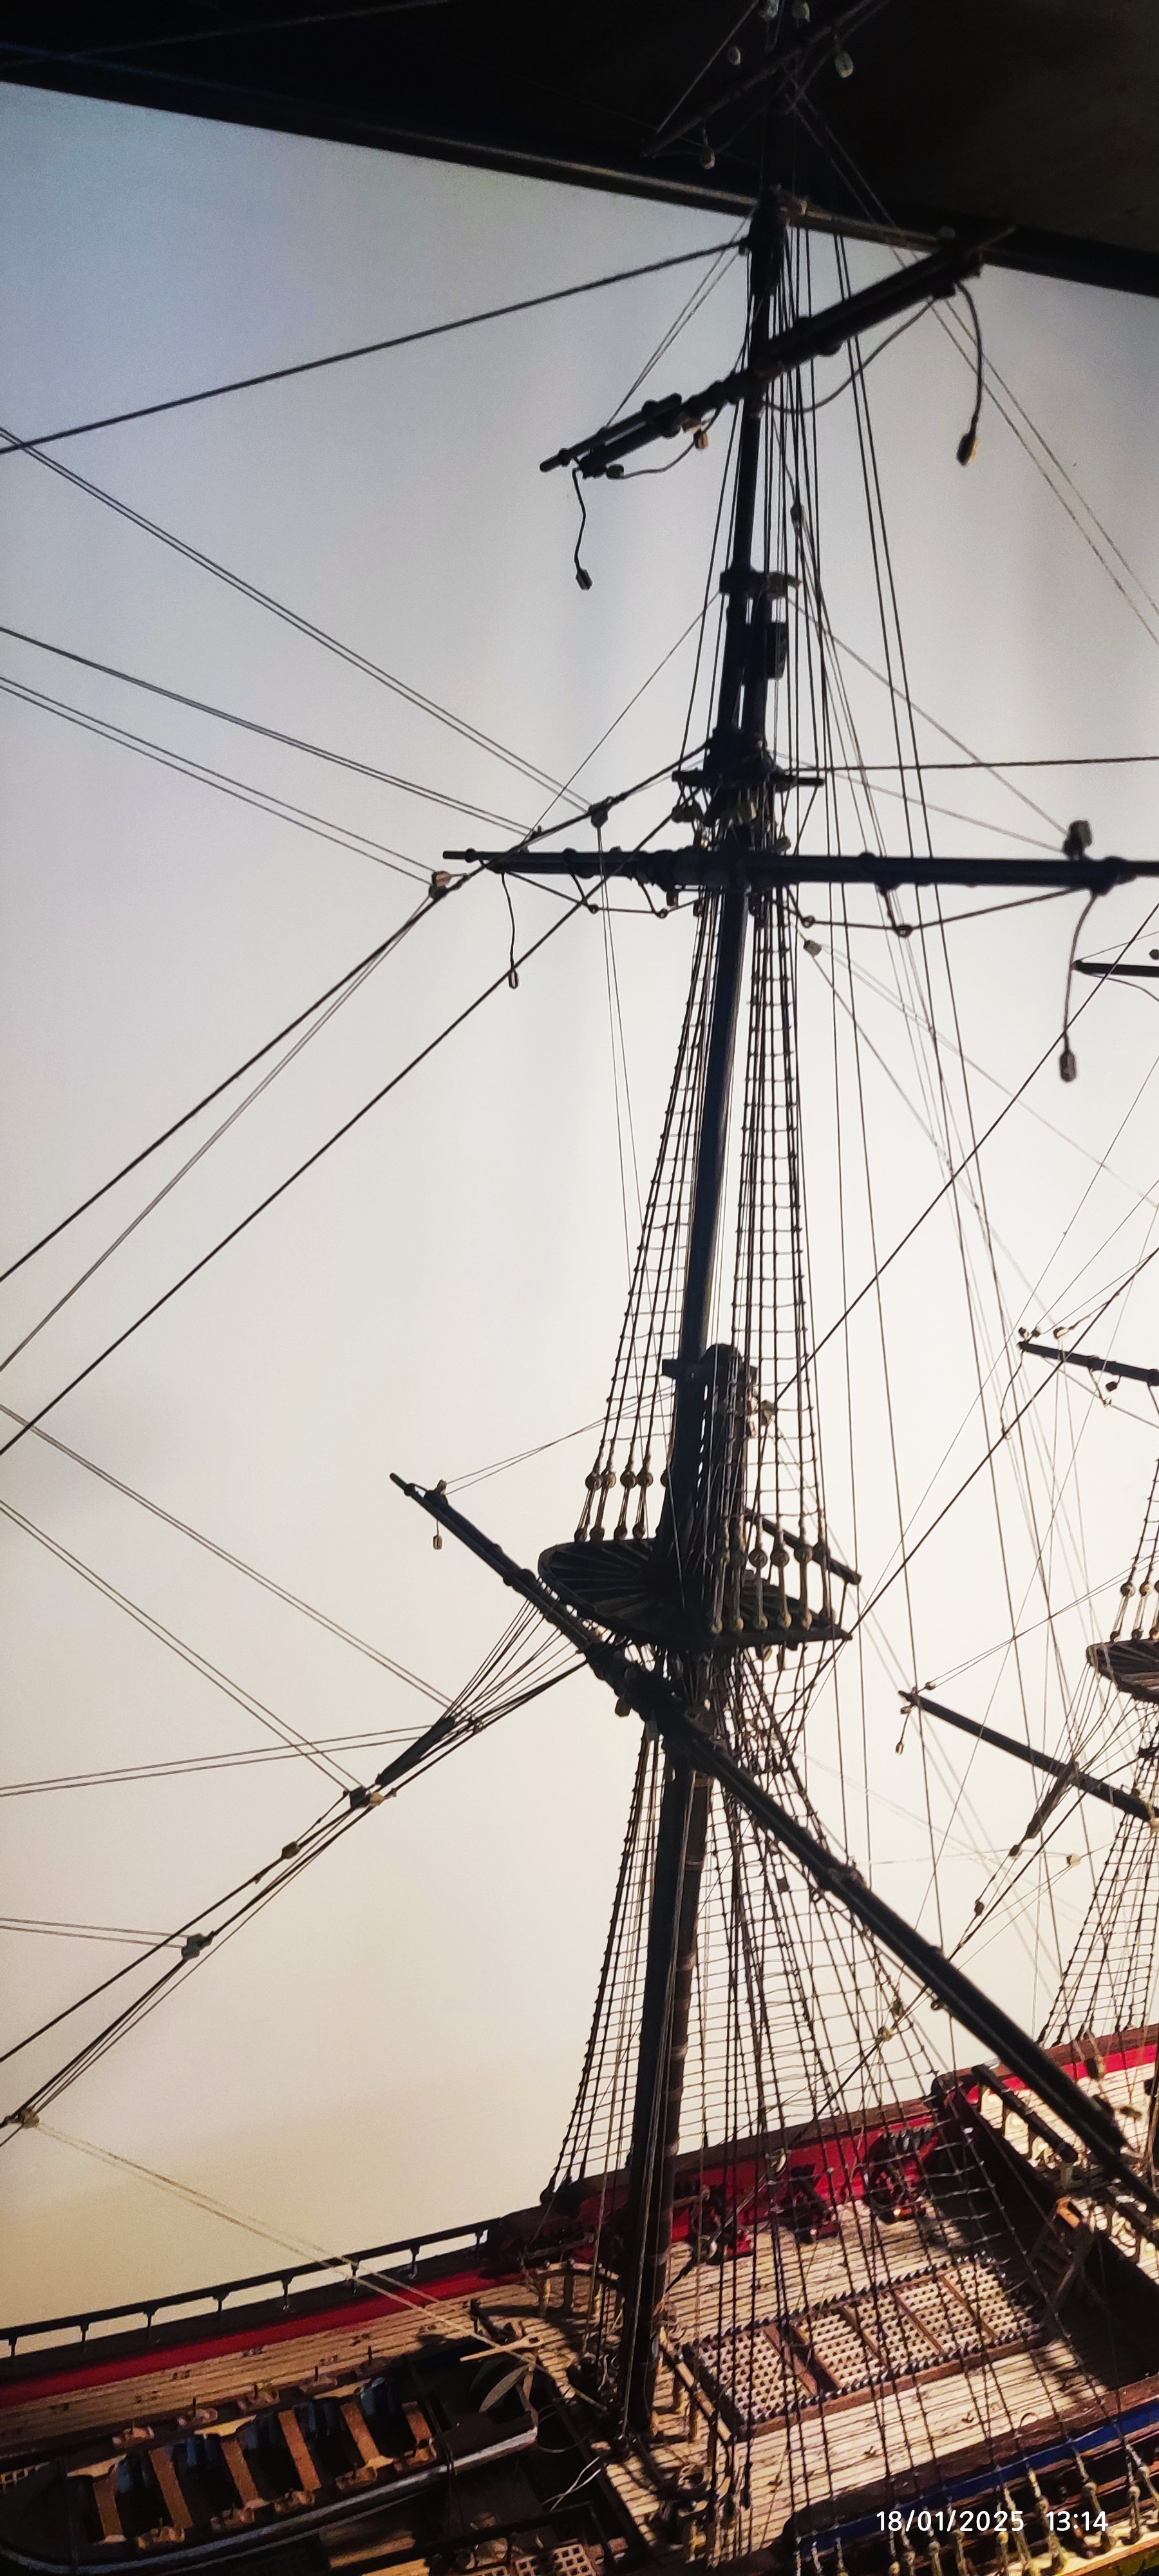
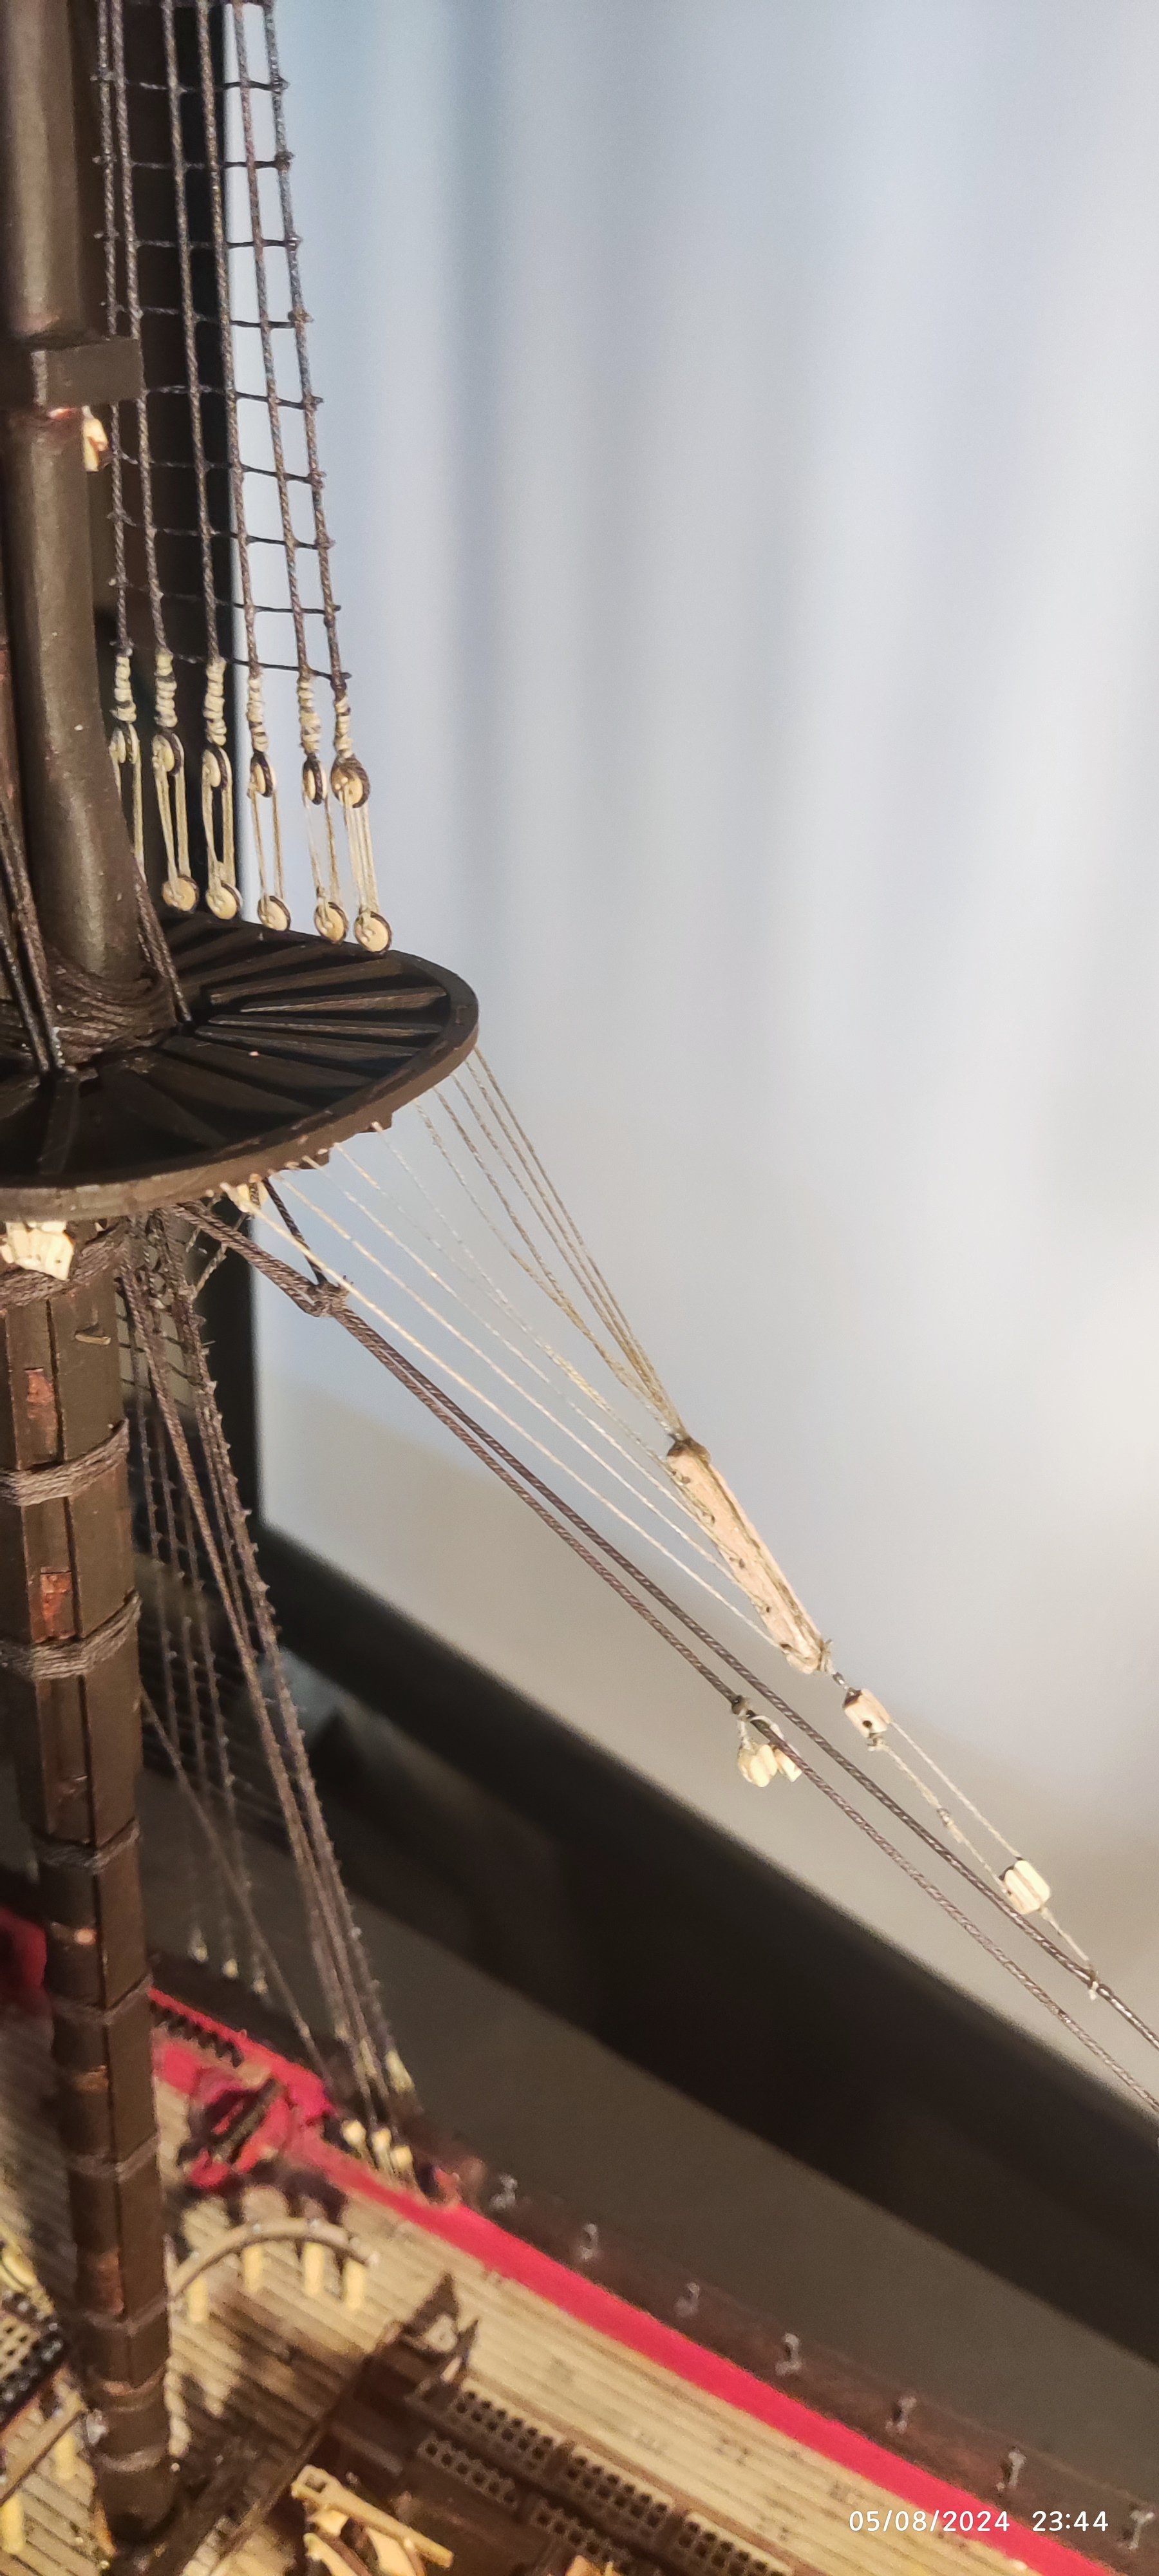
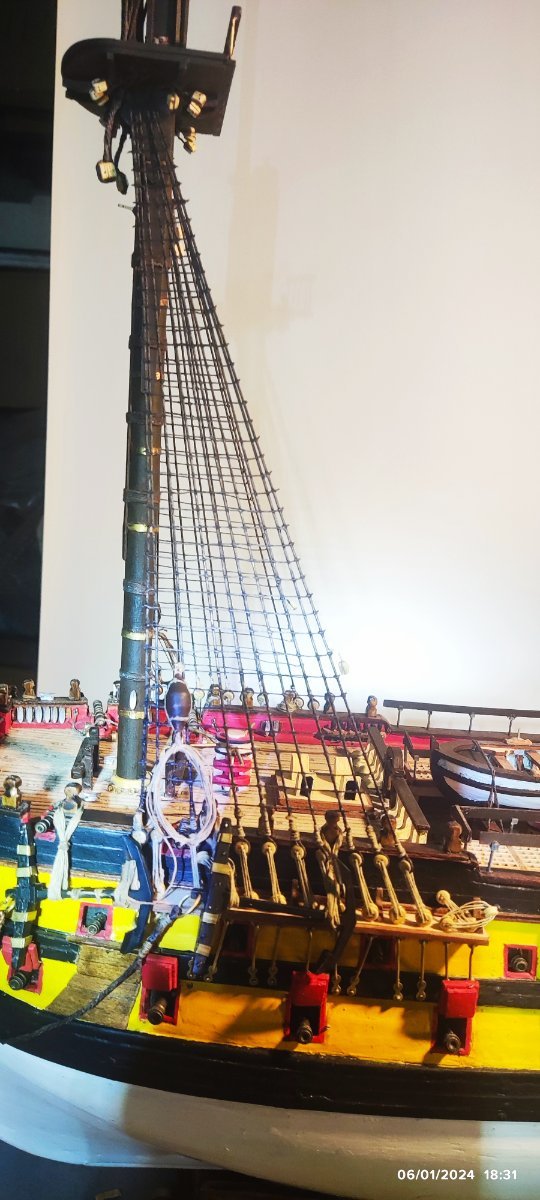
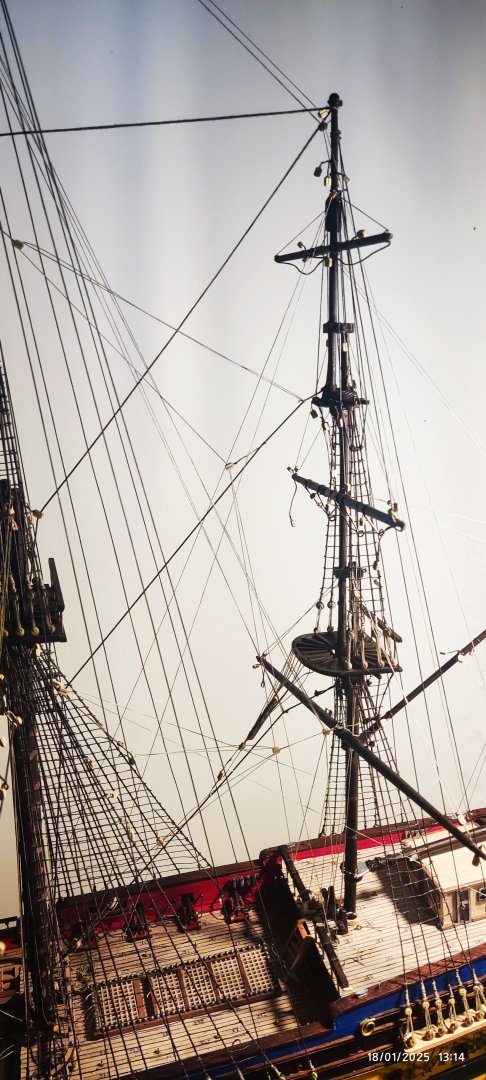
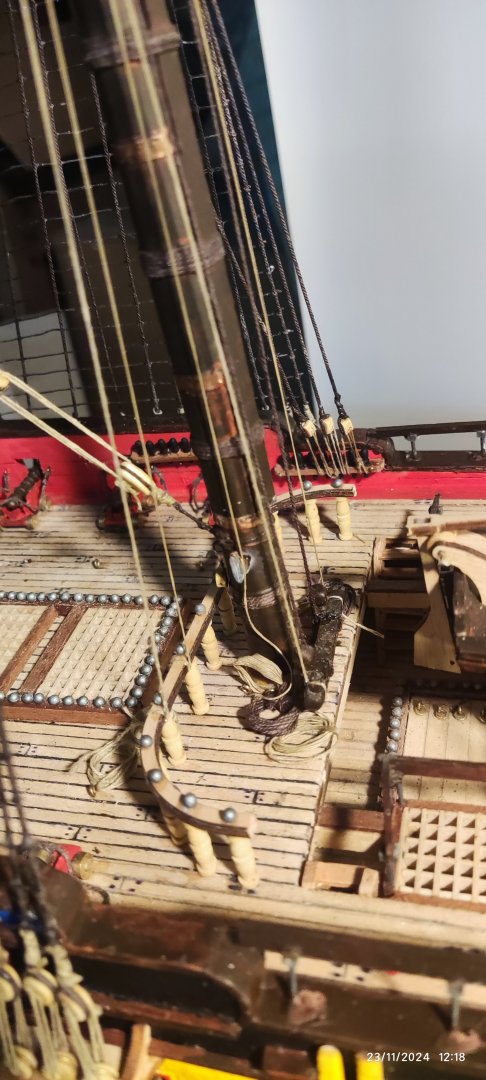
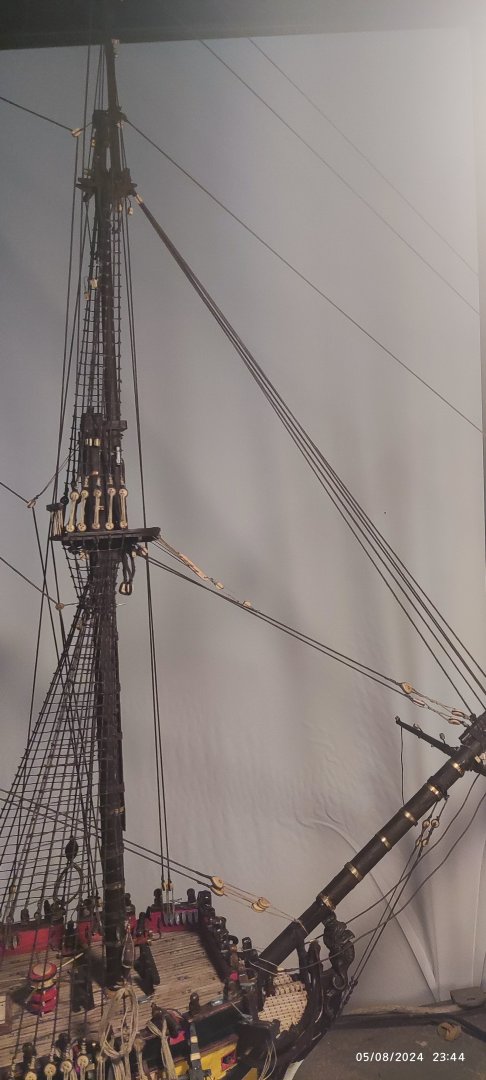
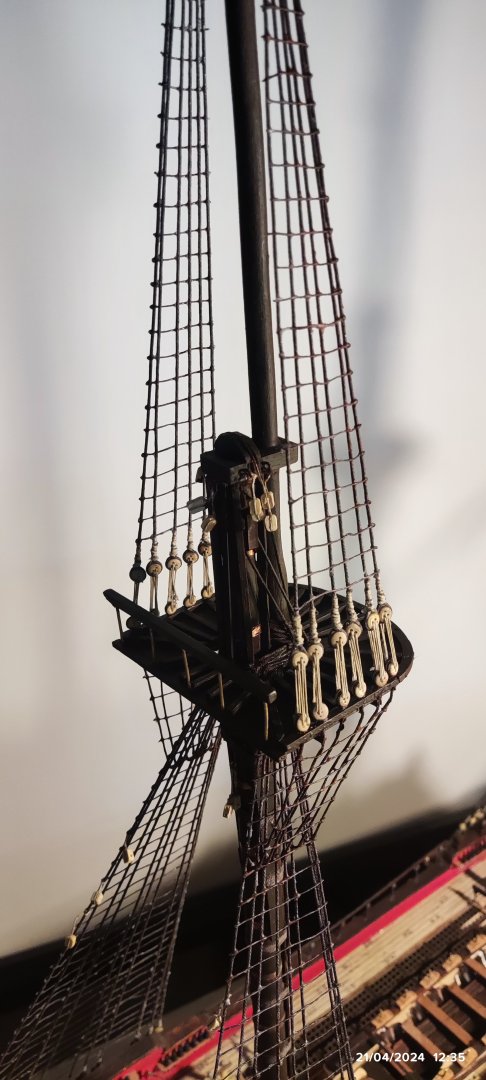
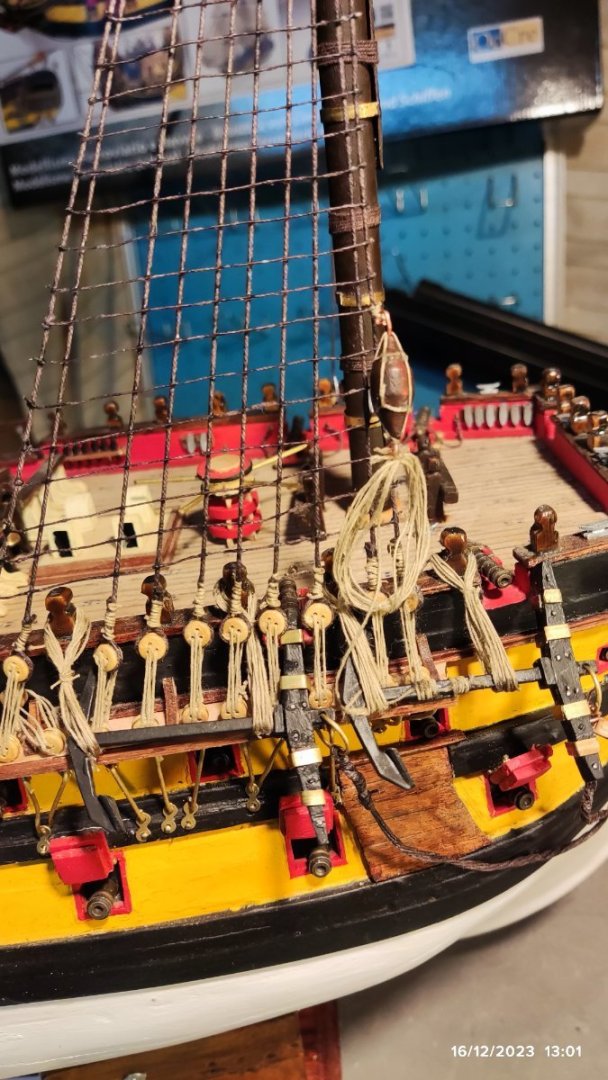
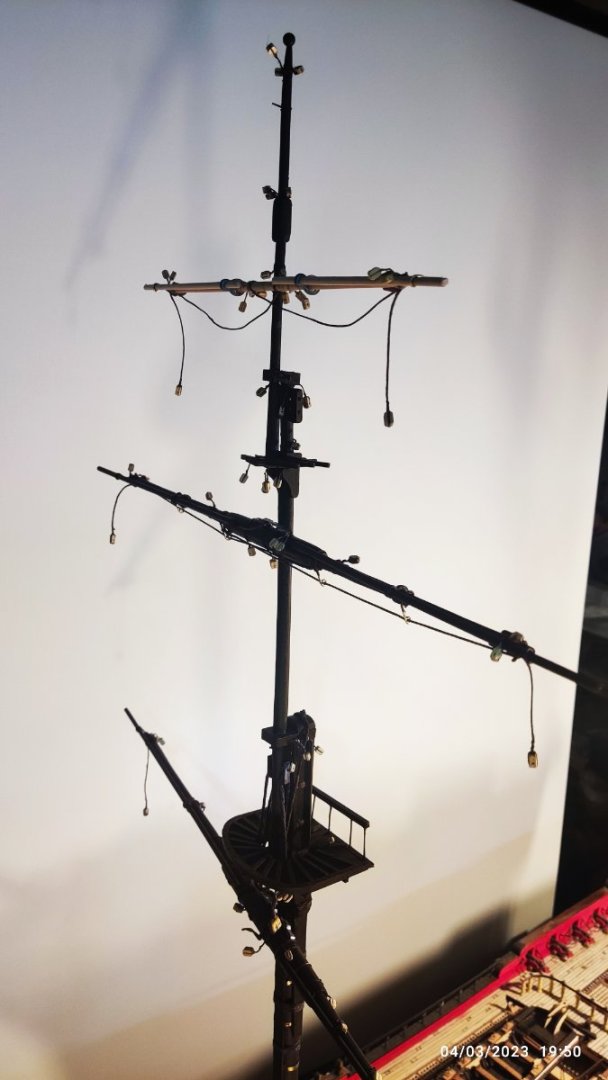
Now i have put in place the stays,long threads from top of the mast to the free deadeyes, after i use most of them with the shrouds. There are 11 threads for the three masts for left side and another 11 threads for right side. I use thread 0.50 mm brown. Now all deadeyes are occupied.Is time now to put in place the yards that i have allready finish. Starting with the lower yard of foremast, put in place for each one, all the threads 0.15mm that the manual show.


-
Now we procced with the stays between the masts using thread 0,80 mm. A lot of work with blocks and eyebolts.


-
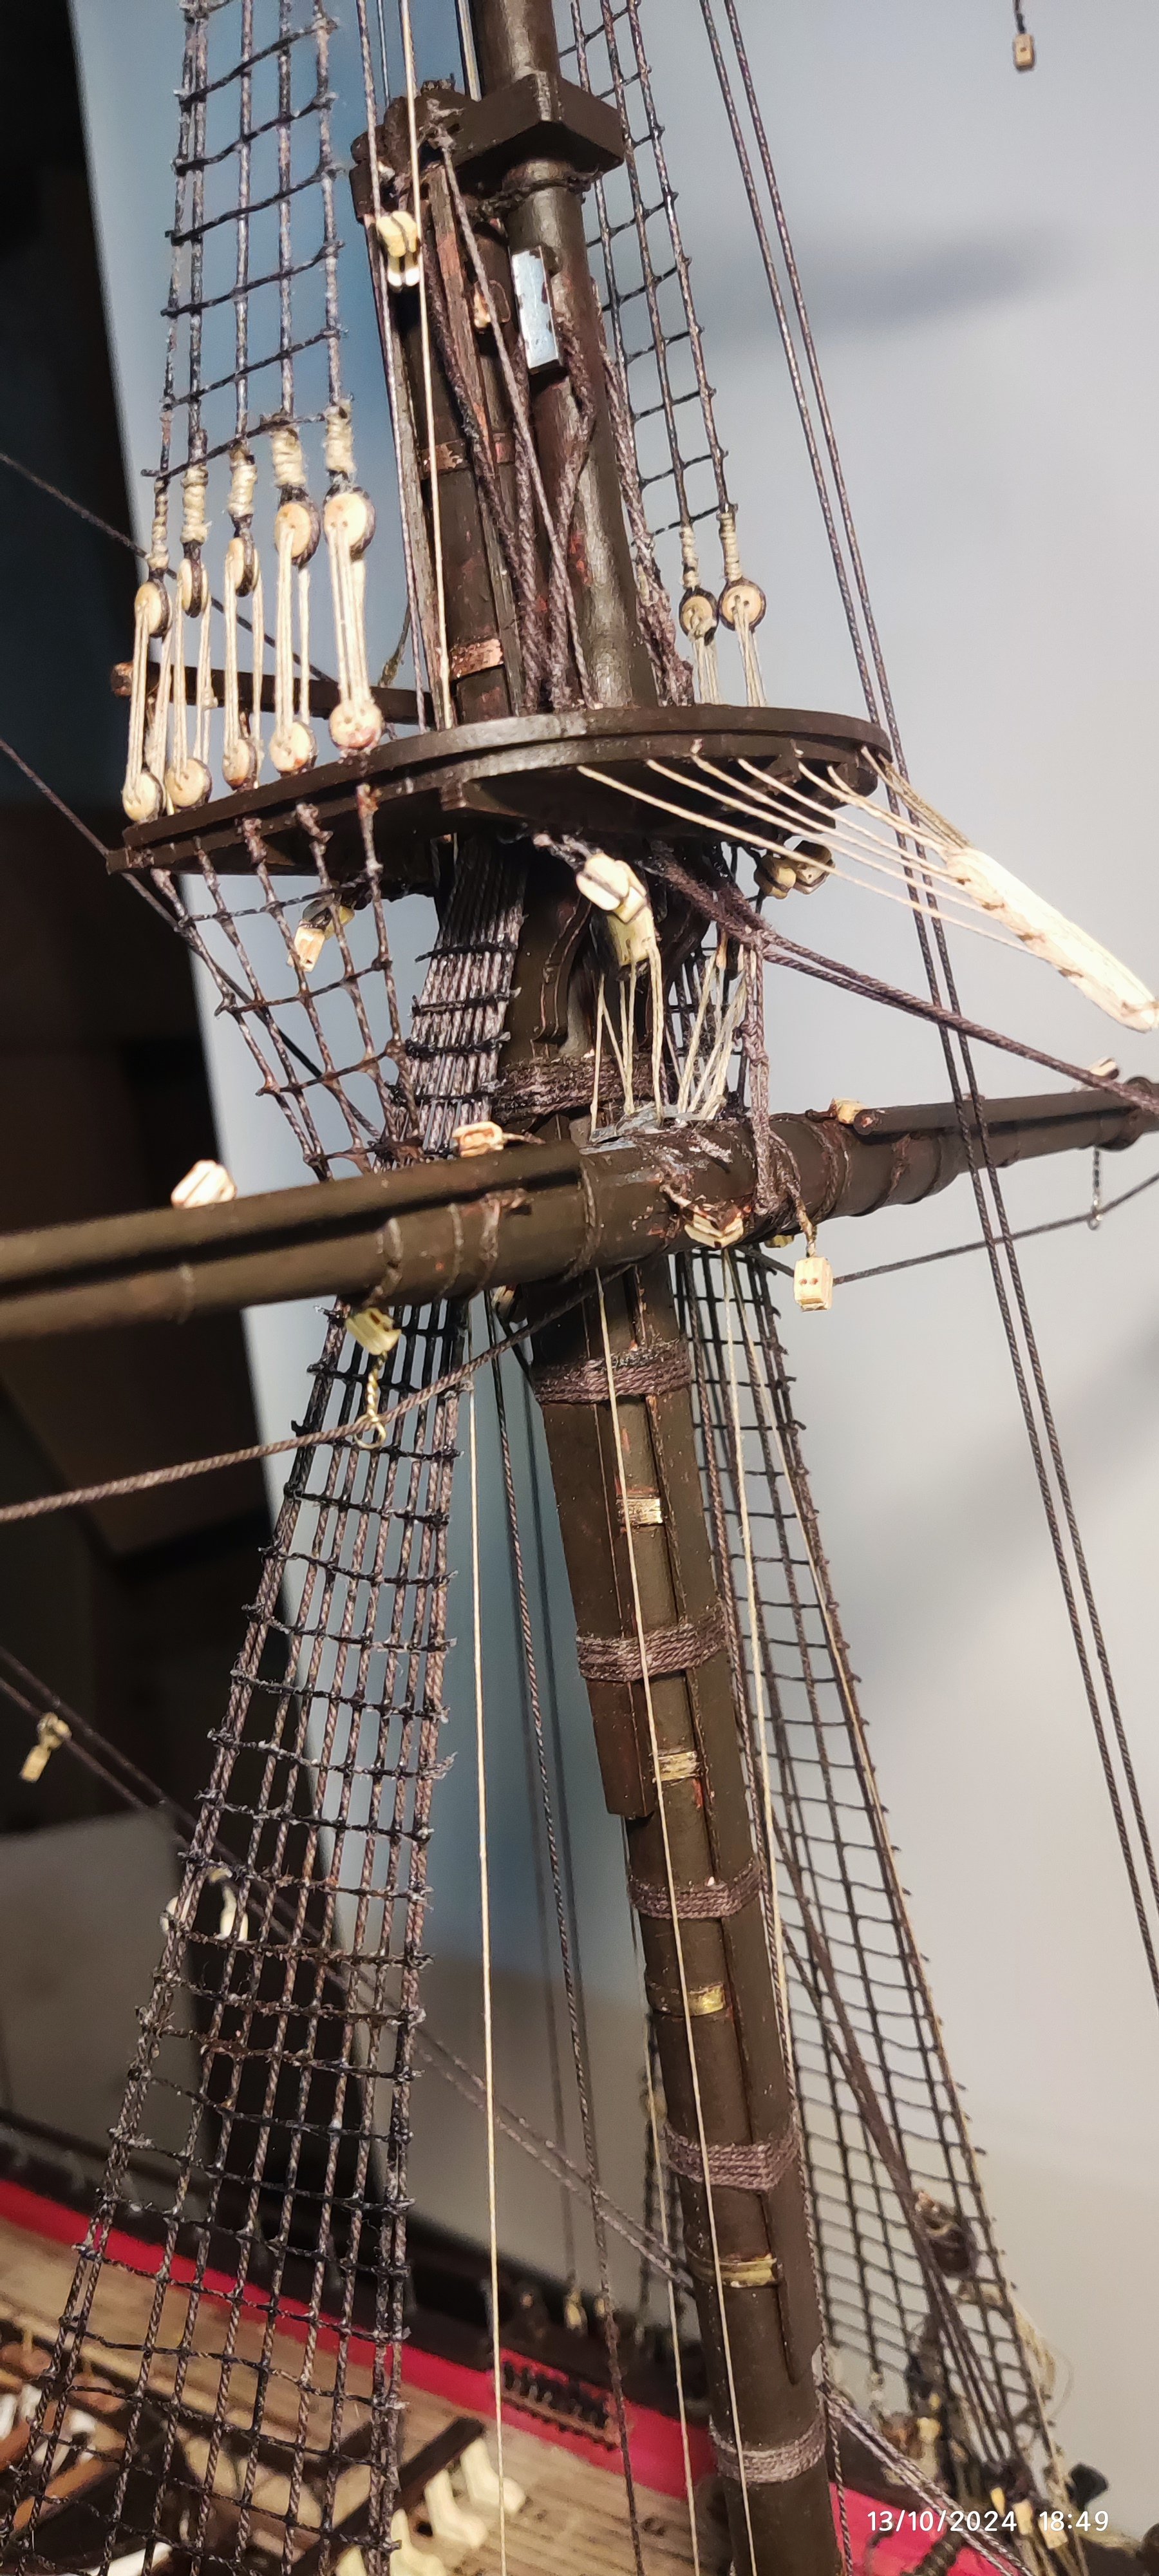
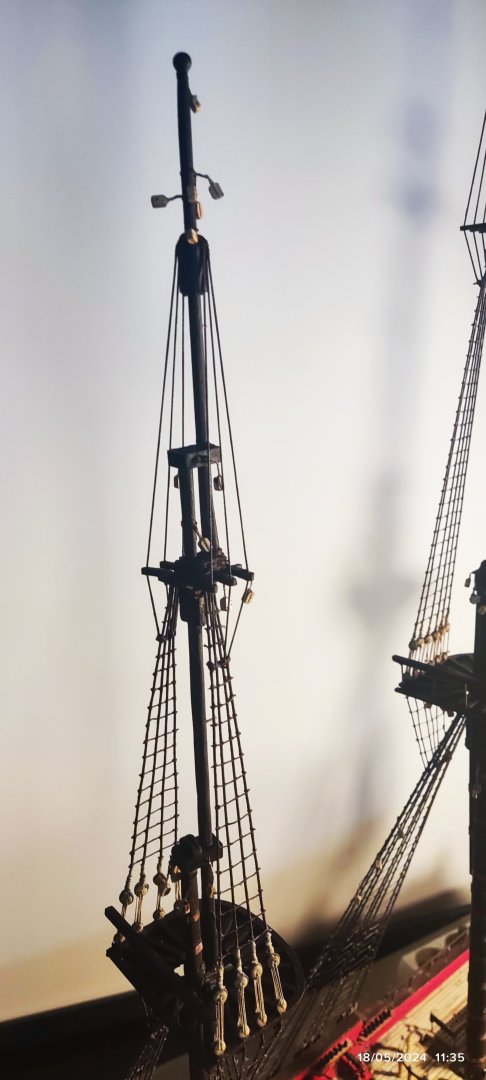
The mizzen mast is ready now and all shrouds are placed. Continue with threads between masts,according to the plans and number of thread.


-
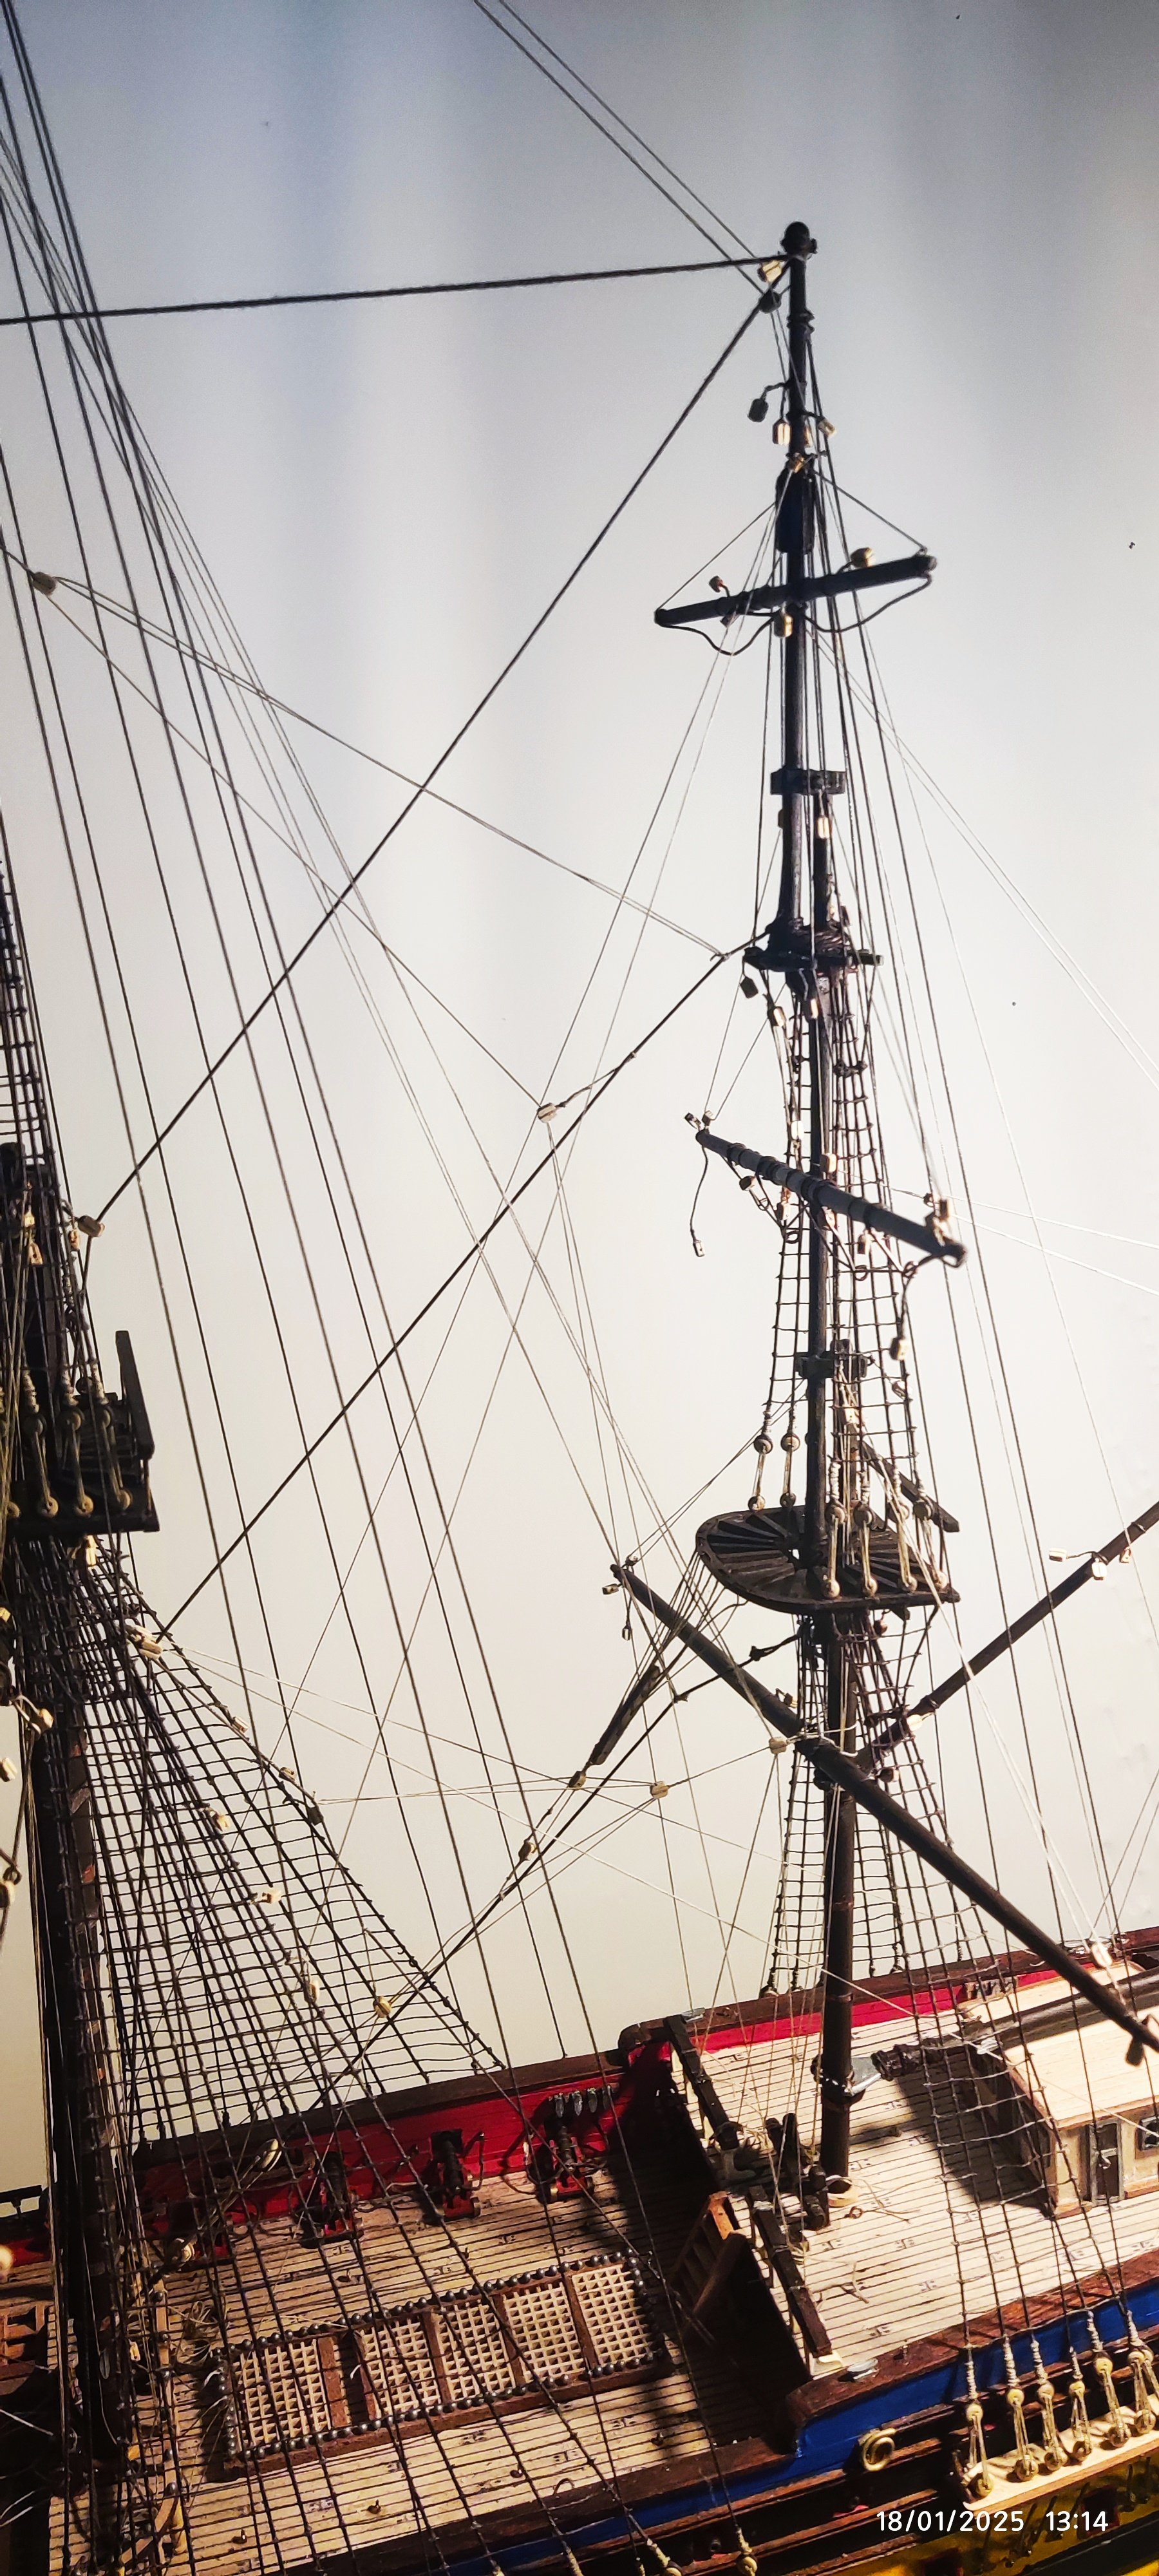
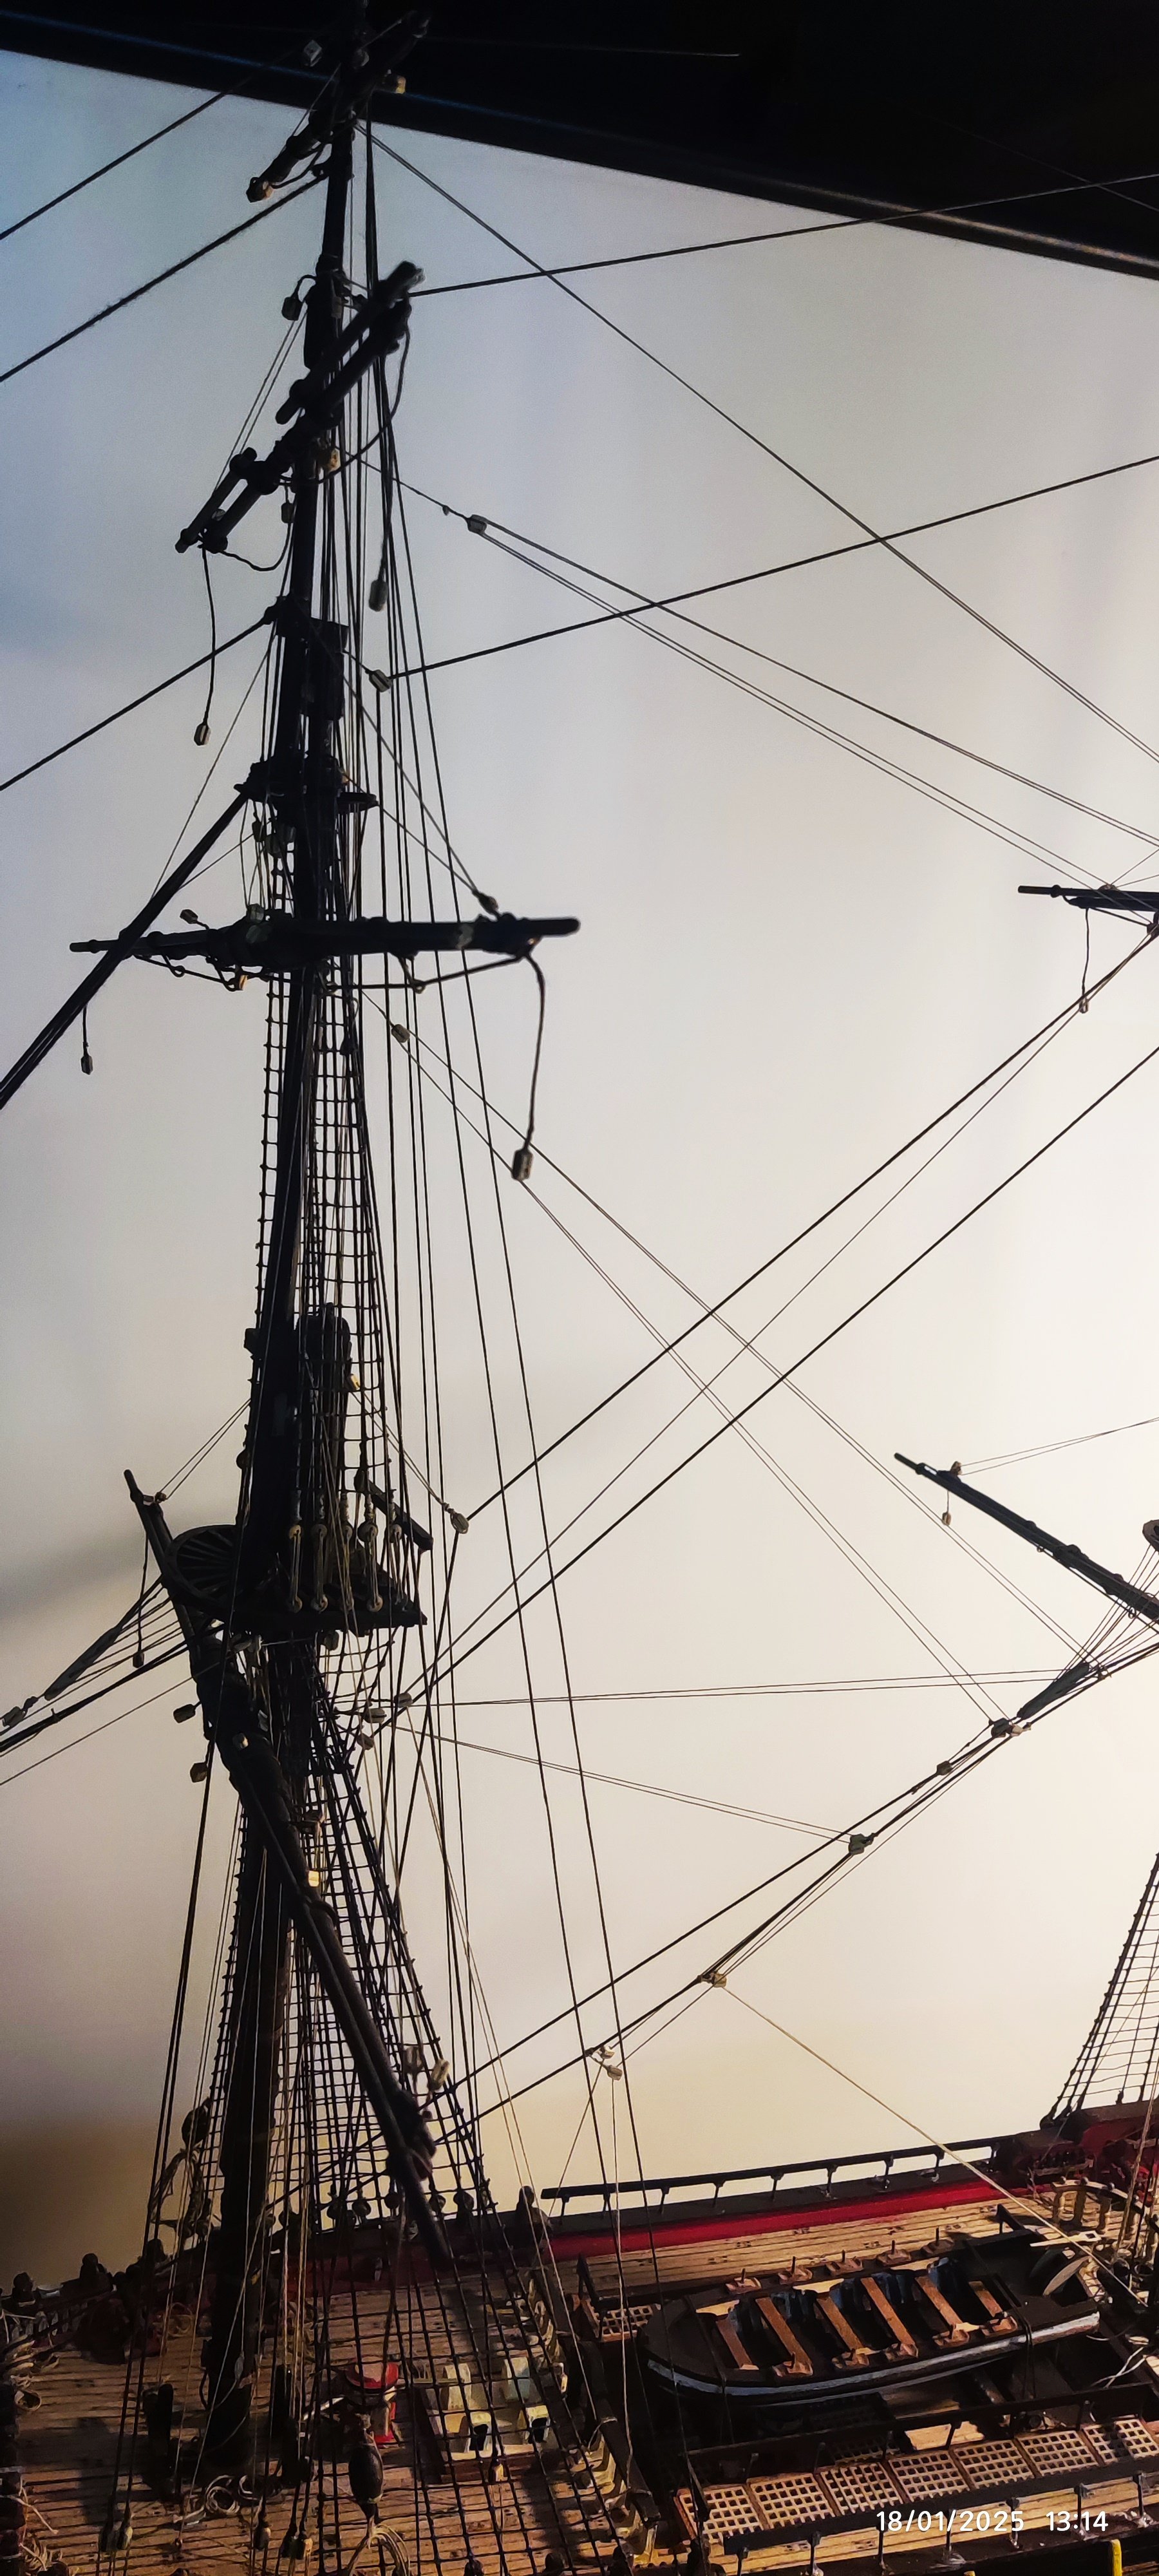
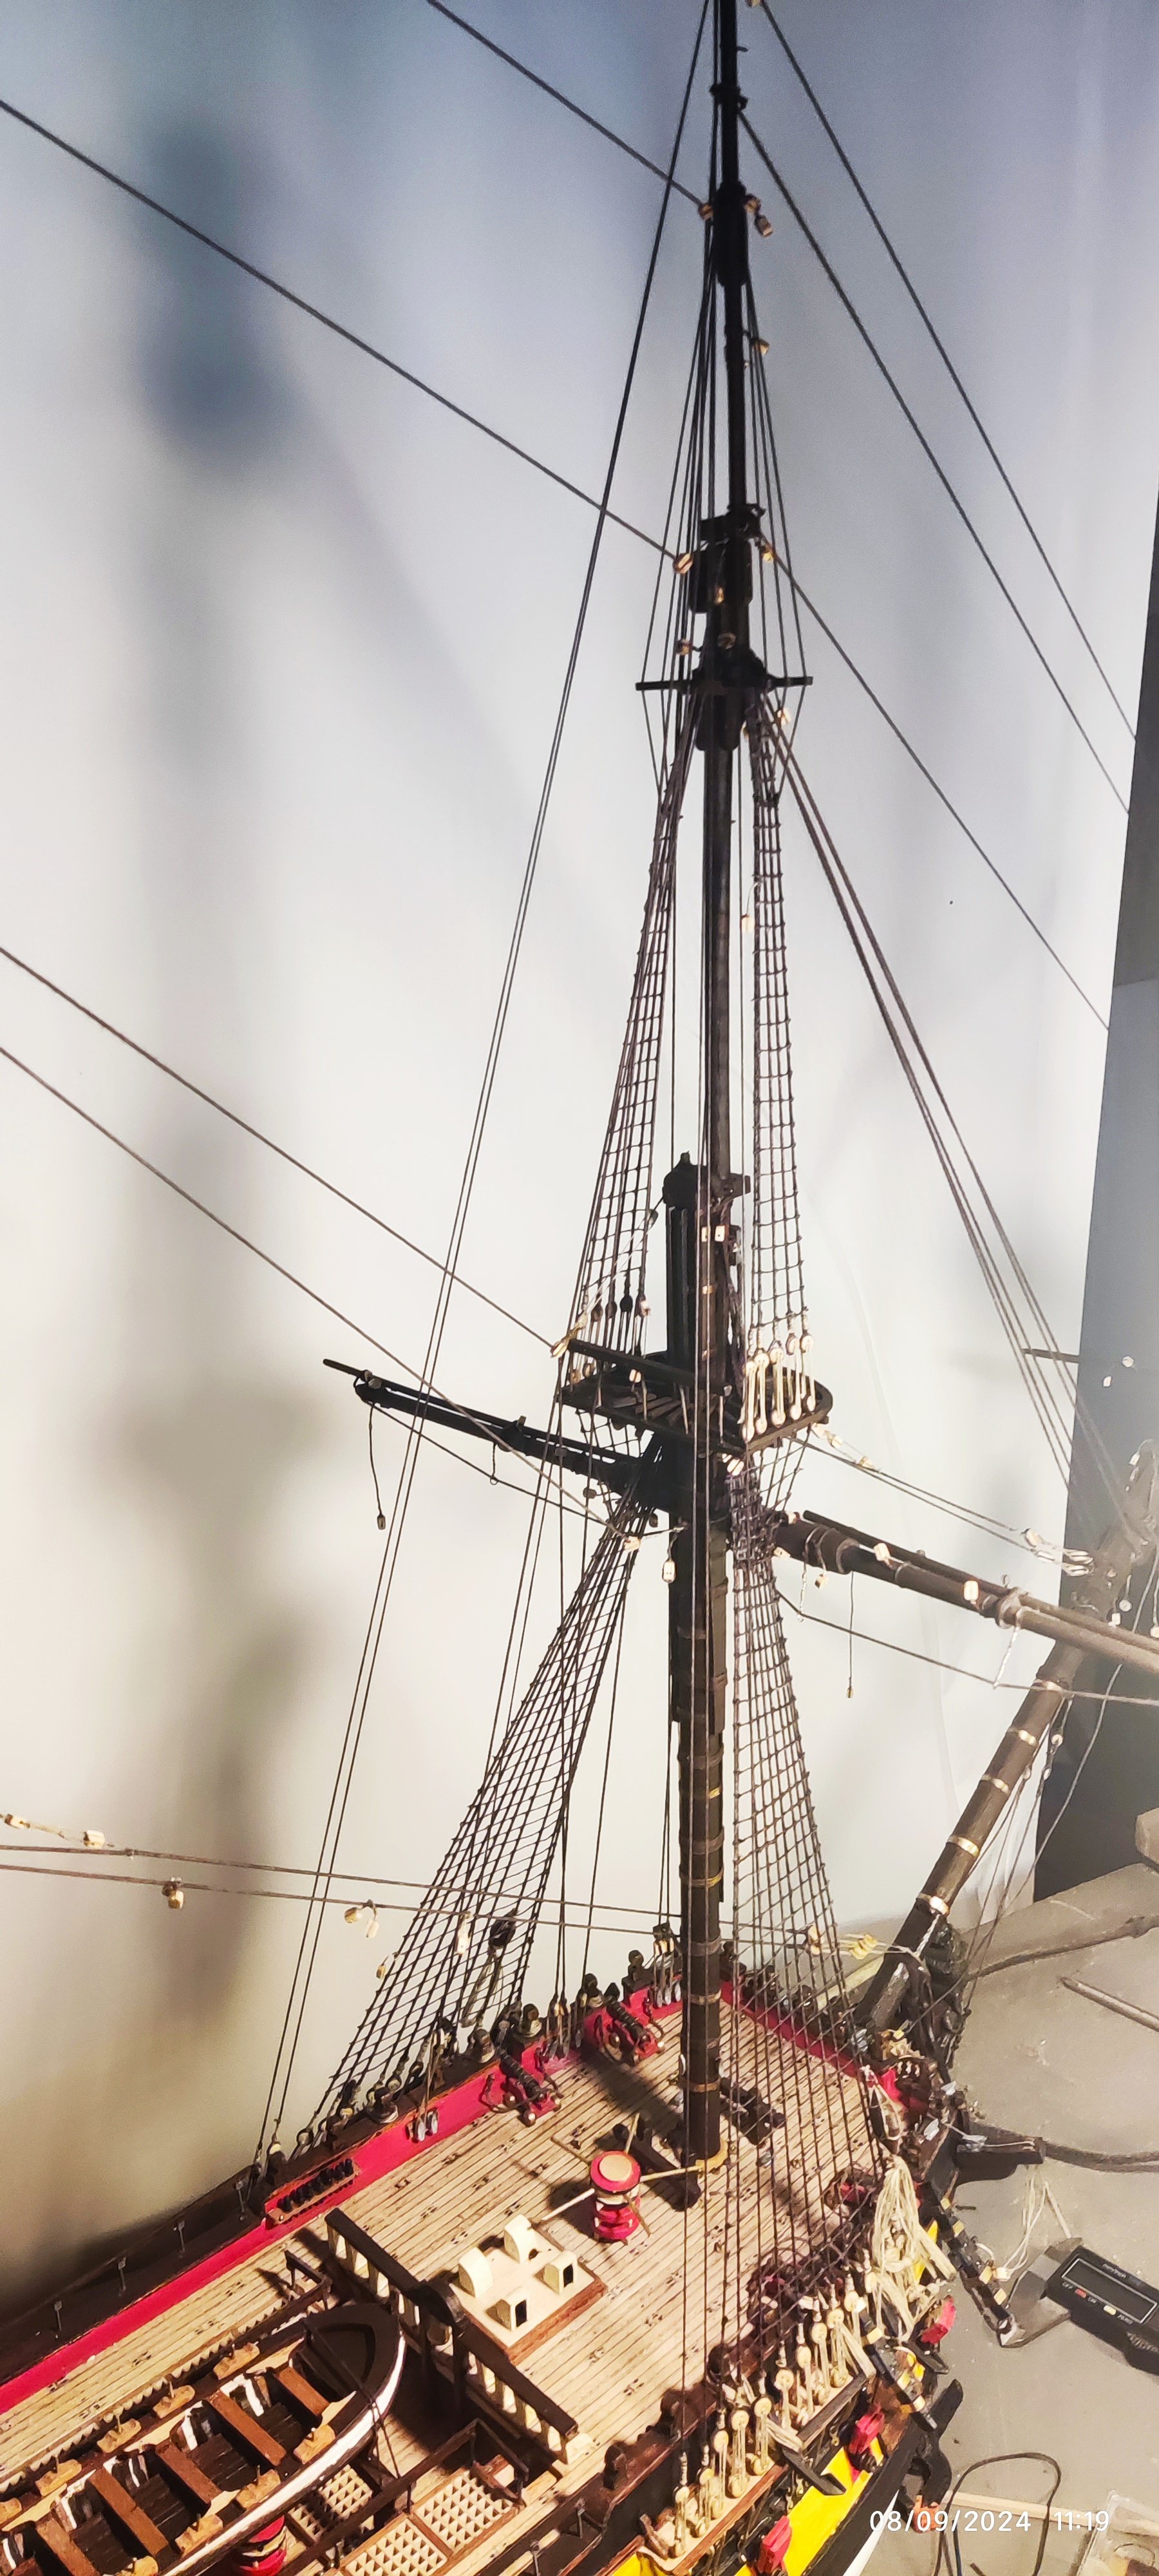
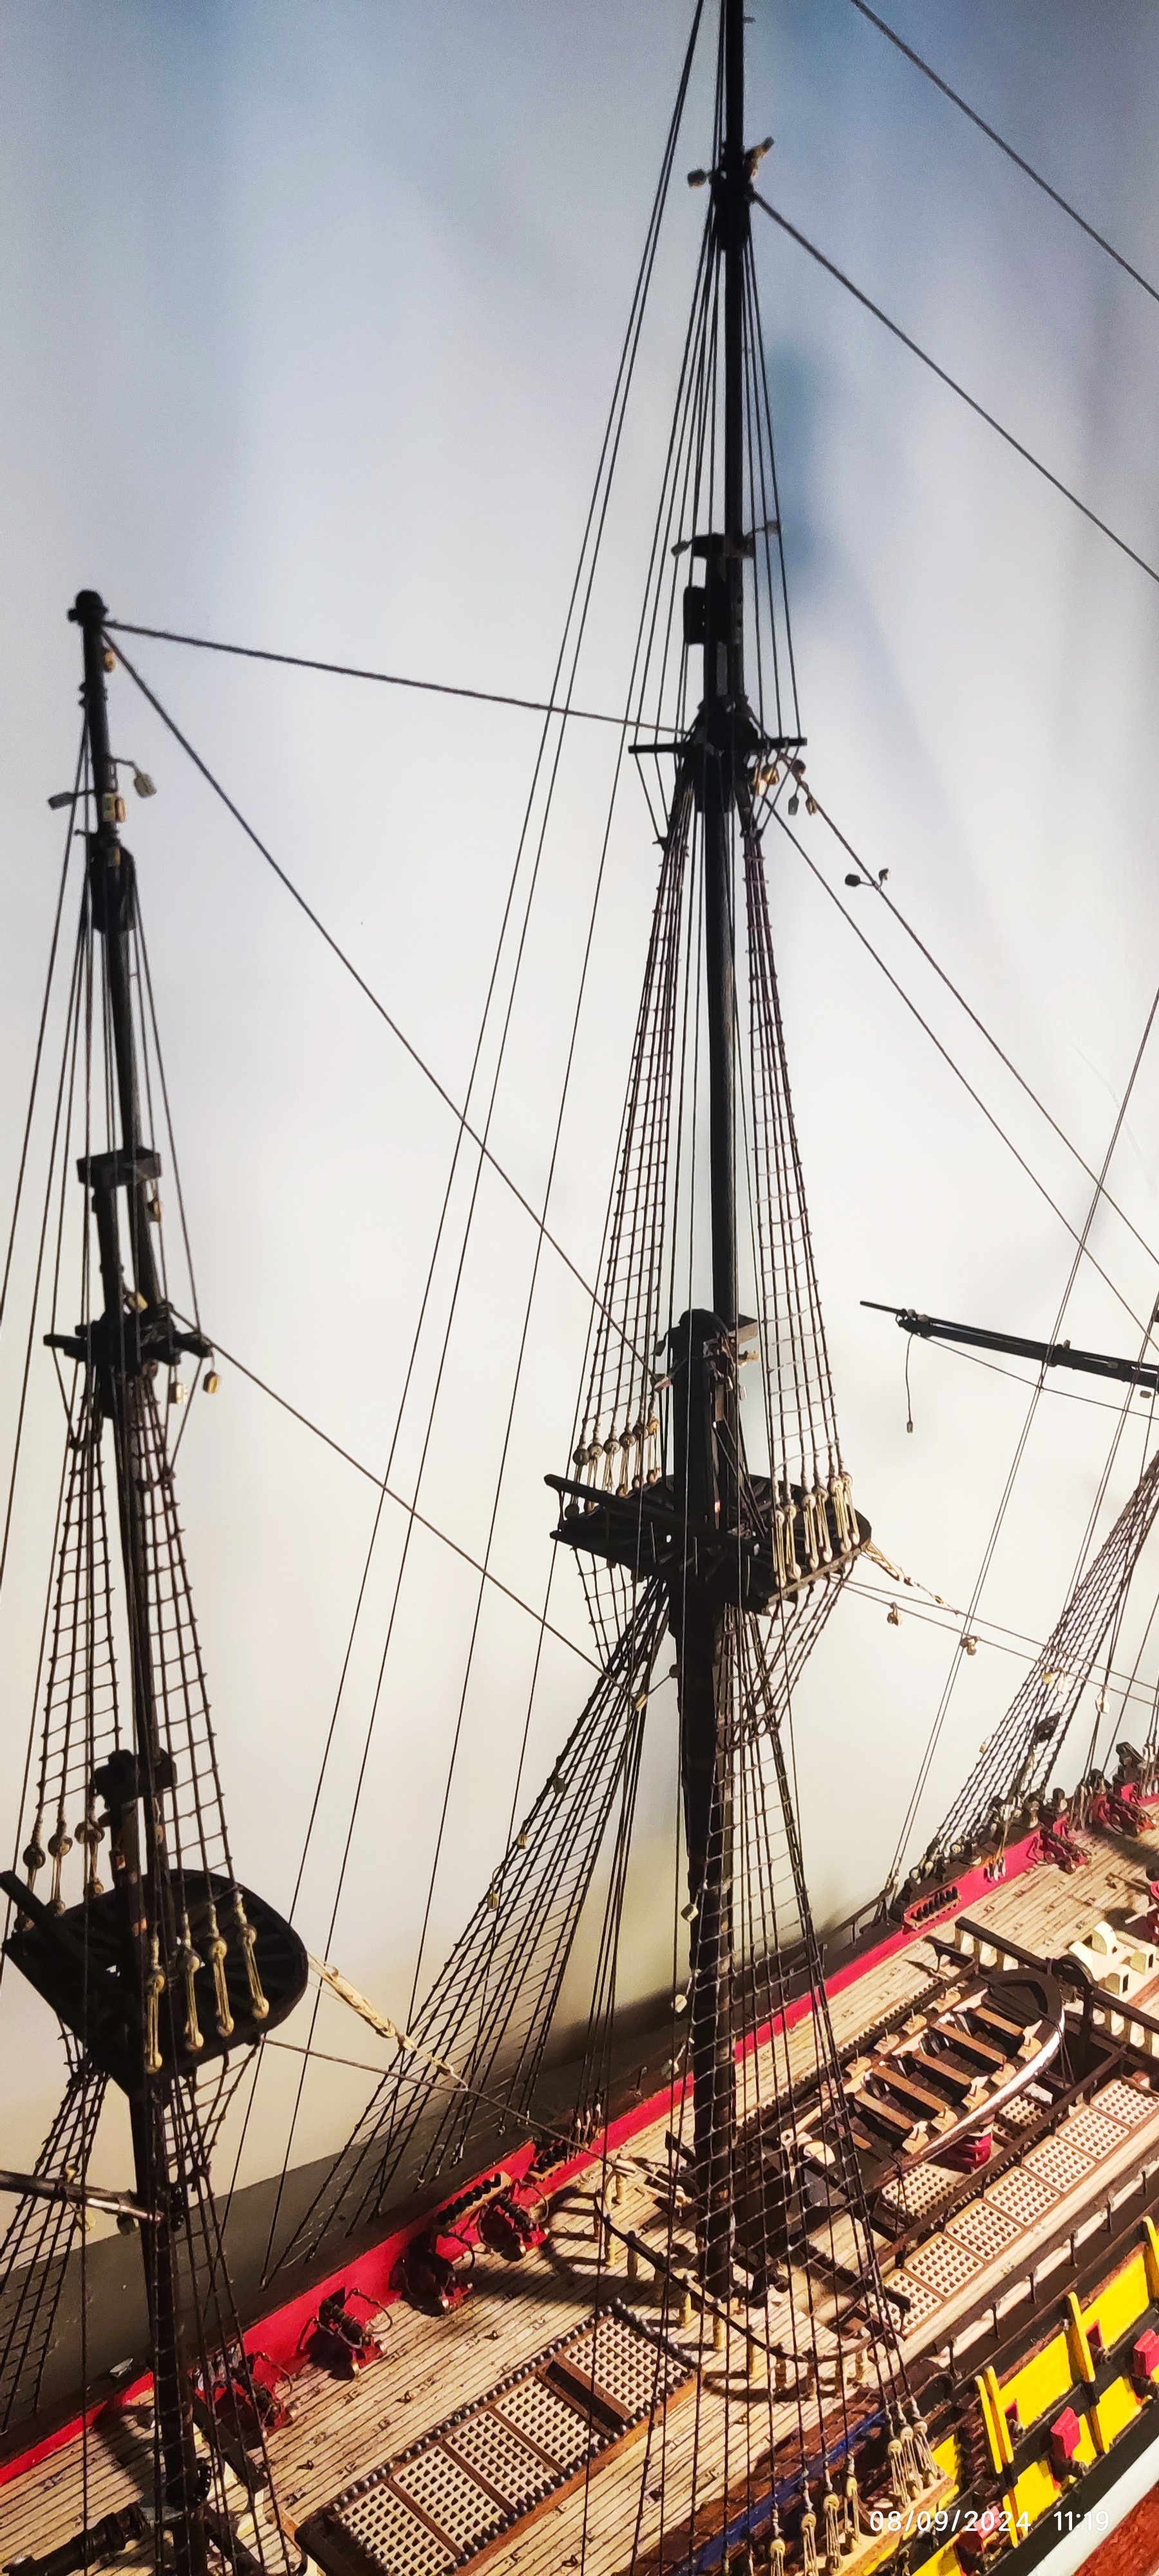
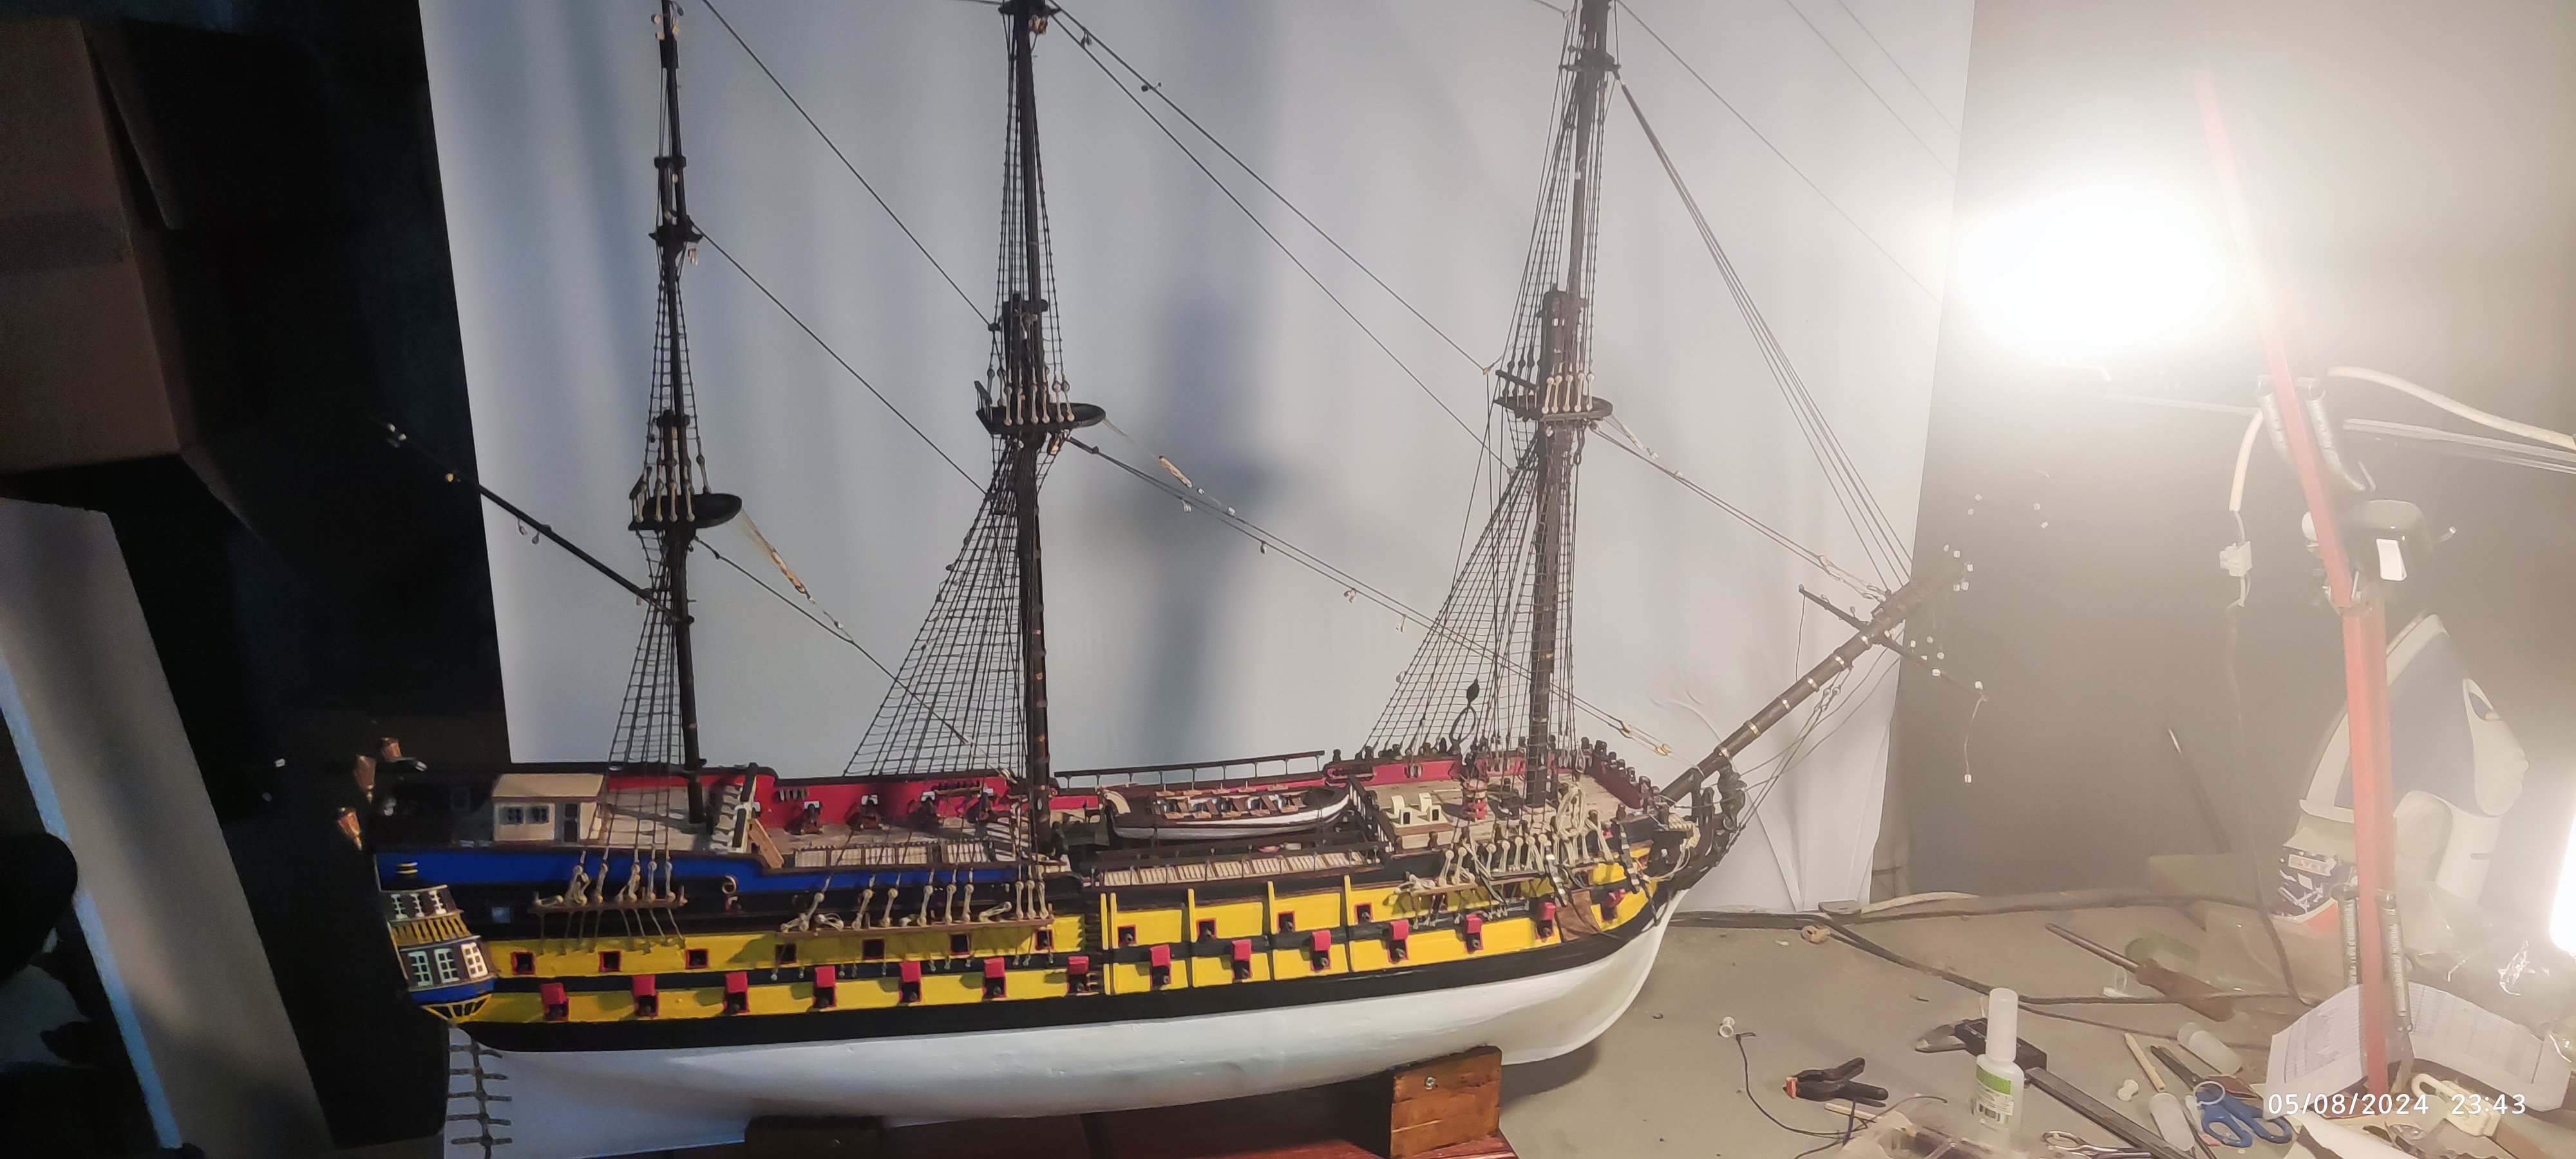
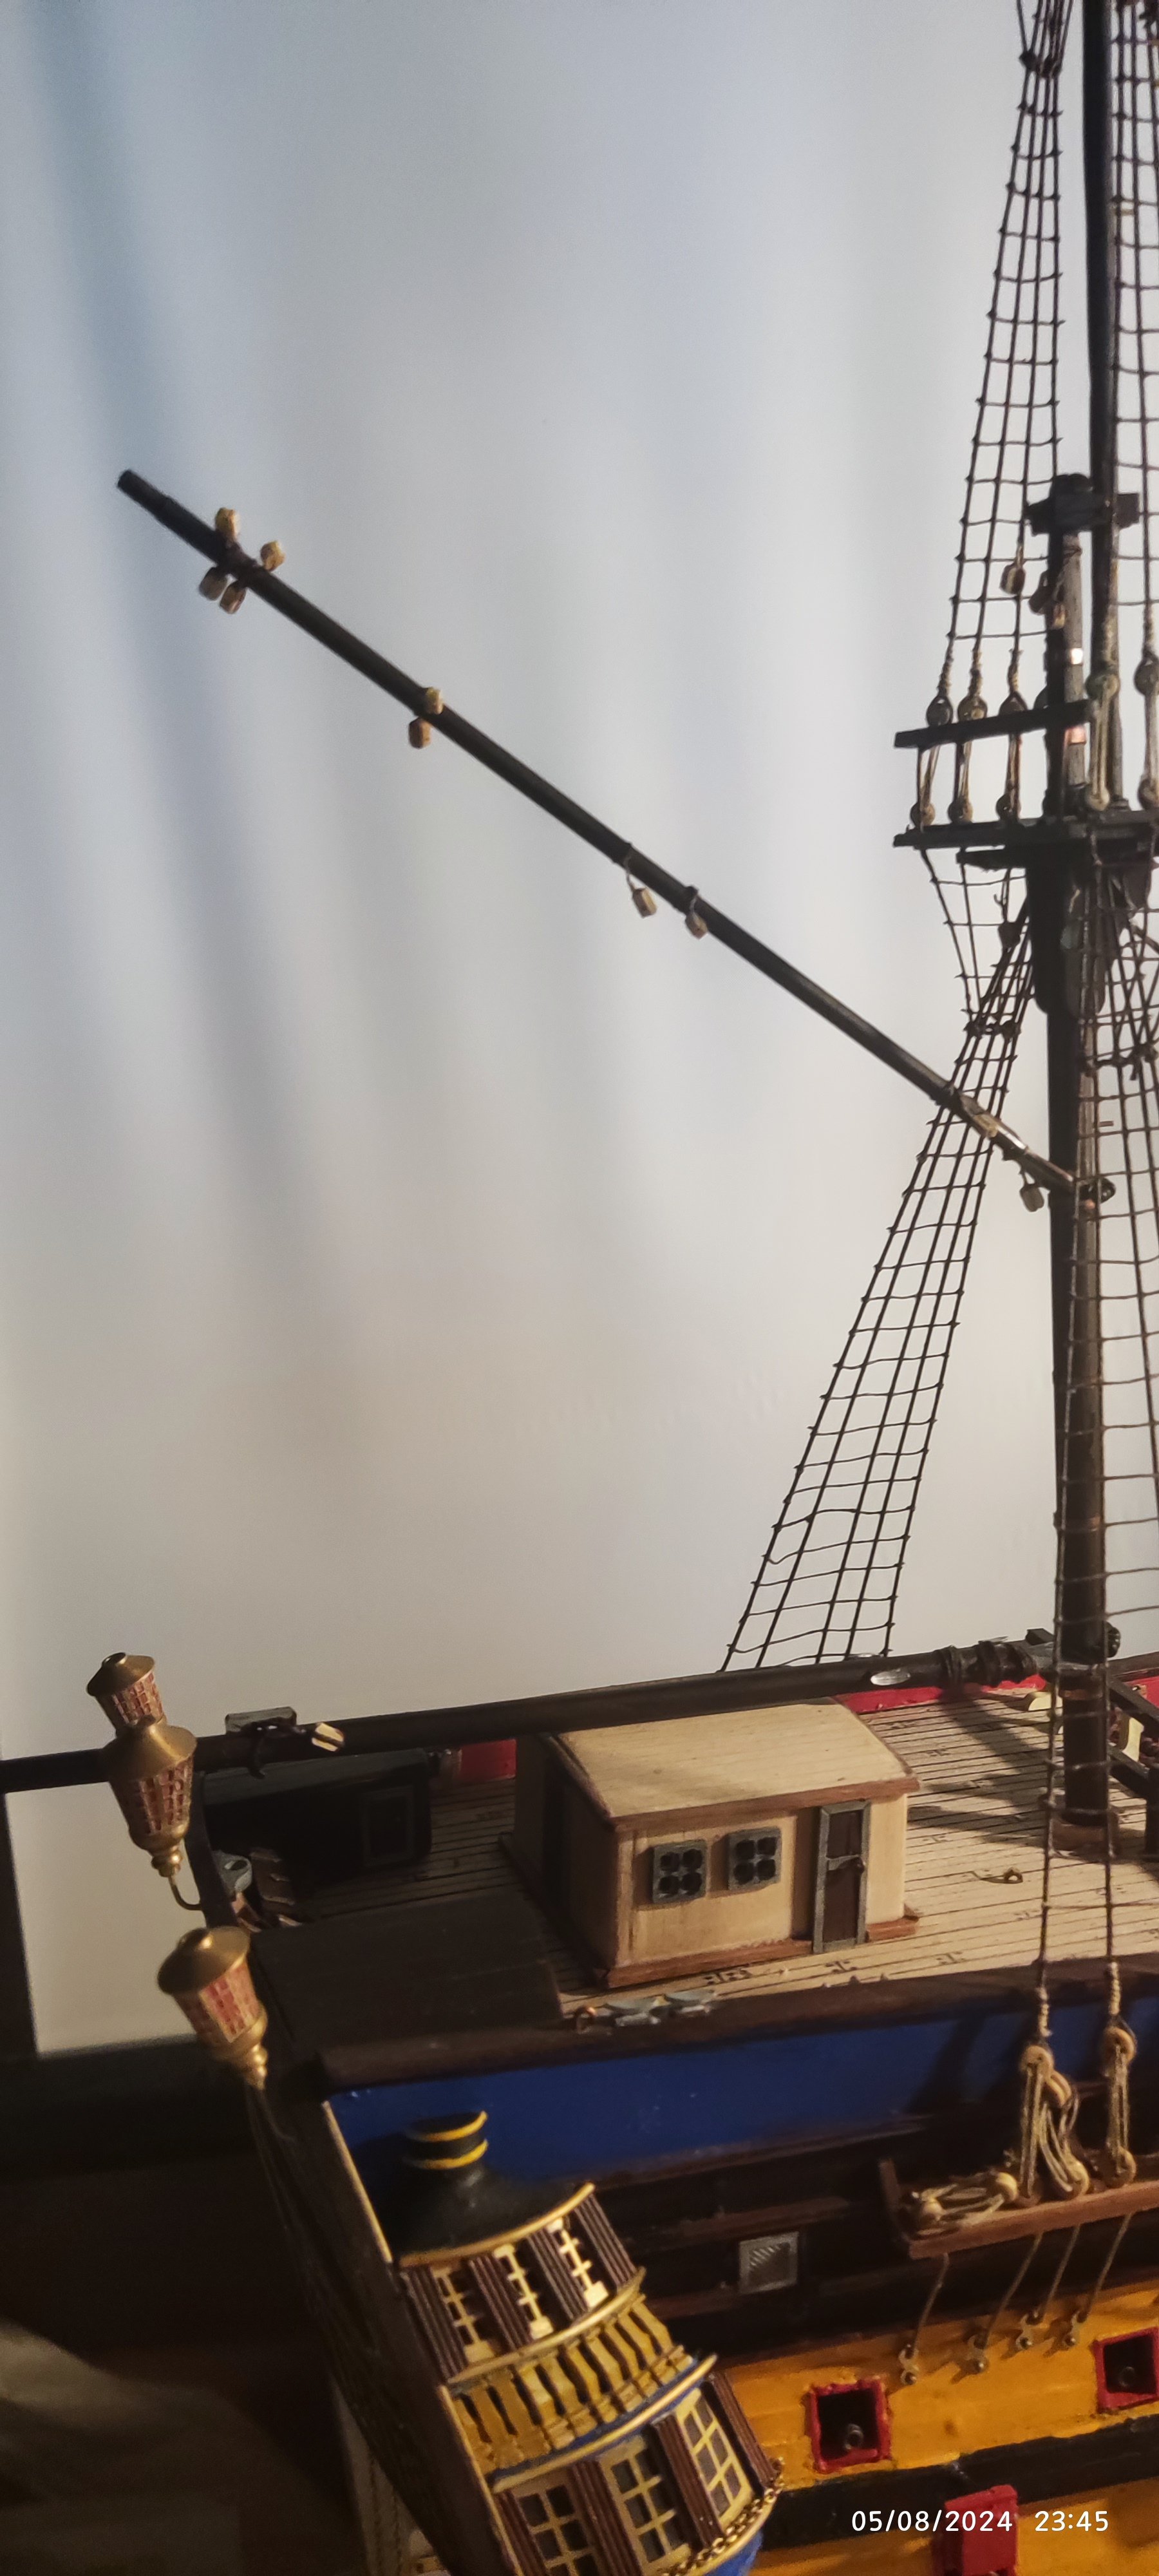
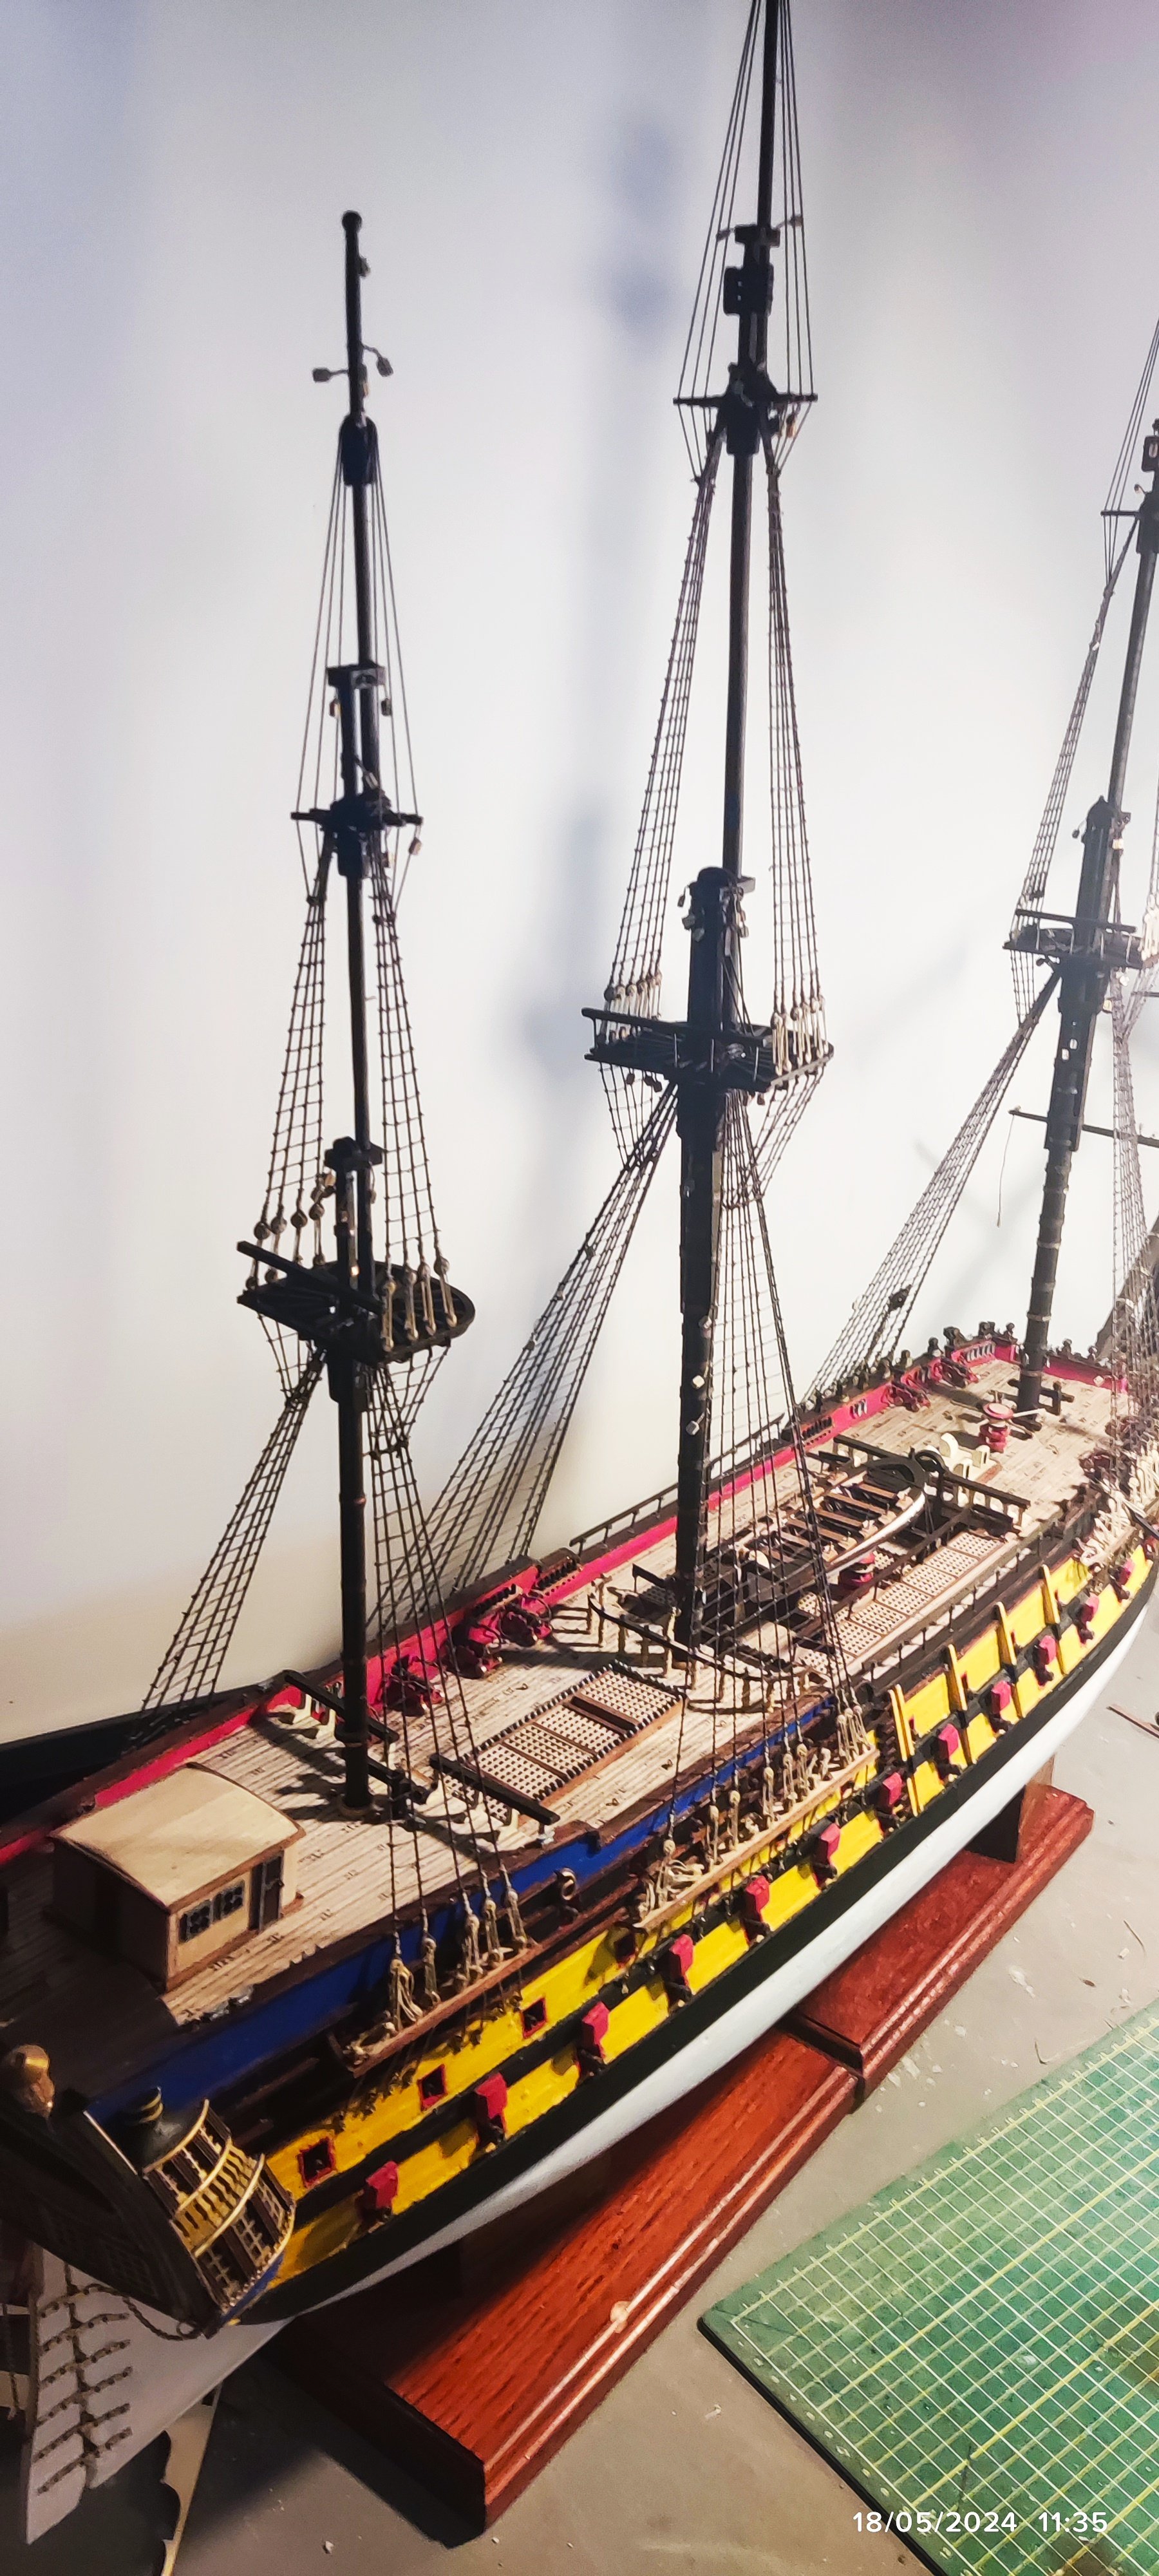
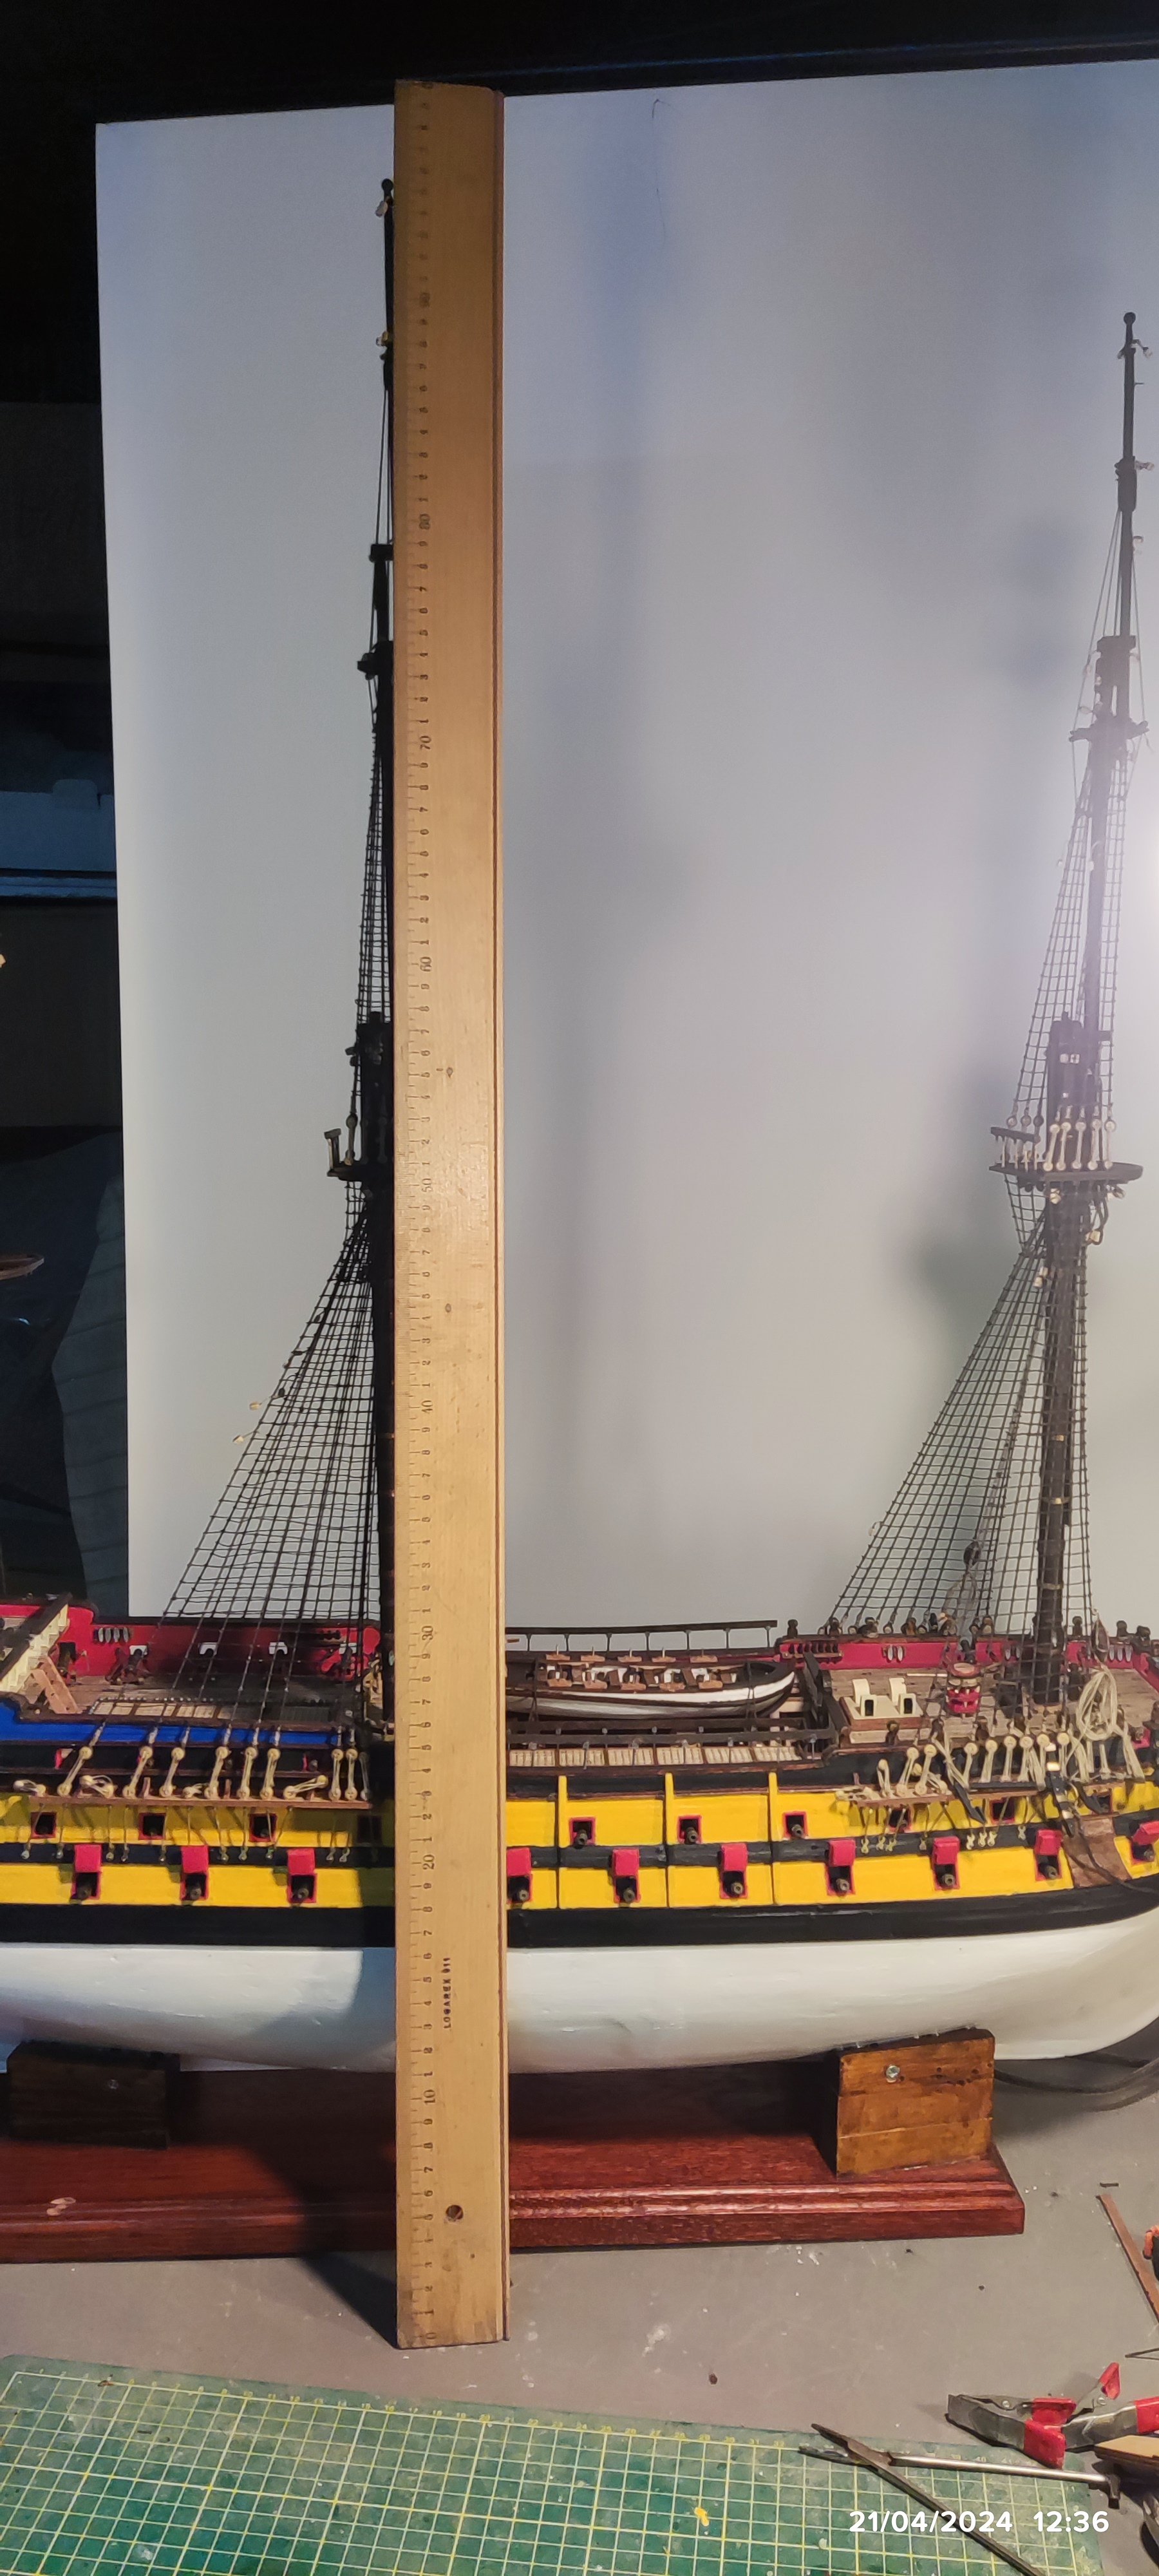
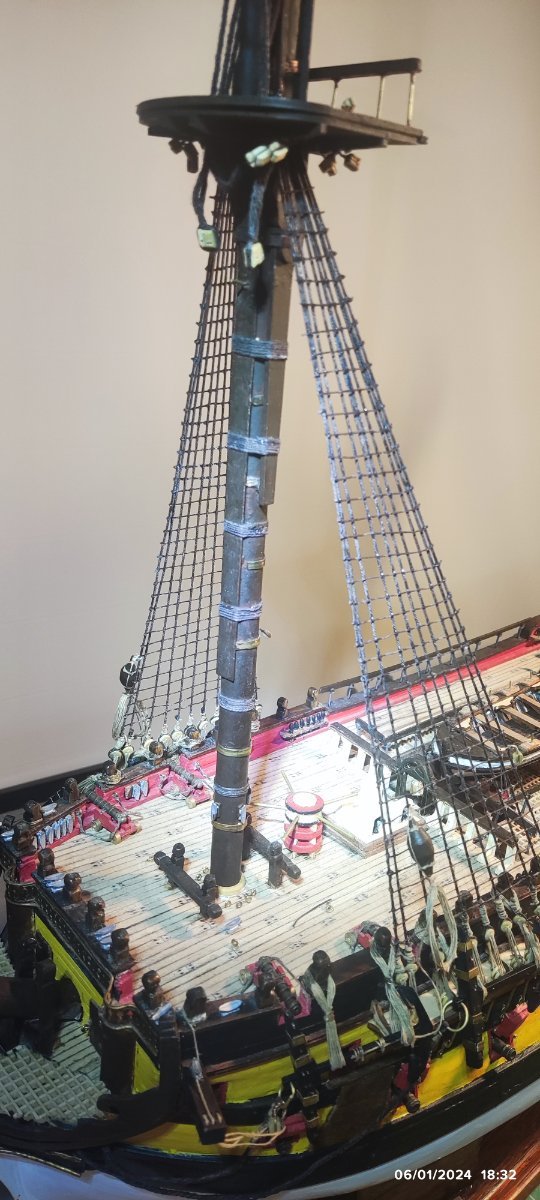
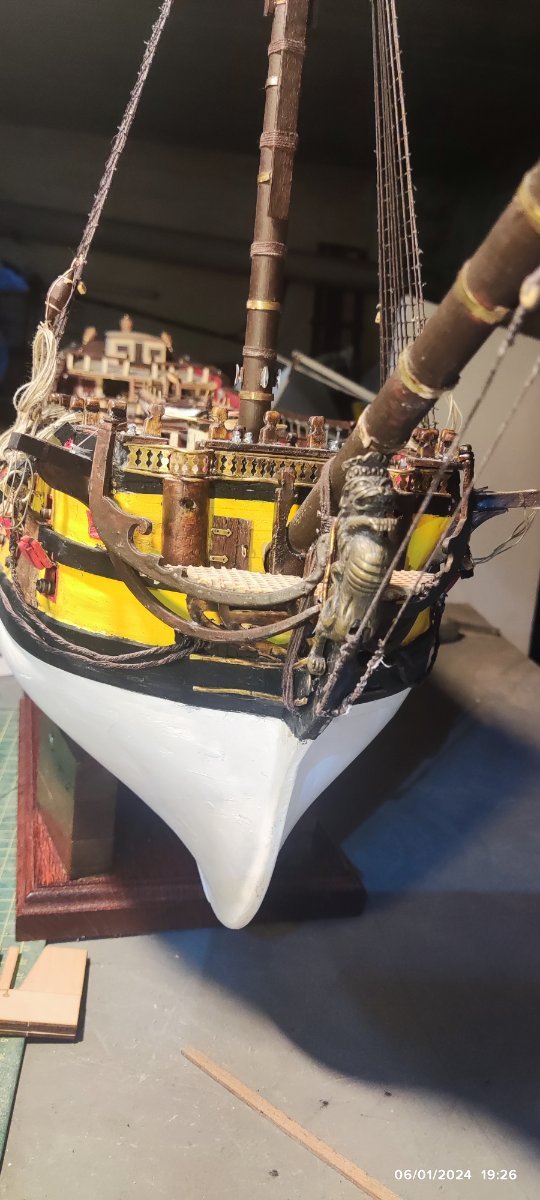
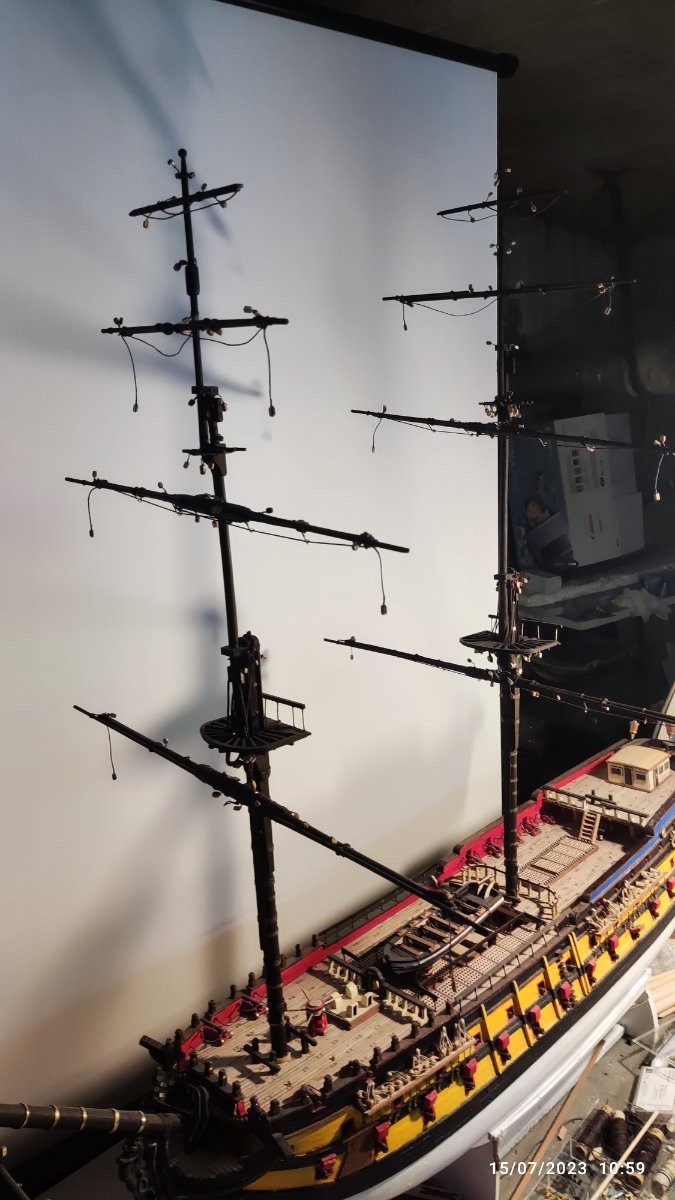
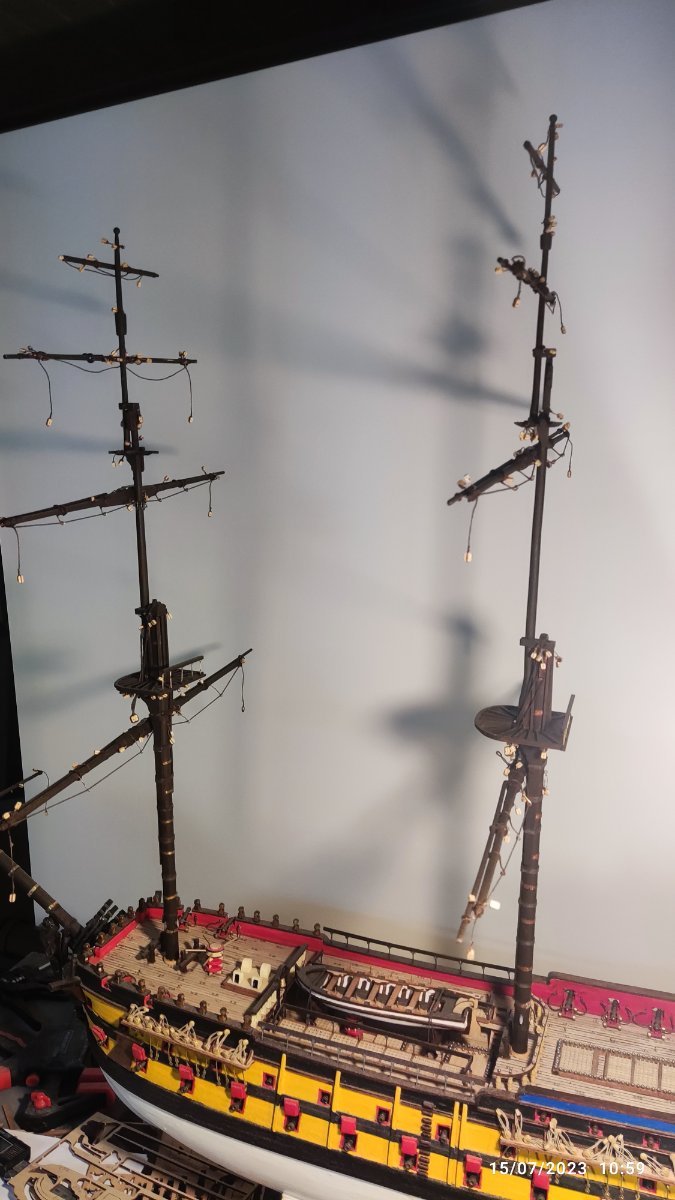
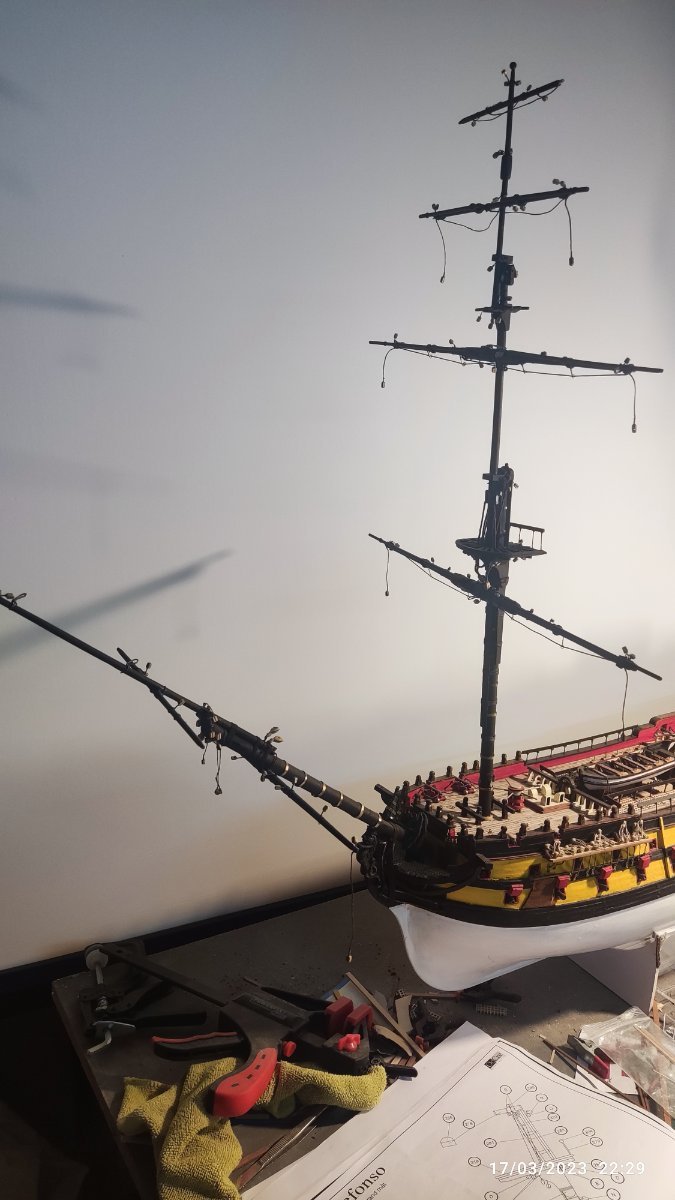
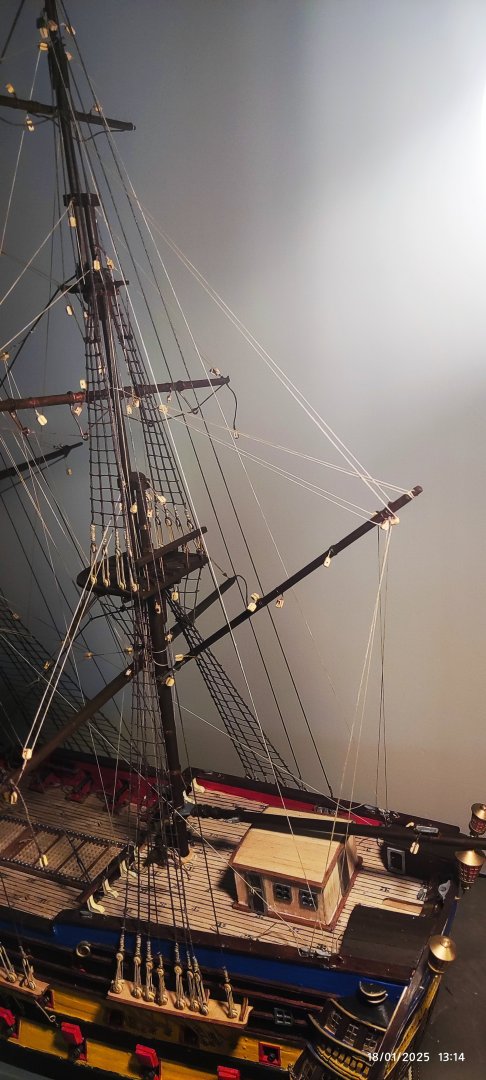
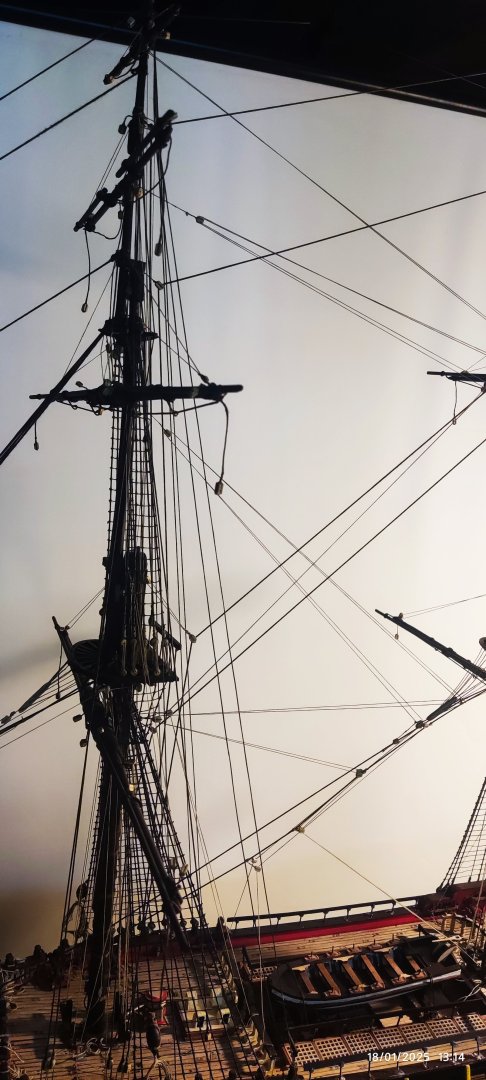
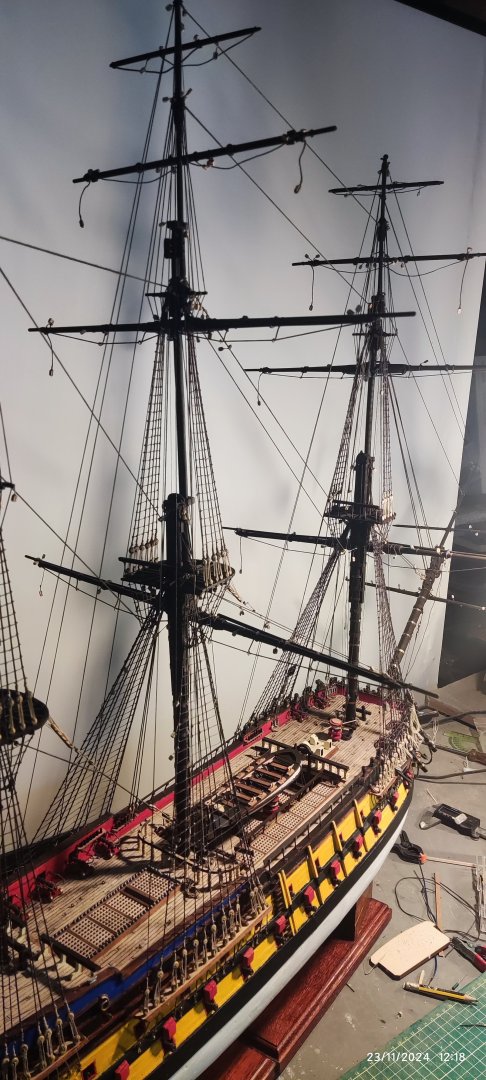
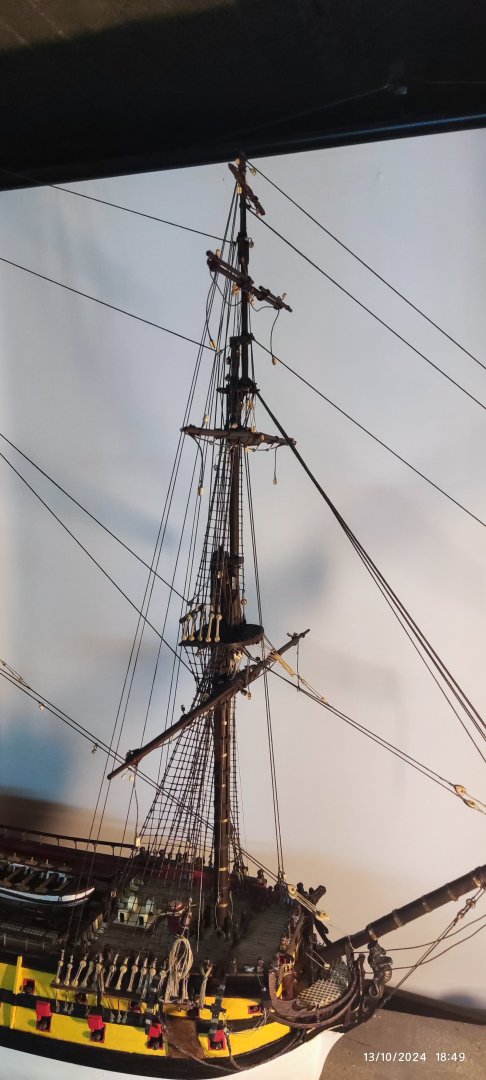
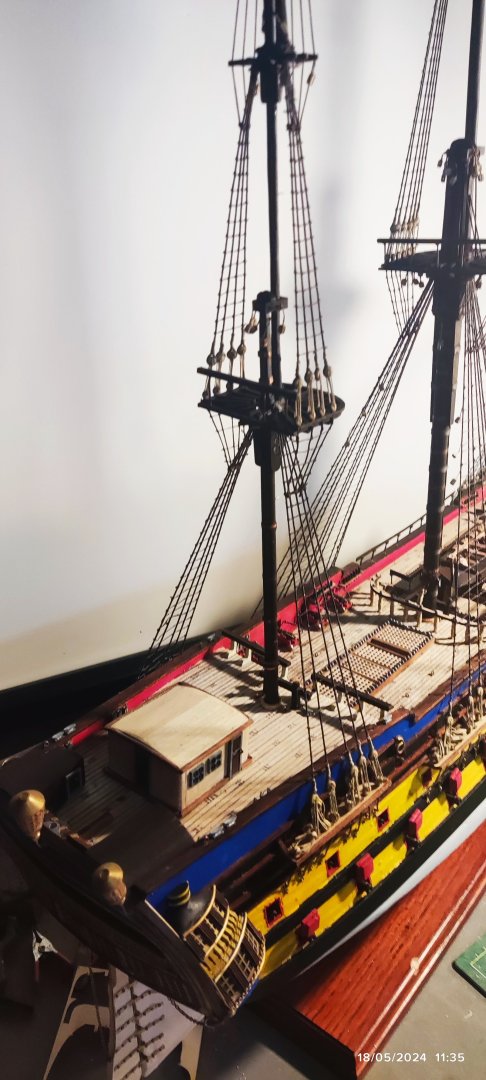
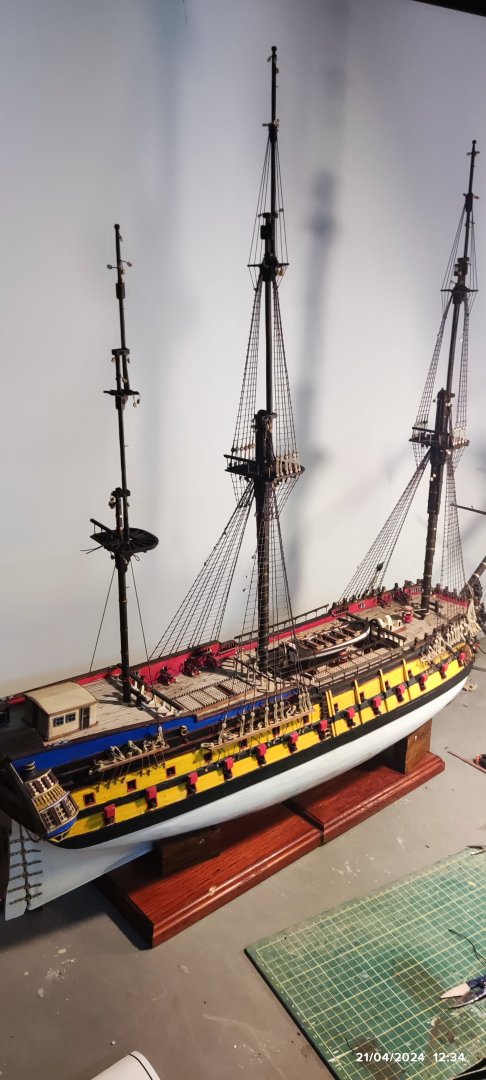
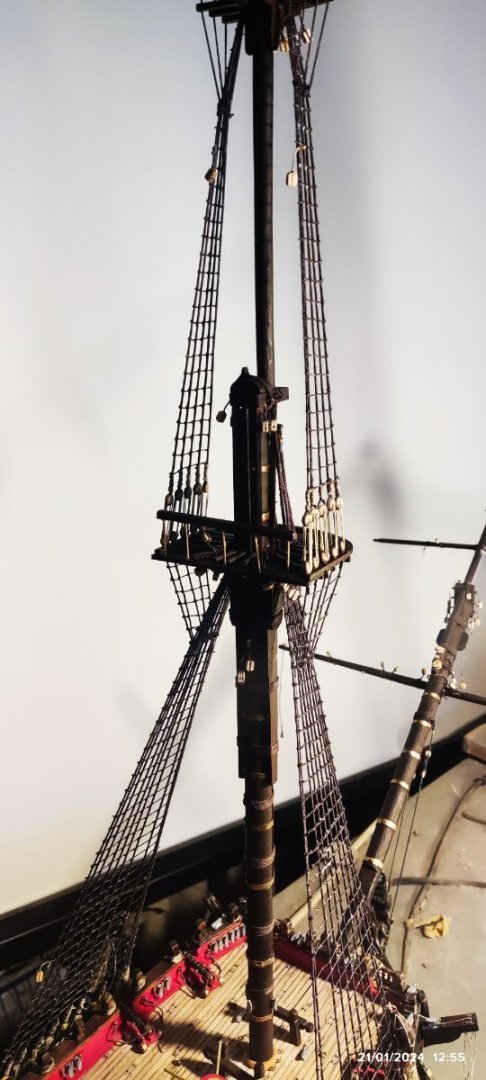
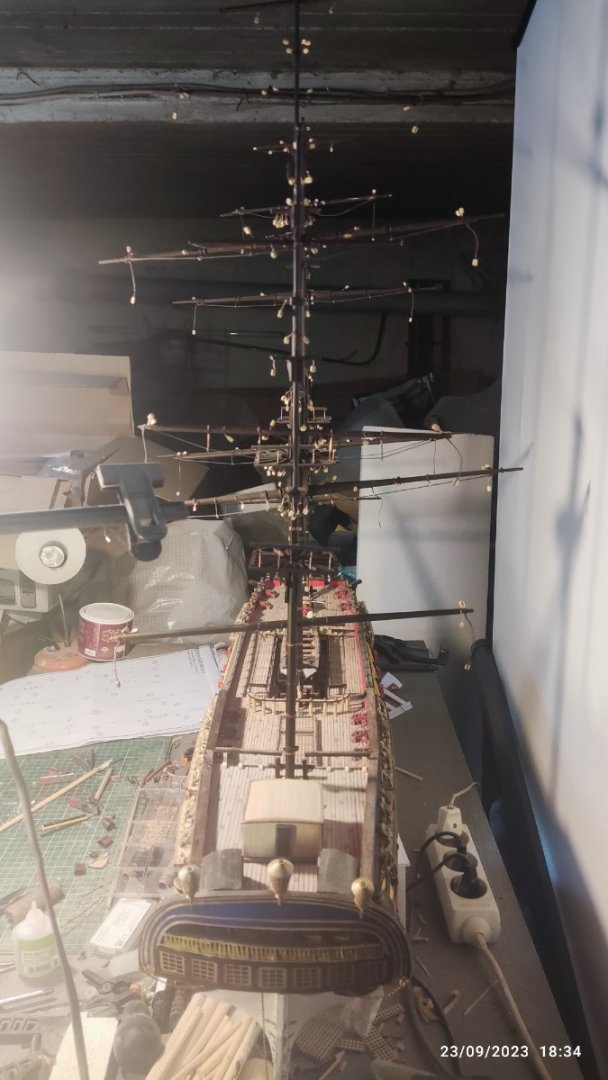
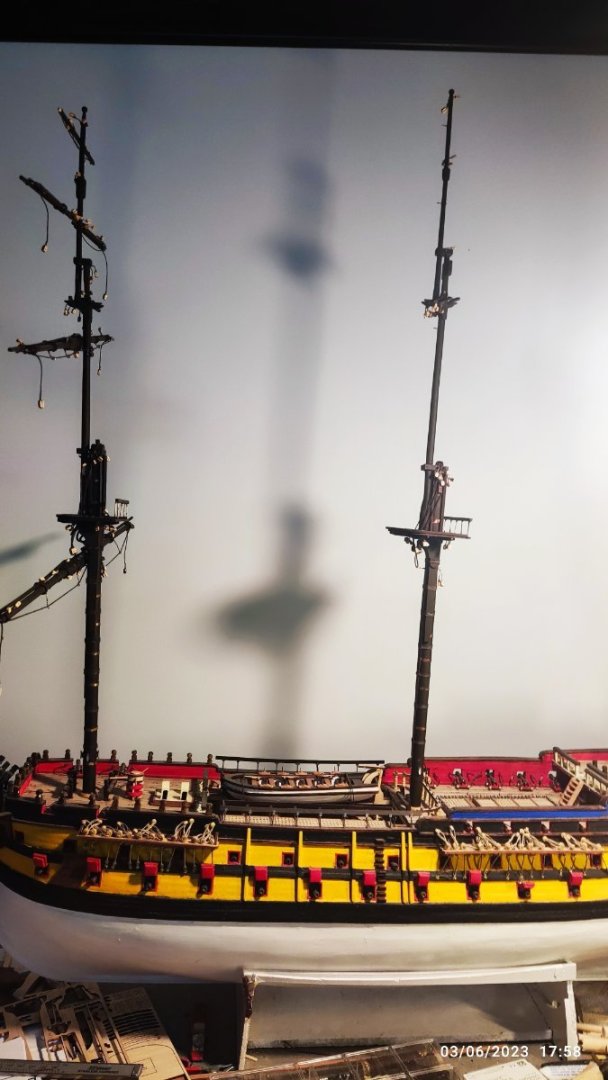
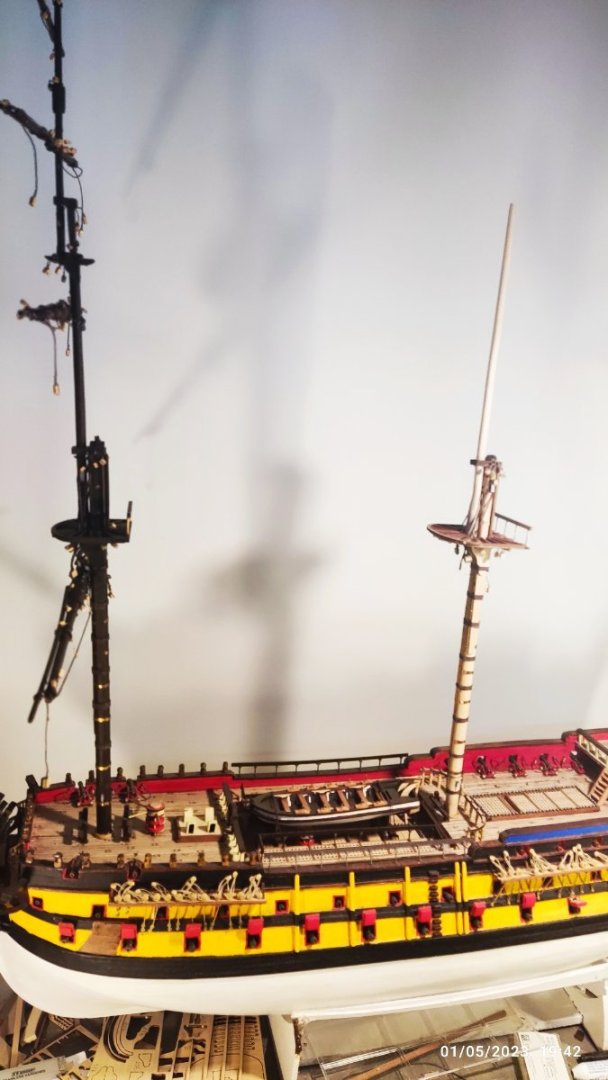
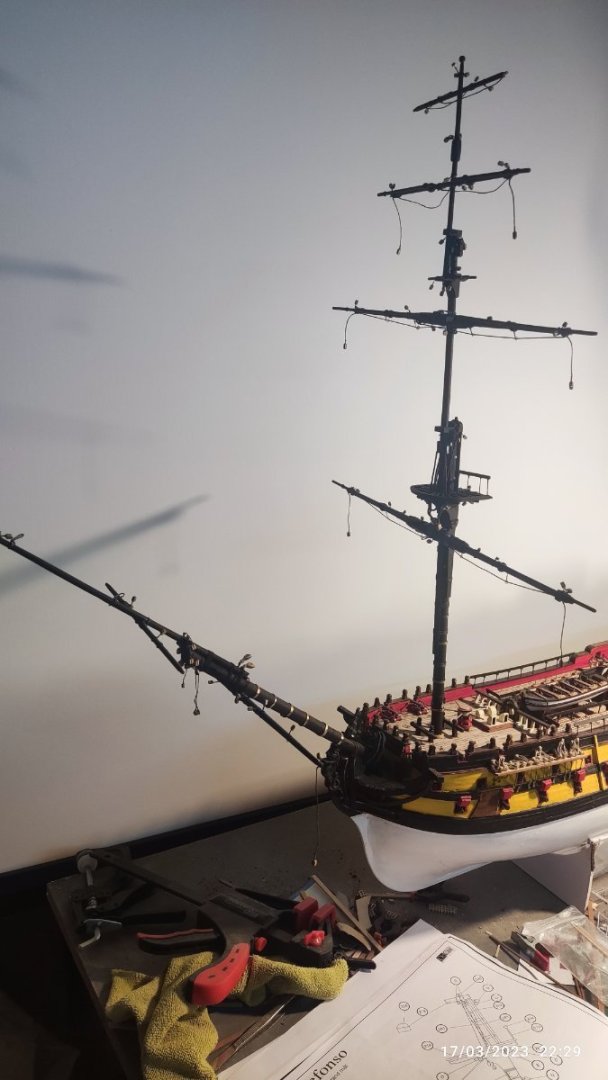
I finish the shrouds of the main mast. I put the permanent base of the model and as seen in fotos the final height of the model is 95,5 cm . The length is 1m 20 cm. I start now the shrouds for the mizzen mast.

-
These days i have recieve my next ship model to start after finish SAN ILDEFONSO...Is the Number 495 from 999 parts of the Britisch Ship HMS VICTORY from OCCRE. The price isn't cheap,but is a quality kit in limited copies (999 only) and all copies are numbered with plate. It came in a 16 kilos package...in a wooden case...So after i finish this model, i will start that...
-
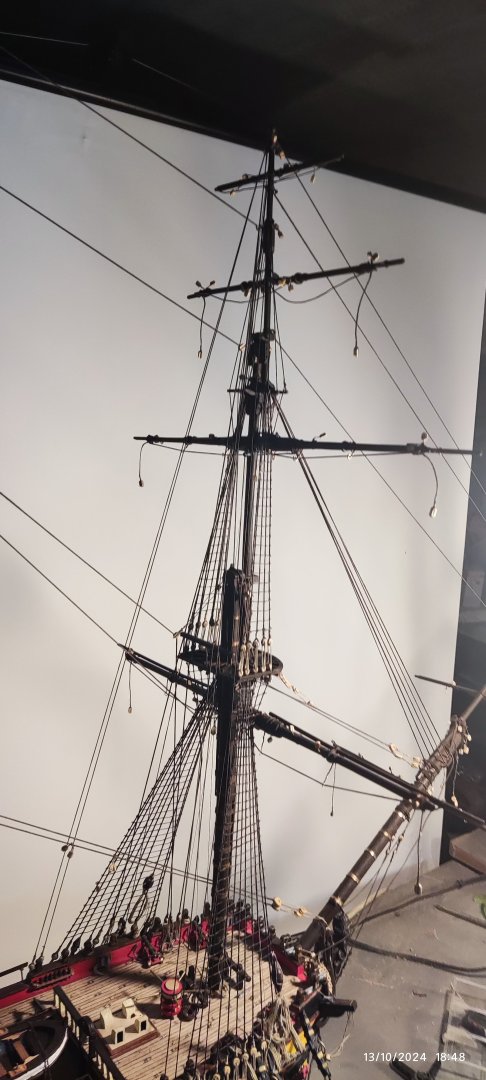
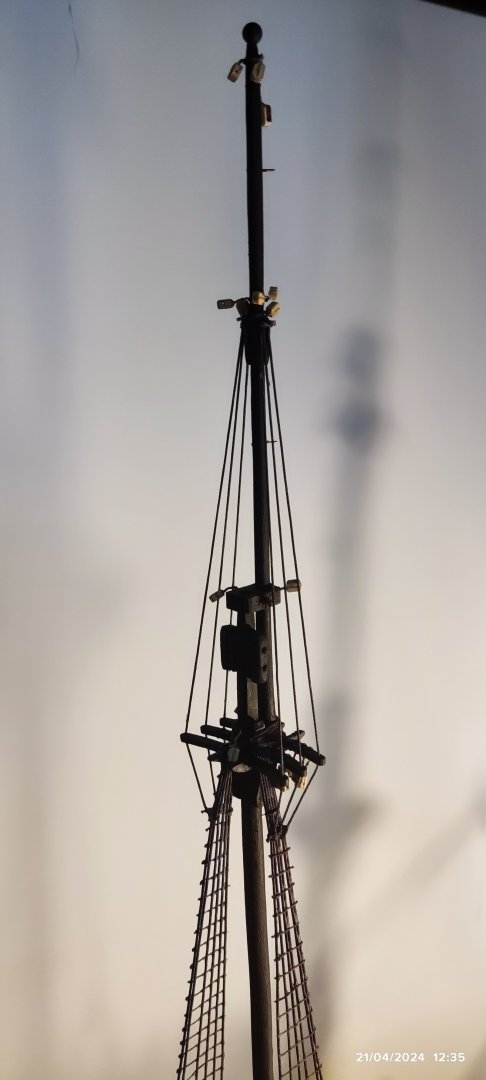
Now all shrouds for the fore mast are done. Both sides of the ship. I procced to the main mast for the same job...
-
Finish the same job in the left side of the ship. Move up now....


-
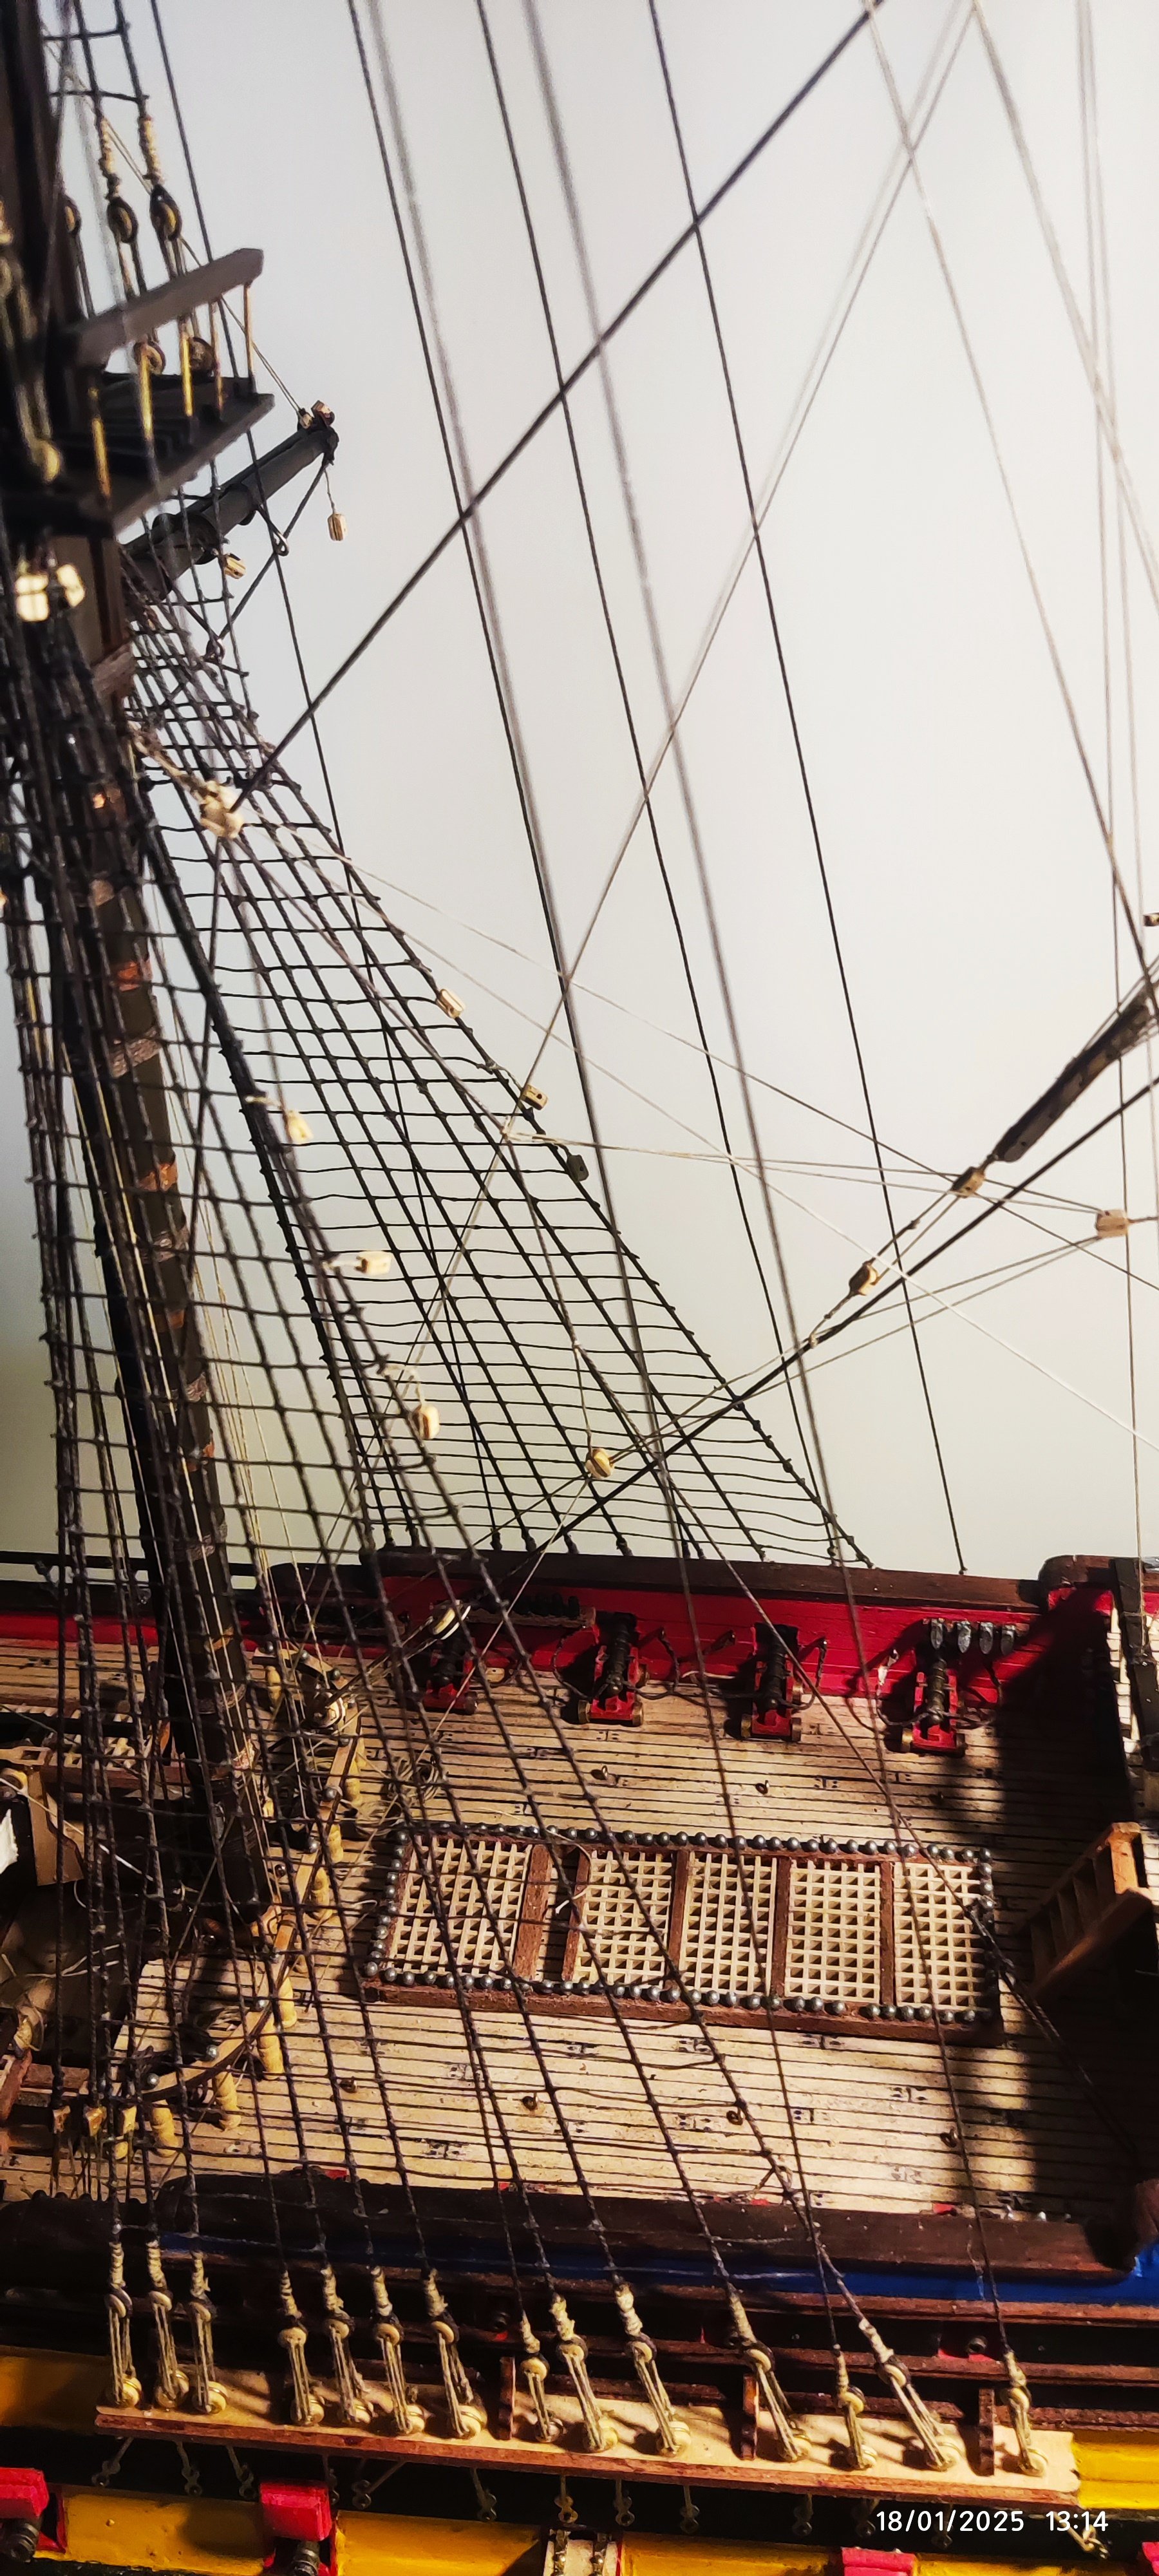
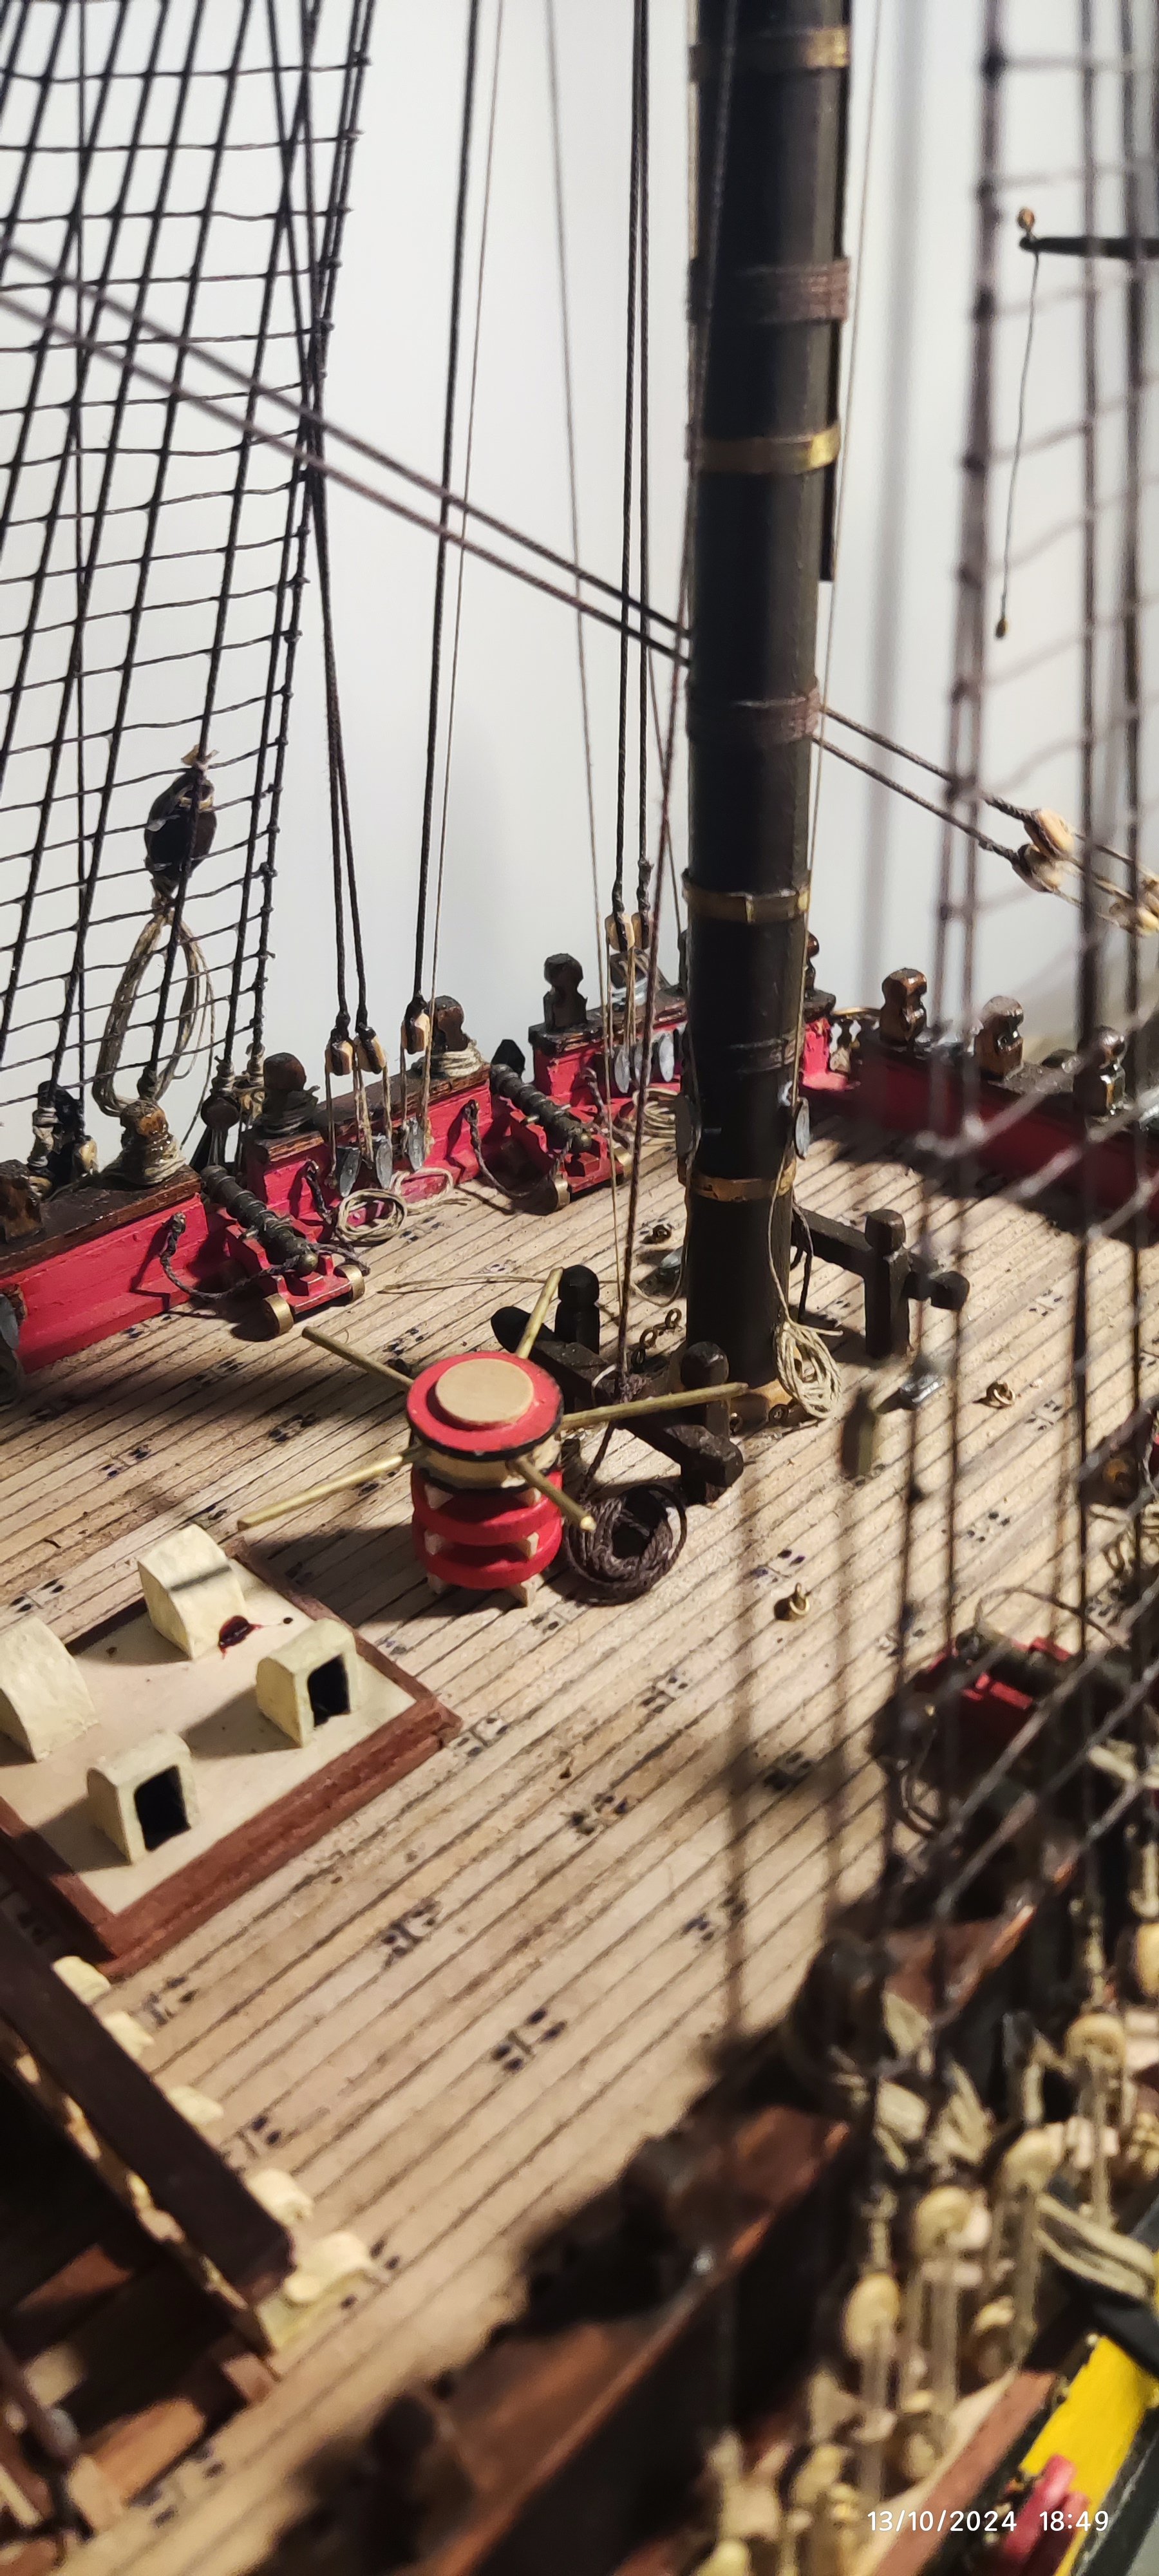
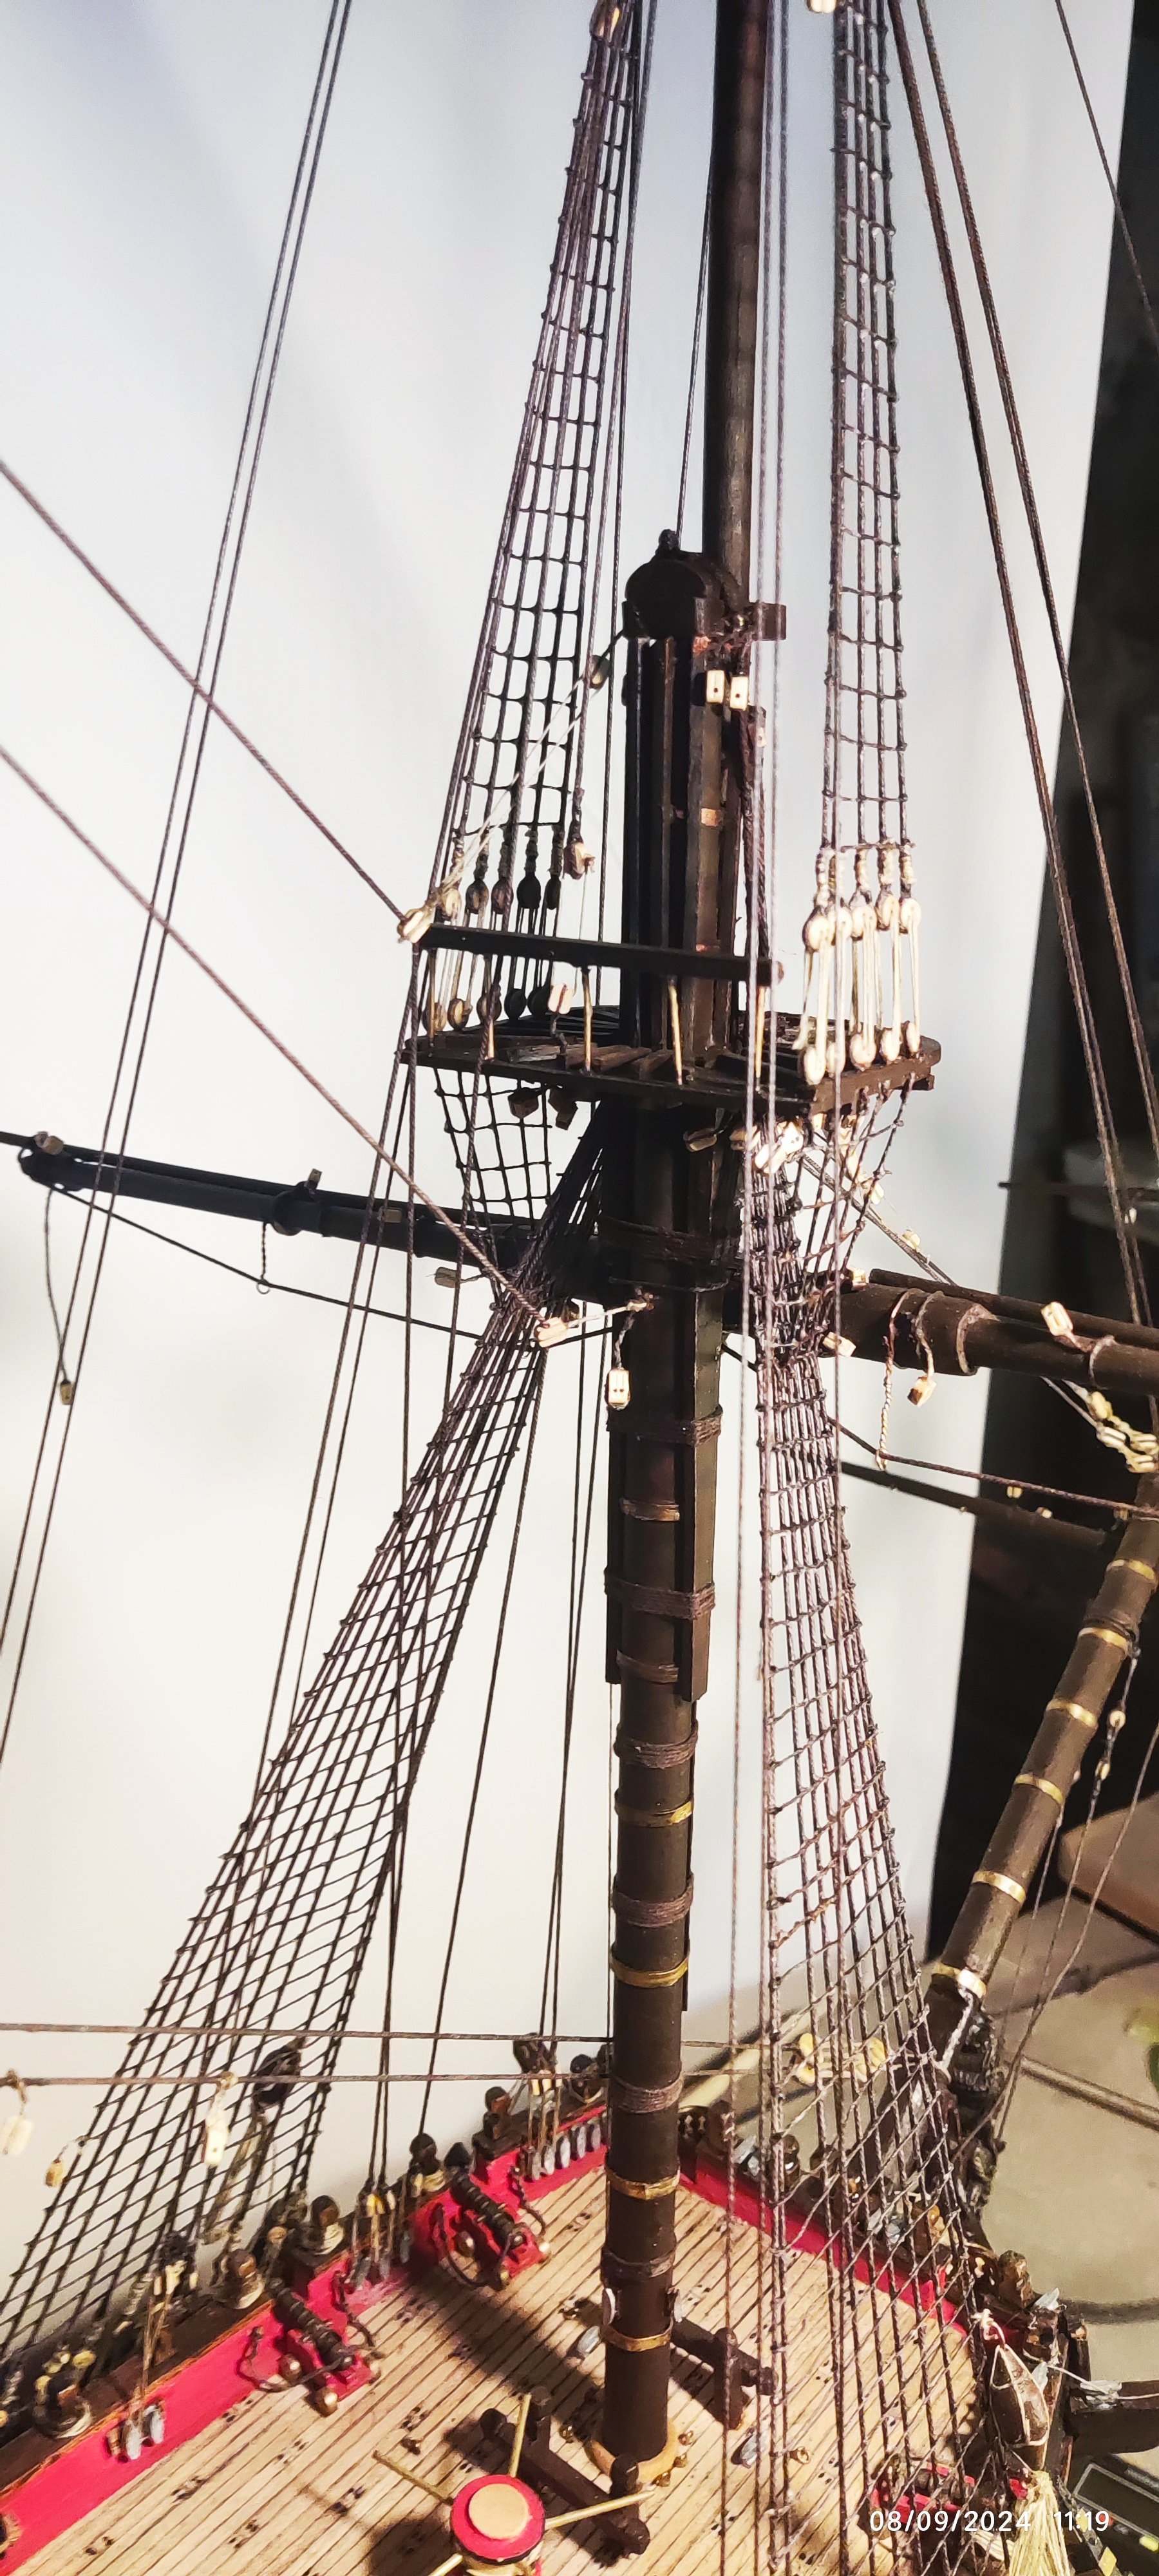
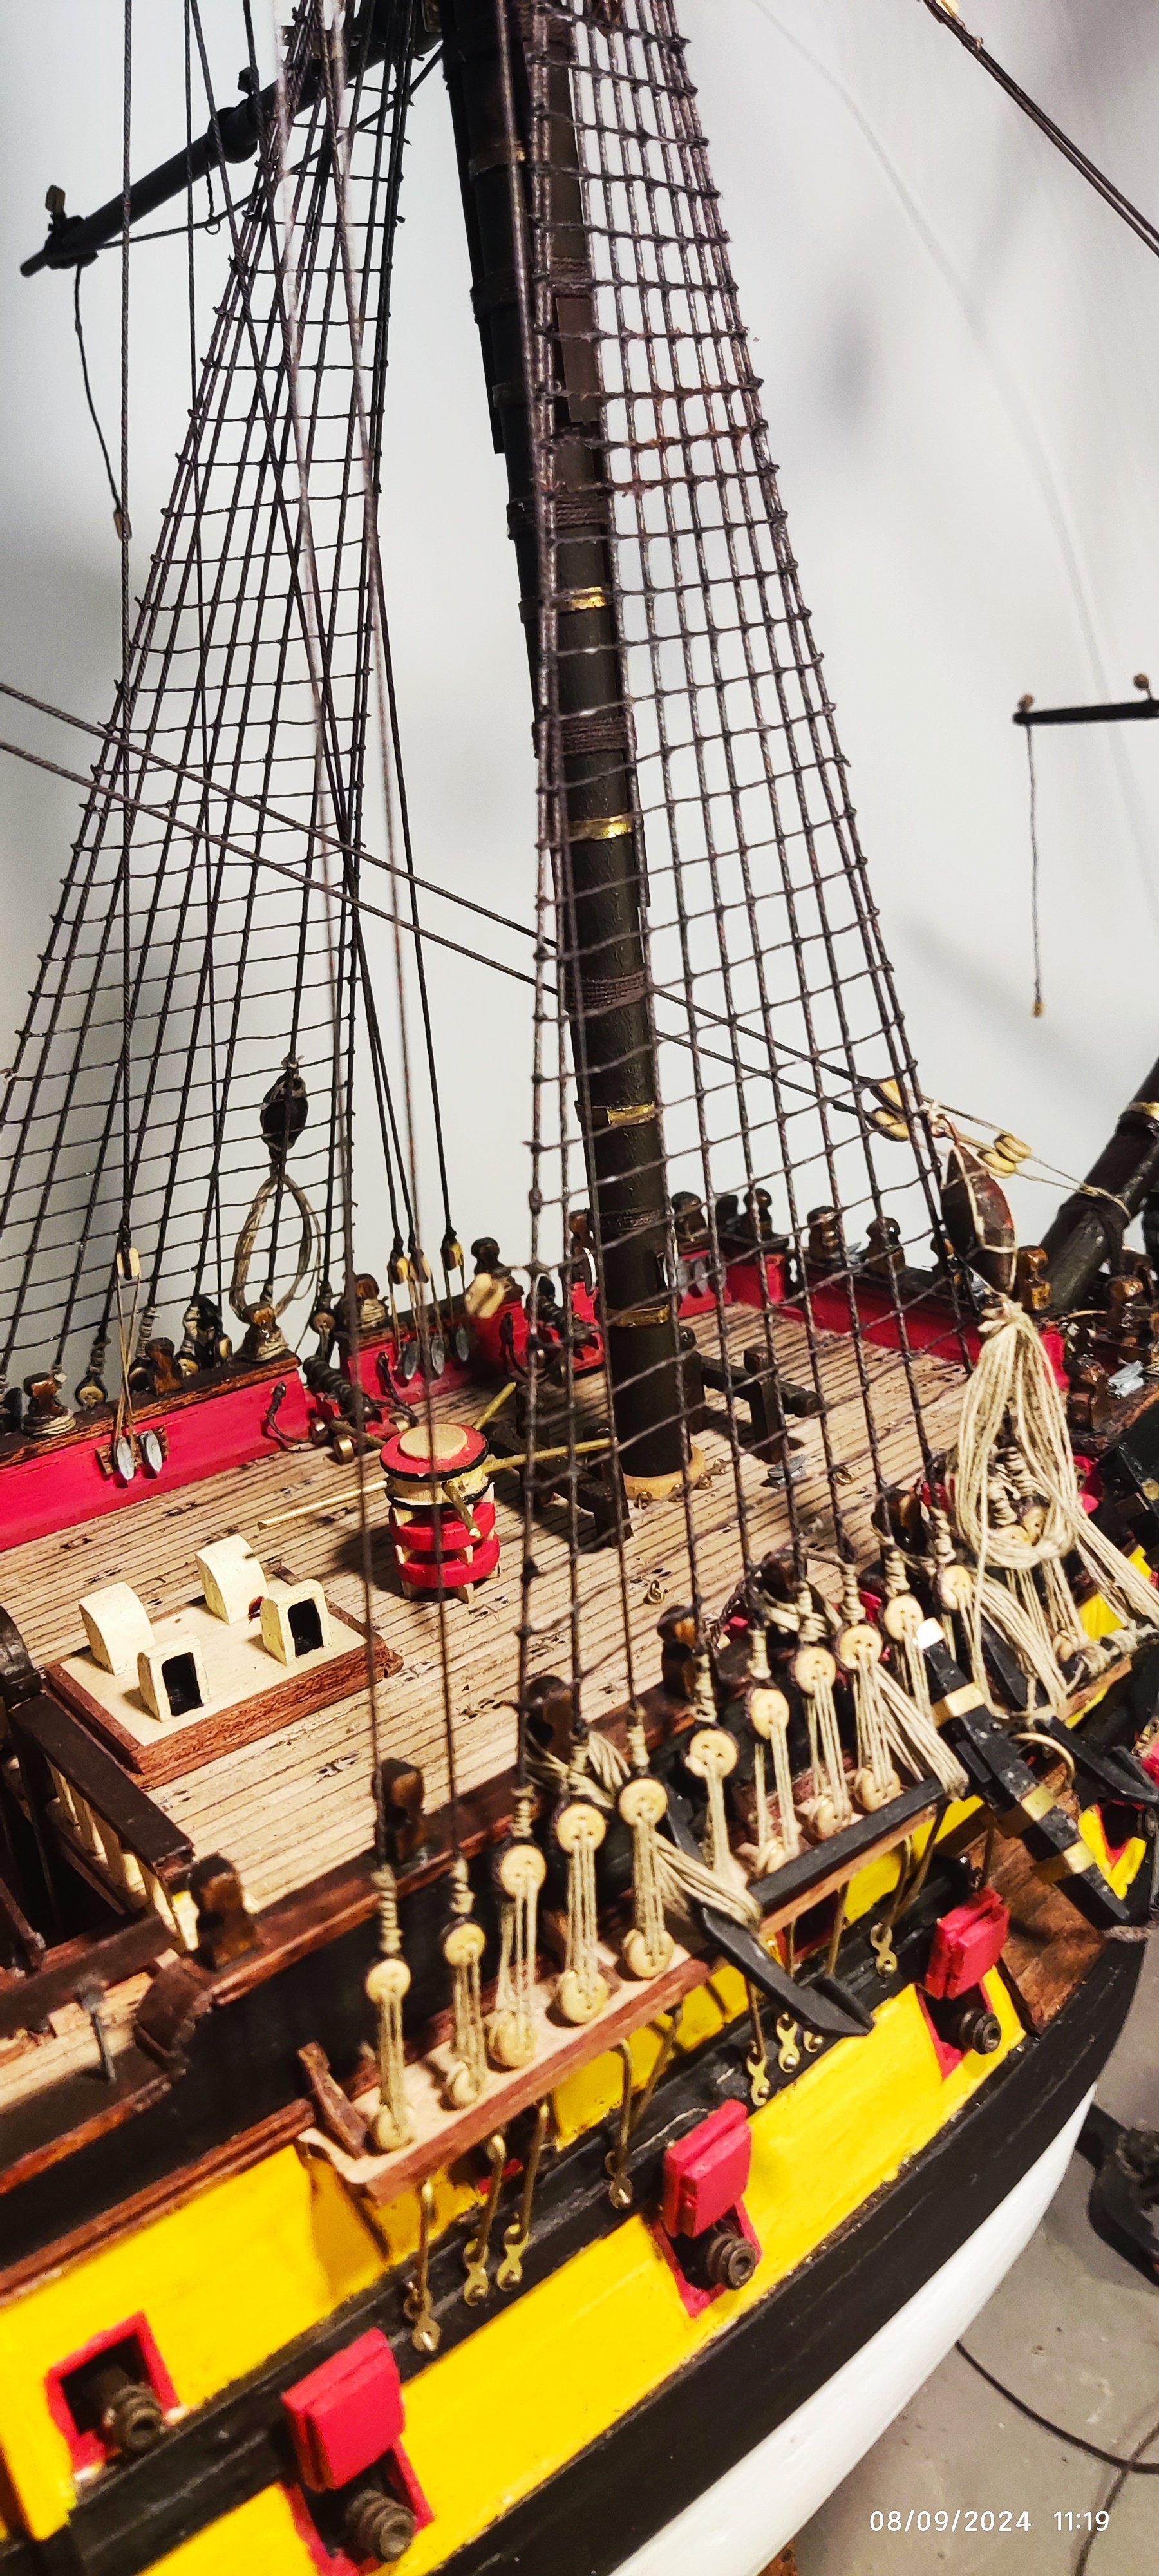
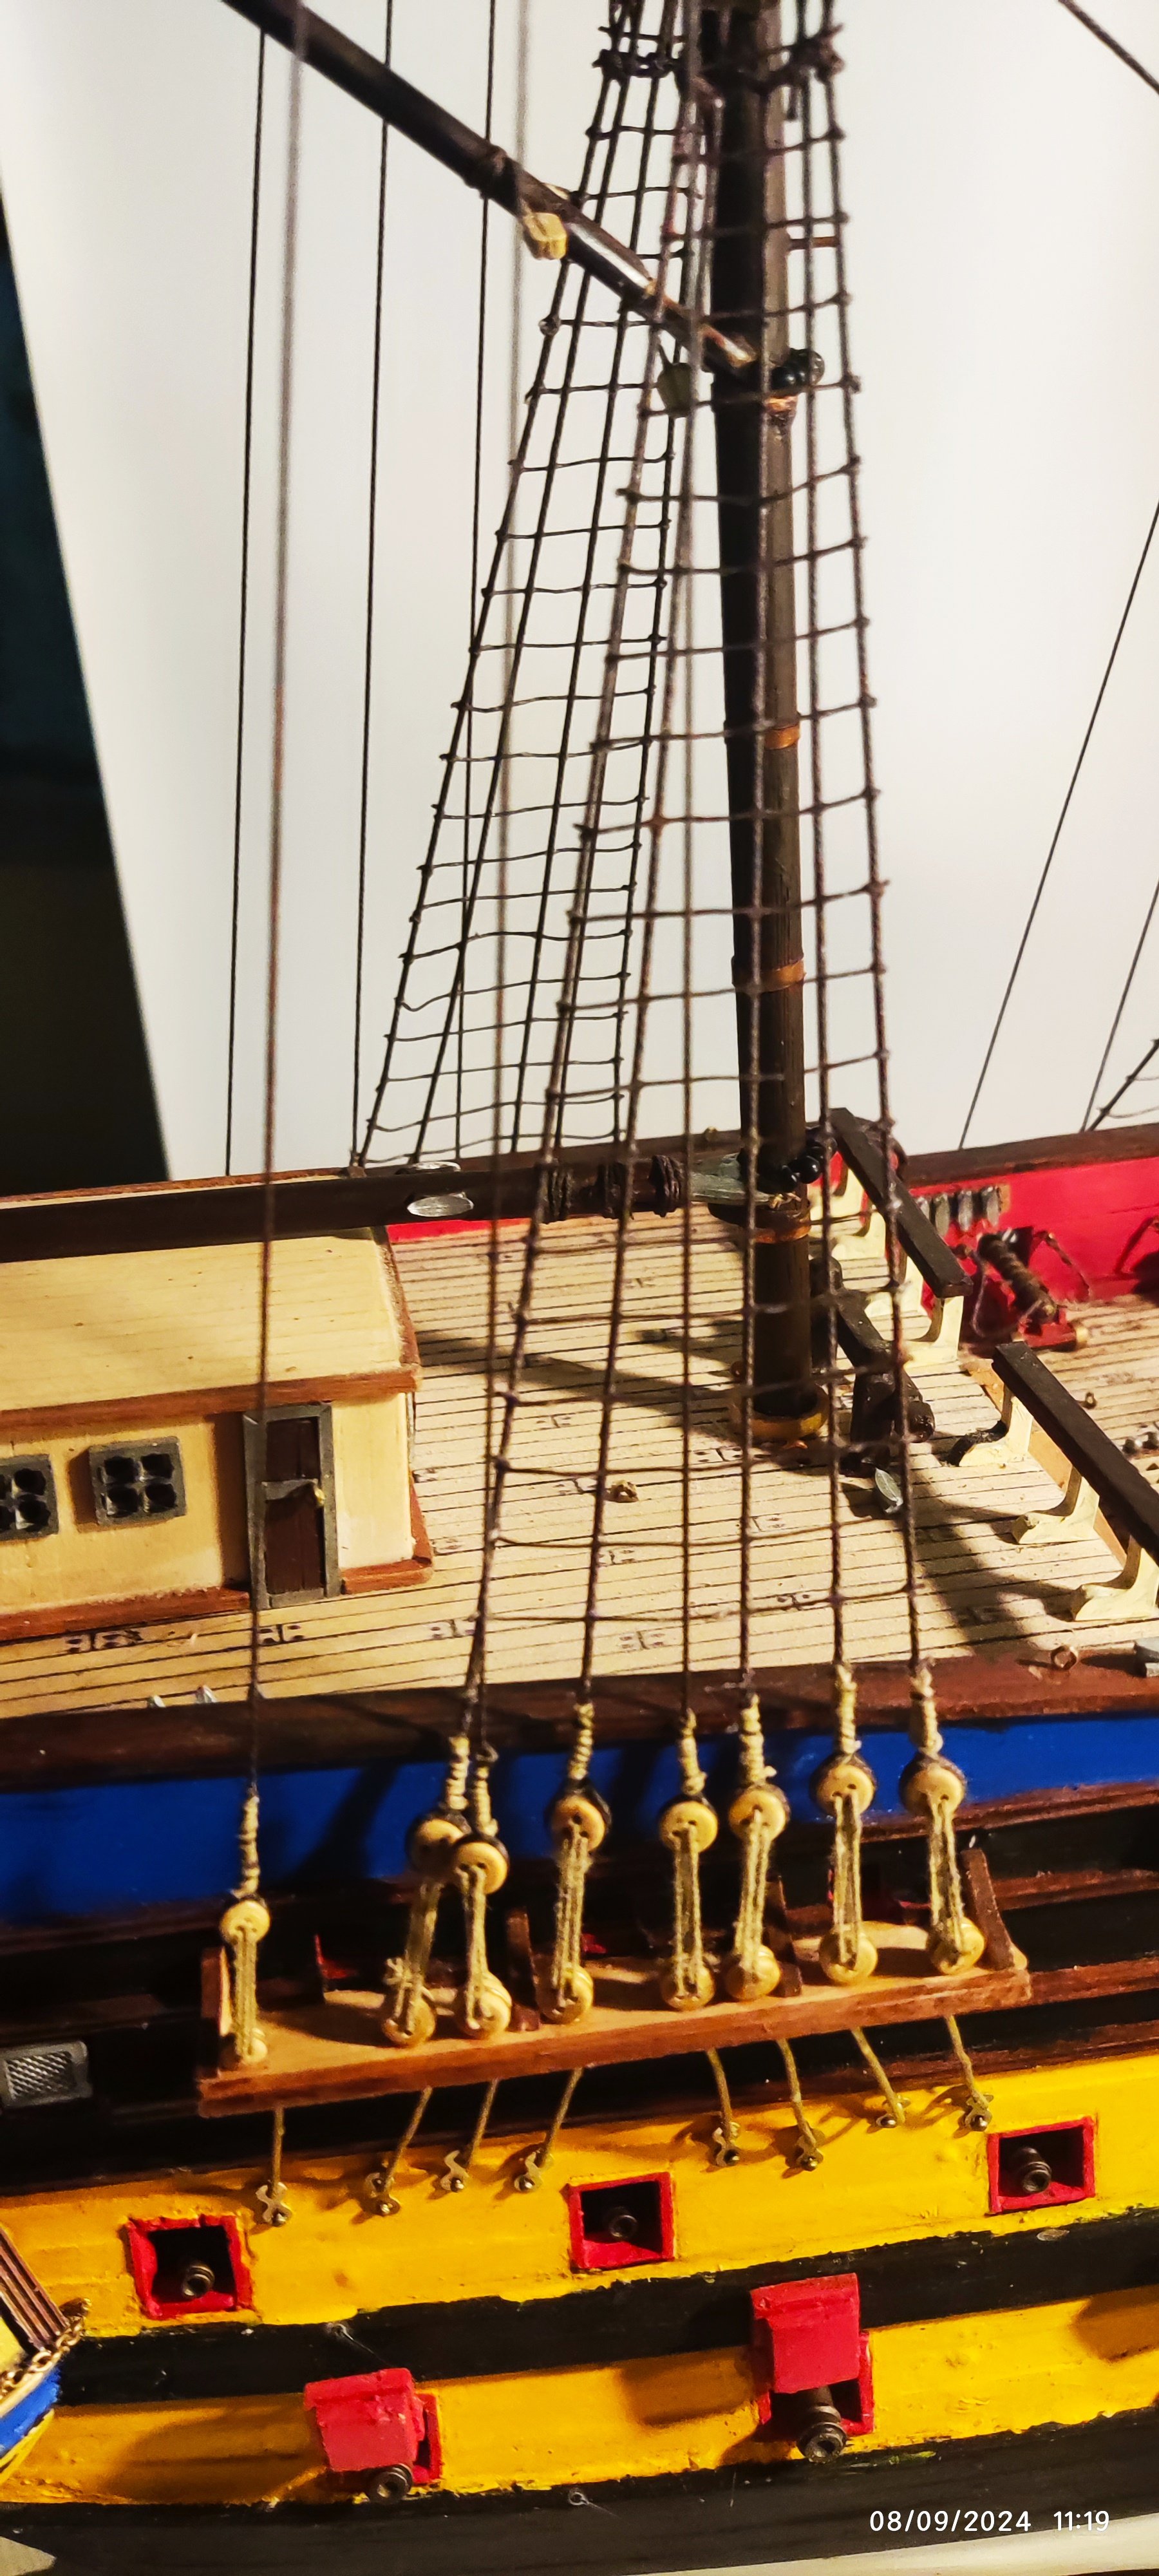
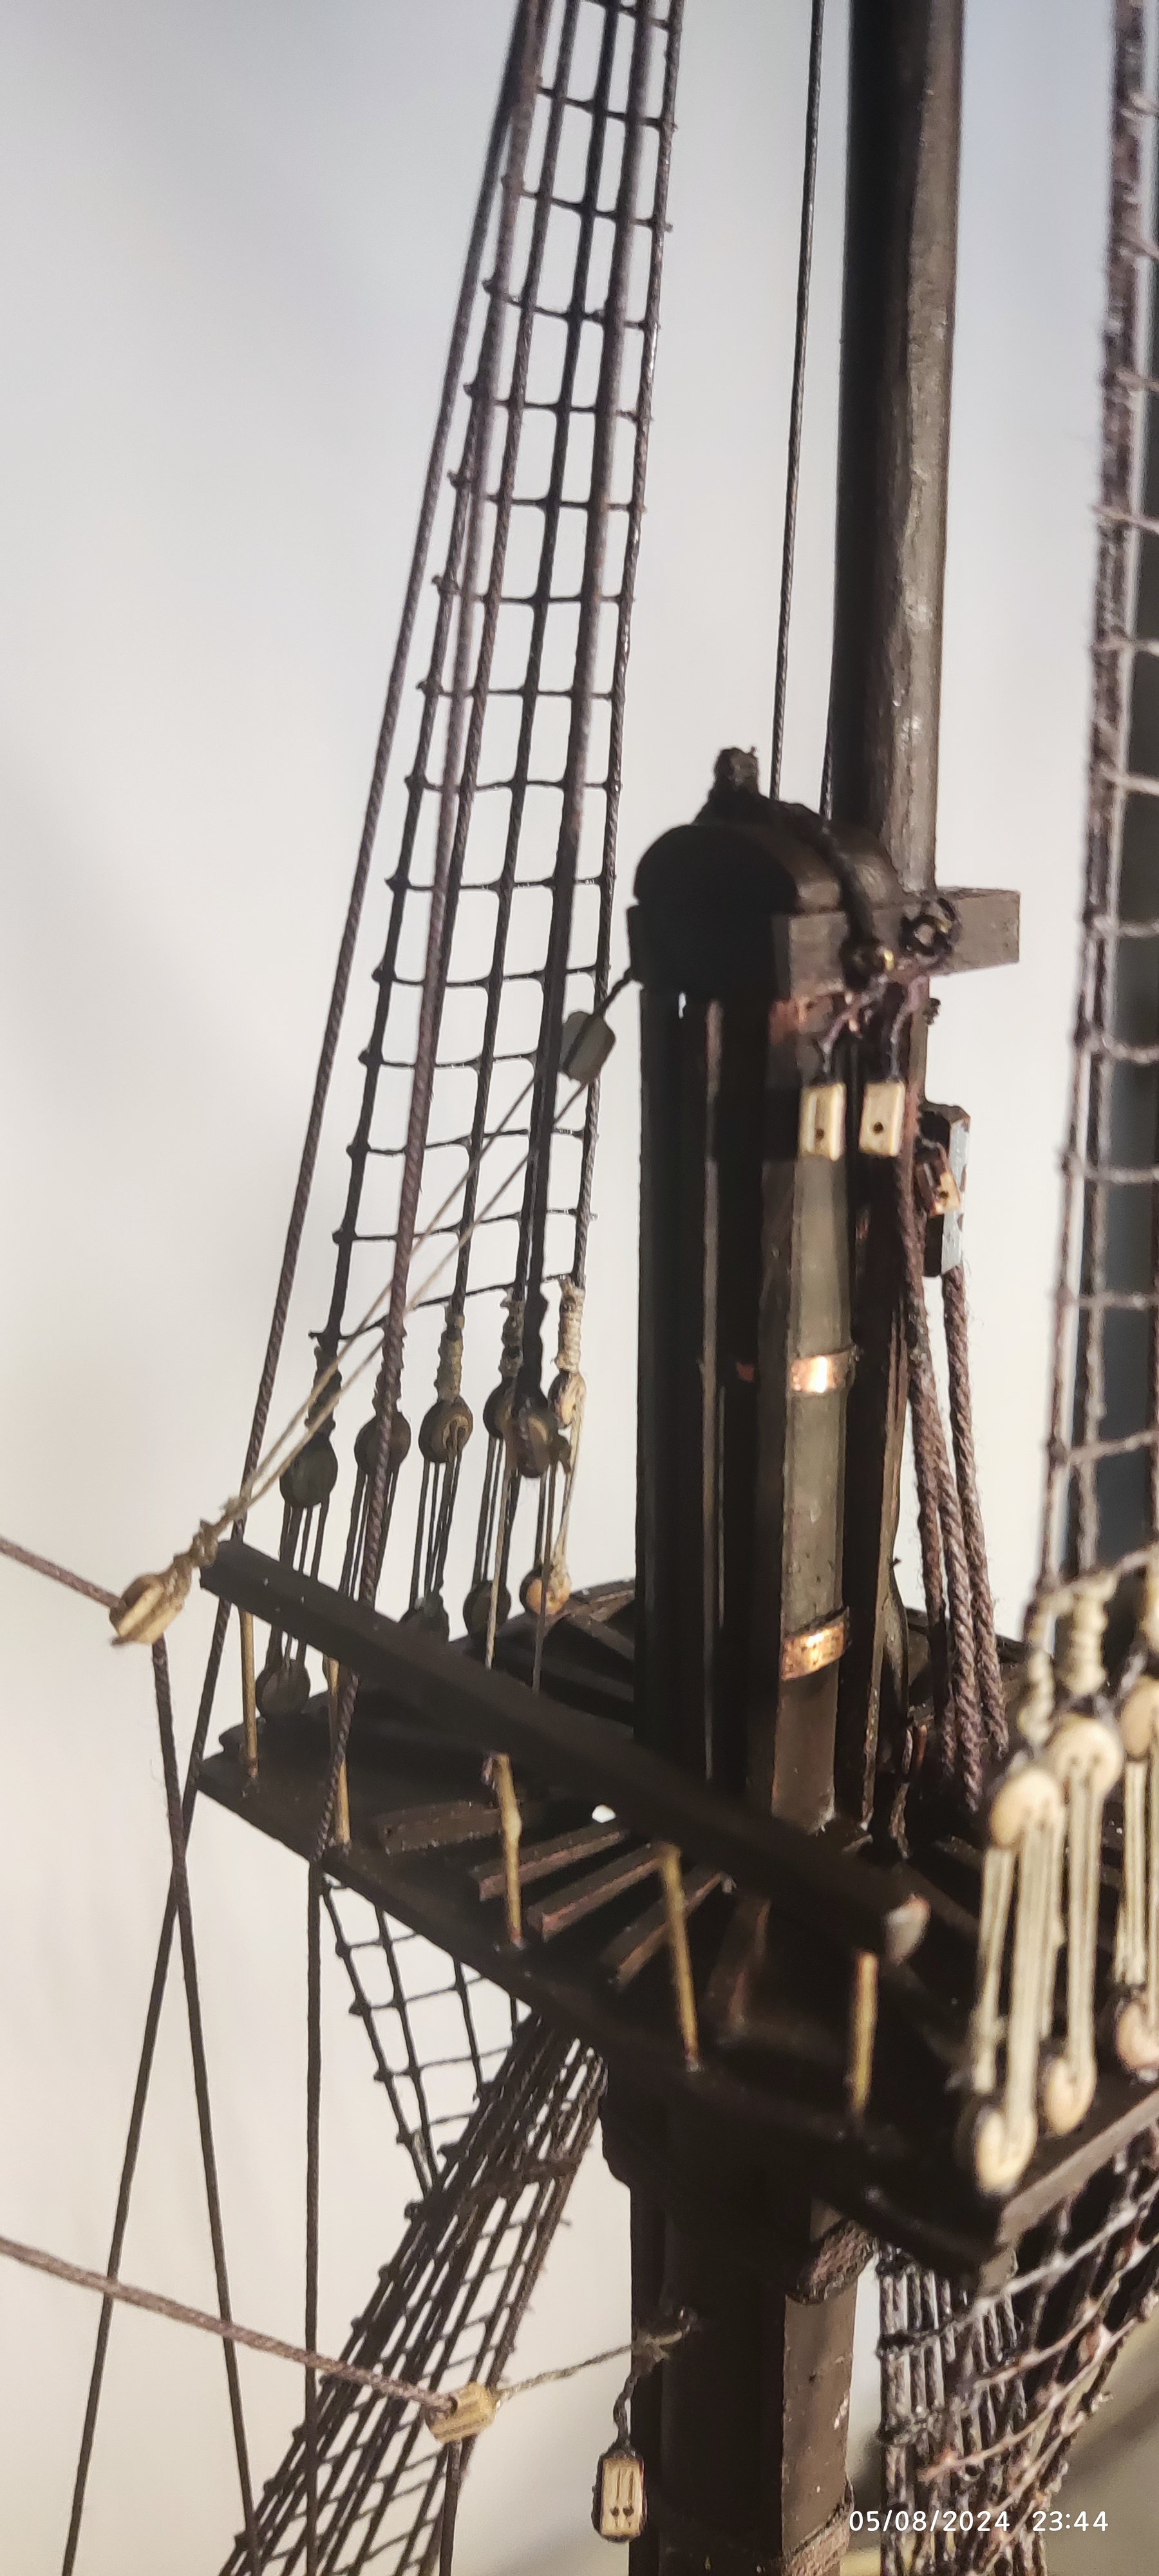
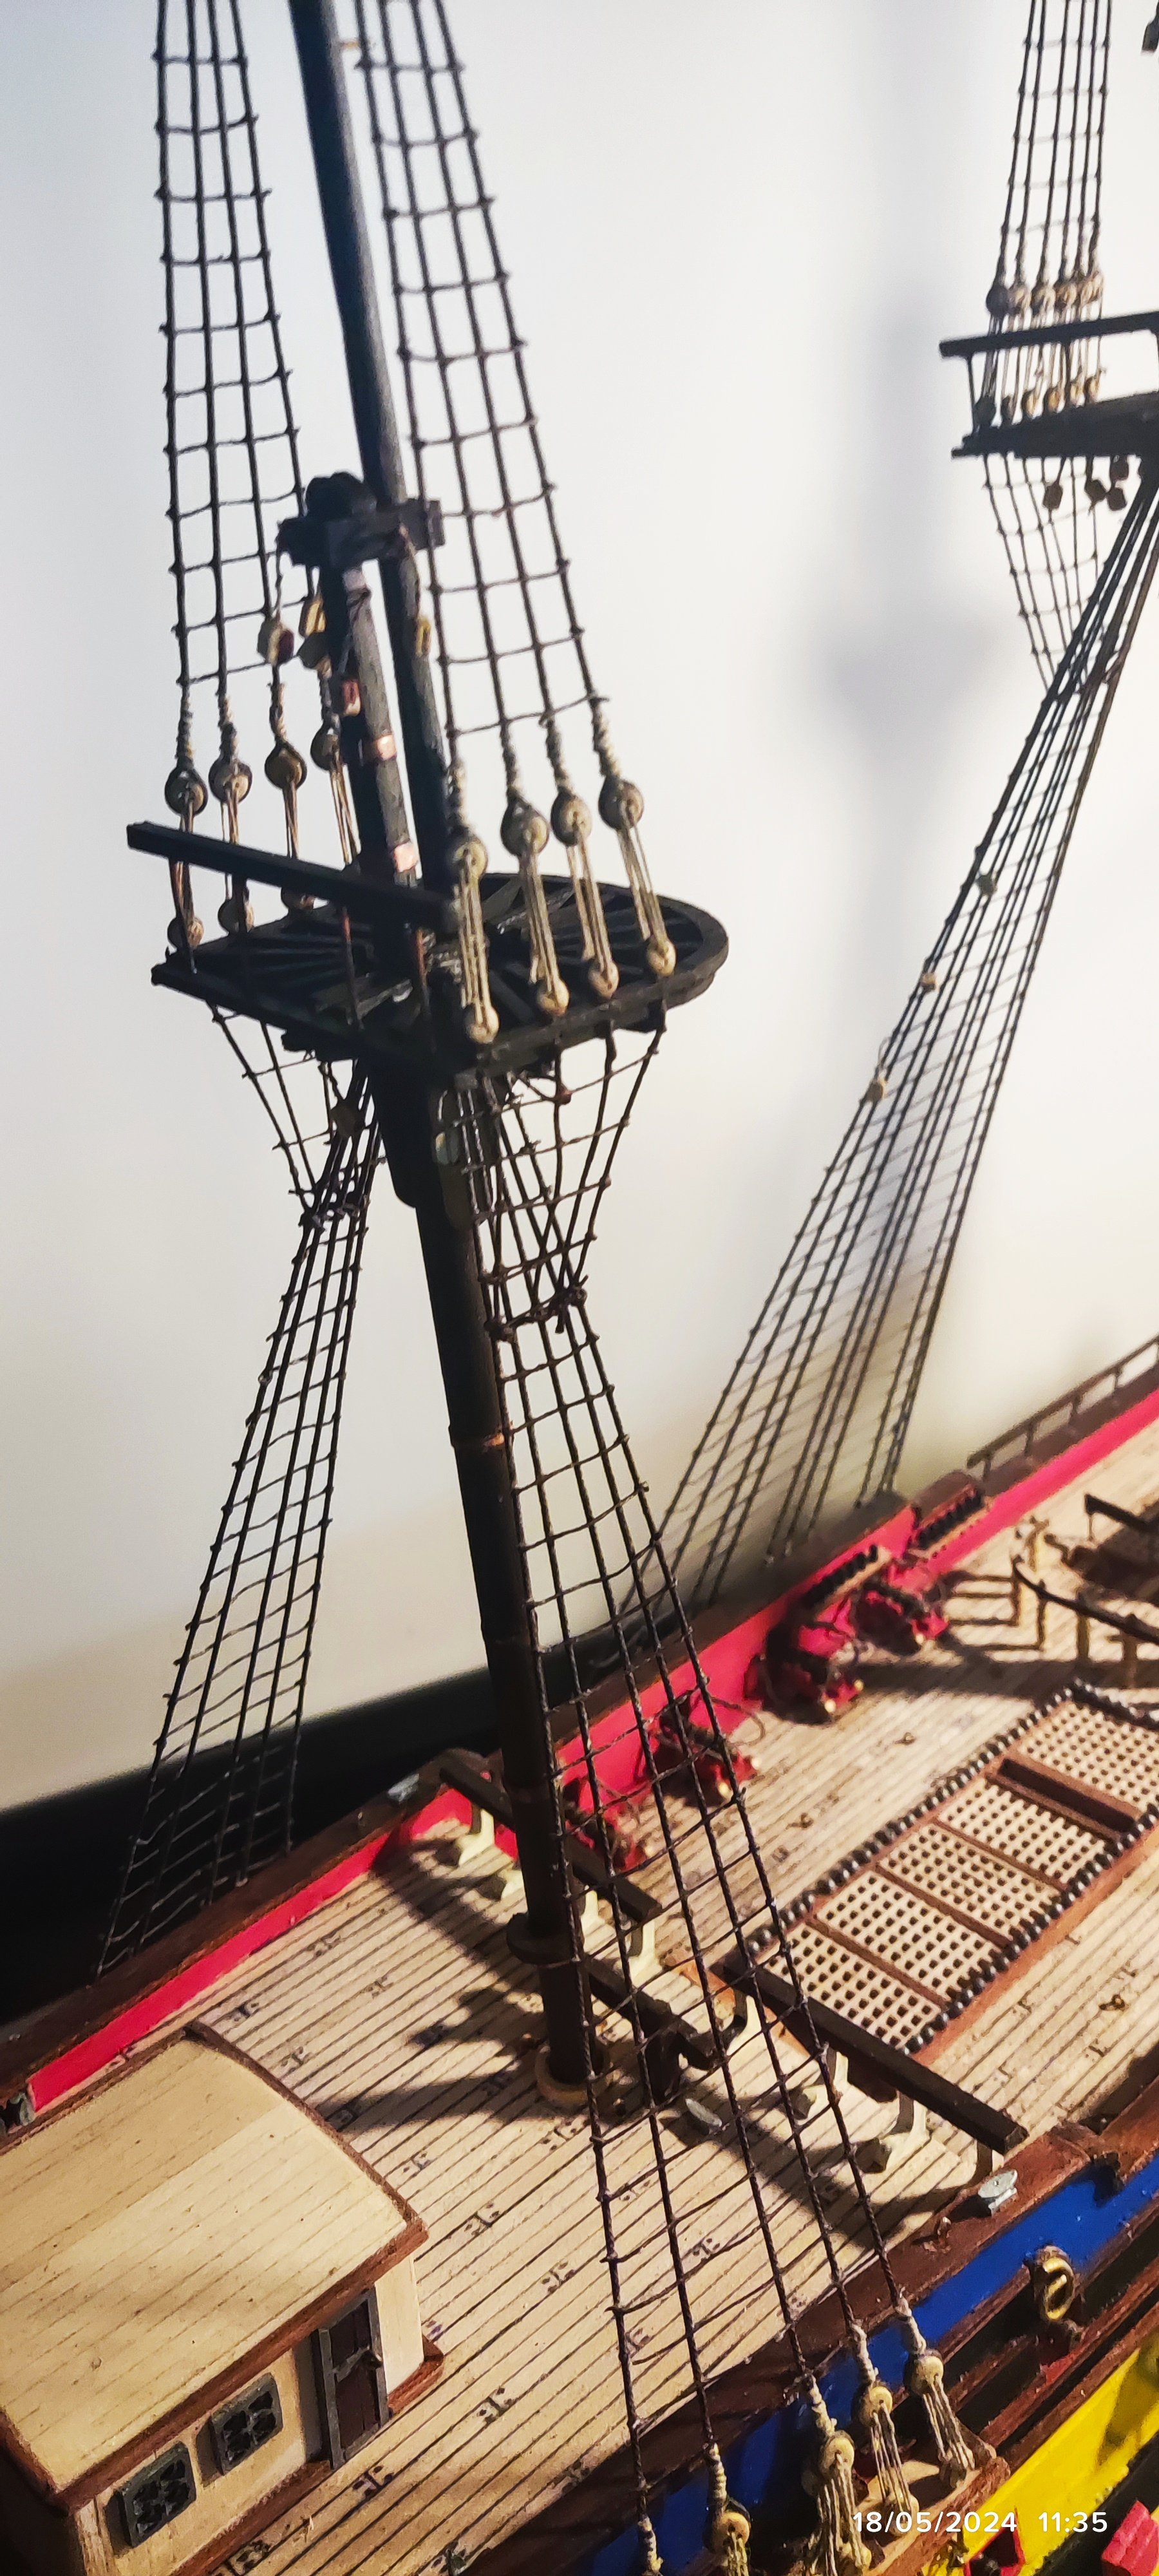
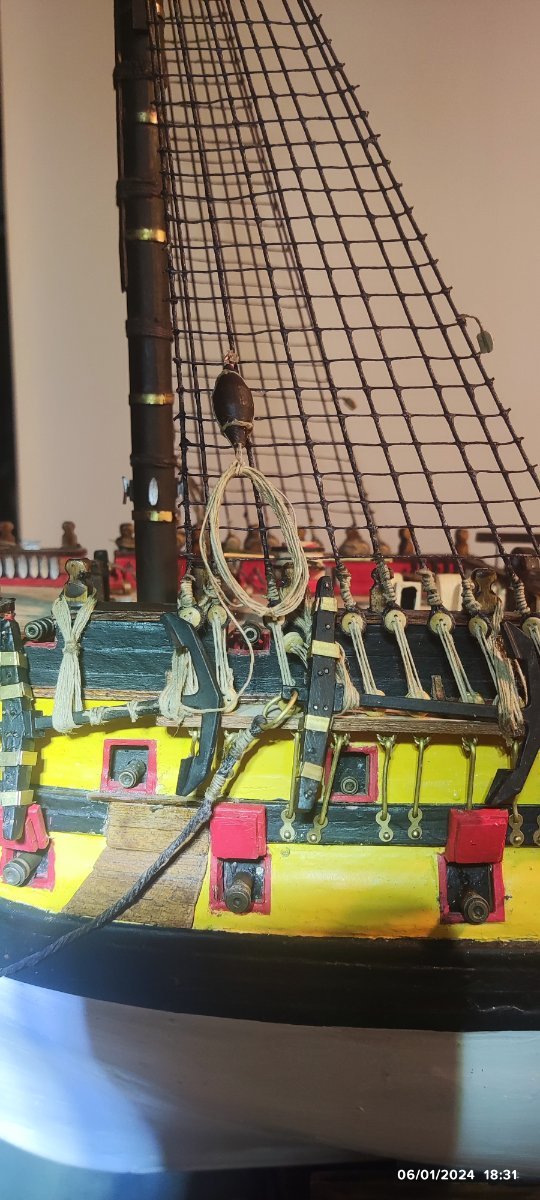
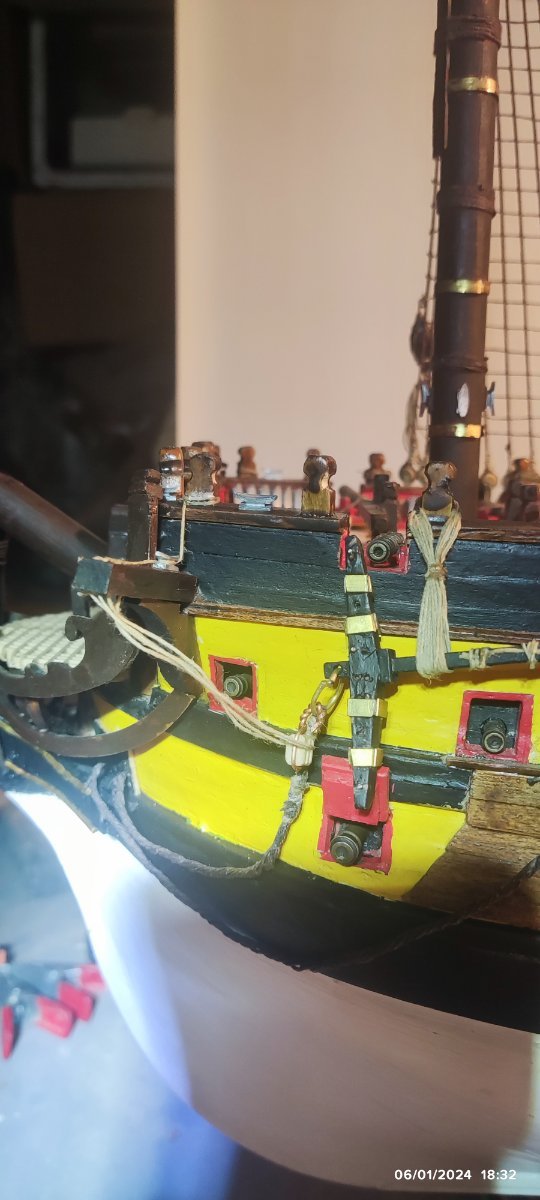
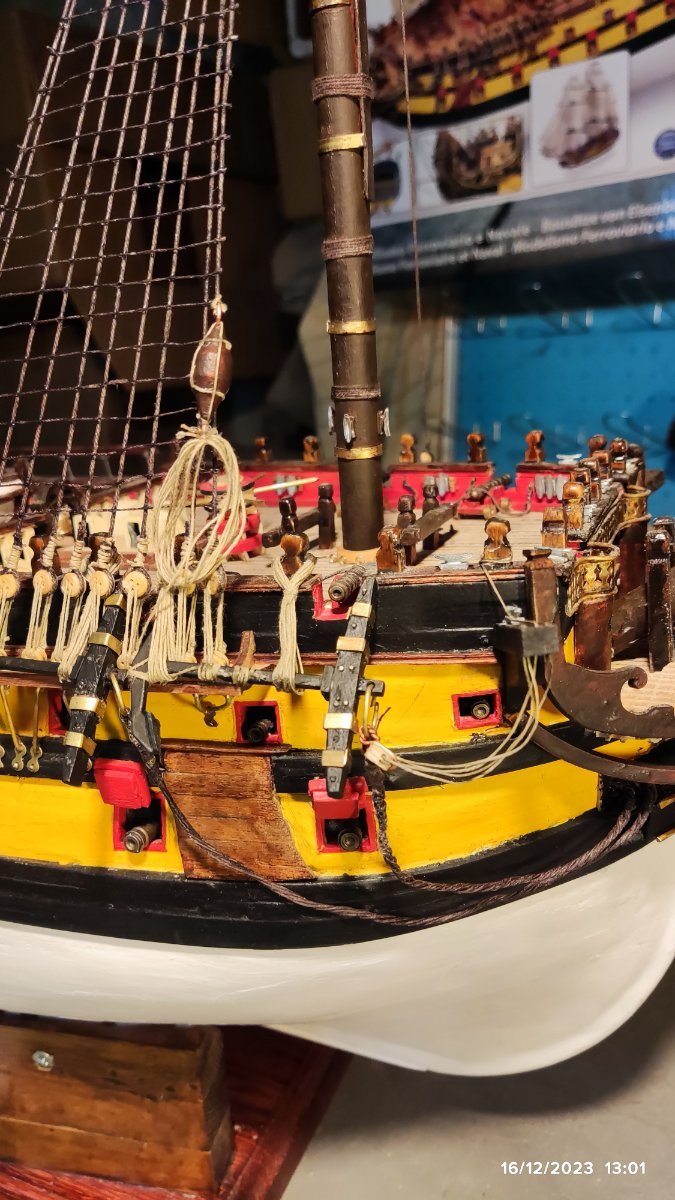
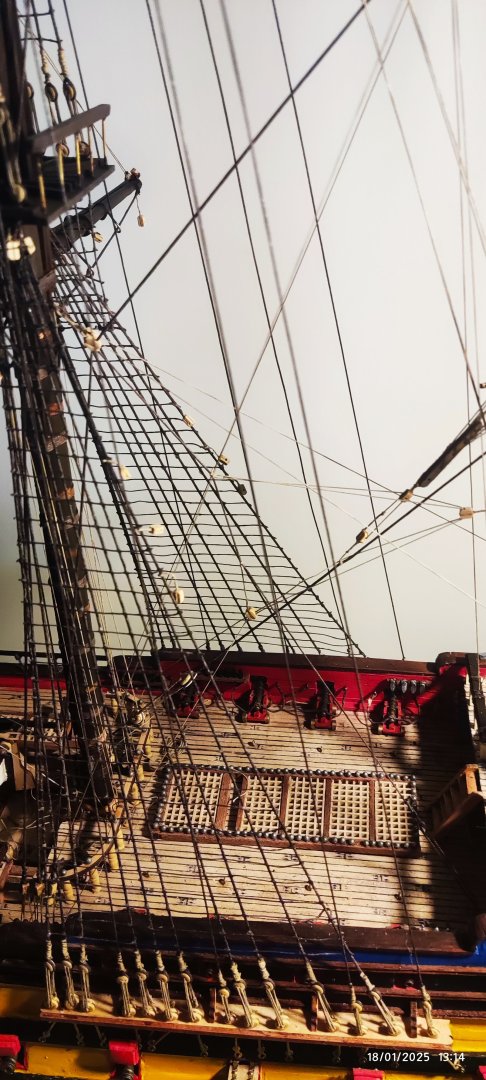
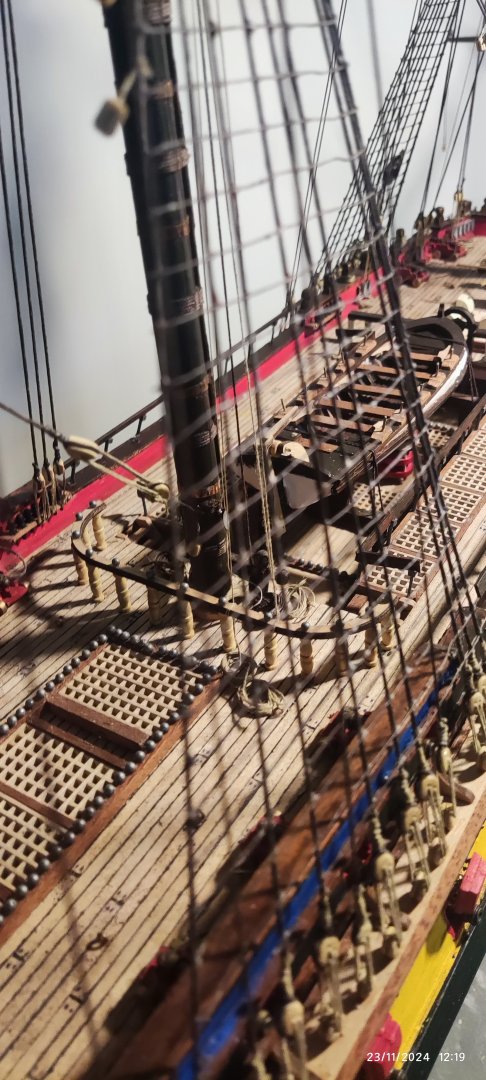
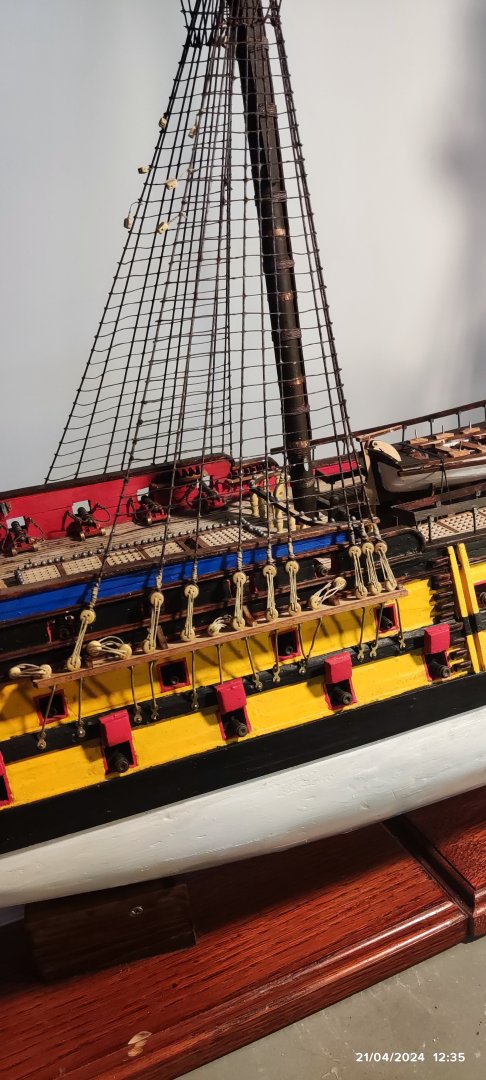
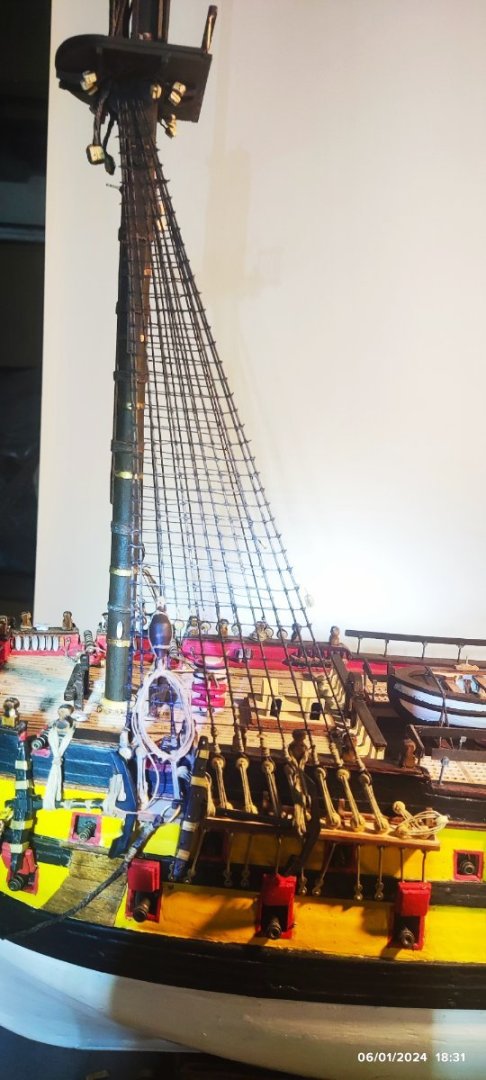
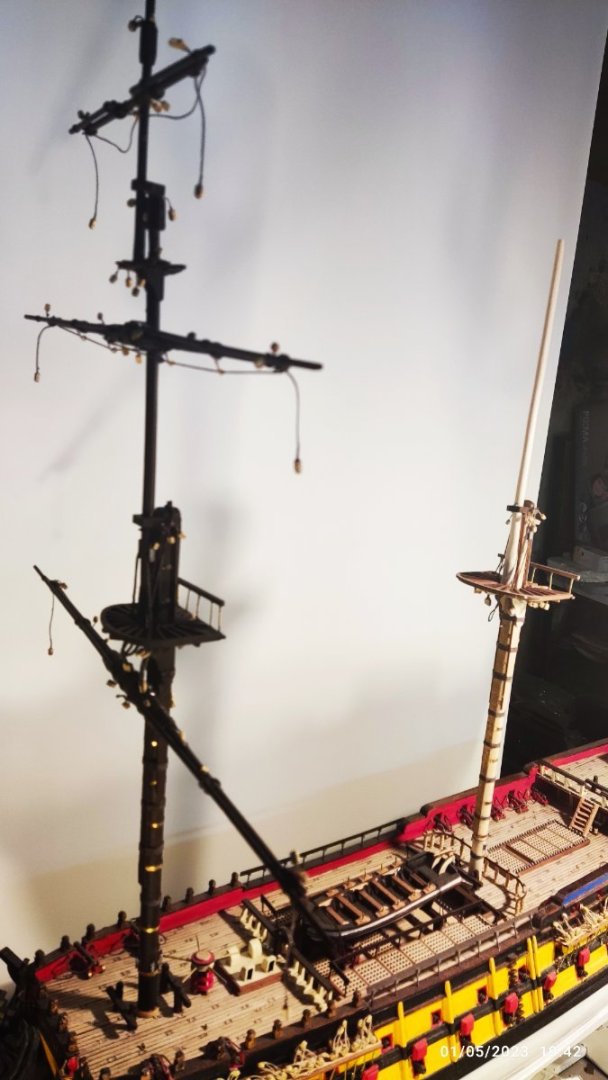
Now i start the rigging. I put in place the shrouds for the foremast using thread 0,80 brown. Then the ratlines using brown thread 0,15. After the two anckors with all the equipment, as shown in the manual. The same must be made for the other side of the ship and go on...


-
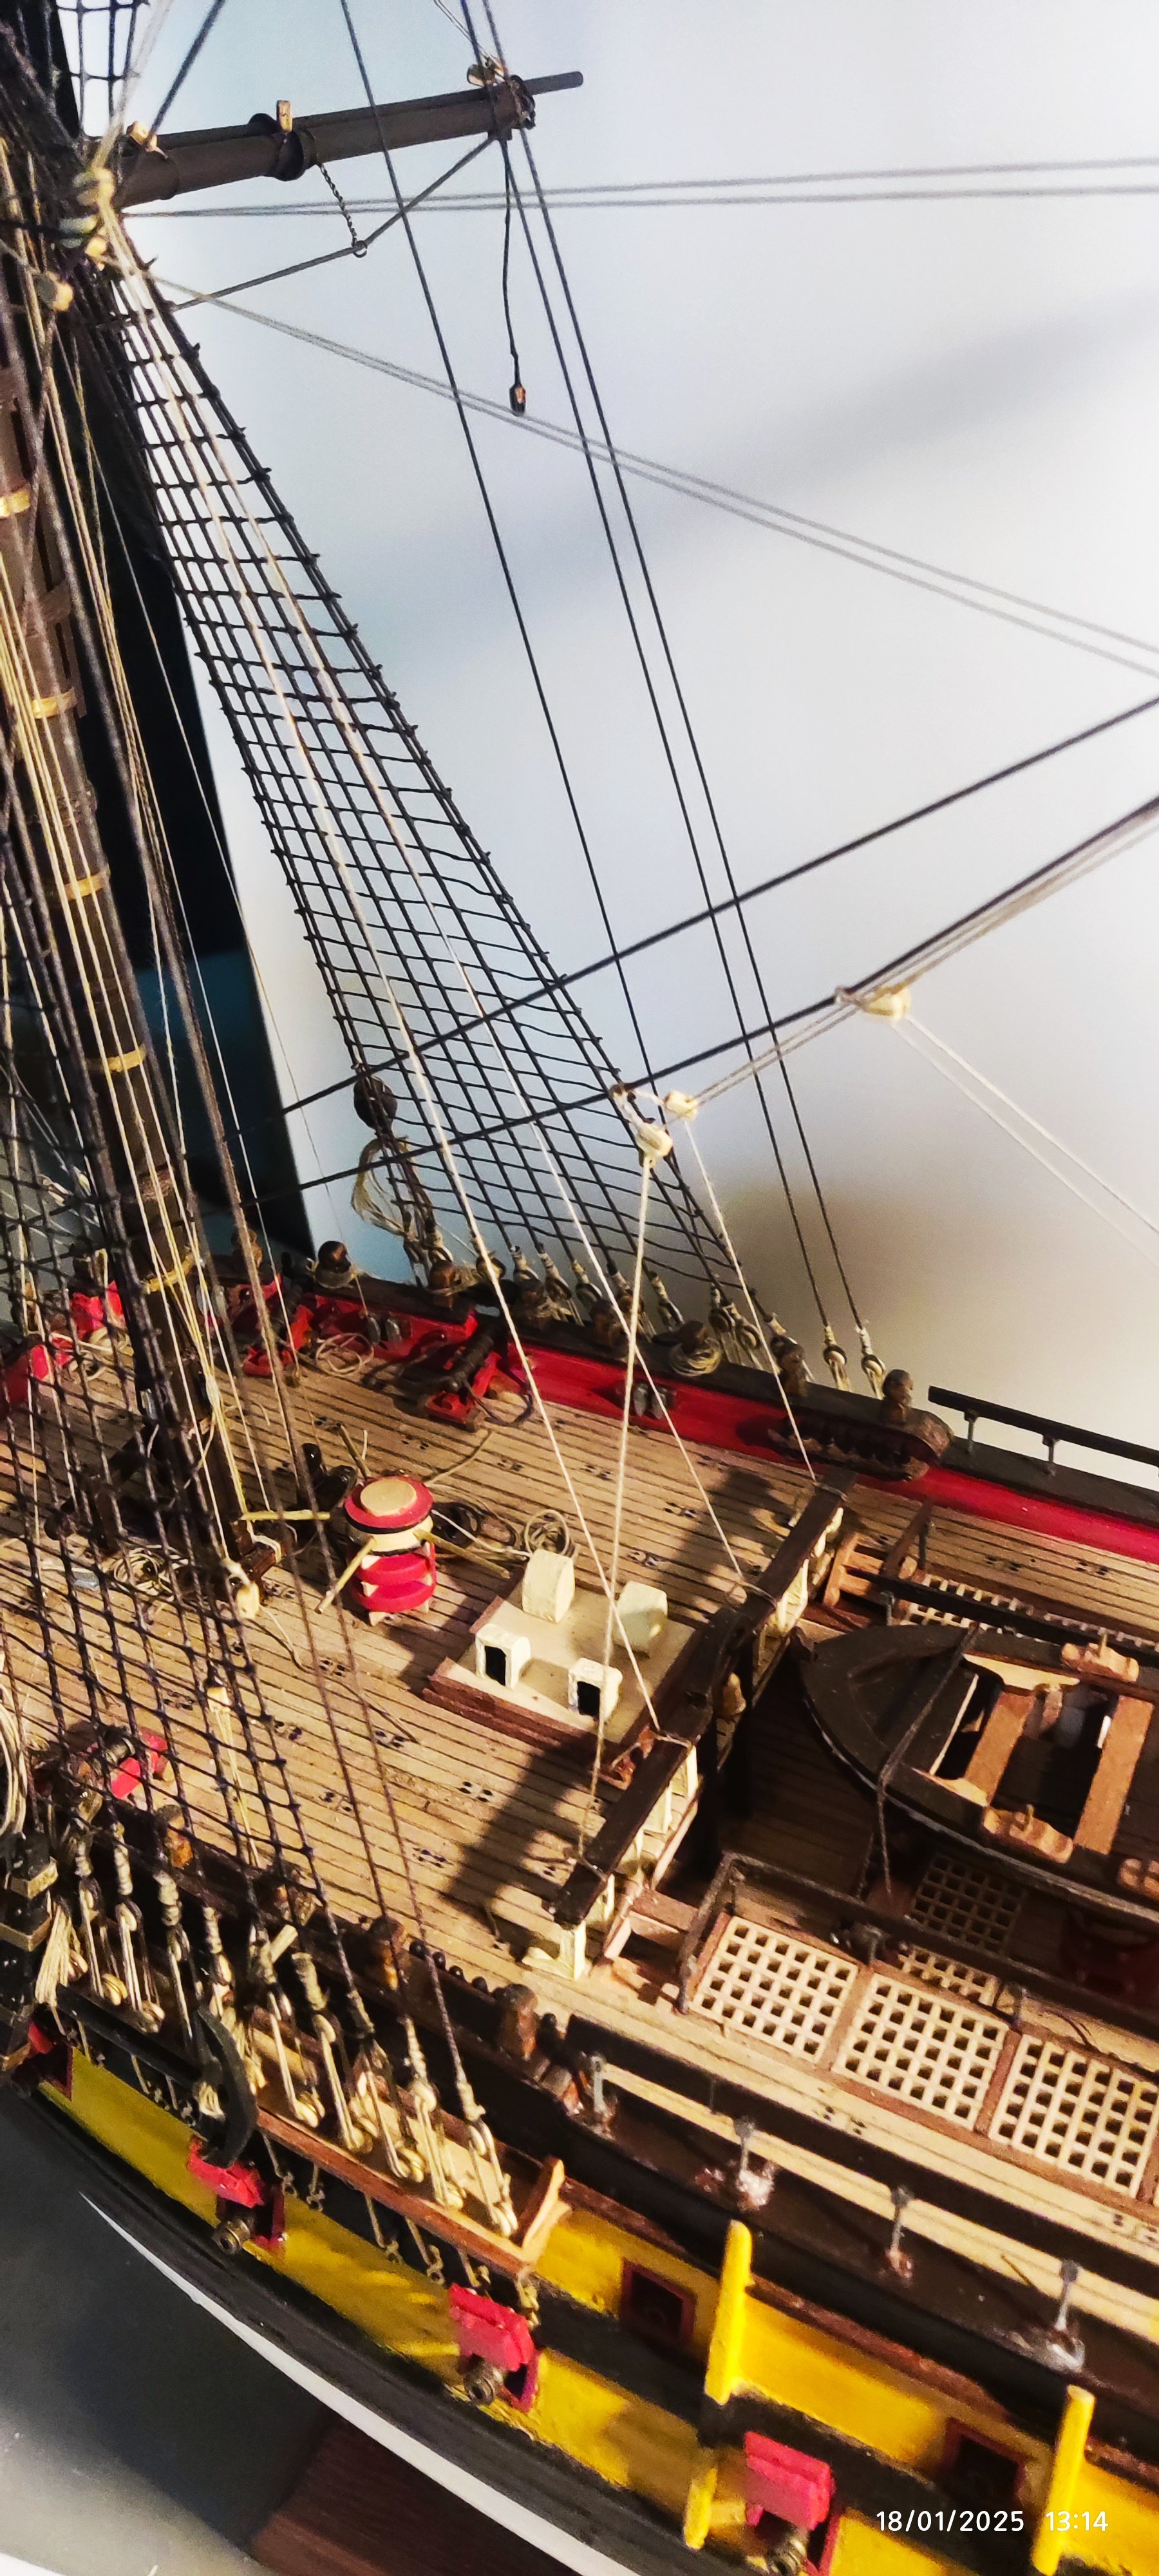
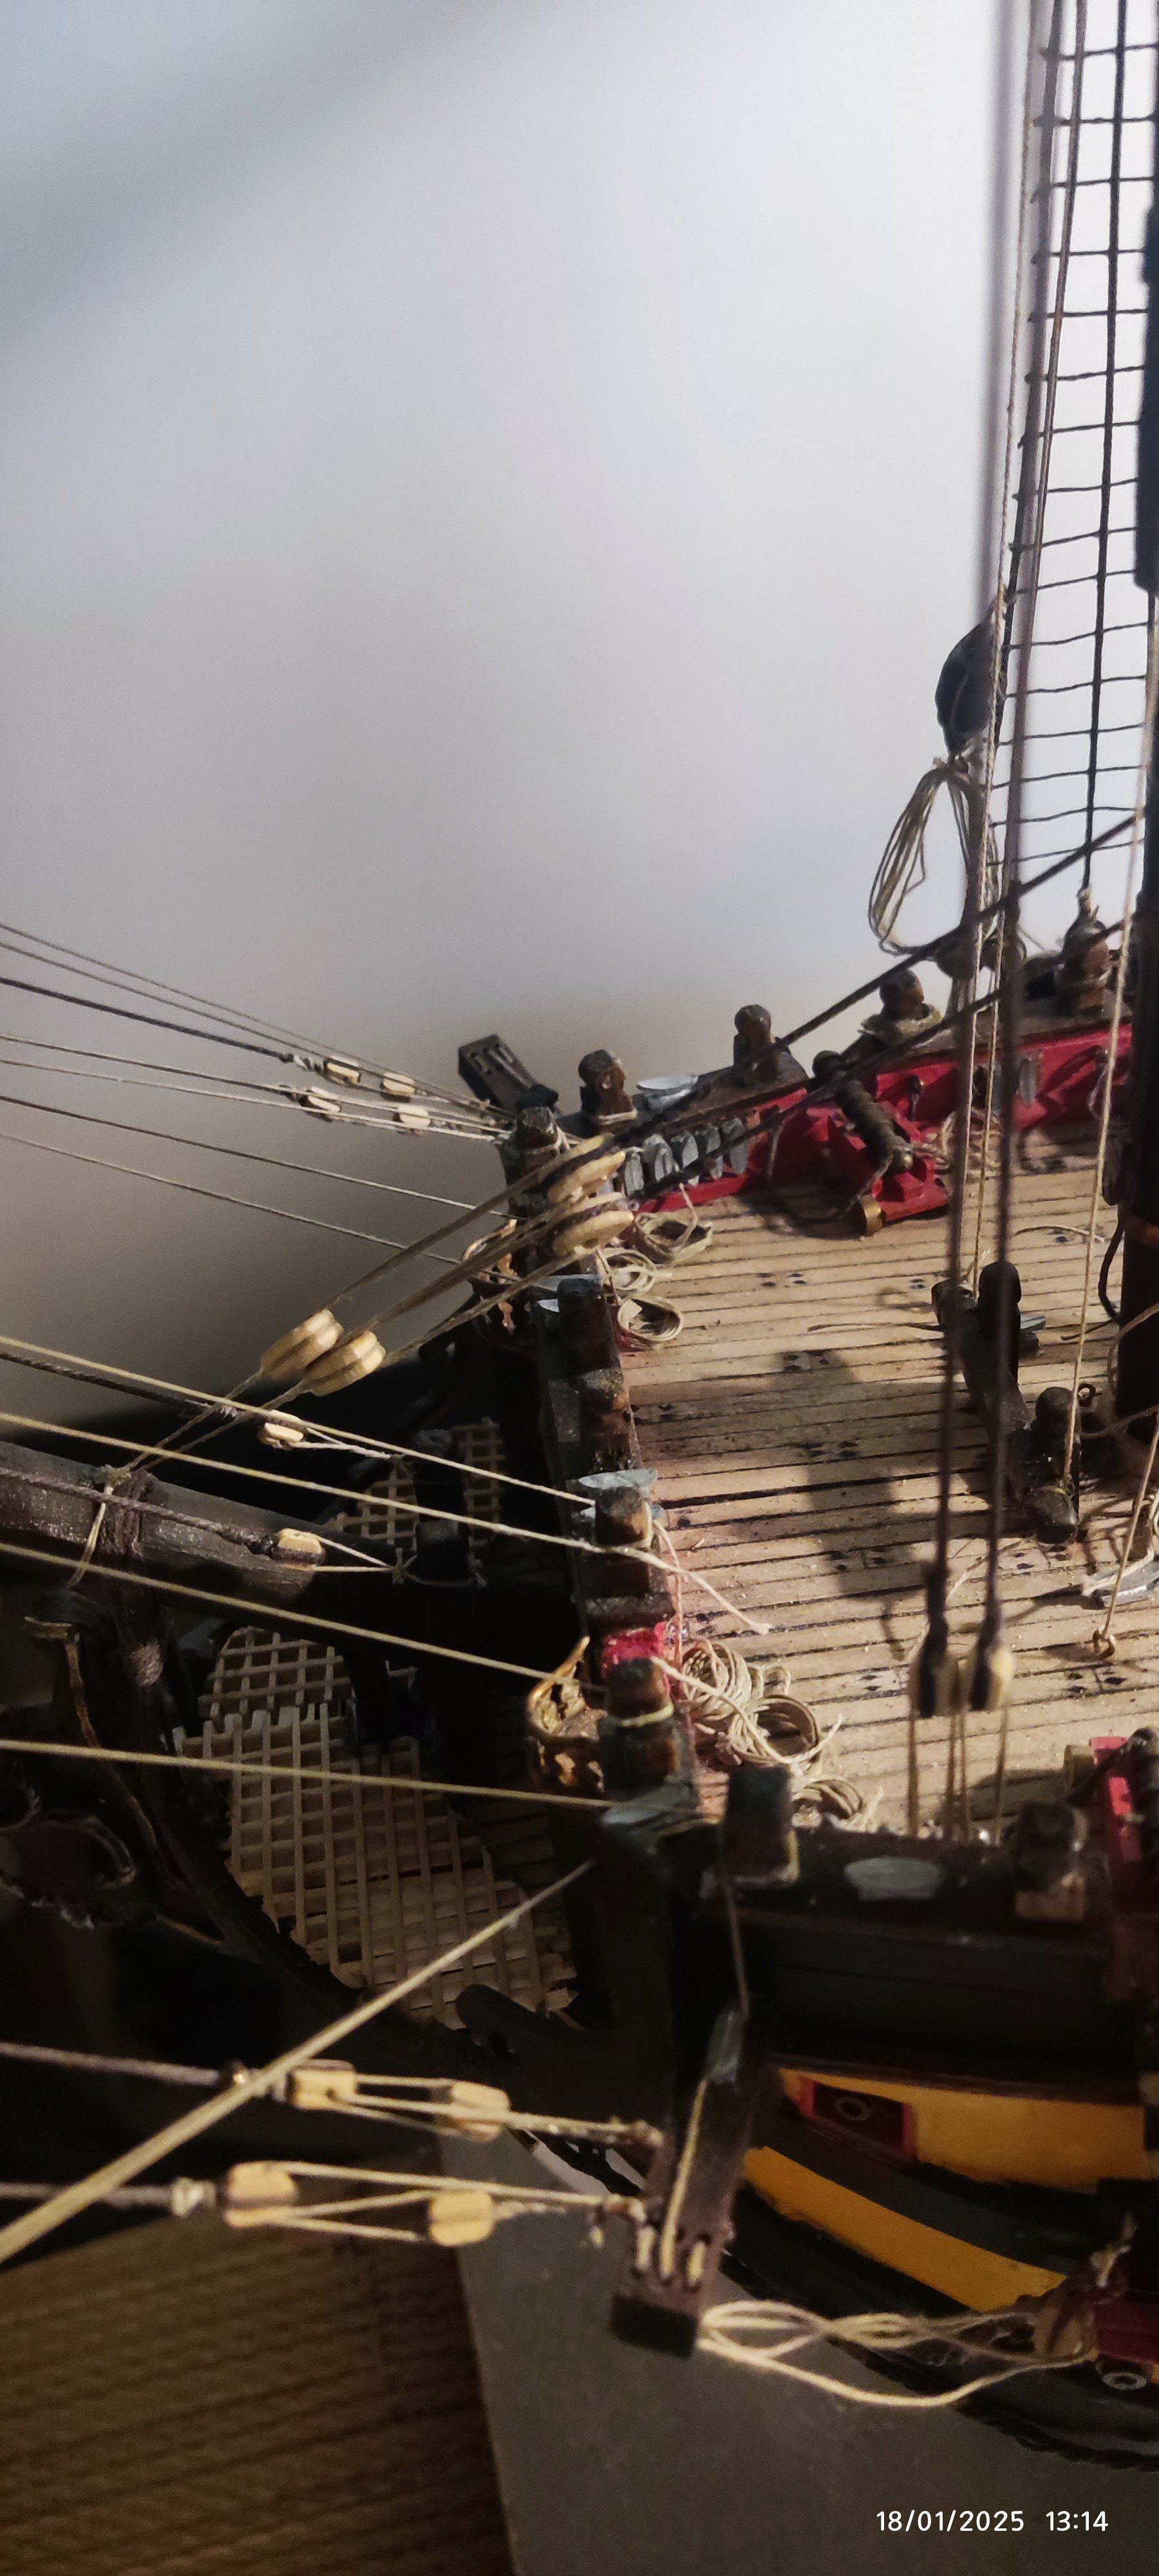
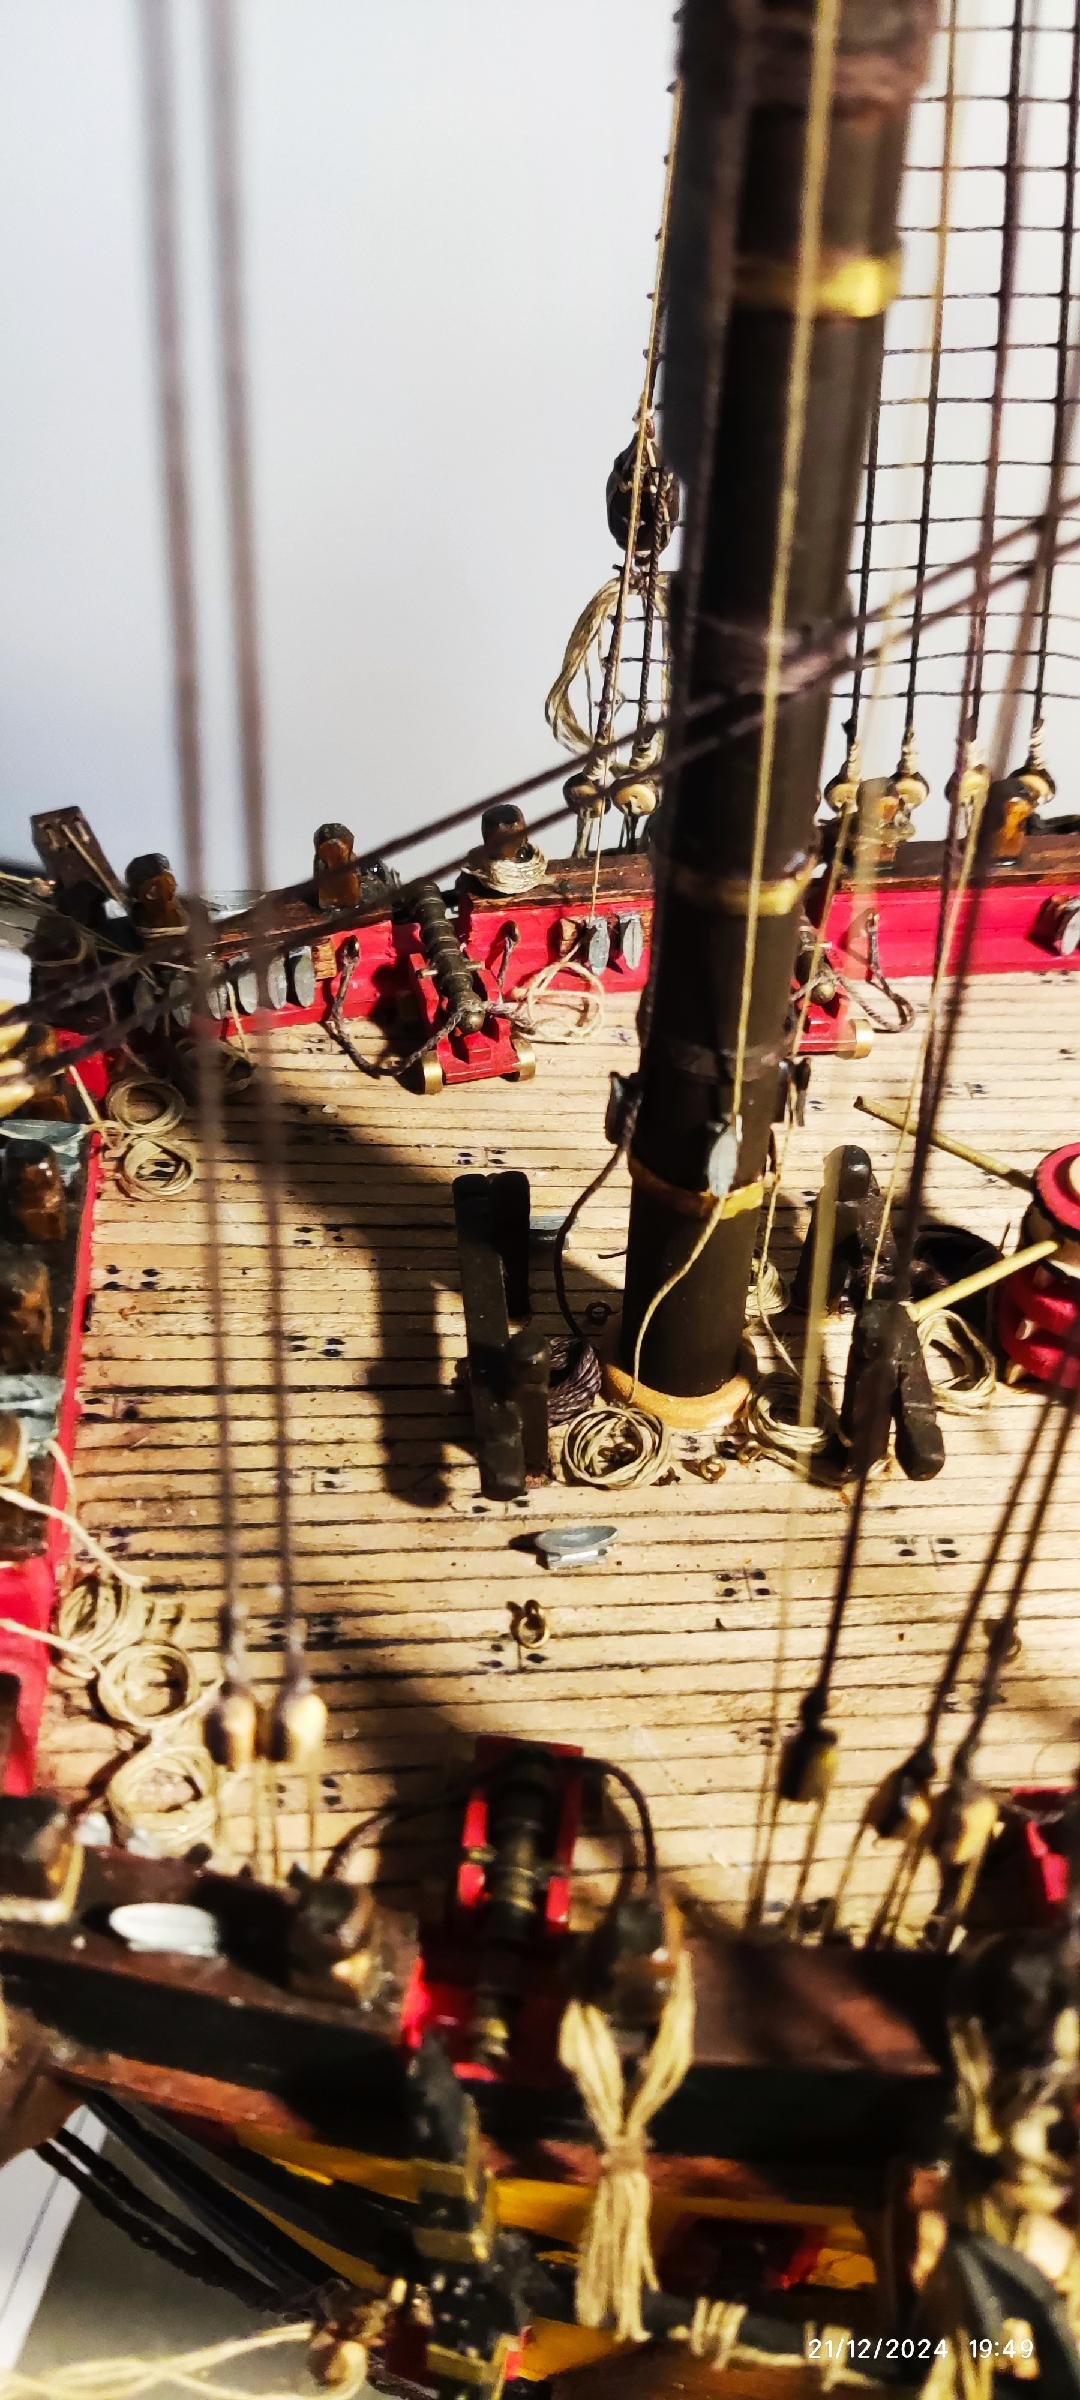
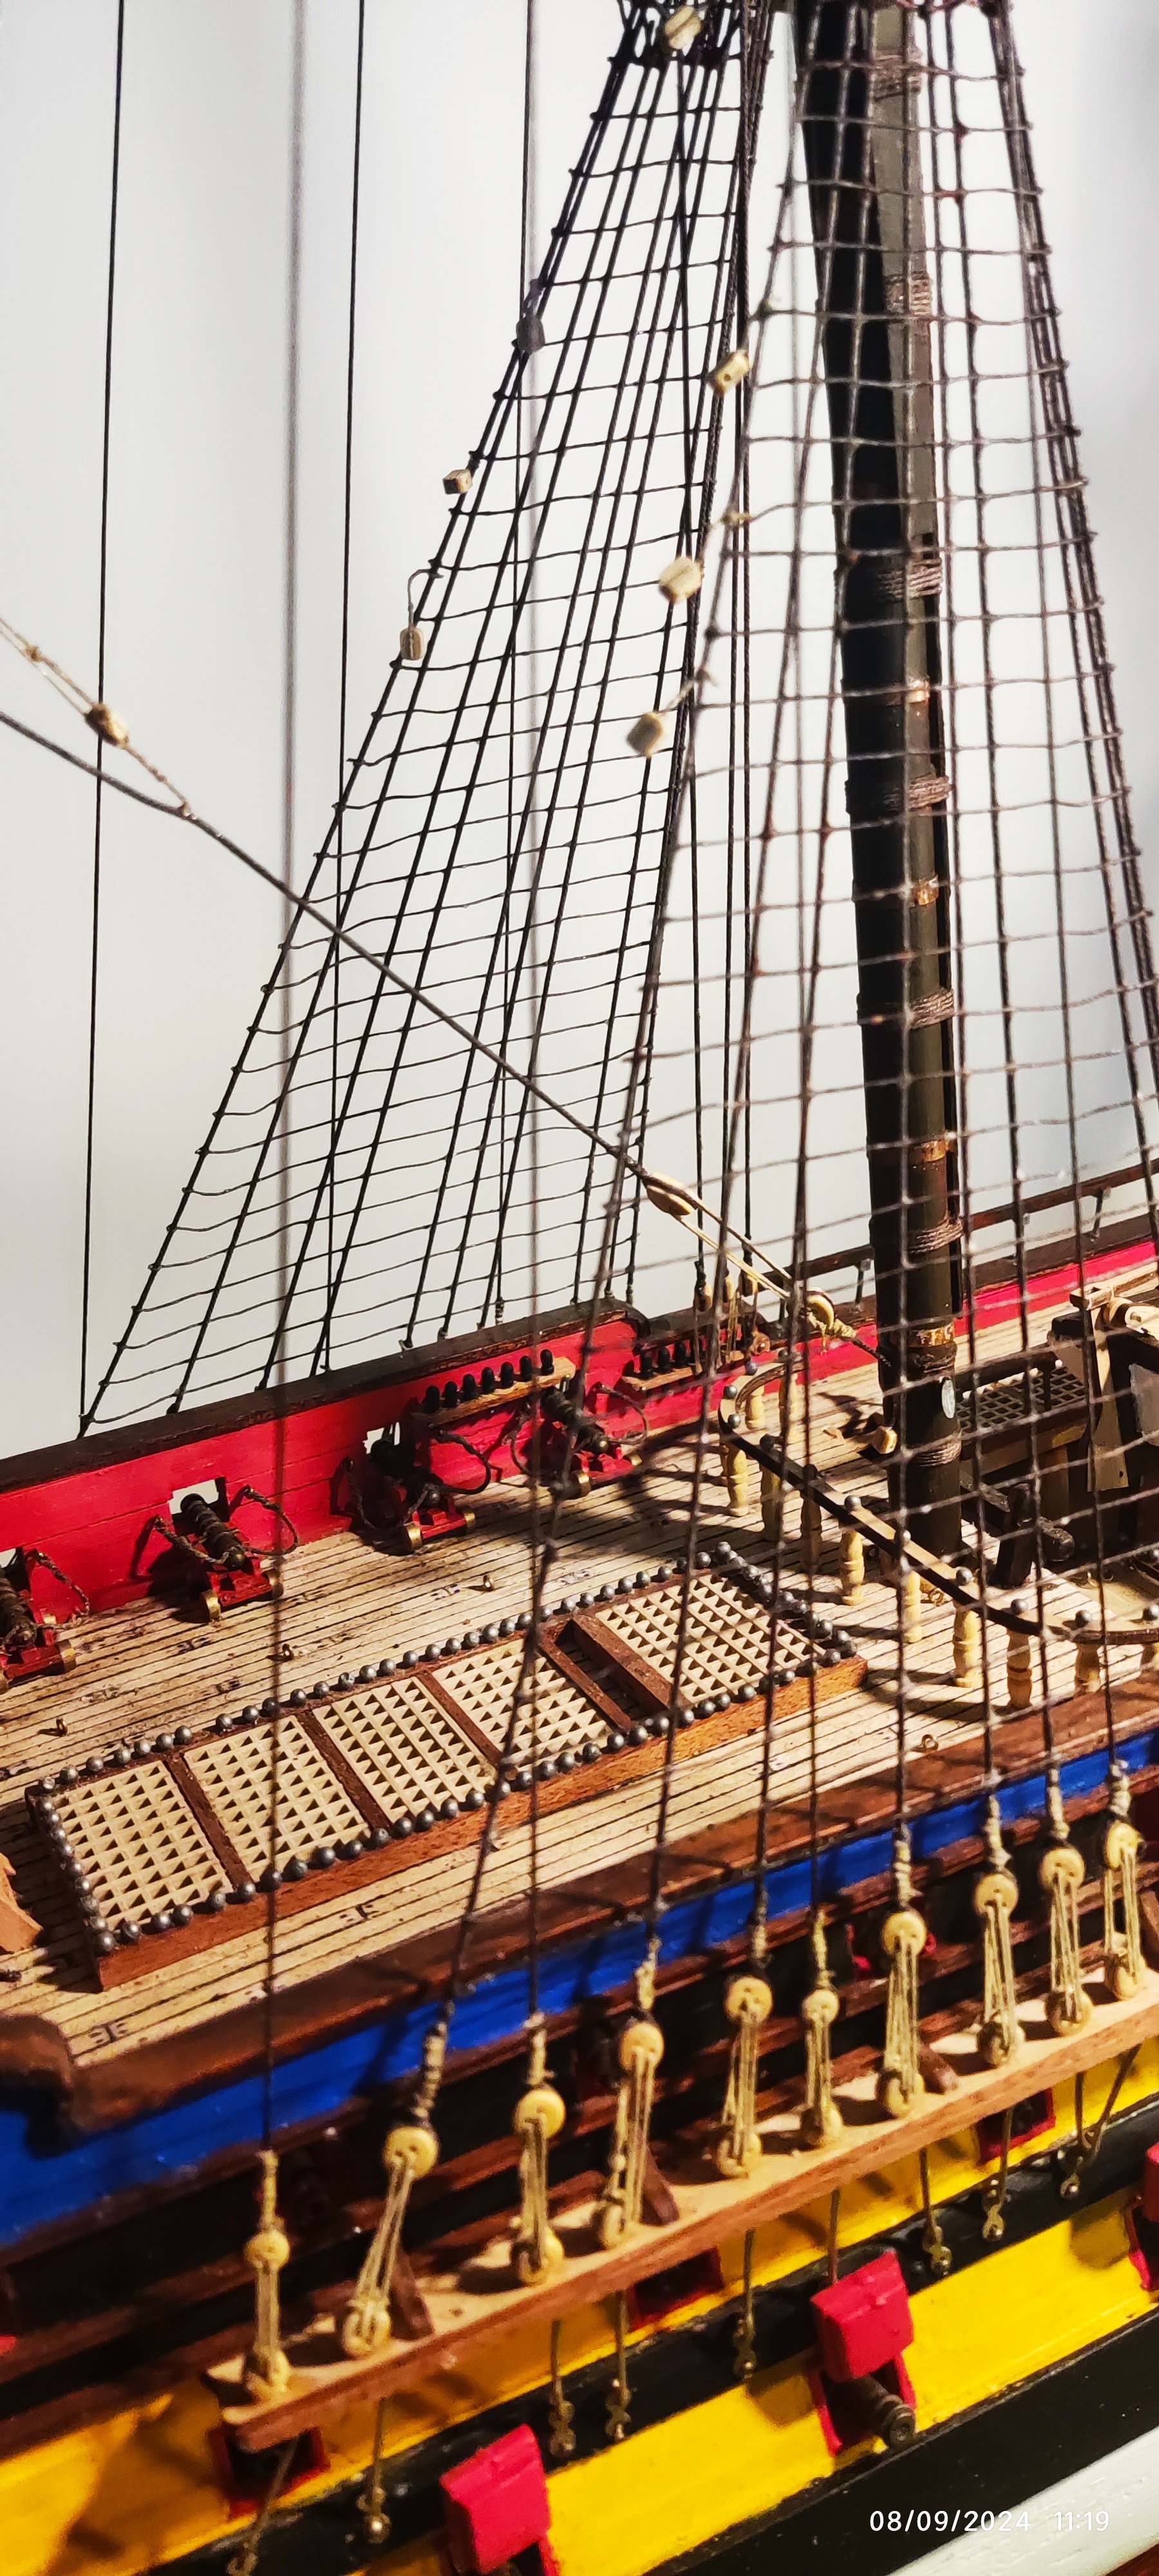
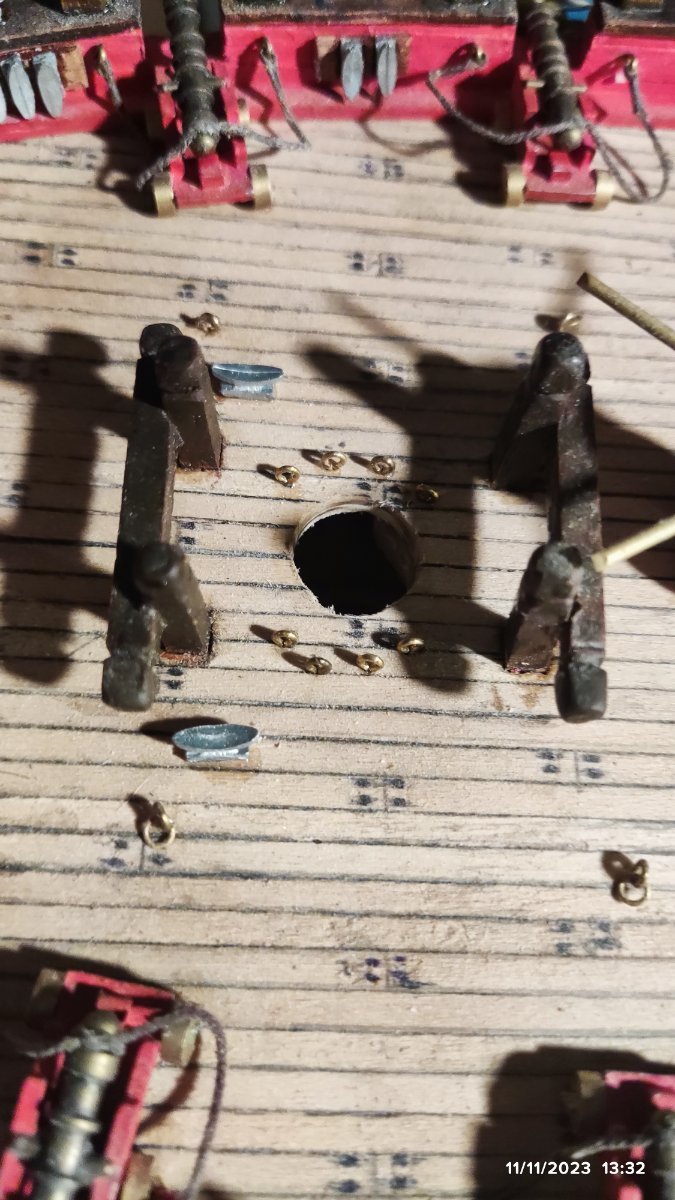
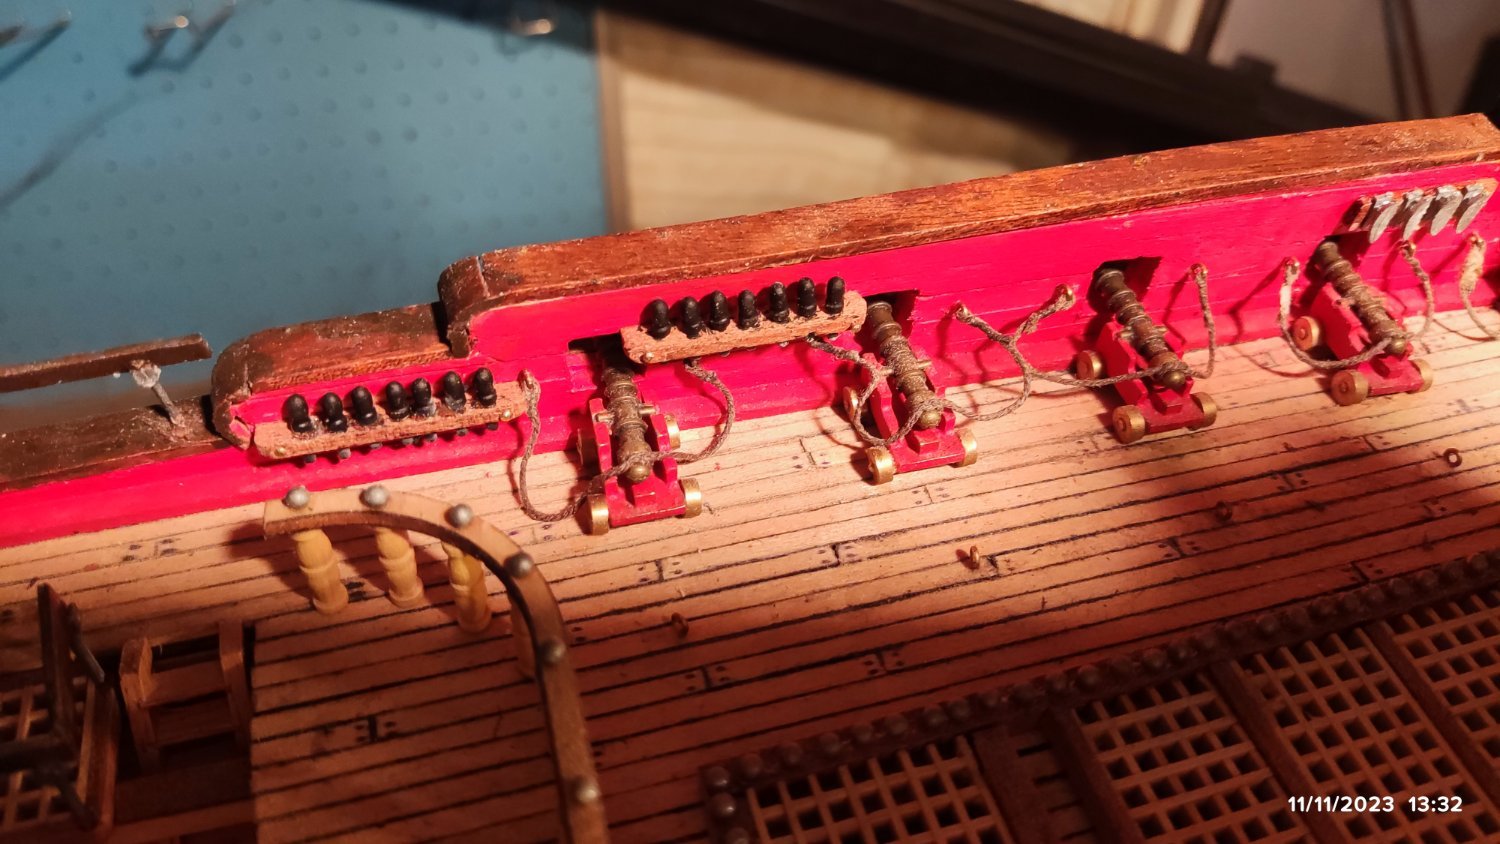
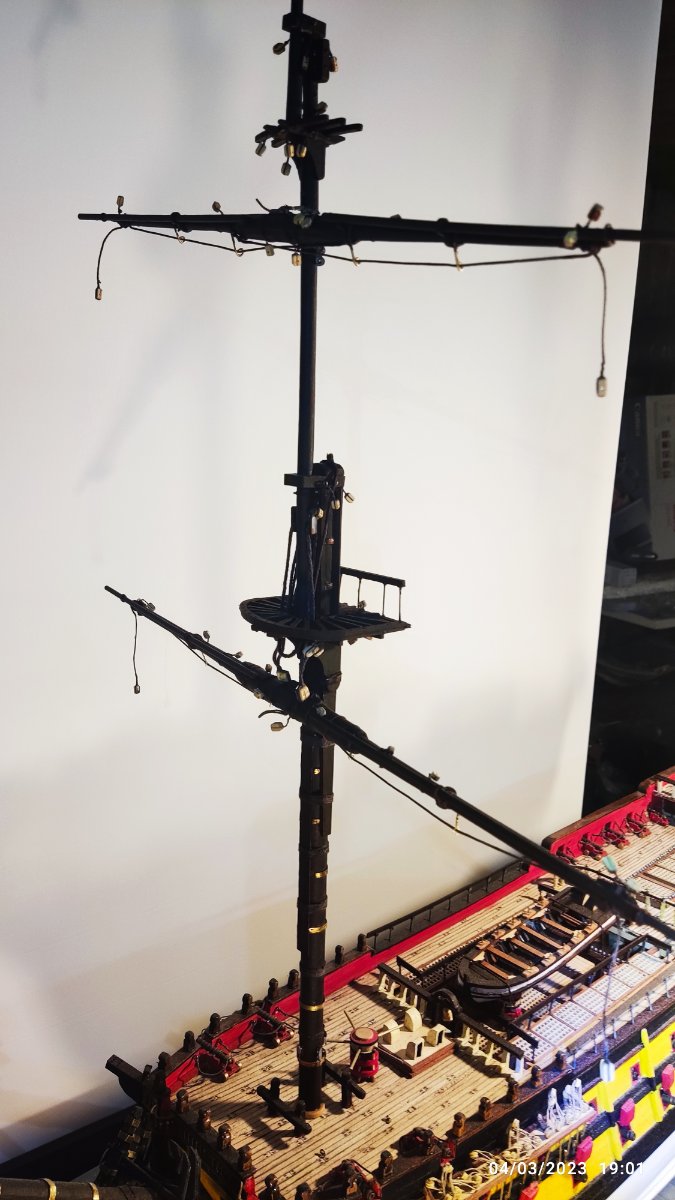
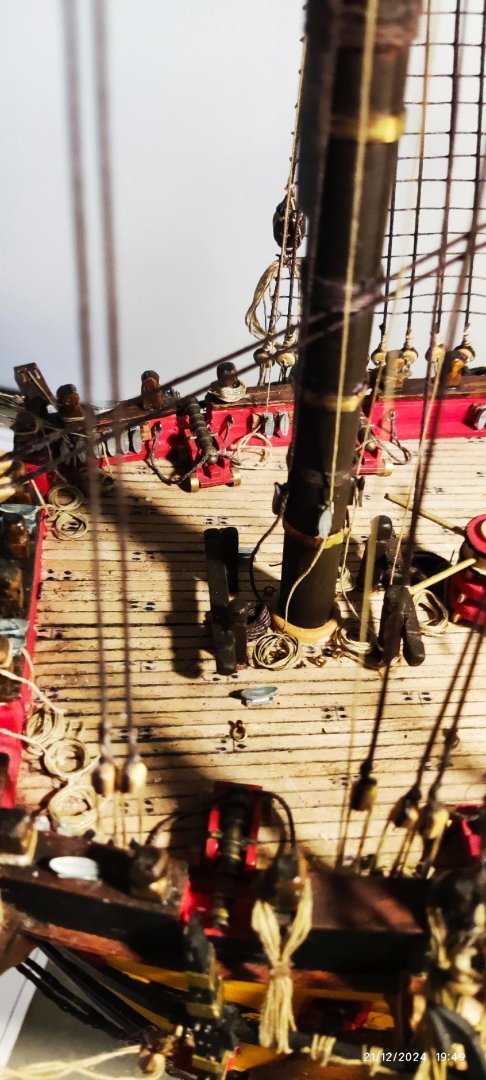
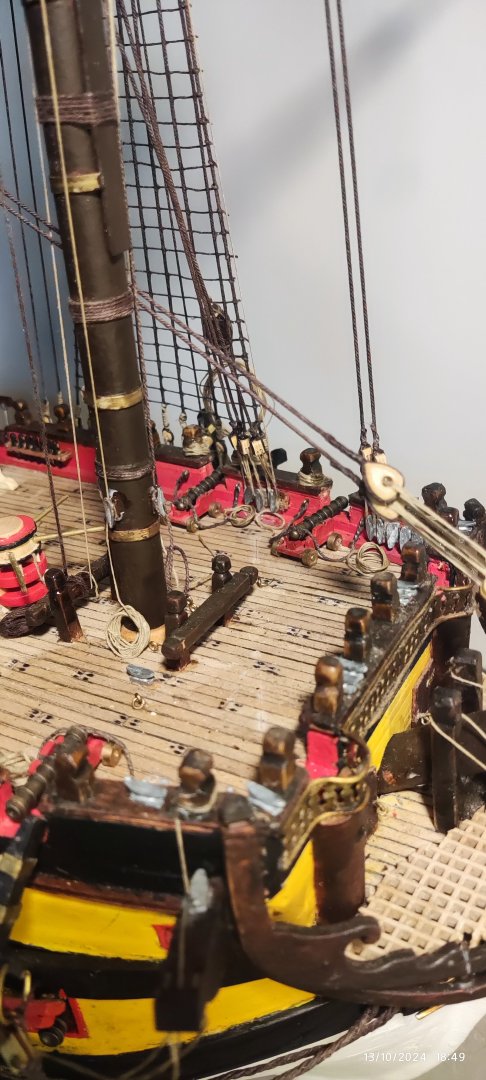
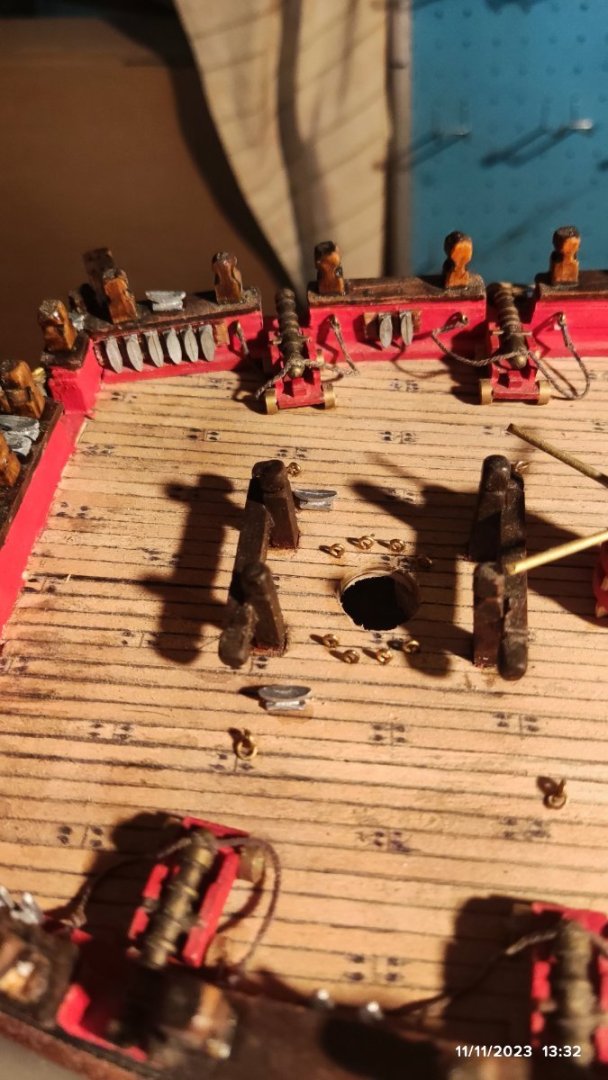
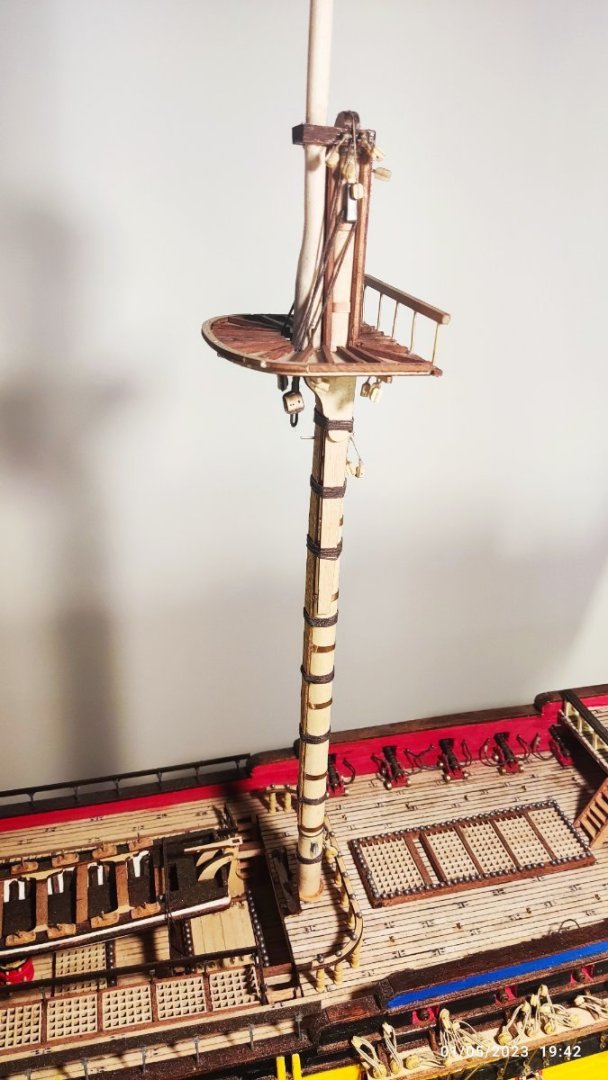
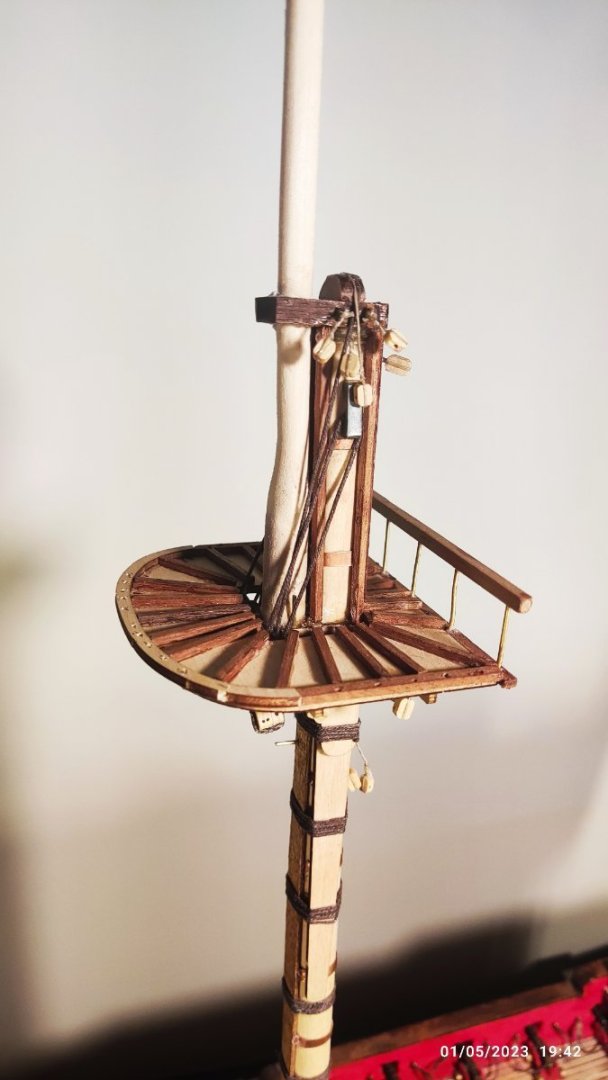
Now i put six blocks from wooden pins, both sides of the ship. To be sure that the block doesn't move from place,when threats are tide on them,i nail them with two nails for each block. I also cement metal cleats where the manual shows. Finally eyebolts are placed around the masts and in other places according to the manual. Now i am ready to start the threats and put in place the foremast.


-
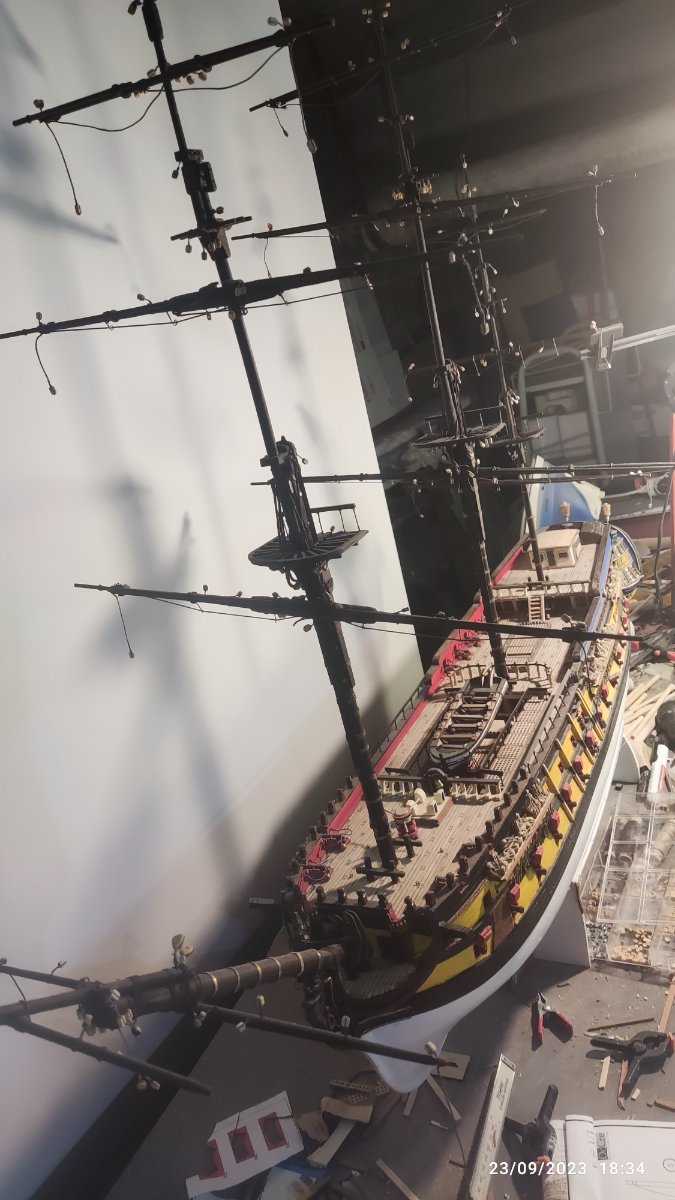
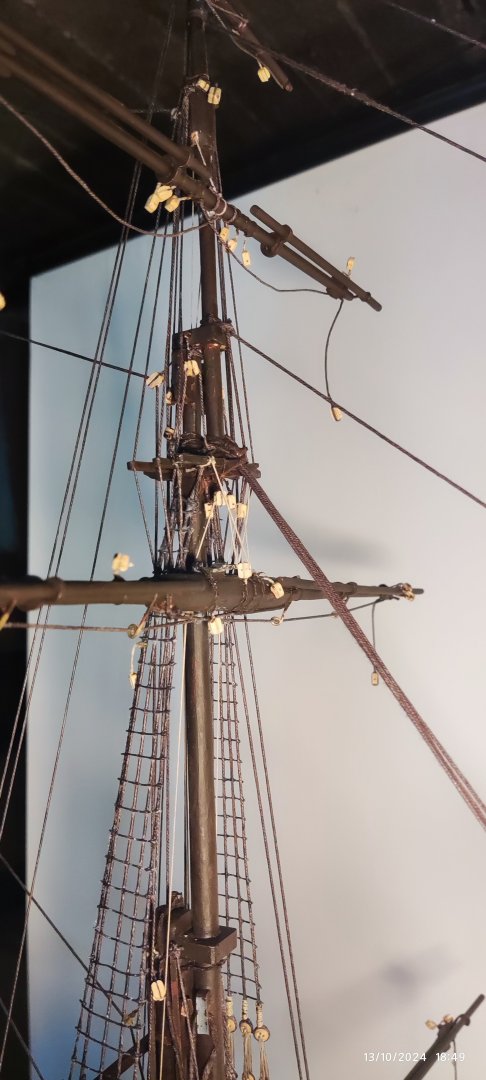
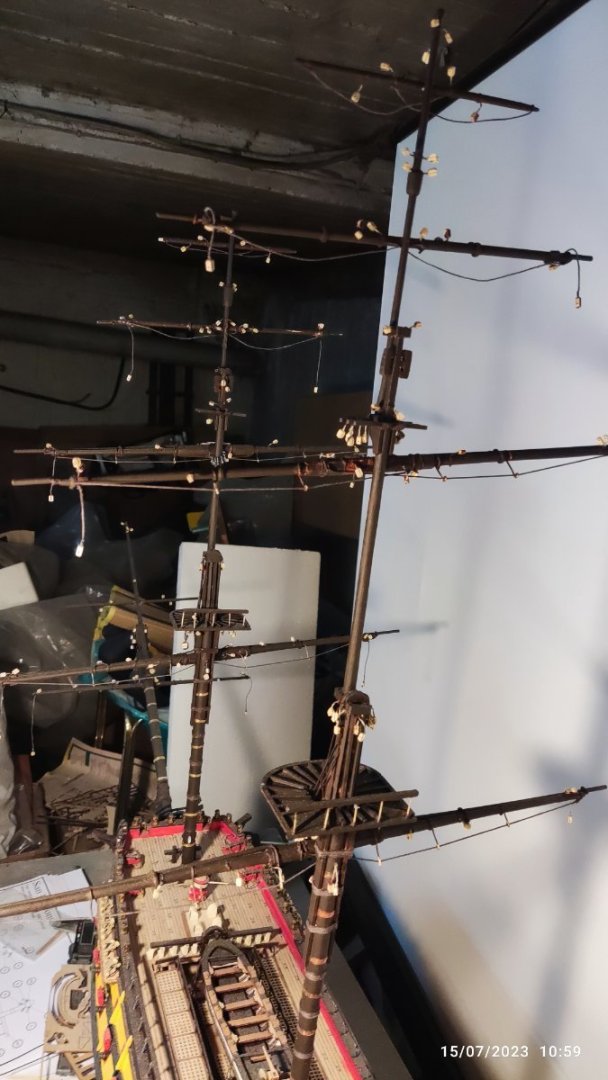
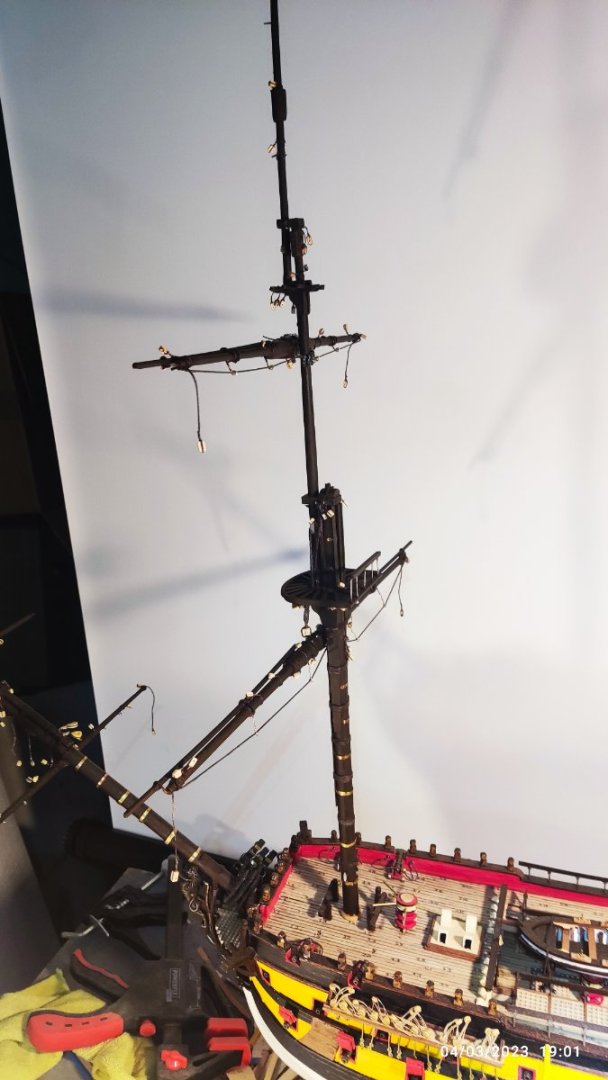
Now i finish the third must with the three yards. I didin't cement in place. All will be removed for the rigging, so not to make any damage. I put in place one by one, begining from the foremast and so one. A lot of threads....stay tunned...

-
Now i finish the four yards of the main mast. Paint and put it in place without cementing because is easier to place the ropes in the center of the ship and after put them in place permanent. Now i proceed to mizzen mast. the shortest one.


-
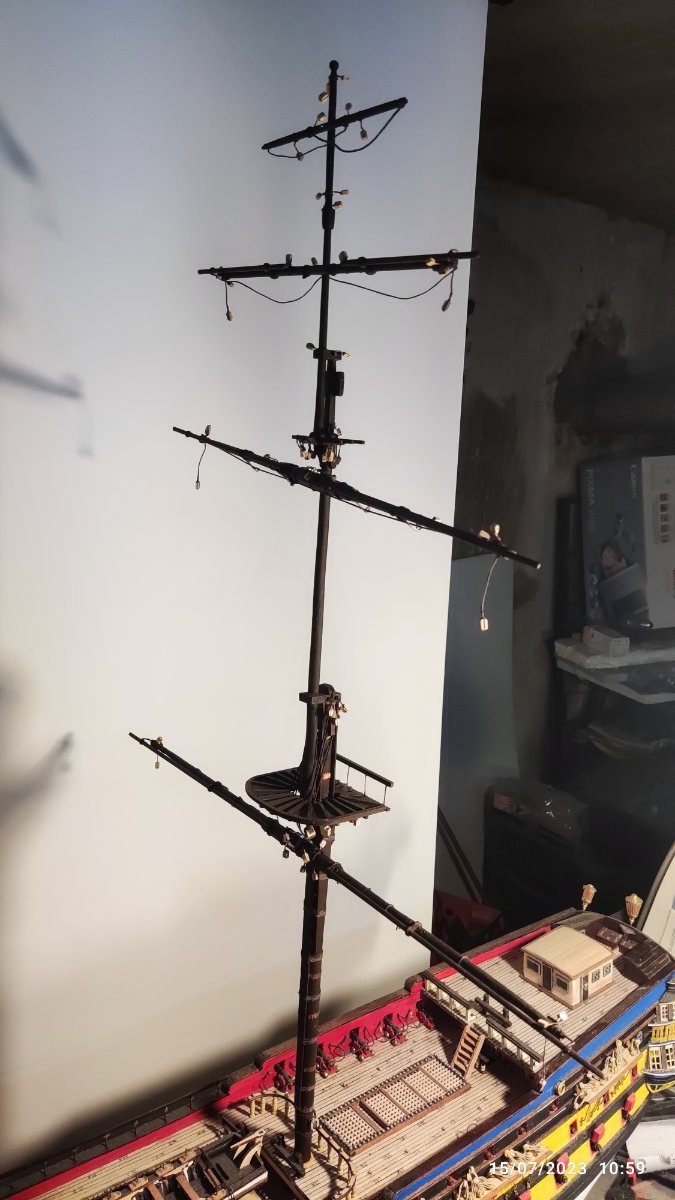
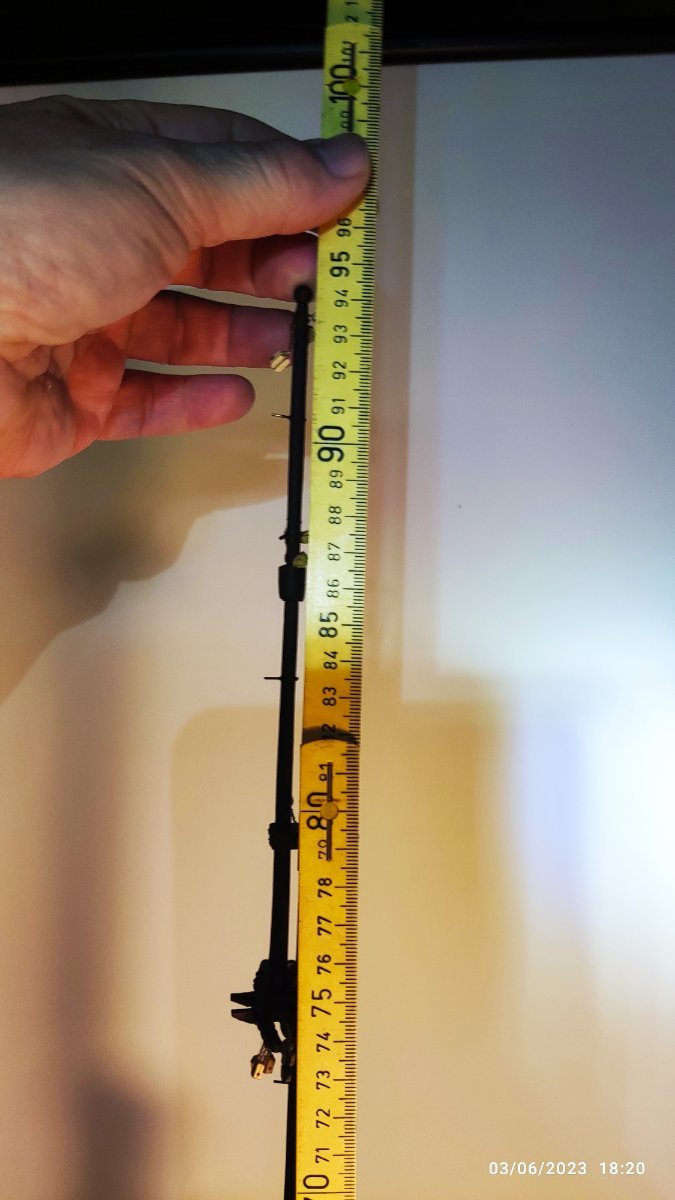
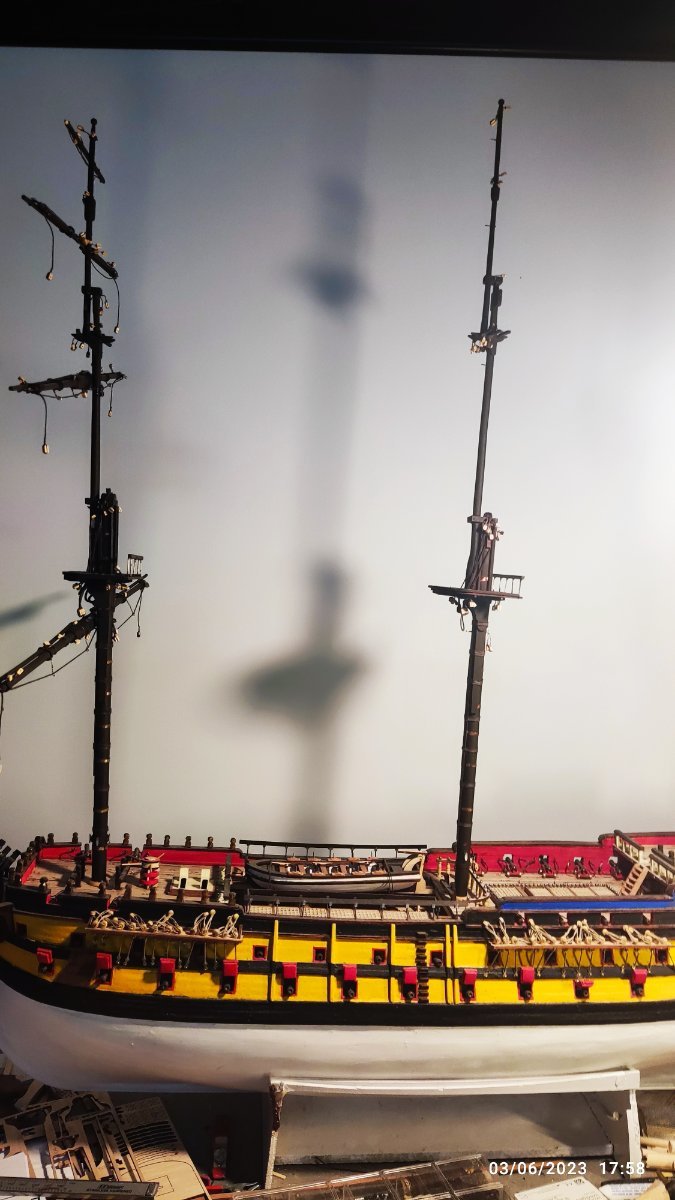
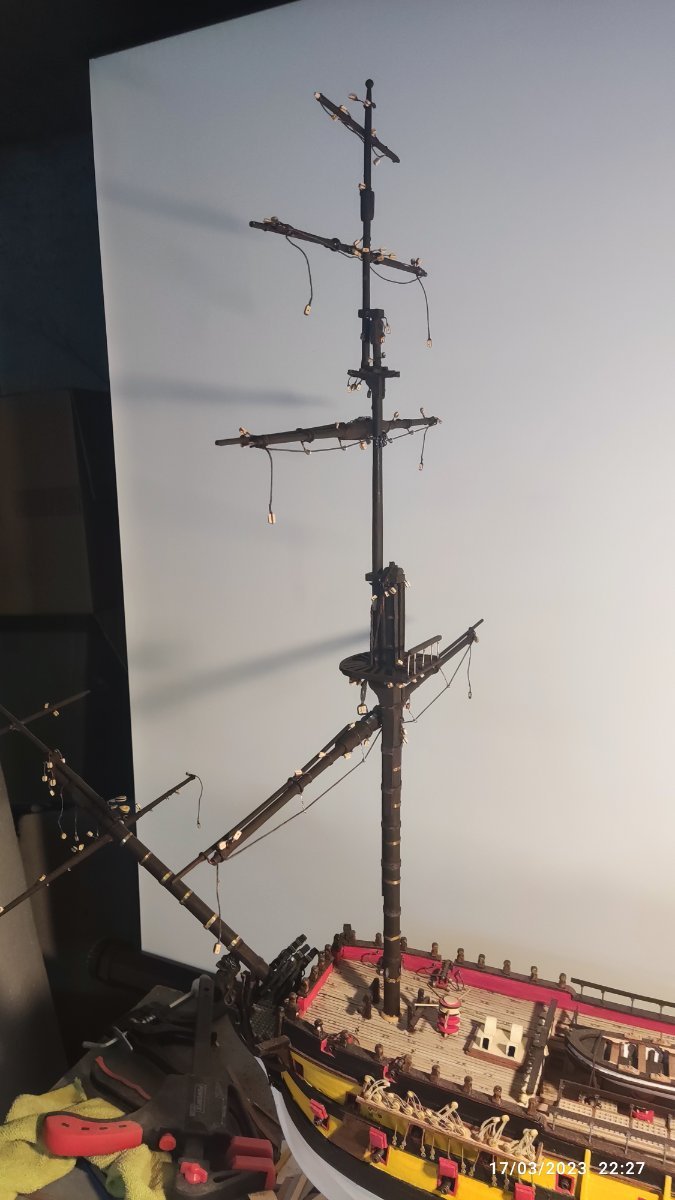
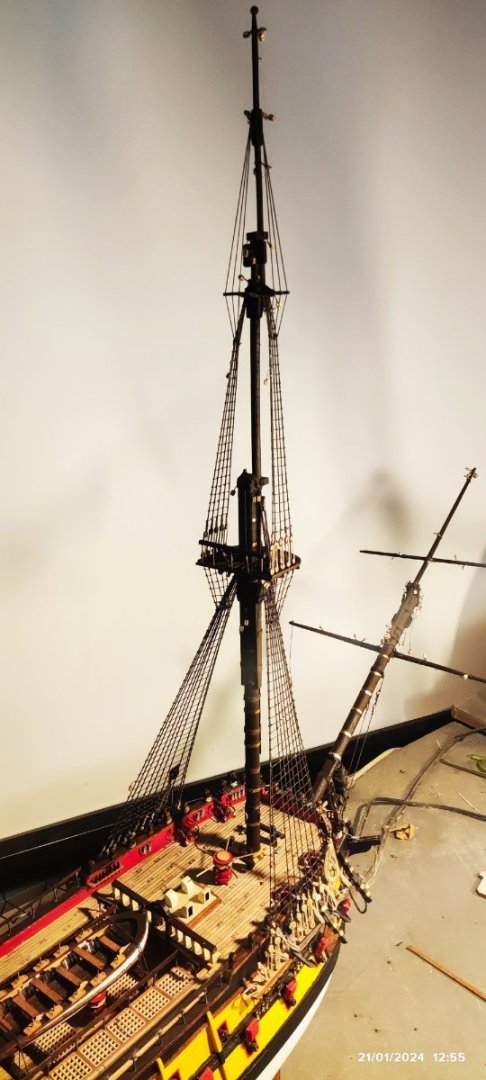
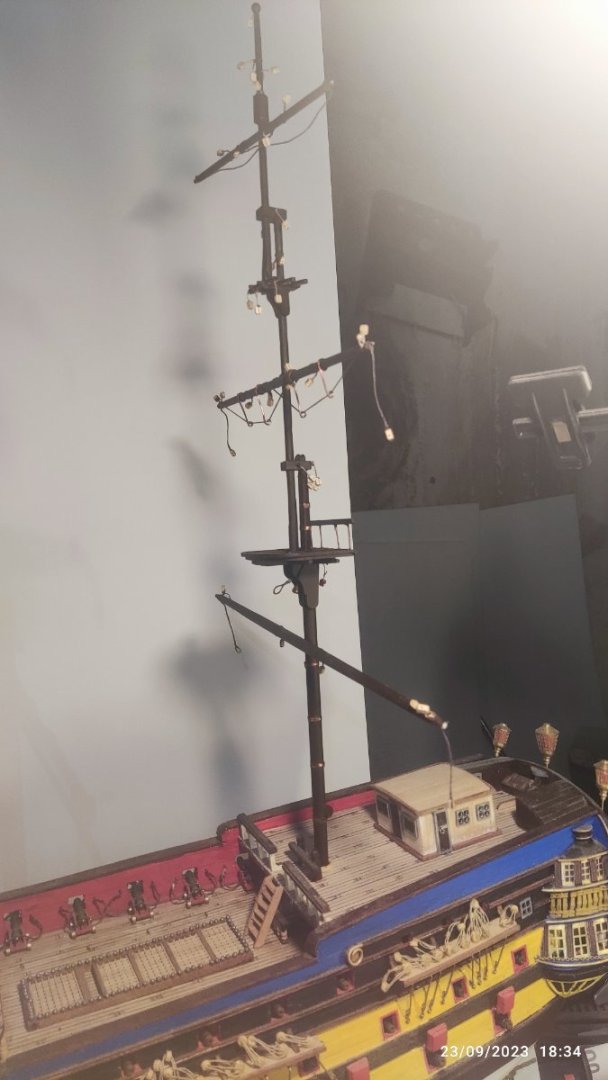
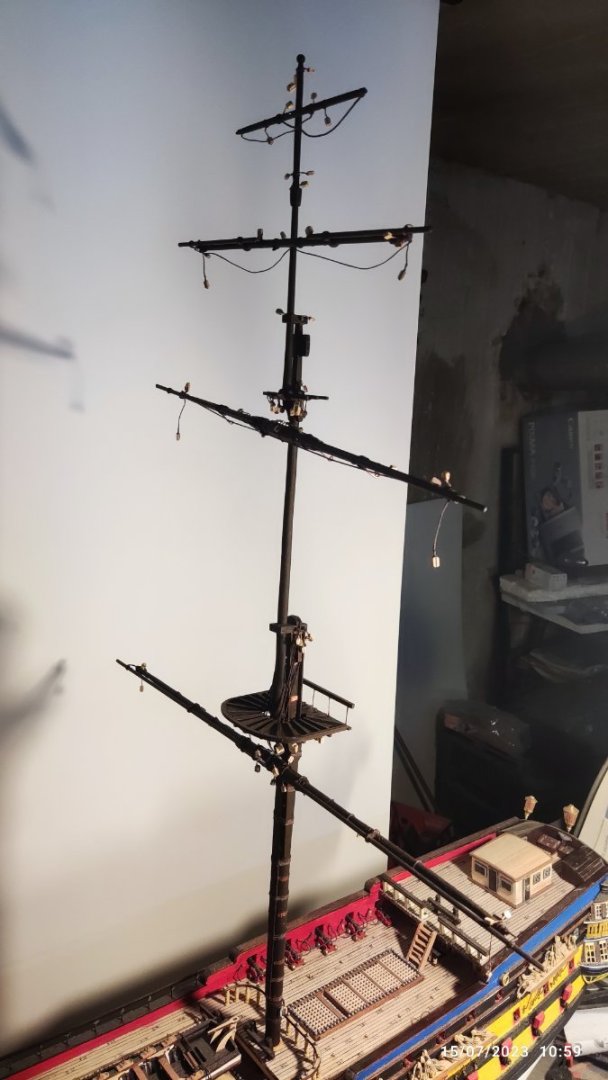
Now i finish the main mast. As seen in the photos the total hight of the model with the base is now aprox. 37 inches (94.5 cm) I start now the four yards as the fore mast.


-
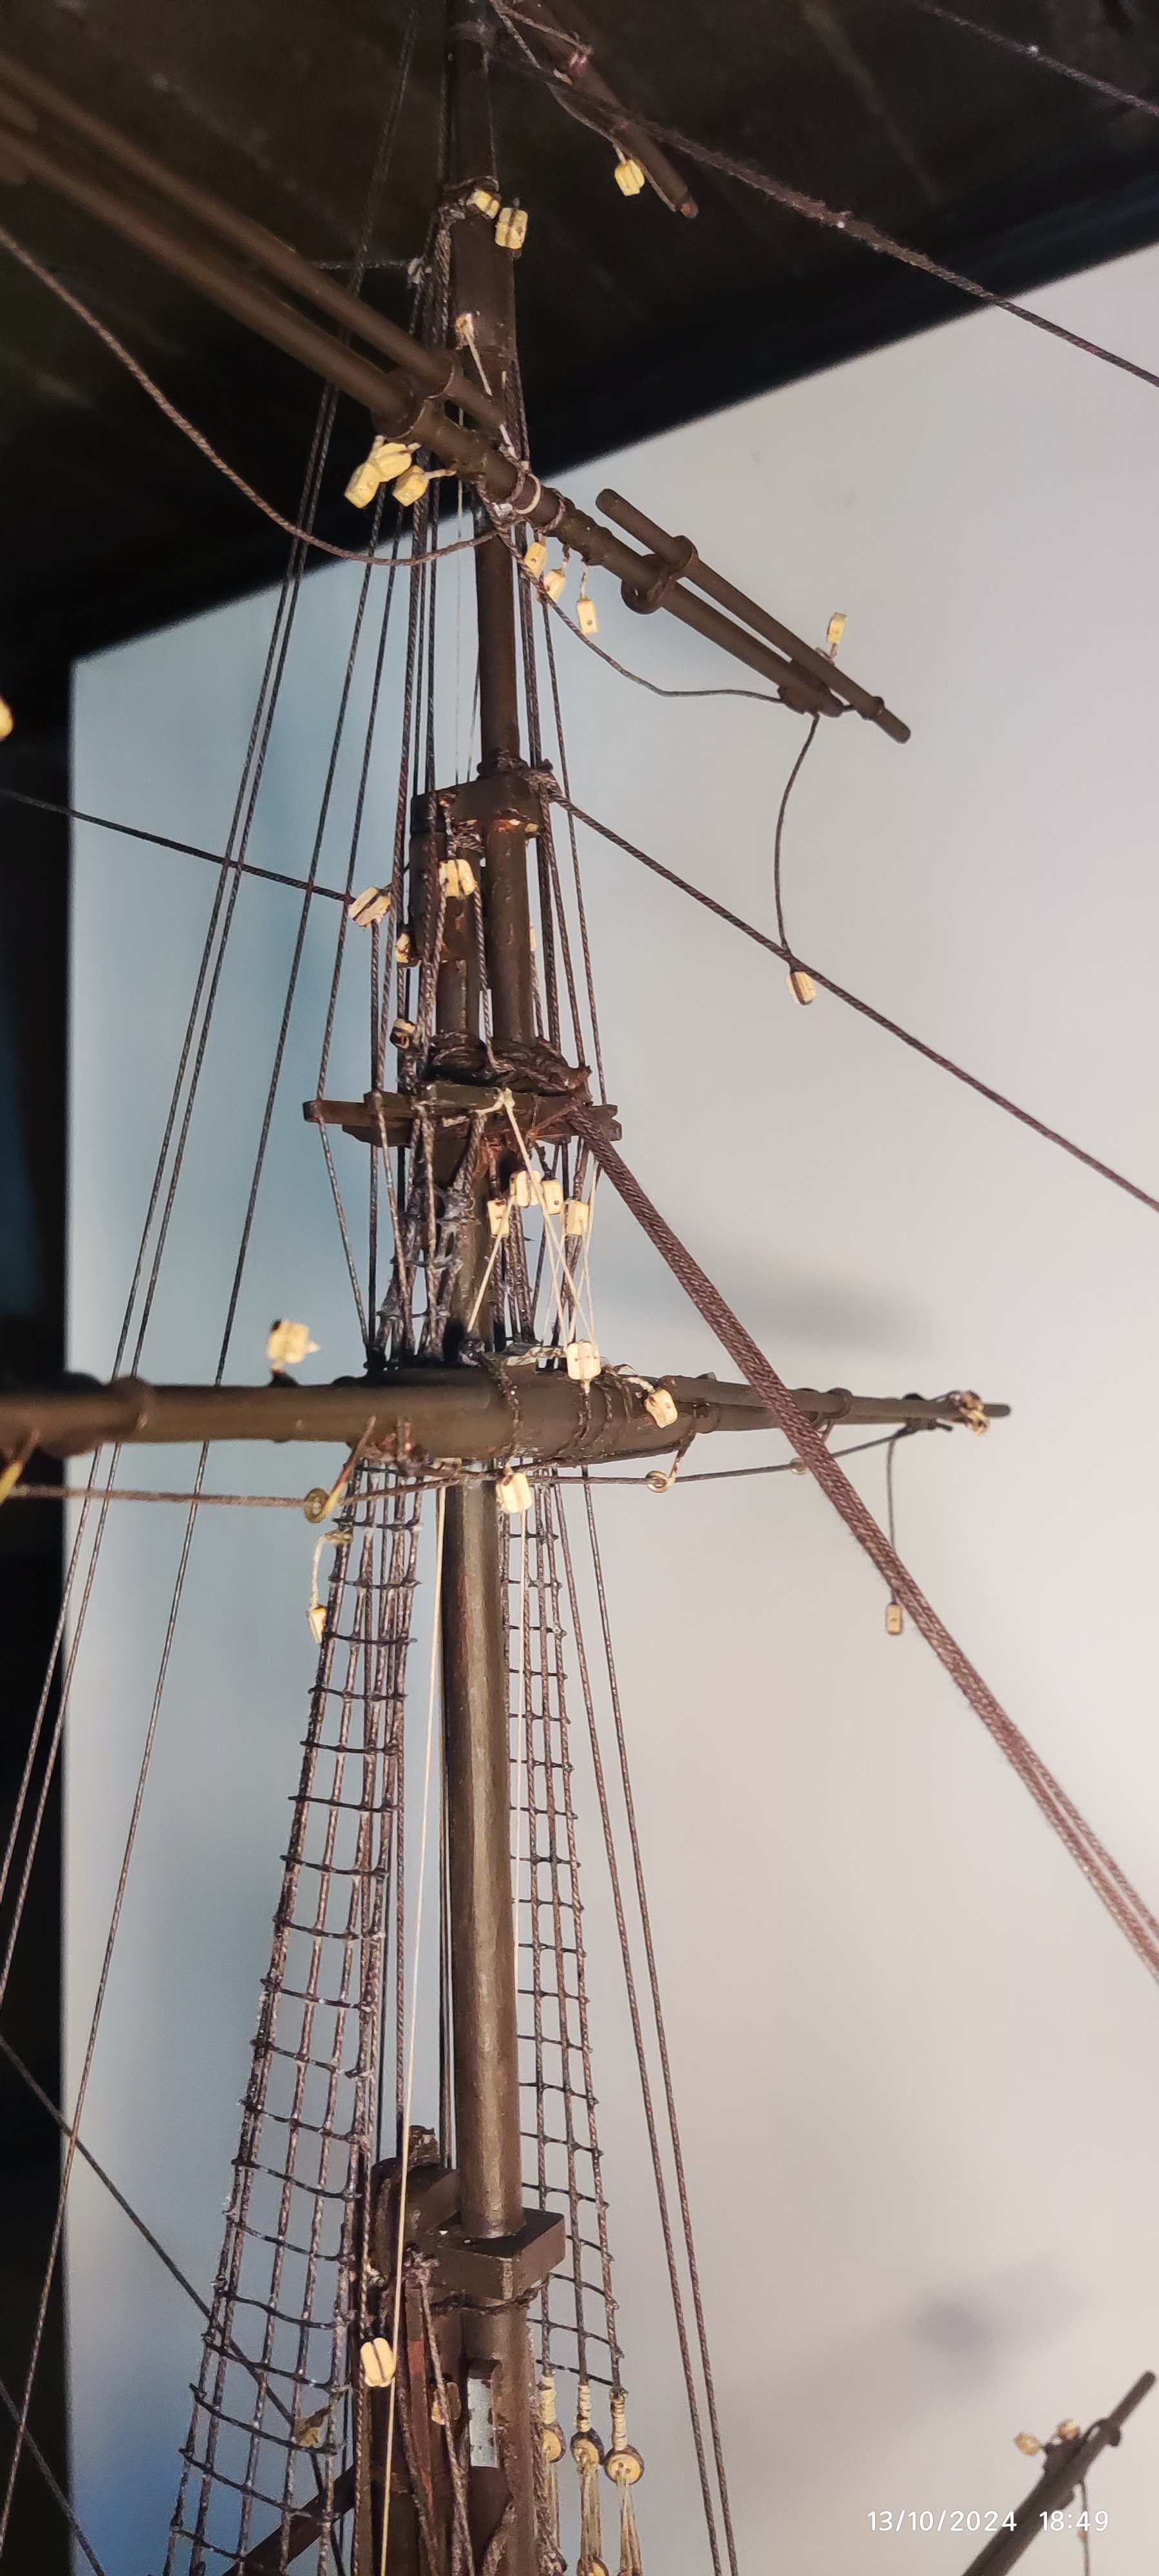
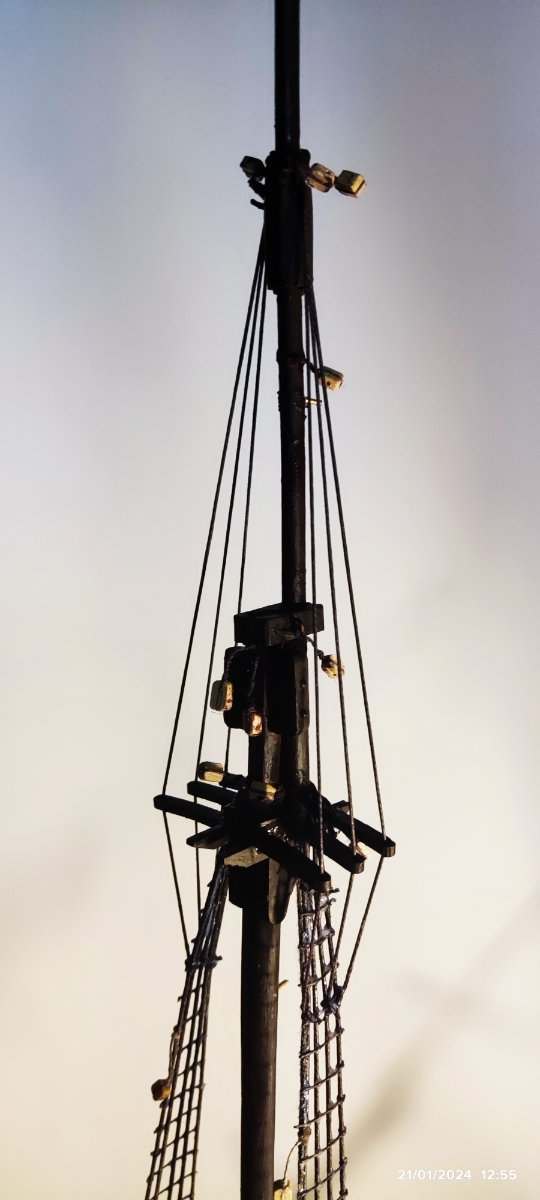
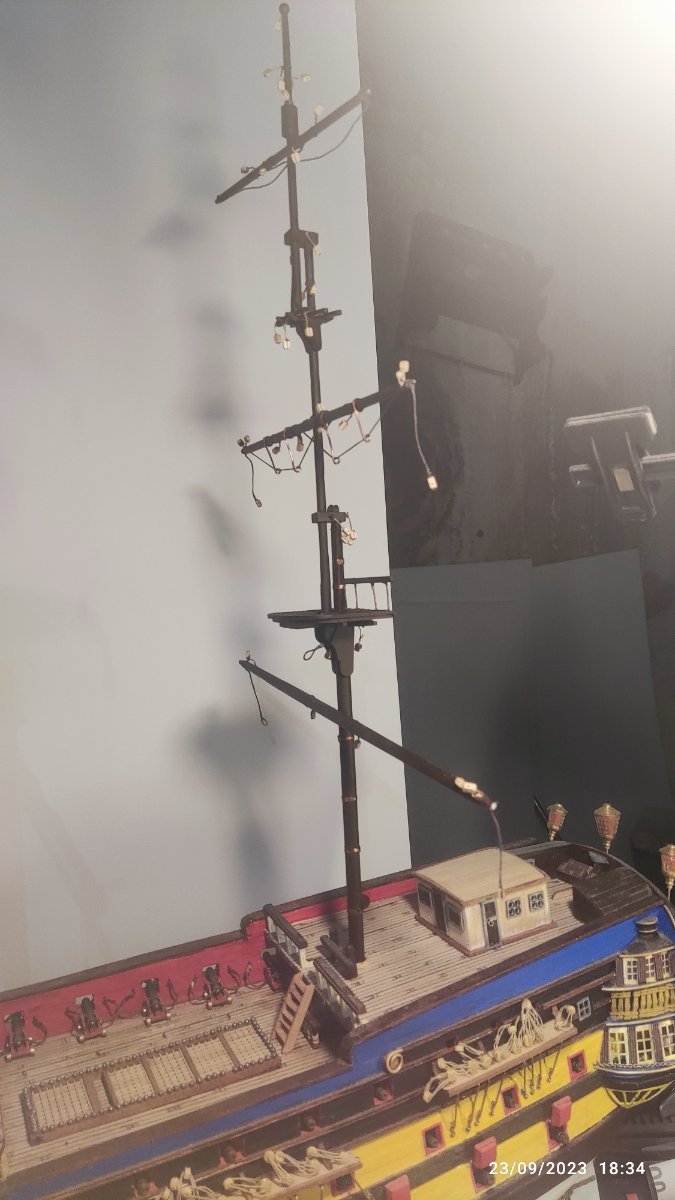
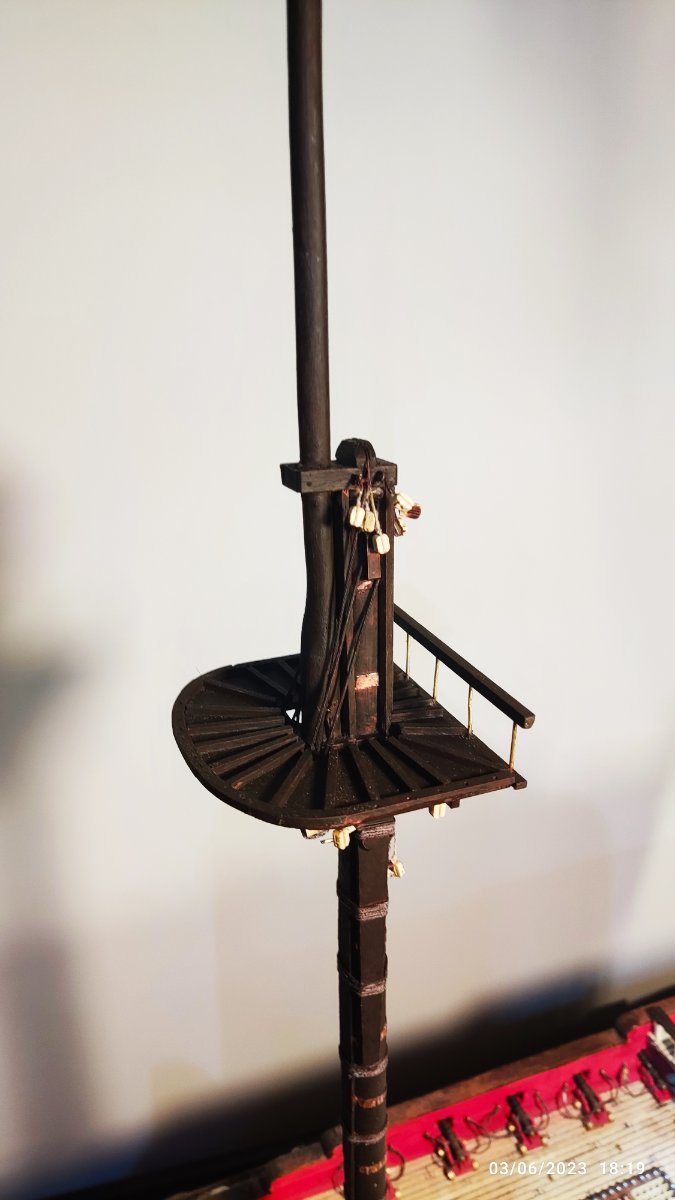
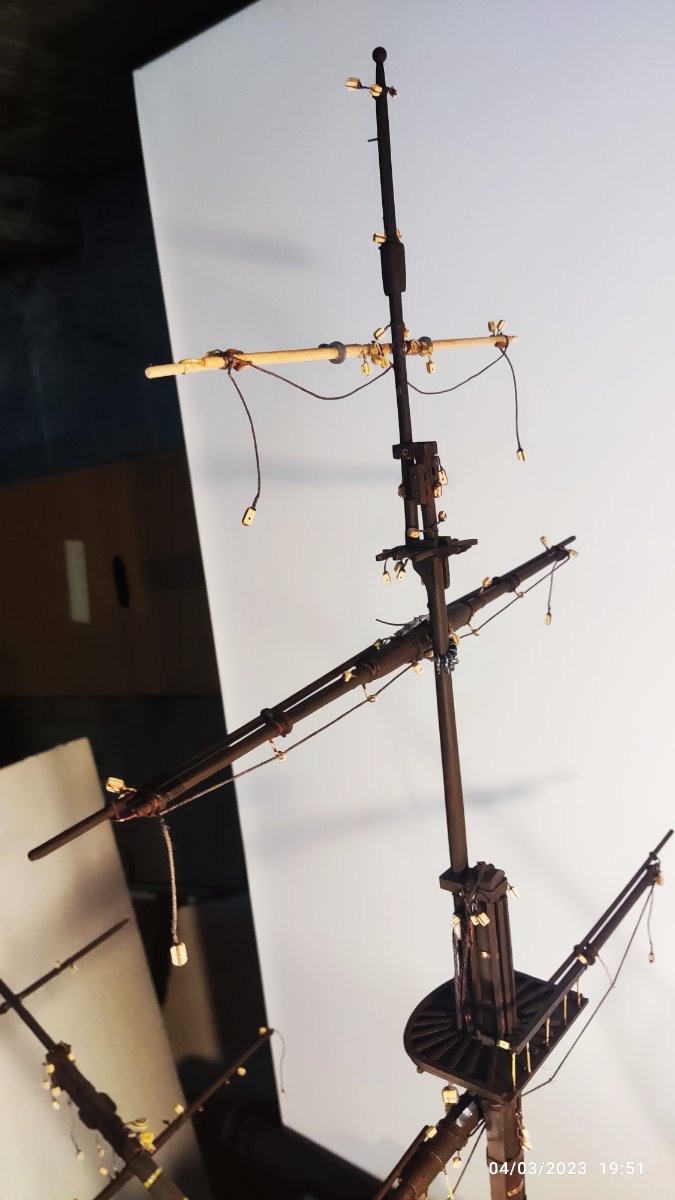
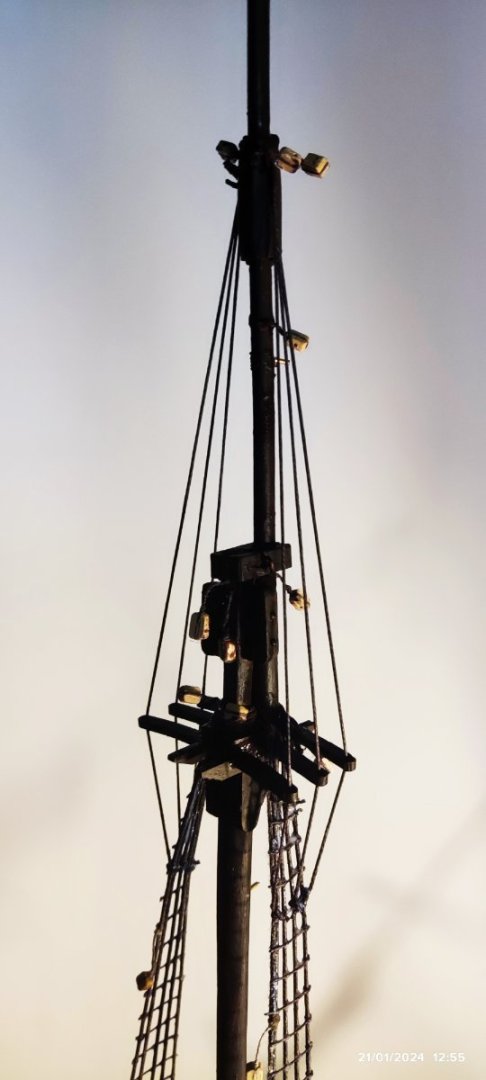
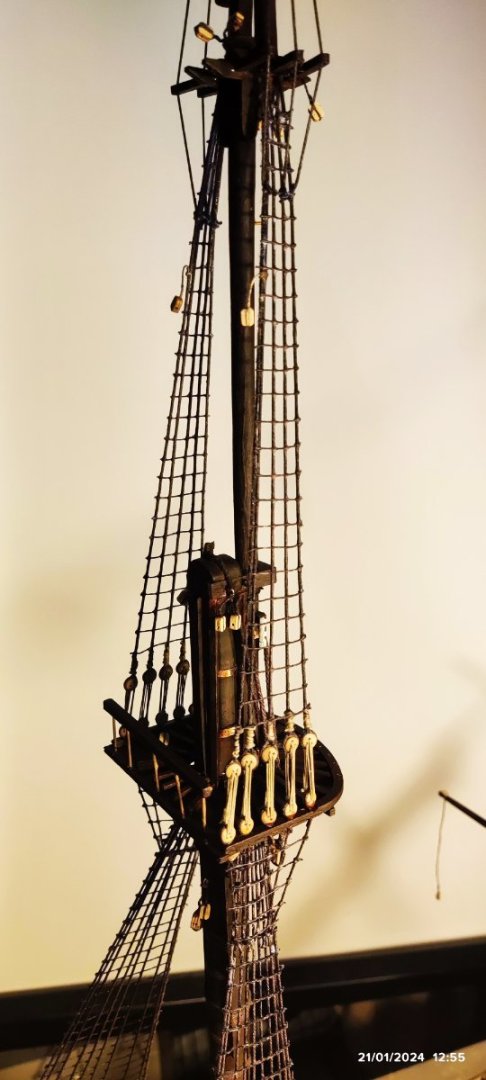
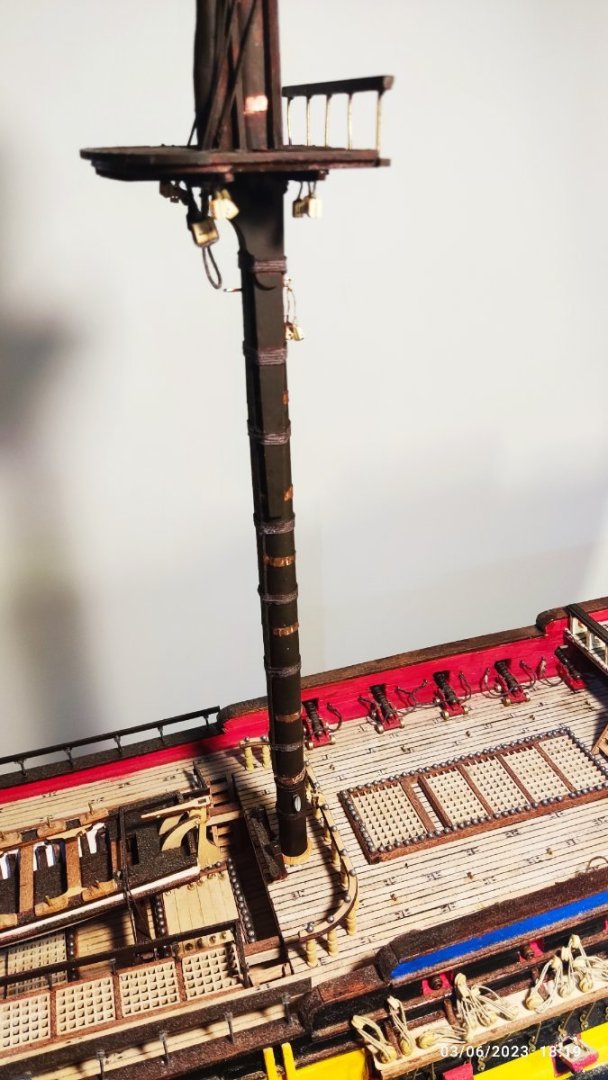
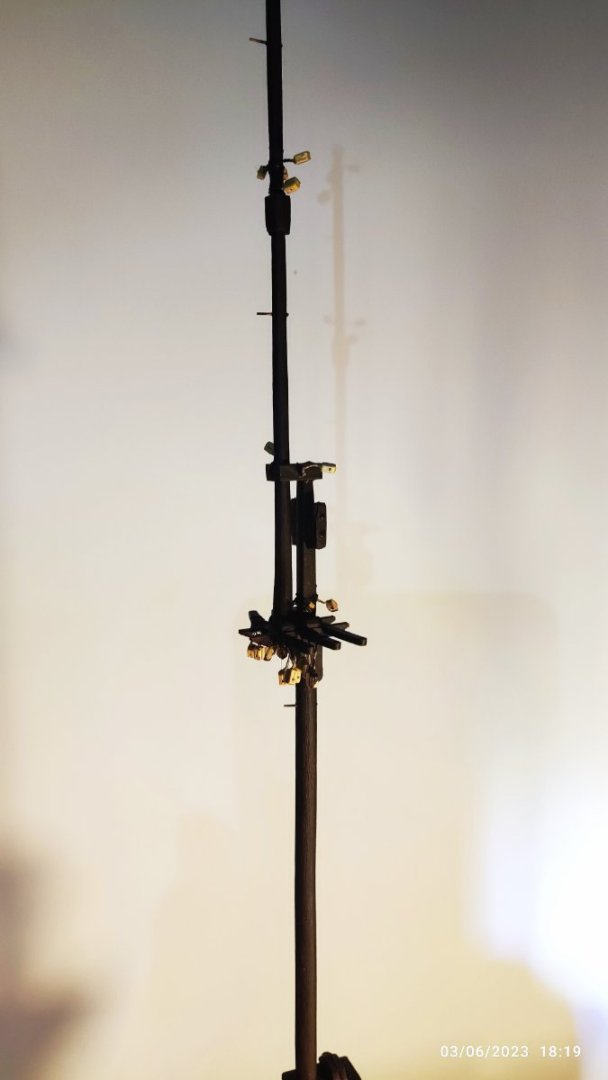
Now i start the main mast, the taller one...I make the two first parts with all the equipment. Blocks and ropes. I will paint it when i finish it.
-
Now i finish the foremast with the four yards placed but not cement. I will make the other two masts in the same way..

-
Now i finish the second yard, paint it and put it in place without cementing permanently. The third yard is easier to build. i put it in place for test. I must paint it also and after i must make the upper and smaller yard to finish the formast. Then from the beginnning the same job for mainmast and backmast


-
Tank you my friend. I will look the manual again..i have fix it....is that ok?