
gsxdent59
-
Posts
73 -
Joined
-
Last visited
Content Type
Profiles
Forums
Gallery
Events
Everything posted by gsxdent59
-
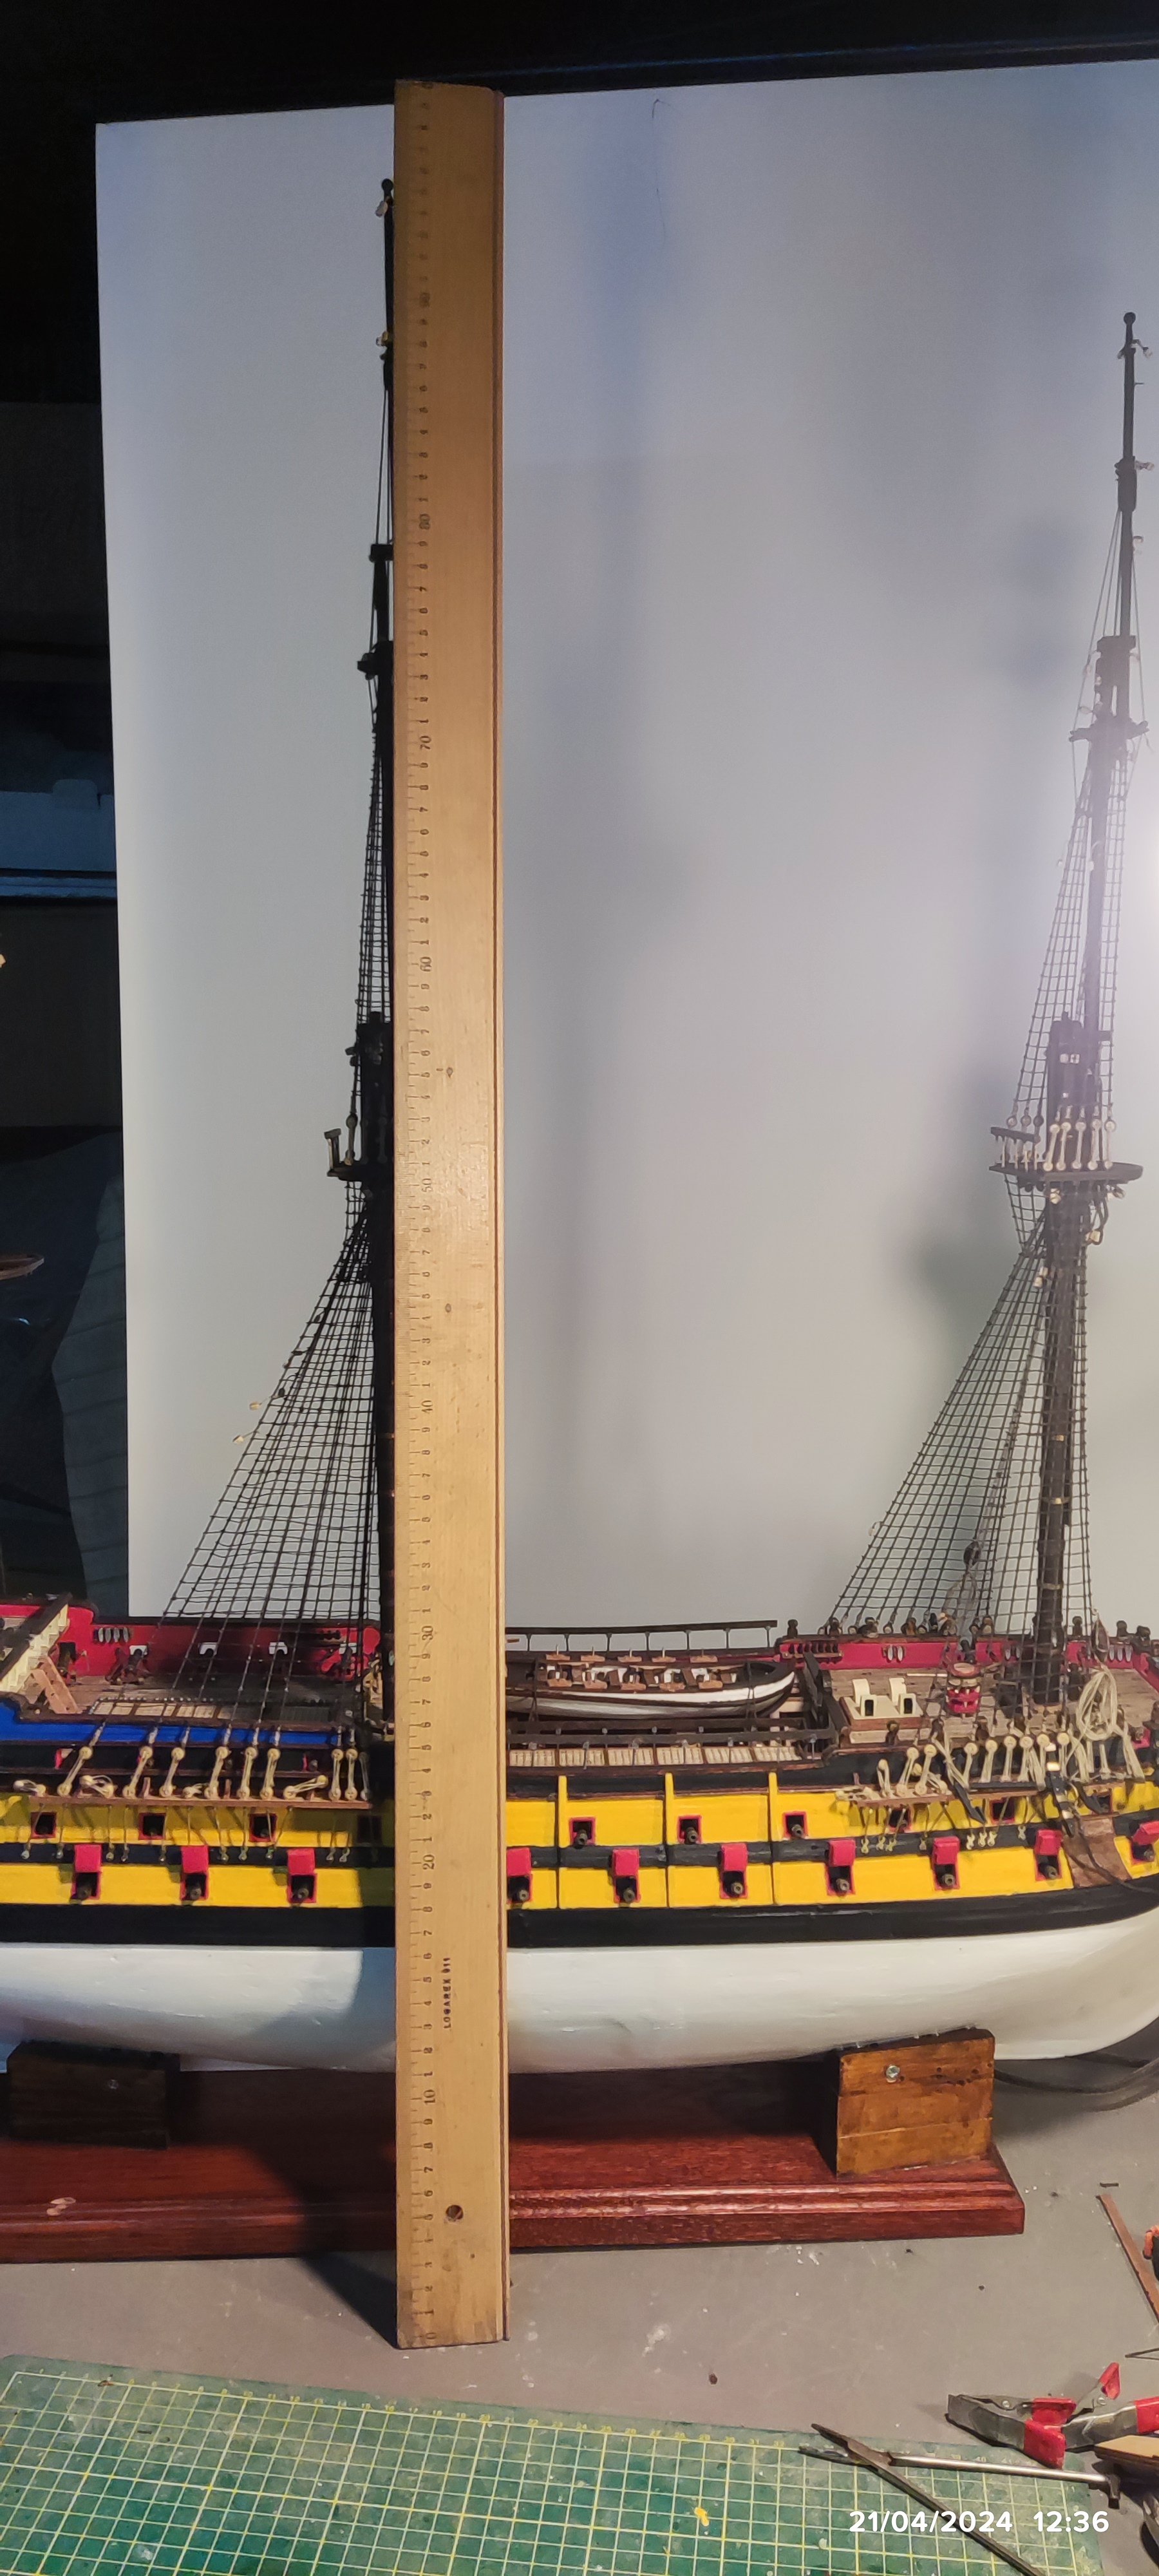
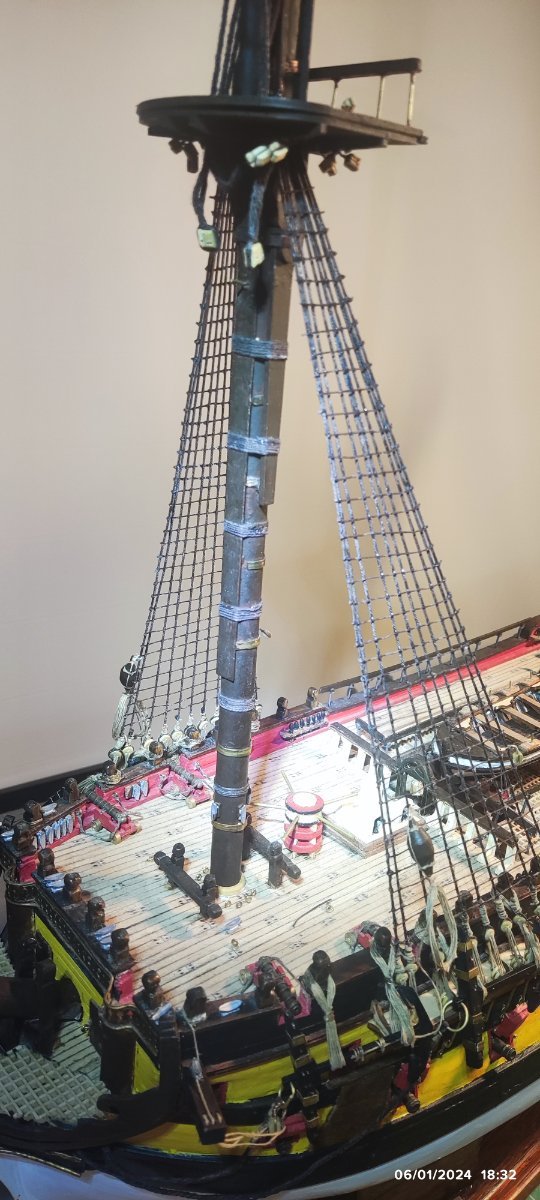
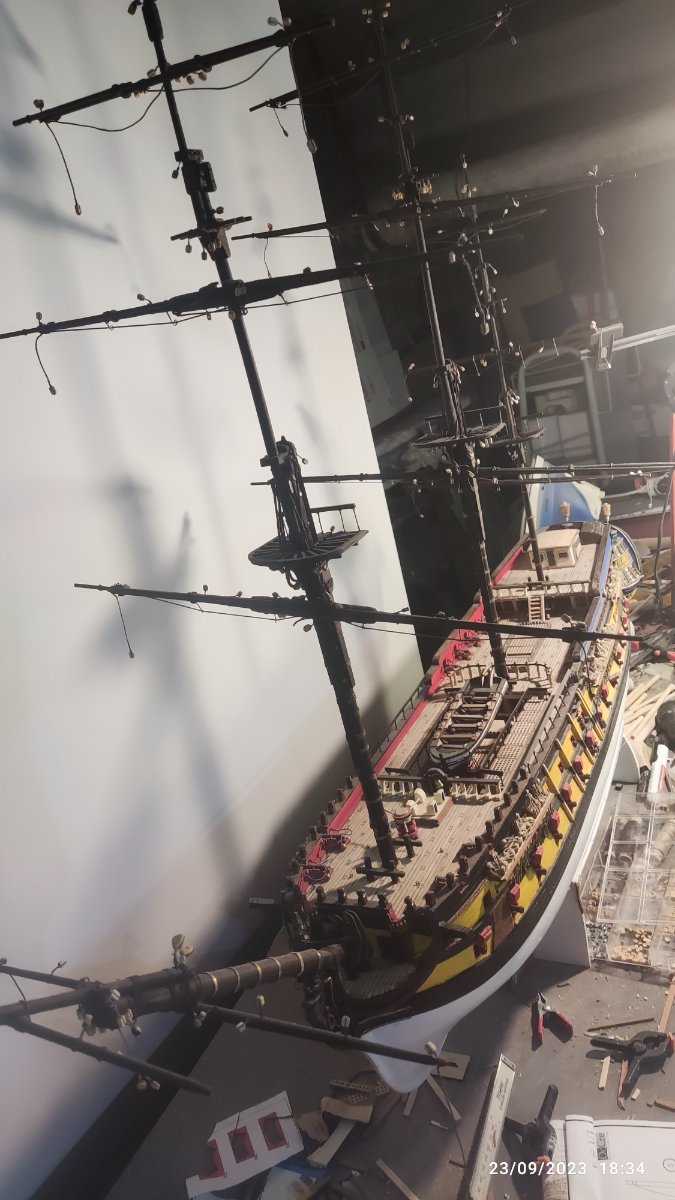
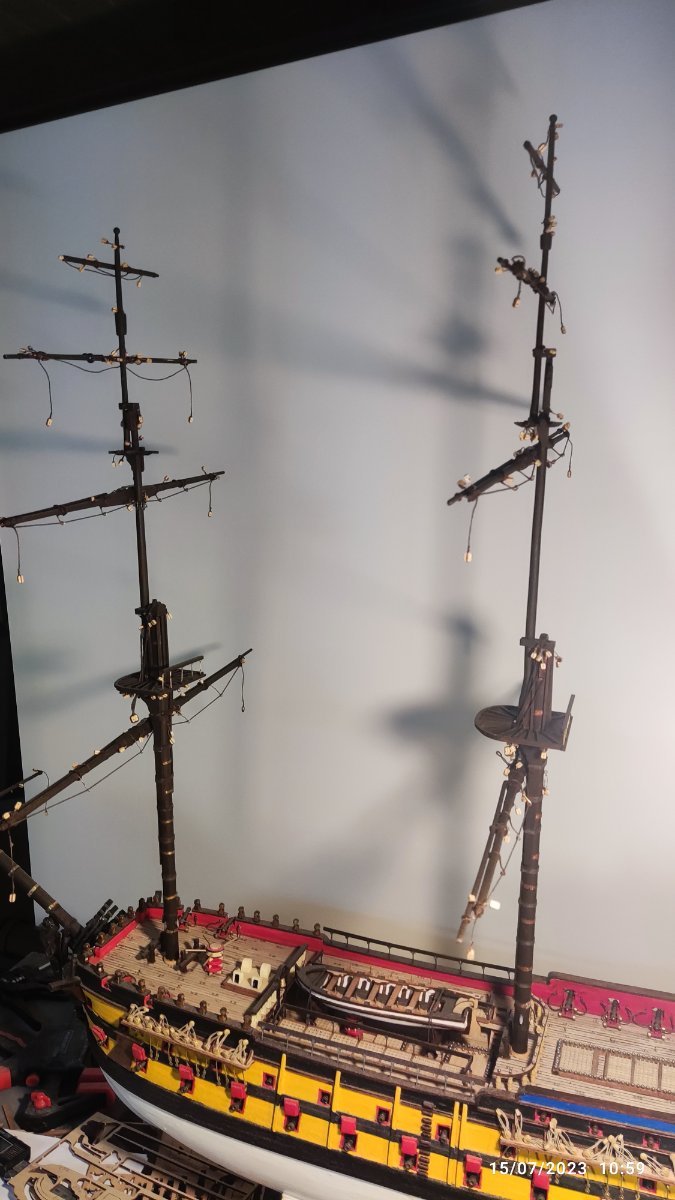
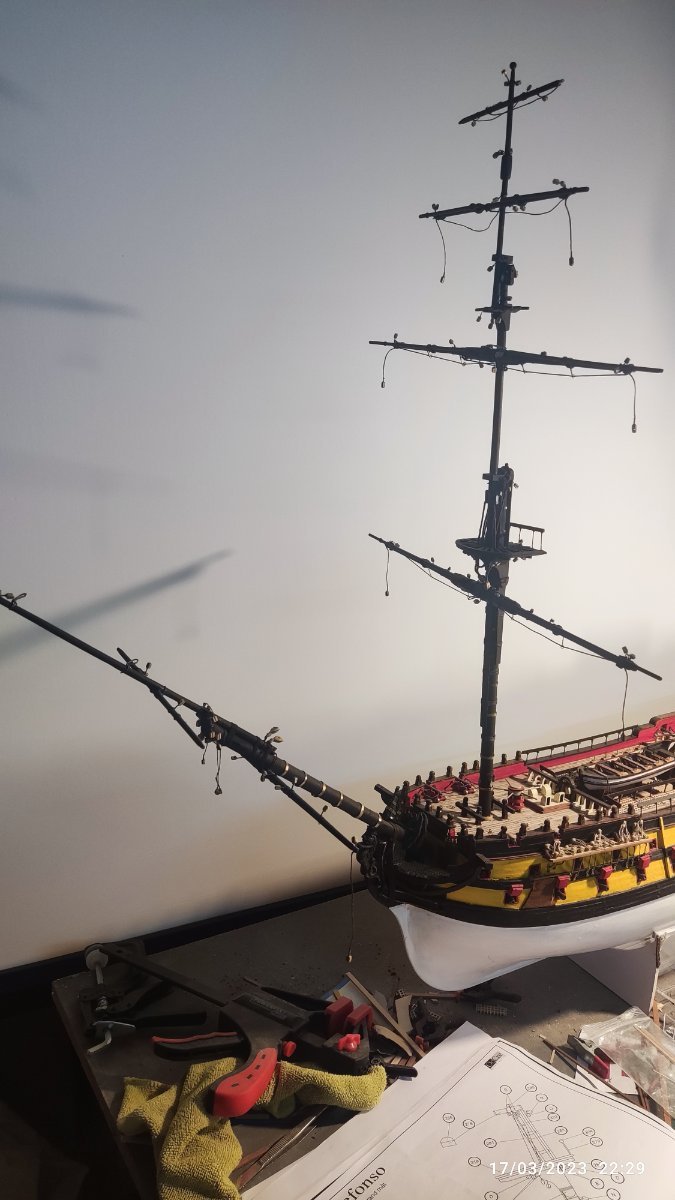
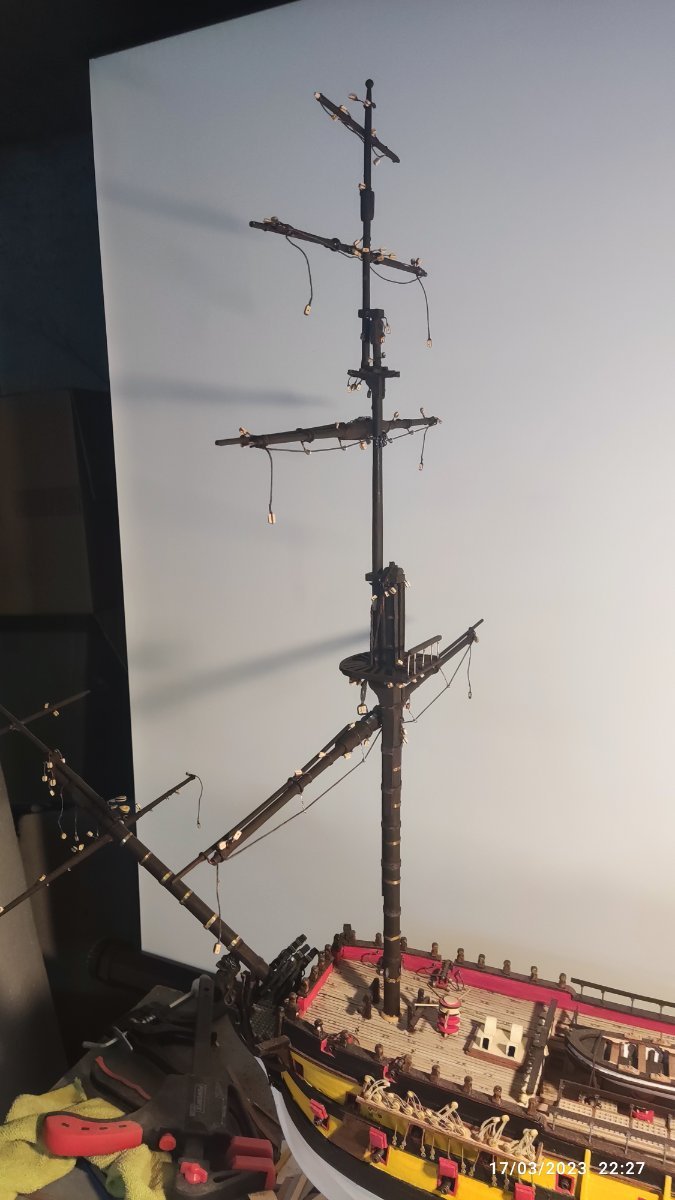
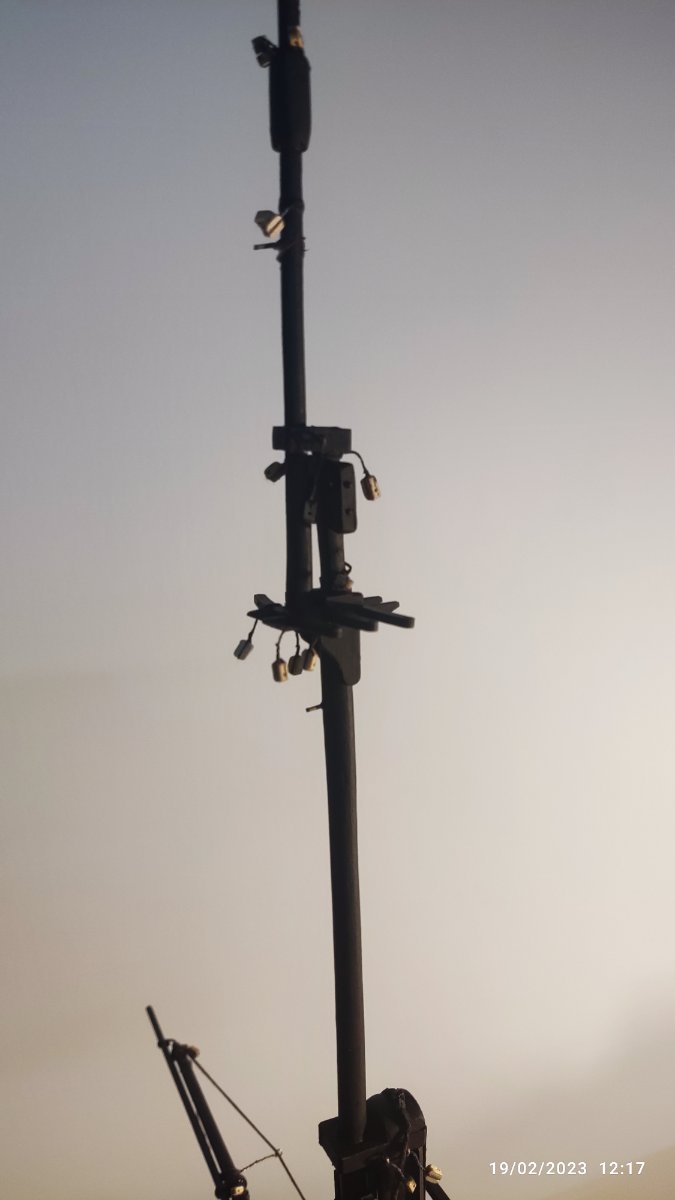
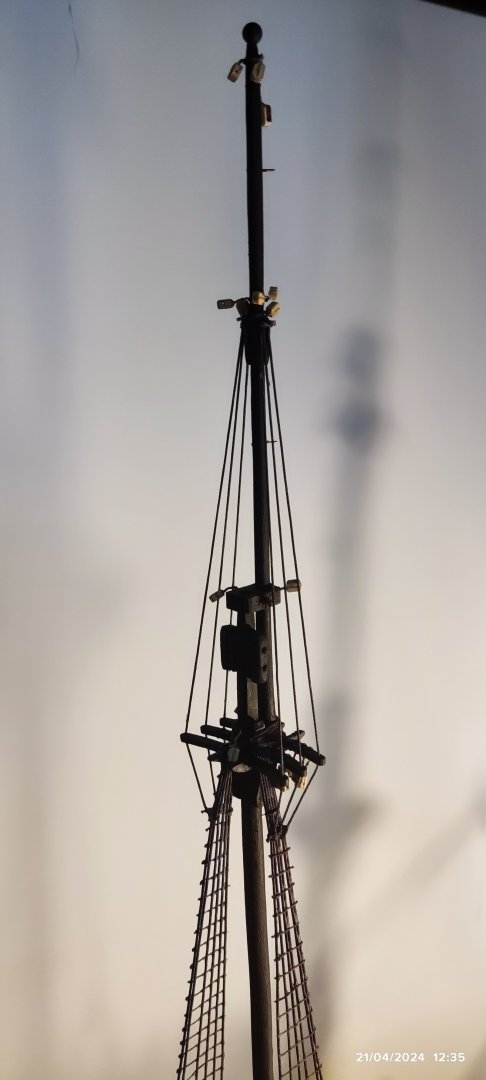
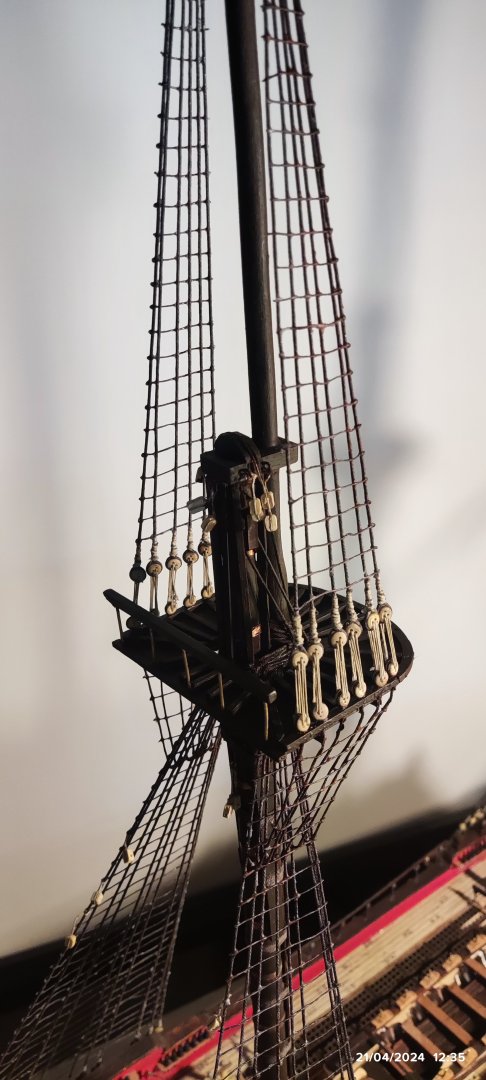
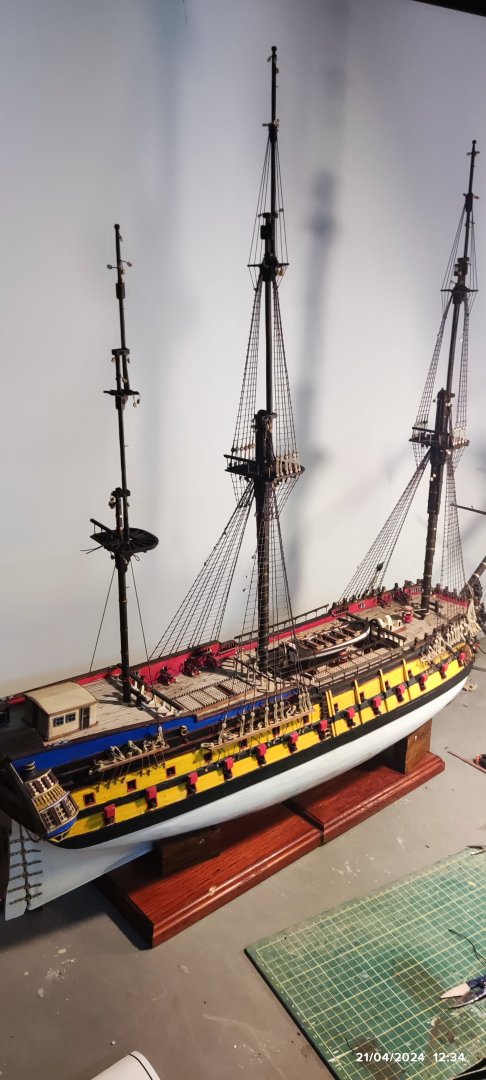
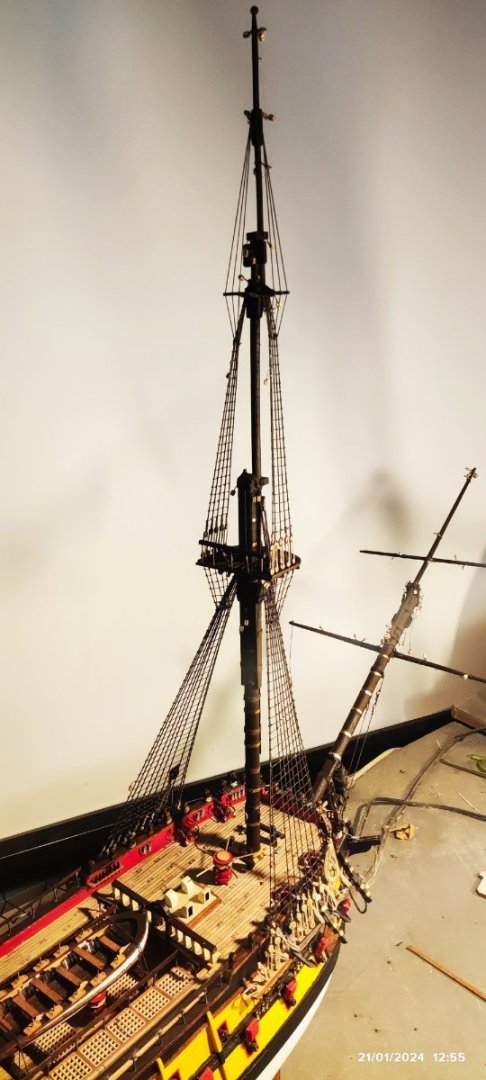
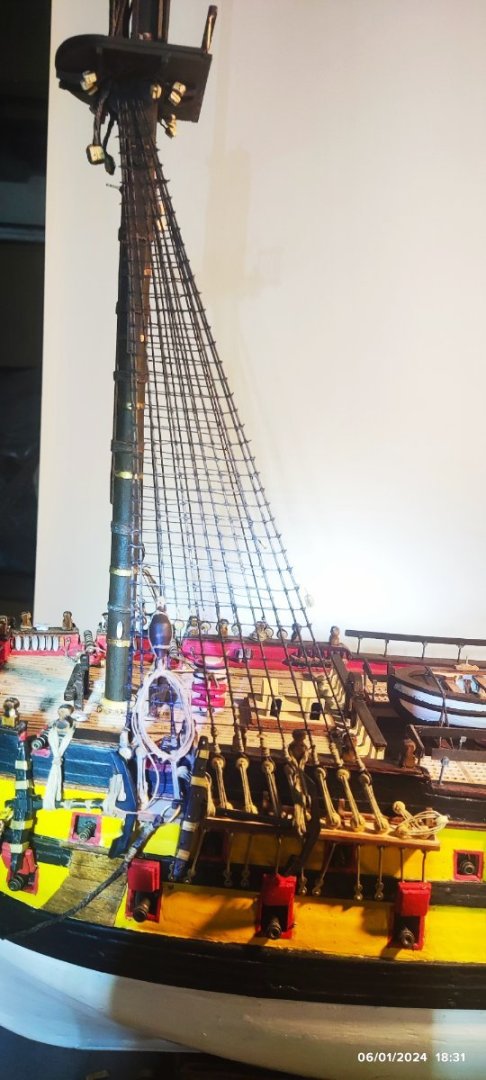
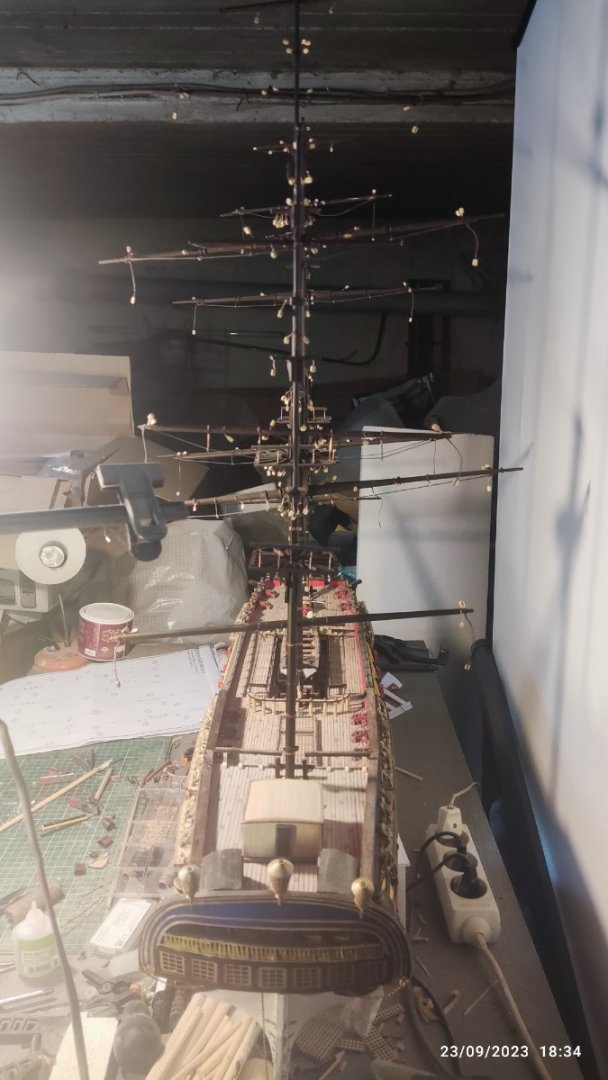
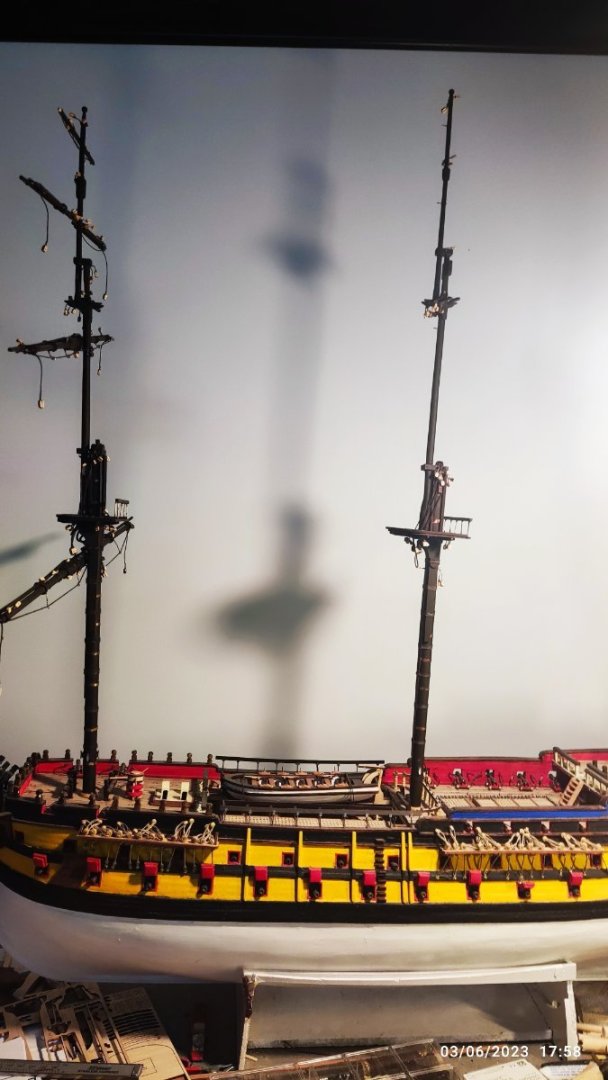
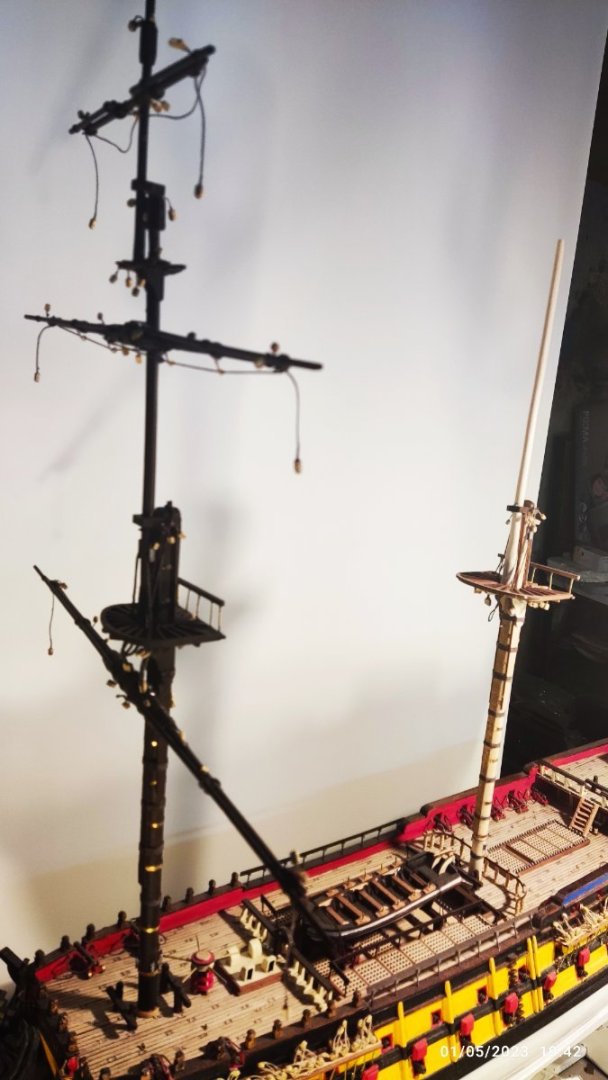
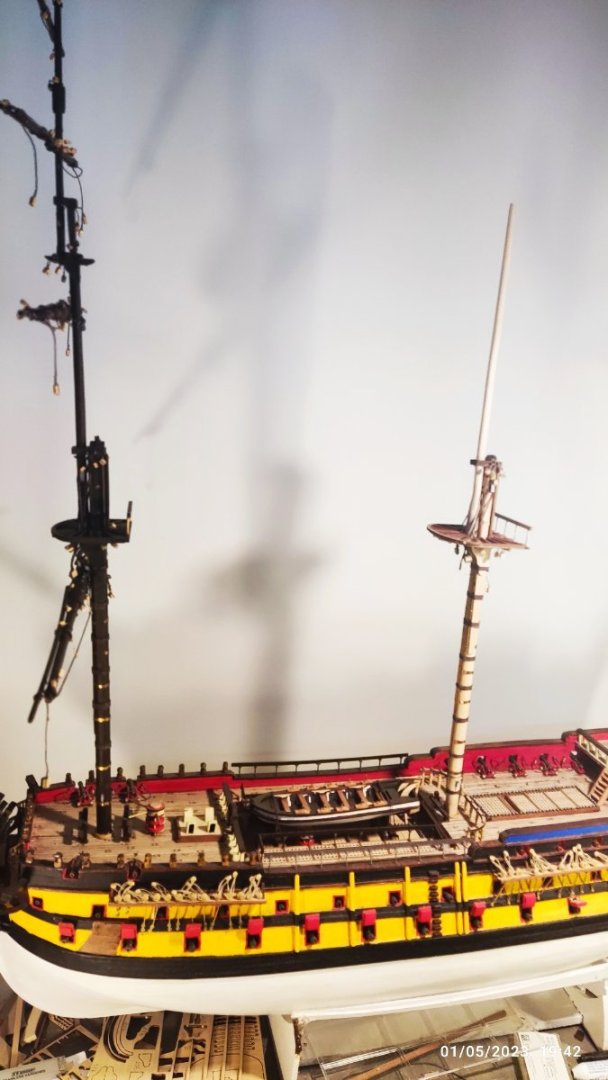
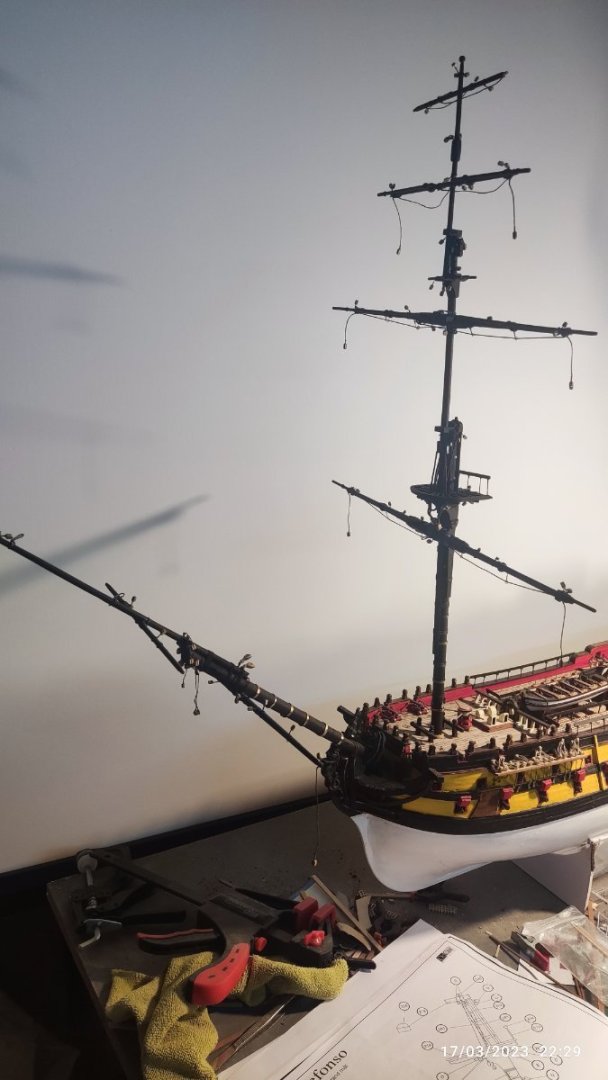
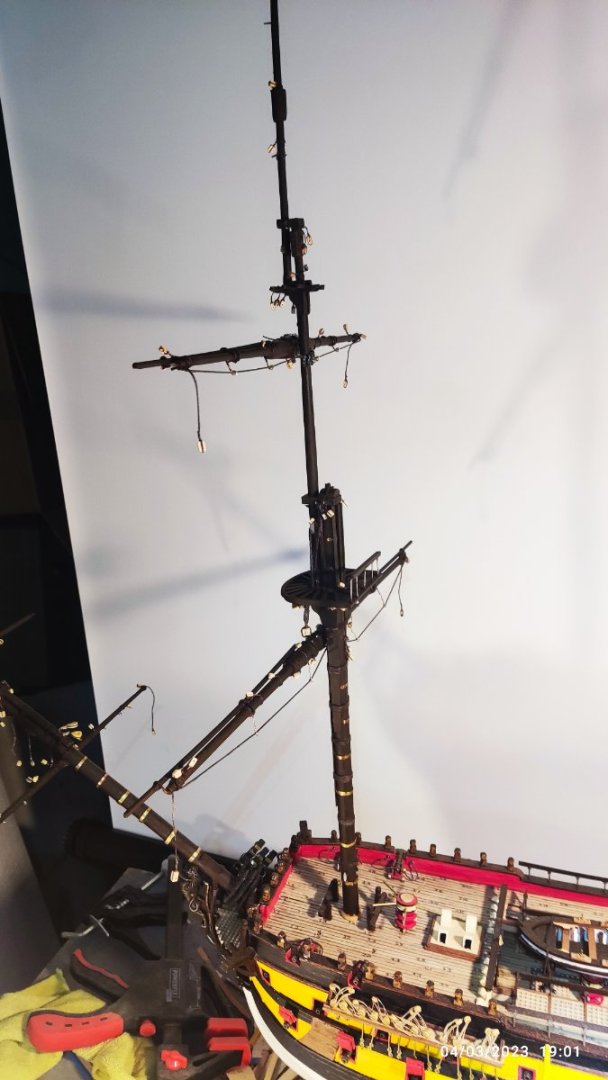
I finish the shrouds of the main mast. I put the permanent base of the model and as seen in fotos the final height of the model is 95,5 cm . The length is 1m 20 cm. I start now the shrouds for the mizzen mast.

-
These days i have recieve my next ship model to start after finish SAN ILDEFONSO...Is the Number 495 from 999 parts of the Britisch Ship HMS VICTORY from OCCRE. The price isn't cheap,but is a quality kit in limited copies (999 only) and all copies are numbered with plate. It came in a 16 kilos package...in a wooden case...So after i finish this model, i will start that...
-
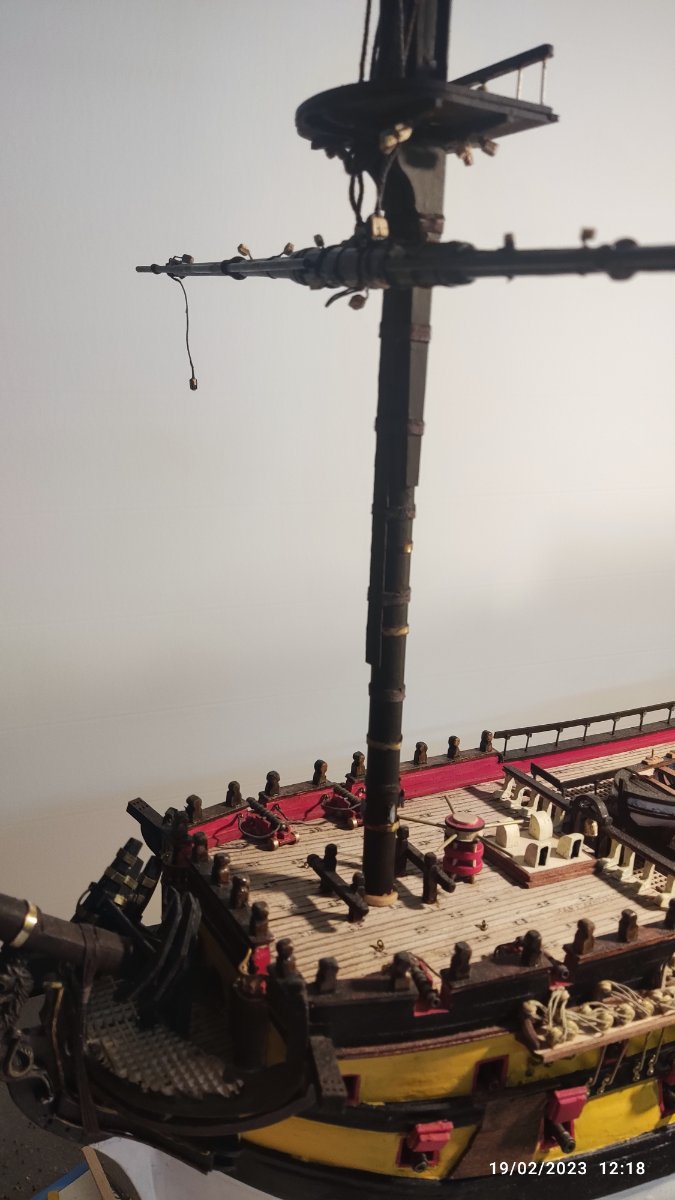
Now all shrouds for the fore mast are done. Both sides of the ship. I procced to the main mast for the same job...
-
Finish the same job in the left side of the ship. Move up now....


-
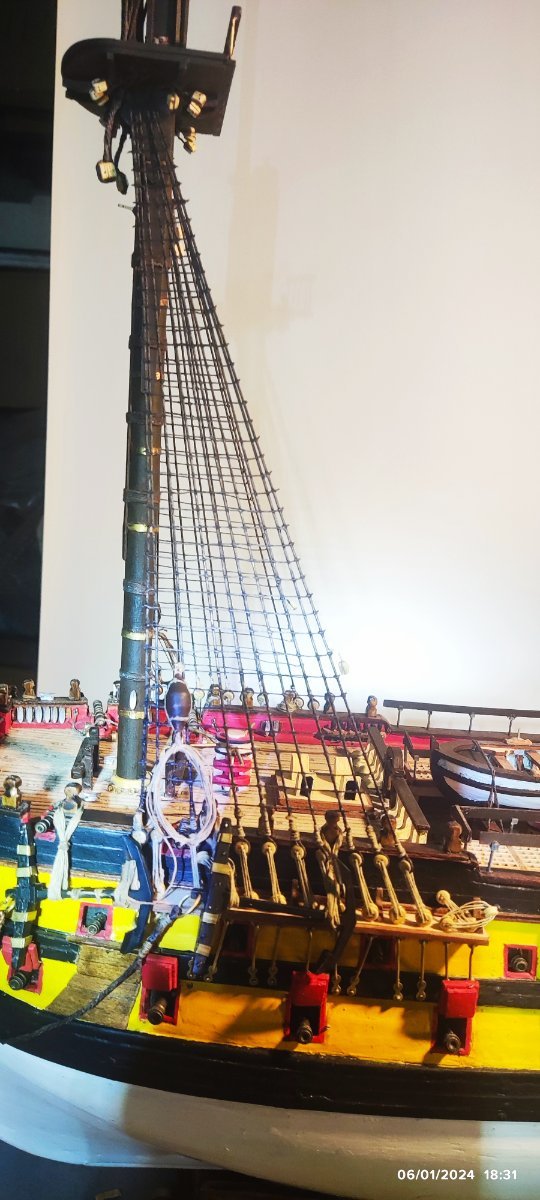
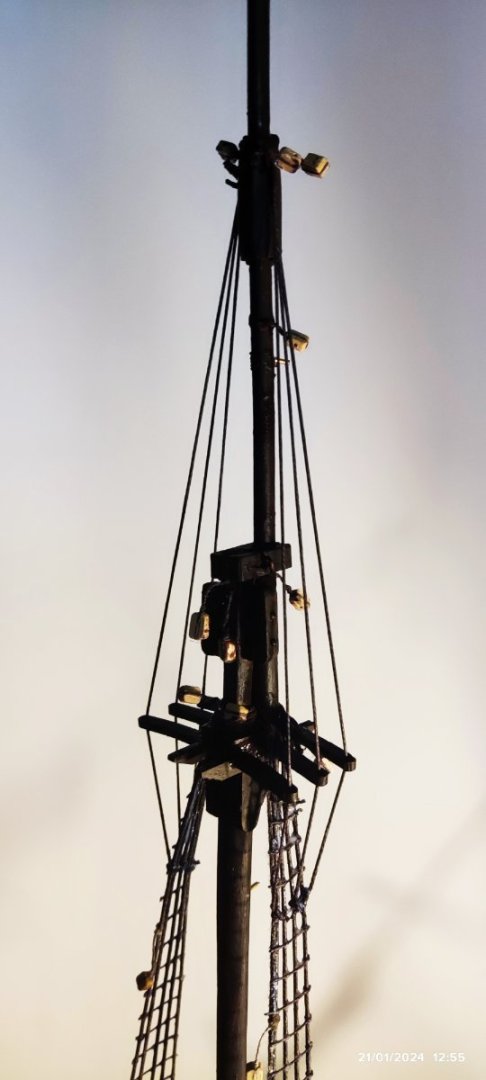
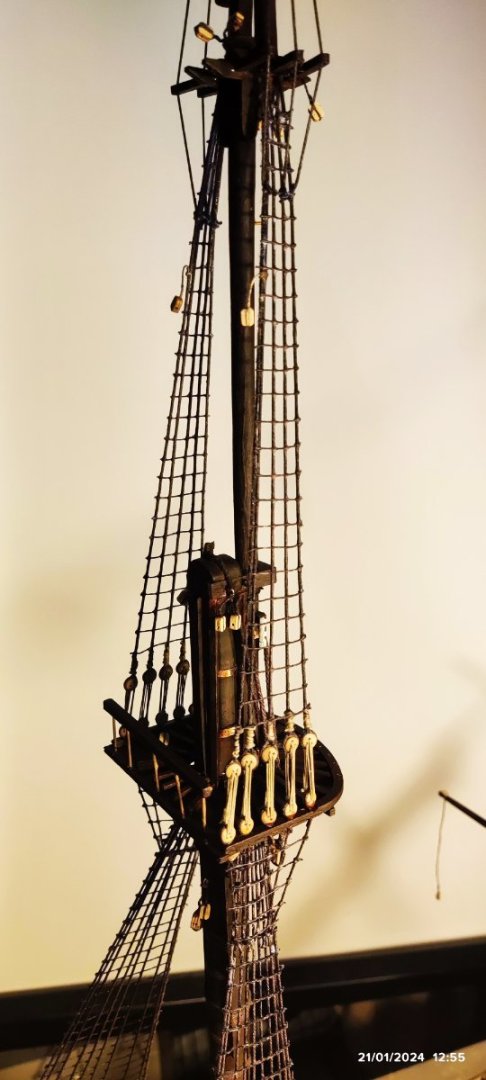
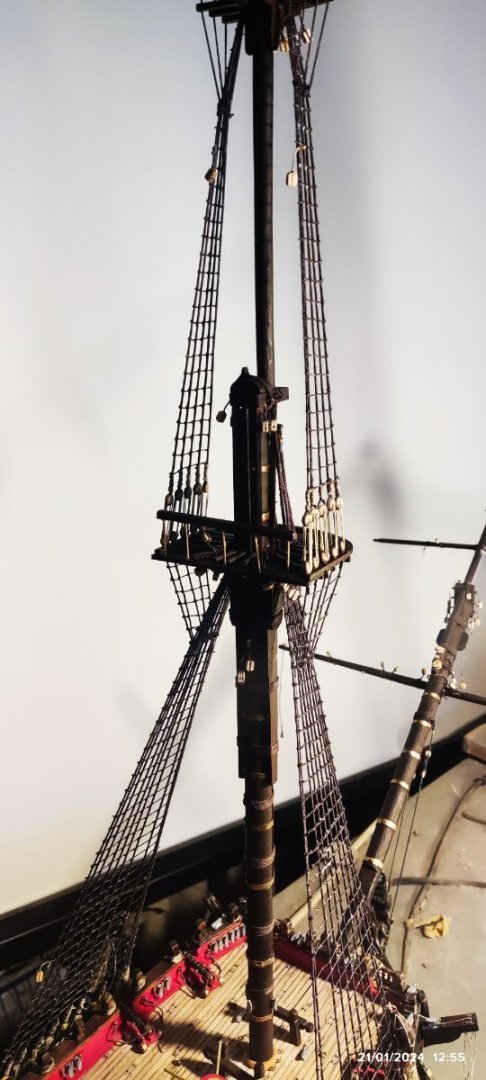
Now i start the rigging. I put in place the shrouds for the foremast using thread 0,80 brown. Then the ratlines using brown thread 0,15. After the two anckors with all the equipment, as shown in the manual. The same must be made for the other side of the ship and go on...


-
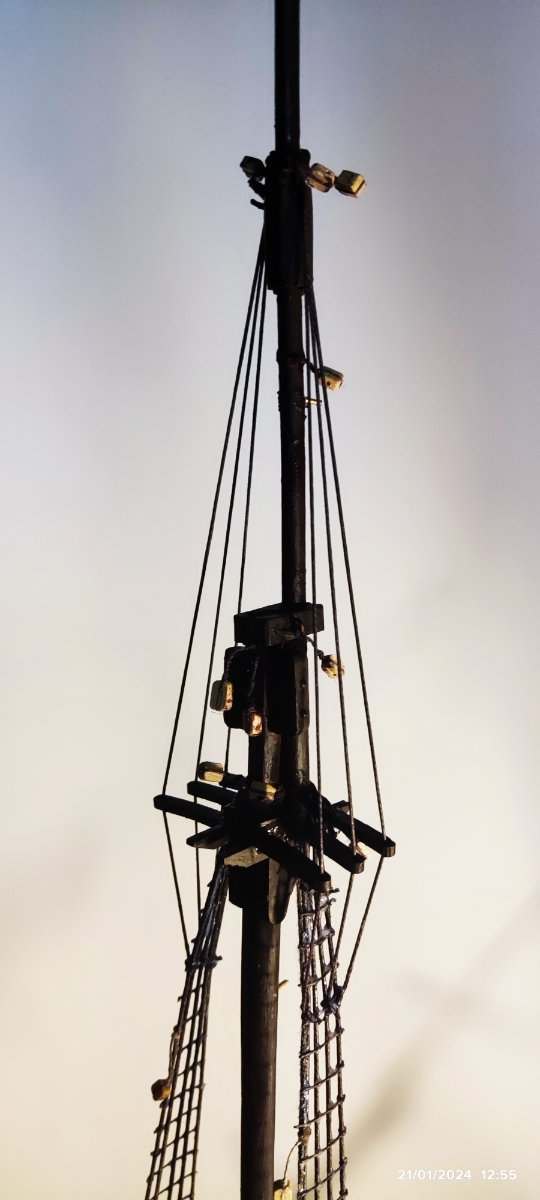
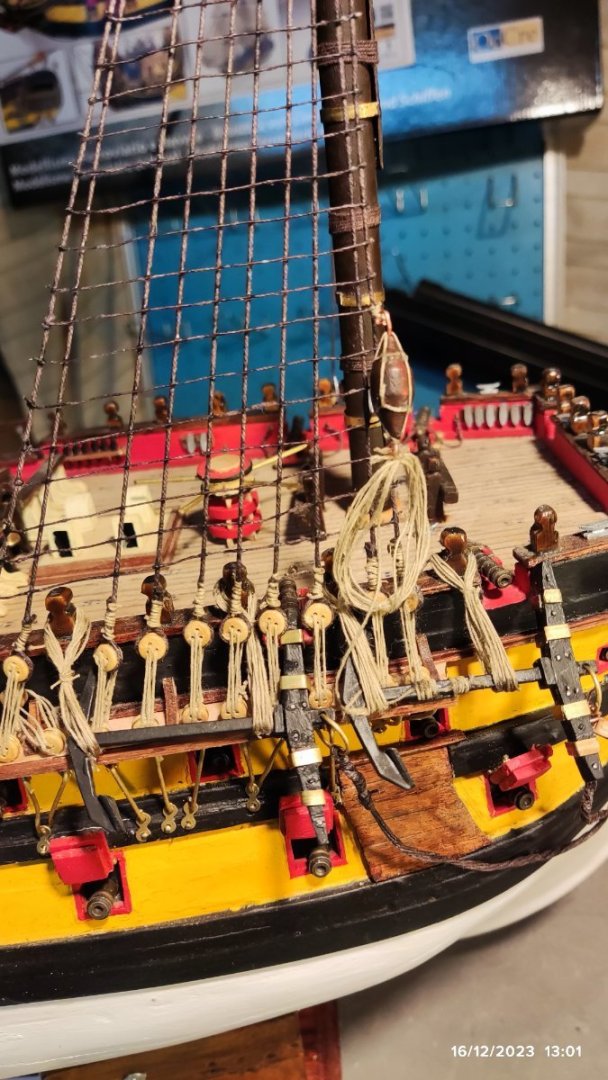
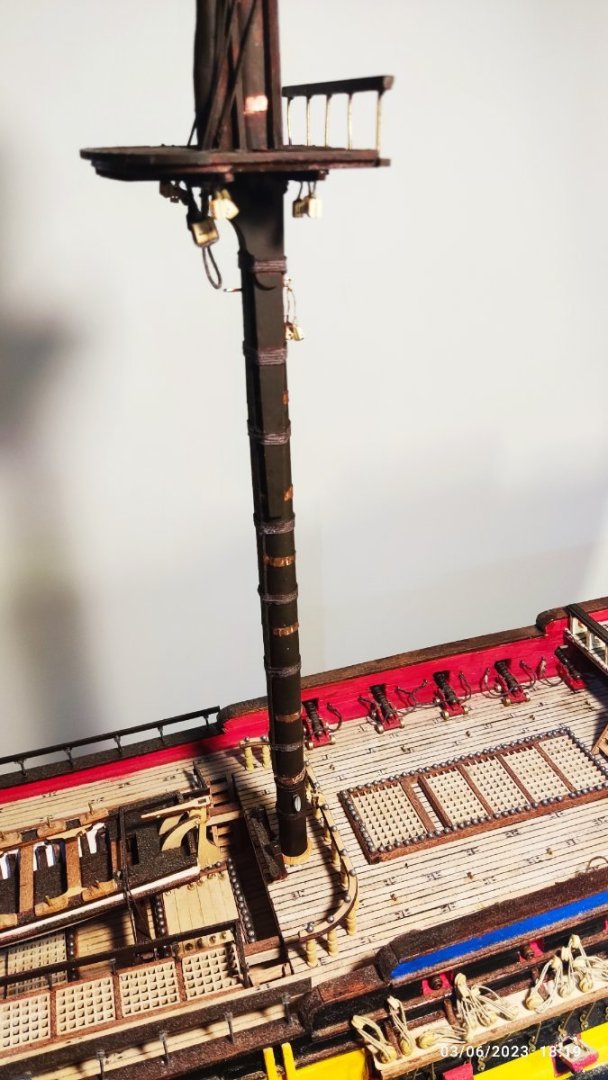
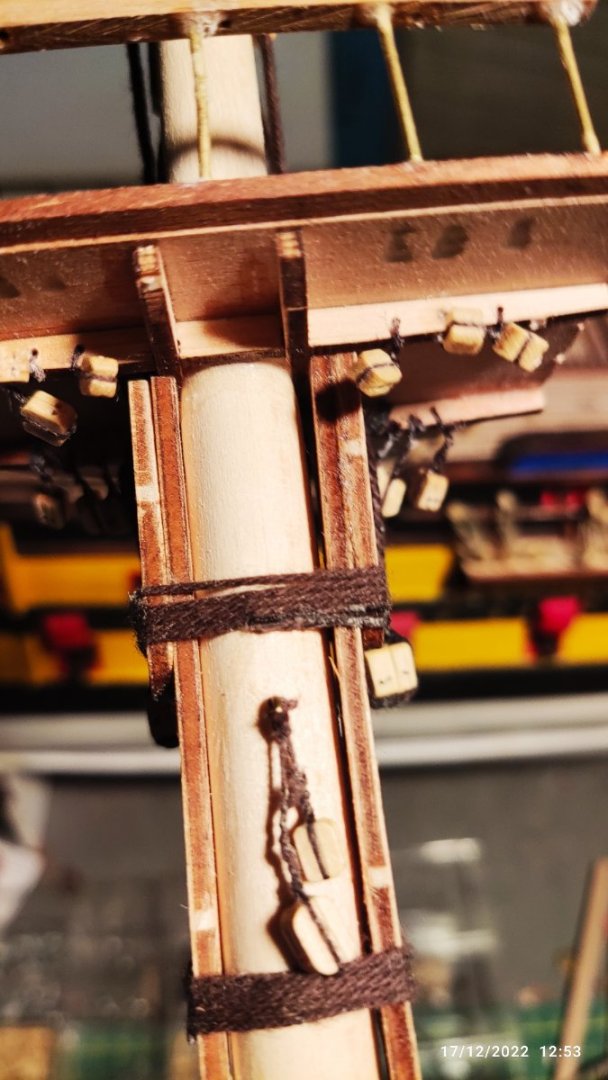
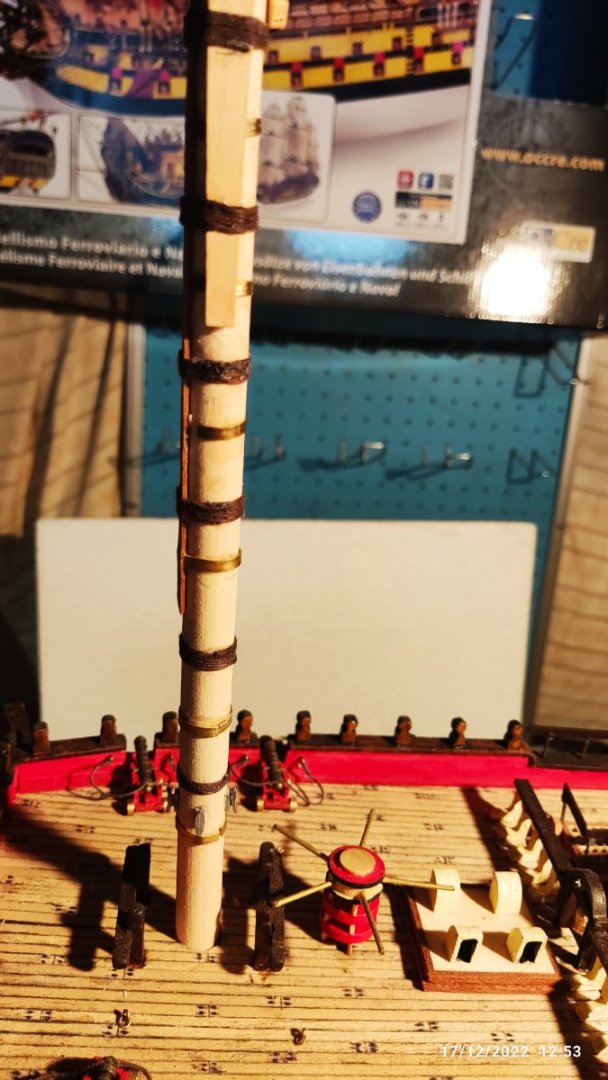
Now i put six blocks from wooden pins, both sides of the ship. To be sure that the block doesn't move from place,when threats are tide on them,i nail them with two nails for each block. I also cement metal cleats where the manual shows. Finally eyebolts are placed around the masts and in other places according to the manual. Now i am ready to start the threats and put in place the foremast.


-
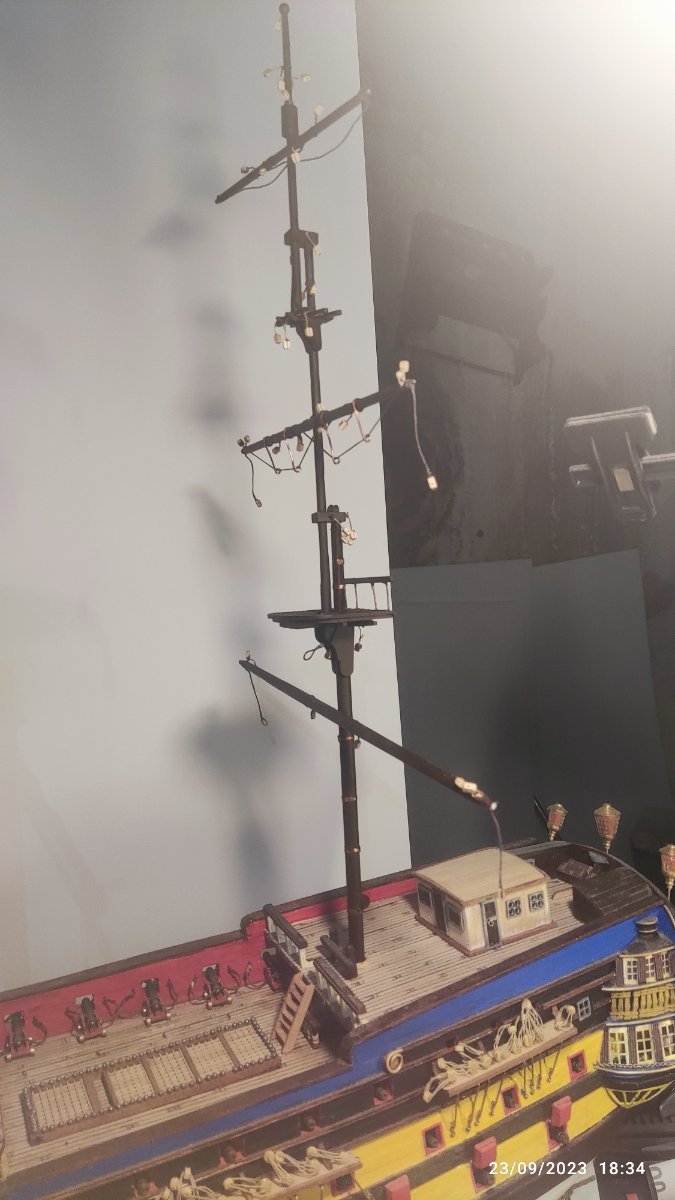
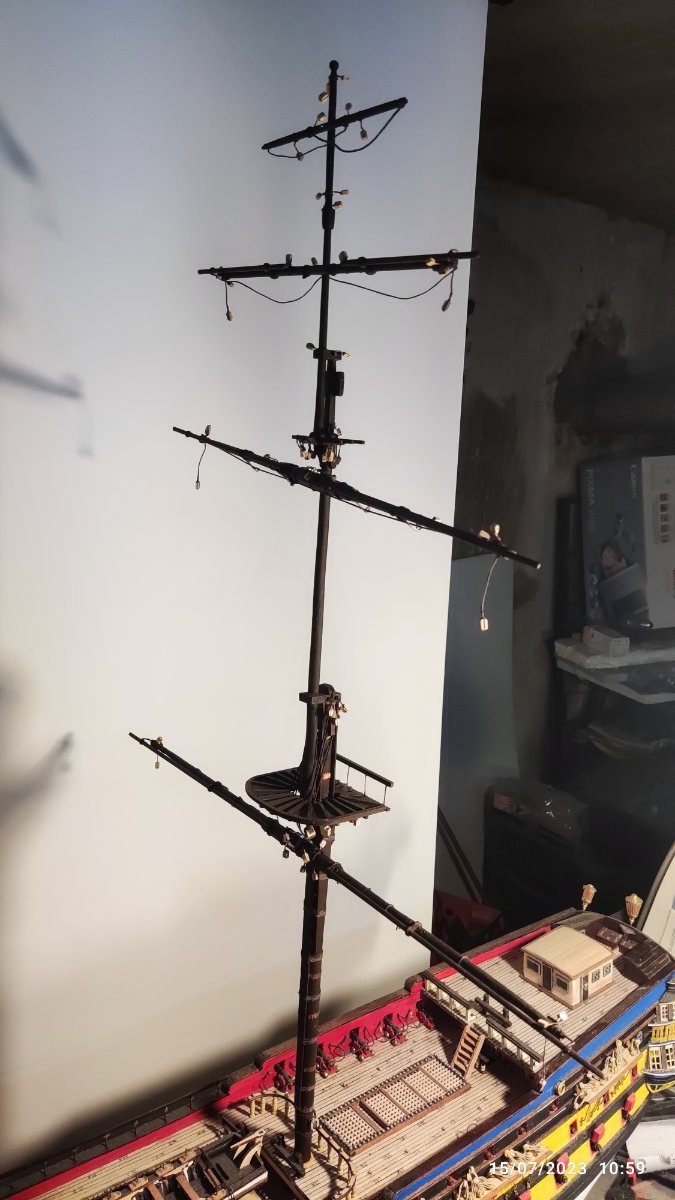
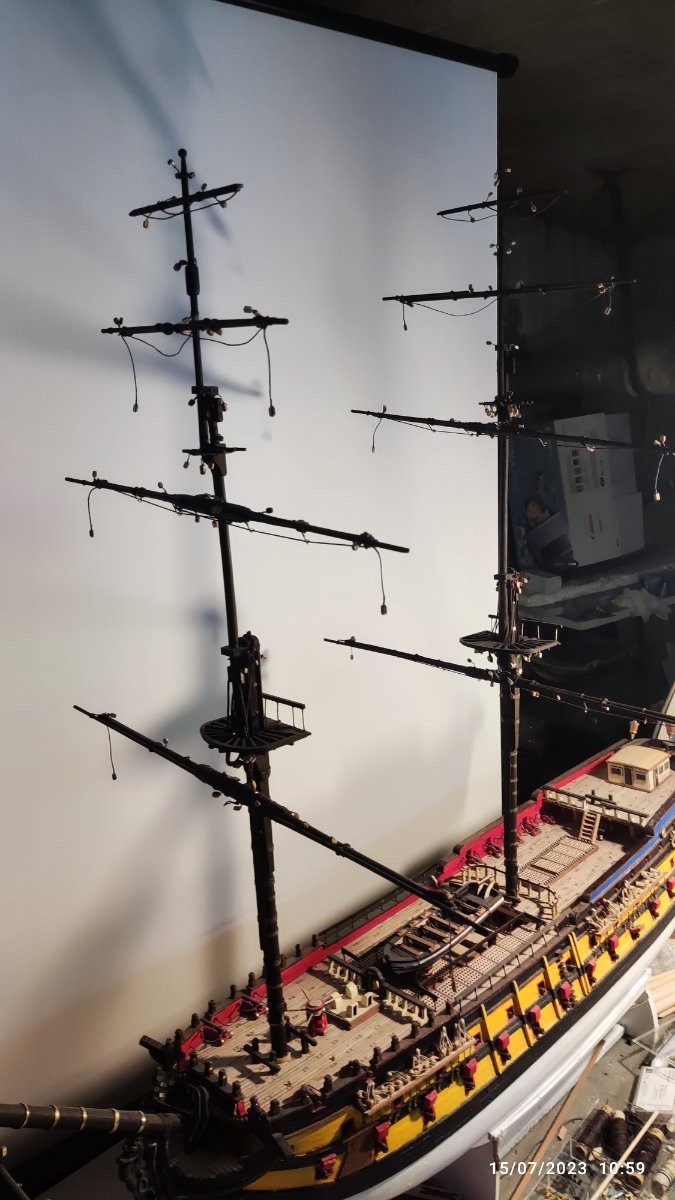
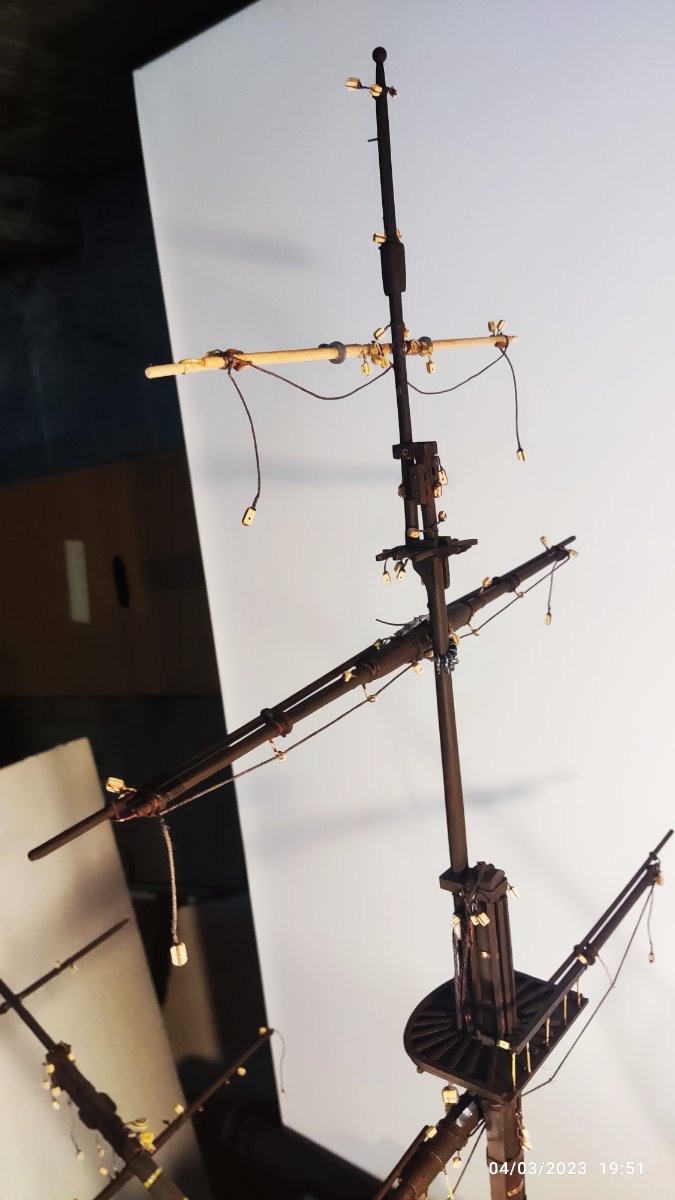
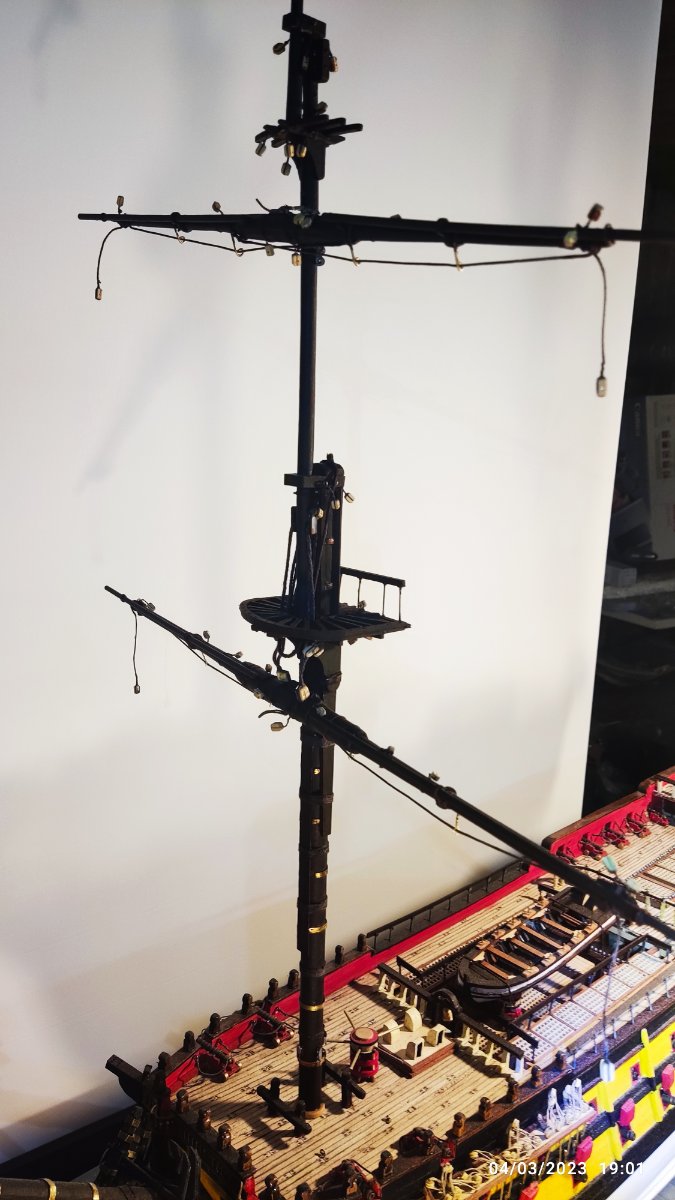
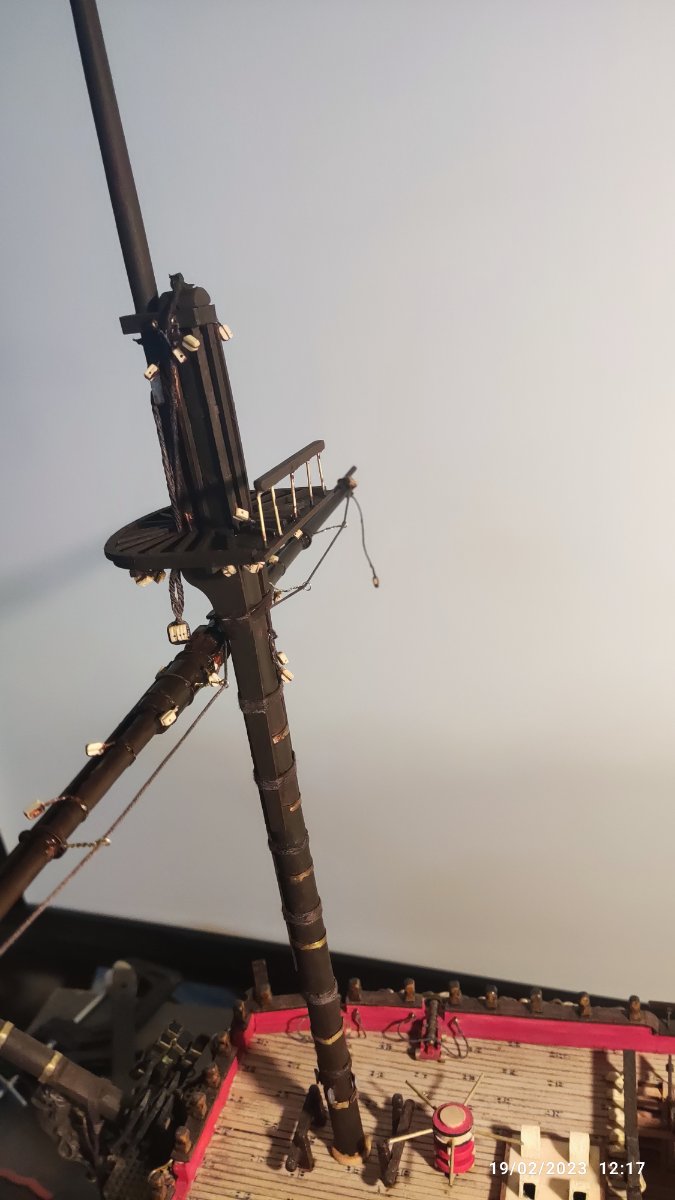
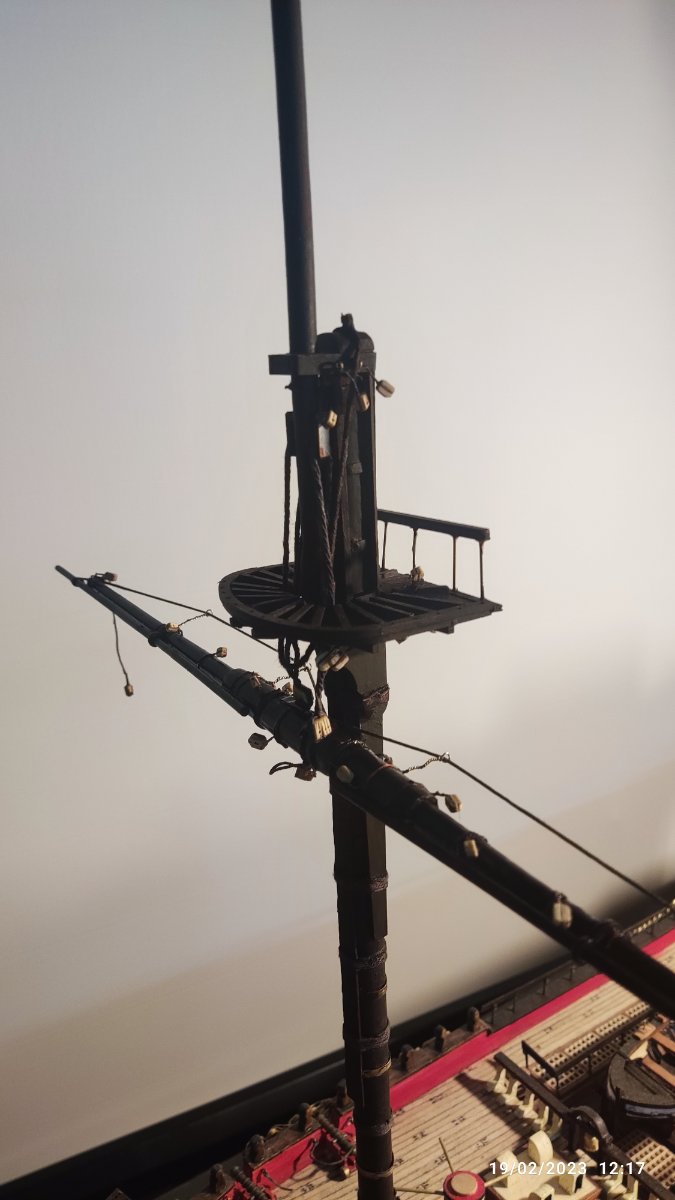
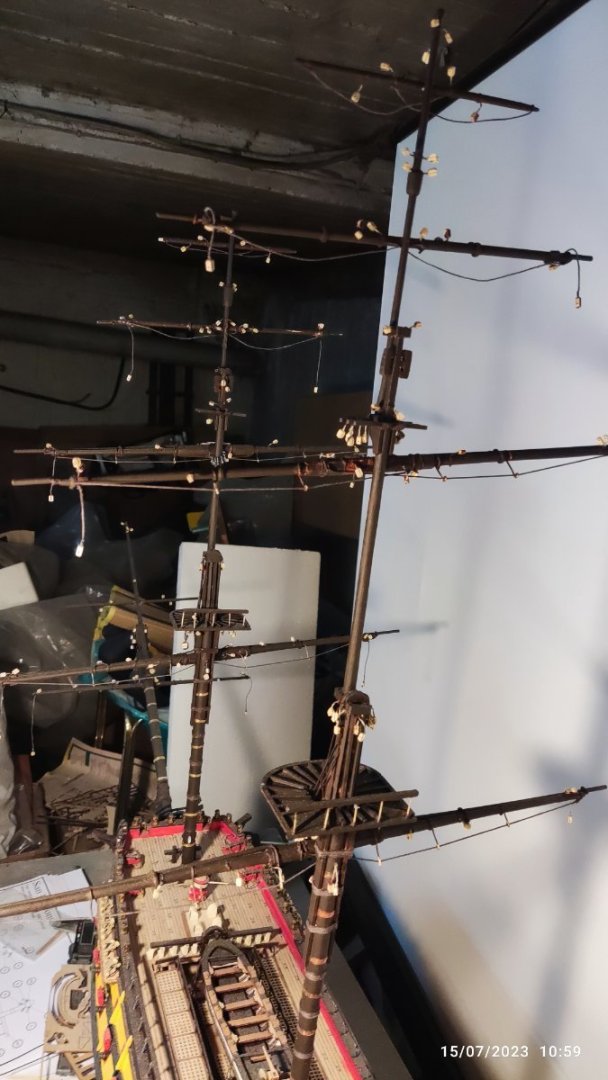
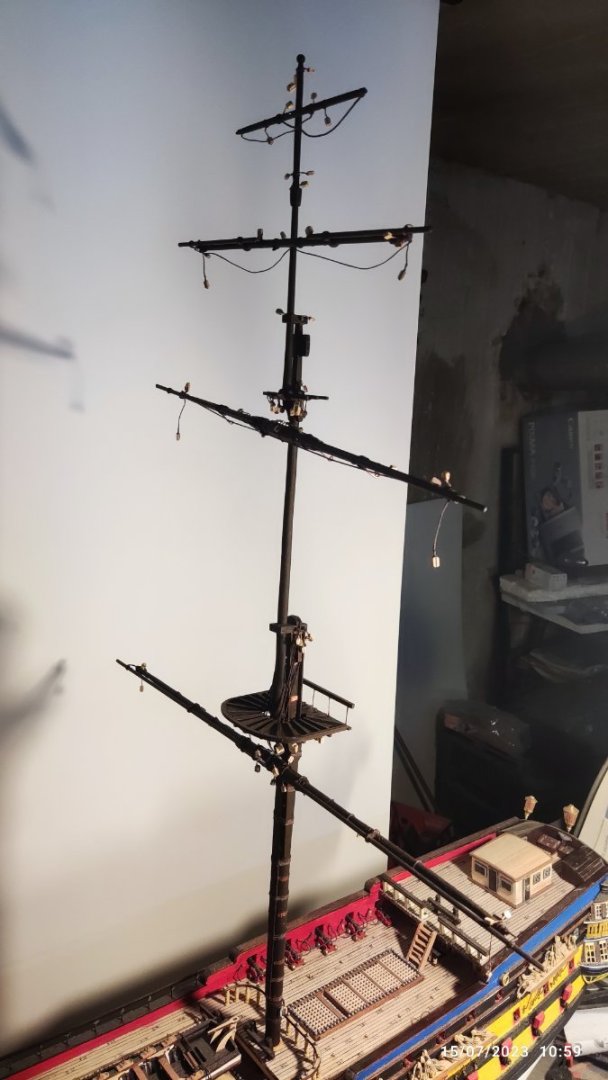
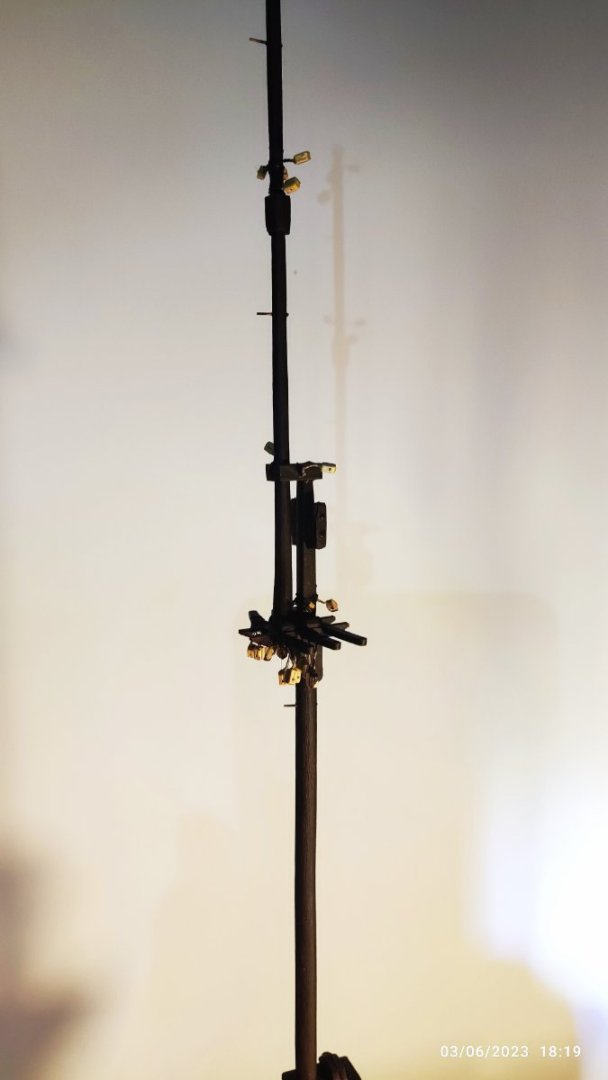
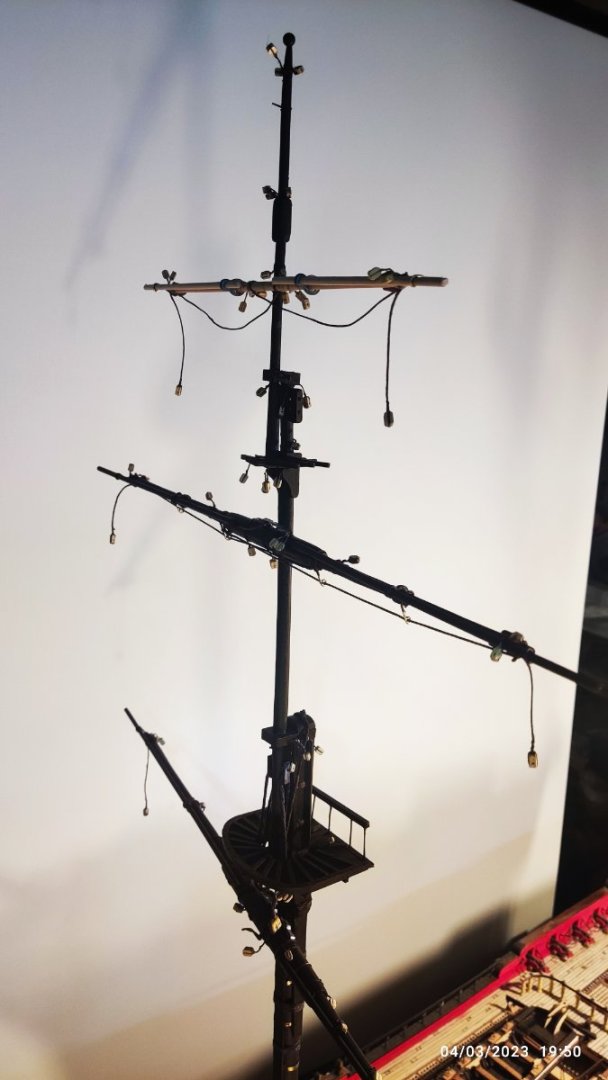
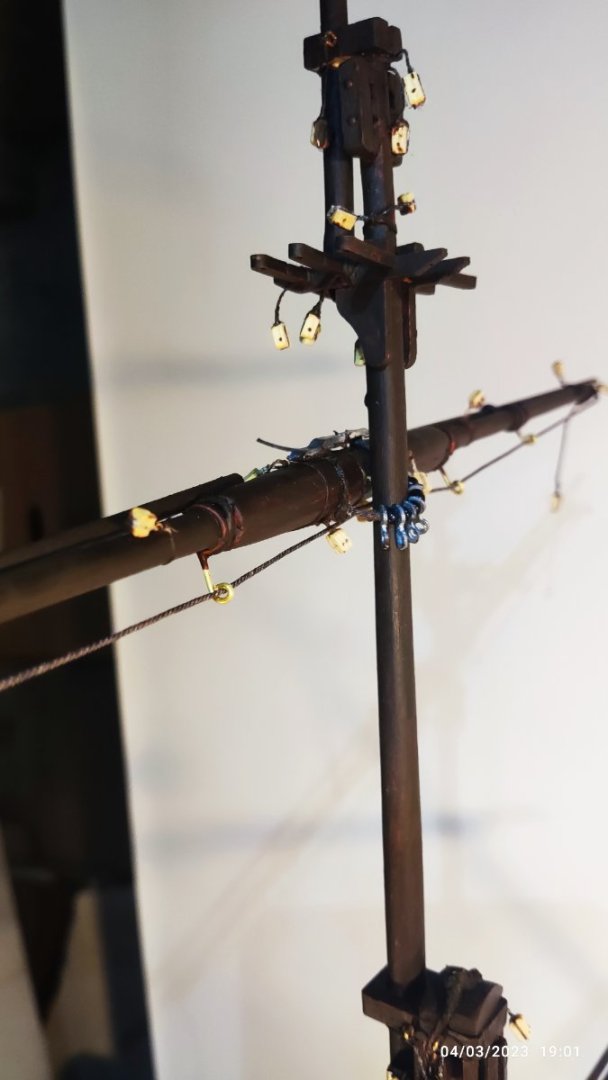
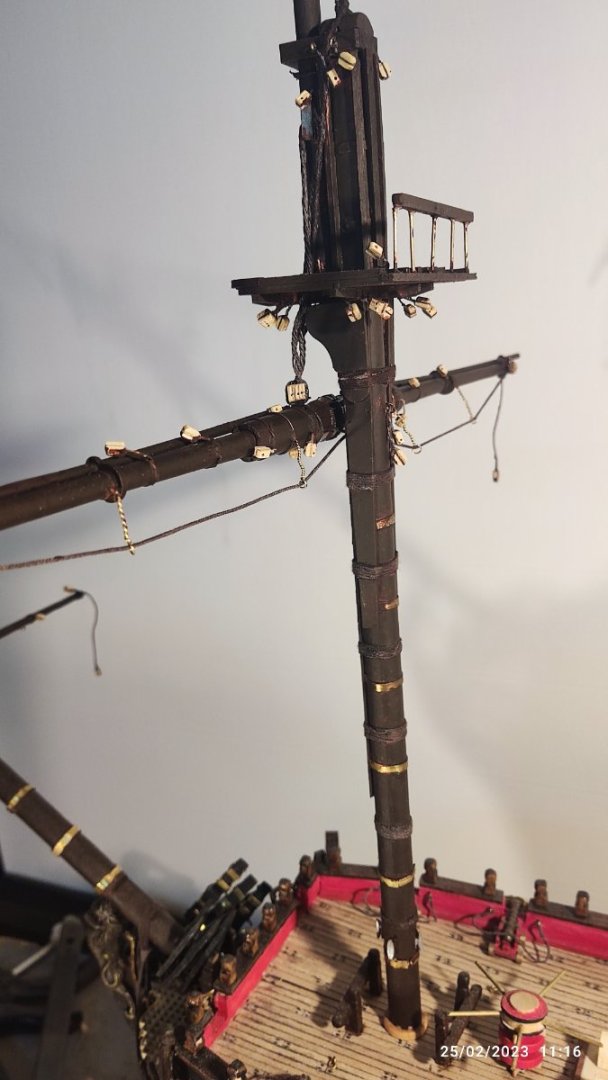
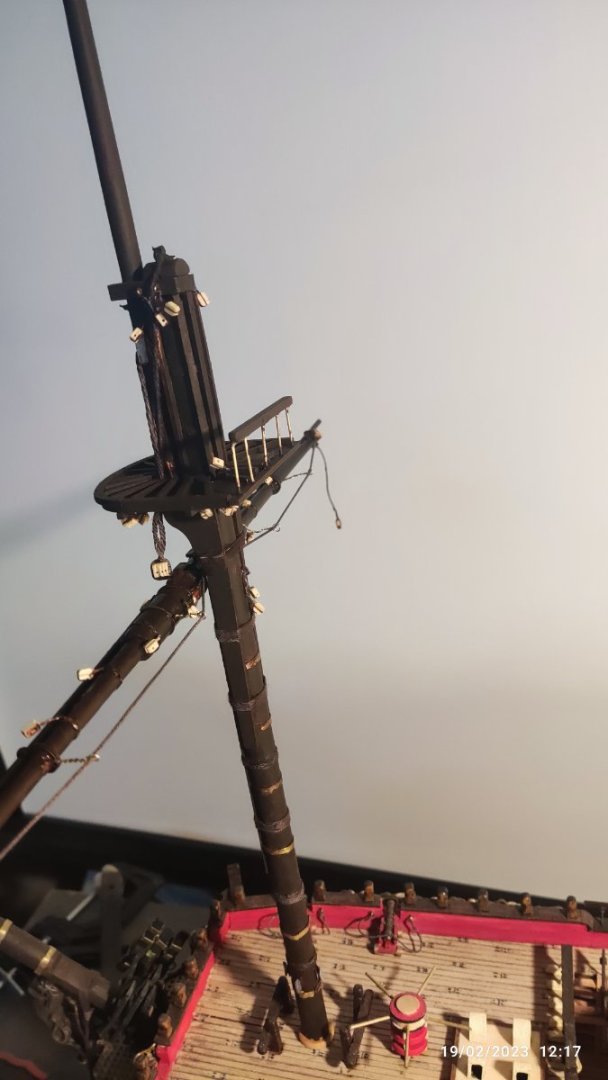
Now i finish the third must with the three yards. I didin't cement in place. All will be removed for the rigging, so not to make any damage. I put in place one by one, begining from the foremast and so one. A lot of threads....stay tunned...

-
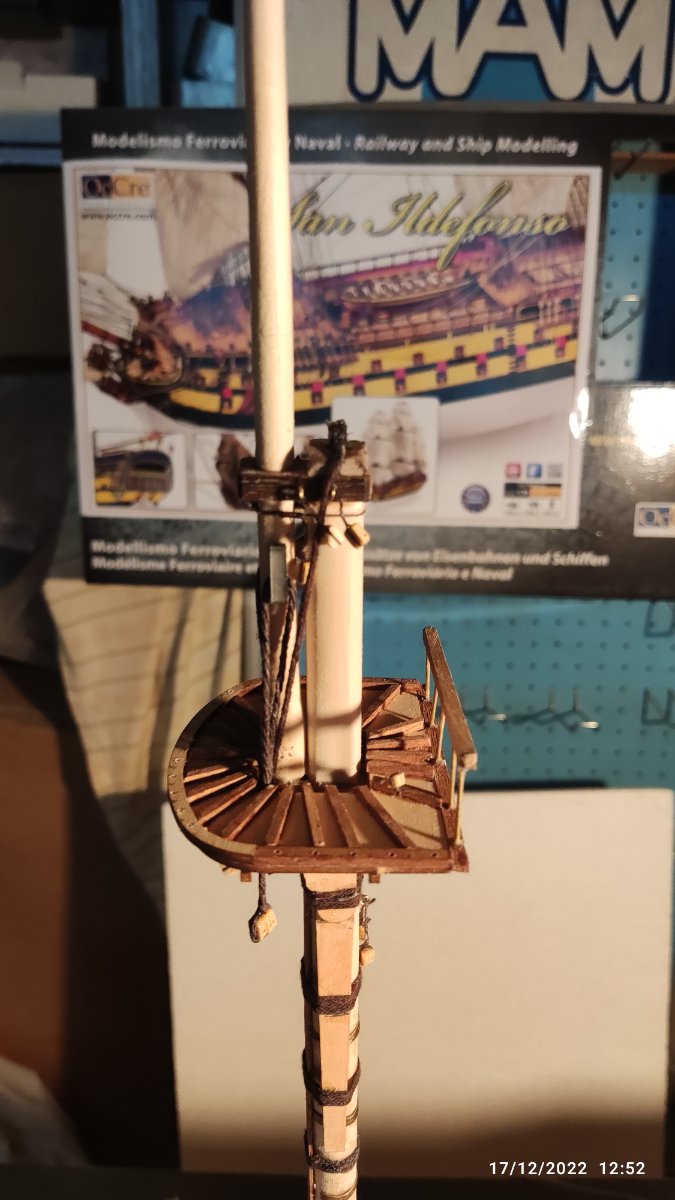
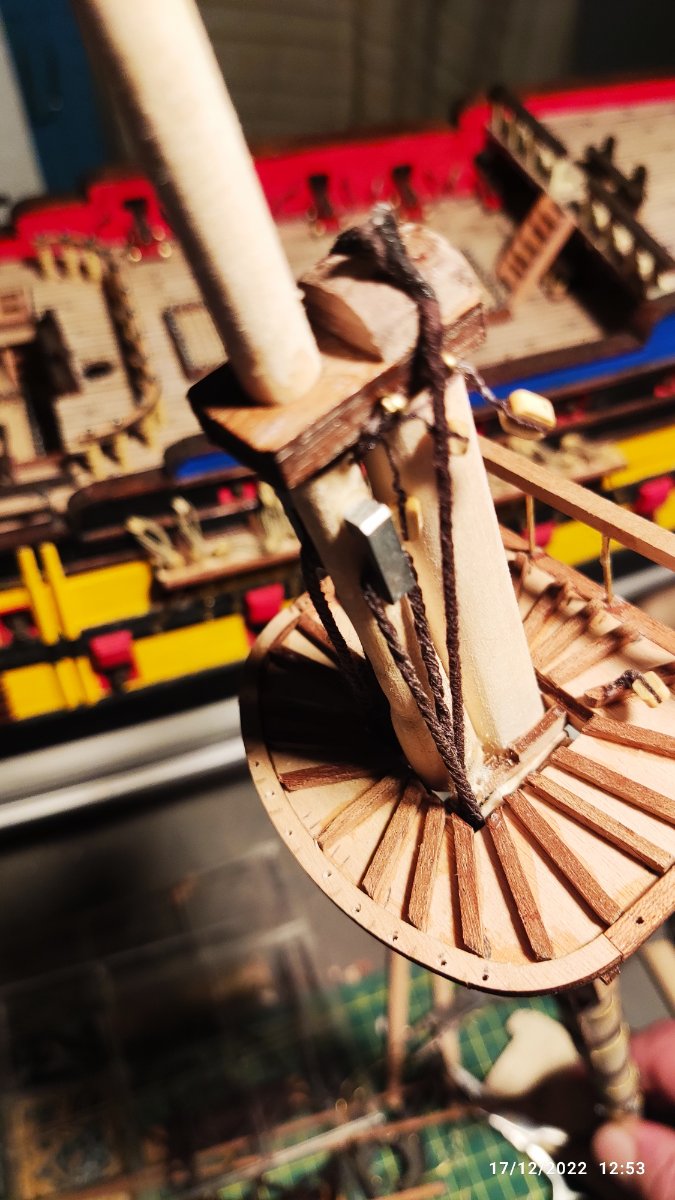
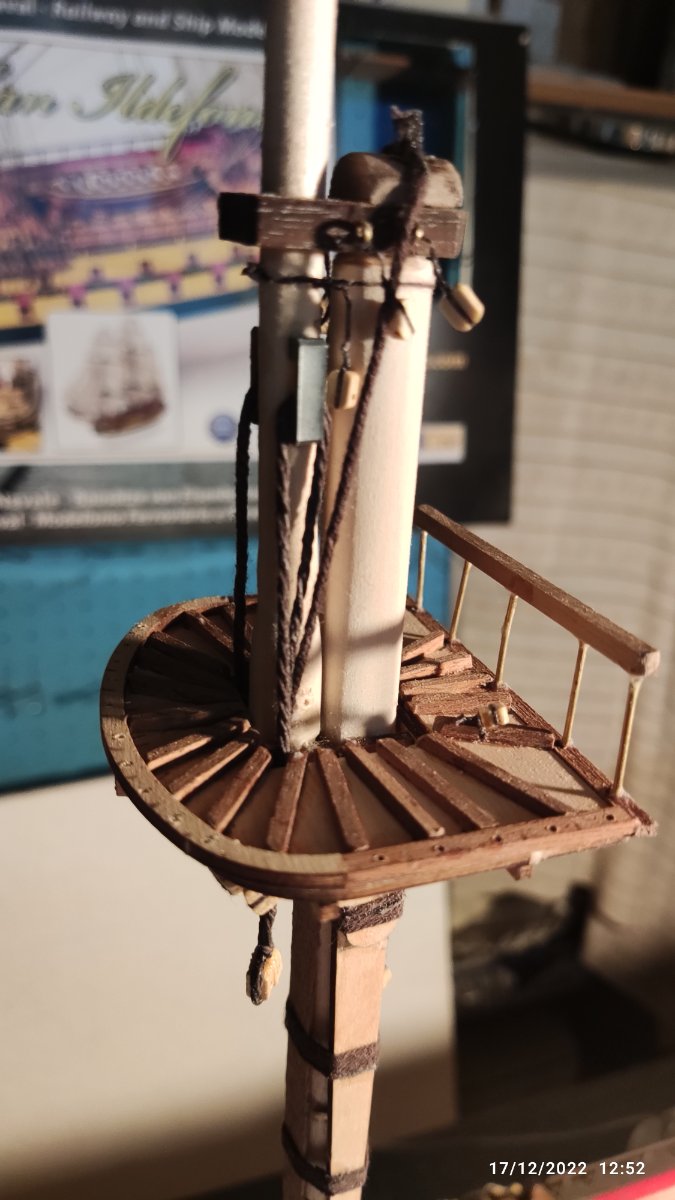
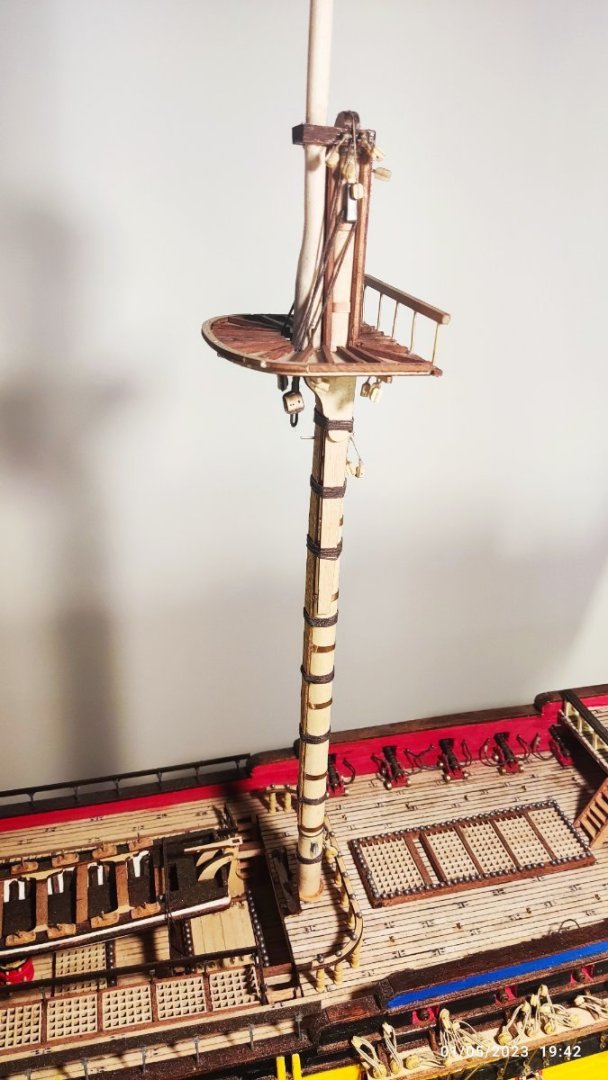
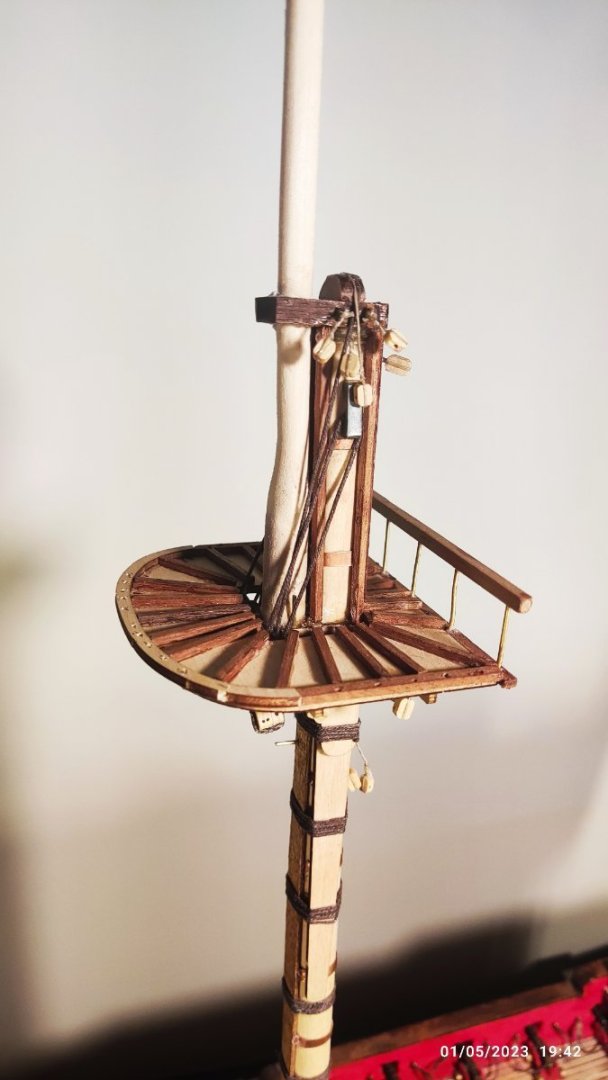
Now i finish the four yards of the main mast. Paint and put it in place without cementing because is easier to place the ropes in the center of the ship and after put them in place permanent. Now i proceed to mizzen mast. the shortest one.


-
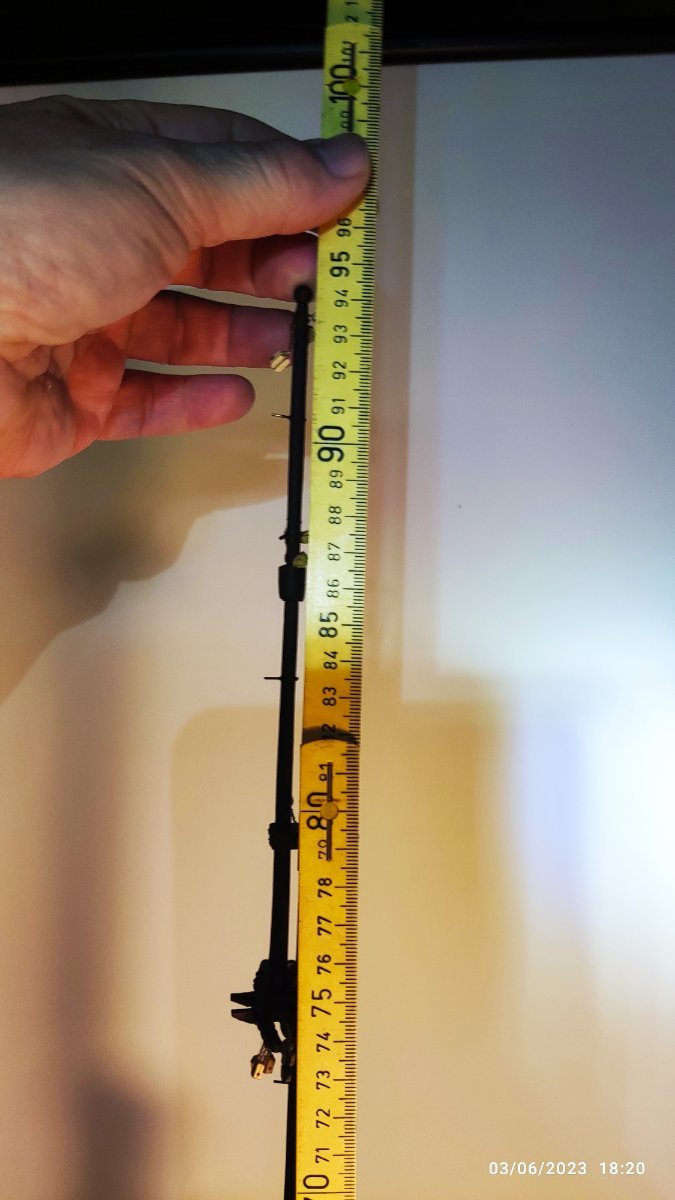
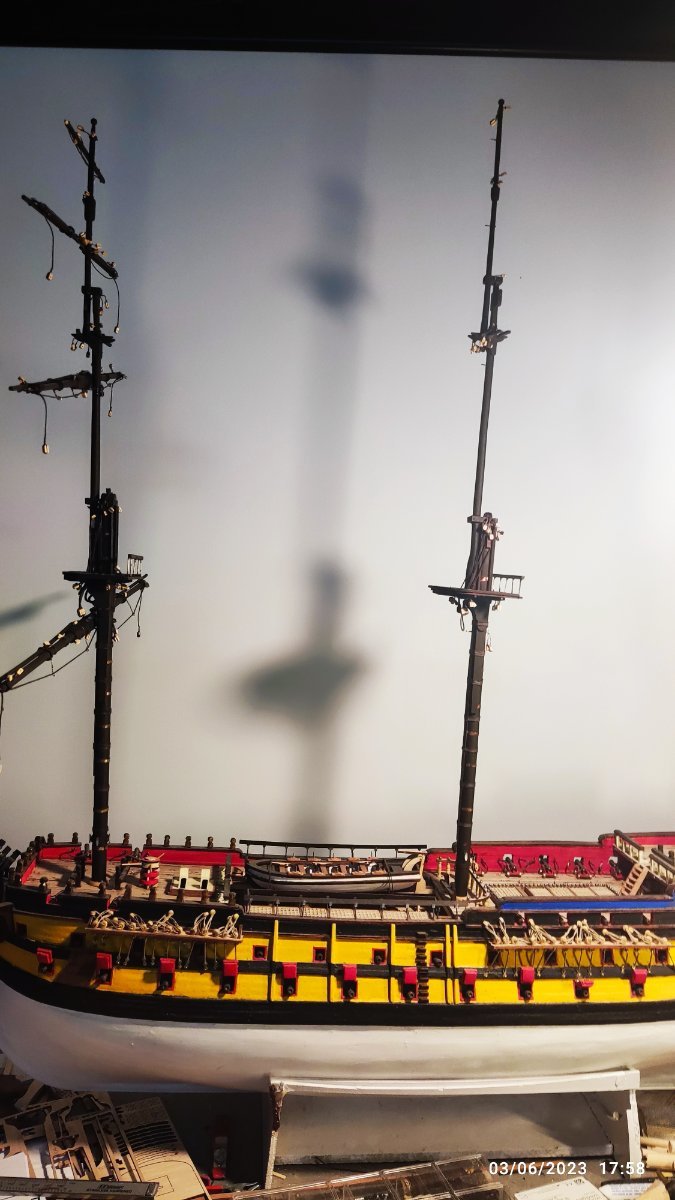
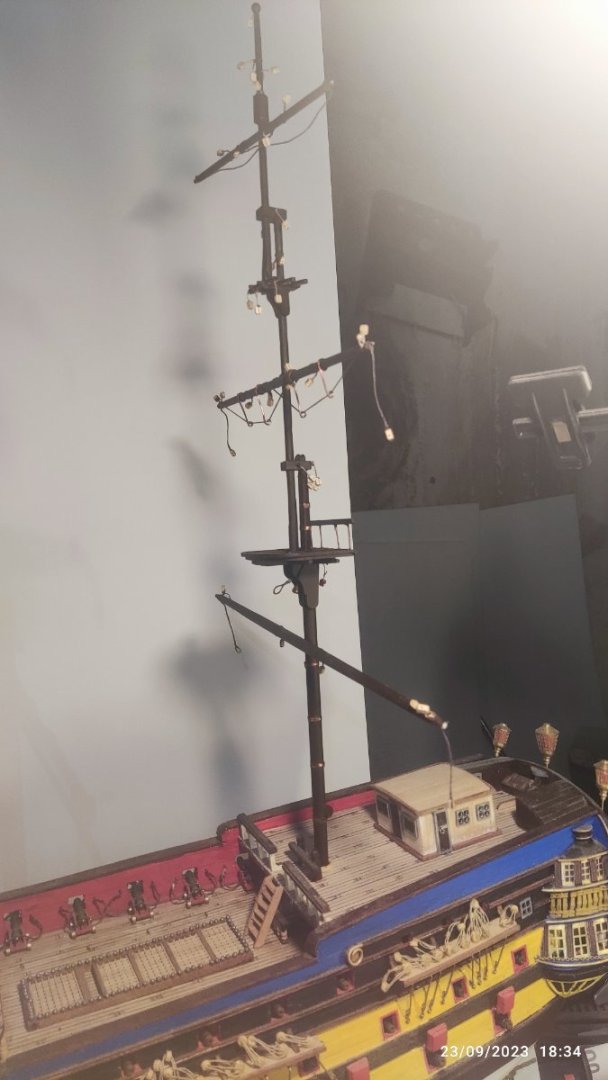
Now i finish the main mast. As seen in the photos the total hight of the model with the base is now aprox. 37 inches (94.5 cm) I start now the four yards as the fore mast.


-
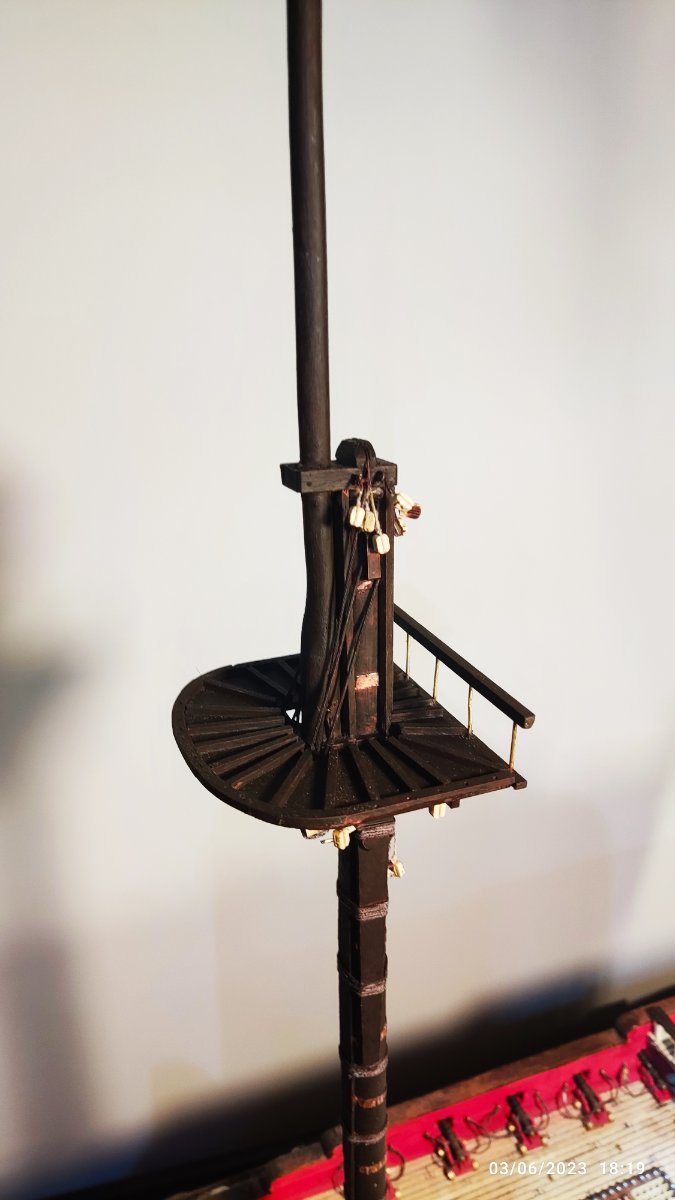
Now i start the main mast, the taller one...I make the two first parts with all the equipment. Blocks and ropes. I will paint it when i finish it.
-
Now i finish the foremast with the four yards placed but not cement. I will make the other two masts in the same way..

-
Now i finish the second yard, paint it and put it in place without cementing permanently. The third yard is easier to build. i put it in place for test. I must paint it also and after i must make the upper and smaller yard to finish the formast. Then from the beginnning the same job for mainmast and backmast


-
Tank you my friend. I will look the manual again..i have fix it....is that ok?
-
Now i have finish the front mast. Three parts. Placed all the blocks,pulleys and wires. Start the yards now.Four for each mast...I finish the lower. A lot of work ...wood,metal,and prass parts...I don't cement the yards now. First i will make all the ladders for each mast and after i cement the yards,for easier work.


-
Starting the formast. A lot of work, sanding to take the shape, tied up all nessesery parts as shown in pictures. All mast will be painted at the end.


-
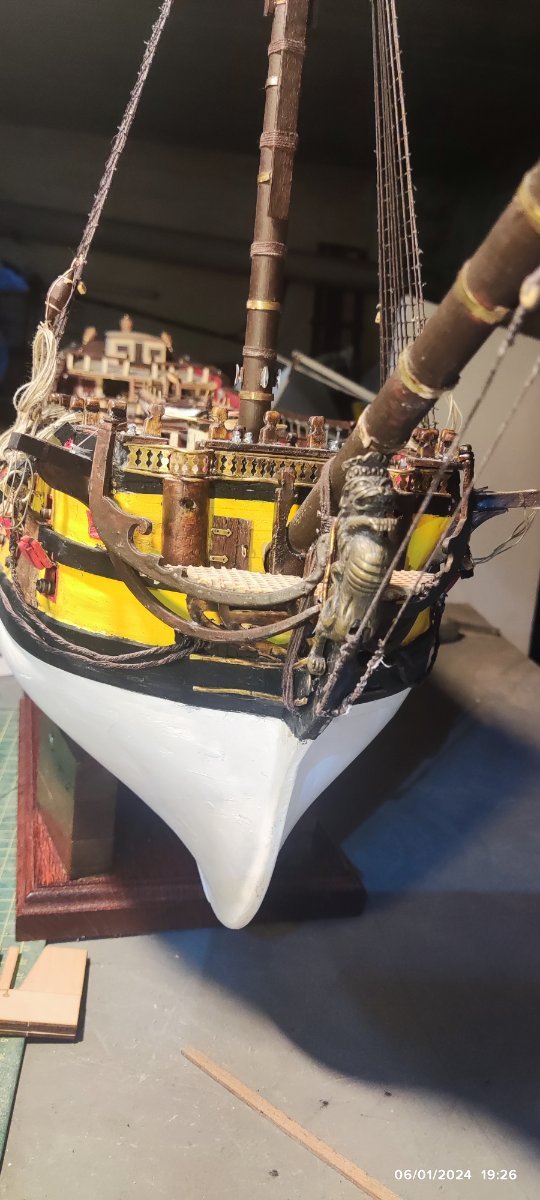
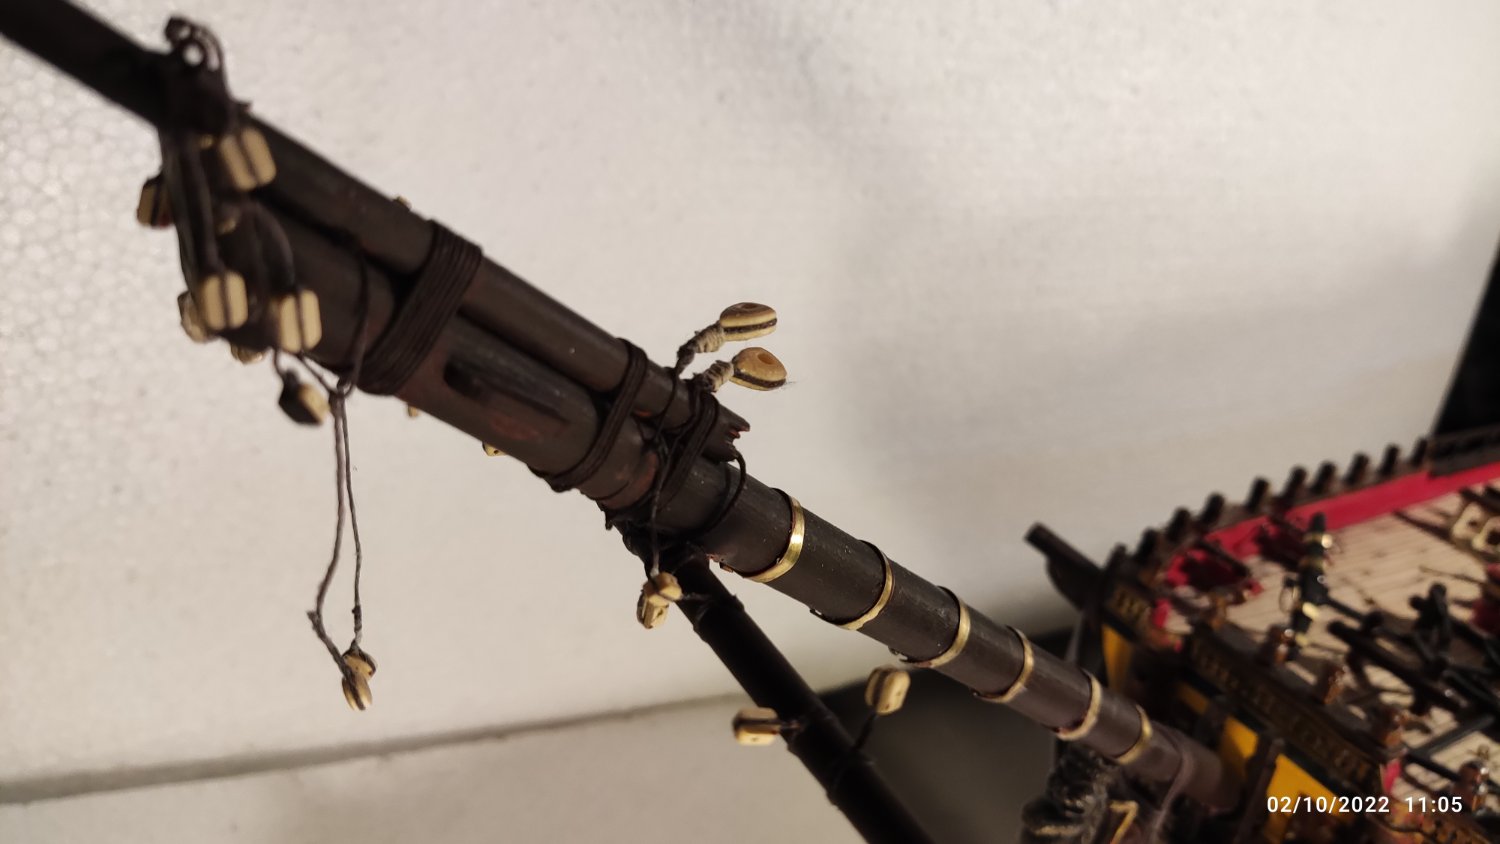
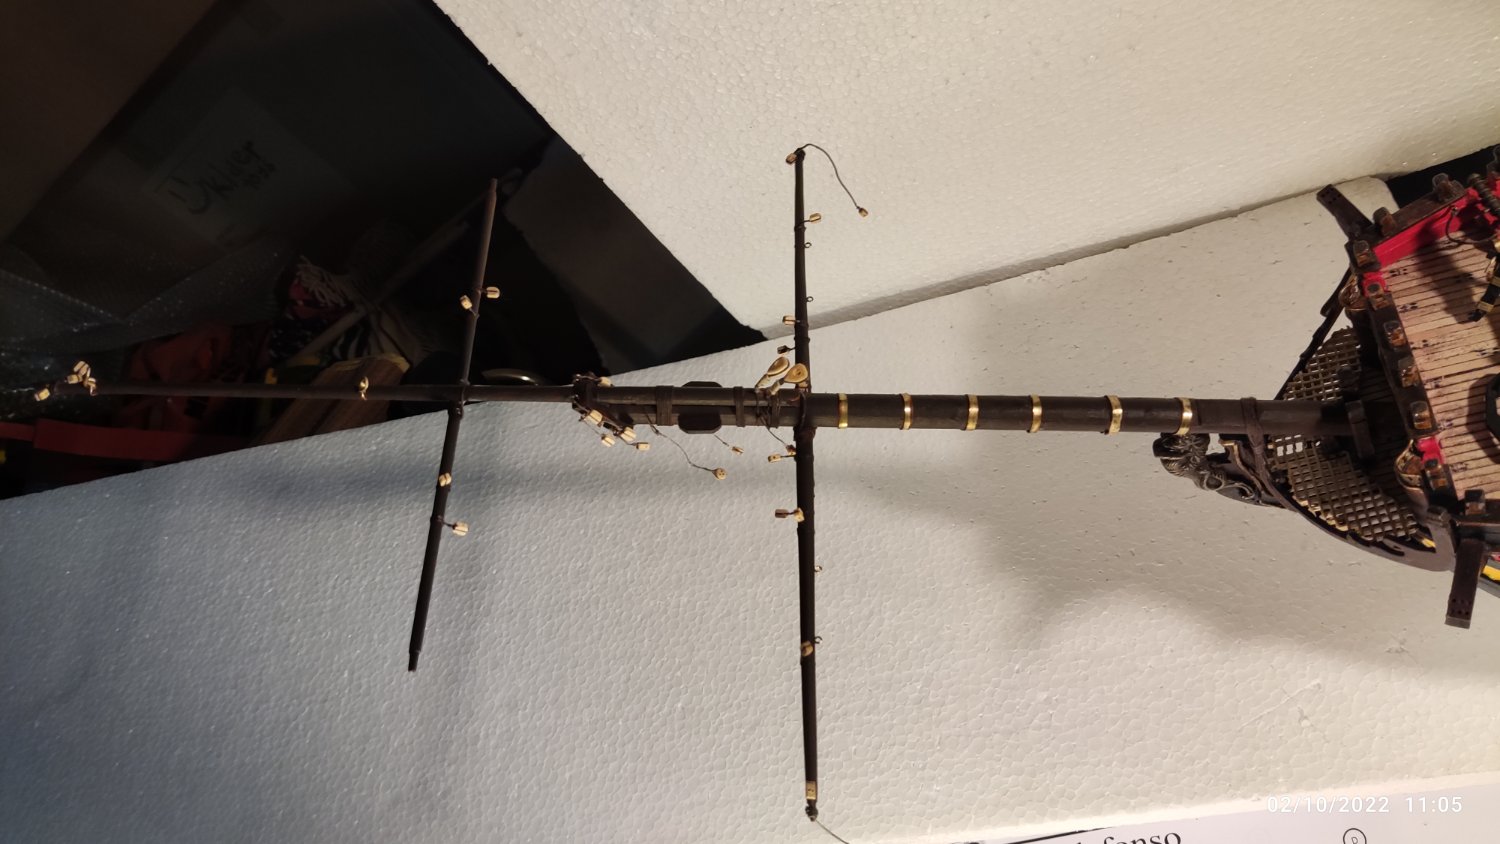
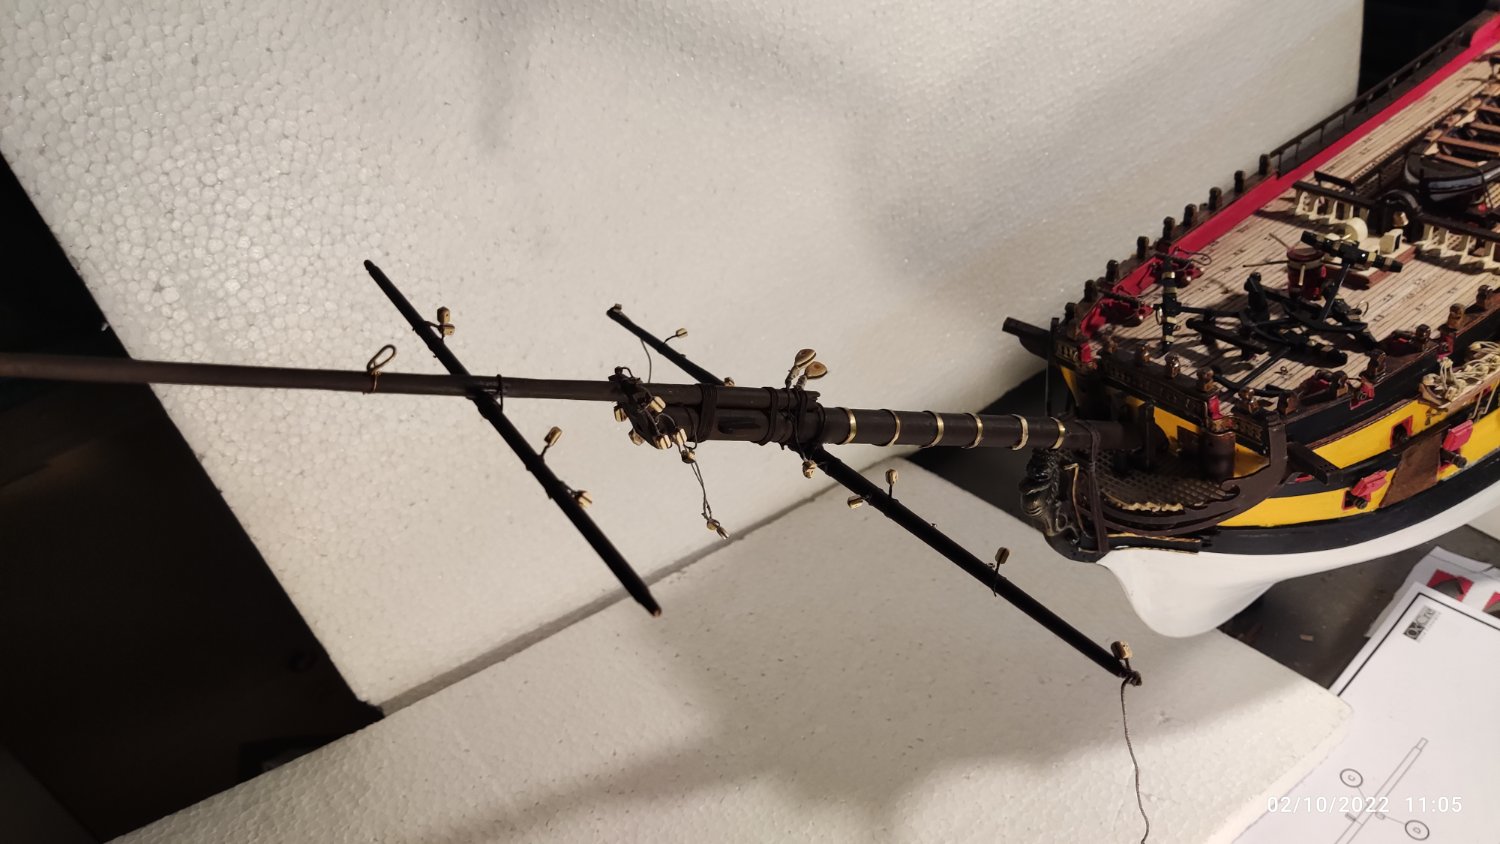
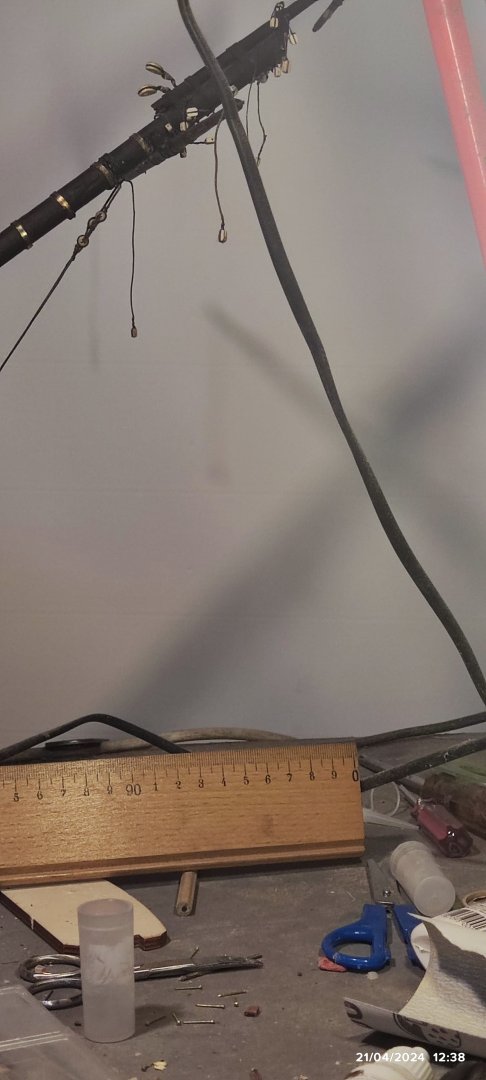
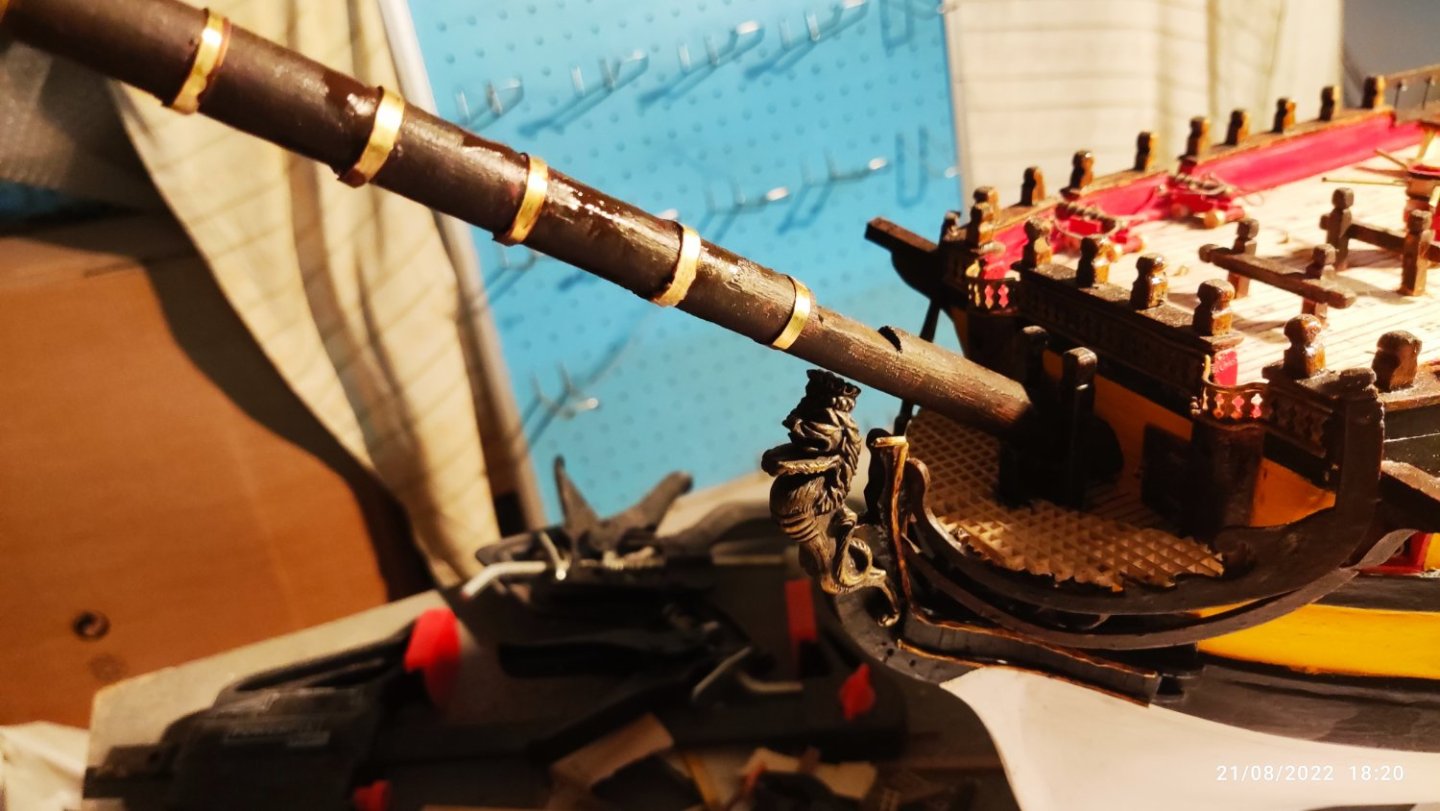
Now i finish all the bowsprit with the two sail yards. All the hooks,rings and pulley blocks are fitted on place for future use. I cement all the structure in place and a cotton thread 0.50mm putted around the hull and the bowsprit as shows in the fotos. Now is time for the foremast.


-
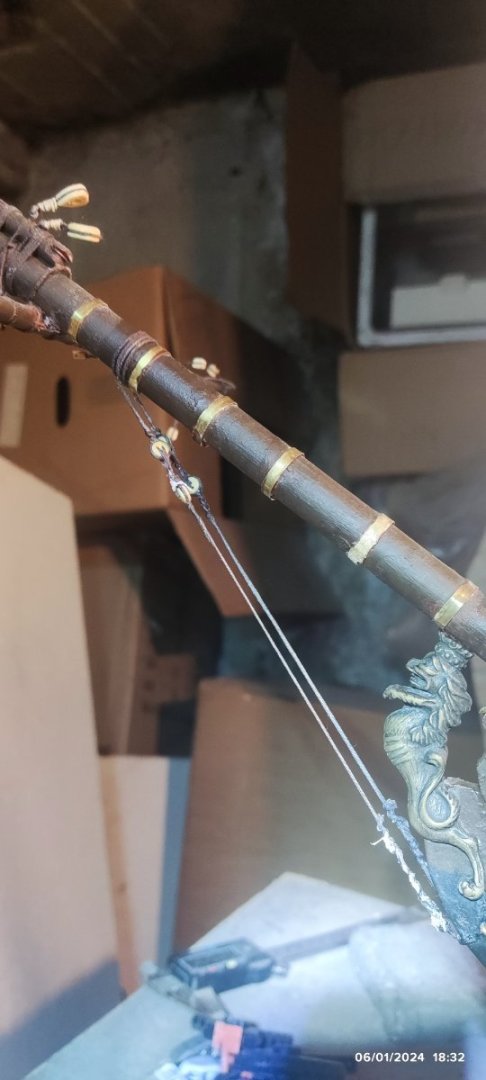
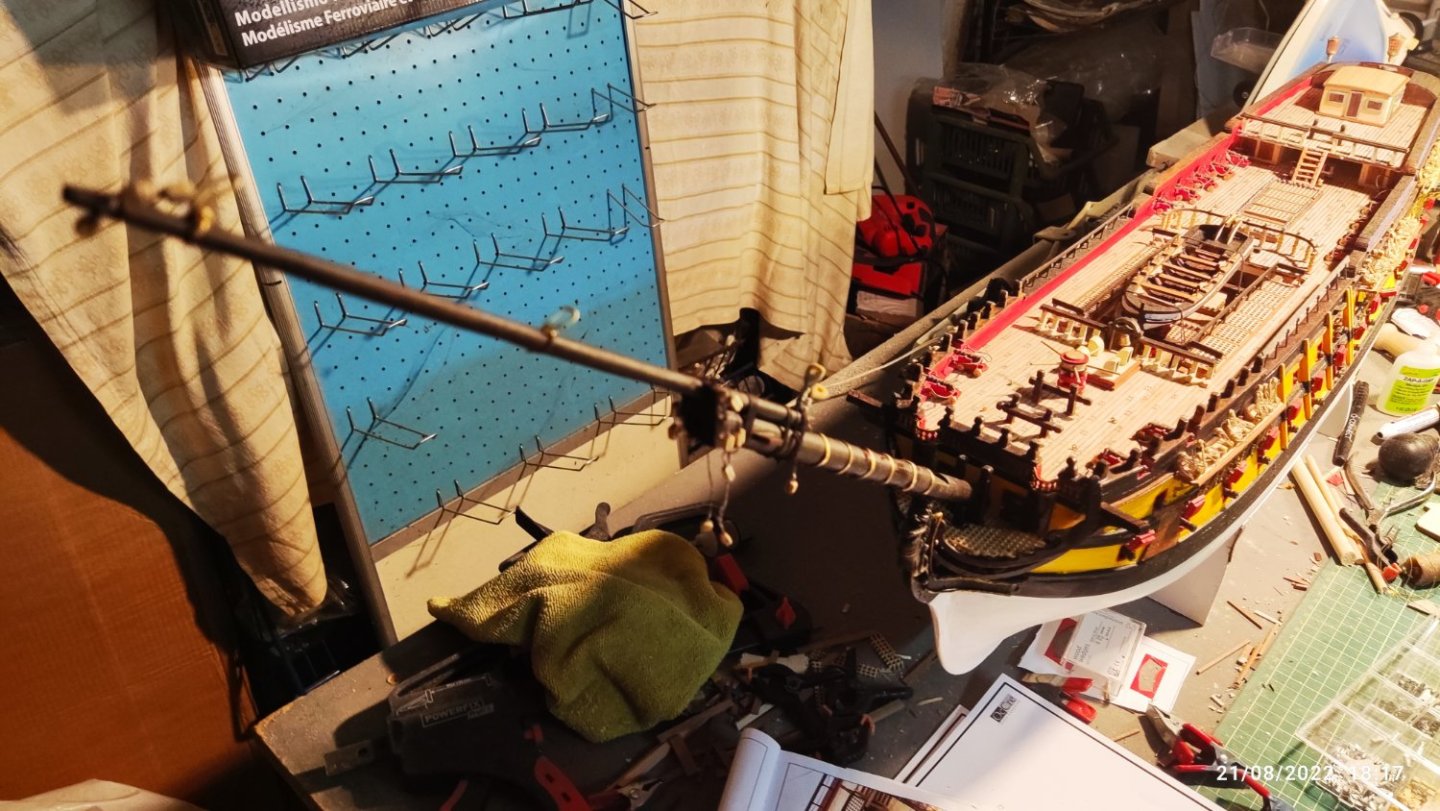
Now i start the Main bowsprit. Two pieces ,one 12mm diameter and the boom from 6mm on base 4mm at the end. I use sand paper to give the right shape. Assembled together by viewing the plans that are 1:1 in scale. I put all the eyebolts and pulley blocks as shown in the plans, using cotton thread. That will be used leater for threads from musts. With the bowsprit in place, the length of the model is completed. Now is 49,21 inch long or 1,25 meter

-
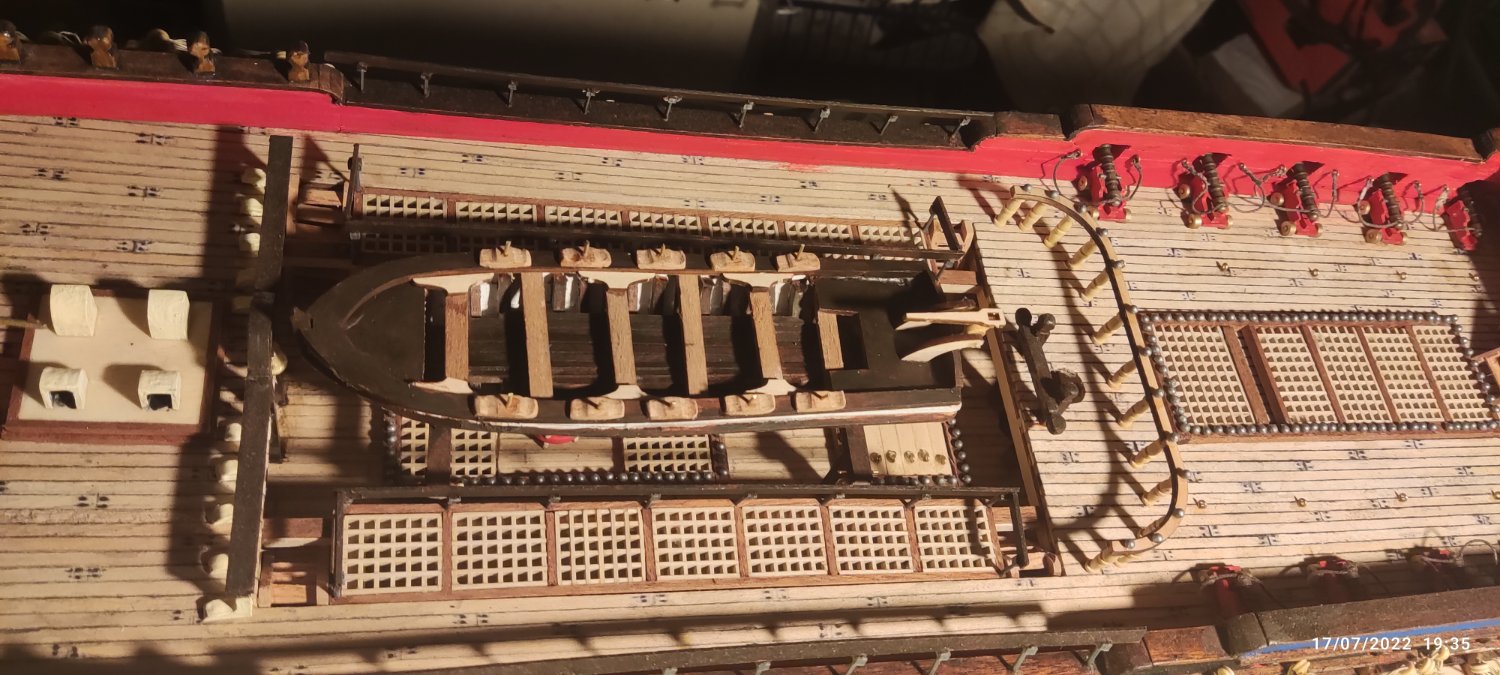
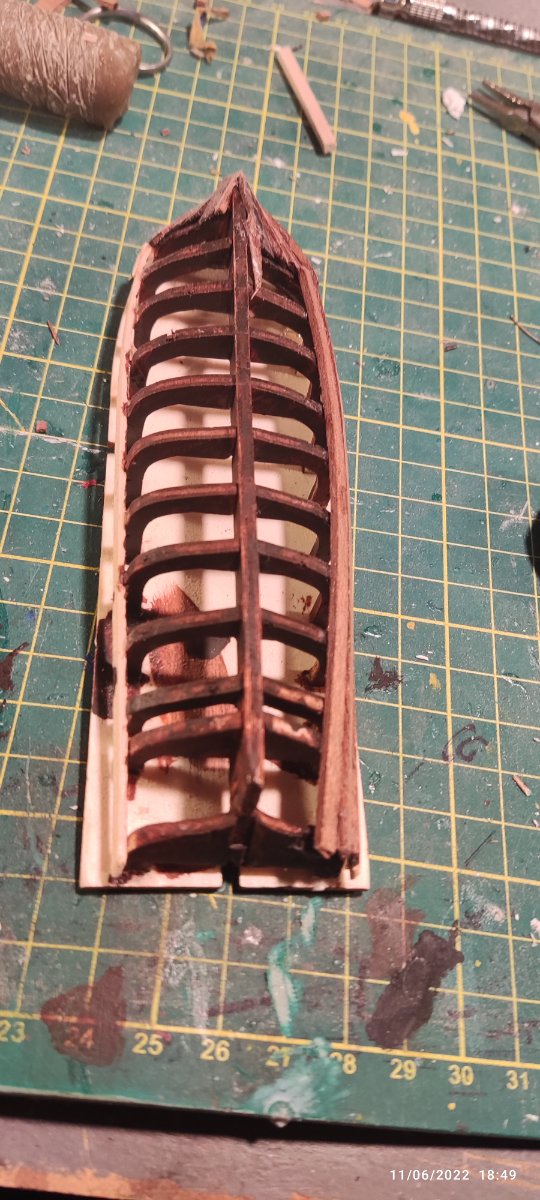
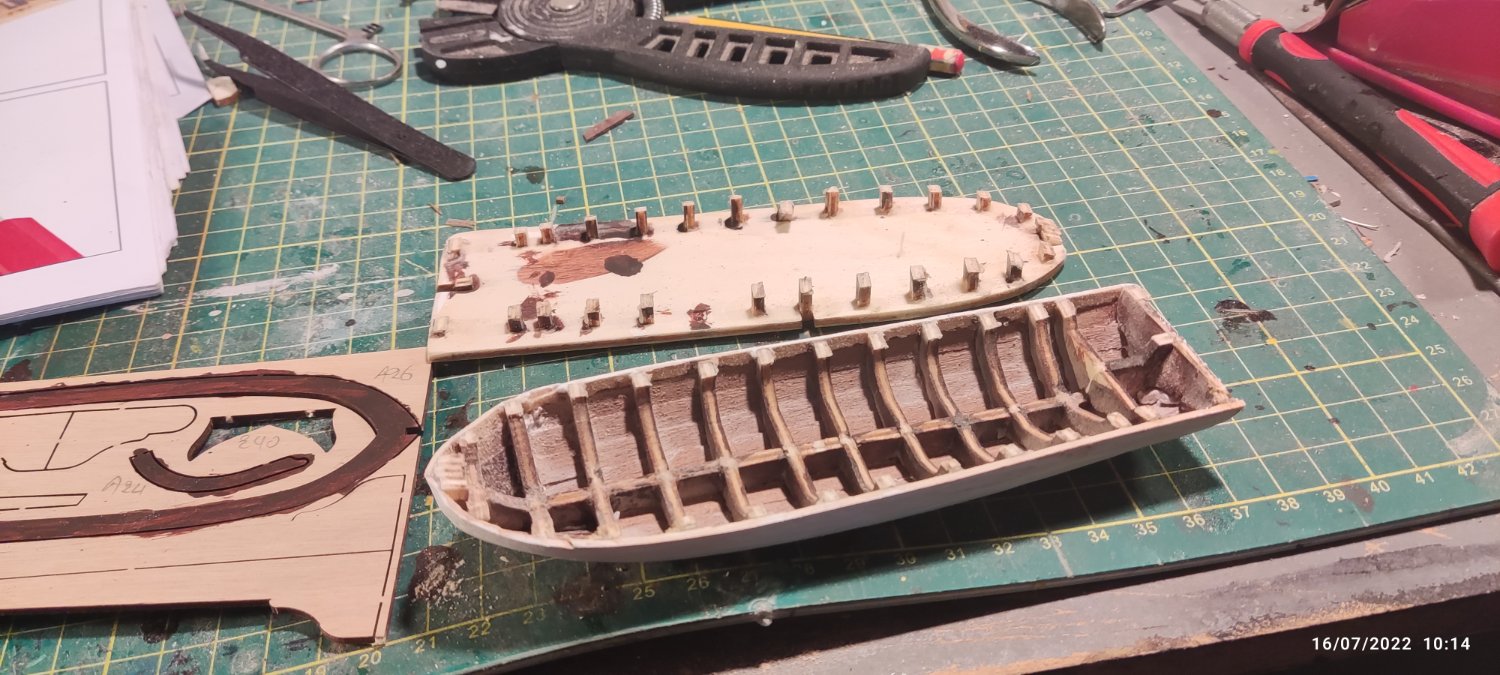
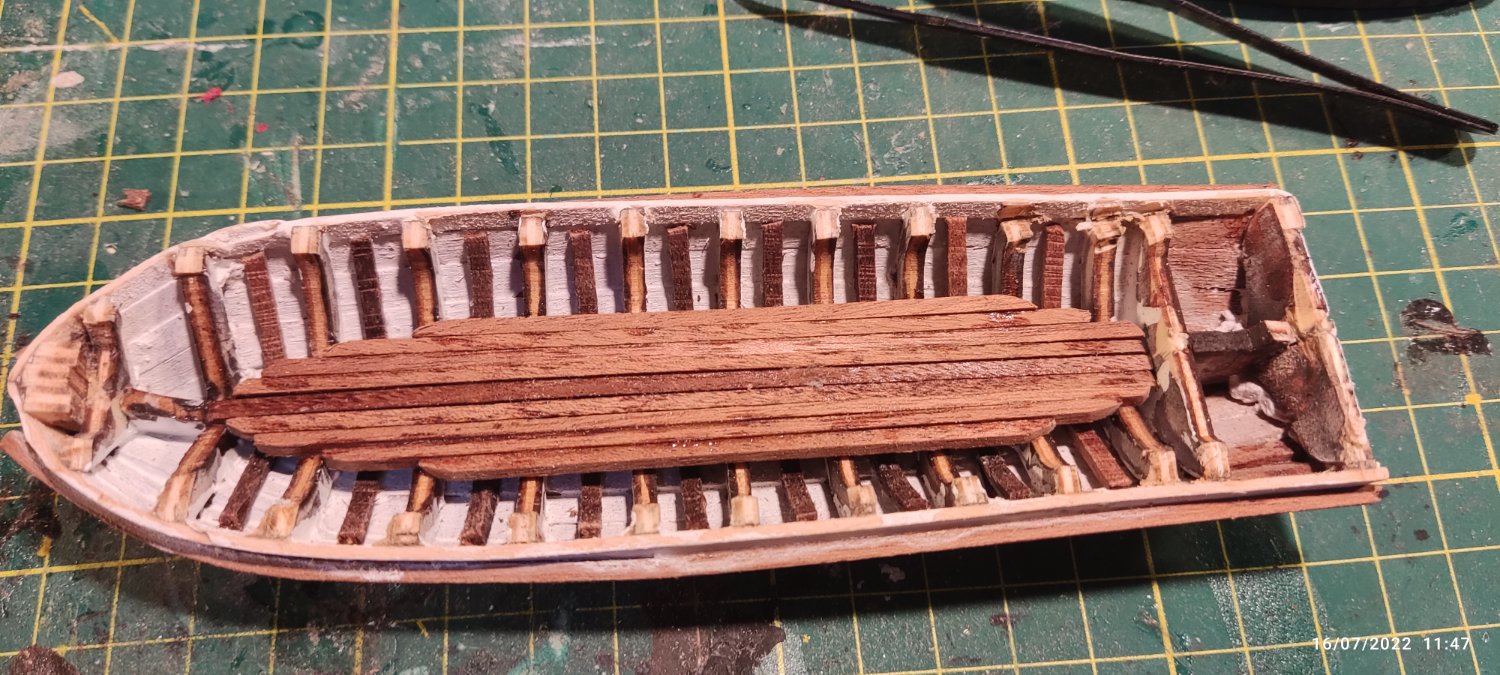
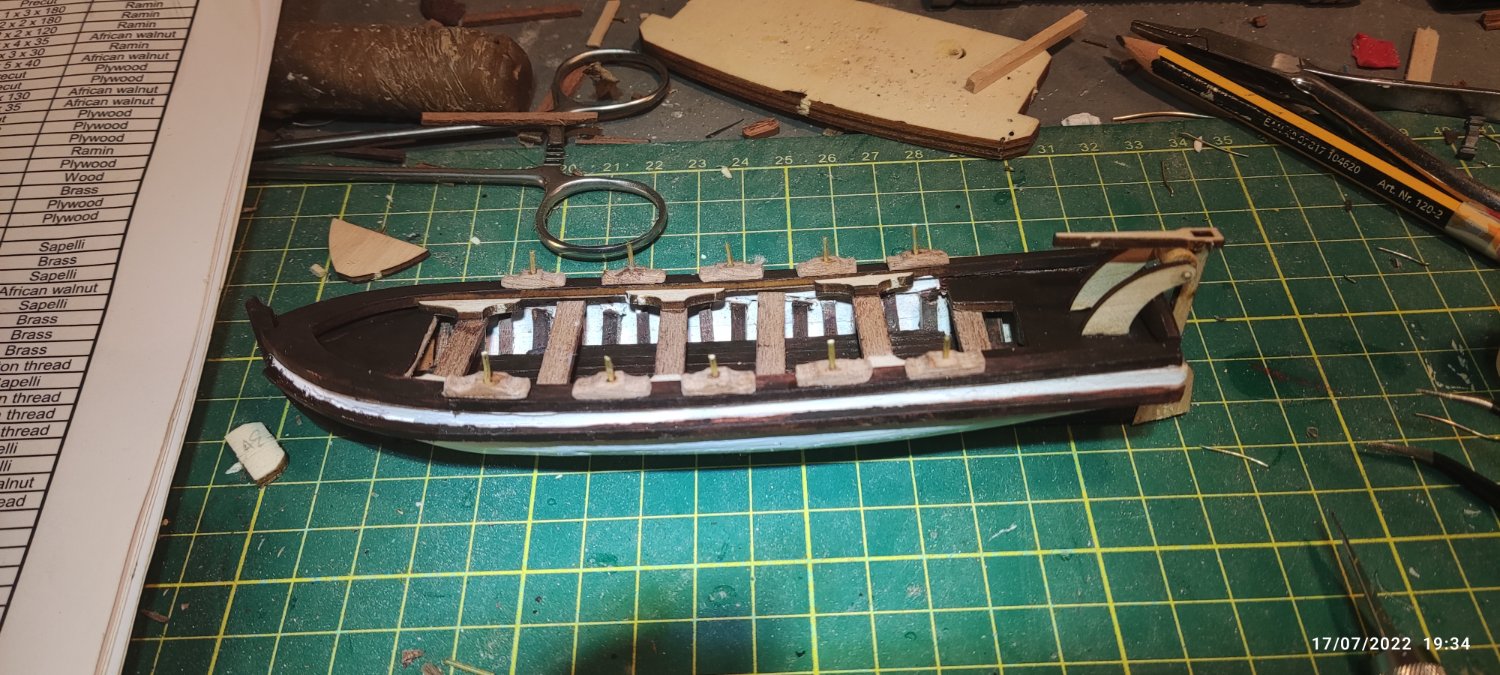
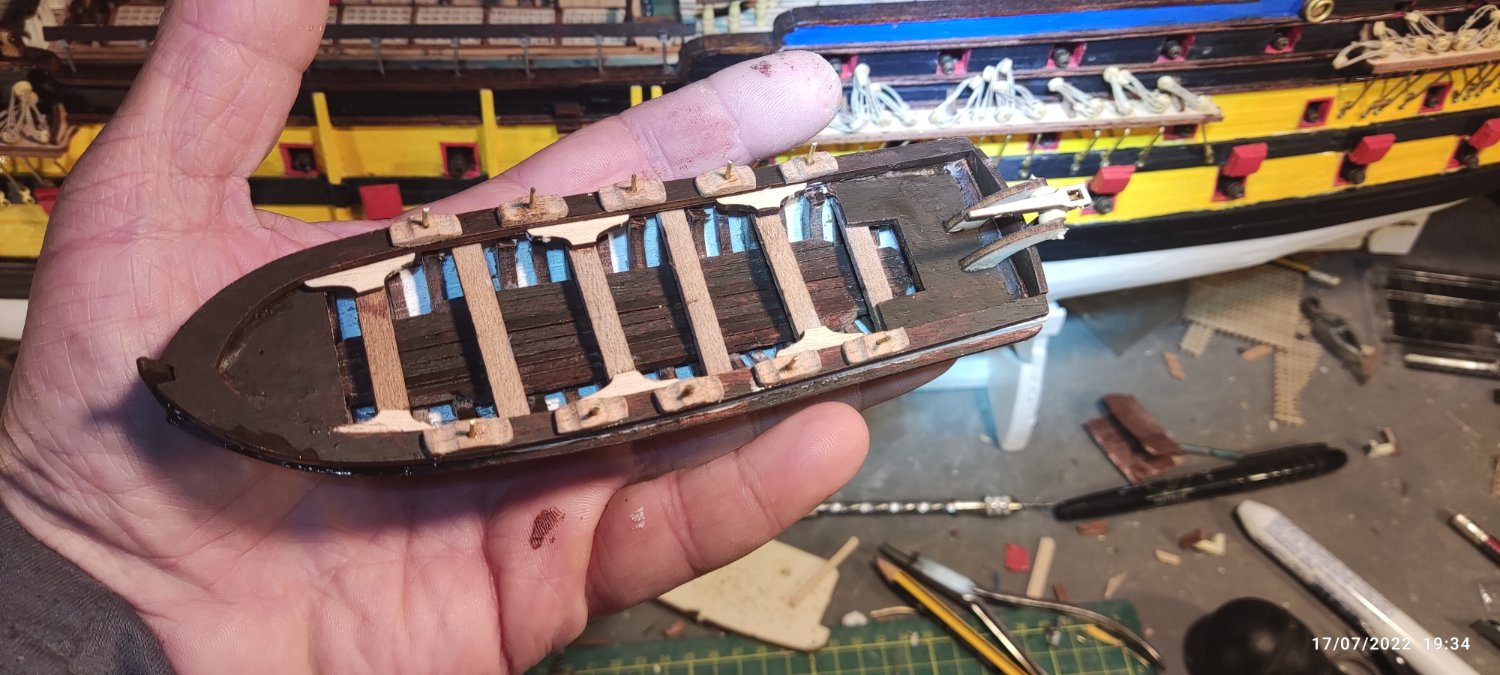
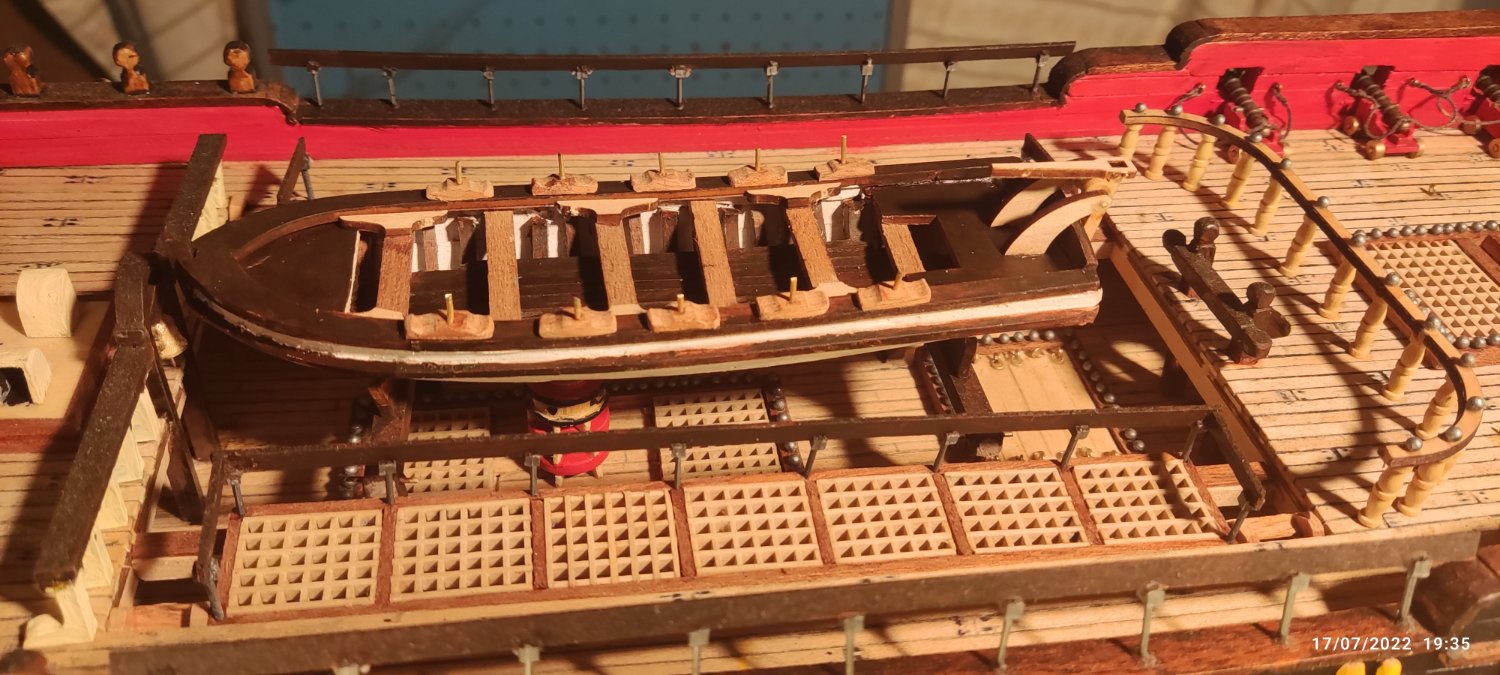
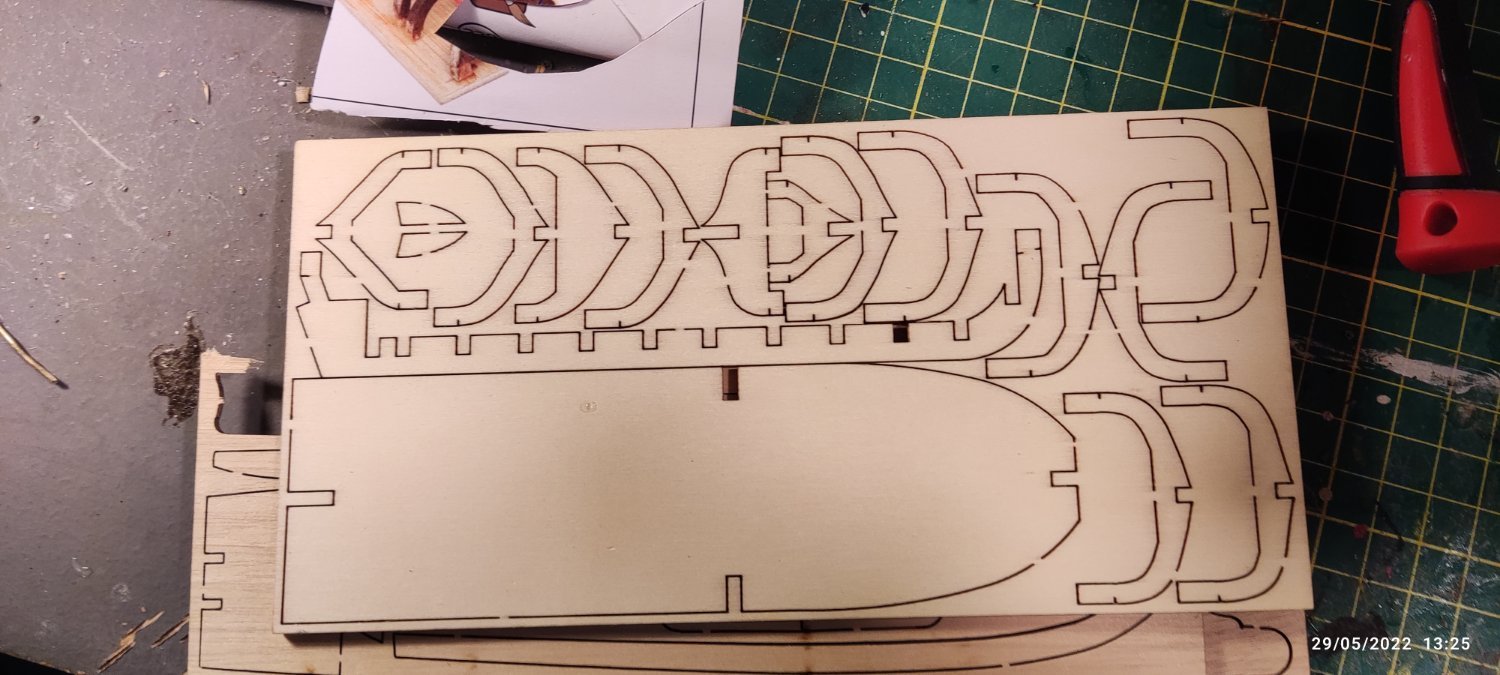
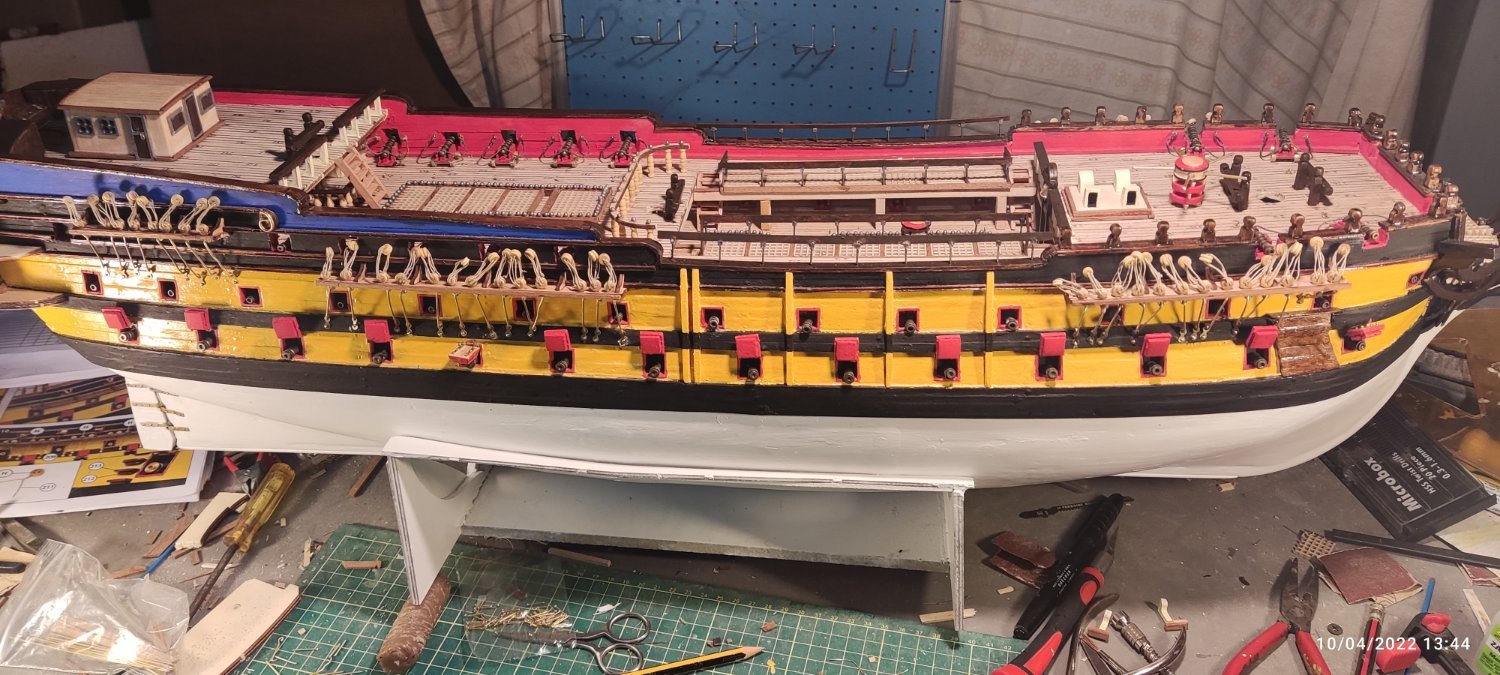
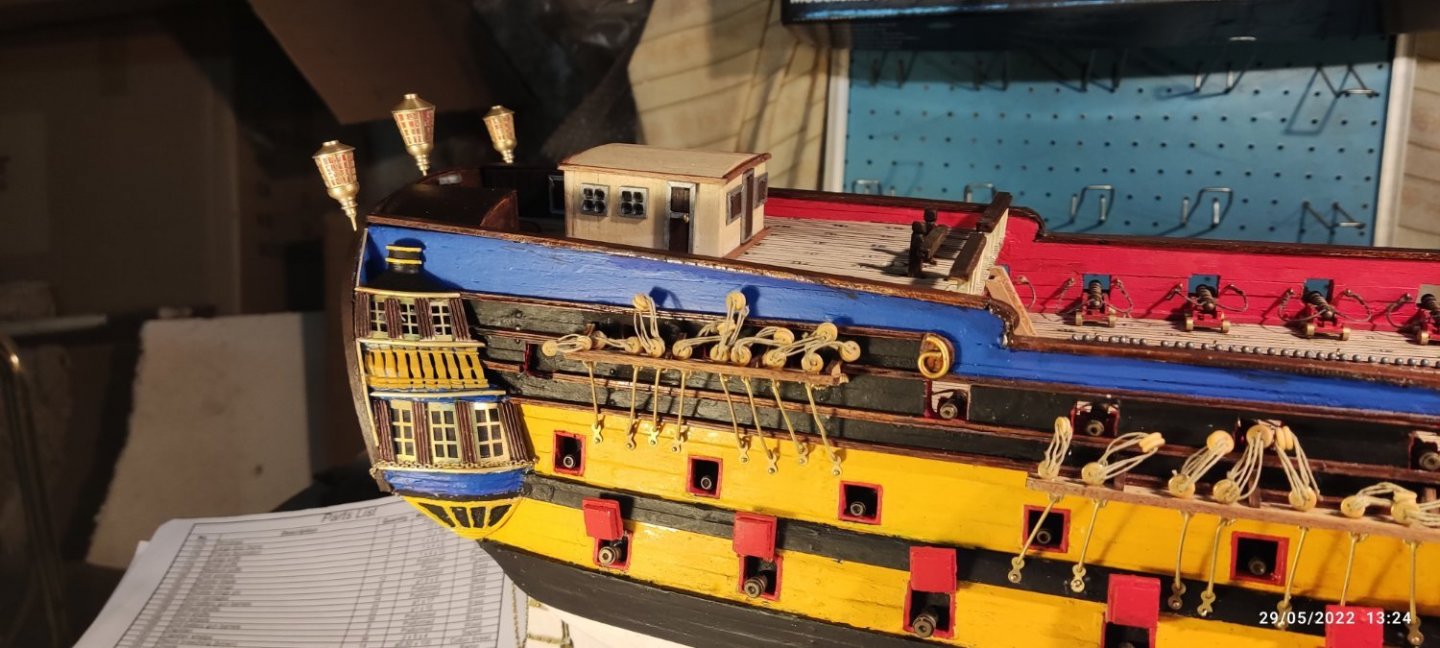
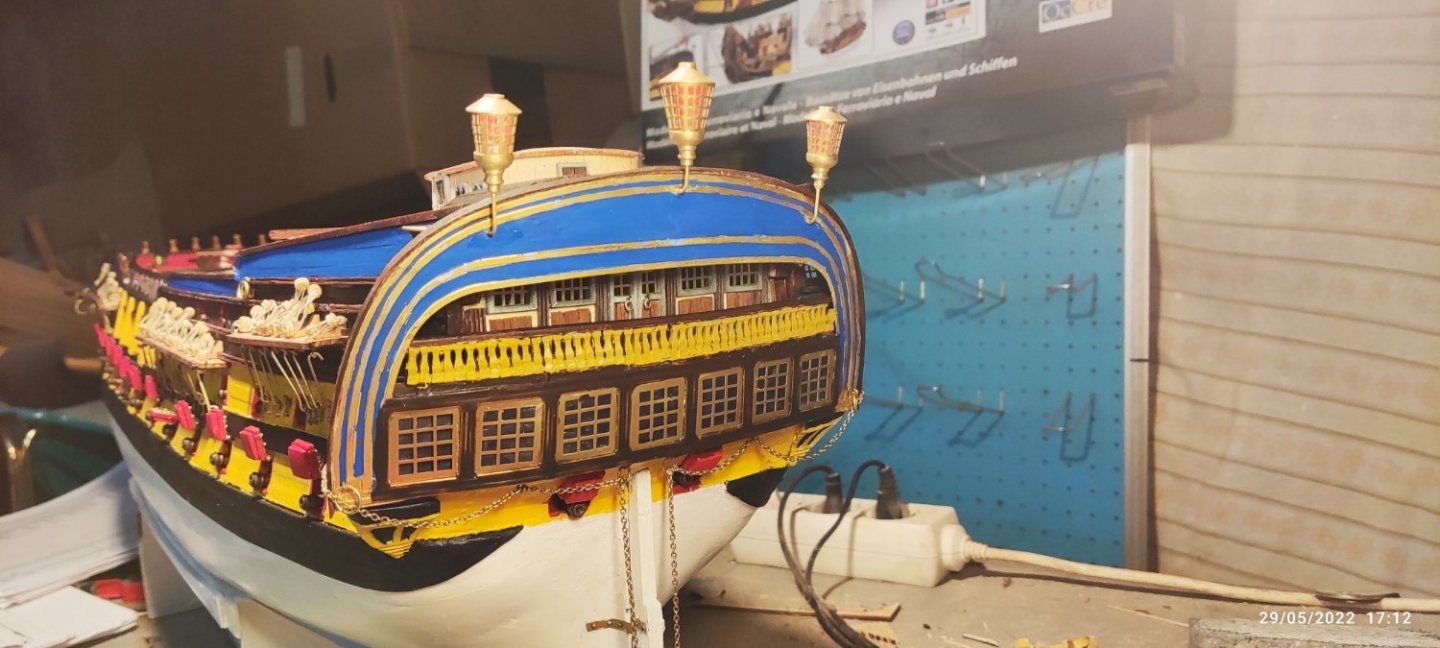
Now i finish the stern cabin. Too many pieces, from wood,metal and brass. After painting, i put the chain as show in the manual. Many columns side by side close all the stern balkony. Three lanterns are made and glued as show in the pictures. Also i make the four anckors from a metal part and wood with brass inforcments. Is't glued in place yet,because these parts must be the last to be fitted, as i will need to have all of the masts in place first. Now is time to make the barge (helping boat) .I make the two support for the barge, glued in the center of the lower deck The barge will be made the same as the ship....nothing easy in this model....


-
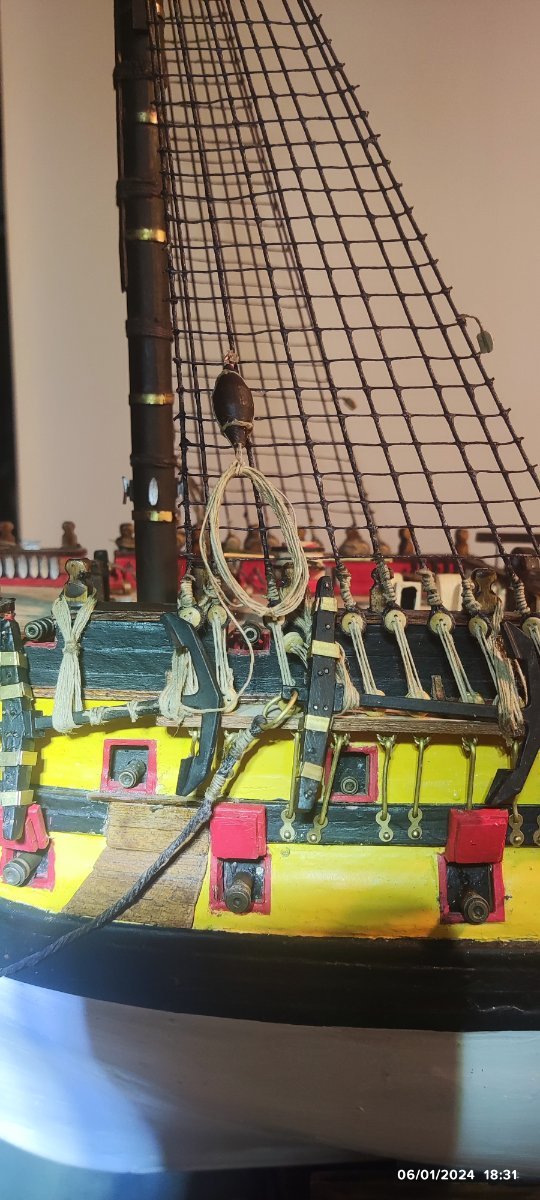
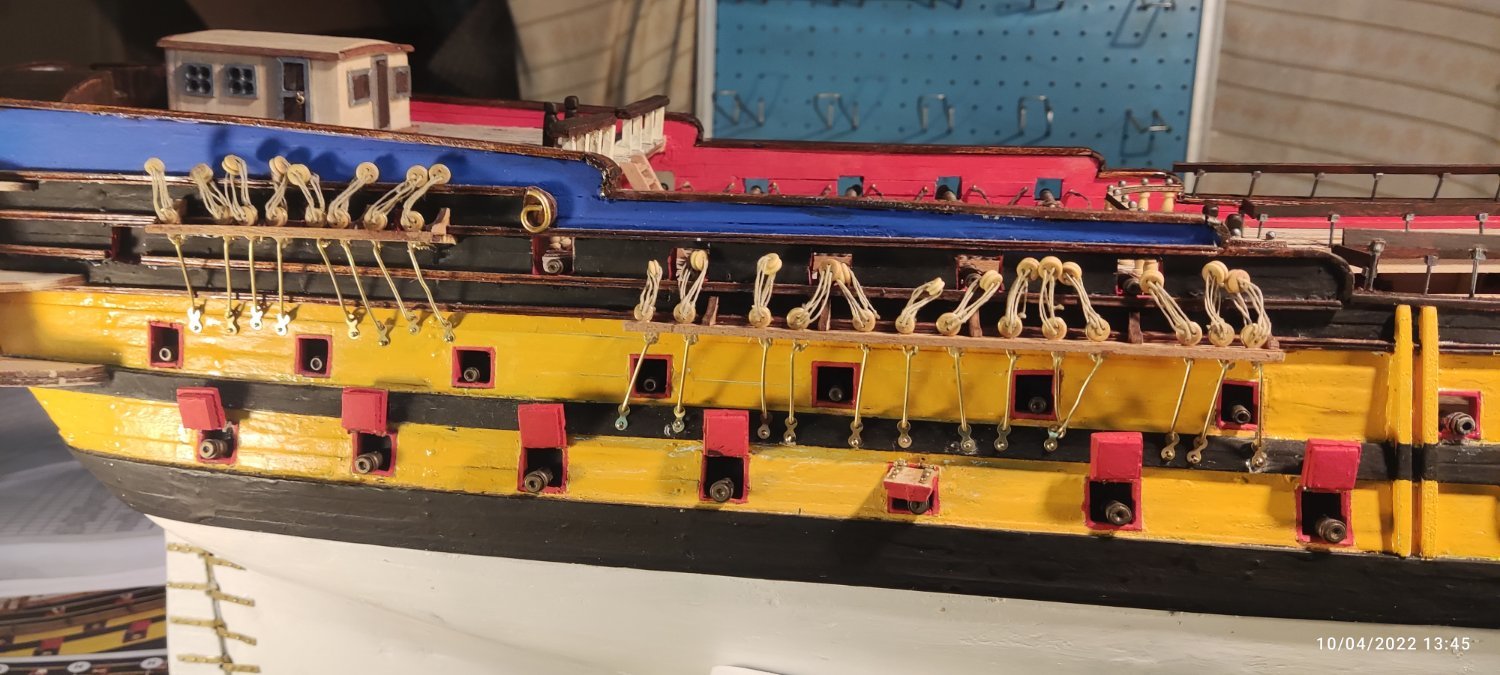
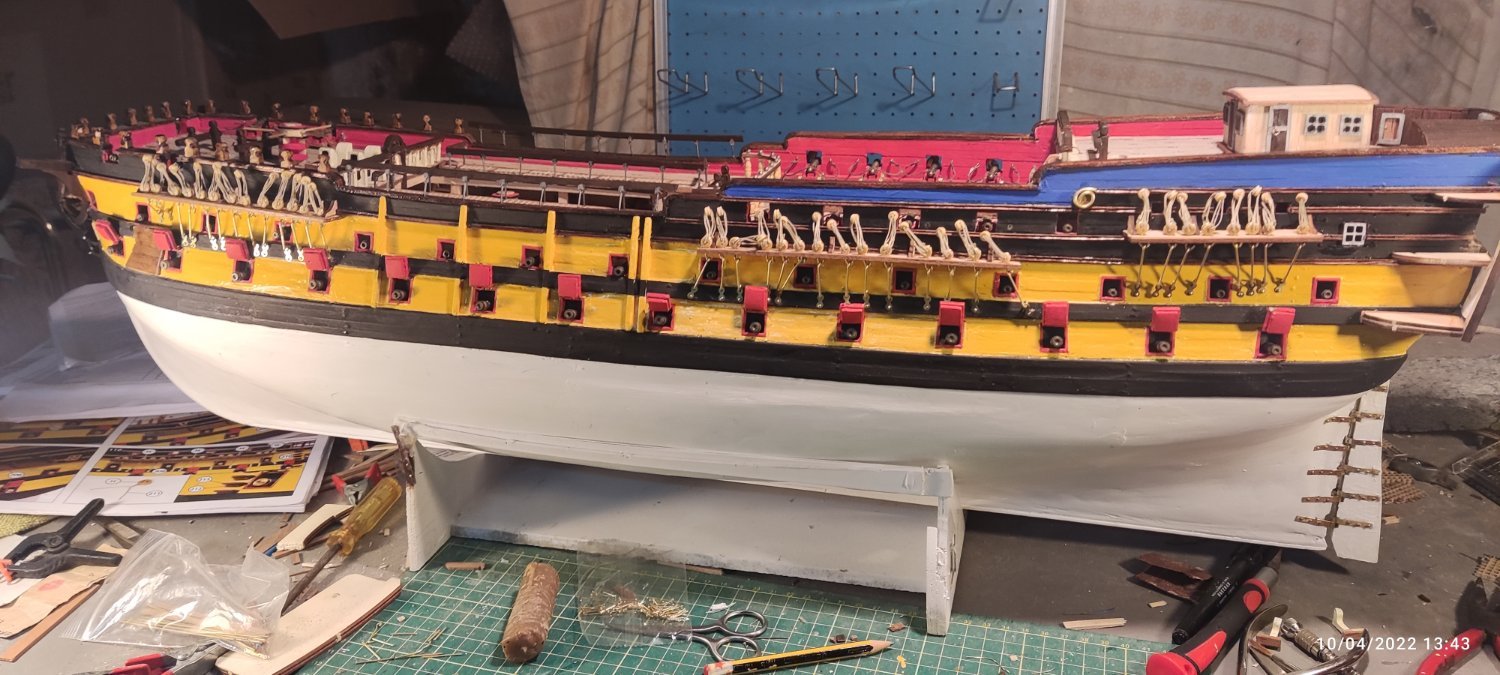
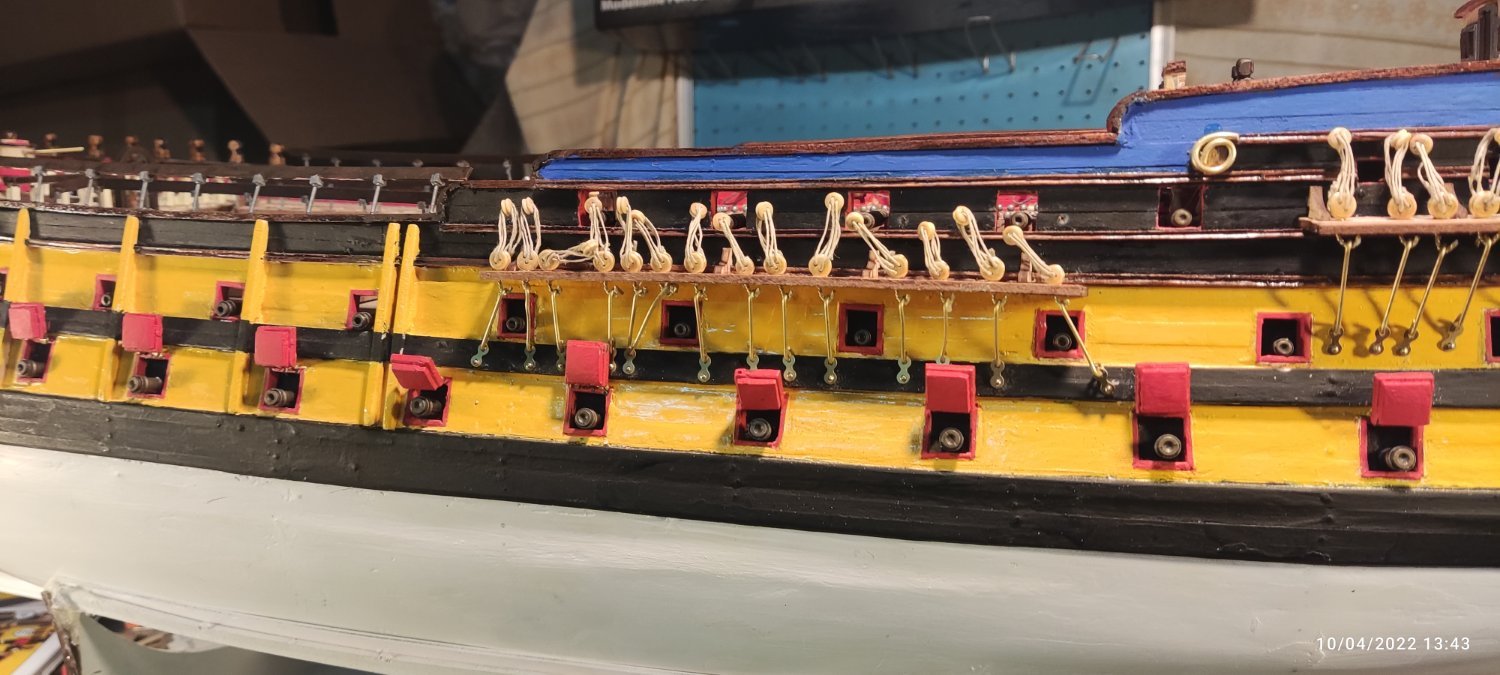
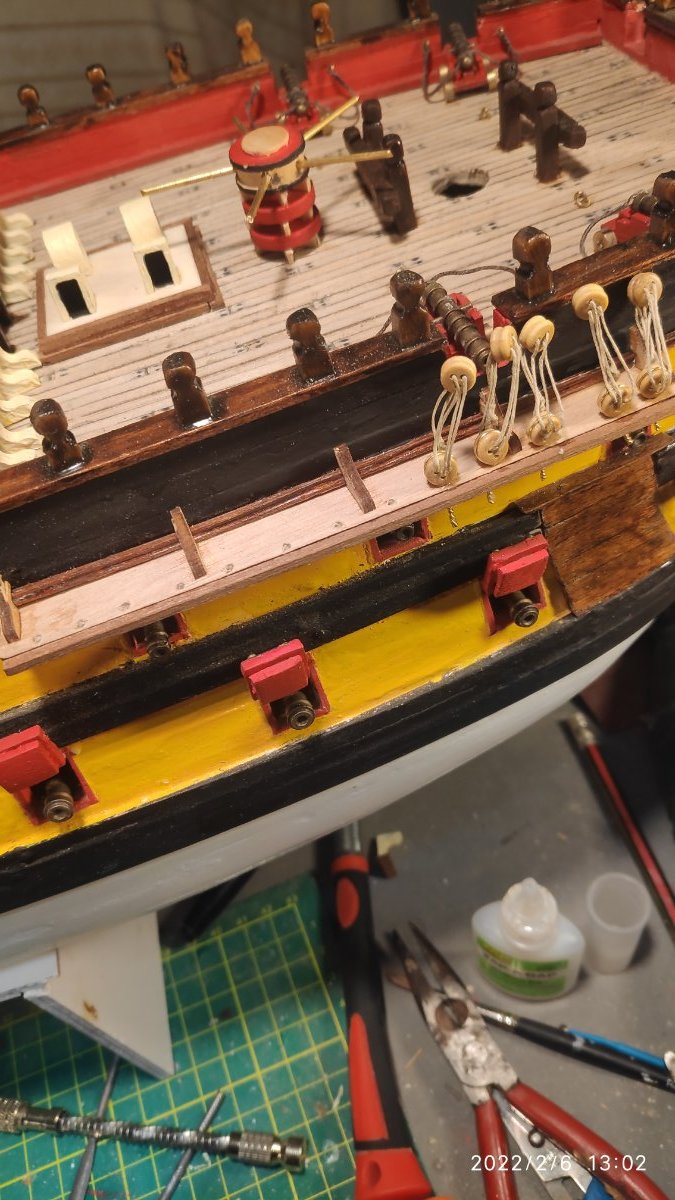
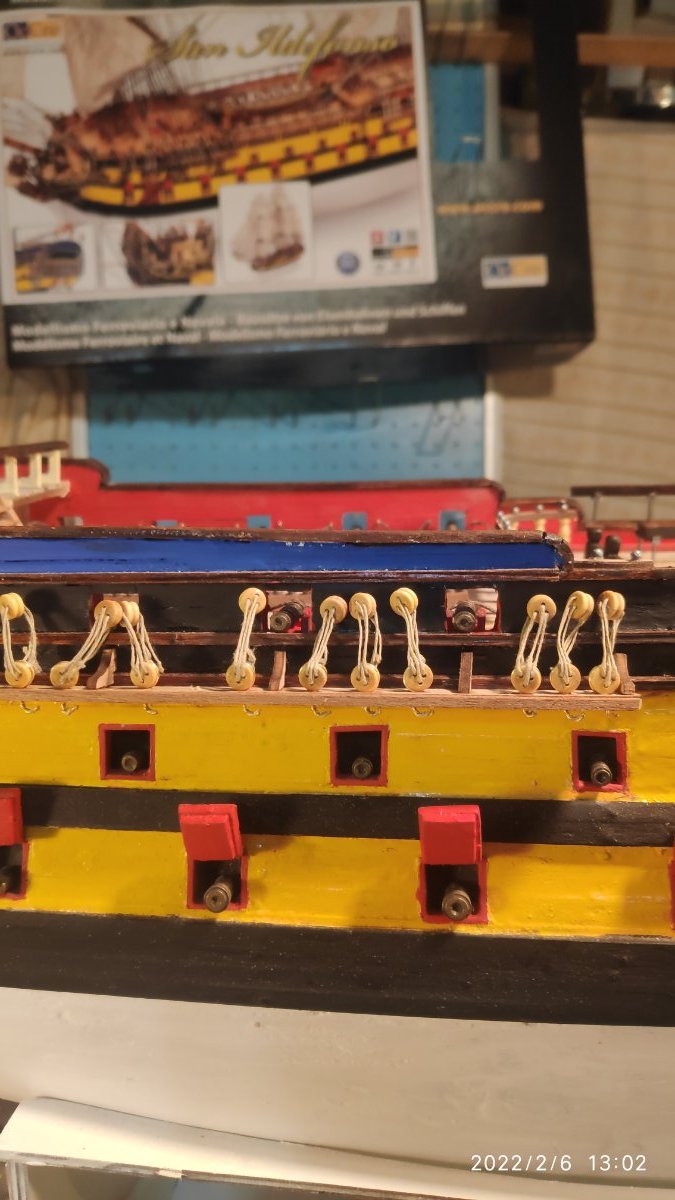
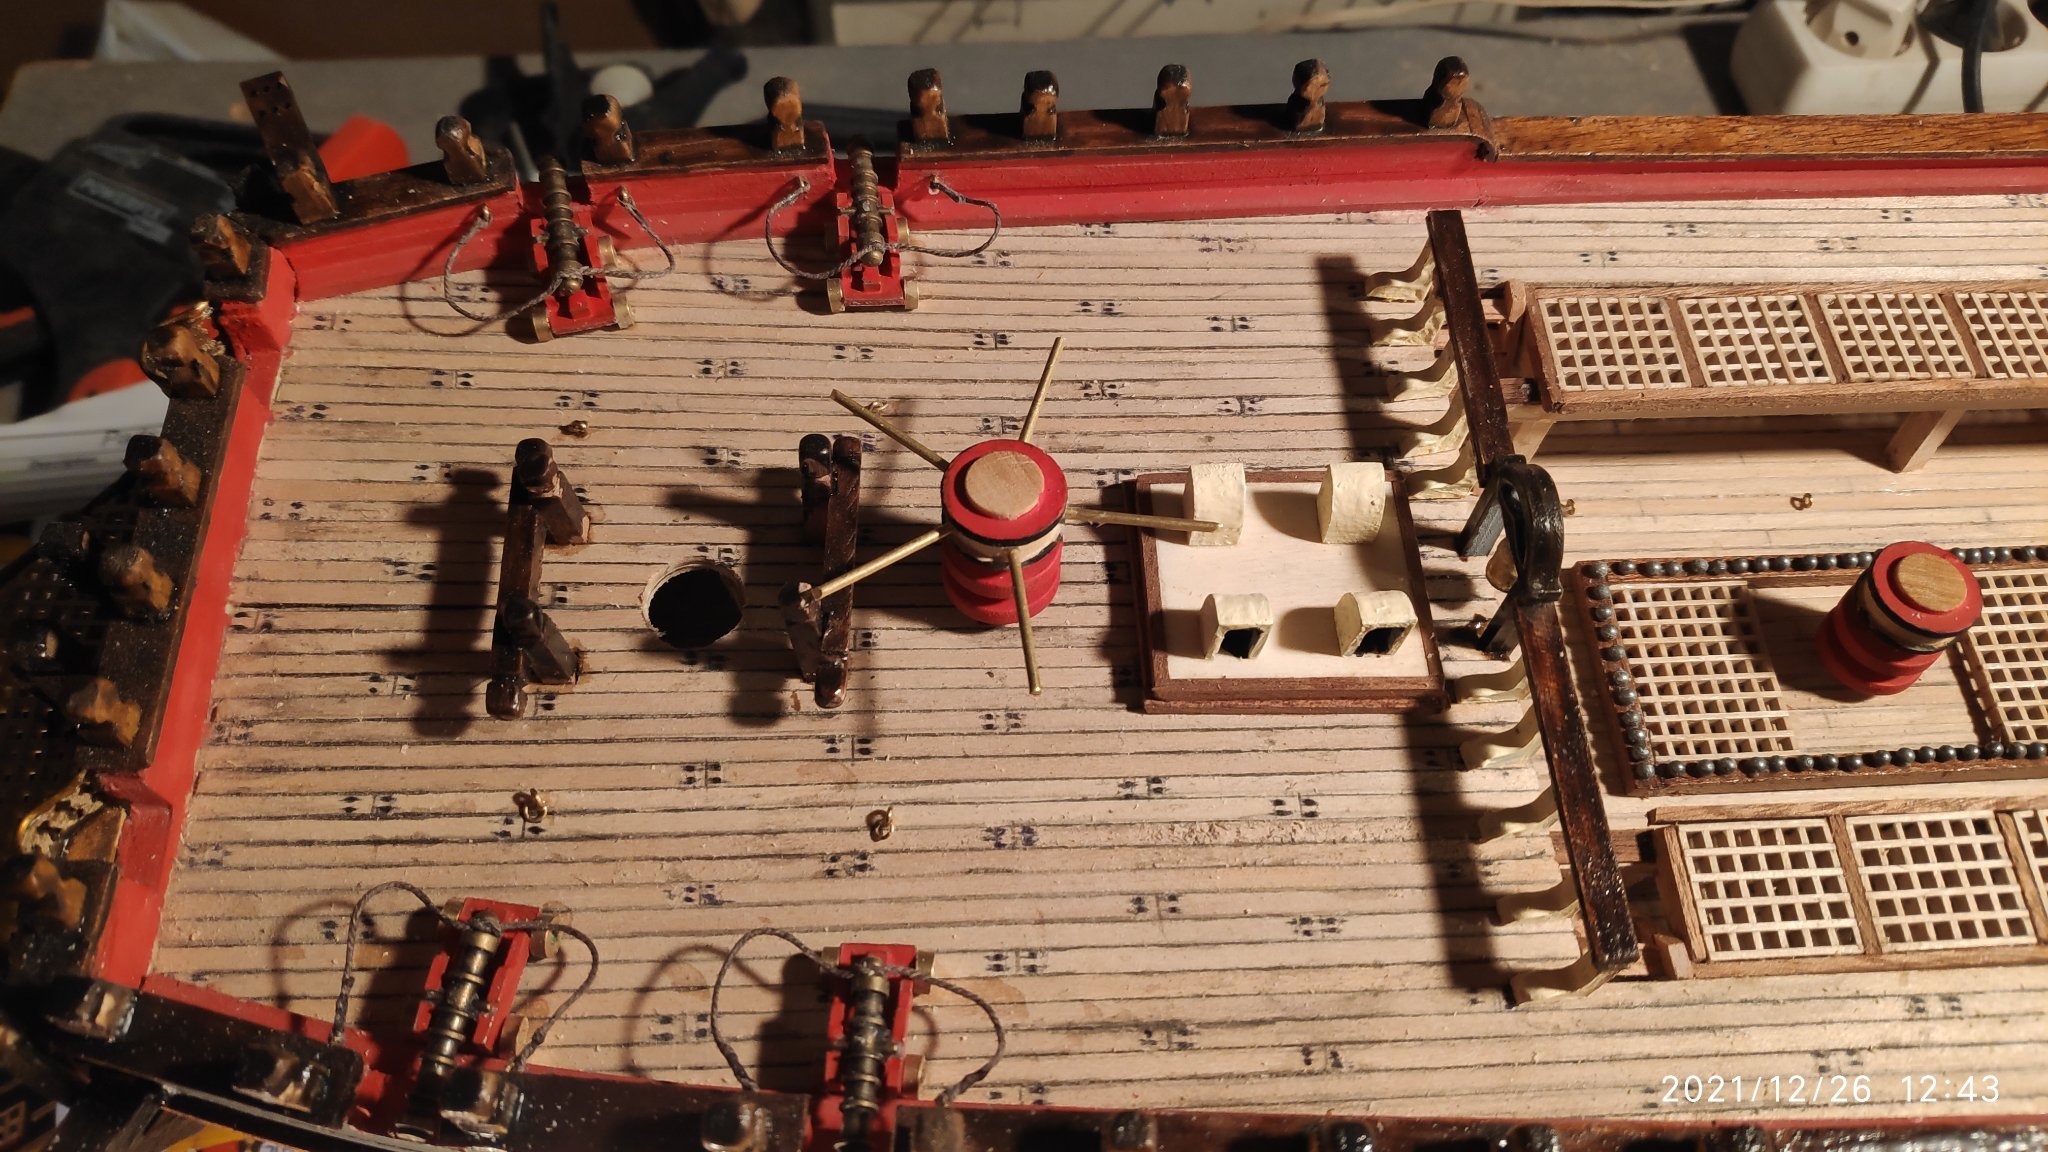
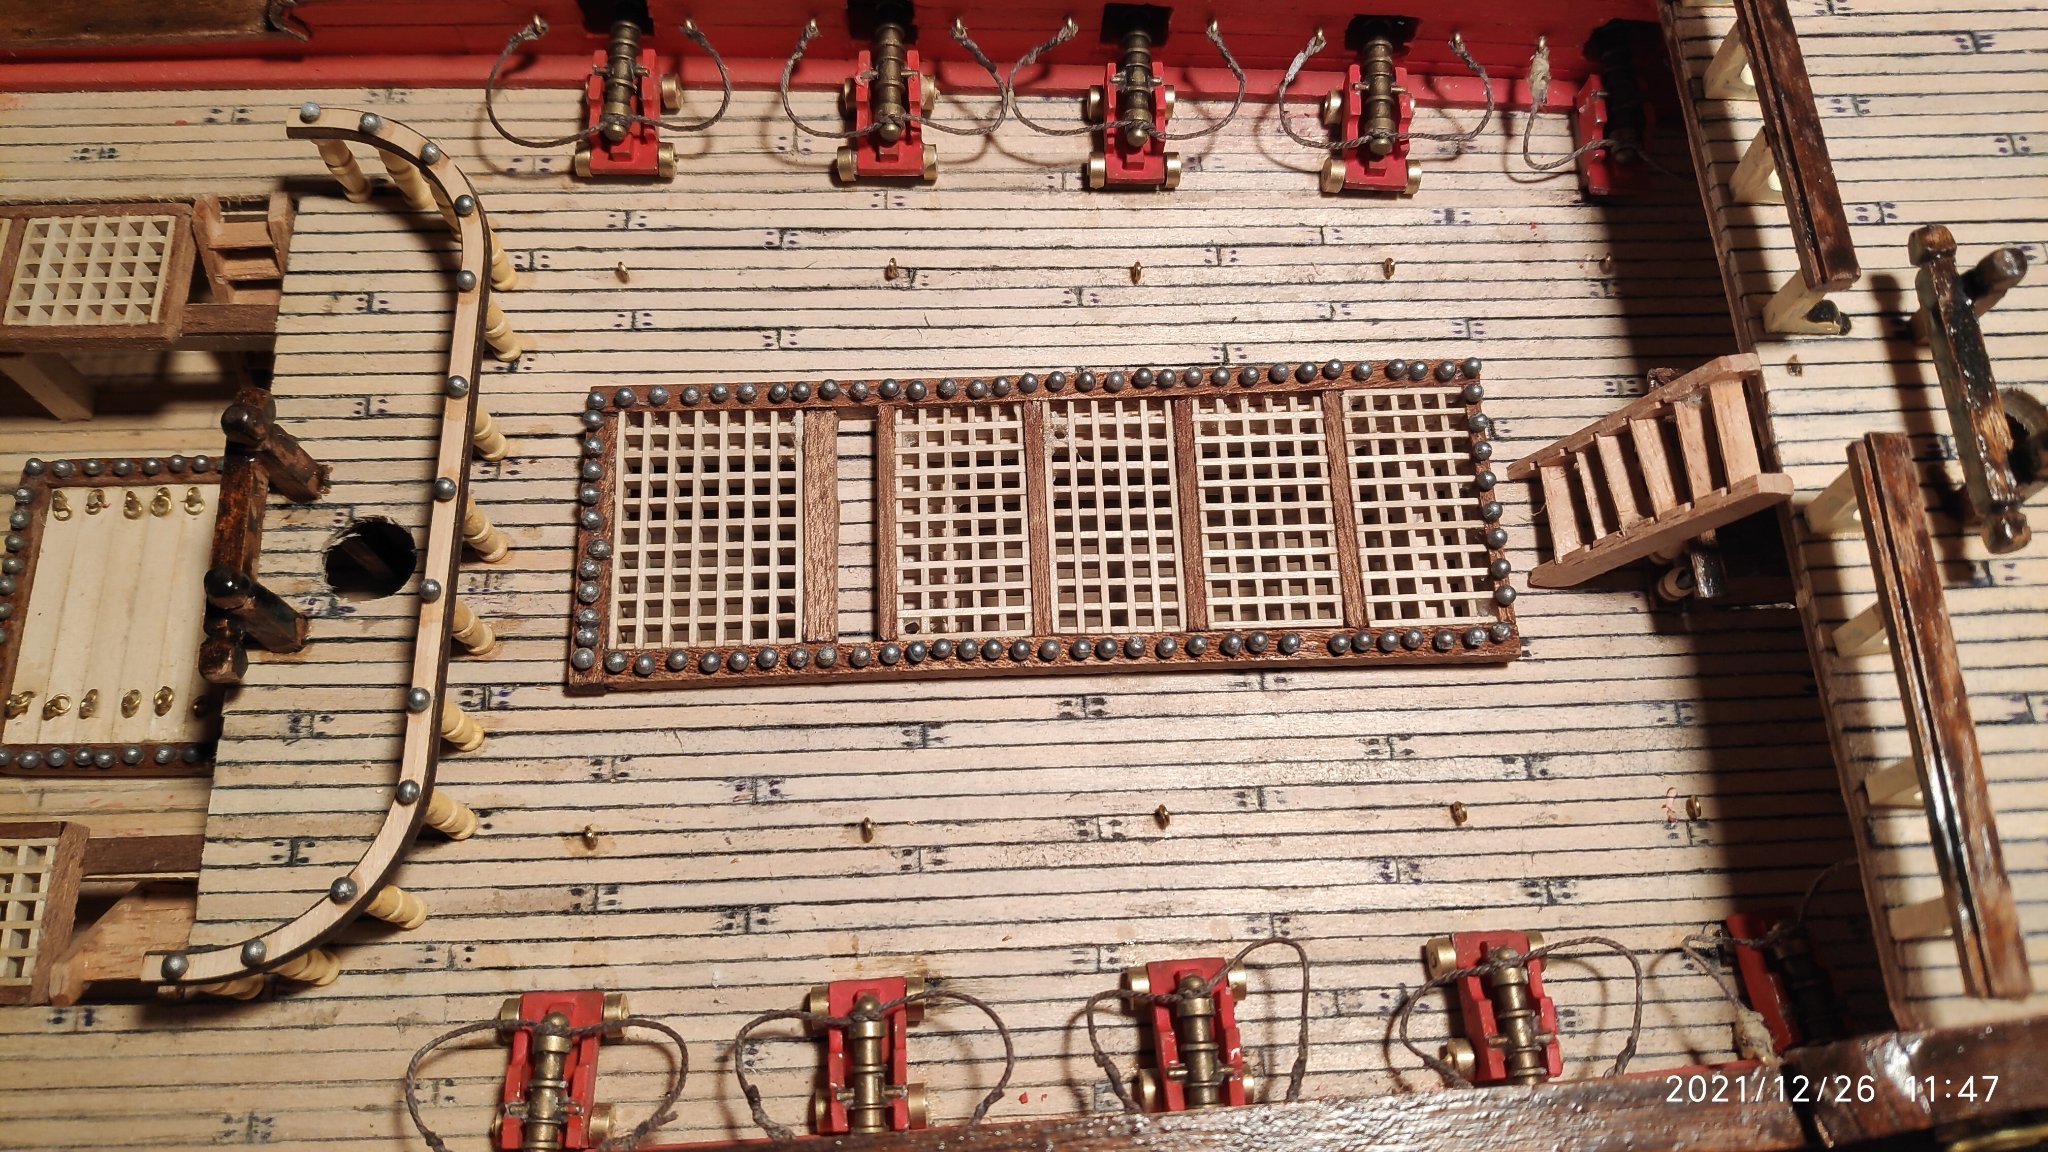
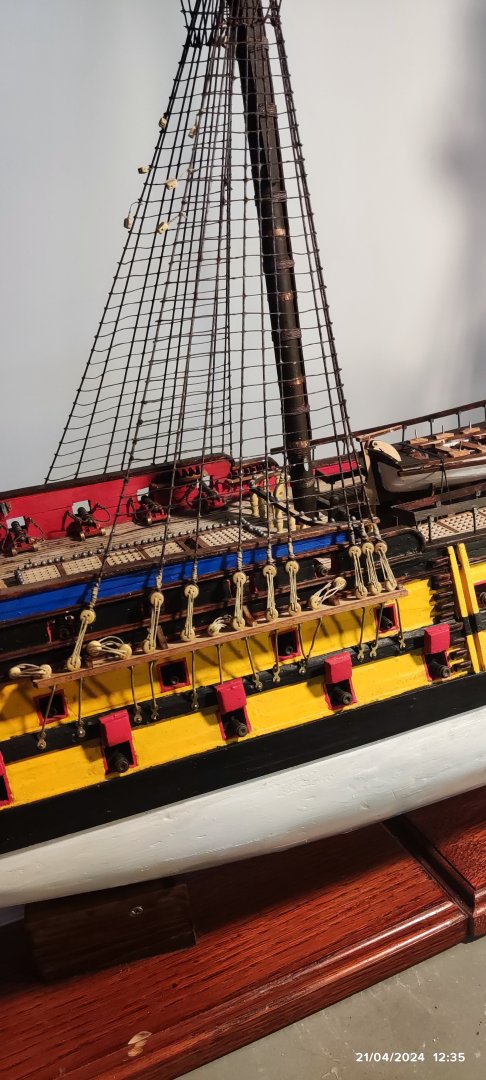
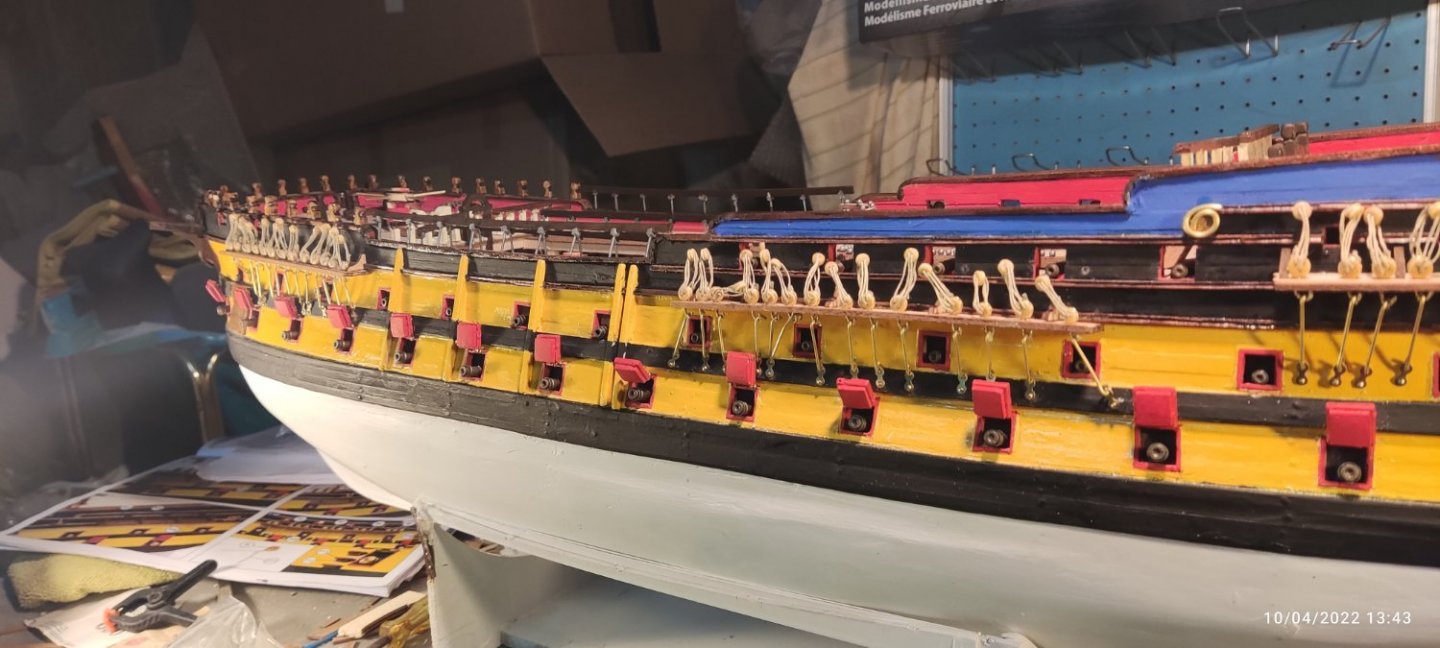
At last i finish all channels,fitting all clump blocks (72 total) both sides of hull and nailed with pins...In the upper free block will be attached the threads from ladders for the three musts,just as the manual said...Attention needed that the clump blocks doesn't cover the gunbarrels from behind in any way


-
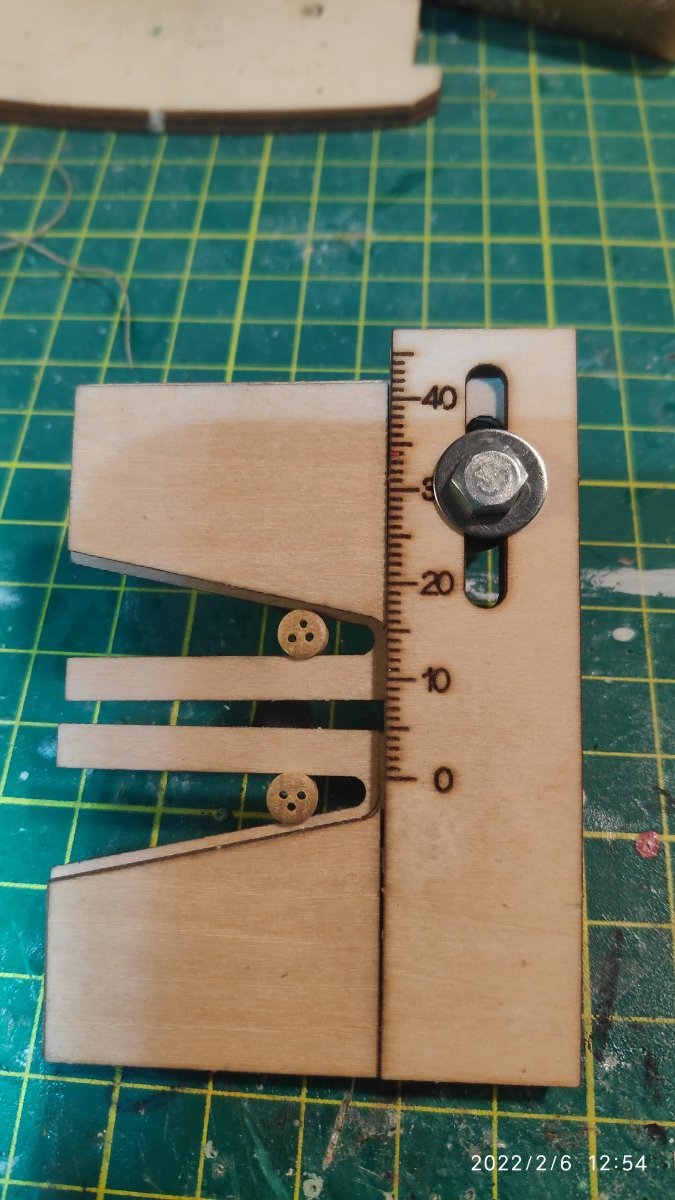
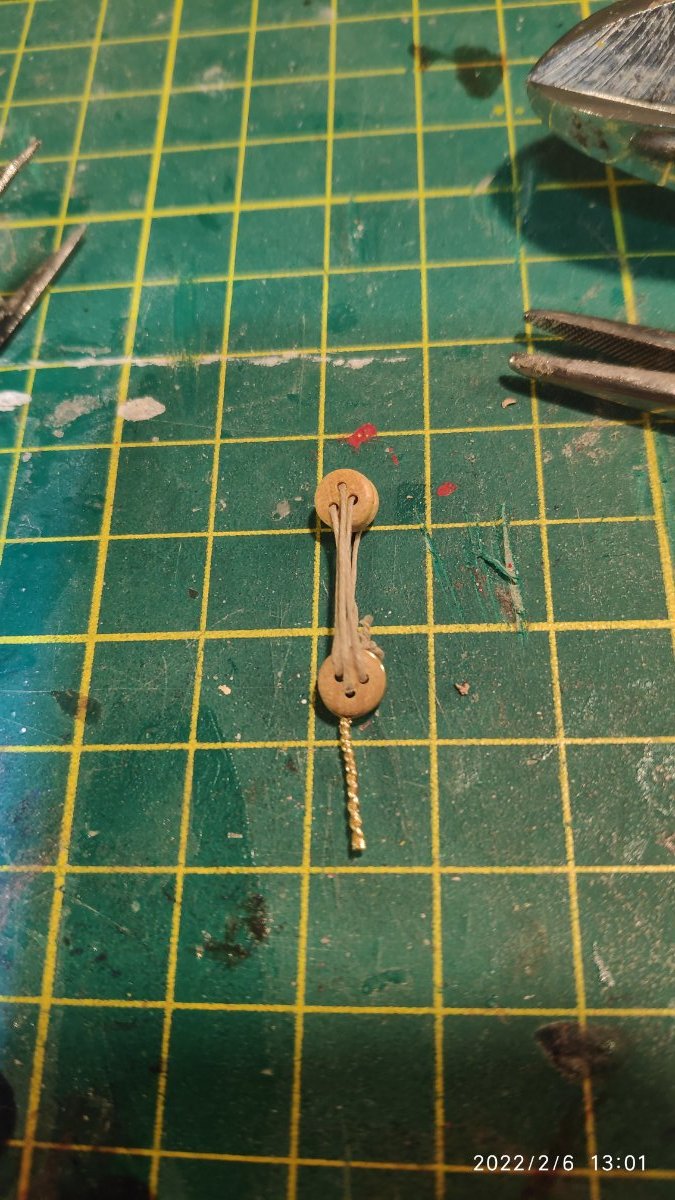
Two years after i start the kit....Now i make the the channels,three for one side and other three for the other. I make the necessary holes on them to fit the the clump block slings. For that i use a simple after market equipment to make all the the clump block easy and the same lenght. Then fit the clump blocks using lengths of brass wire and pass them through the holes in the channels. See fotos. They will be held from below by a length of wire and pinned directly to the hull using pins and brass links. All this job must be done for all six channels,both sides of the hull.


-
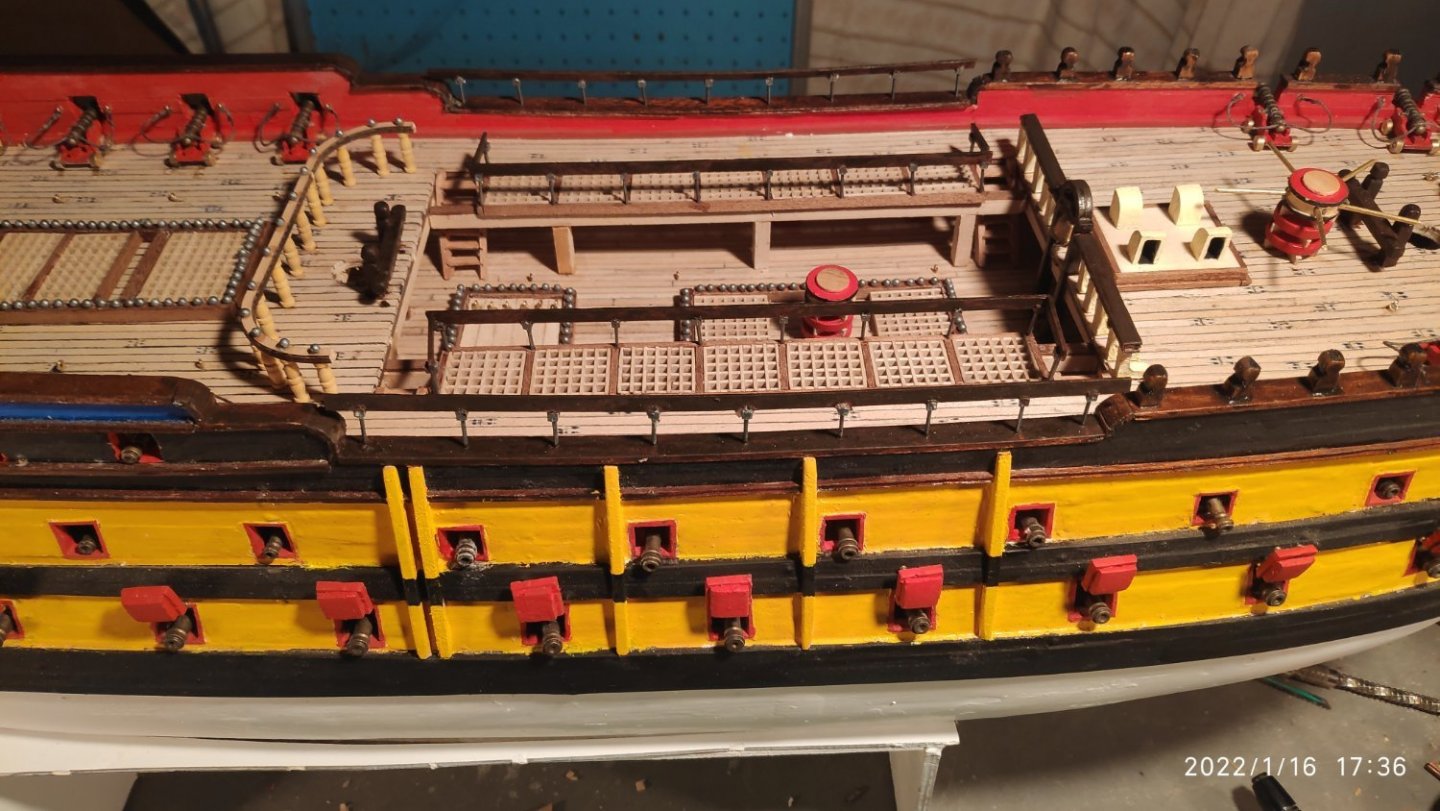
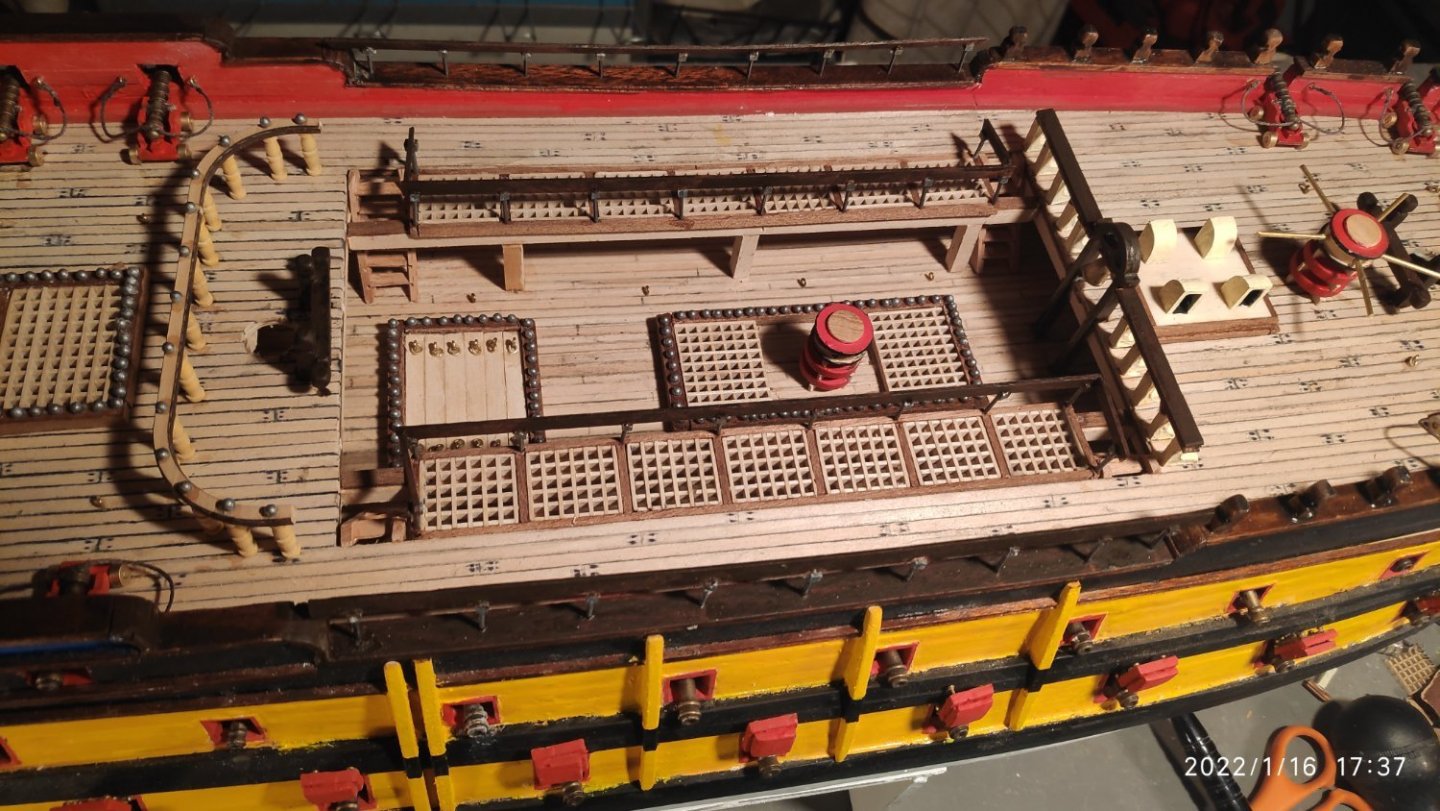
Now i make 5 fenders on each side of ship. I cut them so they fit to the shape of the ship and paint them yellow. After i make the railings of the deck. Make holes and glue metal parts and above them i put 1X4mm sapeli wood. Two railings at the side of the ship and two at the edge of the deck.
-
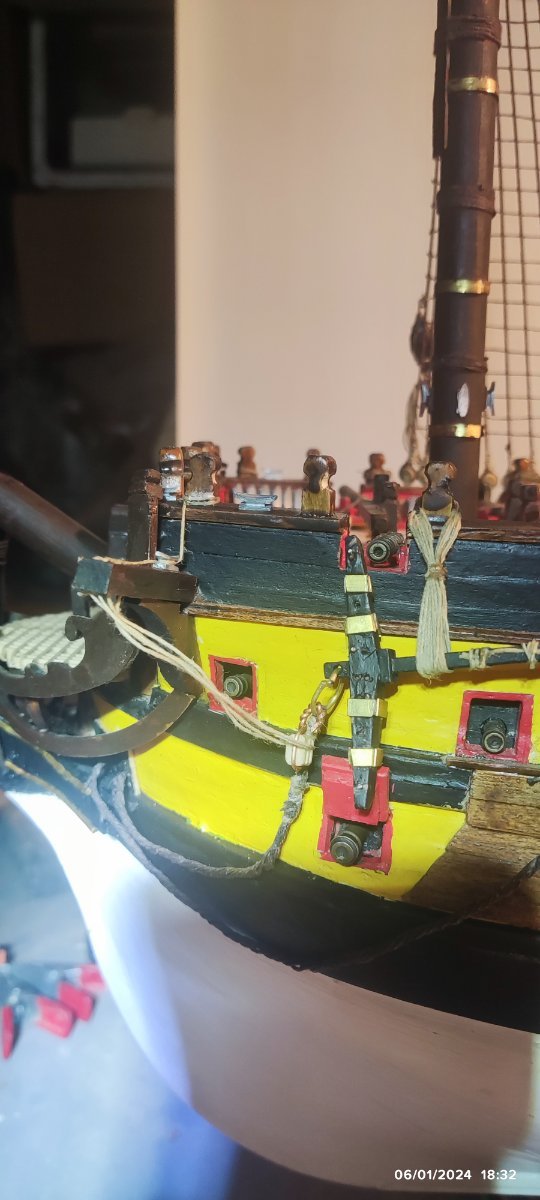
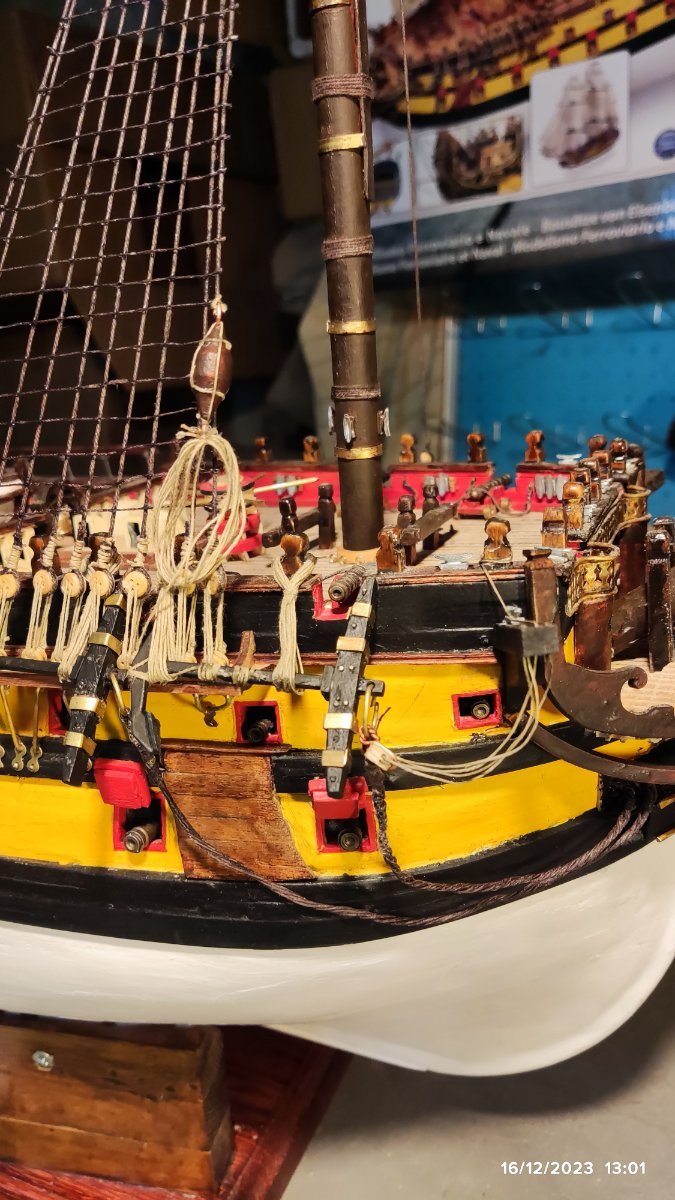
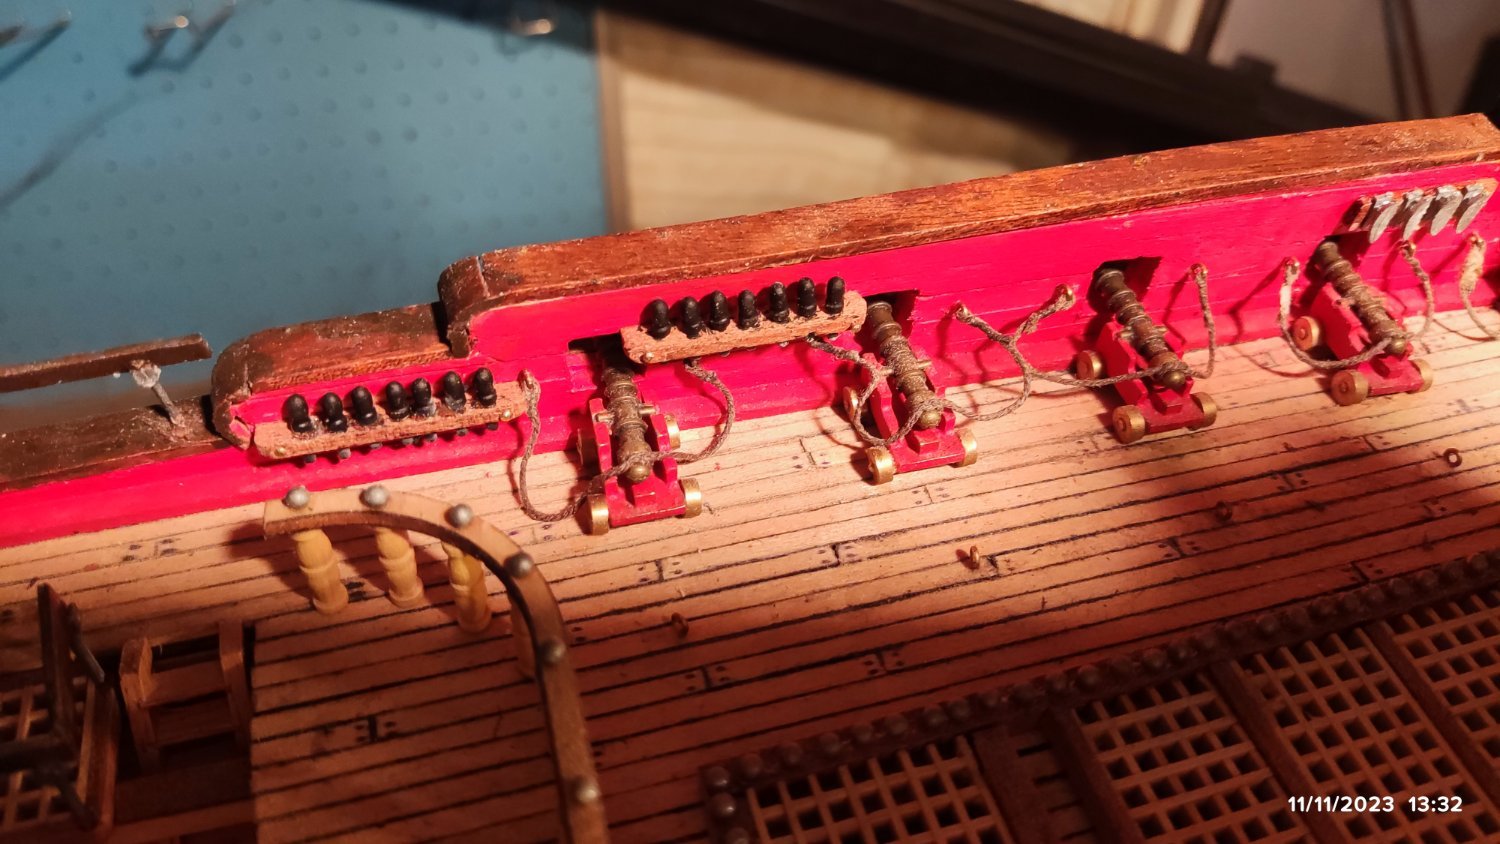
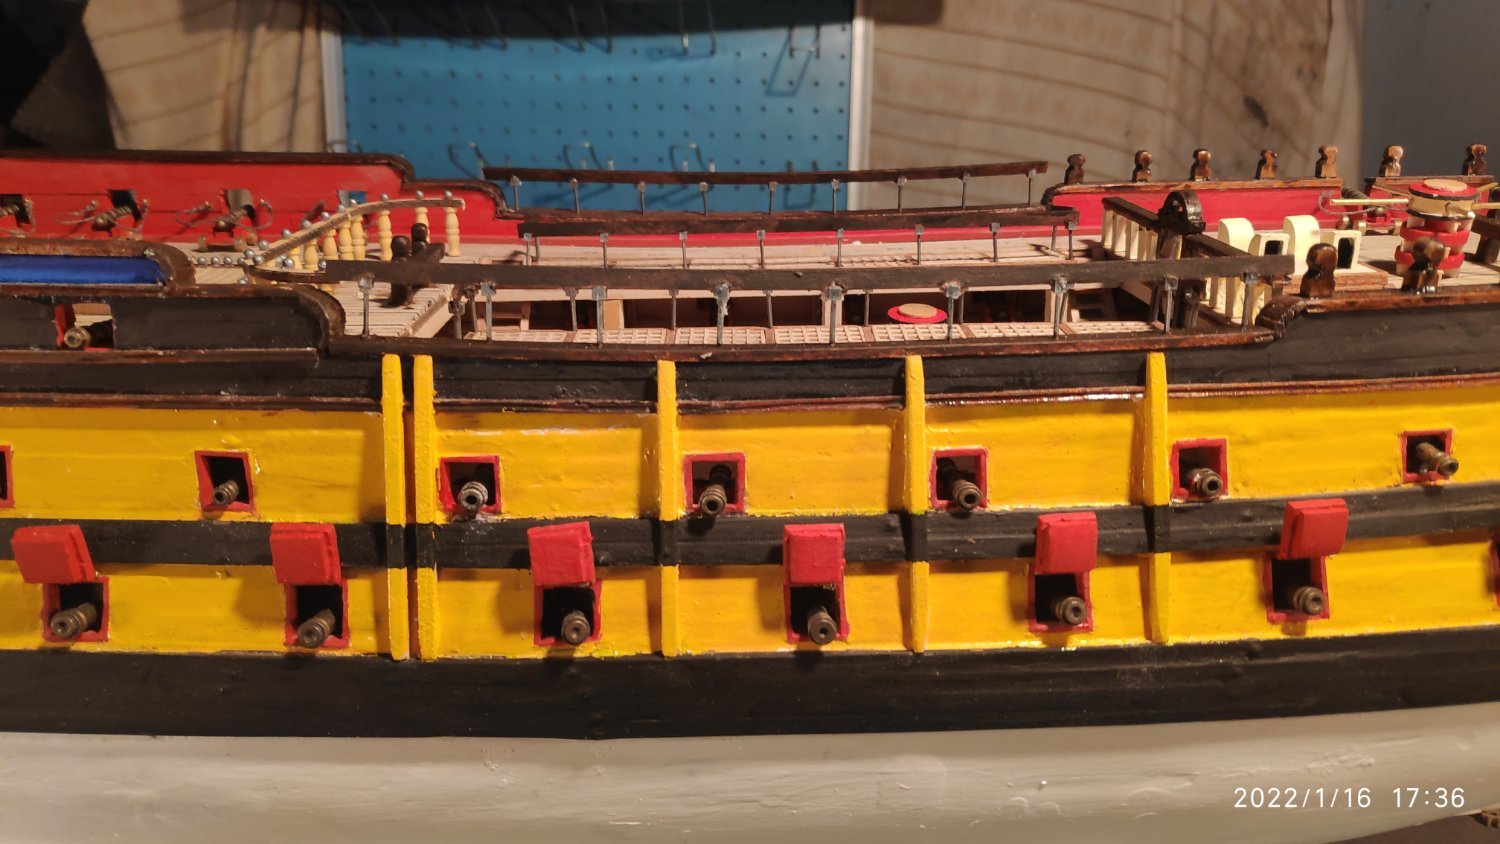
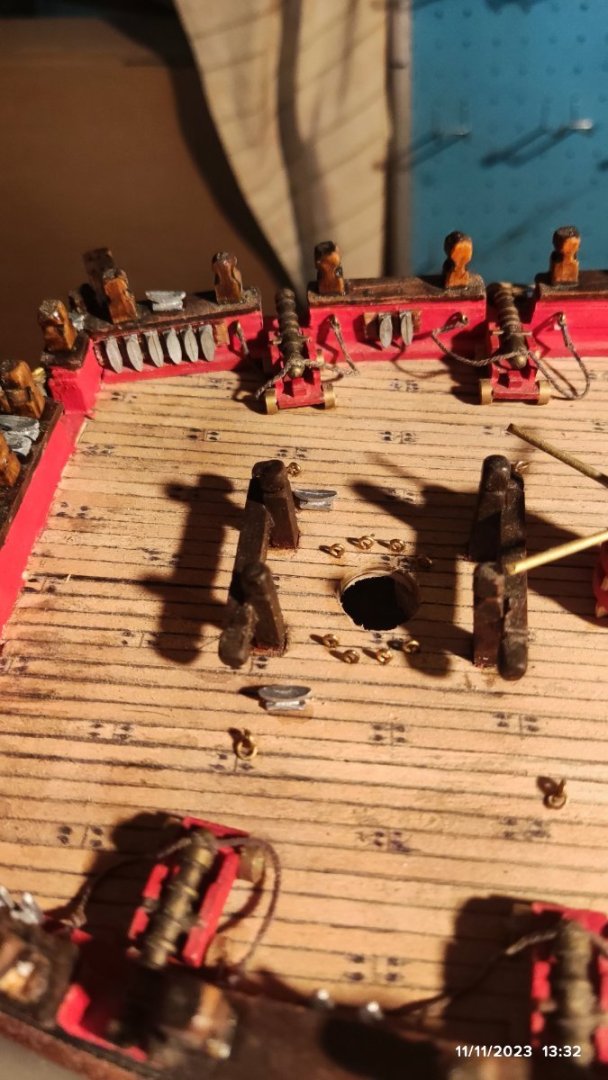
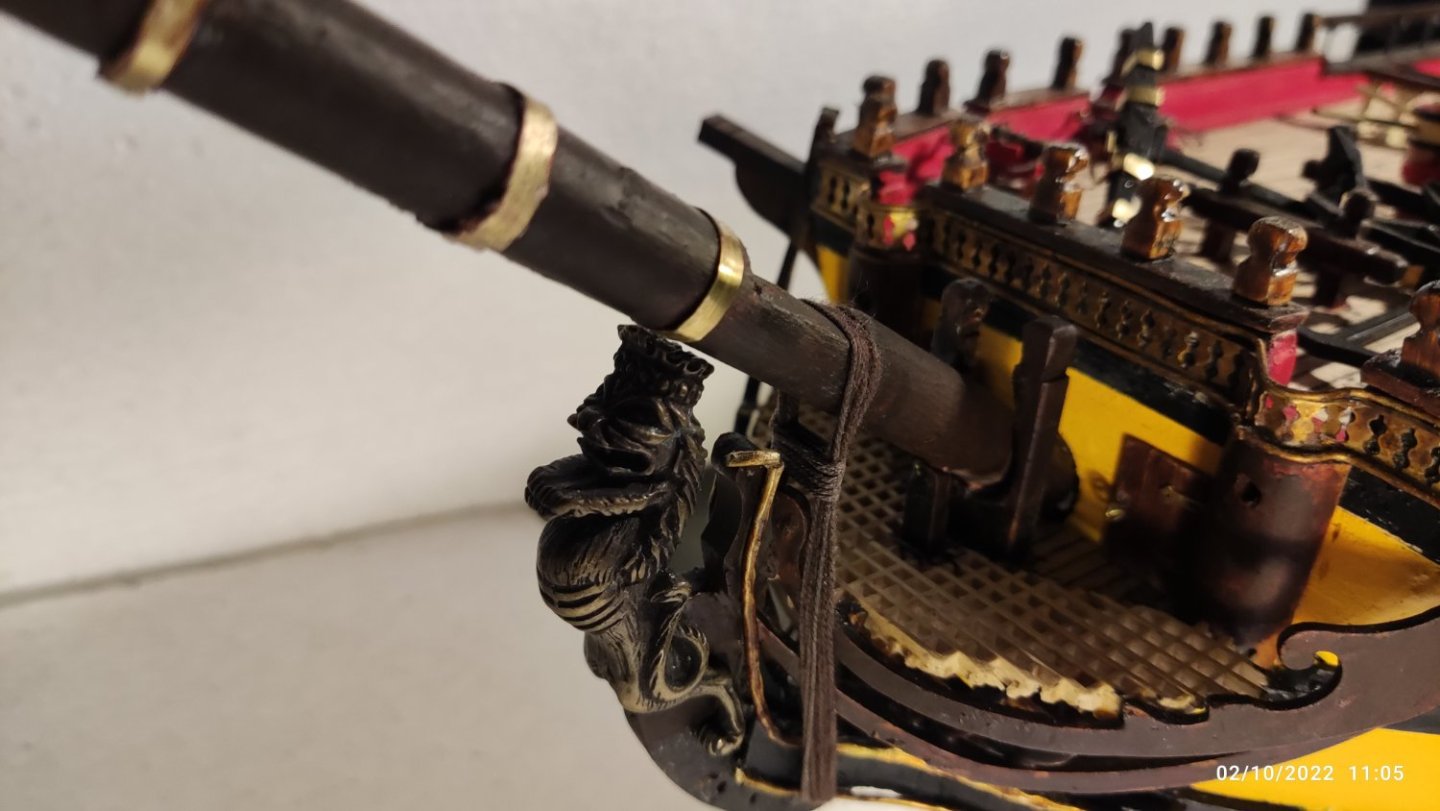
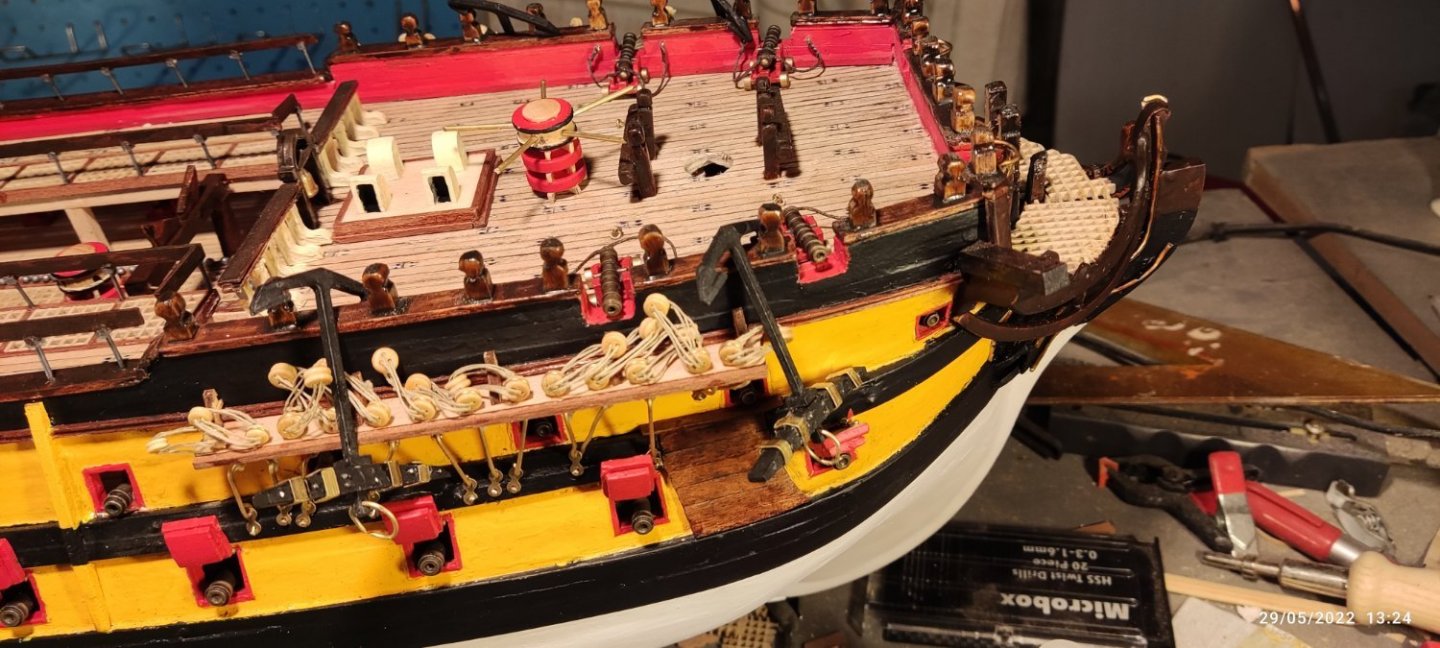
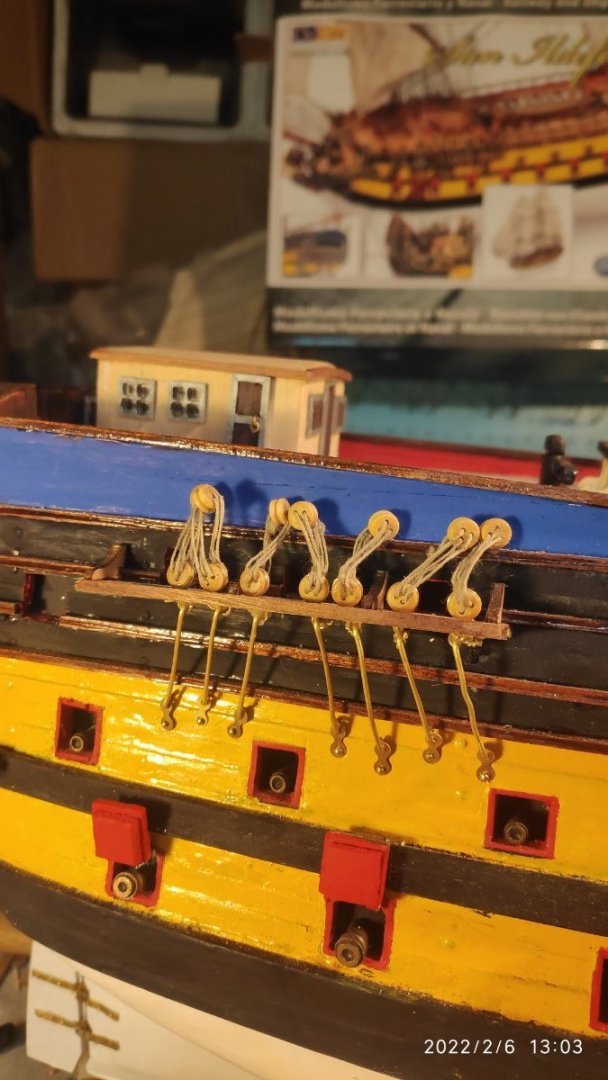
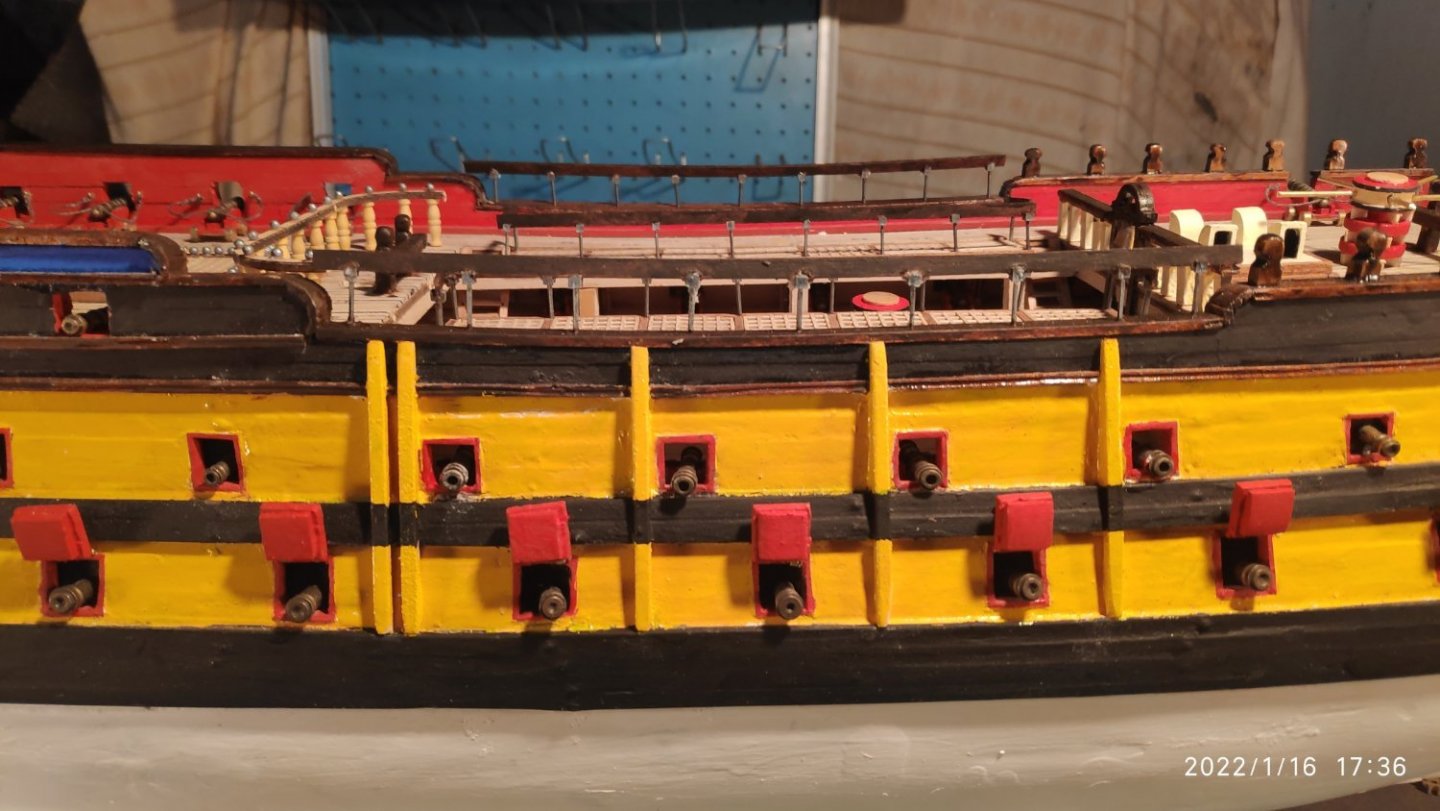
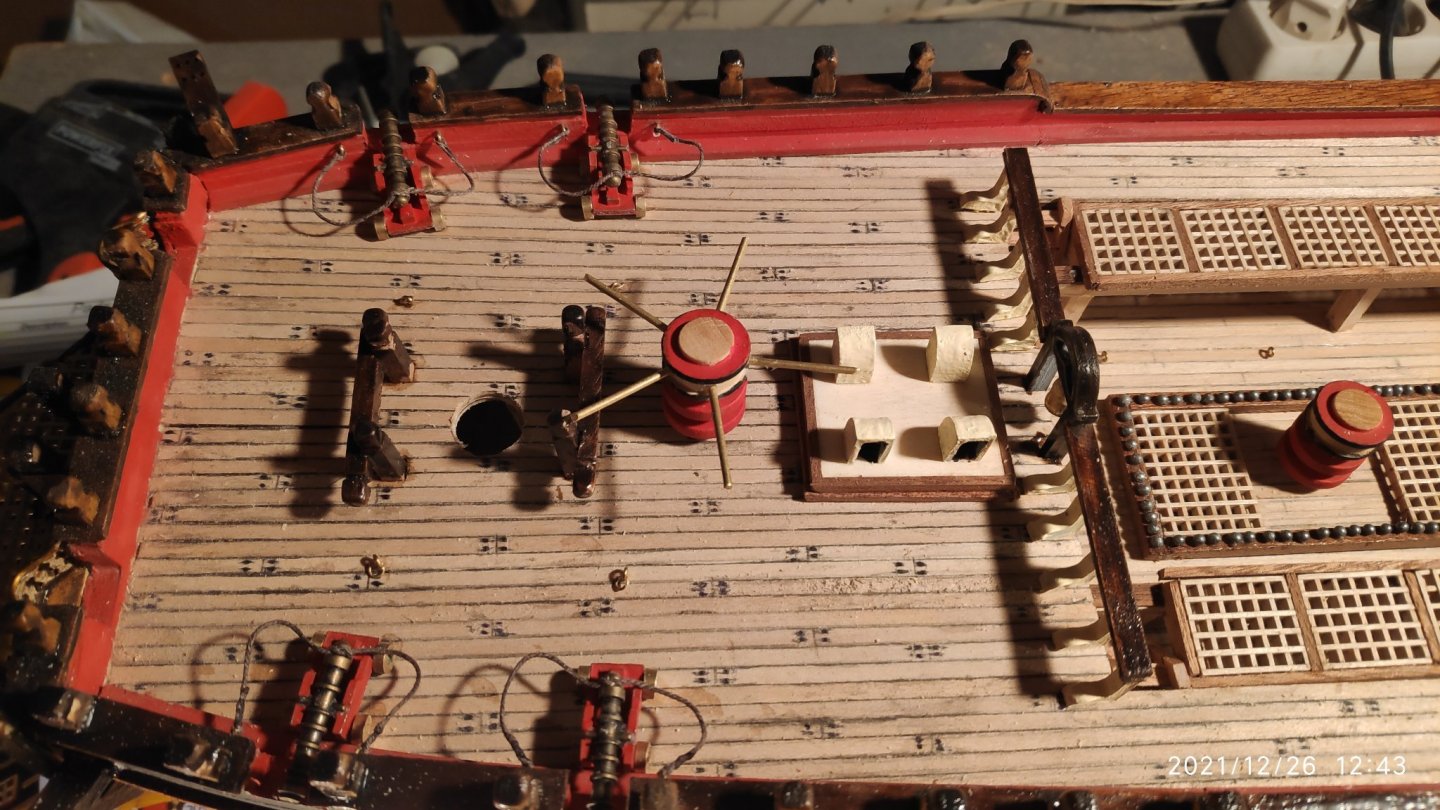
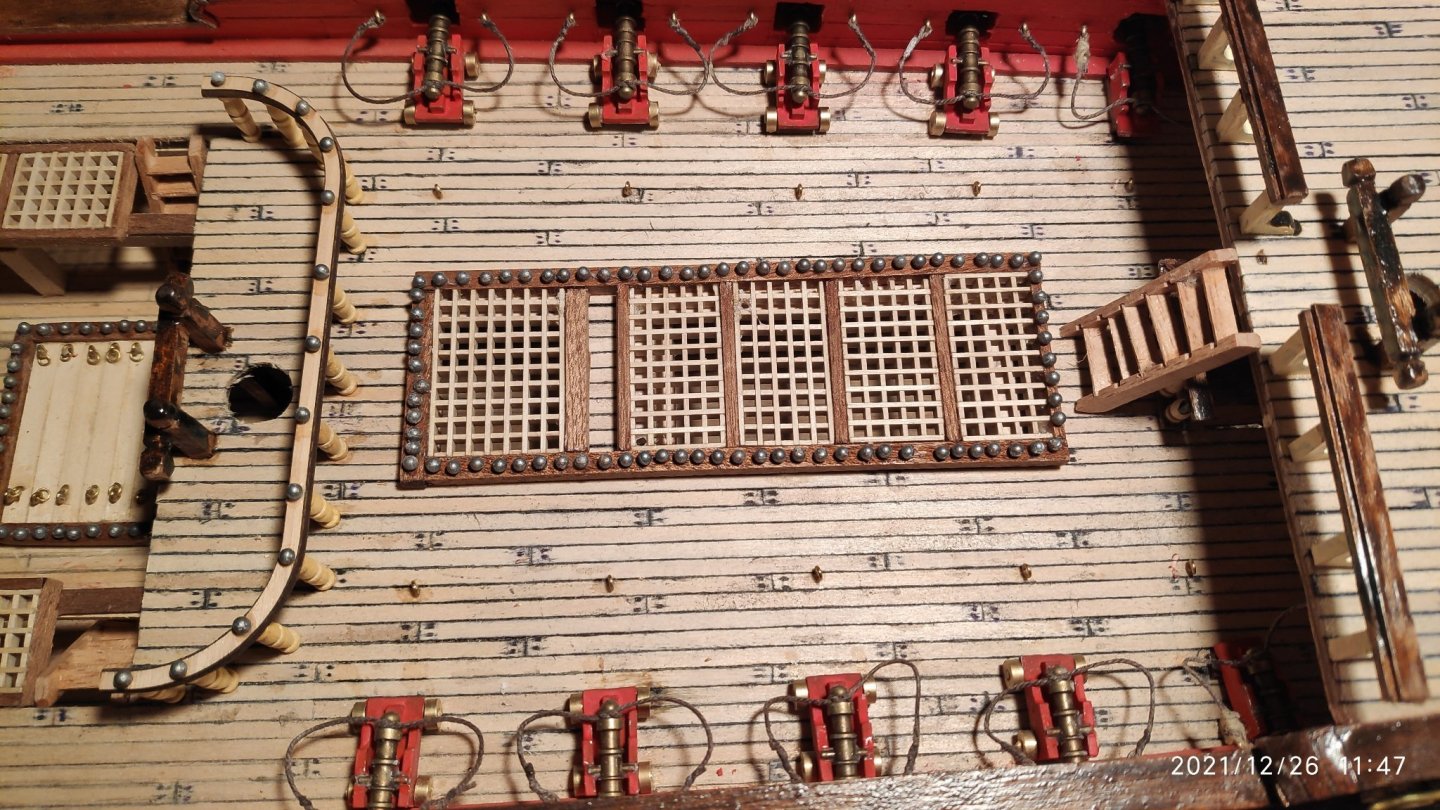
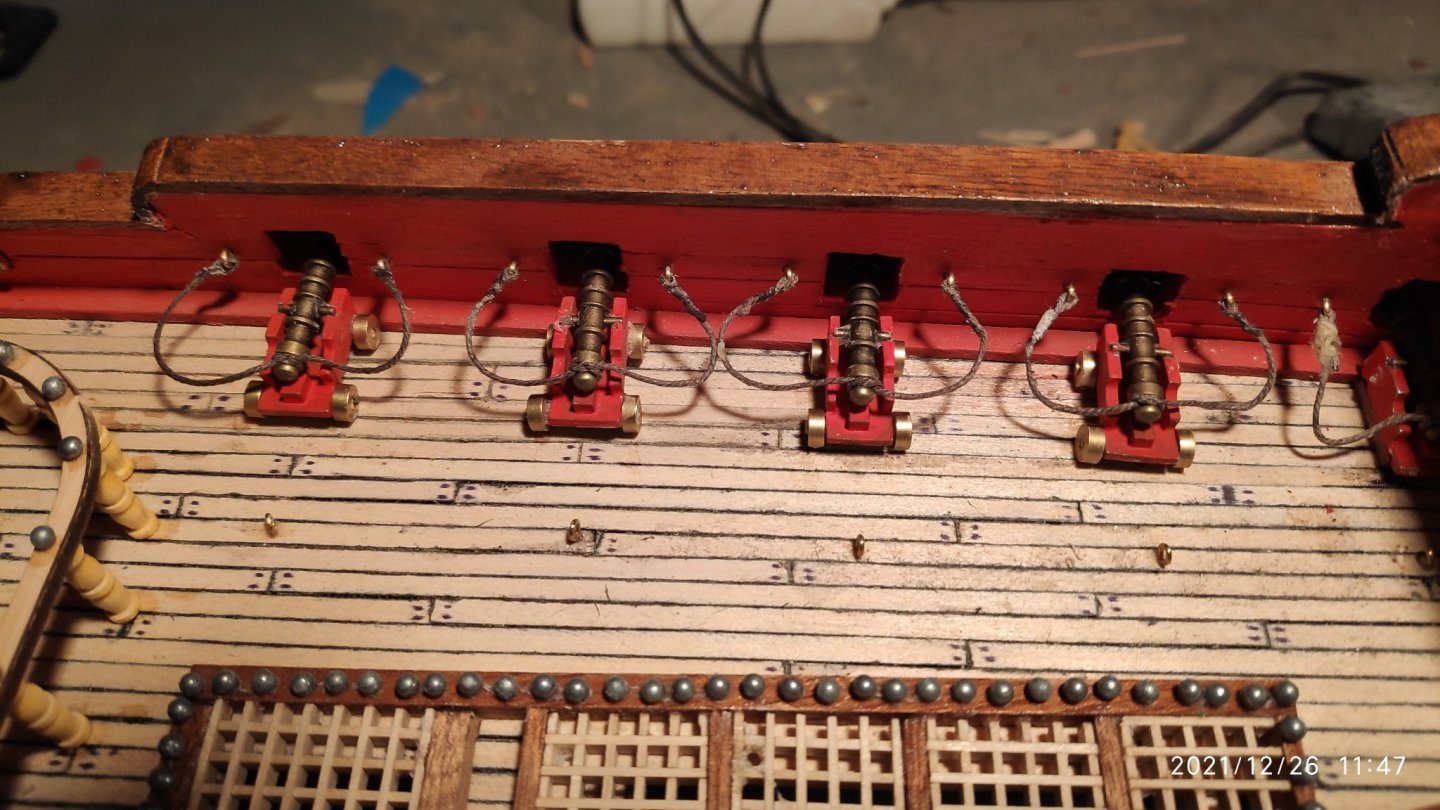
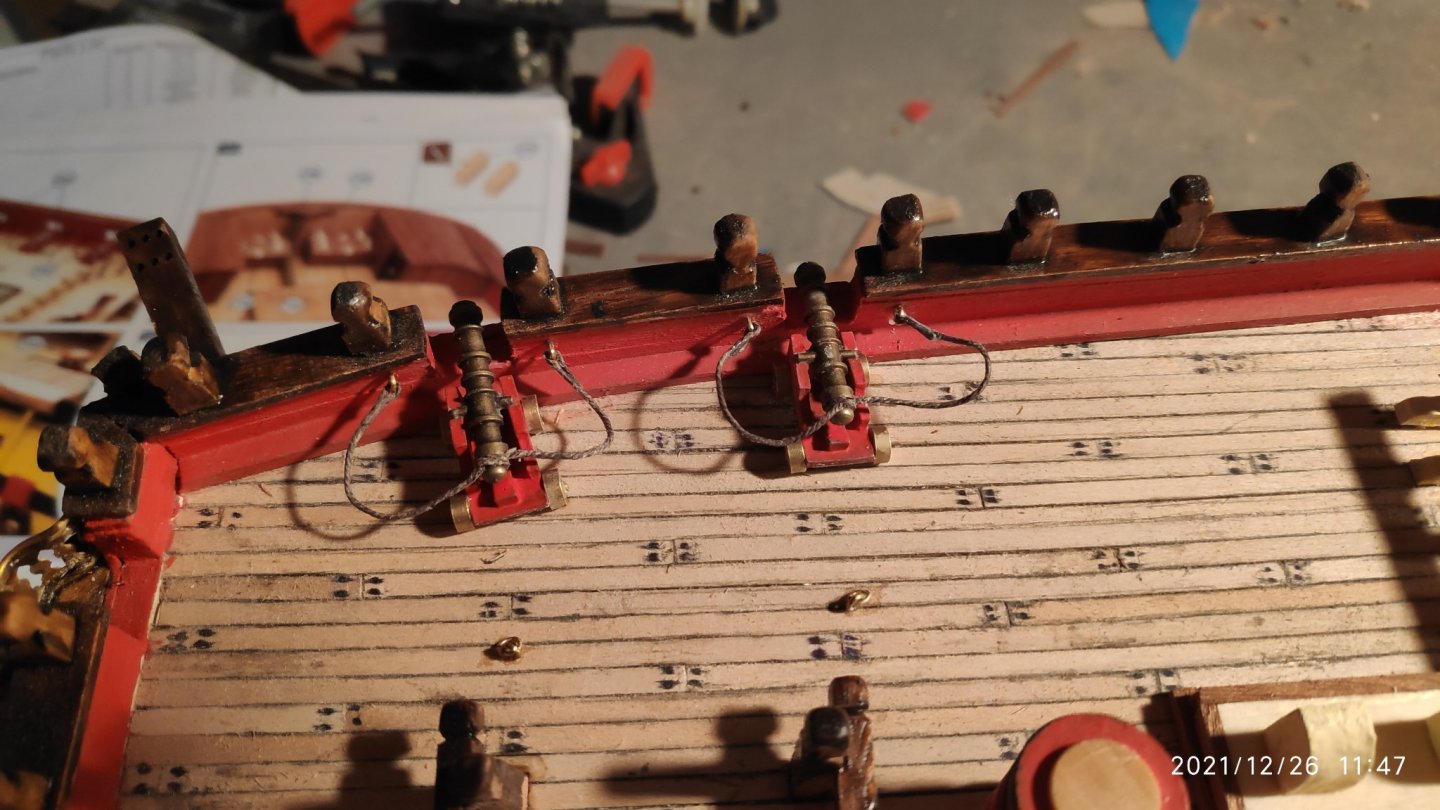
Now is time for the cannons that are visible from the deck. Each cannon consists of : The metal carriage, that was painted red, the cannon barell that is also metalli made from copper, four metal wheels and two axes made from brass wire 1mm diameter. 22 such complexes were made and placed in the corresponding gun ports, in order to complete the armament of the ship. In their place they were attached with a 1.5 mm cottom wire lashing with two eyebolts that were fixed to the bulwarks on either side of the gun ports. Also on the deck behind each cannon were put eyebolts as indicated in the drawing. The two capstans were painted and glued in place with the front having brass handles for its rotation by hands from the crew of the ship
-
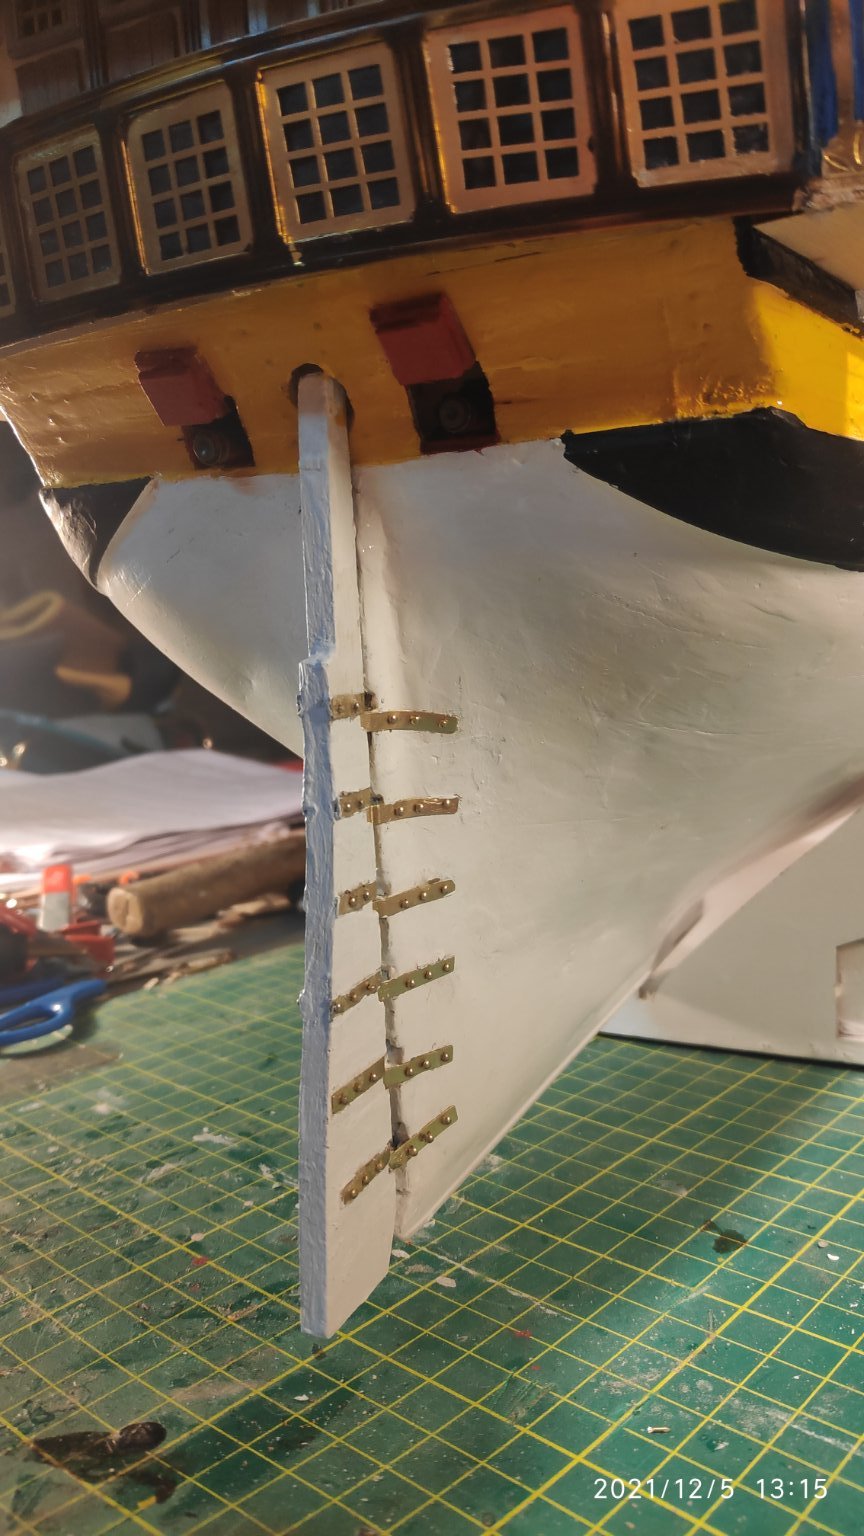
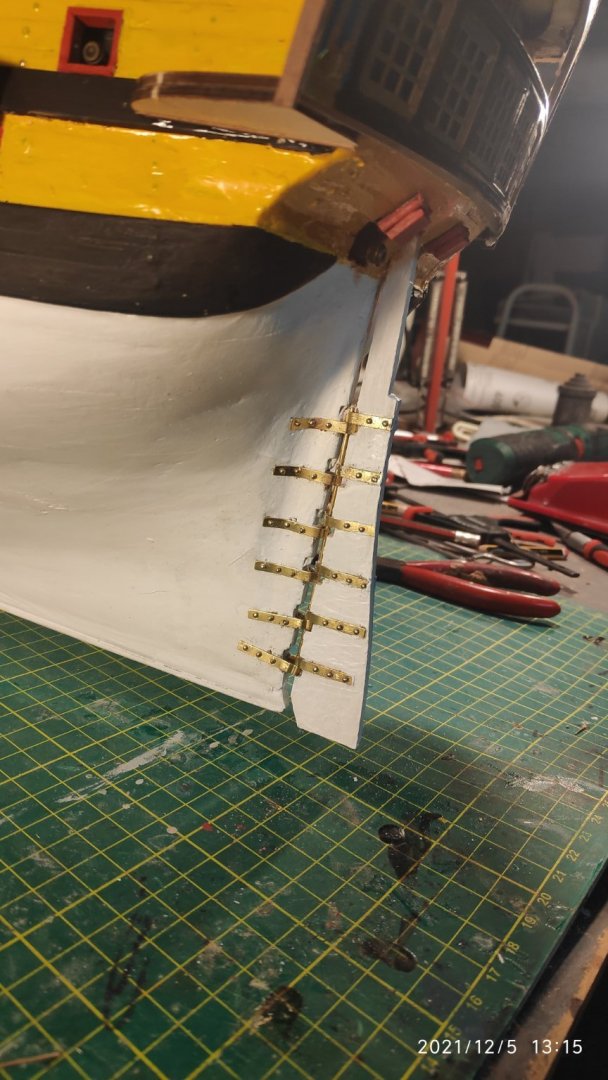
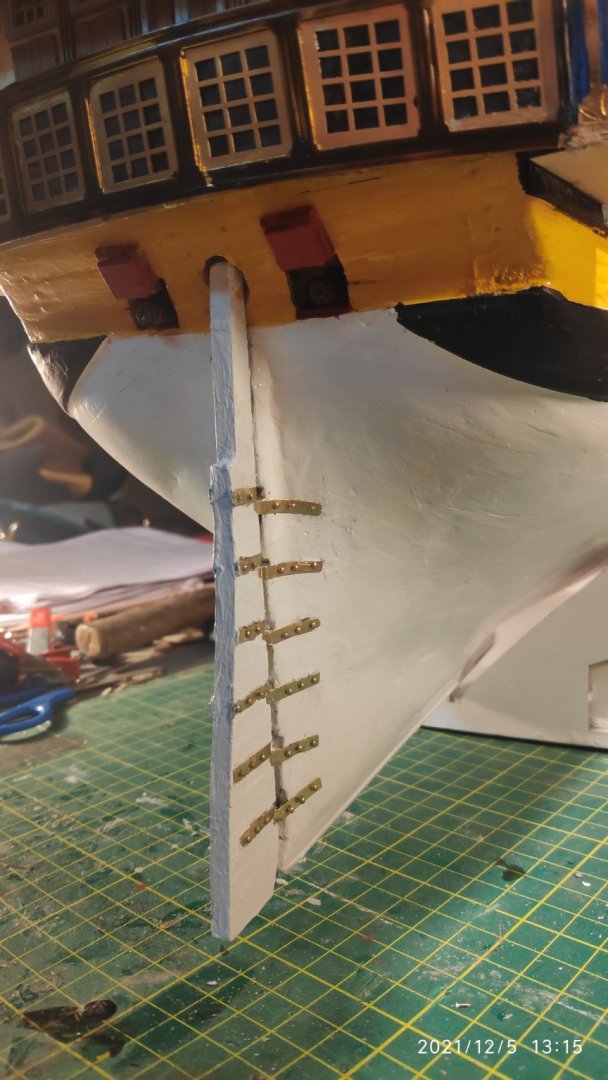
Now i make the rudder blade. I use 6 pairs of hinges. I Join the rudderblade to the hull using the hinges and hinge pins. Some of the pins must be shortened because the depth is not enough and they will be visible to the other side. A brass wire used to connect the rudder blade with the hull.
-
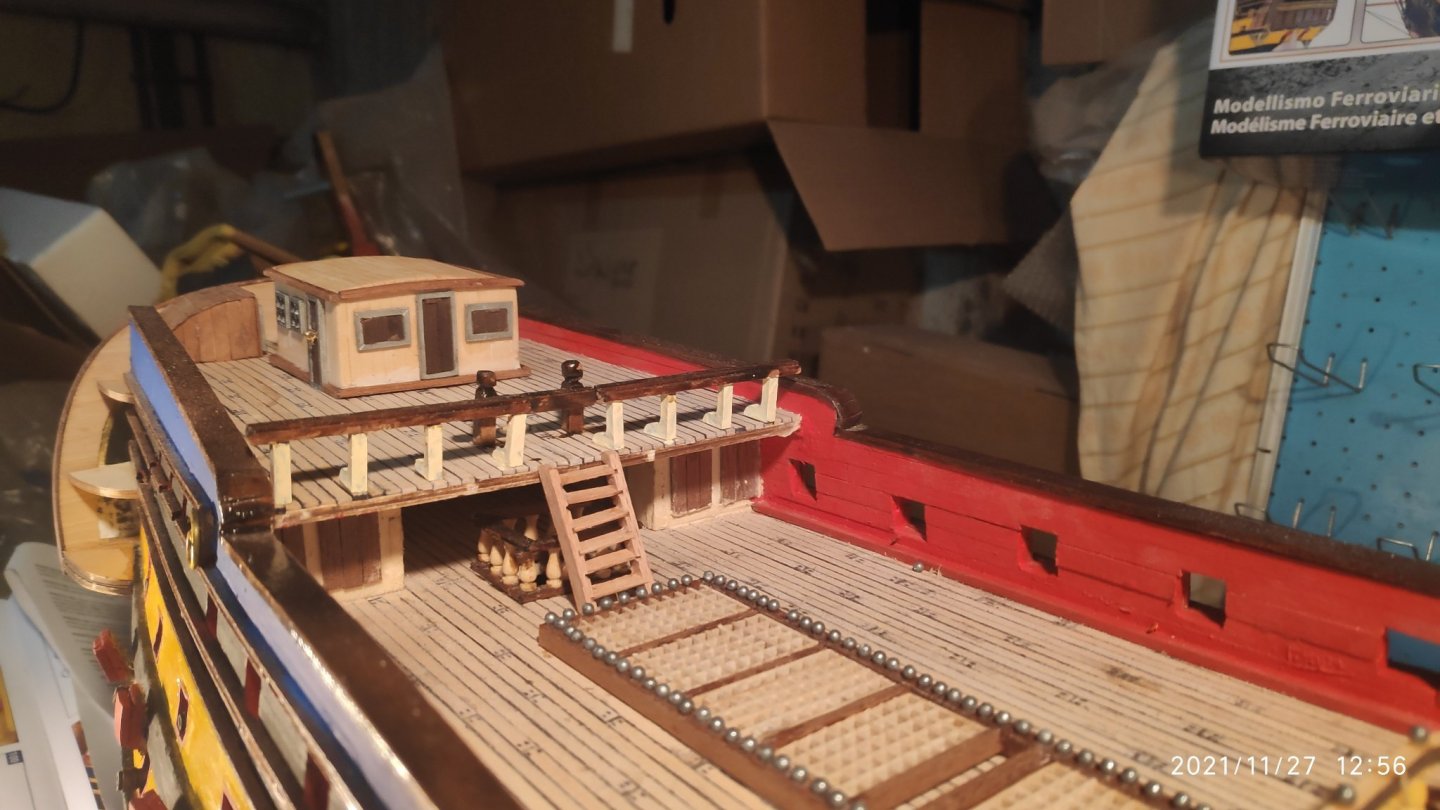
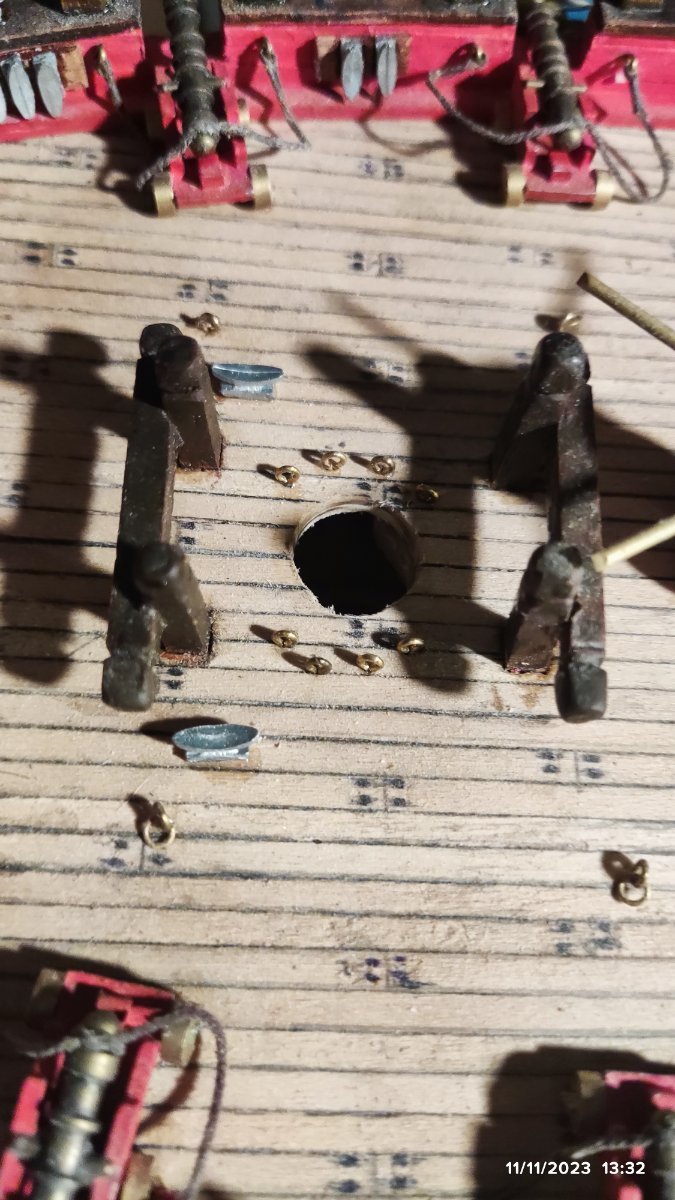
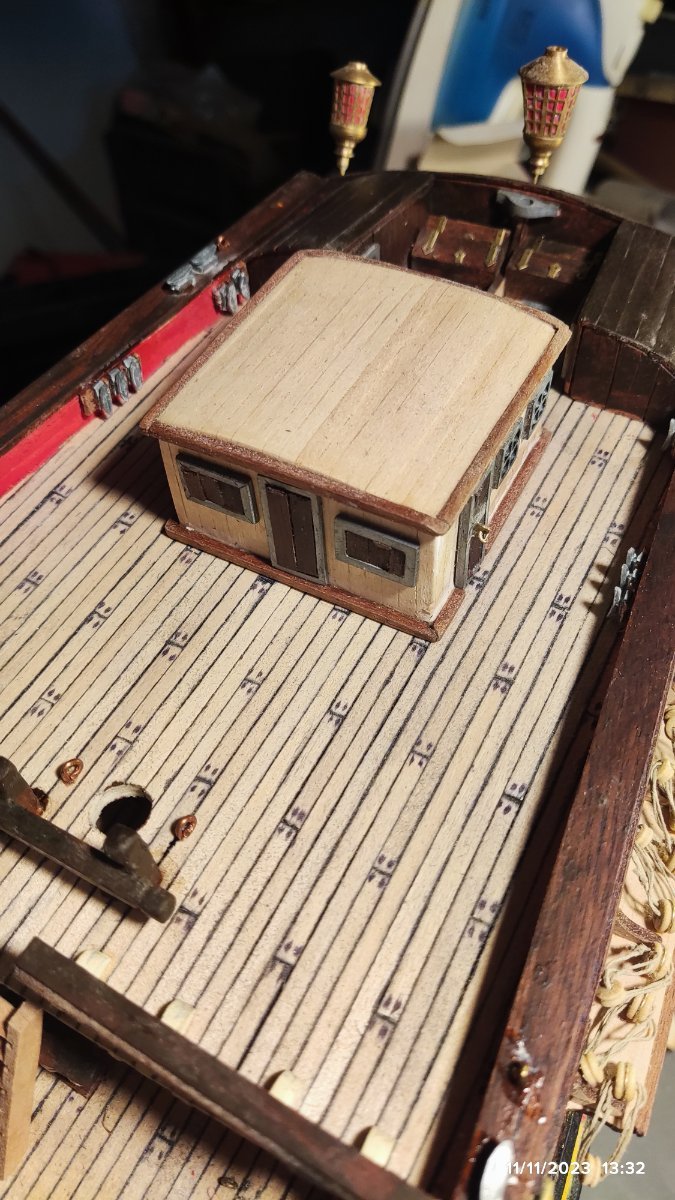
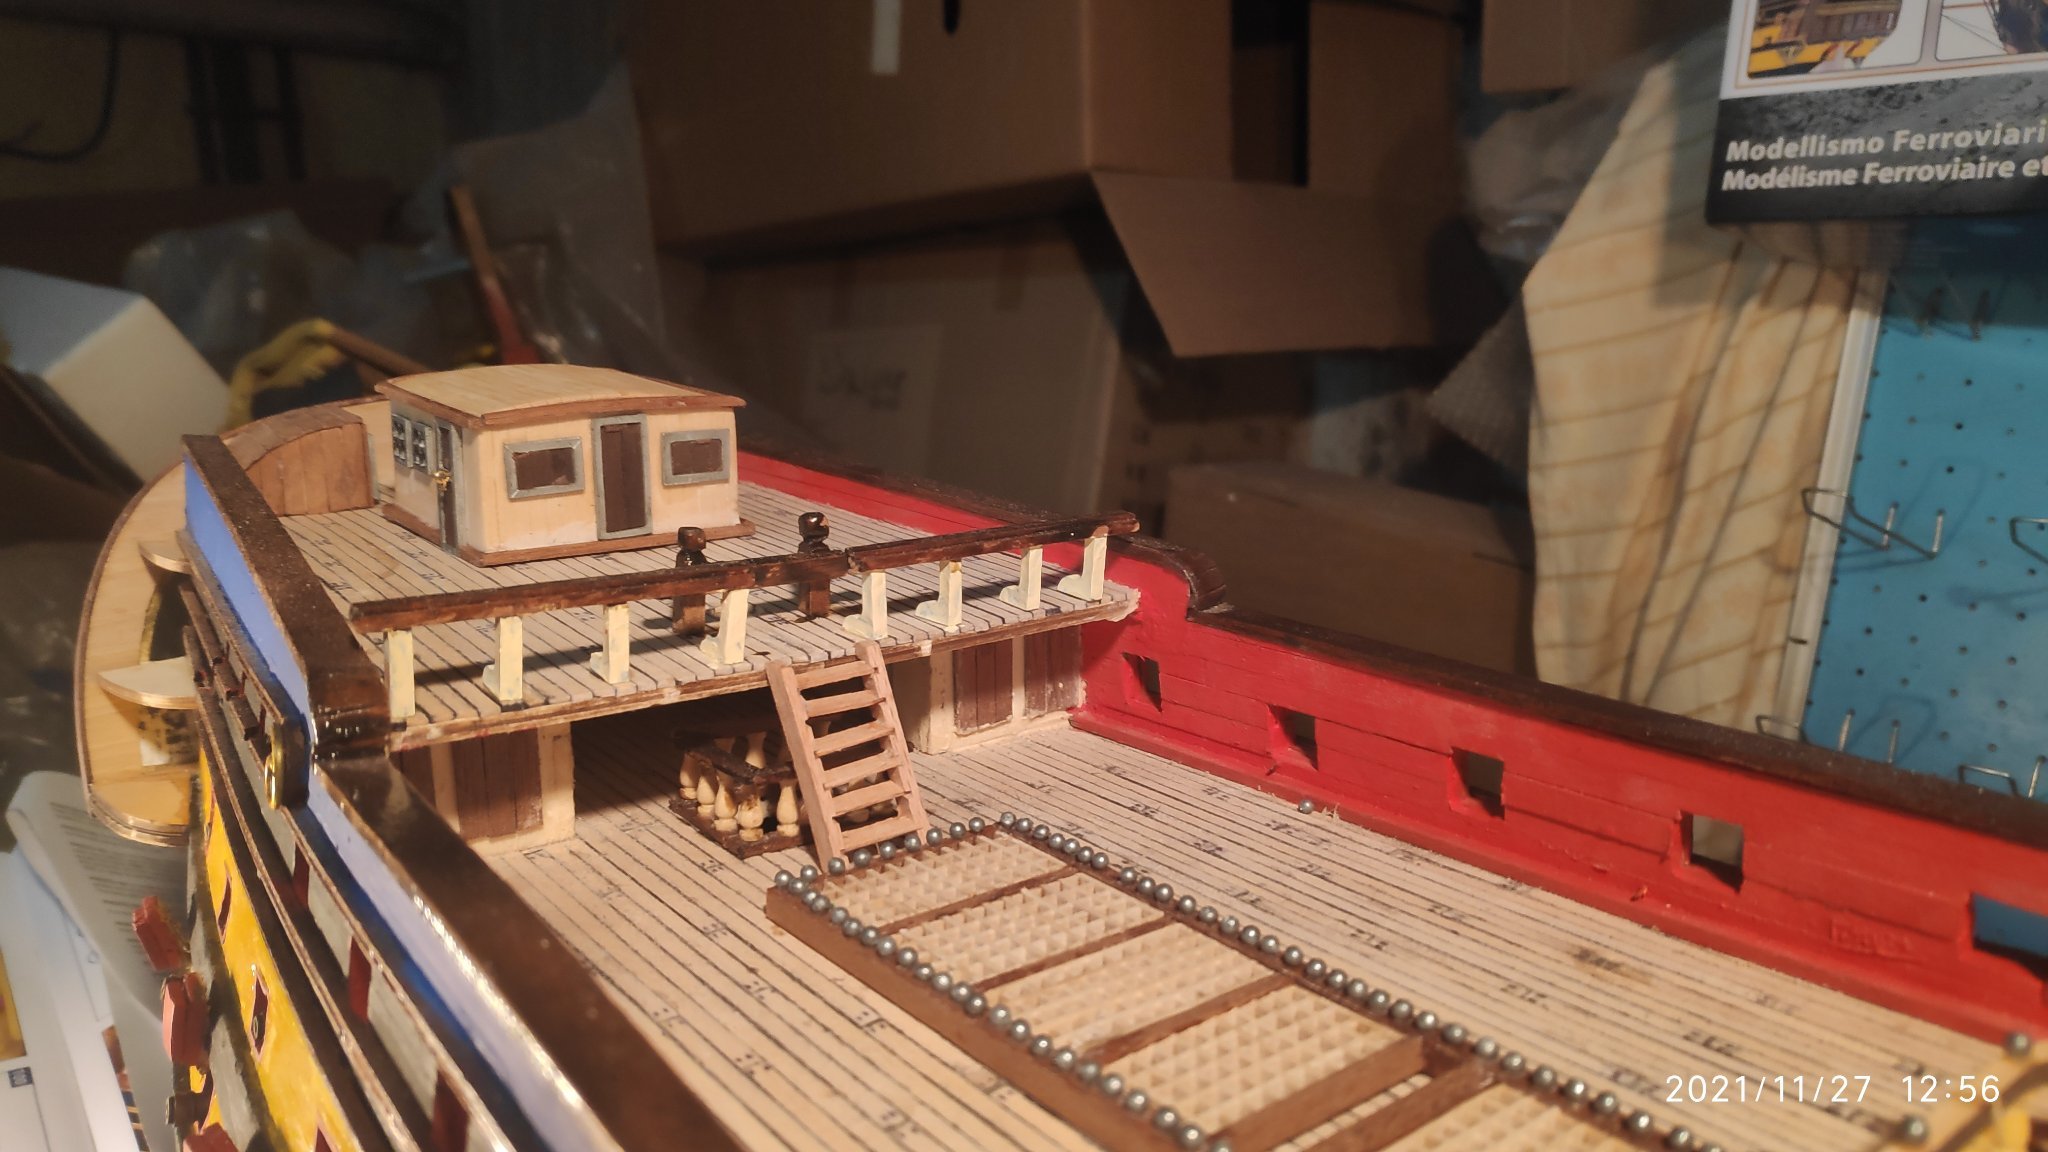
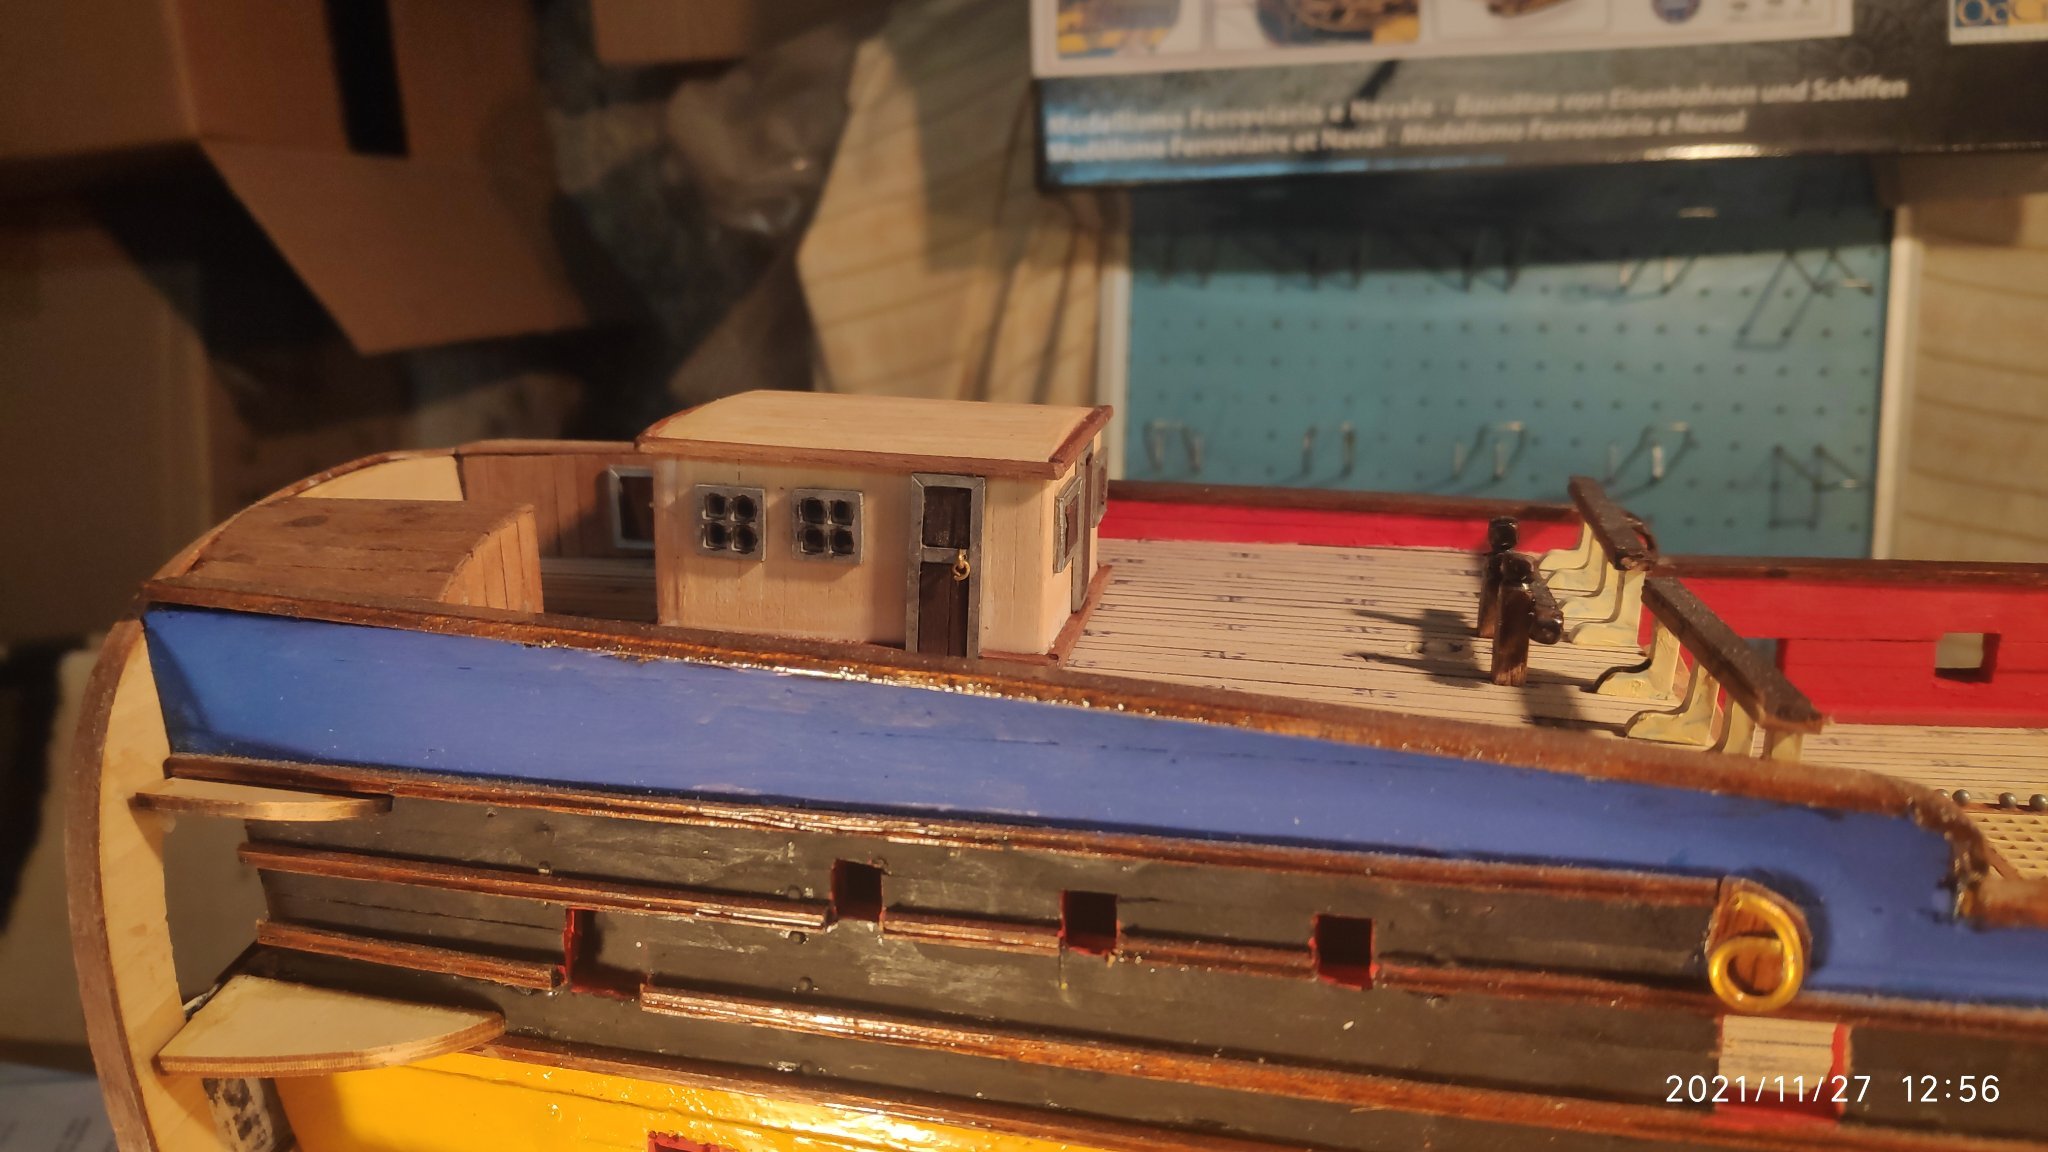
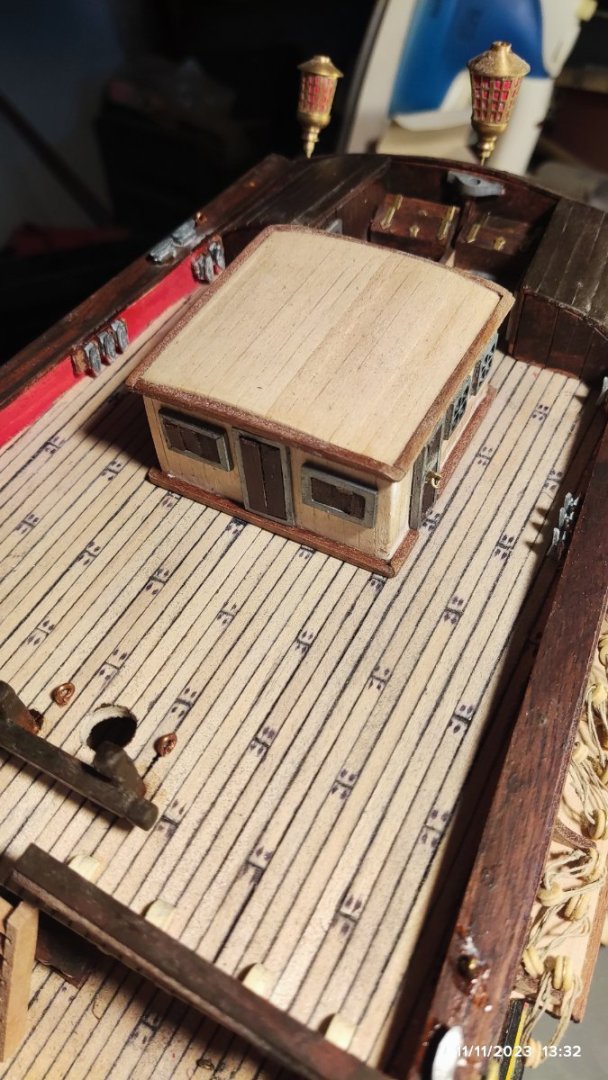
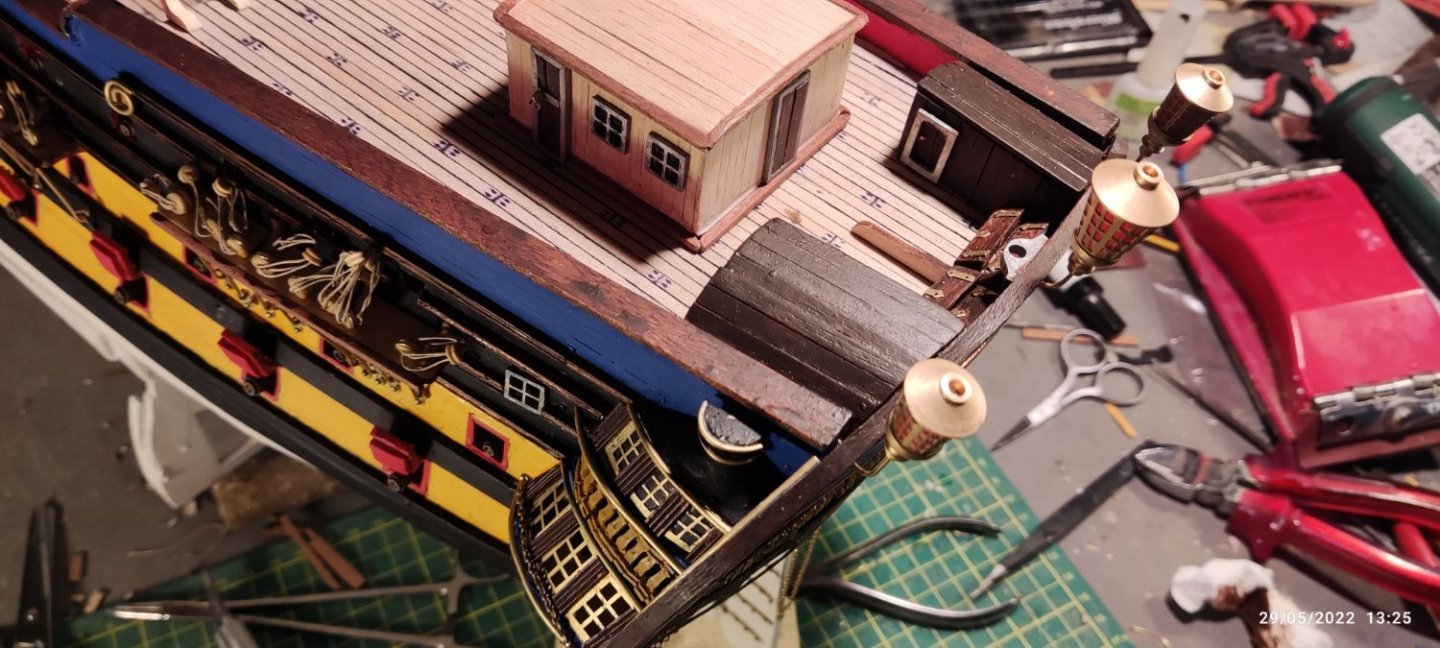
Now i make the rear upper deck cabin. A rectangular construction,lined outside using the same lining strips as in the deck. I glue the front roof and baseboard finishes, the sides of the roof and the side baseboards all with sapelli wood. Then i glue the the metal doors and windows and put the knobs for the doors. Then i place the cabin on the deck. One more job is done....many others come....lucky me....