Ooglee
-
Posts
7 -
Joined
-
Last visited
Content Type
Profiles
Forums
Gallery
Events
Everything posted by Ooglee
-
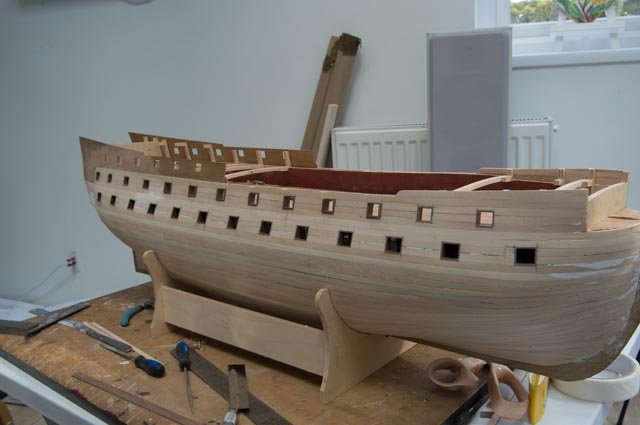
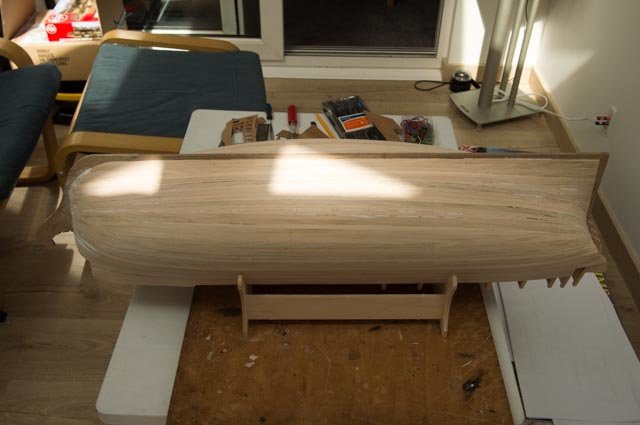
Just getting along with the second planking. I am using planks of about 12cm long, it is making it a bit easier to get it neater than the first planking but takes ages. I have decided to use cryo to glue all of the planks on, I think I can place them better than using wood glue and pins as it suggests in the instructions for the lower planks beneath the coppering. I hope to get the port side done in the next few weeks depending on granddaughter duties. Top tip don't get superglue on your fingers, you stick to everything and the fingerprint recognition on your phone wont work 😂
-
Here are a couple of pictures of a period ship. It shows the copper overlapped. At full size its probably easier to do.


-
Hi Sjors & Henke After the first few rows of planking I think I am coming to the same conclusion using the shorter planks are the way to go. Just holding the longer planks in place without using nails would have been a challenge. @ Henke. Thanks for the tip about doing a few rows midships, I’ll give that a go. @ Sjors Not sure about Christmas the rigging looks like it would take years. Regards Alan
-
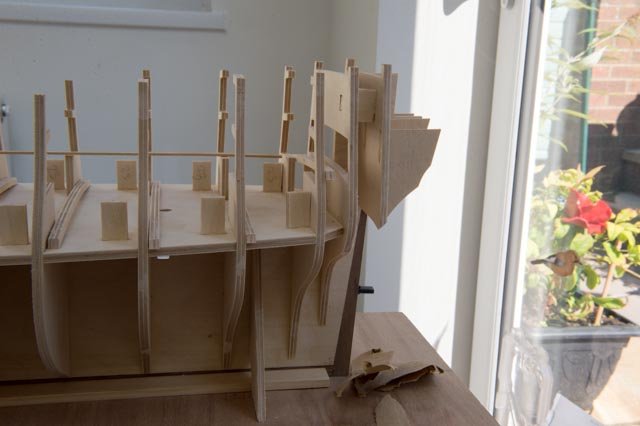
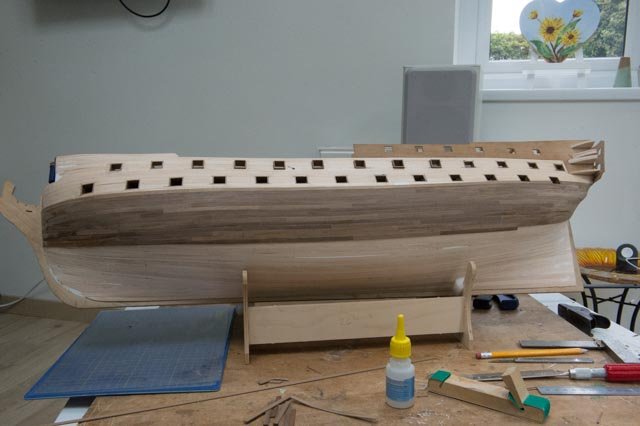
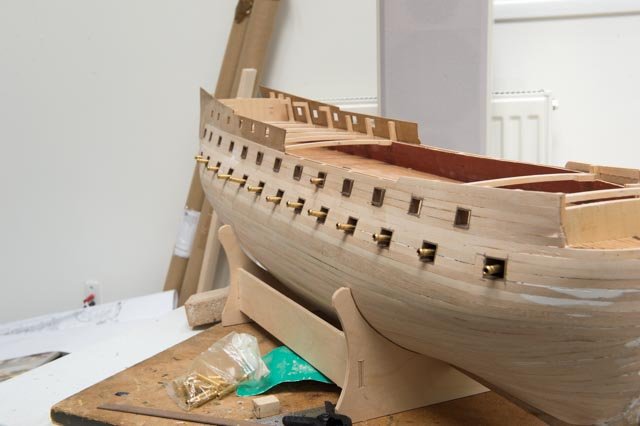
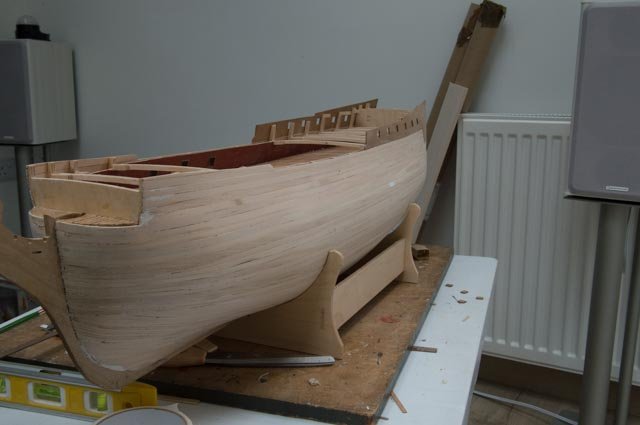
Quick update. I have got the quarter gallery frames in position after quite a struggle they are a bit awkward to fit as you or I needed about 6 hands to hold everything in place while working out that bevels to put on each shape. They aren't perfect but will do. I sometimes wonder why I get a bit annoyed with myself doing the difficult bits until I re read the instructions about the gun ports where they say to use the template to get them in the "suggested" location. I guess there is probably a bit of build freedom in certain parts. 😊 I have started the second planking now, close up its starting to look nice. I have decided to do the outer plank kind of to scale. I have chosen a plank length of about 25ft as its unlikely they would have used planks much longer than this. It probably doesn't make a lot of difference as it will be coppered and painted hiding most of the plank joints. At least I will know. Probably a few more weeks planking but I may put in the odd picture showing progress.

-
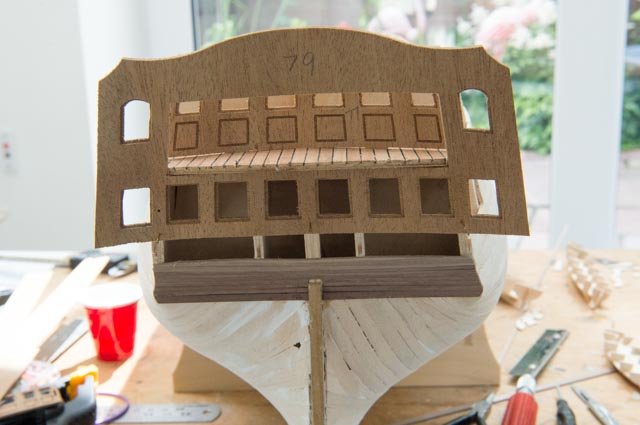
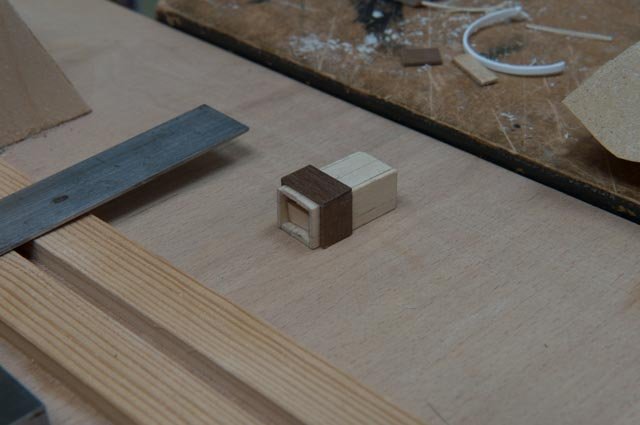
Thanks for the comments guys. Nice to know someone is interested in what you are doing. I have been so frustrated with the next part which is sorting out the stern. There is very little information about how the stern fits. The instructions are a bit useless and the plans aren't too clear either. I got a lot of help by looking at your build Sjors, thanks. I decided to fit the stern facia to the balcony deck and the transom, this appears to give the best fit. It means the bulwarks on the poop deck are too high. I could have fitted them to the correct height but then the gun ports would be too low. If I was doing this again I think I would build a jig and level everything with a spirit level, that would allow me to return the model back to the jig to a known reference then you can take accurate measurements from each side. I could have made sure the frame was completely symmetrical before planking. The stern is just dry fitted at the moment while I think about cutting the gun ports. I have cut the starboard gun ports out and lined them. I think it took me about three days just looking and measuring the positions before I plucked up the courage to start cutting. I think everyone in this group that has built this ship has commented about the template provided. For me it worked reasonably well as long as I used the pre cut gun holes in the walnut part as a reference. However the first gun port was about 1cm out you can see on the picture below the pencil mark where it should have been according to the template. If I put it there it would have been in the middle of a bulkhead and missed the gun mounting plate. It would have been nice to have some dimensions on the plans. I am not sure if they are supposed to be exactly to scale I have taken measurements from one plan and tried to match them on another and there was a few mm difference Hmm! I guess it could be when they get printed the paper could stretch a bit. Yes that is a hole on the port side it appeared out of nowhere when I was sanding it. Now patched up & filled. I made a little jig to help make up the linings it worked reasonably well but you had to be accurate with cutting the wood. I have just finished the port side gun ports today. I will clean them up tomorrow and sand them ready for the second planking. That's me all caught up with the build so far, now into real time so the progress will get a bit slower, especially if it warms up & stops raining. Sneak preview of the heavy guns. They are a bit wonky as they are just a loose fit.
-
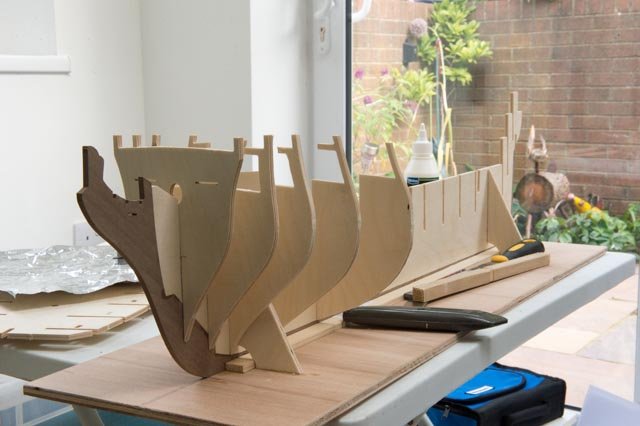
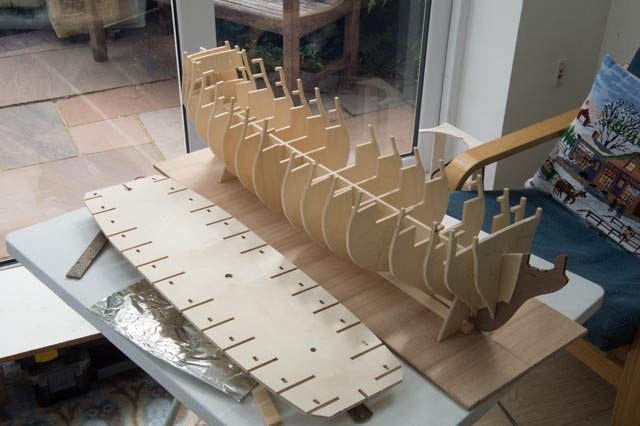
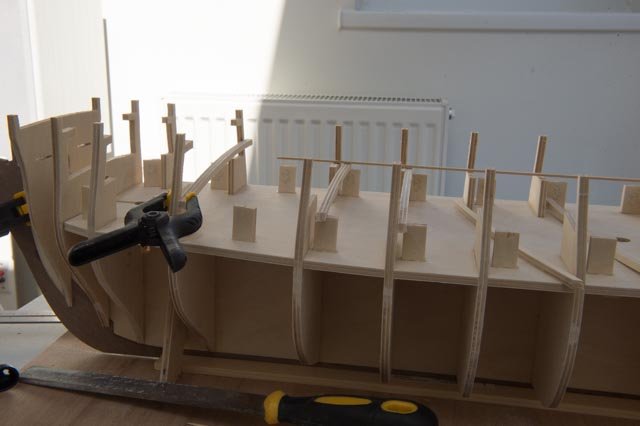
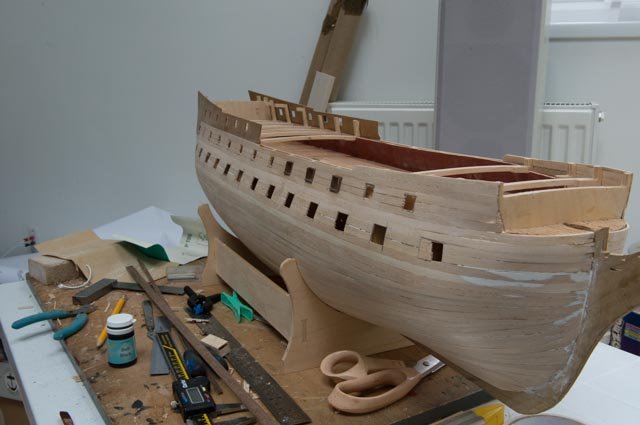
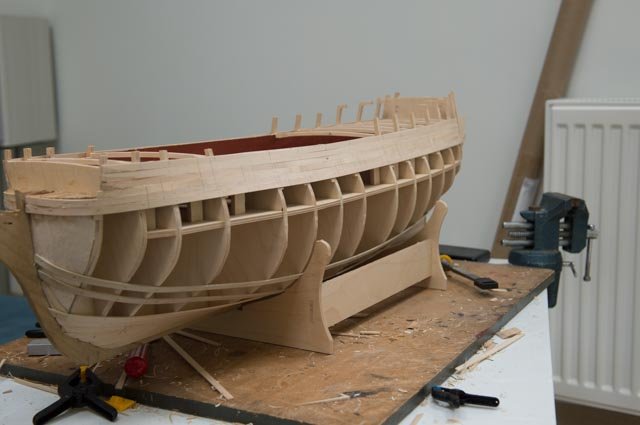
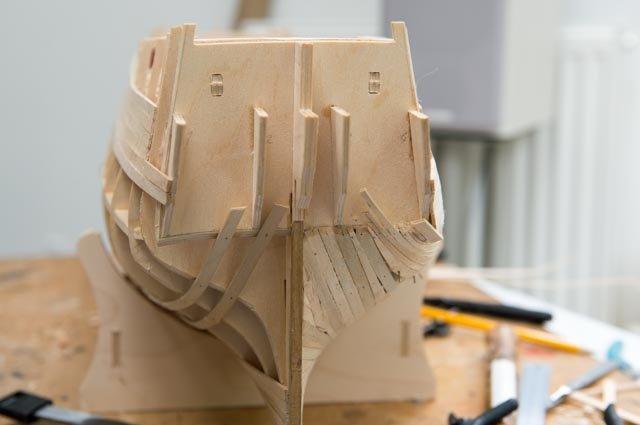
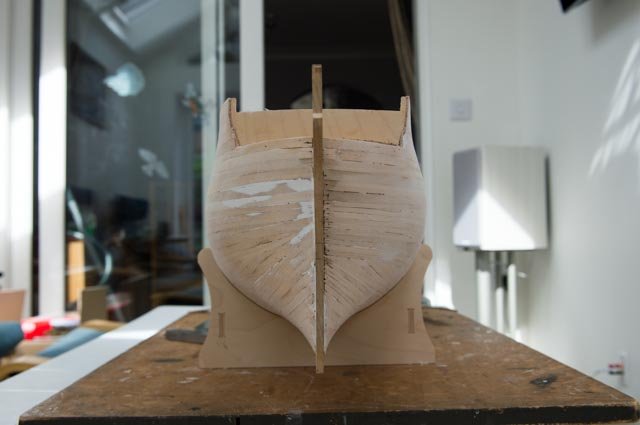
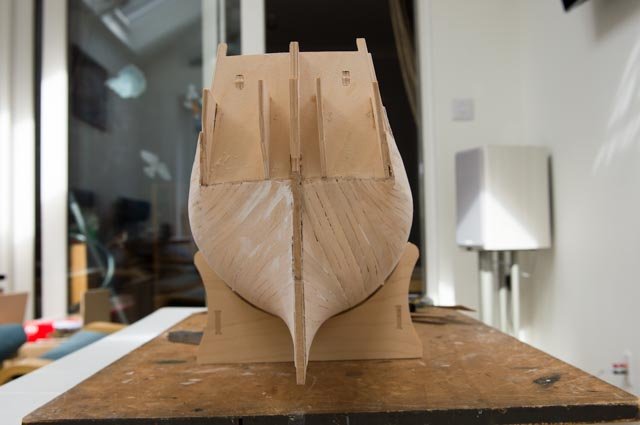
Thanks Chris The next part is doing the first layer of planking. I tried a couple of different ways to do this but finally ended up just filling in as best I could. The photo looking bows on shows the left side was done by filling in. I started at the bottom then about 1/3 of the way up moved to the top and worked down it looks a bit patchy but worked ok. On the right hand side again I started at the bottom but after a few planks. I measured the remaining length of each bulkhead & divided by the number of planks needed at the widest part. this meant tapering each plank. It kind of worked to a point but each plank got so narrow at the bow it was difficult to keep them in place as the pins split the wood. There was also a twist introduced by the curve of the hull making it difficult for the planks to lay flat. I didn't have a steamer to help curve the planks so I got a length of copper water pipe & sealed one end up, I could stand it up with some water in it and put the planks in to soak. For the tight bends I could heat the wet plank with a soldering iron fitted with a large dia. end. It worked reasonably well. With a little bit of filler and some sanding it looks and feels very smooth. I'm not that happy with the shape of the stern the laser cut bulkhead has it lower on the outer edges & higher in the middle. I have seen a picture of the original sheer lines & it looks fairly flat across the transom. I may just put in a bit of filler to fair it out a bit. I'll see when I start planking the transom.

-
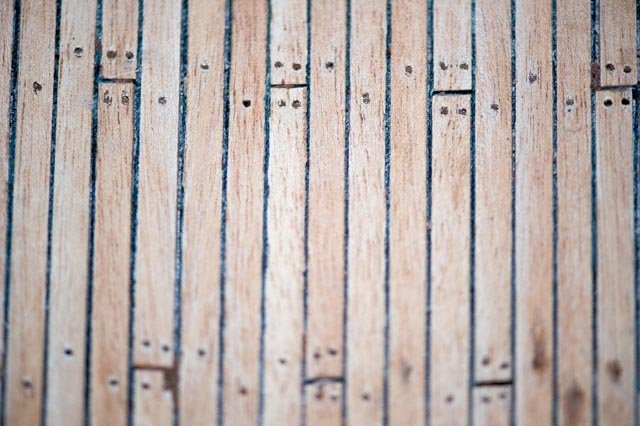
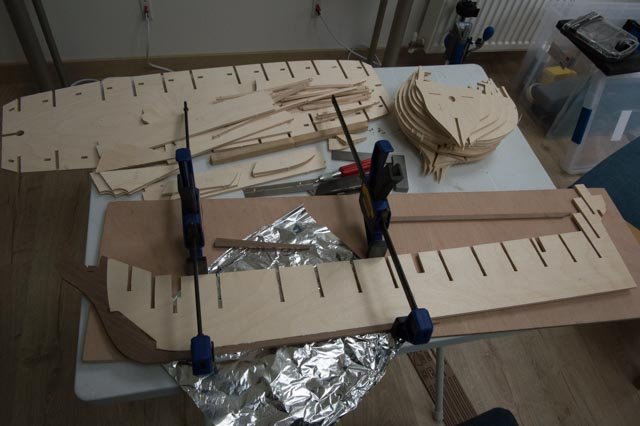
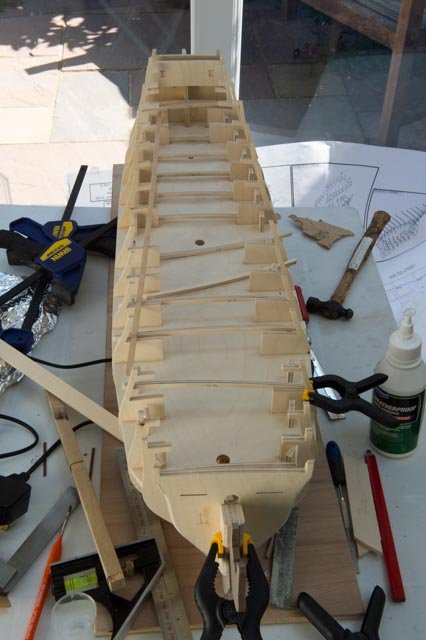
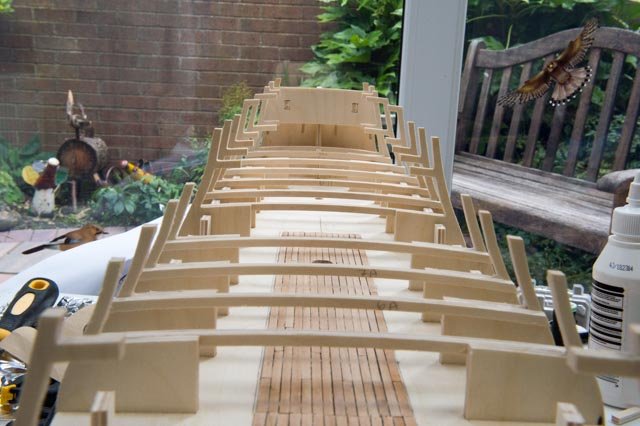
Hello, this is the first time I have done a build log for a model so please forgive me if I get a few things wrong. I live in the North East of England in a little seaside town called South Shields. I was an electrical engineer & managed to take early retirement a few years ago to do a bit of adventuring before I got too old and broken. I started this model about 2 years ago but had to put it on hold as a few other project got in the way, like getting an extension built and making the loft space suitable for a model railway. I have built a couple of wooden models in the past from Billing boats so it was an obvious choice to go for something a bit bigger, what can go wrong! I have managed to take photos as I went along so I have something from each stage. Not sure what the protocol is for adding photos like file size or type. Here are a few pictures of the first phase. The main frames & the lower gun deck planking. I just did the part that could be seen through the hatches. My intention is to make the planking to look as authentic as possible with caulking and nails. That's all for now, I will add more pictures in the next few days until I have caught up with the build to date