Sparky21
-
Posts
52 -
Joined
-
Last visited
Content Type
Profiles
Forums
Gallery
Events
Everything posted by Sparky21
-
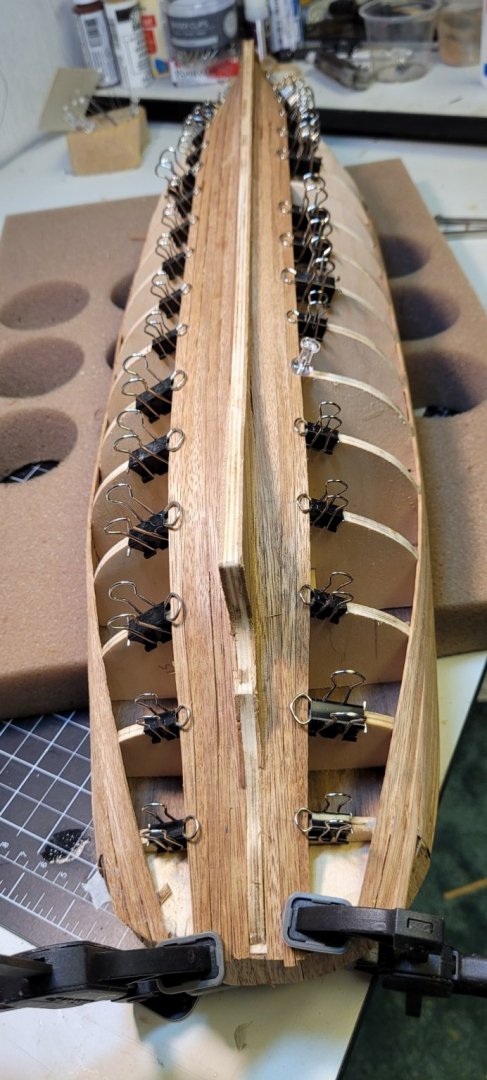
I have to admit that I am not good at keeping up with my build log. Finished with the planking, will be clear coating the planks for the finish coat.
- 25 replies
-
- 3
-

-
- Mantua
- Trotamares
- (and 1 more)
-
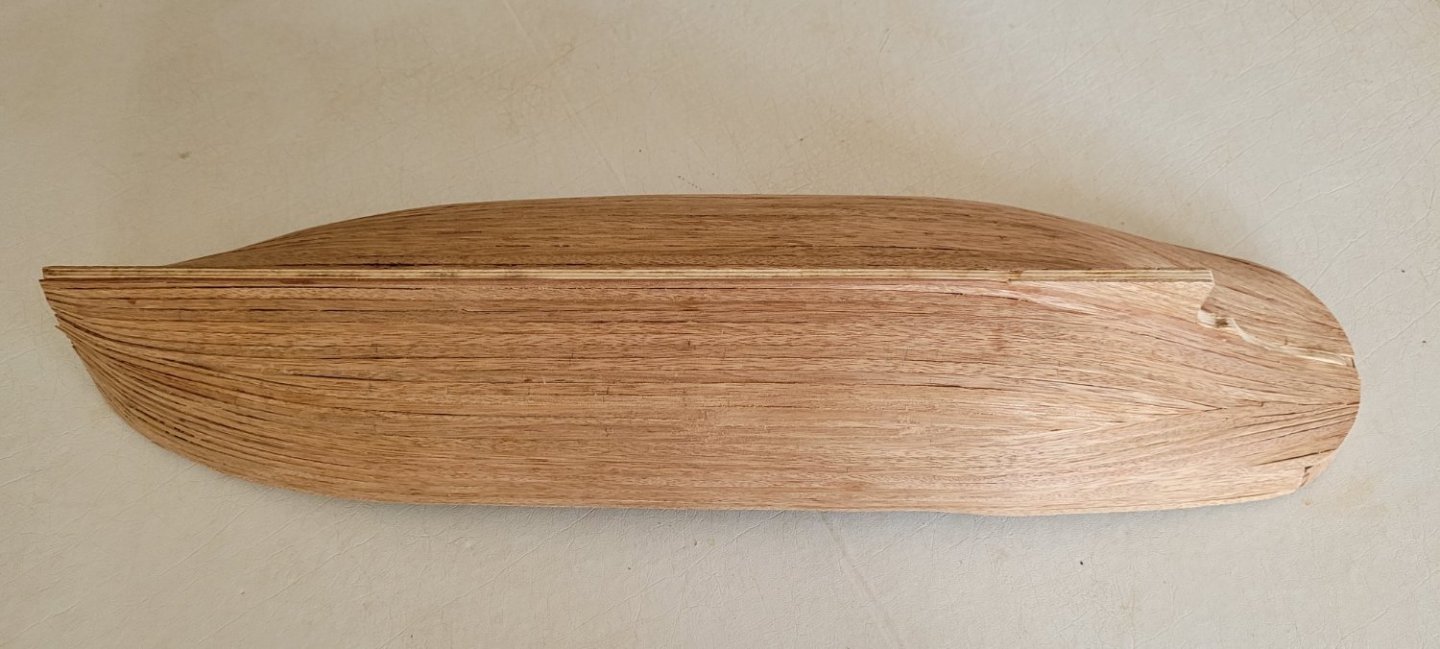
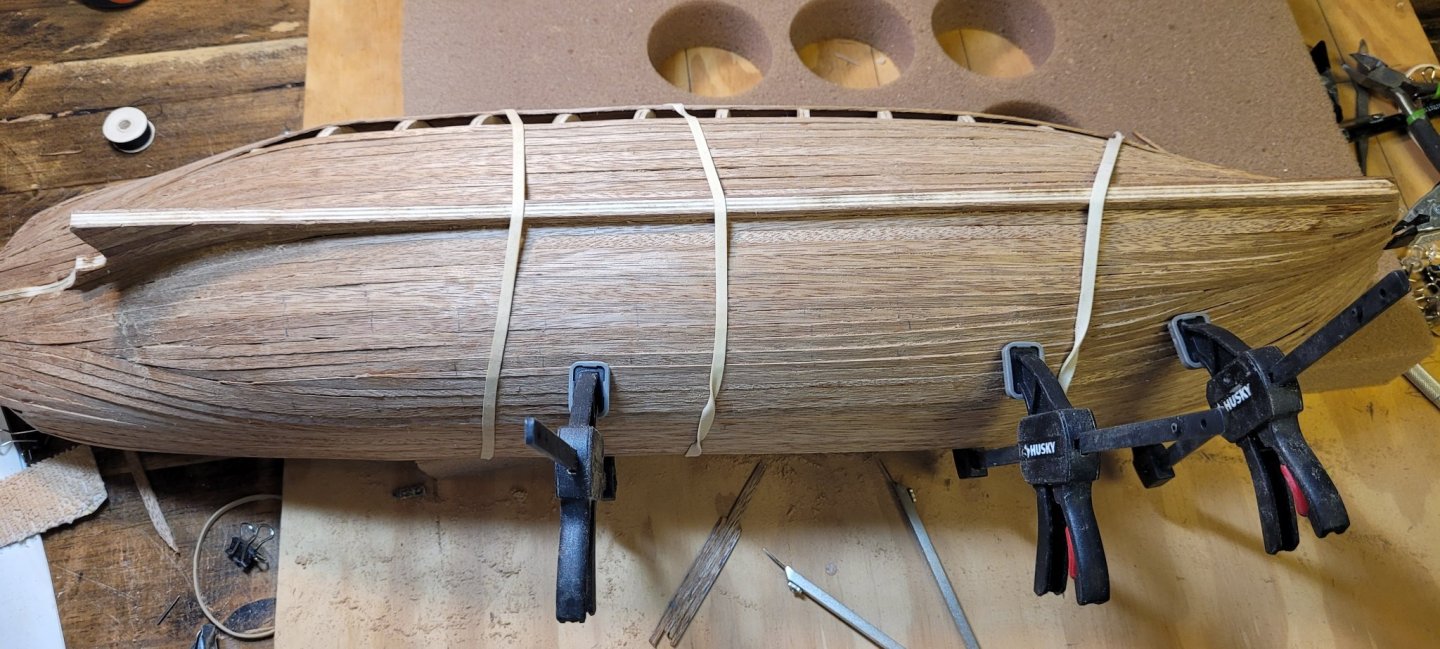
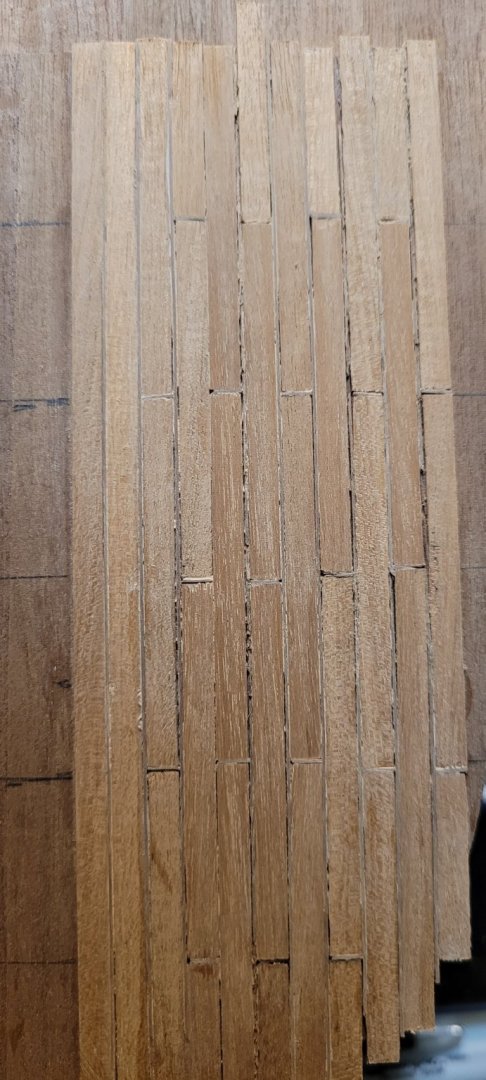
Coming to the end of the planking process. . The kit had been in a small hobby shop that went out of business during the pandemic; he was ready to retiree. Not sure of what type of wood the kit came with (I think its walnut). I found that most of the wood is very brittle. Learning curve has been frustrating at times. I'm mostly happy with my results. I'm planning on clear coating the planks with either shellac of varnish. There are a few gaps in the planking, not sure if I should leave them or fill with wood fill or sawdust fill. Any input would appreciated Thanks, David
- 25 replies
-
- 6
-
-
- Mantua
- Trotamares
- (and 1 more)
-
Midwest Muscongus Lobster Smack Instructions
Sparky21 replied to kloz's topic in Wood ship model kits
I have them, wondering how I can get a copy to you. -
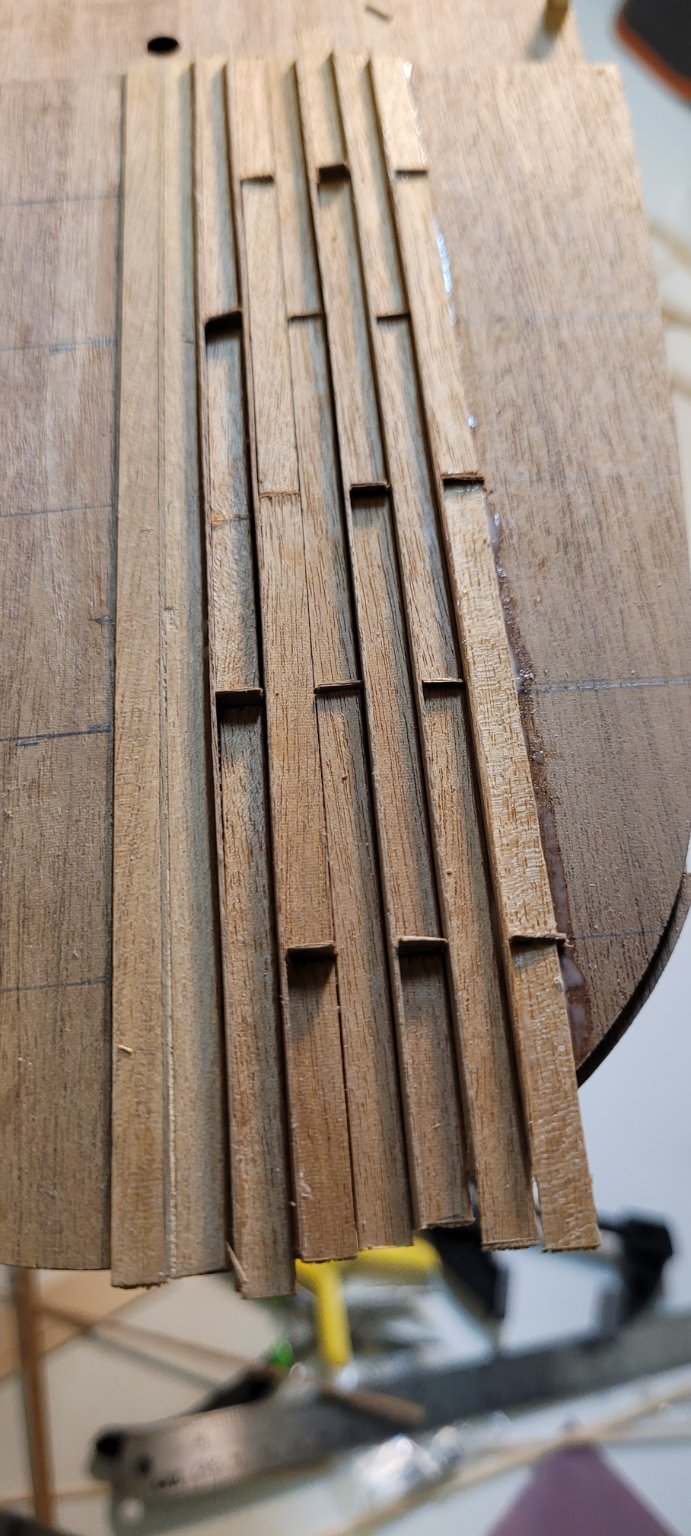
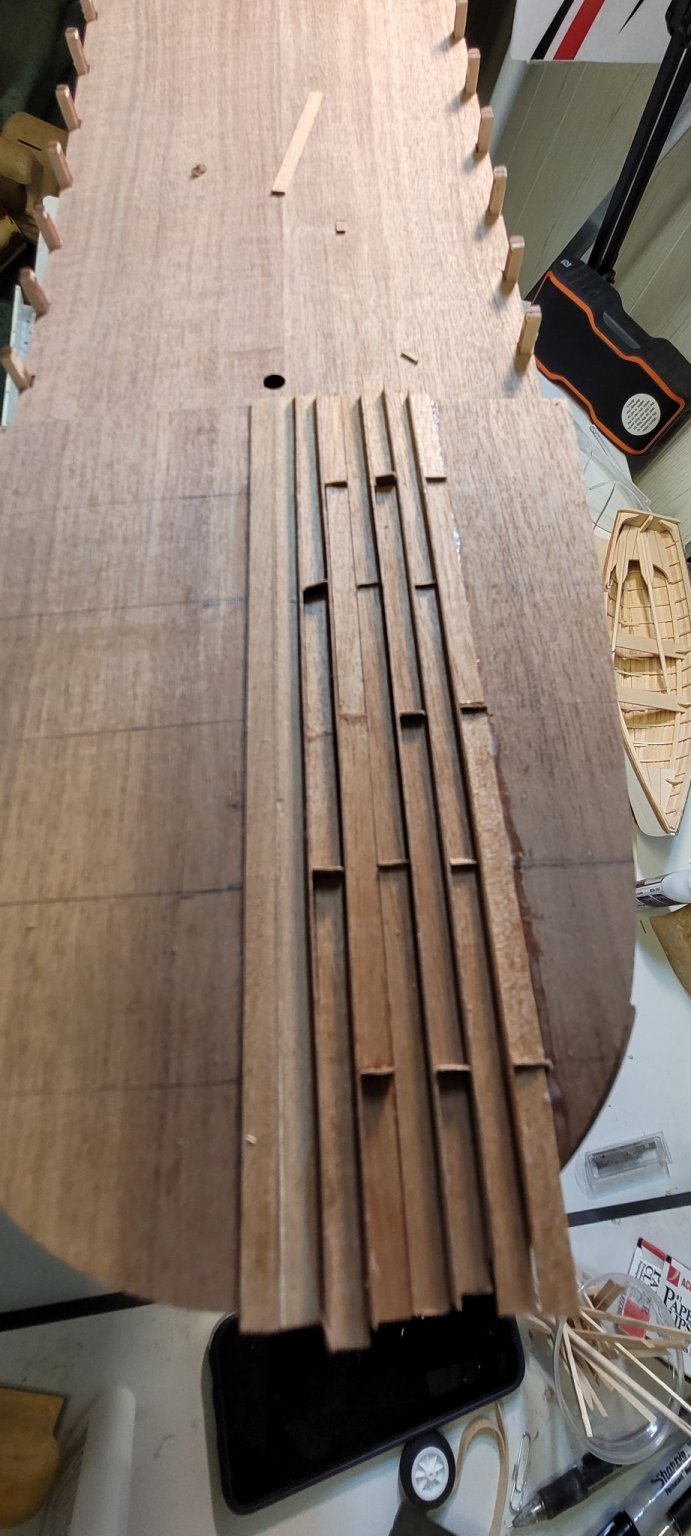
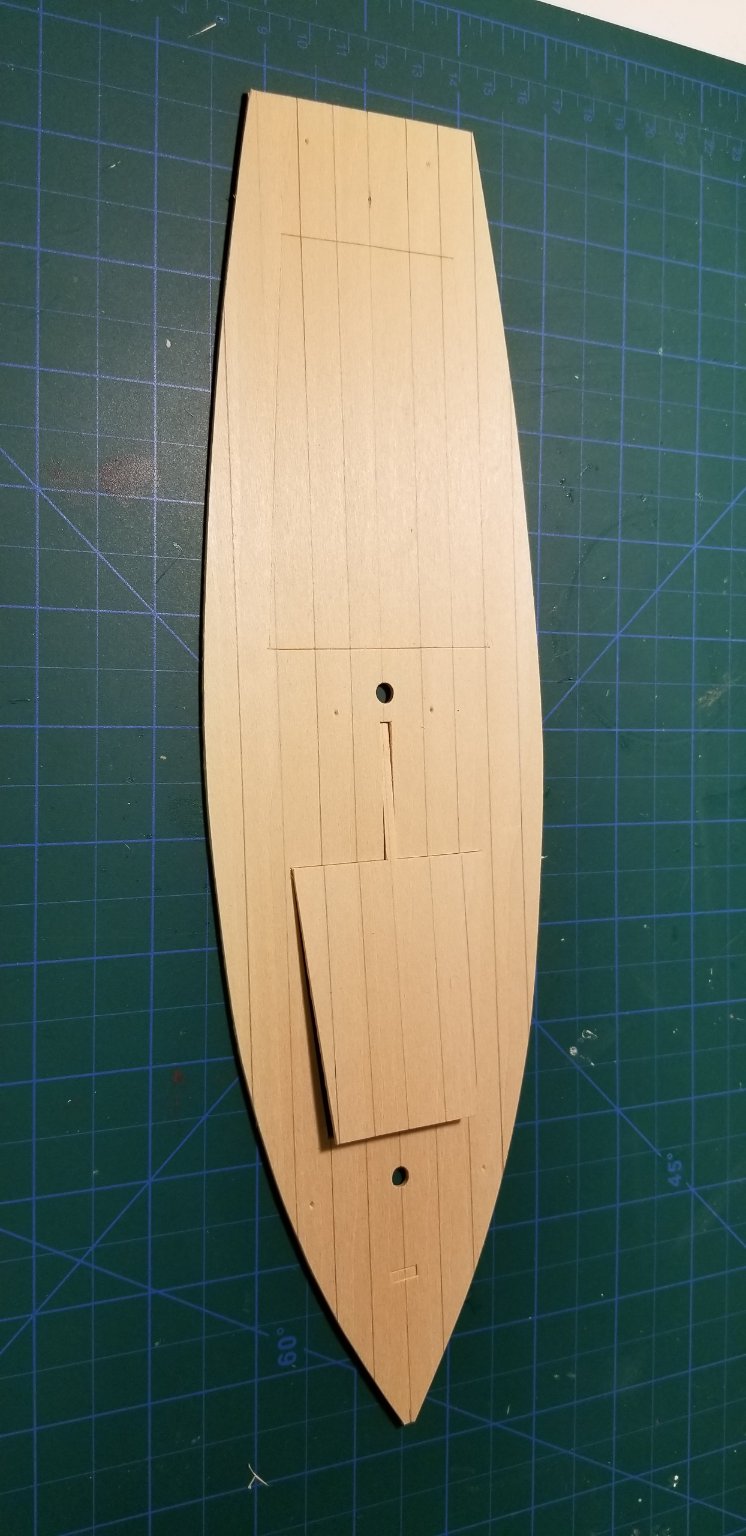
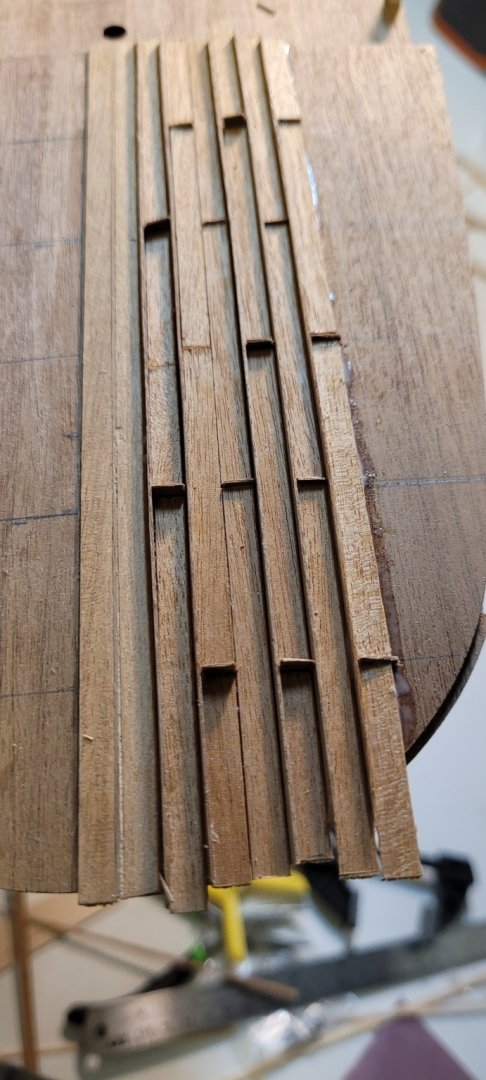
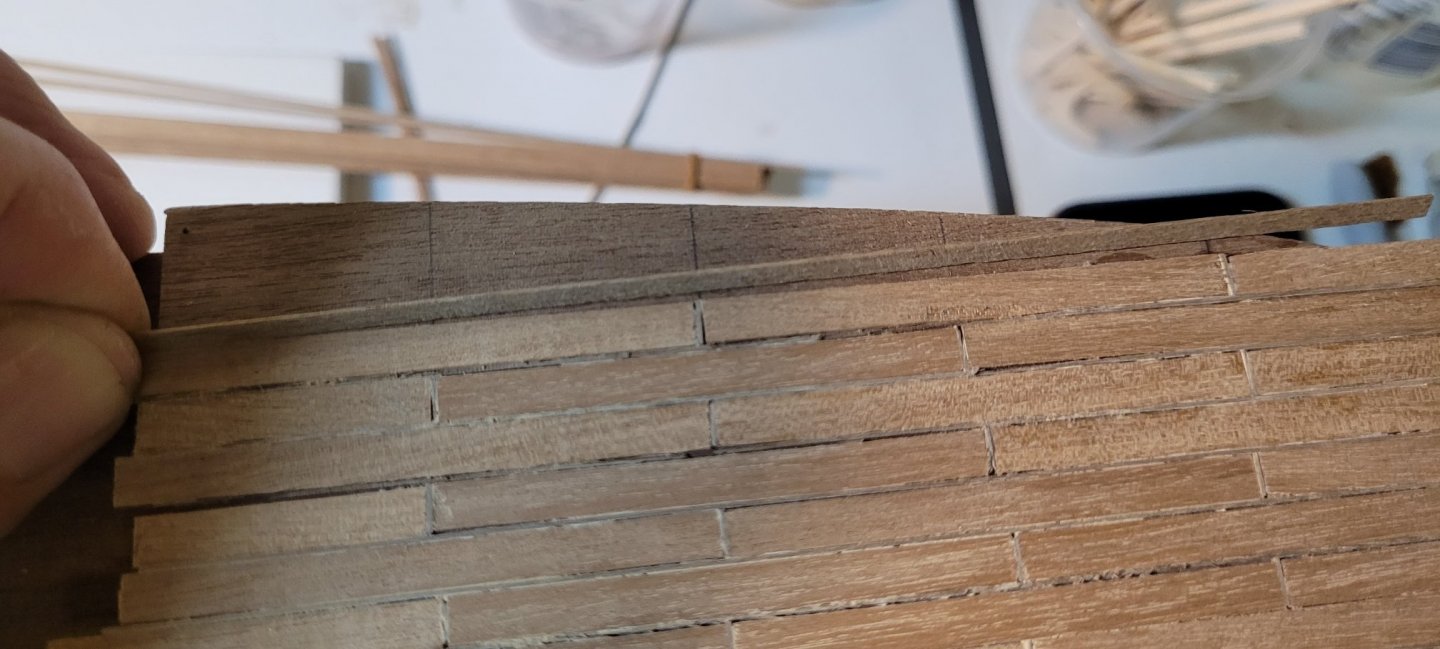
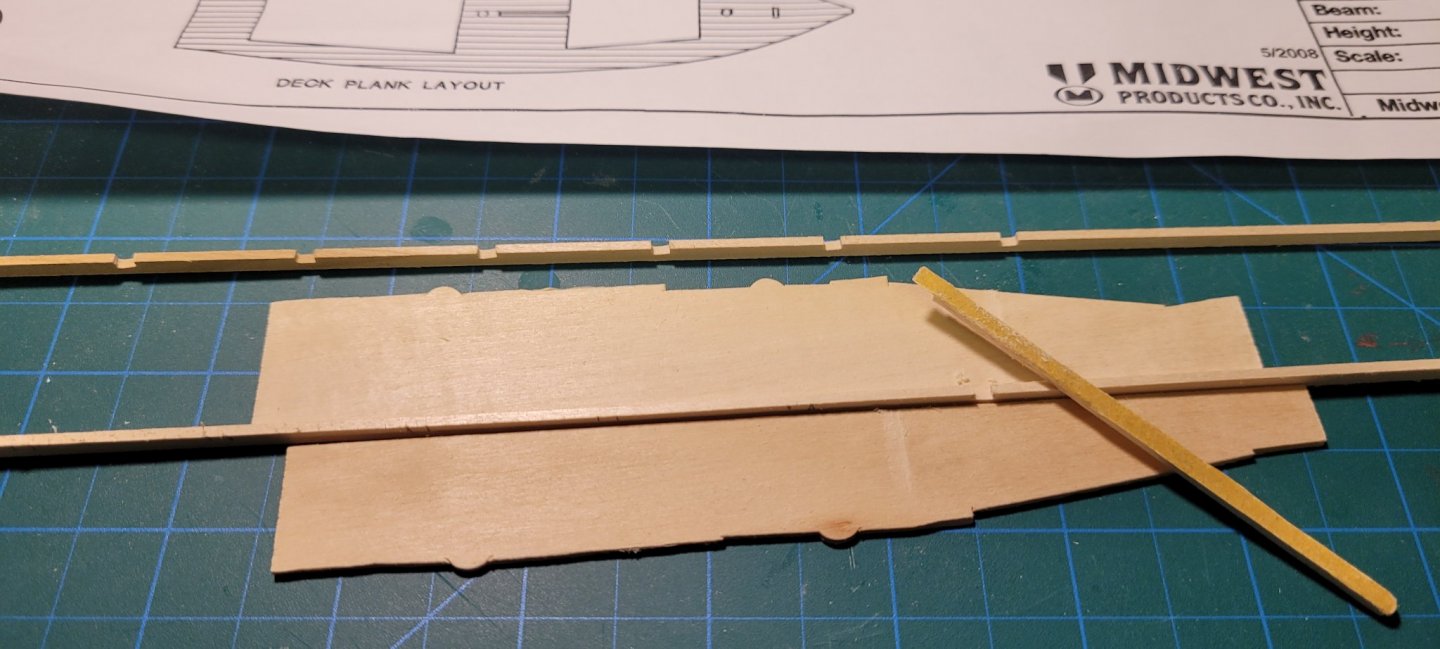
Following the instructions it says to plank with strips 1.5X5mm and space with0.5mm strips. I glued in place, then as per instructions cut off excess spacers that were above the planks. After cutting off I then proceeded to sand, After sanding I noticed that I had not done a very good job of gluing the spacers. Now there are large gaps where the spacers fell out. Not sure what to do at this point. As you can see I haven't made much progress. Photo #1 shows the spacers and planks glued Photo #2 shows a spacer with planks Photo #3 large gaps where the spacers fell out Not sure what to do at this point. I used white glue, I'm thinking about trying to remove the planks and spacers by soaking with water. Then gluing planks in place with no spacers then pencil line in spacers. Any advice? Thanks, David
- 25 replies
-
- 1
-
-
- Mantua
- Trotamares
- (and 1 more)
-
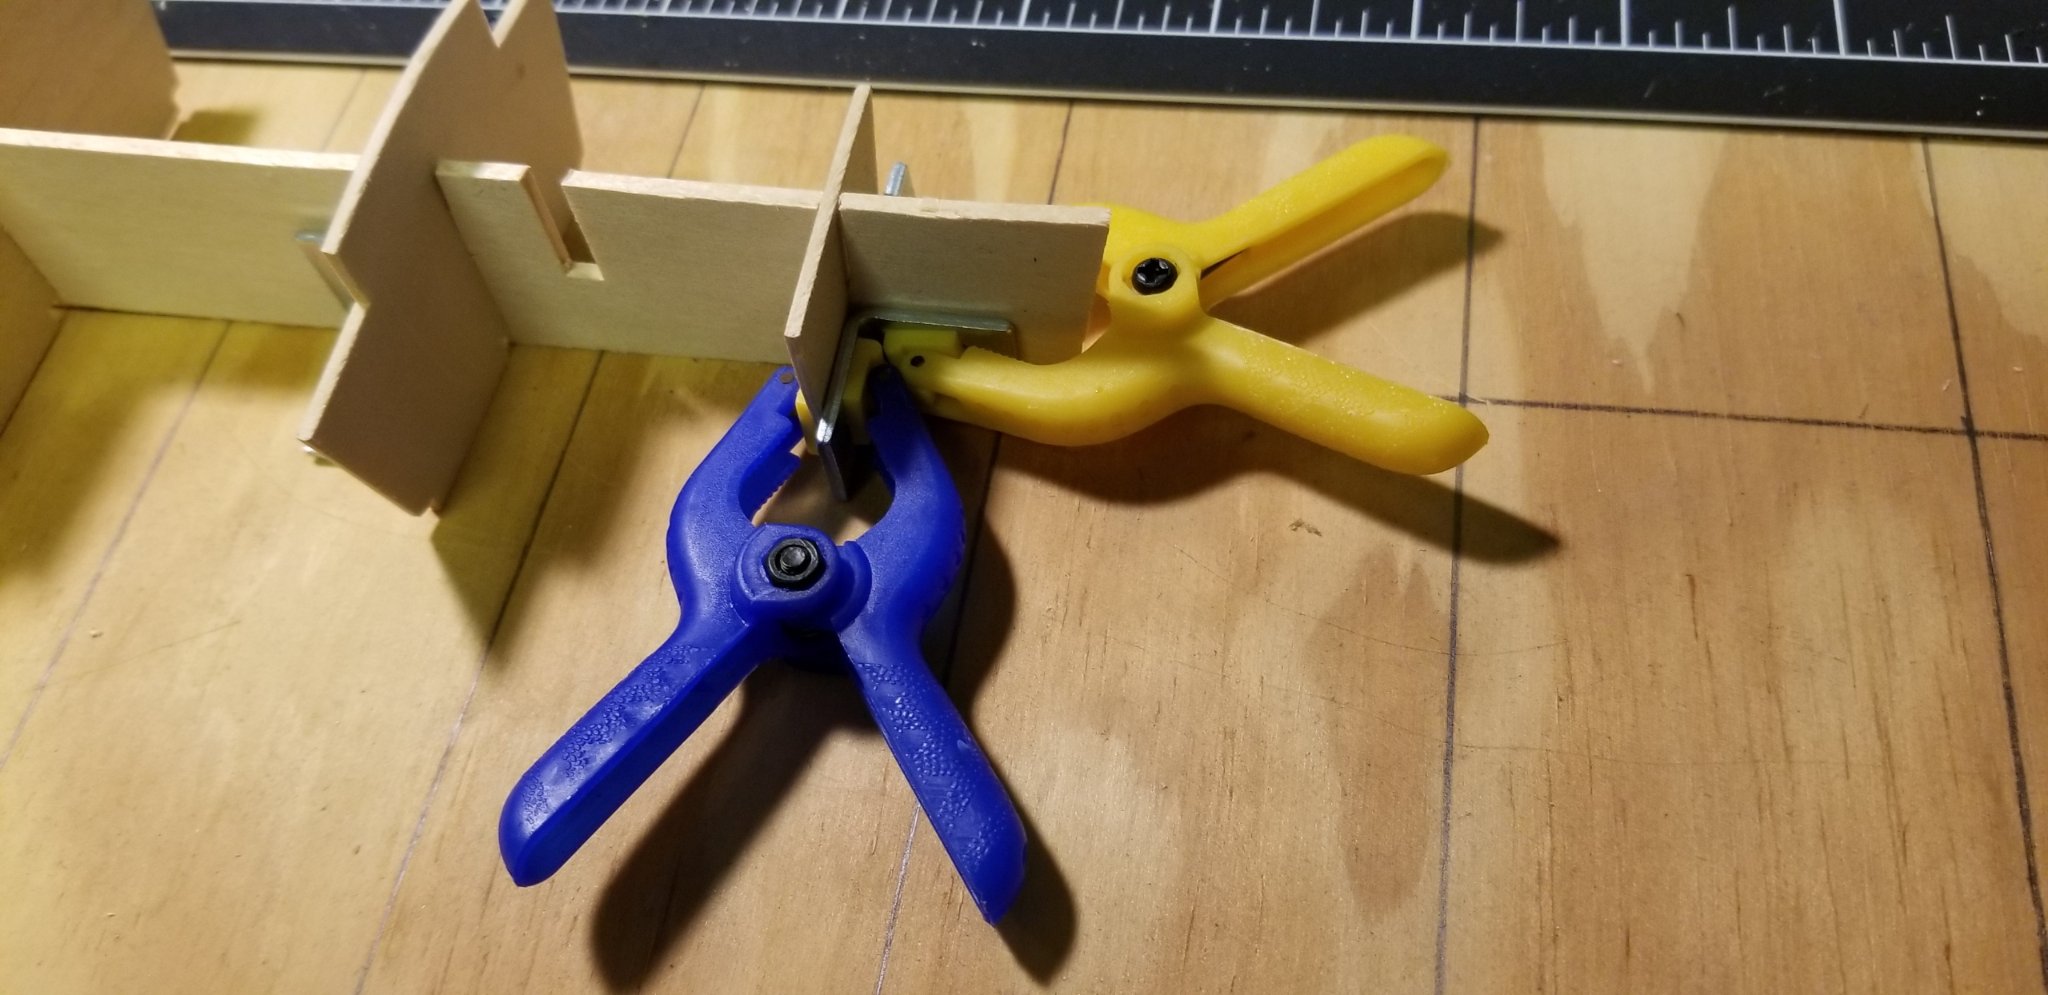
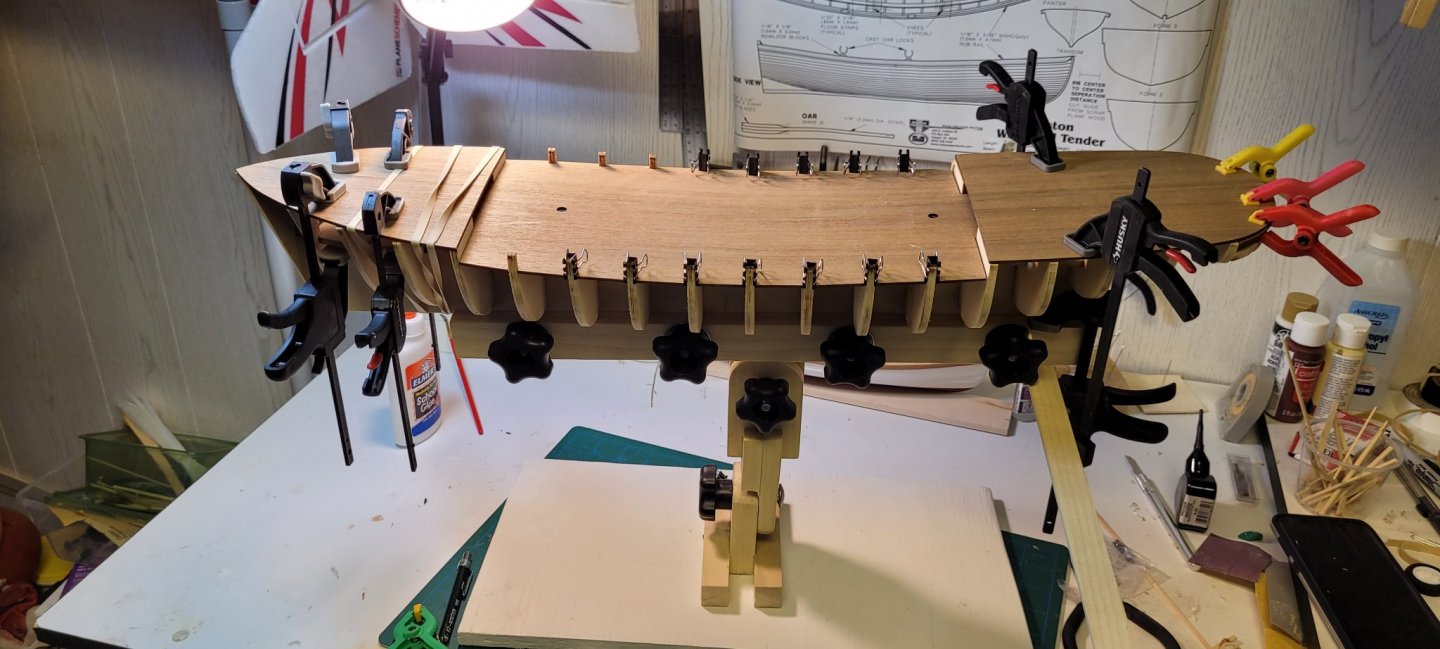
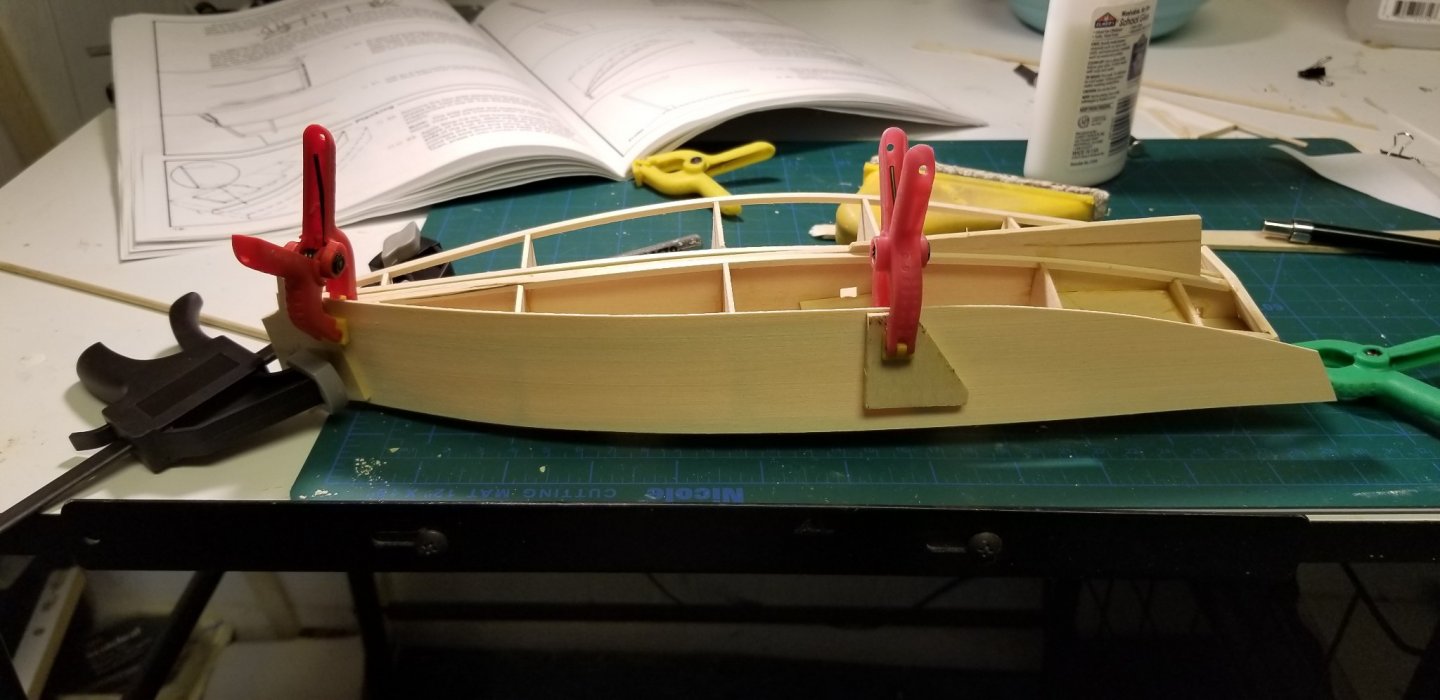
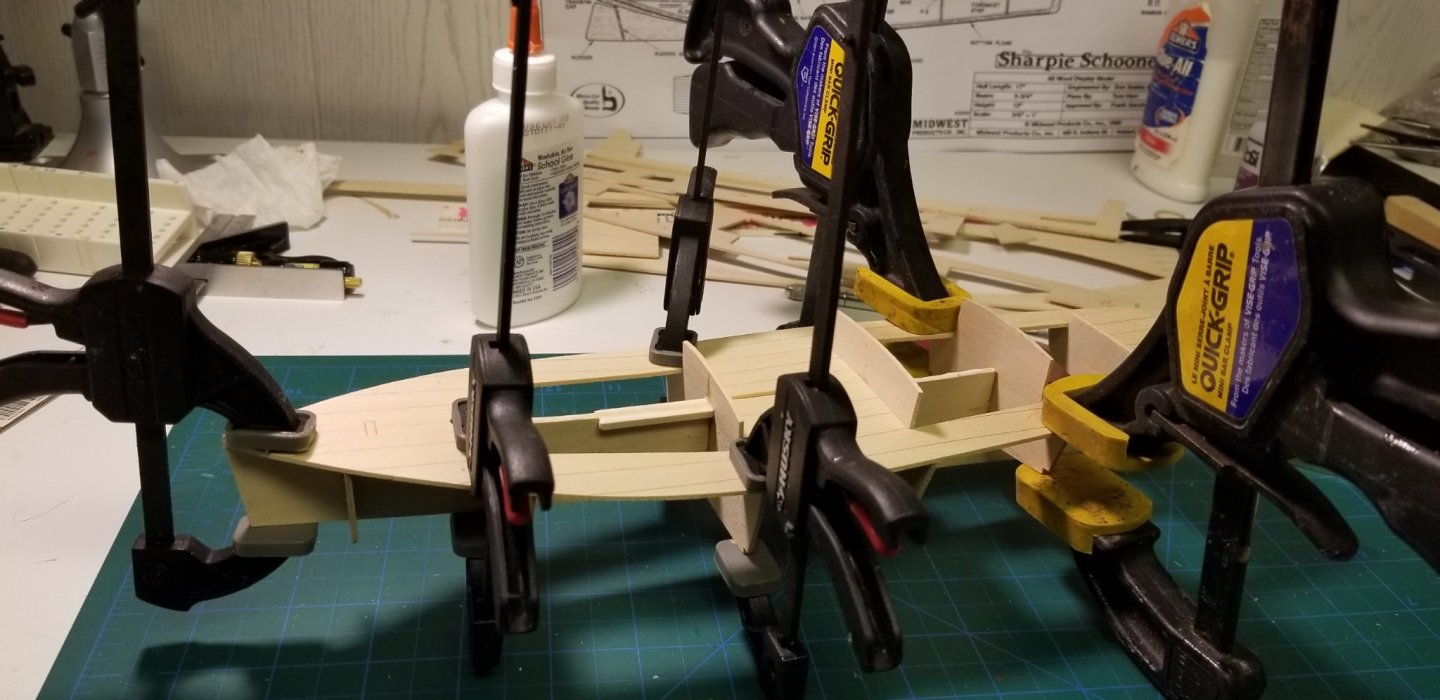
Then the fore and aft decks also presented a clamping issue. For the aft deck I used a a small piece of wood on the underneath side of my keel clamp with Triger clamps.
- 25 replies
-
- 1
-
-
- Mantua
- Trotamares
- (and 1 more)
-
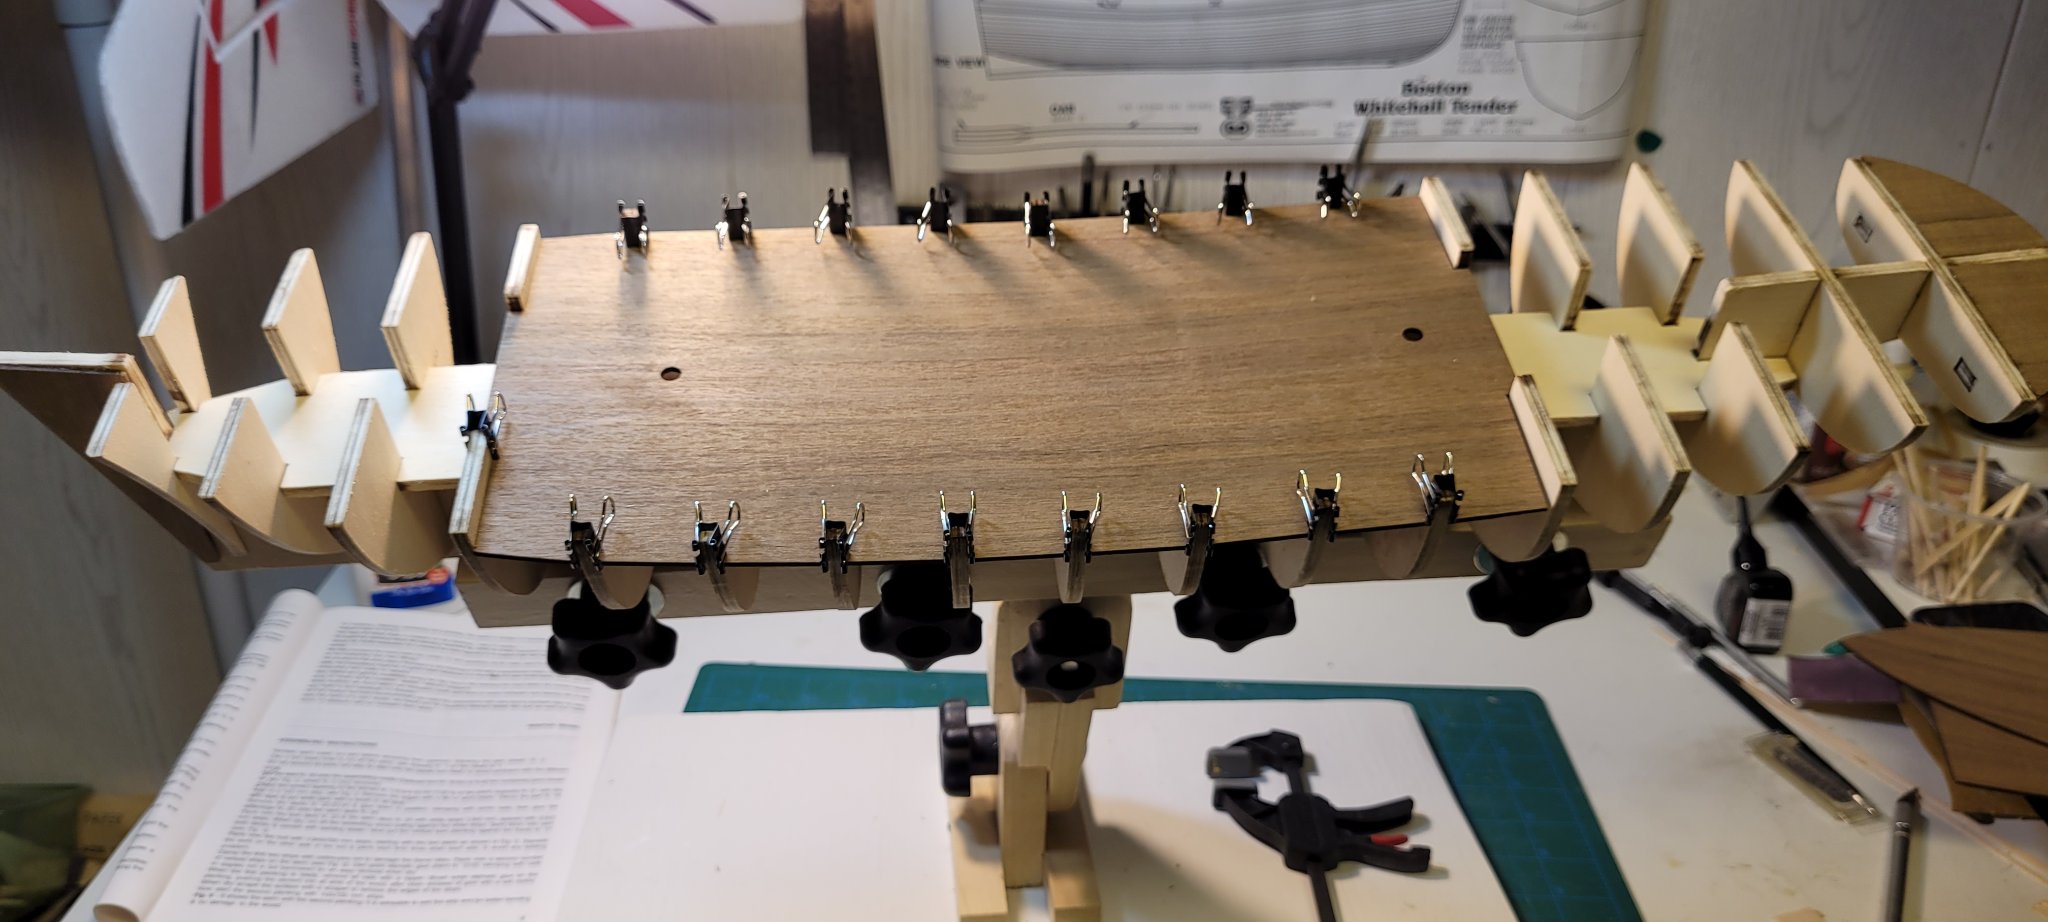
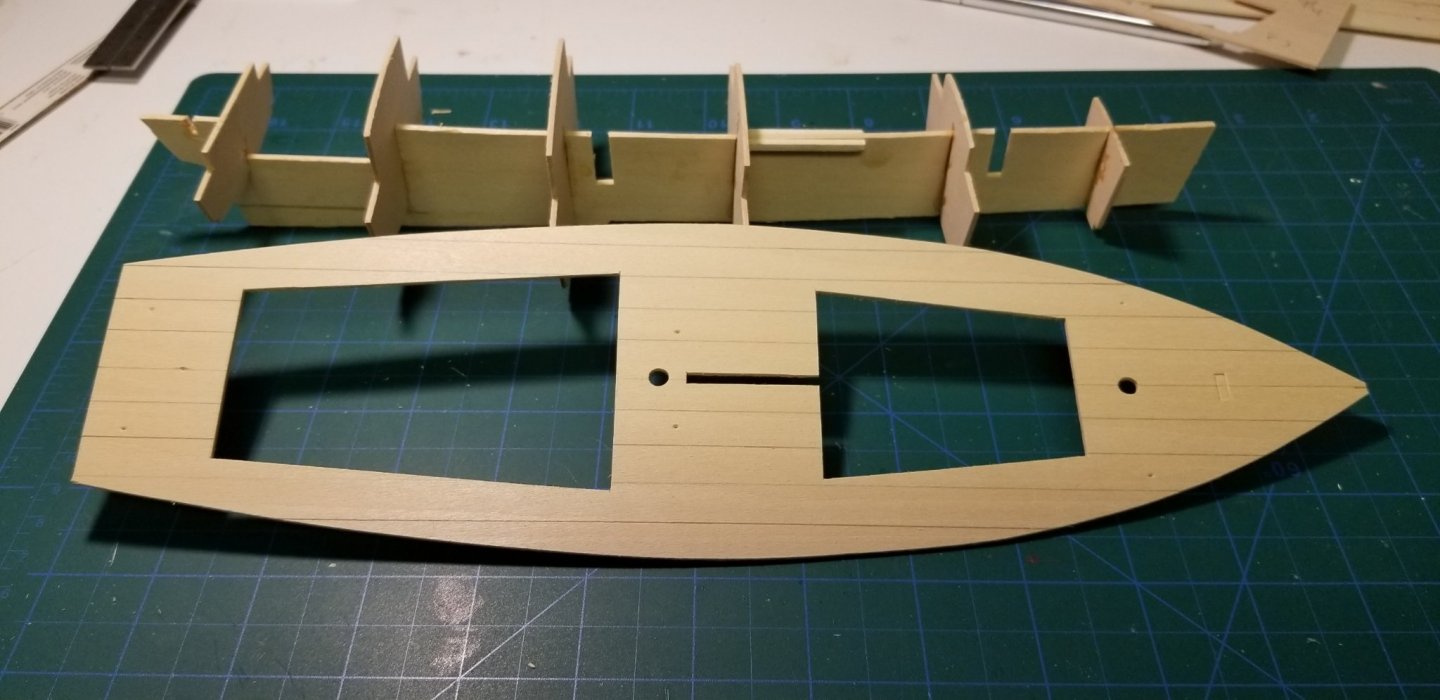
I then inserted the middle deck. I had a difficult time figuring out how to clamp it down. I ended up using binder clips that are 12" wide.

-
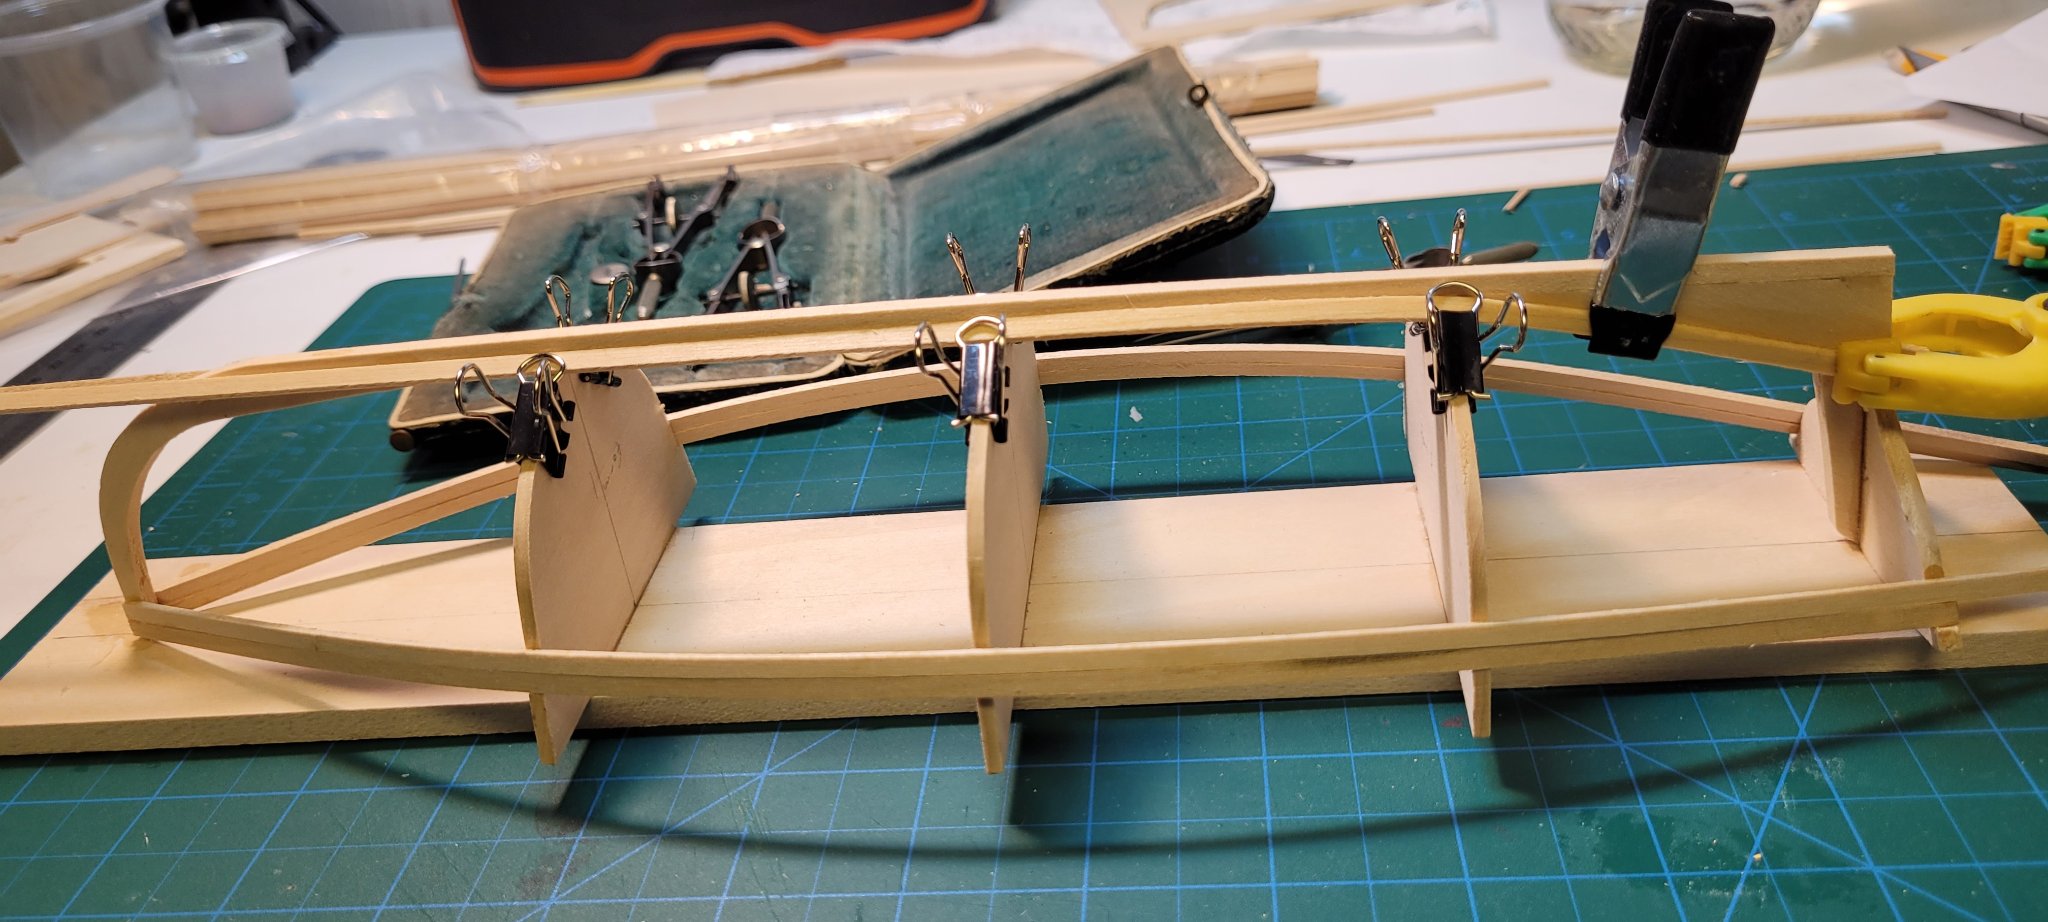
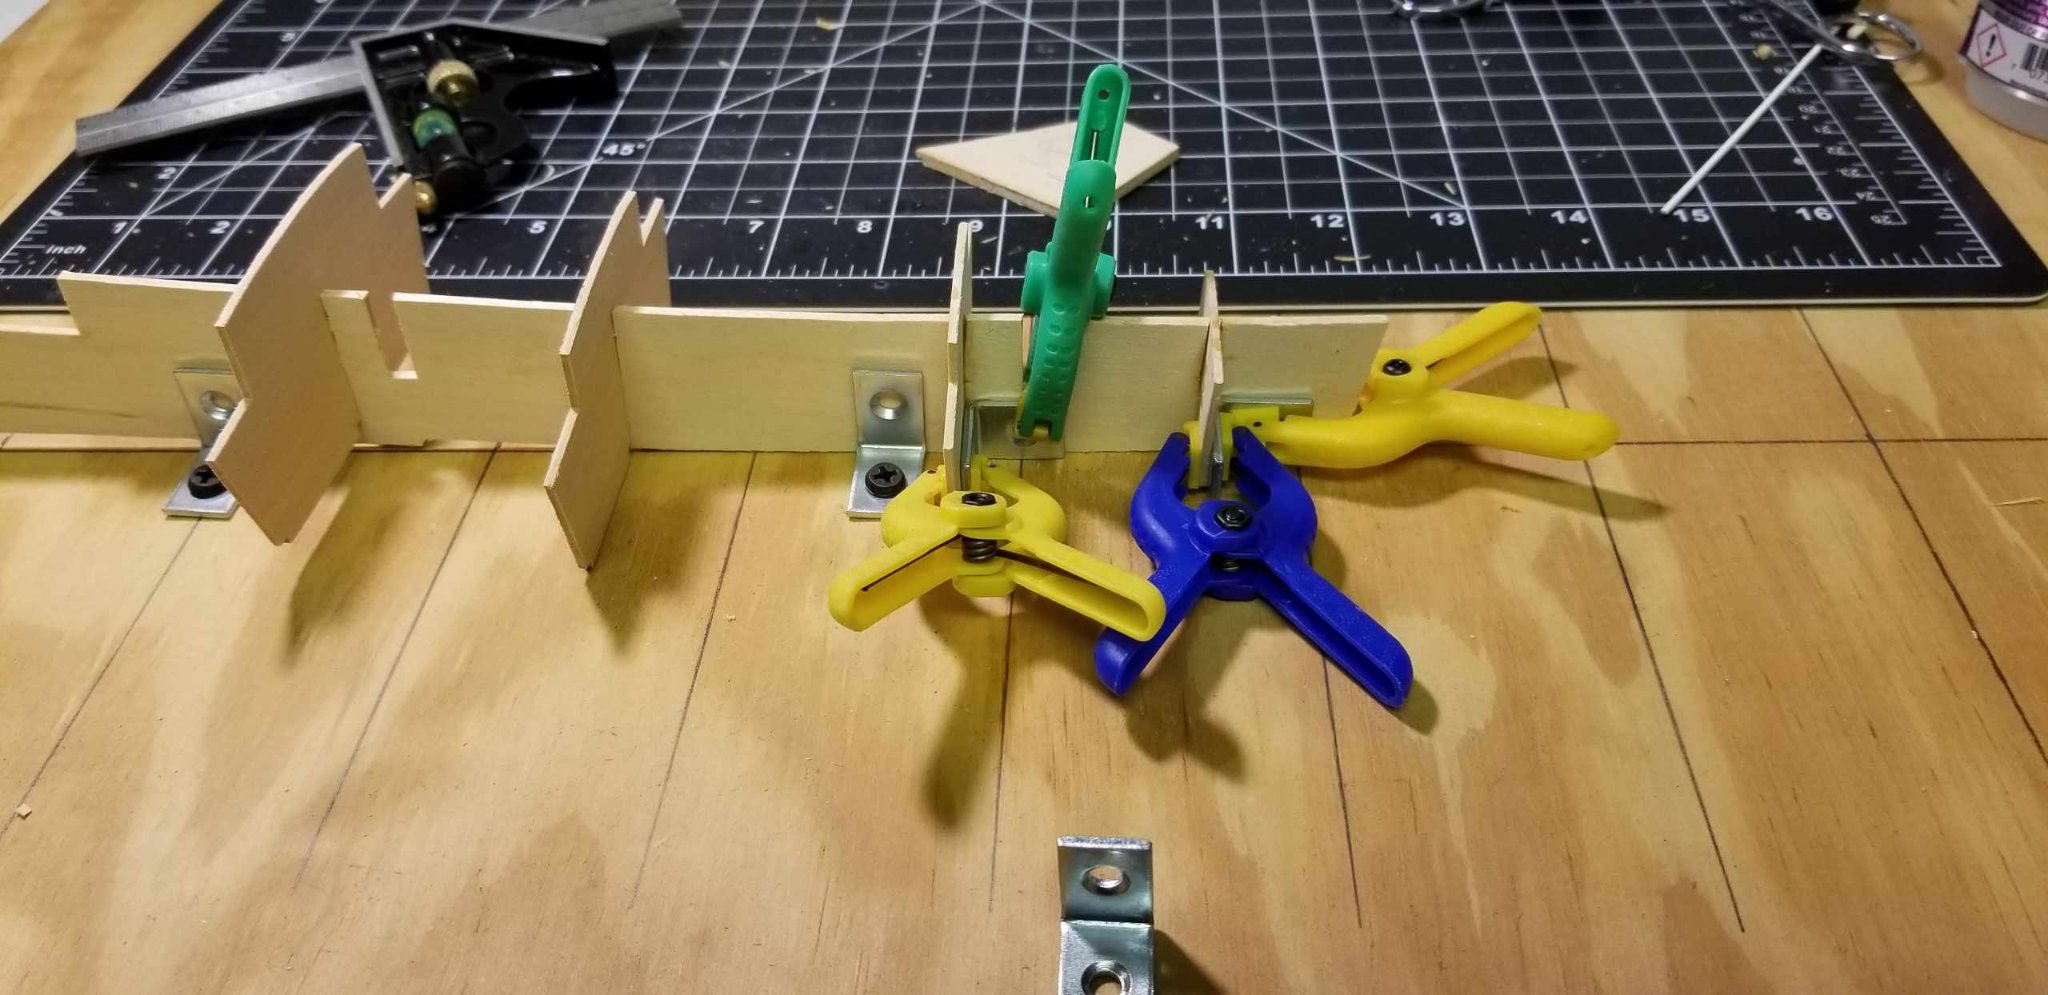
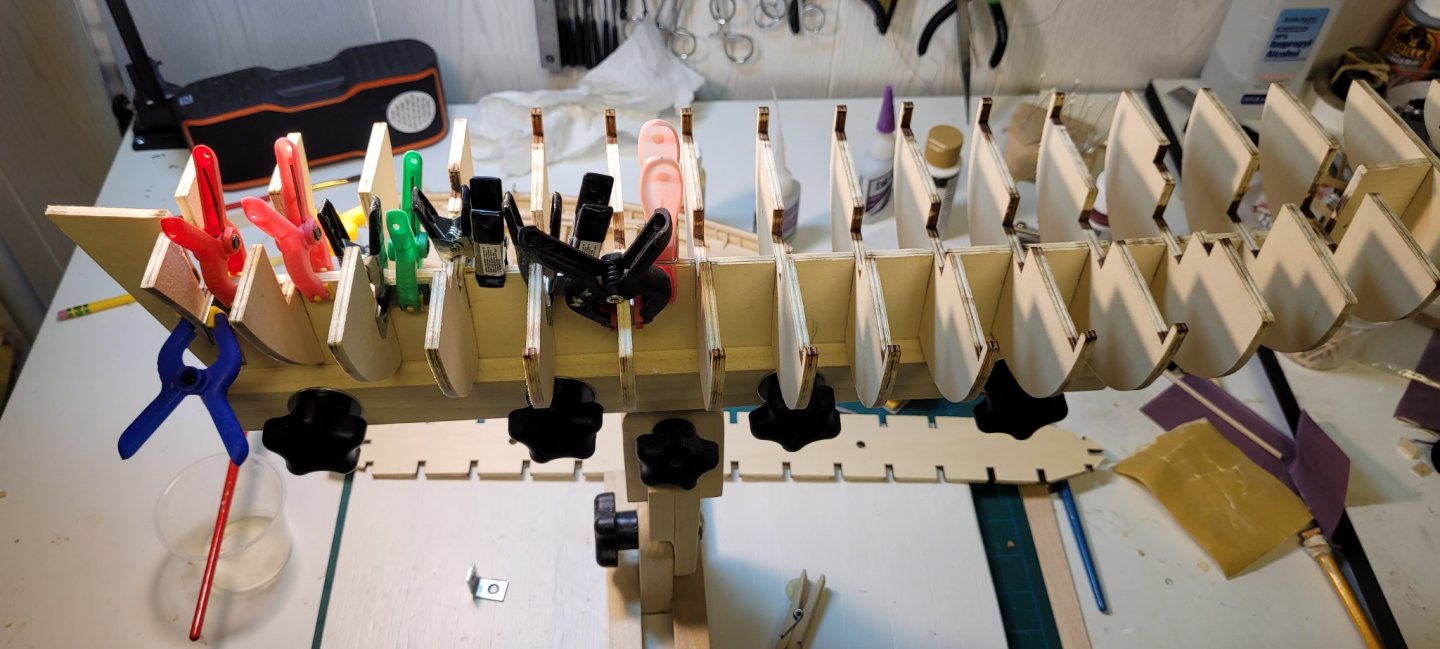
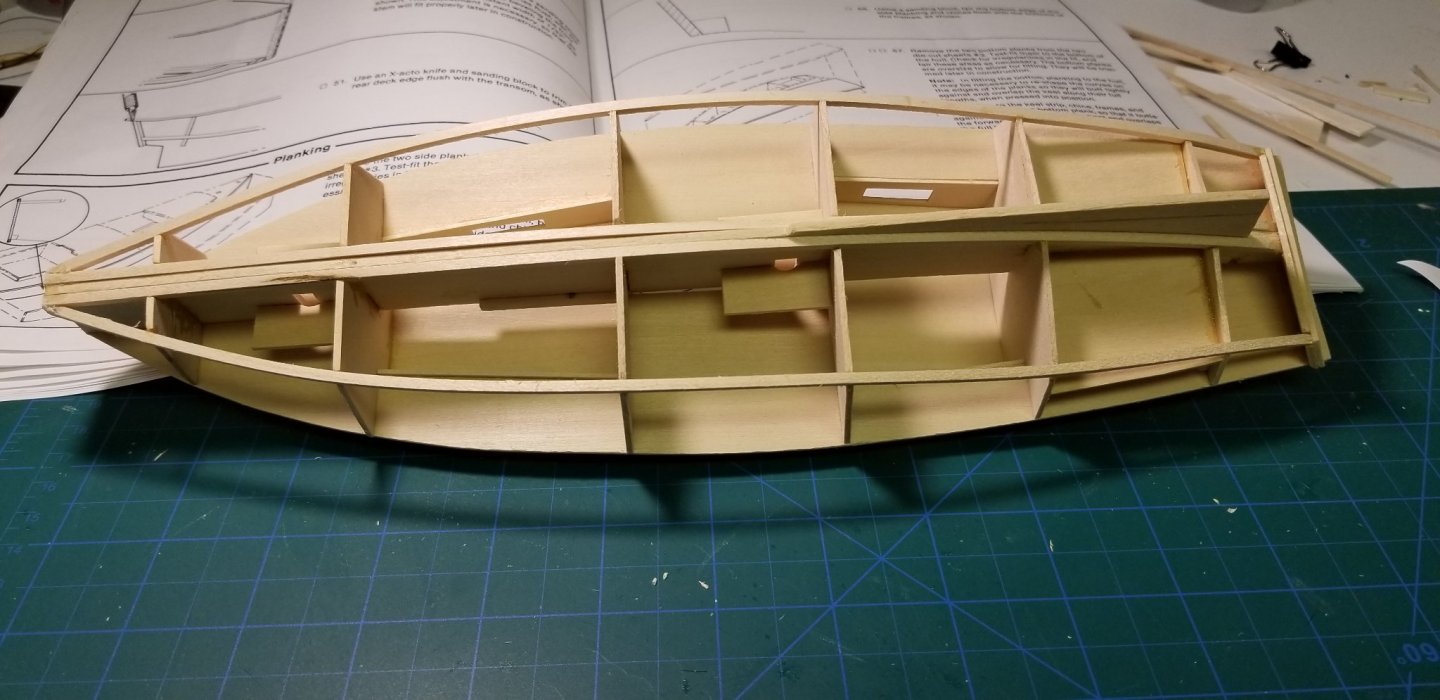
After sanding the laser marks from the frames I glued them in place. I used small L brackets to keep them square
- 25 replies
-
- 1
-
-
- Mantua
- Trotamares
- (and 1 more)
-
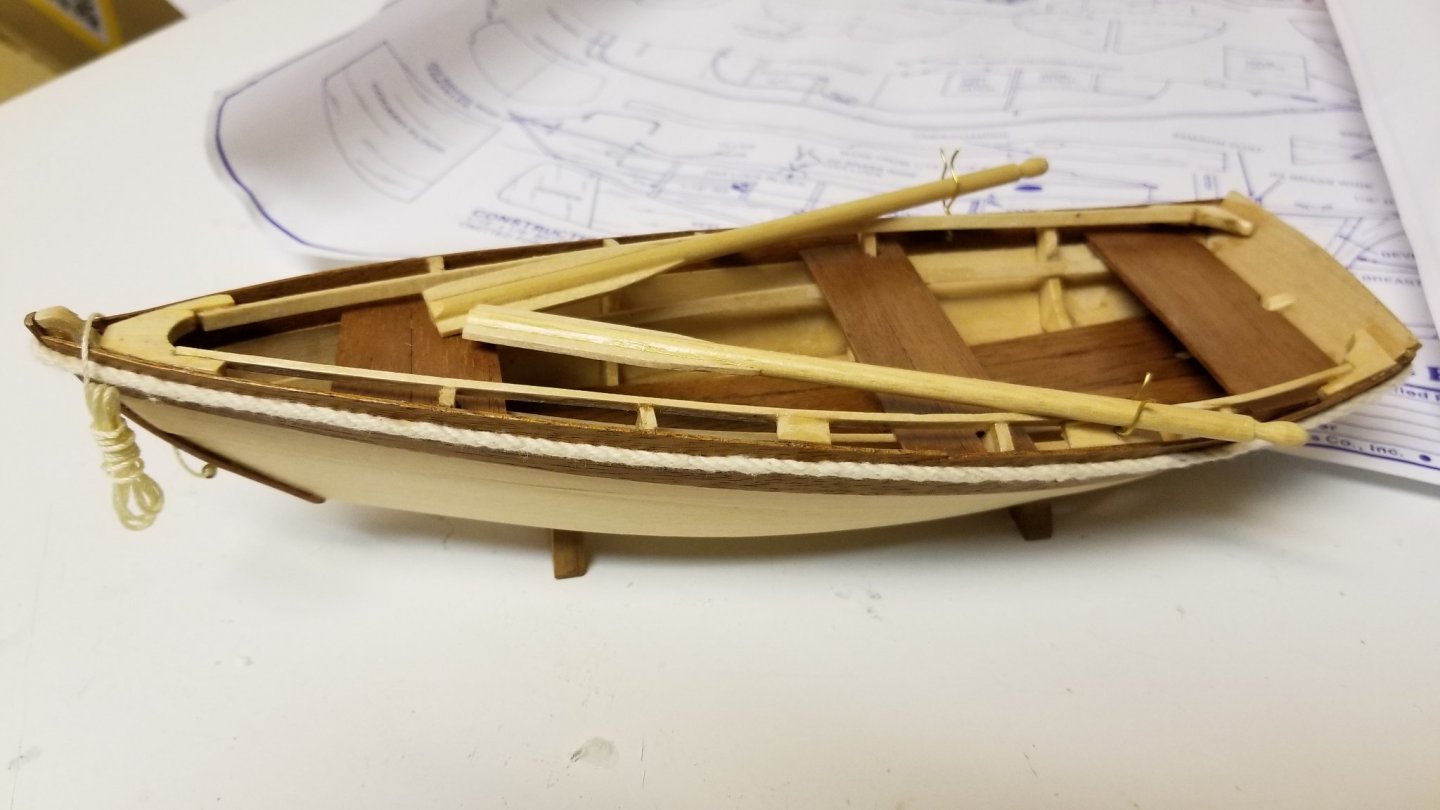
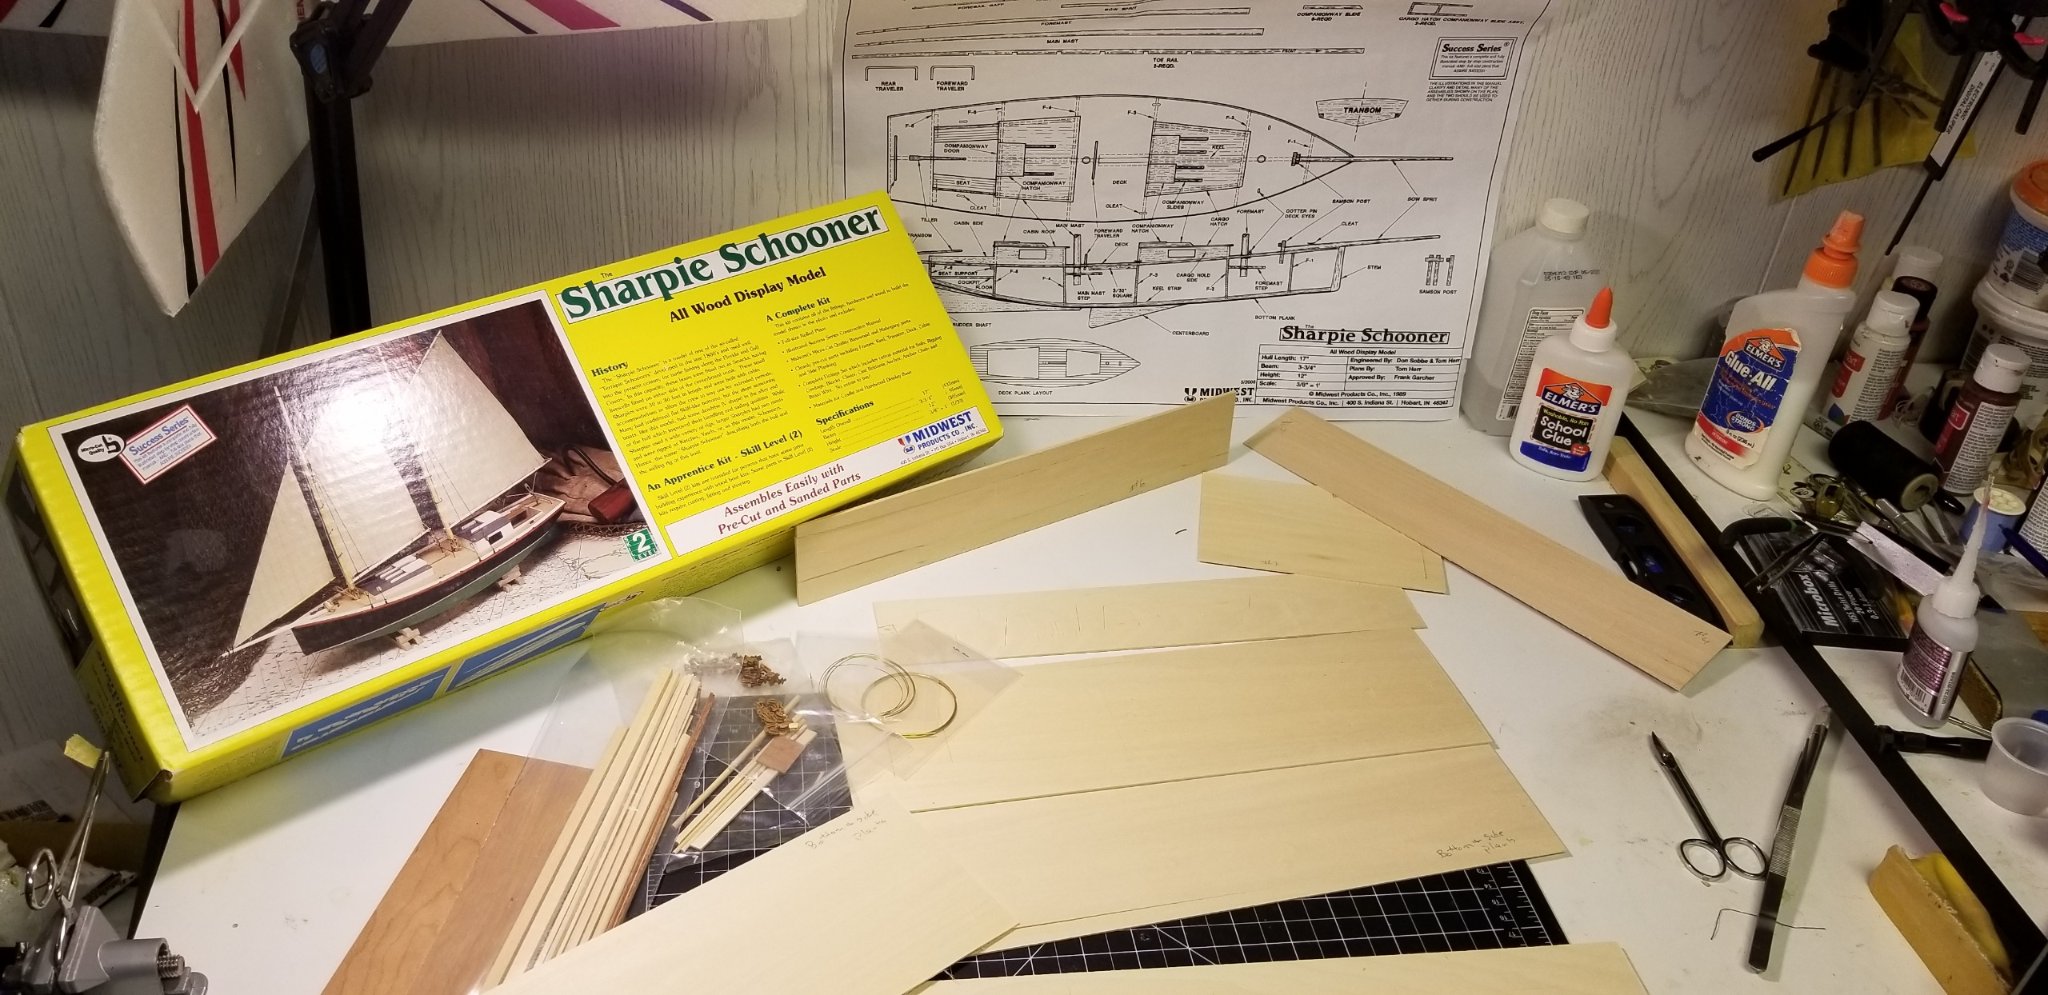
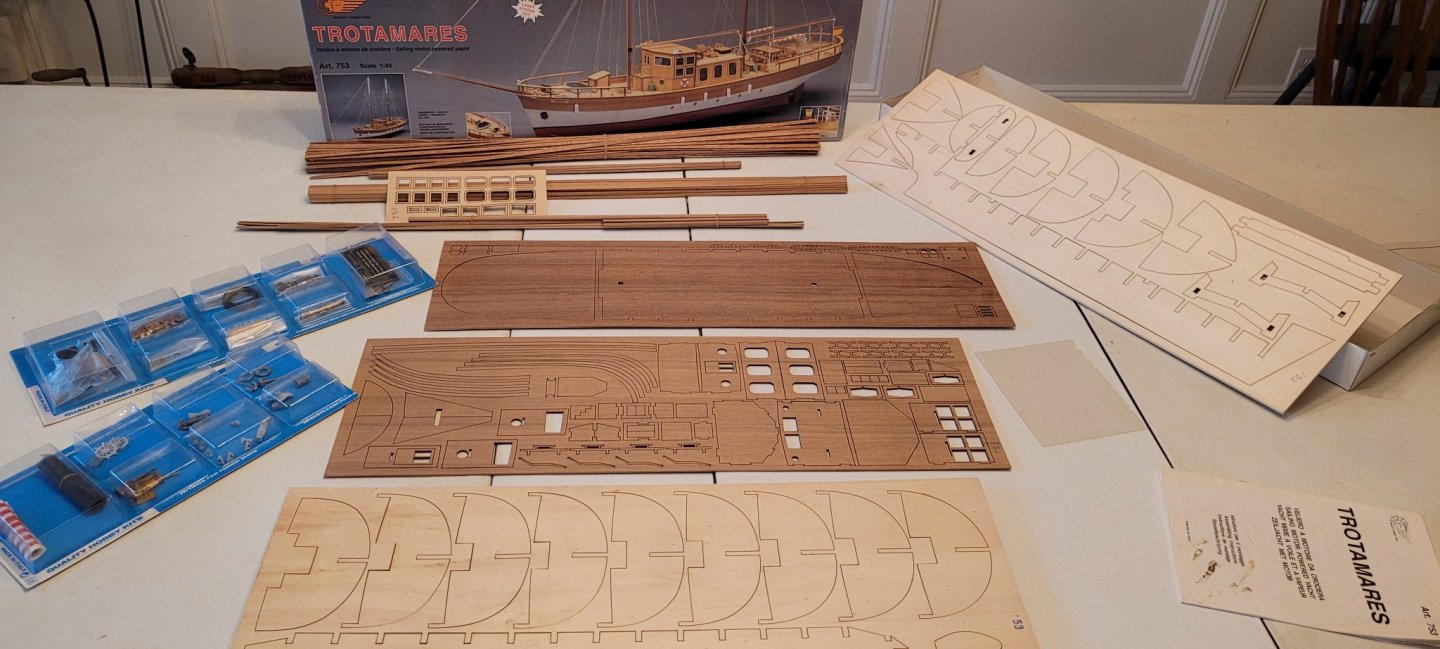
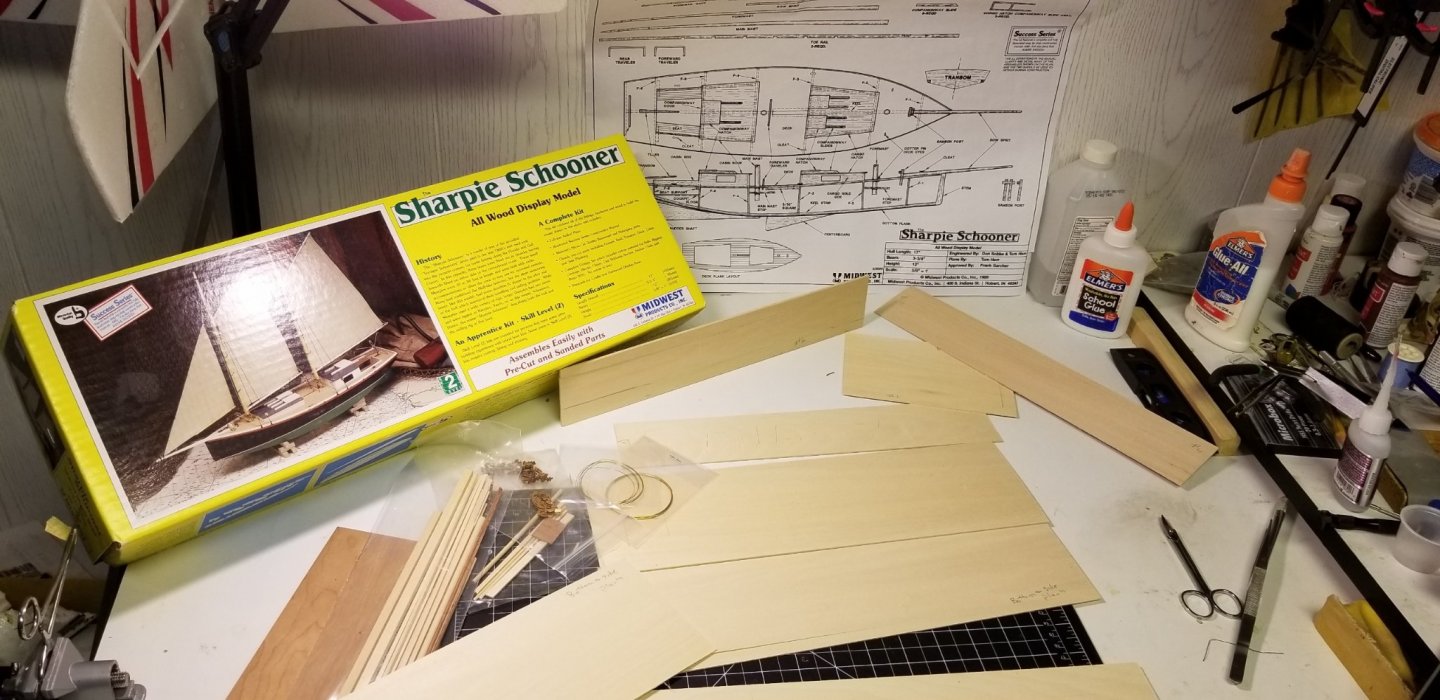
This will be my fifth build, I'm not the best at logging my builds but will try to keep up with this time. All but one of my previous builds have been models by Midwest (The Dingy, The Muscongus Lobster Smack, Sharpie Schooner, Boston Whitehall Tender), and Long Boat 18th Century by Model Expo. I had purchased the Trotmares on eBay last summer 2020 not knowing anything about the build process. The Midwest plans and instructions for the most part are very easy to follow. After opening the Trotmares box and looking at the sheet plans and instructions, I was very overwhelmed. Almost a year later I have decided to go ahead and build it.
- 25 replies
-
- 3
-
-
- Mantua
- Trotamares
- (and 1 more)
-
Working on a Midwest Boston Tender. Not sure if I need to create a Garboard Plank. The instructions suggests to "Carefully trim the planks to fit as you work towards the bottom of the boat" I started shaping the Garboard plank, but not sure if I should make it or not. Any suggestions?

-
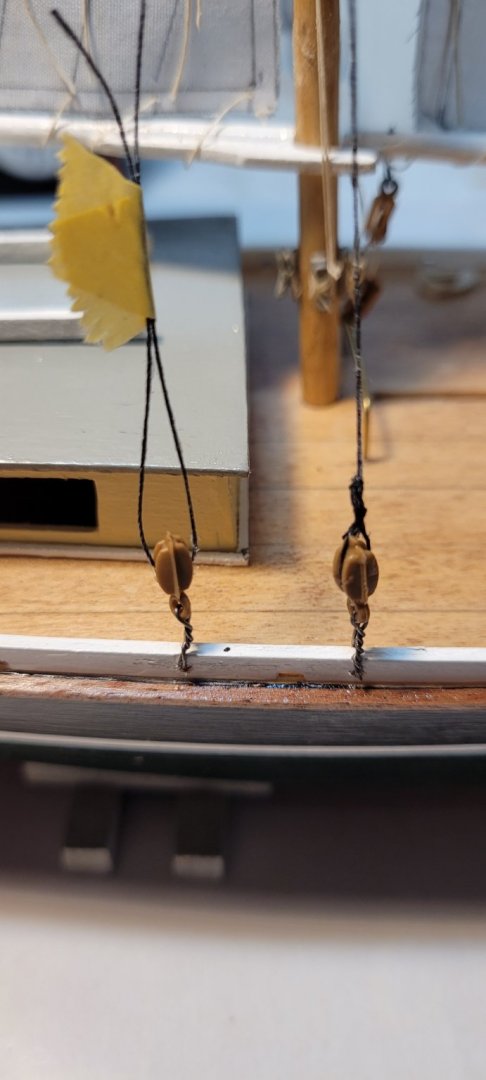
Needing some advice on seizing for the shrouds on blocks. I've tied knots then wrapped the seizing around and around but it then it collapse around the shroud. Not sure how to make them? c
-
Thank you
-
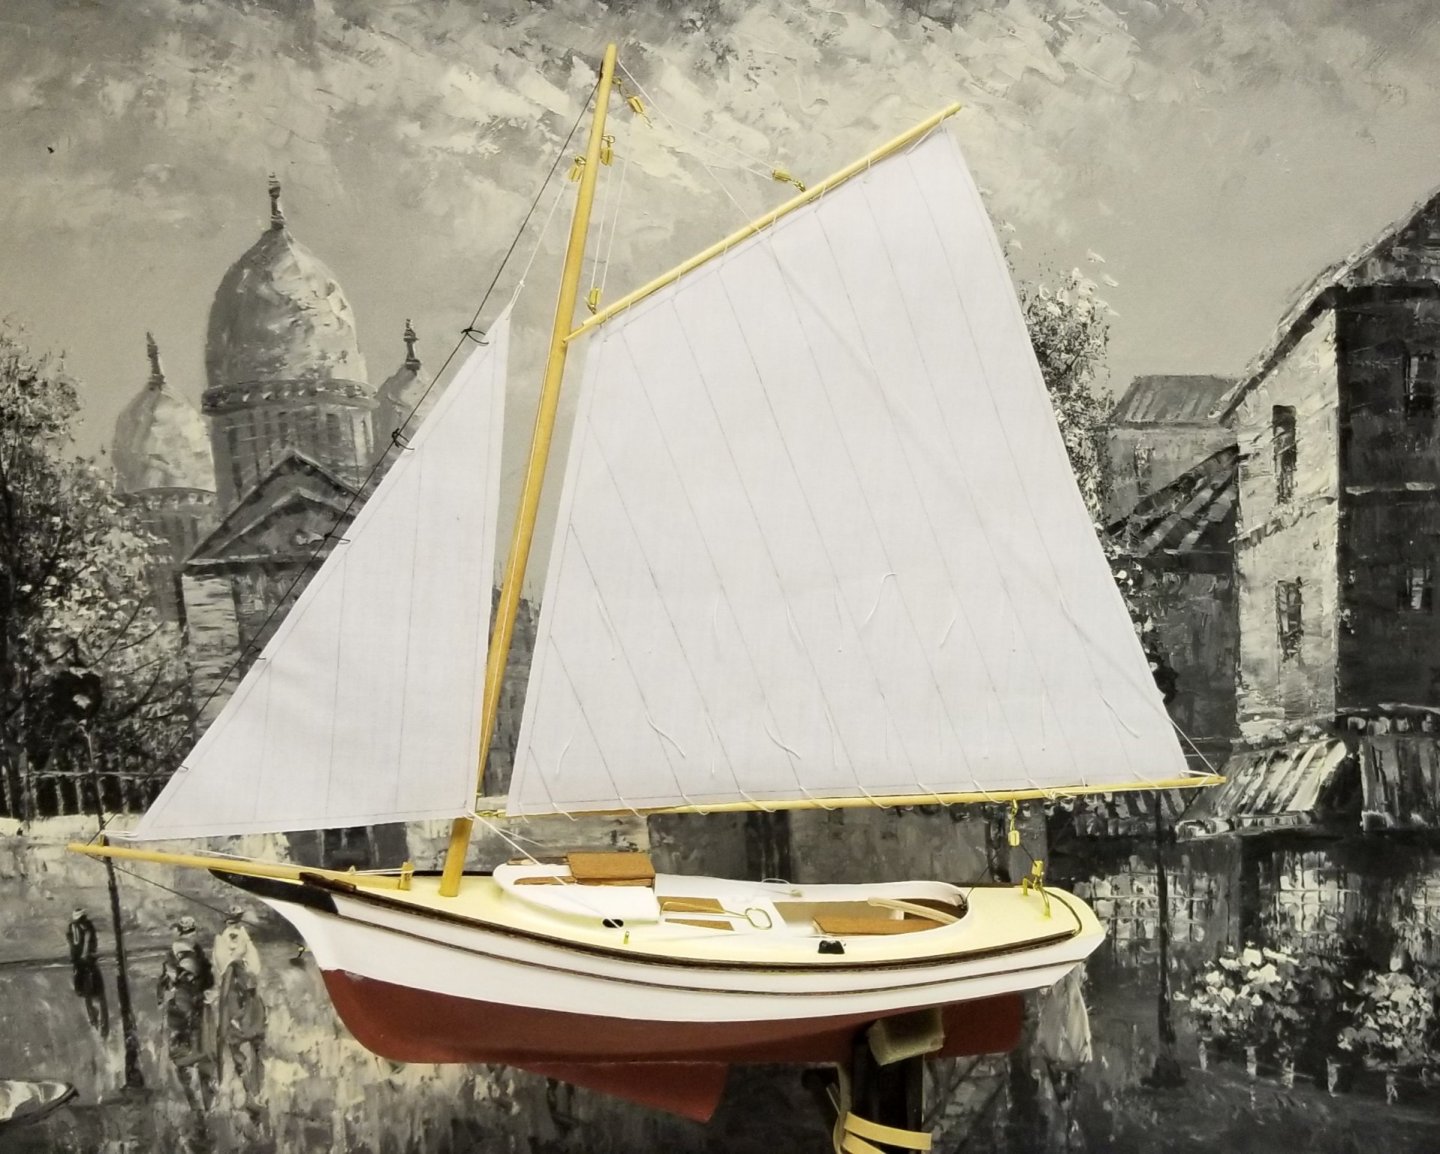
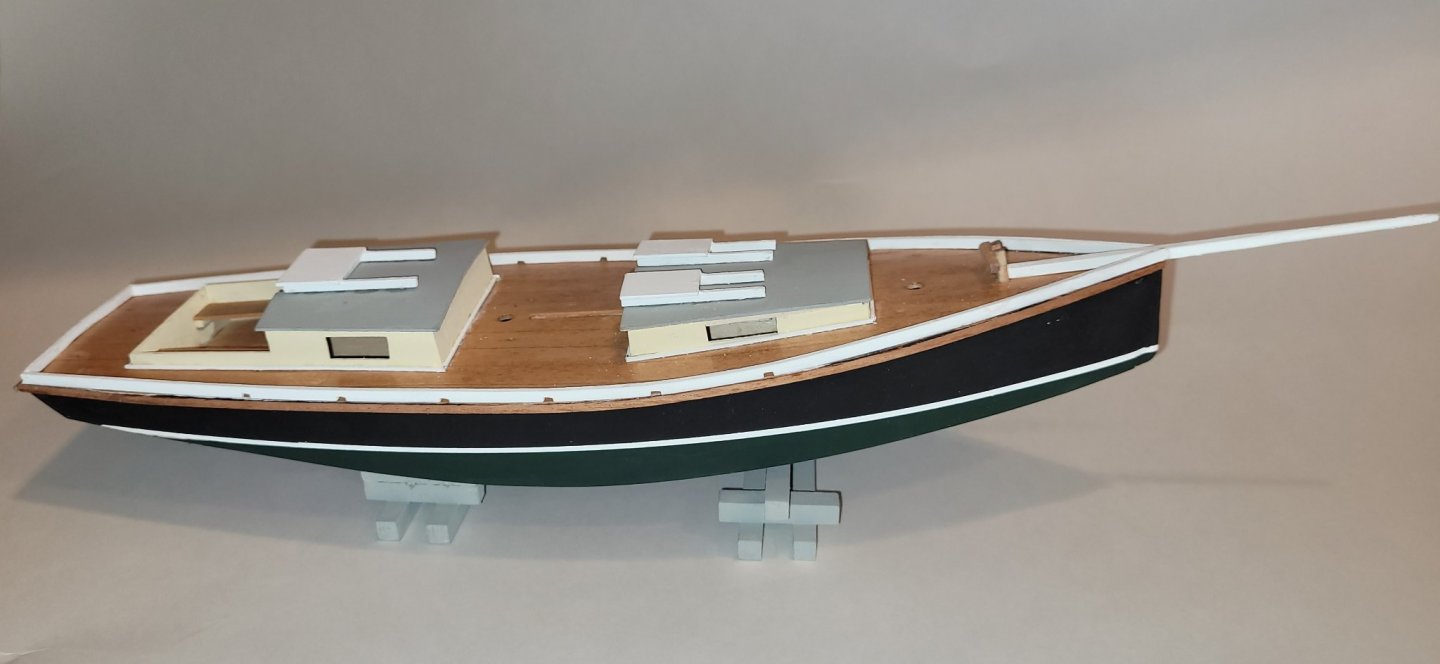
Most of the paint details are finished. I intend to do some minor touchups, then put some coats of water base Minwax Polyurethane on.
-
Now its time to do some of the painting details before attaching the remaining items.
-
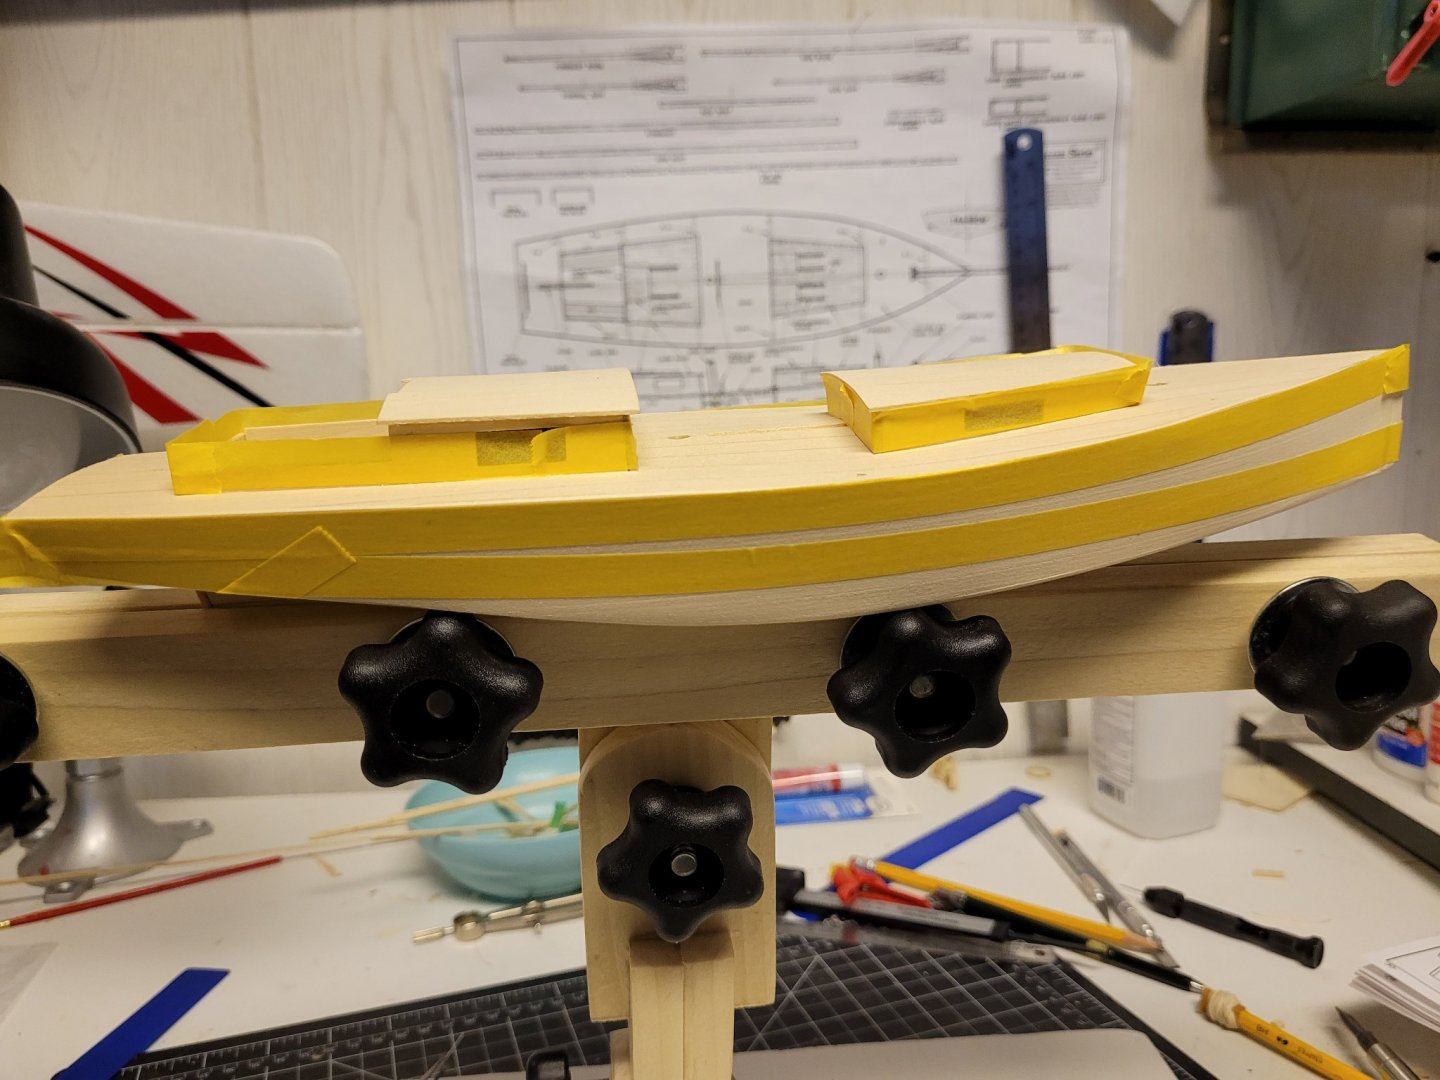
Making of the Toe Rail was interesting. The instructions said to cut a piece of scrap basswood 3" X 3/32" glue 220 grit sandpaper to it then lay the Toe Rail between to pieces of wood and sand the notches at the appropriate locations. ( Going to have to file this technic away in my brain for future builds)
-
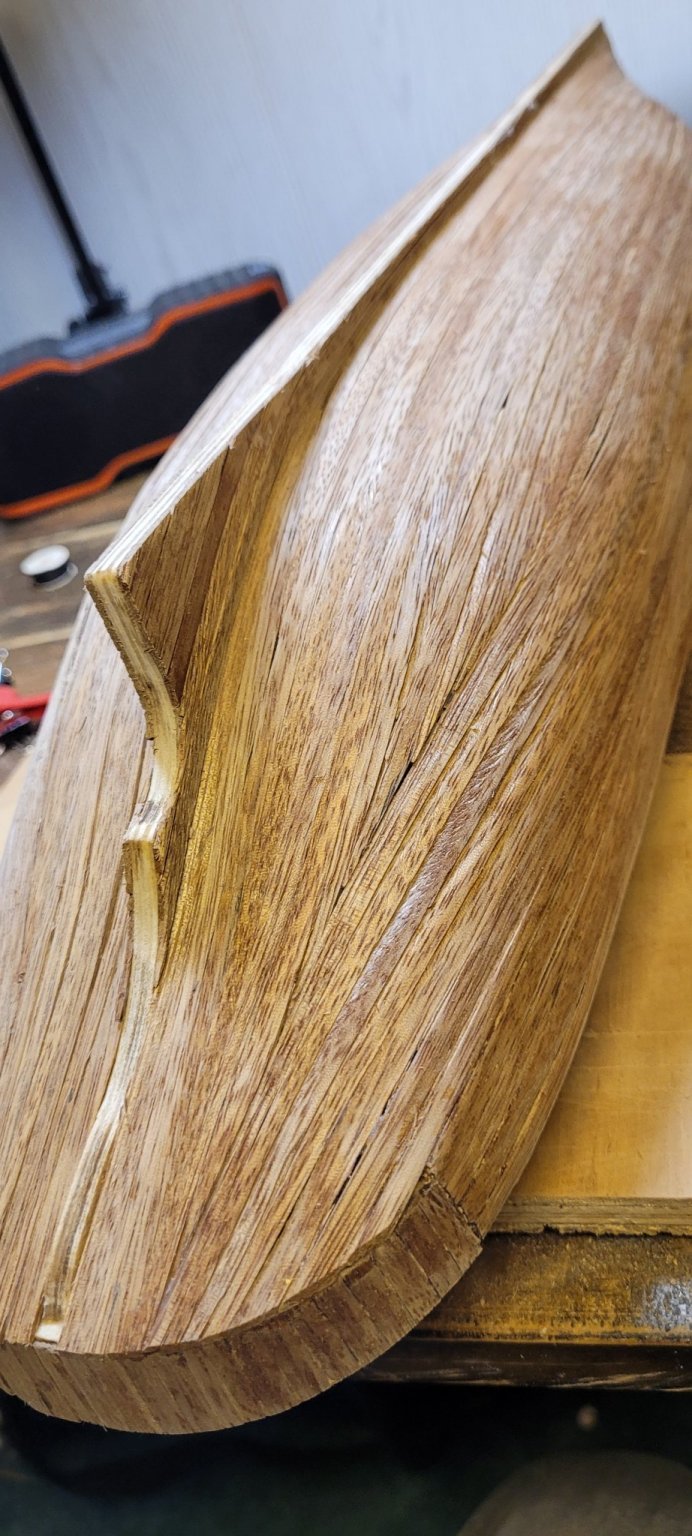
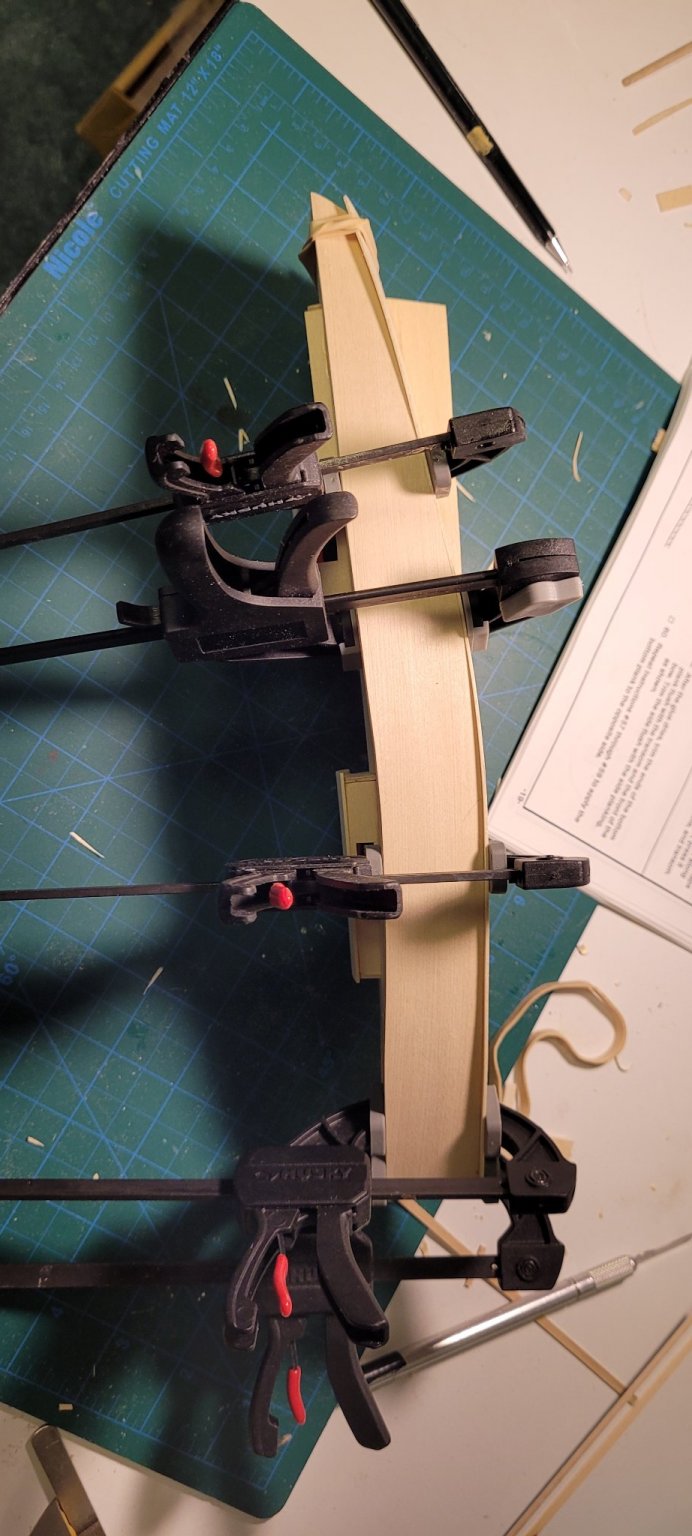
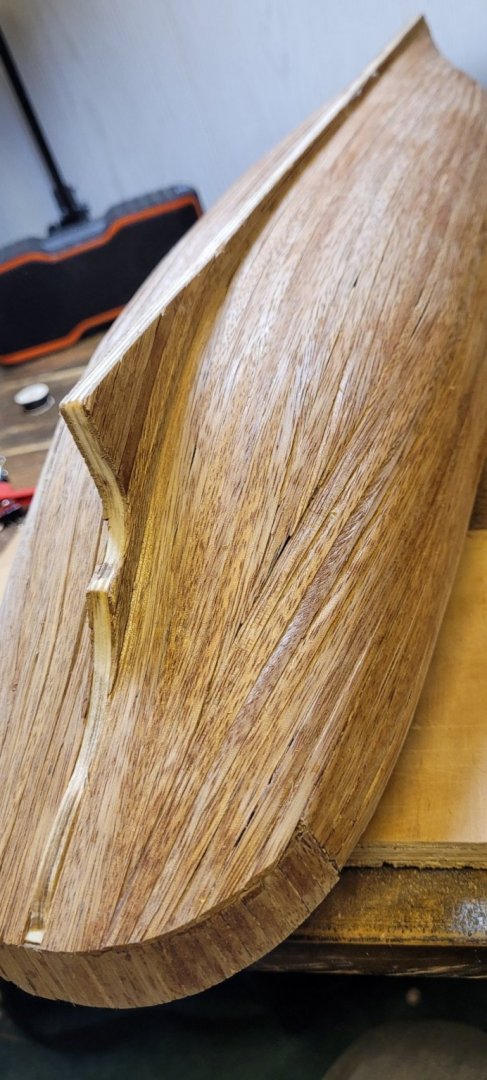
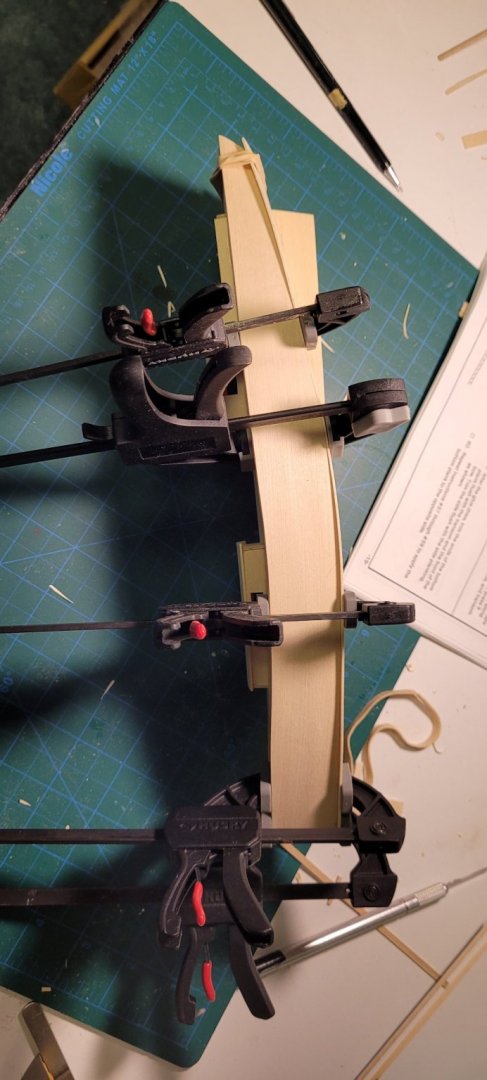
I then proceeded to install the keel strips and chine strips. I was a bit confused as to how much to fair the bow end of theses strips as later in the instructions the stem was to be attached after the sheet planking was installed. After the side planks and the bottom planks were attached I then realized I didn't fair them correctly. I had to use some wood fill to lessen the gaps on the stem. I did not take any phots the fairing was off when attaching the stem.
-
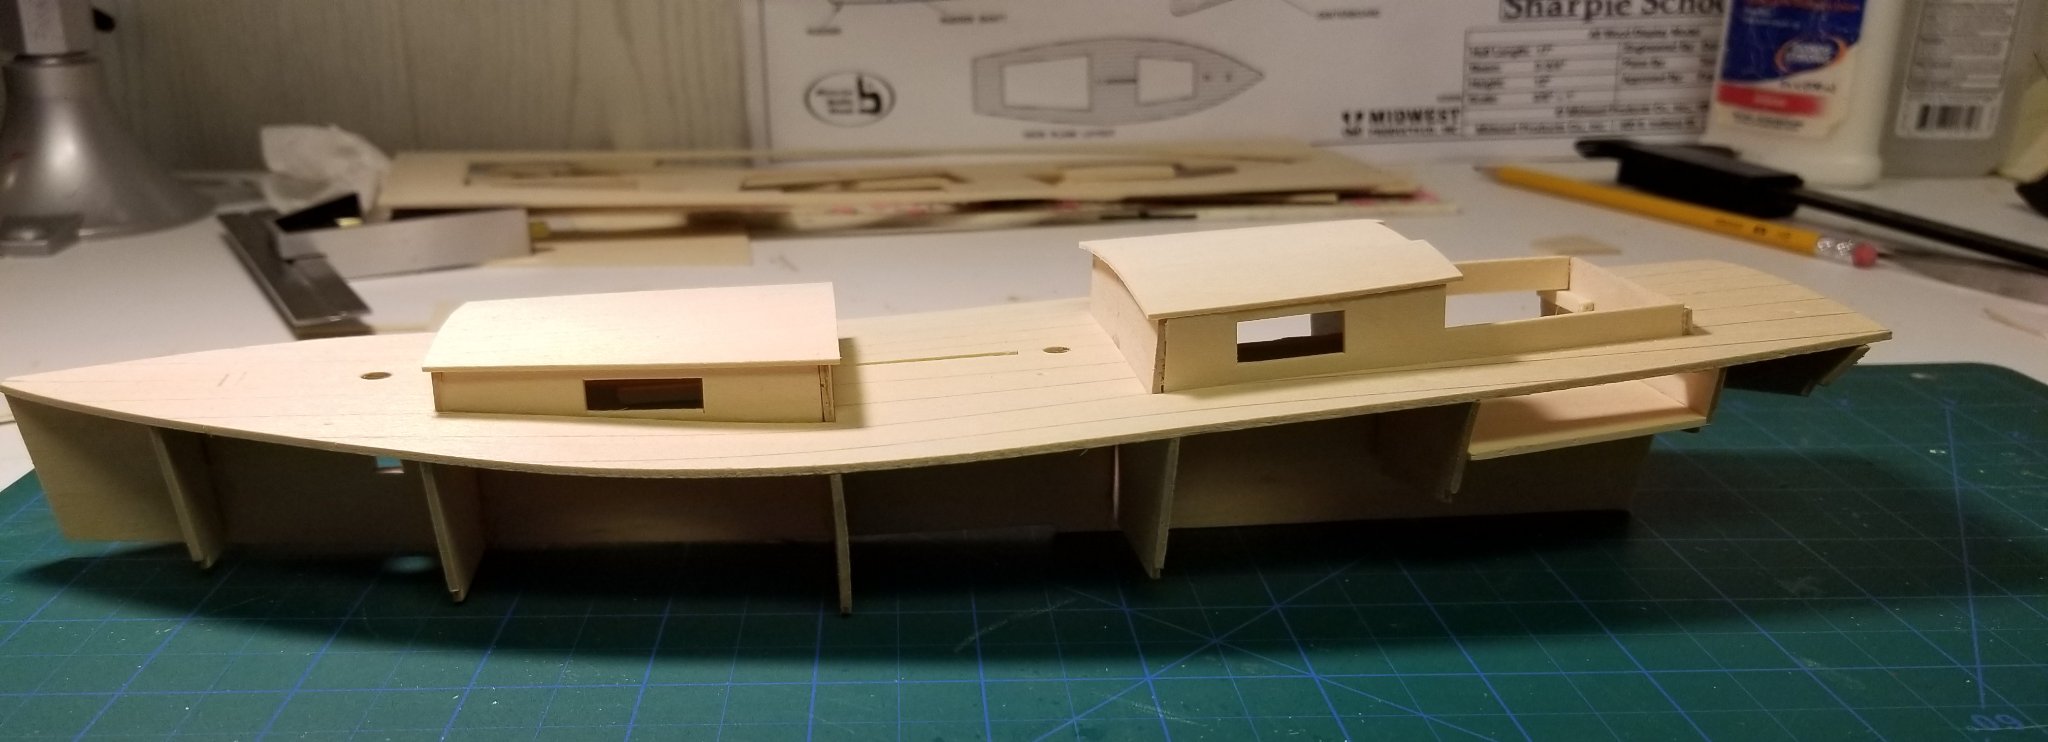
With the holidays its been a while since I posted my progress on the Sharpie Schooner. After the deck was attached I did cabin and cargo hatches,

-
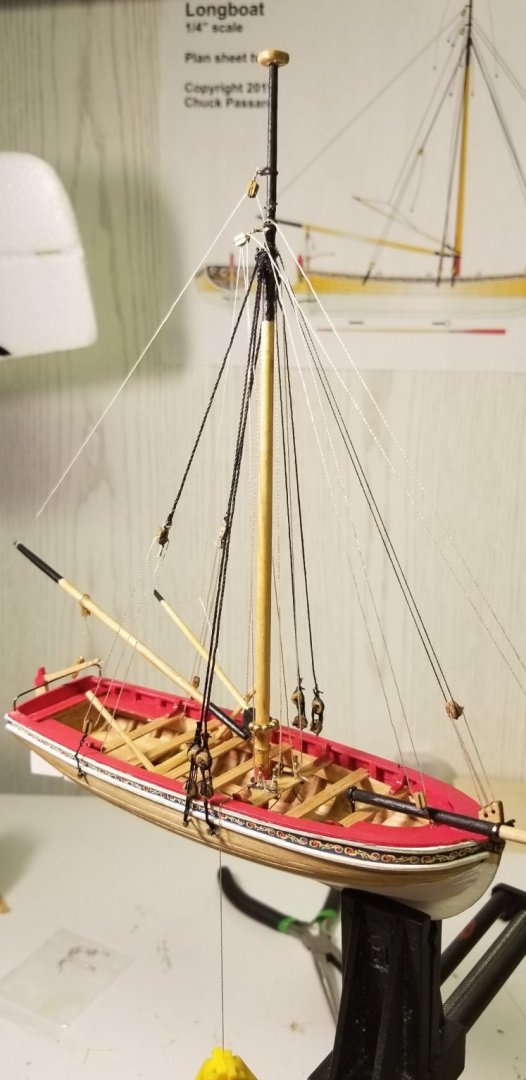
This is my forth build, after completing my last build the 18th Century Longboat by Shipways this should be an easier build for me. Although I did learn a tremendous amount my failures and successes on the previous build.


-
@Ryland Craze Thank you for your comments, I have learned a tremendous amount while building the Longboat. Many mistakes, mishaps and successes. Not sure of what I be building next. I have 2 Midwest models, SharpieSchooner and the Peterborro Canoe. Also I have Chris Craft 1938 27' Triple Cockpit Barrel Back. I just ordered the Elidir Thames River Steam Boat Wood Model Kit by Constructo. What's your thoughts as I am a novice builder. David
-
Thank you form allowing me to join the group. I am a retired Electrician A number of years ago my family gave me a couple of wooden boat kits. Last year I finally decided to start putting them together. The first model was a Midwest "The Dinghy" Second was the The Muscongus Bay Lobster Smack Many hours of frustration huge learning curve. I have been working on the 18th Centry LongBoat by Shipways. s.