HOLIDAY DONATION DRIVE - SUPPORT MSW - DO YOUR PART TO KEEP THIS GREAT FORUM GOING! (Only 72 donations so far out of 49,000 members - Can we at least get 100? C'mon guys!)
×
Iseaz
-
Posts
36 -
Joined
-
Last visited
Content Type
Profiles
Forums
Gallery
Events
Everything posted by Iseaz
-
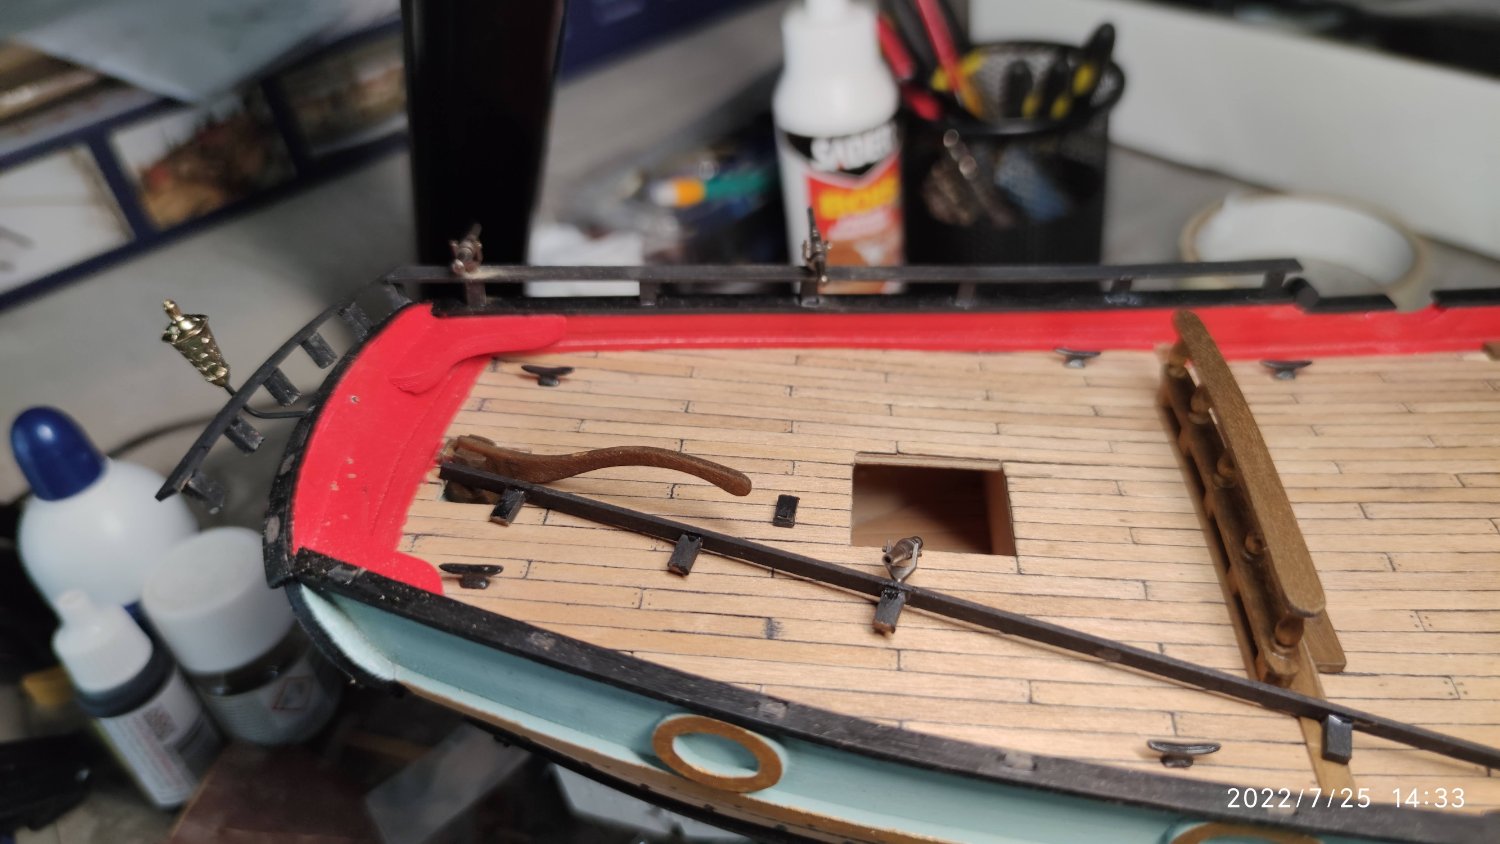
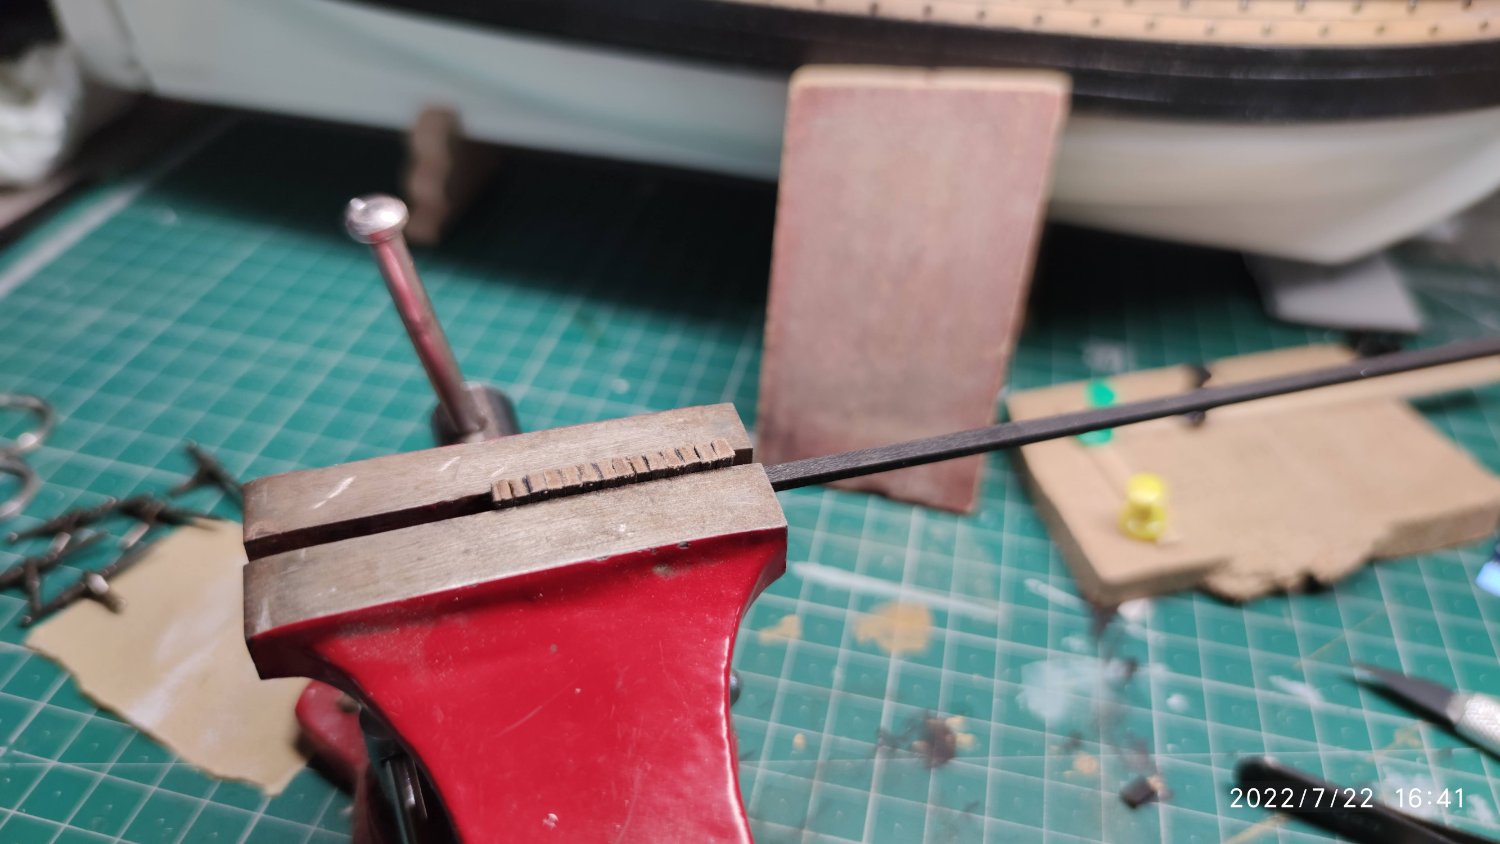
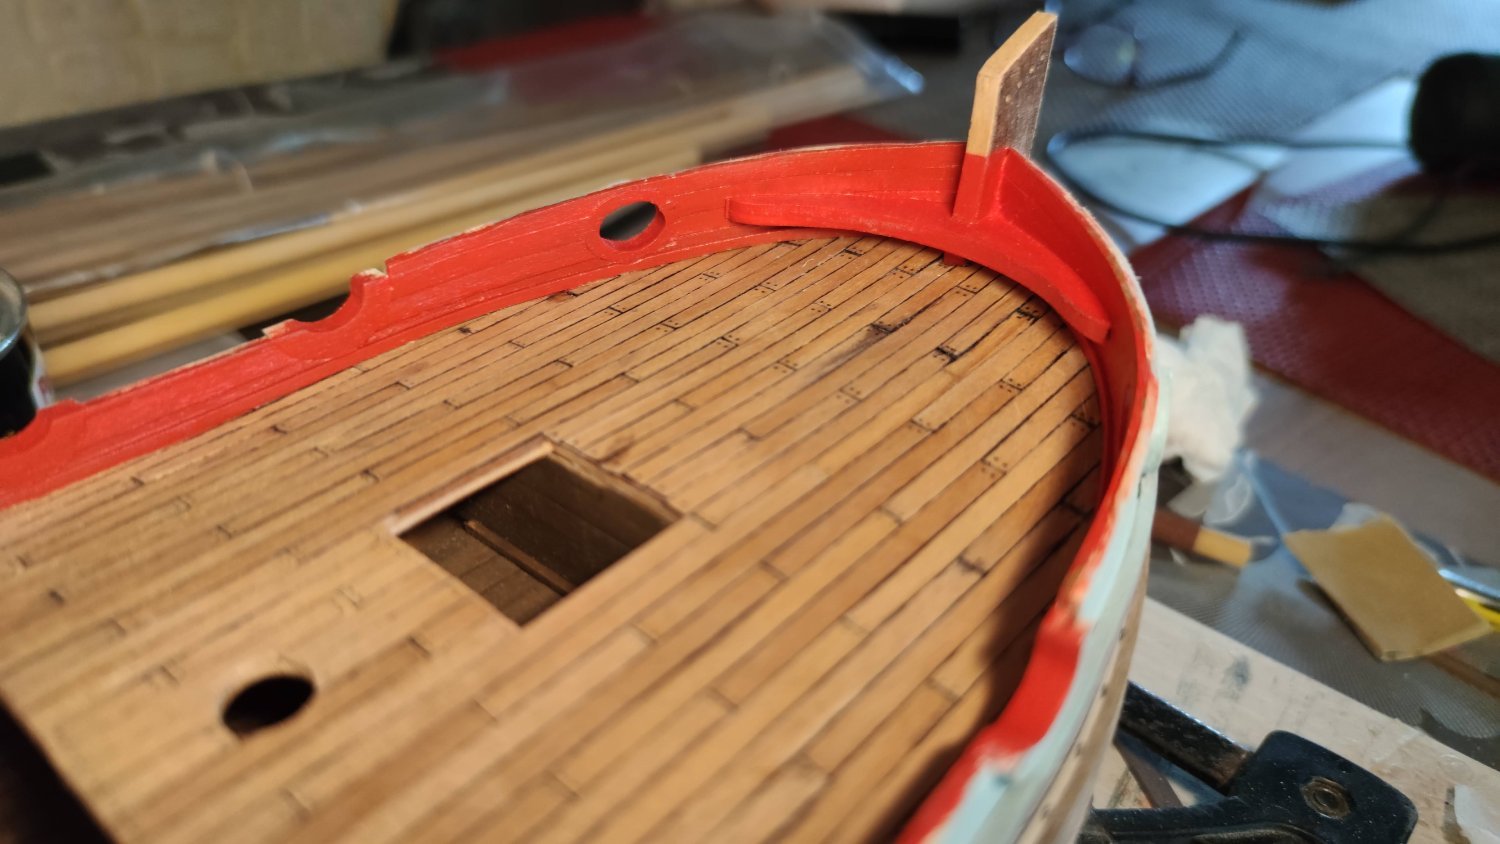
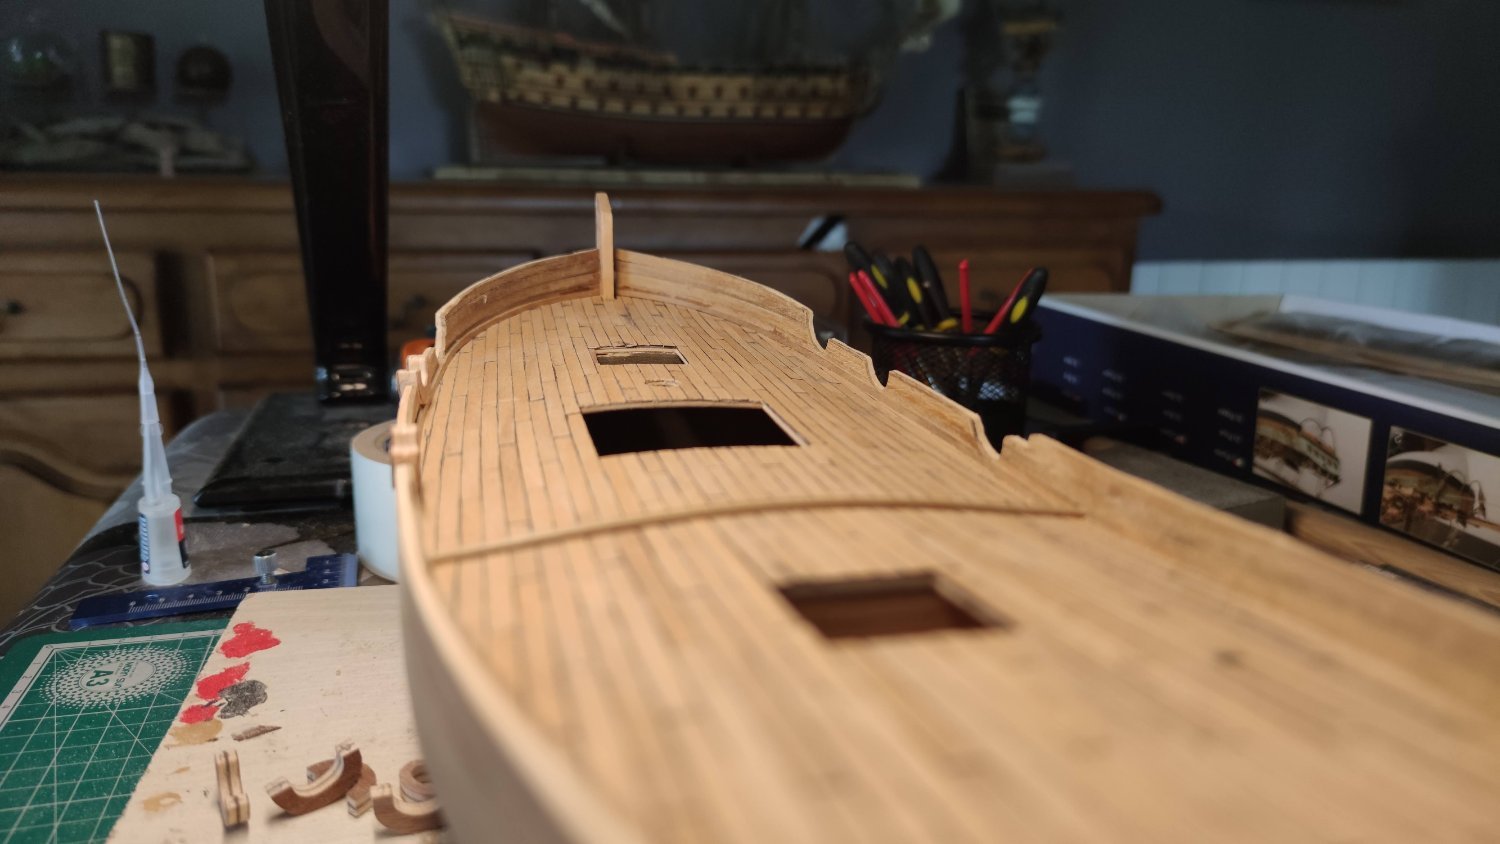
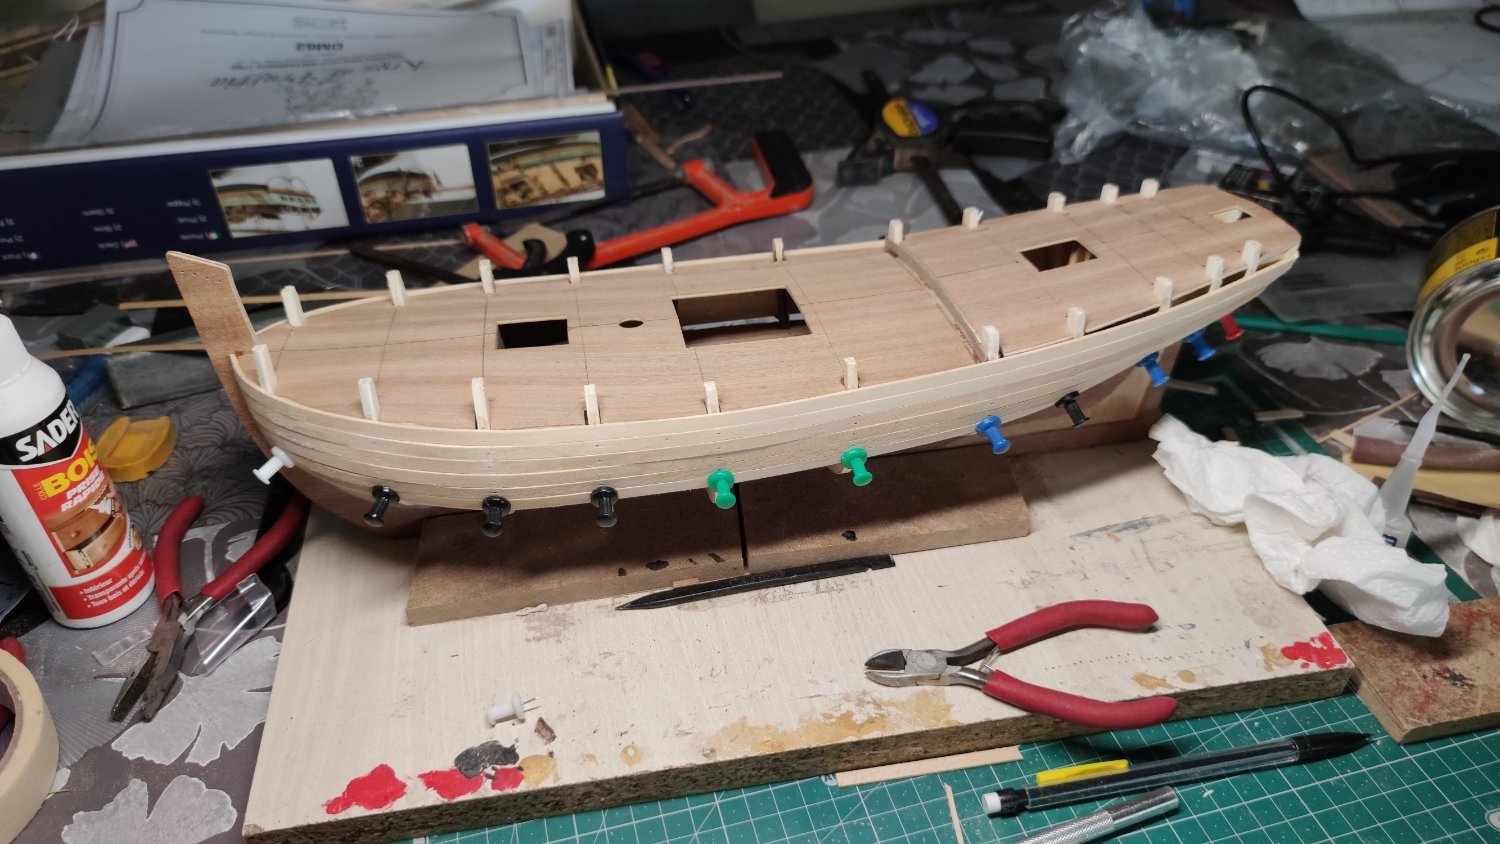
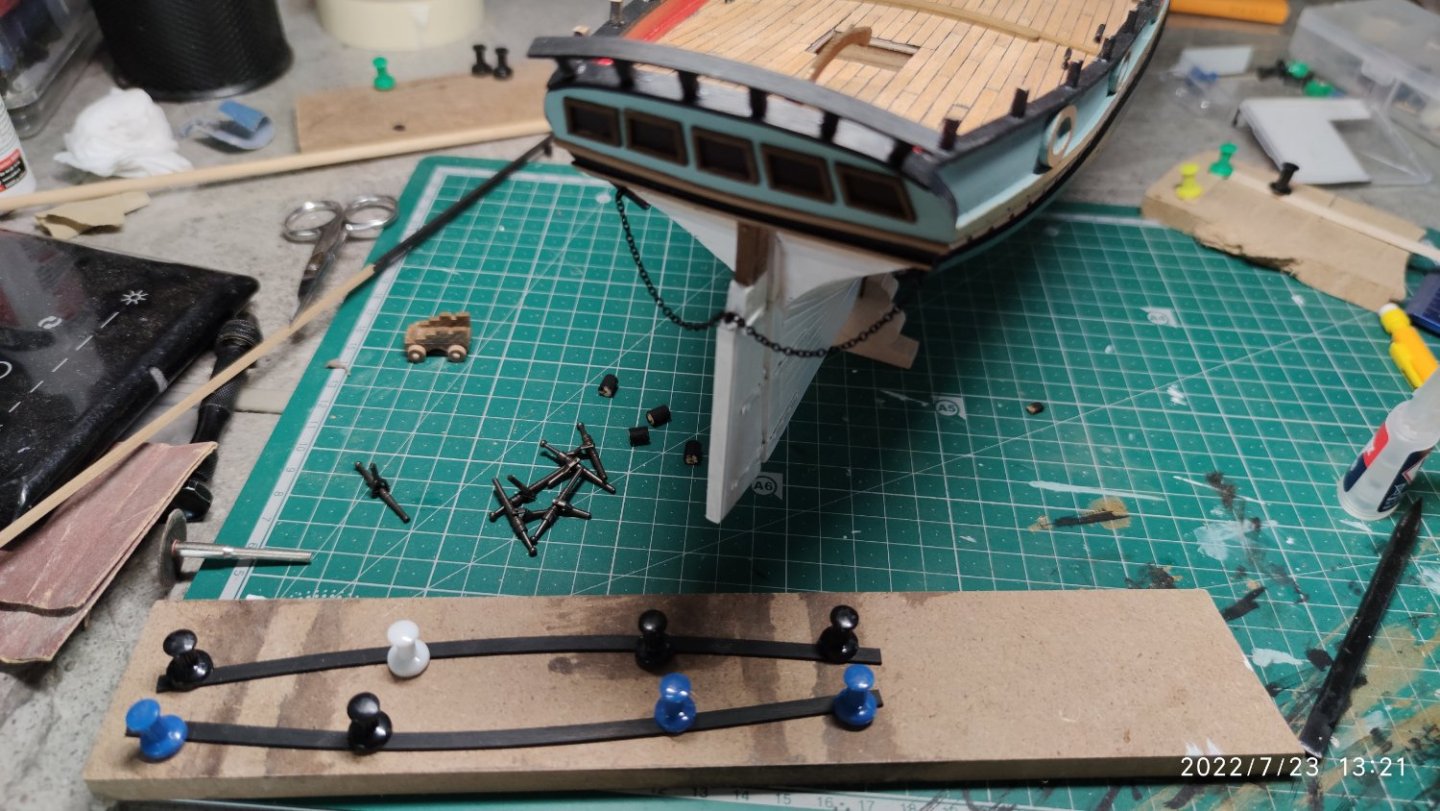
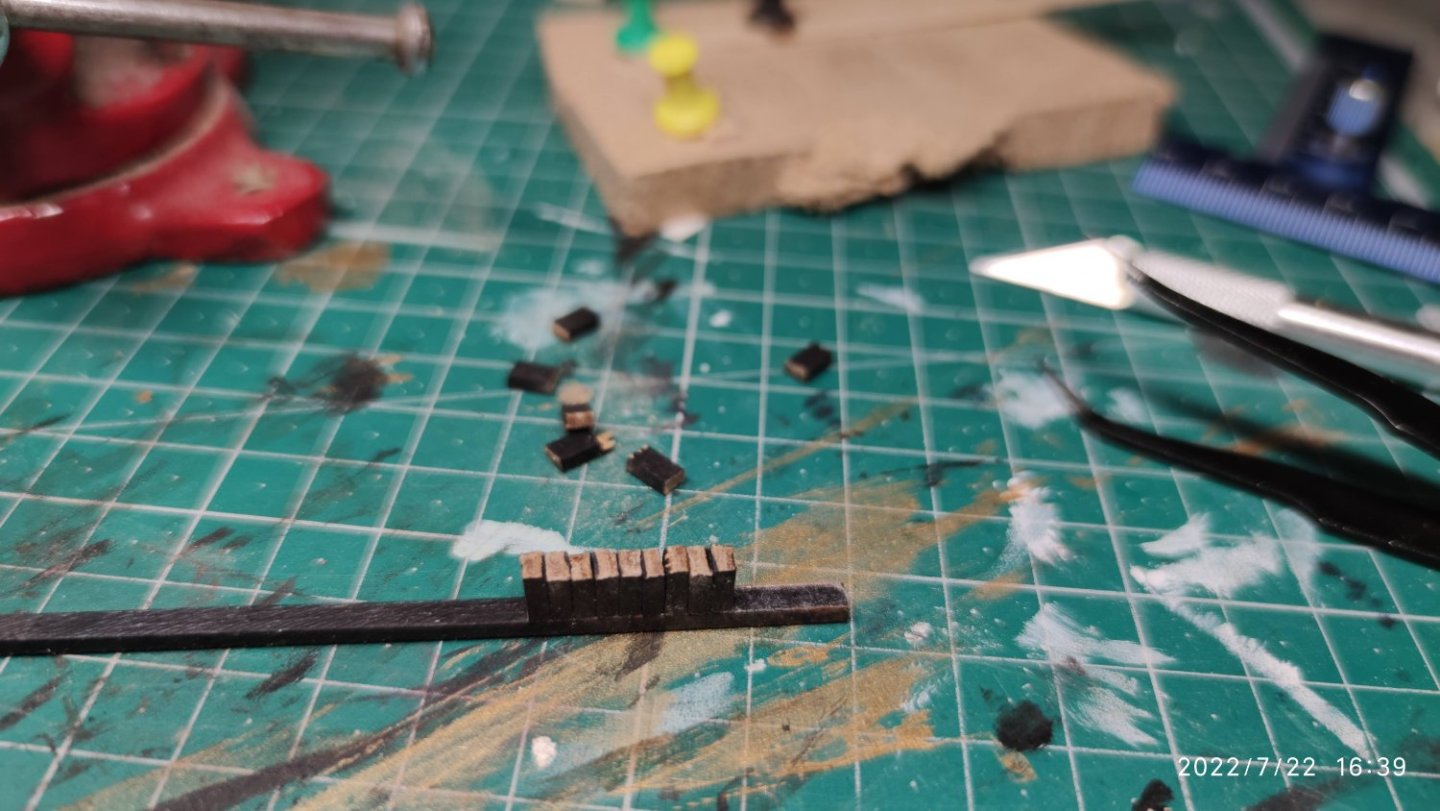
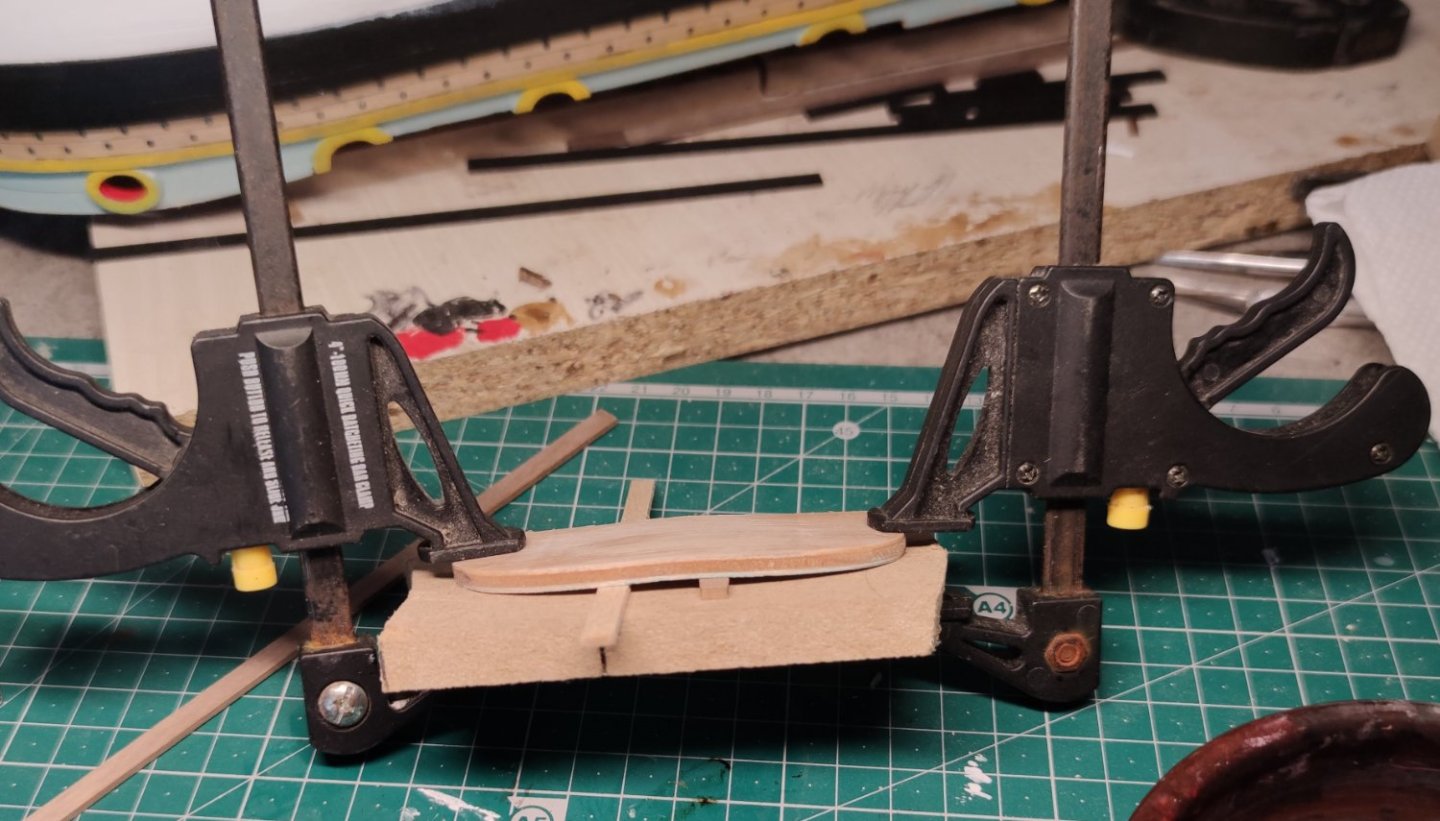
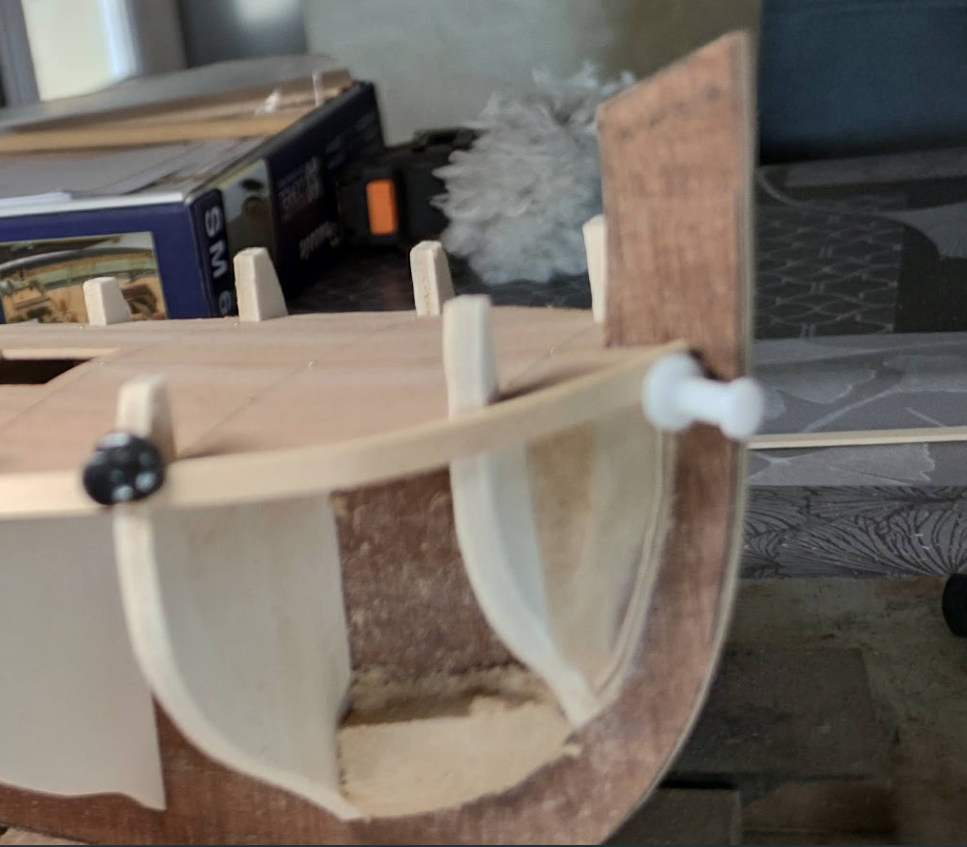
 Today is a sad day. Mistakes were made. I started the weekend by installing the railings, after bending the pieces flat to follow the hull. It was difficult to apply the glue because of the size of the small supports and the stresses induced by the rail. I was satisfied to see that it held. But today, as I was drilling the holes for the swivel gun with a rotary tool, I don't know why, the right hand rail exploded taking part of the stern rail with it. I quickly tried to glue it back together but it made it worse because of the glue residue. It's very frustrating, I've stopped everything for the moment and will start again next week to fix everything. I should have attached the supports with pieces of nails Some pictures before the accident, how I sanded the supports to the right height :

-
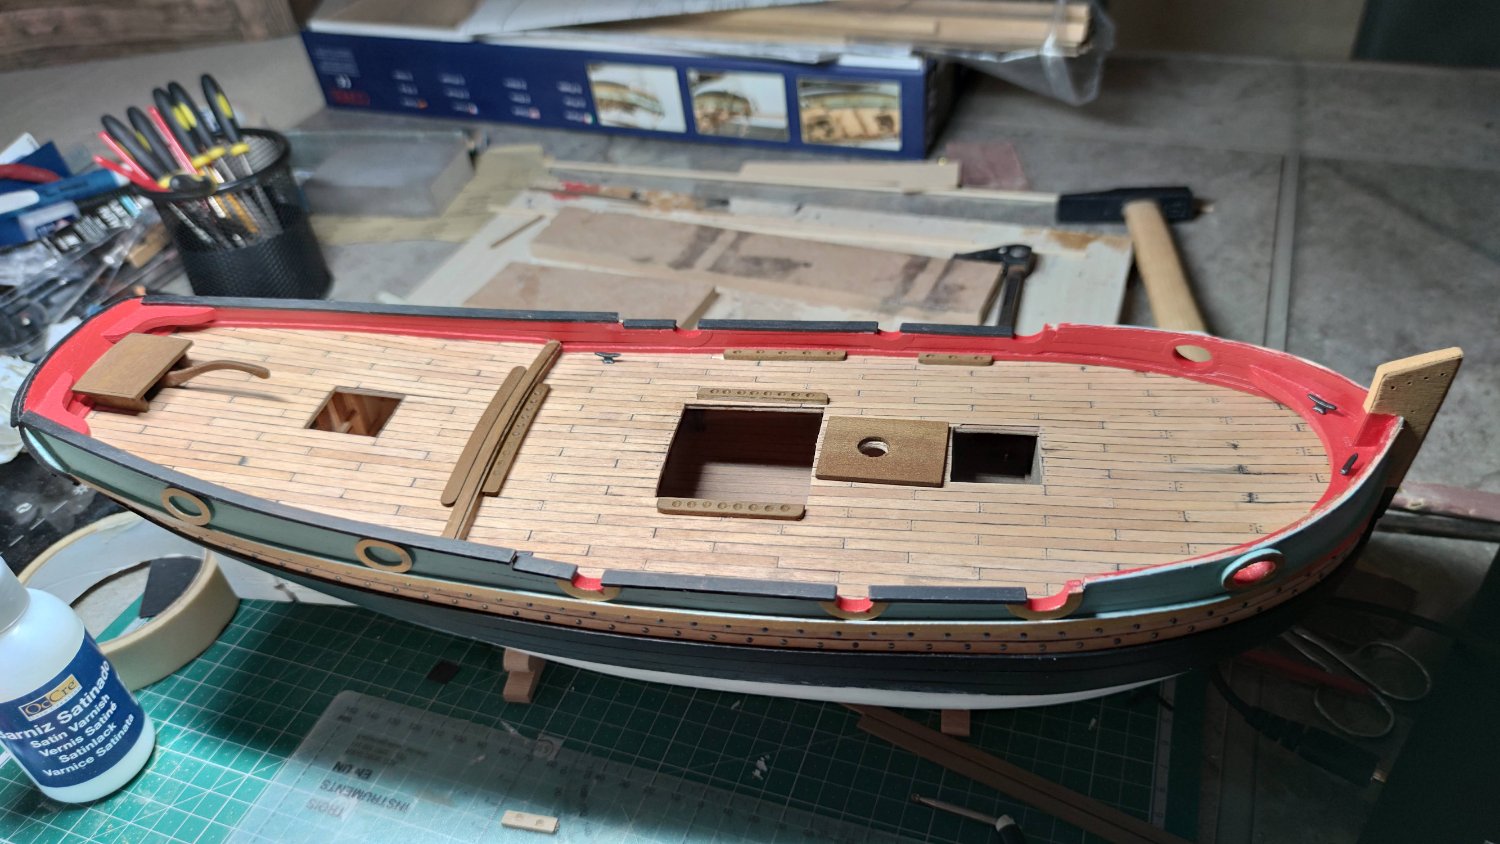
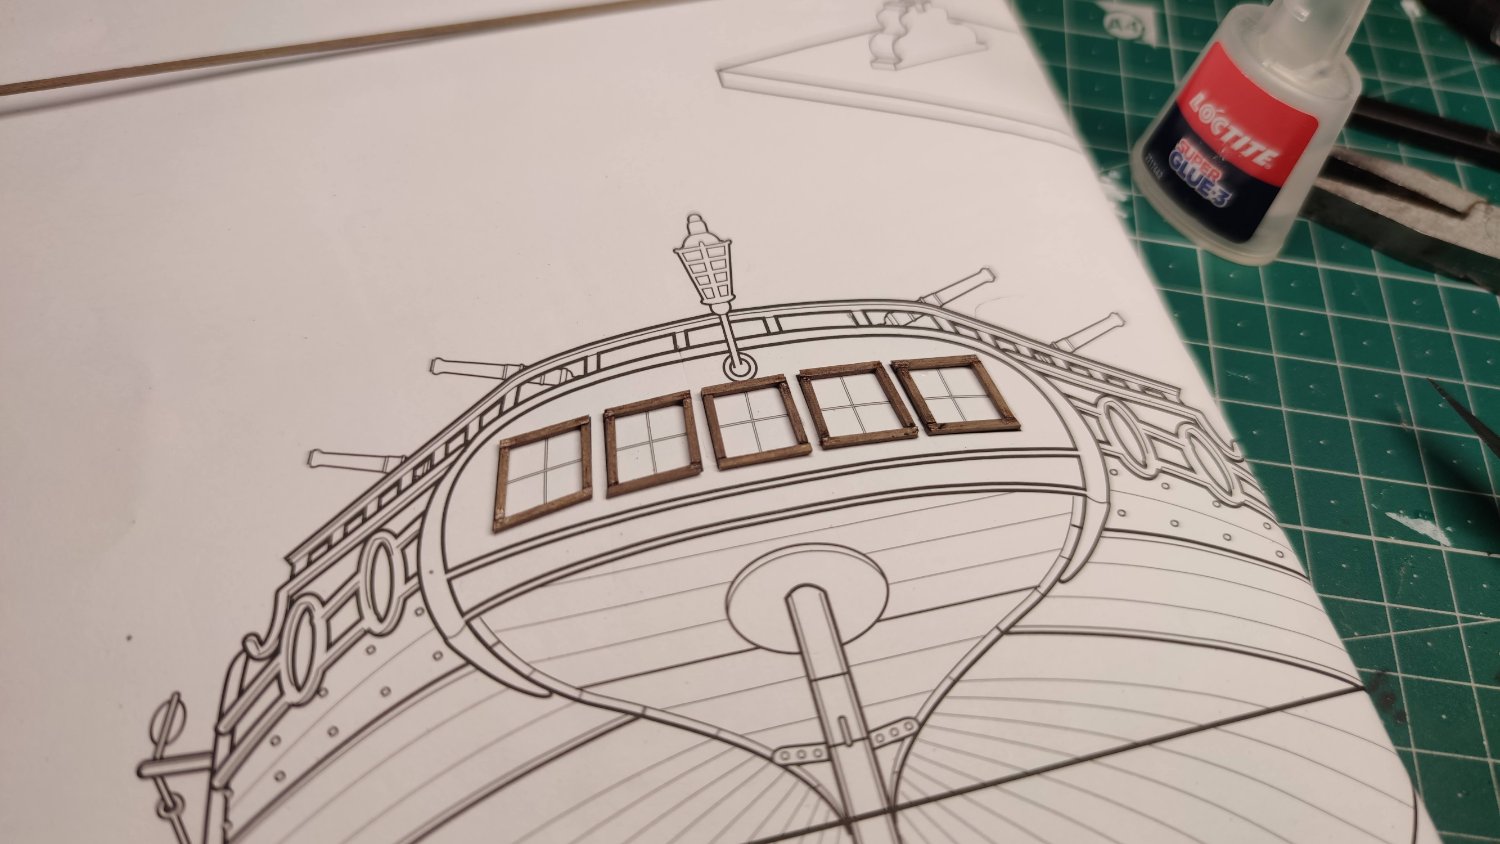
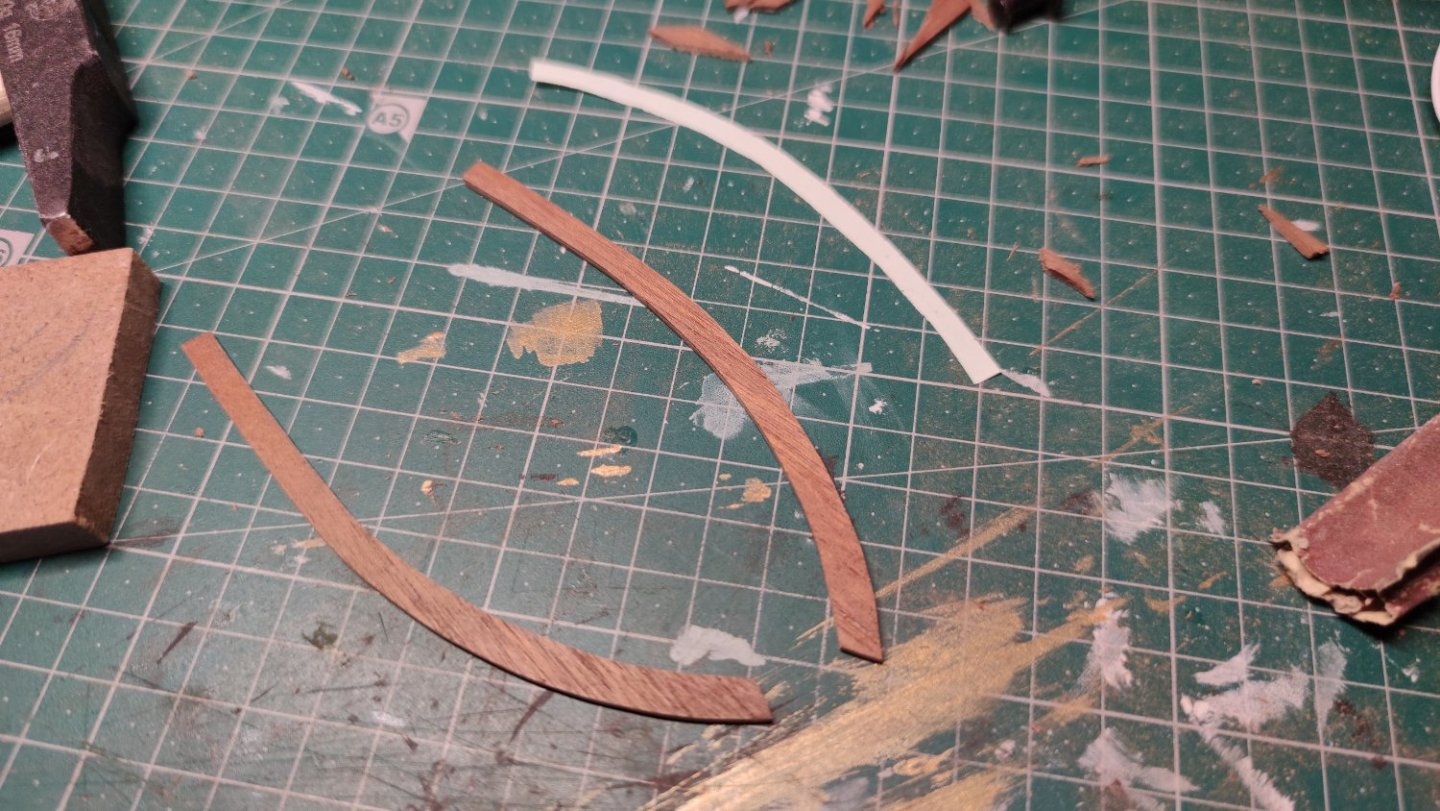
Last week, I slightly curved the stern plate, which was not easy because of the thickness of the plywood piece. Despite that, the gluing was a bit tricky... Then, I prepared the fake windows, with 1x1 strips instead of the 1x2 recommended in the instructions which seemed too big. I don't know if I paint them gold because the walnut colour looks good, The rudder chains were blackened and installed. The white part of the hull was varnished. The storage of the cannonballs was drilled out with a round drill bit and painted with walnut colorant. I added the top part of the rails with 1.5x5 walnut strips. However, these strips had to be bent to fit the shape, I tried to do this with an steam iron but the strips broke. As I can cheat by painting the walnut pieces, I took some leftover sapelli, glued them and then cut them to form the railings. I'm quite happy with it!


-
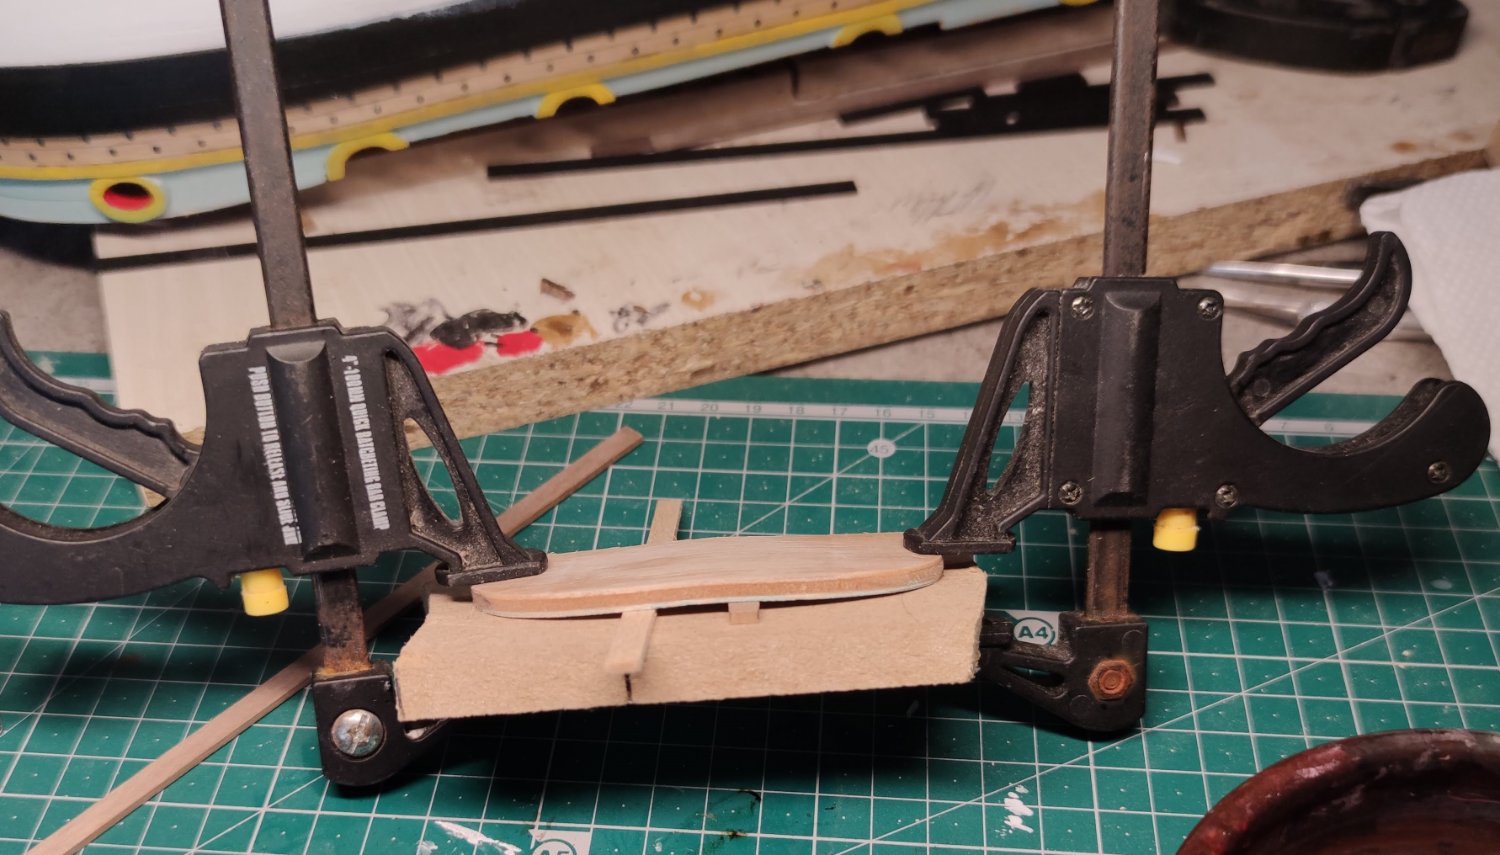
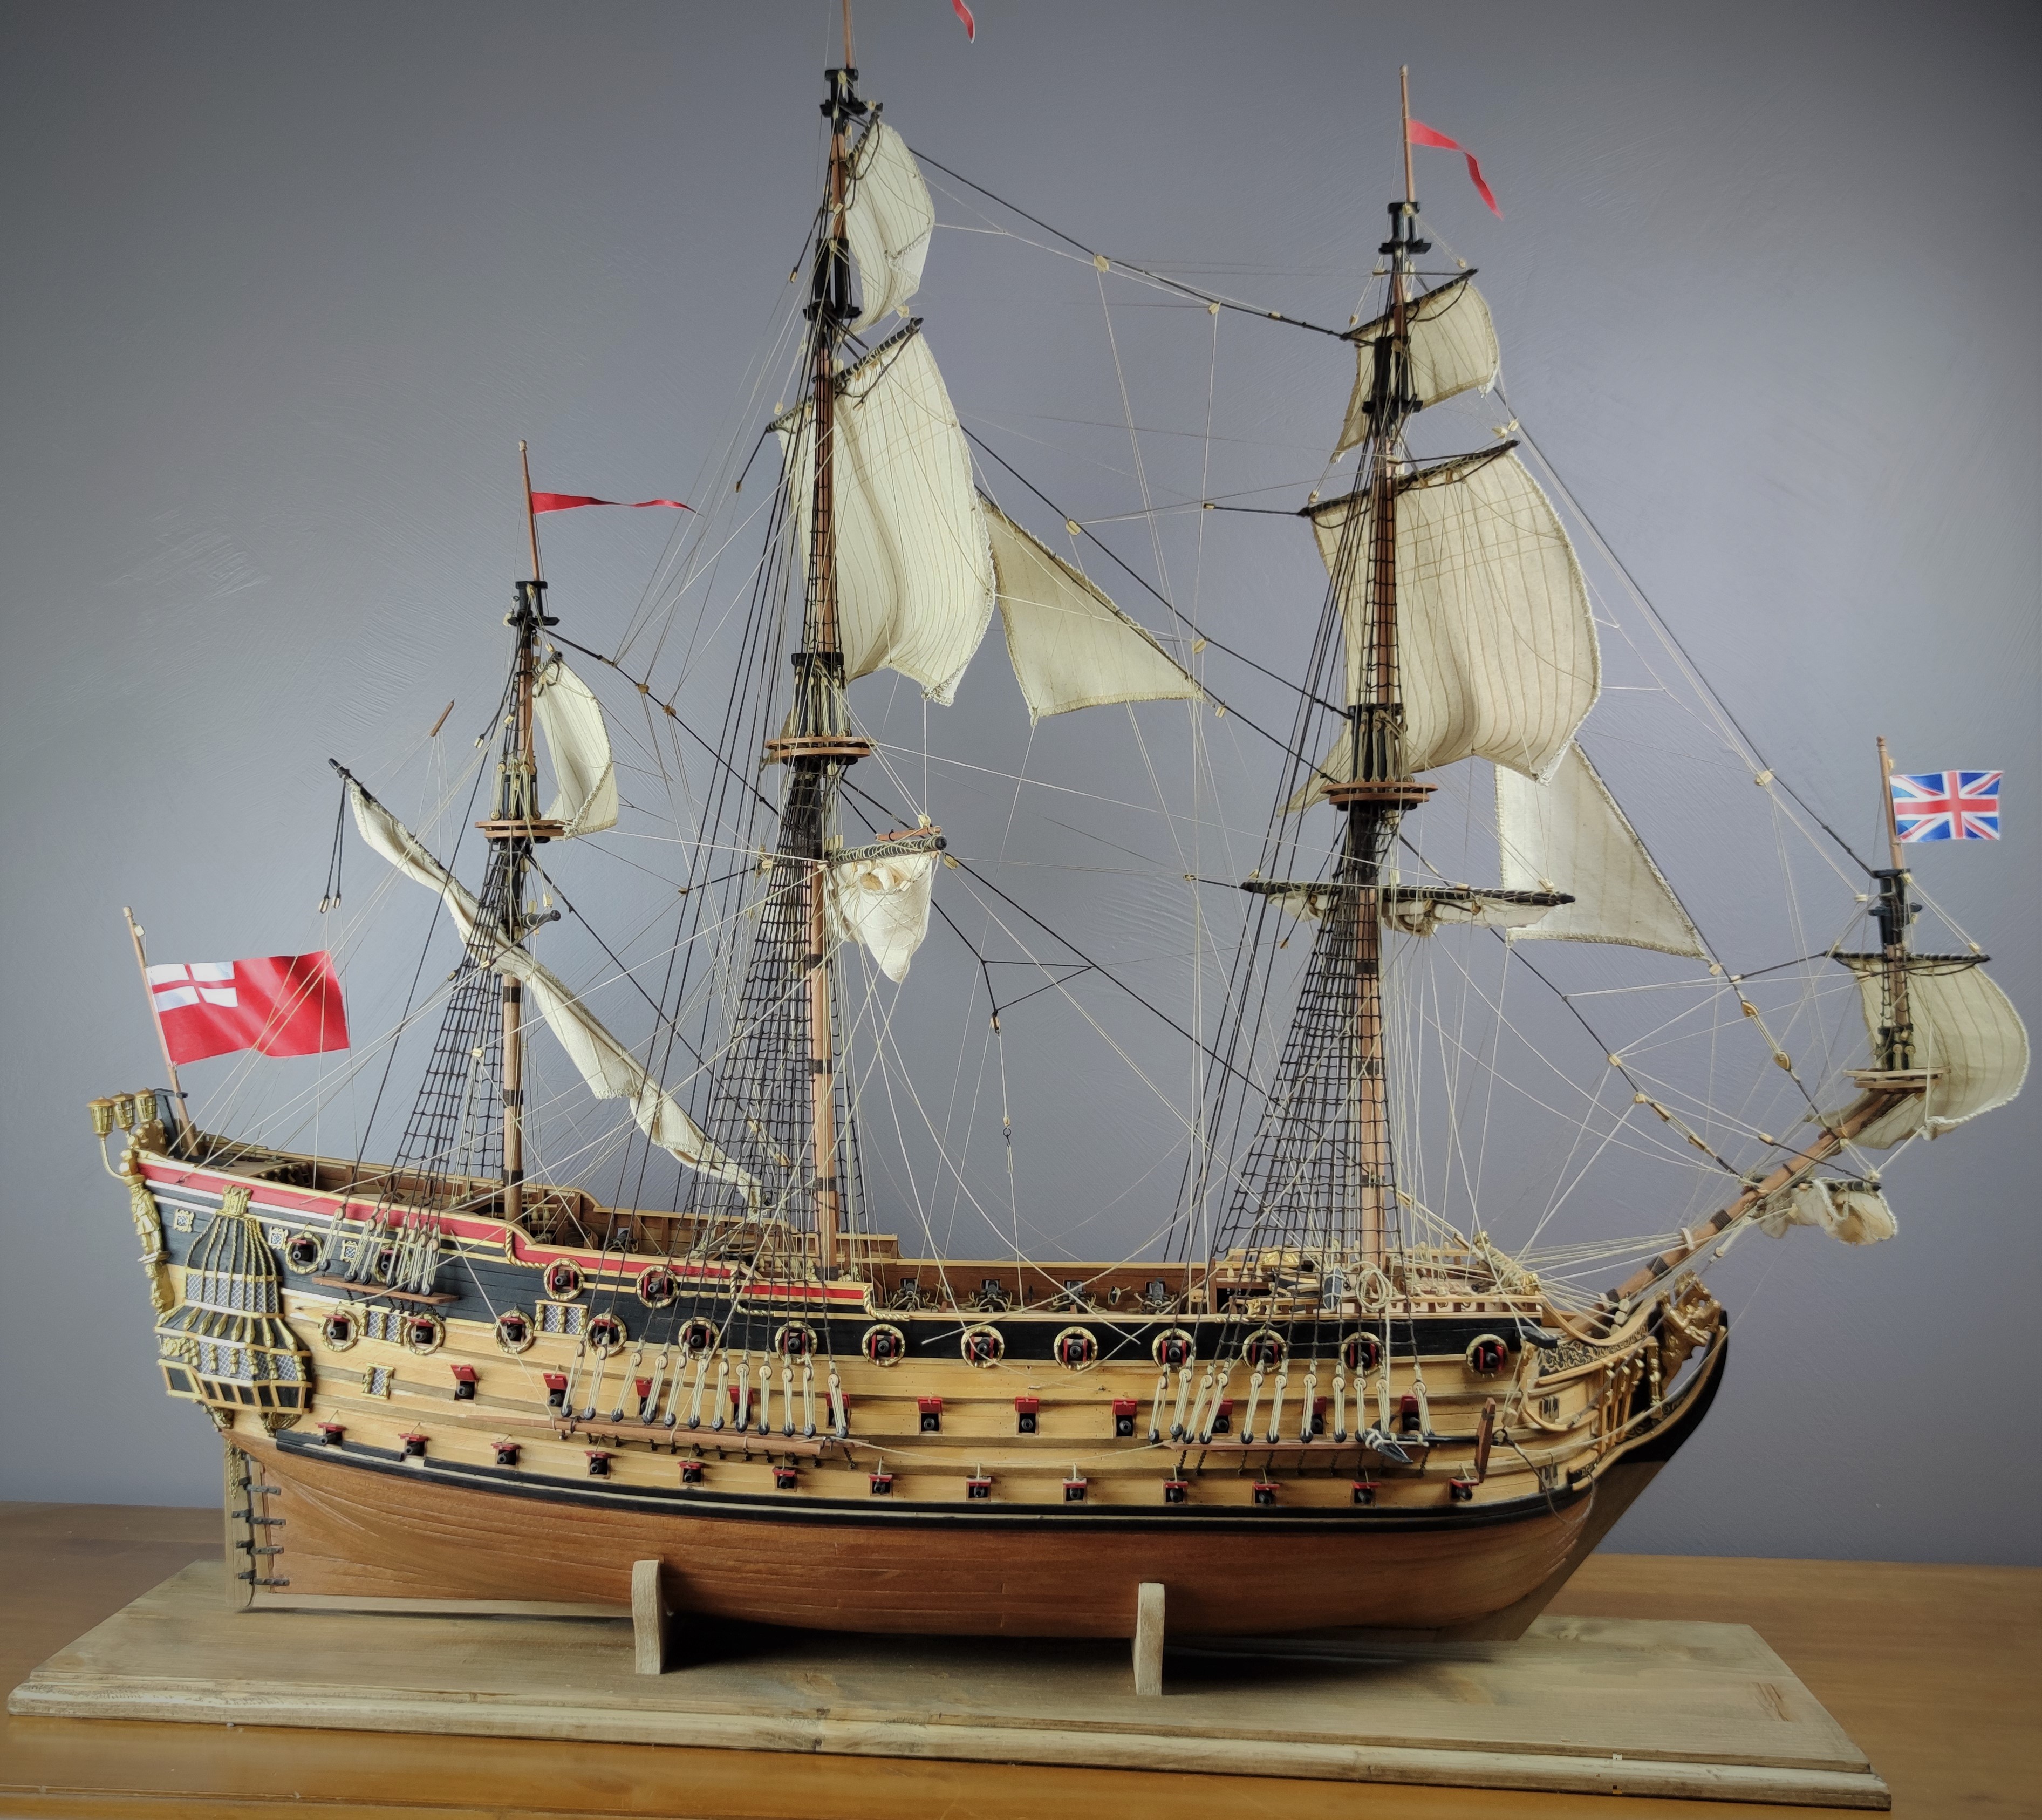
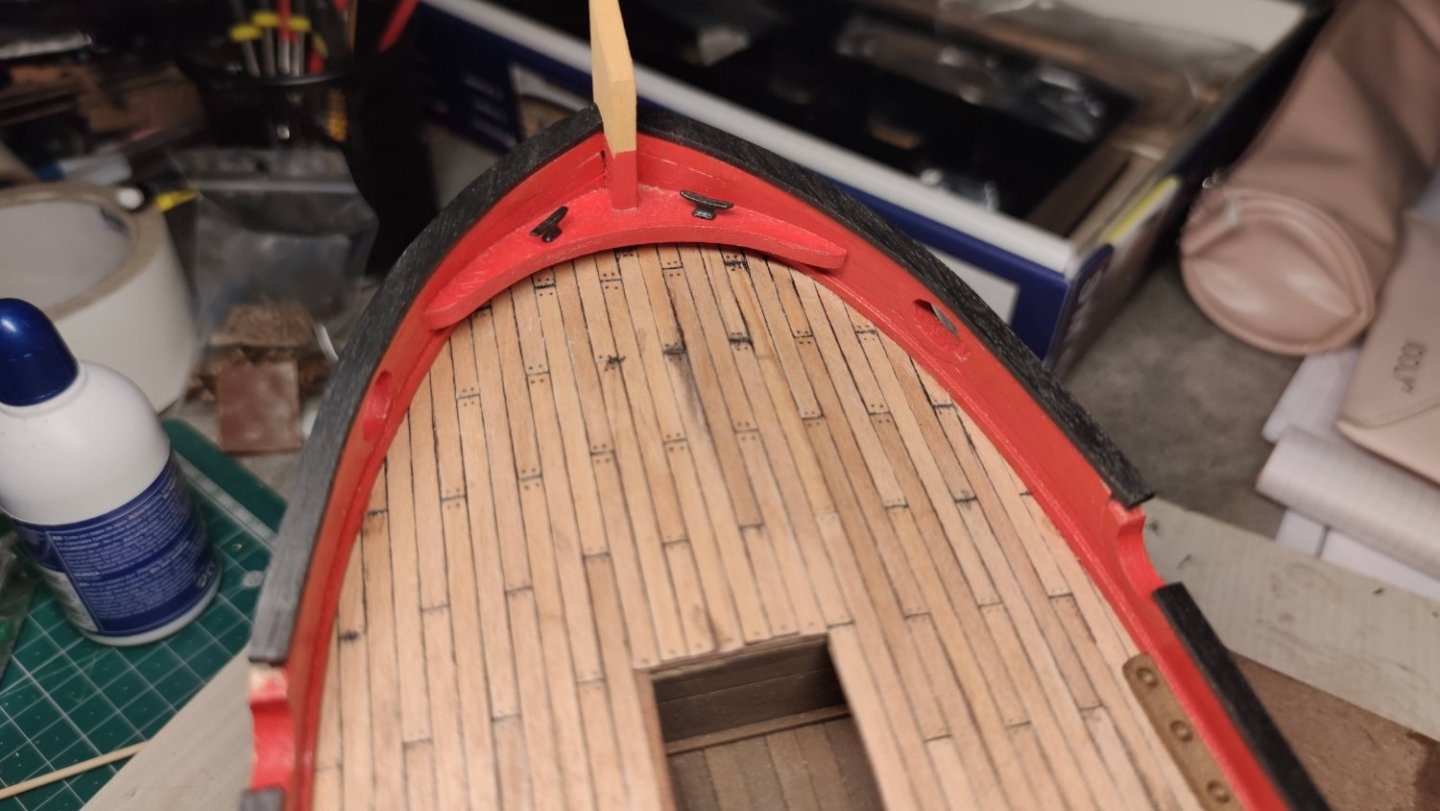
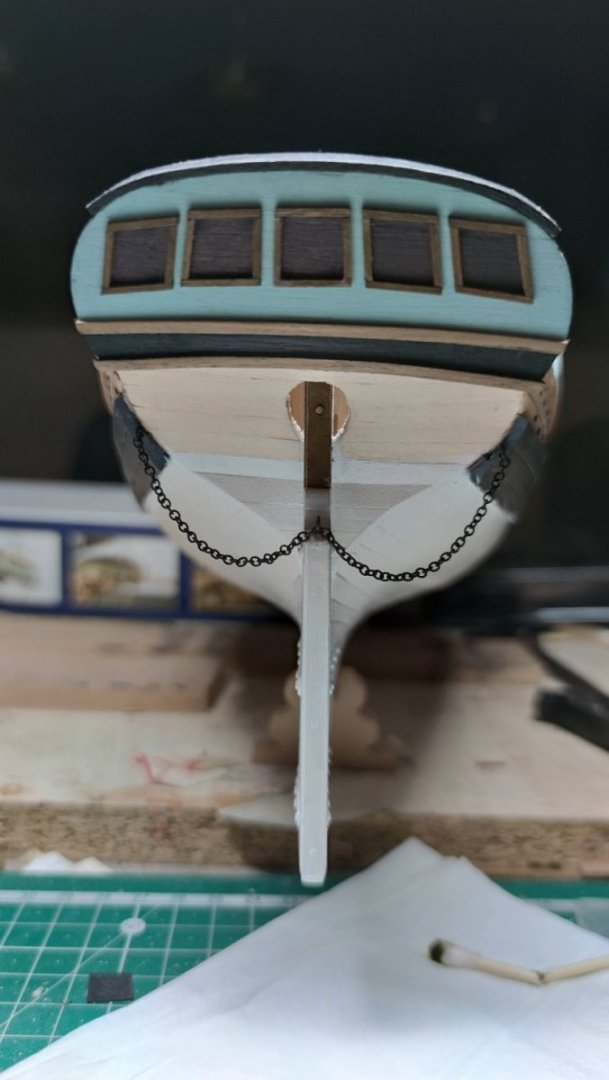
I continued the work on the inside, adding some putty, sanding and repainting. I added this piece to the bow (does it have a special name?) which required a lot of adjustments, then the whole thing was covered with a coat of satin varnish: On the outside, I painted a first coat in light blue, added 2 second planking strips with the nails and then the wales, which will be painted in black. Later, the outlines of the ports will be highlighted in gold, as on the pictures of the box. As a bonus, a size comparison with my HMS Prince:


-
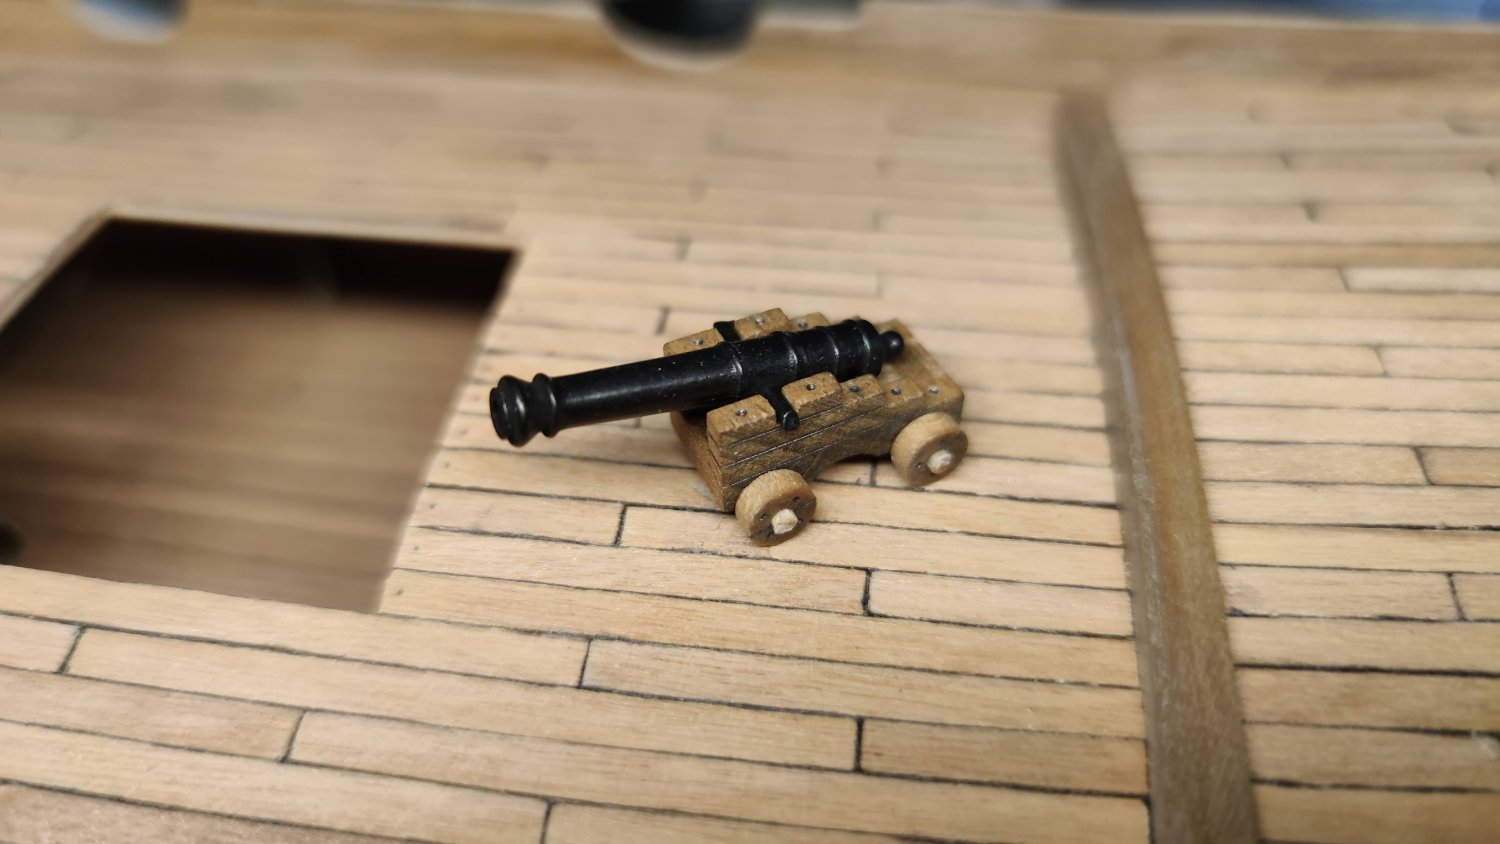
The work continued with the inner planking. I then carved the sides to insert the half circle pieces that represent the gunports. The quality of these pieces is not very good, half of them were not the same thickness (1mm difference) and I adjusted them to obtain correct curves. I also built a gun, for once they are of good quality, already blackened and with few traces of molding, which is a big improvement compared to my HMS Prince guns which were terrible. The supports are well shaped (but maybe a bit too big). I added some pencil marks to detail them, but I'll add the other details later. I then glued the pieces and painted the inside. I also did some tests for the blue paint that will be applied on the outside:


-
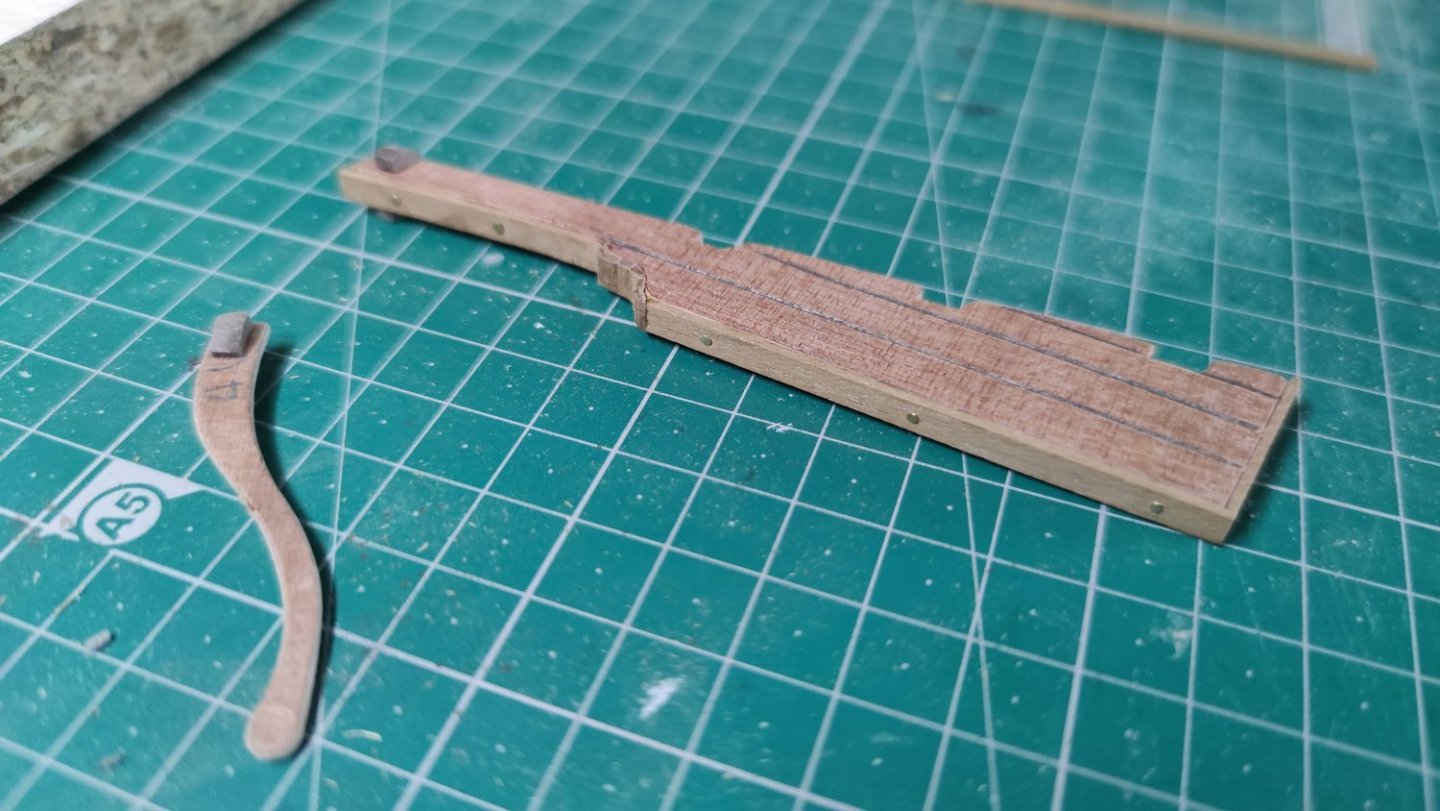
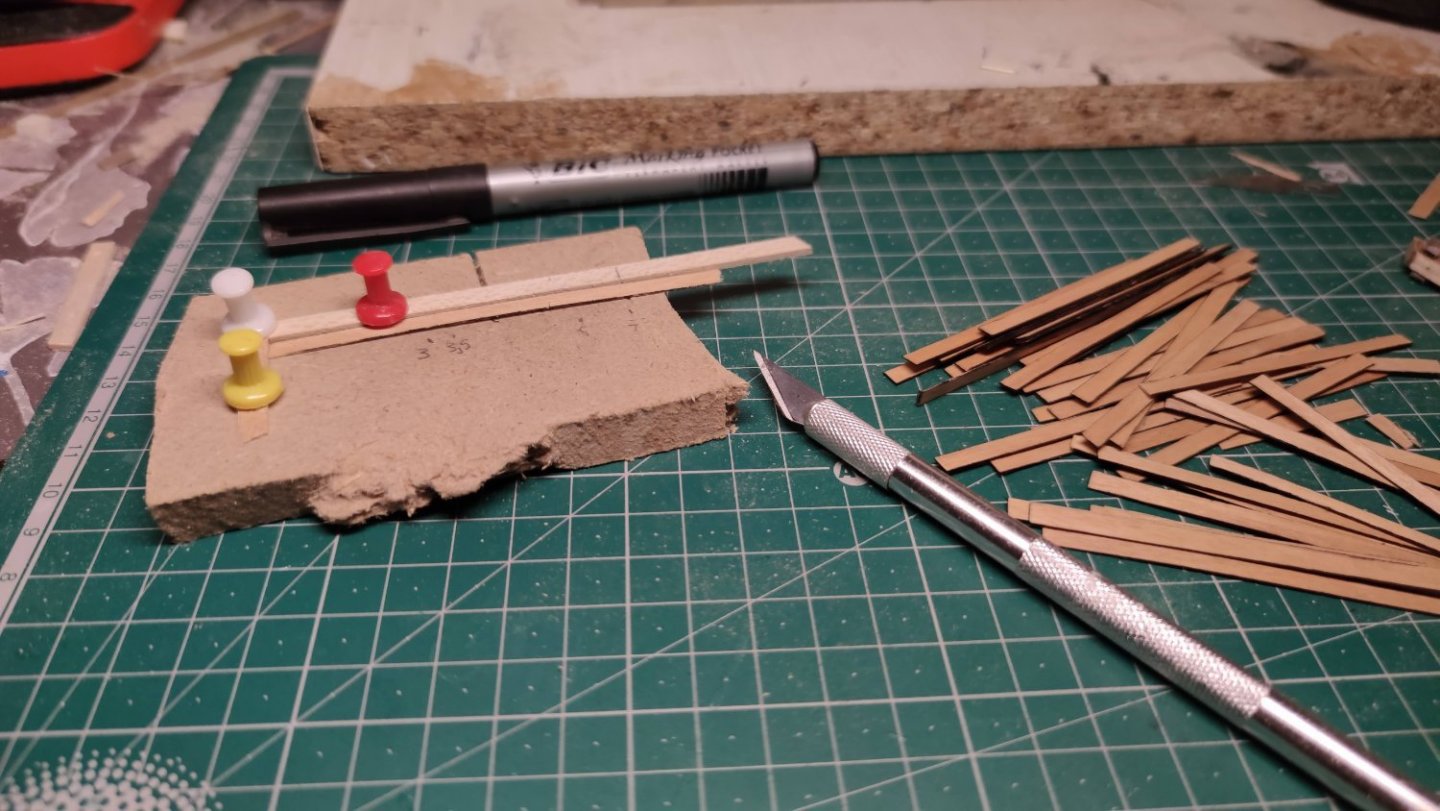
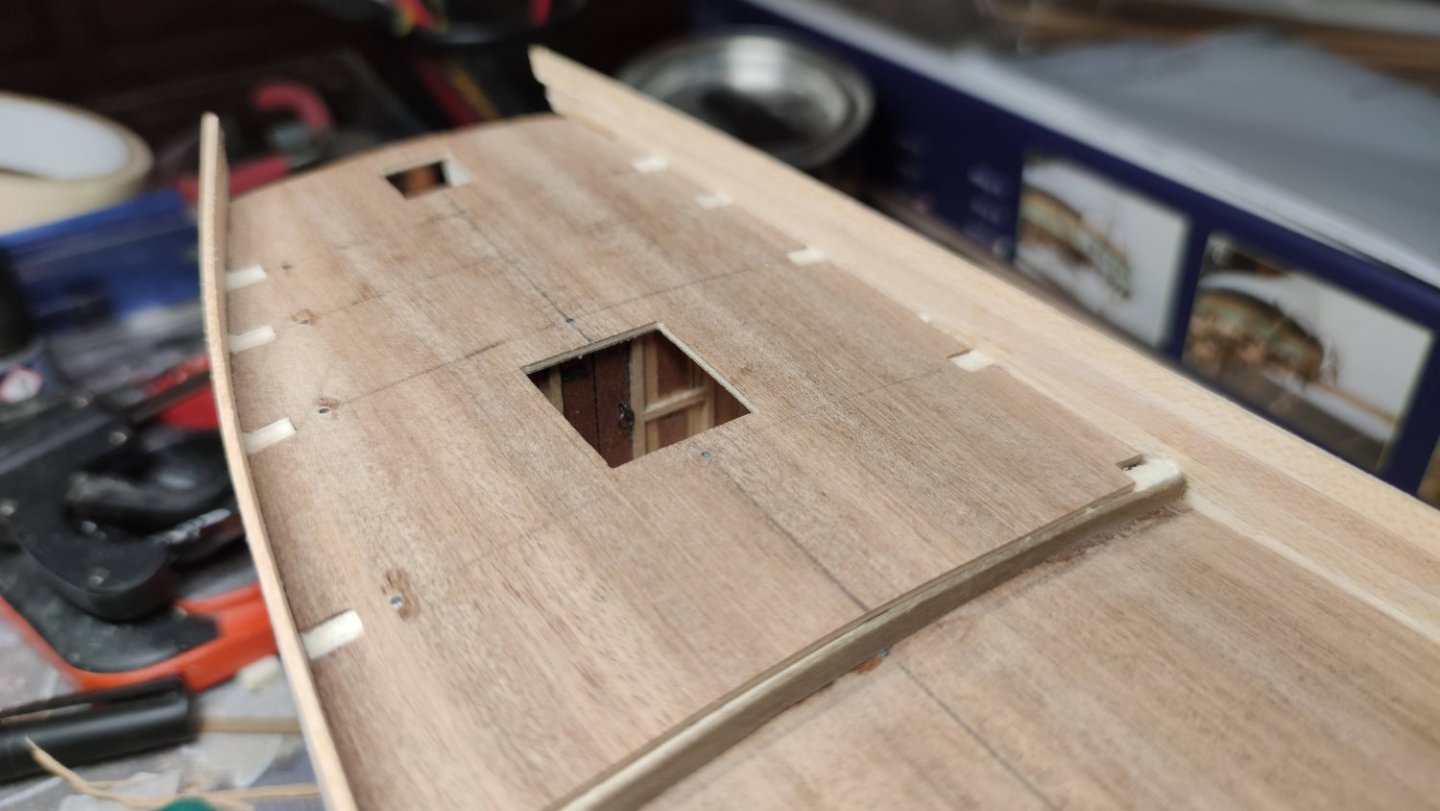
There is only a build log on an Italian website, but it is not very detailed. I will try to do my best! Also, I specify that this build will be balanced between aesthetics and feasibility, it will not necessarily be historically accurate. To change from the planking, I worked a bit on the rudder, creating lines to imitate the planks. I also added 1.5x4 walnut pieces around it as I have seen on other builds: I started to make the deck planks, cutting 6 cm pieces, then blackening the sides with a felt pen. I then fix them to the deck with neoprene glue:

-
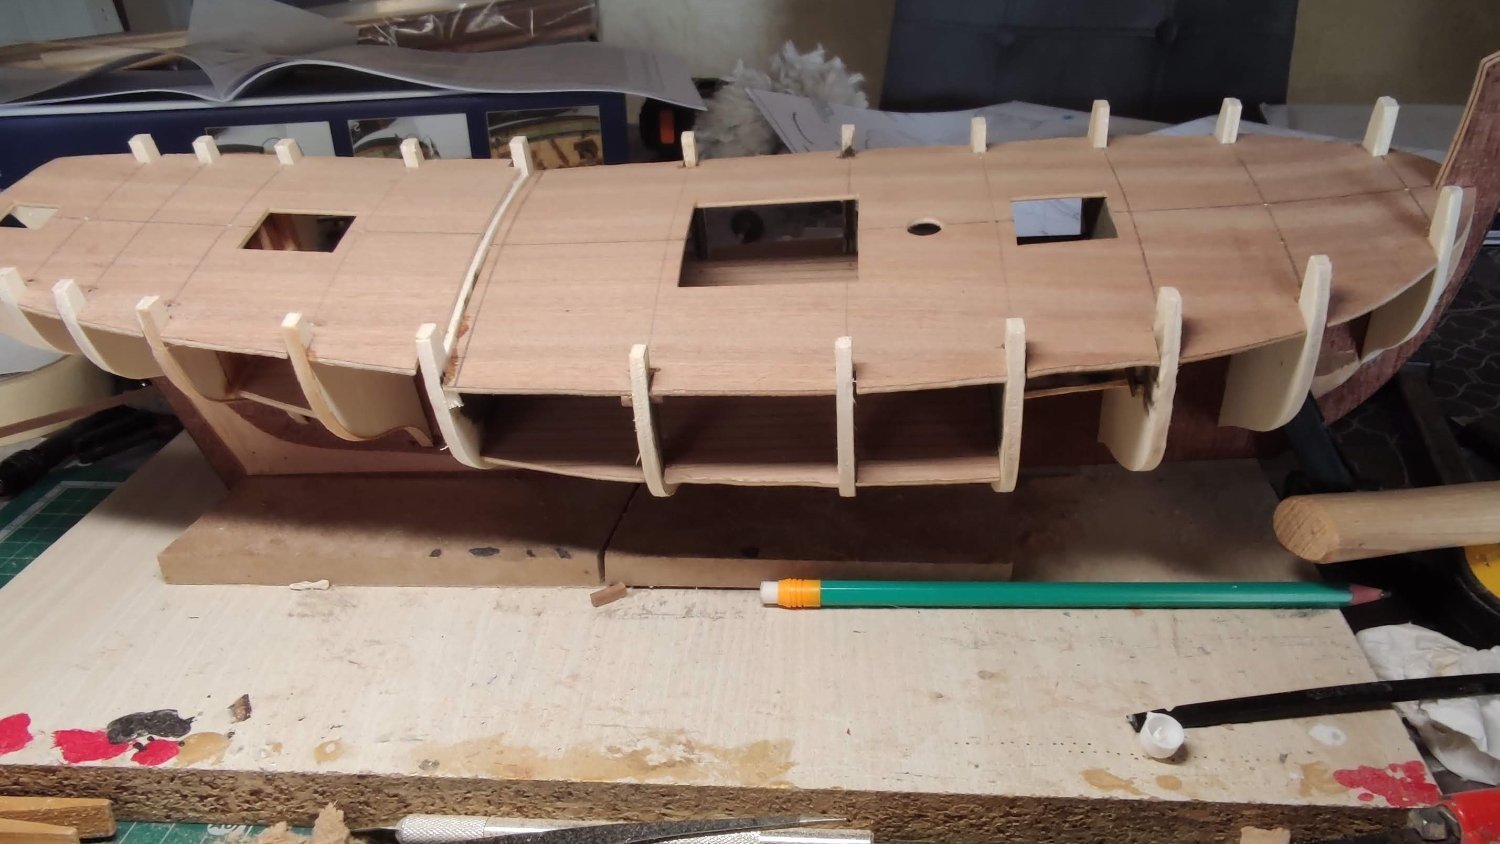
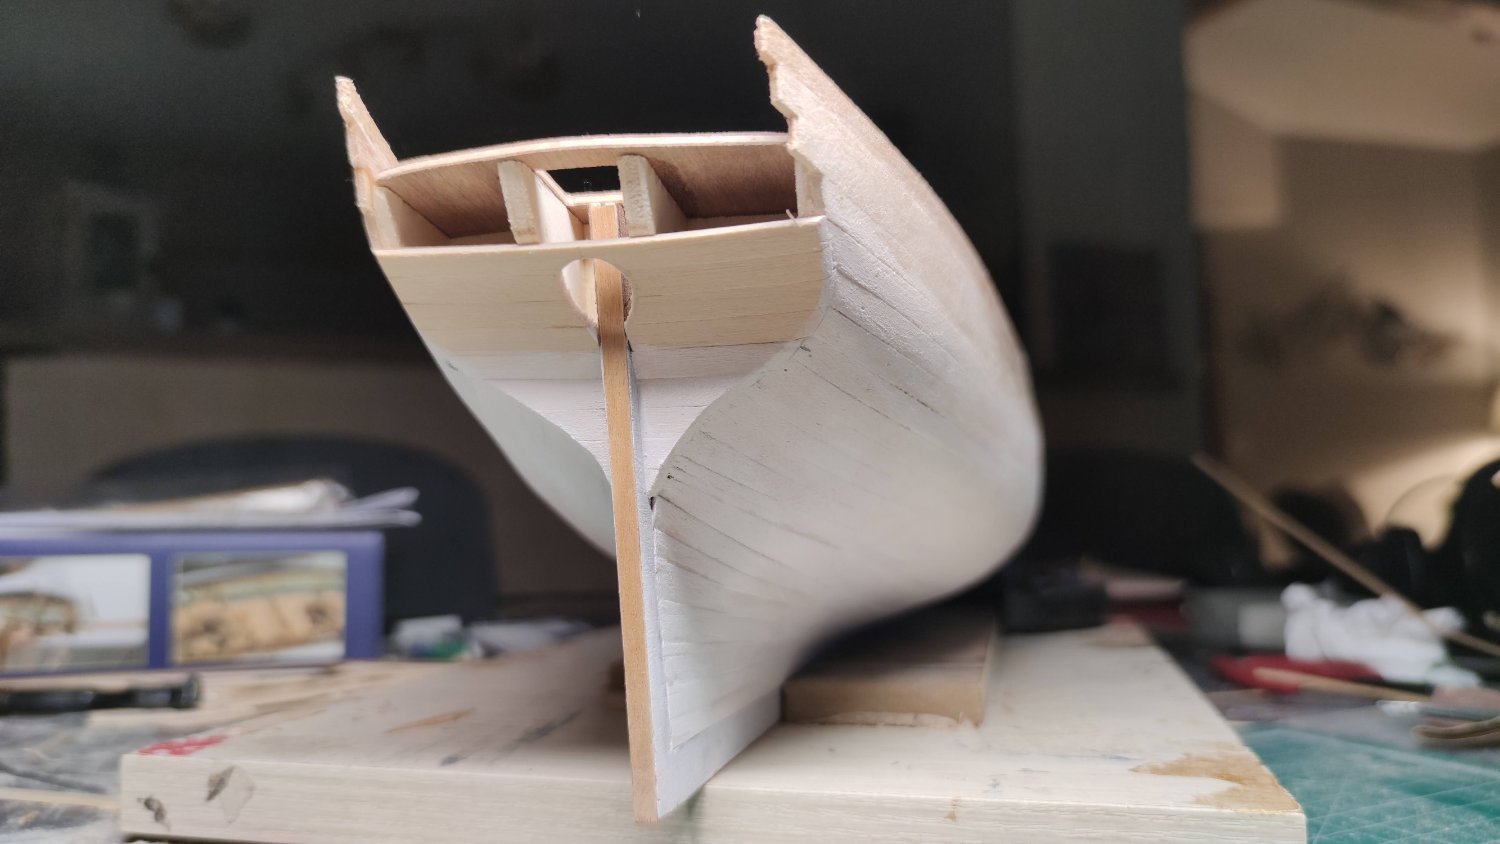
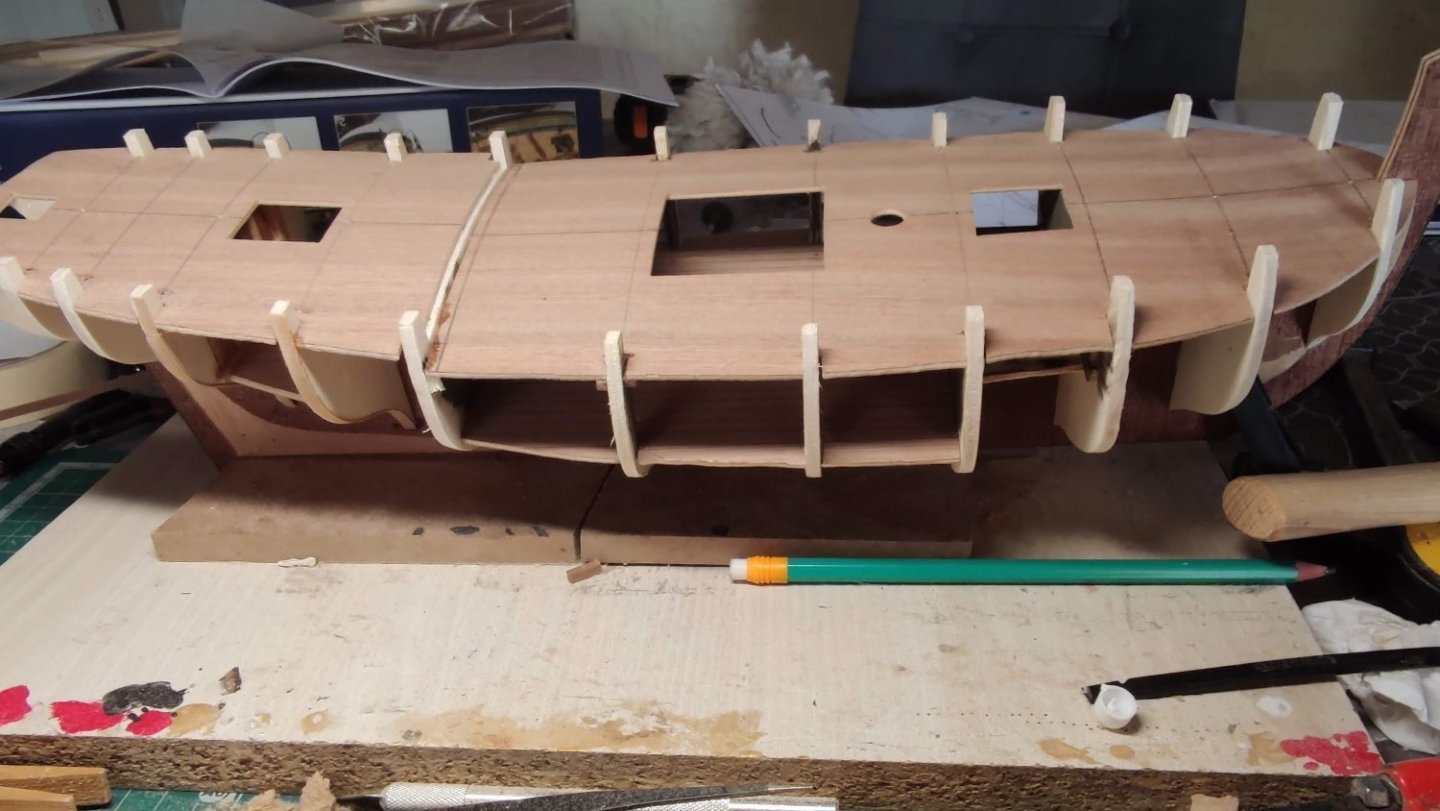
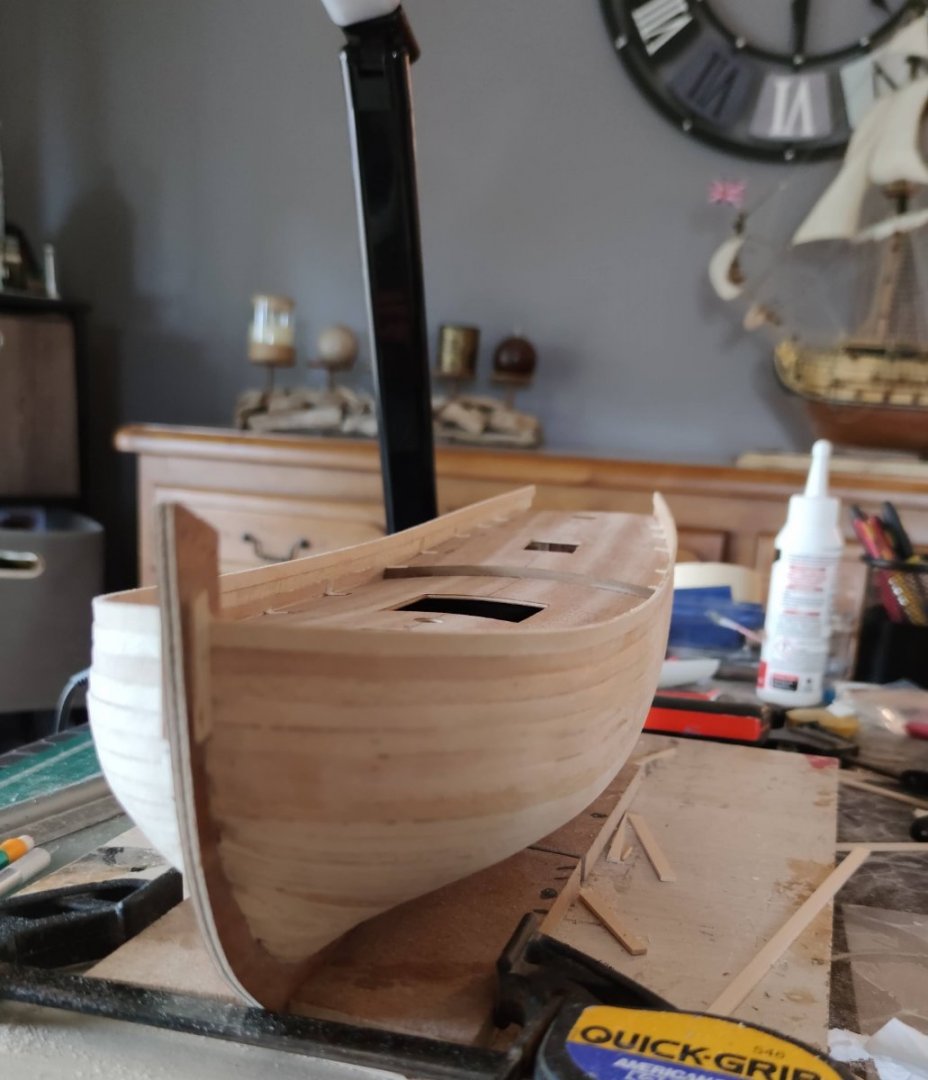
I only make a single planking even though a second planking is provided in the kit. To help me with the curves, I added wood to the bow like this:
-
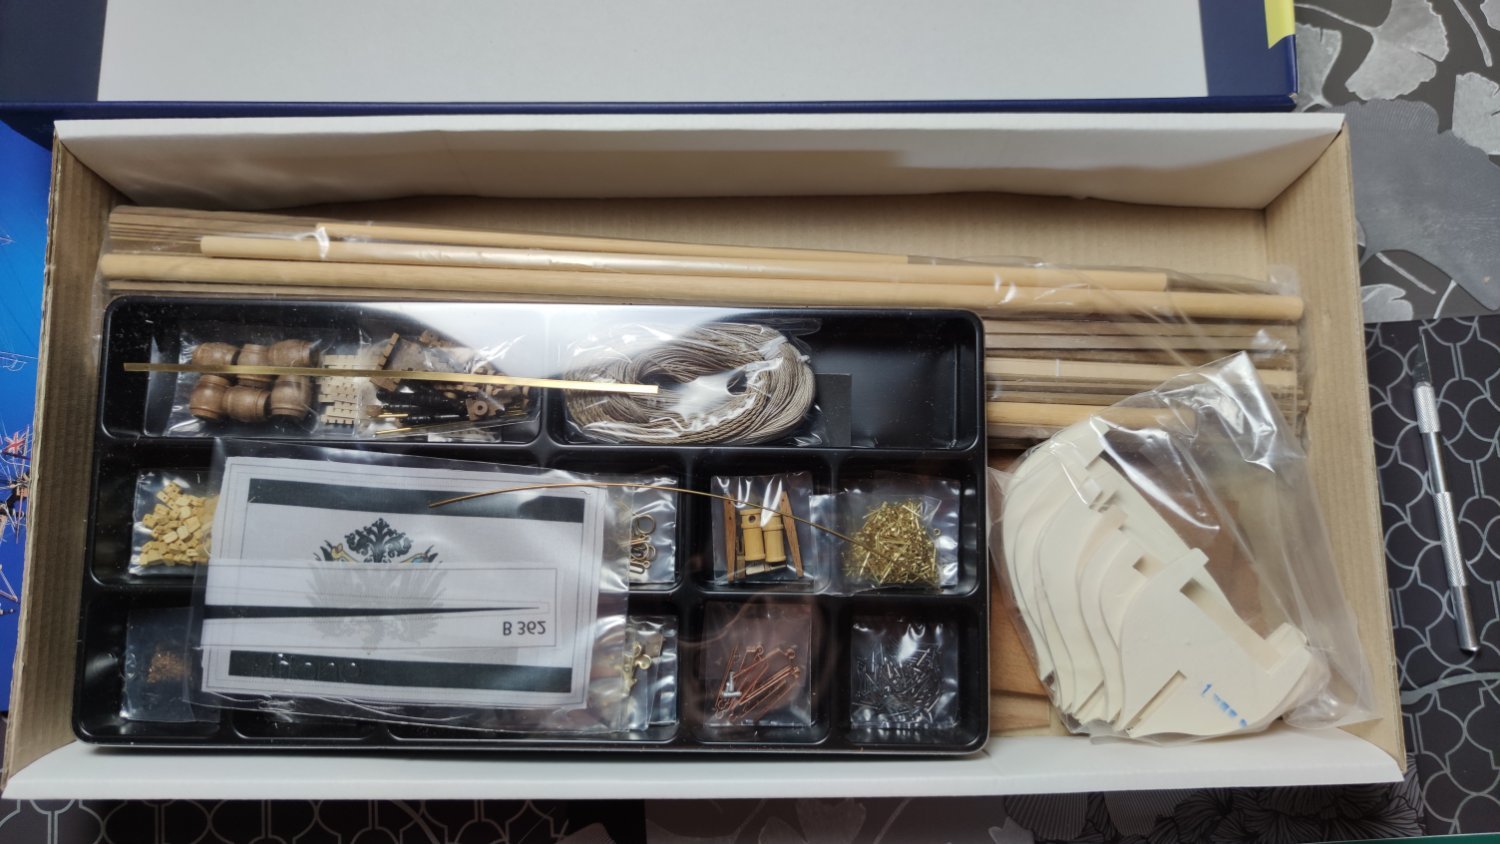
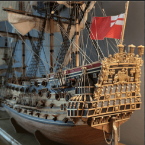
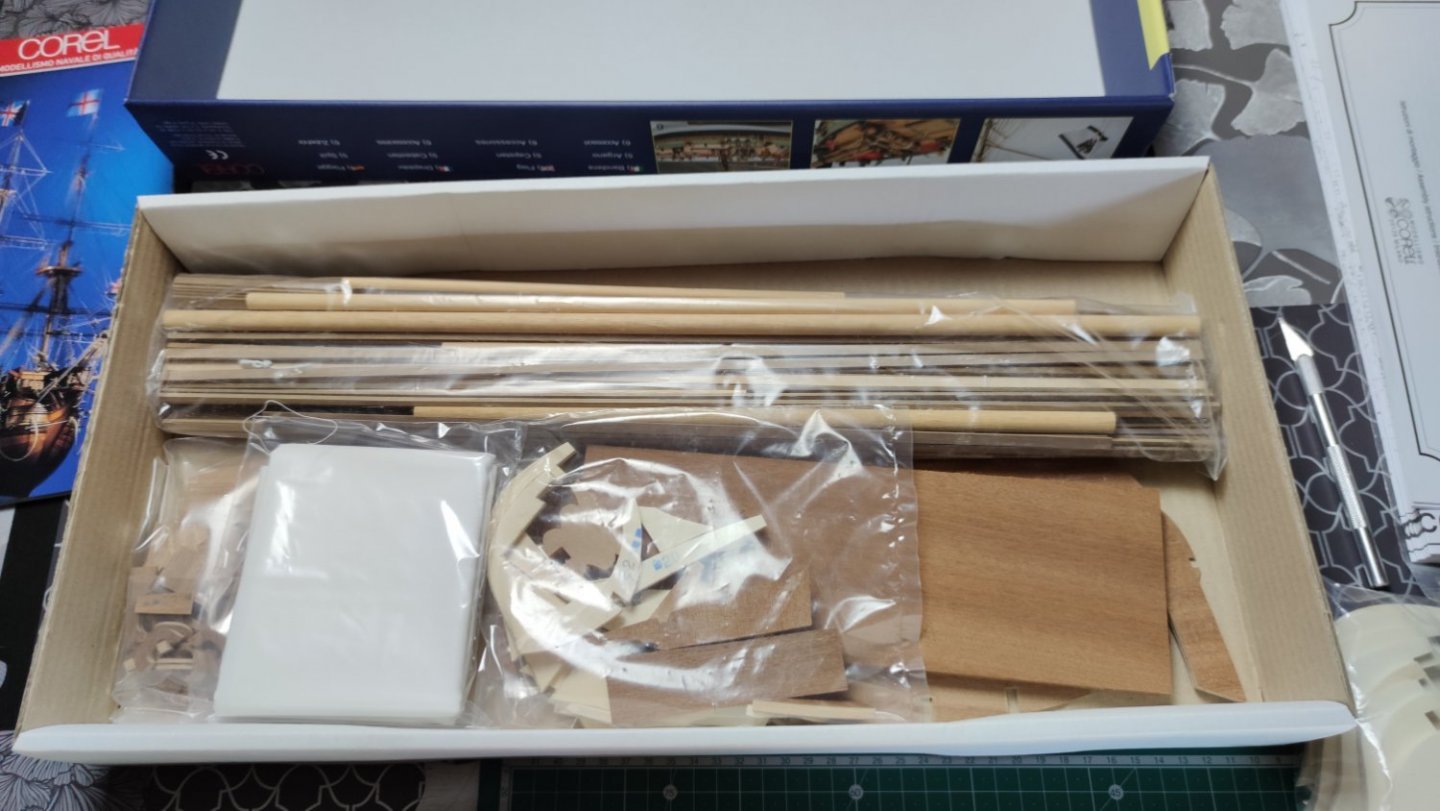
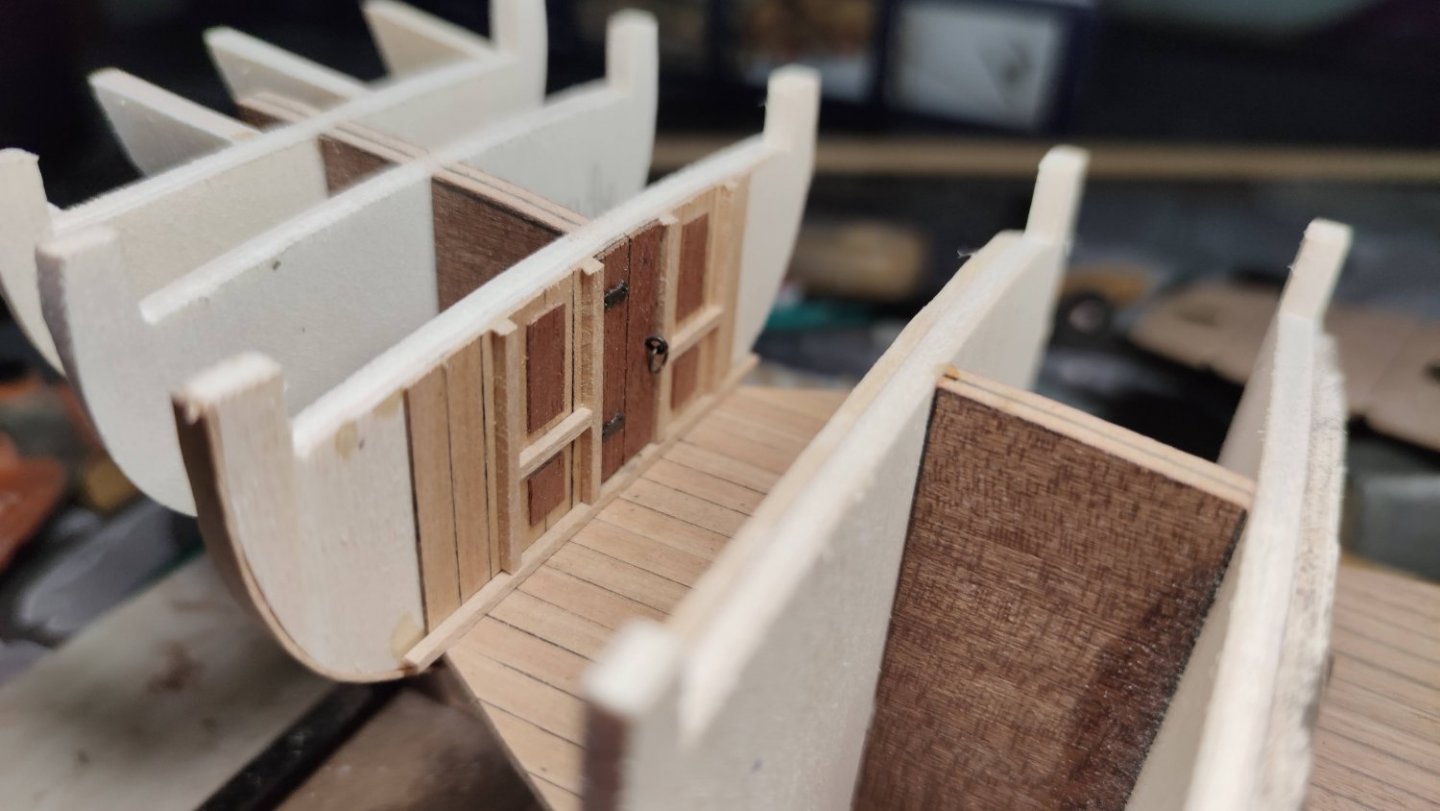
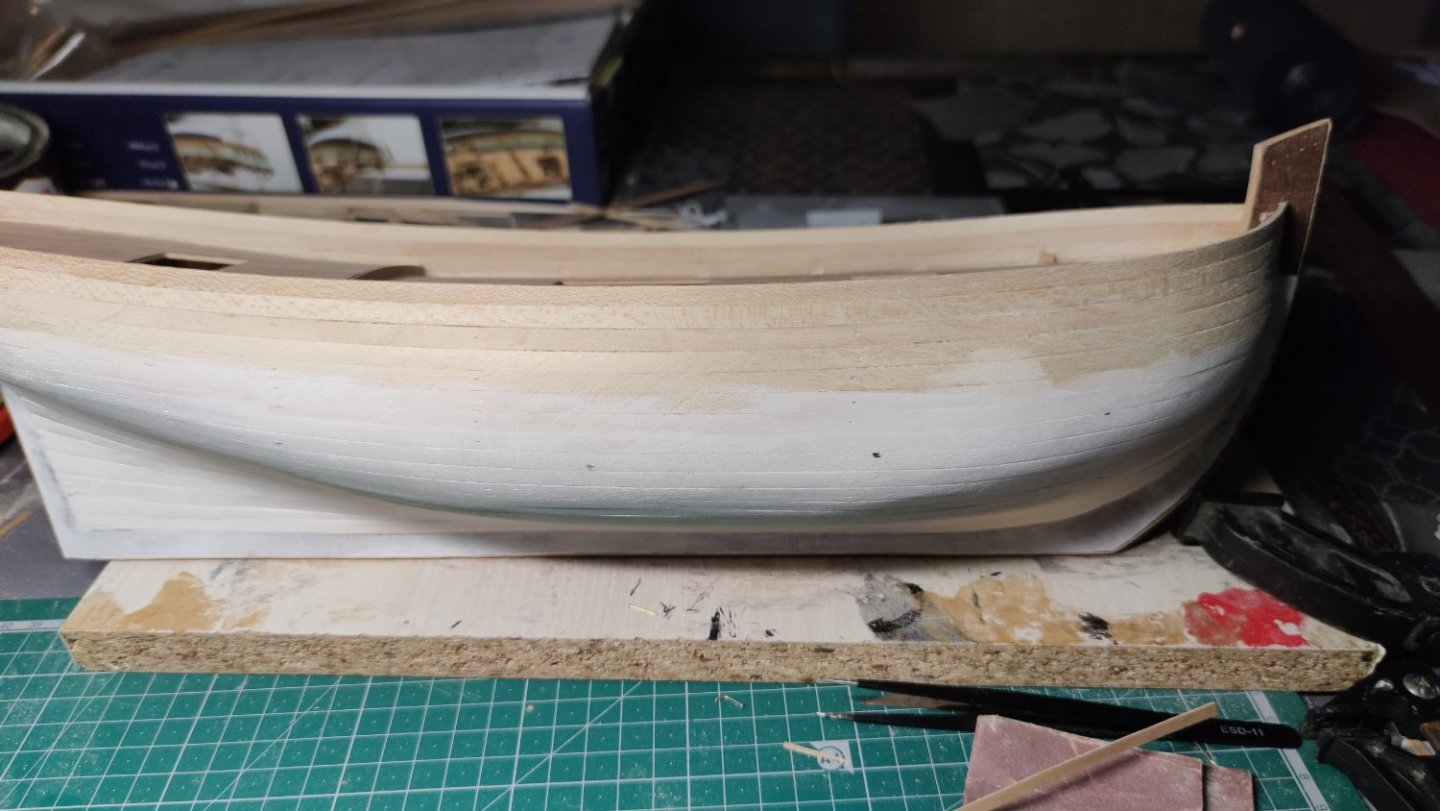
Hello everyone! I'm going to start my first build log with the King of Prussia from Corel. This is my 4th wooden ship, following the big HMS Prince from Constructo which kept me busy for more than a year. It's a smaller but quite detailed ship that I chose, my first from Corel. Here are some pictures of the box: Start of the build: Scratch build interior (will be visible through a hatch): First planking: I decided to paint this part directly in white without a second planking, because I was satisfied with the initial result, which brings out the lines of the planks. Here is the first coat, which shows some areas that need further sanding: Then I will cover the deck and add the inner planking. Feel free to share your thoughts on this build !


-
Thanks for this information but to be honest I don't have enough knowledge yet for a historical inaccuracy like this to bother me, but indeed there is a big difference between the cannons of the kit and those of the real ship. Otherwise this website is very interesting, I found some cannons that would be more appropriate for the 17th century. But first I'll try to contact Constructo to know if these parts are defective (maybe they'll even send me the right parts...).
-
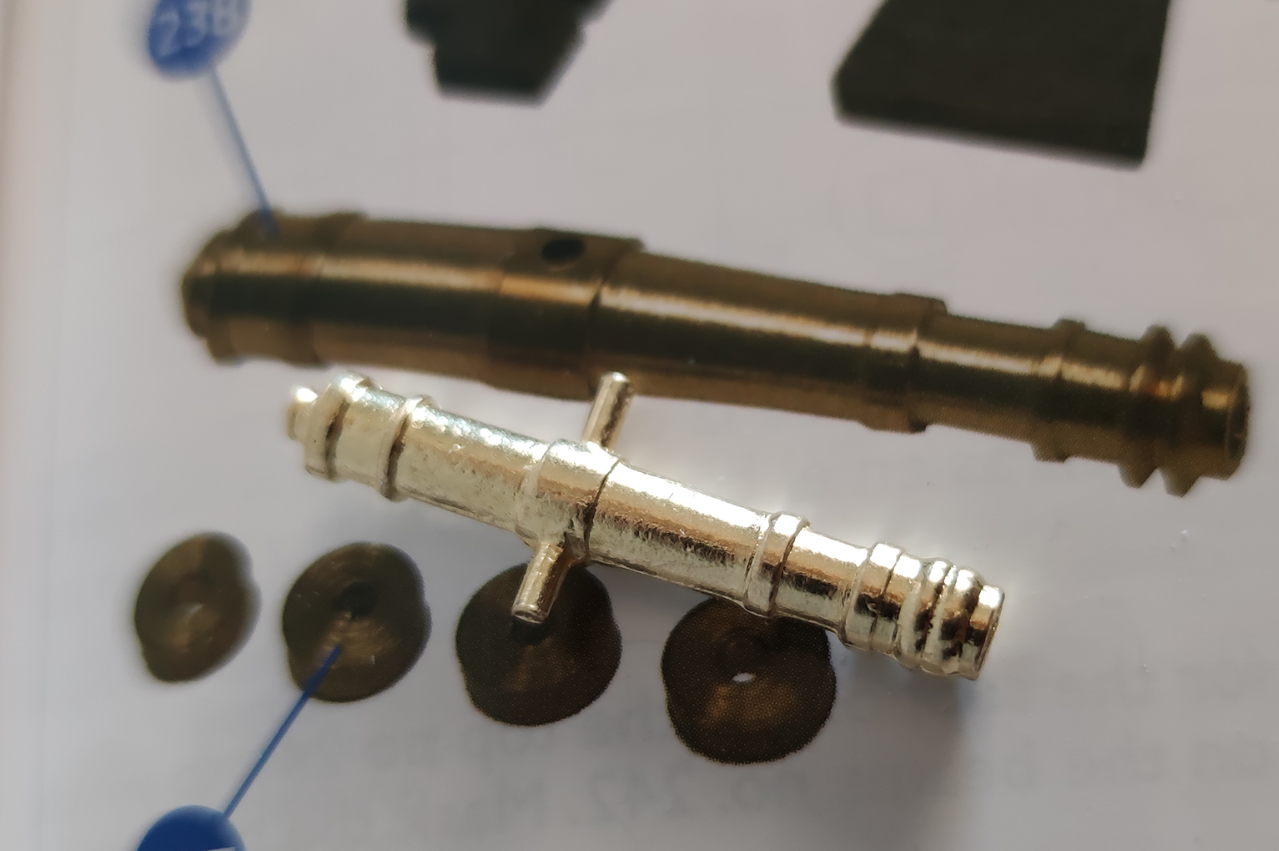
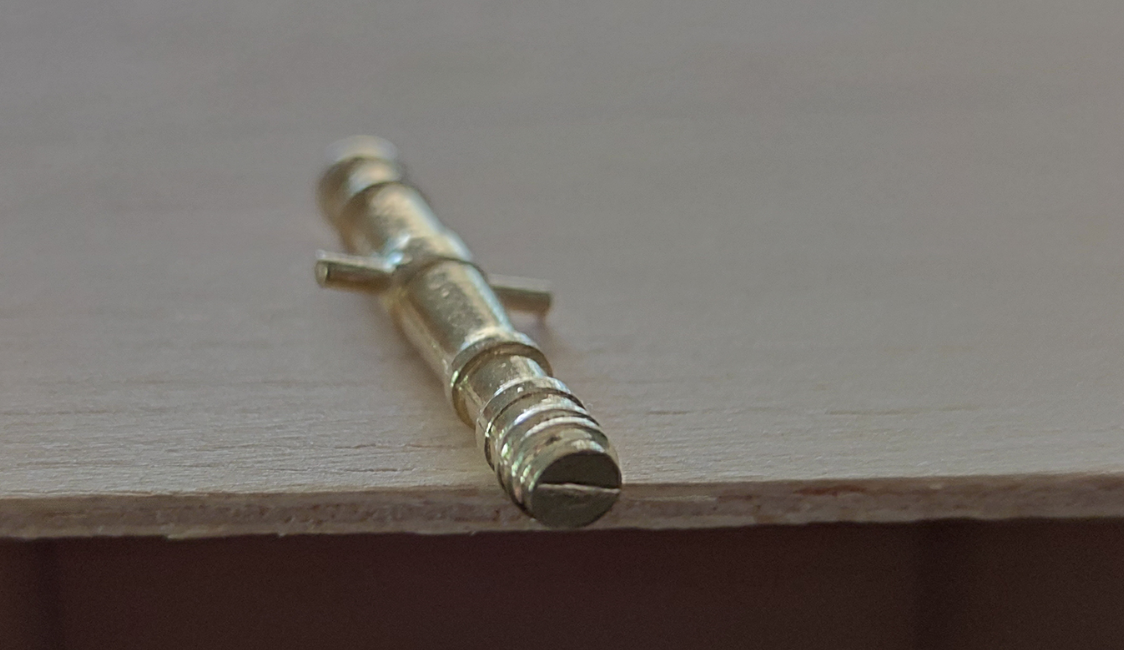
Thank you for your answer, I had looked a lot at this build log, and I'm sure that they are not the same type of cannons, especially considering the sharpness of the details (such as the reinforcement rings). Also, the general aspect of the cannon looks smoother. A detail that is not visible on this build log is that the cannons have no trunnion, as shown on the plan and unlike mine, which are not even straight. I think this is the old version of the kit. I bought it on a French store website, which listed this kit as discontinued right after.
-
Hello everyone, I recently received the HMS Prince by constructo in 1/61, and I am sadly surprised by the poor quality of the guns. Unlike the other details, there are big traces of mouldings, they are not drilled and the axes are not even straight. This does not look at all like what I see on the plan, and I looked at a lot of build logs but I never found this type of gun. Are these pieces defective? Maybe this is normal on the latest version of this kit? Do you have any advice on how to fix it properly? Unfortunately I don't think that my efforts would allow me to get a good result, especially since there are more than 80 guns to rework, on a model that I paid 400€. The rest of the kit seems to me of good quality, especially the new sails which are much more beautiful than the ones on the pictures.