Luis Felipe
-
Posts
48 -
Joined
-
Last visited
Content Type
Profiles
Forums
Gallery
Events
Everything posted by Luis Felipe
-
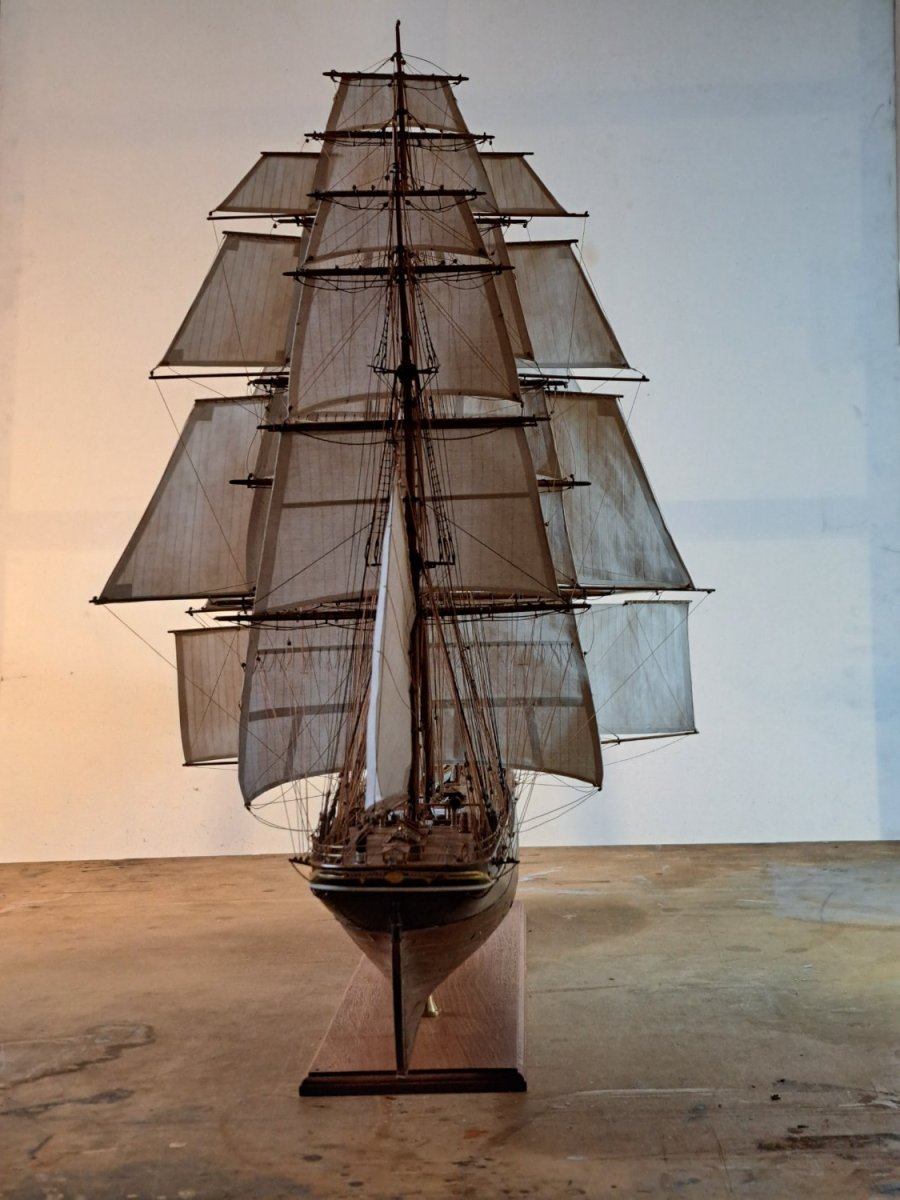
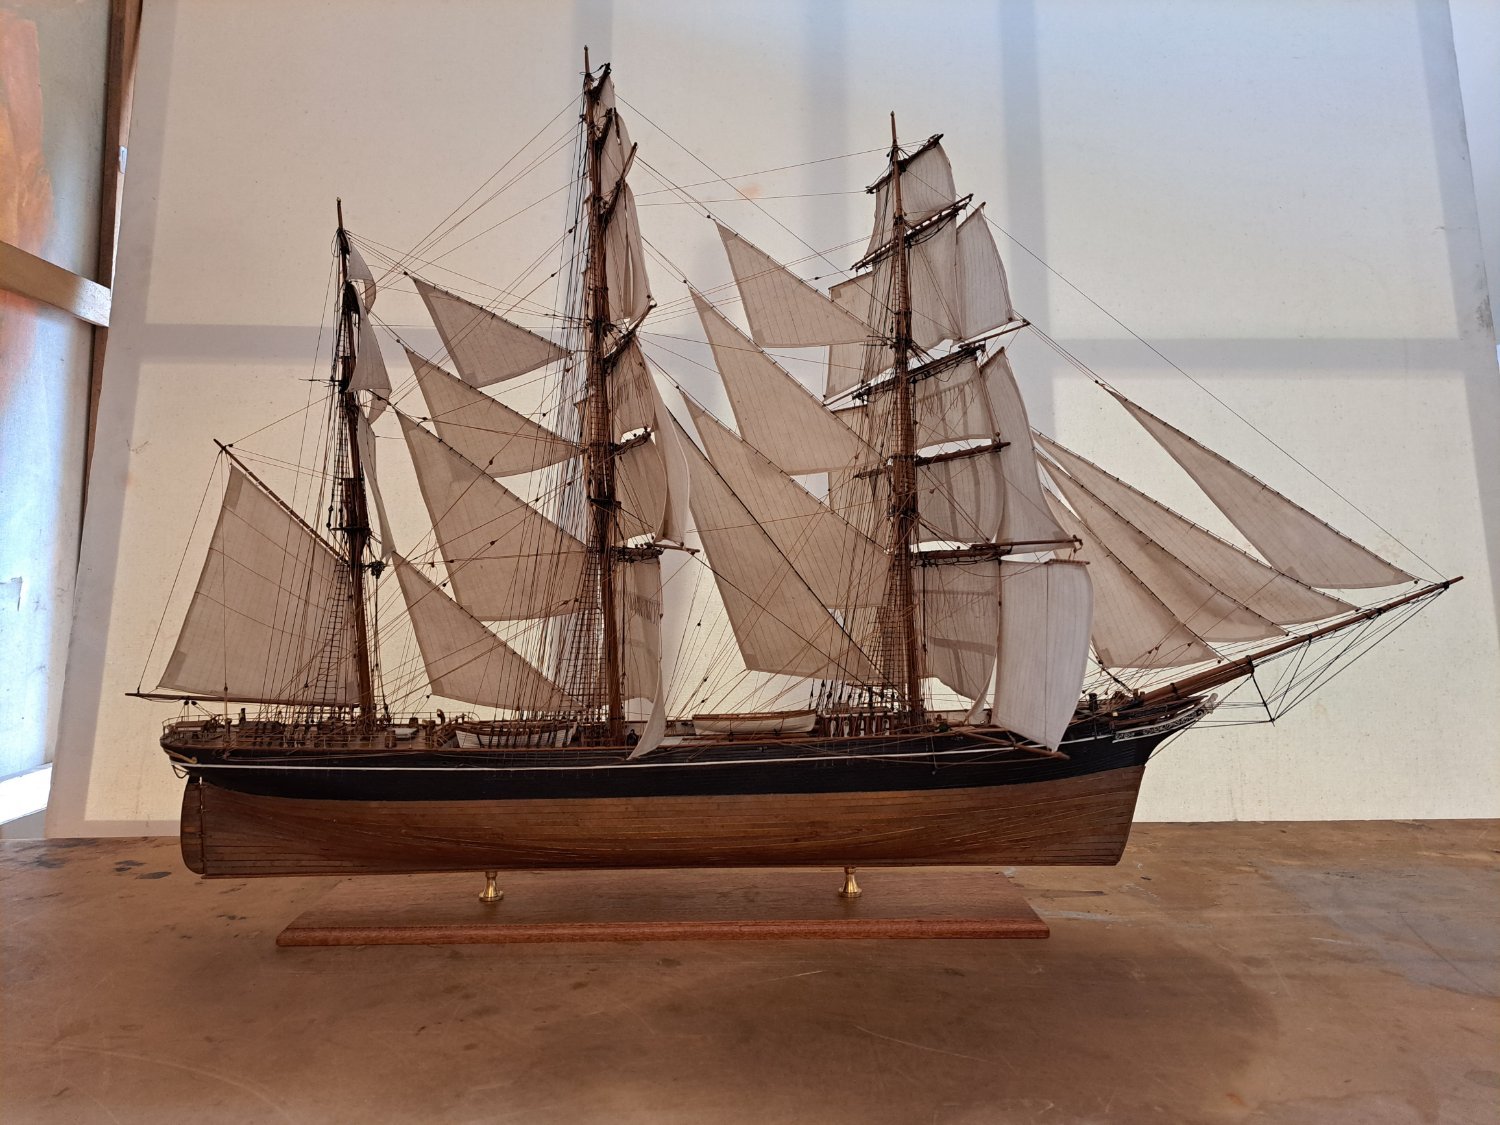
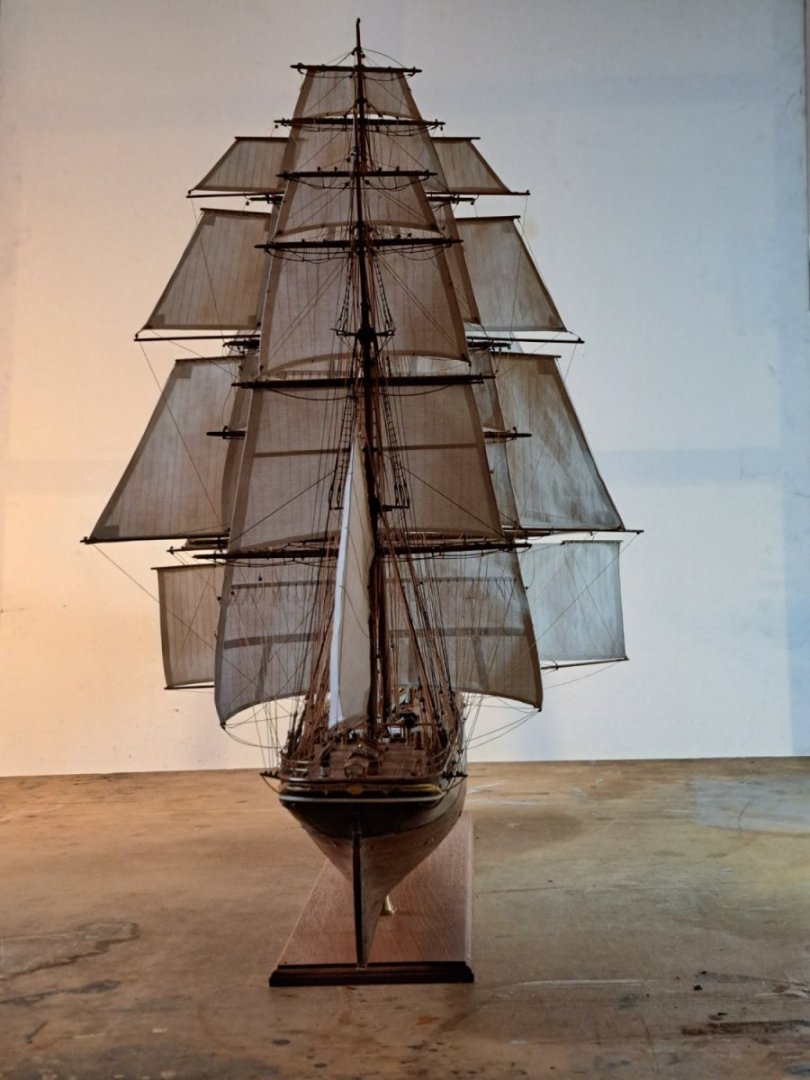
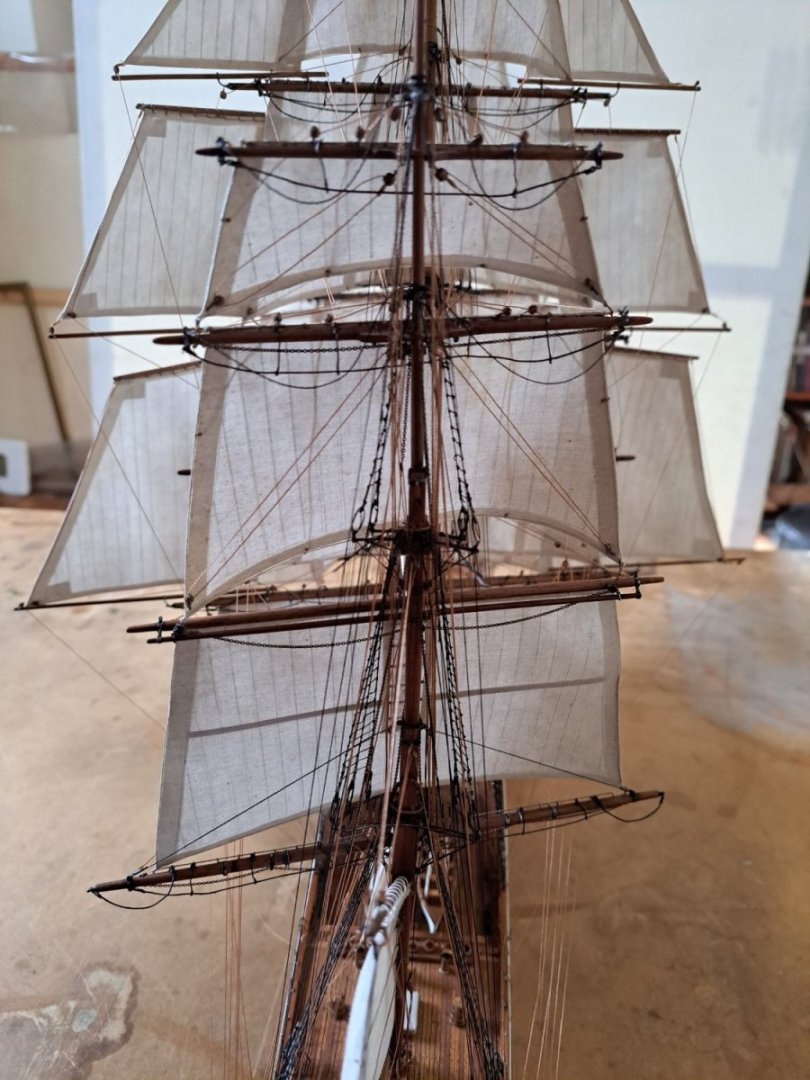
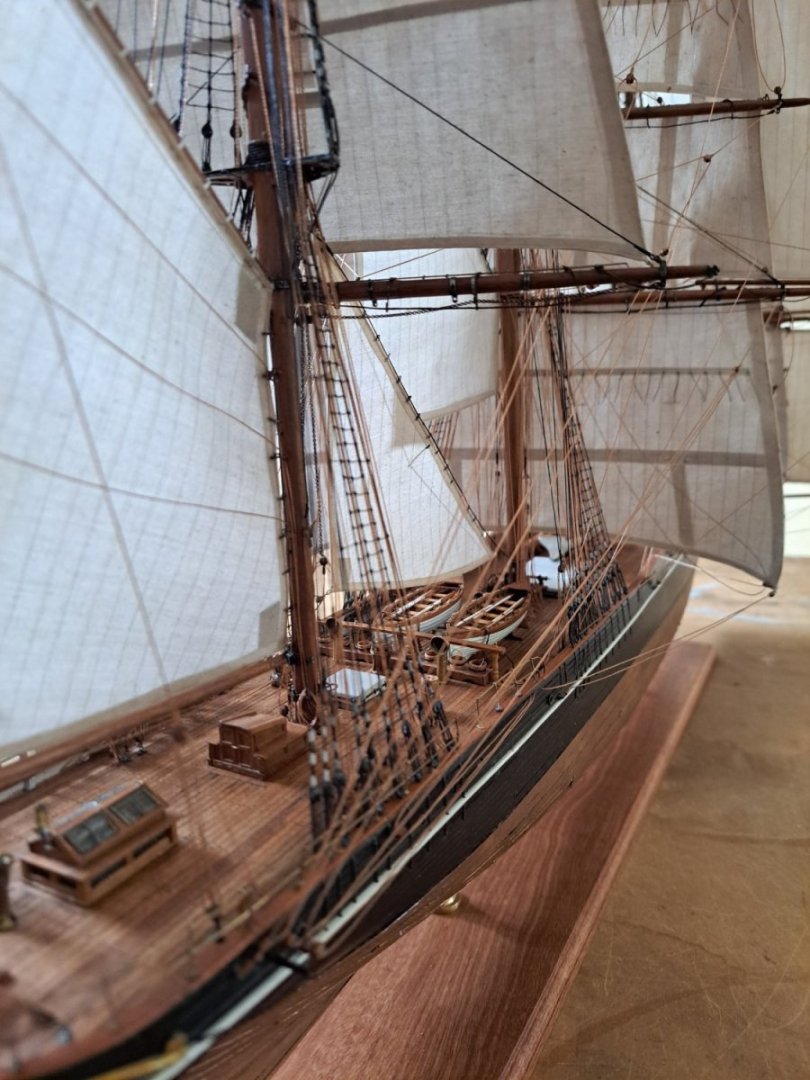
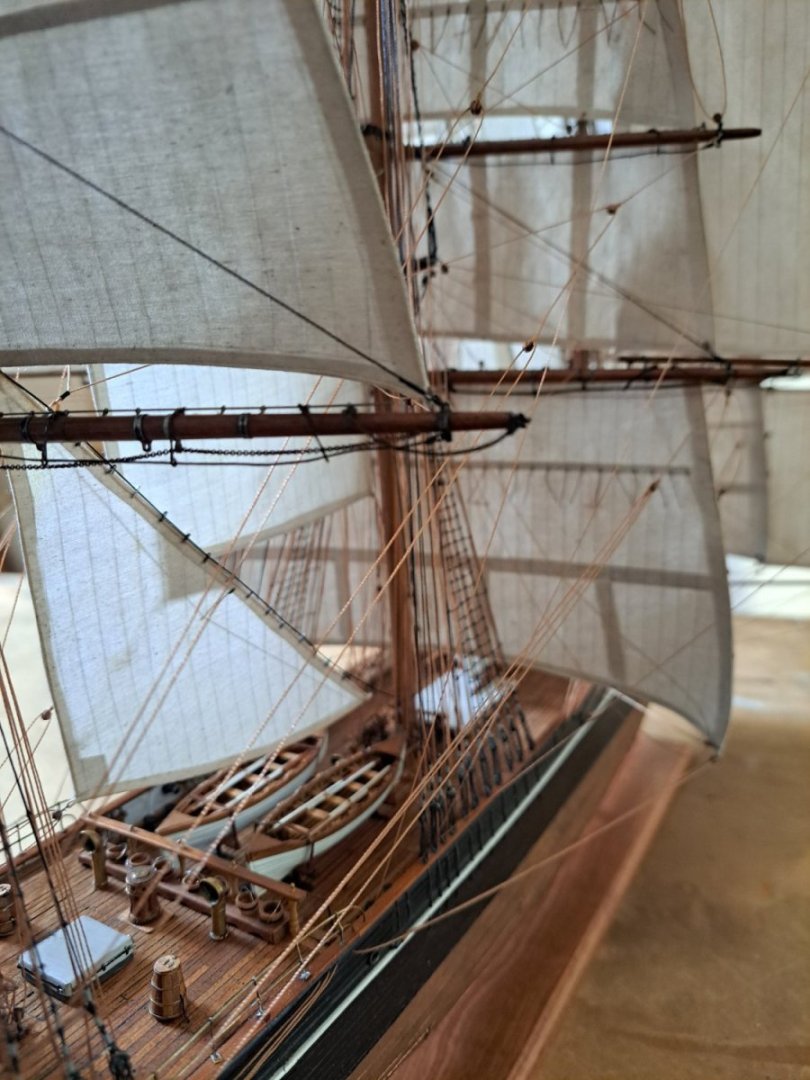
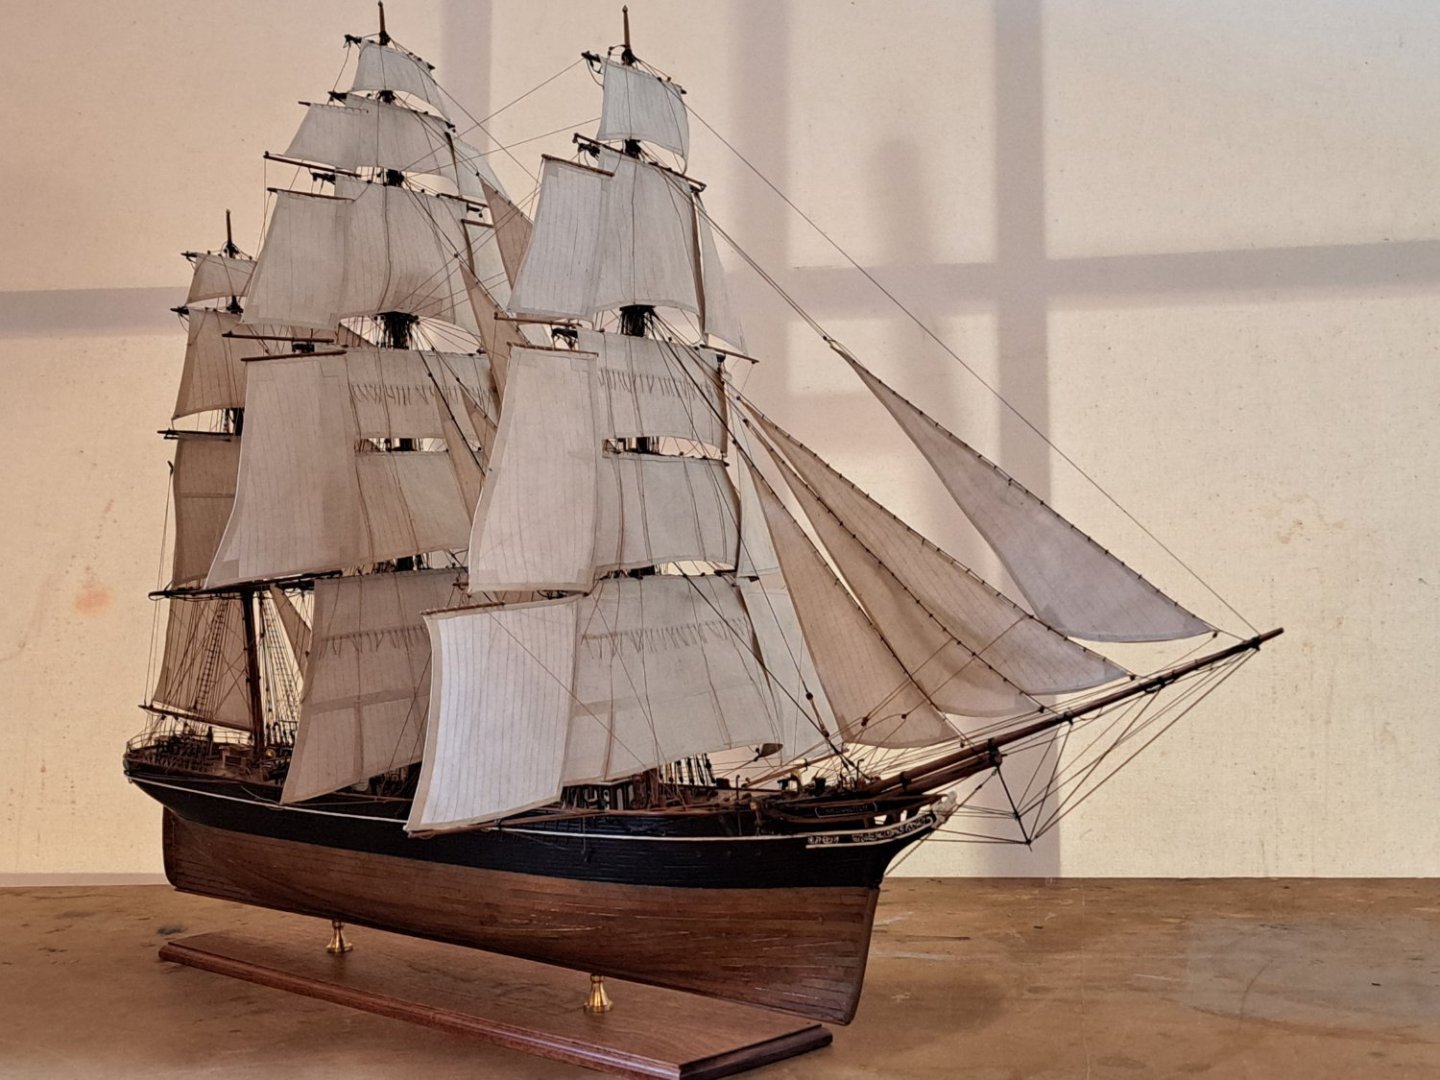
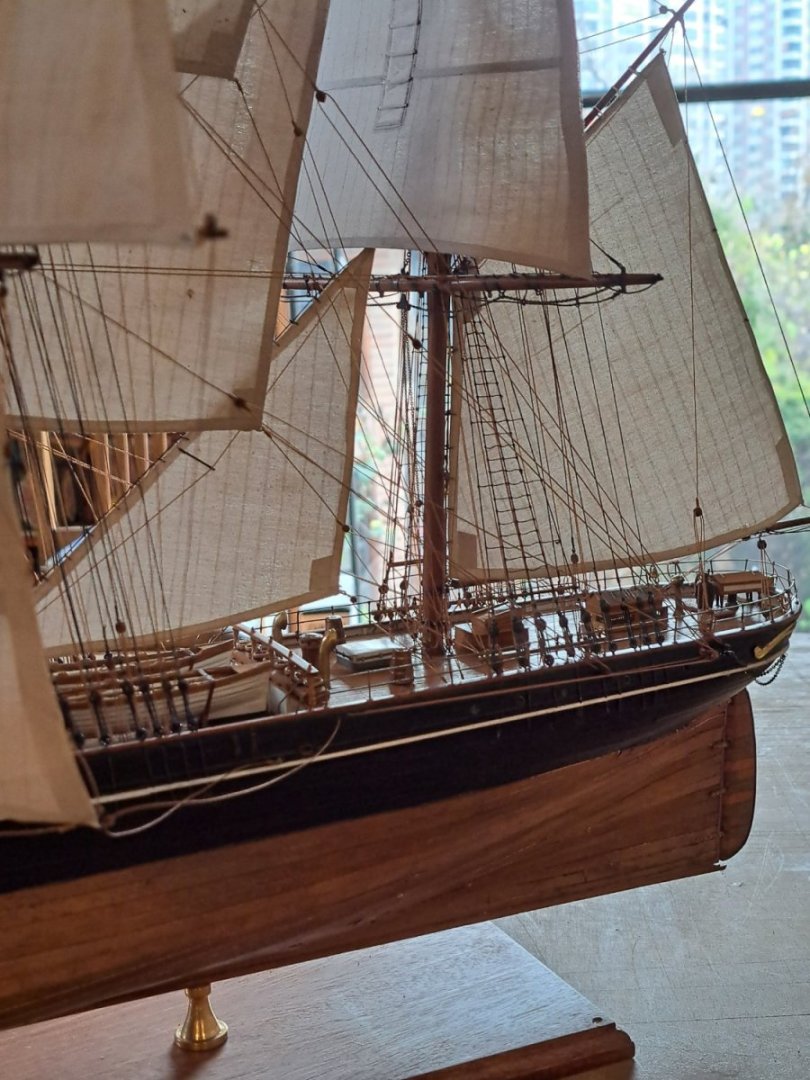
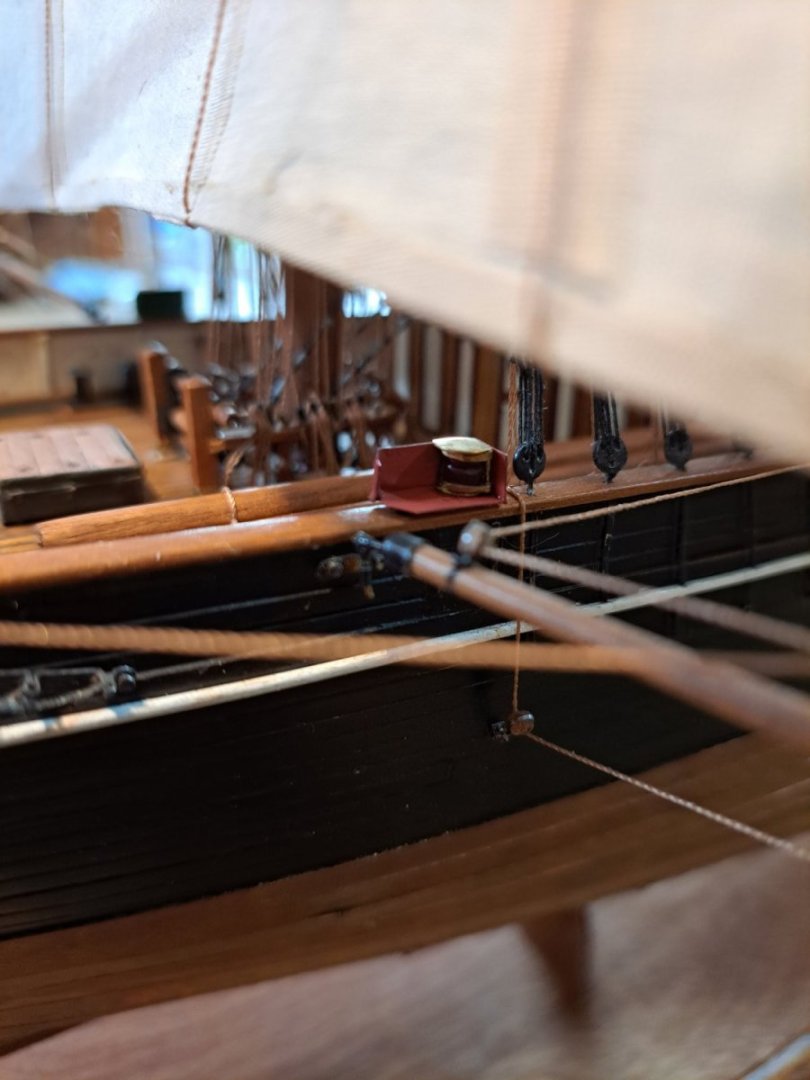
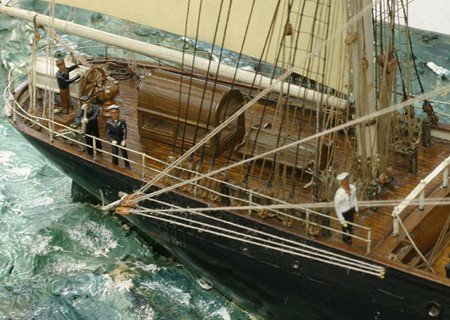
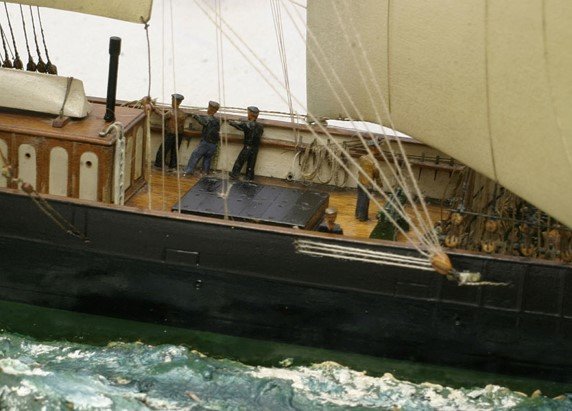
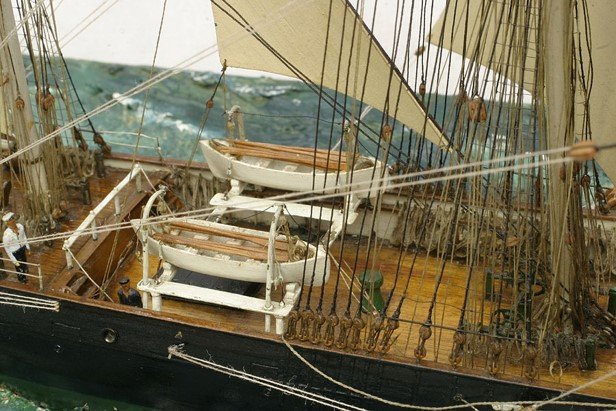
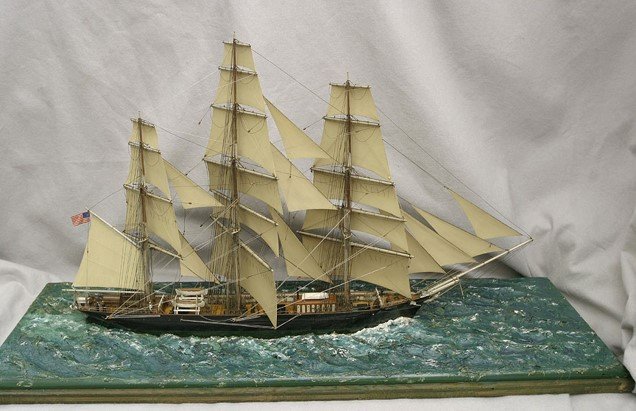
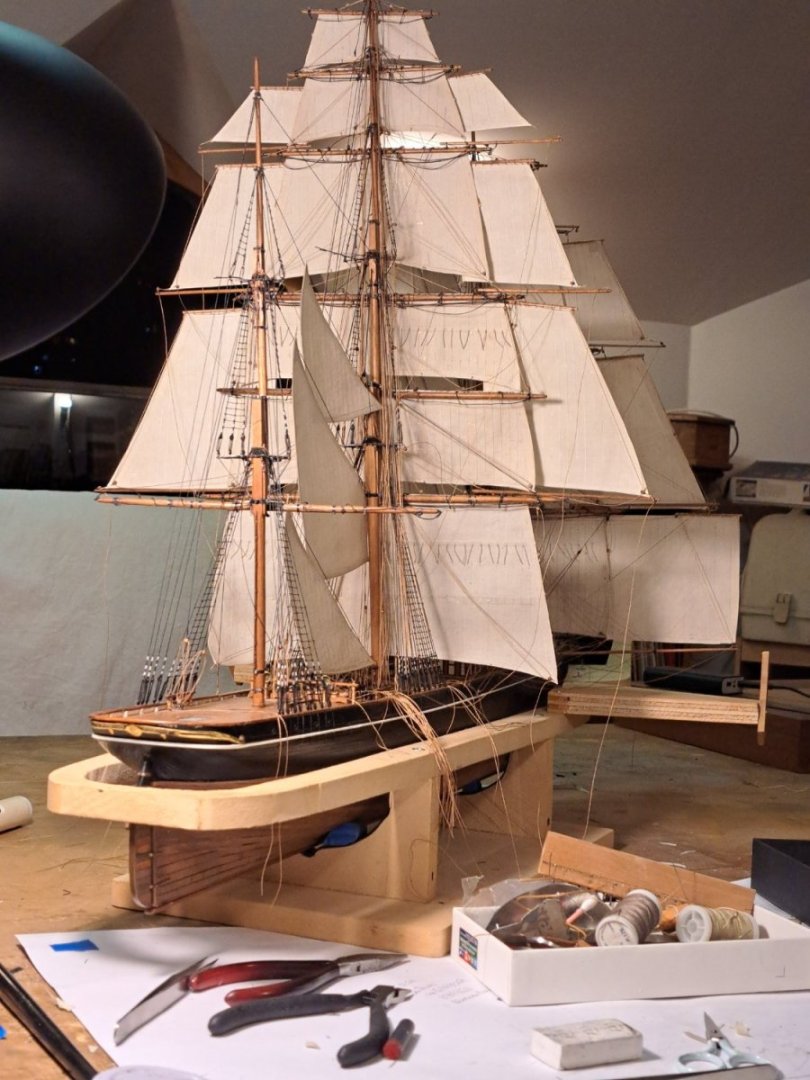
Hi, updated pictures, almost done!


-
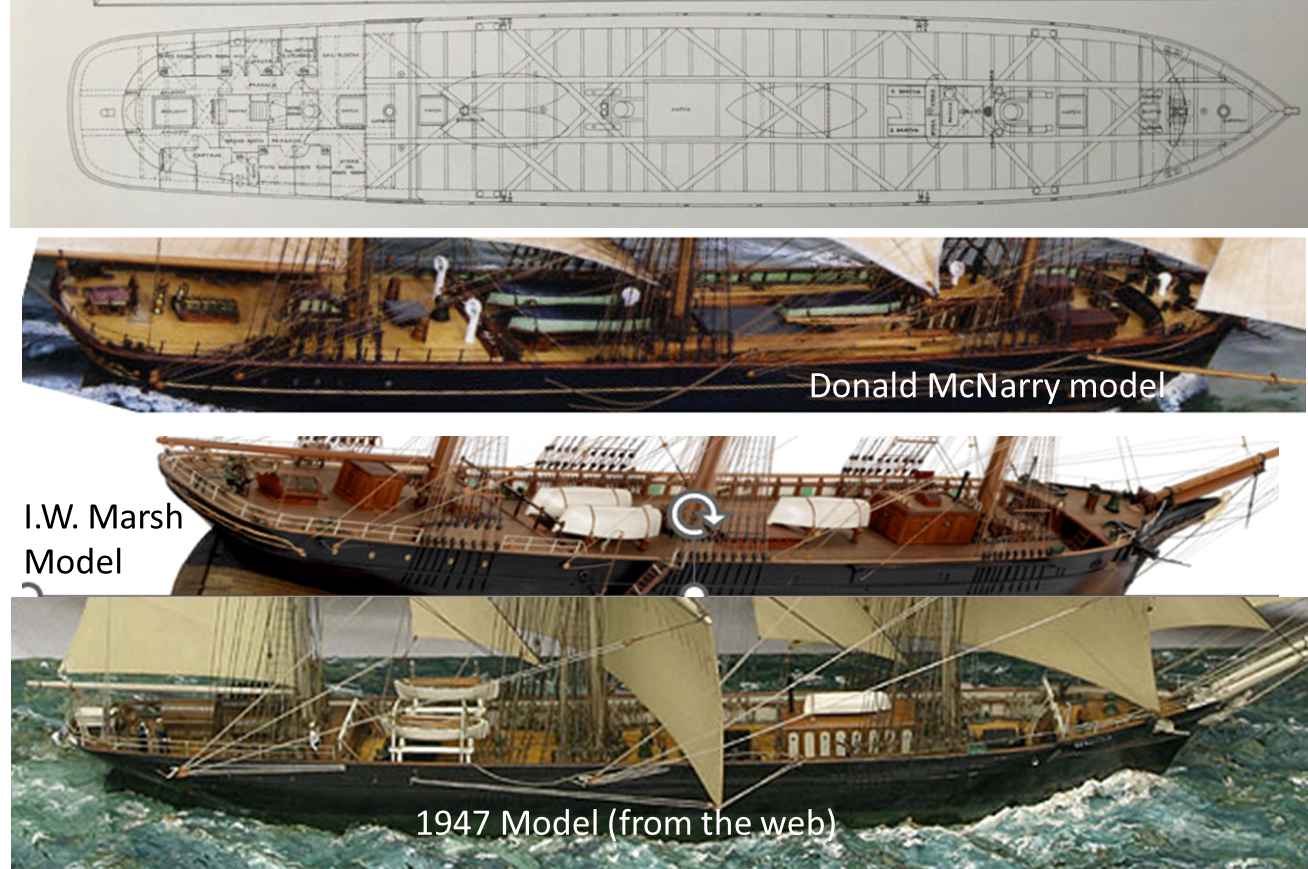
Some other reference pictures of a 1947 model of Sir Lancelot from the WEB and an amazing model of its sister ship ARIEL that may be interesting:

-
Another interesting fact is that Sir Lancelot was initially fitted with Iron Masts but was completely dismasted in its second voyage in Dec 13, 1866. Quoting Mr. Mc Greggor “She was hastily re-rigged in six weeks with a set of Oregon pine masts with proven satisfactory”. The incident is very well described in the Basil Lubbock book the China Clippers. So, modelling decisions again, I decided to use wood for all the masts and maintain the single roller-reefing topsail with Cunningham´s patent on the mizen as shown on the Dutton´s lithograph.
-
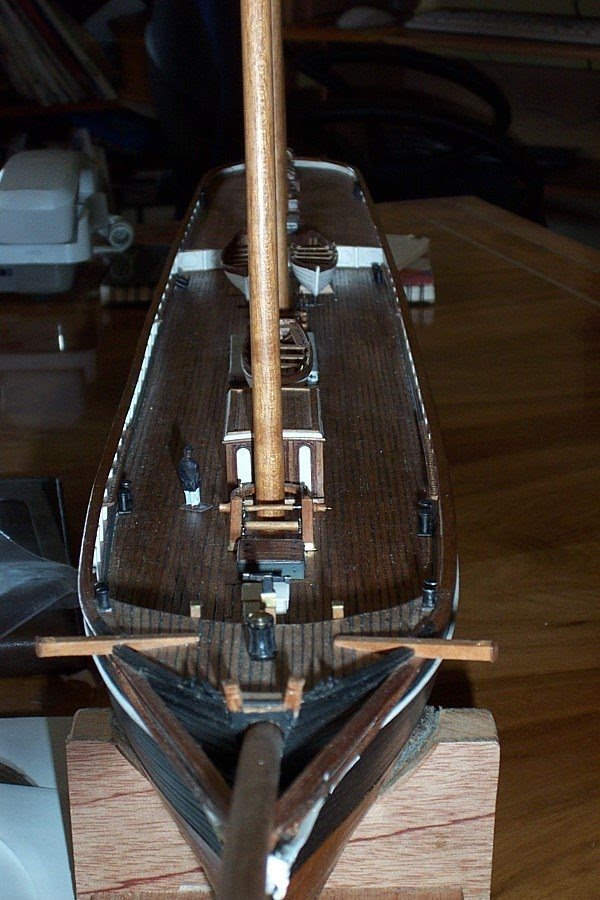
In relation to the deck plan, there are also variations, At that time I decided to follow the Sir Lancelot Deck Plan of David R. Mc Gregor (1969), what I believe proves right and coincides with the Mr. McNarry choice:
-
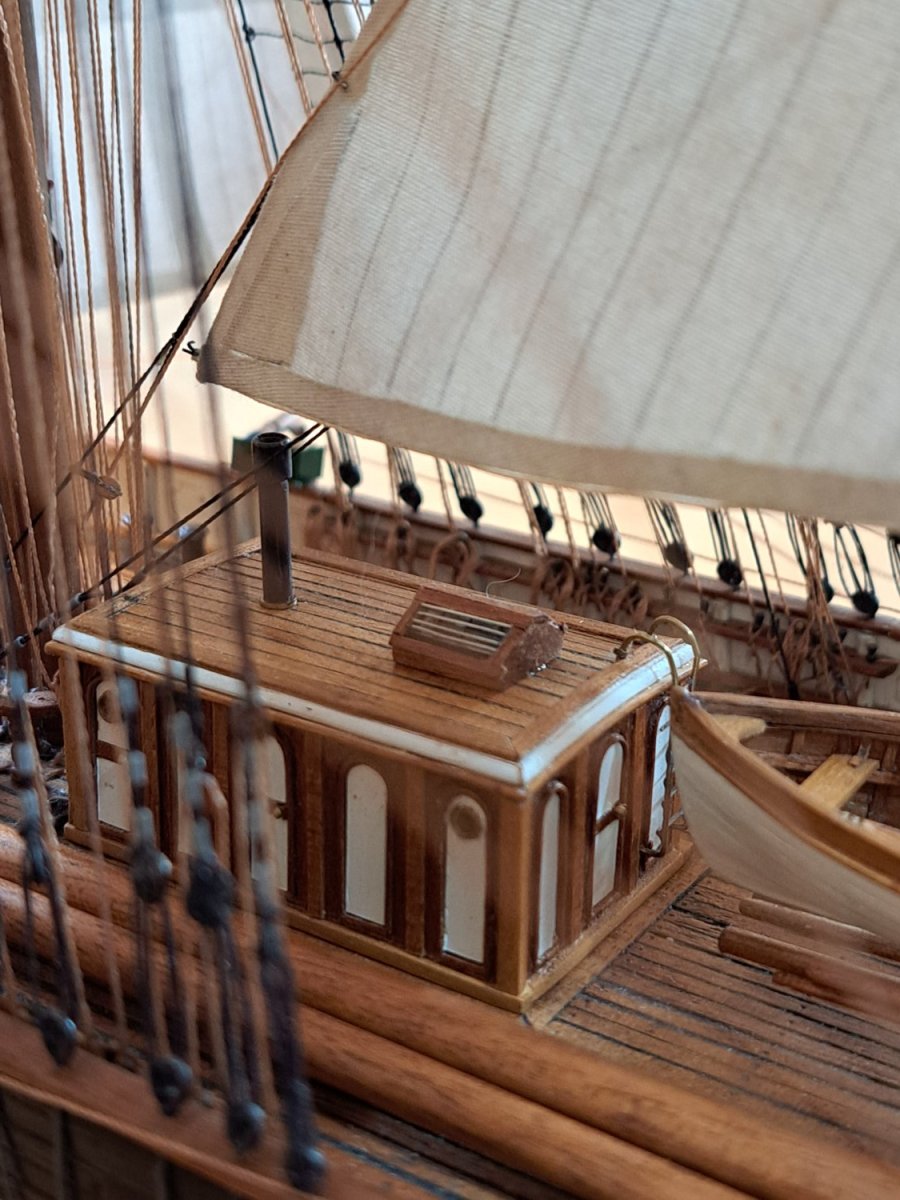
Many thanks for your replies and contributions, what a wonderful group of ship modelers. In fact, Mr. Donald McNarry is a “Master” and the 2 models of Sir Lancelot that he built are truly masterpieces. Unfortunately, I implement some early decisions back in 2001 about my model what results in white bulkheads no monkey rail. Later when I found the beautiful “pea green” used by Mr. MacNarry was too late. By chance I believe that the decision about the bulkheads was OK.

-
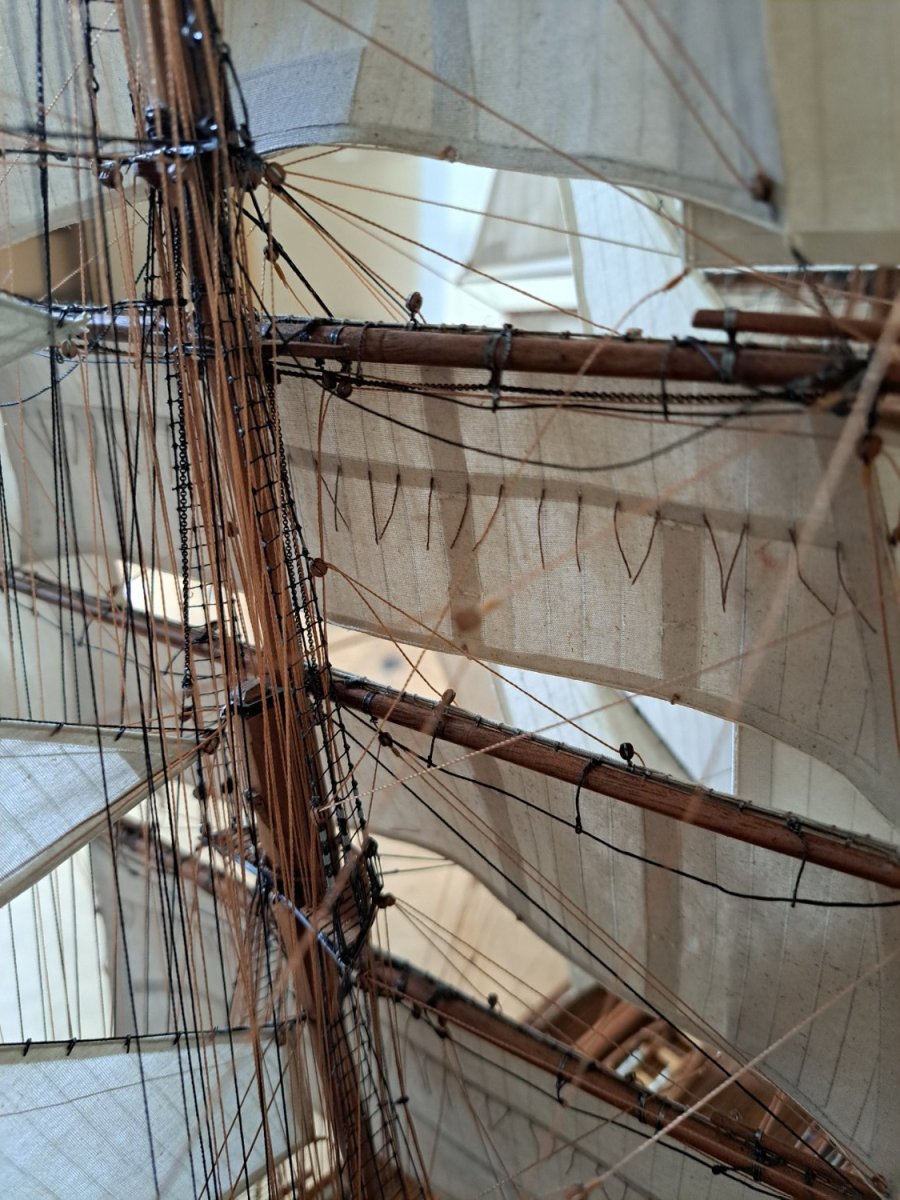
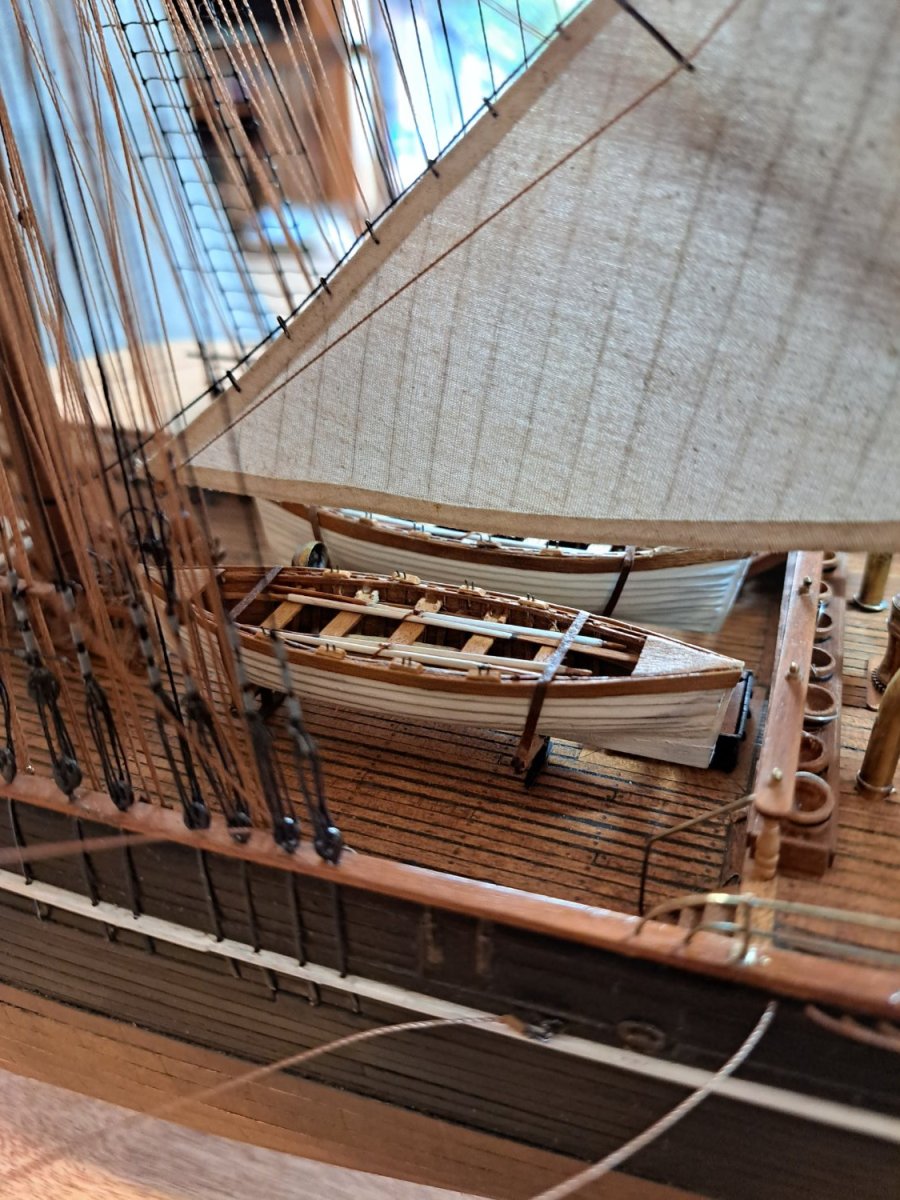
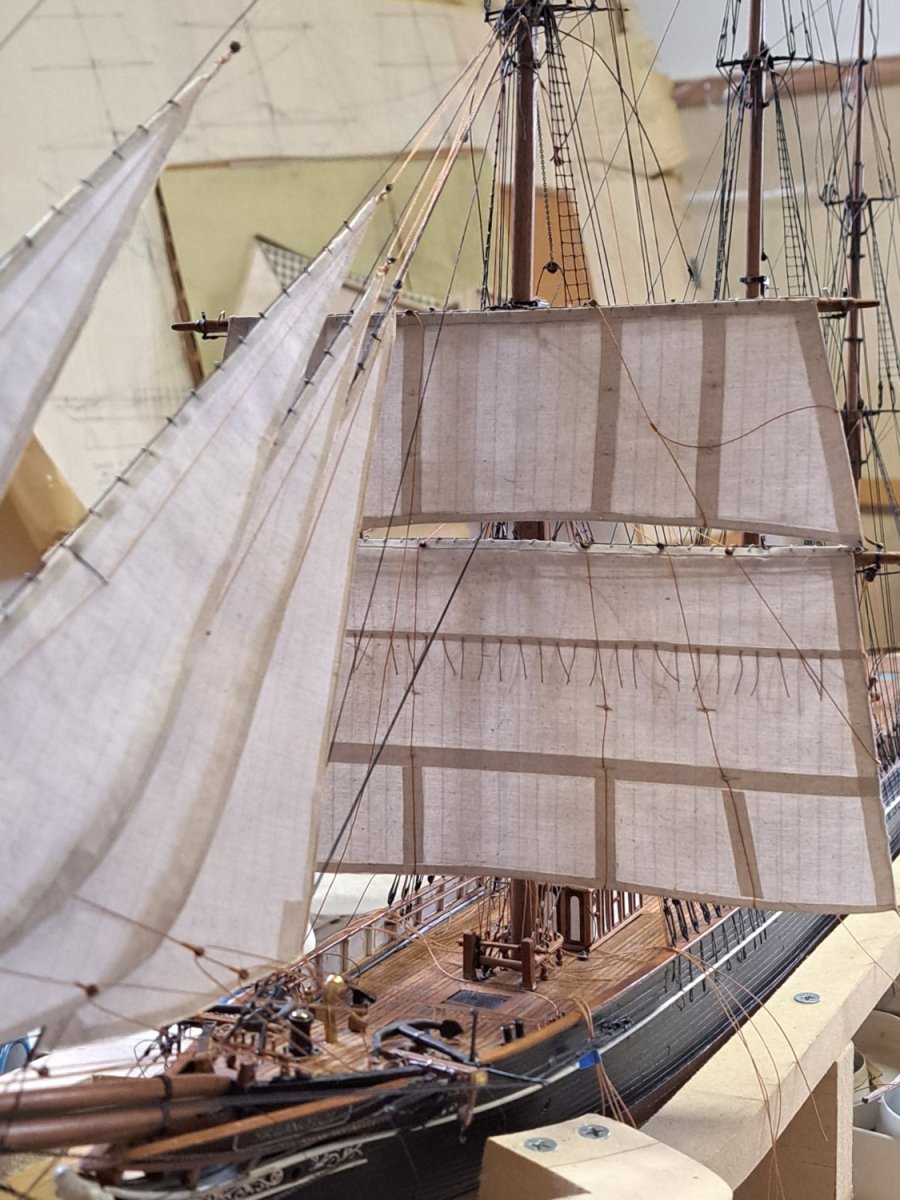
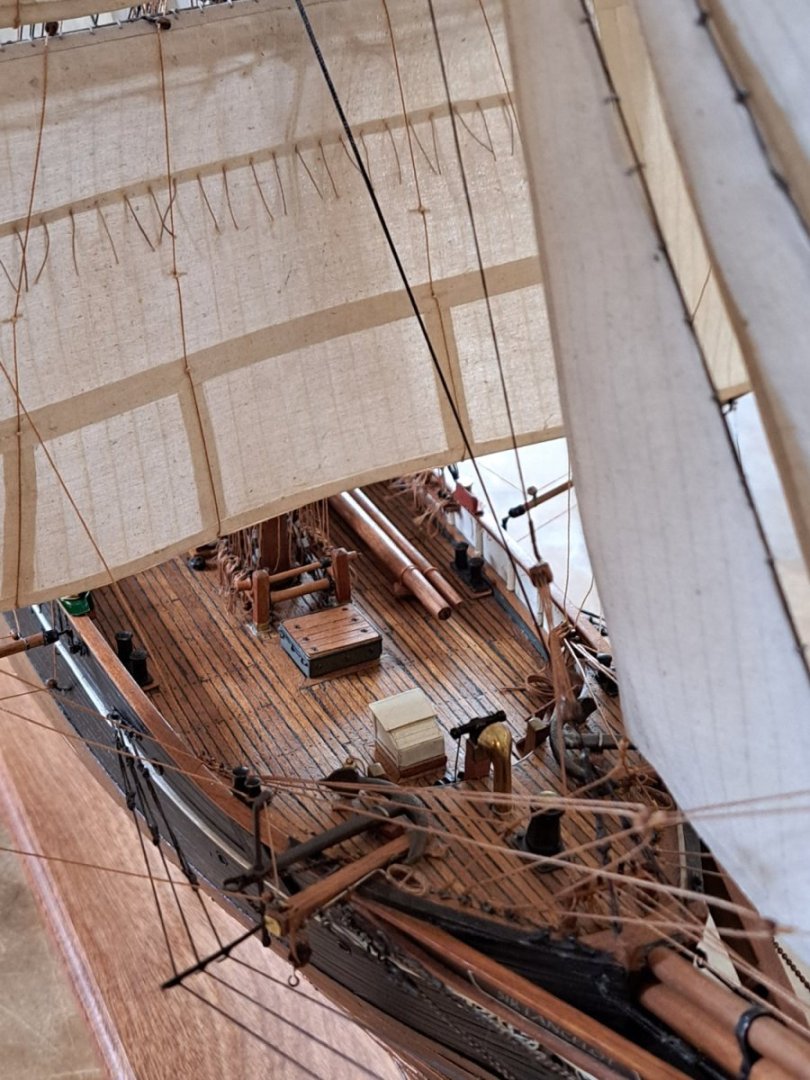
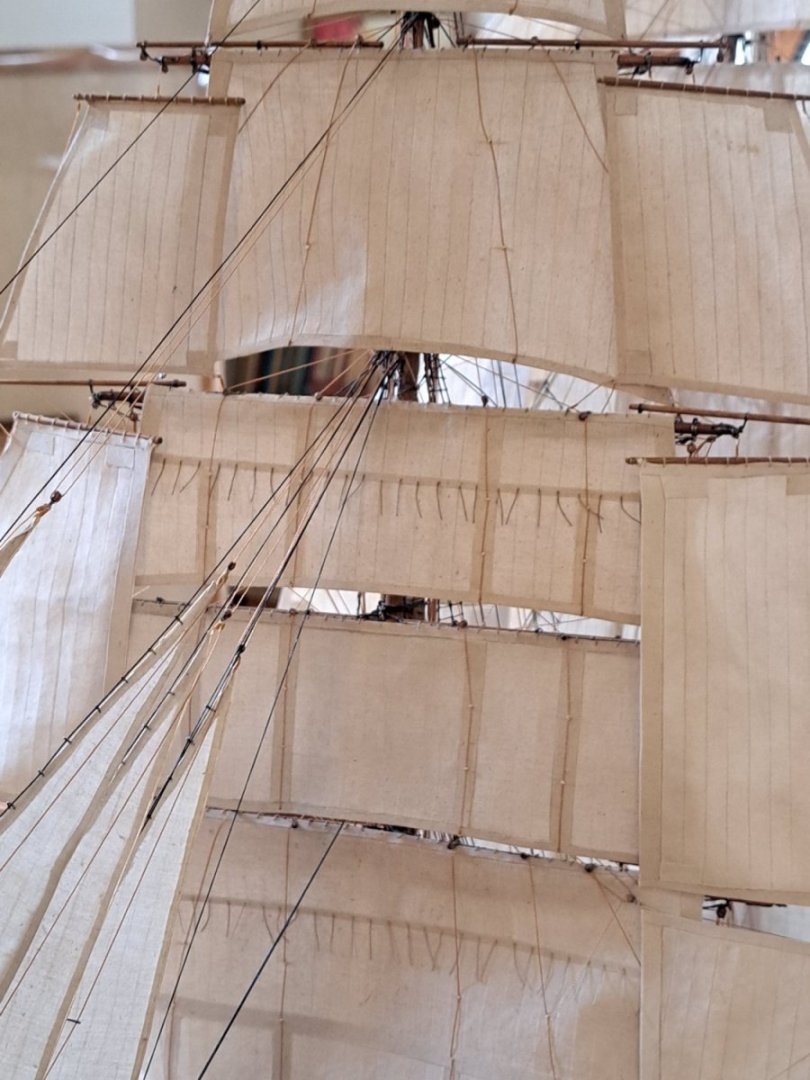
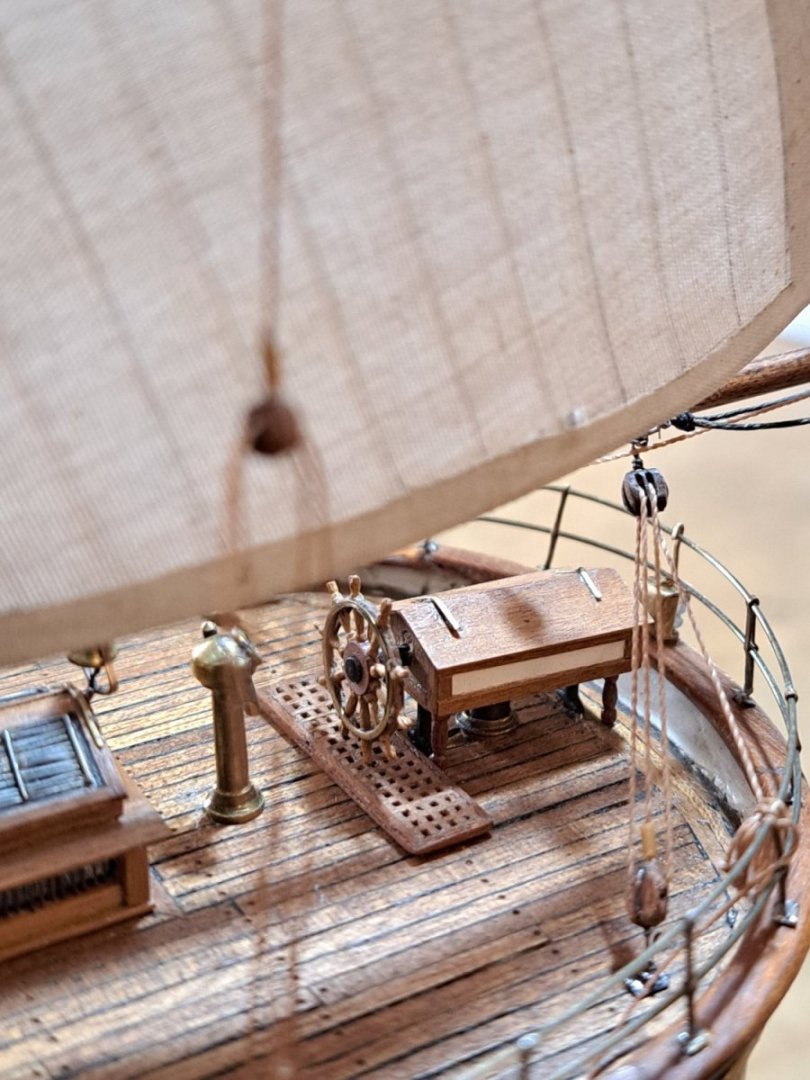
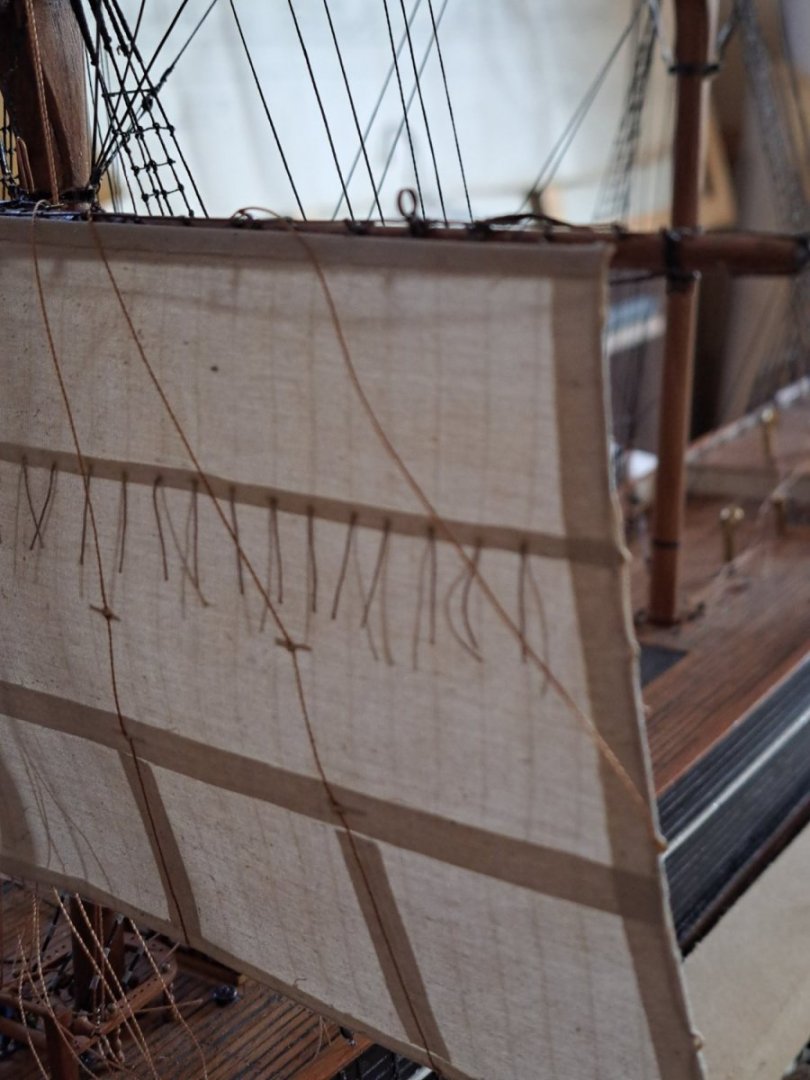
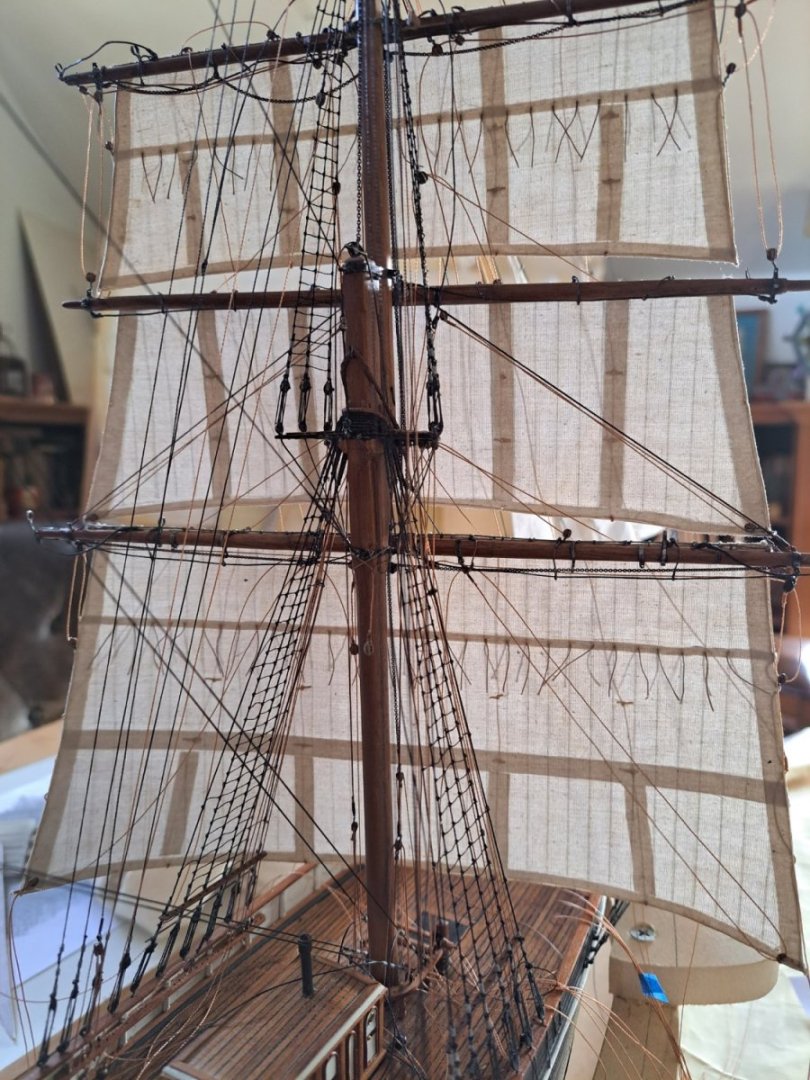
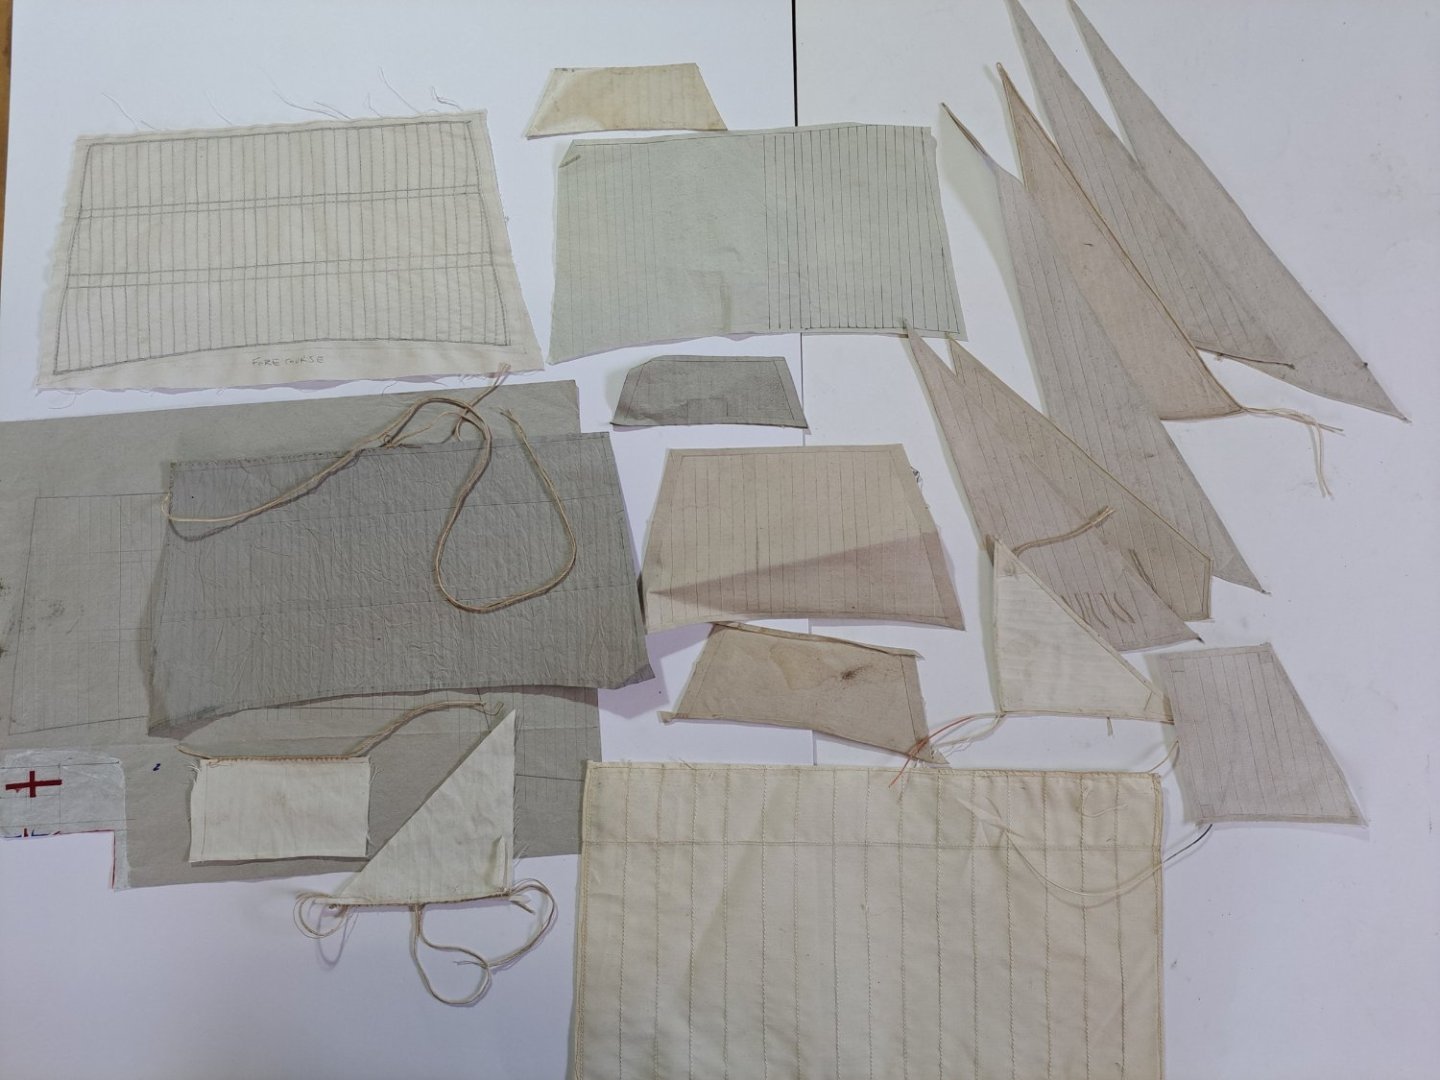
The sails/running rigging at the model:


-
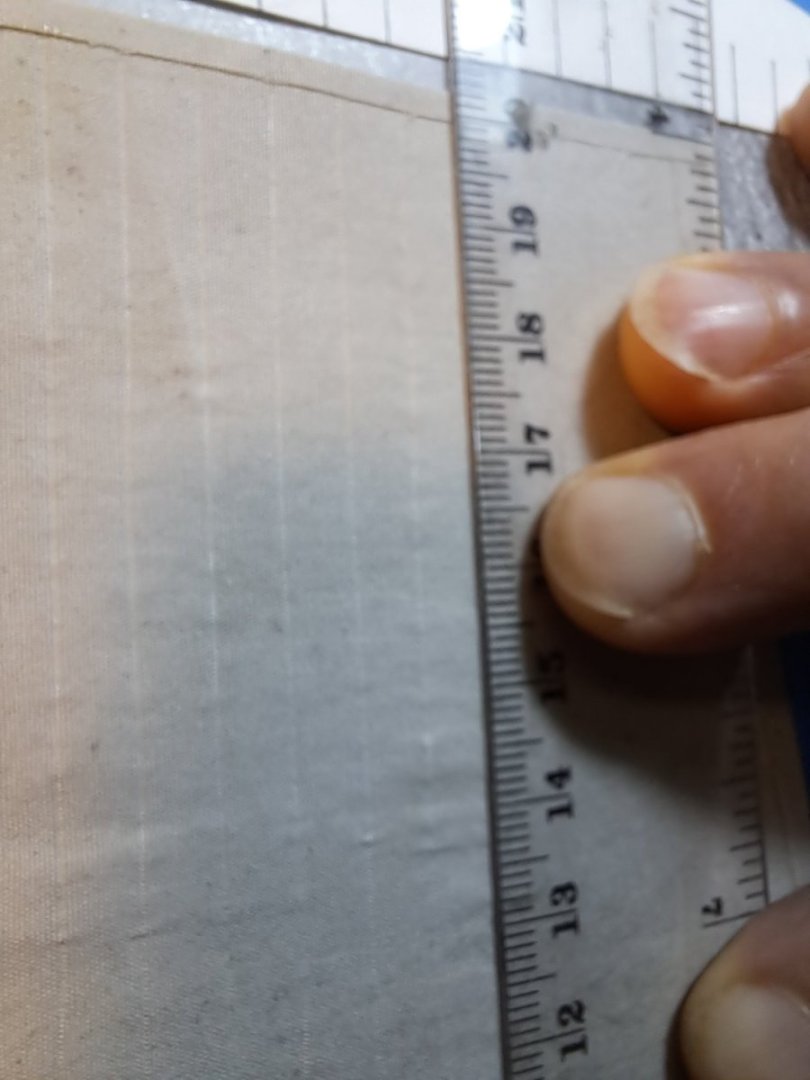
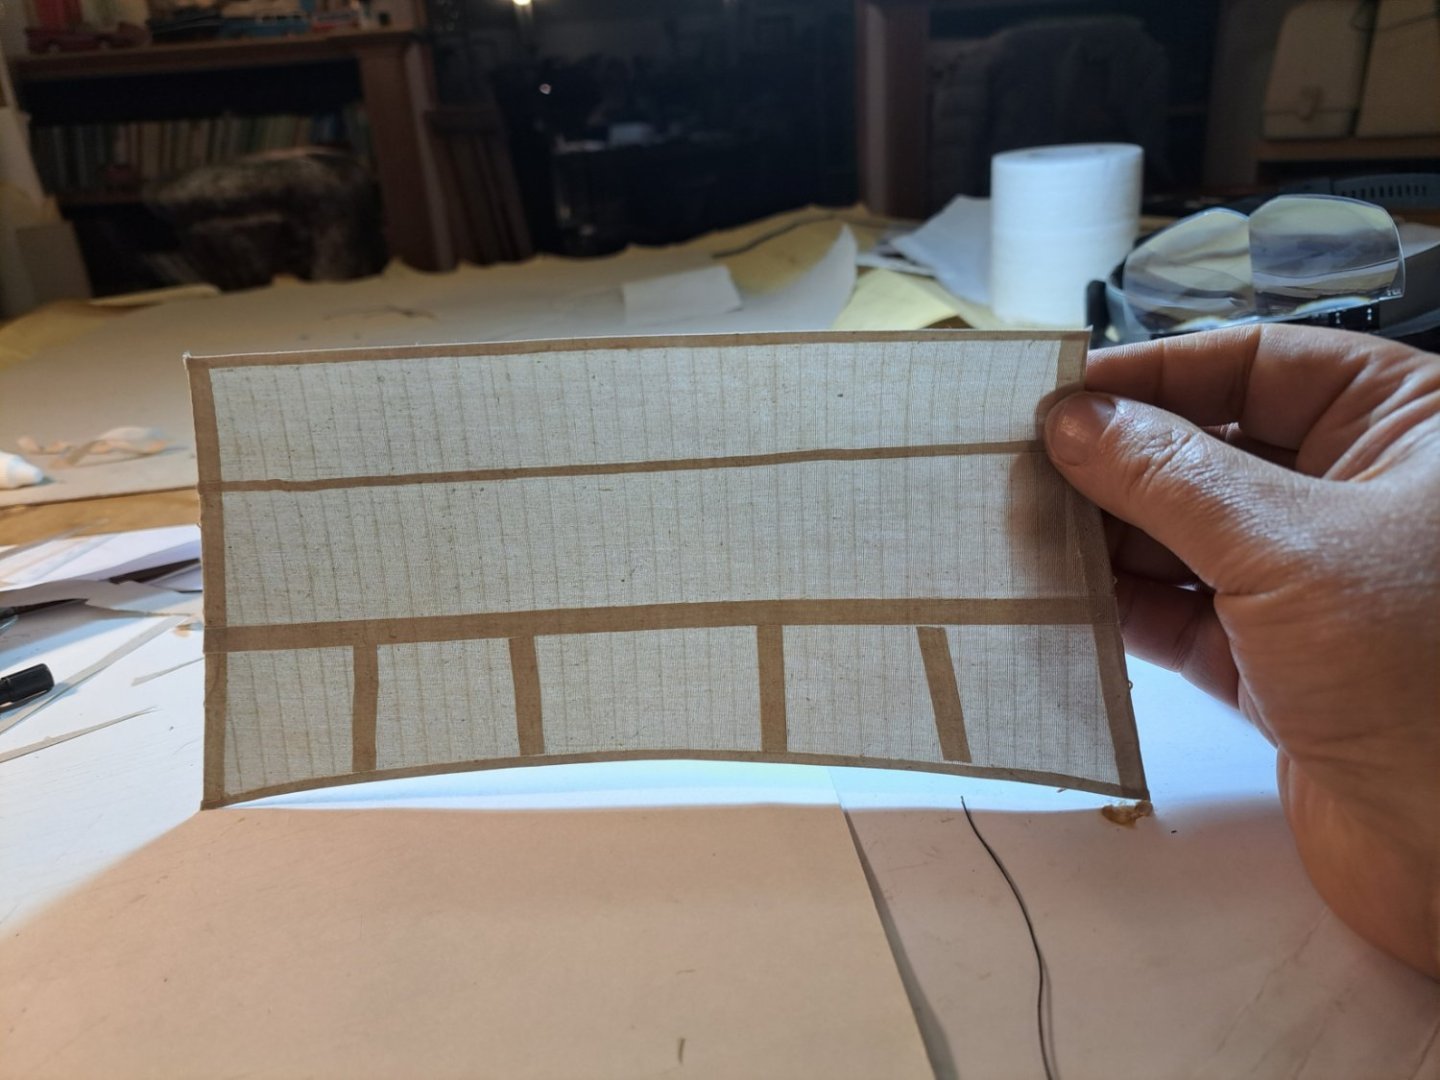
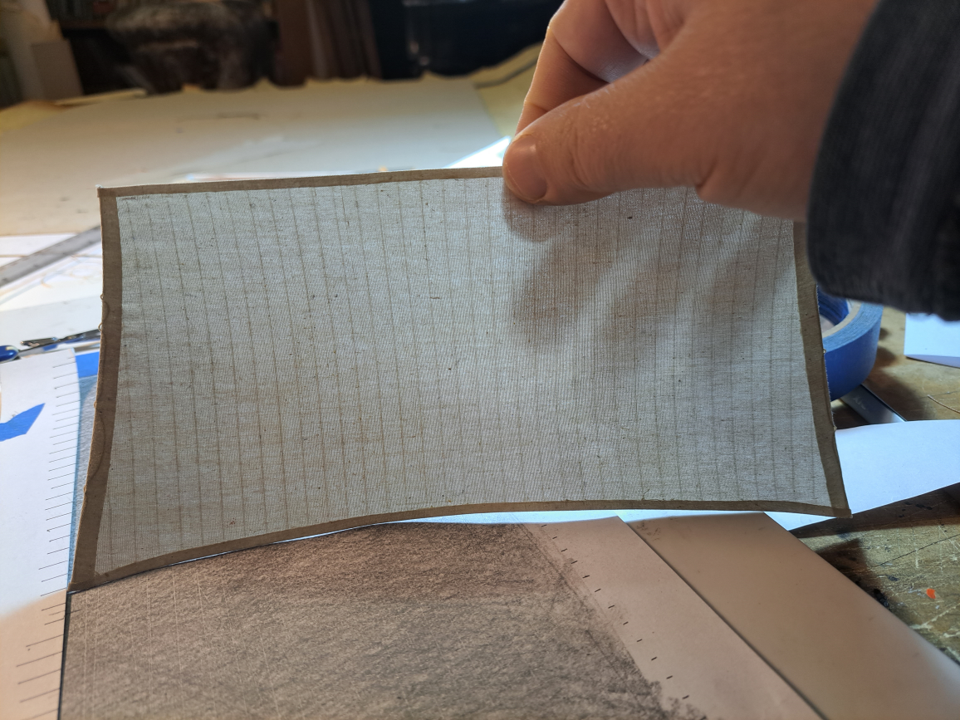
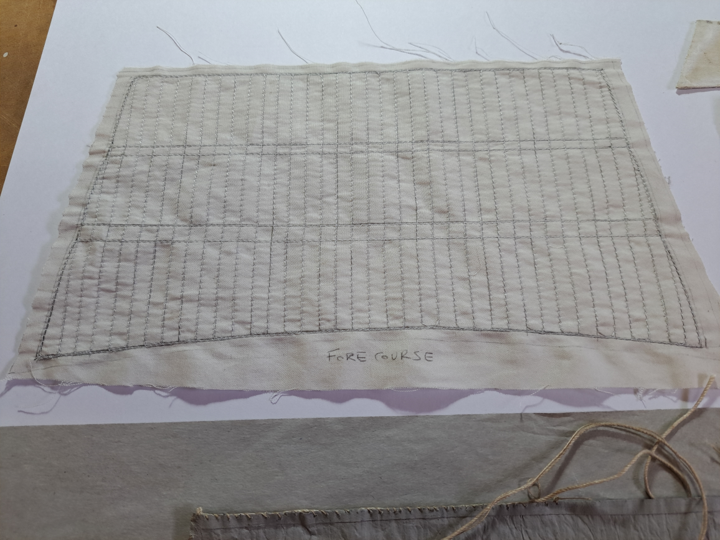
The hide glue treated fabric results very workable, can be ironed (even with steam), cut as paper with a cartonnier knife and the borders does not fray easily, then I come with the idea of mark the seams with an awl, the result was satisfactory, finally I simulate the seams making a mark with the awl followed by marking lightly with a carbon pencil in each side of the sail. The reinforcements and the hems were done using fabrics glue. Leech ropes were also glue to the sail borders. Other interesting thing is that the more you work or manipulate the sail the stiffness becomes softer. 20220801_185002.mp4

-
Sails I used old handkerchiefs with seams for my previous model, but the sewing generates too many wrinkles spoiling the result, so, for Sir Lancelot I want something better. I do several trials with silk span applying the techniques found in the web, at the end the texture does not fully convince me. So I went back to the fabric, I use and old white cotton shirt and I come with the idea of soaking the fabric in diluted hide glue to add stiffness when dried, the idea was that if the fabric was stiff then the sewing will result in less wrinkles, and it works at some extend but the result was to rude for the scale.
-
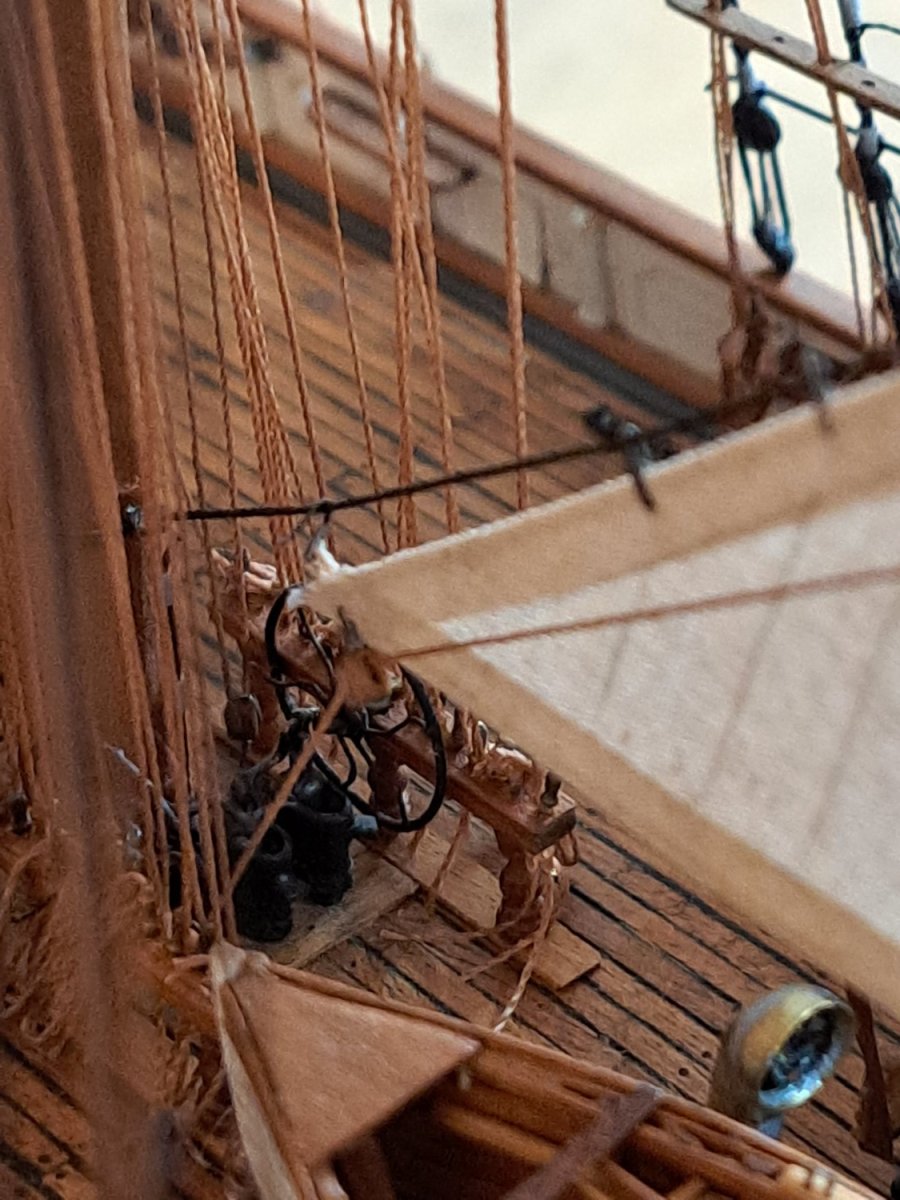
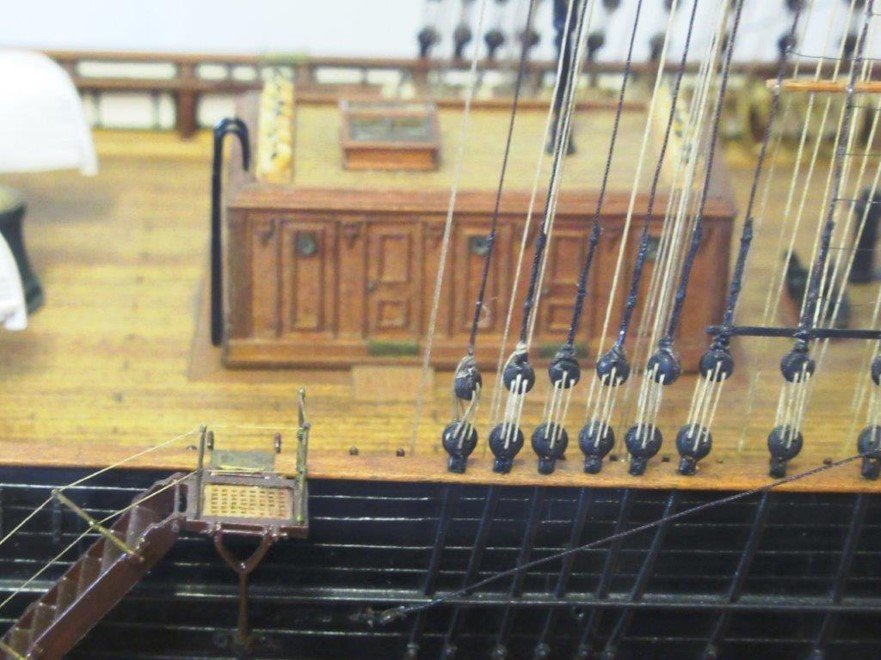
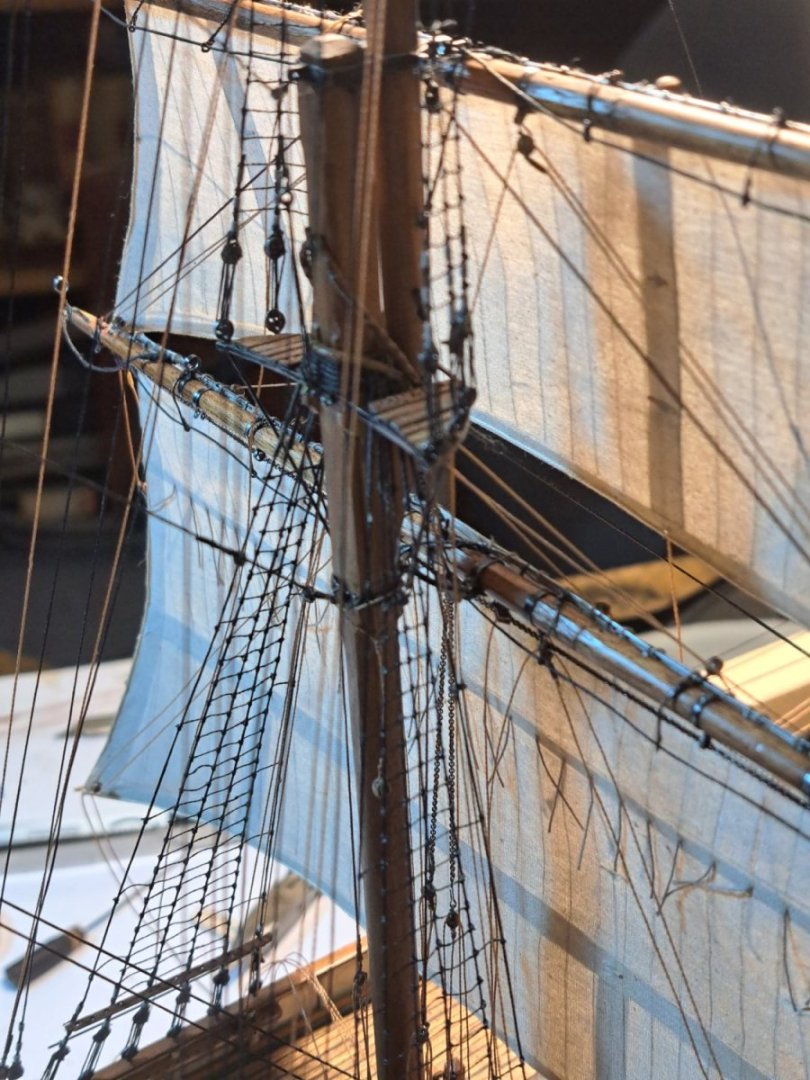
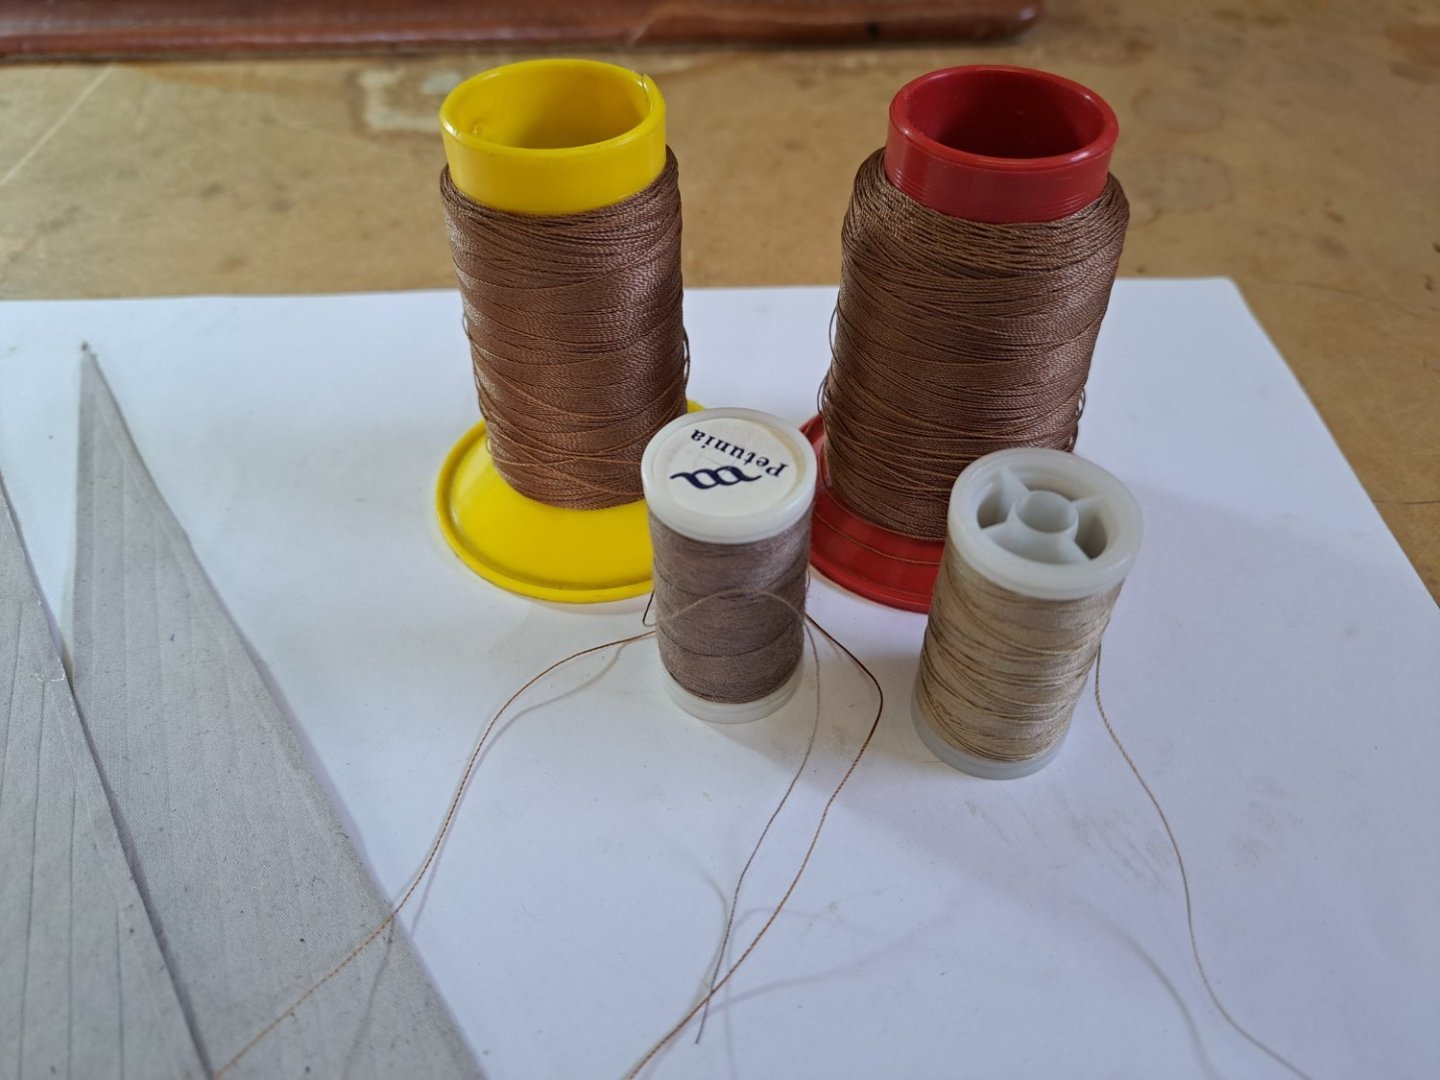
Running Rigging For the running rigging I use also tan shoemaker thread (0,3/0,2 and 0,12 mm) with most of the splicing done as the standing rigging with tan 26/24 AWG wire PVC insulation. I start doing the blocks from scratch but the results, specially in the small ones (2 mm) were unsatisfactory, I ended buying the high-quality blocks from Model Shipways with very good results.
-
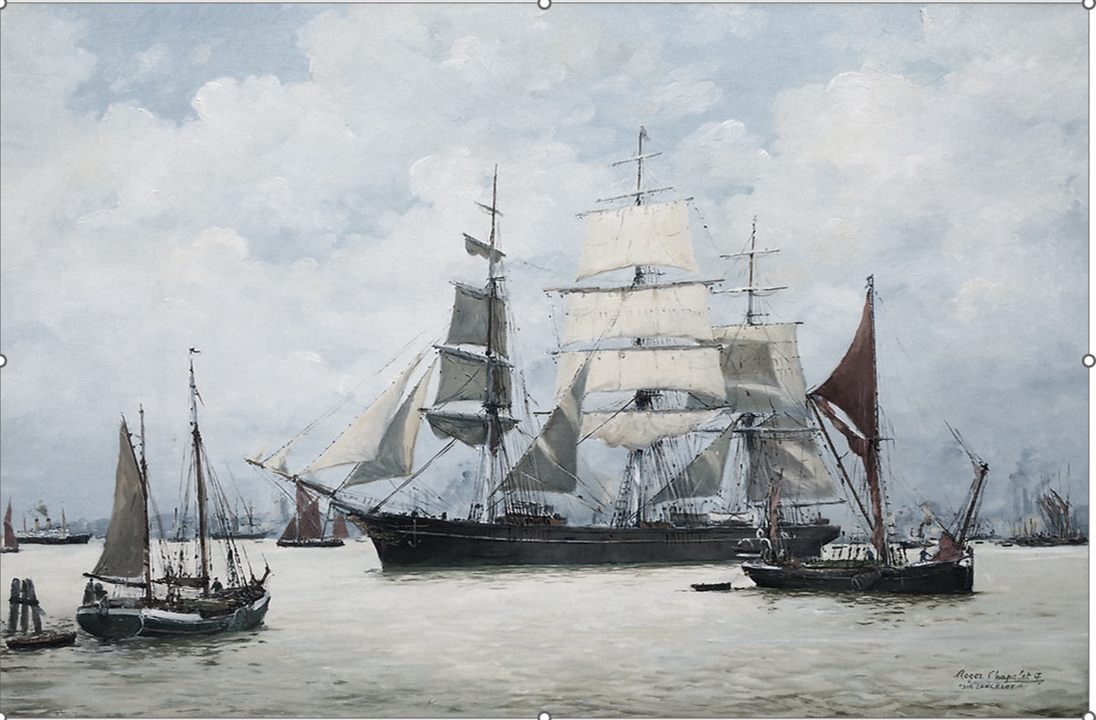
Thanks Rob, this is also an oil paint of Sir Lancelot that I found beautiful
-
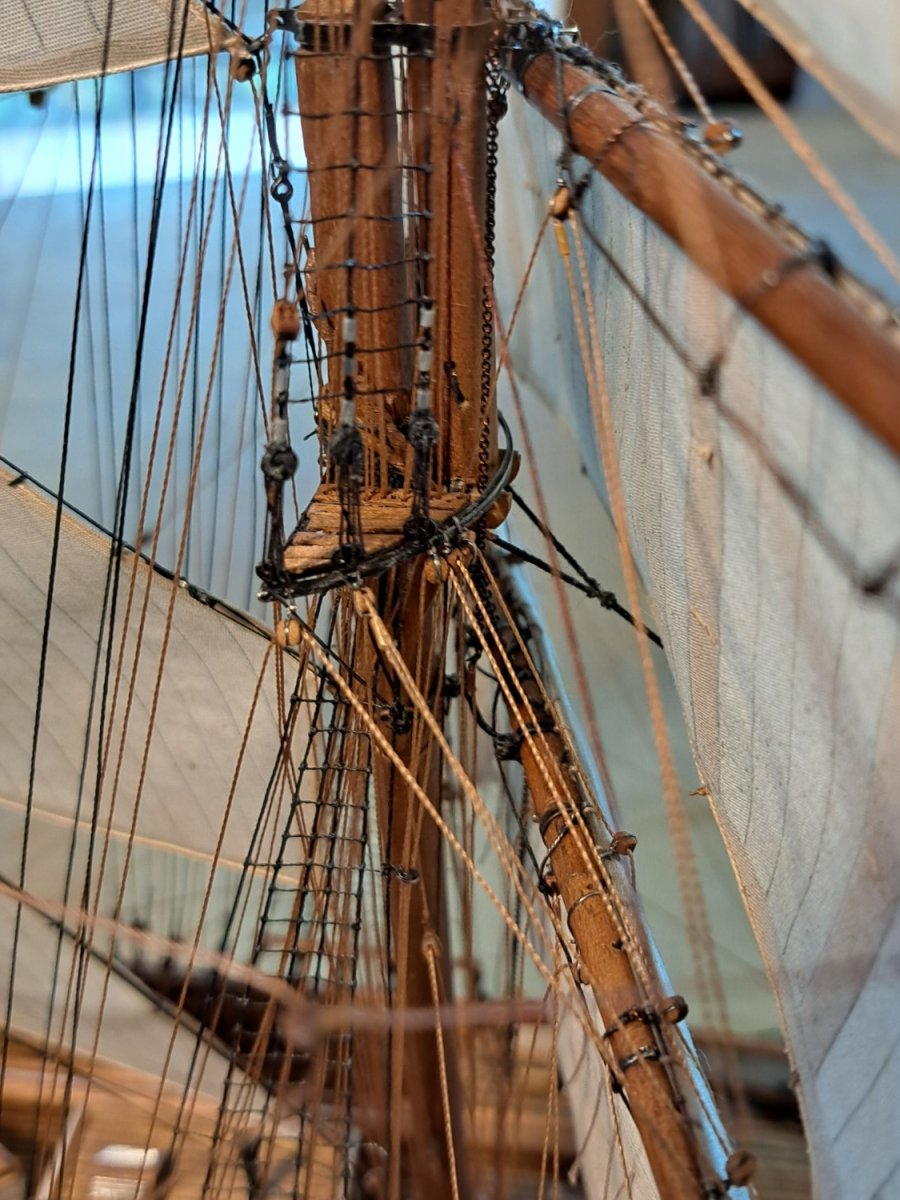
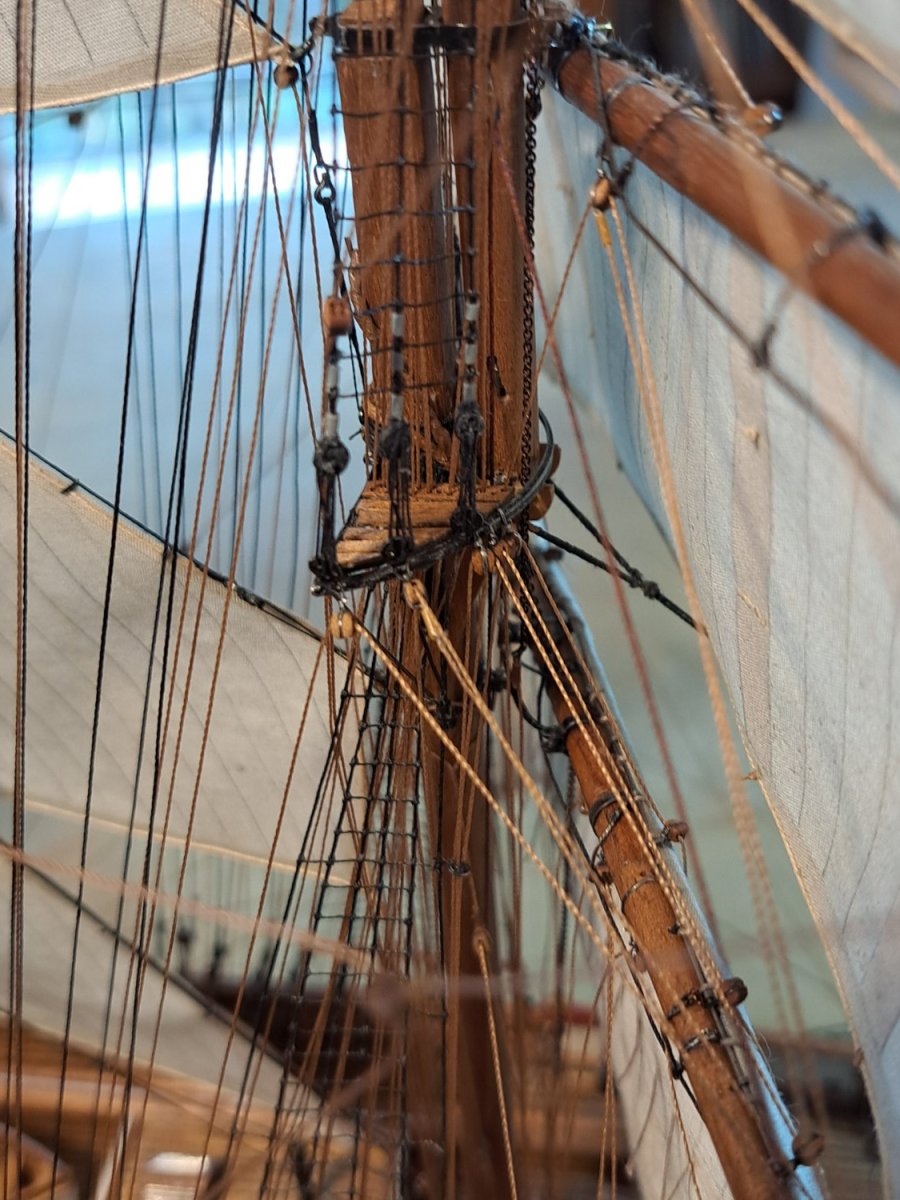
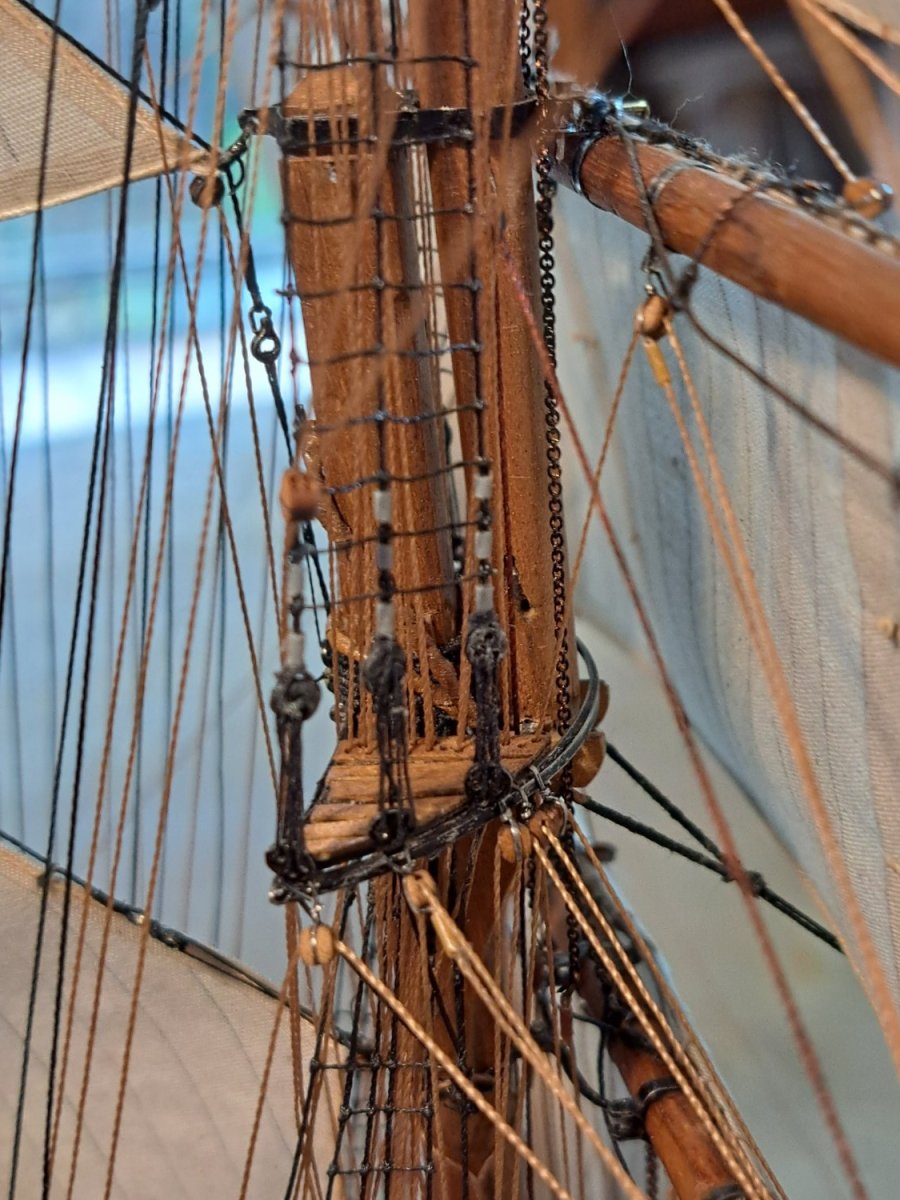
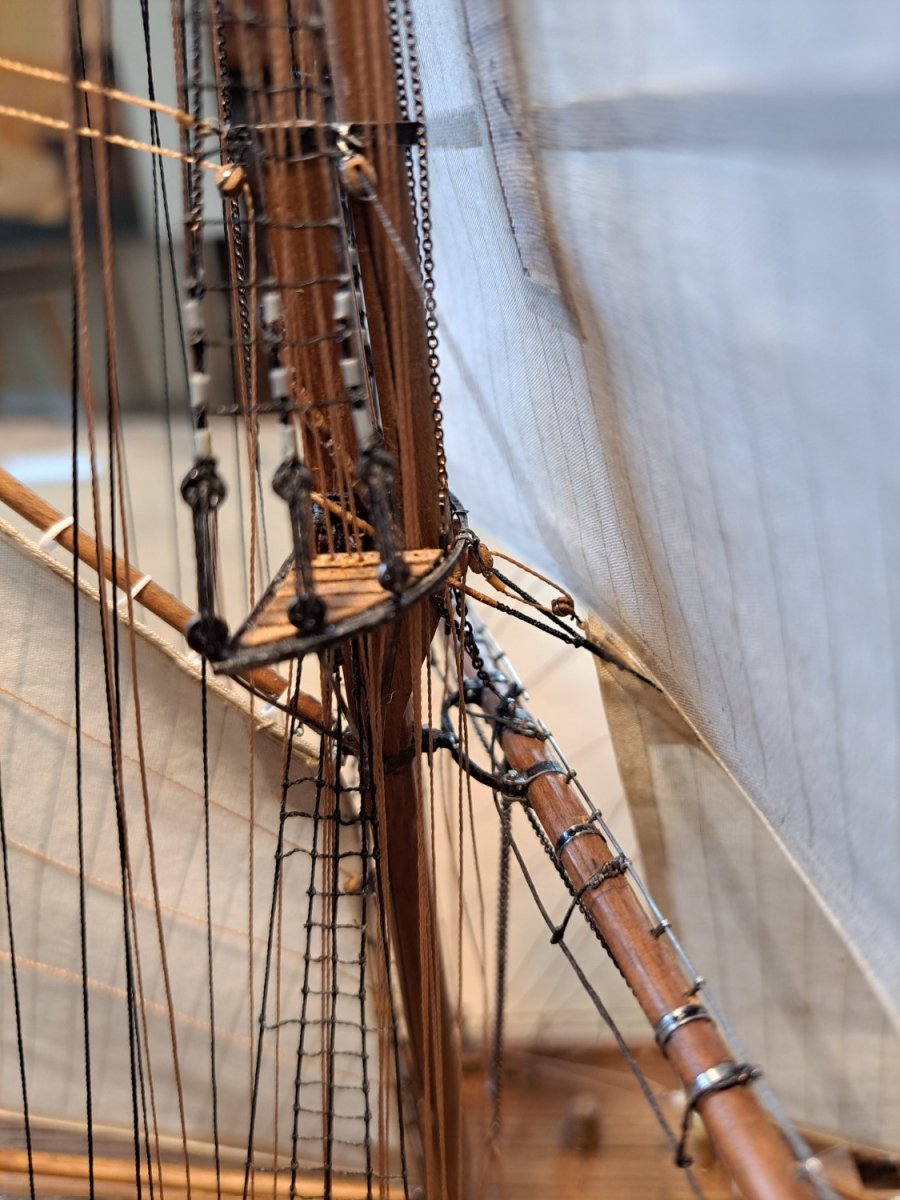
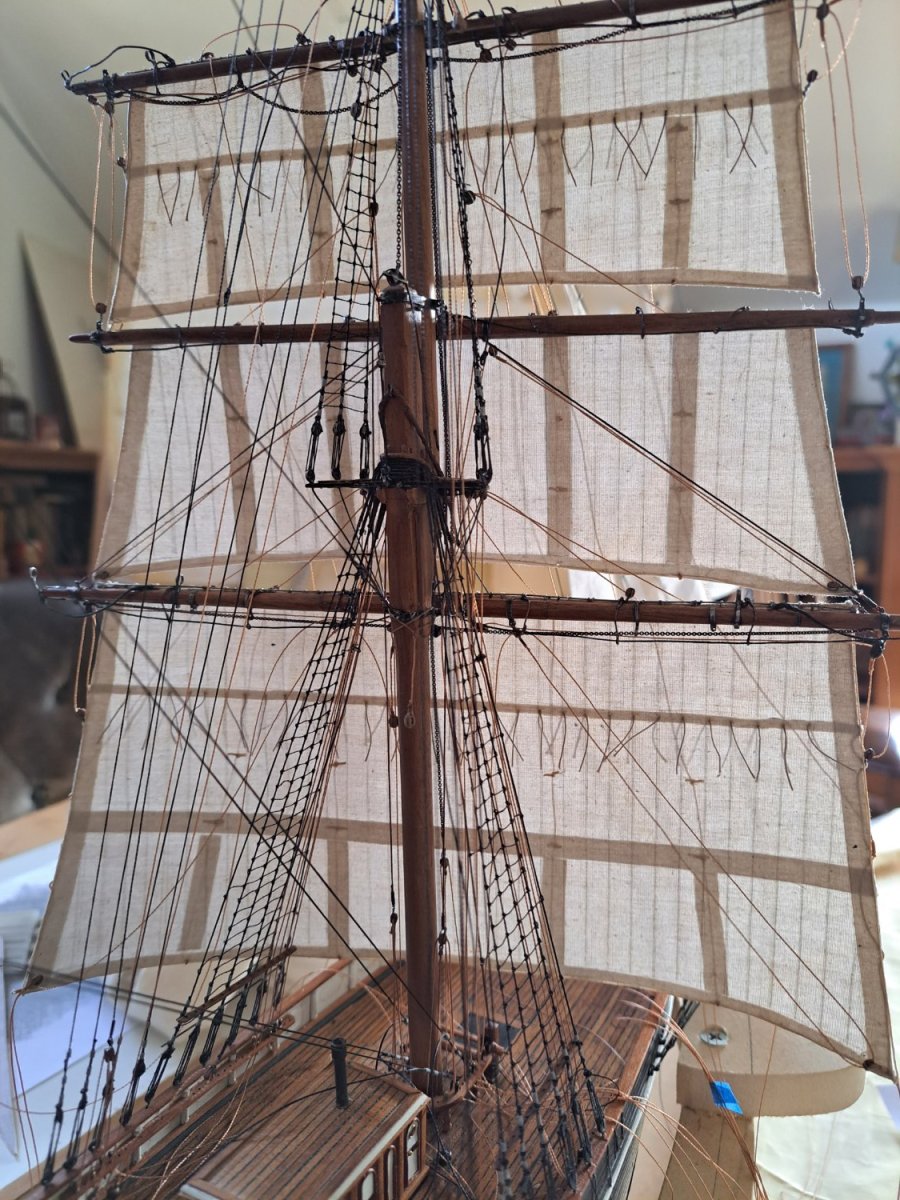
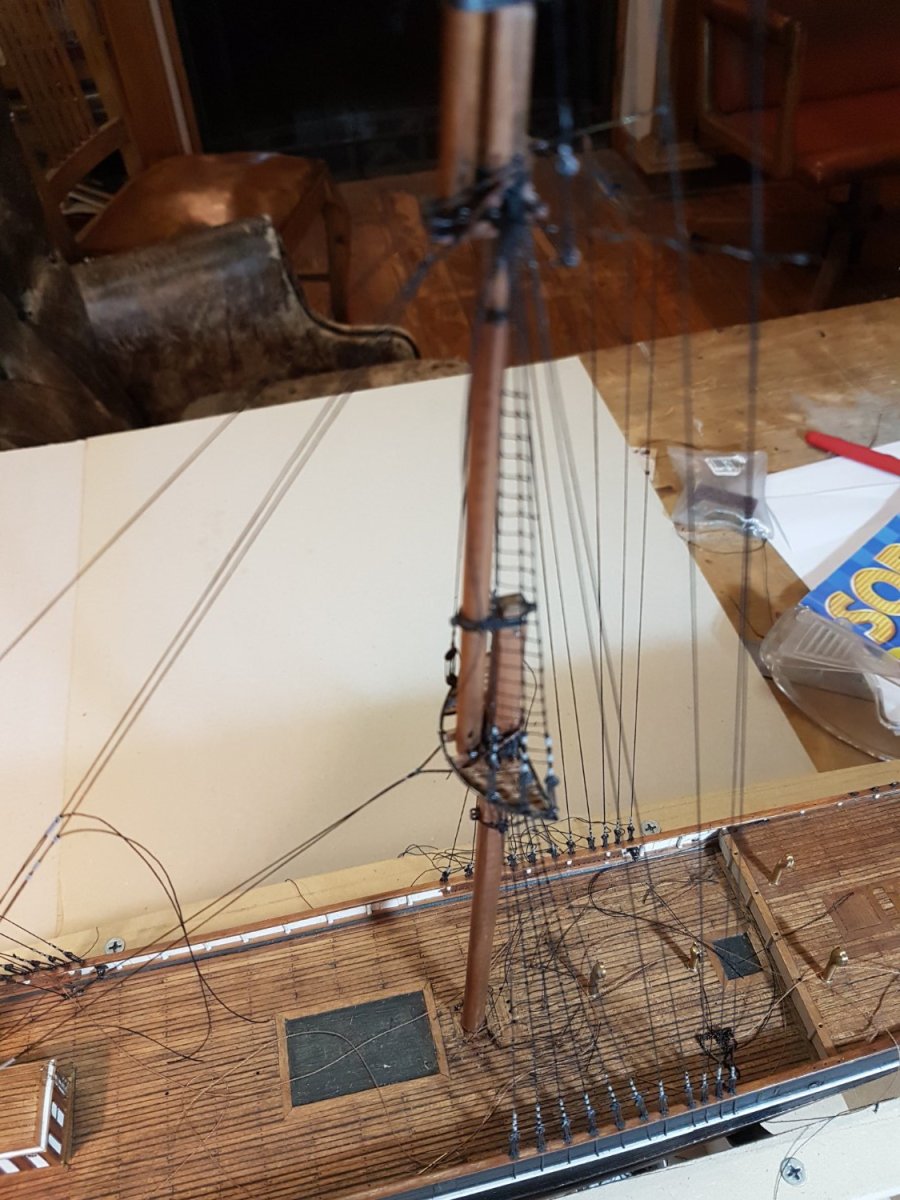
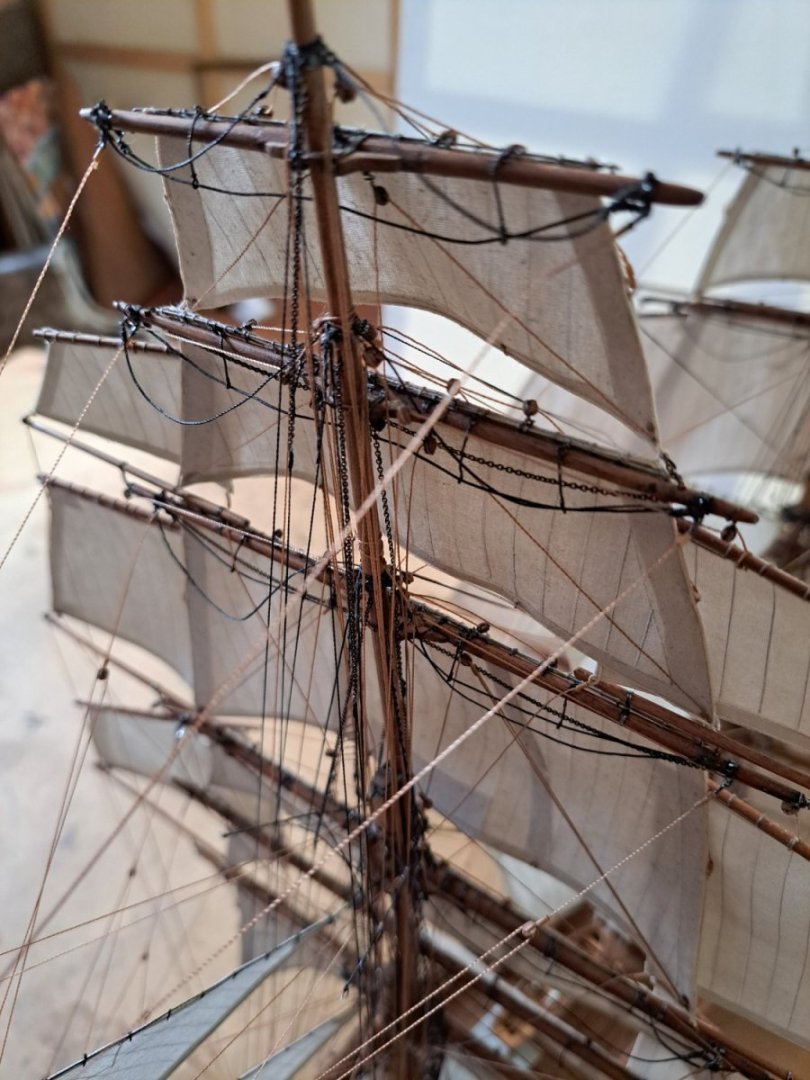
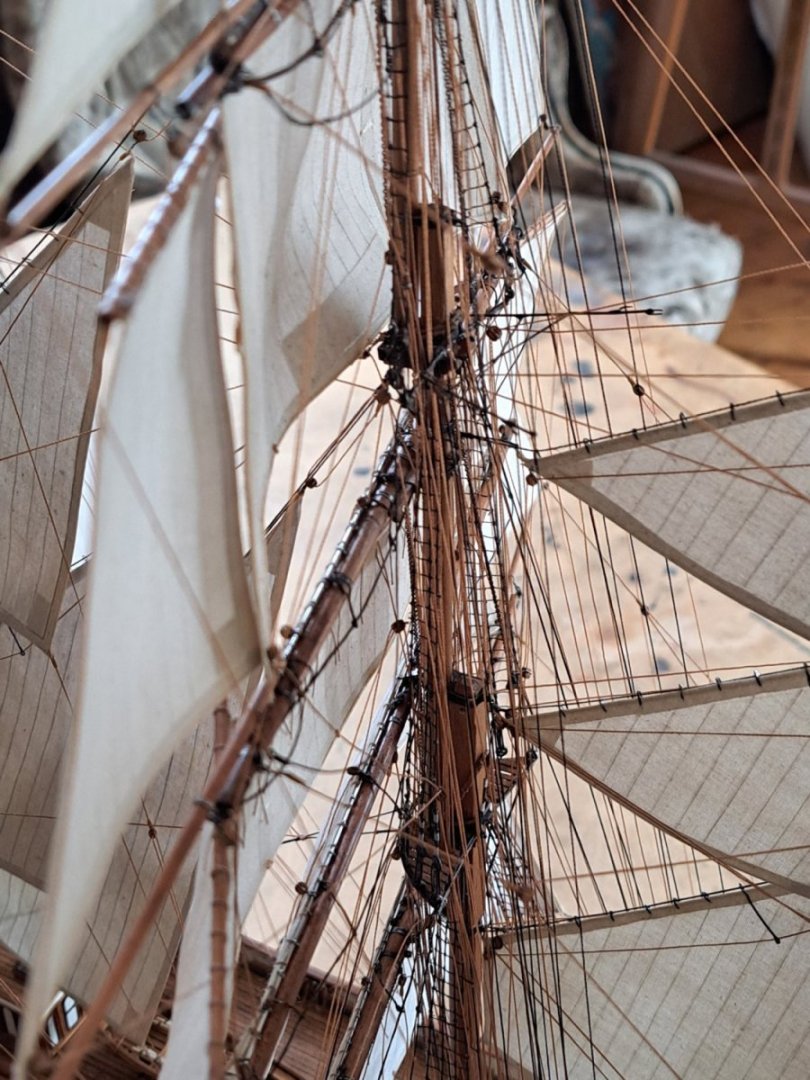
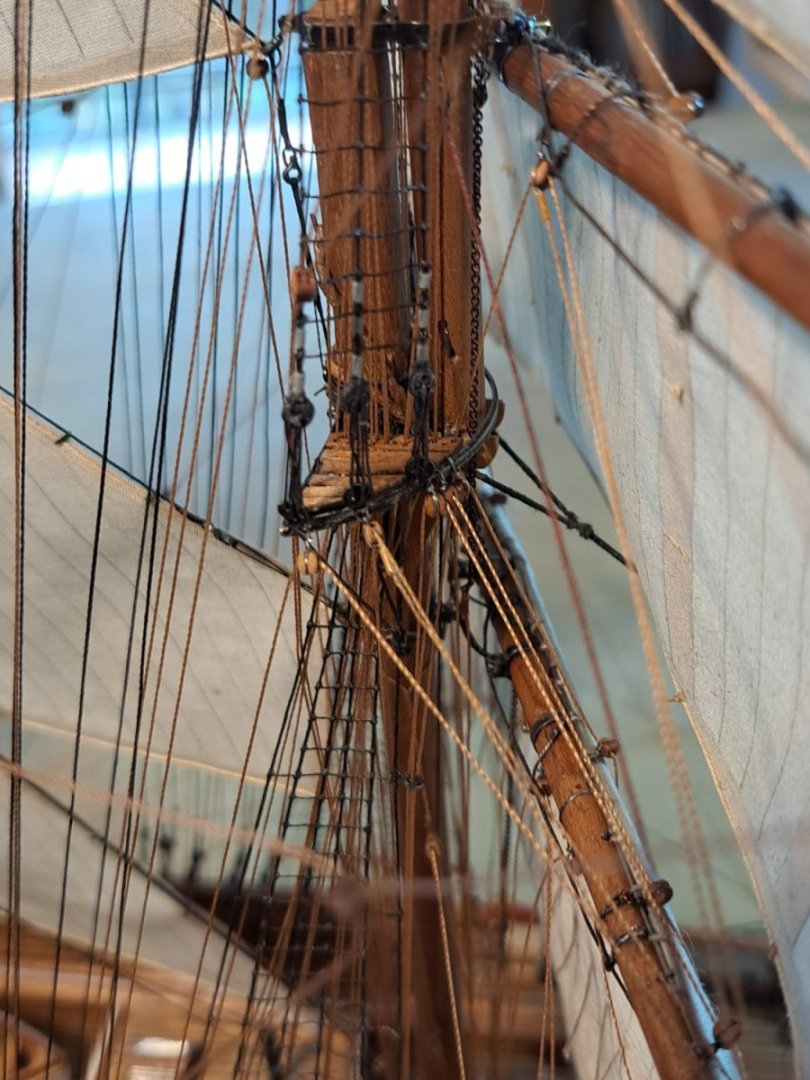
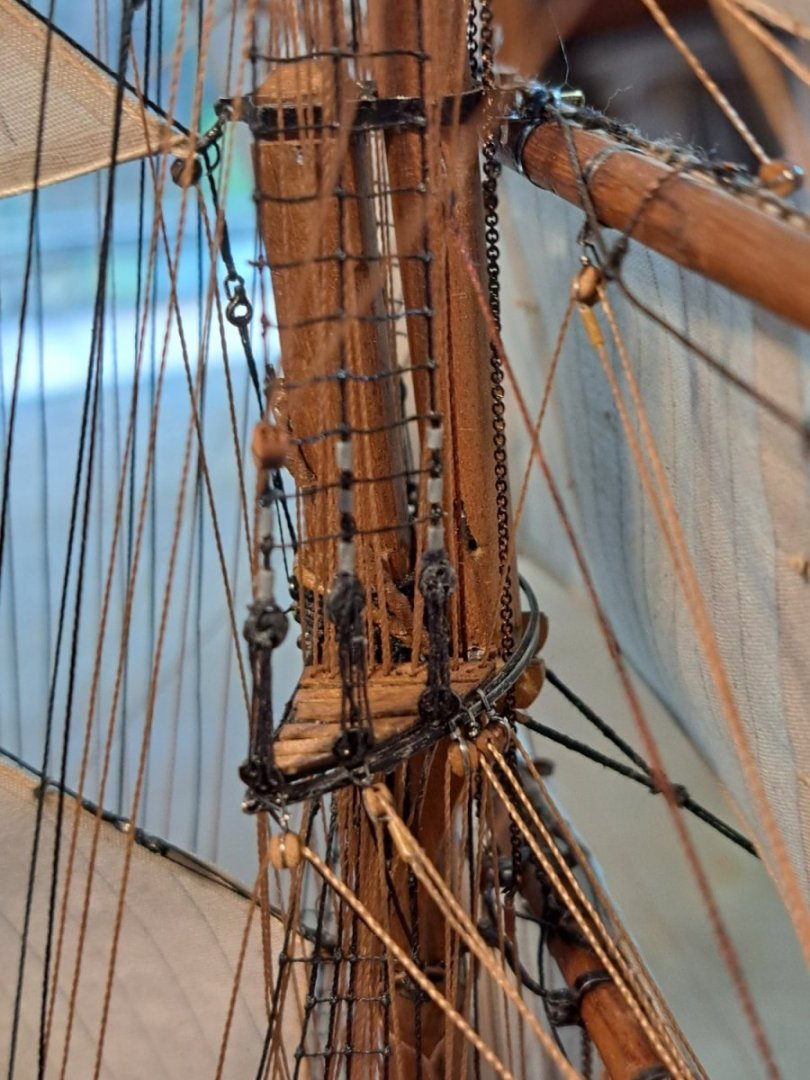
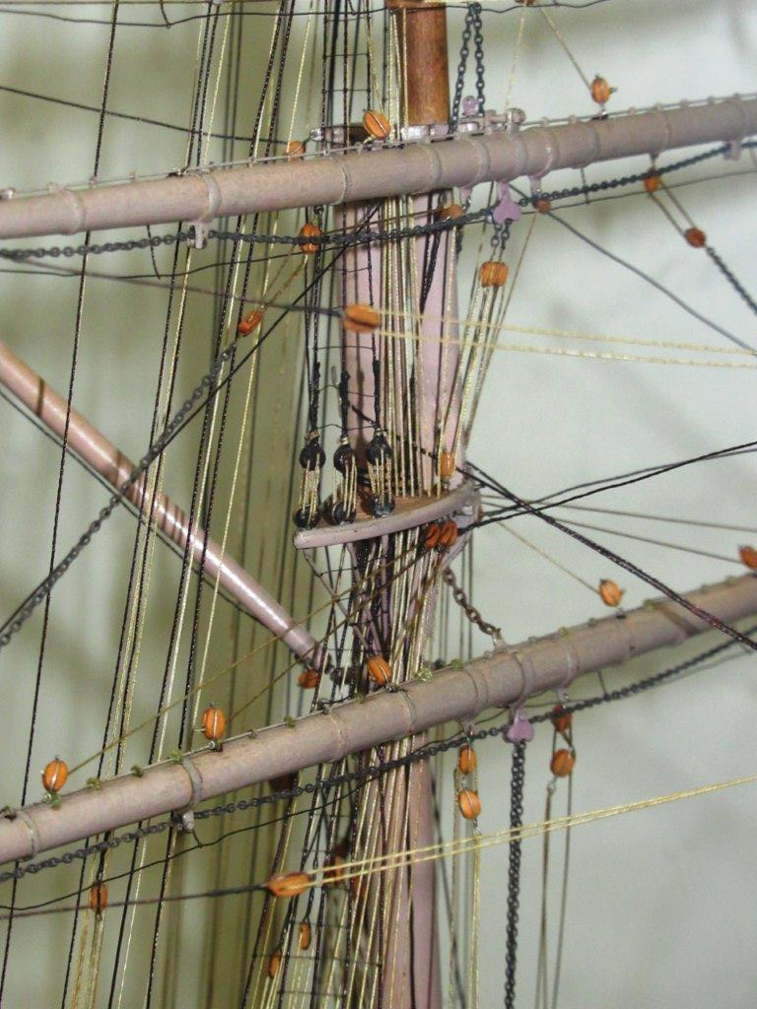
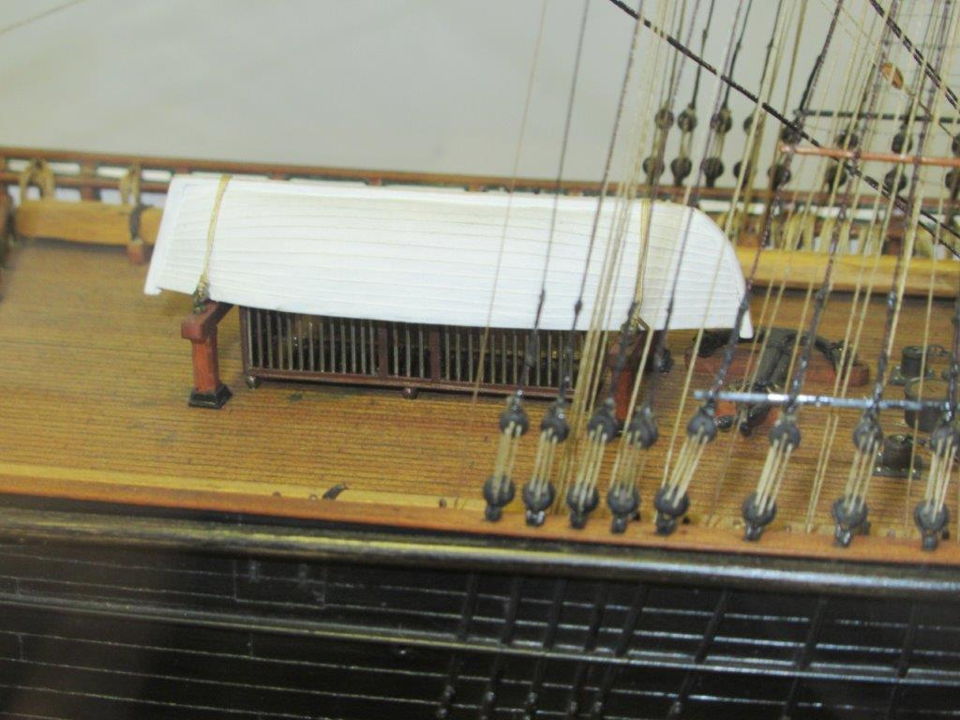
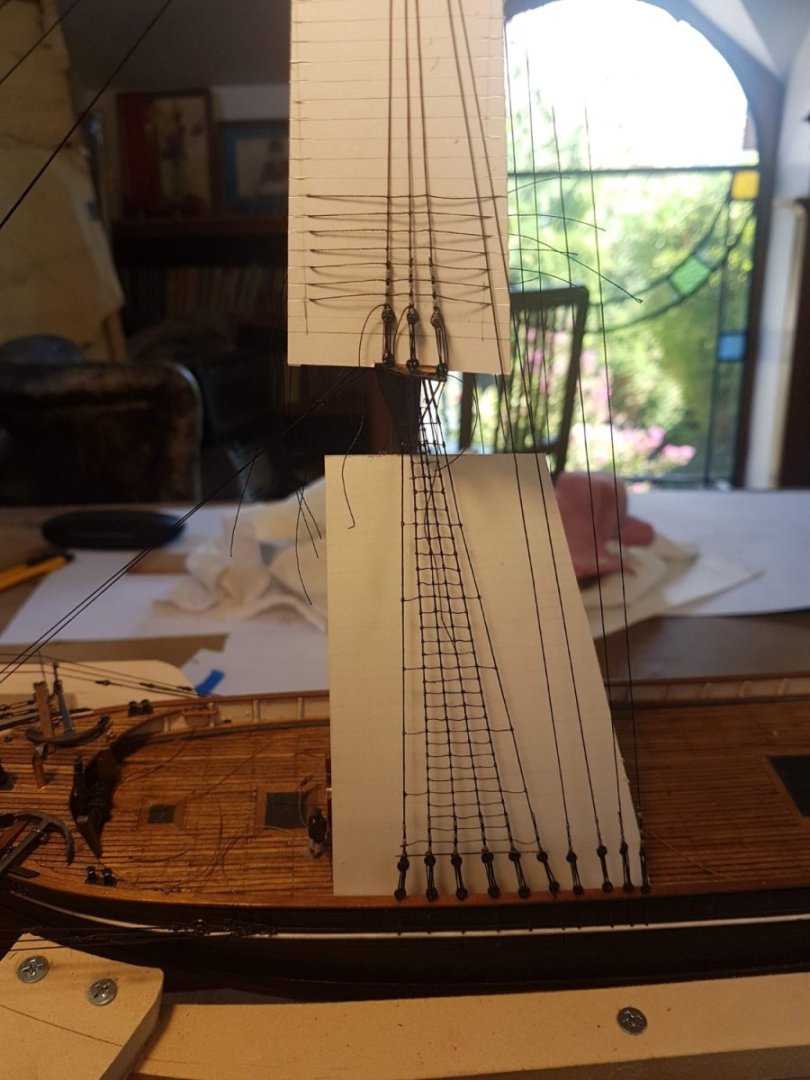
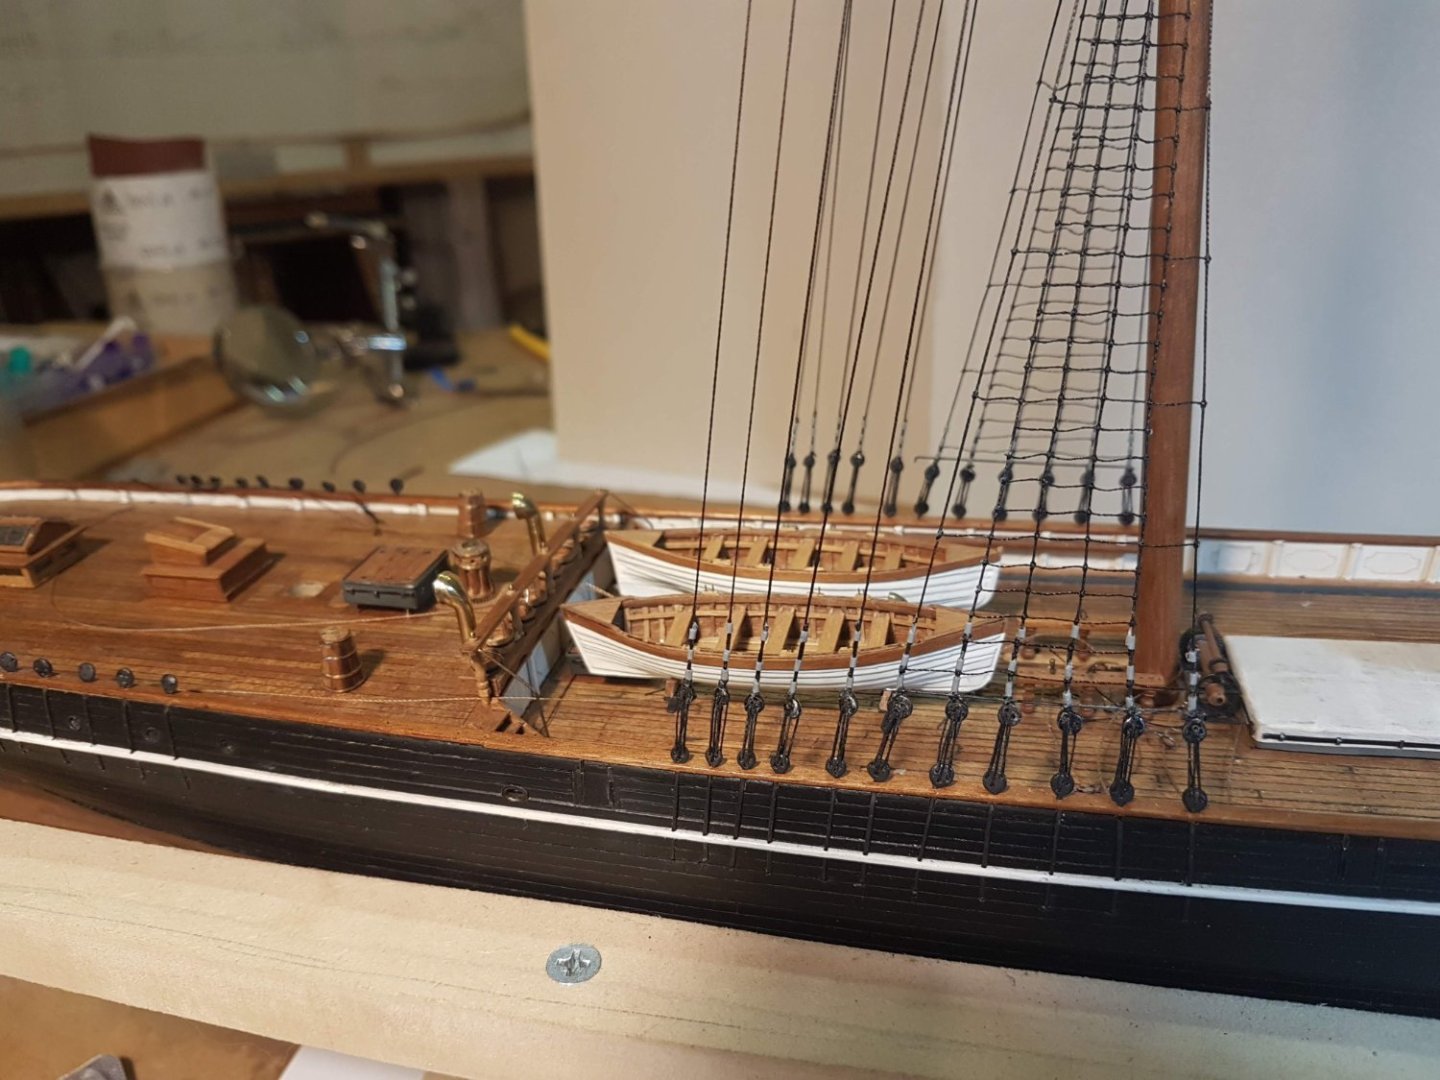
Some more pictures on the standing rigging


-
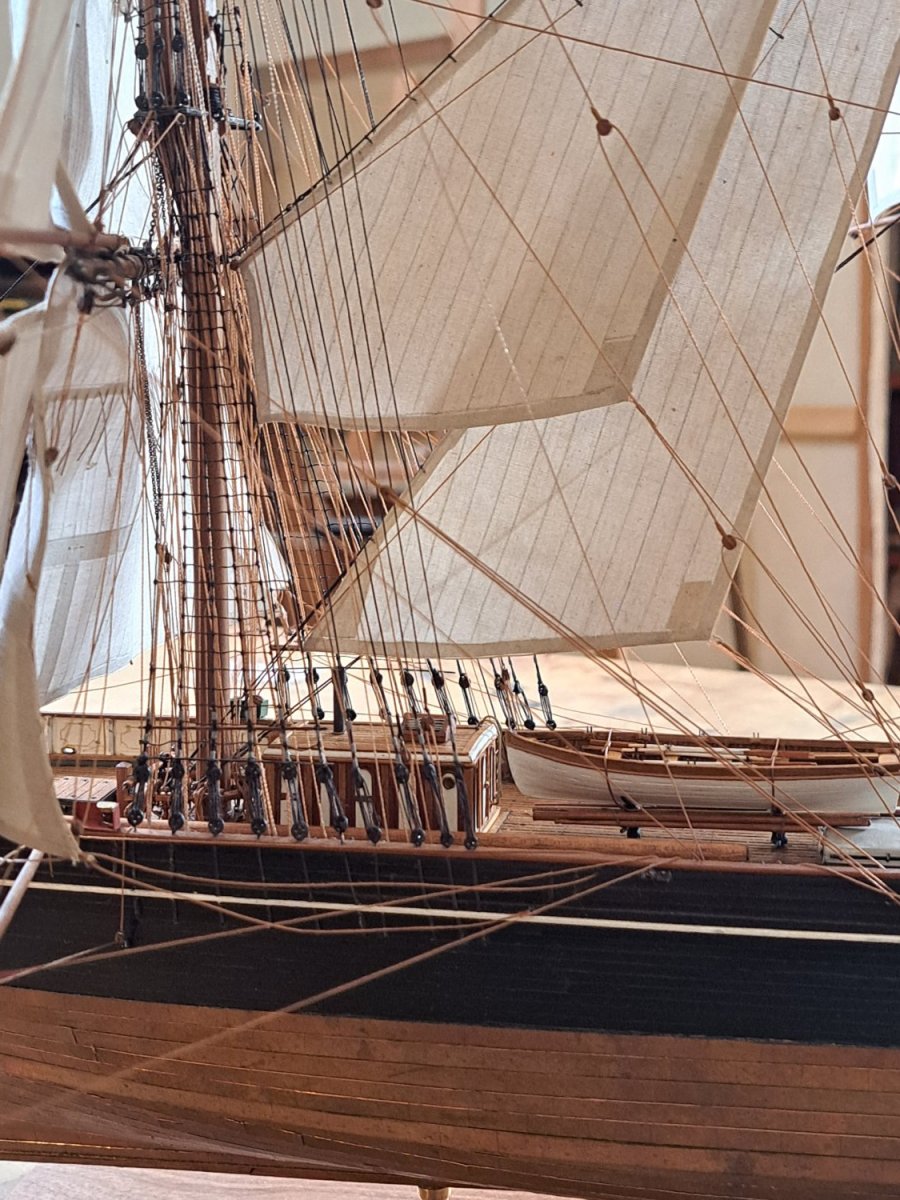
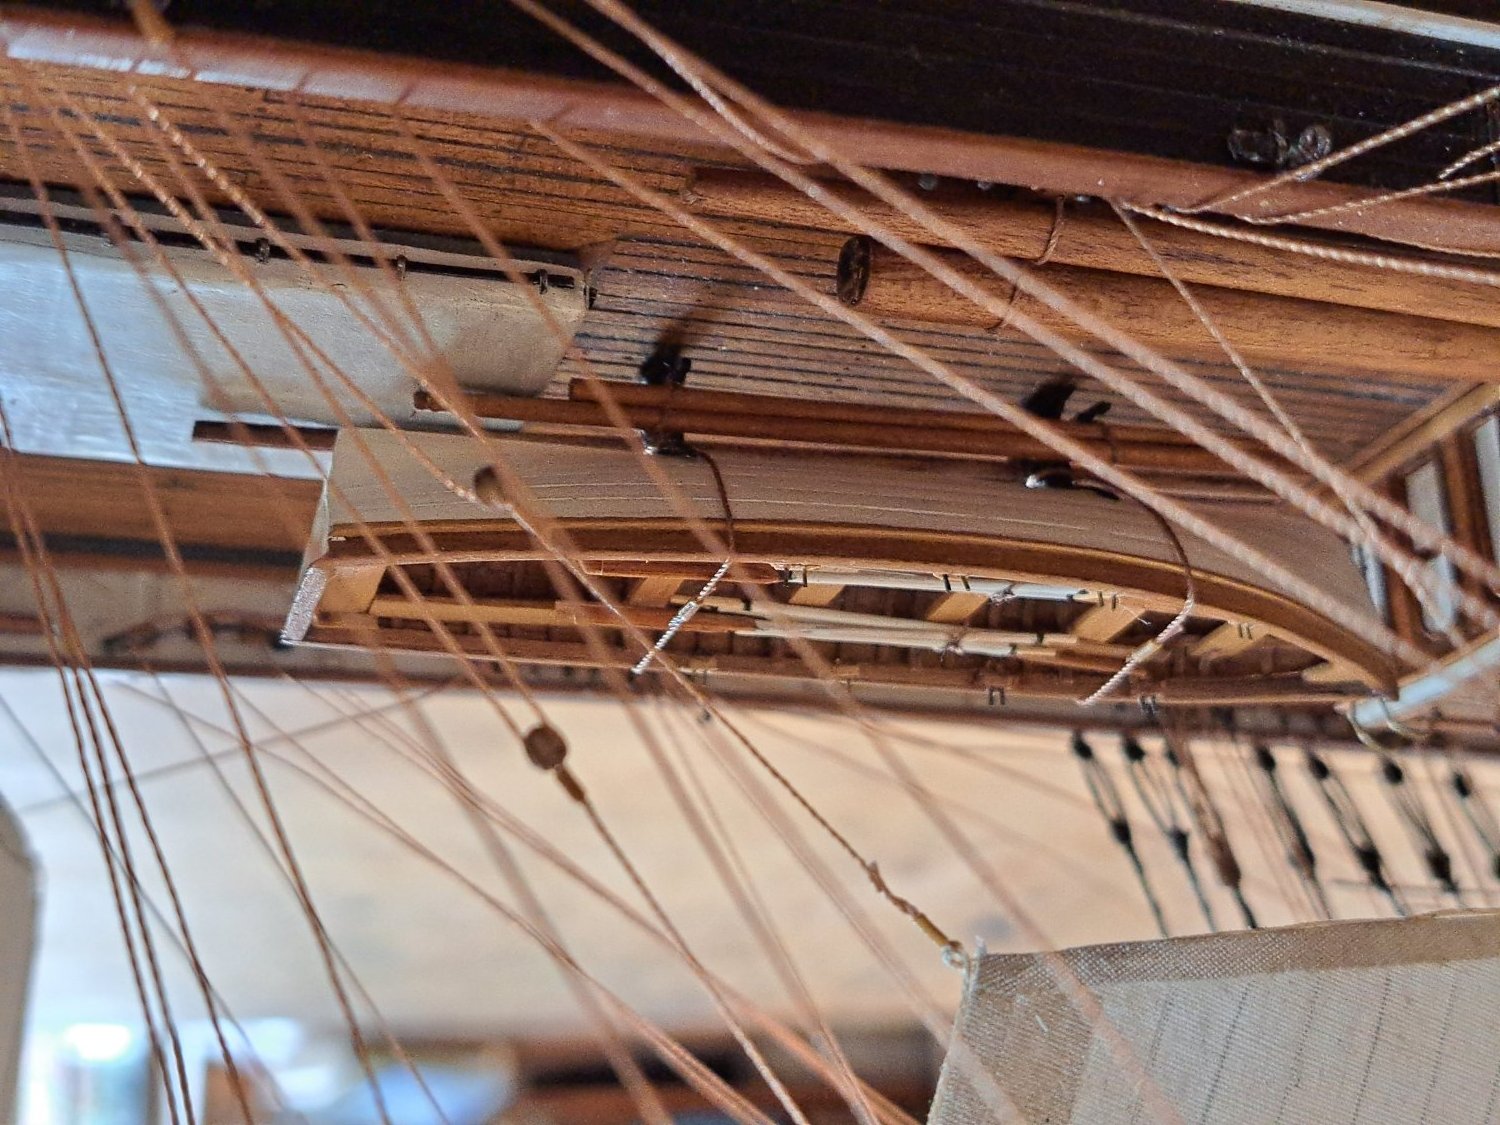
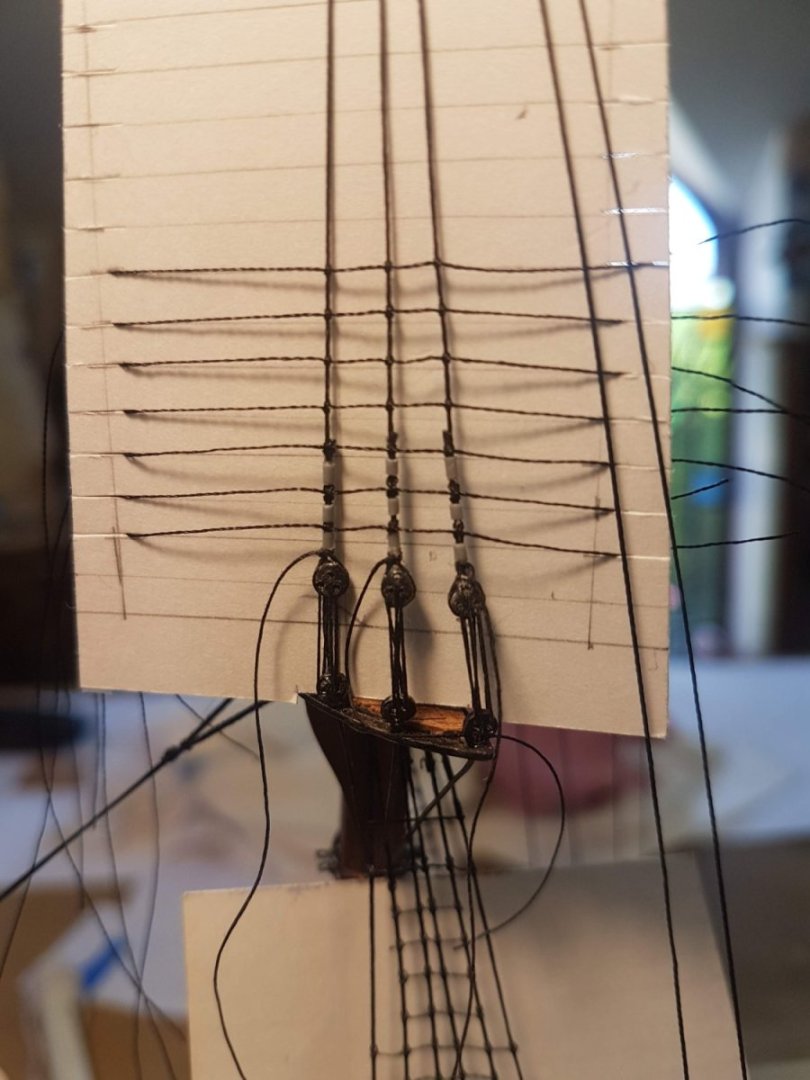
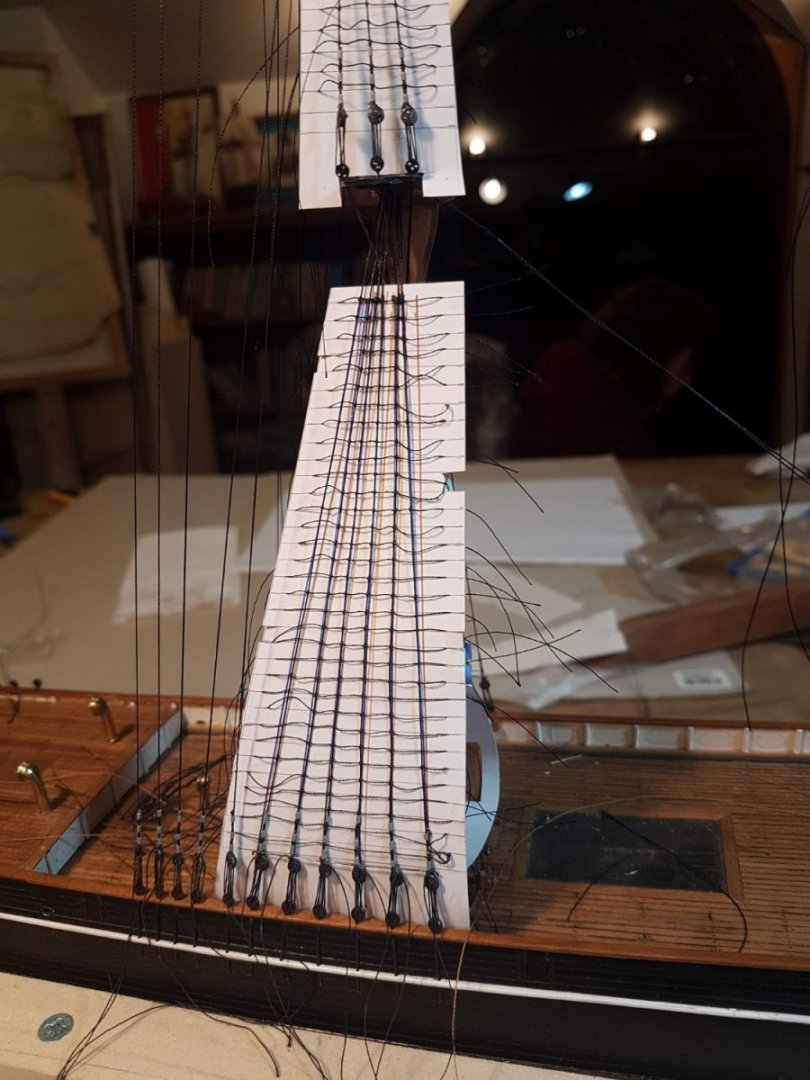
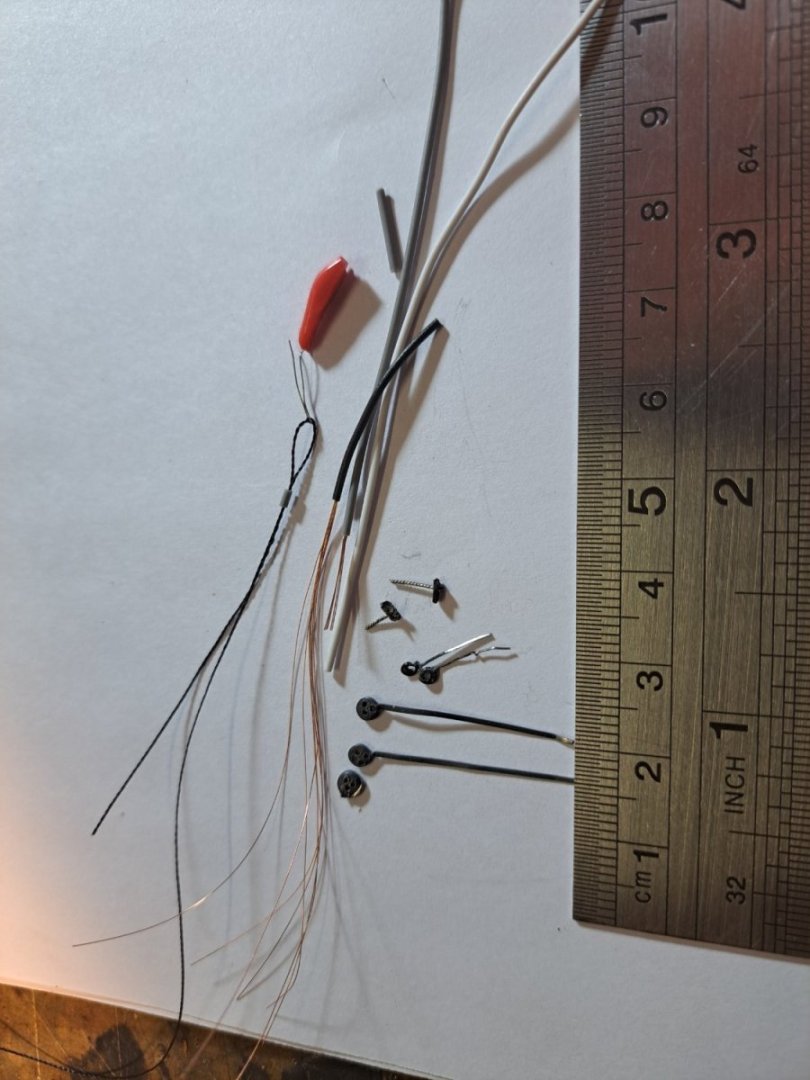
Standing rigging All references pointed to the use of steel wire for the standing rigging, crossing steel wire sizes with what was available I end up using black shoemarker´s thread in 3 sizes, diameters aprox. of 0,3 mm, 0,2 mm and 0,1 mm (serving & ratlines). One of the challenges was the production of the deadeyes with diameters of 3, 2,5 and 2 mm. Finally and end up making the deadeyes using electronic solder 60/40. The hull side was done filling a thin metal strip folded in a circle of the right diameter and the shroud side filling a formed wire that was retired after. For the seizing of the shrouds I end up using grey PVC insulation of data cables AWG 26 and AWG 24, I was able to pass the wire using an adapted needle threaders creating a loop were to fix the deadeye, this solution also provides the ability to easy adjust the position of the deadeye.
-
Many Thanks Mr. Rwiederrich, what a wonderful model of the Thermopylae, very beautiful indeed and inspiring.
-
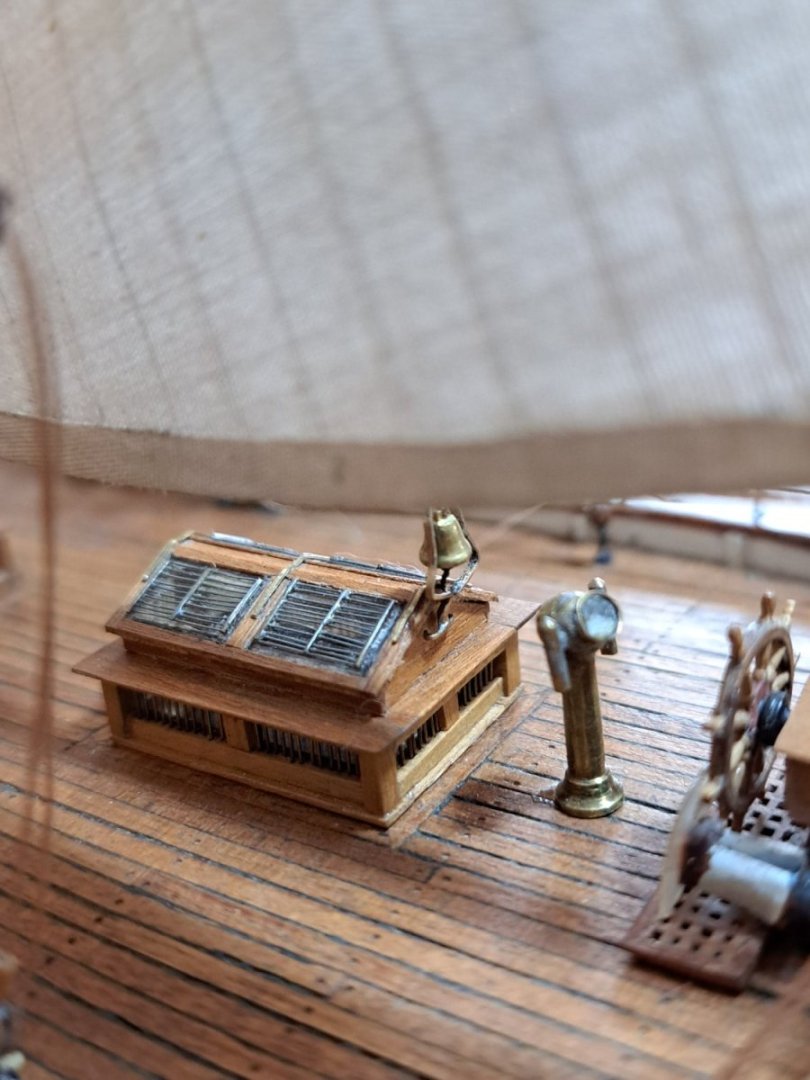
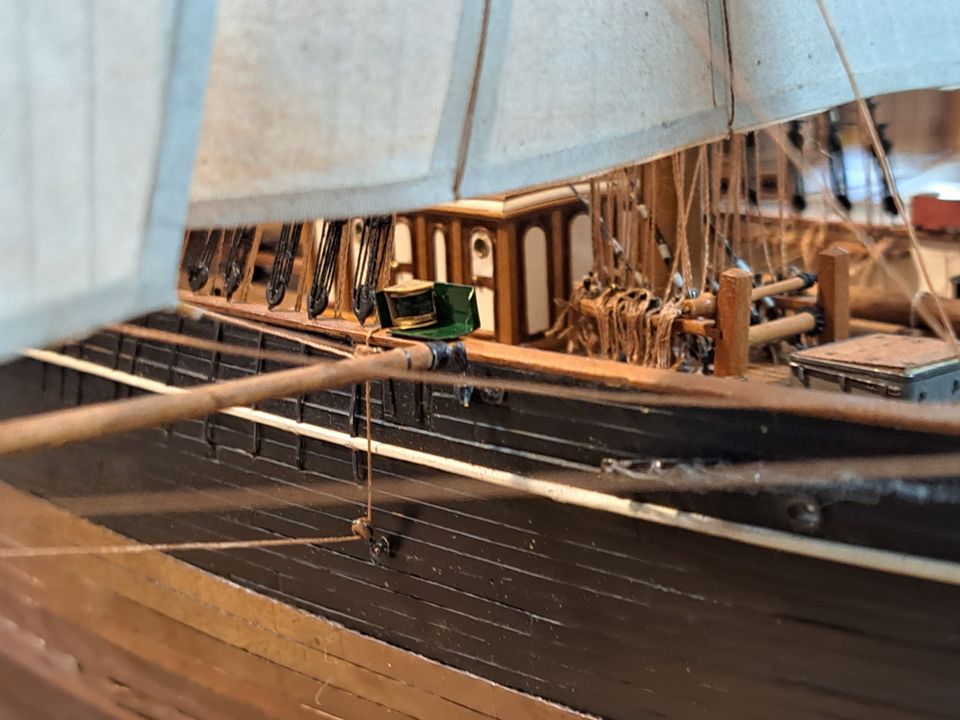
And a distraction, bells & position lights. In US the position lights were required since 1958, was the same in England?

-
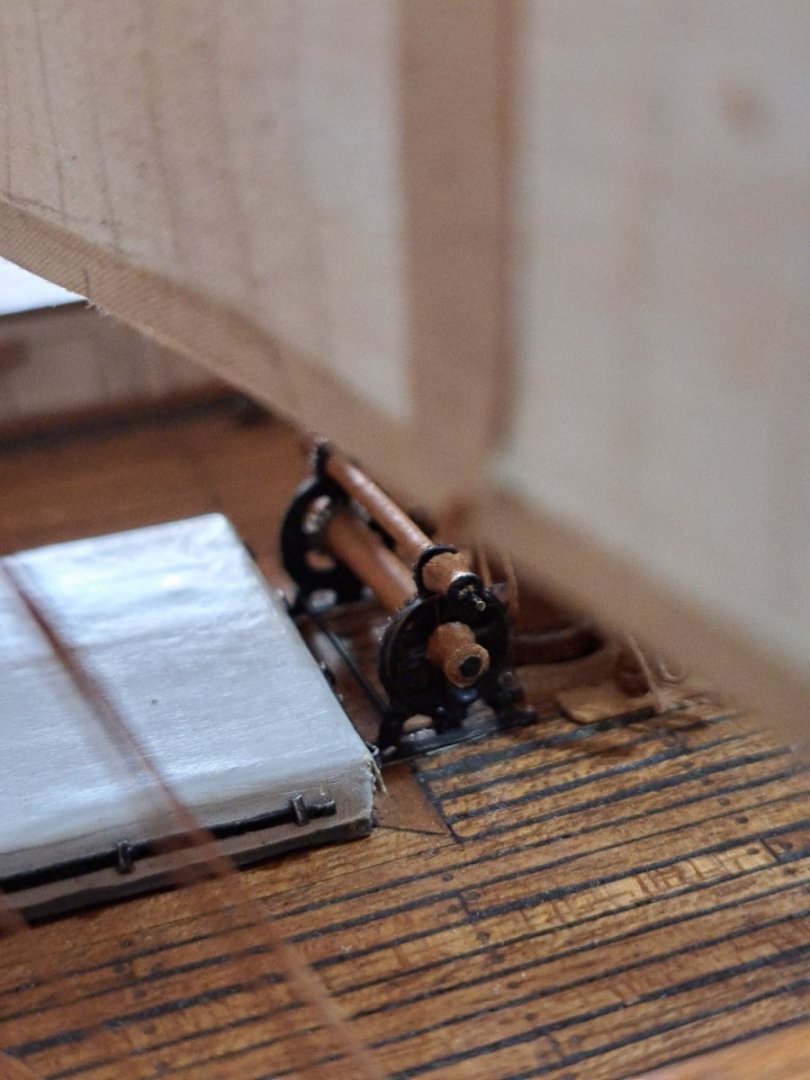
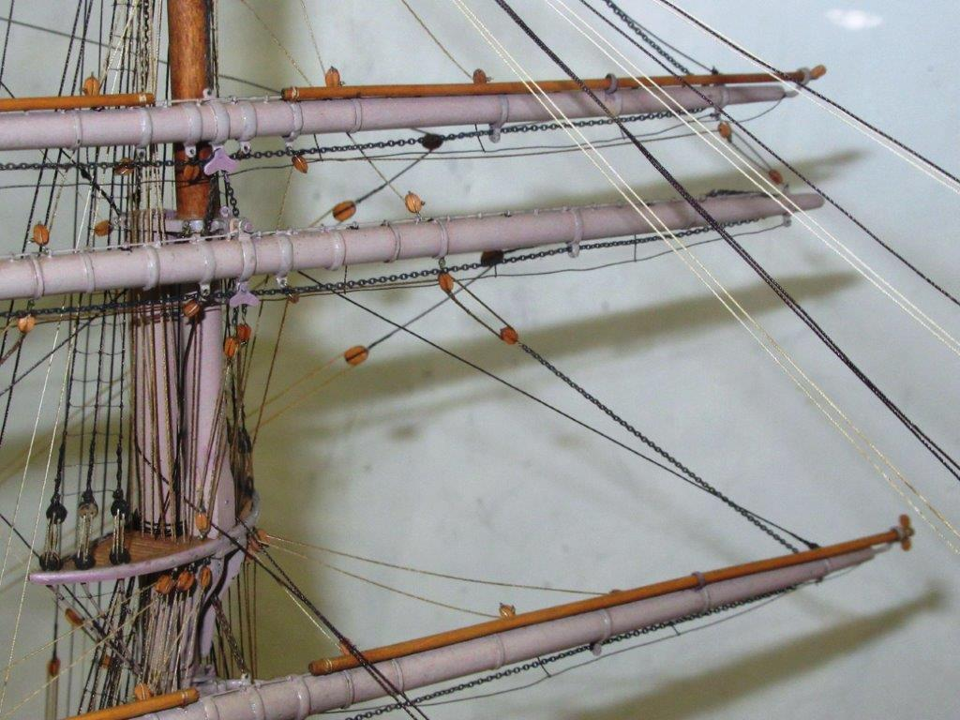
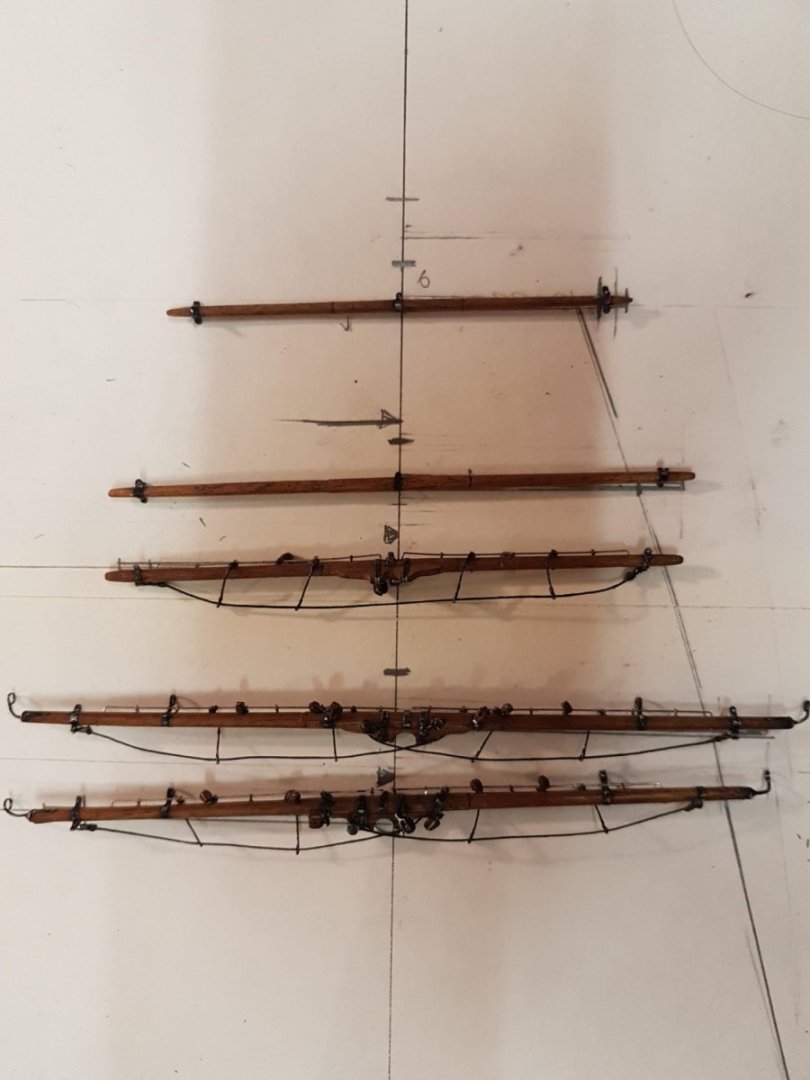
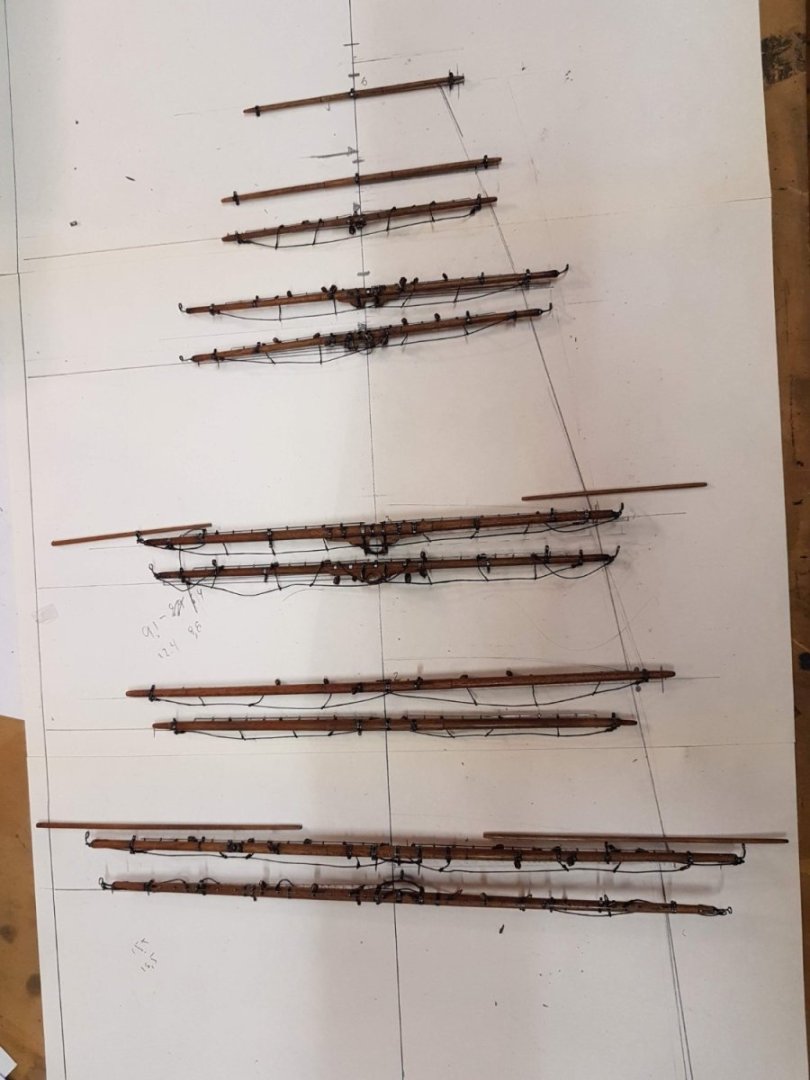
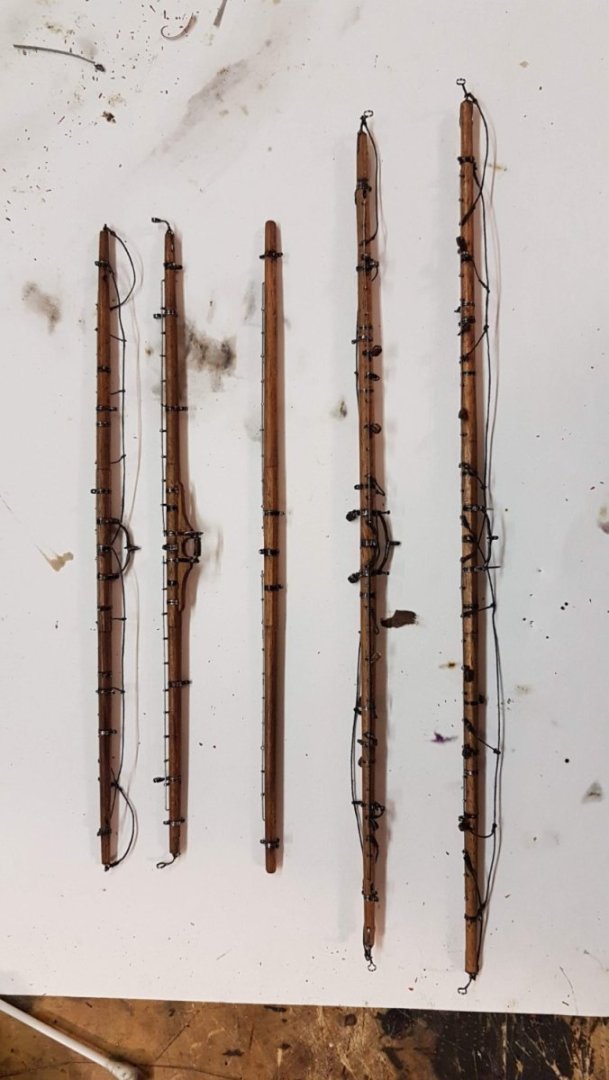
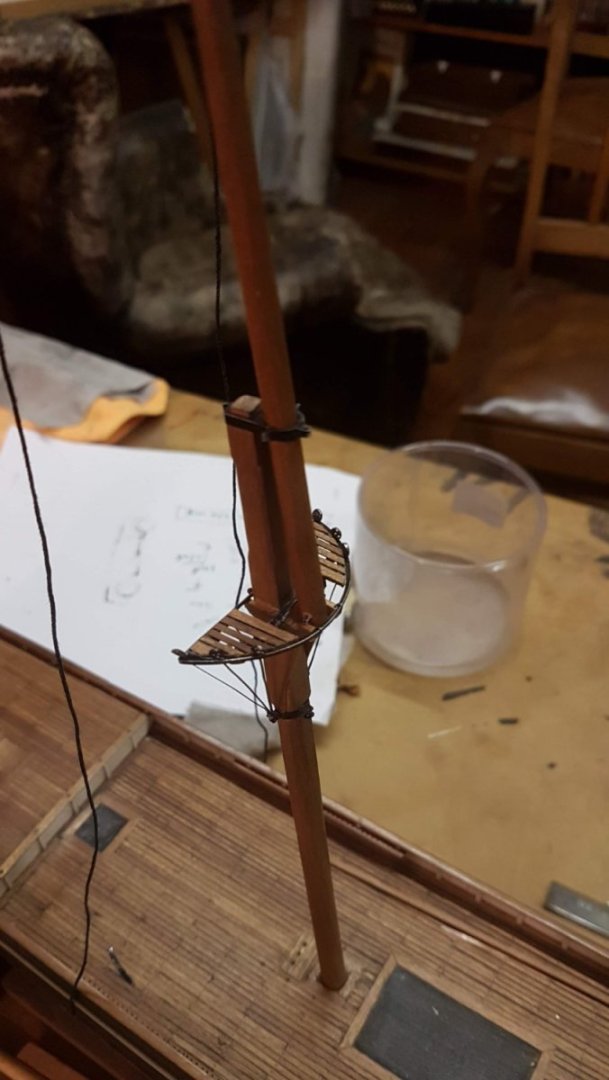
Hi, some pics on the yards
-
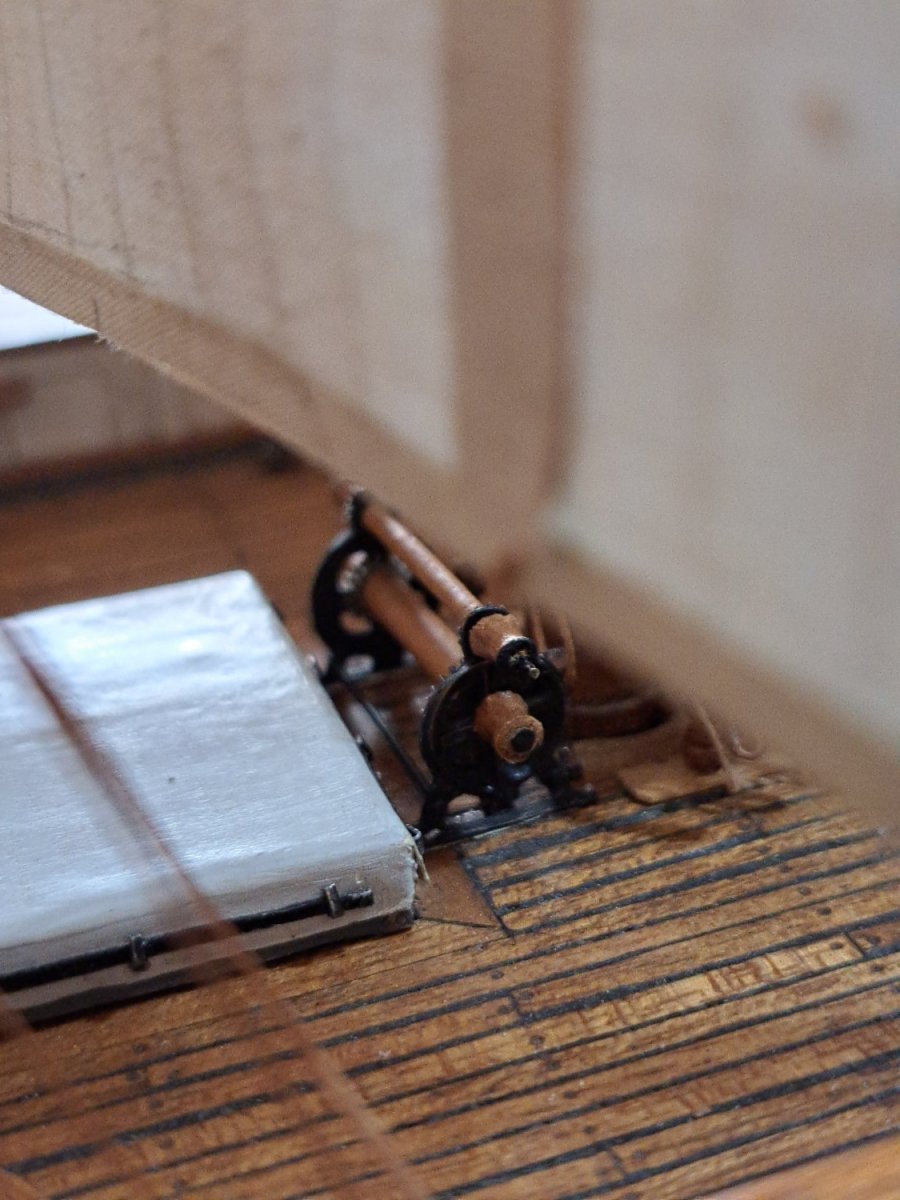
Mast & spars Initially Sir Lancelot was fitted with iron mast, but on its first journey was dismasted in the English Channel, a new wooden set of mast was deployed. So for the model I used wood for the masts and spars. All the metal work was done using metal strips cut from ordinary cans (Coffee, candies..) and standard electronic solder 60/40. For the Jackstays I use steel guitar strings.

-
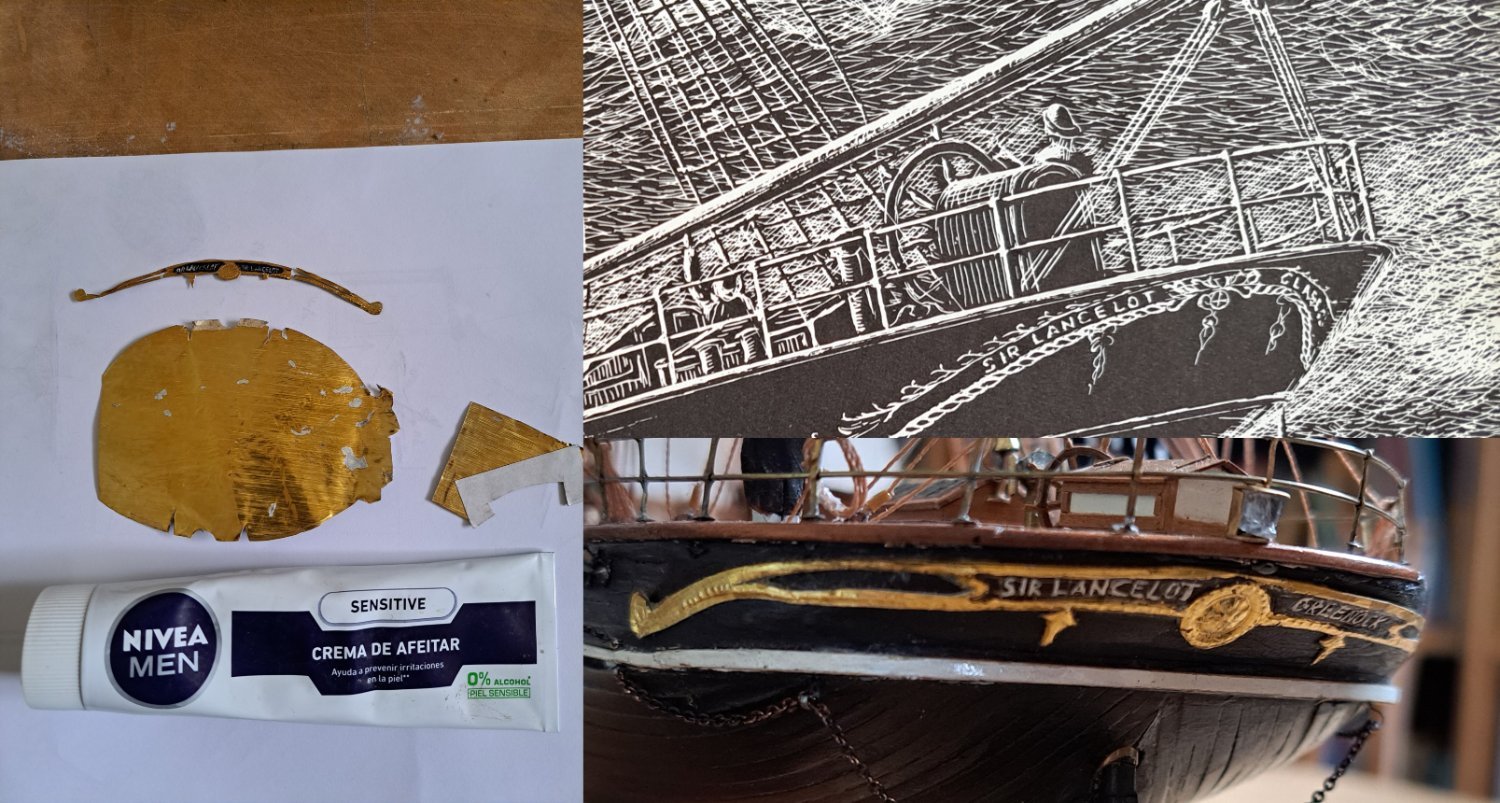
Stern Decoration I try several options to do the stern decoration, twisted wire, bronze, gold paint, but with no good results. Experimenting, by chance I found that the metal tube of the shaving cream that I use was golden in the inside and a soft metal easy to cut and to emboss, so after a couple of trials I decided to go for it. The result were not as expected, but better that the other ways tried before.

-
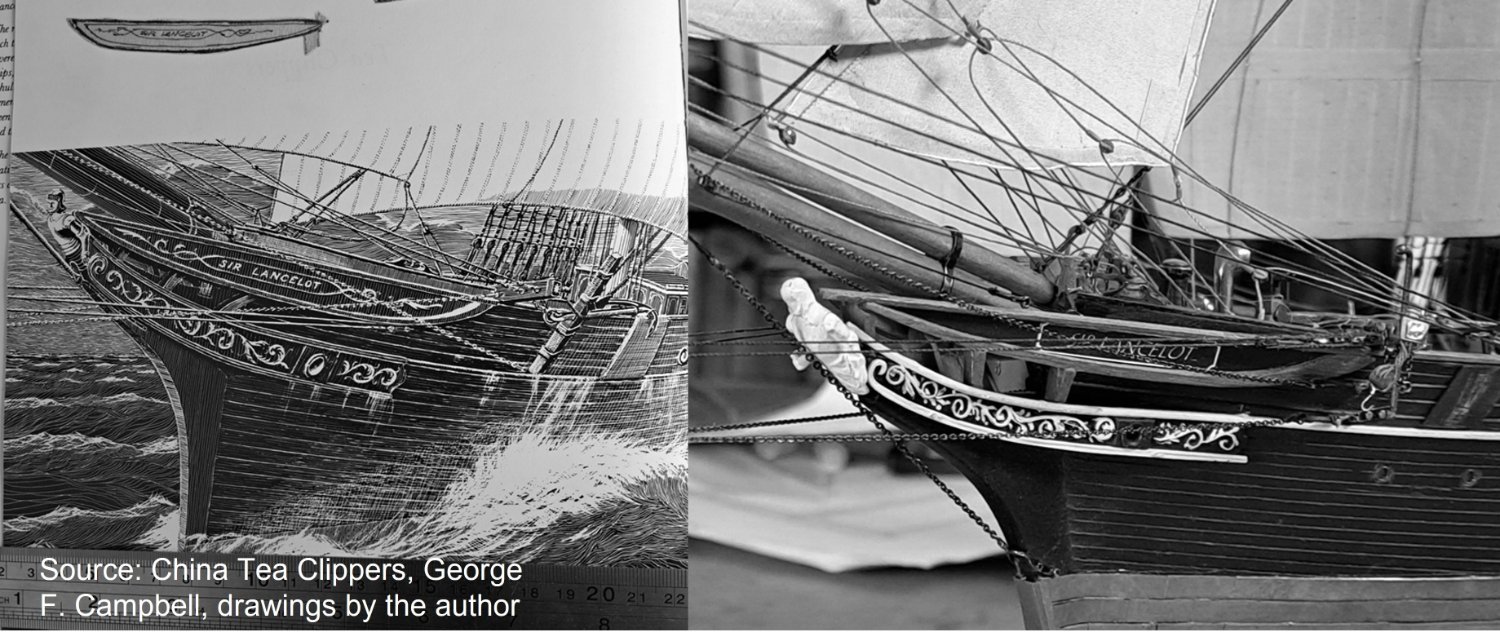
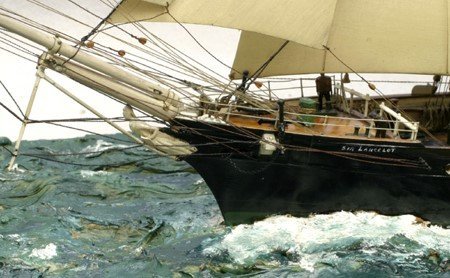
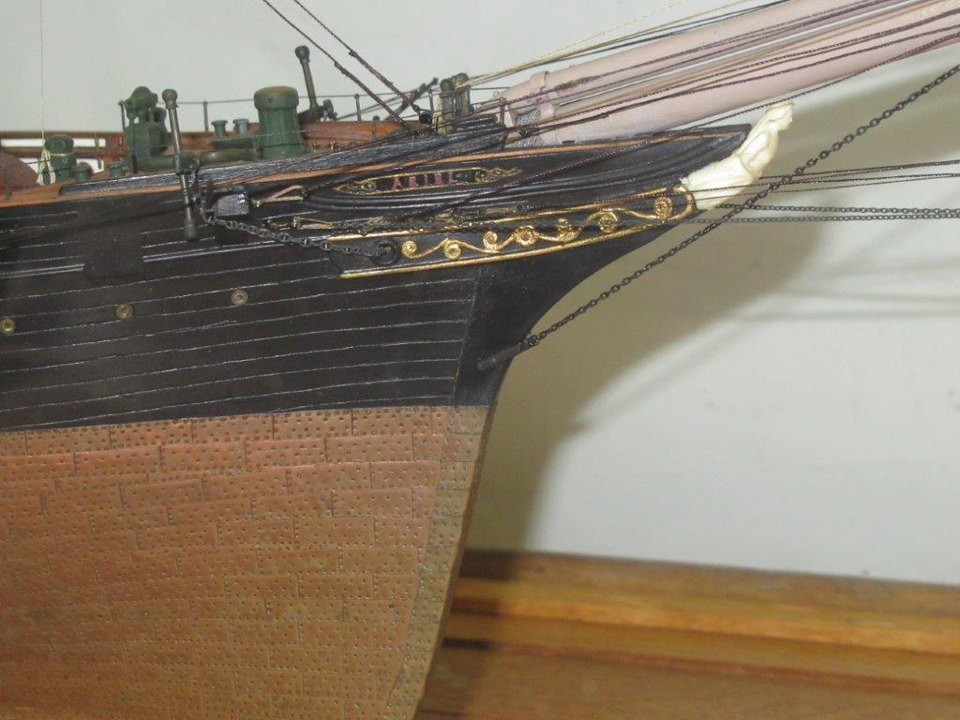
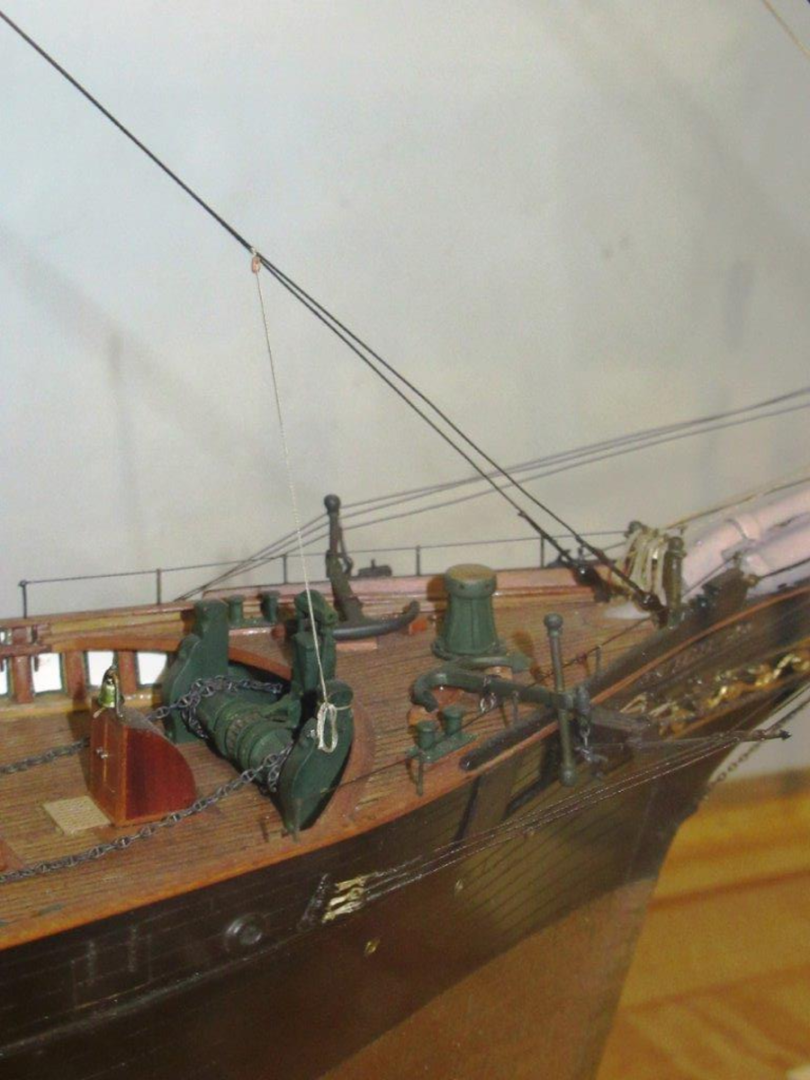
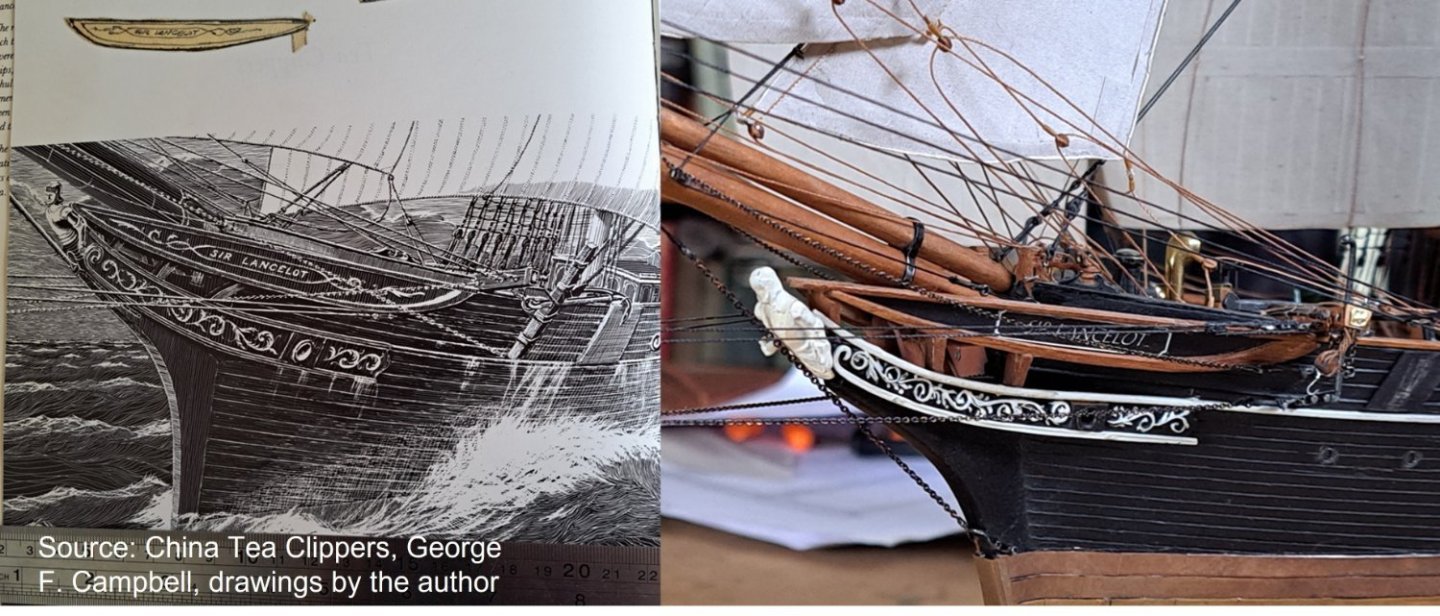
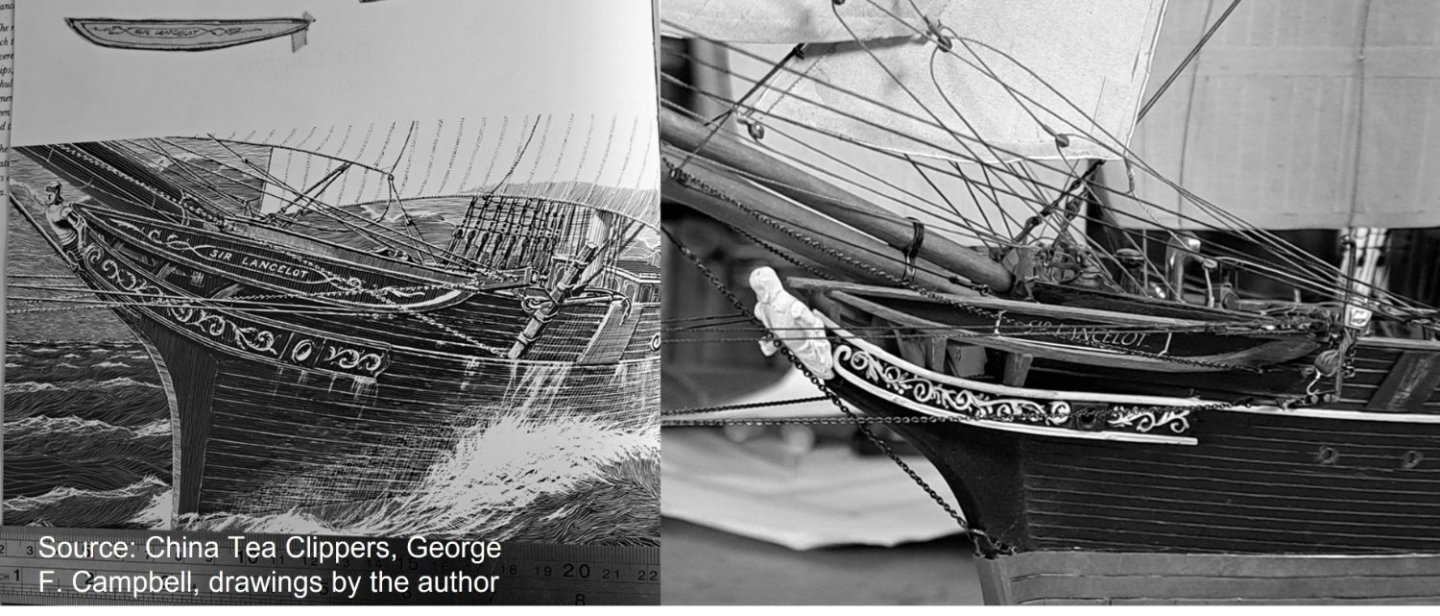
Hi: Thanks Roger for your advice, I didn´t use a standard double sided transfer type, but if it not hold then I will have to do something like do you suggest. Rob, I will be following you, I am thinking in build and American Clipper after this one, probable a McKay clipper, your job is very inspiring. Then continuing with the building. Bow/Stem decoration I based the decoration in the drawing of Mr. George Campbell contained in his book " The China Tea Clippers". The built is on a wood base with the motives carved in aluminum as well as the figure head, the white paint is Zinc-White Oil painting straight from the tube, has texture, covering capacity and volume. I think it goes pretty well.
-
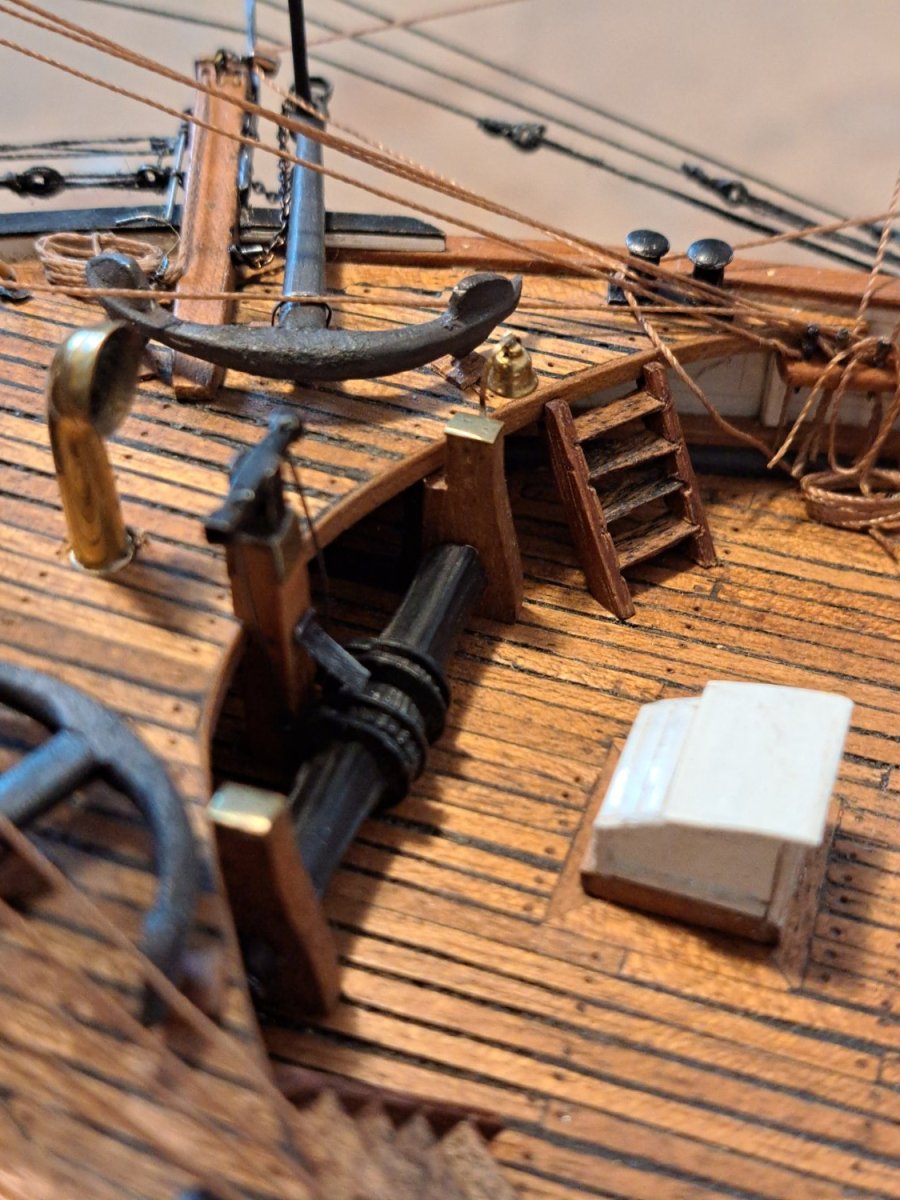
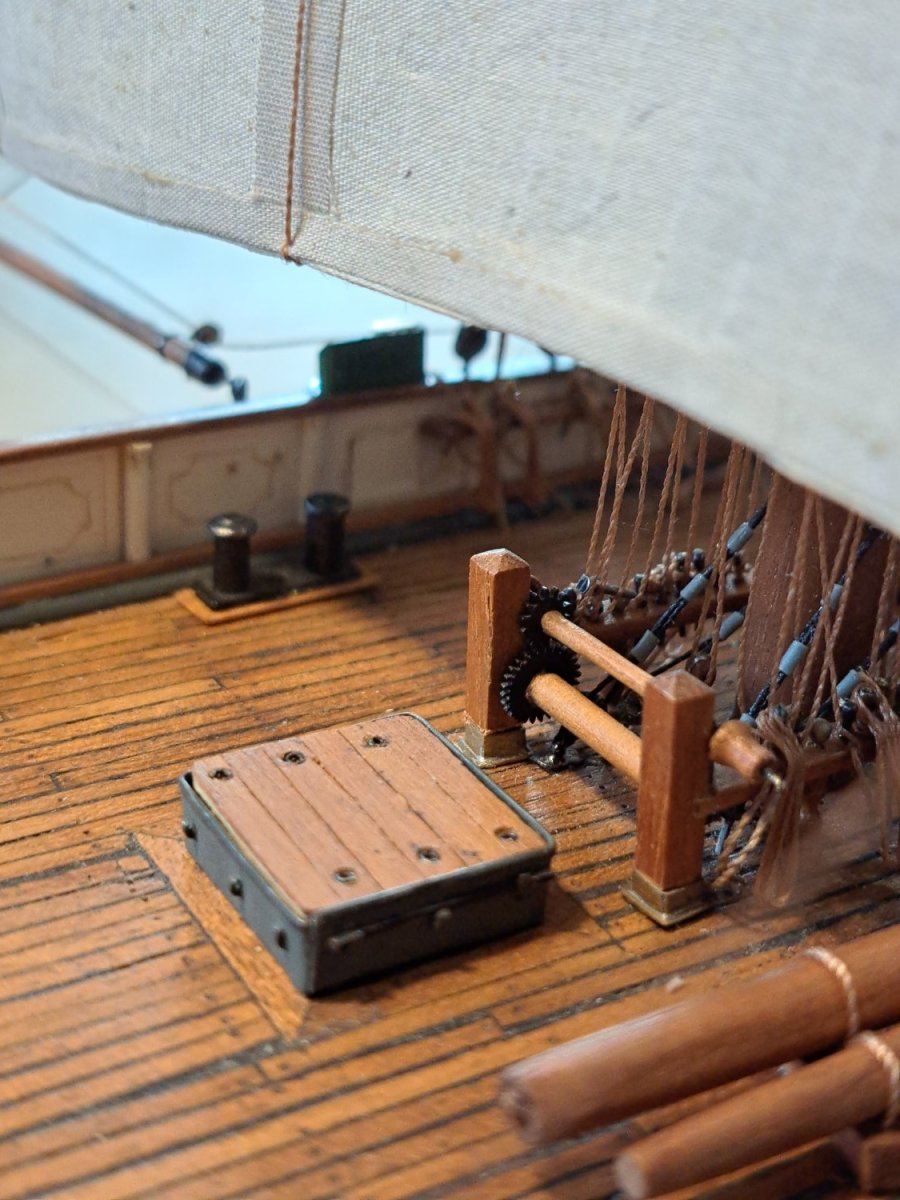
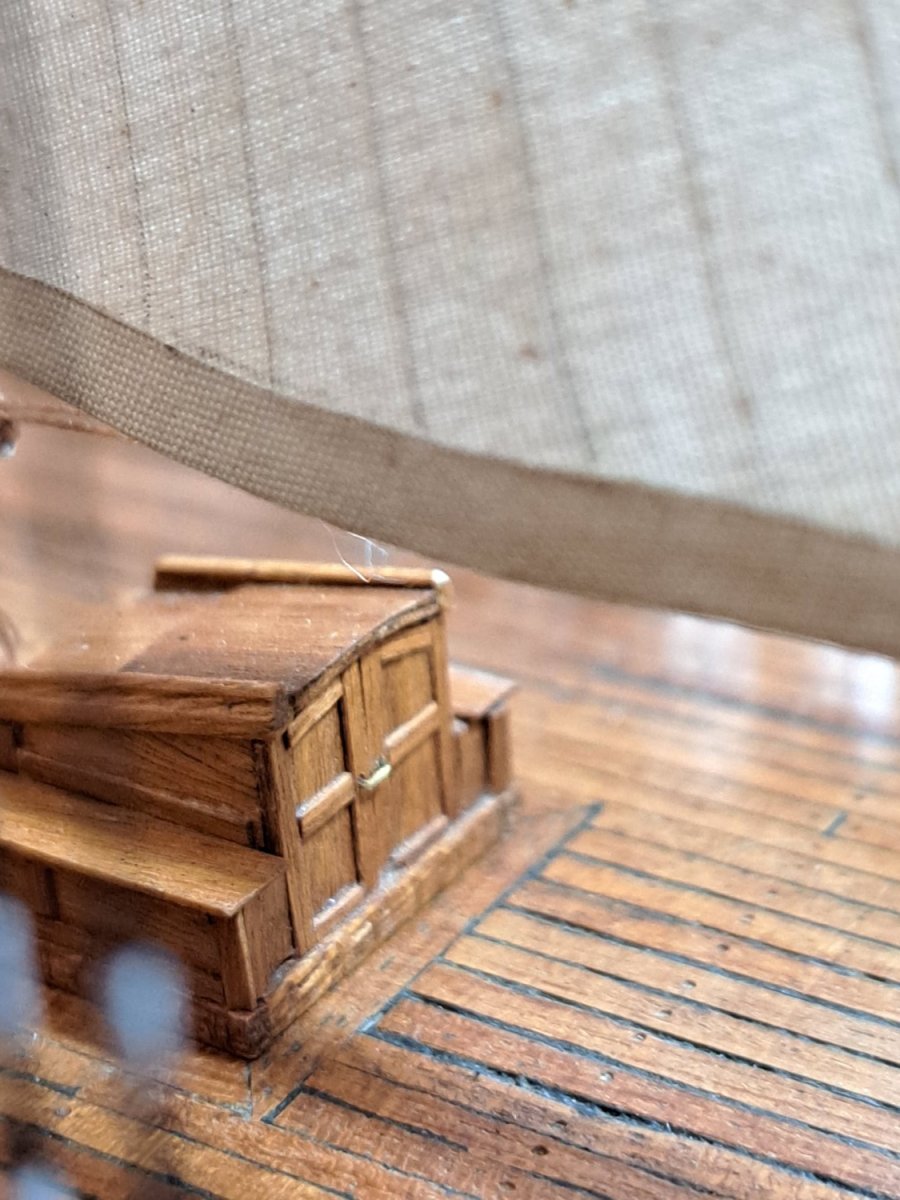
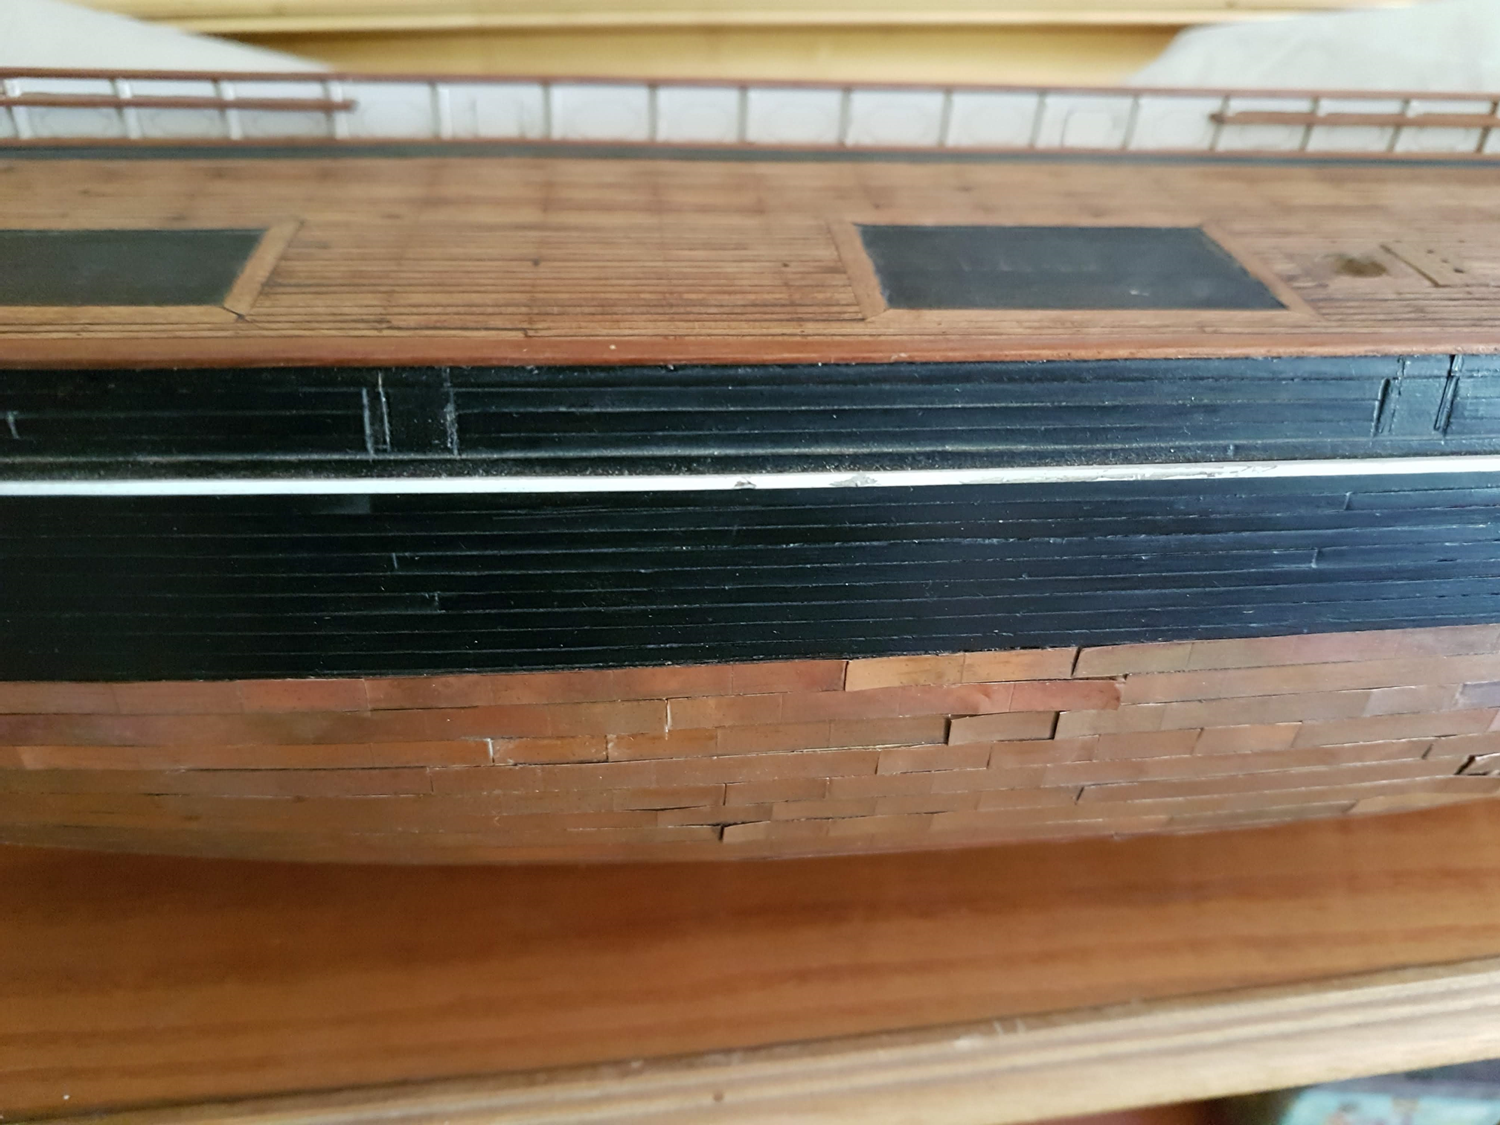
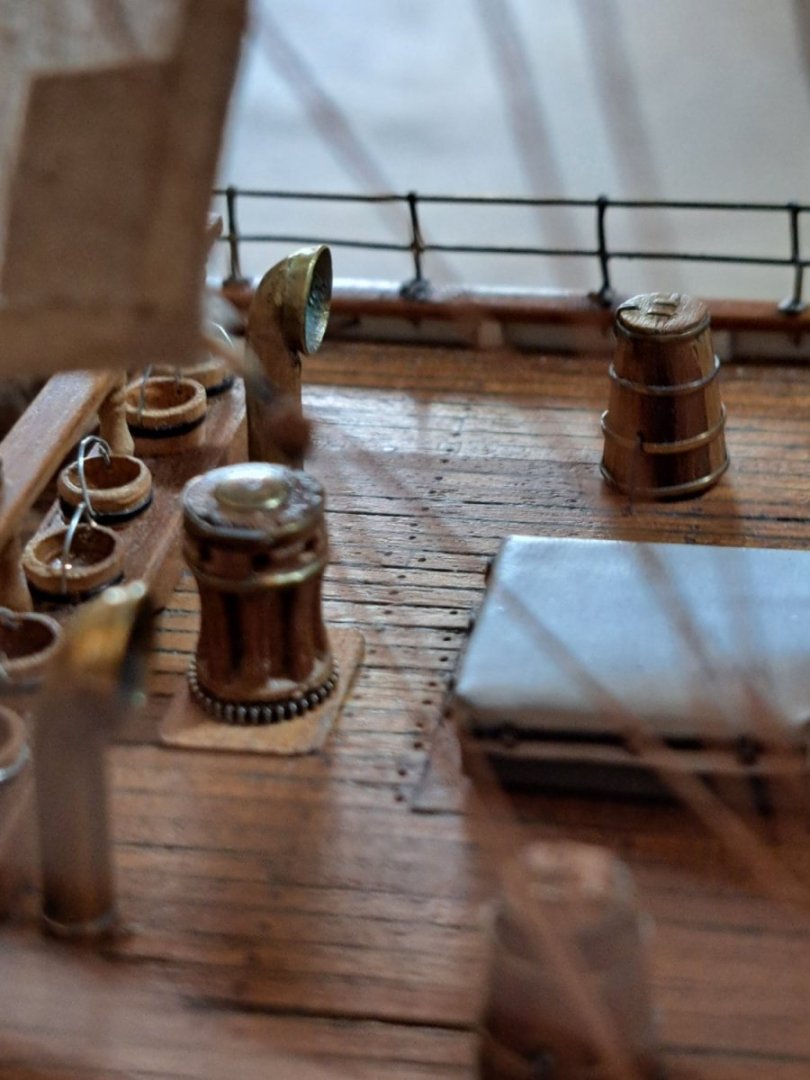
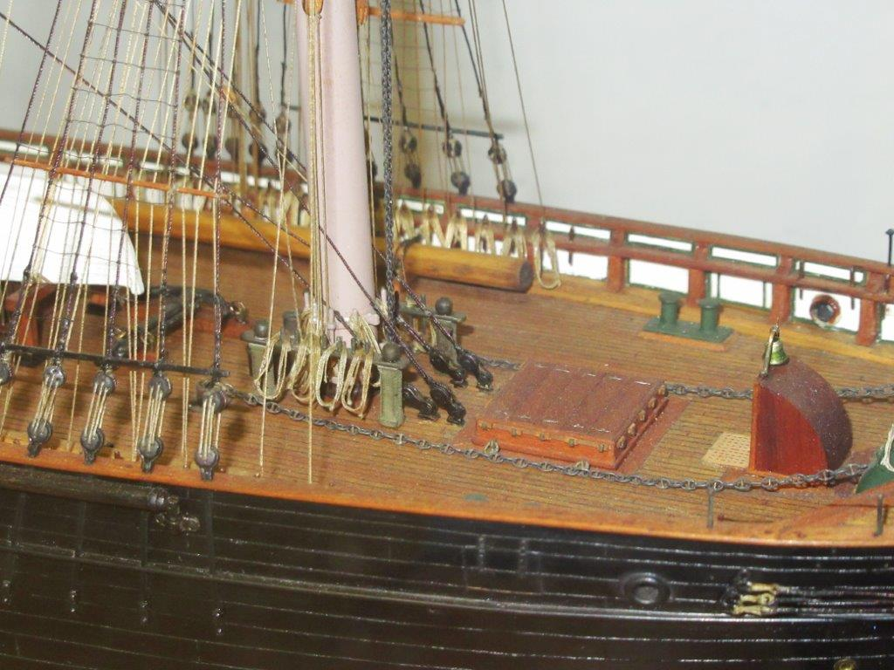
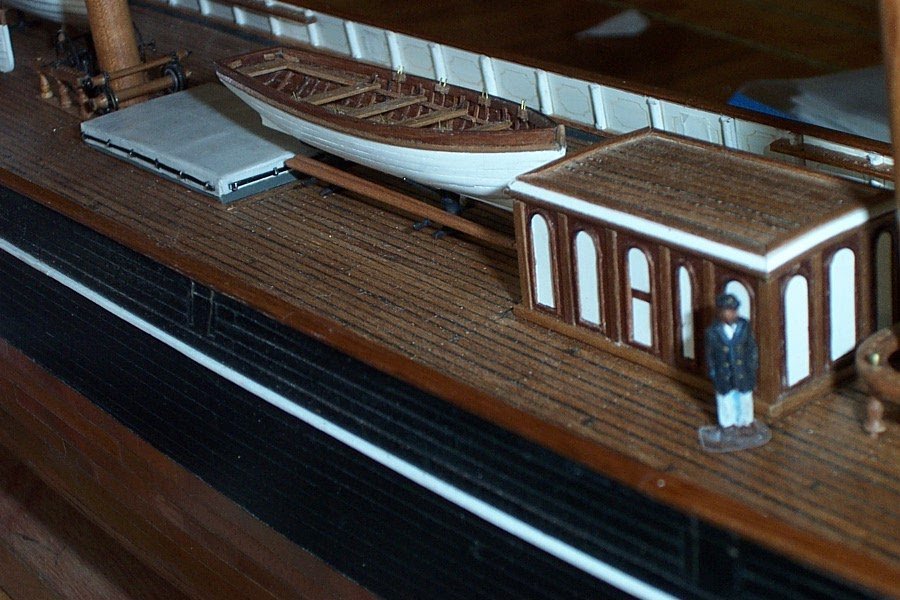
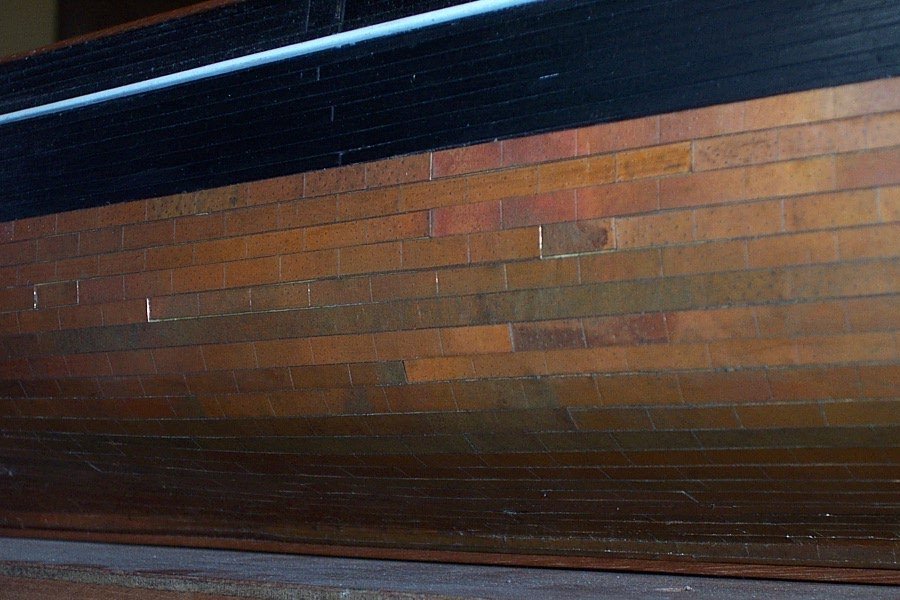
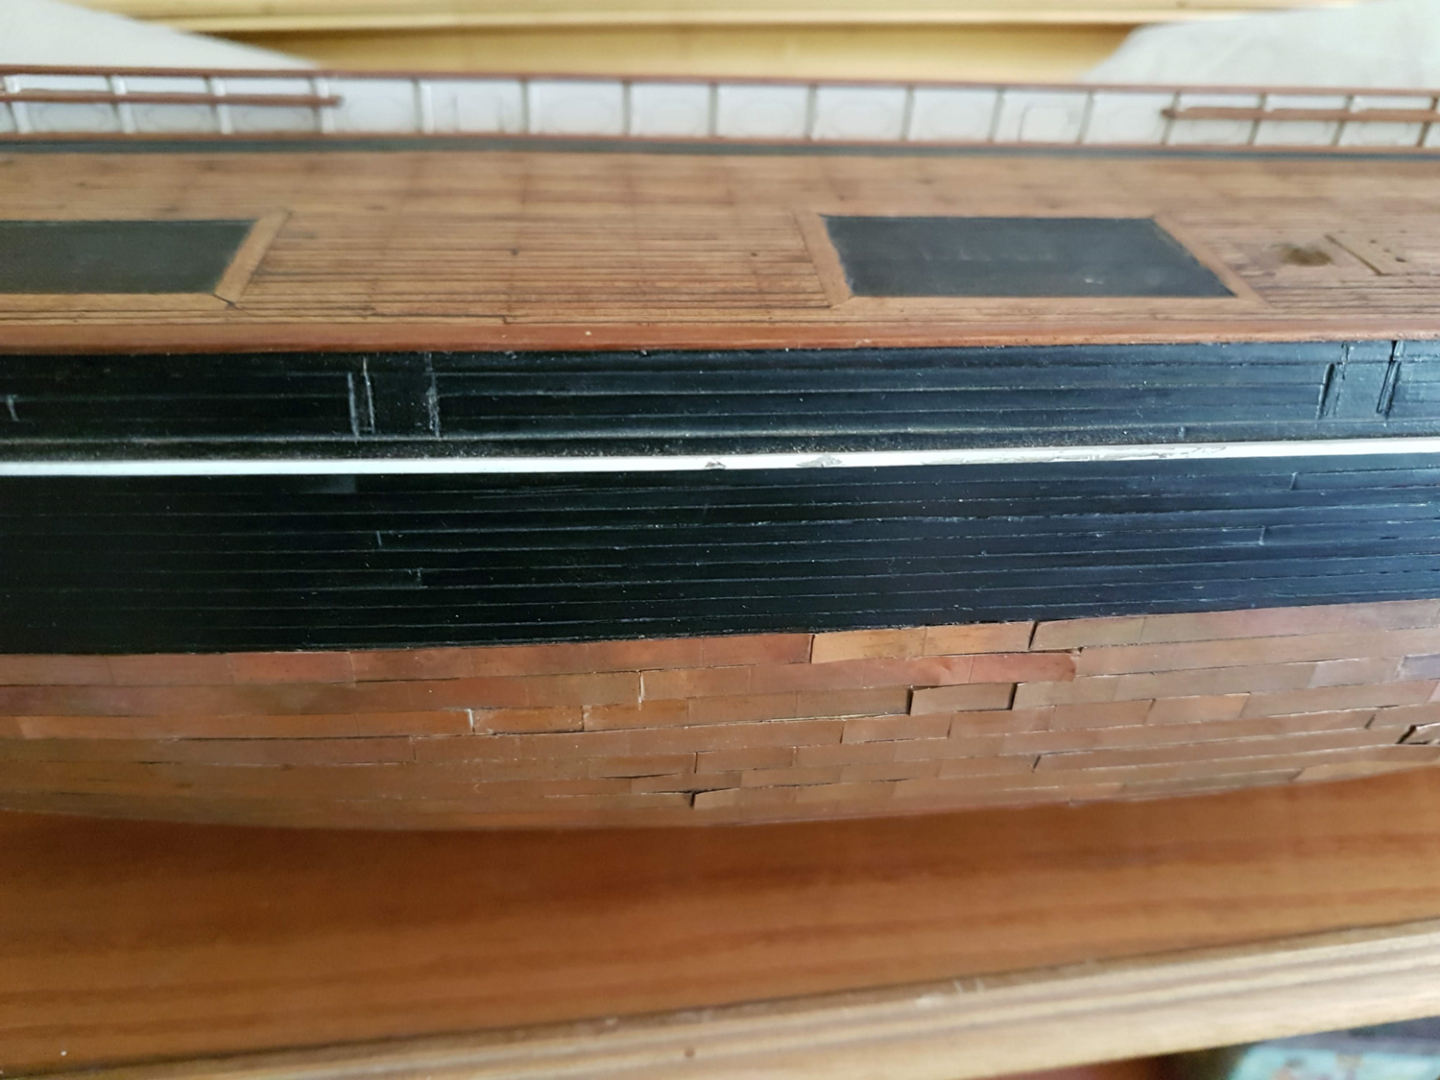
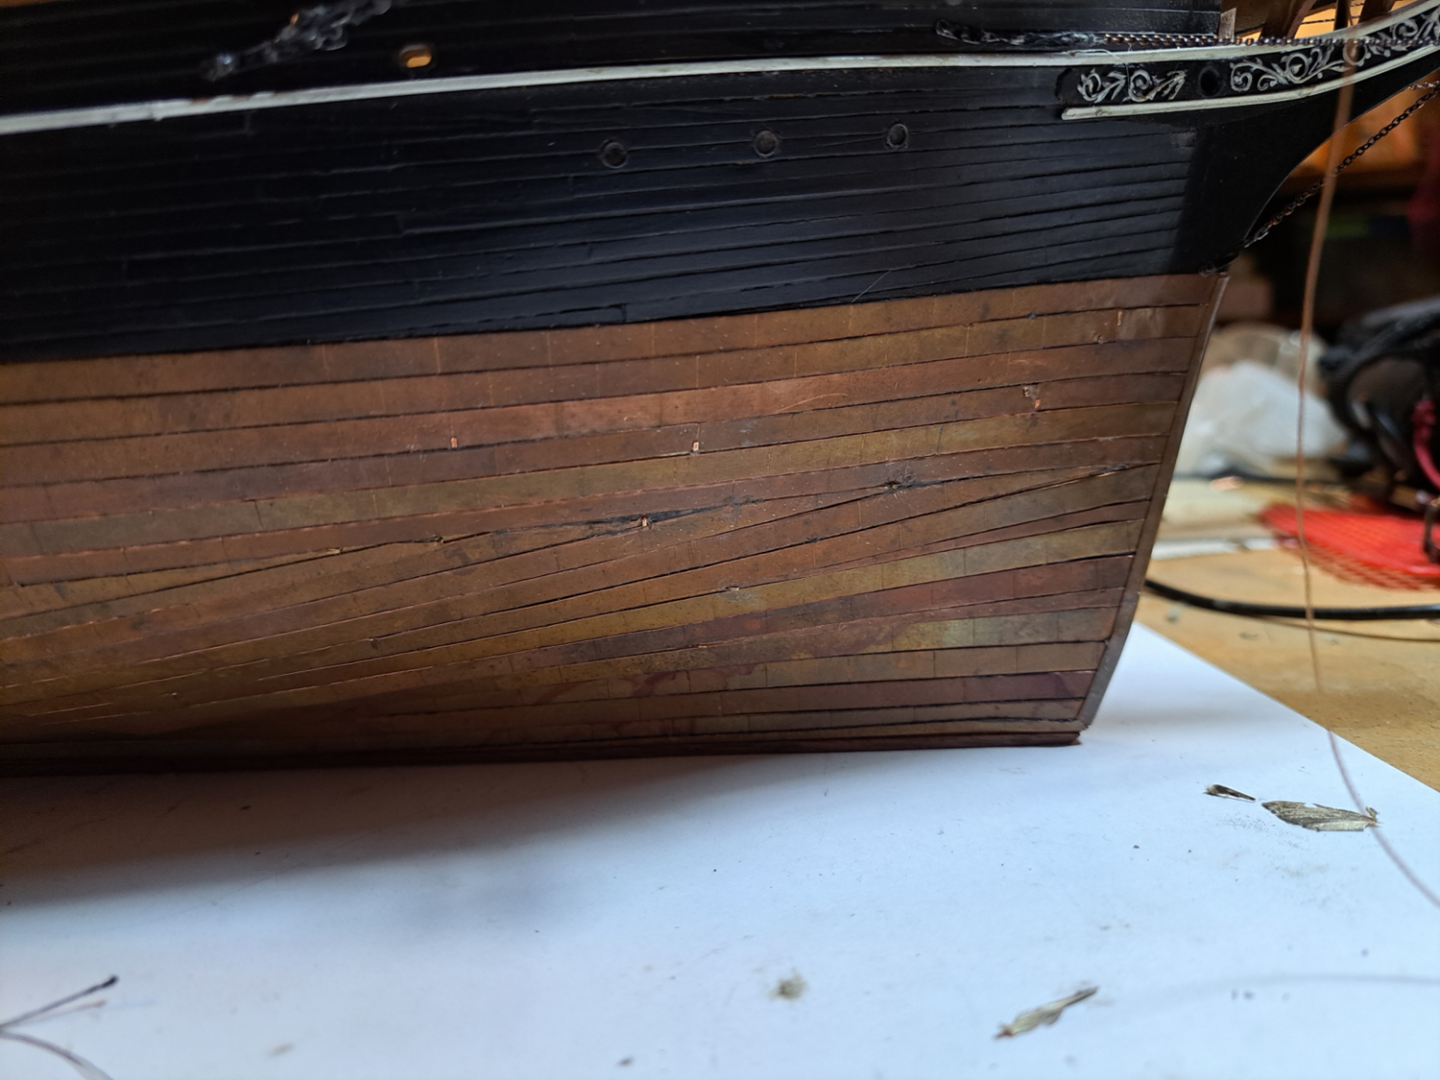
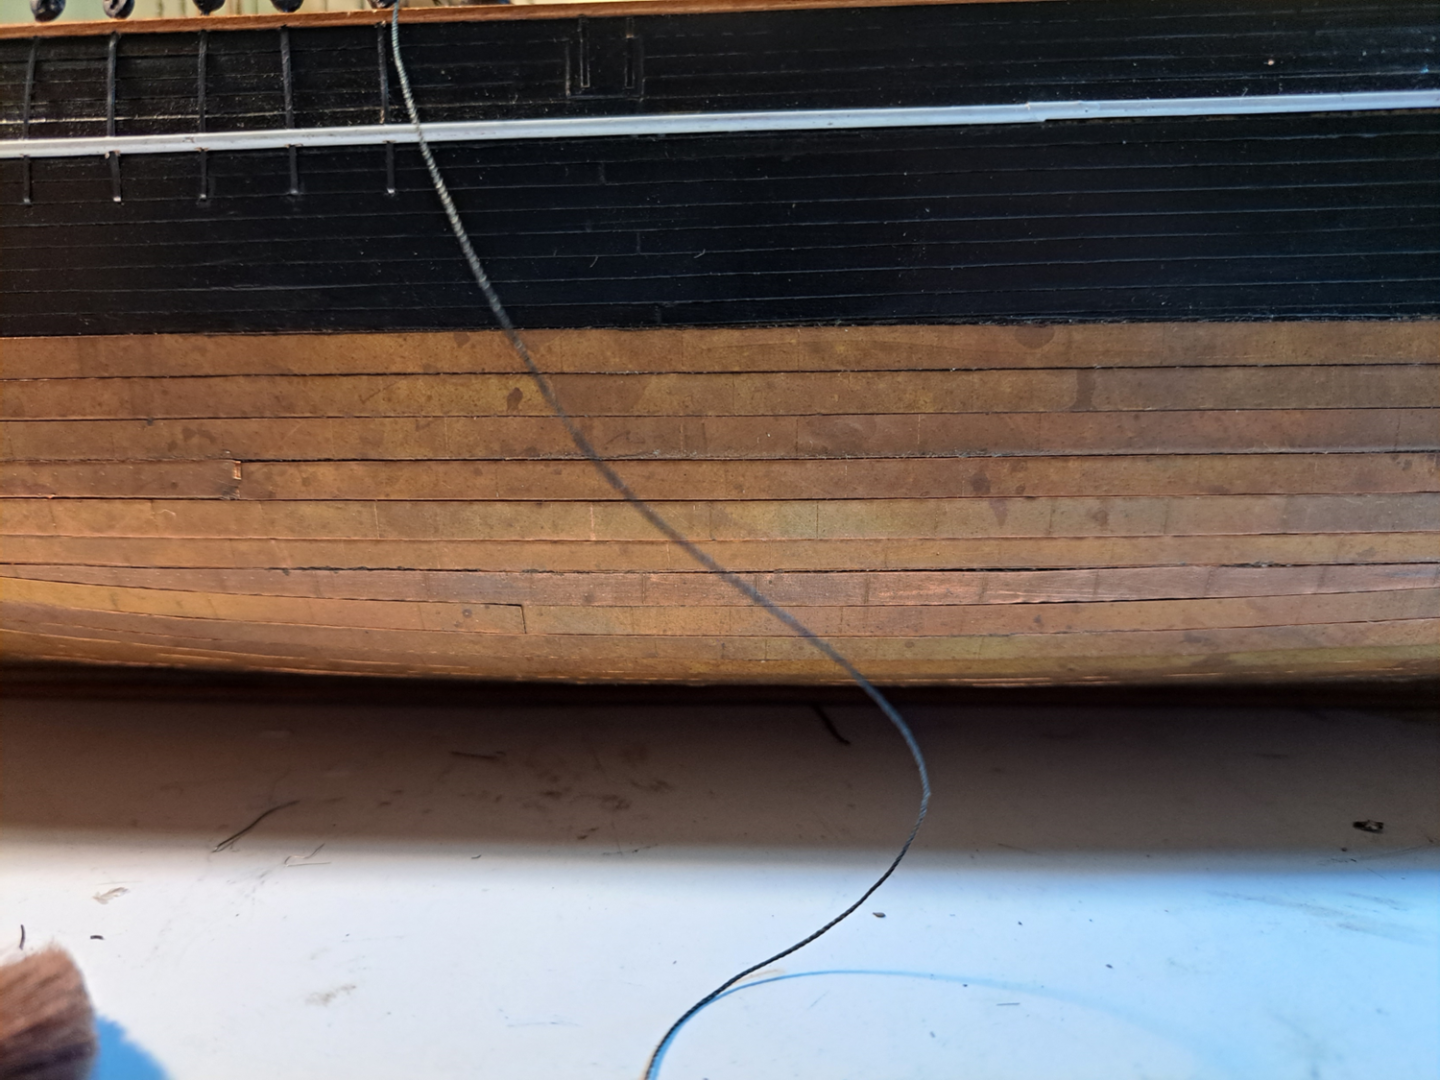
Hi, thanks for viewing and for your kind comments. I was very much impressed by the research work done for the Great America, sources for Sir Lancelot were very poor, low resolution Dutton´s lithograph in the book "The tea Clippers" by David MacGregor", another in "The China Clippers" by Basil Lubbock and the splendid model by Donald McNarry searchable in the web. Most of the deck fittings were "assumed" based on the very detailed and well presented information contained in the book "China Tea Clipper" by George Campbell. Copper Sheathing Back in 2001 the copper sheathing was difficult but at that time the texture and finishing were satisfactory. The thing is that does not last. I suspected that the use of contact cement was the root cause of the failure. So I did the job again using copper strips with double contact tape, this work but only if the strips are continuous, this is in one piece, from bow to stern, finally at the third attempt I apply some workarounds with a barely acceptable result, it is what it is.
.JPG.ad40268e707c263606ce9f166f993890.JPG)
-
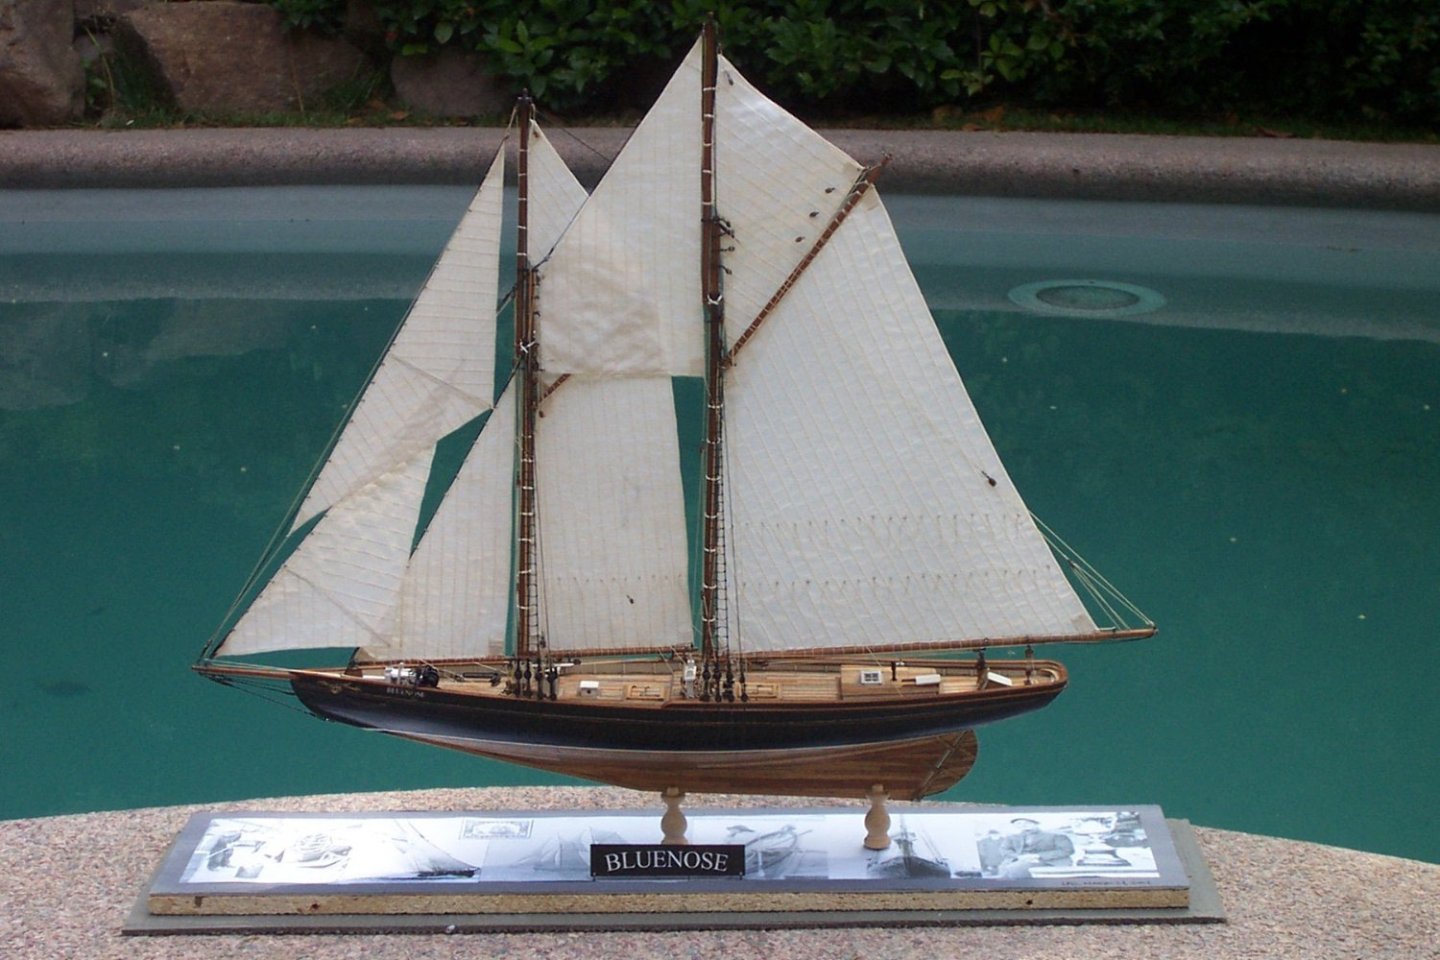
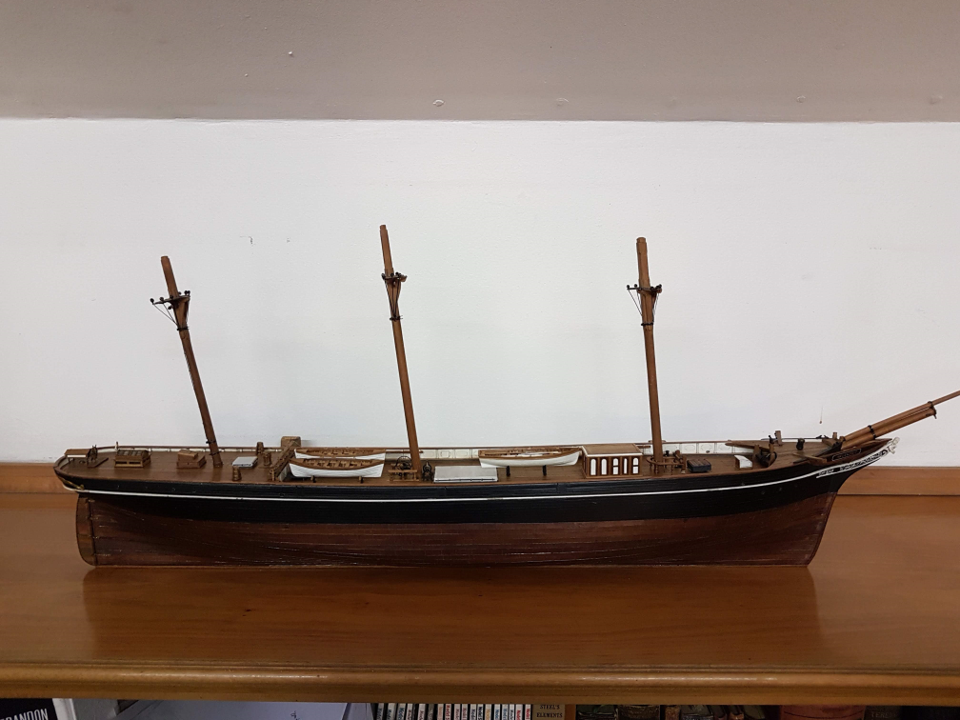
Introduction: Hi, English is not my native language, but I´ll try my best. I started the building of this ship in September 2001, that´s right, 22 years ago. At that time I bought a set of plans from "Taubman Plans" and in the first sprint complete the hull and the major major deck fittings. Sir Lancelot was my second serious attempt on building a ship model, the first one was the Bluenose. At that time other projects distract me efforts and Sir Lancelot went to the shelf waiting for attention.
-
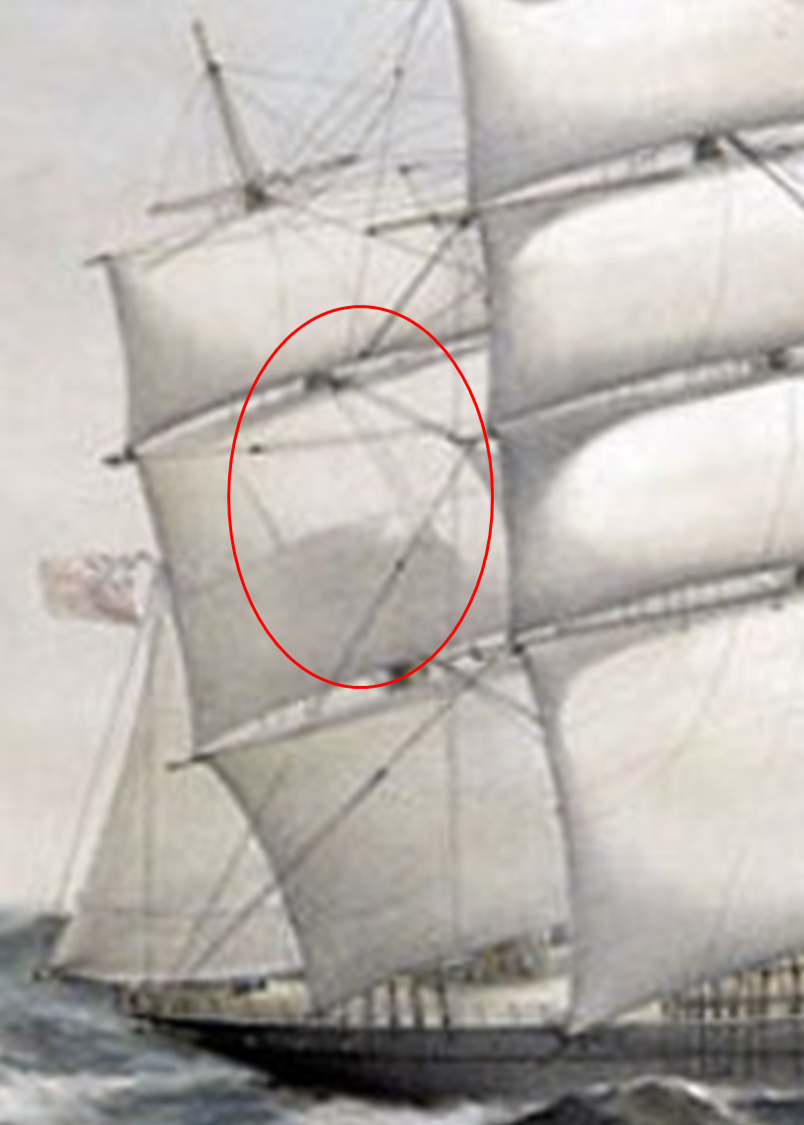
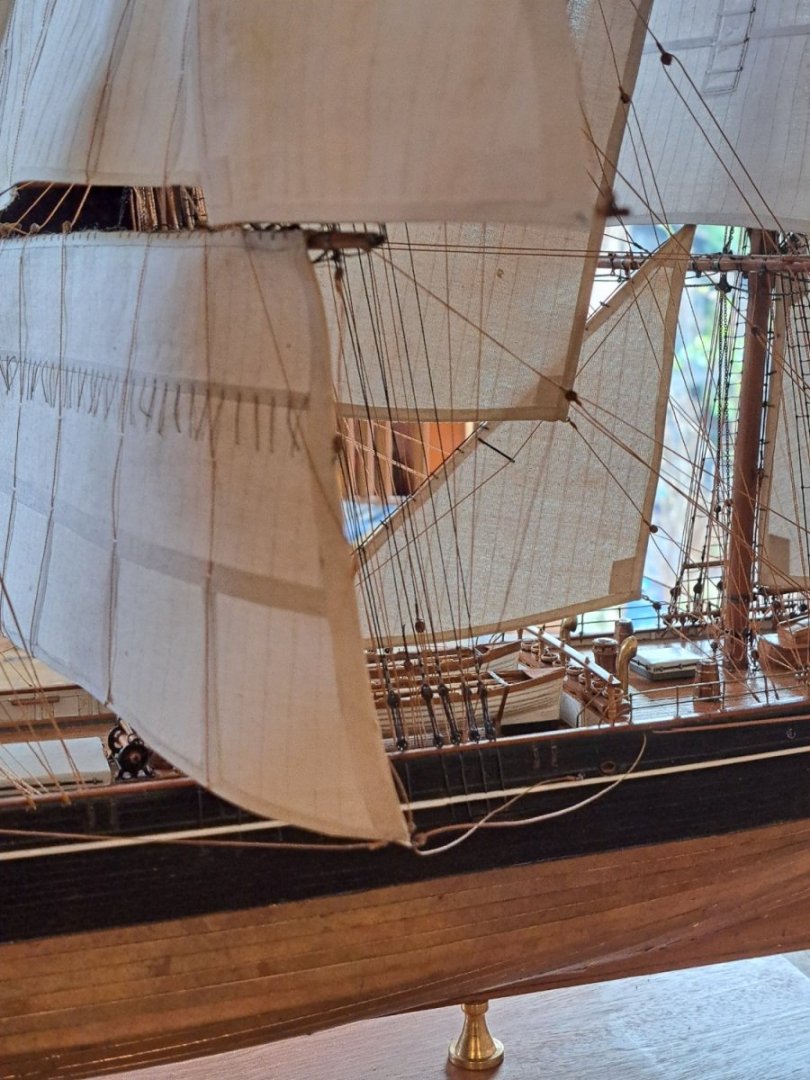
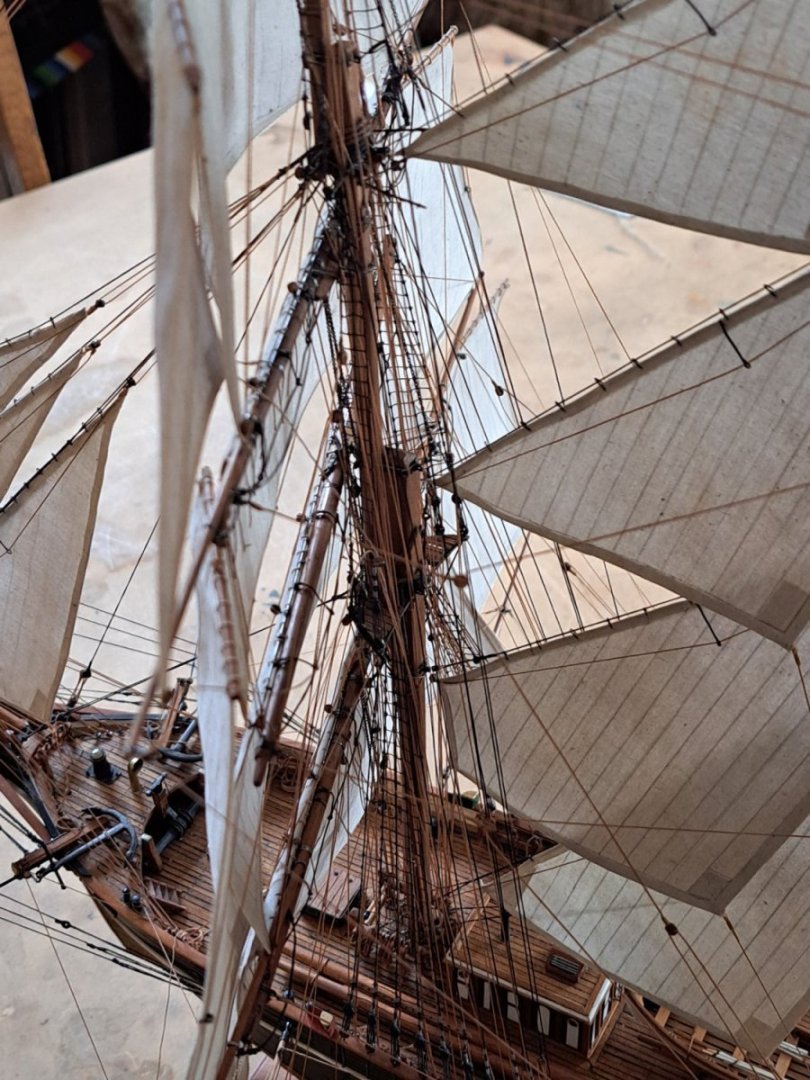
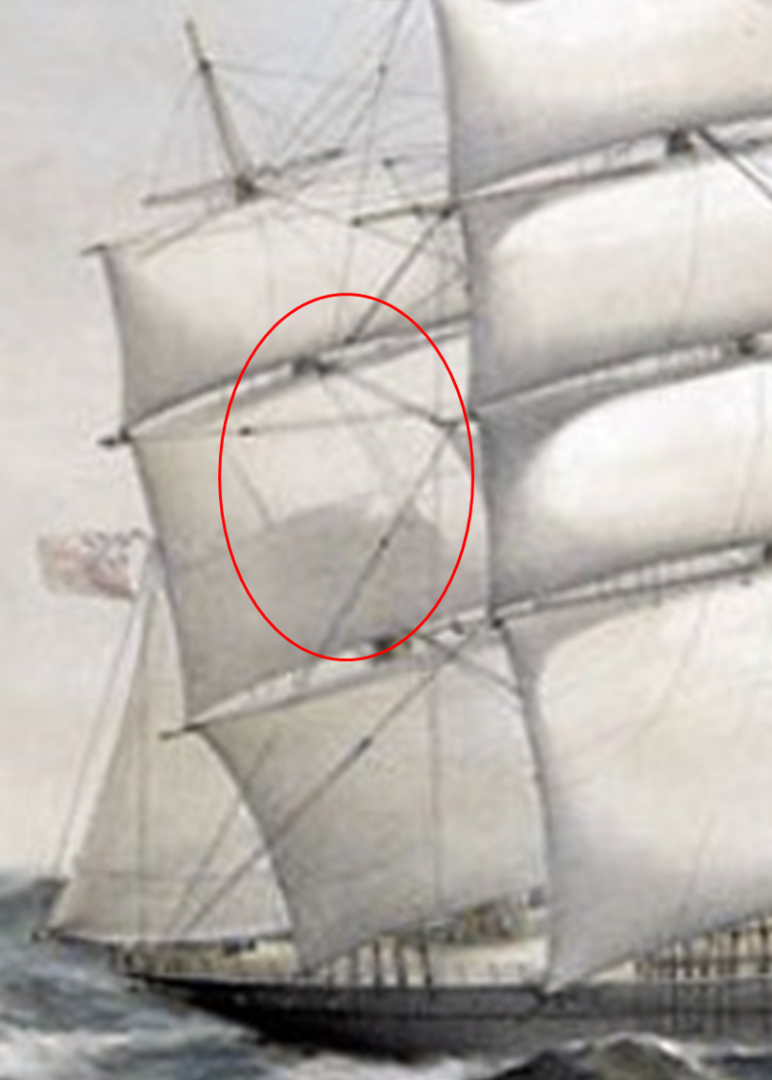
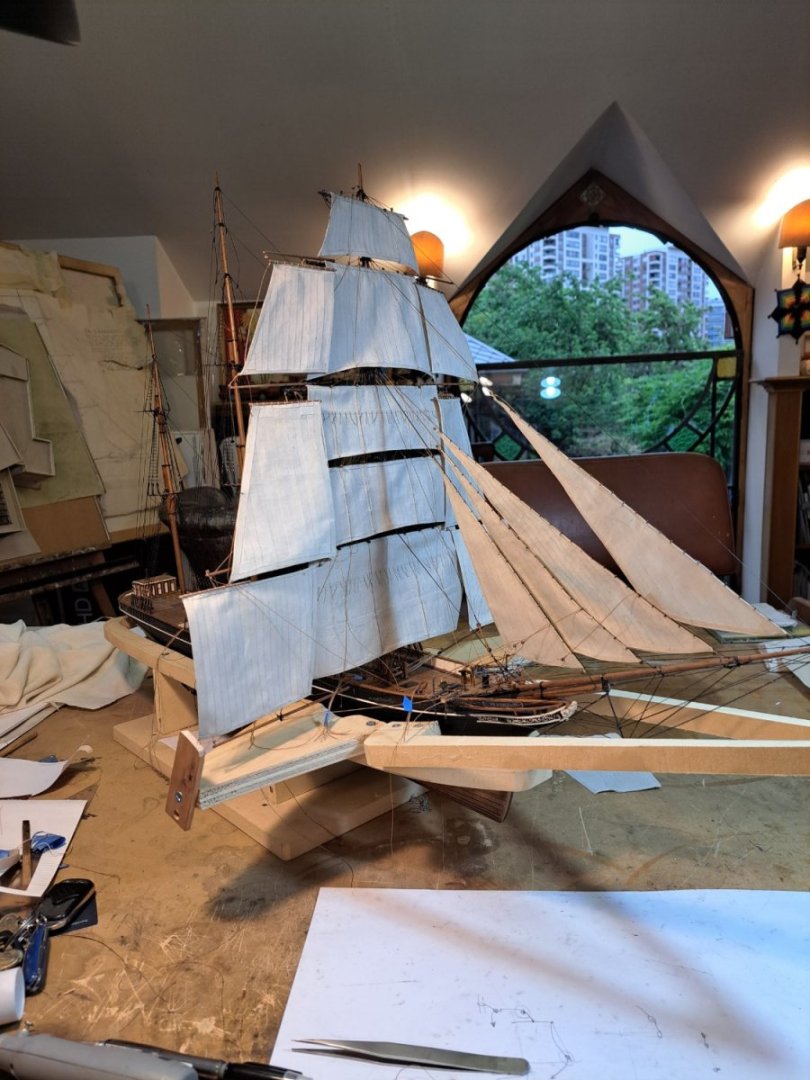
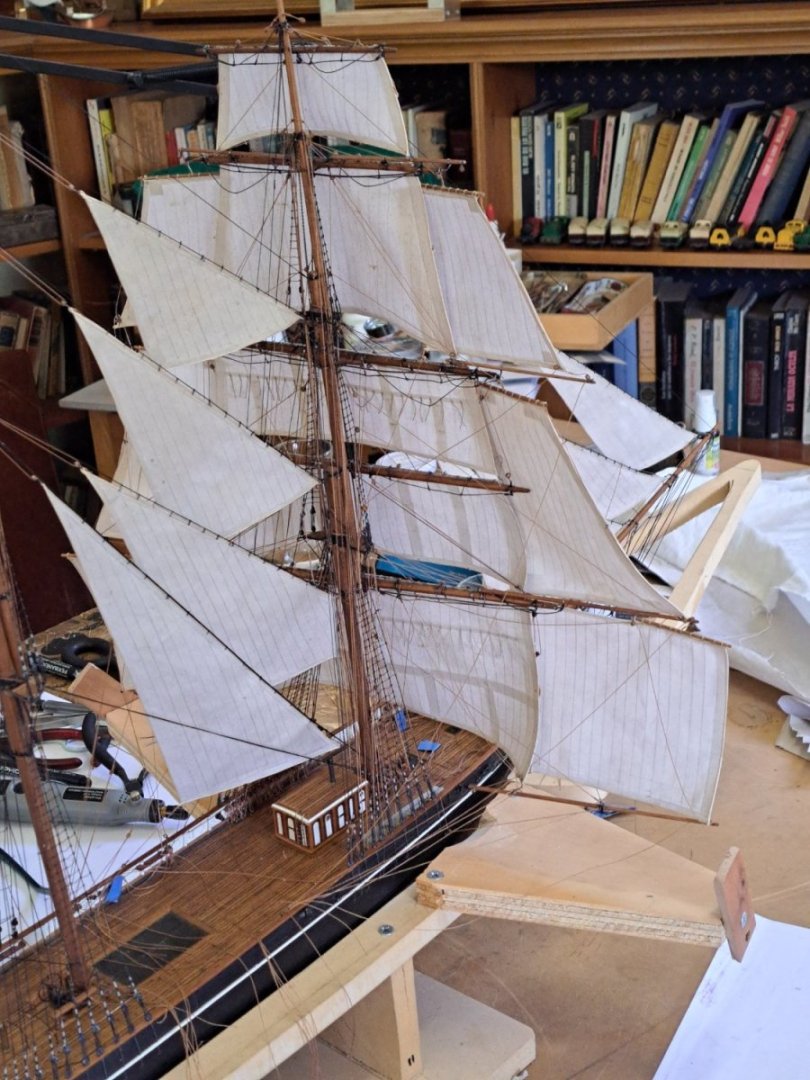
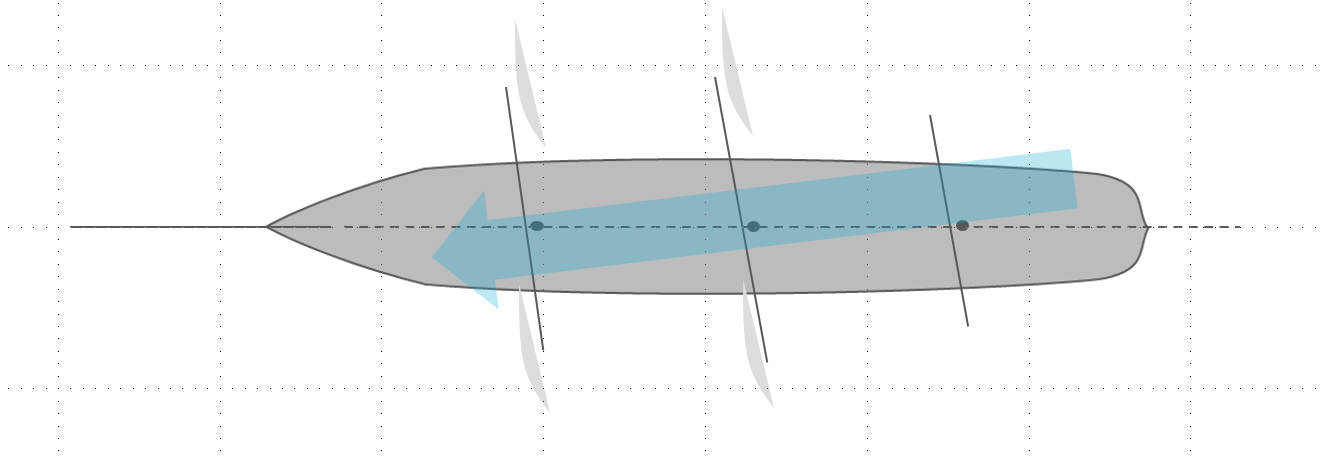
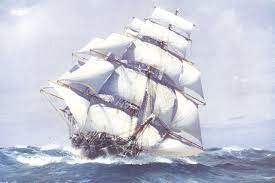
Hi, thanks for your prompt and well documented answers. My intention with this model is to show the "potential" amount of canvas that these extreme clippers are able to handle, for that I suppose that I will have to consider the wind blowing from behind, in fact I was setting a small angle to the spars, what do you think?, Should I apply the set up in the picture or keep all the stun behind? by the way, I downloaded the Darcy´s book, really difficult to follow. Saludos form Chile, Luis Felipe
-
Hi, I´m new to this forum, so pls forgive me if I pass over some rule. Can anybody help me with this question in relation to the position of the stun sails? Are this sails rigged fore of the main sails or aft, different drawings shows different positions, so far I have rigged the stun sails "fore" the main sails in the 1/100 model of the 1865 clipper "Sir Lancelot" as shown in the pictures below, but I can still correct that if my assumptions are wrong. Thanks in advance for your advise, saludos from Chile. Luis Felipe.
-
Hi, some years ago I start a scratch build 1/100 model of the tea clipper Sir Lancelot. At that time I do the coopering using copper strips glued with a neoprene based cement. Long and difficult. Finishing was perfect for some years but eventually the glue loss its grip and the strips start to loose up. Not all of them but enough to spoil the model. There is no repair, so need to do it all over again. My question is, what glue or fixing will do the task? I have done some test using double face high strength tape, and again initially a perfect finish with strong hold, but under extreme conditions such as sun lite exposition make it fail. Thanks in advance for your advise. Saludos from Chile, LFG,