cbeckenb
-
Posts
32 -
Joined
-
Last visited
Content Type
Profiles
Forums
Gallery
Events
Everything posted by cbeckenb
-
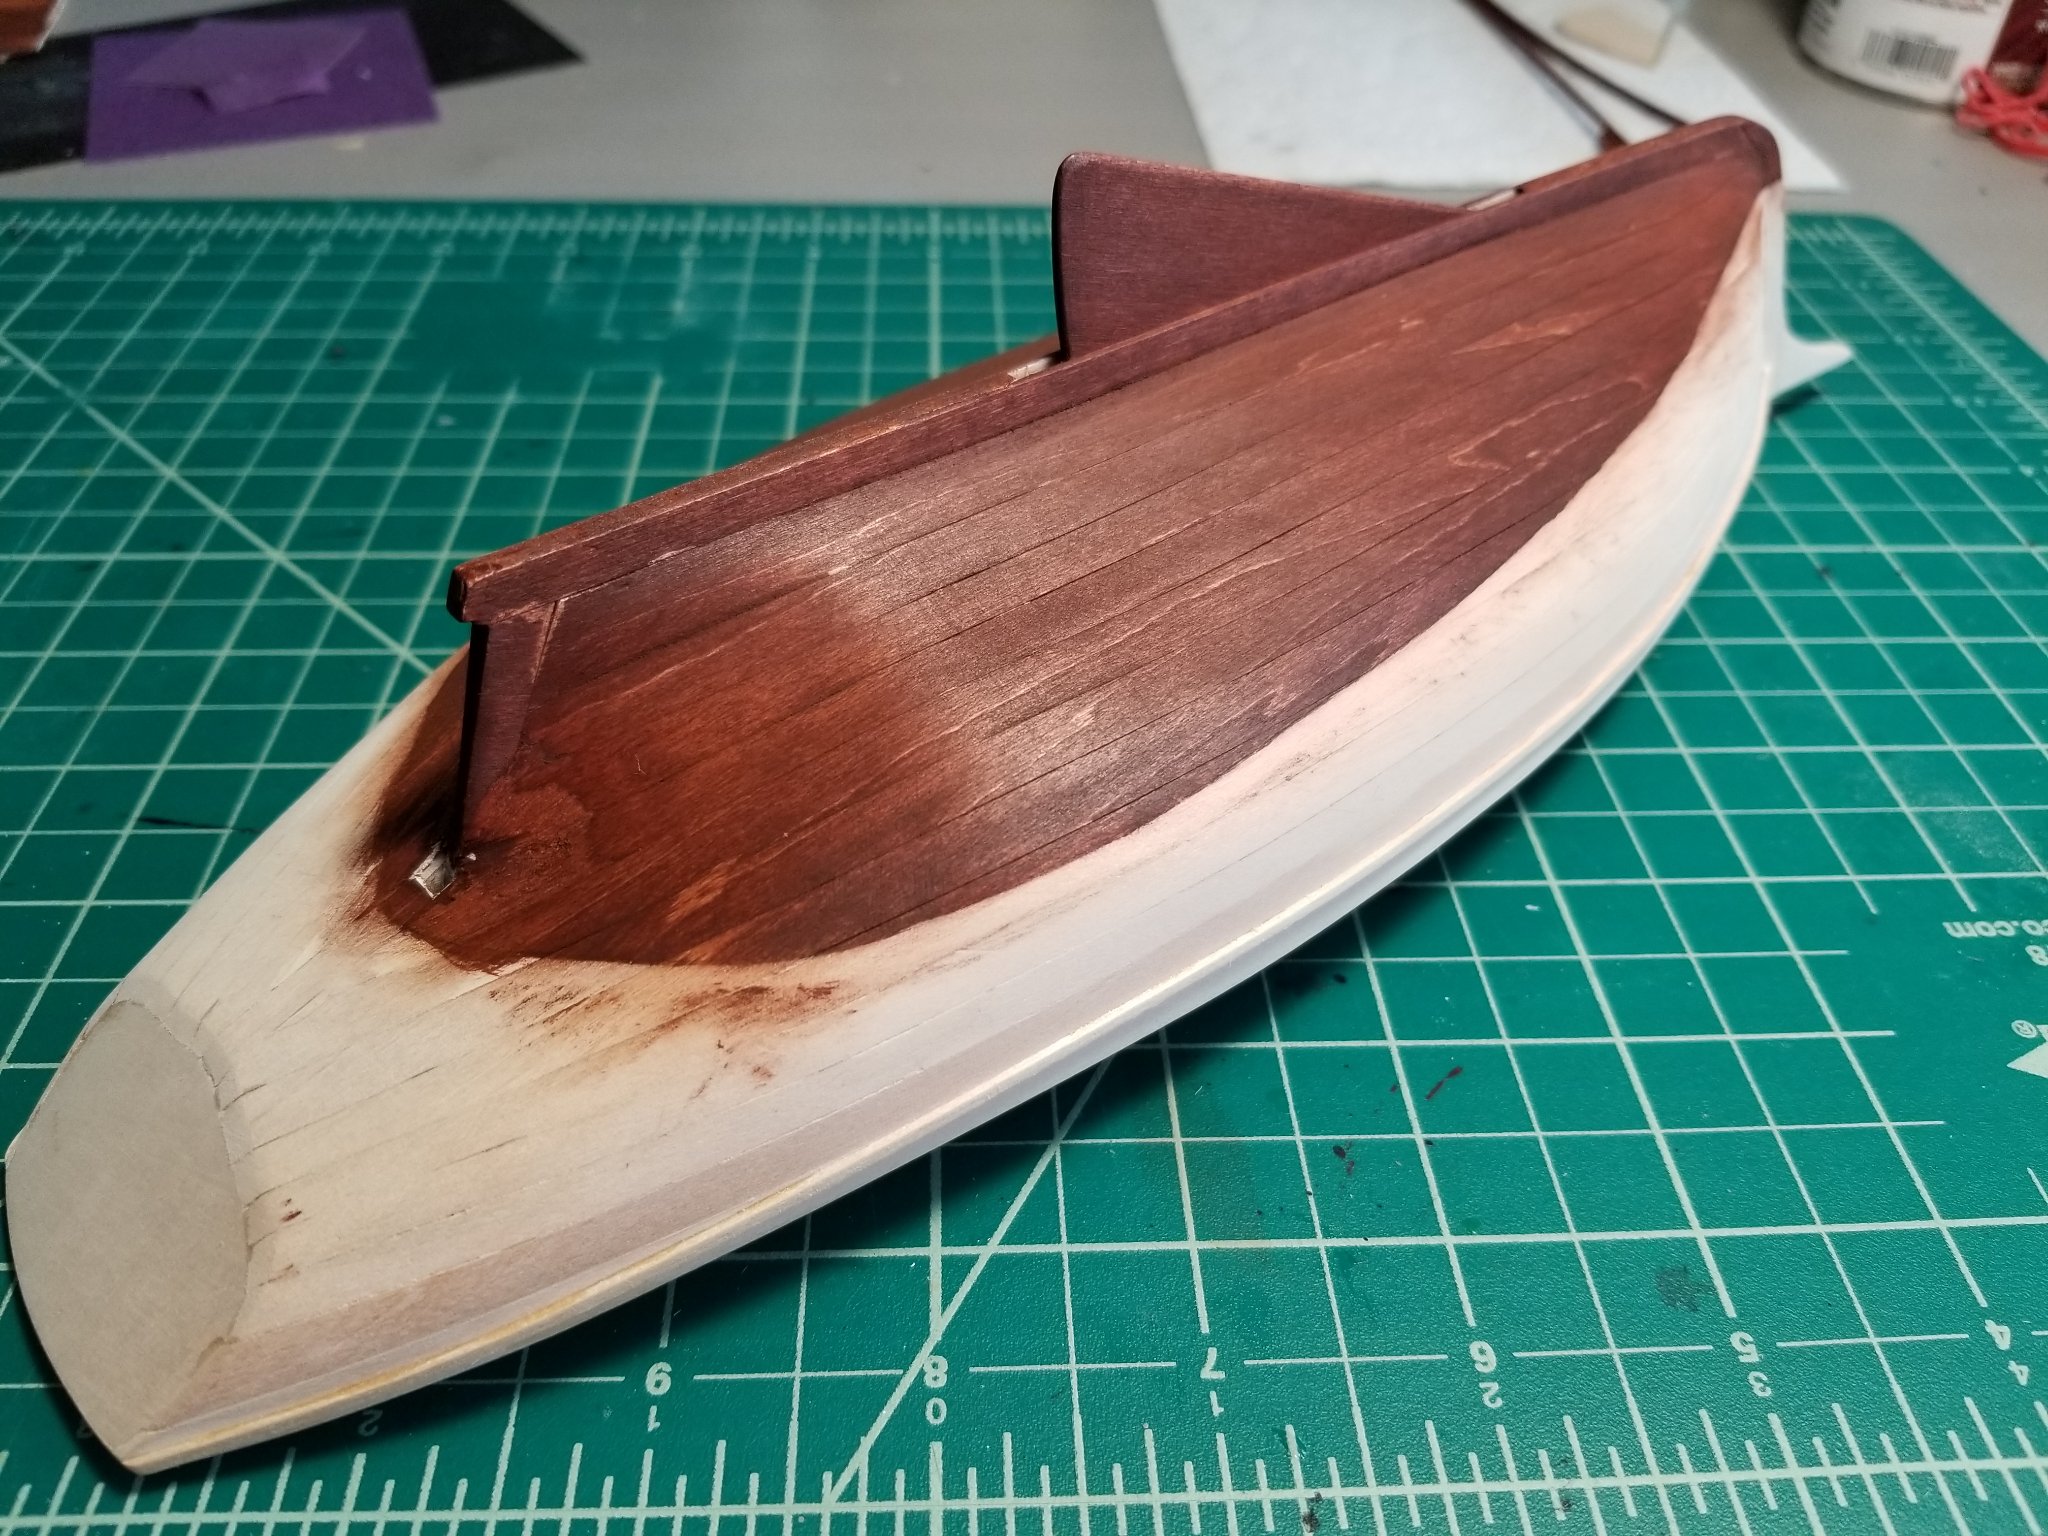
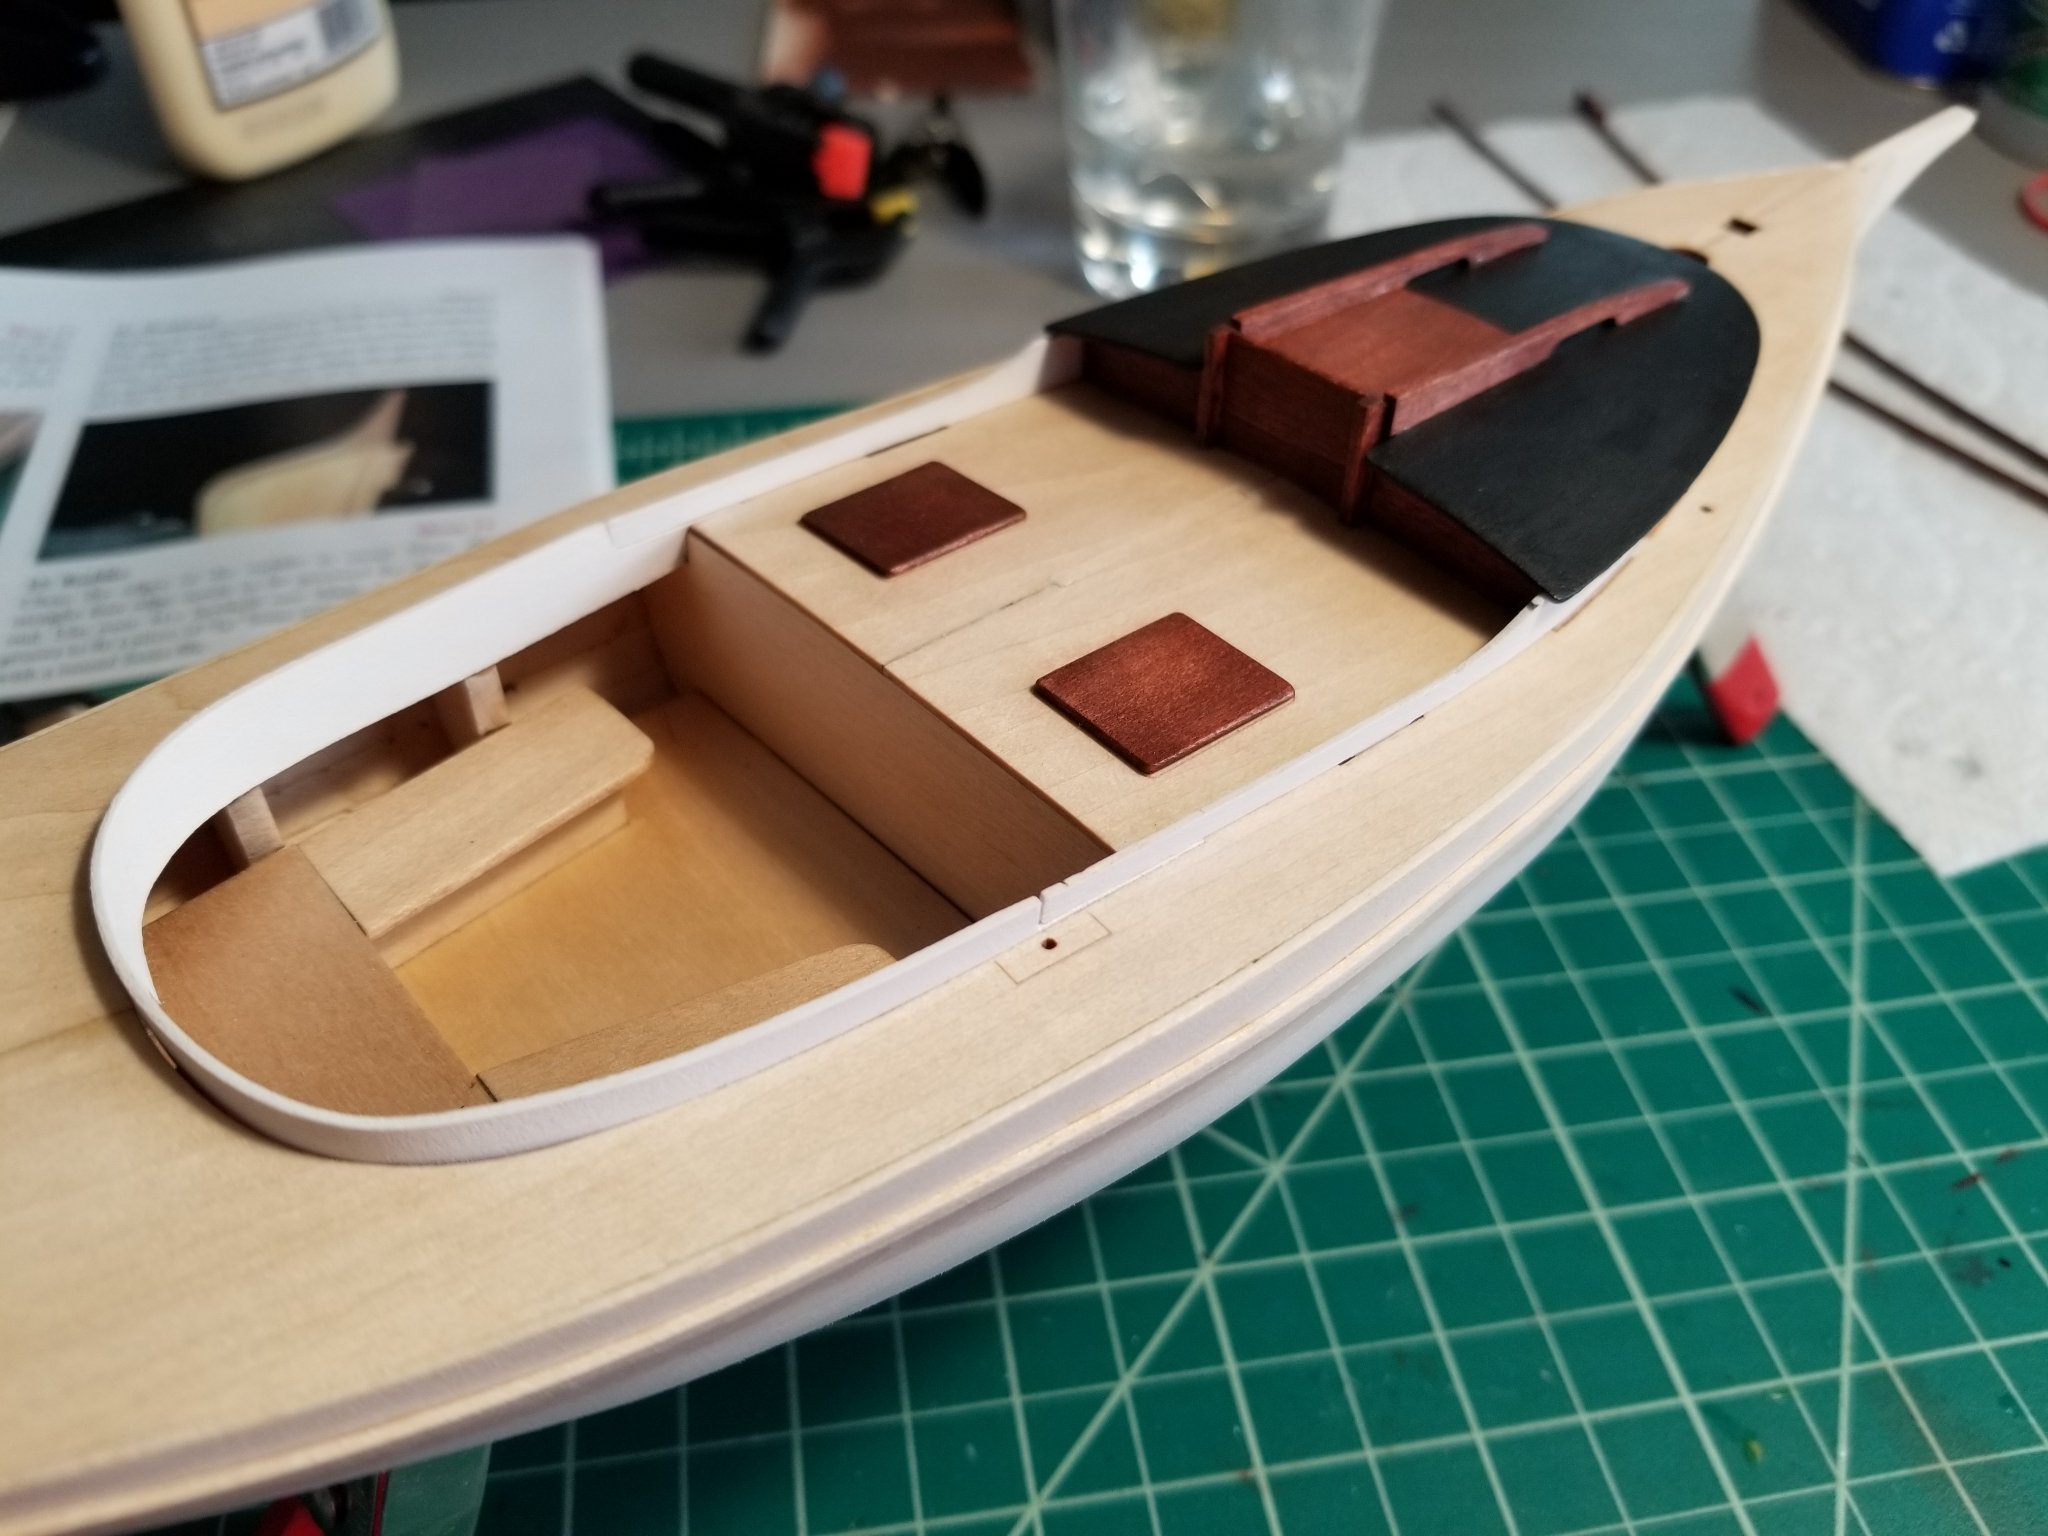
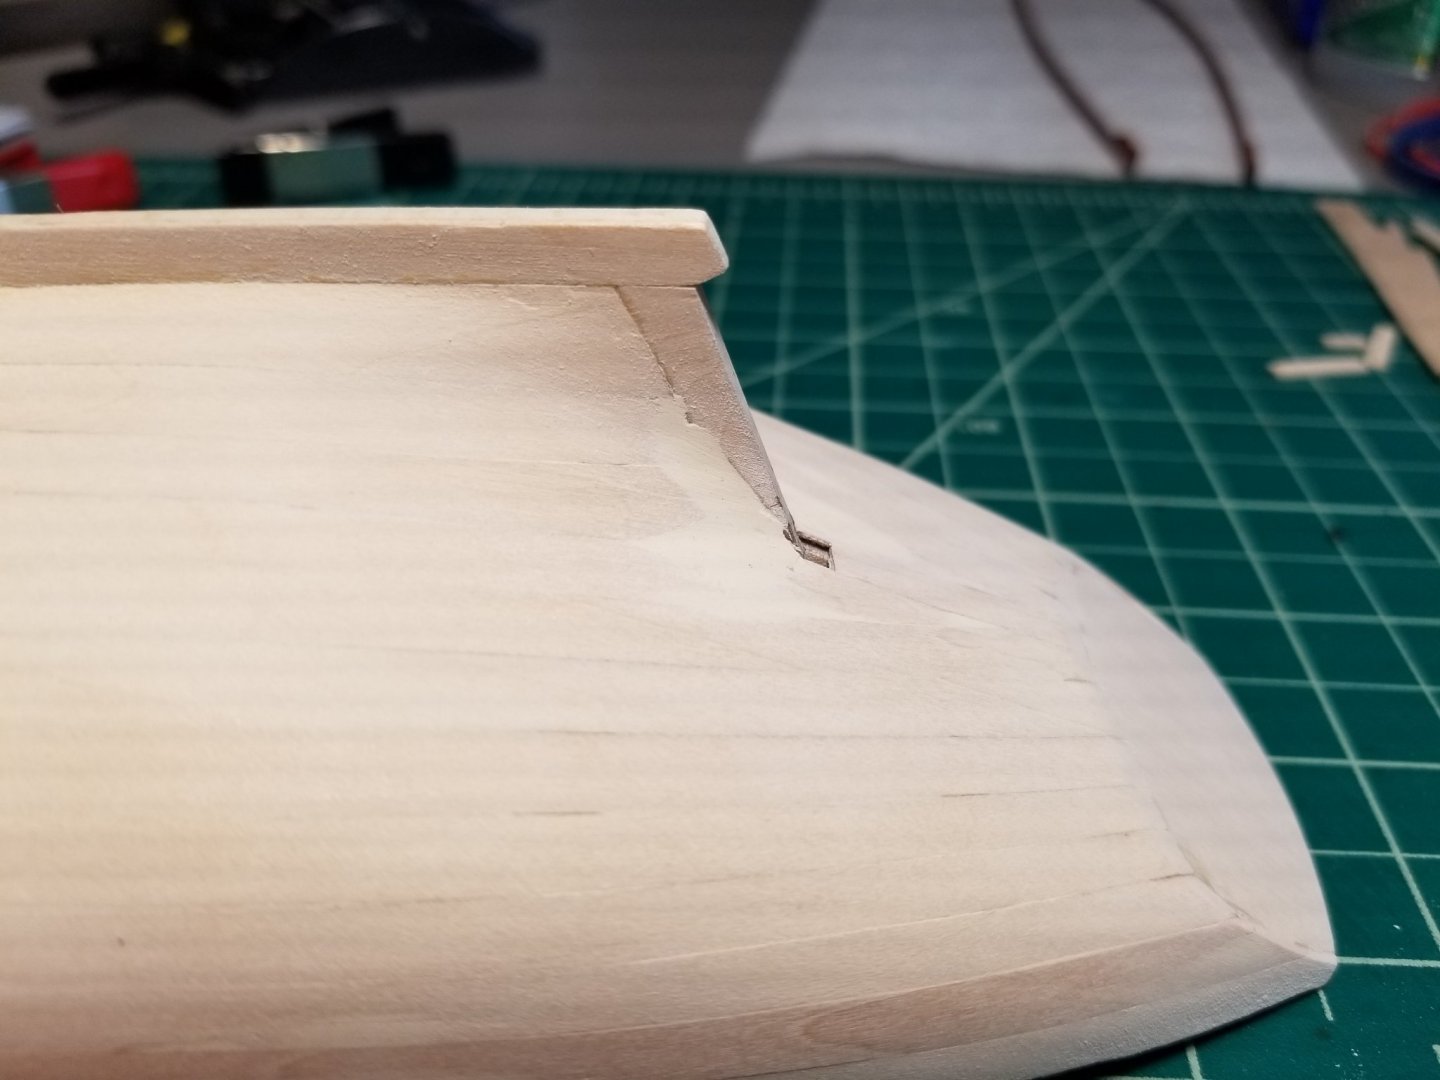
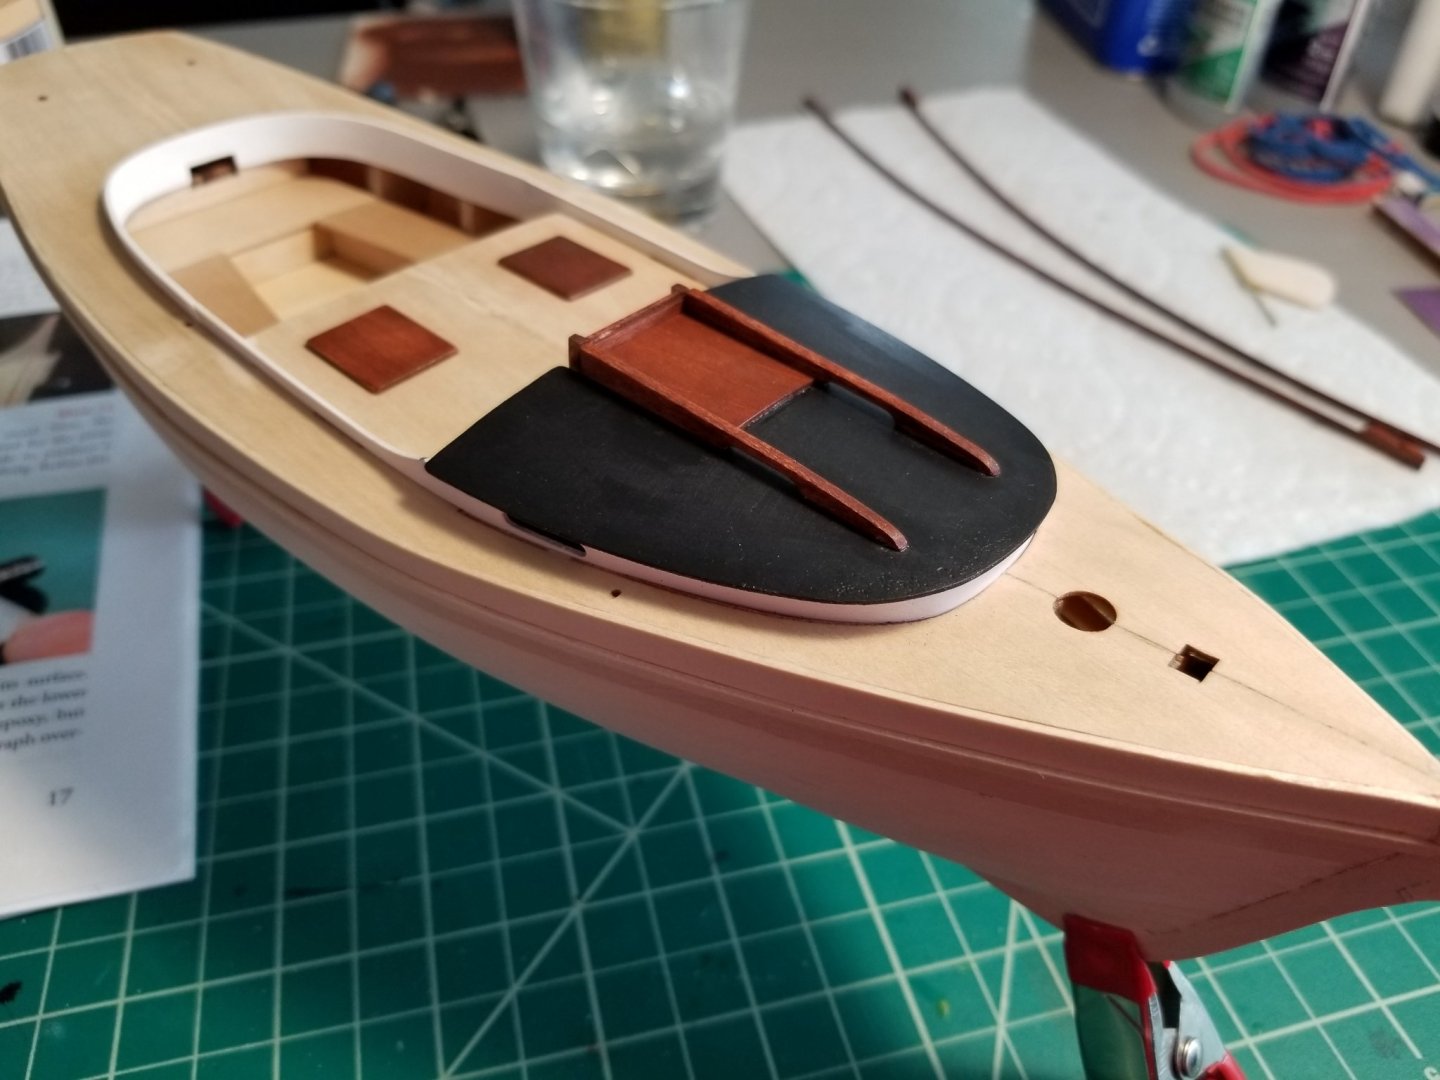
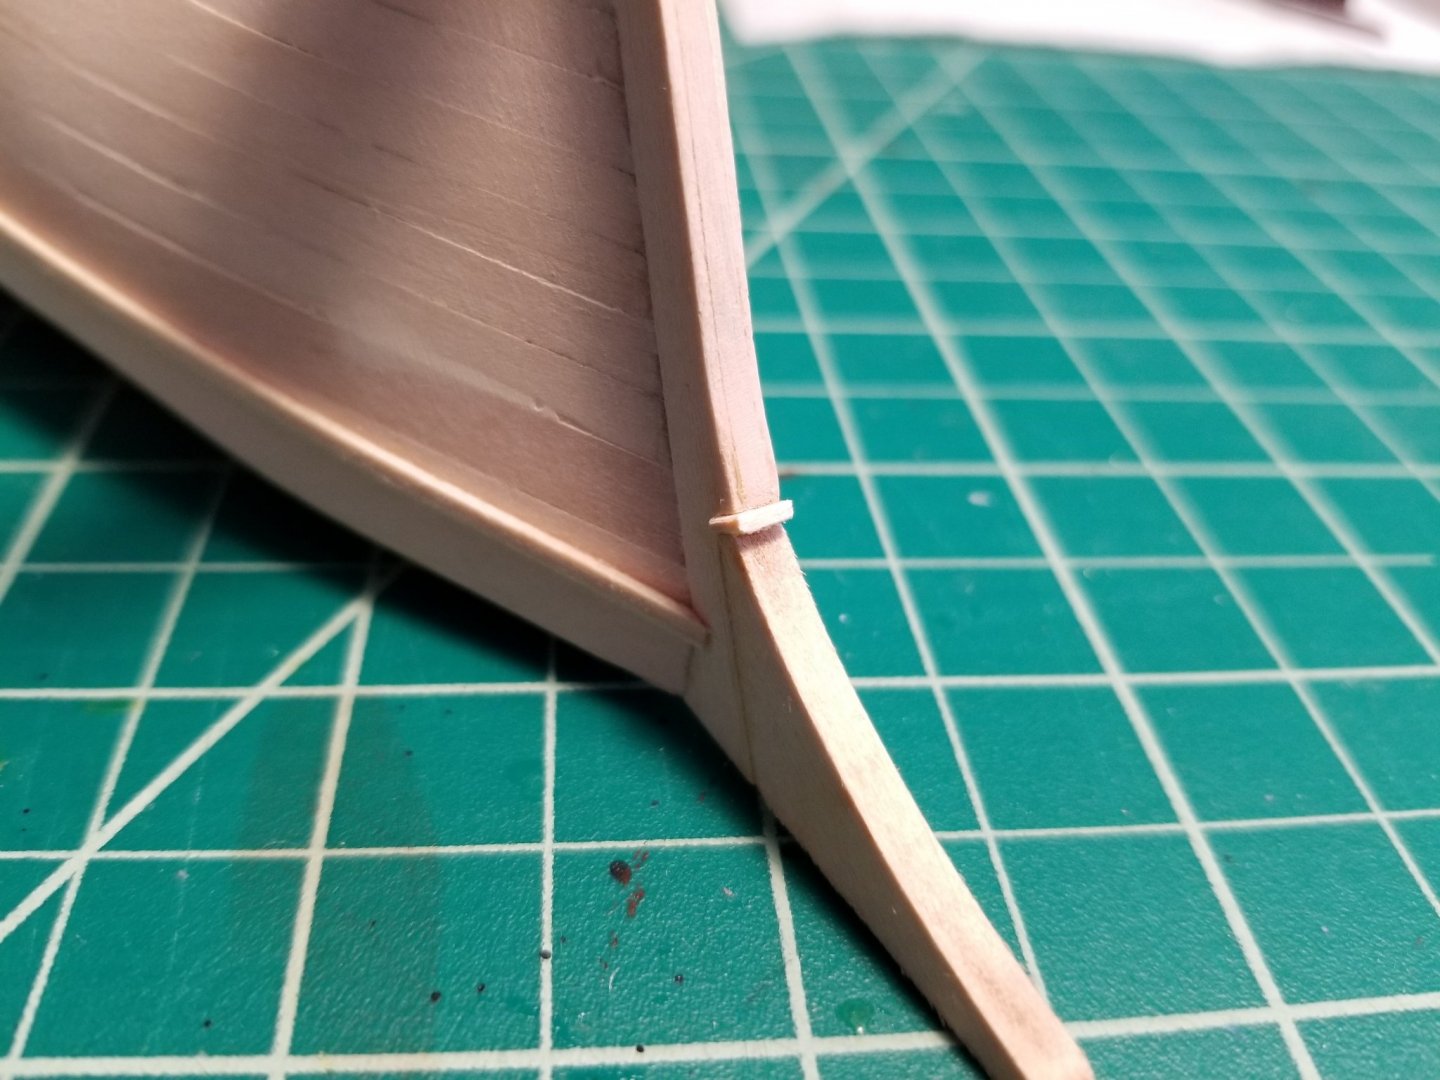
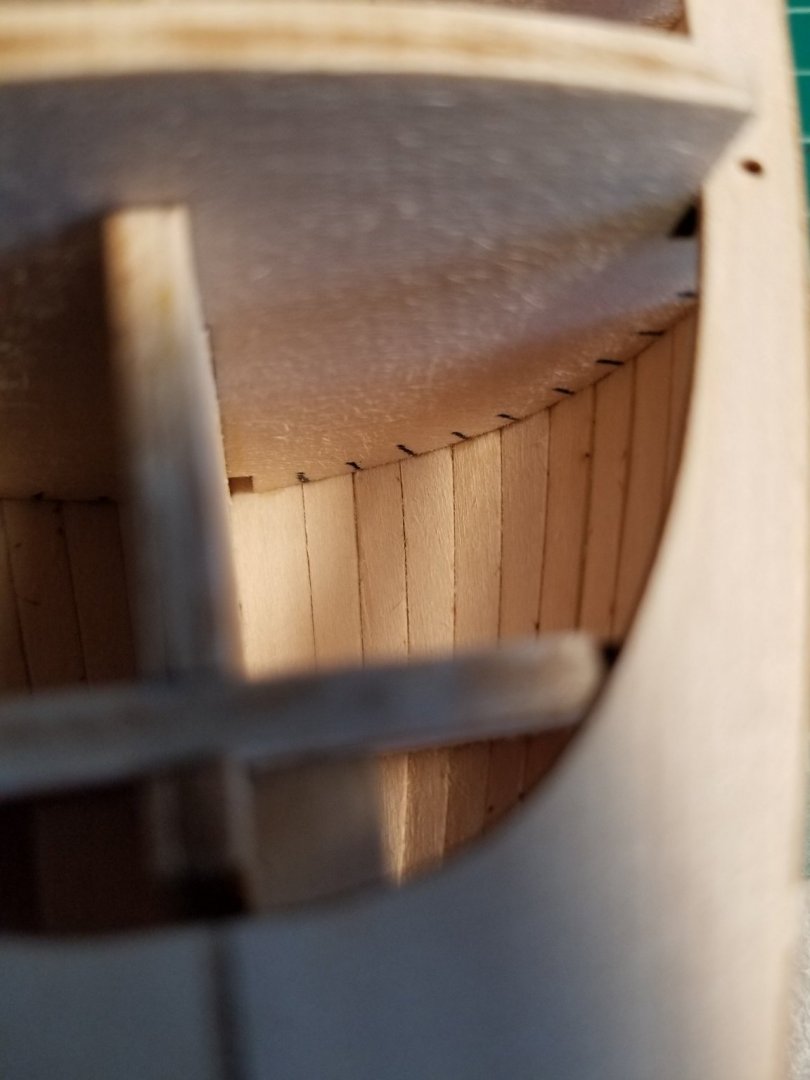
 @SkiBee Here is the stain: For the deck, I had planned on leaving it natural with just Wipe-On Poly. Now that I have added the cabin pieces, I am not sure that was a good idea, but I may have glued on too many things to go back at this point.. I should have at least not stained the wetwell covers. With the hull painted white and the rigging attached it may not look as bad. While we are on the topic of stain, I can report that the ZAR filler takes stain excellently (look at the planking at top of the sternpost): Obviously it is not as good as real wood but the color matches very well so it should go unnoticed.
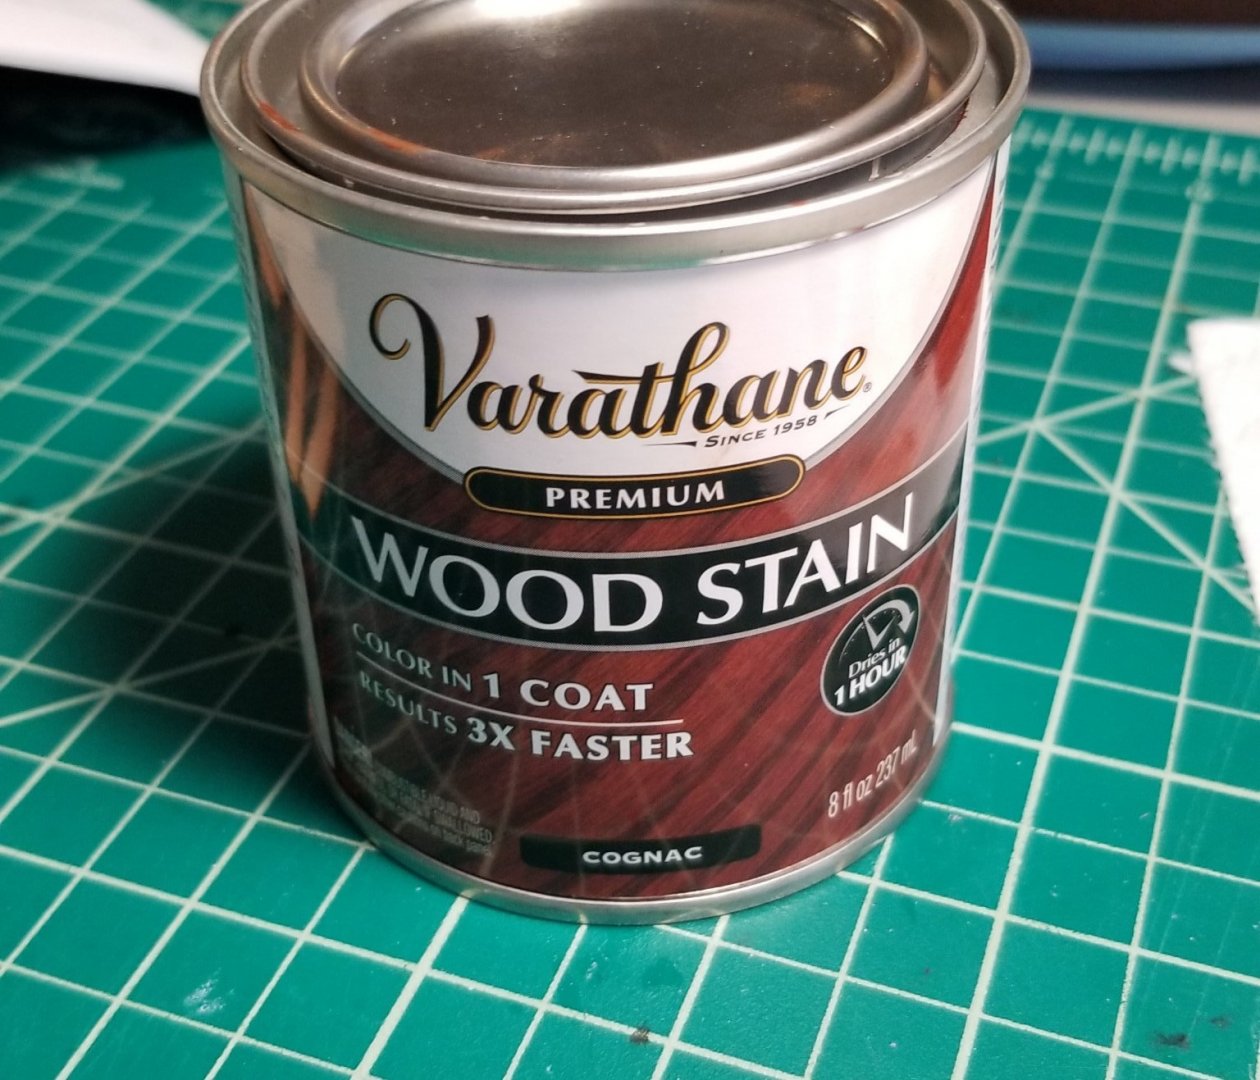

-
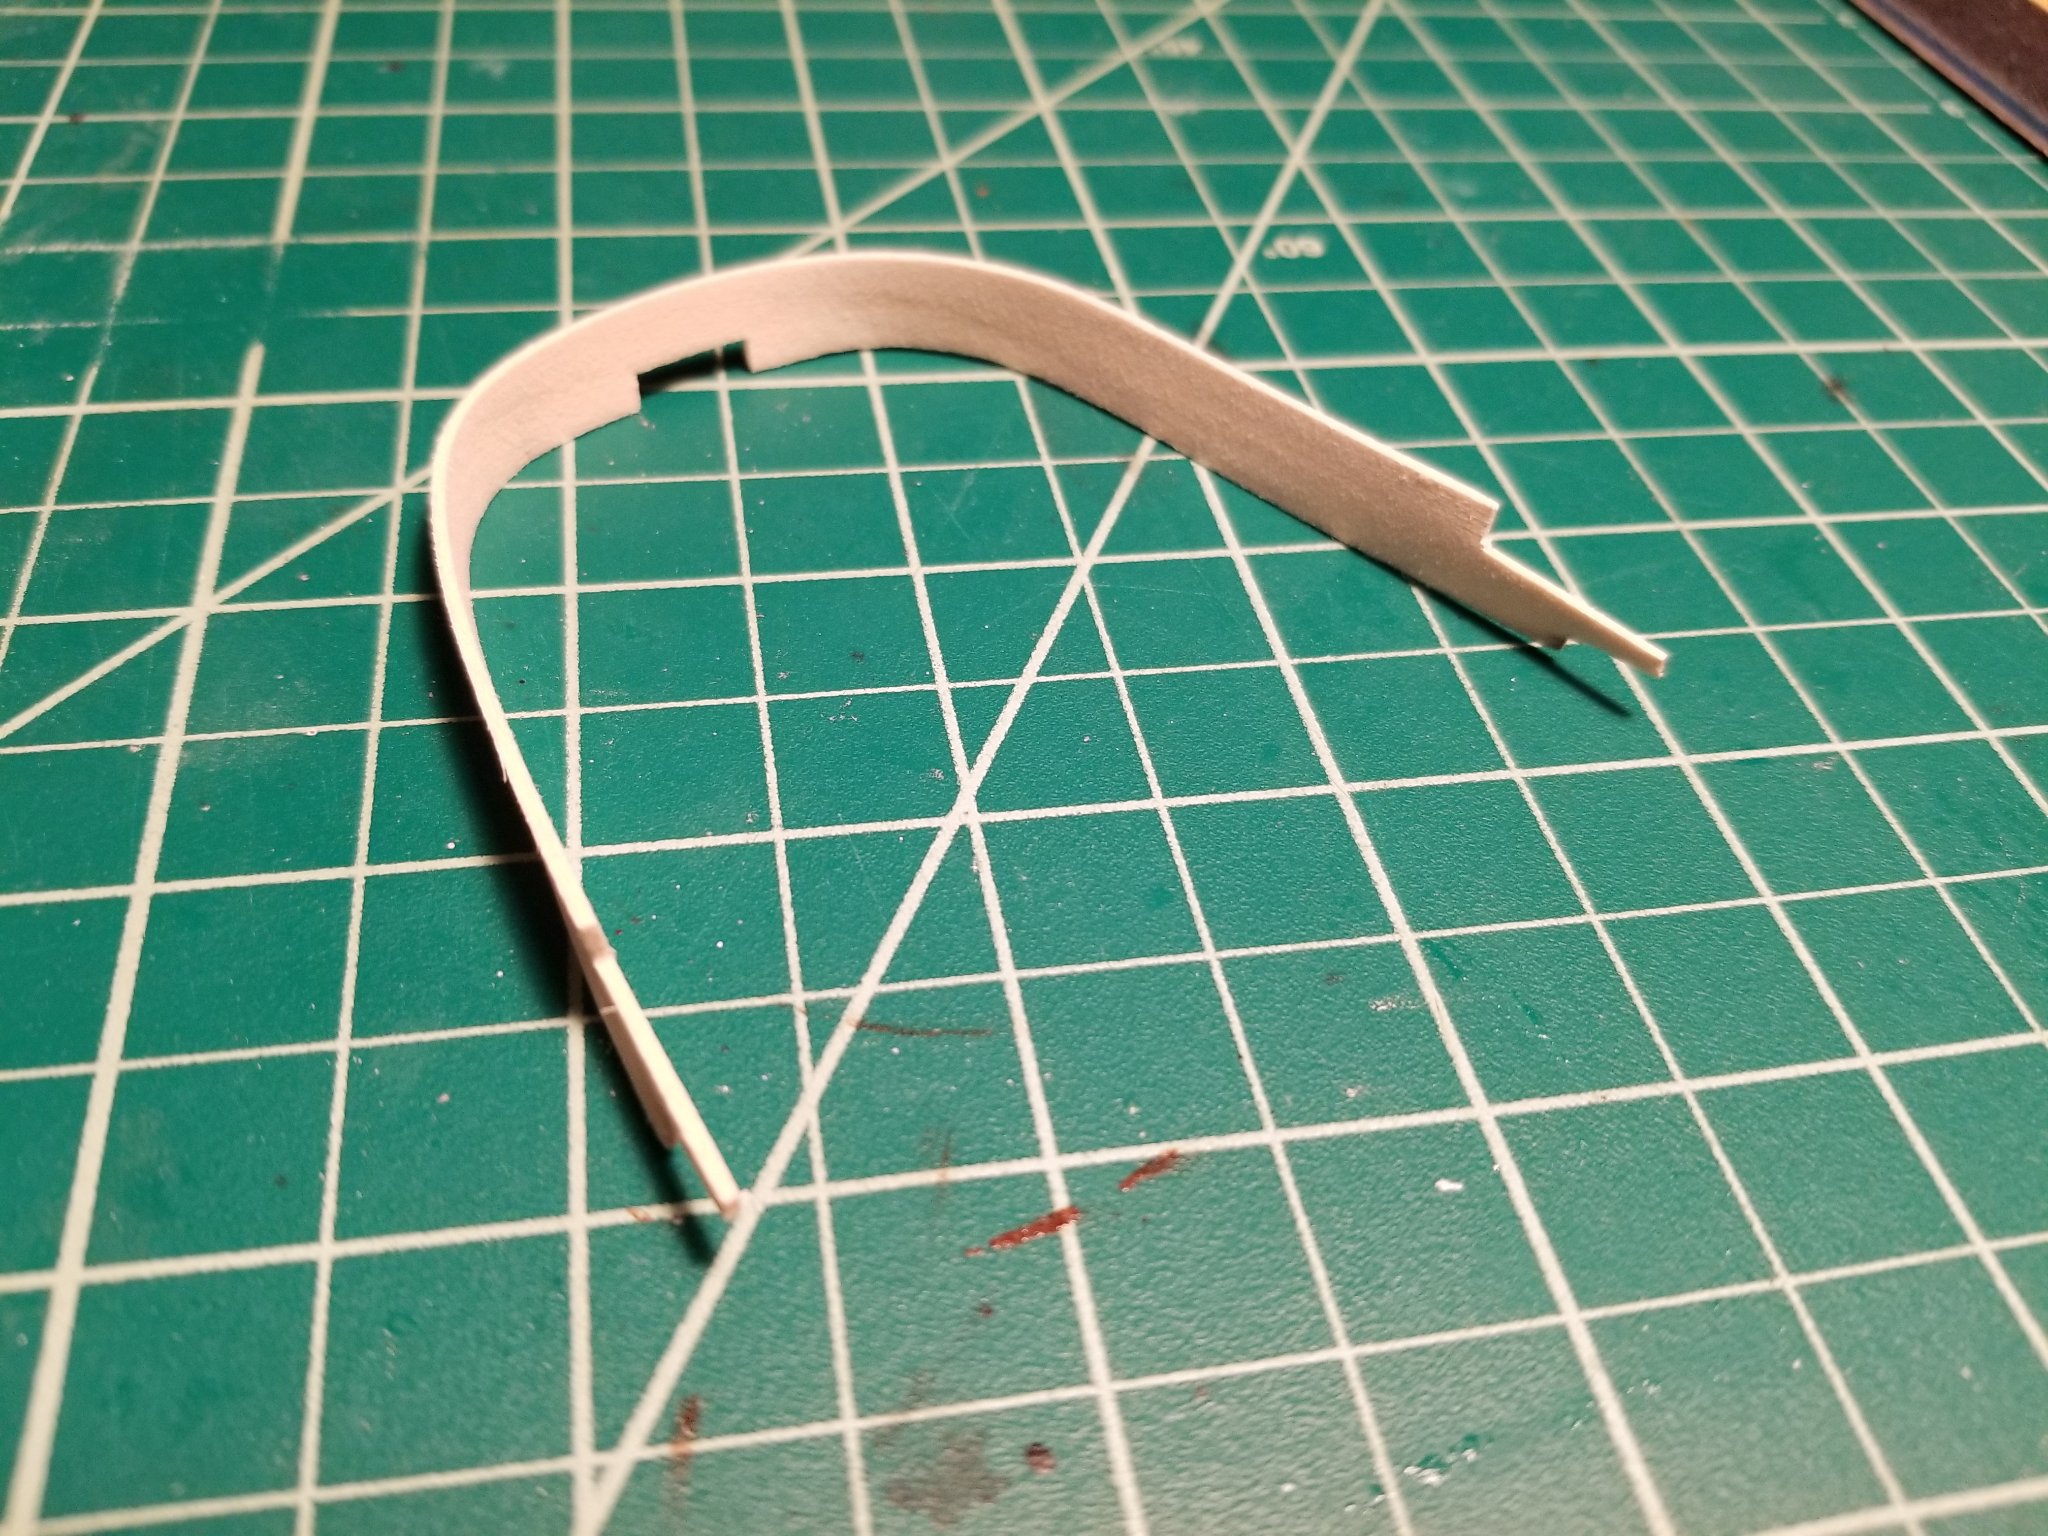
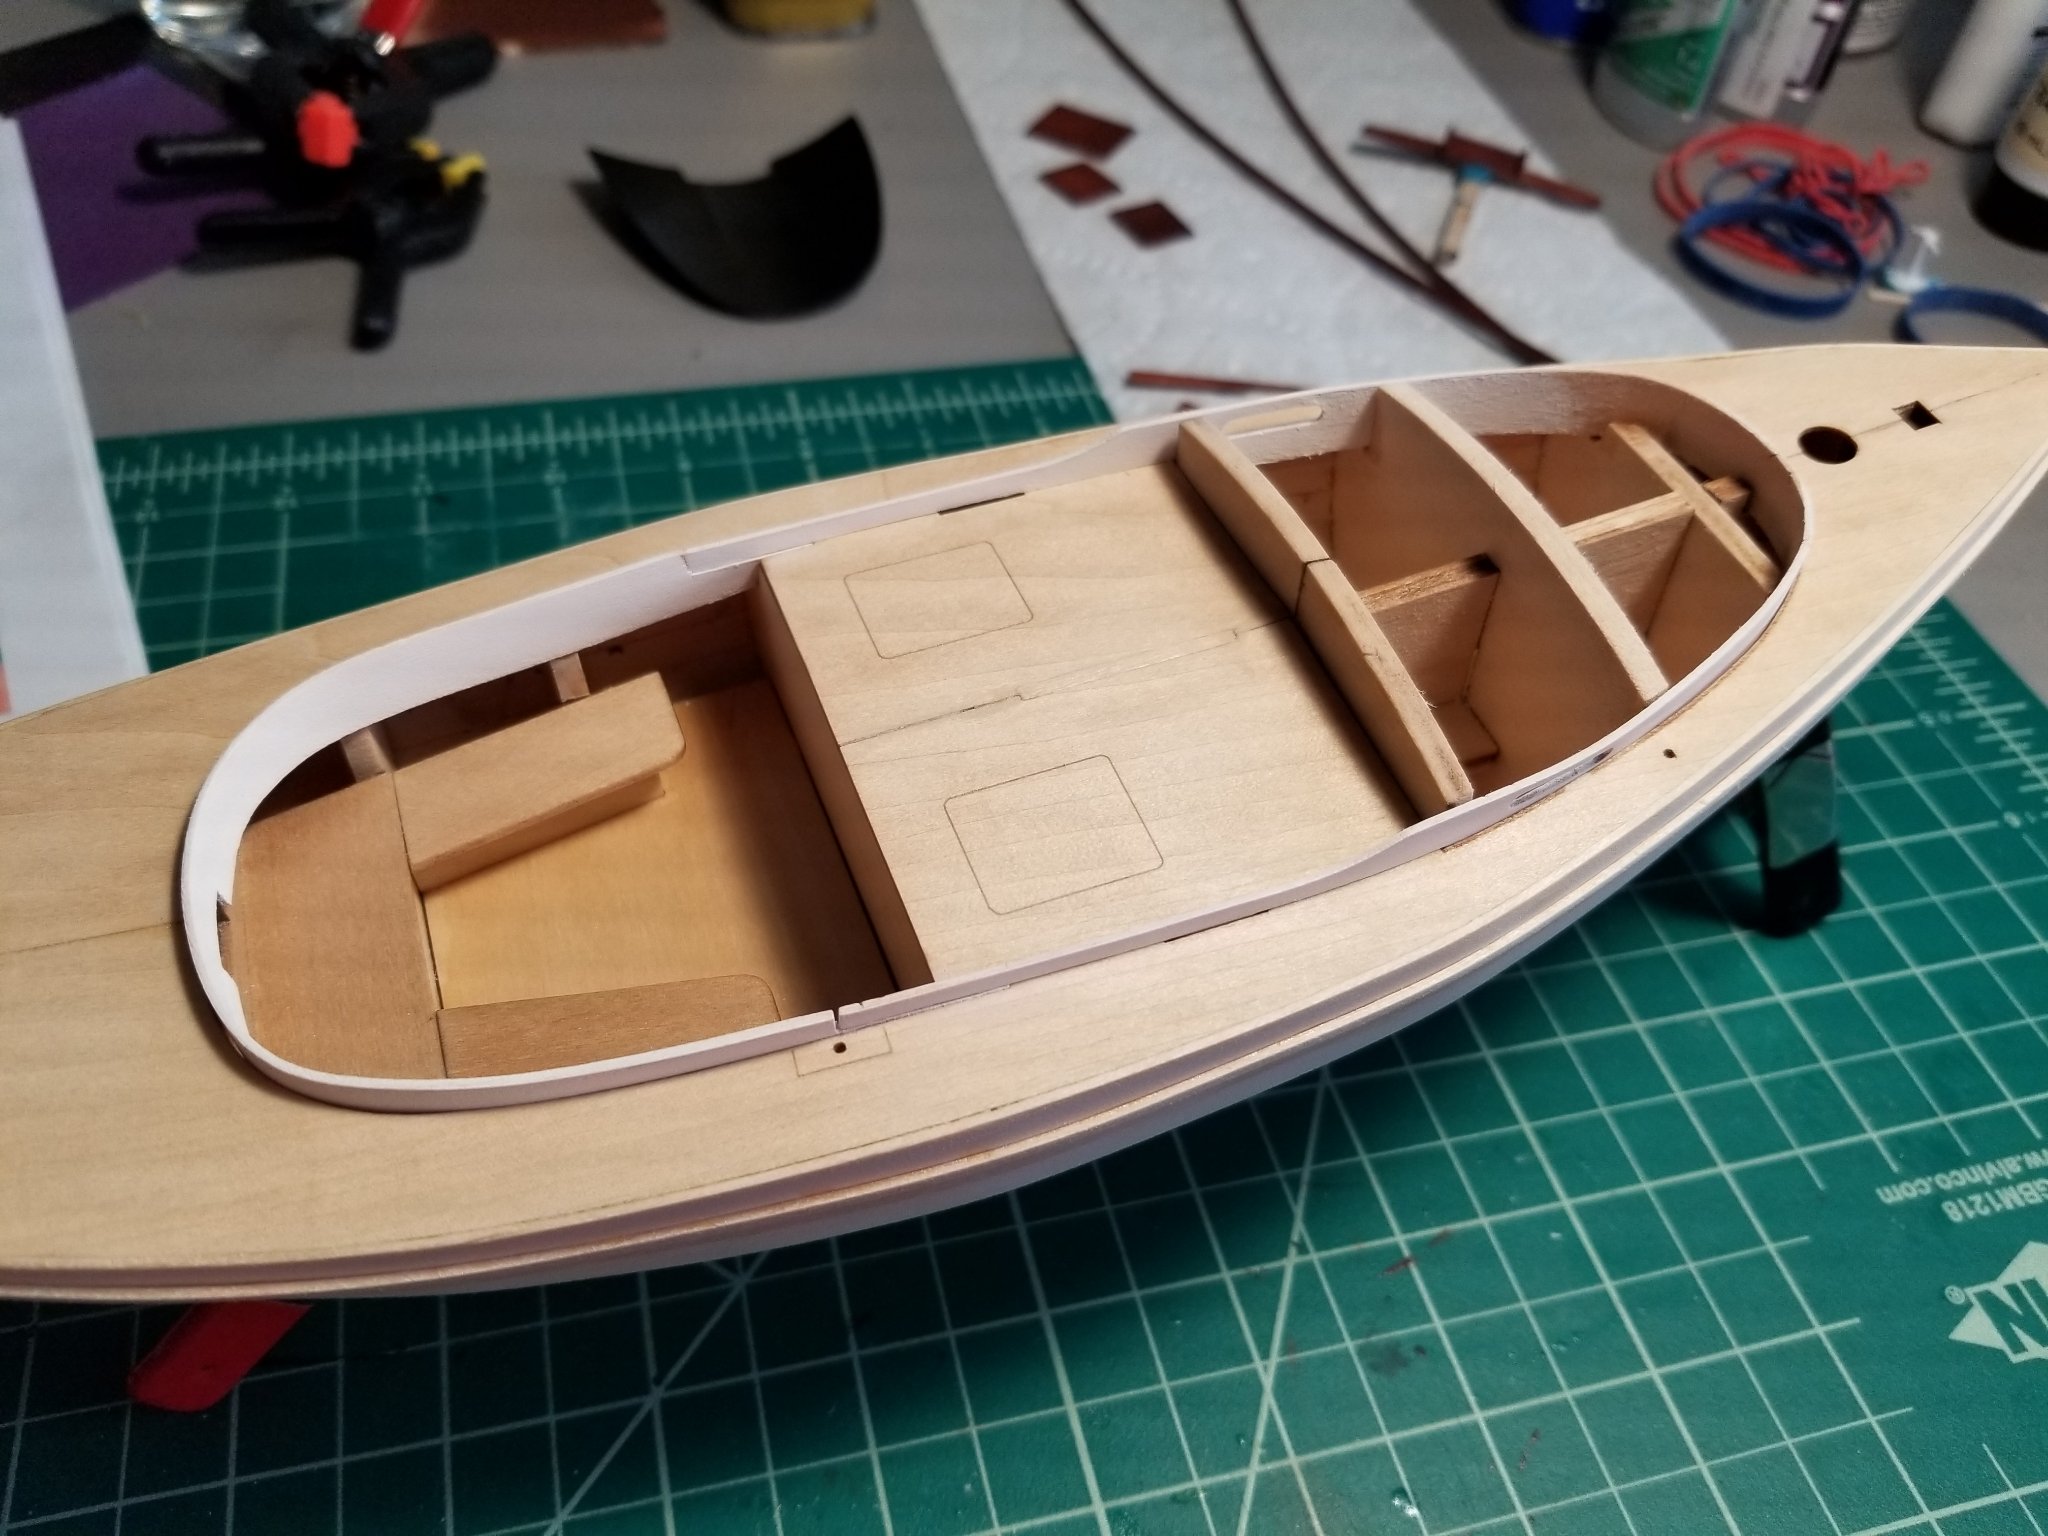
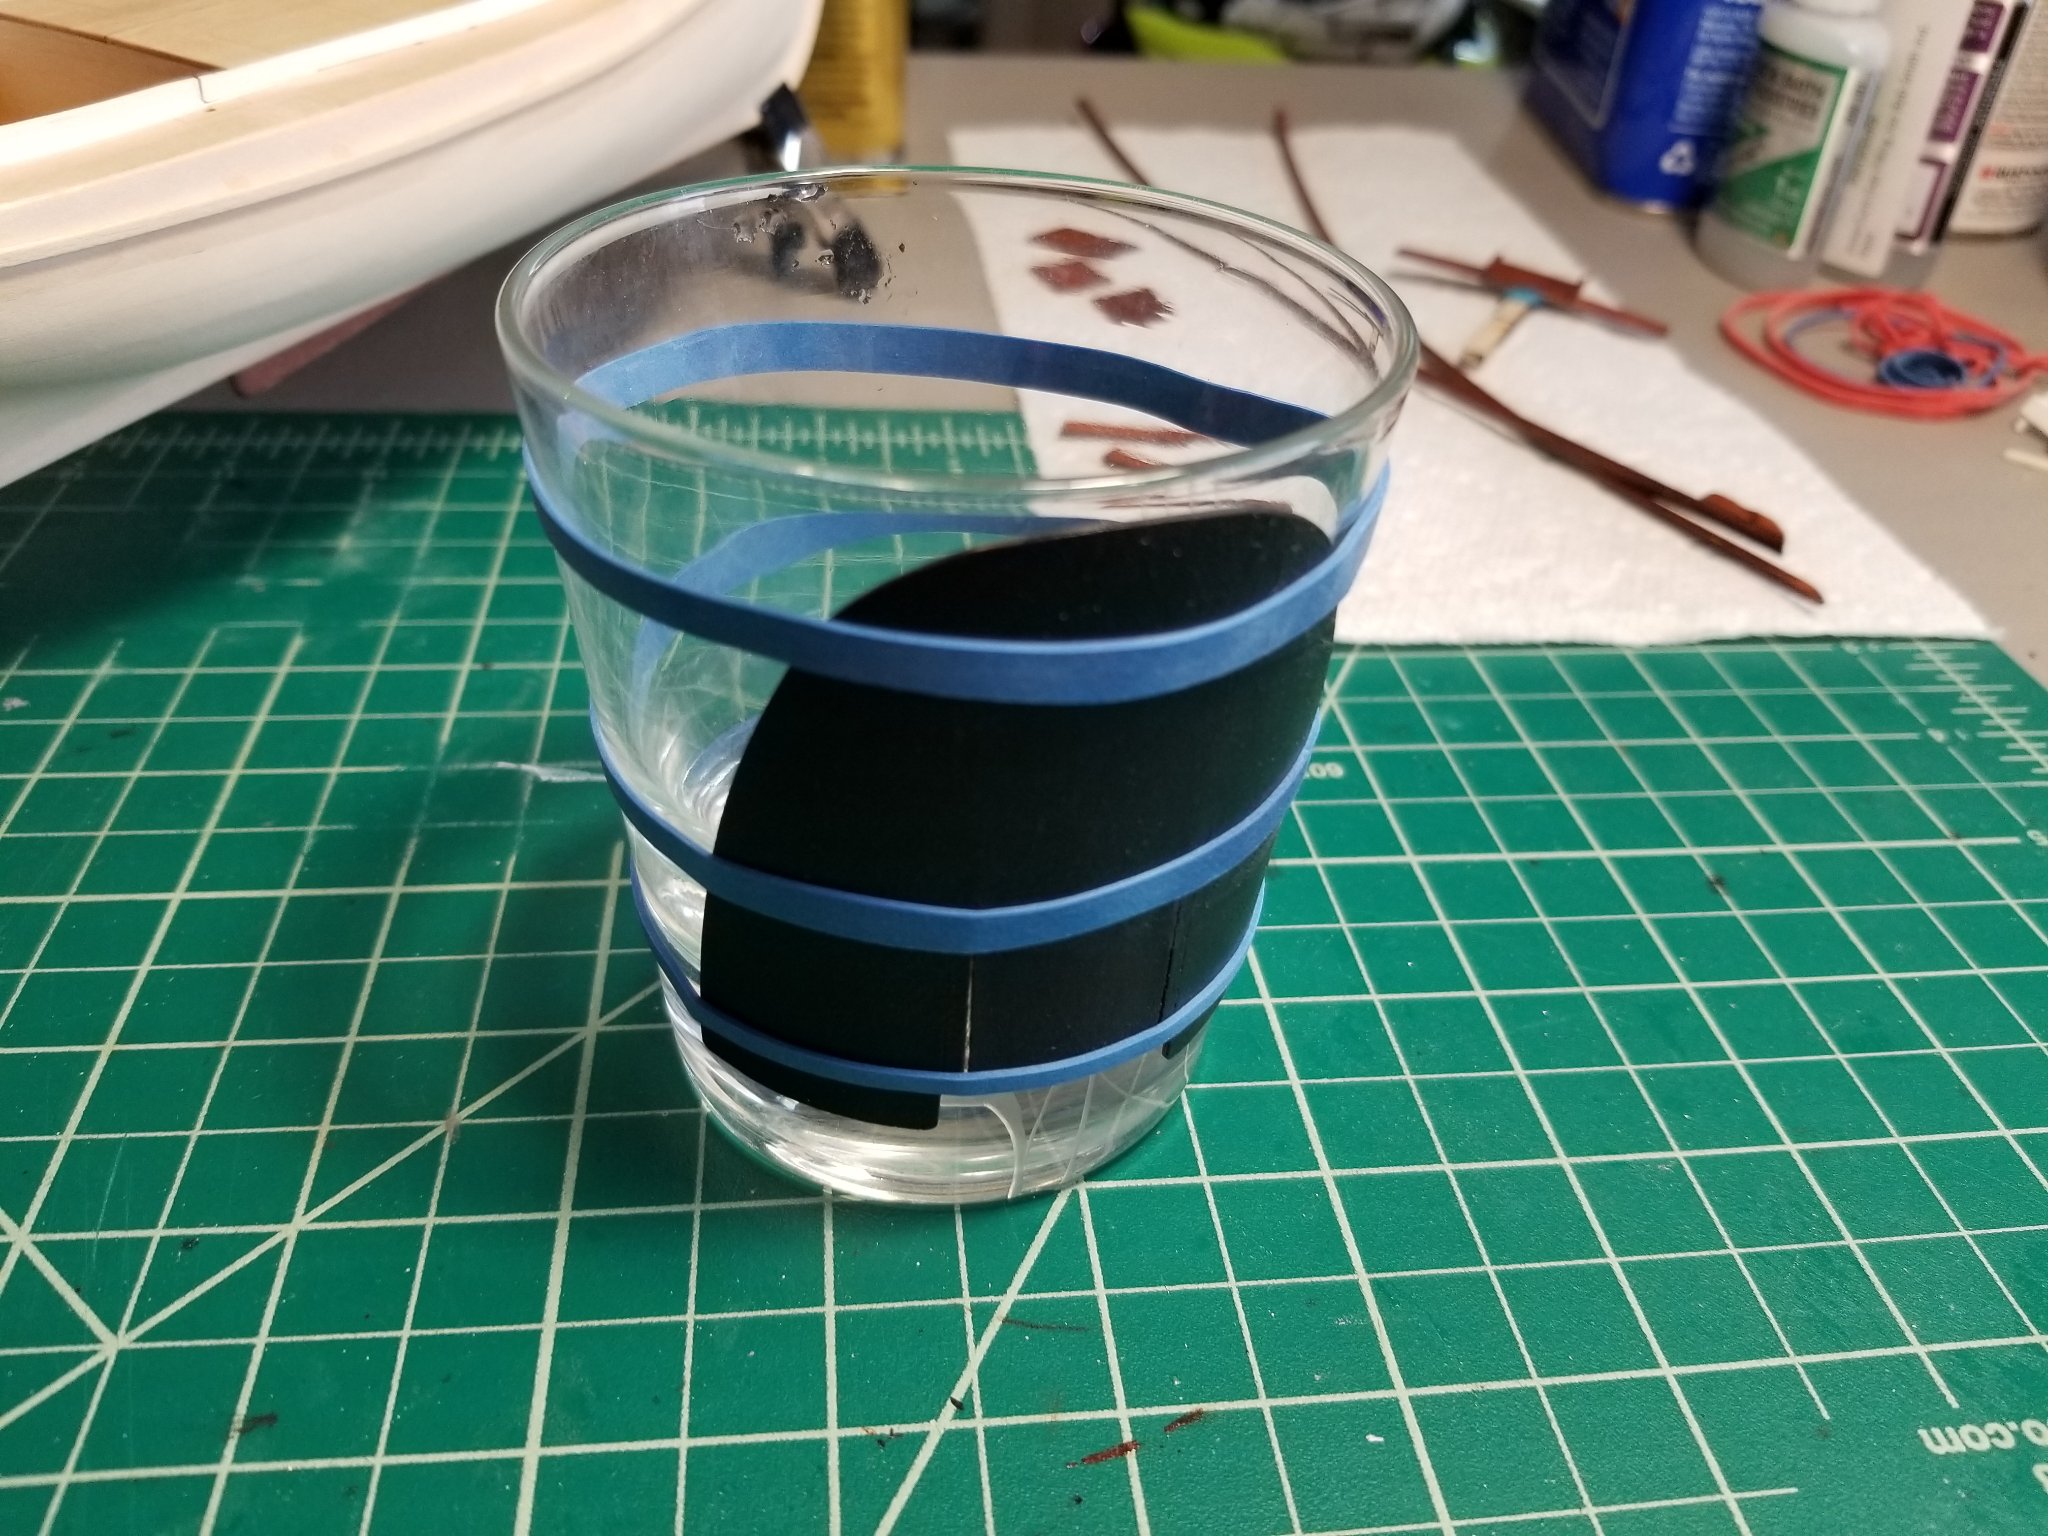
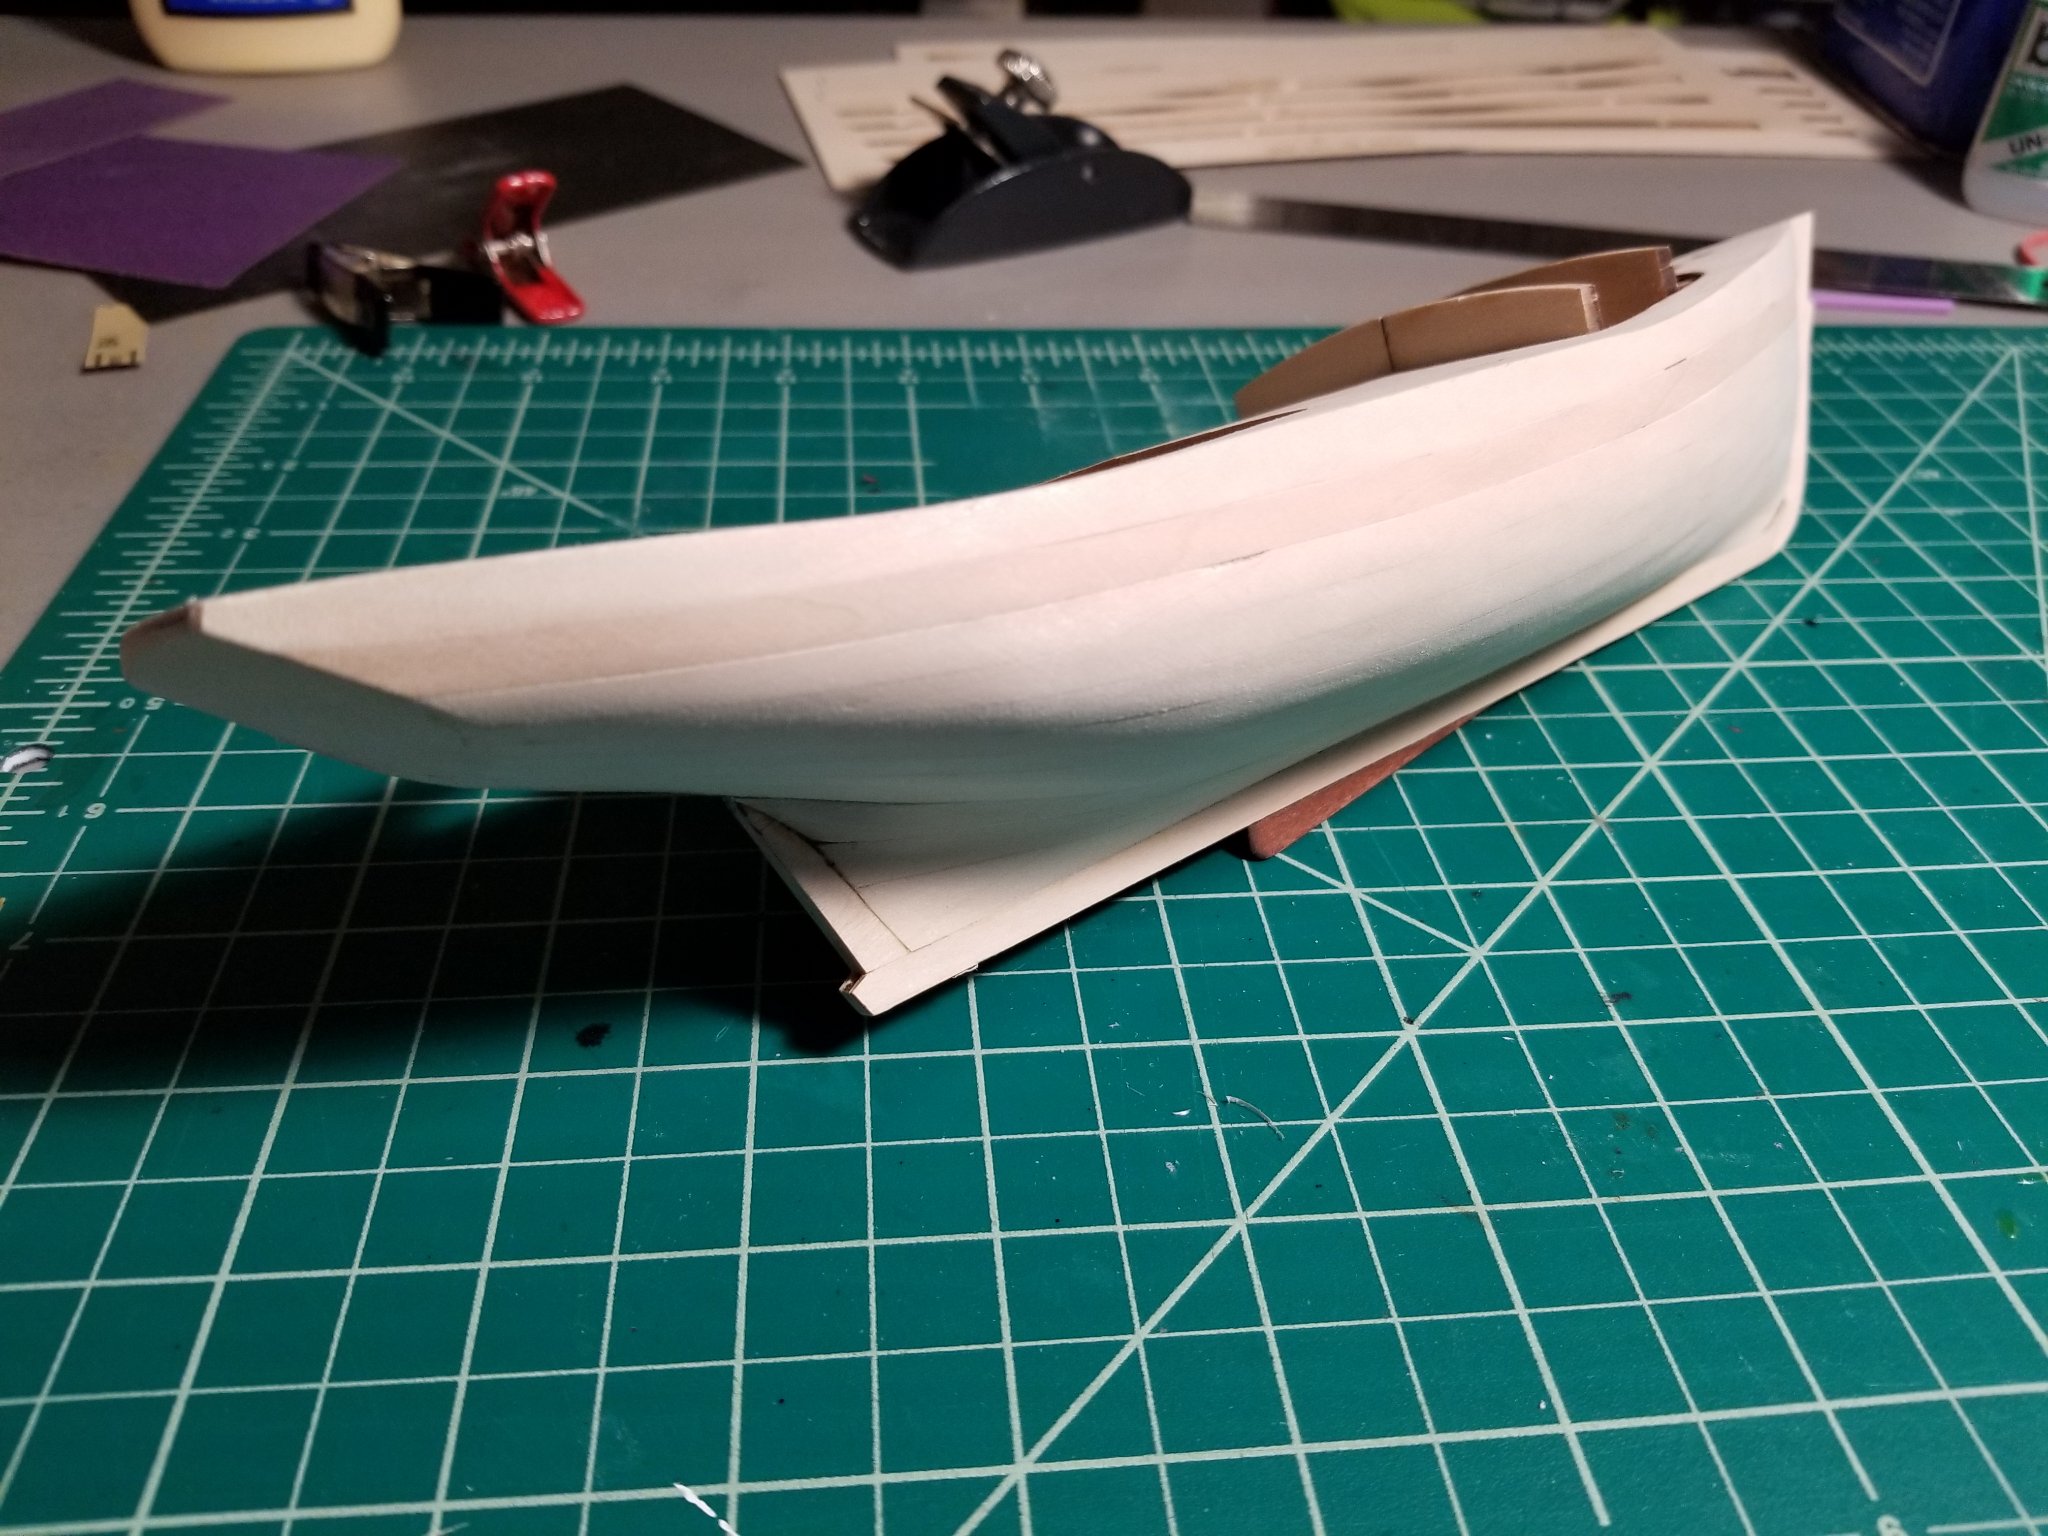
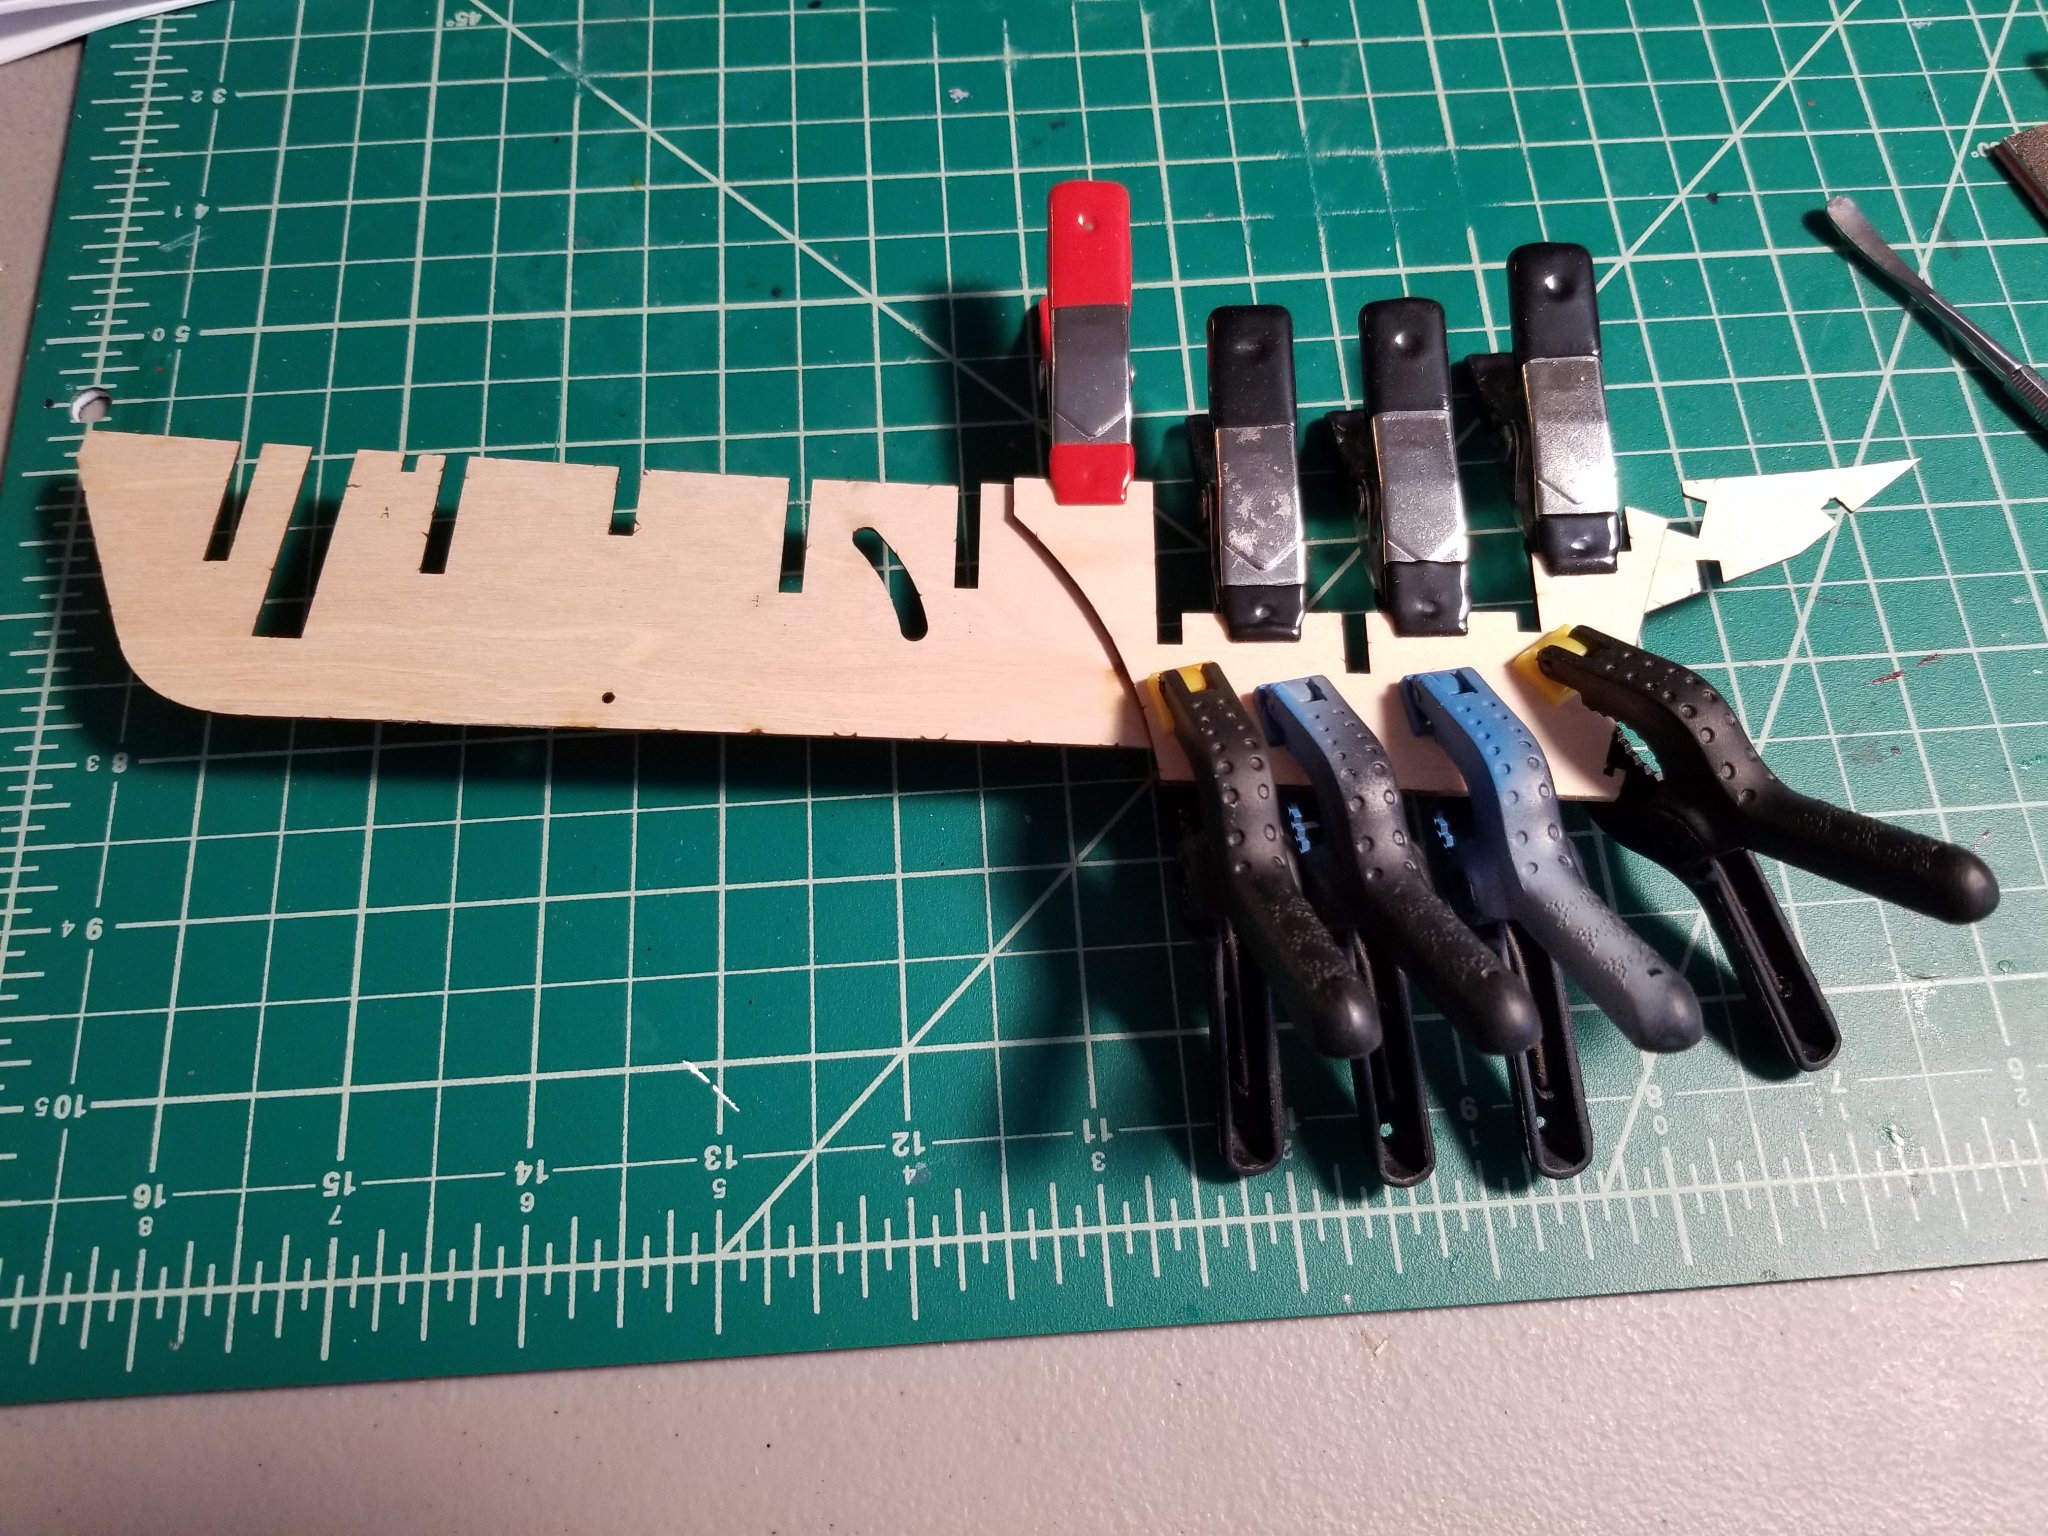
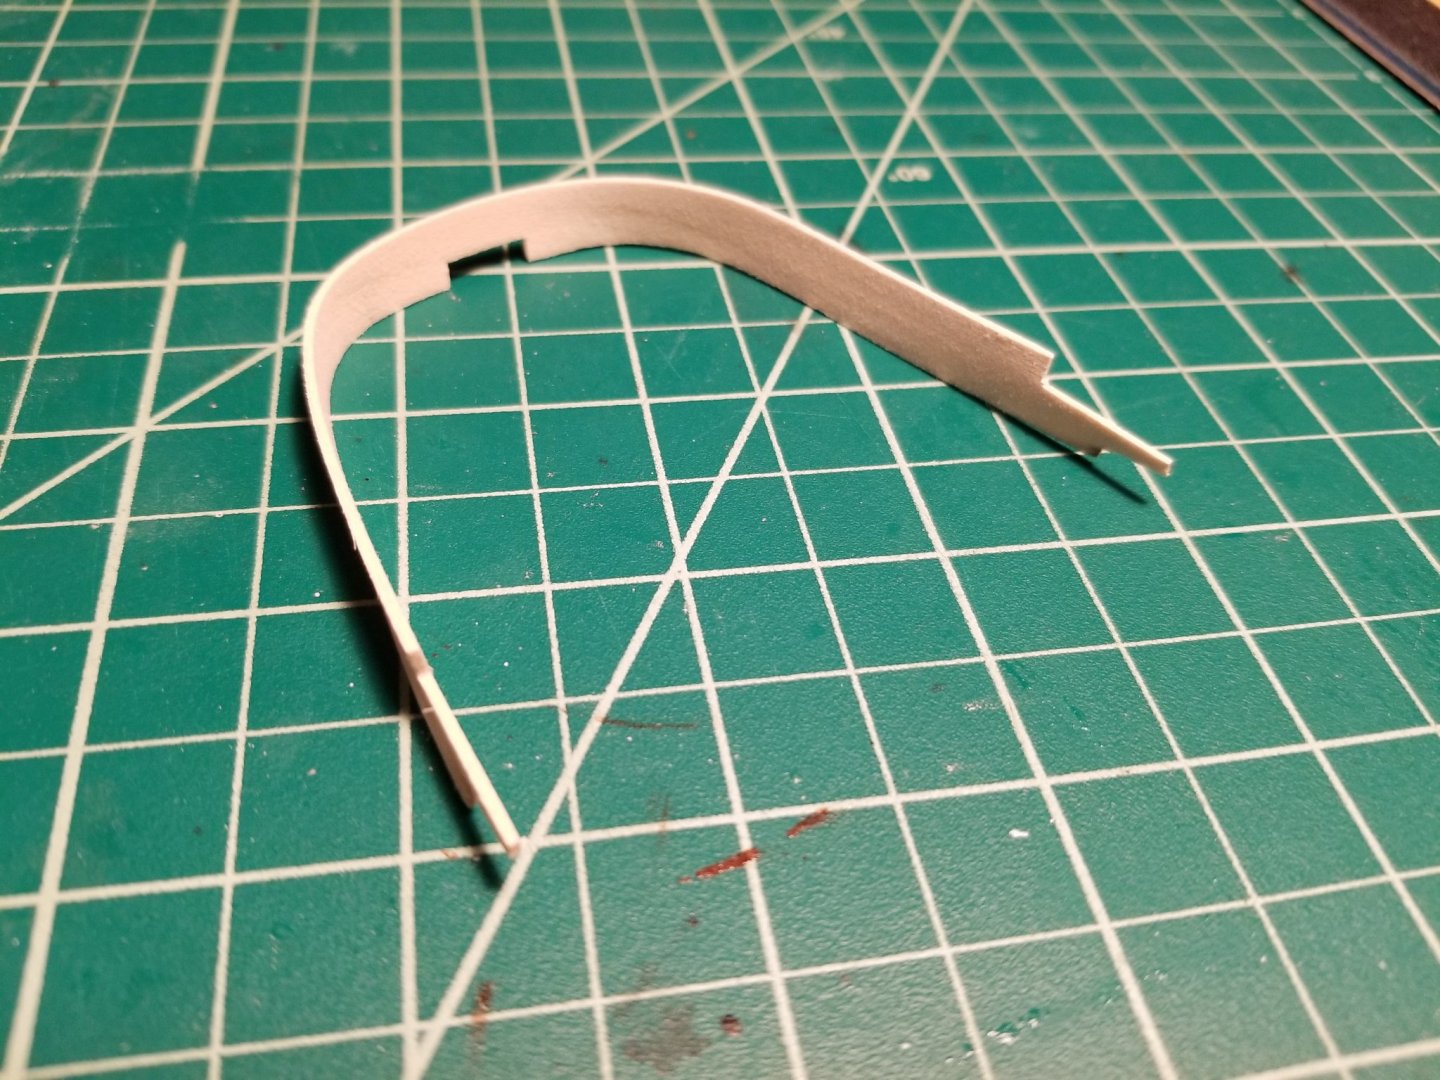
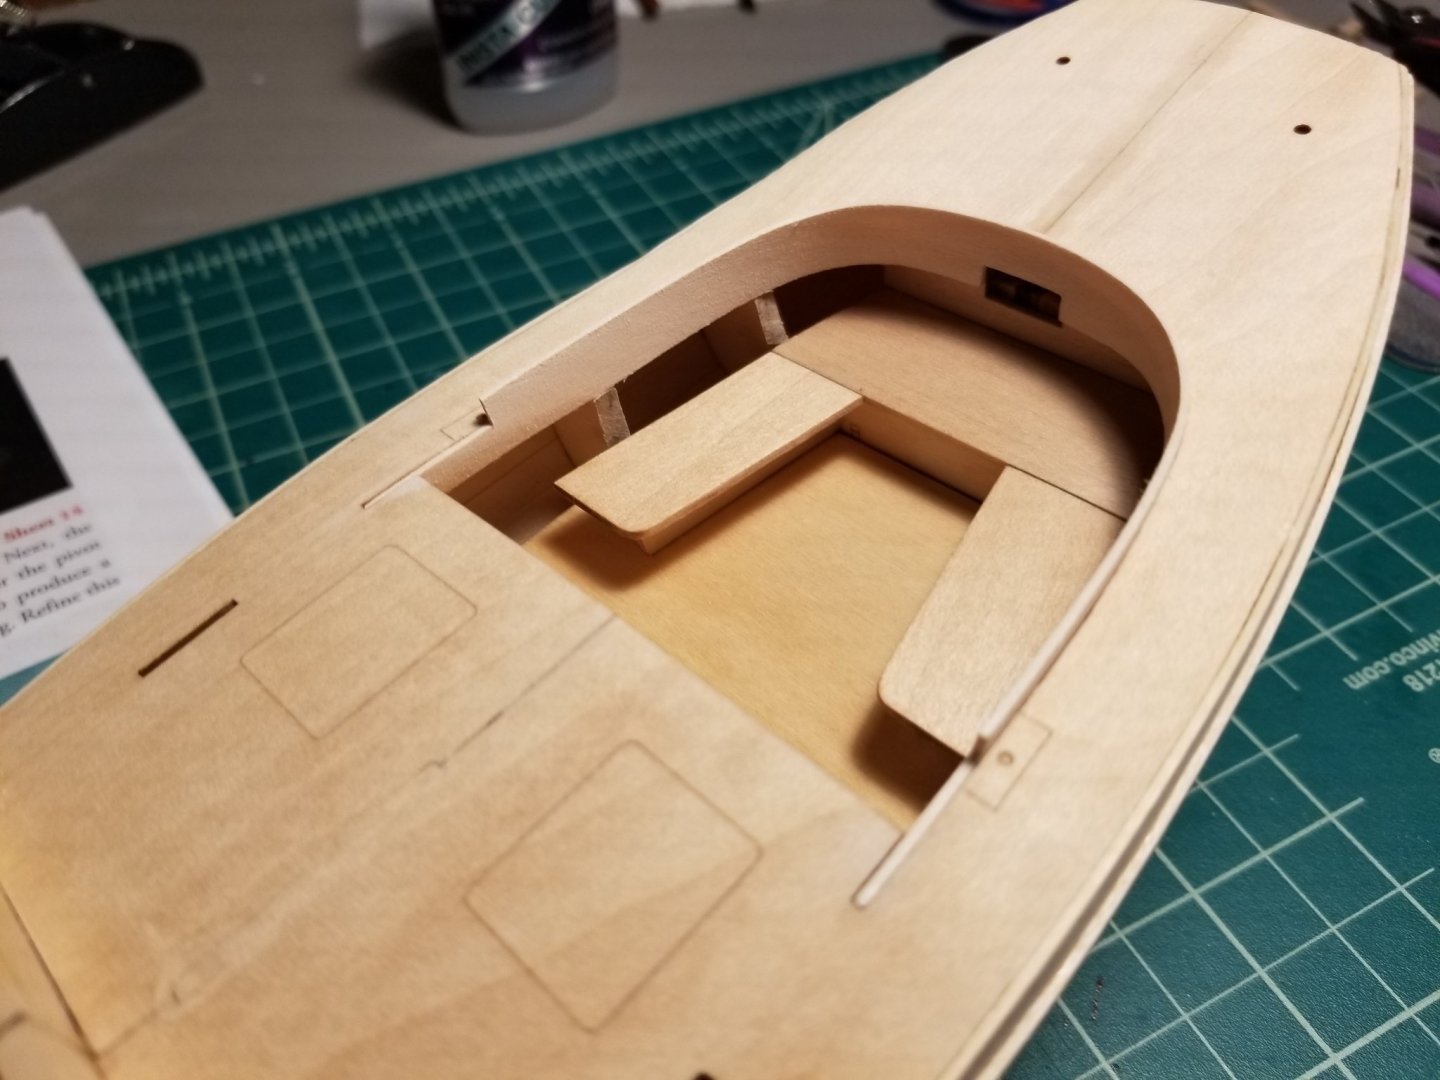
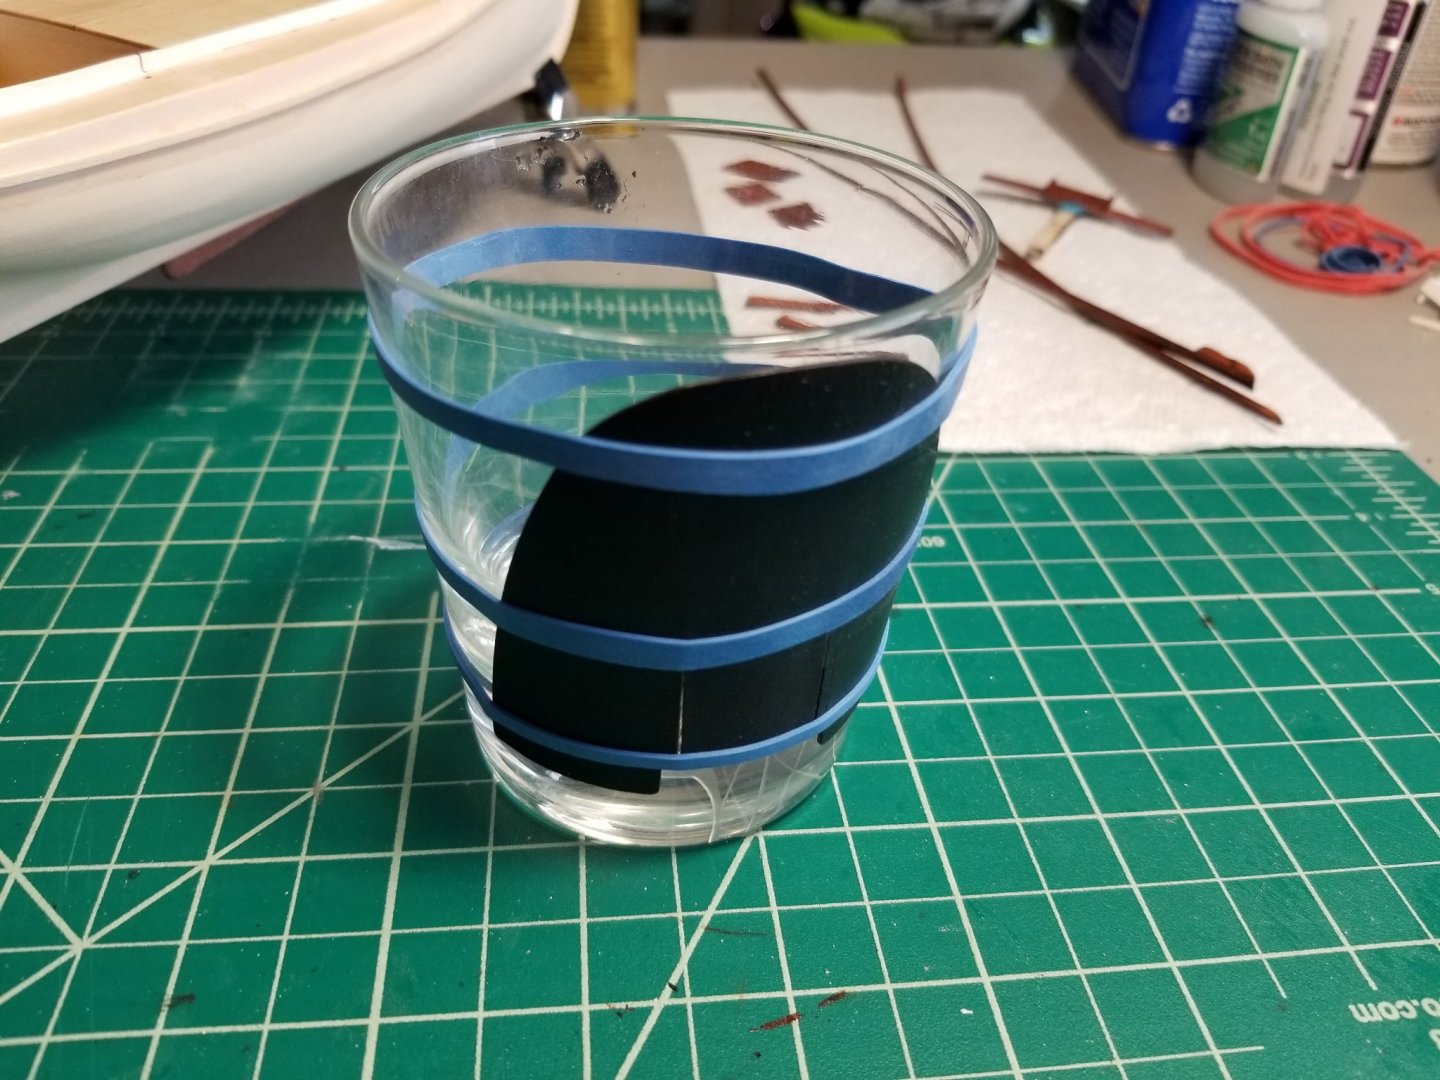
Good progress this weekend so far. I received my wood patch on Friday and got the sternpost and some other areas patched up. It sands really well, though it makes a bit of a dusty mess. After sanding the hull a bit more, I bent the toe rails, put together the cabin bulkhead, and stained them along with some other items. I decided to stain the toe rails off the model to avoid getting any stain on the deck. I also glued on the rub rails, which didn't require any wetting or heat to bend into shape. Next up was the coaming and cabin walls. This was much easier to bend than I anticipated, although I did crack the coaming that came with the kit and had to make my own from some scrap. I soaked it in fairly hot water for a few minutes and set it in the model, clamped in place, and used a hair dryer for a minute or two to dry it. Once it's dry I held it in front of a fan to cool it off and then let it sit for half an hour or so just to make sure it was dry. As you can see, it held the shape very well. I repeated the process for the cabin sides, and then painted the two pieces off the model before gluing them in place. I'm using the ModelExpo MS4831 White paint that came with the 18th Century Longboat. I really like working with this paint since the wood takes it very well and it's easily sandable. I thin it with some water and brush on a few coats, let it dry for a while and then sand with 400 grit to knock the grain down. I used MS4830 Hull Spar Black for the roof, with the same process. This required several coats to get a smooth finish. When I revisited the model this morning the roof had curved the wrong way overnight, so I had to rubber band it to a glass and ran the hair dryer over it for awhile to get it curving the right way again. Once this was done, I installed the wet well covers, cabin bulkhead, roof, sliding hatch and rails: Lastly I installed the beakhead. I sanded the stem too much when I installed it so I had to add a little spacer to get the beakhead flush with the deck. Sanded smooth and with a little filler, you can't tell it's there. Next up is to get the base assembled so I can mark the waterline and move on to painting the hull.


-
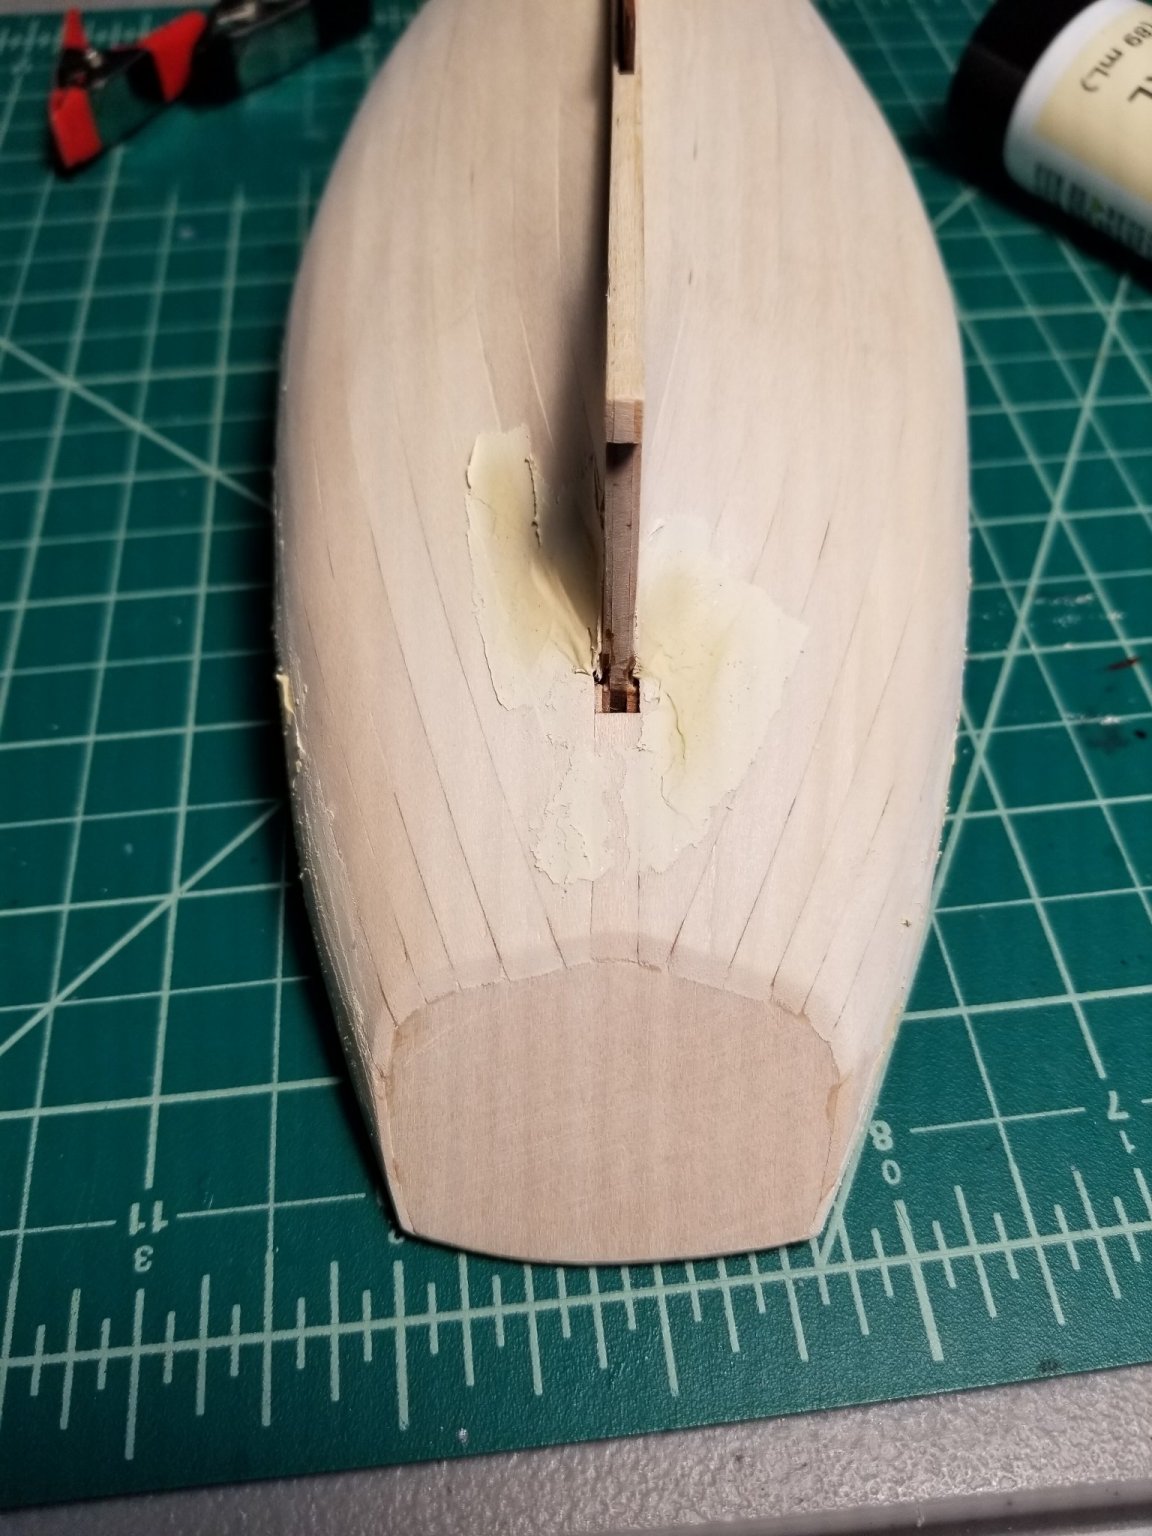
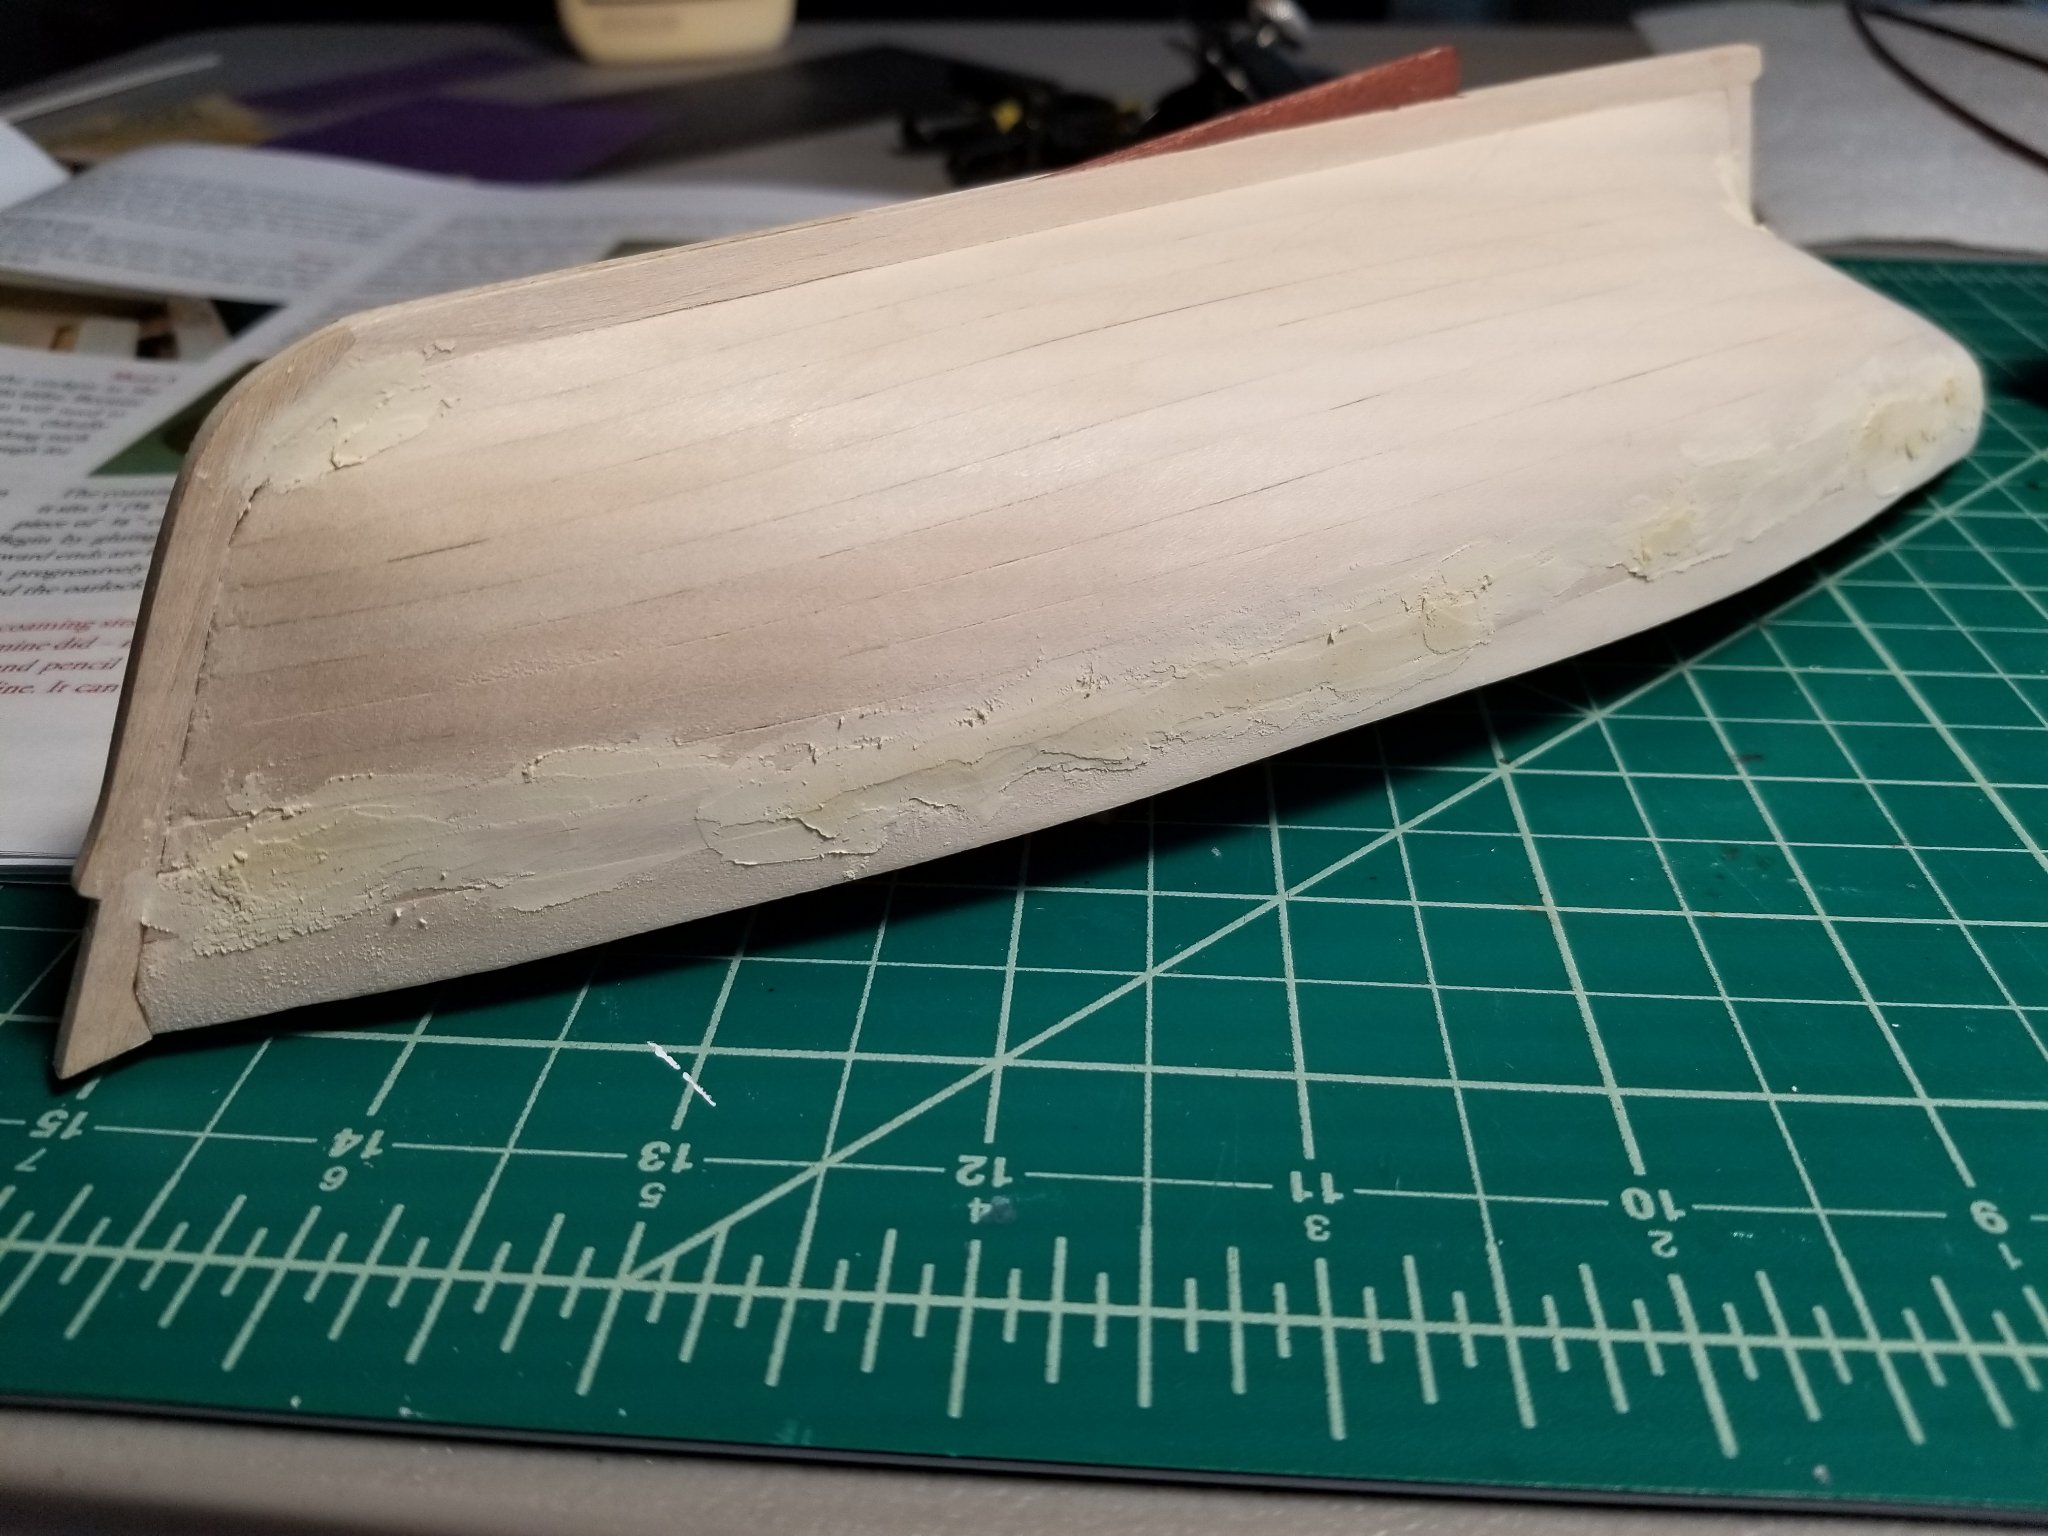
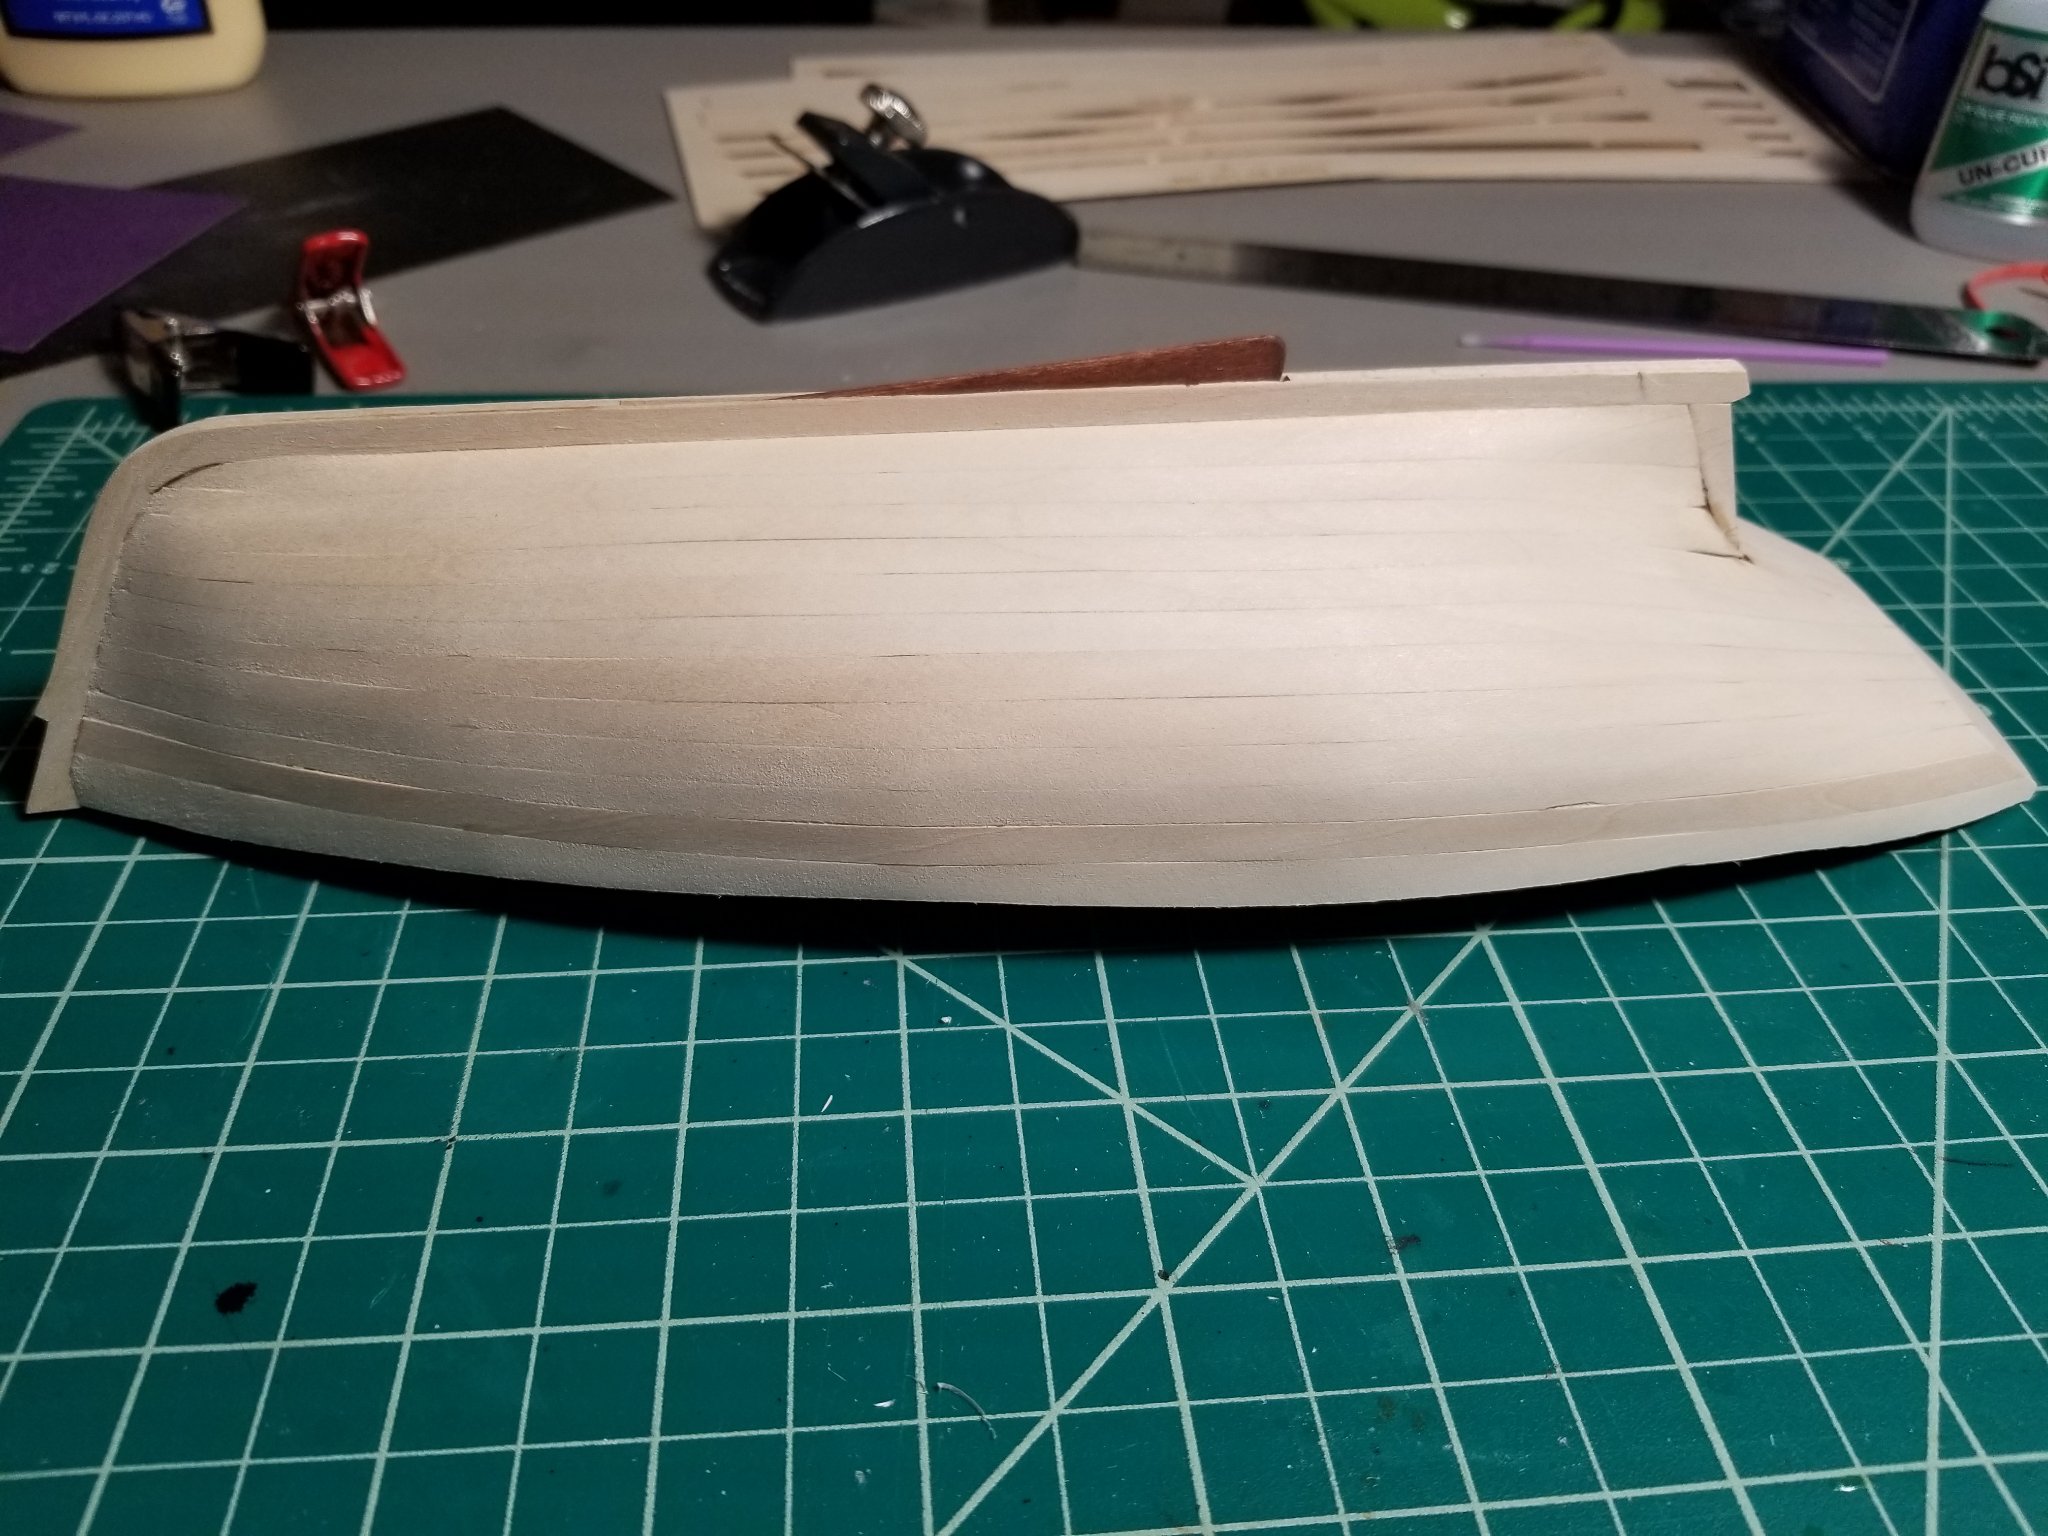
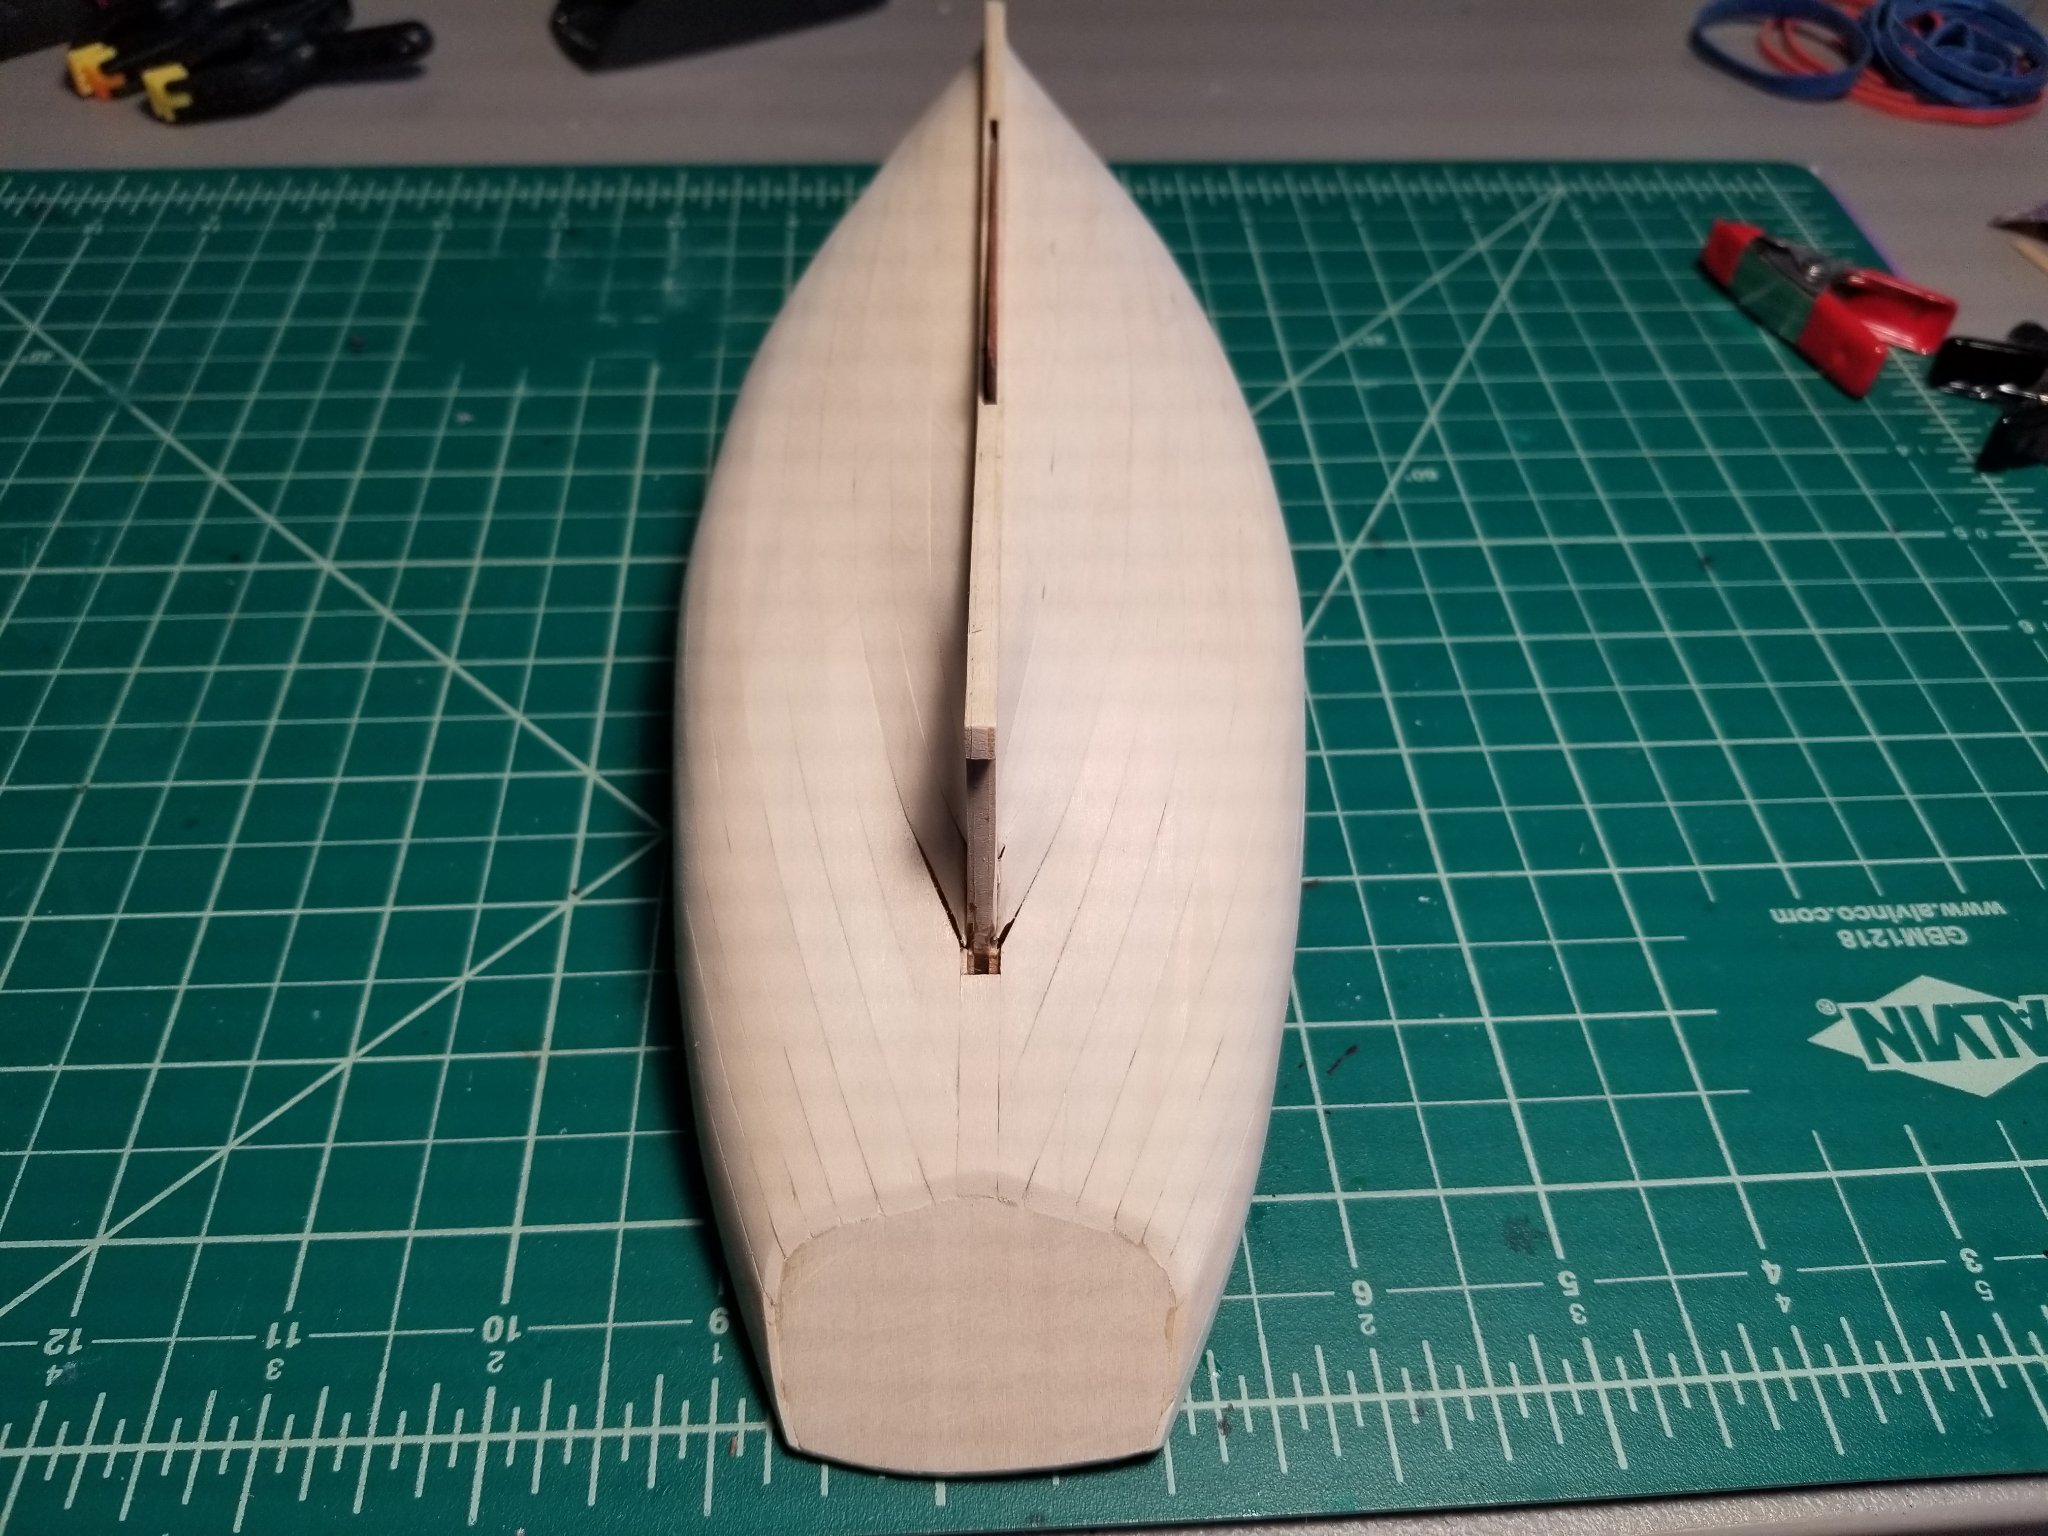
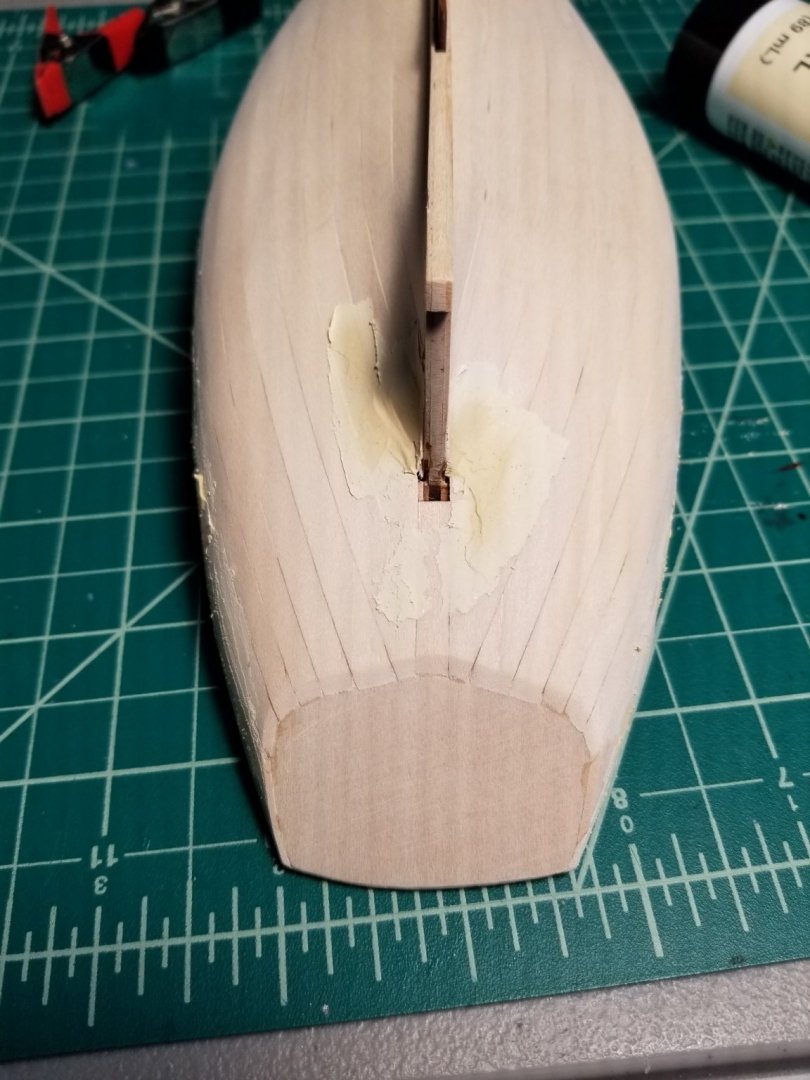
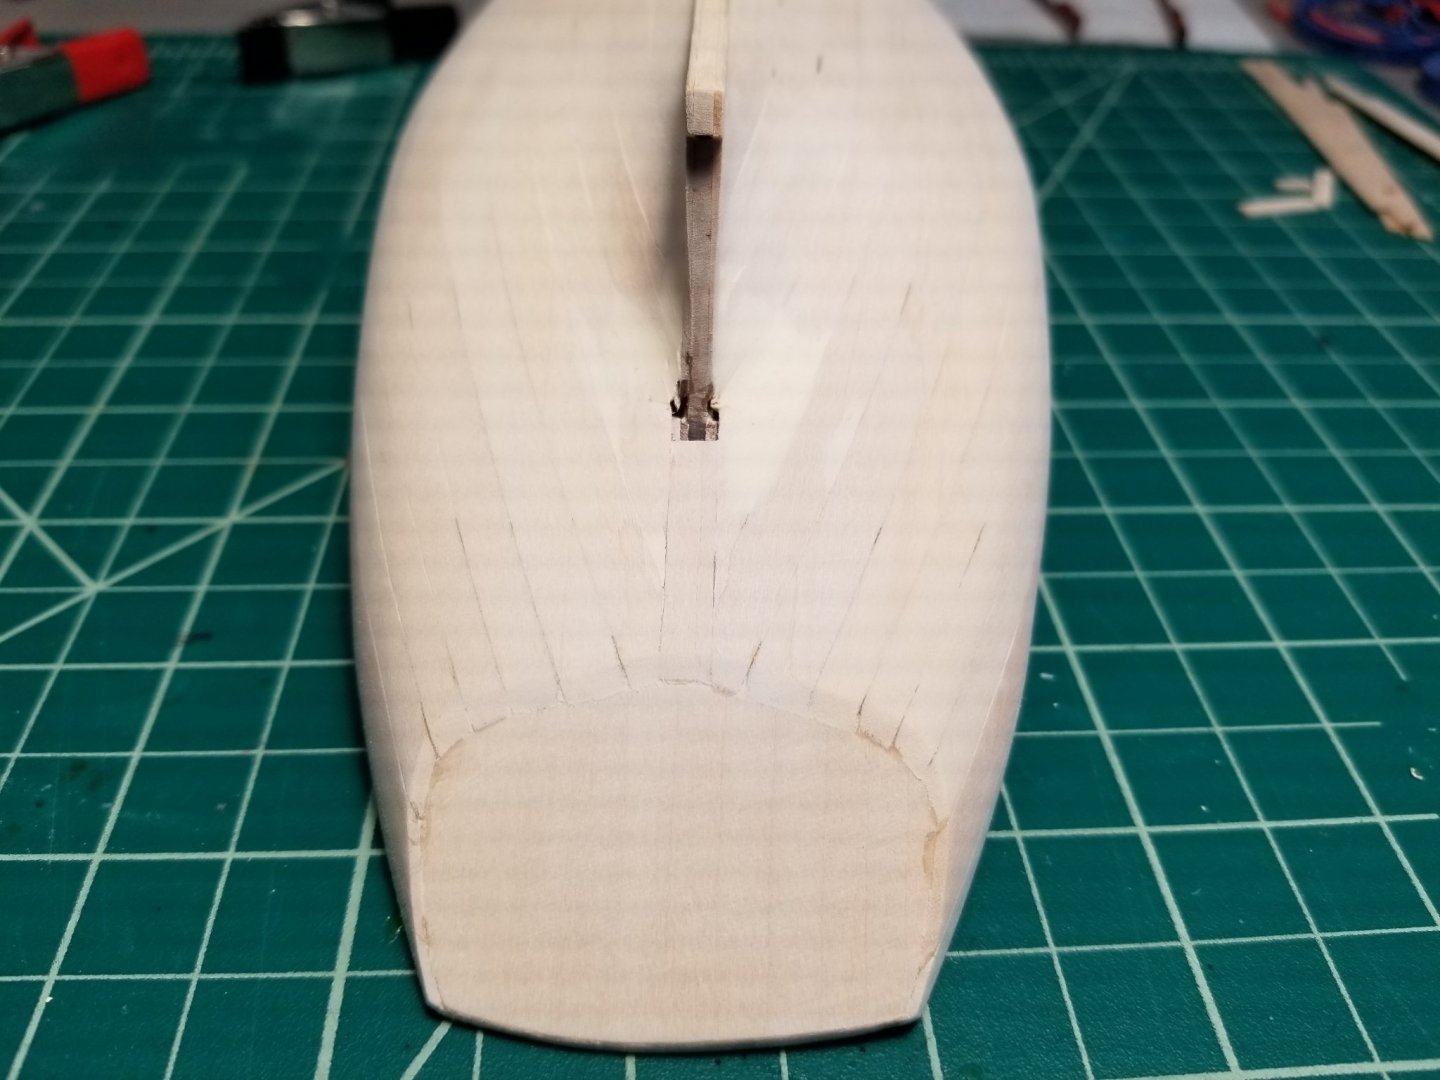
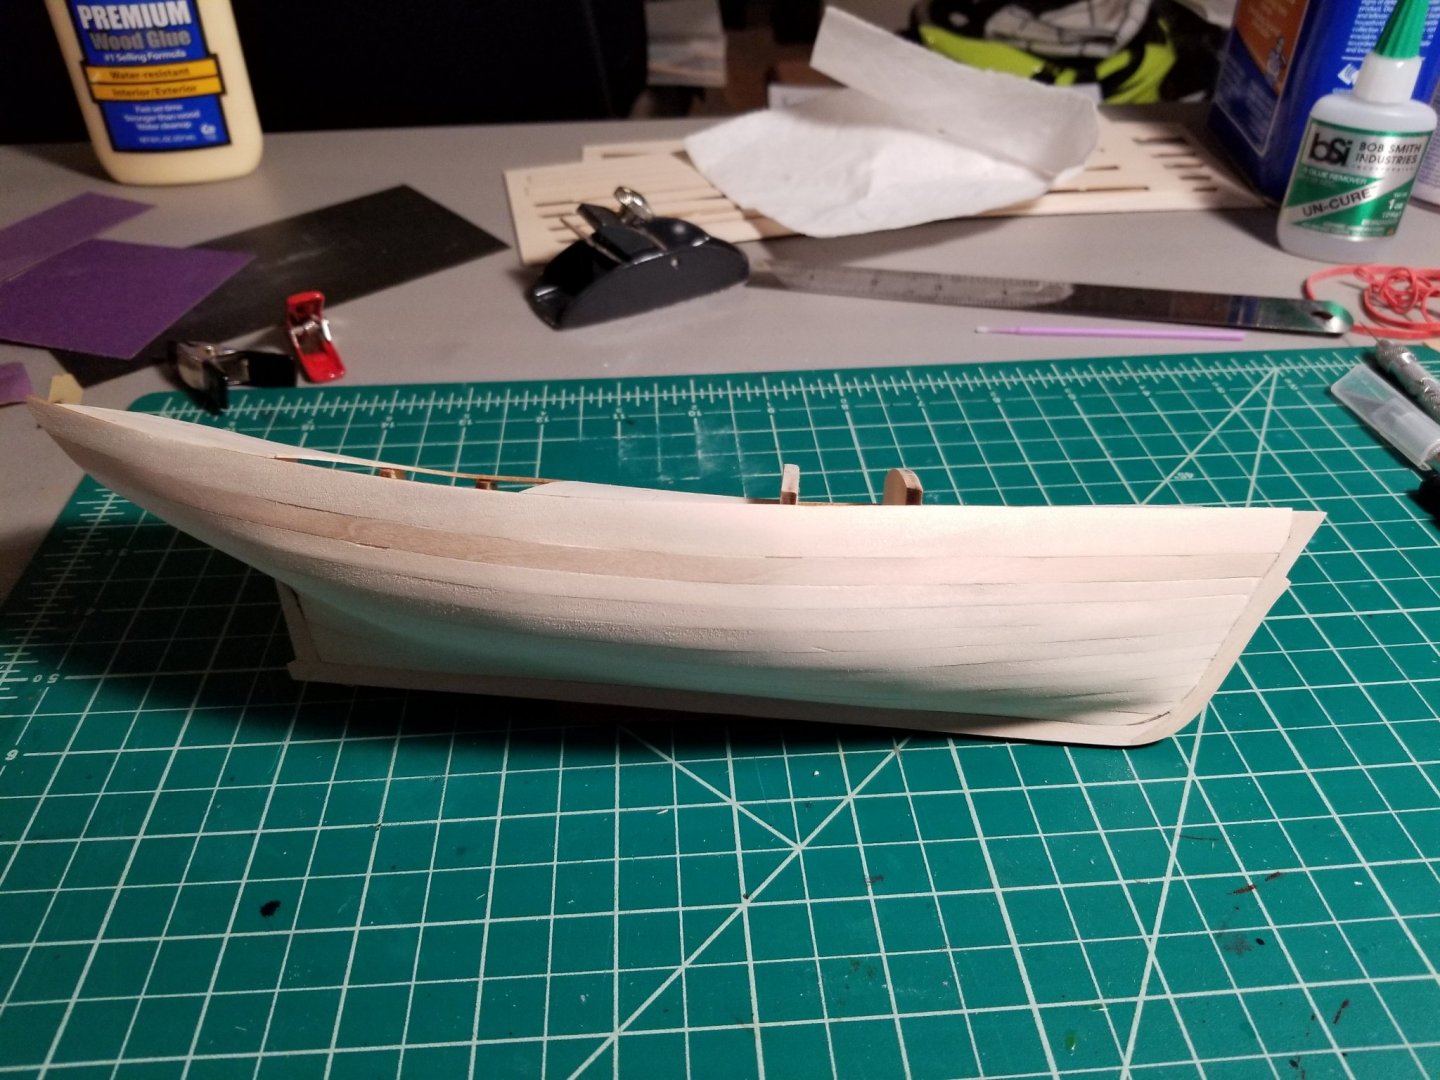
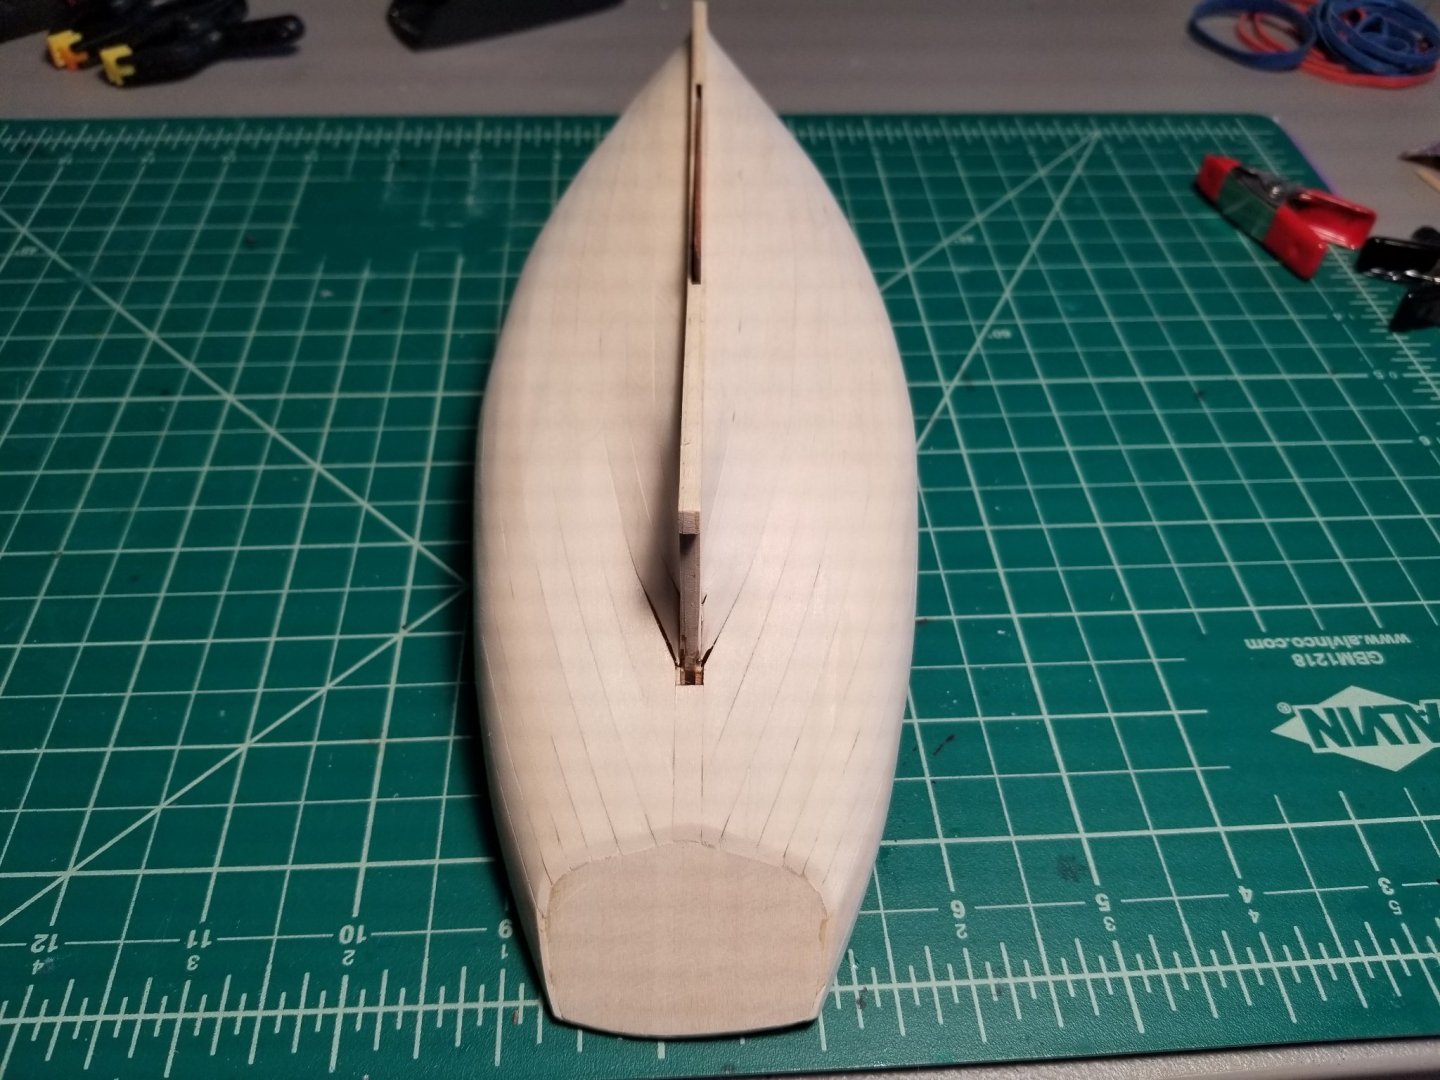
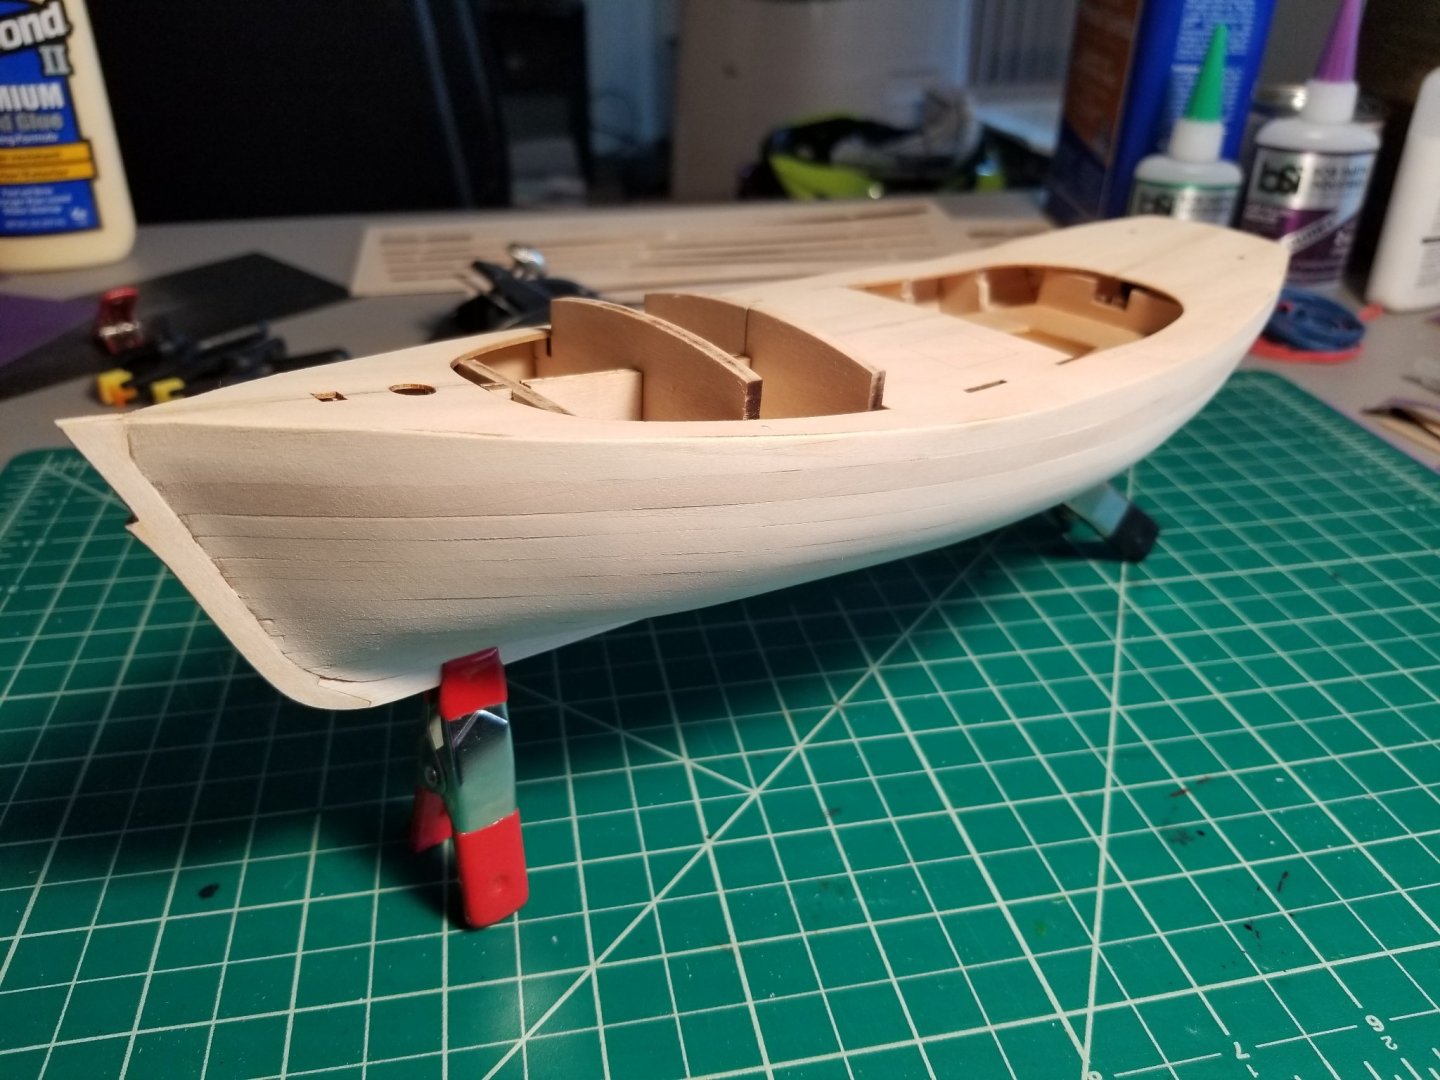
Planking completed! I ended up using some spare 5/32" strips to add a 10th plank before adding the sheer strake. You can see the color difference: I will be painting the hull above the waterline so I am not concerned about the color difference. Once these planks were added and trimmed, I trimmed everything at the transom and sanded the hull. I have some putty arriving today (ZAR Wood Patch) that supposedly takes stain fairly well. I will use this to fill the nasty gaps around the sternpost and smooth things out above the waterline. The stain I am using below the waterline is pretty dark so I am not too concerned about that part of the hull being totally smooth. I would prefer that the color looks consistent so I will use as little putty as possible. While I wait for the putty to arrive, I filled in the slot for the centerboard hook/rod thing with some scrap wood and applied a couple coats of Wipe On Poly to the deck.


-
@SkiBee Thanks! At least your planking fills the space correctly 😁 I used your model as reference for how the heck those planks at the top of the sternpost are supposed to look. I'm not sure how I'm going to fill in those gaps... particularly since I plan to stain the part below the waterline and I'm not sure how well (or if!) putty takes stain.
-
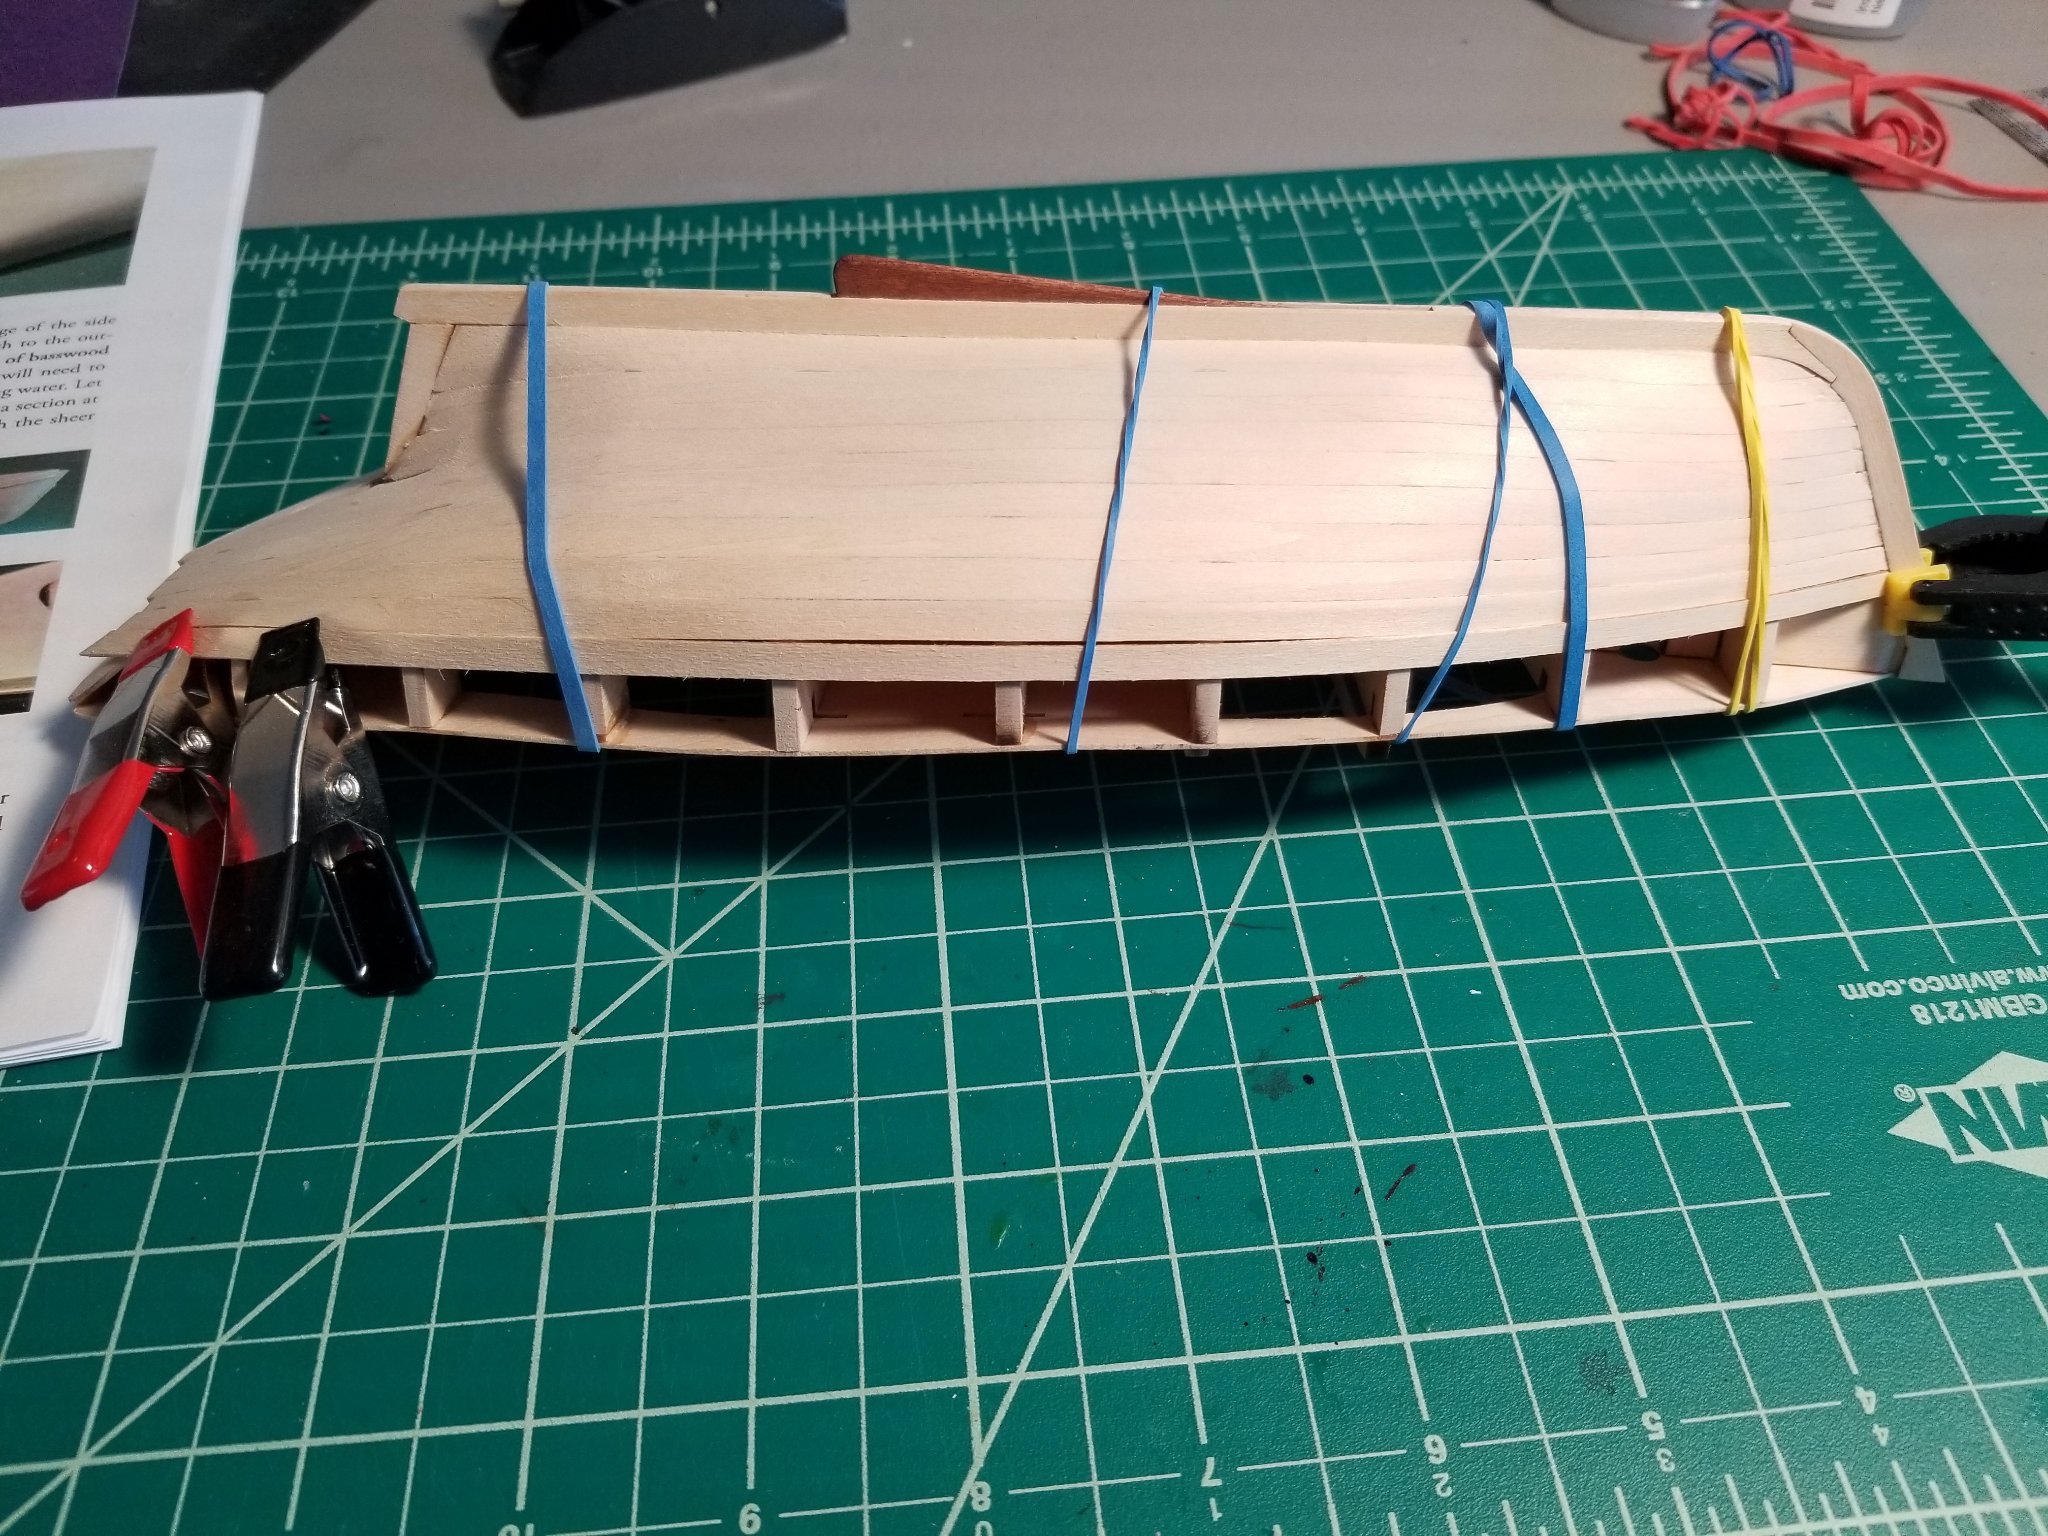
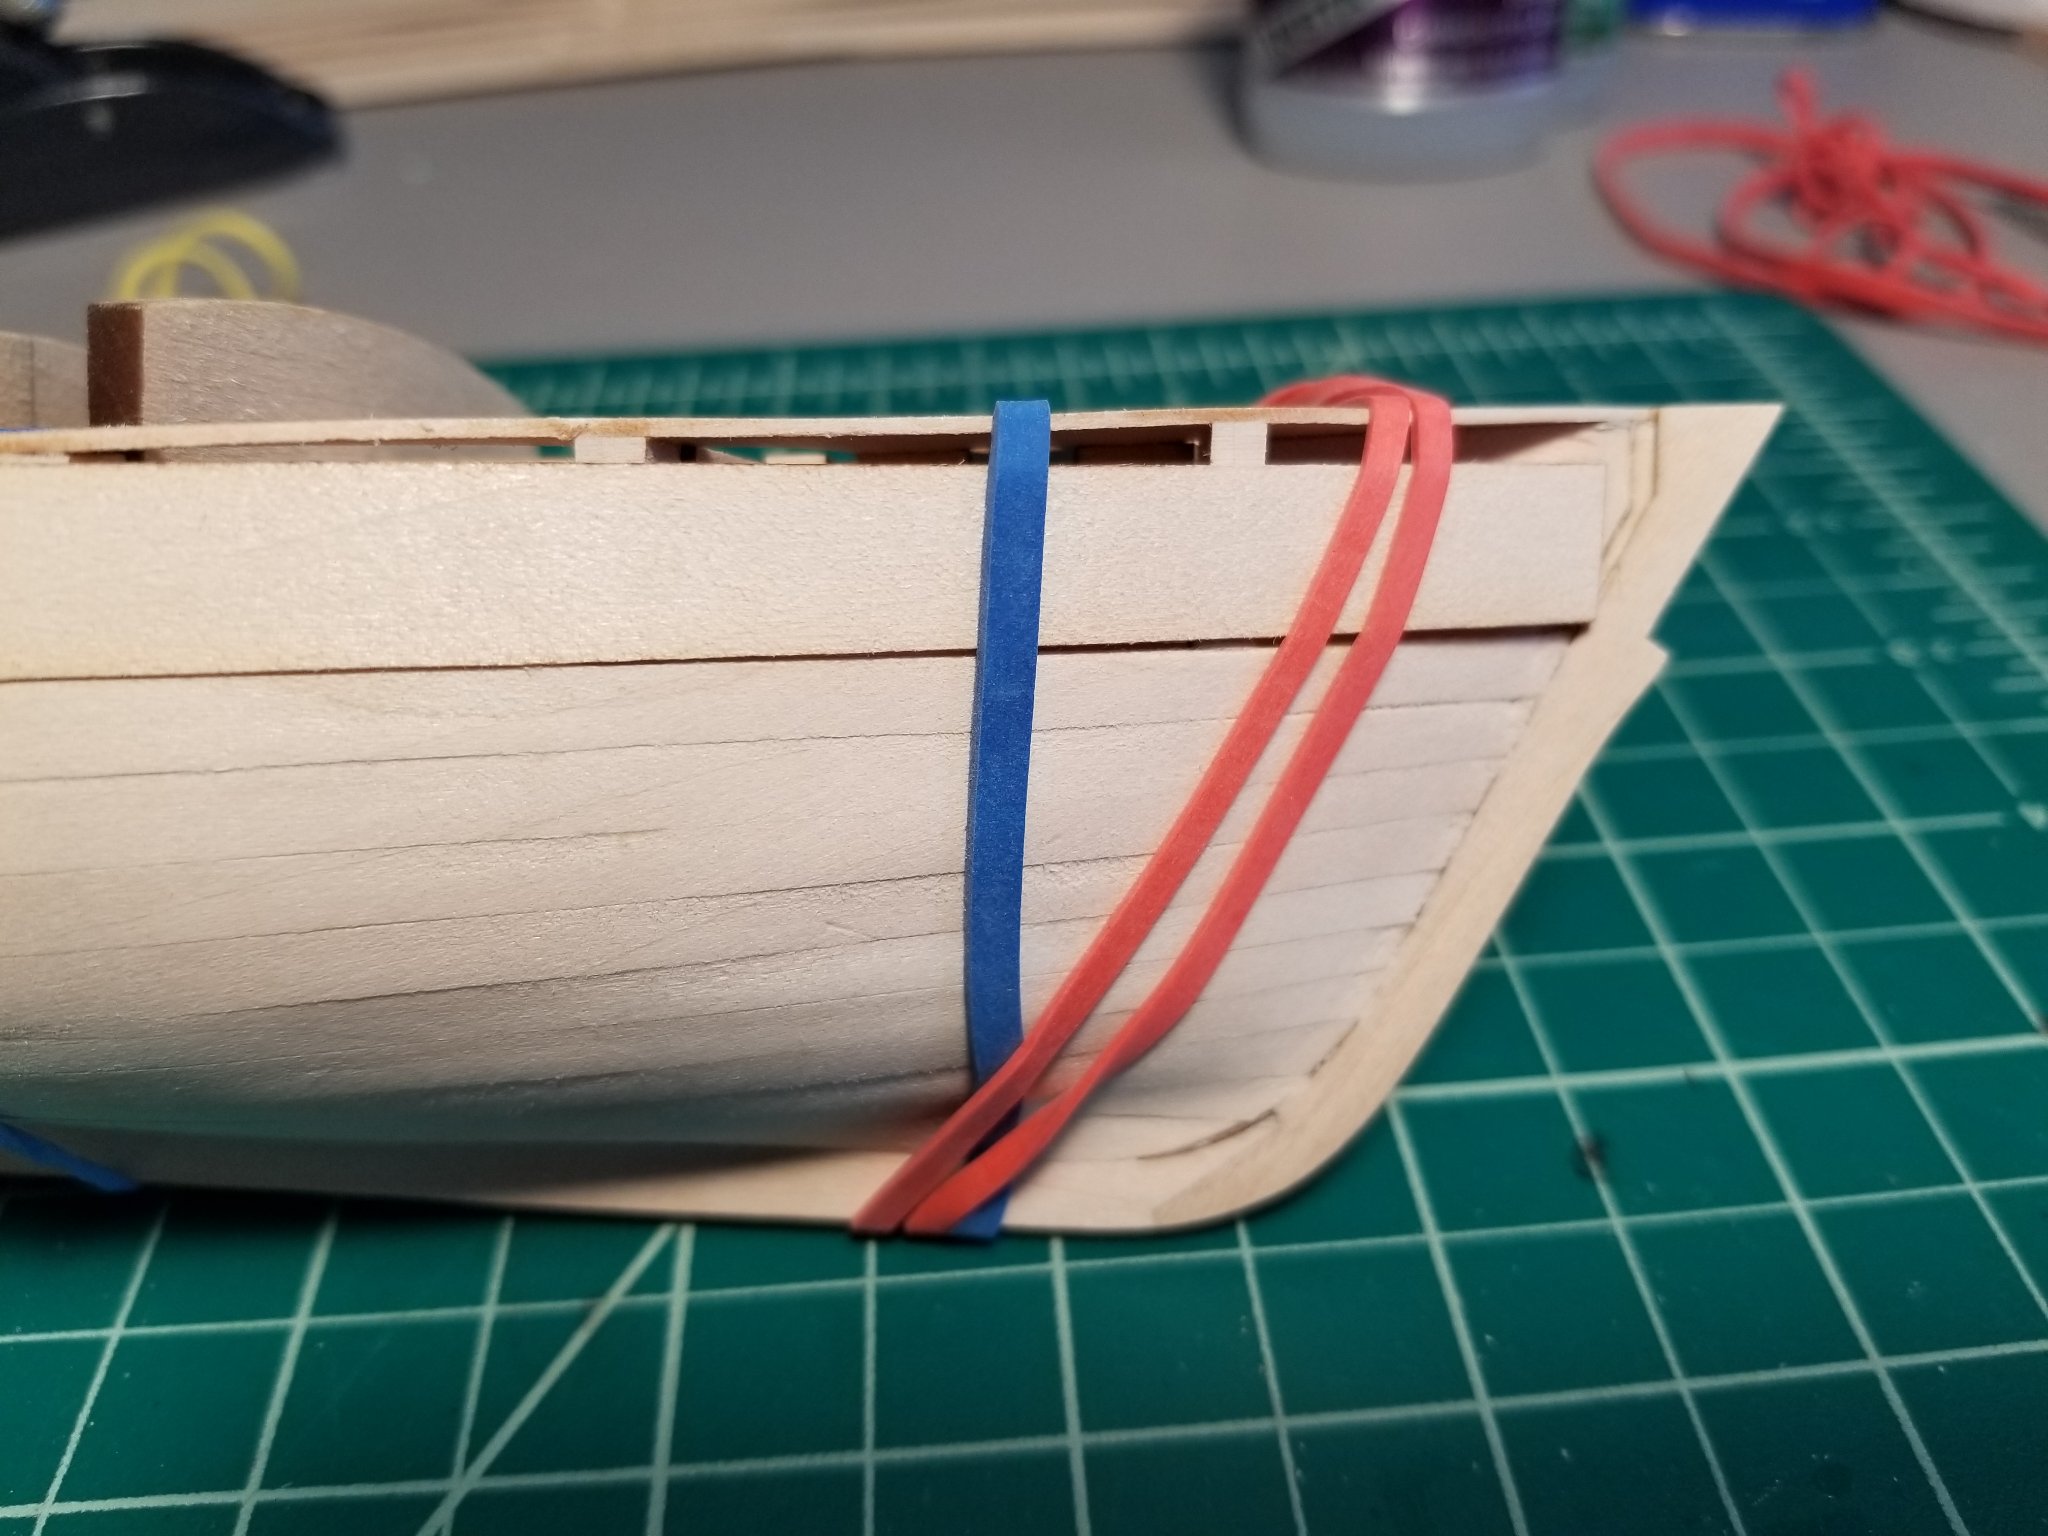
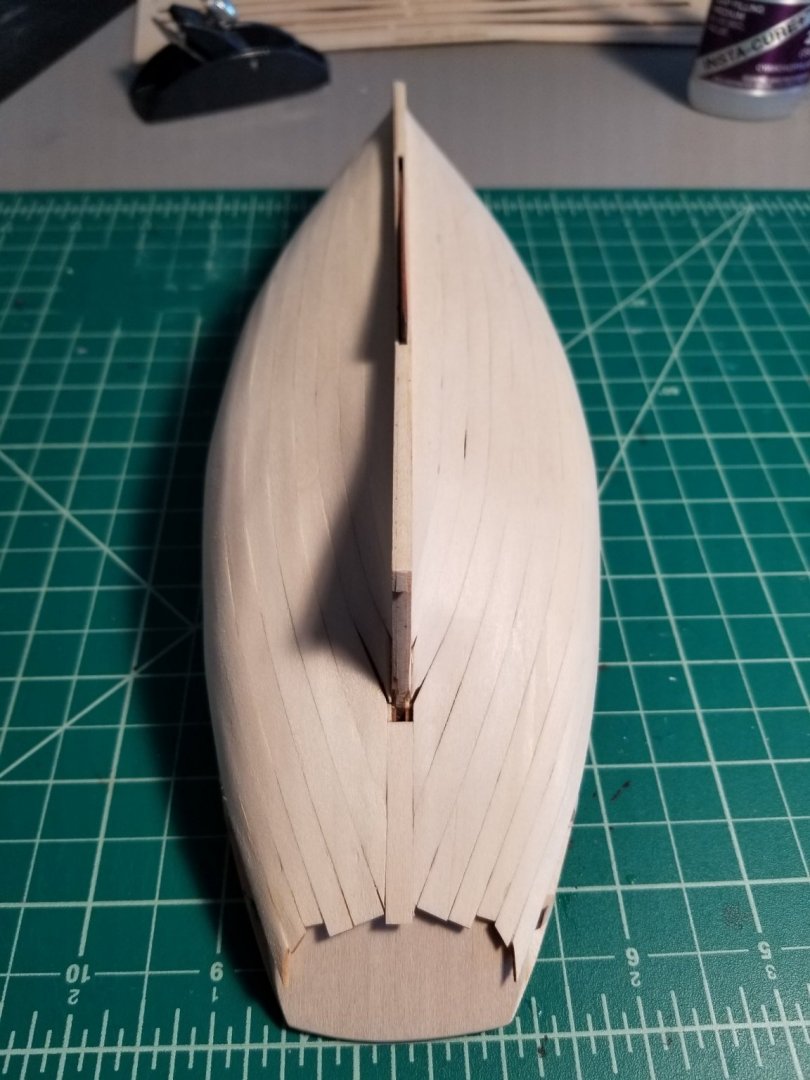
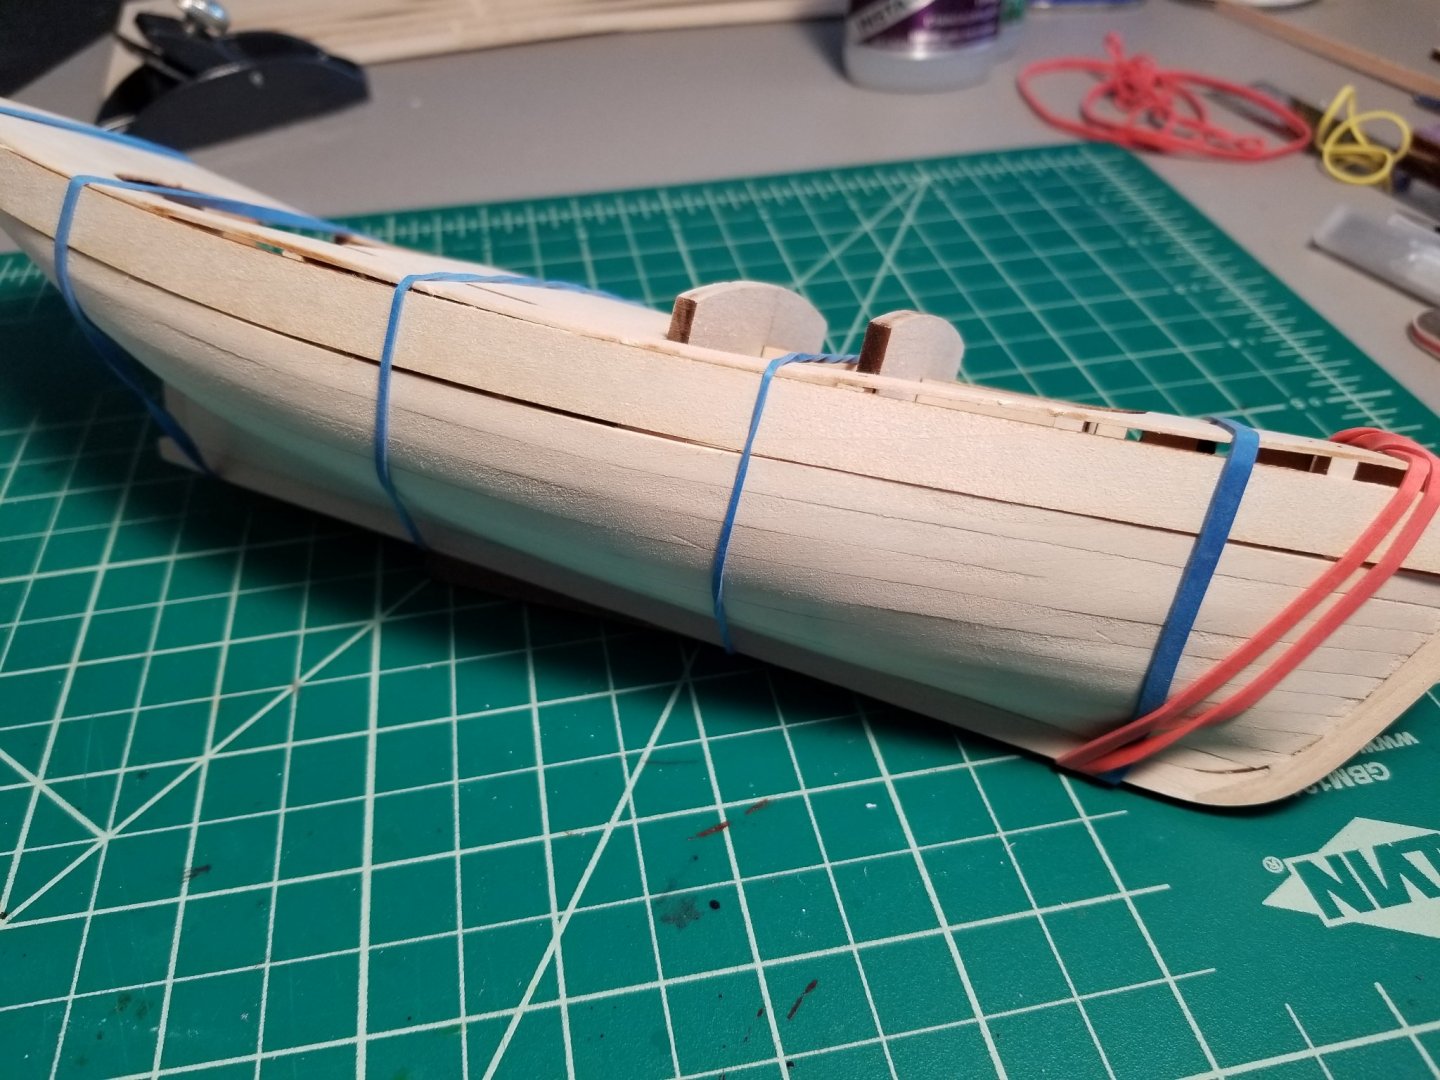
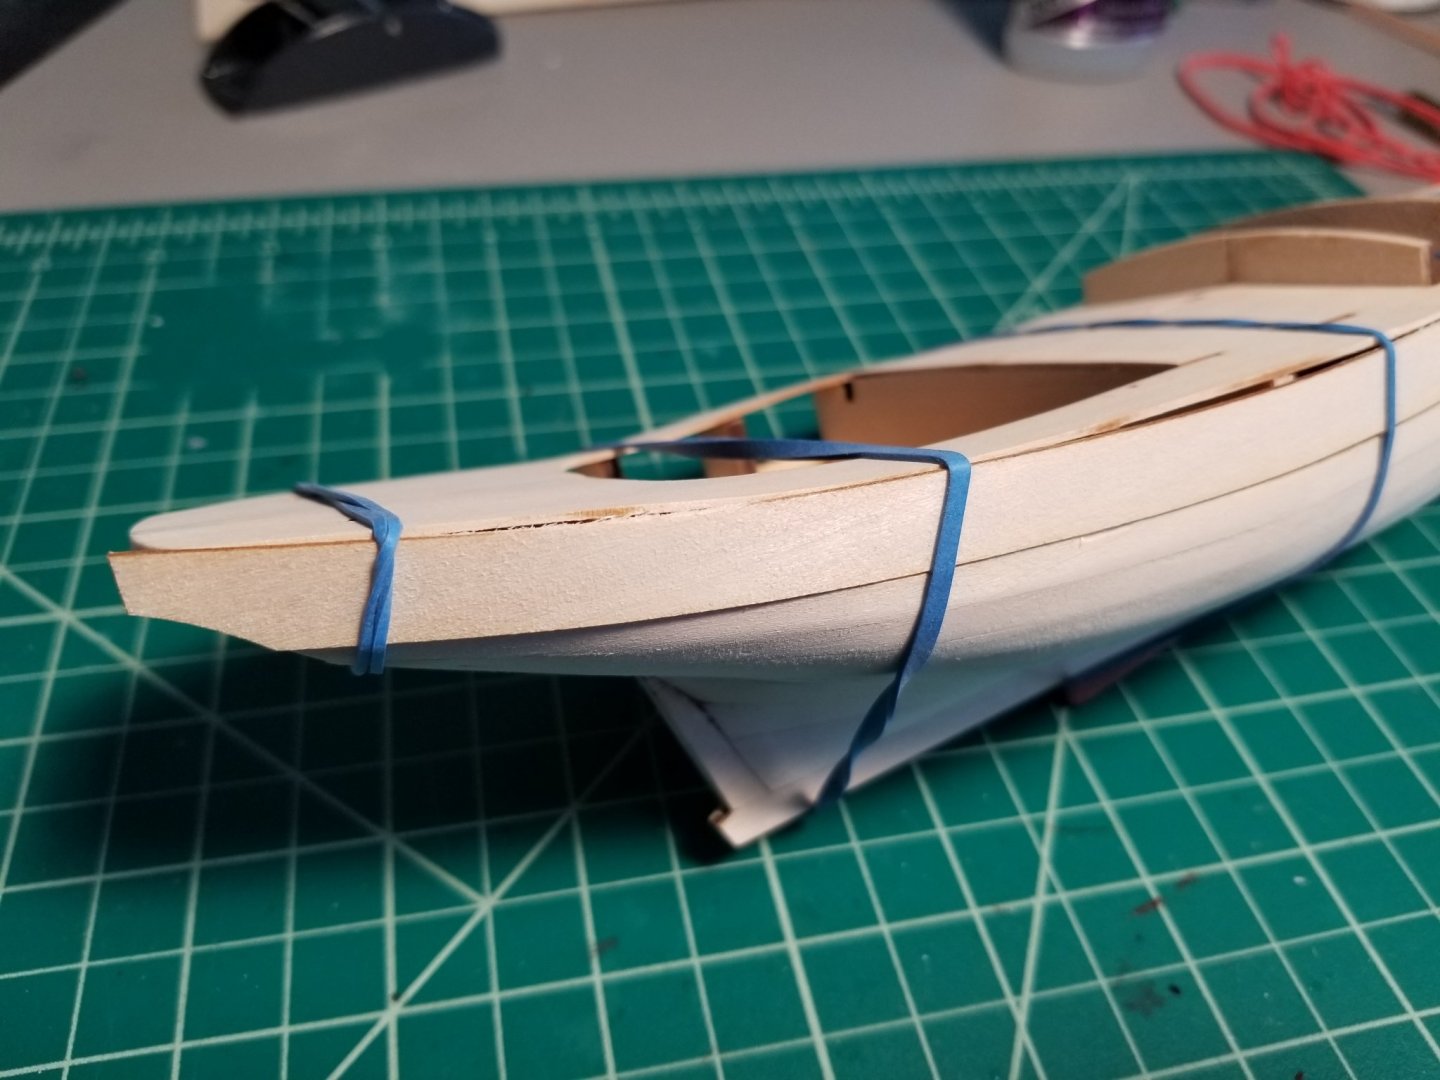
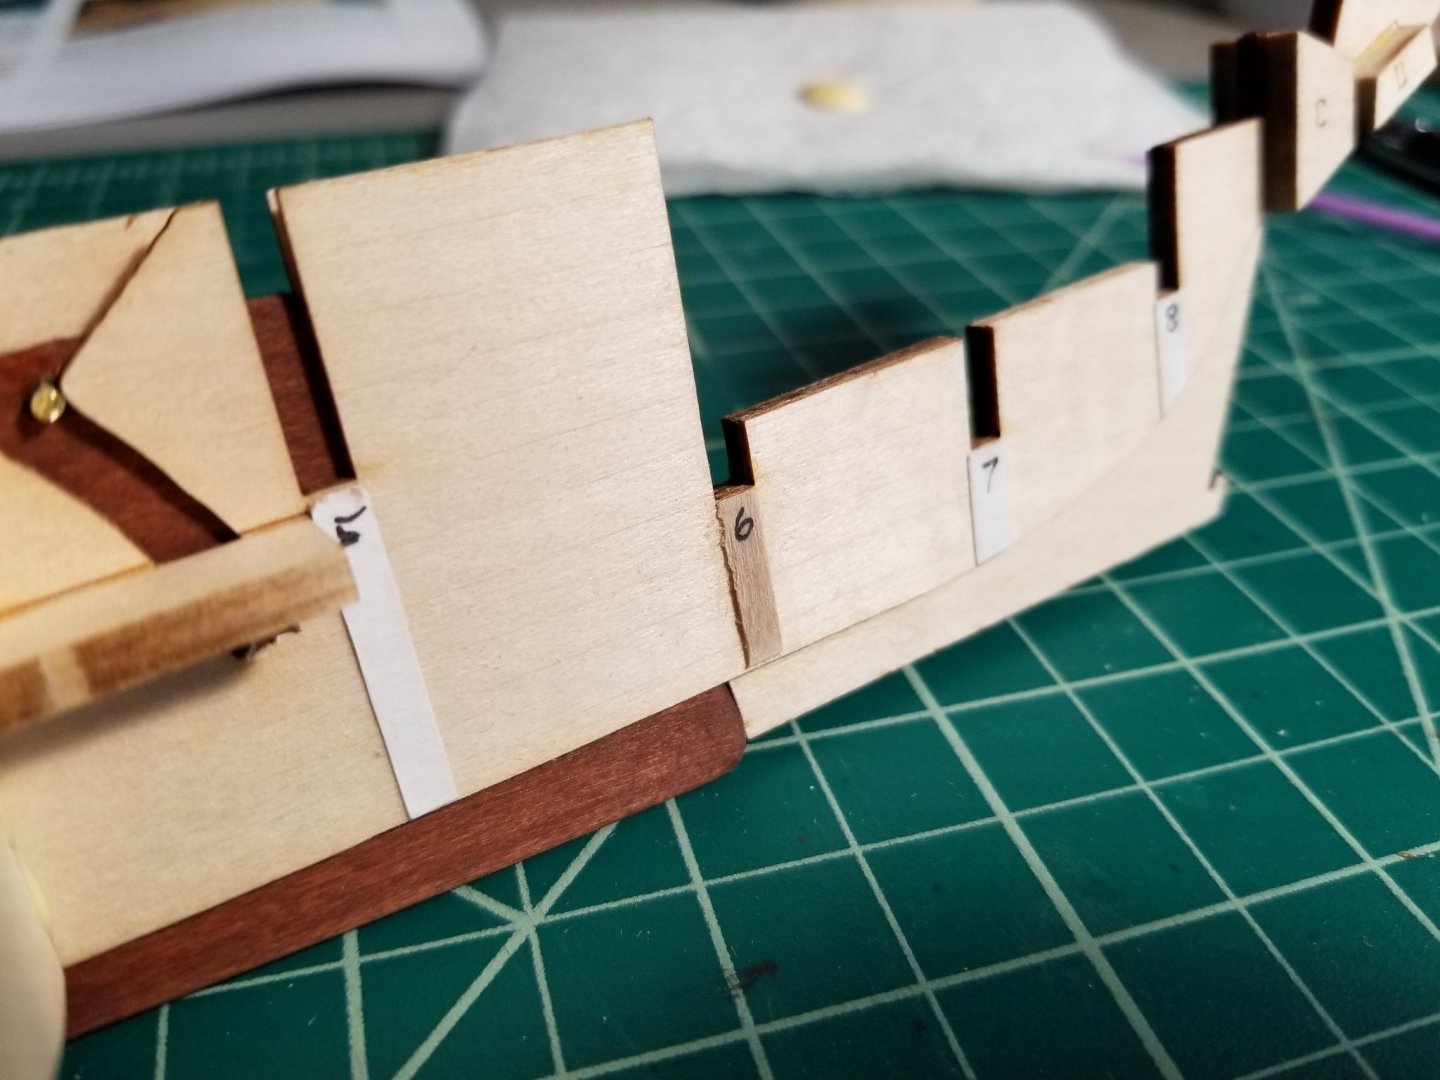
Finally for my progress so far, after fairing the hull and getting the keel/stem/sternpost pieces on, I have just about finished the planking. I forgot to take photos during the fairing and early planking unfortunately. My process has been to remove the plank and sand off the char, soak it, and rubber band or clamp it to the model to get the twist and any edge bending right. Once I am at this point I will use a hair dryer to dry it into place and let it cool for a few minutes, before using CA to glue the plank on a couple bulkheads at a time. This has been pretty efficient and has so far made the planking fairly easy (besides the crazy twist and gaps at the top of the sternpost). Now I have run into an interesting problem though: my sheer plank is not tall enough to come flush to the deck! I am at a loss for what I have done wrong. I have used all the planks from the laser cut sheet and counted and recounted. I did not trim the planks width-wise besides removing the char and adding a bevel on one side.. And if anything I felt like I took too much off the bulkheads while fairing, so much so that I totally removed the laser etched tick marks and had to extend them with a pen. Turns out they were of no use anyhow. As you can see, the problem started early on and I expected this could be a problem when I got to the sheer strake. Alas, here we are. I have some leftover 5/32" x 1/32" strips from the Longboat, so I think I will have to spile and bend an extra plank to make up the gap before adding the sheer strake.


-
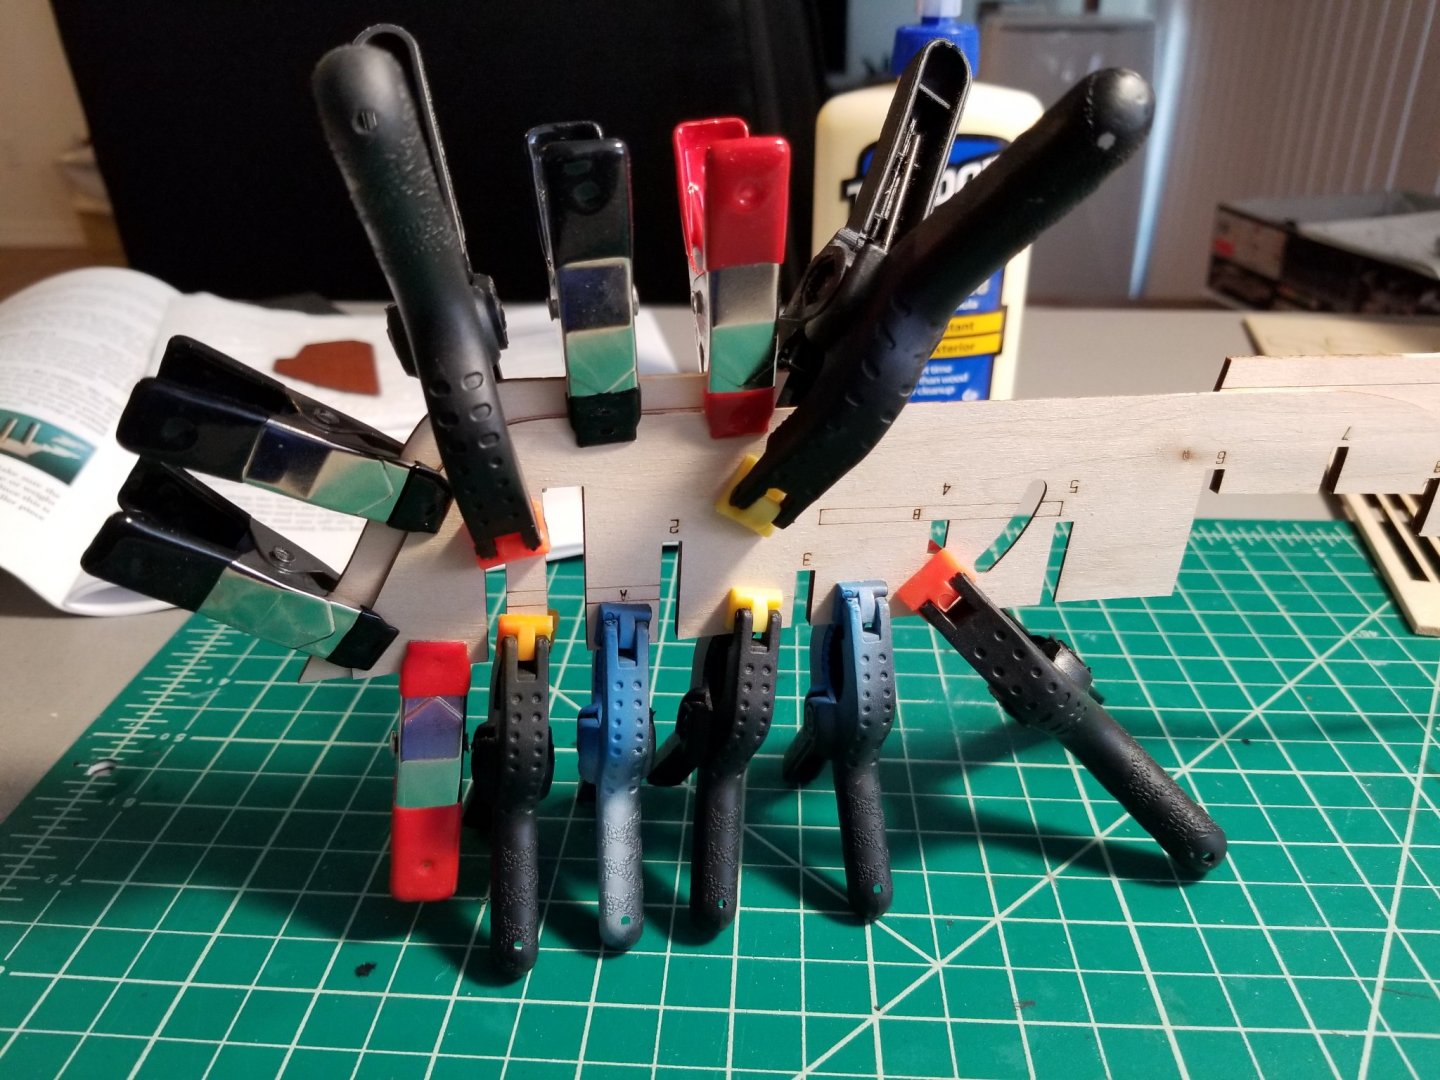
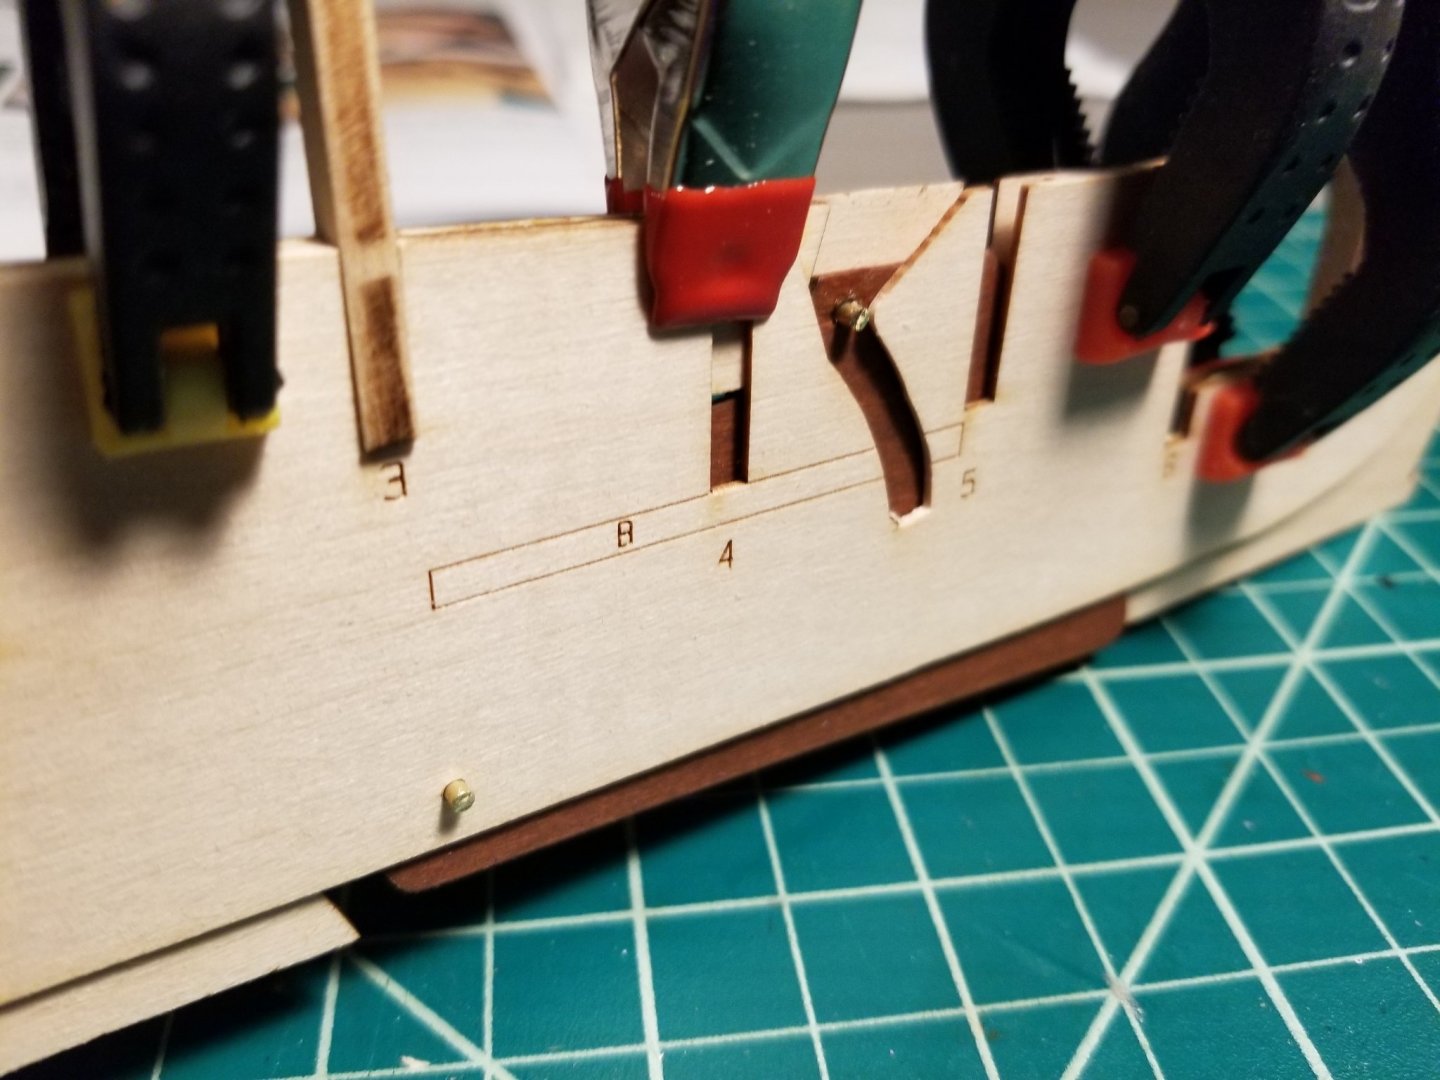
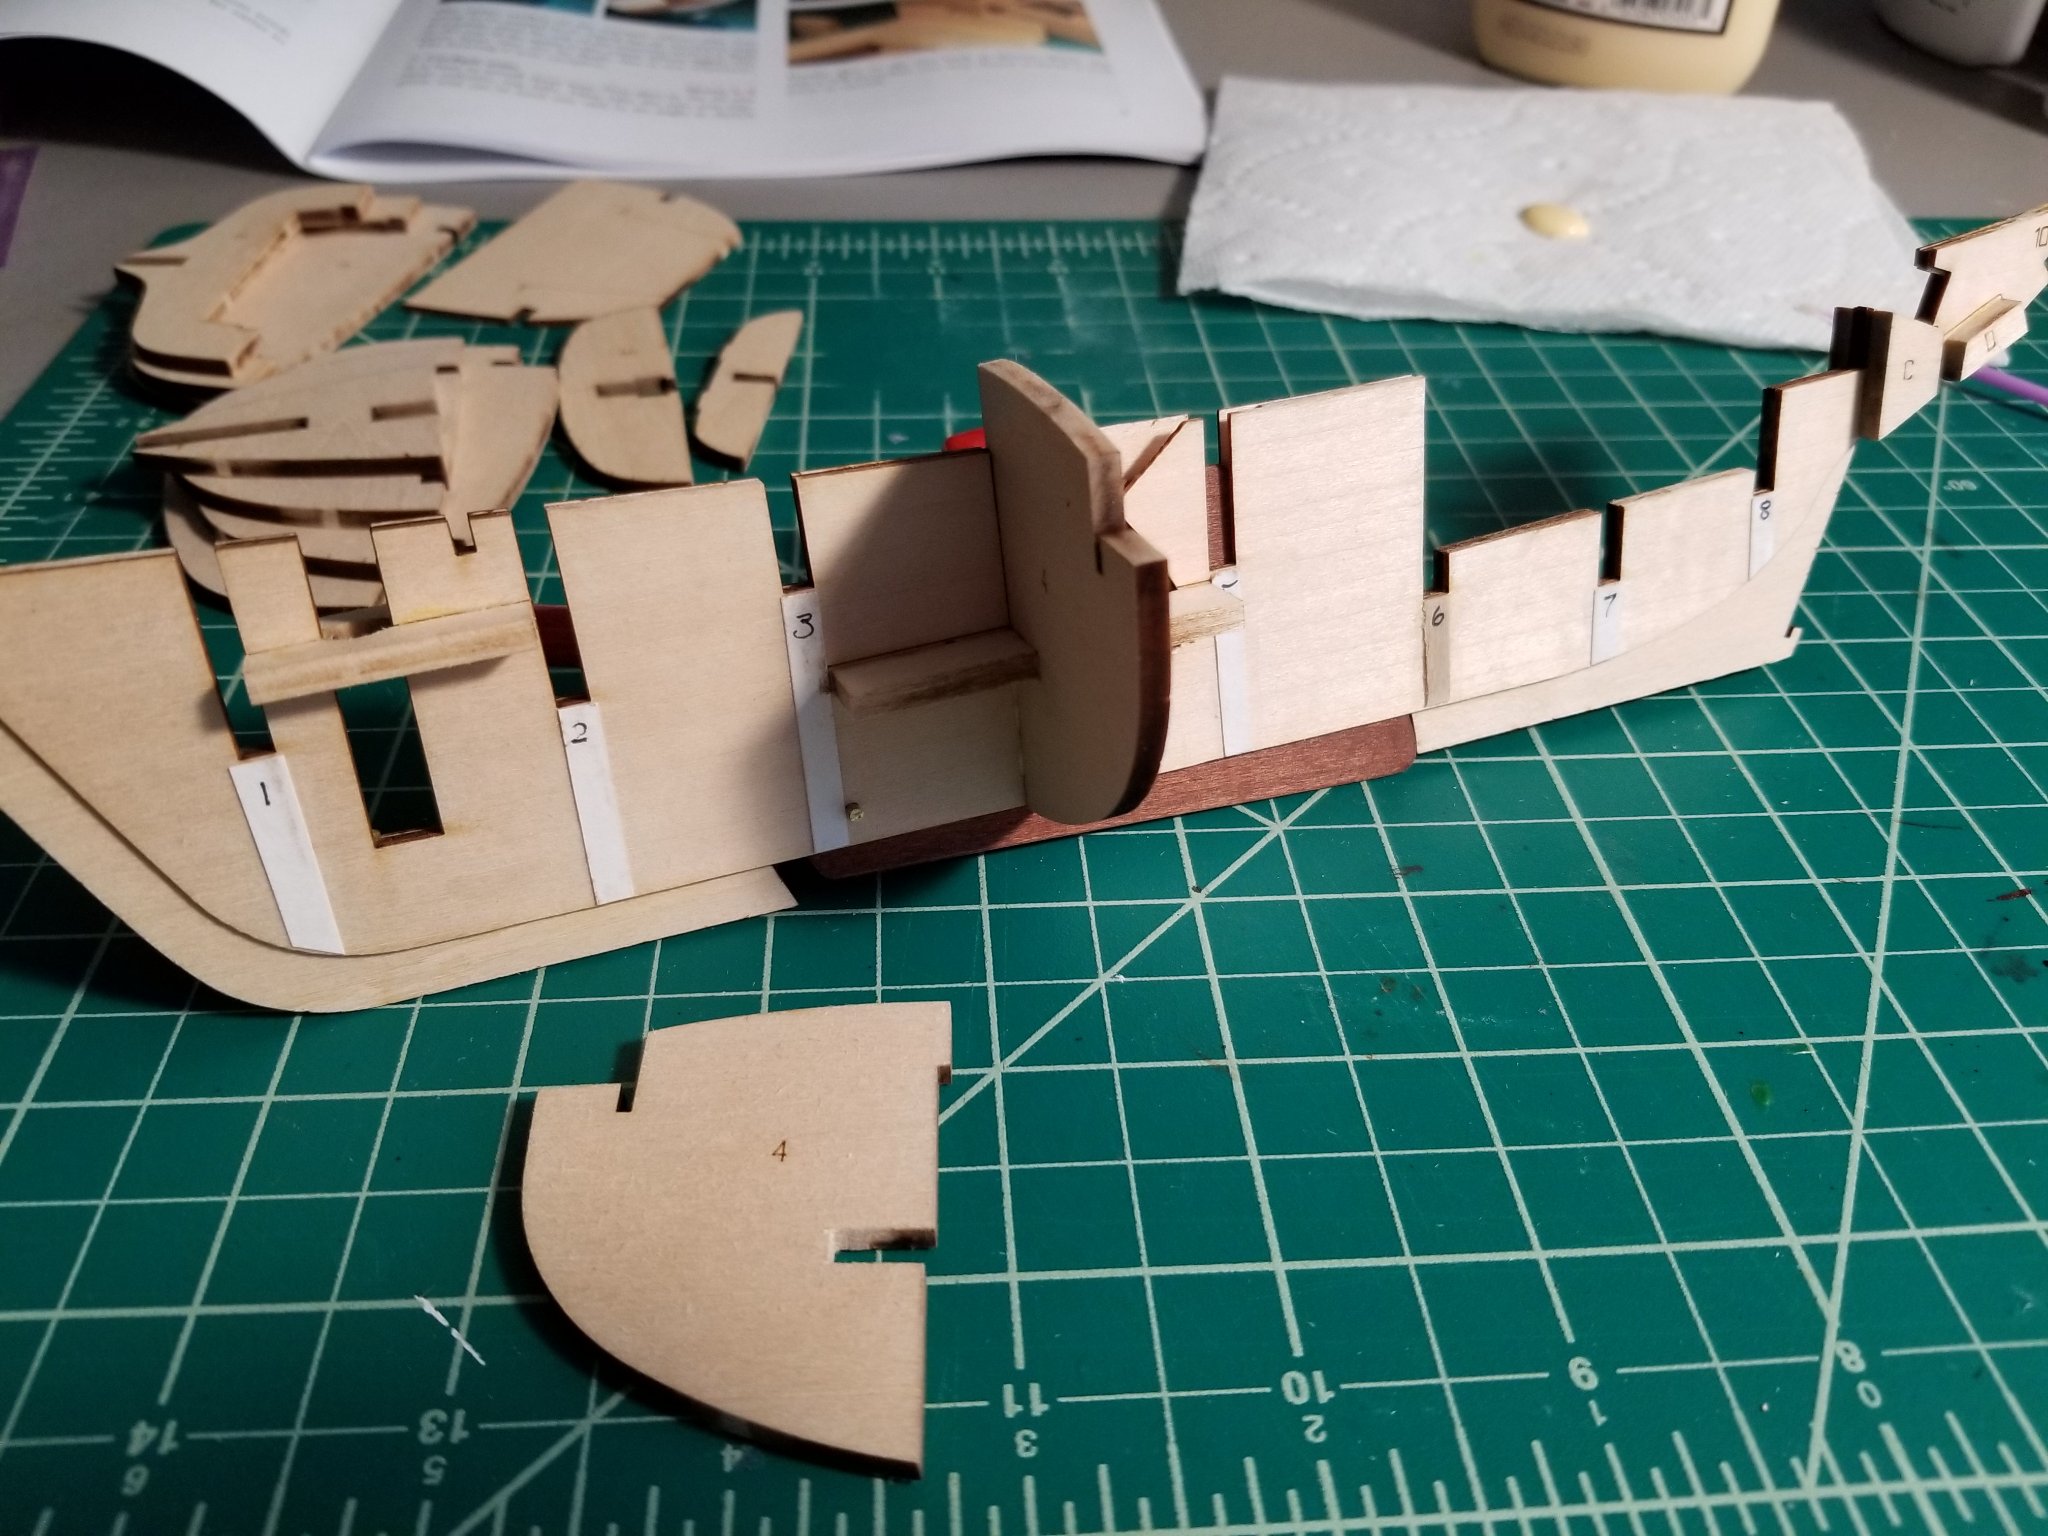
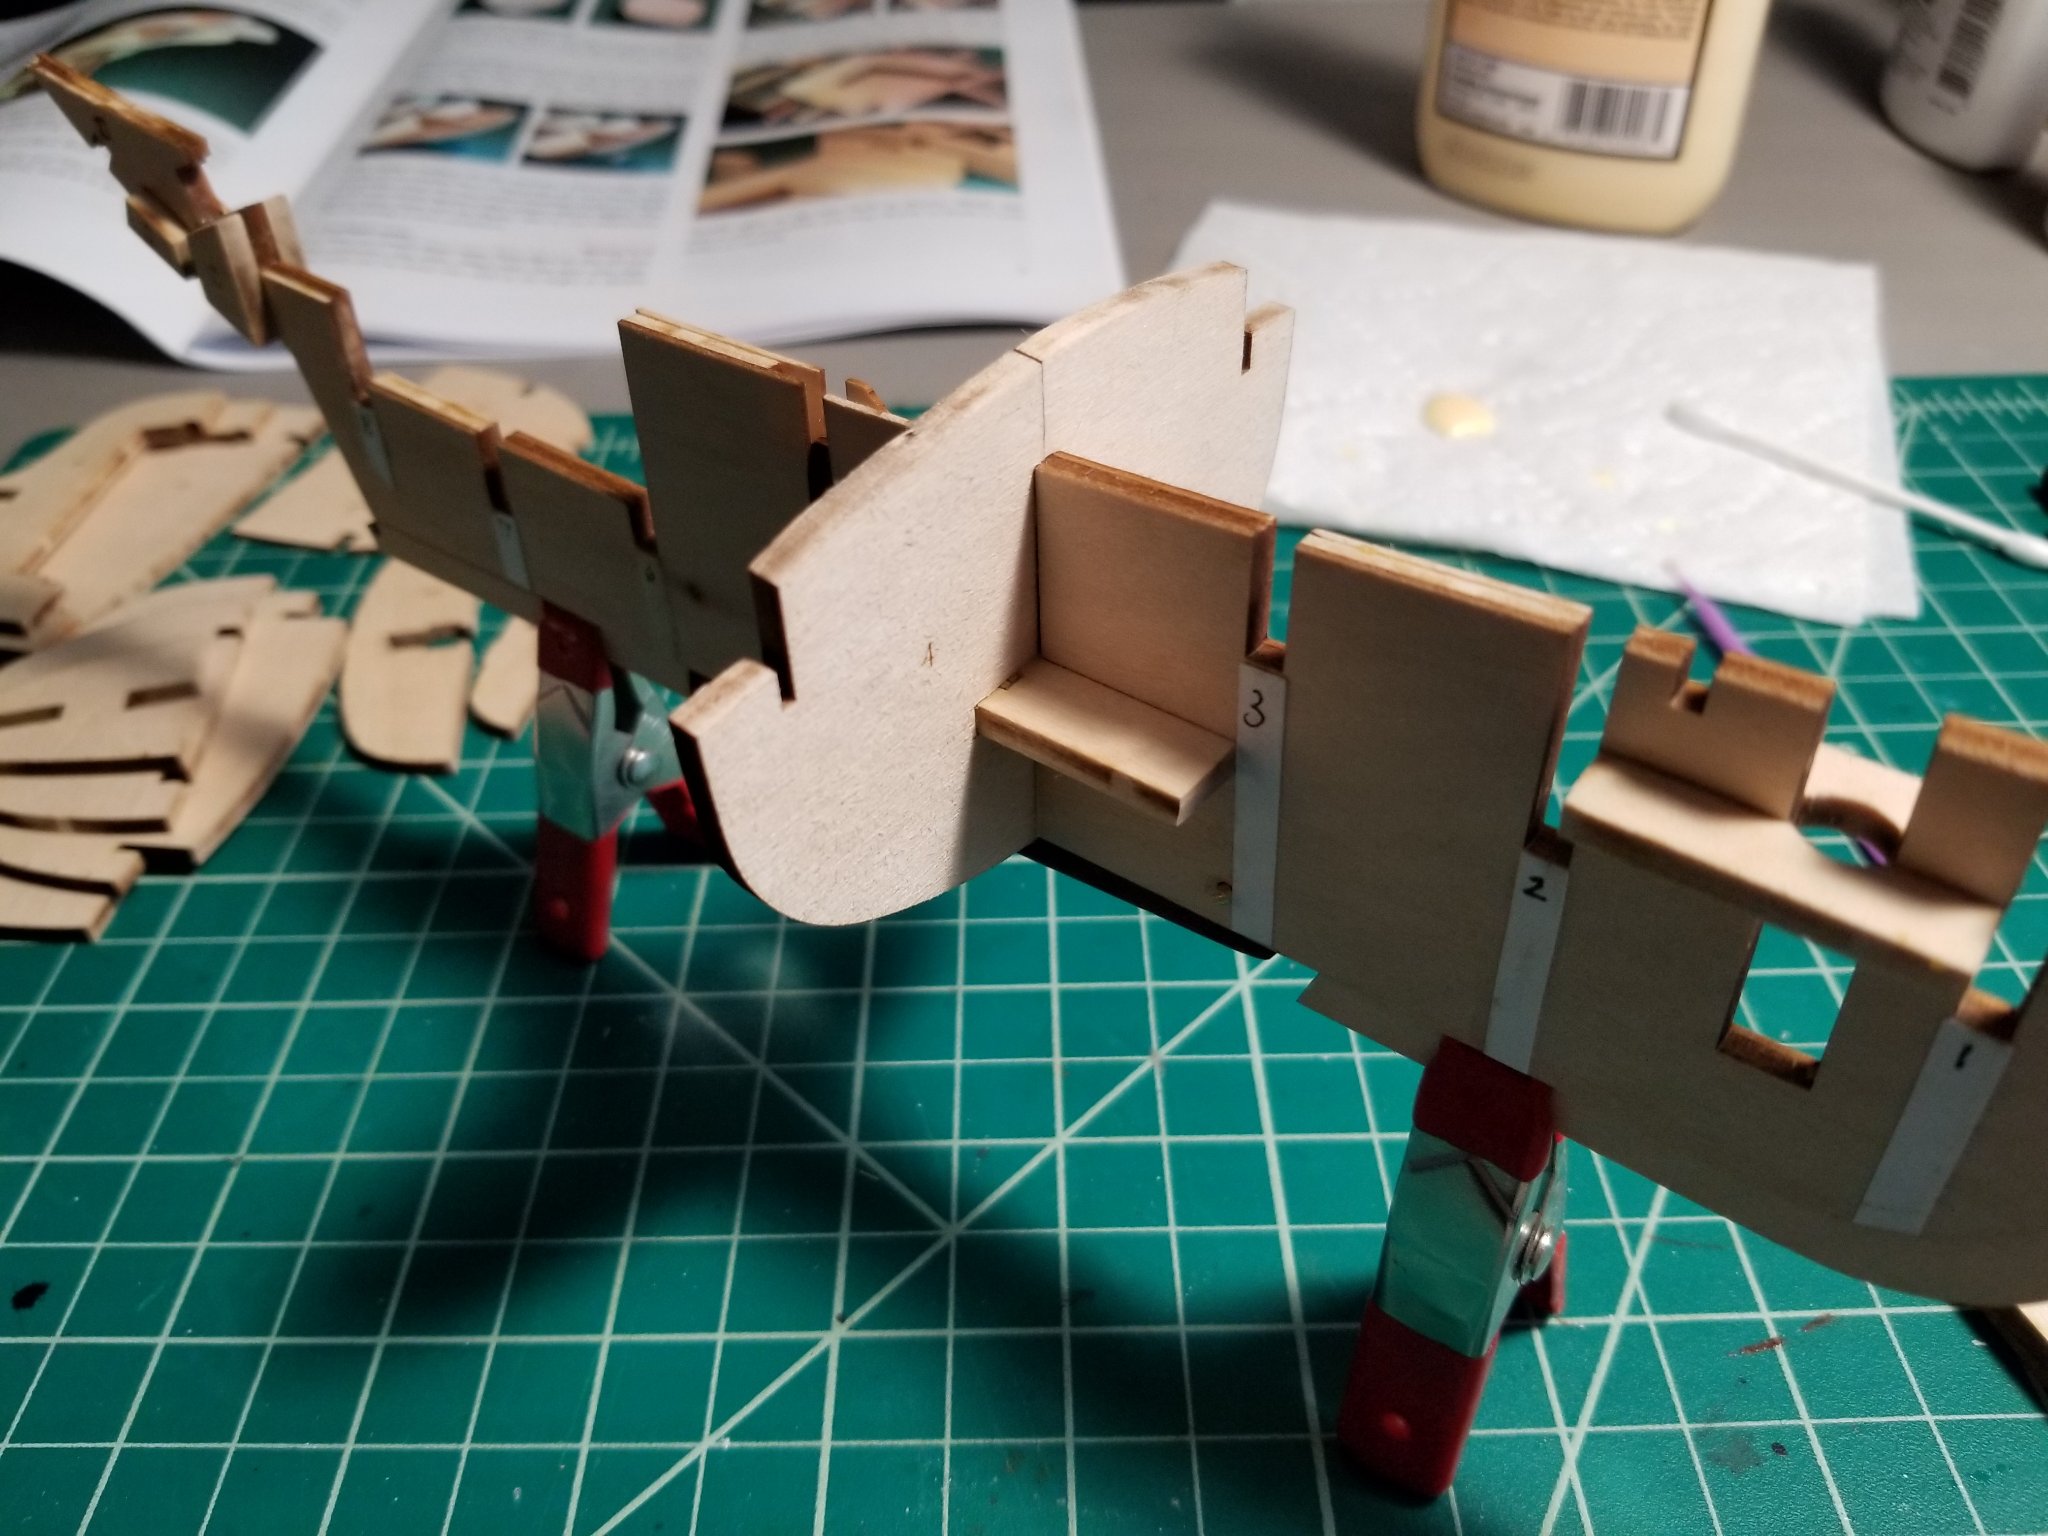
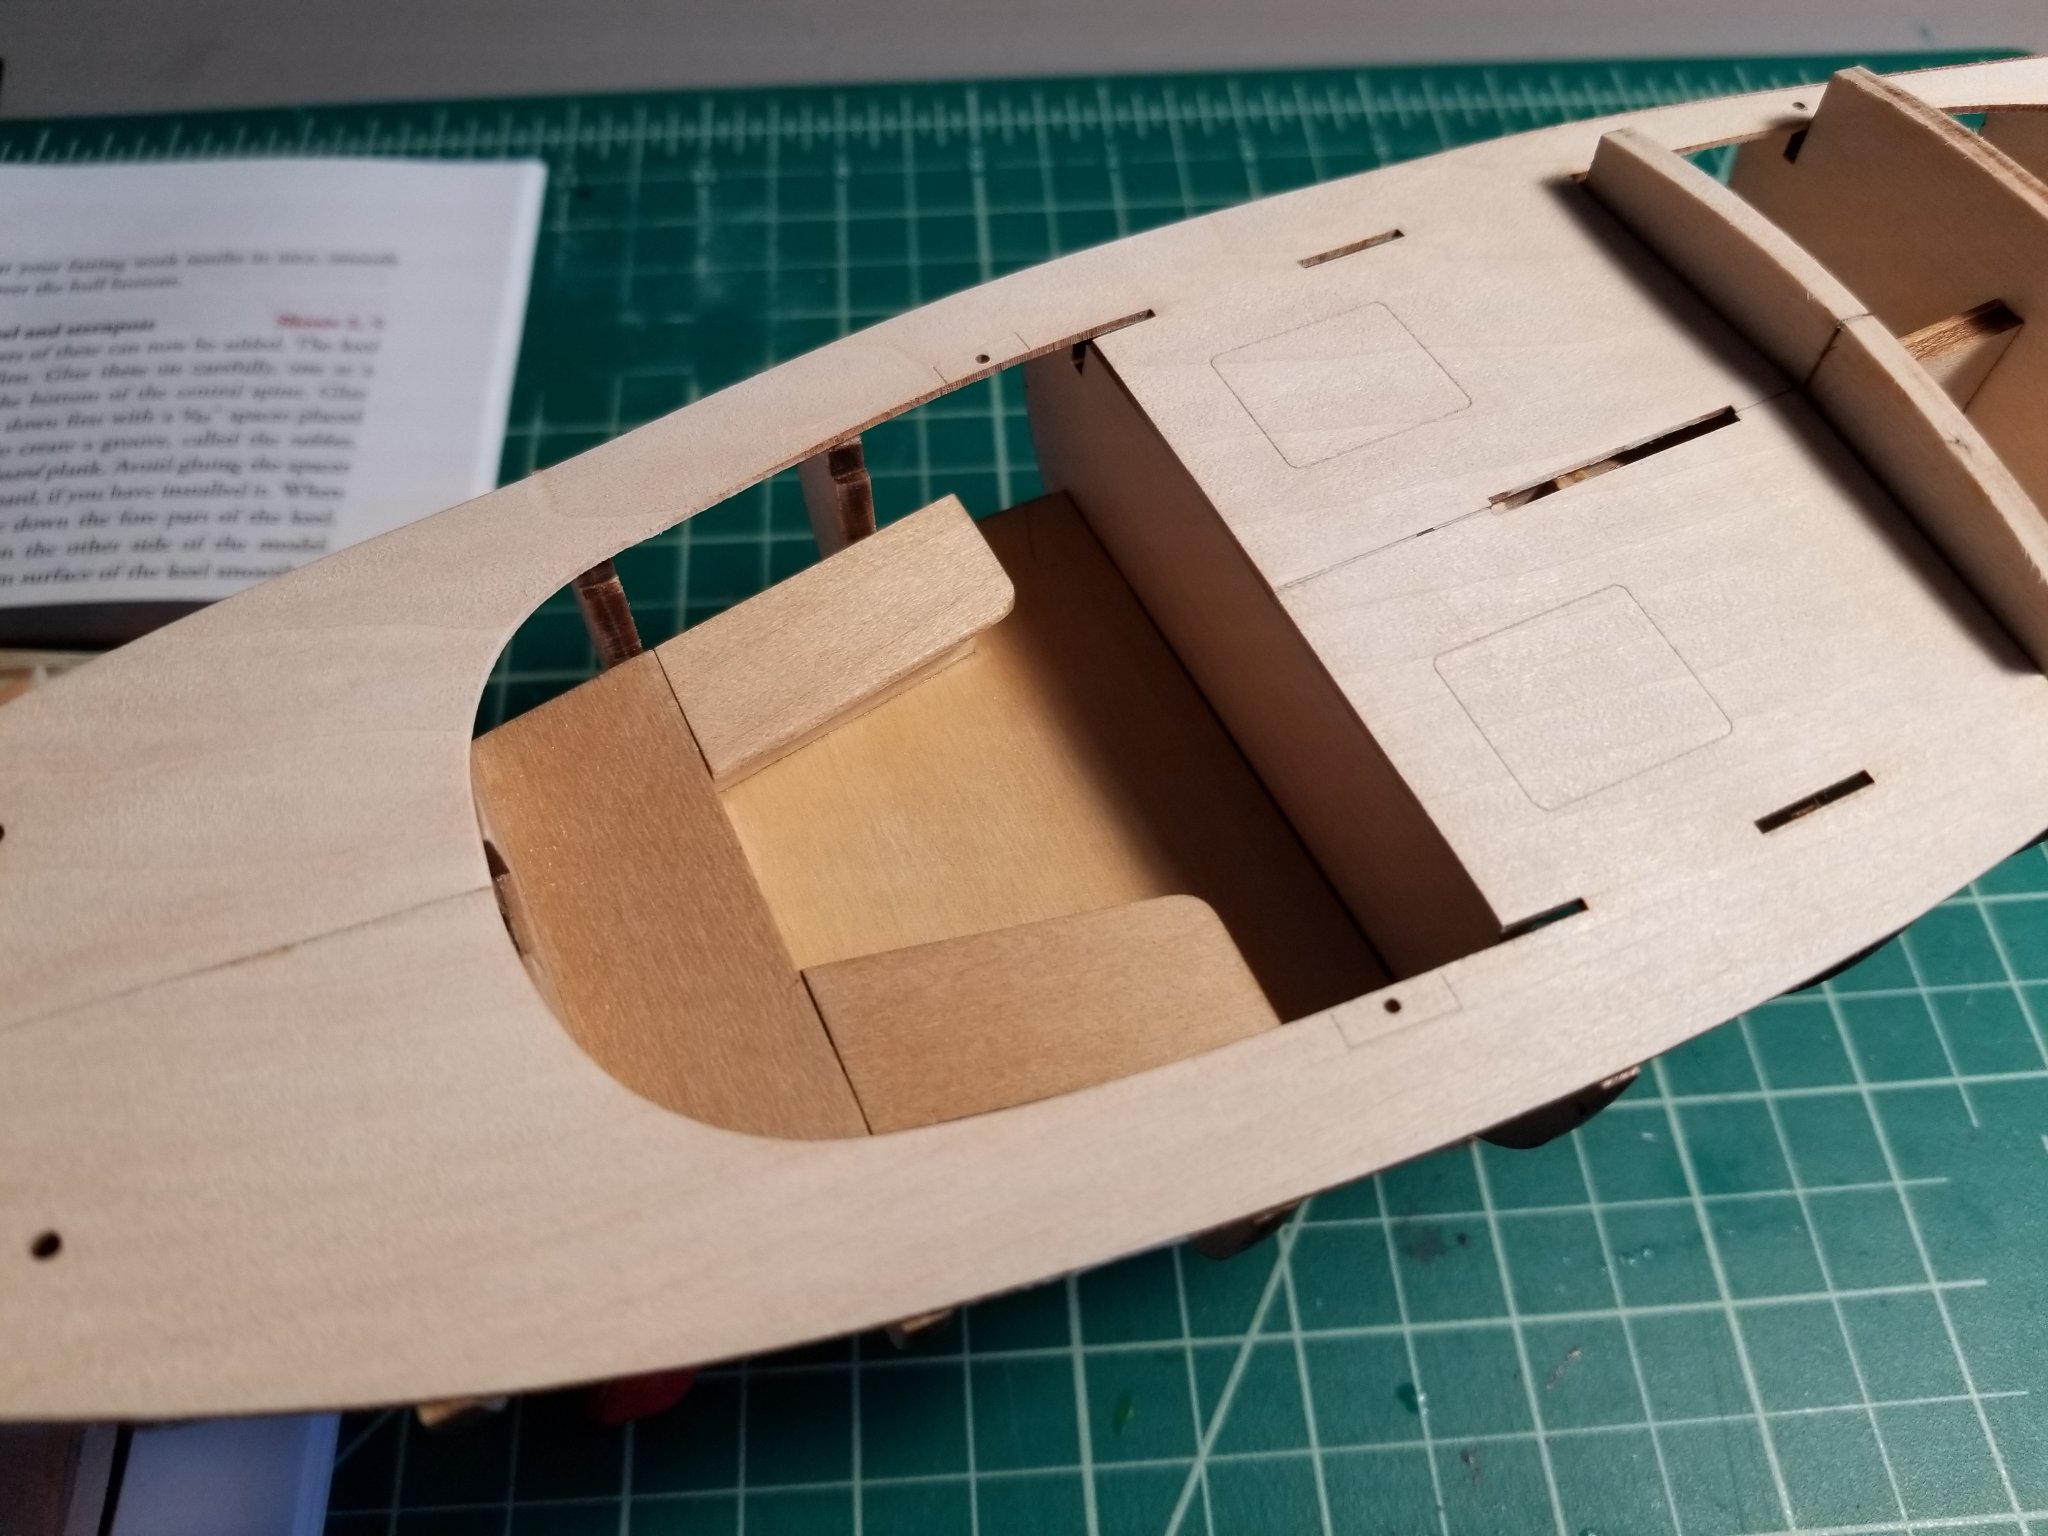
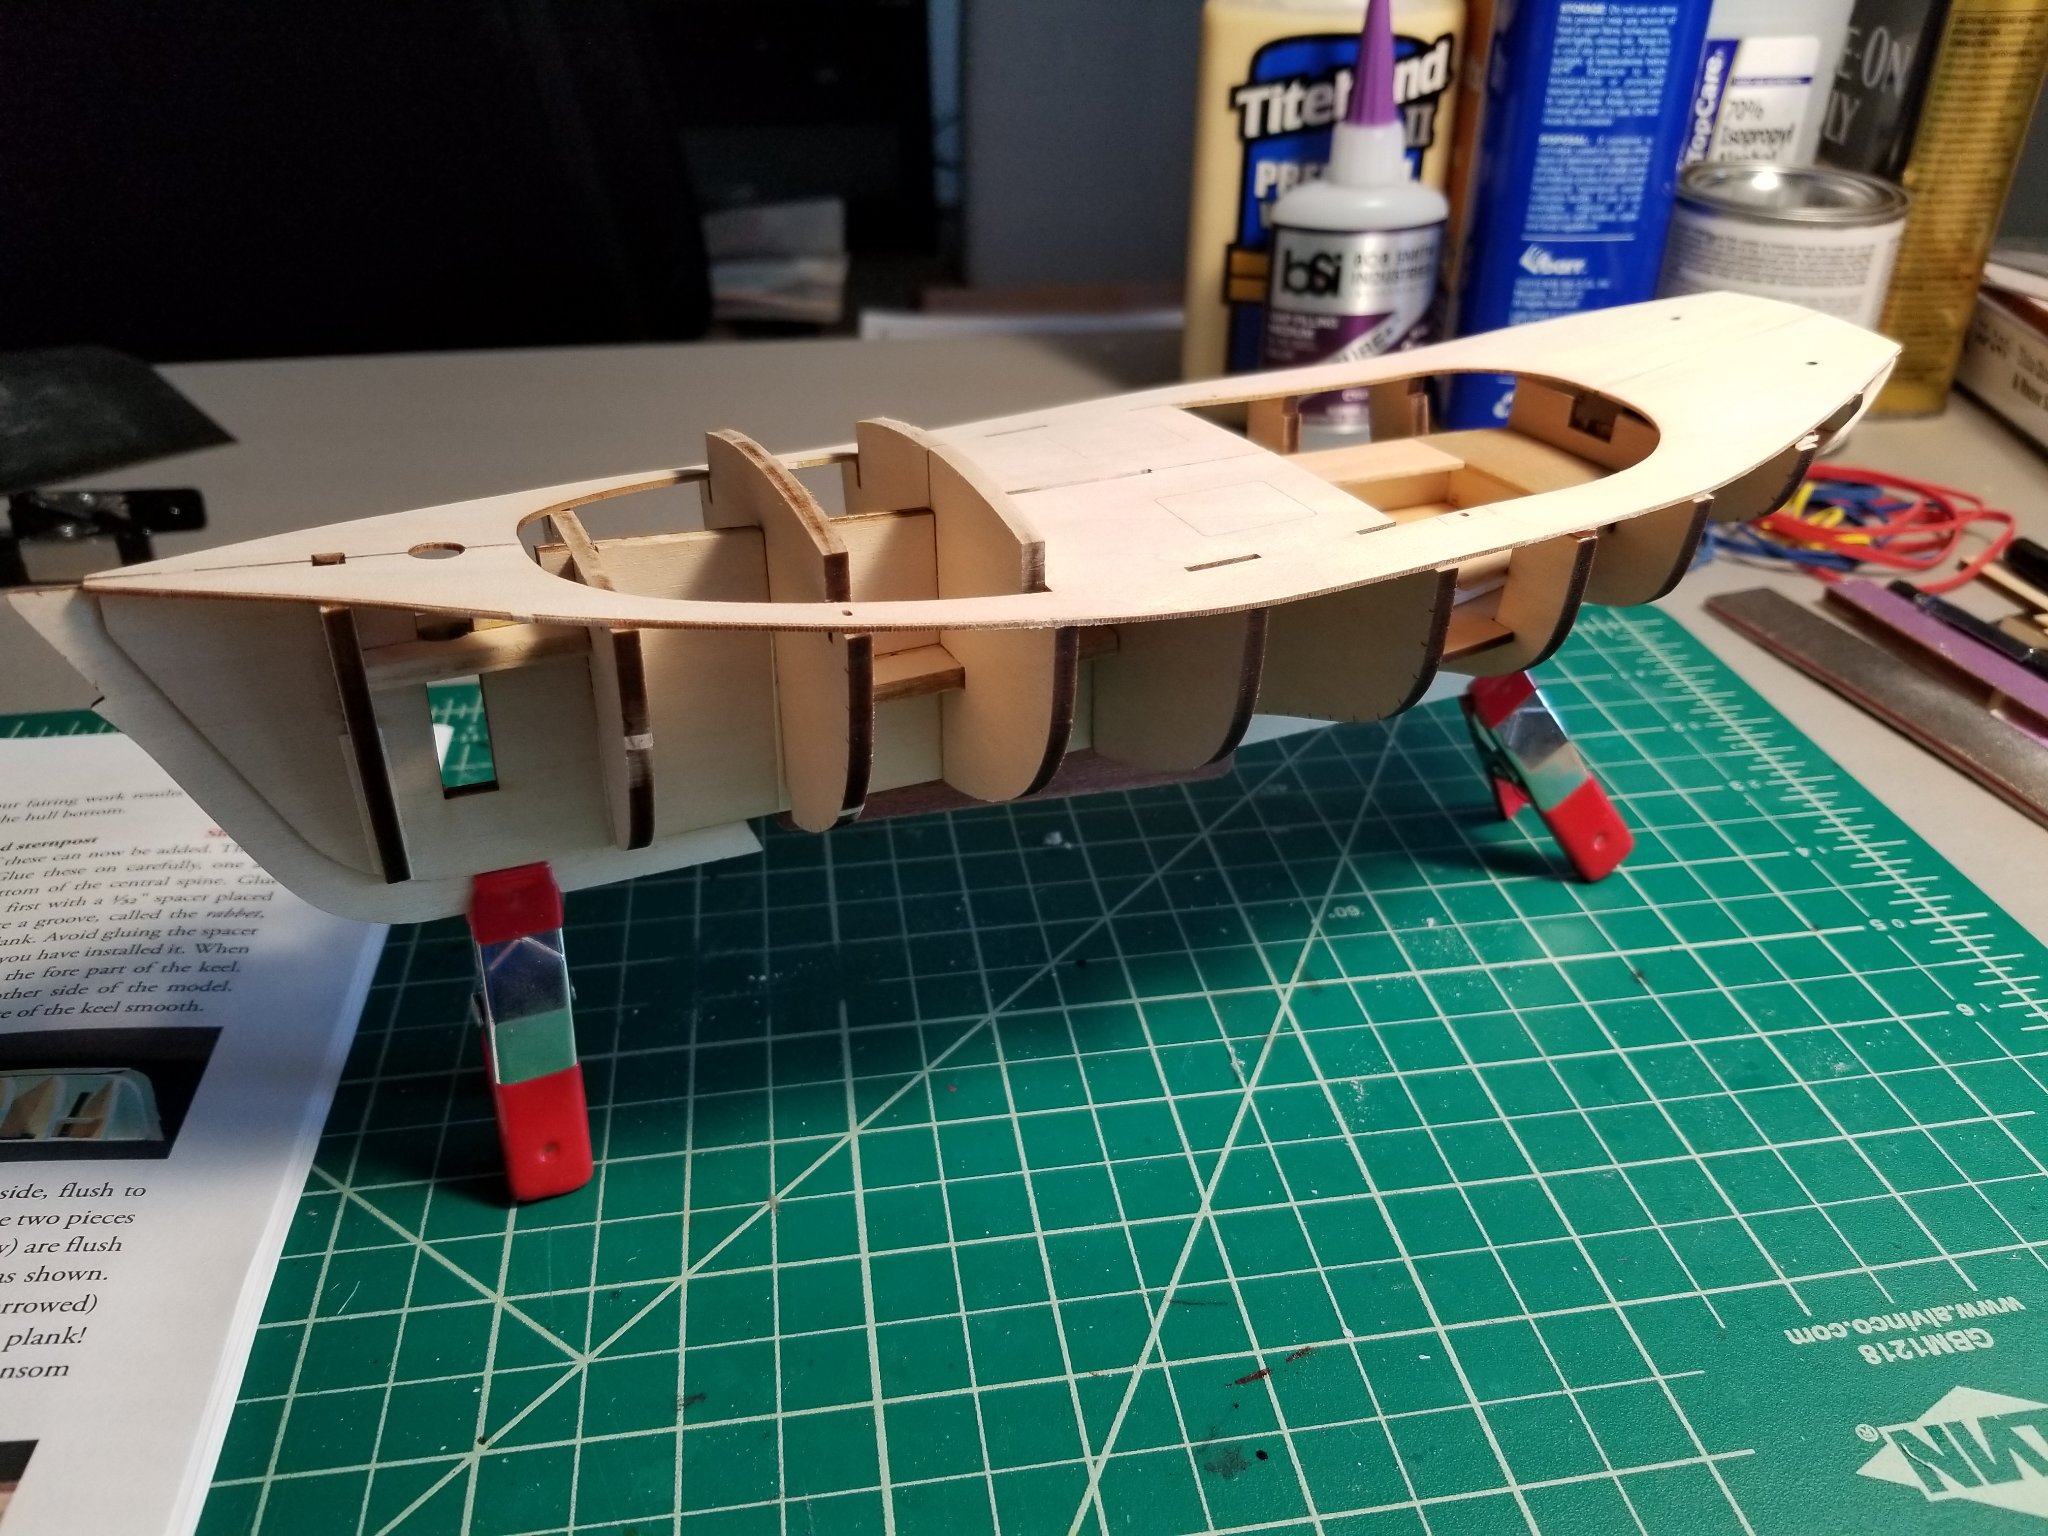
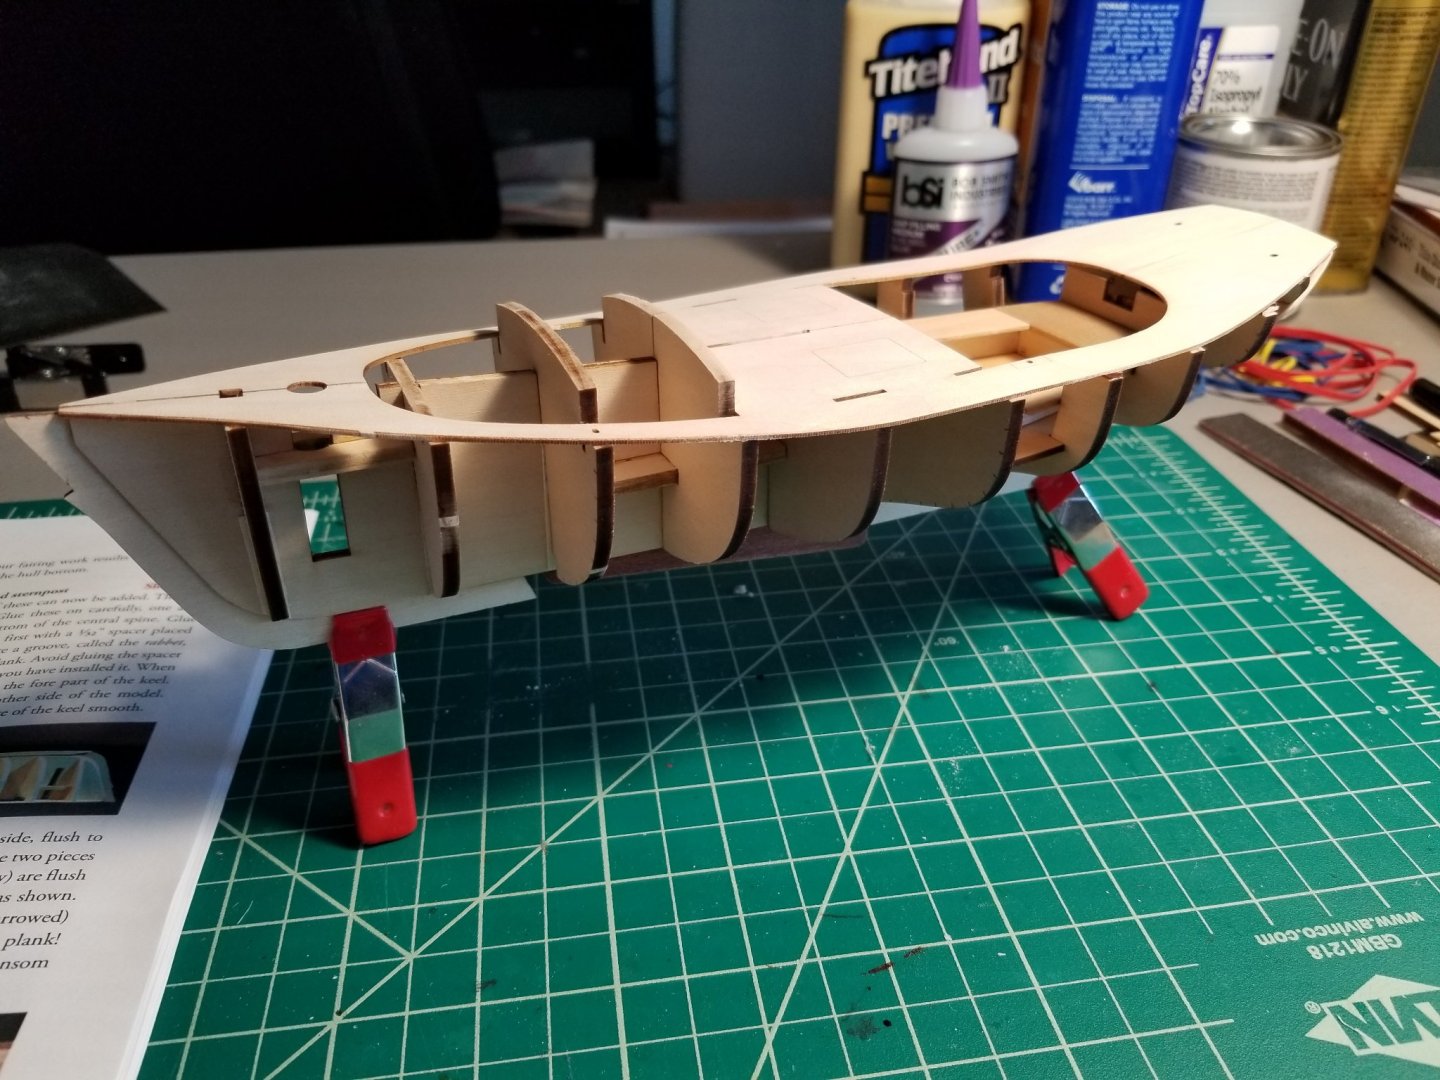
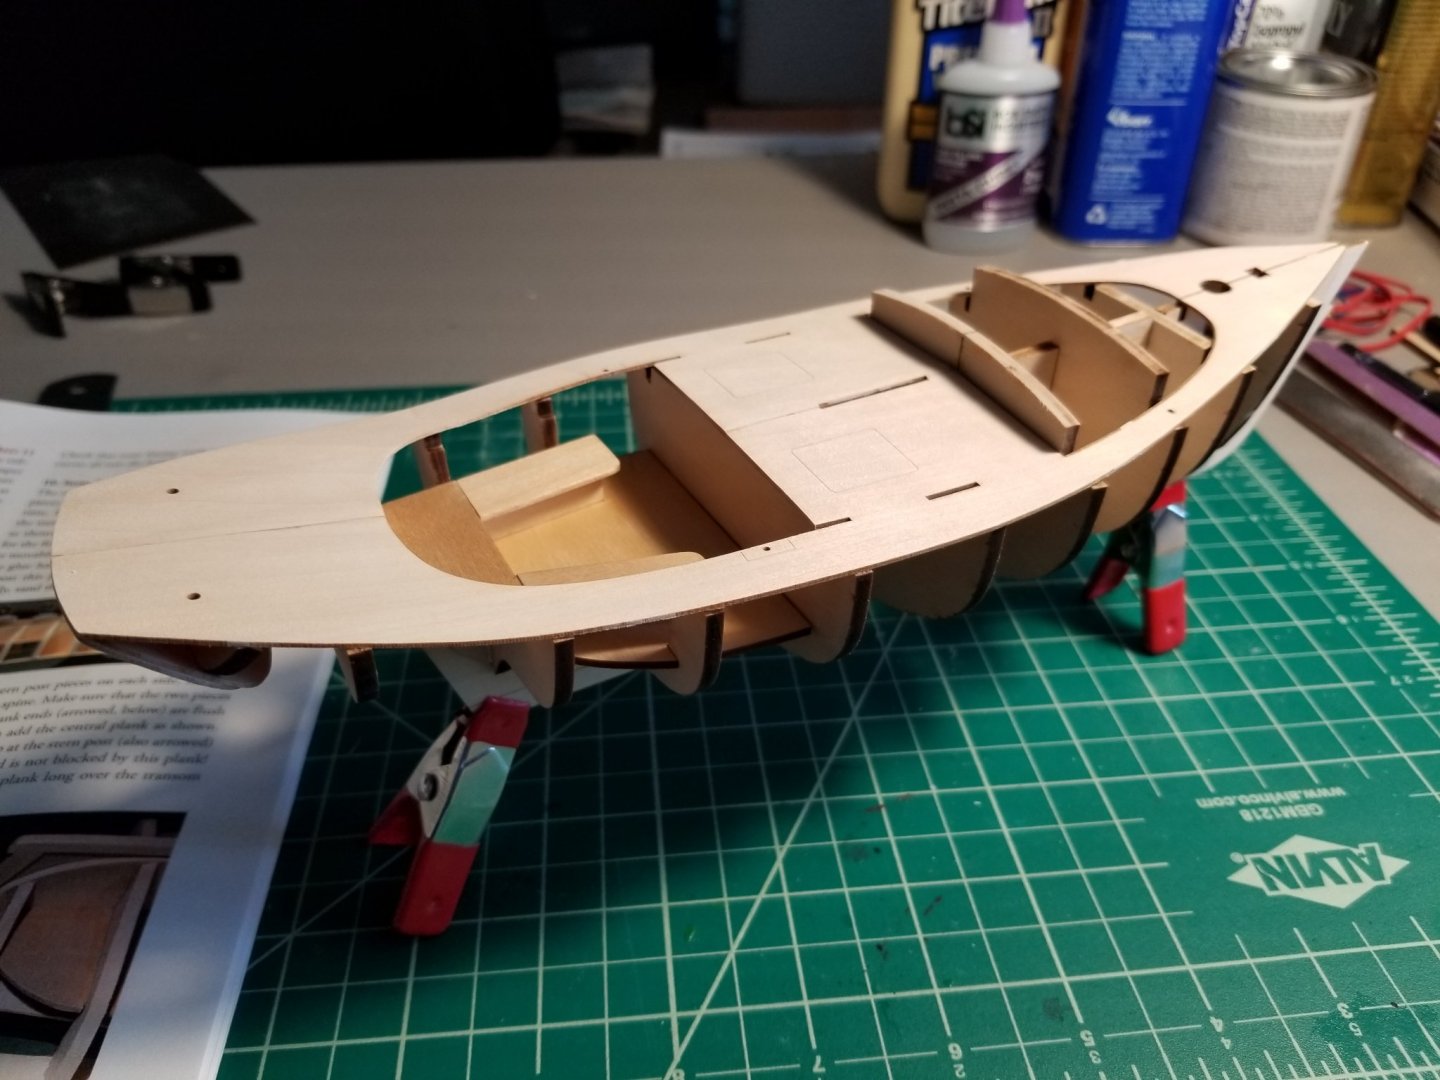
I have been working on this for a couple weeks or so before starting this log, so I will continue on with another post. Next step, attaching the bulkheads. As I have seen on other build logs for this model, the slots of the bulkheads for mine are wider than the spine of the ship. I found that strips of index card glued on either side of the spine provide enough width to make the bulkheads fit snugly. Time will tell if wood glued to index card can take the shear as well as wood on wood. Not like this model will be experiencing any loads higher than sitting on a shelf somewhere anyways... The center notches in the #4 bulkhead halves were not deep enough either, so I had to file those quite a bit deeper. For bulkhead #6 I tried using strips of basswood instead of index card since I think that is a more robust solution, but the amount of tweaking and sanding required to get it to the right thickness was a pain so I went back to paper. Once the spine and bulkheads were on, the transom and cockpit seats went in (which I neglected to take any pictures of). I applied a couple coats of Wipe-On Poly for the cockpit. I then glued on the deck halves. These took some work to get aligned and try to match the notches in the bulkheads. I added some spacers on top of a couple frames to try and get the sheer smooth, and honestly I should have spent more time on it before I started planking.


-
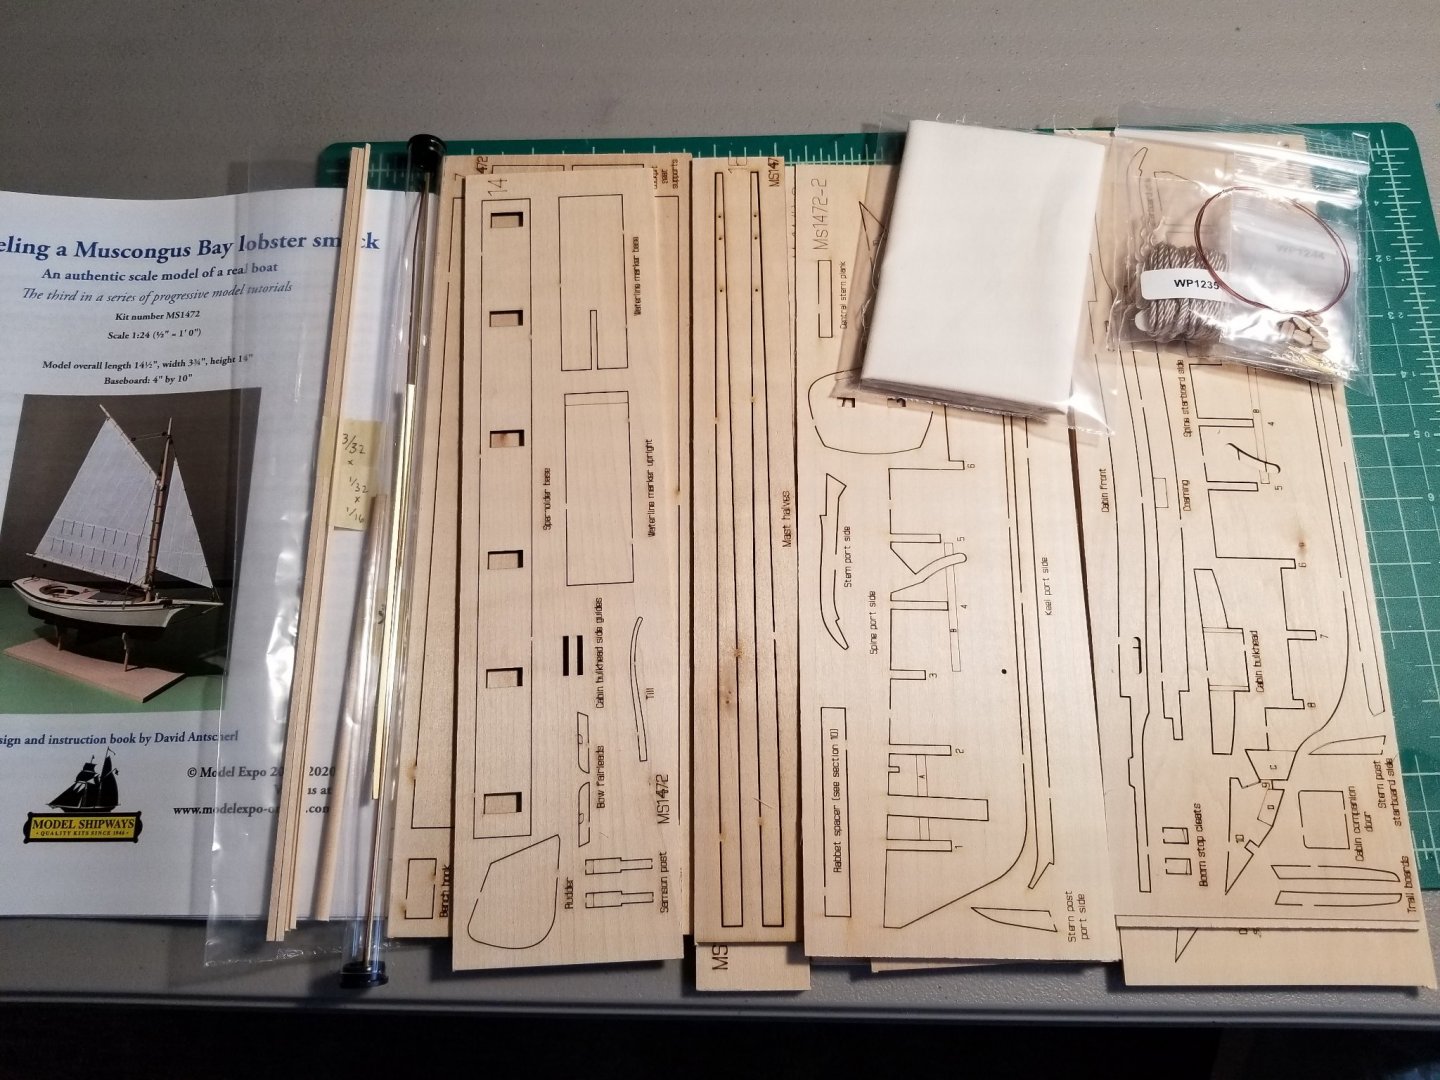
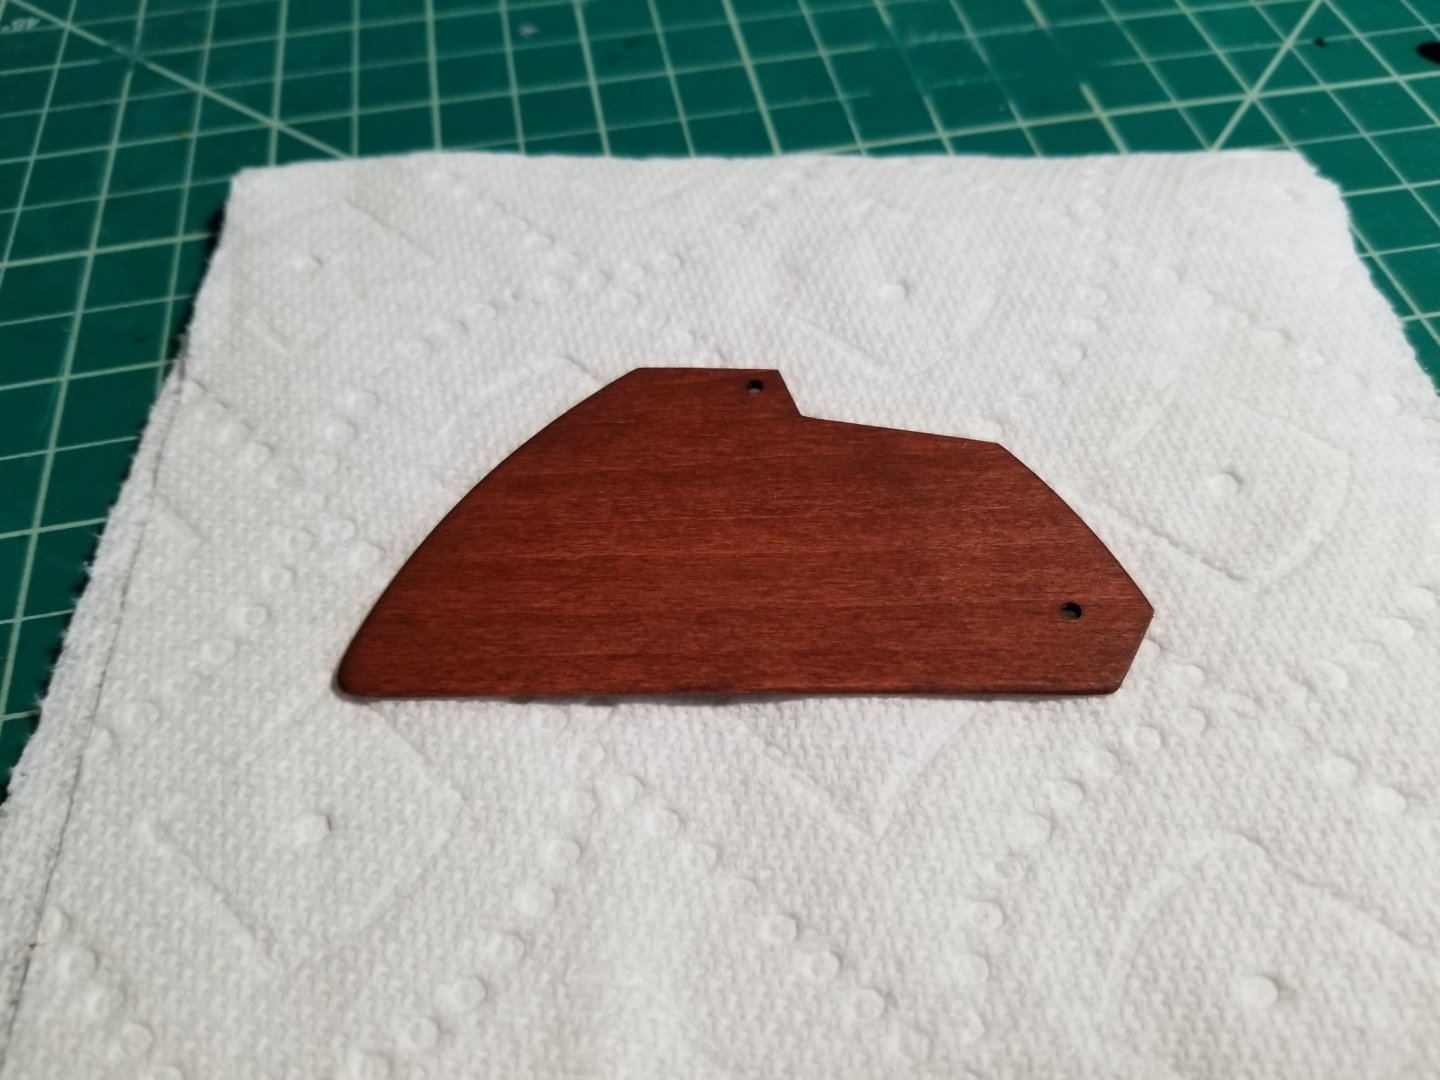
Hello everyone, This is my first build log (and first post!) on MSW, for the Muscongus Bay Lobster Smack by Model Shipways. I have been a plastic airplane modeler for several years now and a few months ago decided to try my hand at model ships, starting with the 1:48 18th Century Longboat, also from Model Shipways. I thought I would hate the tediousness of planking and rigging, but wanted to at least say I've tried it. Turns out I loved it! And now I'm hooked. Since the Longboat, I also have also finished the Model Shipways Norwegian Pram a few weeks ago, and decided to give this one a shot next since I purchased them at the same time. To start off, I did the usual checking of inventory against the packing list to make sure I had everything. After reading through the directions a couple times, I got started. First things first, I stained the centerboard since I plan on using stain for the darker part of the hull. Followed by getting started on the spine: I had a lot of trouble trying to make a hook for a moveable centerboard; perhaps I do not have the right tools. Thinking about the final result, I don't expect to move the centerboard once the model is done, but I want to keep it out of the way during construction. In the end I decided to just glue in two short brass rods to keep it moveable without disappearing into the hull. I can easily move it with my fingers, which is good enough for me.