Dan2021
-
Posts
21 -
Joined
-
Last visited
-
 Obormotov reacted to a post in a topic:
HMS Victory by Dan2021 - Mantua/Panart - 1/78
Obormotov reacted to a post in a topic:
HMS Victory by Dan2021 - Mantua/Panart - 1/78
-
 Obormotov reacted to a post in a topic:
HMS Victory by Dan2021 - Mantua/Panart - 1/78
Obormotov reacted to a post in a topic:
HMS Victory by Dan2021 - Mantua/Panart - 1/78
-
Obormotov reacted to a post in a topic:
HMS Victory by Dan2021 - Mantua/Panart - 1/78
-
Obormotov reacted to a post in a topic:
HMS Victory by Dan2021 - Mantua/Panart - 1/78
-
Obormotov reacted to a post in a topic:
HMS Victory by Dan2021 - Mantua/Panart - 1/78
-
Obormotov reacted to a post in a topic:
HMS Victory by Dan2021 - Mantua/Panart - 1/78
-
Obormotov reacted to a post in a topic:
HMS Victory by Dan2021 - Mantua/Panart - 1/78
-
Obormotov reacted to a post in a topic:
HMS Victory by Dan2021 - Mantua/Panart - 1/78
-
Obormotov reacted to a post in a topic:
HMS Victory by Dan2021 - Mantua/Panart - 1/78
-
Obormotov reacted to a post in a topic:
HMS Victory by Dan2021 - Mantua/Panart - 1/78
-
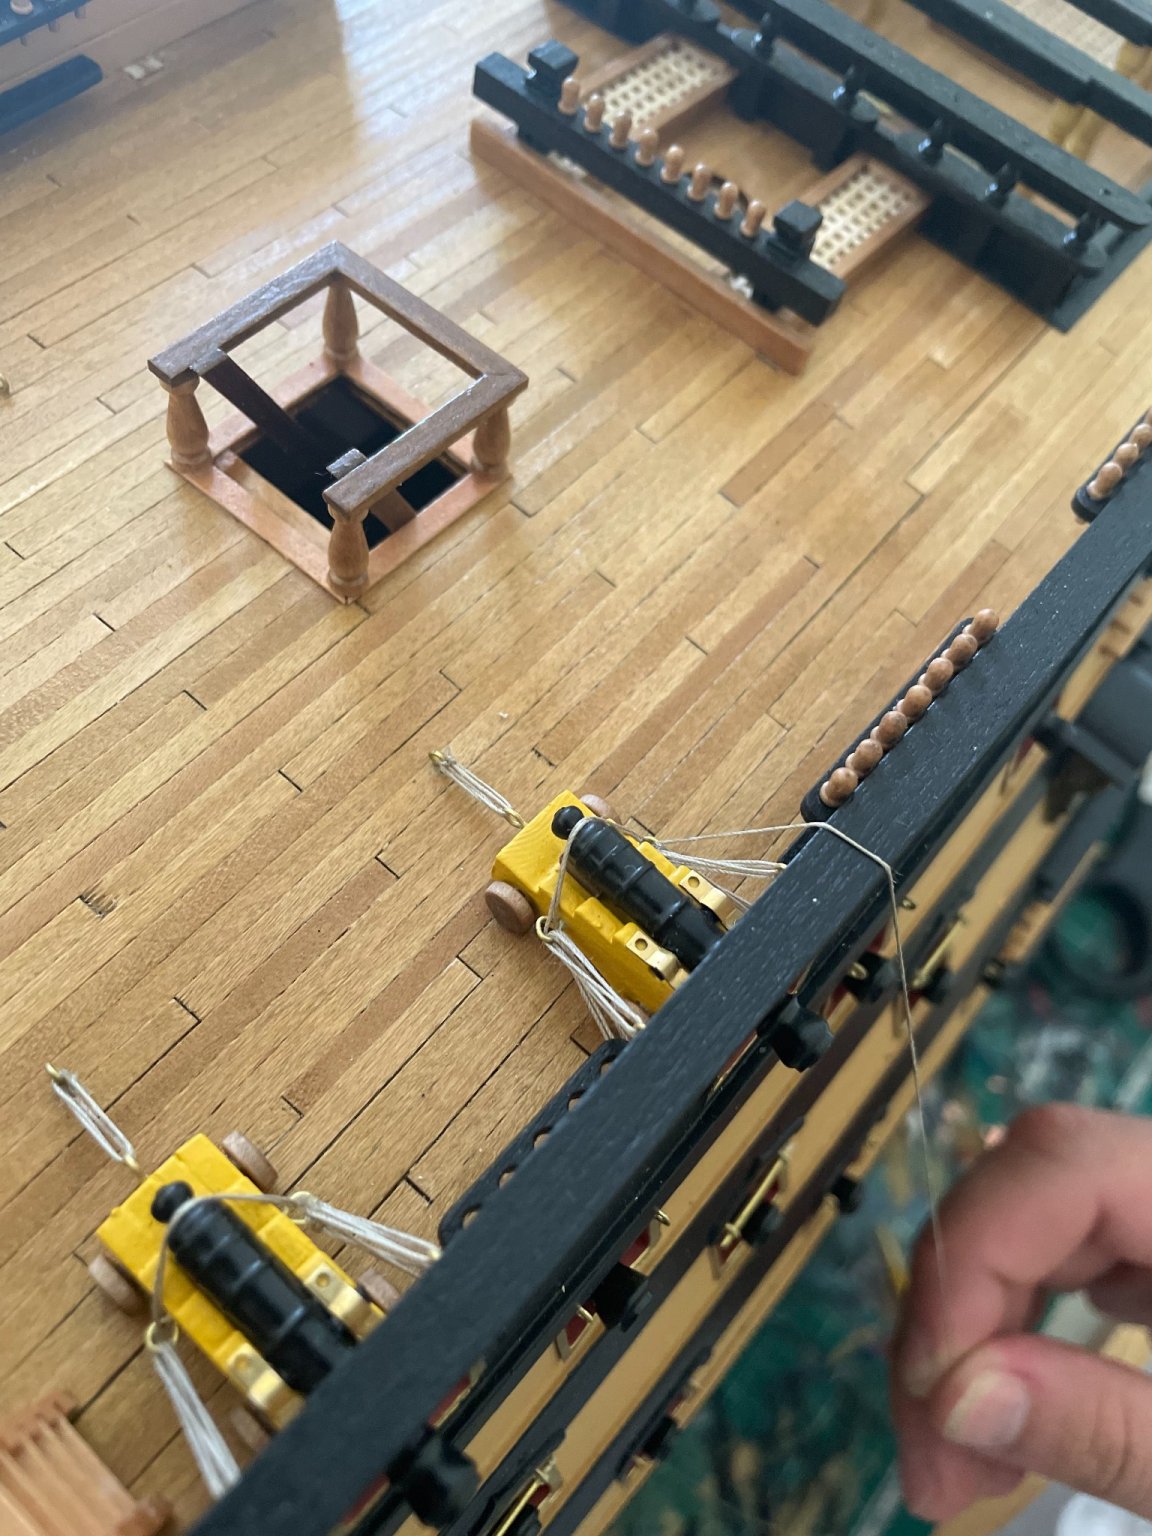
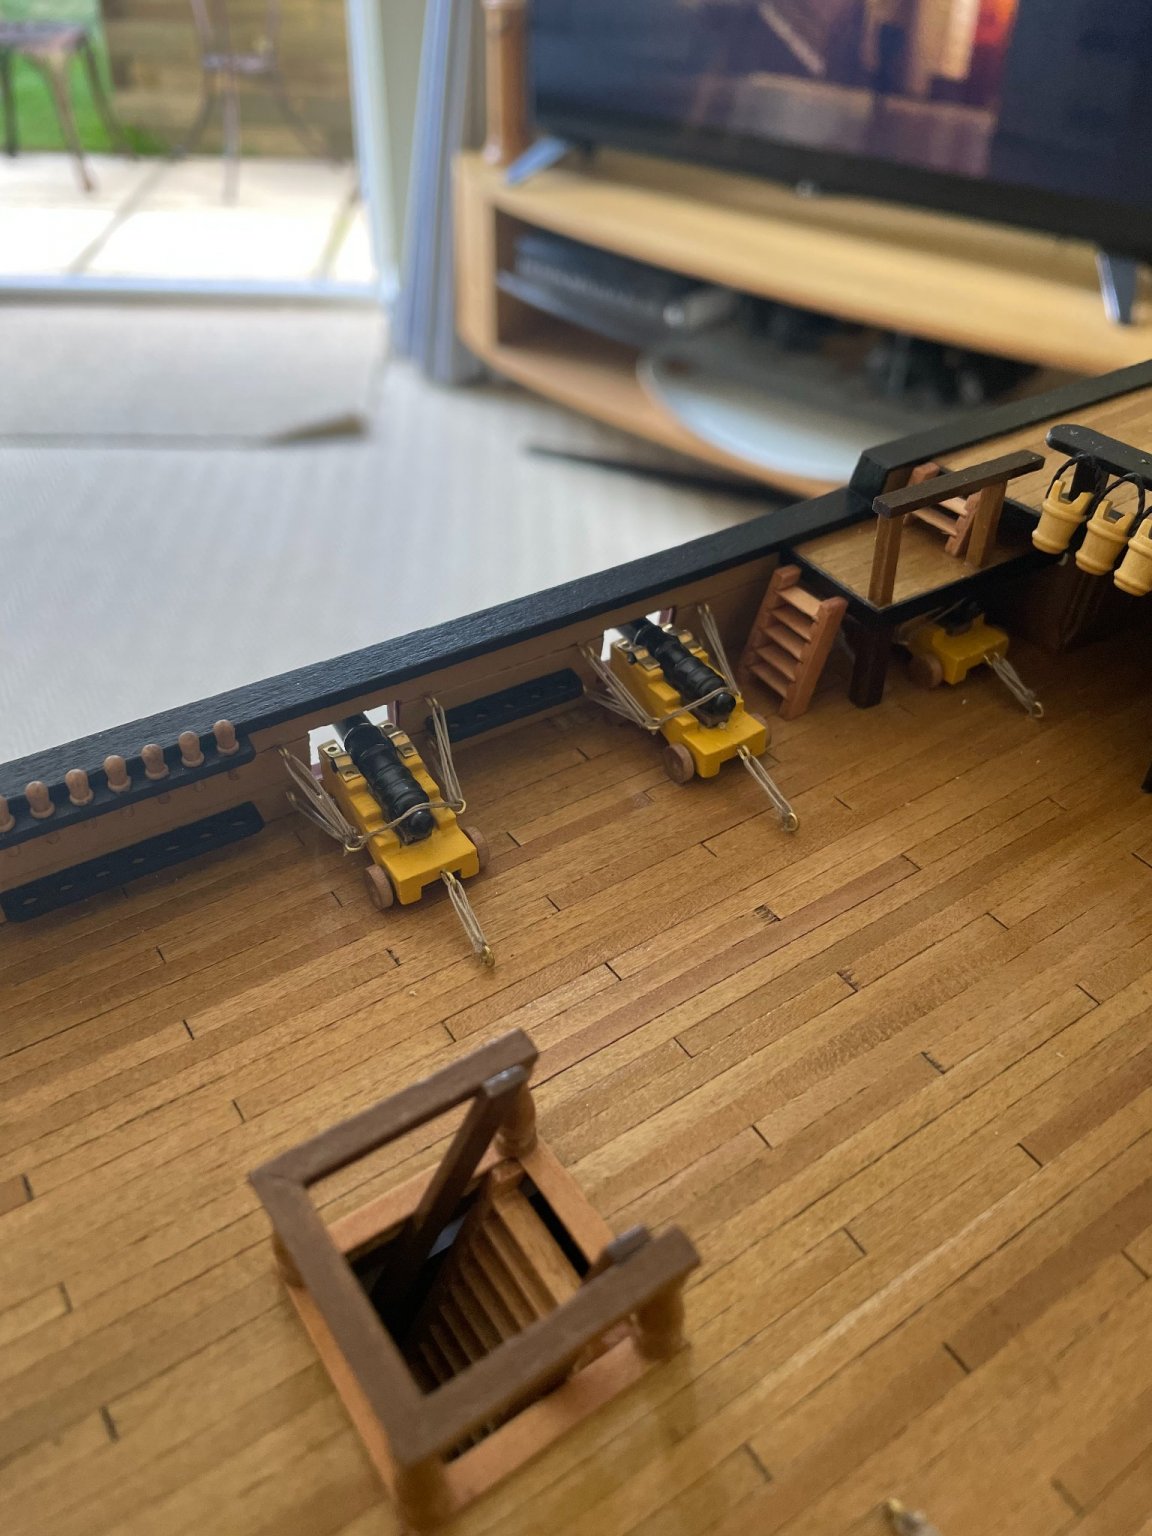
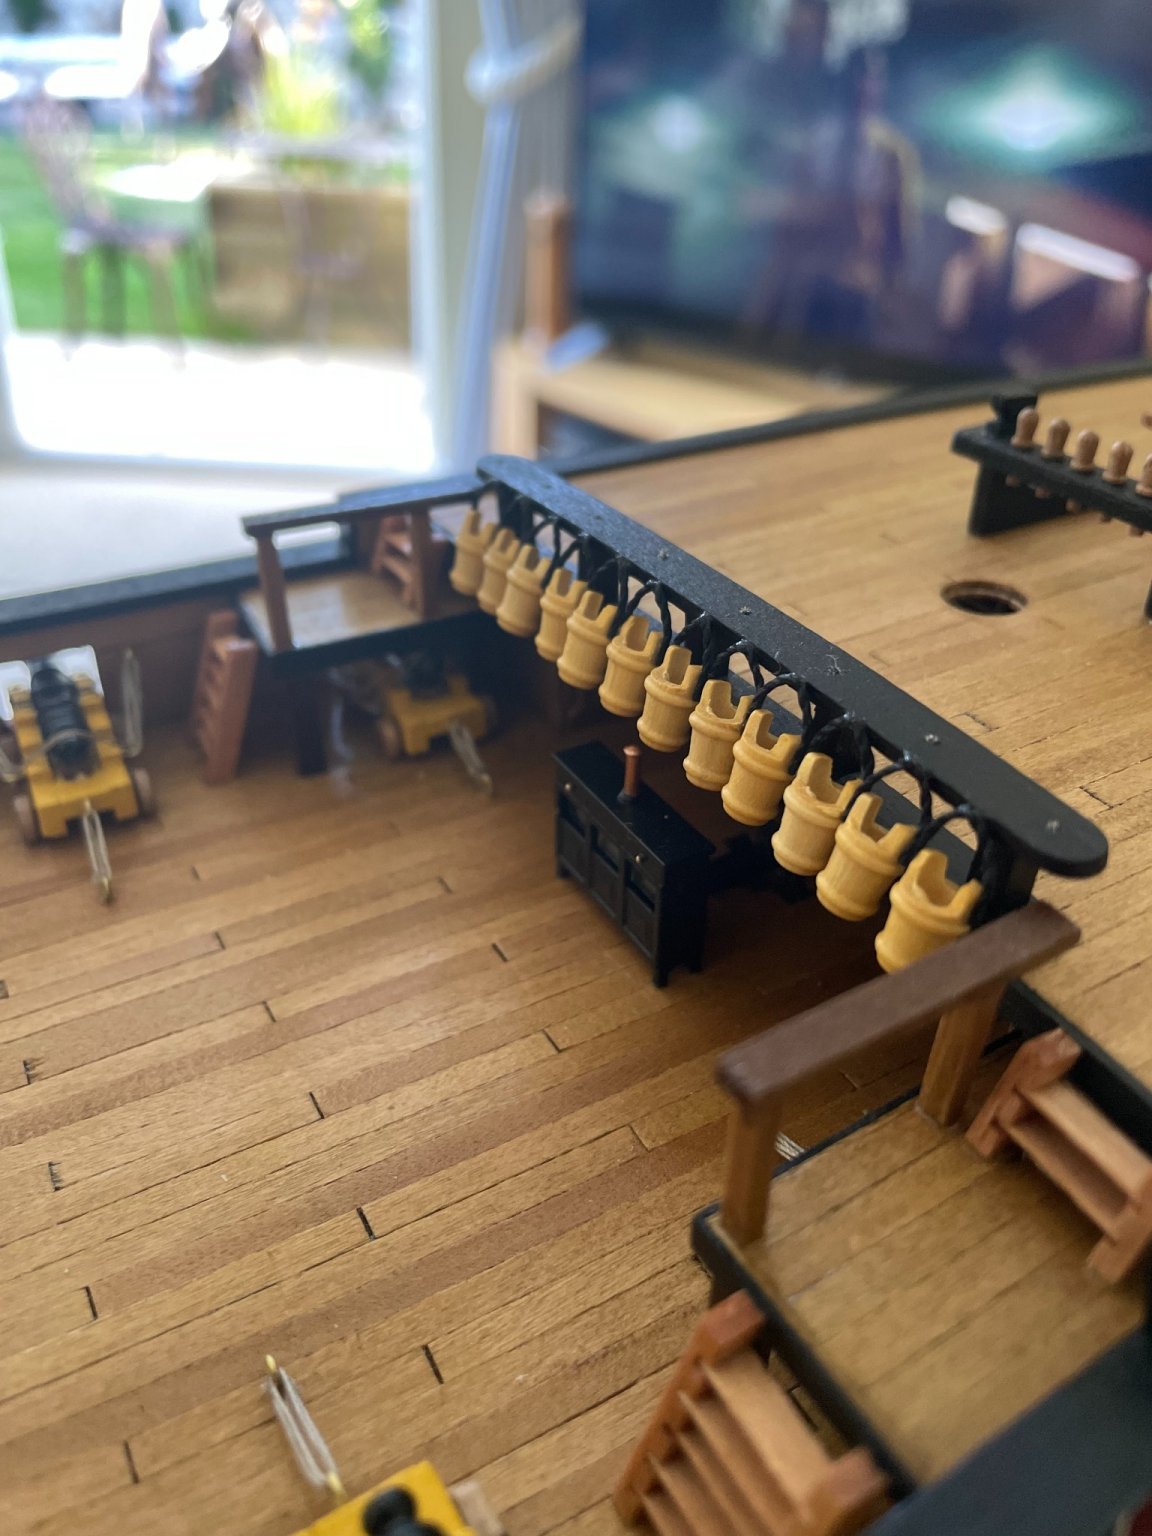
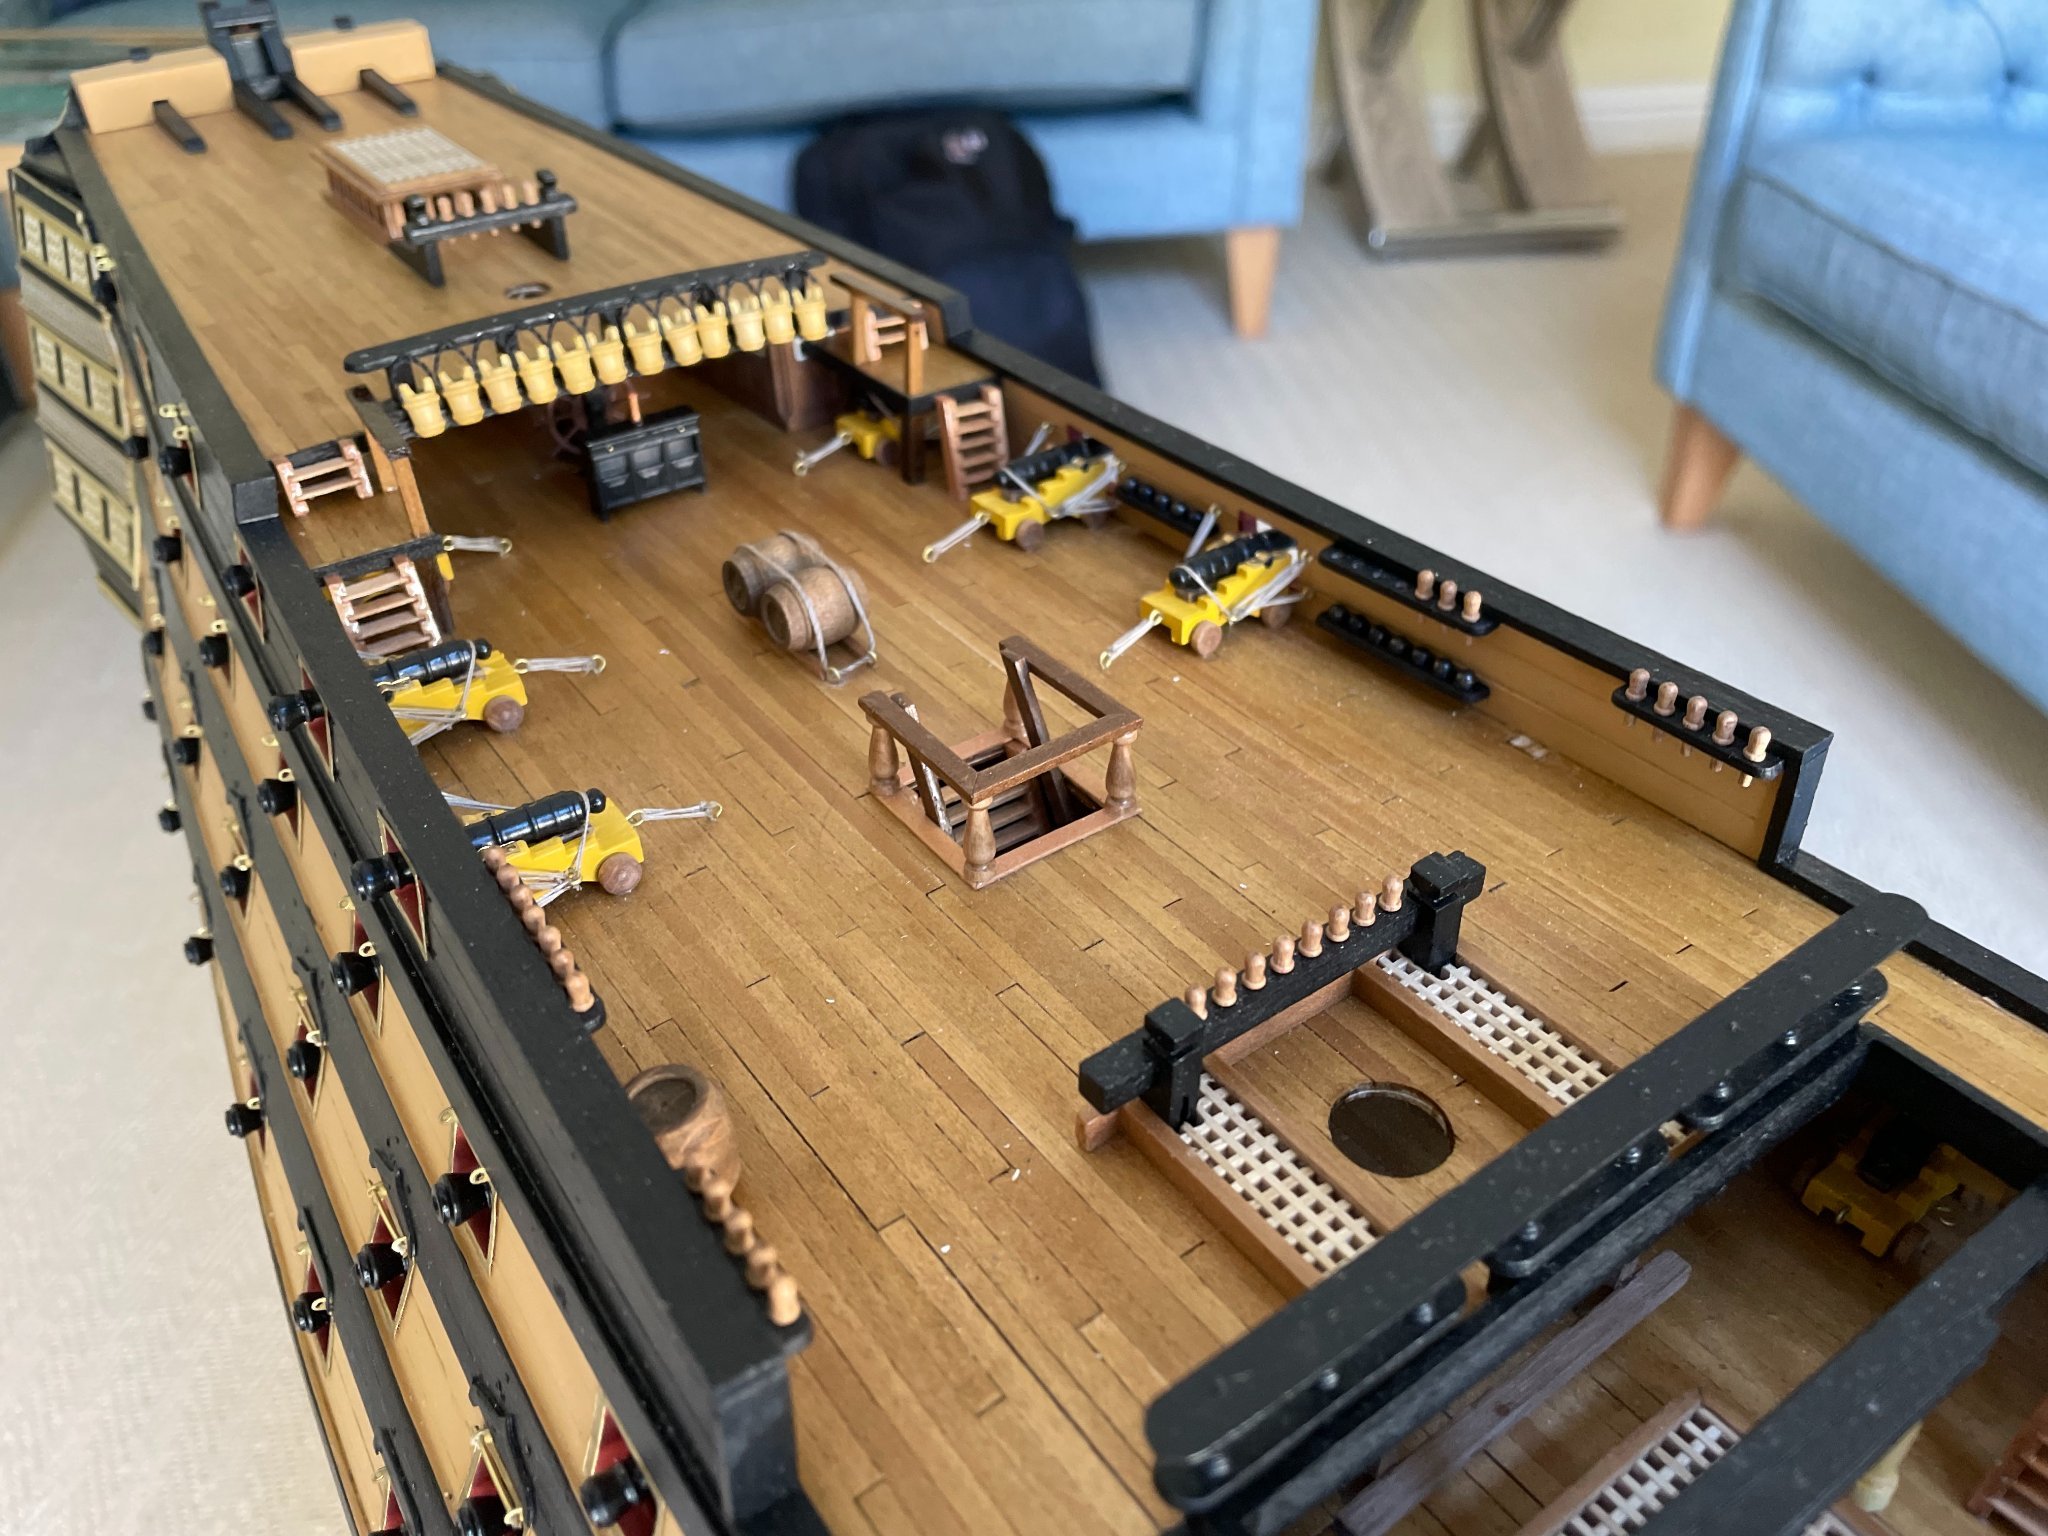
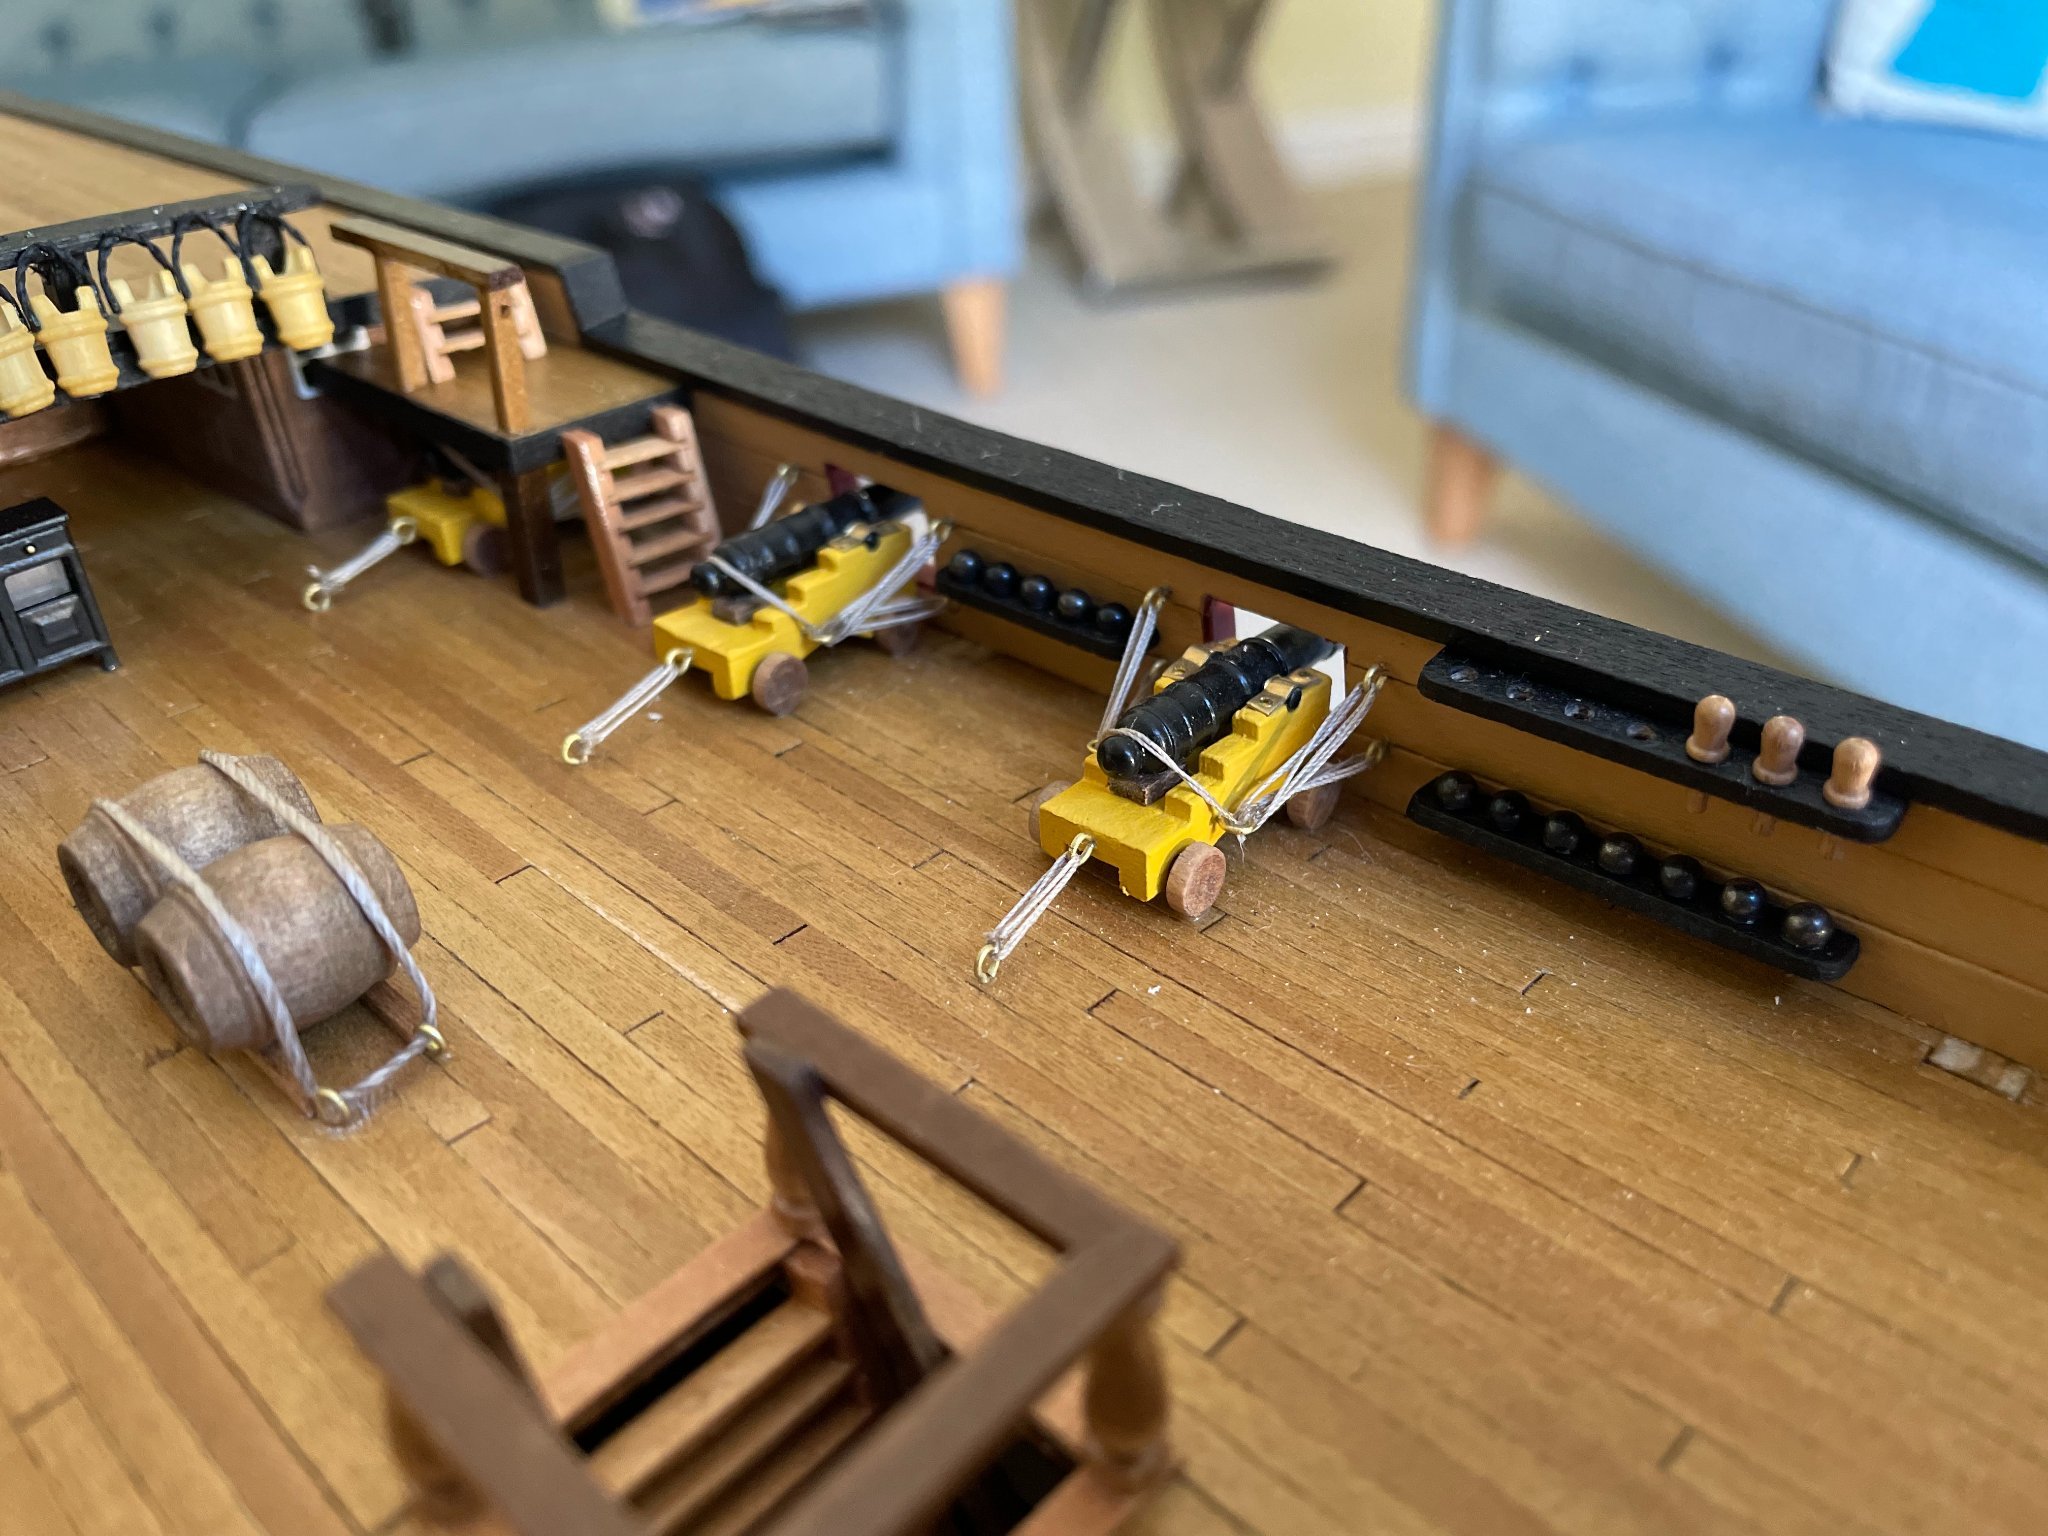
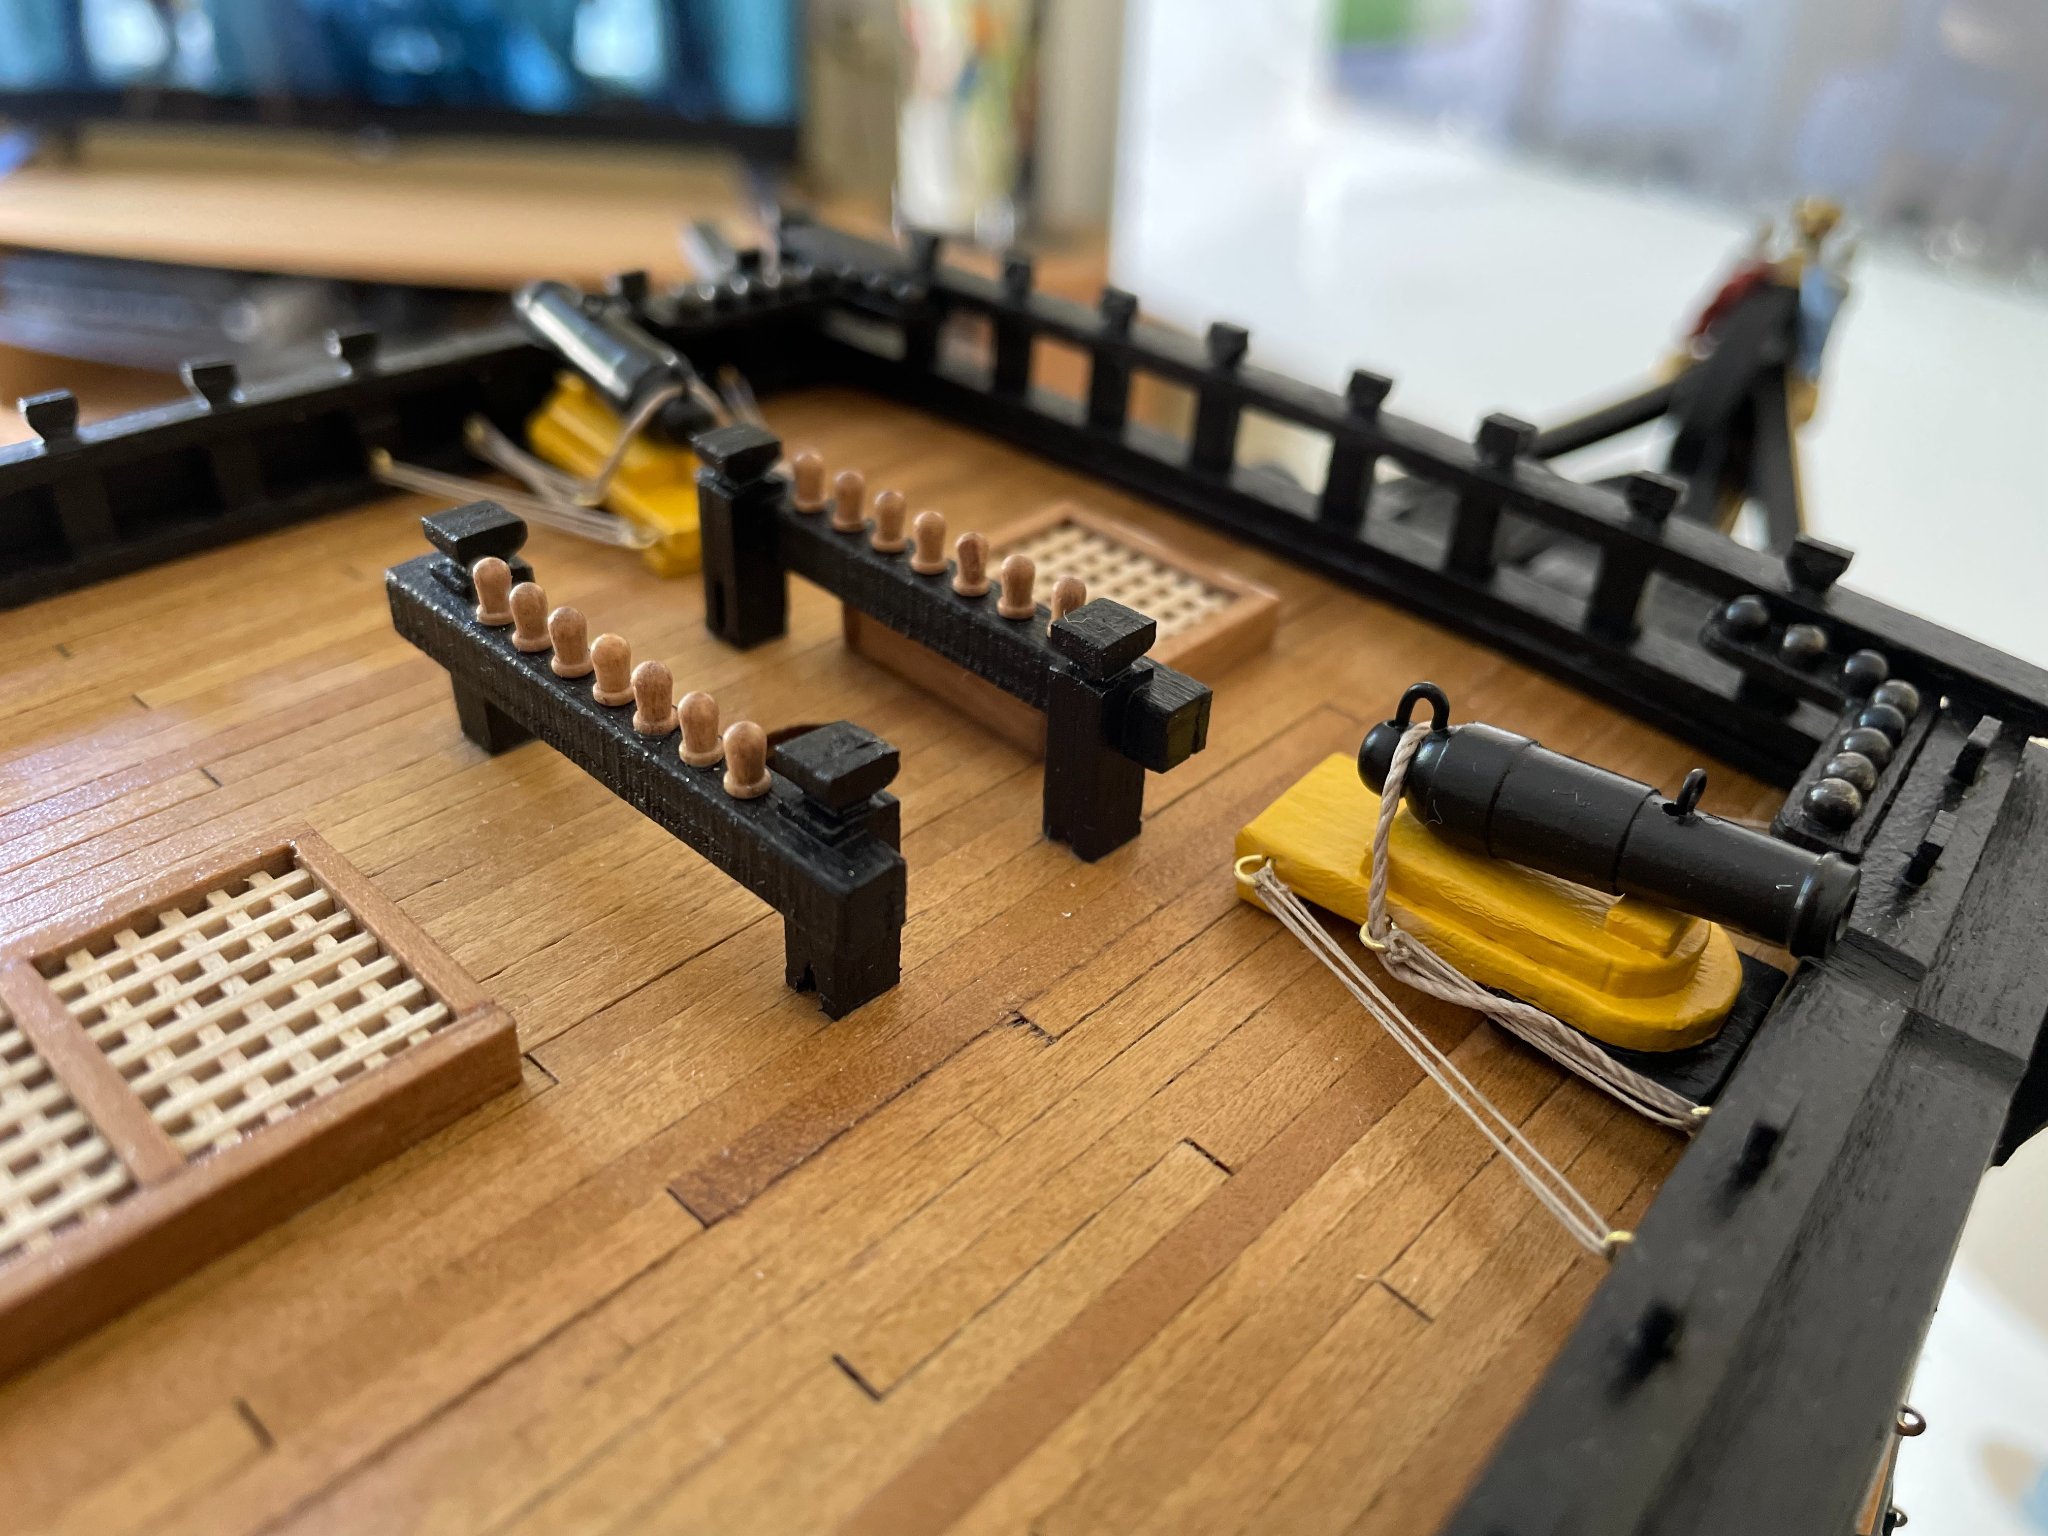
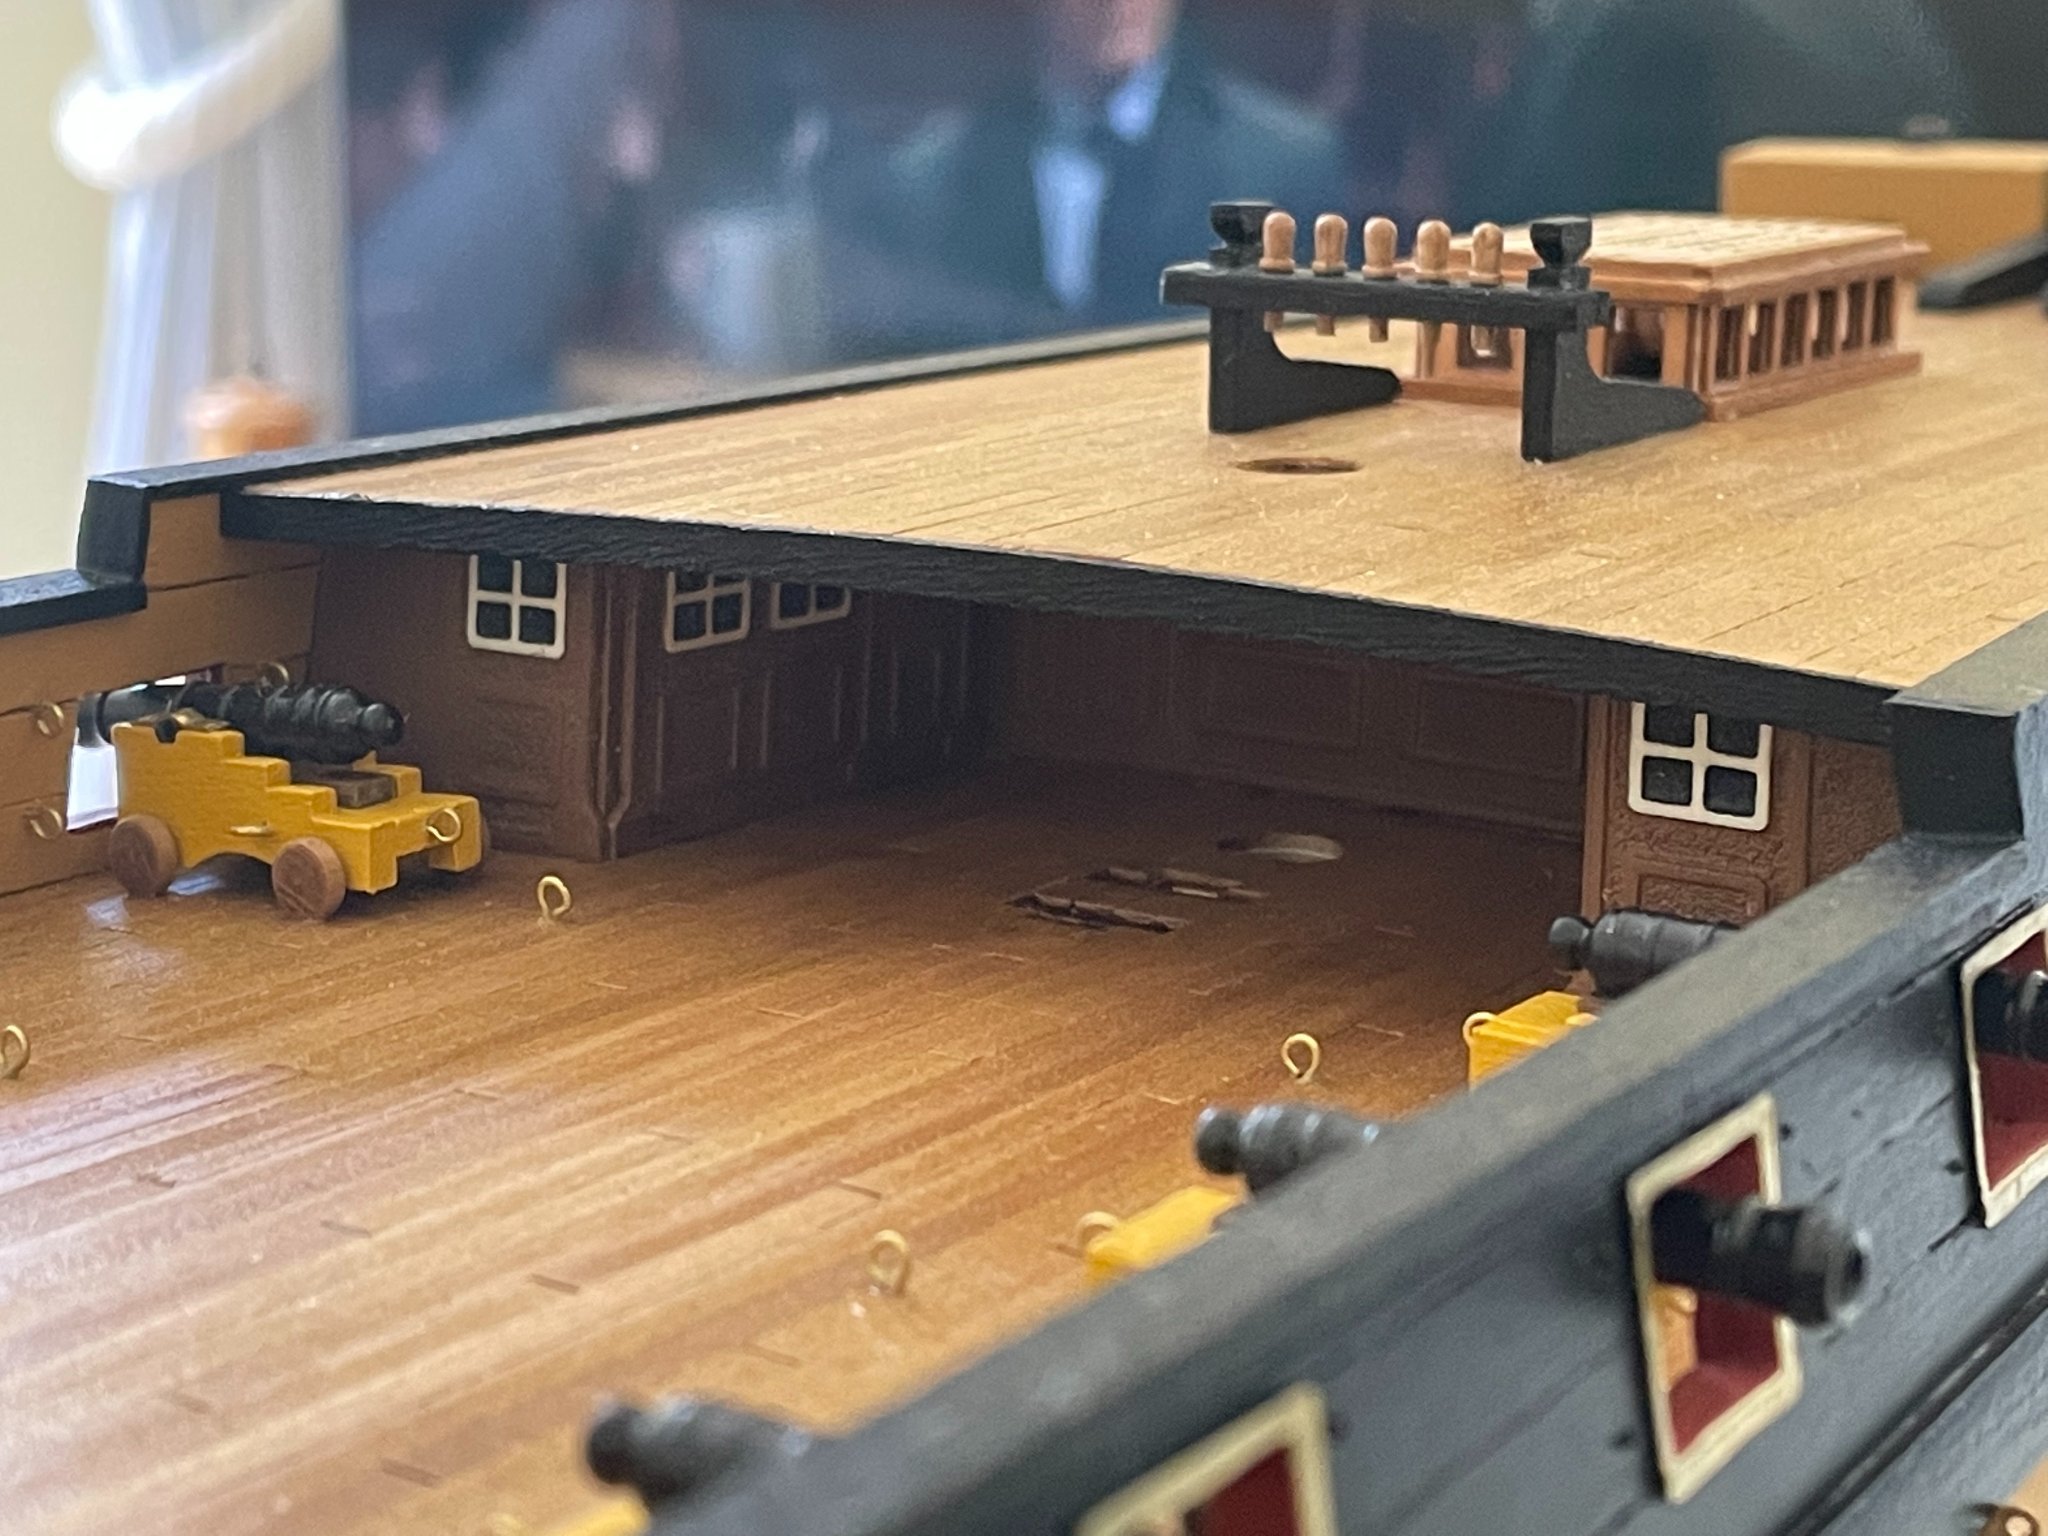
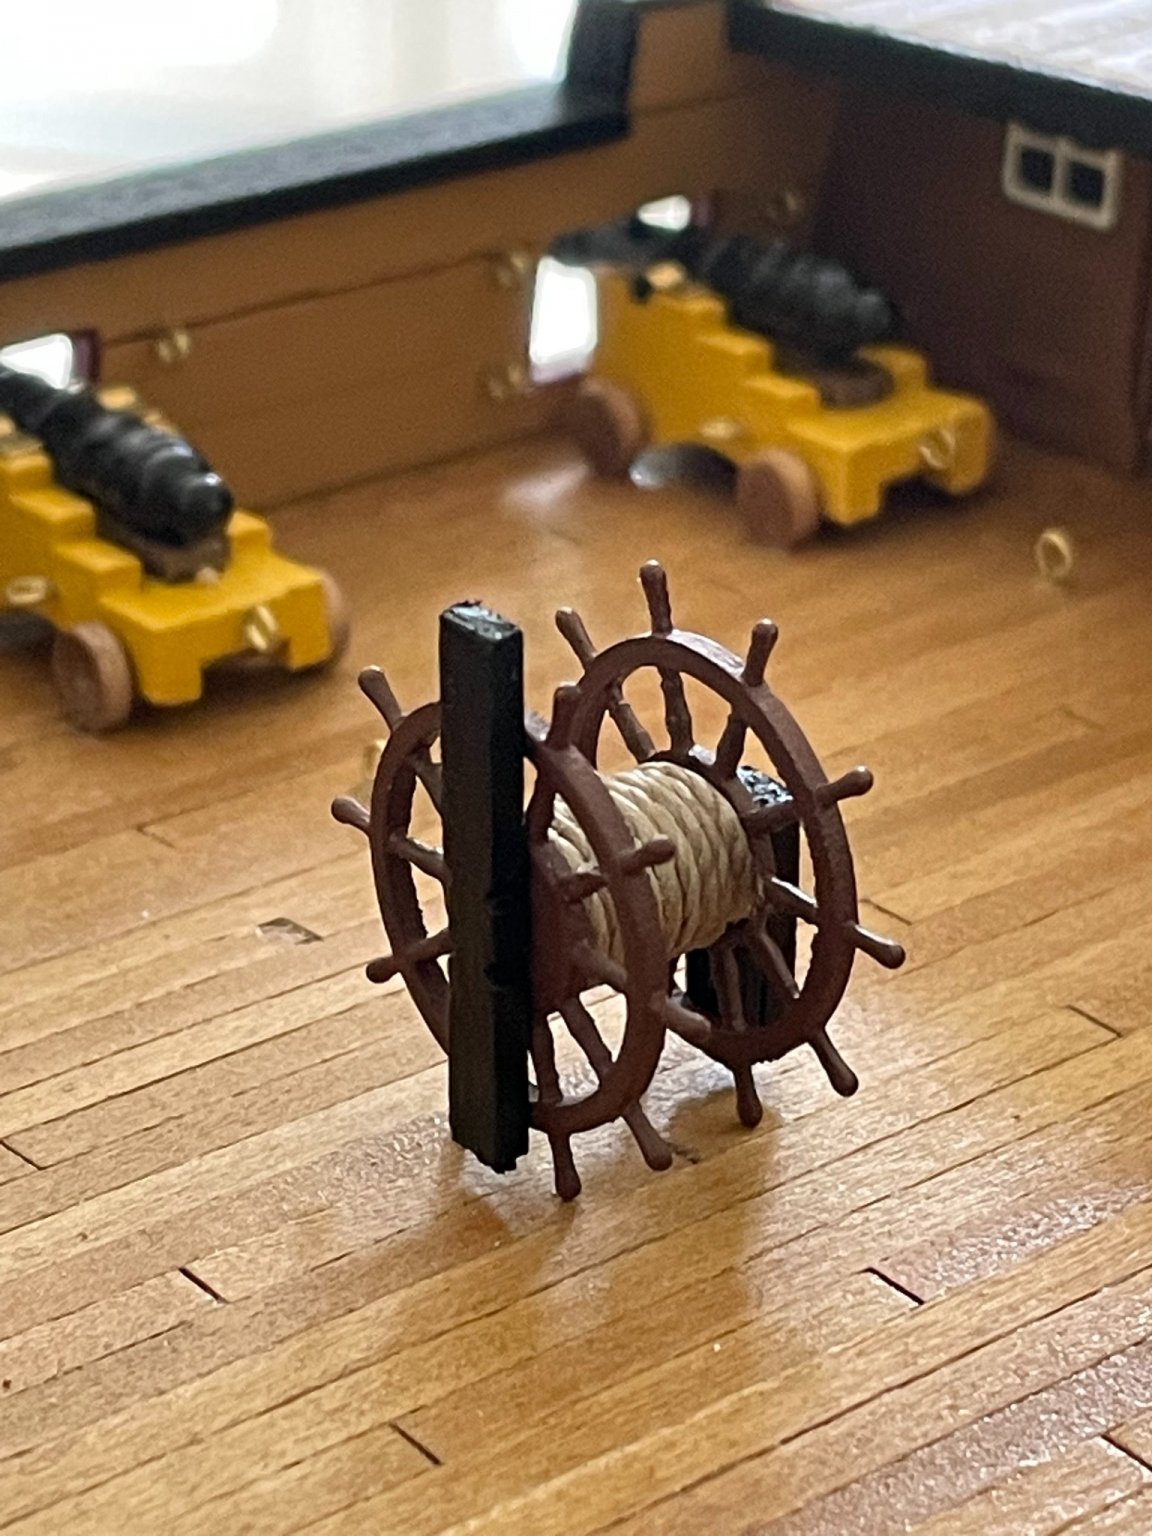
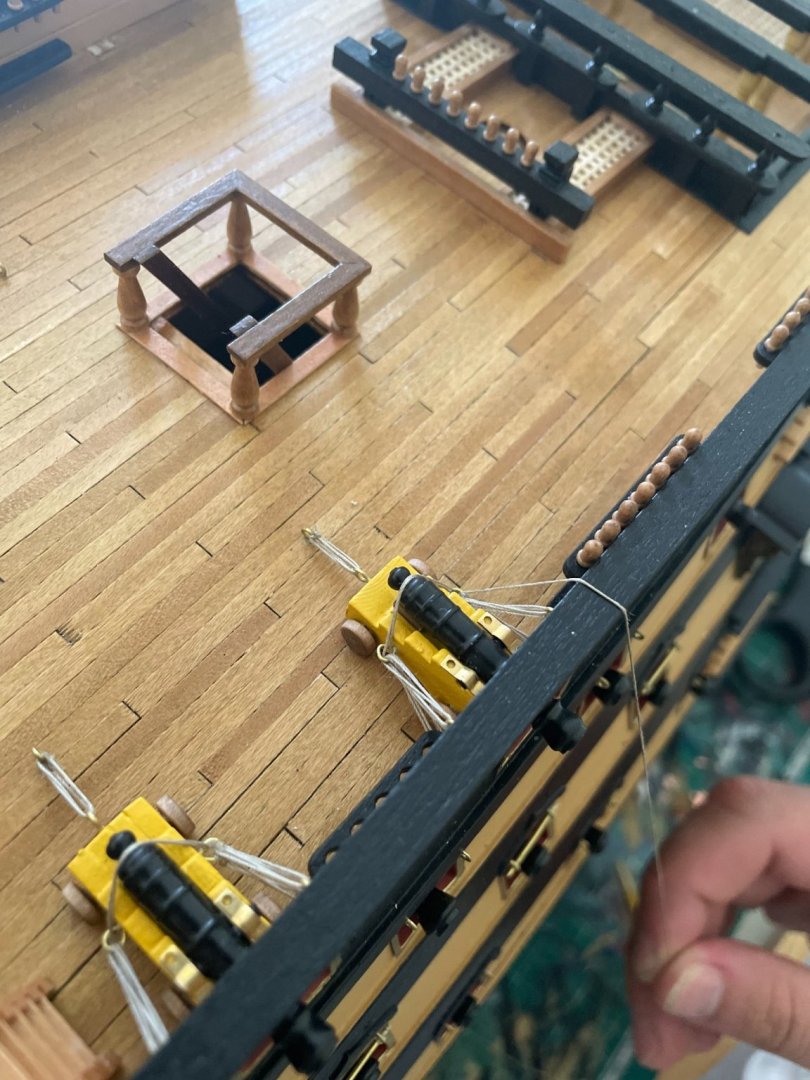
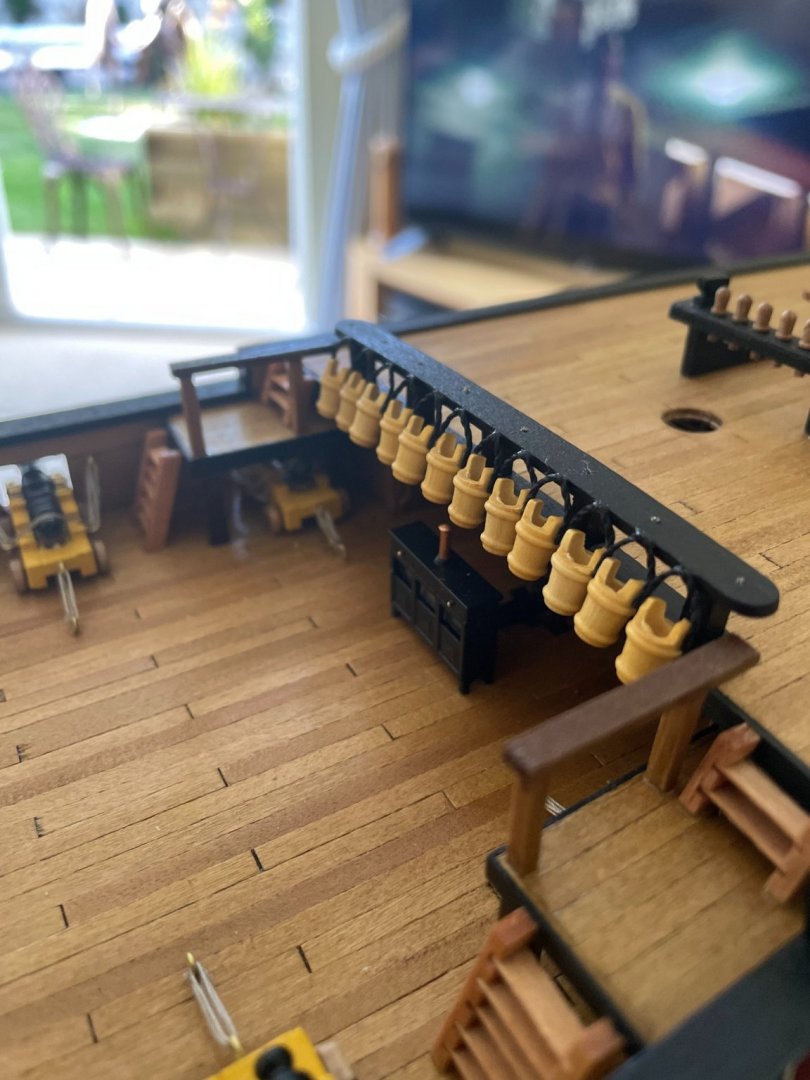
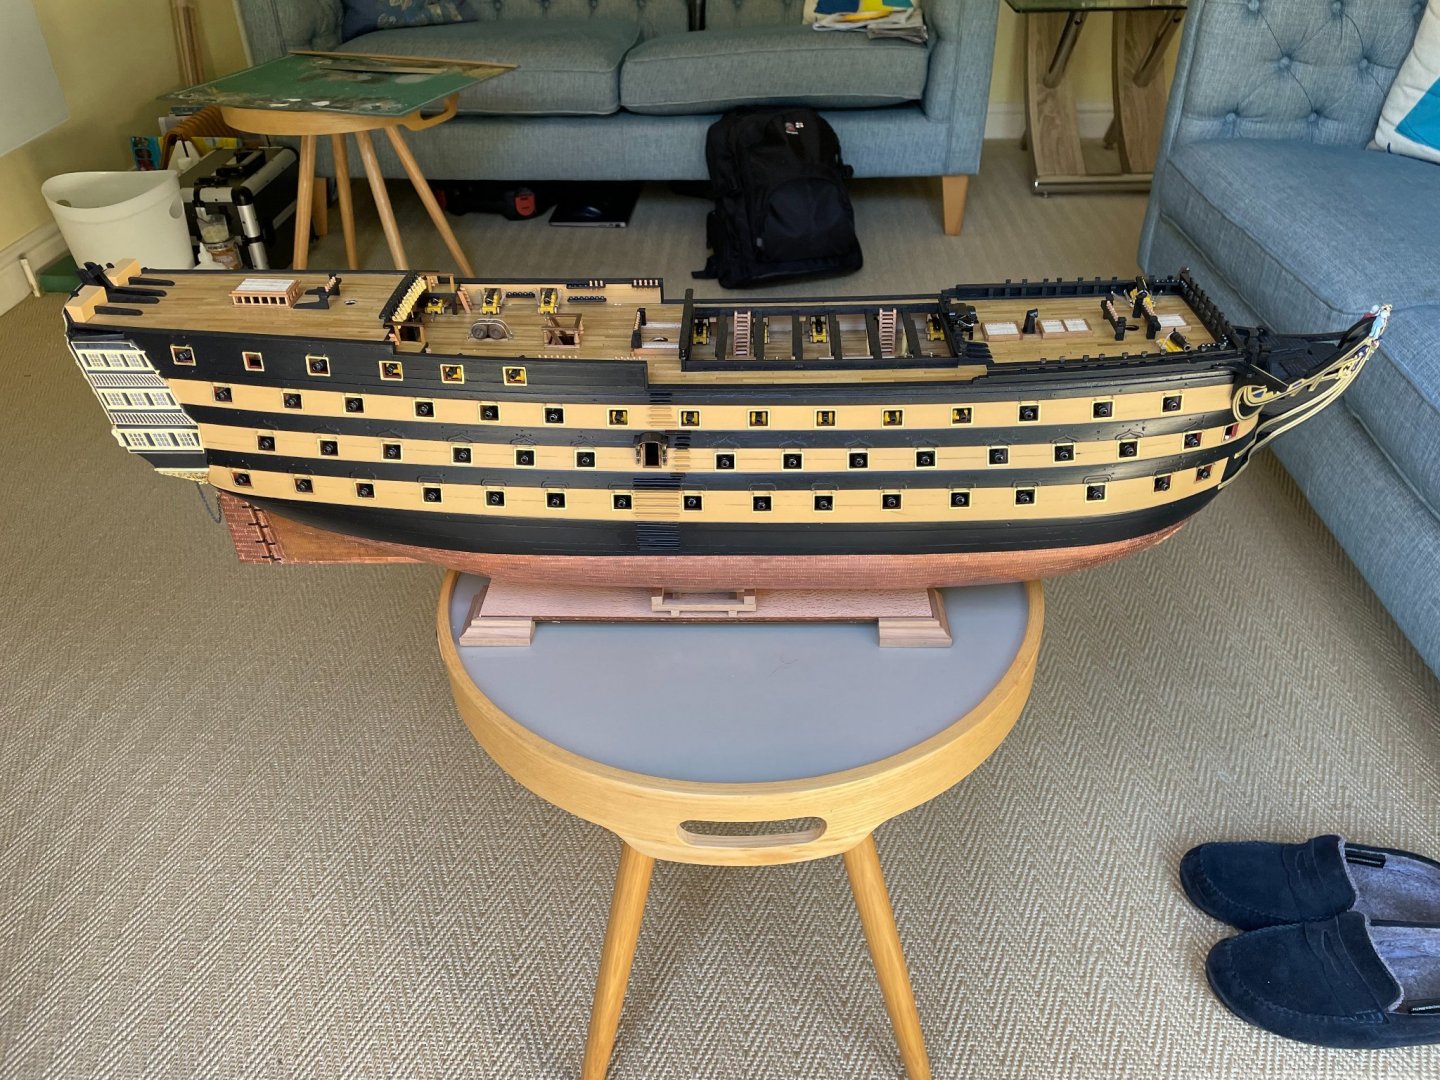
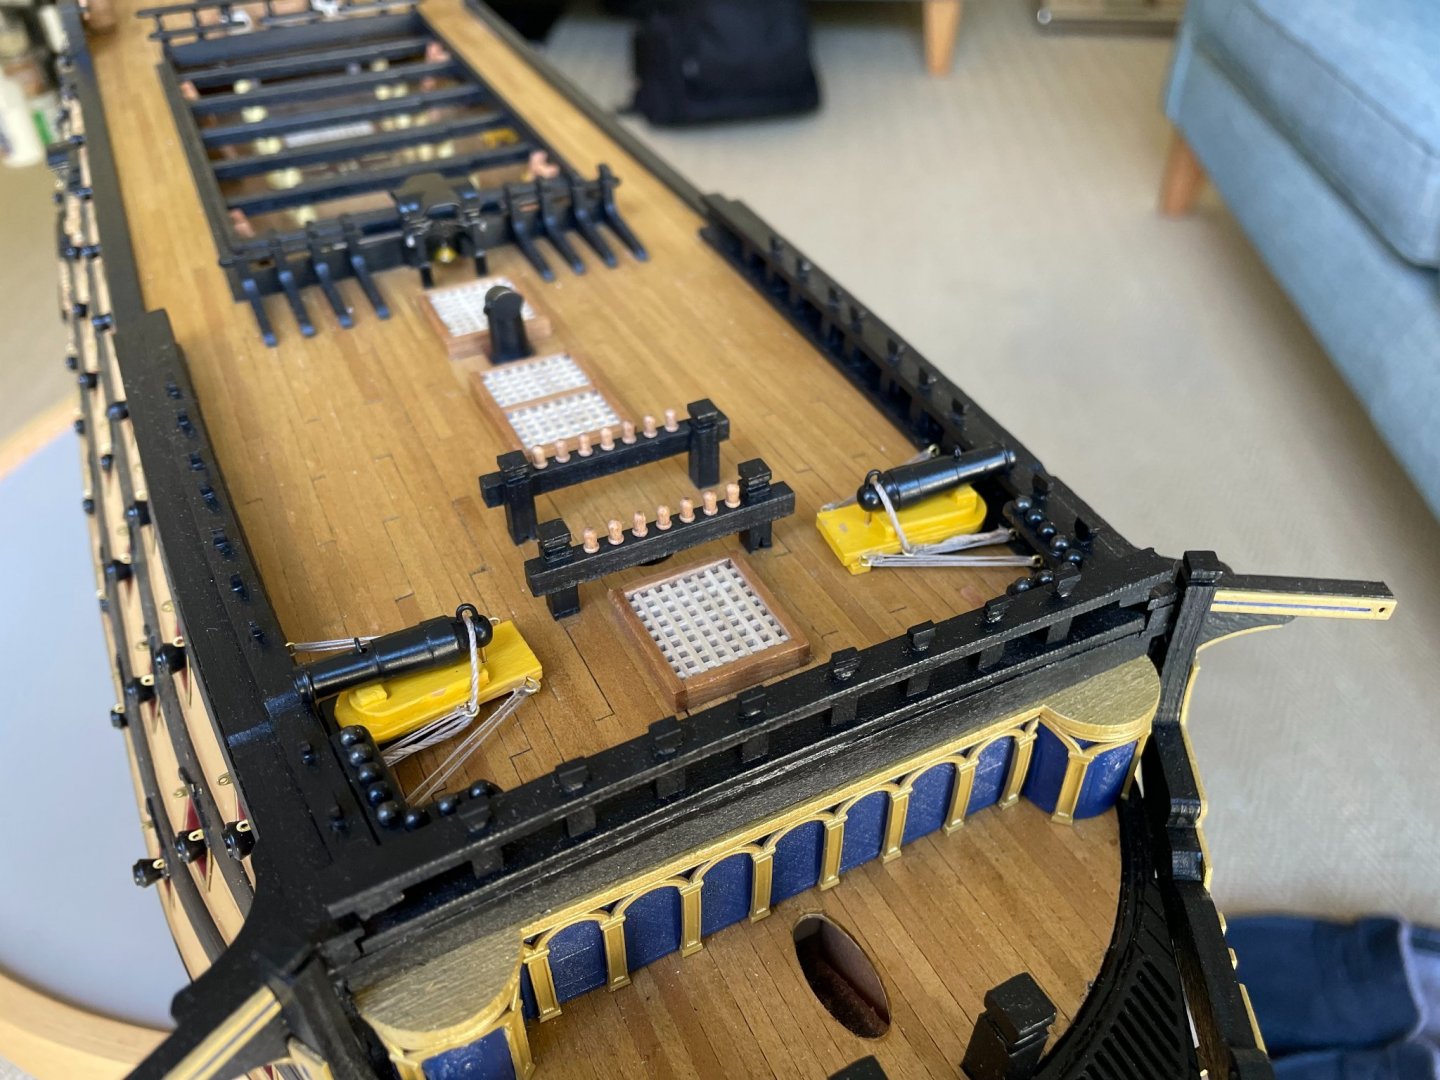
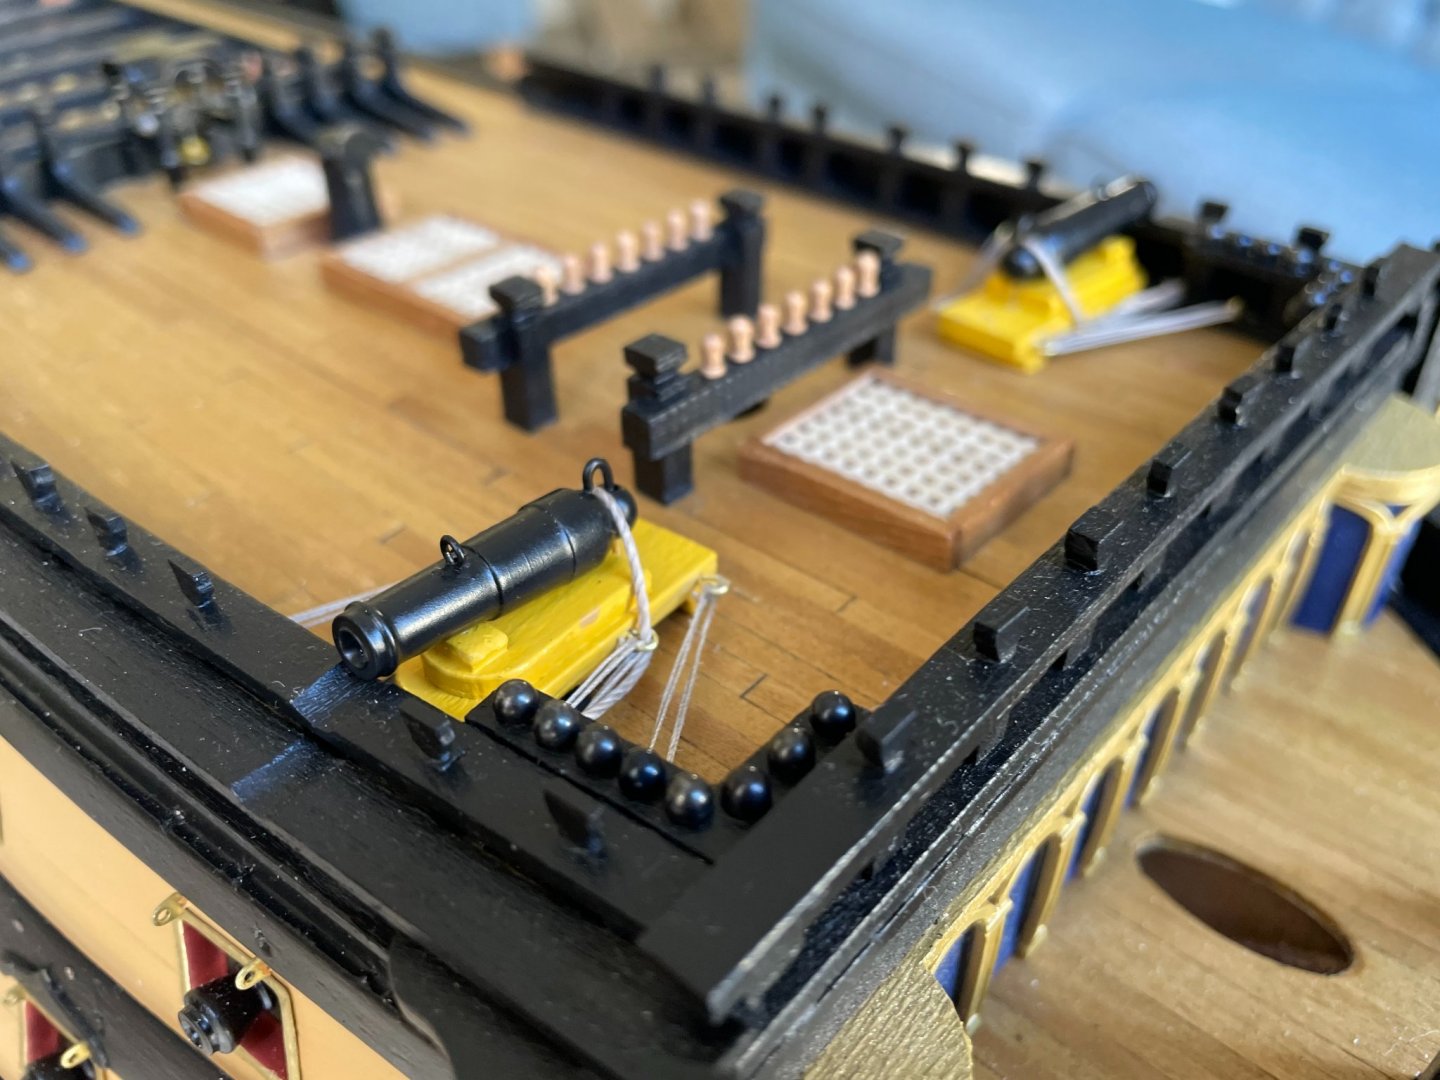
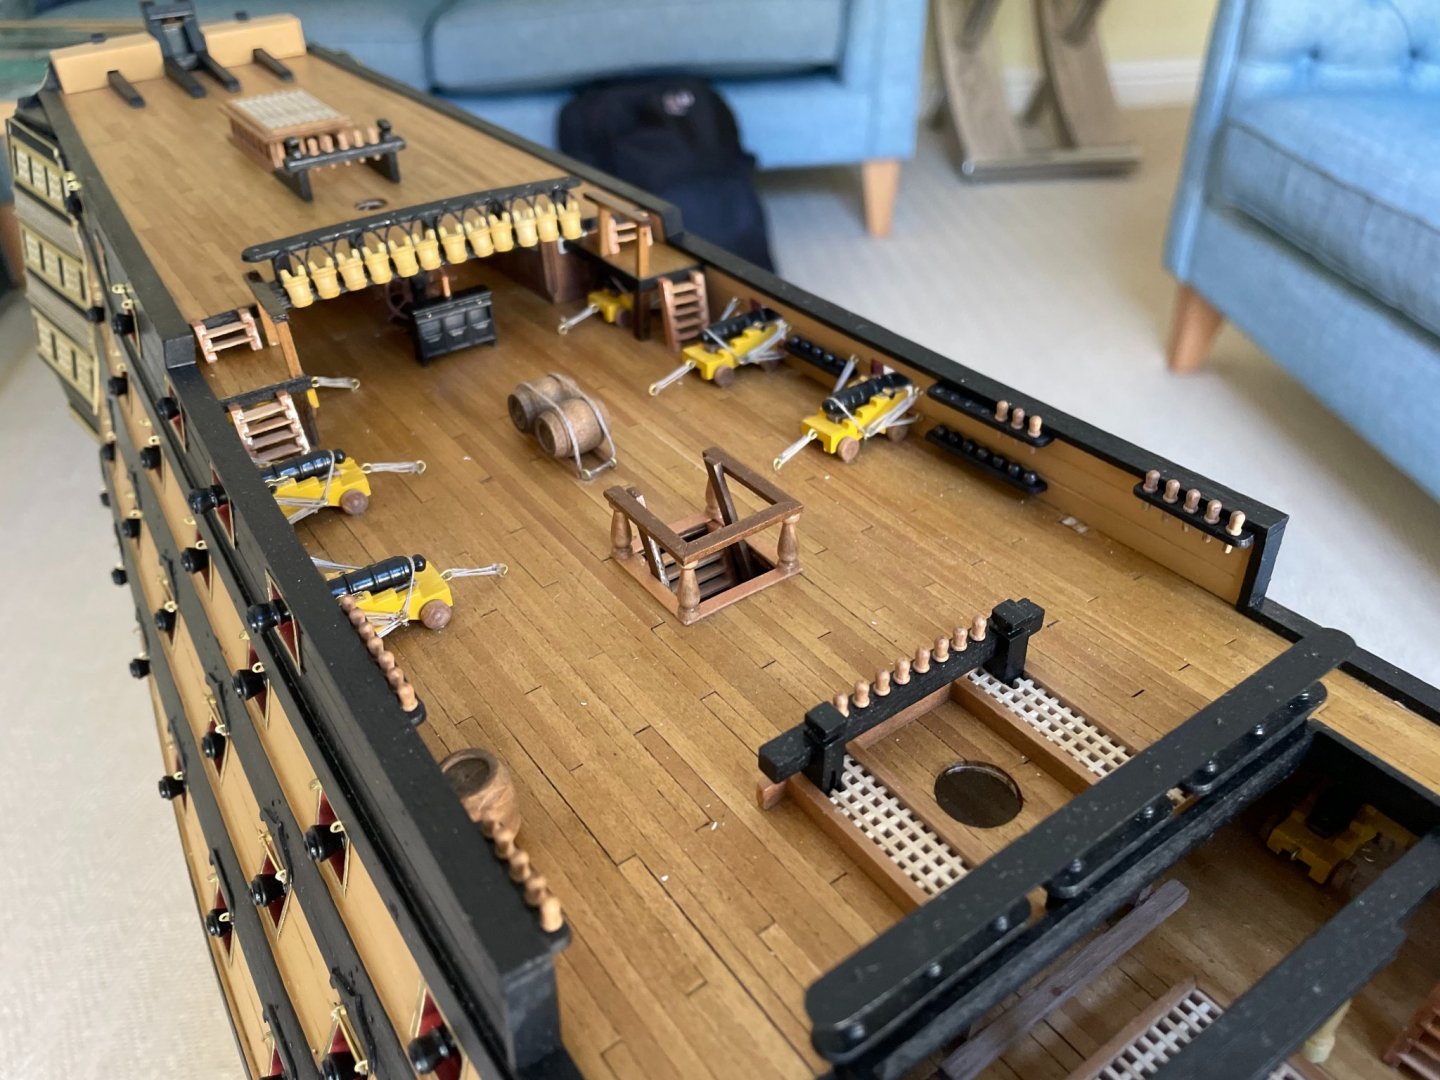
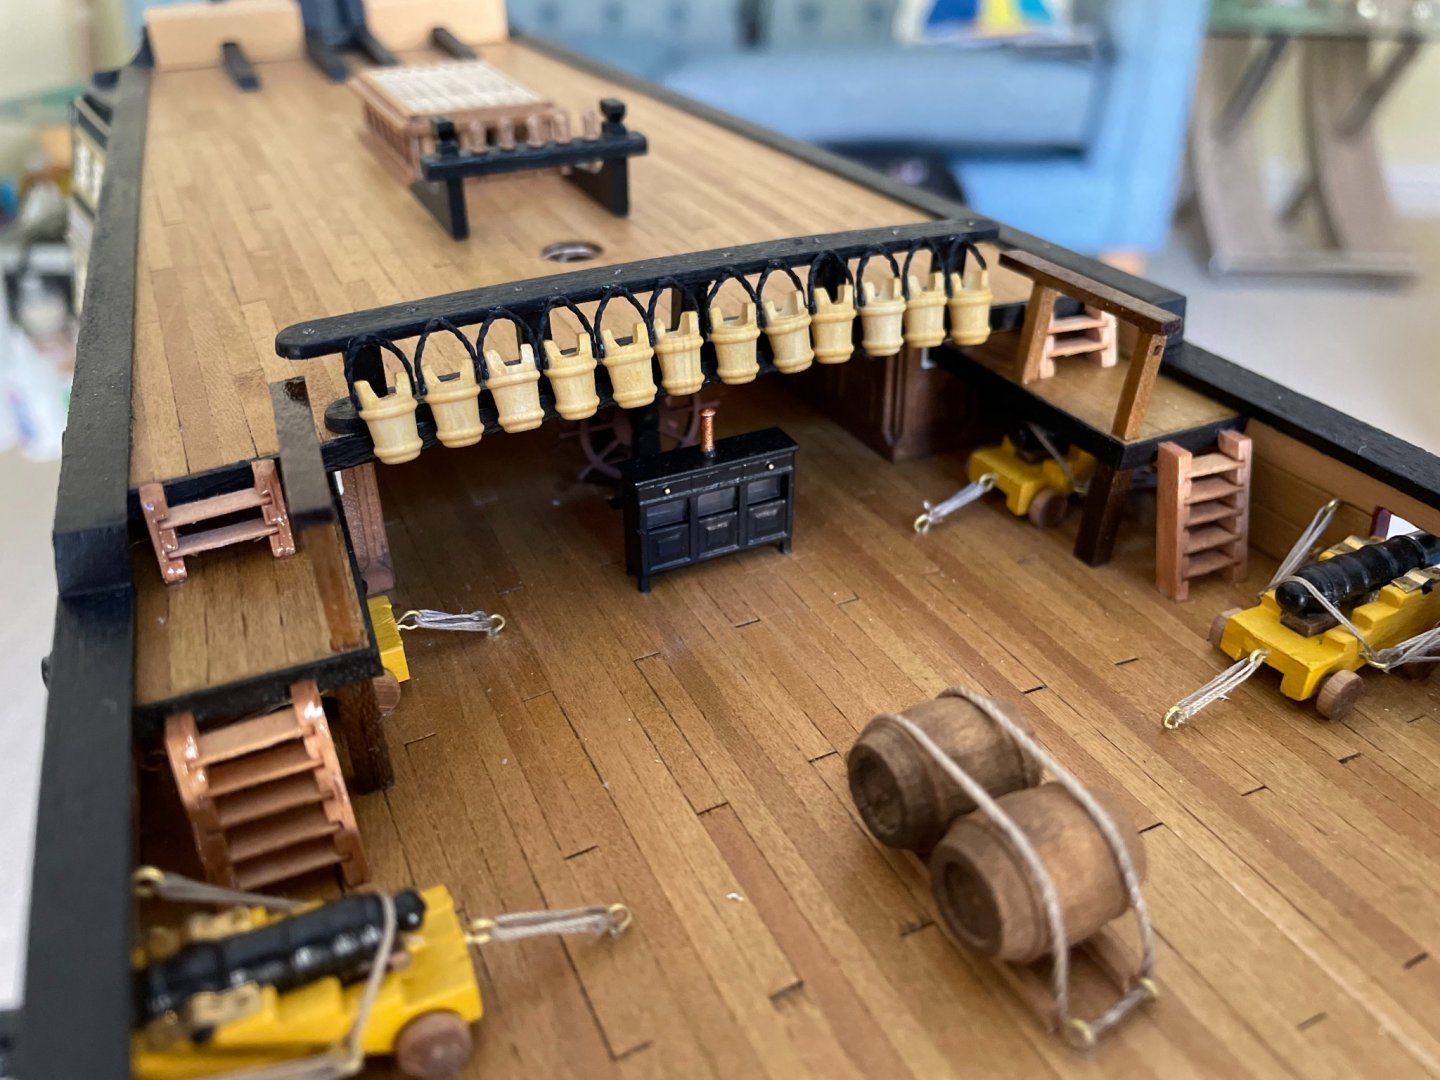
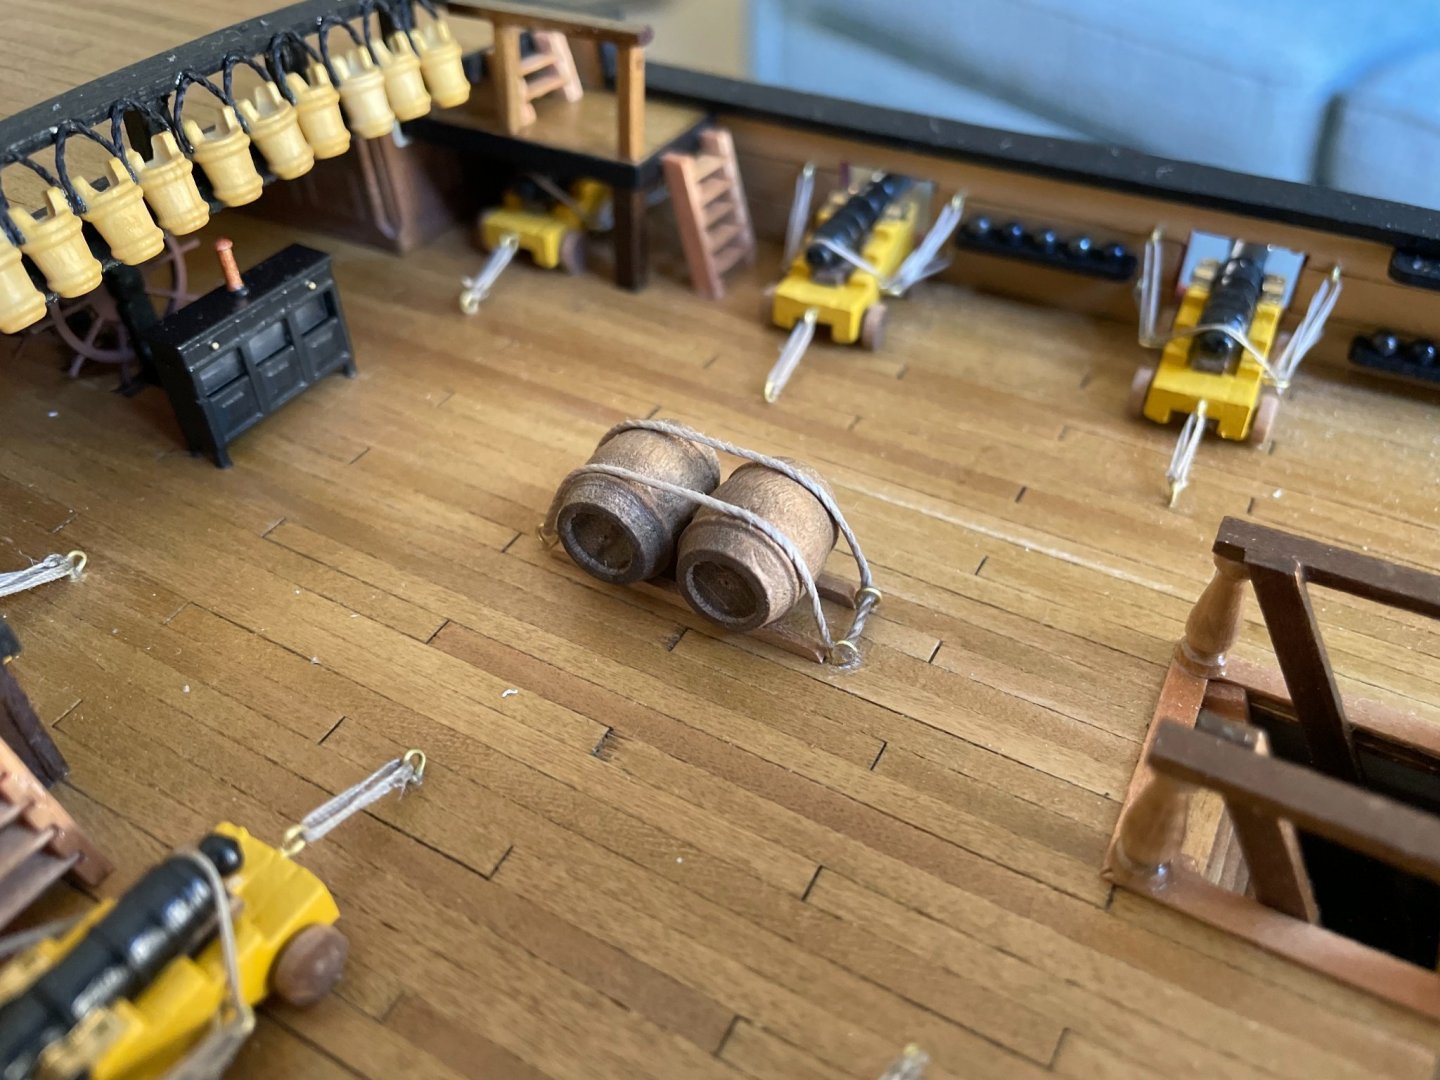
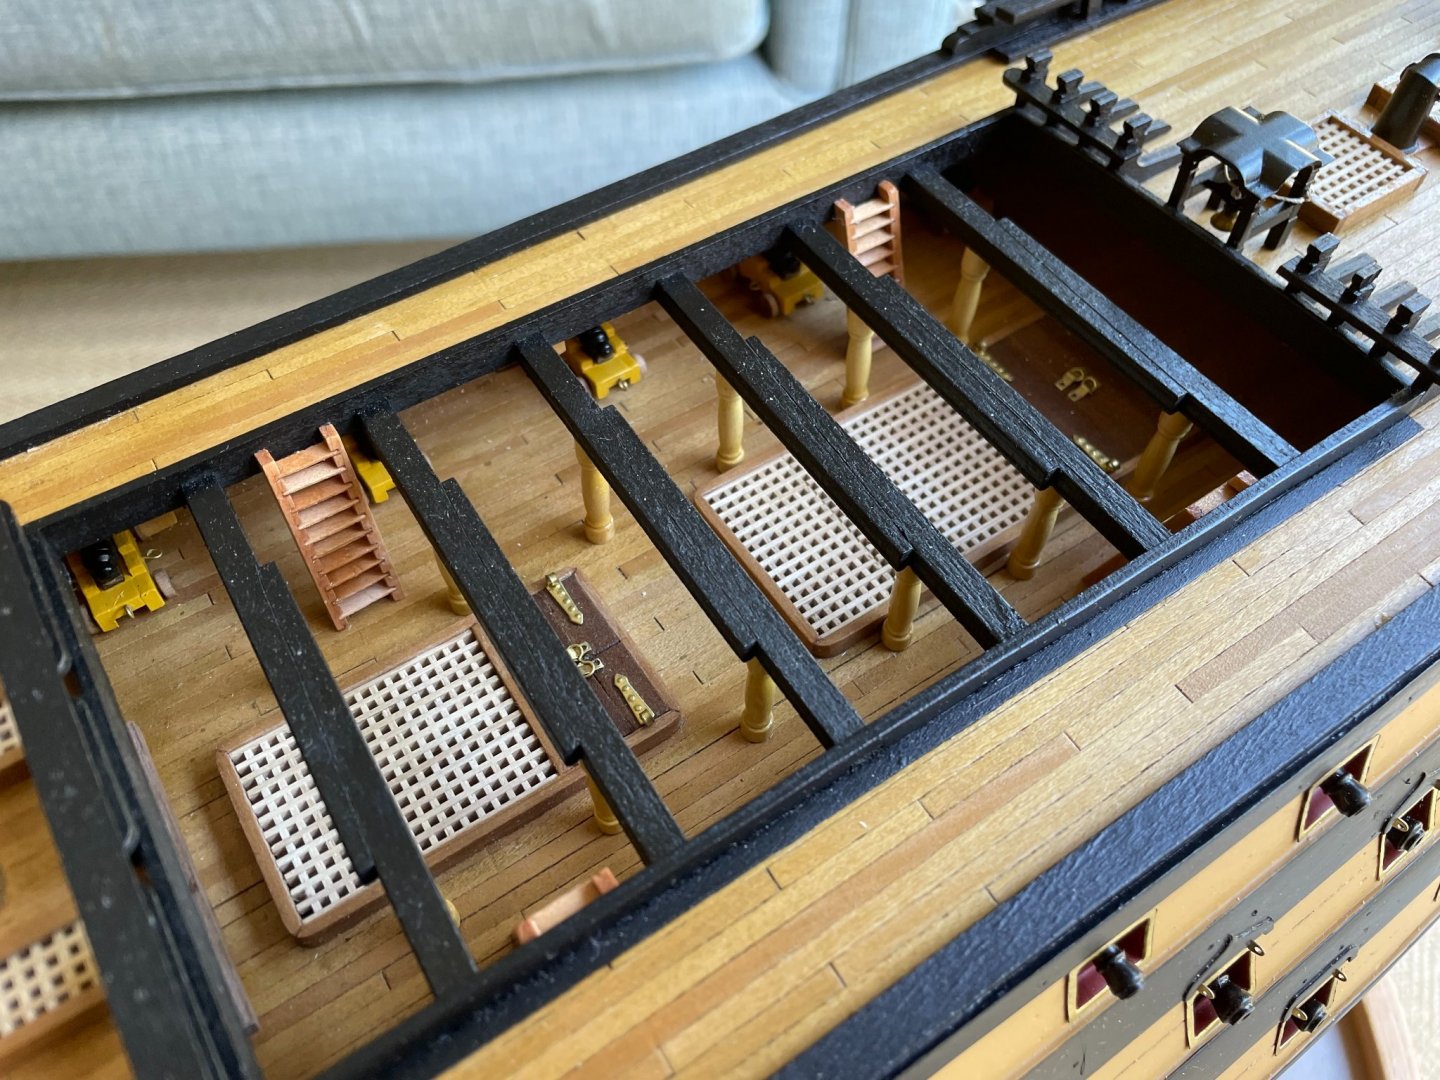
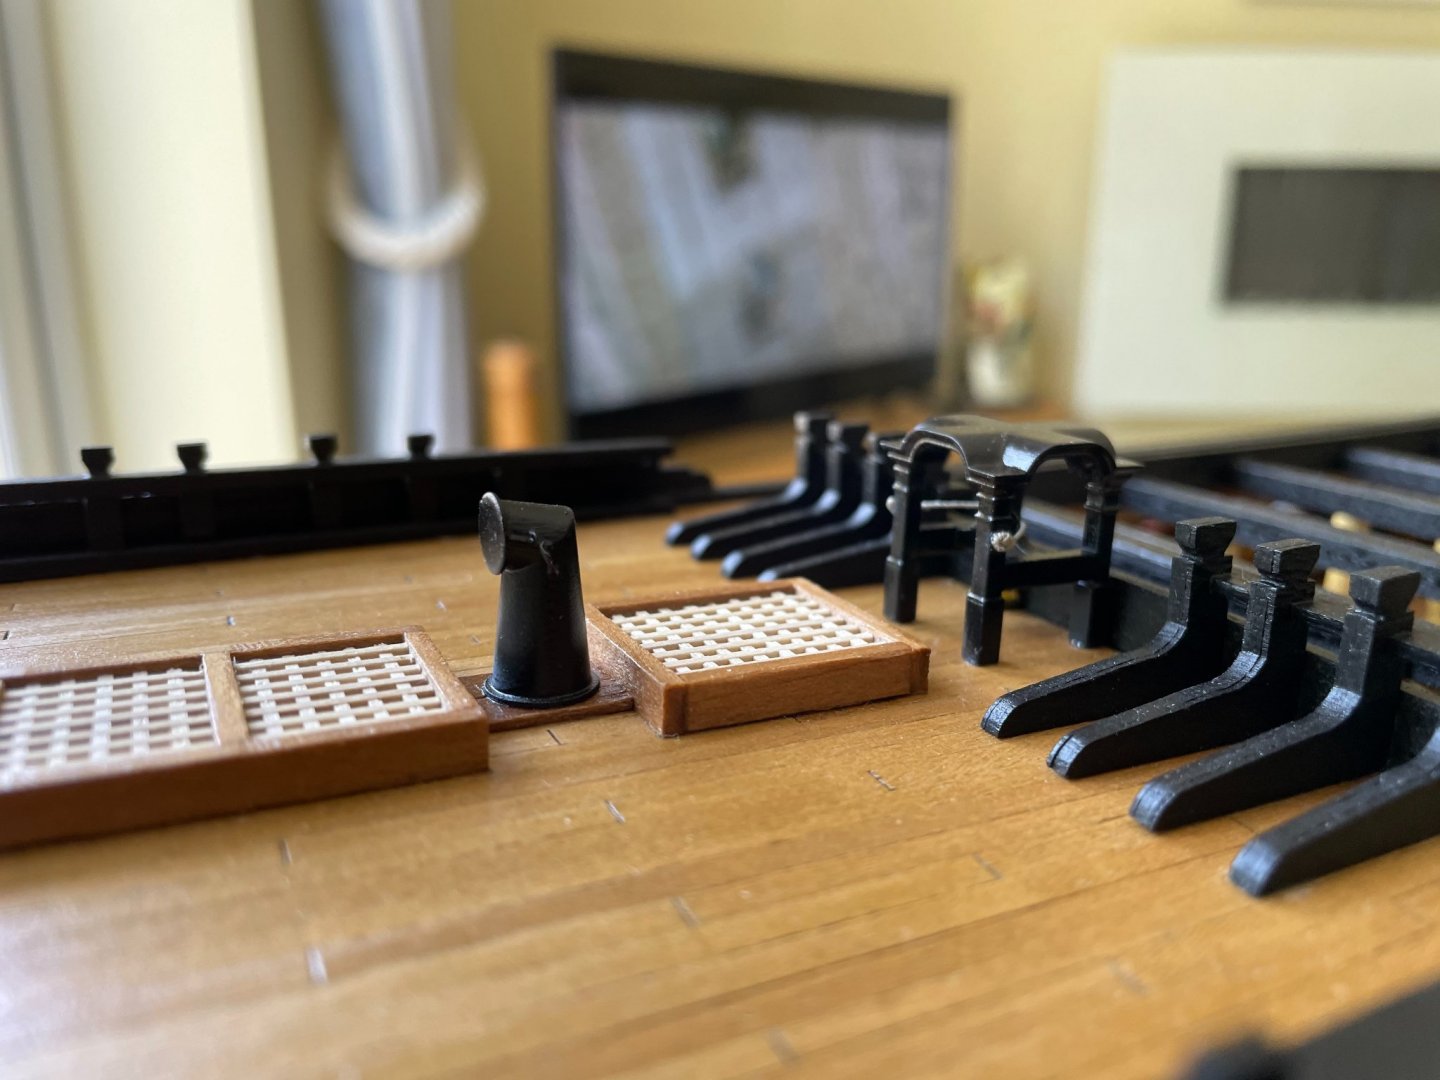
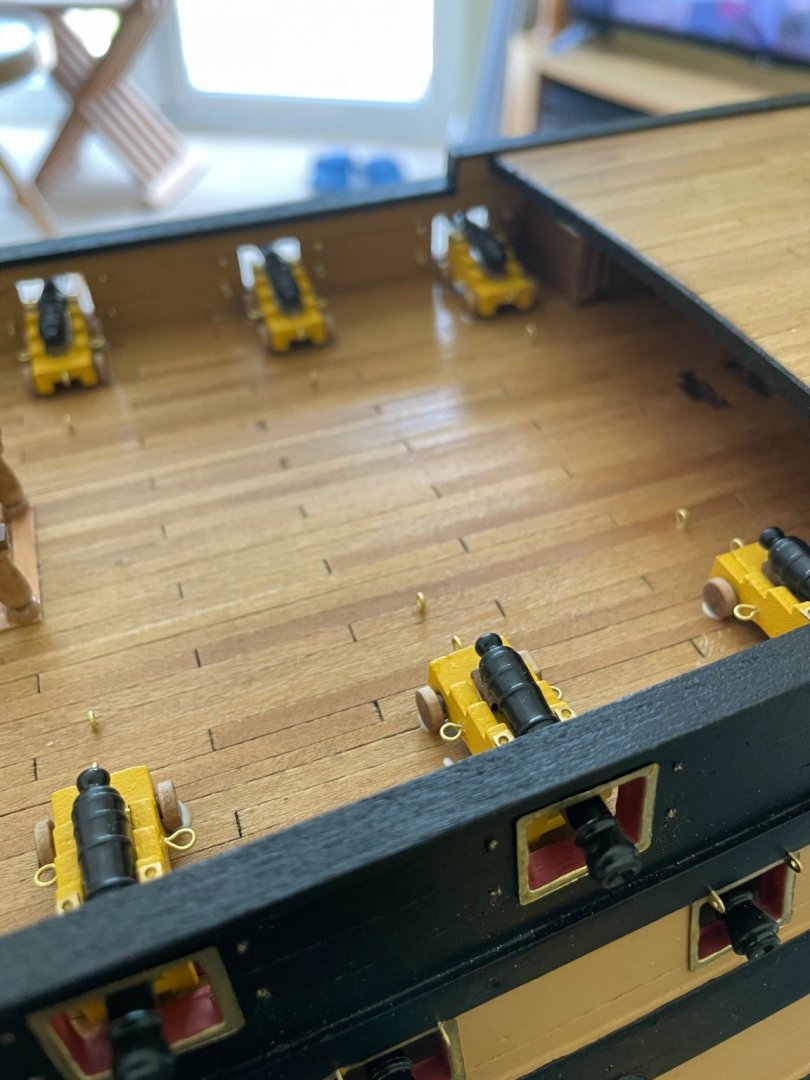
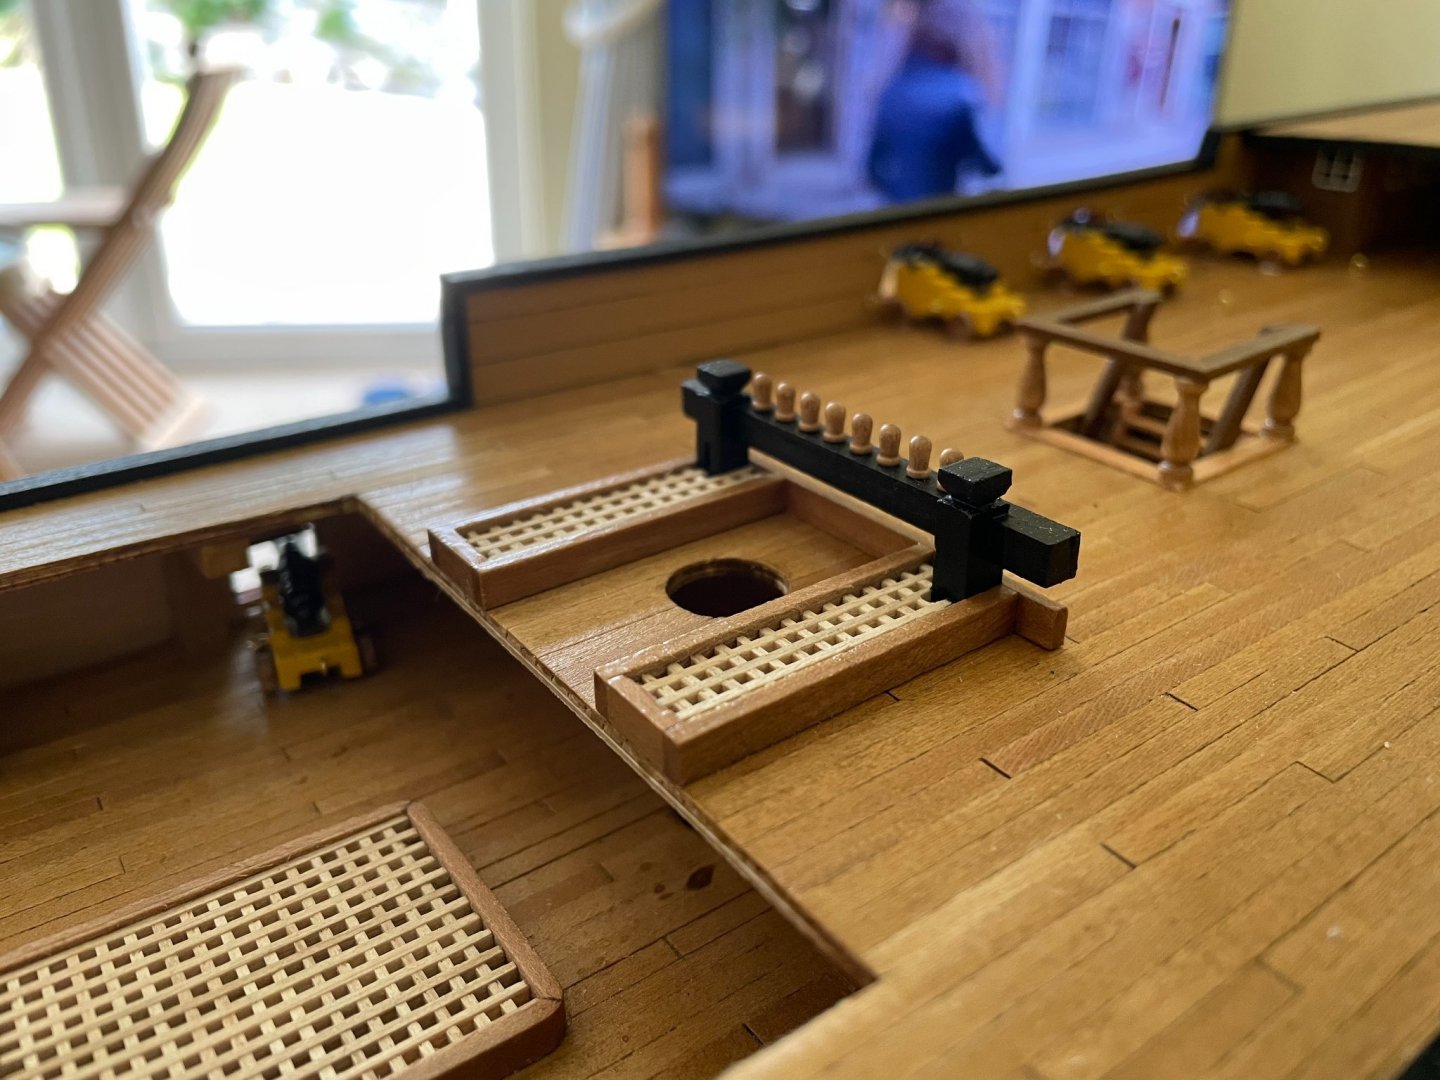
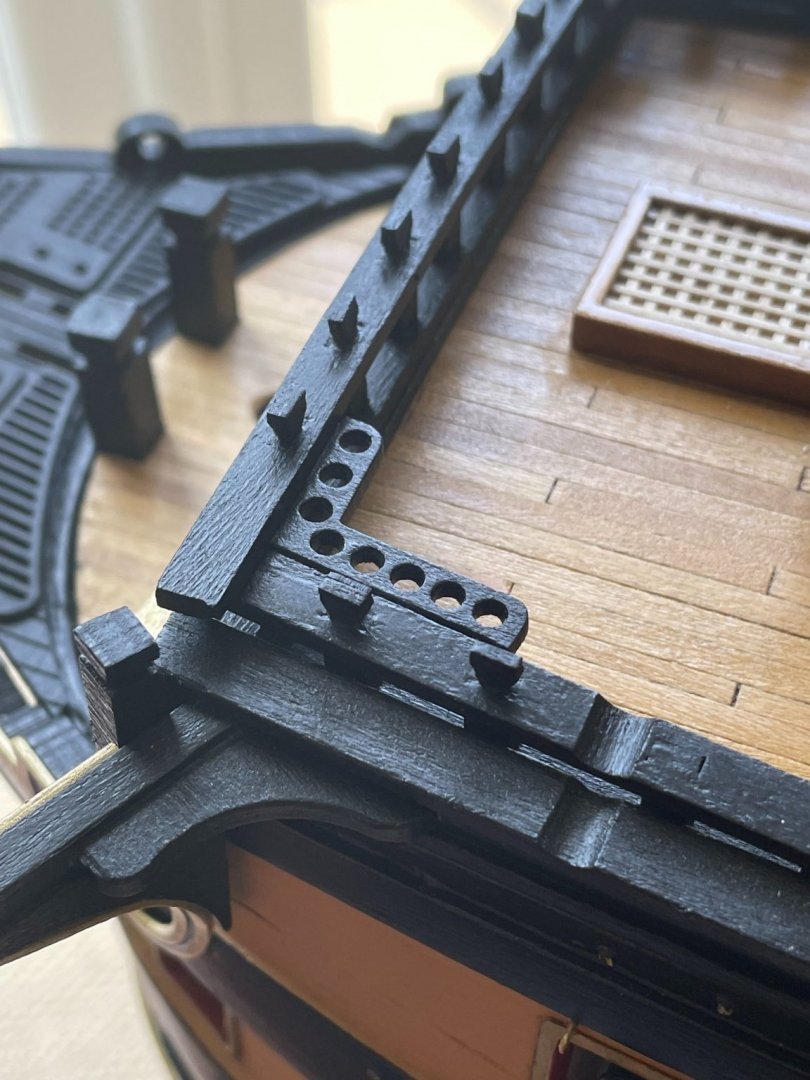
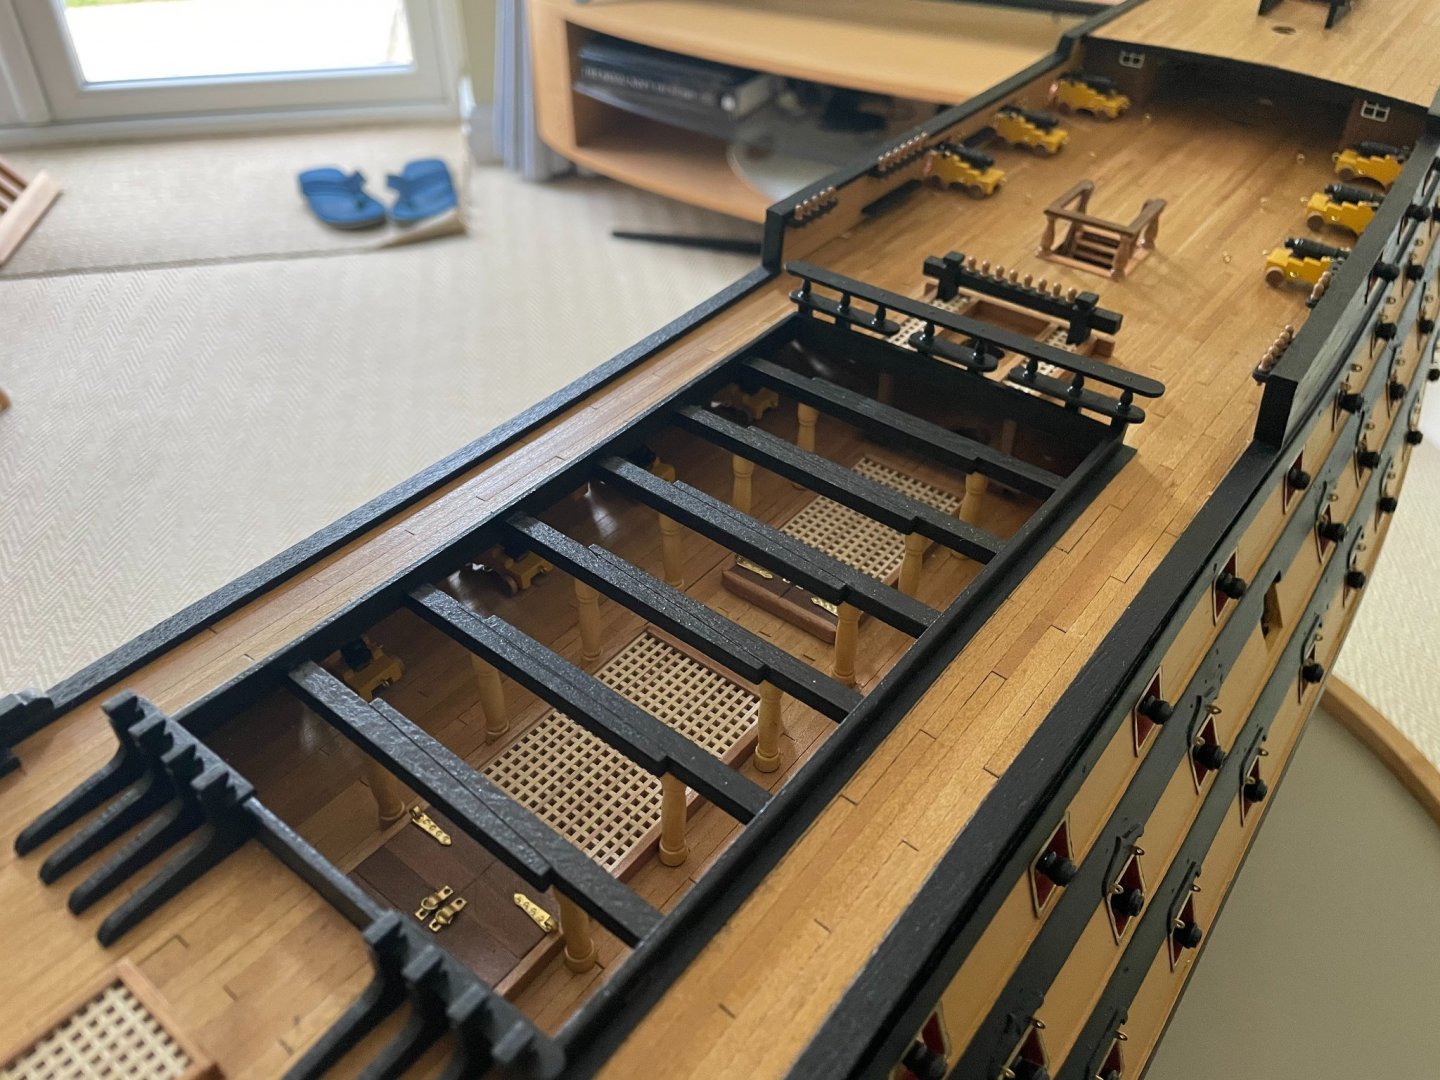
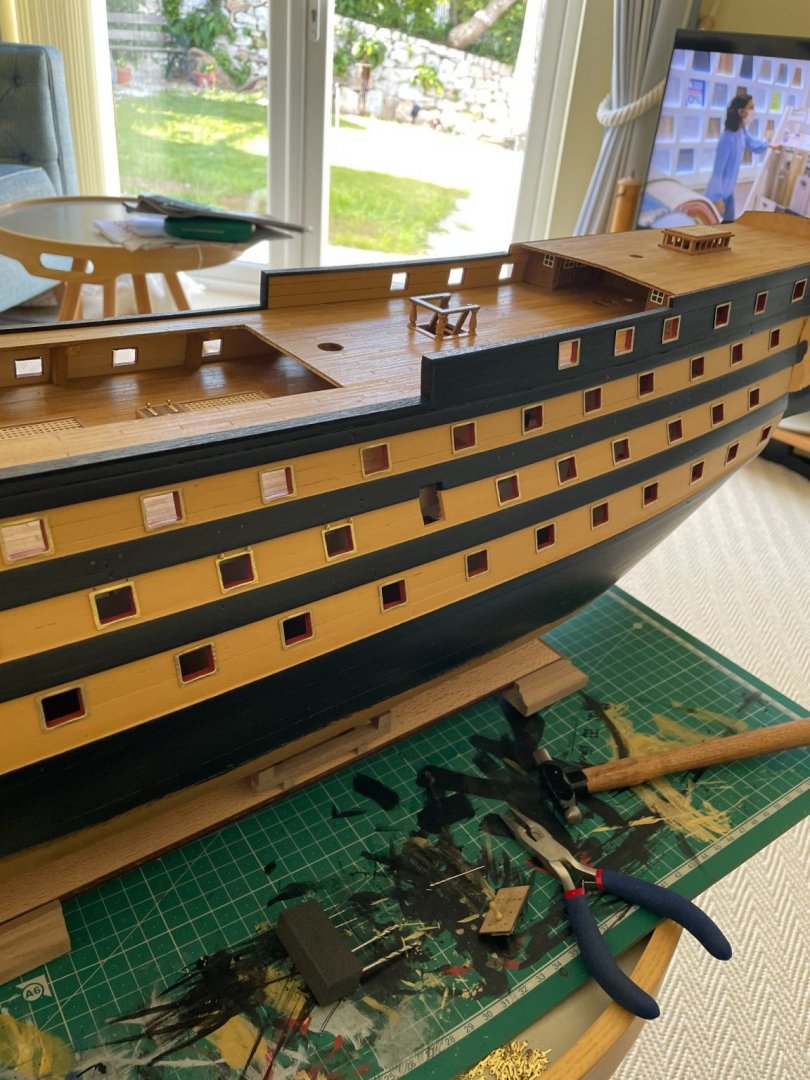
Some final upper deck details. It's really rewarding starting to see what was just a few skeleton parts and paints start to look like a real detailed ship. With the cannons all fixed in place I had the fiddly task of tying each one down with the correct ropework, and then had the little jobs like the stairways, classic HMS Victory buckets and binnacle, and a couple of classic naval barrels tied down to the deck. We're now reaching the final stage of the hull section before we move on to the masts. Left to do are the canon port doors and a few little details. Stay tuned for more!


-
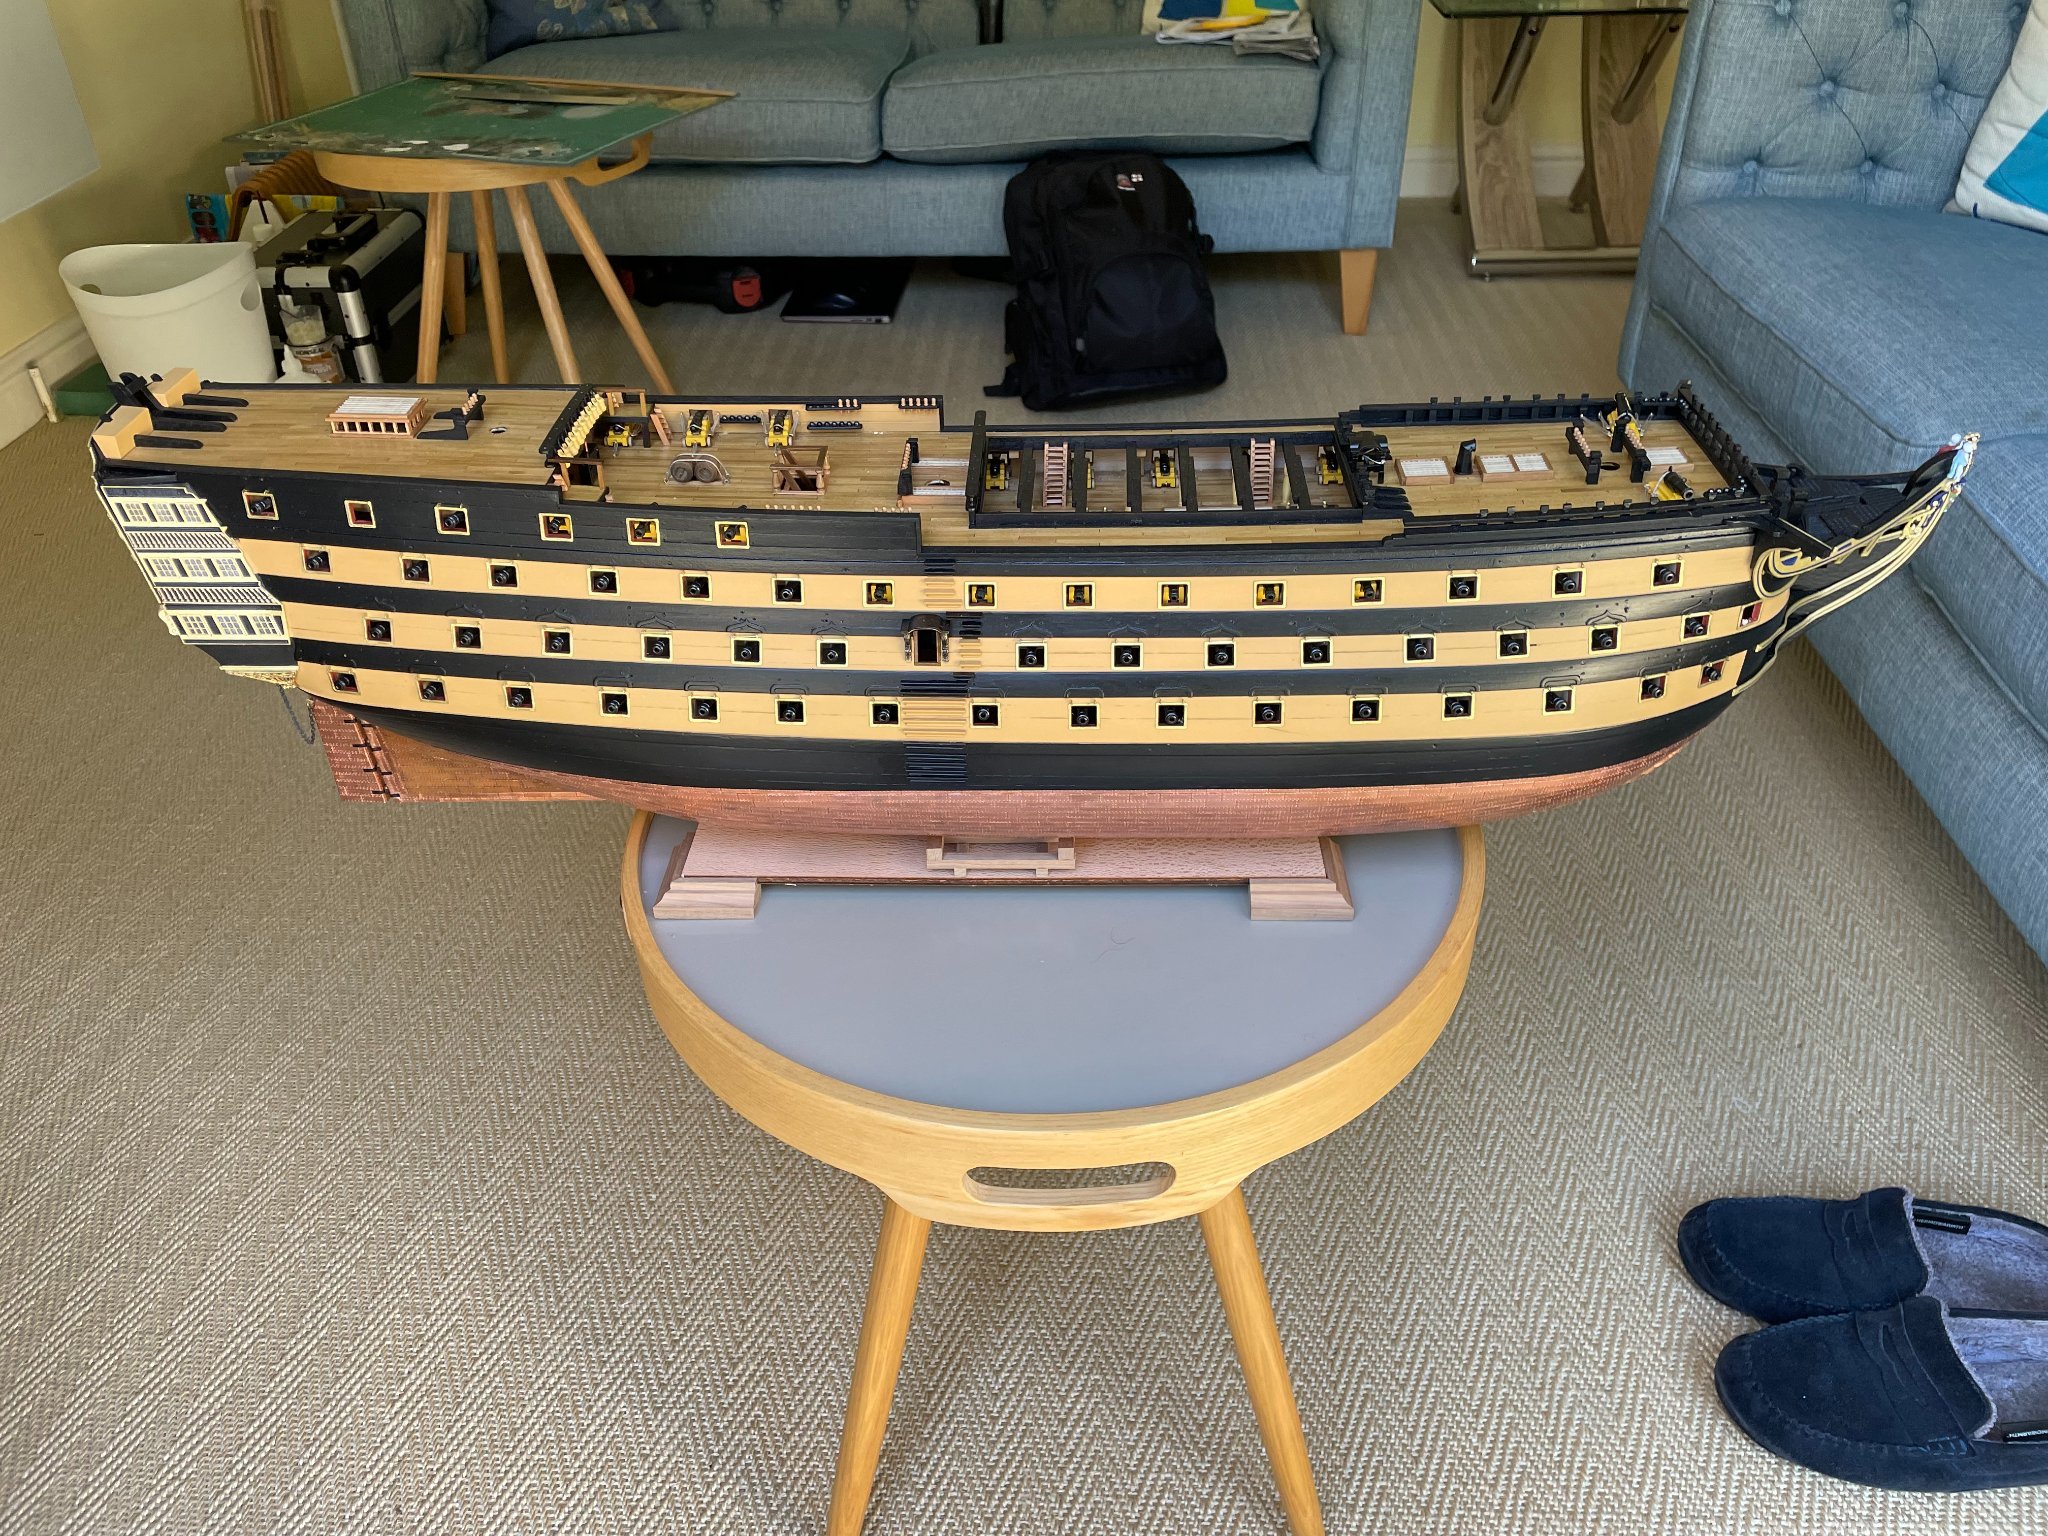
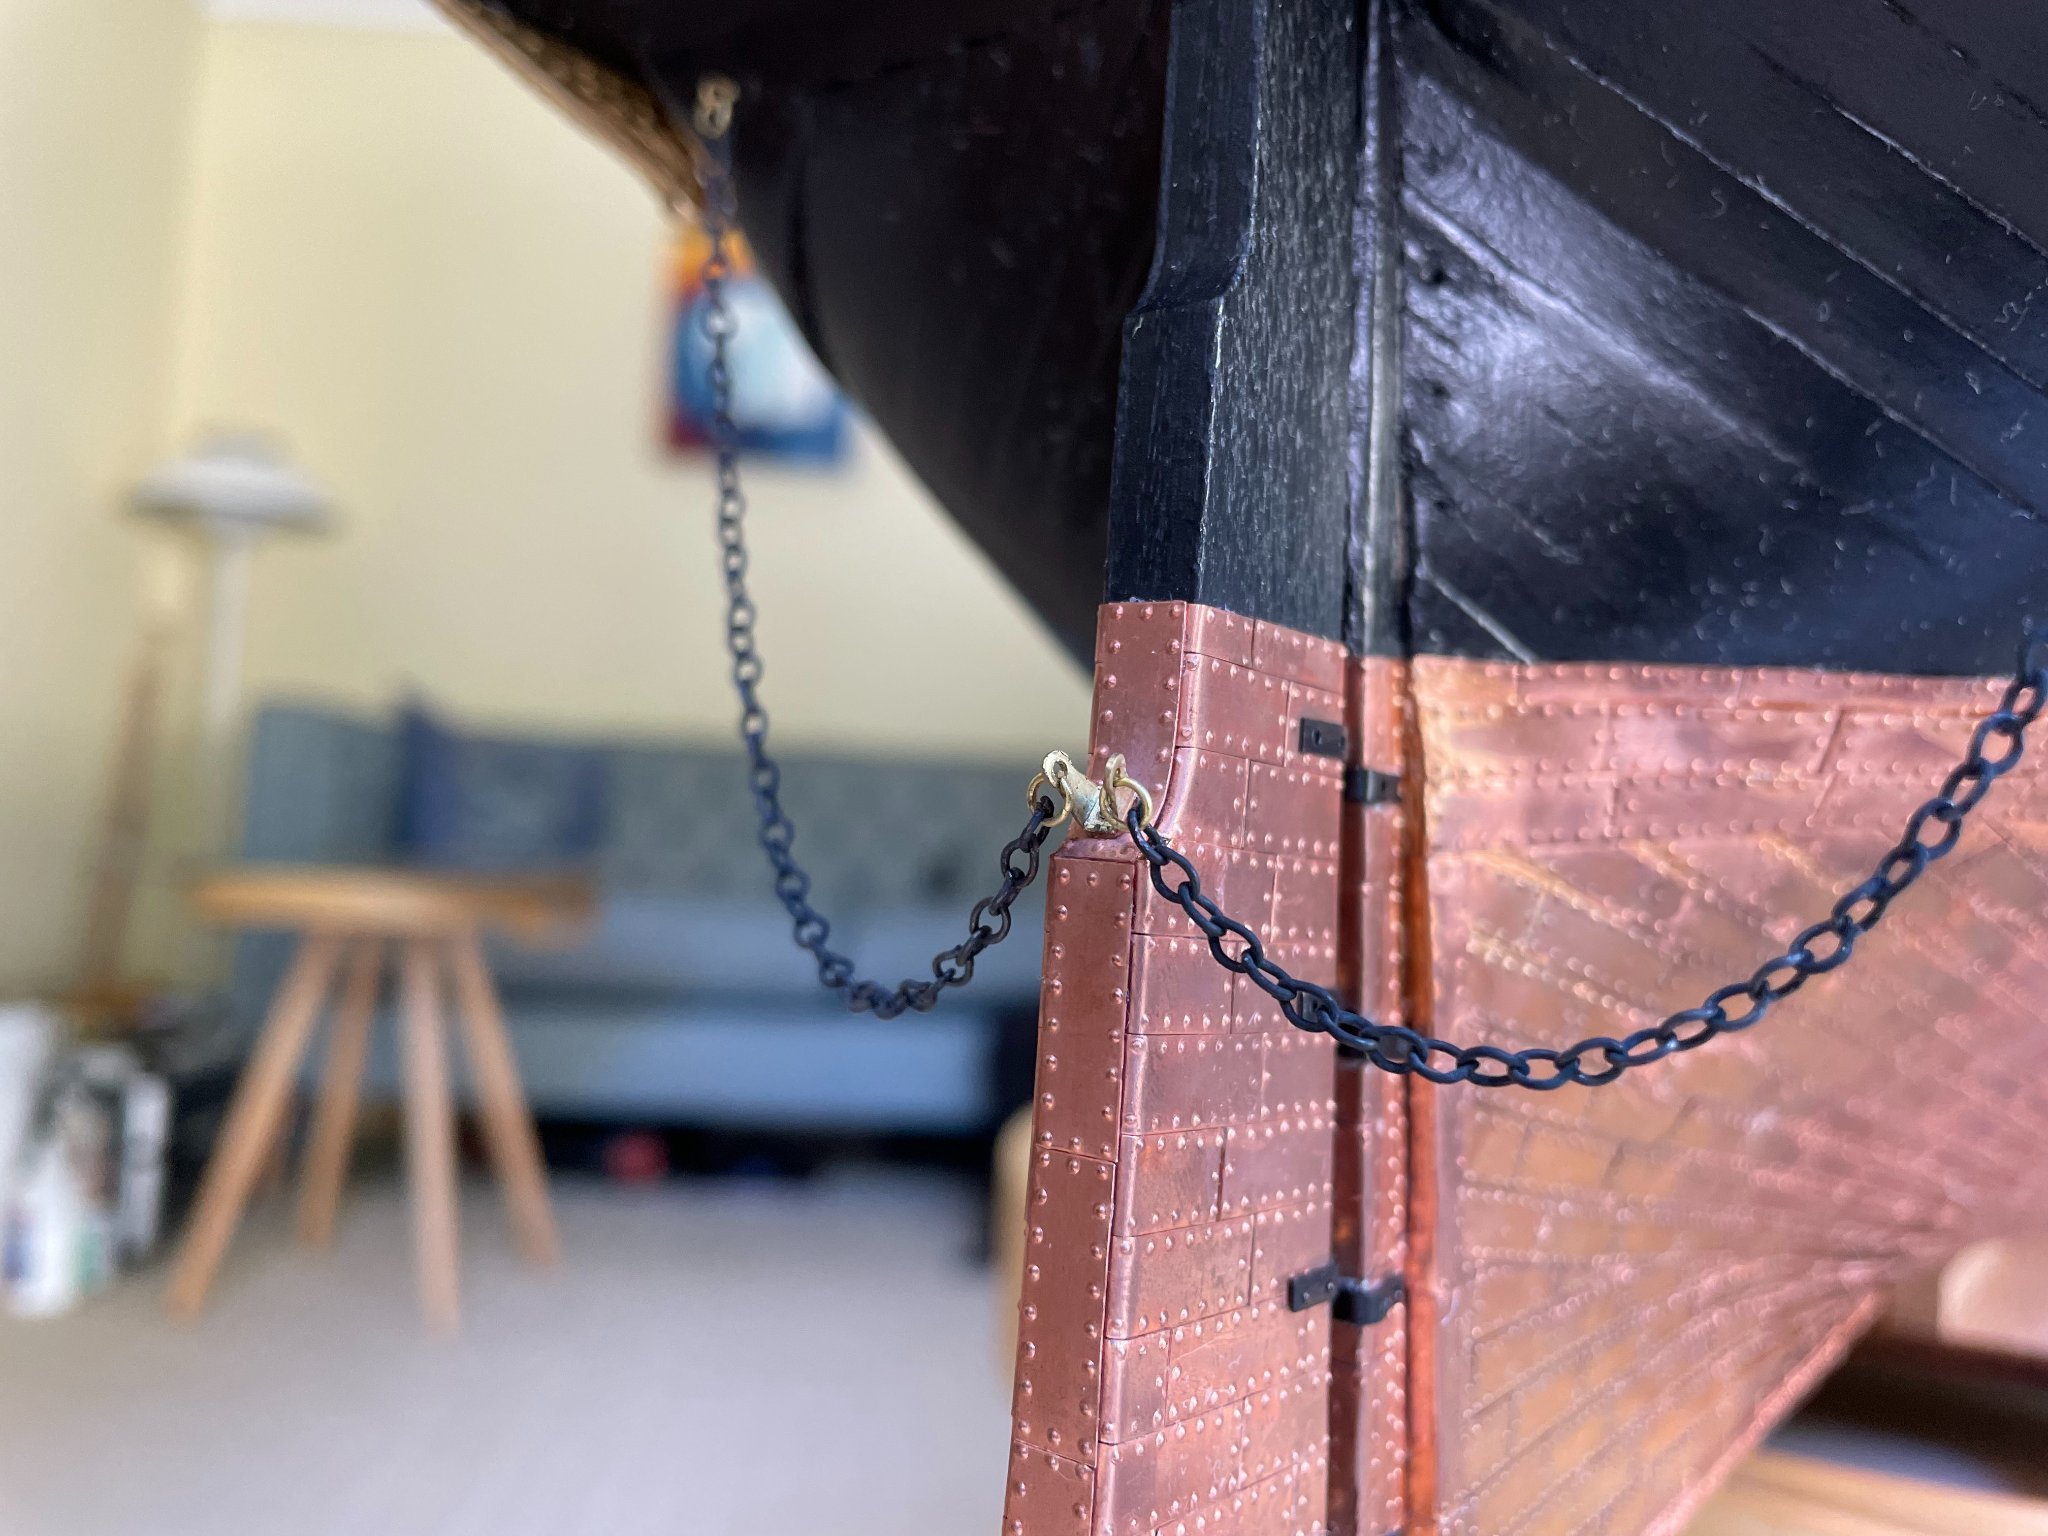
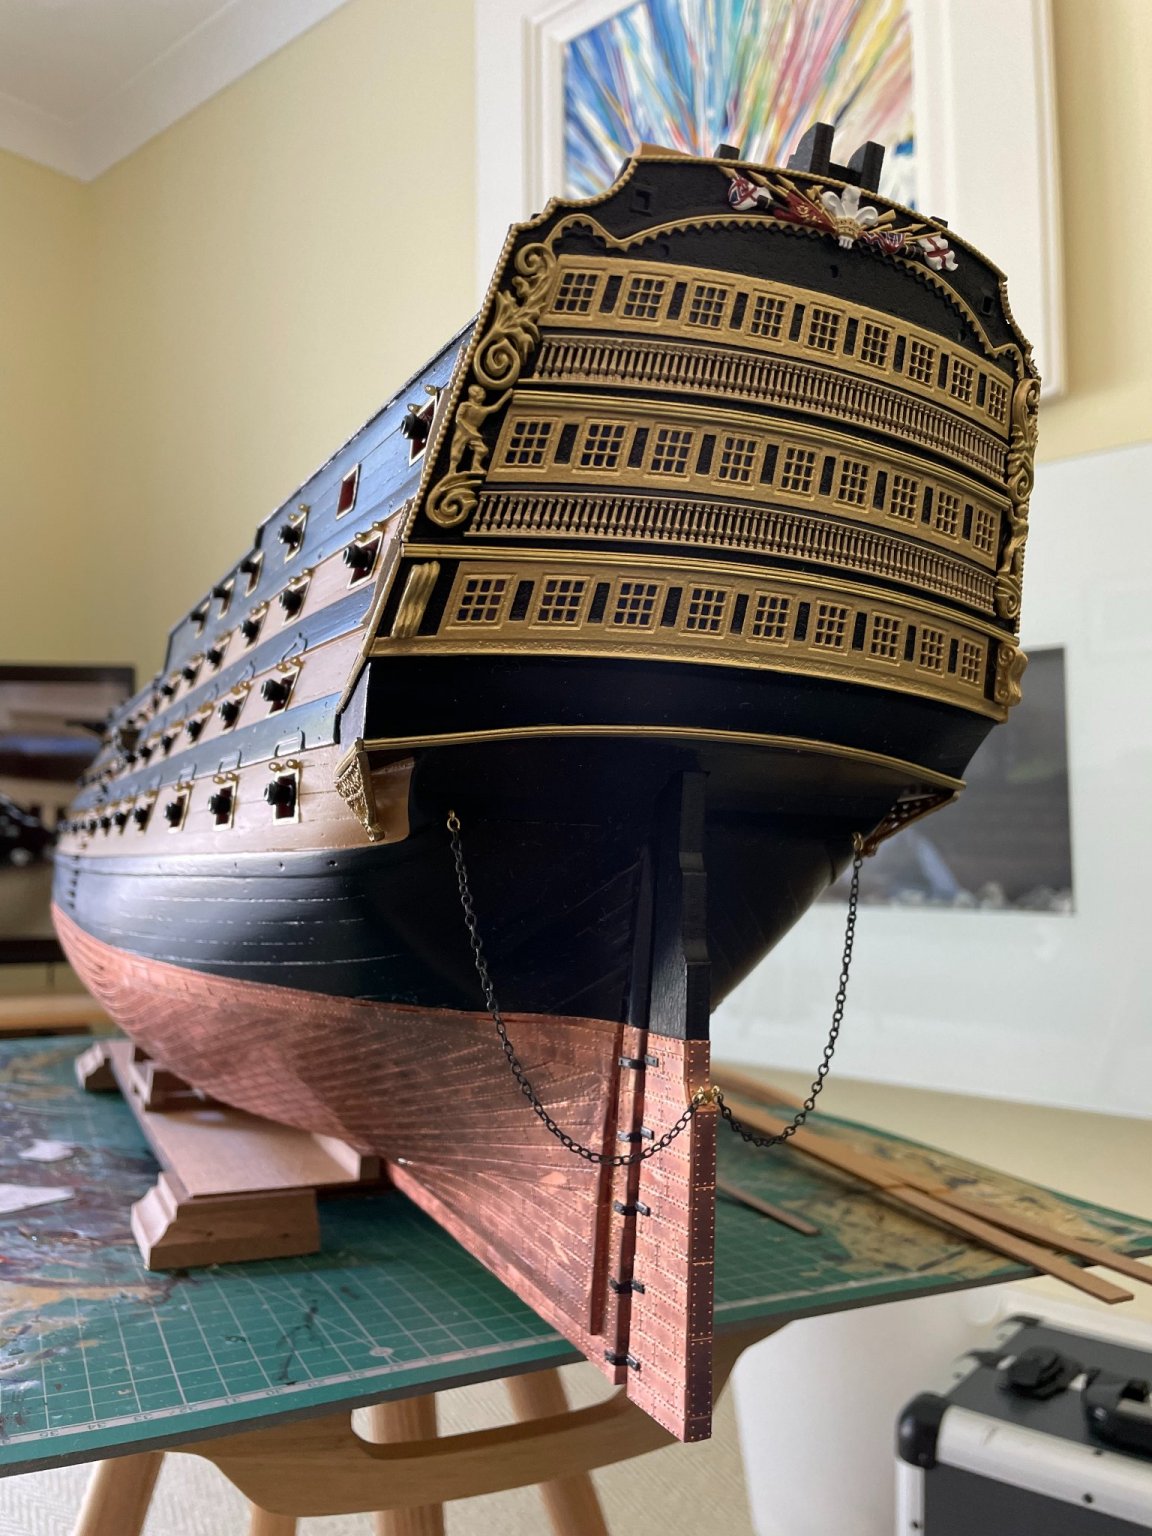
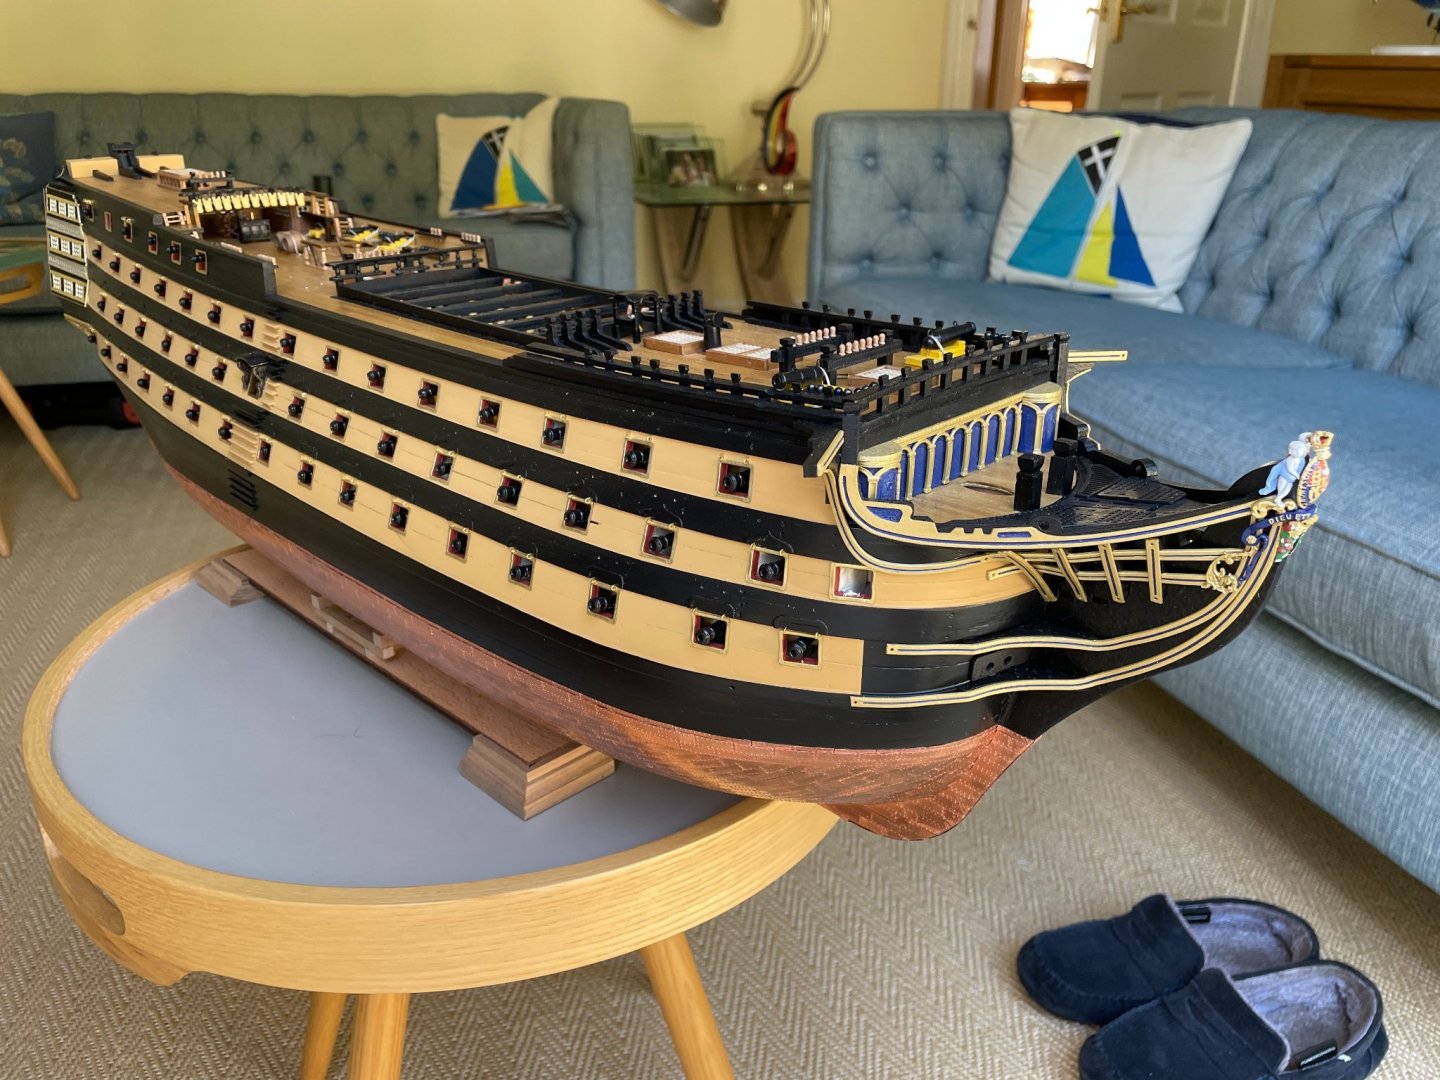
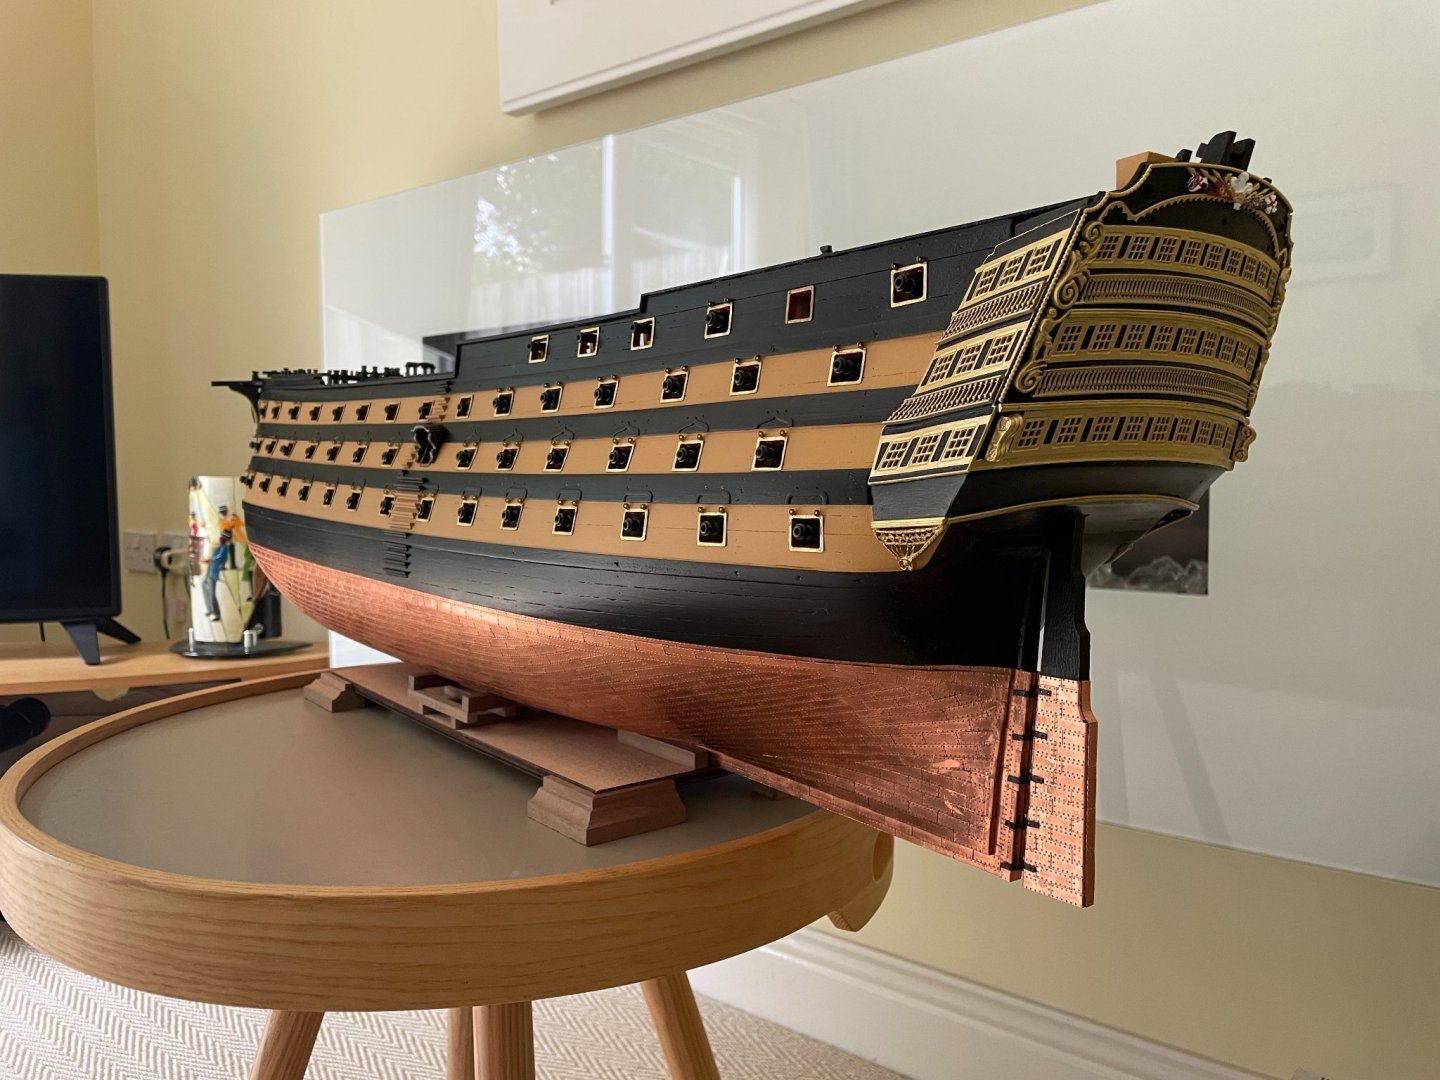
Rudder time! After a fiddly time with the rudder fixings and covering up a few messy super glue marks it slotted right in to place. With the addition of some hooks and chain the hull is now officially complete!


-
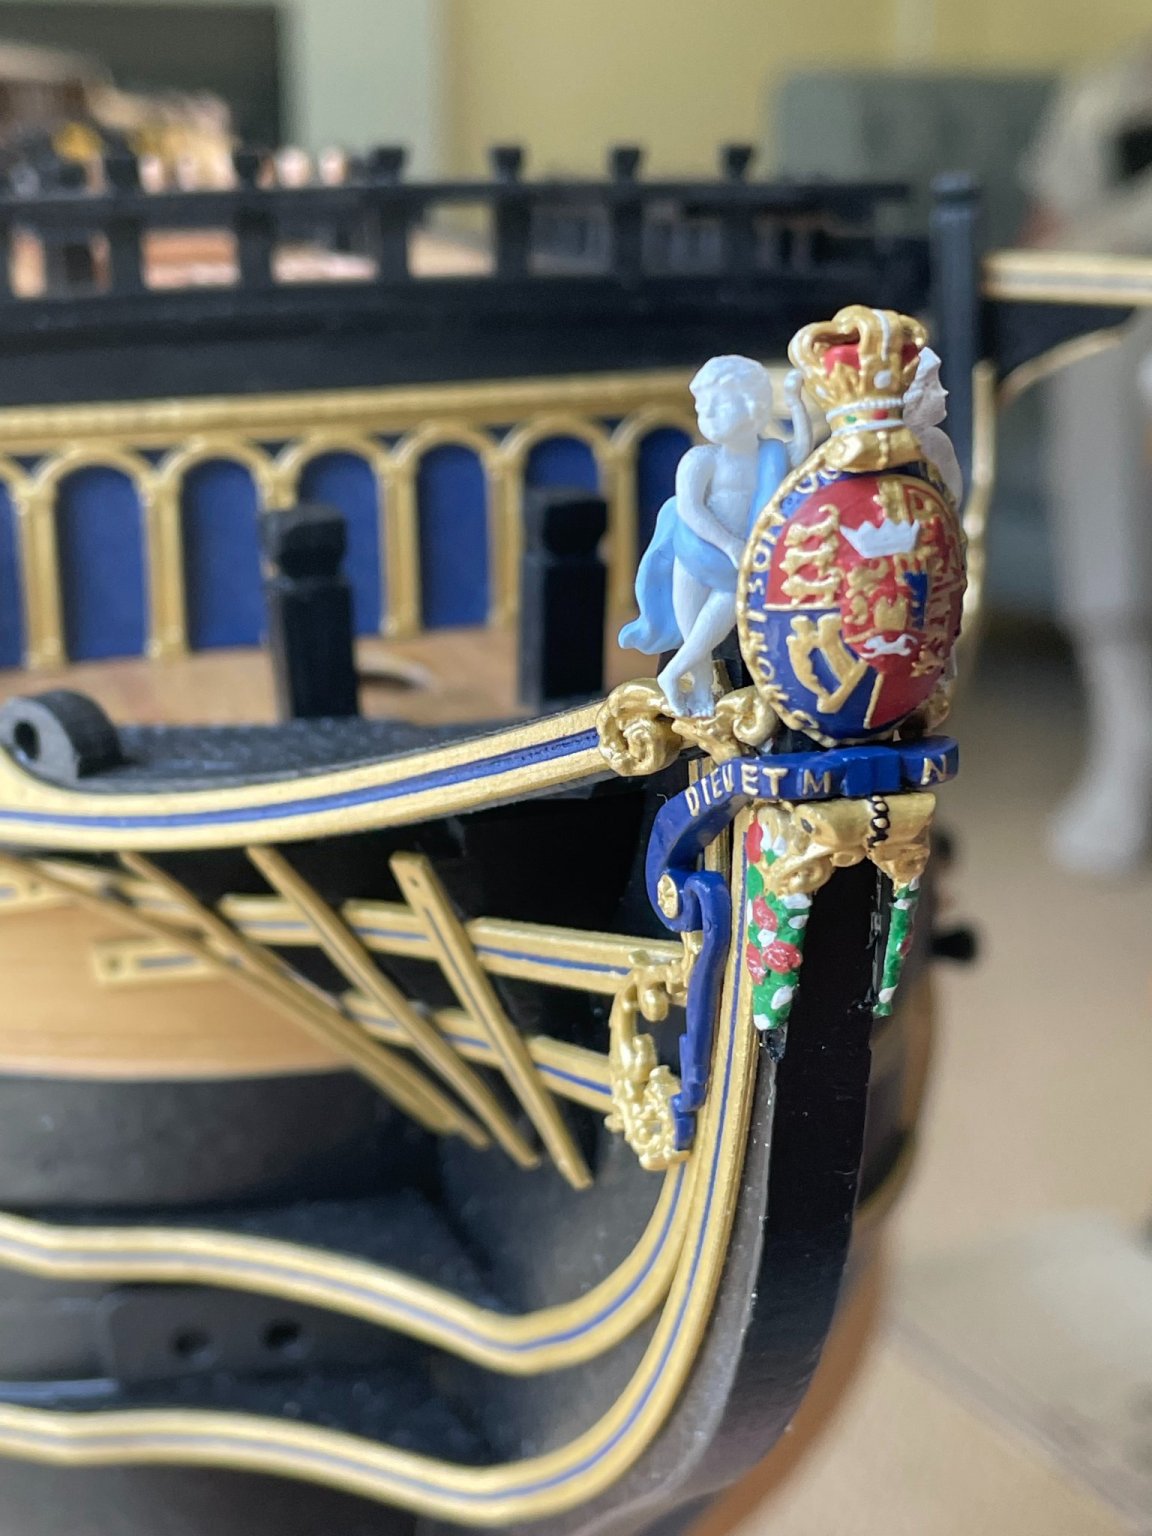
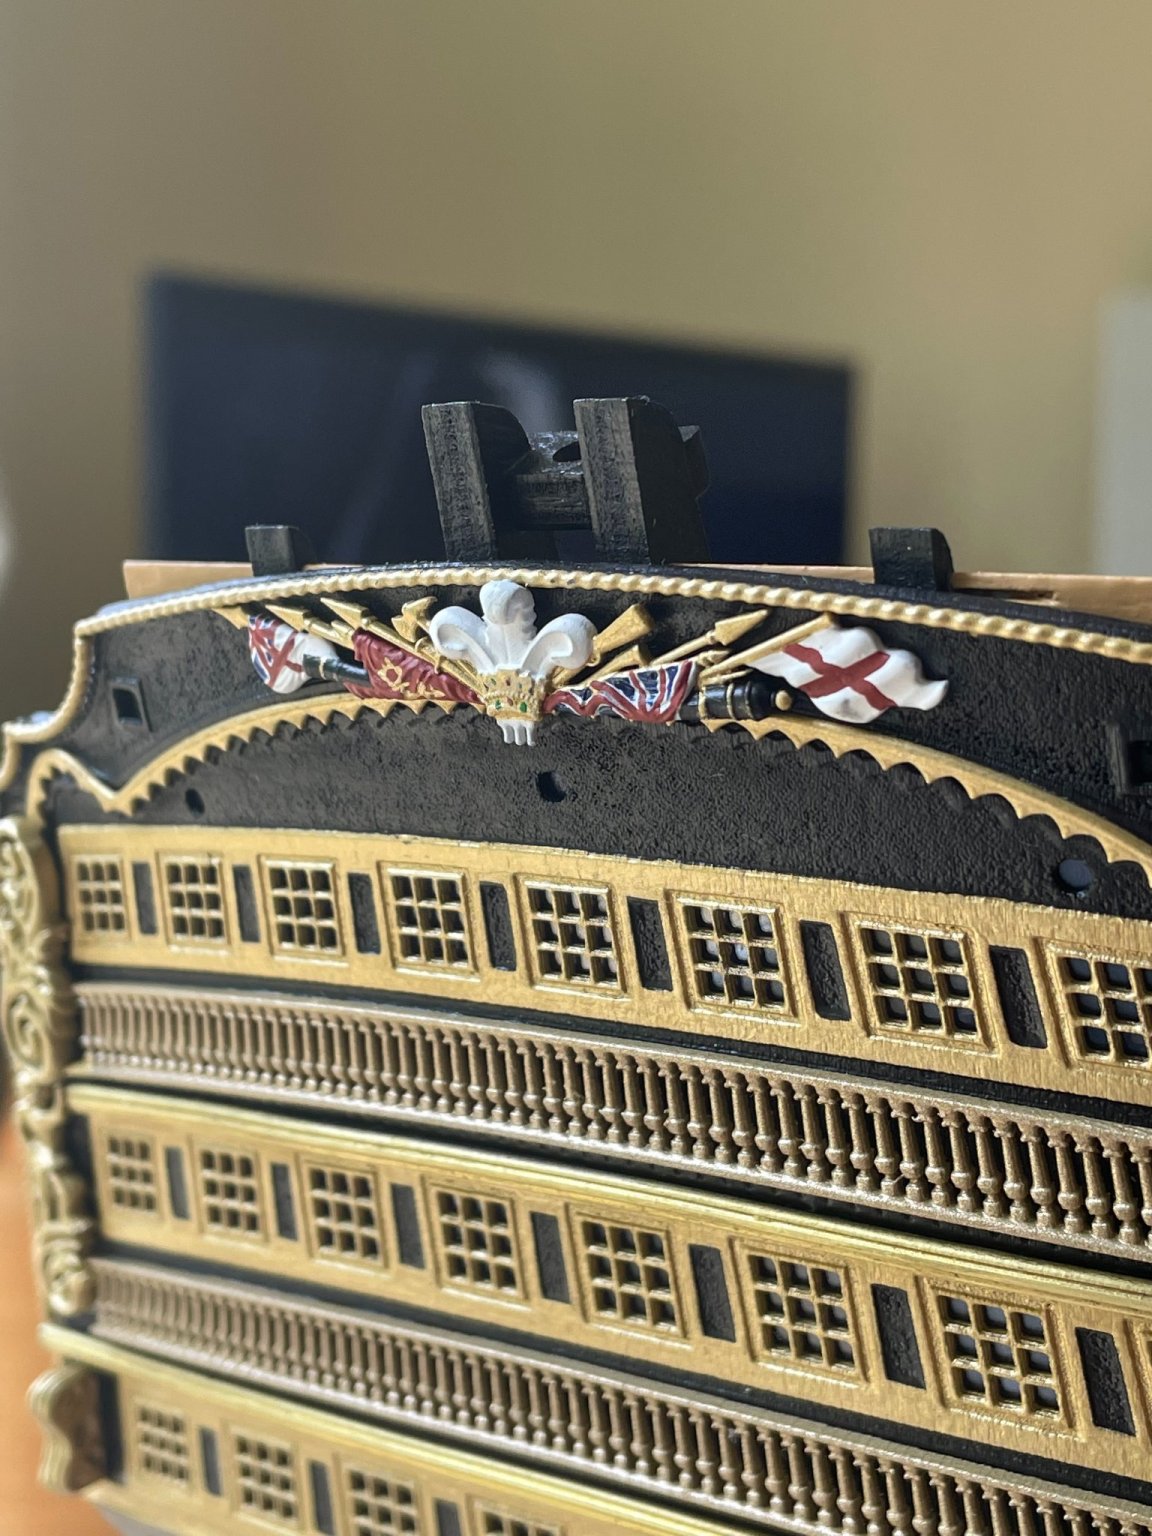
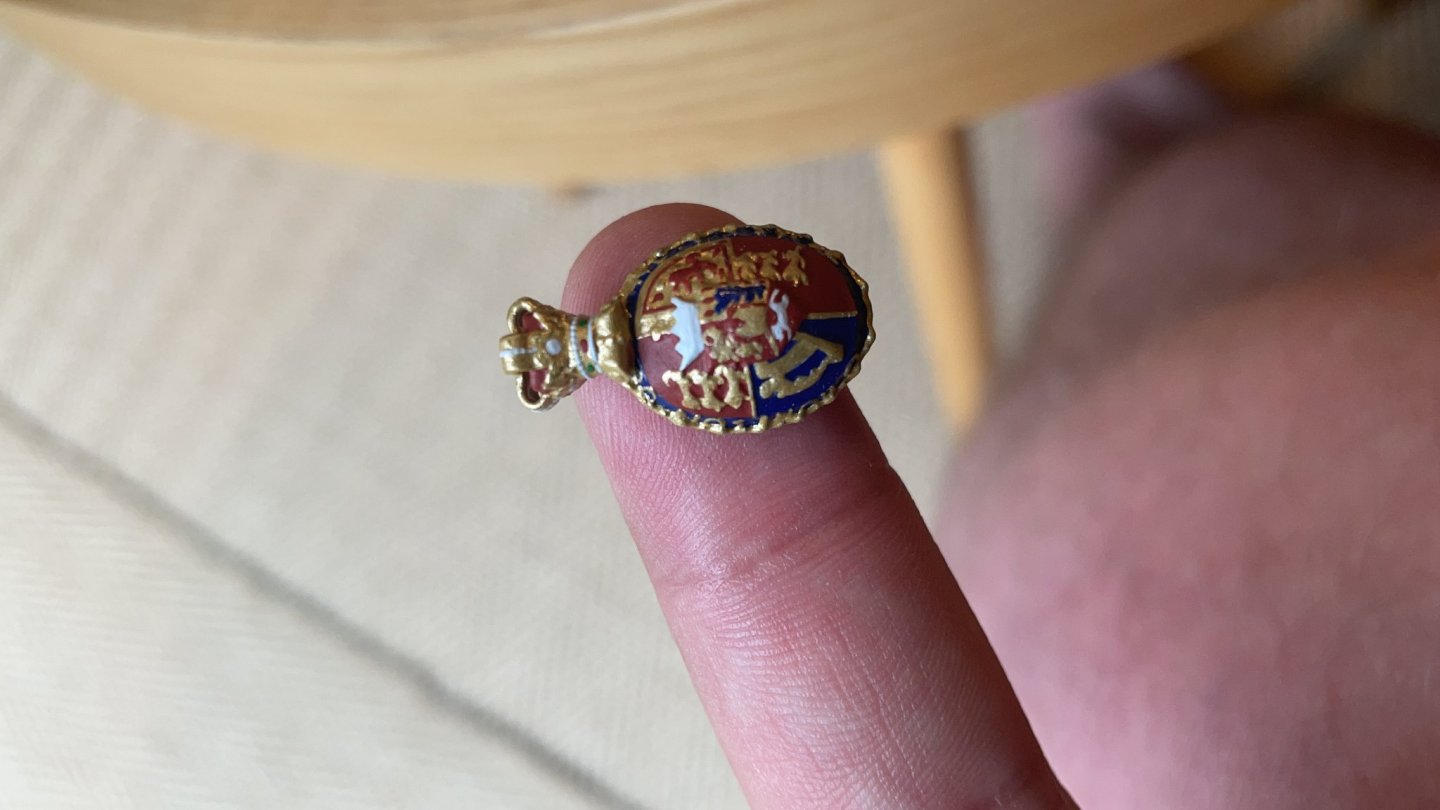
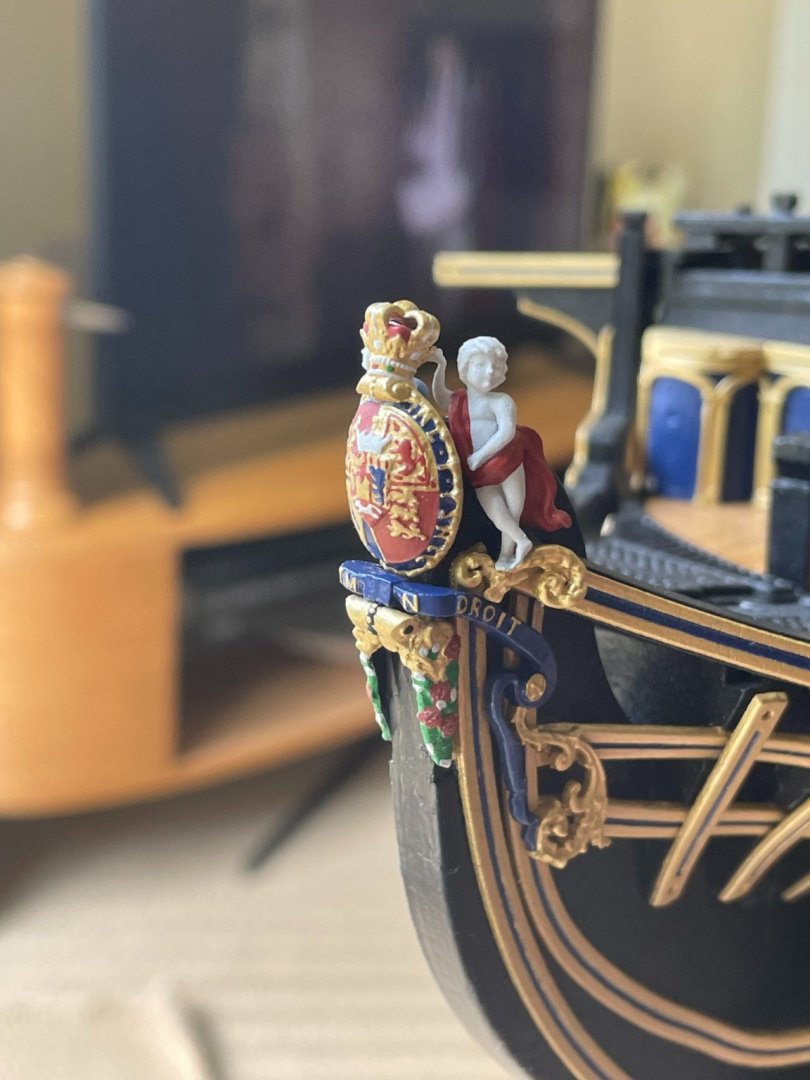
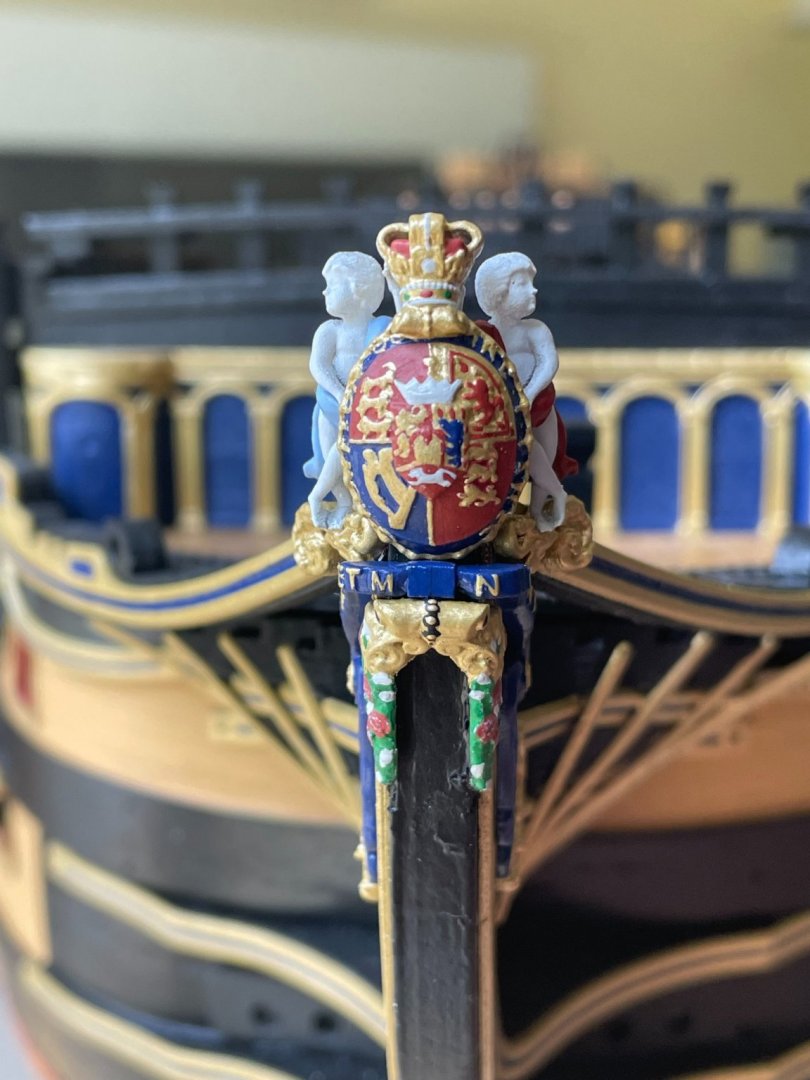
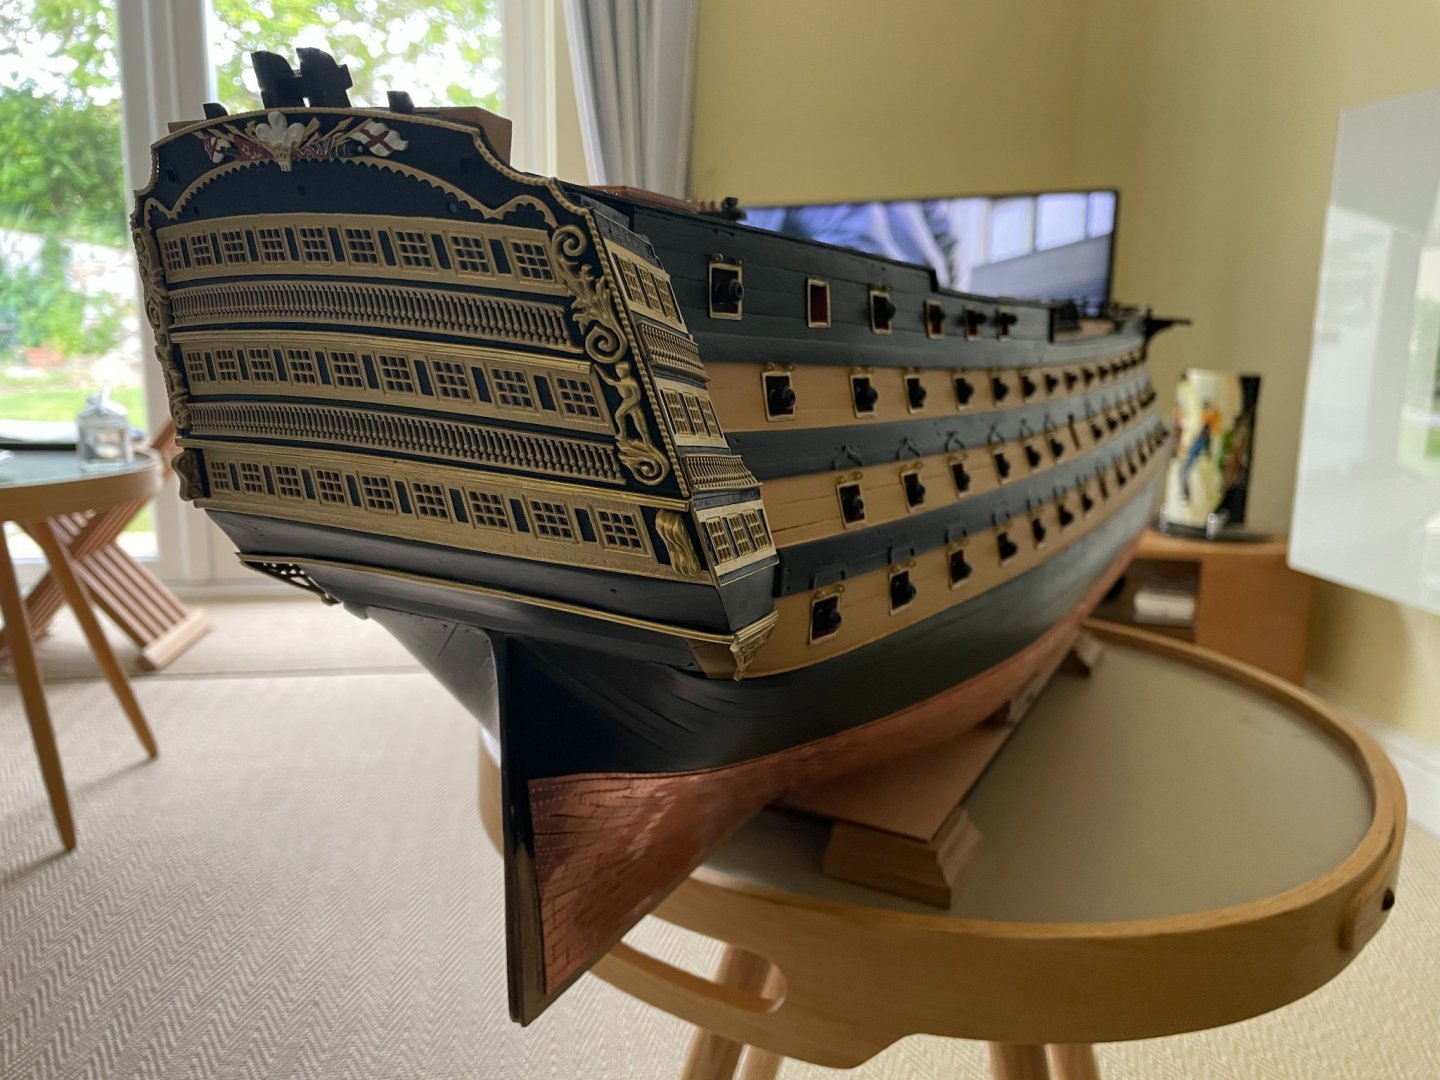
One of my favourite parts of the ship are these two highly detailed parts. The original kit supplies you with some thick cast details for the figurehead and stern cabin details, so I replaced these with 3D parts once again. I got my tiniest paint brushes out for these and I'm so happy with how they came out.


-
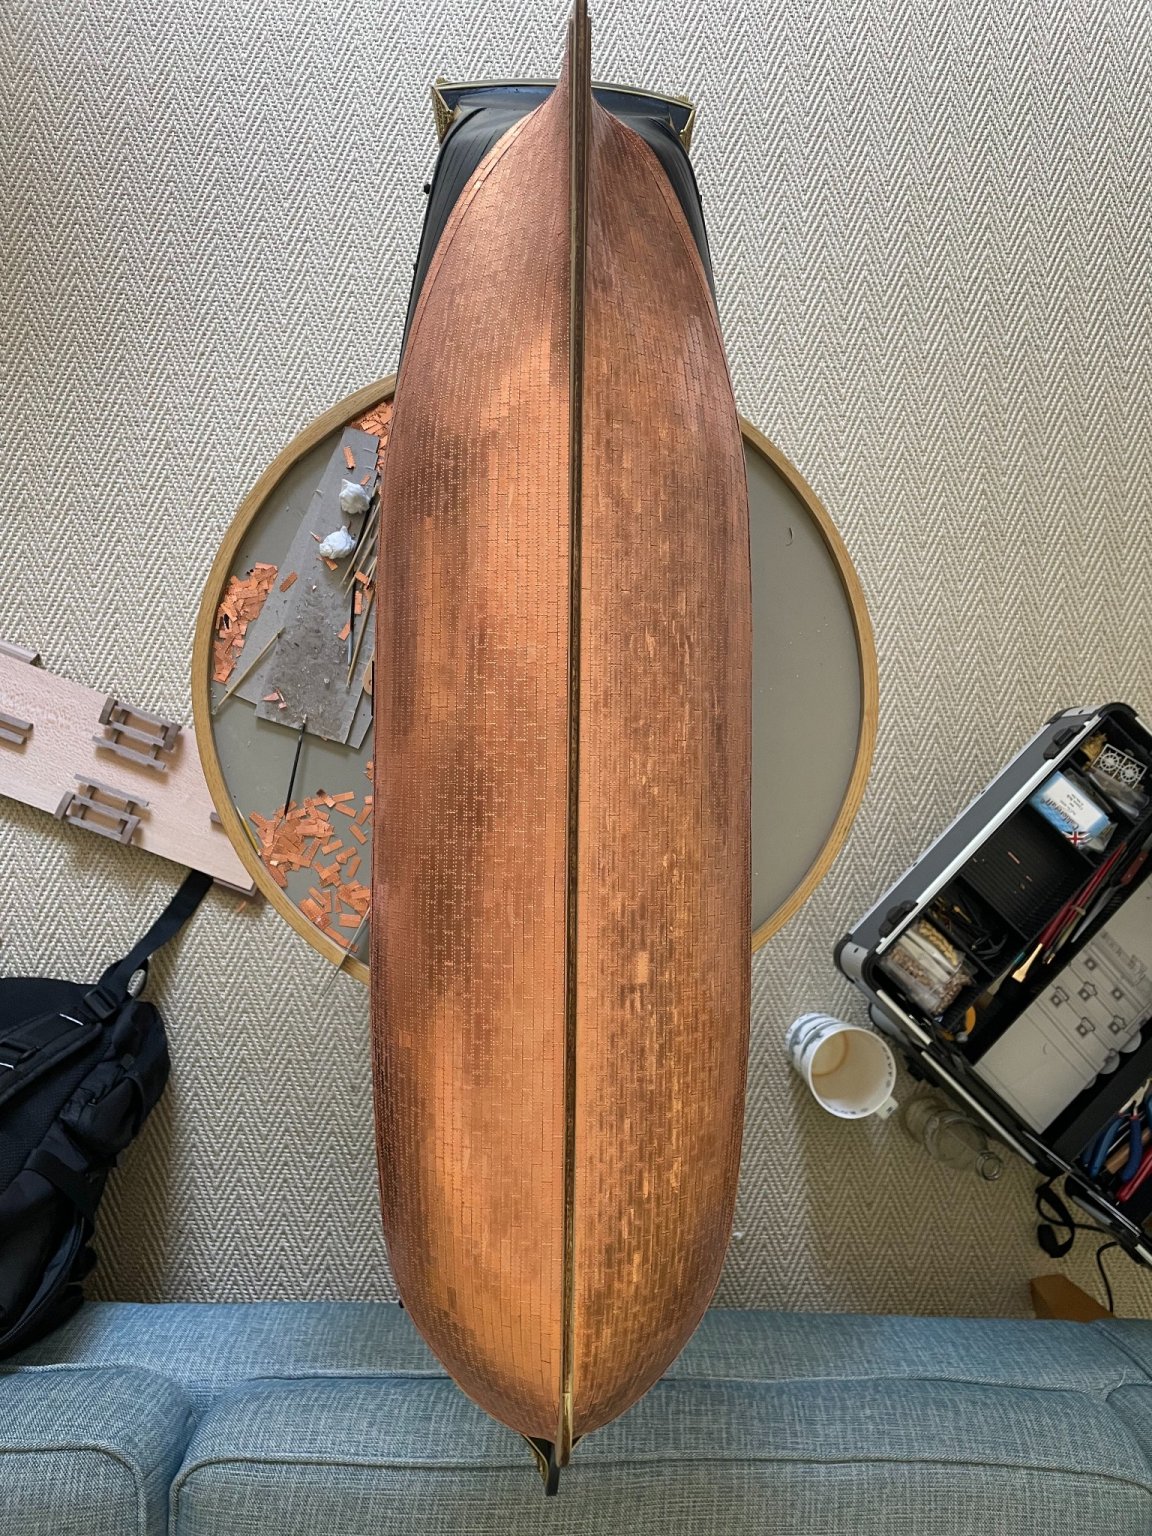
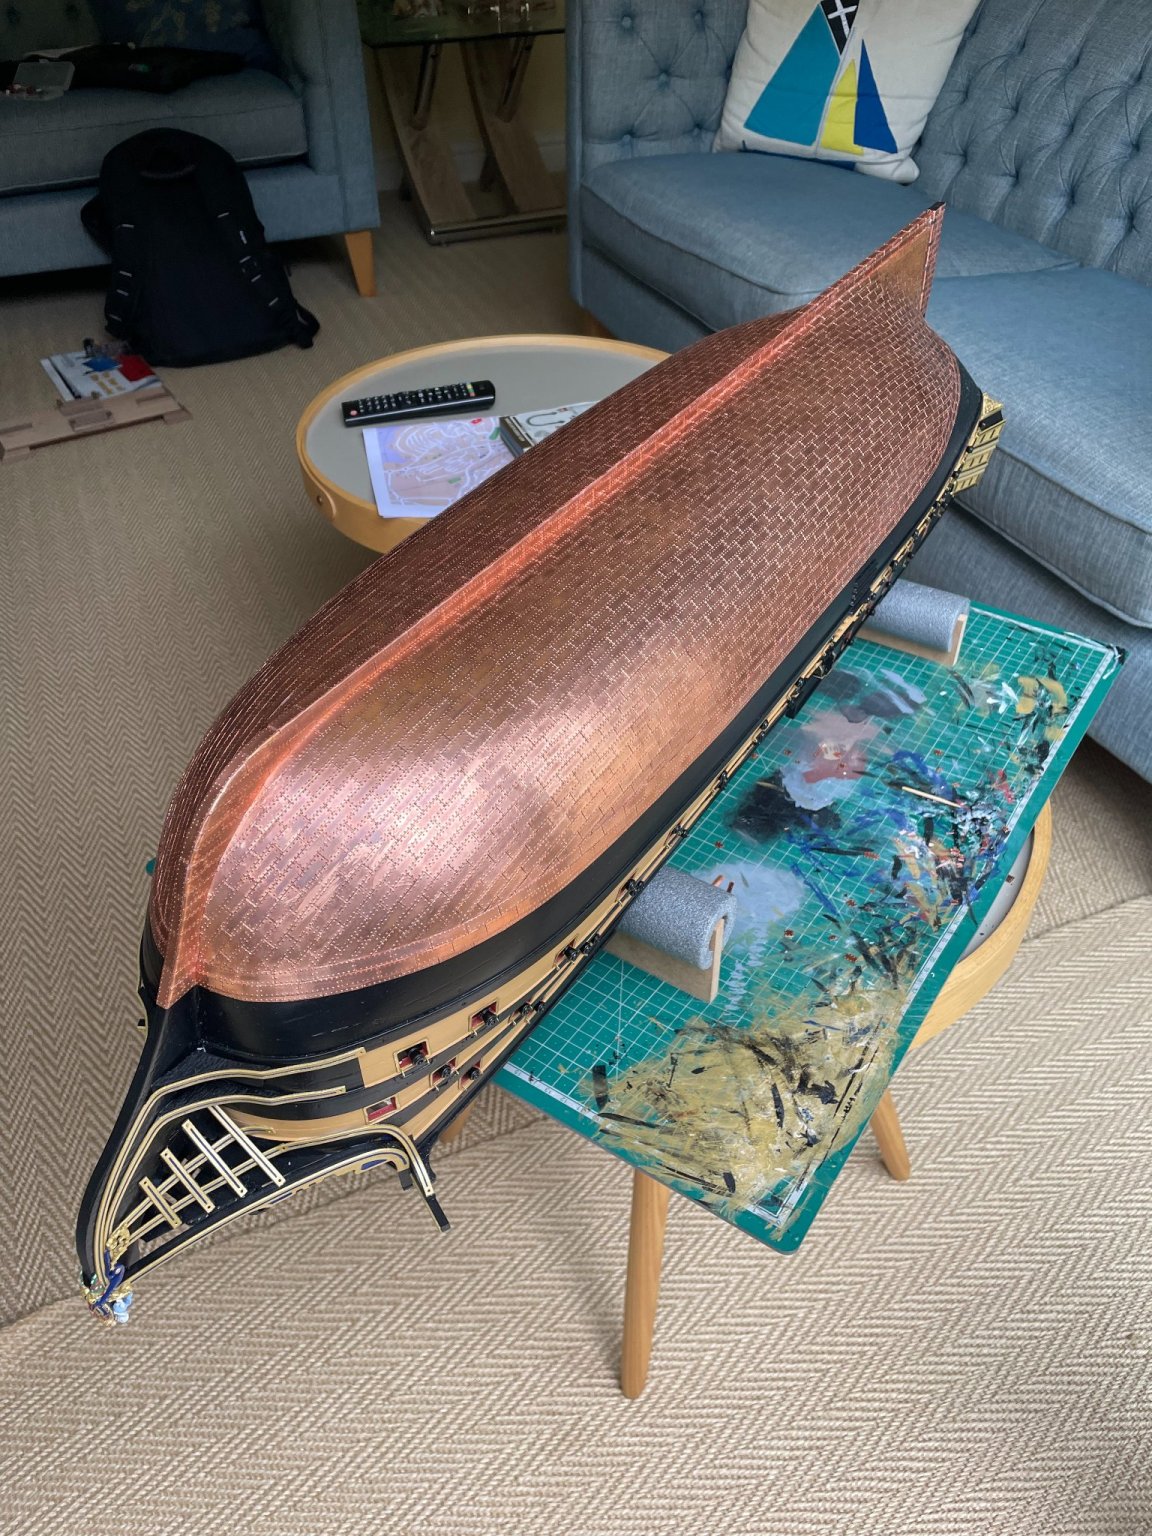
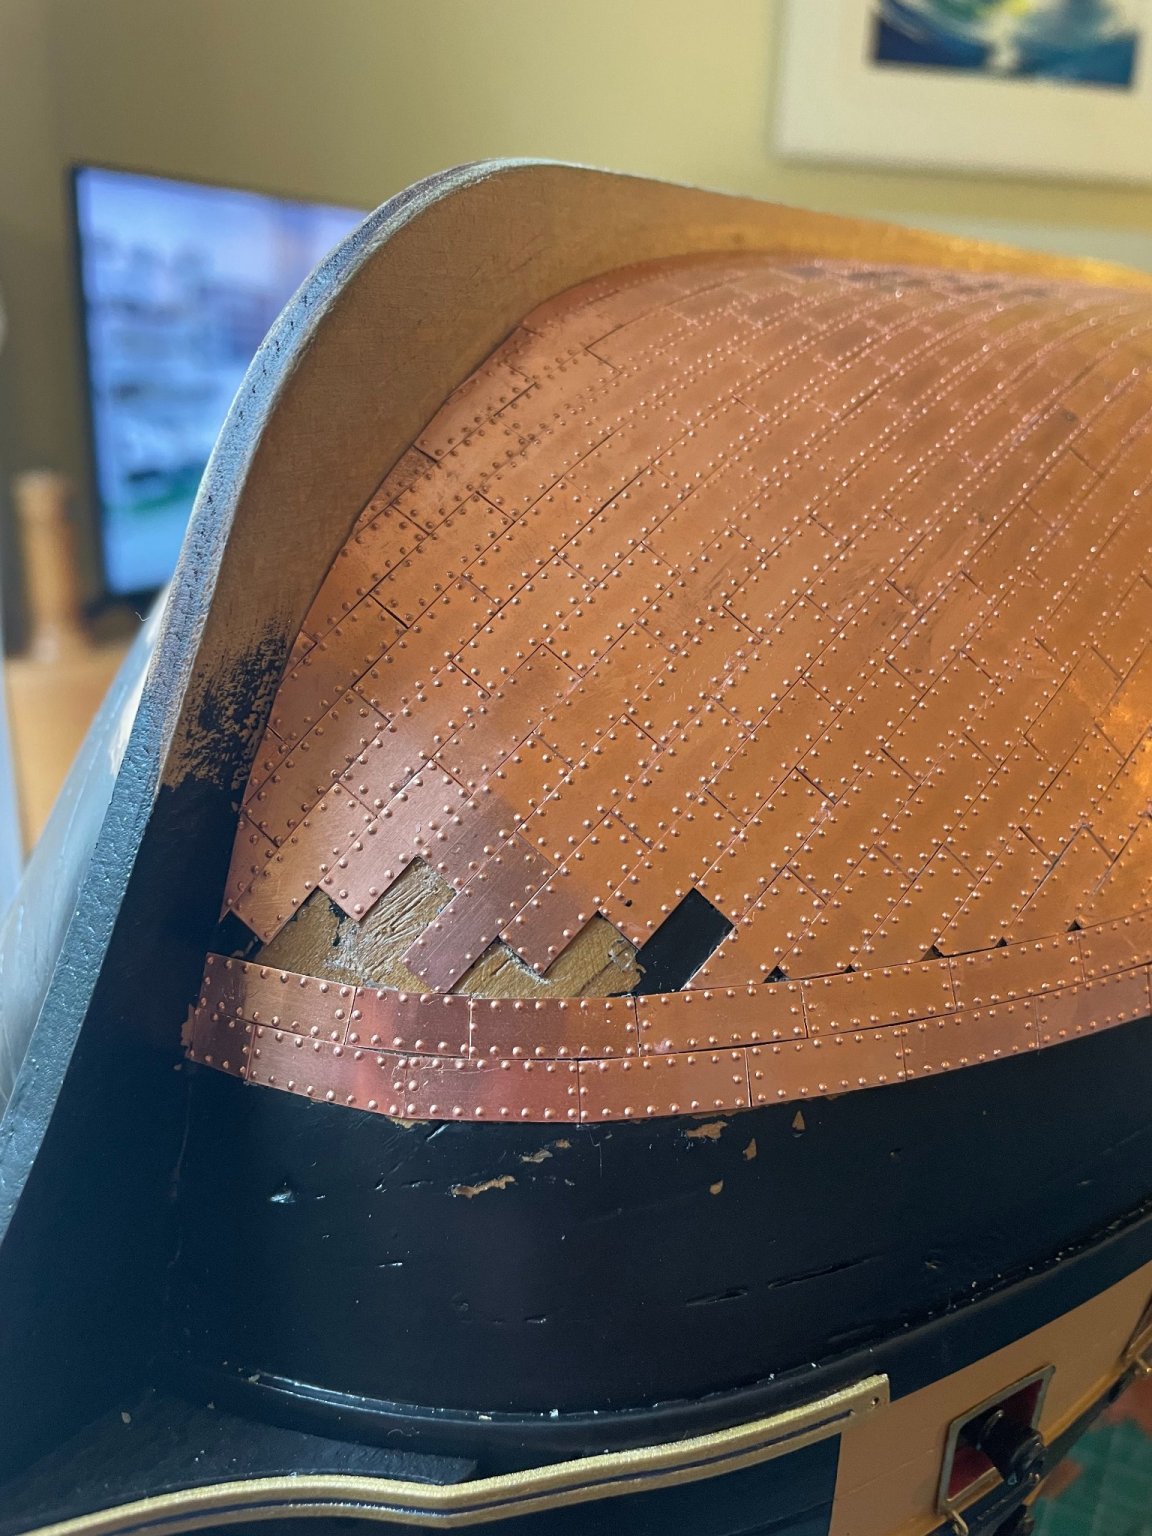
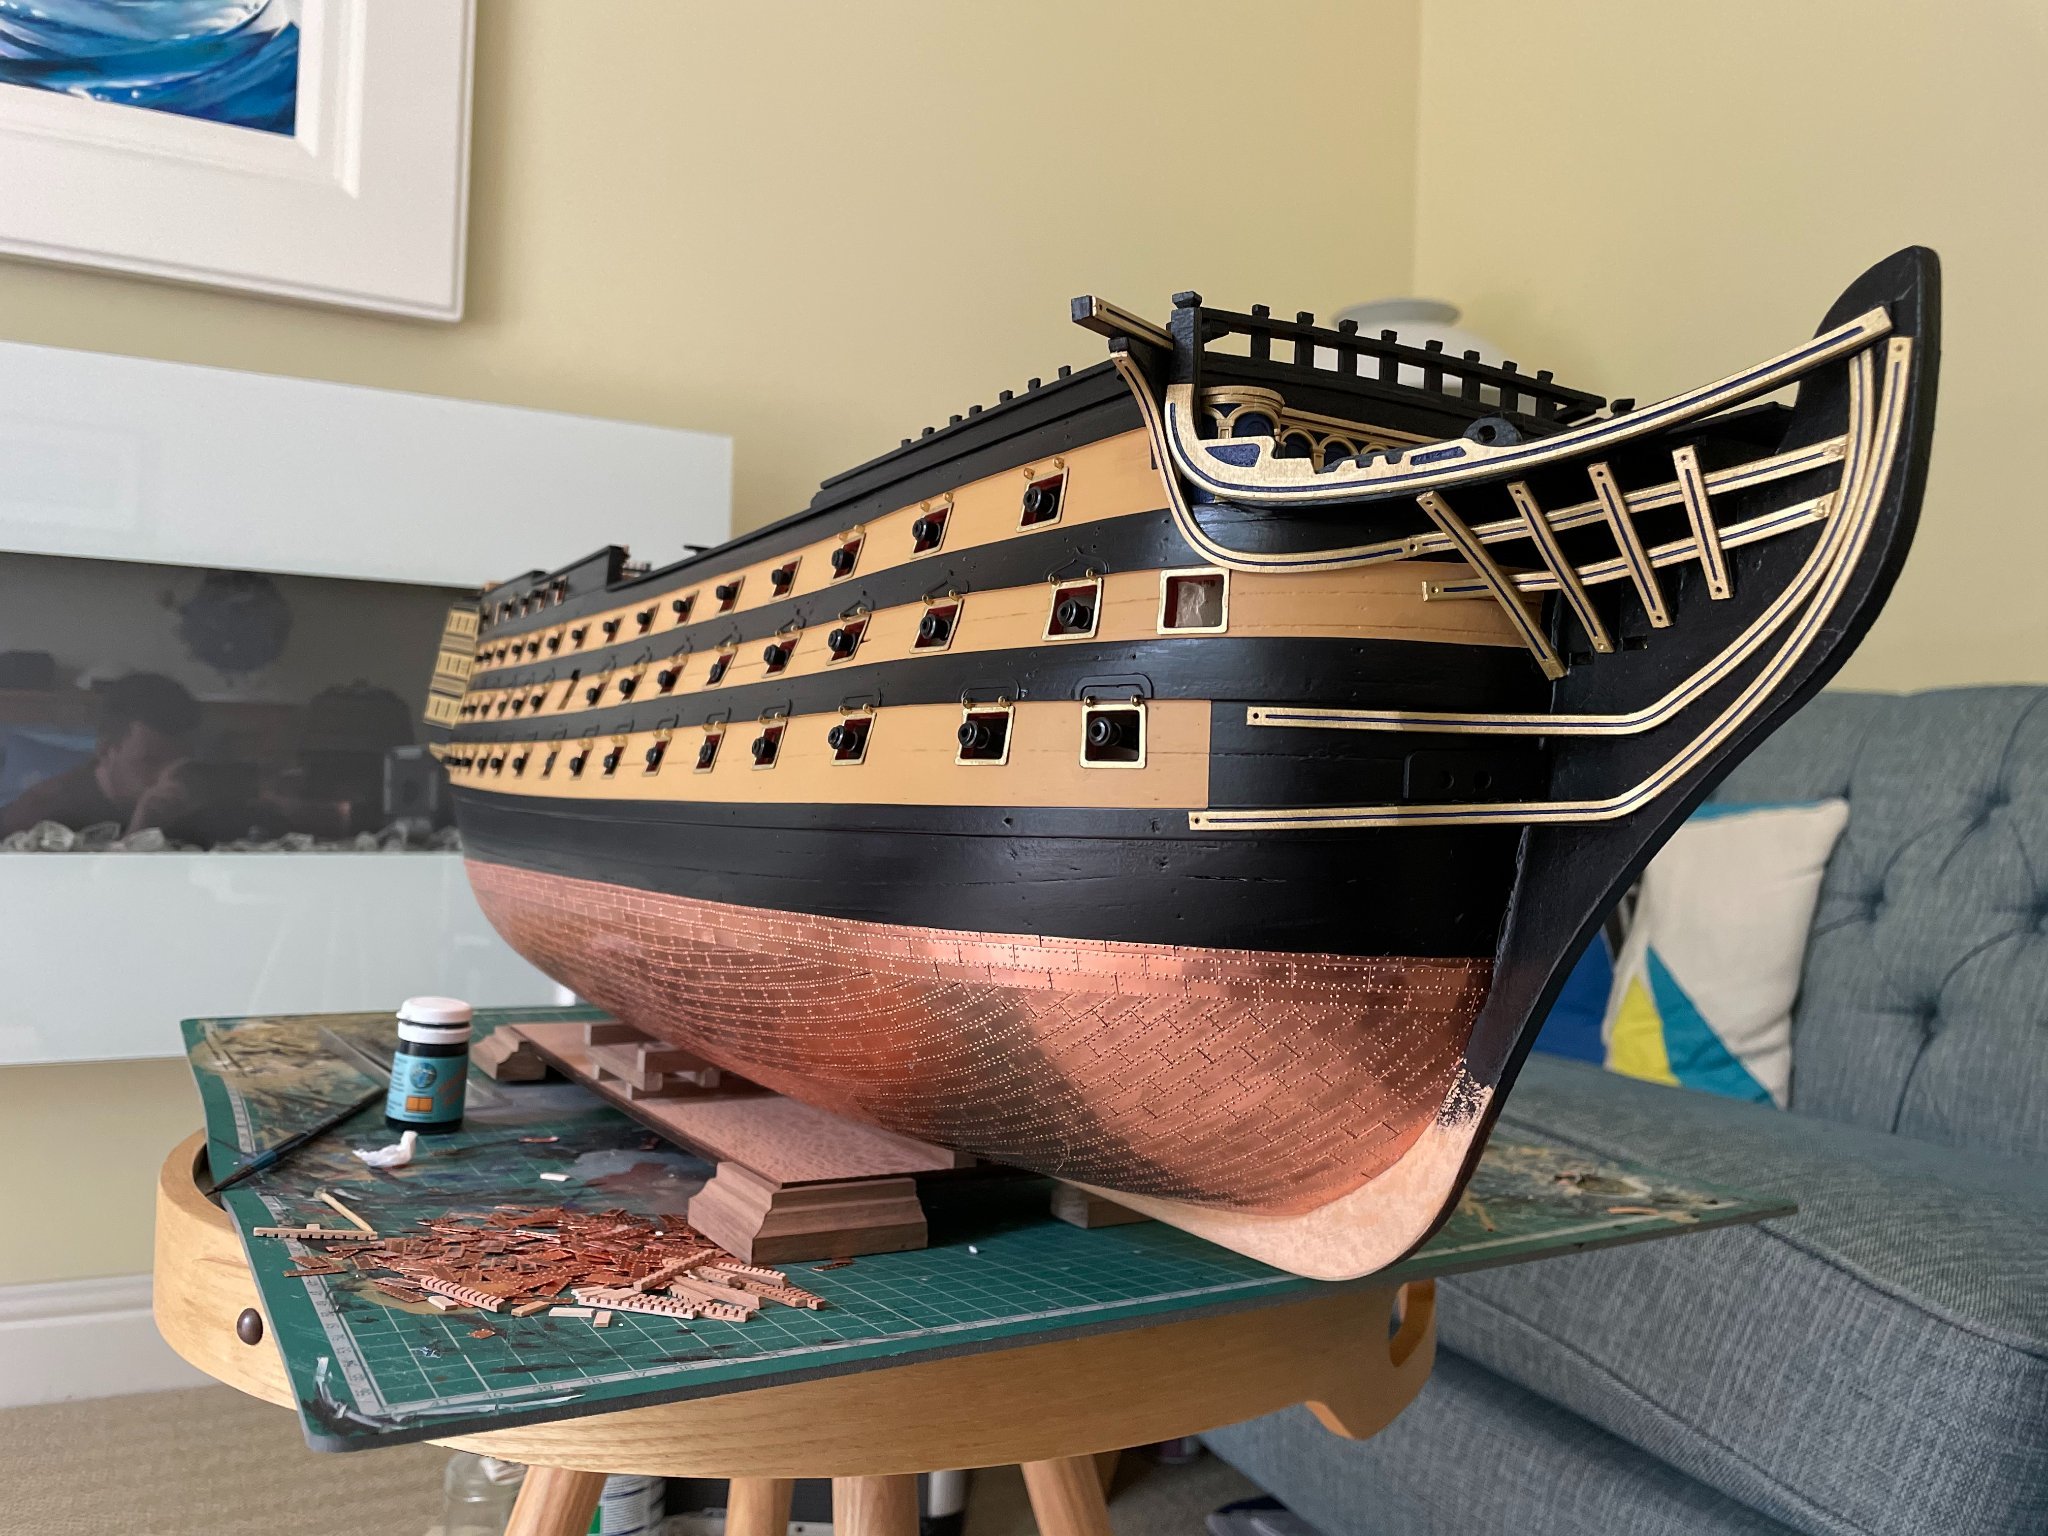
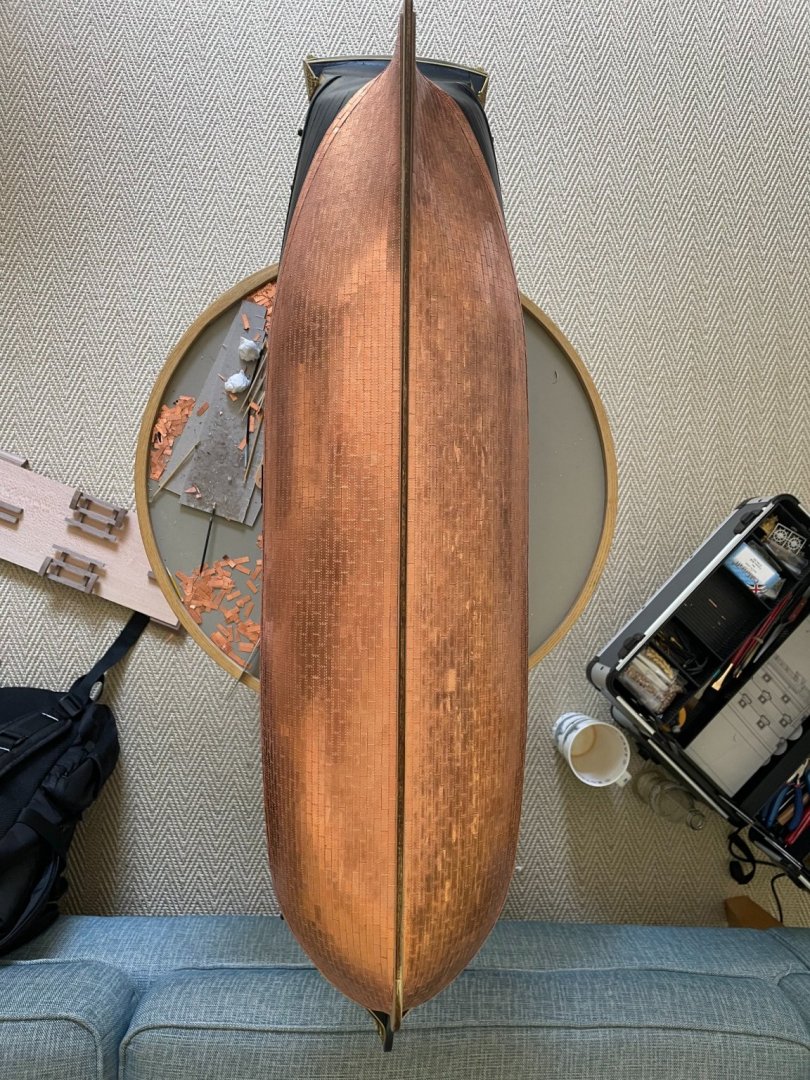
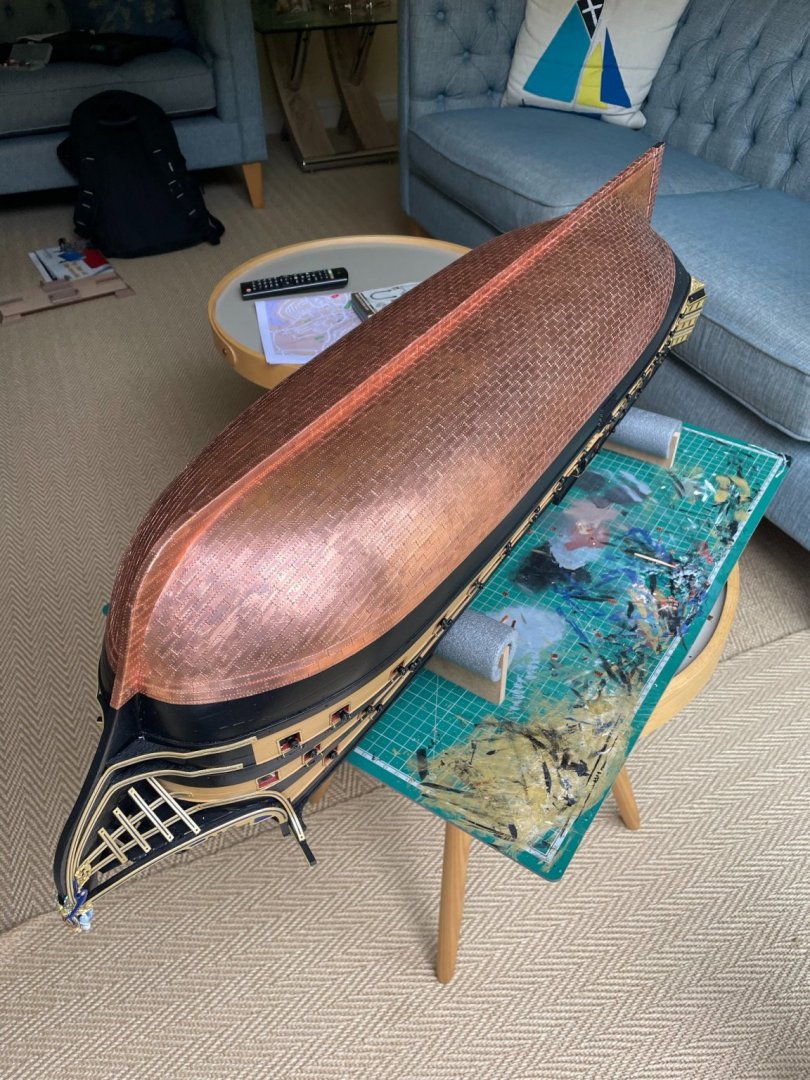
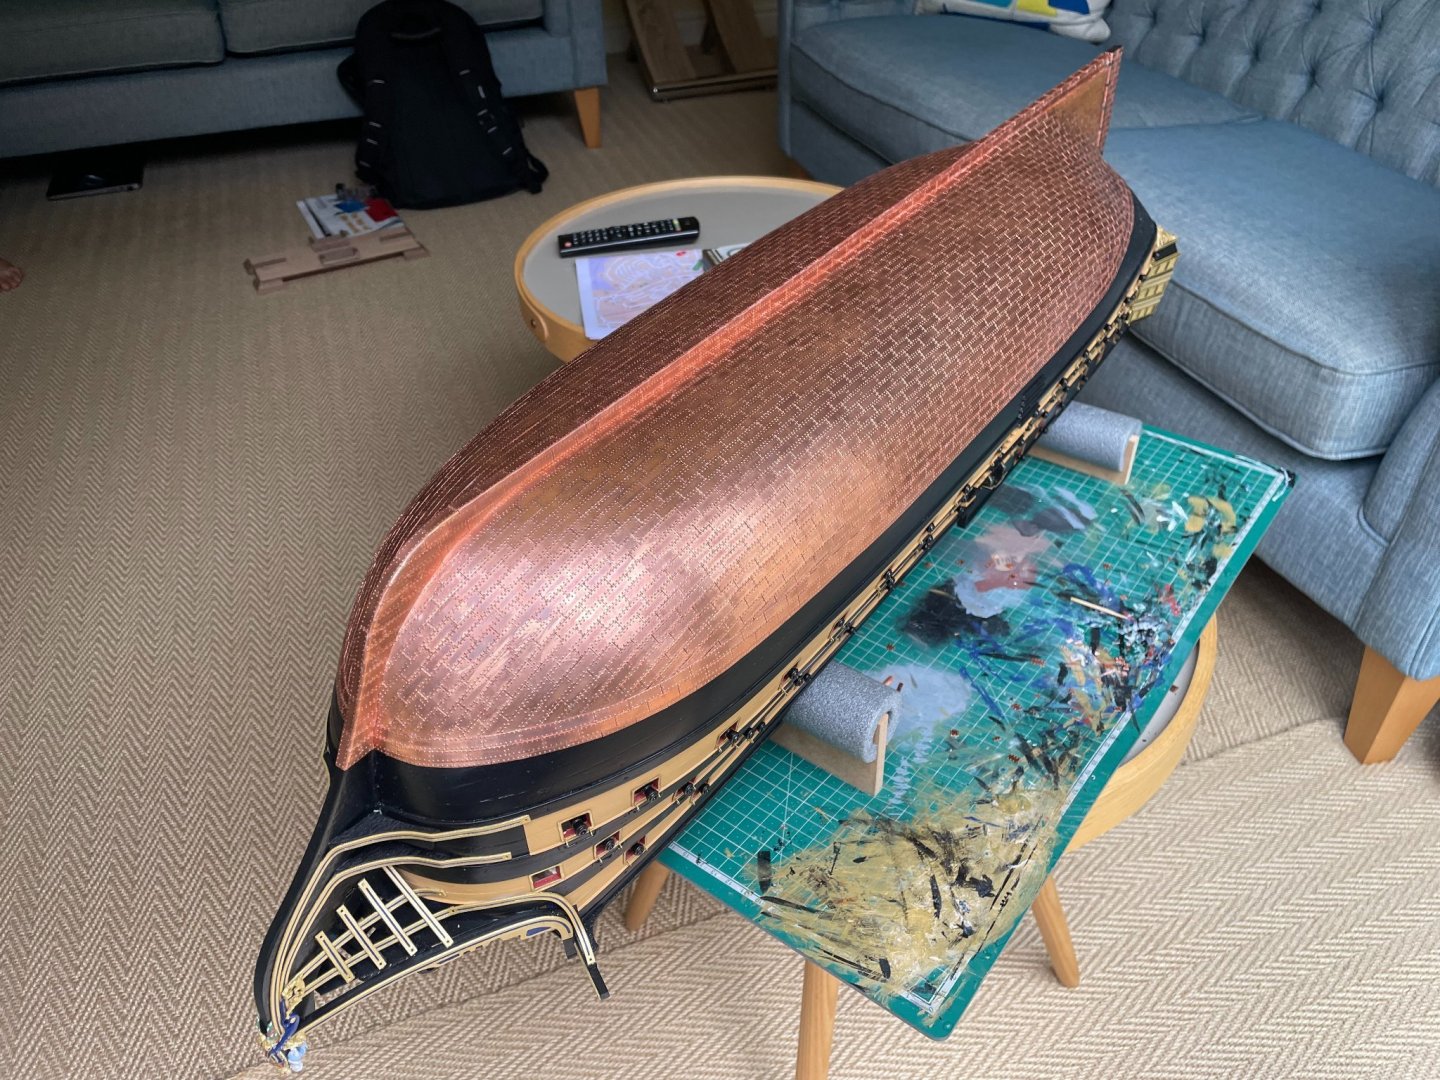
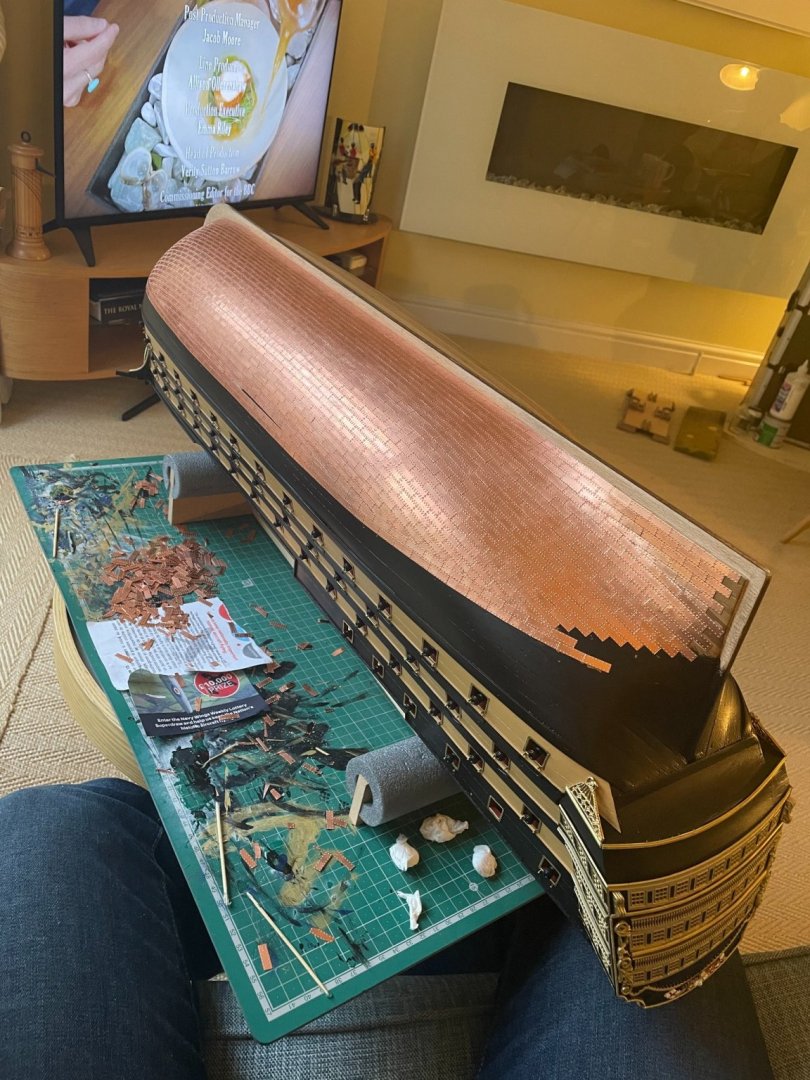
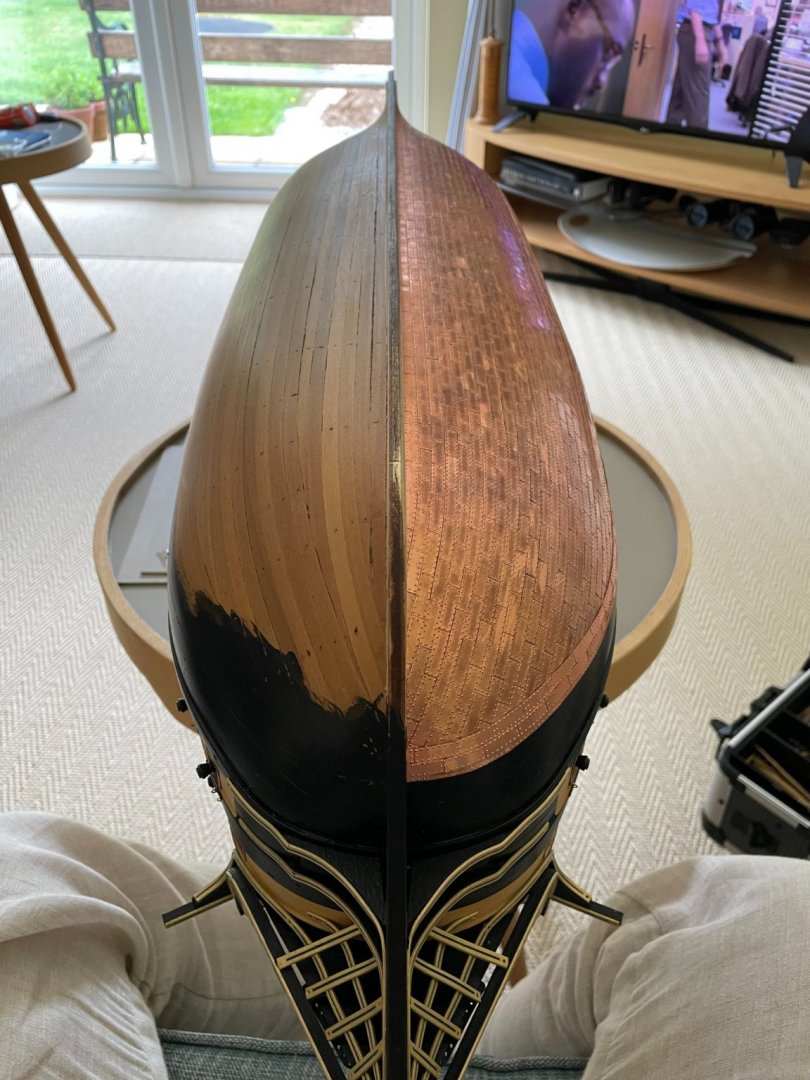
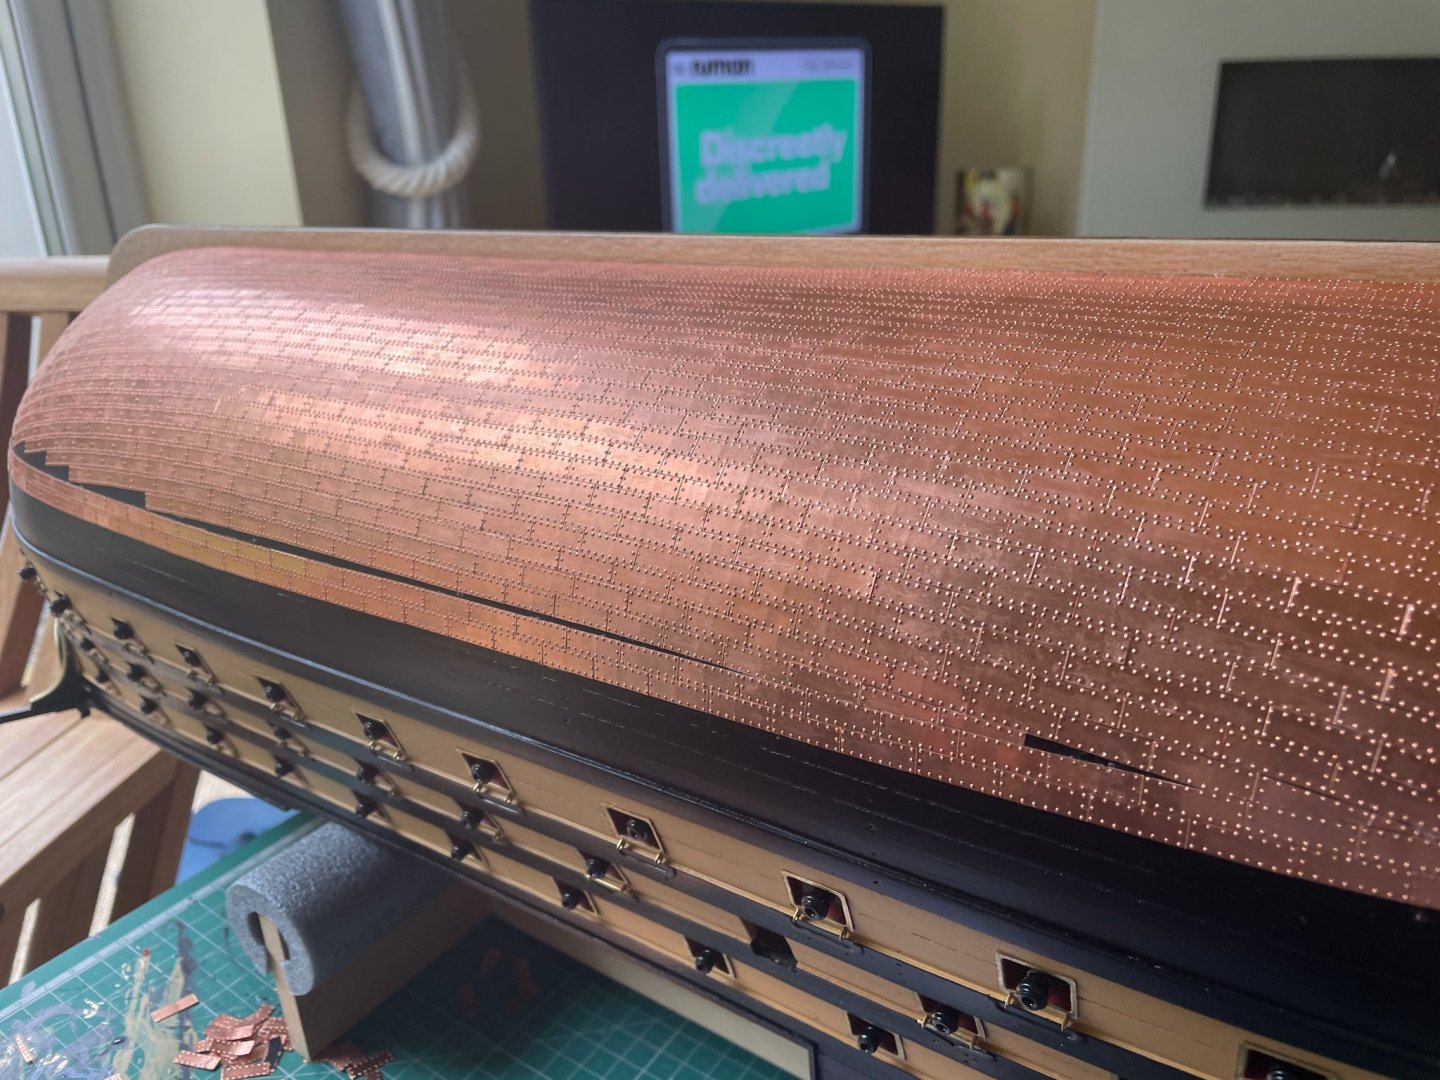
A few pictures of the long and difficult process of copper plating the hull. Using the slightly sticky super glue supplied with the kit, i applied a light amount on to the back of each tile with the end of a toothpick, and then held it to the hull using tweezers until it held tight. This was repeated OVER A THOUSAND TIMES and took about 3 weeks to complete both sides. I wasn't happy with how the tiles looked at the water line, so I applied 2 strips of tiles along the top to neaten the look.


-
The upper decks no longer look bland now that some of the details have started going on. The ships wheel was a definite favourite part of mine. Incredibly fiddly and almost impossible to install under the deck roof, but looks fantastic now in place. Again, another bonus of 3D printed parts compared to the chunky wooden wheels provided with the kit.


-
3D printed parts from Shapeways.com have really started to add an extra level of detail to the model. Although the ladders leading up each side of the hull are a little too big for the scale, the look so much better than just a strip of wood. The same can be said for the amazing detail on the port and starboard entry doors, with a little dry brushing of gold to bring out the design.

-
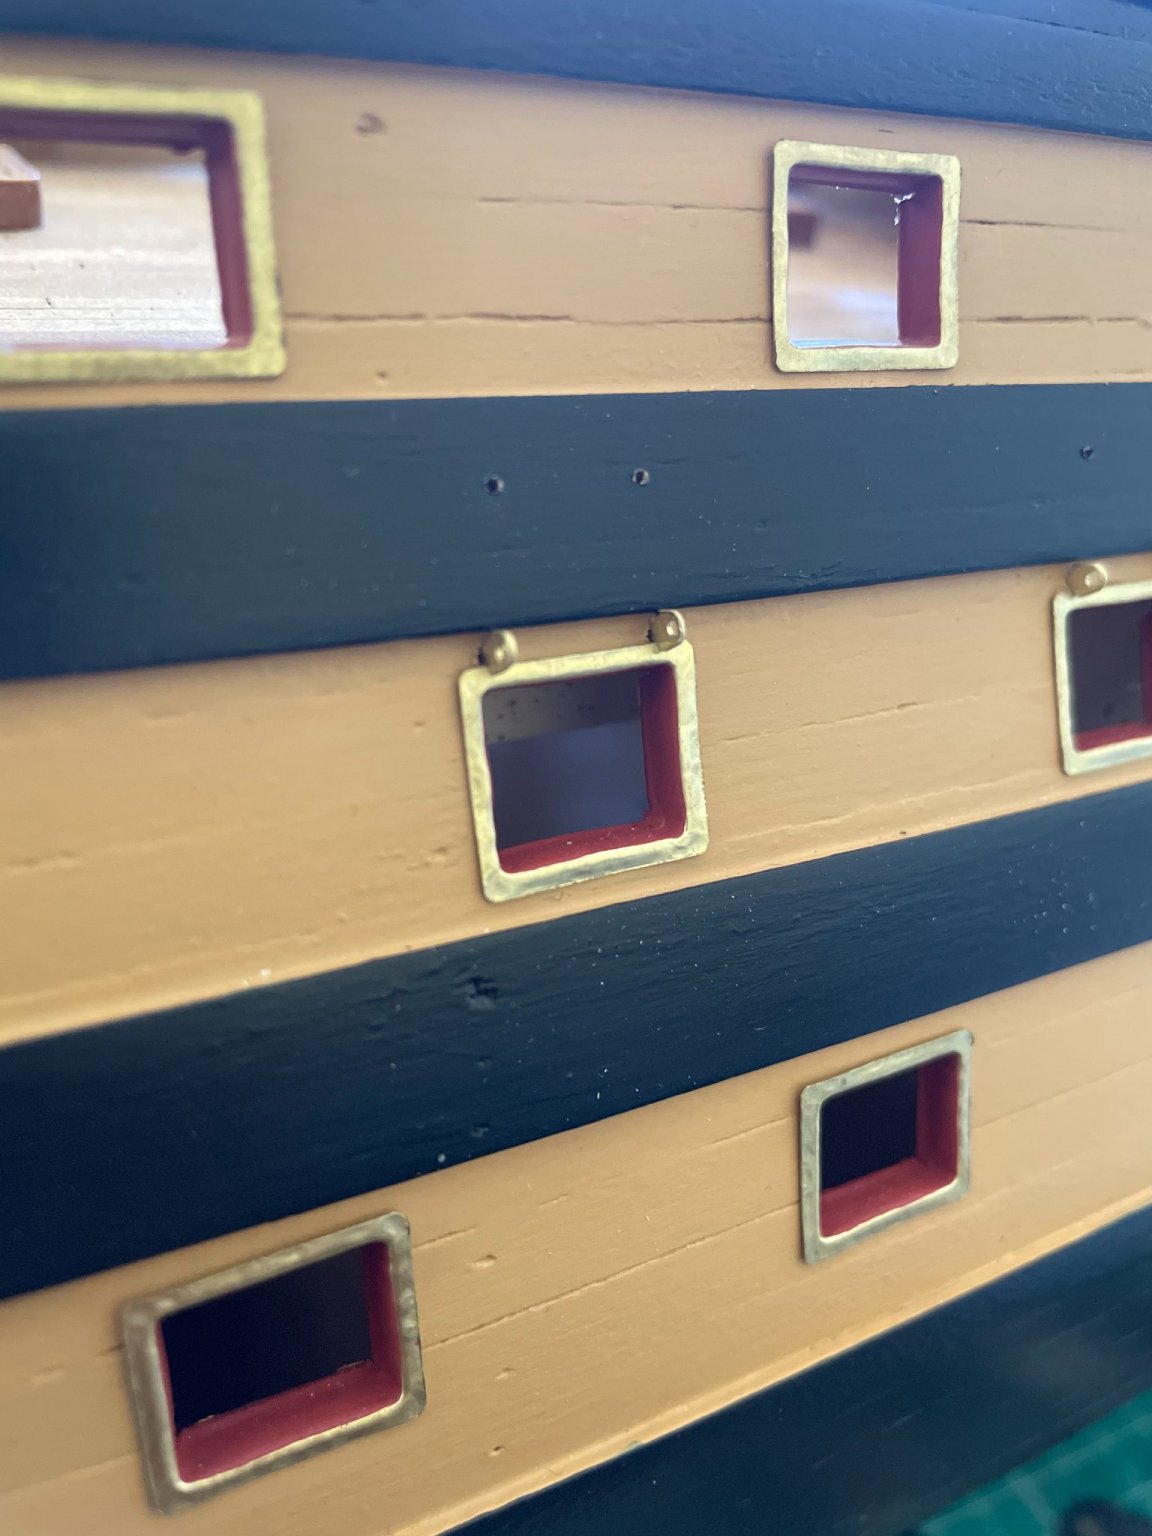
Hi Don, Thanks for the kind words. The paints are Admiralty paints and the yellow is their Yellow Ochre. They required a few coats to give the right finish but overall I've really liked using them.
-
Dan2021 reacted to a post in a topic:
HMS Victory by Dan2021 - Mantua/Panart - 1/78
-
Dan2021 reacted to a post in a topic:
HMS Victory by Dan2021 - Mantua/Panart - 1/78
-
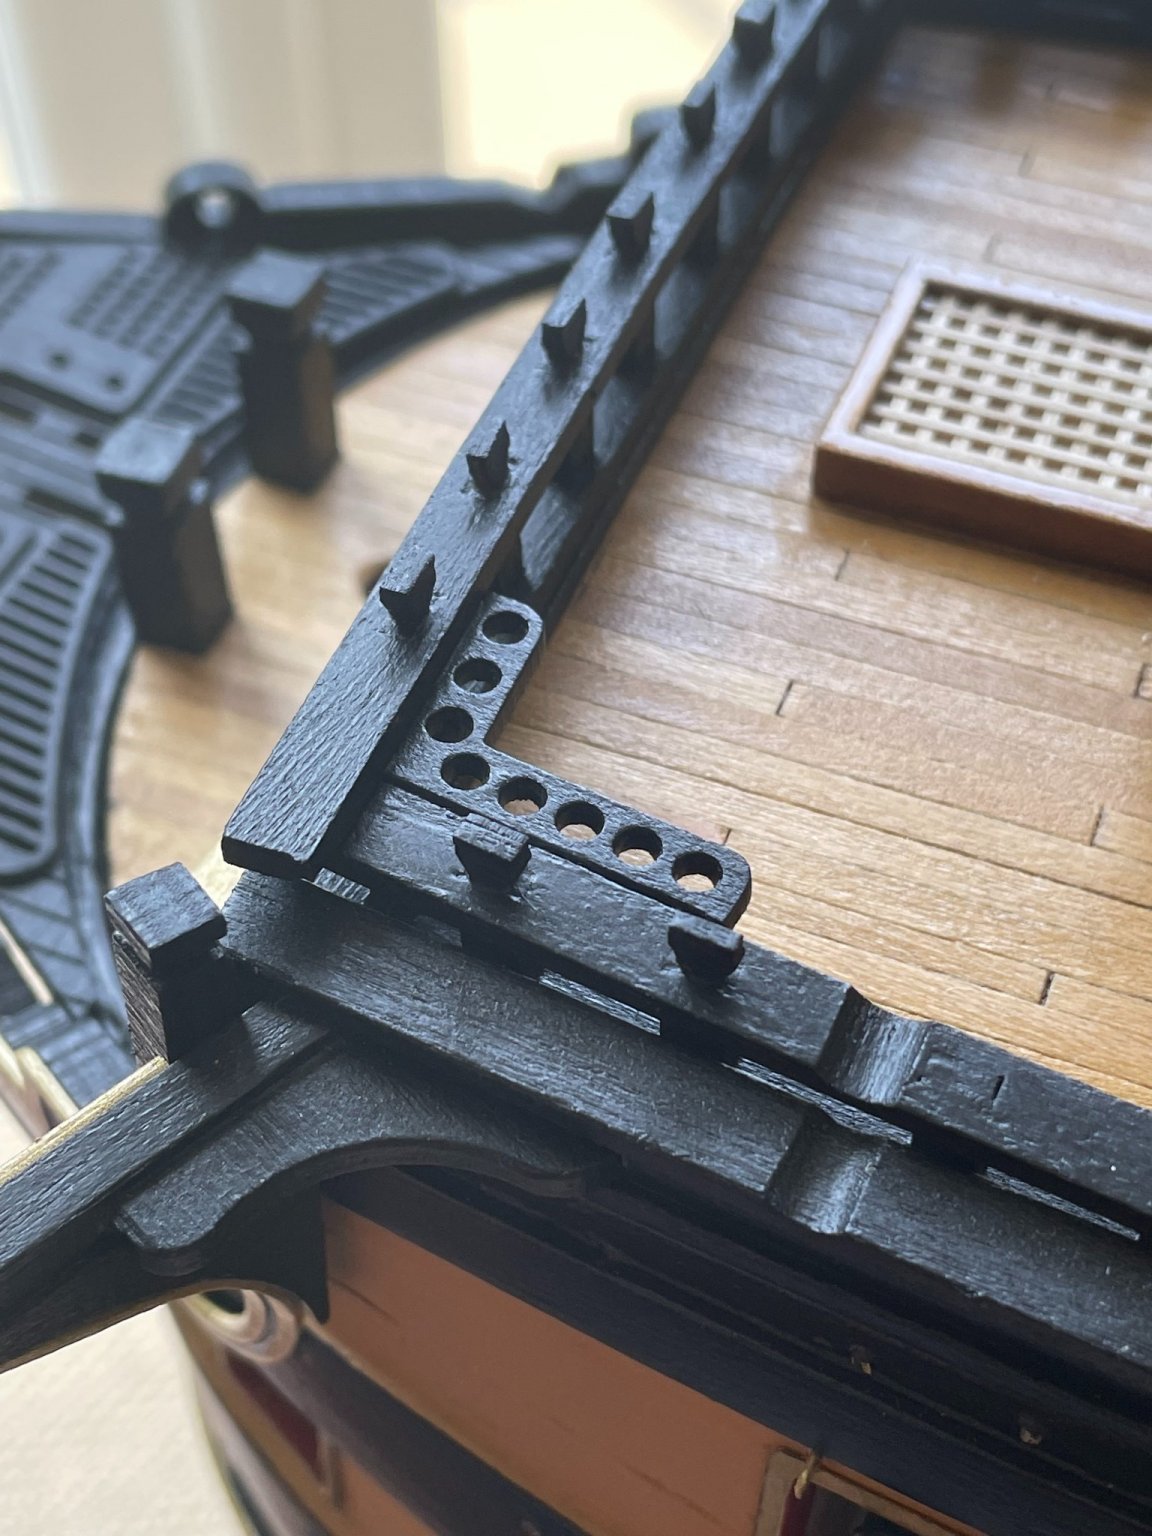
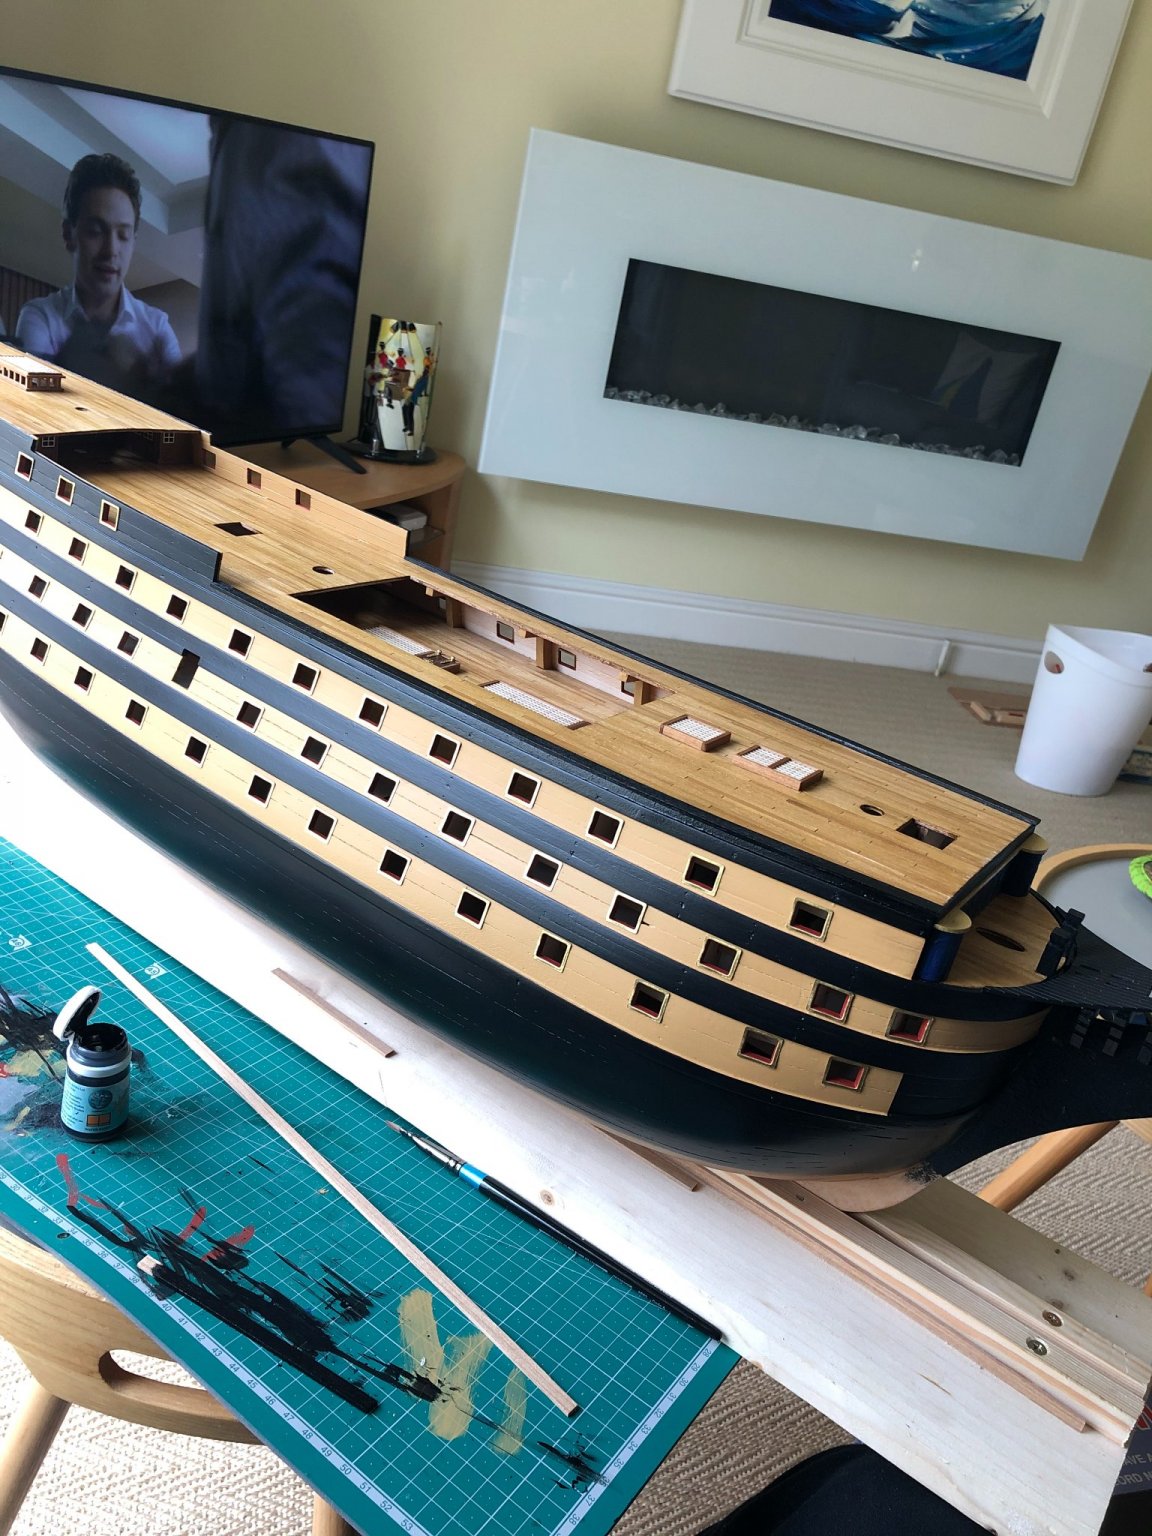
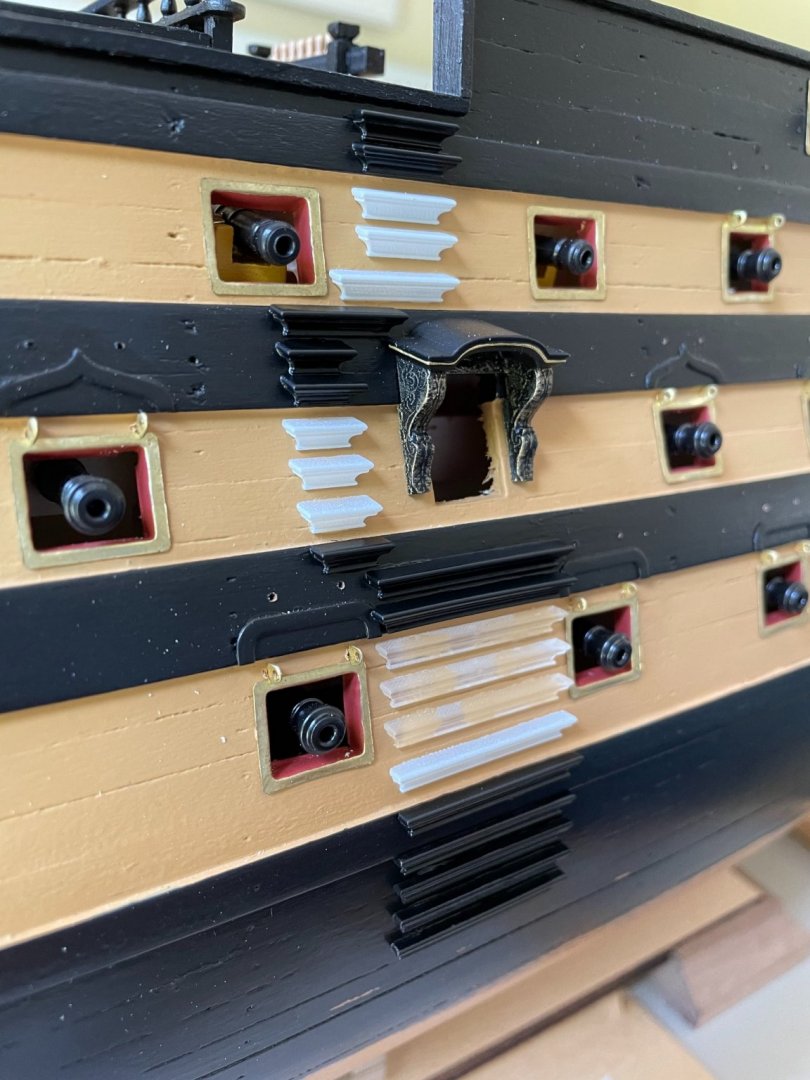
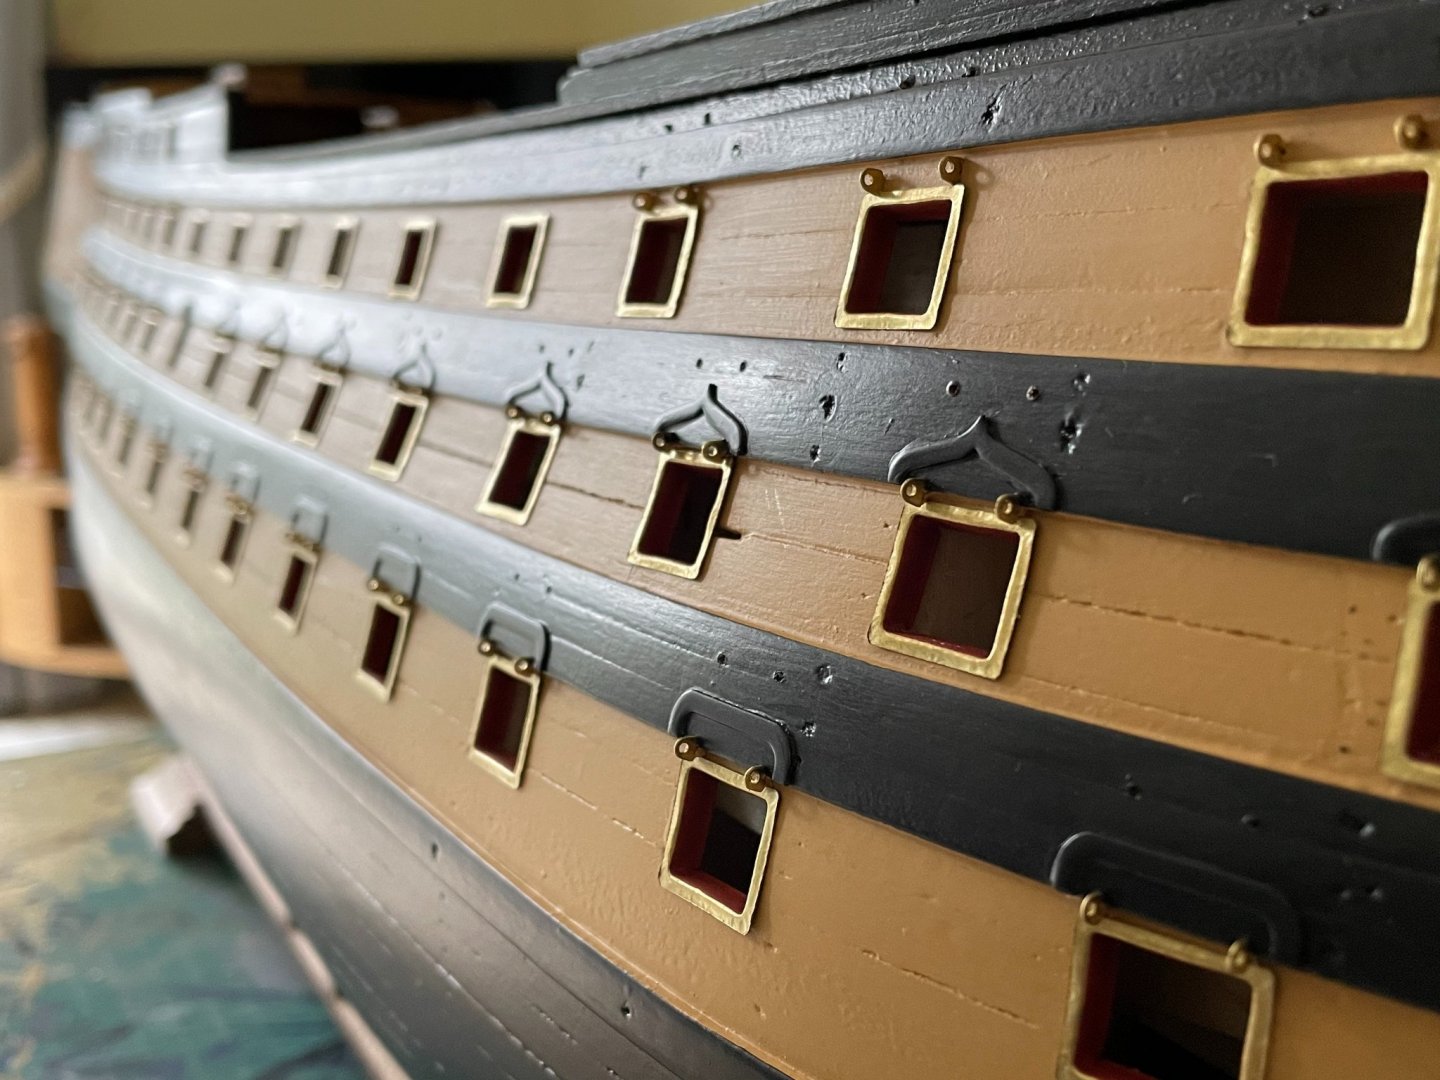
The holes you can see above each cannon port are when the rope will be inserted that holds up each of the cannon port doors.
-
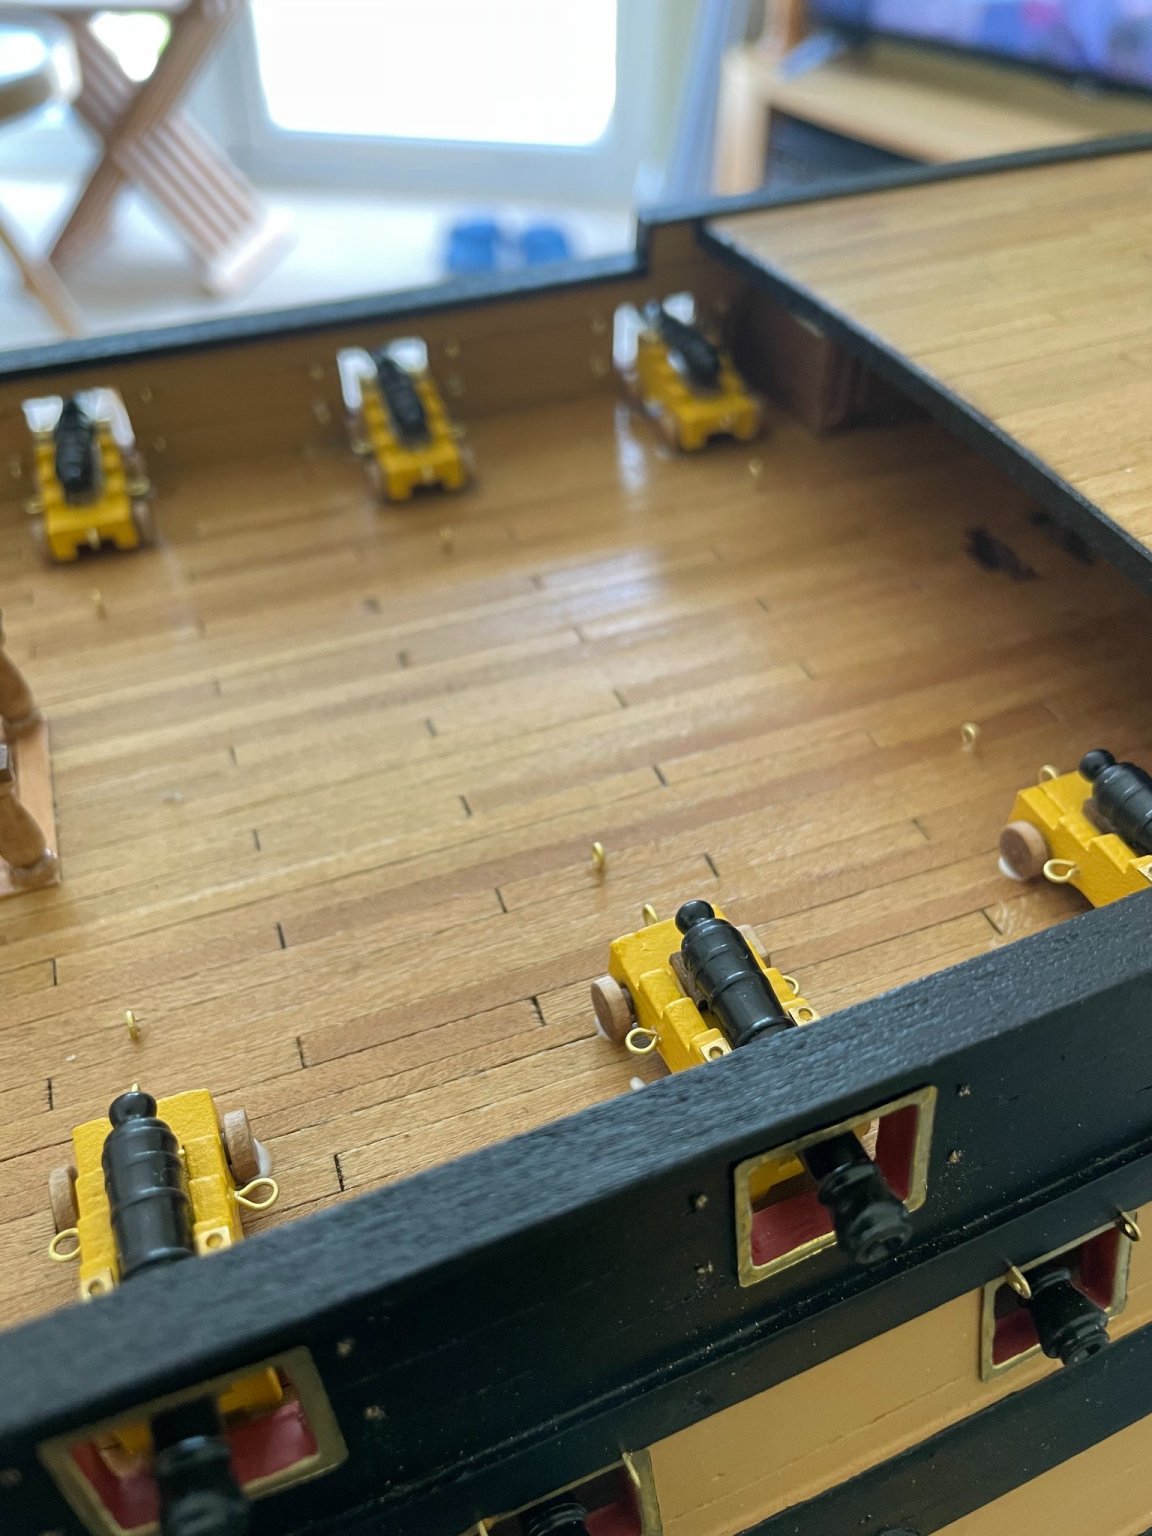
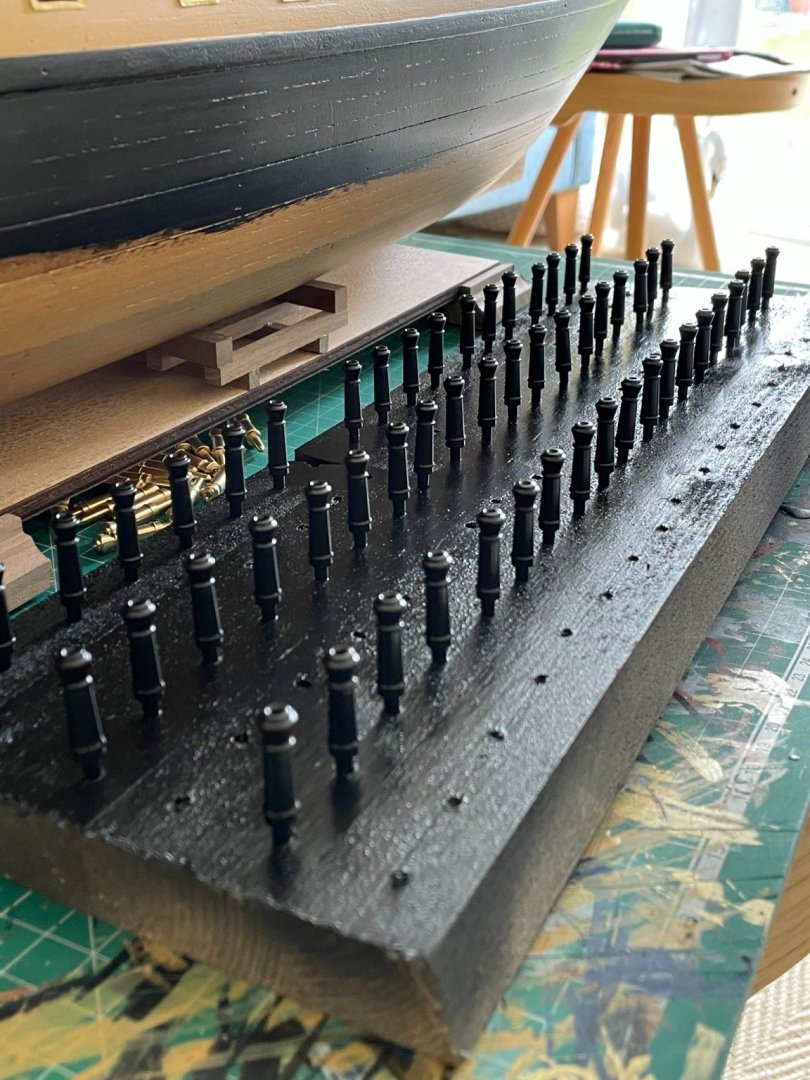
Painting and installing all the main cannons. Each slotted into a hole drilled in the internals frame, a really nice design feature I was impressed with.
-
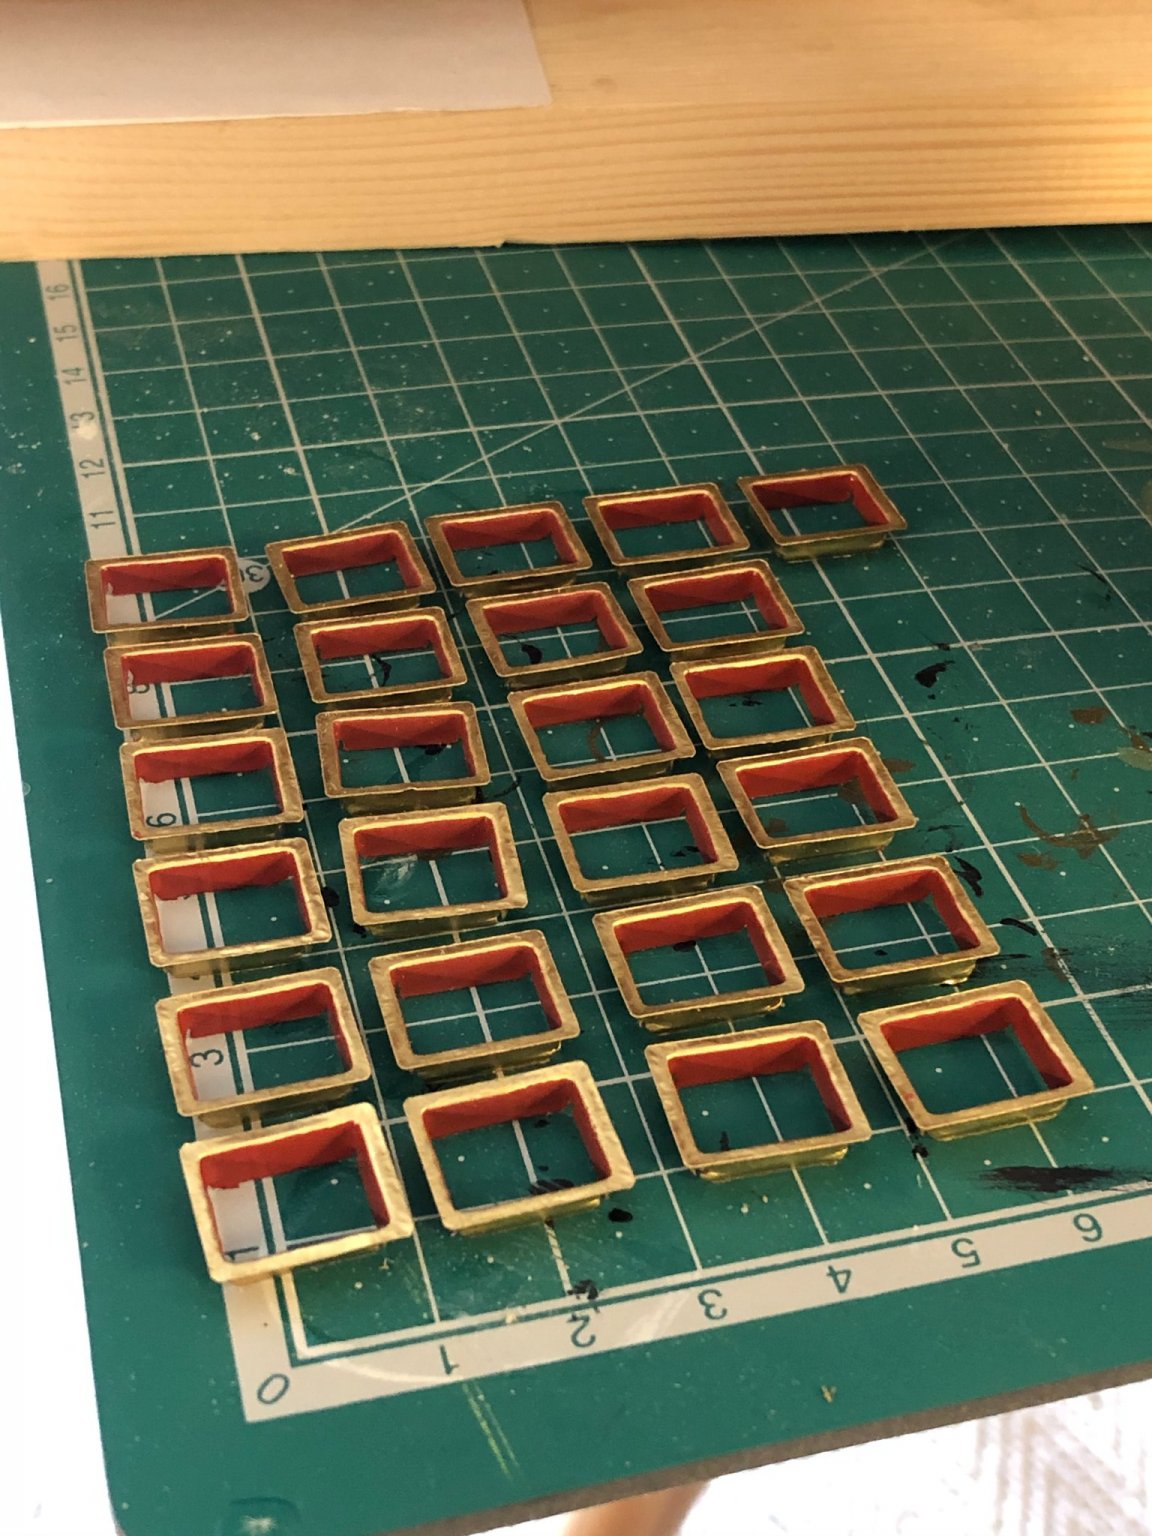
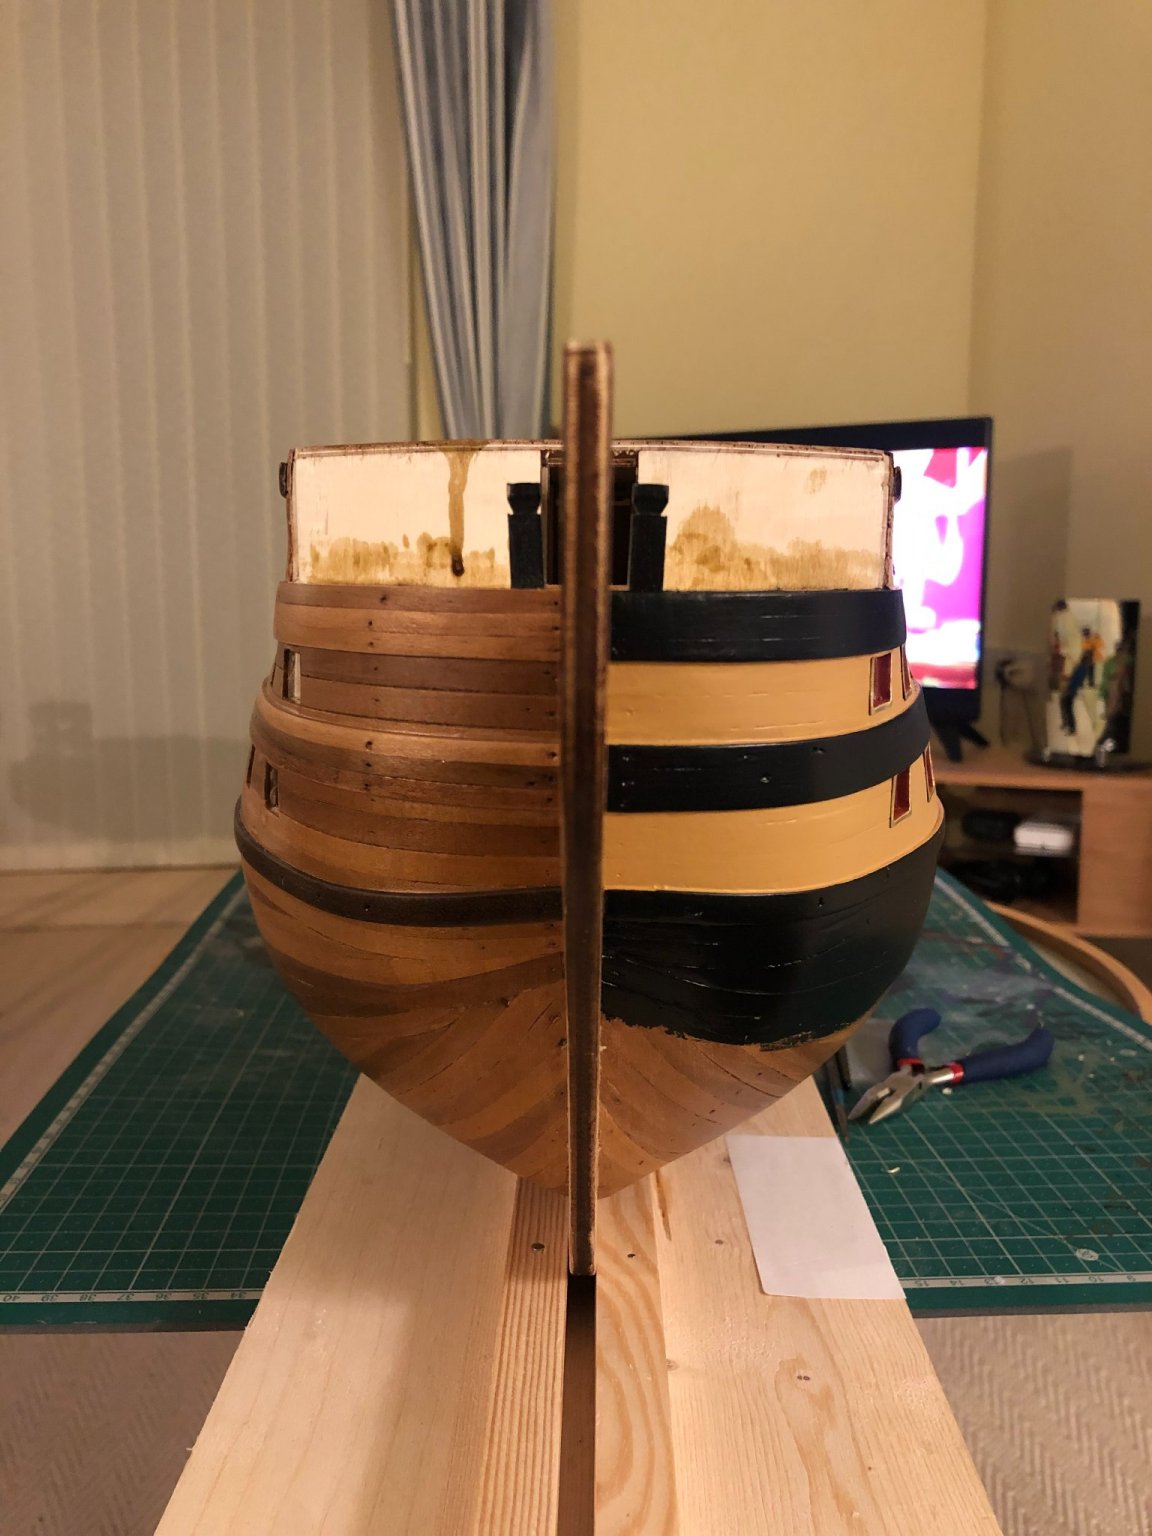
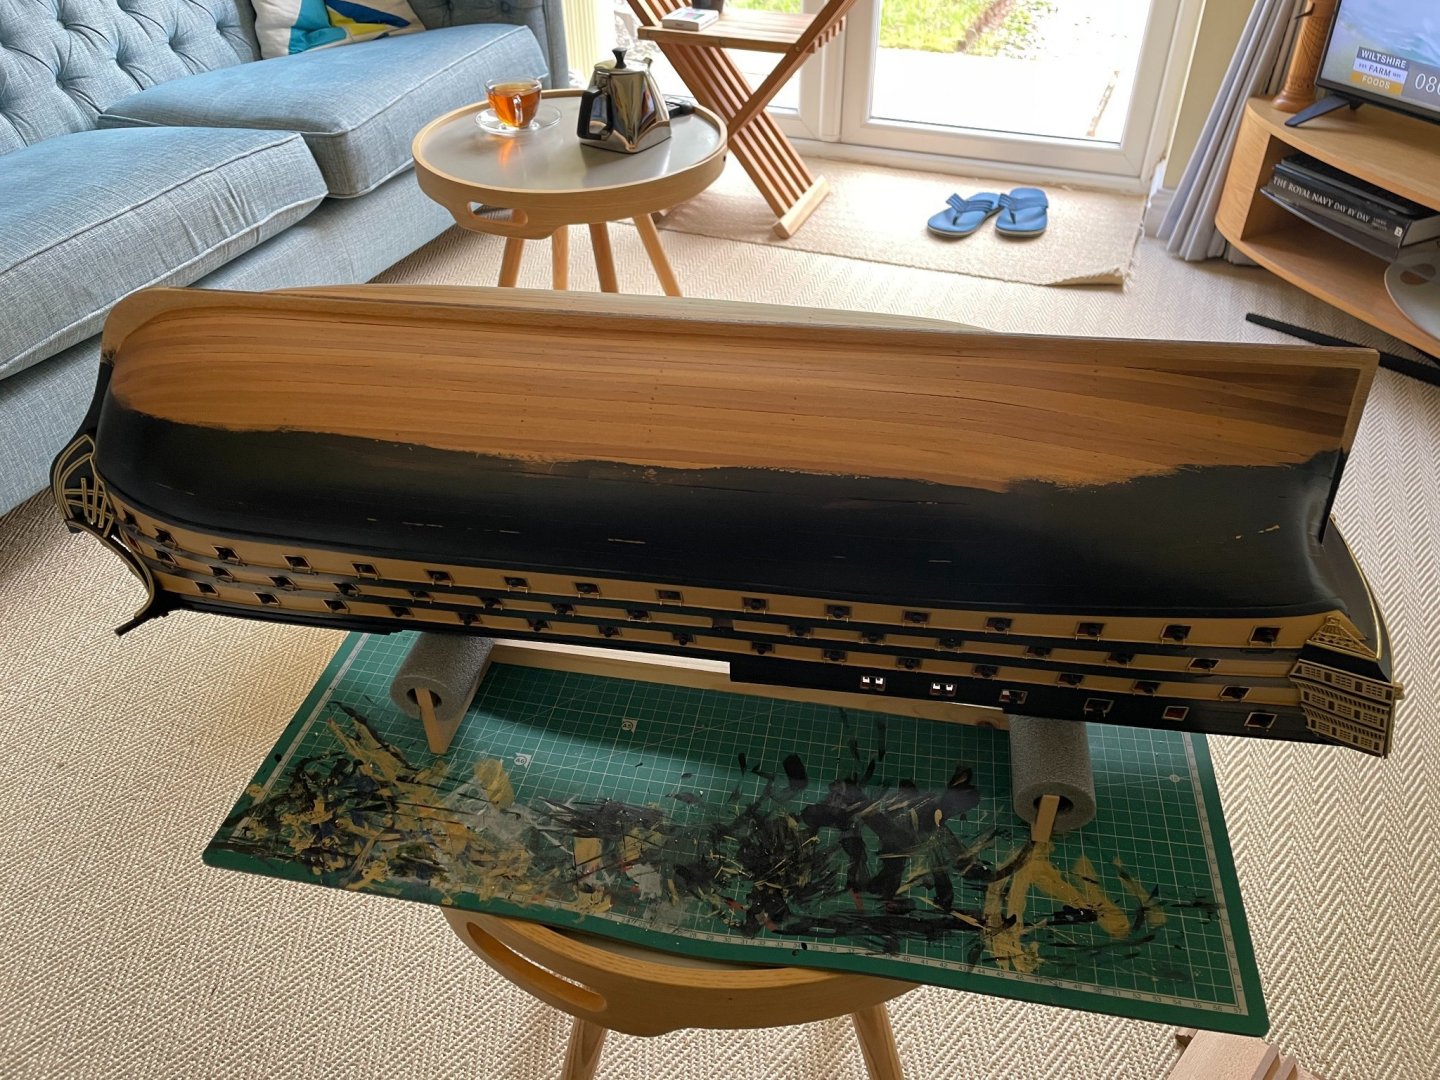
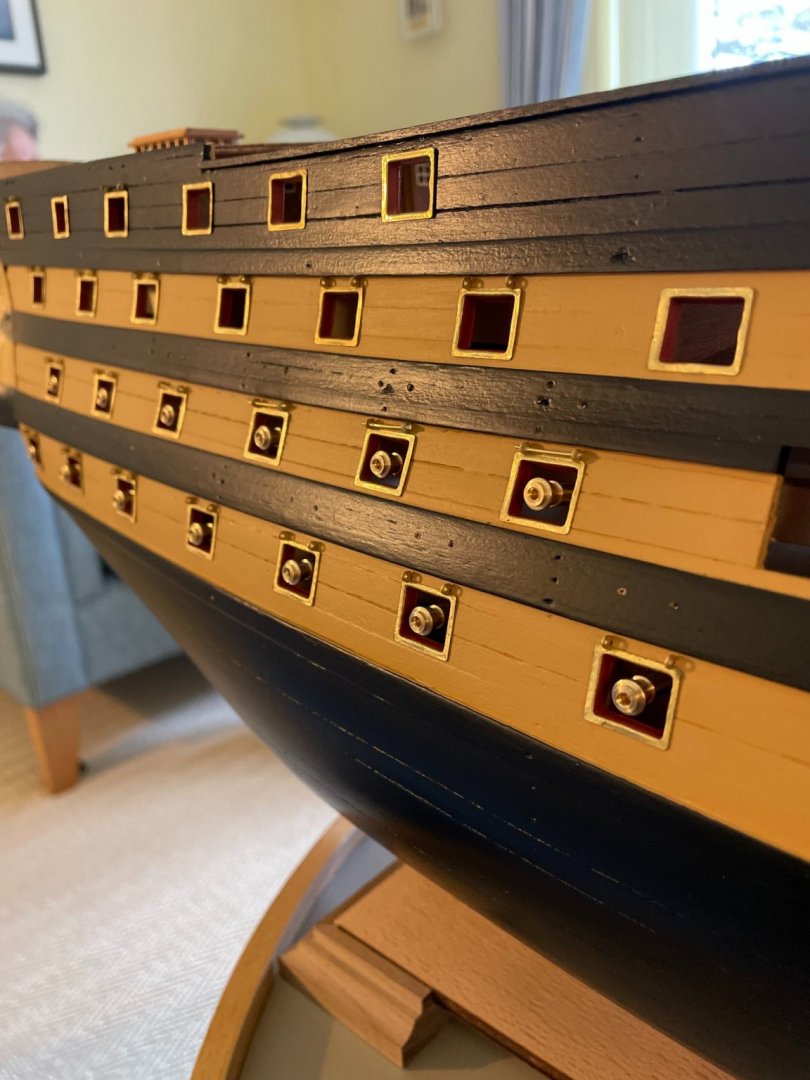
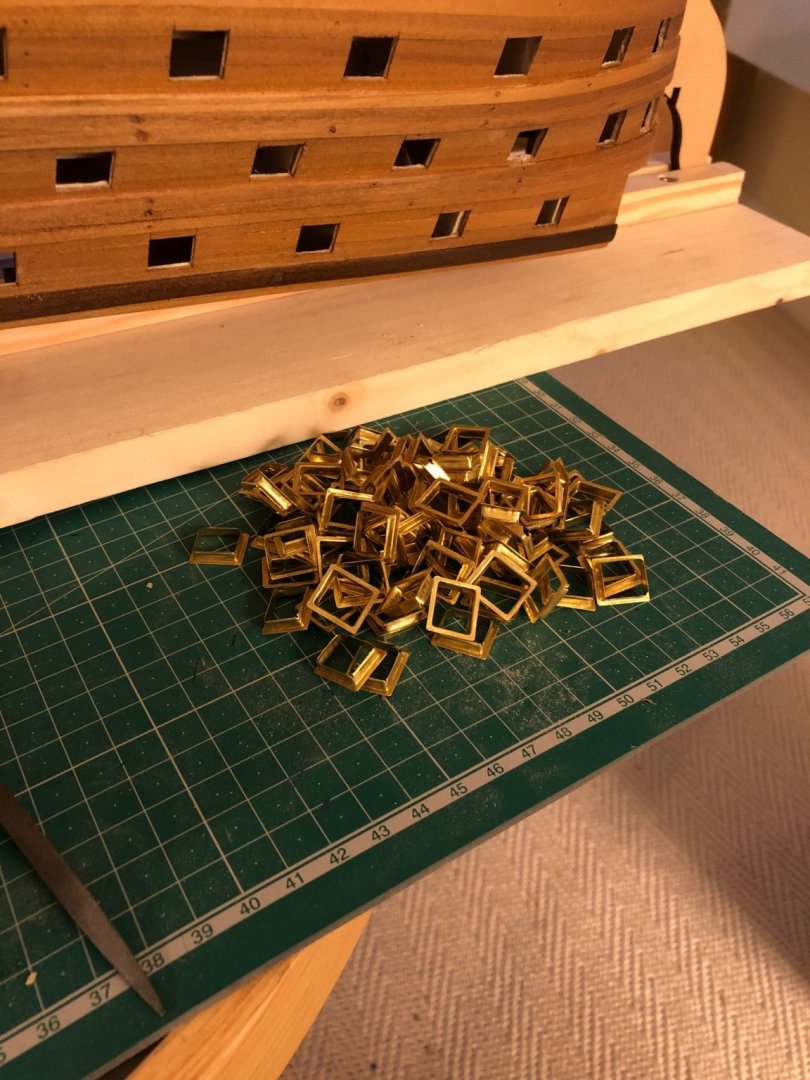
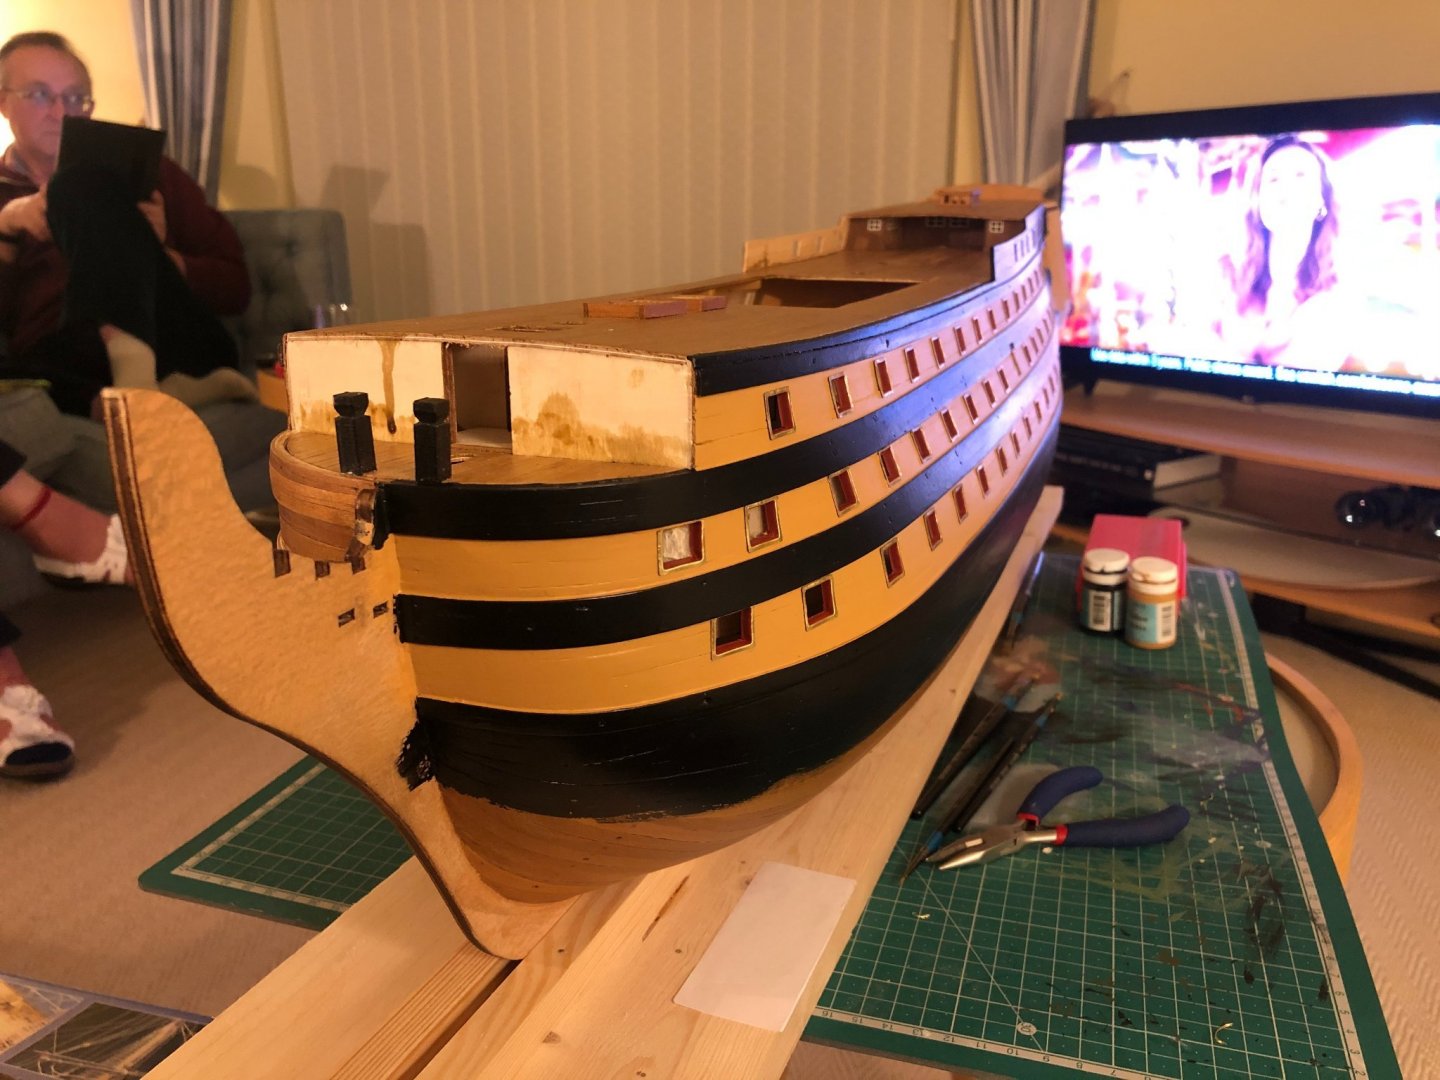
The next series of photos showing the painting process, a long long job! It took 3-4 layers of paint to really get a nice finish I was pleased with. Since I knew I would be copper plating the hull I only had to paint the black partially down the hull. Once that was done it was time to install the cannon port surrounds. Each of the 102 surrounds had to be painted red on the inside edges and then lightly glued in to place.


-
Additional hull features were added and then the complete hull was given 3 coats of gloss varnish.
-
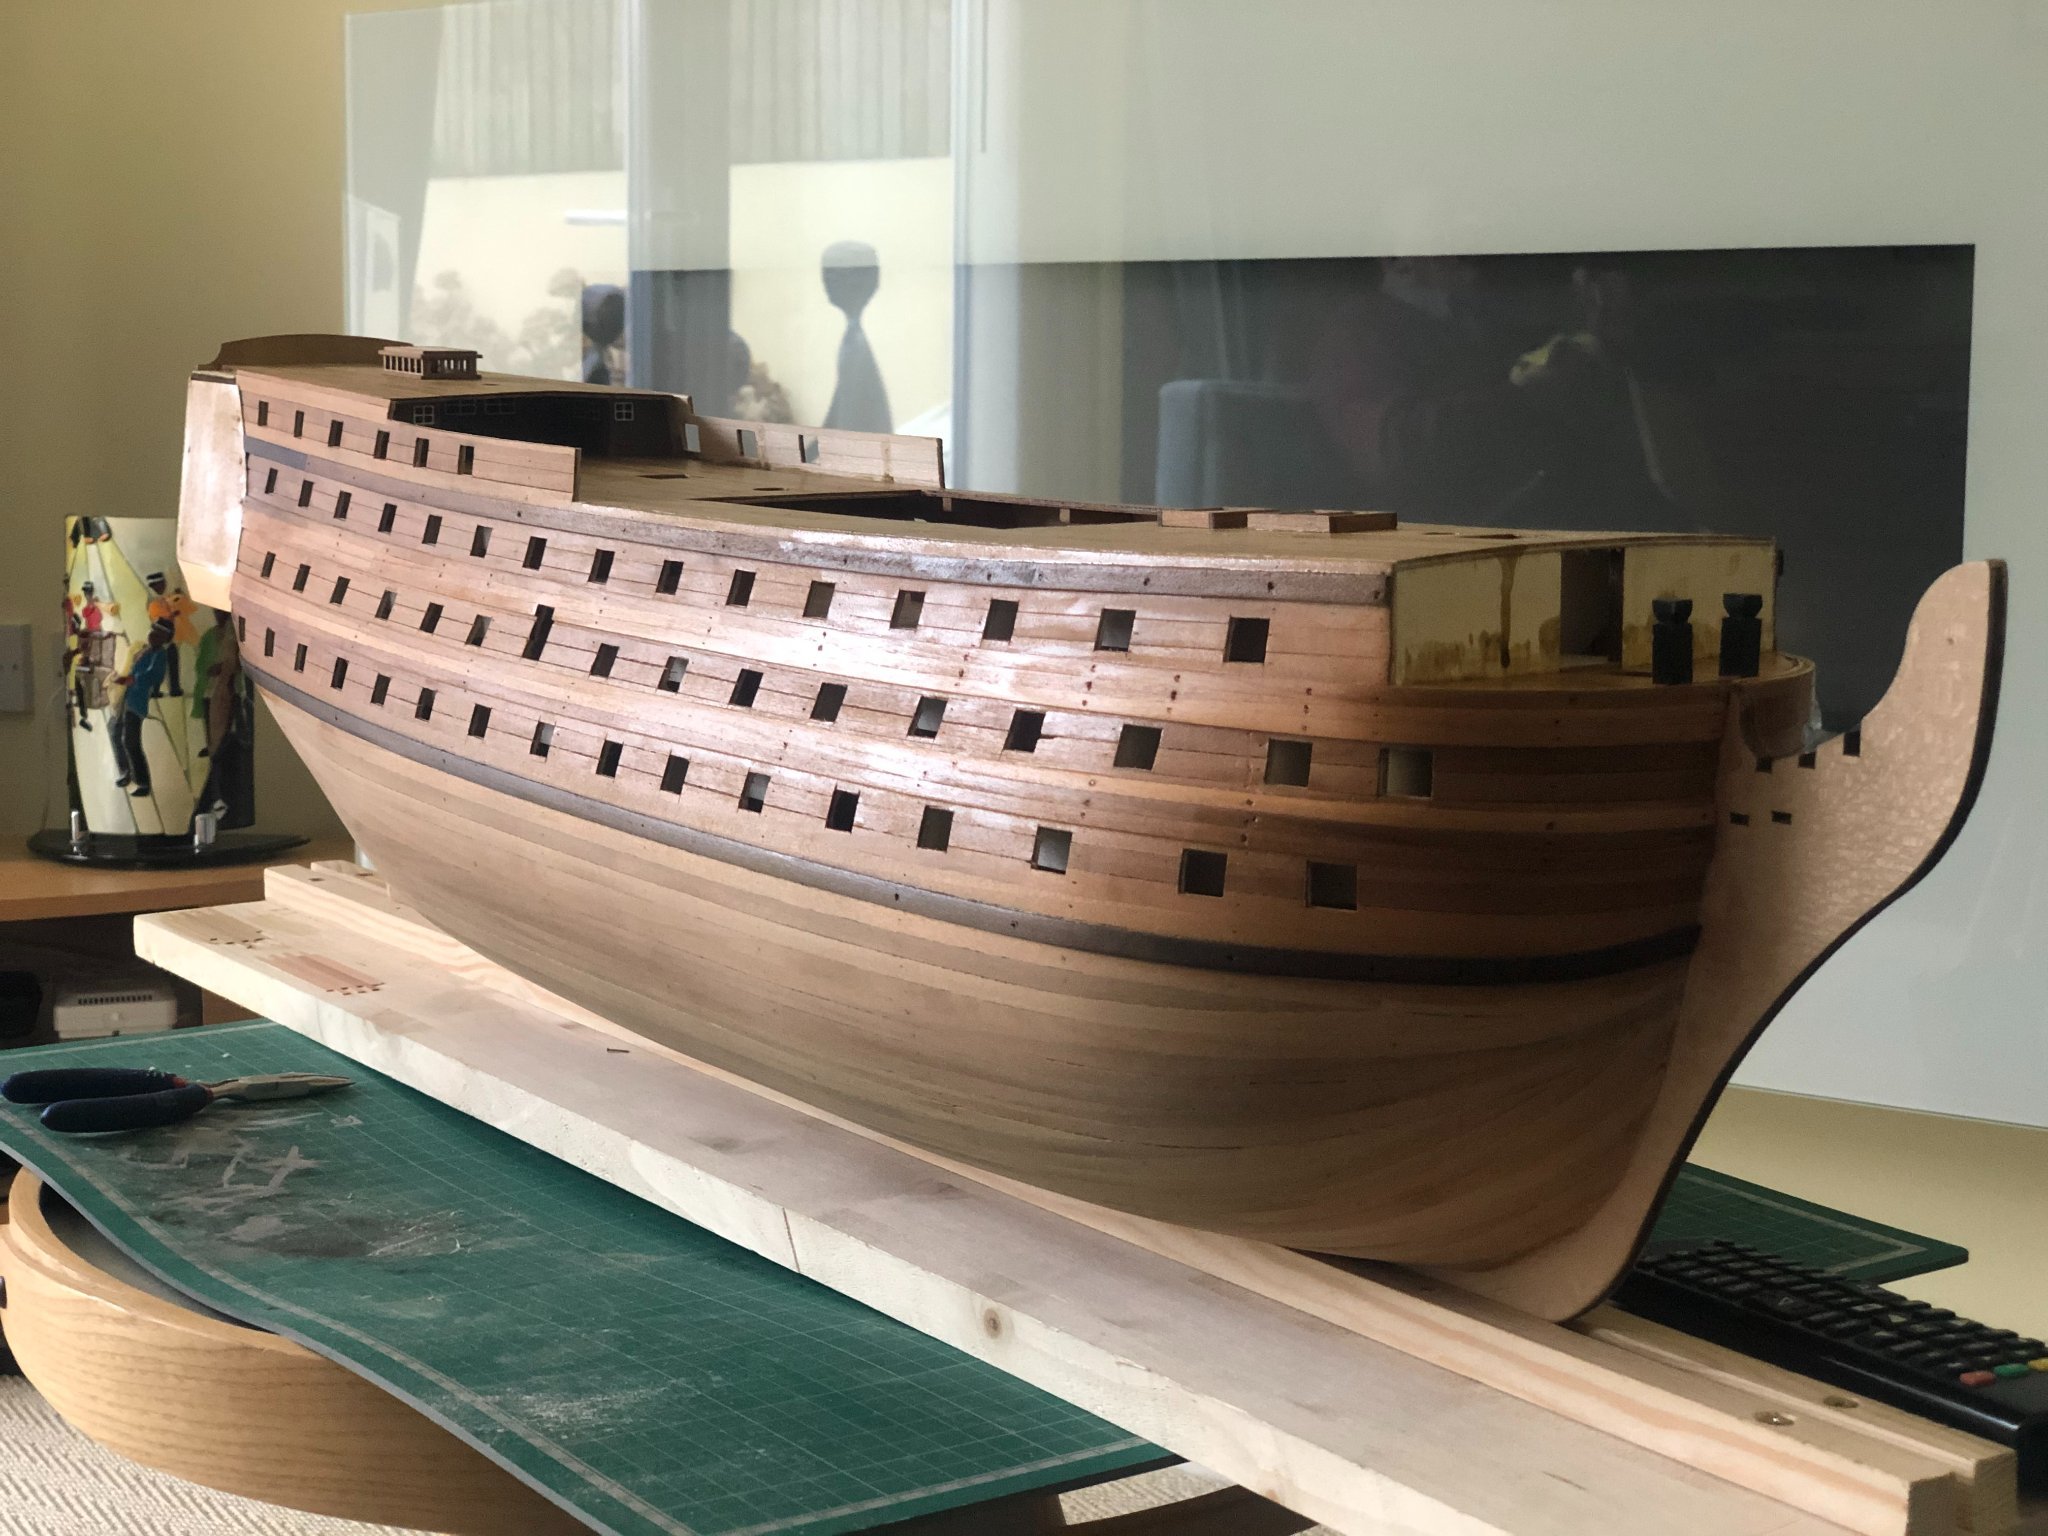
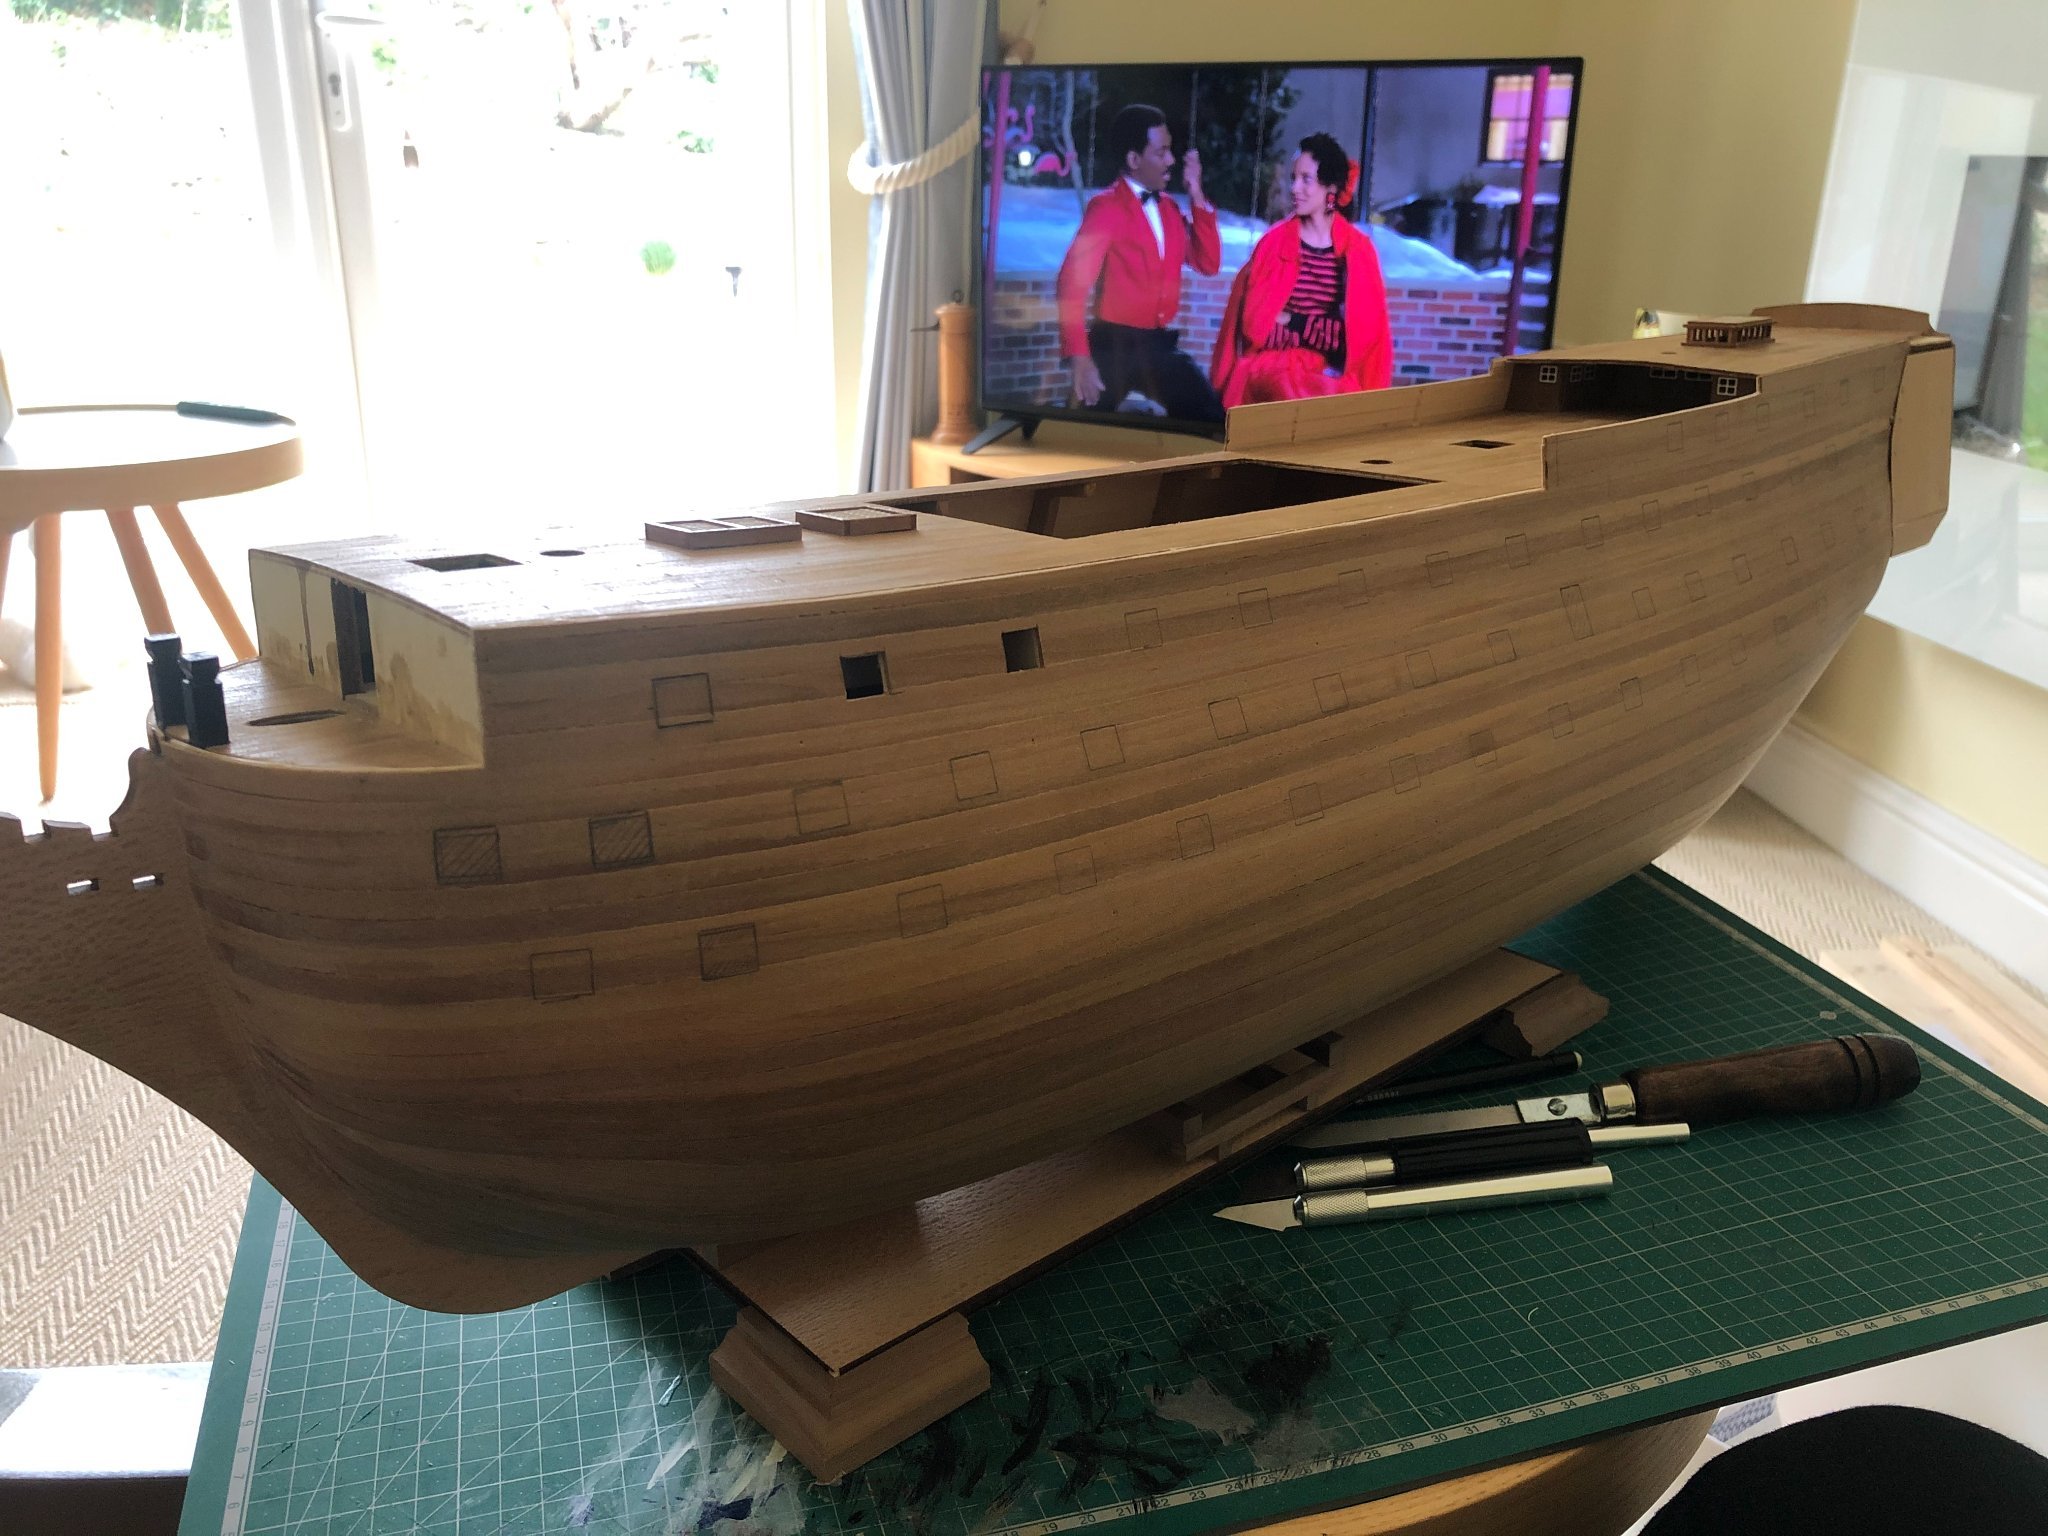
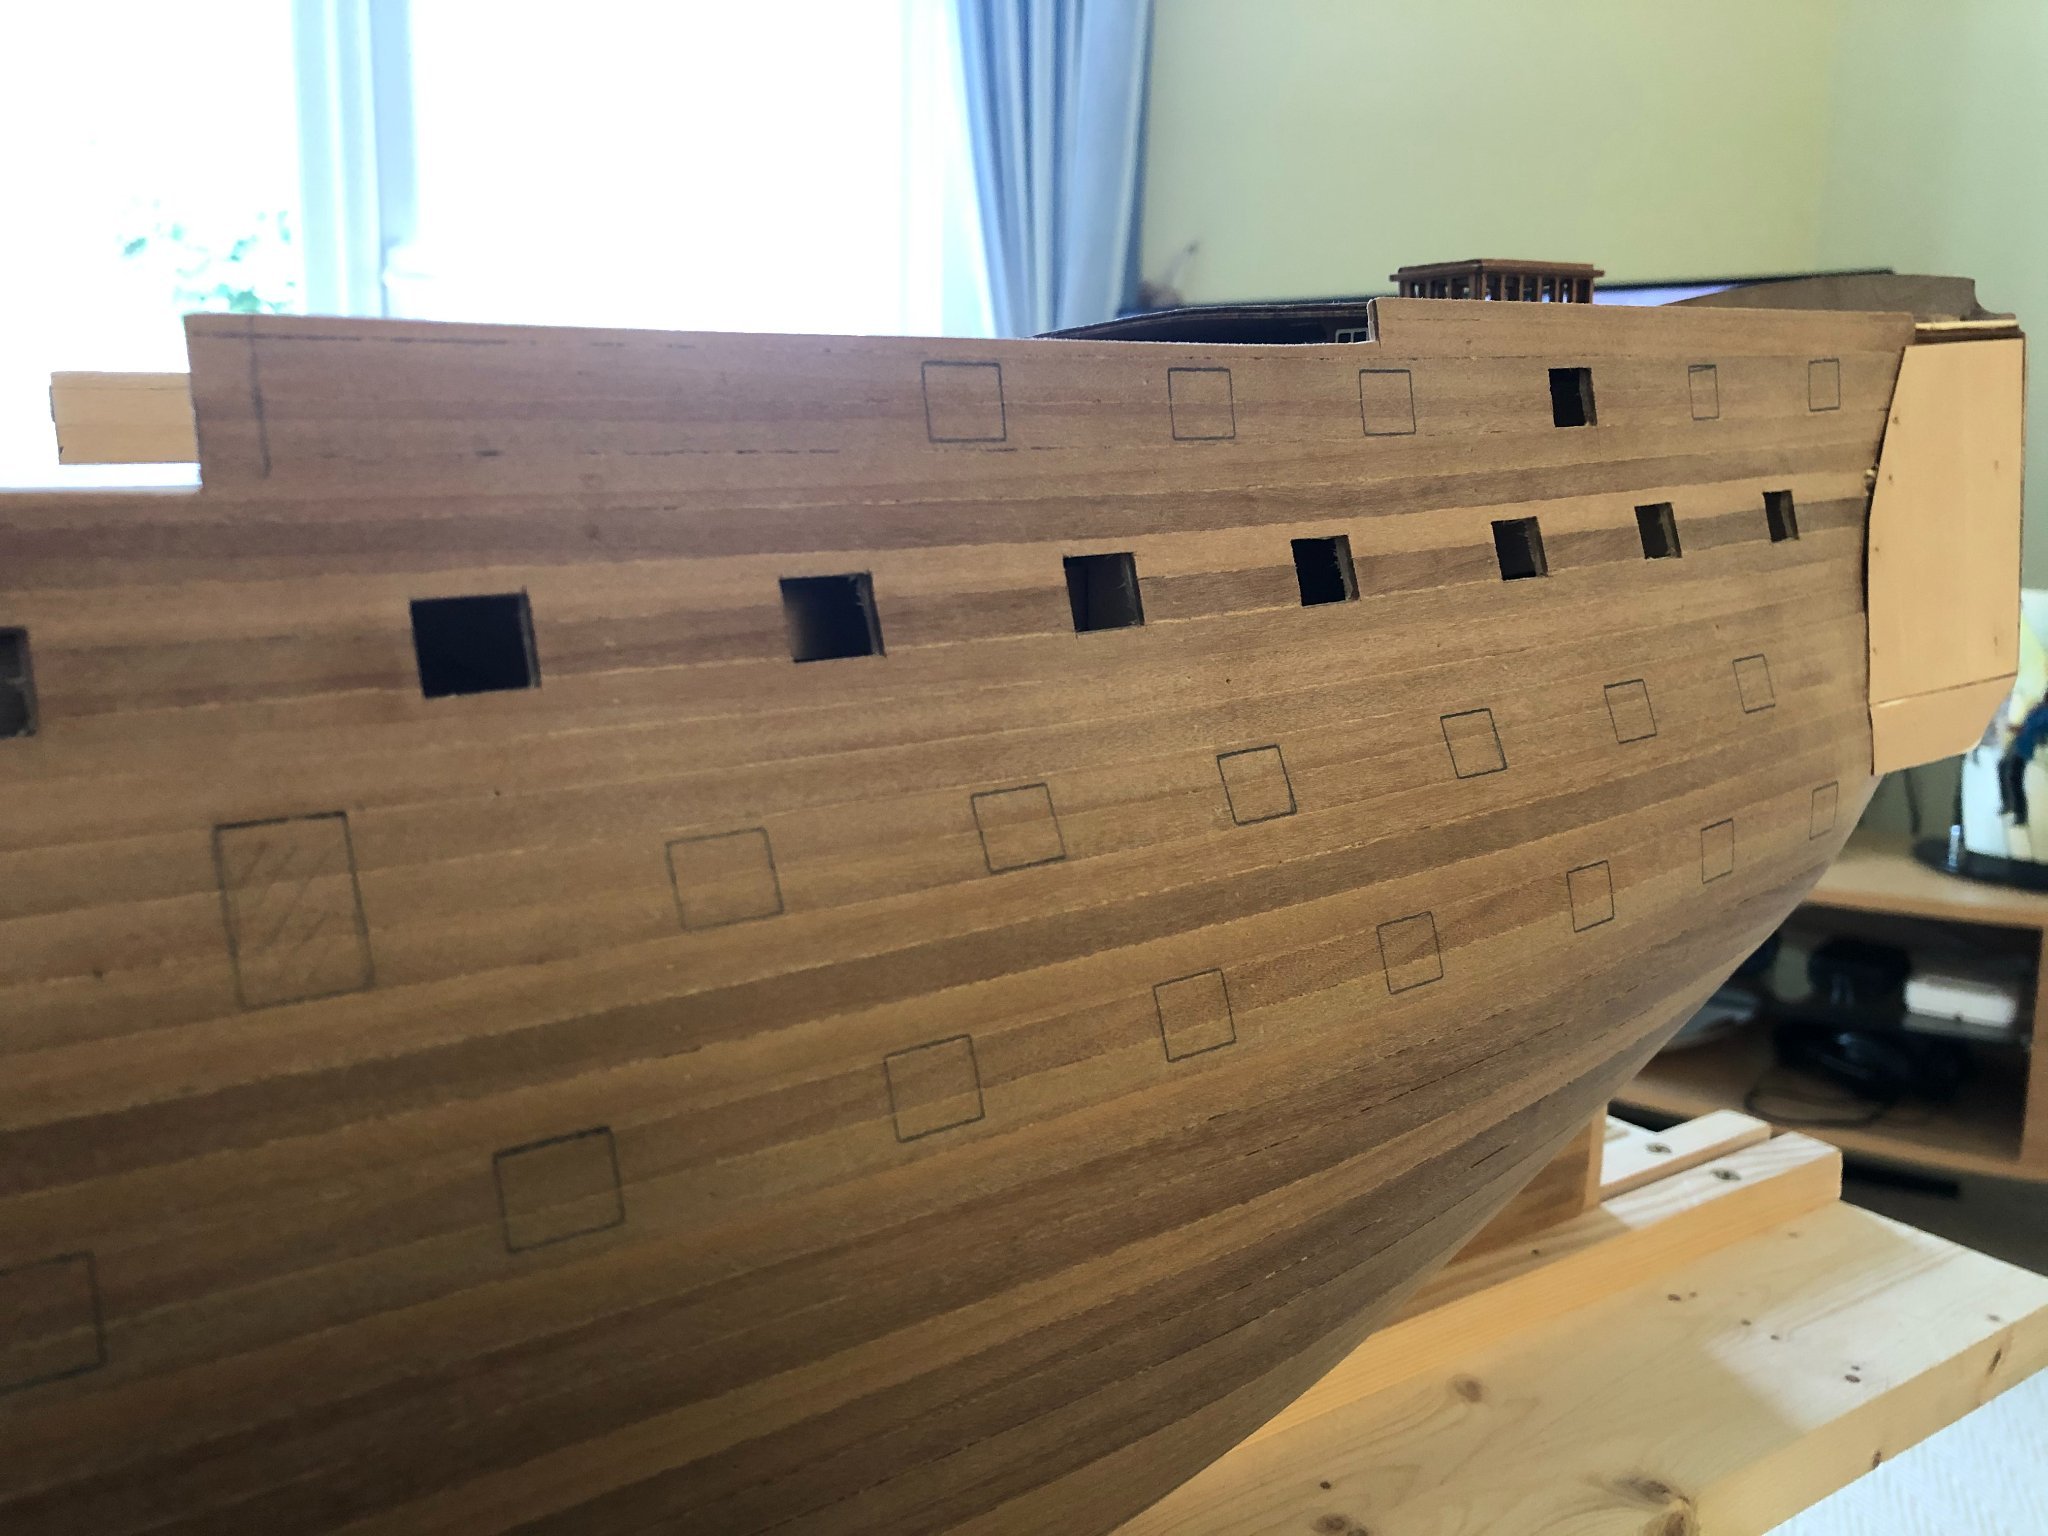
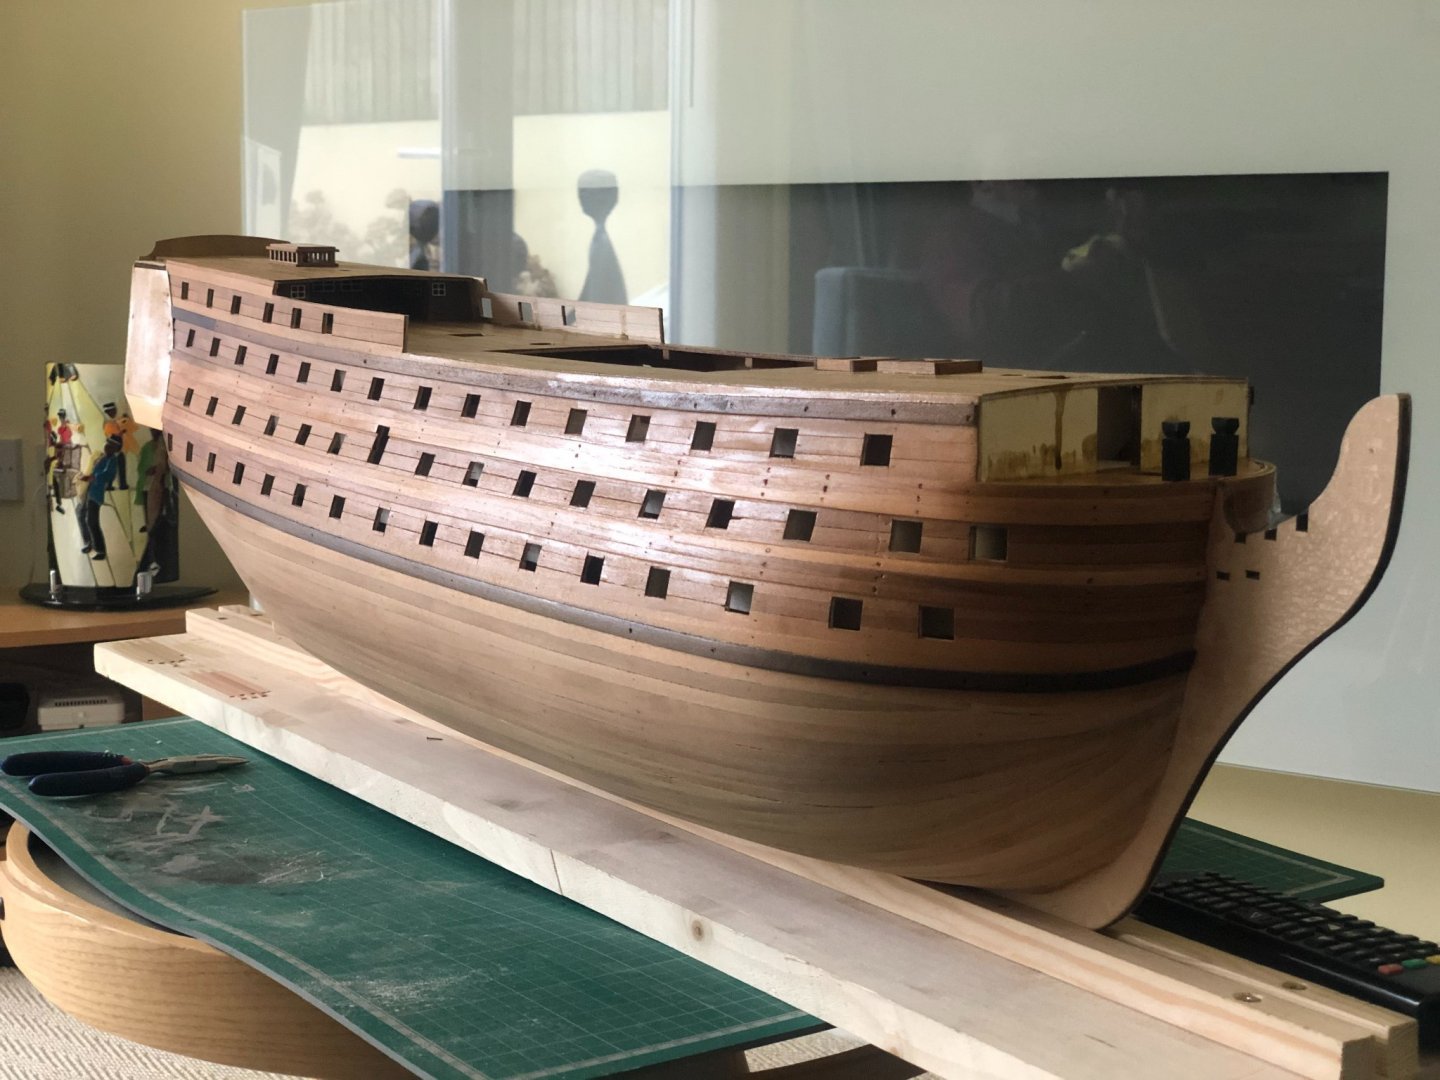
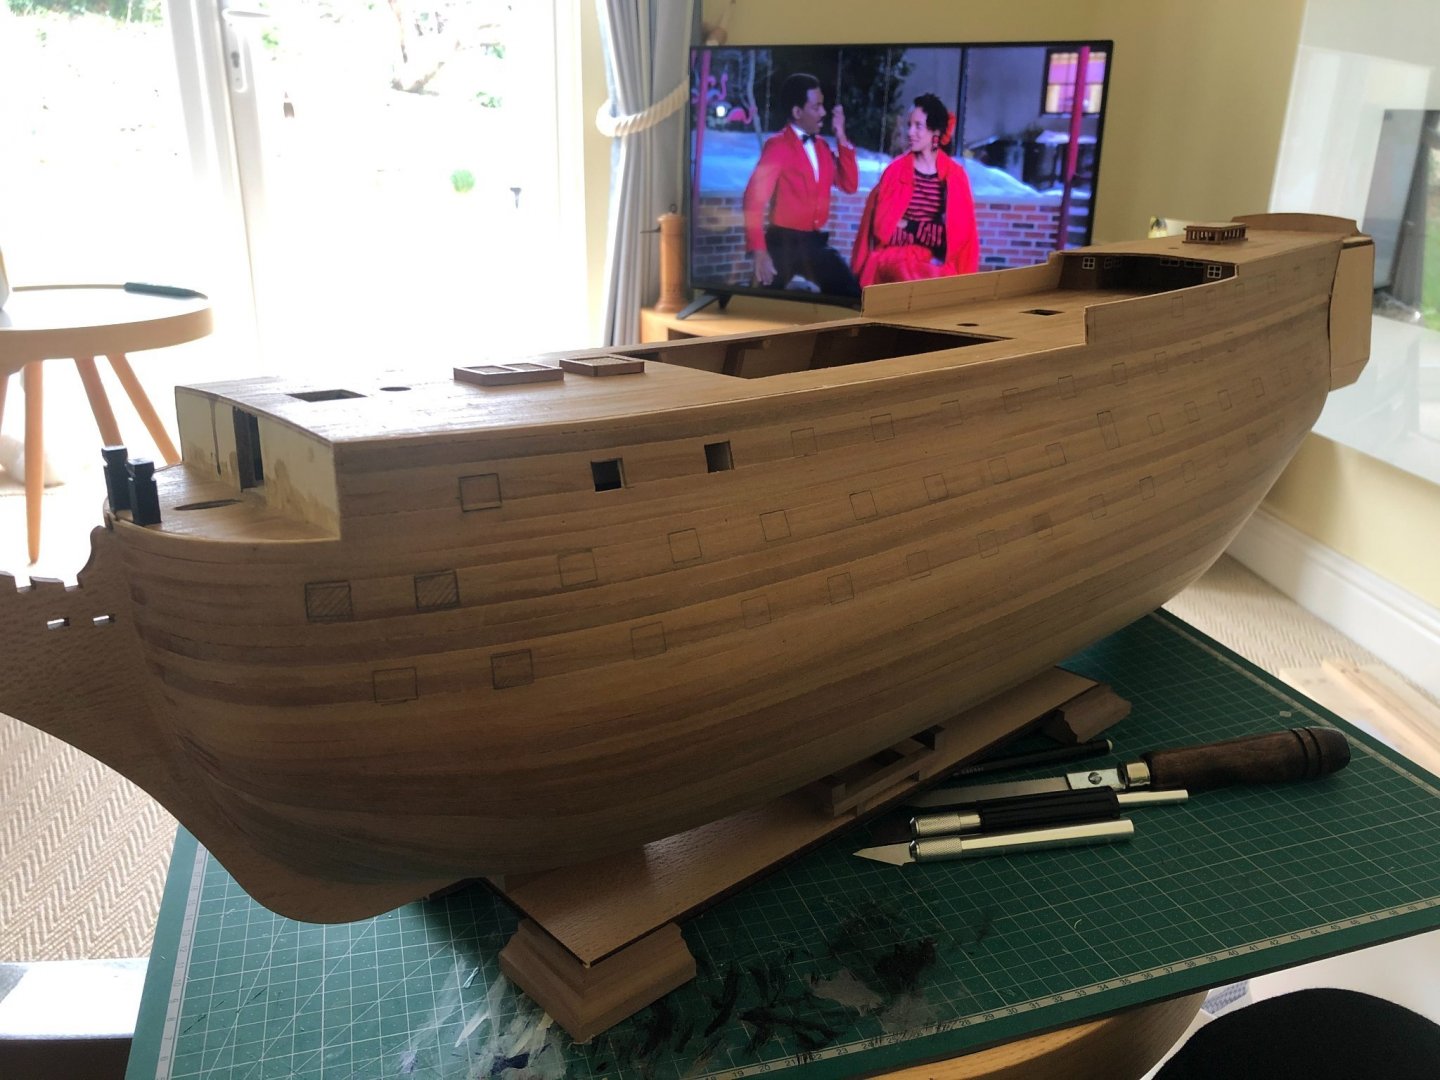
After creating such a smooth curved hull shape it was almost a shame to cut all the cannon openings in it, all 102 of them! The kit supplies a cutting template for you, a large cardboard sheet with each hole cut out. All you need to do is pin it to the hull, trace each cannon port out and then cut each one out. I wondered what the best way to do that was, and ended up just using a scalpel and slowing cutting each individually. I considered a drill and small saw, but just using the knife left a much neater edge with less clean up to do.

-
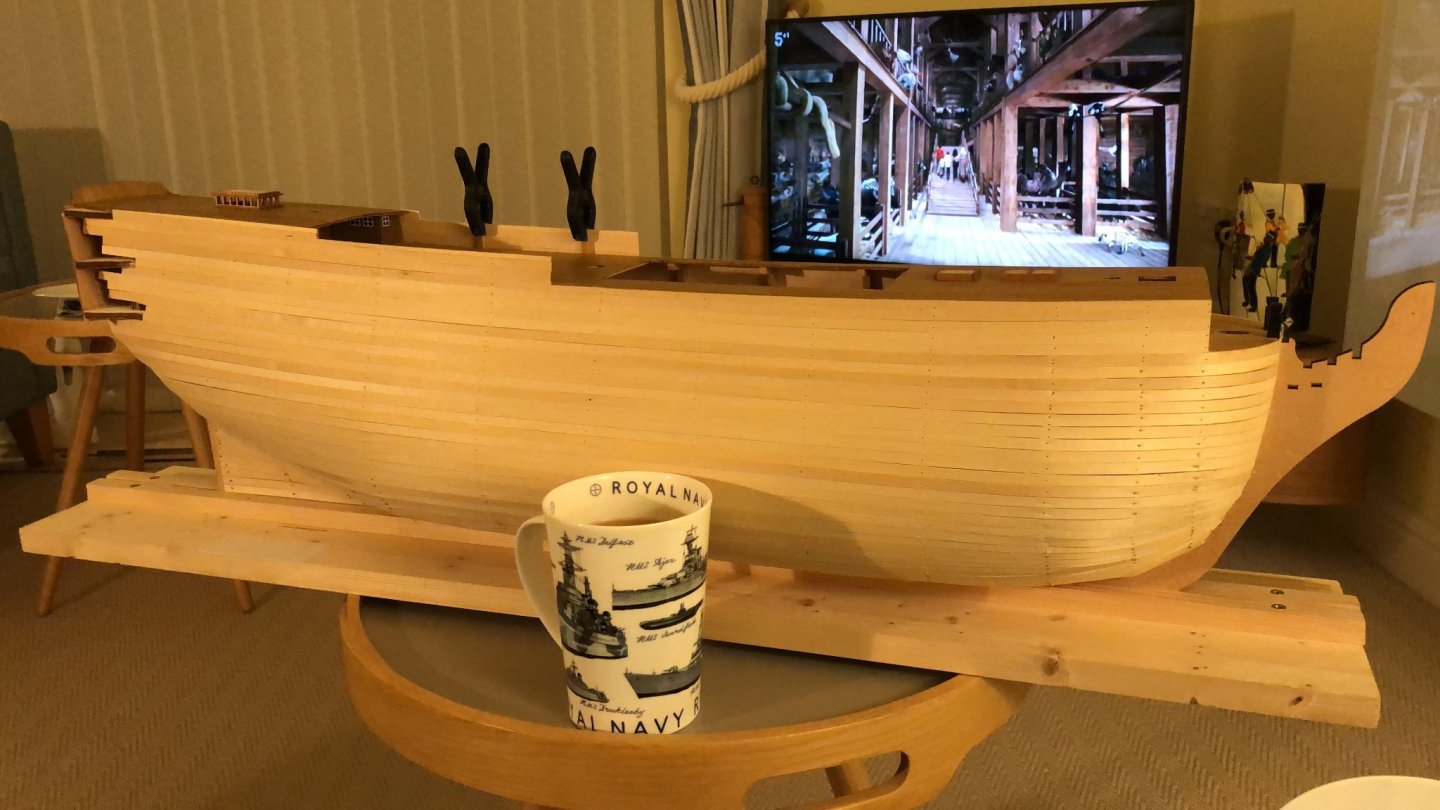
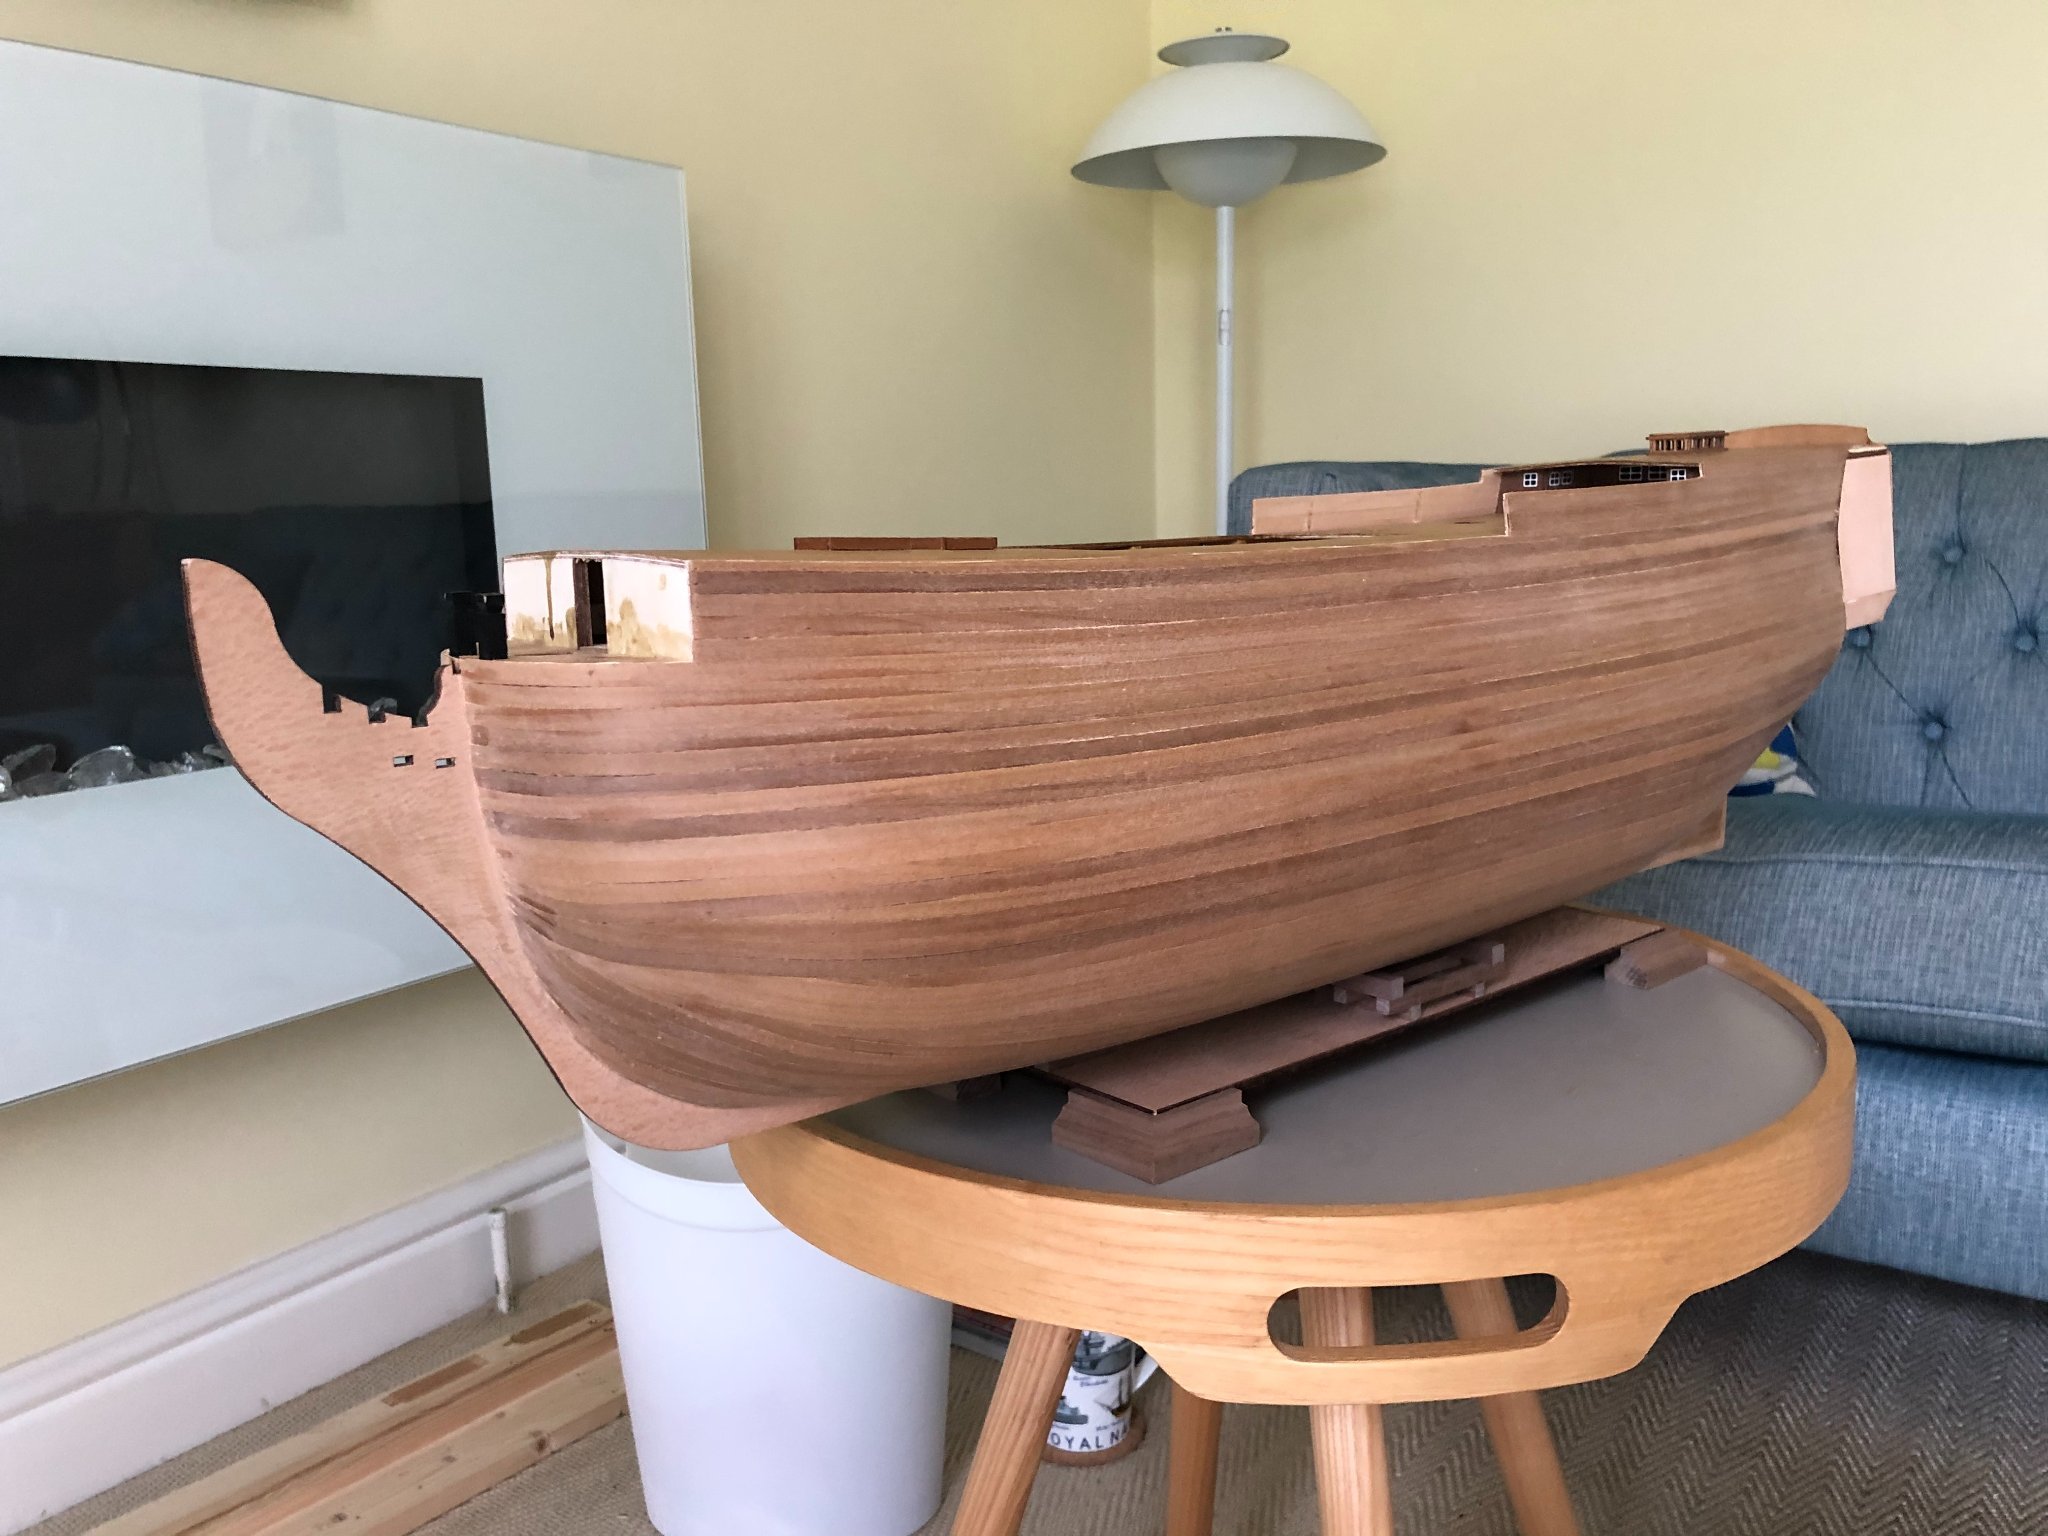
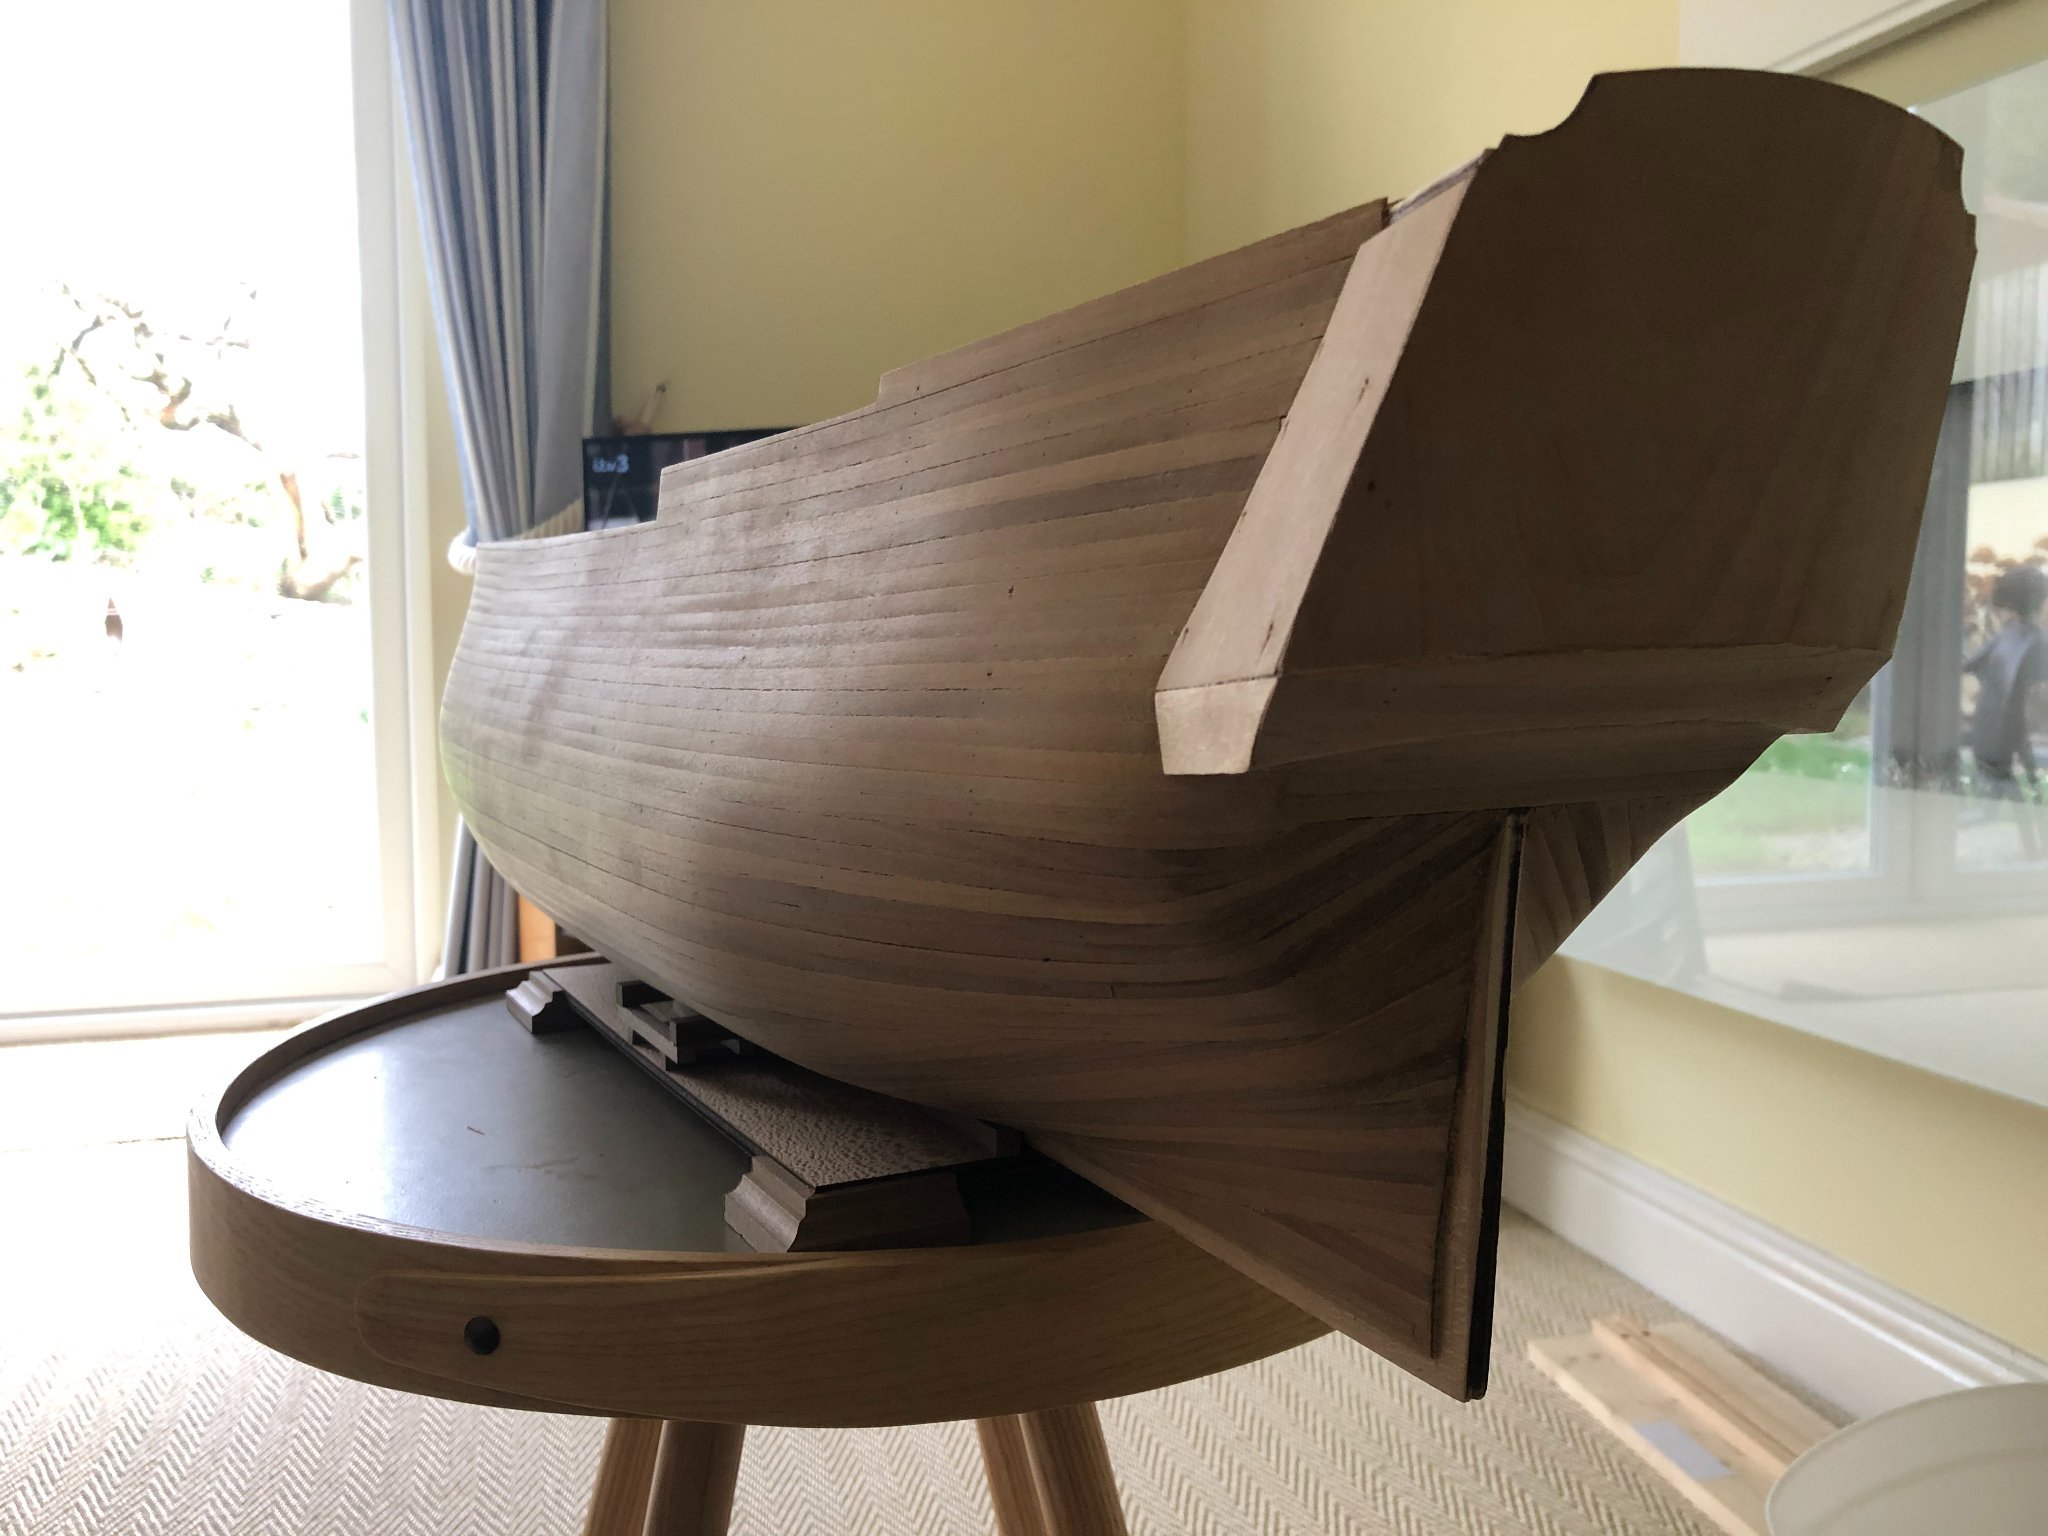
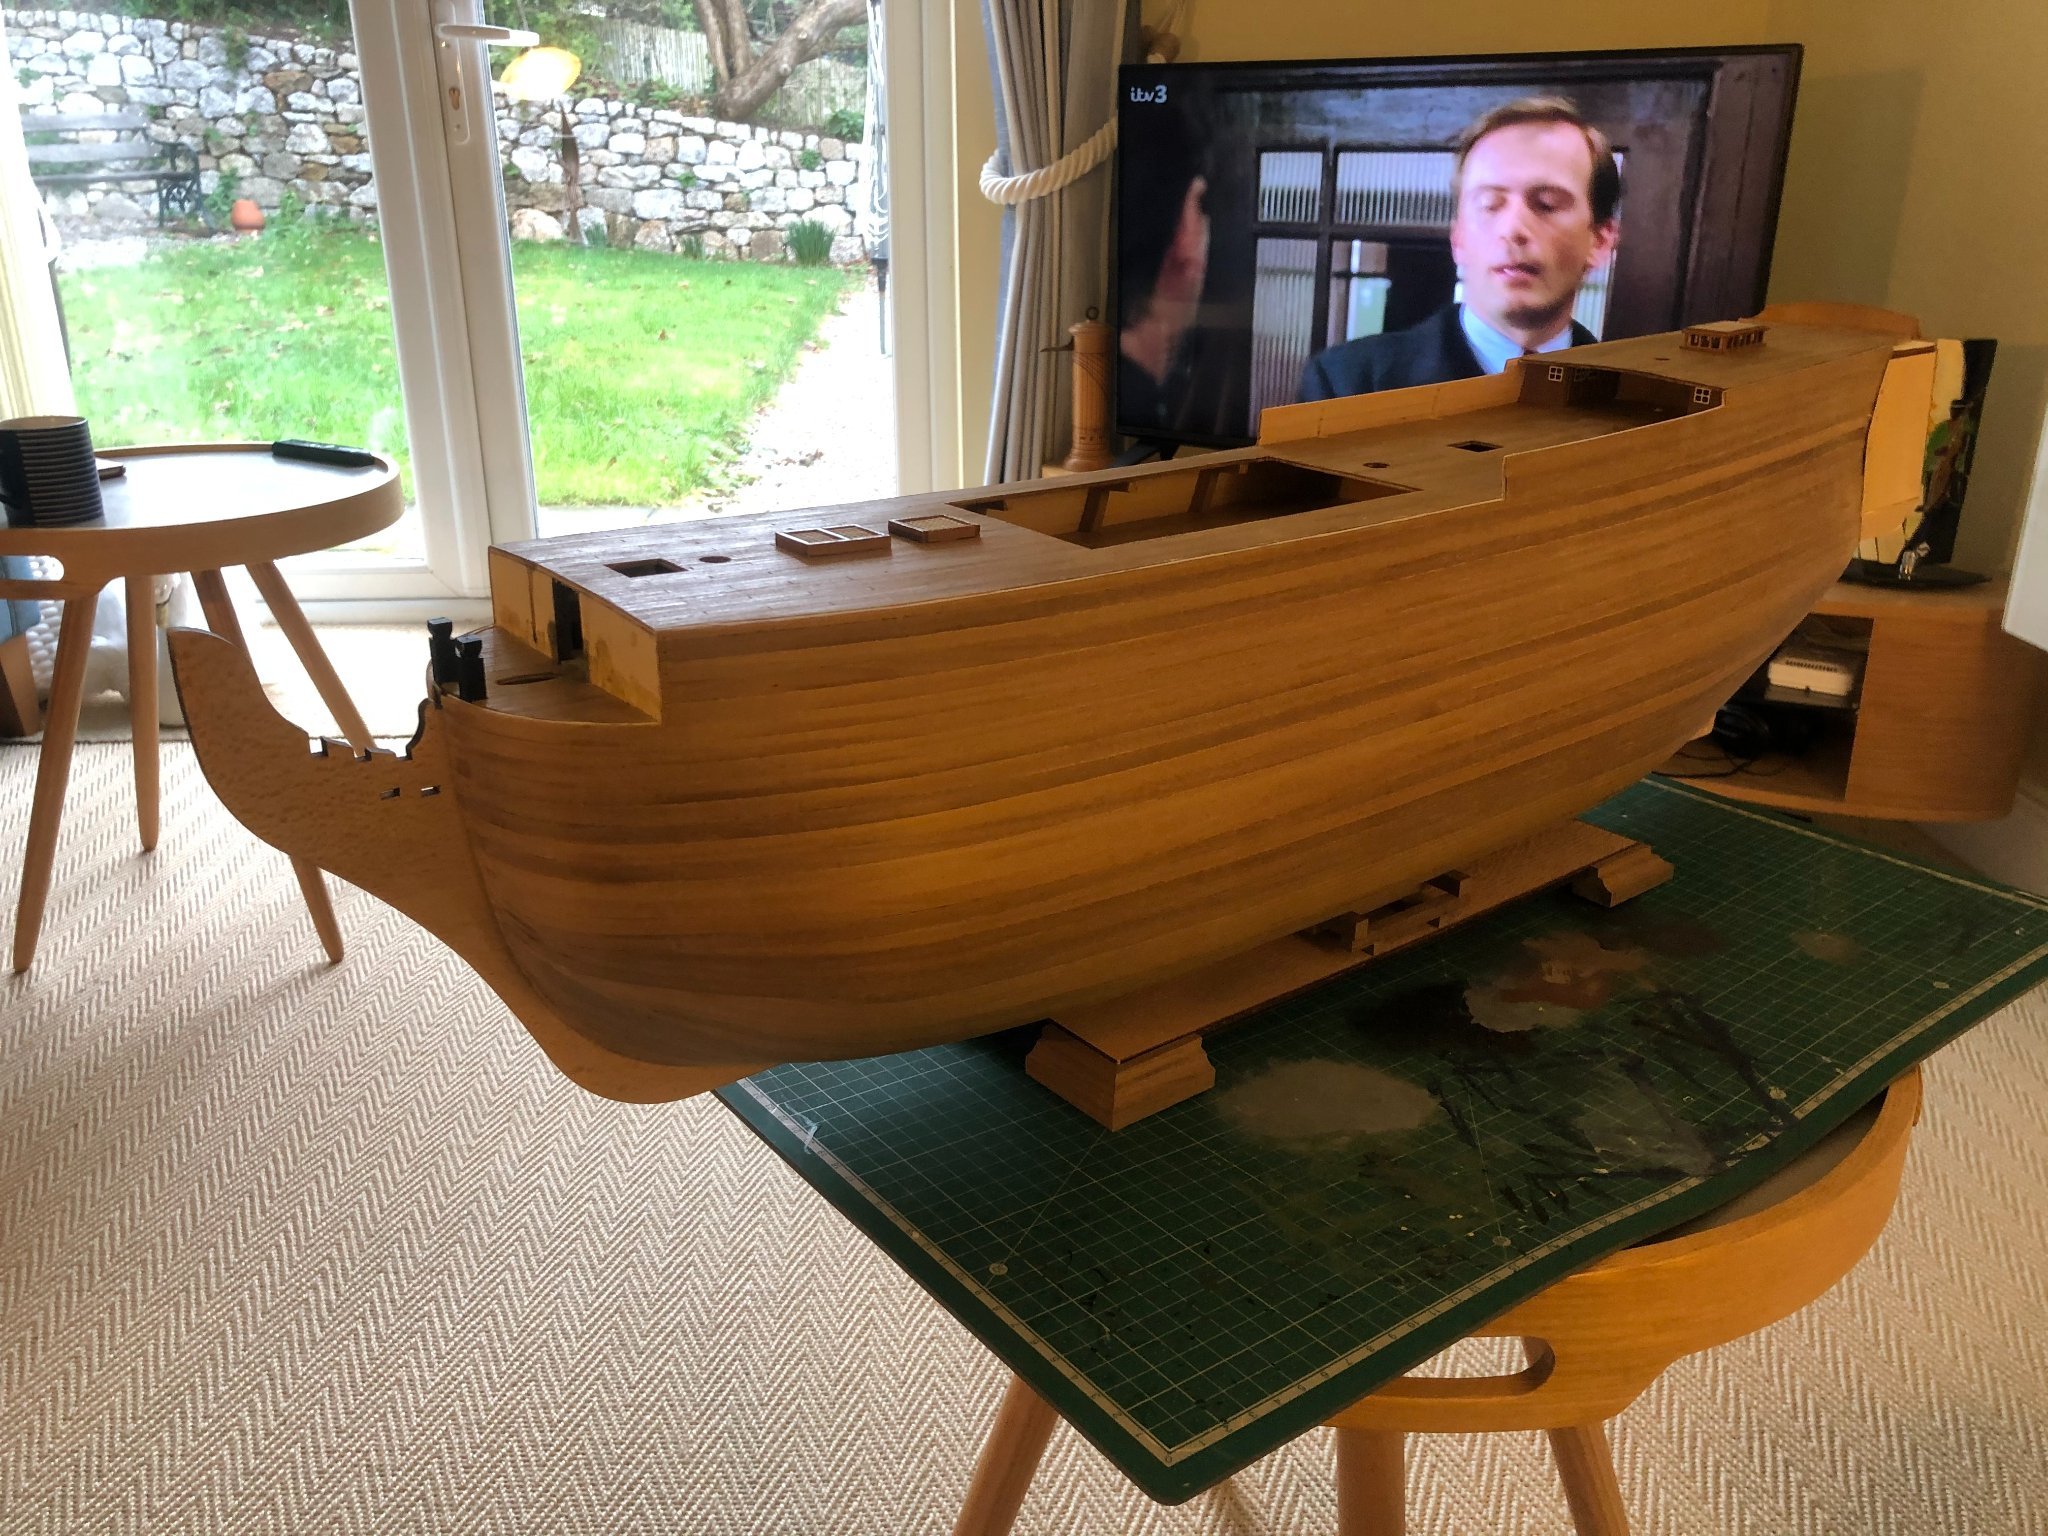
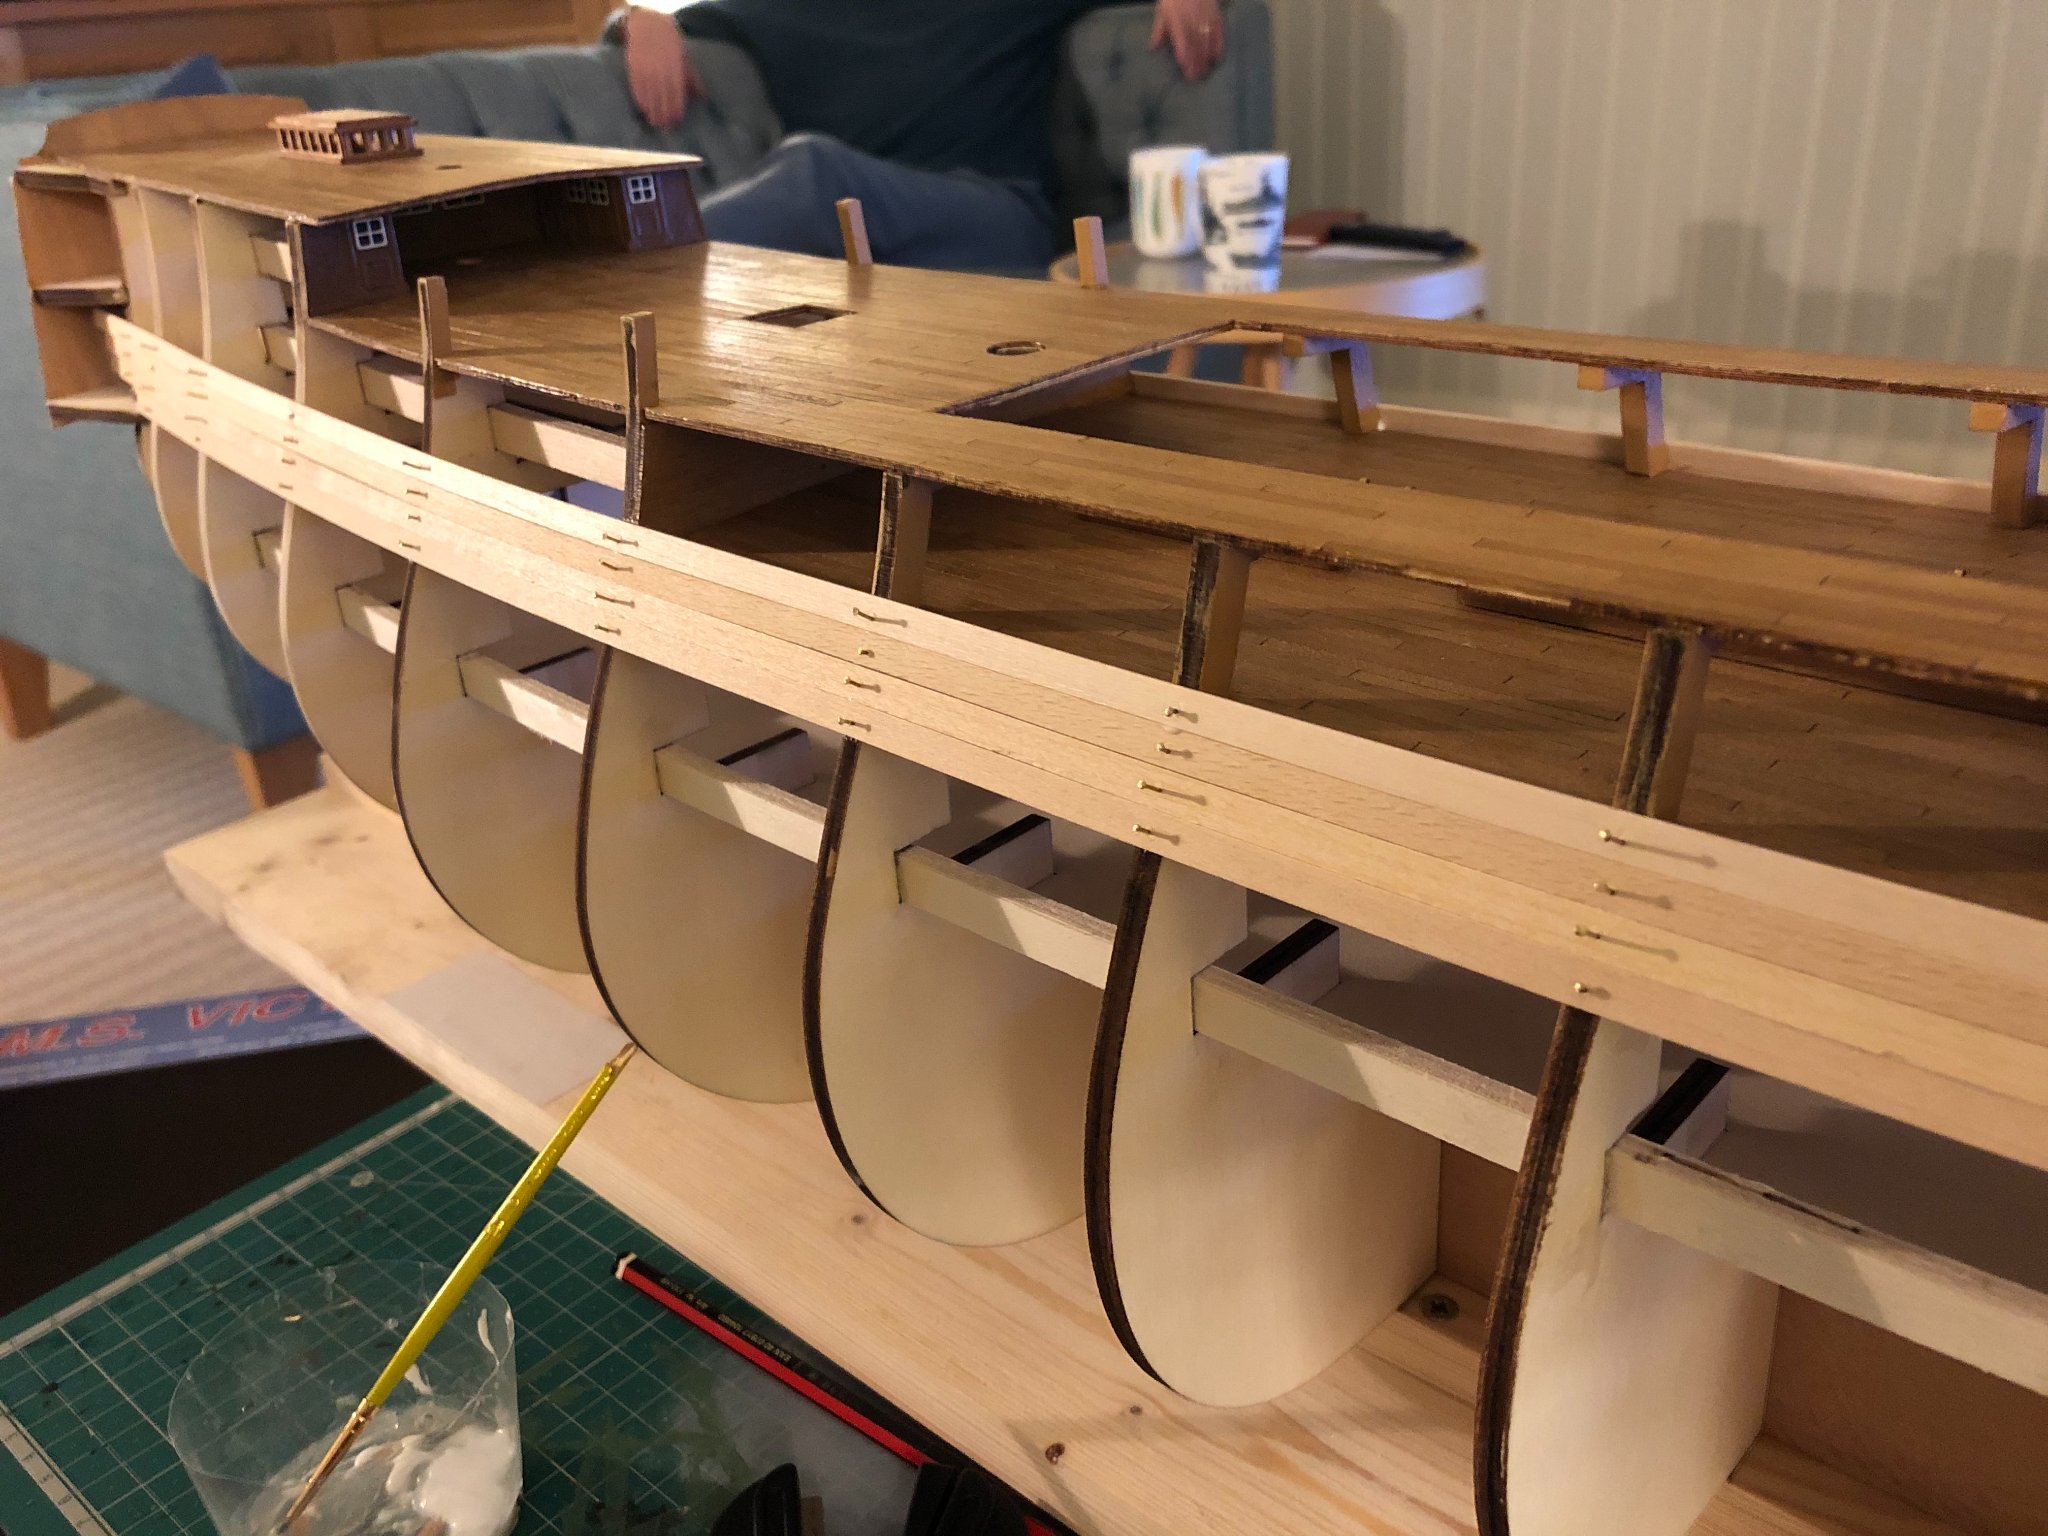
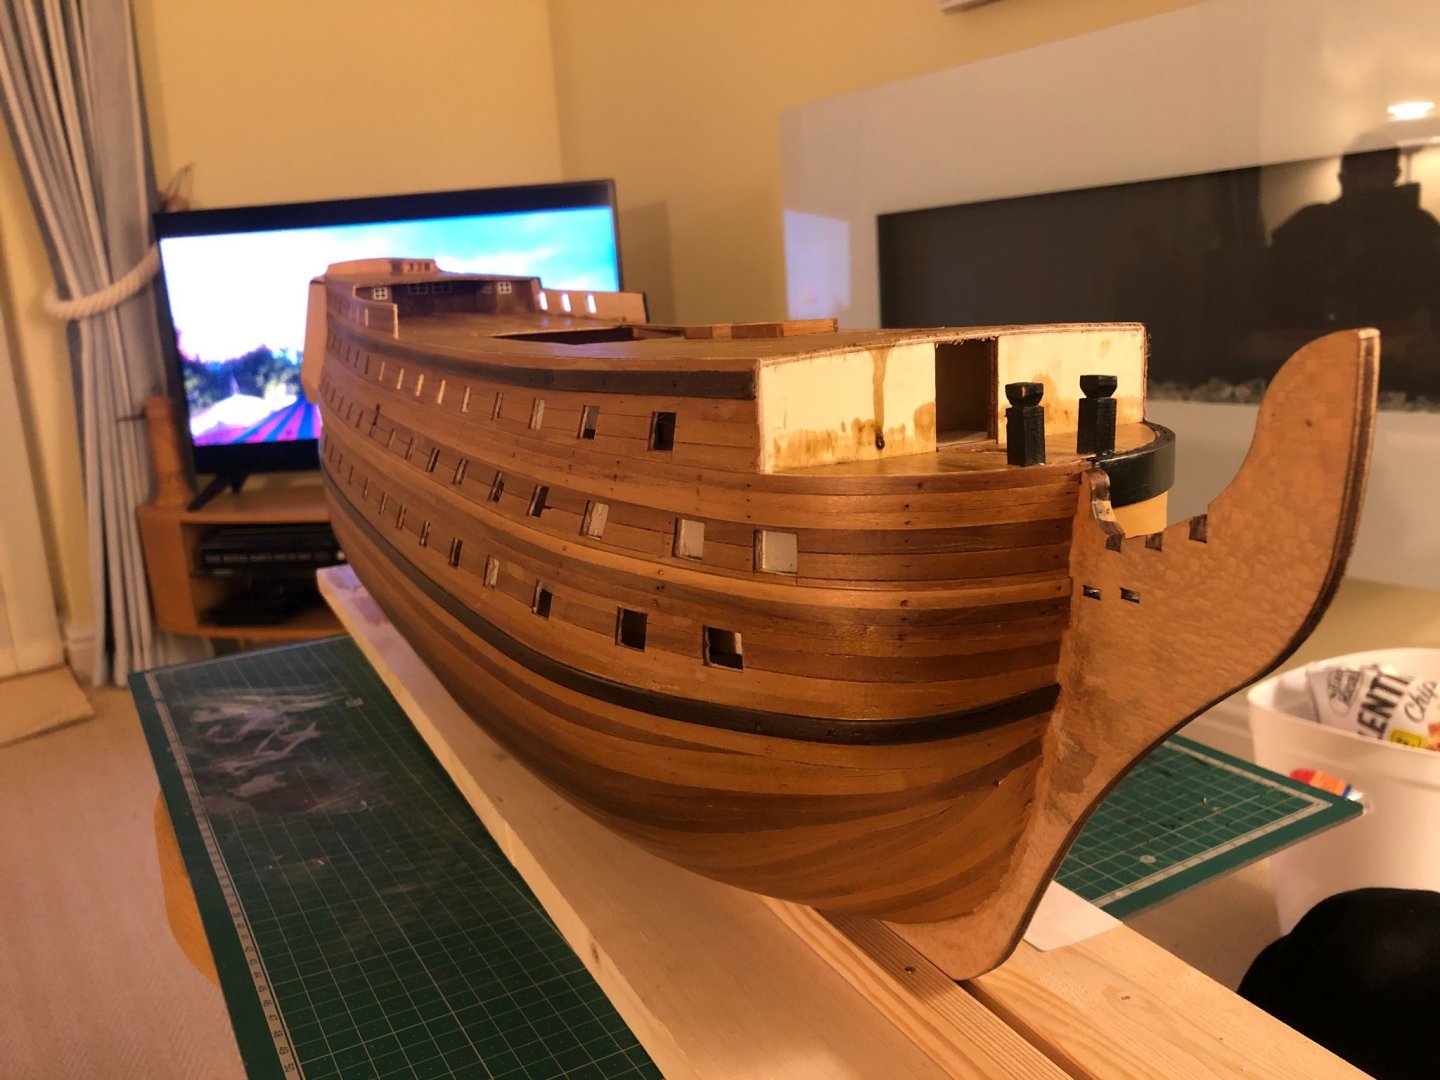
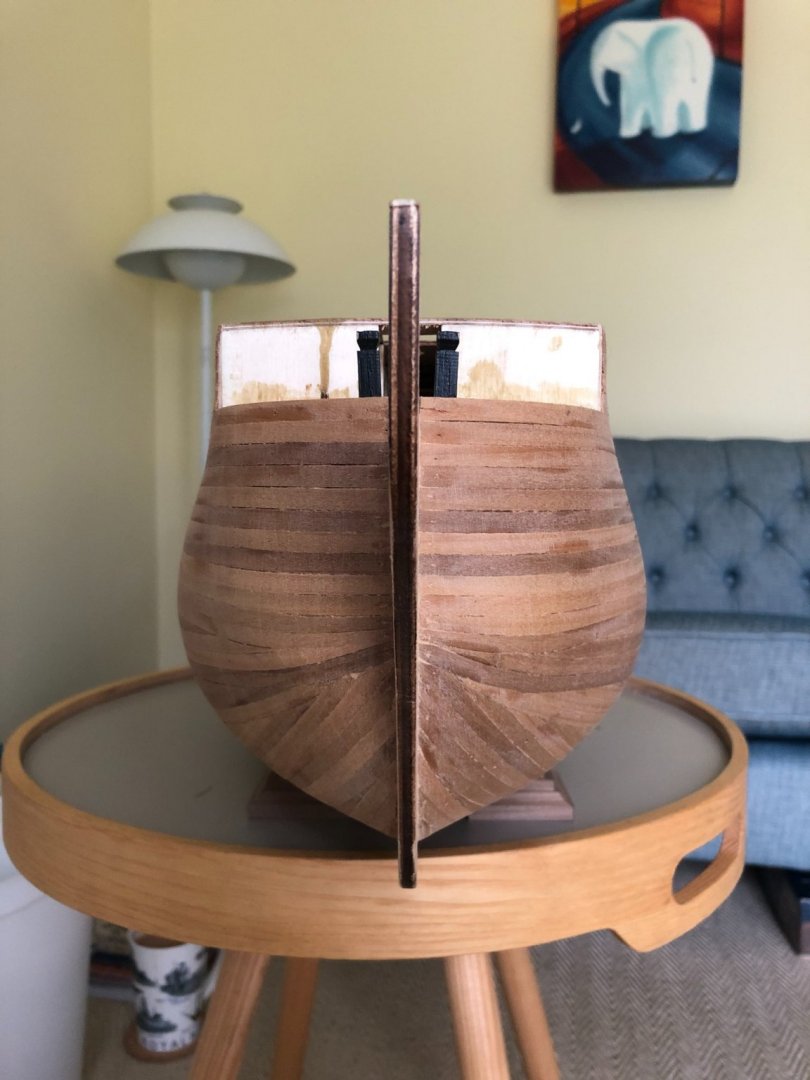
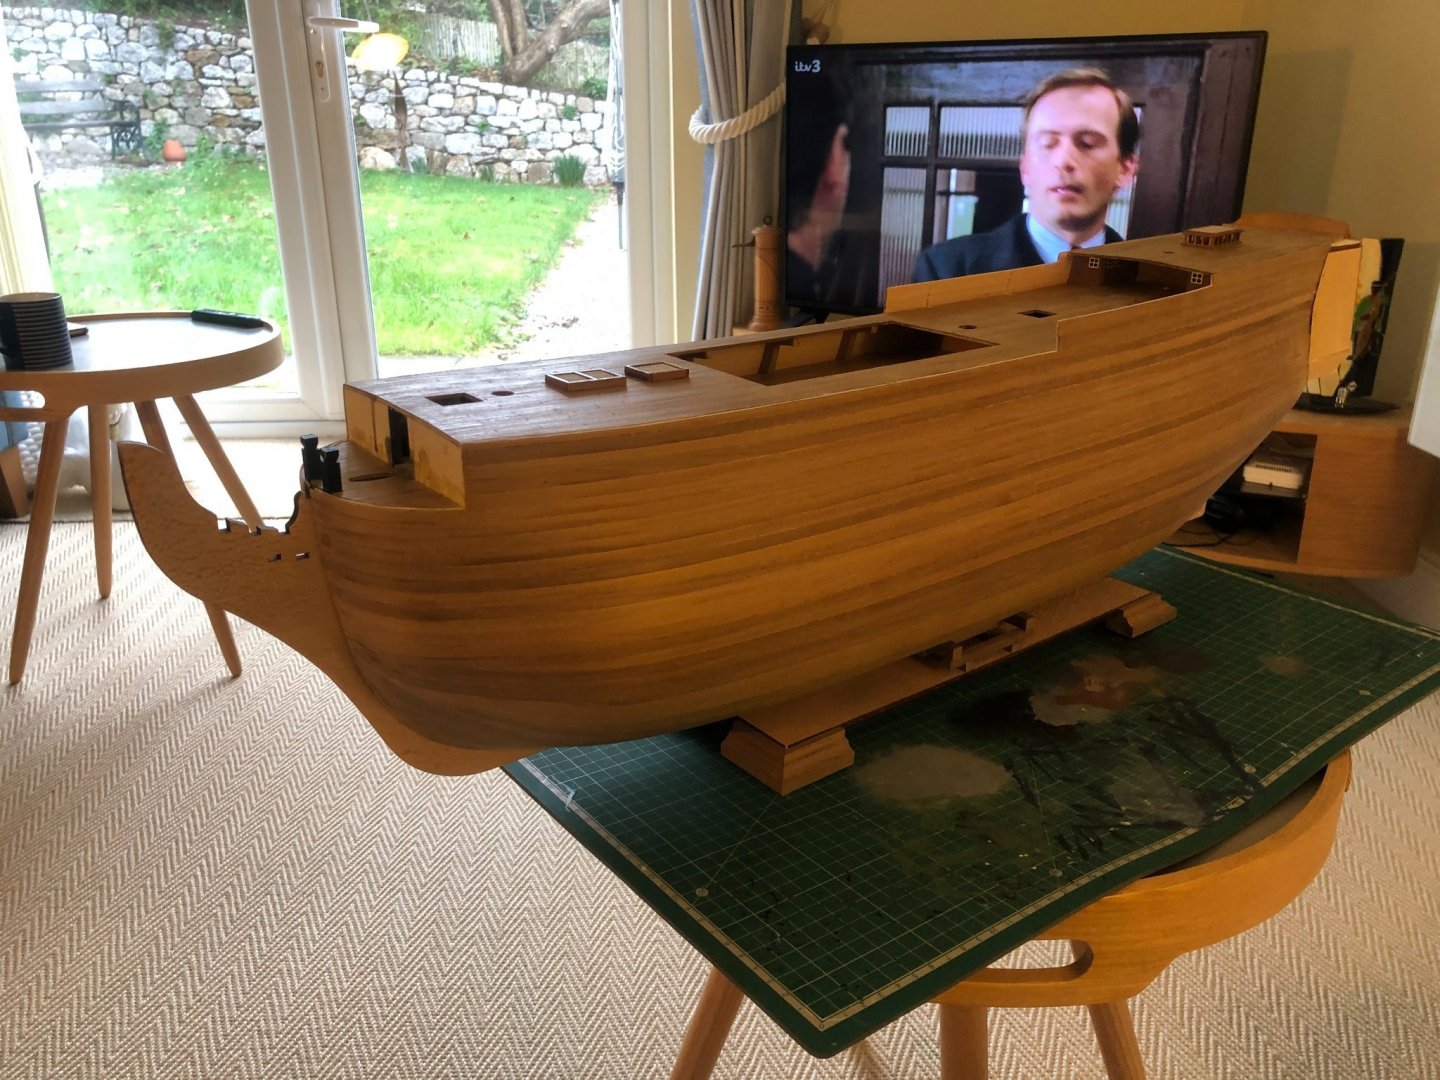
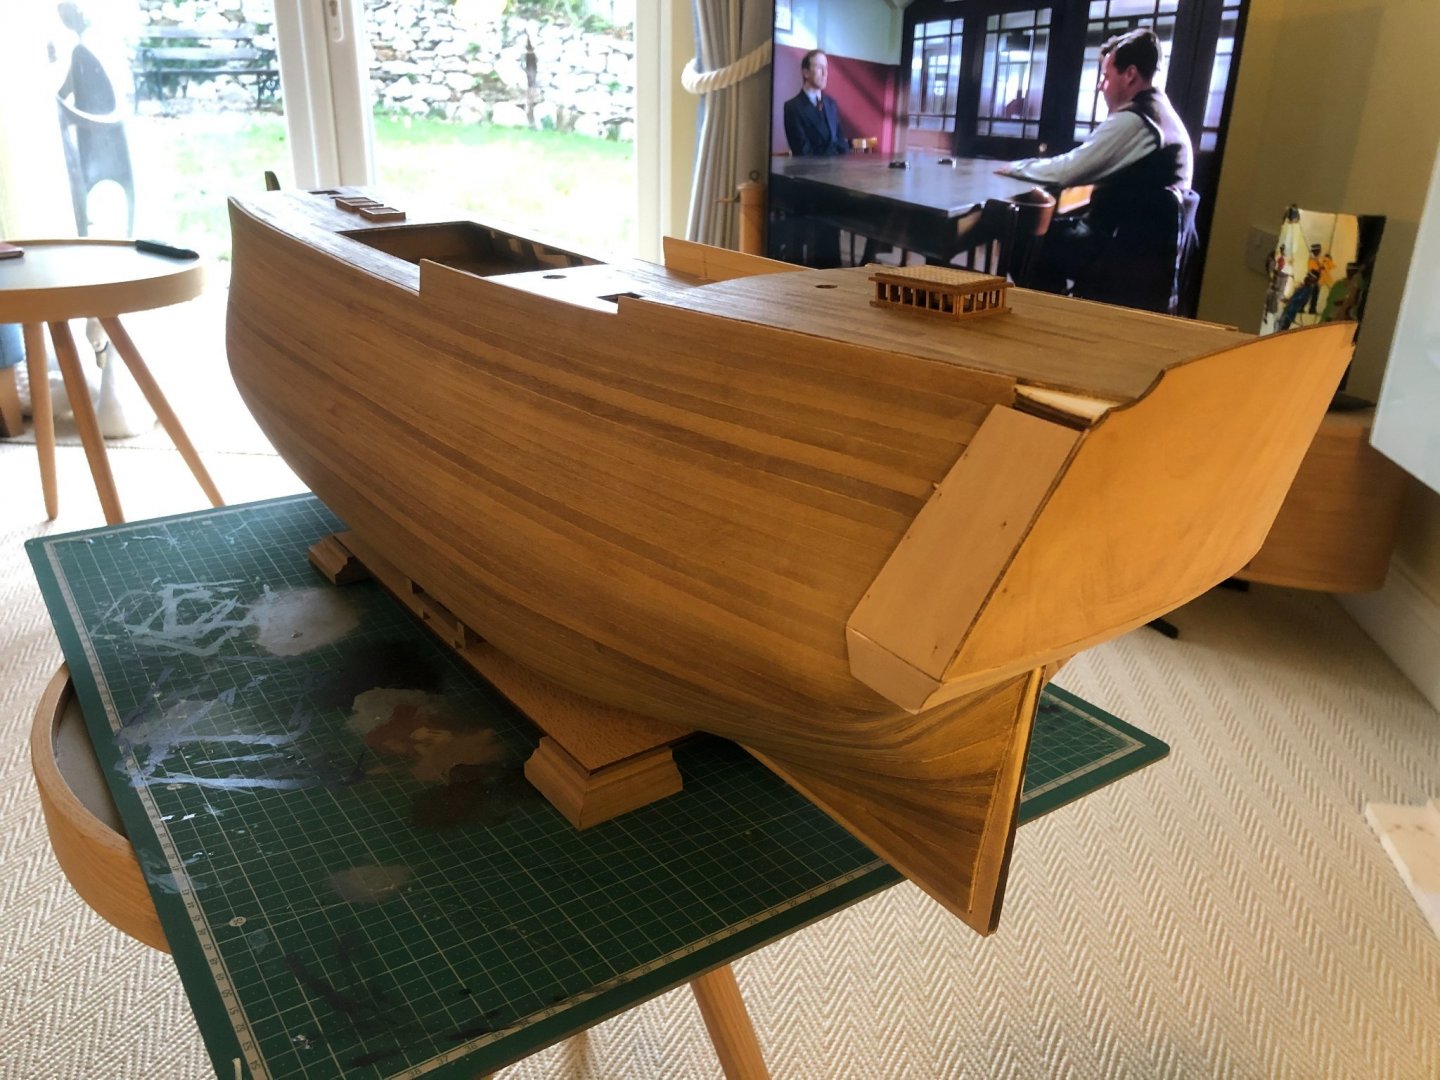
The second layer goes on! This was much easier, as I now had a general shape to mould the planks on to. The same process was used, shaping each plank to create the smooth curves of the hull. Again the entire ship was sanded down, using more pressure in the areas that needed to have smoother lines. Inevitably this left weak points in the hull, where the sanded planks were thinner in areas. However once the hull was painted over with watered down PVA glue it greatly strengthened the overall structure. The rear cabin walls were also attached to finish the main shape of the Victory.


-
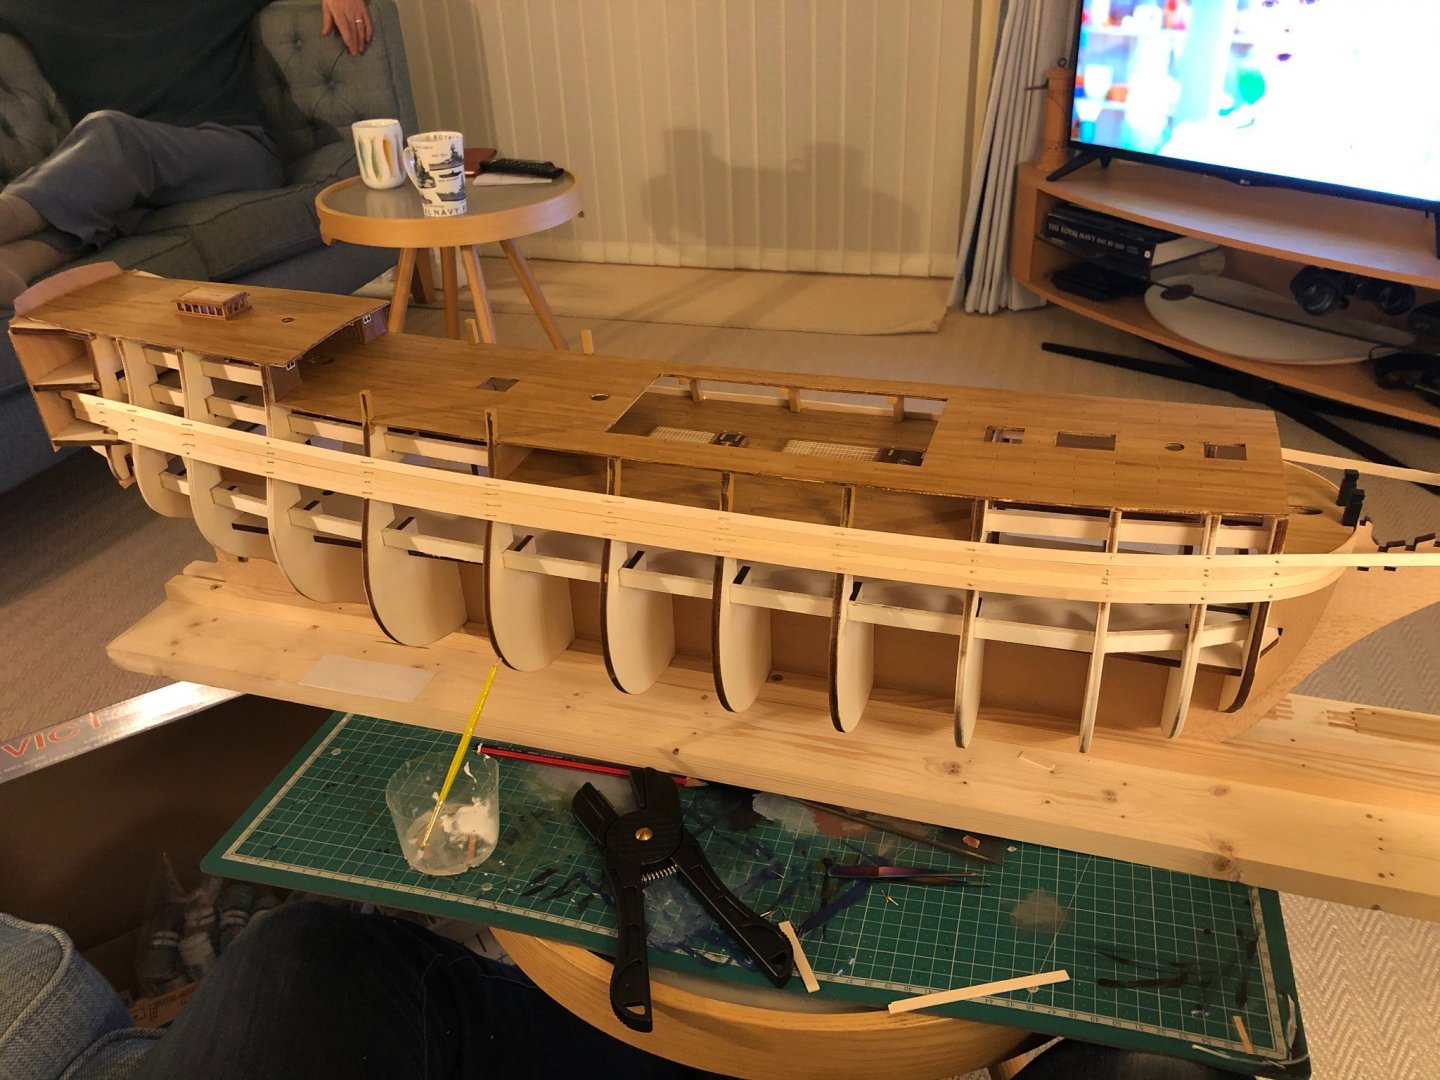
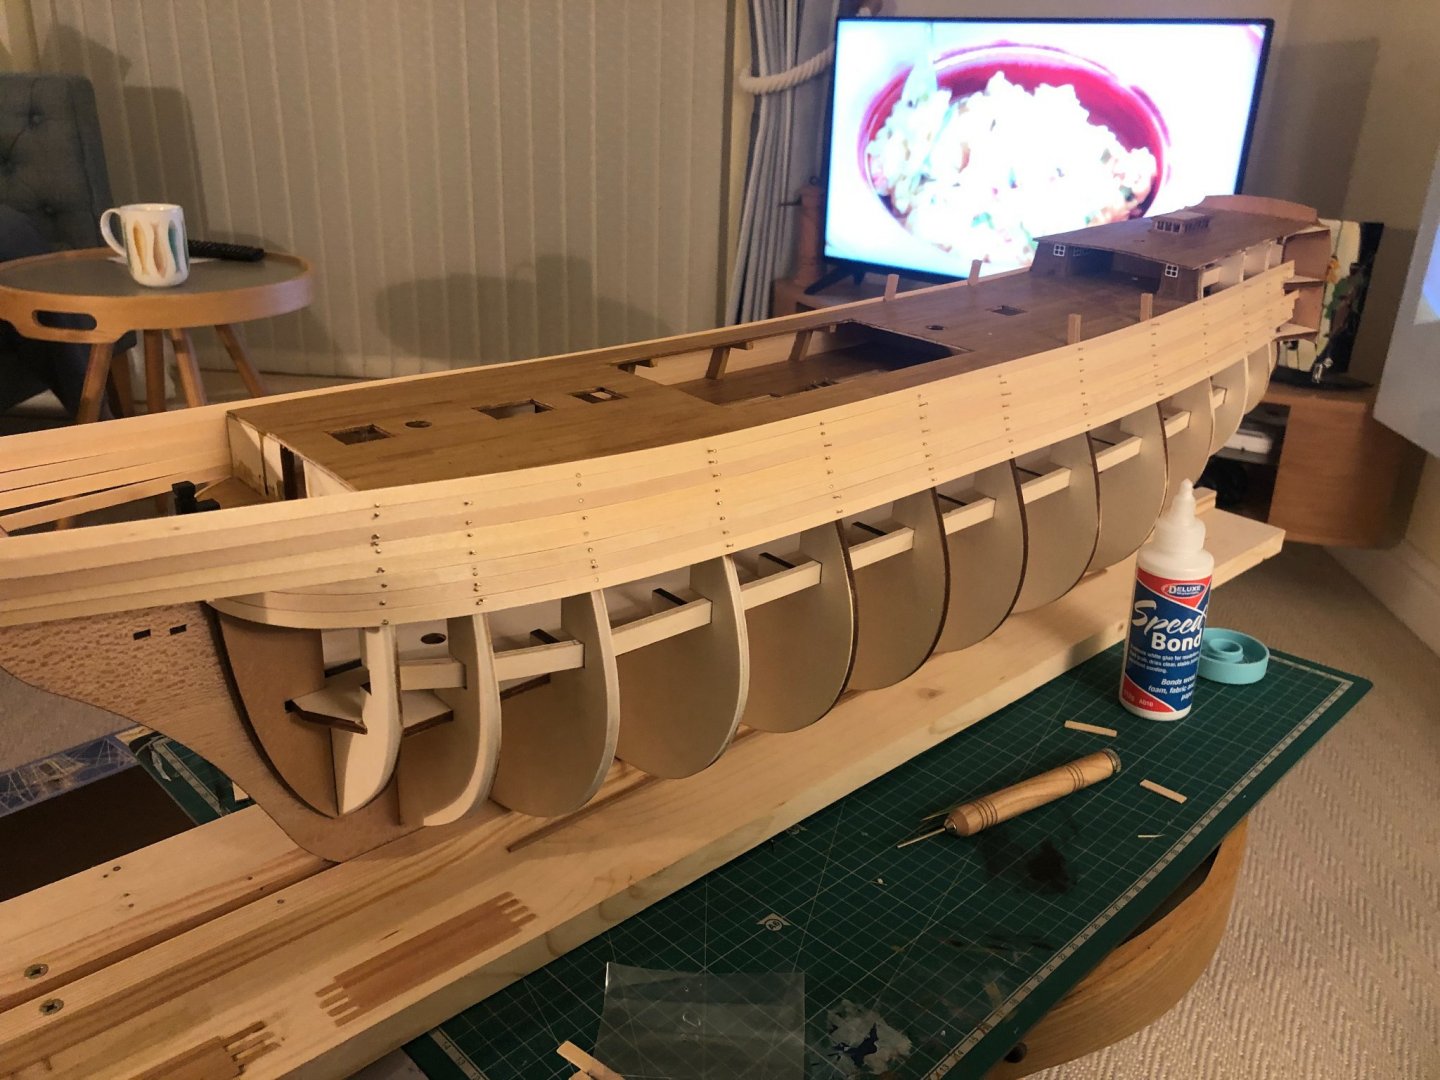
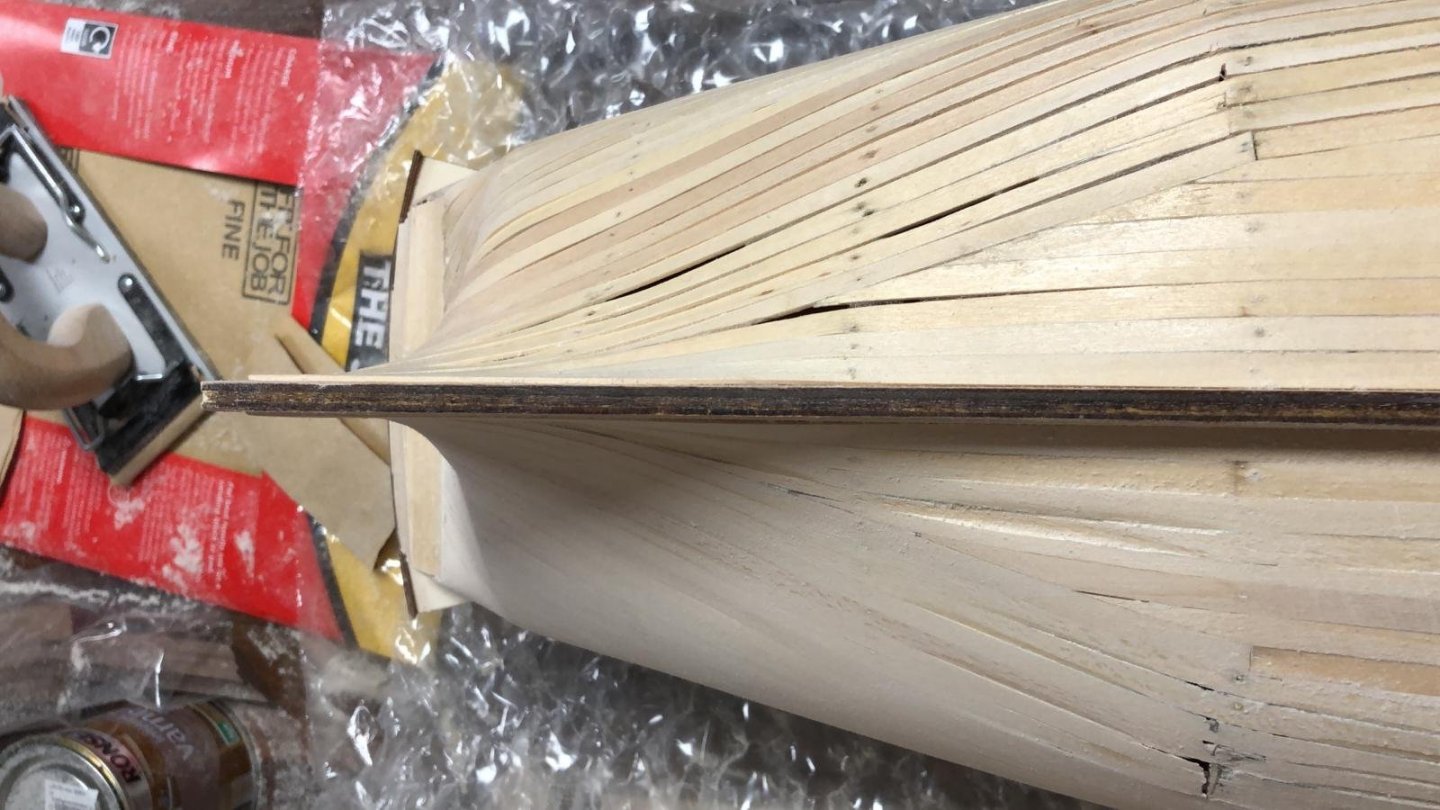
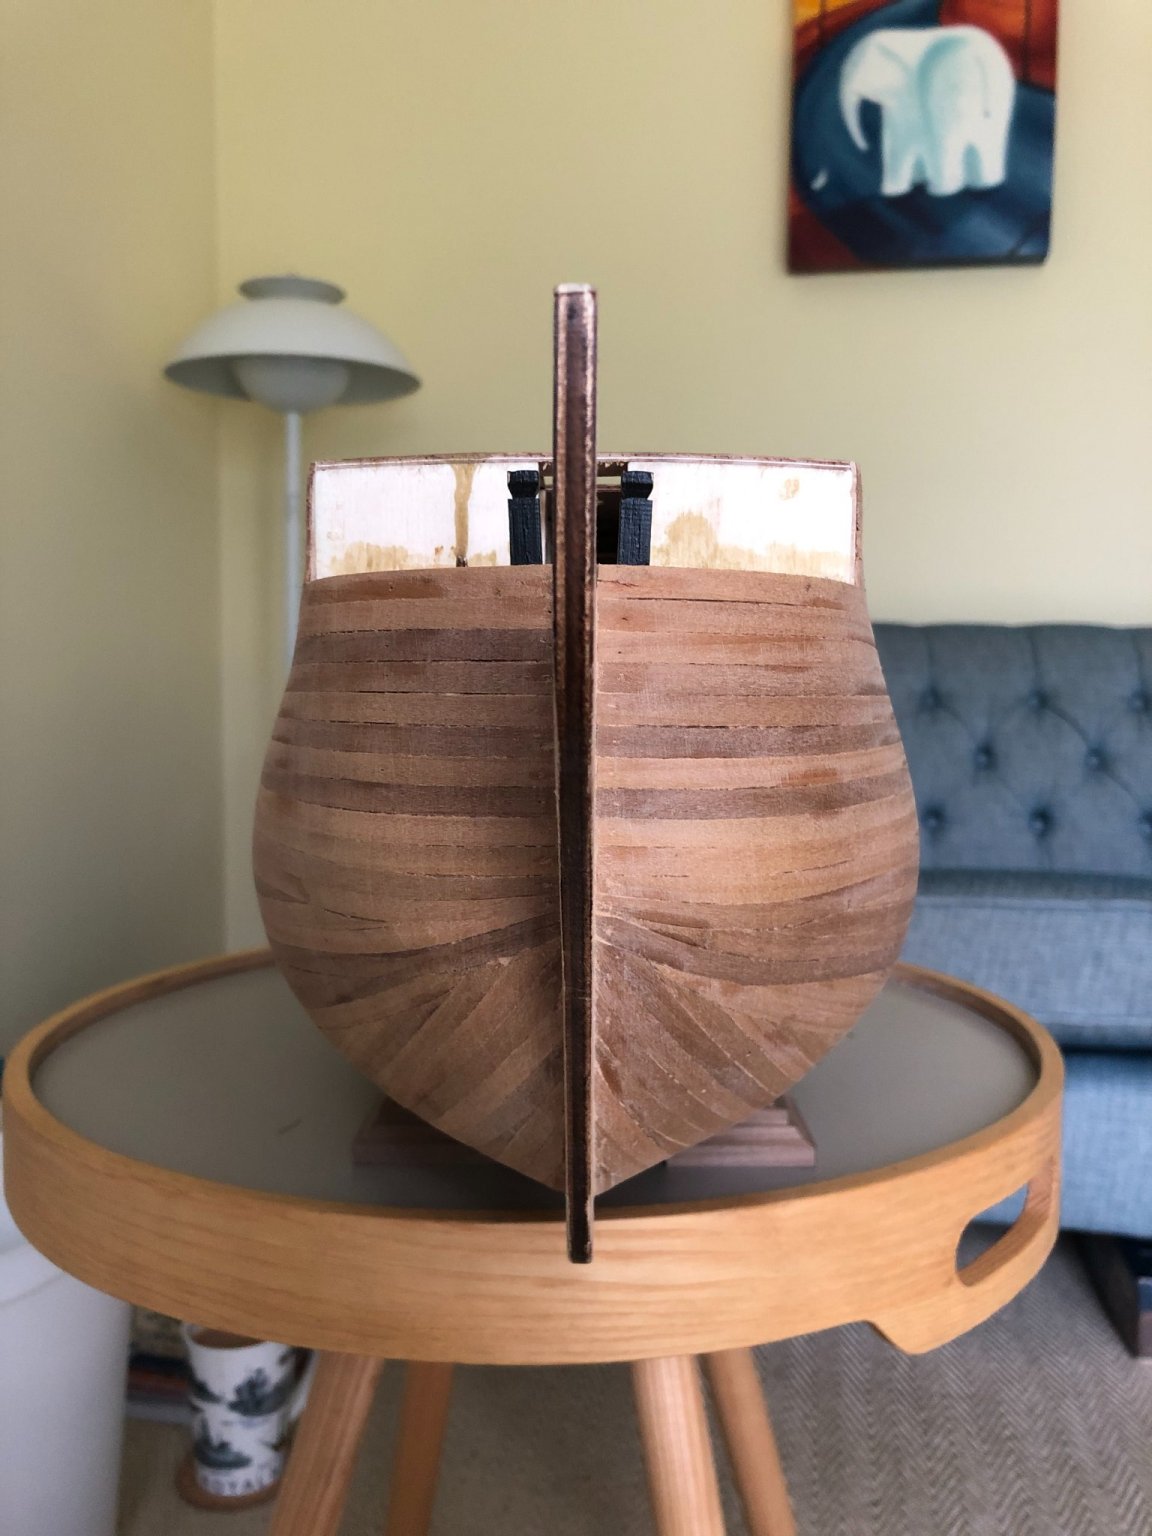
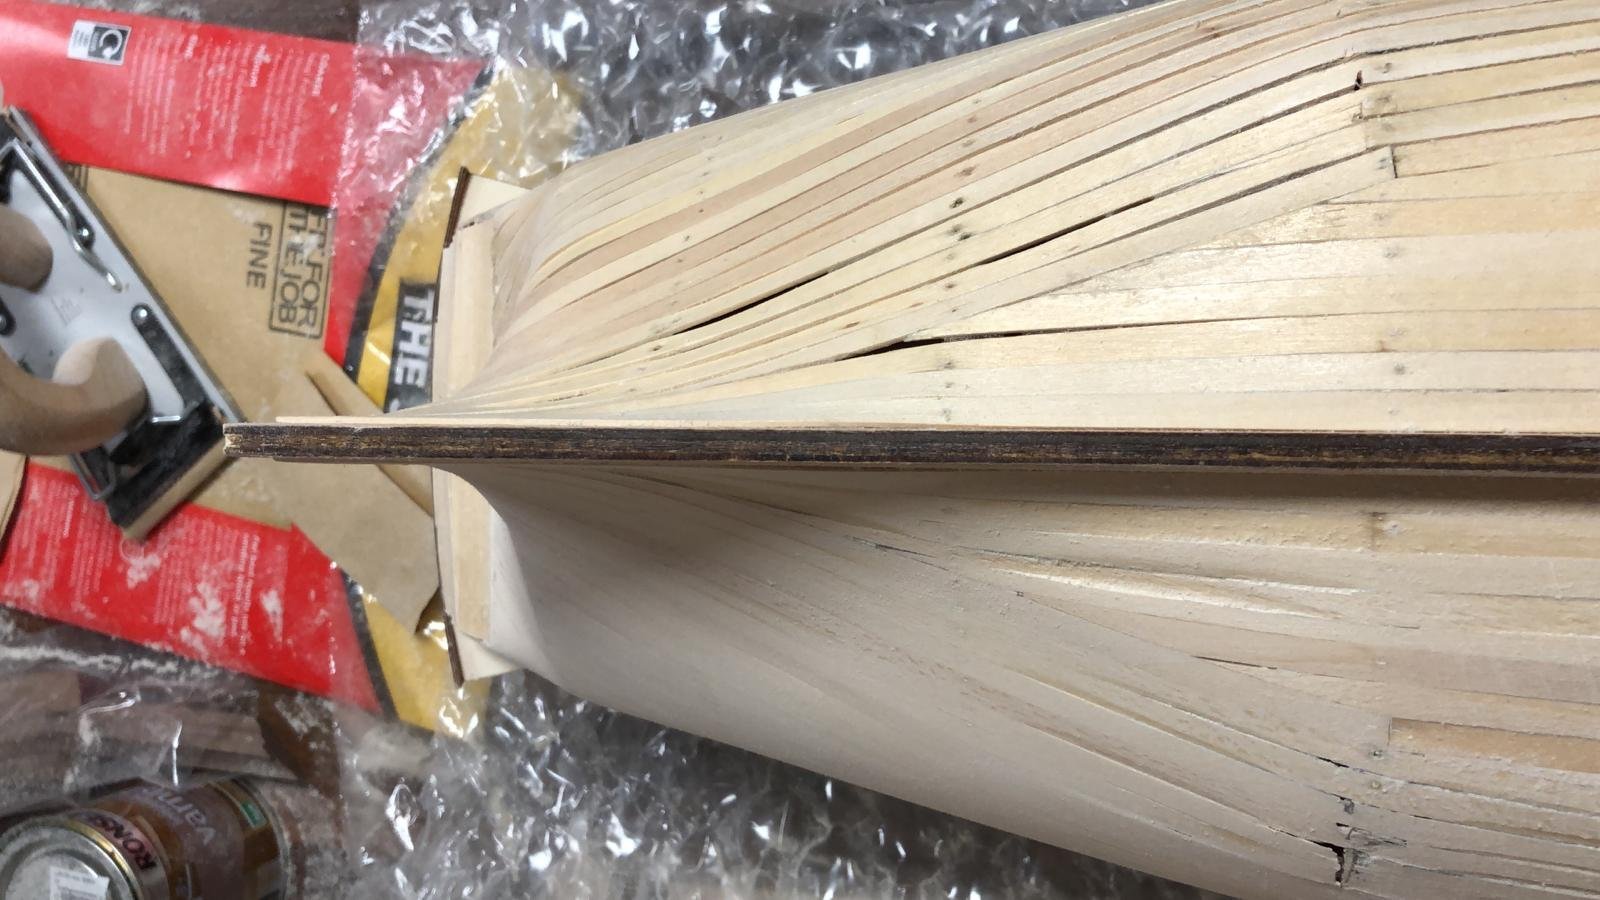
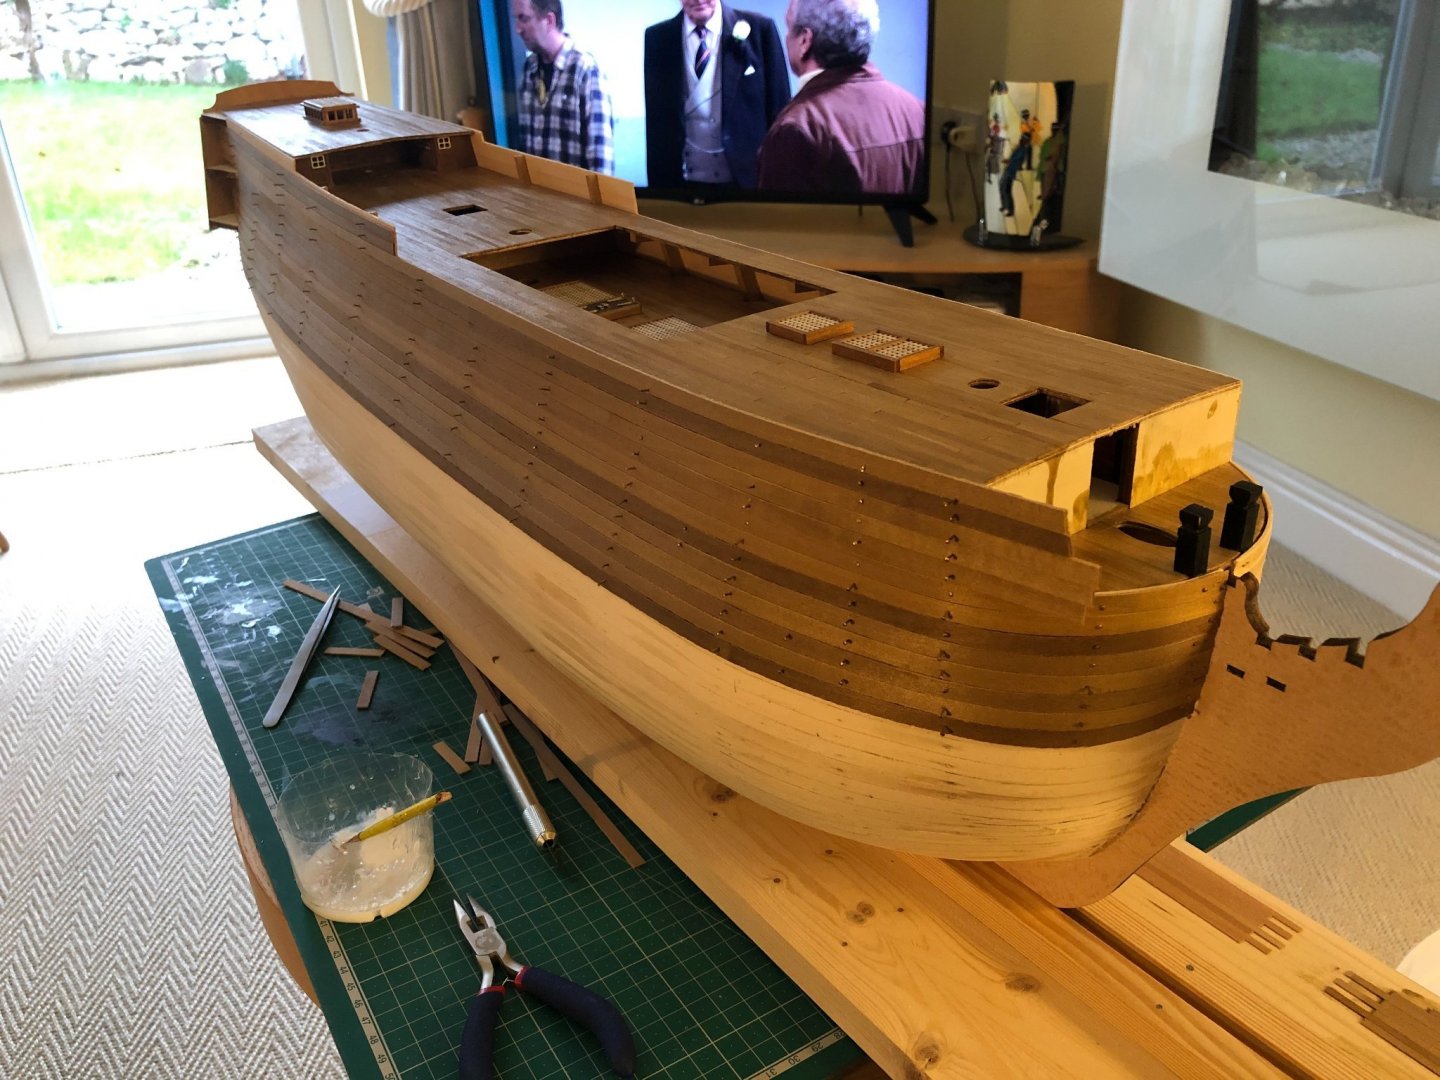
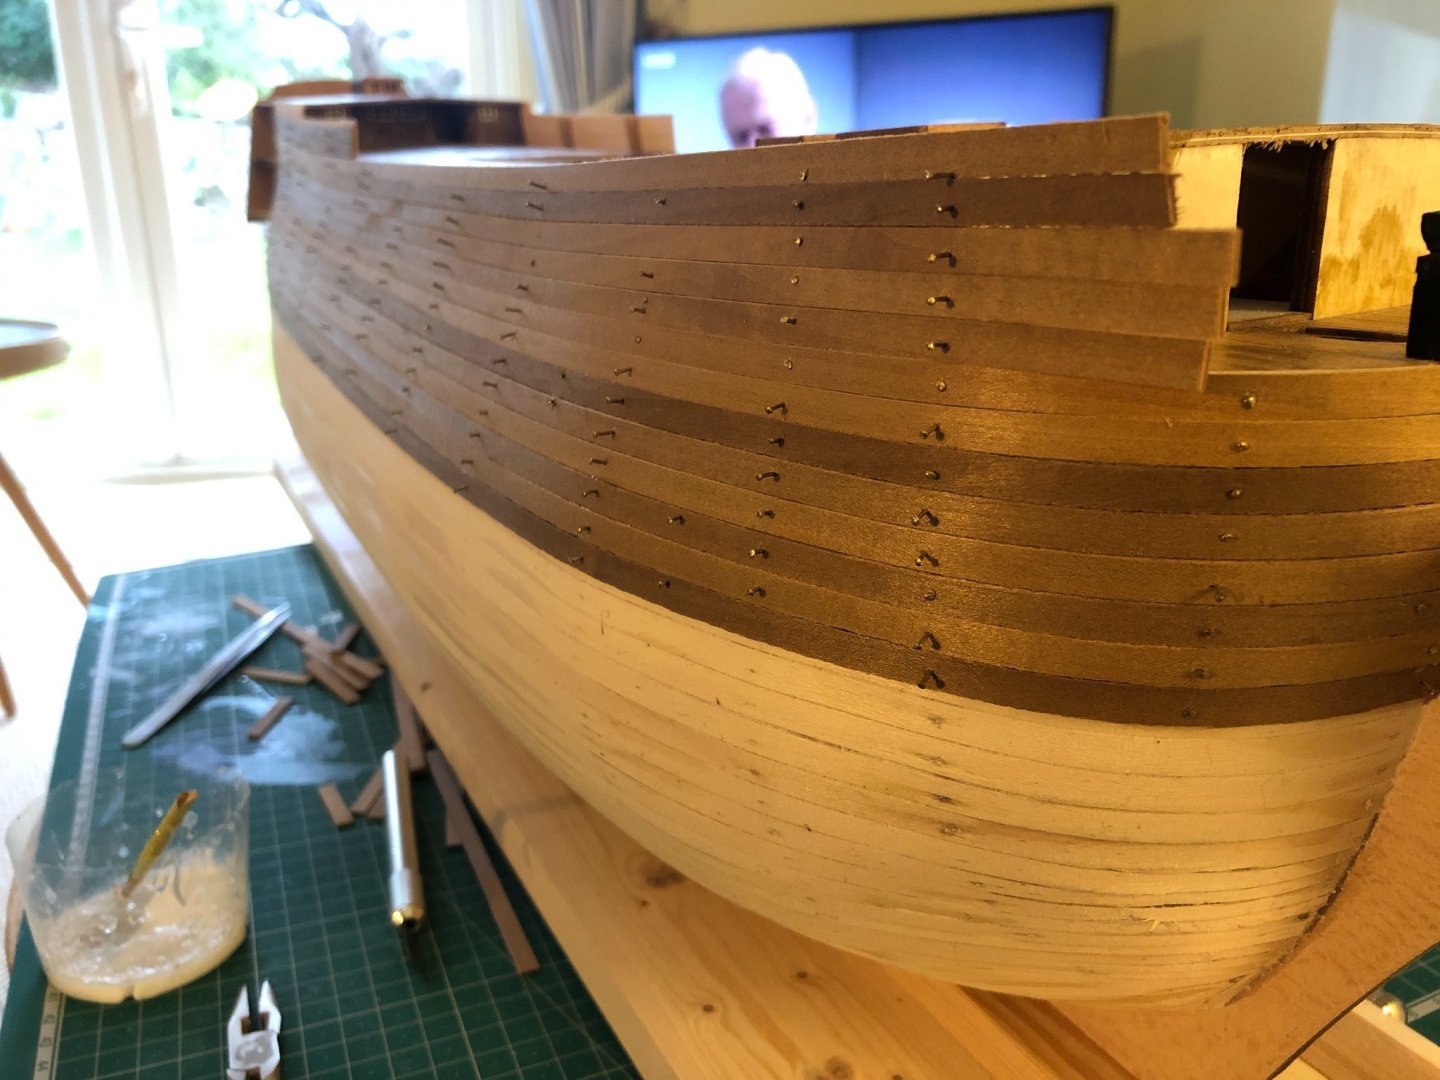
The outer planking starts to take shape. This was extremely tricky, especially as this is the first time I've ever done this. Overall the sides were simple, but the trouble came trying to shape each plank to fit the curve as it reached the bow and stern. Each plank required delicate shaving to create the right angles, using a plank bending tool to ease the process. Each plank was glued to the internal skeleton using simple PVA glue, held in place until dry using tiny nails (a big pain to remove once they were finished with!). Once the first layer was completed the whole ship was then sanded smooth. Inevitably this left holes and small gaps, but the second layer of planking would cover those all up!