-
Posts
121 -
Joined
-
Last visited
Content Type
Profiles
Forums
Gallery
Events
Everything posted by JLong
-
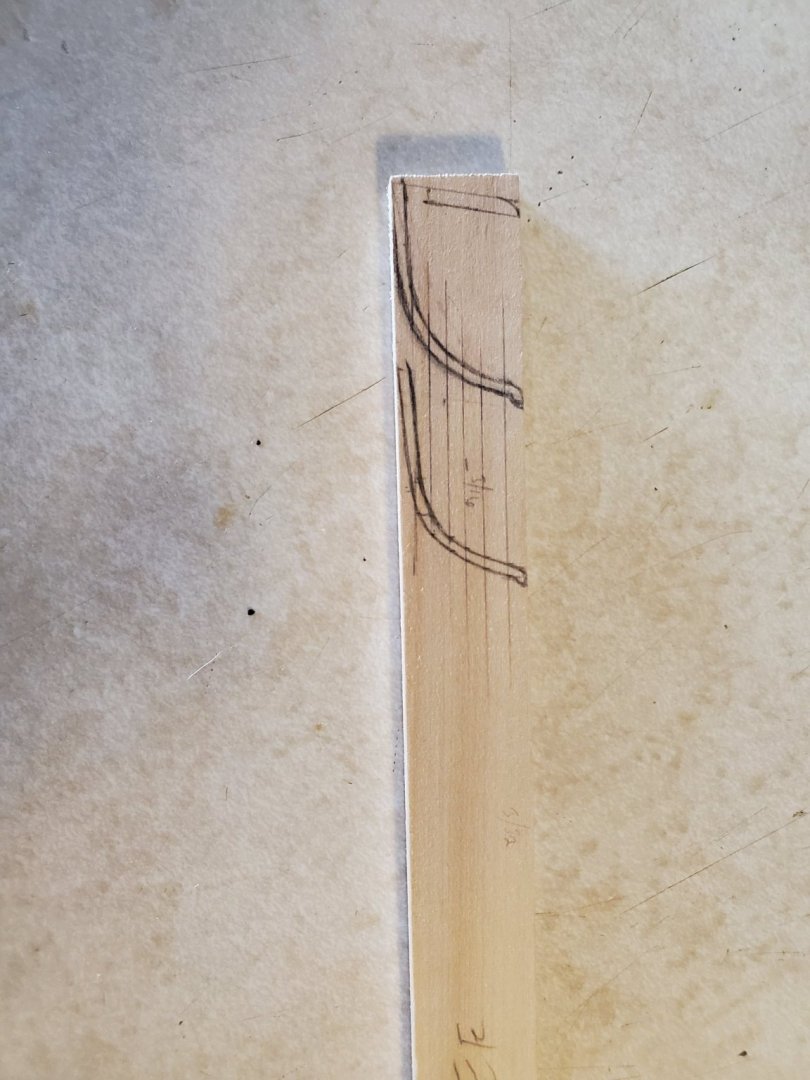
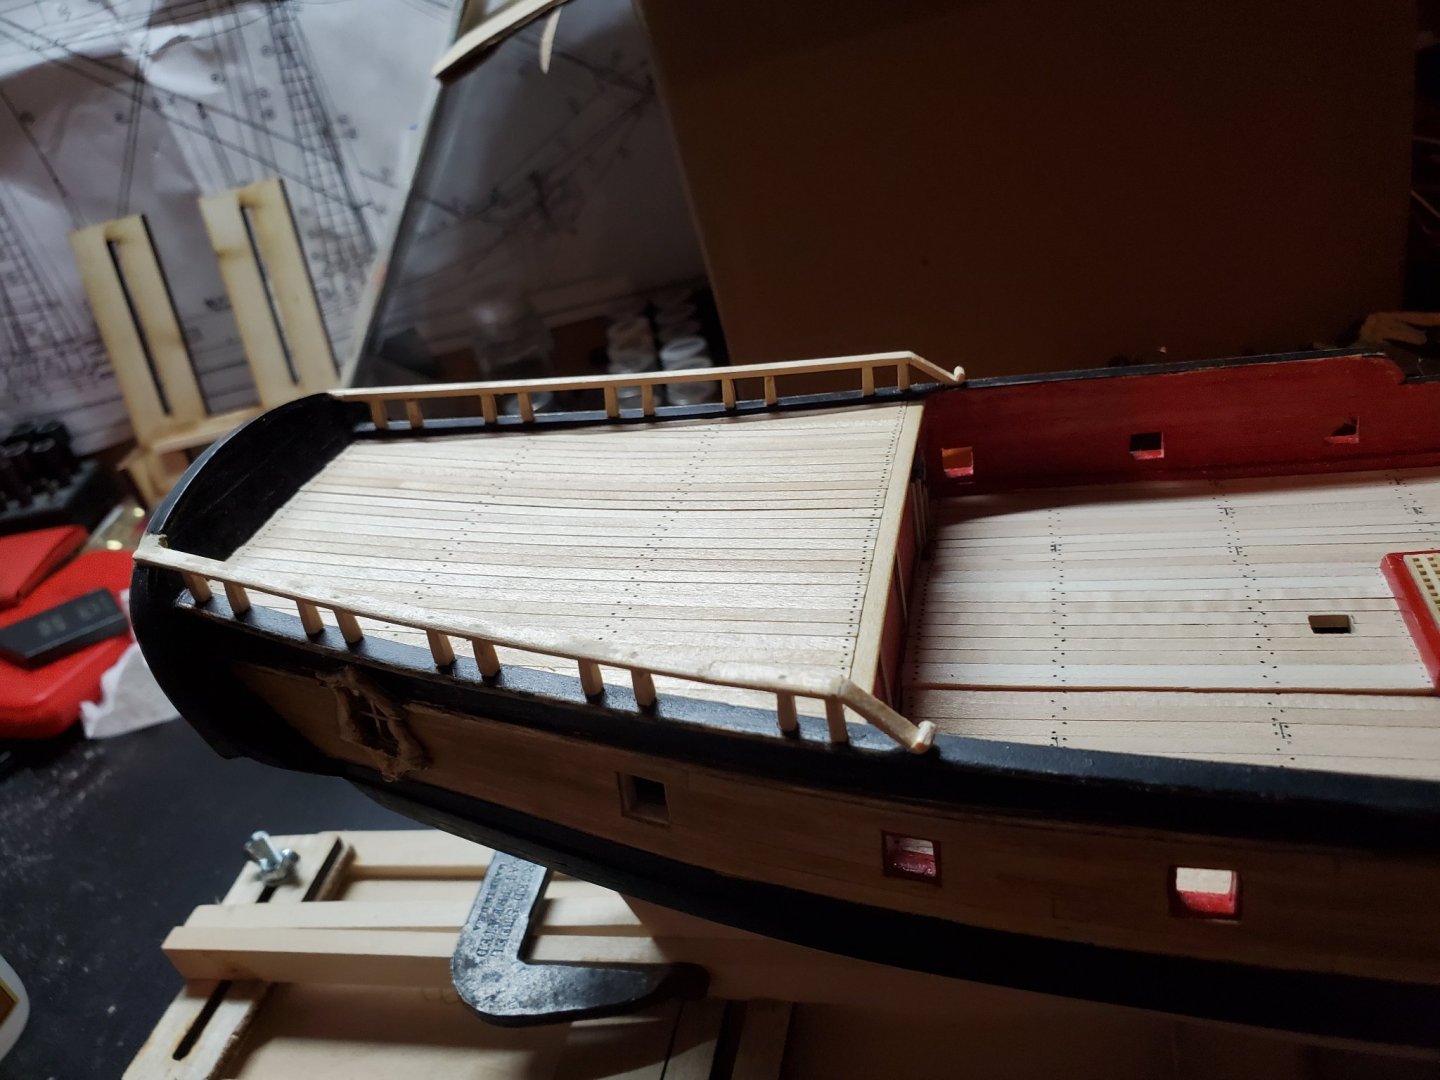
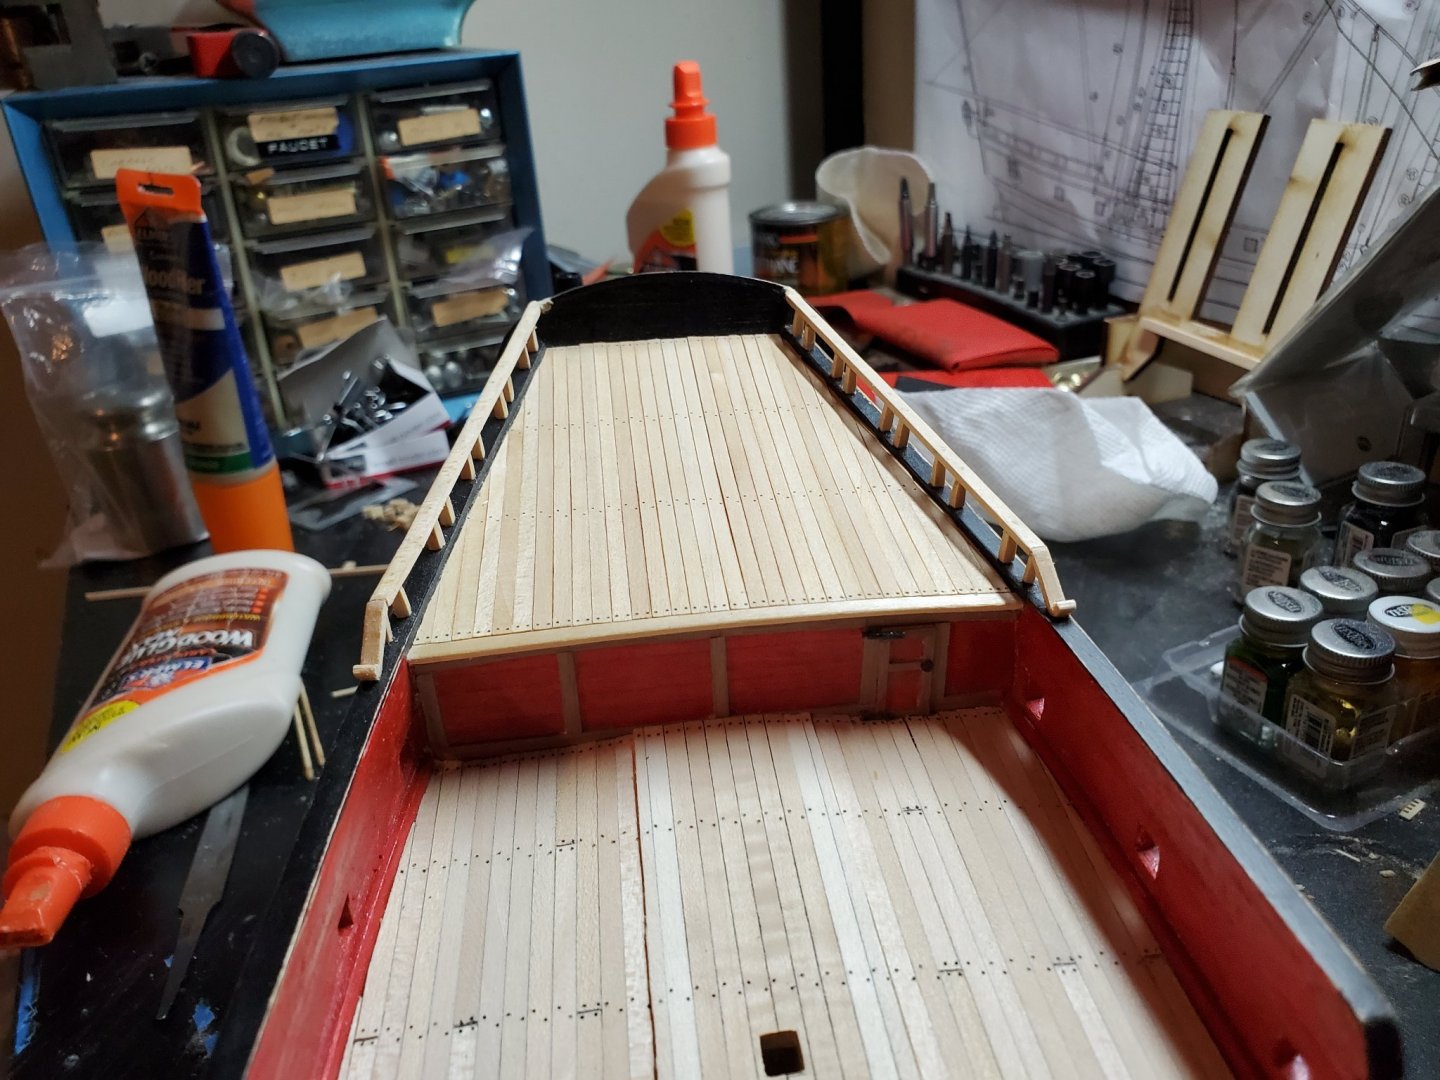
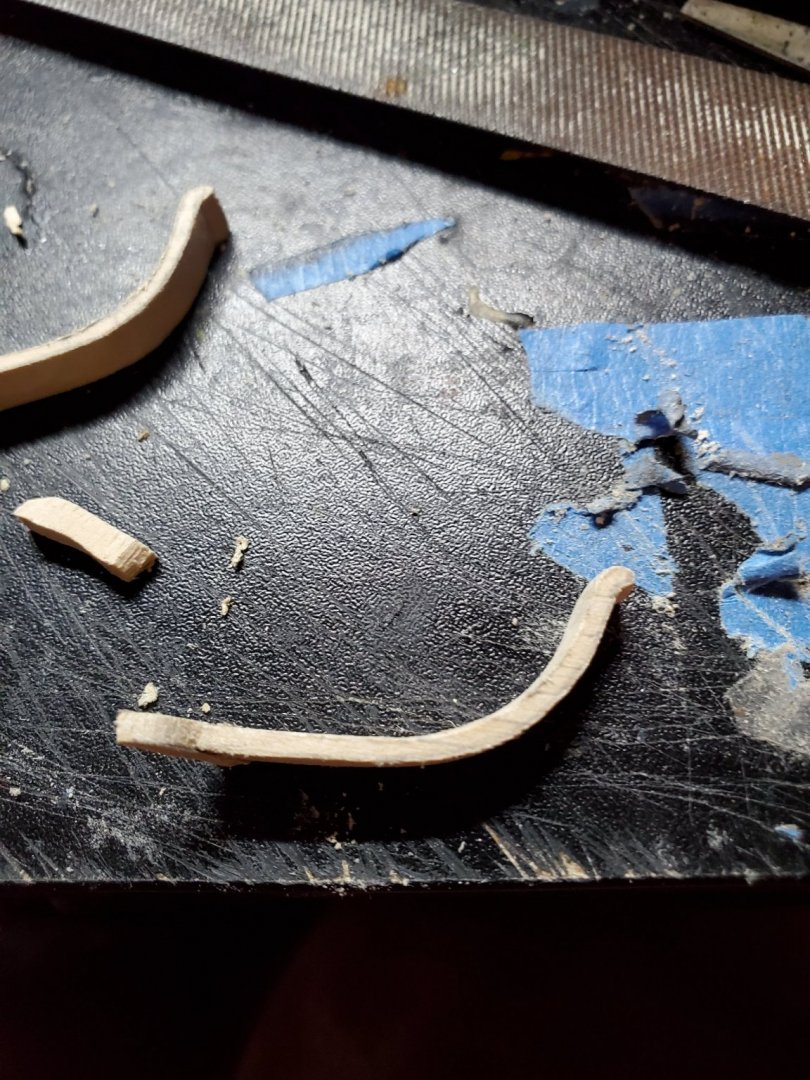
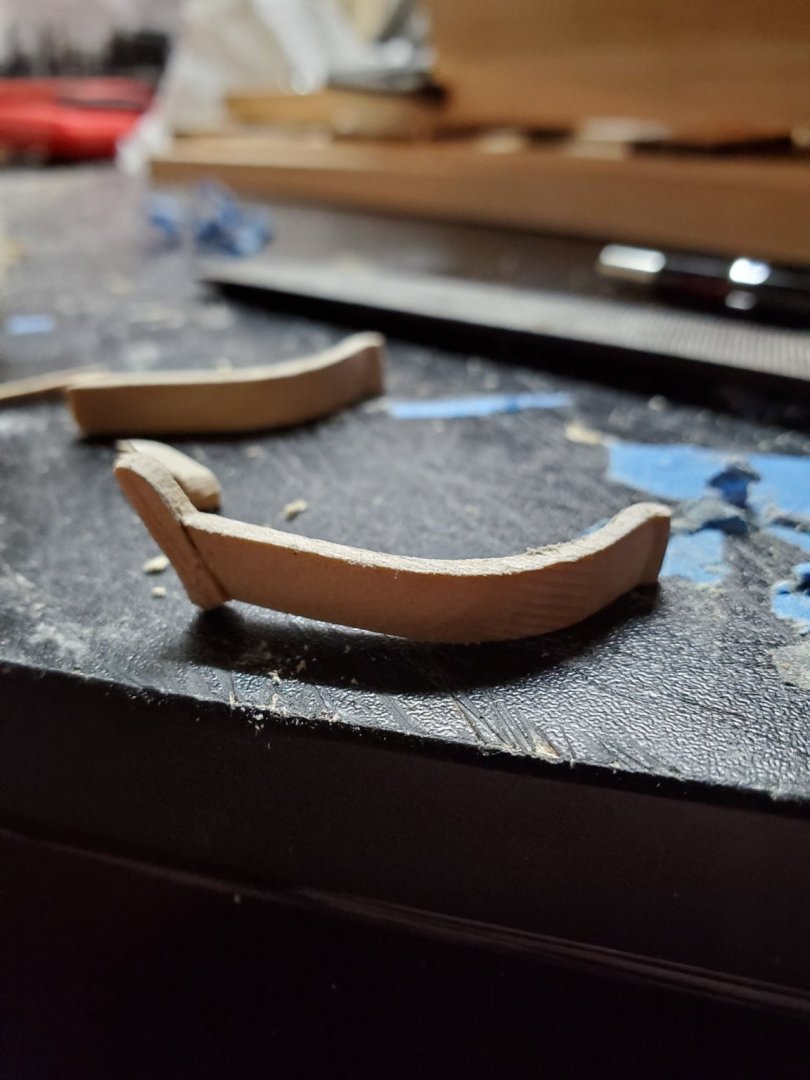
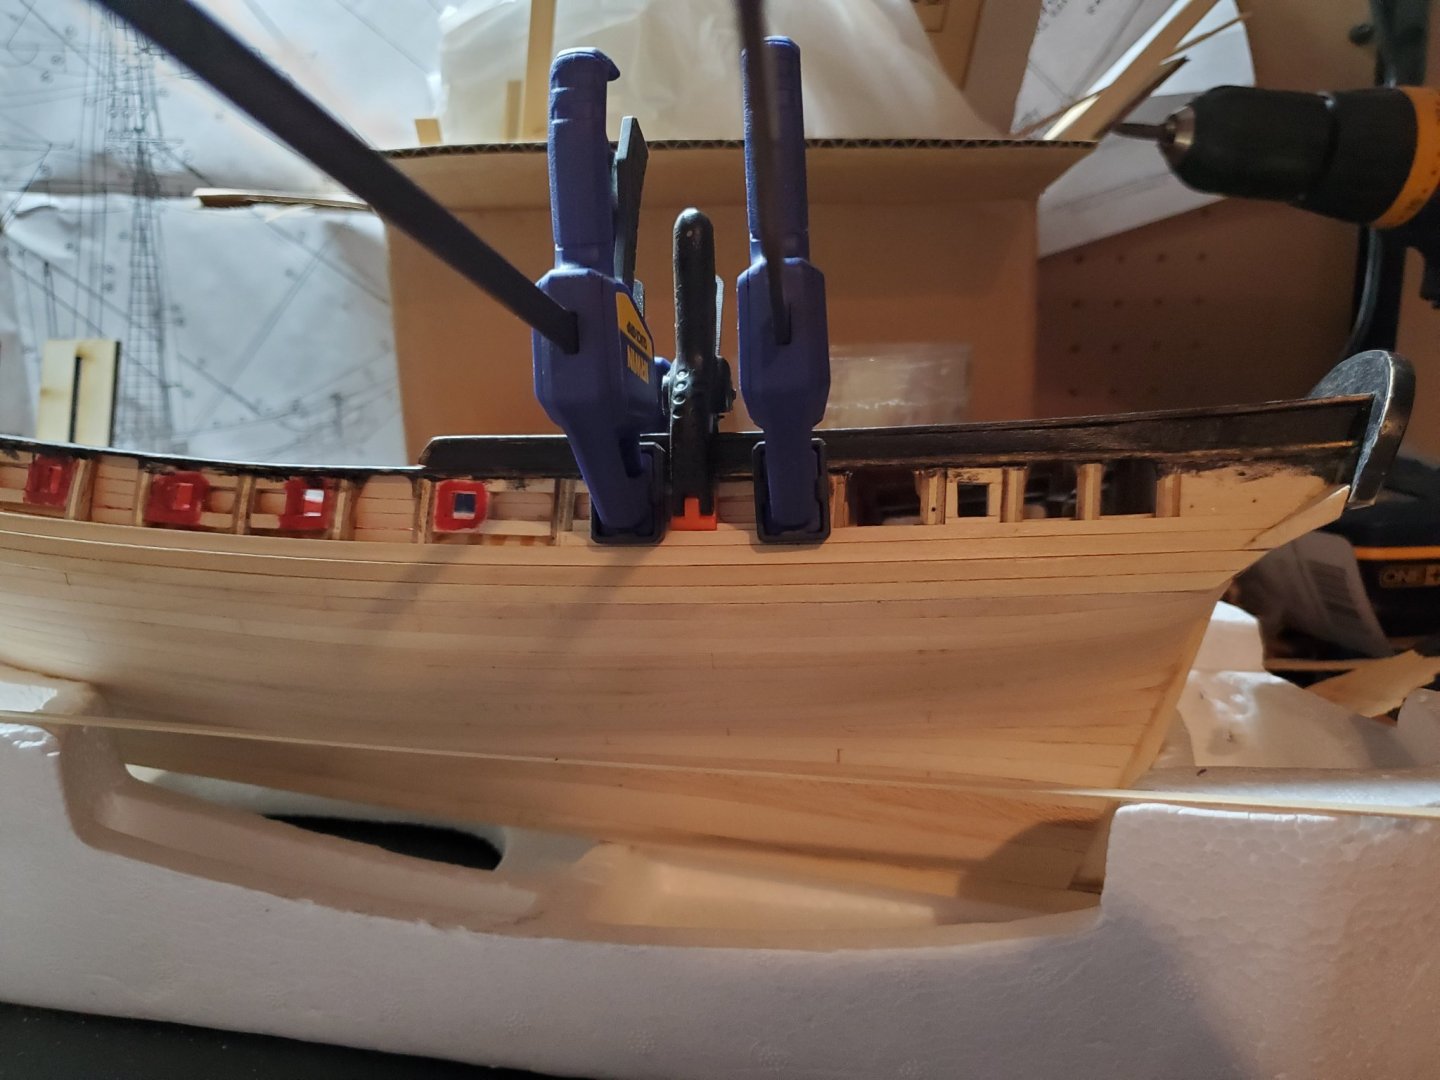
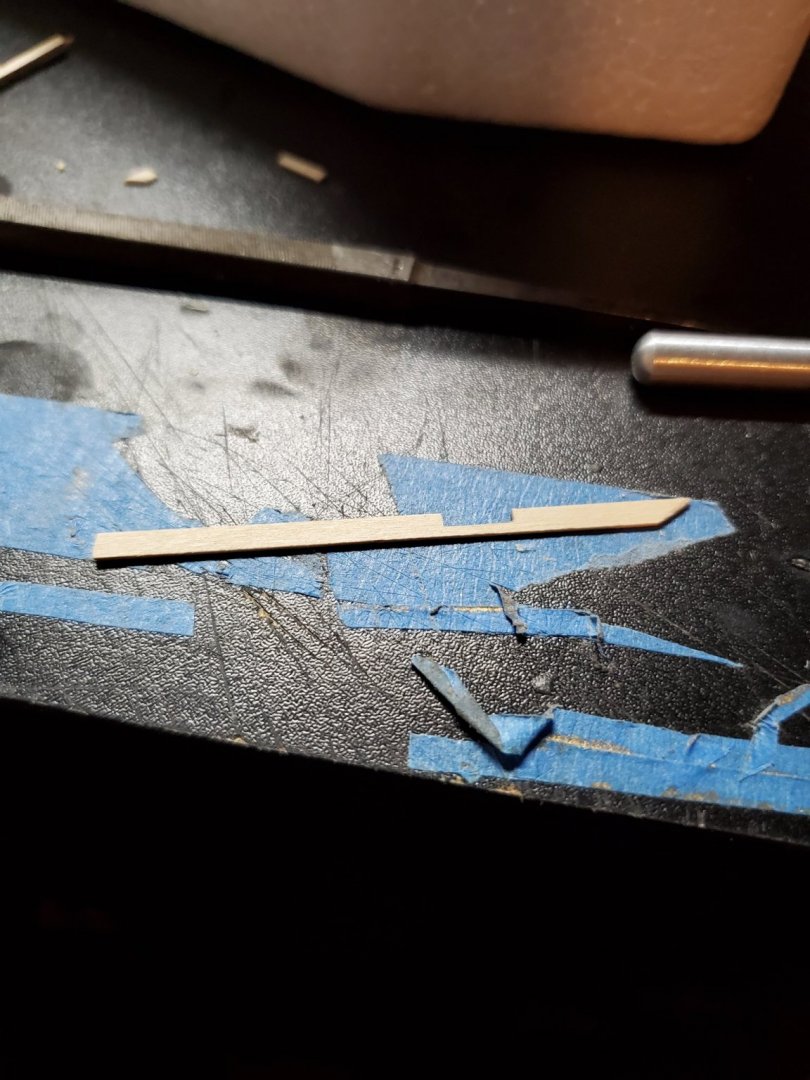
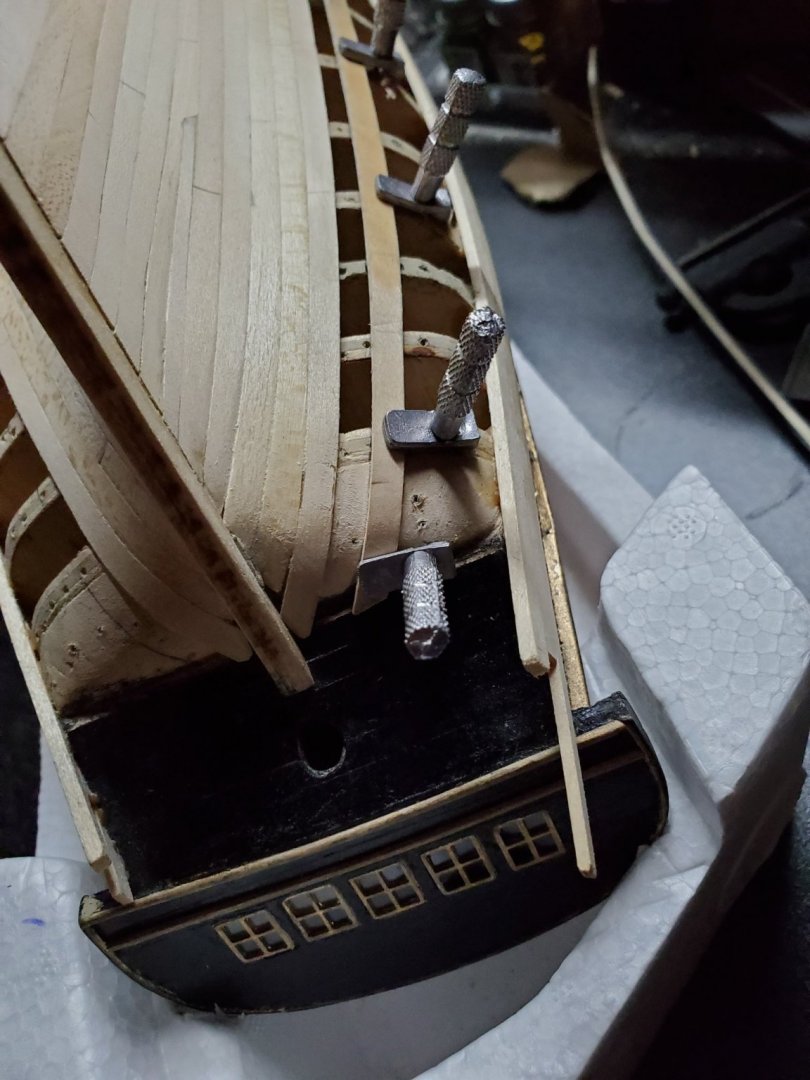
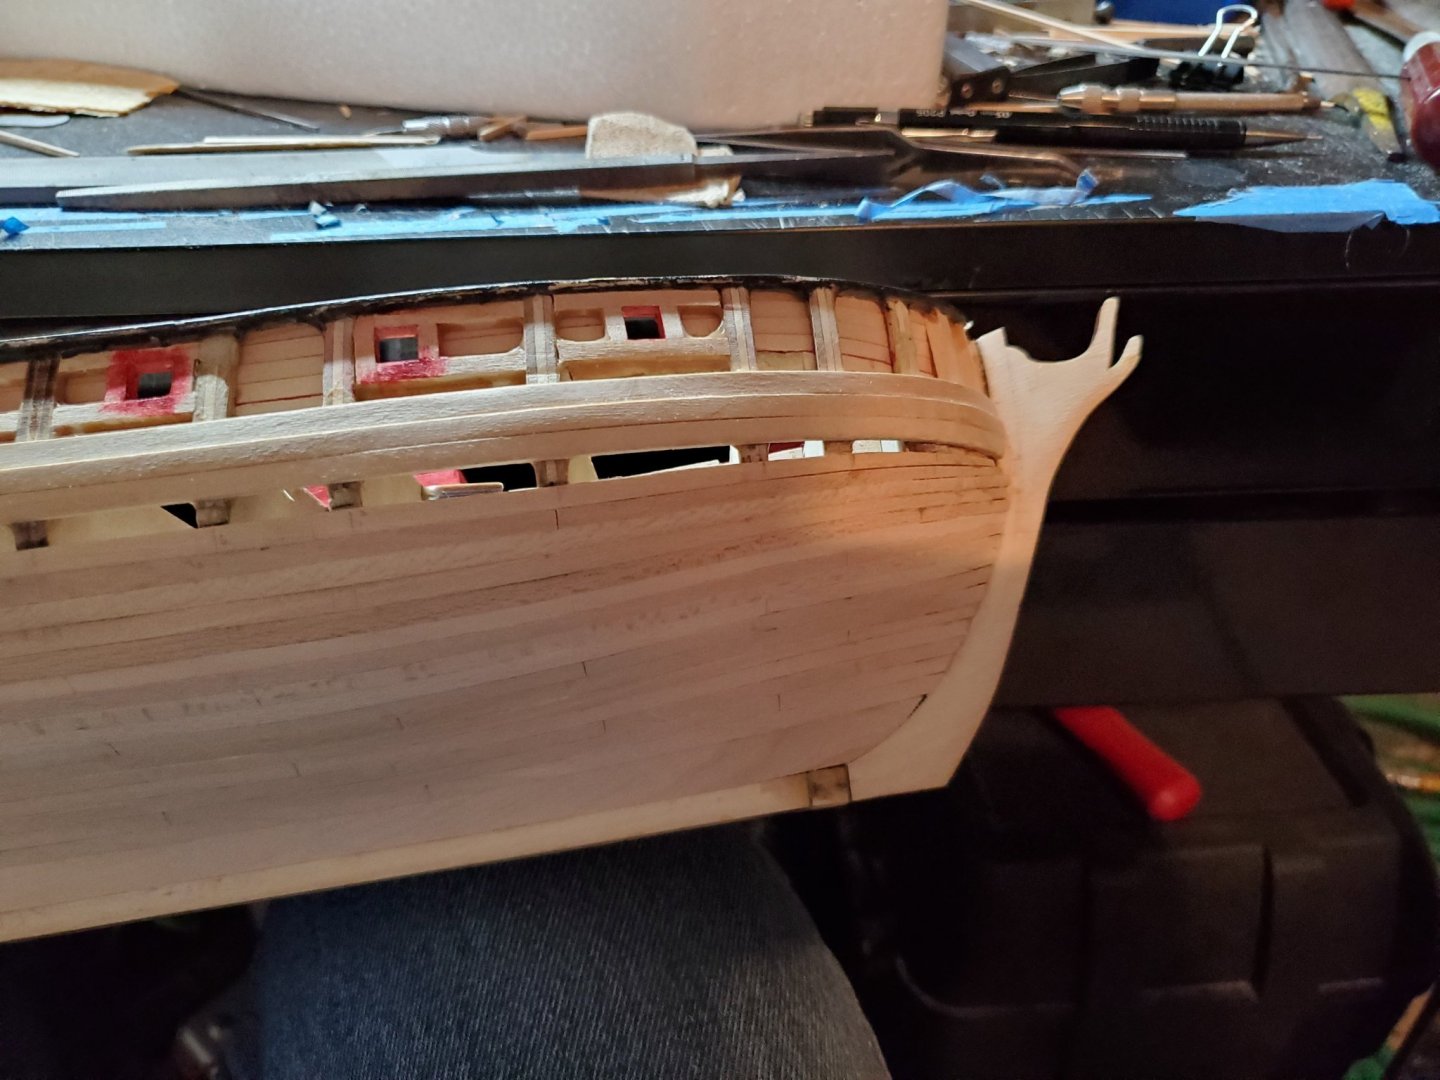
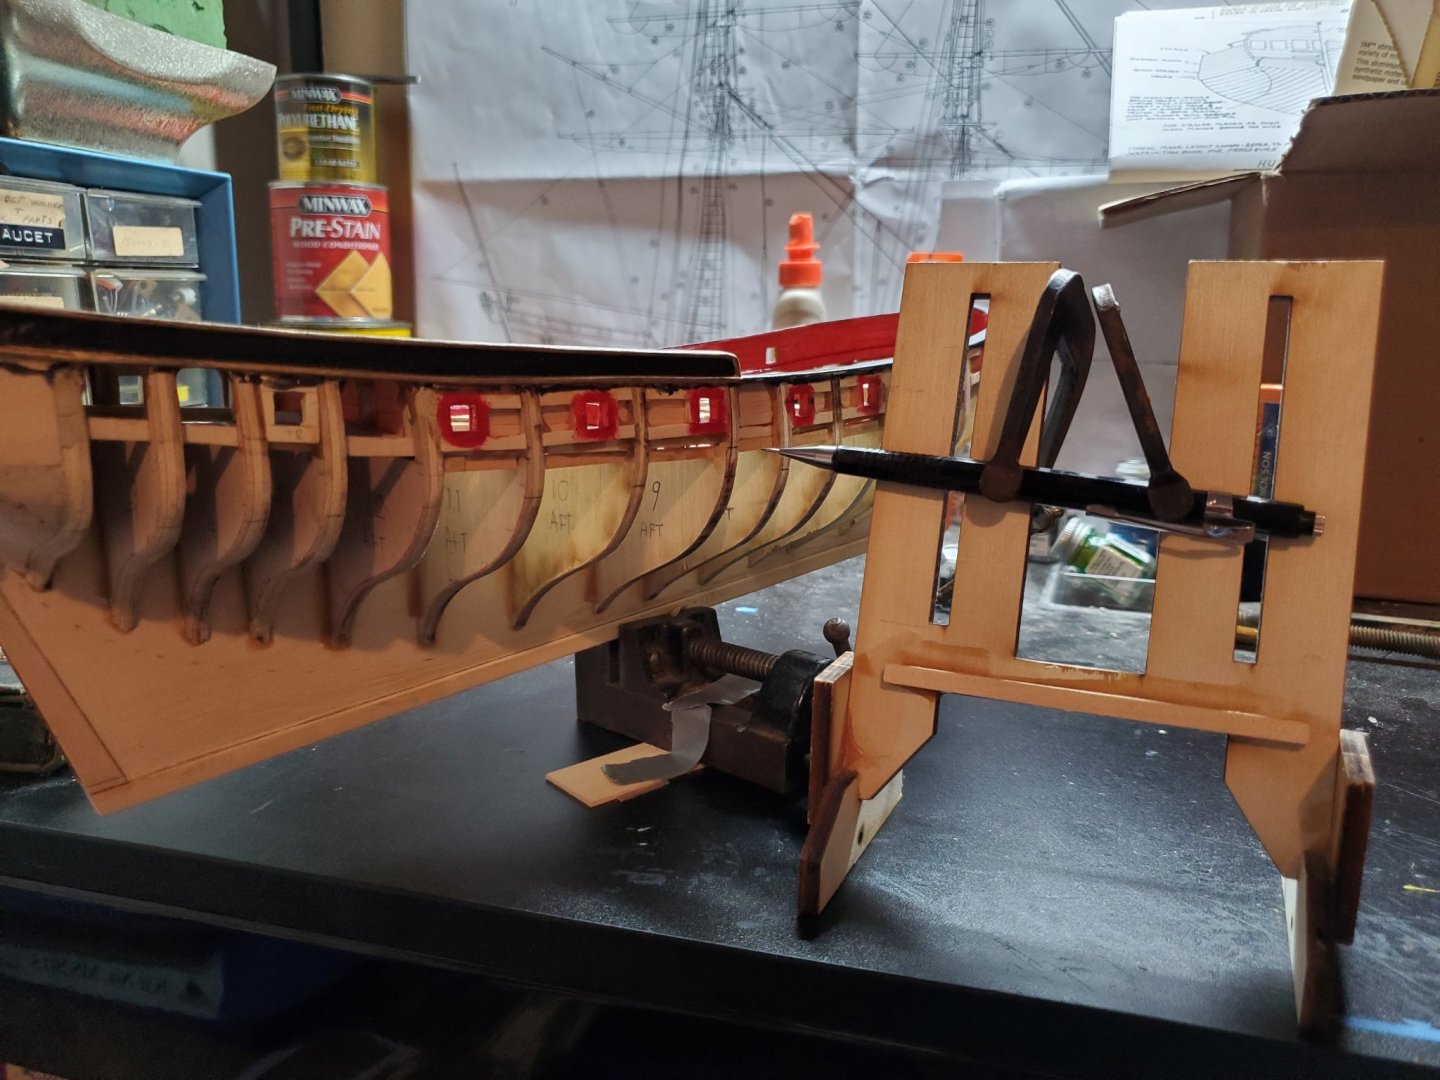
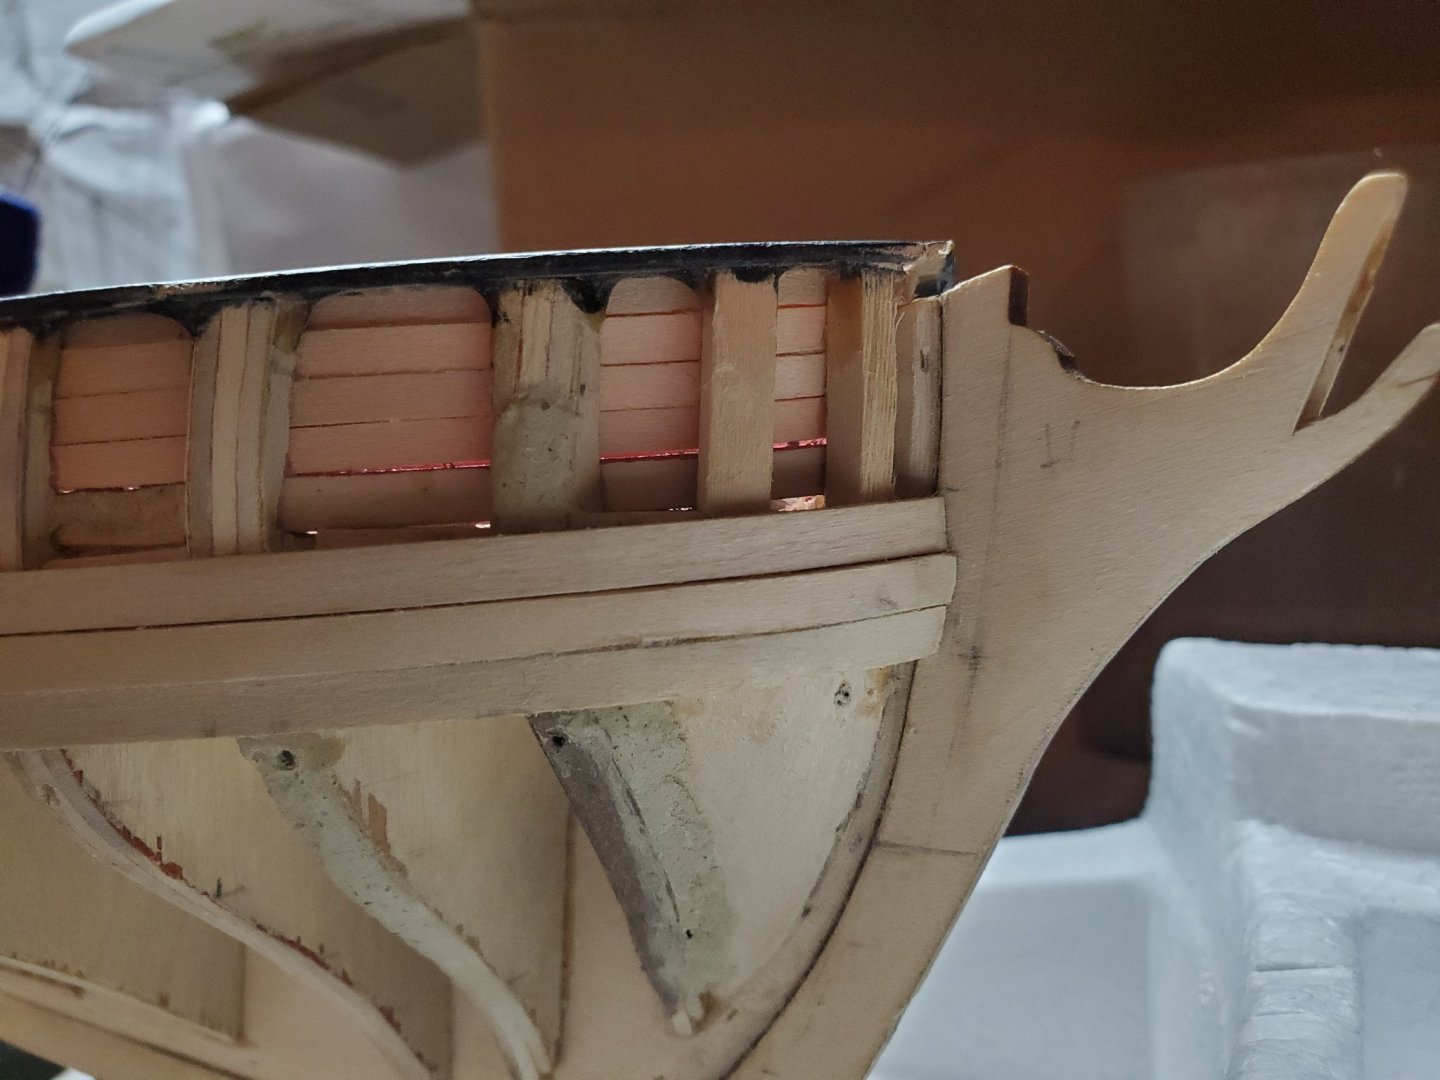
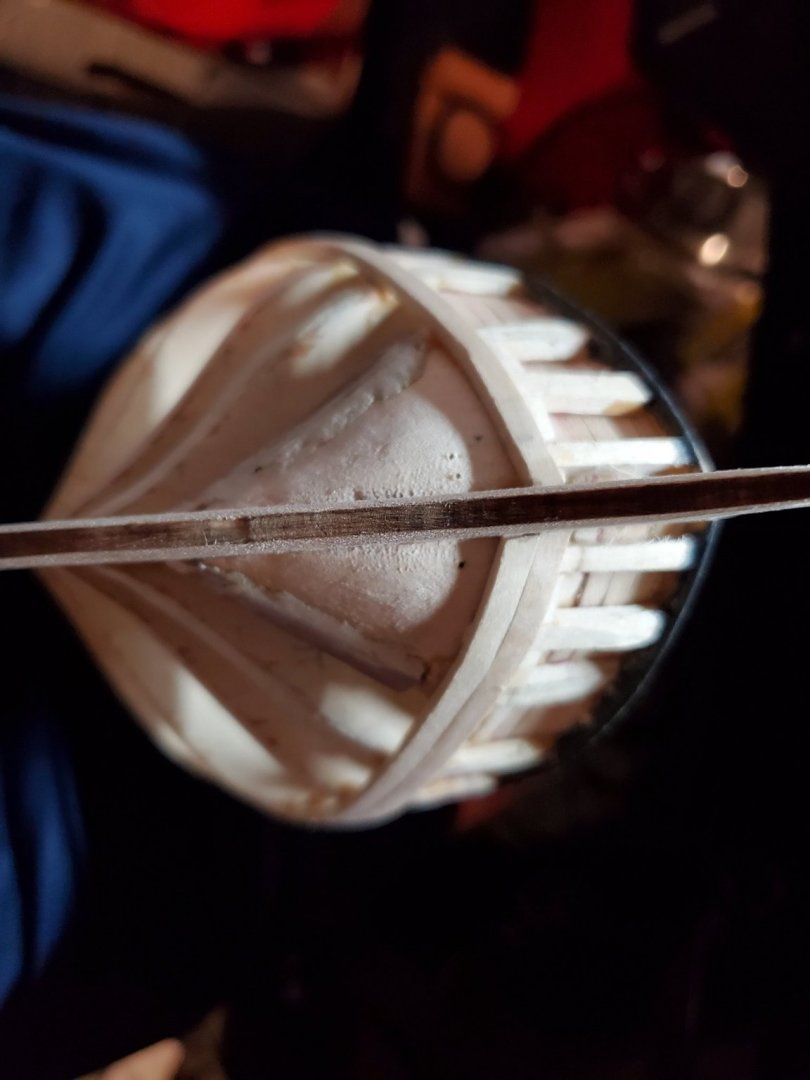
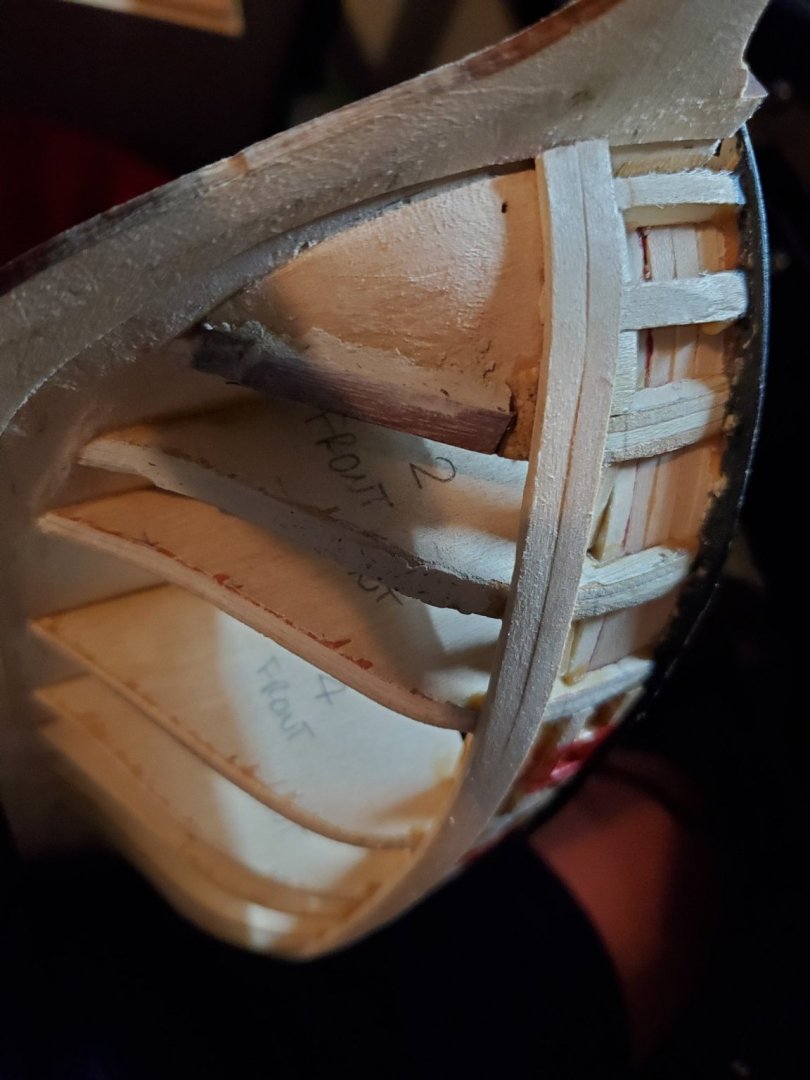
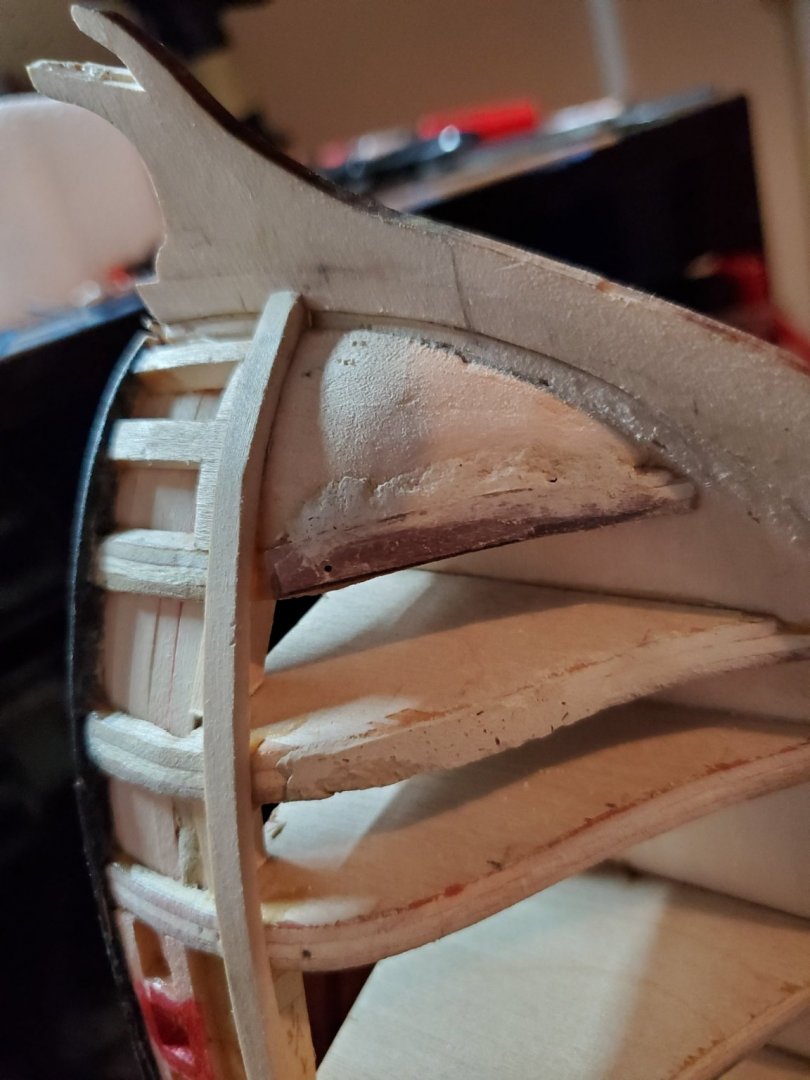
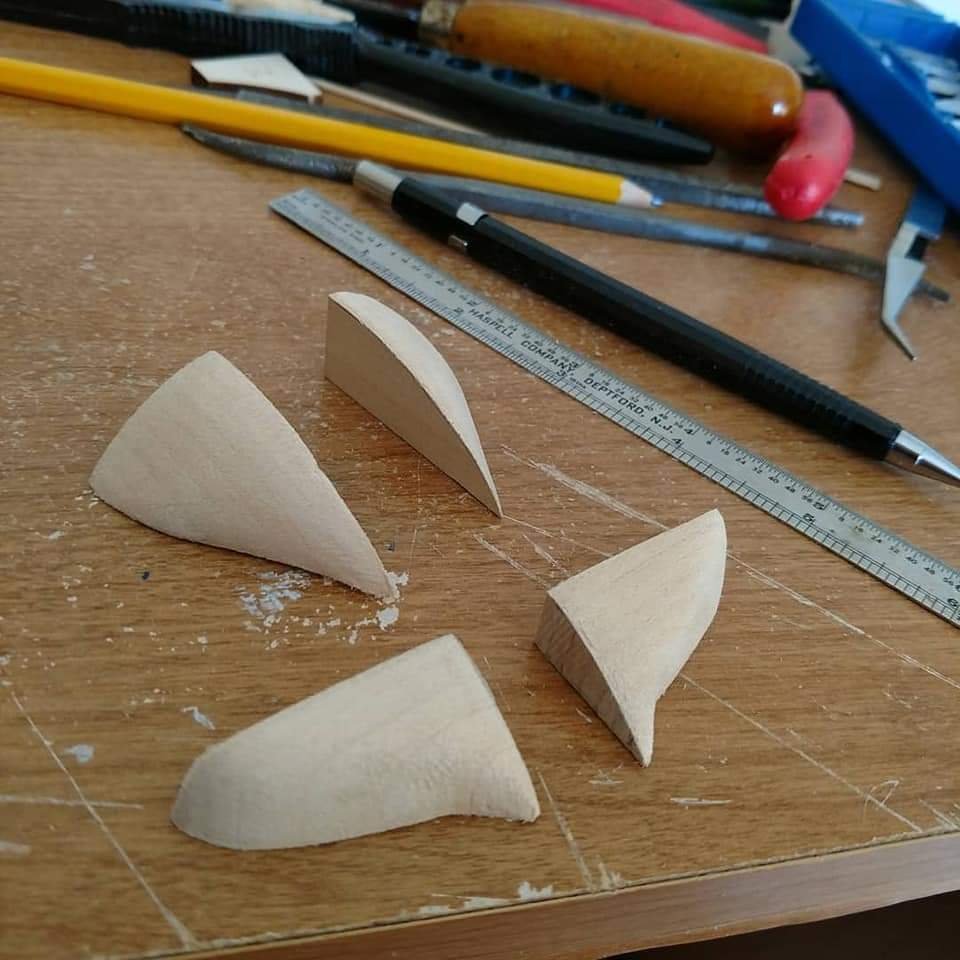
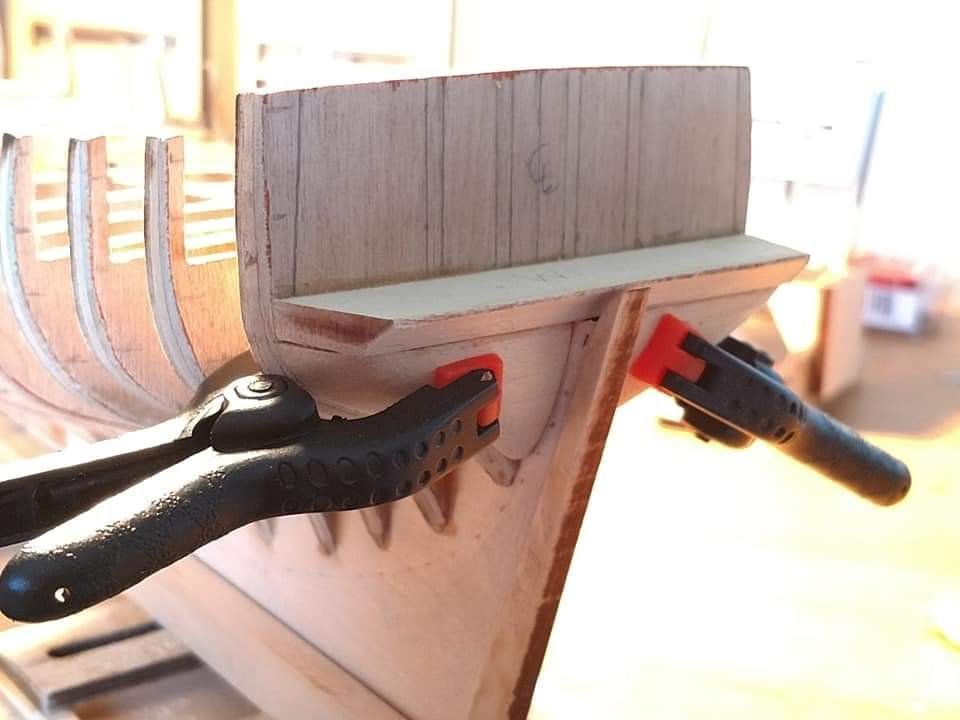
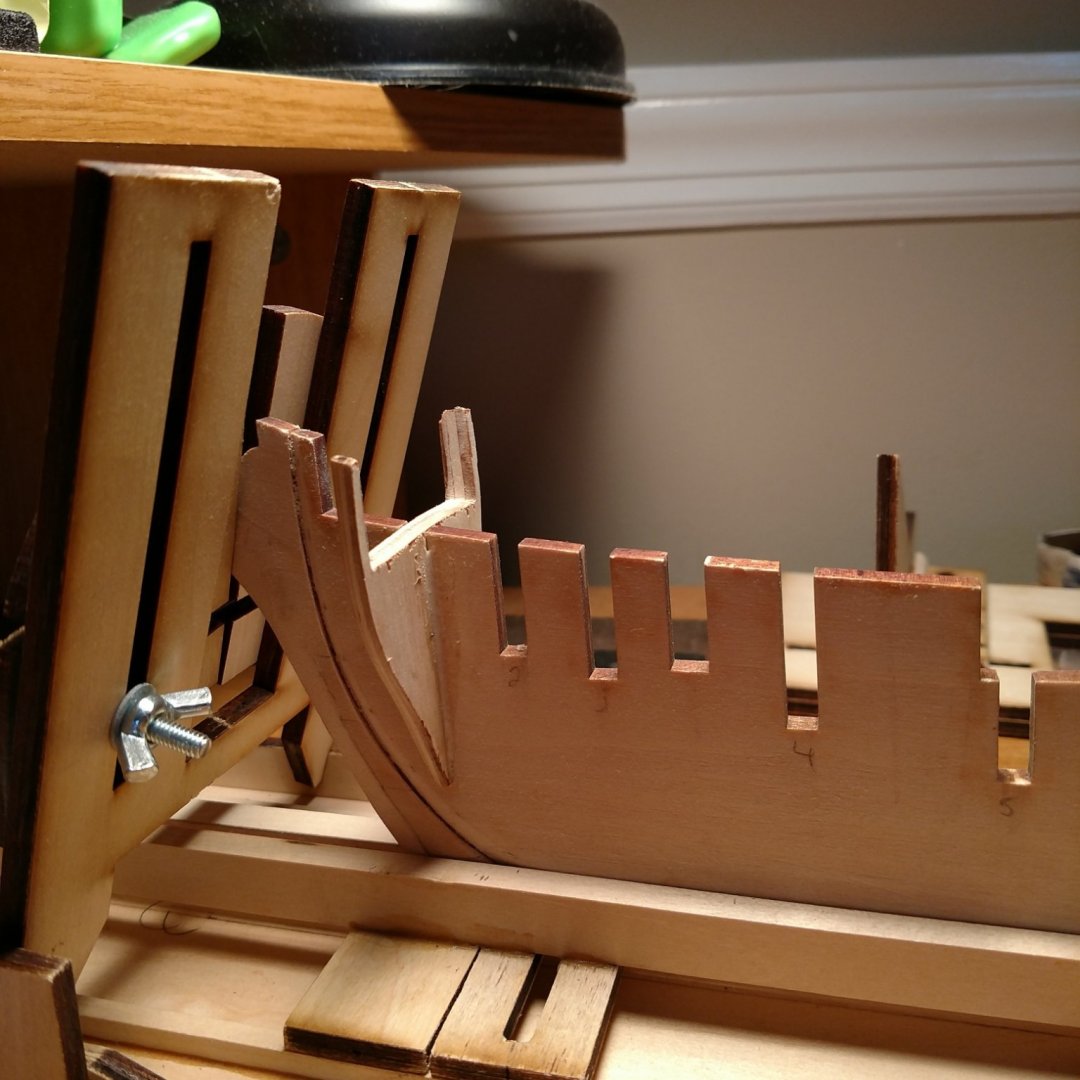
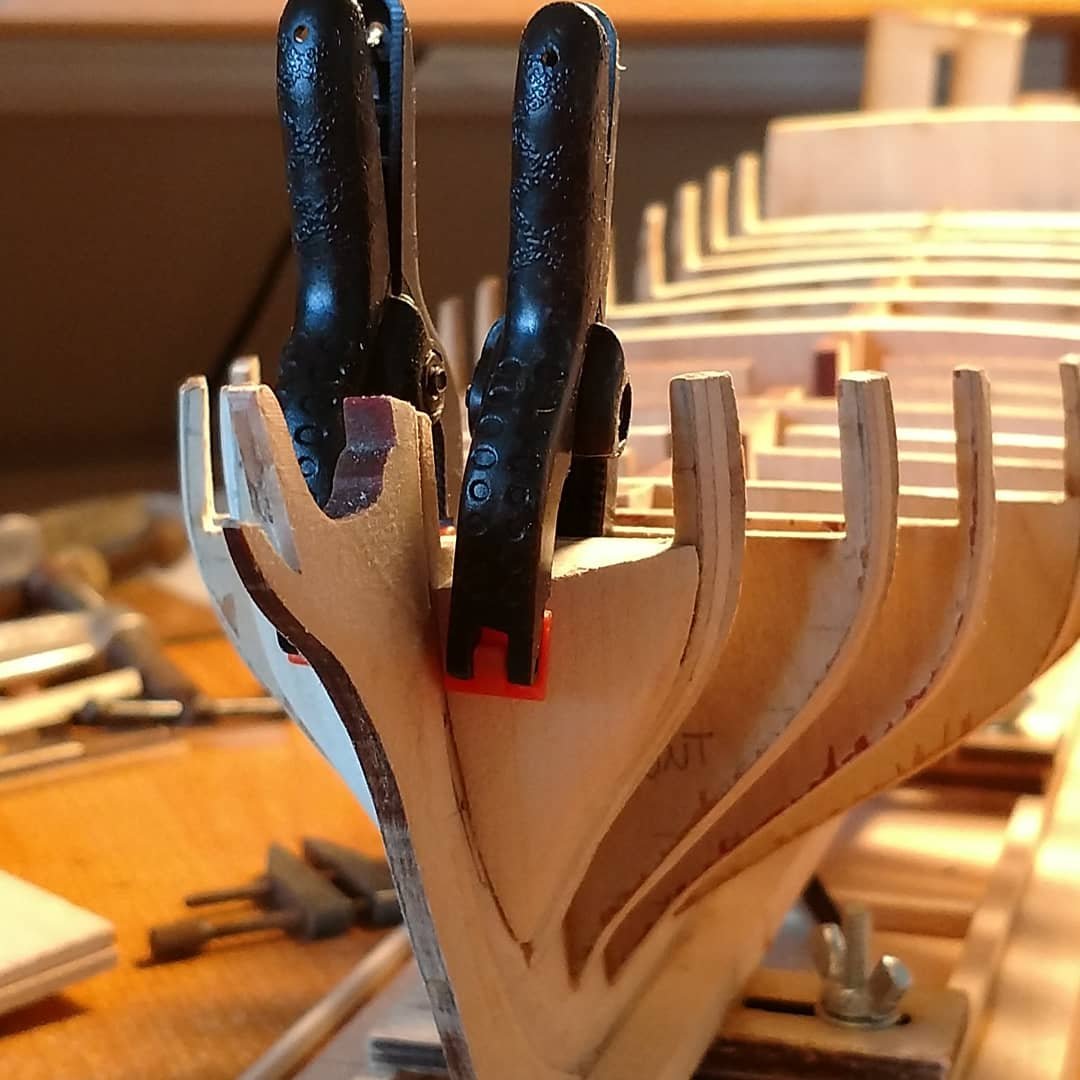
Bow work, and Quarterdeck rail on Fair American Model Ship: I enjoyed this portion of the build. Mostly because from the plans, I can make all the measurements pretty easily, and transfer to the wood for shaping. That's what I did. I should have reversed the profile for the port side, to make things easier - another learning moment. I transferred the cheek knee profile by drawing lines across and duplicating the measurements. Now comes the cutting and round file-work to carve the shape....A LOT of file-work, to get a straight walled profile. After I glued on the bow-wrapping piece, I can sand down the taper and radius from 1/8" to 1/16", before installing In the meantime from the bow work, I also completed the Quarterdeck Rail. I had actually pre-carved the rail stanchions and the rail a while ago. Its all ready and waiting for me. I had to put some mind-space towards how to attach the rail. I pre-drilled the holes for the stanchions dowels to sit in first, then glued them, while the rail itself was pinned to the tops. This held the stanchions from tilting while the glued, and ensured the rail would line up later. Once the stanchions dried, I glued the rail on, keeping the pins in place. Once they were dry, I removed (with difficulty) the pins. This is basically where I am with the build, up until now. I'm working on the rest of the beak at the bow, which is tricky, but manageable. Building the ship, so far, has been really rewarding and enjoyable. It's amazing to think how centuries ago, people built these ships full-scale! Once I get back from the African Safari in two weeks, I'll post some more progress! Talk soon, - Jason -
-
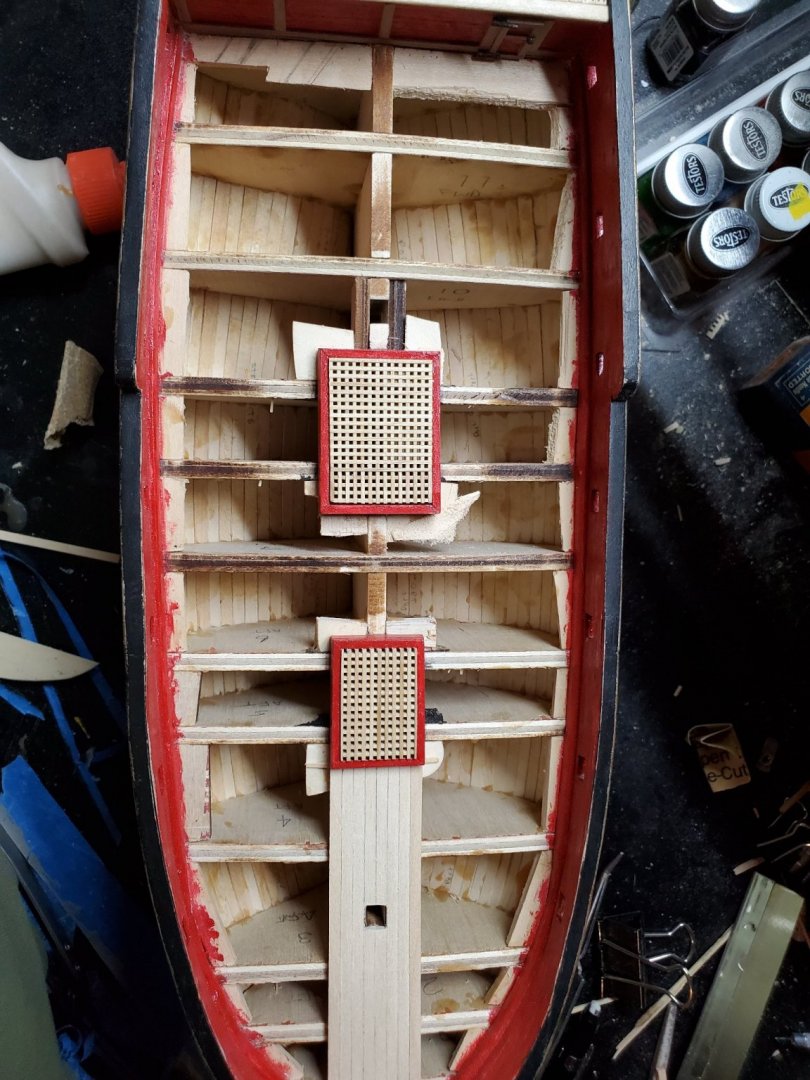
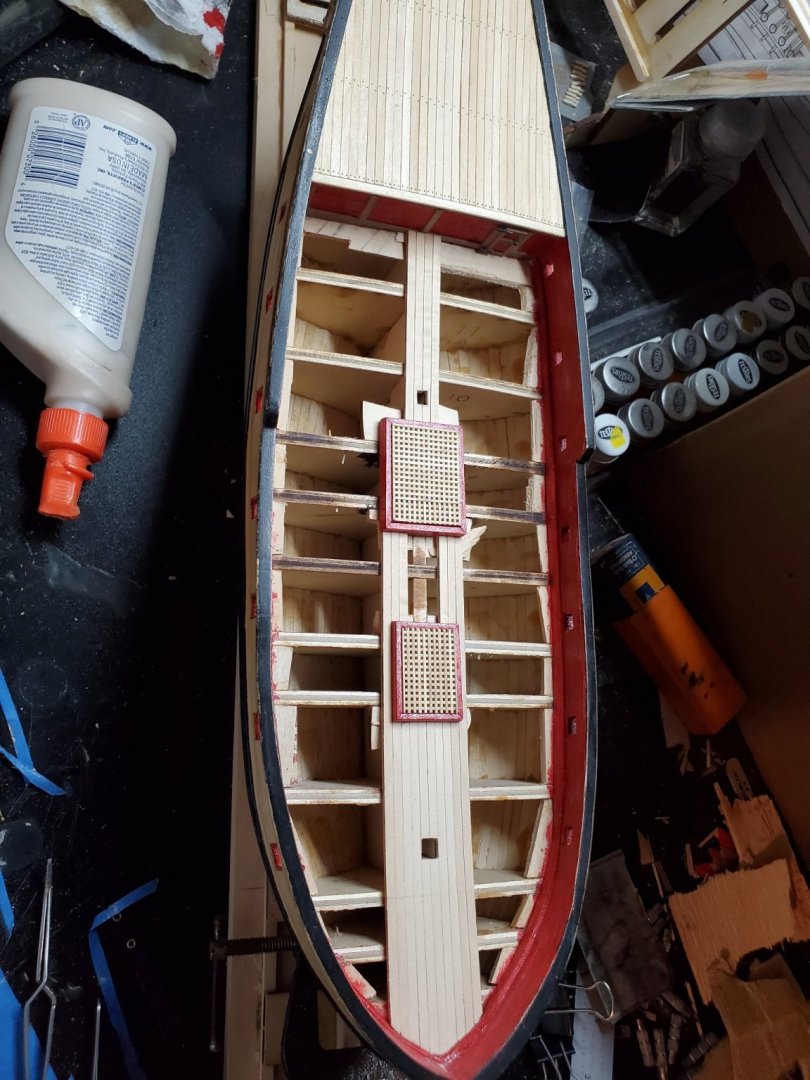
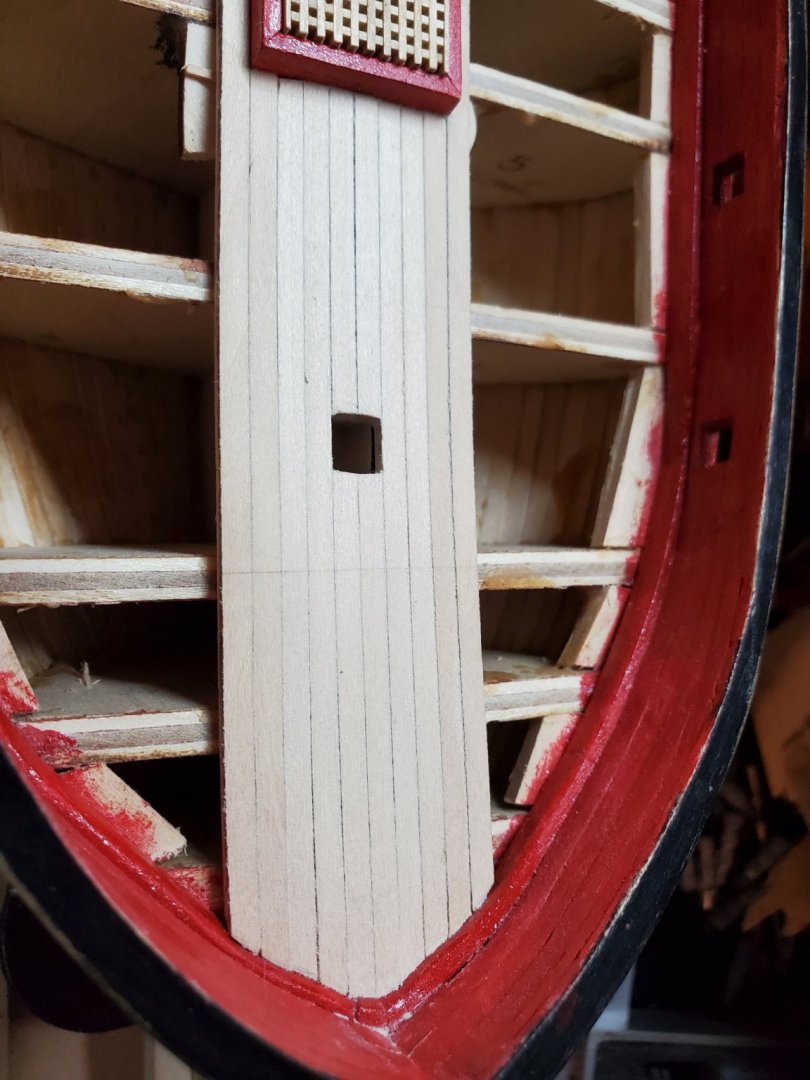
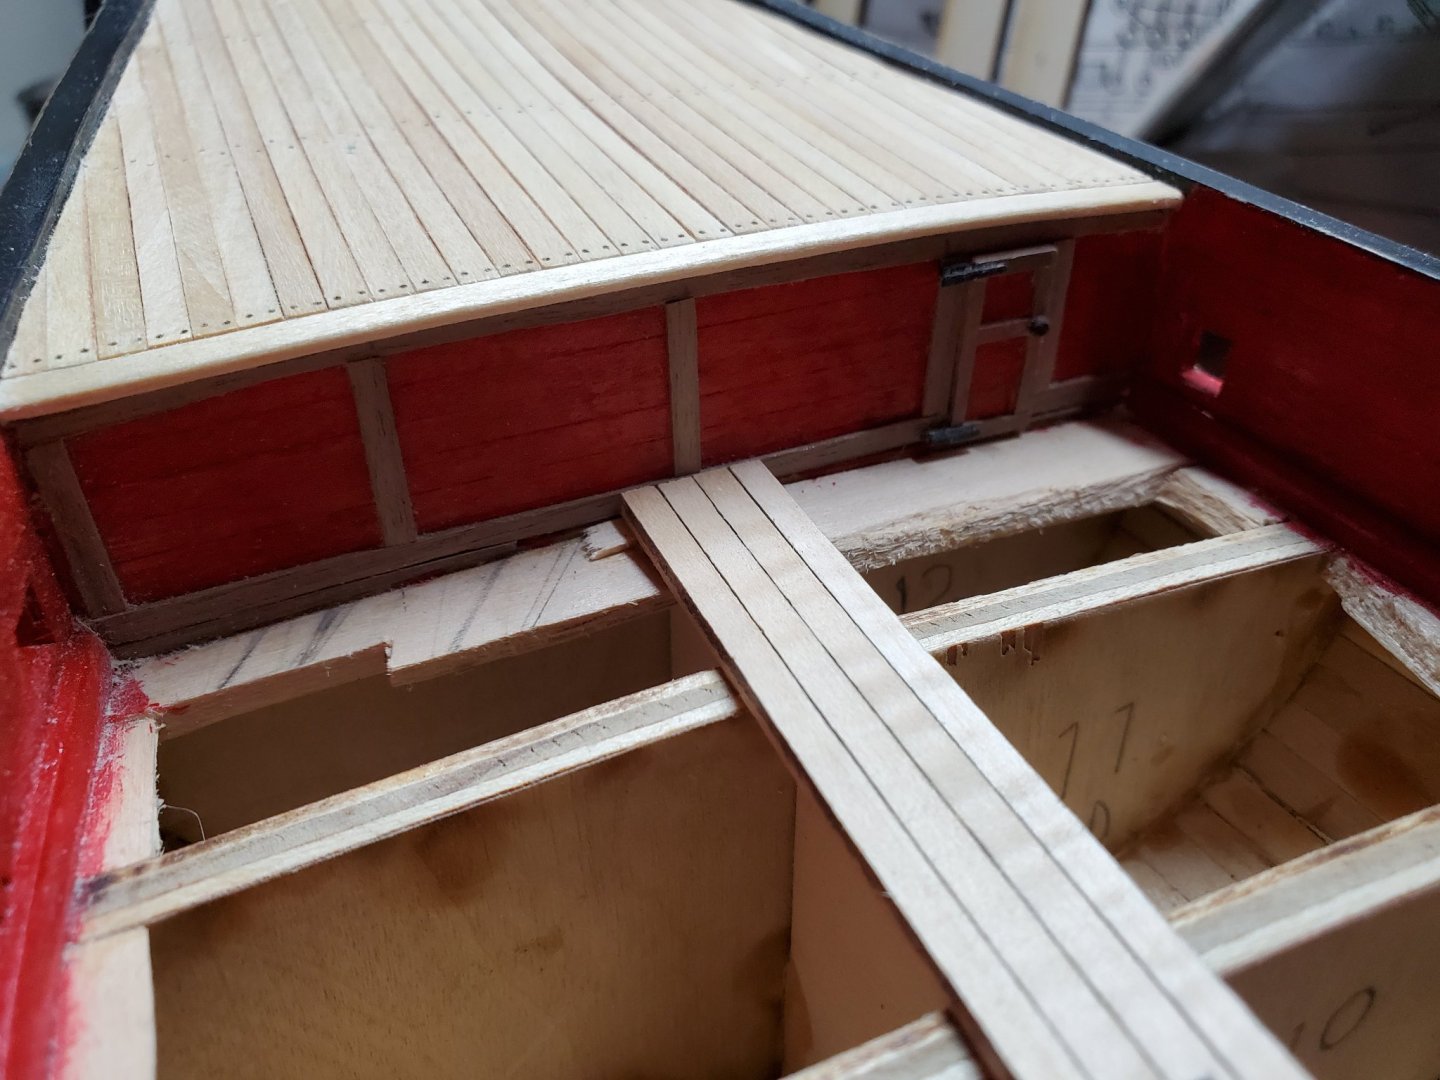
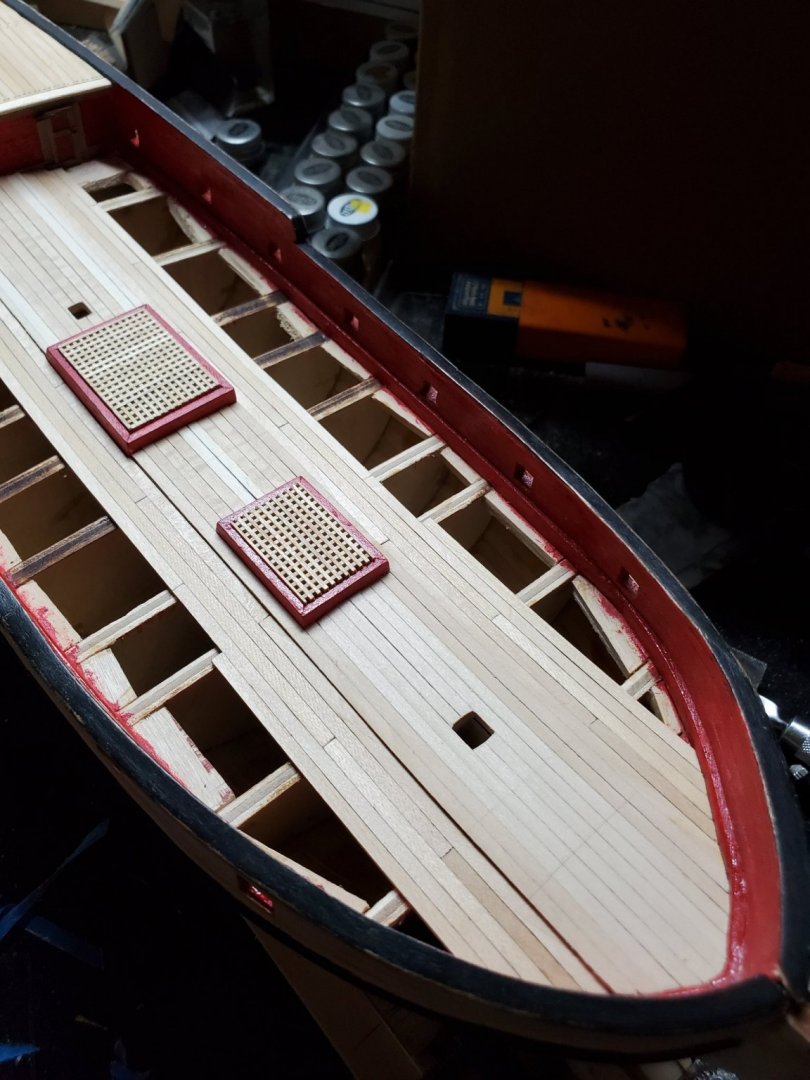
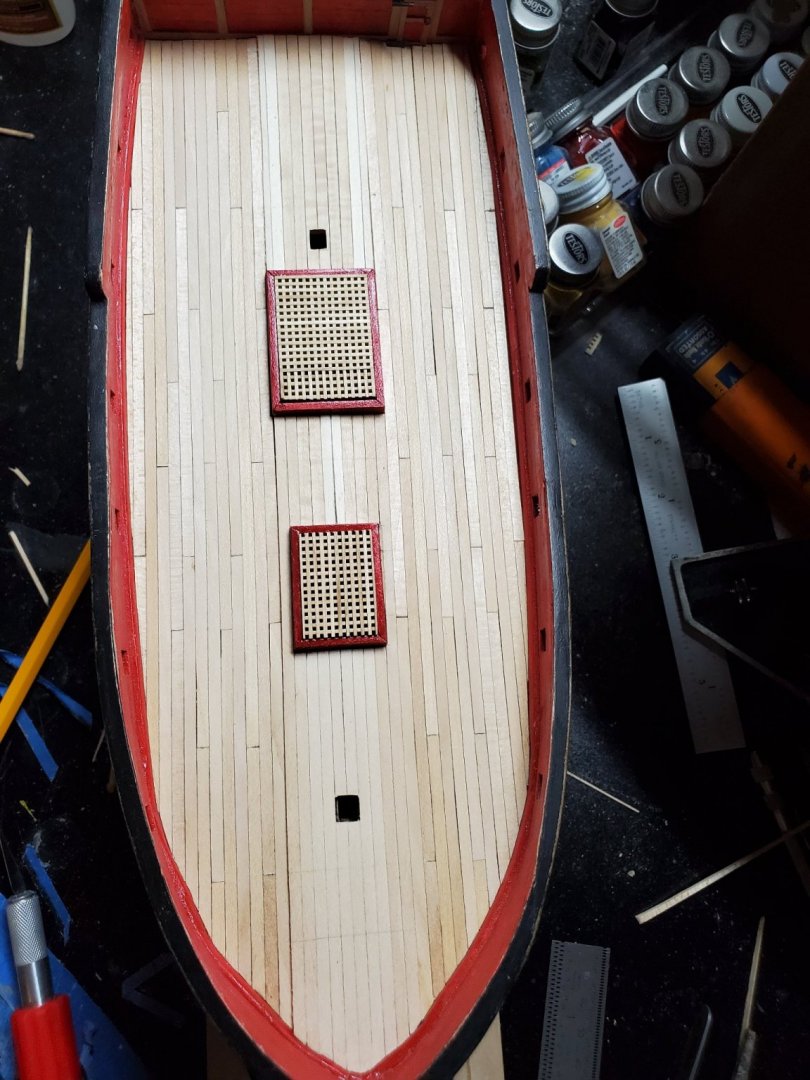
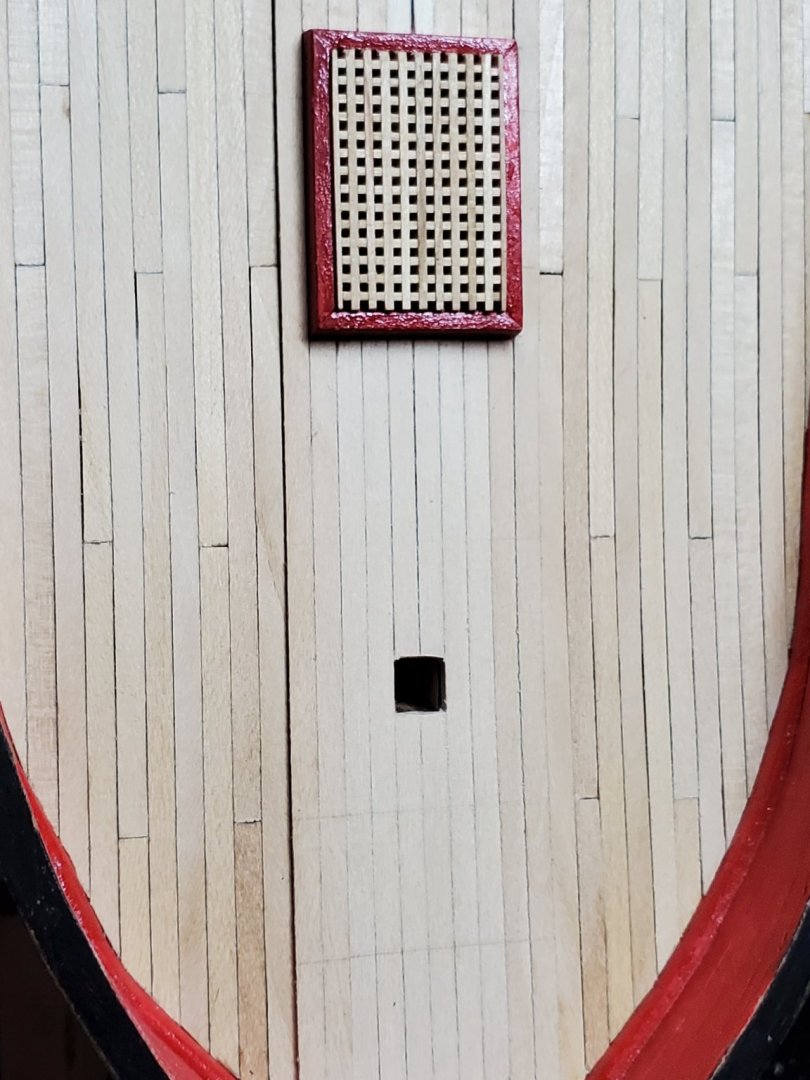
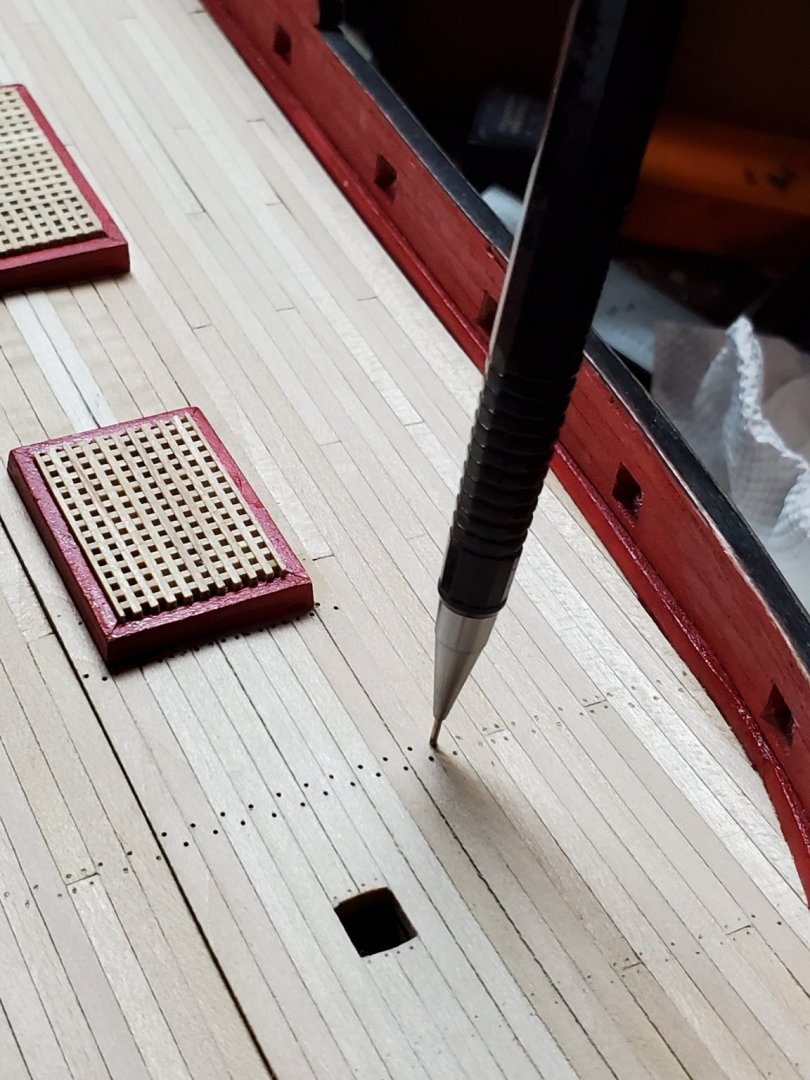
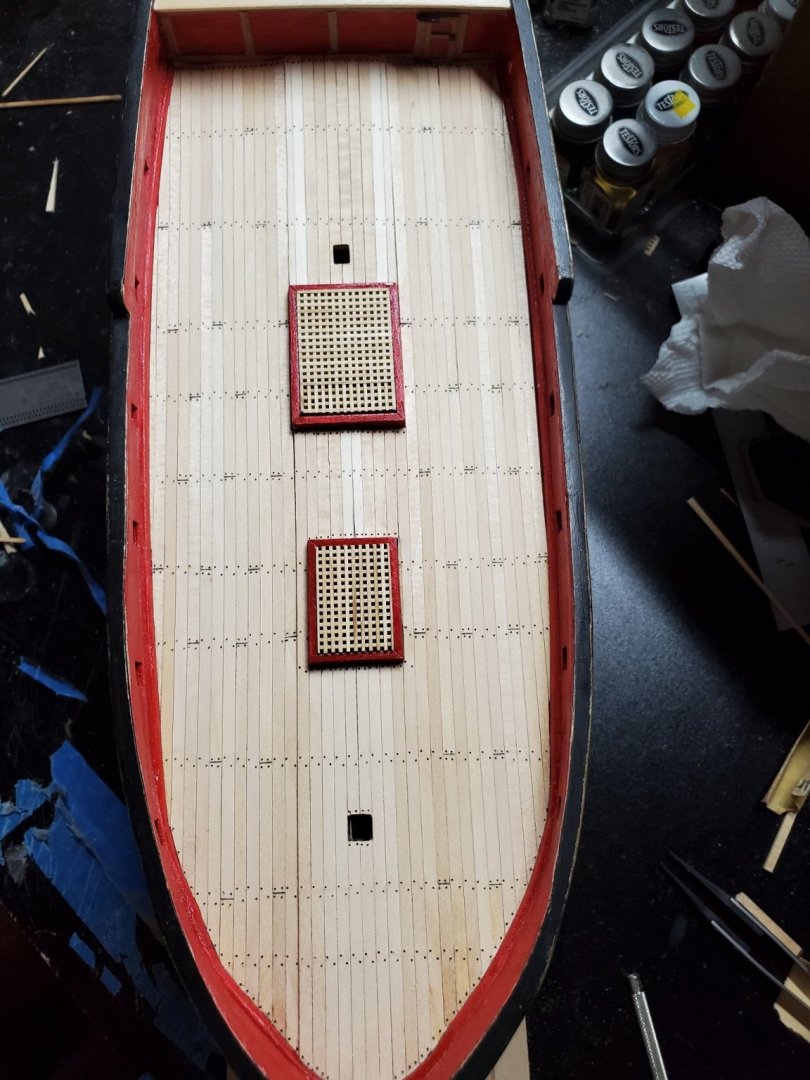
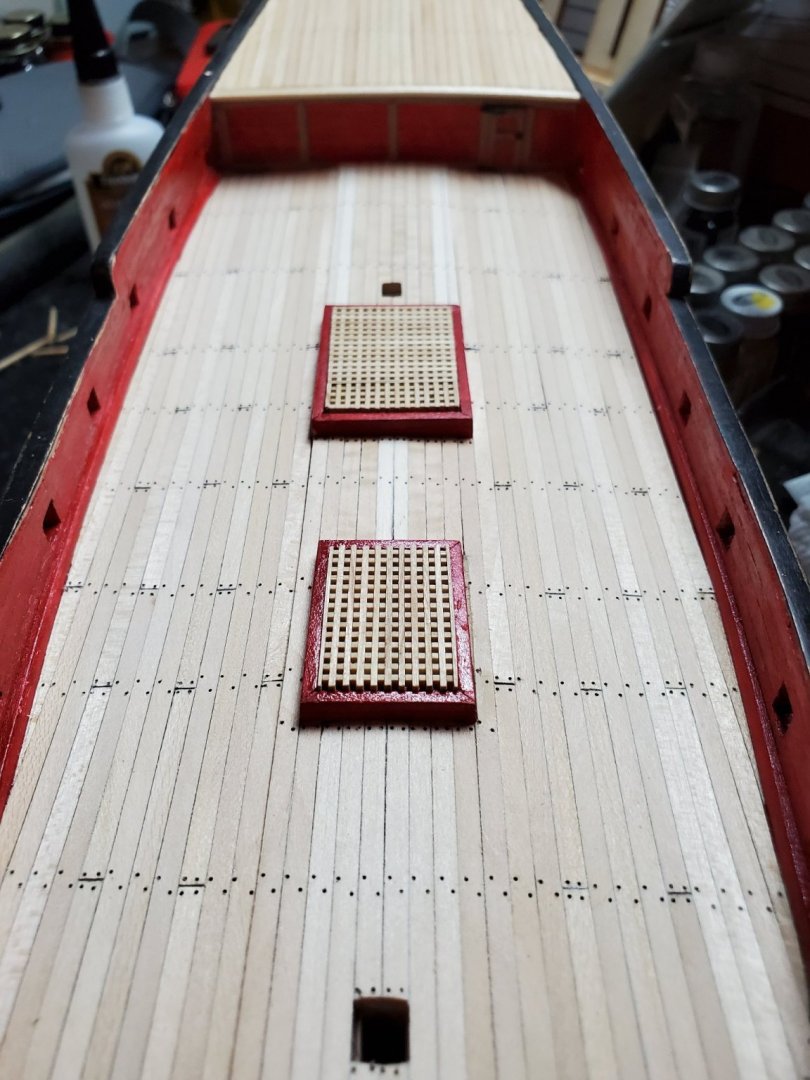
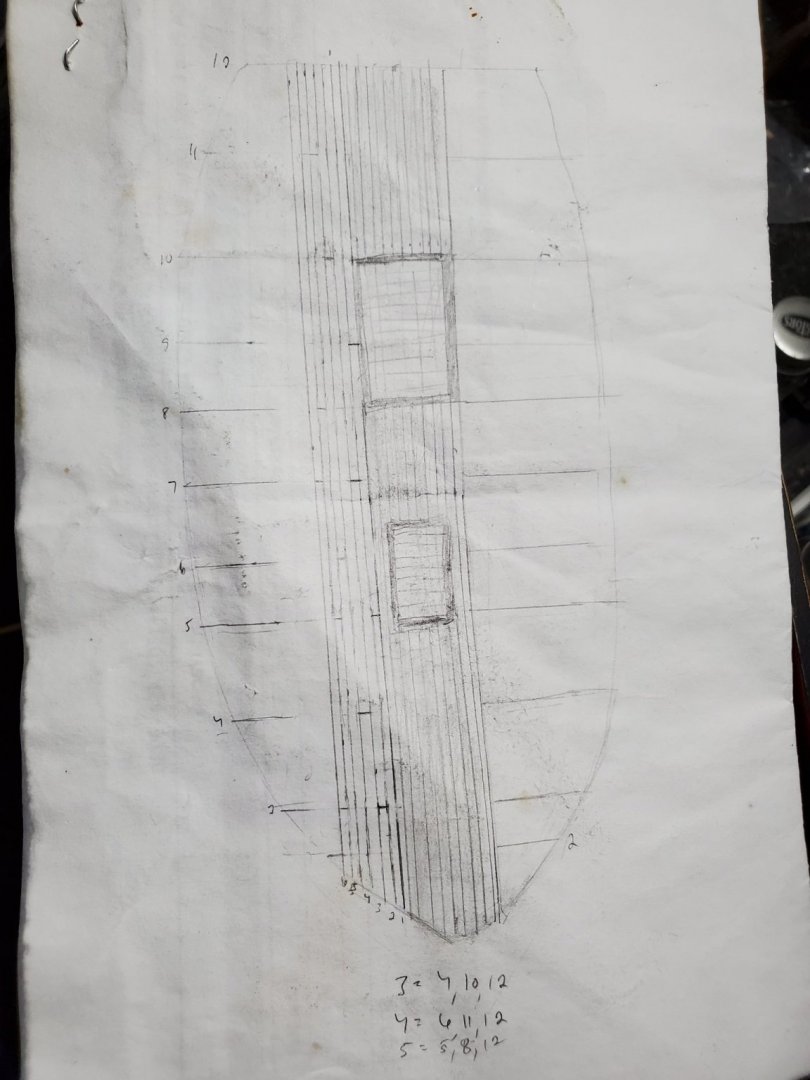
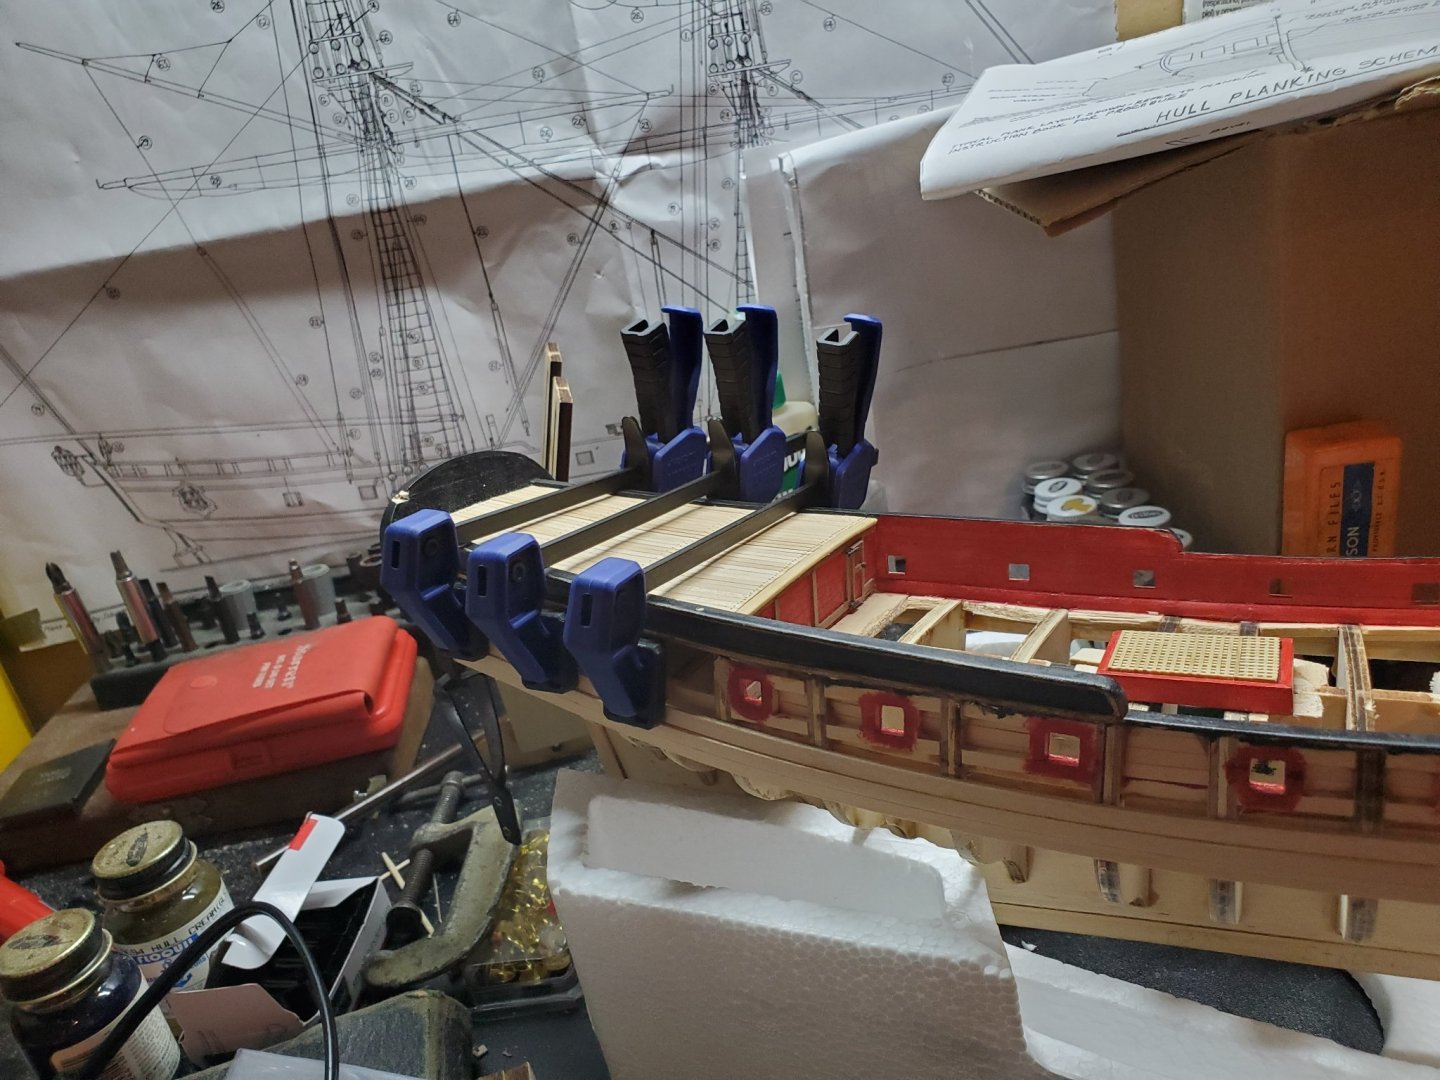
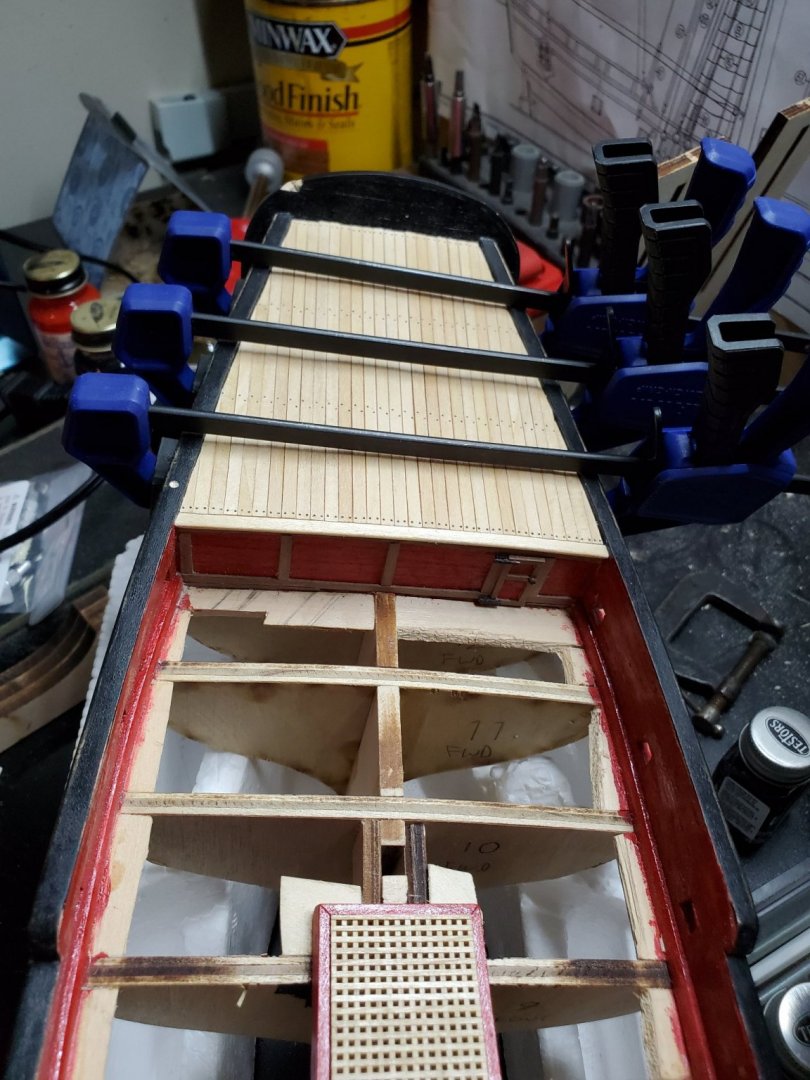
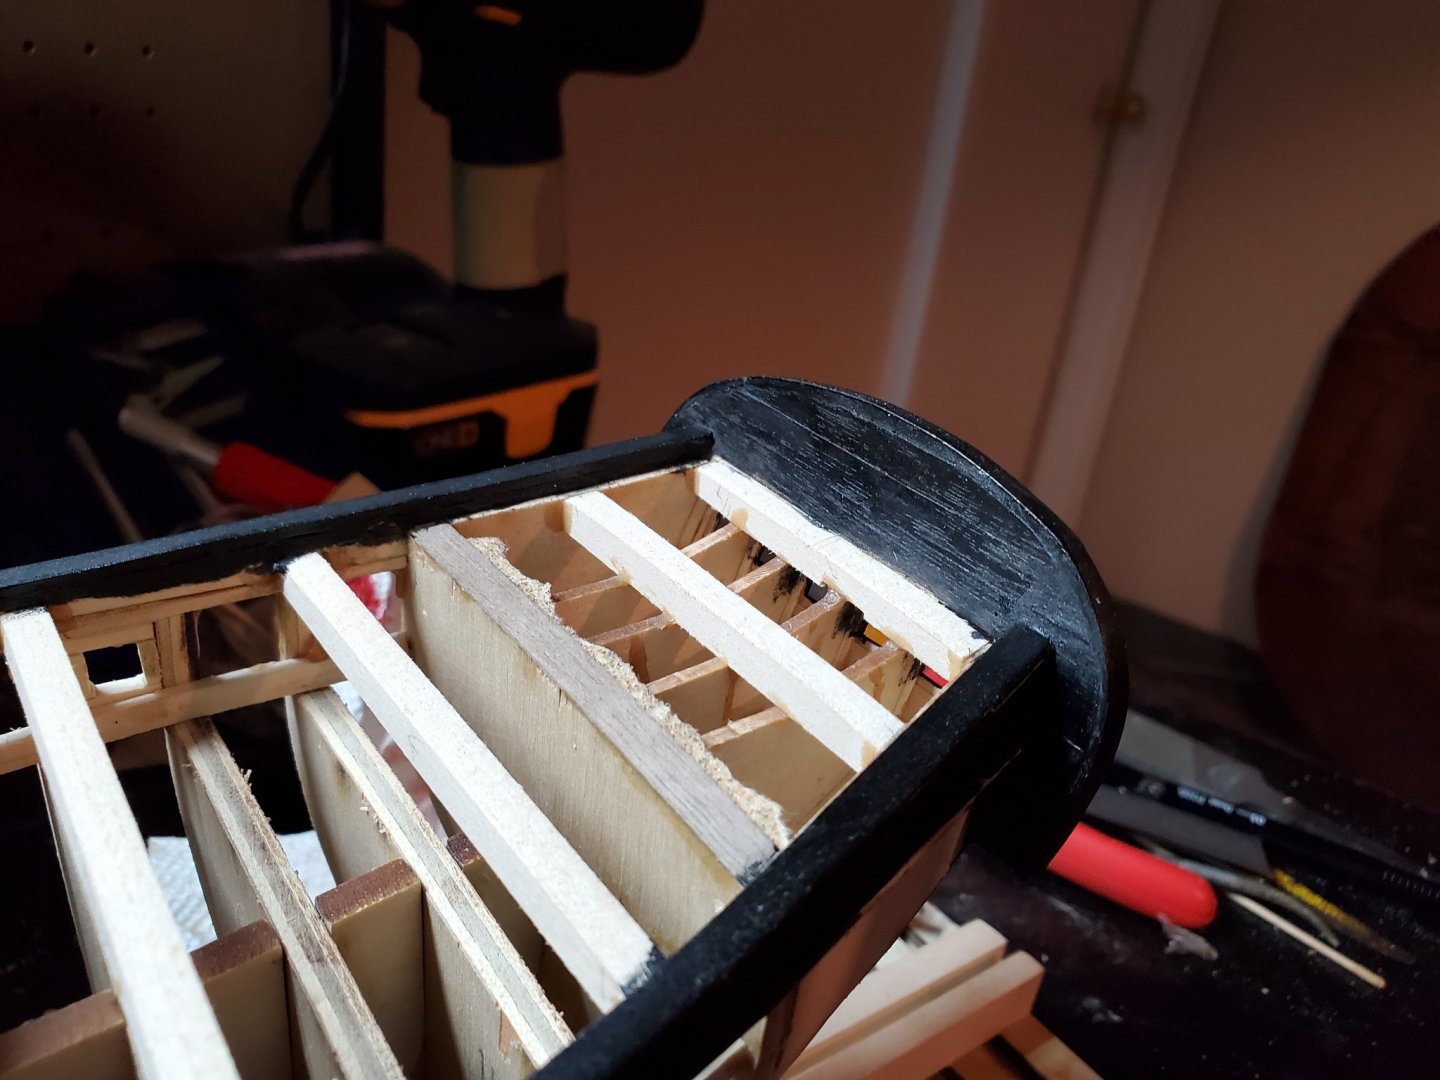
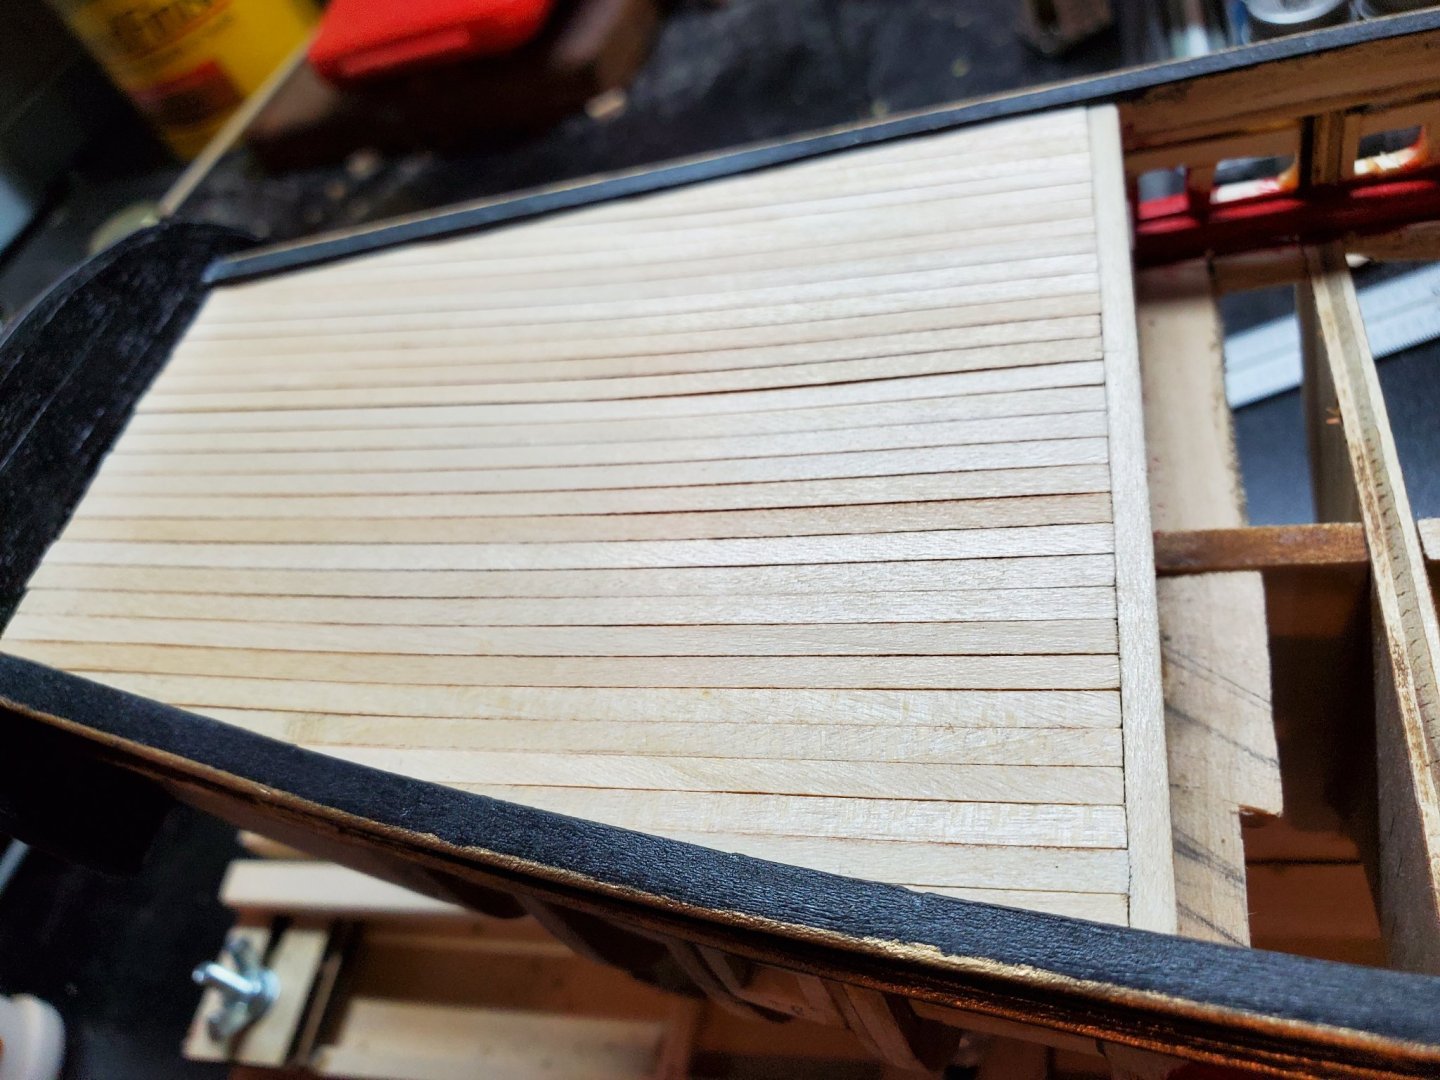
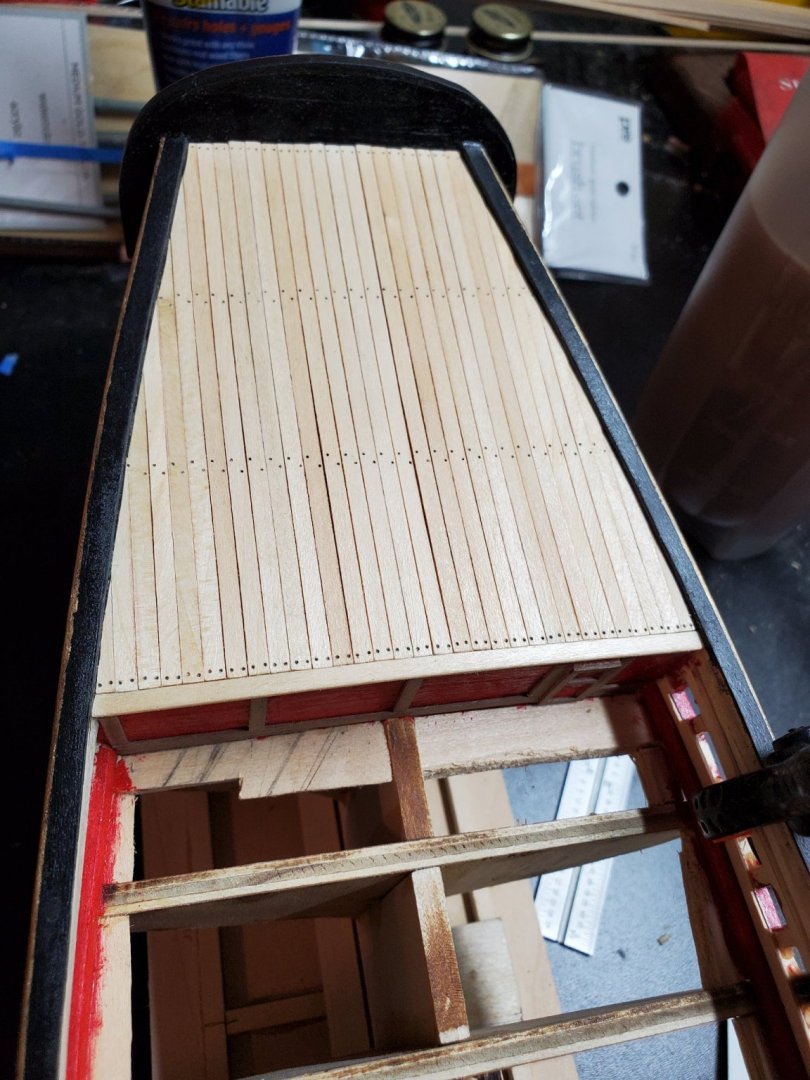
Deck planking for the Fair American Model Ship: This part was fun. More so than the planking: no bending required! My goal was to employ the same ''false treenail'' approach I did with the quarterdeck, but I'll have to keep track of where the bulkheads are before they're all covered! As per the instructions, I started with the deck pad (5/32" thick planks). I made sure to add a thick layer of lead pencil rubbing on the edges, to simulate the caulked appearance. And I even remembered to cut a hole hole for the masts to fit in. The mast will ultimately be round, but as it fits in, I'll keep it square. The slight angle SHOULD be maintained, but the deck needs to be opened up a bit for the mast to seat properly, I'll do that. As the deck pad gets glued on, at the house front, the planks are pretty tall. I can see already that it will cover the door from 'opening'. I've decided that I'll cut reliefs into the deck pad in this region, so there's sort of a step-down to the door. I've heard from many other modelers, that this door is not to scale, via the plans. Either a raised roof or different door size was used in their models. I'm keeping mine, as I like the overall shape. Hopefully it won't look too out of place in the end. The deck planking moved along pretty easily. Now with the 1/8" thick planks, its starting to take shape. I darkened the butt ends with more pencil to make it stand out. Sanding dulls it a little bit, but it's not bad. I created a little scaled sketch to keep track of where the butts should go. It helped tremendously. After each row, I'd cross off that set on the drawing, then move onto the next. I followed a similar pattern to the first row of hull planking, since I already knew where the butts landed on the bulkheads. Except for the deck pad, I used Titebond CA Wood adhesive for the deck planks, since they aren't load supporting. Some spots, the deck planking drooped. It could be a bad spot on the bulkhead, or a thin spot on the plank itself. You can see this on row 5, port side, near the large hatch. I couldn't fix it, once it was glued in. But, again, the port is the less pretty side anyway. It'll be hidden by gun carriage tackle later on. After all the planks were laid, it was time to do the 'pencil treenail' trick! Along each bulkhead, I drew a feint line to indicate the bulkhead, then I'd take a small pin vice and drill the holes by hand. Maybe 1/2 way into the plank. Afterwards, I'd use a mechanical pencil, and bury the lead in the hole, and twist. It leaves a nice mark behind. It's good enough for me, and gives the appearance I want. I also went back and traced the ends of the planks to make them more pronounced - sanding kind-of filled it in. Near the bow, I must have messed up the bulkhead lines, since they are not straight on both sides 😕 I guess it's a good thing the deck will never be covered over with furniture, gun carriages, tackle or ropes, making mistakes all but hidden in the end. 😉 All planking, deck and hull is now finished! I'm not going to stain the deck, since I didn't stain the quarterdeck either, it would look strange. Before the deck was fully finished, I took time to smear wood glue over the insides of all the hull planking, just to give it some extra hold: I don't want any of them letting go and popping out later. After the deck was installed, there was no turning back! Fingers crossed. More posts tomorrow, then I'm off for an African Safari for 2weeks!!! If the rains come while I'm away, and floods the garage, I'm not sure she'll float!! More progress tomorrow... - Jason -
-
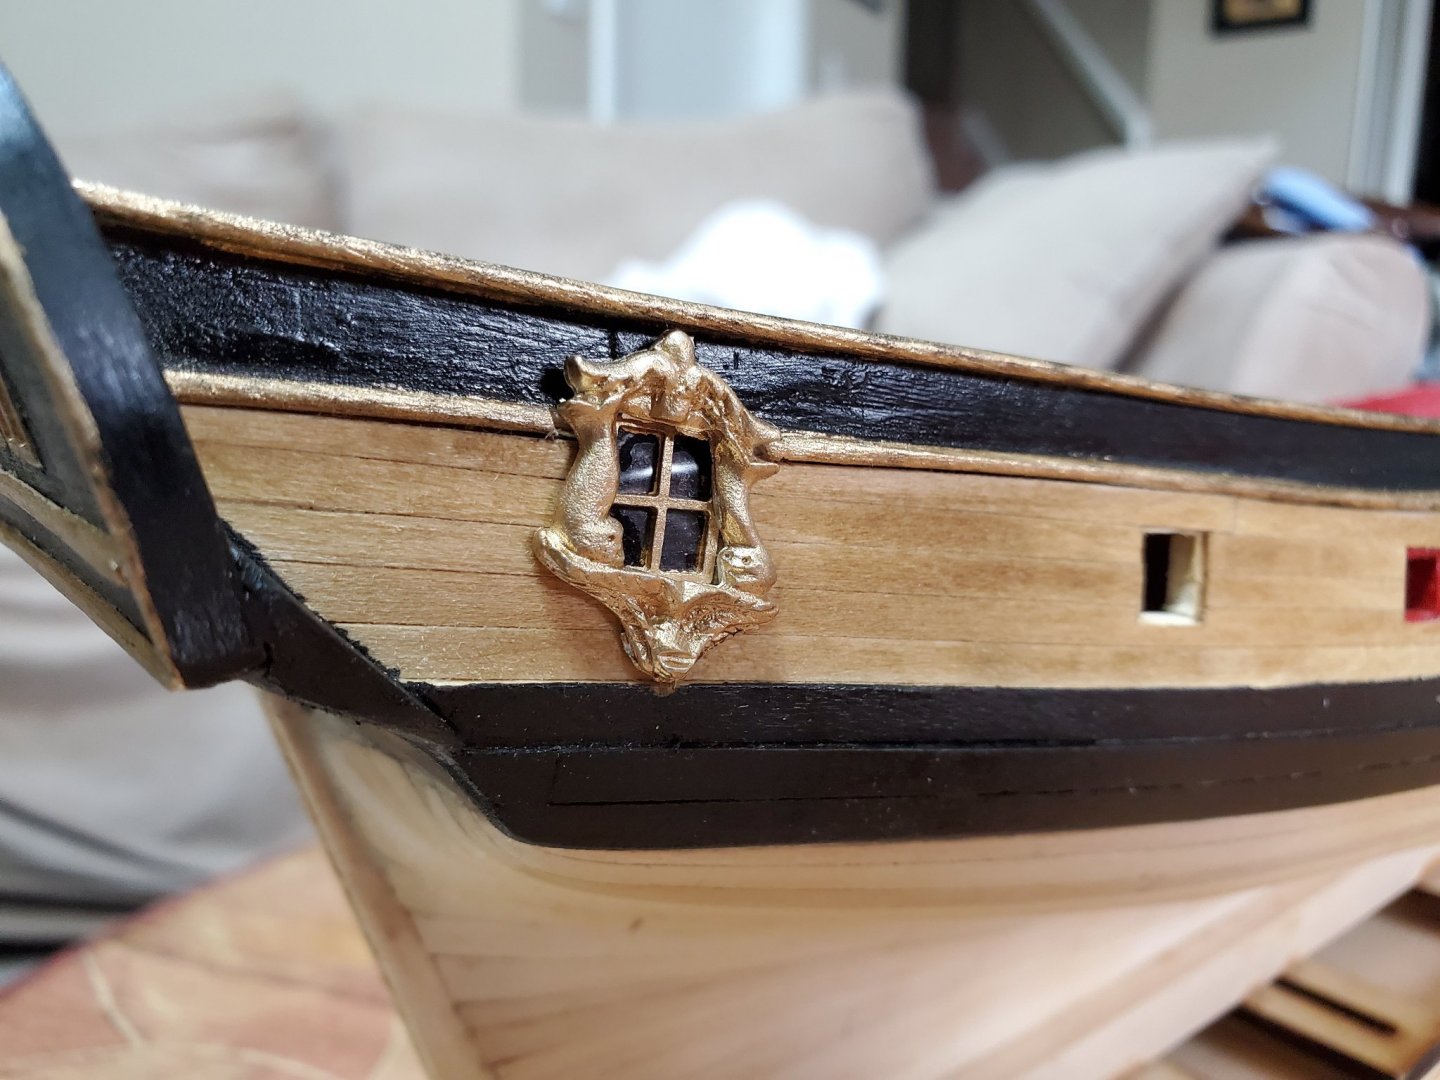
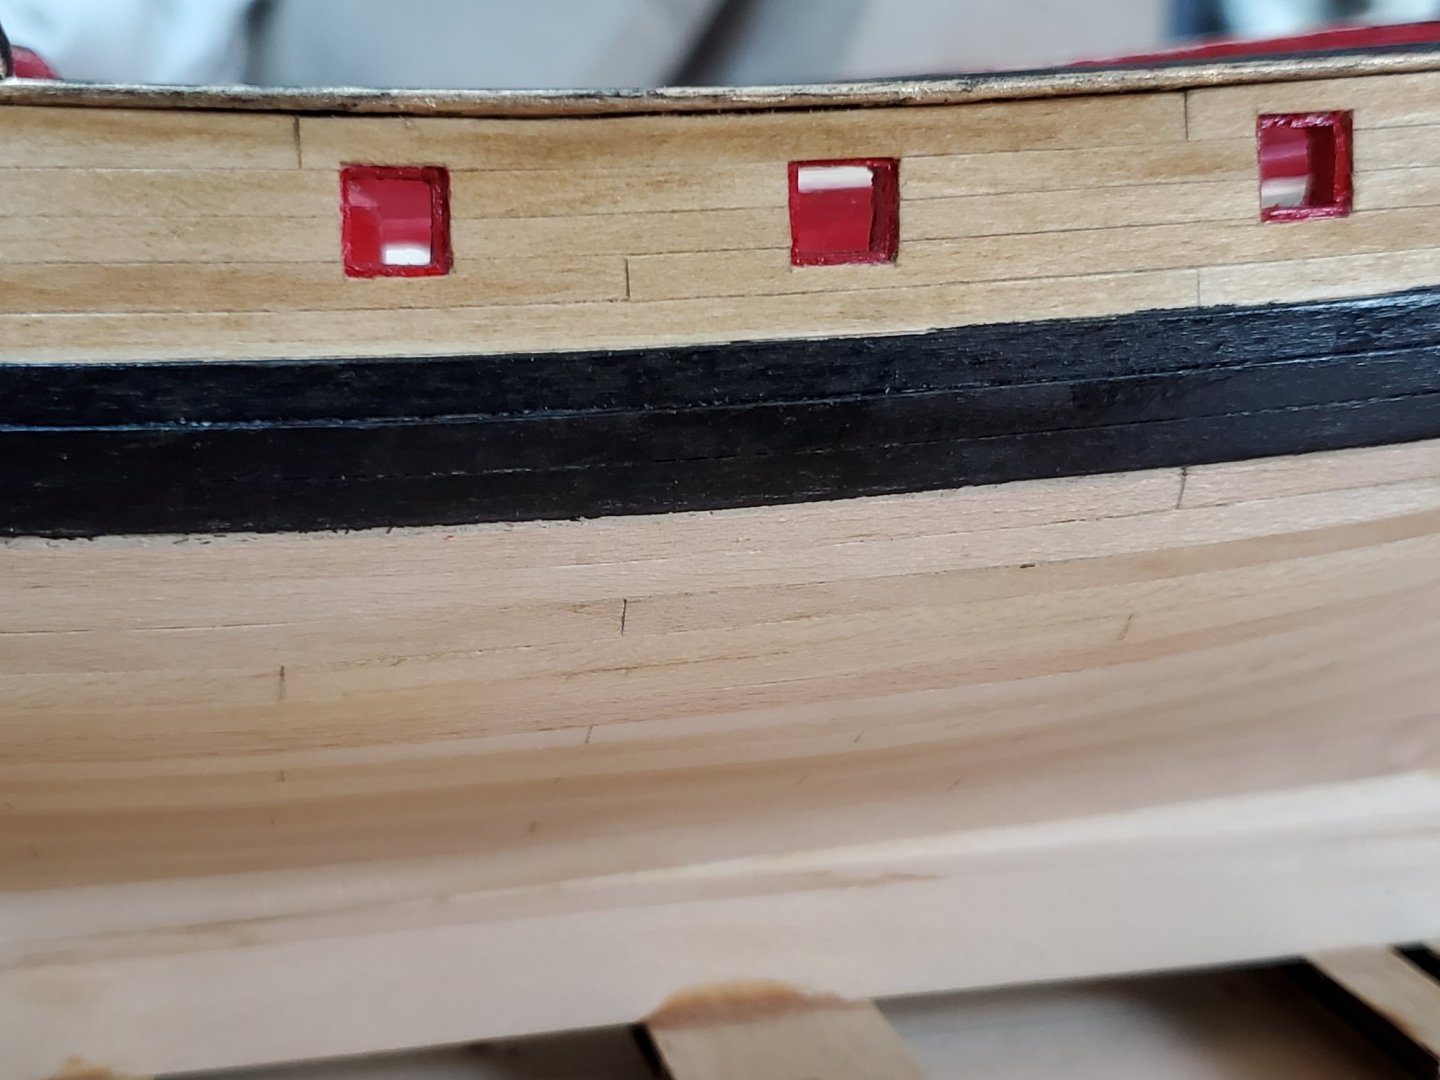
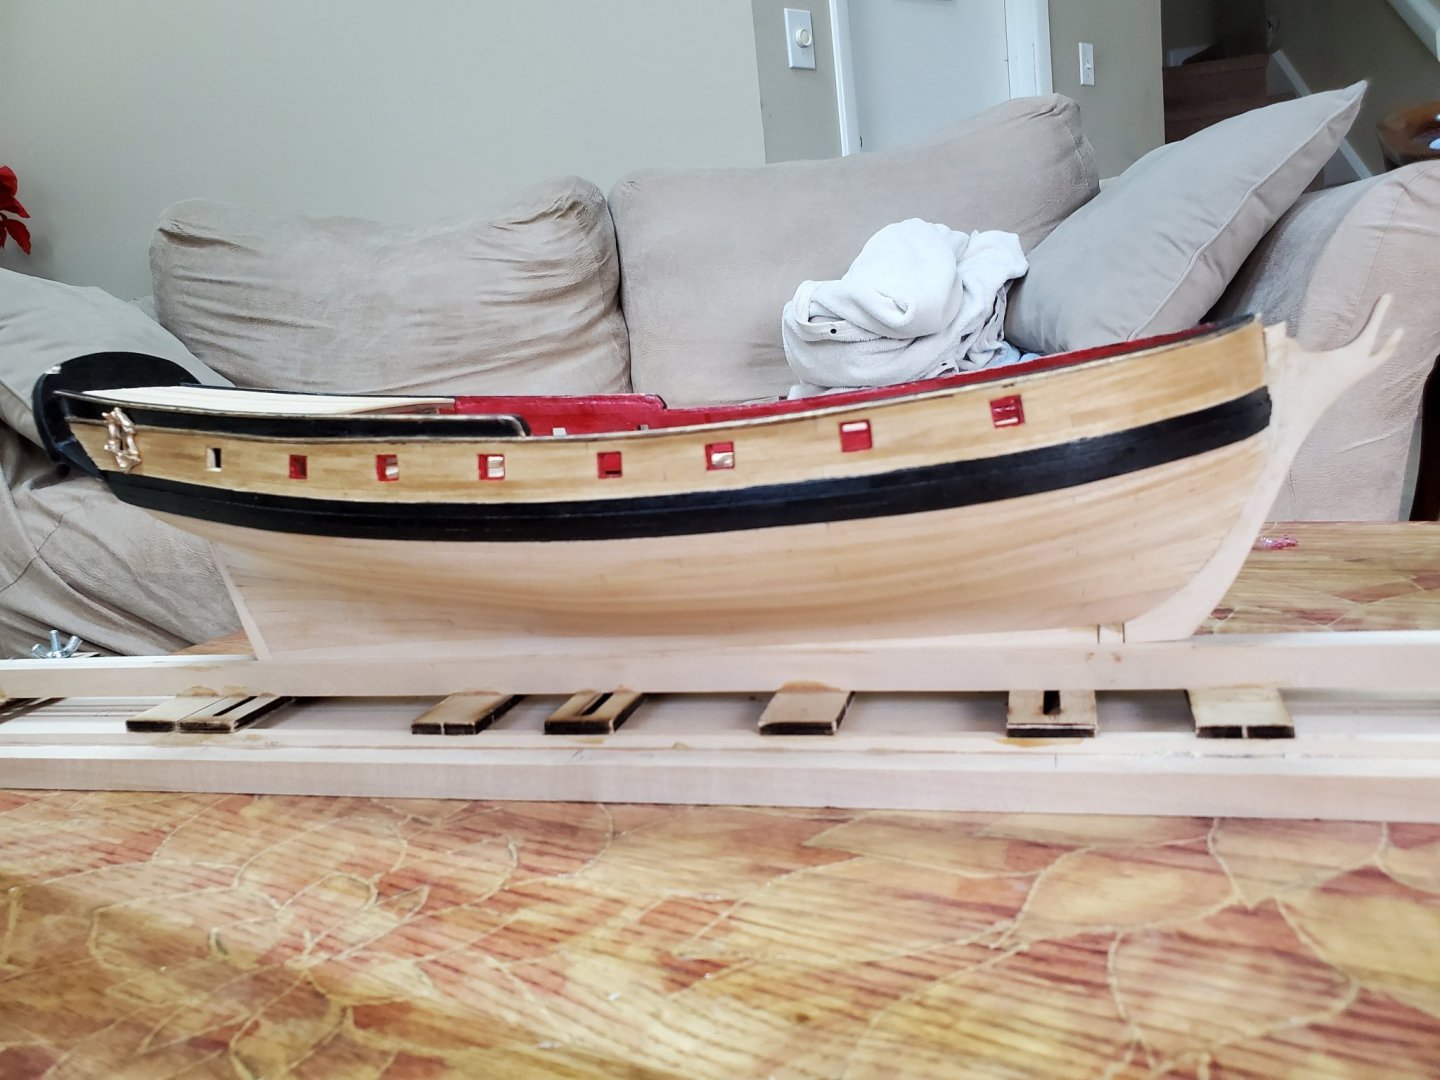
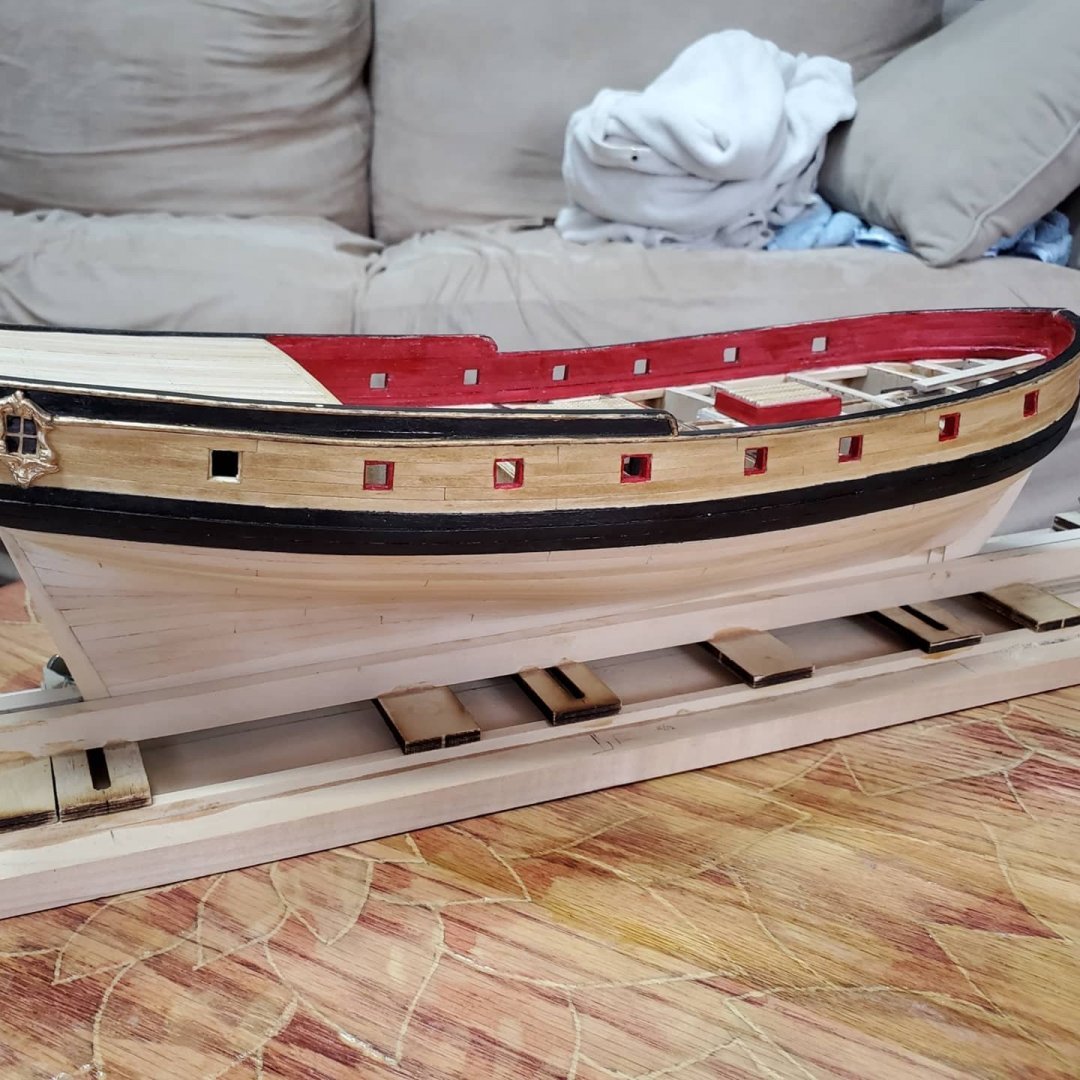
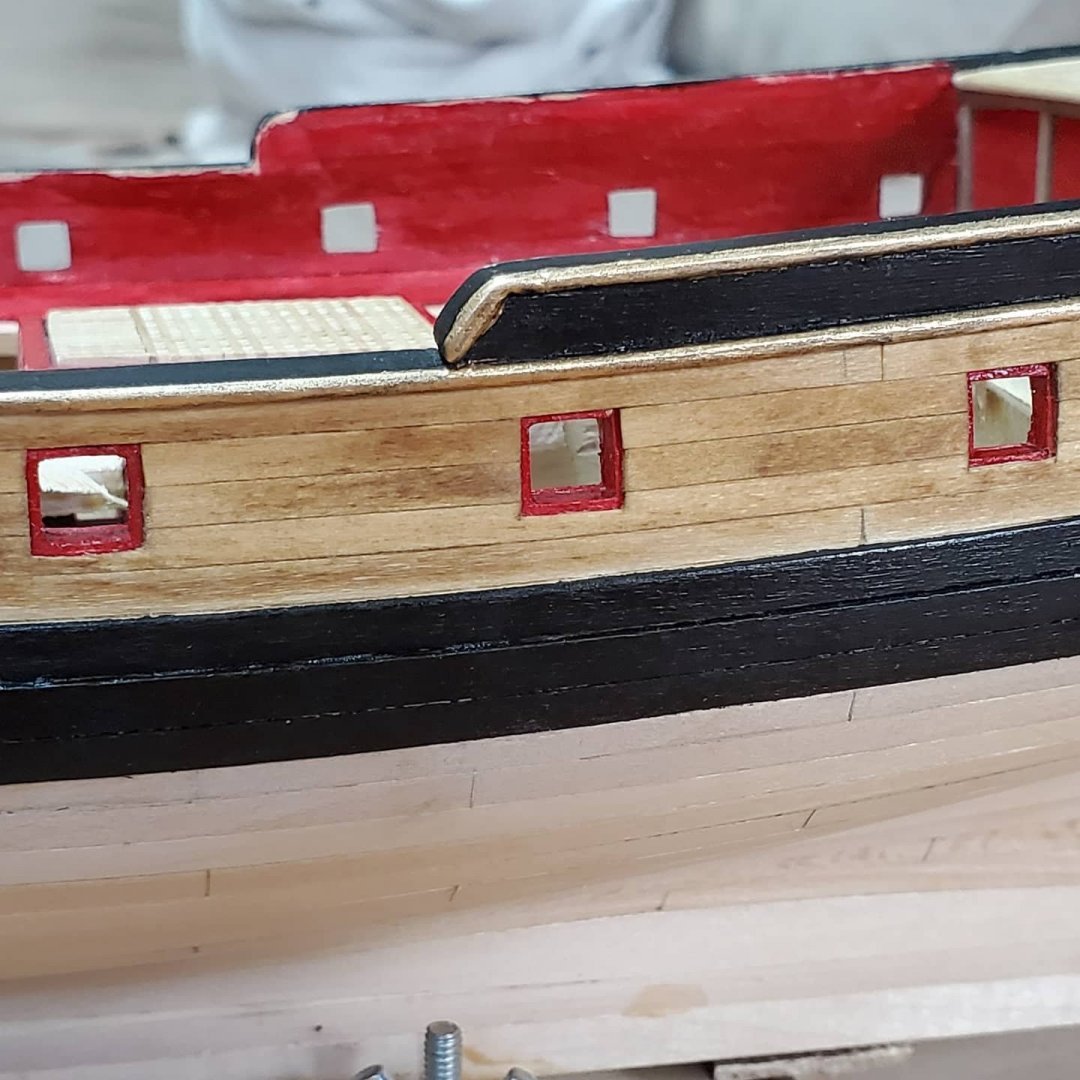
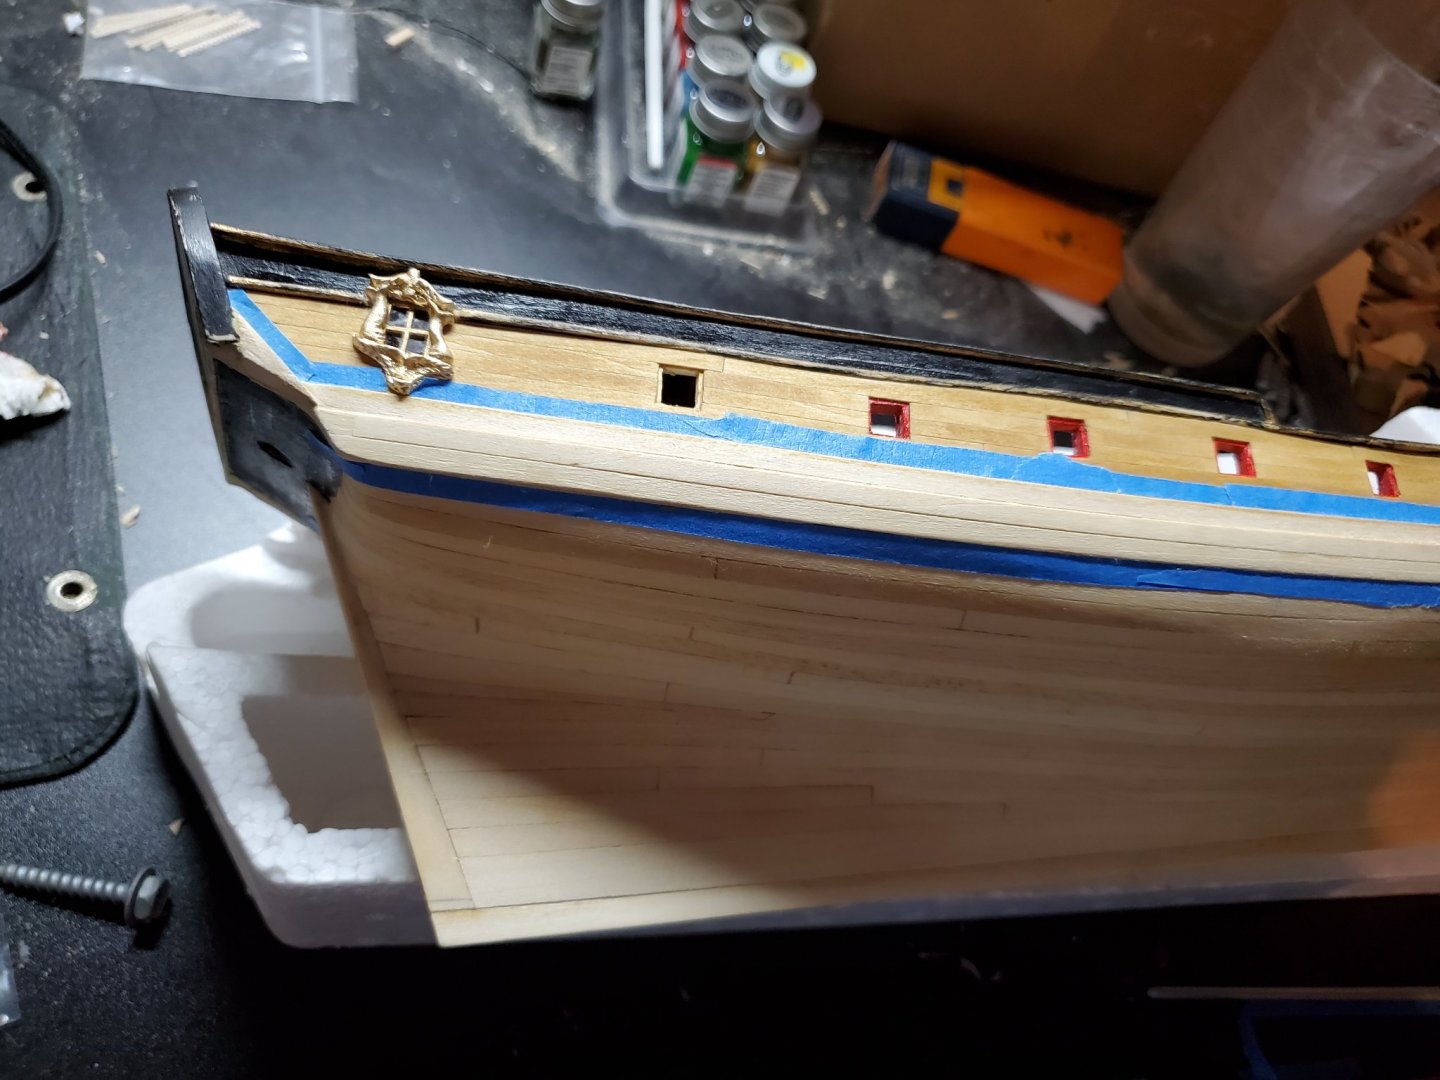
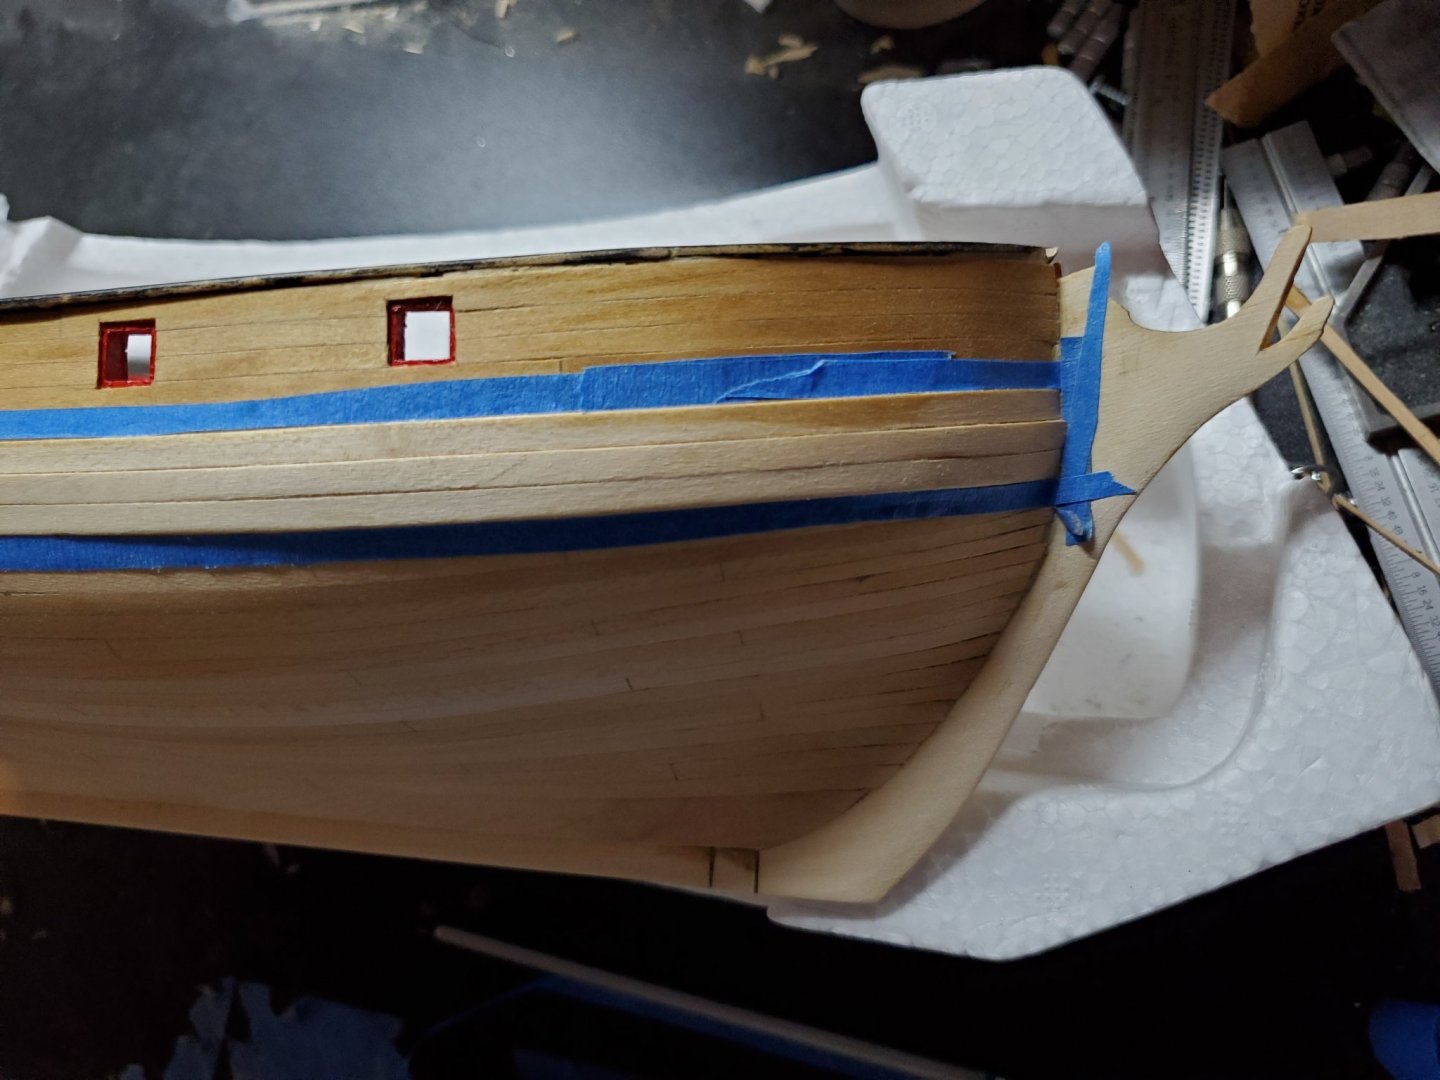
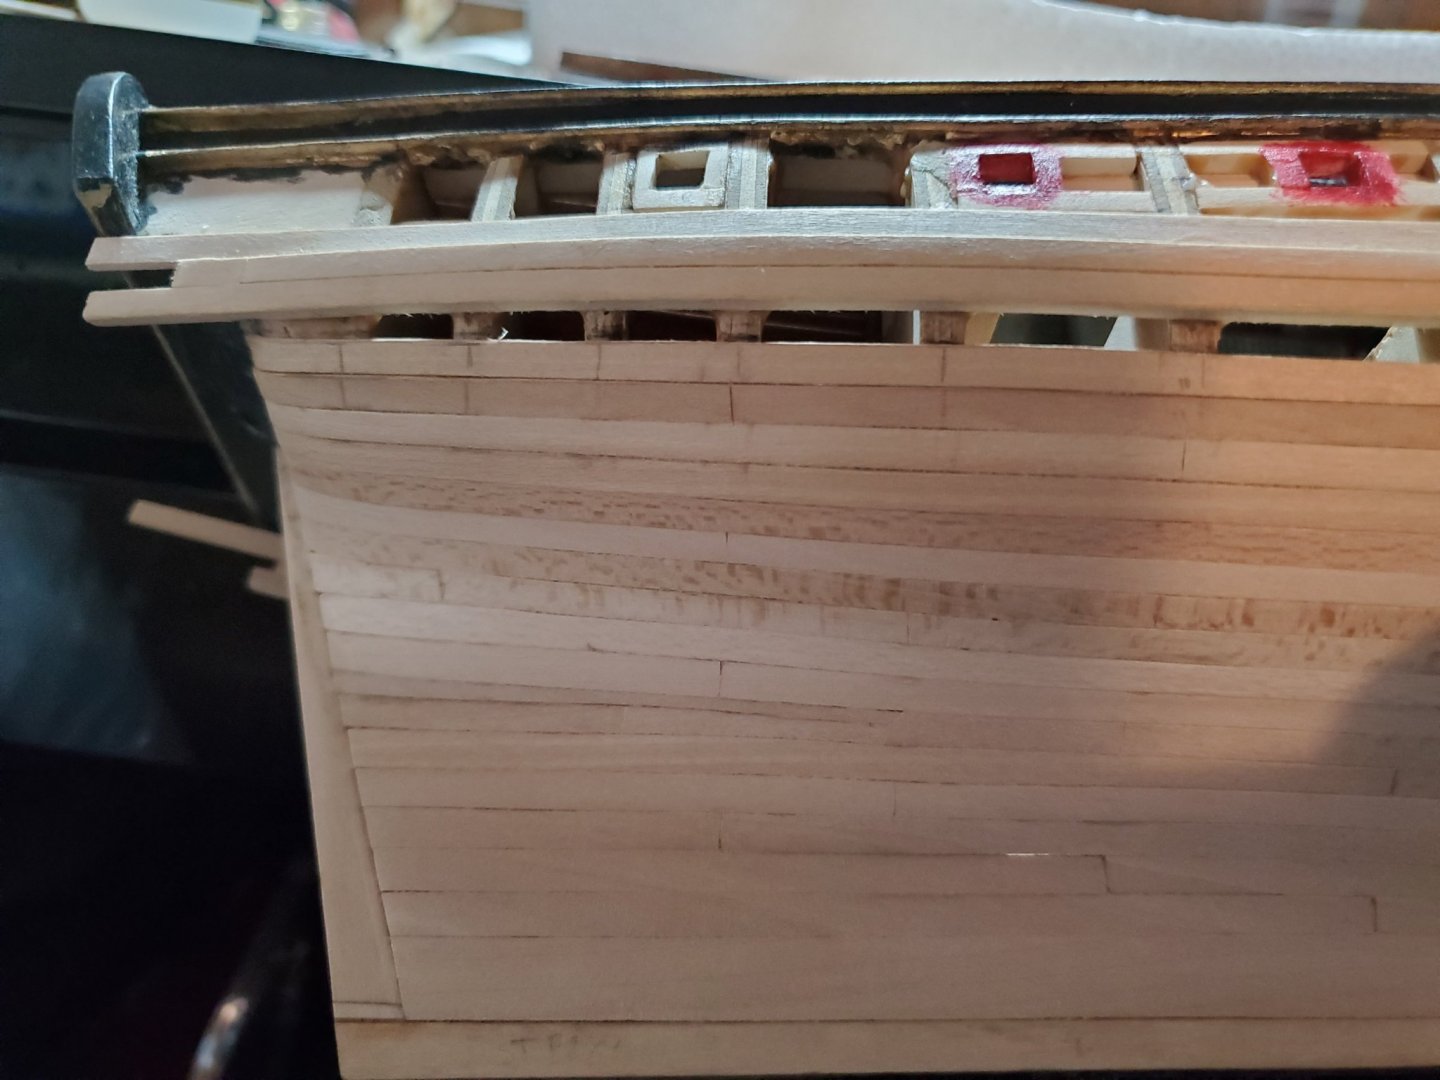
Hull staining and painting of the Fair American Model Ship: After taping off the upper and lower hull, I painted the wales a semi-gloss black. I should have primed it first, since wood likes to soak up paint - it took 3 good coats, but its done. I was worried peeling the painters tape off would pull the upper stain with it, but it didn't, thankfully. Now with the black wales, stained upper planking, and gold trim - it pops! I love the contrast. I'll still need a bit more gold trim paint later on - just handling the model does wear it off some. I'm still not happy with how the gun port trimming turned out - its not a consistent 1/32" for all ports, but I'll live with it. I guess everything at high zoom/magnification looks bad up close, but I'm extra critical. I'm keeping the lower hull planking as-is - no treenails. When I first added clear poly to the lower hull, it darkened the color a bit! Yikes! But after it dried overnight - it wasn't an issue. It stayed the light basswood color. Also, I only added 1 coat, as I didn't want the hull to have a shine to it. Should I go with more or heavier coat than this? As per the instructions, the next part is deck planking. I'll tackle this in my next post, before moving on to the beak and deck furniture. Its been a year and a half of very on-and-off work, buy now it looks like a ship!\ More progress soon. - Jason -
-
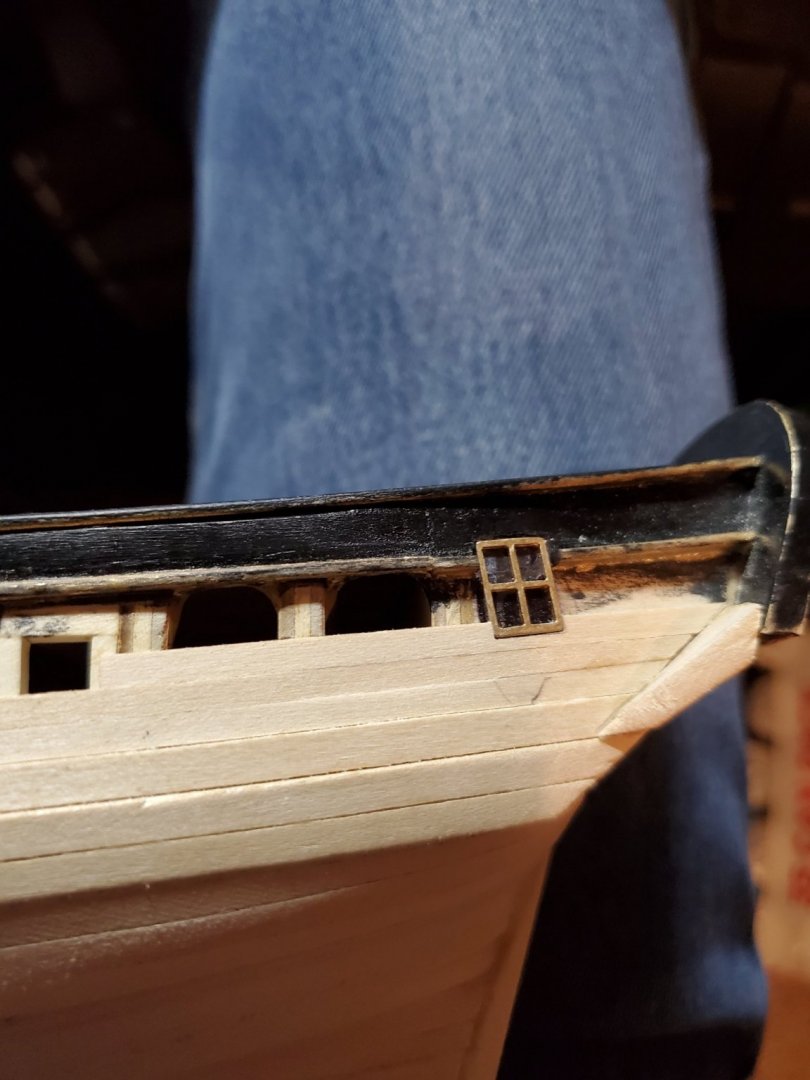
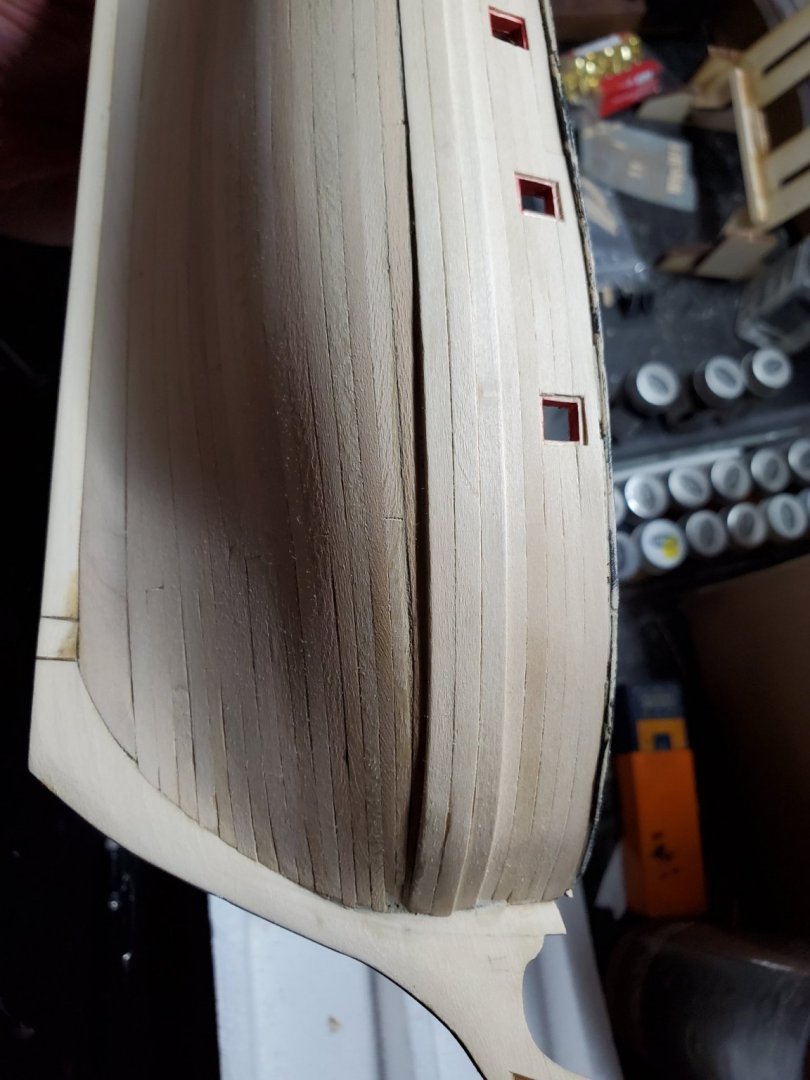
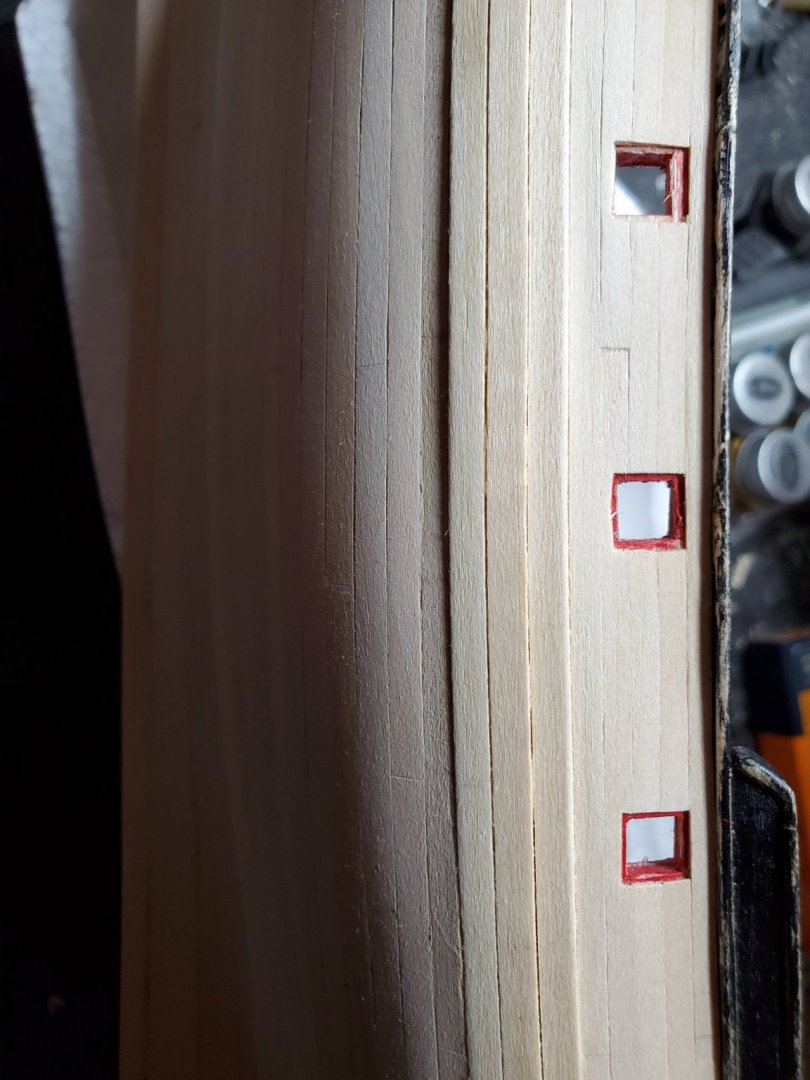
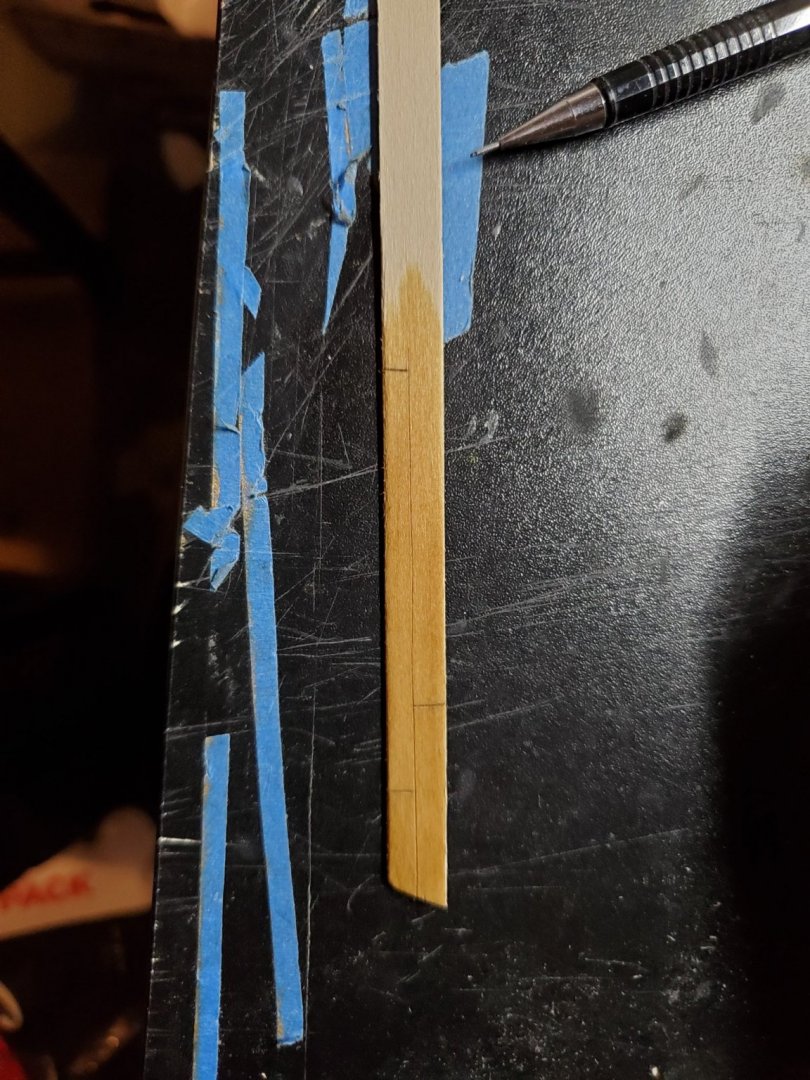
Upper hull planking on the Fair American Model Ship Not as many planking pictures for the upper planking - it went pretty smoothly. I wasn't sure from the instructions or plans when exactly the fashion piece should be done. It was after the Black Strake was installed, on mine, which made it difficult to properly shape. I blended it into the curve of the transom as best I could, but I needed a bunch of wood putty to get things smoothed out. For the rear window frame, I simply glued it on - nothing fancy here. The planks were relieved to make room, but tight enough not to leave any gaps. For the gun port holes, I tried to leave the 1/32" lip, but it ended up being 3/64, or 1/16", or 0, in a lot of places. I was not going to cut out the offset after it was on the model. I'd be worried I would slip and slice it accidentally. So the result was inconsistent offsets around the ports. The planking, otherwise, looks pretty nice. After both sides were done with upper planking, I was ready to add some much needed color! I decided, after looking at the Syren ship from other builders, that I'd stain the upper hull with MiniWax Golden Oak wood stain. Its yellow enough as the kit calls for, but I like the stain better. I'll use pre-stain to even out the color before the real stain is applied. I did a test strip to see how the color would turn out with my brushes. It looks rich! Now for the real thing... Sorry I don't have more 'just stained' pictures along the way. I do later, though. I always start with the port side, as my 'bad side'. What ever I learn there, I'll apply on the good/Starboard side. What I learned was that even with the pre-stain, if I do more than a pass or so, it blotches the wood, and looks uneven. So for the starboard side, I was careful not to over apply. Afterwards, I painters taped-off the planking in prep for painting the wales black. I don't want to ruin the color with a bad paint job. Next post will be after the wales were painted, and the upper hull planking stained. Moving right along! - Jason -
-
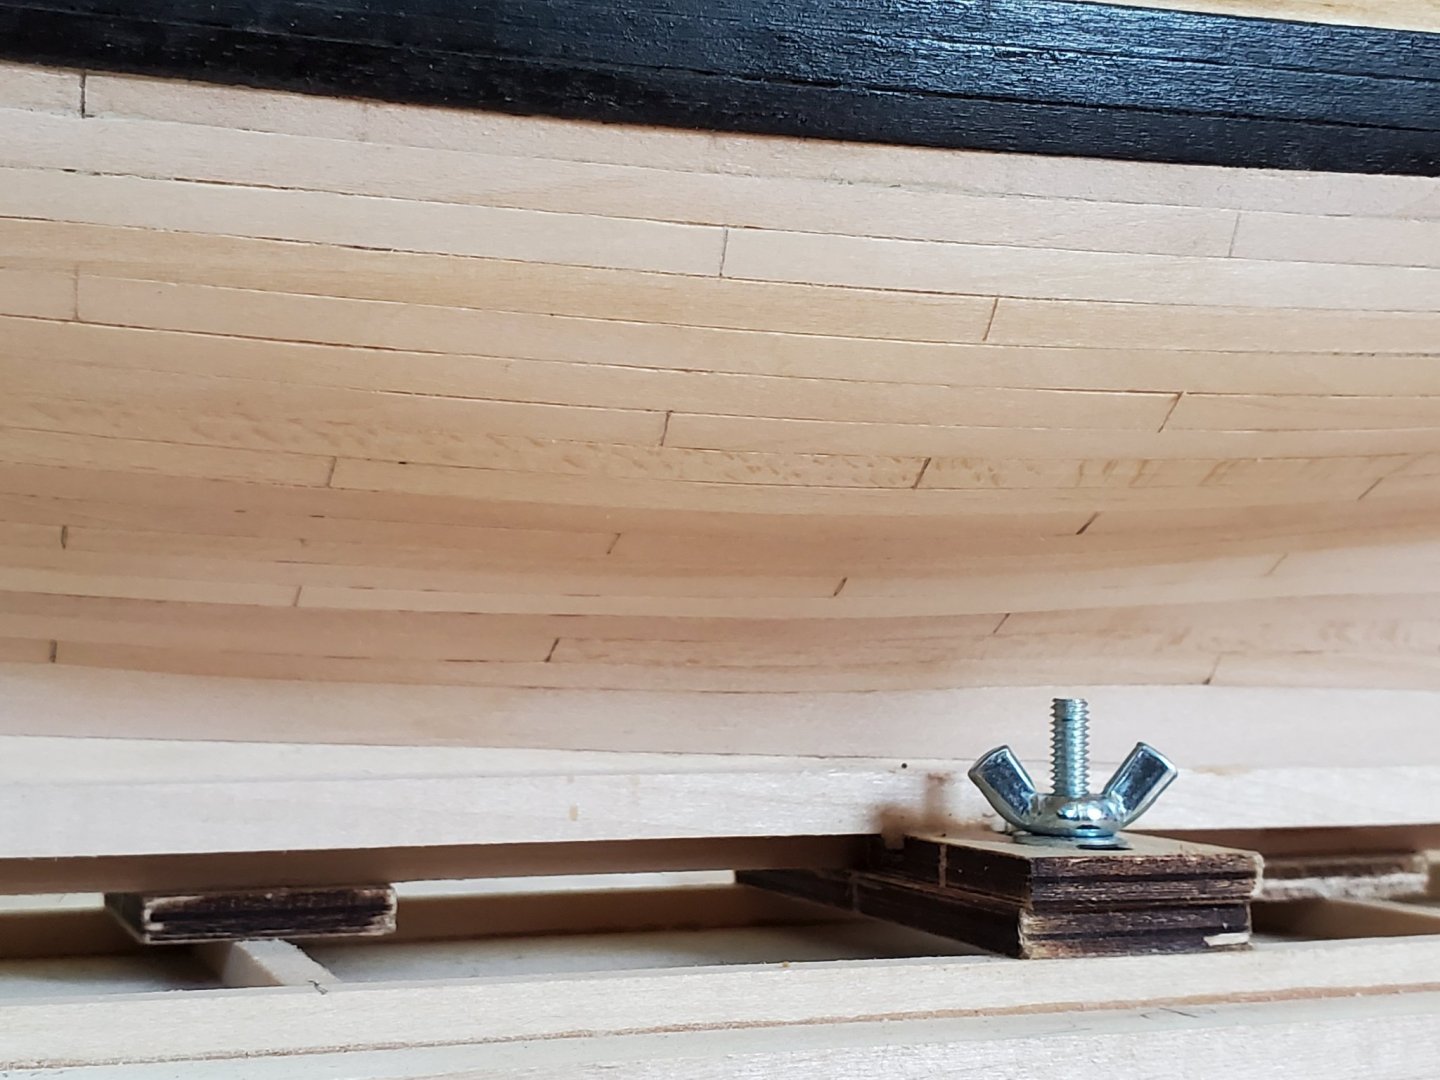
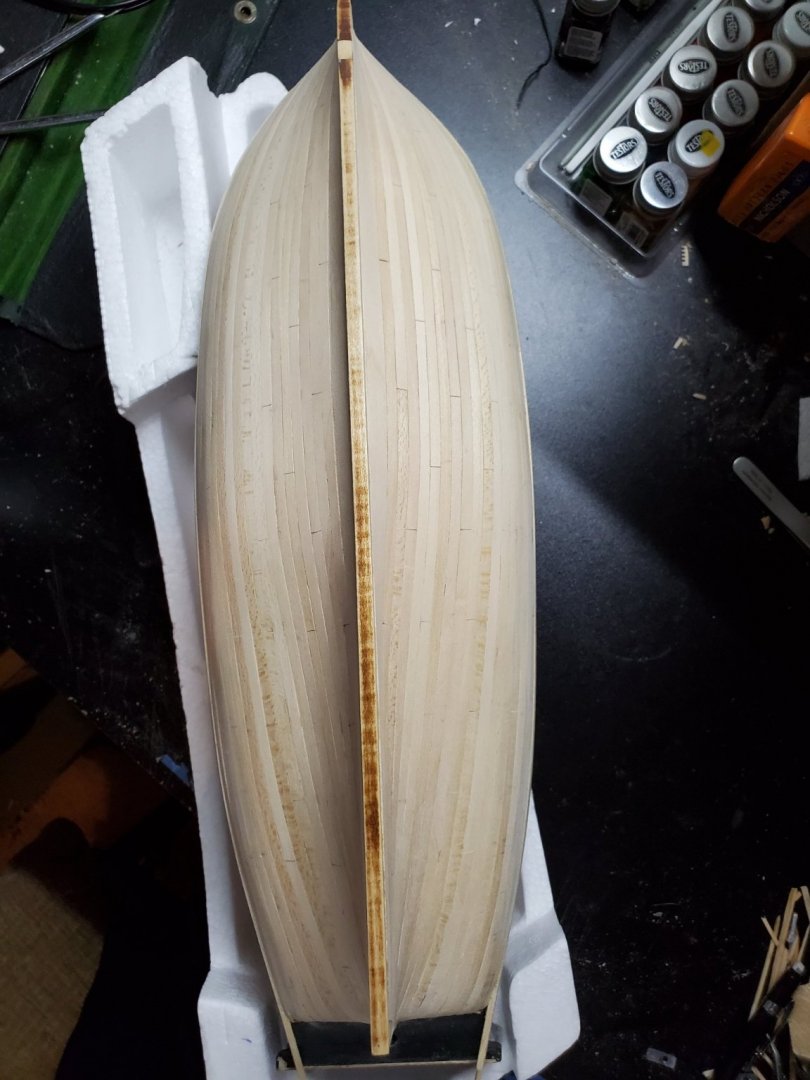
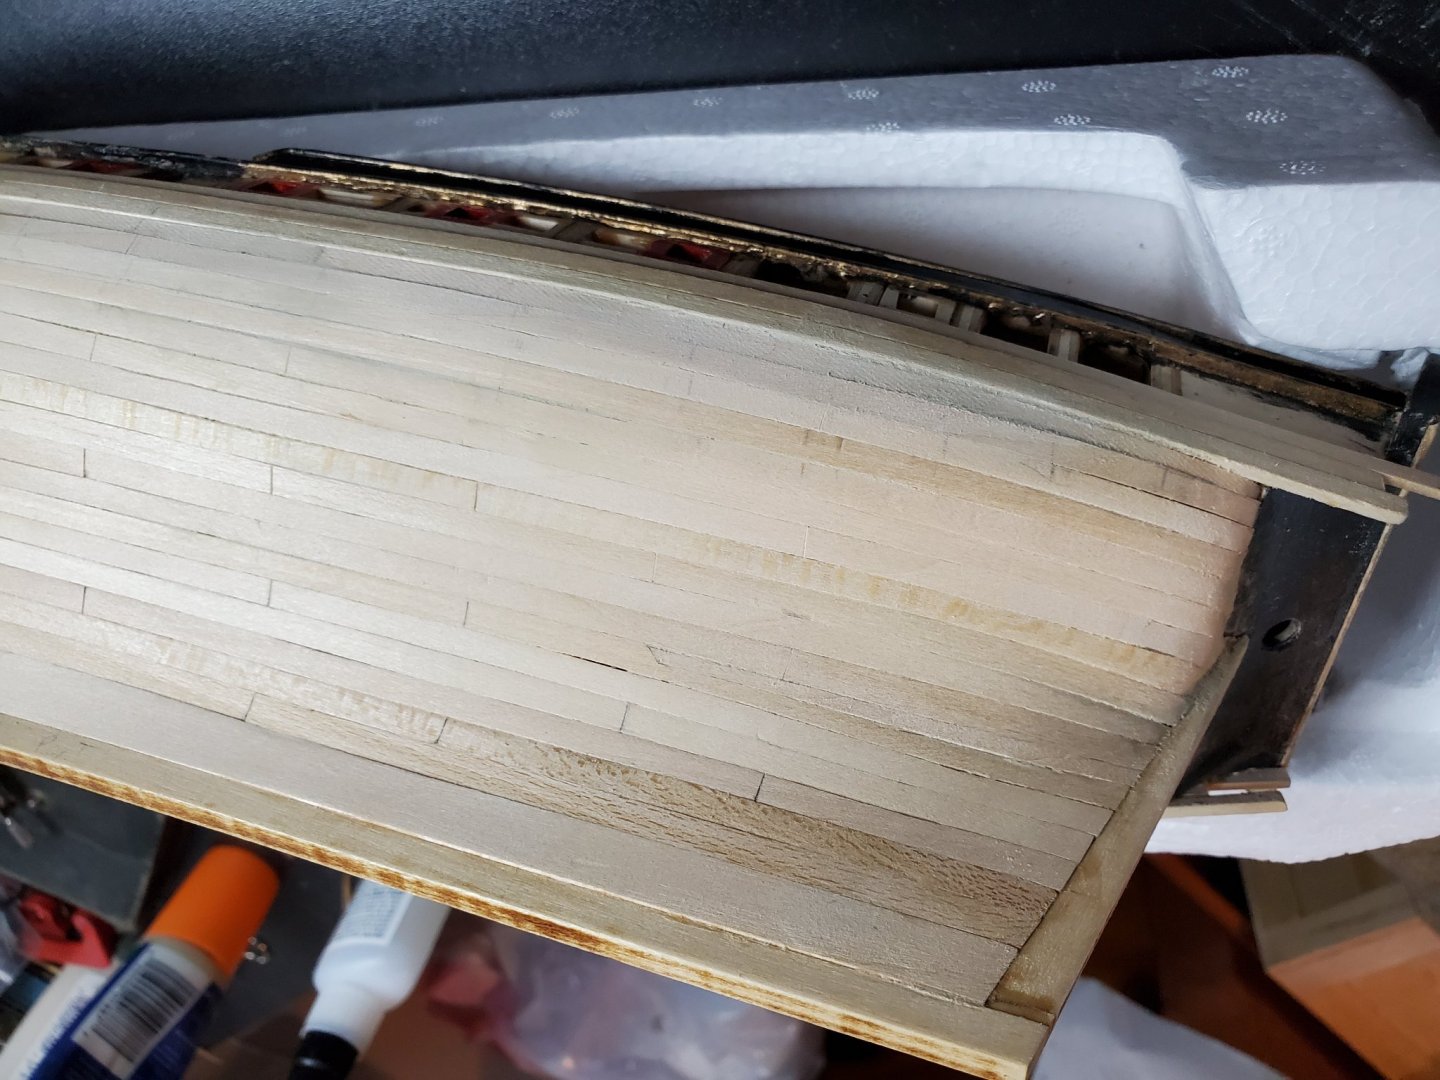
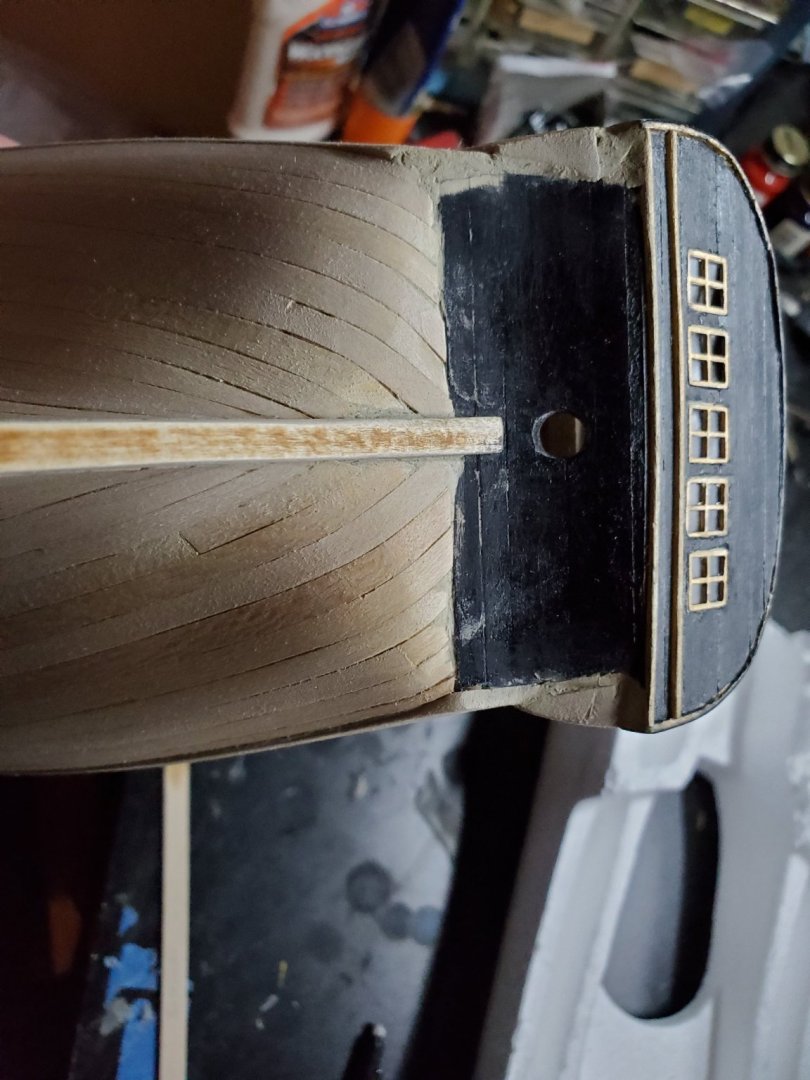
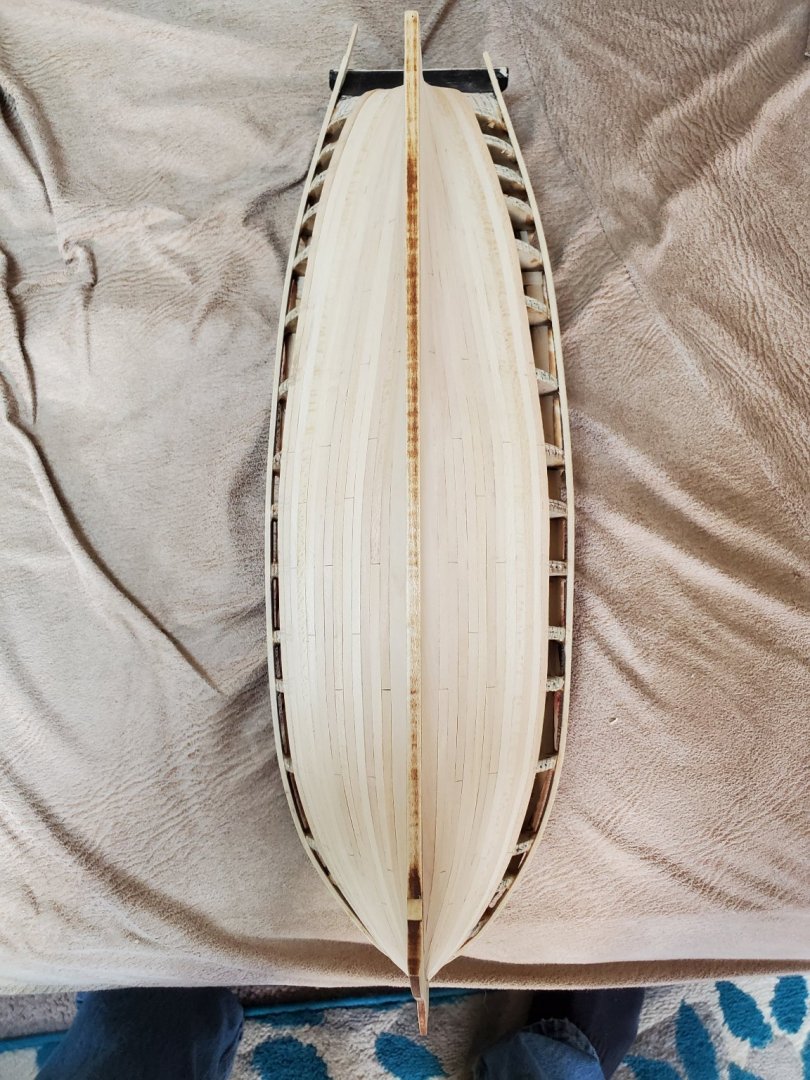
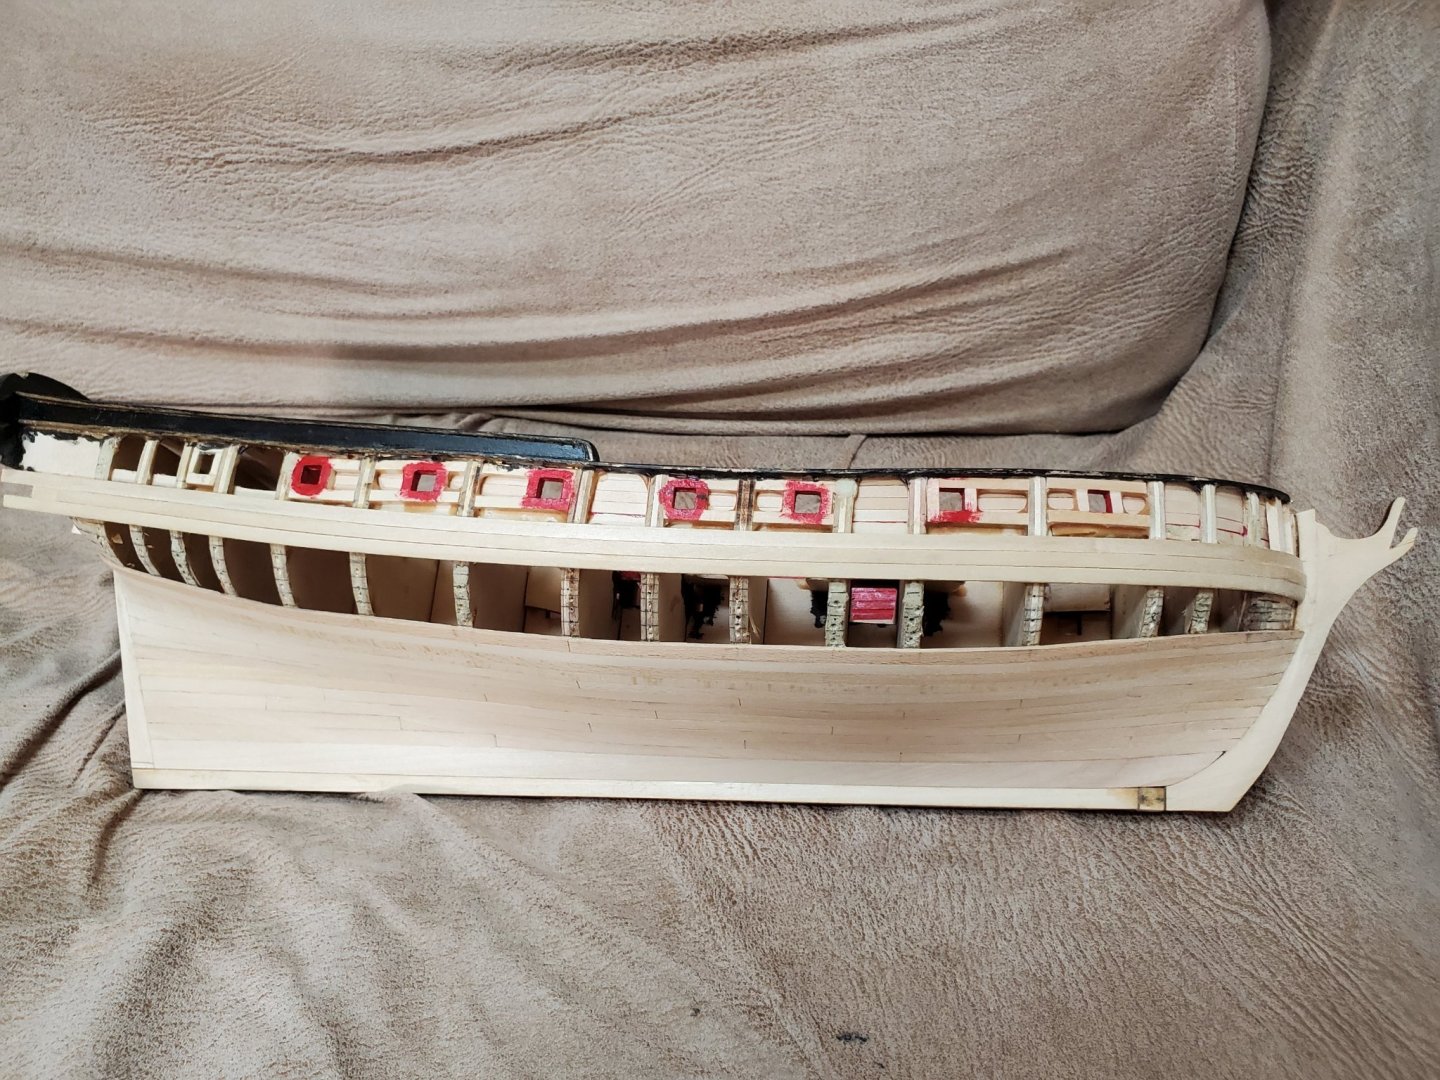
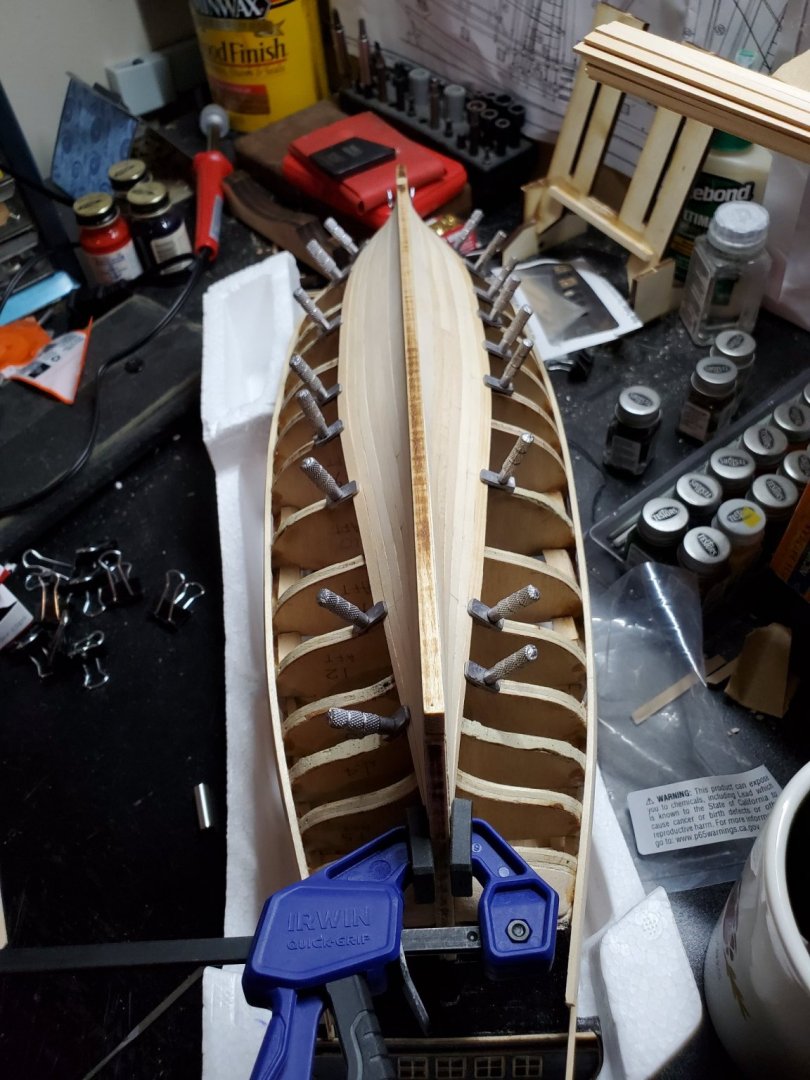
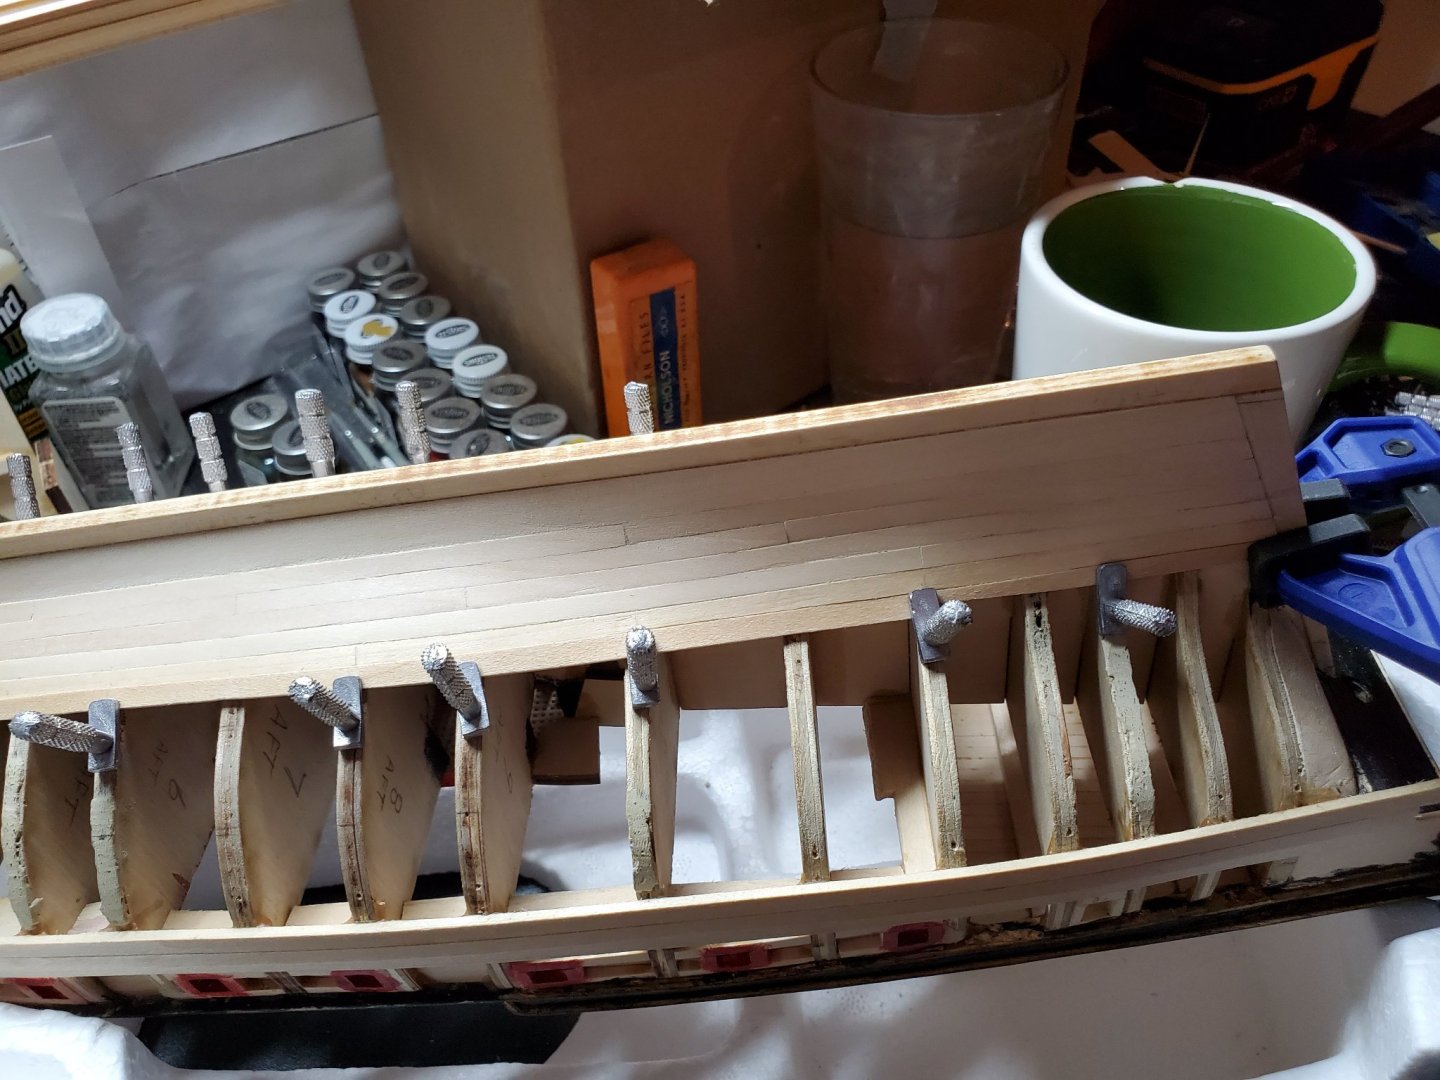
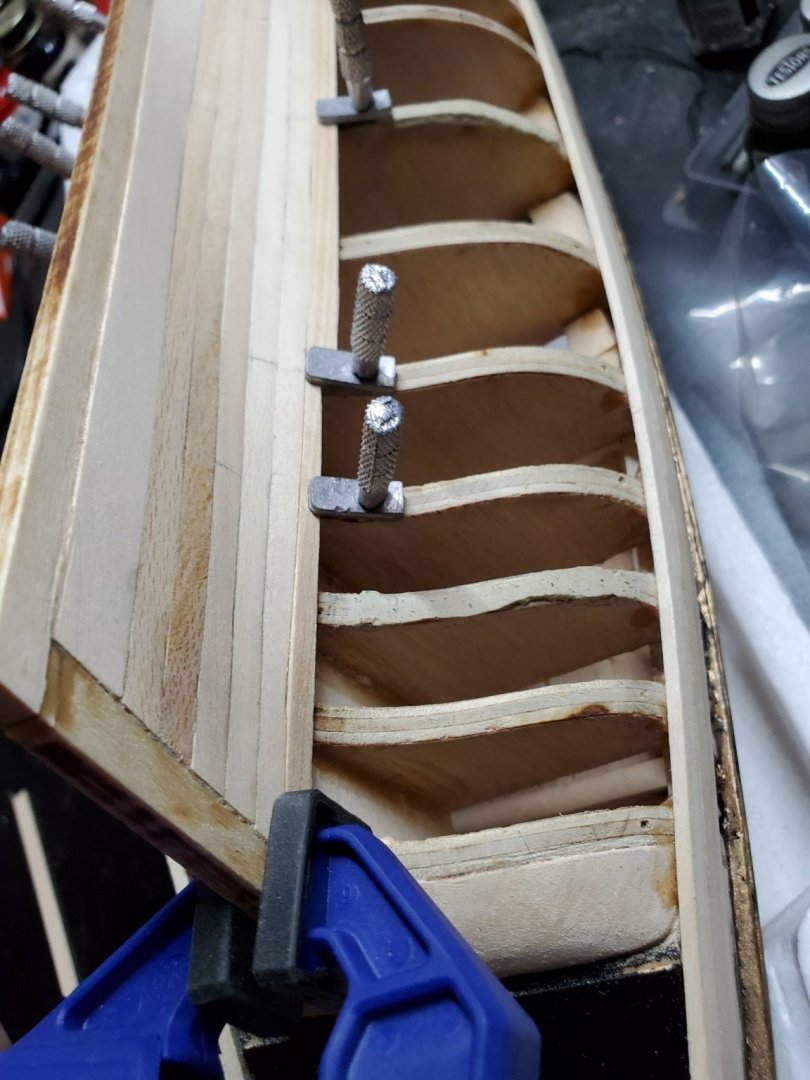
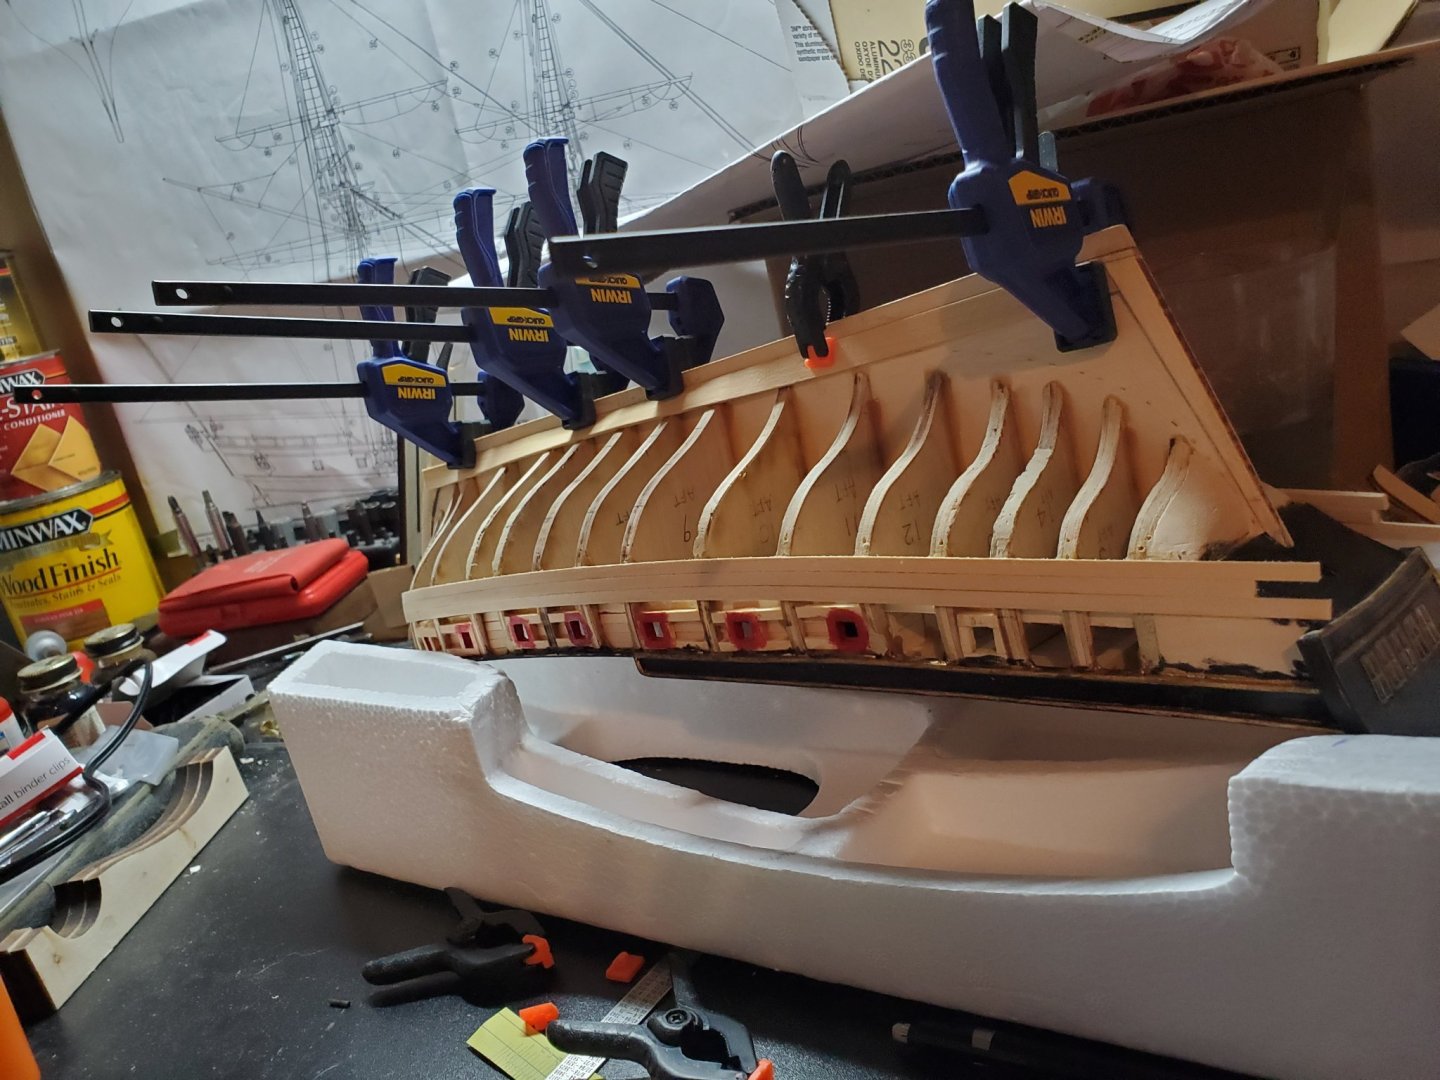
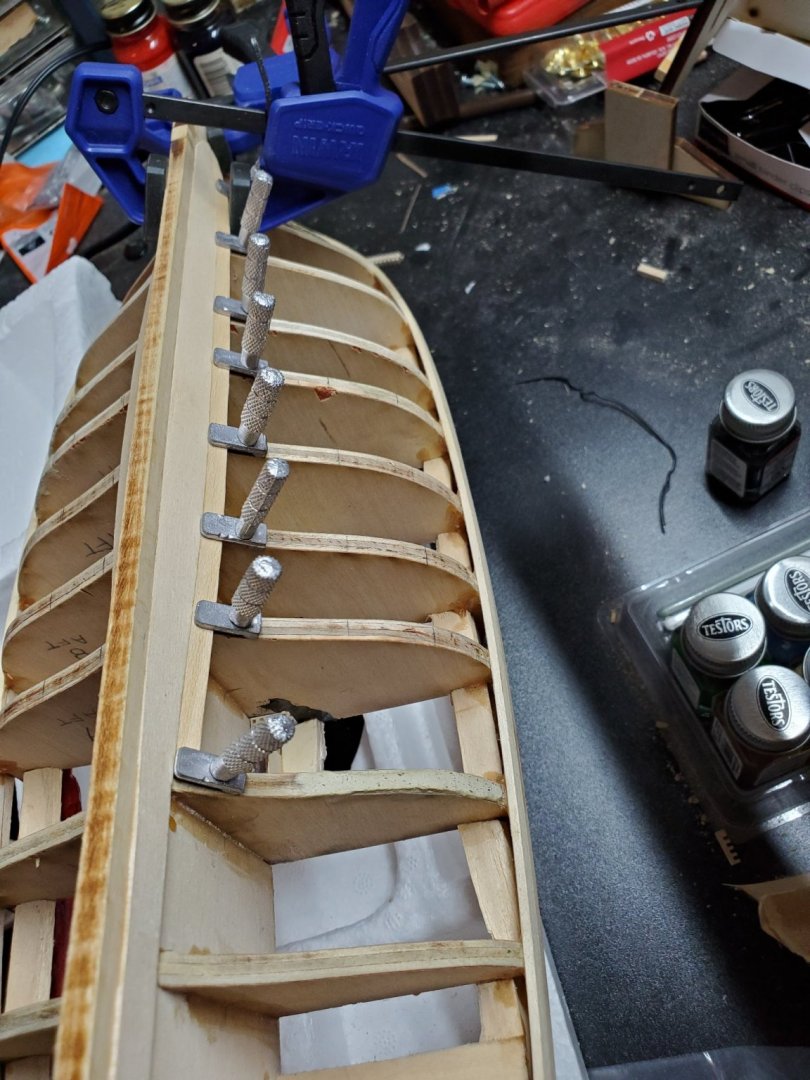
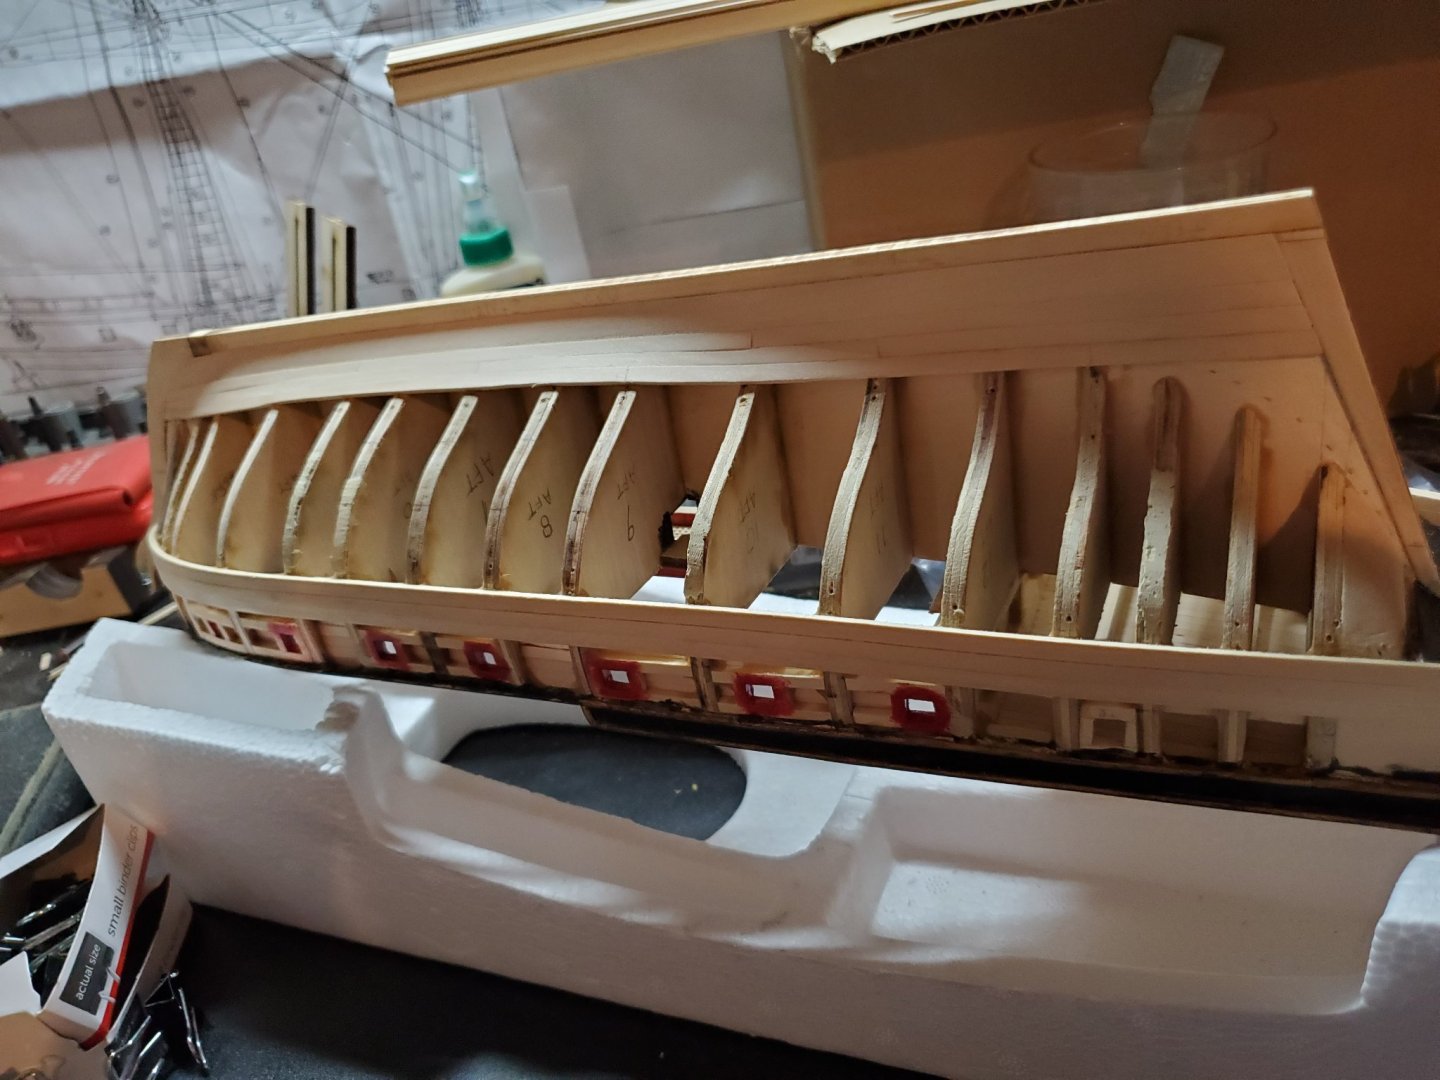
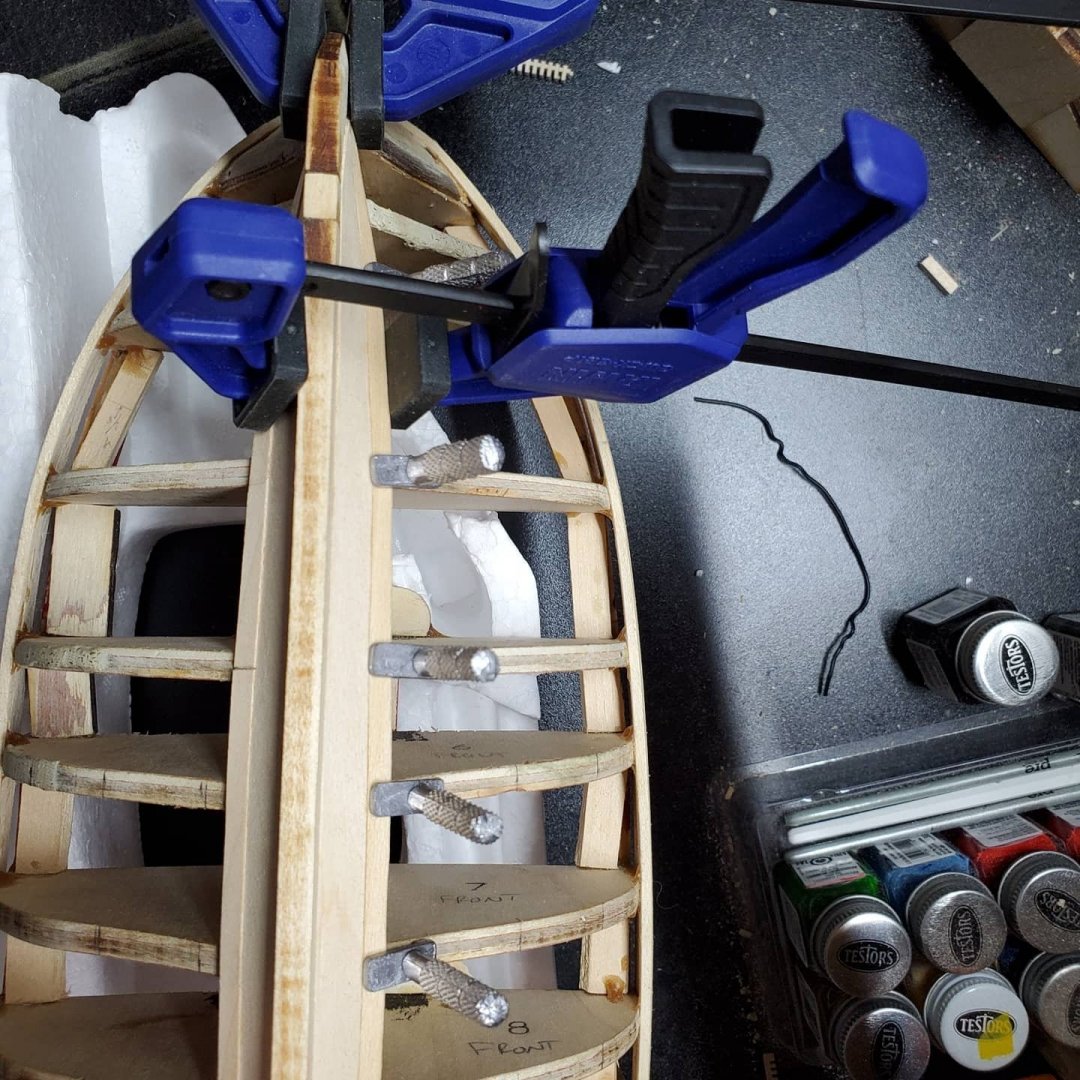
Finishing the lower hull planking on Fair American. Shaping the planks at the stern, around the filler blocks, was the most difficult. I had to be SUPER slow and careful to bend, after soaking, to prevent splitting and cracking. That happened once or twice. Of course, this is the supplied basswood, but I should have gone a little slower than extra slow. You can see how I approached it below. I used the hold down screws on the filler block to shape it - no other way to clamp it! At this point, I'm running out of space. If I kept going, I'd have no room for the hold down screws to go, without destroying my last plank. I got smart about it - I think. I decided to Pre-form all of the remaining 6 rows, BEFORE gluing them. That way, I have room for the clamps to go, as needed to form them. After the previous strake was shaped, I left it clamped/held, and scribed a pencil mark along the edge to line up where the next plank should fall, and then do that row. With all the planks pre-formed, I can glue them all in place. Now we get to the last plank. The last lower hull plank, anyway. Only took 6 months - whew! Up until this point, I was able to clamp, to some degree, each plank as it dried and glued. Now I am unable to clamp; as I mentioned earlier, I should have done the main rail after planking, so I could clamp in that region, but too late now! I'm going to have to use CA Glue for this last one, as I'm not going to be able to hold it with my fingers for an hour, using Wood Glue. I made sure this plank was tight, but it turned out that I didn't cut it perfectly everywhere - there's some big ( 1/32" - 3/64") gaps in places. Not ideal, but I have wood filler, so I'll be plugging the holes. Also, I tried, I REALLY tried to keep the widths of the planks at the bow >1/2 nominal thickness. What happened was as the bow ''leaned'' out from bulkhead 1, I didn't have any plank measurements there. I just cut the plank long, and let the width taper out there. Bad idea. Now its a little point, which is what I was afraid of doing. I also should have added a drop plank earlier, which would have reset the widths back to 'normal' again, and it may have gone better. Finished. Finally! Of course up close, and to my eyes, I can see little imperfections and spots I don't like, but hey - It isn't bad! I didn't have to use that much wood filler, except at the bow and counter areas. I like the final result, and the light colored basswood shouldn't need to be painted white. Just some clear Poly, and that's it! As I mentioned before, I've been sanding as I go - I use sanding as an 'eraser' of sorts. Nothing left but smooth, clean lines. Most of the sanding I did was by hand, 200, then final 400 grit - always the final swipes parallel to the grain. Again for a first time planking, anything, I'm proud of the hard work and time I put in. My wife is happy I'm able to spend time with her now, for a change. Upper hull planking will be easy, since those planks are 1/32" thick and no bending or shaping. I'm going to stain the upper planks, instead of painting. More on that soon. Upper planking, here we come! - Jason -
-
Thanks for the kind words and support. I'm really enjoying the build so far, pitfalls and successes alike! Proportional dividers seems to be the way to go - next build, I'm getting them. Glenn - I'm likely NOT going to treenail the lower hull, as you suggested. The deck planks (eventually) turn out a little ''sprinkled with pepper'' in appearance, and I don't want that for the hull. I won't be double planking this model either. Once was enough for me!!! - Jason -
-
Another point to make about my planking - I'm only using the Elmers Wood Glue, not CA glue. I don't feel the CA glue will hold strong enough, even though the planks are soaked and pre-shaped beforehand. I wait 2hrs for the glue to be dried enough to remove the clamps. That might end up being one plank on one side that night, if I'm lucky. This is why it takes me so long! - Jason -
-
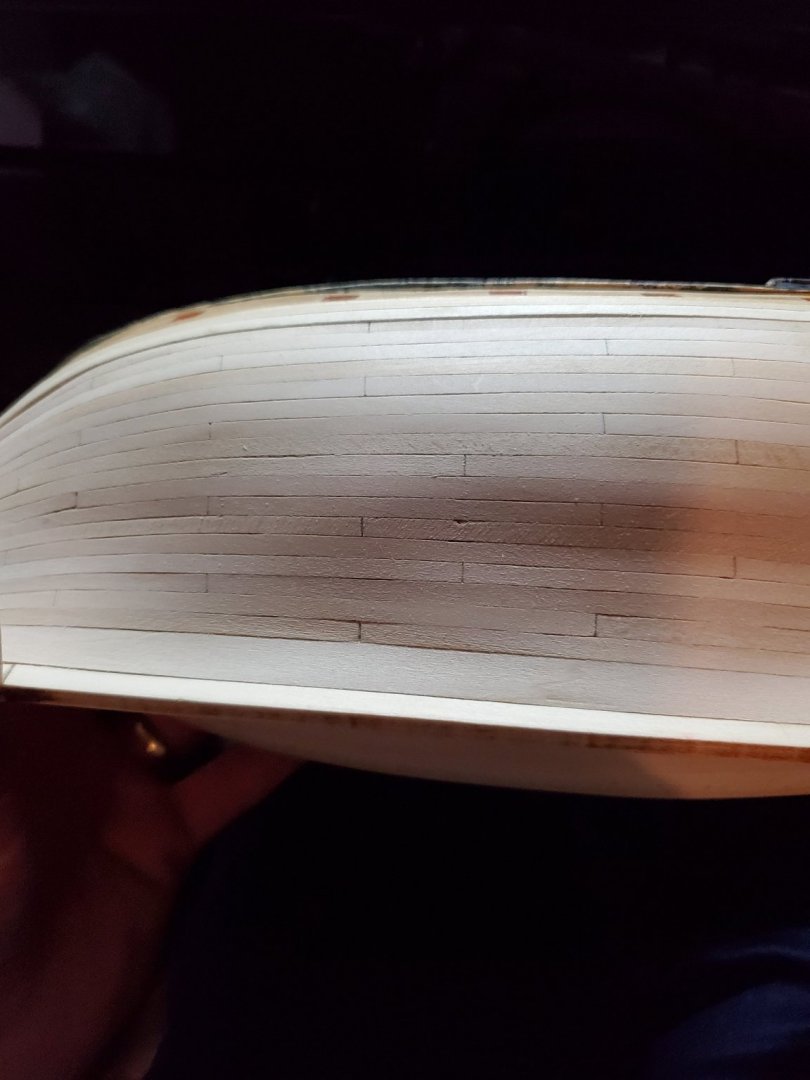
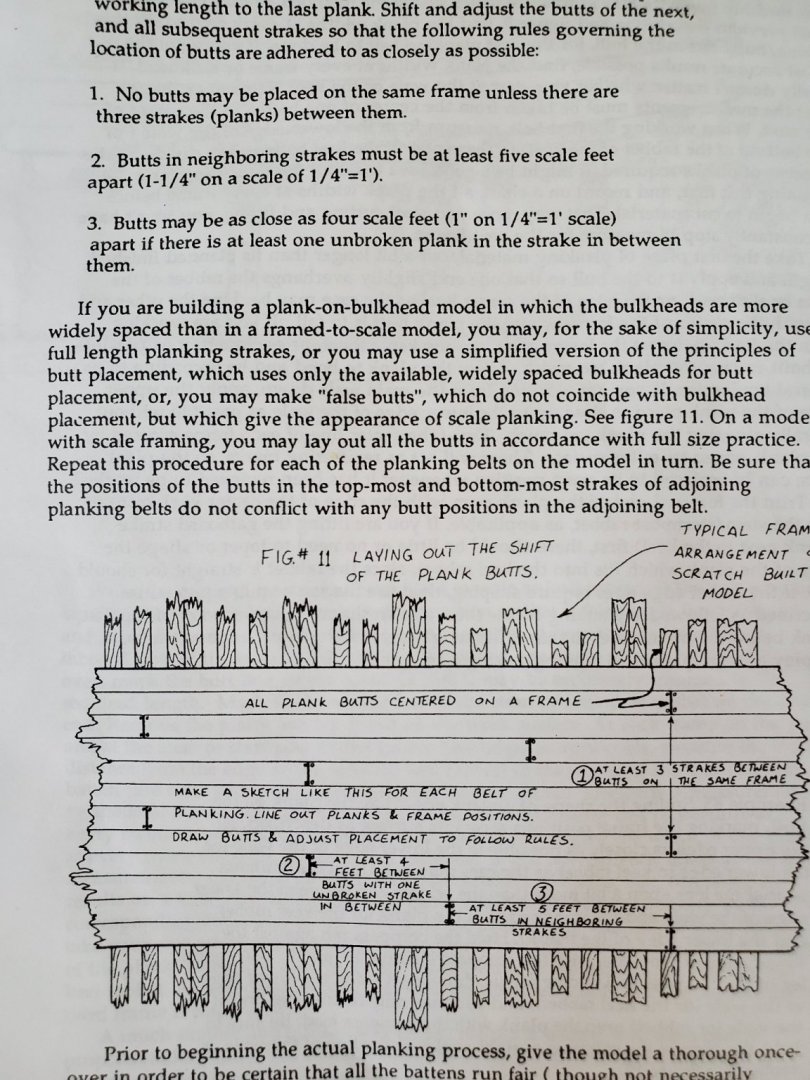
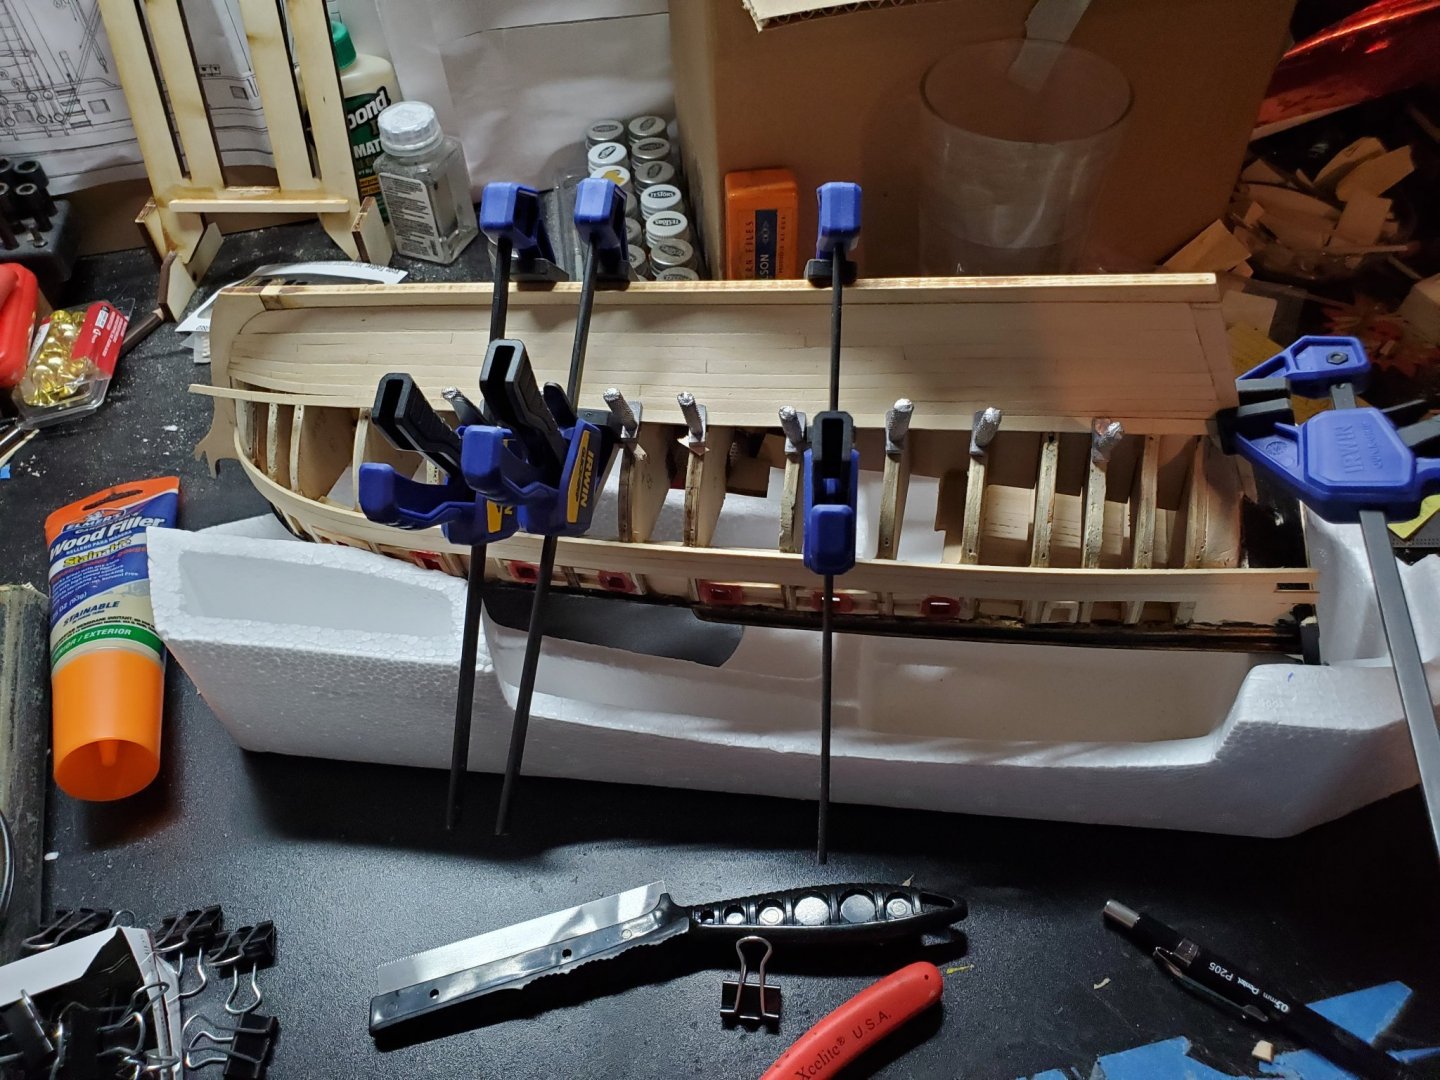
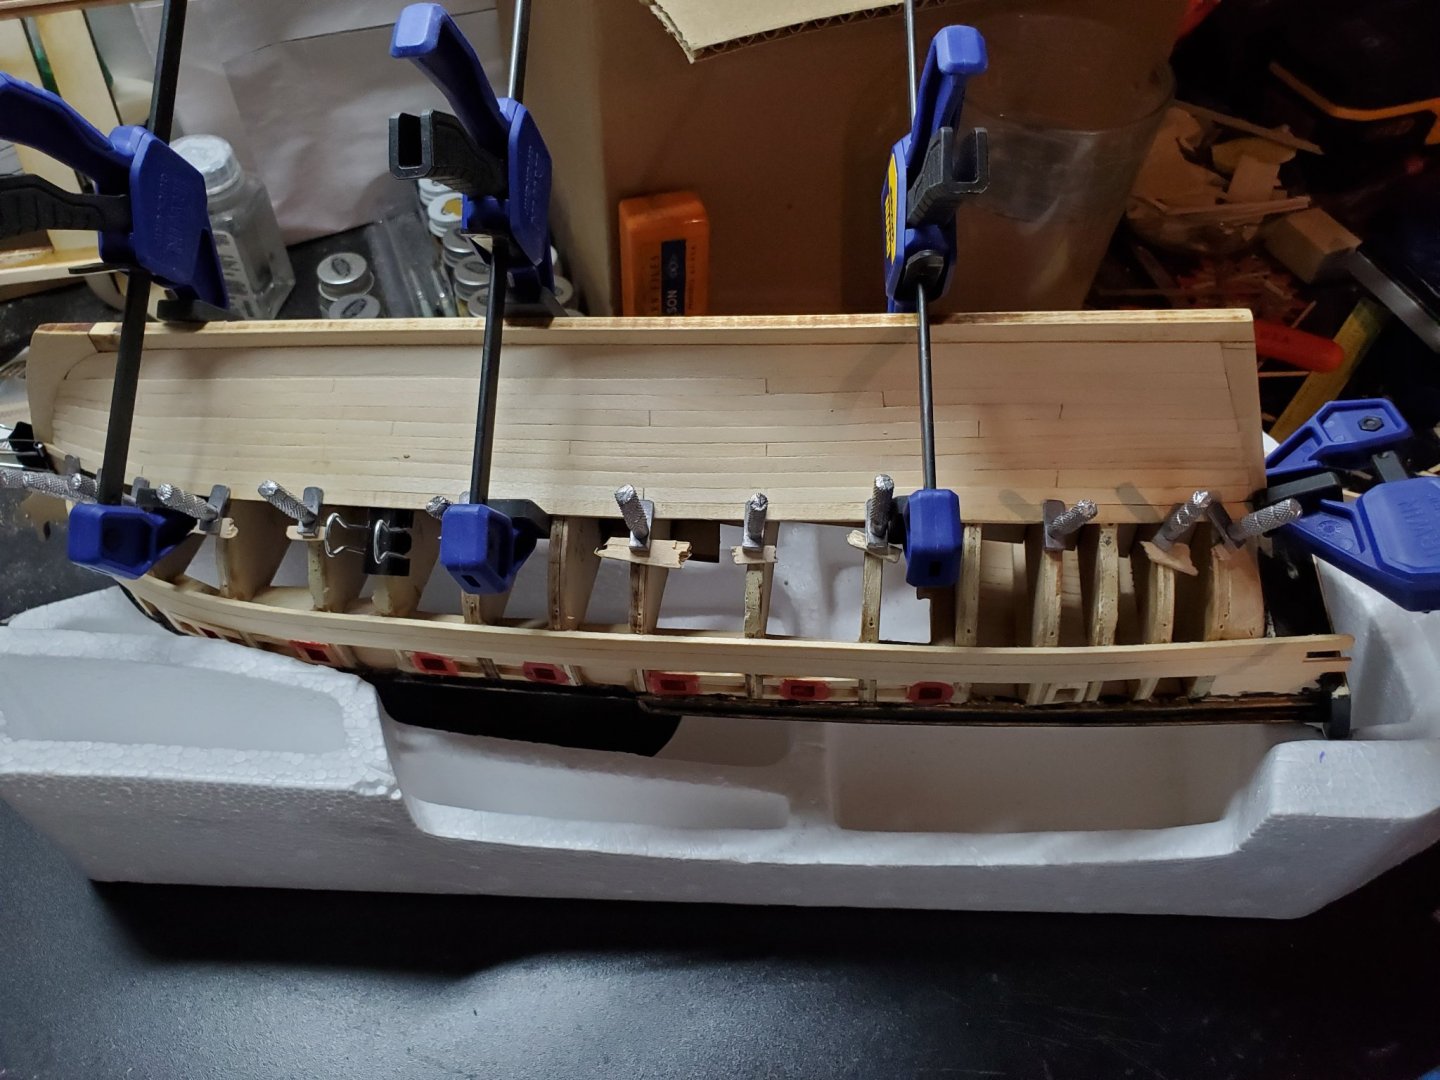
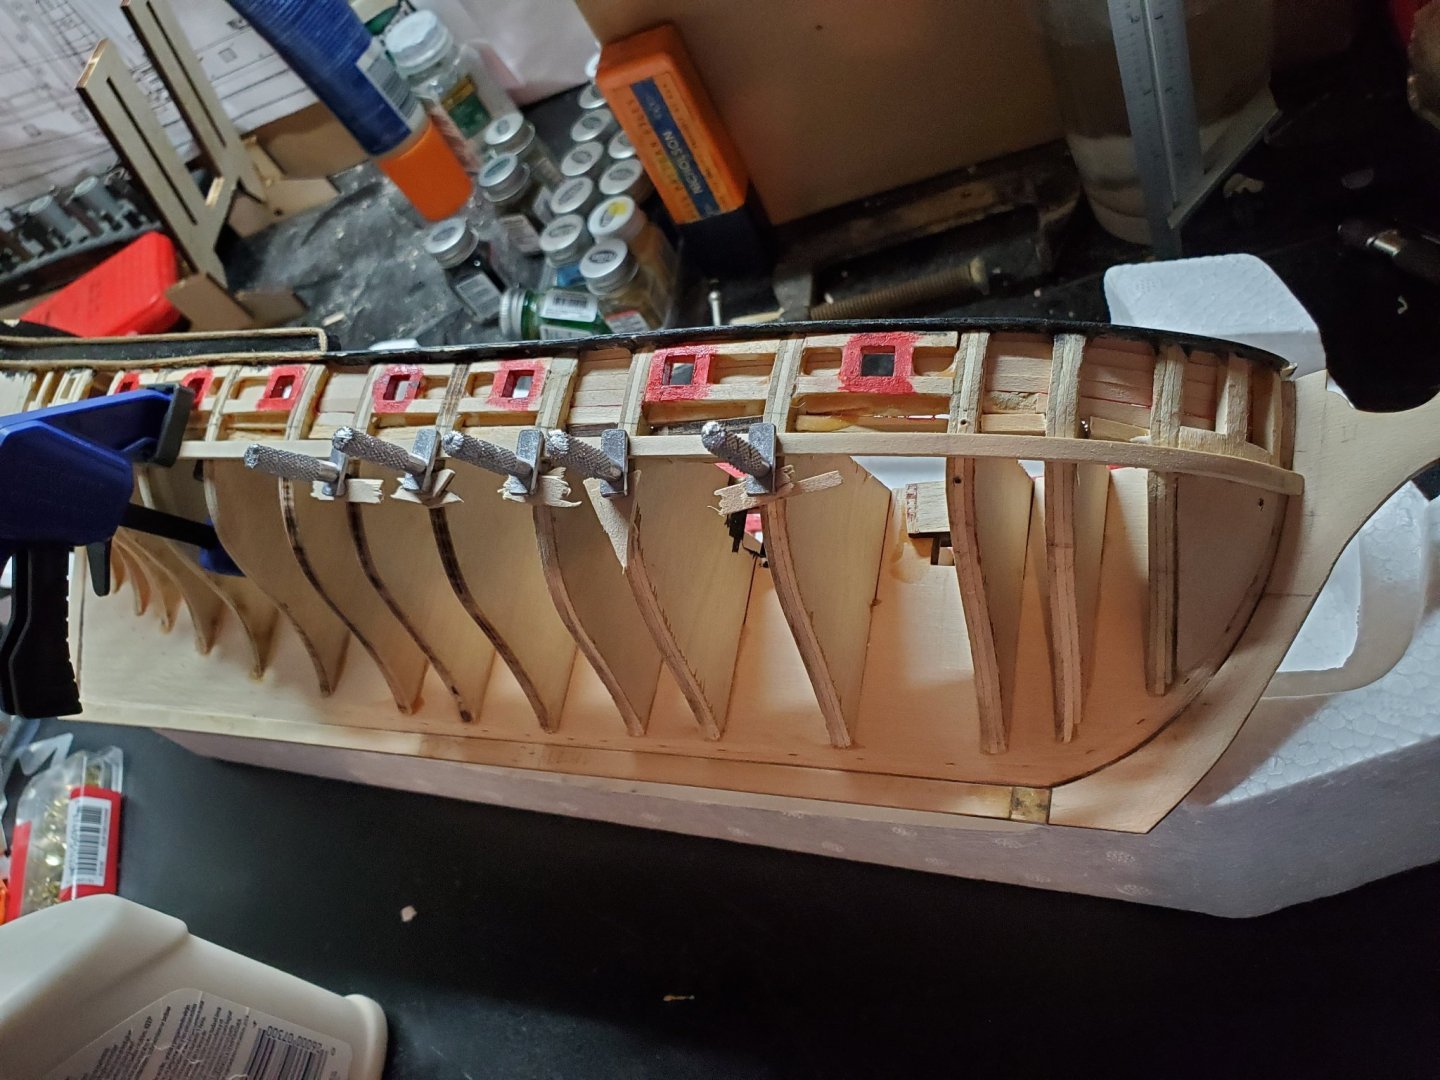
Planking progress for the Fair American Model Ship: Still doing the 'glue one long plank' and 'cheat by slicing plank butts later' method. It does work, but takes a long time to make progress. I want the shape of each band to flow naturally with the hull. You can see I start at the stern, clamping into the stern post, then using the plank holder screws along the length towards the bow. I leave the bow end of the plank loose and long, and then use a binder clip to hold it to the stem, in the second picture. I still don't understand how other modelers are able to fit the plank into the rabbet, without it popping out. This was a challenge for me. It'd have to 'notch' into the rabbet somehow, be bent laterally without popping out, and glued in place without moving. The squeeze clamps were okay, but sometimes left an imprint, which I'll have to sand out later. I followed the rules for butt placement as closely as I possibly could (don't laugh). I went through several iterations of where butts should go (stop laughing), on the excel sheet I created. I always maintained the minimum 3 unbroken strakes rule to the letter. On my model, I was forced to shift my butts to make the next row of planks correct (now I'm laughing). I couldn't keep to rule 2 or 3 perfectly: sometimes it was more like 3.5ft between, or less than 5ft in neighboring strakes. I made it work the best I could. The planking is starting to look good. And yes, I am sanding a little along the way as I'm planking - it erases imperfections during the build. Also I can't help it - sanding is rather relaxing. I have seen other builders add treenails to their models, and was/still am considering it. If I do it, it will be my drill + pencil approach, and one wrong move and it'll stick out like a sore thumb! I didn't do anything to the edges of the planks to make them stand out either - I wanted the light color of the wood to stand on its own. Maybe I should have darkened the edges??? Its now been about 5 months since I've started planking! Wow! I want to go faster, but I also don't. For my first wooden model ever, I want it too look as good as I can. I can see the finish line! - Jason -
-
Continued planking the Fair American model ship. So far, it's going well. My process of measuring remaining gap, calculate width, cut, soak, clamp, and glue is working. I'm still making planks in full length - it doesn't have the ''marbled'' look of different grain planks throughout, but I'm okay with that for a first build. Each piece butts up to previous strakes pretty tightly, so long as I clamp it properly, we're good. This is going to take a REALLY long time to finish, but I am not rushing. Who cares if to get this far, took a month?!?! I only have so much time after work, to commit to building. Soaking and clamping on the model take the longest, but it will be worth all the time and effort in the end. After the 5th plank row, I started to get some droop in the aft planks - the hull curvature was more pronounced now. After reading the planking booklet, I still wasn't quite sure what the drop or stealer planks really did, or which kind to use. It took me a bit of staring and re-reading to understand the idea of 'following the sheer''. To me, it's the sweeping curve of the wales, when viewed from the side. As planking continues, the outward curvature make the planks look sagged, giving an unpleasant appearance. The picture below is clamping a plank with a stealer notch cut in. This brings the sagging aft portion back up to follow the sweep of the wales again. In hindsight, I should have added a drop plank to the bow, as it started to do the same droop, but the booklet didn't really show how to do it, so I compensated with bow plank width a little bit. - another learning moment Another rookie mistake I made, was starting at the stern, and then working the plank toward the bow. I should have fit the plank into the rabbet, although shallow, then work it aft. I was thinking that the extreme curvature under the transom would be the hardest to shape planks to, so I always started there. I also should have ordered more blue squeeze clamps - they became invaluable later on. You can see from the above picture, that right about bulkhead 12, at the bottom of the bulkhead it started to bulge out slightly. The rest look okay. During fairing, I made sure to check that planks sit flush along each bulkhead. This was just one spot that is hard to ''see'', but after more planking, I could feel a little hump right there. Are there other suggestions on hump-hunting during fairing of the hull? I'm curious how other modelers approached this. More planking pictures soon. - Jason -
-
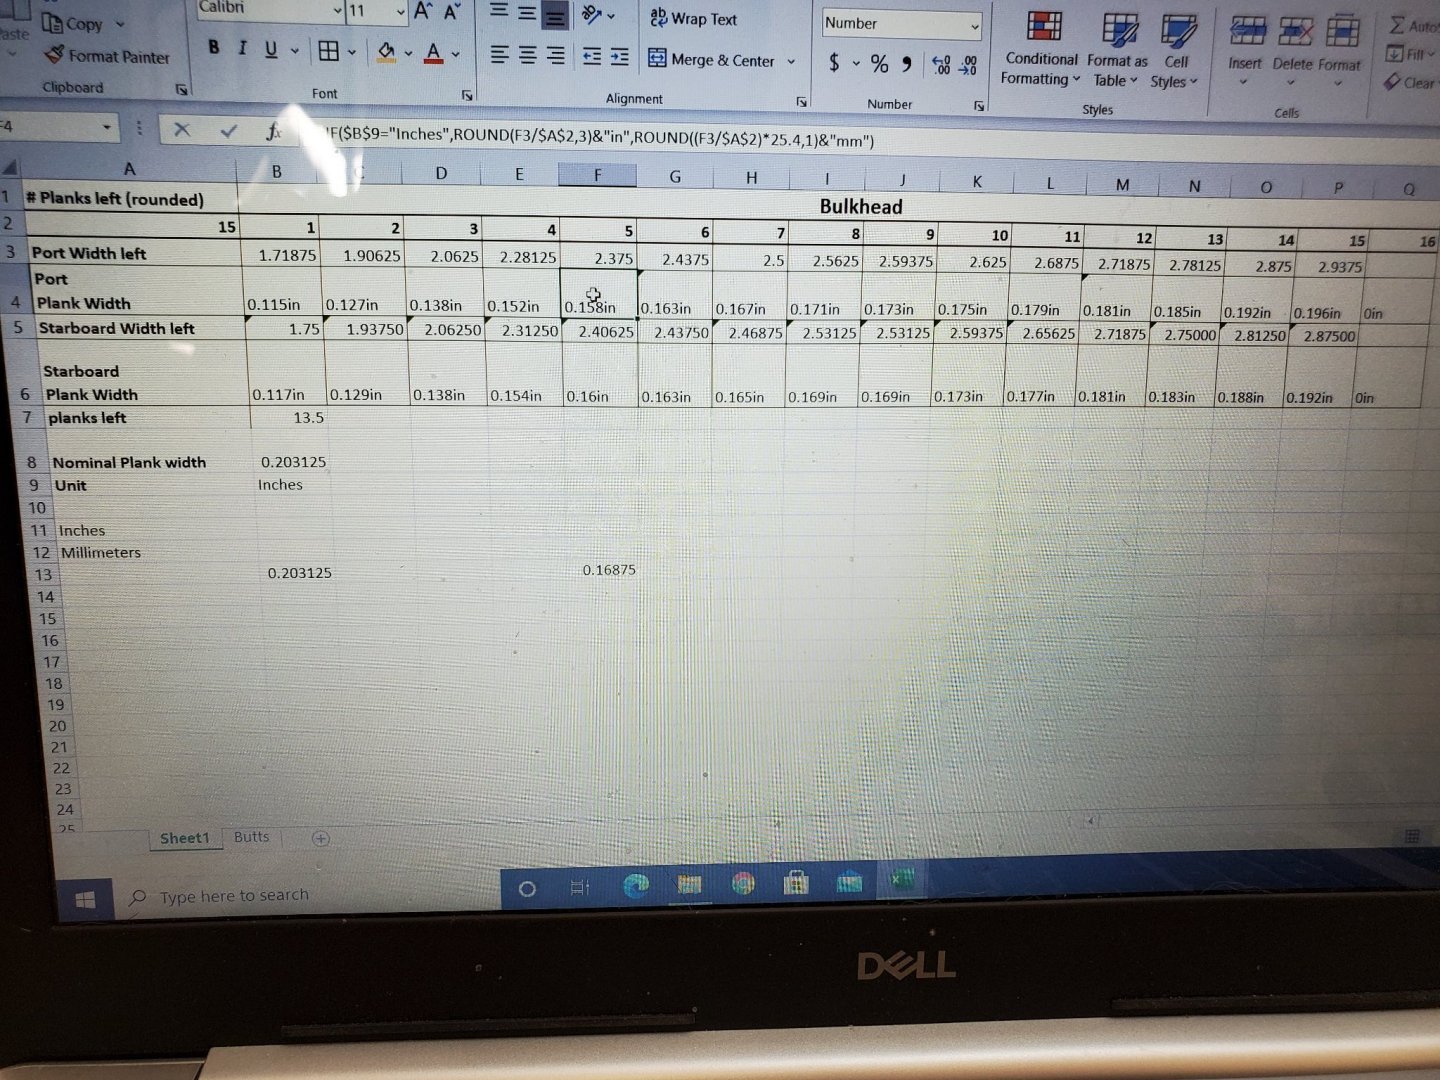
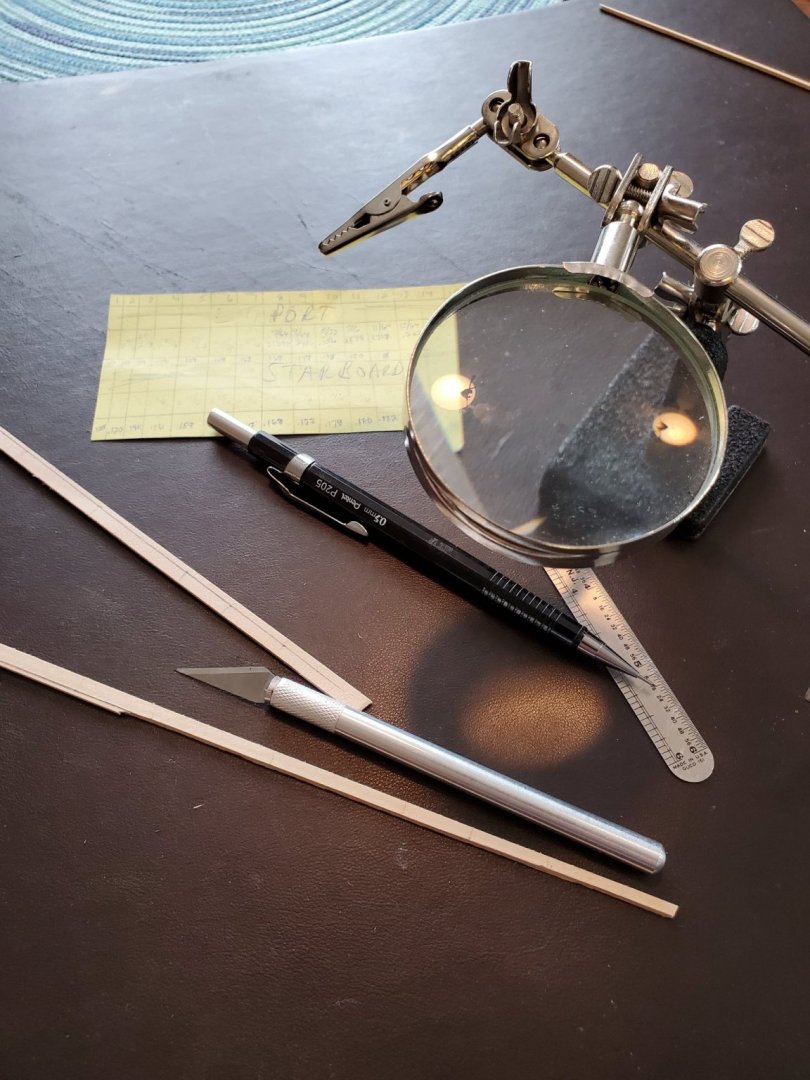
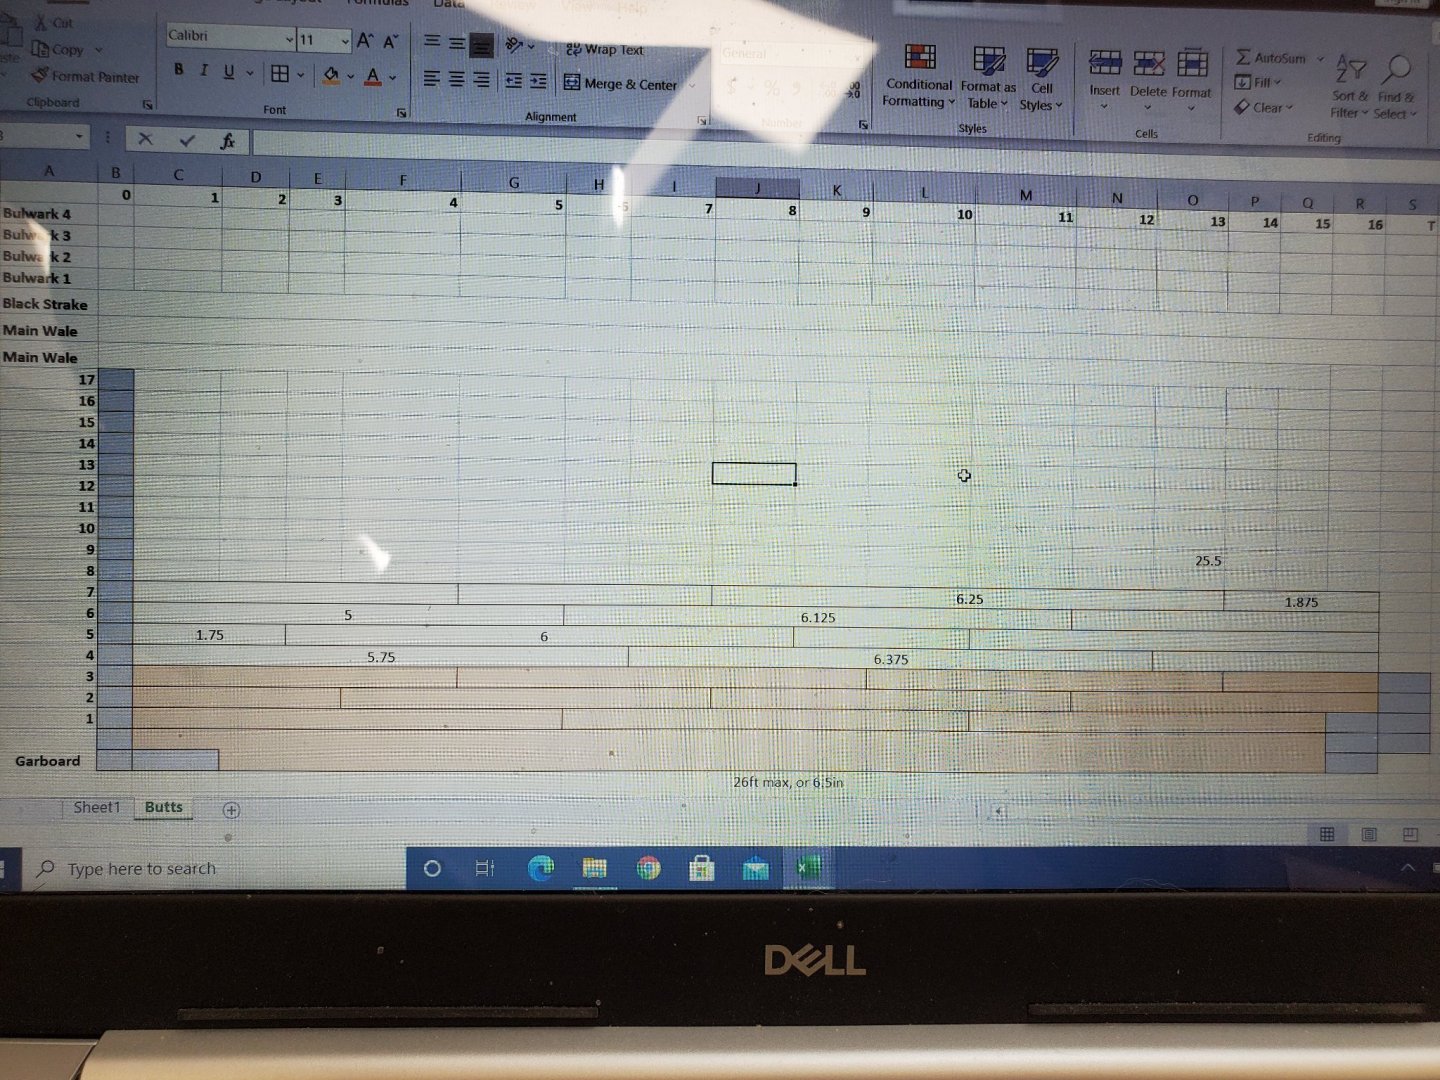
The start of hull planking for Fair American model ship: I had reviewed dozens of build logs, tips, tricks, videos and booklets on techniques of planking. Most of the modelers here have done a far better job than I did on planking. I mimicked a lot of them with my build. I bought an electric plank bender from ModelExpo, but ended up not using it at all. Instead, my process was measuring the gap left at each bulkhead divided by the number of planks left marked the strake width at each bulkhead drew a fit line along the marks cut with Xacto knife sanded edge smooth soaked in water for >1hr fit tightly against last strake on the model and clamped until dried glue to bulkheads and clamped repeat on opposite side I wanted to soak and clamp each plank, so that it perfectly 'fit' to the real model it was going onto. I should have done the planking BEFORE the main rail was installed, because trying to get clamps on there, was impossible - the rail was in the way! I was following the instructions, so I blame them 😉 I tried to add planking belts/battens to the model, as per the planking booklet. It said to divide the hull evenly, and lay the battens so they run naturally with the curve of the ship. When I did this, they bent all over the place, and I didn't want to force them to go where I wanted. Especially at the bow, they pinched too tightly, when allowed to run naturally. So I ended up doing 22 total planks, and measured that way. I went WAY overboard (get it?!?!) with finding plank widths. As in, super overkill. I made a strip of index card into a flexible ruler, and drew 1/32" marks up to 6" (no shown). That way I could measure the gap left along the curve of the bulkheads. I'd write that number for each one, for each side on an index card. I created this excel sheet to calculate the width left, by the number of planks left, at each bulkhead. I even made a tab for butt placement, so I can keep track of which one goes where. I went so far as to make the space between bulkhead #'s the same # of units wide for each cell, so that it looks appropriate. Planking width & Butts.xlsx After getting the width for each plank at each bulkhead, I used a magnifier and a machinist ruler (to 1/64"), to get as close to the width as possible. 1/2 spaces between 1/64" counts as 0.008in!! Next, I'd draw a best-fit curve between points - no sharp tapers, just smooth curves. I'd cut the entire complete length of plank to size, not short planks. It became easier to soak and shape the entire plank to the hull, rather than little pieces. Cutting with an Xacto knife went okay, but sometimes I ended up splitting the grain, or beveling the edge out. I attempted to sand it smooth as best I could, by running it back and forth over a flat file. I would then glue the entire length of plank to the ship, clamping tight in spots. Once dried, I would simulate the planking butts, by slicing that plank at the locations from my Excel sheet down about 2/3 thickness. I know, its cheating. I wasn't satisfied with the first actual butted planks, because they didn't mount on the bulkhead without sticking up a little. I figured if they had to be sanded flush to each other, I must have done it wrong. So I decided on one long plank, glued and sliced the butts after-the-fact. The Garboard strake went in pretty easily, no real curvature yet. The rabbet didn't offer anything here. I used the clamps to fit it near the keel, but it sticks out about 1/32". I should have made the rabbet deeper. I'll have to sand it down later...which will be a pain. I used a scrap piece of Styrofoam to hold the hull upside down. I needed to chunk out a bunch of pieces to accommodate the bow, but it works nicely!
-
Progress on the Fair American: Chasing wales - As described in the planking booklet, I drew the water line on the bulkhead frames, to indicate, what I thought, was the bottom of the lowest wale. With my hull stand holding the keel level, as described, I measured SEVERAL times to make sure I had the height right. After measuring where the 2 wales would go above the water line, and the black strake, I found it would be extremely close to the gun ports. This wasn't correct. I triple checked, and if the wales were any lower, they'd run back to the stern and end up in the middle of the counter somewhere - also not correct. To make the upper hull and gun ports not look squished, I made the decision to split the difference: Water line in the middle of the wales at Bulkhead 9. This looked much better. I soaked the wales for a good couple hours, then clamped them to the hull. It wasn't indicated how to plank the wales into the rabbet - obviously too shallow, so I sanded in a little 'bump' to notch into the rabbet. Worked pretty nicely. I did the same for the black strake above the 2 wales. And, with my wale correction, the black strake doesn't crowd the gun ports. Perhaps this is why I've seen other modelers raise the height of the bulwarks to give more room? Lower hull planking is next!!! - Jason -
-
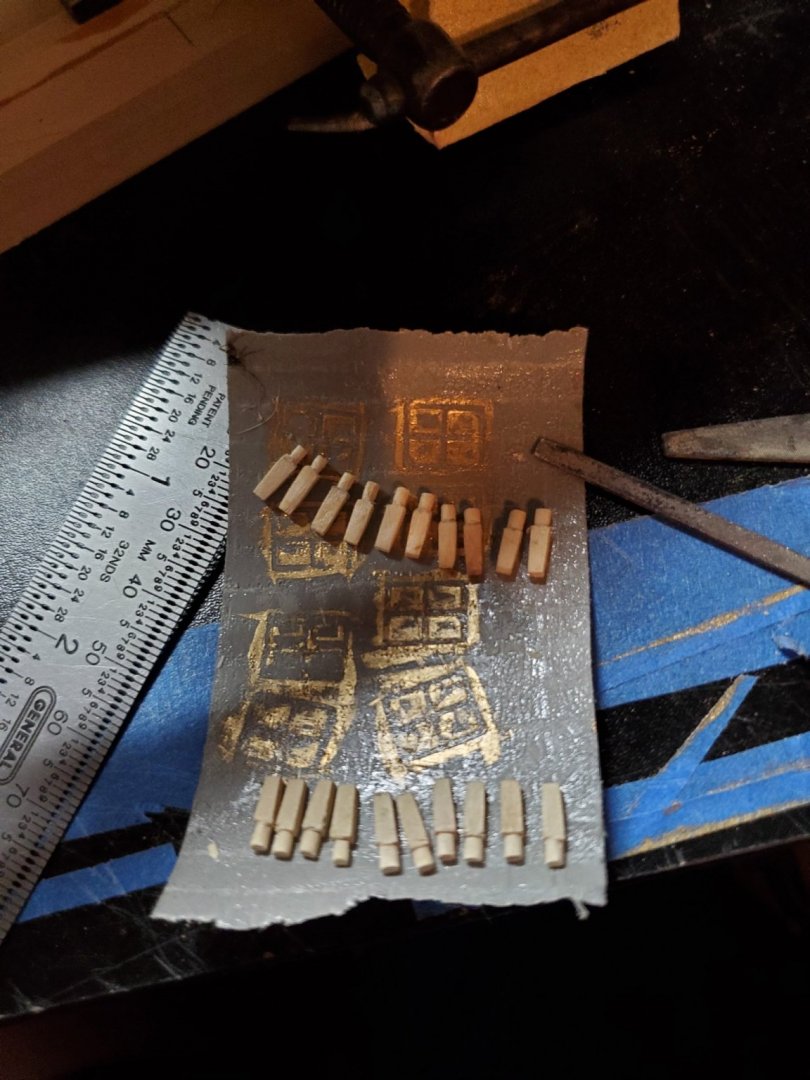
More work on the Fair American model Ship: I shaped and glued the molding/false main rail under the quarterdeck, and used clamps to hold them in place. I wanted to start on the quarterdeck rail, so I pre-notched the stern and pre-drilled a hole for the timber heads. Thankfully, I didn't install anything, as the clamps wouldn't reach otherwise. I took the time to fabricate the timber heads, with the dowels and a slight taper. Leaving them stuck to the duct tape afterwards seemed like a good idea, so I don't loose these little guys down the road. Not shown, but I did finish the inboard planking. I think I mixed up some of the plank widths here, as the later outboard bulwark planking I didn't have enough 5/32'' width. I mixed in some 1/8" with it- more on that later. Apparently every 1/32" matters! Measure twice, cut once...measure twice, cut once. After the inboard planking, I used Floquil Bulwark Red for the paint. Its a bit glossy, but sounds like the right shade, so I went with it. Next was getting ready for some outboard planking! Dreaded and excited to start. As stated before, the filler blocks at the bow were undersized. I followed the planking booklet, where it said to use a scrap plank to follow the shape of the hull/bulkheads to look for any dips or high spots. Bulkheads 1 & 2 were two of those places. To correct, I glued on a piece of walnut plank, then some wood filler, and sanded best I could. Its ugly. It smoothed out the dip in the bulkhead, but its ugly.
-
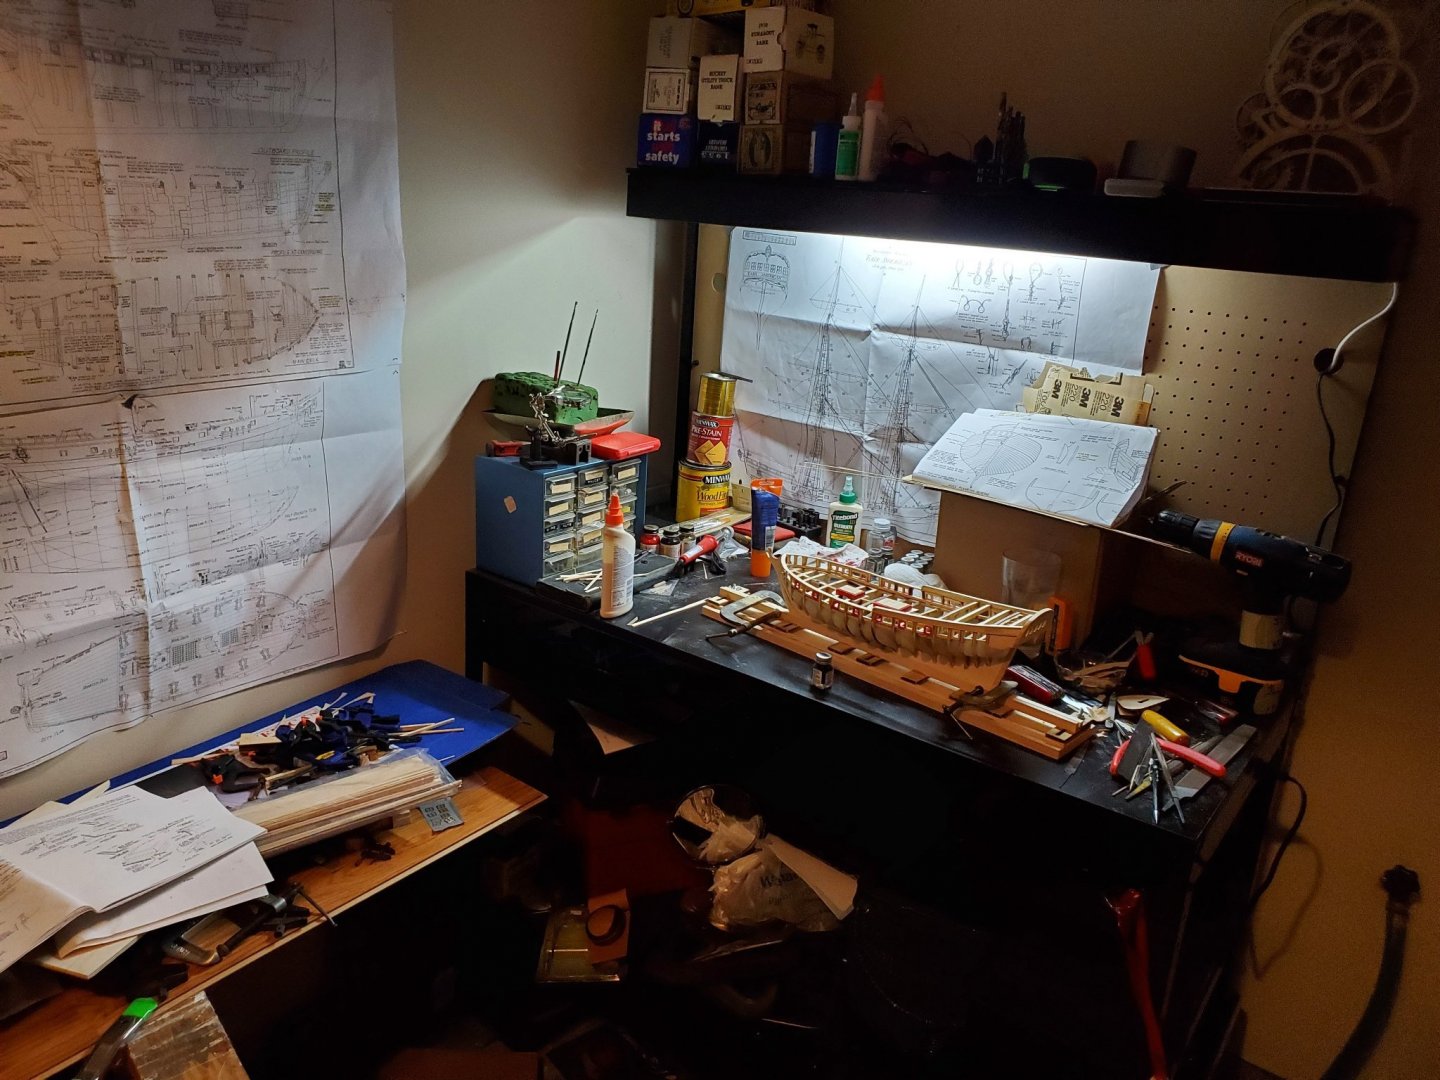
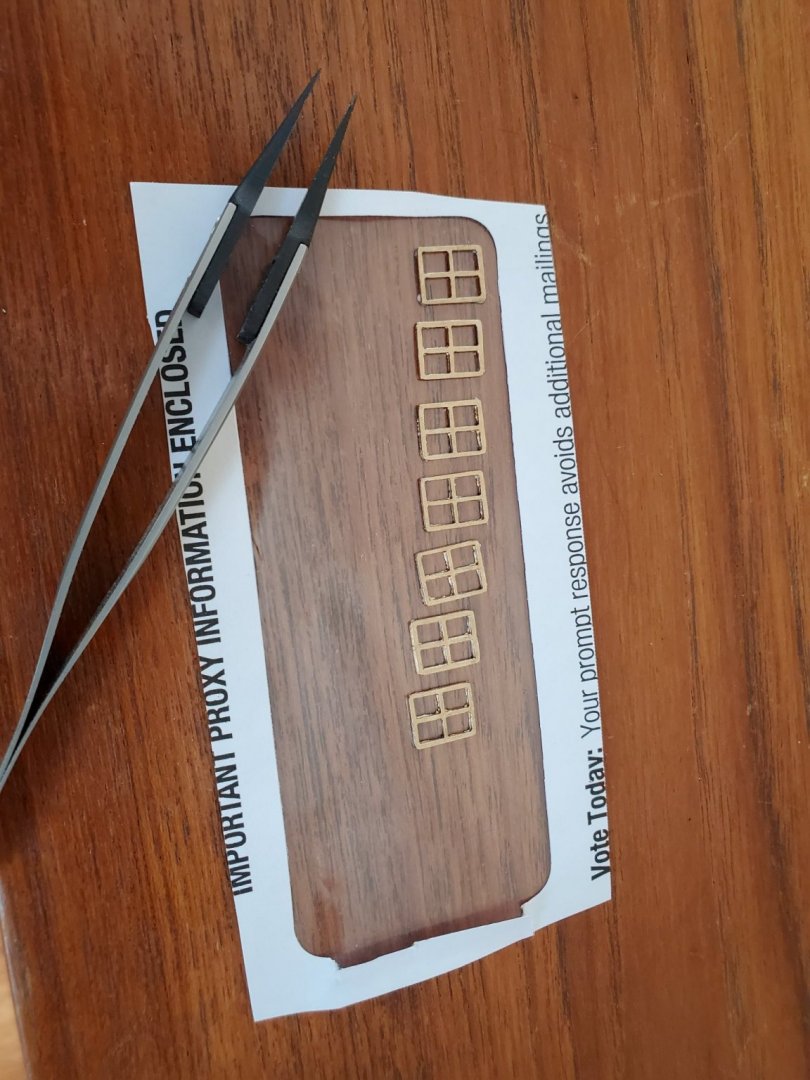
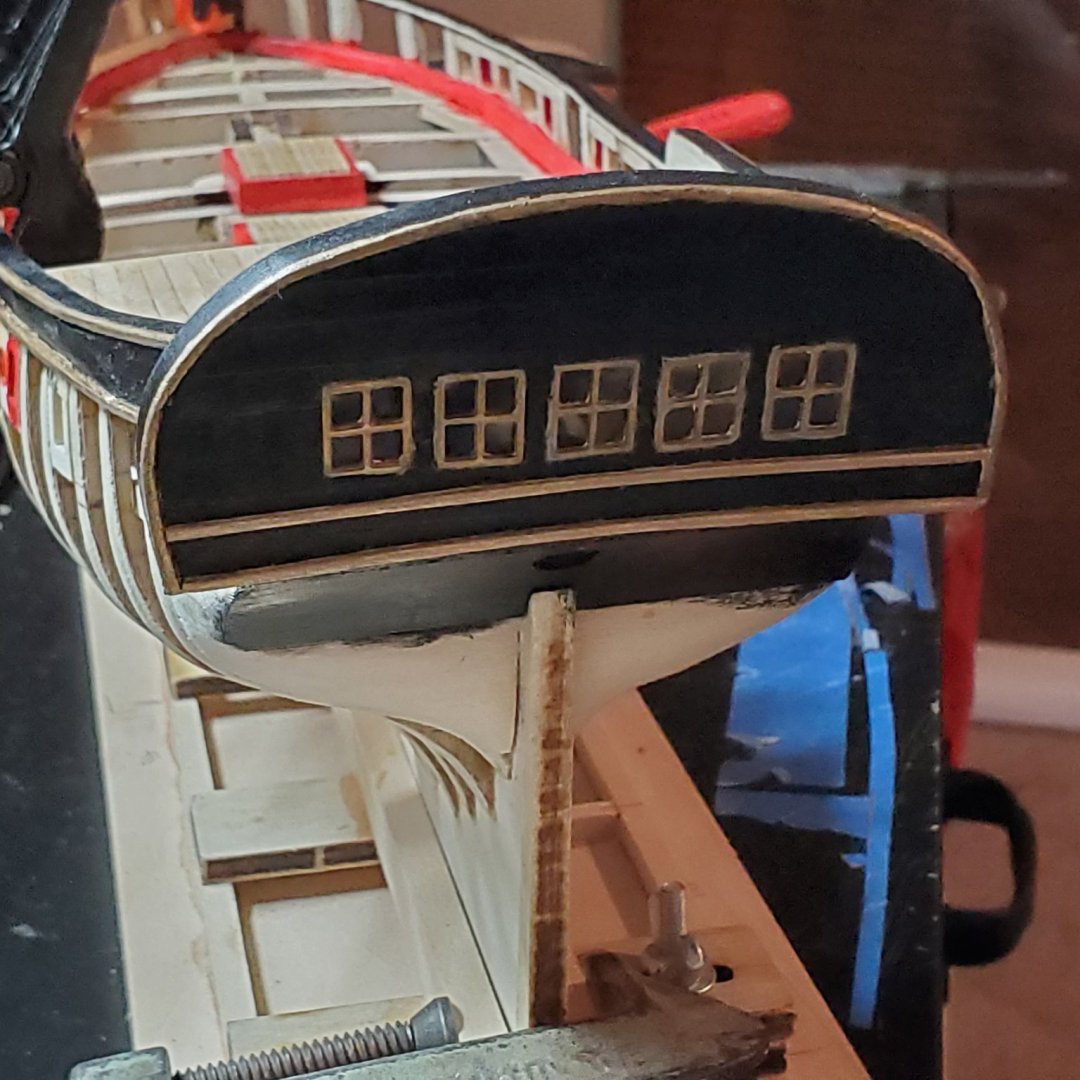
More updates on the Fair American Model Ship: My workbench isn't as roomy as I'd like. Its basically a small desk in the garage corner, and lighting leaves something to be desired. At about the 6month mark, working on it a few hours a week of course, I managed to get some paint on the transom, main and fancy rails. This was important now before any planking could begin, so that once the main and quarter deck are installed, I won't have to go back and worry about paint getting everywhere, especially the rails and waterways. A few weeks later, I got all the quarter deck planked. I used the supplied 1/8" deck planks, as per the instructions, even though the plans show 1/4" wide planks. There wasn't a dramatic camber to the quarter deck, but still looks nice - I made sure to rub the sides of each plank with a brown colored pencil for caulking effect. I used a small drill bit to make little pockets to simulate treenails holes, then just spun a 0.5mm led pencil inside a few times to darken them. I added a thin coat of clear poly and voila! For the transom windows, I took the cast frames from the kit, filed and then painted gold. I saw another modeler come up with a neat trick to mimic glass: clear plastic from an envelope. Genius! I used the same technique here. CA glue worked fine for the most part, but did smear in a few spots, and it isn't perfectly taut everywhere, but I like the effect. After they were glued in place, I added the counter molding, then painted with some more gold. It really pops! I didn't do the lettering or the curtains yet, but I'll need to eventually, once the wales are installed. Slow and steady progress.... - Jason -
-
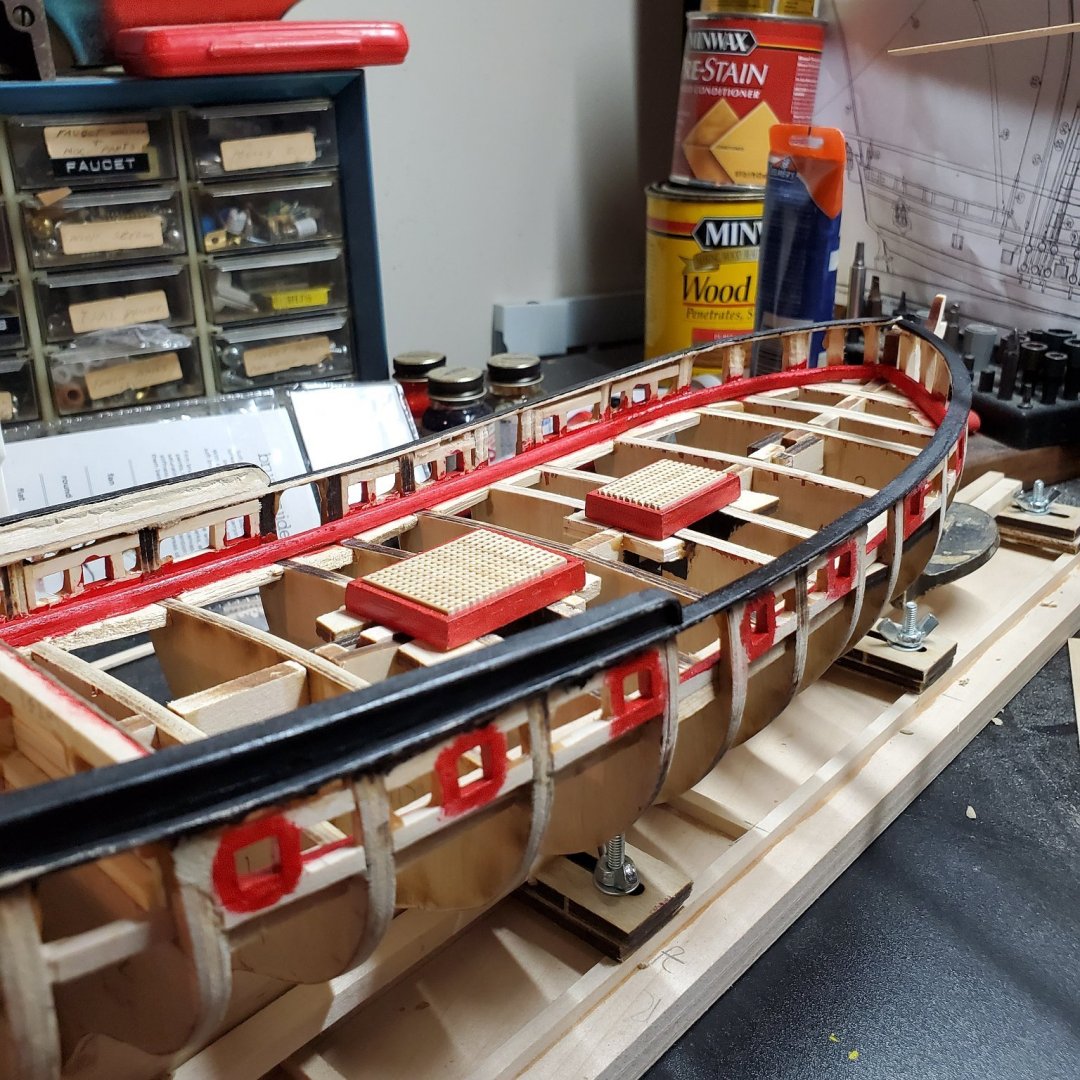
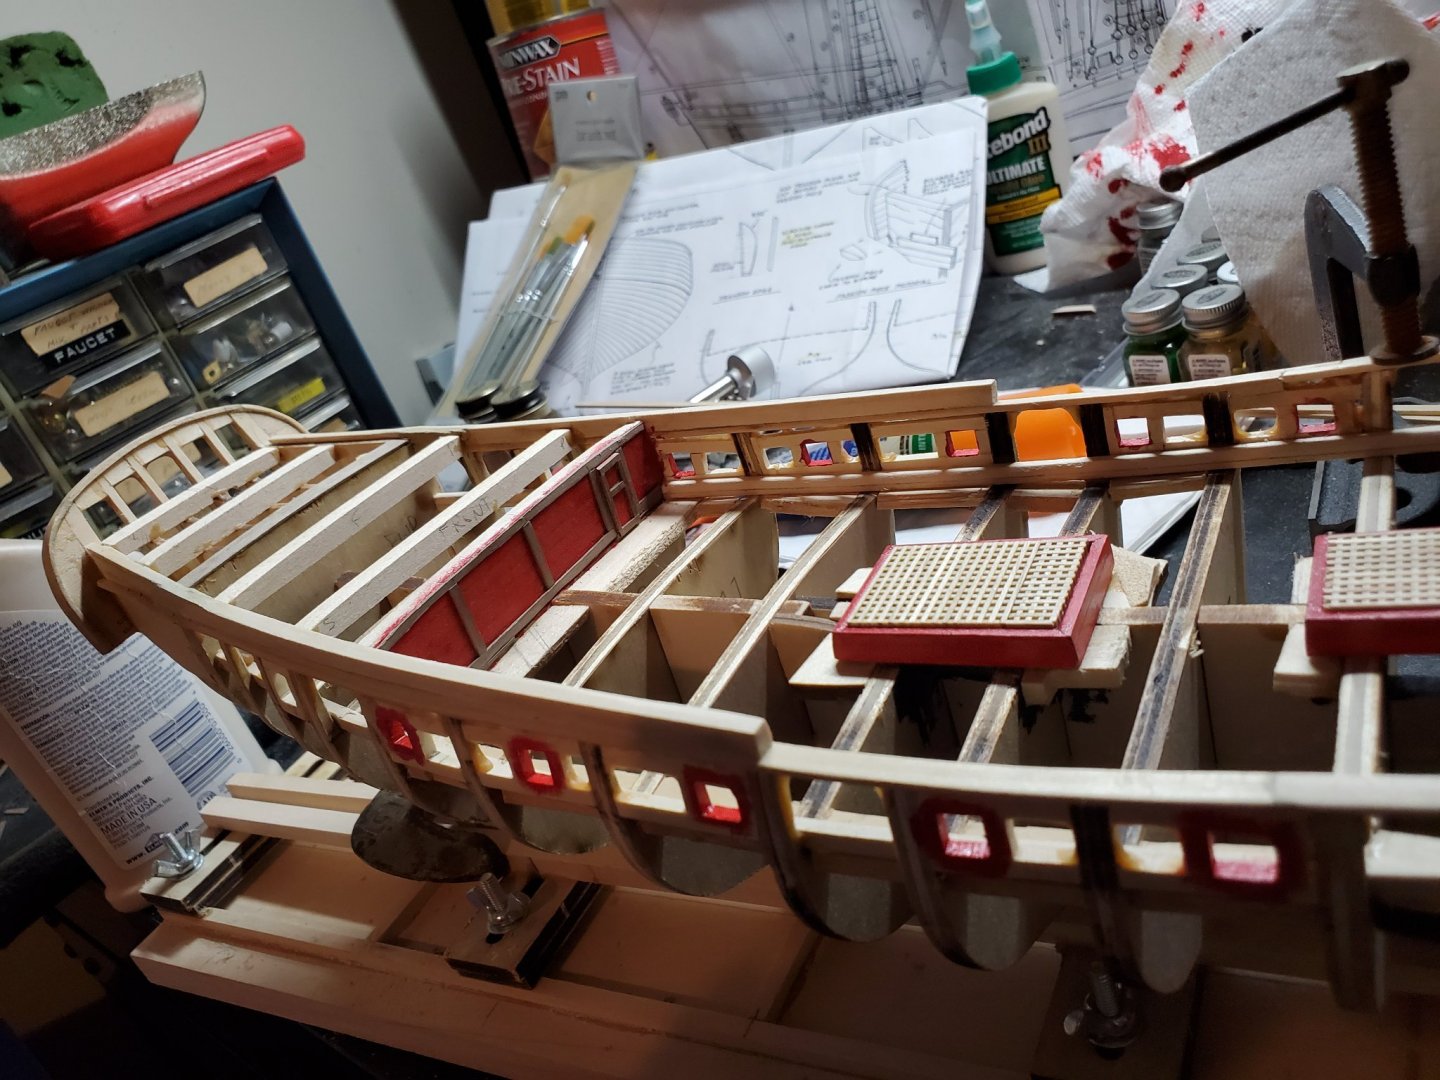
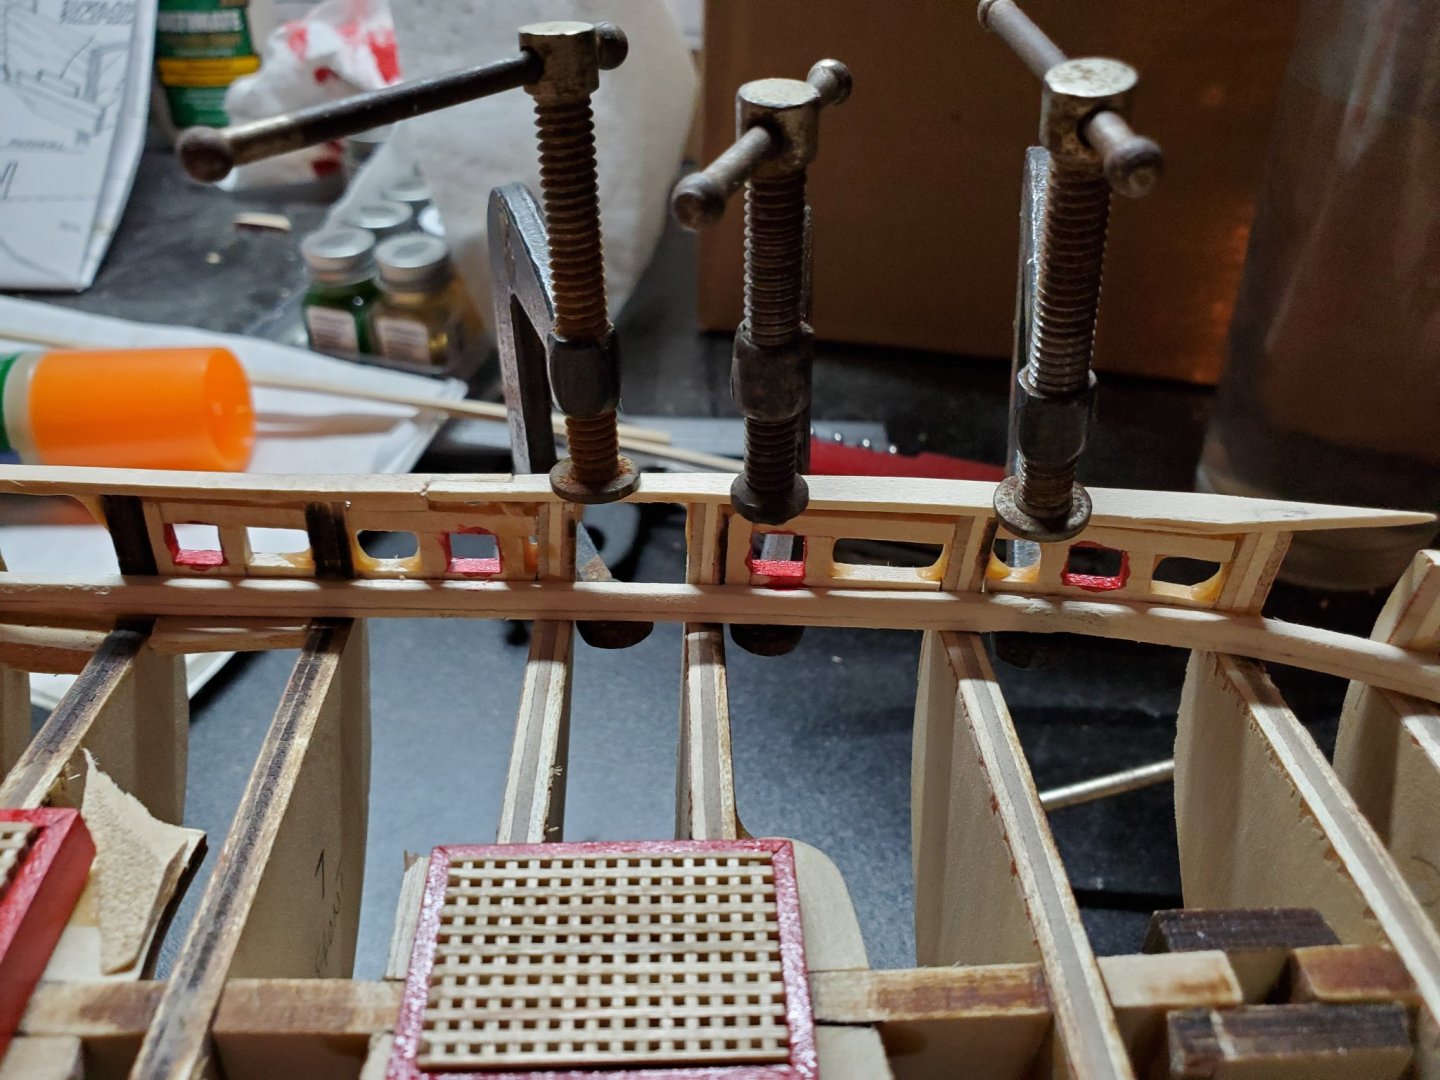
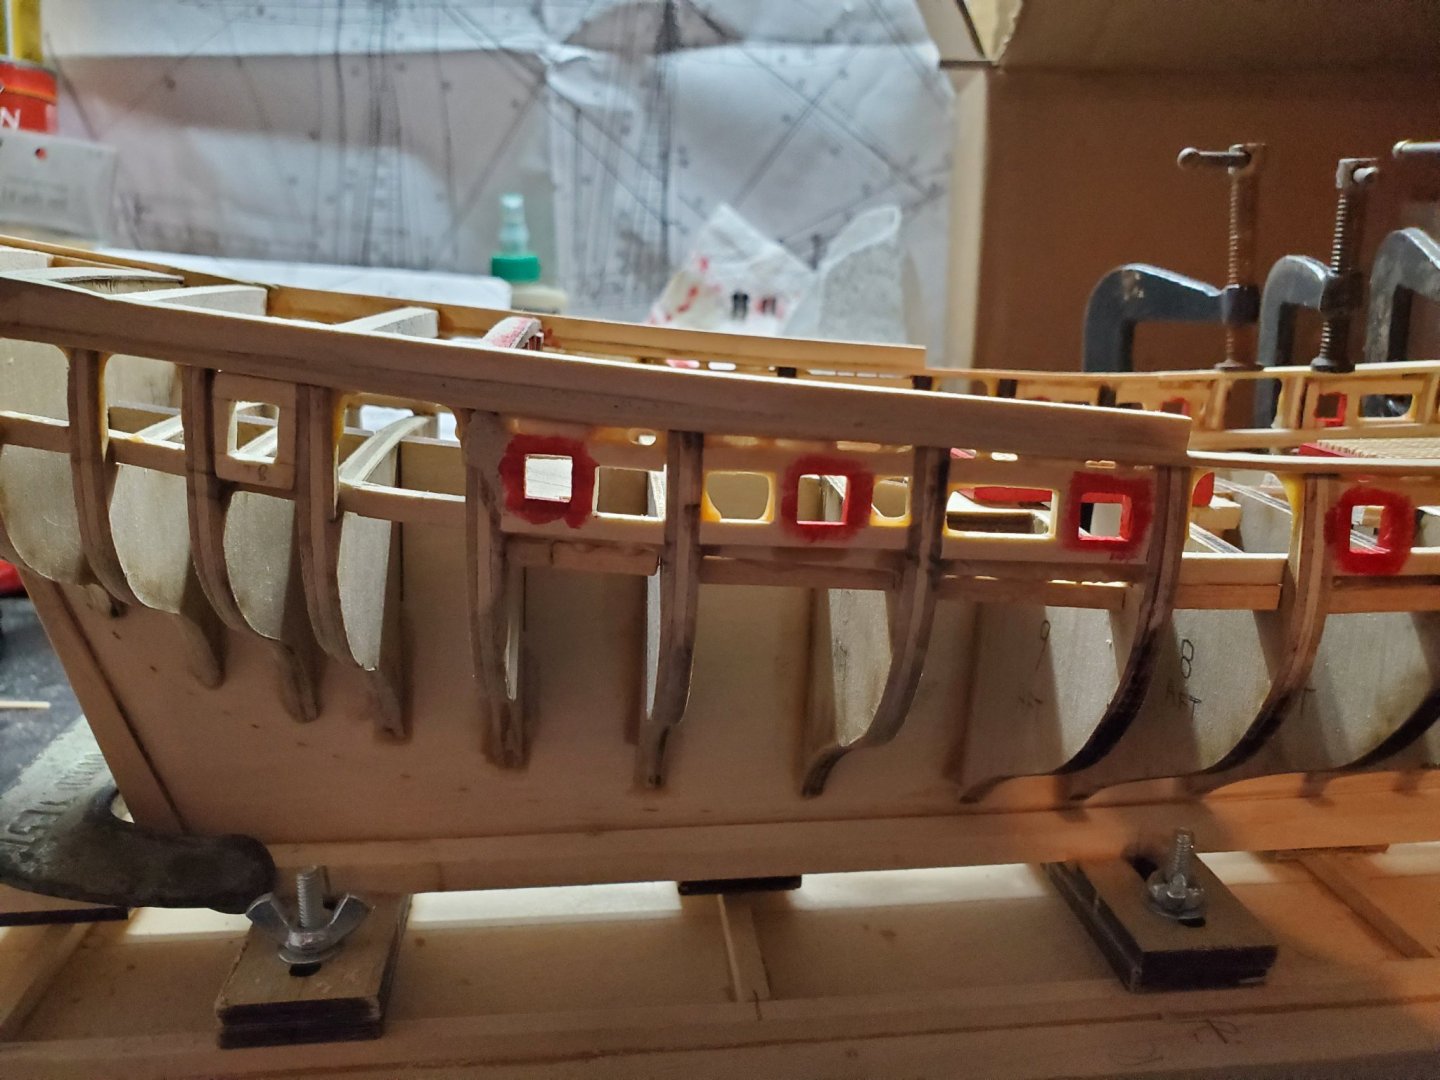
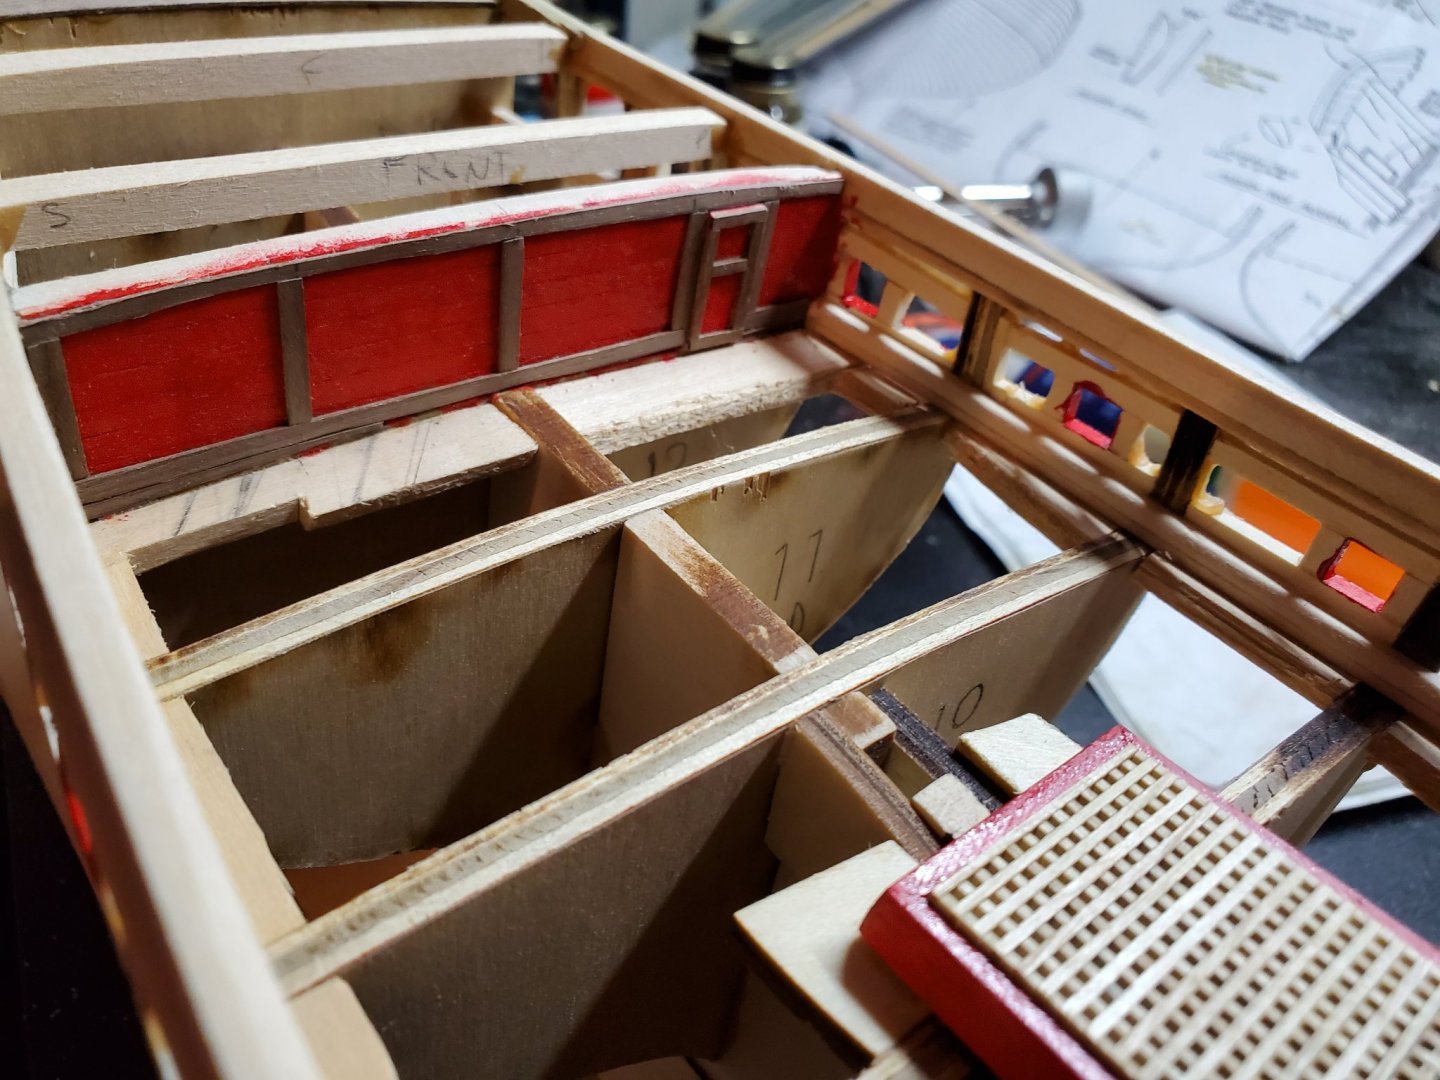
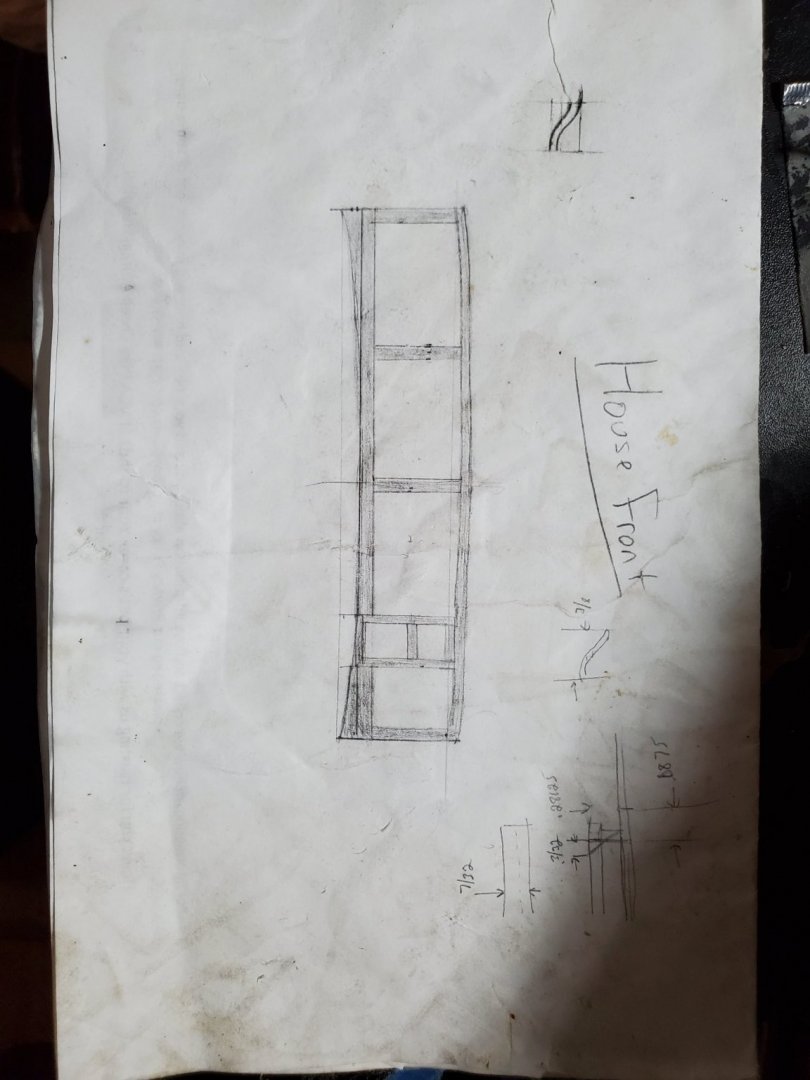
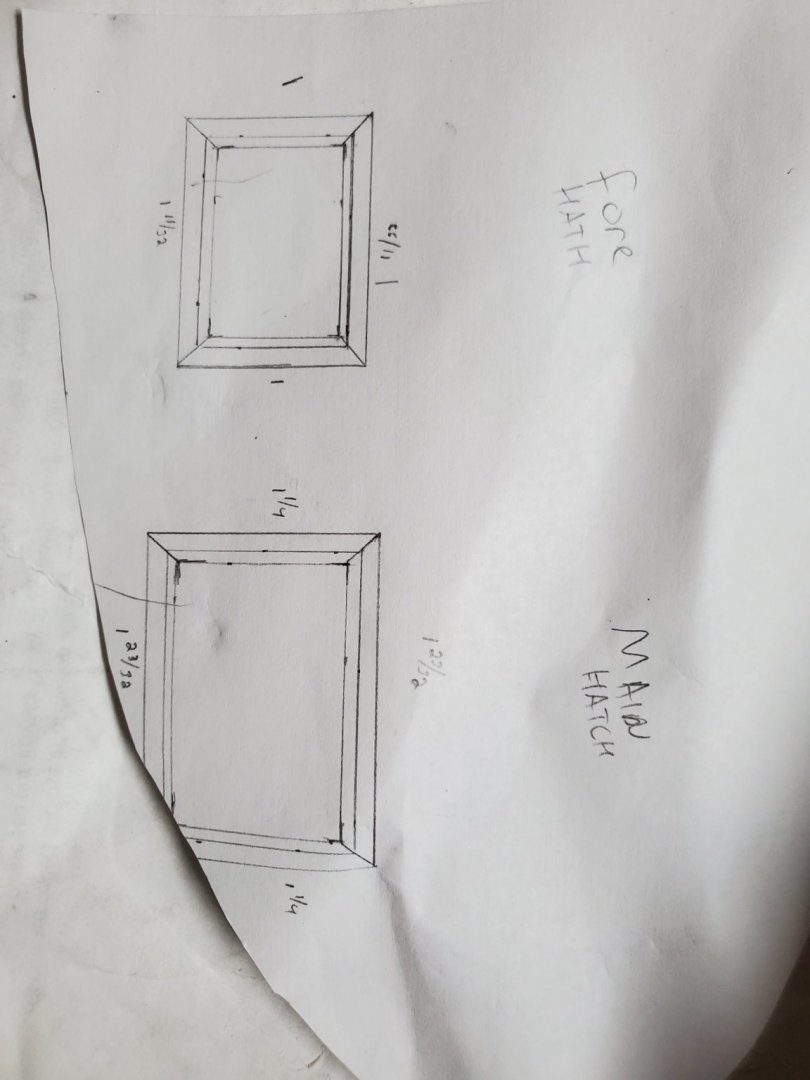
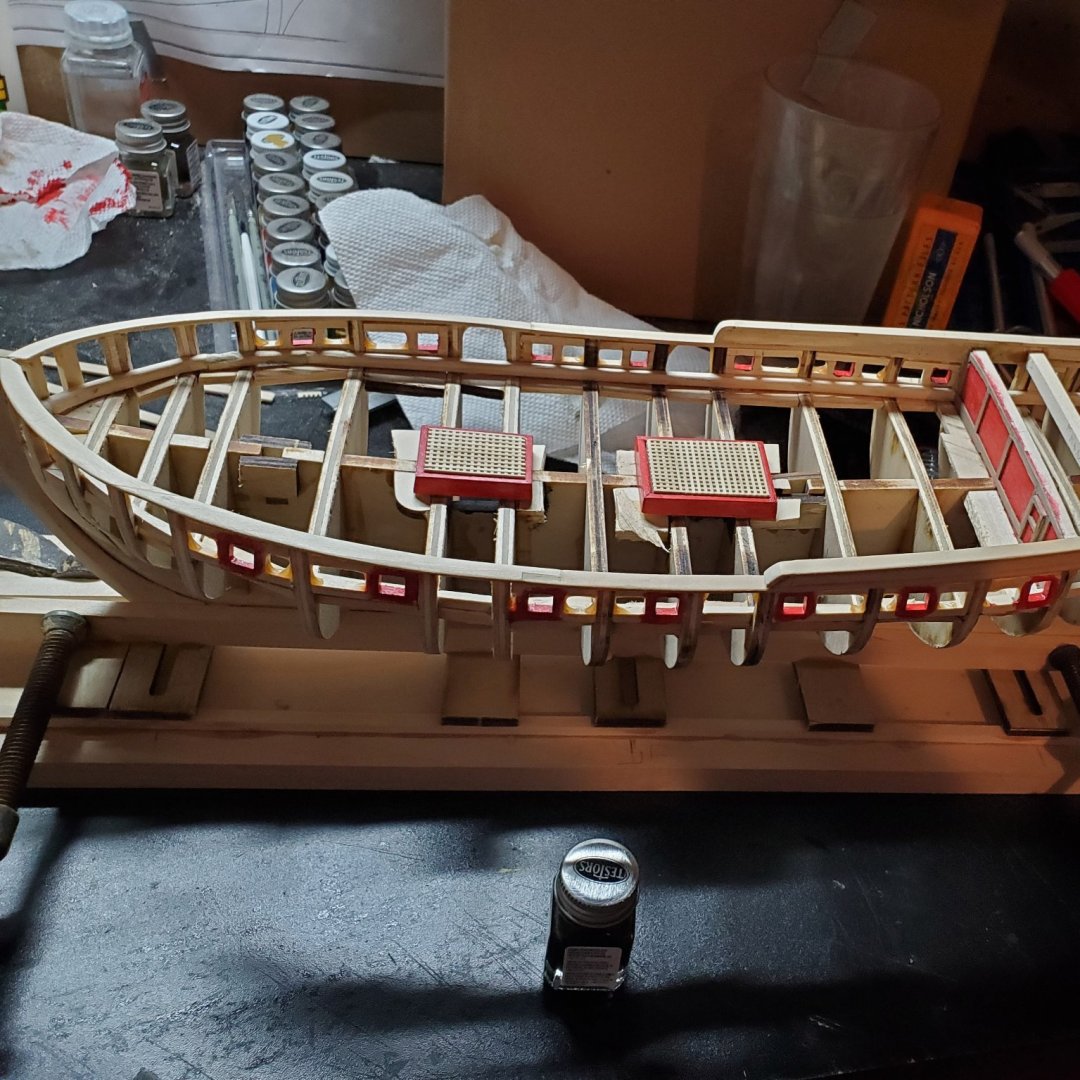
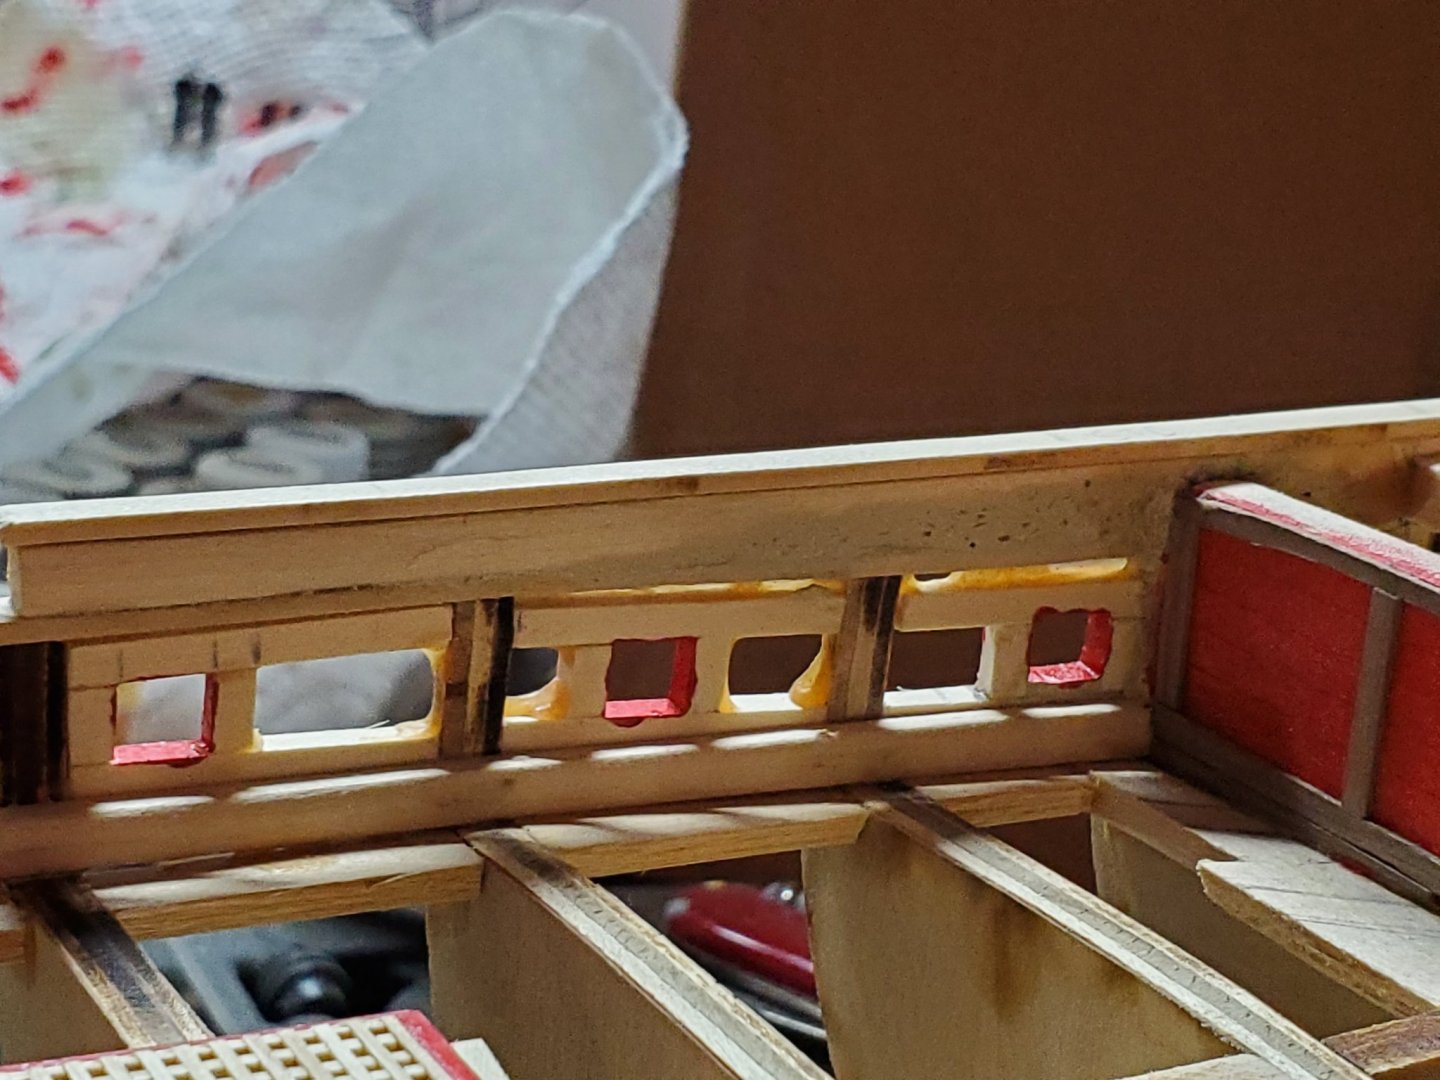
More progress on the Fair American: Most of these pictures were not originally for a build log in mind, but more for my own little story, so I pieced together what I had and described best I can remember. I also am big on building by-the-book. Since I have no experience with ship building to know of any inaccuracies with the model, I will be following the instructions and plans very closely. Things like door height, gun port size, etc. I will not be altering. Complete historical accuracy is difficult to hold to, since this is a model of a model. The main rail was a challenge for me. I first tried cutting it based off the plans, but the actual model bulkhead curvature and positions weren't the same. Instead I had to place/clamp a sheet of wood over the actual bulkheads on the model, and draw an outline underneath the sheet. From there, I measured the rail shape, with dimensions inboard/outboard that way. Even still, I wasn't happy with the result, once I clamped the rail and glued. Some bulkheads had more rail inboard than outboard, others vice-versa. Scarfing the pieces together was also tricky. I didn't know how big to make them, so I approximated. Once sanded smooth and painted, the junky edges were hidden. However, the planking will be uneven at the edges of the rail, because of the aforementioned problems with its shape. I am not planning on double planking, so when I got to the house front, I had the idea to use the walnut plank to create molding. I think it looks pretty nice, actually. I made a hand sketch and used its dimensions to fit to the model. In hindsight, I should have offset the house front up, so the deck planks wouldn't cover the bottom molding - another learning moment. The same thing was done with the hatches - sketched, measured and built per-sketch. The hatches are a focal point when I look at the model, so I spent a lot of time on these. As per the instructions and plans, I kept the gun ports 1/4" square. A lot of shaping and sanding so that they follow the shape of the rail and eventual deck, and still 1/4" square. A bit of paint, and we're moving right along More progress updates soon - Jason -
-
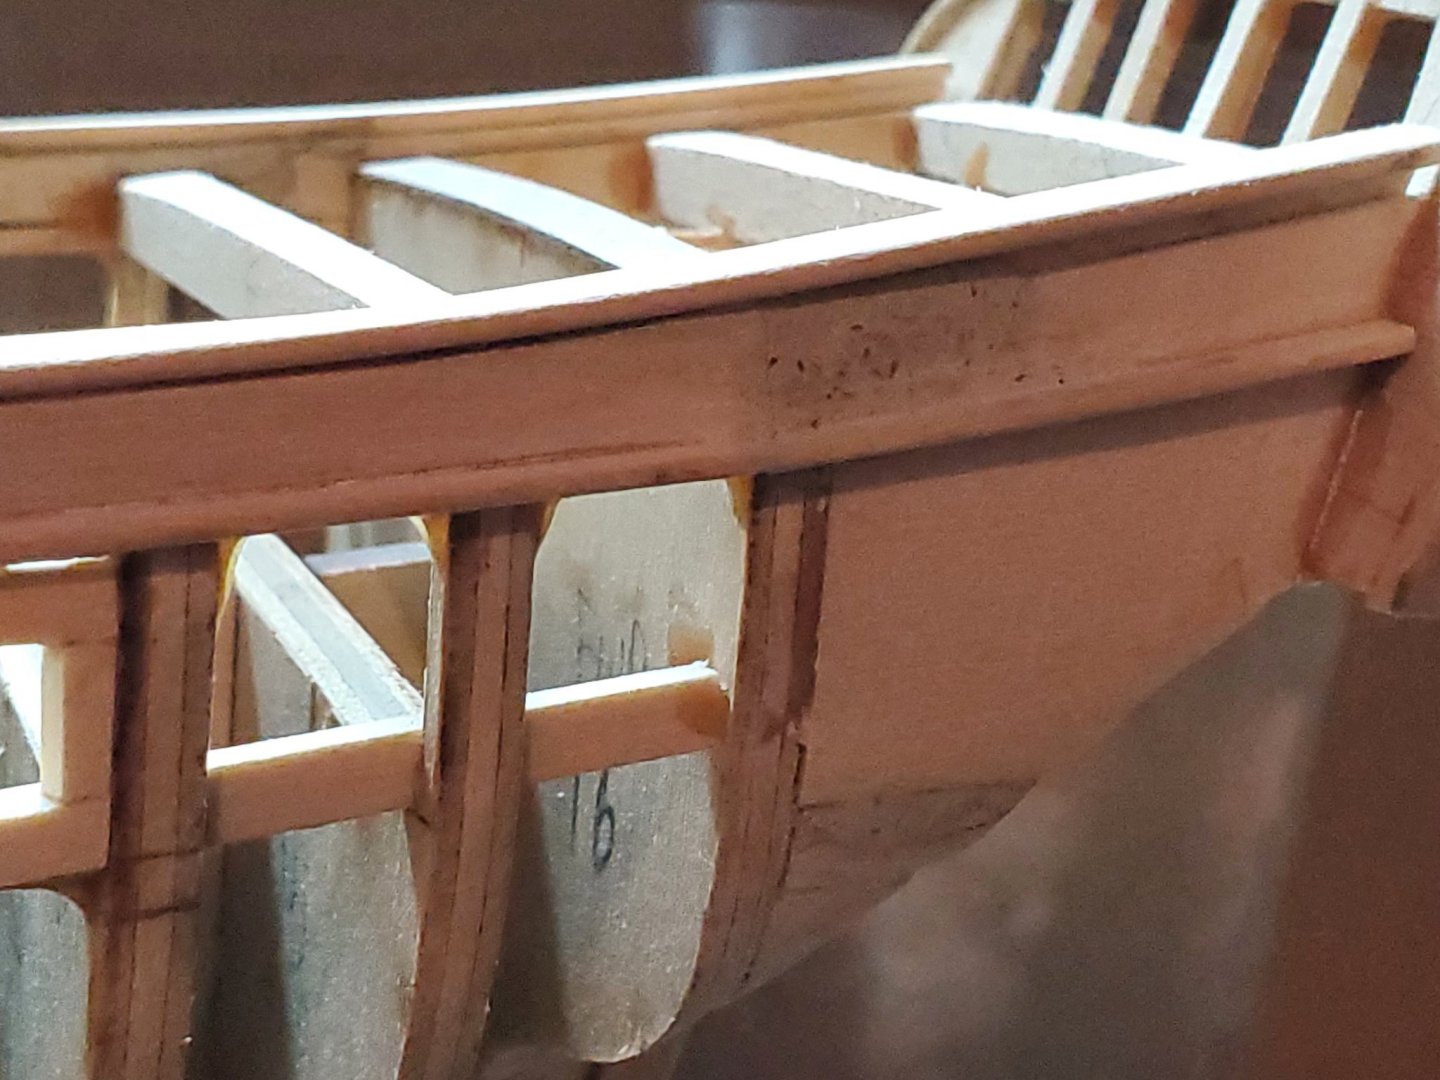
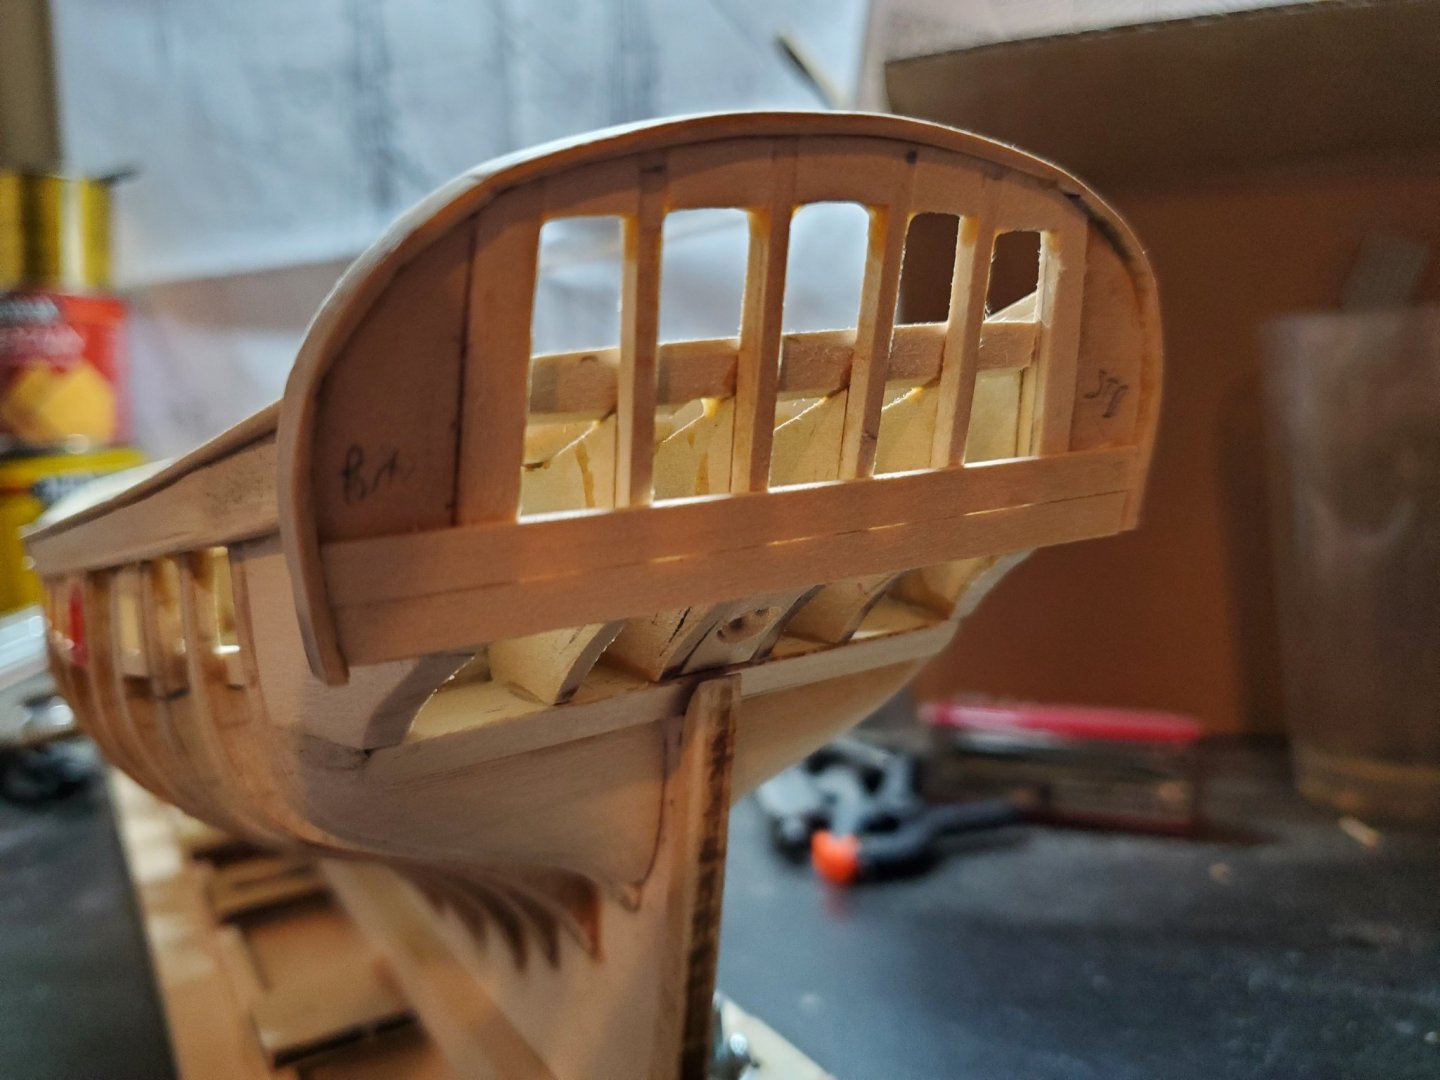
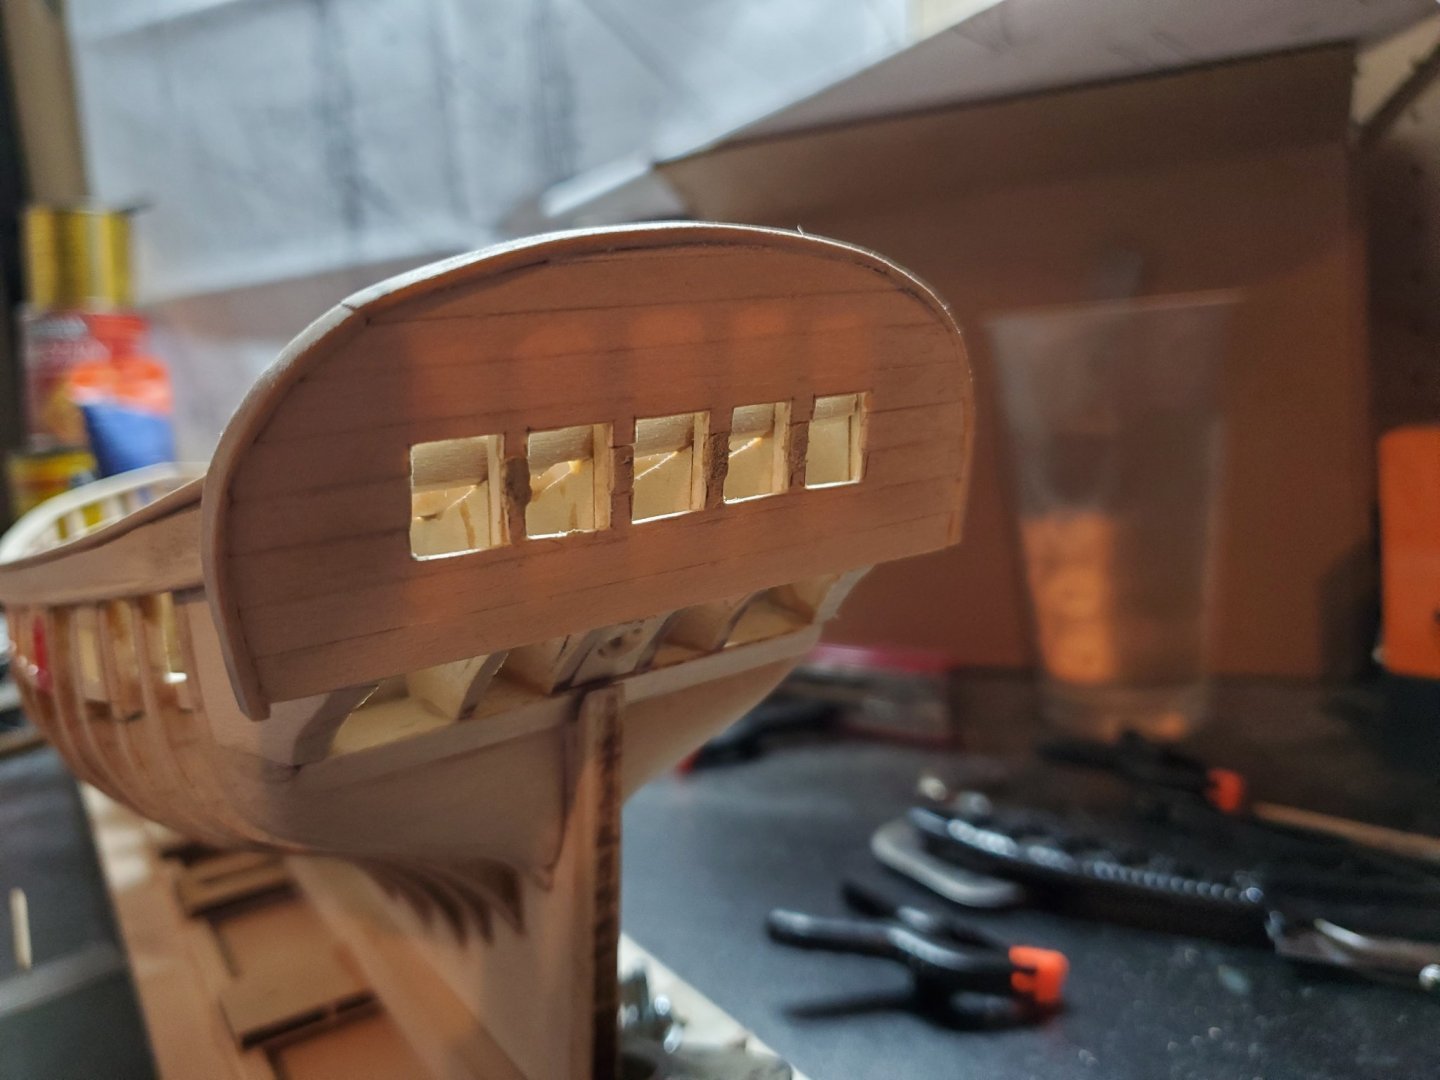
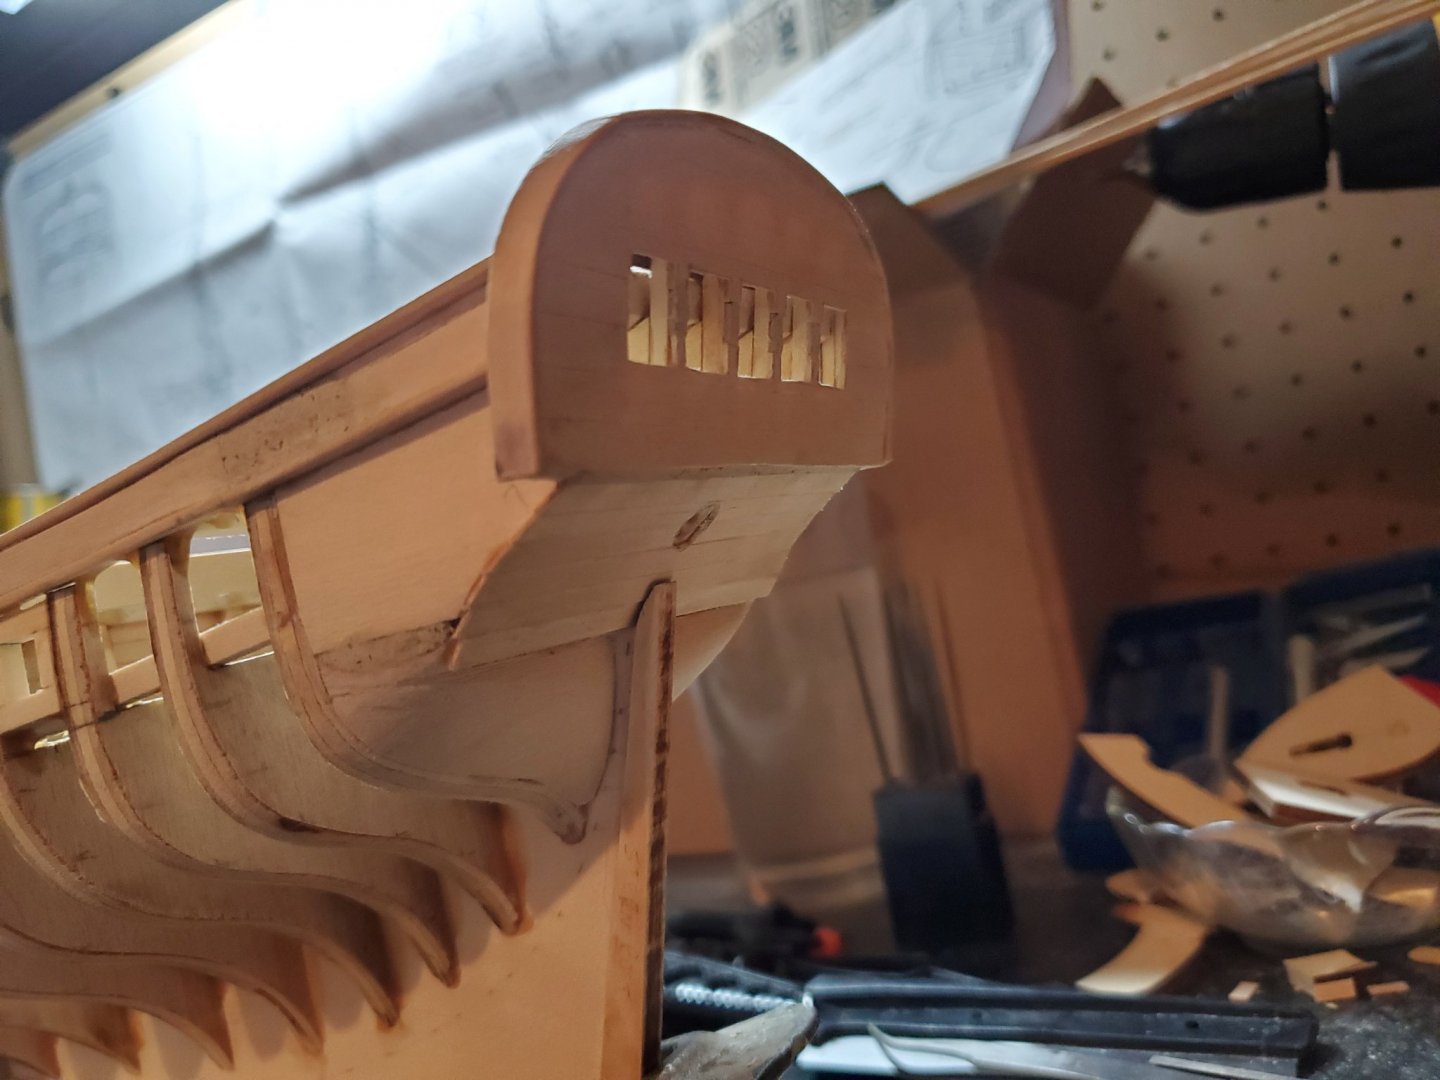
Continuing with the progress on the Fair American. I saw other builders add blocks between bulkheads, and it makes sense, however I didn't have spare wood to use and I felt the gun port framing and waterways would strengthen them sufficiently, so I moved forward without. I soaked the waterways for a few hours in water, then clamped them to the bulwarks to shape. I decided to omit the covering boards, as they proved too difficult to shape properly. I really had to stare at the plans for the transom, to understand the exact shape. The transition from the counter into the filler block and lower hull was tricky, but I figured it out. The cap rail was cut and clamped to the transom after soaking, it kinked, I left it on the table, re-soaked and clamped again, broke and re-glued together, then glued to the framing. I should have gone slower with the bending, but I got impatient - it eventually turned out okay, but I learned! The thick fancy rail was really difficult to shape. Bending to the curve of the hull wasn't bad, but the top flexed outward after gluing. Looking from the stern, you could see it bow outward, so I attempted to sand it back to follow the tumble of the bulwarks - not fun. I also had to add a bunch of wood filler to smooth different sections out. One other issue was that I had to 'chock' some filler wood above stern frames #1 & #2, in order for the main and fancy rail to continue straight back. The frame wasn't ''tall'' enough for some reason; I think I fixed it OK. I decided to use 5 windows, and not 7. The outer windows would be for decoration anyway, if present - they don't serve any real purpose, so I omitted them. The transom planking was next. I made sure the transom framing was sanded parallel, checking with a thick piece of wood along the counter so that all planks would be flush without dips. Its starting to look like something! More progress soon - Jason -
-
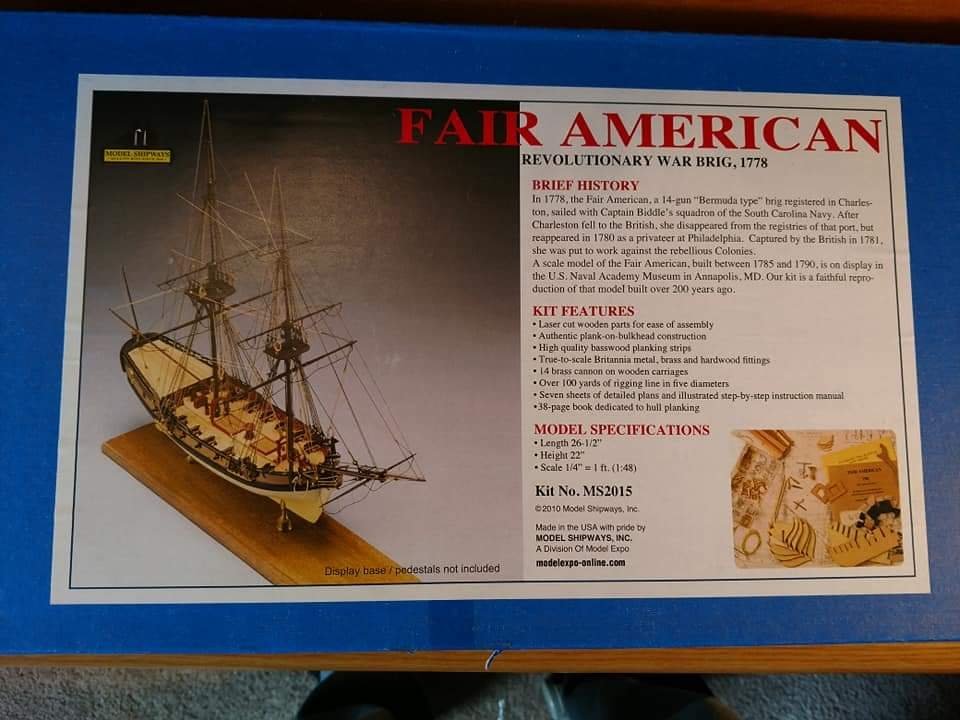
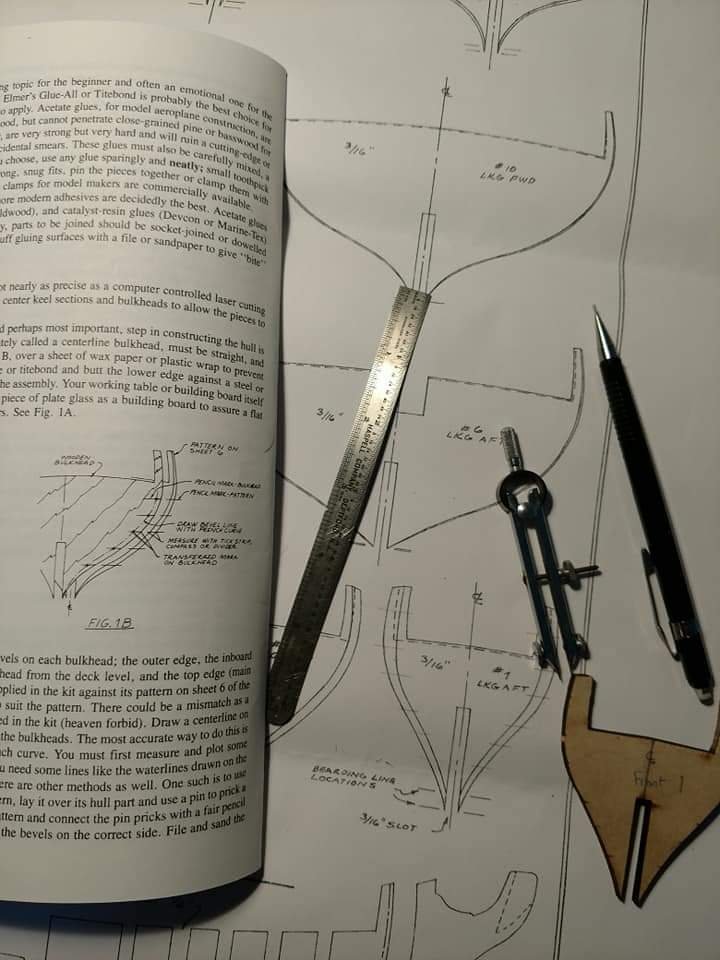
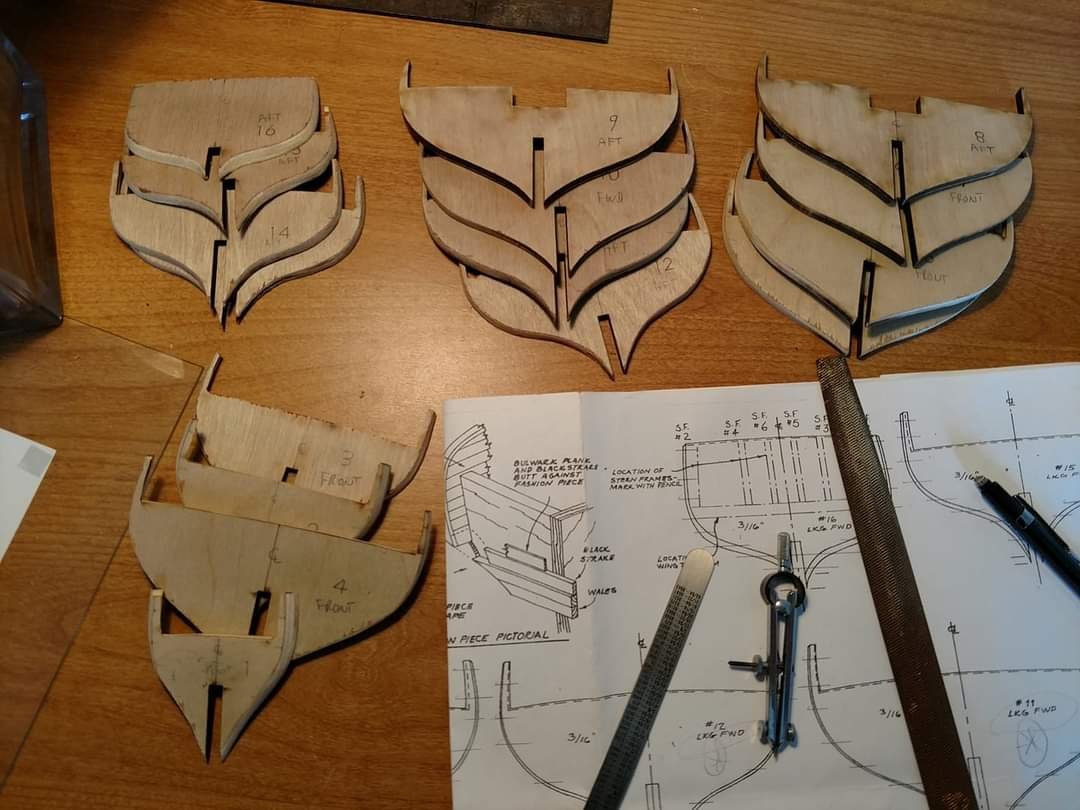
This will be my first wooden ship model; I completed a Revell HMS Victory plastic model ship a few years ago, and I really liked it. It sparked my interest in wooden model ships, and I wanted to build one of my own. My father bought this kit for Christmas in 2019, and I really like the overall shape of the hull. Even though this is my first wooden model and the kit doesn't have them, I'd like to add sails. It will be a challenge, especially the rigging, but I believe I can do it. I started this model at the end of December 2019, and am currently working on the bow section, so maybe ~1/2 way done. I will share photos and construction details up to this point, and then continue to post progress as I go. I work full time during the day, so I only have a few hours a week to dedicate to the build, so my progress after a year and a half is SLOW. I have seen a lot of other builds/ships with high quality planking. I hope that mine will be good enough to leave unpainted, since I really like the look of the hull planking As with other builders of the MSW's kit, the keel is short ~1/4". I used a piece of extra wood to shape and glue the missing portion. Not awesome, but acceptable. I also purchased a Bulkhead Mounting Kit from a local hobby shop. After reviewing the plans, I cut the bulkhead frames loose, sanded and transferred the bevels with a compass. The rabbet was a pain....chiseling didn't do well, so I ended up sanding. A lot of sanding. In hindsight later on, I should have sanded deeper. I shaped the bulkheads and glued to the frame using the Mounting Kit. I squared them to the model with C-clamps on each end, and slowly tightened until I measured the distance between bulkheads was the same on both sides. The Filler blocks took a while to shape right, and even after they were glued, they needed more sanding to get blended with the bulkheads. Next time I might leave the bulkhead bevels ''thick'' and sand together with the blocks for a better transition. More photos and progress tomorrow -Jason-
About us
Modelshipworld - Advancing Ship Modeling through Research
SSL Secured
Your security is important for us so this Website is SSL-Secured
NRG Mailing Address
Nautical Research Guild
237 South Lincoln Street
Westmont IL, 60559-1917
Model Ship World ® and the MSW logo are Registered Trademarks, and belong to the Nautical Research Guild (United States Patent and Trademark Office: No. 6,929,264 & No. 6,929,274, registered Dec. 20, 2022)
Helpful Links
About the NRG
If you enjoy building ship models that are historically accurate as well as beautiful, then The Nautical Research Guild (NRG) is just right for you.
The Guild is a non-profit educational organization whose mission is to “Advance Ship Modeling Through Research”. We provide support to our members in their efforts to raise the quality of their model ships.
The Nautical Research Guild has published our world-renowned quarterly magazine, The Nautical Research Journal, since 1955. The pages of the Journal are full of articles by accomplished ship modelers who show you how they create those exquisite details on their models, and by maritime historians who show you the correct details to build. The Journal is available in both print and digital editions. Go to the NRG web site (www.thenrg.org) to download a complimentary digital copy of the Journal. The NRG also publishes plan sets, books and compilations of back issues of the Journal and the former Ships in Scale and Model Ship Builder magazines.


