


Vasileios
-
Posts
57 -
Joined
-
Last visited
Content Type
Profiles
Forums
Gallery
Events
Posts posted by Vasileios
-
-
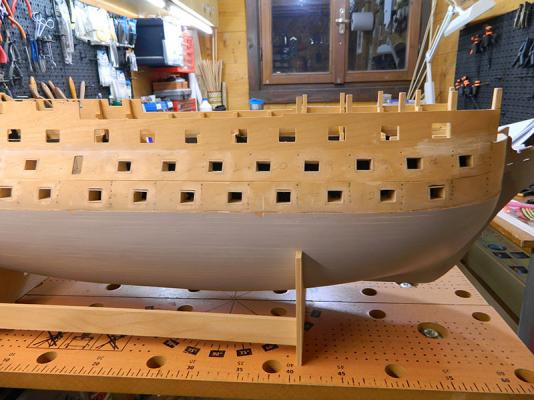
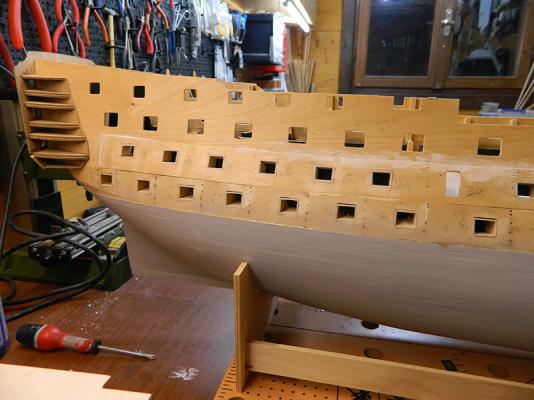
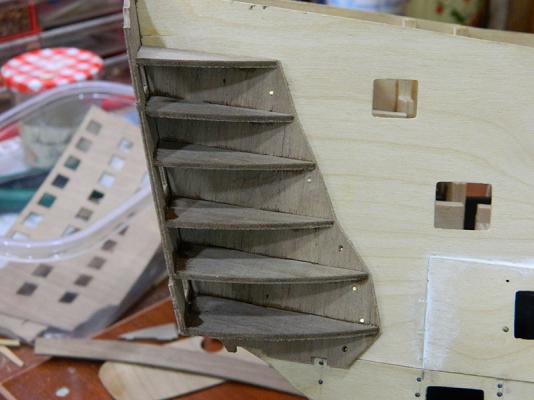
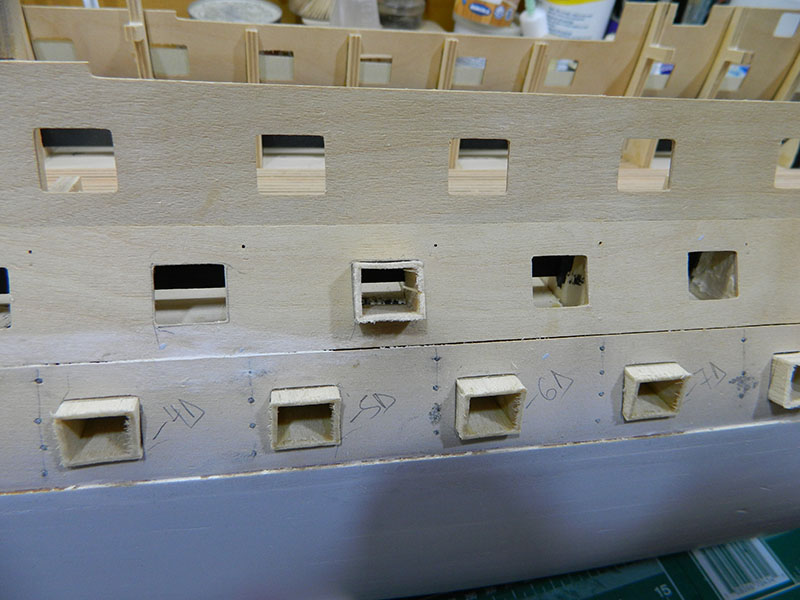
The next step is the lining of the gunports.
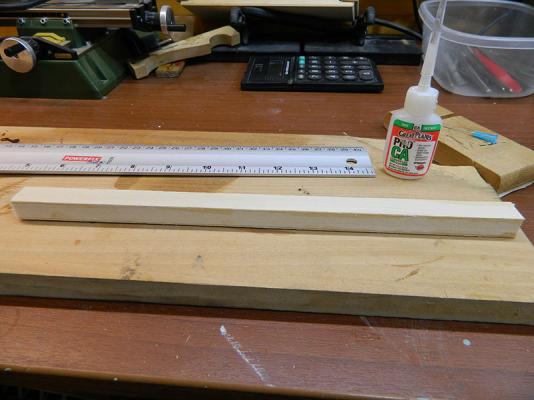
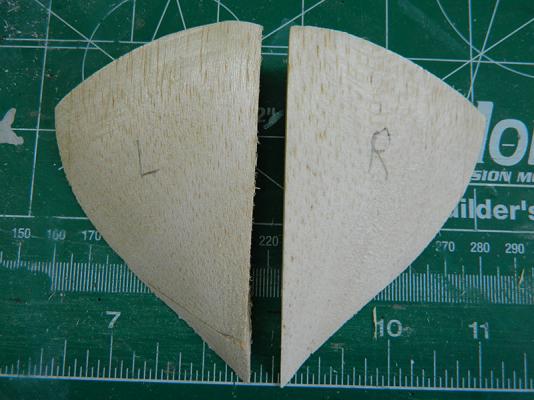
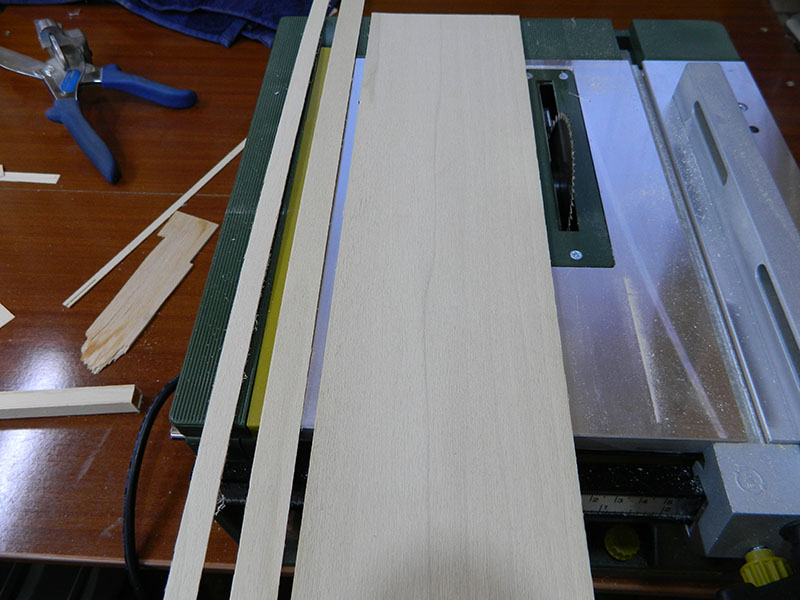
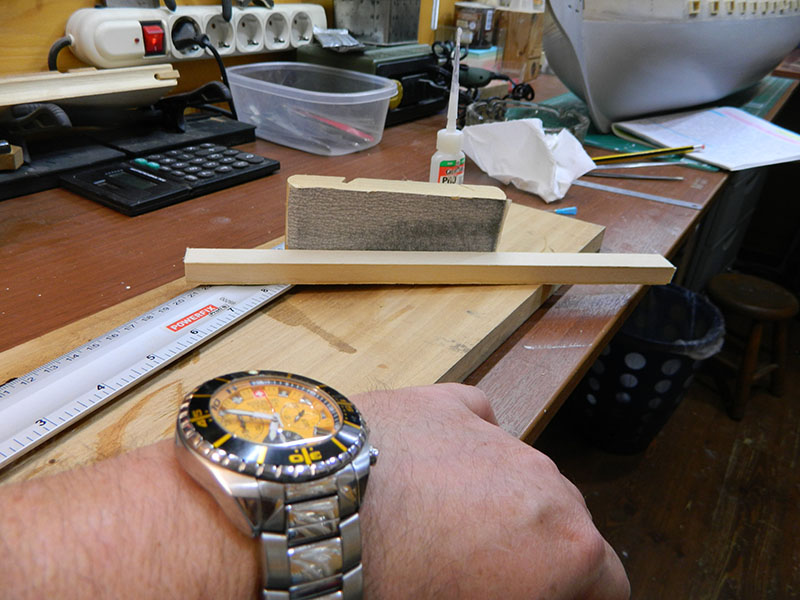
1) For the lining I used 1 mm plywood. I cut two strips of different widths.
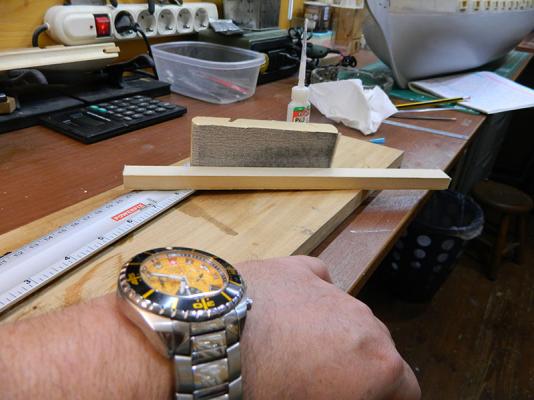
2) Now having four strips, that is 1 pair of each width, I used cyanoacrylic and formed a rectangle
3)After the glue had properly set I sanded the areas of the rectangle where I had applied glue using number 180 sandpaper so as to even out any abnormalities.
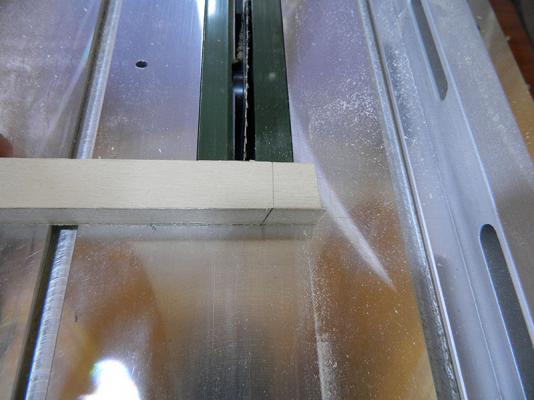
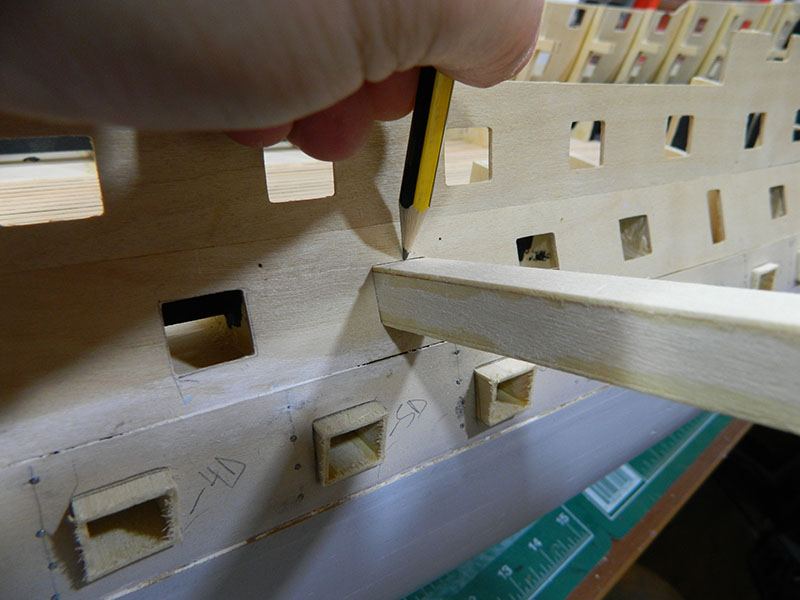
4) I placed the construction in a gunport and marked it all around with a pencil.
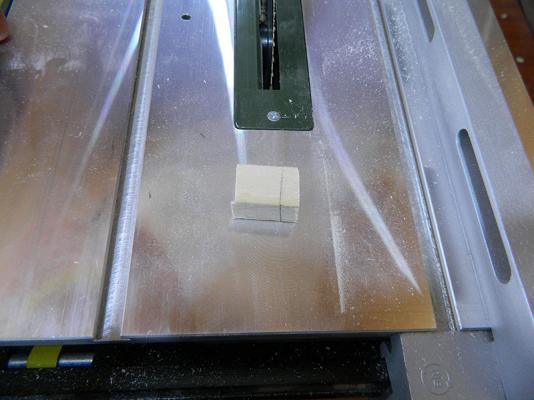
5) I cut just above the pencil mark which left me with a small rectangle which I place in the gunport.


-
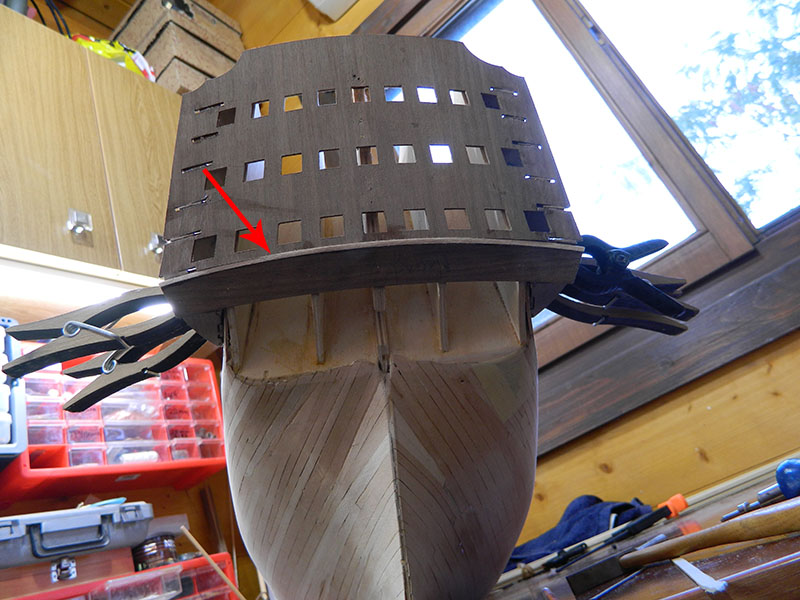
Hello to all.
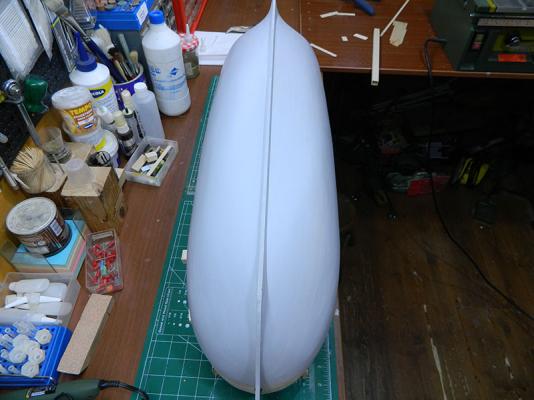
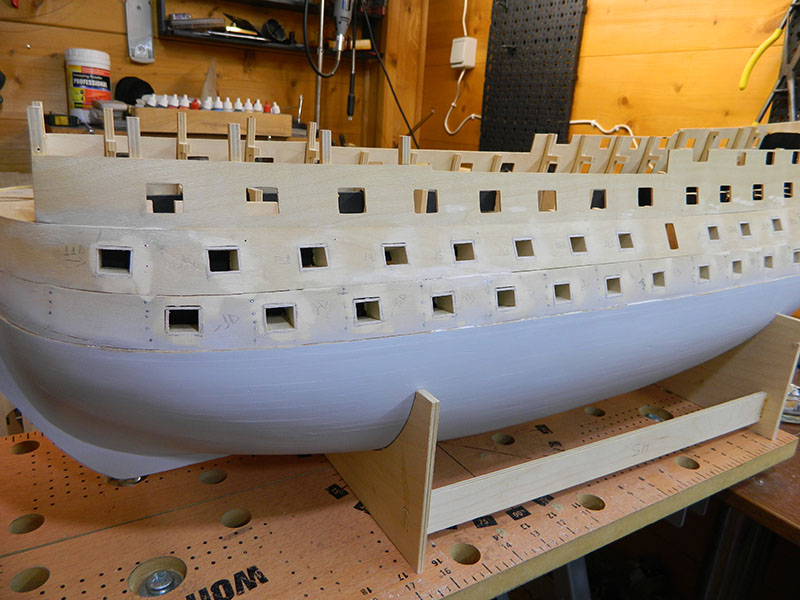
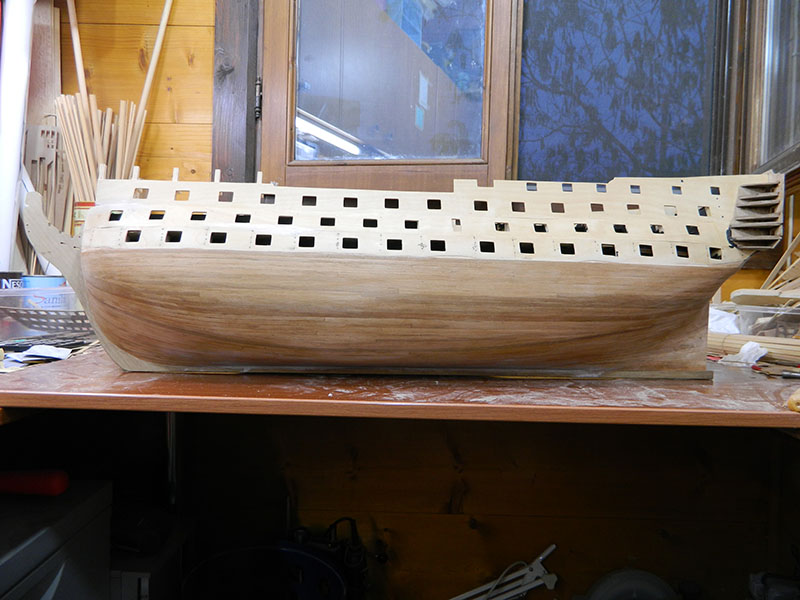
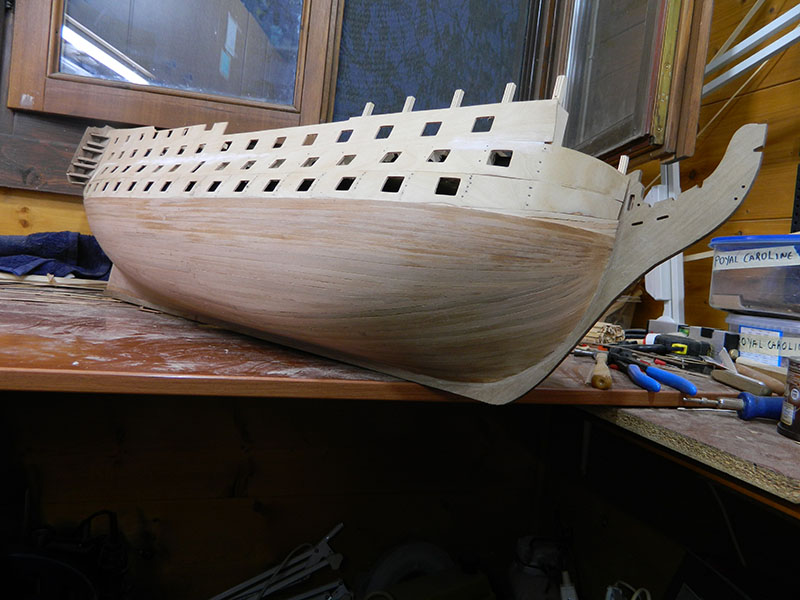
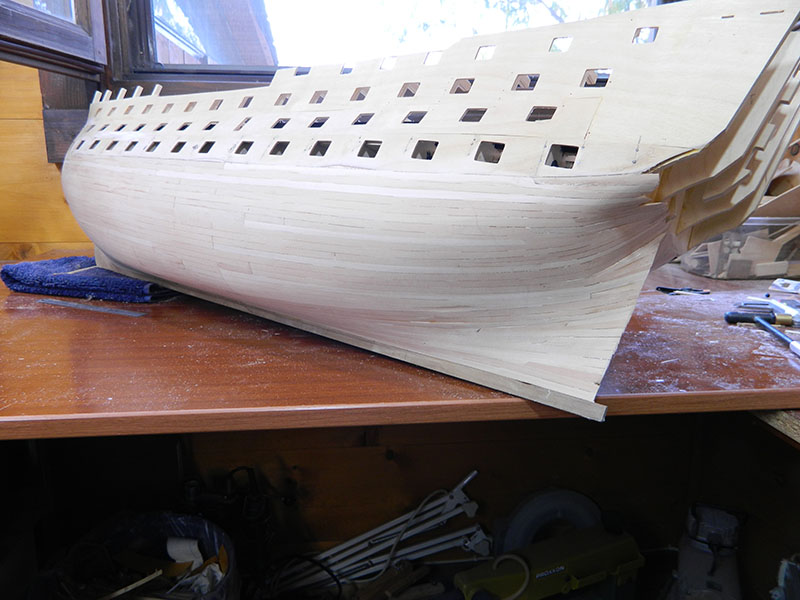
After an absence of several months I have returned to my construction continuing with the second planking.


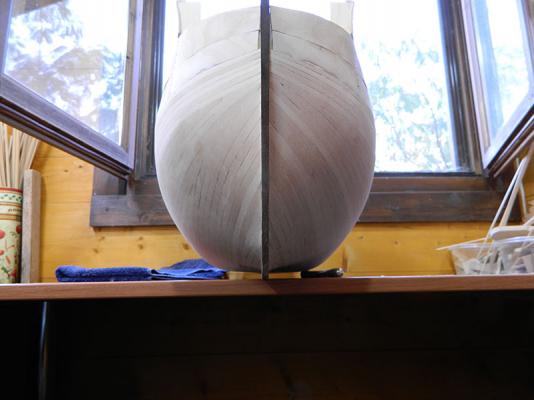
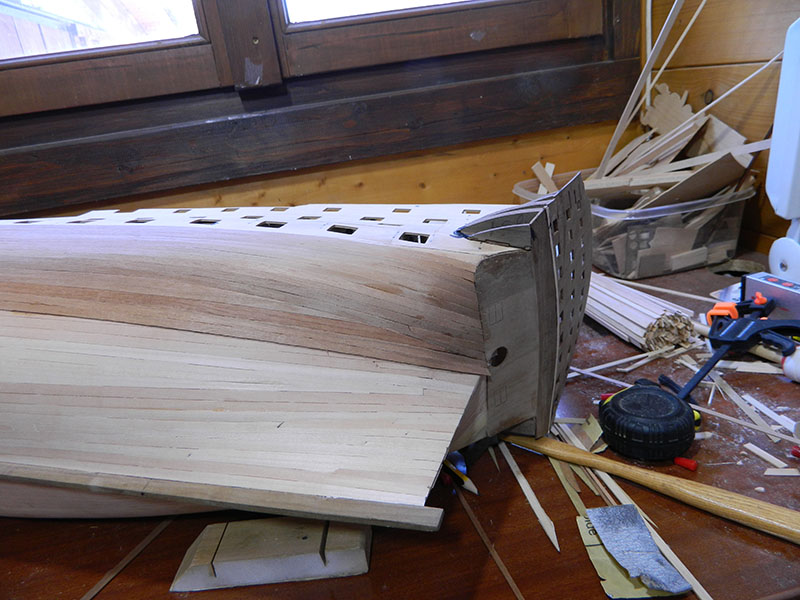
The stern post has been put into place.

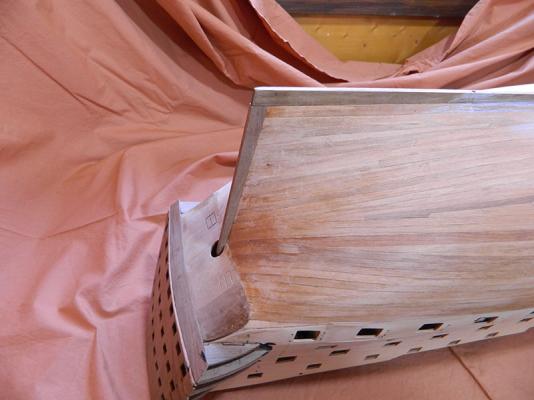
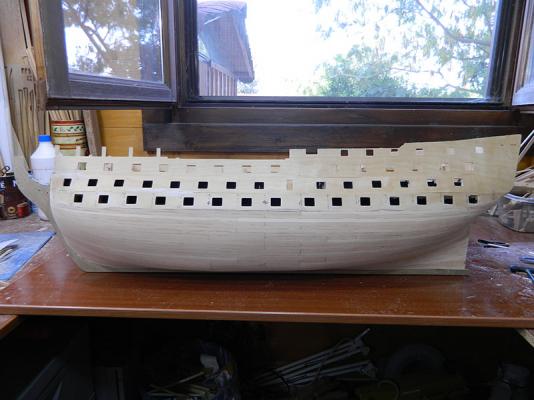
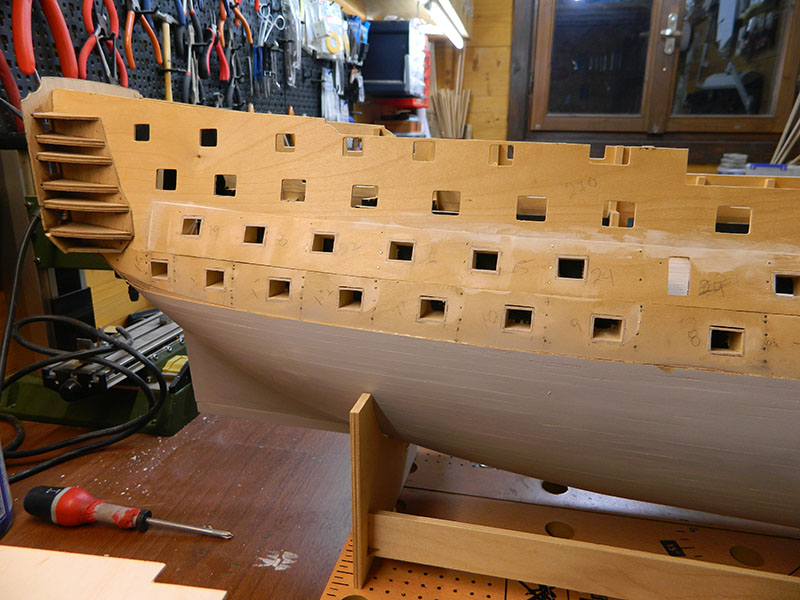
I applied primer to the hull below the waterline in order to locate the areas where the second planking still requires some formation so as to avoid future problems when the copper plates are placed.
- Seventynet and mort stoll
-
 2
2
-
Very nice work Stergios keep up the good work.
I am looking forward to seeing your next build, I wonder what it will be

Vasileios
-
Good job Stergios.
Vasileios
-
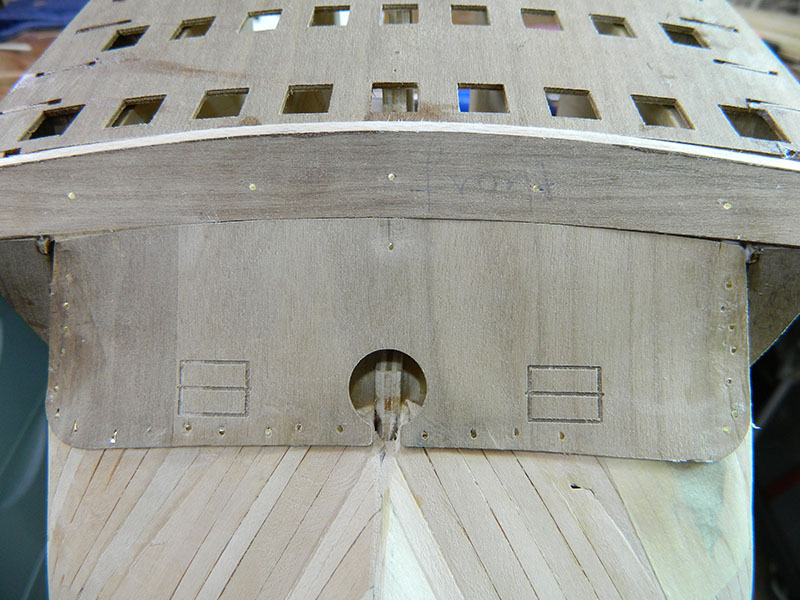
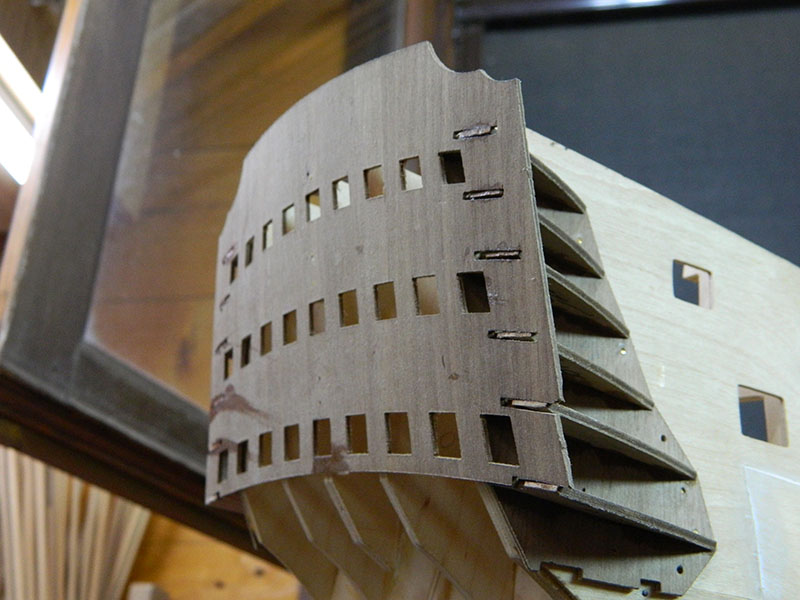
Hello mates,
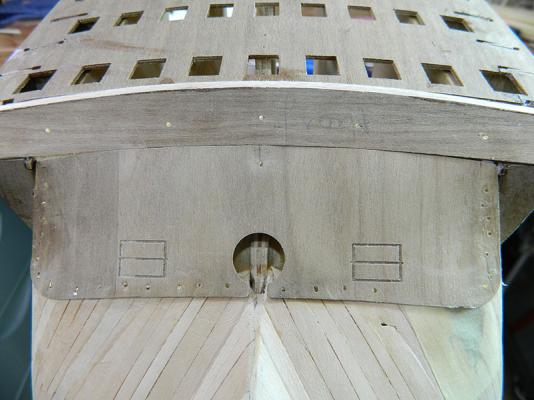
I placed the next part on the back on the gallery. I added balsa wood so that the part does not leave any gaps and has a better fit.

The back part has been completed.
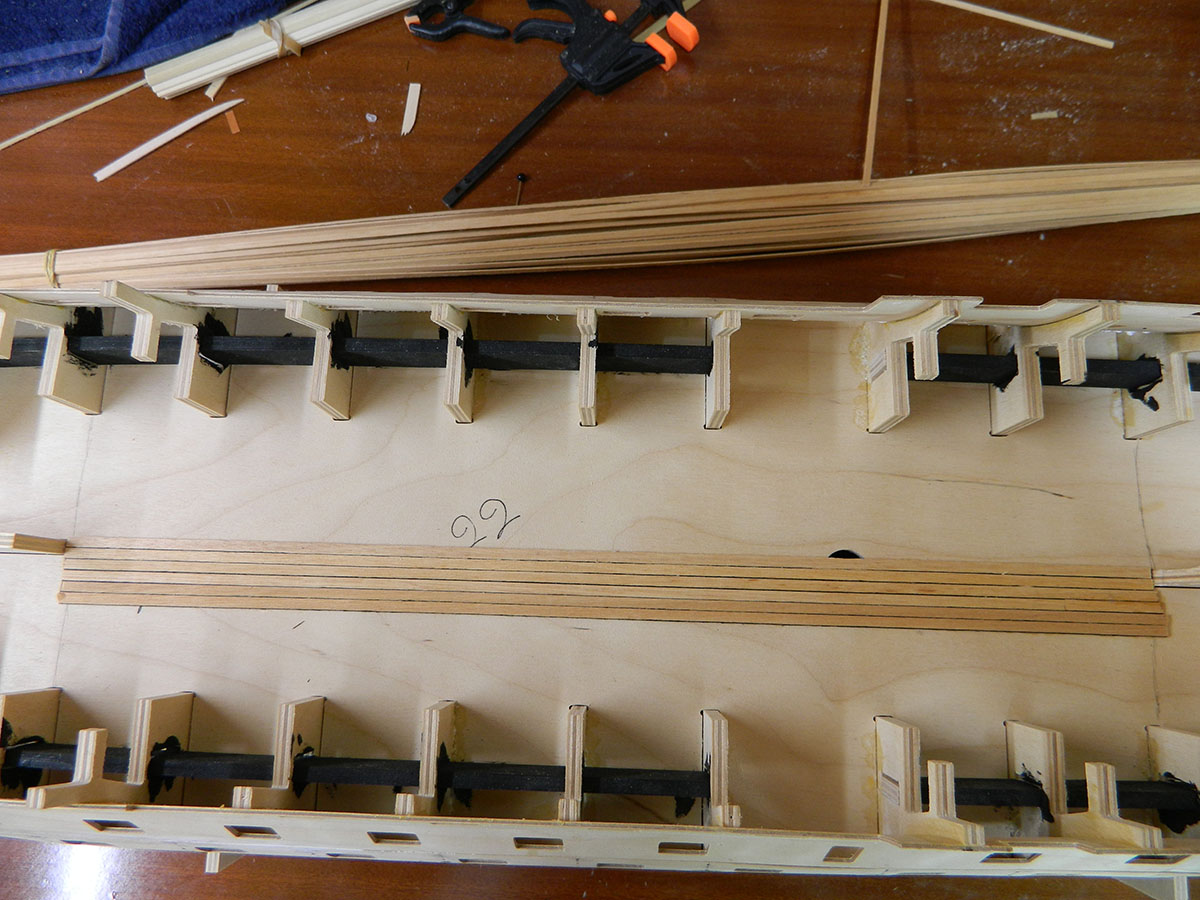
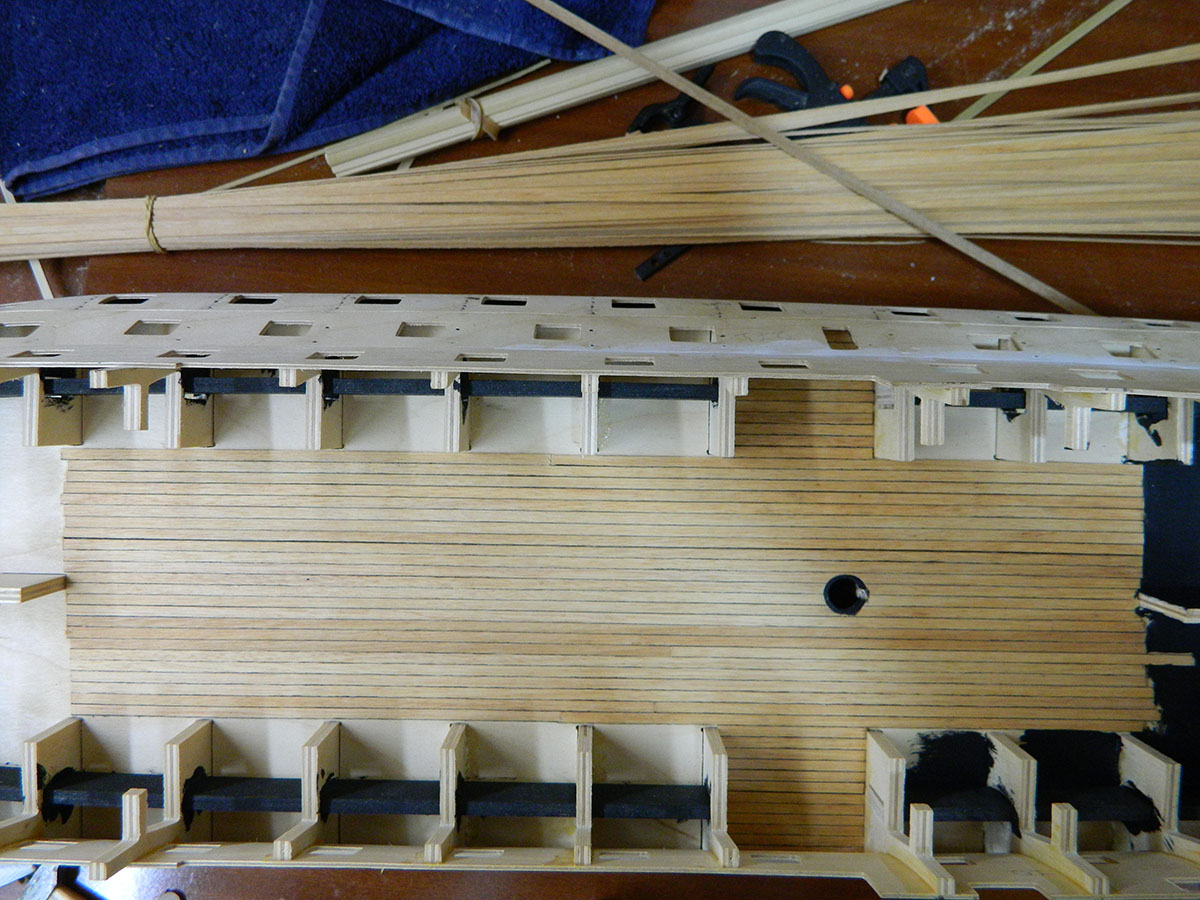
The middle deck has been planked with 1x4 Tanganyika strips.


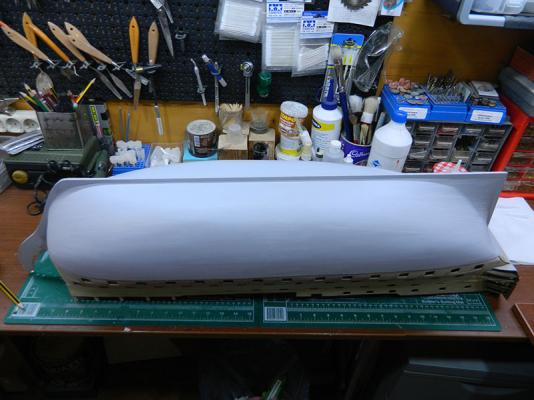
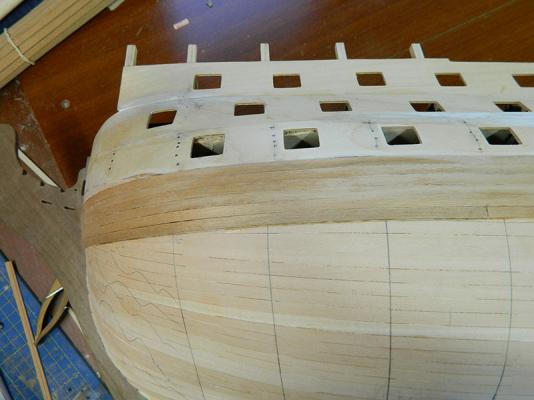
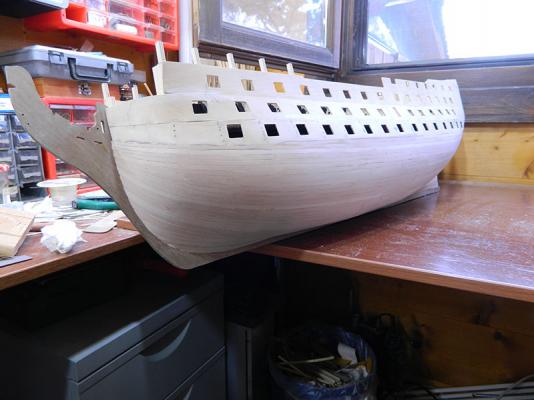
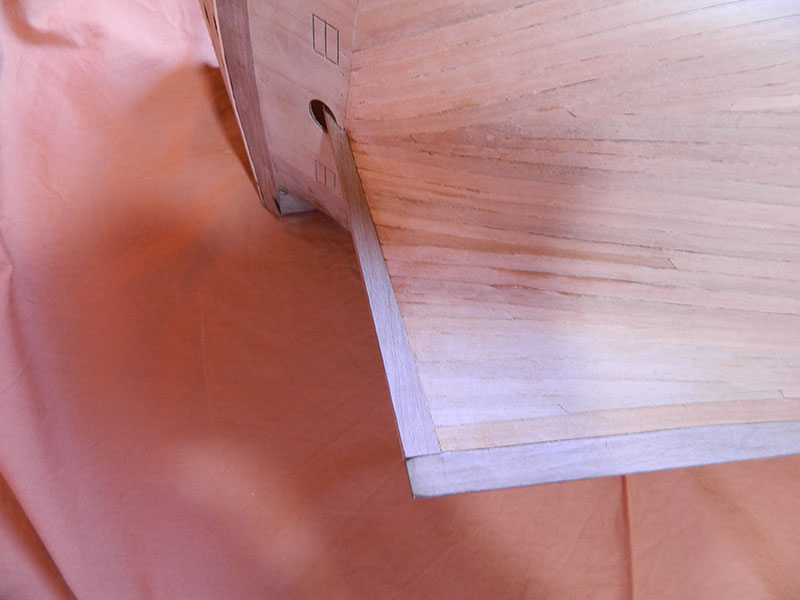
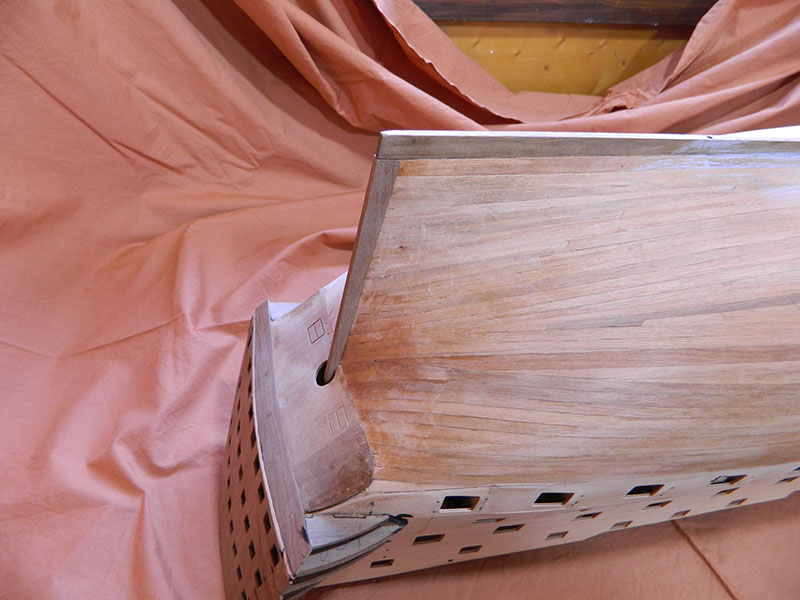
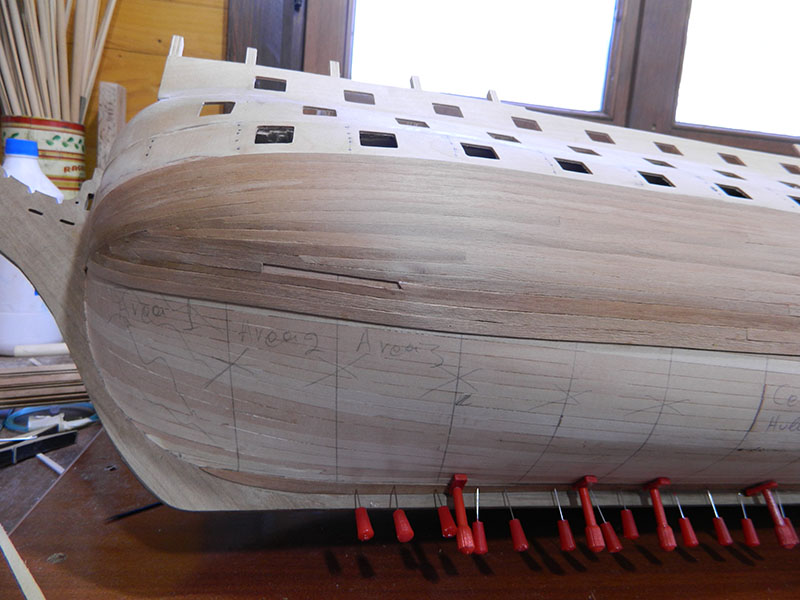
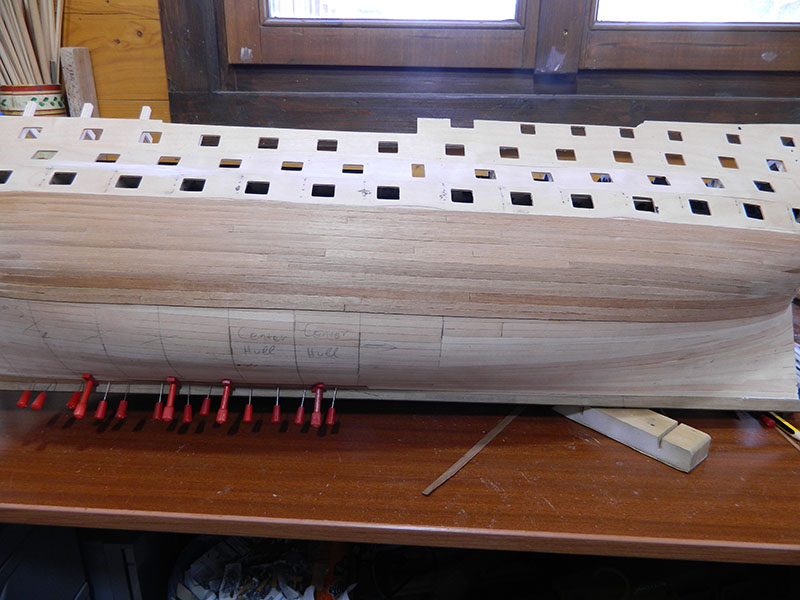
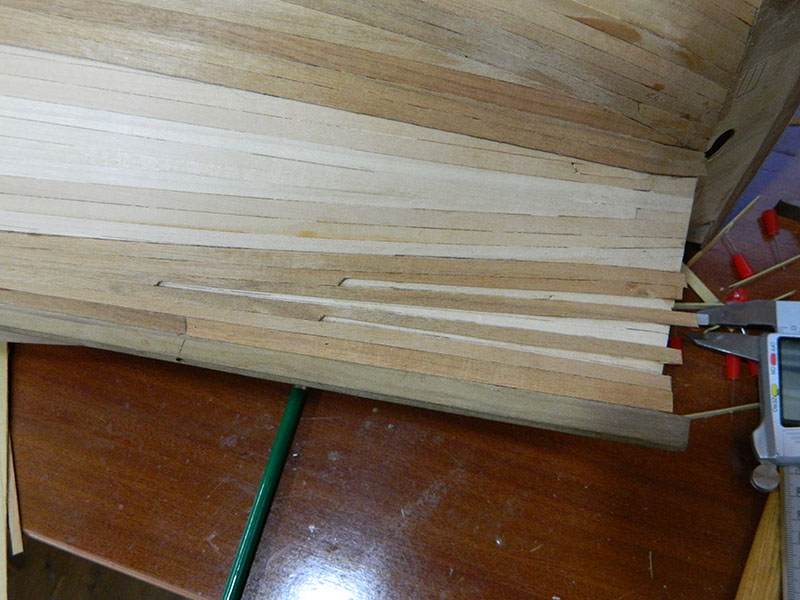
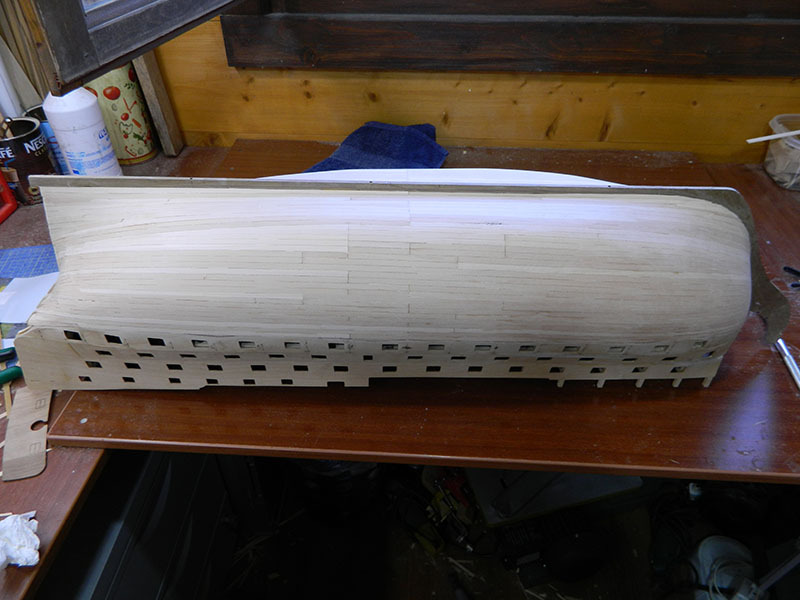
I started the second planking using 1 x 5 walnut planks. The quality of the planks is poor and I am quite disappointed with the material provided by Jotika but the good thing is that the hull will be coppered and painted.
I placed the first plank according to the instructions so that it will be easier to line the gunports later on.
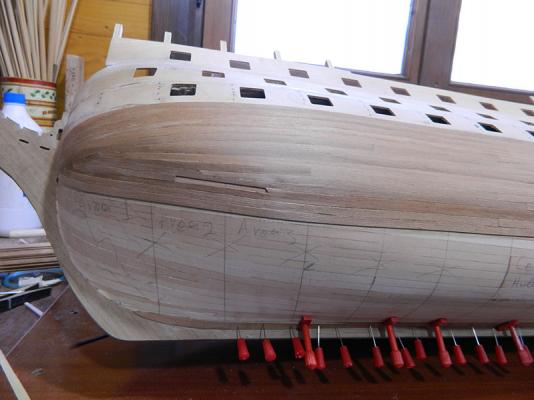


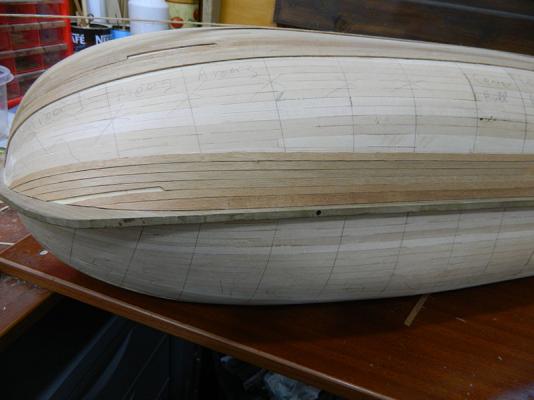

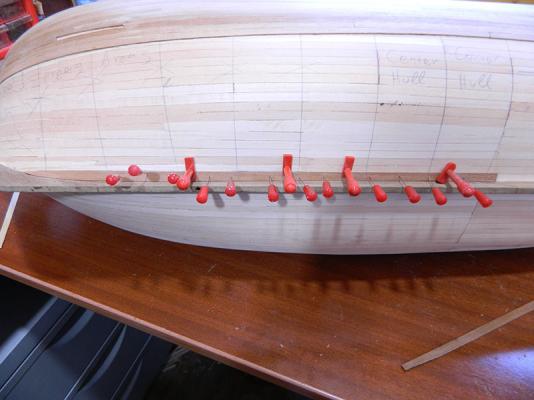
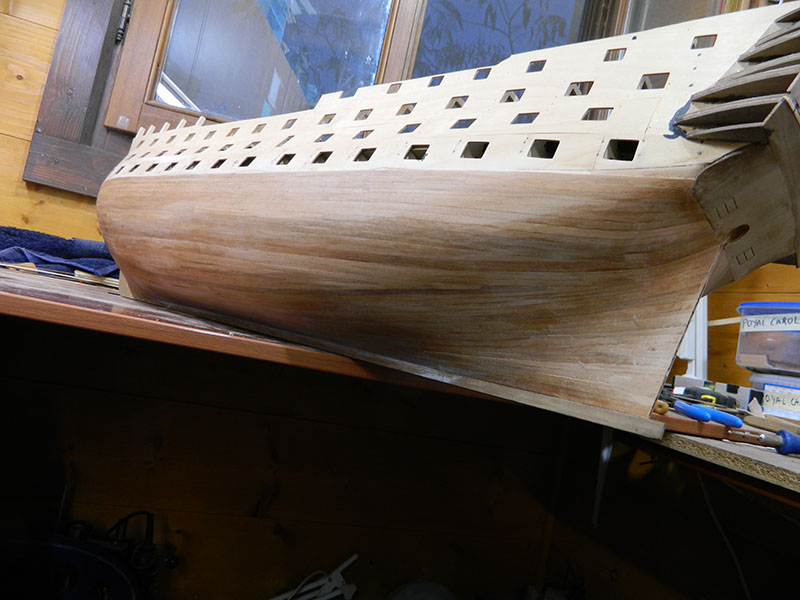
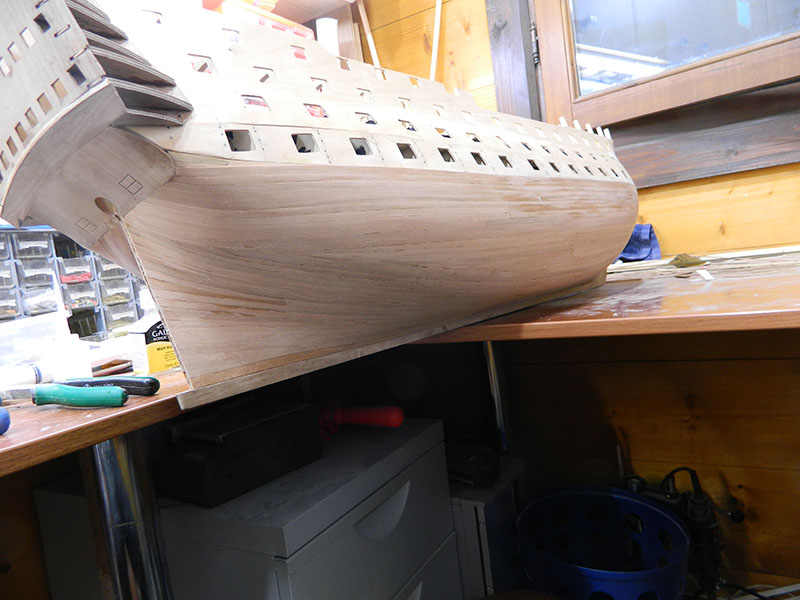
Garboard plank positioning.
Vasileios
-
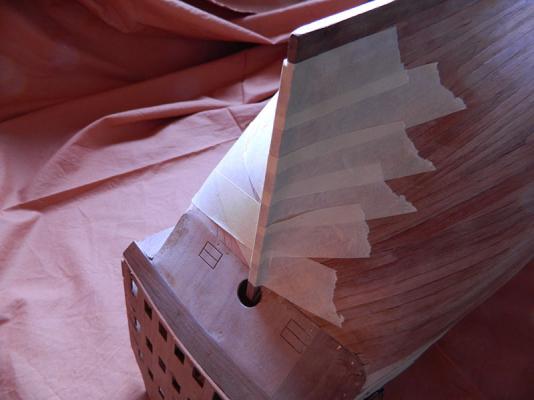
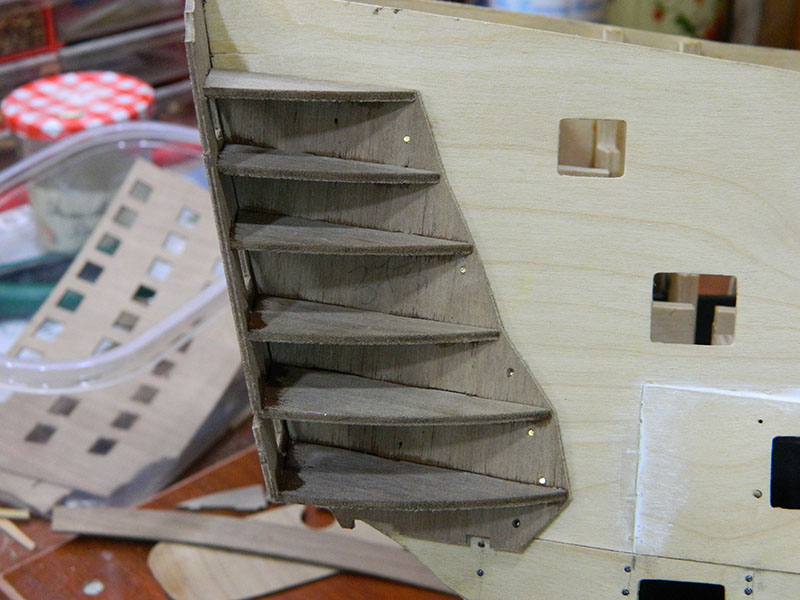
Hi friends
In my attempt to shape the lower part of the gallery I sanded the planks too much and caused slight damage to the hull. It was easily fixed with a piece of masking tape. Of course, it could have been fixed in other ways that may have been better but the second planking will cover it and also in that part the ship will be painted.
The first parts of the gallery have been put in place.
Vasileios
- mort stoll, mtaylor and Anja
-
3
-
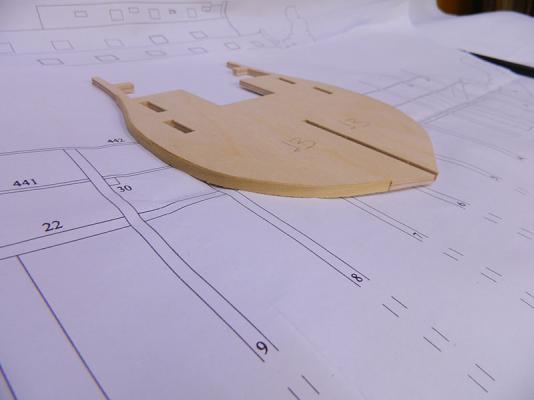
For part 165 see sheet number 1

Vasileios
-
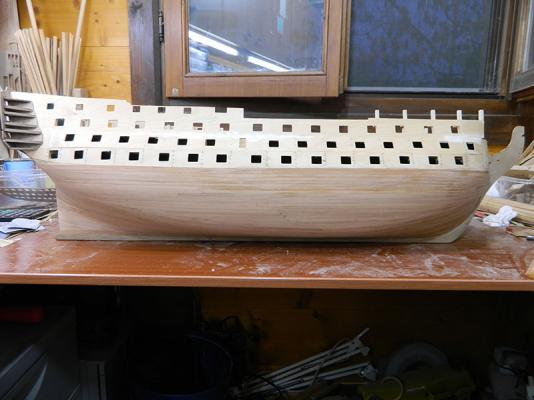
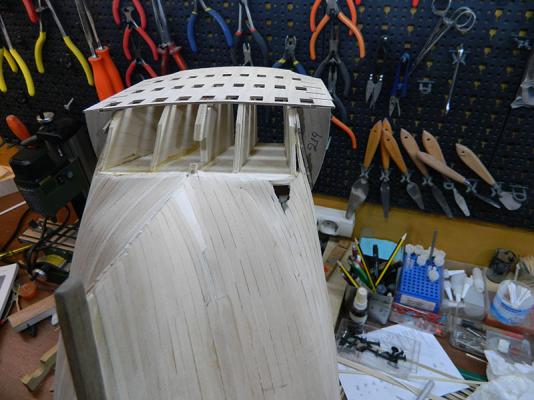
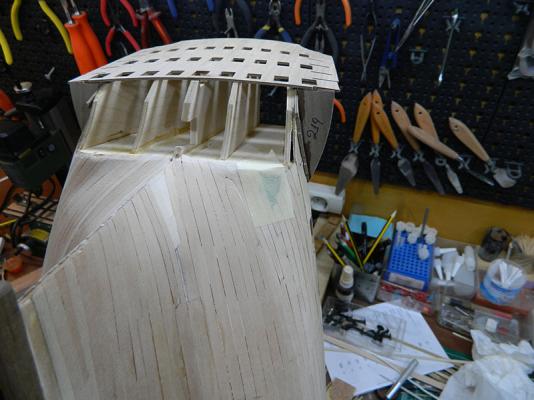
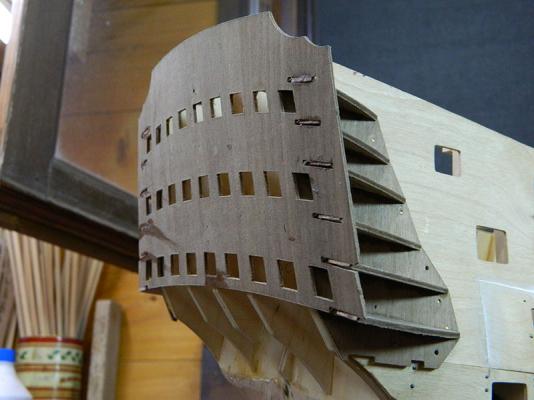
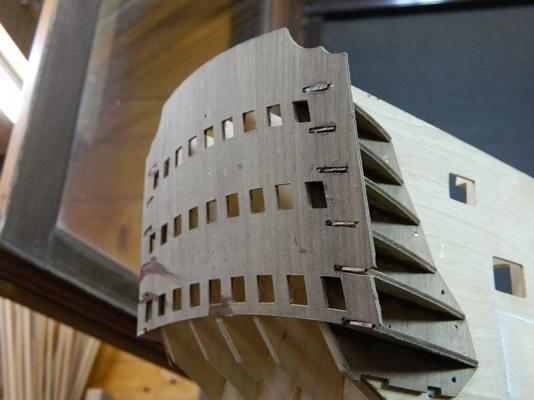
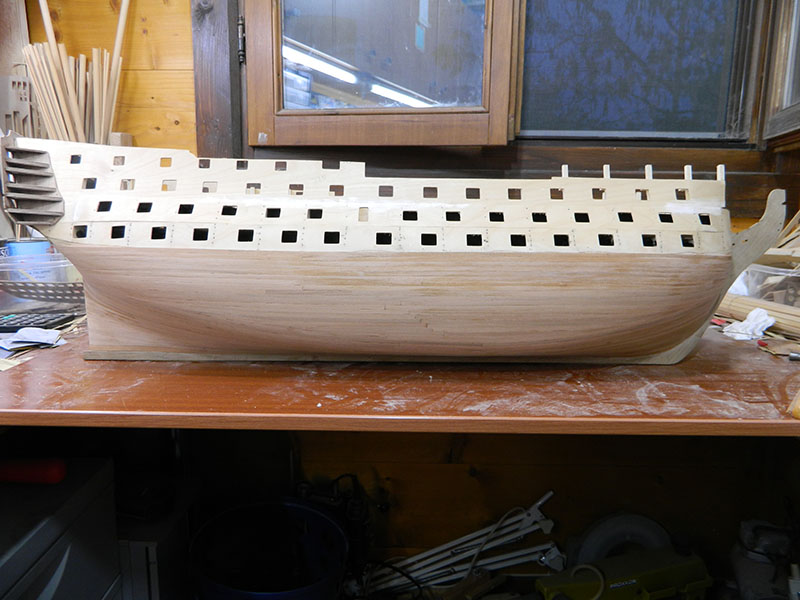
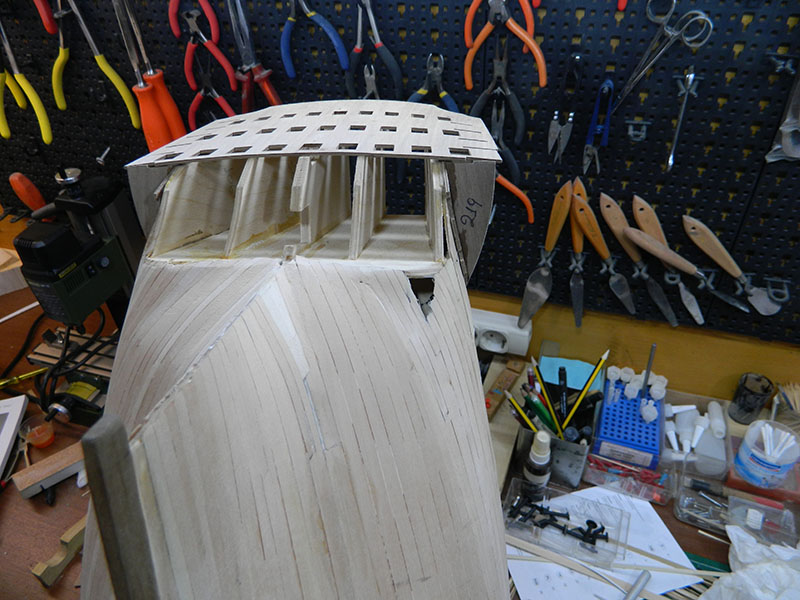
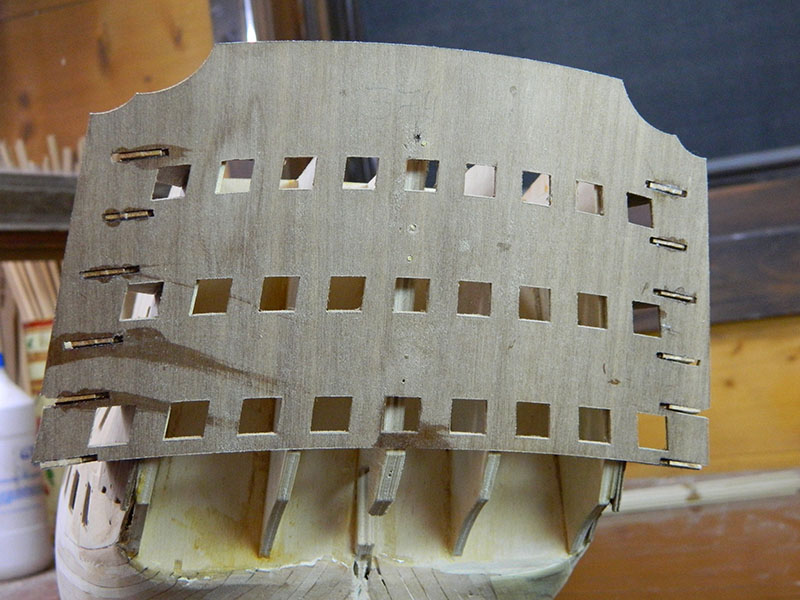
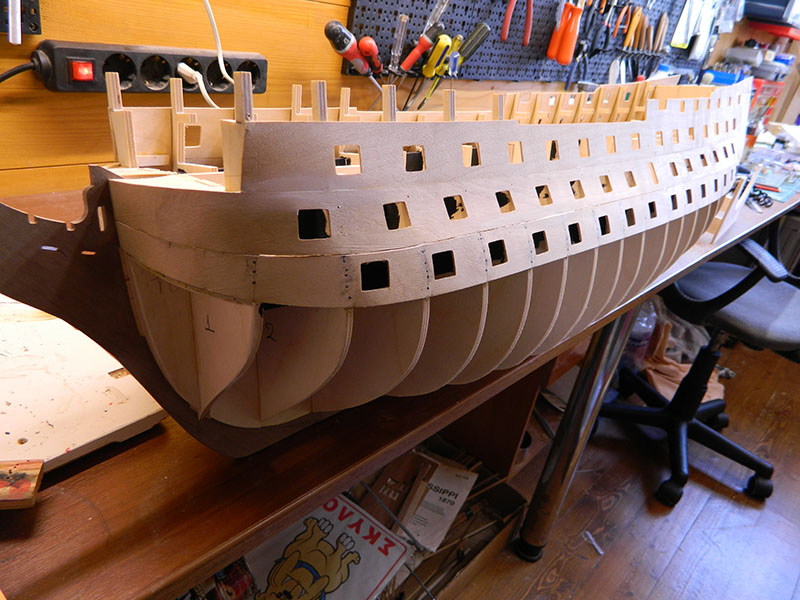
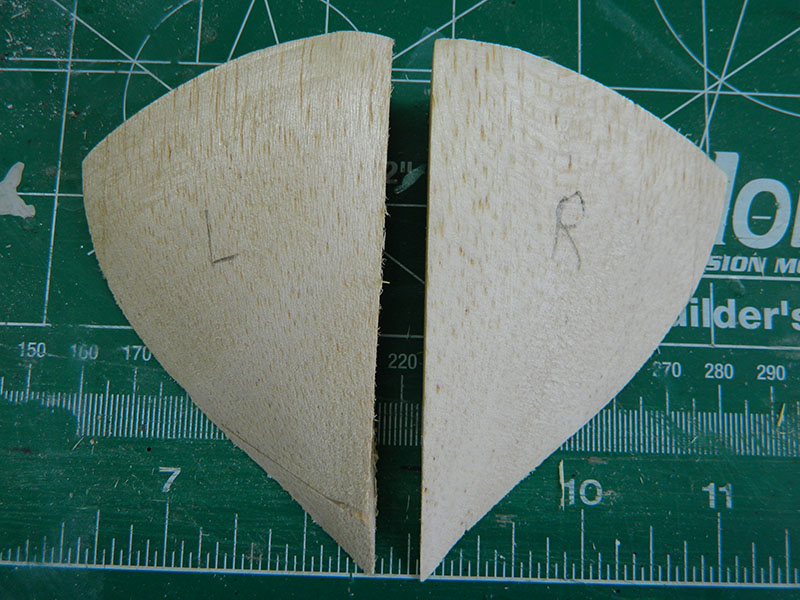
Hello folks,
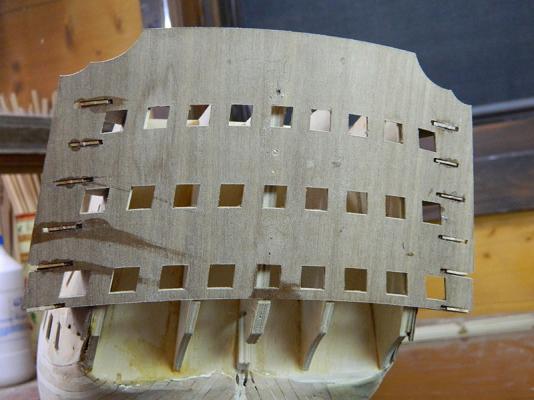
I glued the gunport patterns in place.

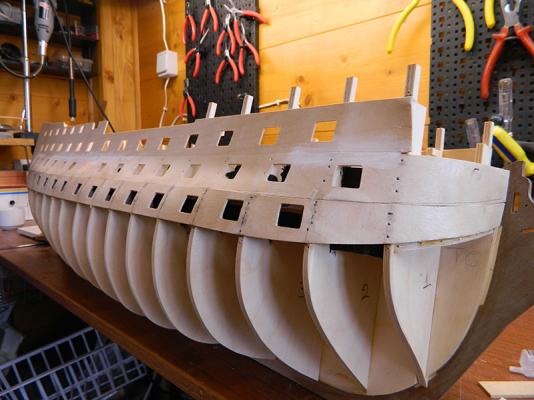
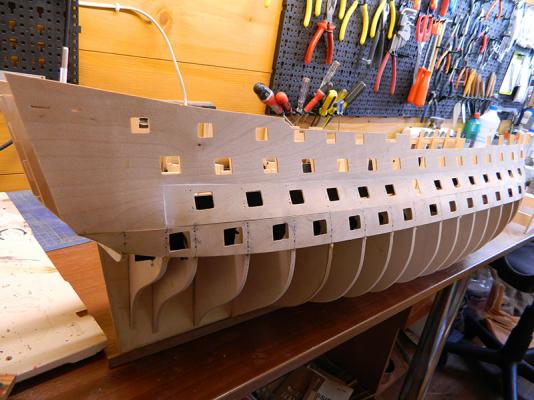
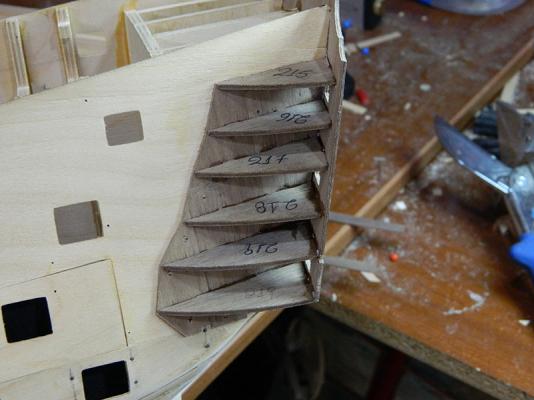
I made filler blocks for the bow to give the planks a better surface to sit on.
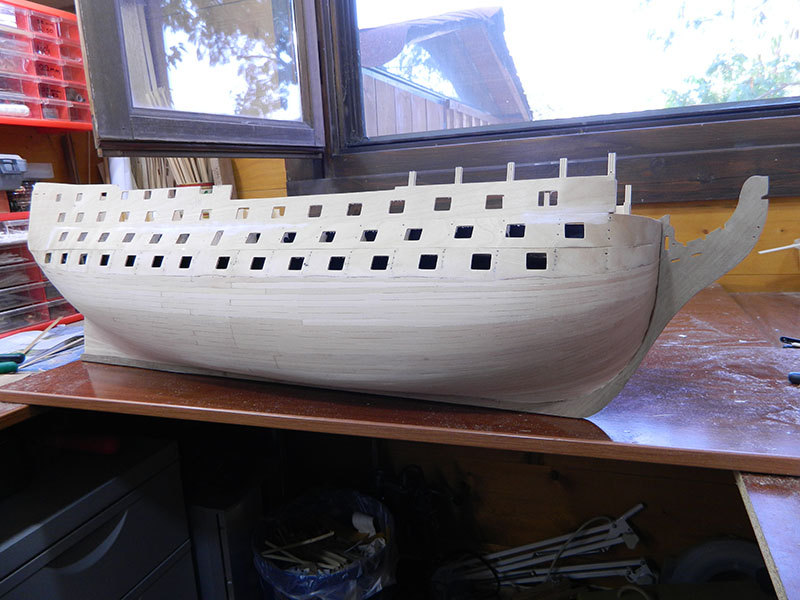
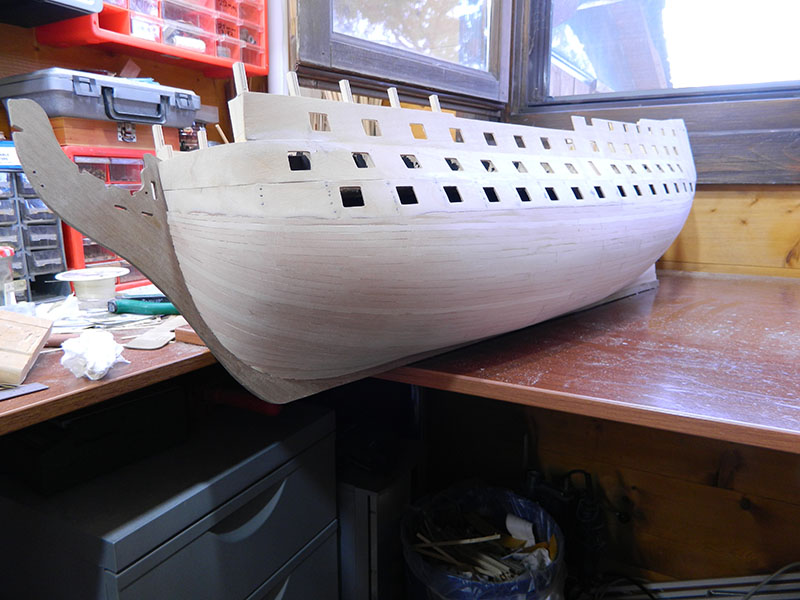
The first planking has been completed.


Vasileios
- ianmajor, Anja and Seventynet
-
3
-
Hello Ian,
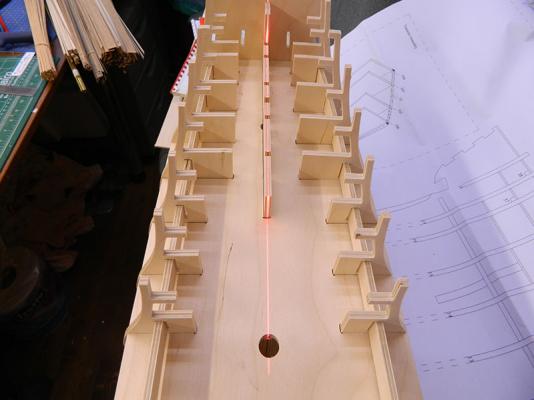
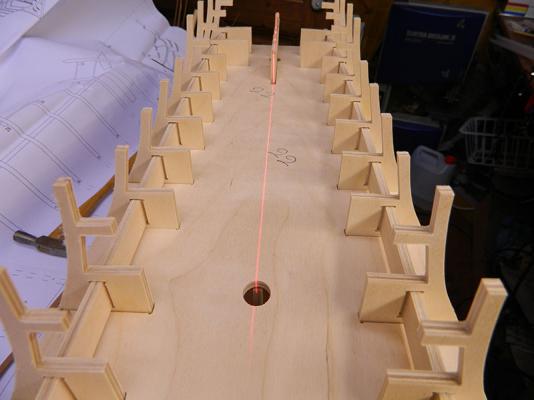
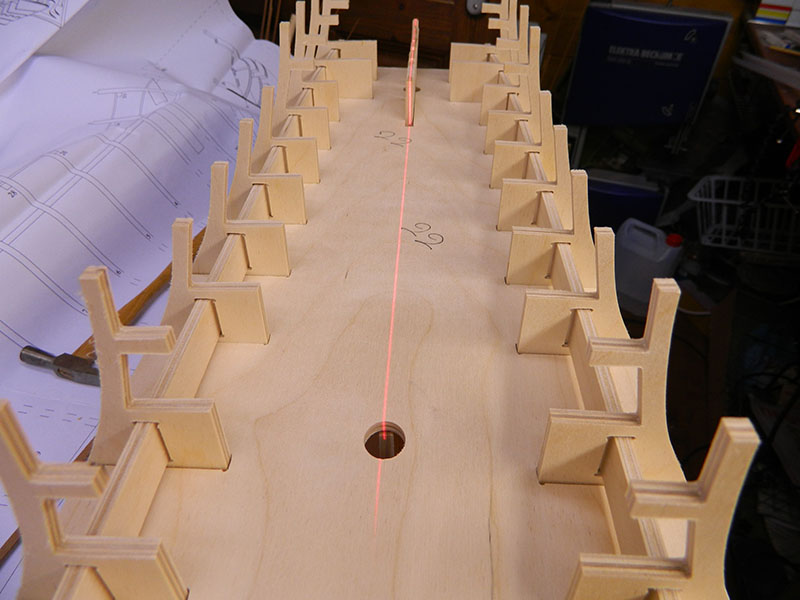
The laser is indeed a very good tool to have in your workshop.
Hello David,
Thank you for following my log. I am already enjoying building it.
Hello Anja,
It's good to be back.
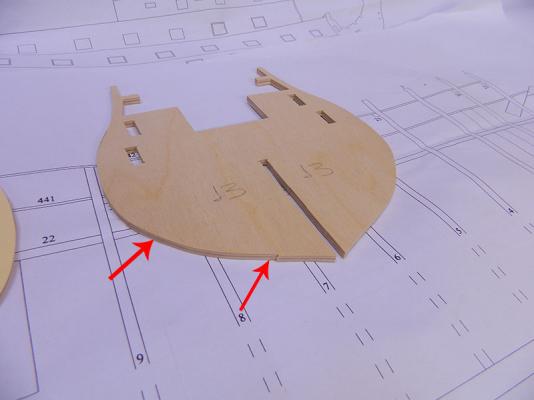
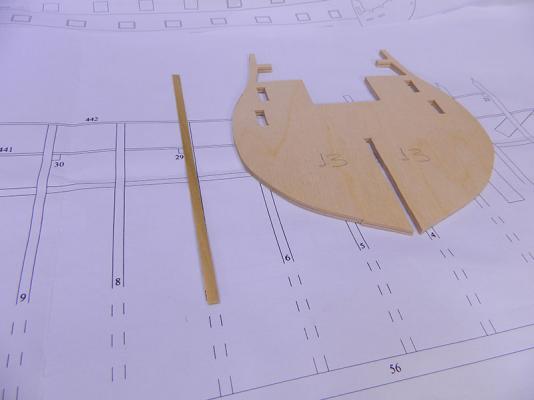
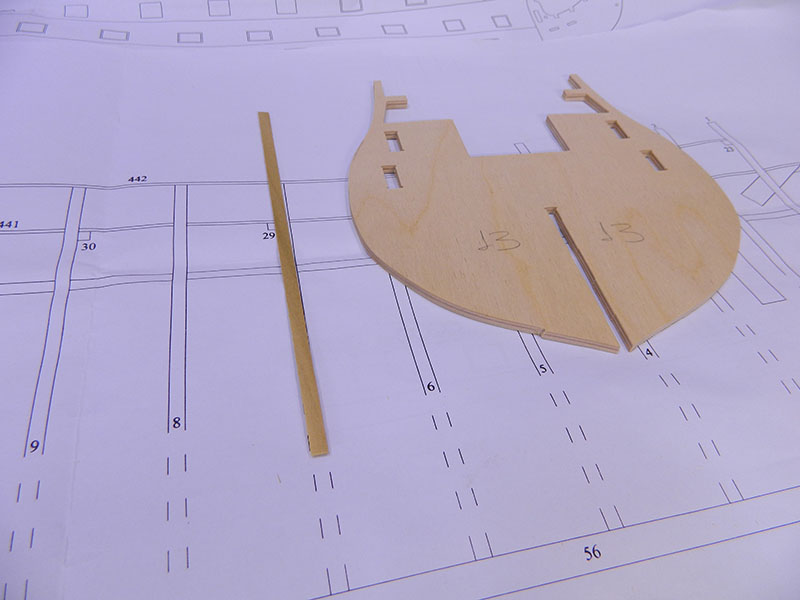
A problem with bulkhead number 13 which had been incorrectly cut by the manufacturer was corrected by adding a piece of 1X6 mm limewood to make both sides of the bulkhead identical.
Vasileios
-
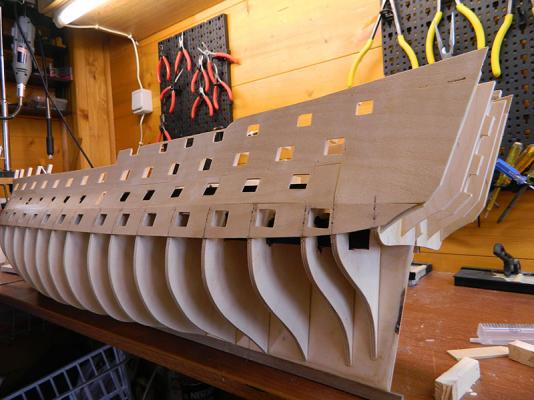
Hi folks,
While my wife (Frederica) is busy working on the Royal Caroline and takes no notice of me
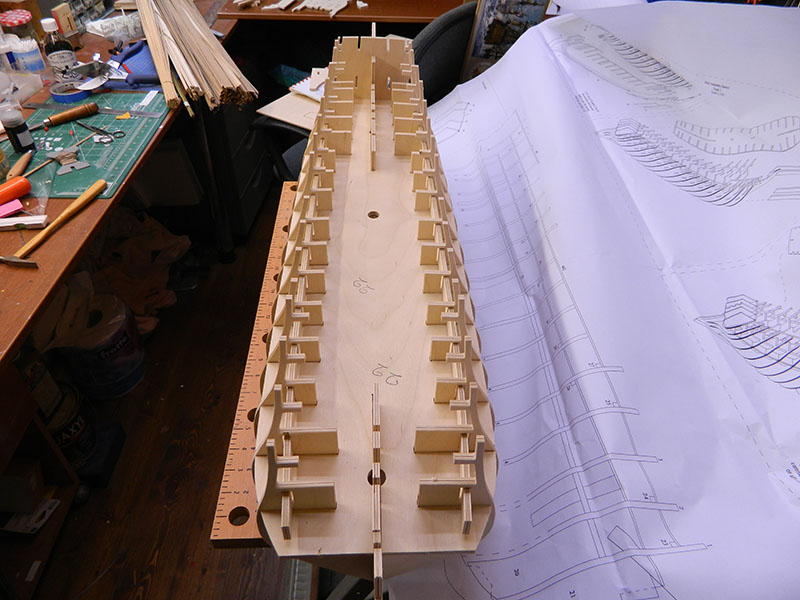
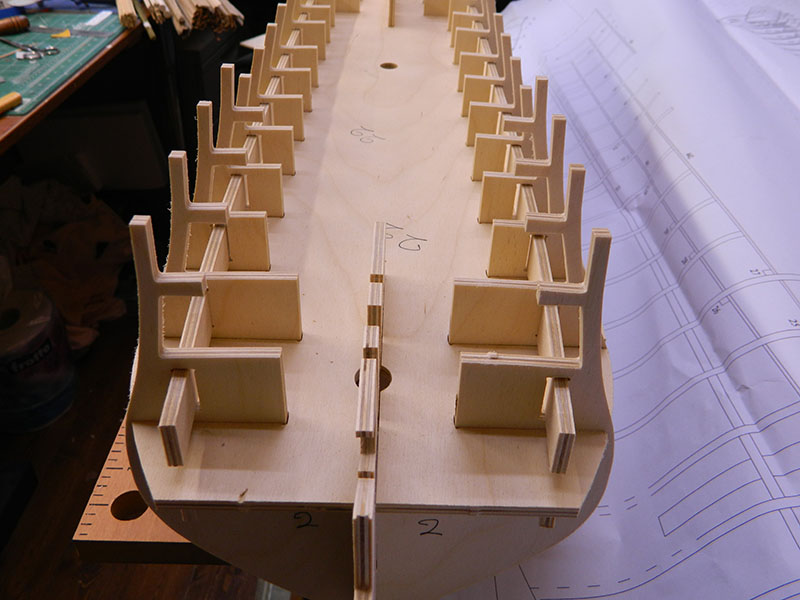
 I decided to start working on my new project which is HMS Victory.
Squashed in the far end of our workshop I am trying to fit this enormous and beautiful ship.
Some photos of an initial dry fitting.


Vasileios
-
Good morning Chris,
Congratulations on a beautiful build.
I would like some help with the colour scheme for Victory. I have Caldercraft’s kit and I am a bit confused with the colours given by the company. I see you use Vallejo paints. I do also.
Which Vallejo colours do you recommend for painting the hull?
Also, which red colour do you recommend for the gunports?
Thank you ever so much,
Vasileios


HMS Victory by Vasileios - Caldercraft - 1:72
in - Kit build logs for subjects built from 1751 - 1800
Posted
I occupied myself with the construction of the thirty (30) cannons for the upper deck. In photo below, some cannons to which I have applied Vallejo’s grey primer.
Some cannon ready painted. I used Admiralty’s yellow ochre and Vallejo’s matt black modelcolour for the black areas.
For all holes to be drilled I used Proxxon’s small vertical miller MF70, for ultimate precision.
The completed cannons consist of twenty-eight (28) pieces and they have been slightly altered compared to the instructions; some extra pins and two rings have been added in order to make the cannon rigging easier.
Vasileios