
Check out our new MSW Sponsor Innocraftsman
×


Deacon
-
Posts
57 -
Joined
-
Last visited
Content Type
Profiles
Forums
Gallery
Events
Everything posted by Deacon
-
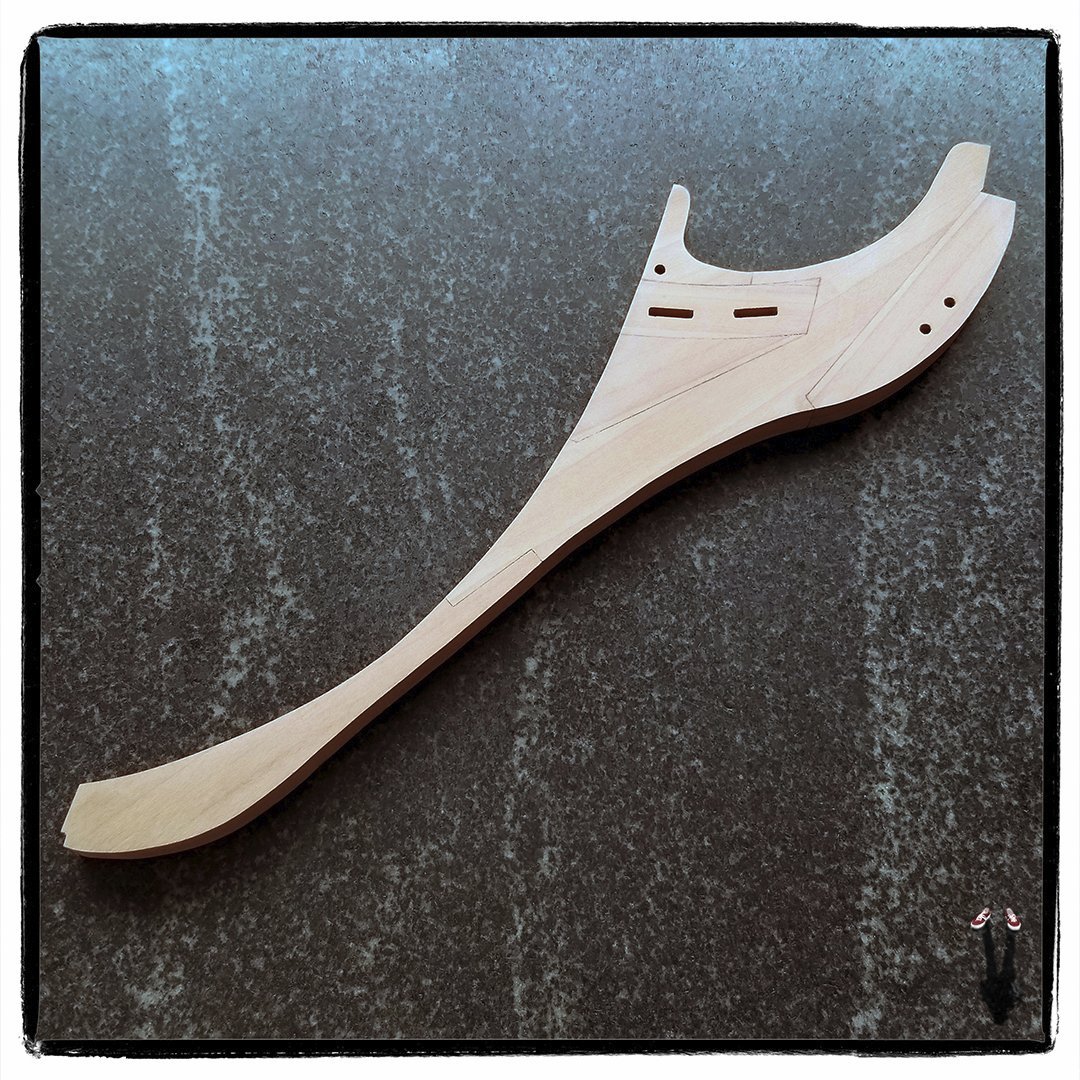
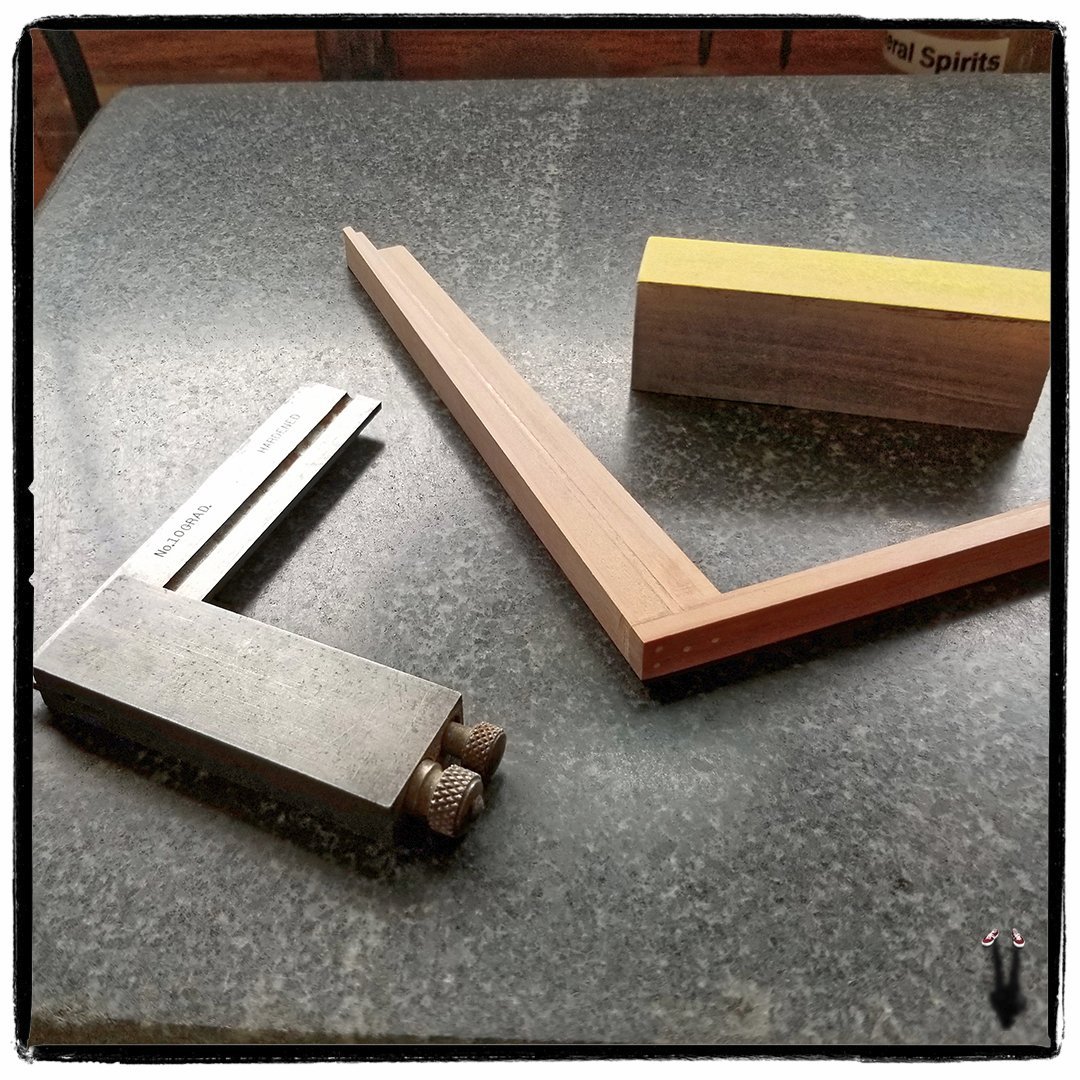
 The various pieces that form the exterior of the bow section of the keel were then cut using the scroll saw for all the curved edges and razor saw for the straight edges. The aluminum sanding block was very useful for truing up the straight joint edges while the curved edges were faired using various sanding drums in the mill. All pieces were glued up on the surface plate ensuring that the lower surface was flat and true. Once the glue was cured, the edges were faired using the drum sander again, and the port and starboard surfaces were cleaned up with a thickness sander. Like the keel itself, this section is slightly thicker than needed, leaving extra material for final fairing. Being something of a traditionalist, I use Hide Glue throughout. It has a longer setup time, produces a very strong bond, and cleans up readily with water.
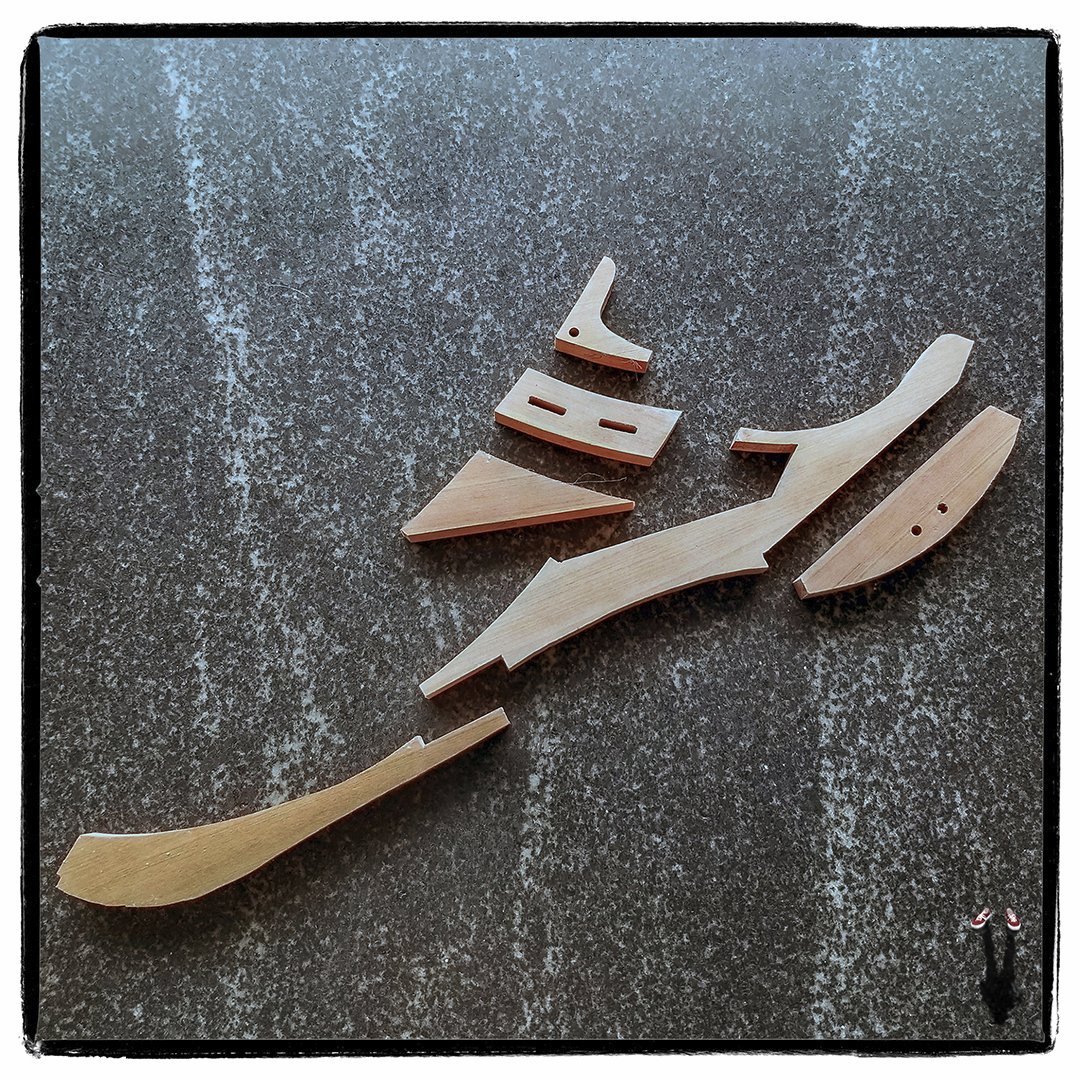
-
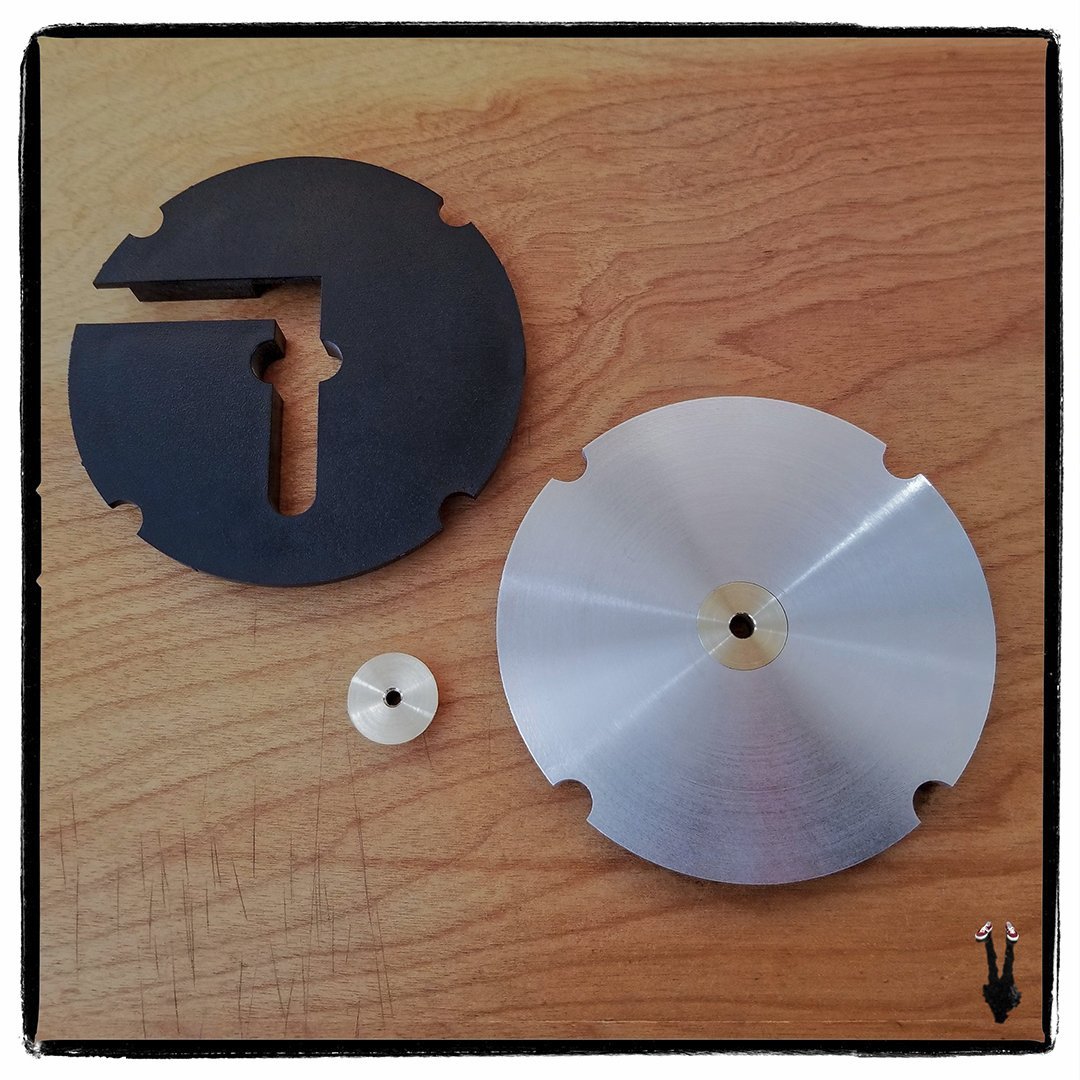
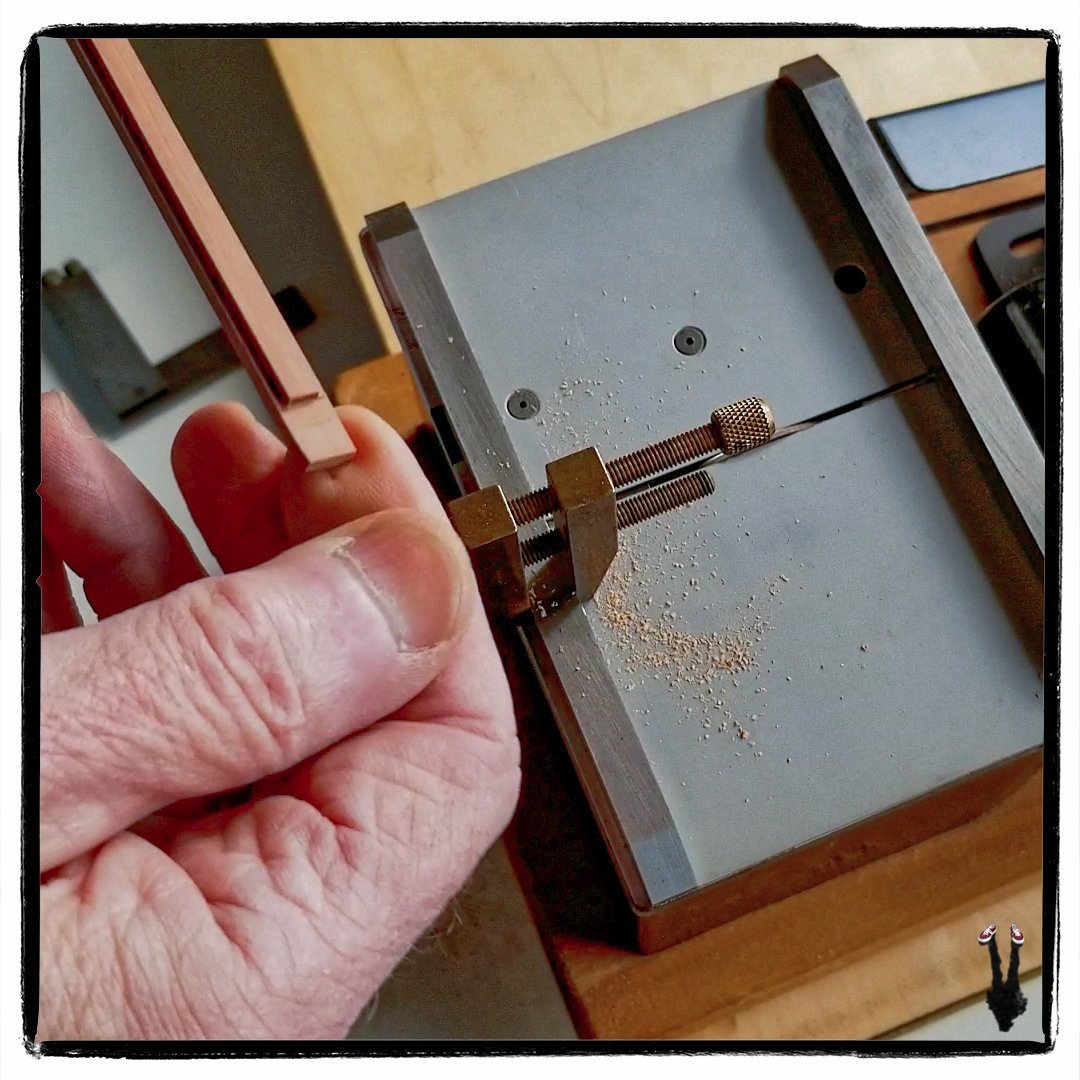
Next step was to cut the multiple pieces that make up the bow section of the keel. Before starting that process, I made a new throat plate for my scrollsaw to increase accuracy and safety. In the photo below the original throat plate is on the left. It has a rather large hole for the blade plus two open channels which make it almost impossible to cut smaller pieces as there is no support for the piece close to the cutting edge of the blade. It works fine though for cutting plywood or larger pieces of stock. To remedy the problem I turned a new throat plate from aluminum with two brass inserts. The one in place is for pinned blades, the second (with the smaller blade hole) is for pinless blades. Now, stock is fully supported up to the cutting edge of the blade making for greater accuracy and safety while using the saw.
-
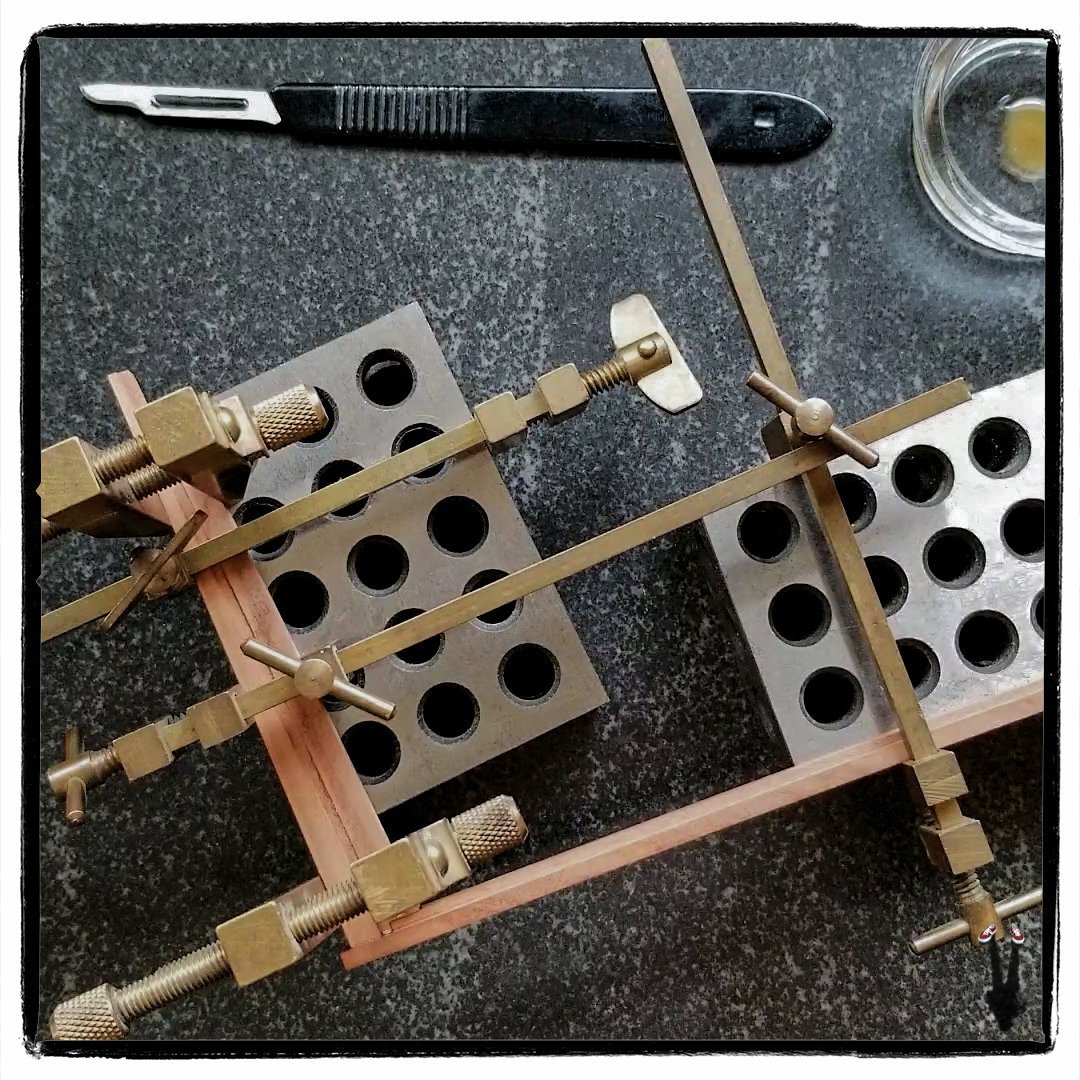
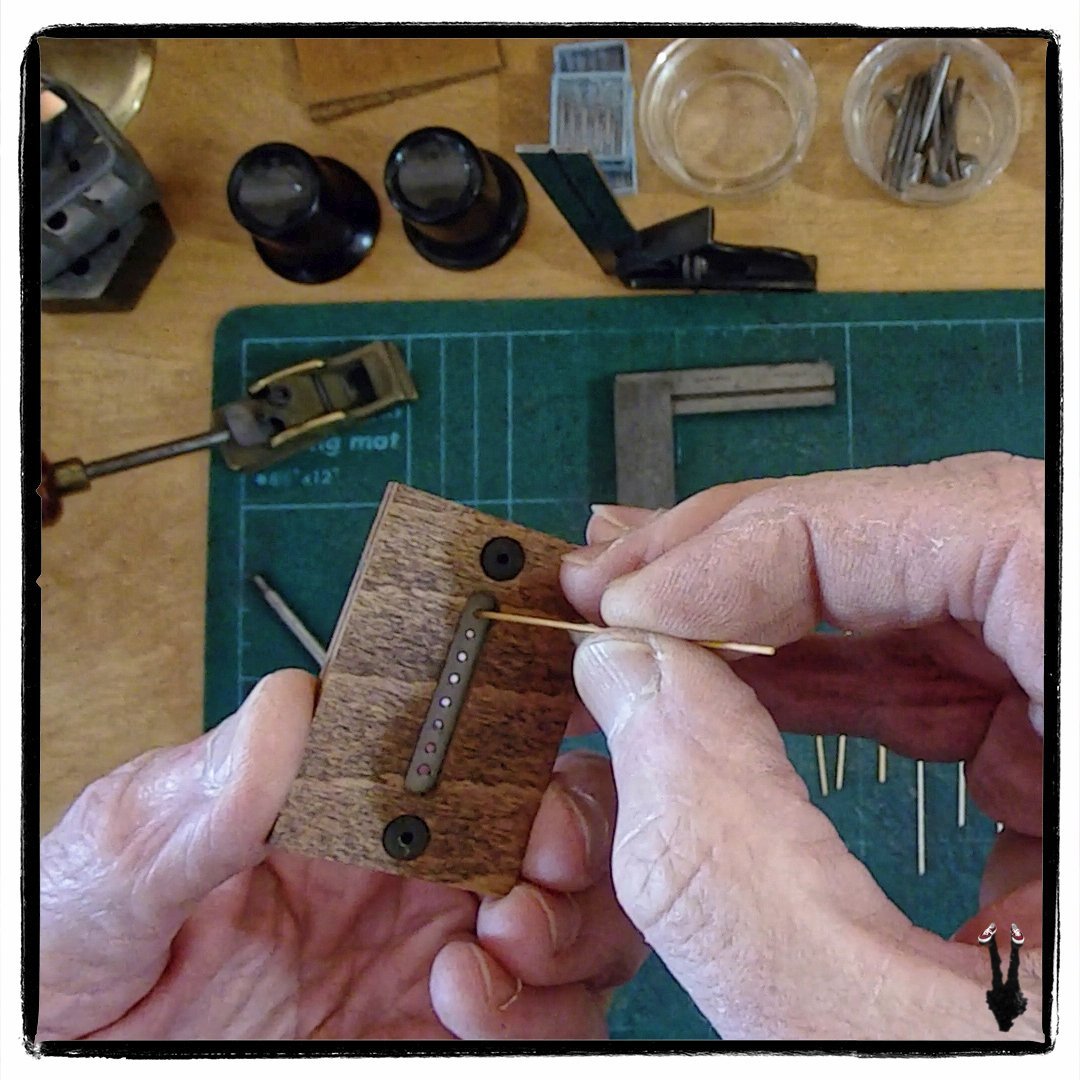
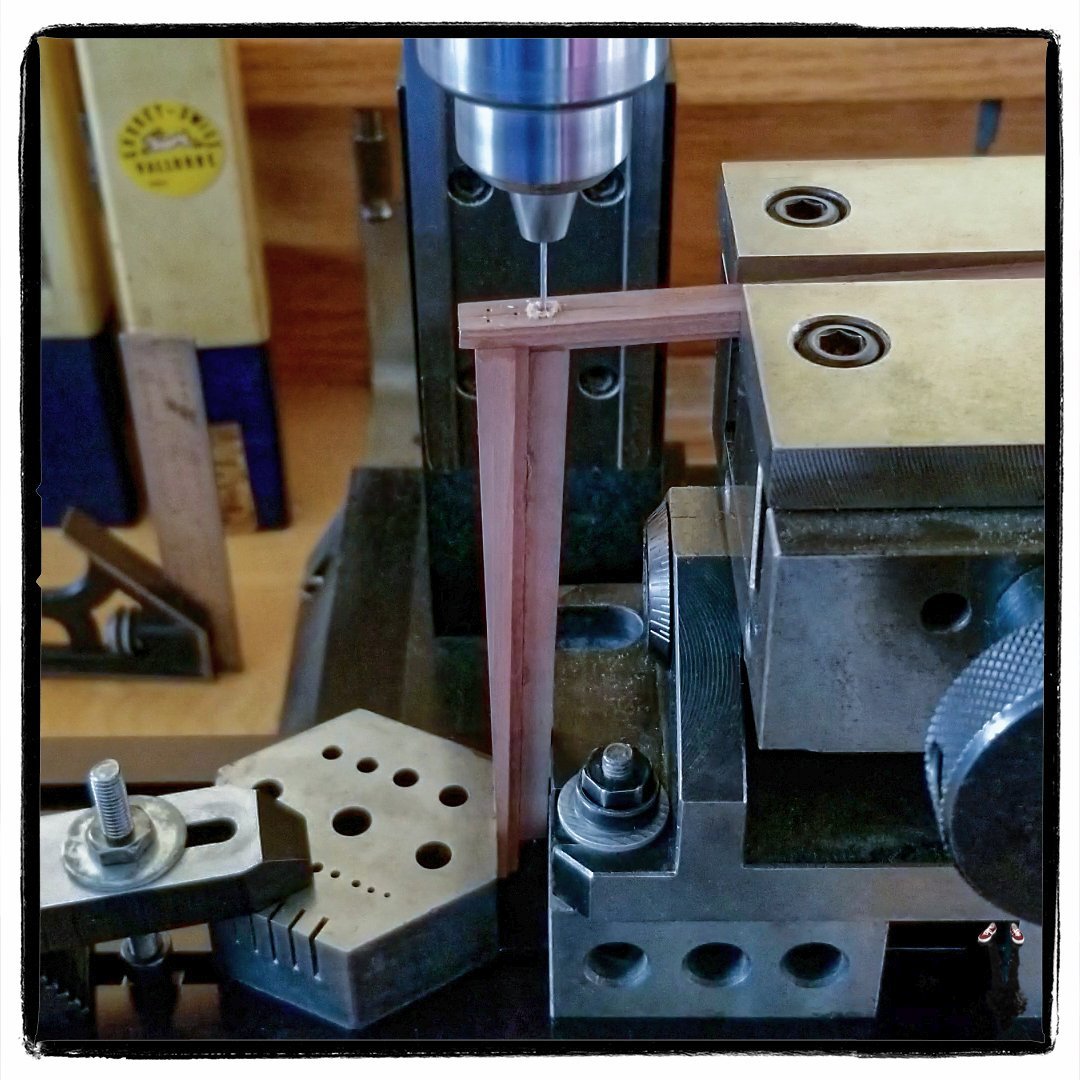
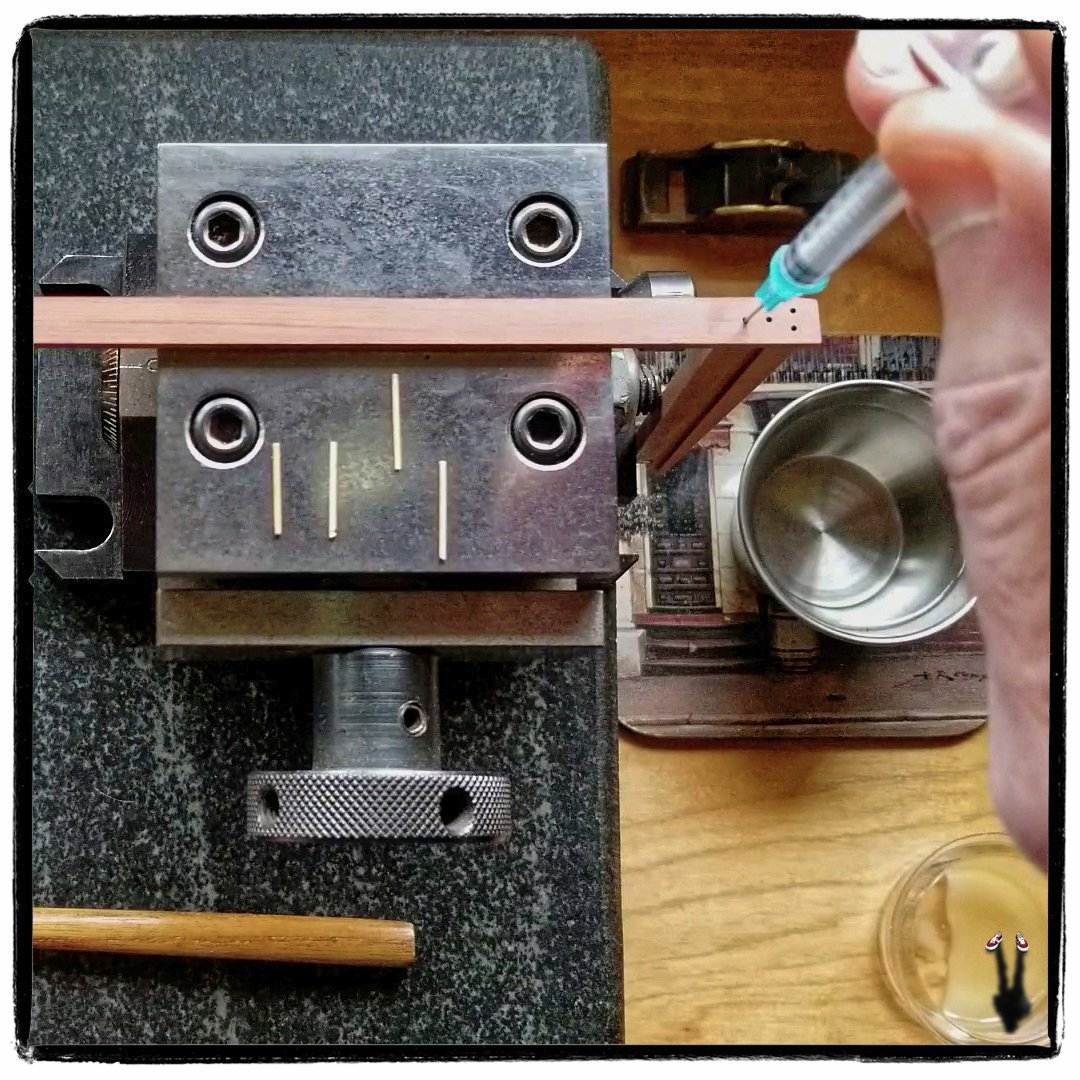
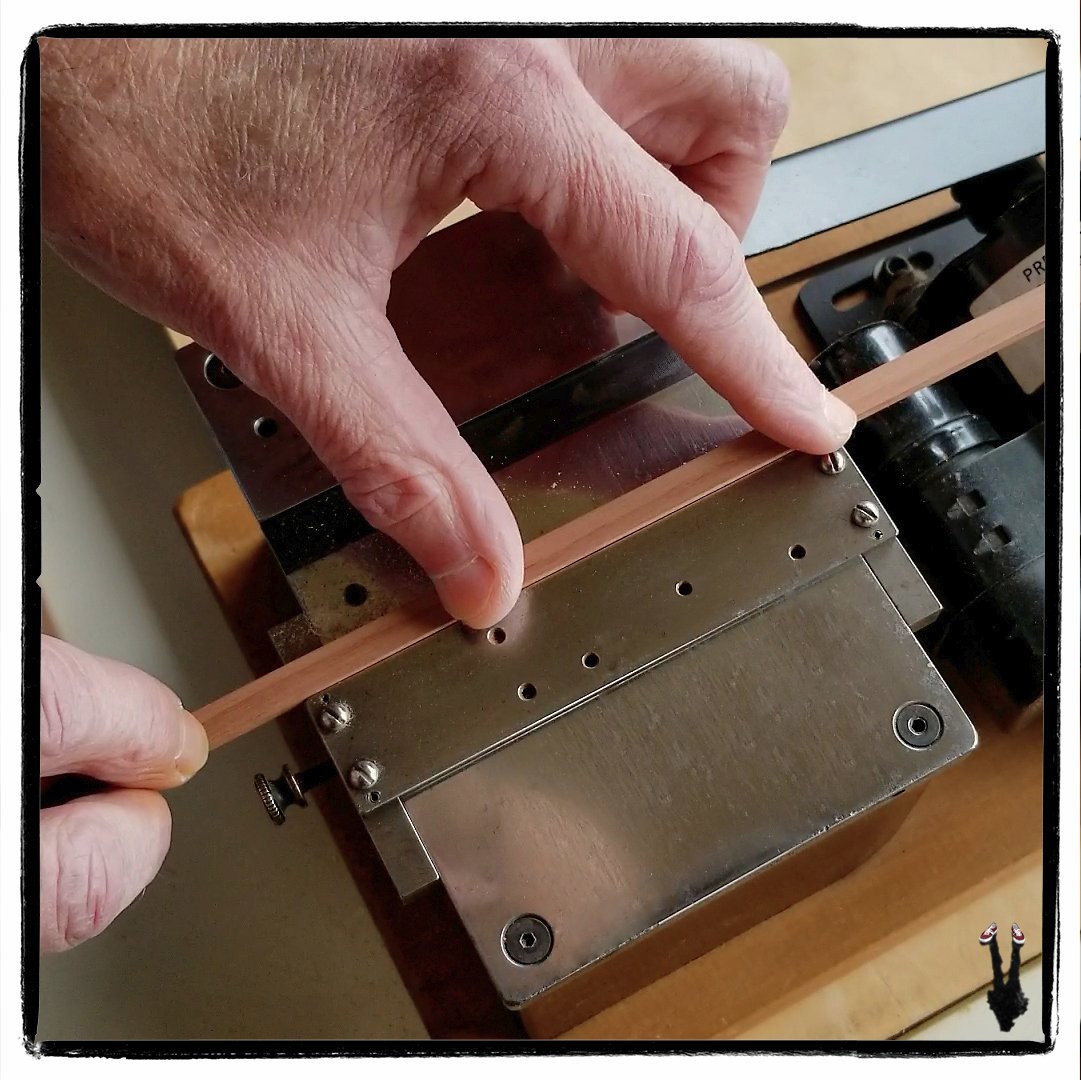
The next pieces I cut were the sternpost and inner post. Rabbets were cut in the sternpost on the Preac to match those on the keel. Photo below shows the glue-up assembly joining the sternpost, inner post, and keel. I used setup blocks on a surface plate to ensure proper alignment in all planes. These joints will be reinforced with treenails as end grain (sternpost and inner post) has no glue strength. While the glue was going off I made a small drawplate to make the Boxwood Treenails. I used a small piece of Titanium, salvaged from an old, dead MAC Titanium Powerbook that I scrapped. Titanium was drilled with a series of diminishing dia. holes from .050" to .024", then laminated between to pieces of thin plywood to add rigidity. I cut small Boxwood square strips on the Preac from leftover Boxwood scraps and offcuts to make the treenails. With the keel, sternpost, and inner post cured, I set the assembly up in the mill to drill holes for the treenails. It was setup at the angle so that the holes would be vertically aligned with the sternpost. Once drilled, the treenails were glued and tapped into place. Using a hypodermic needle I injected a small amount of glue into the bottom of each hole, then tapped in the treenail. In this manner, tapping the treenail in forced the glue up around the treenail ensuring a solid bond. Once glue had gone off, I cleaned up the assembly. The small aluminum block in the background is a sanding block which I used to cleanup the rabbets. I lapped one surface flat, then glued on a piece of sandpaper. It's excellent for getting into small areas and angles, and being absolutely flat, it functions much like a jointer plane in truing surfaces.
-
With the keel cut it was time to cut the remaining stern and bow pieces to complete the keel. To that end I photocopied the relevant portions of the supplied plans onto drafting vellum. I used vellum because it is more stable than regular photocopy paper and it produces cleaner, sharper lines with much less ink/toner bleed. I then cut out the pattern pieces (highlighted in orange) with a scalpel following the plan. Once each pattern was cut out, they were glued to the mahogany stock for cutting.

-
Though I am retaining the plywood keel provided by the kit, I am replacing the visible portions with solid timber. The first step was to cut the keel itself which I cut on the Preac saw from some Mahogany I had in stock. In the photo below I'm cutting the rabbets on both sides of the keel for the garboard strake. In the second photo I'm cutting the rebate for the sternpost and inner post on the top of the keel, again on the Preac, but this time using a sled I fabricated for making cross cuts. As it is it will cut at exactly 90 degrees to the blade. With the addition of angle setup blocks, it's possible to make repetitive angle cuts at virtually any desired angle. You may notice that the keel is wider than it should be. This is done on purpose, leaving extra material for fairing after planking.
-
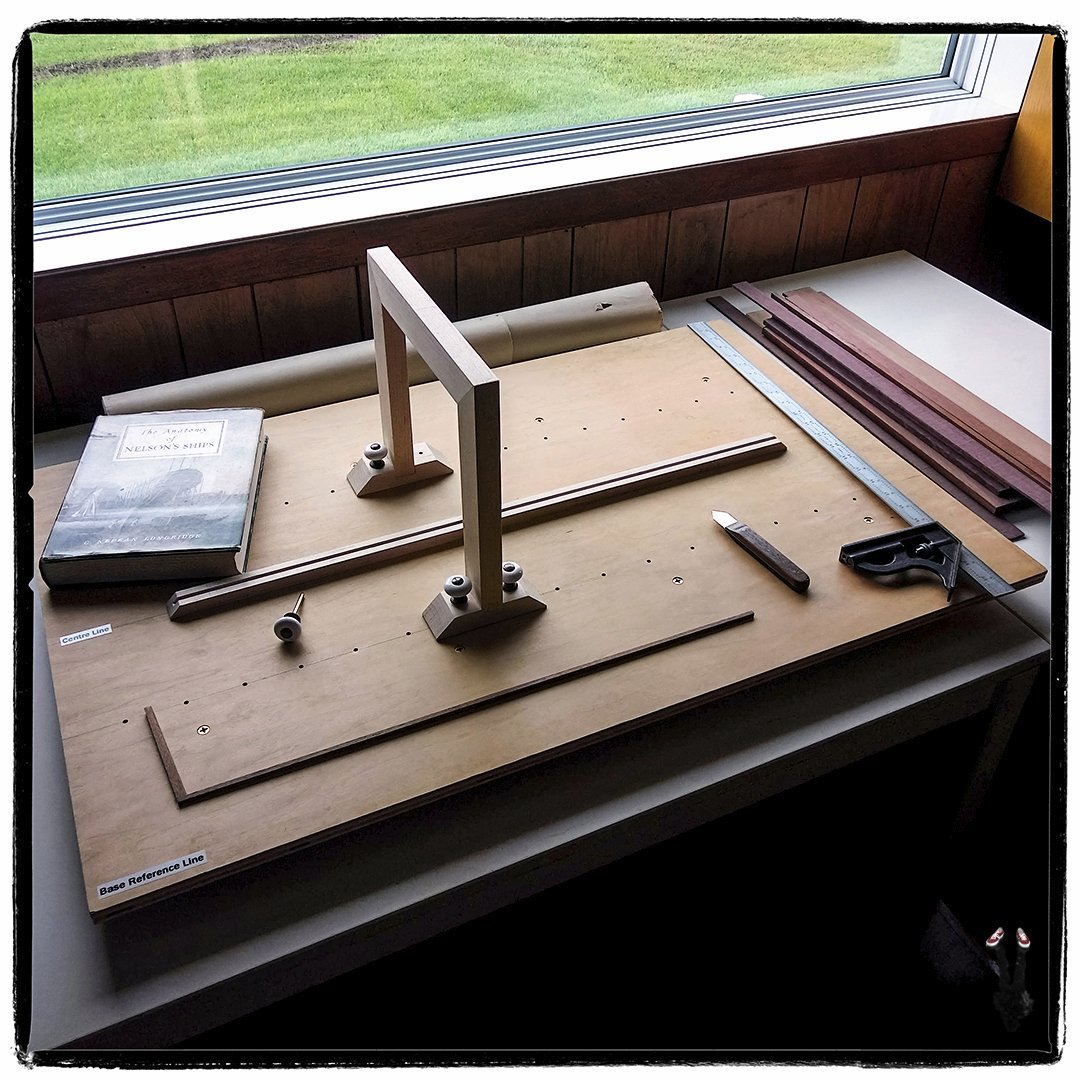
The first step in the project was to construct a build-board. I based mine on Dr. Longridge's design in The Anatomy of Nelson's Ships, for me the primary reference source I am using. The build-board is constructed from 3/4" Birch ply with two 1" x 1 1/2" Maple stringers on the underside to keep the board rigid and makes it easy to pick up and move if needed. The travelling frame is also constructed from 1" x 1 1/2" Maple. It's held in the desired position by brass pins with repurposed porcelain knobs. The central keel support strip was machined from 3/4" W. x 1/2" thick Maple.
-
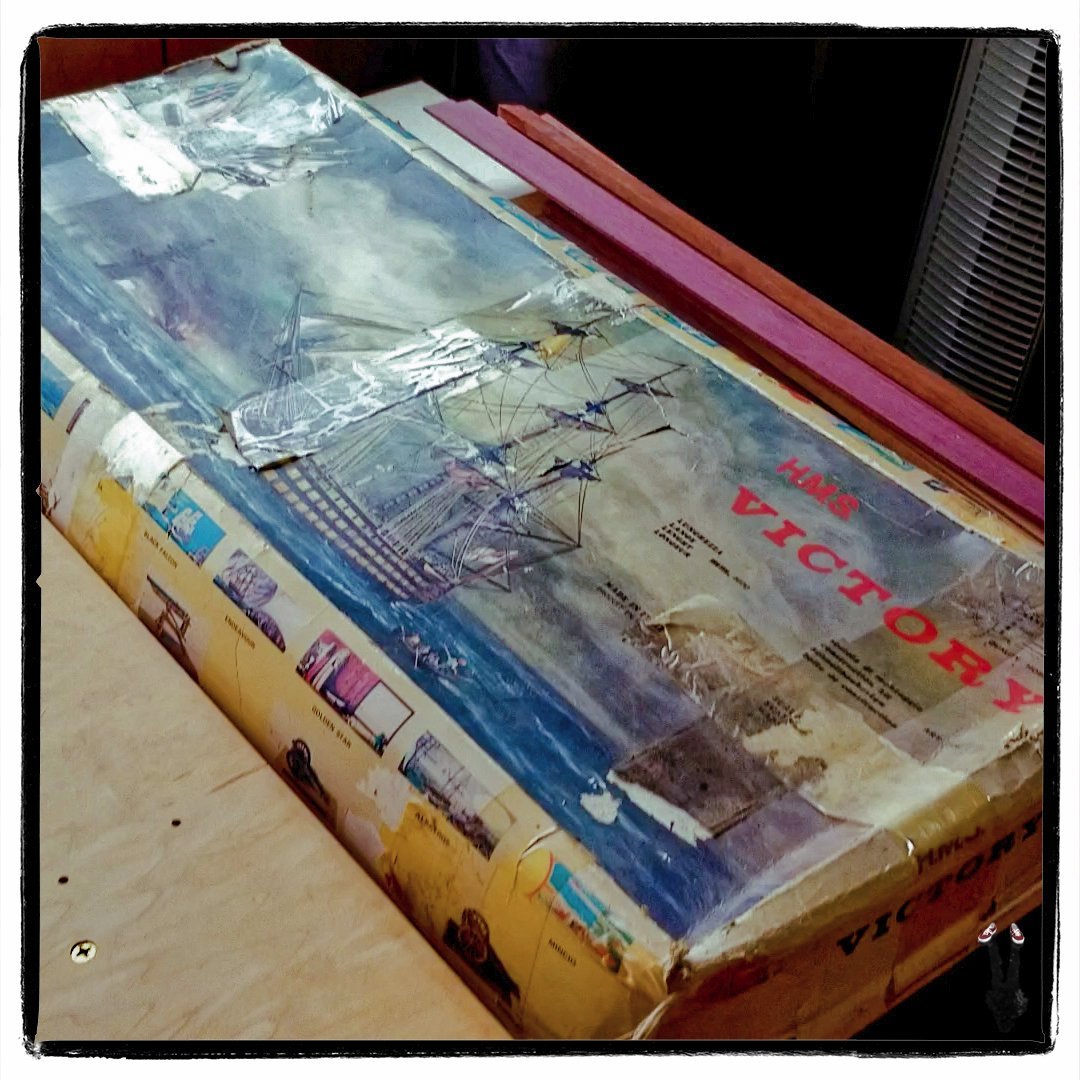
A few notes first about this build. I purchased this kit in the mid-to-late 1970s. It's the original Mantua 776 kit, not the laser-cut version. As you can see in the photo below, the box is definitely showing its age having been carted between Canada and the U.S. multiple times and back-and-forth across the continent several times over the years. Now retired, I decided it was finally time to tackle it, after all, you don't want to rush into these things. The build is a combination of scratch-built components married to or replacing plywood (predominantly) parts in the kit. I don't like plywood to be visible, so the only plywood used will be in the hidden interior structure. To that end I'm scratch-building a new keel which will be covered in more detail later in the log. Note that many of these photos are frame stills taken from our video log of the build on our YouTube channel Whisky Workbench, so image quality is not the best. The second photo shows the interior of the box, basically a box of wood. There are smaller boxes with plastic detail castings, brass cannons, rigging materials, and so on.

-
Thank you Dave.
-
Thank you Patrick.
-
Thank you Druxey, I'll check out the site.
-
Thank you Mark, much appreciated. I will do a build log from the beginning of the project, once I pull some stills from the early video log over the next few days.
-
Well, I thought you were either a fellow clansman or you turned to Google out of curiosity. Not a lot of people recognize Gaelic. We have Menzies and North Yorkshire ancestry, rather a rowdy bunch as I understand. 😉
-
Thank you very much gentlemen for the welcoming messages.
-
That's right Chris... very perceptive.
-
Thank you to the admins for accepting my membership application. I am currently building the HMS Victory in 1:98, based on the original 1970s era Mantua kit 776 (not laser cut). I say based on the original because I am replacing some components of the model with scratch-built parts, currently the keel assembly. I purchased the kit new in the late 1970s and figured it was about time I built it! Not my first ship model, but the first in over 50 years! Retired from law enforcement administration, I have quite a varied background. I worked as a professional modelmaker in the 1990s, primarily with 1:48 scale narrow gauge railway models. At the time my work was published in the Narrow Gauge and Short Line Gazette, Model Railroader, and the Narrow Gauge and Industrial Railway Modelling Review for whom I wrote a series of columns titled "At The Workbench." I'm a trained furniture maker/woodworker. I also had my own graphic design/3D CGI product viz/animation studio (still dabble on occasion) and in the early 2000's I was owner/fabricator of a motorcycle customizing shop in California. We currently have a YouTube channel called Whisky Workbench on which I'm documenting the Victory build while focusing on traditional craftsmanship tools and skills, and how they are appropriate and essential for model building. I'm looking forward to meeting many of you here online and continuing my ship-modelling education, and hopefully will be able contribute something of value in return. Deacon Geal 'us dearg a suas


