Frodo
-
Posts
53 -
Joined
-
Last visited
Content Type
Profiles
Forums
Gallery
Events
Status Replies posted by Frodo
-
Floor-laying thing went very well. Got rid off 2 kg off ugly fatt too! Need to dump 5-6 kg more, but I'm not going to do it in the floor laying business.
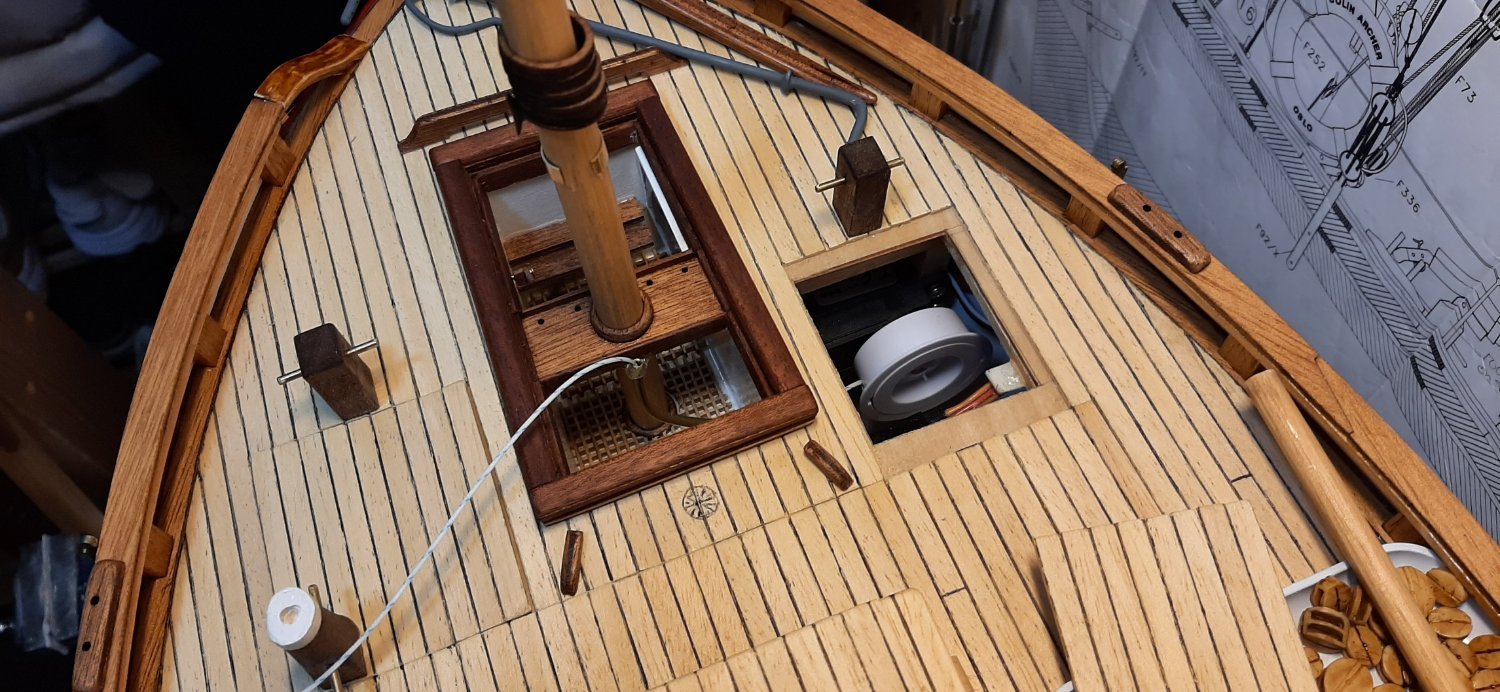
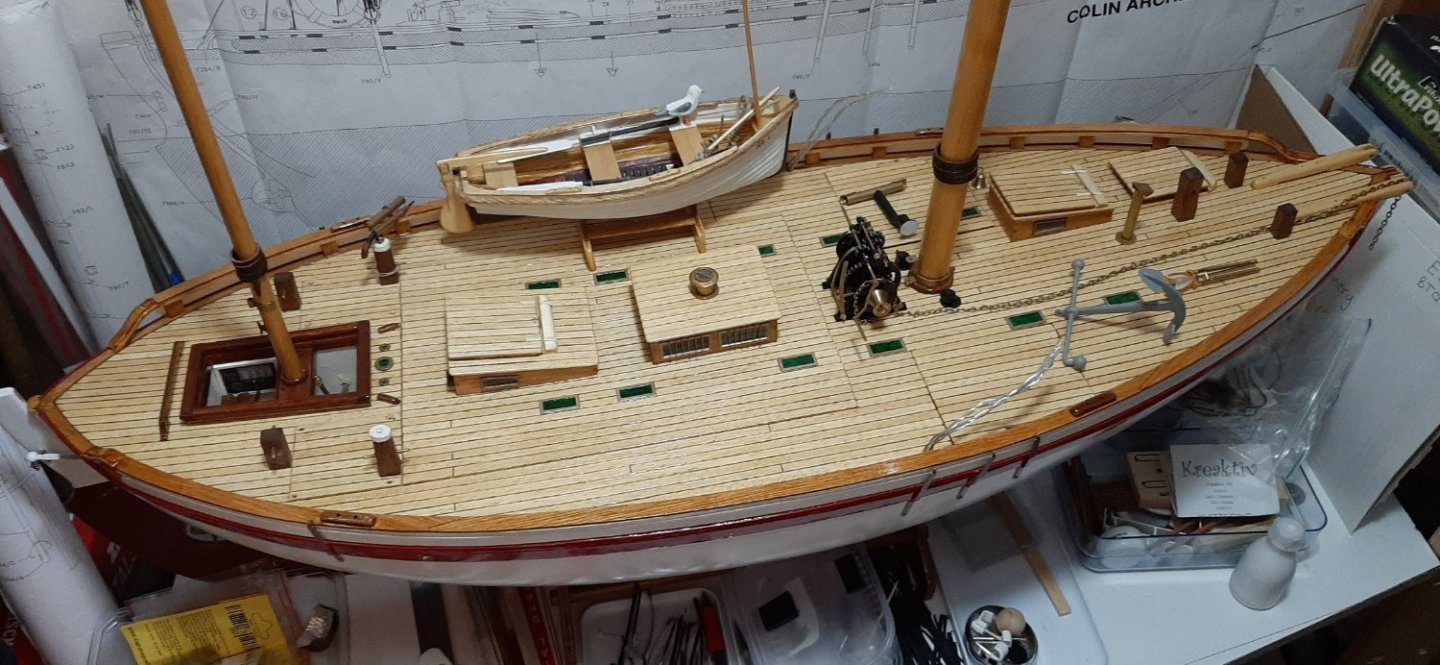
Not easy to get back into the swing of yacht building again, but starting on some small jobs like fitting the steering well so that it can be removed for access to the propshaft and servos below deck.
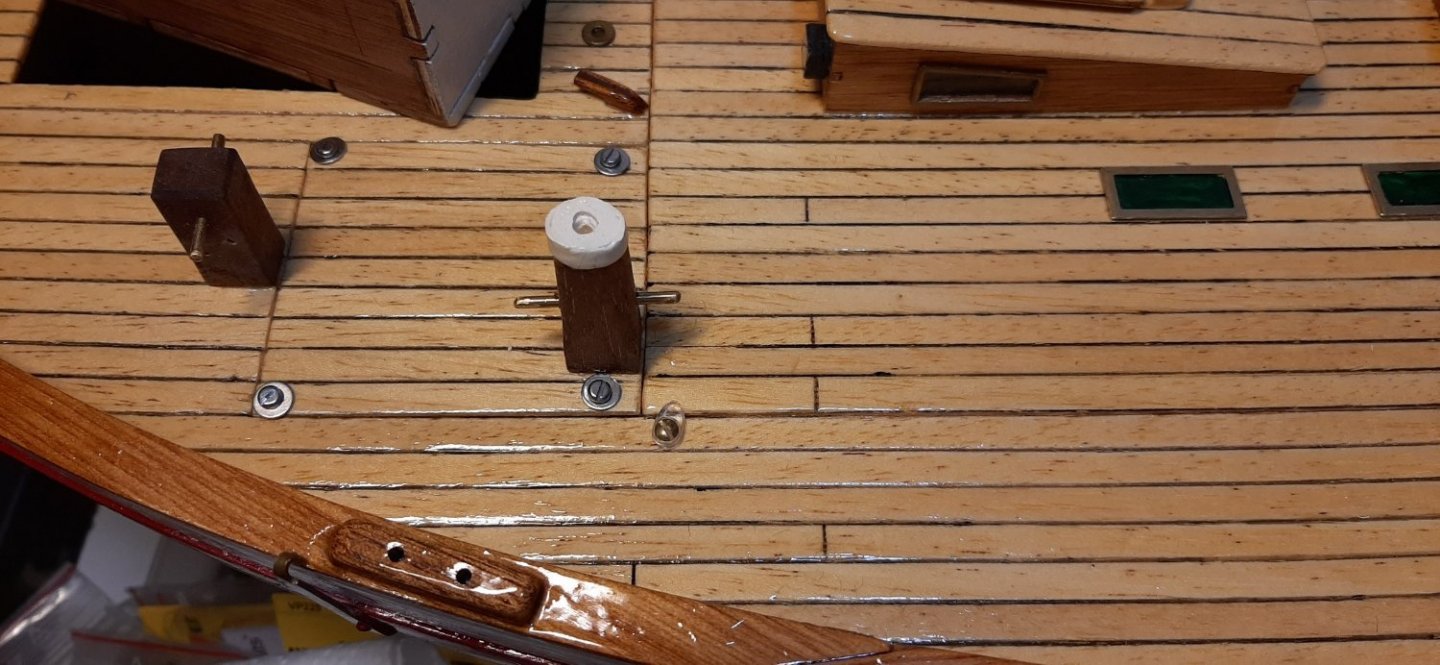
The smaller deck hatches will be held down by brass-painted 6.5mm screws and washers. The main hatch will be held by Caldercraft/Krick 'hatch-latches.
A lot of small jobs to do on deck fittings for the sheets and standing rigging. Also dozens of blocks to be assembled with eyes and straps.
Not quite onto a good build rhythm yet. The coming summer weather will also delay 'play'.
George

-
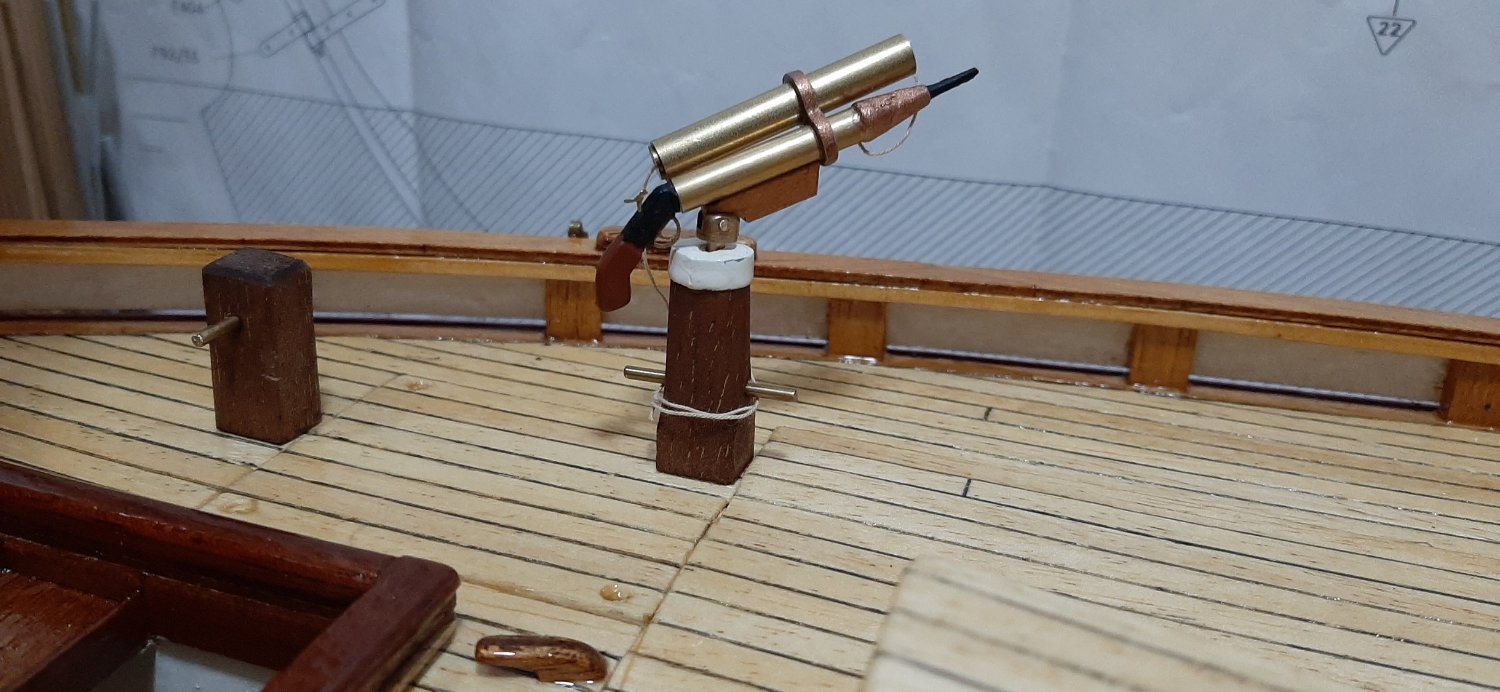
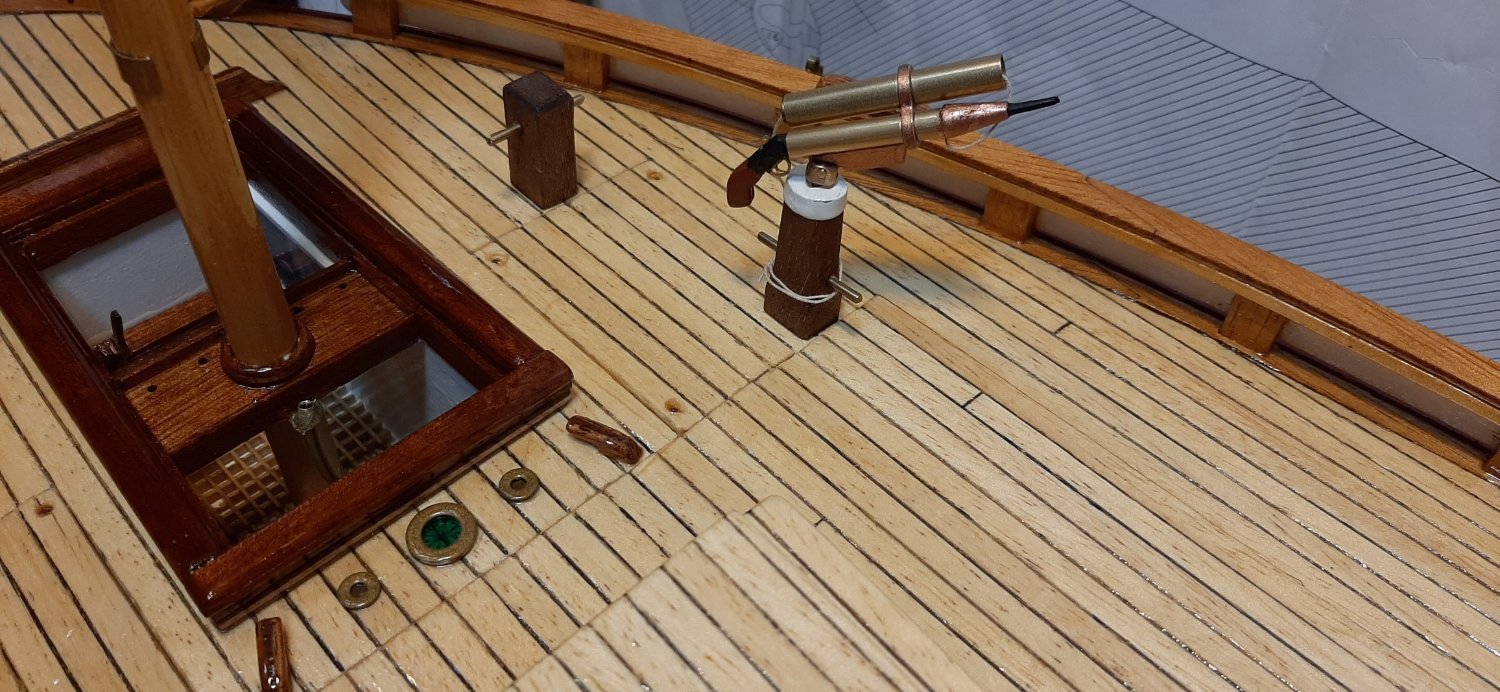
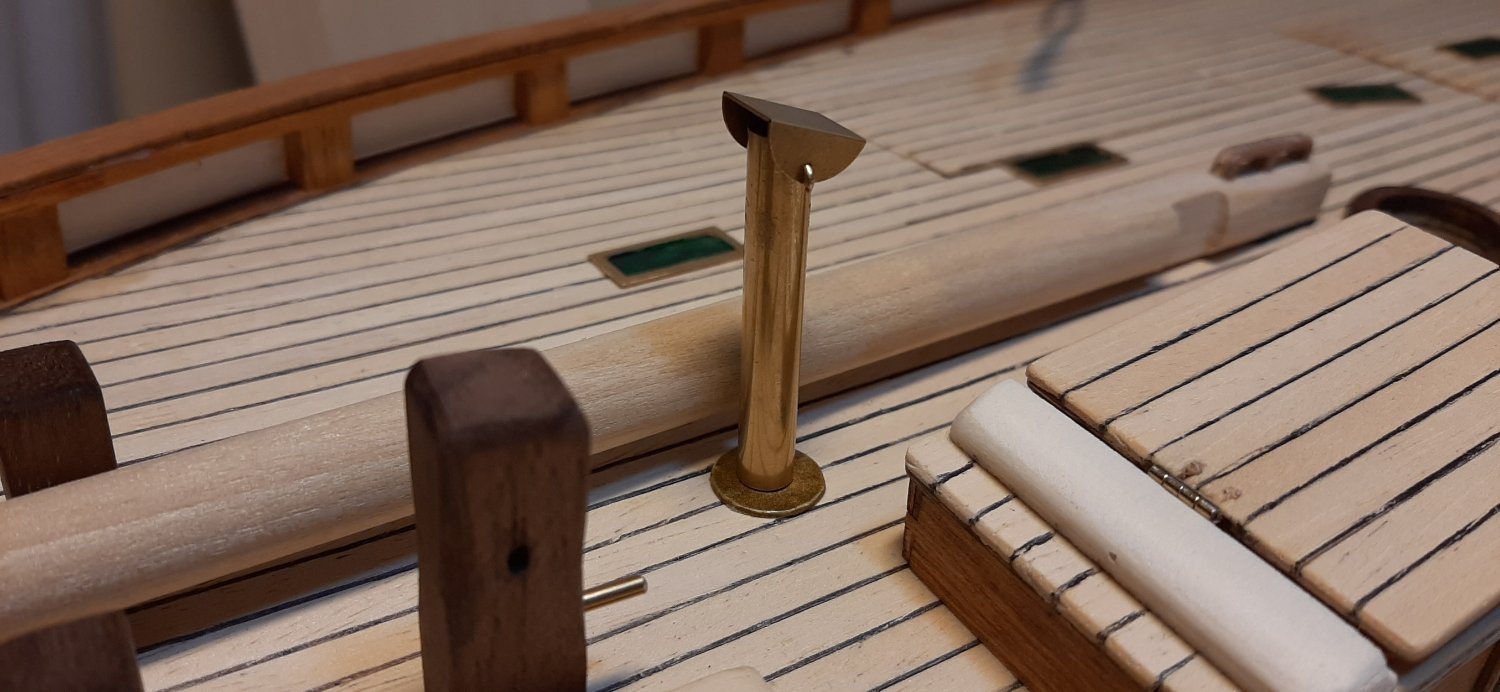
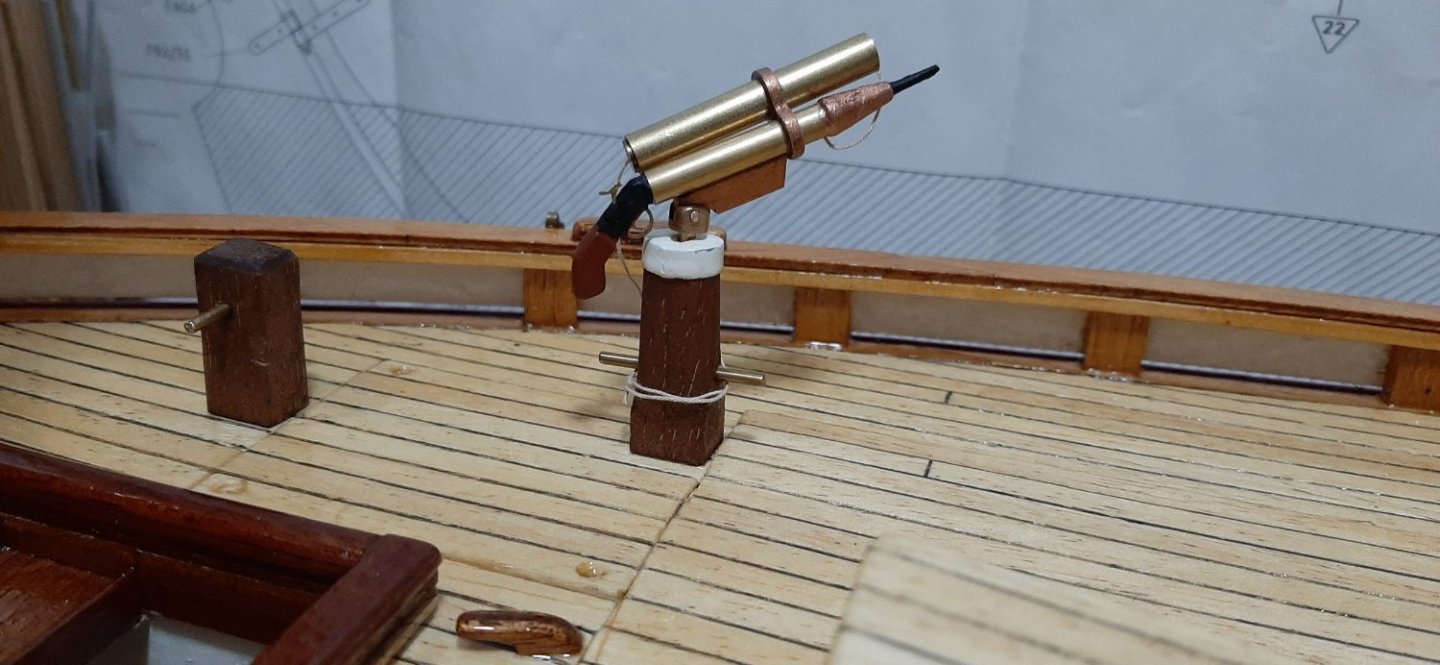
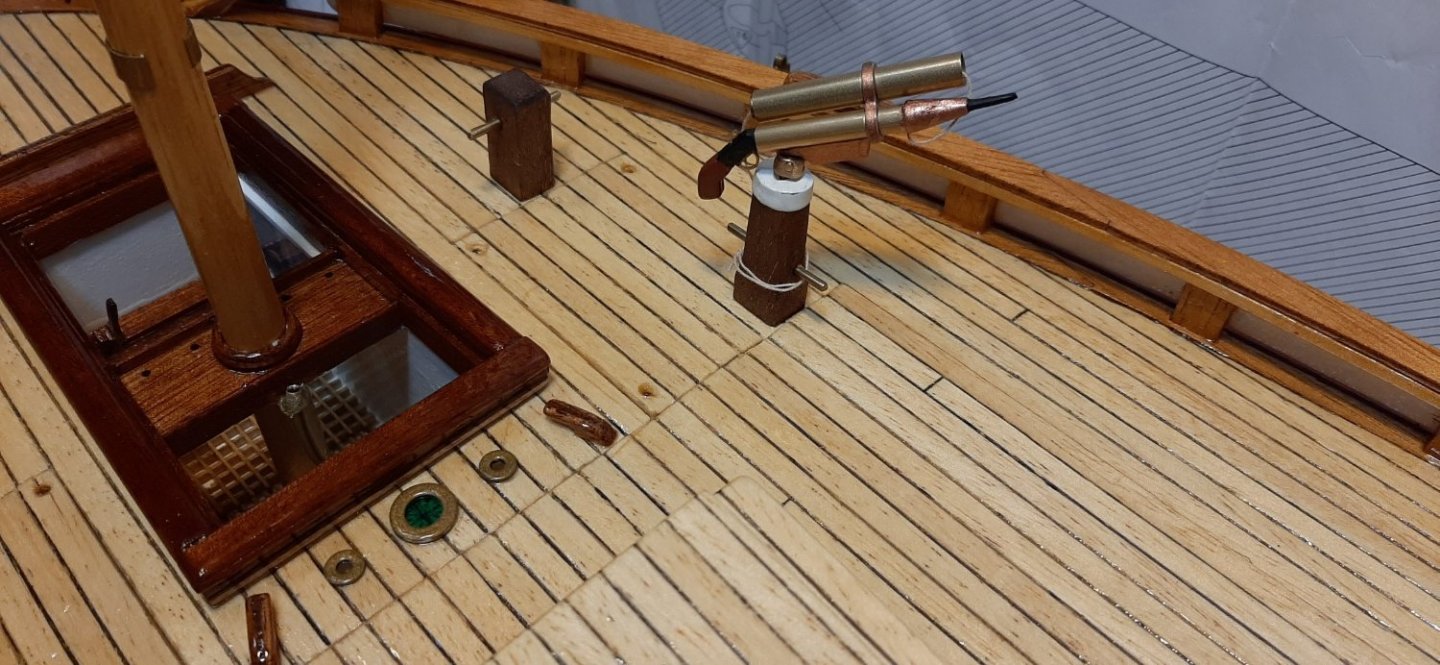
Assembled the line gun. Shoots a line over to a vessel needing a tow -for example. It's supposed to be black, but as with the windlass, I want some shiny, brass contrast on deck.
George
-
Hi Frodo,
I see that I have some other photos of the Sarik dinghy 'conversion' on file which are NOT on the modelboats album. Can you confirm that you can see the photos that I have posted on the modelboats album? There are about 6 more photos of construction detail I can post. Do you want them HERE on your own thread?
George
-
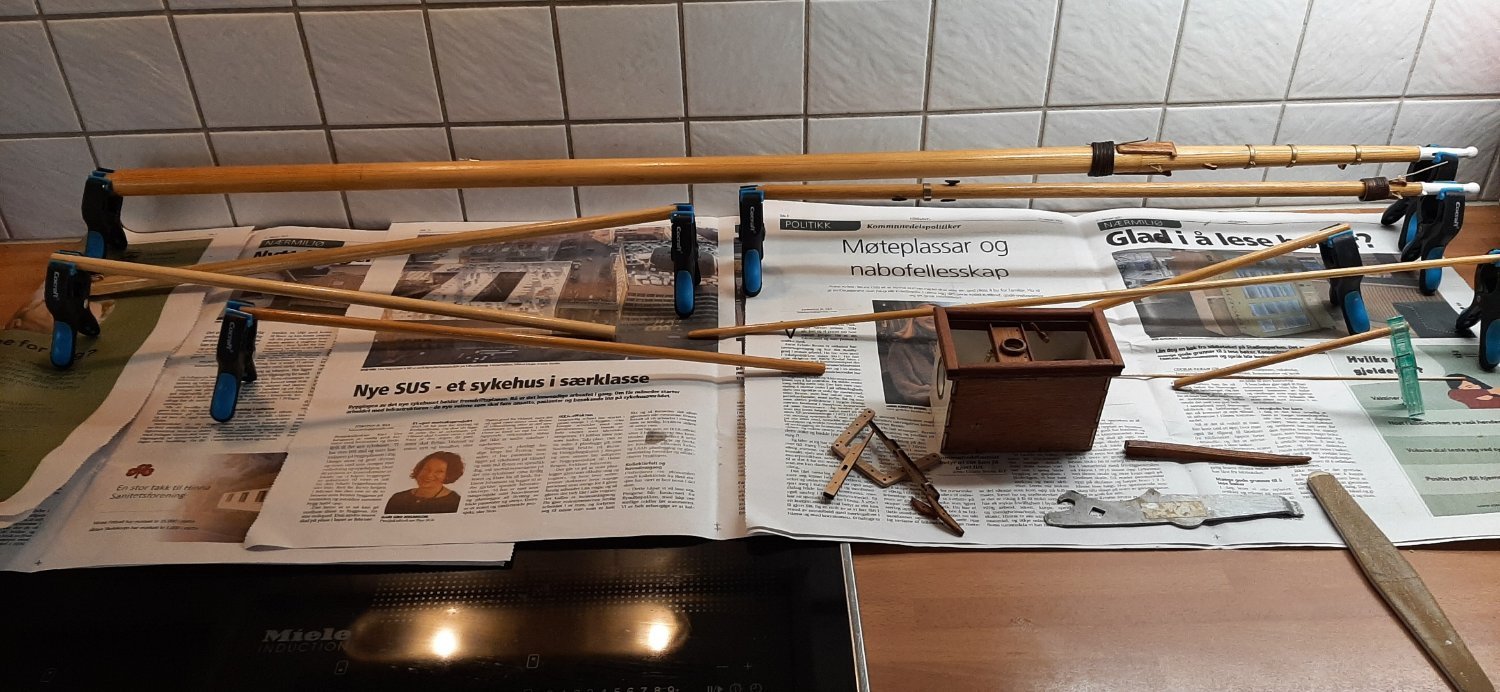
Started varnishing the masts and spars yesterday. Deck recieved first coat today. Hope to be finished with 3 coats on everything by Sunday Weather forecast is OK -so far!
George


-
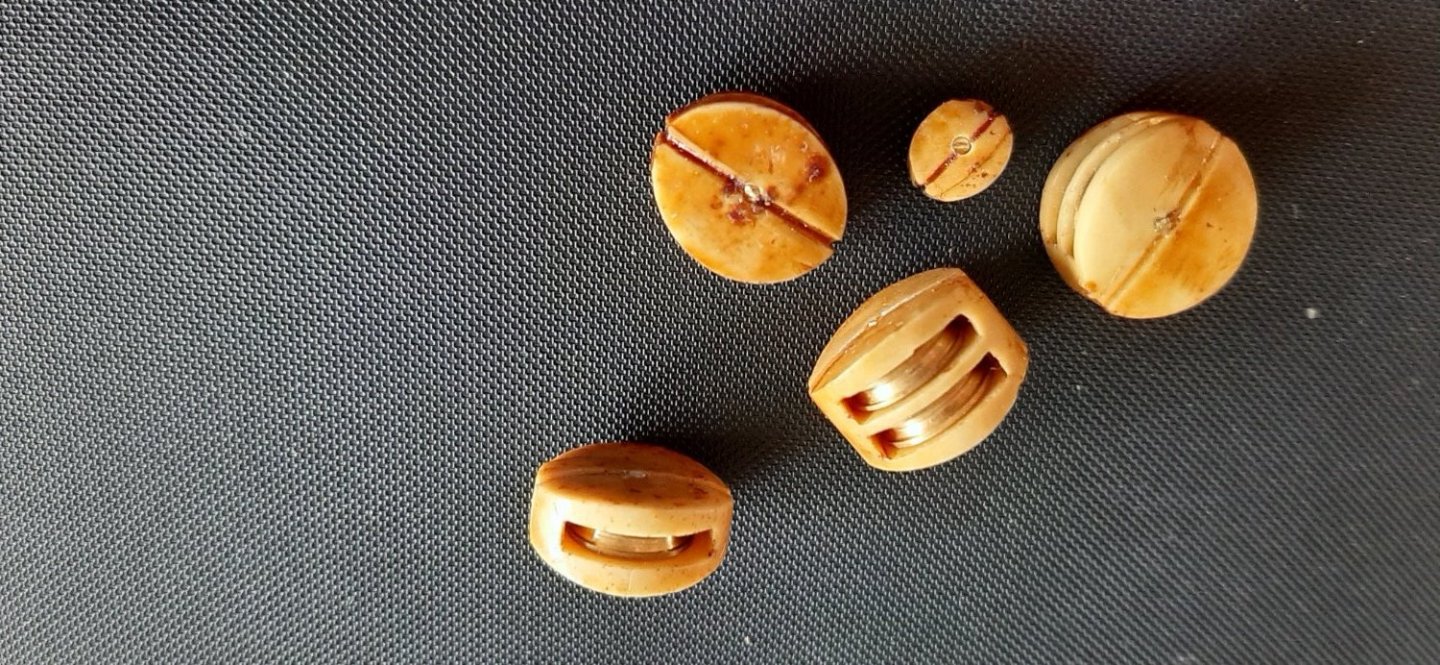
I have had a test-assembly of a few rigging blocks. The supplied plastic blocks have already been 'dipped' in teak stain. They came out looking more or less like those on the original RS1. Drilling blocks and fitting the sheaves went surprising well...but only did 11 of them yesterday....there's dozens more to do🥴. I thought that these blocks would be rather weak but they seem to be quite robust. The true test will come when I try to attach the 'rope' and ring -which I will try soon. The 'instructions' don't suggest how to construct strong blocks. I suspect that cyano' glue will be a prevalent feature here!
This has to be done in relation to how I will attach them to the brass mast hoops. The supplied brass rings seem a bit soft and I am afraid that they may fail under sail. May replace them with a short, 1mm brass rod. The flying headsail (klyver) will I think, stress the blocks a bit, although there are two blocks there -to share the load. The inner headsail is on a steel wire stay, so that will relieve those blocks considerably.
Instead of telling what I have done, I'm babbling about what I think I might do!! Not exactly informative....off to make some wake-up
 coffee.
George
-
For R/C control I have decided to let the inner foresail (genoa?) tack freely but with some restraint from a thin round elastic (Ca 1-1.5mm) which will run on a short horse across the deck just forward of the pinrail.
The flying genoa (klyver sail, or whatever!?) will be controlled by one sailwinch mounted below deck, abeam the main mast. The sheets are guided by pulleys below deck to pass up through brass guide tubes which emerge on the side decks. It is hoped that the sheets will then run to the approx position of the scale mounted blocks for the 'klyver' sail.
If the scale kit blocks fail to function properly, I will mount additional brass blocks near these and the kit blocks will just be there for show.
The mainsail will be controlled by a winch mounted aft abeam the cockpit / steering well. The sheet from this will emerge from a brass guide tube positioned just below the guide ring (part 505) on the forward side of the mizzen mast. It is hoped that the mainsail will then be controlled by simply pulling the boom in to centre and letting it out again on the next tack.
The flying genoa cannot be controlled so easily though. I think it will have to be physically PULLED from side to side across the forestay of the inner foresail (genoa?) Otherwise it will get 'stuck' on the windward side when tacking.
The mizzen sail will also be restrained only -not controlled, by a 1mm round elastic from the mizzen horse, up to the mizzen boom.
Hope it all works...I'm rather committed to the plan now!
George


-
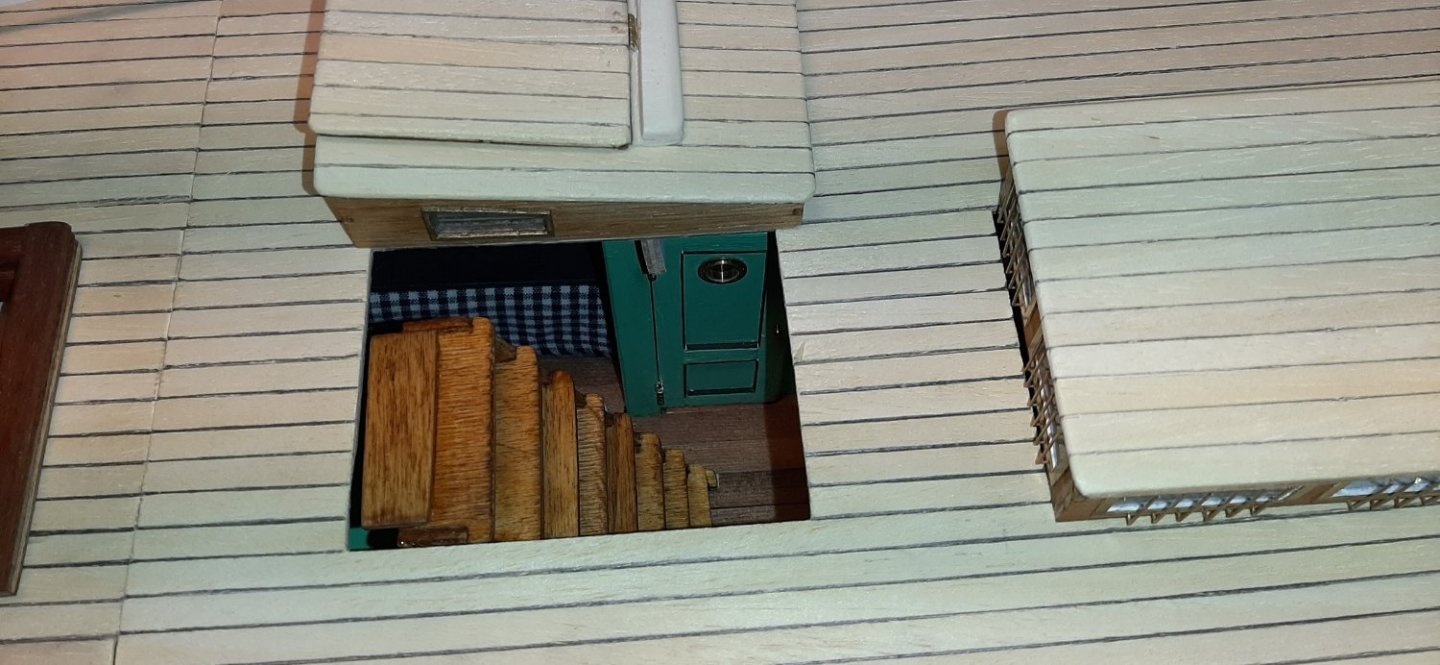
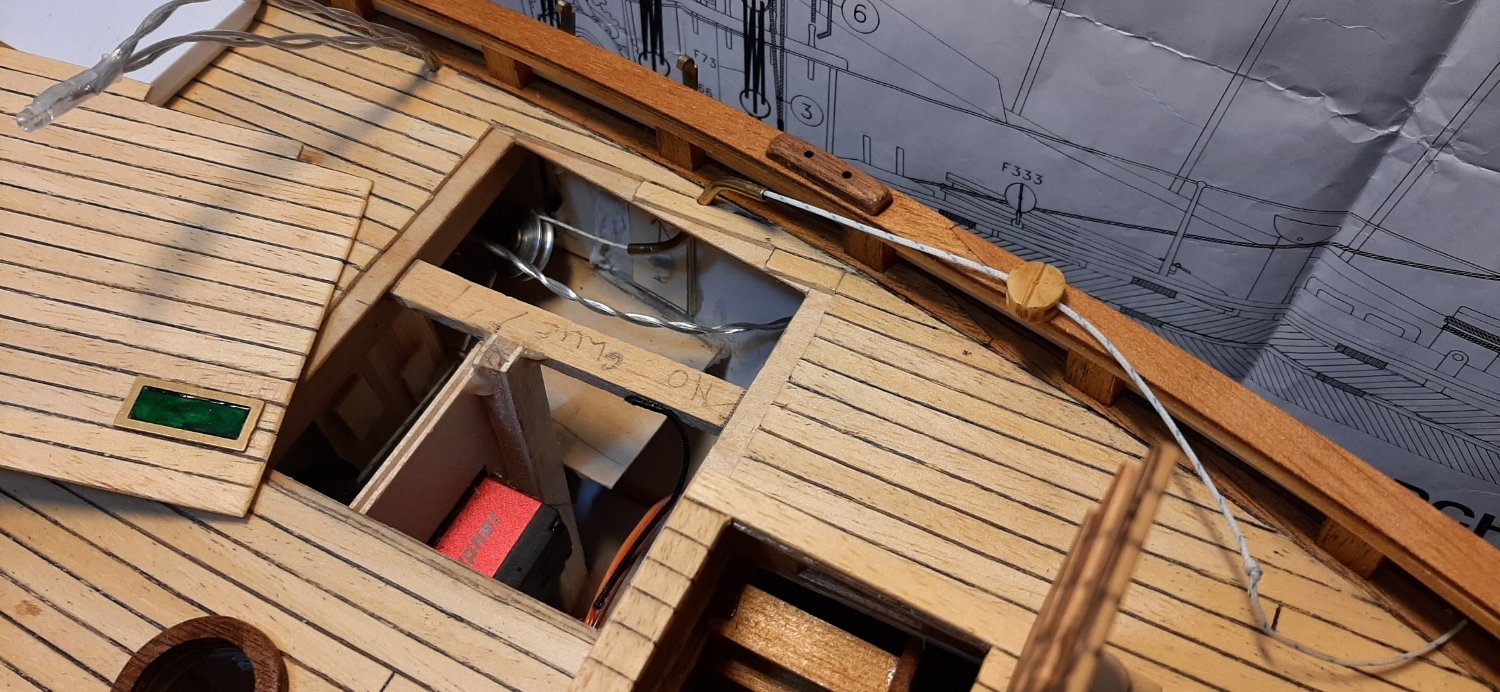
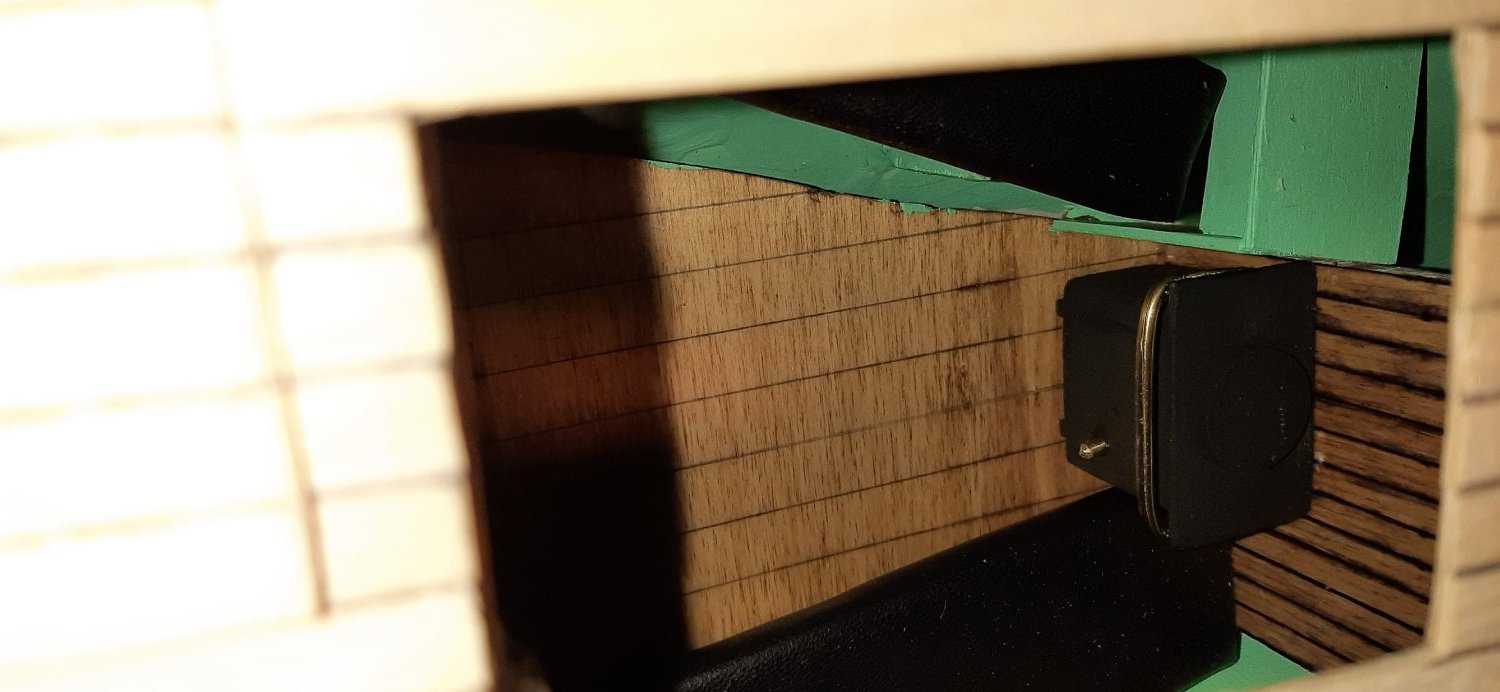
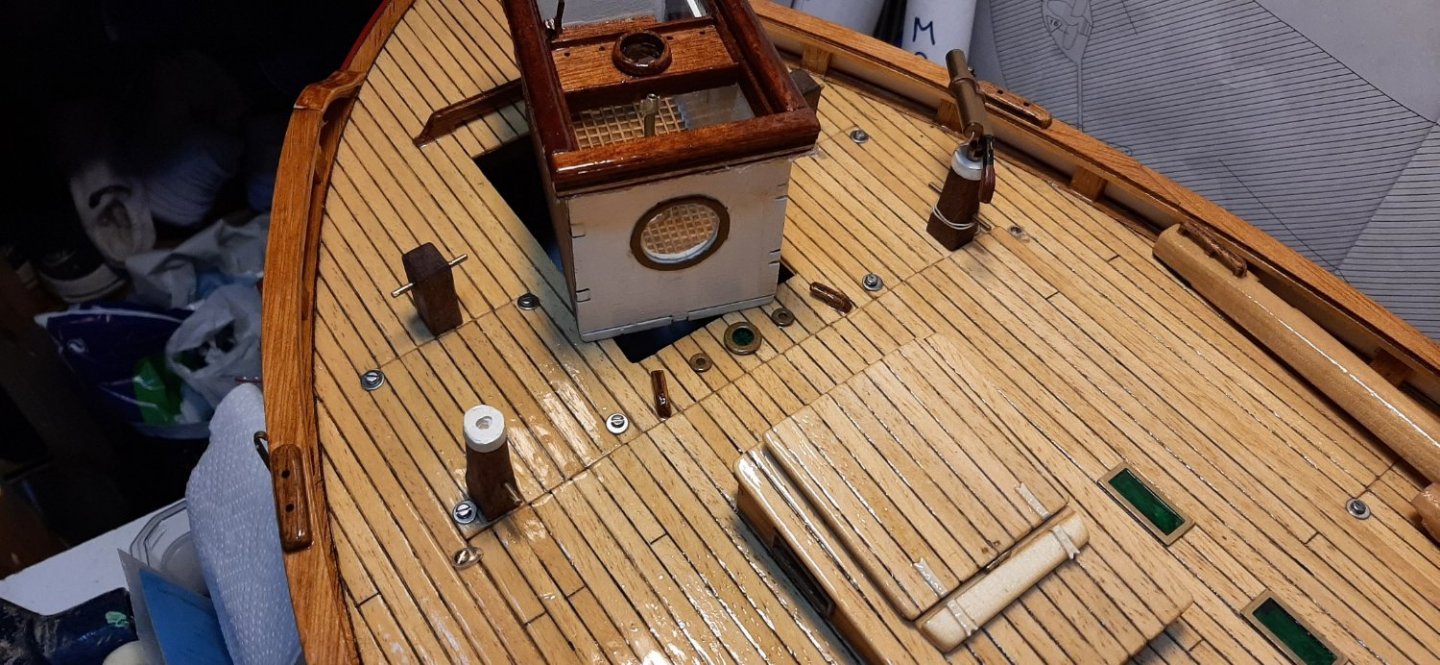
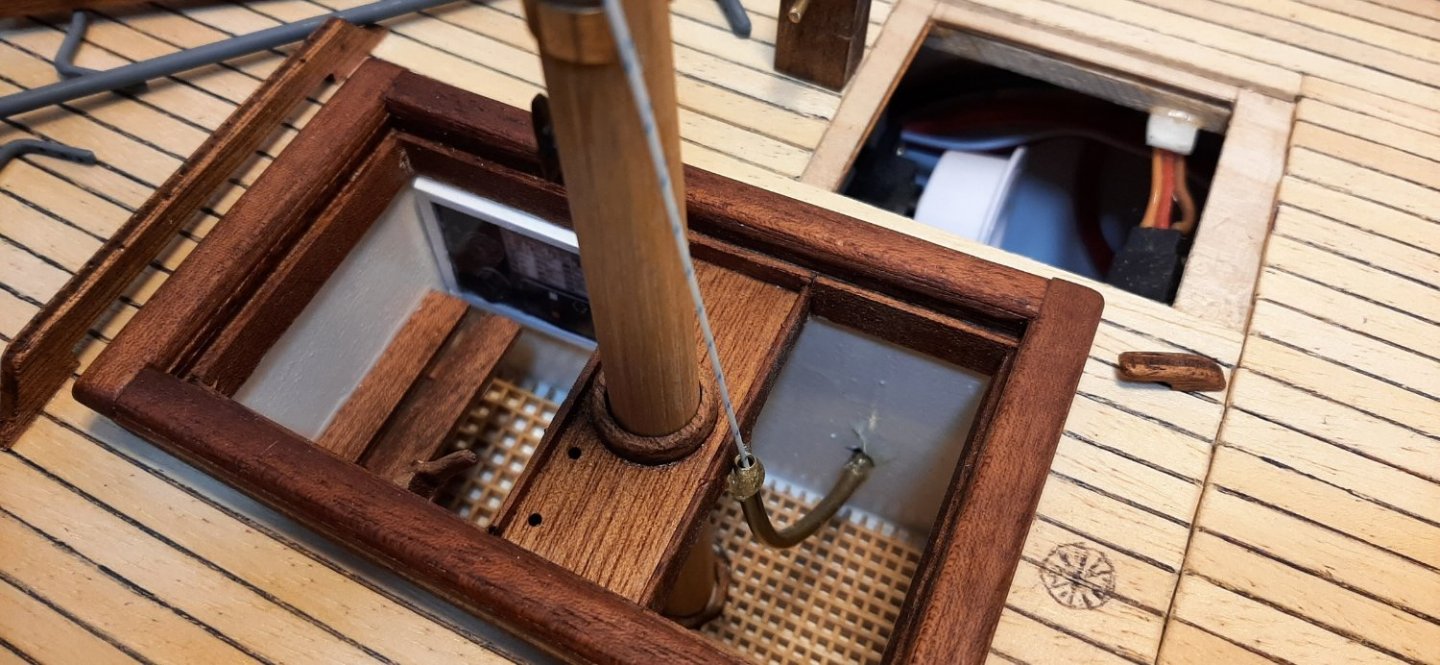
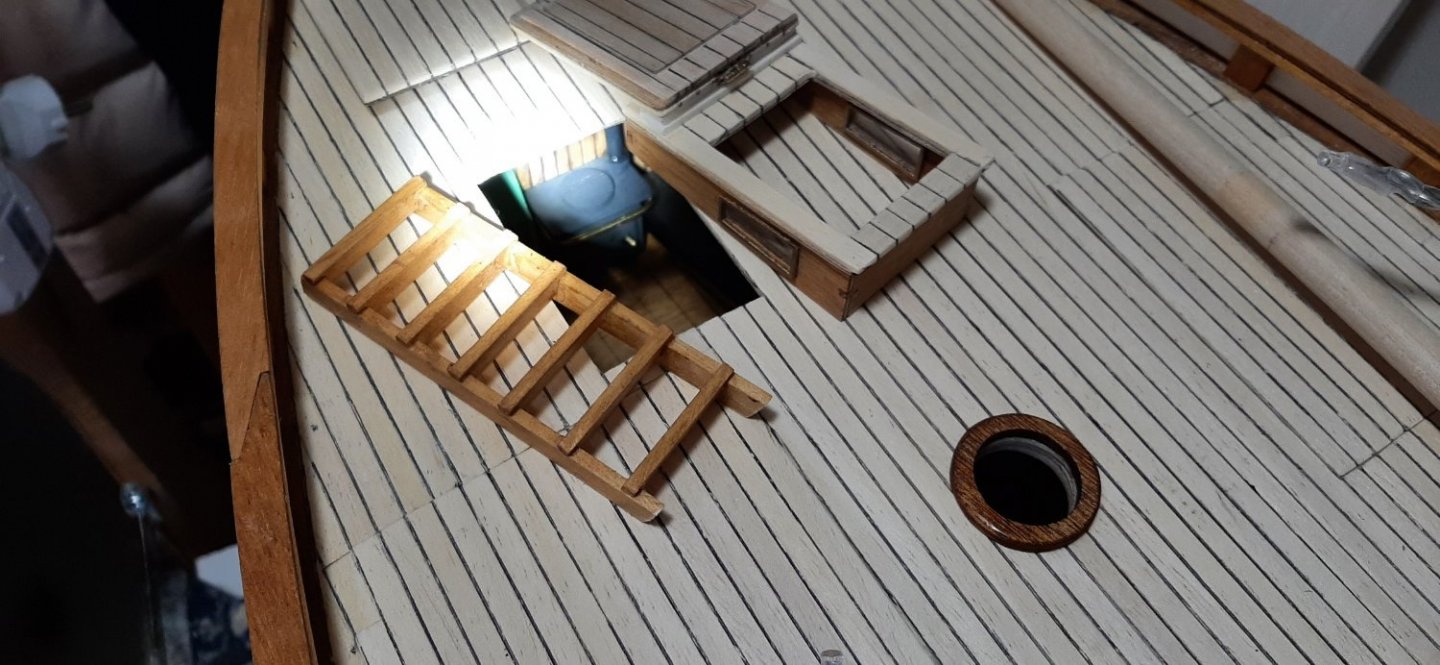
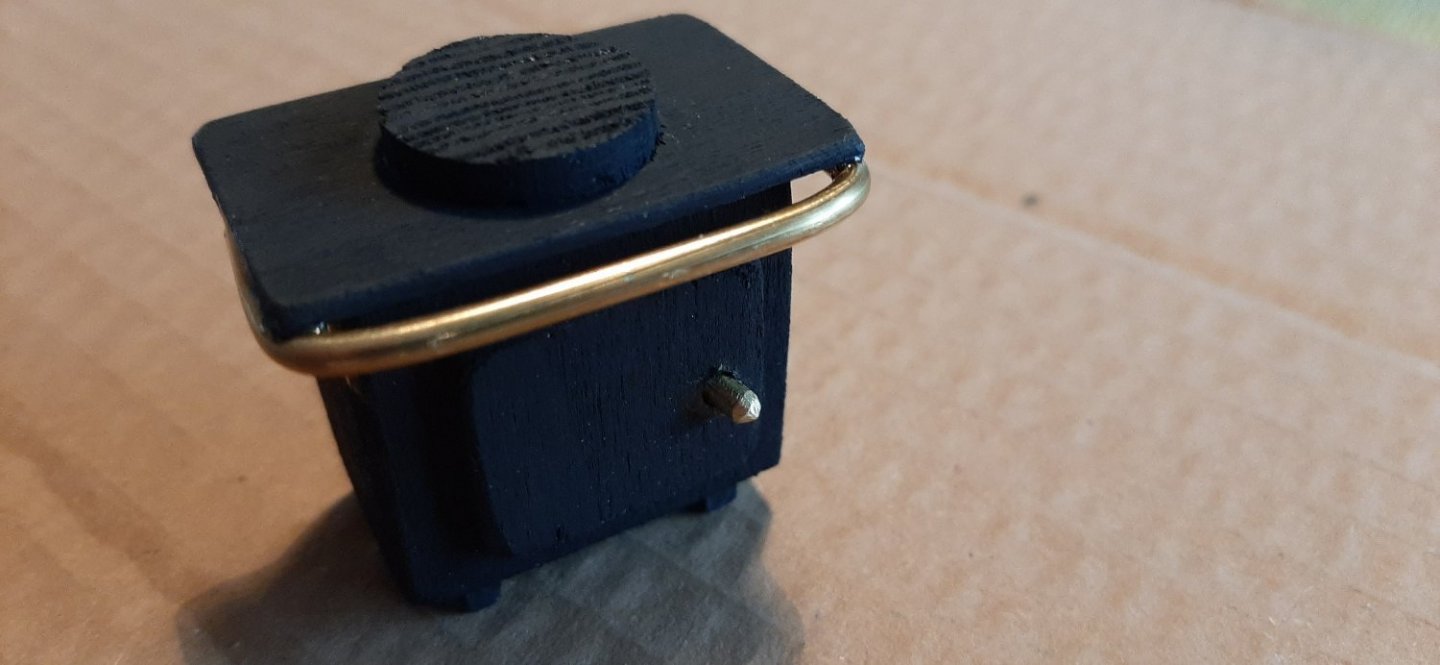
Done a few more details recently. Installed a small stove in the forward cabin. Should have done it before the deck went on but managed to squeeze it down the hole. Made companionway steps for the fwd cabin too.
The flue for the fwd cabin stove has been made removeable to facilitate retracting the bowspit aftwards to avoid transport damage (and get the RS1 in the car!).
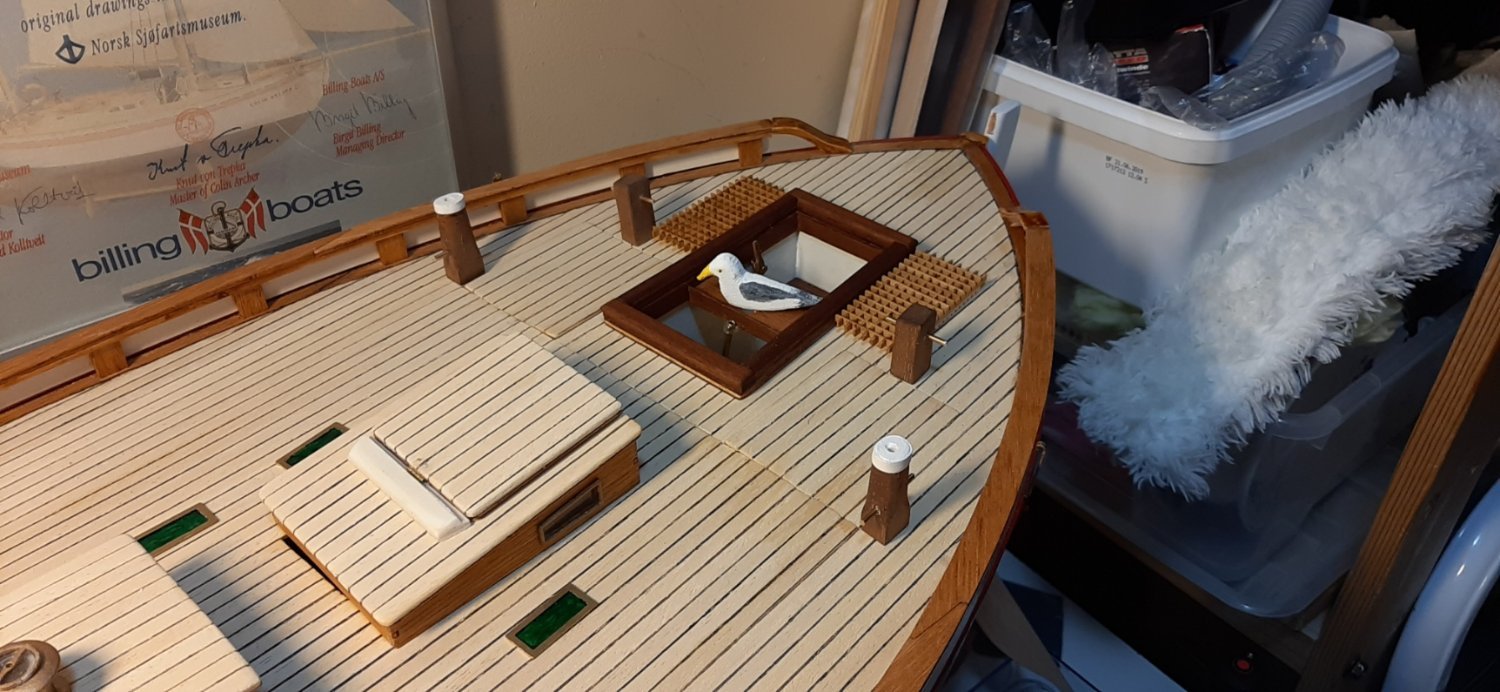
The local seagull seams to think the build is going a bit slowly
George


-
Done some small jobs this weekend.
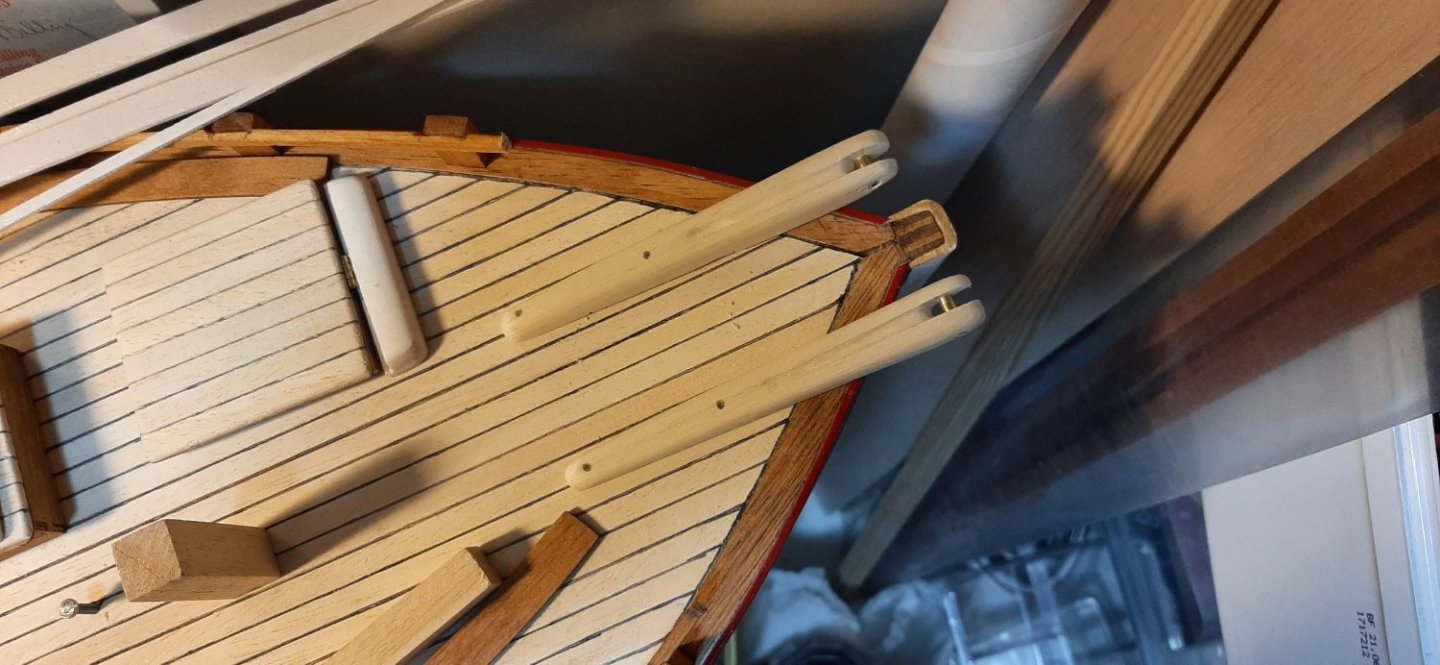
Catheads shaped and faired, ready to go onto the foredeck later.
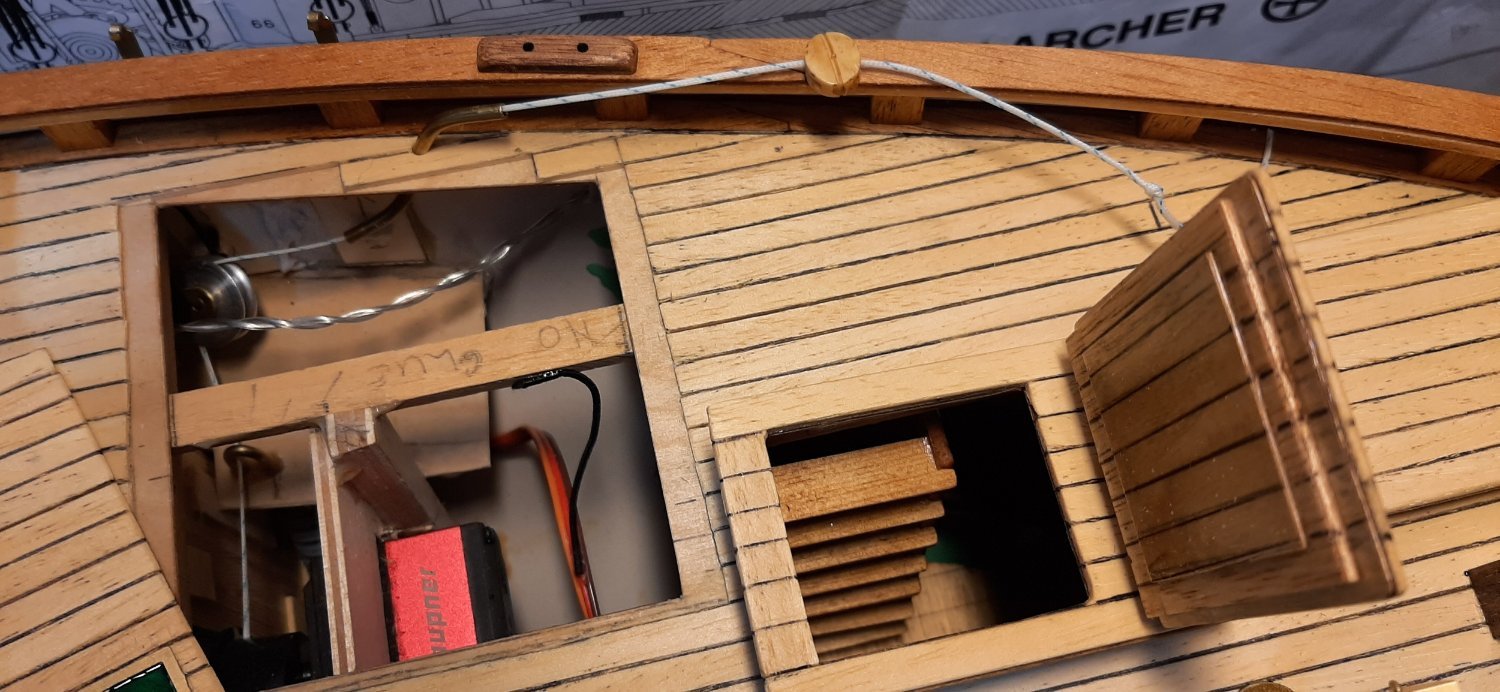
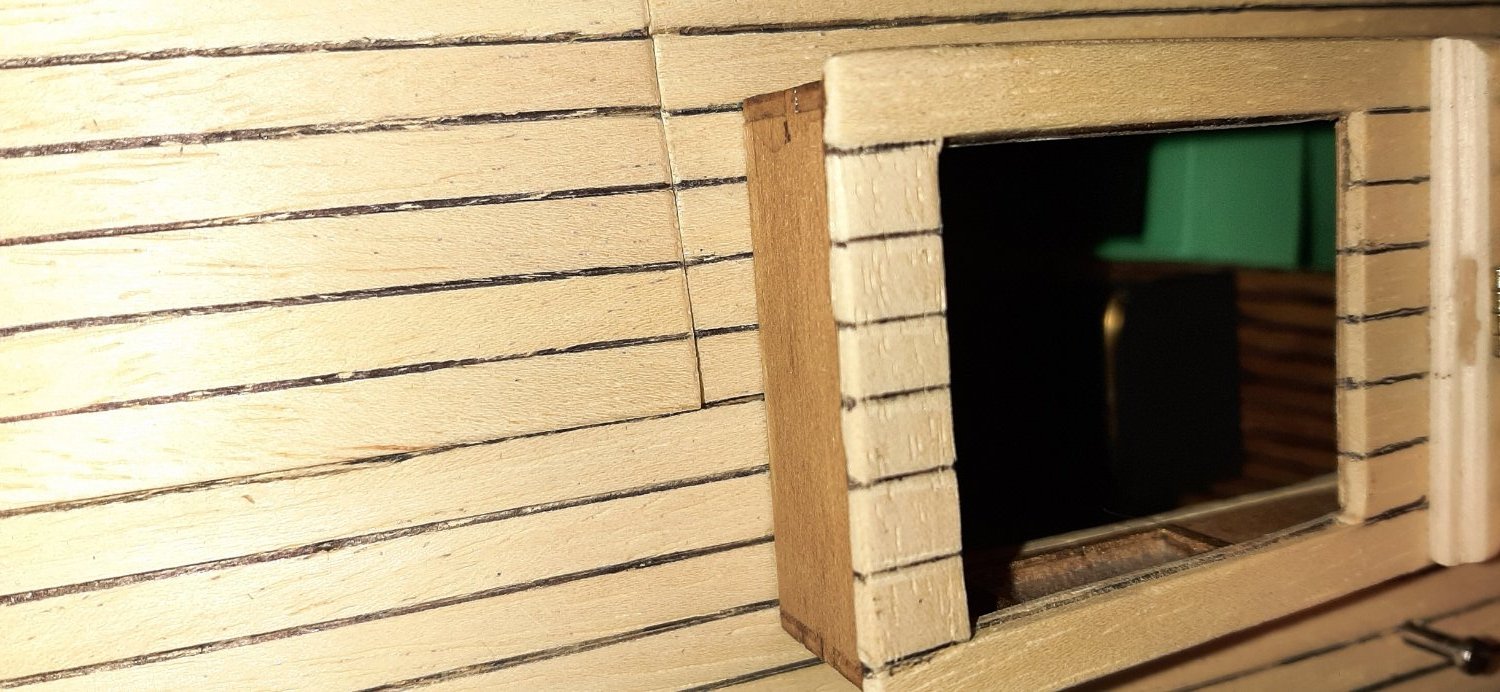
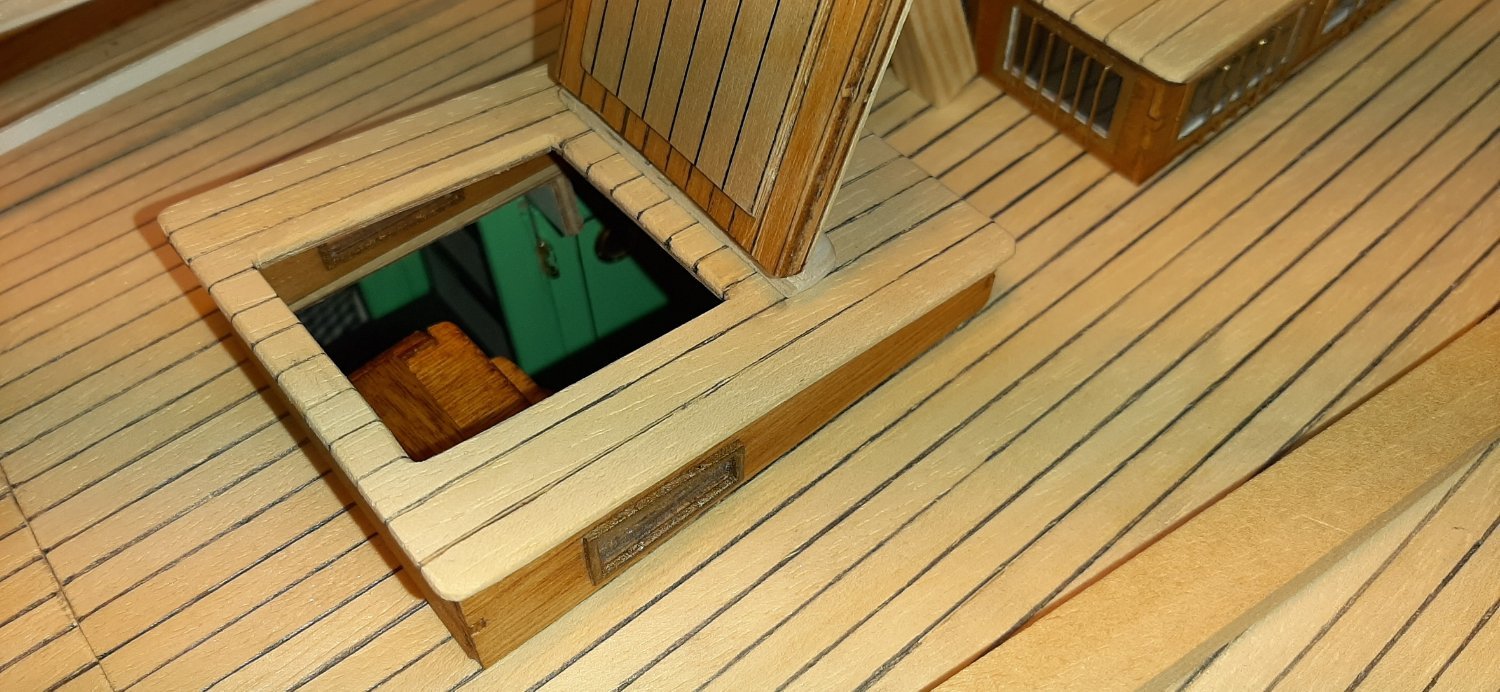
Main companionway steps fitted. They are secured by just two brass pins set into the cabin sole. They are removeable to allow access to the motor cover beneath the steps.
Companionway hatch is hinged to permit a rather restricted view 'down the hatch'.
George