Heliart
Members-
Posts
21 -
Joined
-
Last visited
Content Type
Profiles
Forums
Gallery
Events
Everything posted by Heliart
-
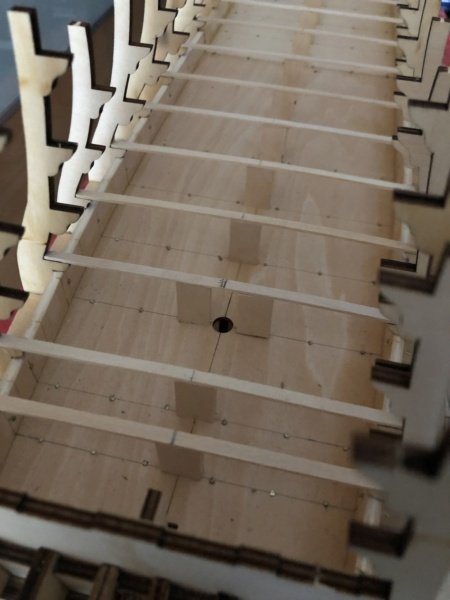
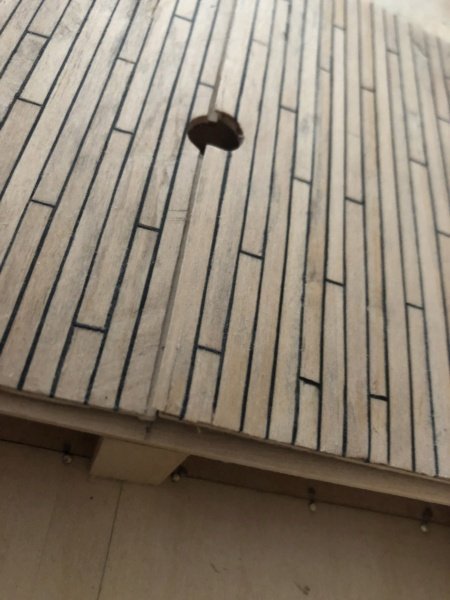
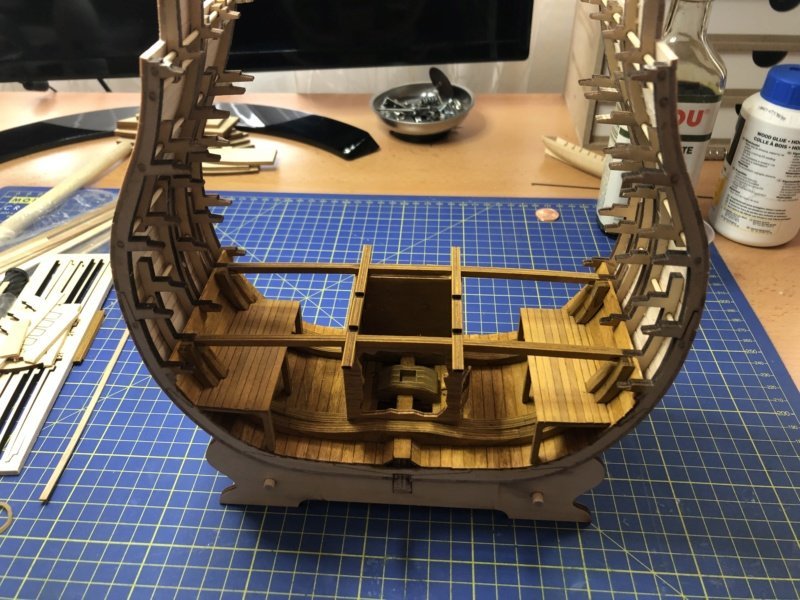
This is supposed to be a building section before sanding the fuselage. On the picture you see no planks on the frames. 😉 An idea I found on the internet. Support of the cross "beams" to get more stability for the lower deck. And all the beams now got a slight bow. According to the construction plan, some caulking lines should be drawn with a marker in the area of the entrance gate. I didn't like that, so I replicated the planks with thin (0.4 mm) linden veneer. I know the planks are too wide. They should be 2.7 mm wide. I did not know that at the time. The planks were solid teak, over 6 inches thick, 9 inches wide and 6 metres in length. Here the two deck halves before gluing them together and cementing them to the beams. The central caulking line I inserted before the deck halves were pressed down.
-
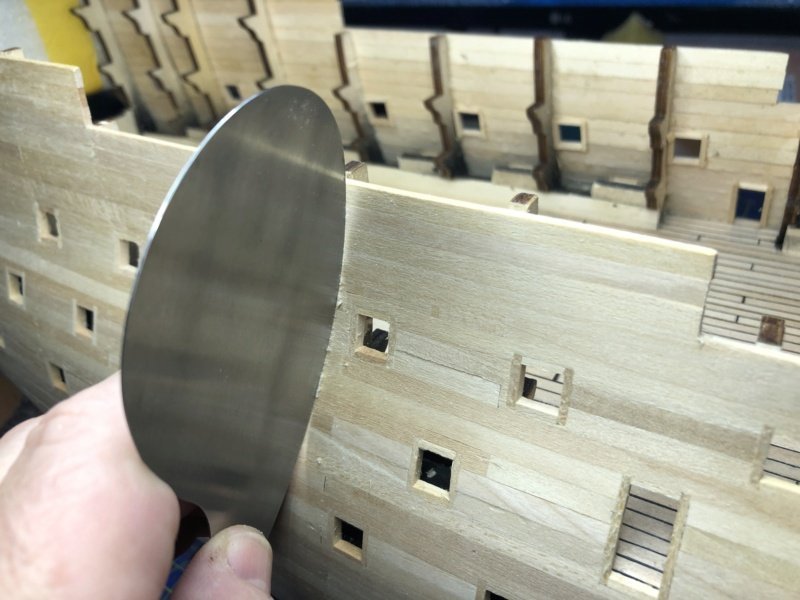
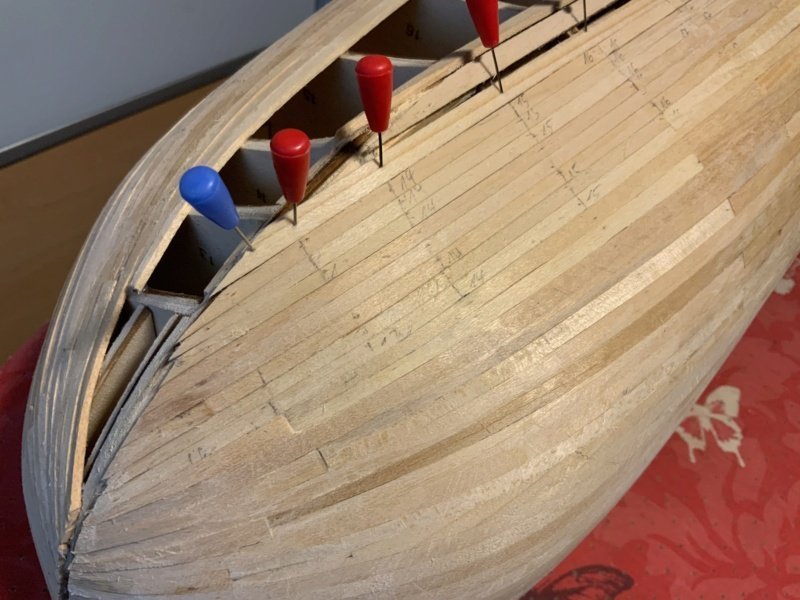
After the complete planking, according to the building instructions, the entire hull should be sanded over until everything is nice and smooth. Within a very short time, I literally got fed up with this very fine wood dust that settles on everything that is not covered. I then started stripping the hull with snap-off blades of a box cutter. For the roughest irregularities I used a small model plane. Then it was much better with the dust, now only the fine wood shavings flew around. After these blades got always very quickly blunt, I had to think of something else. On the Internet I found some awesome woodworking tools. I took a high quality a french scraper. This scraper is mainly used by instrument makers. I also had to learn how to sharpen such drawknives. In the meantime I can do it quite well. You can see the result in the following pictures. Then I closed the holes of the push pins with a cotton swab and warm water.
-
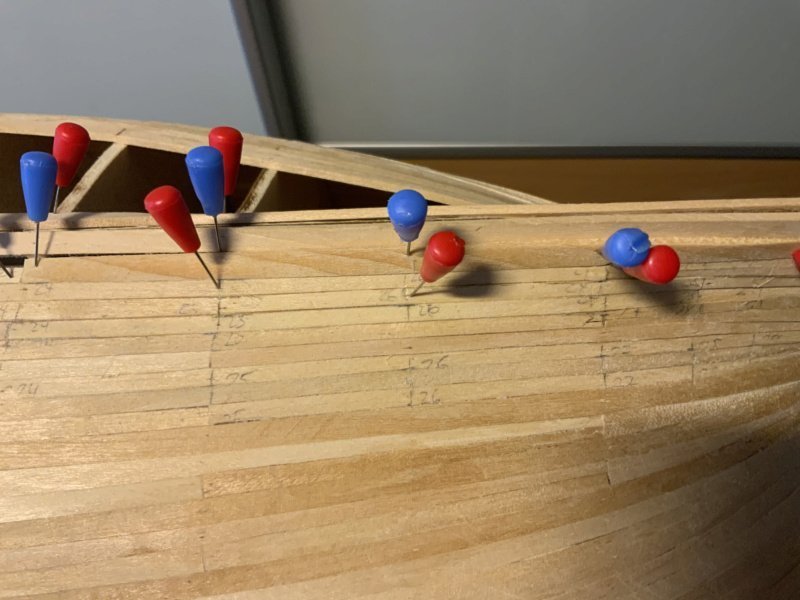
When planking, the giant holes through the nails in the planks annoyed me, so at some point I changed fixers. The push pins work great. Because they are very thin, they leave very small holes and you can drive them pretty deep into the wood. Of course you have to be careful, they are quickly bent. But better than the needles with the glass heads. Who ever had such a needle stuck in the thumb, knows what I'm talking about. 😥
-
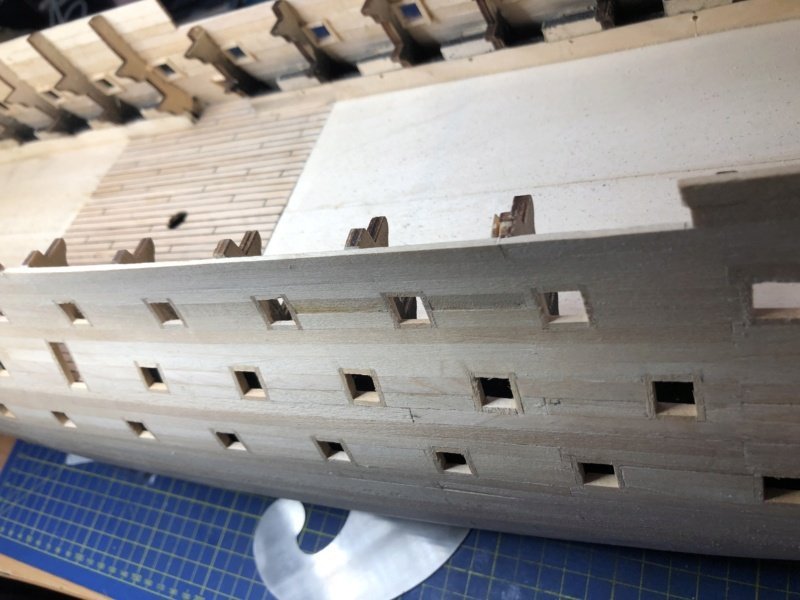
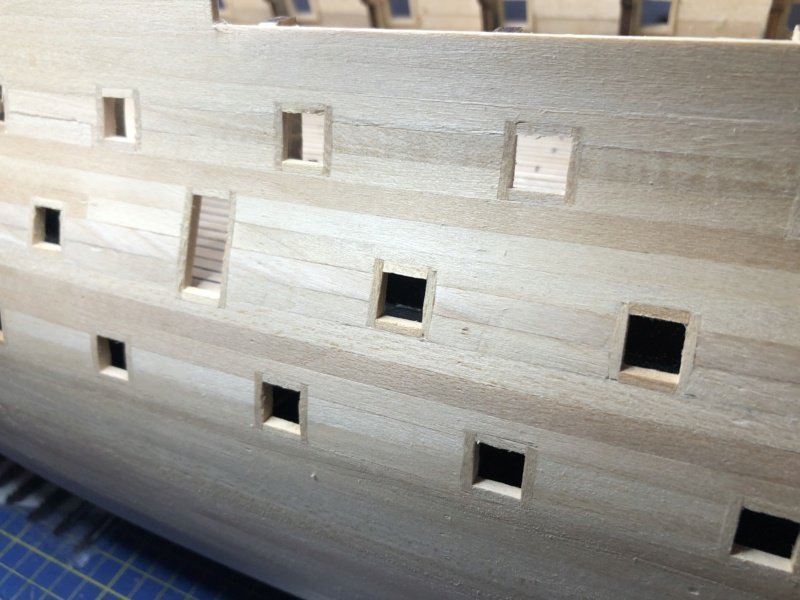
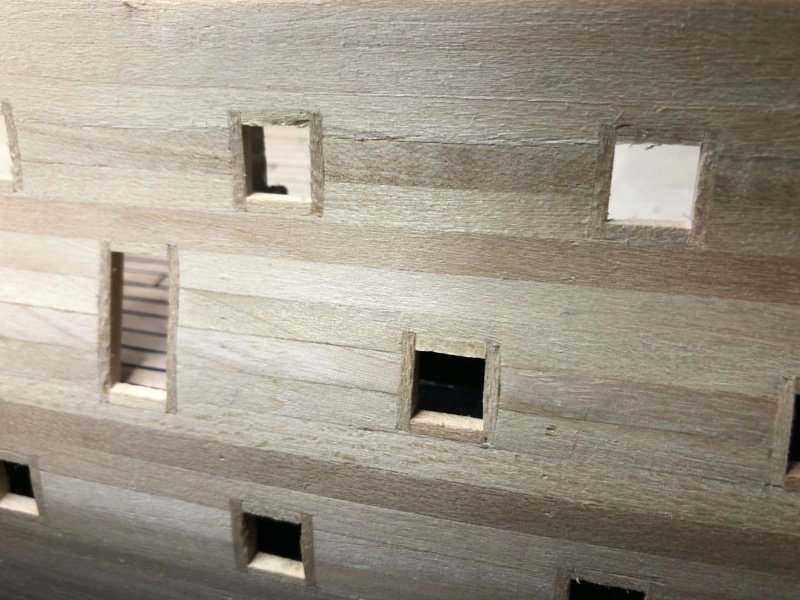
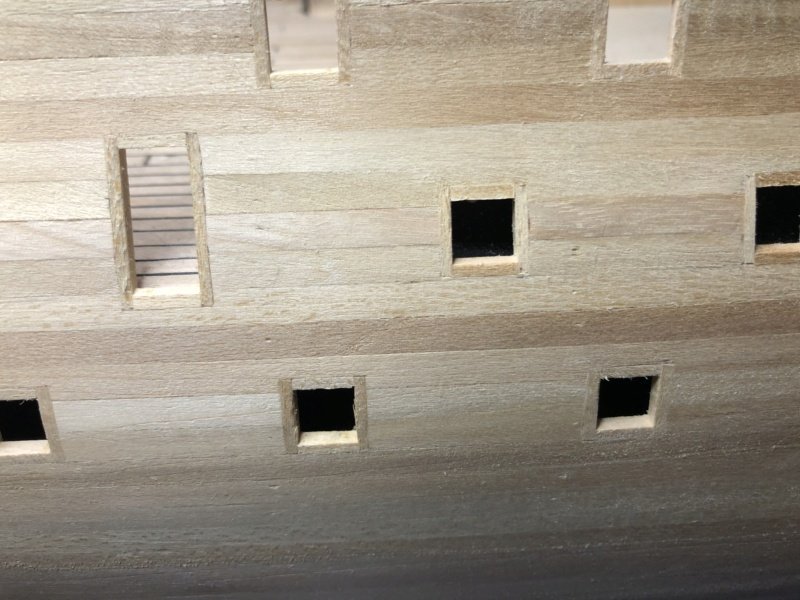
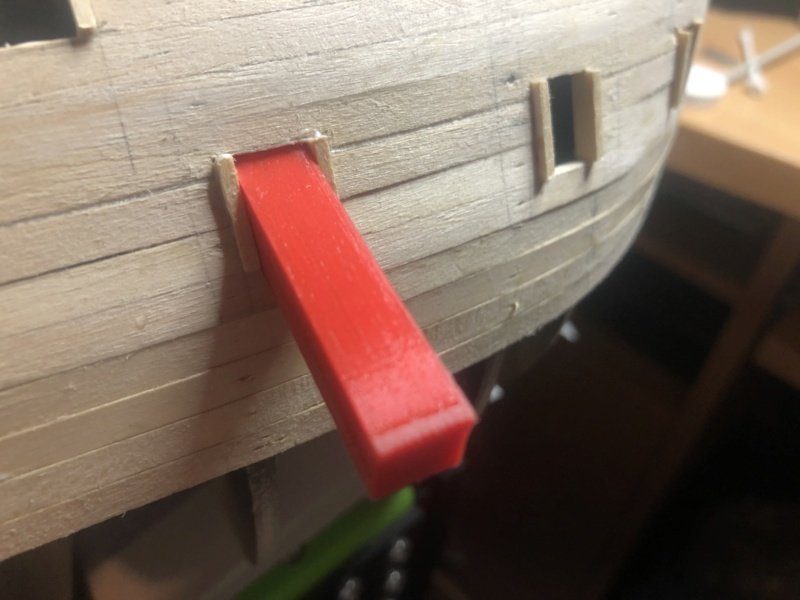
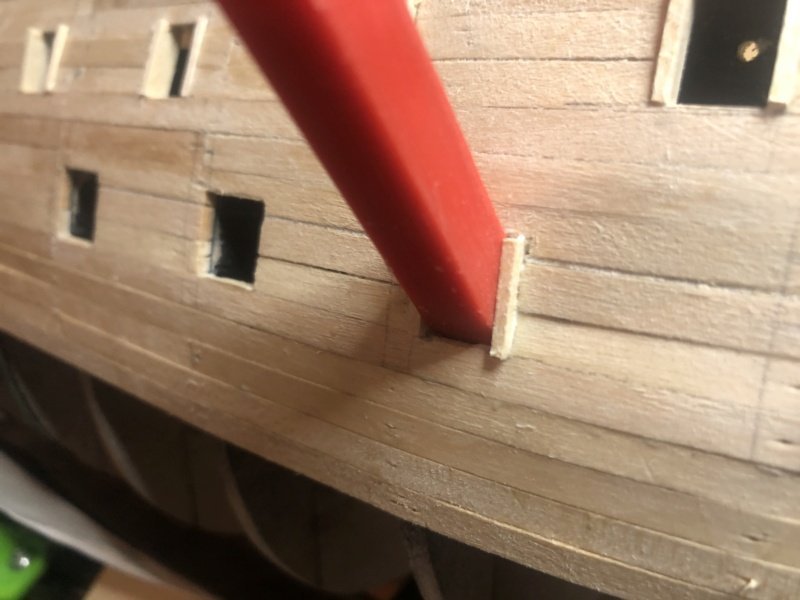
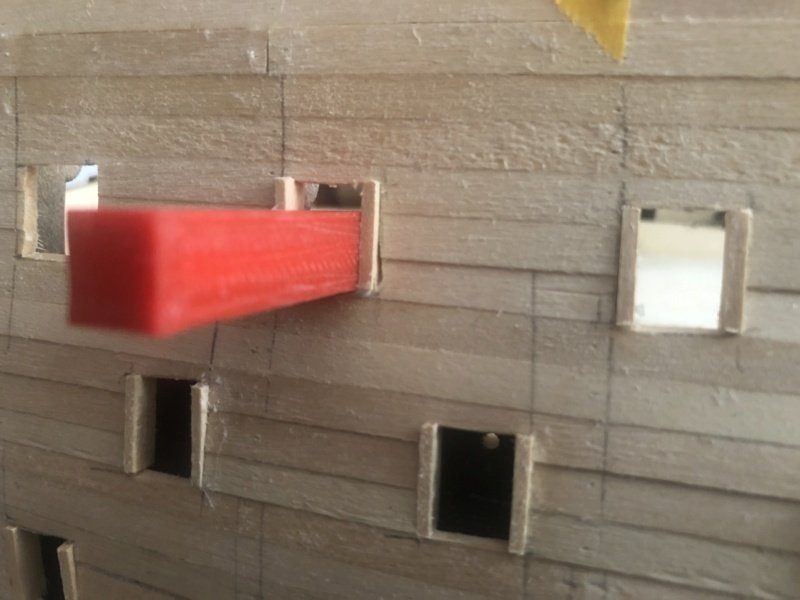
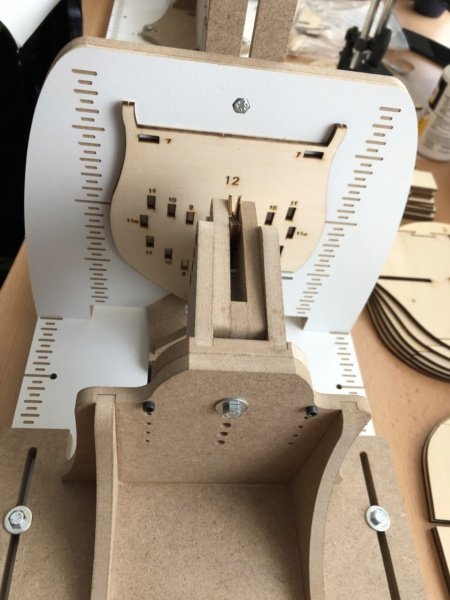
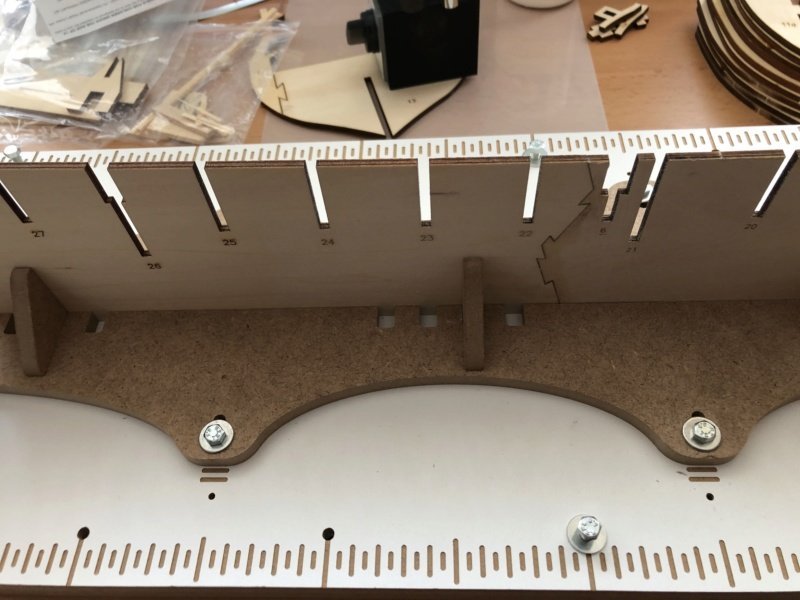
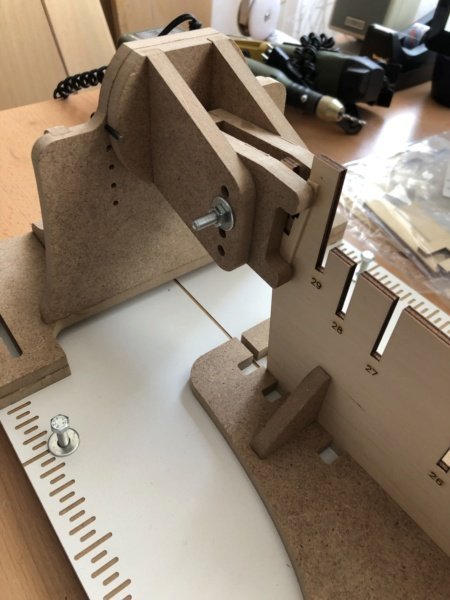
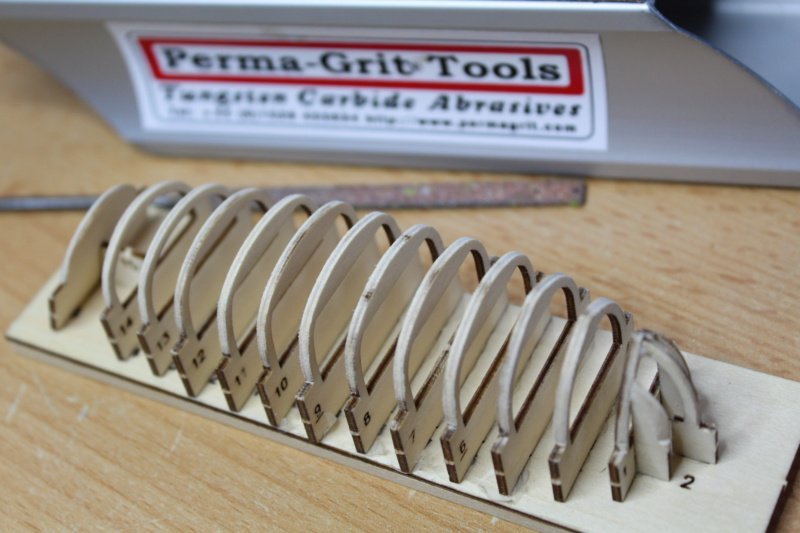
As I promised, I won't bore you with endless pictures of the hull planking. So the fuselage is half planked and according to the building description the gun ports are to be cut out now. I printed a jig for the gun ports with the 3D printer. With it, I almost got the parallelism and the same cutout.
-
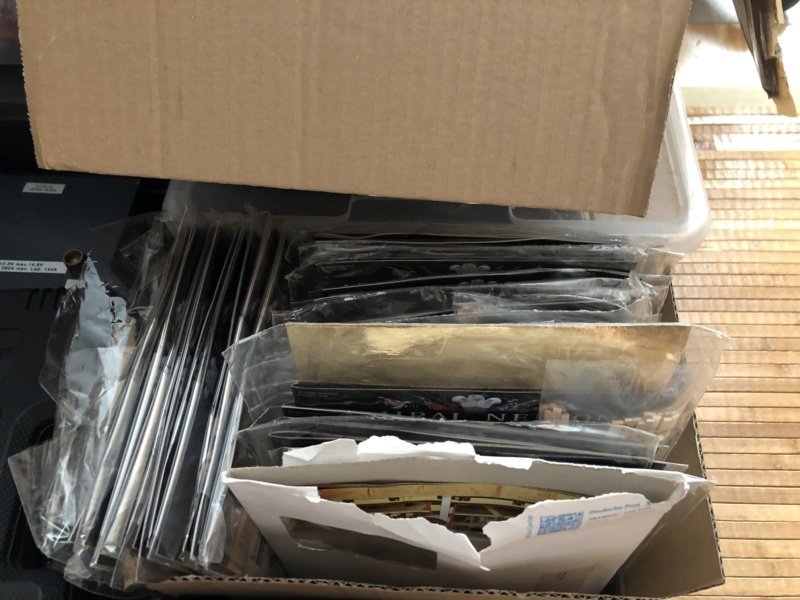
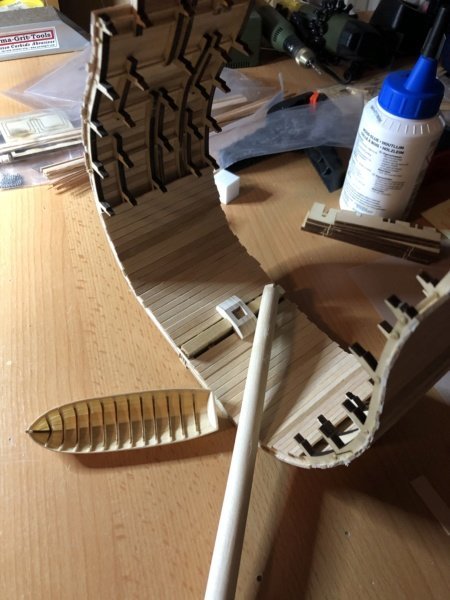
Hello friends of maritime modeling, As I already announced in build log of the HMS Victory cross-section model, I am also working on the HMS Victory from DeAgostini. I don't want to bore you with tiresome descriptions of weeks of hull planking, especially cause the work is always the same. So I will only post some construction stage pictures and if I did something different as described in the building instructions, I will explain this briefly. This was the starting material I started with (150 bags of wood and tiny stuff)
-
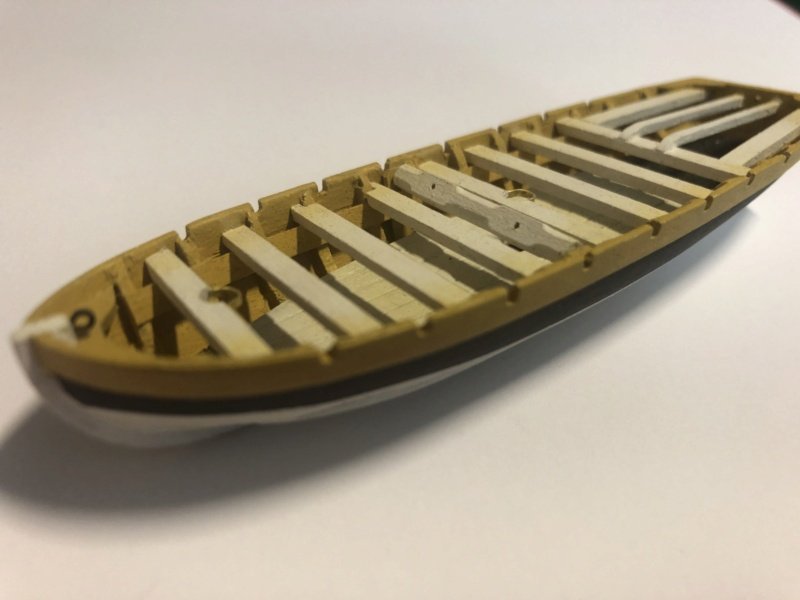
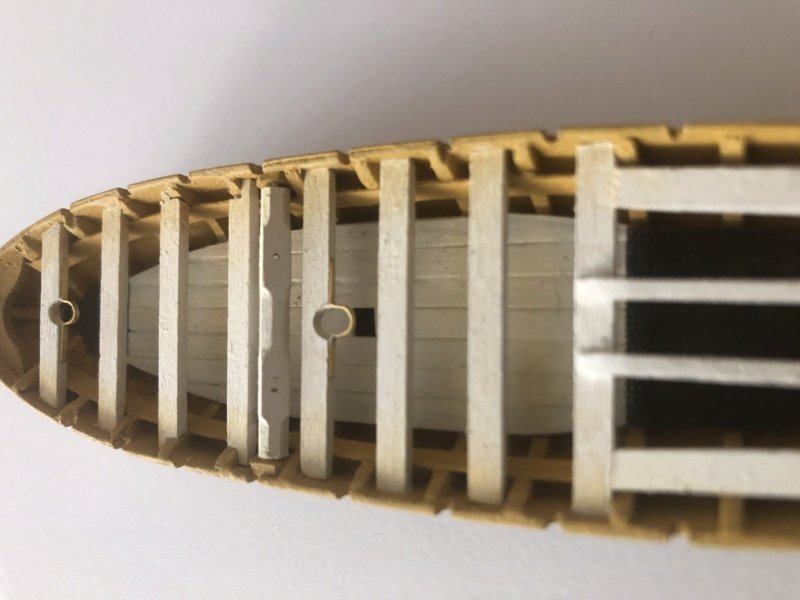
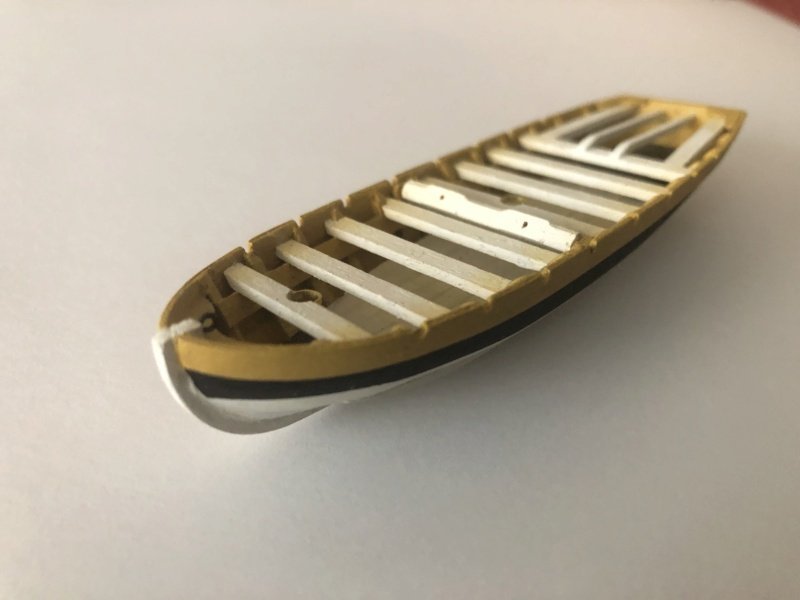
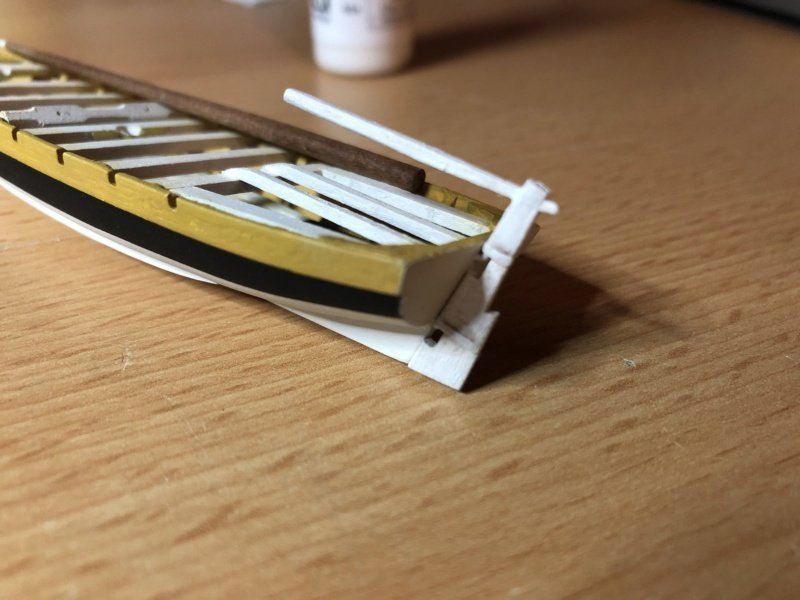
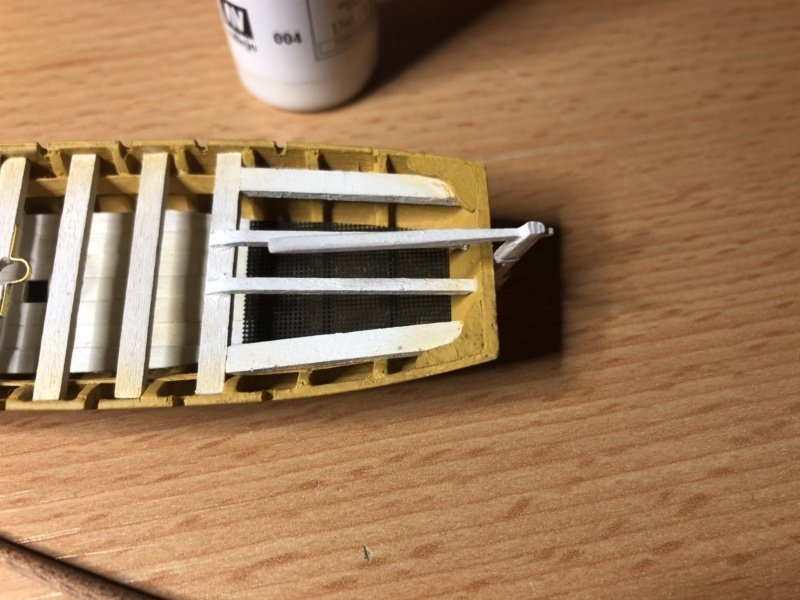
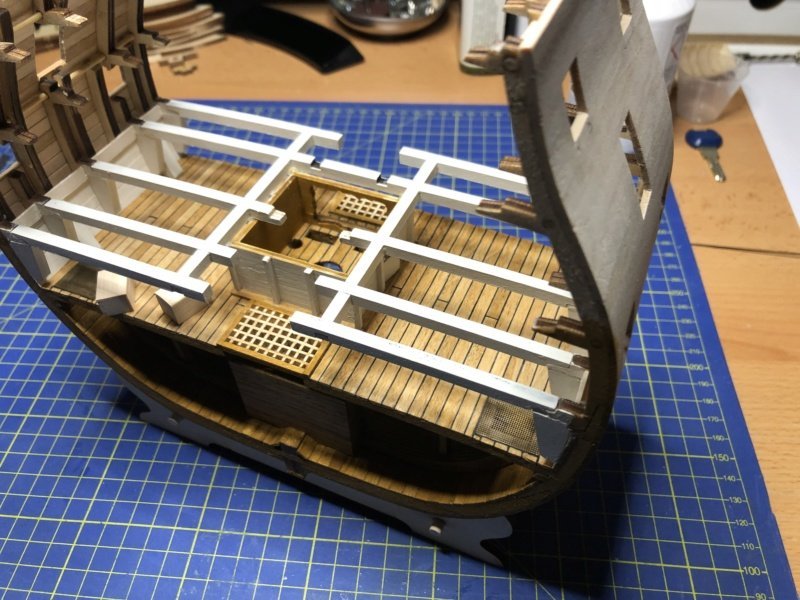
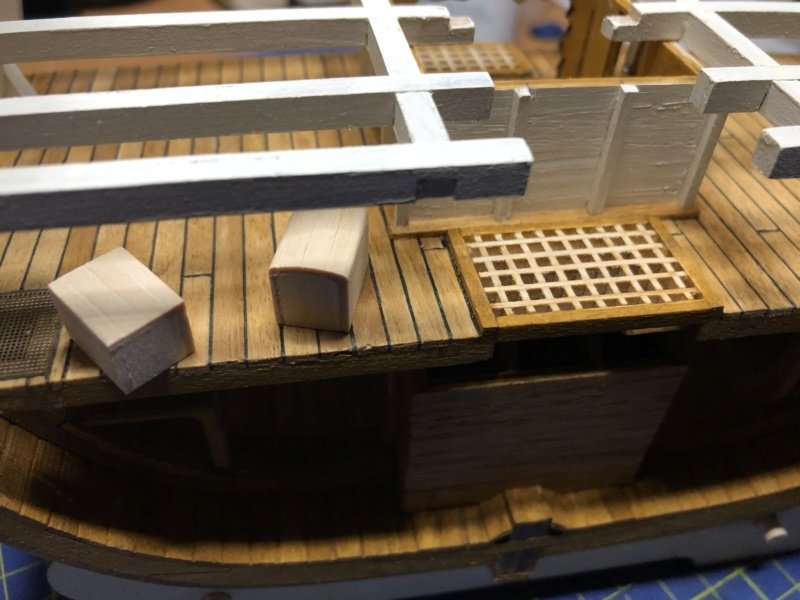
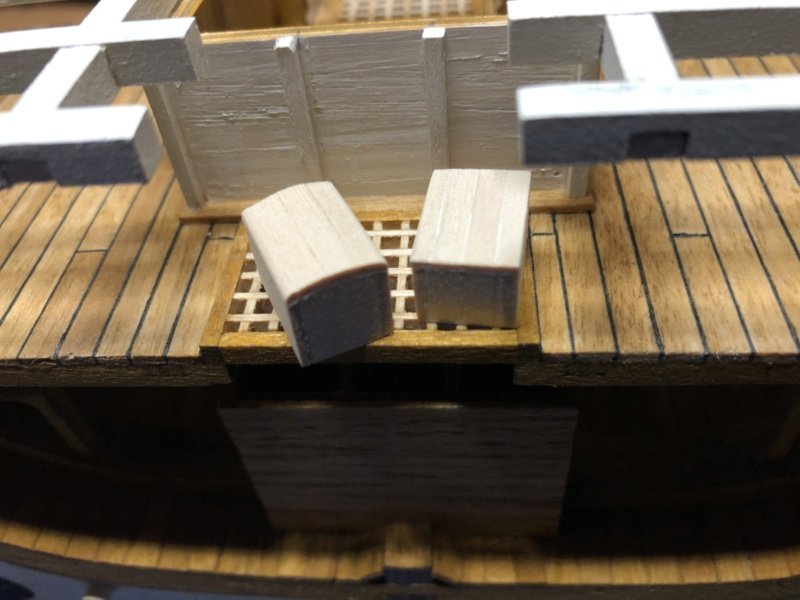
The second part of the pump house is set. The floor stringers and knee braces are painted and glued and more deck beams are painted white and fitted. And I tried my hand at the first sea chests.
- 7 replies
-
- Victory
- DeAgostini
-
(and 1 more)
Tagged with:
-
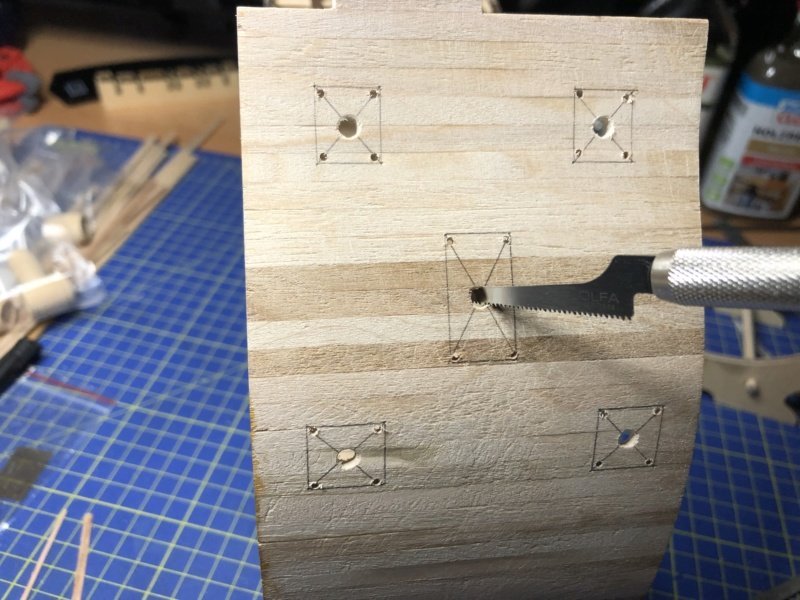
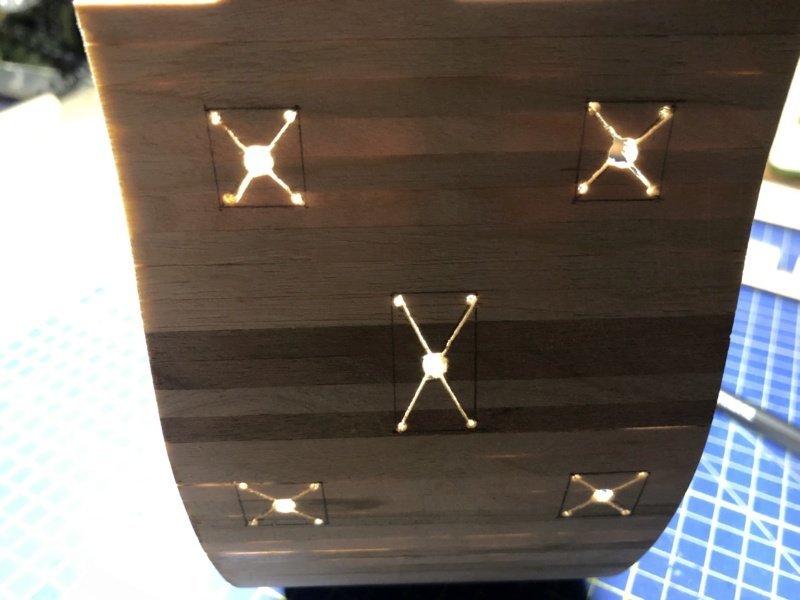
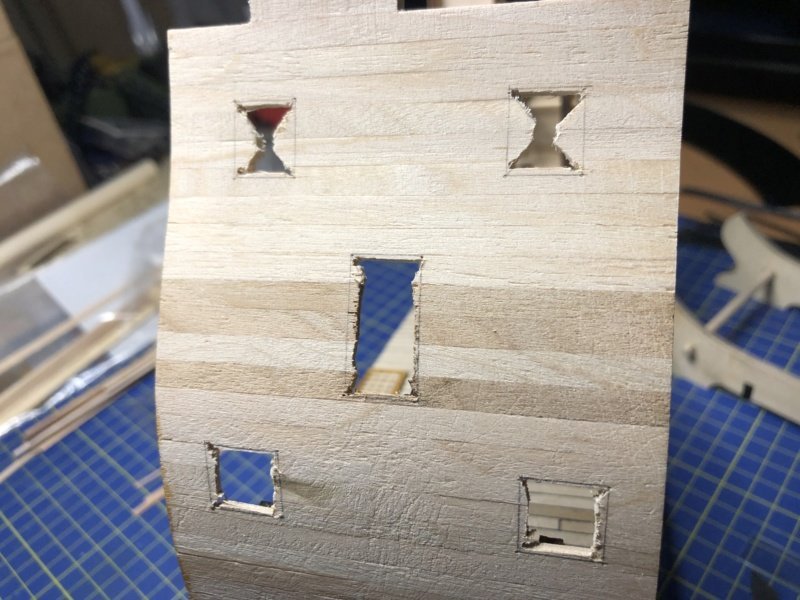
Next up were the gunports and entrance ports. Since I didn't want to drill a lot of small holes again, I used a different technique: - I put a small hole in each corner of the single gate. - in the center of the gate a fifth hole, which I widened so much that the saw blade of my model saw fit through. - Then in each case a small saw cut from the center to the holes in the corners - With the scalpel, a horizontal cut from one hole to the other. - This way, the upper and lower triangle can be easily broken out (see picture). - and then with the model saw two vertical cuts (s. picture) - final I carved down to the markings with a fresh blade.
- 7 replies
-
- Victory
- DeAgostini
-
(and 1 more)
Tagged with:
-
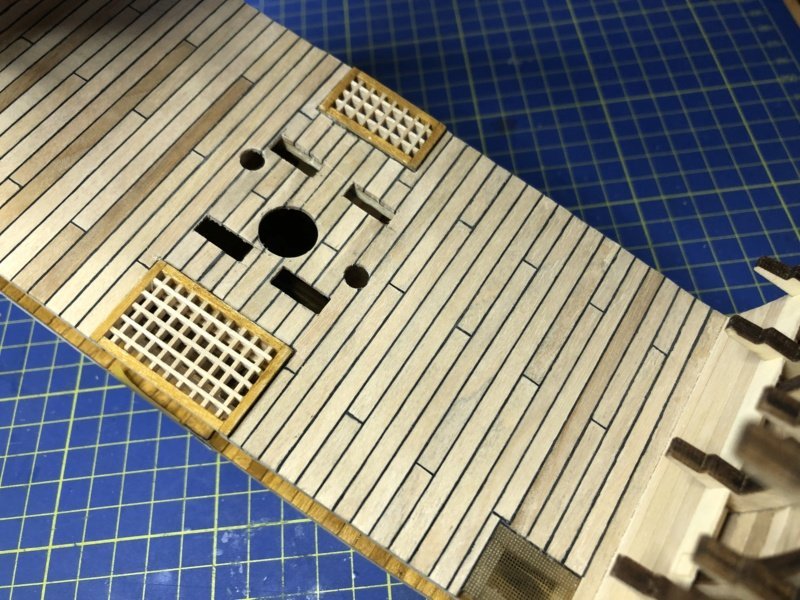
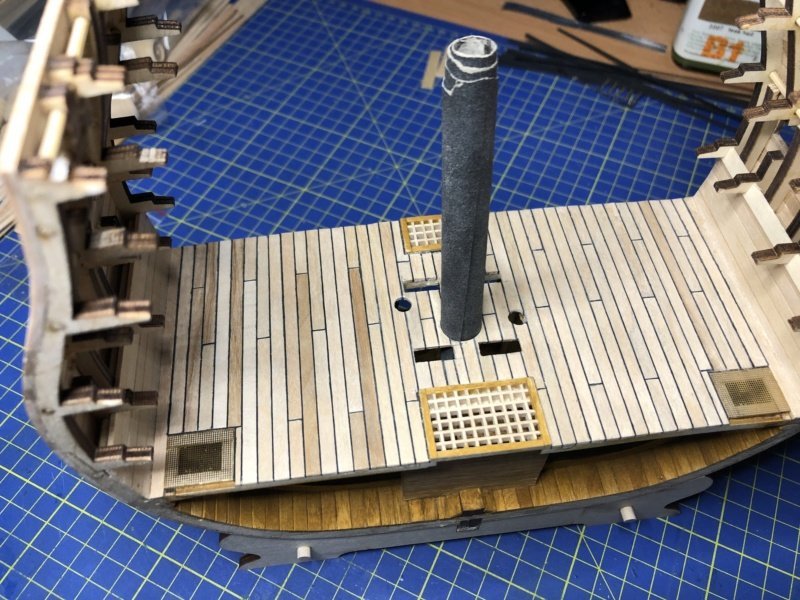
I worked out the openings for the bilge pump and the mast. The breakthroughs really made me. The instructions sayed that you should be careful because the deck breaks quickly at that point. Because I glued the clay paper between the planks, the deck broke away several times while I was working on it. Then i had to glue and wait for it to dry. I had to learn that it was best to use a small hand drill with a 1 - 1.5 mm drill bit . Then put hole after hole next to each other and the whole thing with as little pressure to the deck as possible. Then I used a fresh, very sharp blade to cut away the small ridges between the holes. After that I used the scalpel to work my way up to the pencil mark with very fine carving movements. Carving movement always parallel to the plank. I worked out the holes with a round needle file with rotary movements to the nominal dimension. For the mast, I used 240-grit sandpaper, turned into a roll.
- 7 replies
-
- Victory
- DeAgostini
-
(and 1 more)
Tagged with:
-
The planking of the orlop decks is finished and has already been stripped with the scraper. In the middle, the openings for the mast, the pump pipes and the second part of the pump house are still missing.
- 7 replies
-
- Victory
- DeAgostini
-
(and 1 more)
Tagged with:
-
I'm so sorry, I forgot one Mark 😱 thx Mark and also to cathead 😁
-
Many thanks to all, Dave, Keith, druxey, Mark and Ian @druxey I have family in St. Catharines nearby your home location 😉 and my sister went from Rochester to Philly
-
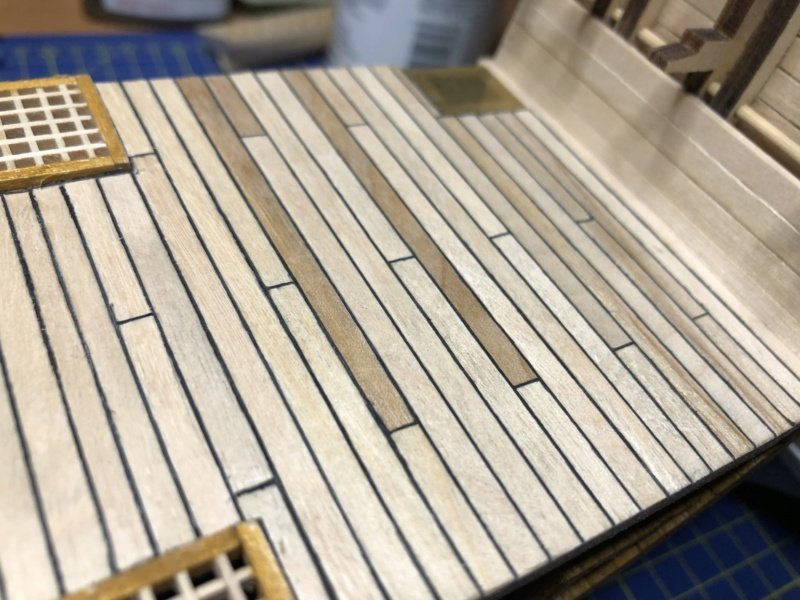
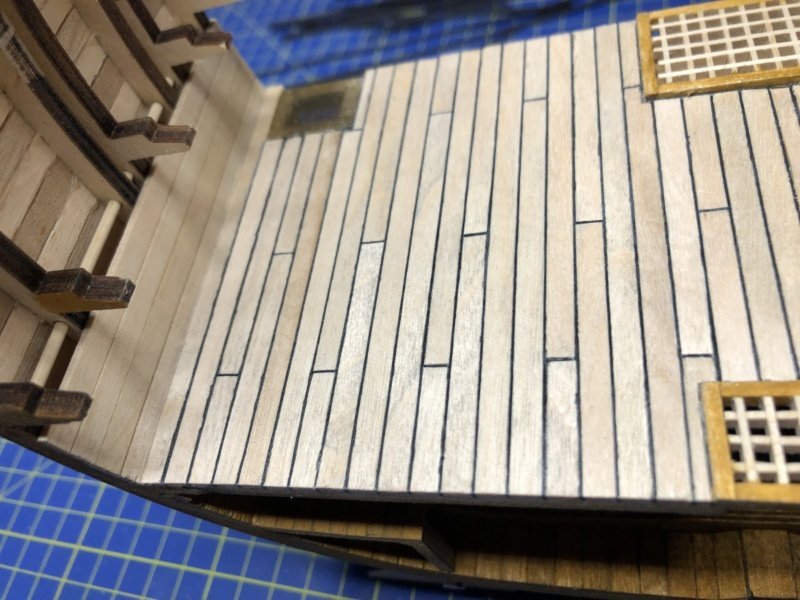
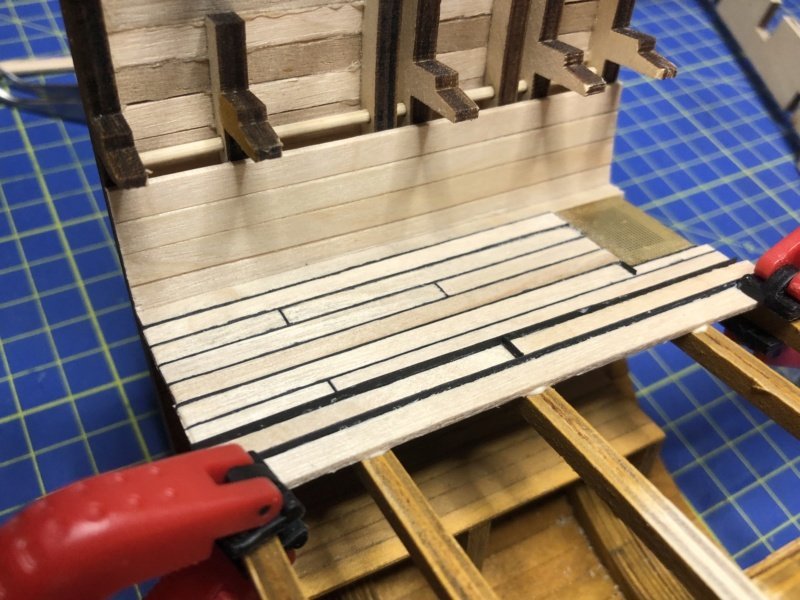
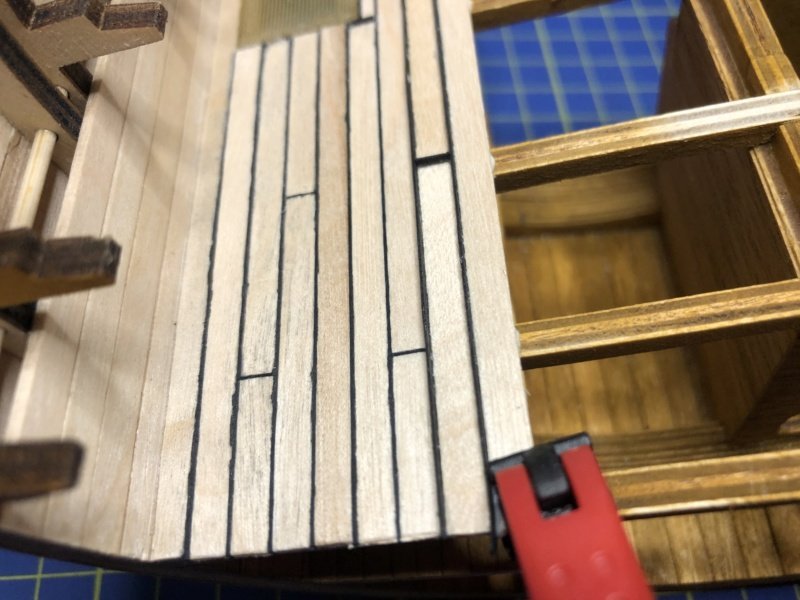
In the meantime, I've reached the orlop deck and worked on the deck planks. For the first "real" deck planking, I laid the planks in "Four Butt Shift" bond (Goodwin). I am not sure if this is correct. The literature is contradictory as to whether the planks are caulked or laid loosely in order to access the storage space underneath. The caulking I made with construction paper strips (cardboard 0.3mm thick). The strips will be cut back with a scapel after gluing . The best time to do this is when the white glue is still soft.
- 7 replies
-
- Victory
- DeAgostini
-
(and 1 more)
Tagged with:
-
Then painted with Vallejo White and imitated the wood grain with Earth Brown. Because the model is a bit bigger with 1:72, I broke the edges of the planks of the inner lining, to expose the rustic at the very bottom of the storage space (see previous pictures).
- 7 replies
-
- Victory
- DeAgostini
-
(and 1 more)
Tagged with:
-
Thx for the warm welcome 😄 @ccoyle Both 😂 The FCB (Bayern) is winning most times, this is boring 1860 loses most of the time, that also sucks. But they are the underdogs, so they all support they can get @all: Chris and me talking about two soccer teams from Munich Munich, the city with heart and the Oktoberfest 😄👍
-
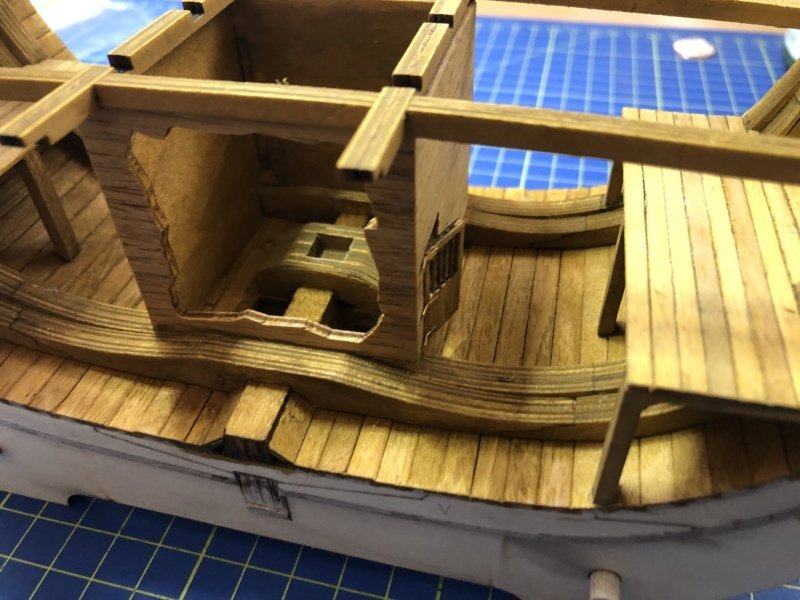
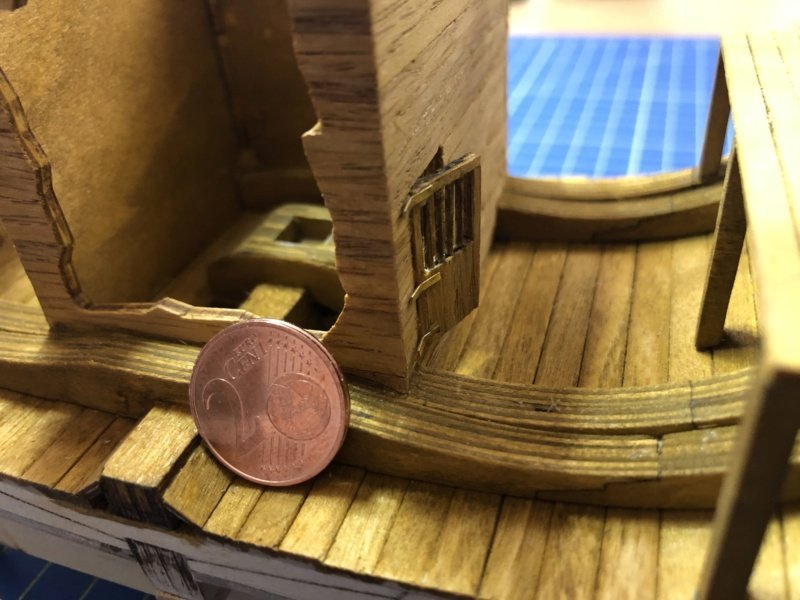
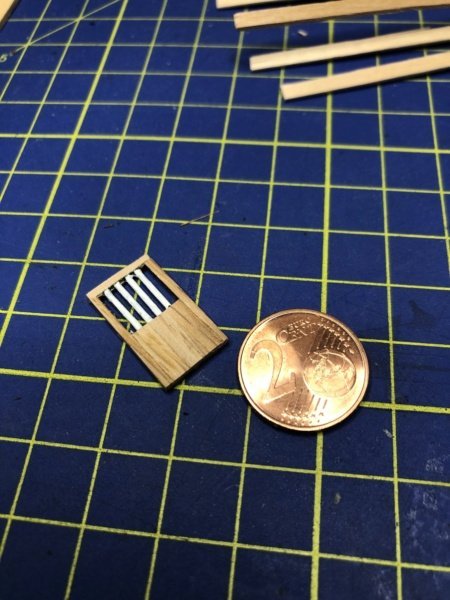
This is the first picture I took from the build: I didn't like the suggestion to imitate the grille bars of the pump house door with toothpicks (2mm ø). It looked too clumsy to me, so I imitated the steel using 0.8 mm ø carbon rods. From the front I cut v-shaped slots with a scalpel, covered with white glue and glued some oak veneer over it.
- 7 replies
-
- Victory
- DeAgostini
-
(and 1 more)
Tagged with:
-
Spurred on by a build report on the DeAgostini Sovereign of the Seas and after this kit was no longer available, I decided to build the DeAgostini HMS Victory. I started looking for a complete set. On a larger online auction site, I promptly found what I was looking for. 150 booklets and a started hull, all together for EUR 400, I couldn't resist. Since the completion will take some time, I have decided, to build the Cross Section model 1:72 (booklets 131-151) first. I thought 21 construction stages would be quick to build, no way.
- 7 replies
-
- Victory
- DeAgostini
-
(and 1 more)
Tagged with:
-
Let me introduce myself briefly: My name is Thomas and I have been modeling for more then fifty years. I started with plastic modeling, e.g. the Saturn V 1:96 from Revell 1969. Later I changed to RC ship and airplane modeling and continued with remote controlled helicopters in the eighties. My nickname is a combination of helicopter and art. I did a lot of custom painting for the canopies of RC helicopters, but also for motorcycles. At the beginning of the millenium the flight virus took me over and I got into man-carrying flying (UL and paragliding). In the meantime I have calmed down a bit (with the paraglider I flew acrobatics) and I dedicate myself again more to model building. Three years ago I taught myself CAD (Fusion360) and since then I have been working intensively with 3D printers. This was so successful that I made it to the cover of the magazine "Maschinen im Modellbau" by rebuilding a Graupner Wankel. My current projects are the HMS Victory and the HMS Sovereign of the Seas from De Agostini.
About us
Modelshipworld - Advancing Ship Modeling through Research
SSL Secured
Your security is important for us so this Website is SSL-Secured
NRG Mailing Address
Nautical Research Guild
237 South Lincoln Street
Westmont IL, 60559-1917
Model Ship World ® and the MSW logo are Registered Trademarks, and belong to the Nautical Research Guild (United States Patent and Trademark Office: No. 6,929,264 & No. 6,929,274, registered Dec. 20, 2022)
Helpful Links
About the NRG
If you enjoy building ship models that are historically accurate as well as beautiful, then The Nautical Research Guild (NRG) is just right for you.
The Guild is a non-profit educational organization whose mission is to “Advance Ship Modeling Through Research”. We provide support to our members in their efforts to raise the quality of their model ships.
The Nautical Research Guild has published our world-renowned quarterly magazine, The Nautical Research Journal, since 1955. The pages of the Journal are full of articles by accomplished ship modelers who show you how they create those exquisite details on their models, and by maritime historians who show you the correct details to build. The Journal is available in both print and digital editions. Go to the NRG web site (www.thenrg.org) to download a complimentary digital copy of the Journal. The NRG also publishes plan sets, books and compilations of back issues of the Journal and the former Ships in Scale and Model Ship Builder magazines.

