DONATION DRIVE - SUPPORT MSW - DO YOUR PART TO KEEP THIS GREAT FORUM GOING!
×


Benjamin S
-
Posts
113 -
Joined
-
Last visited
Content Type
Profiles
Forums
Gallery
Events
Everything posted by Benjamin S
-
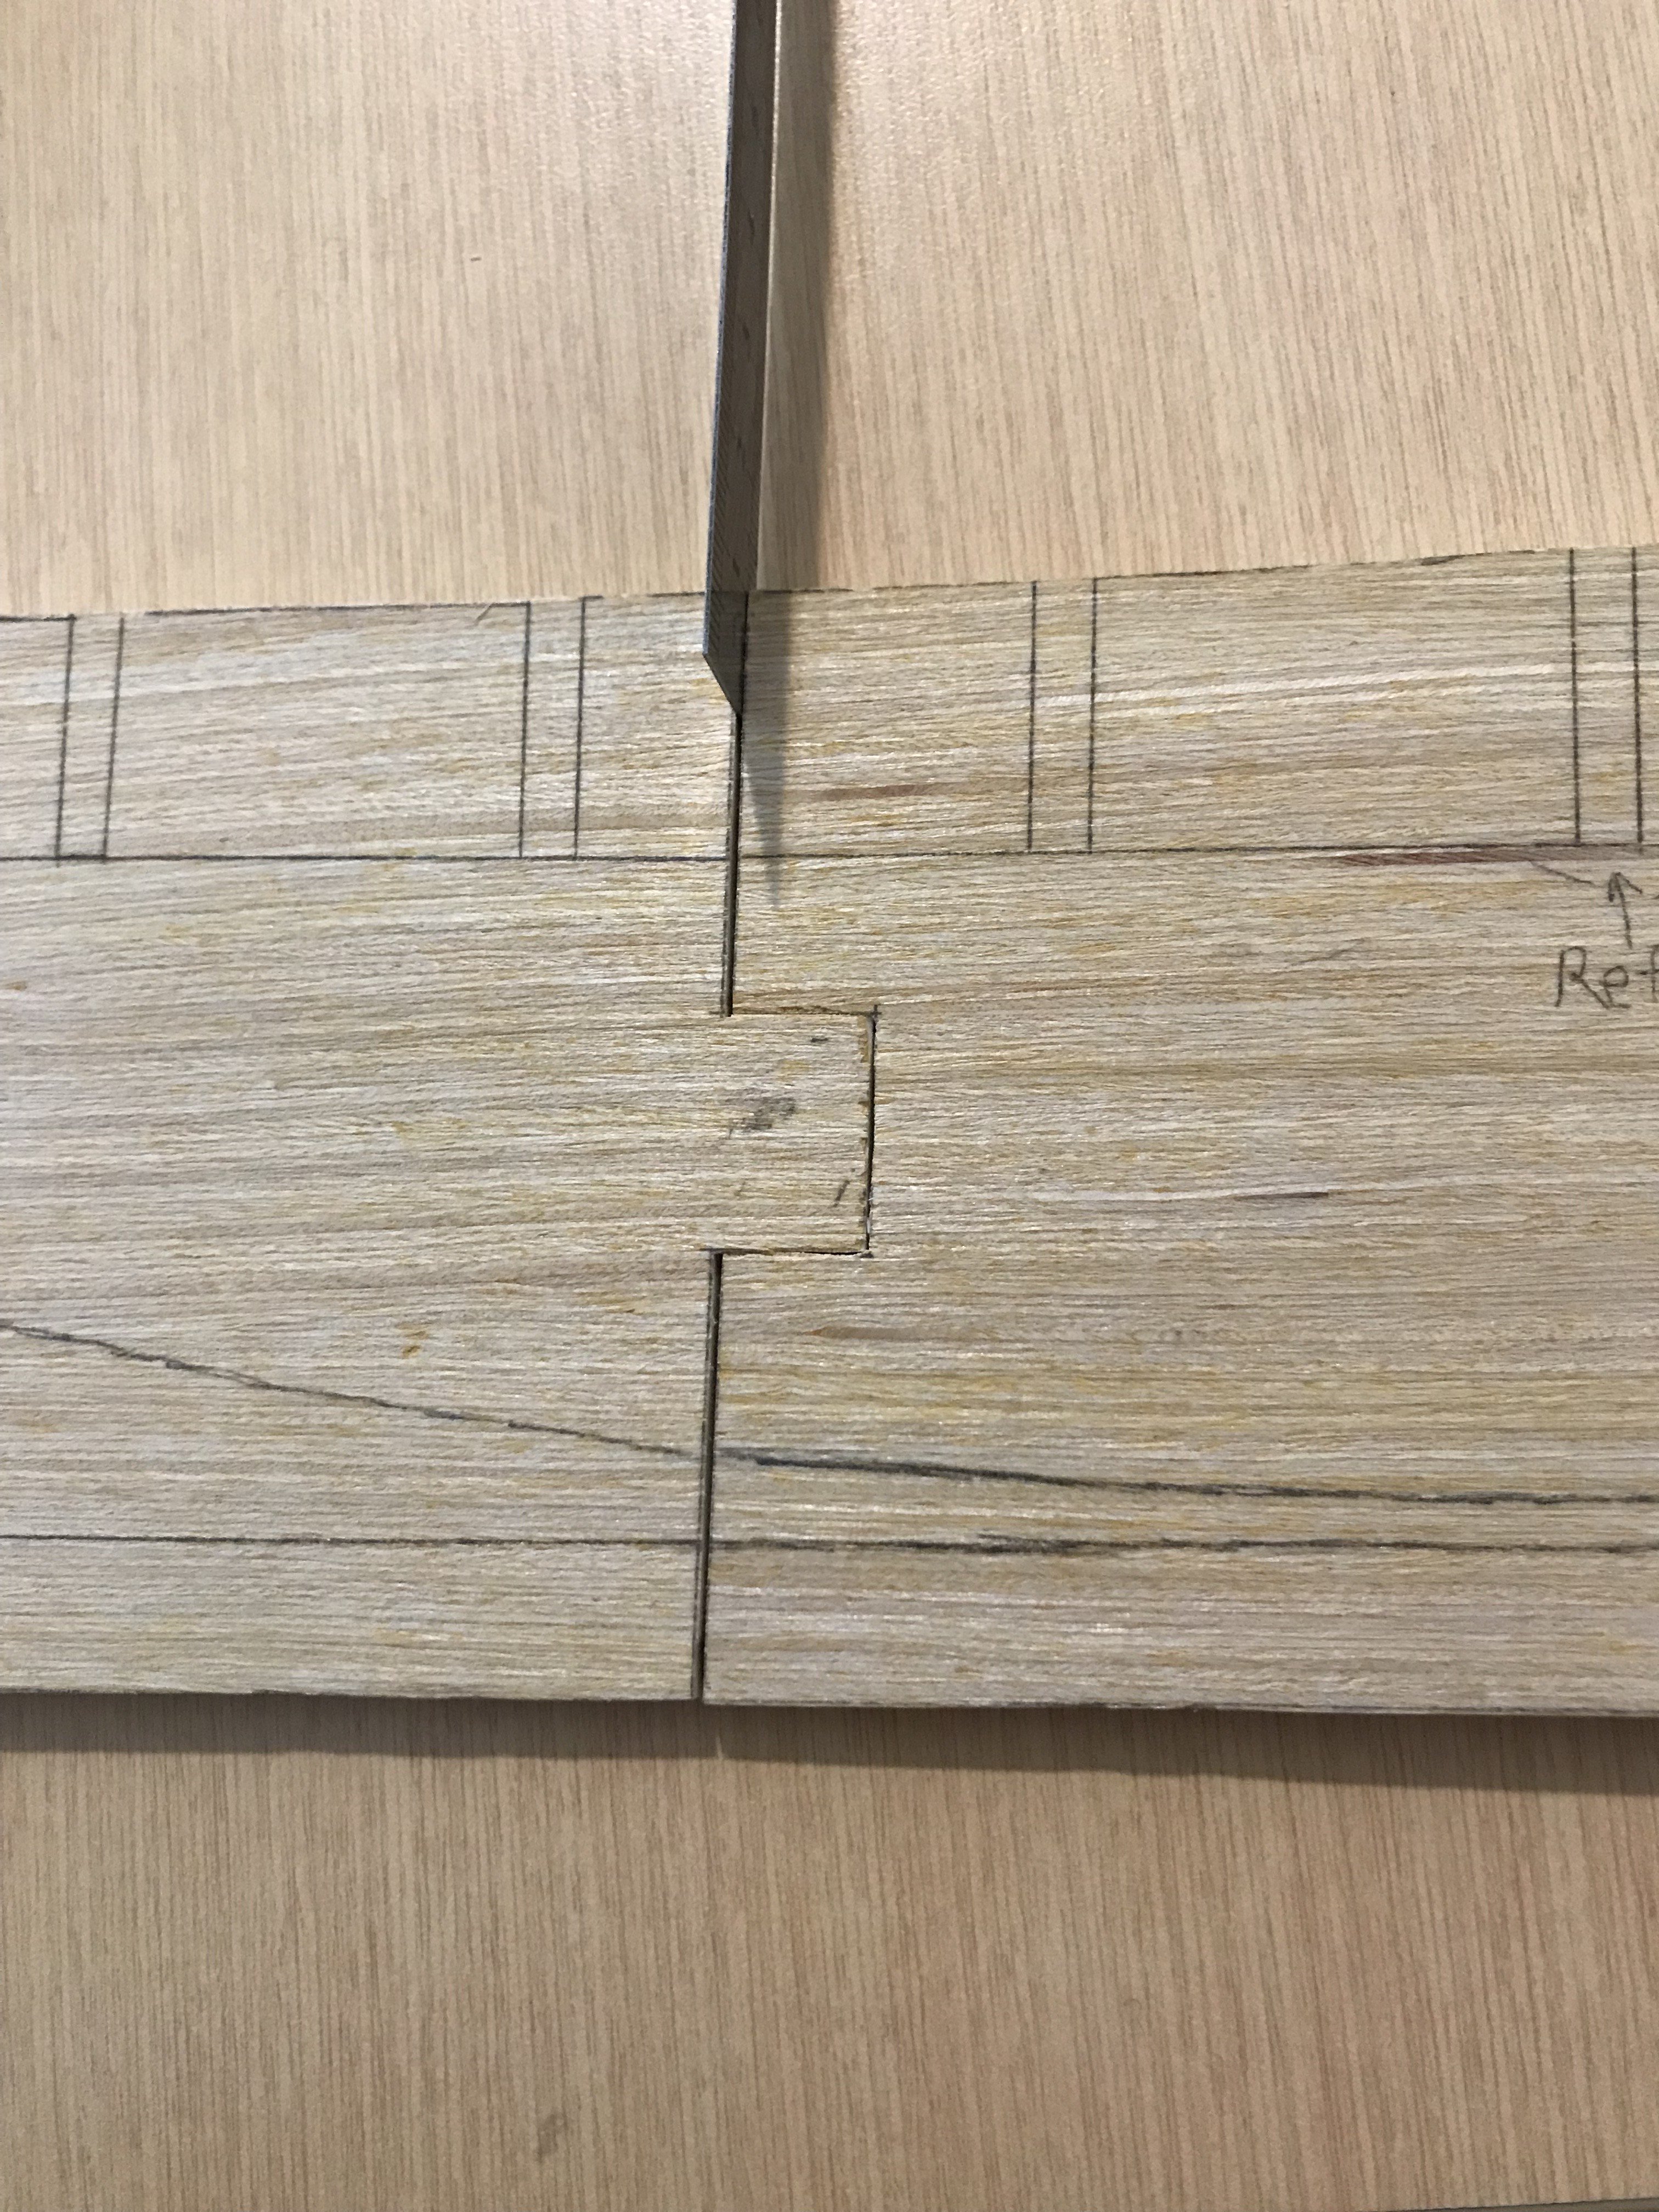
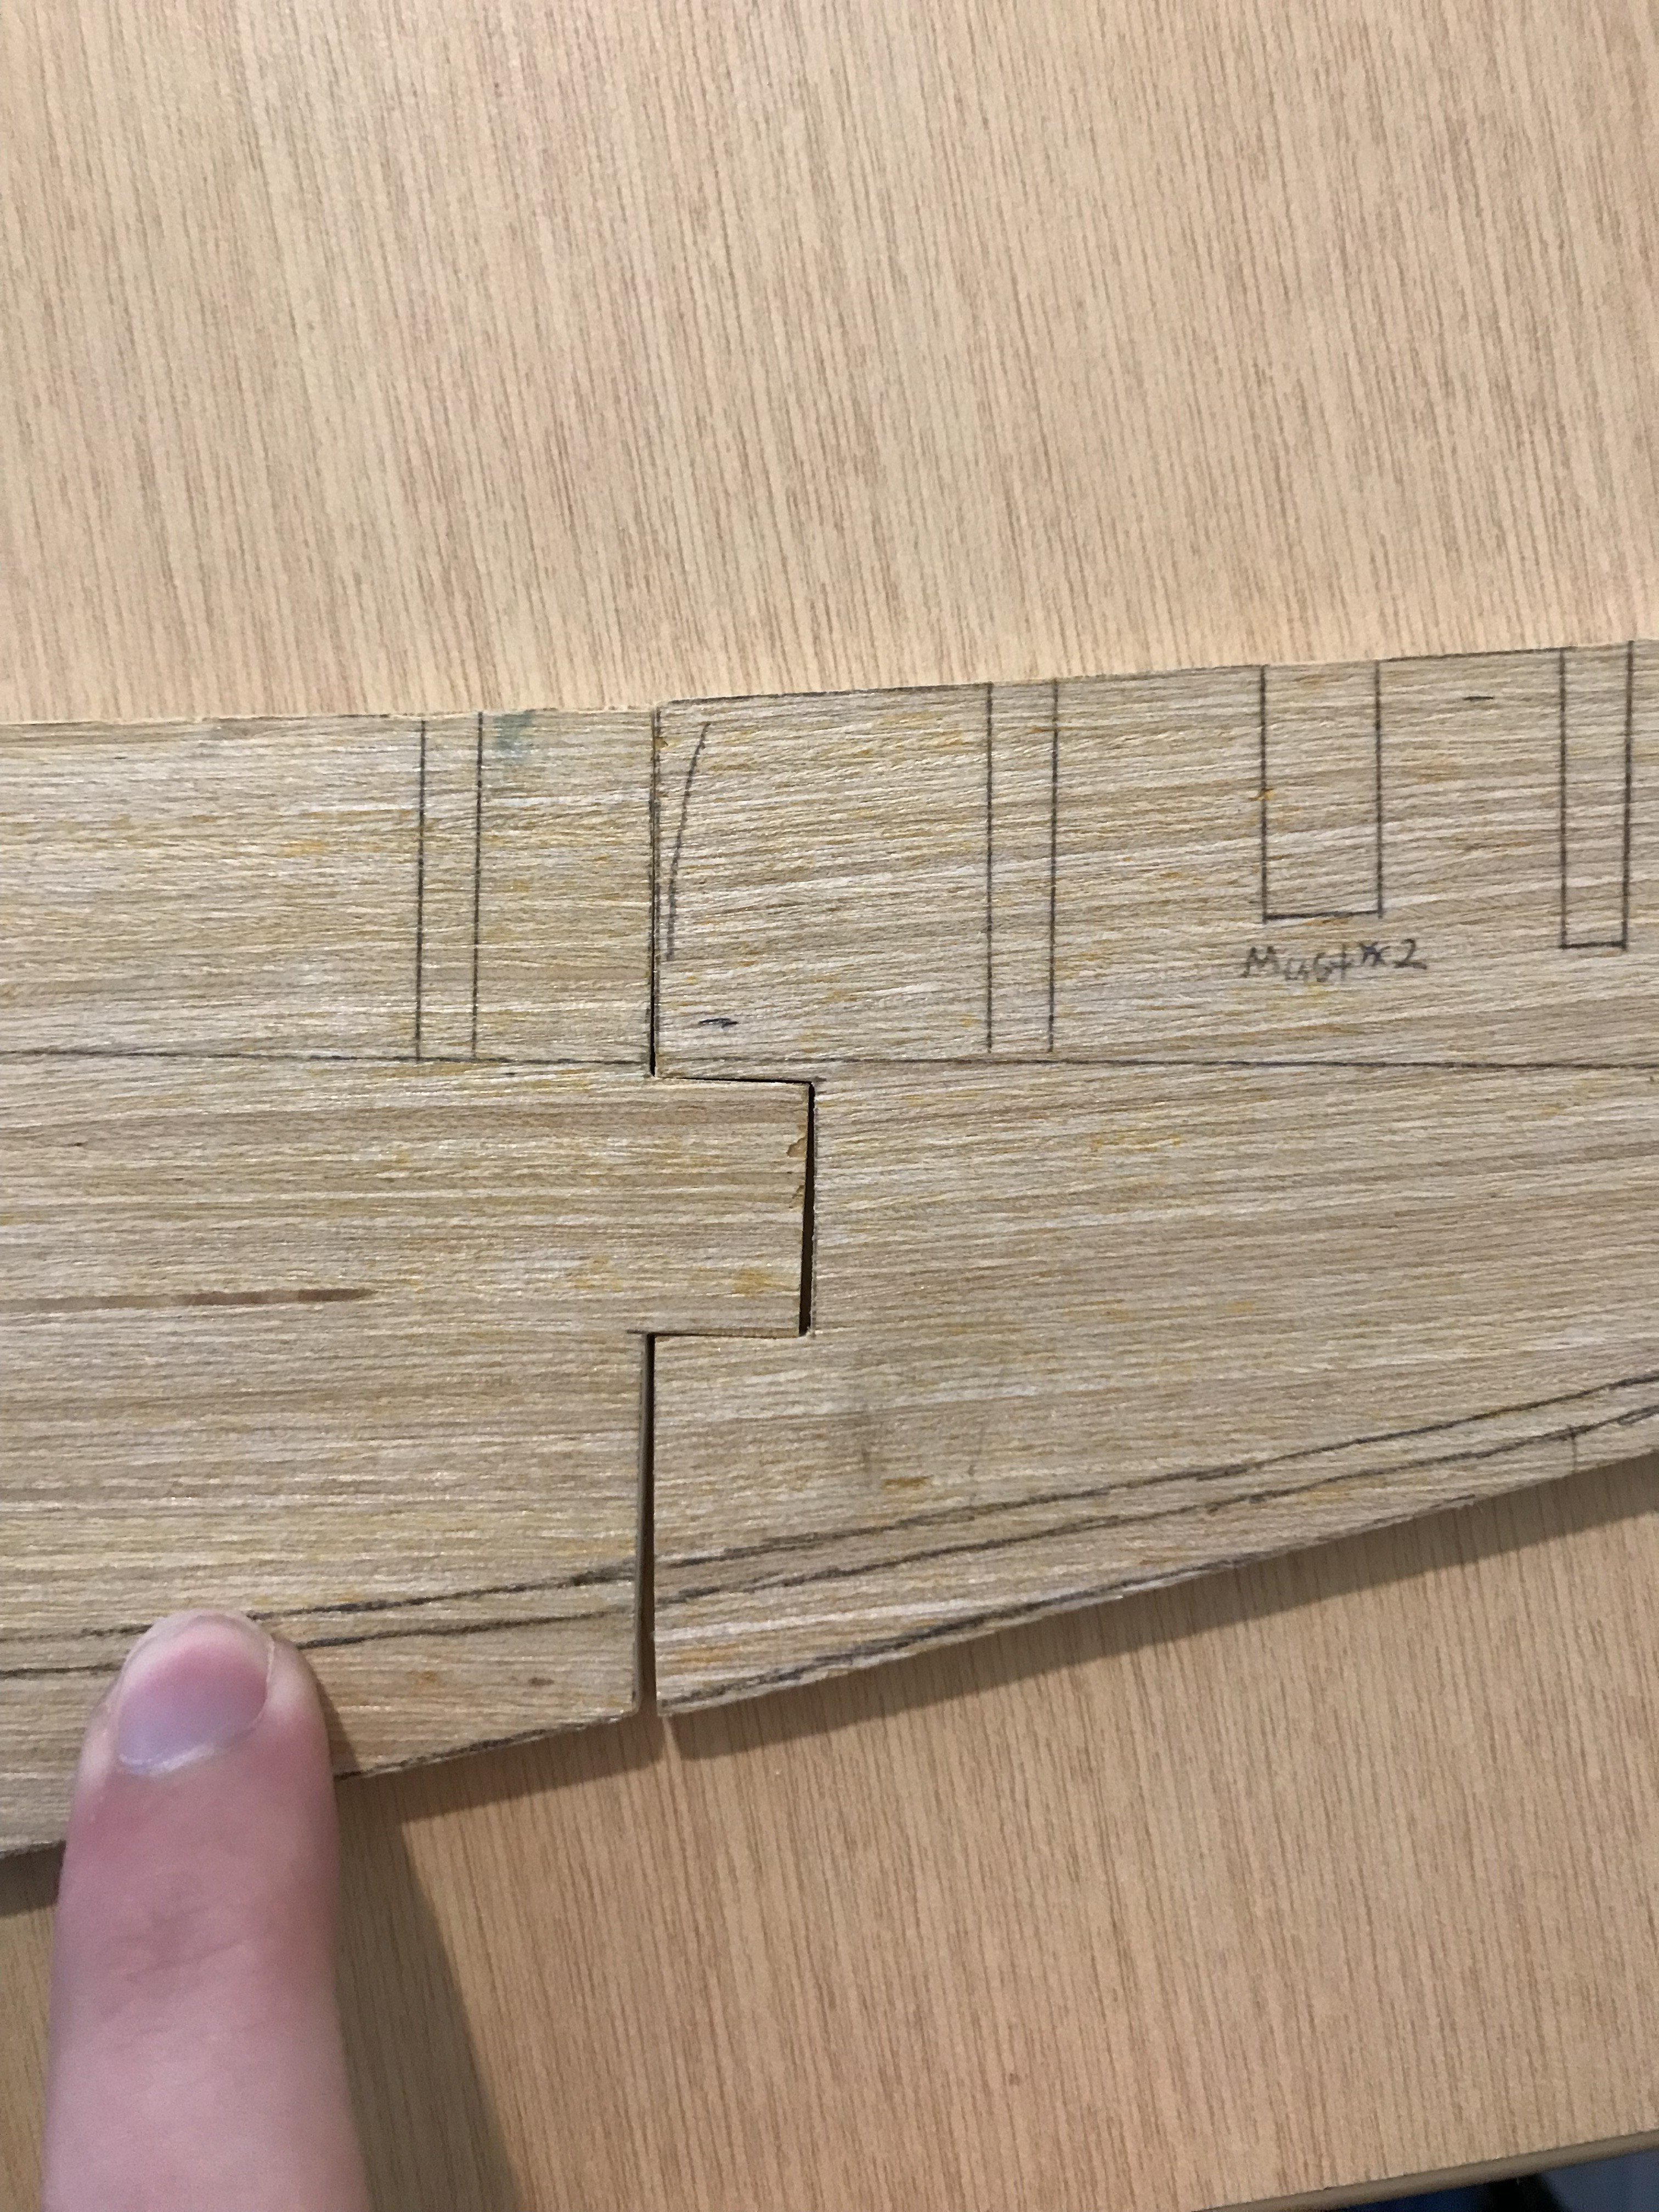
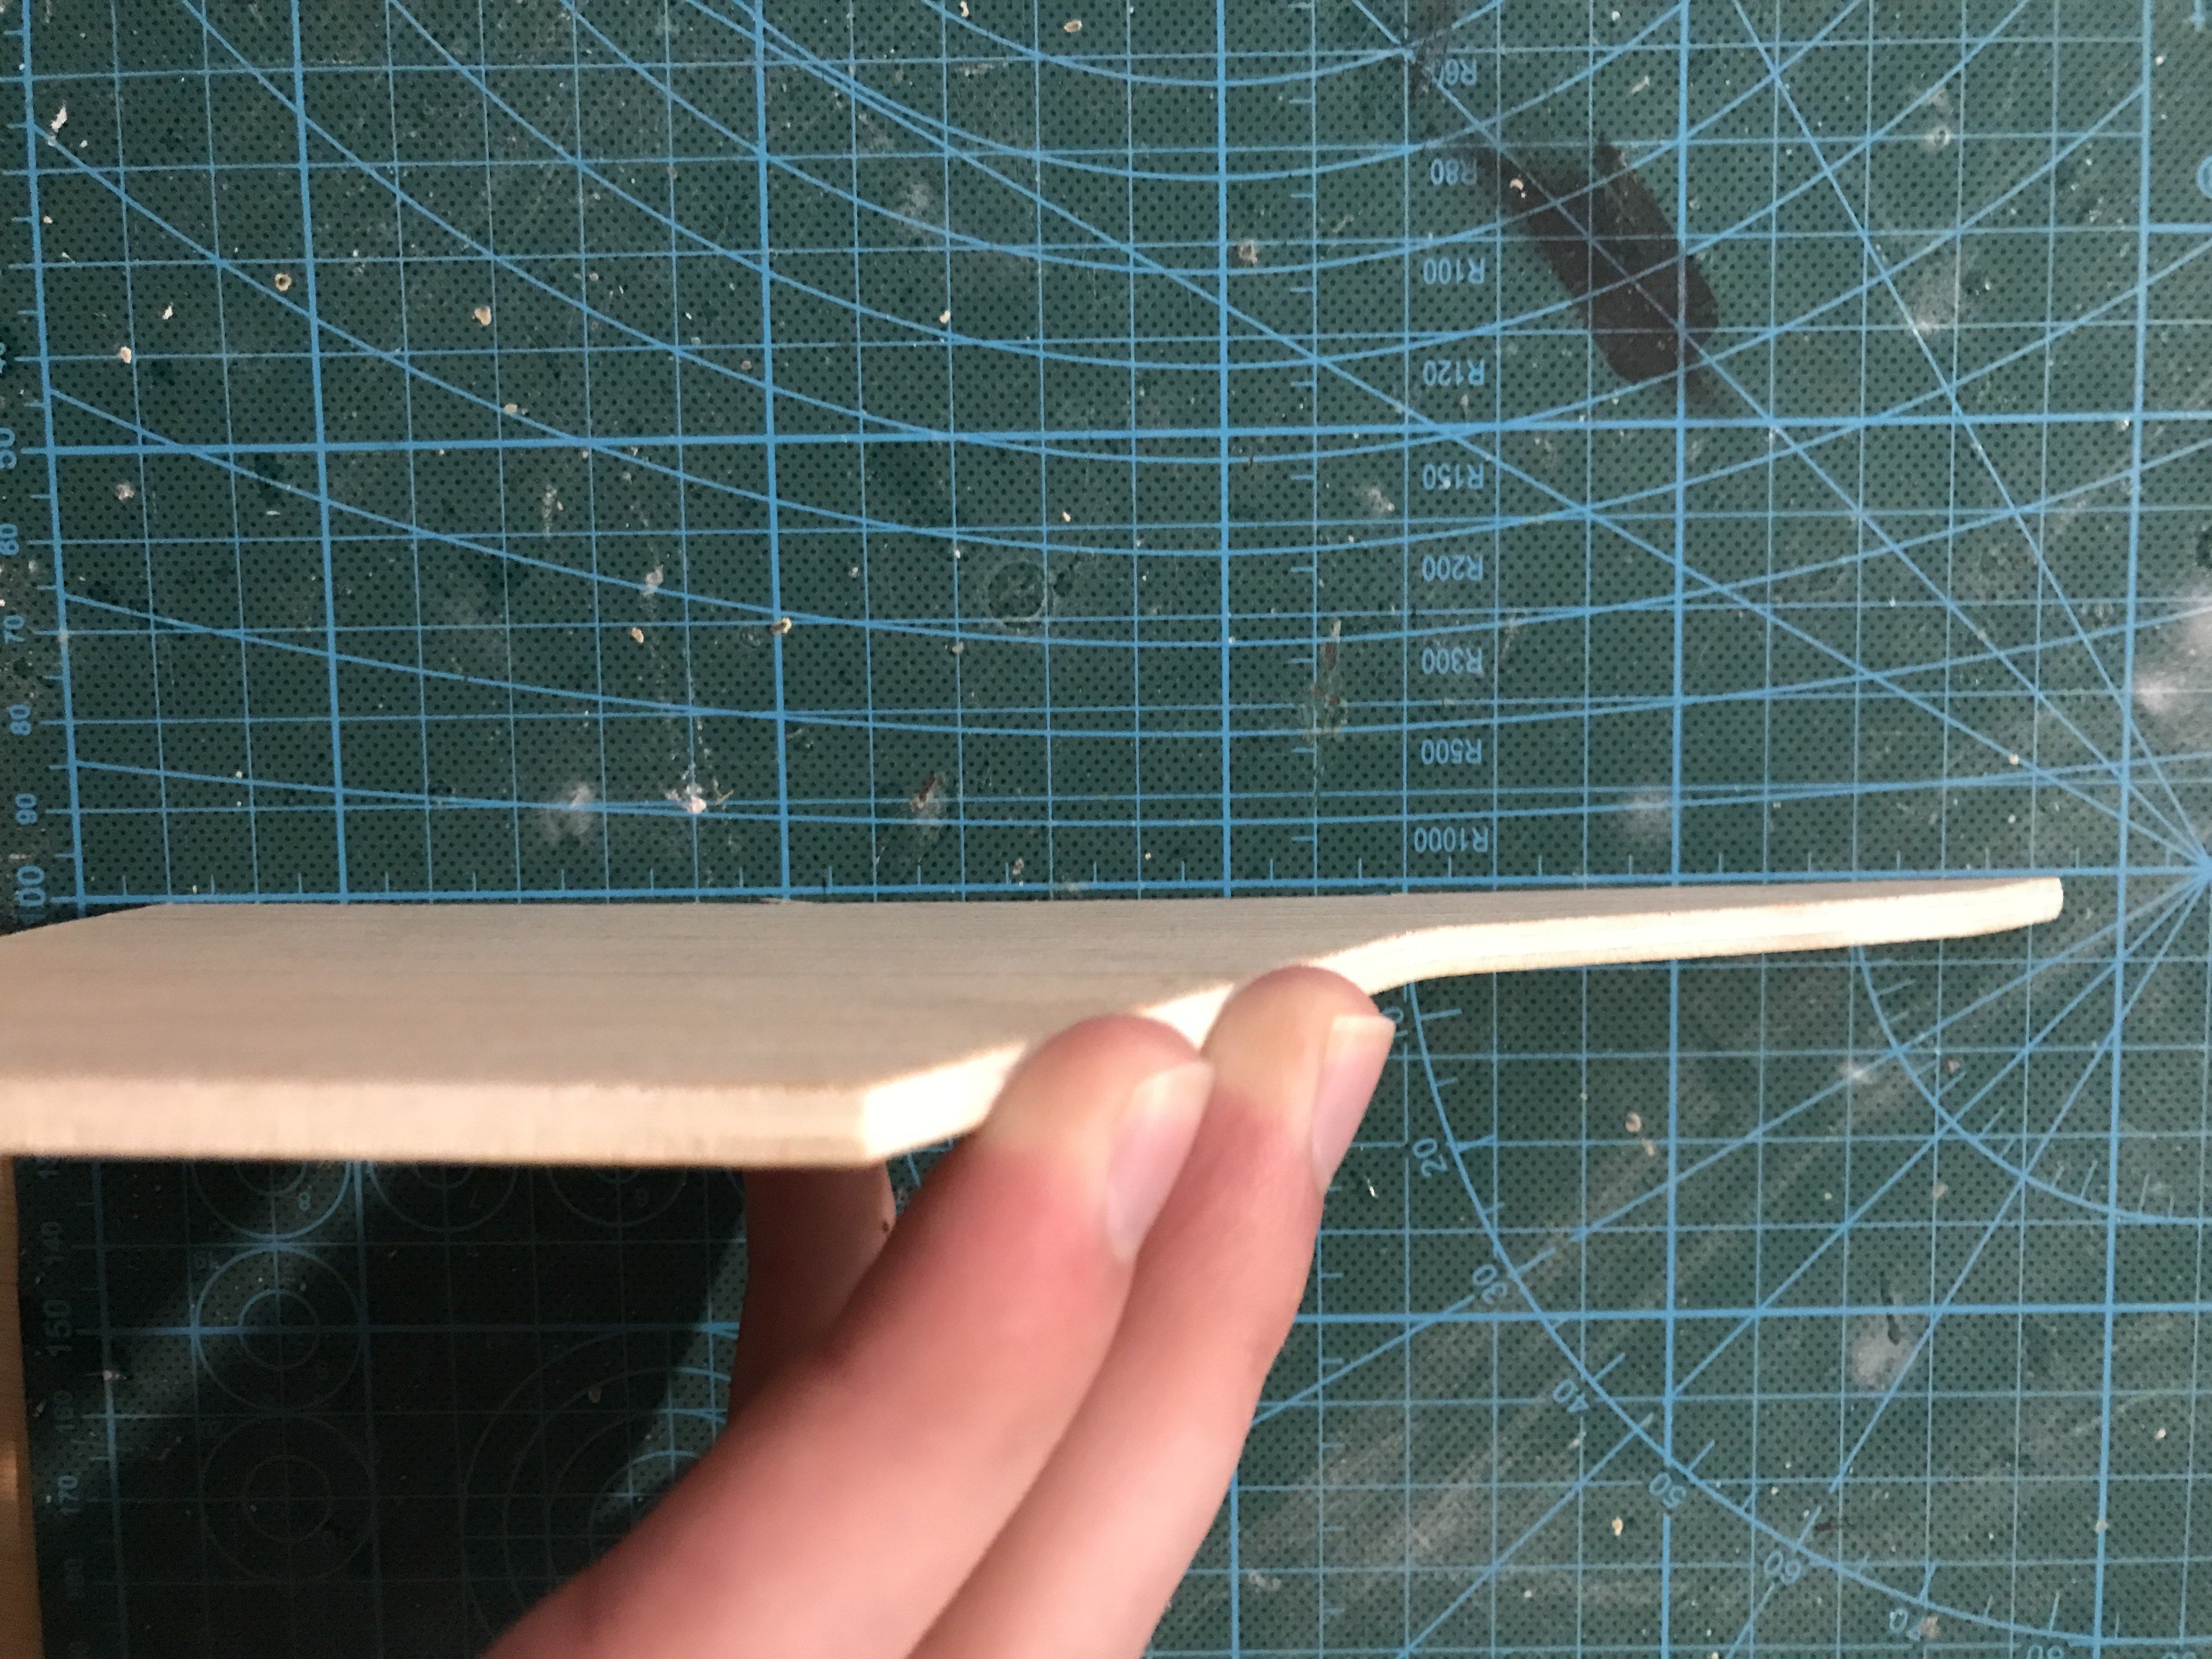
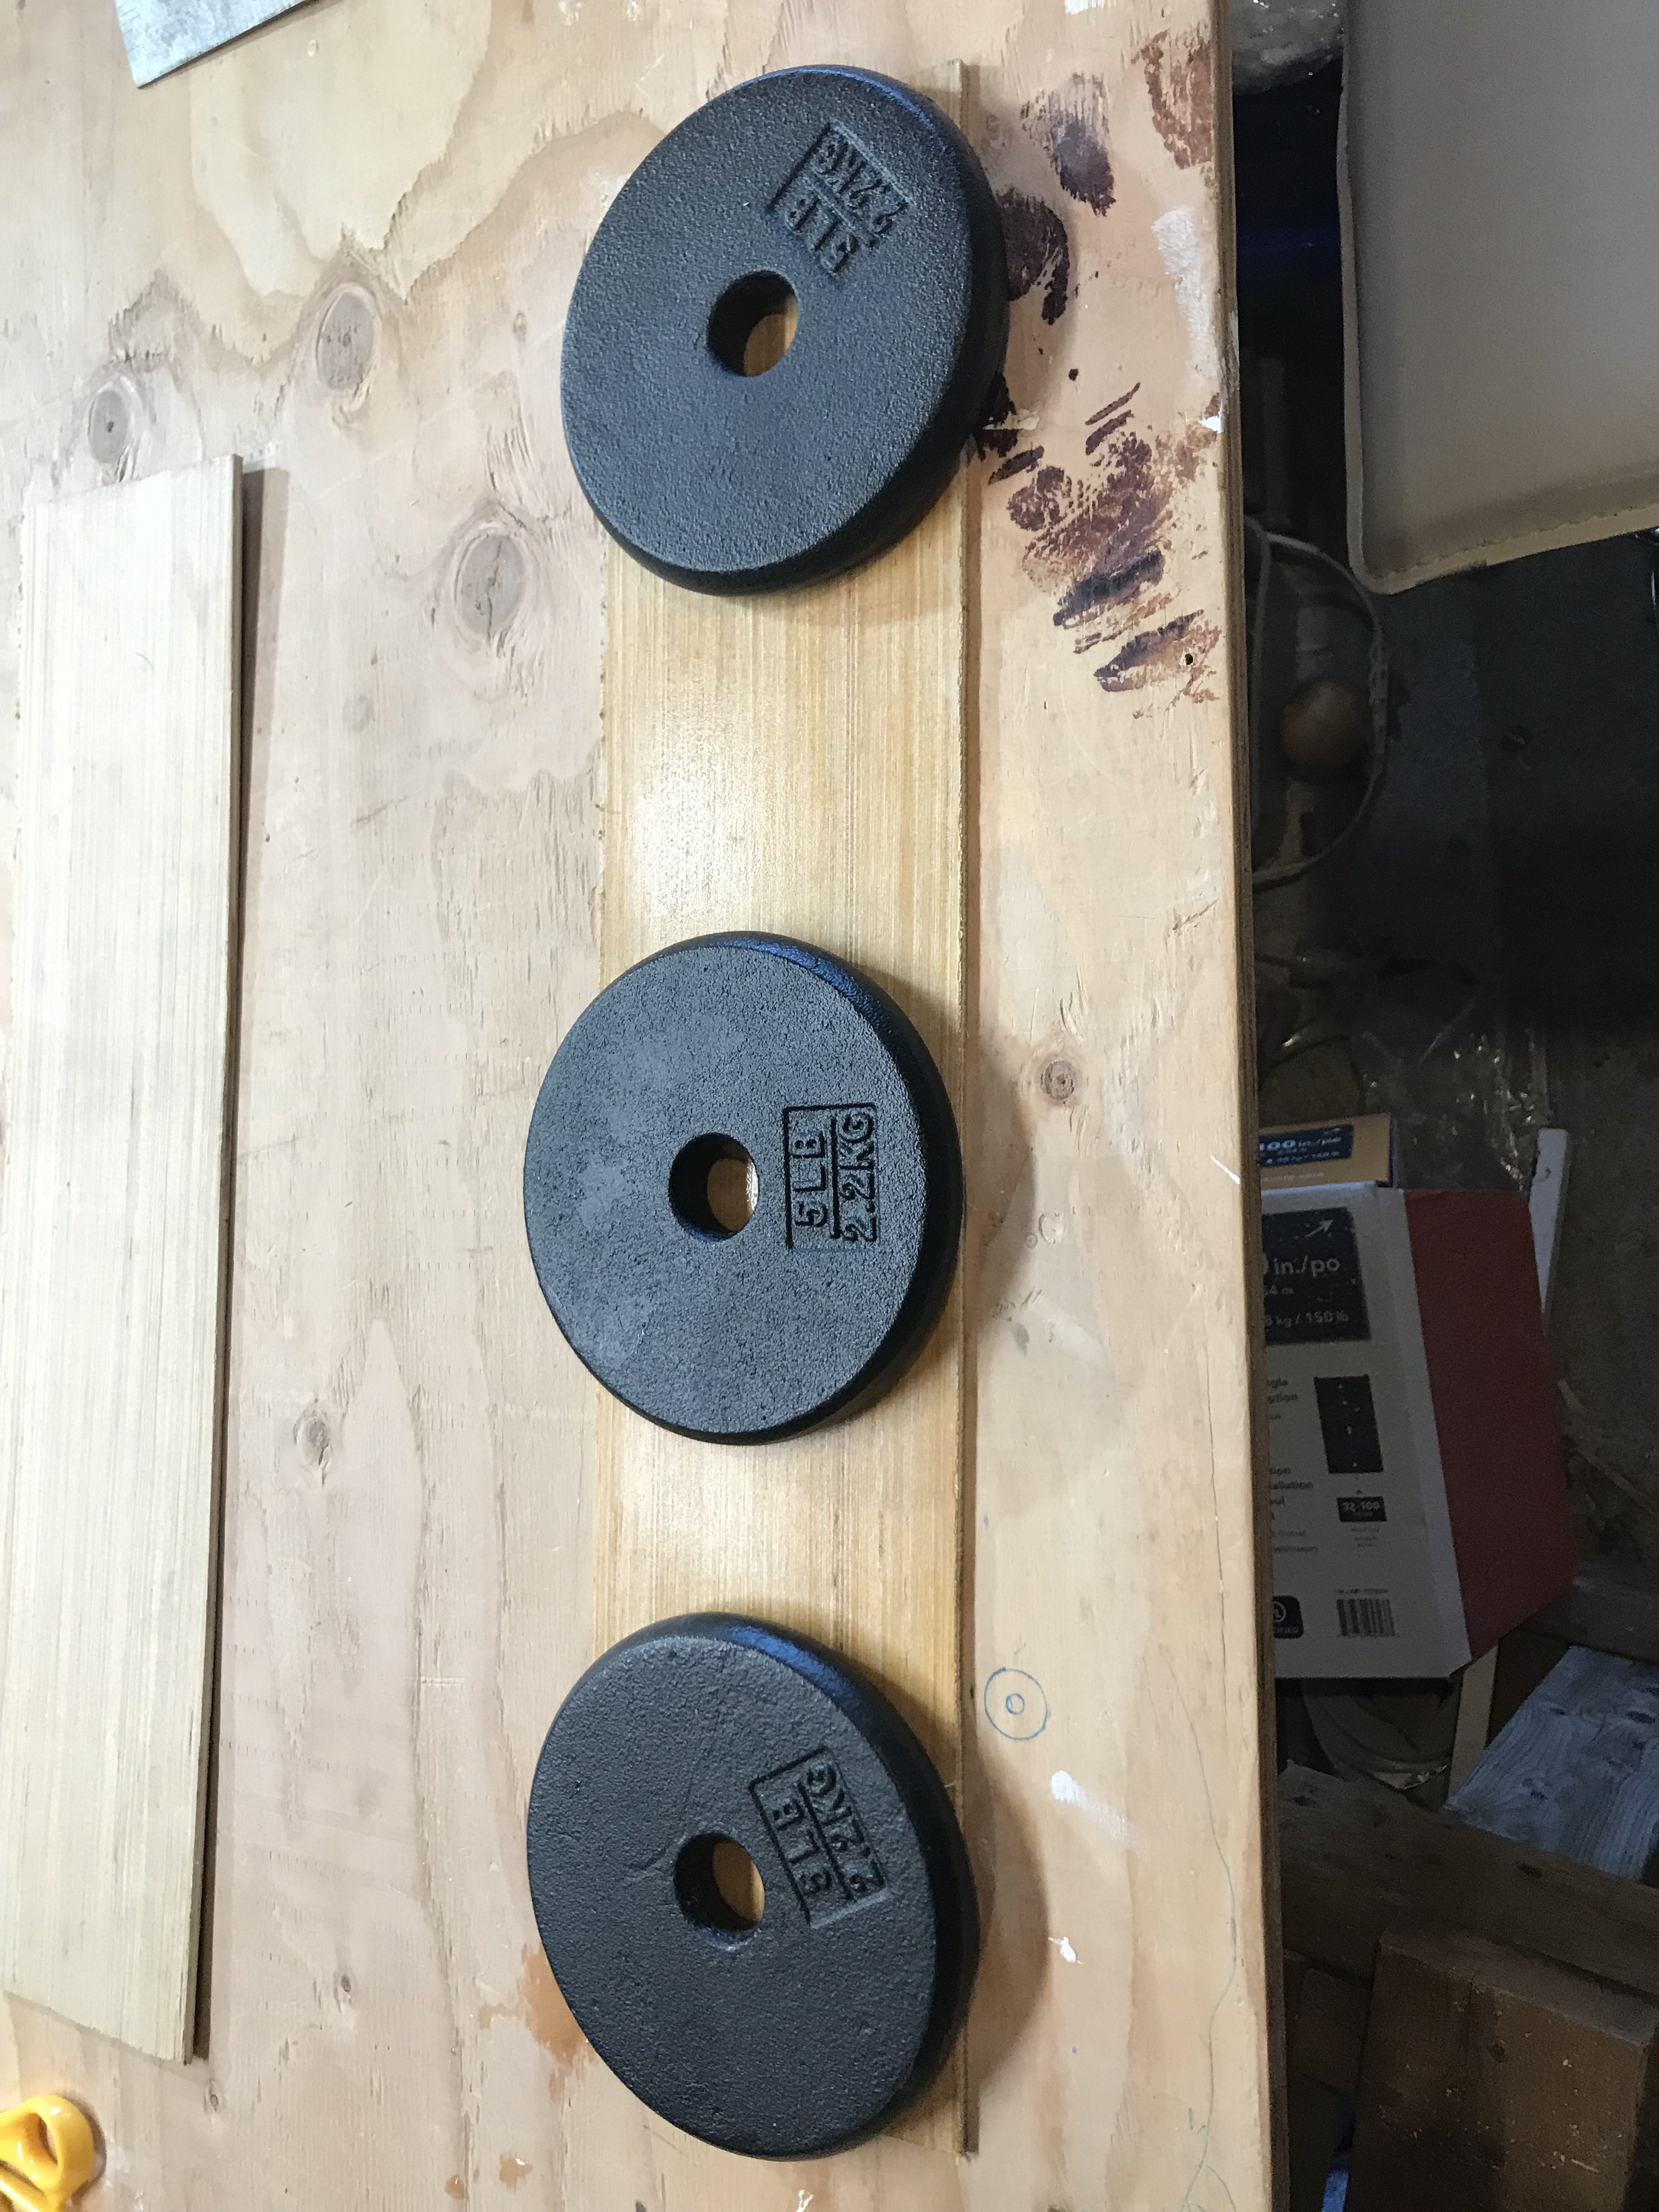
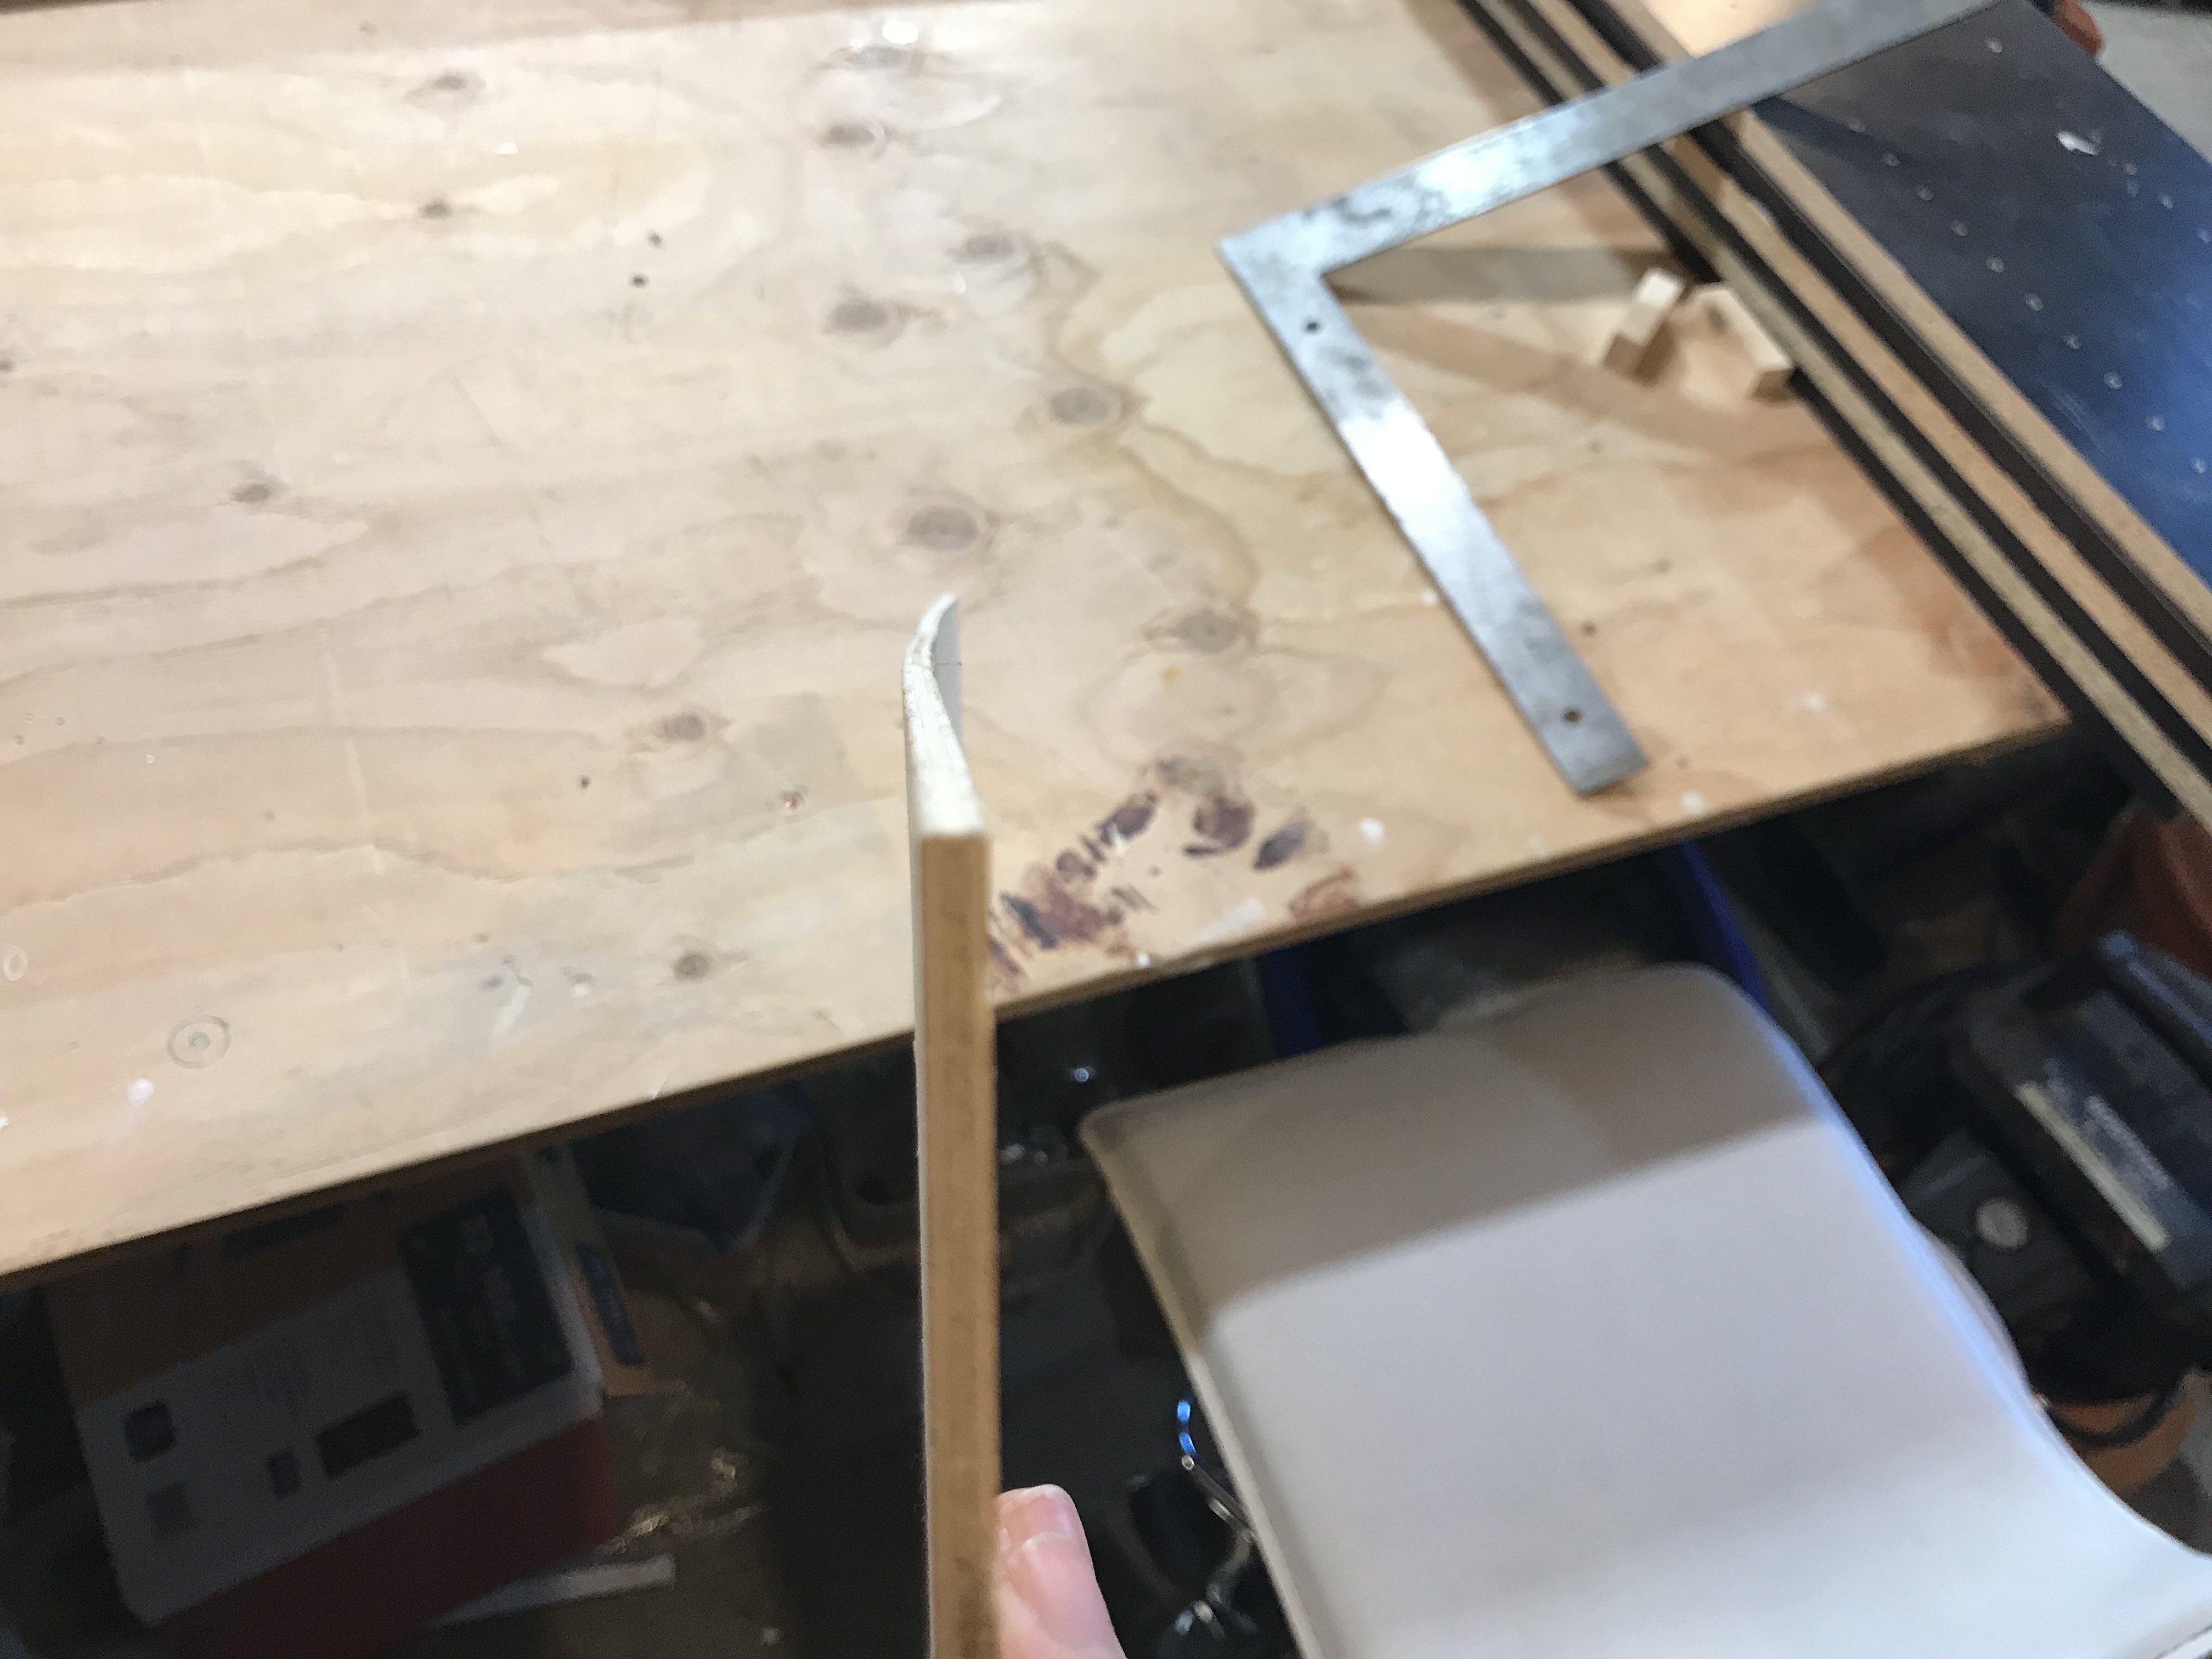
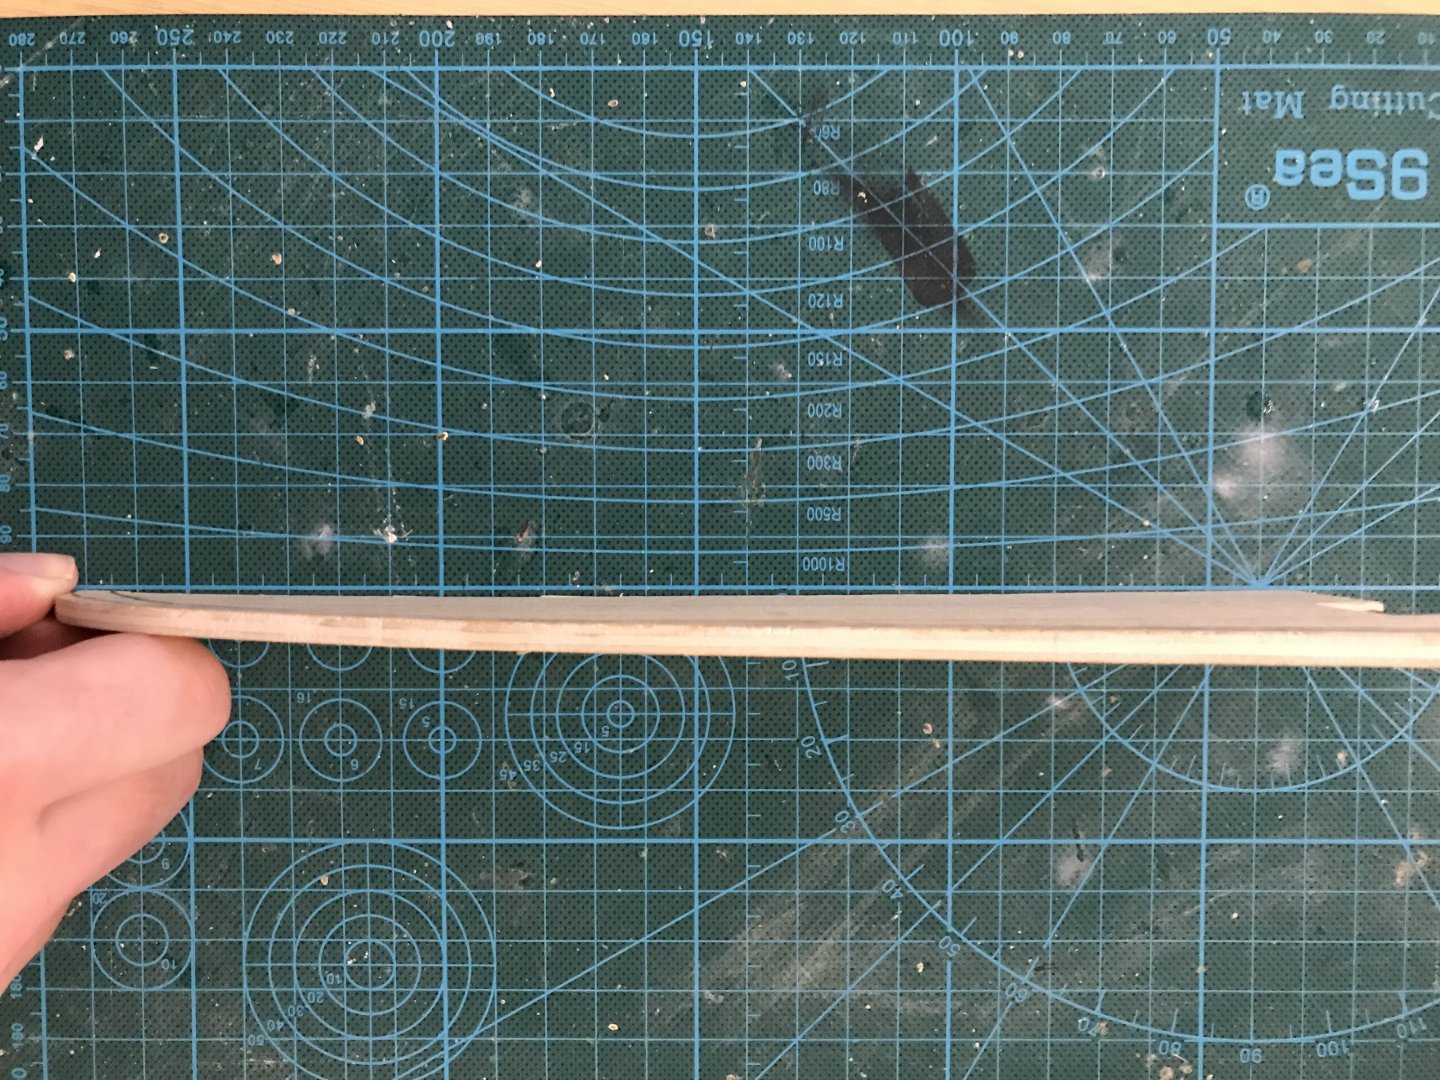
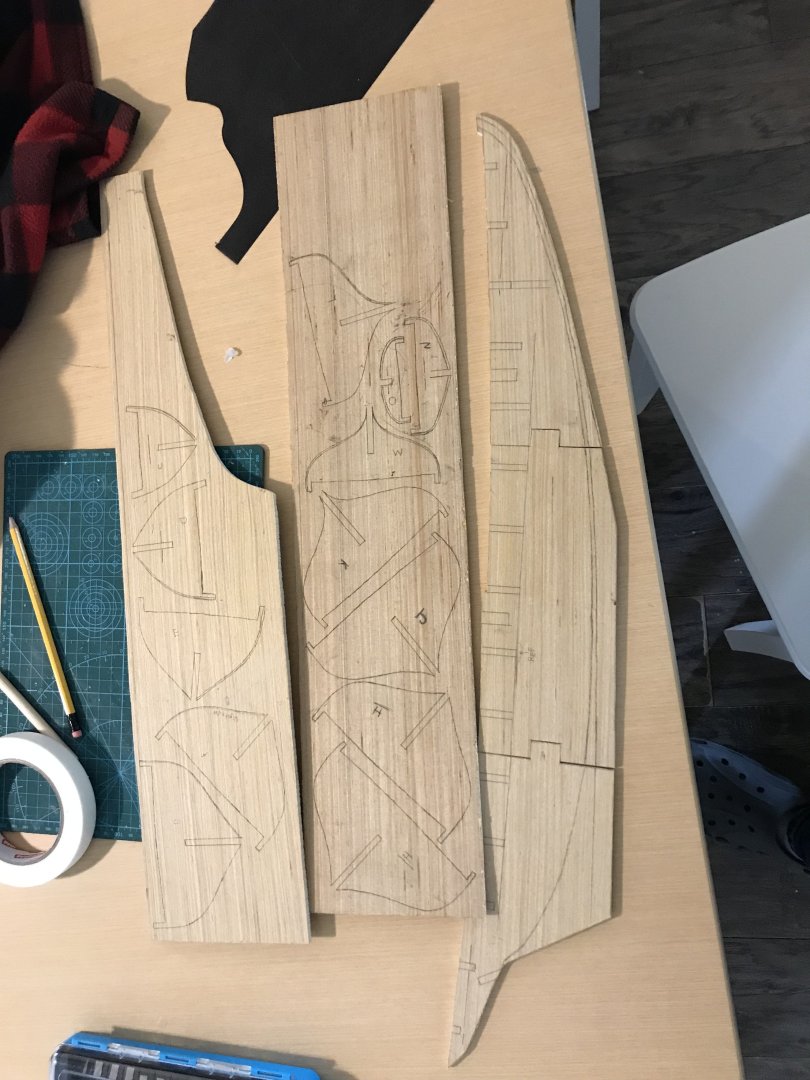
 Hi again, it's been a minute since l posted so l figured it was about time to give you an update so you didn't think l had abandoned her. l haven't gotten tooo much done... but l did get some done, most notably l have traced out a bunch of stuff, and have actually cut out and started refining the keel. l think it's fair to say l have run into conundrum 2... the keel. The problem- it's still a wee warped. The solution...l don't know. l do have pics tho (the 3 keel pieces) As you can see it's still a little warped, though thankfully nothing too major. My foreseeable options are A: deal with it now before glueing together. Or B: wait until I'm installing the bulkheads and straighten it out then. It looks to me like it's a small enough bent that l could fix it later when l fare the bulkheads...but should l do it now? On another note the joints are going to need a little wedging and sanding, so l am going to need to sort that out, and hopefully get the "reference" line straight. Anyway l will keep chipping away at this, let me know if you have any suggestions for how/ in what order to do these Benjamin


-
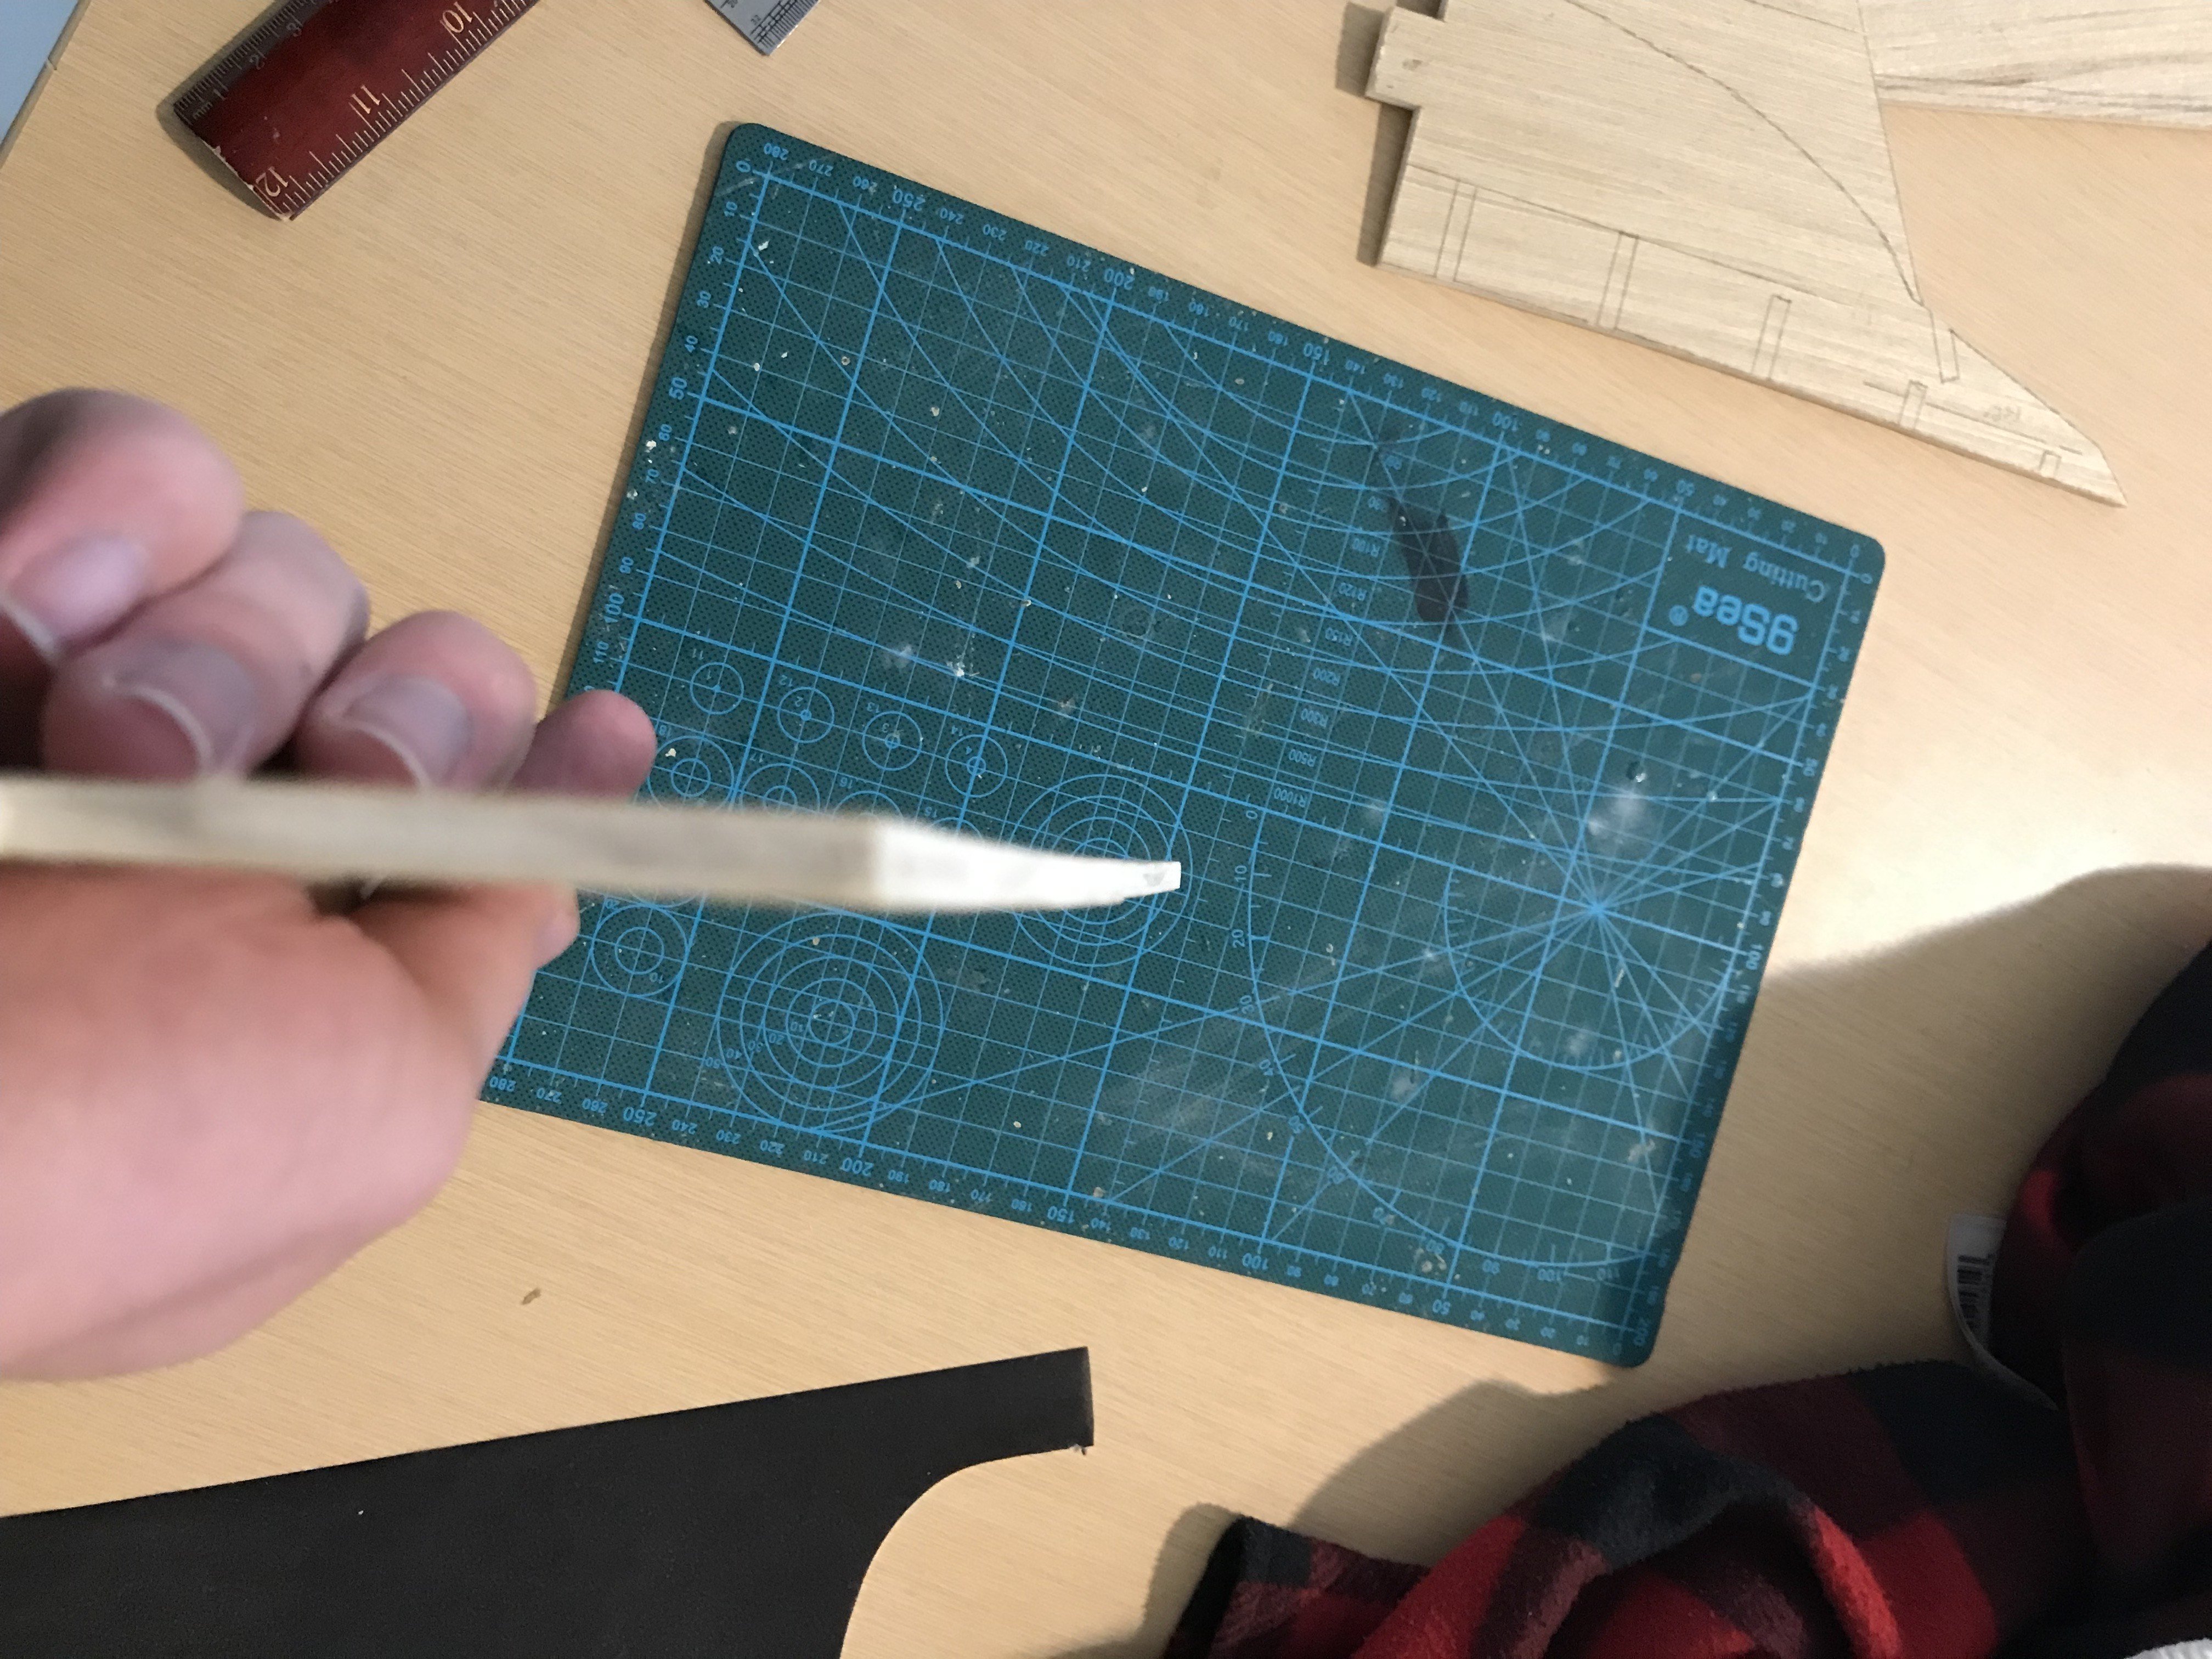
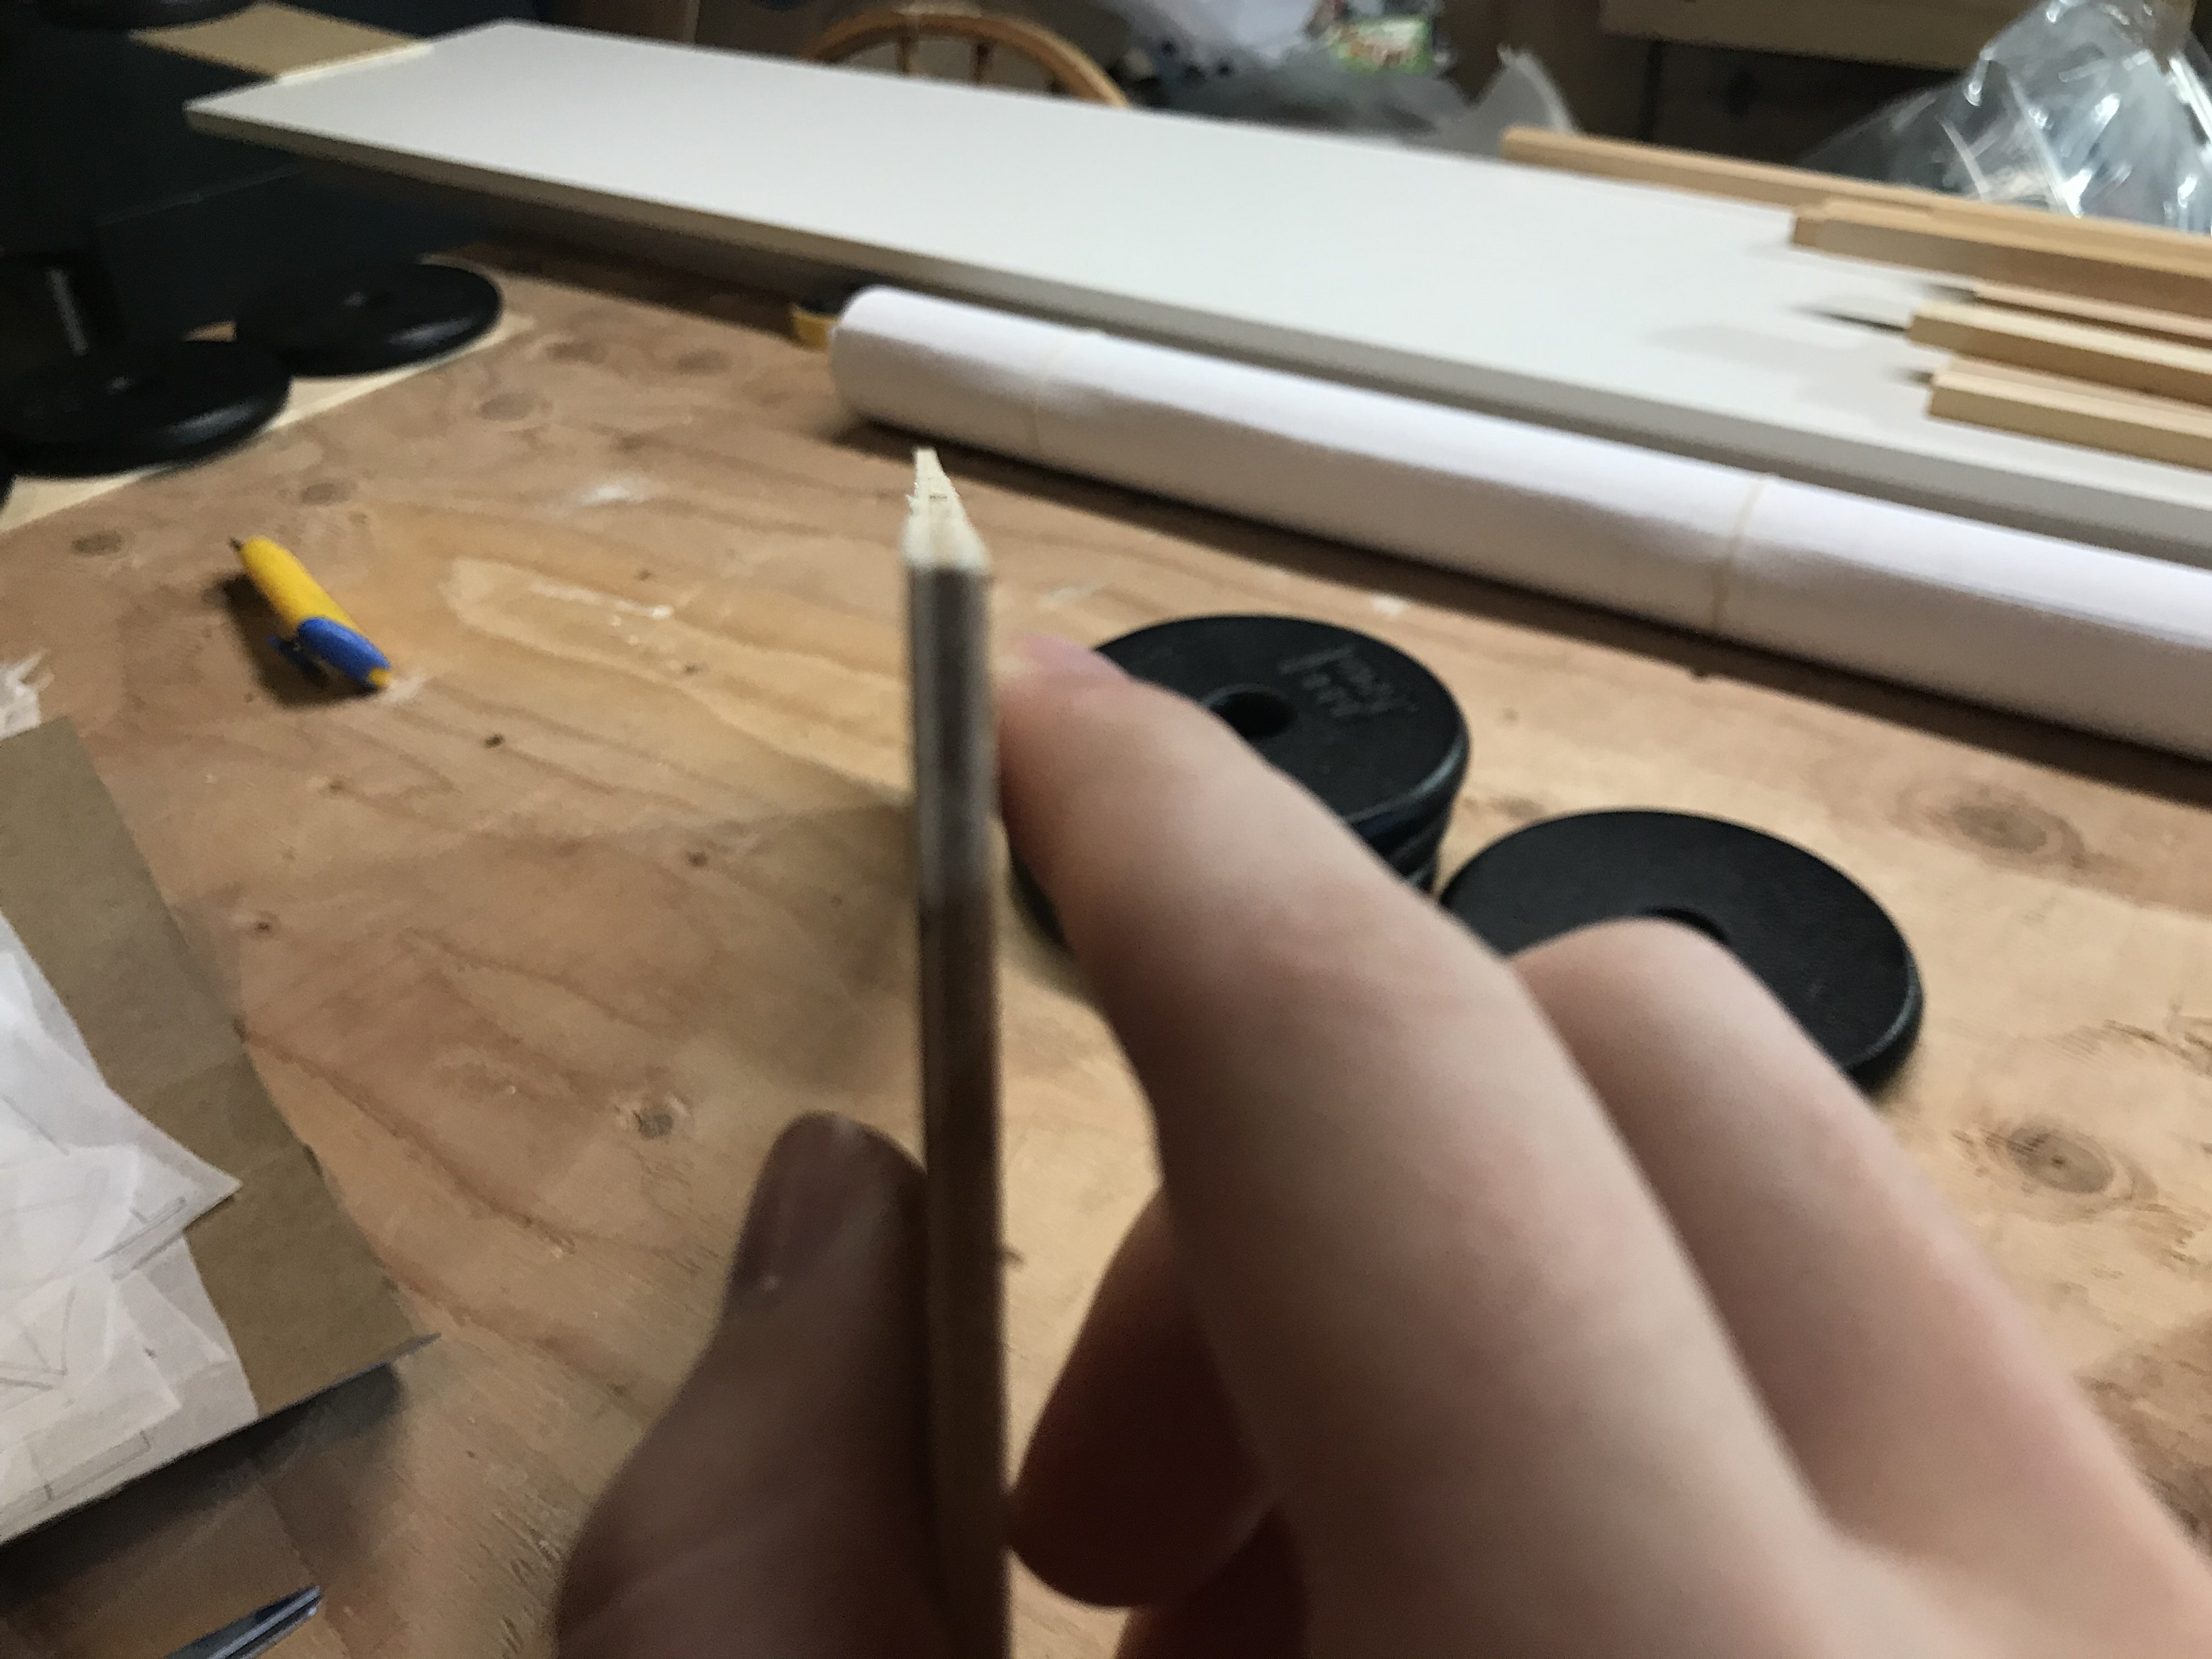
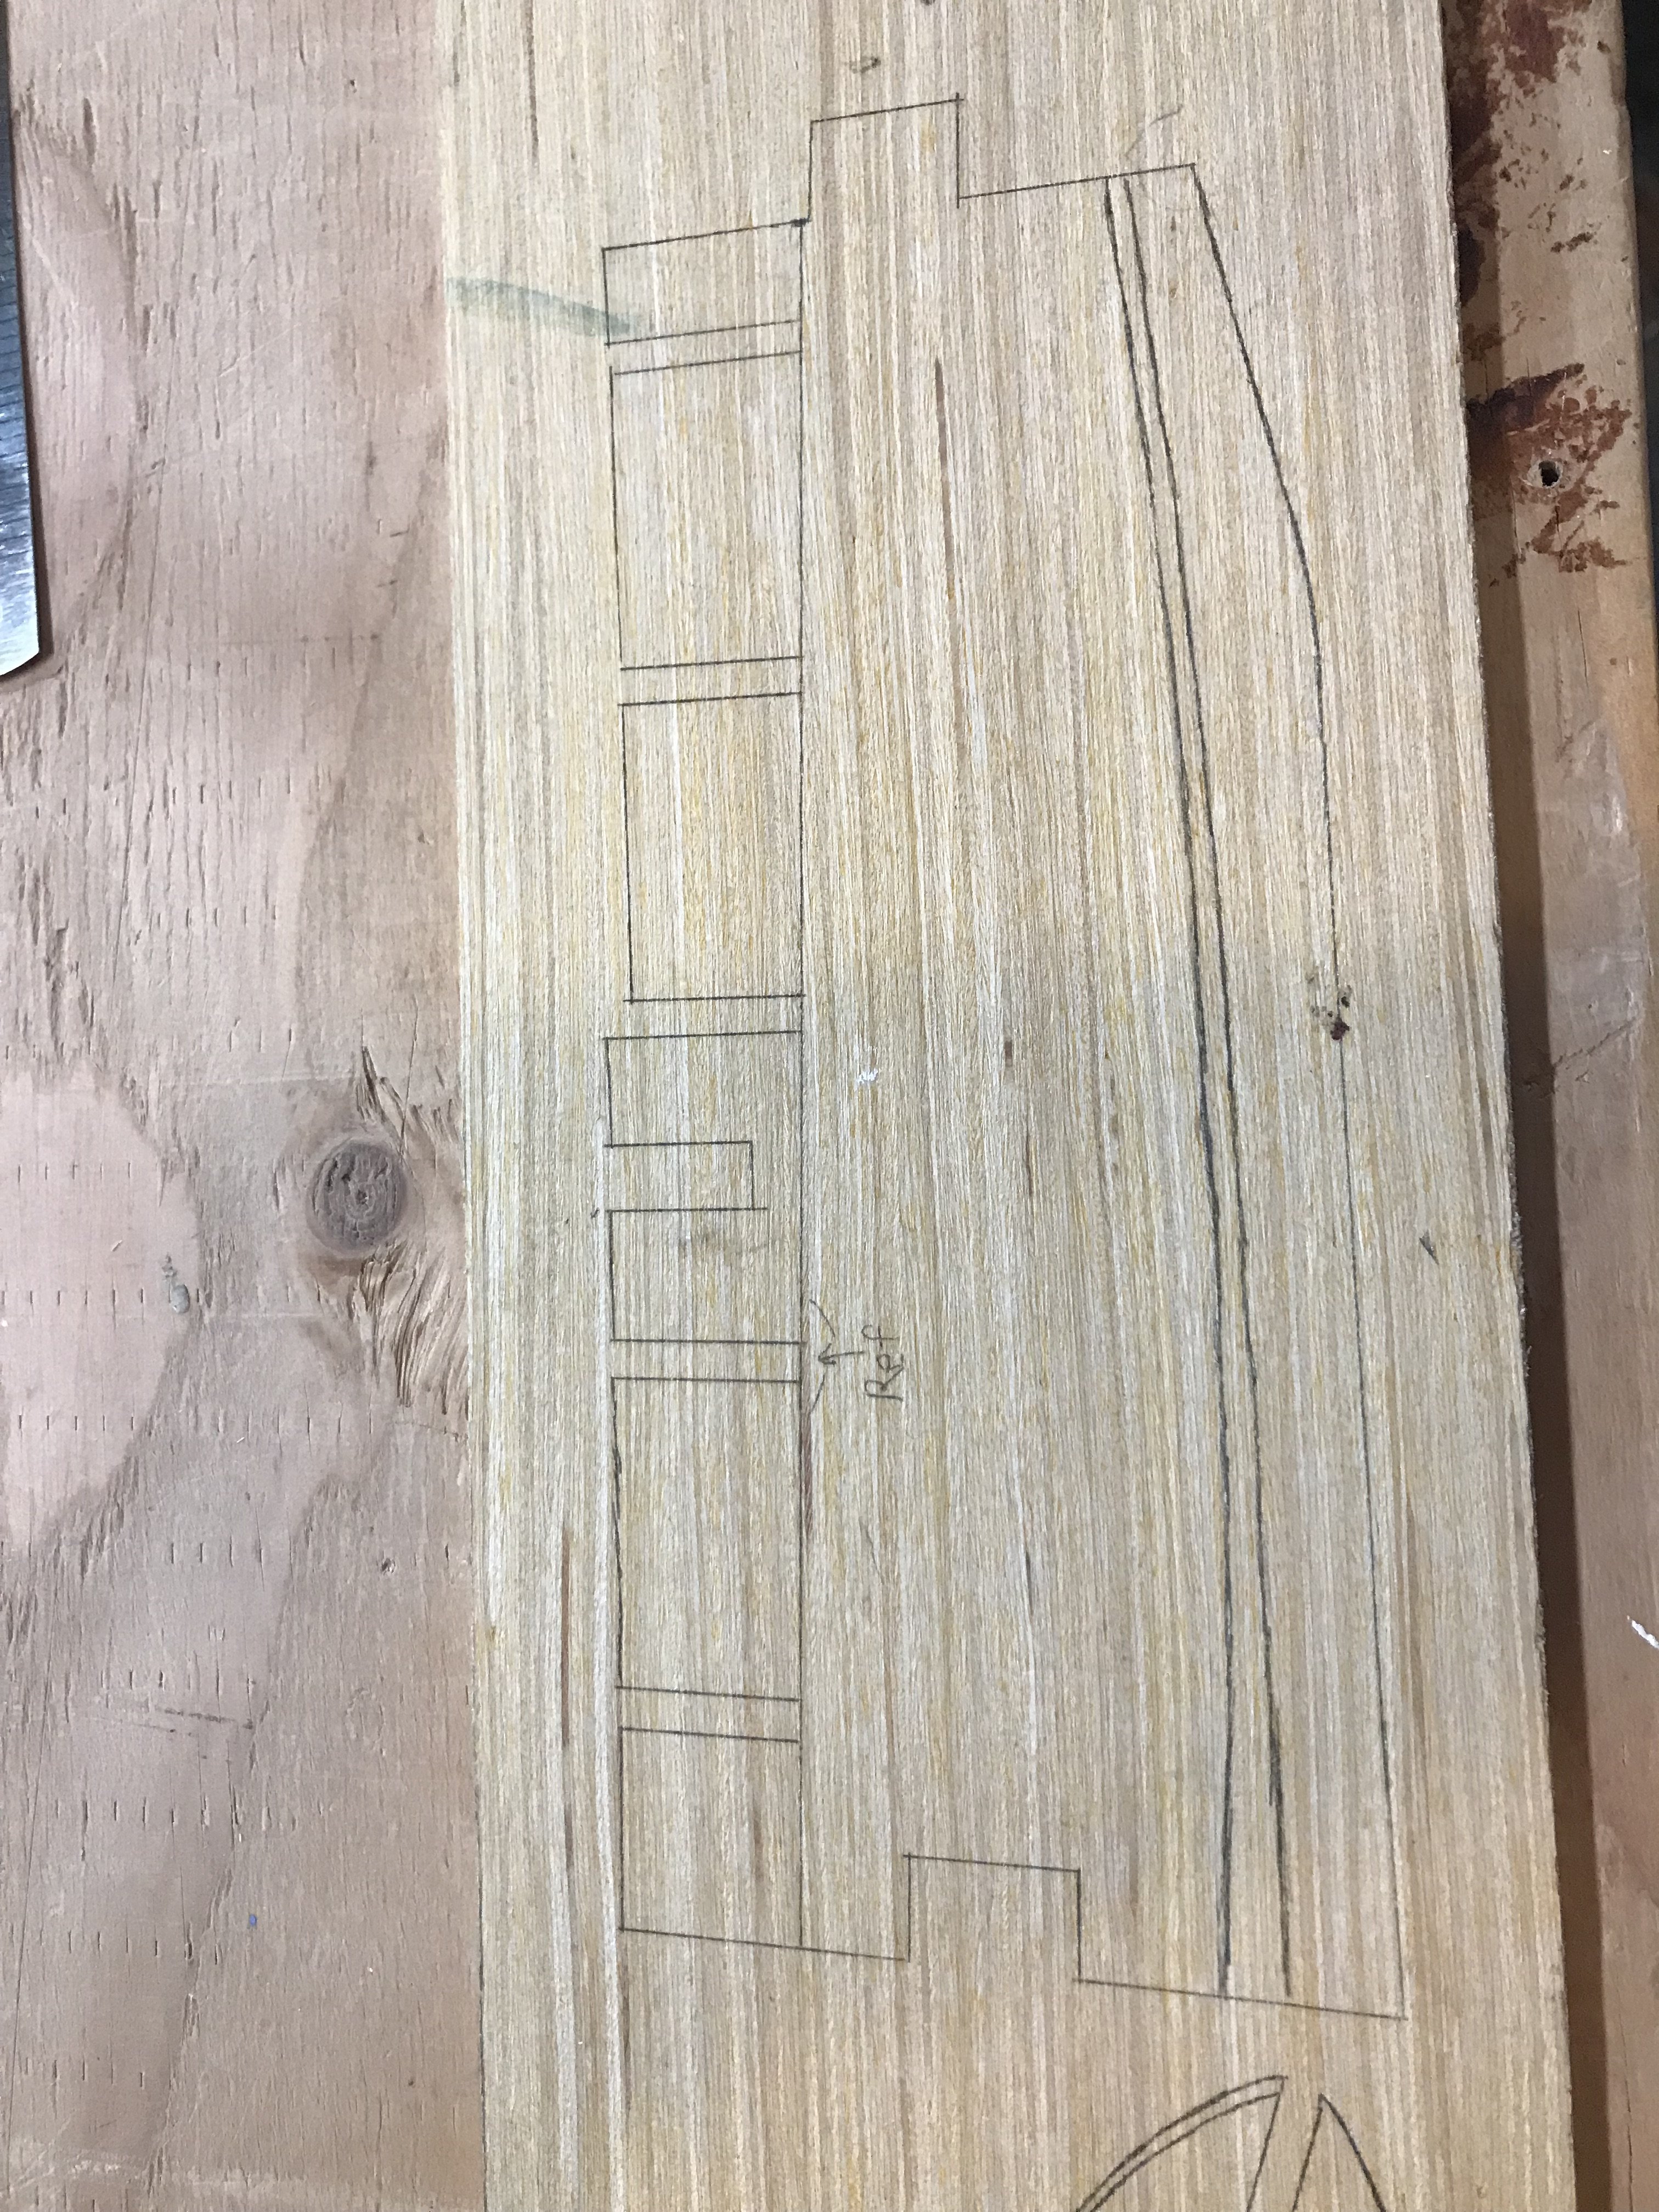
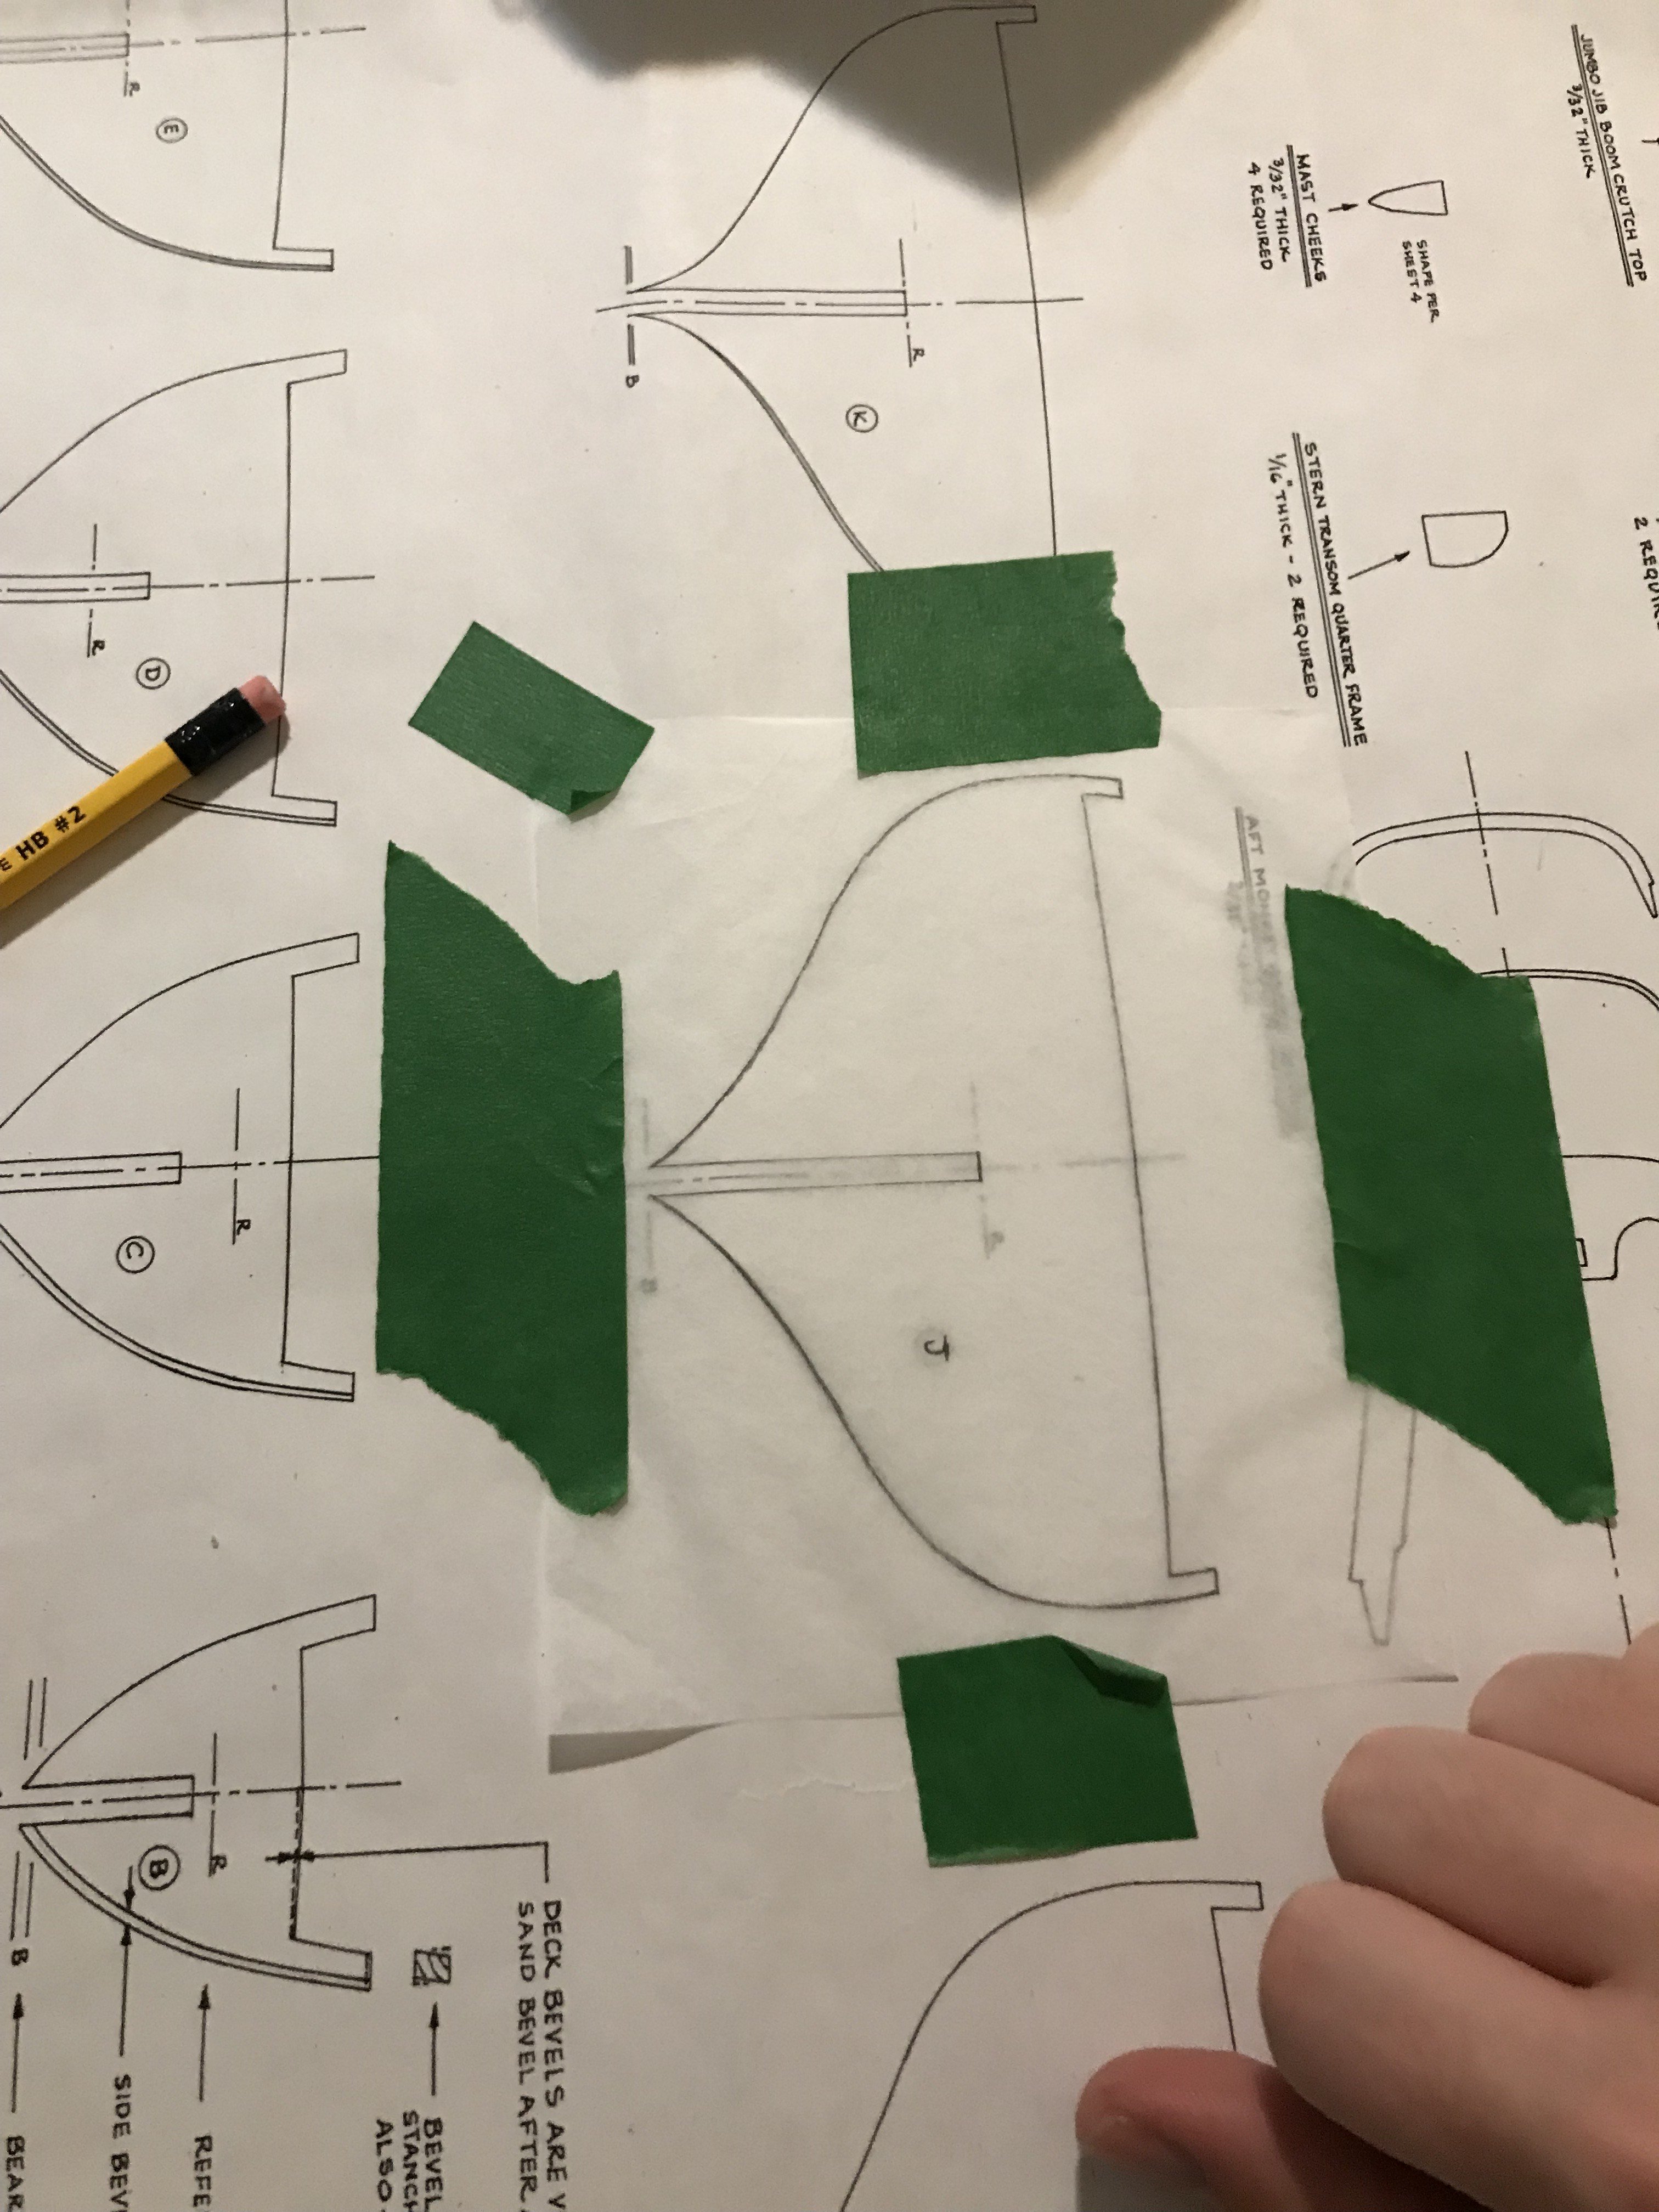
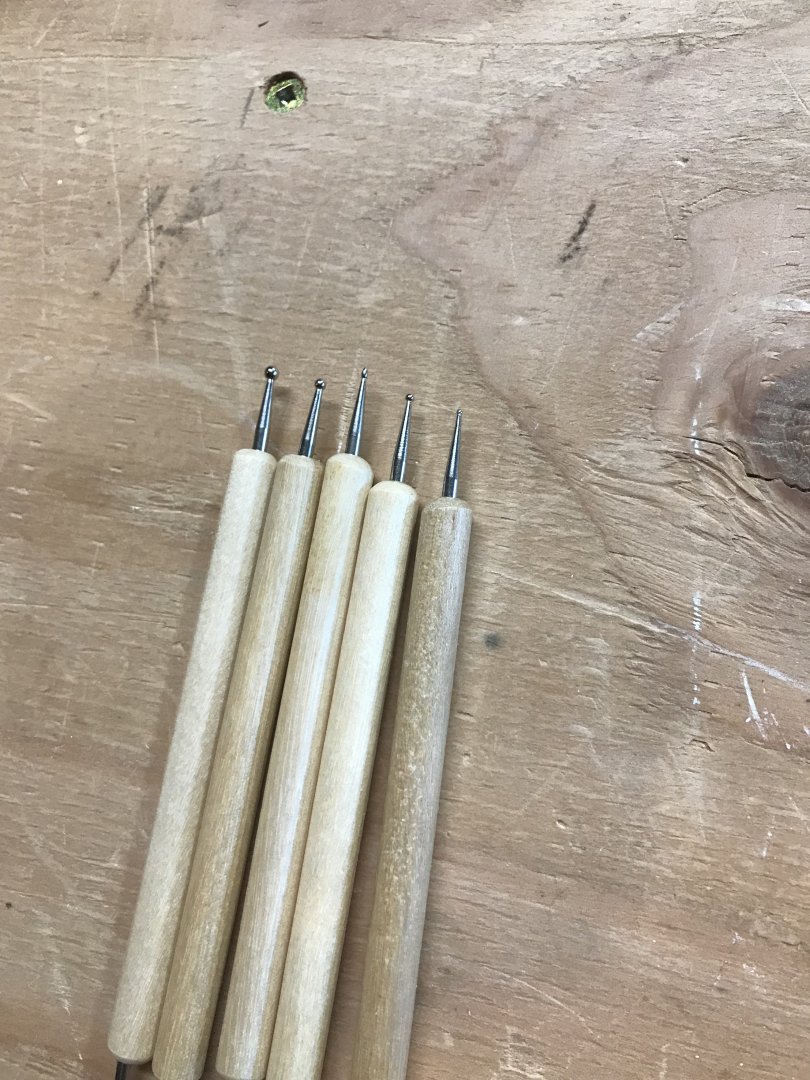
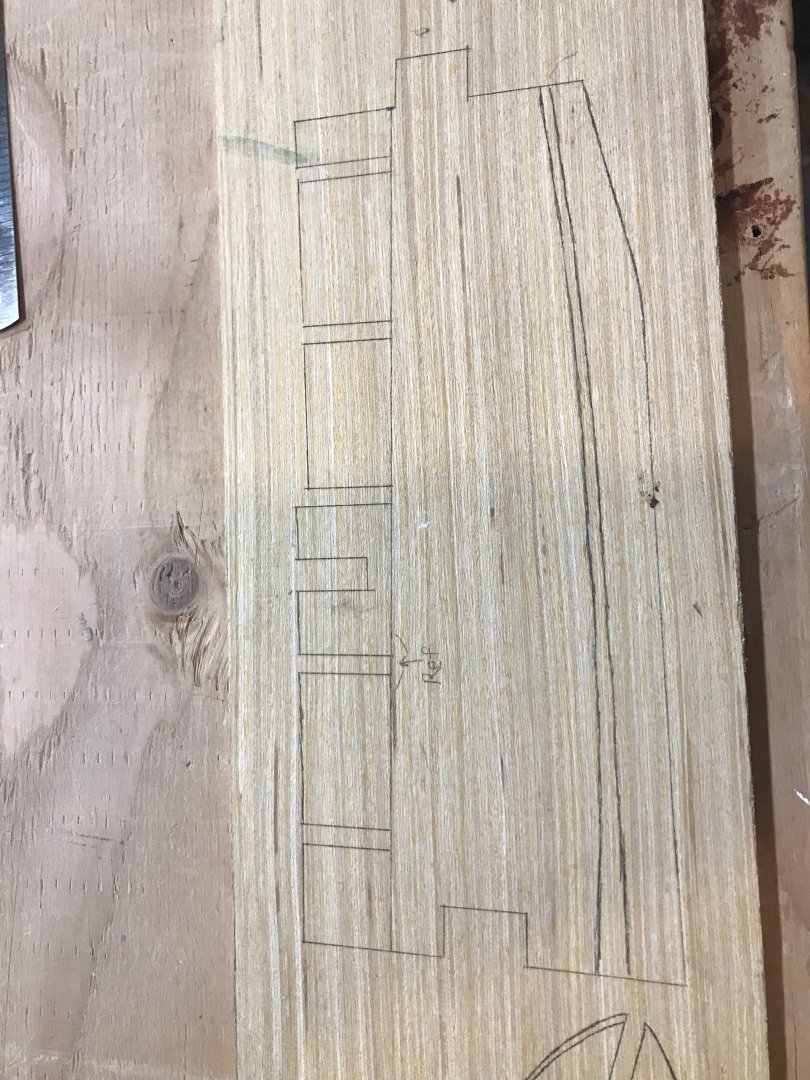
Ok, so I looked up a few different ways to straighten plywood, and one method I found was to wet the "inside" of the curve (in my last post that would be the right side), then apply some weight while it dries. So, that's what I did. Afterward, I left it to dry overnight, and when I checked it the next morning, the curve had significantly lessened (this was the better of the two). l will straighten the keel out again using a jig when it's time to add the bulkheads. The paper also came with several tracing tools, which I tested in different sizes. Ultimately, I ended up using the second smallest one. I've only done piece 2 of the keel so far (the bulkhead you see was a test run), and it turned out pretty easy since there were lots of straight lines. I just used a ruler for most of it, and it went pretty well. Technically, I also worked on piece 1 of the keel, but I only realized after I finished tracing that I had the graphite paper upside down haha. . The first of many mistakes l will make here. But lesson learned, l will be sure to triple check l have the right side facing down from now on lol. Benjamin


-
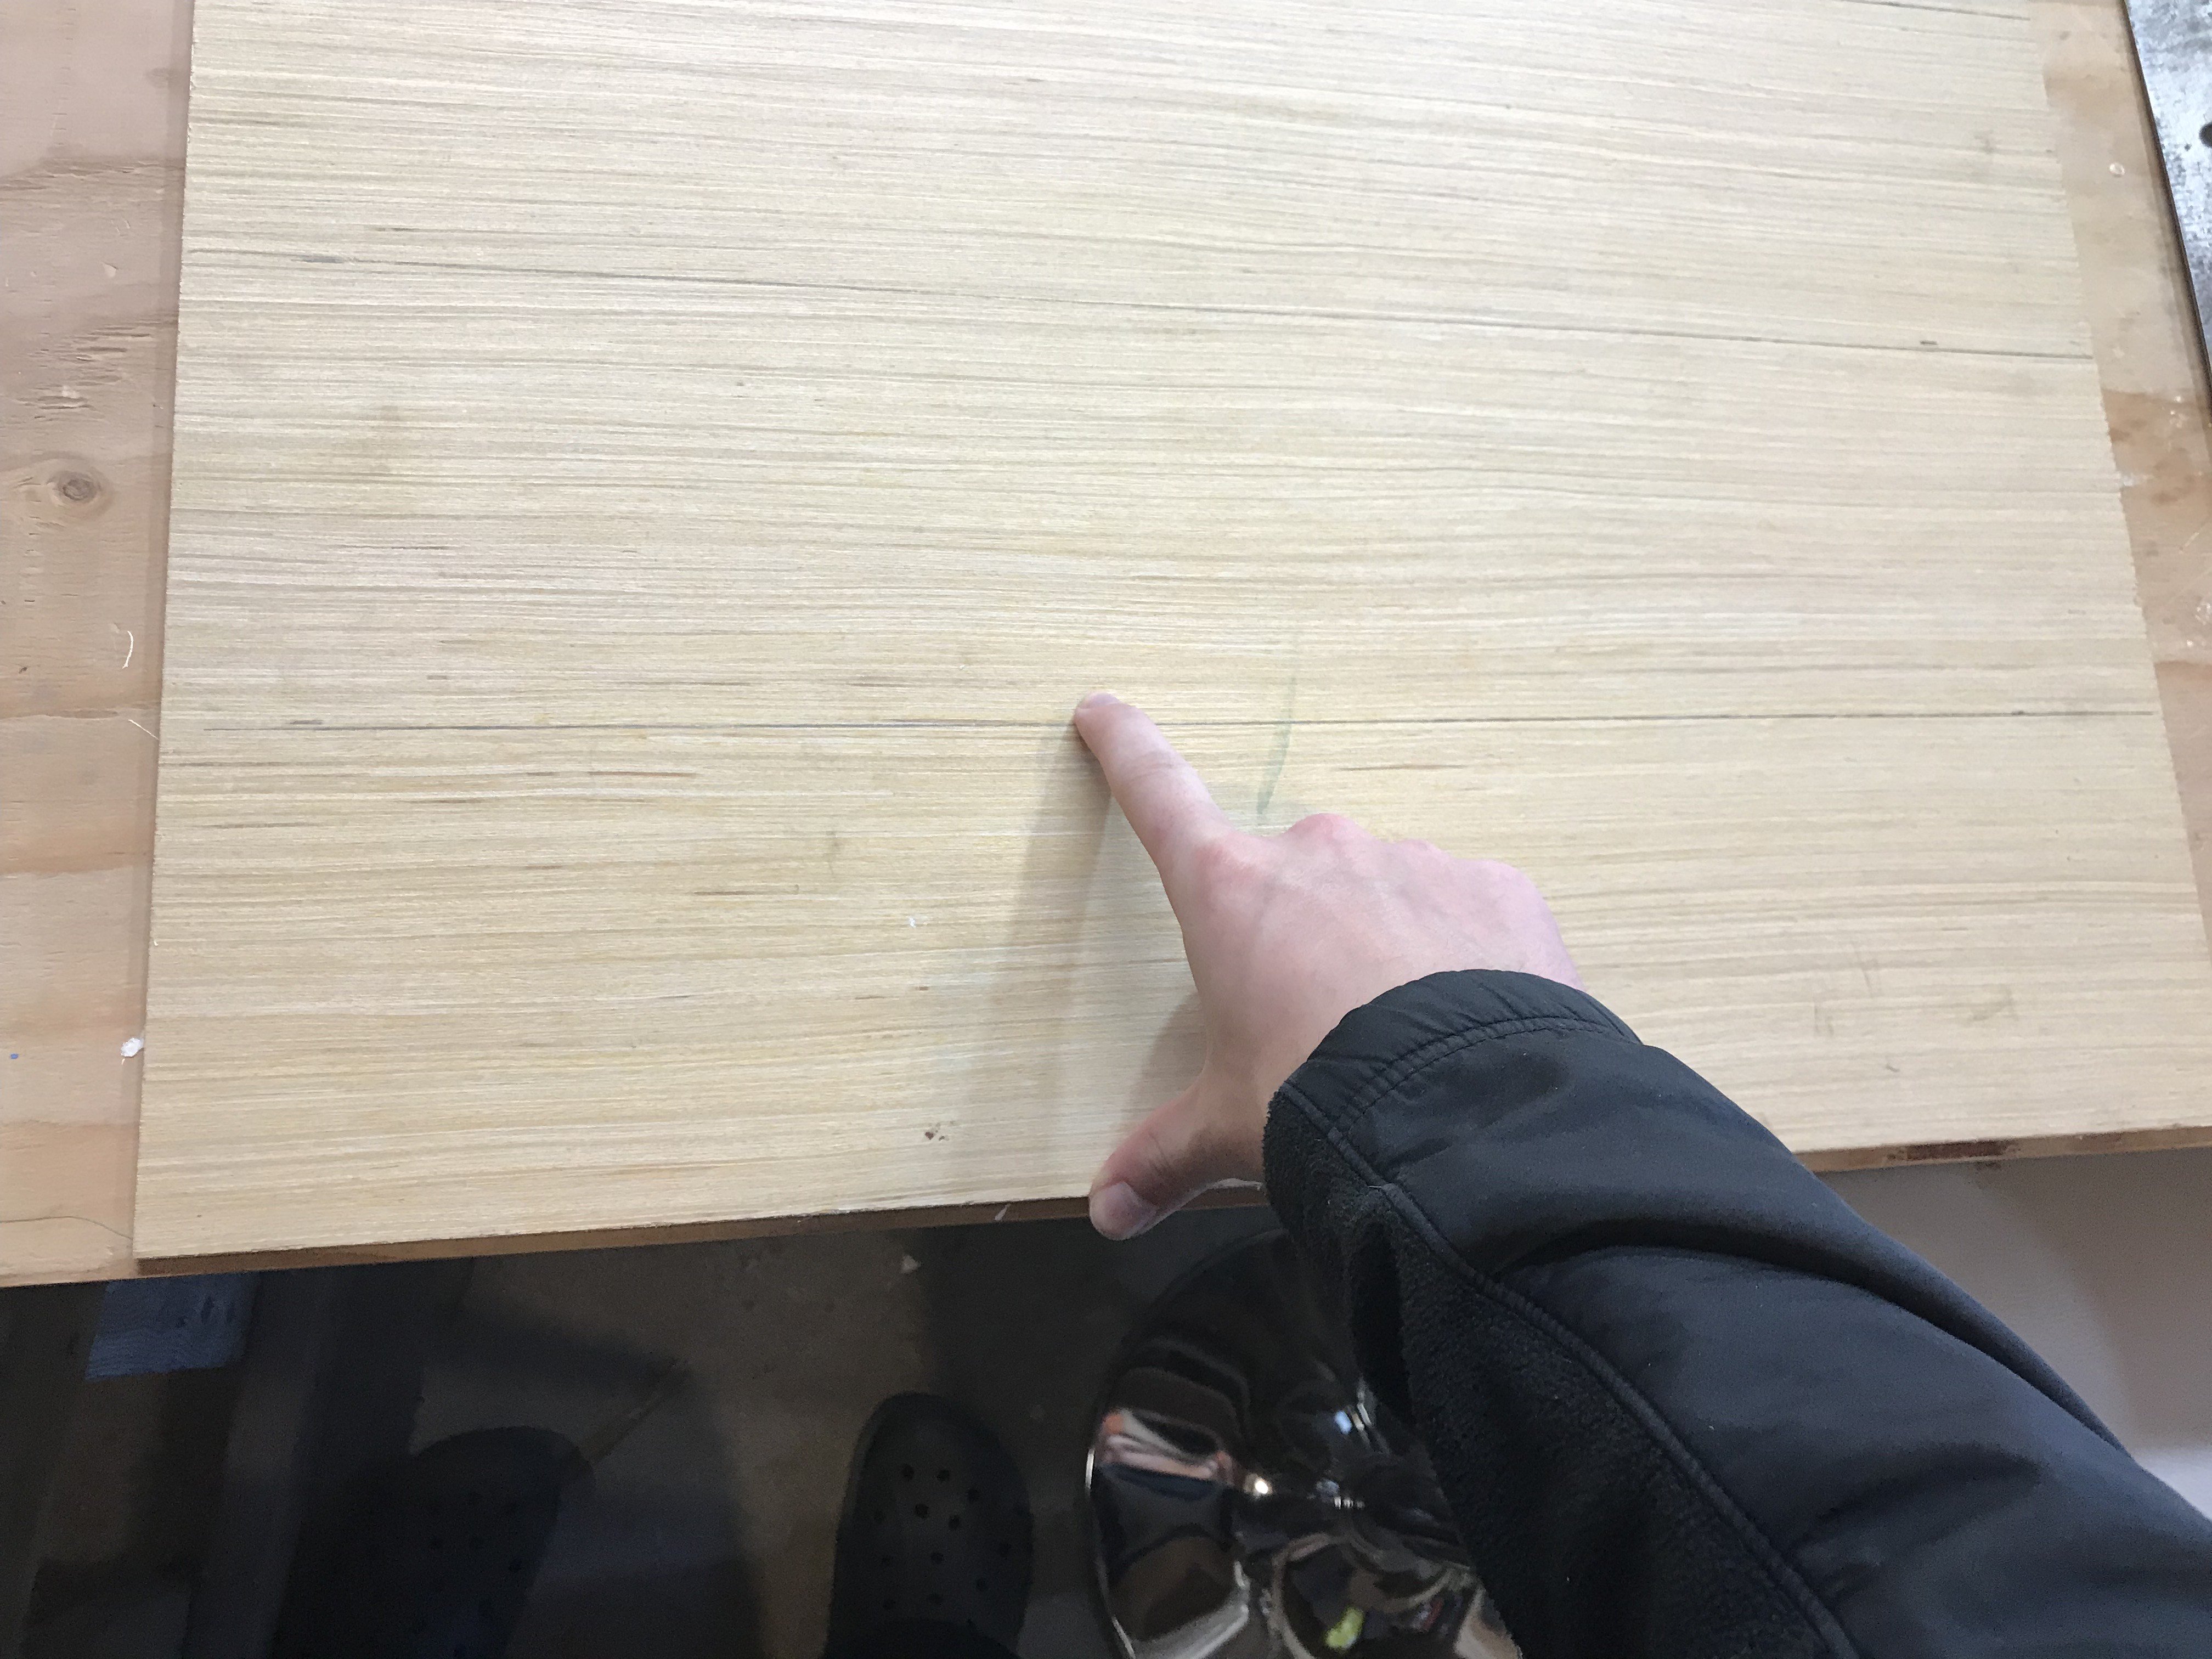
I have a question for all of you. I was taking a look at my 3/32" plywood and realized it’s pretty warped both lengthwise and widthwise. This got me thinking: what if, instead of flattening it out after I cut out the bulkheads and keel, I cut the plywood into 5" strips first (like so), and straighten it out now before everything has been cut out? I think it might save me some time later on. Let me know if you think this is a good idea. Thanks, Benjamin


-
So, not much going on right now. I went ahead and got some tracing and graphite paper, and I’ve started sketching everything out. My plan so far is to tape everything down with painter's tape to ensure there’s no movement while I trace. When working on the keel, I also plan to mark the rabbet, bearding line, etc. i've only done a couple of them now, but i'm hoping to finish tracing by the end of today. Benjamin

-
Hello Hamilton, glad to hear i'm not alone with the awkwardly packaged goods lol. I'm a big fan of your Bluenose and l'd love to have you along for the ride. Benjamin
-
Anyway... l think the first order of business is to transfer the plans to some paper l can use as templates for the keel and bulkheads. l have heard of a few methods used...carbon/graphite paper and photocopying being the most common. l do have access to a photocopier but l have heard they can distort images (tho l do not know if that applies to all printers). So i'm thinking of going with carbon paper tho l would have to buy some as l am out at the moment. Let me know if there are any other methods you think l should consider using. Thanks, Benjmain
-
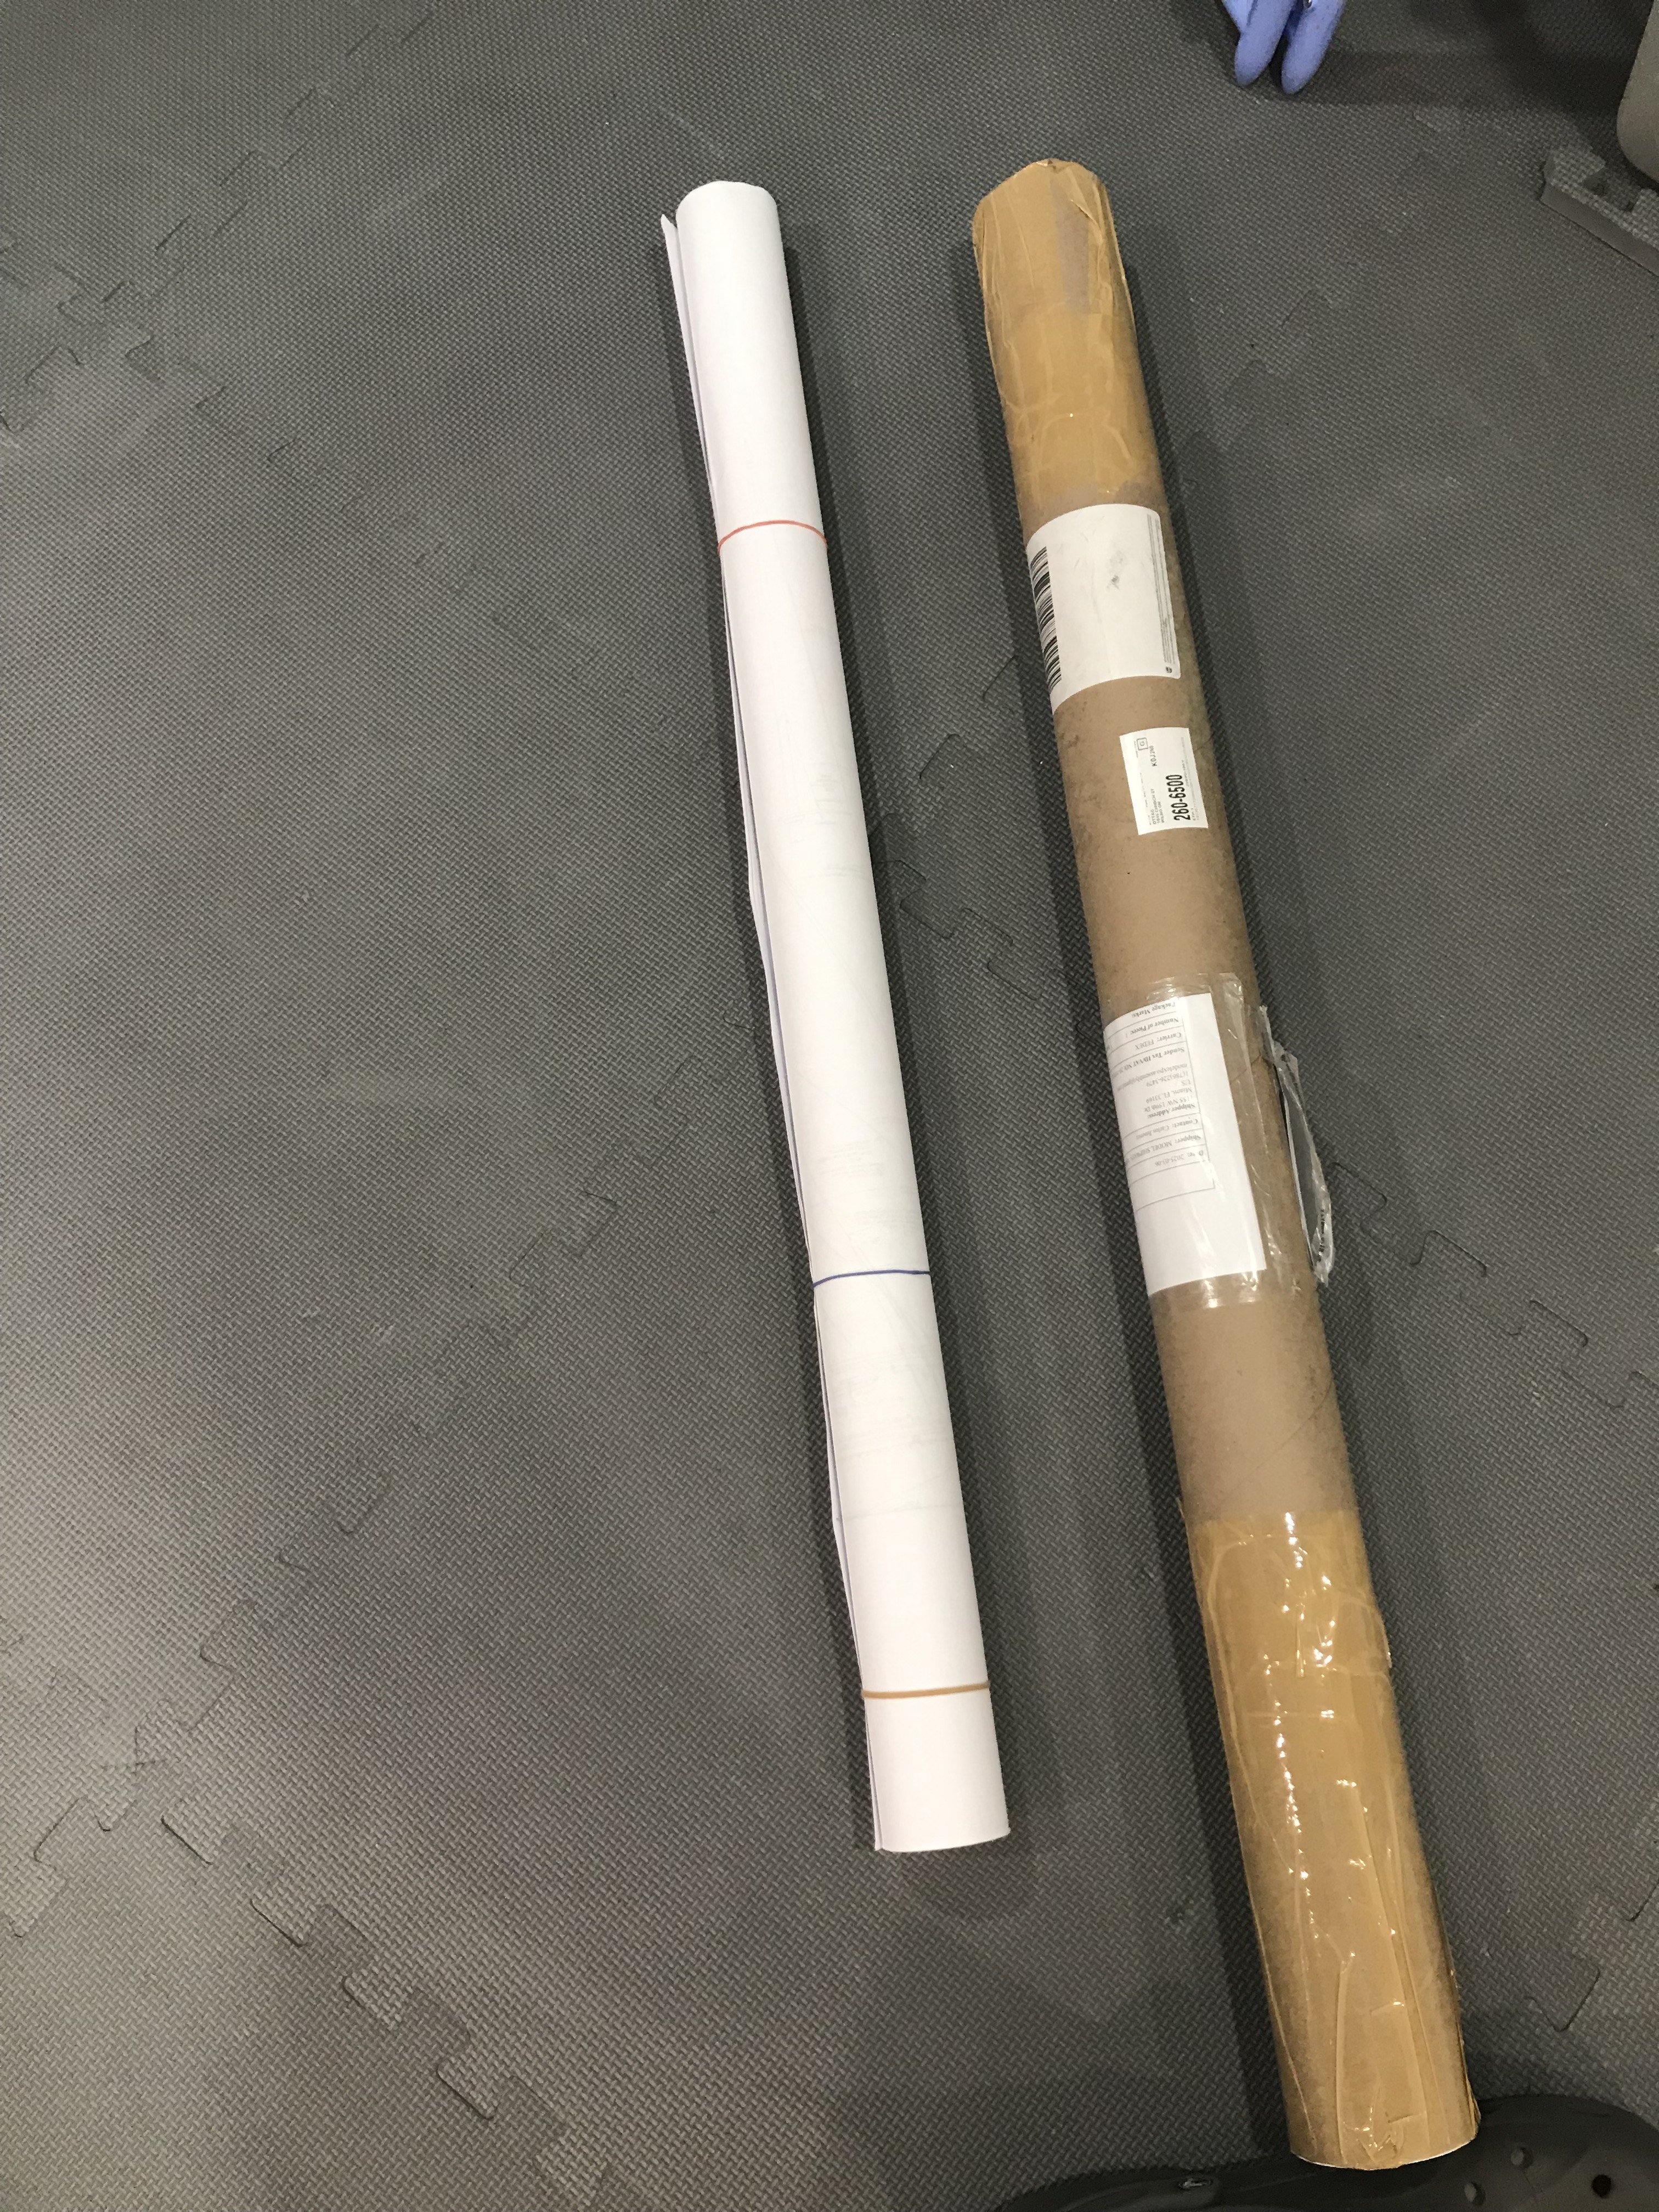
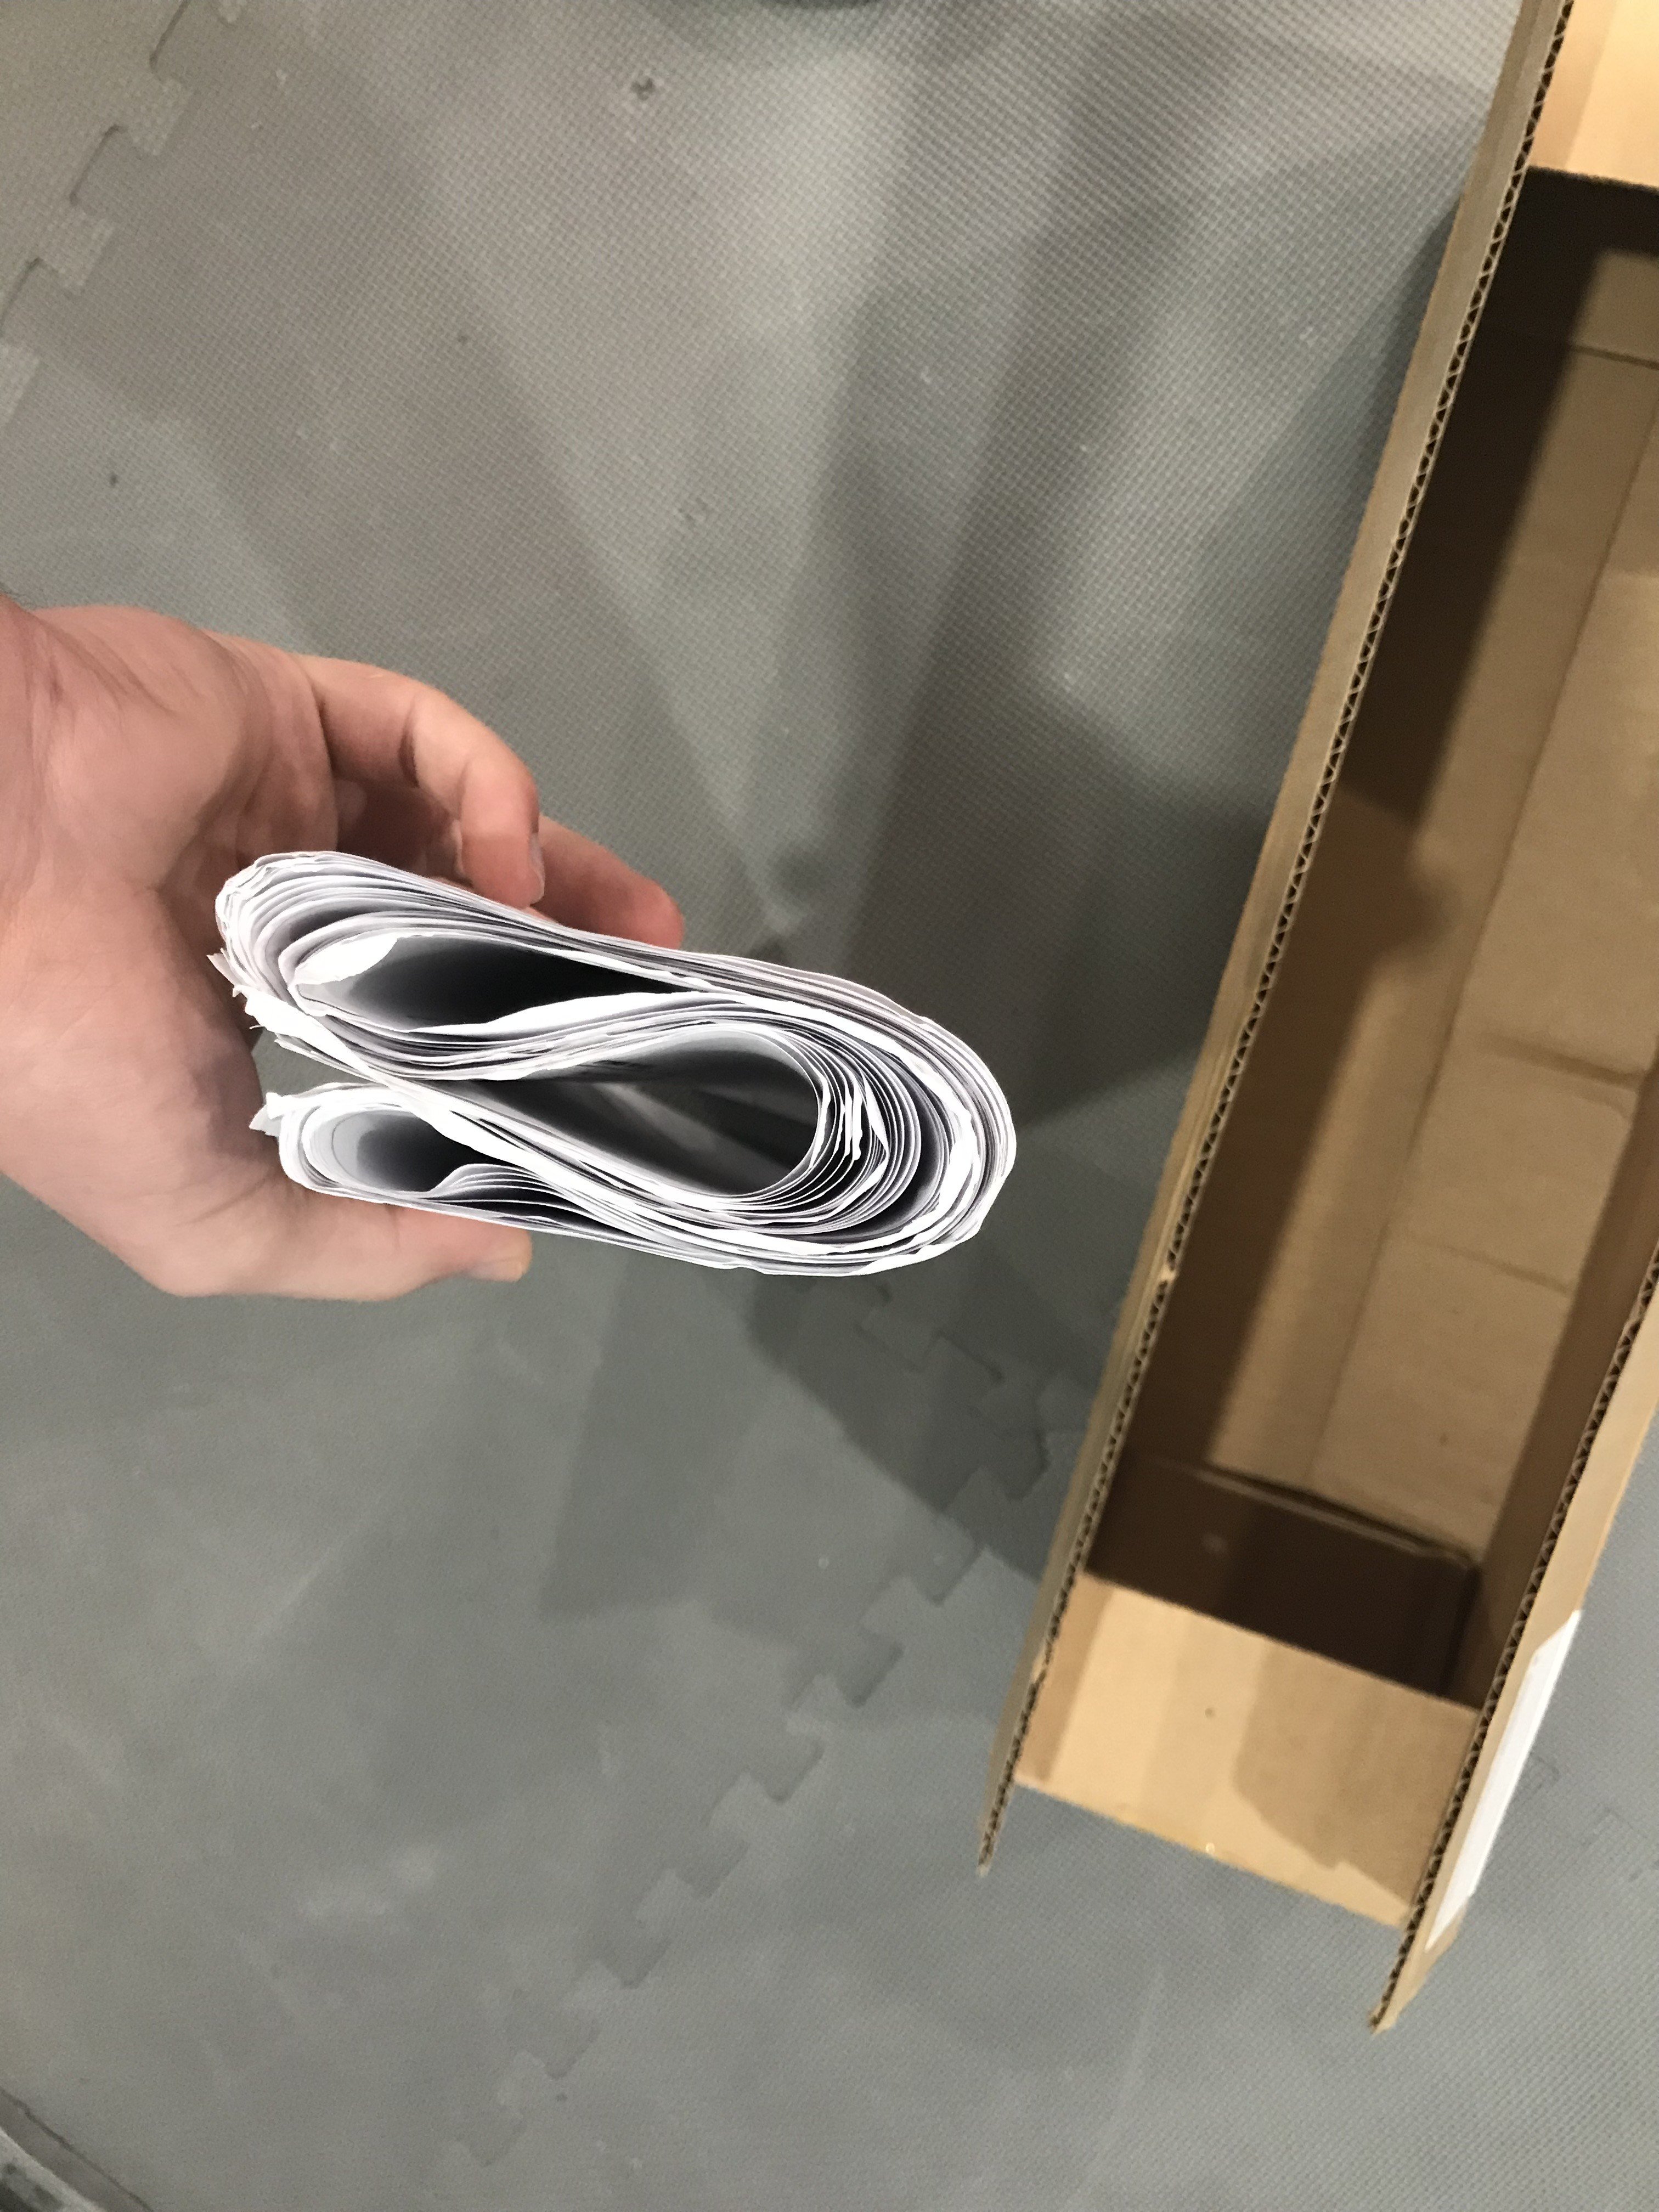
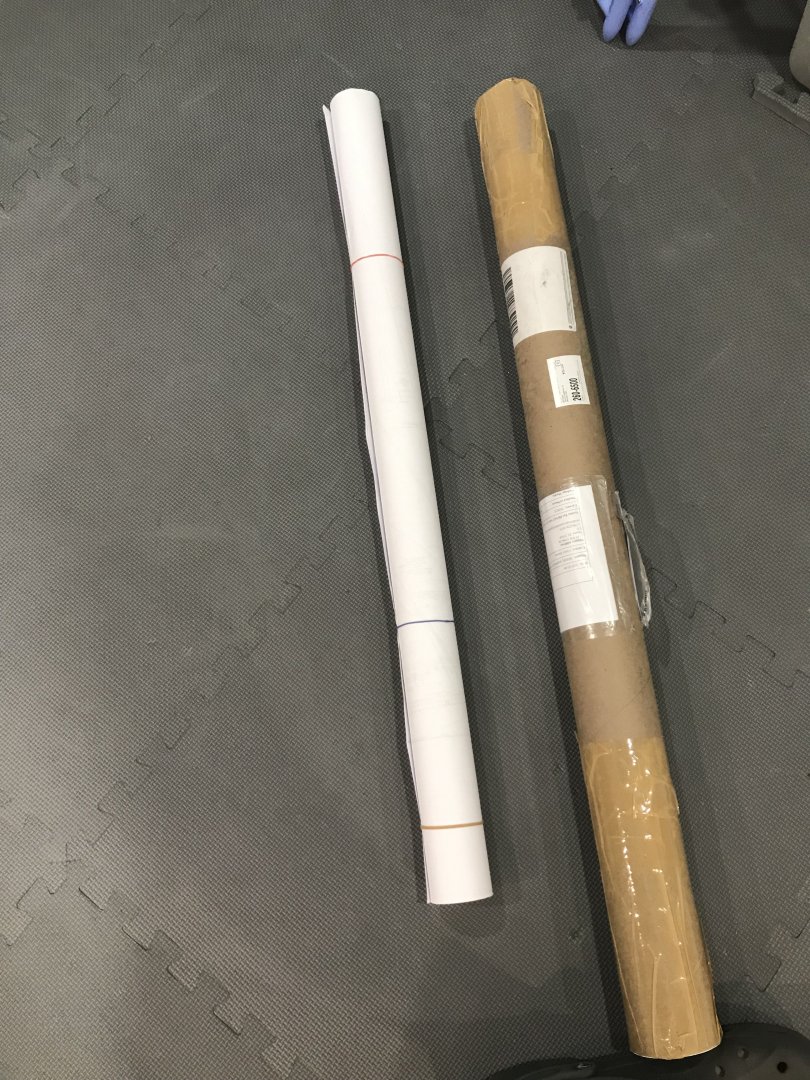
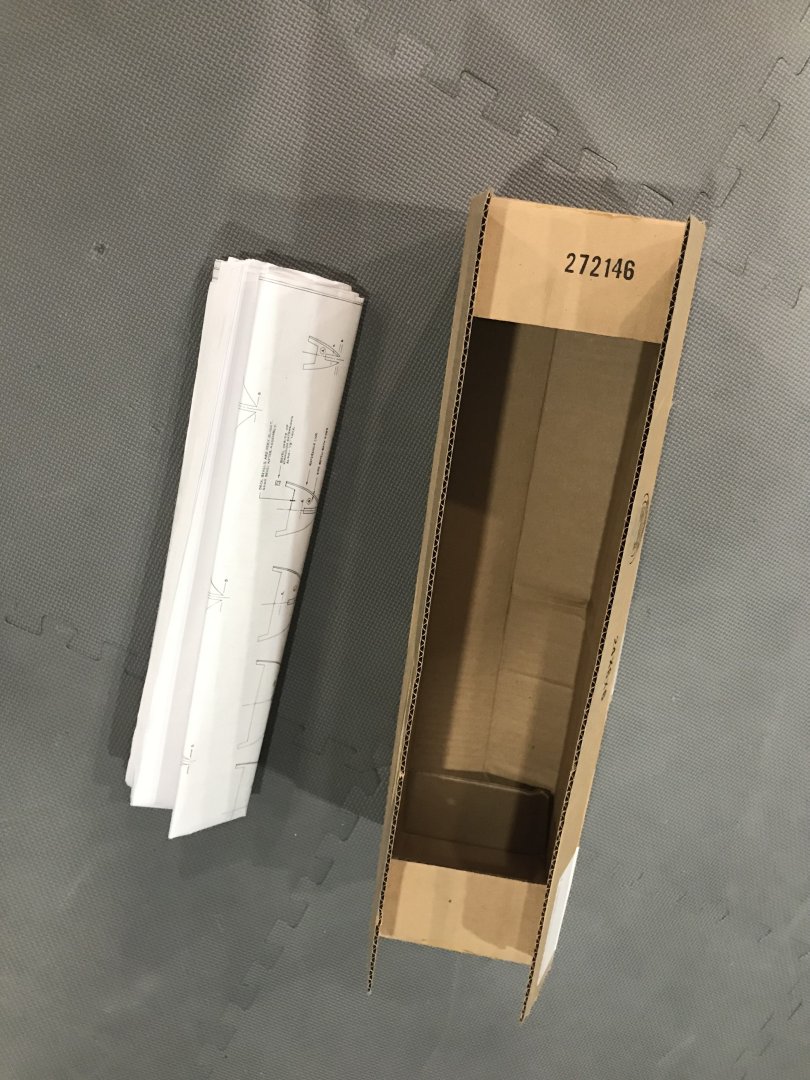
Hello again, everyone! The plans have arrived! I have a question for all of you. I know many of you have ordered from Model Expo before, but I’m starting to question their shipping methods. When I first ordered the plans a couple of weeks ago, they arrived, but they were missing the first three pages. I reached out to Model Expo, and they were good about it and said they would send free replacements (which they did). However, my issue is with the packaging of the replacement plans. The original package was sent in a sturdy cardboard tube and the plans were rolled neatly (like so) But the replacement plans arrived like this: It seems they were just tossed into a box. While I know it’s not a huge deal, there are now creases, including a large one going down the middle. It’s not the biggest issue for me personally, but it’s more about the principle—when I needed a replacement for an order they messed up, I feel like they should have used better/normal packaging, right? Am I being unreasonable, or does this seem like a valid concern?

-
Hello all, and welcome to what will be a scratch build POB of the Model Shipways Bluenose in 1:64 scale, joining the ranks of builds here on MSW. After taking a break to focus on finishing high school, I’m excited to get back into this and use the shipyard again. As a Canadian, I’ve always been a big fan of the Bluenose, and I’m really looking forward to building her for the first time. This is also the first time I’ve purchased plans from Model Shipways, and I’m excited to skip the printing process—this will definitely speed things up. Thankfully there are build logs here chock full of helpful info for one building Bluenose, especially a beautiful scratch build done by Hamilton which l will certainly be referencing often. My goal with this build is not so much historical accuracy as it is to introduce myself to posting on MSW as well as using proper materials (where my budget allows), which should improve both the quality and speed of building this vessel. I’ve been planking hulls with coffee stirrers for far too long, haha! I’ll no doubt have a lot of questions along the way, and I’d really appreciate any guidance or constructive criticism as I figure this out. At the moment, I’m waiting for the plans to arrive, but once they do, I’ll kick off the build and get started. Best Regards, Benjamin
-
Great job, just found your build, pulling up a seat and looking forward to seeing it move along.
-
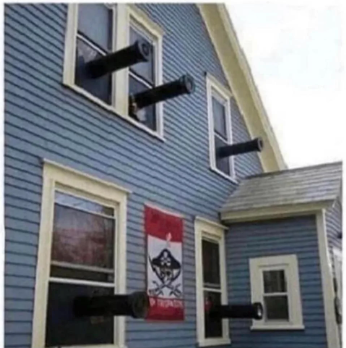
ah yes, my weaponized house will soon be complete.
-
thanks, that would be bad if I got them all at full size cannons.
-
that's true, but my parents might not be happy if I burn the house down.
-
I agree with you on those last two they seem pretty haserdise, so yea I might not add them.
-
thank you...the plans appear to be 25" by 17 1/2". To get that size I basiclly looked at mesurements on the plans and kept making them bigger intel a 3in long thing on the plans was 3 in then I glued like 16 pages together. The type of cannon I like the most are the like the ones on the plans, so the size of cannon I will go with is 25mm long as it will also should be to size with the plans.
-
ok I think I understand, so when you say 3d model do you mean like a finished model somebody made or a 3d rendering of a model?
-
I actually do not know what the scale is but I am using the AEROPICCOLA plans but they do not say the scale on them.
-
I am sorry but I am confused. so correct me if i'm wrong but pdr means the weight of the projectetil that is being shot right ?
-
I don't know, honestly i'm just 15, cannon sizes and 3d printing patterns are way out of my comfort zone. This is my first time making cannons to scale so I will probably go with all the same size cannons. I do like the look of long cannons of ships tho.
-
thanks, how much does the different kinds of cannons matter on a model ship is it even notable?. I have only ever made them the same size (or as much as you can with a drill press)
-
yea that could work, only problem is that I have never cast metal before. a blow torch could probably be used to melt it but I don't have one.
-
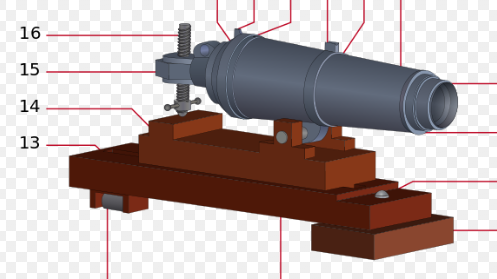
thanks for the drawings, so the only thing I have to work with are plans and they are the AEROPICCOLA plans. as far as cannons go you would know better then I this is what they look like on the plans that I have they seen to be cannons which is weird. Is it the carronades that like swivel ? and the cannons that look like cannons? if you know what I mean so second picture is a carronade and the third is a cannon?


-
thanks I will check it out. jeez no kidding this is amazing, some people are like wizards when it comes to this stuff but out of cards!!! it's quite amazing
-
So the ship is the fridgate USS Essex 1799 and had 40 32 pounder carronades. it would be a good idea to use a 3d printer actually one of my uncles has one maybe i should ask him.
-
oh yea I see what you mean that is much better then what I saw, the cheapest ones on modelers central were like 1.80$ which adds up a lot when you need 42 of them
-
yea that is a great long term solution for the future, and you can make a whole lot of things on them but yea it is as you correctly said "it is way beyond my budget"