MORE HANDBOOKS ARE ON THEIR WAY! We will let you know when they get here.
×


Alvb
-
Posts
132 -
Joined
-
Last visited
Content Type
Profiles
Forums
Gallery
Events
Everything posted by Alvb
-
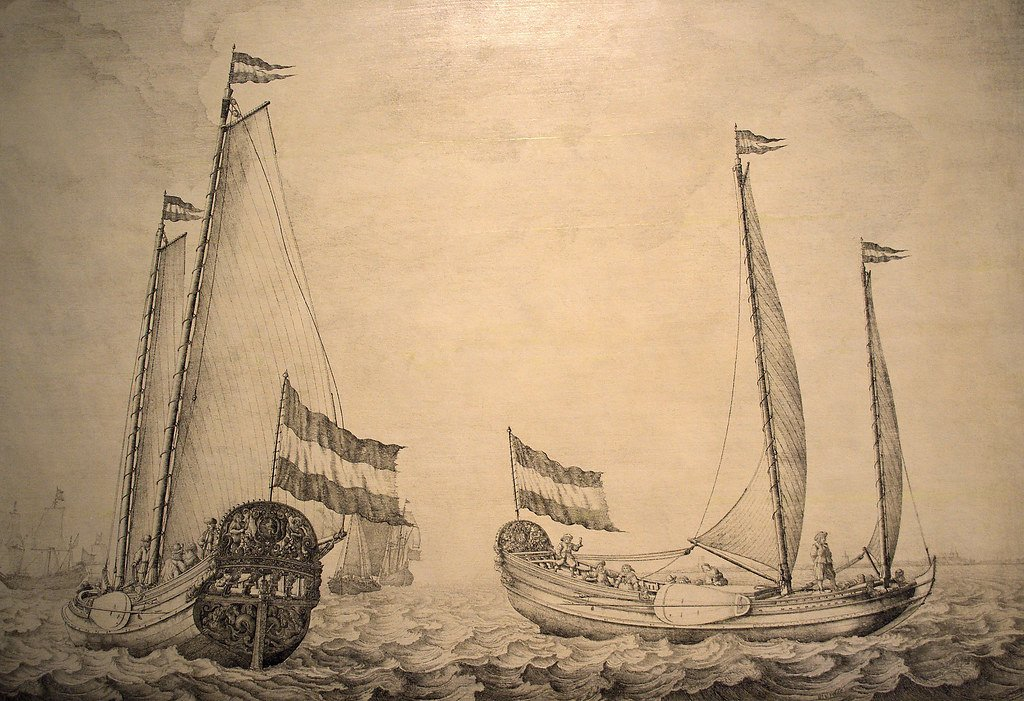
Thanks Amateur, I arranged the sail sheet like this on the foresail, and on the mainsail I placed it on the side of the ship. That's how I interpreted the illustrations. The same applies to a dirk only on the mainsail. The dirk cannot be seen above because it runs on the port side and is therefore hidden by the sail. Alvb
- 40 replies
-
- 2
-

-
- Speeljacht
- Card
- (and 3 more)
-
The project is nearing its end. It still remains to be decided how it should be presented. Perhaps standing on two thin pins in a small, discreet display case... Greetings Alvb
- 40 replies
-
- 8
-
-

-
- Speeljacht
- Card
- (and 3 more)
-
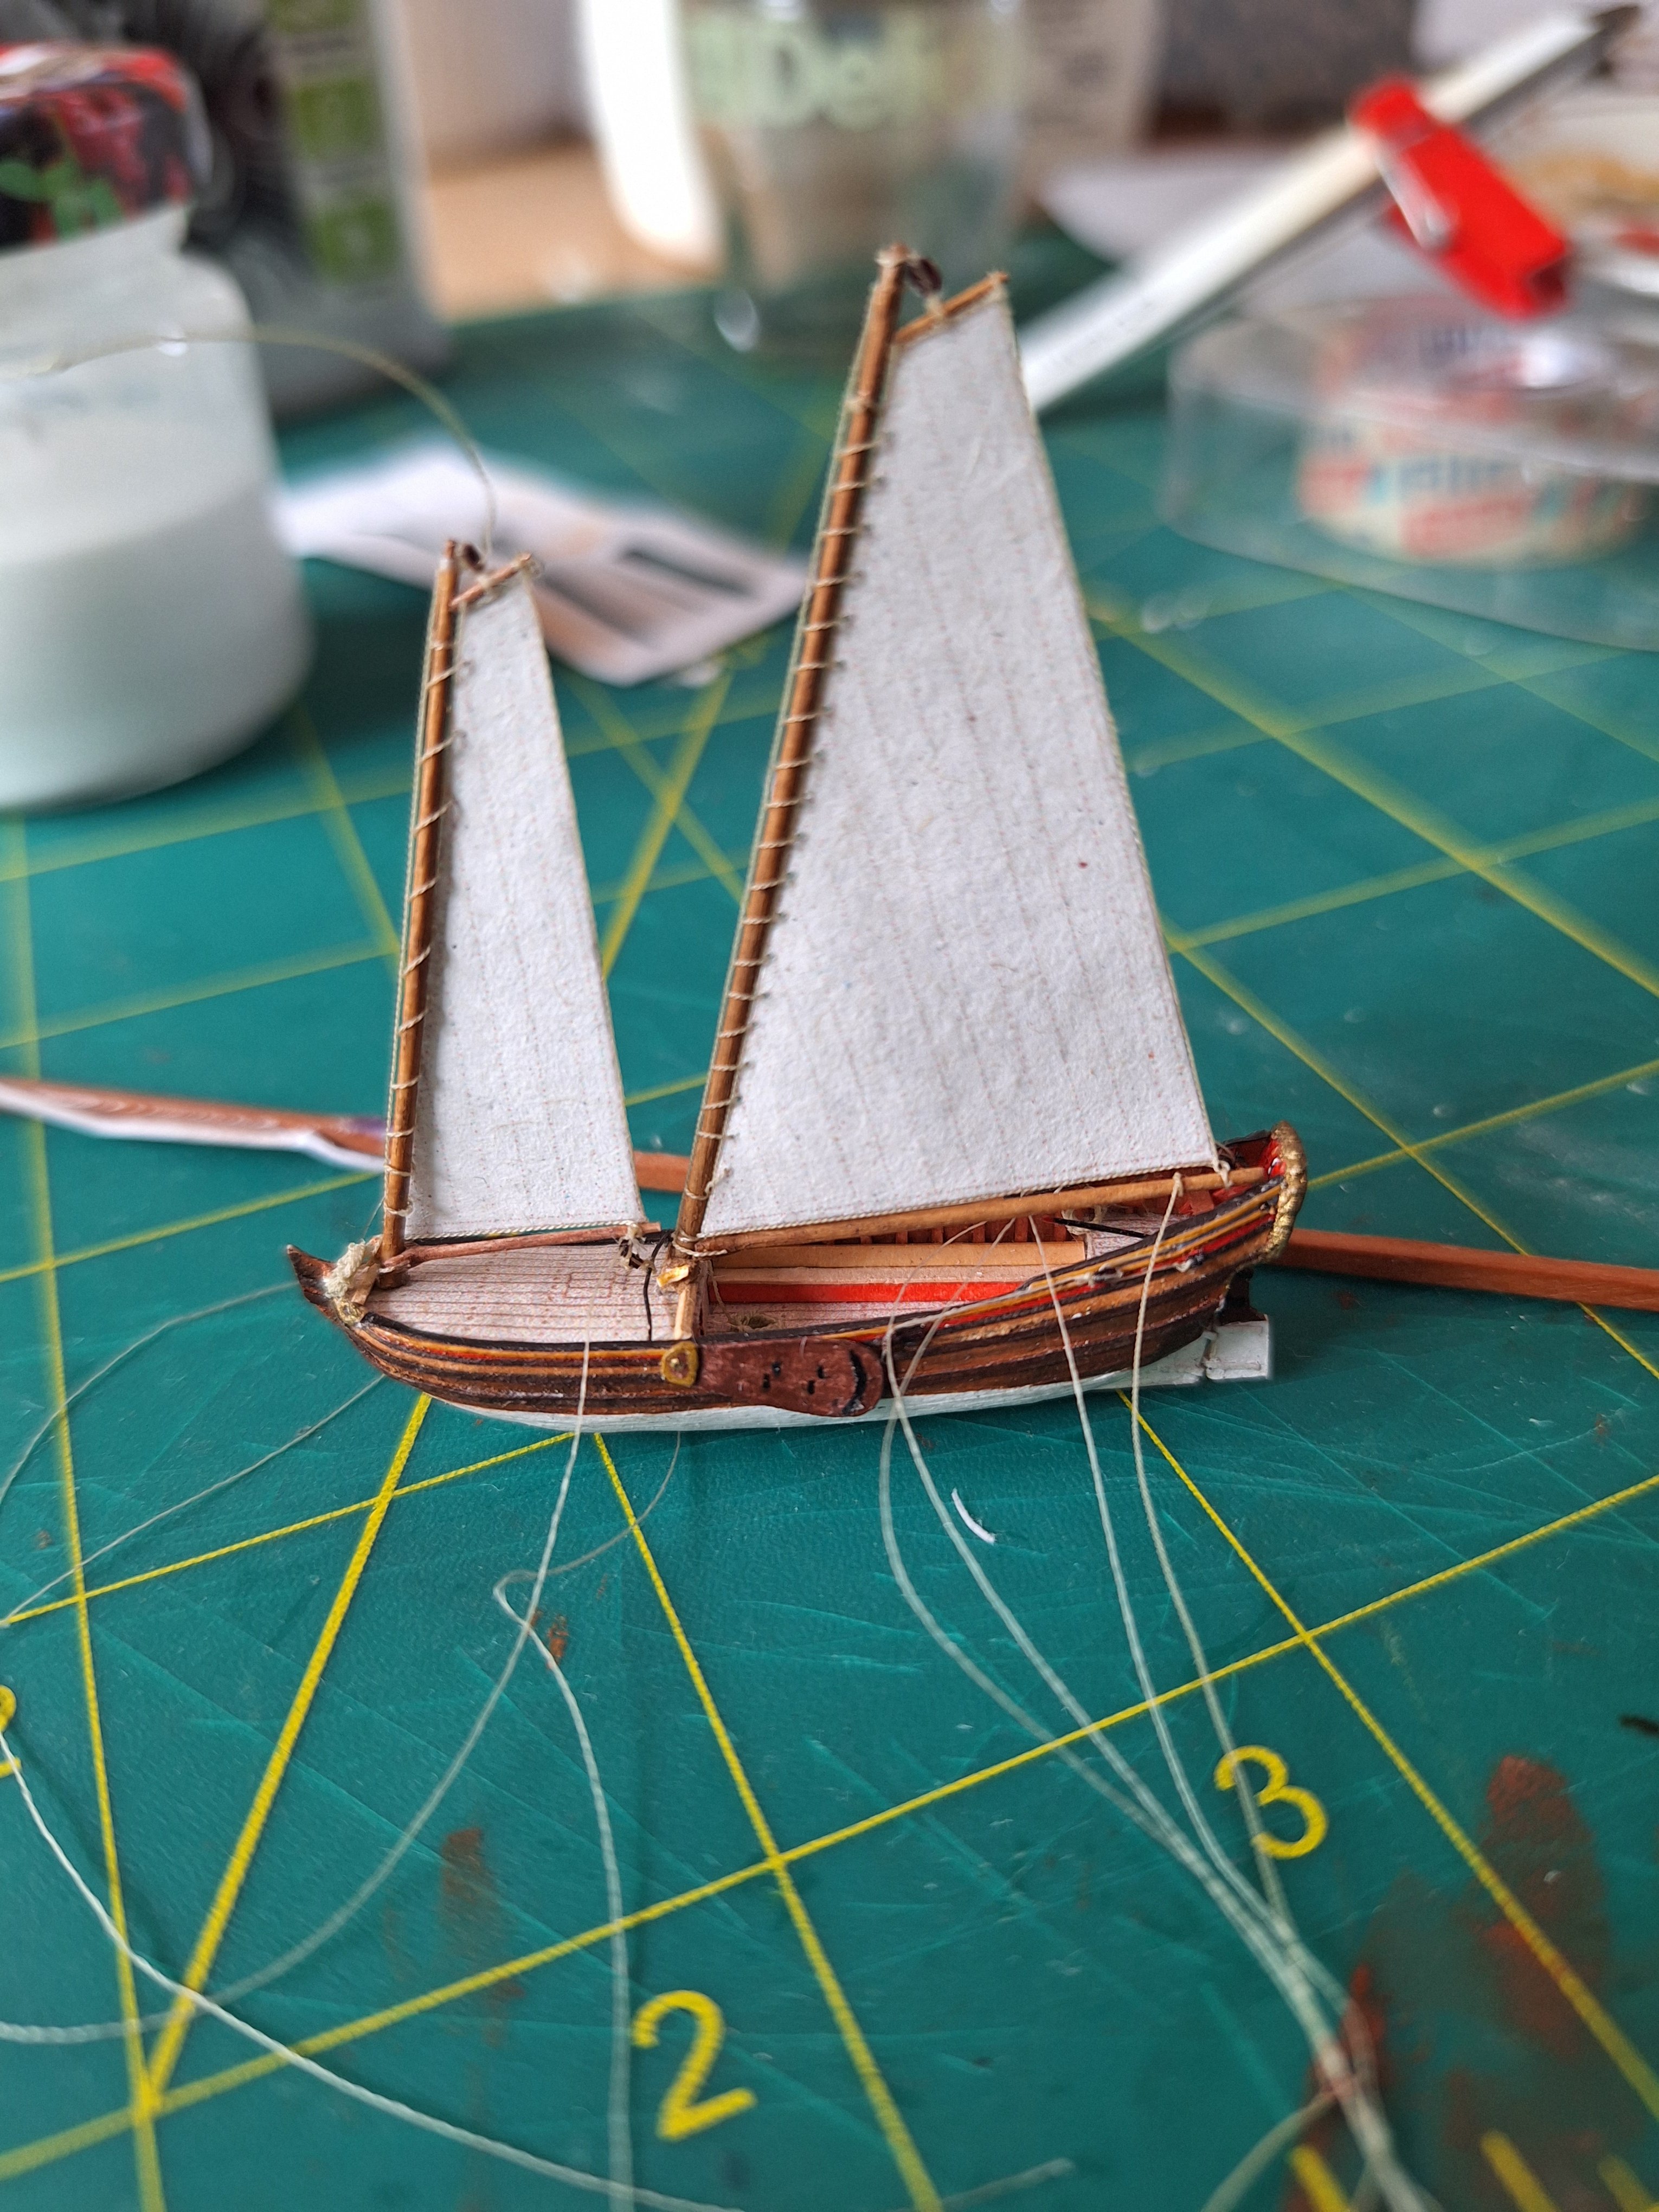
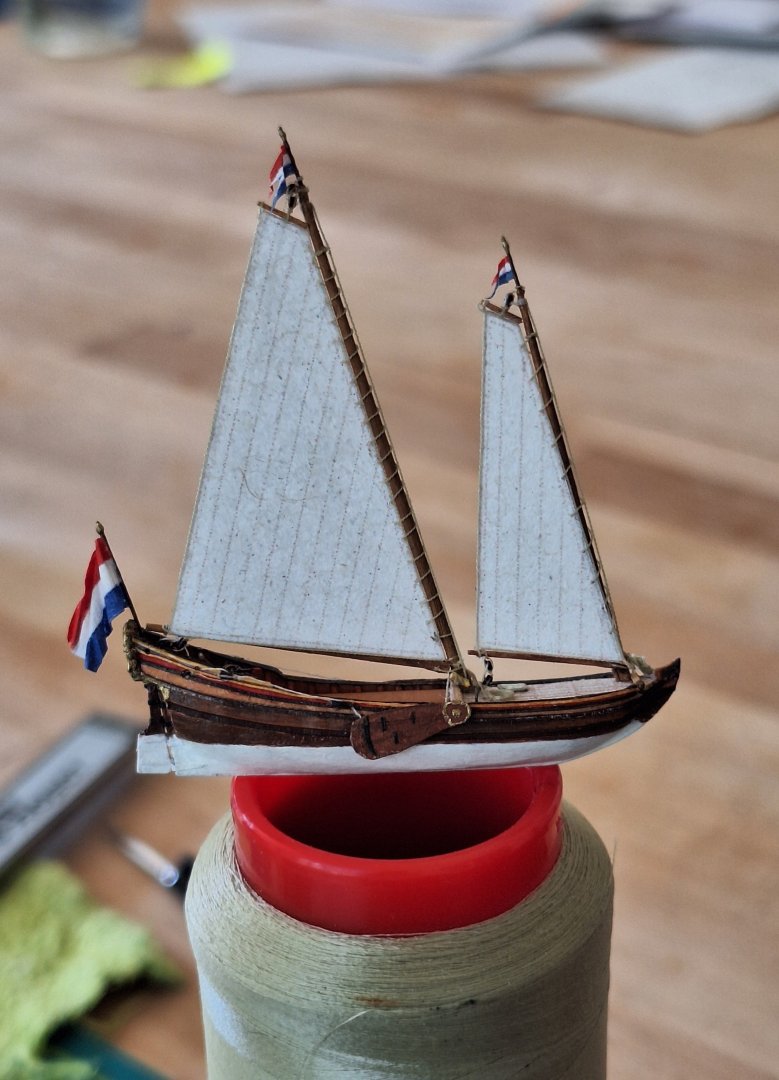
We are making progress in small steps. The main mast and its sail are up. One thing is giving me a bit of a headache now. The sail sheets are led over "Leuwagen" or sheet brackets (what is the English term?). But where are they attached? Looking at contemporary depictions, the jib sheet could be attached to the lower block, but the main sheet could be attached somewhere further in front of its "Leuwagen". What do you think about it? Alvb

- 40 replies
-
- 8
-
-
- Speeljacht
- Card
- (and 3 more)
-
Milk delivery wagon by RGL - FINISHED - Miniart - 1/35
Alvb replied to RGL's topic in Non-ship/categorised builds
I wouldn't know which version I should prefer. -
what kind of varnish can you recommend? I tried using Zapon varnish, but it seemed to barely penetrate the paper.
-
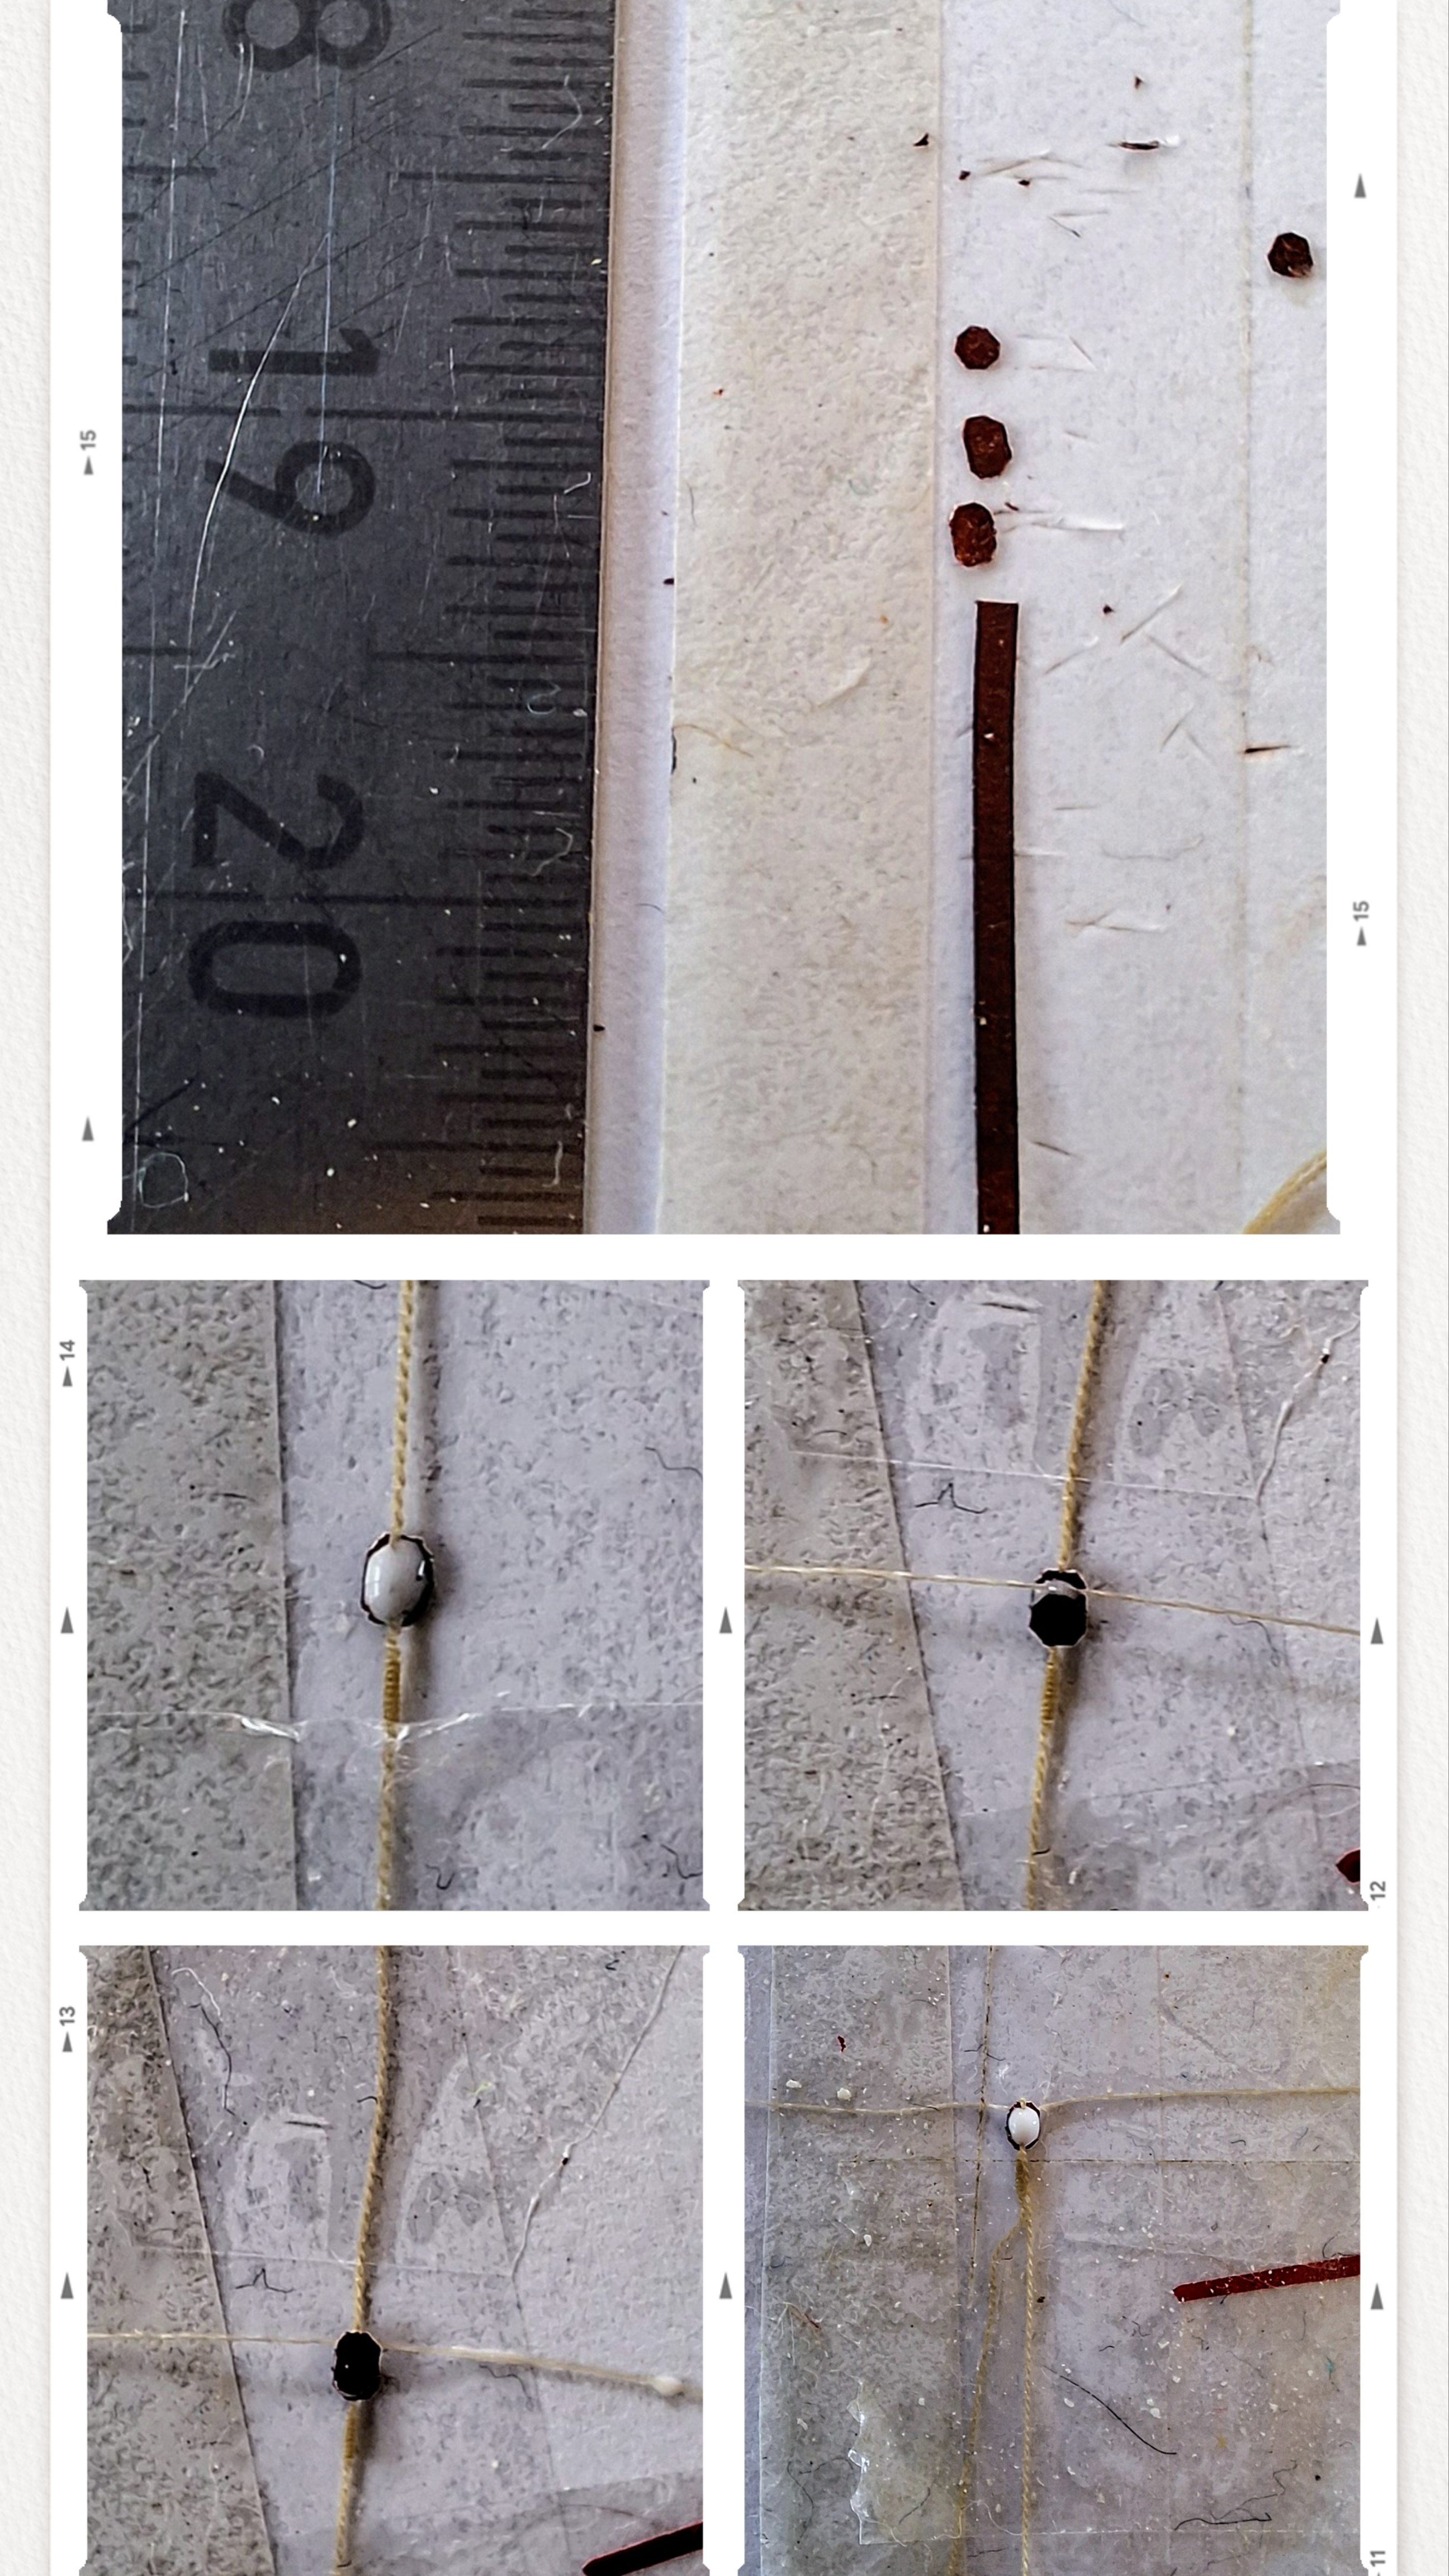
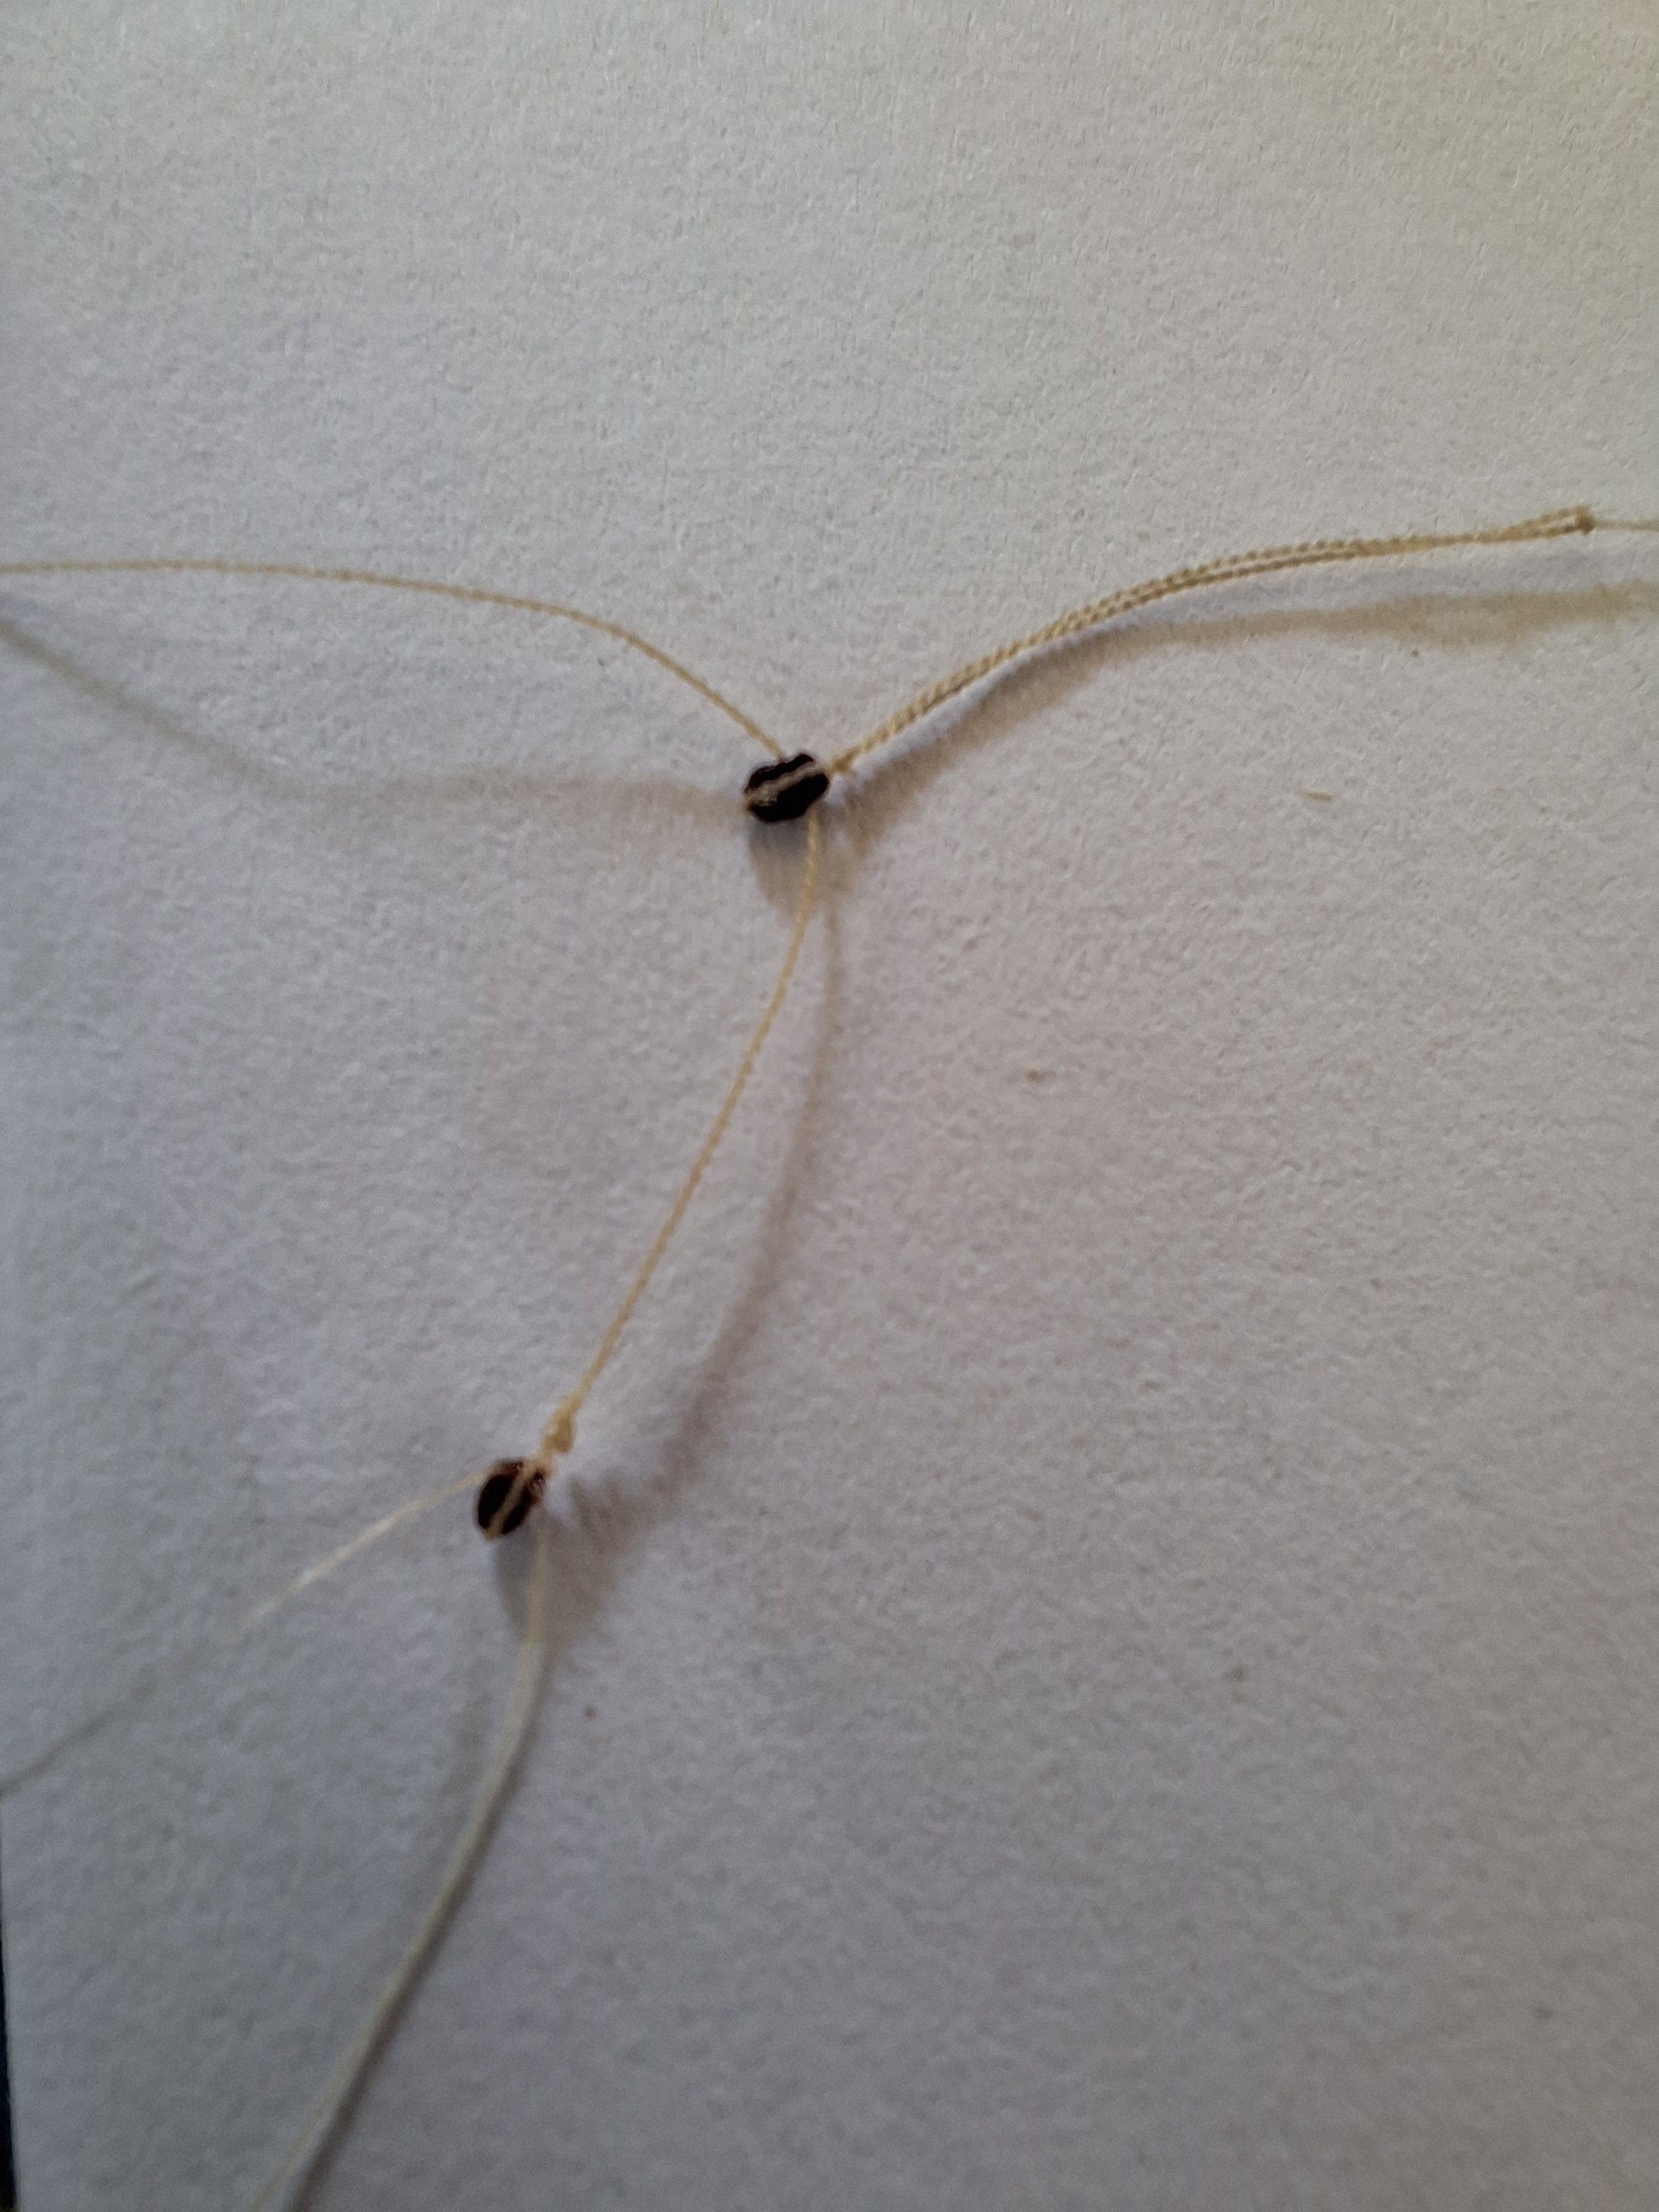
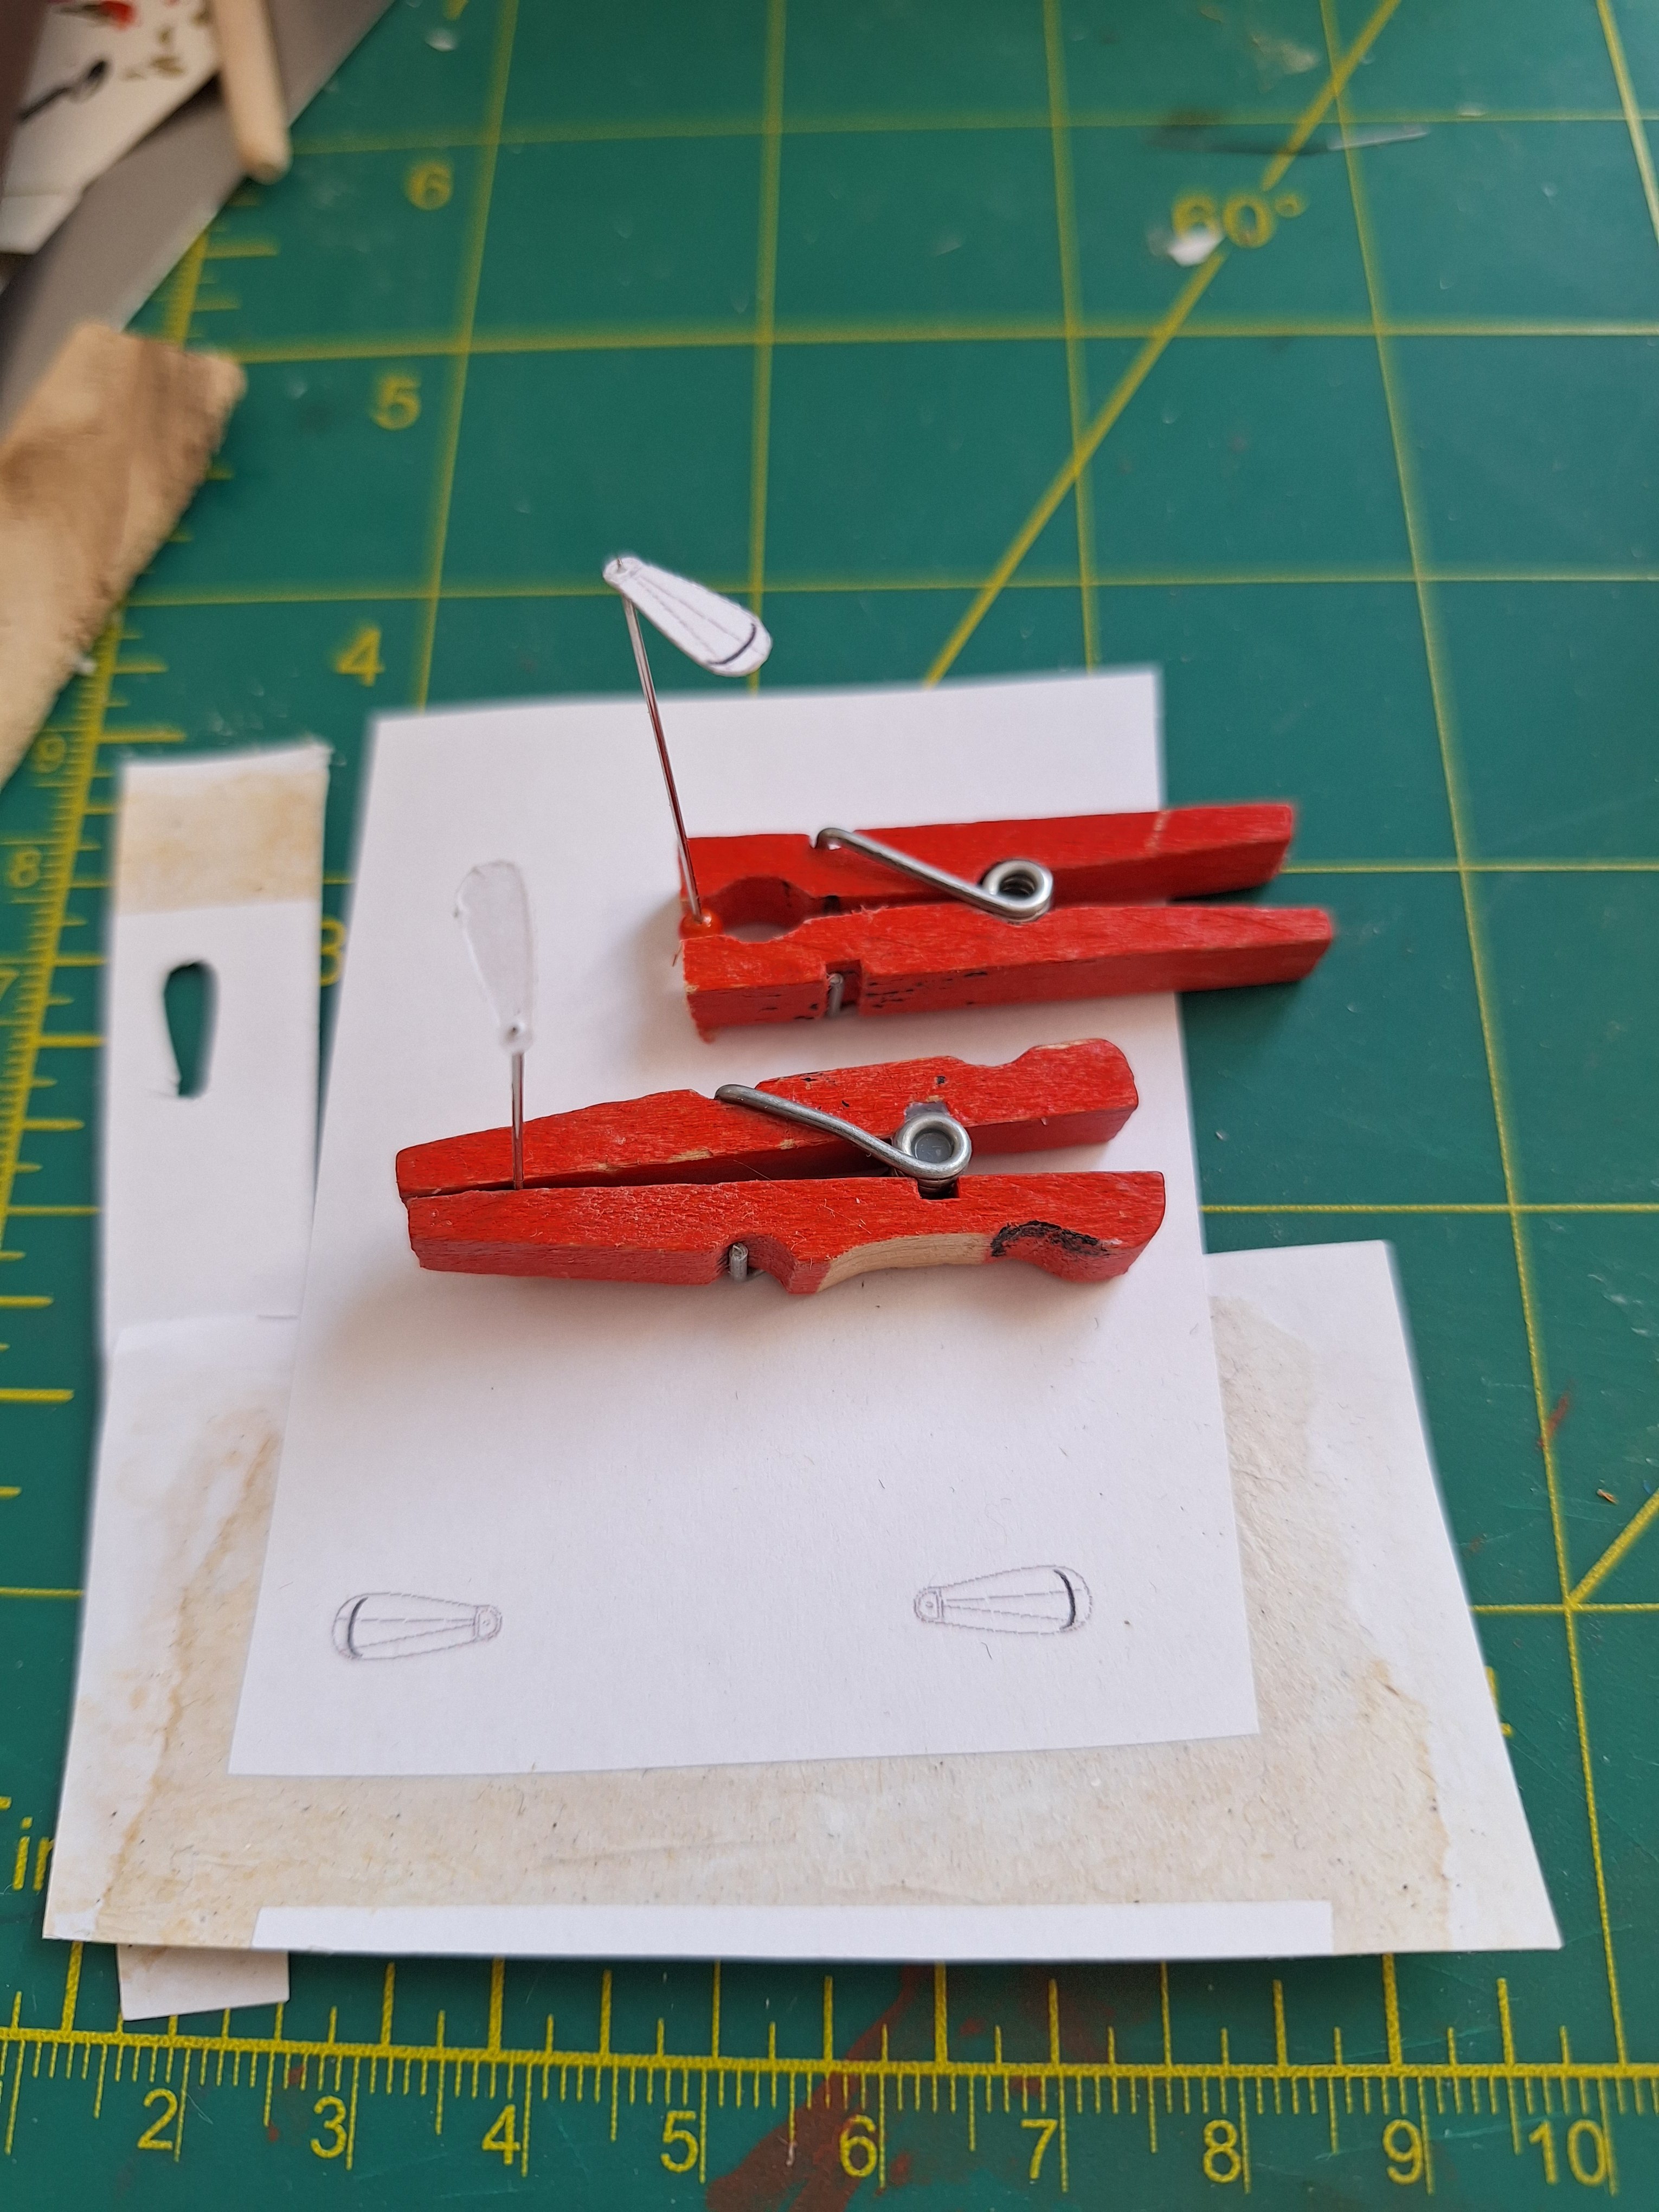
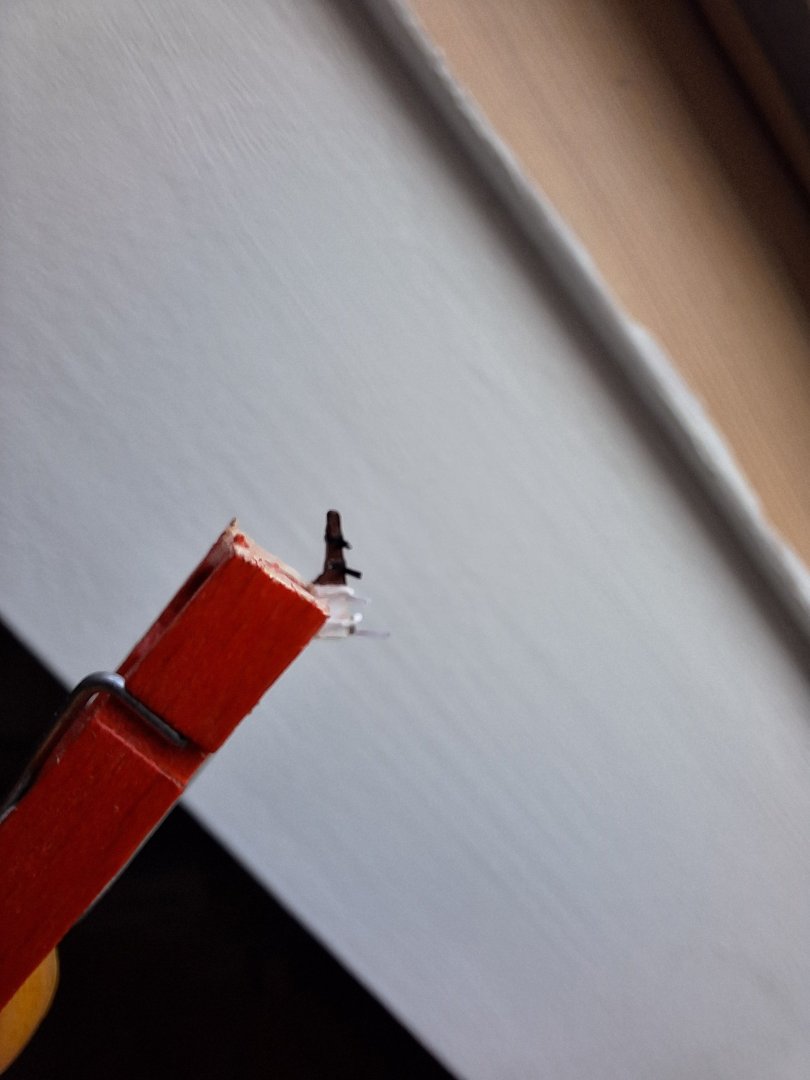
Ich schneide schmale Streifen in der gewünschten Blockbreite die ich dann in Stücke teile. Die Ecken schneide ich noch weg und fertig. In Natura ist nicht zu sehen, dass die Blöcke achteckig statt oval sind. Der Zusammenbau erfolgt mit leicht verdünntem Weißleim. I cut narrow strips in the desired block width, which I then divide into pieces. I cut off the corners and that's it. In reality, you can't see that the blocks are octagonal instead of oval. They are assembled using slightly diluted white glue. Als Erstes klebe ich den Faden, der den Blockstropp bildet auf ein Seitenteil des Blocks. nachdem der Leim getrocknet ist, ist er nicht mehr sichtbar. Dann wird das Ganze umgedreht, die "Scheibe" eingeklebt, der Läufer dazu, 2. Seitenteil drauf und zuletzt das Stropptau drüber. Zwischen jedem Schritt den Leim trocknen lassen. Das Ganze ließe sich noch perfektionieren, für meine Bedürfnisse liefert es aber recht zufriedenstellende Ergebnisse .First I glue the thread that forms the block strap onto one side of the block. After the glue has dried, it is no longer visible. Then the whole thing is turned over, the "disk" is glued in, the runner is added, the second side piece is put on and finally the strap rope is put on top. Allow the glue to dry between each step. The whole thing could still be perfected, but for my needs it delivers quite satisfactory results.

-
the diameters? hard to say, the thinner one is Alterfil L 400, the thicker one consists of 2 twisted Alterfil L 400 threads.
-
so sehen meine Blöcke aus Sie bestehen aus Papier. 2 Seitenteile und eine „Scheibe“ dazwischen. Die Seile sind aus Polyester. Sie sind also flexibel und können sogar durch die Blöcke laufen. Das größere der beiden ist knapp 1 mm (0,039 inch) lang. Scale 1: 250

-
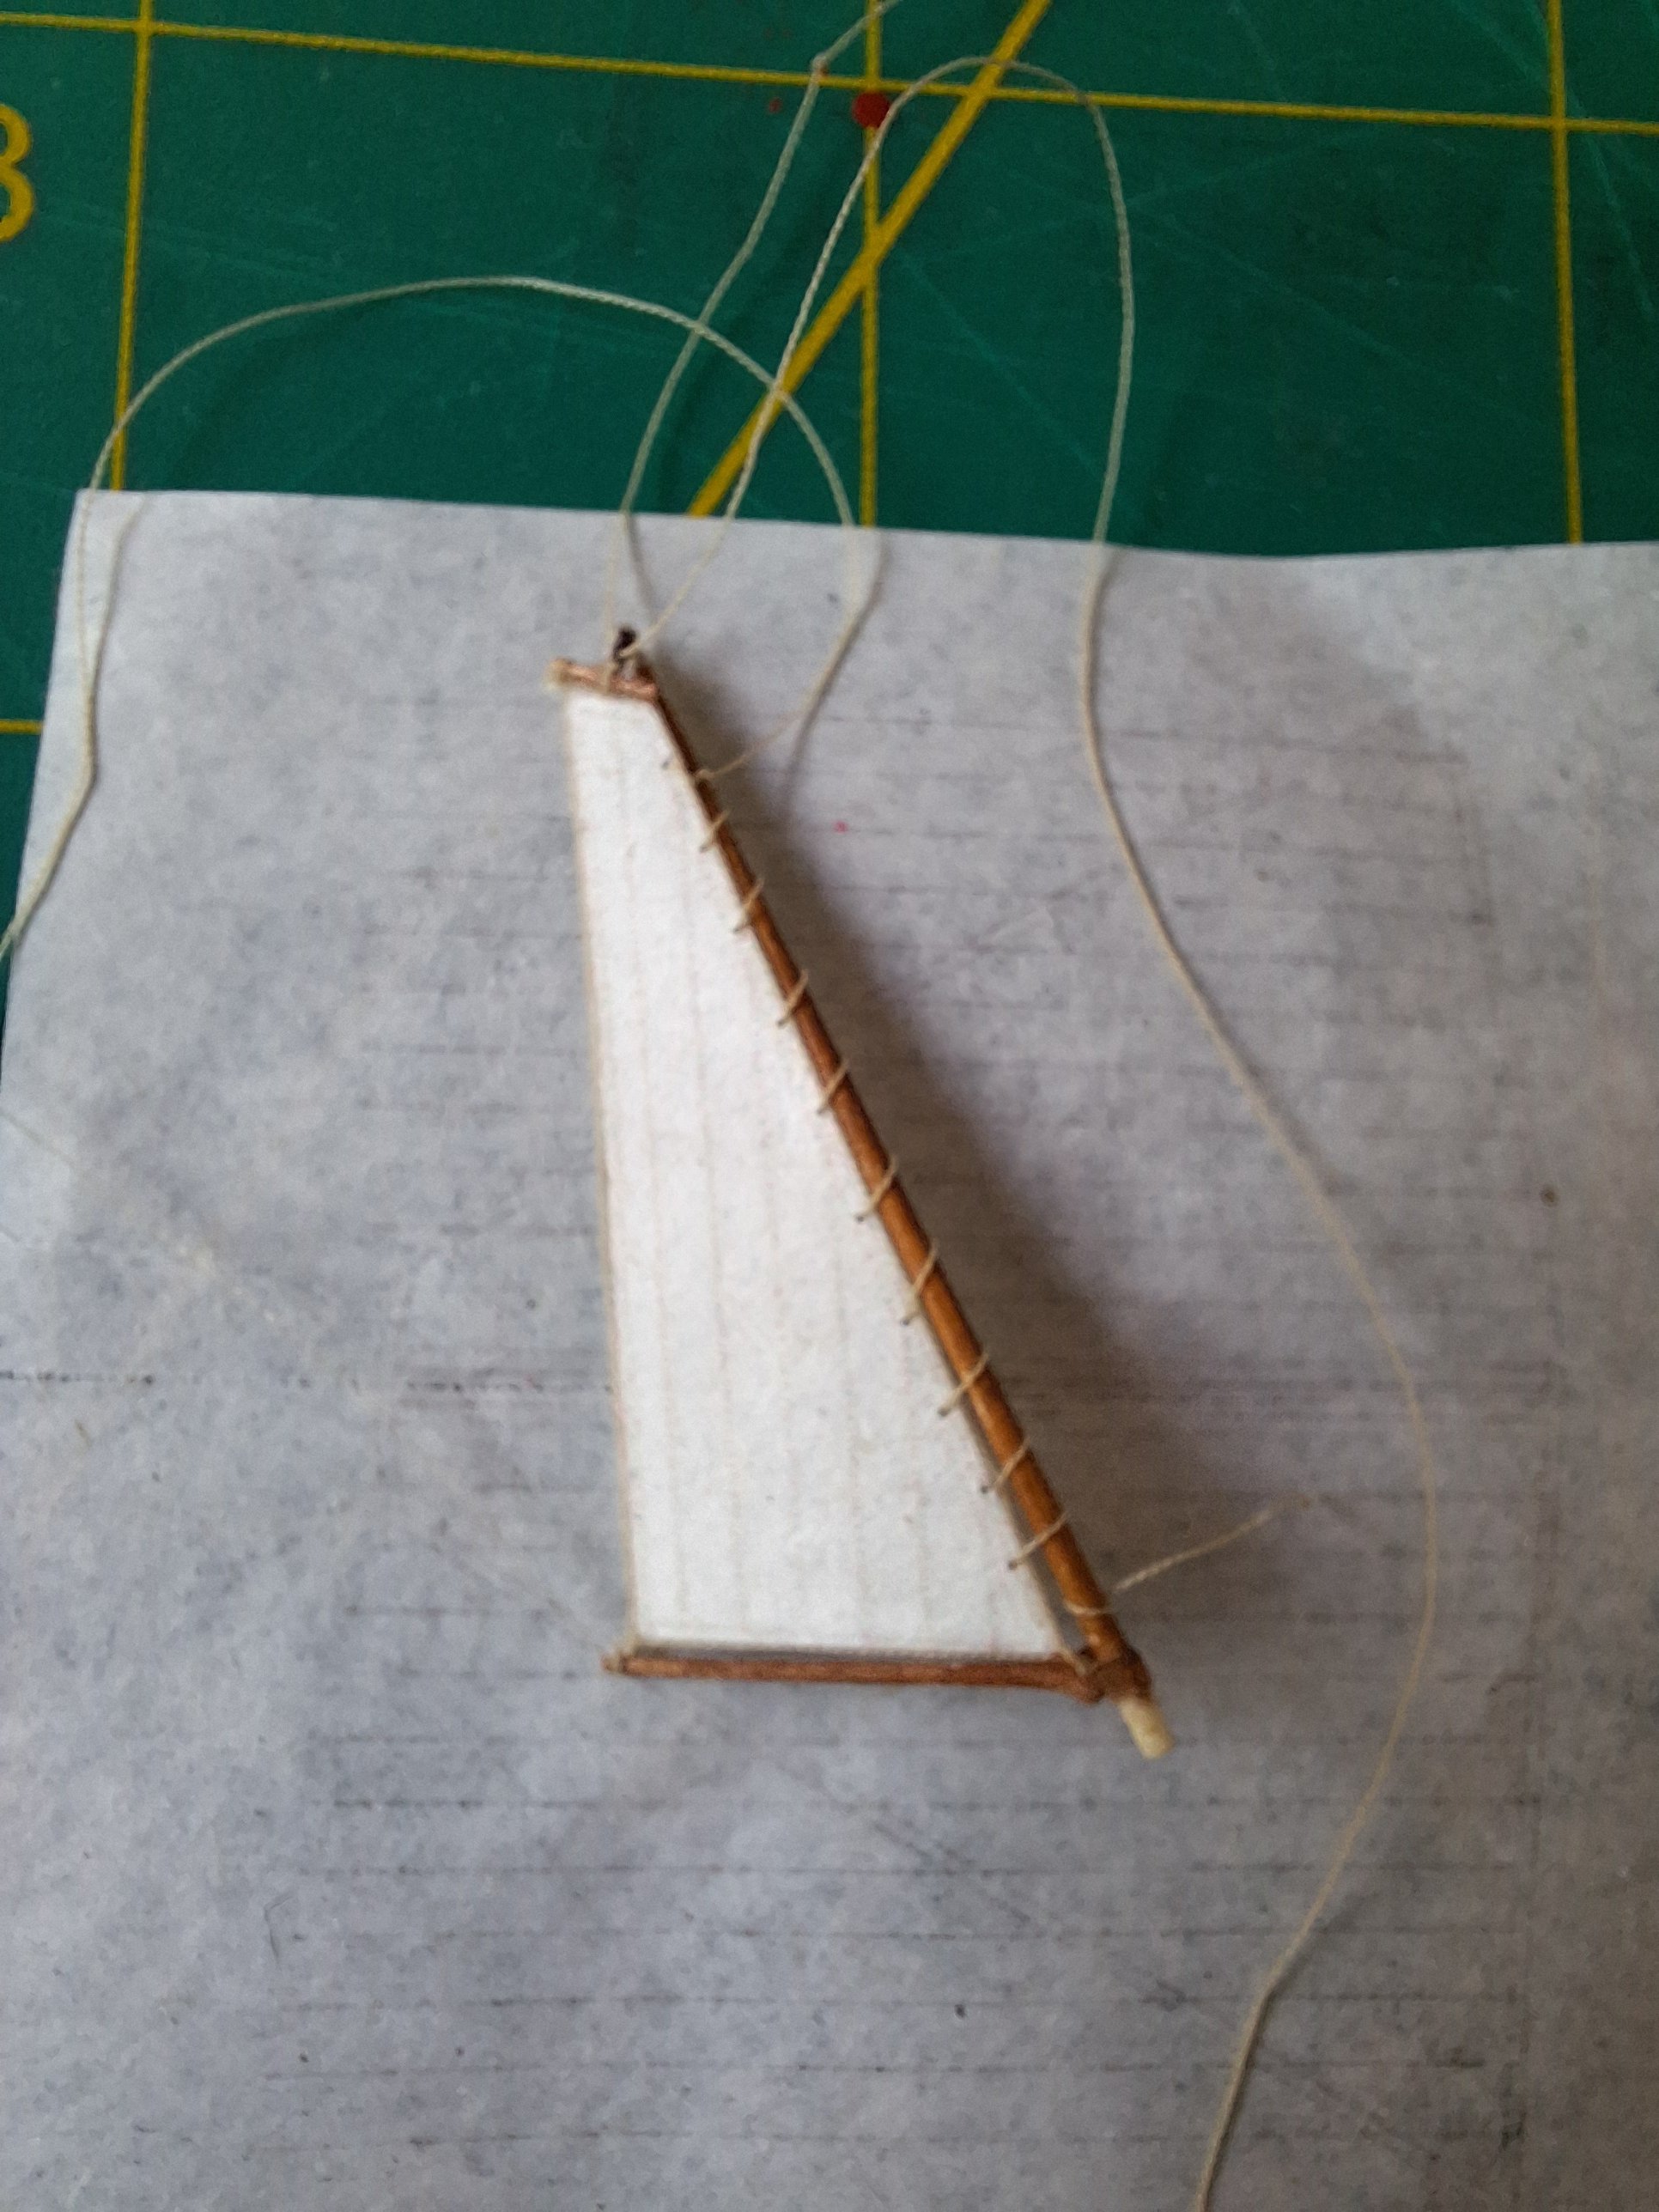
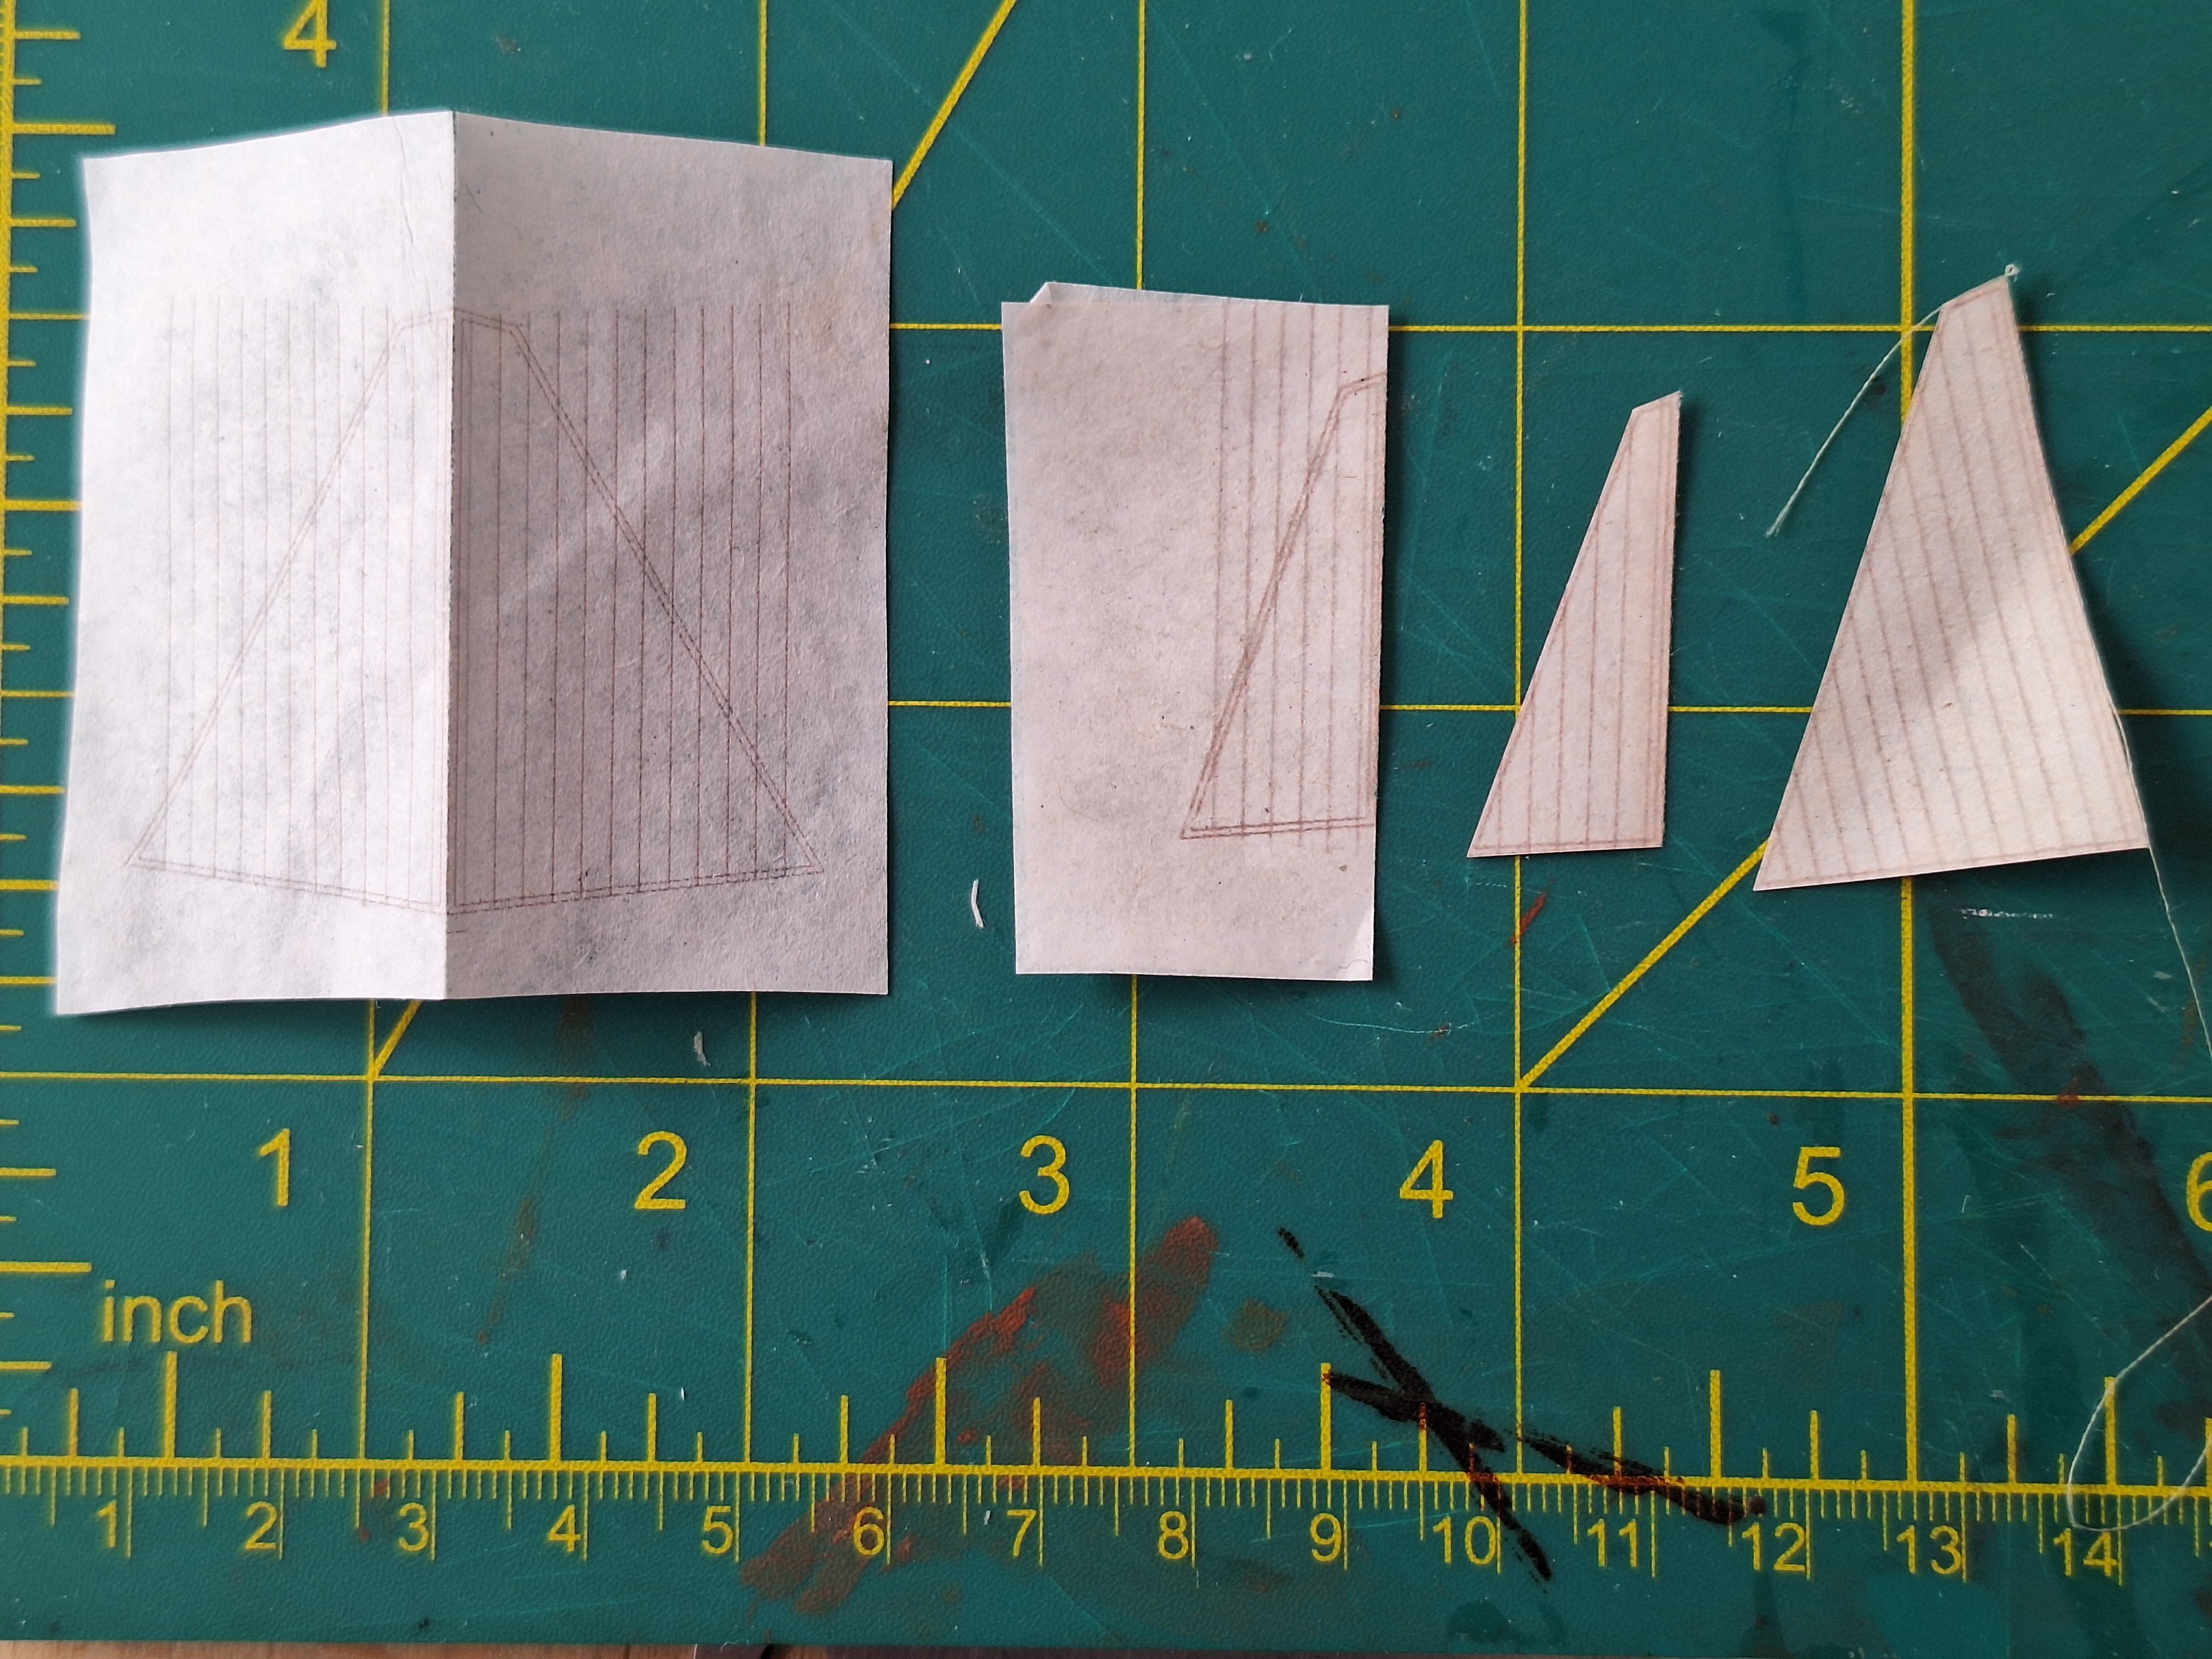
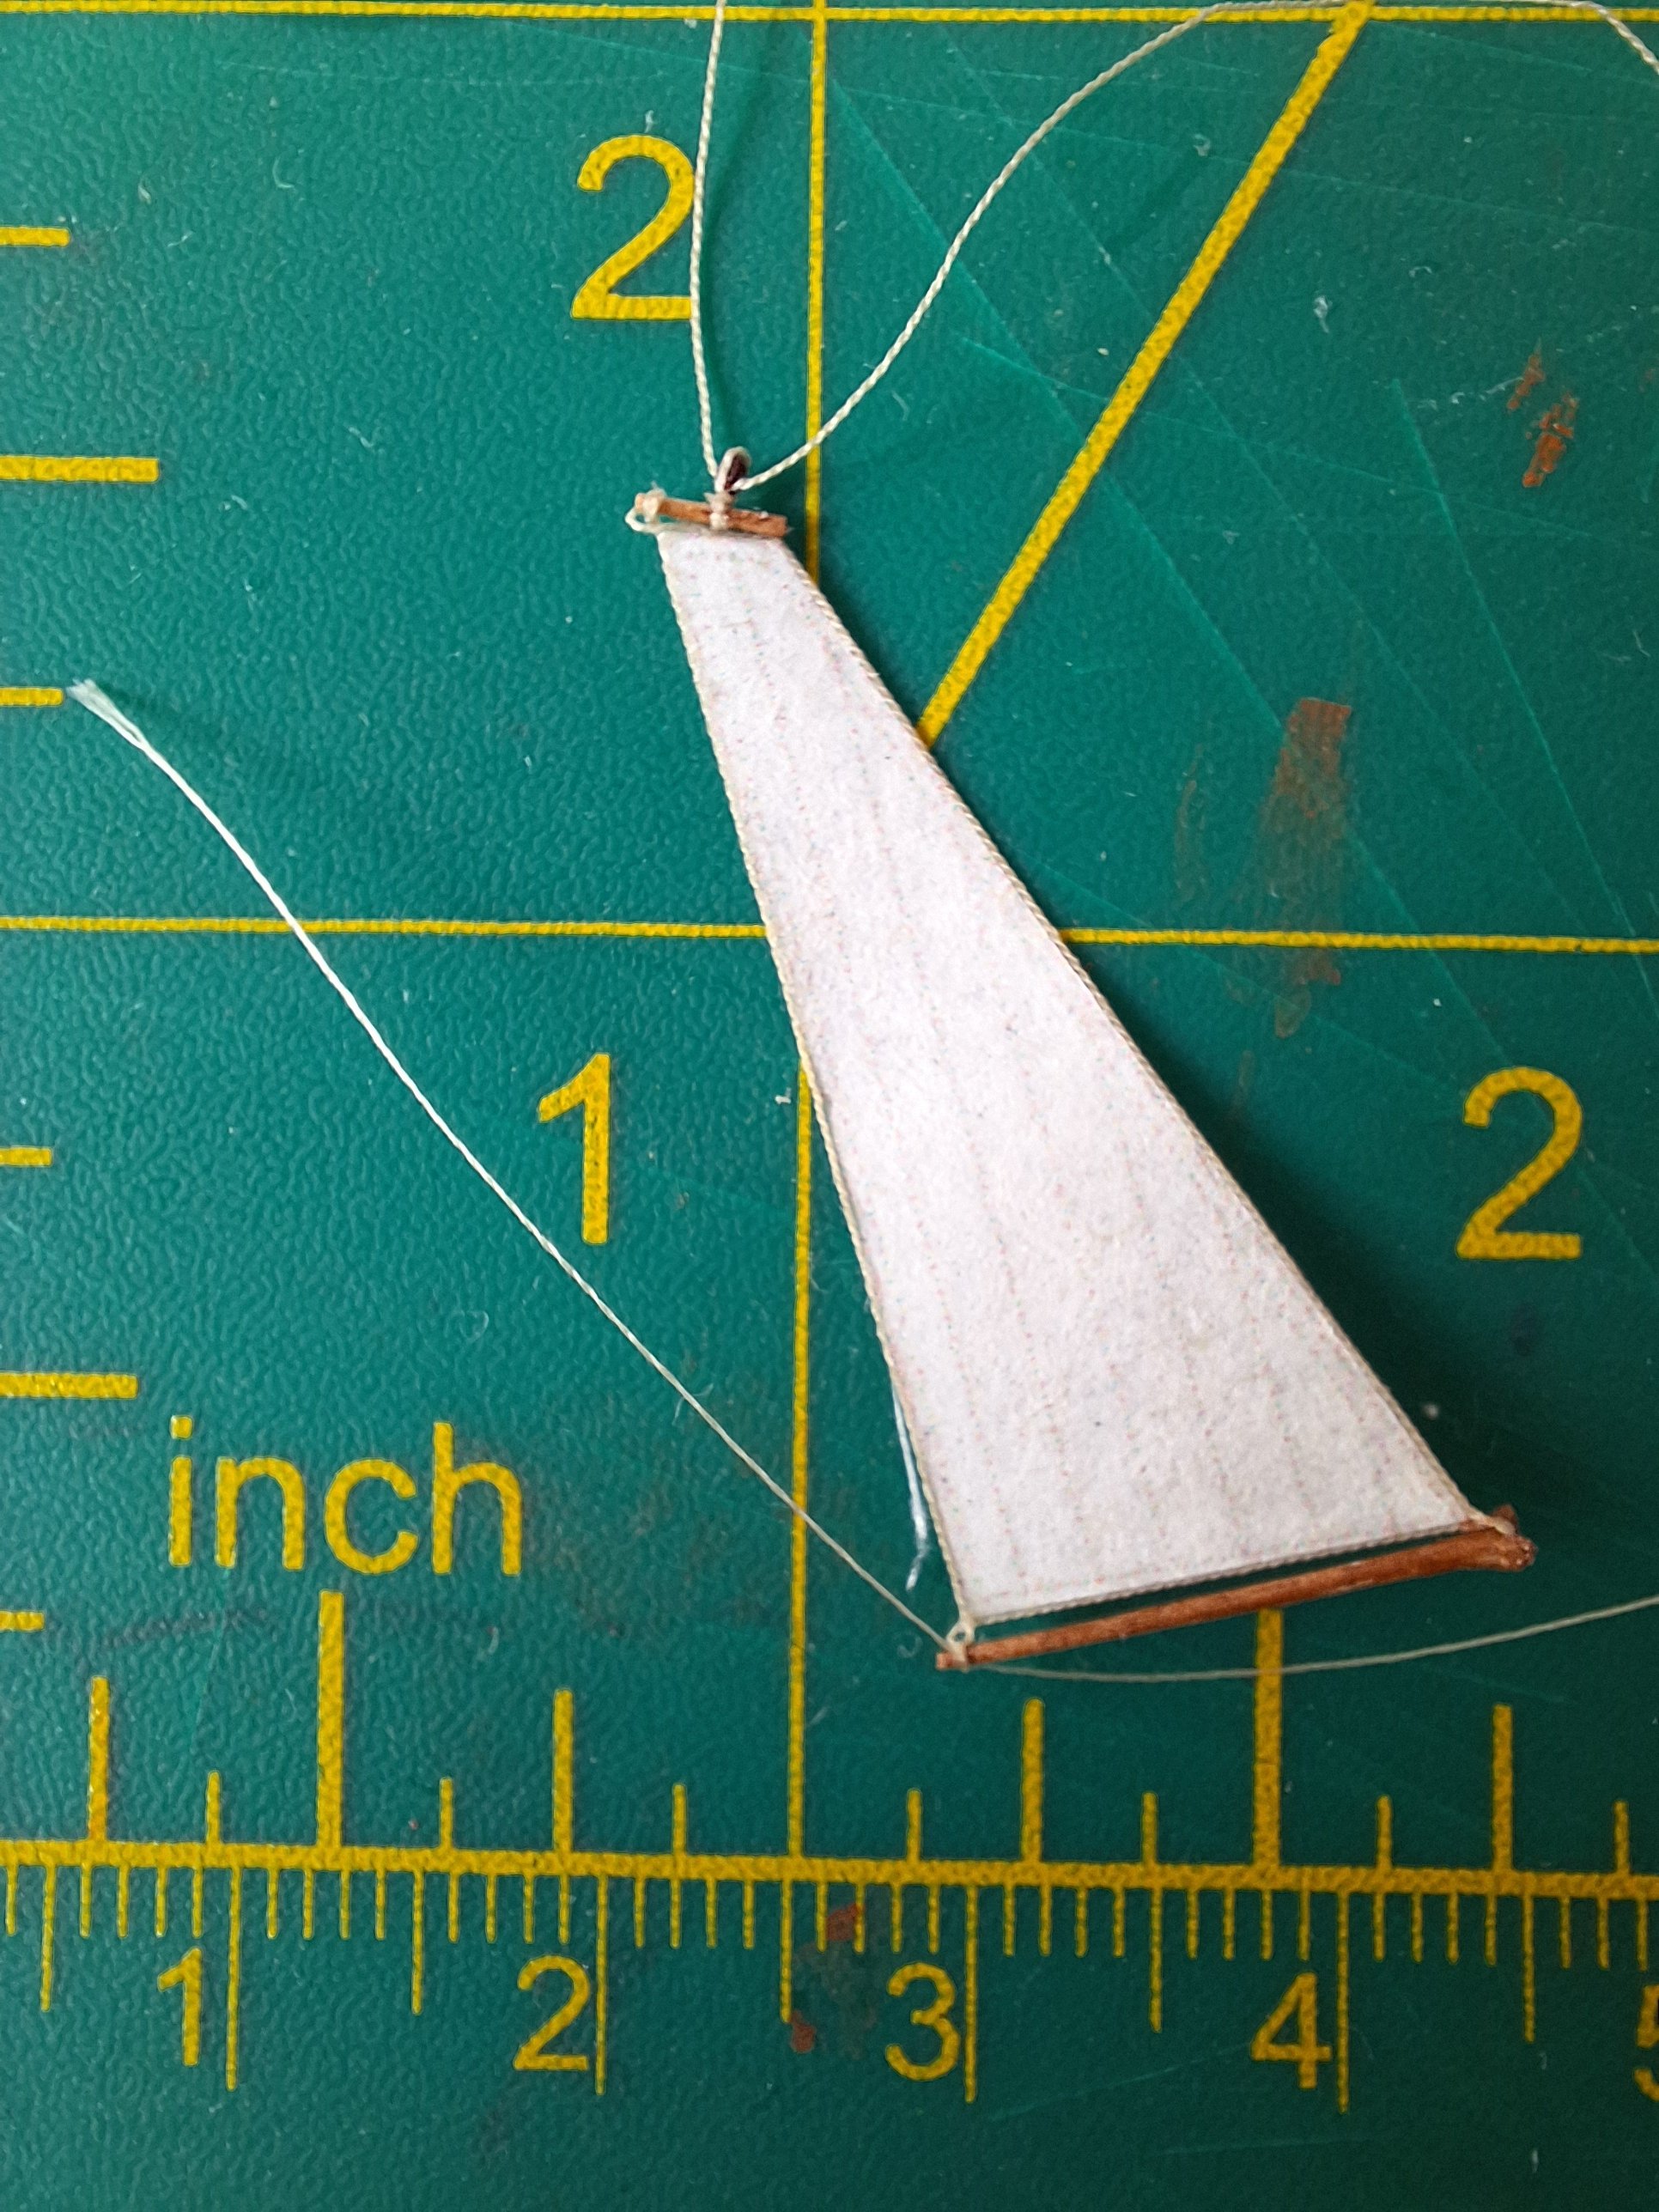
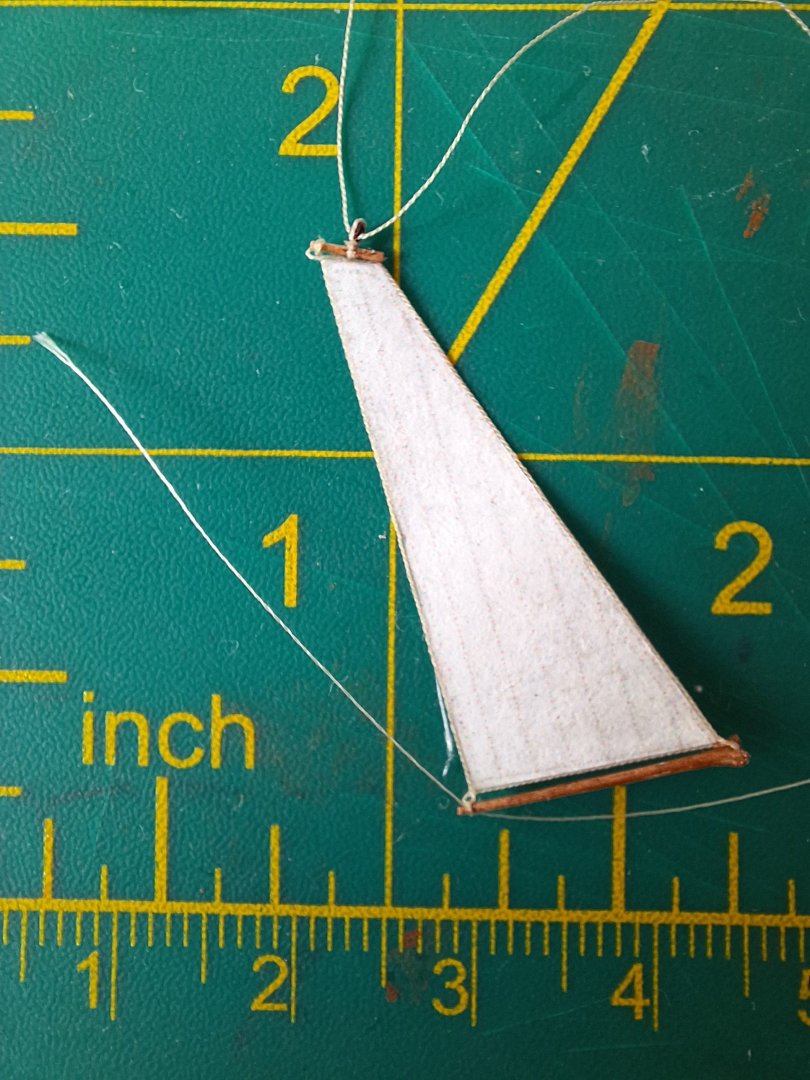
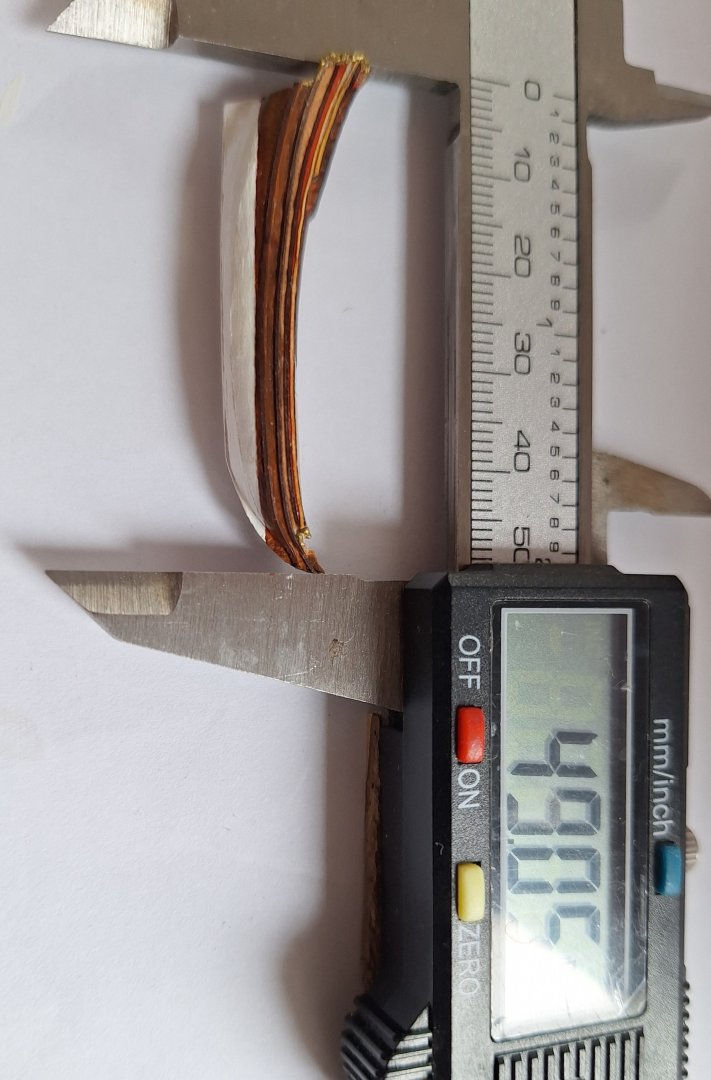
The front mast has received its sail.. The sails are made of paper from a flower shop that is only 0.05 mm thick. Below are the steps of production. -Port and starboard sides printed together -Folded along the center line and glued together -Cut out -Leek rope glued on I know the logs are a bit too thick... Alvb


- 40 replies
-
- 4
-
-
- Speeljacht
- Card
- (and 3 more)
-
The hull is largely finished. Time to turn to the rigging. The routing of the gaff halyard and boom halyard is a bit unclear (sorry, I'm not familiar with the English names). I interpret the images as follows: the boom halyard runs down the mast over the upper block in the top. A light tackle is attached. The gaff halyard starts at the top, runs over the block on the small gaff, from there down over a sheave in the mast. What are those poles on the outside along the sides of the ship over the leeboards? Thanks Alvb

- 40 replies
-
- 5
-
-
- Speeljacht
- Card
- (and 3 more)
-
yes, wefalk is a professional, micro machines, laser cutters, etc. I can't keep up with hand-cut pieces of paper... But it goes on: Leeboards and rudder


- 40 replies
-
- 8
-
-
-
- Speeljacht
- Card
- (and 3 more)
-
another question: how were the leeboards attached to the hull? I have researched but found no information on how this was solved technically. I would be very grateful for any information. Alvb
- 40 replies
-
- 2
-
-
- Speeljacht
- Card
- (and 3 more)
-
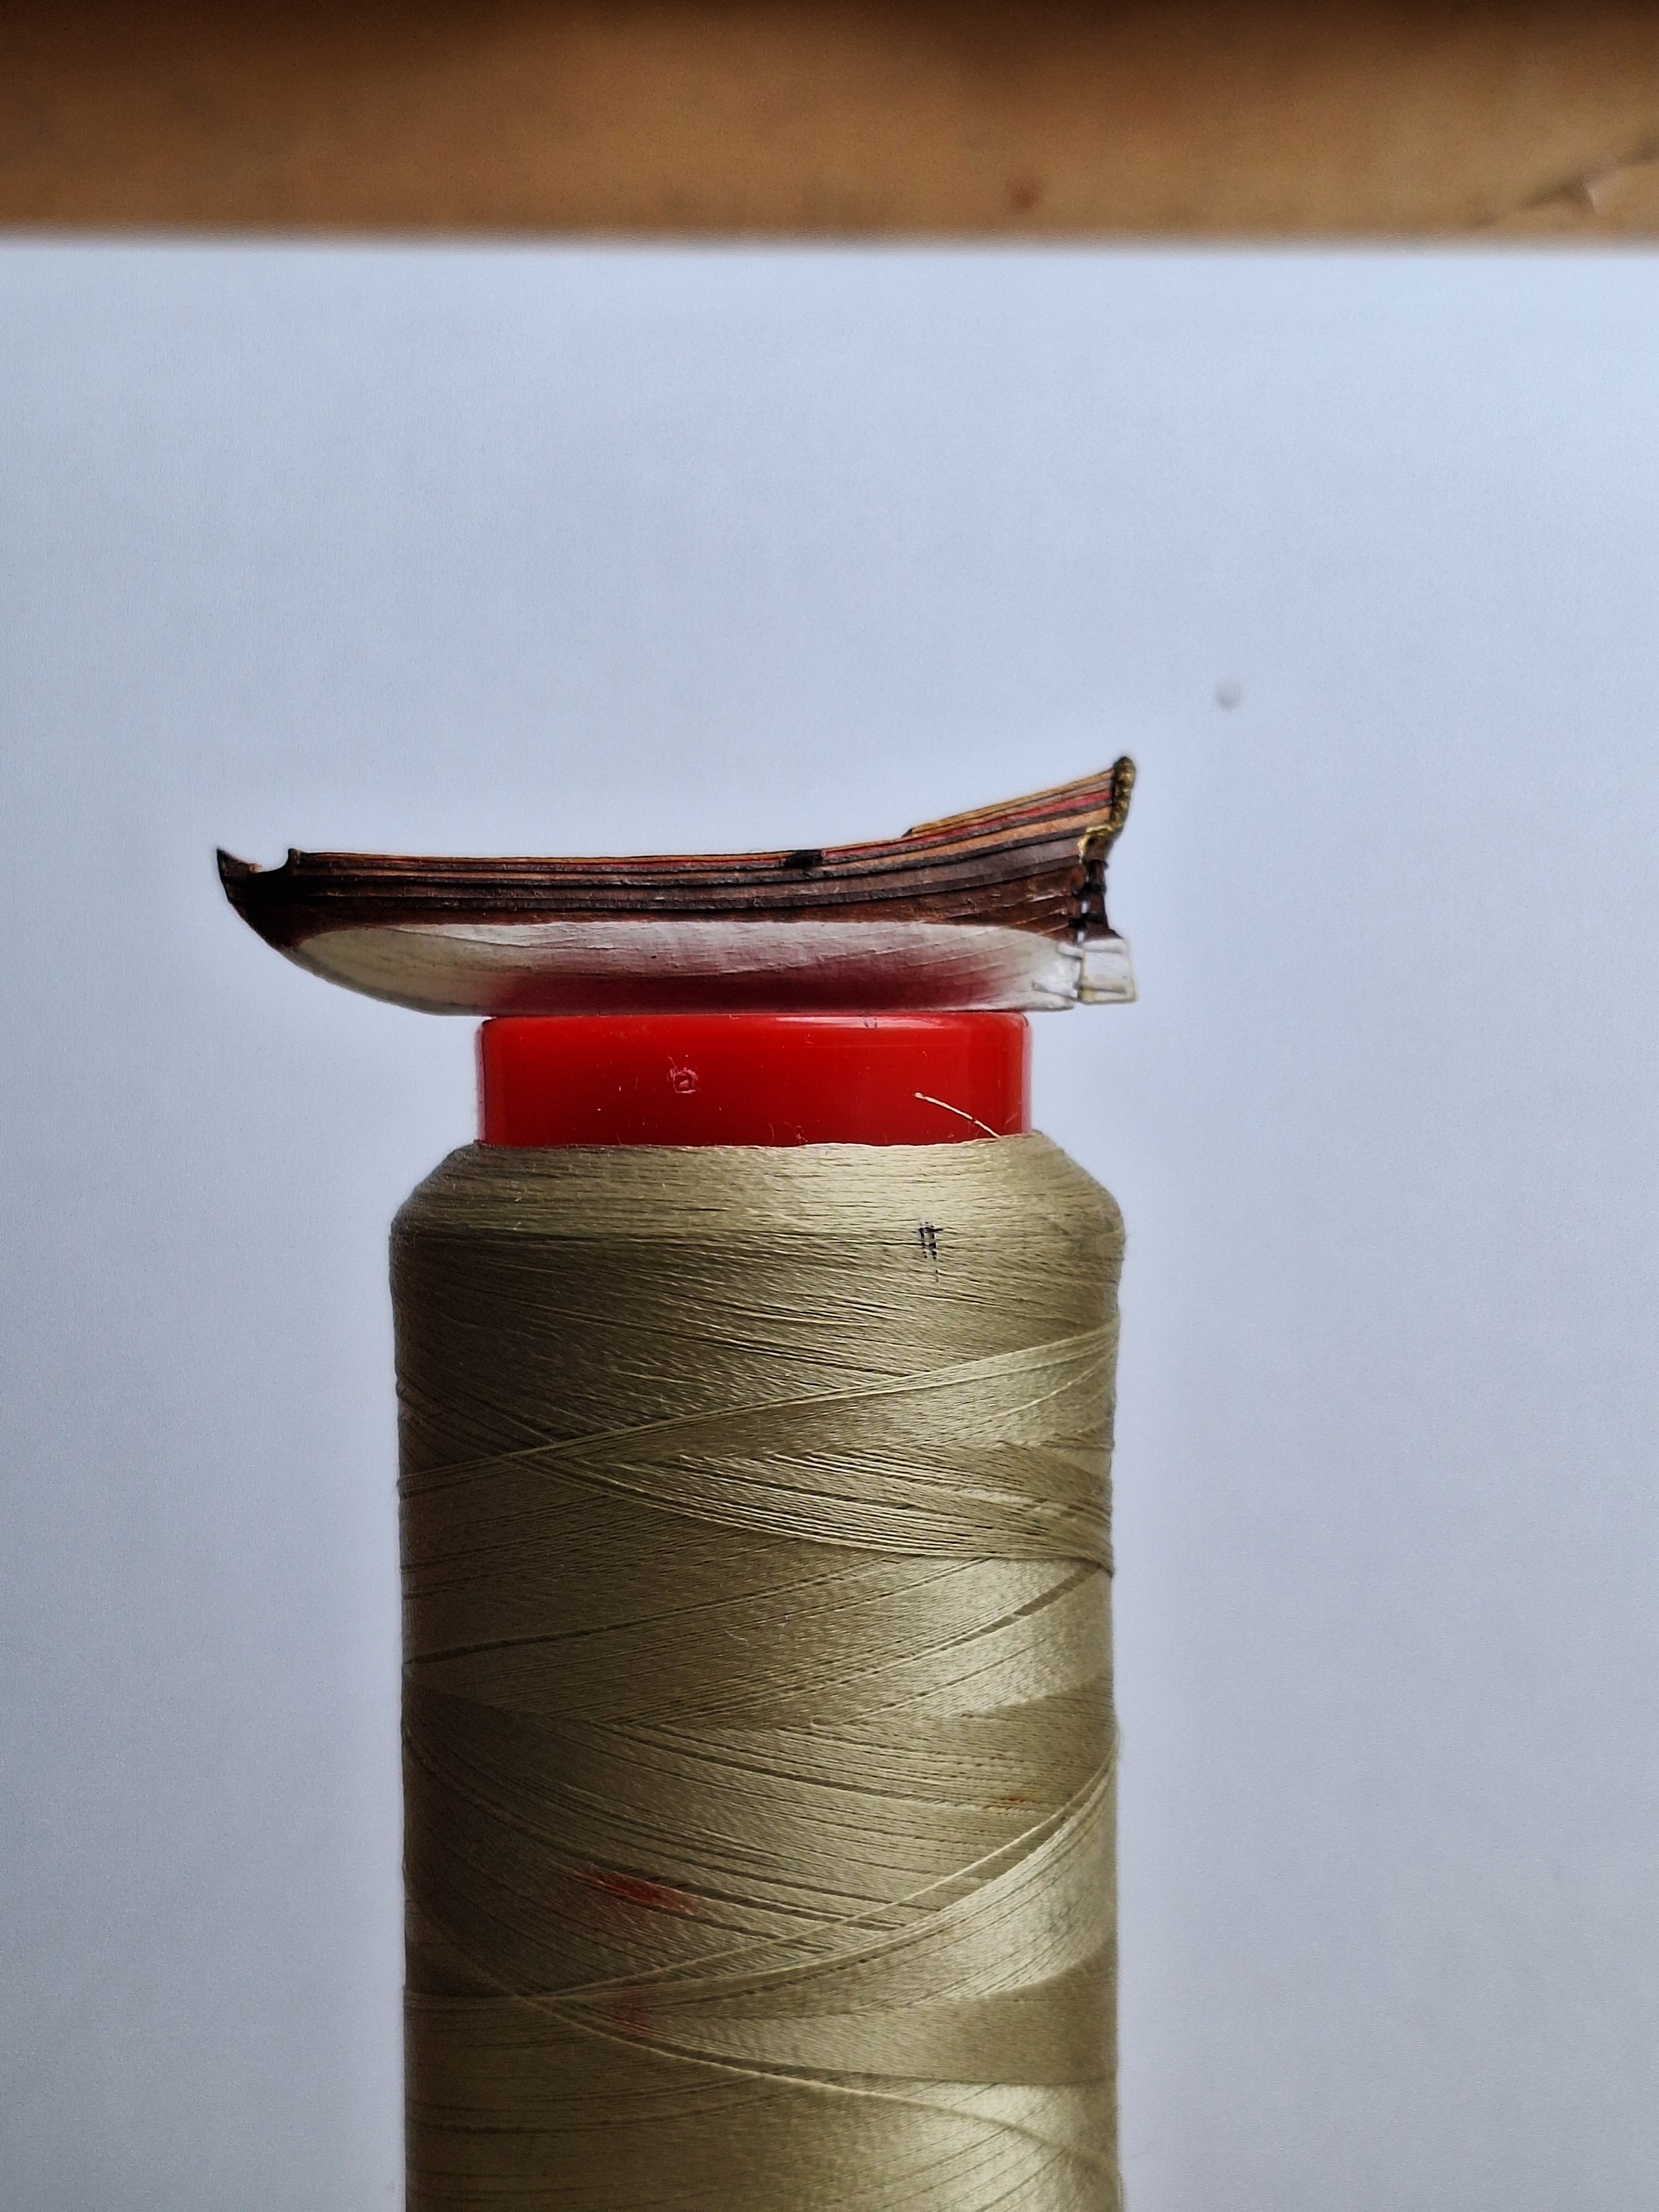
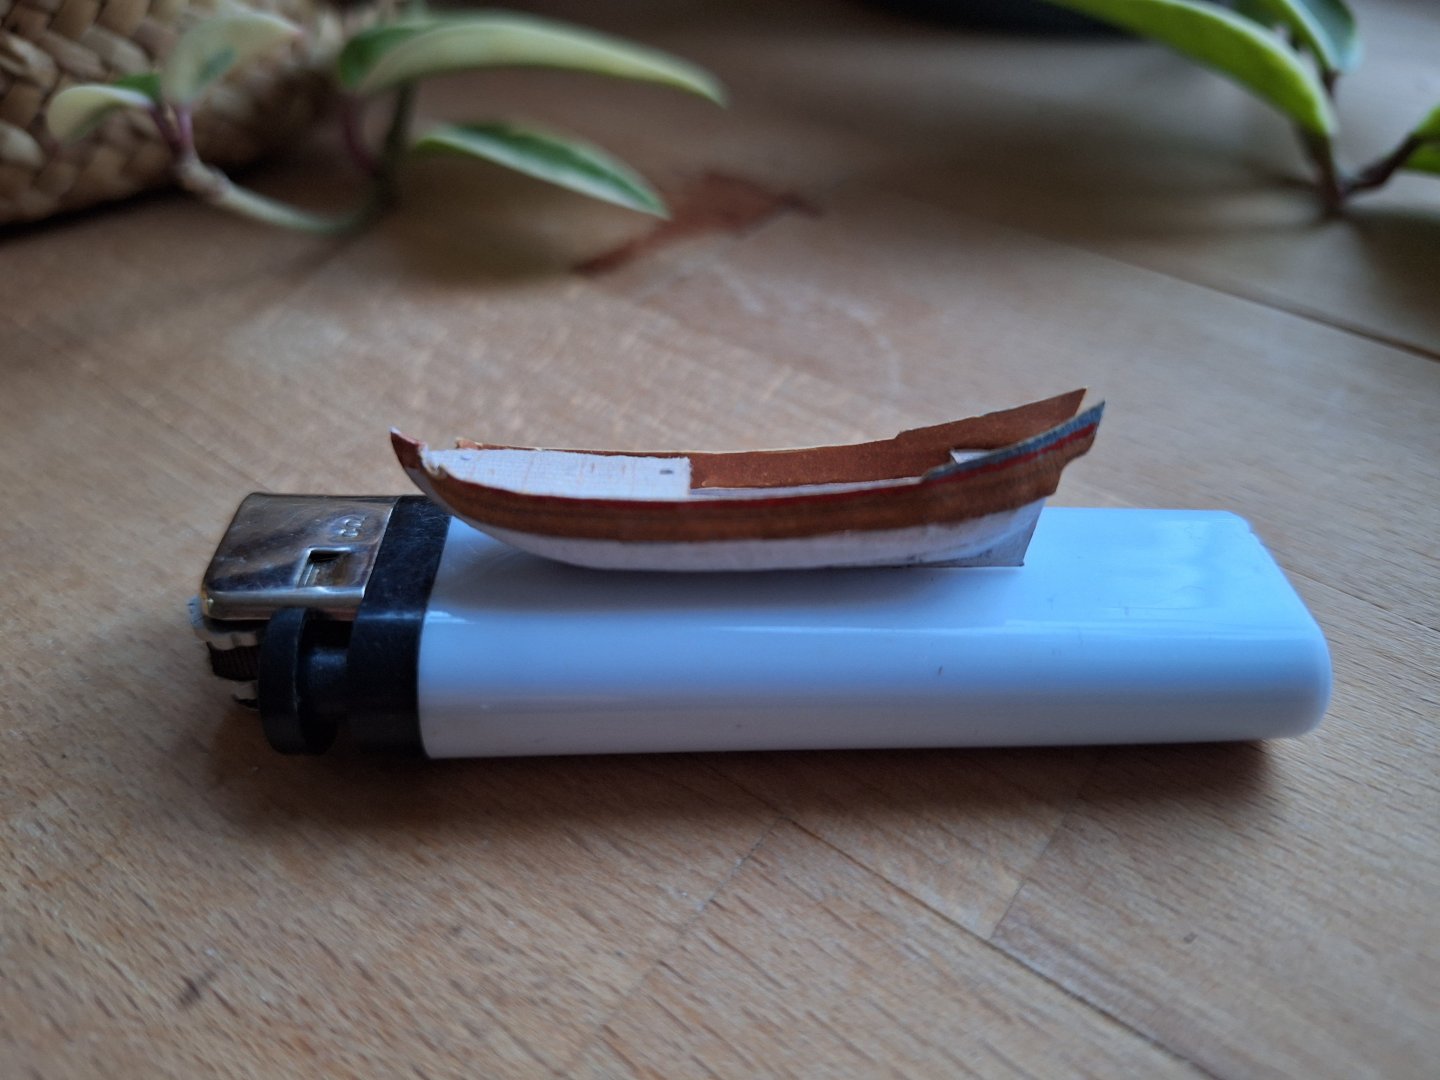
Back from South Tyrol we continued to the paper shipyard. The wales were quite a challenge. I've almost reached the limit of what I can do. I only painted the underwater part up to the waterline and a really straight border isn't possible with my resources. I've now reached the point where I'm not really allowed to touch the boat anymore. But how do you carry on building without touching it? And then there is the question of how the model should be presented. On a small base or sailing in the "water"? Greetings Alvb
- 40 replies
-
- 7
-
-
- Speeljacht
- Card
- (and 3 more)
-
Of course. It's not much work, as there's only a small amount of rigging.
- 40 replies
-
- 2
-
-
- Speeljacht
- Card
- (and 3 more)
-
Actually, I haven't given any thought to the different levels of gloss until now... Most of it, the side walls, etc., is painted with watercolor paint. The decorative elements are painted with acrylic paint. The white stuff is also acrylic, because I had to cover up impurities on the paper.
- 40 replies
-
- 4
-
-
- Speeljacht
- Card
- (and 3 more)
-
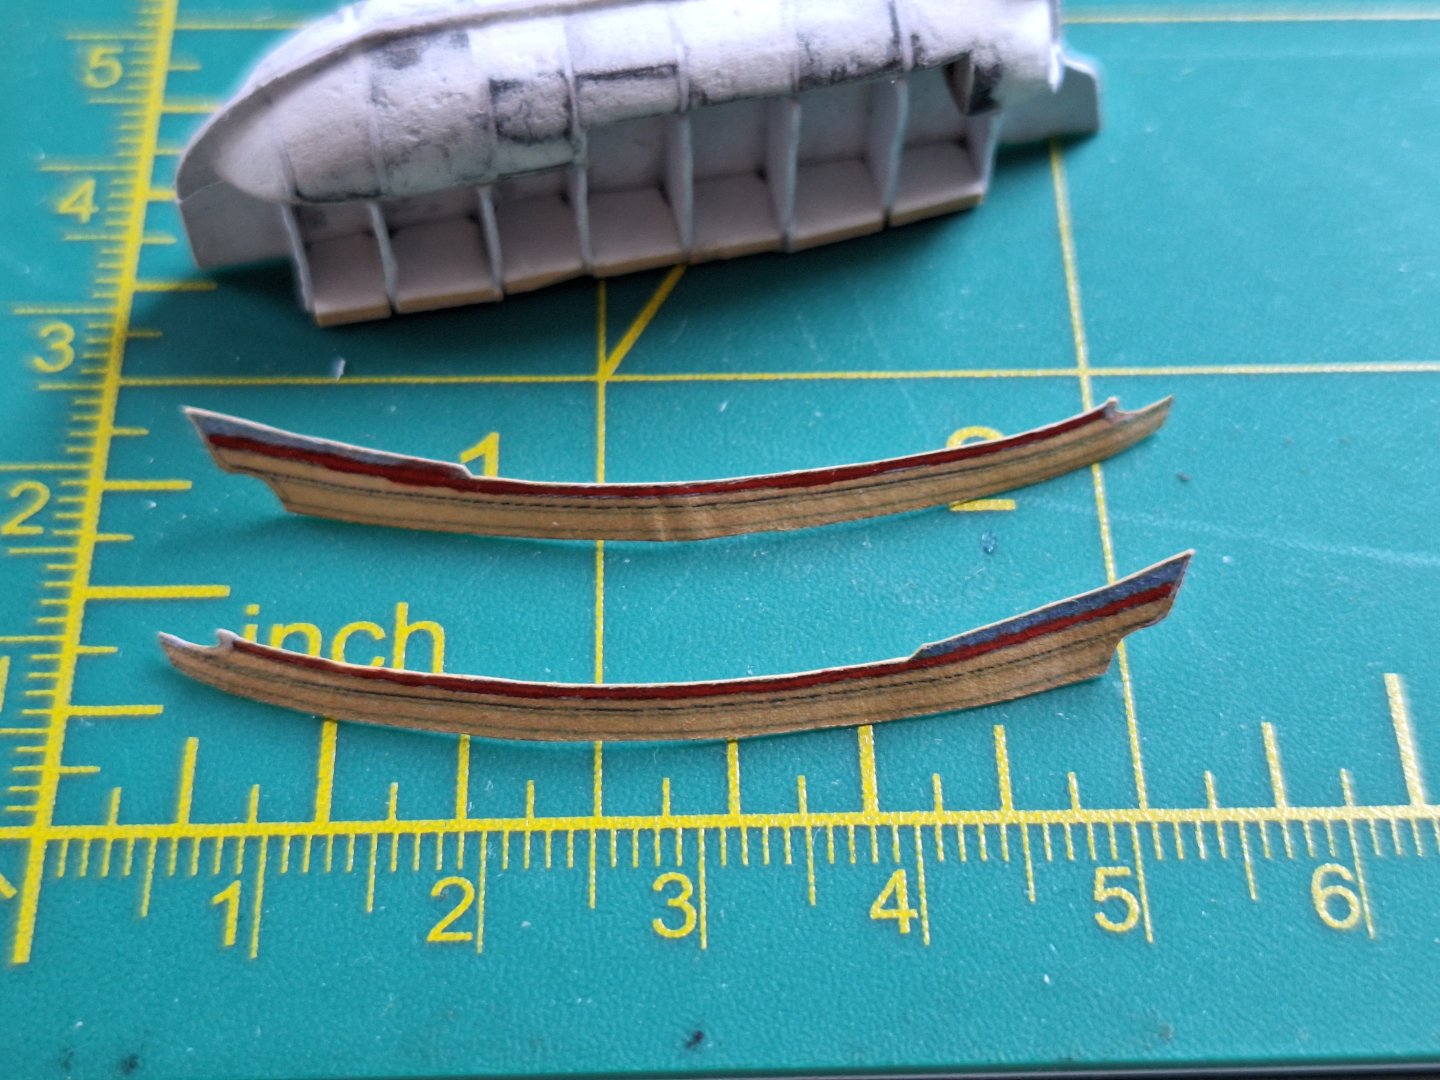
There's some truth in that, amateur. It was just a thought, as I'm afraid I won't be able to get a nice edge on the waterline. At least the hull is now completely planked. The next step is to do the wales(?). But first a week in South Tyrol. Greetings


- 40 replies
-
- 15
-
-
-
- Speeljacht
- Card
- (and 3 more)
-
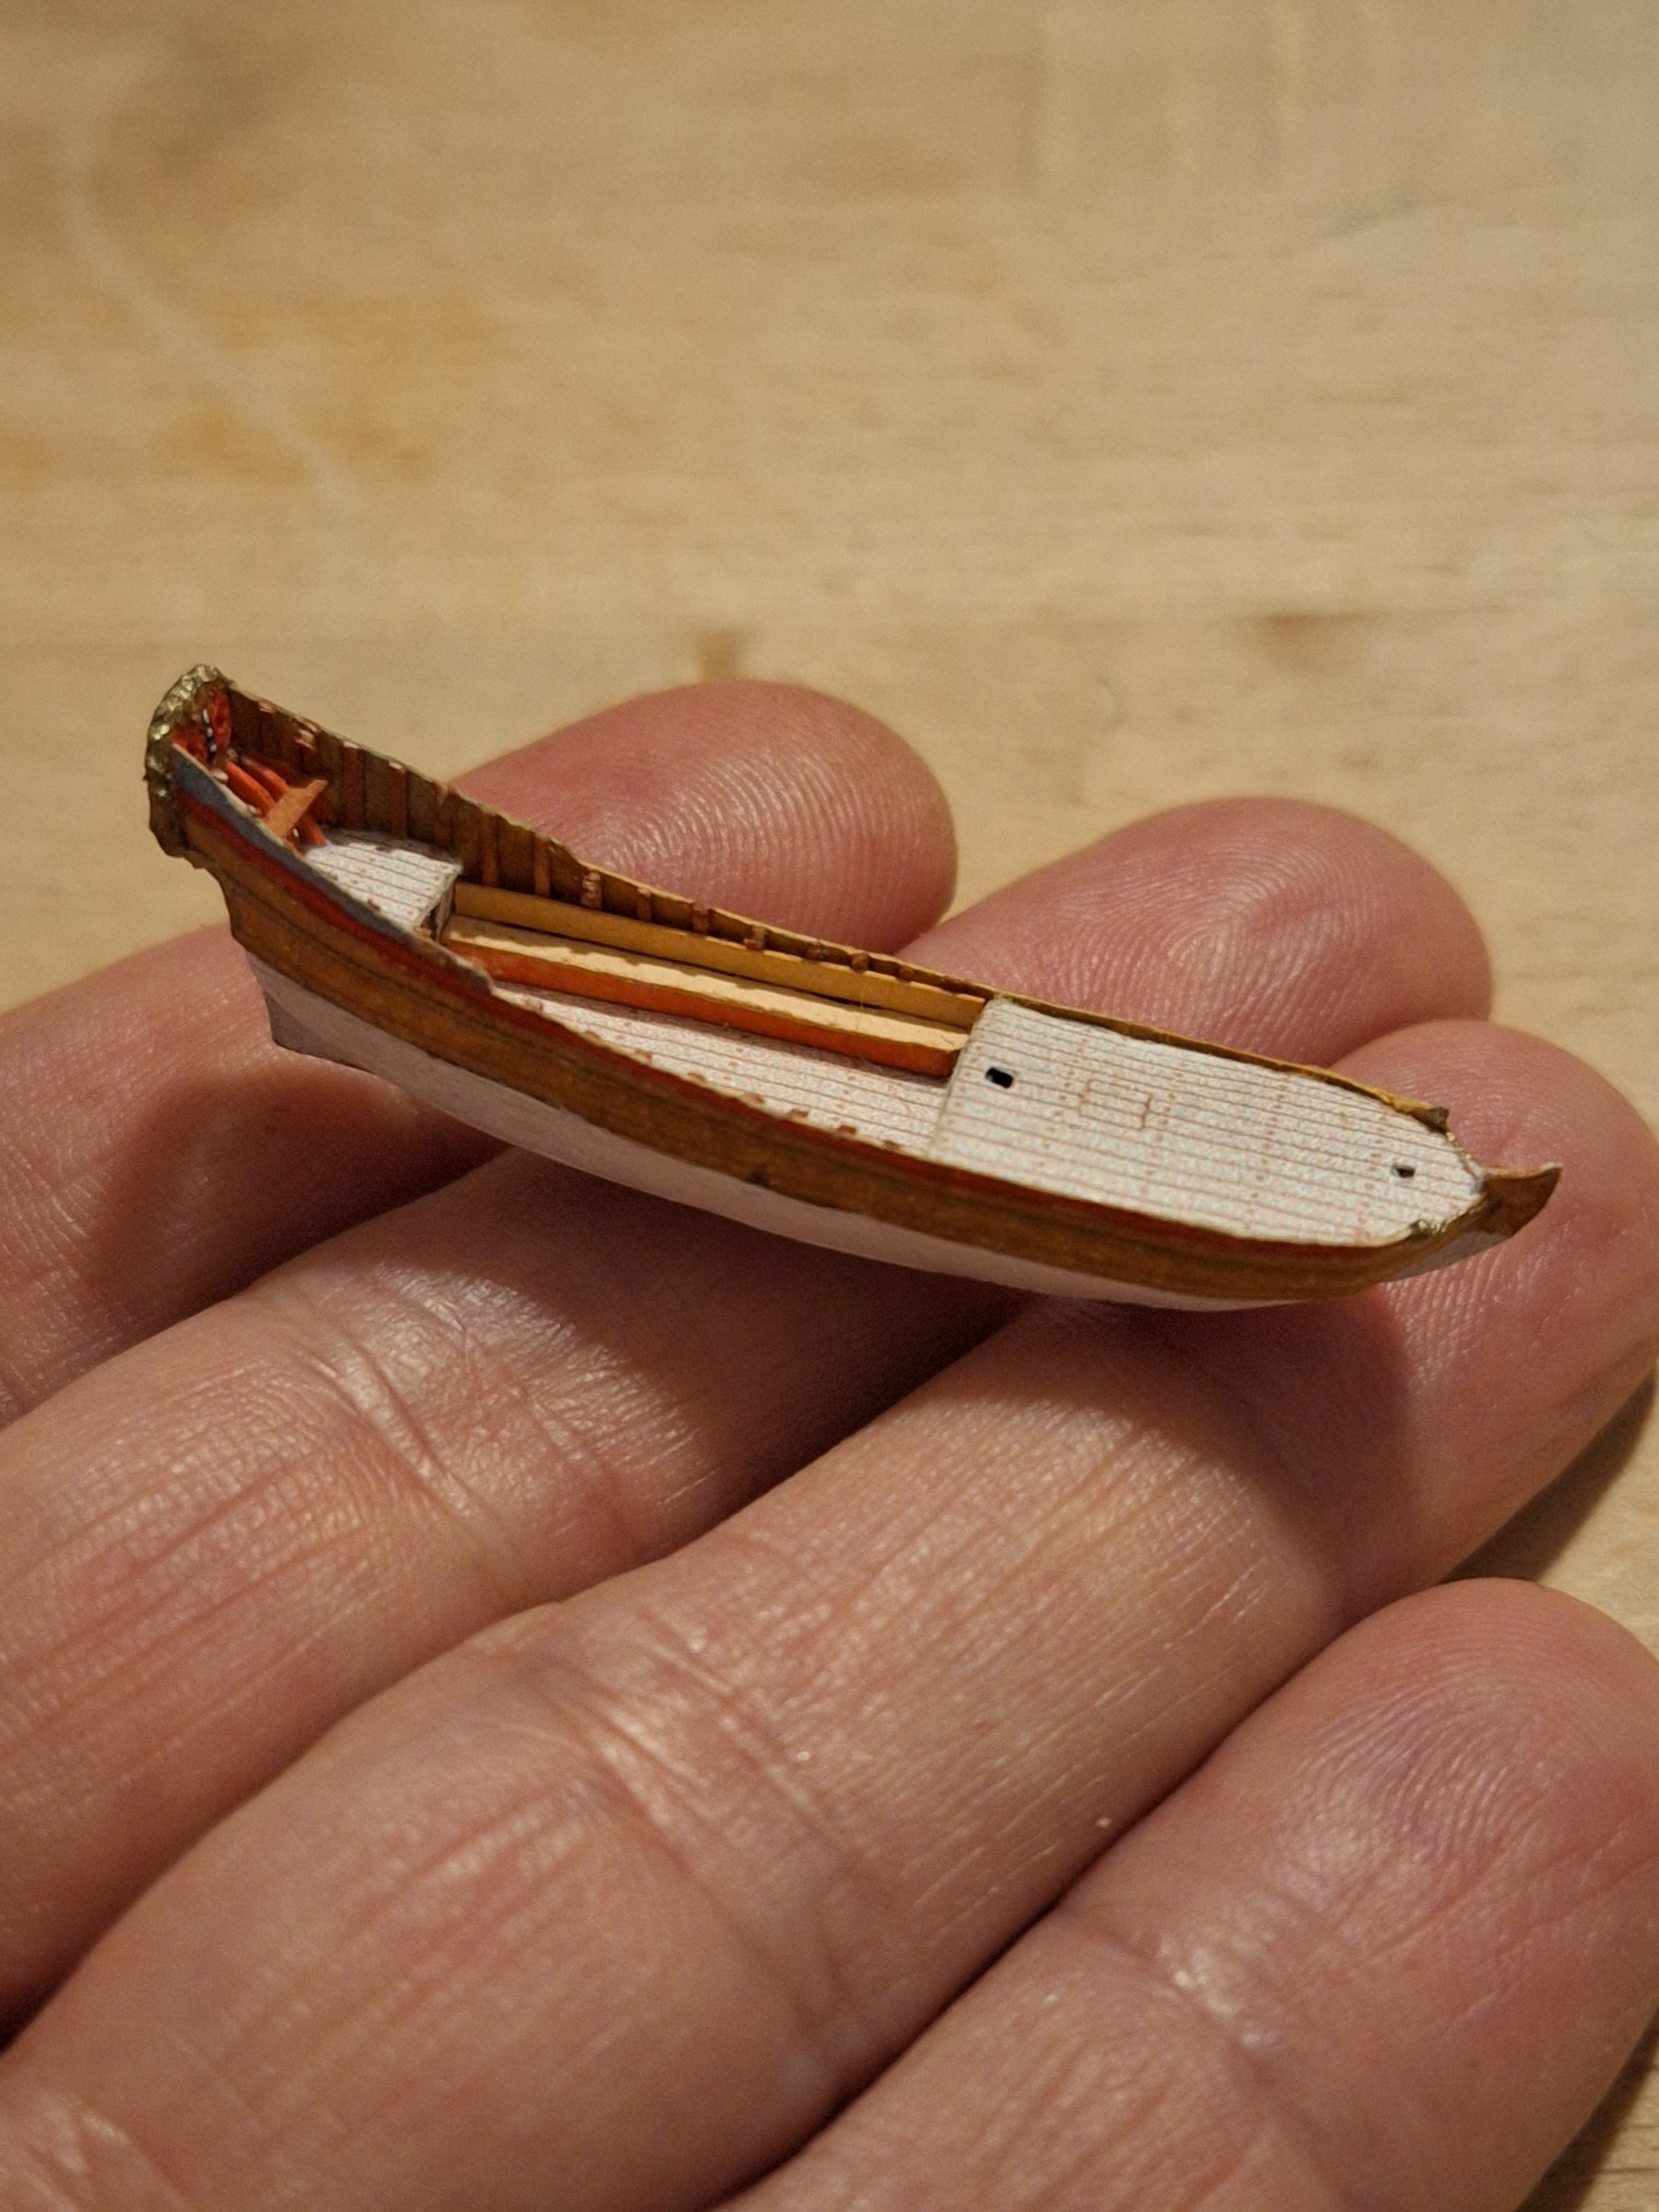
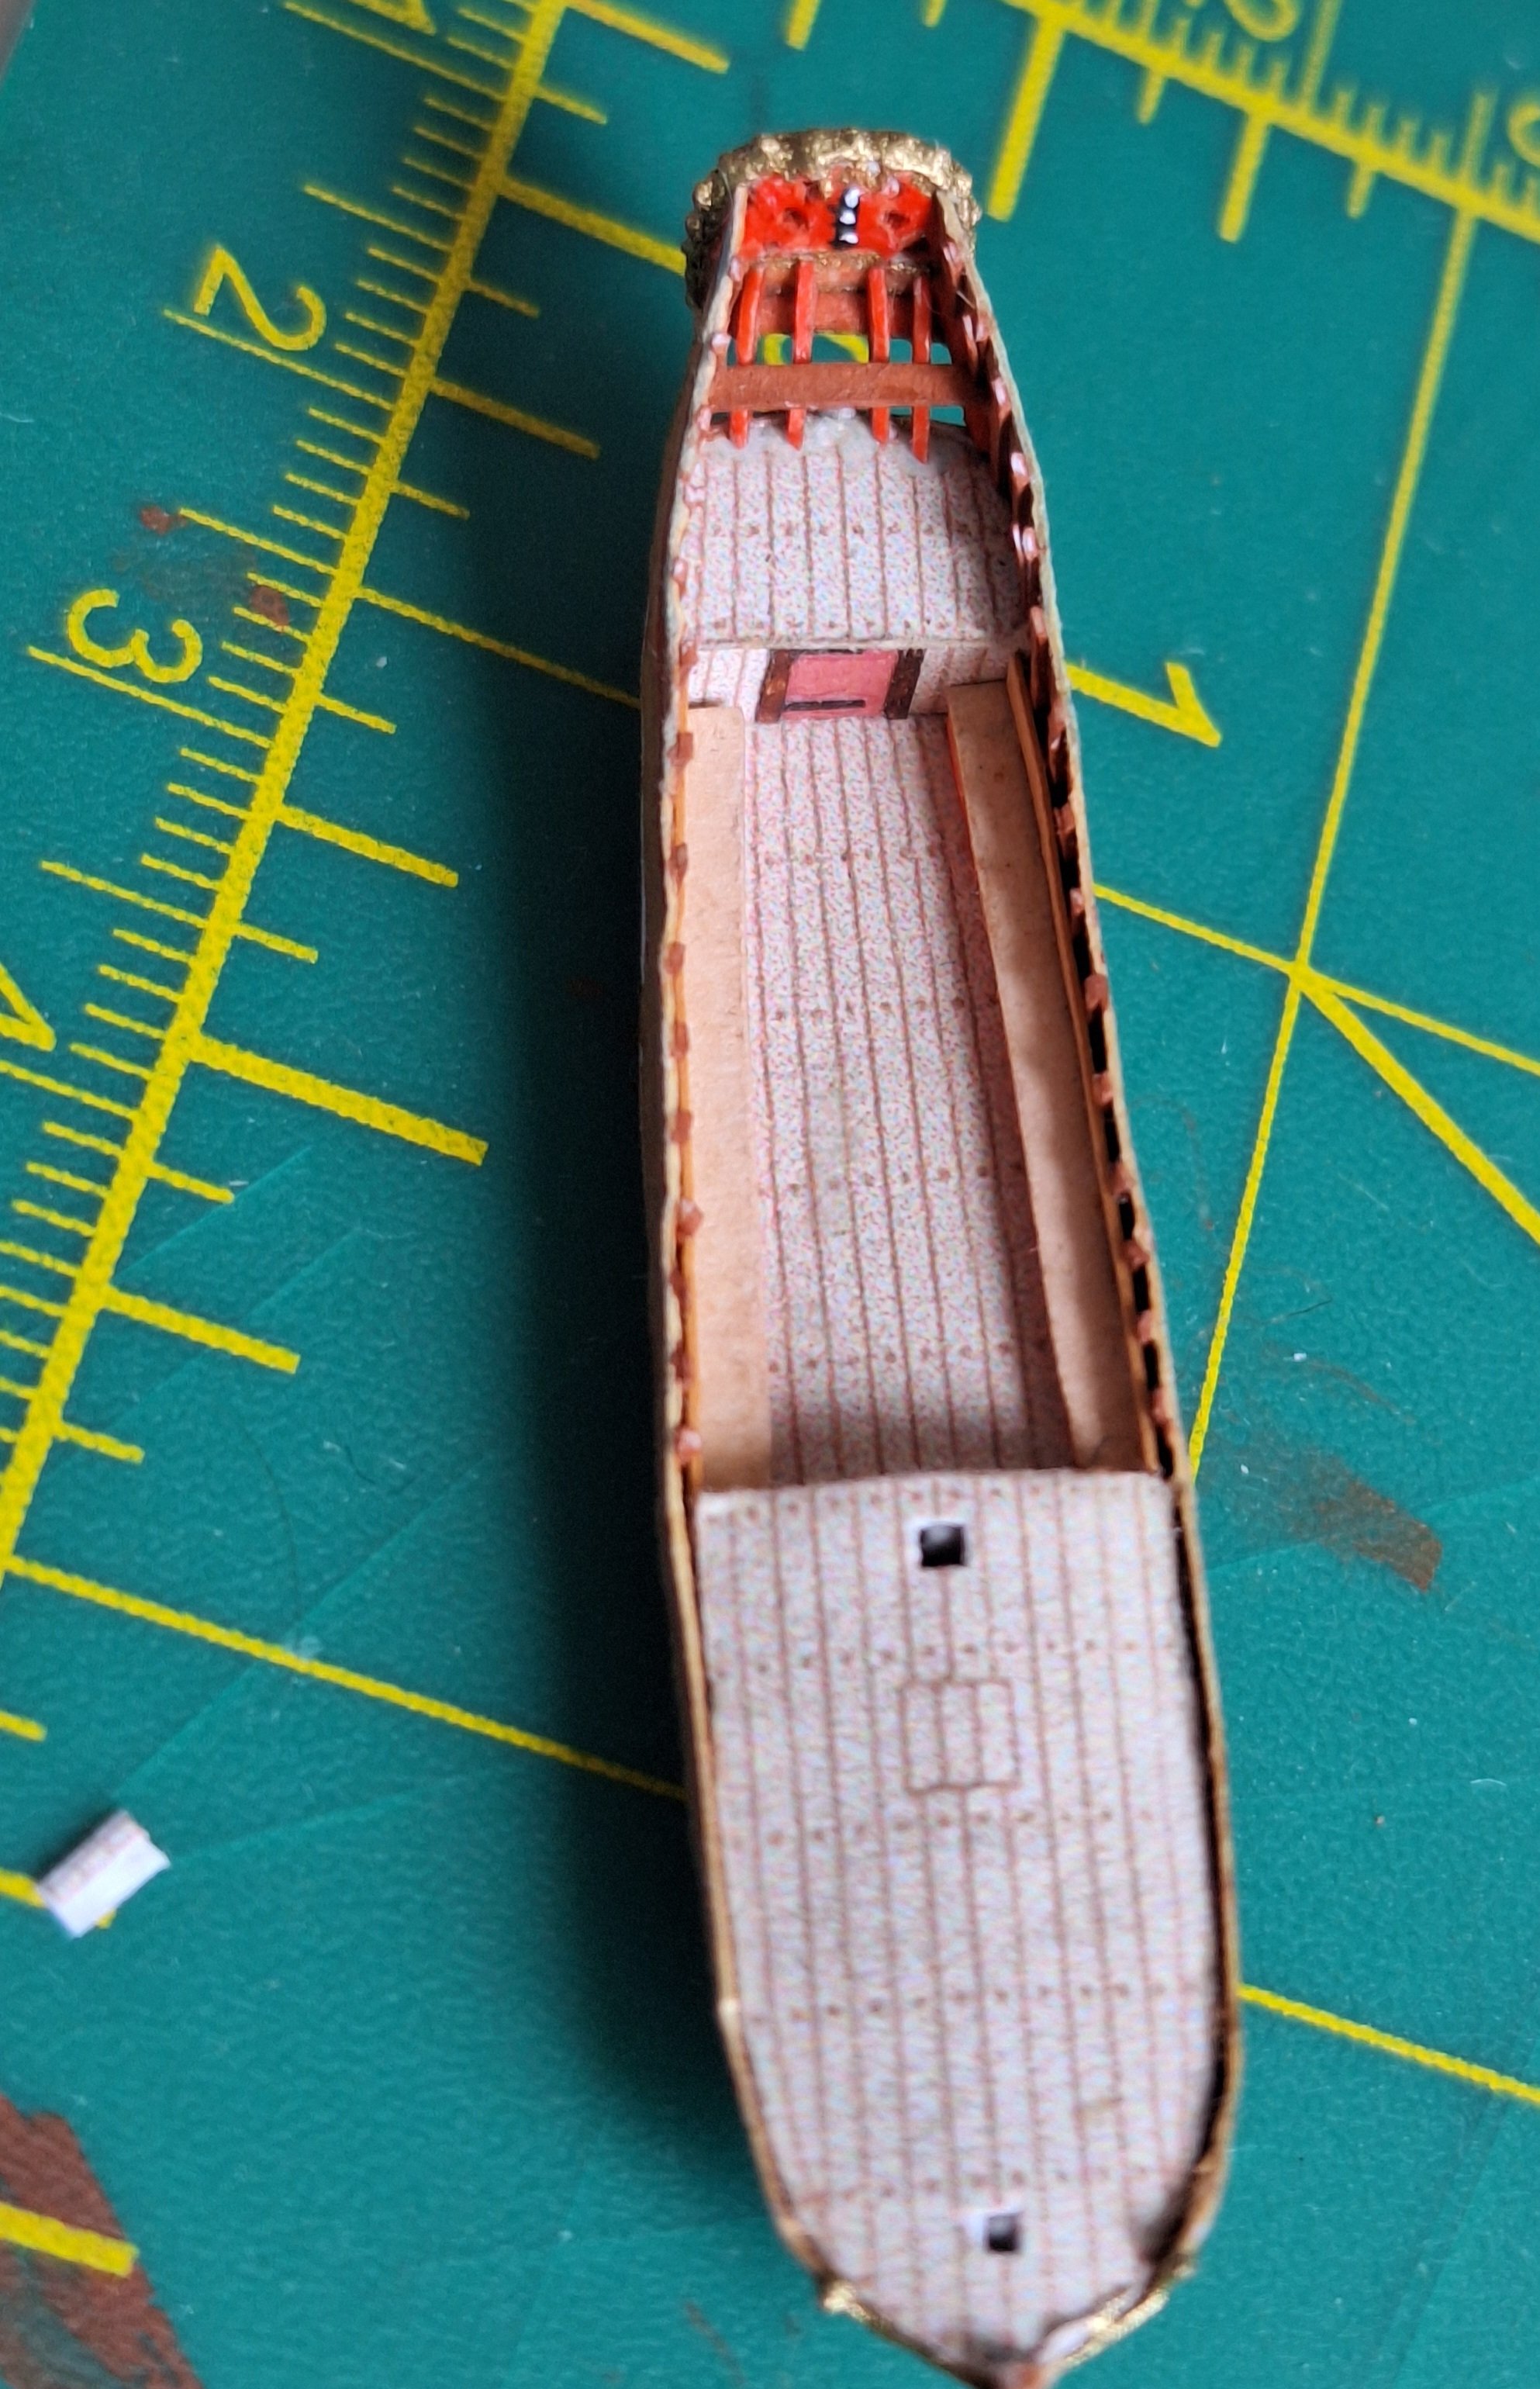
The stern is completed, the frames and the benches are installed. Next, we'll continue with the lower planking of the hull, followed by the "barkhouts". I'm wondering whether I should actually paint the white paint on the underwater hull all the way to the lower barkhout, as the still unpainted paper suggests at the moment? AlVb

- 40 replies
-
- 10
-
-
-
- Speeljacht
- Card
- (and 3 more)
-
I'm not quite sure if I understand the question correctly. I used my drawing from #1 for the upper part of the side walls, stretching them to match the curve (I noticed too late that they were a bit too low at the bow). The barkouten will be a challenge. The lower ones are about 0.5 mm wide, the upper ones more like 0.25 mm. The last one is difficult to cut cleanly out of paper. I would have to find a stronger paper 0.2 mm thick than the simple printer paper.
- 40 replies
-
- 5
-
-
- Speeljacht
- Card
- (and 3 more)
-
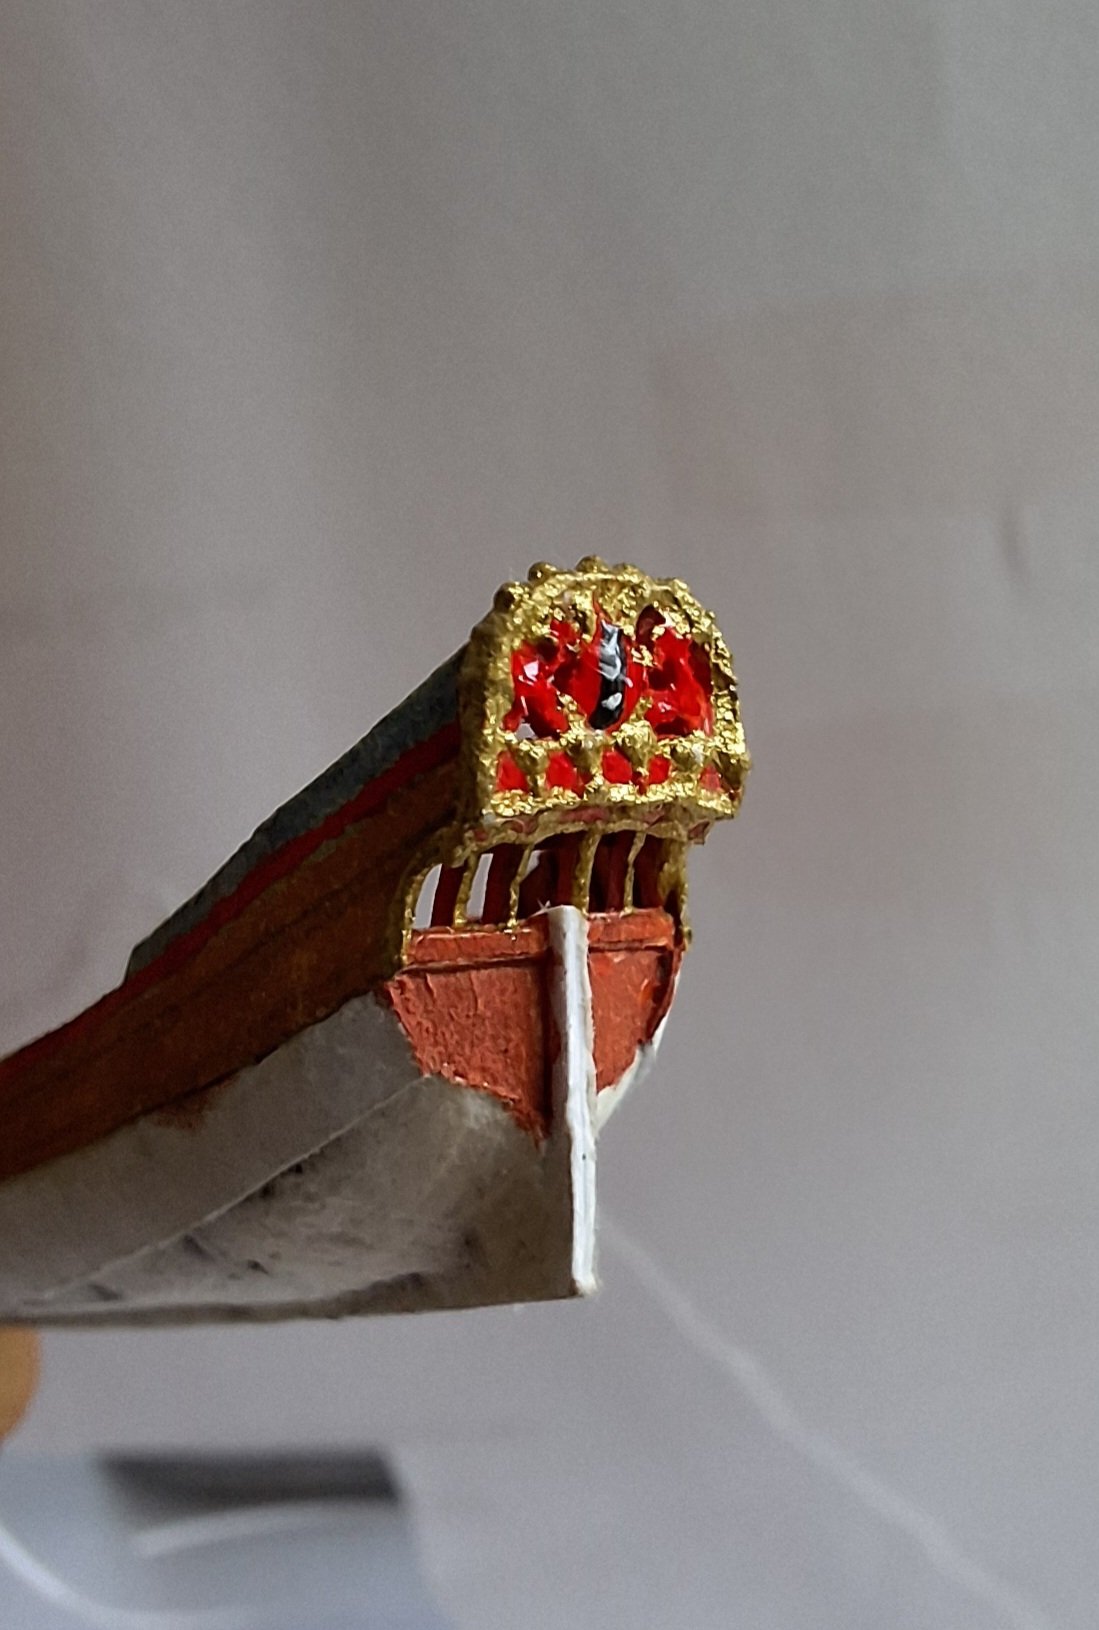
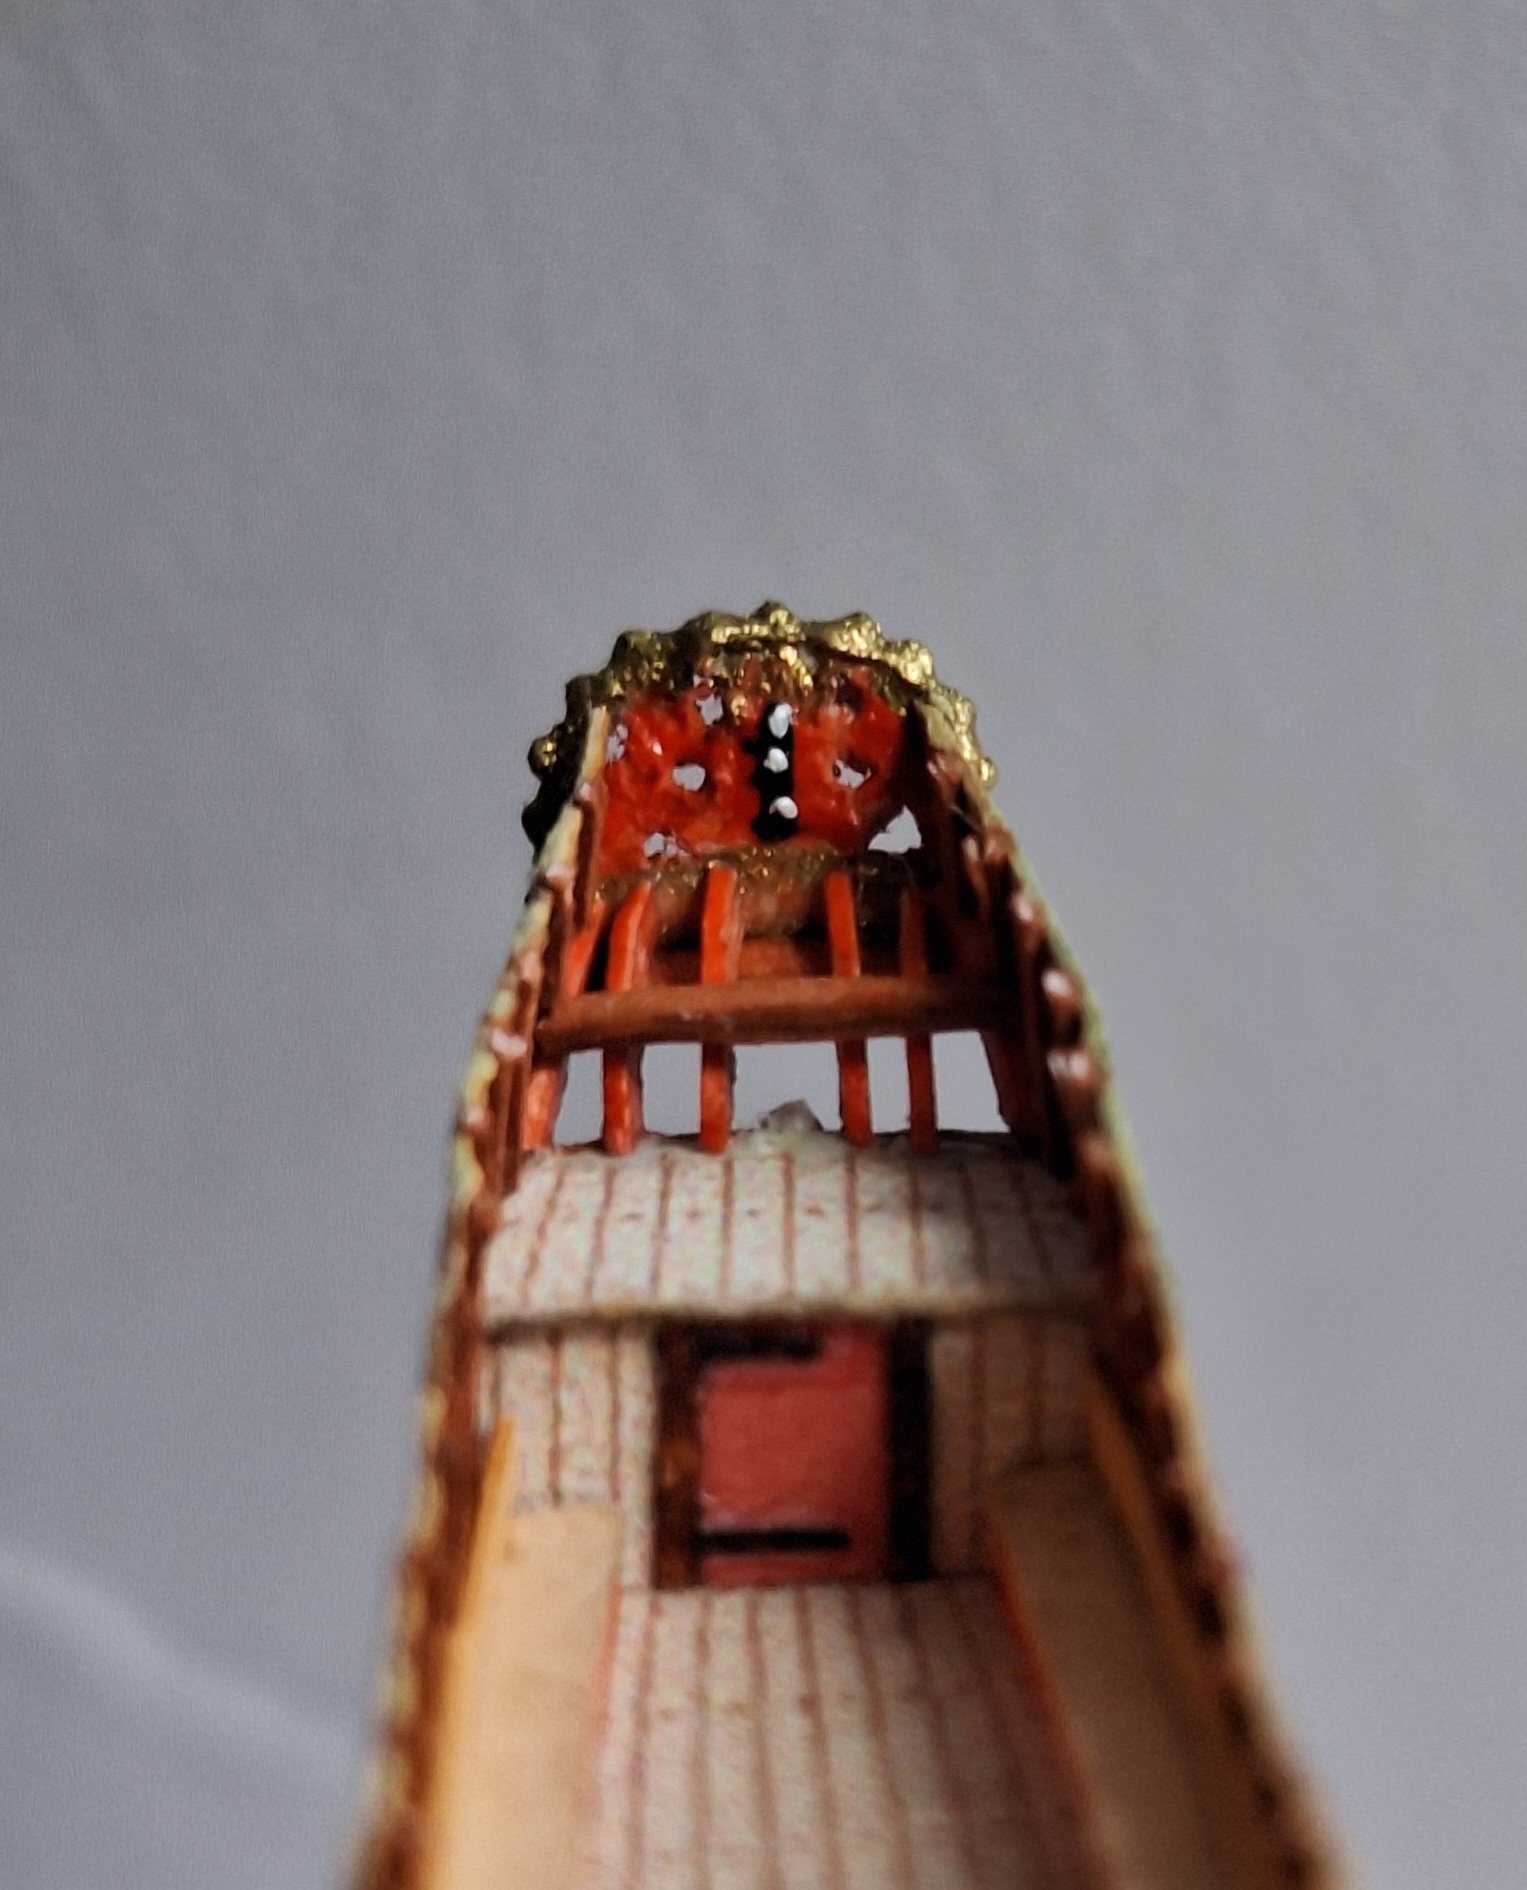
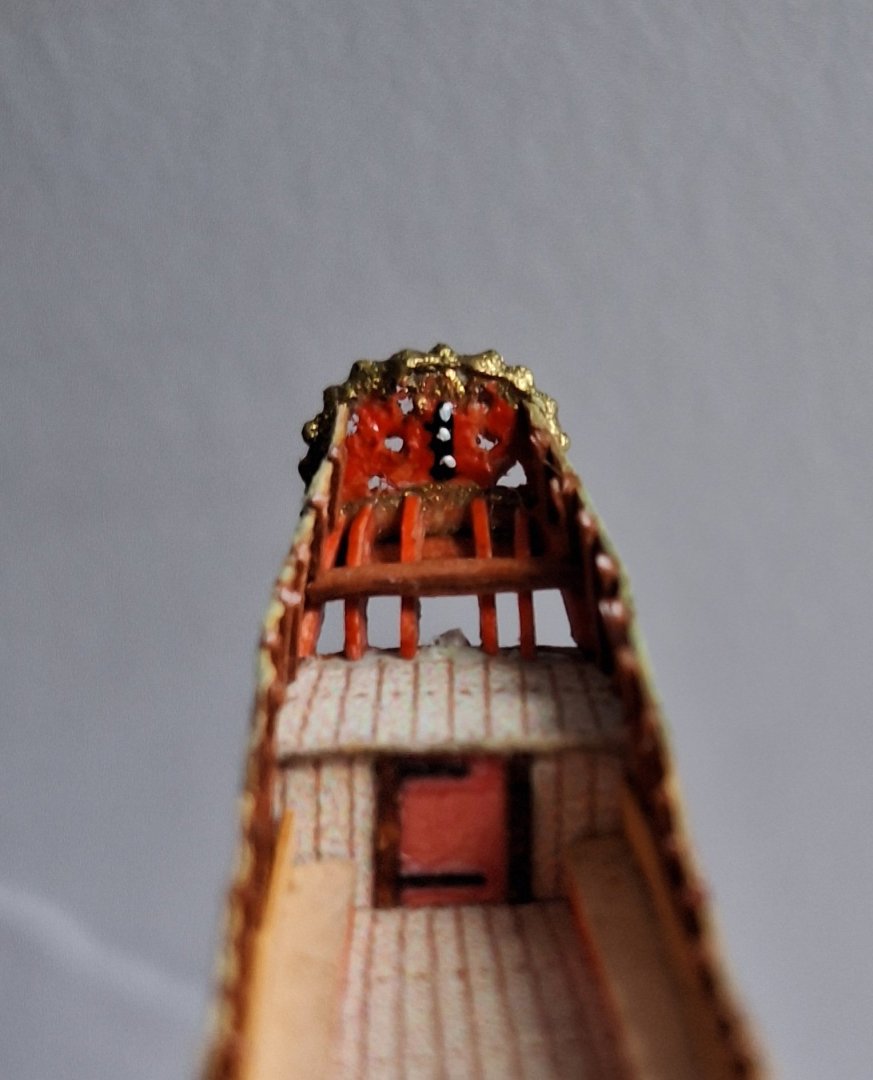
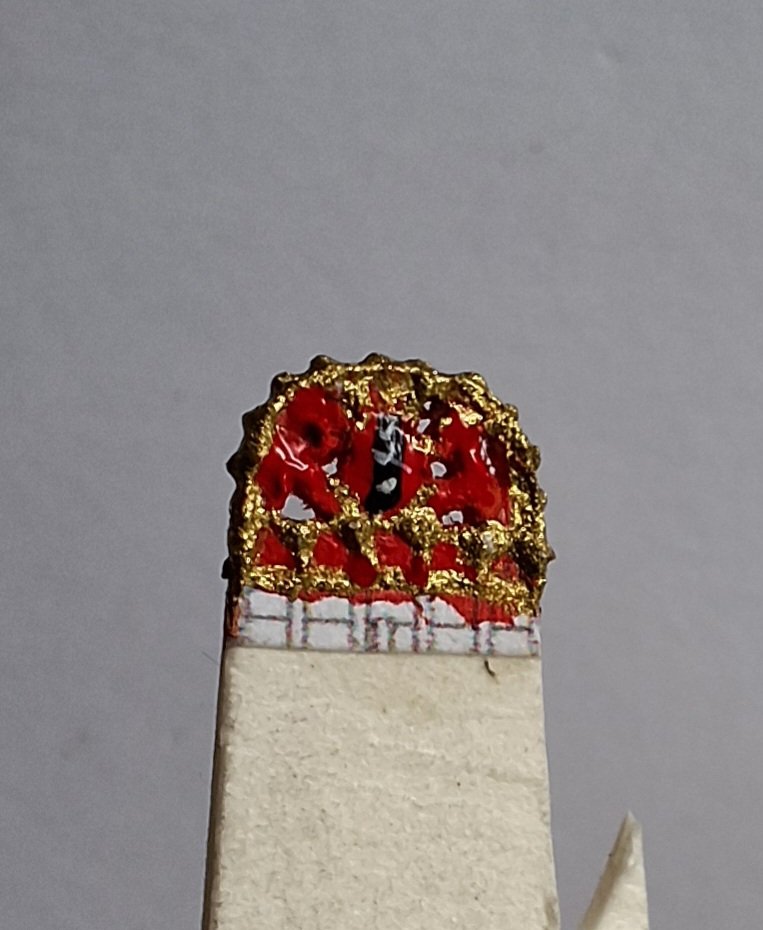
The wood carver has finished the stern decoration. The painter and gilder have tried their best, but the sculptor is a rough fellow who produces rough, crude work. And that despite having almost a sixteenth of a square inch of space at his disposal!
- 40 replies
-
- 11
-
-
-
- Speeljacht
- Card
- (and 3 more)
-
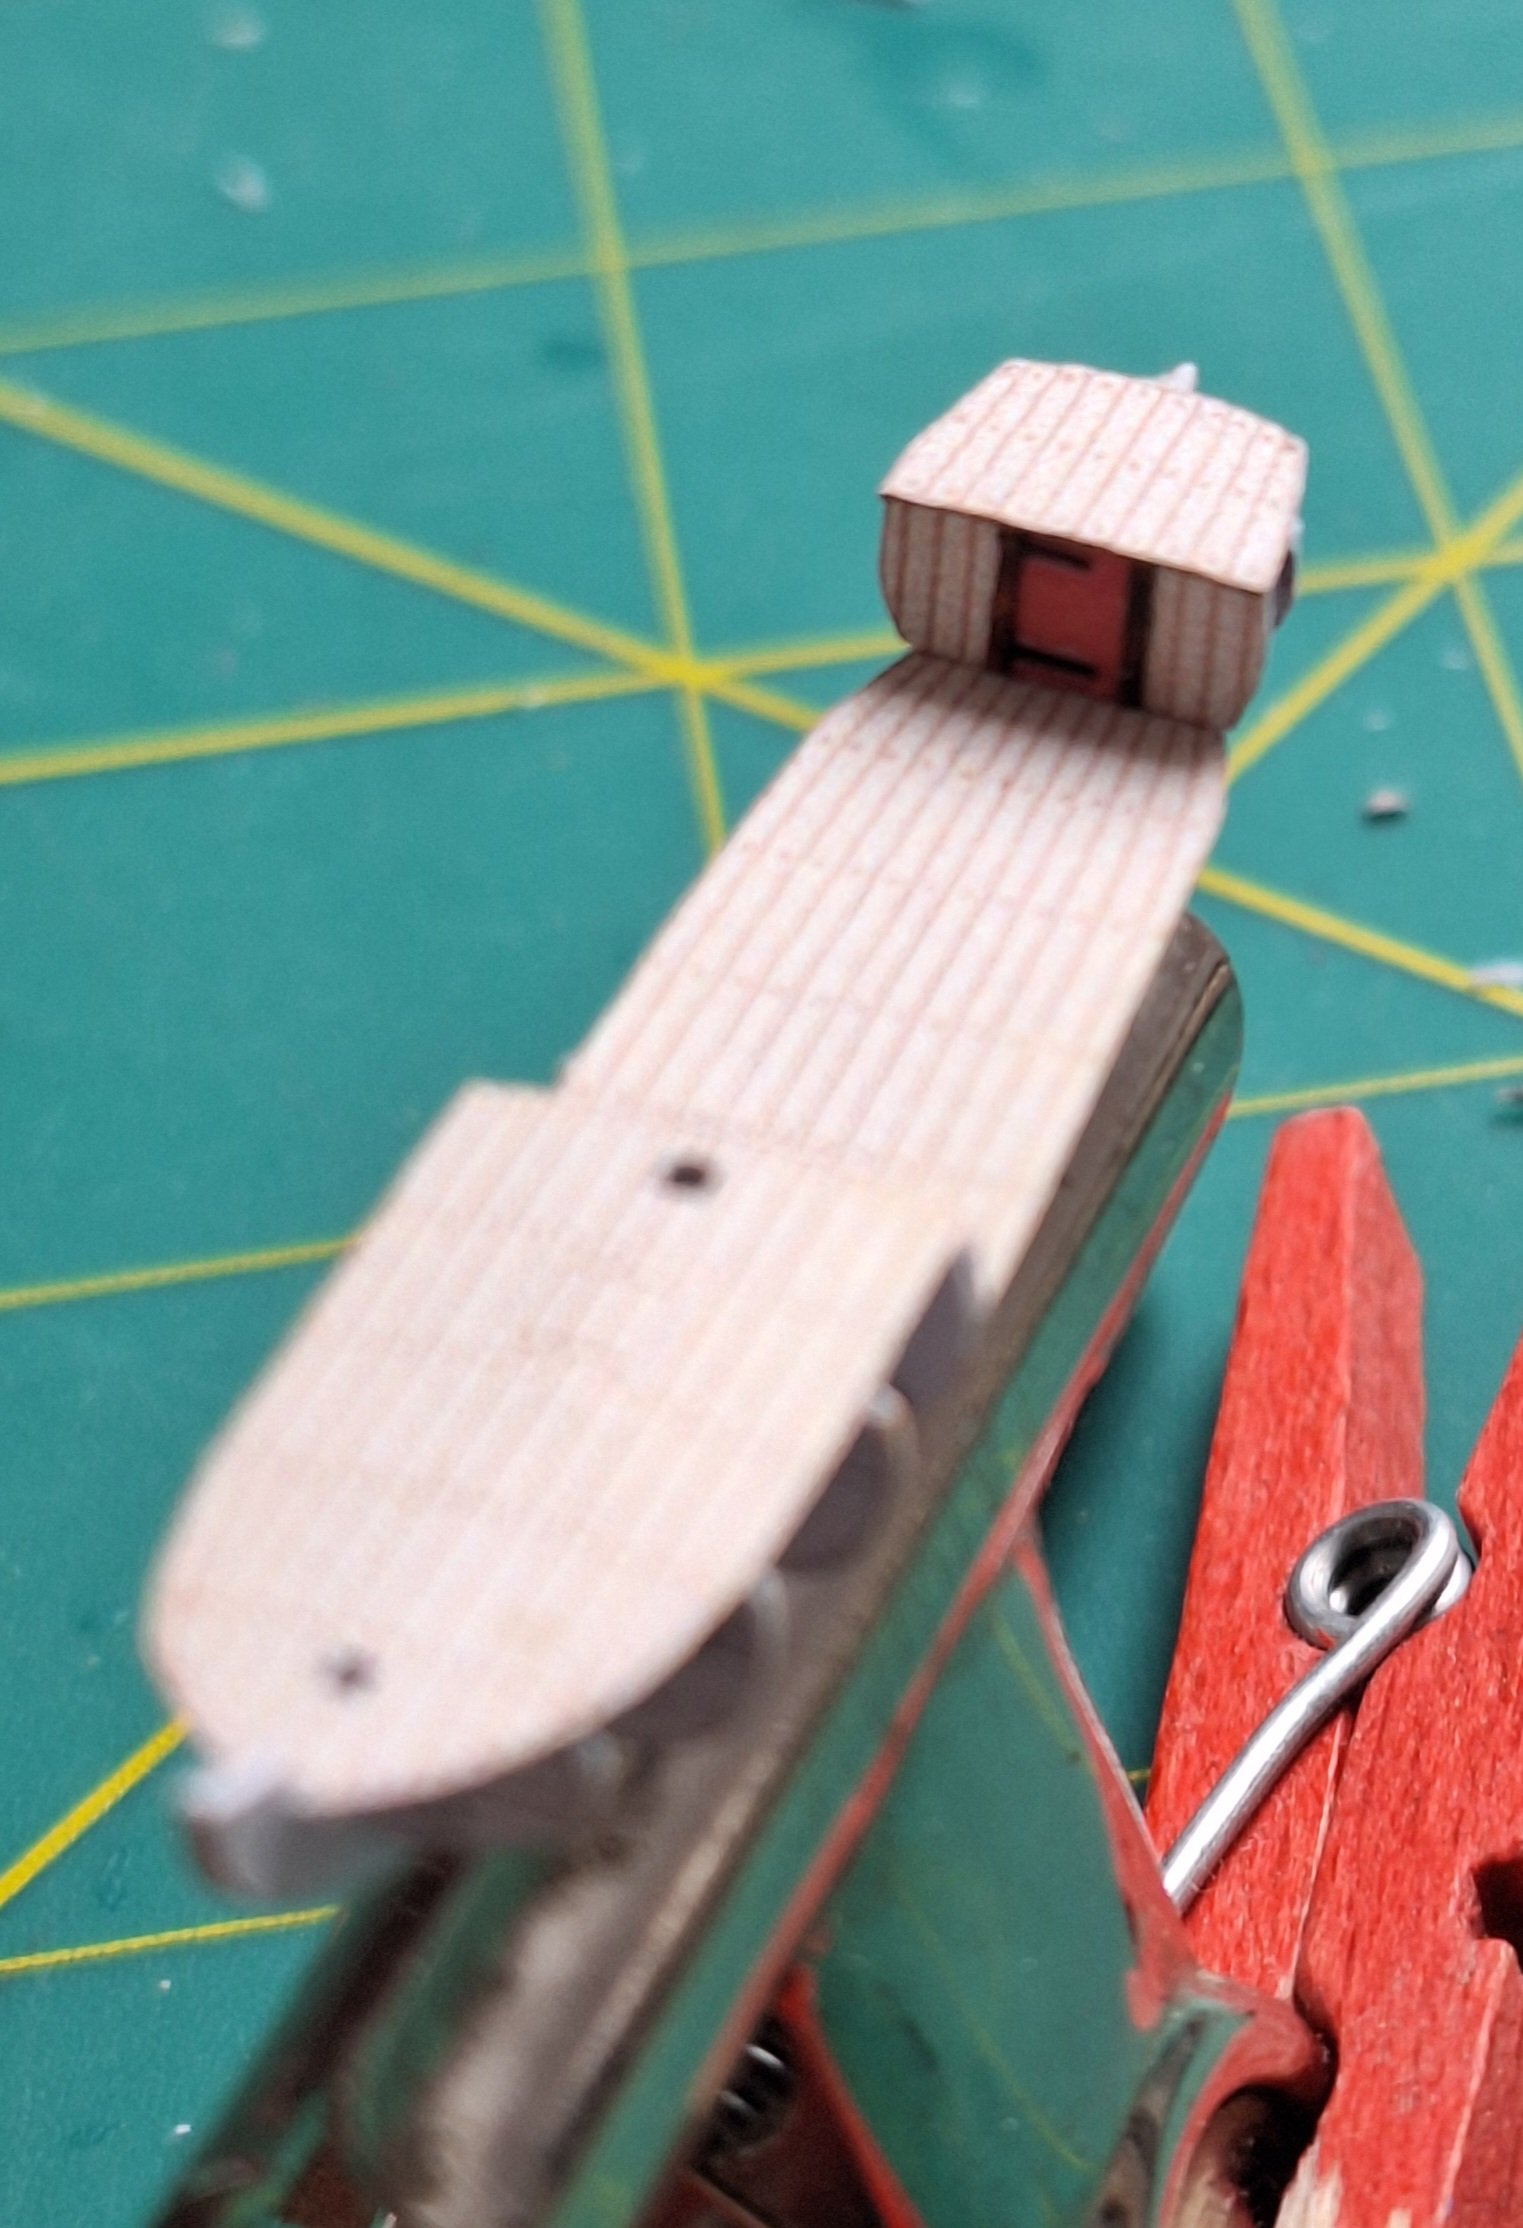
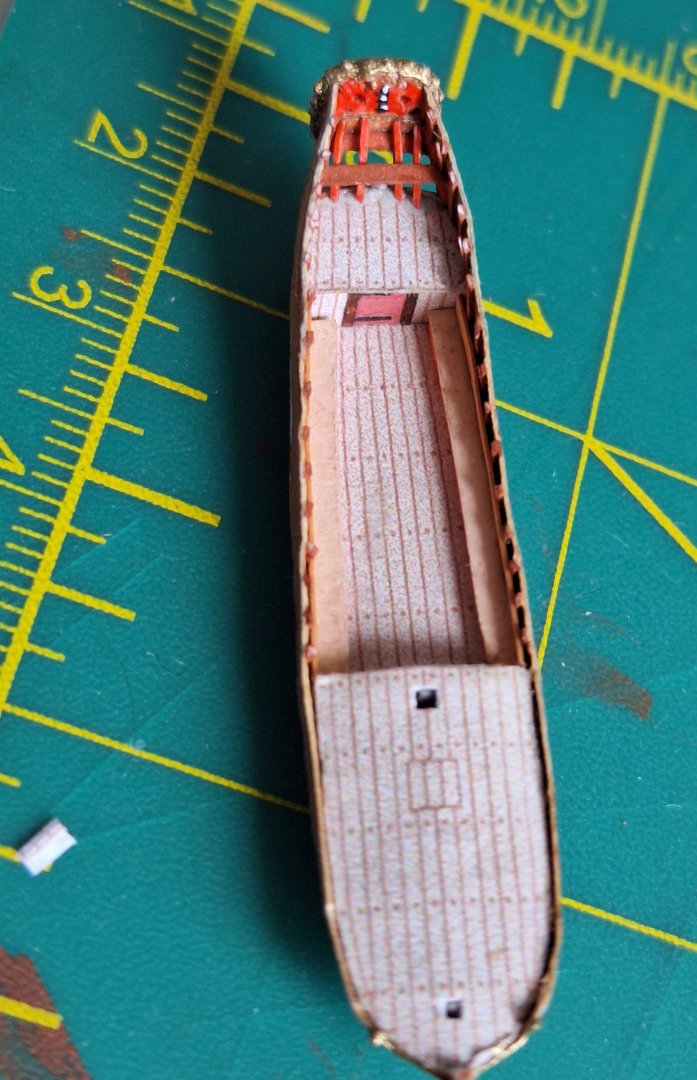
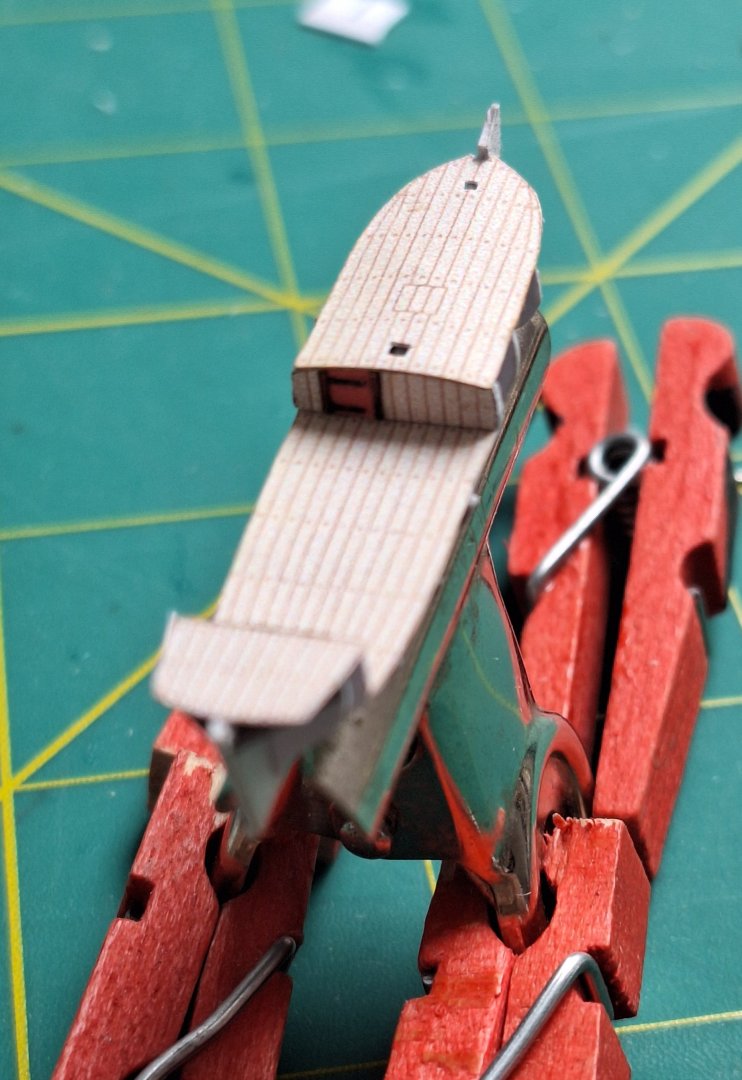
The gaps between the frames are filled, puttied and sanded. The upper side walls were prepared. the upper part of the hull is planked. Before the lower part is planked, the stern and the middle inner area are constructed first. Greetings Alvb

- 40 replies
-
- 12
-
-
-
- Speeljacht
- Card
- (and 3 more)
-
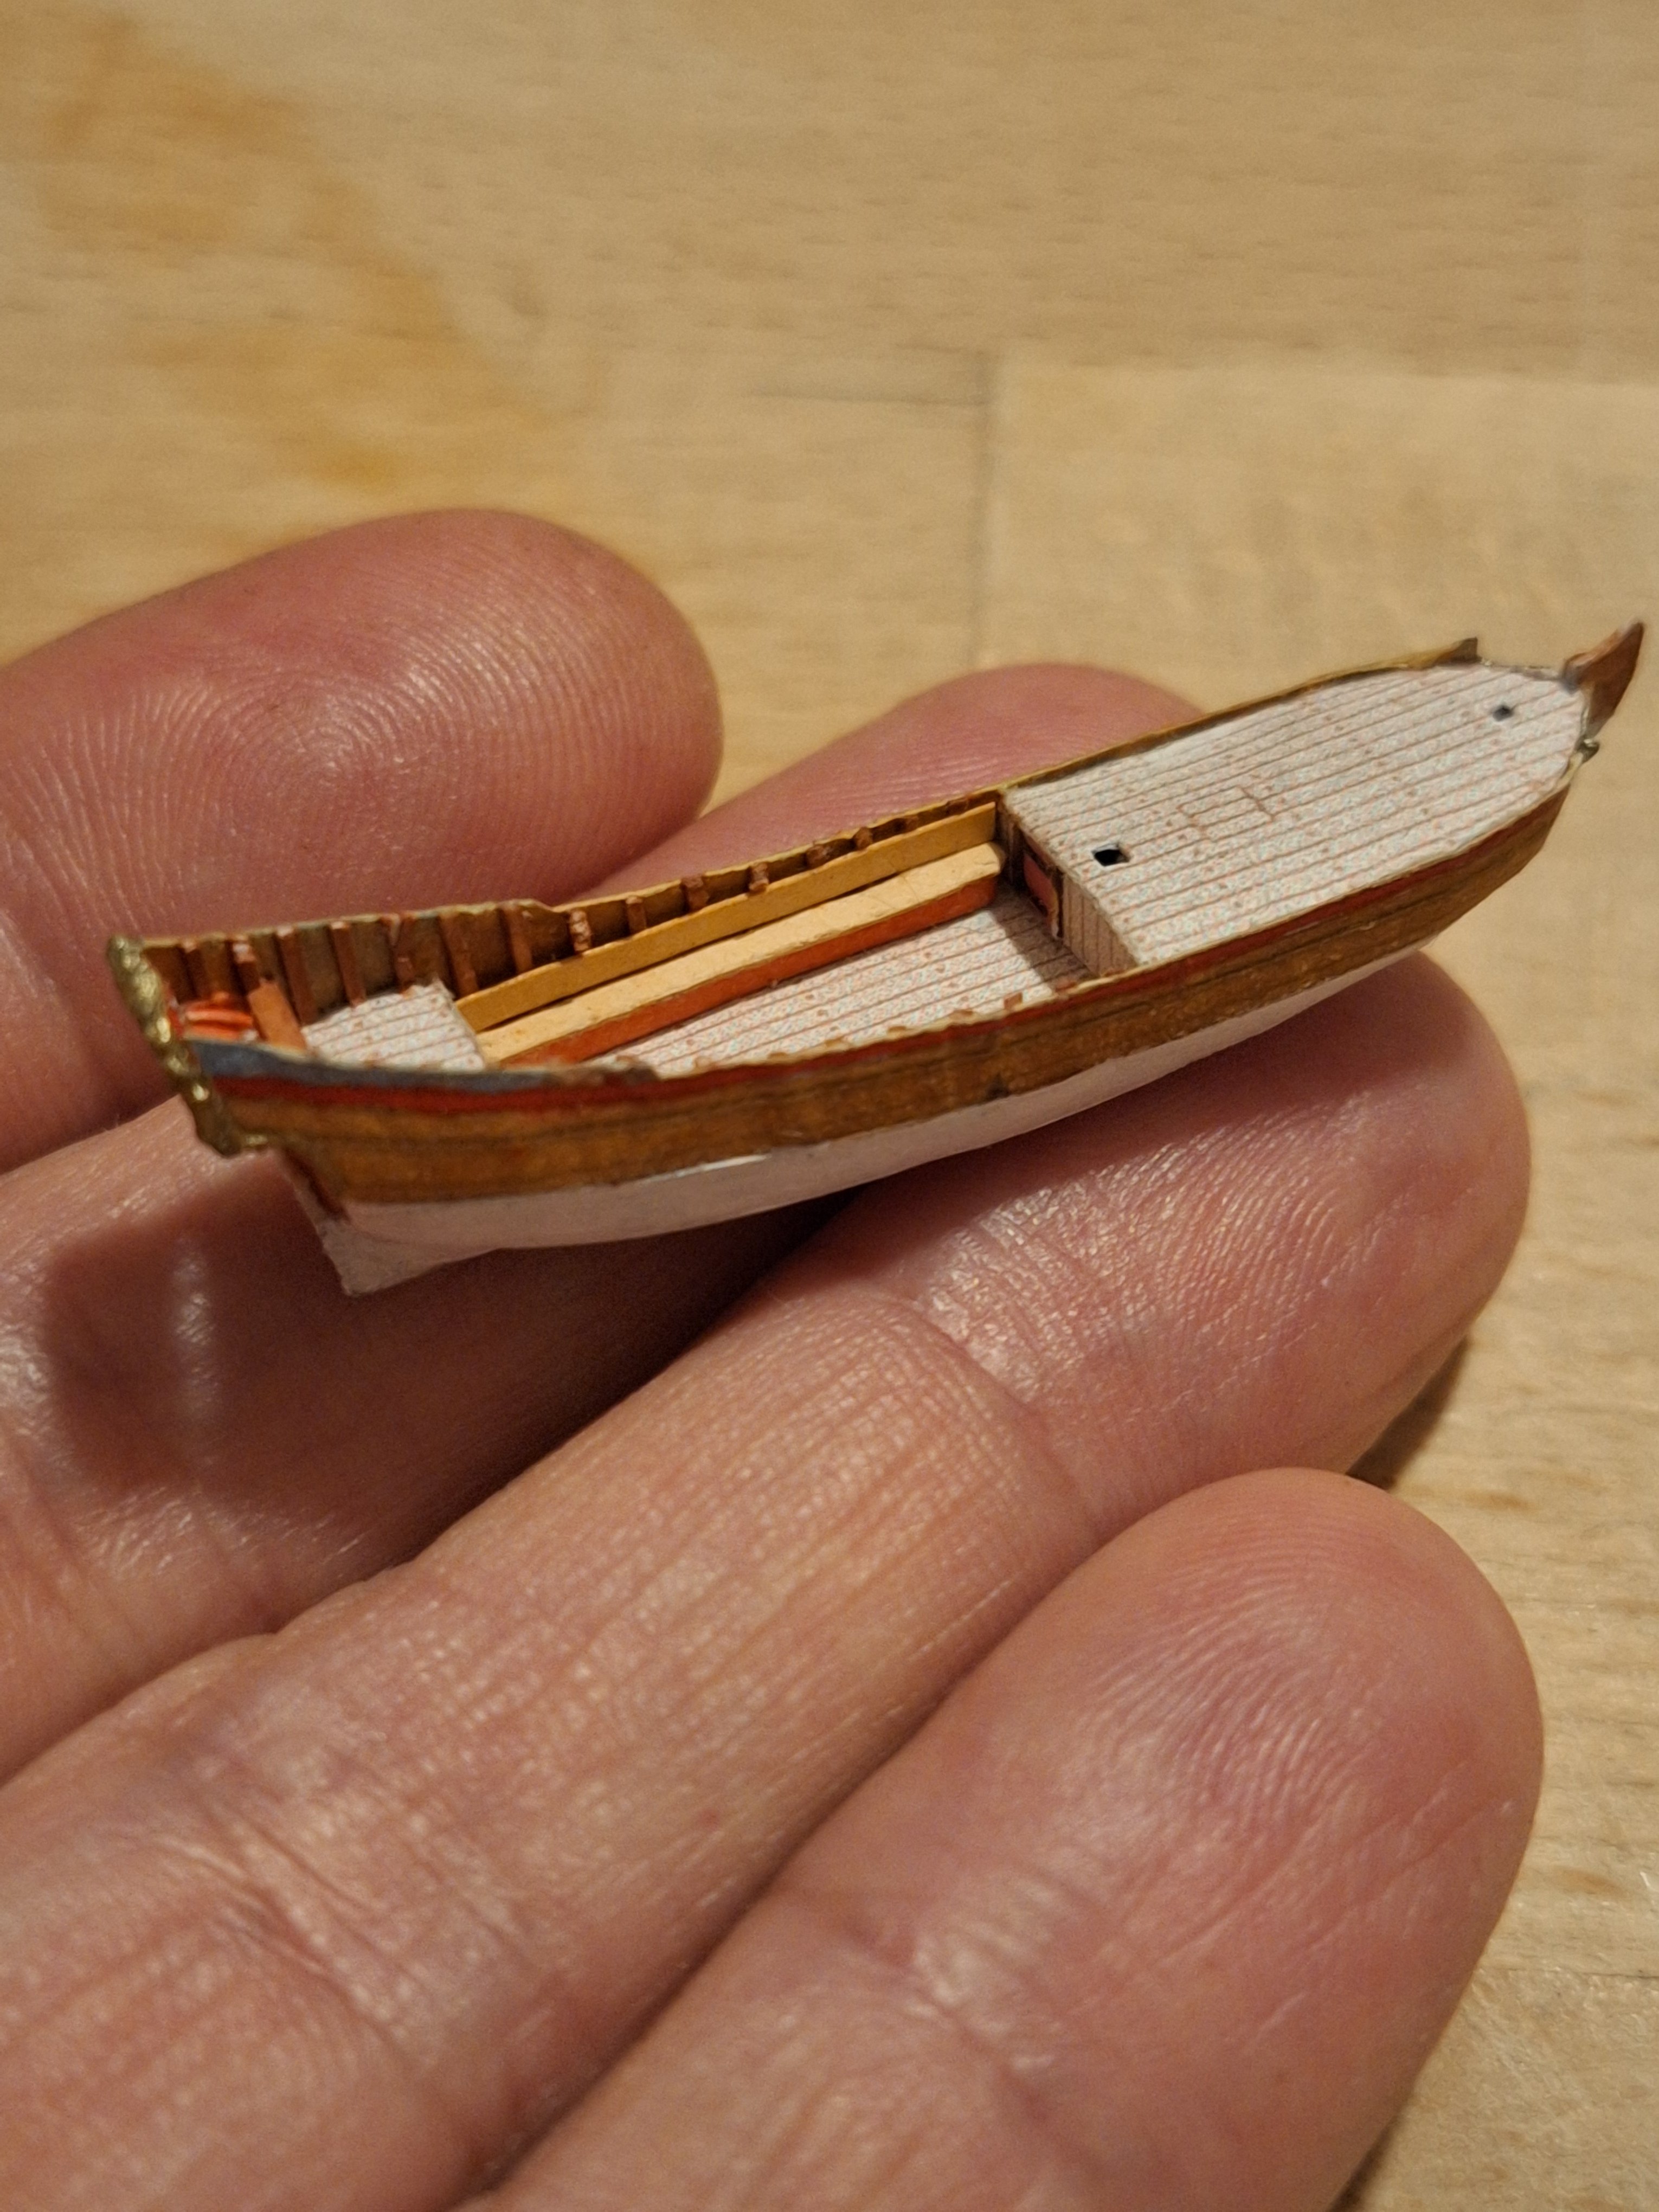
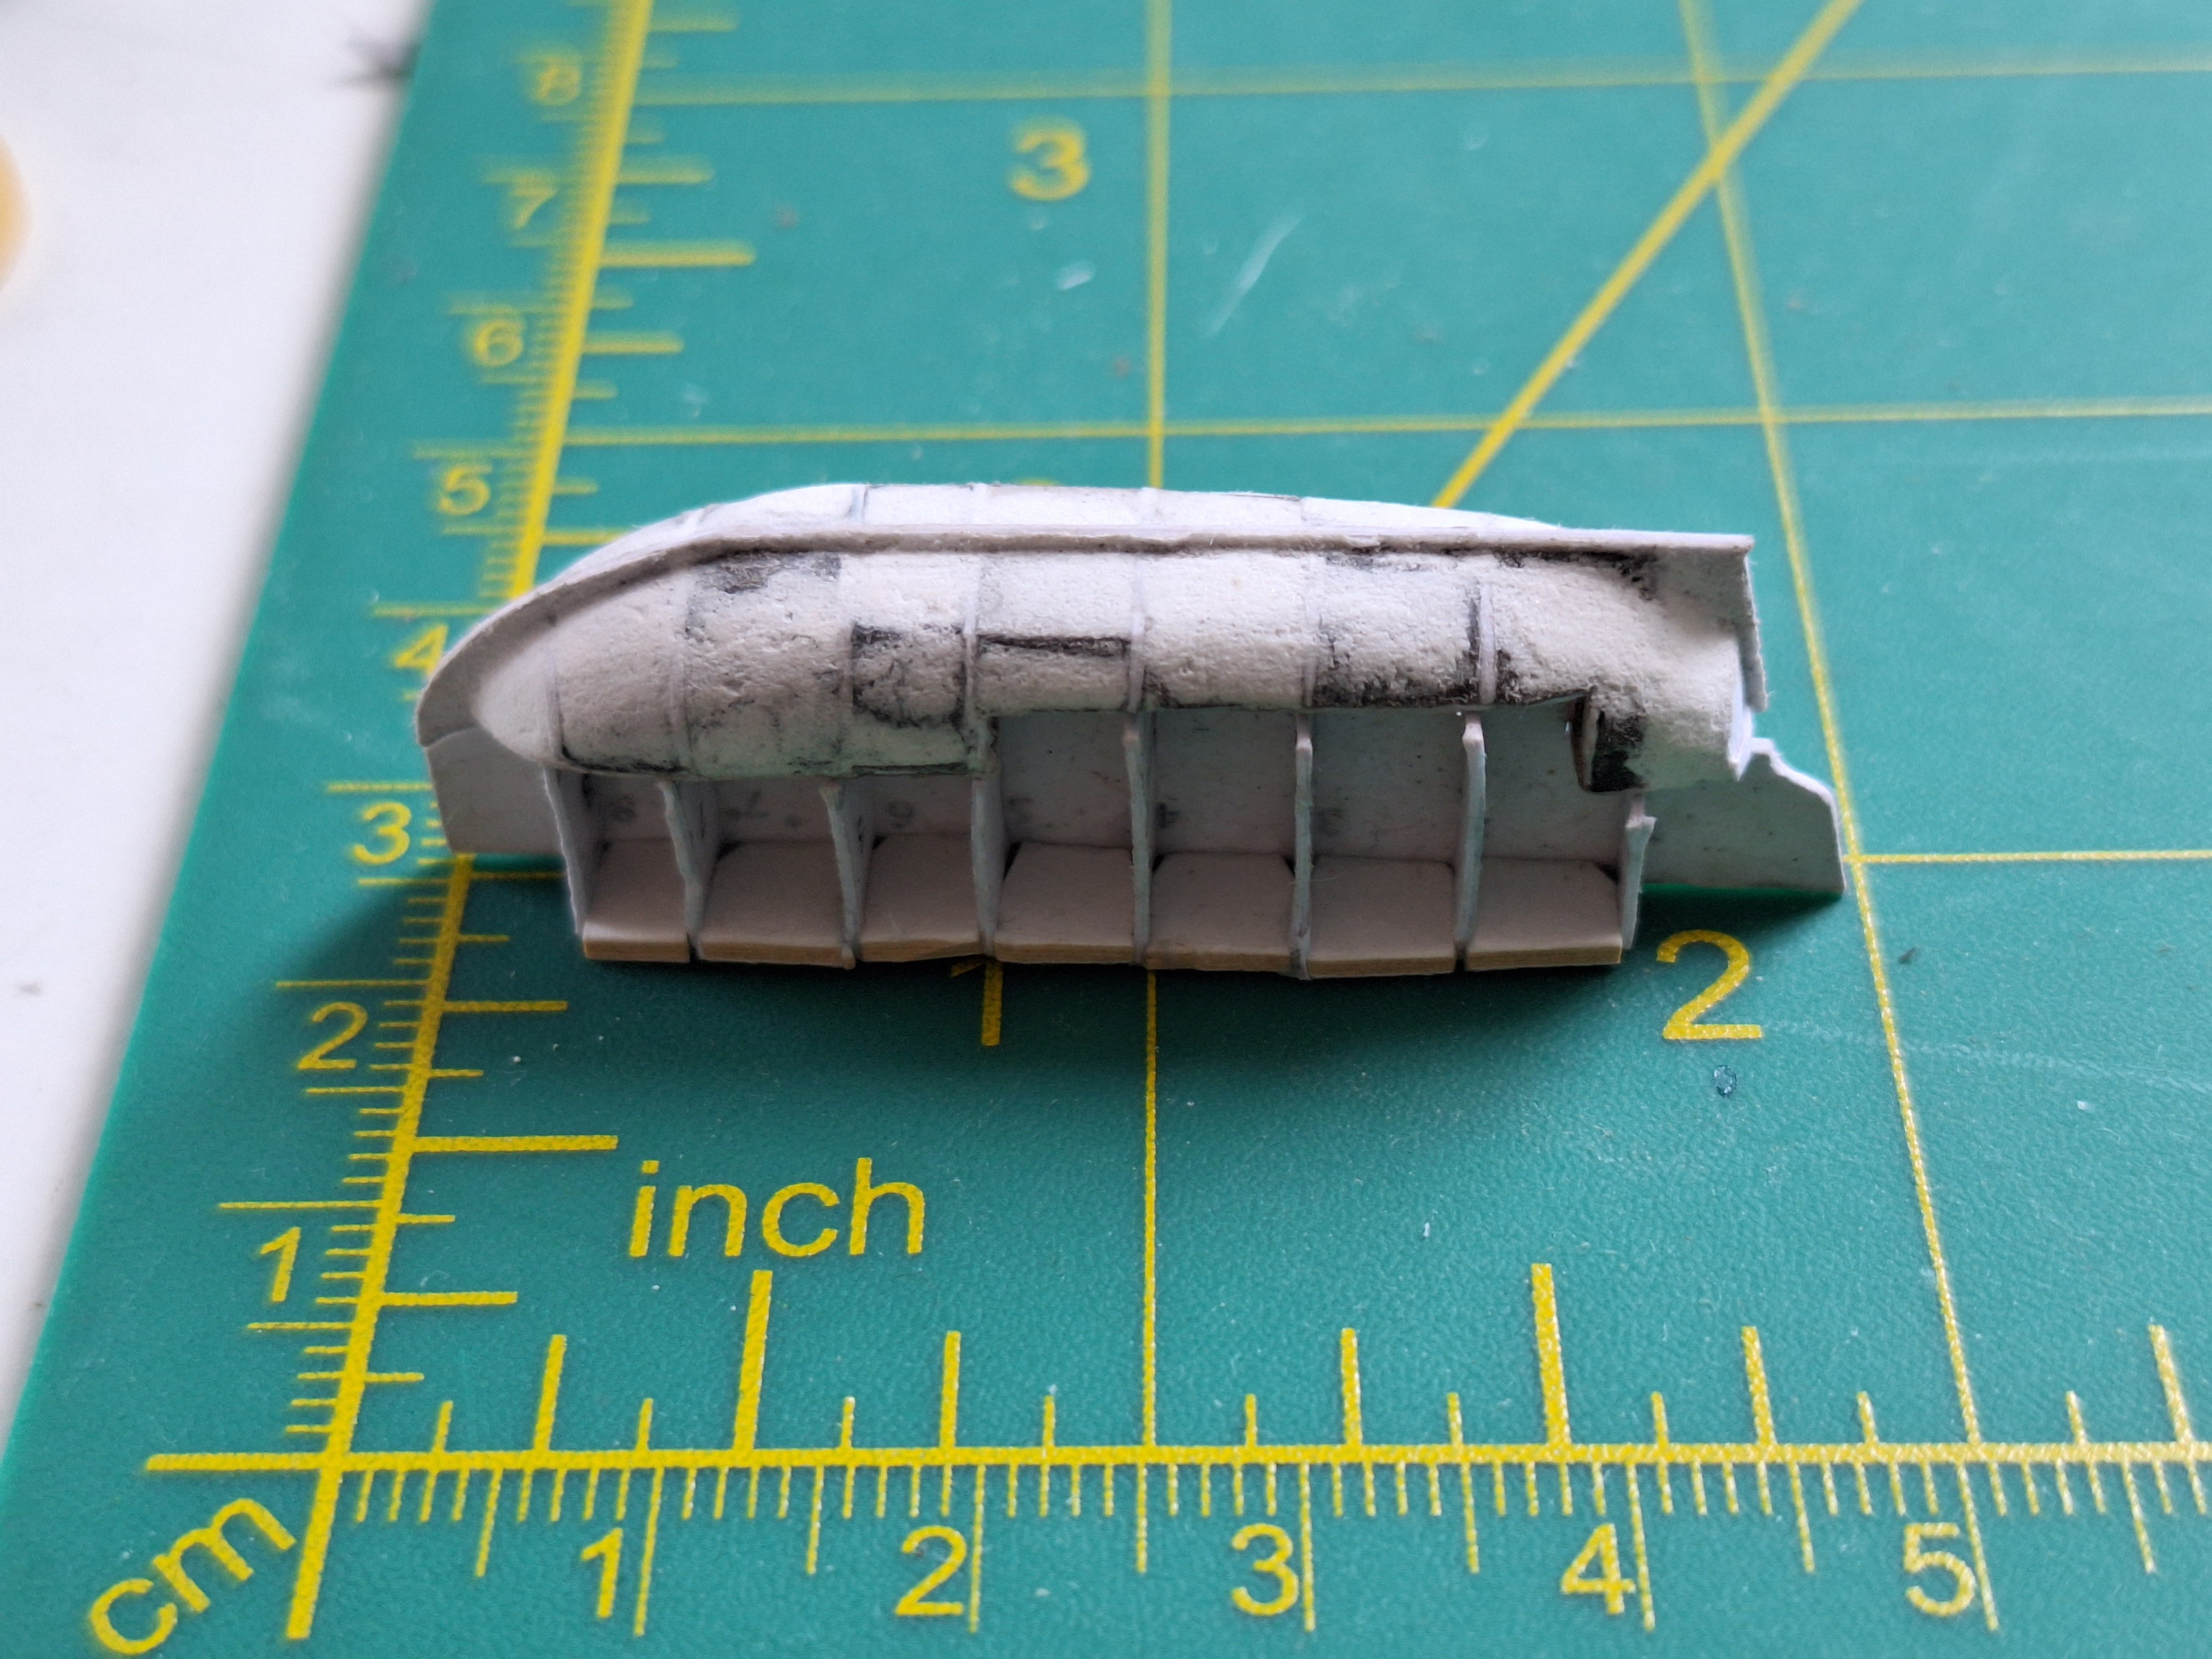
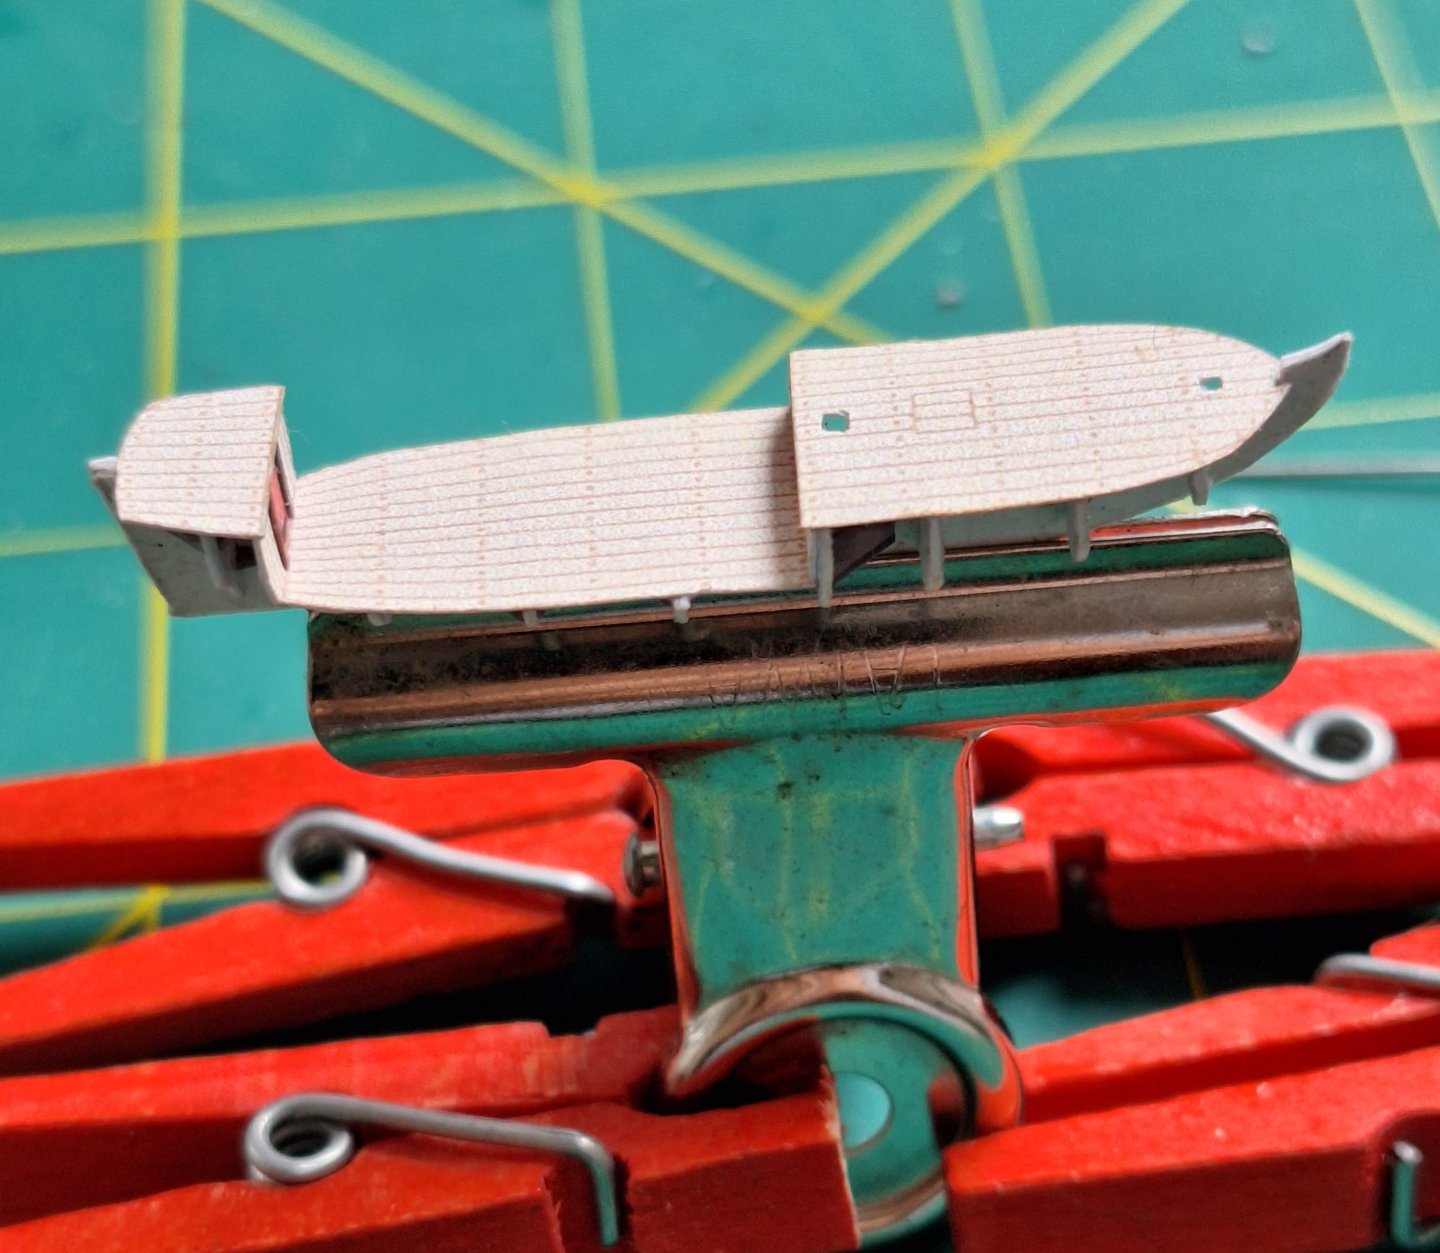
The carpenter has erected the frames and has already planked the bottom and decks.

- 40 replies
-
- 9
-
-
- Speeljacht
- Card
- (and 3 more)
-
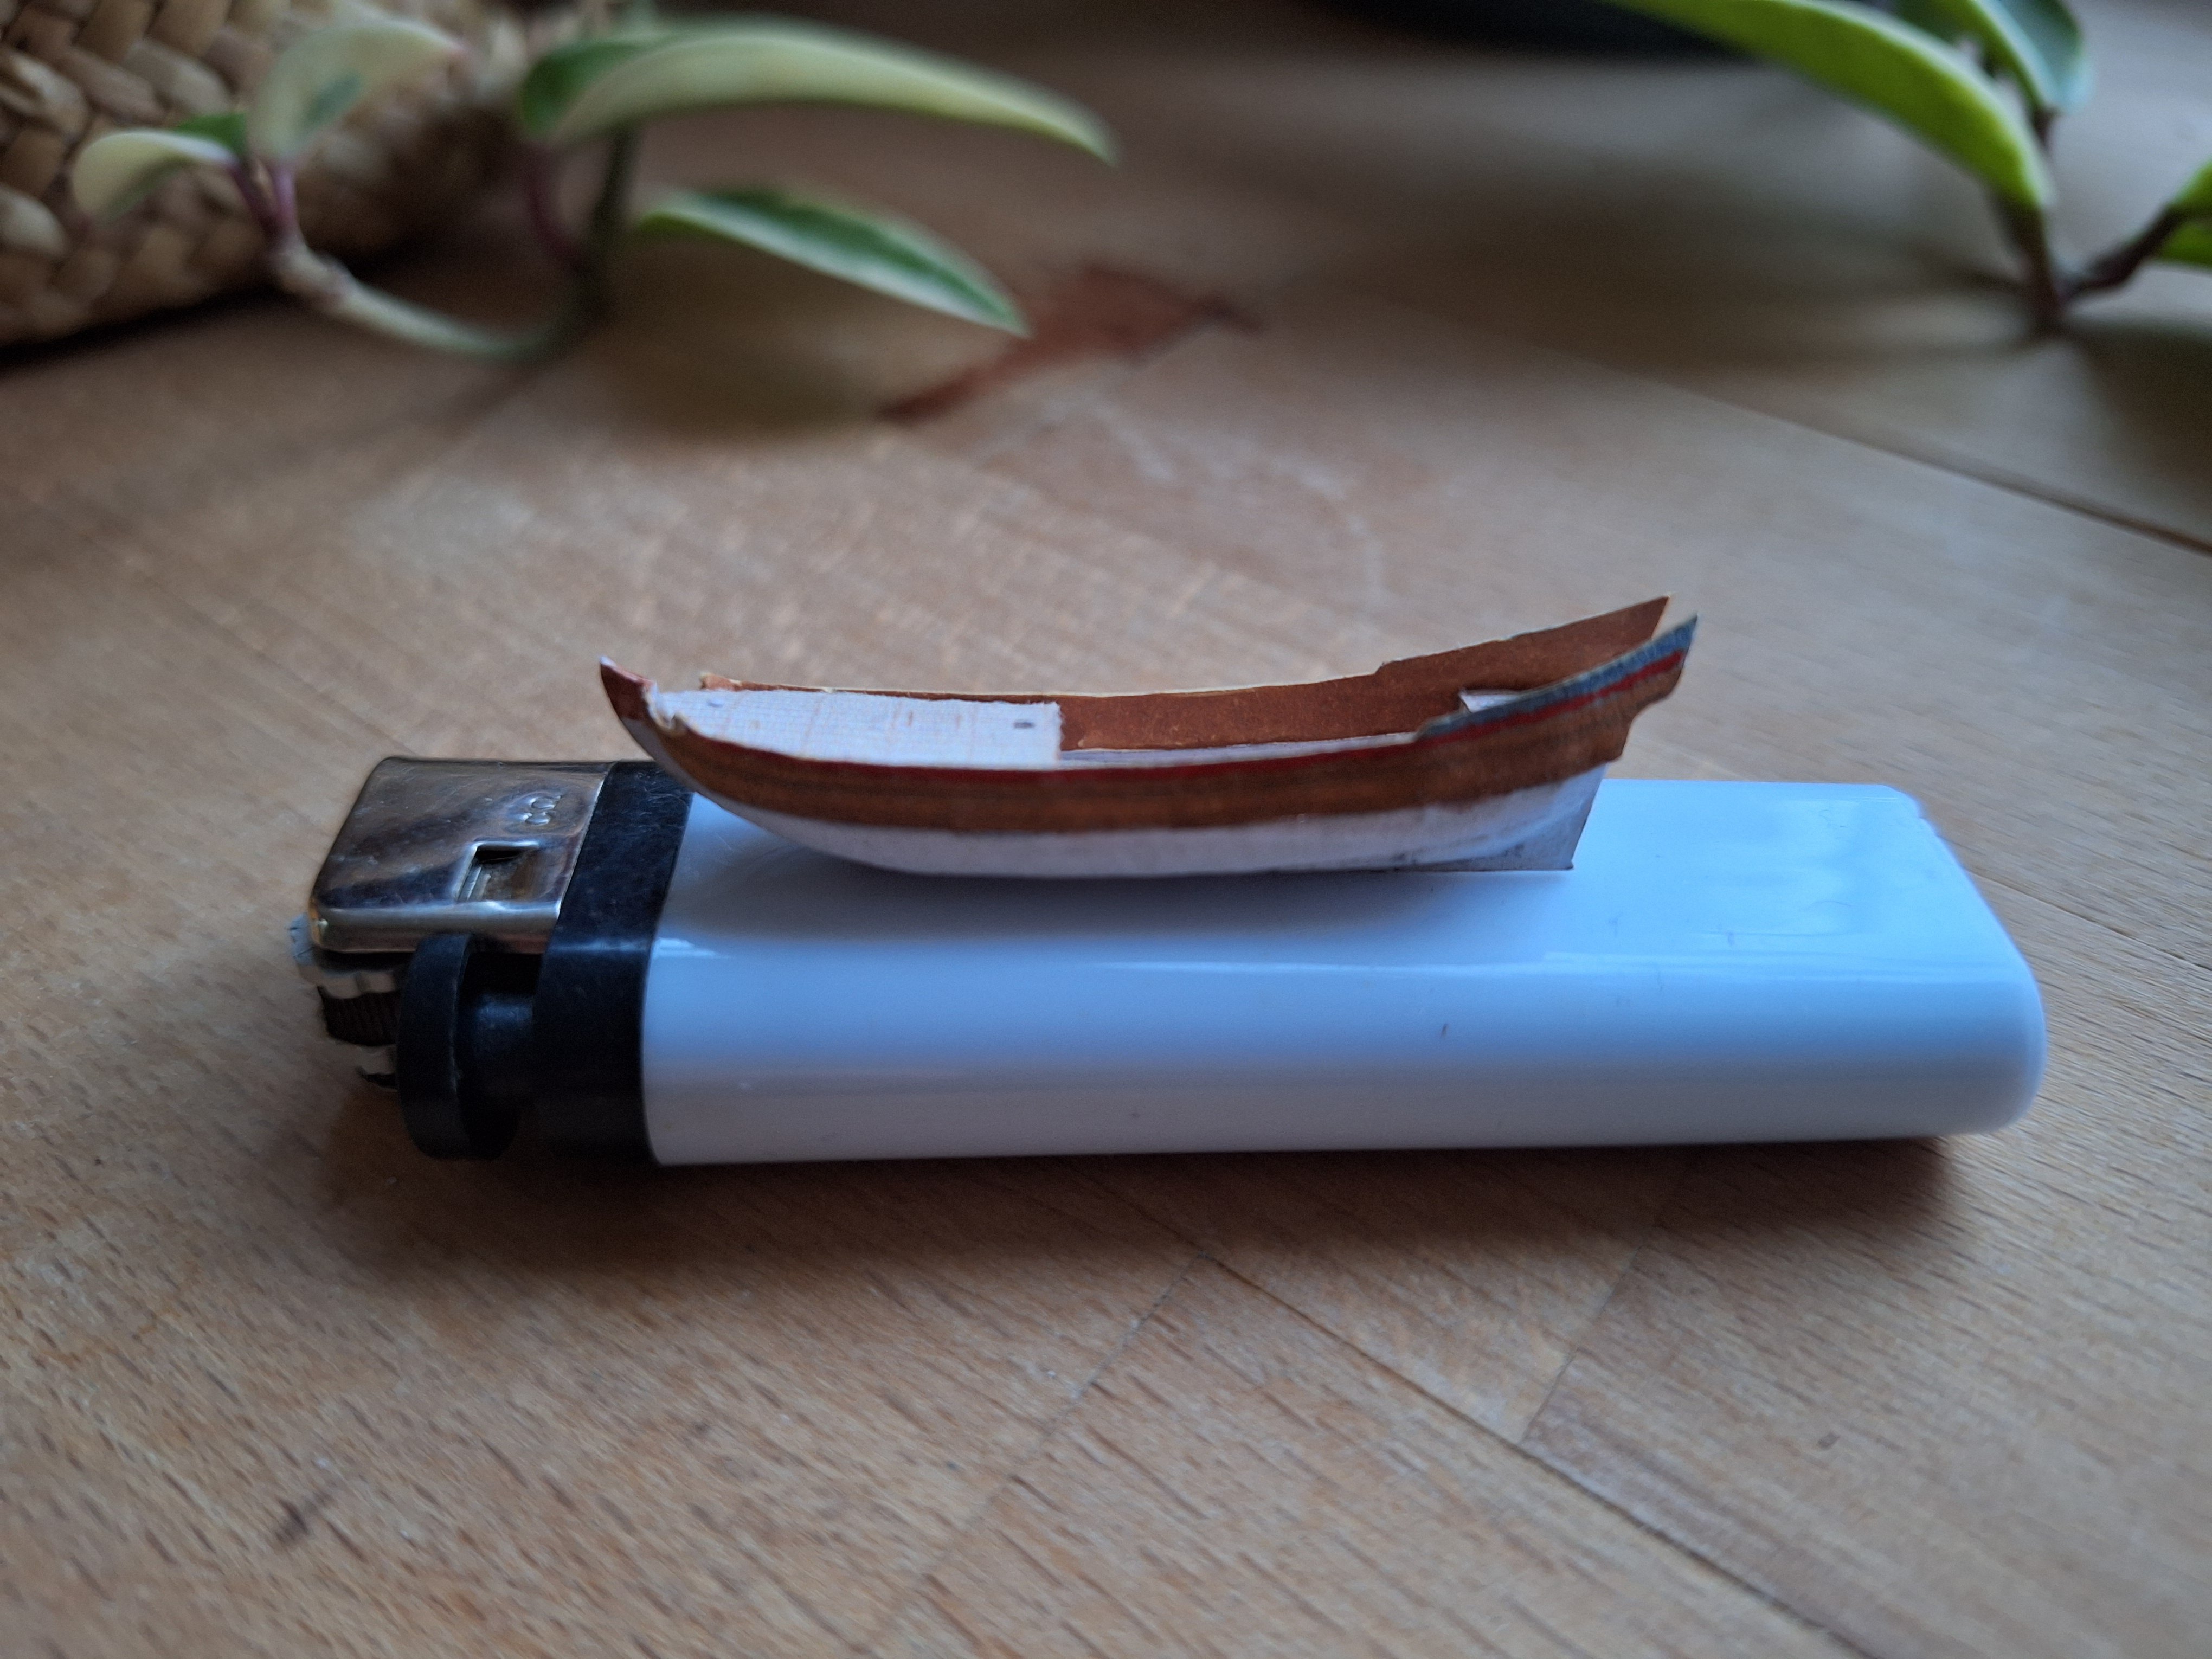
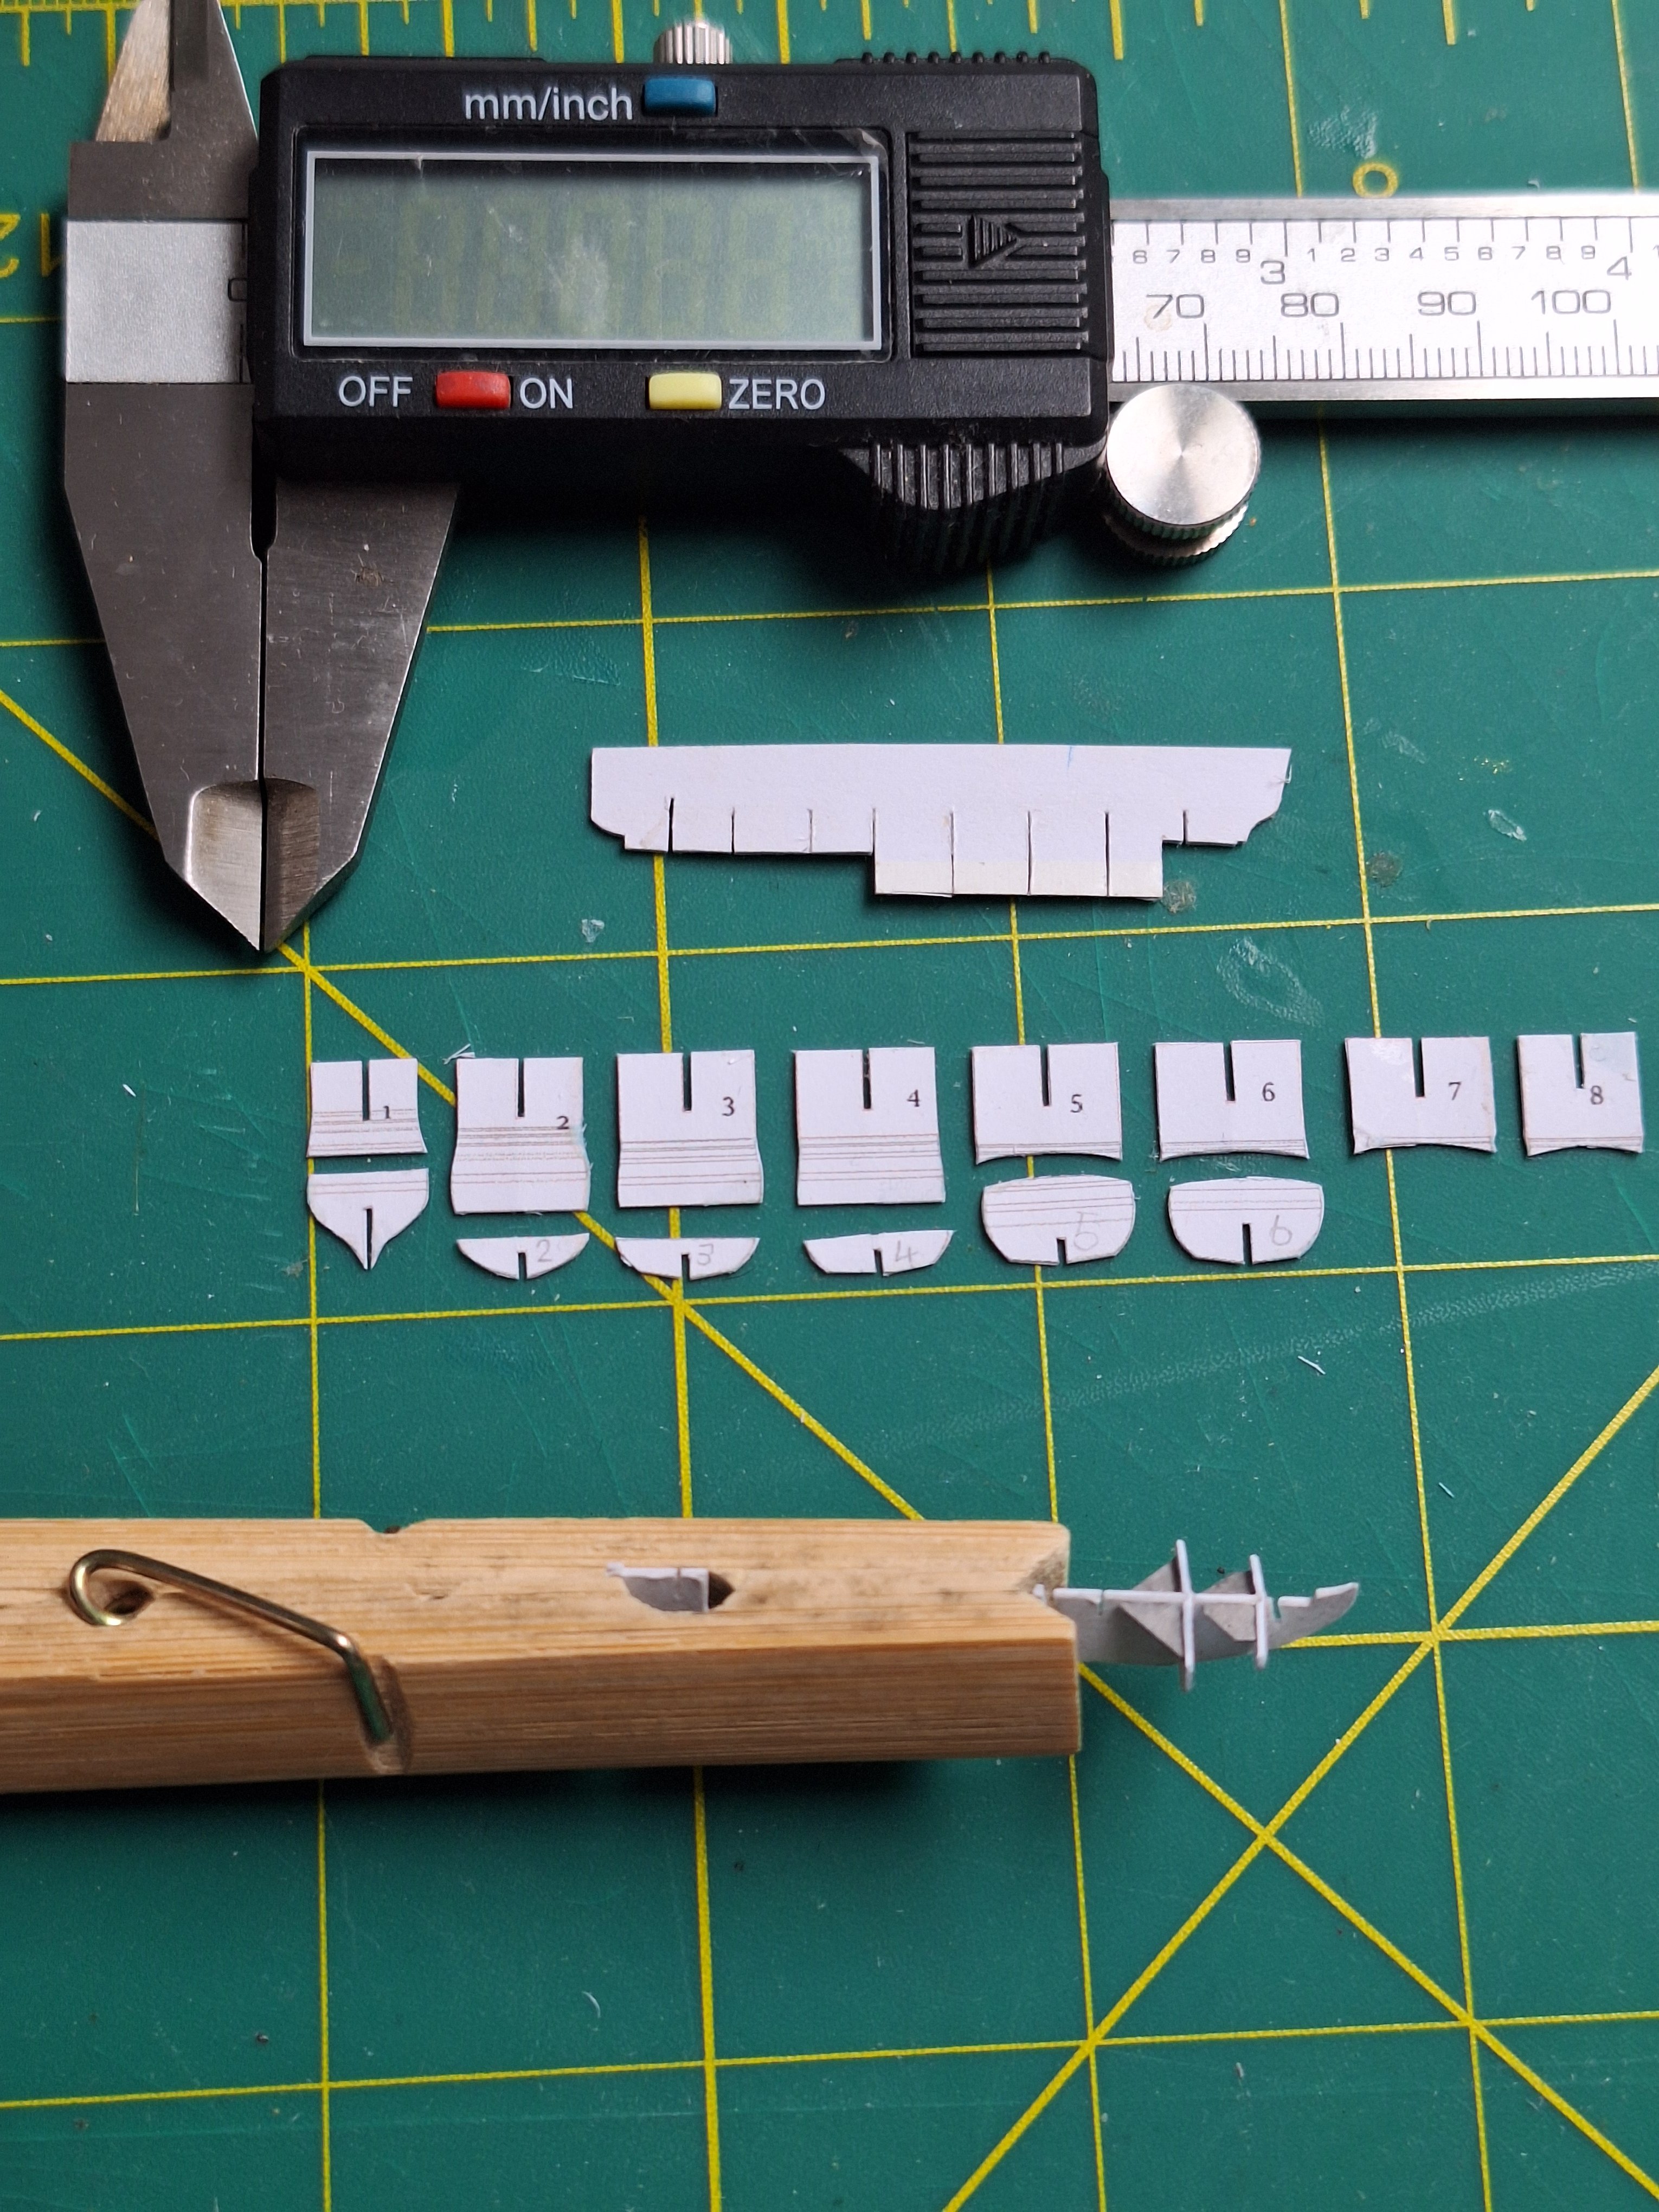
The keel board, frames and mall frames are cut and assembly begins. The model will have a length of 48 cm = 1,89 in over stems.

- 40 replies
-
- 10
-
-
-
- Speeljacht
- Card
- (and 3 more)
-
After a very sudden hospital stay and operation, I need a little activity. I chose the pleasure vessel that Ab Hoving has already presented here. As I enjoy very small models, I will try it on a scale of 1:250. Ab Hoving kindly provided me with plans. I took the liberty of modifying the plans a little to be a little closer to Witsen's sketch. The most obvious difference is in the shape of the stem. This of course required minimal adjustments to the hull lines. But see for yourself Speel-jagt.pdf Alvb
- 40 replies
-
- 6
-
-
- Speeljacht
- Card
- (and 3 more)