HOLIDAY DONATION DRIVE - SUPPORT MSW - DO YOUR PART TO KEEP THIS GREAT FORUM GOING! (Only 24 donations so far out of 49,000 members - C'mon guys!)
×


Alvb
-
Posts
136 -
Joined
-
Last visited
Content Type
Profiles
Forums
Gallery
Events
Everything posted by Alvb
-
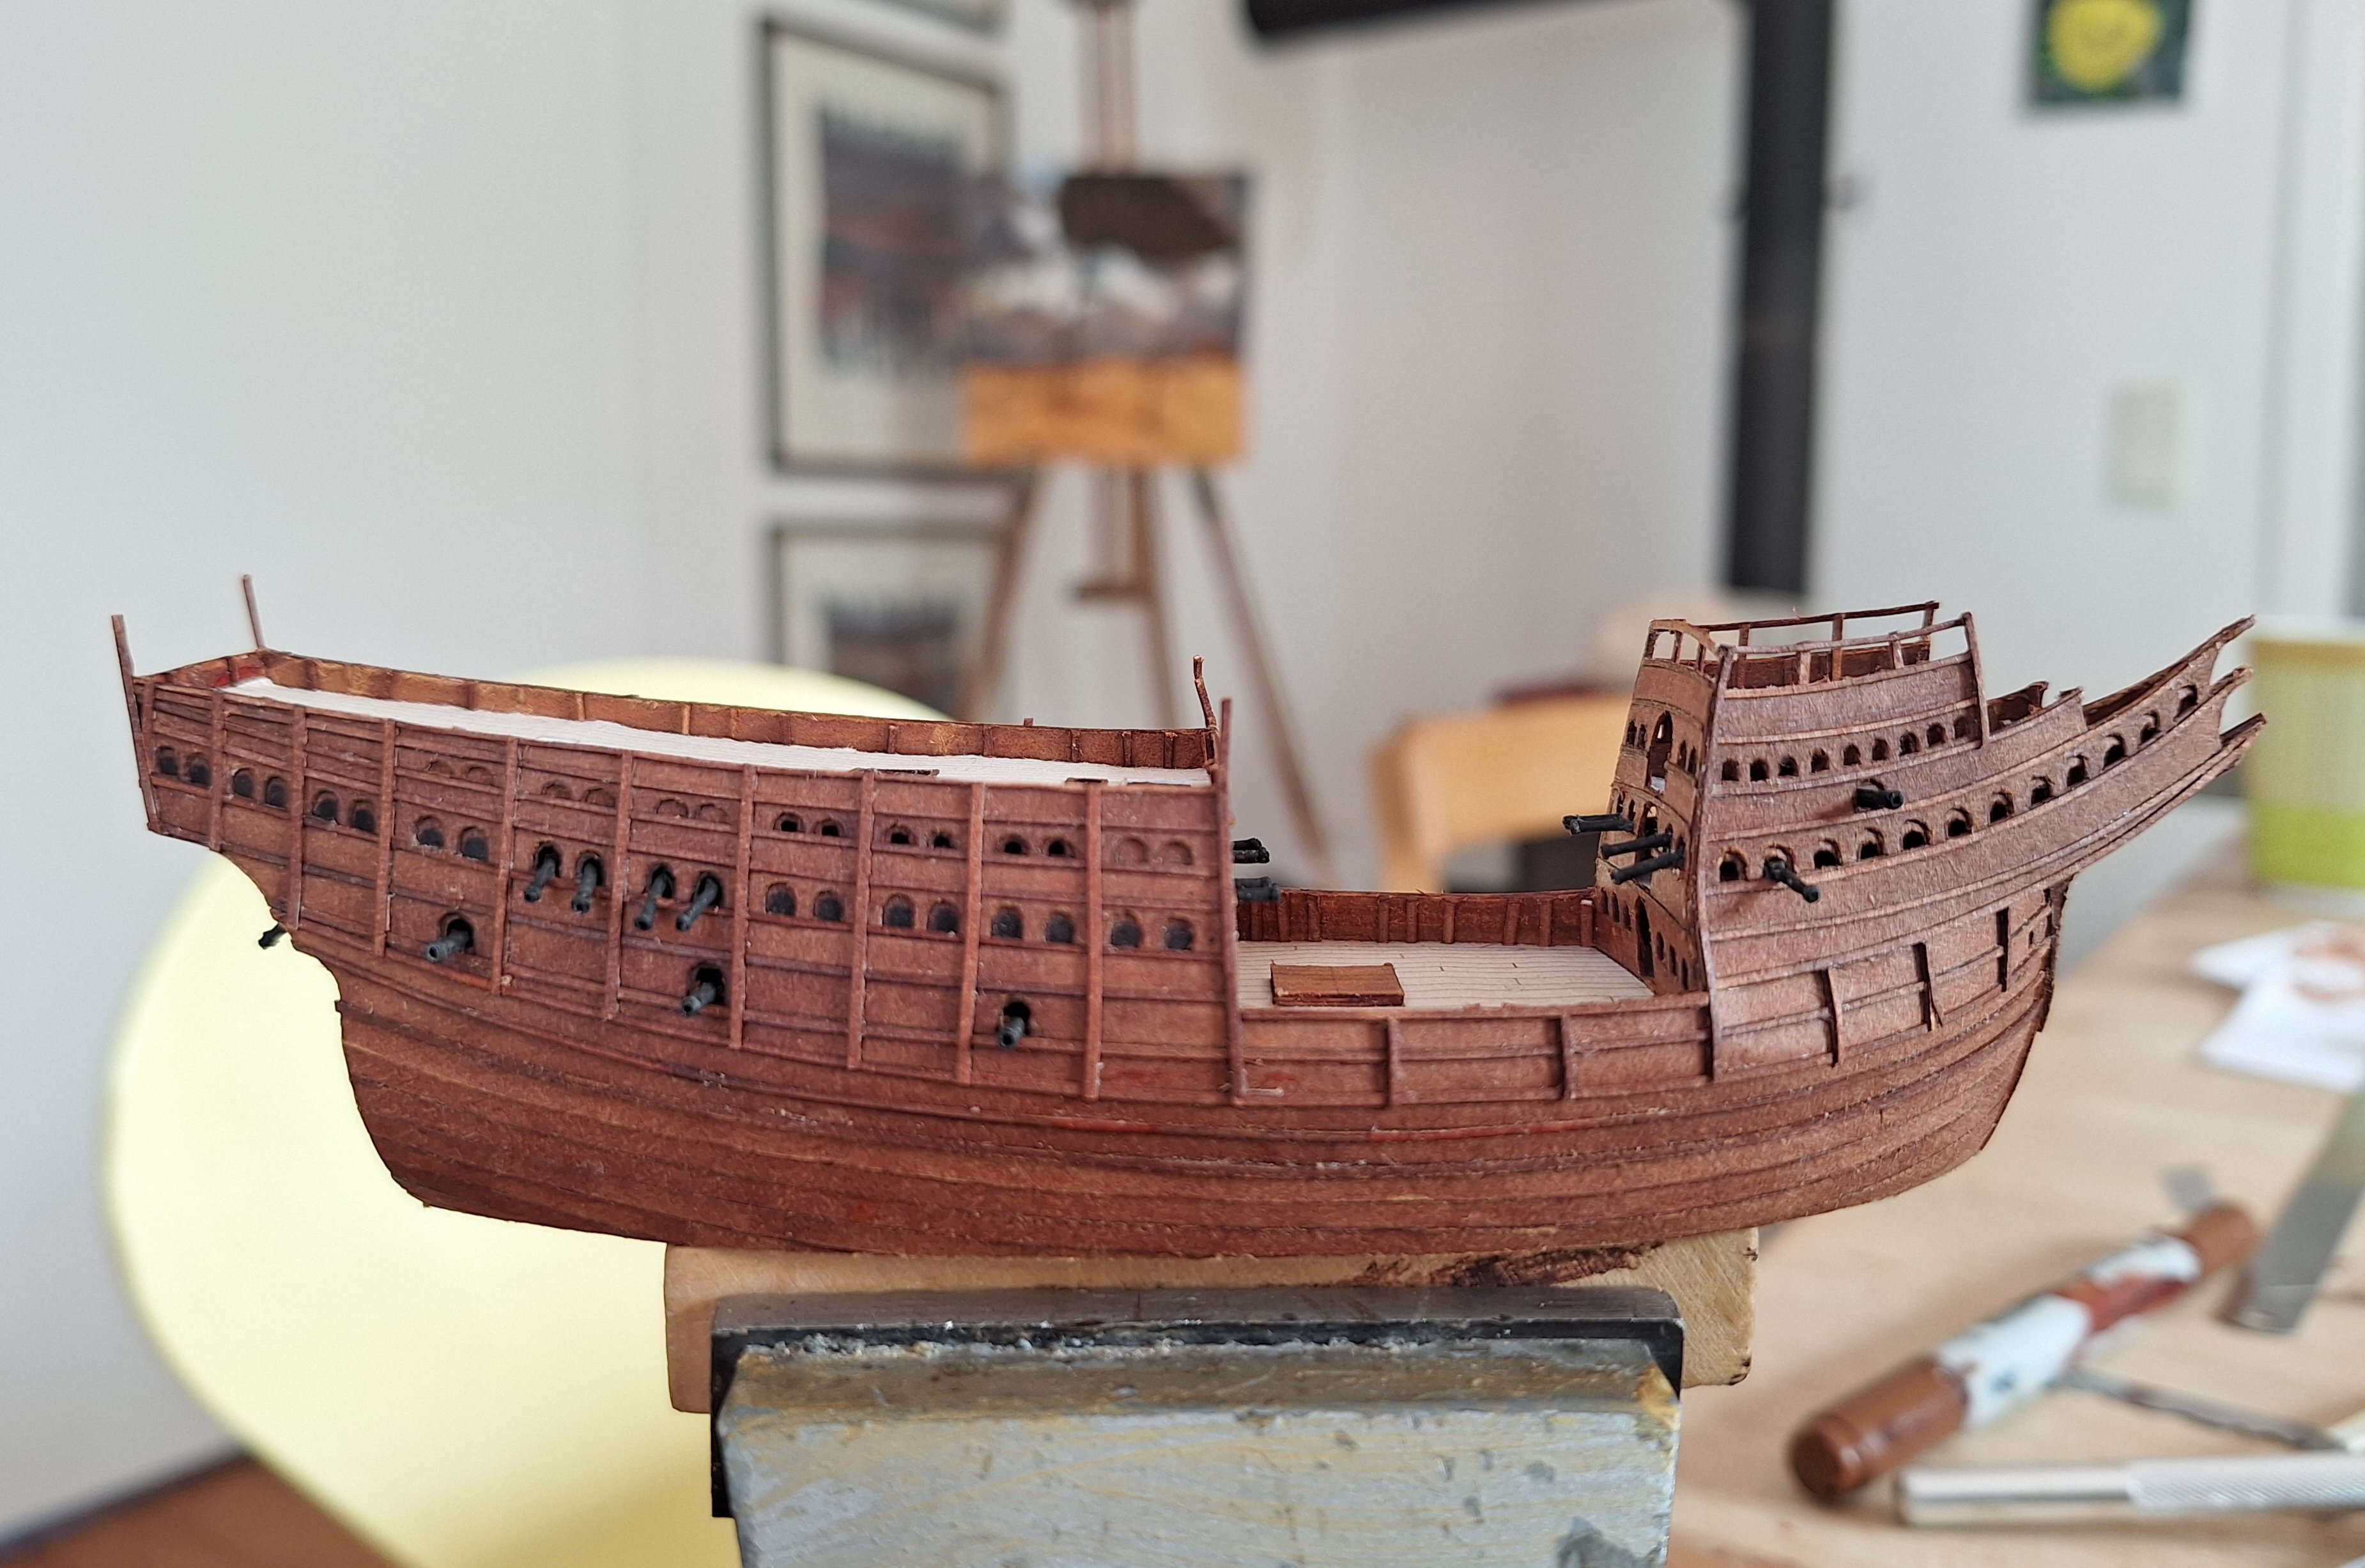
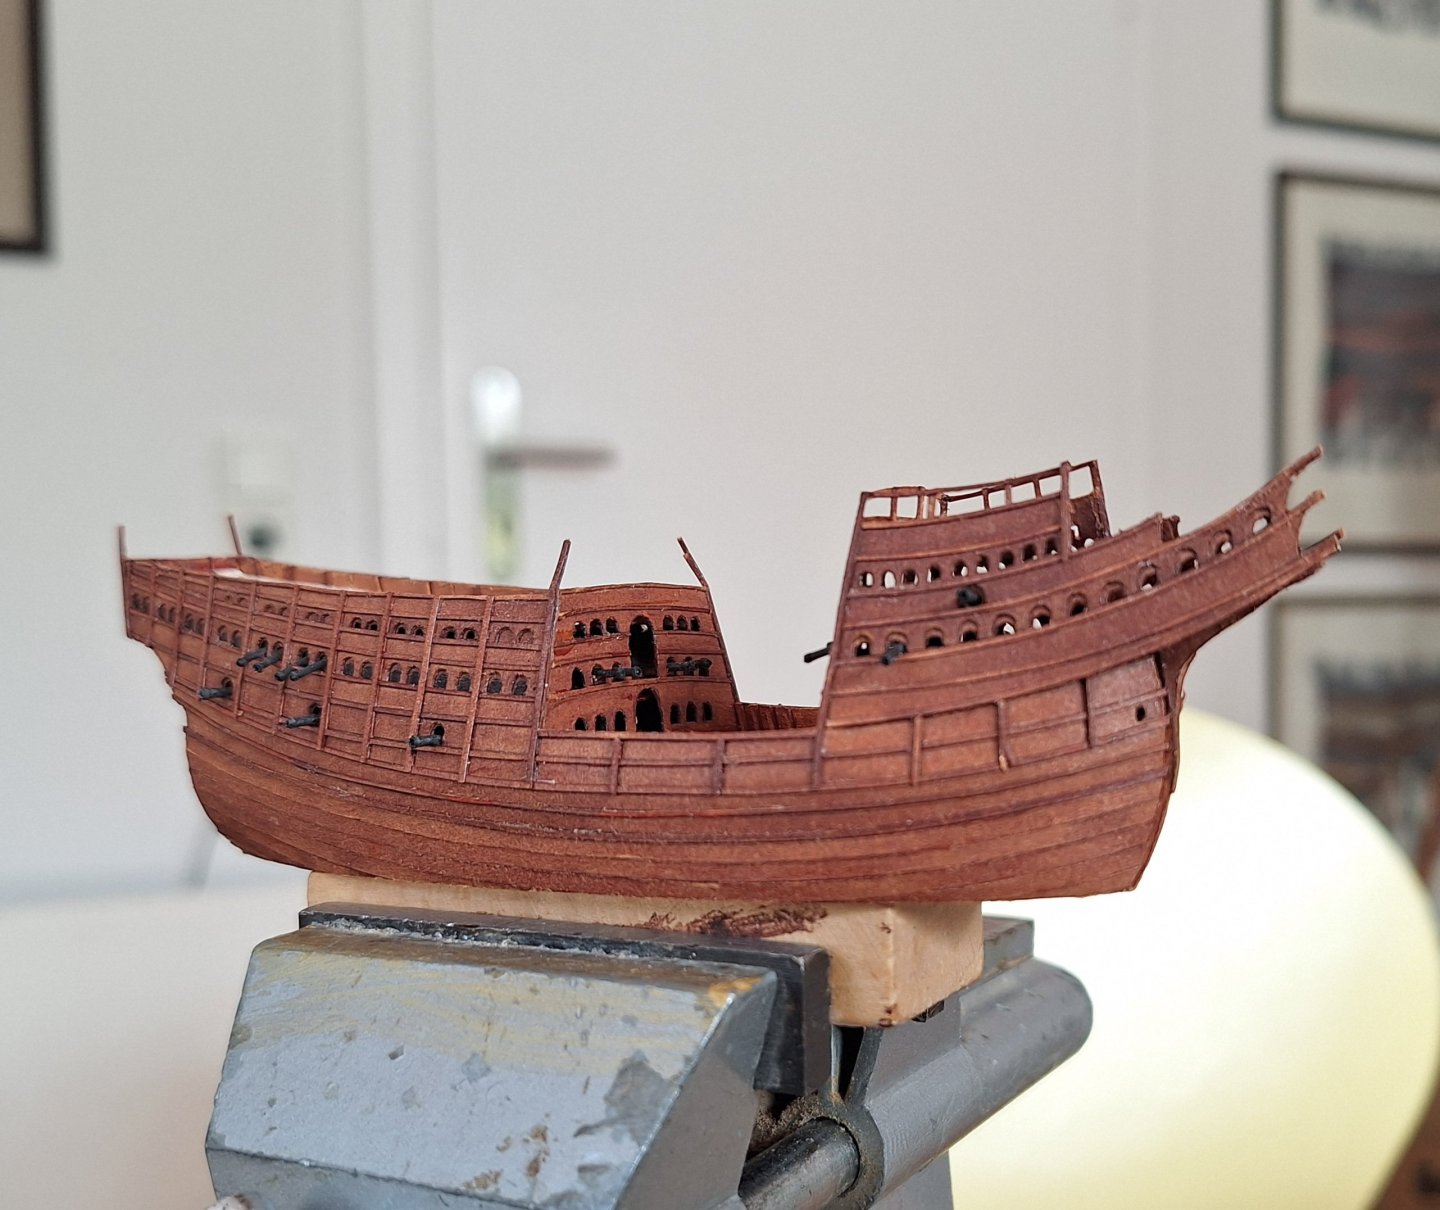
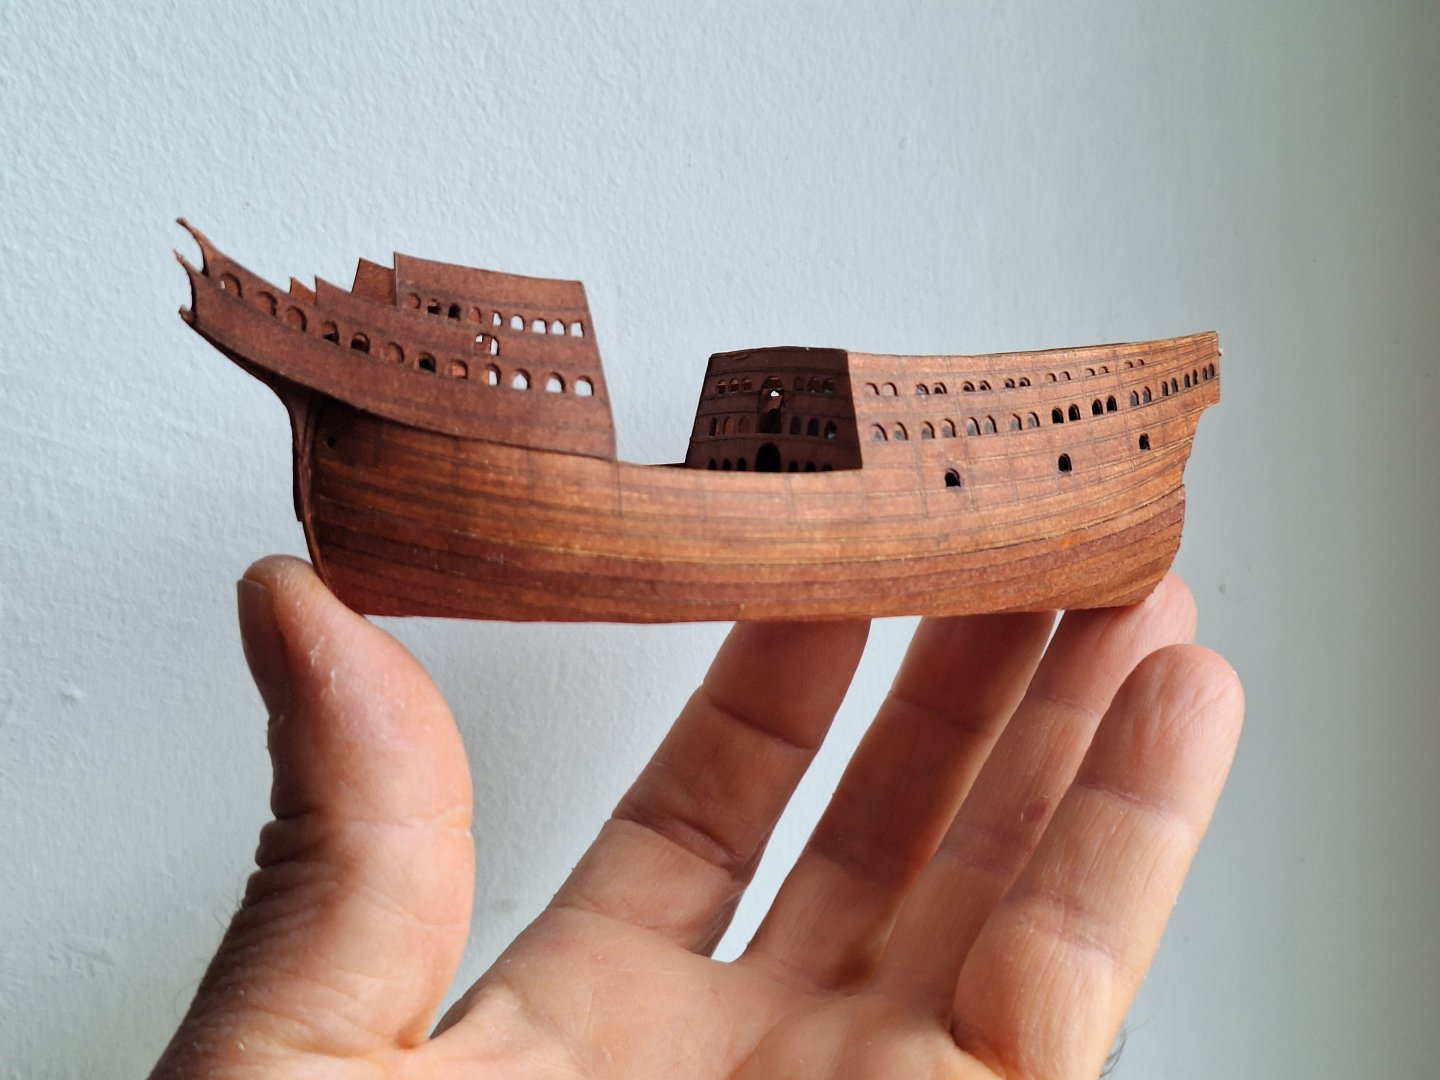
The macro shots are merciless... ...but slowly it is taking shape.

-
Wales (Is this the correct plural form?🙄) and Standarts in progress. In fact, I am not sure how to construct the railings with the shields on top of the castles.

-
Mary Rose 1511 — the epitome of the Northern tradition
Alvb replied to Waldemar's topic in Nautical/Naval History
Thank you for your detailed explanations. I consider your work extremely valuable. The constructions are understandable and easy to follow. The only thing that wasn't entirely clear to me was how the regression curves were determined. -
Mary Rose 1511 — the epitome of the Northern tradition
Alvb replied to Waldemar's topic in Nautical/Naval History
I am just a little surprised that on the one hand people had experience with such stability problems and knew methods to mitigate them, but on the other hand they built ships with these very deficiencies. -
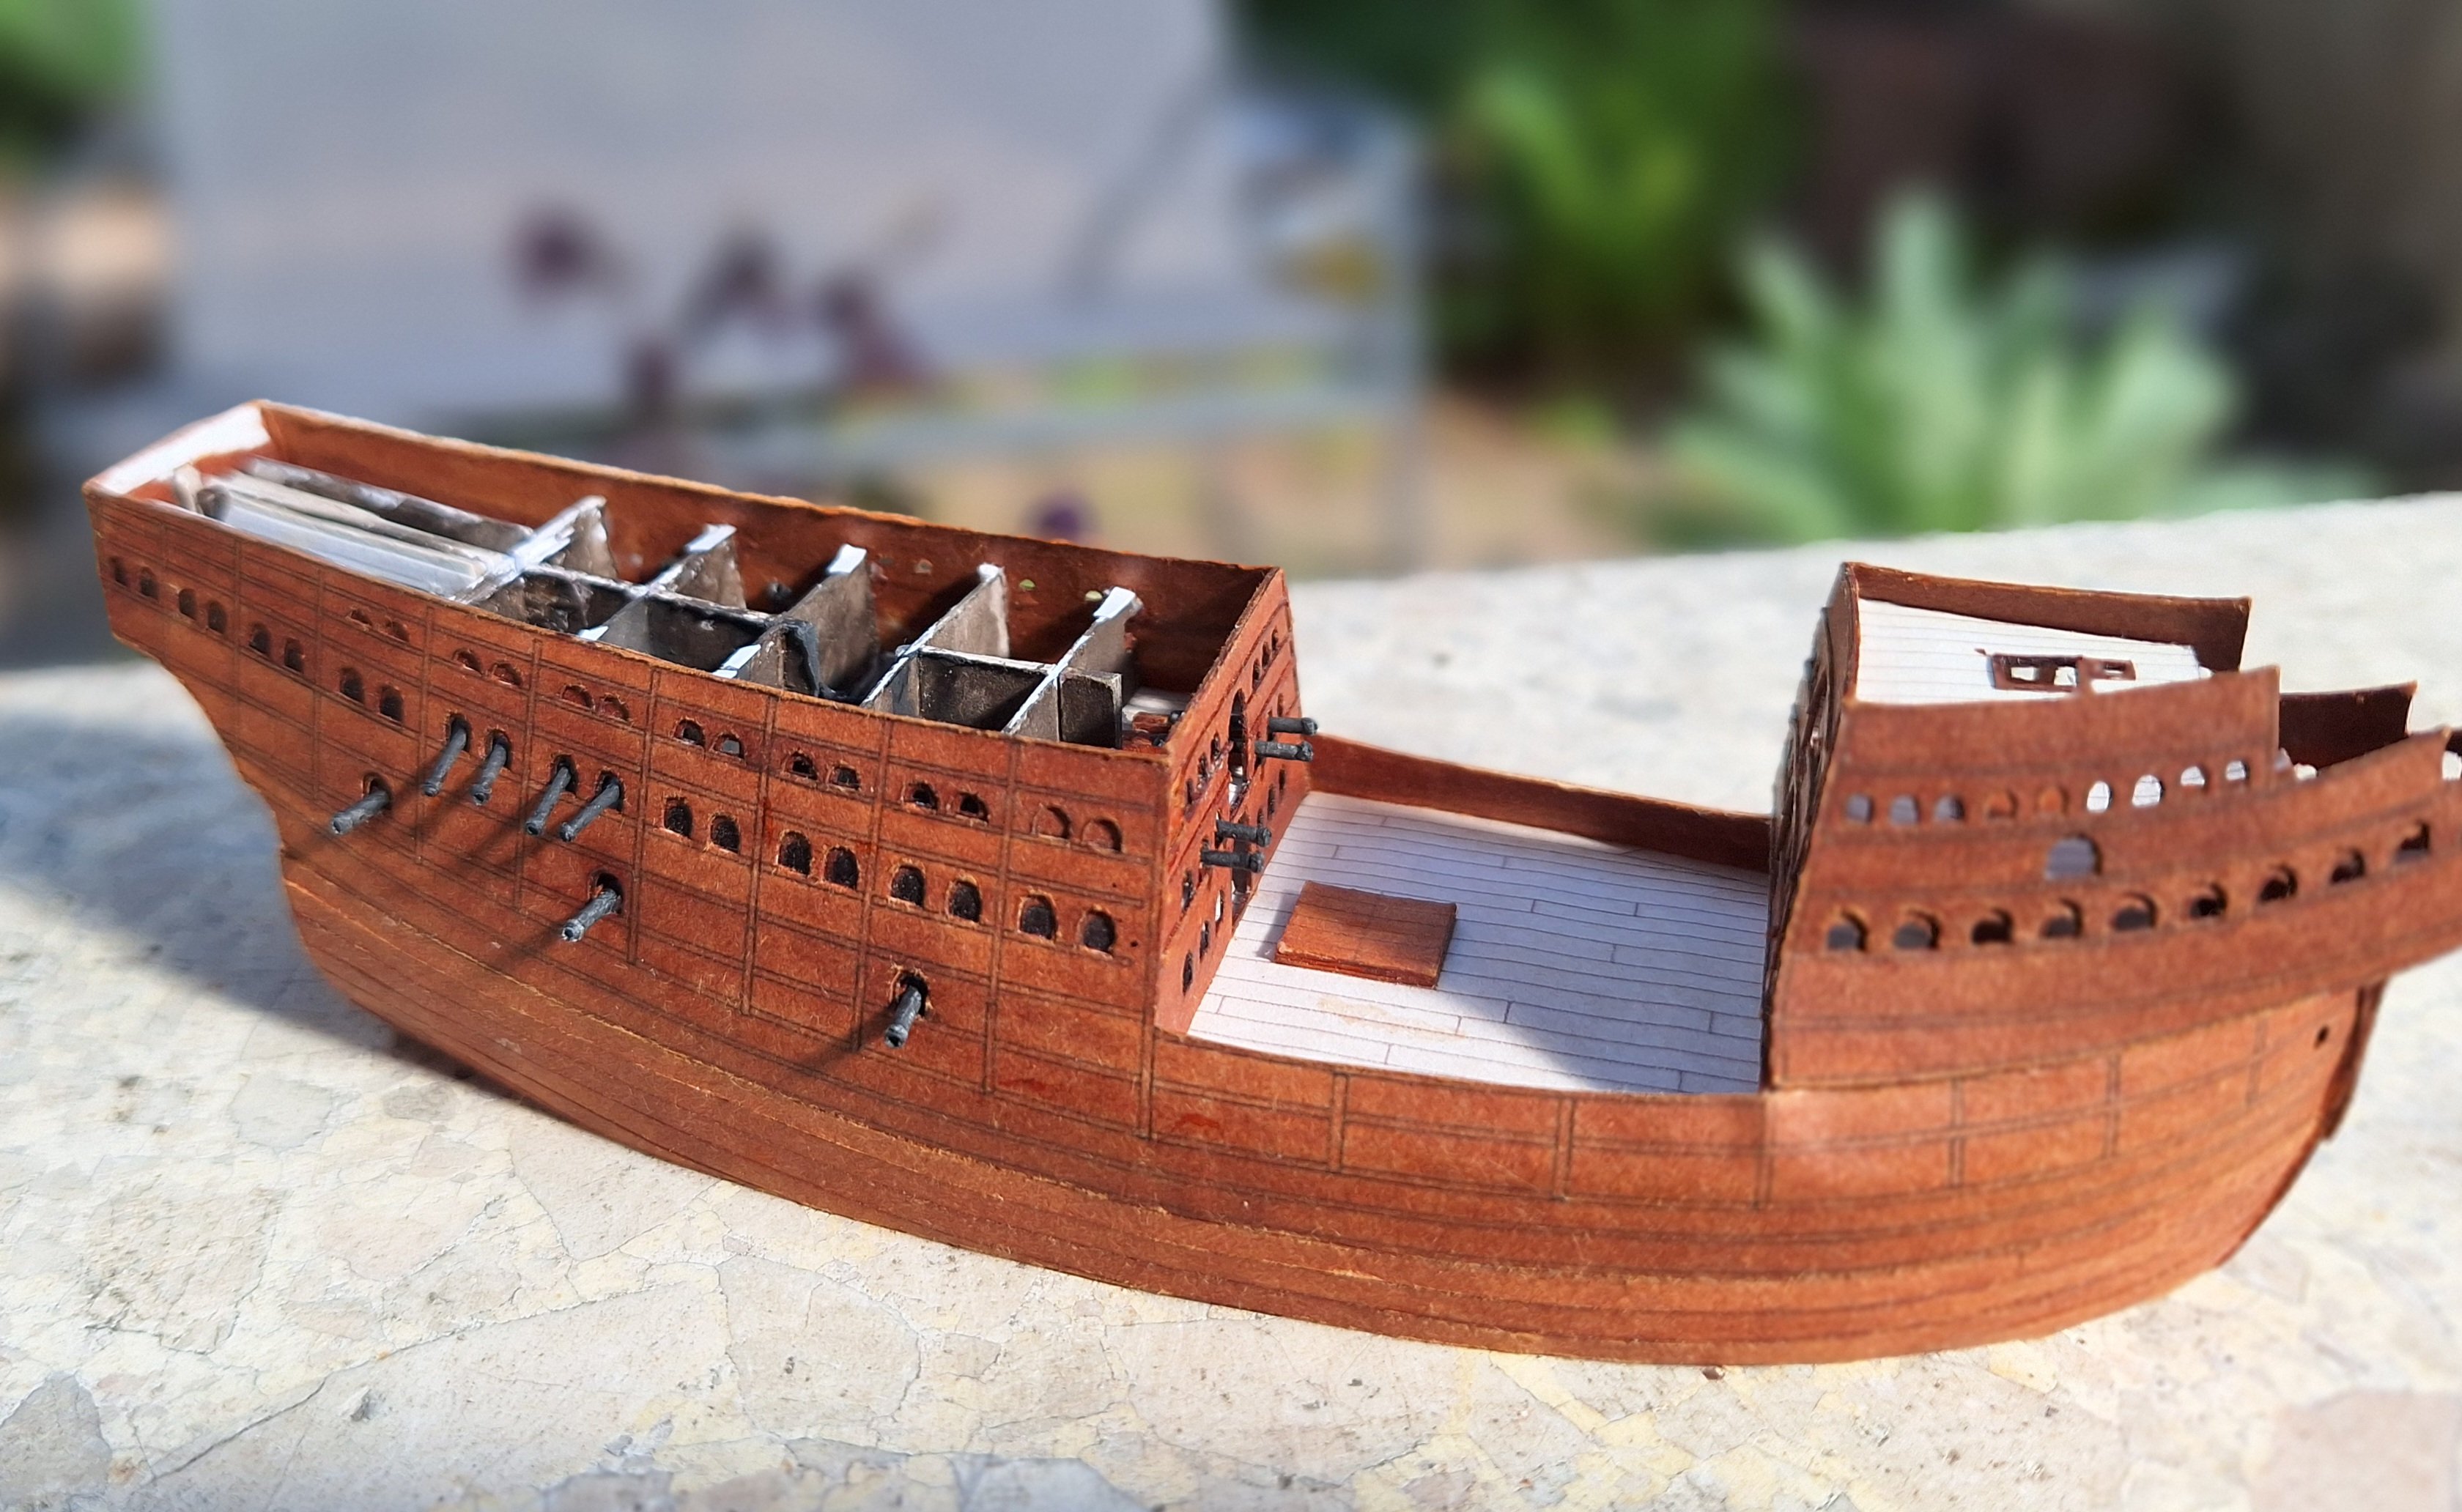
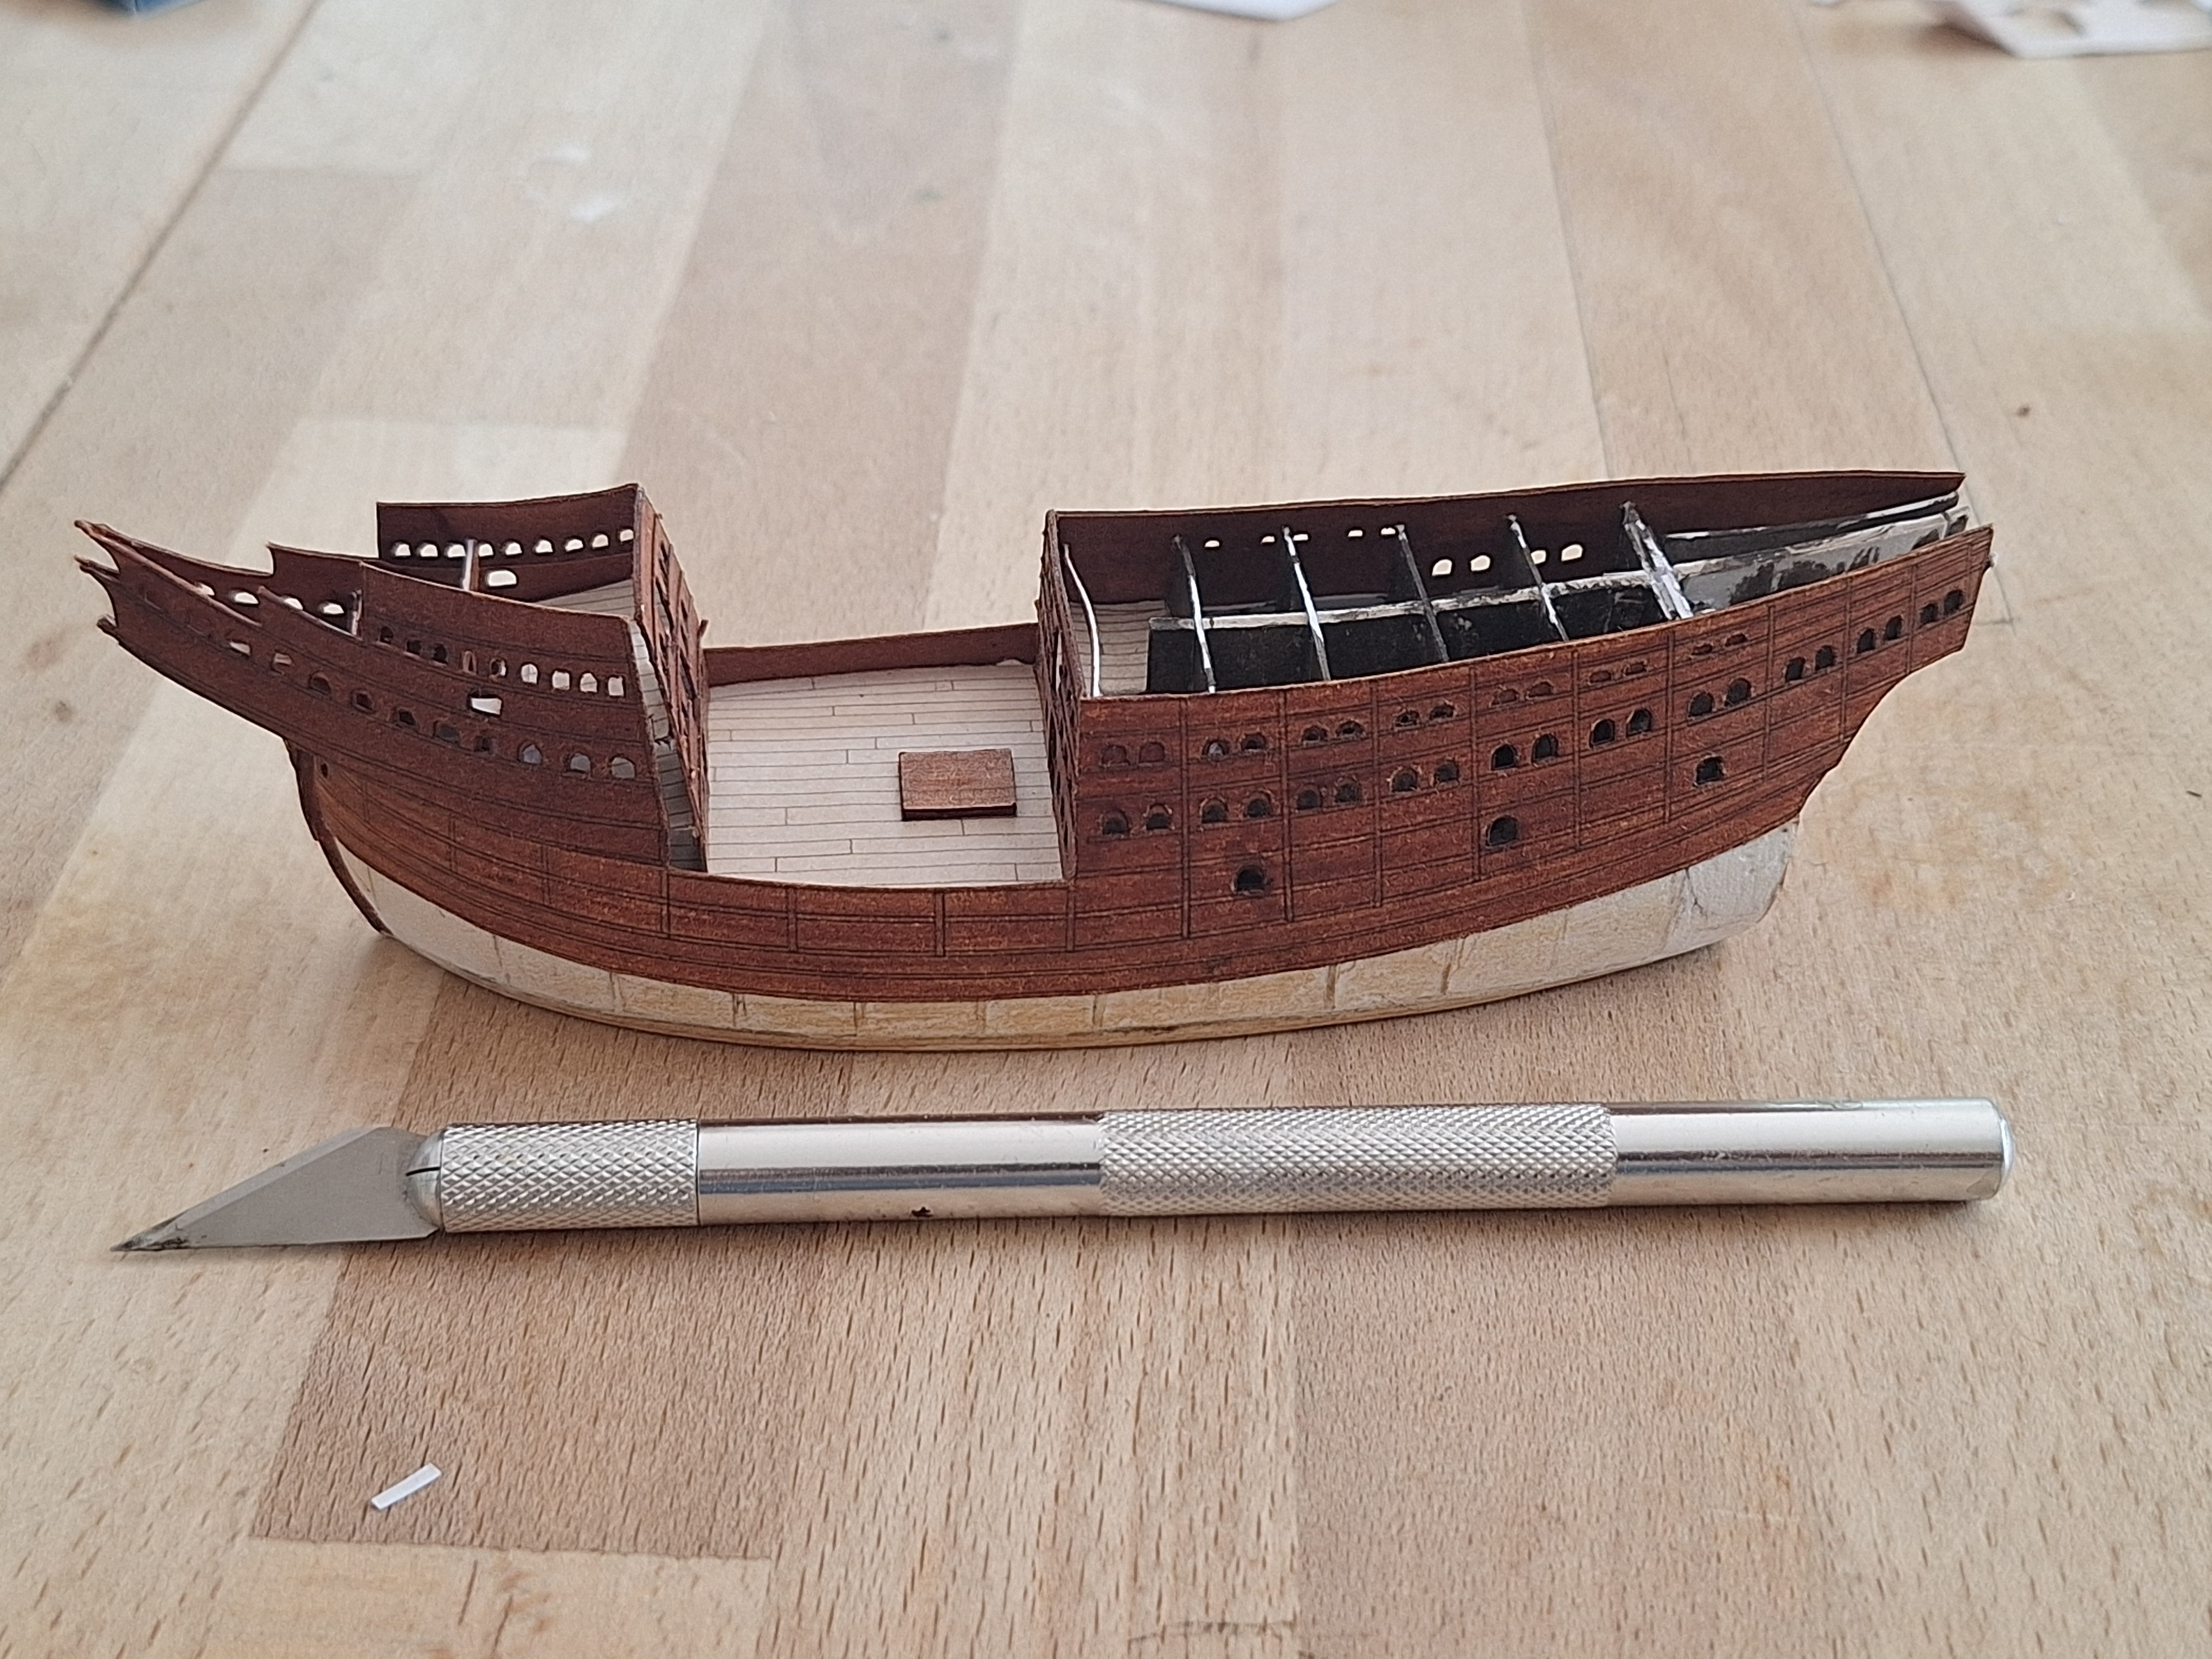
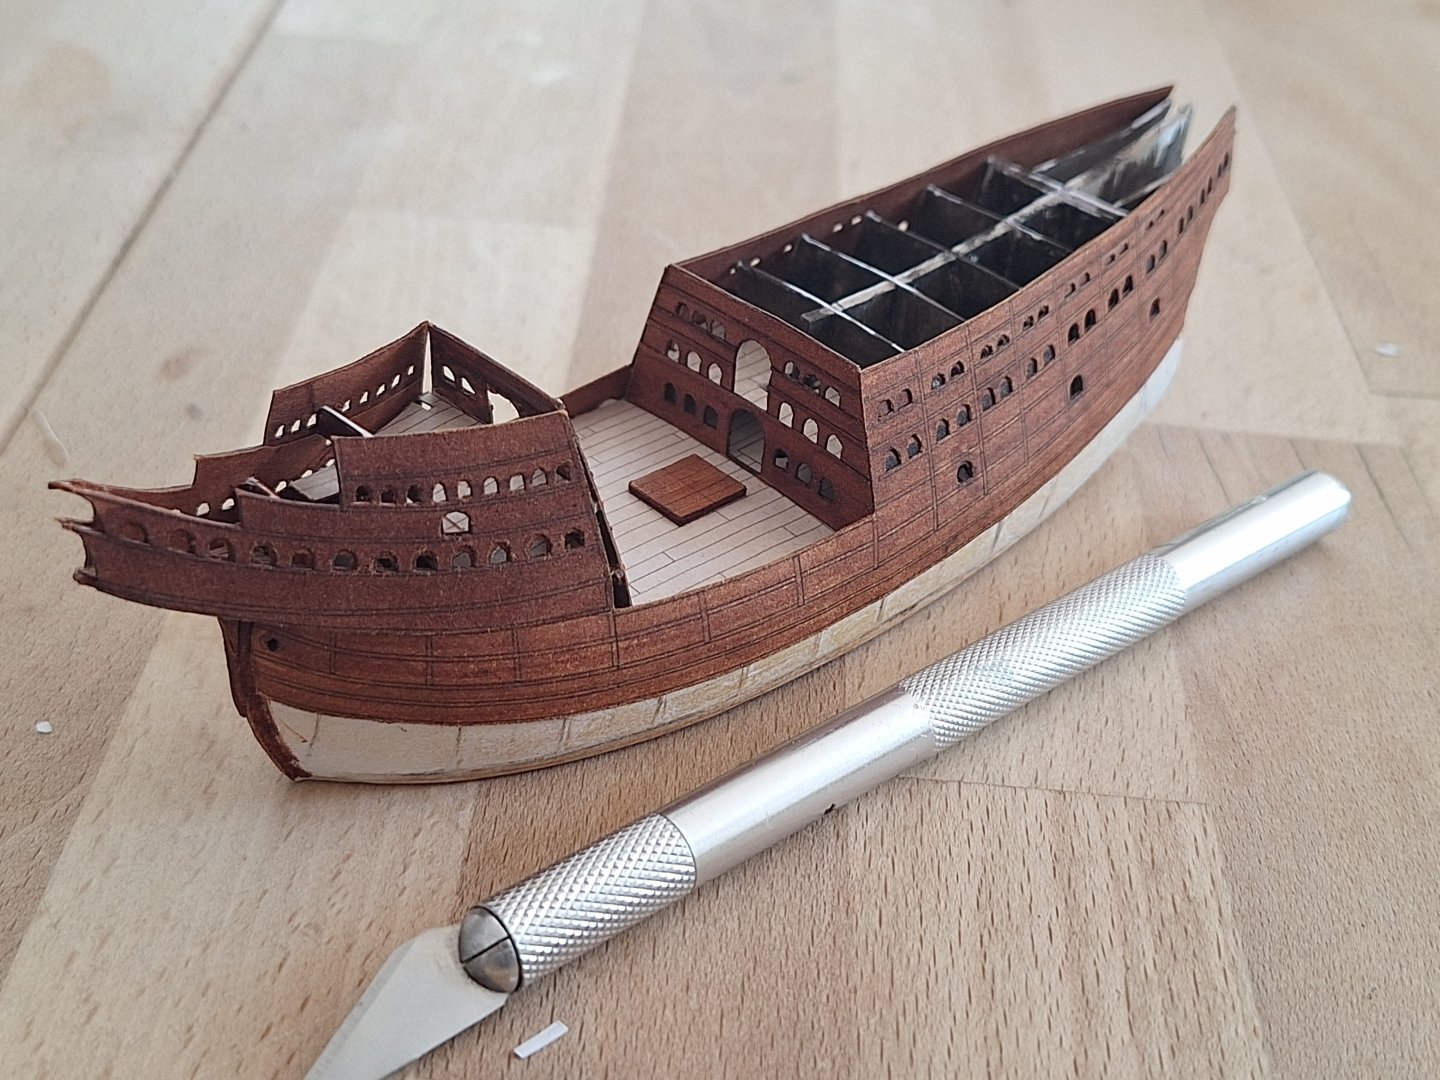
All cannons and swivel guns are now mounted in the aft fort, so the aft deck can be relocated. Next, we move on to the forefort.


-
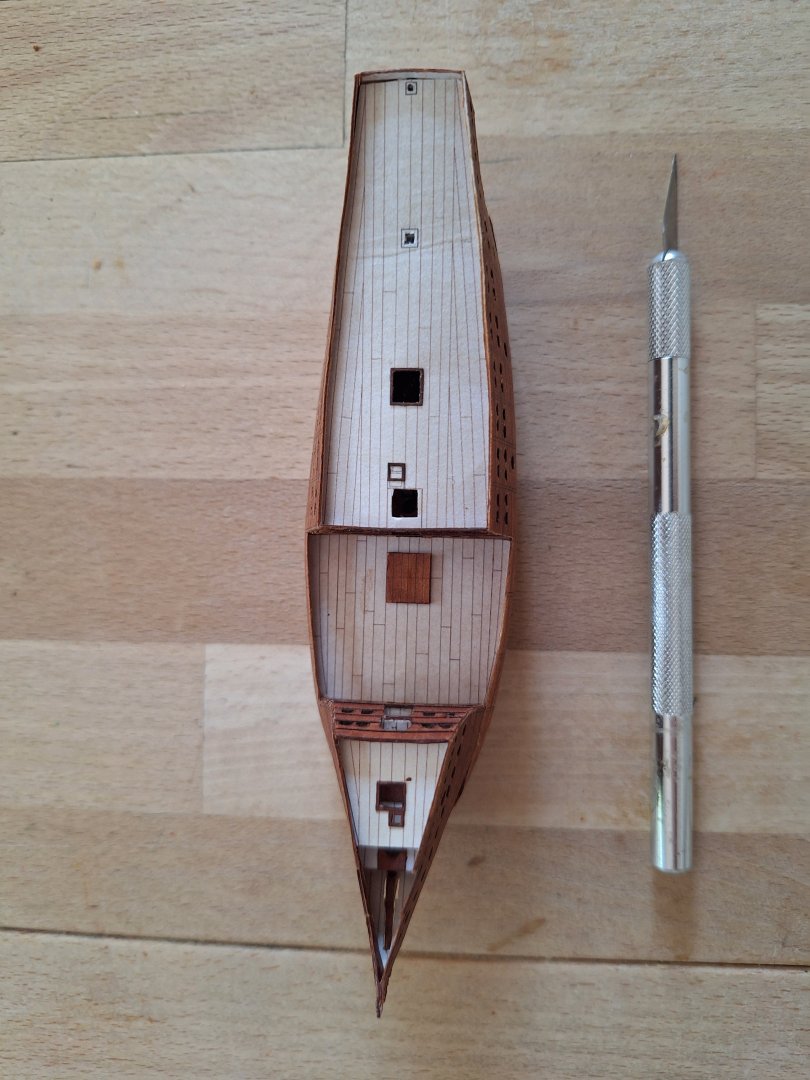
It is currently 5 3/4 inches or just under 15 cm.
-
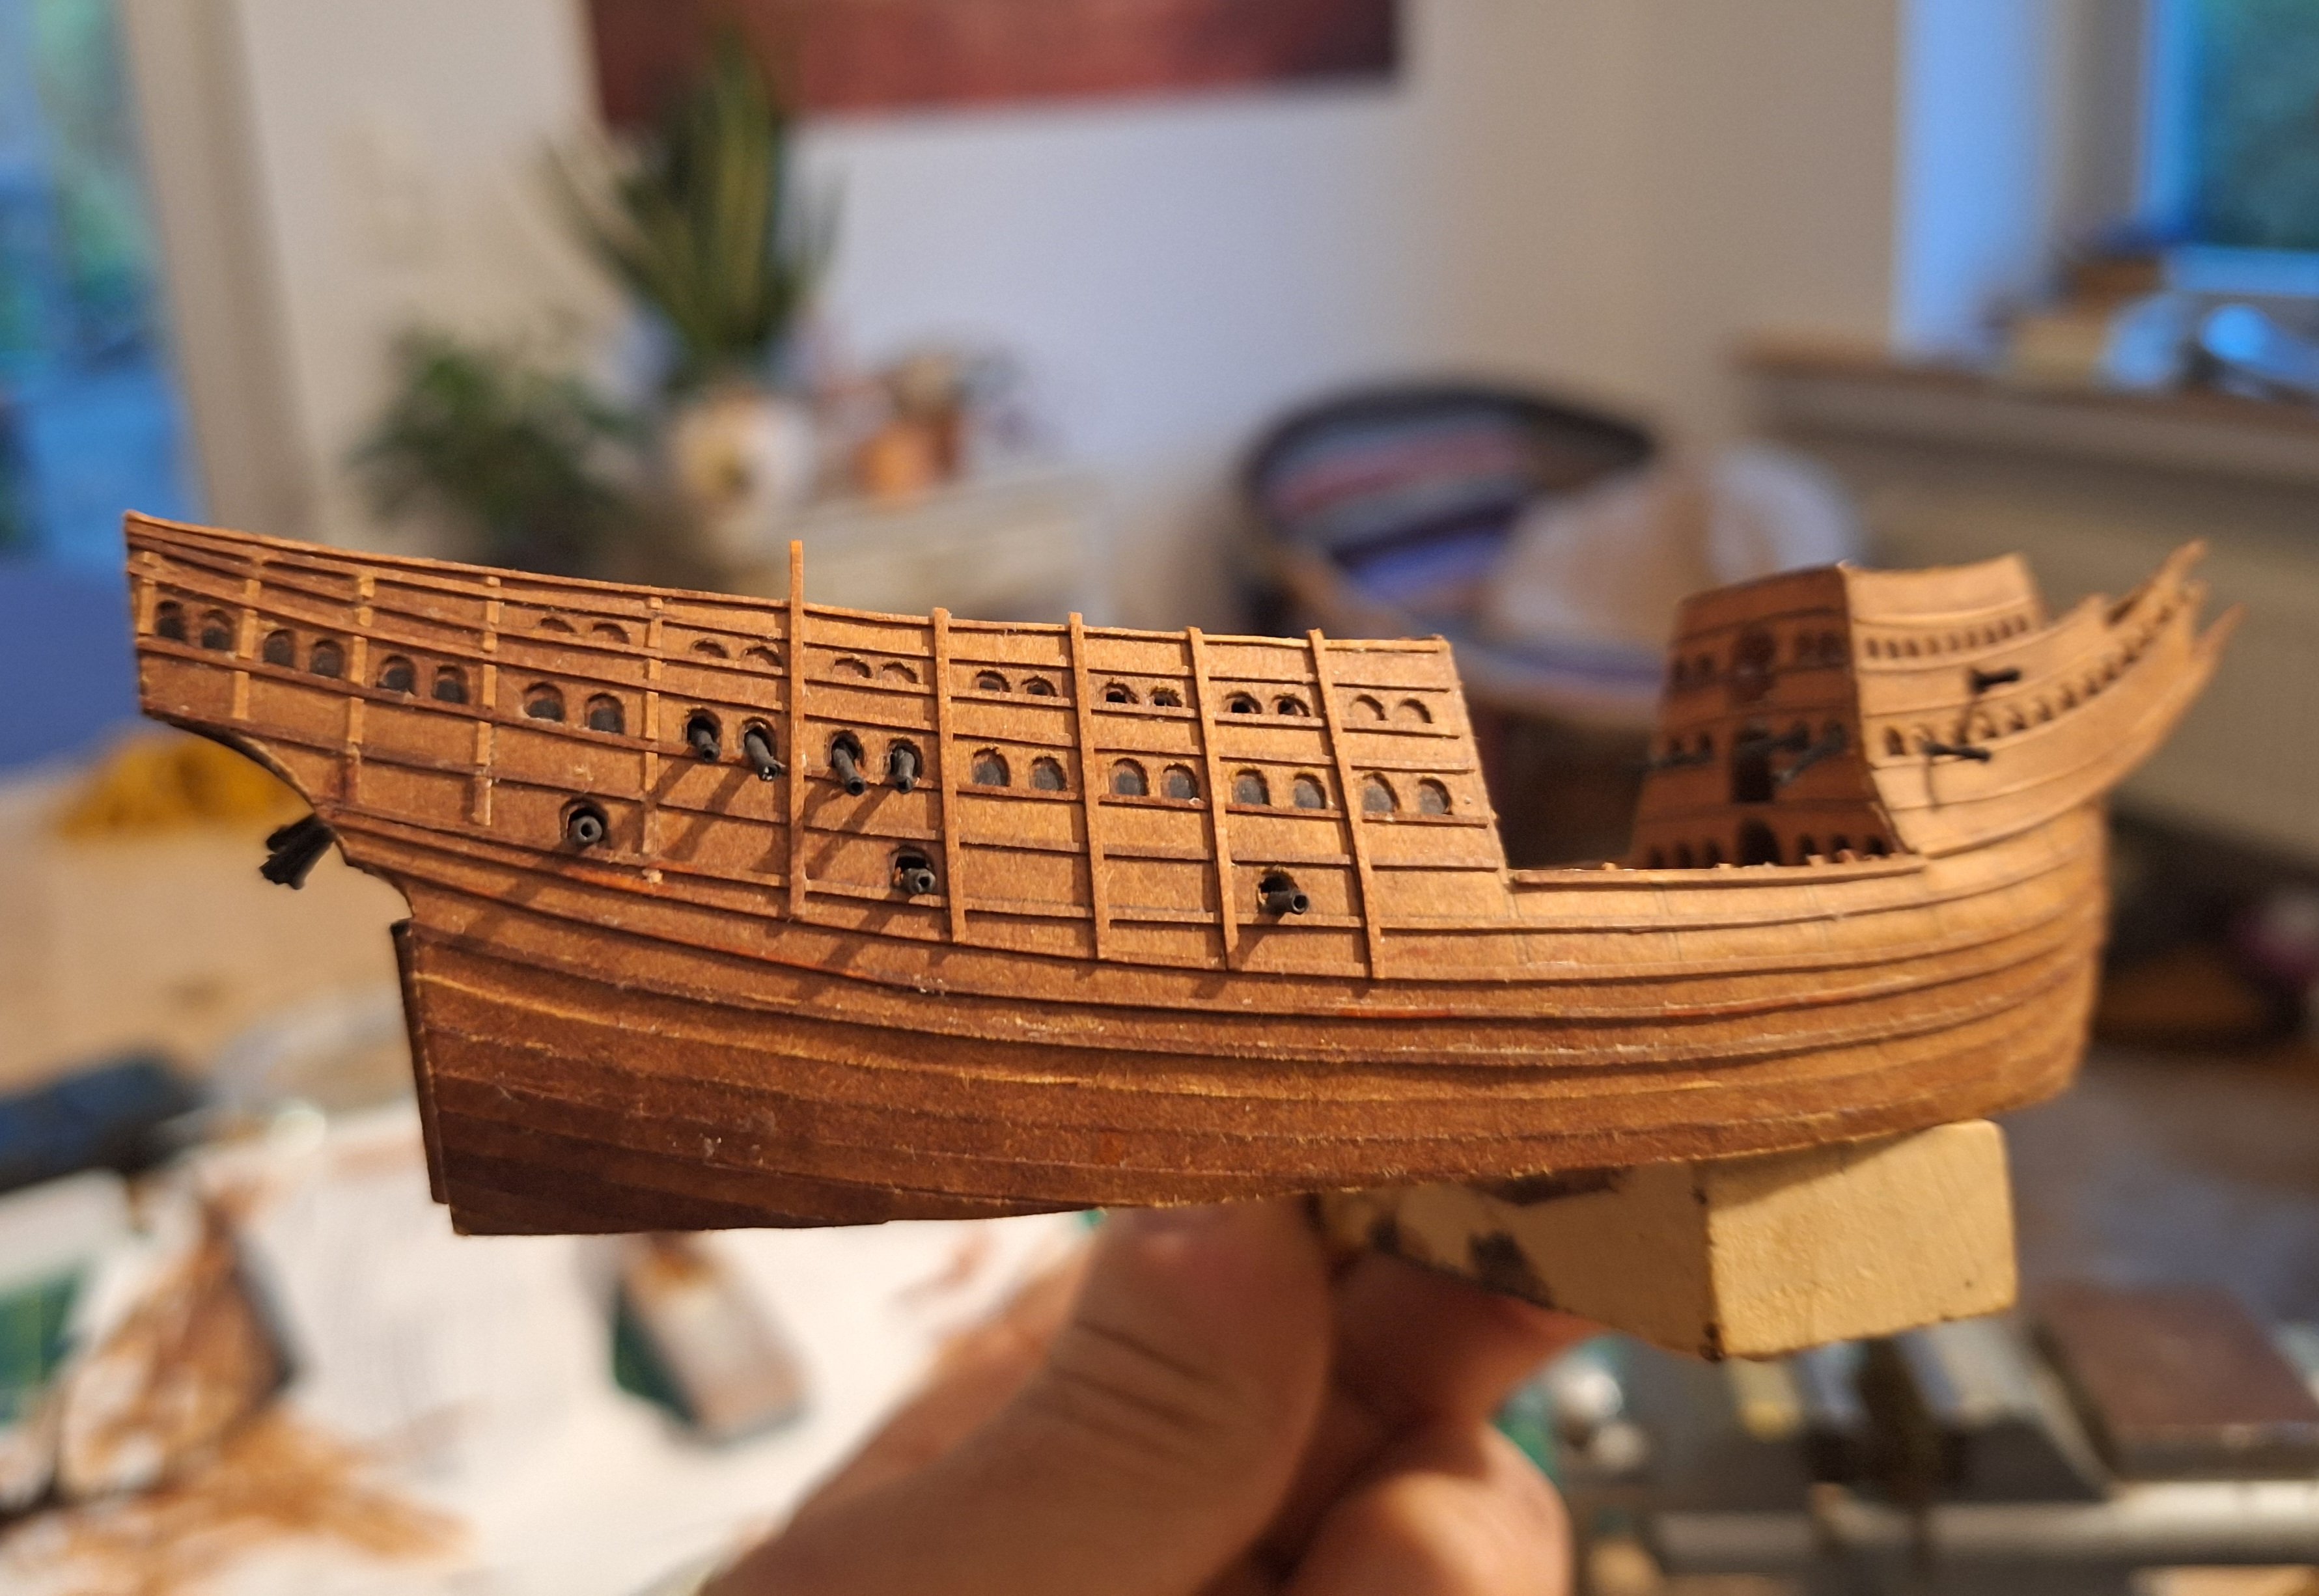
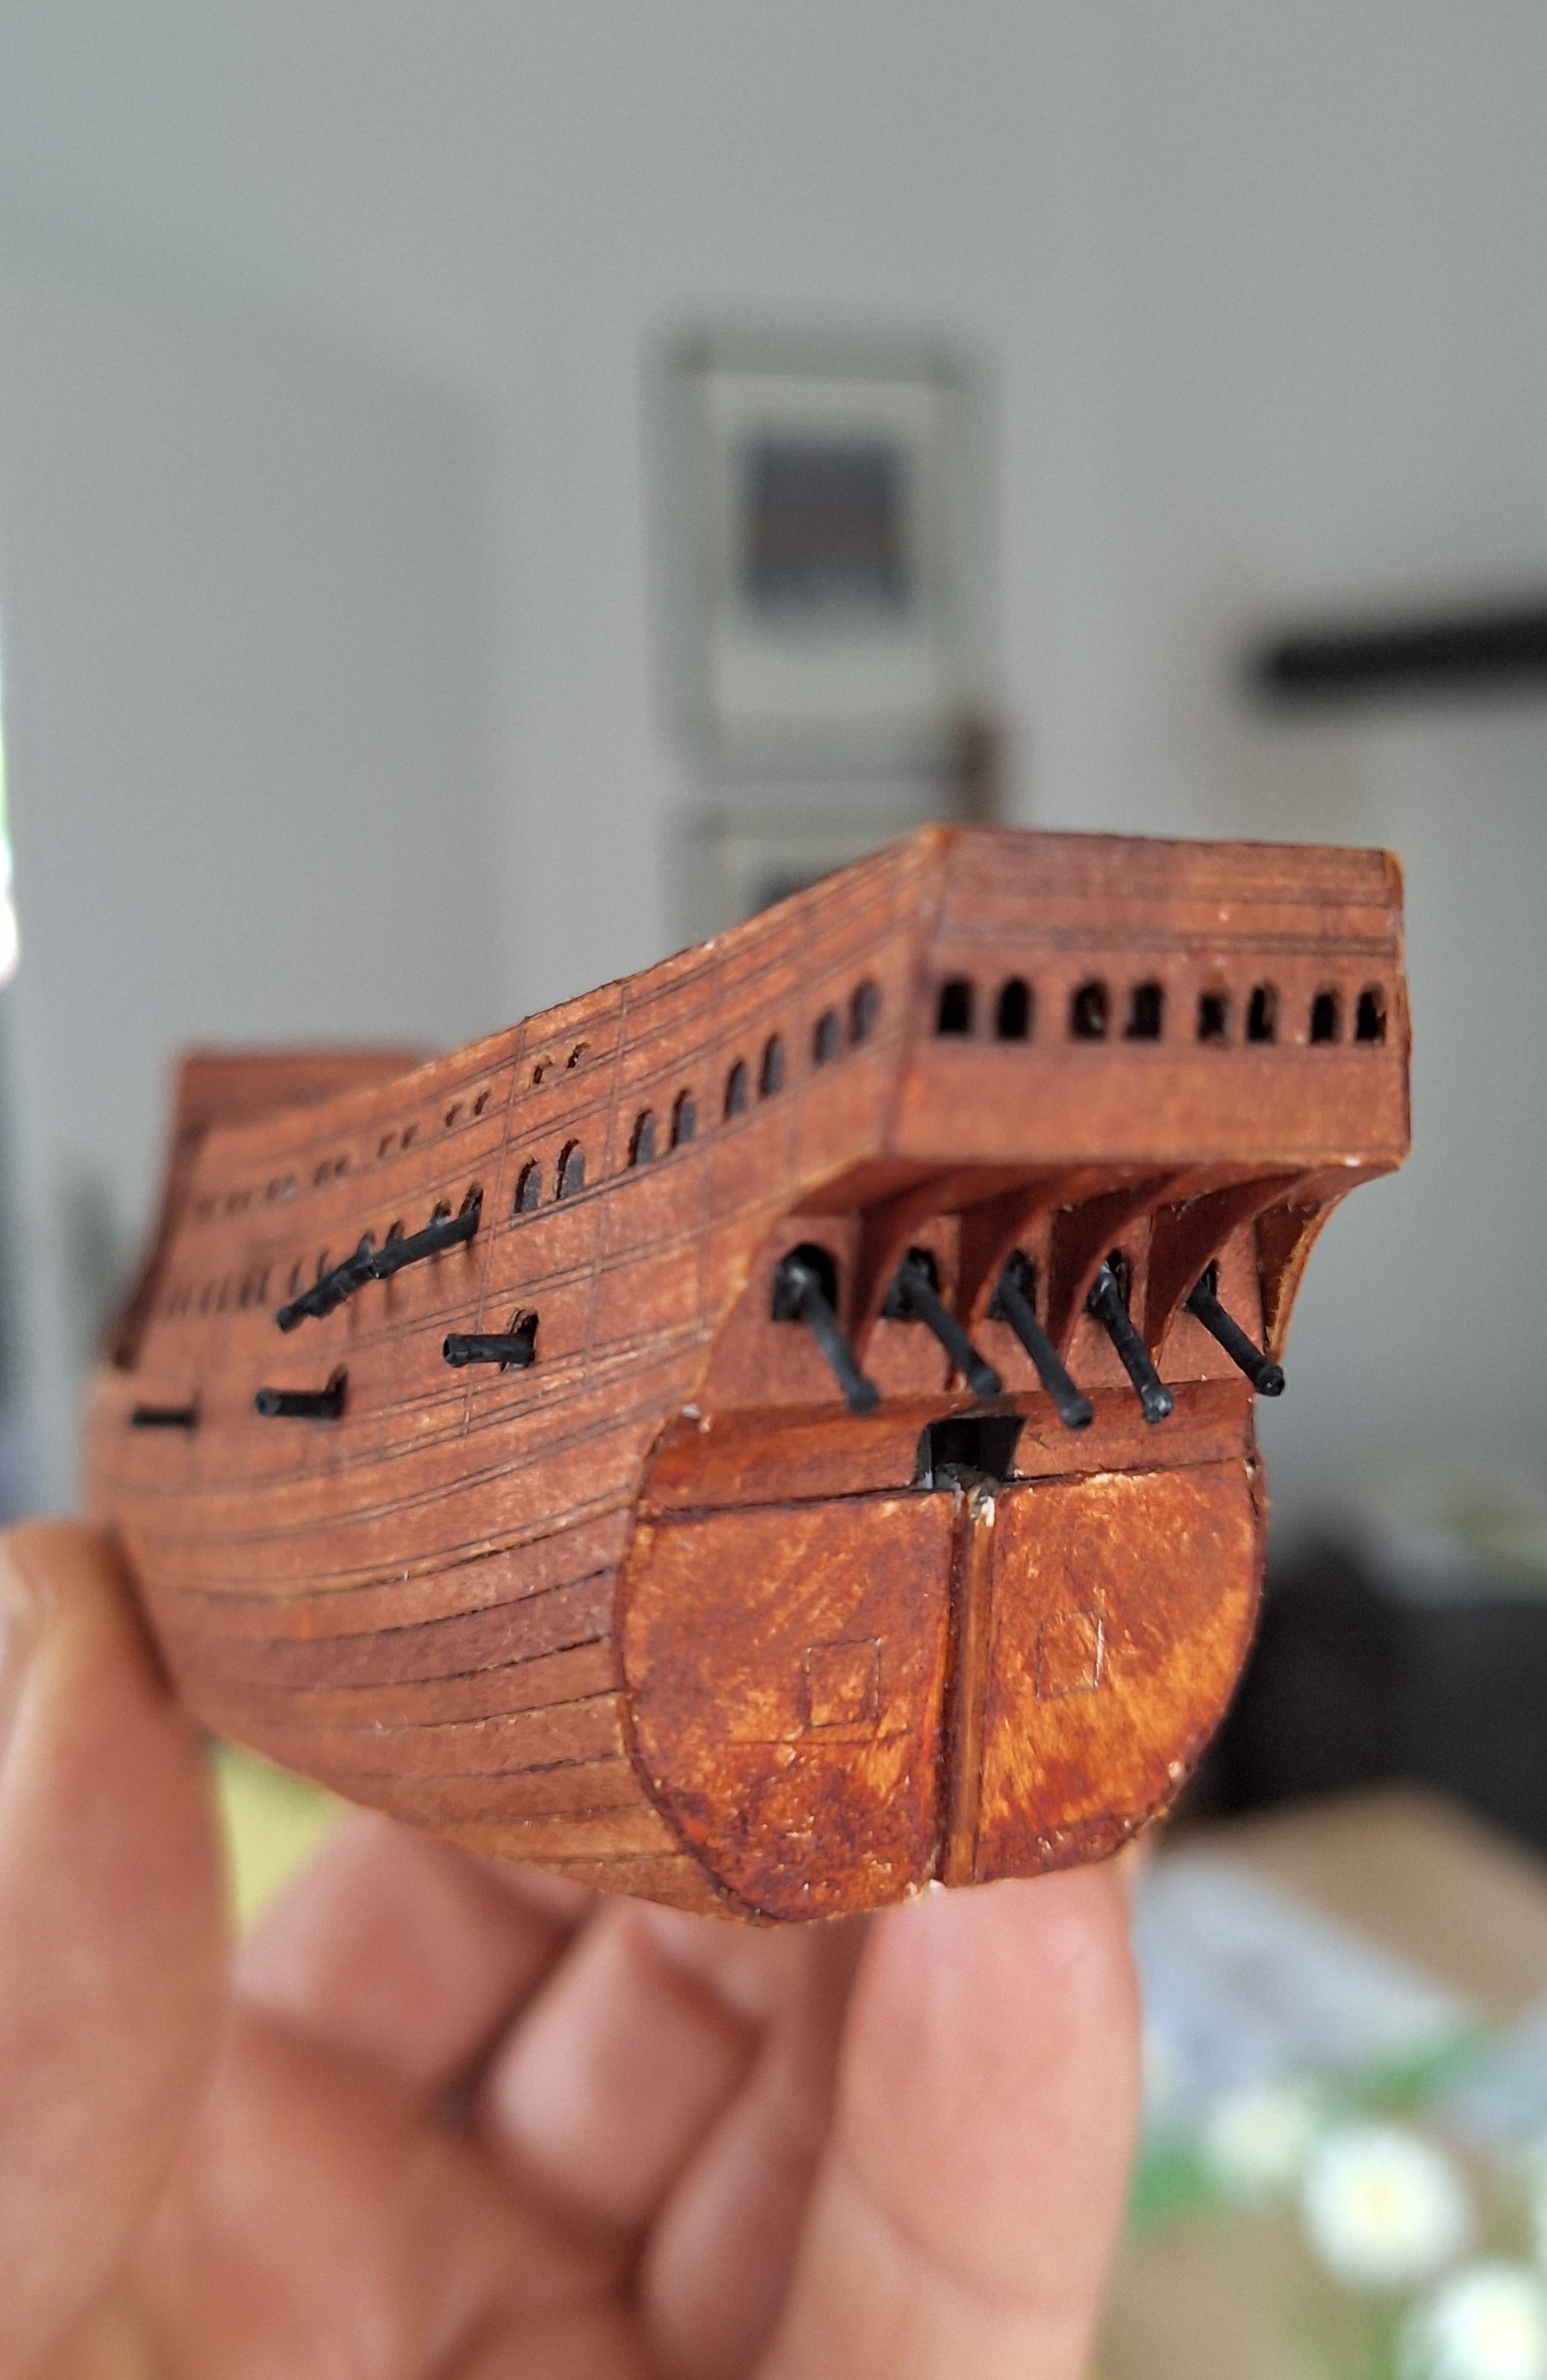
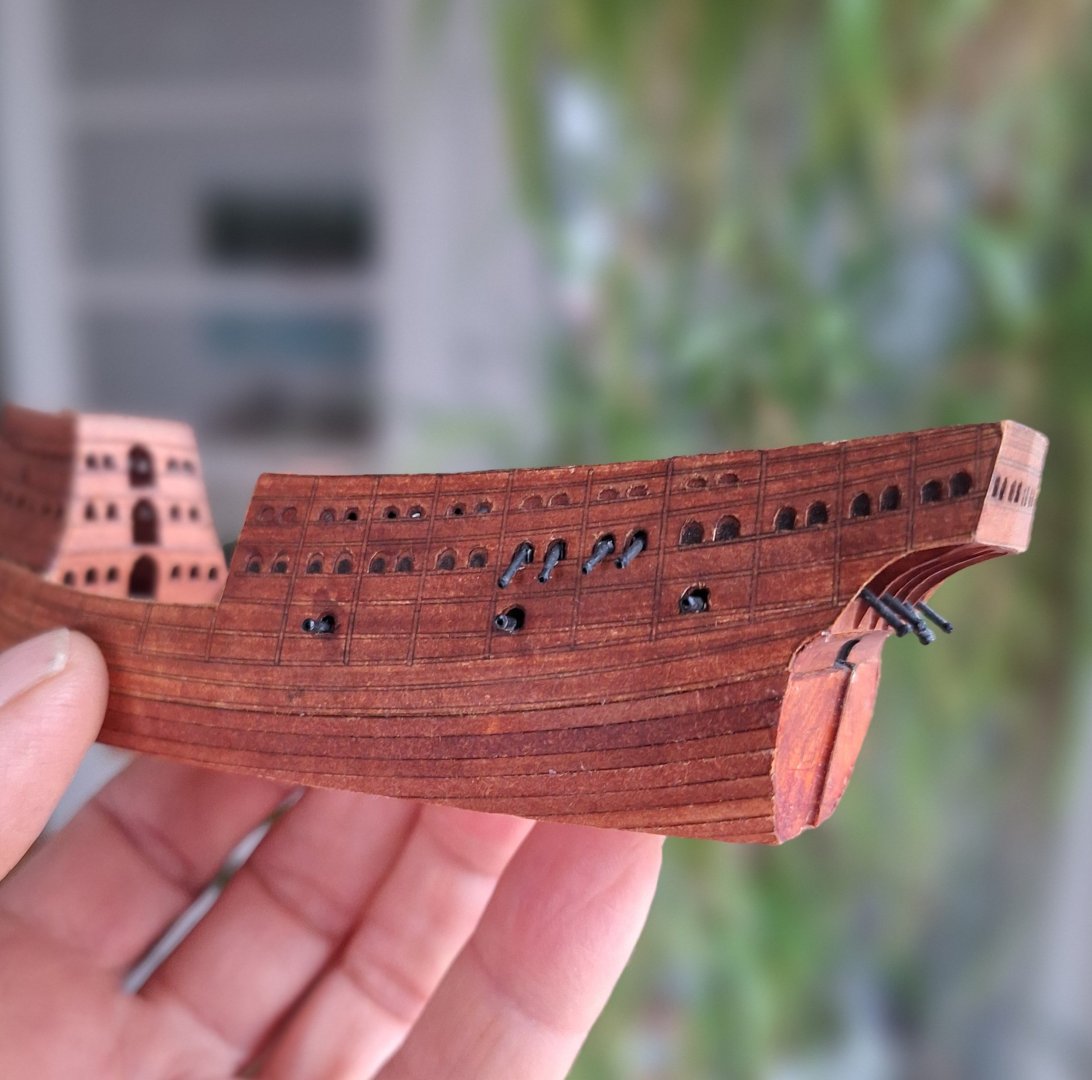
The first 18 guns in the aft fort have been mounted. Five stern guns are still missing.

-
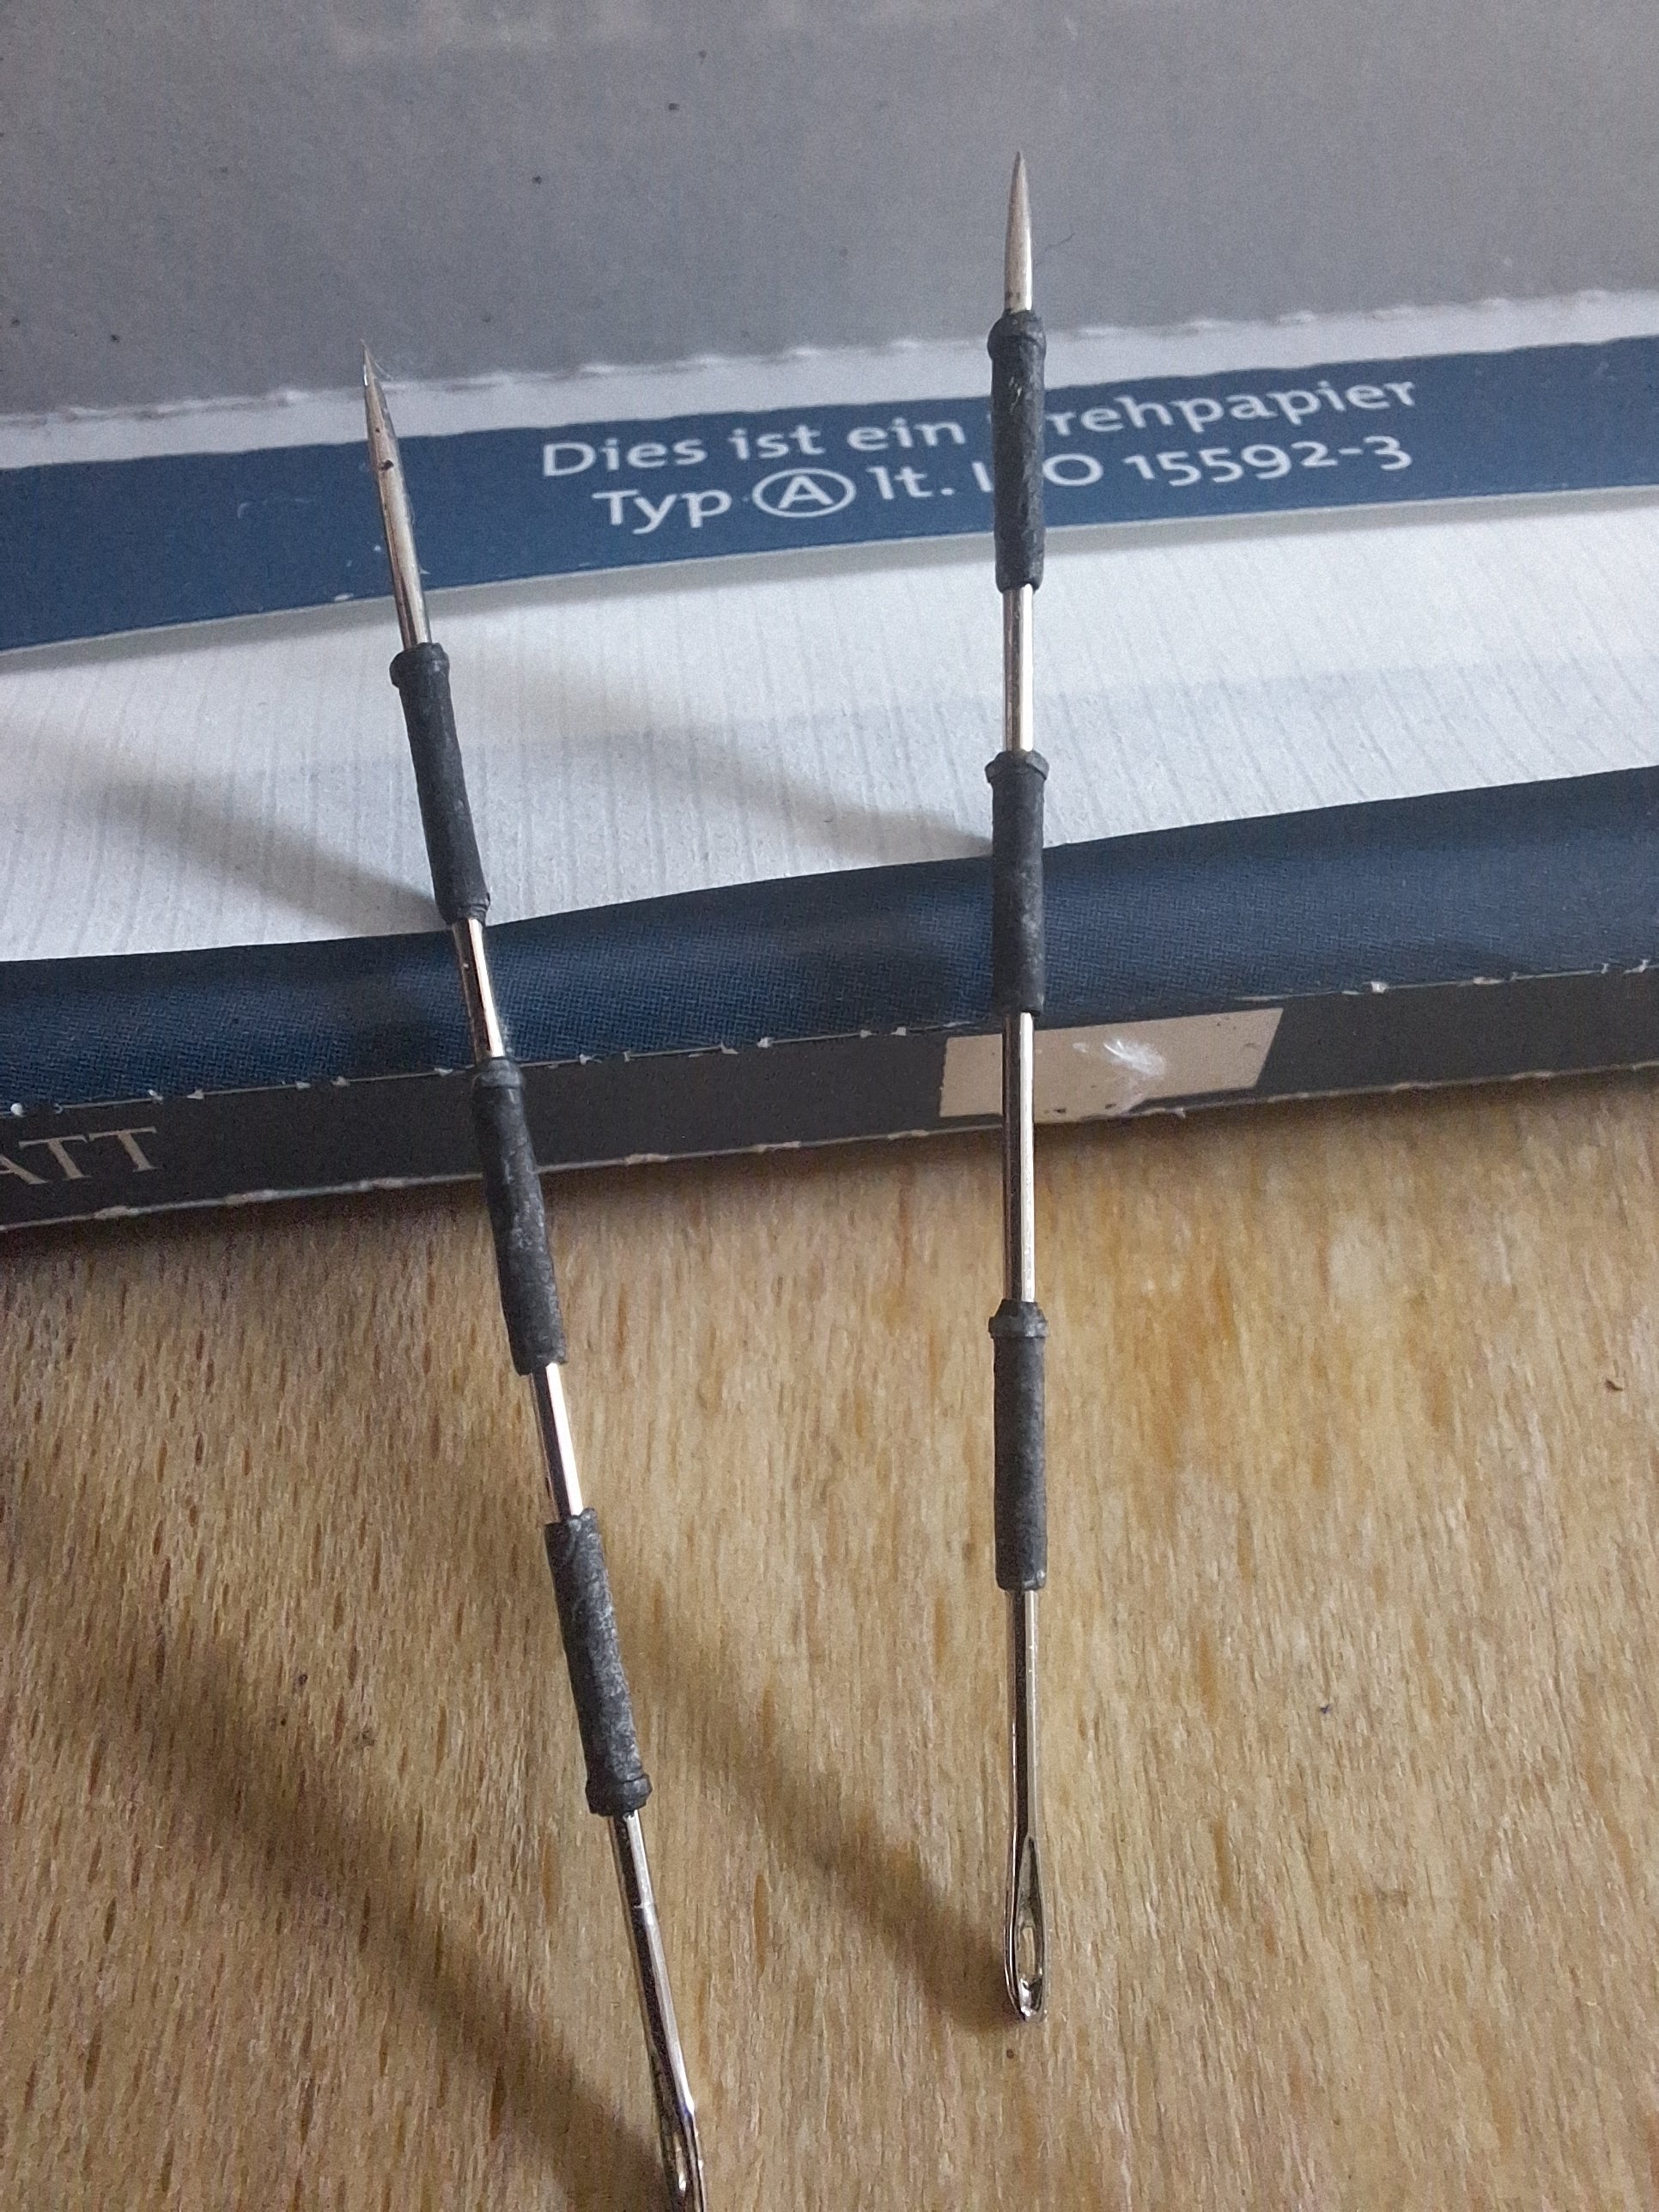
The armorer has started work Forged from cigarette rolling paper.

-
I have the same thing coming up, only 5 times smaller....
-
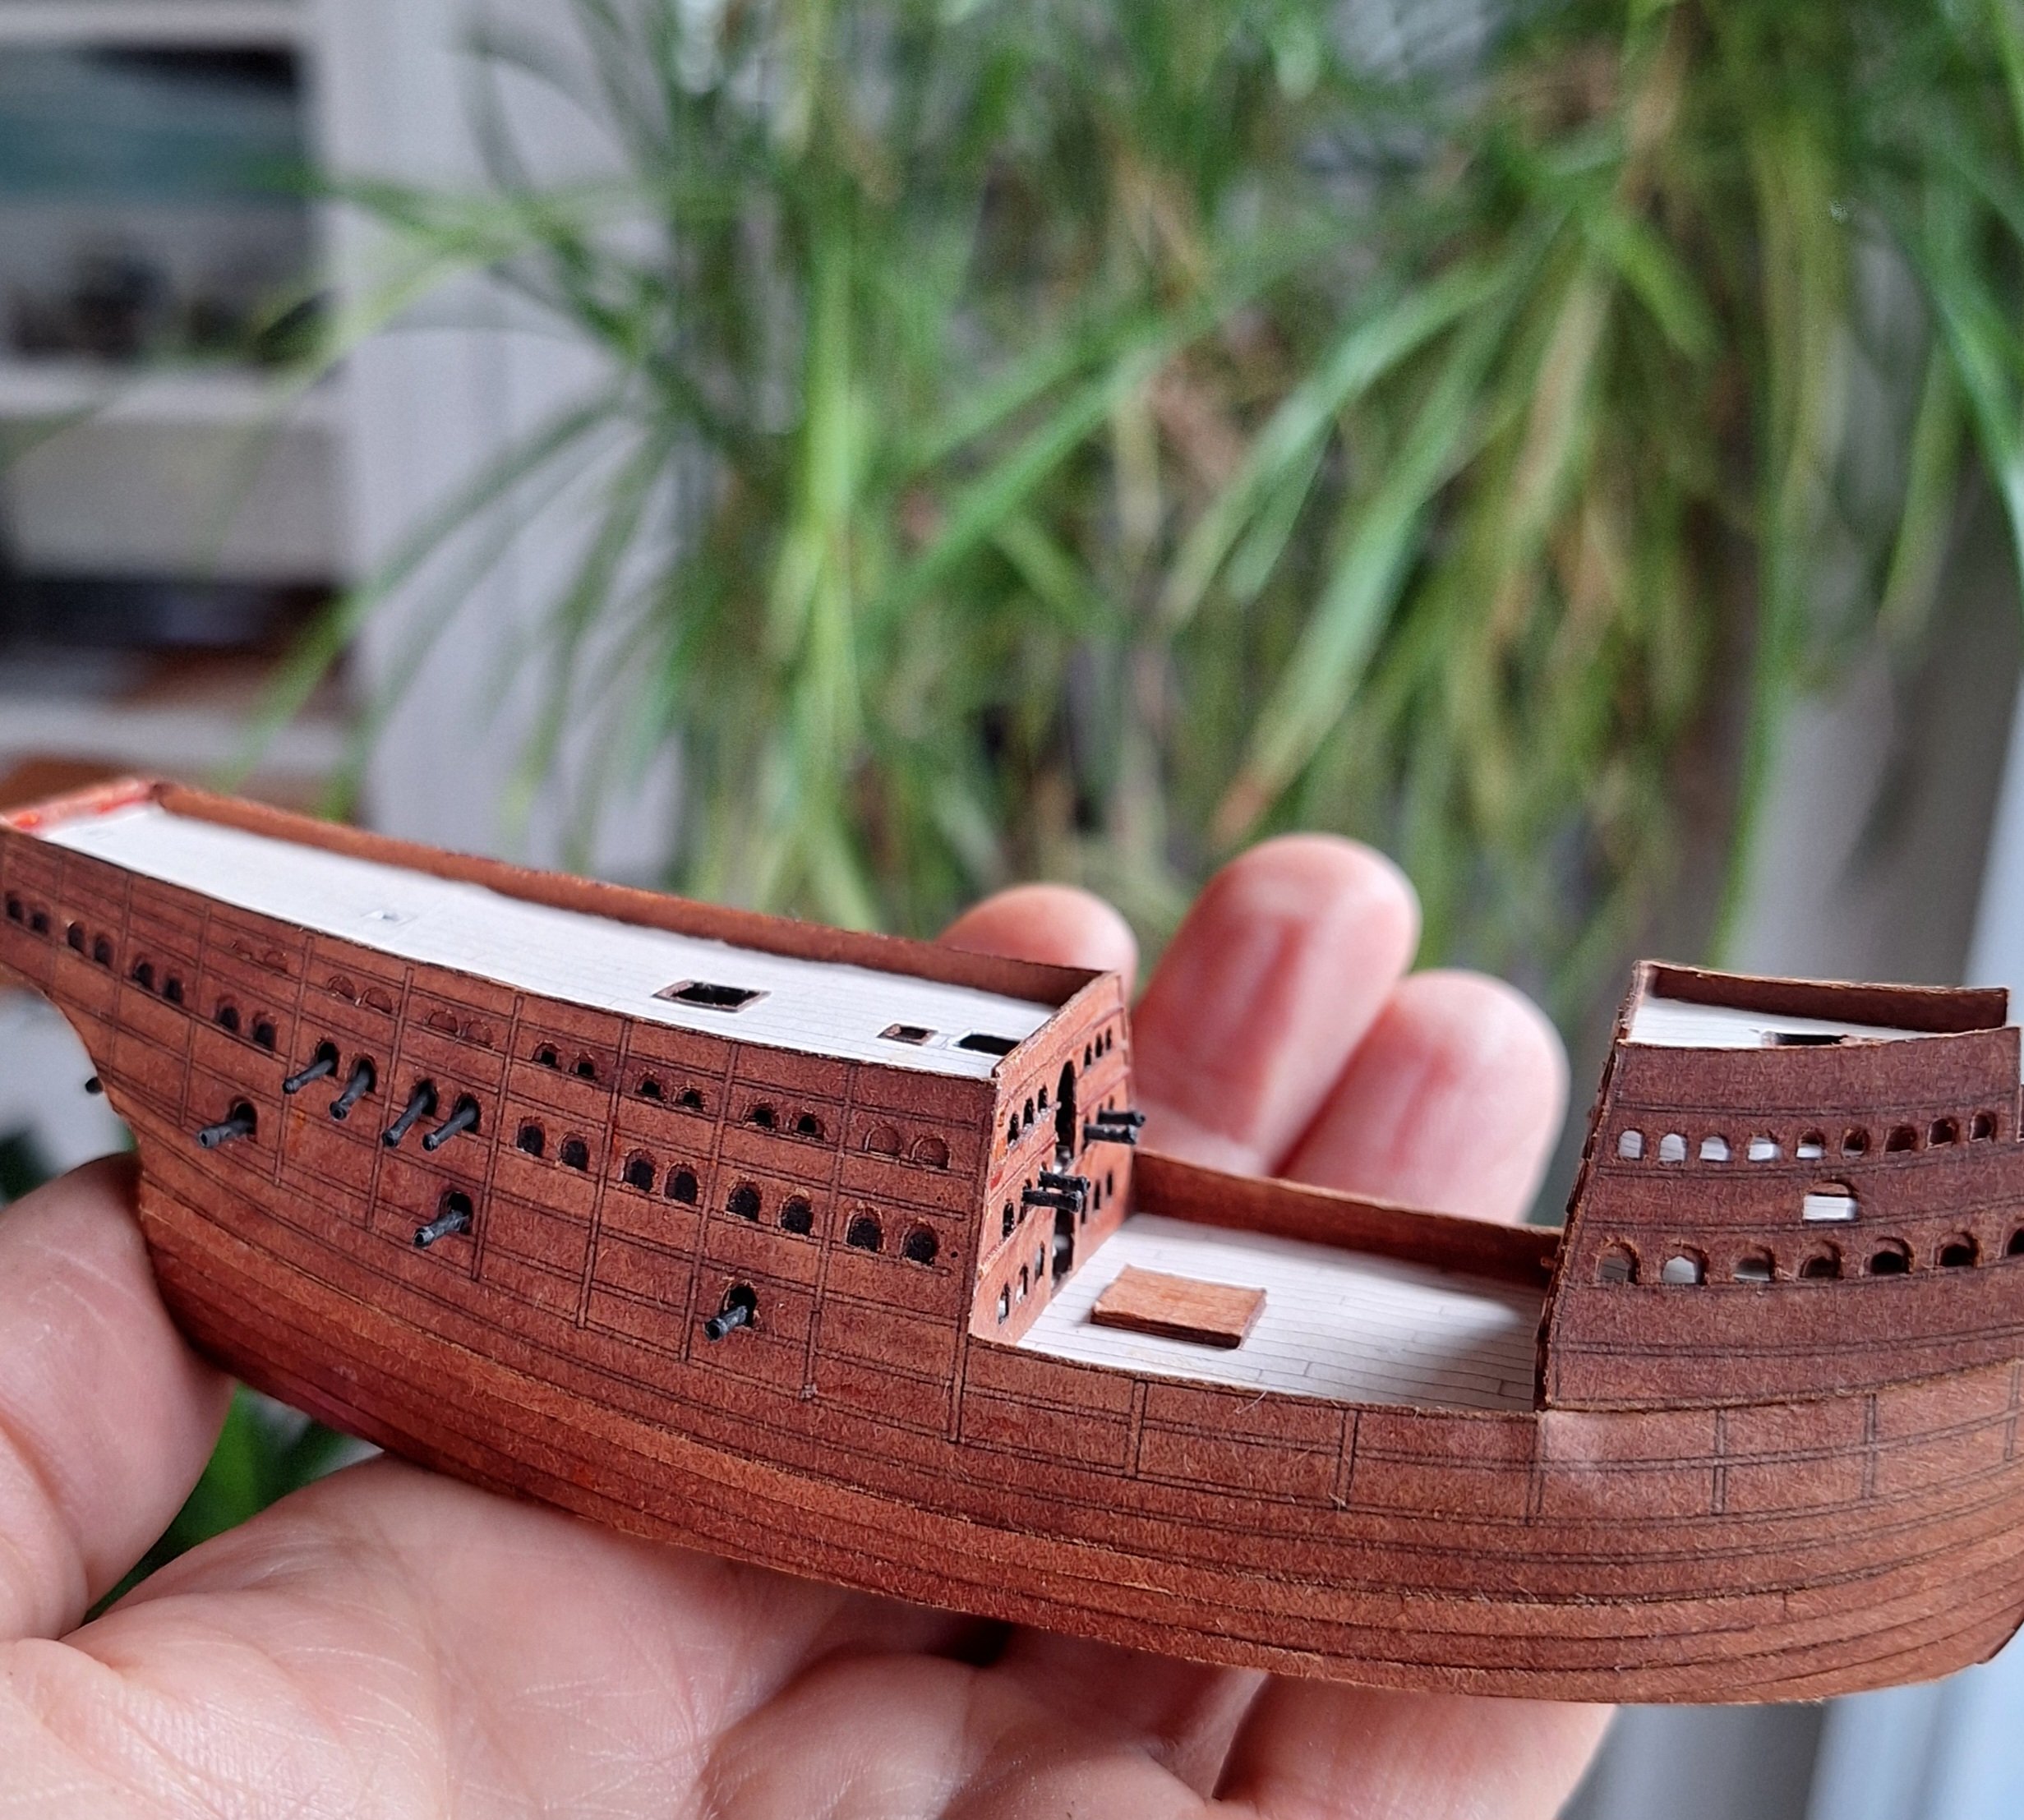
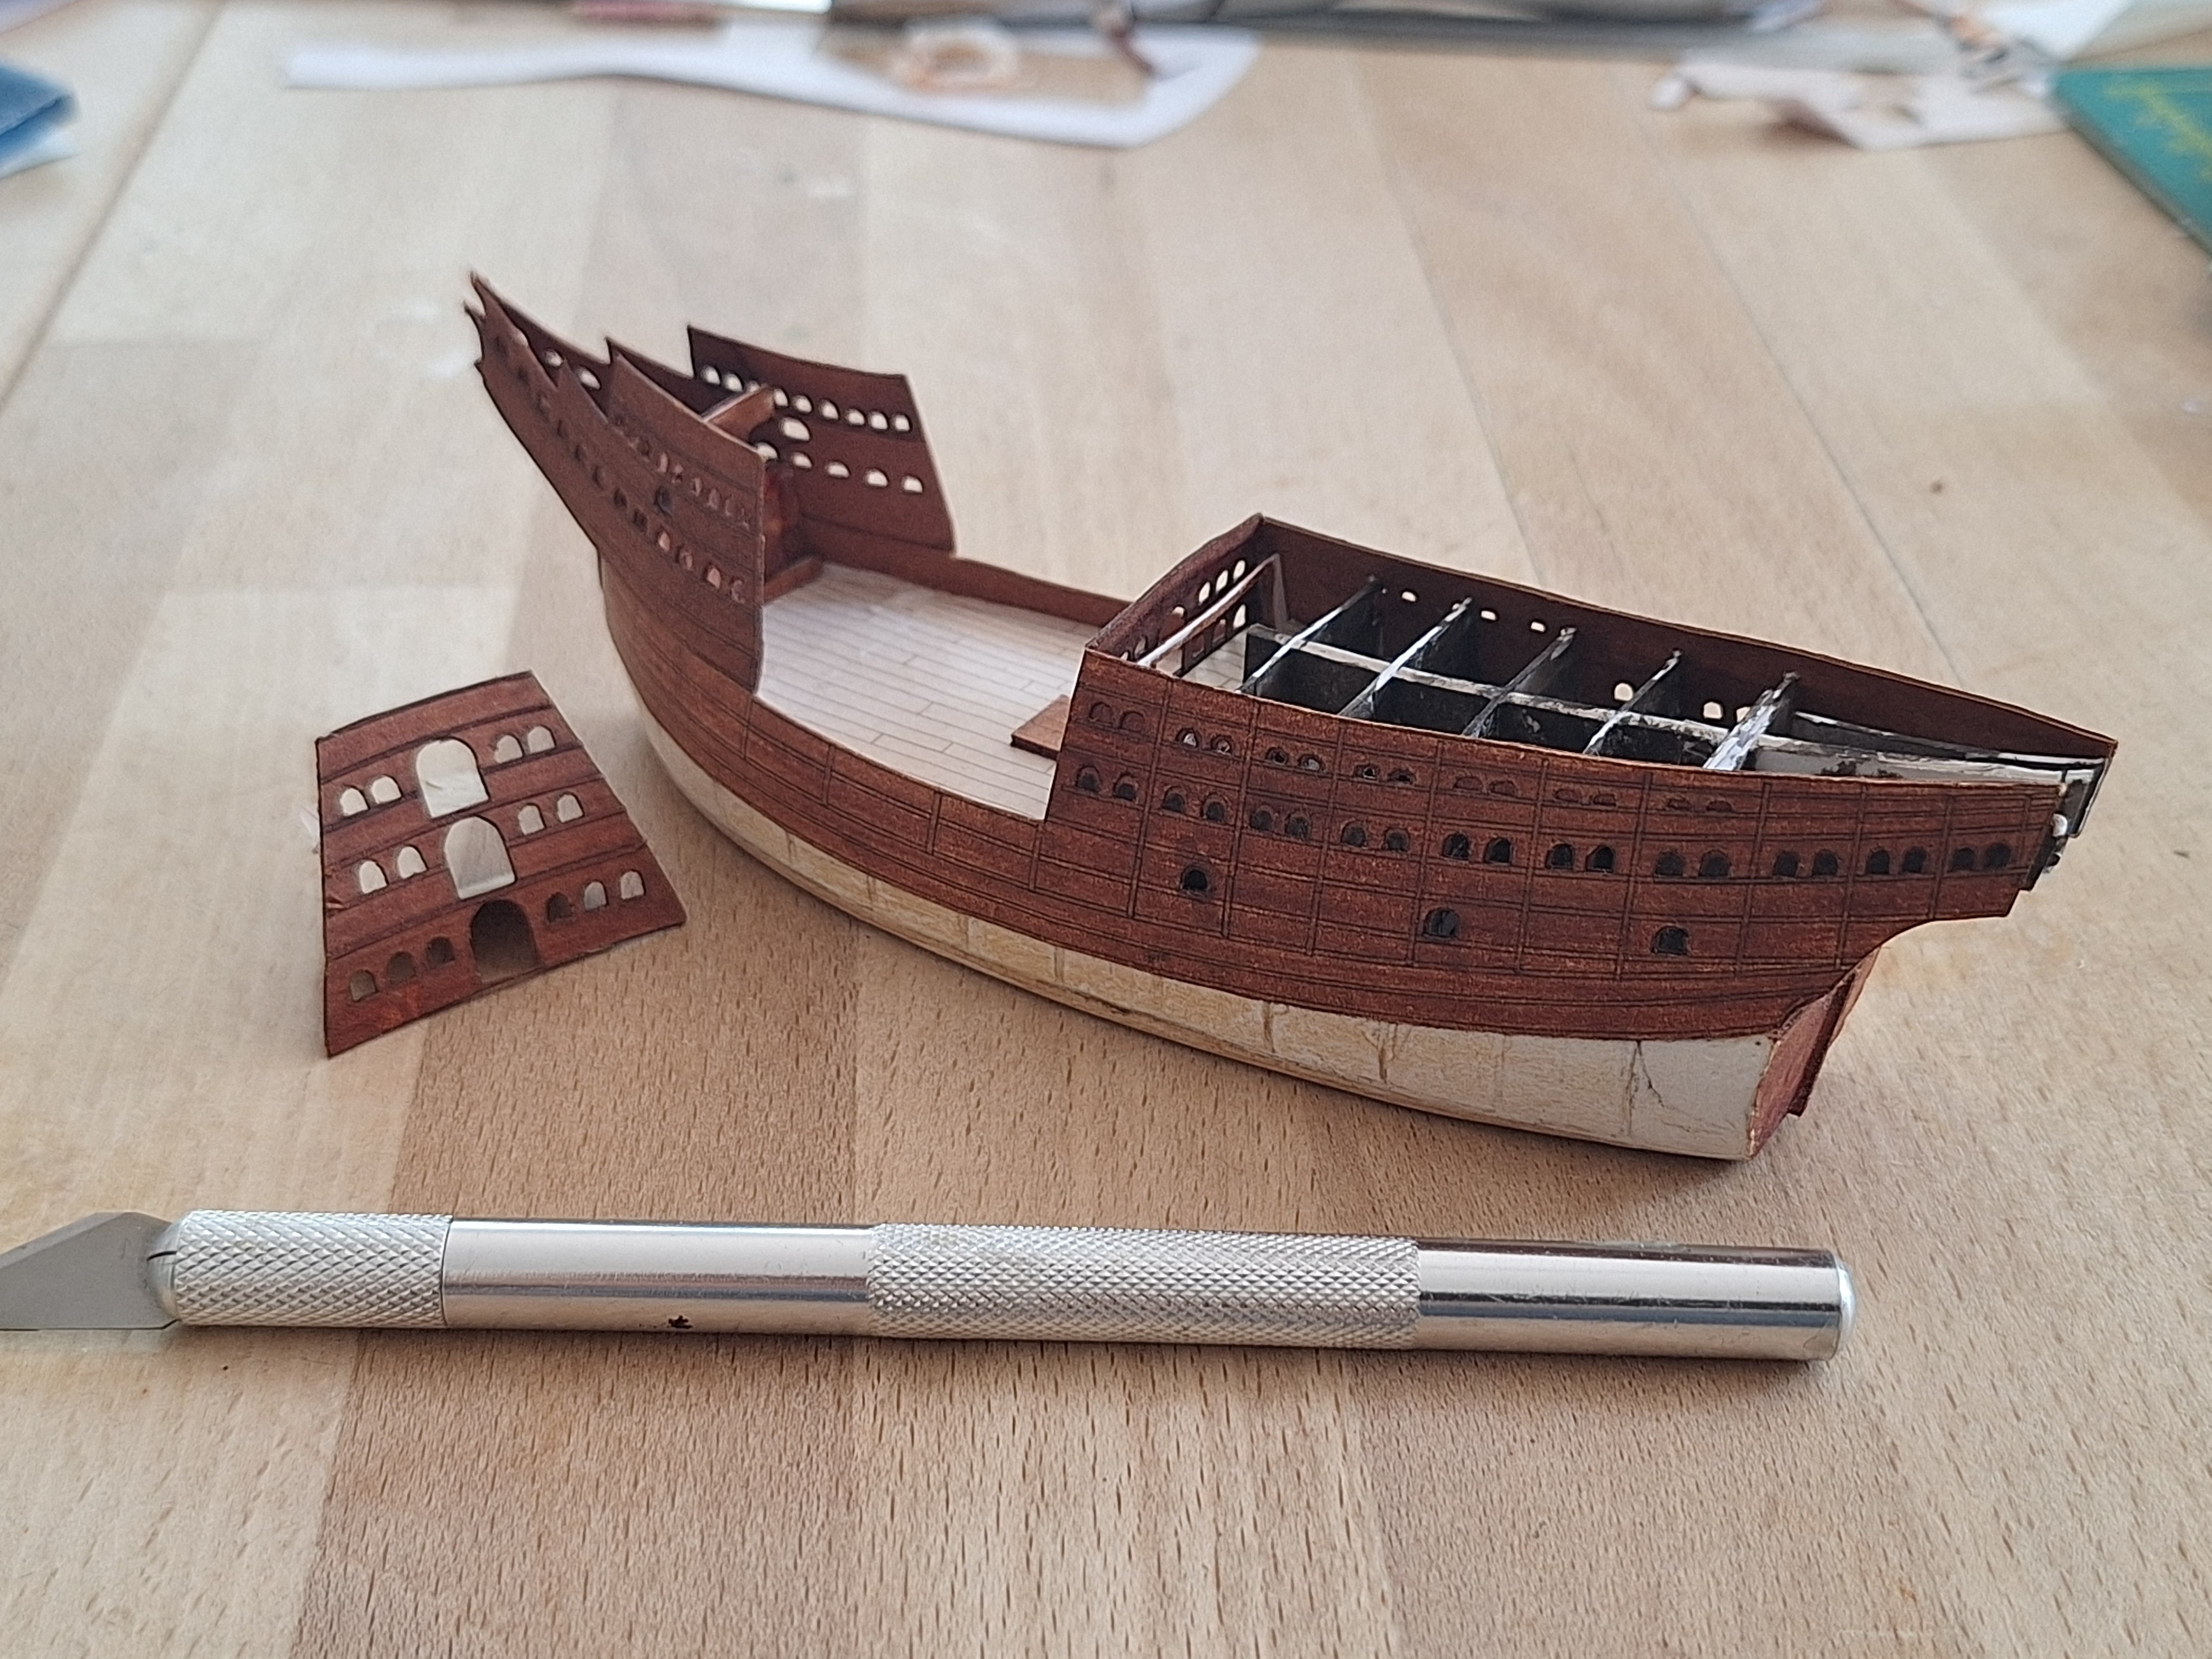
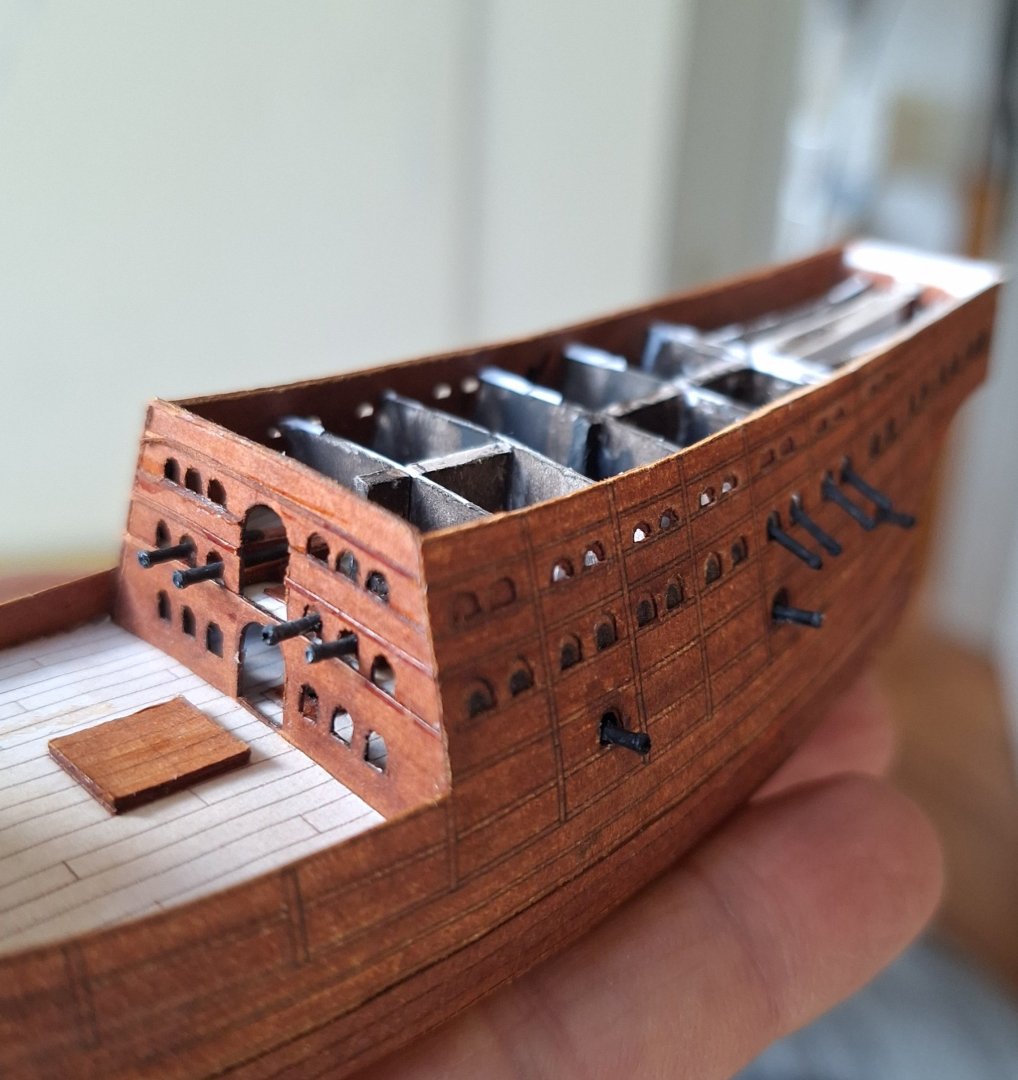
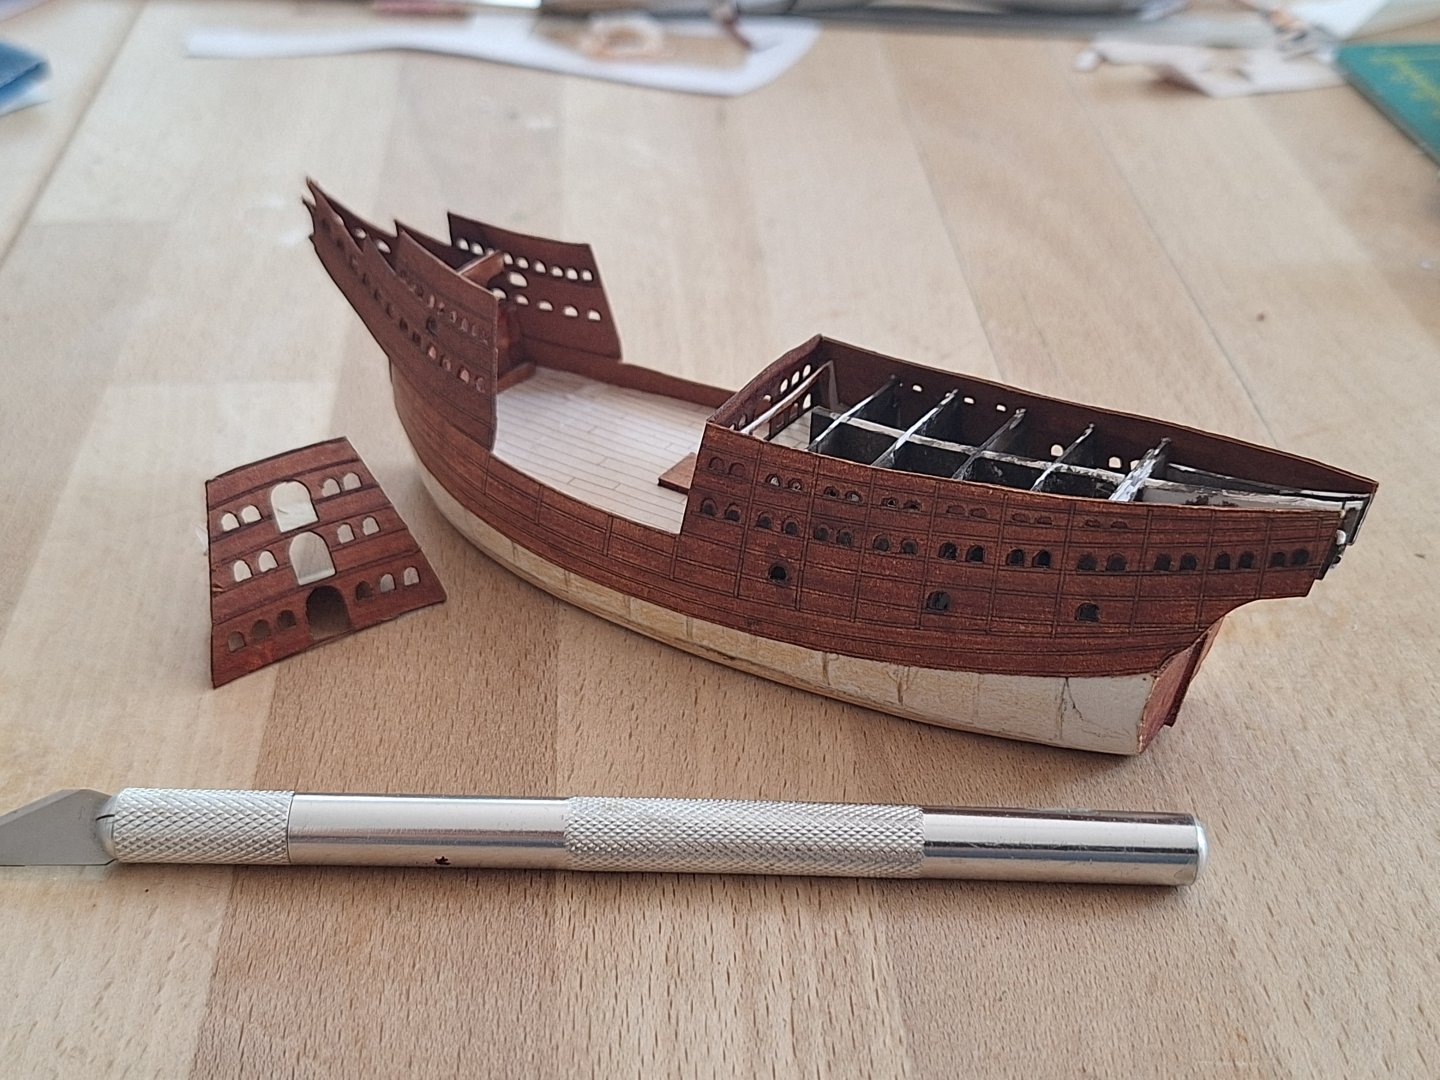
Many small decks need to be installed! You can see inside from many places. Before the upper decks are glued on, I still have to fit the heavier guns. Once the interior work is complete, I'll continue outside...

-
Thank you very much for the likes everyone. @Snug Harbor JohnnyYes, I could. But next I should maybe make a better version of the Brueghel.😂
-
Oh yes, it will indeed be set on a sea. I wasn't thinking of an Icarus, though.
-
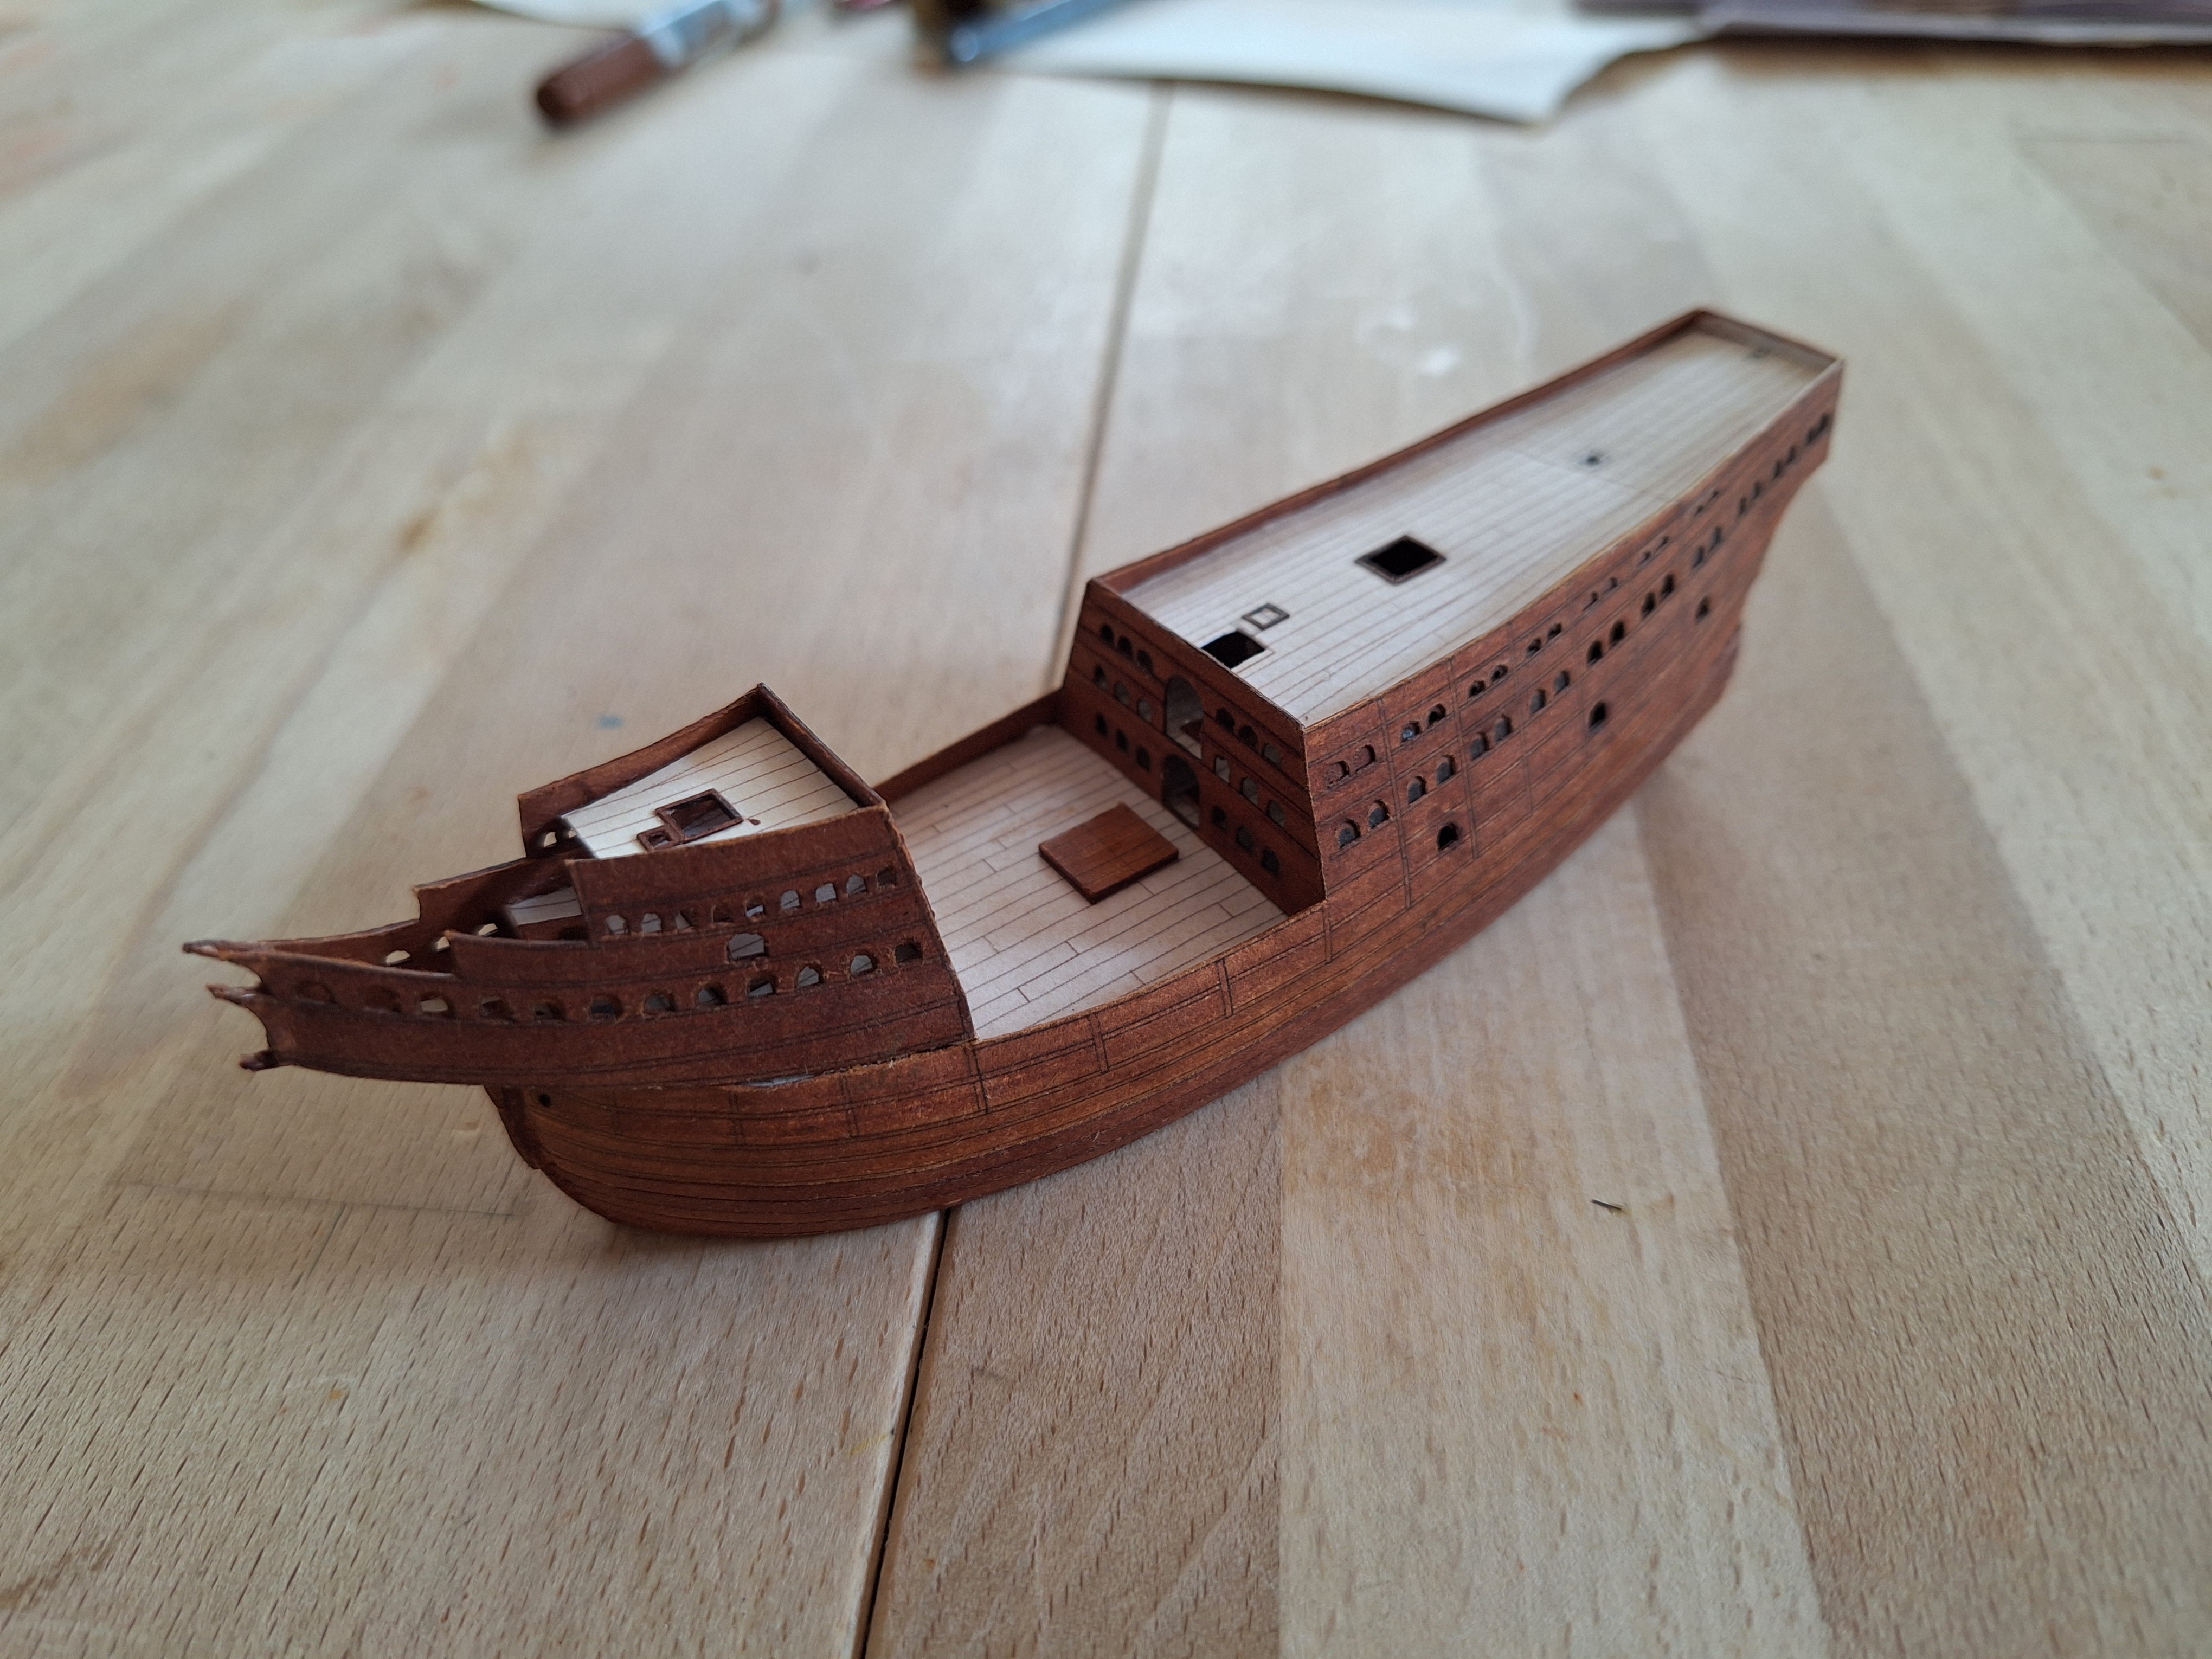
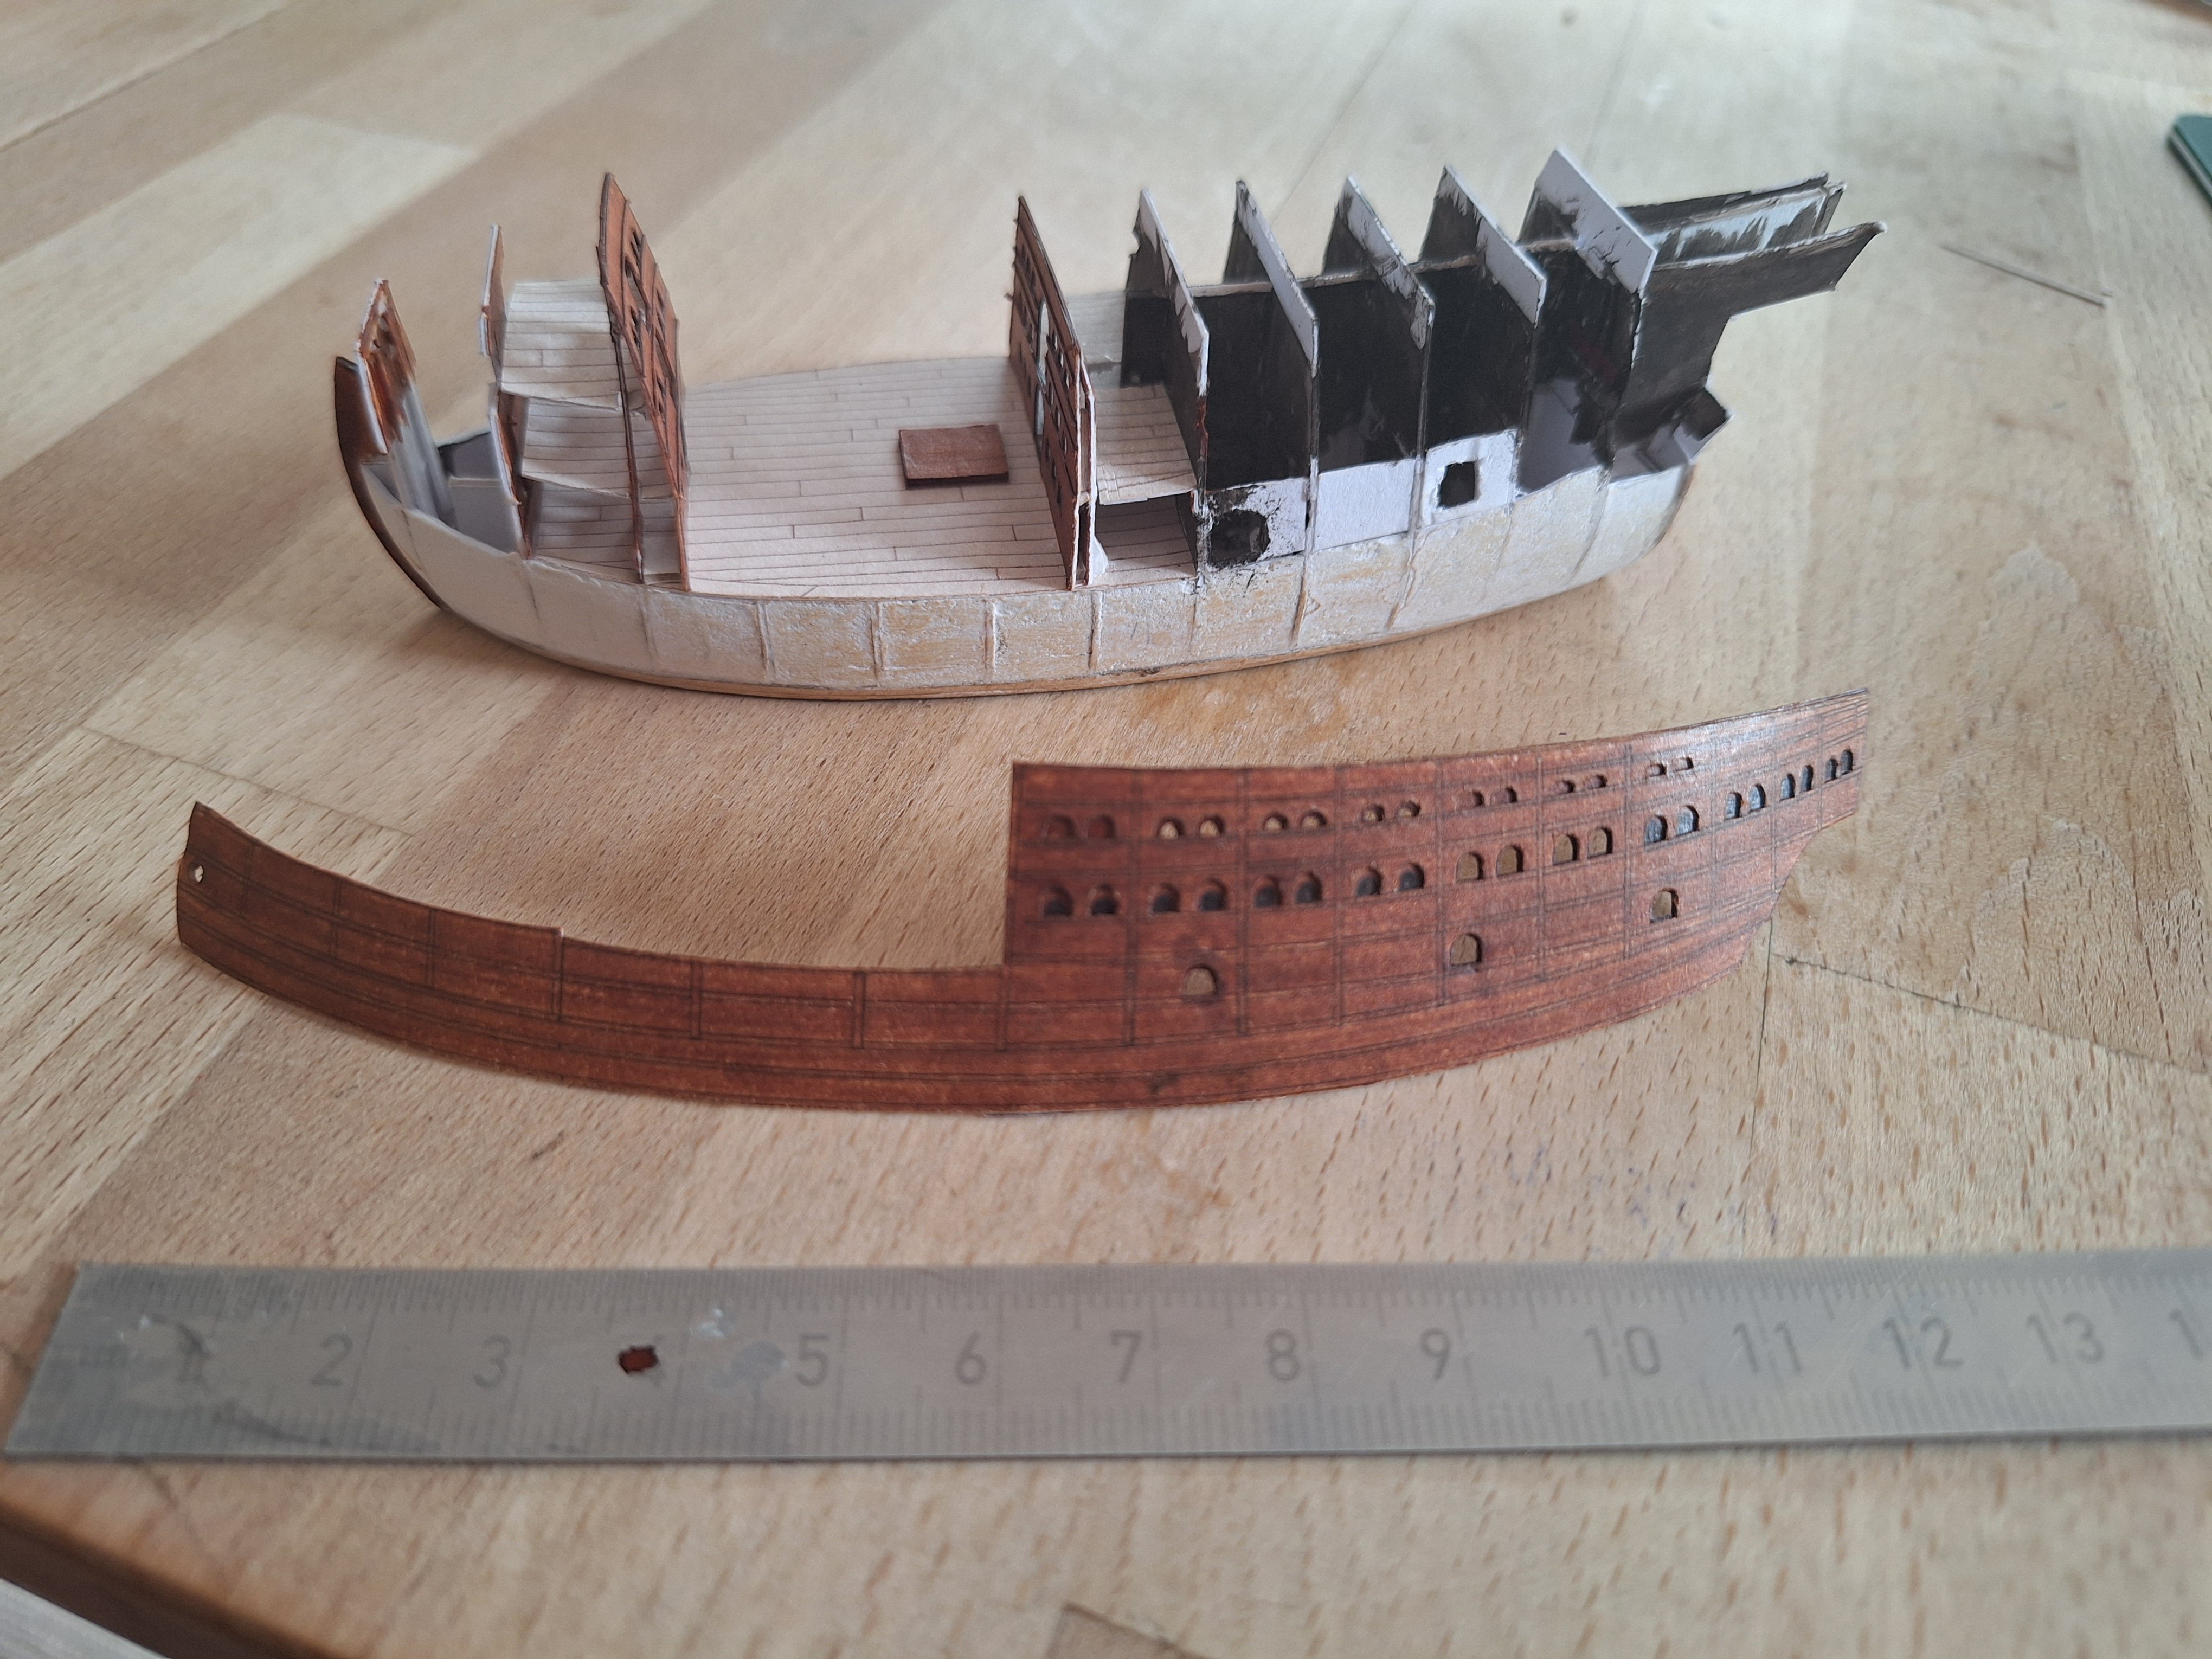
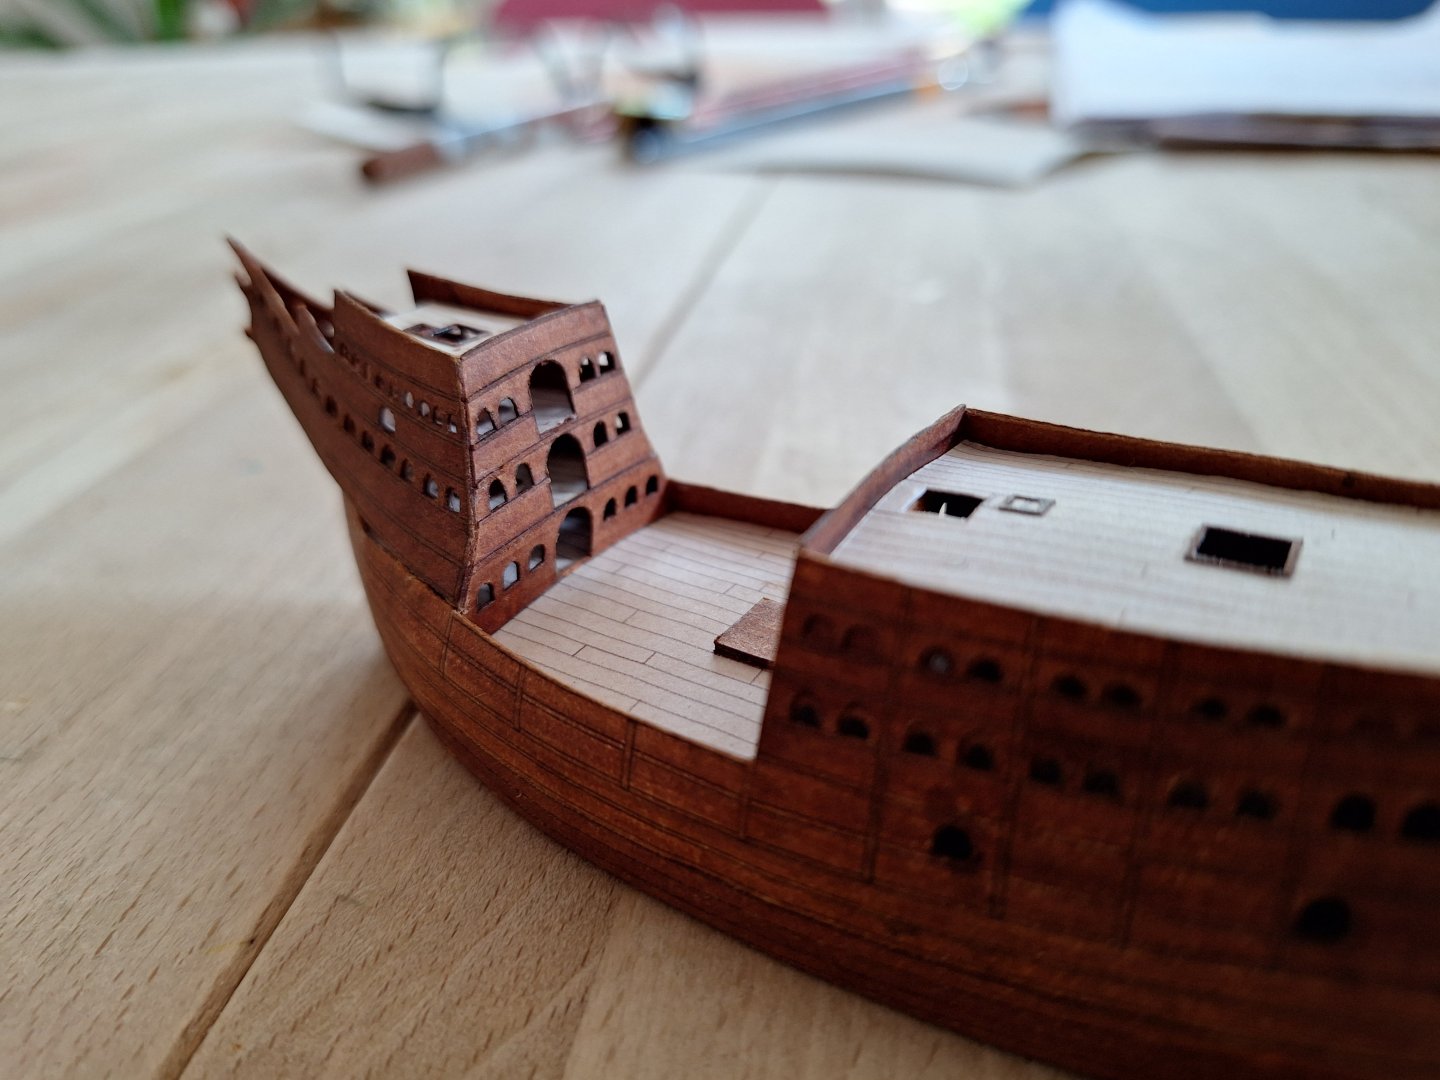
The planking of the hull is complete.
-
The bulwarks are installed, as is the front bulkhead of the aft castle. The bulkhead of the forecastle will have to wait a bit longer, as some of the interior still needs to be added. Still missing are the lower planking on the hull and the uppermost decks of the castles, as well as the whales. It's turning out quite nice and already shows significant differences from the painting, especially in the shape of the lower bow. I'm looking forward to the rigging. Hopefully, I'll be able to capture the character of the sails. (Although the depiction of the mizzen seems illogical to me.) Best regards, Alvb

-
In my analysis of the painting, it has become increasingly clear that while the depiction appears to be perspectively correct, it is not. The optical foreshortening and the vanishing point perspective, as well as the perspective of the bow and the stern, cannot be reconciled.
-
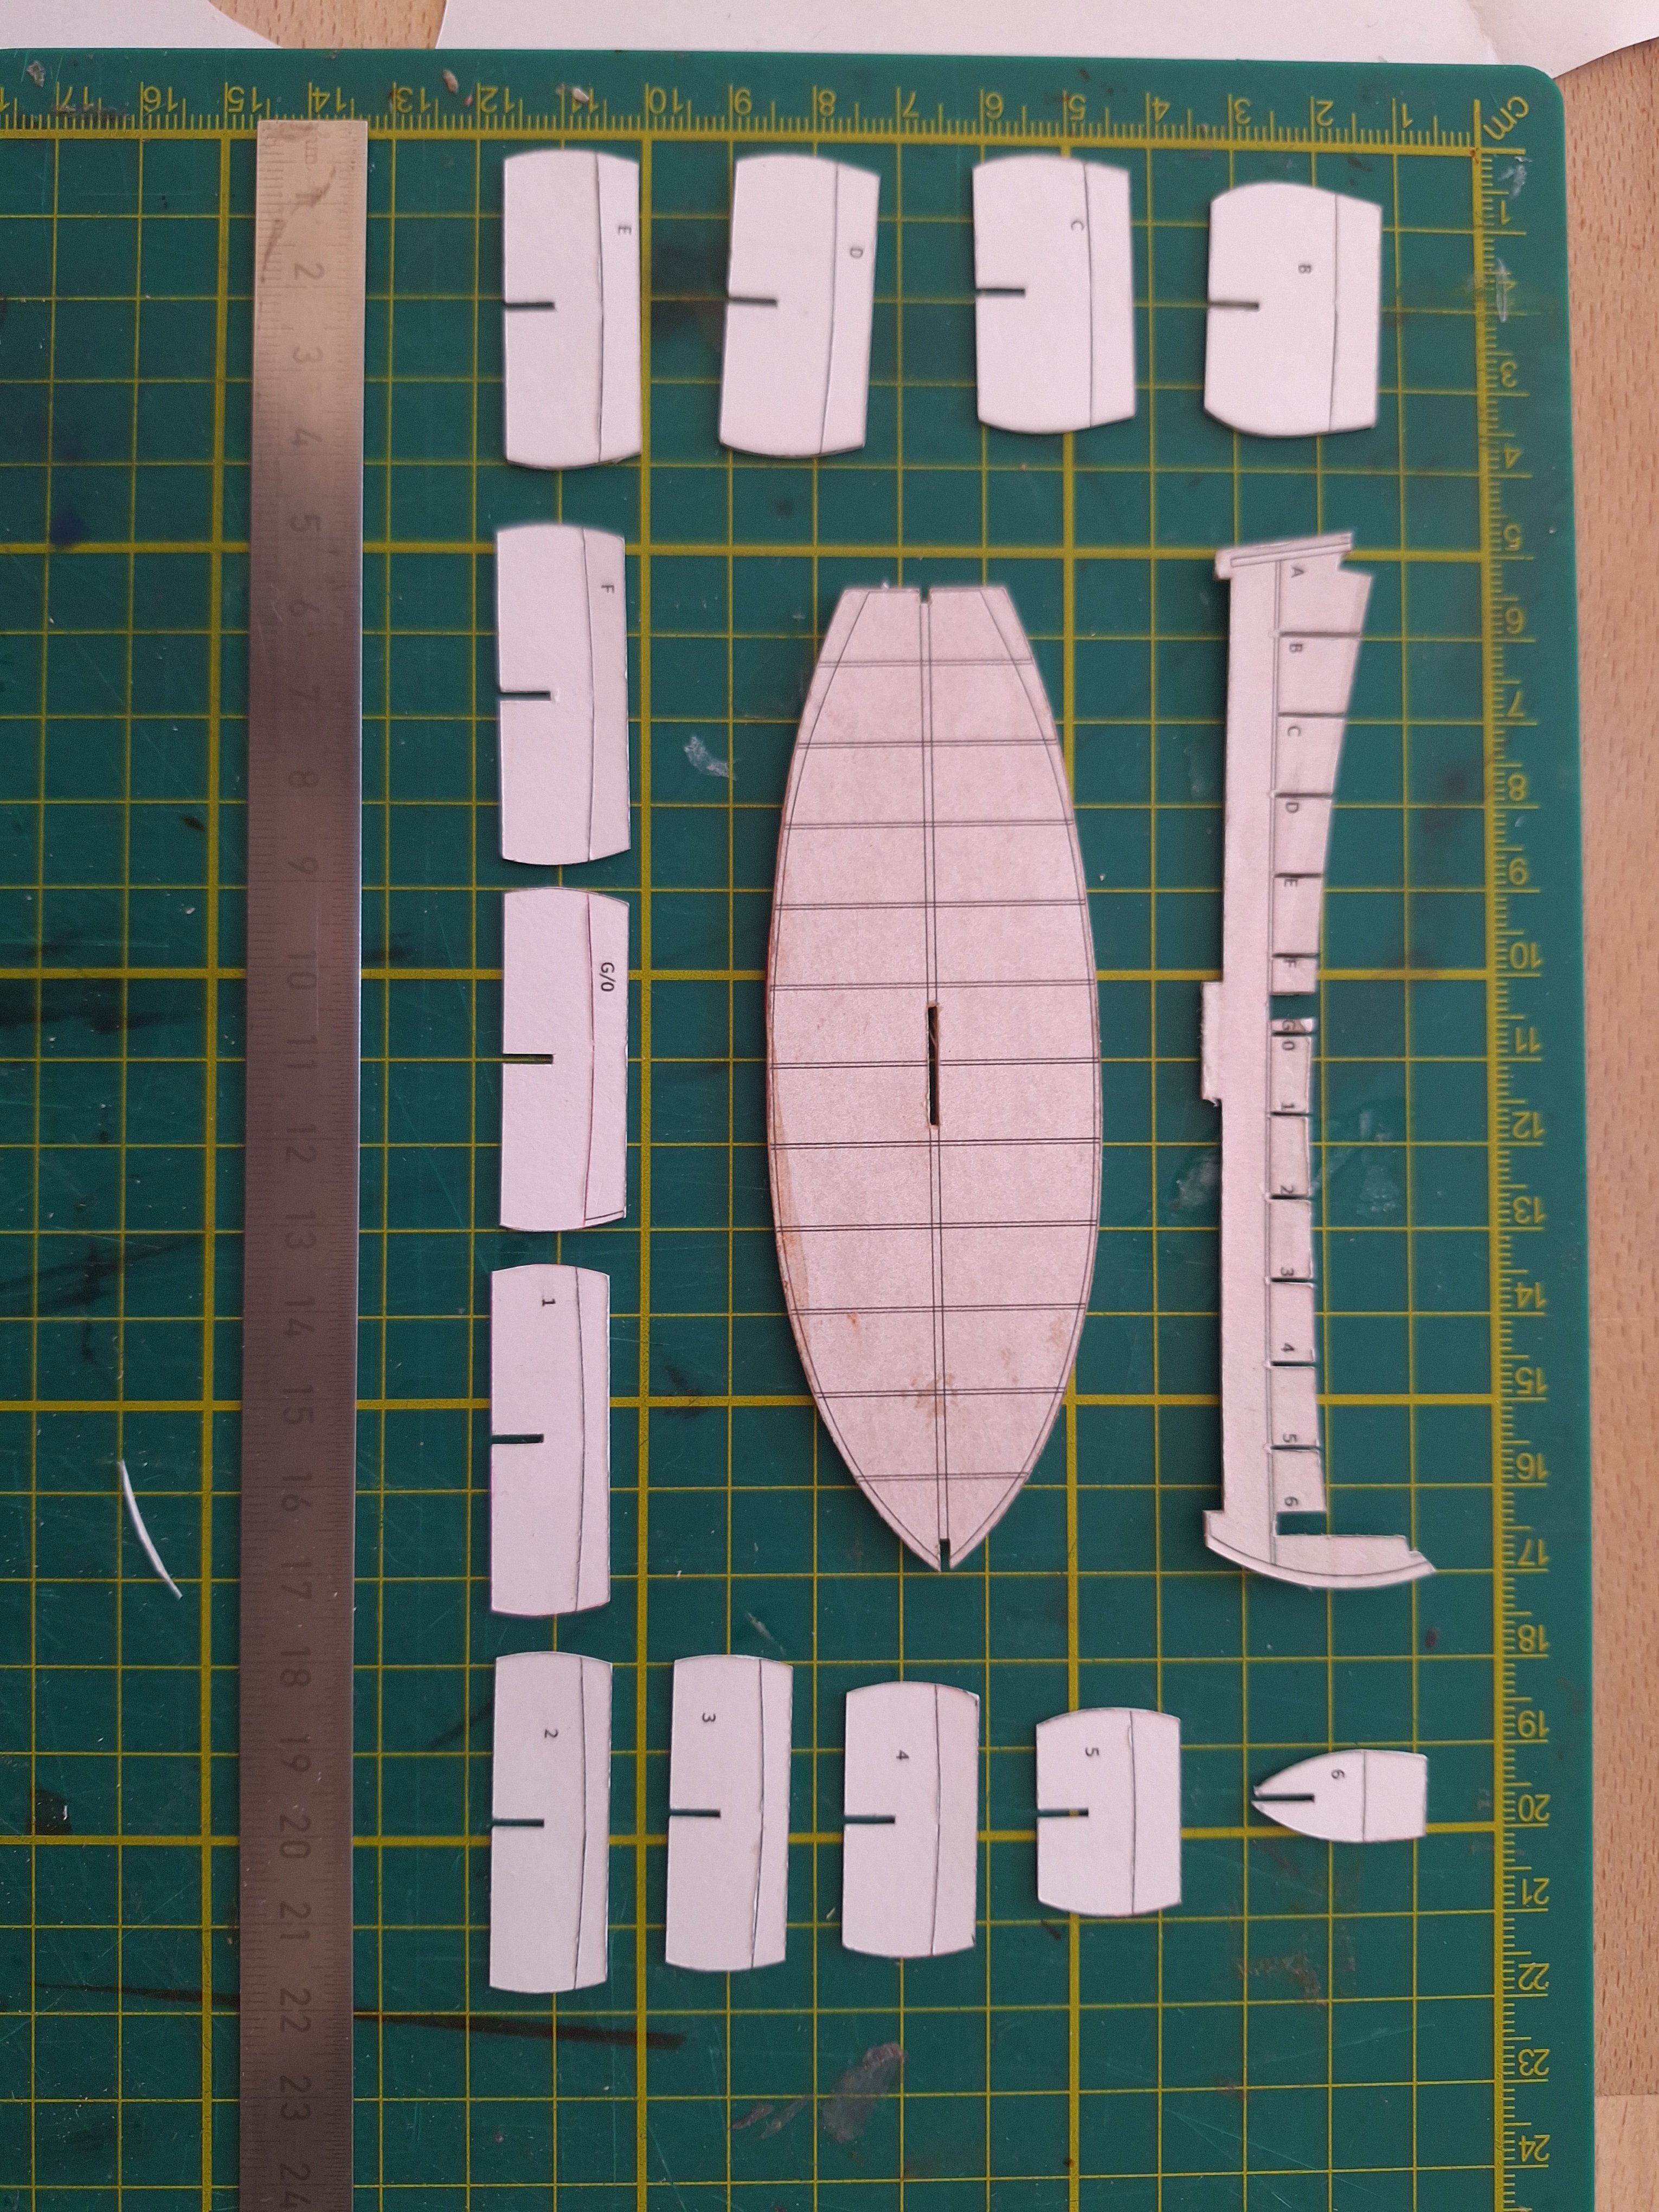
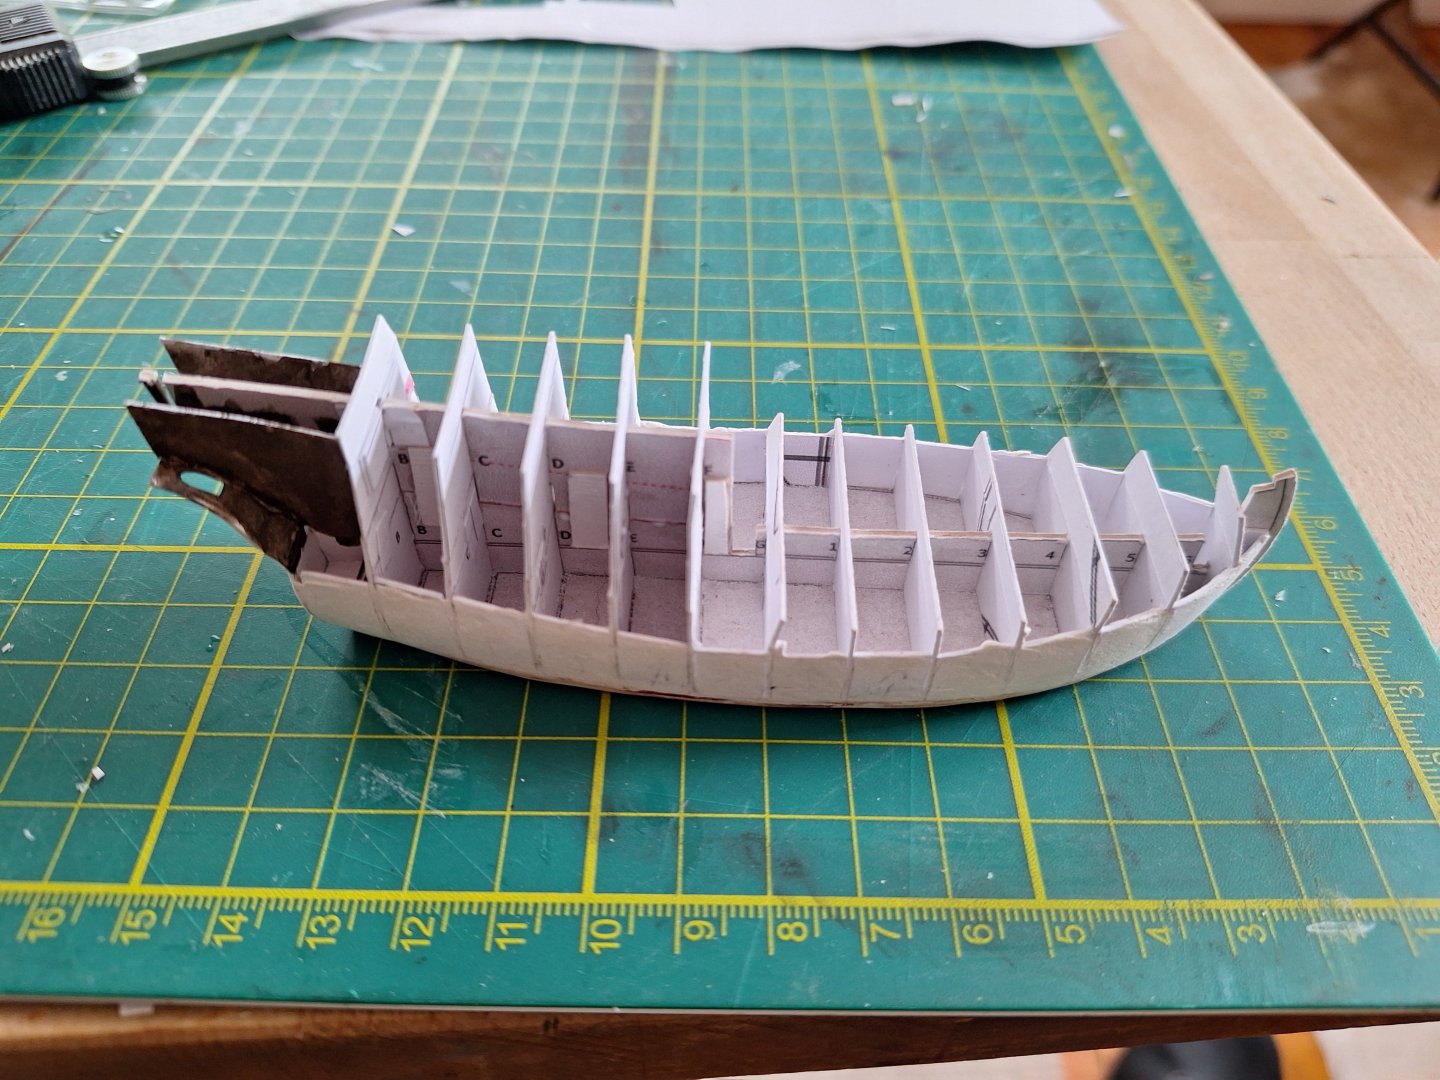
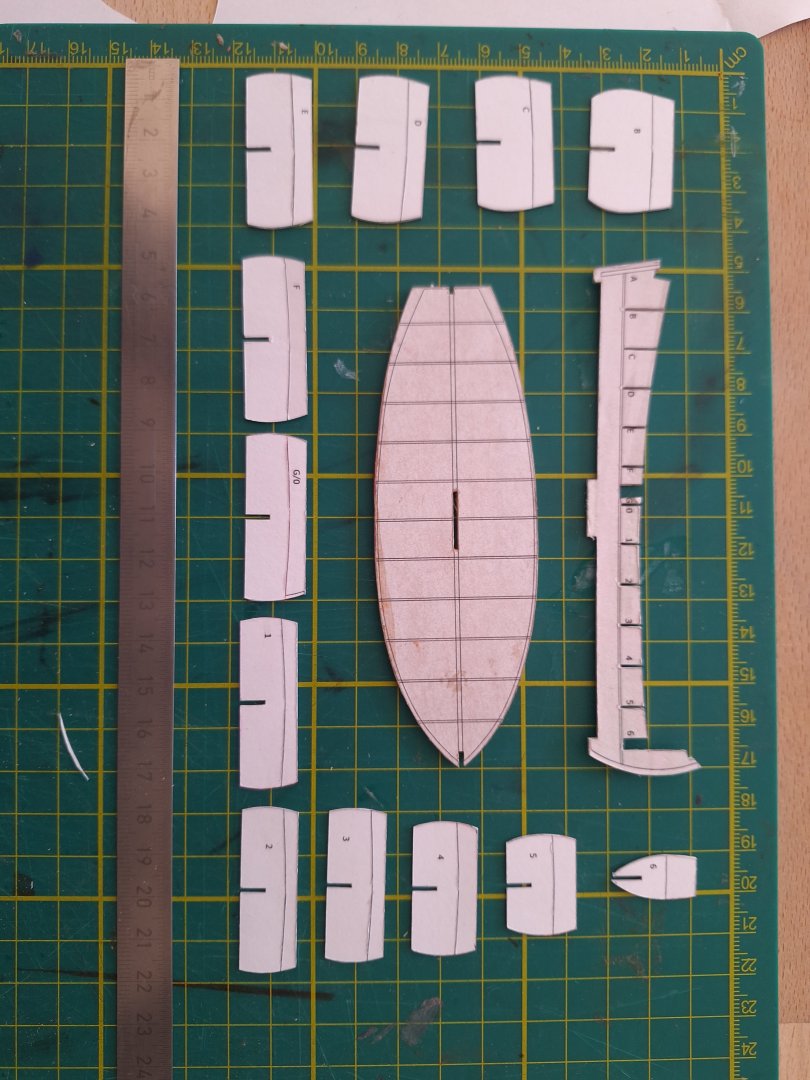
Hello everyone, As already mentioned in the other thread, I've started building a Breughelche carrack. The hull is slowly taking shape. (I'm afraid it doesn't have much in common with the original anymore... never mind.) Greetings Alvb

-
However, the Anthony drawing shows a completely different design for the bulkhead. Arches or arcades instead of diagonal stripes. What is the reason for your design?
-
Roter Löwe 1597 by Ondras71
Alvb replied to Ondras71's topic in - Build logs for subjects built 1501 - 1750
Duyfken a tall ship??? -
yes, if the text was also available in German...
-
Iberian (Basque) Atlantic Whaler ca. 1550 — as, dos, tres…
Alvb replied to Waldemar's topic in Nautical/Naval History
Ok, you explain your passage, which I don't quite understand, with this very passage. Not very helpful, don't you think? -
Iberian (Basque) Atlantic Whaler ca. 1550 — as, dos, tres…
Alvb replied to Waldemar's topic in Nautical/Naval History
Am I misunderstanding something? As, dos, tres doesn't sound like a long ship to me. -
I agree with that. A narrow, steep ladder far forward would be conceivable. In a very confined space with a narrow staircase, boarding parties would have difficulty storming the fort. One after the other they could be repelled from above. Thus, the narrowness would be strategically advantageous.
-
Off topic: lupus est homo homini, non homo, quom qualis sit non novit
-
Just as well, the "painter" could have been standing on tiptoe (his towering right shoulder, his whole posture looked like that to me) and the guy on the ladder could have climbed up something. It all remains speculative.
-
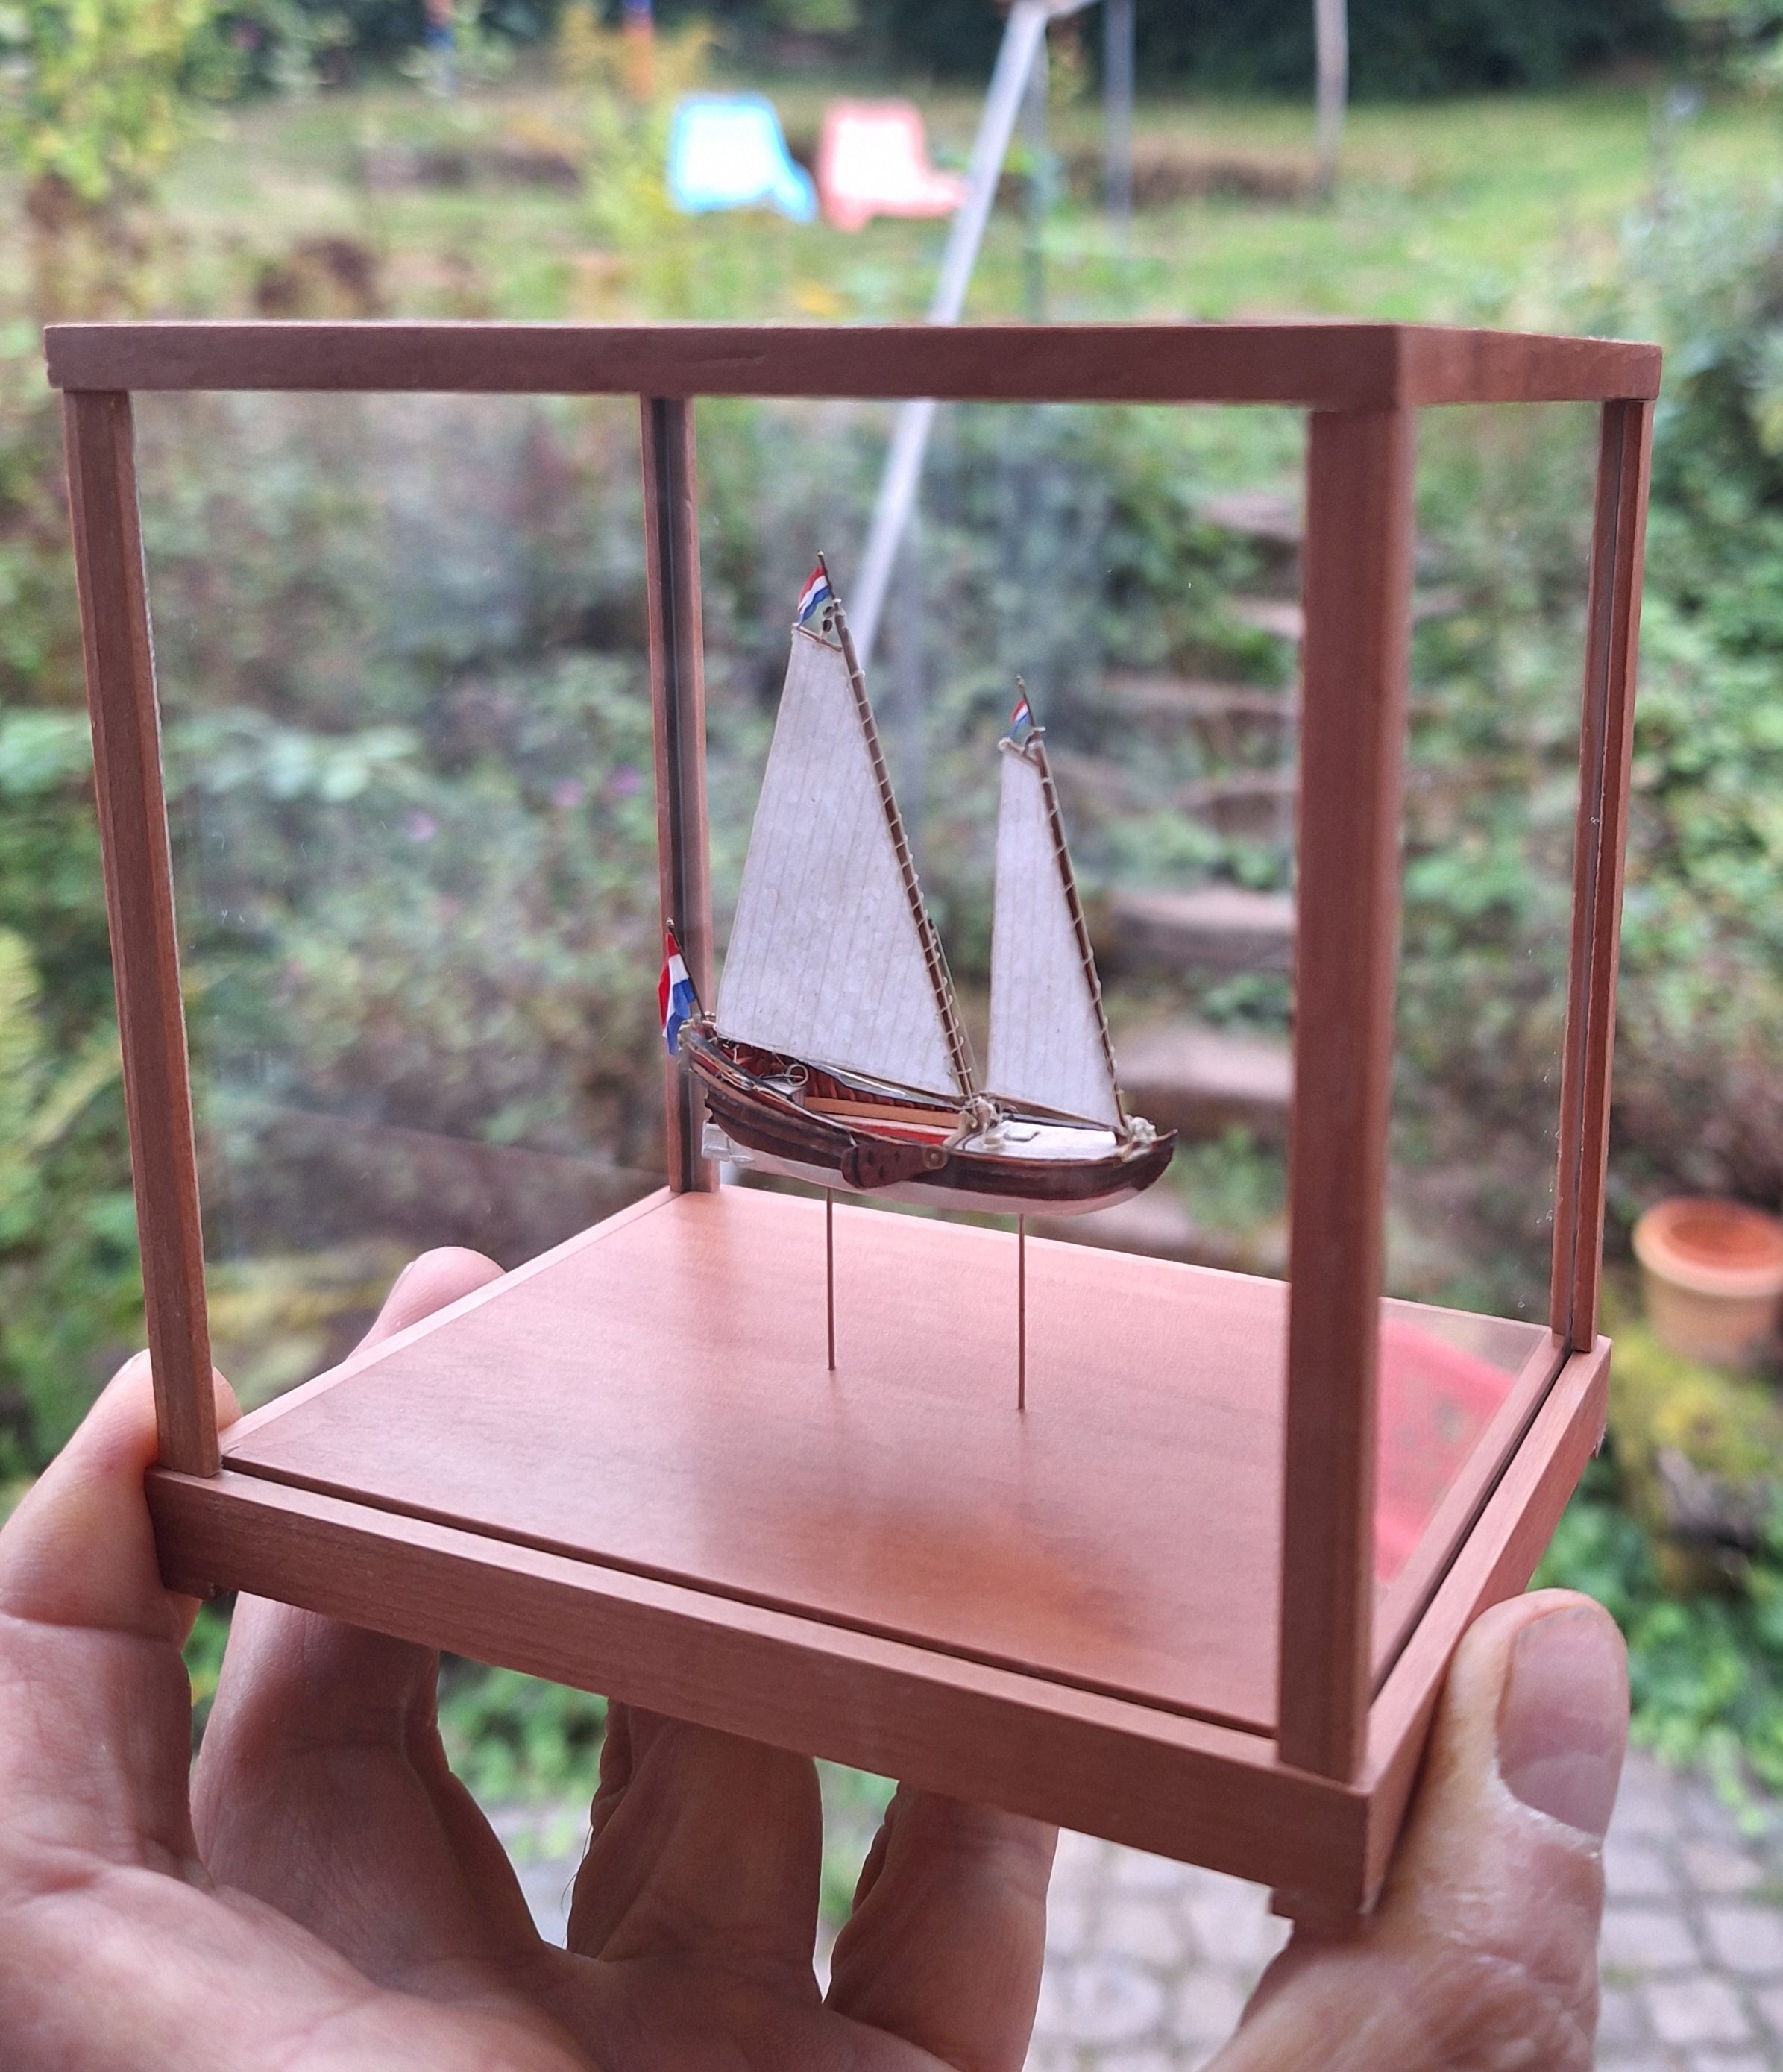
It took a long time to find a suitable home for her. But this afternoon she was finally able to move in.

- 40 replies
-
- 12
-

-

-
- Speeljacht
- Card
- (and 3 more)