HOLIDAY DONATION DRIVE - SUPPORT MSW - DO YOUR PART TO KEEP THIS GREAT FORUM GOING! (89 donations so far out of 49,000 members - C'mon guys!)
×


Mjohn
-
Posts
39 -
Joined
-
Last visited
Content Type
Profiles
Forums
Gallery
Events
Everything posted by Mjohn
-
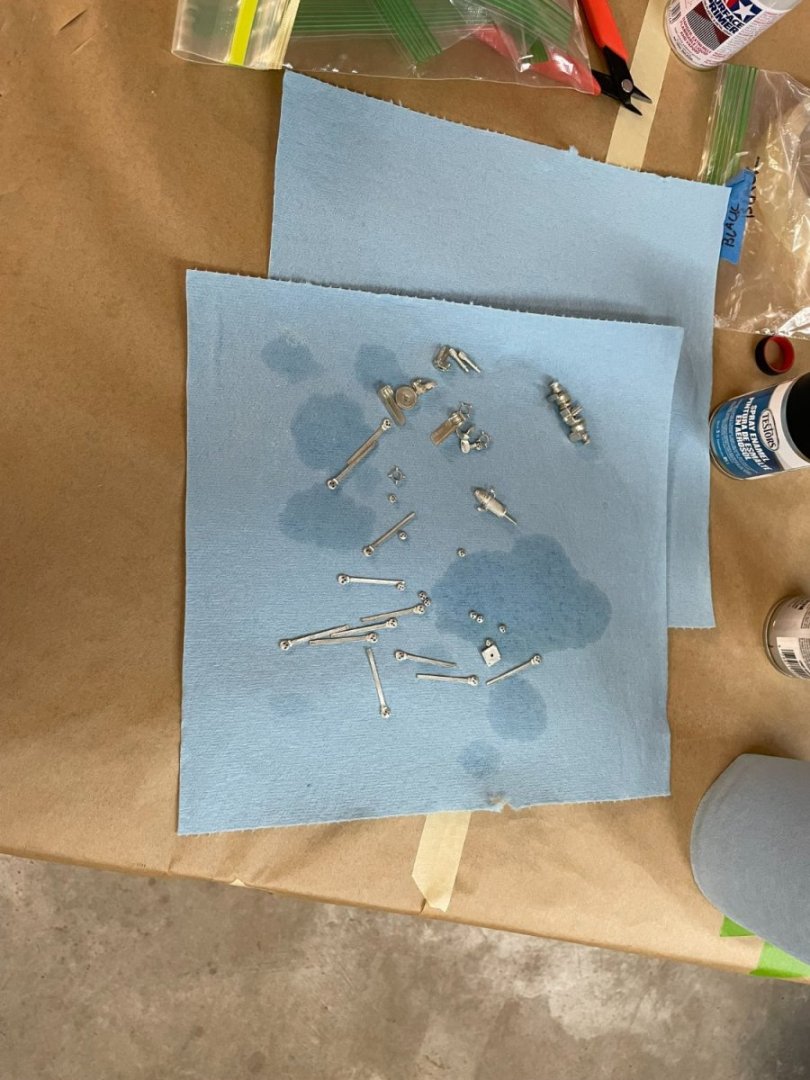
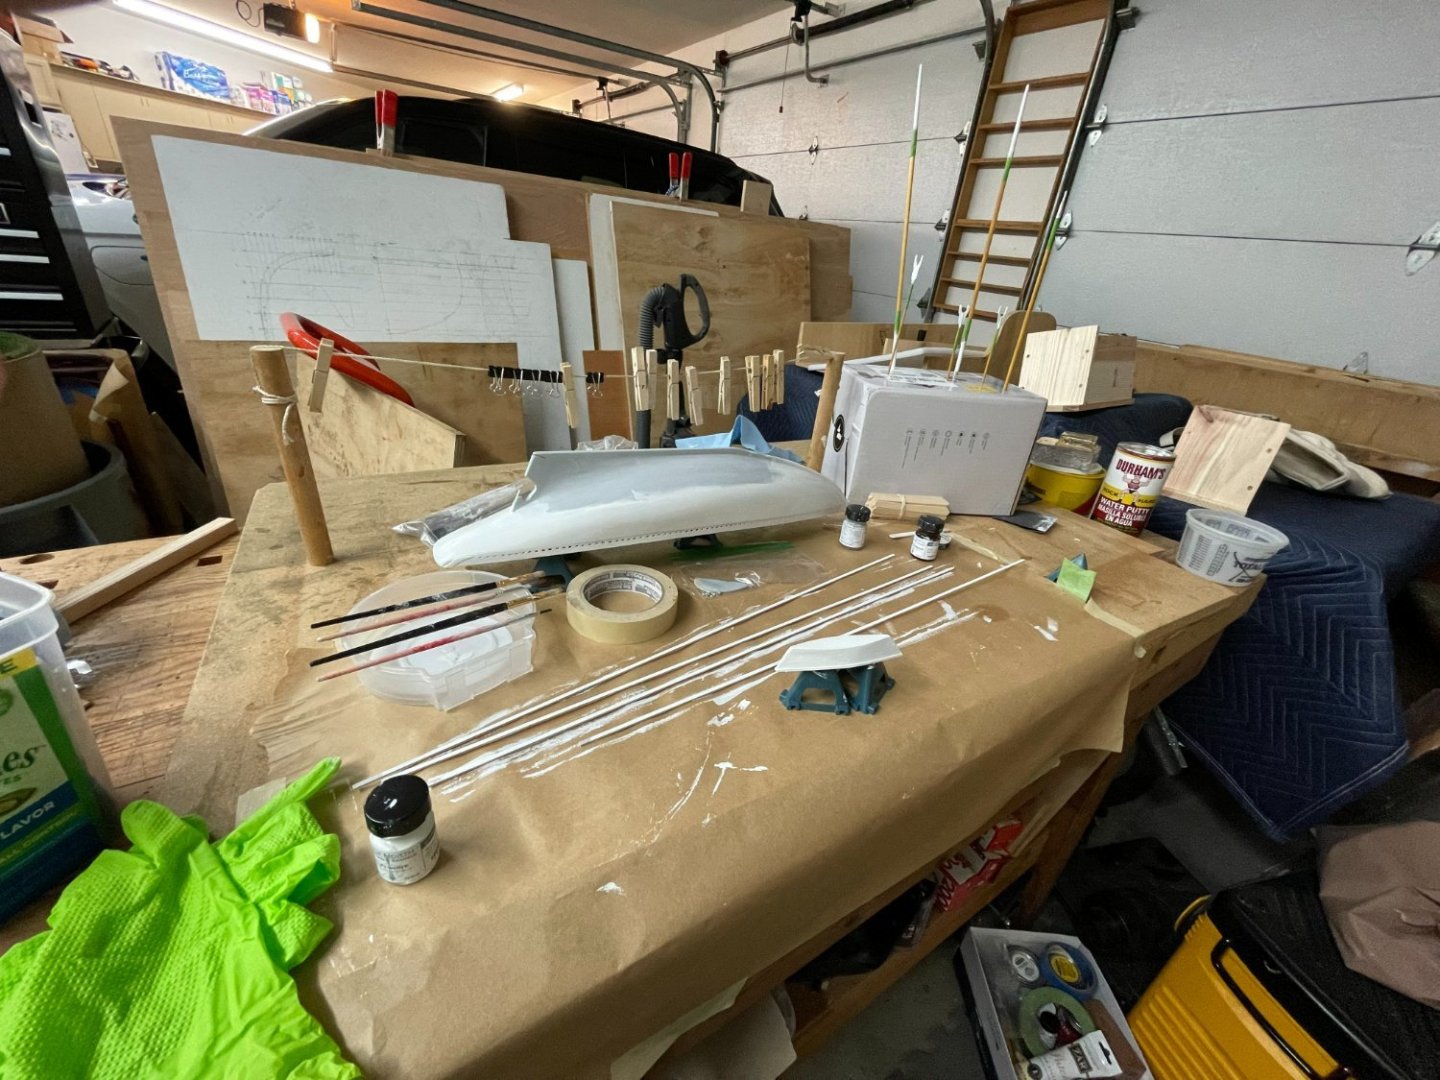
This kit comes with a pretty impressive set of precast parts. In preparation for painting these parts, I was prepared to spend a good deal of time removing casting flash. I was pretty pleasantly surprised just how little filing I had to do. Clearly Bluejacket had done a lot of clean up before kitting the parts. I spent maybe a couple of hours taking off final little bits here and there. What I had anticipated being a big job turned into nothing all that much. Painting all those little parts by hand looks like a lot less fun though. I'm going to try some enamel spray paint I picked up at a local Hobby Town. Before painting I'm giving all the cast parts a bath in some mineral spirits to remove oil and anything else that might cause paint not to stick. And in a wildly carefree moment, I'm considering not priming the parts.... I'm going to ask for suggestions on the build forum, but if anyone has thoughts on whether to put a cover coat of satin or flat poly on the painted parts to protect them, I'd appreciate the input. Below is the first batch of a bunch of cast pieces.
- 48 replies
-
- 2
-

-
- Bowdoin
- BlueJacket Shipcrafters
- (and 1 more)
-
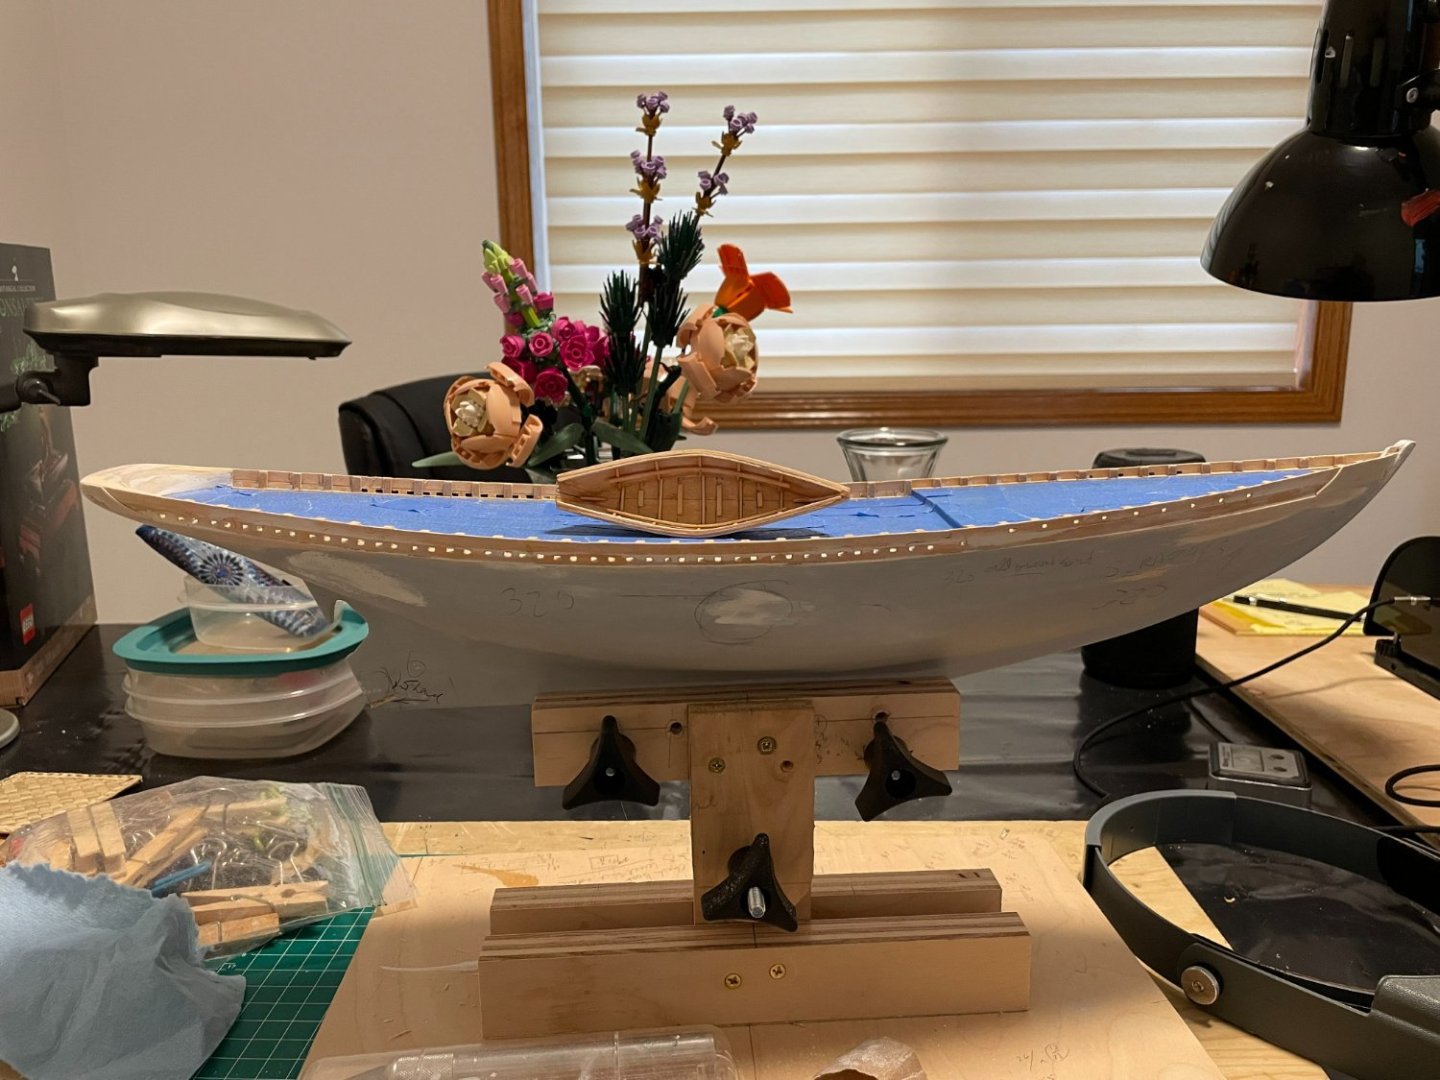
Progress slowed a bit, but is picking back up. In the following pictures you can see that all of the scuppers have been cut. Cutting scuppers was a slow adventure in trying to find a way to make consistent and clean openings. I tried drilling a hole from the inside and then filing the scuppers using the drilled hole as a starting point, but I could not get that method to work well. Maybe my files are worn, but the 1/32 wood tended to leave fibers and split as I filed. I finally created a template out of some flashing I had laying around. To use the template, I first drilled an under-sized hole from the inside of the bullworks out. I then marked the desired scupper size and shape using the template, and finally I carved the openings using a small x-acto knife. The result isn't perfect, and I will do some final cleaning up of the scupper holes once I get some paint on the bullworks to stabilize the wood and give the blade and even chance of squaring things up. While I was scuppering, I did other work that doesn't show up easily including making and fitting the fashion pieces, fitting the rudder, and building one dory (only going to build one). I also did a final fairing of the hull and transom. I wanted to paint the waterways and frame heads before adding the cap rails because I didn't want to have to reach under the rails to paint these pieces. After all this time fidgeting with planking and fitting the frame heads and scuppers, I couldn't resist putting some paint on the hull. I think I'll need 4 coats of white True North paint on the hull and 1 or two coats of antifoul red. I haven't decided whether to coat the hull with a mat/flat finish poly to protect it especially while the boat is bing finished. Amazing how a little paint can start bringing the model to life. I'm also painting the underside of the boards from which I'll fashion the cap rails because I think they will be hard to paint as well. I'm taking a little risk in that I'm hoping the CA glue will stick well enough even through the painted surface, but I'll do a test glue up, and if the test fails, I can always glue on the caps using the unpainted side and I'll be no worse for having tried.
- 48 replies
-
- 4
-
-
- Bowdoin
- BlueJacket Shipcrafters
- (and 1 more)
-
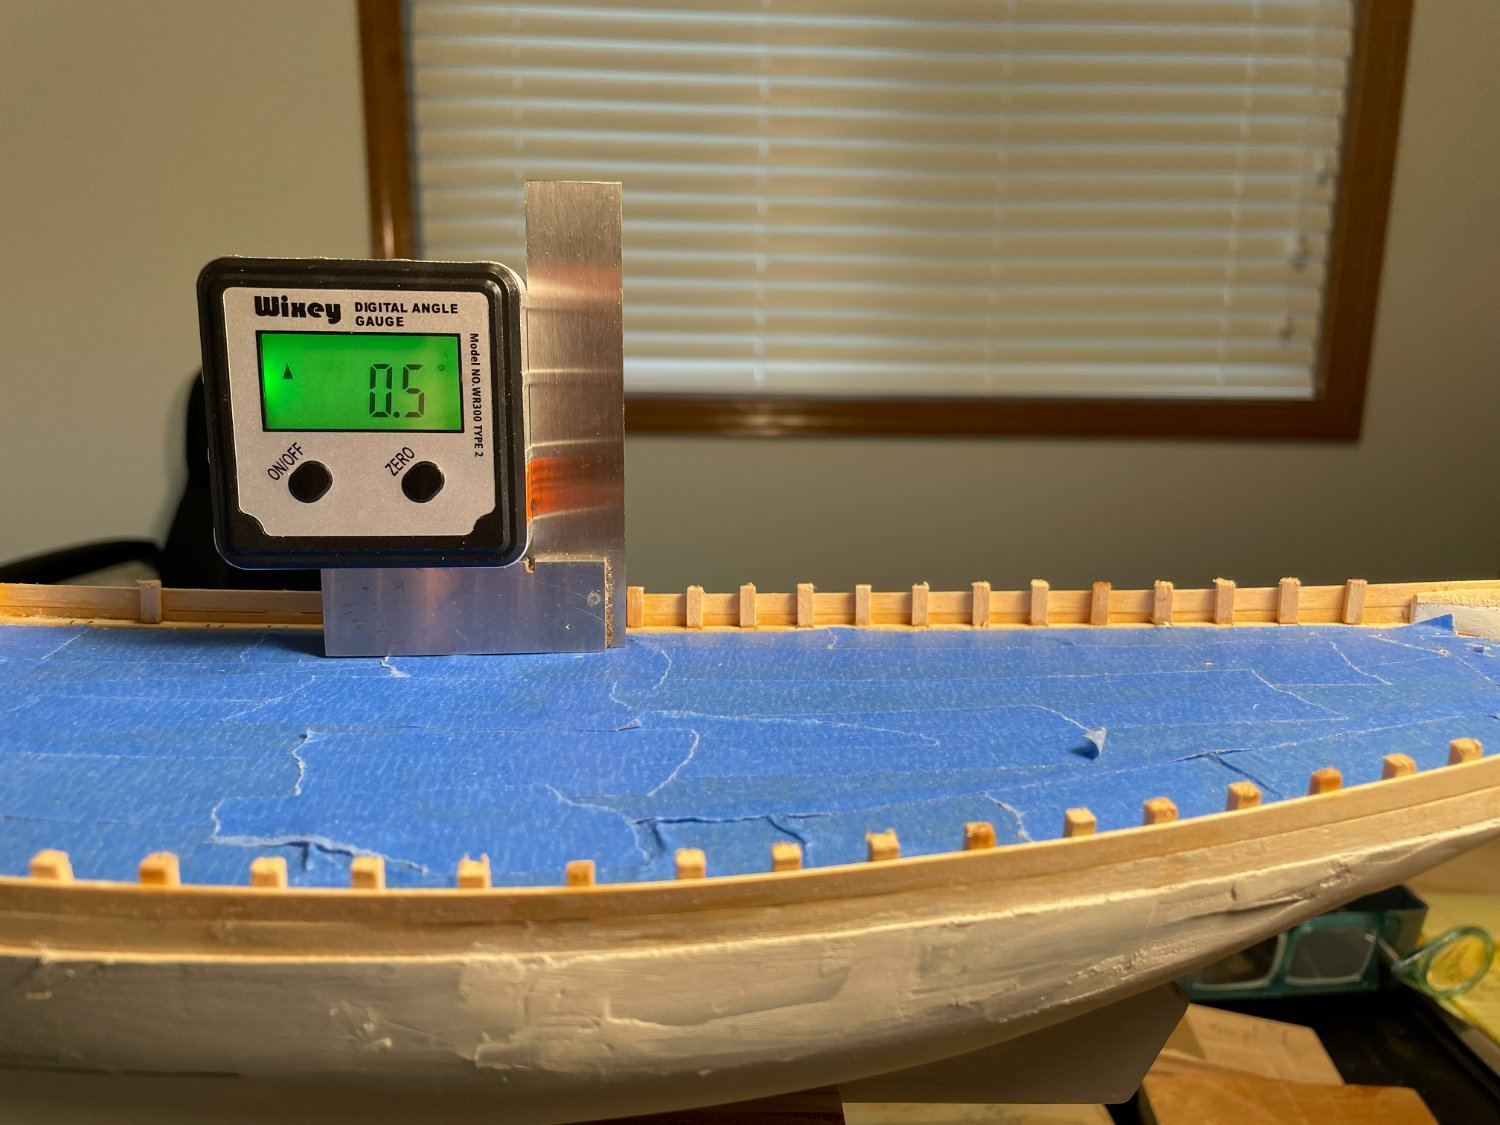
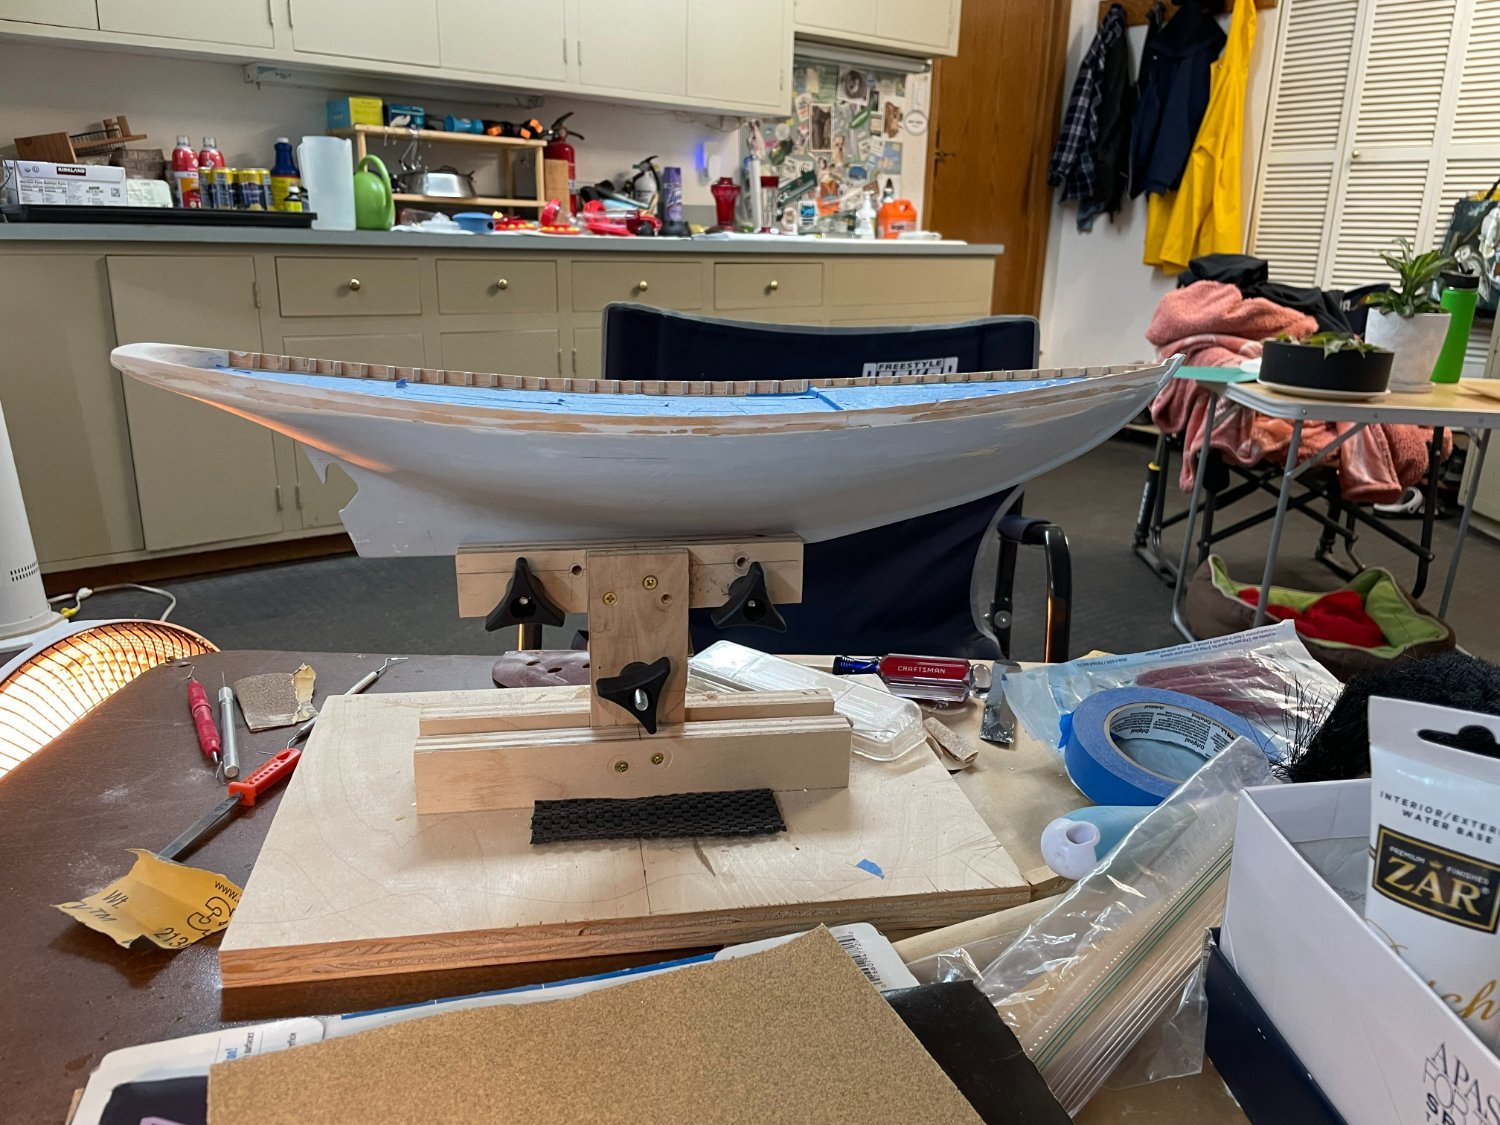
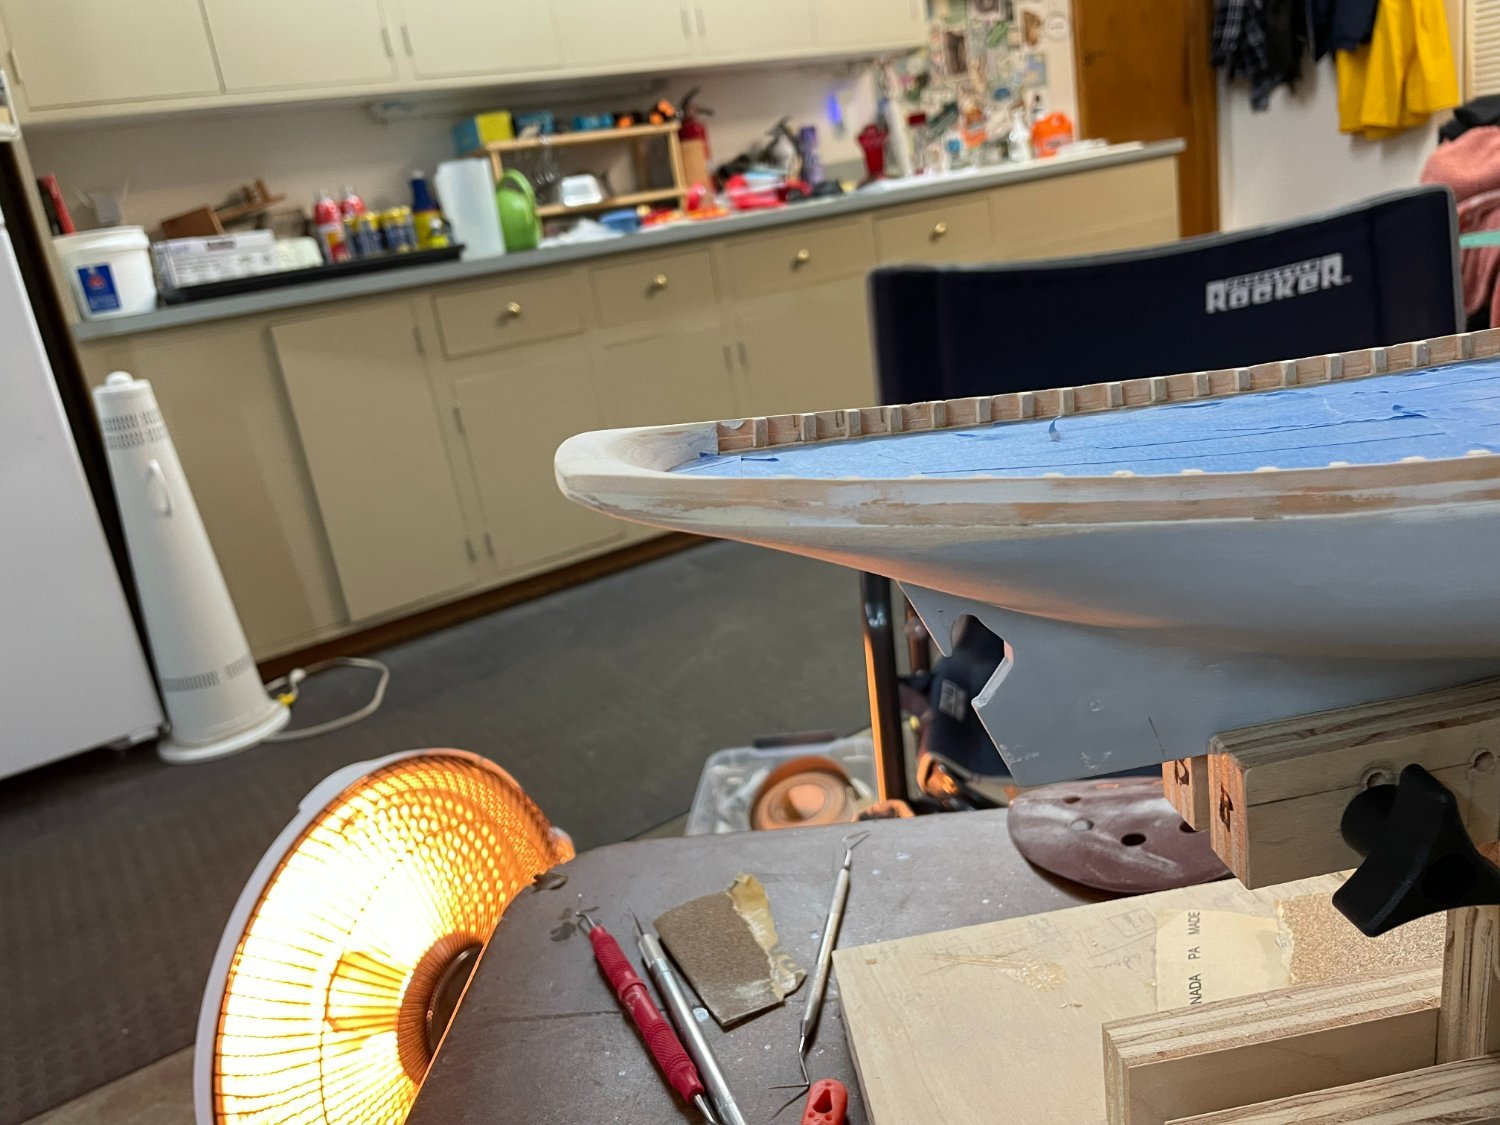
First thanks to elviejo who recommended a building stand. I didn't follow the plans exactly, but as can be seen in the pictures, I made one up and it has been very useful. Last time I posted I was trying to figure out how to deal with the stern and transom. I decided to just bite the bullet and rebuild the part I had over sanded. I added a piece of 1/16 in and then a little filler. The result is in the pictures. Along the way I have finished adding the frame heads and bullworks. Tedious. To get the frame heads at least close to vertical, I leveled the hull according to where the water line shows on the plans. If you look carefully you can see that once I had the hull leveled I marked a level line on the hull. Then I set my electronic level to the level line, attached it to my square, and had a vertical index I could use. I didn't get things perfect, but I think I am close enough. I have just started adding the scuppers. I practiced several techniques and what has worked best in practice is drilling a hole just shy of 1/16 inch and then using a tiny square file to widen the hole to 3/32


- 48 replies
-
- 4
-
-
- Bowdoin
- BlueJacket Shipcrafters
- (and 1 more)
-
Sure. Absolutely. Glad to have pictures. Thanks!
- 48 replies
-
- 1
-
-
- Bowdoin
- BlueJacket Shipcrafters
- (and 1 more)
-
I'm pretty sure you are right about the fashion piece/ears. I'm going to take a look at whether to replace my little "ear with the fashion piece or just create my own "fashion piece" from what I have. Either way I am a little screwed because I sanded down the afterdeck wood block to get the deck camber. I'm considering whether to just add some pieces back to the top and live with it flat or what I'm going to do. Thanks for the suggestions.
- 48 replies
-
- 2
-
-
- Bowdoin
- BlueJacket Shipcrafters
- (and 1 more)
-
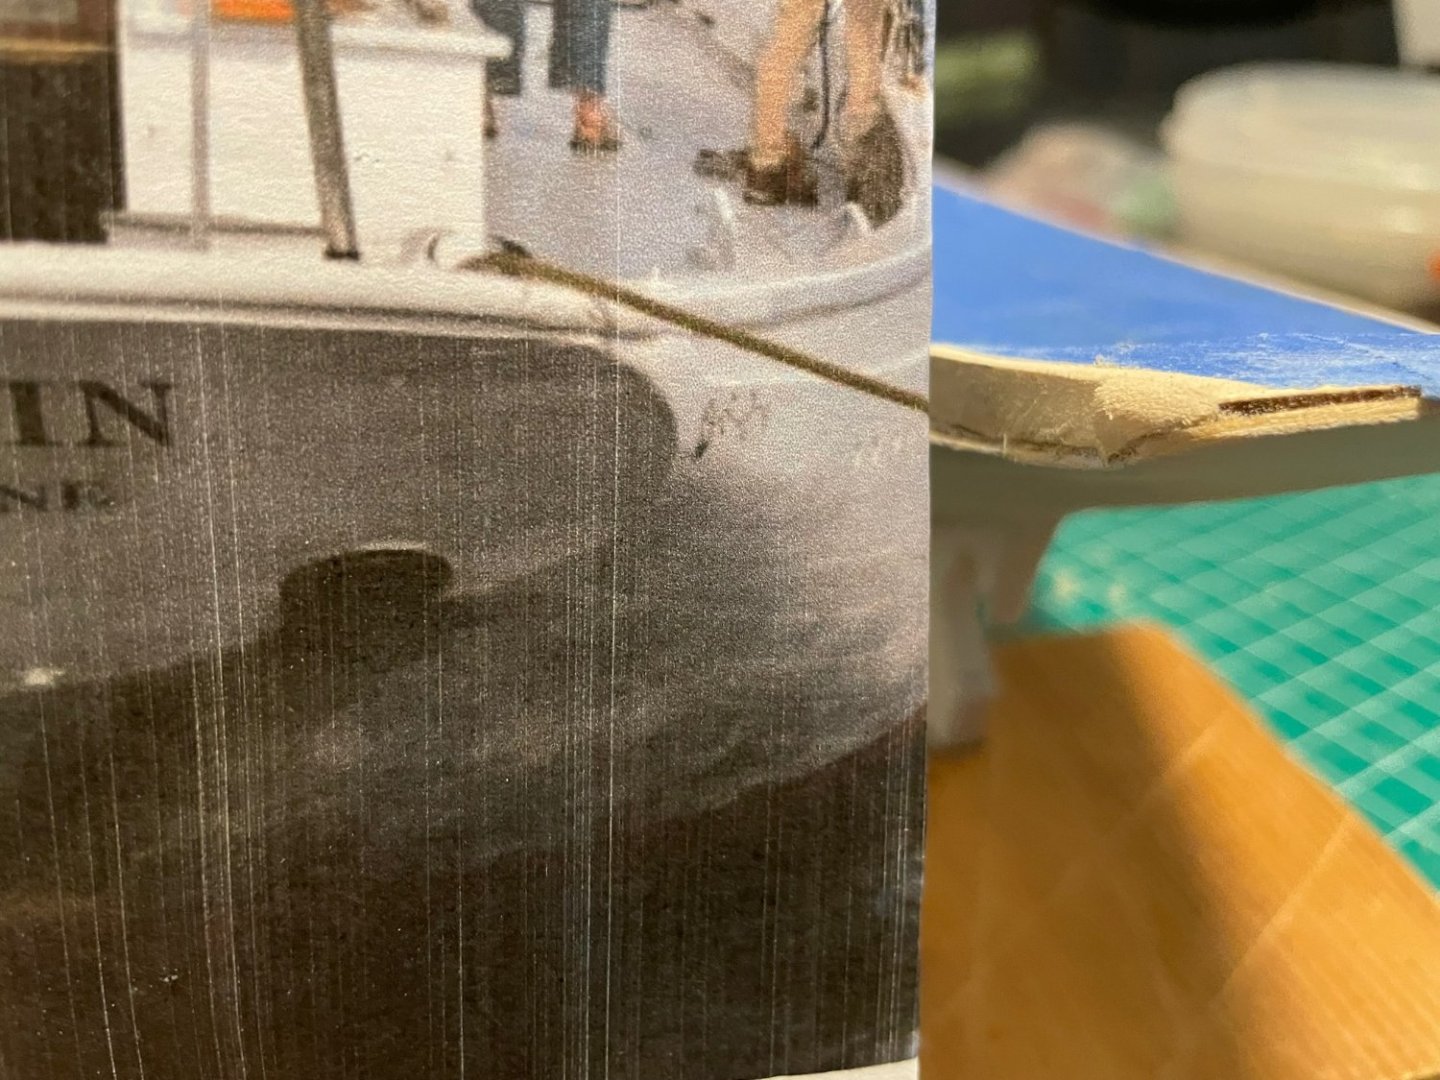
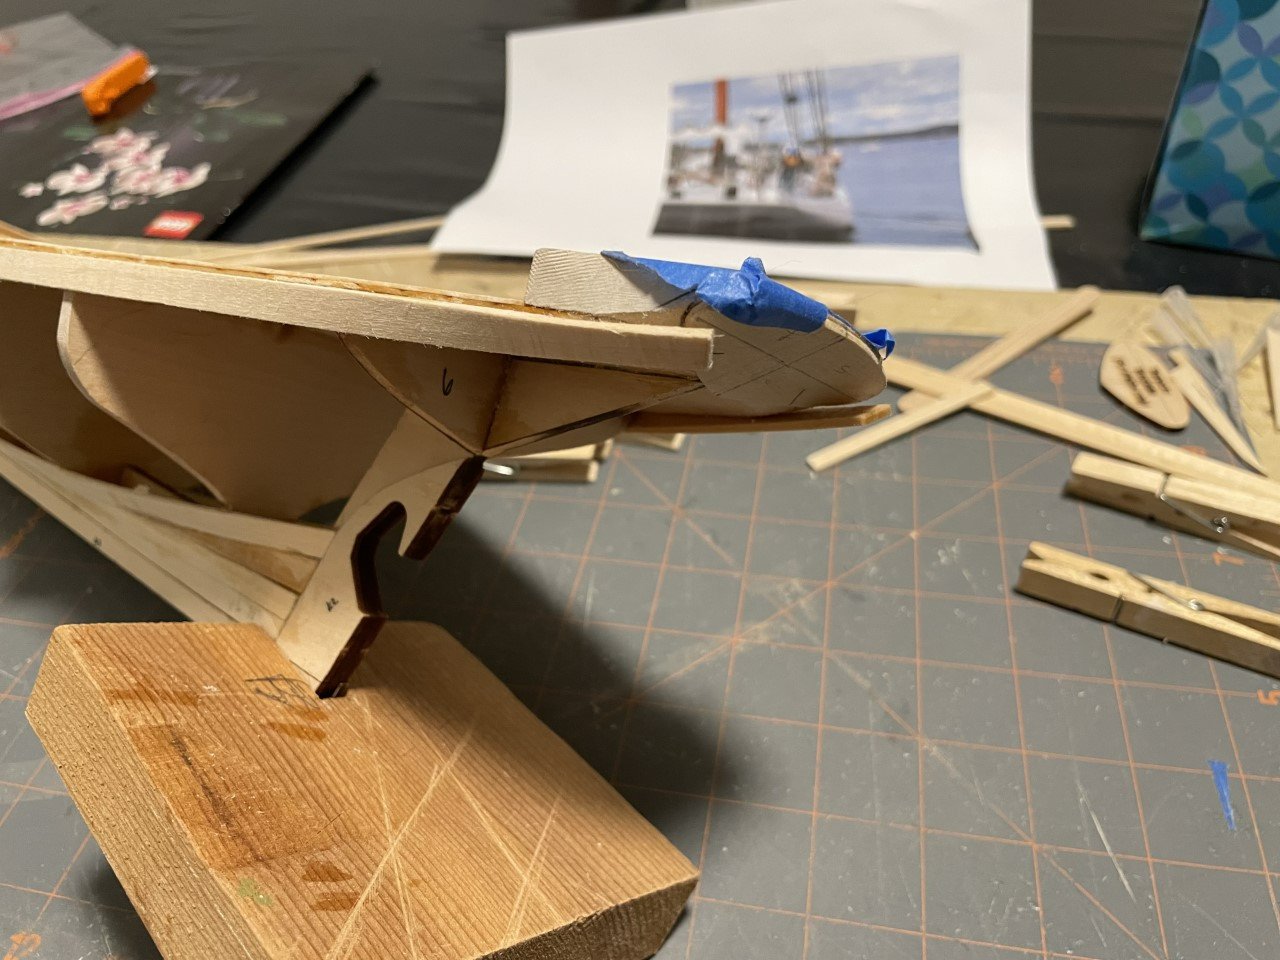
48 3/8" small pieces and 30 1/4" small pieces to be frame heads. I built a jig. tedious but done. That was the good news. I have a picture of the stern of the full-size Bowdoin, and in the picture the transom looks different than what I think the transom of the kit will be. I could be misreading the kit's plans, but anyway I got to feeling way overconfident and decided to deviate from the plans and try to duplicate what I see on the transom picture. First, I sanded some camber into the block of wood that forms the stern works of the boat. That was ok. Then I cut a piece of 1/4 balsa to try to imitate what I call the ears - in the picture you can see how the full-size transom protrudes outward from the bullworks and there is a bit of hull that tumbles home to the bullworks. Modeling that piece is still a work in progress. I don't think I got it exactly right yet, but if I do a little more carving and create a fillet with some compound, I think it will work. I was feeling pretty good about all that fancy transom stuff until I got to thinking about how the bullworks is designed to meet the stern wood block at the block's full kit height, and I just sanded an eighth off the edges of the stern block. OOPS. It will be interesting to see how that all works out. While I'm thinking about that potential unforced error, I'm also thinking about how to cut 100+ scuppers in the bullworks. I know I want some type of stencil to lay out the scupper locations. I'm not sure if I can come up with a jig to make clean cuts or if I'll just stab-cut with my x-acto. I'm thinking I will look at some more of the prior build logs for some ideas.

- 48 replies
-
- 5
-
-
- Bowdoin
- BlueJacket Shipcrafters
- (and 1 more)
-
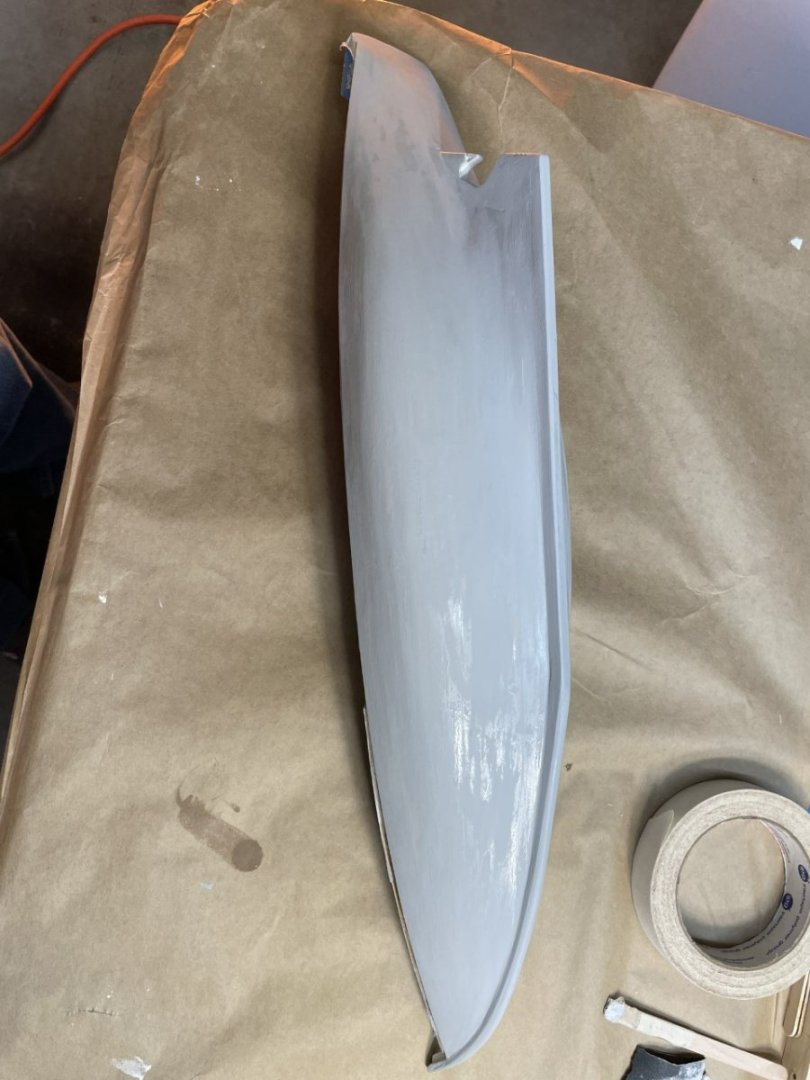
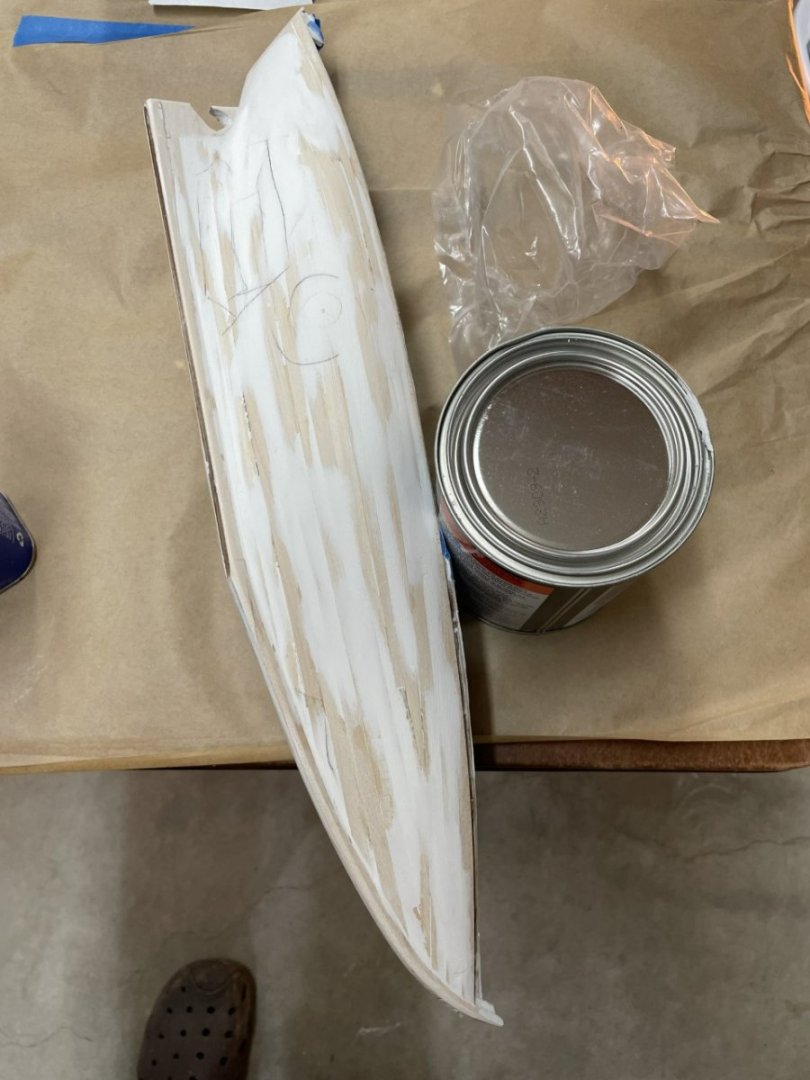
Here is the planked hull. Having seen some of the amazing work in other work in other build logs, I have a lot to learn about planking hulls. I used the MK compound to fill, and it seems to work pretty well. I have filled and sanded and marked off a couple of places for a little more attention. Eventually I sanded off a good deal of this filler before I added primer. I used primer as a sanding guide coat and then filled again and sanded again. Rookie error – in my enthusiasm to fair the hull, I sanded some of the planking pretty thin at the edges. Nothing disastrous, but key learning for next time. I will probably spot fill and prime one more time. I

- 48 replies
-
- 8
-
-
- Bowdoin
- BlueJacket Shipcrafters
- (and 1 more)
-
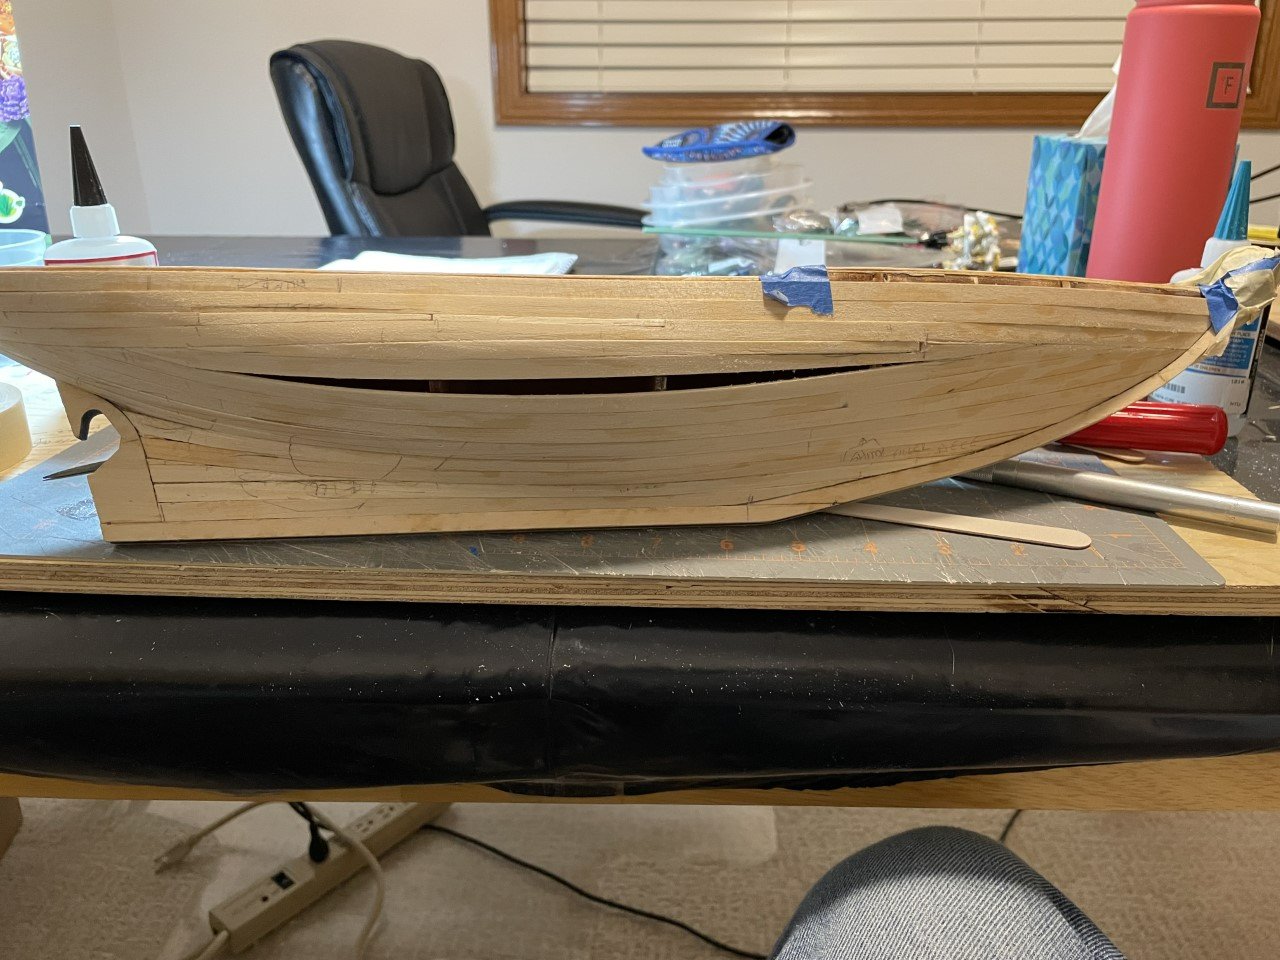
The shear planks went on pretty well. To bend the planks at the stern I soaked the plank ends in hot water for a few minutes. However, I have decided I want to try to put the planks on with the minimum of steaming/heating. After the shear plank the first couple of planks where I had softened the wood in hot water took hard bends as they crossed the bulkheads. I didn’t think this looked very good. Maybe I did something wrong, but I think for the rest of the planking I’m going to try to put the planks on dry and position them so they take a natural bend with no sag or bulge and without any edge-set. I expect this will require more stealer planks, but I think the trade-off will be worth it. Here is the first stealer plank as I am planking up from the bottom. (Added later) Planking progressing. I have been trying to land stealer planks on bulkheads, but I can’t always do that. With CA glue I can edge glue the planks by holding them in position and wicking some thin CA into the joint.
- 48 replies
-
- 4
-
-
- Bowdoin
- BlueJacket Shipcrafters
- (and 1 more)
-
Like several others, I was confused about how to handle the raked stern. I spent a good deal of time looking for and at pictures of the full-sized Bowdoin stern and finally decided I needed to take the beveled lower section of the stern almost to a sharp edge at the top. Reading other build notes helped here. I guess we’ll see if I got that right. I am still trying to figure out how to form the deck/hull planking/transom transition at the top of the stern bullworks. I had a heck of a time visualizing how the planking was supposed to lie as it approached the transom. I finally cut out a piece of 1/6 basswood using the transom template and glued it to the sanded stern block.. With a defined transom in place before planking, I hope to have something solid to fair and plank to. I guess in a full-sized boat the transom would be beveled and the planks run past the transom and cut off. I didn’t go that far. I will terminate planks on the transom and fill the edges to smooth as needed. I don't have a good picture of this alone, but you can see it in the planking pictures I will post shortly.

- 48 replies
-
- 2
-
-
- Bowdoin
- BlueJacket Shipcrafters
- (and 1 more)
-
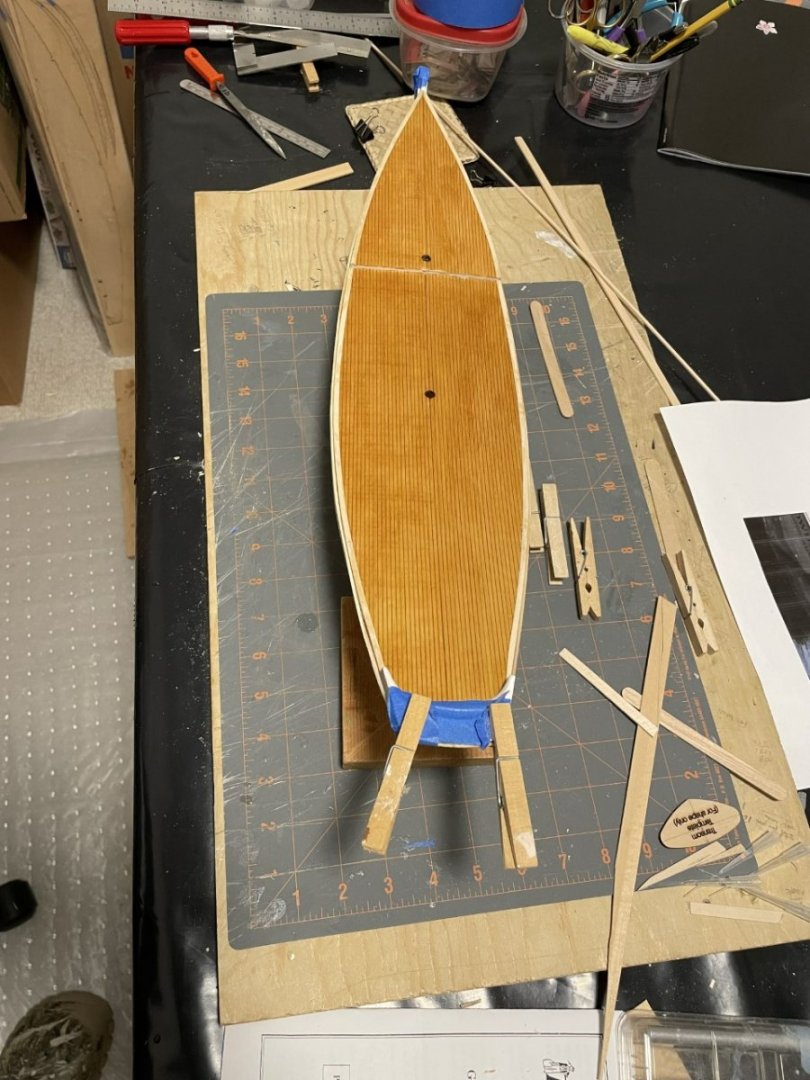
Here is adding the sub-deck. I wanted to make sure to get the camber right and consistent along the whole deck. At the same time I had started to experiment with how to finish the deck. Basswood is notorious for an inconsistent looking stain finish. On parts left over from another build I tried several stain colors directly on the wood, stain over lacquer, stain over varnish, and stain over several applications of pre-stain. Nothing looked particularly good, and neither did plain spar varnish or clear poly. So I called BlueJacket. I love that place. I wish I had gotten the name of the person who answered the phone since he was so helpful. He recommended coating the deck with shellac. Two coats of amber shellac look pretty good. I coated the spars with the same shellac. I glued the deck to the subdeck with contact cement.

- 48 replies
-
- 3
-
-
- Bowdoin
- BlueJacket Shipcrafters
- (and 1 more)
-
Thanks. I can see how this would be helpful. I have been using a block of wood with a slice cut out of it to hold the keel. I may give something like this a try. Good luck with your build also.
-
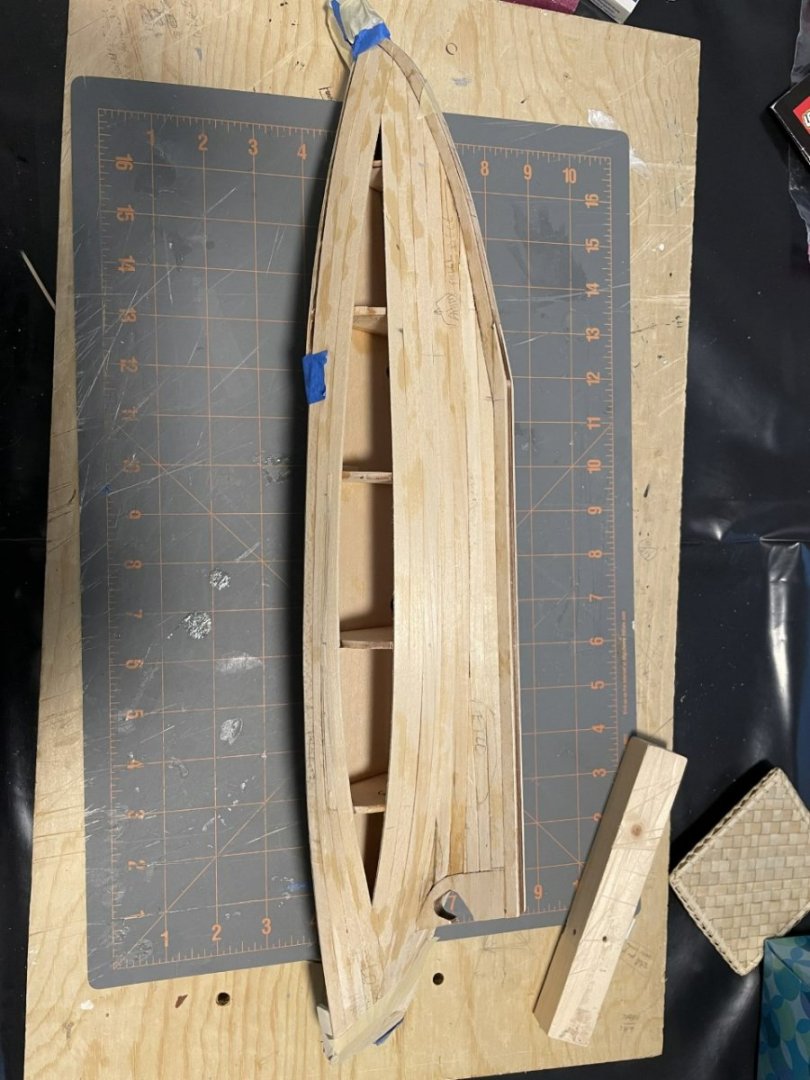
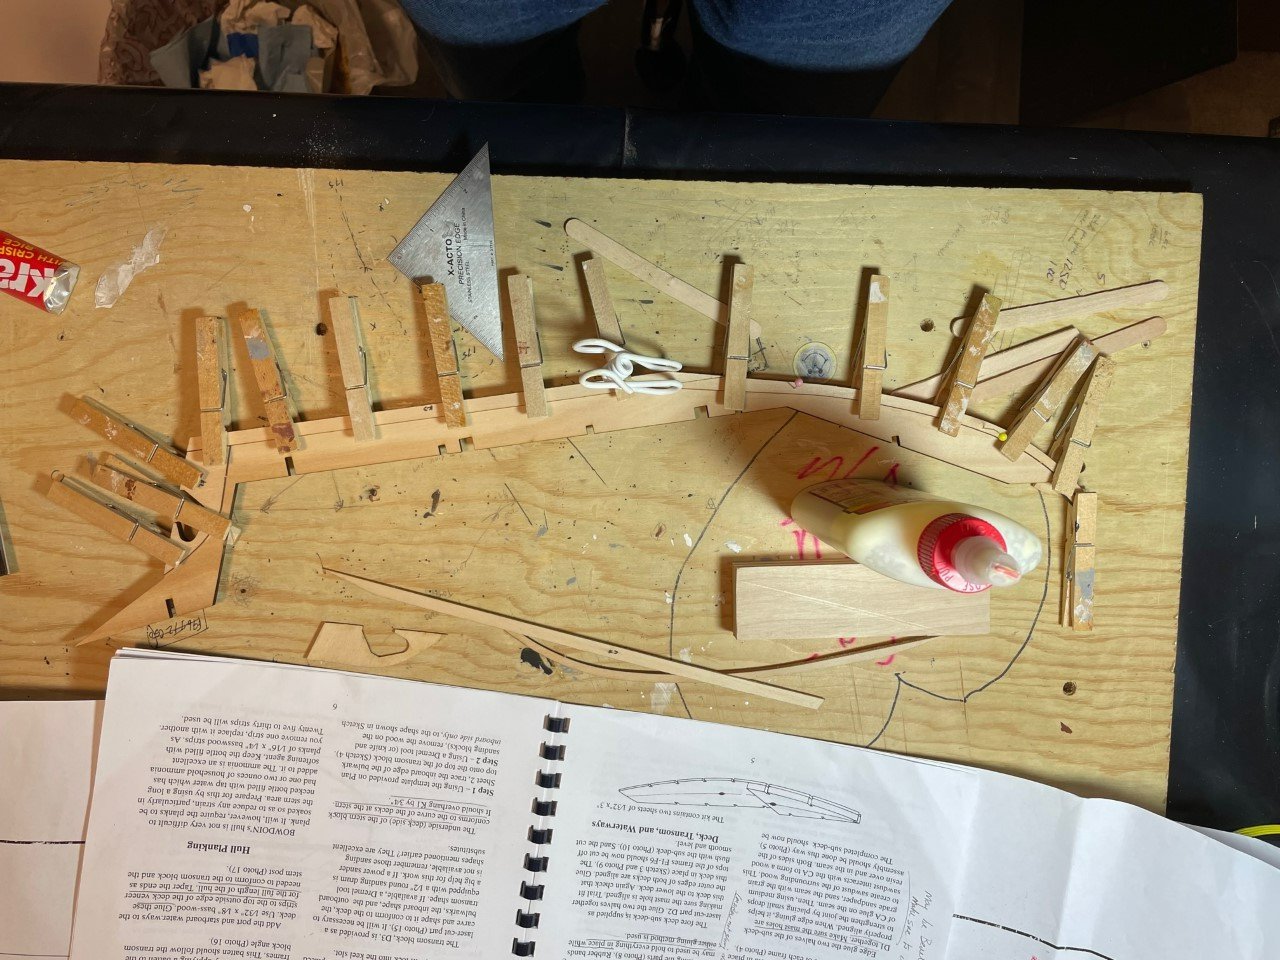
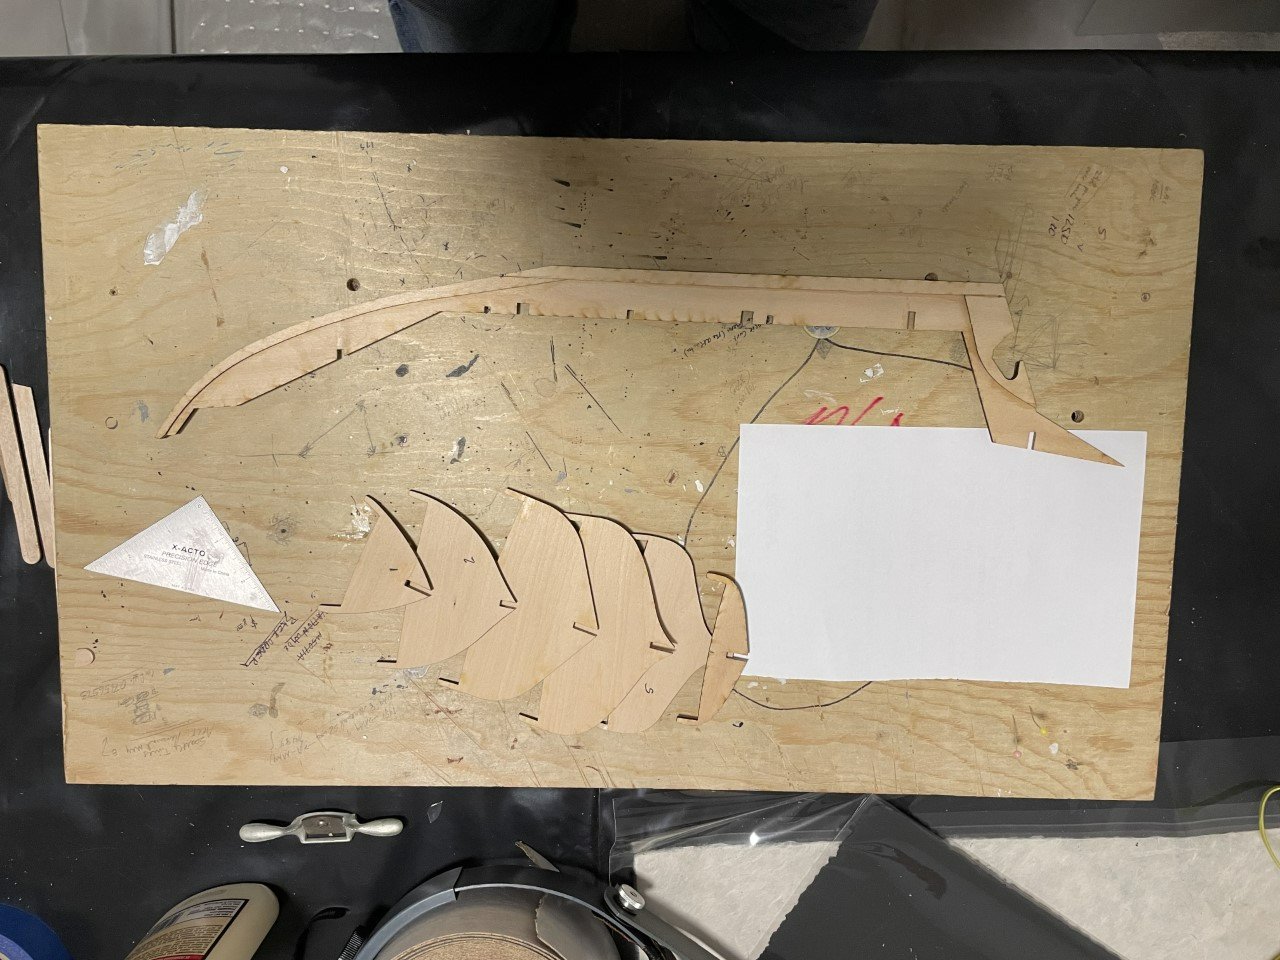
Here is my picture post test. Here is a shot of gluing up the backbone and a follow-up of the bulkhead/molds ready for installation. So far the kit is of great quality. The laser cut parts are well cut and very accurate. Parts go together with minimal fuss and fit. For much of the model I anticipate using CA glue. I use a combination of thick, 30 second CA and thin CA. When I can I like to just wick the thin glue into joints.
- 48 replies
-
- 3
-
-
- Bowdoin
- BlueJacket Shipcrafters
- (and 1 more)
-
Hi, I’m mjohn. I live in the Pacific Northwest, and have been a fan of wooden boats and yachts for many years. I have built a full-sized drift boat from plans as well as a ½ size traditionally built lapstrake dinghy (Acorn converted from glued lap to traditional), which I have turned into a coffee table, and a quarter size Shellback dinghy. Over the years I have built a some model airplanes and even a few model boats. But I am far from an expert model builder, and this is my first complicated planked model. Several years ago I built the planked hull catboat from BlueJacket. I anticipate the catboat hull to have been much simpler to plank than Bowdoin because the hull shape did not have the big reversal that Bowdoin has below the water line. Also, the rigging on Bowdoin is much more complex than I have tackled before. But I’m really doing this for the fun of it, so we’ll count any mistakes as part of the learning process. Thanks to some of the prior build logs for pointing out areas I will need to pay attention to. And thanks to BlueJacket for the kit. This is also my test post
- 48 replies
-
- 3
-
-
- Bowdoin
- BlueJacket Shipcrafters
- (and 1 more)