Caferacer
-
Posts
25 -
Joined
-
Last visited
-
 etubino reacted to a post in a topic:
Benjamin W Latham by Caferacer - Model Shipways
etubino reacted to a post in a topic:
Benjamin W Latham by Caferacer - Model Shipways
-
etubino reacted to a post in a topic:
Benjamin W Latham by Caferacer - Model Shipways
-
etubino reacted to a post in a topic:
Benjamin W Latham by Caferacer - Model Shipways
-
etubino reacted to a post in a topic:
Benjamin W Latham by Caferacer - Model Shipways
-
etubino reacted to a post in a topic:
Benjamin W Latham by Caferacer - Model Shipways
-
etubino reacted to a post in a topic:
Benjamin W Latham by Caferacer - Model Shipways
-
etubino reacted to a post in a topic:
Benjamin W Latham by Caferacer - Model Shipways
-
etubino reacted to a post in a topic:
Benjamin W Latham by Caferacer - Model Shipways
-
etubino reacted to a post in a topic:
Benjamin W Latham by Caferacer - Model Shipways
-
etubino reacted to a post in a topic:
Benjamin W Latham by Caferacer - Model Shipways
-
 Same here, they just seem so elegant, I'd love to dig into all the complex rigging of a British Man of War, but then there are all those tiny gun doors! lol Thanks for the comment
 -
Caferacer reacted to a post in a topic:
Benjamin W Latham by Caferacer - Model Shipways
-
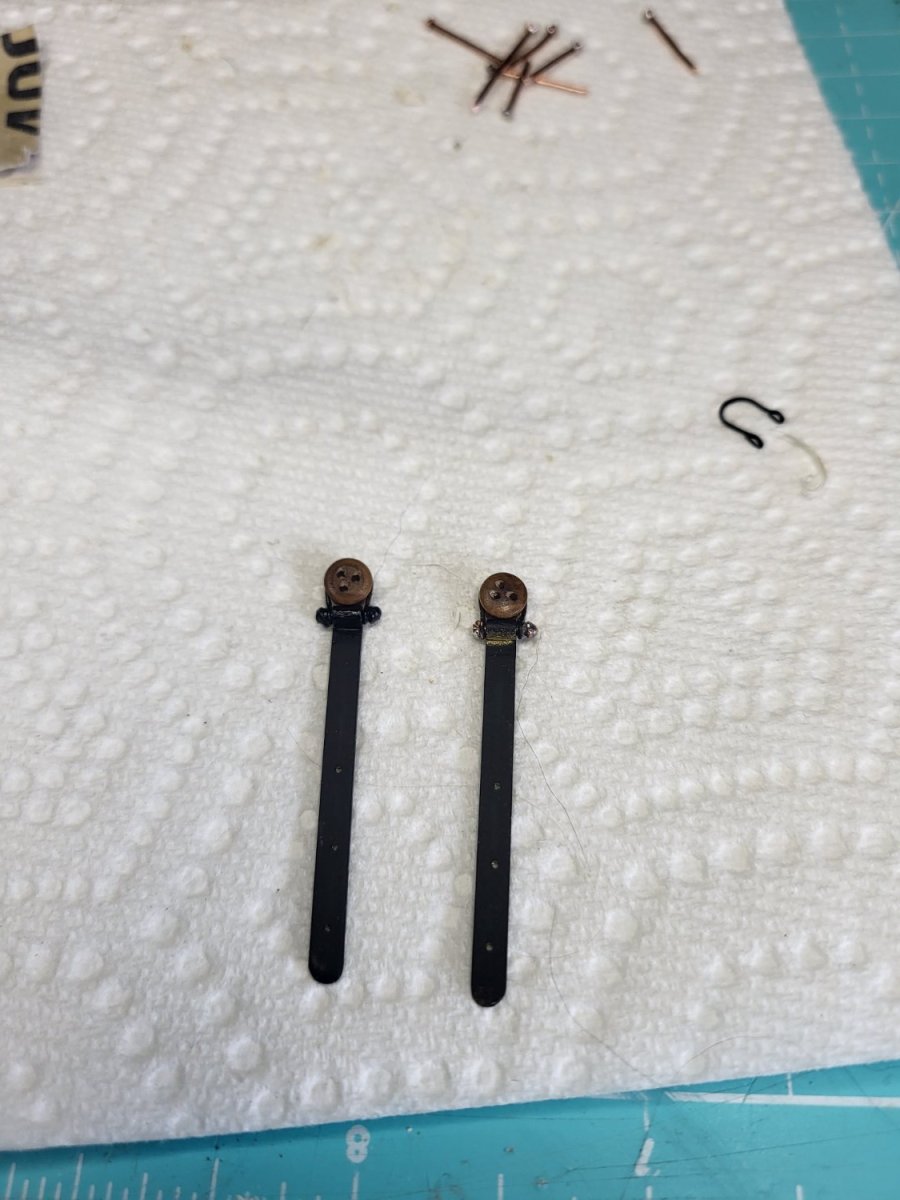
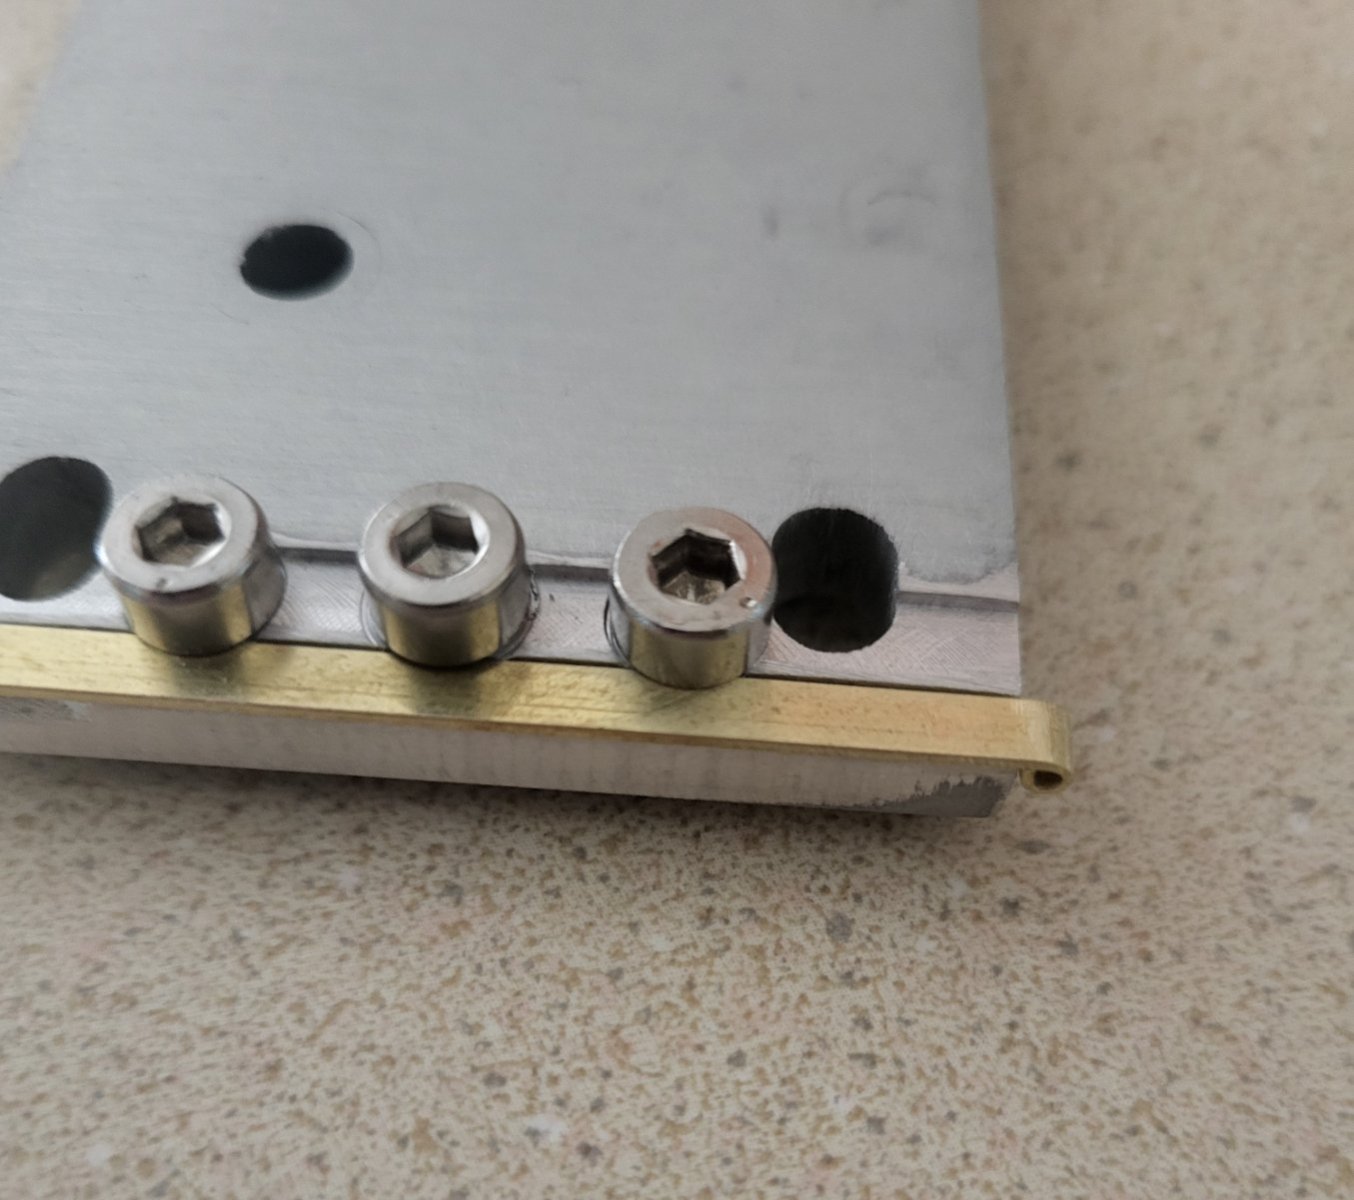
Thanks Joe! Your log really helped, there is no way the deck would have come out so well without the tip of adding the sub-deck, and removing the timbers from the frames. Now only if I had remembered there were two false timbers between each frame section.. Your rigging on the Latham is amazing, and the build has been inspiring.. The final chainplate "bolts" are a little out of scale, of course now that the are painted I see this, but I have plenty of material I can remove to improve it. I mean there's no hurry, time enough to get it right.

-
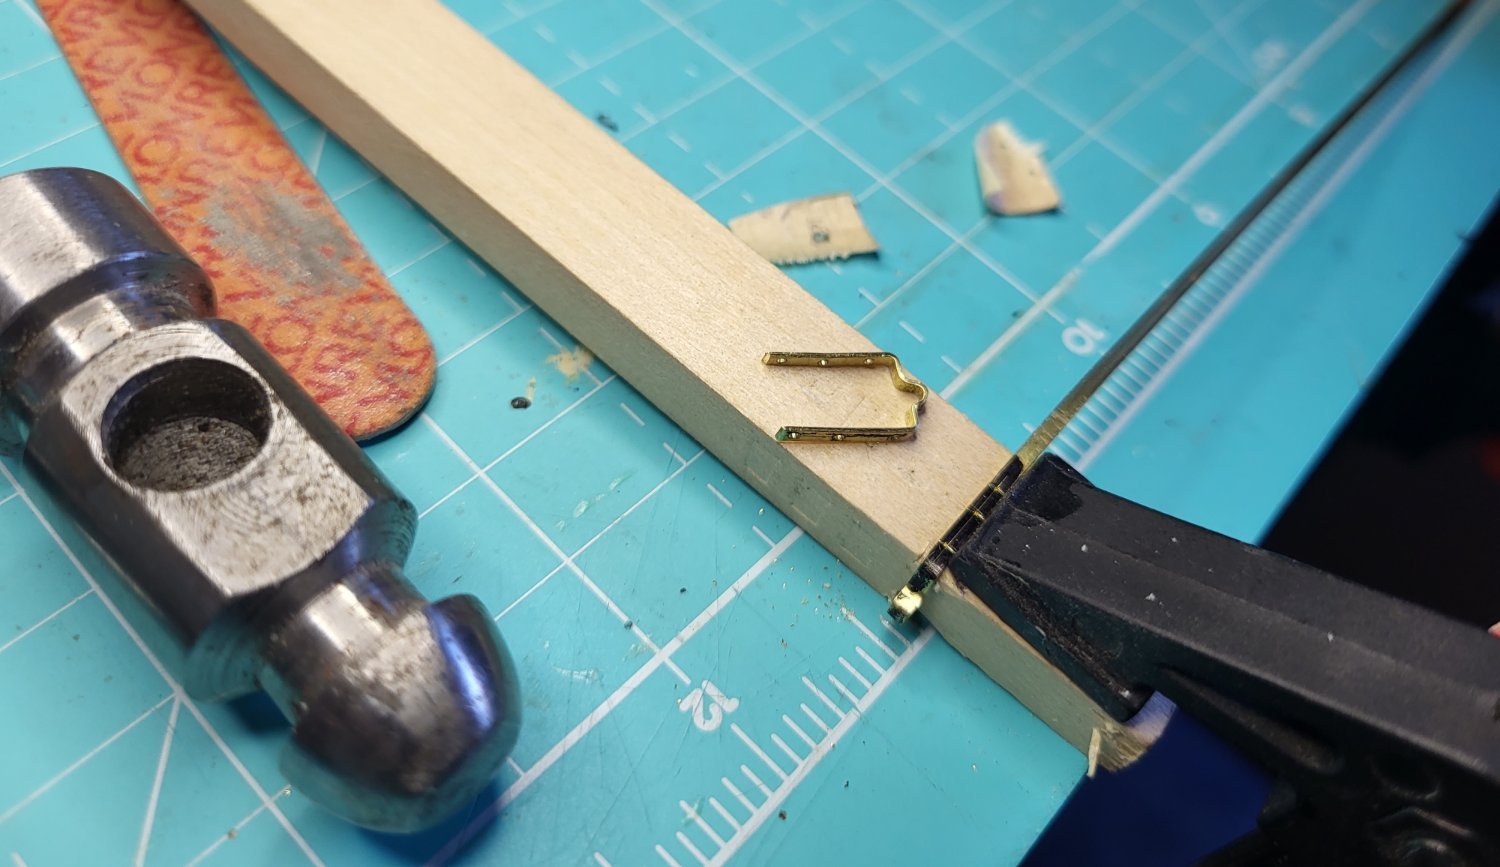
The fixture worked out well; the plates are all coming out even and identical. Time for some paint.
-
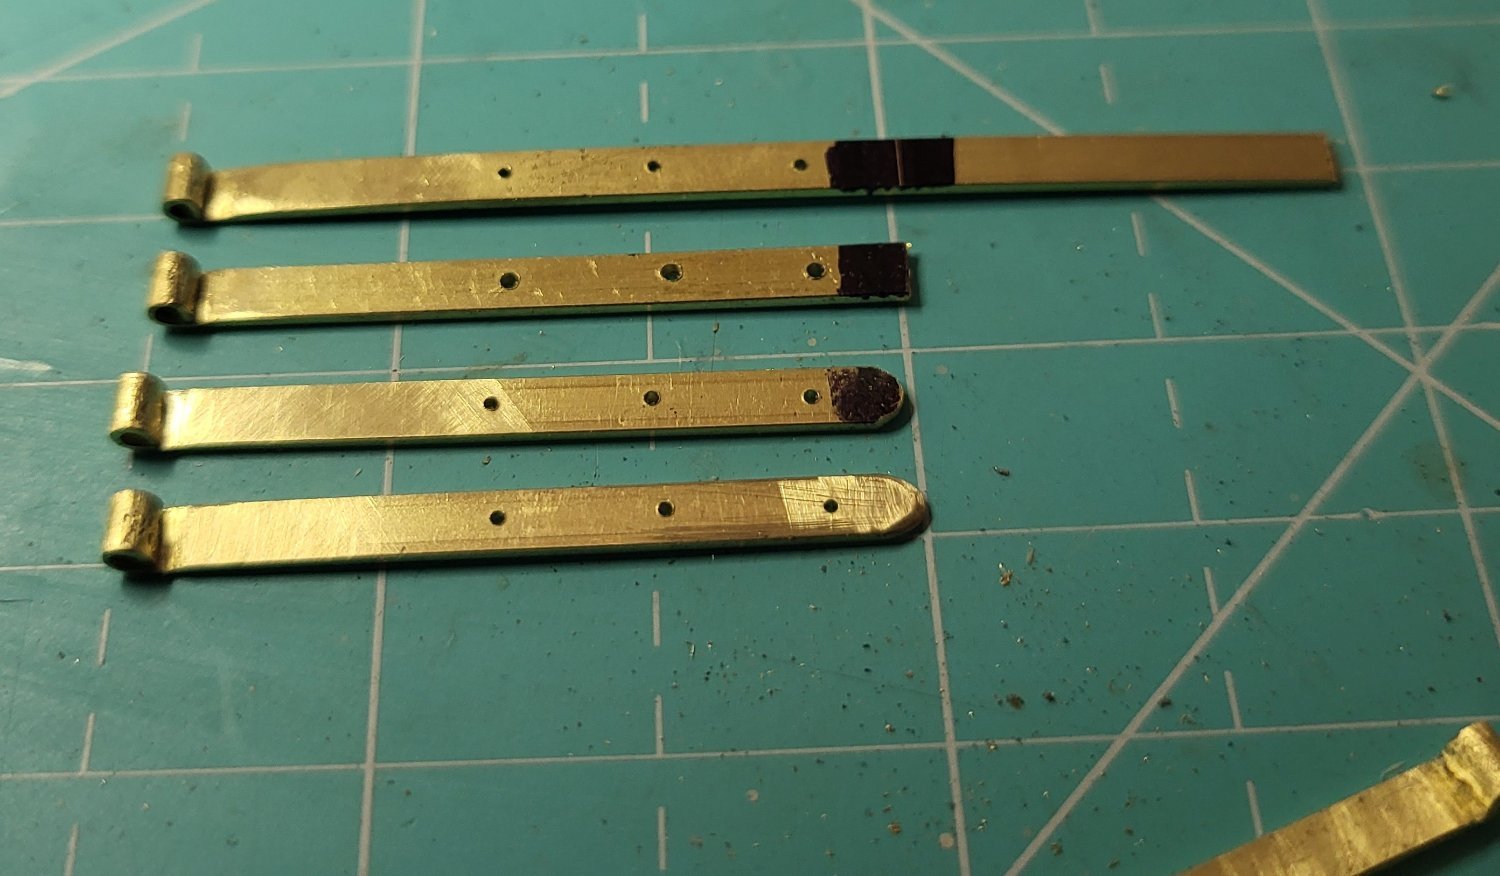
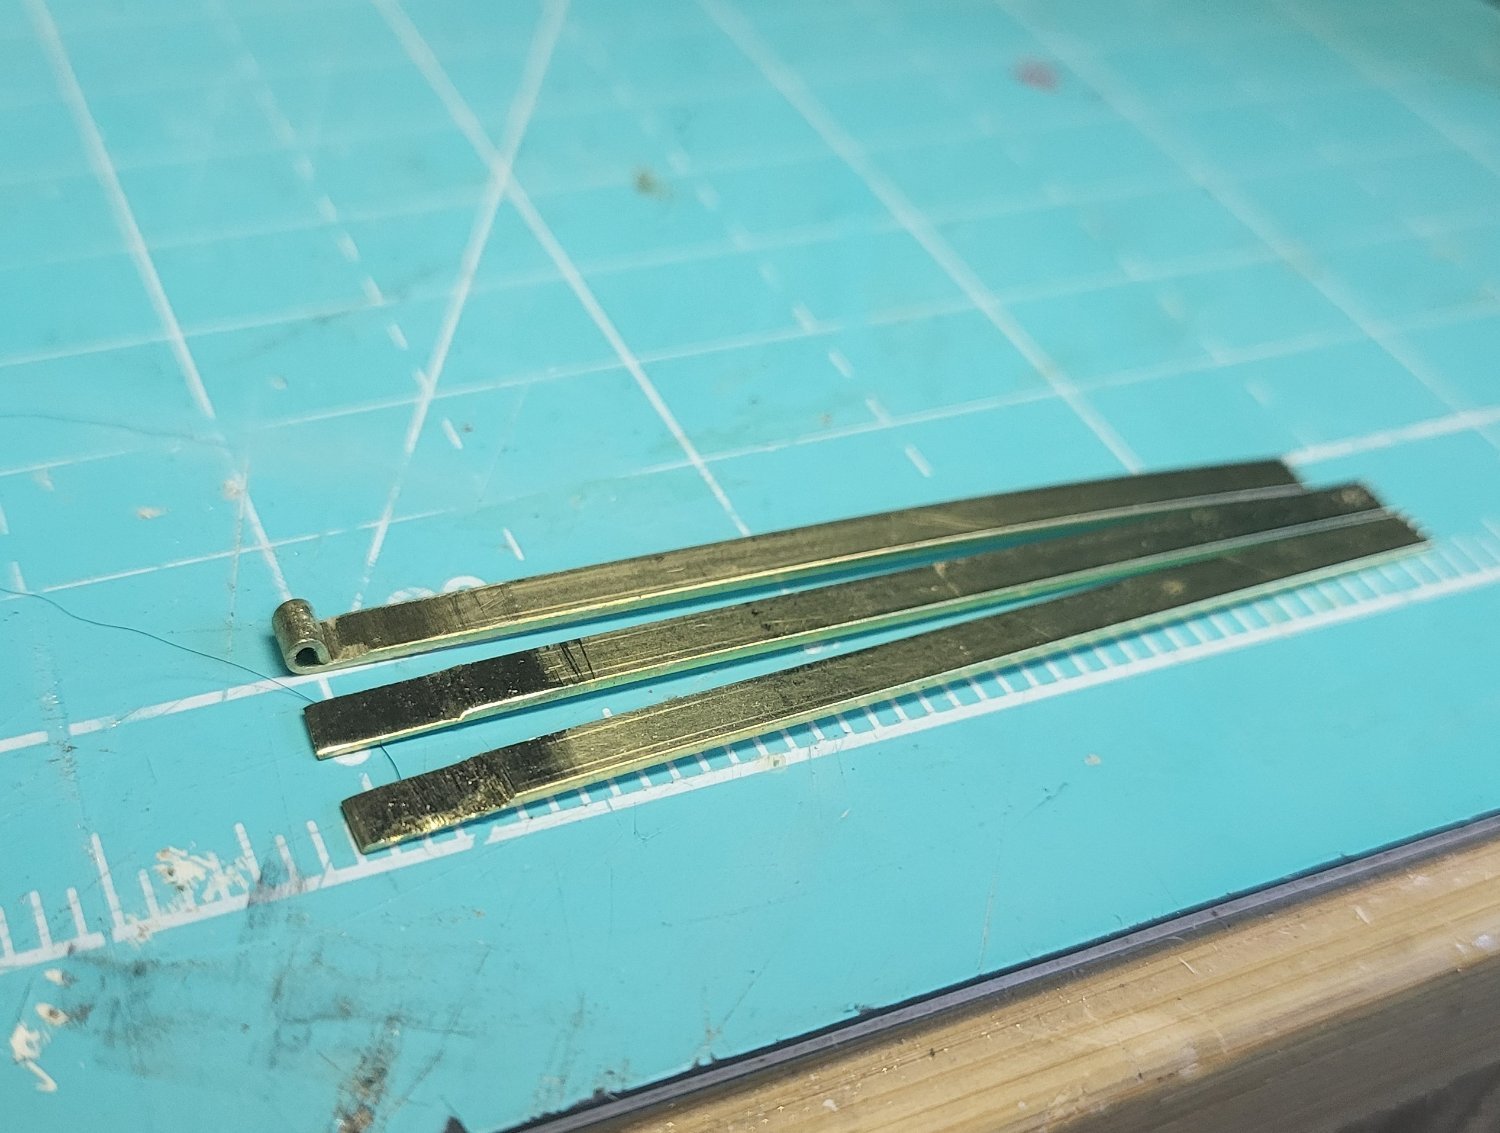
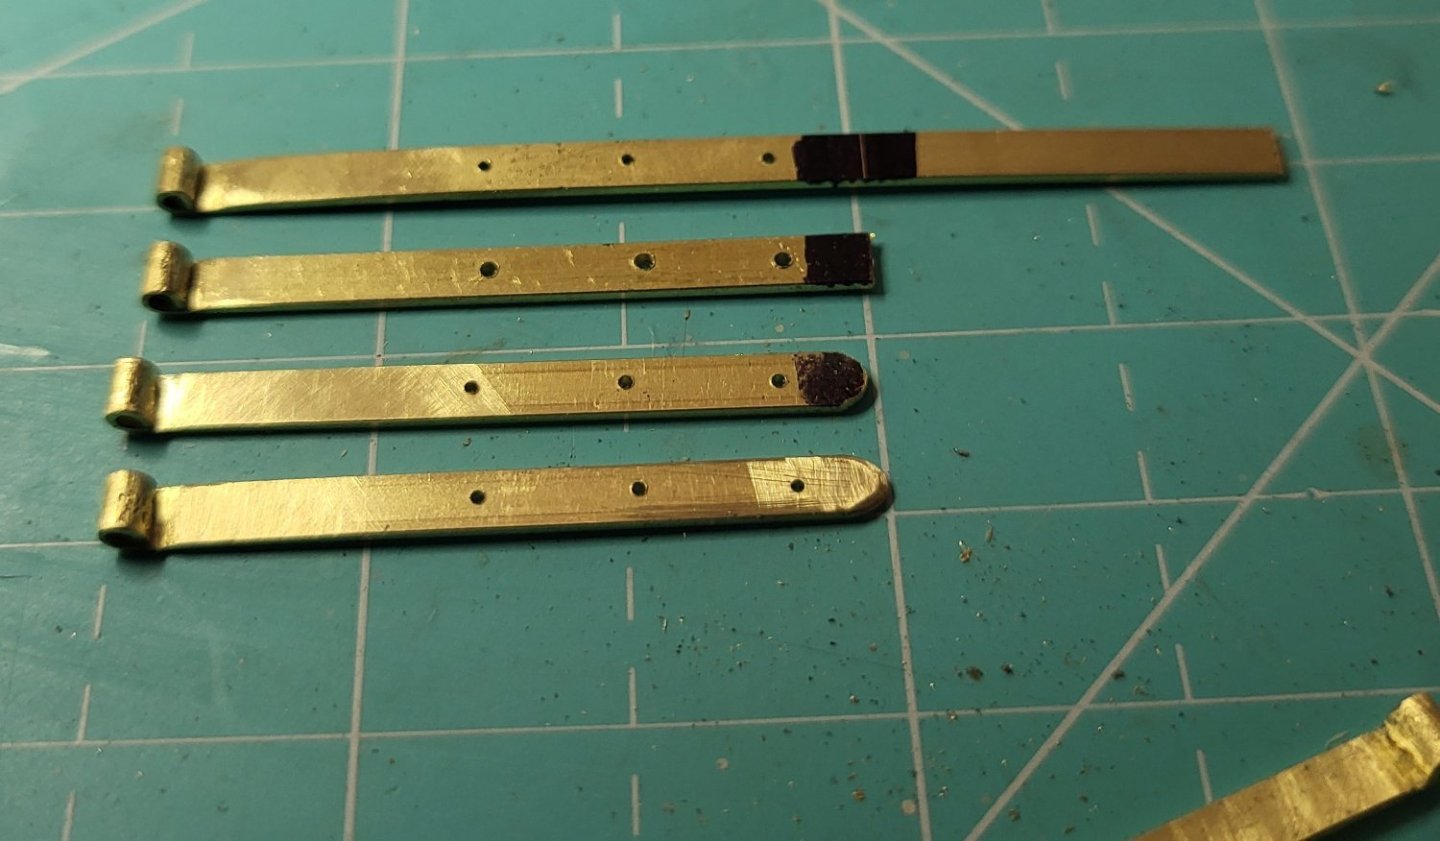
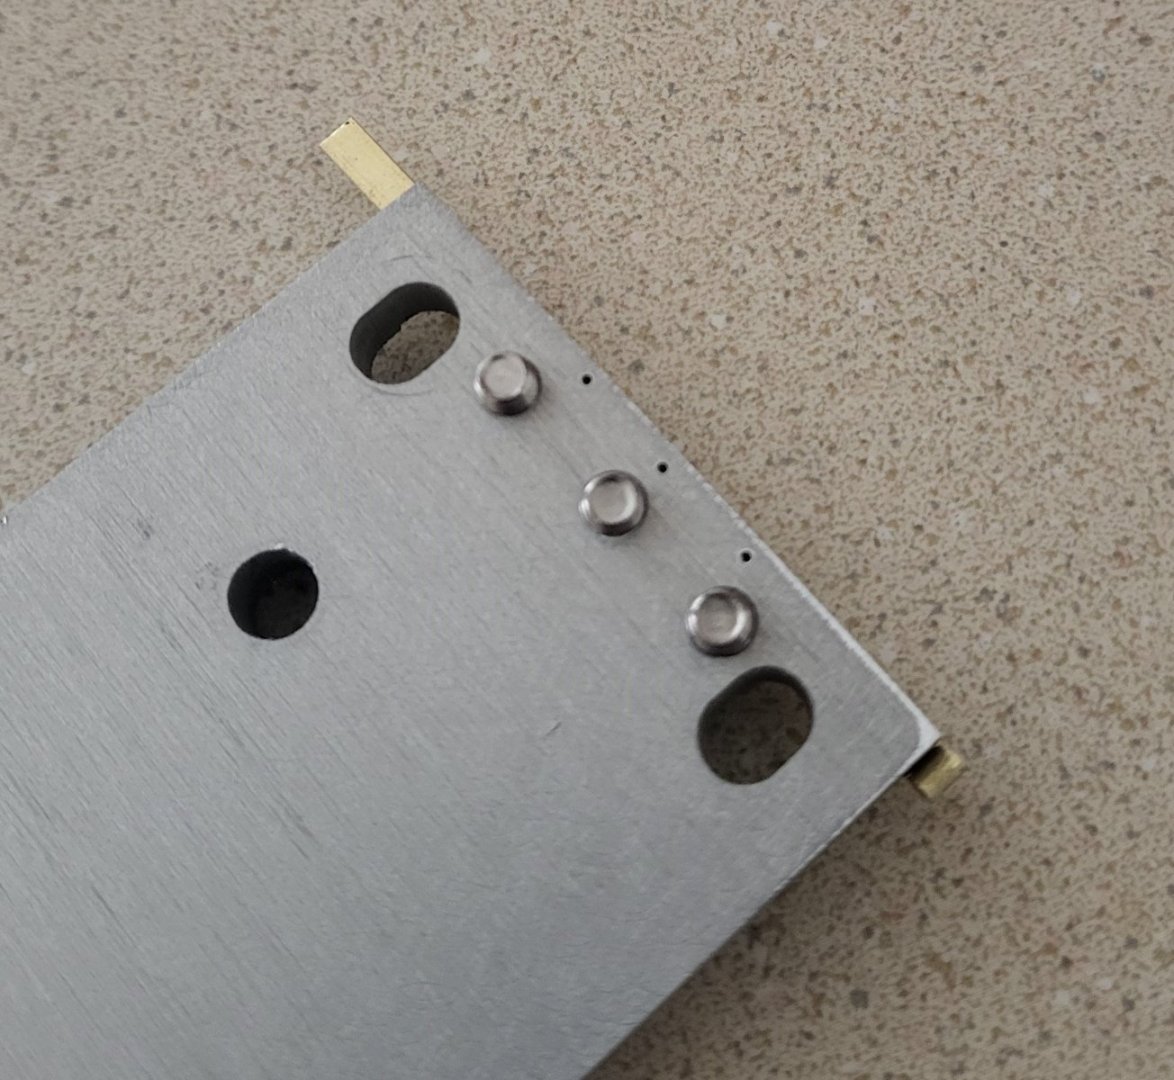
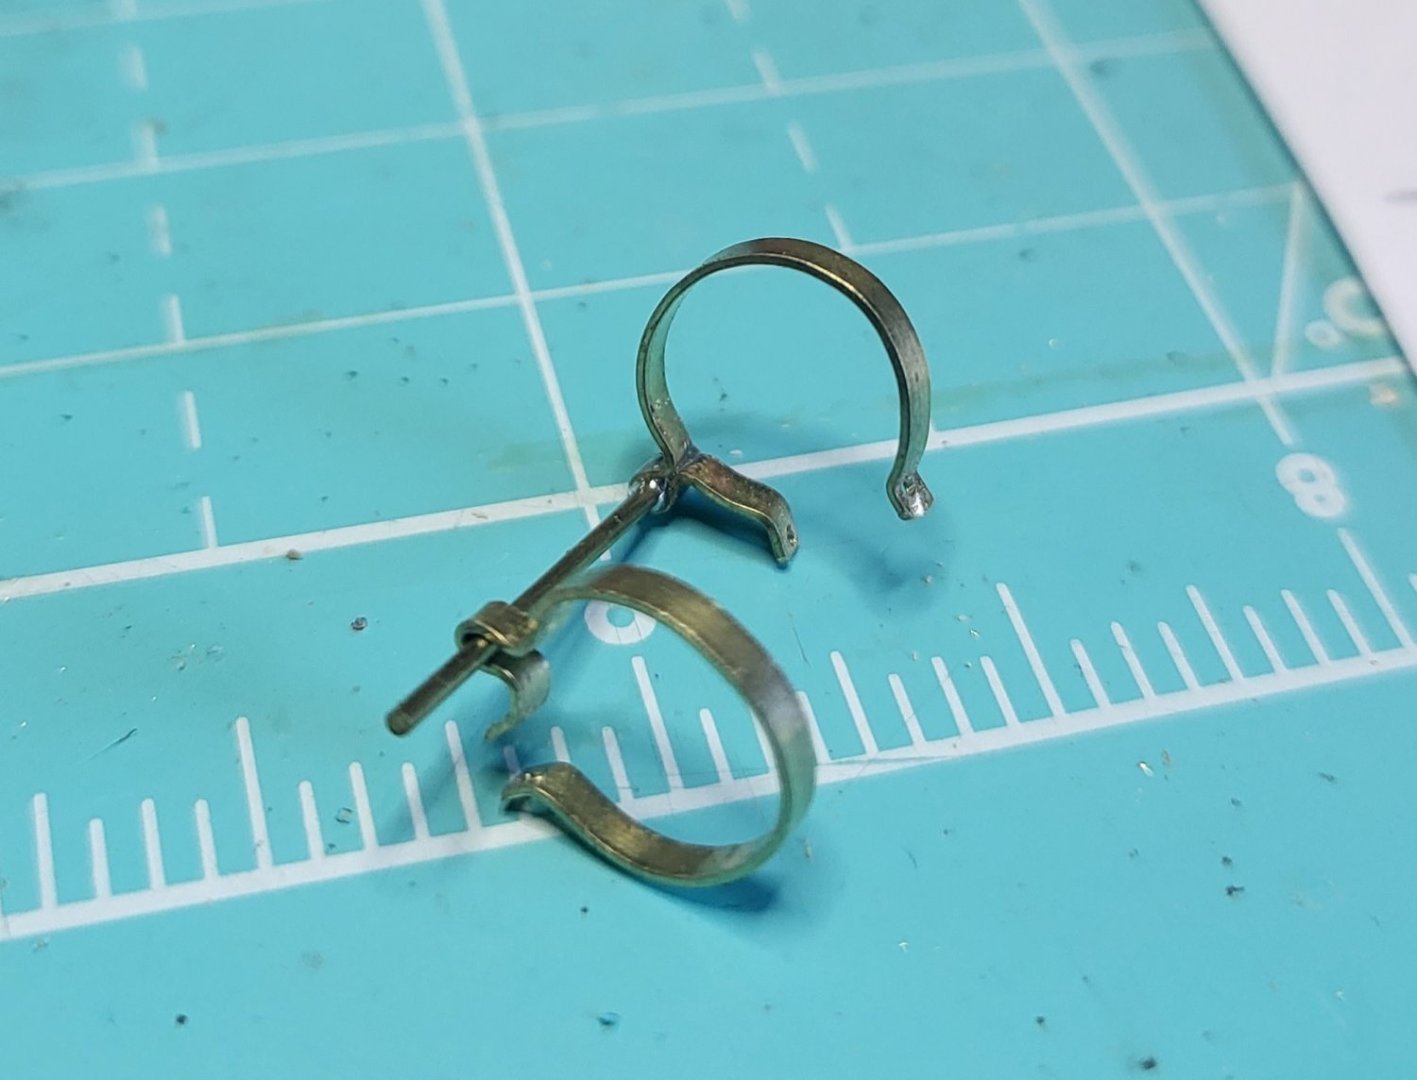
Working on chainplates, I wanted to use thinner brass, but couldn't find any. So I thinned out the ends with a file, and got a good tight loop. I also machined a fixture to drill the mounting holes. As I mentioned when I was drilling the holes for the rudder pintles the drill walked so they are not as even as I wanted. This fixture should make the hole spacing and they should be well centered., then I will trim them to size. Hard to tell teh scale, but those are M4 screws and 0.028" (#69 drill) holes


-
Caferacer changed their profile photo
-
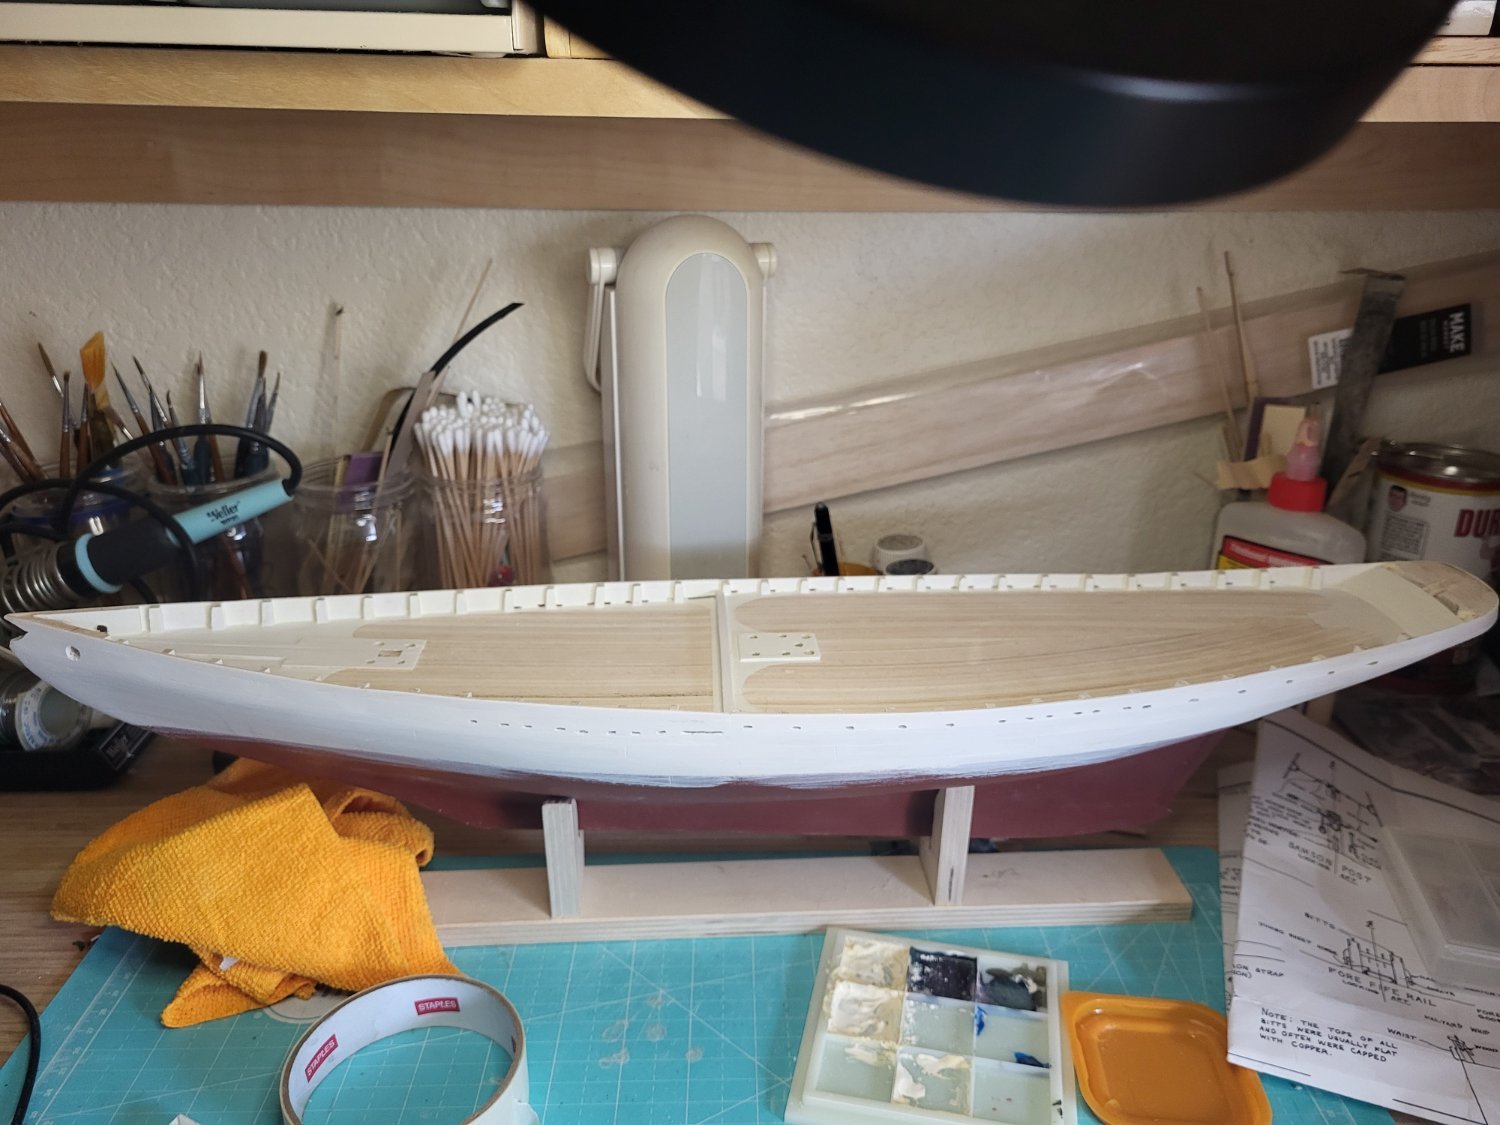
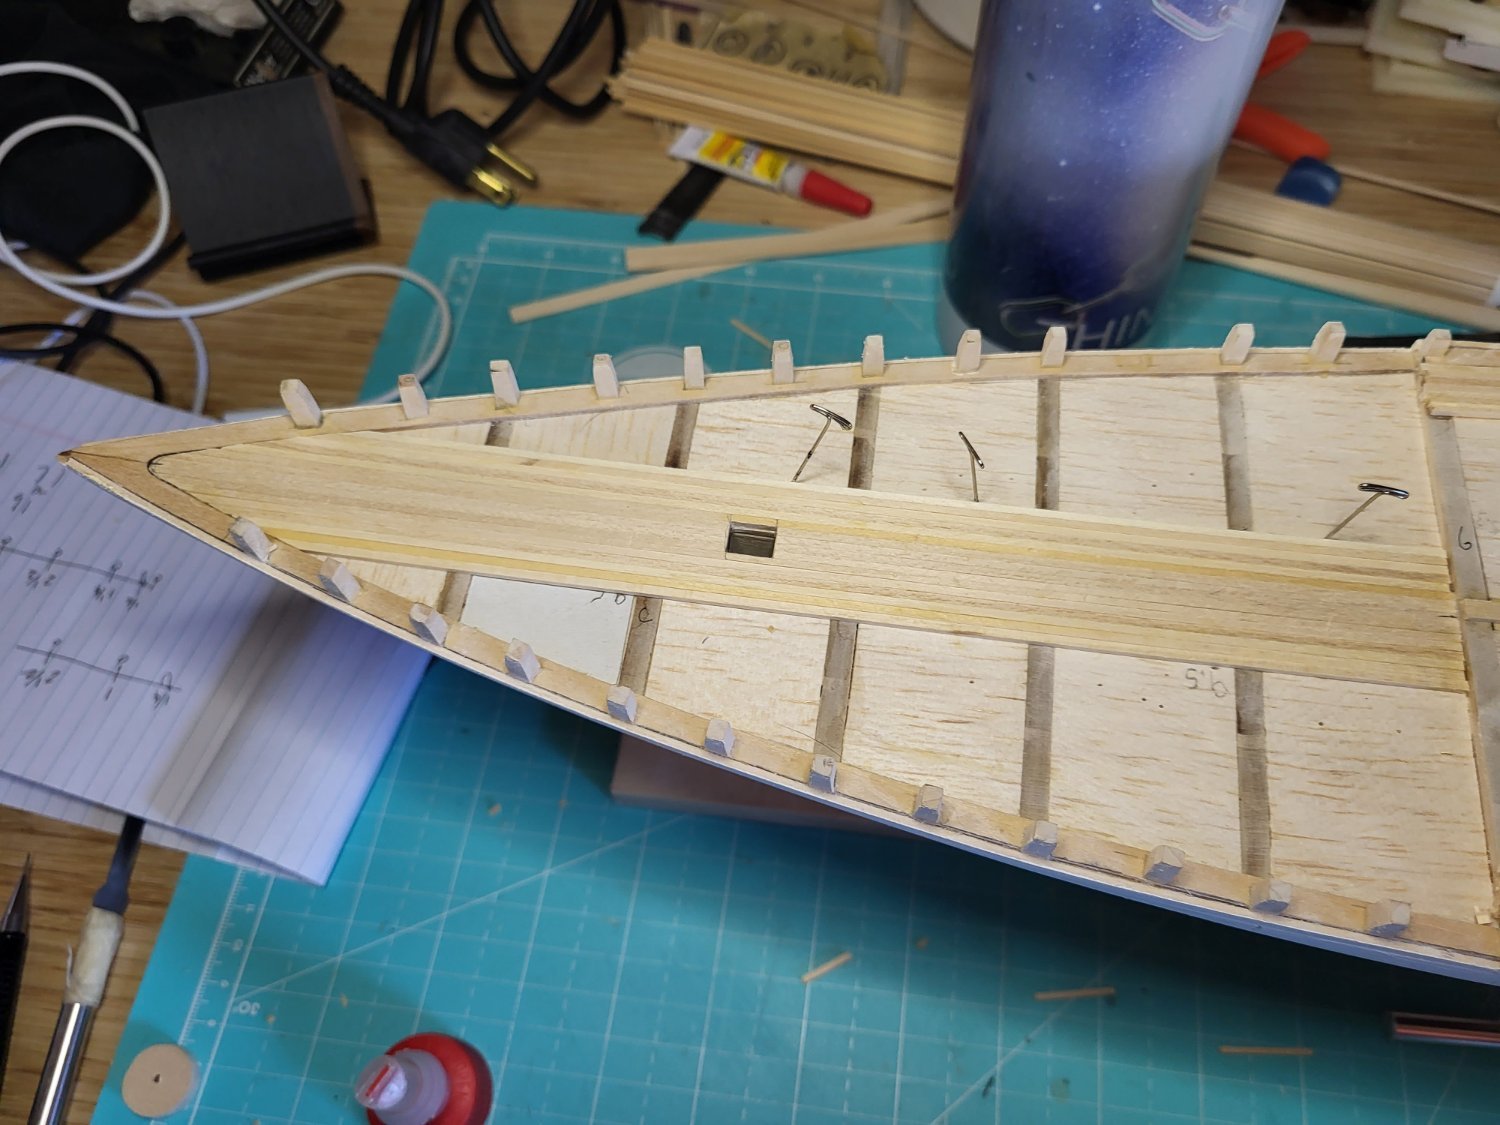
At this point I've got the deck and bulwarks painted, but not quite ready to start the top rail. I want to consider the right way to approach it, bent 1/4, or 1/2 inch that I trim and shape. I think the latter, but I want to think a bit. Scuppers are cut and cleaned up after this photo, prow is mostly shaped, and cut for the bowsprit. The hull above the water line is just primed. When cutting the scuppers I realized I somehow miscounted the timberheads! There should have been 2 between each frame section, and I only added 1. My next step will be creating the chainplates, that's going to require some work, based on the "lessons learned" from creating the pintles, I want to create a fixture to ensure the chainplates are drilled evenly, the drill walked a bit while making the pintles and given the prominence of the chain plates I want them as uniform and identical as possible.

-
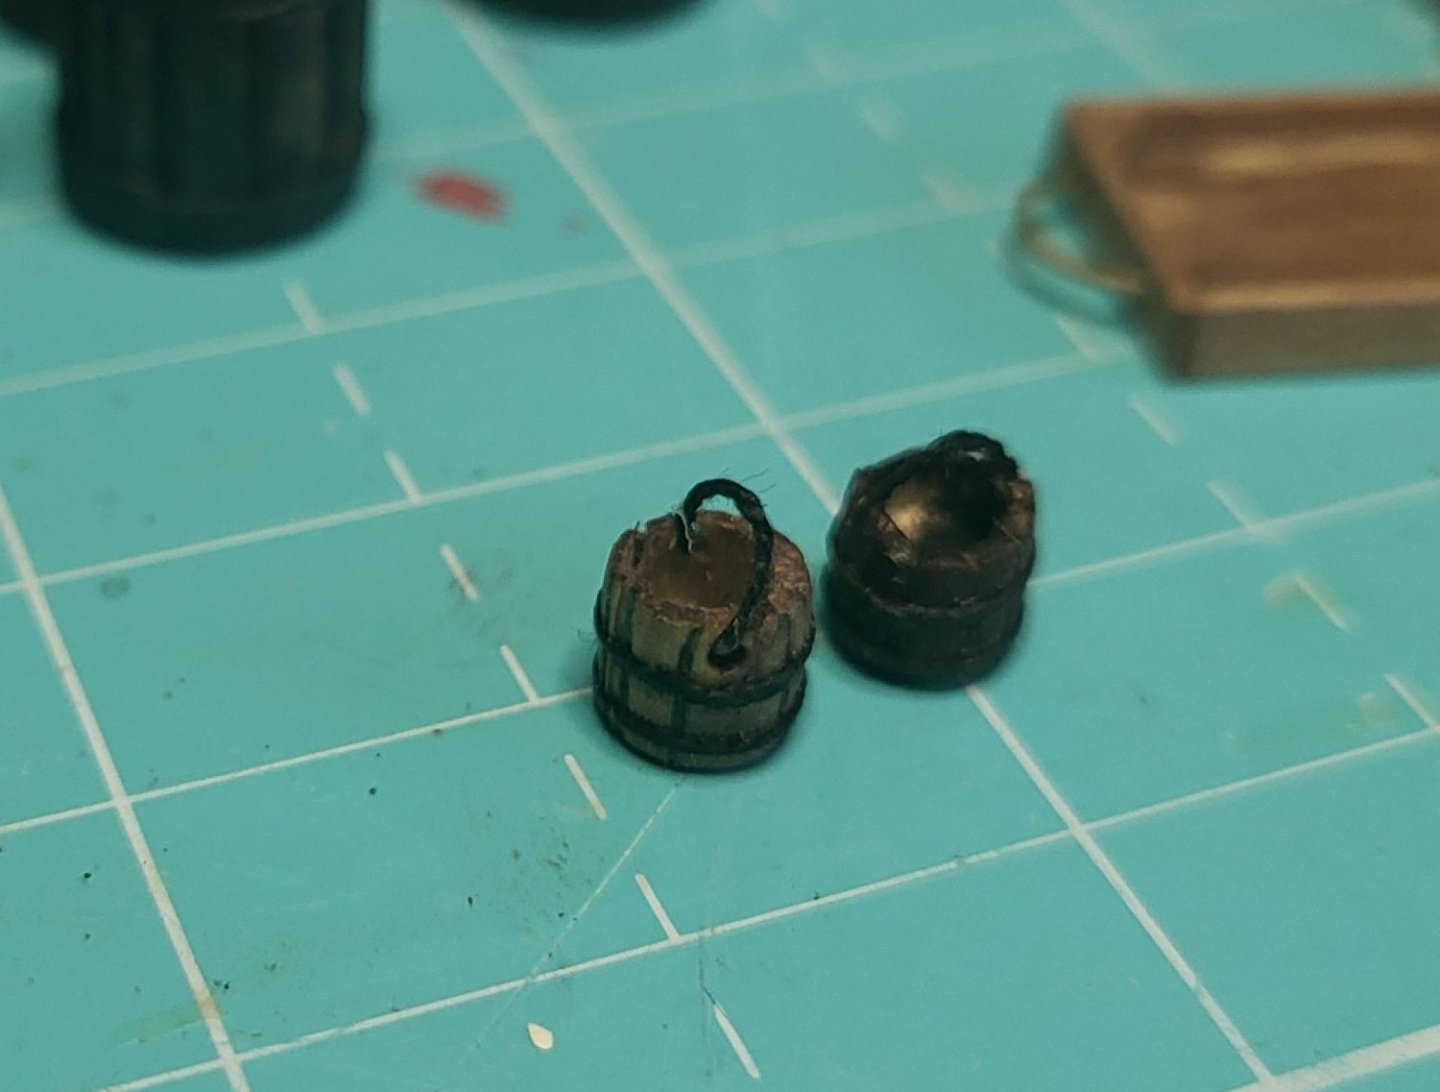
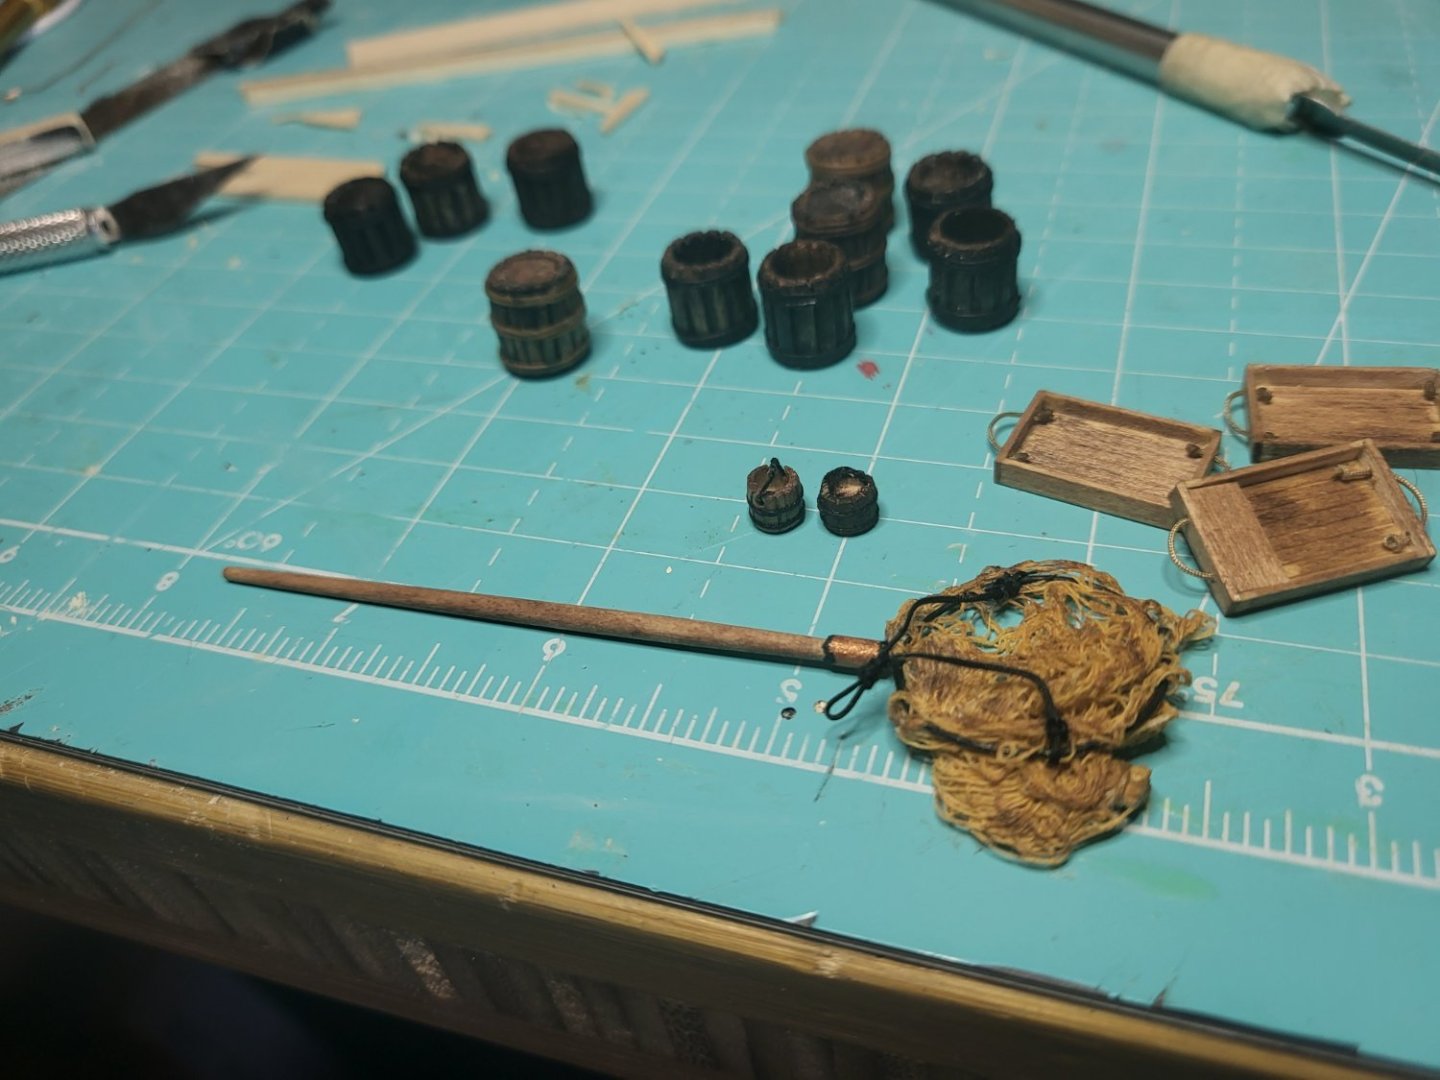
Using a similar technique I made a couple of buckets. Also shown the completed gutting trays and the net. The cheesecloth was very easy to work with, so I'm looking forward to creating the sine net as well.
-
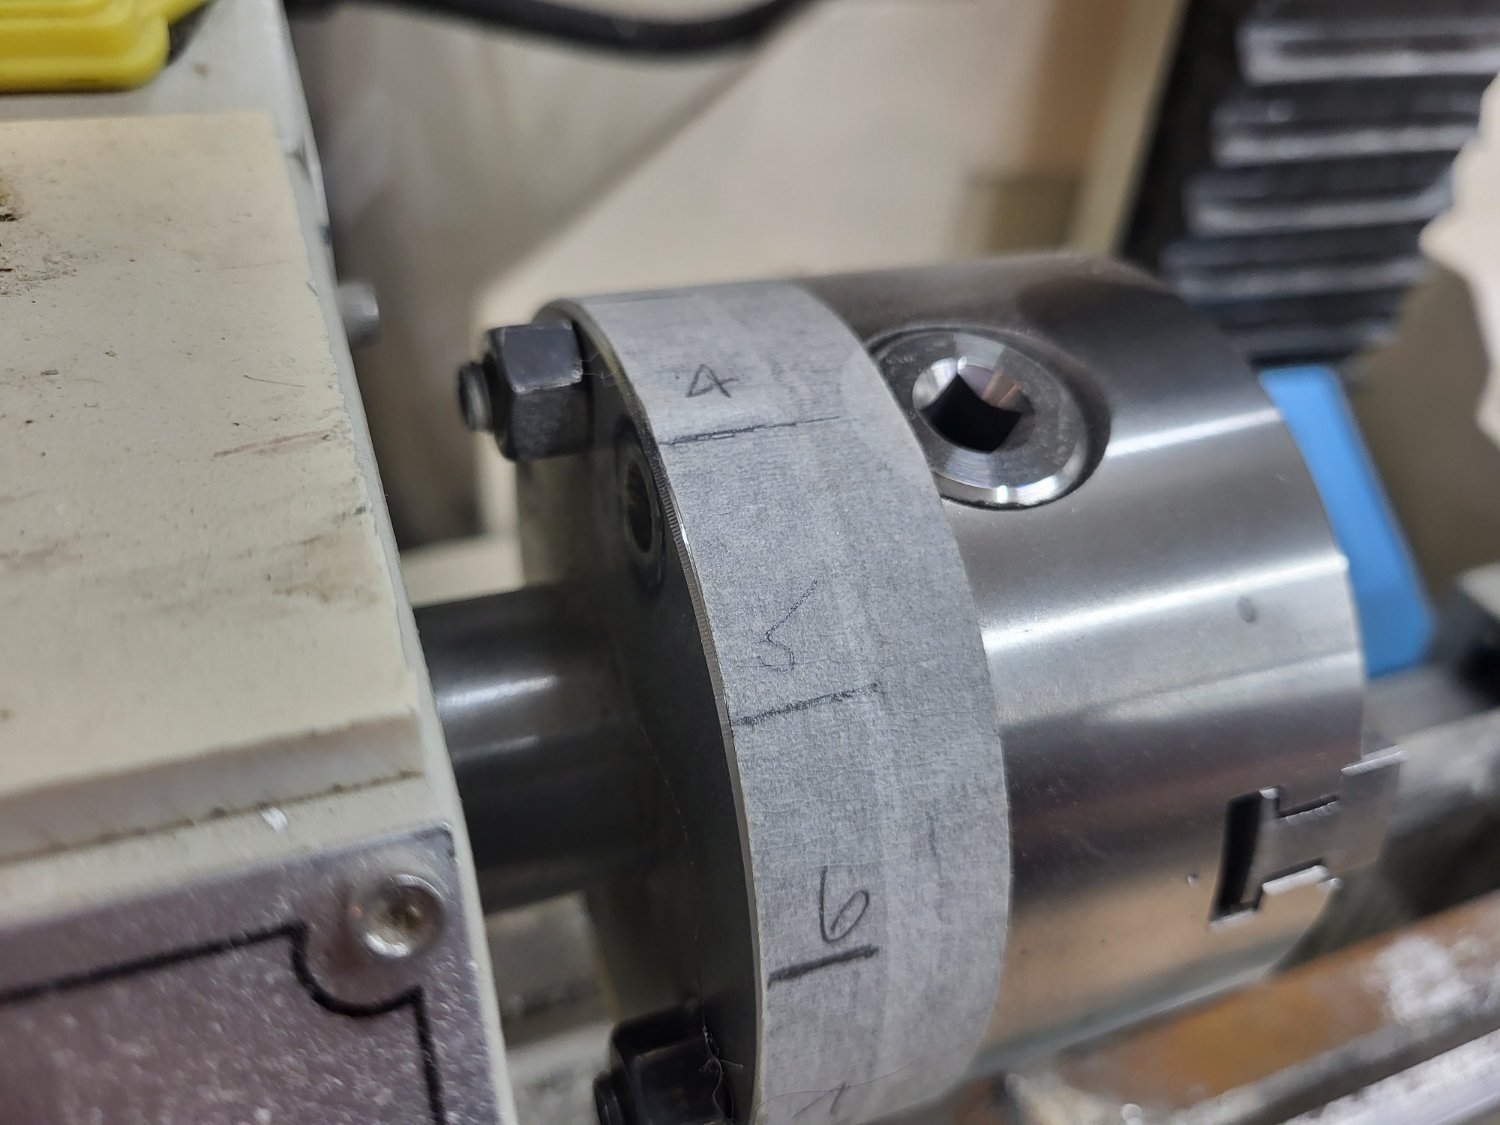
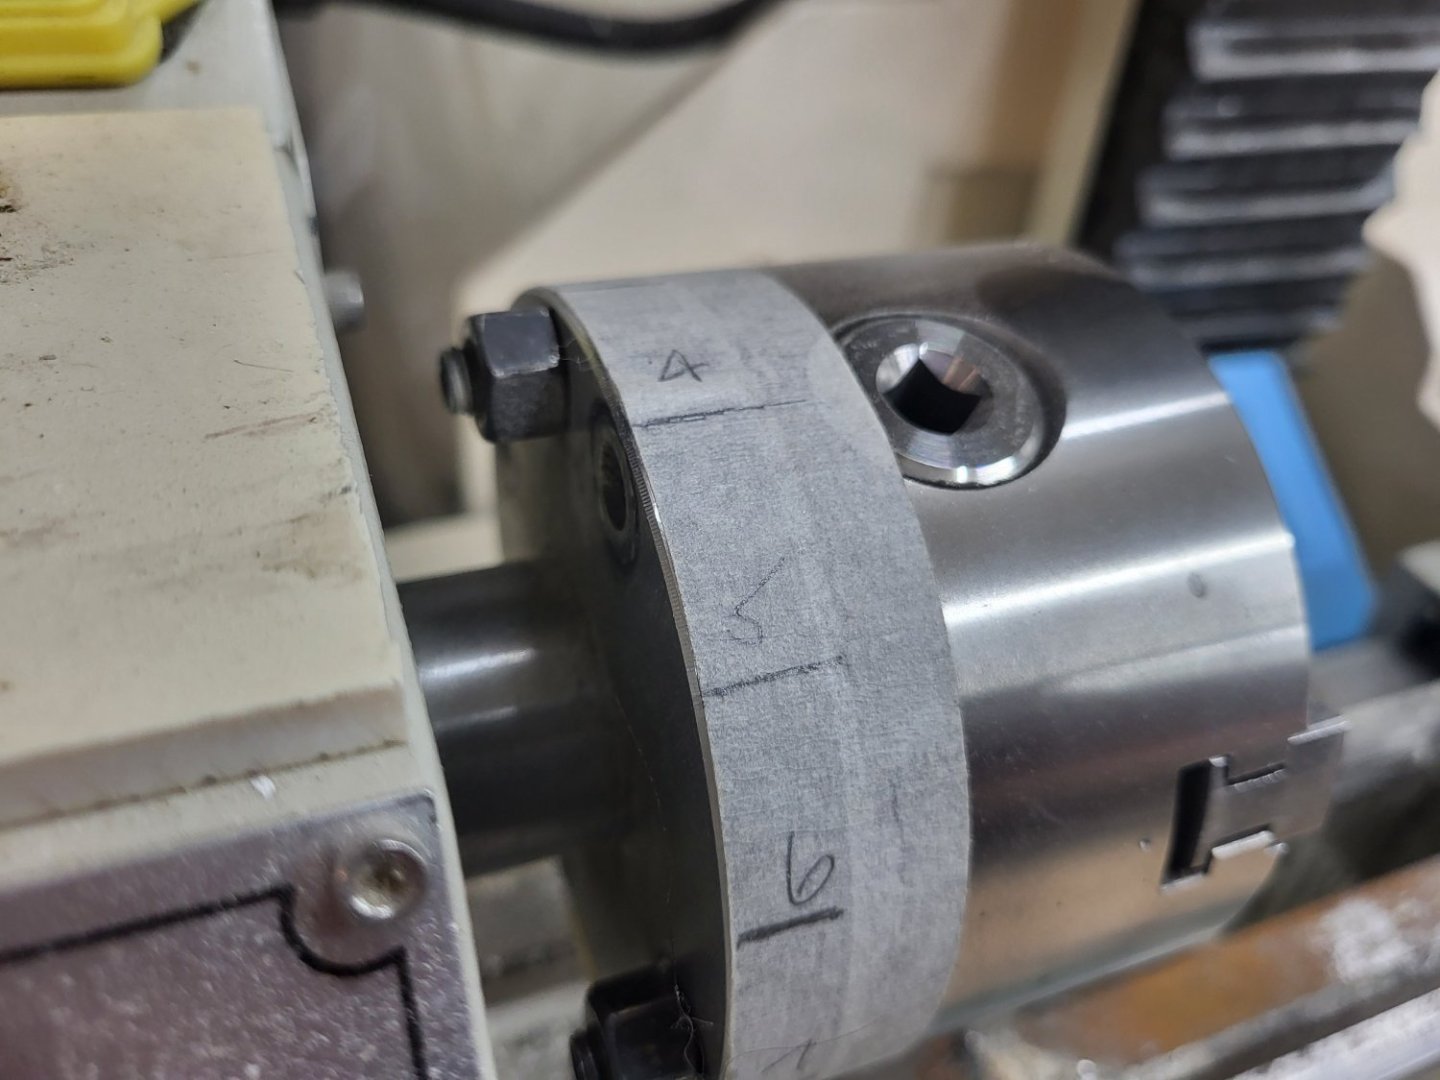
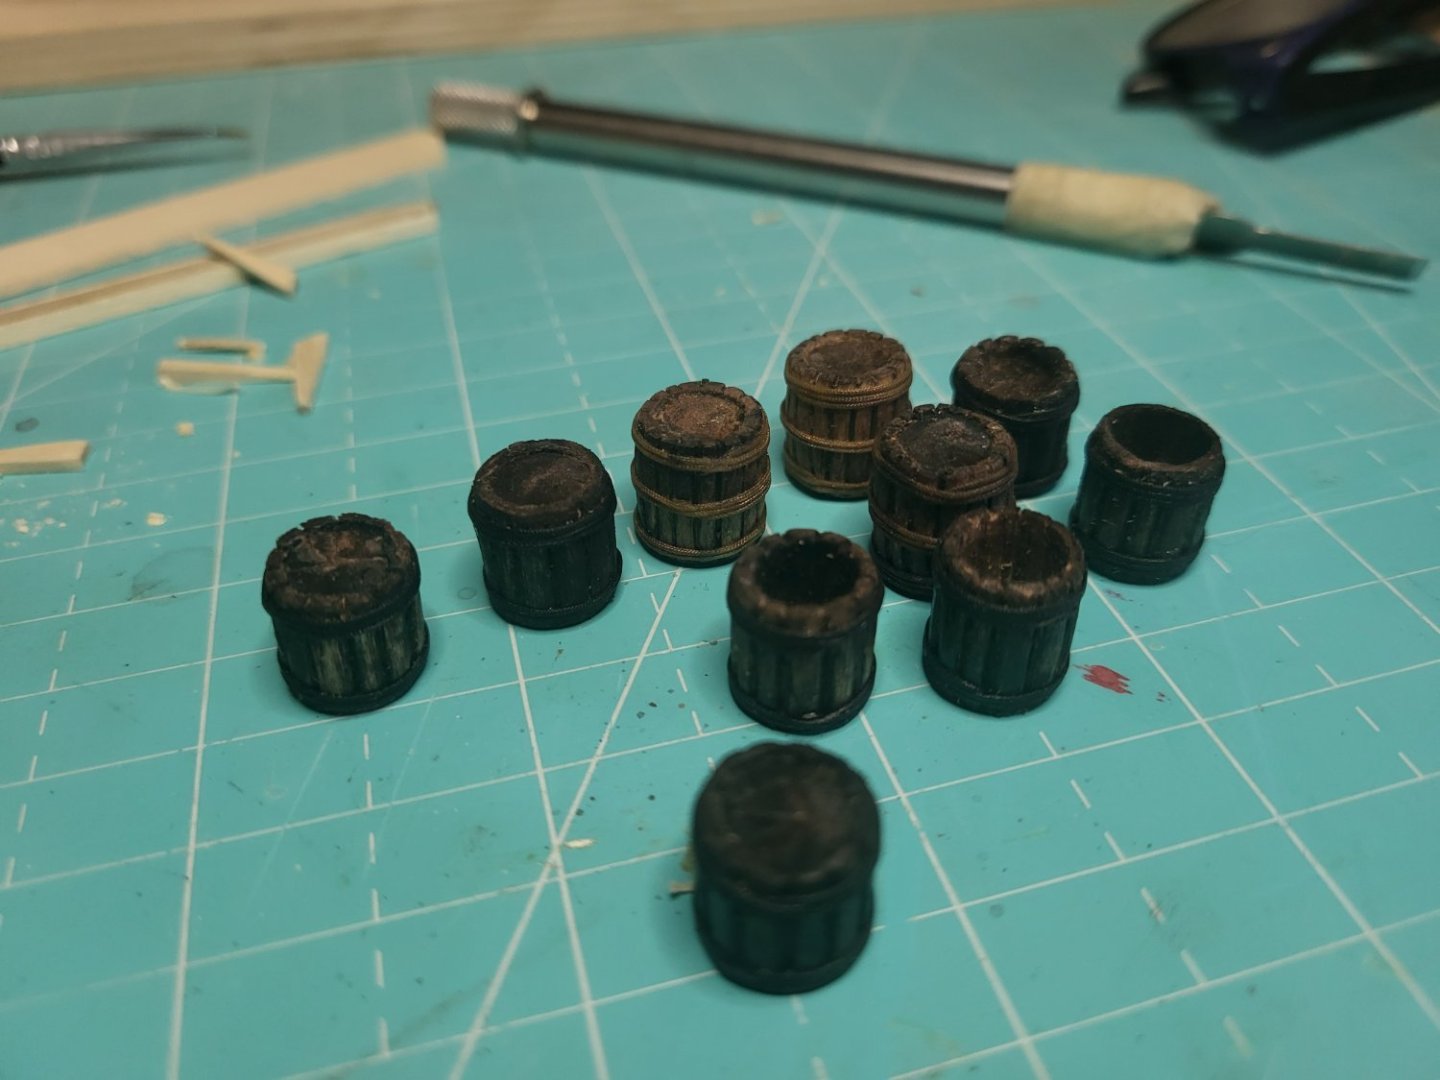
Thought I wold share some previous accessories; I tried a few ways to make barrels, the one that worked best was turning some soft wood in the lathe. I then created an "index" mark on the lathe chuck, then draw a tool across the round to create even grooves representing the staves of the barrel. I then marked and tapered the the individual barrels while in the lathe, and drilled the hole through the round. Finally at the workbench I carved the details to the staves, and wrapped the "sapling" around the barrels before cutting off each barrel. I didn't drill all the way though so some barrels could be "closed". Using a small chisel I cut back the the face of the "closed" barrels to create the recessed lids. All this was made easier by having a decent piece of wood to hold on to while working. Hope all this makes sense. I made a lot, and using different finishes, so I can pick and choose.

-
Finally got back to work, the deck sanded down well. Lost a few timberheads, this seems to be happening a lot, however they are easily replaced. Bulwarks next!
-
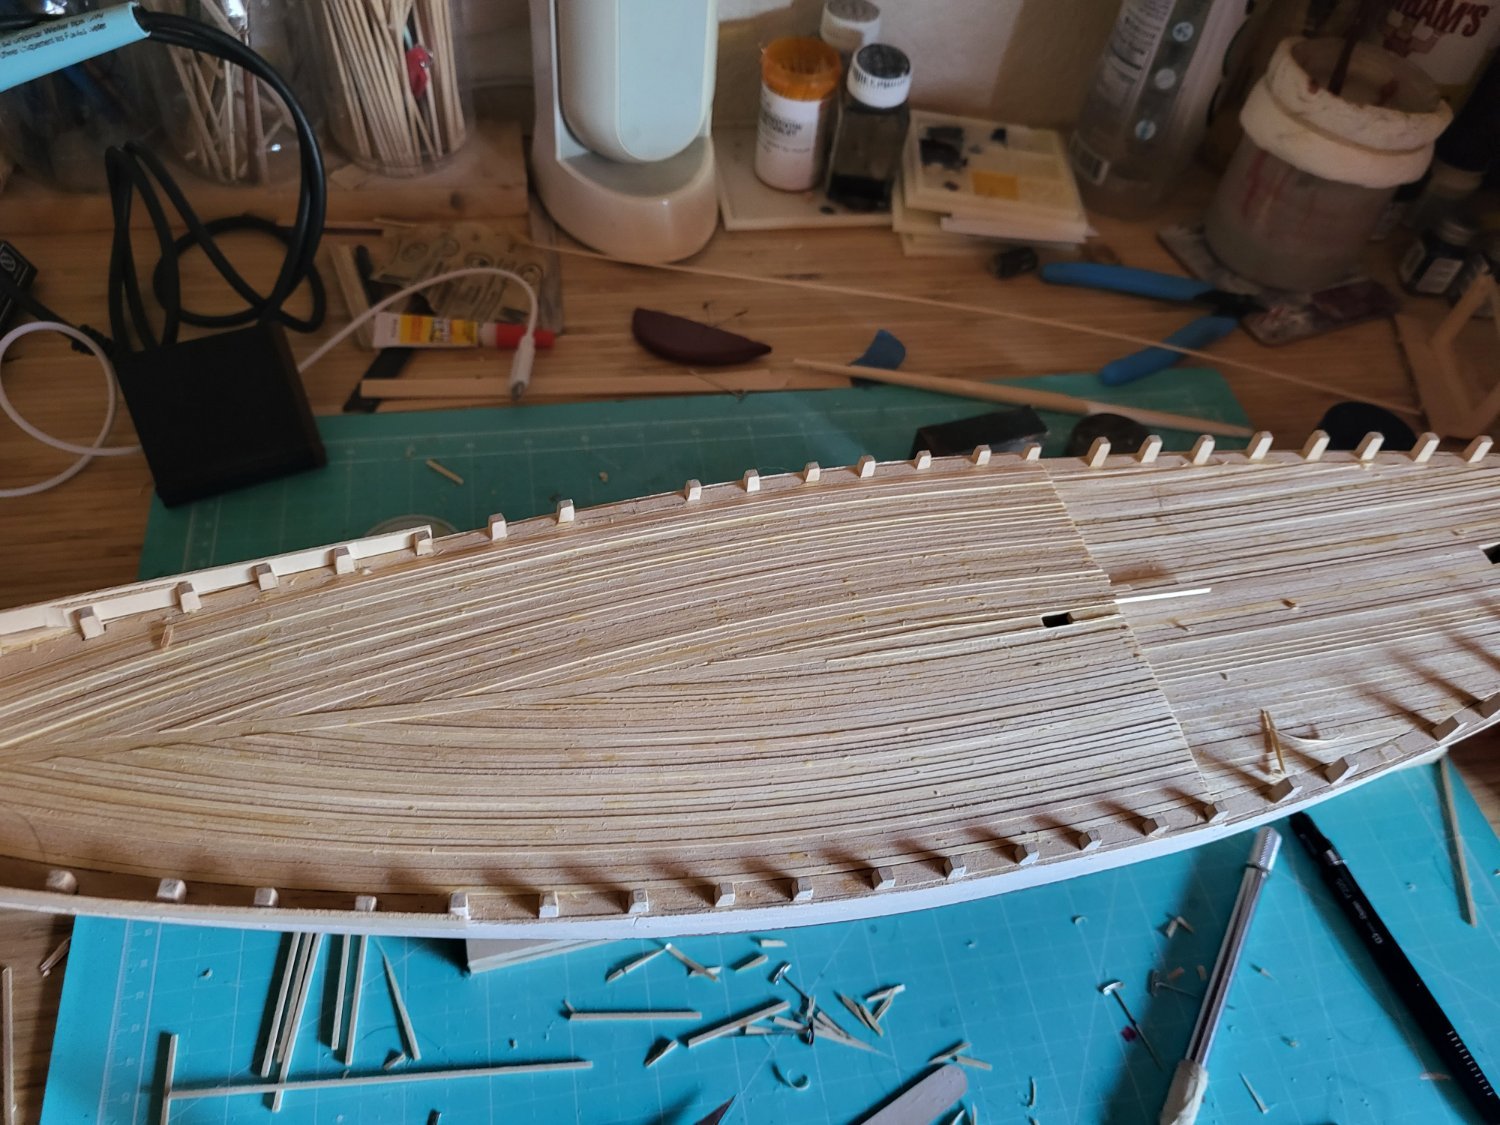
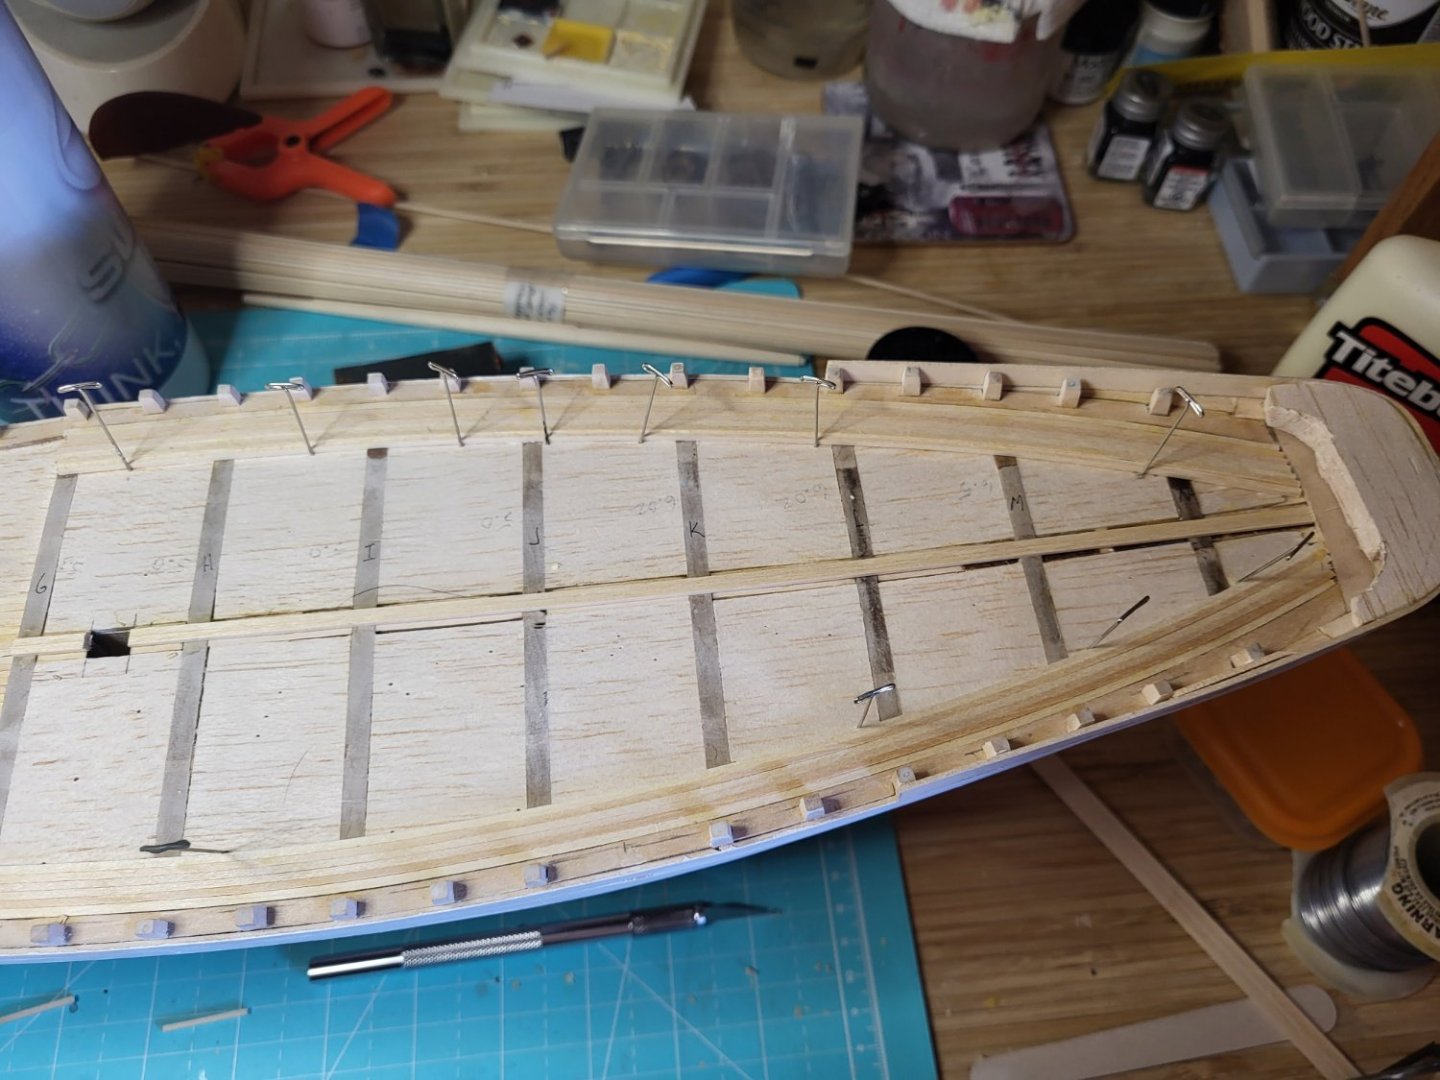
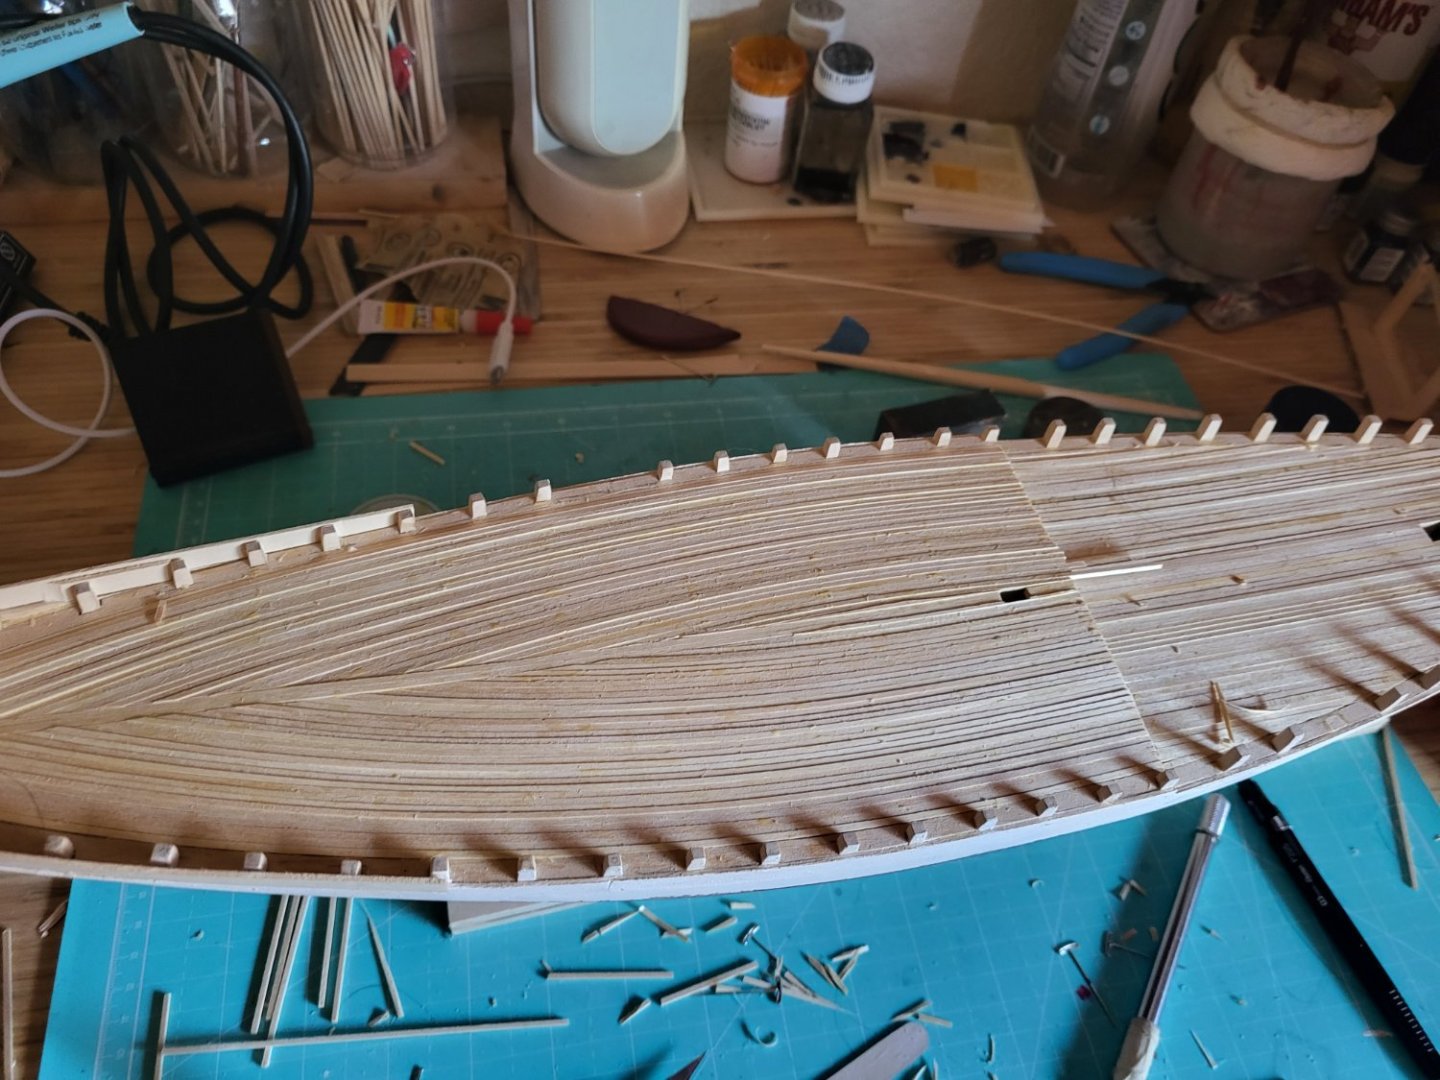
Decking time! It went easier and quicker than I expected, however the strips provided by MSW are not the same. I think it will all sand down fine, but I bought extra 1/16x1/16, so I should have been more selective. In order to bend the planksheer I built up the transom with balsa. Worked great, in addition to soaking the plank for a while, I "pre-curved" it with my hand. I know they sell pliers for this, but just gently bending it to "loosen" the fibers of the plank, it took the tight curve of the stern well.


-
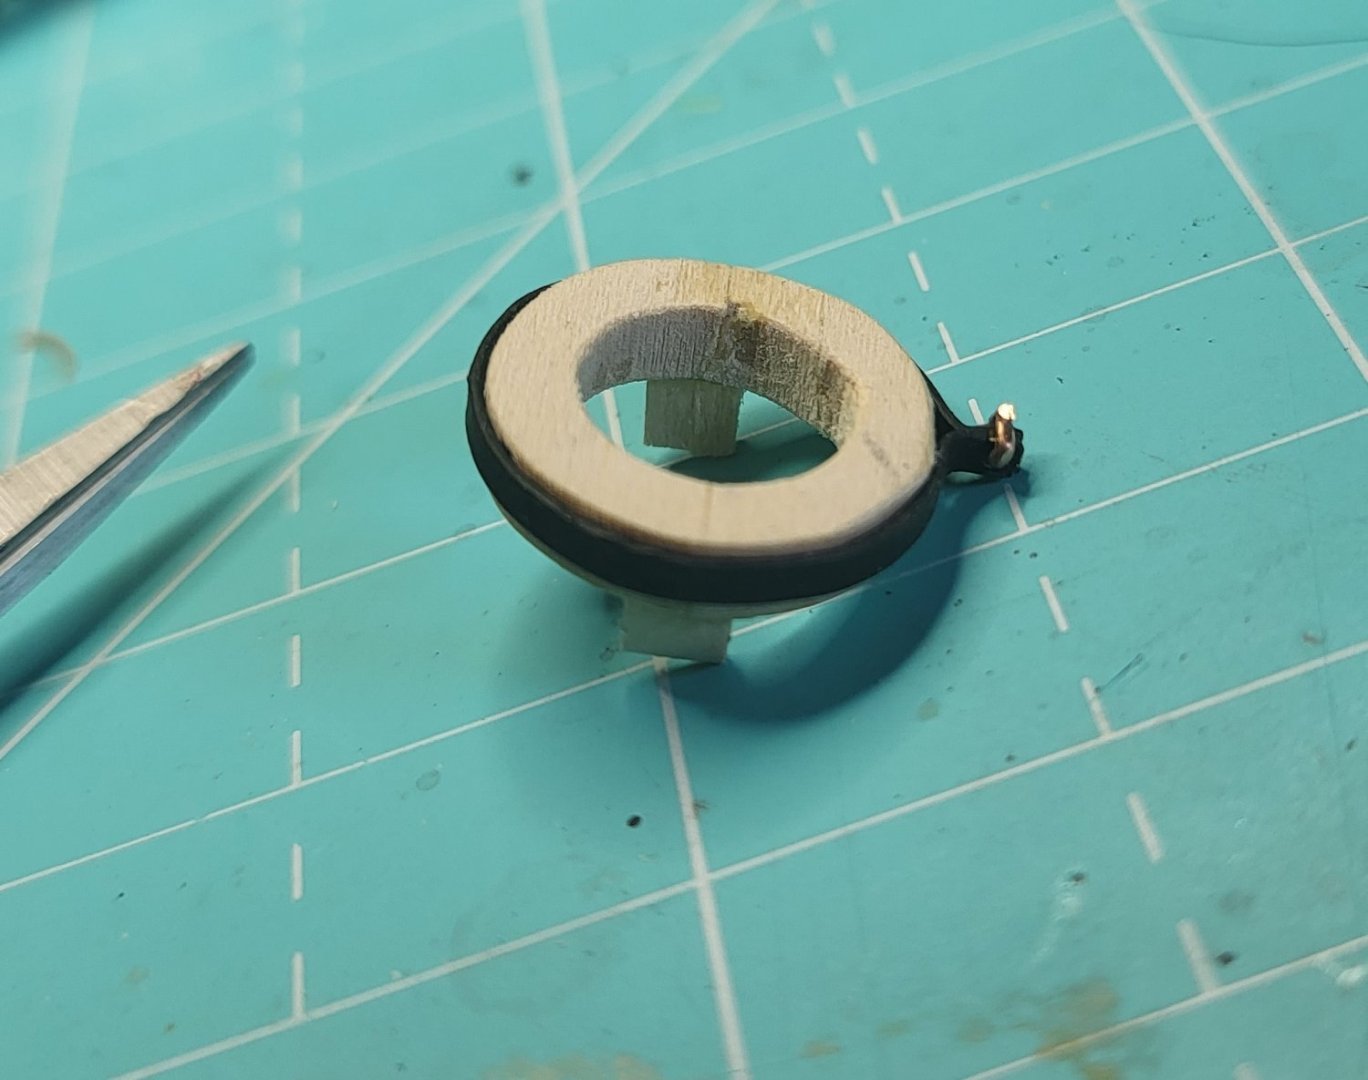
Almost finished with the masts, the spreader lifts are done, and they are assembled, finished off with the top truck.


-
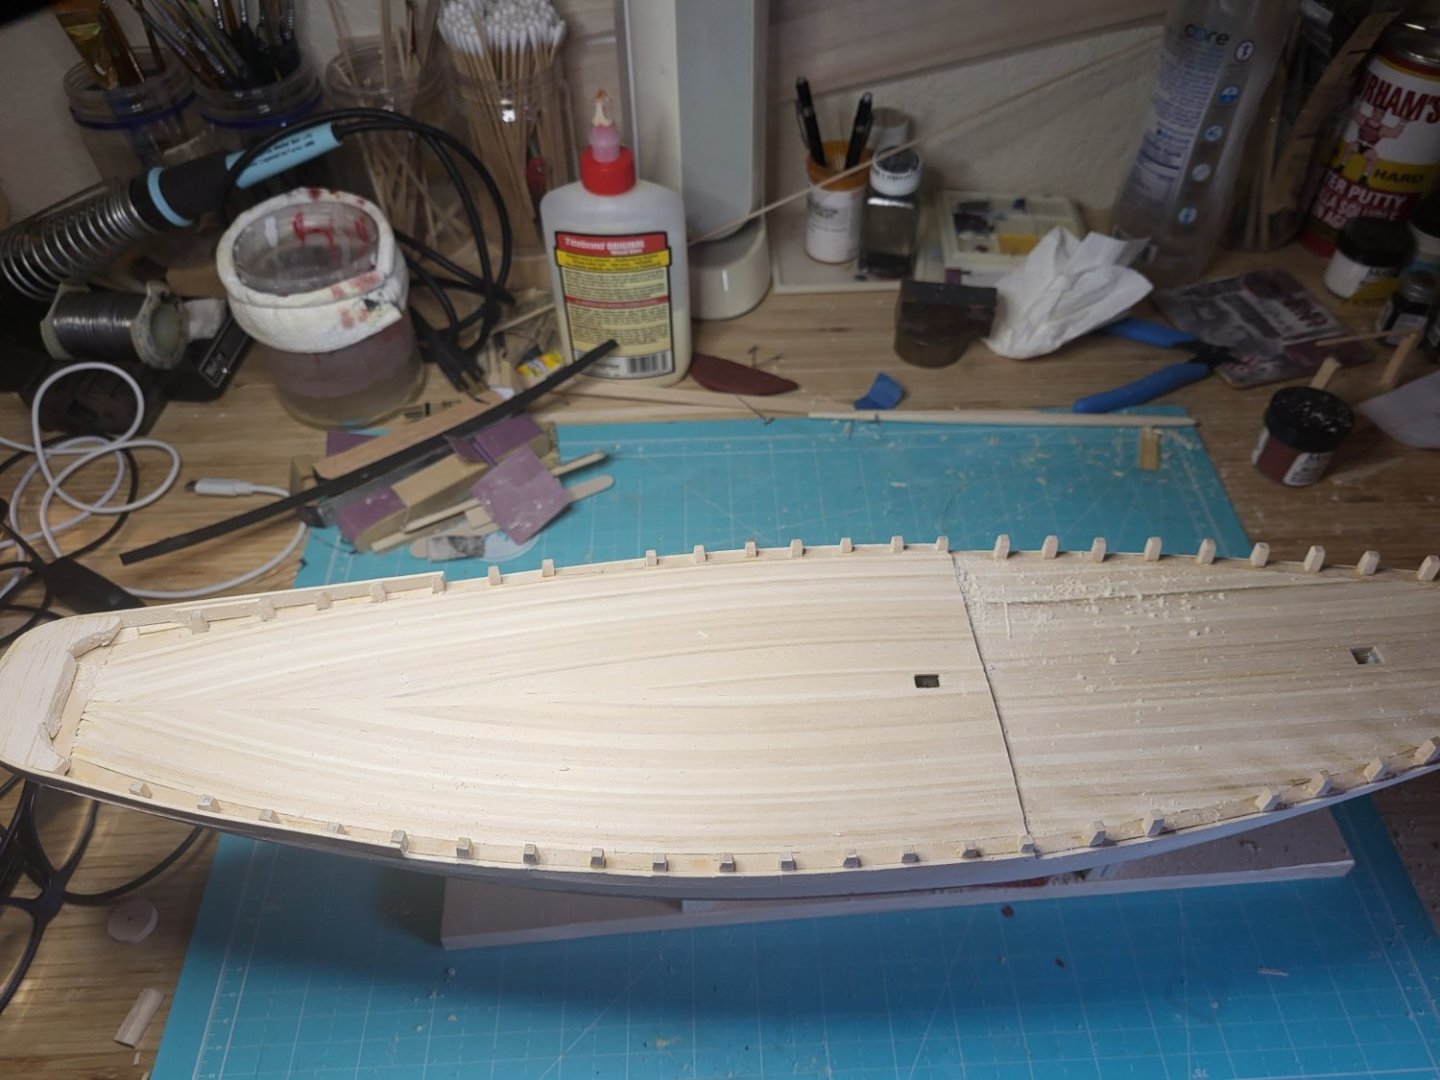
Thanks Jacques, I'm starting back to work on the hull. I think I'm going to plank the deck, before finishing the monkey board or top rail. I think having the deck "clear" will allow me to plank using full pieces. Meanwhile, I've been doing a few other details. The boom rest, and the foresail boom, rail thingie. Also the pintles.. almost out of brass strips.


-
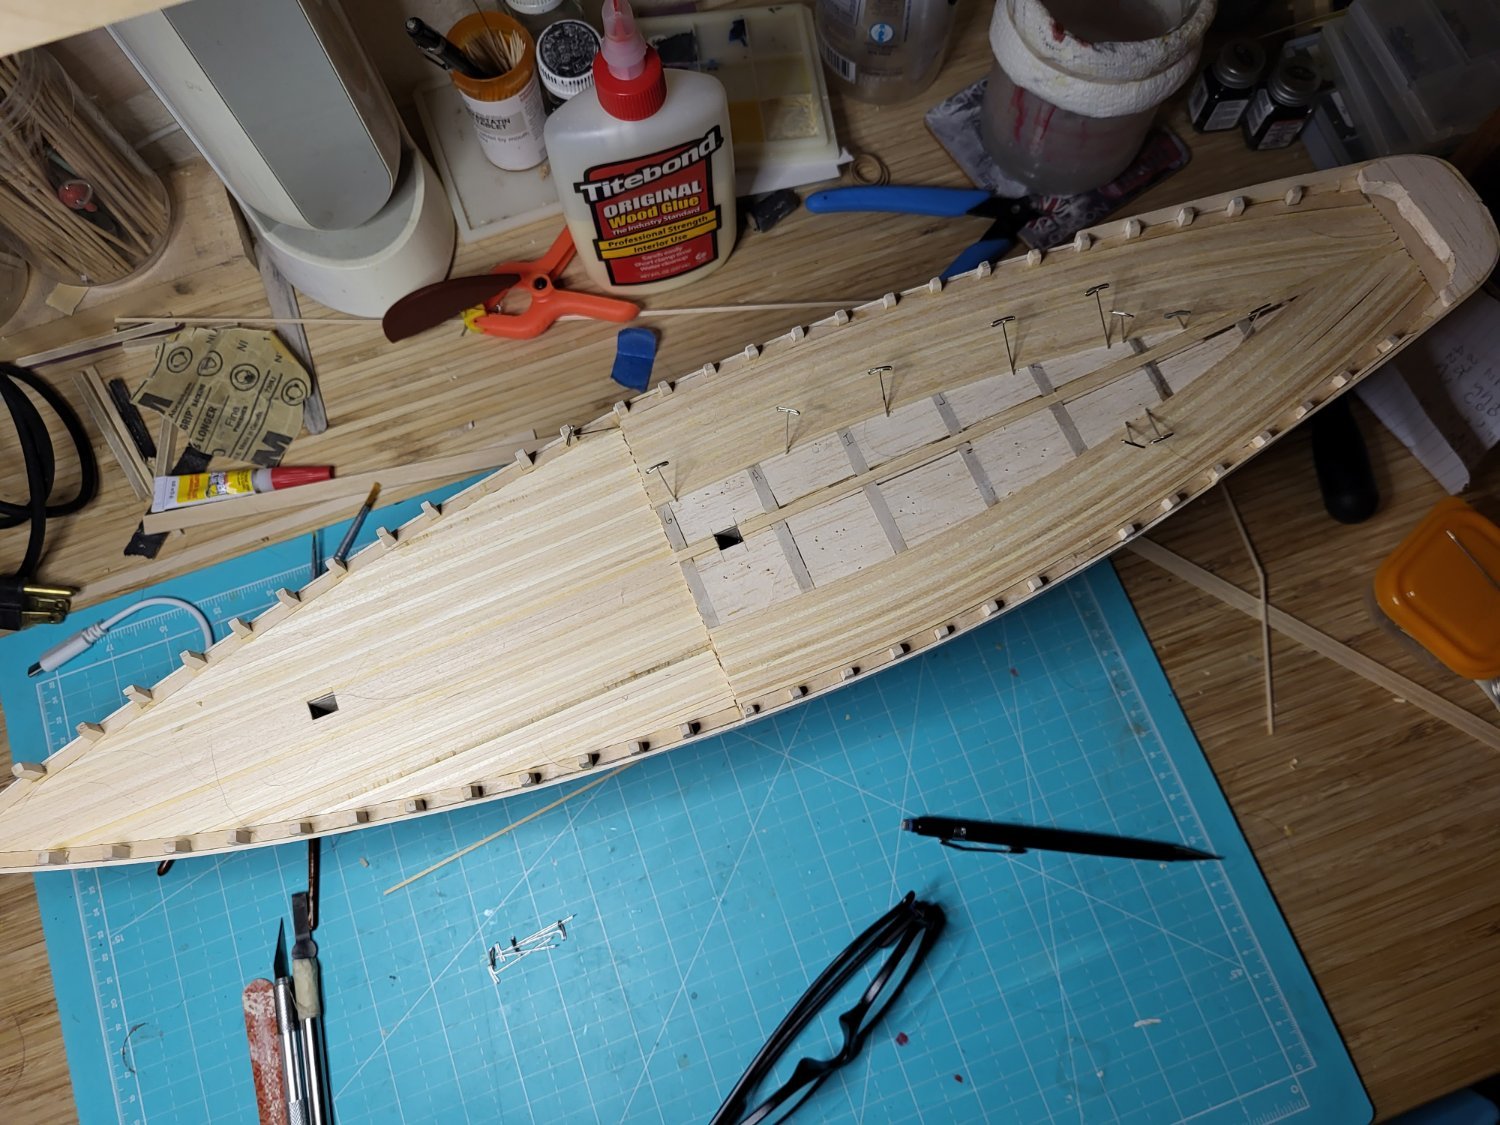
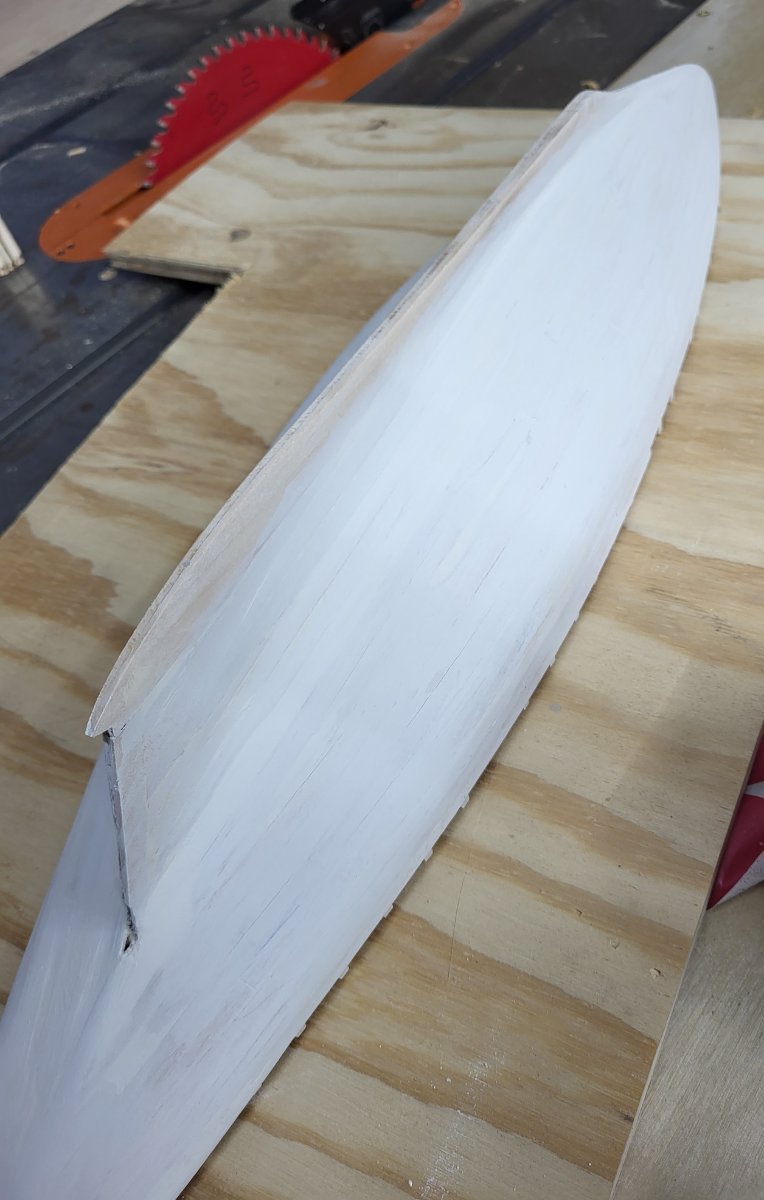
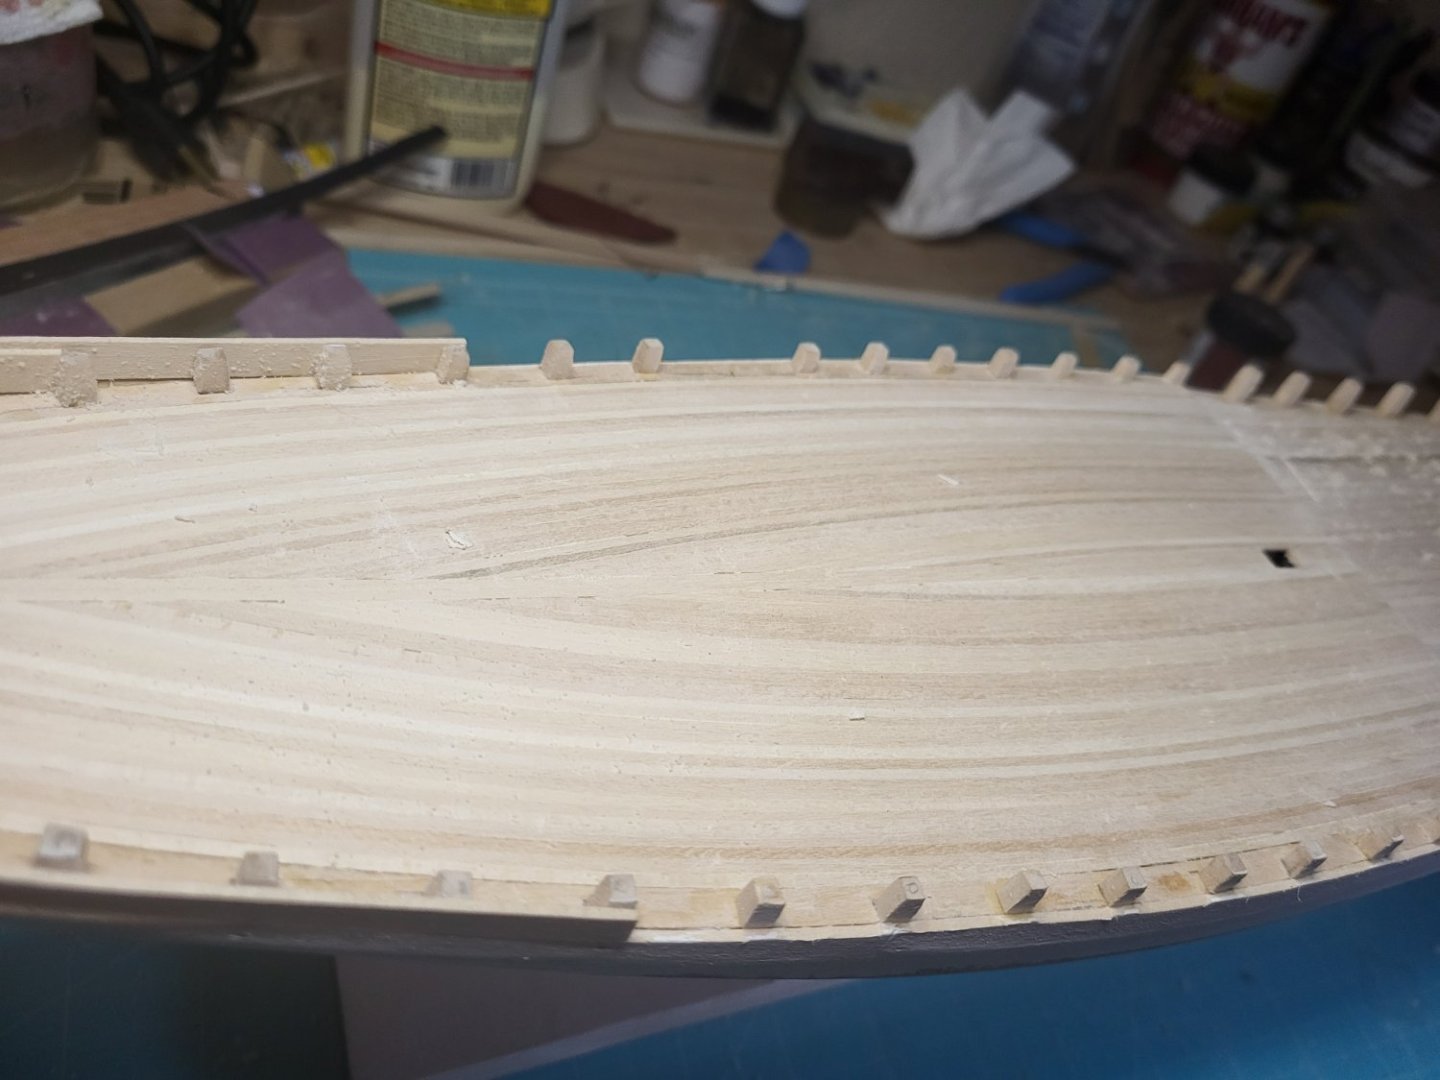
Meanwhile the hull is done and primed. Once I have a lot of the mast details made up, the spreader and mounts, I'll get back to the hull. The planking isn't perfect, I need to work on tapering the bulkheads. Even after making lots of measurements, I still had some planks "miss" the bulkhead. Also the way the planks meet the transom, yikes. I'm not going or obsess about the gaps in the planks, as long as they are stable, I've worked glue into the gaps to be sure no planks "pop", if the planks show, well, it's a planked boat, they will show.

-
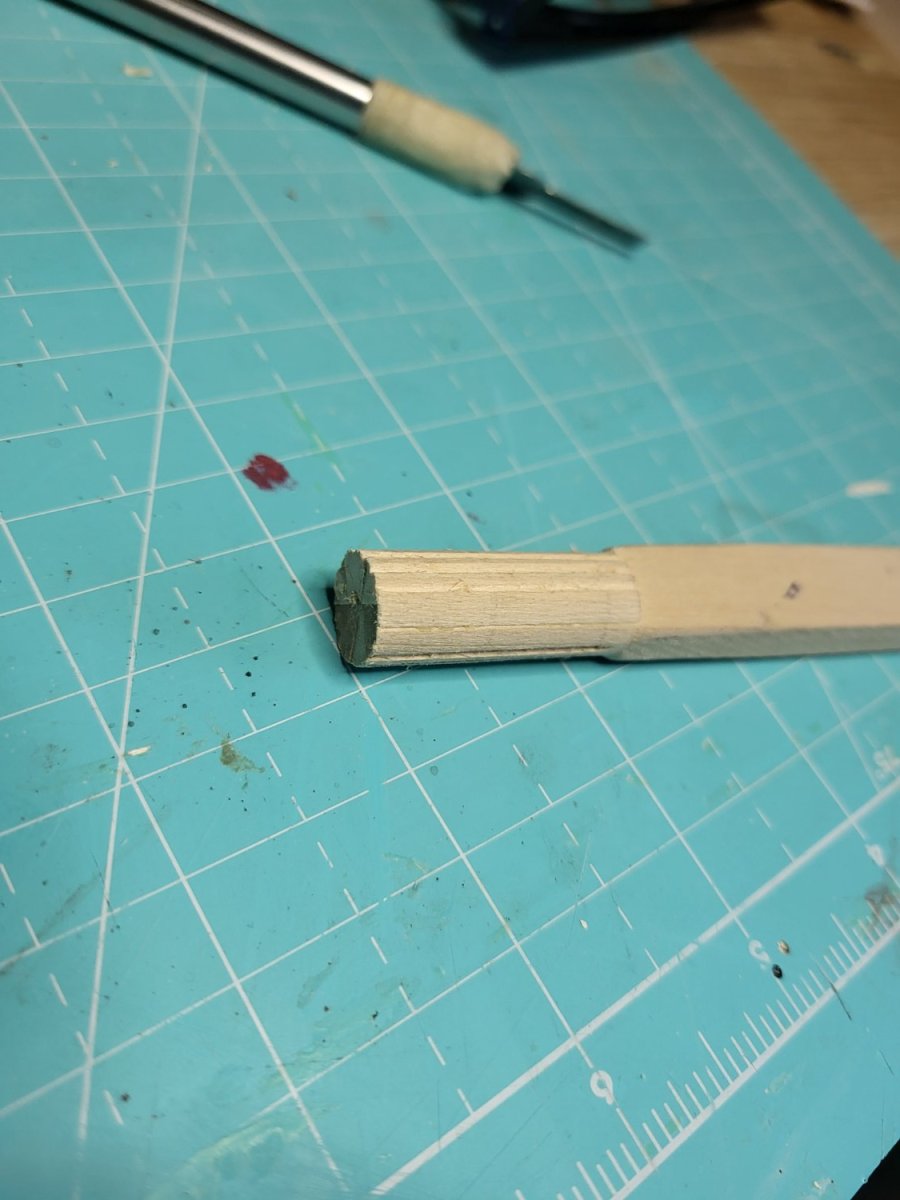
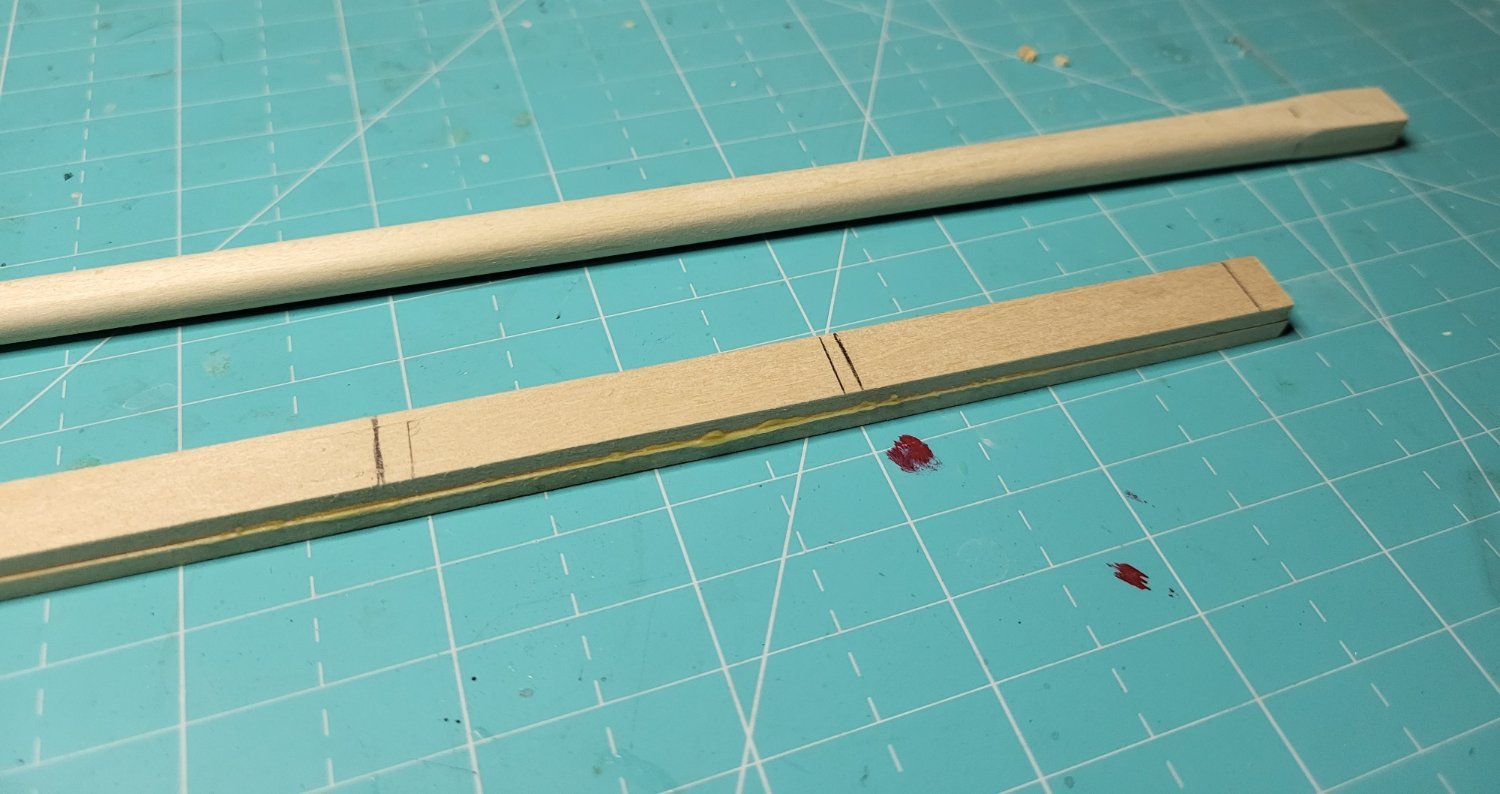
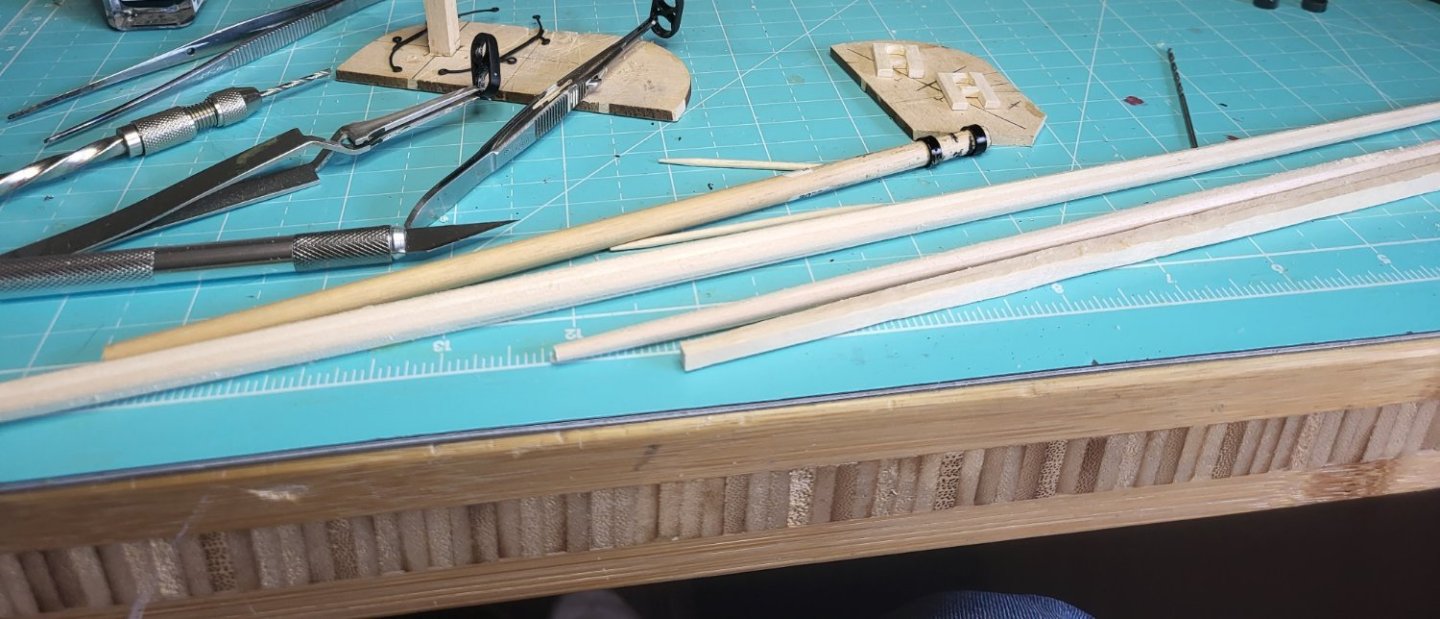
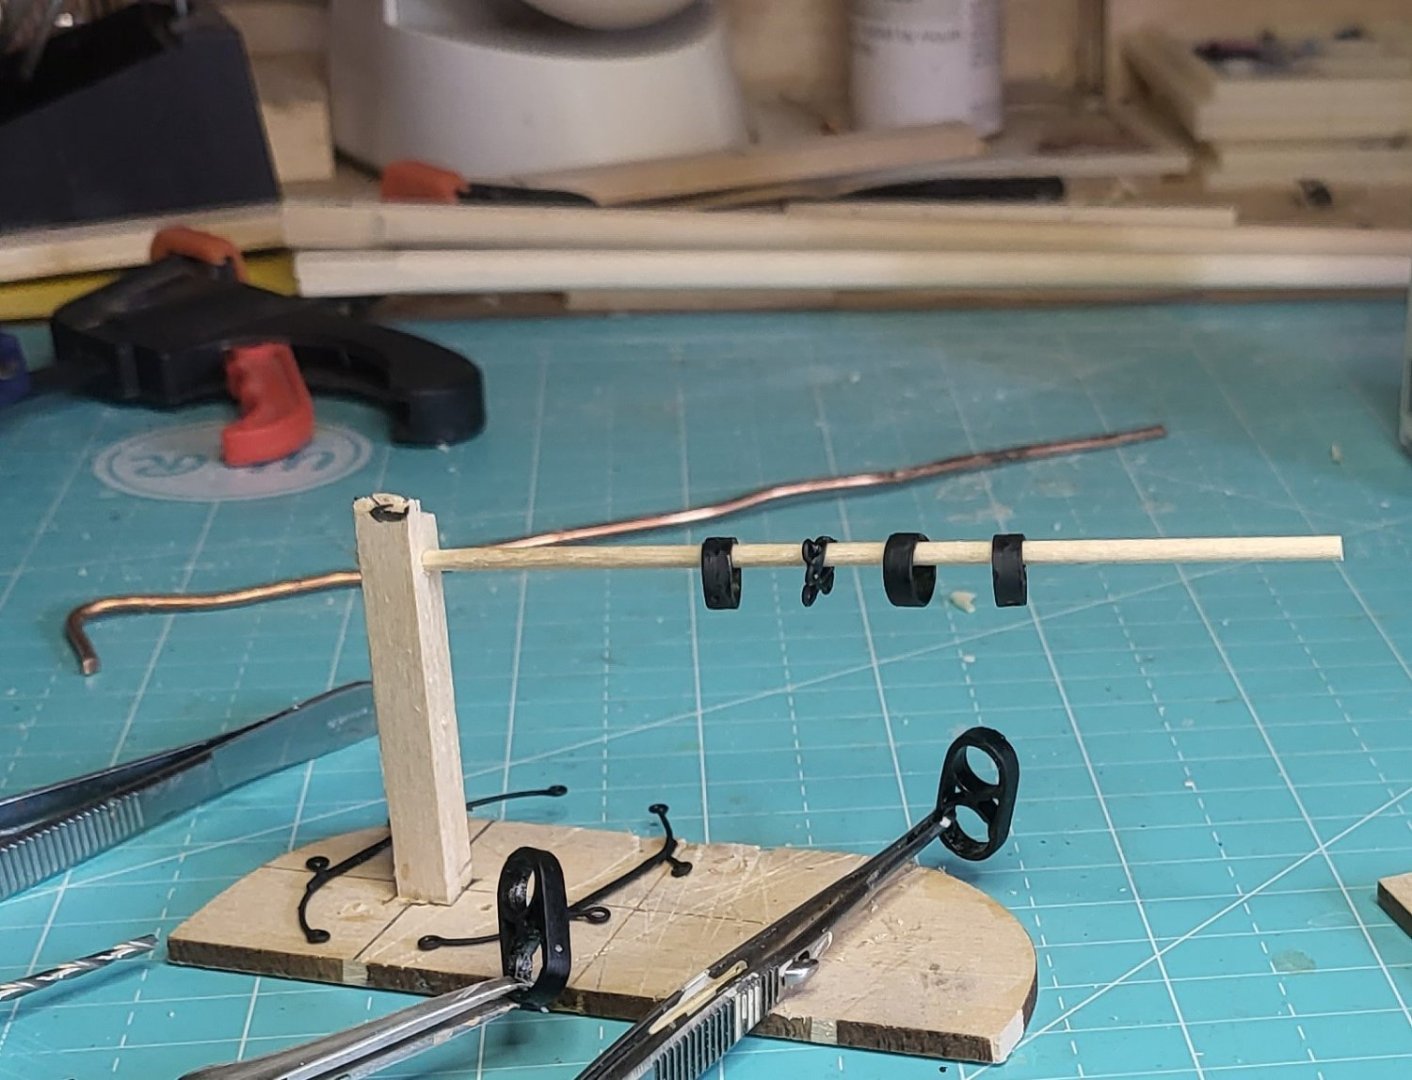
I did not like the dowels that came with the kit, and hardwood like these were bound to frustrate me, so all the masts and spars are laminated basswood, then carved down to the right size and shape. While they are not perfect, I think they will stain nicer, and the grain being finer will look better at scale. At the same time I'm making the bands, these are from brass strips, curled and soldered. I put a coat of matte spray paint, then a coat of flat with a brush. The kit supplied cast parts as well, also I made up the spreader struts off the drawings from copper wire.

-
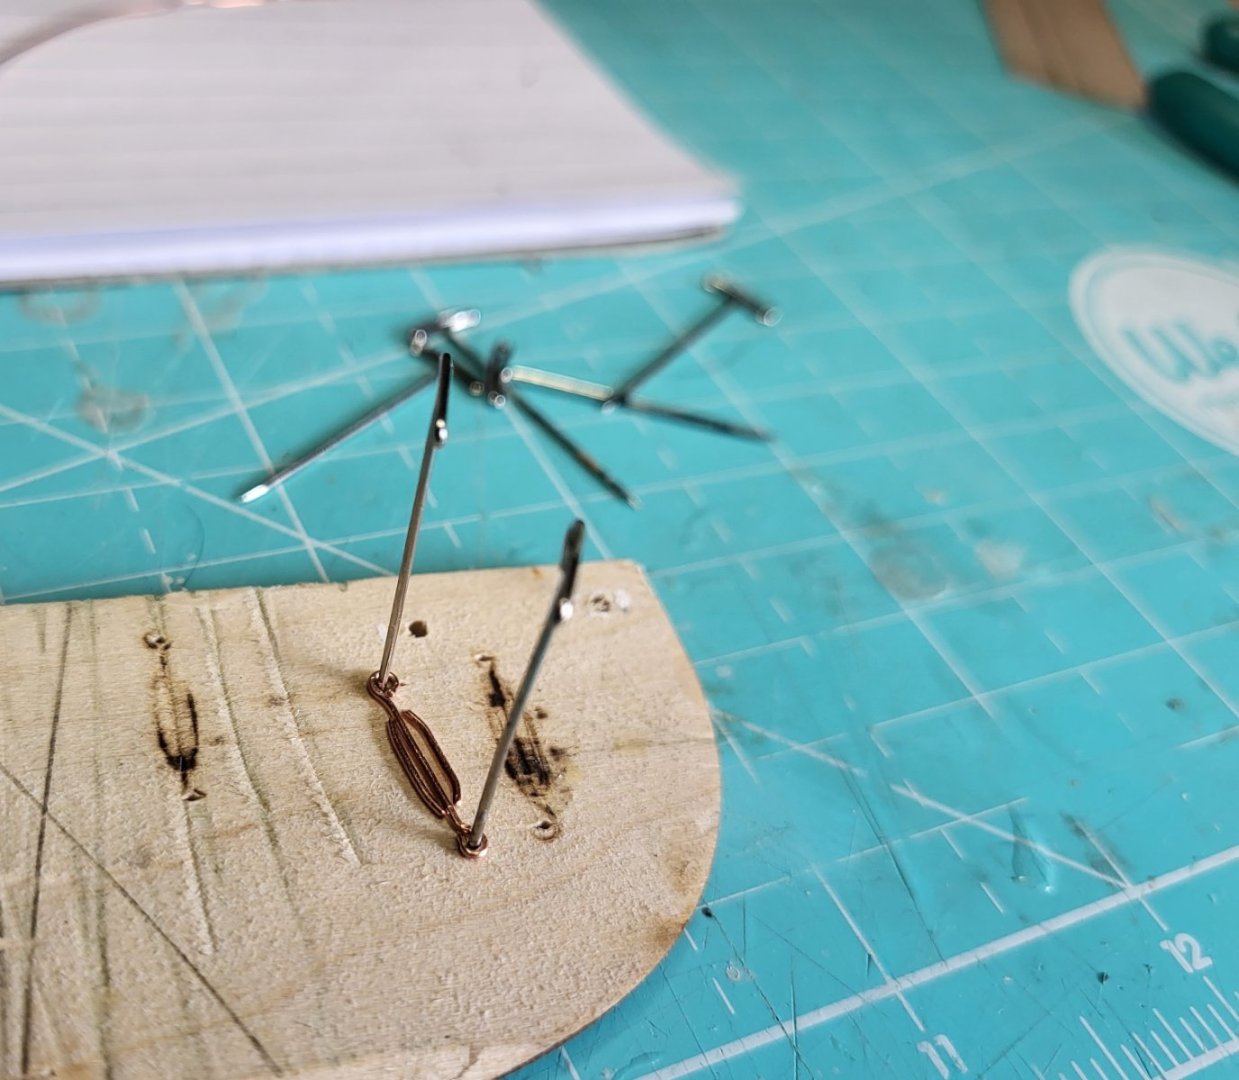
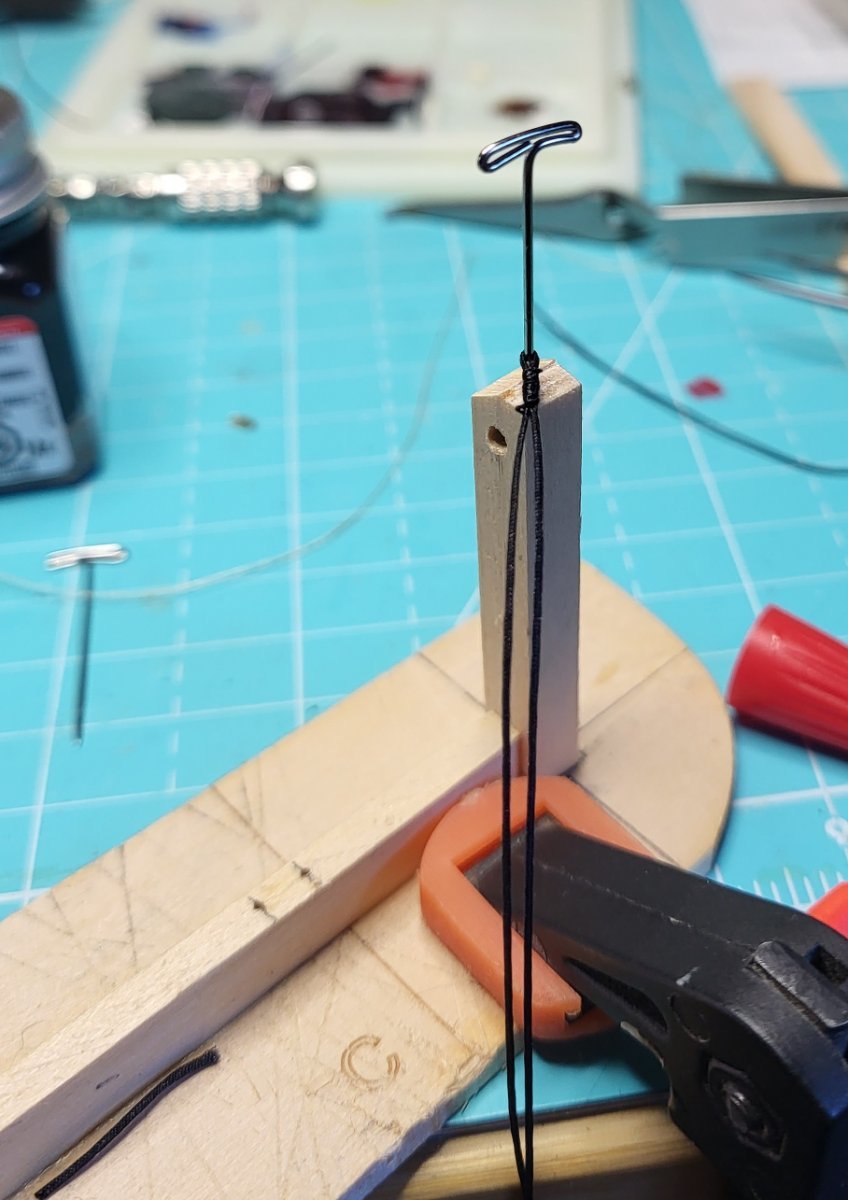
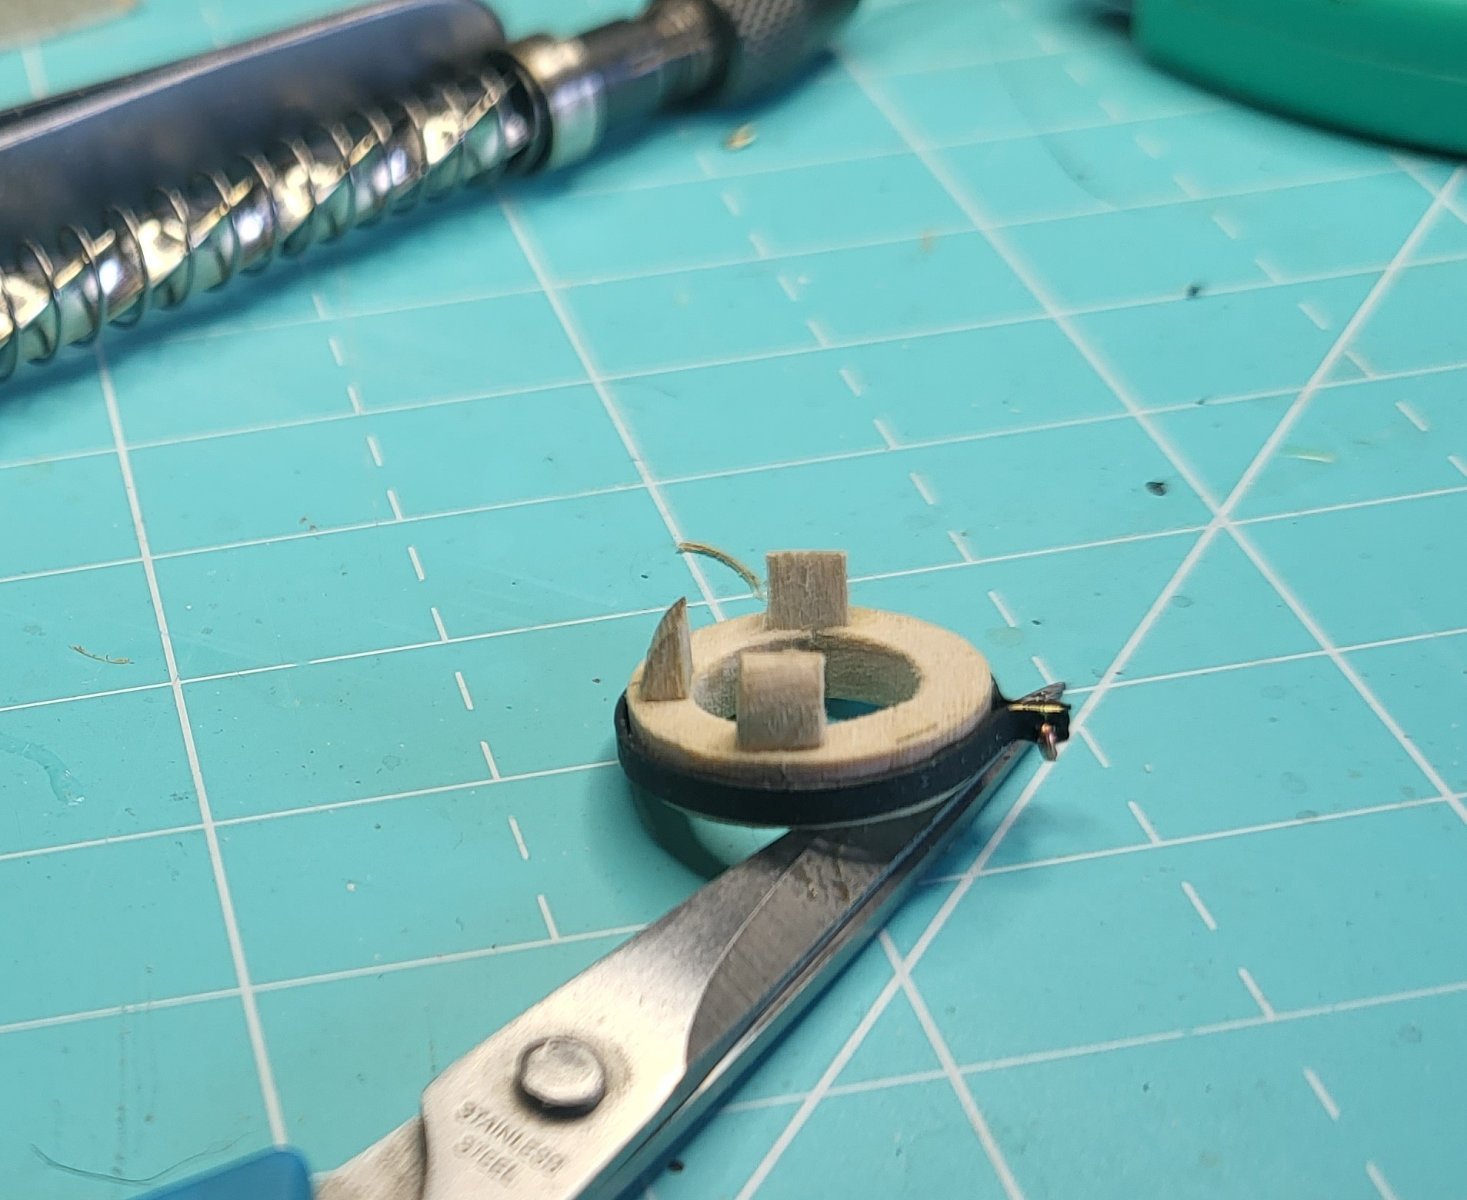
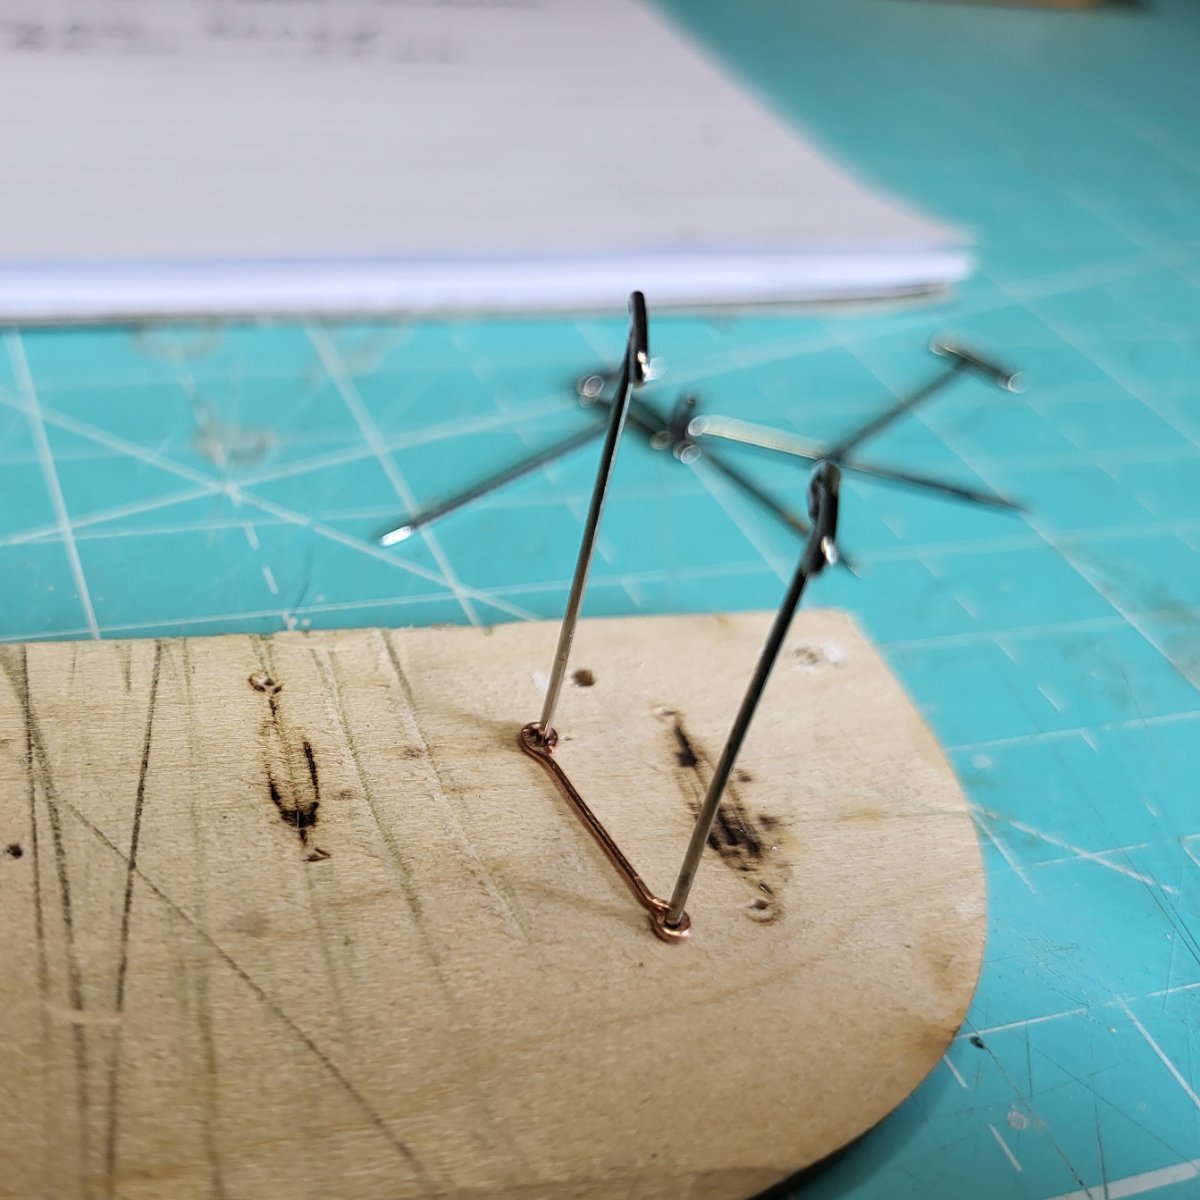
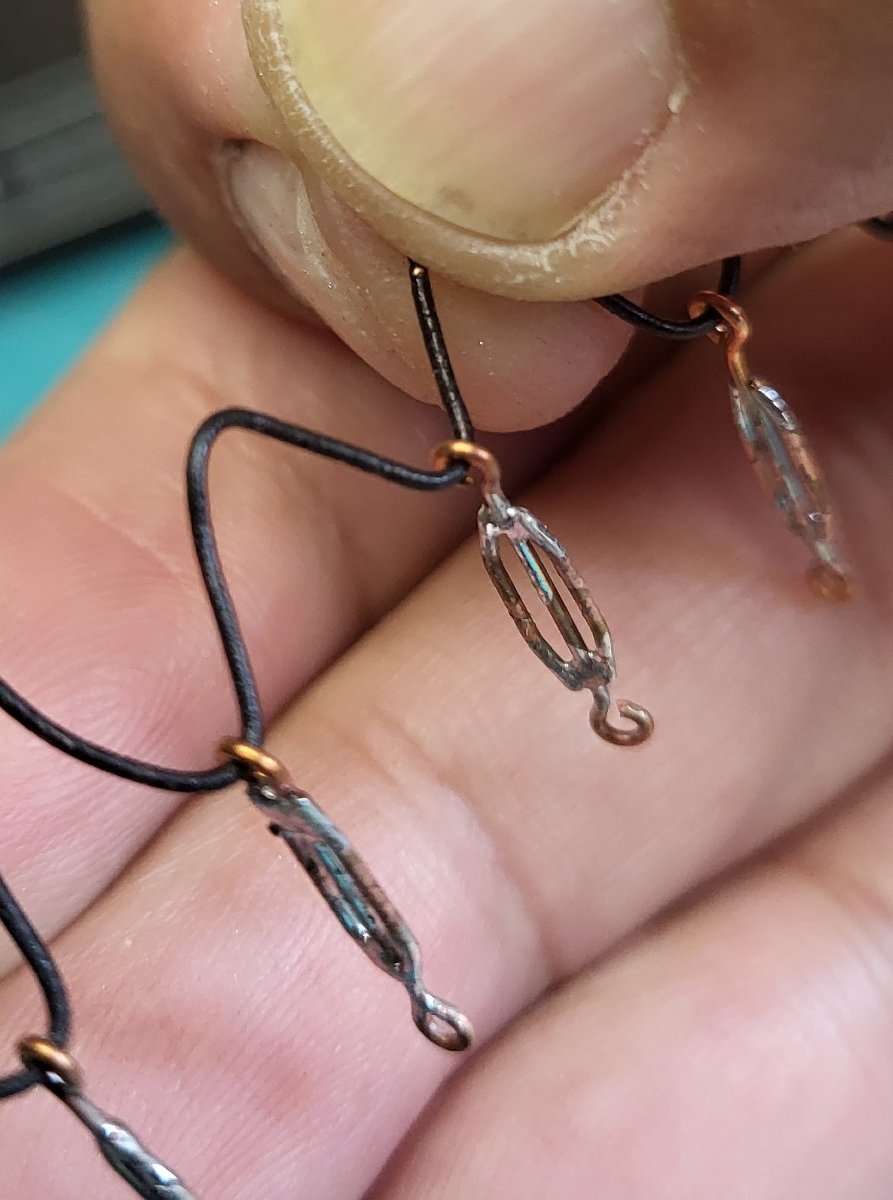
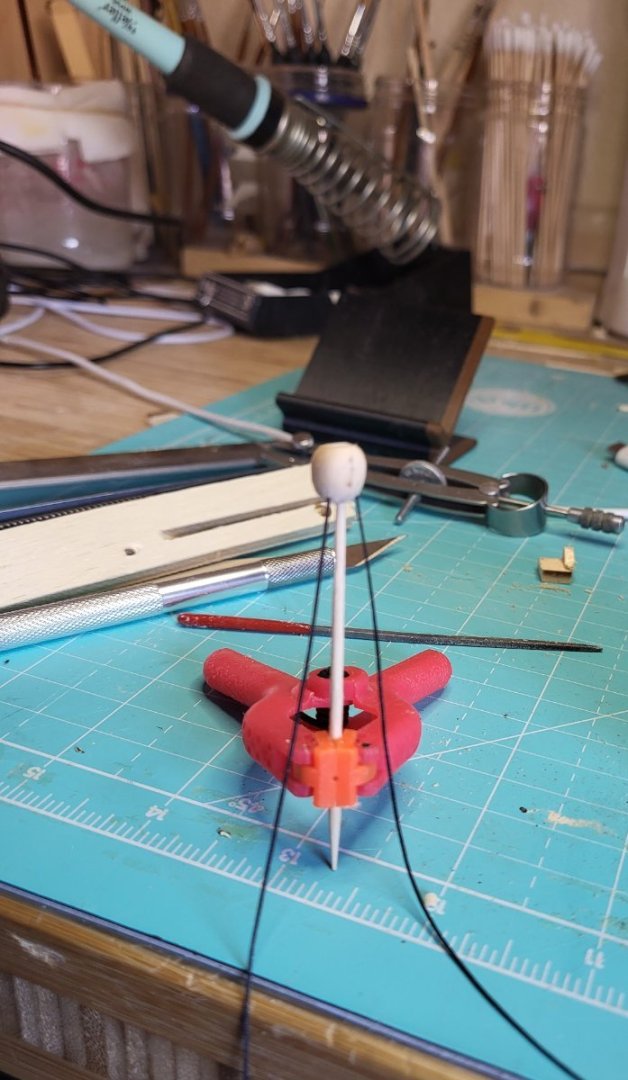
Tiny turnbuckles.. I really thought about this one for a while, I didn't want to just paint wood bits, or use sculpy, so after a few tries, I soldered up these. I think after painting they represent turnbuckles well.