damaartenman
-
Posts
138 -
Joined
-
Last visited
-
 Sonny Skipper reacted to a post in a topic:
Nuestra Señora de las Mercedes by Sonny Skipper - OcCre - 1:85
Sonny Skipper reacted to a post in a topic:
Nuestra Señora de las Mercedes by Sonny Skipper - OcCre - 1:85
-
lemlomlem reacted to a post in a topic:
Nuestra Señora de las Mercedes by damaartenman - OcCre - Scale 1:85 - Spanish frigate
-
damaartenman reacted to a post in a topic:
18th Century Merchant Man Half Hull Planking Kit by Jim M - NRG - 1:48 - ON HOLD
-
damaartenman reacted to a post in a topic:
18th Century Merchant Man Half Hull Planking Kit by Jim M - NRG - 1:48 - ON HOLD
-
damaartenman reacted to a post in a topic:
HMS Victory by Pfälzer - Corel - 1:98
-
damaartenman reacted to a post in a topic:
HMS Victory by Pfälzer - Corel - 1:98
-
damaartenman reacted to a post in a topic:
HMS Victory by Pfälzer - Corel - 1:98
-
robert952 reacted to a post in a topic:
18th Century Merchant Man Half Hull Planking Kit by Jim M - NRG - 1:48 - ON HOLD
-
 Jim M reacted to a post in a topic:
18th Century Merchant Man Half Hull Planking Kit by Jim M - NRG - 1:48 - ON HOLD
Jim M reacted to a post in a topic:
18th Century Merchant Man Half Hull Planking Kit by Jim M - NRG - 1:48 - ON HOLD
-
JacquesCousteau reacted to a post in a topic:
18th Century Merchant Man Half Hull Planking Kit by Jim M - NRG - 1:48 - ON HOLD
-
damaartenman reacted to a post in a topic:
HMS Victory by Pfälzer - Corel - 1:98
-
damaartenman reacted to a post in a topic:
HMS Victory by Pfälzer - Corel - 1:98
-
damaartenman reacted to a post in a topic:
HMS Victory by Pfälzer - Corel - 1:98
-
damaartenman reacted to a post in a topic:
HMS Victory by Pfälzer - Corel - 1:98
-
damaartenman reacted to a post in a topic:
HMS Victory by Pfälzer - Corel - 1:98
-
Buy one model and build it 2x 🙂 But it is a very brave decision and it shows how much you can repair or change on wooden models. I am happy to be able to learn from you guys.
-
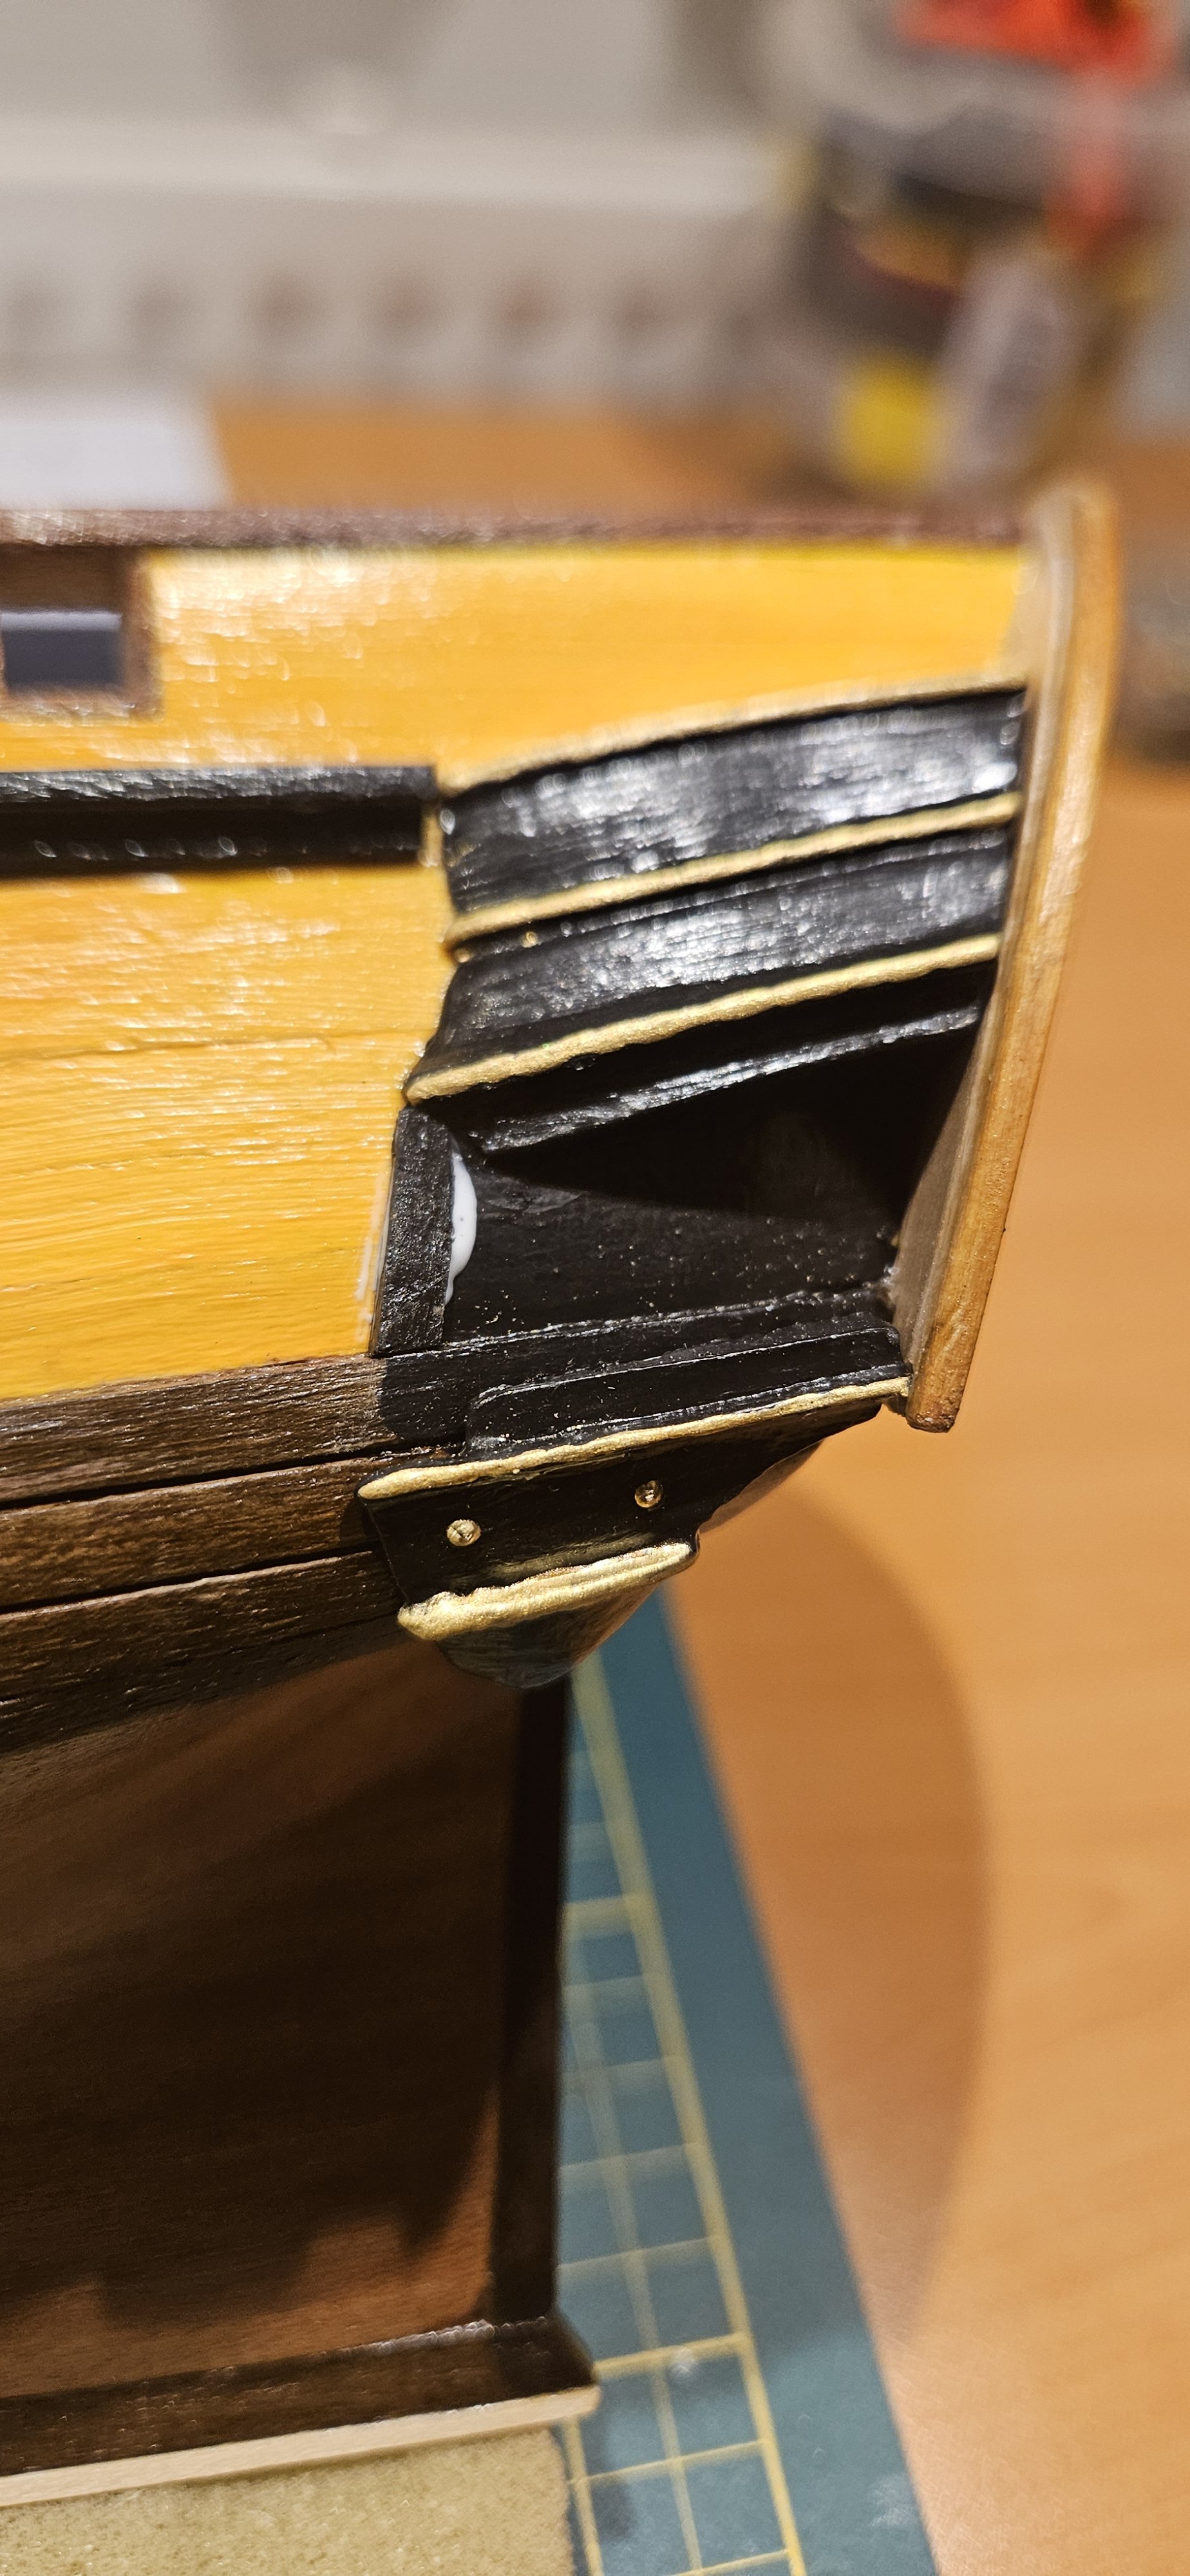
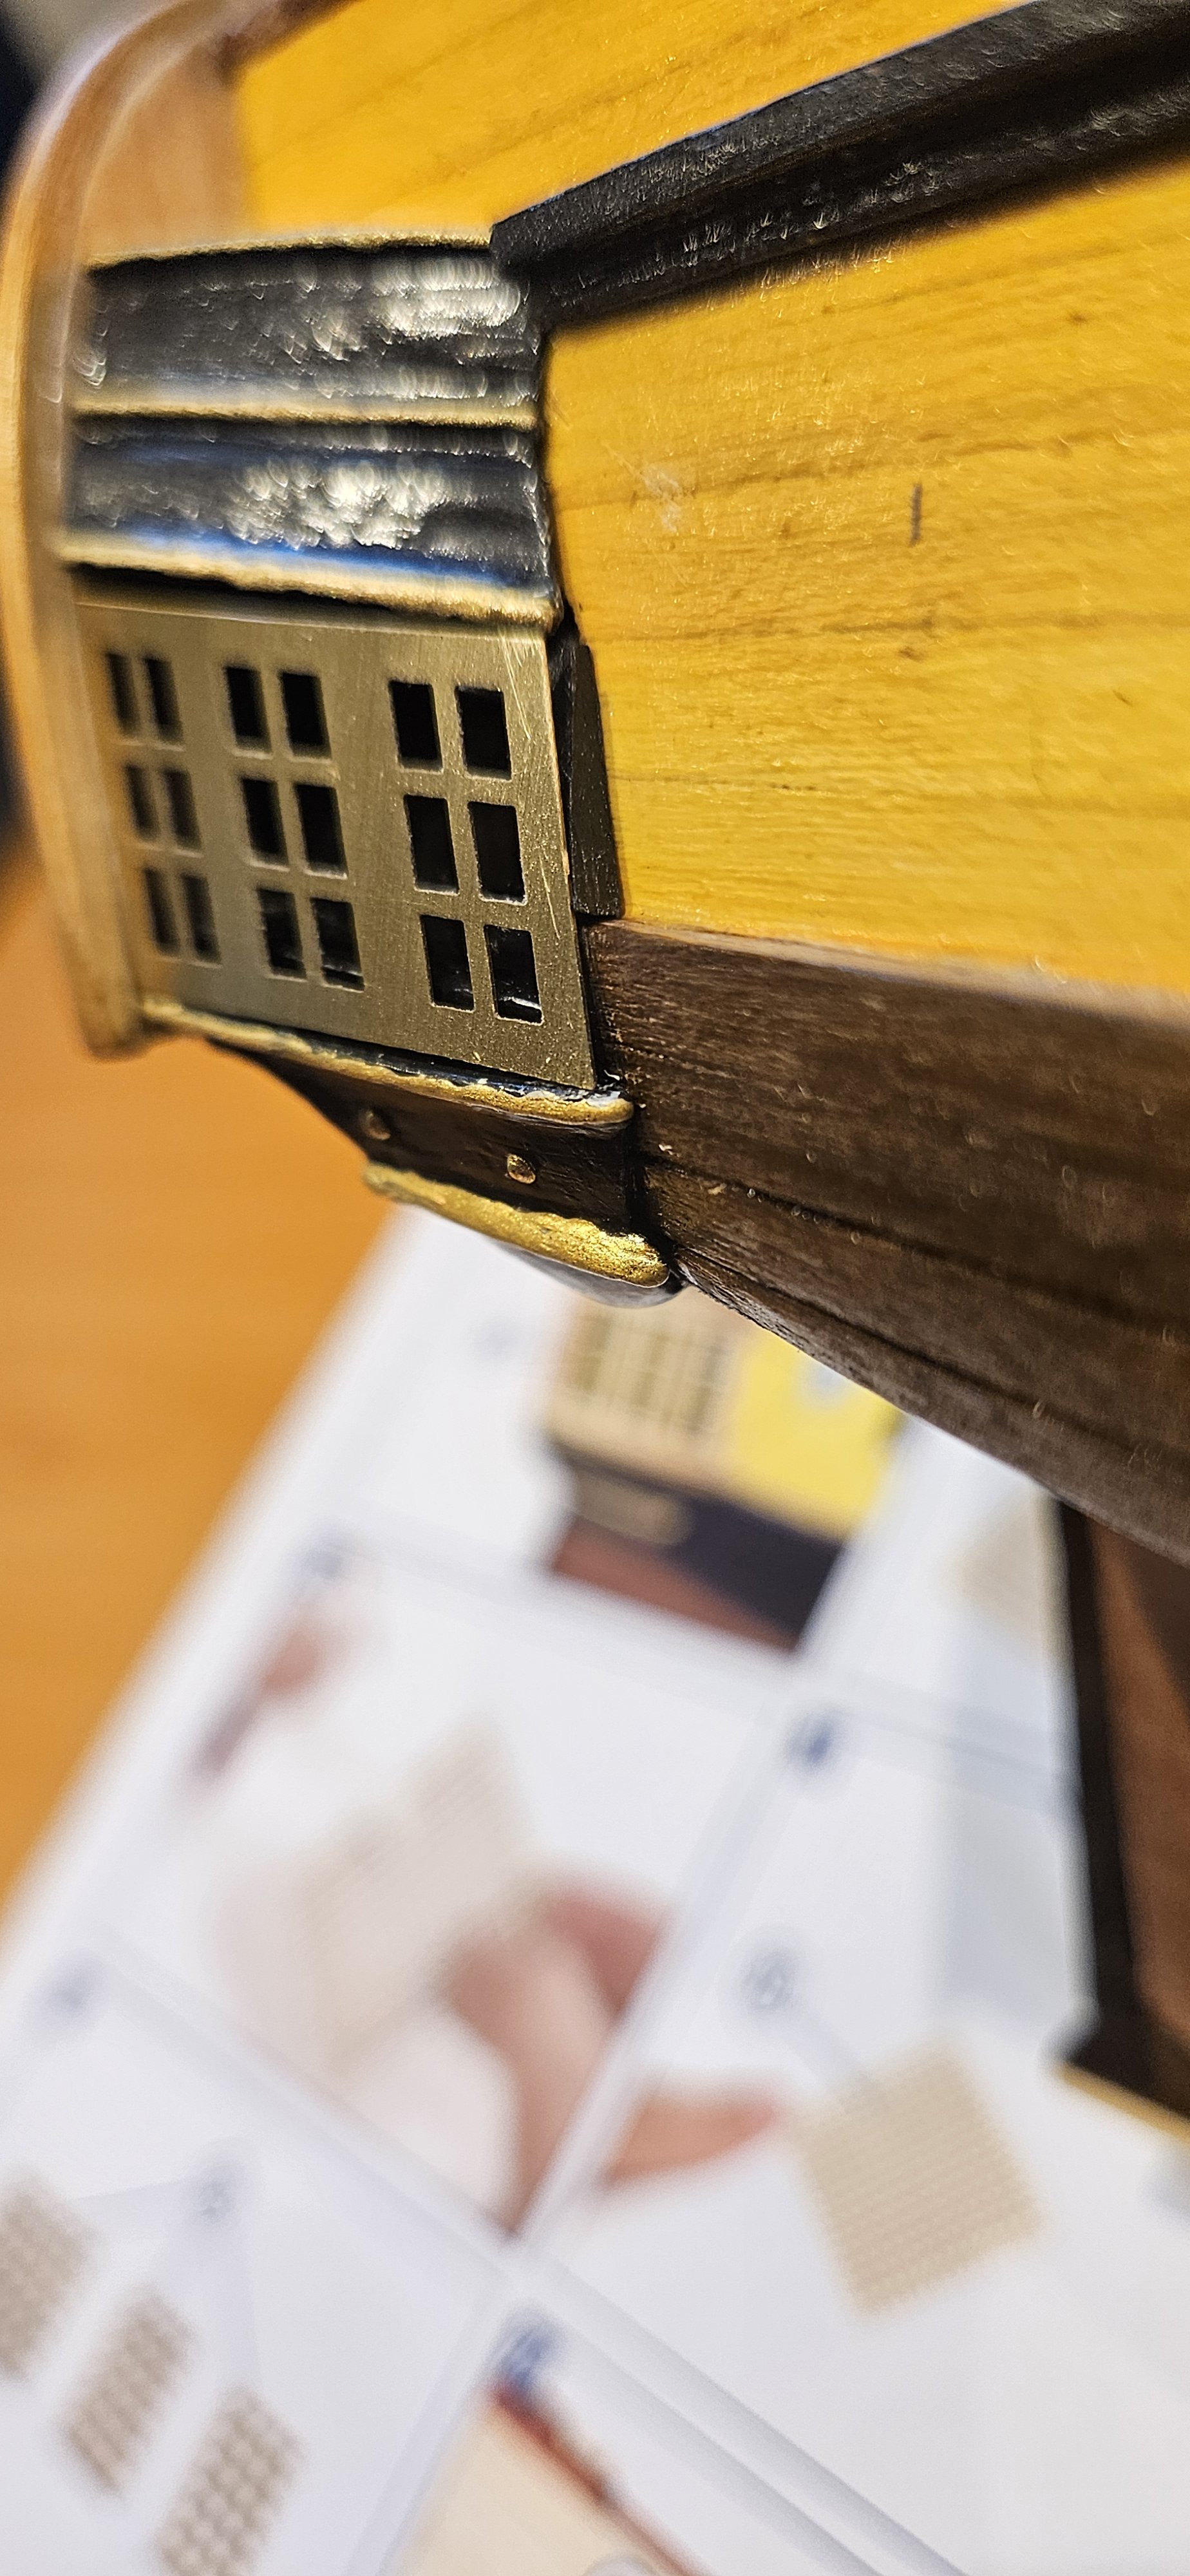
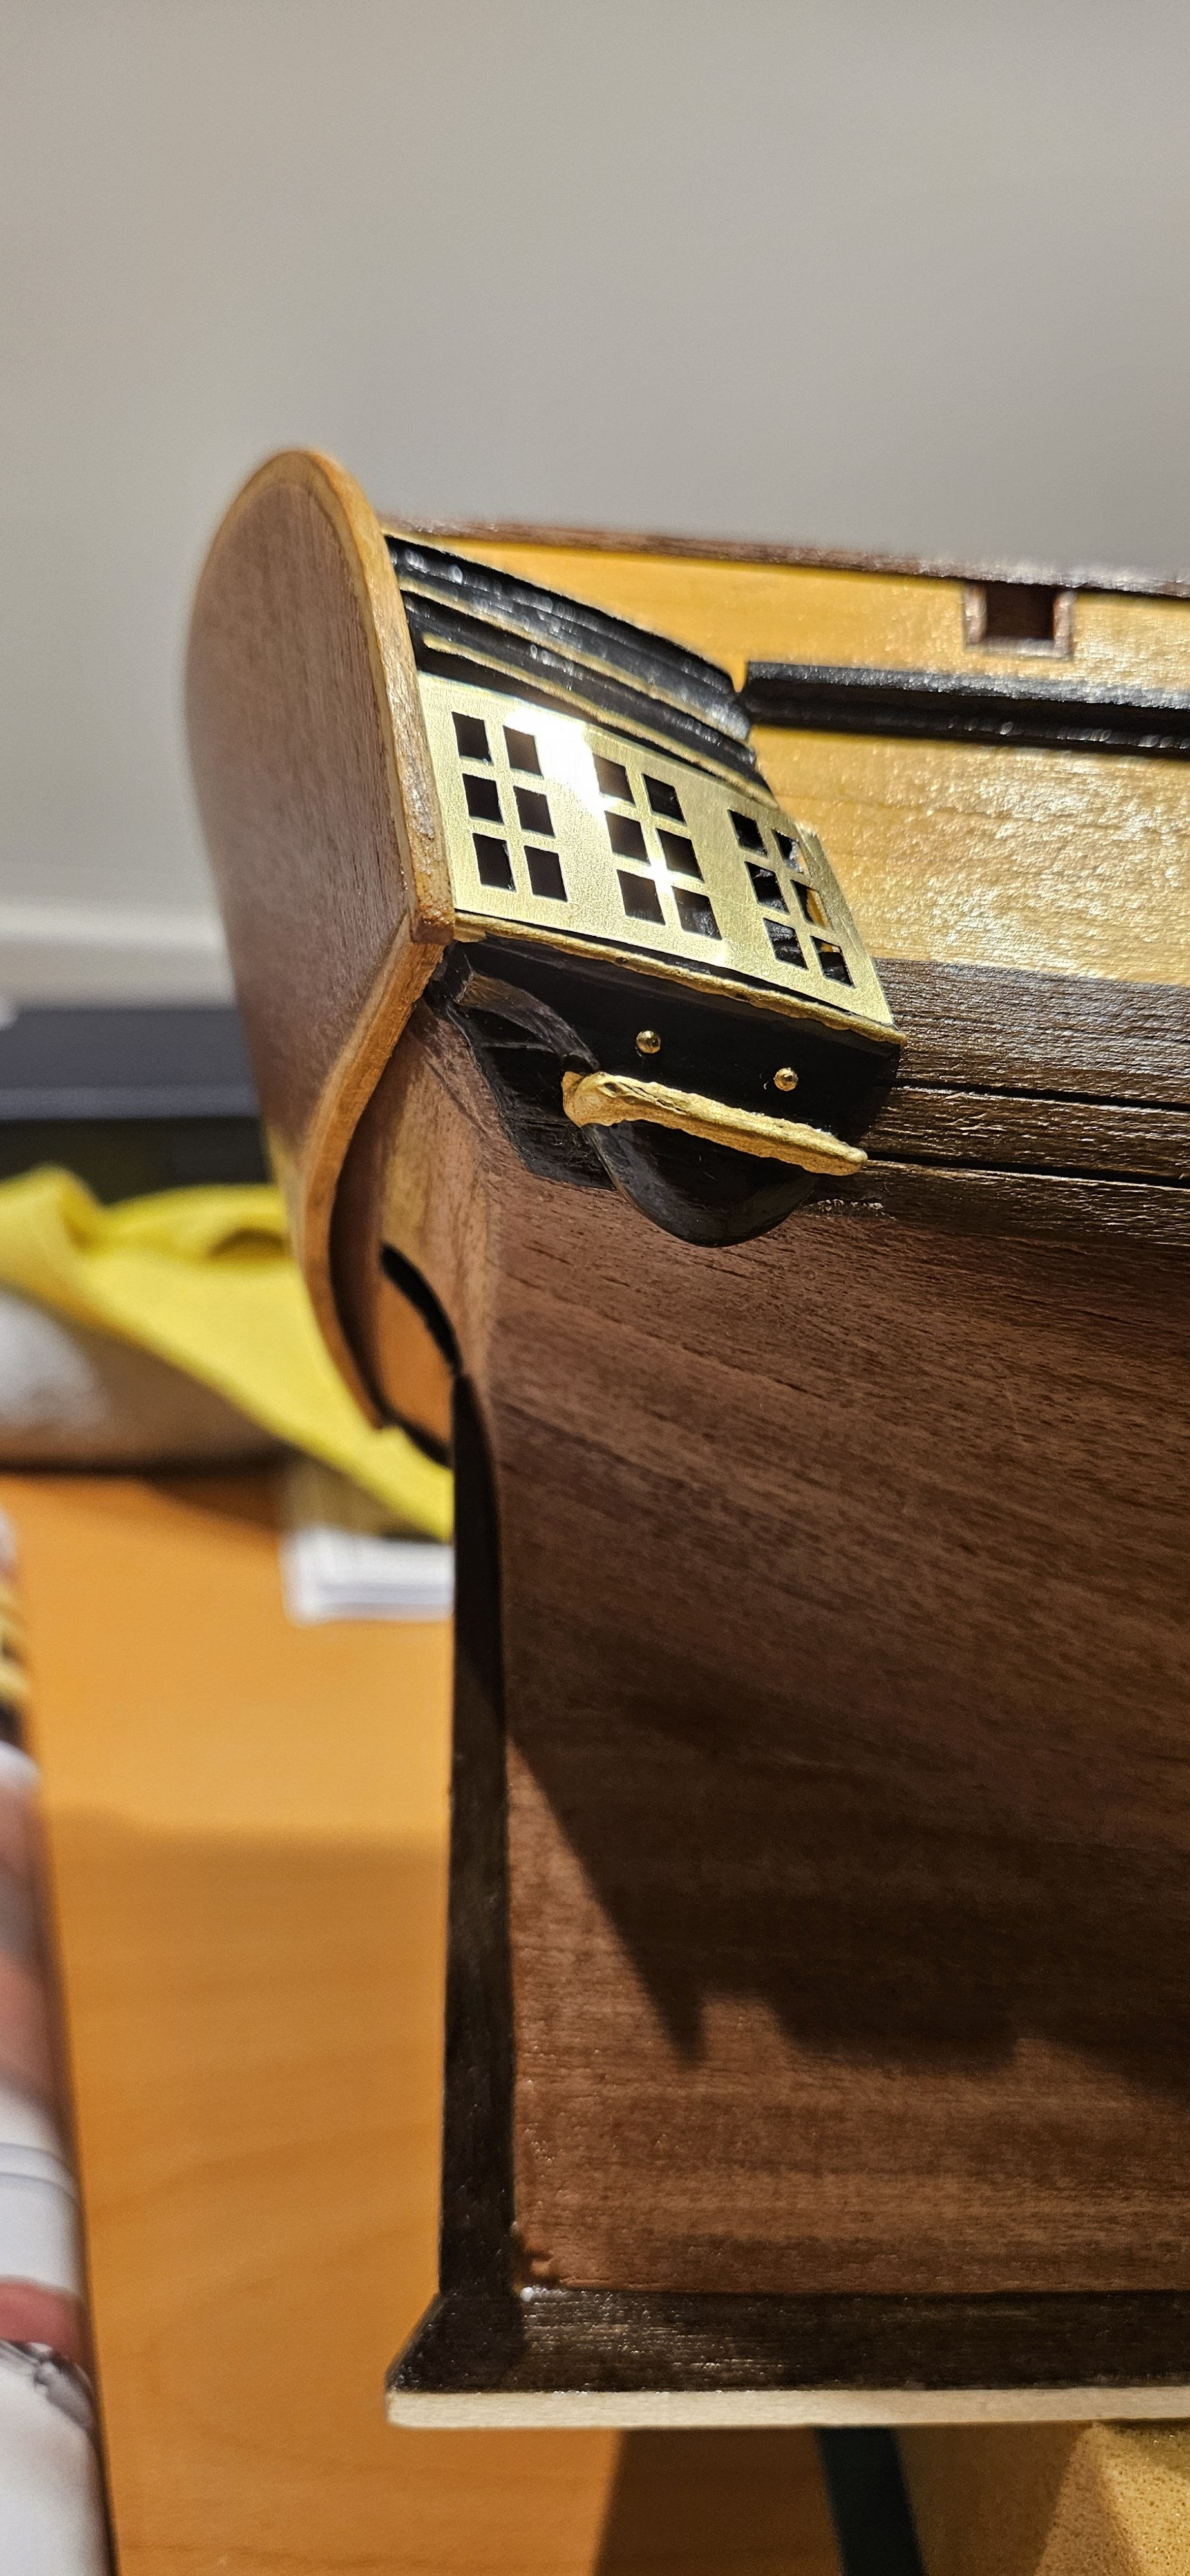
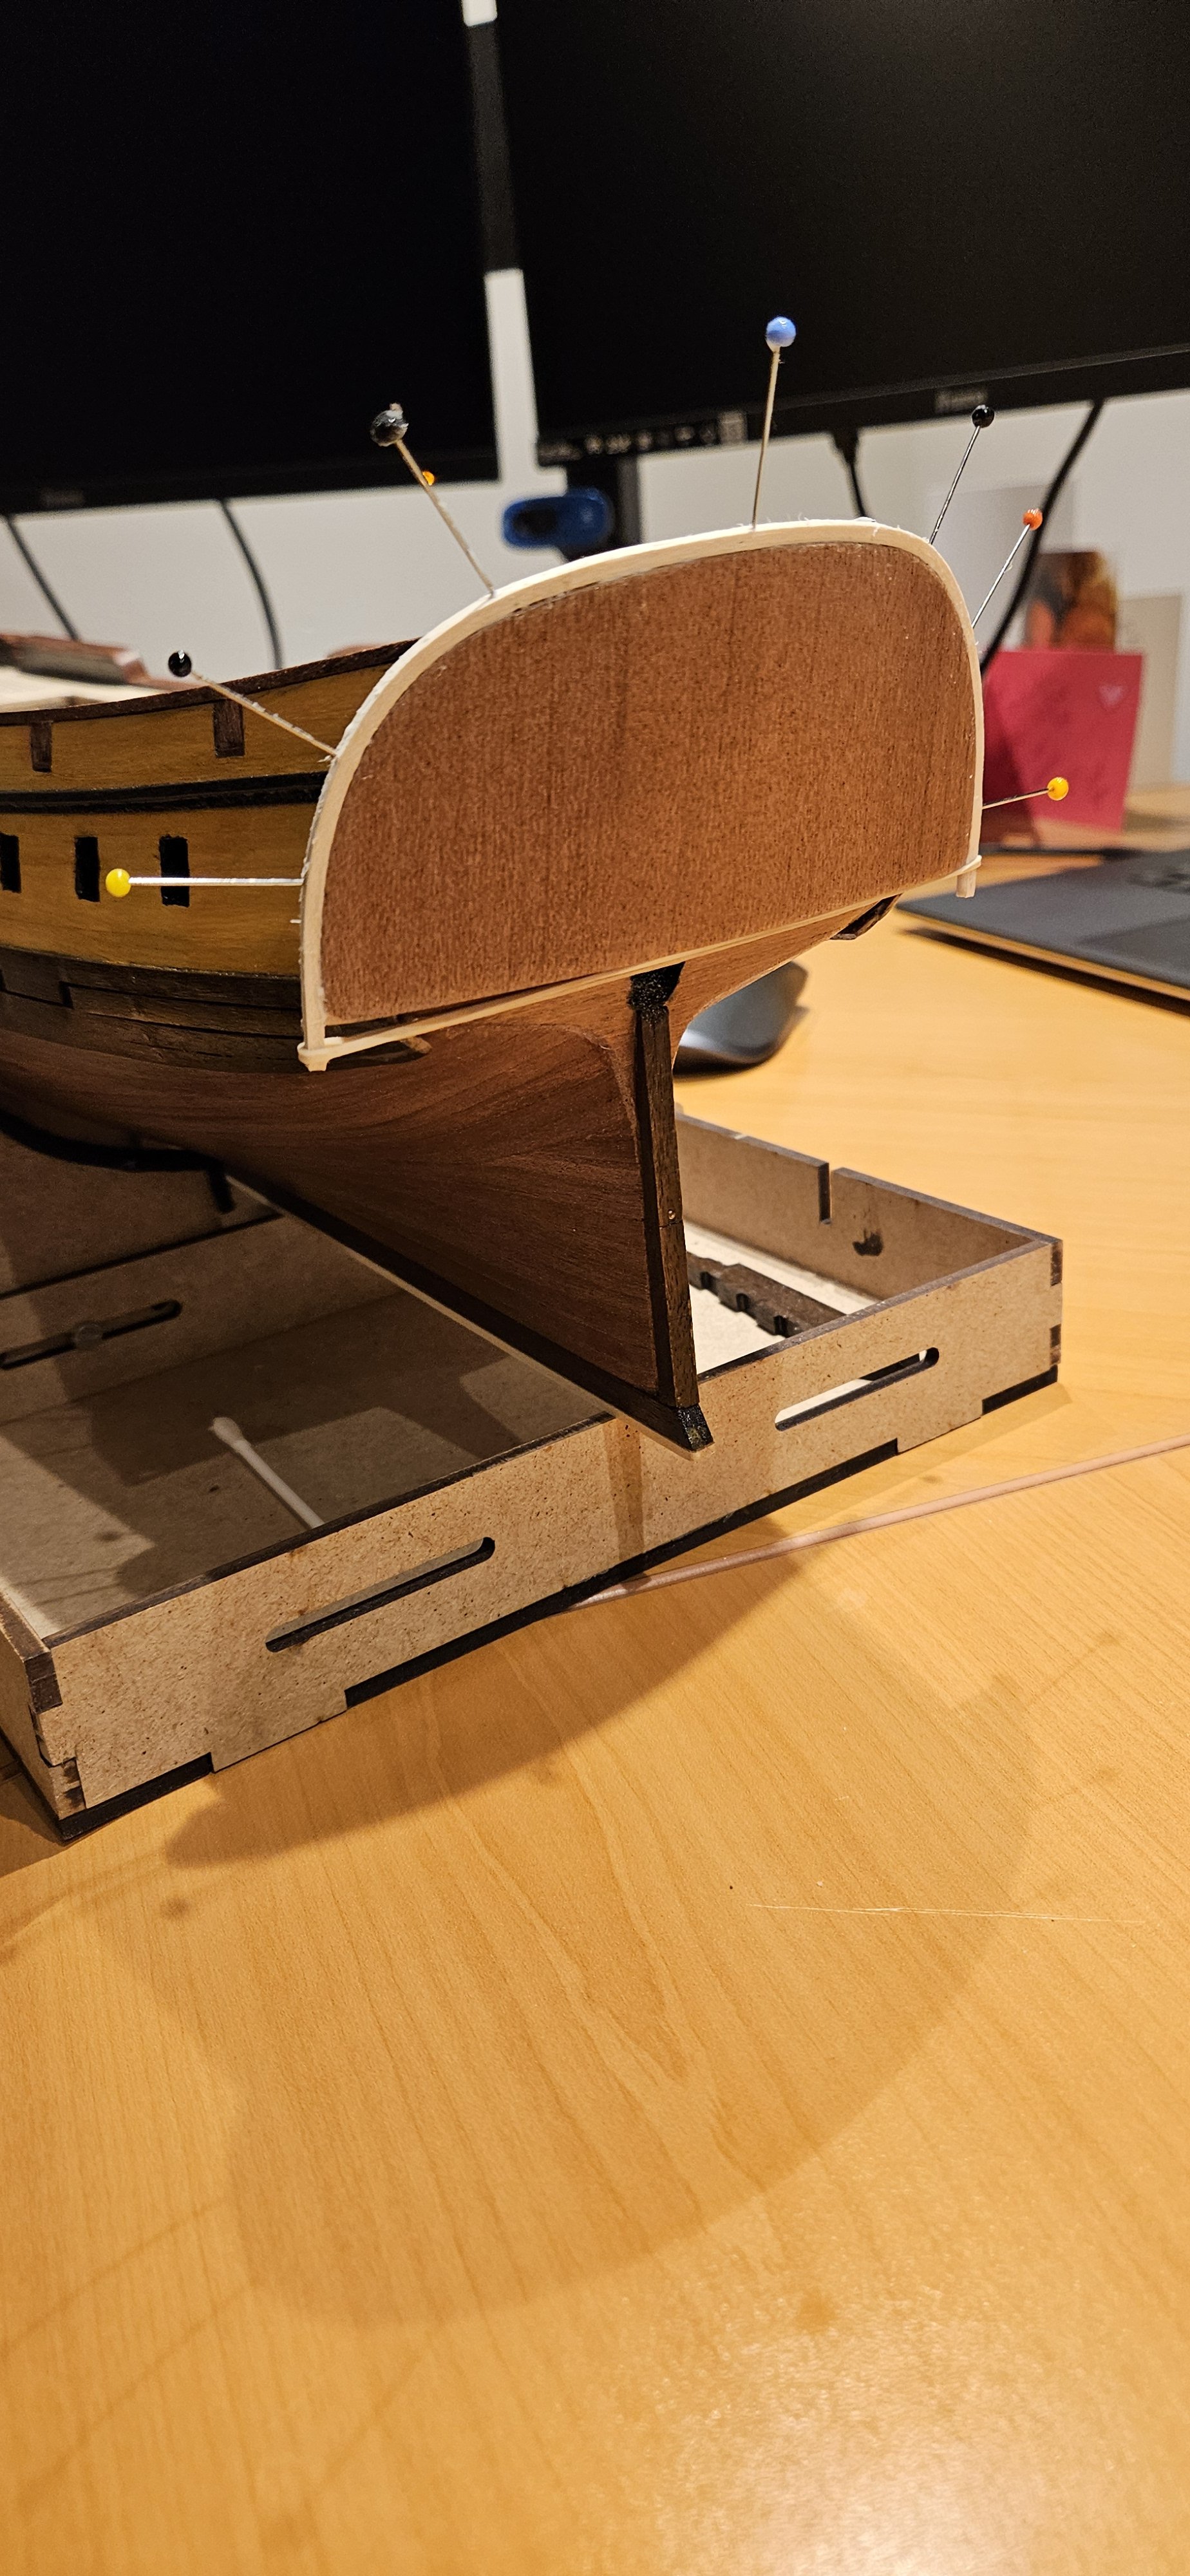
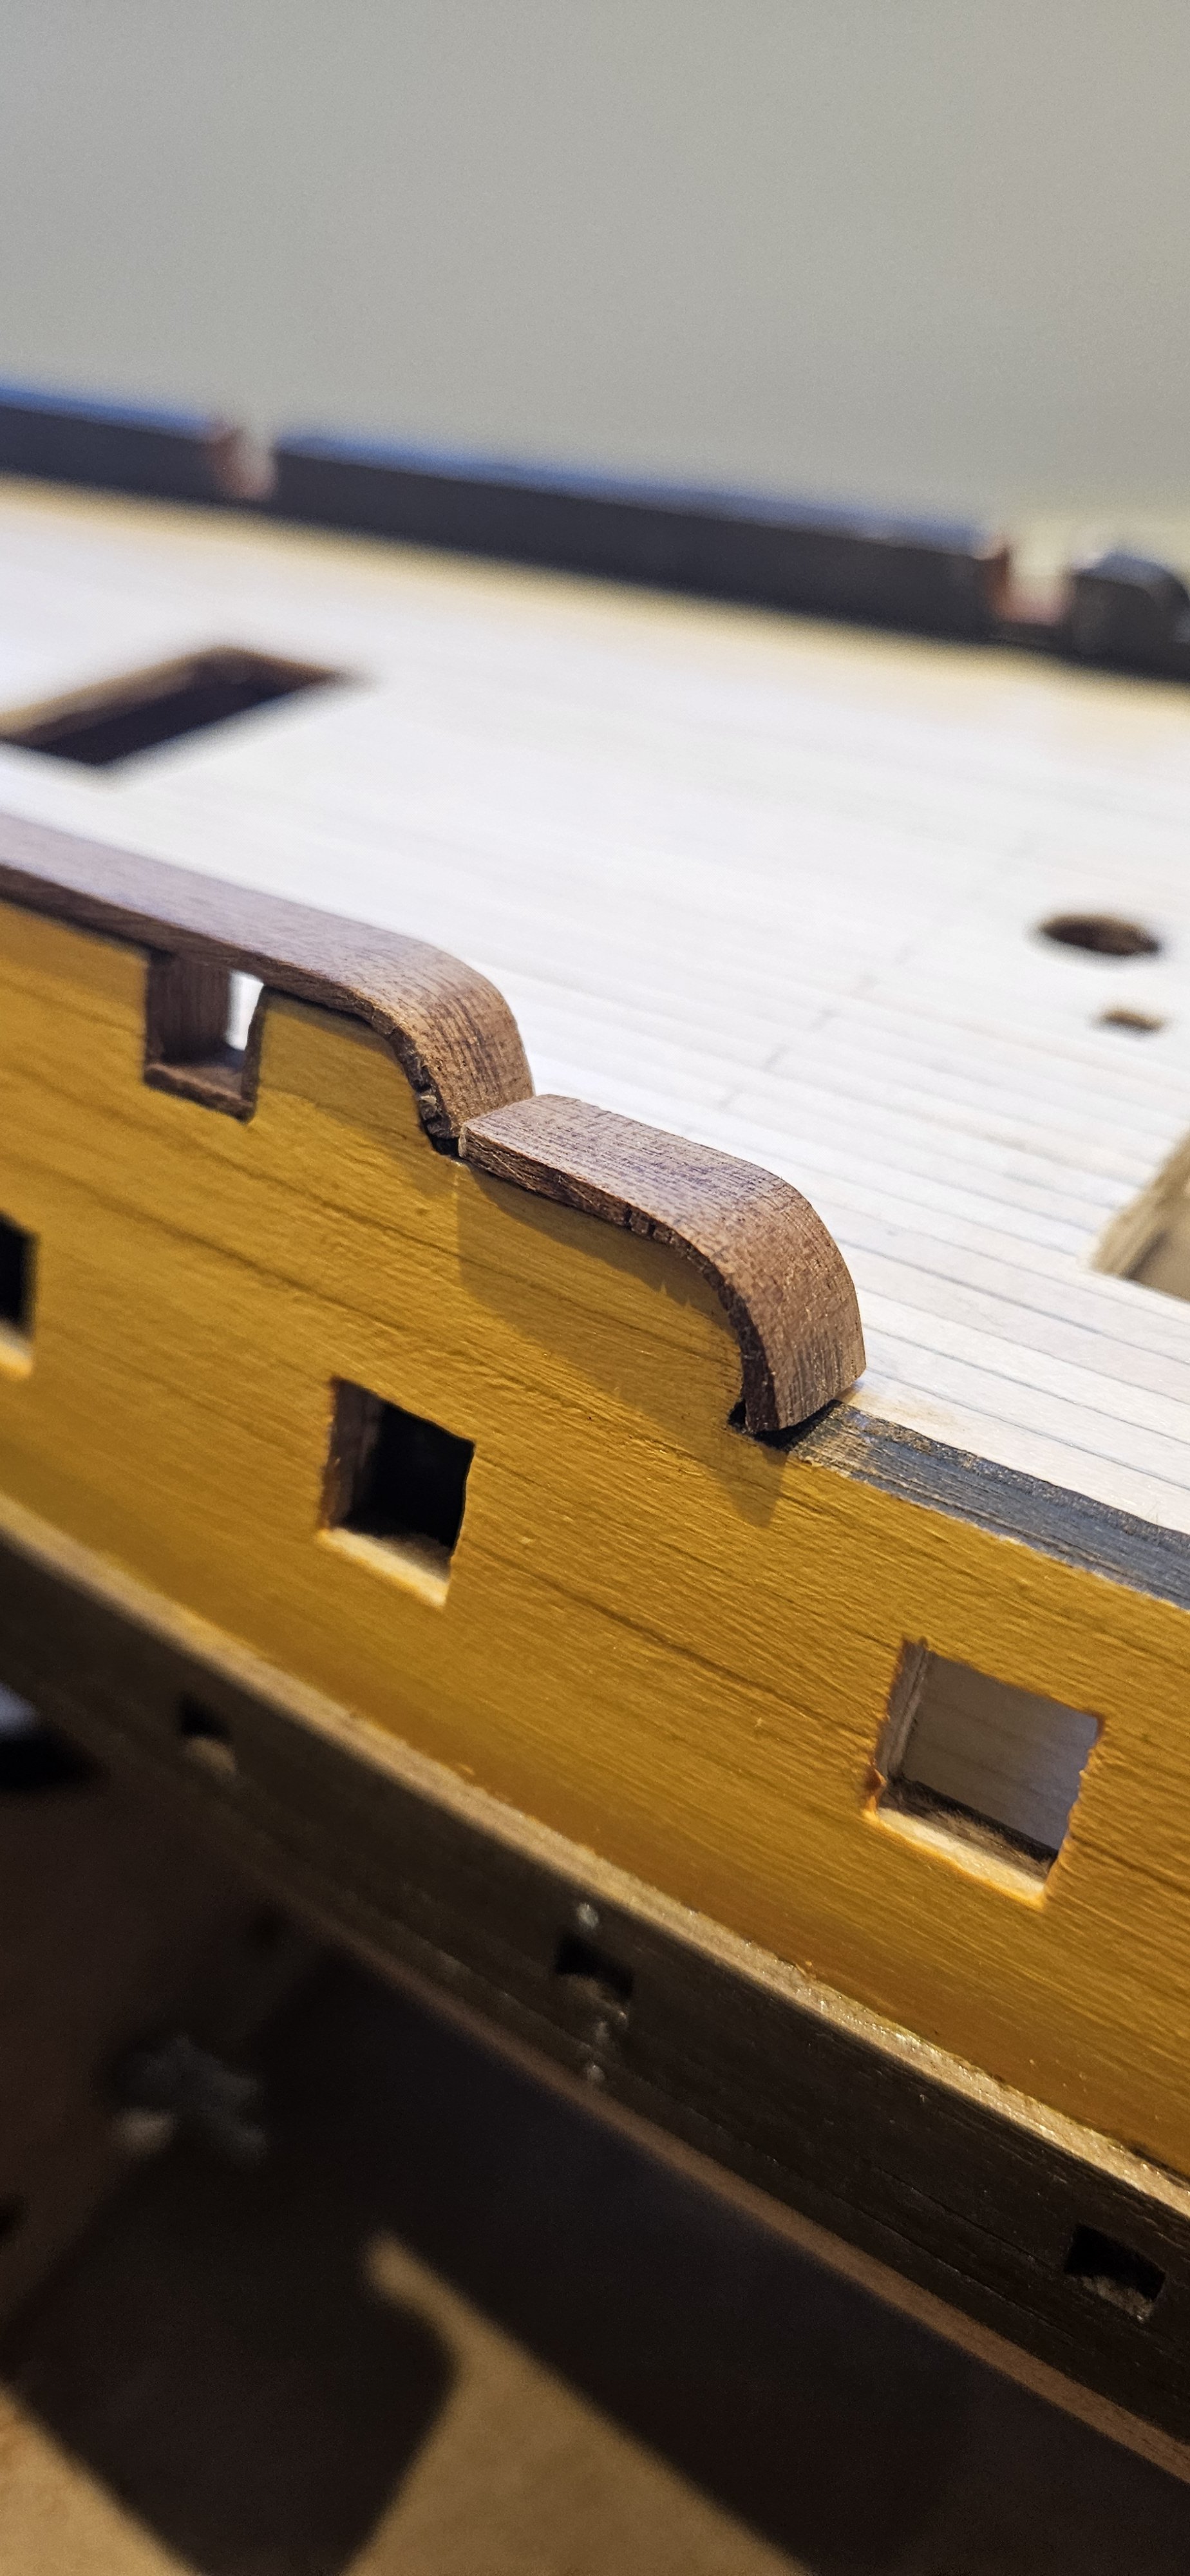
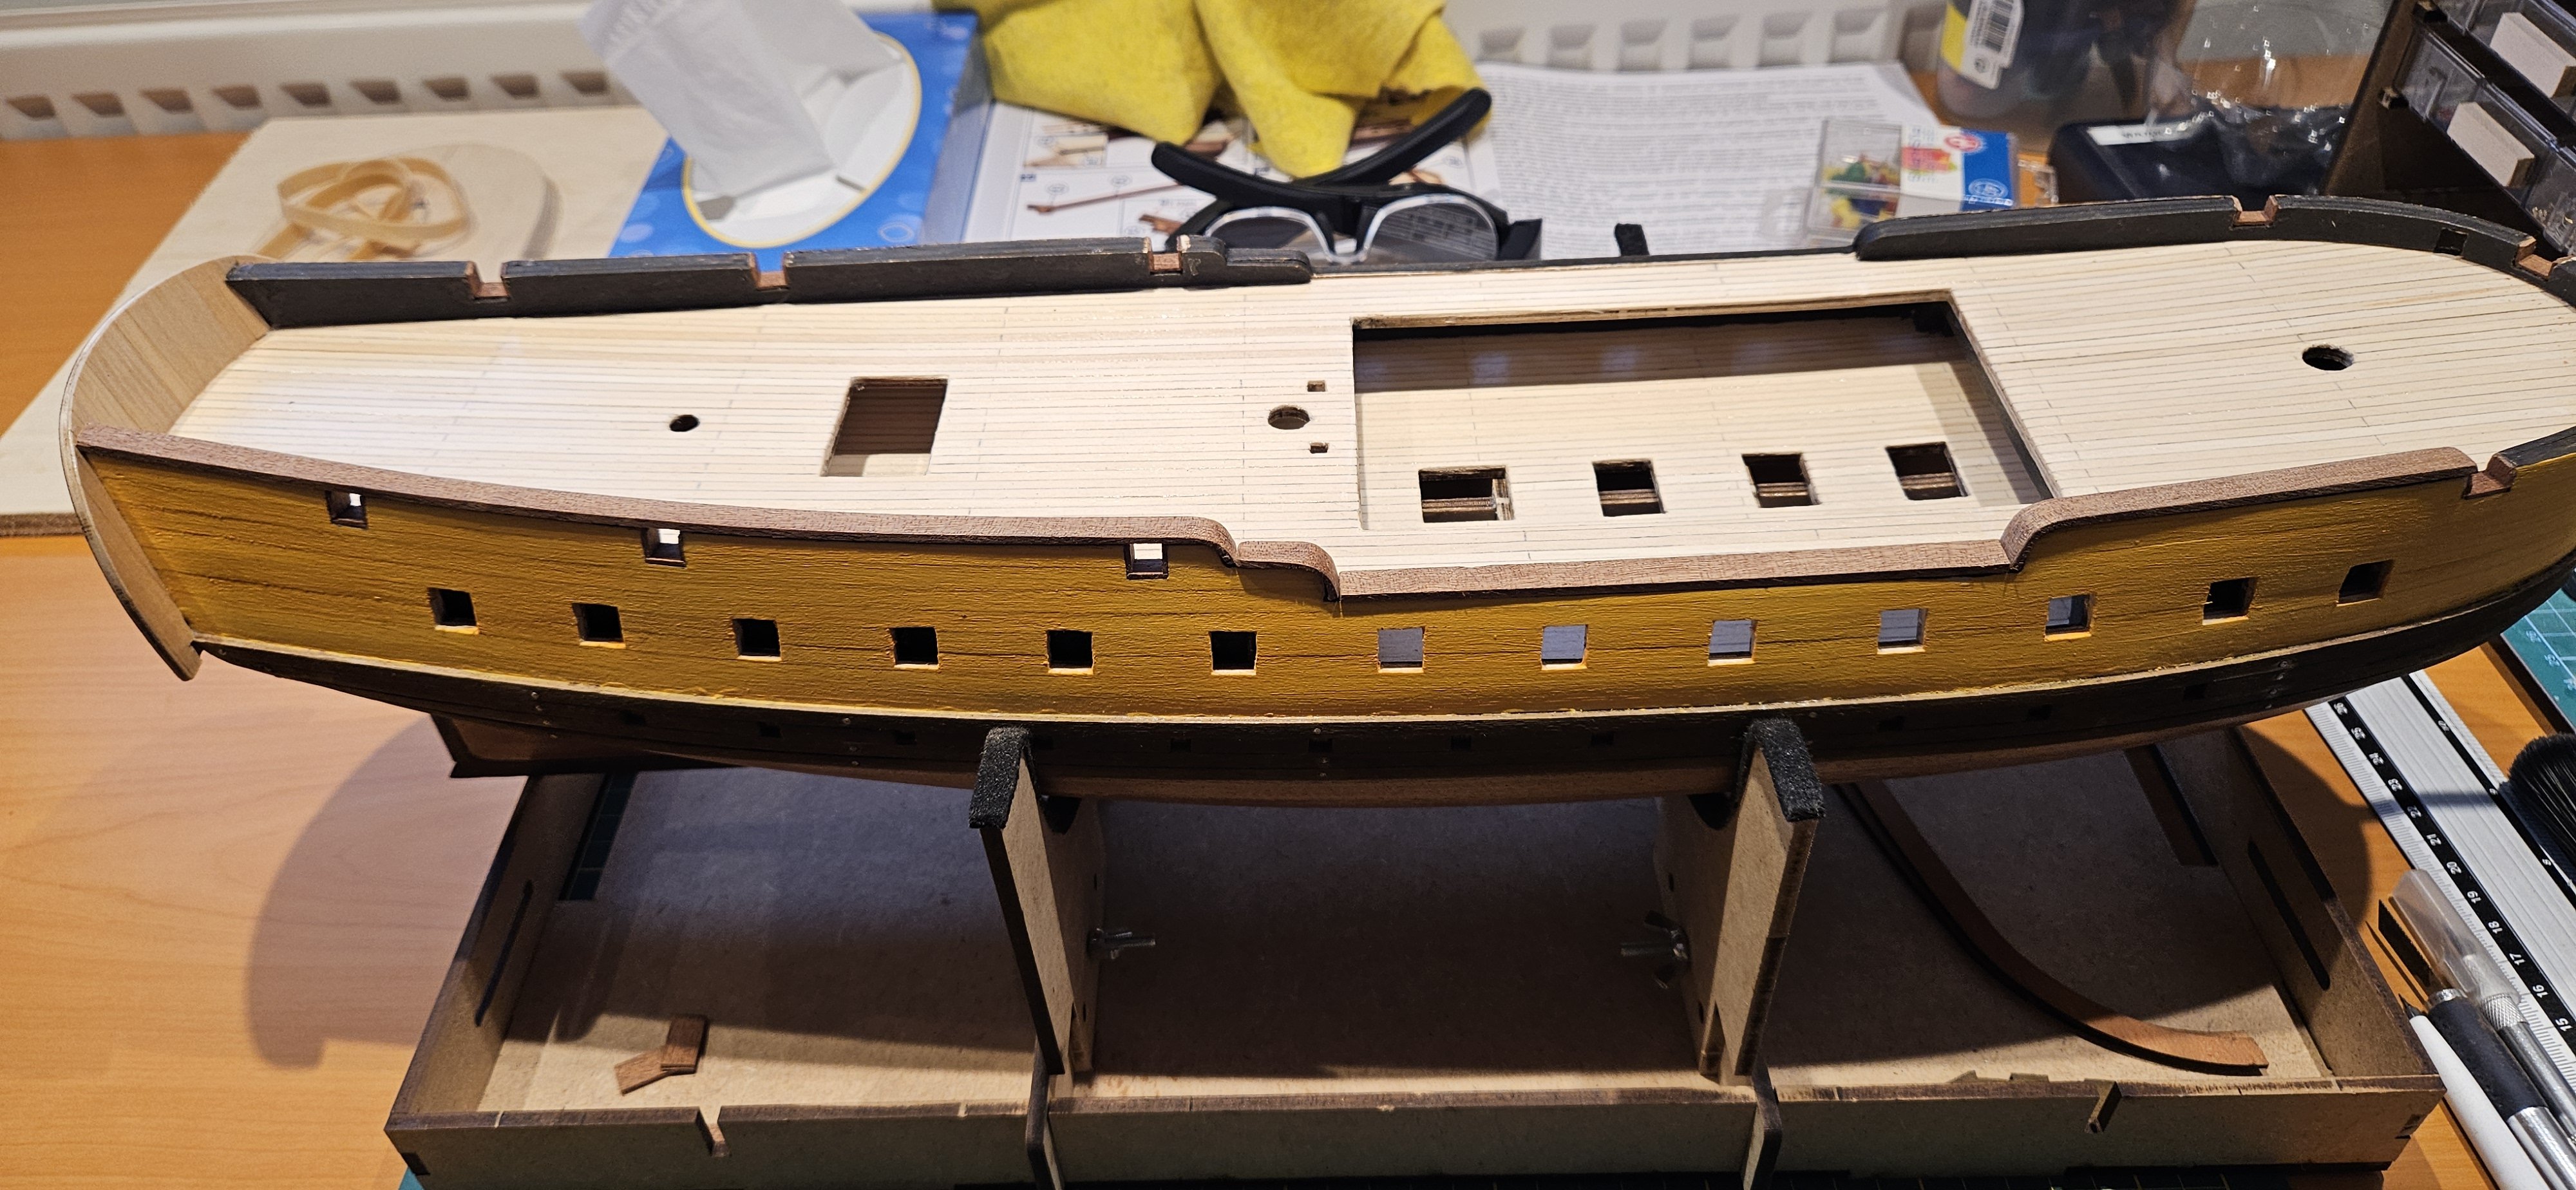
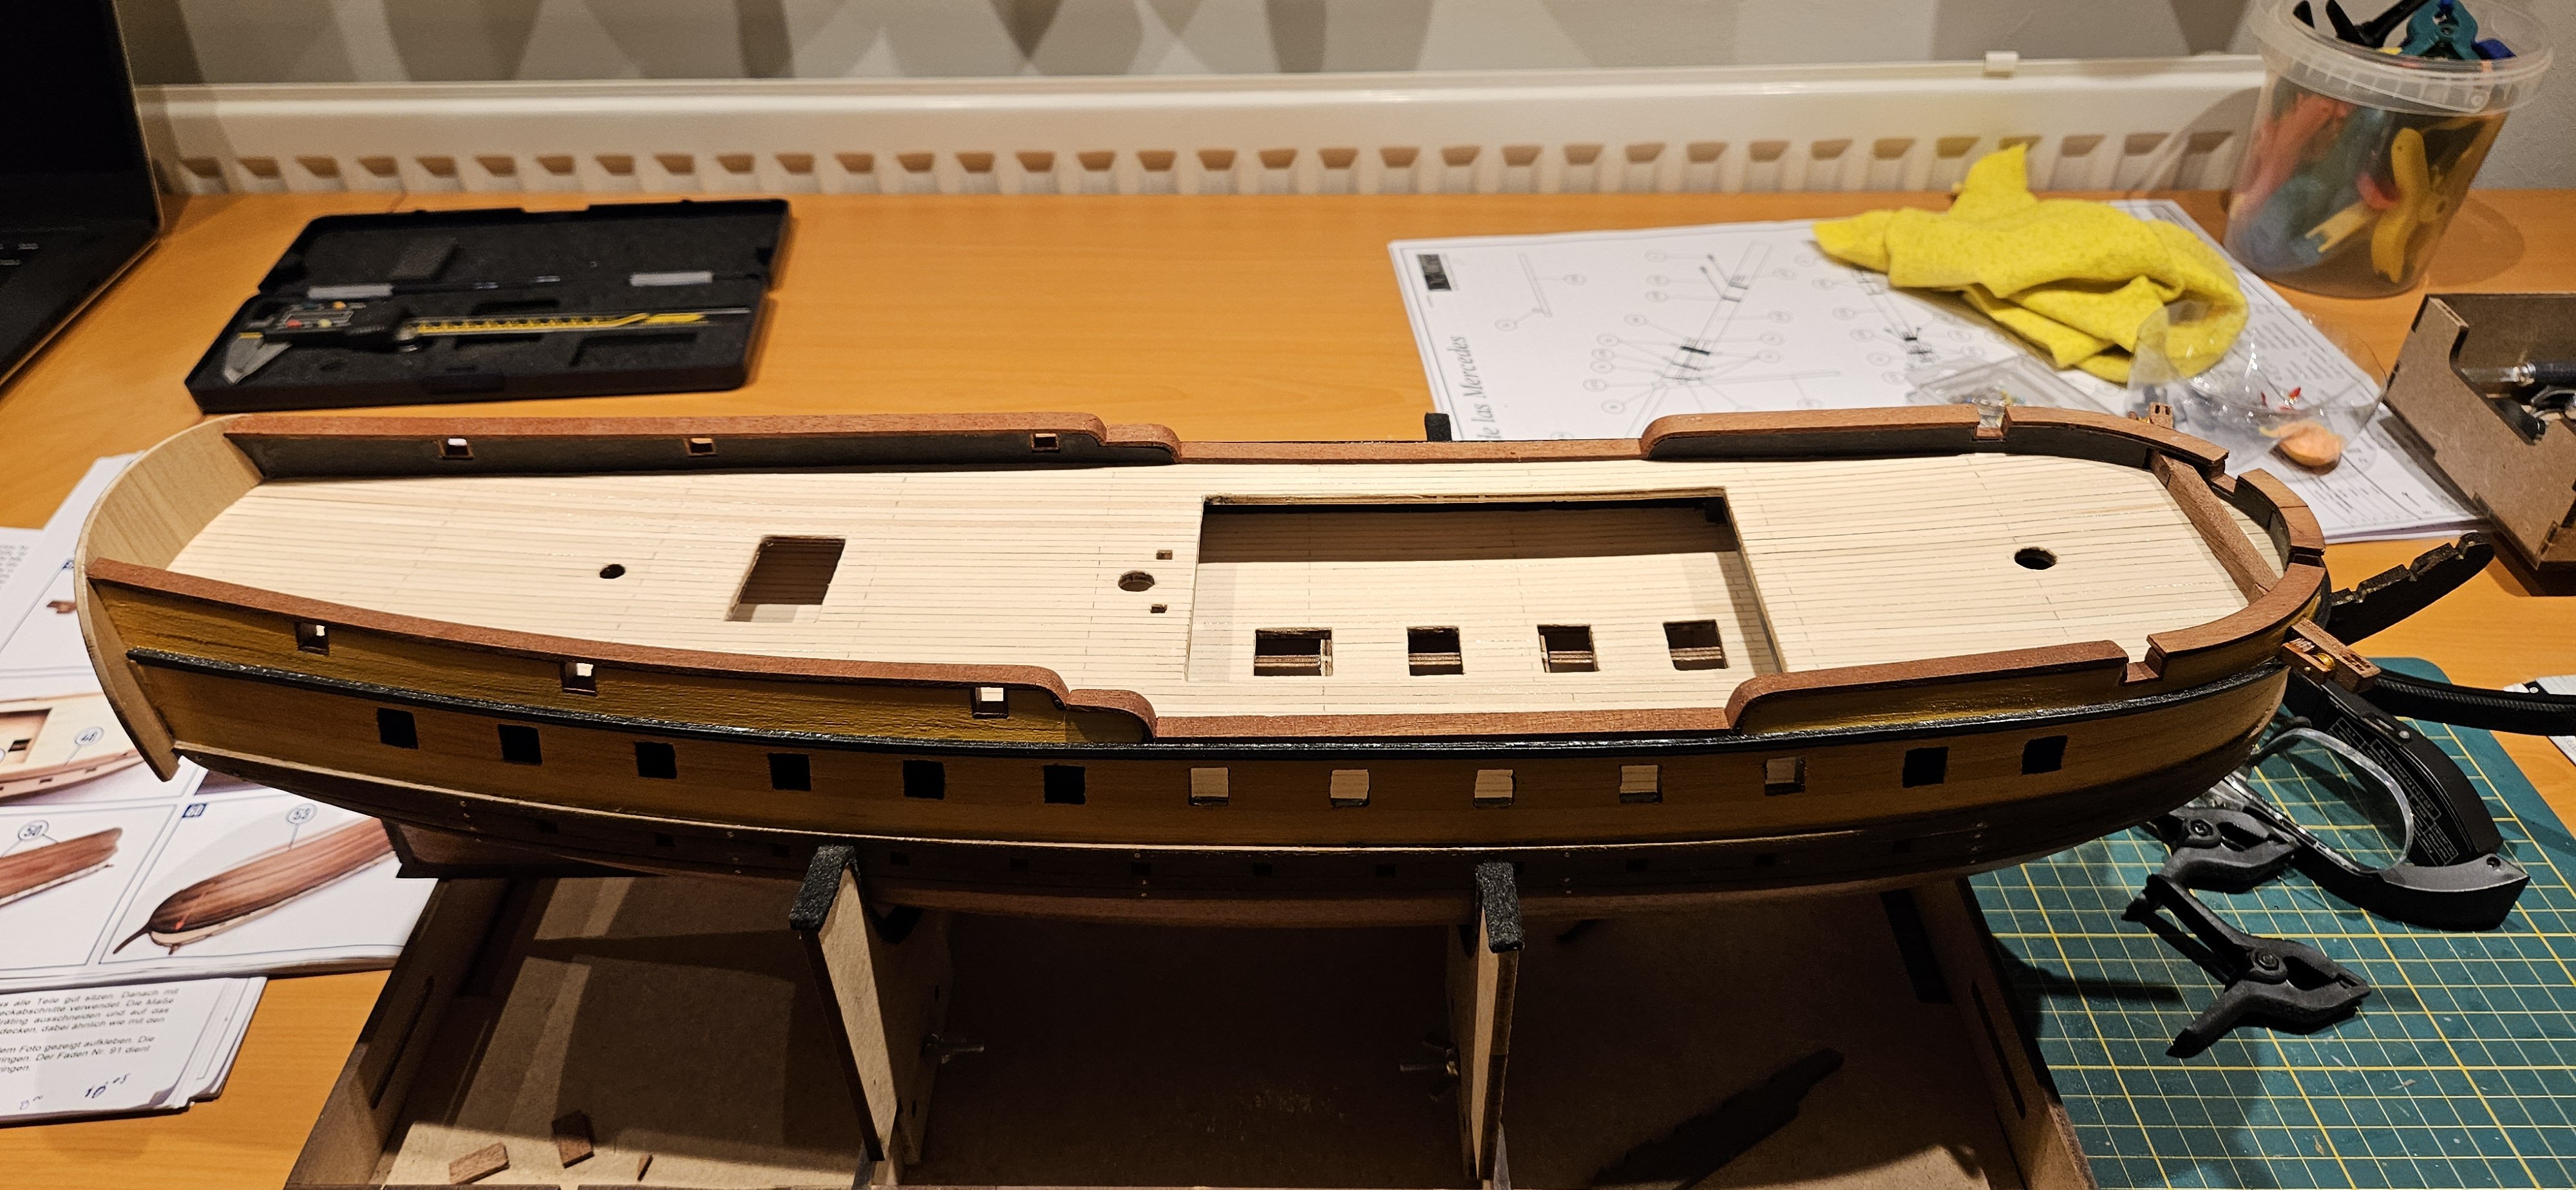
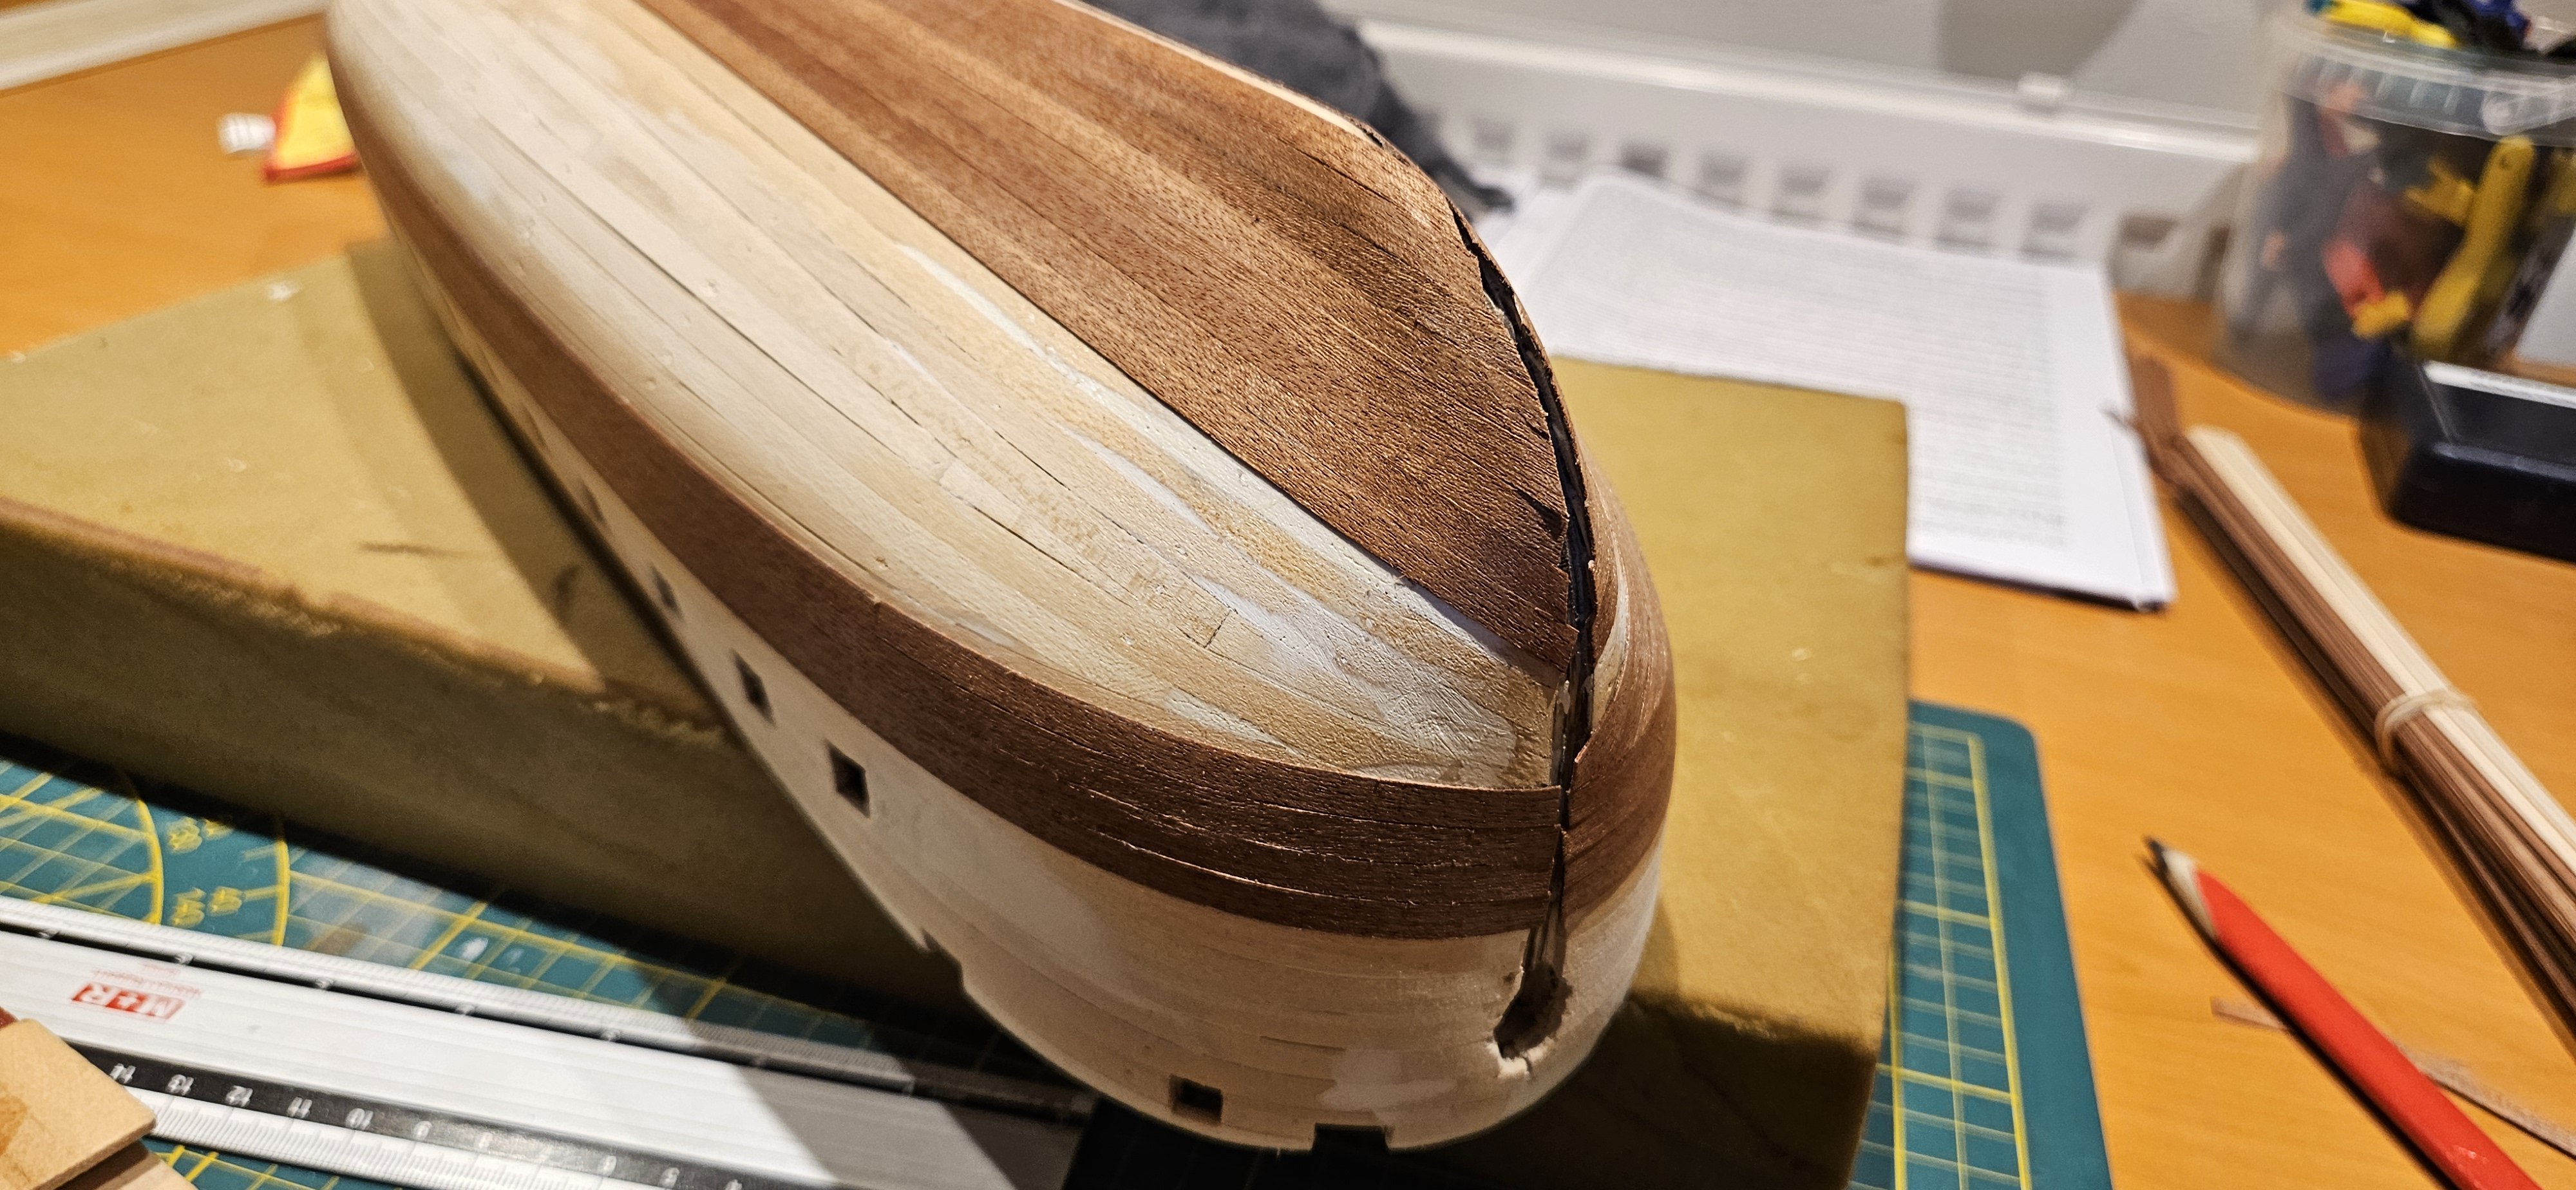
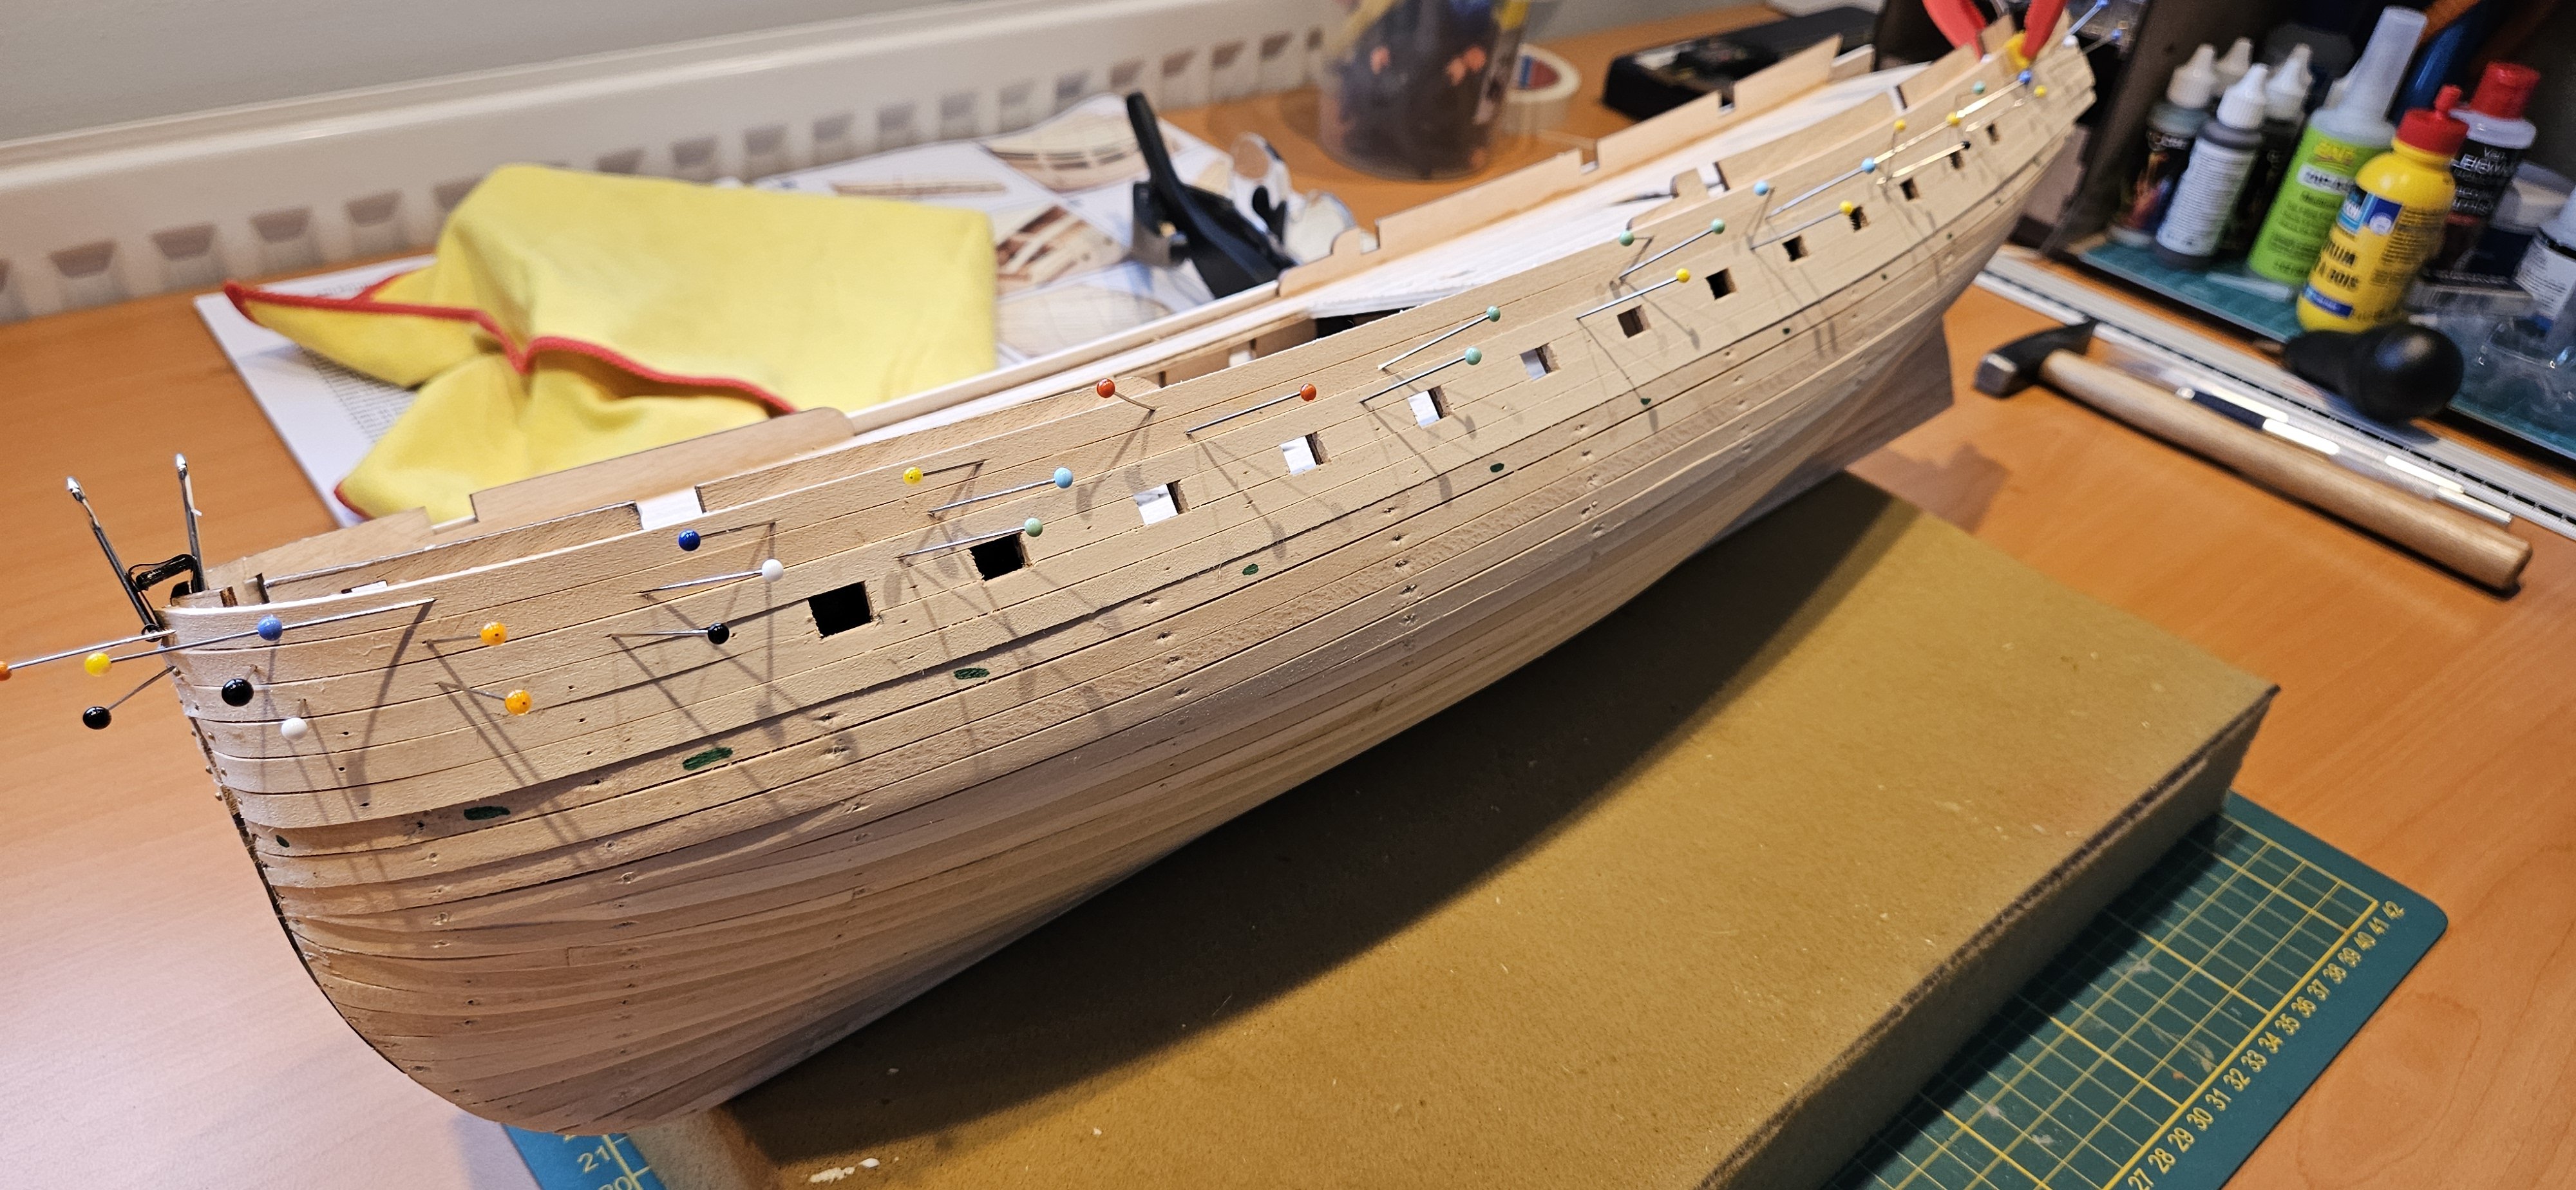
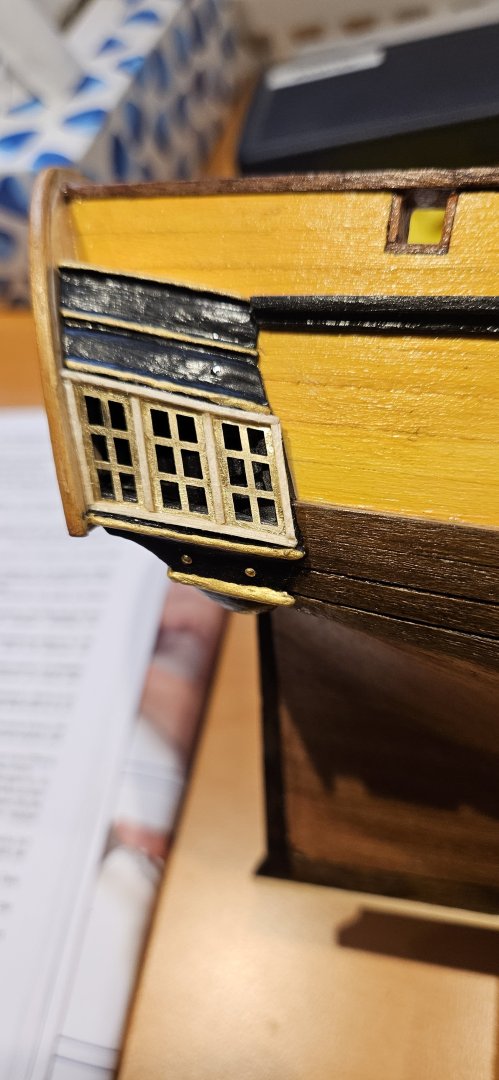
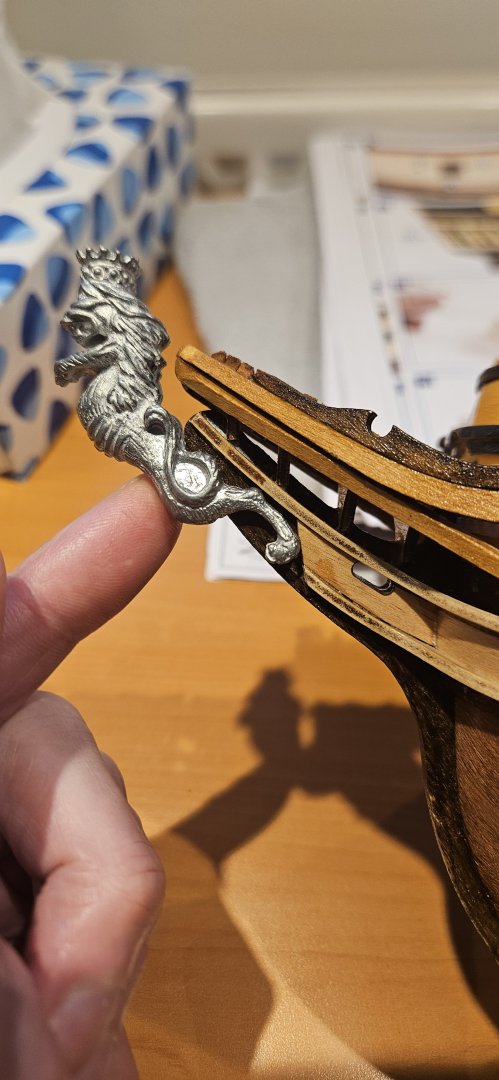
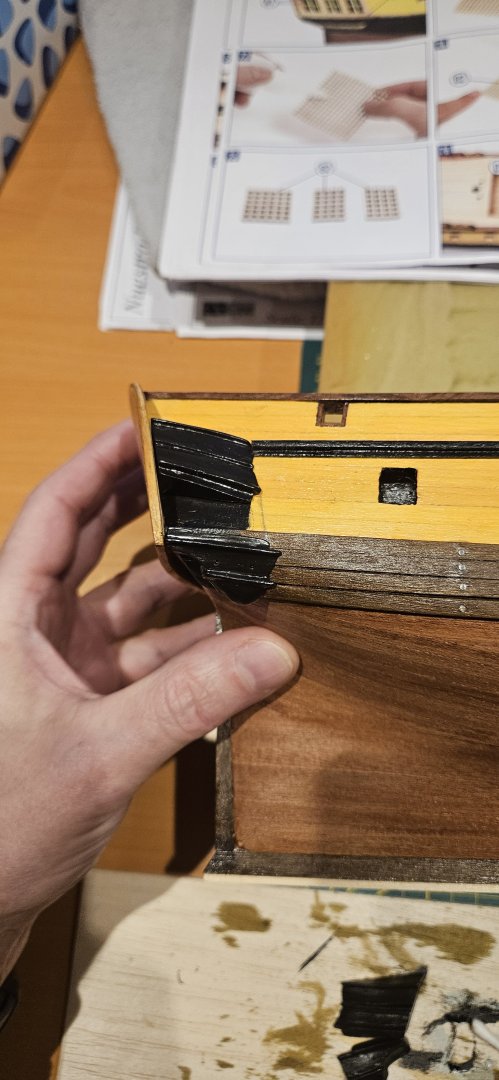
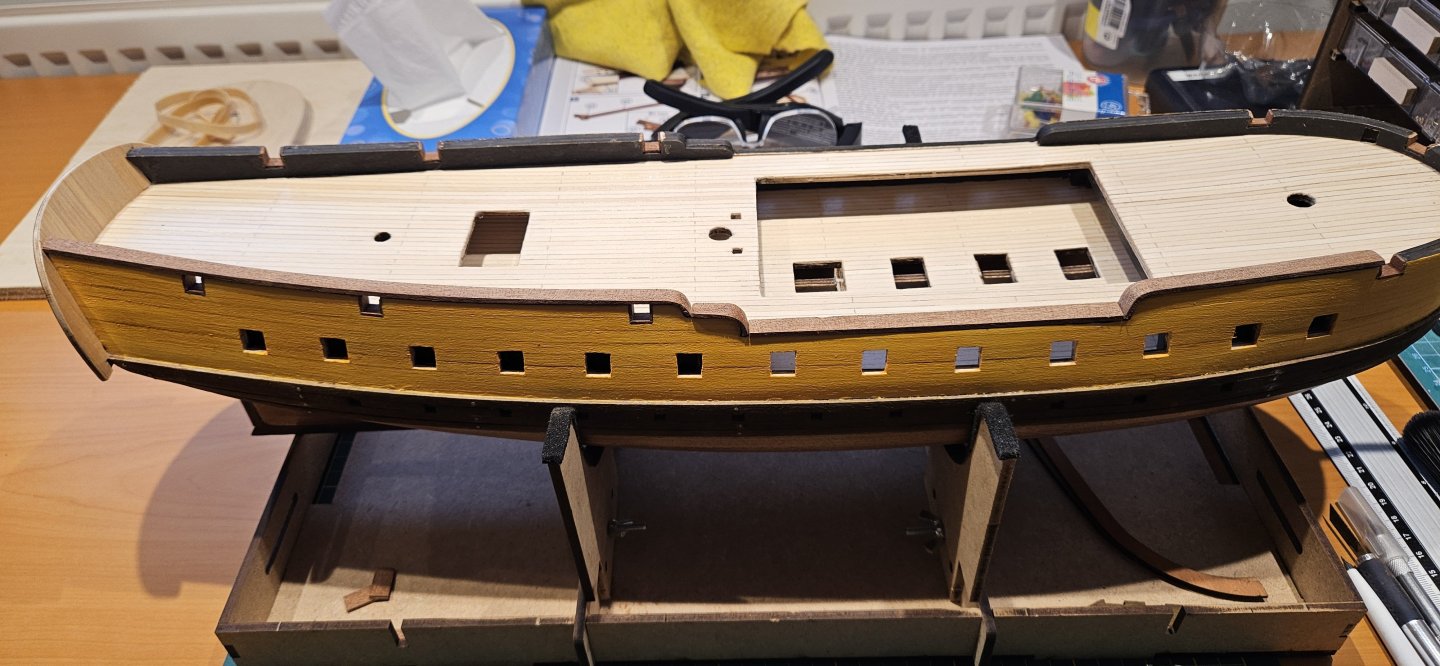
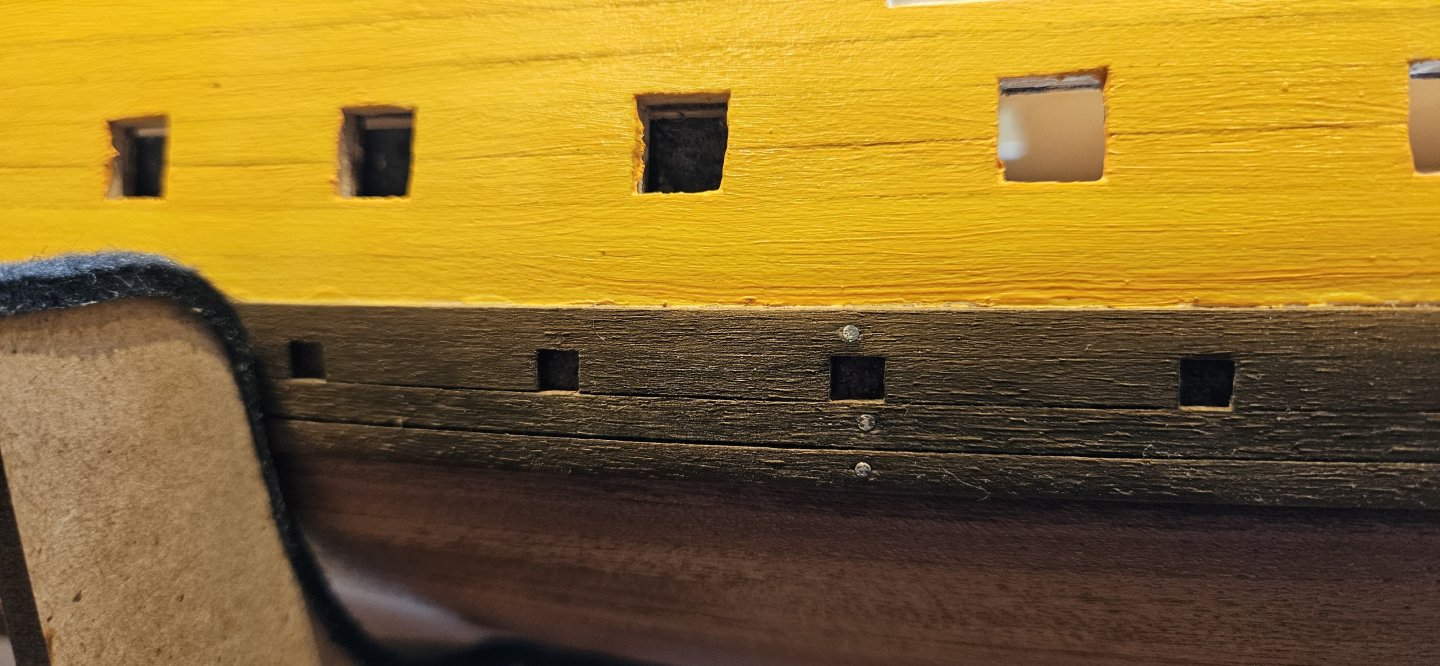
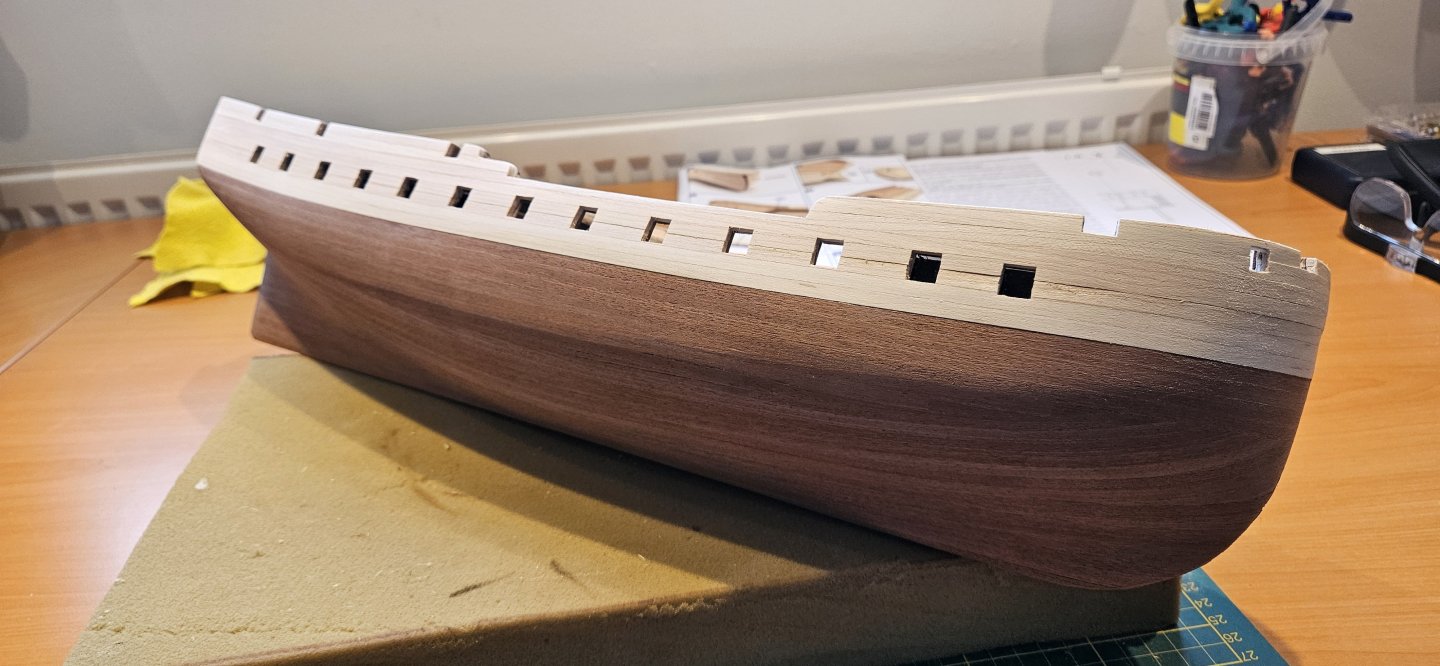
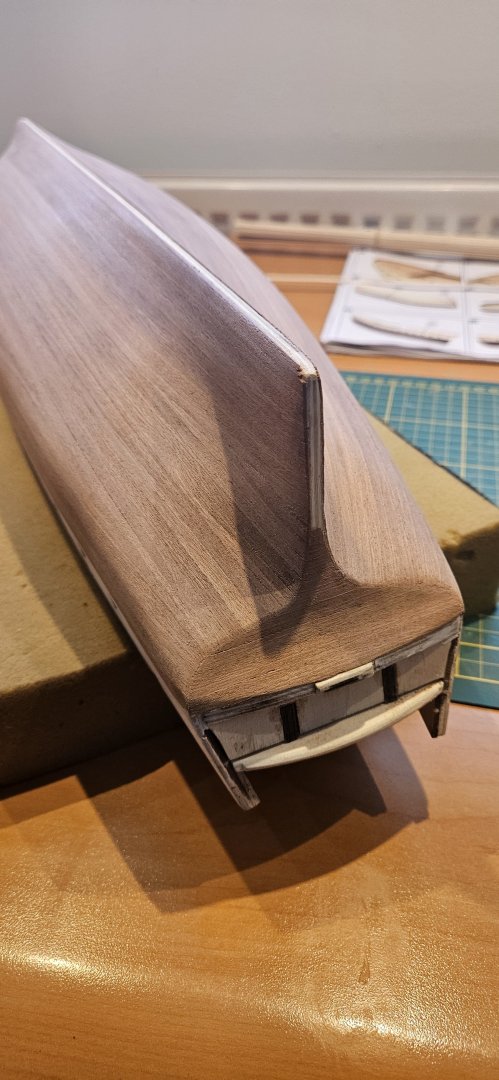
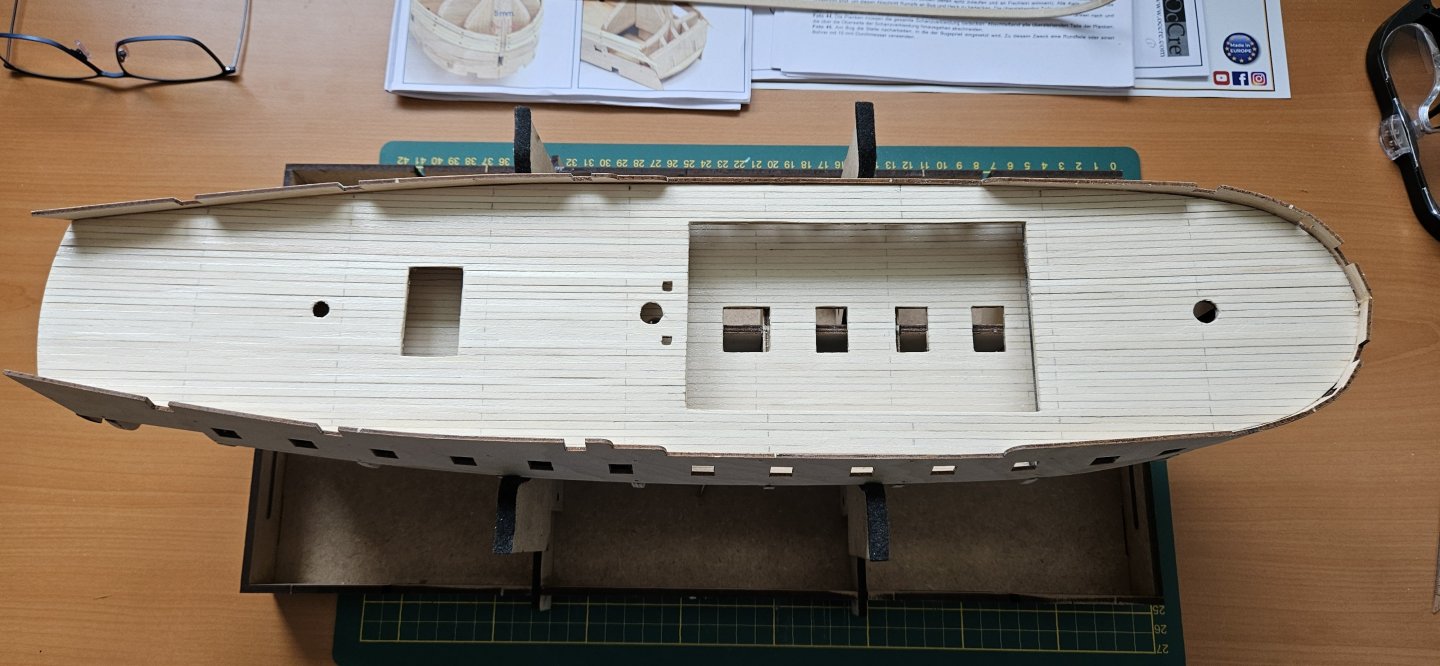
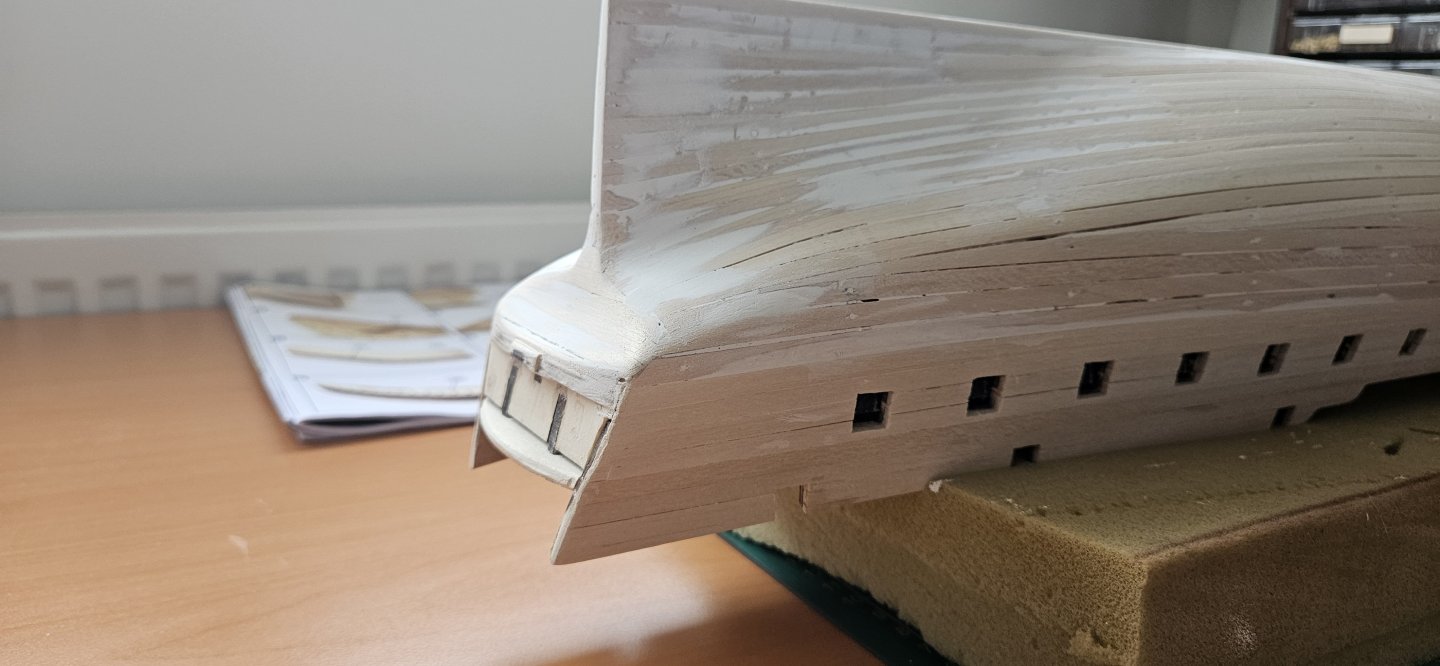
After a longer period of not been able to work on the model i could finaly do some work. And i found a mistake in my build. When i fitted the rubbing strakes, i did not pay attention to their position. I looked at the pictures and guesed what the position should be. It turned out to be to low. Now my quarter galleries are to low as well. So, for the person who is going to build this model as well: upper rubbing strake is about 1 plank away from the gun port. I did 2 planks and now i am about 5mm to low with the gallerie 🙂 not a big issue for me, but it is not perfect. It does puzzle me that in the pictures the lower casting part is at the same height as the stern. The way i have got it as well. It also seems to be two different builds what they have used for the instructions. Good thing though, they had included some 1x1 in the kit, i think some left over from cutting planks. they were perfect for the windows. 1x1 is not mentioned in the parts list.


-
SiriusVoyager reacted to a post in a topic:
Nuestra Señora de las Mercedes by damaartenman - OcCre - Scale 1:85 - Spanish frigate
-
vossiewulf reacted to a post in a topic:
Nuestra Señora de las Mercedes by damaartenman - OcCre - Scale 1:85 - Spanish frigate
-
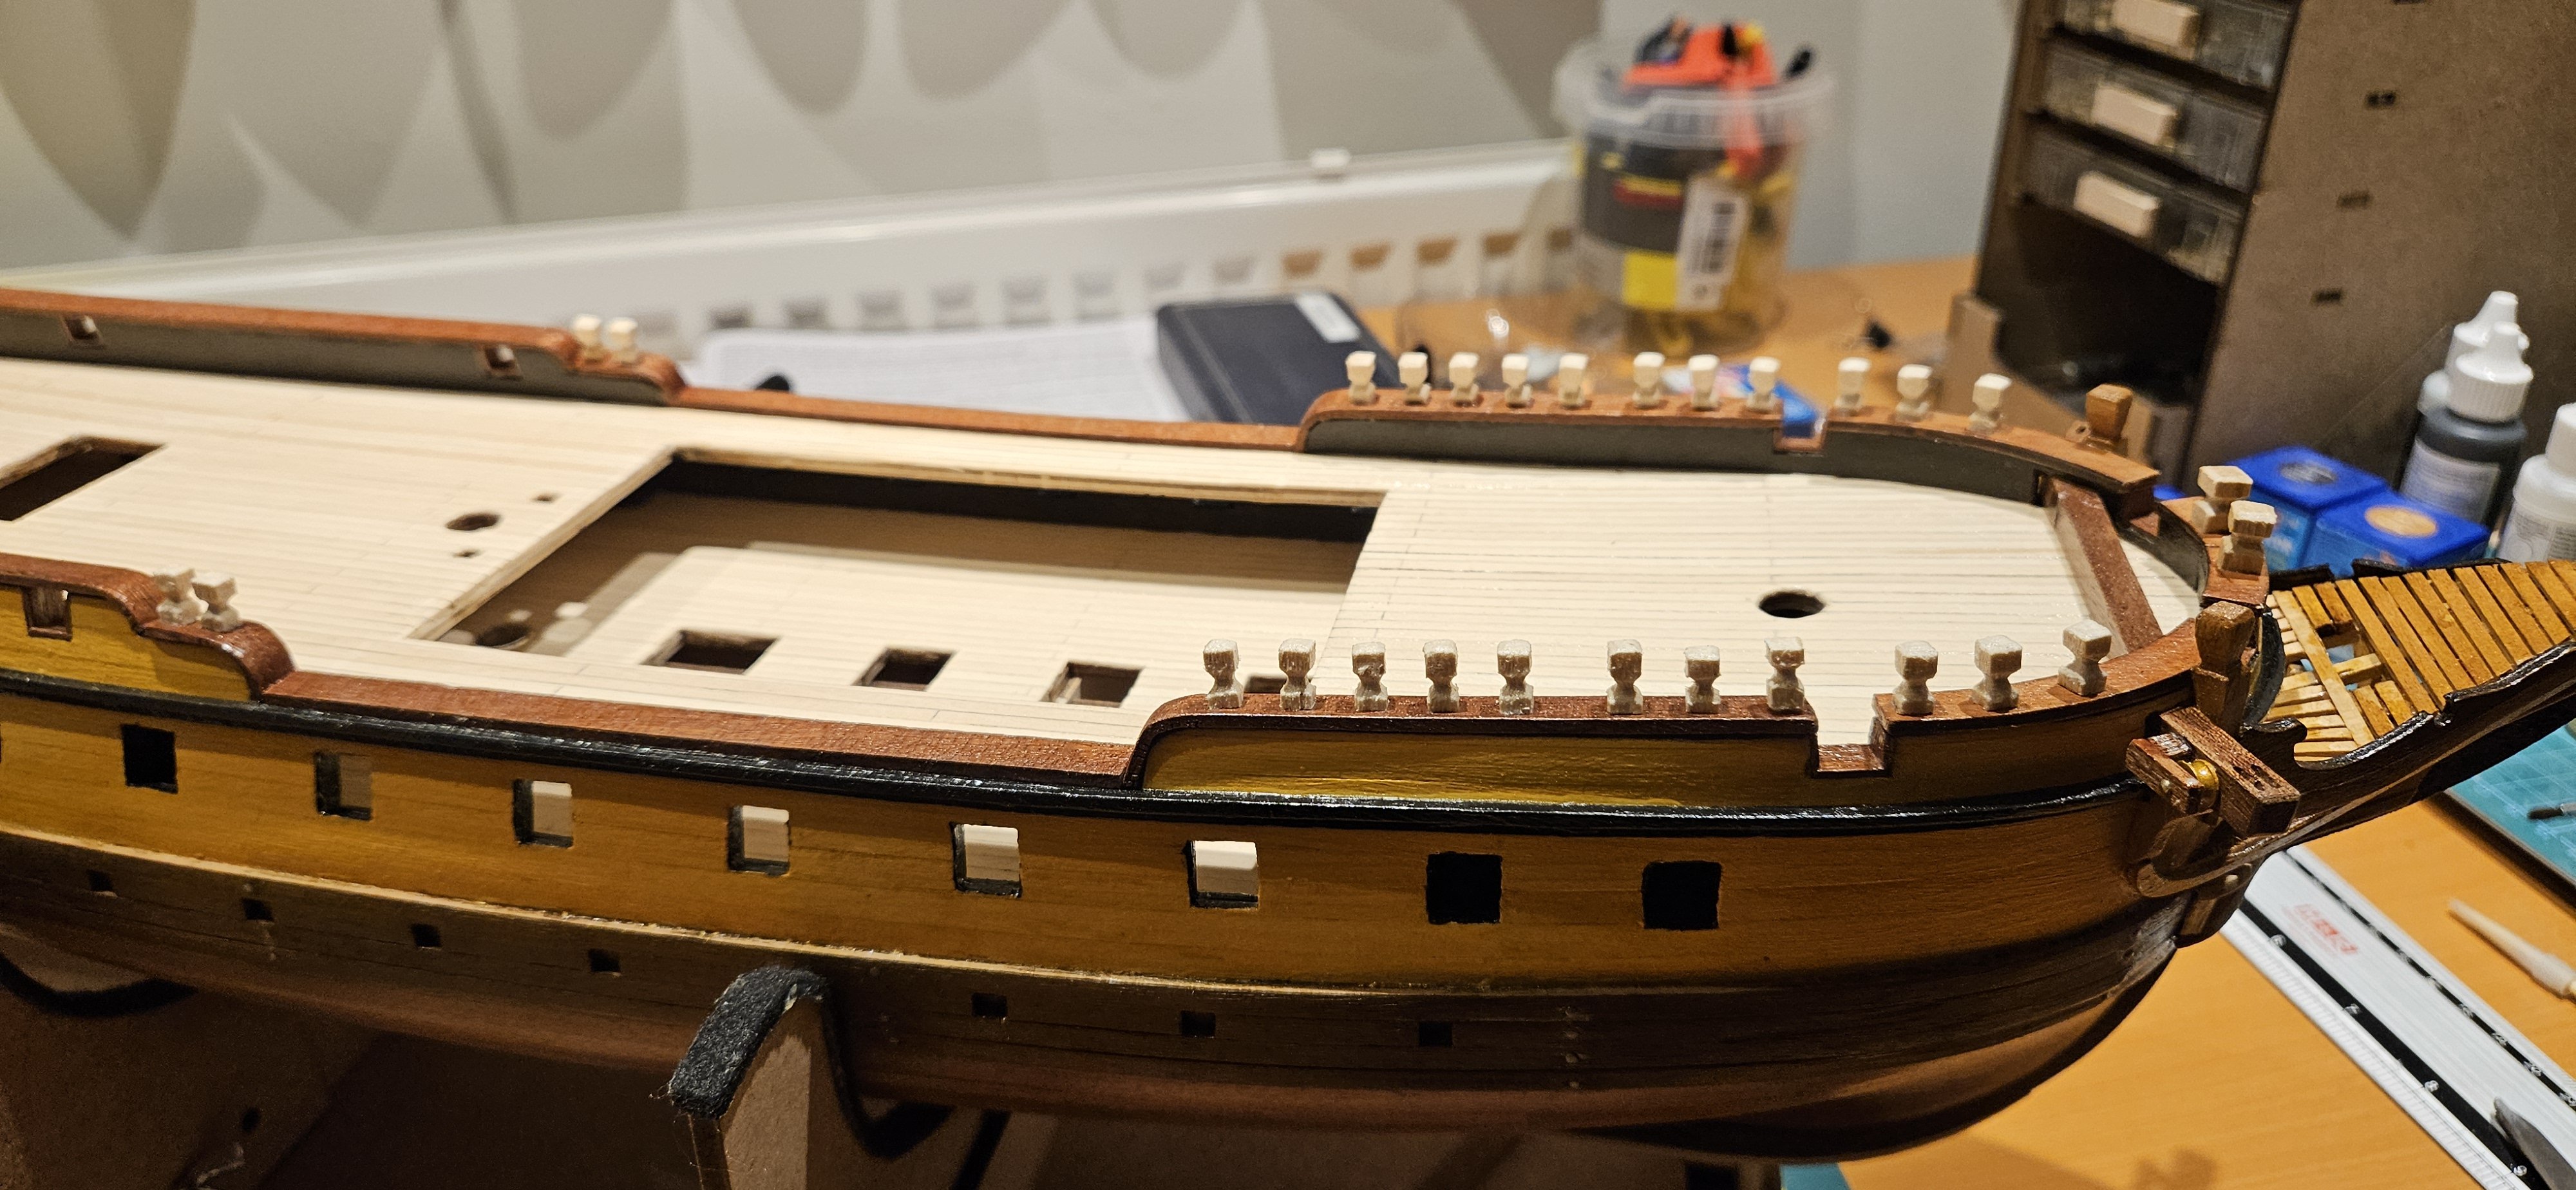
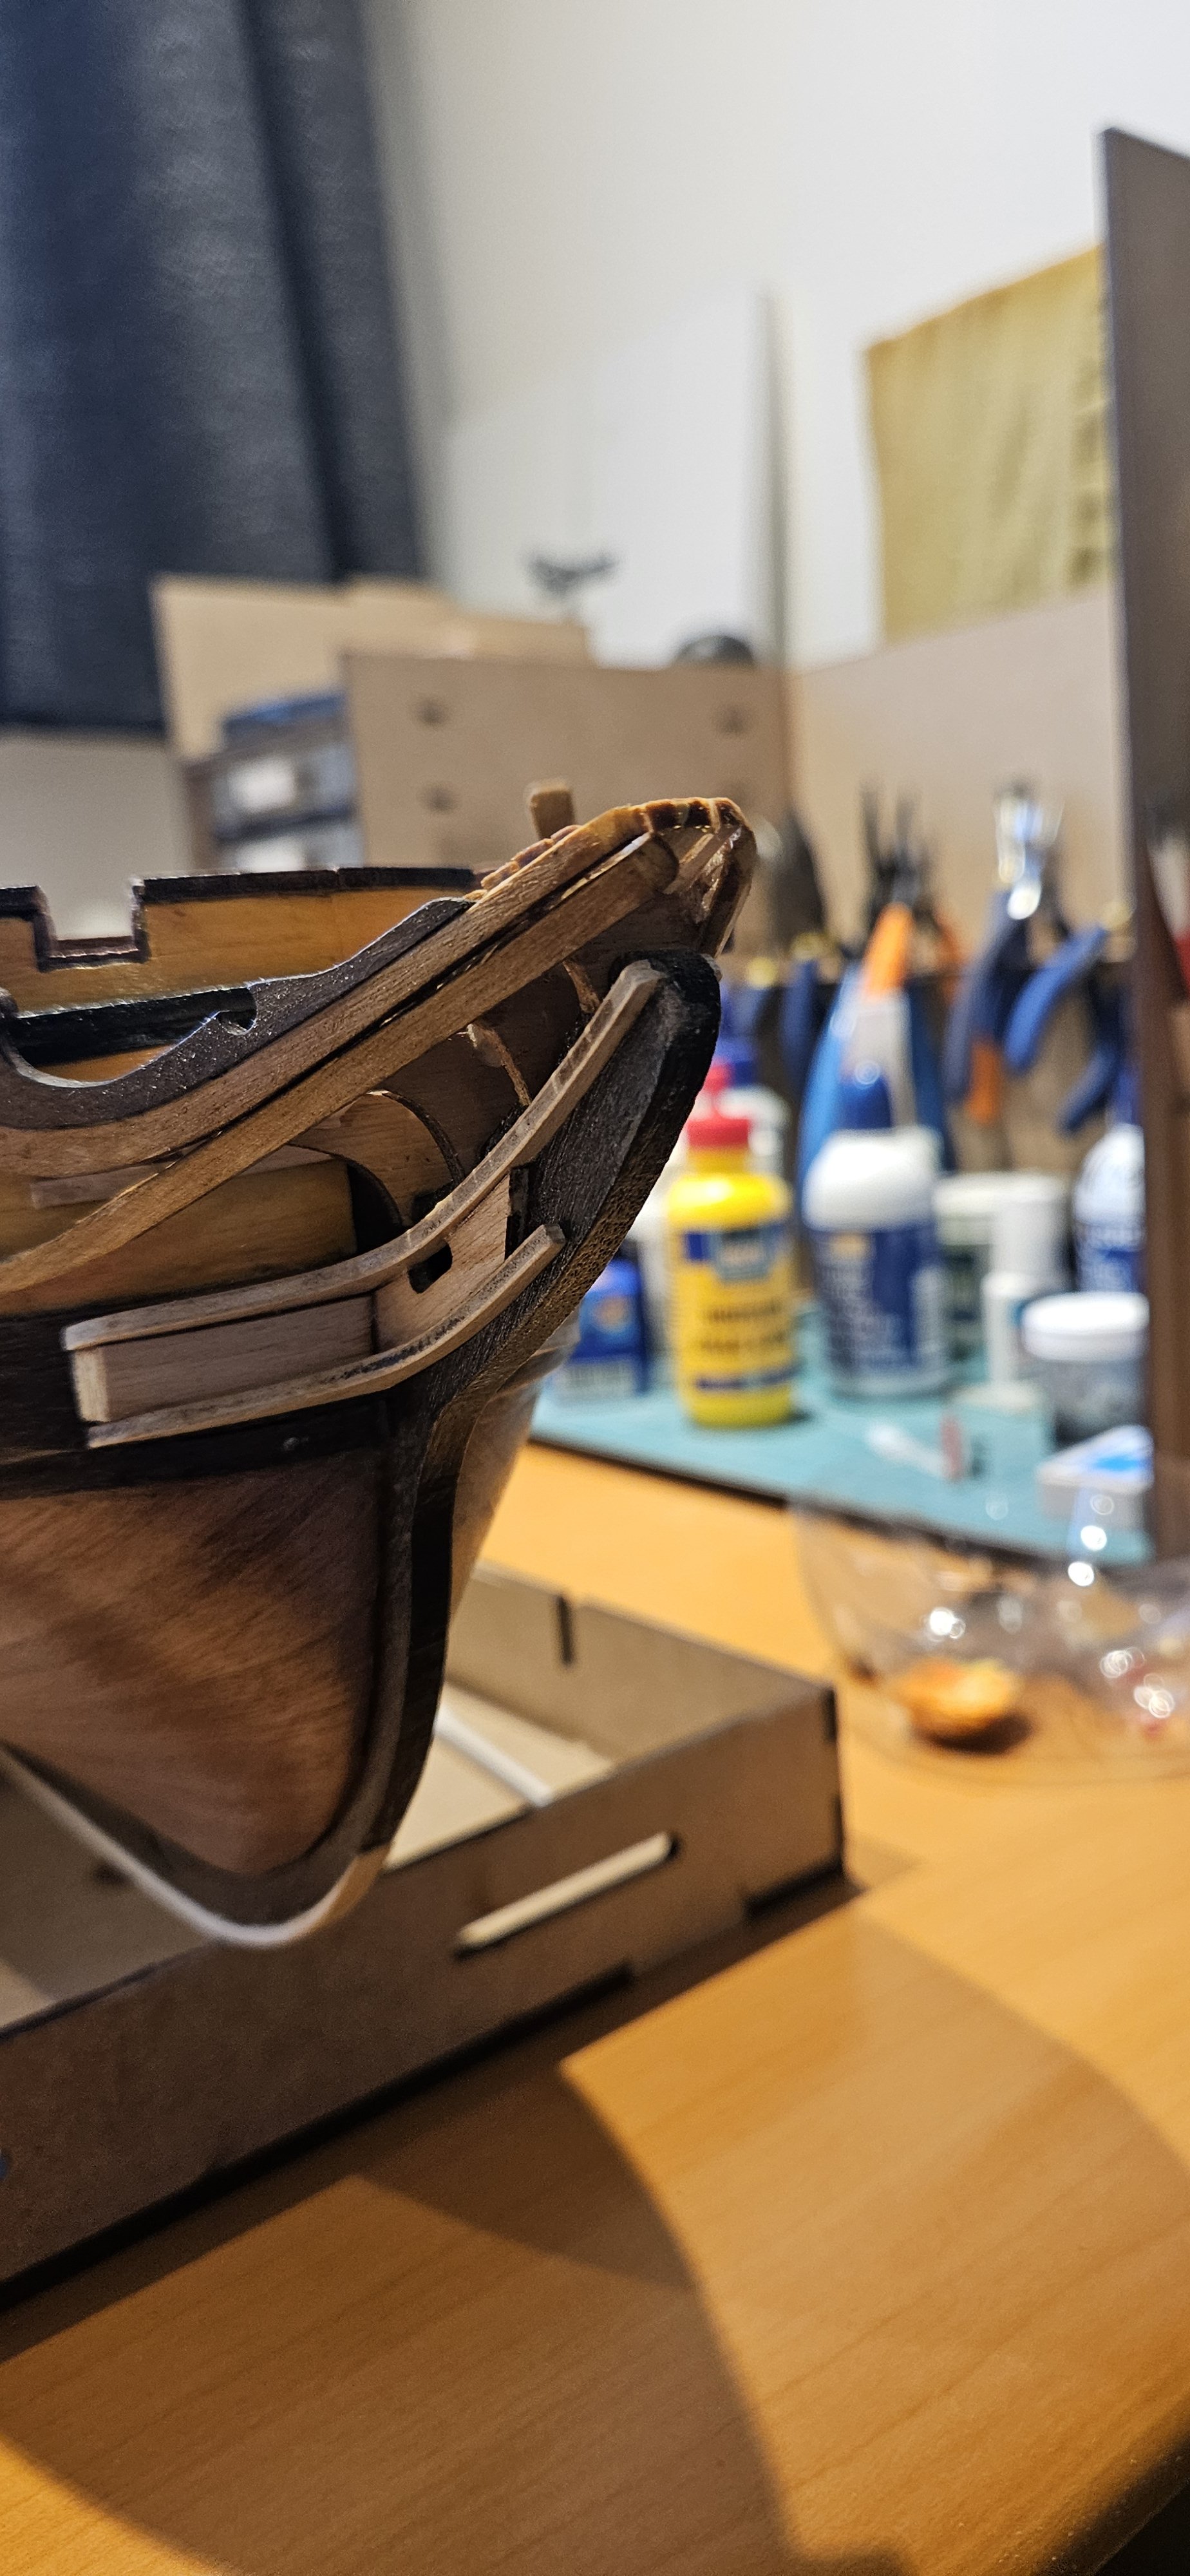
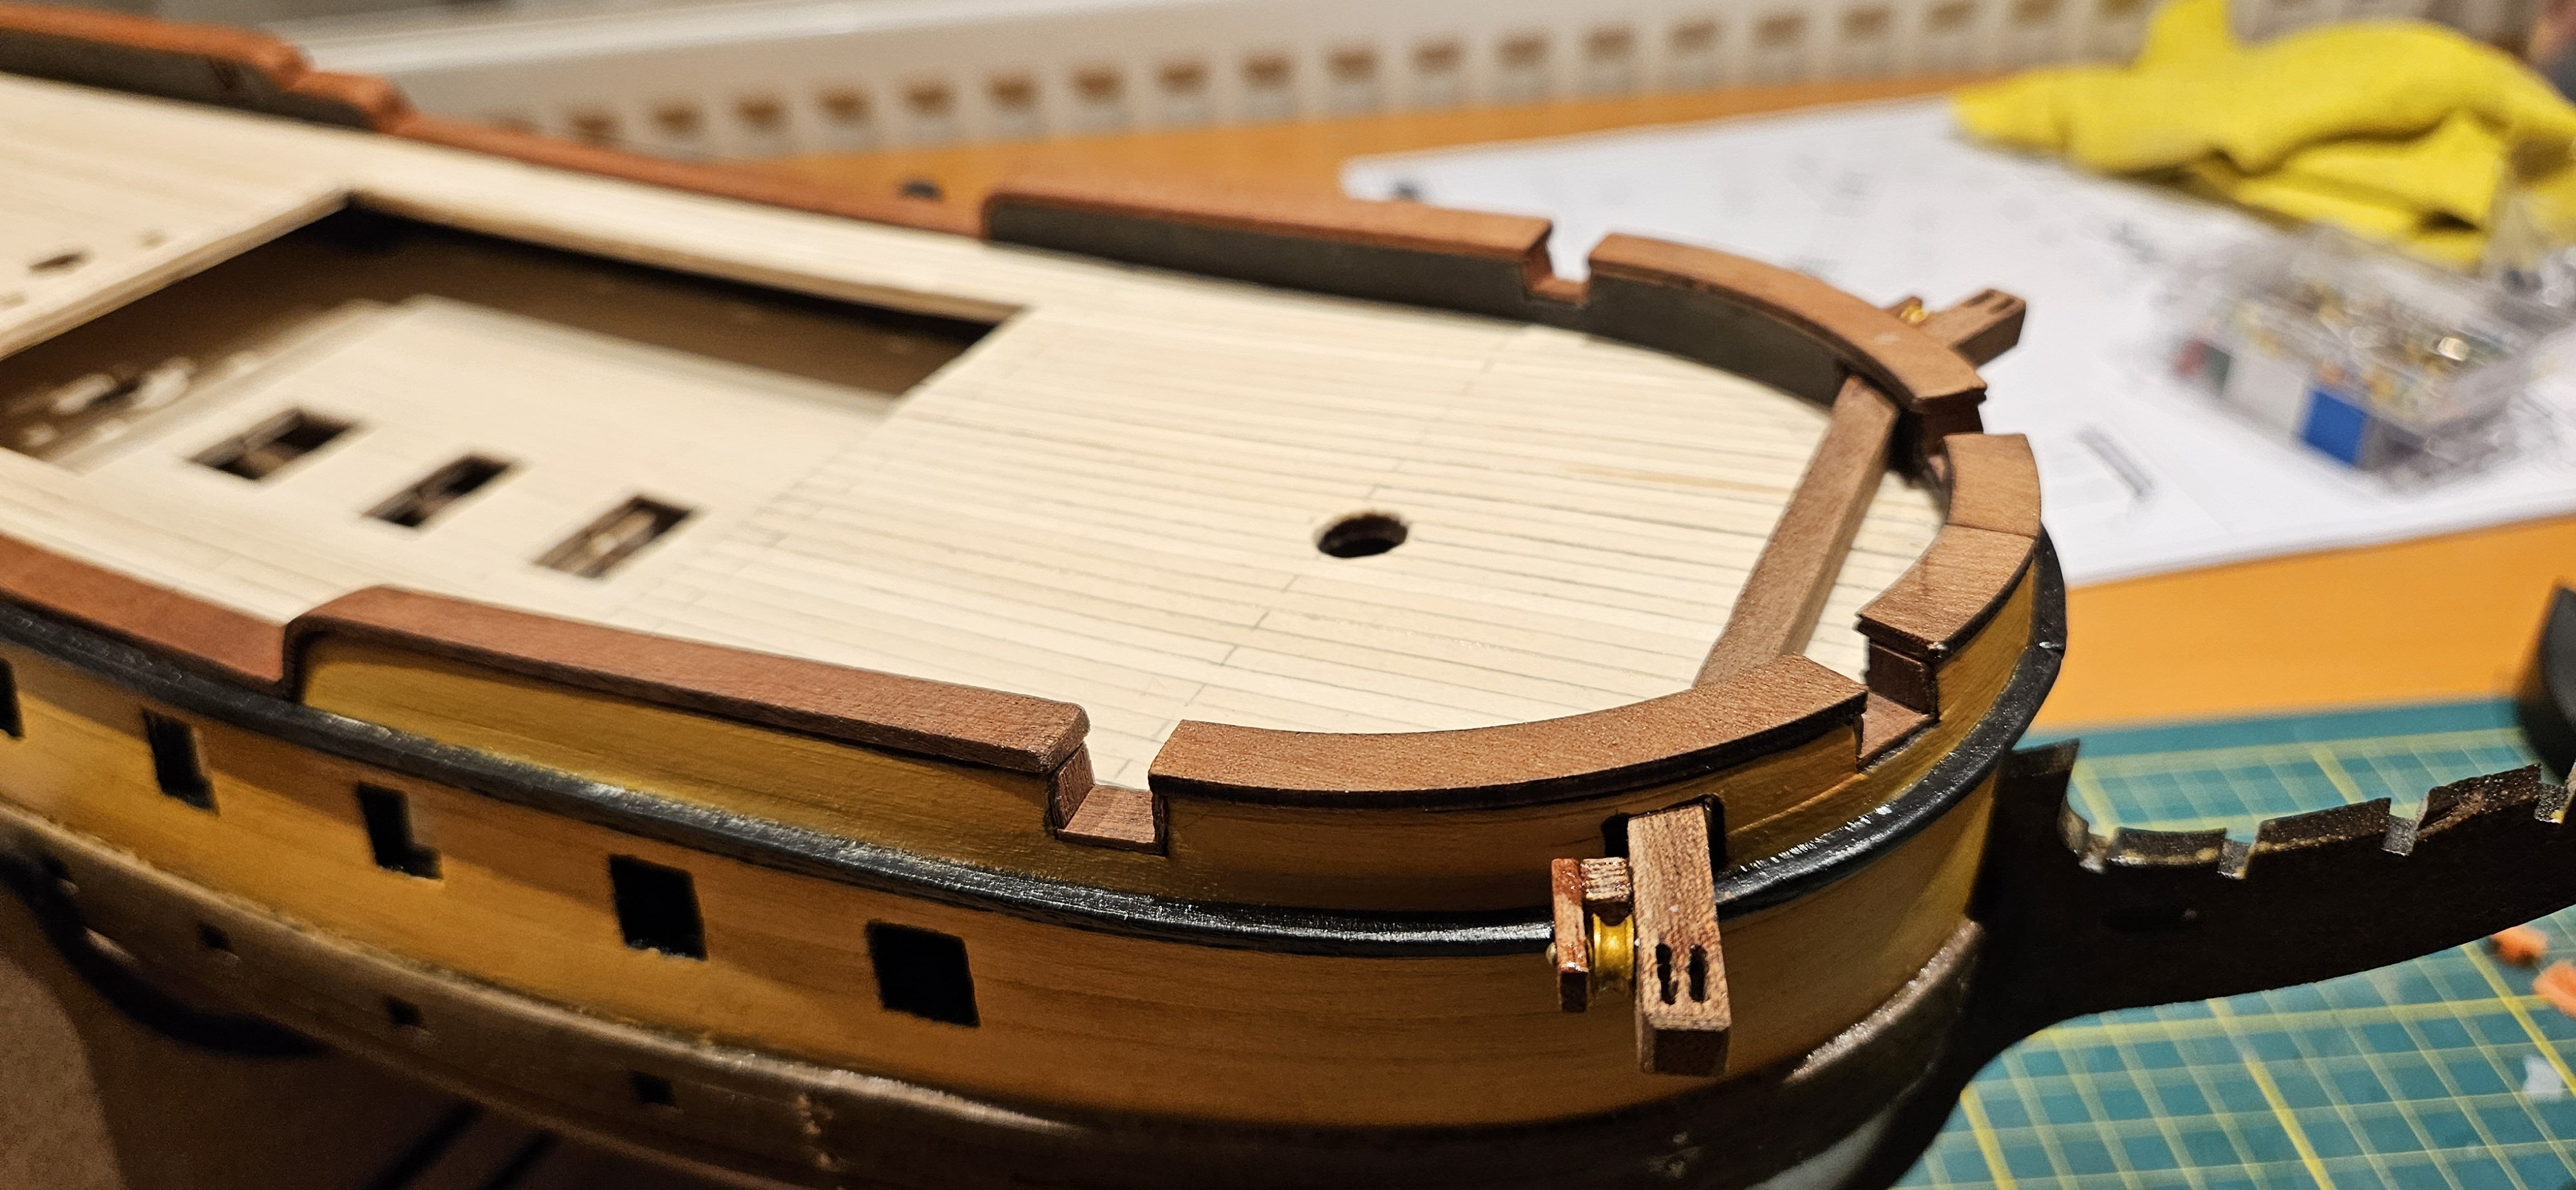
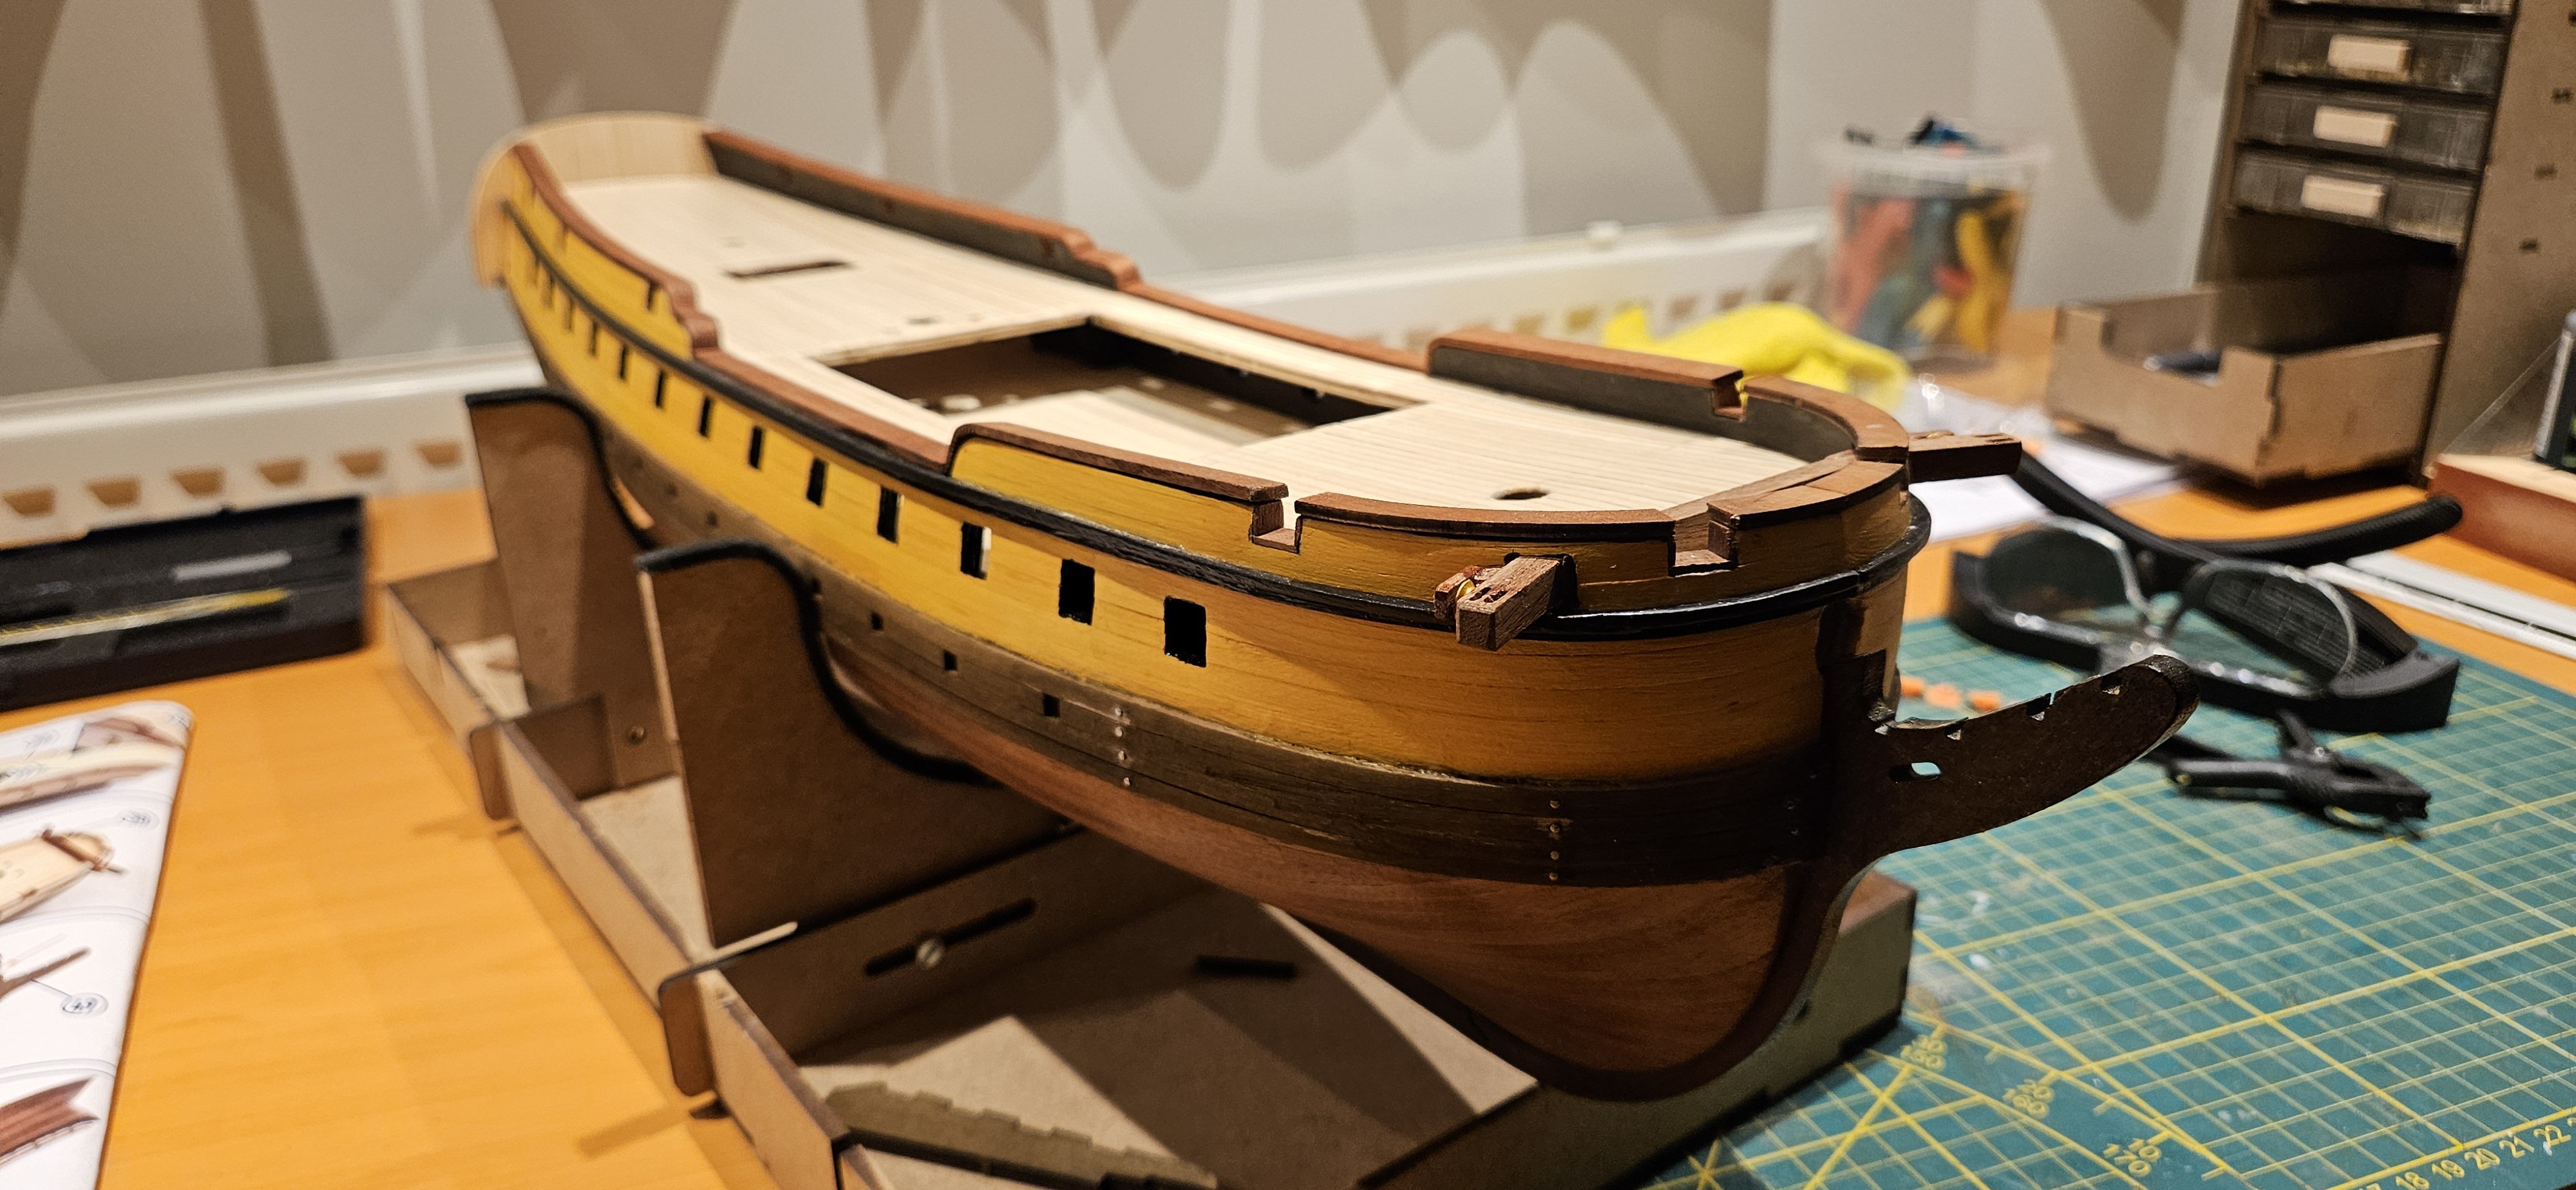
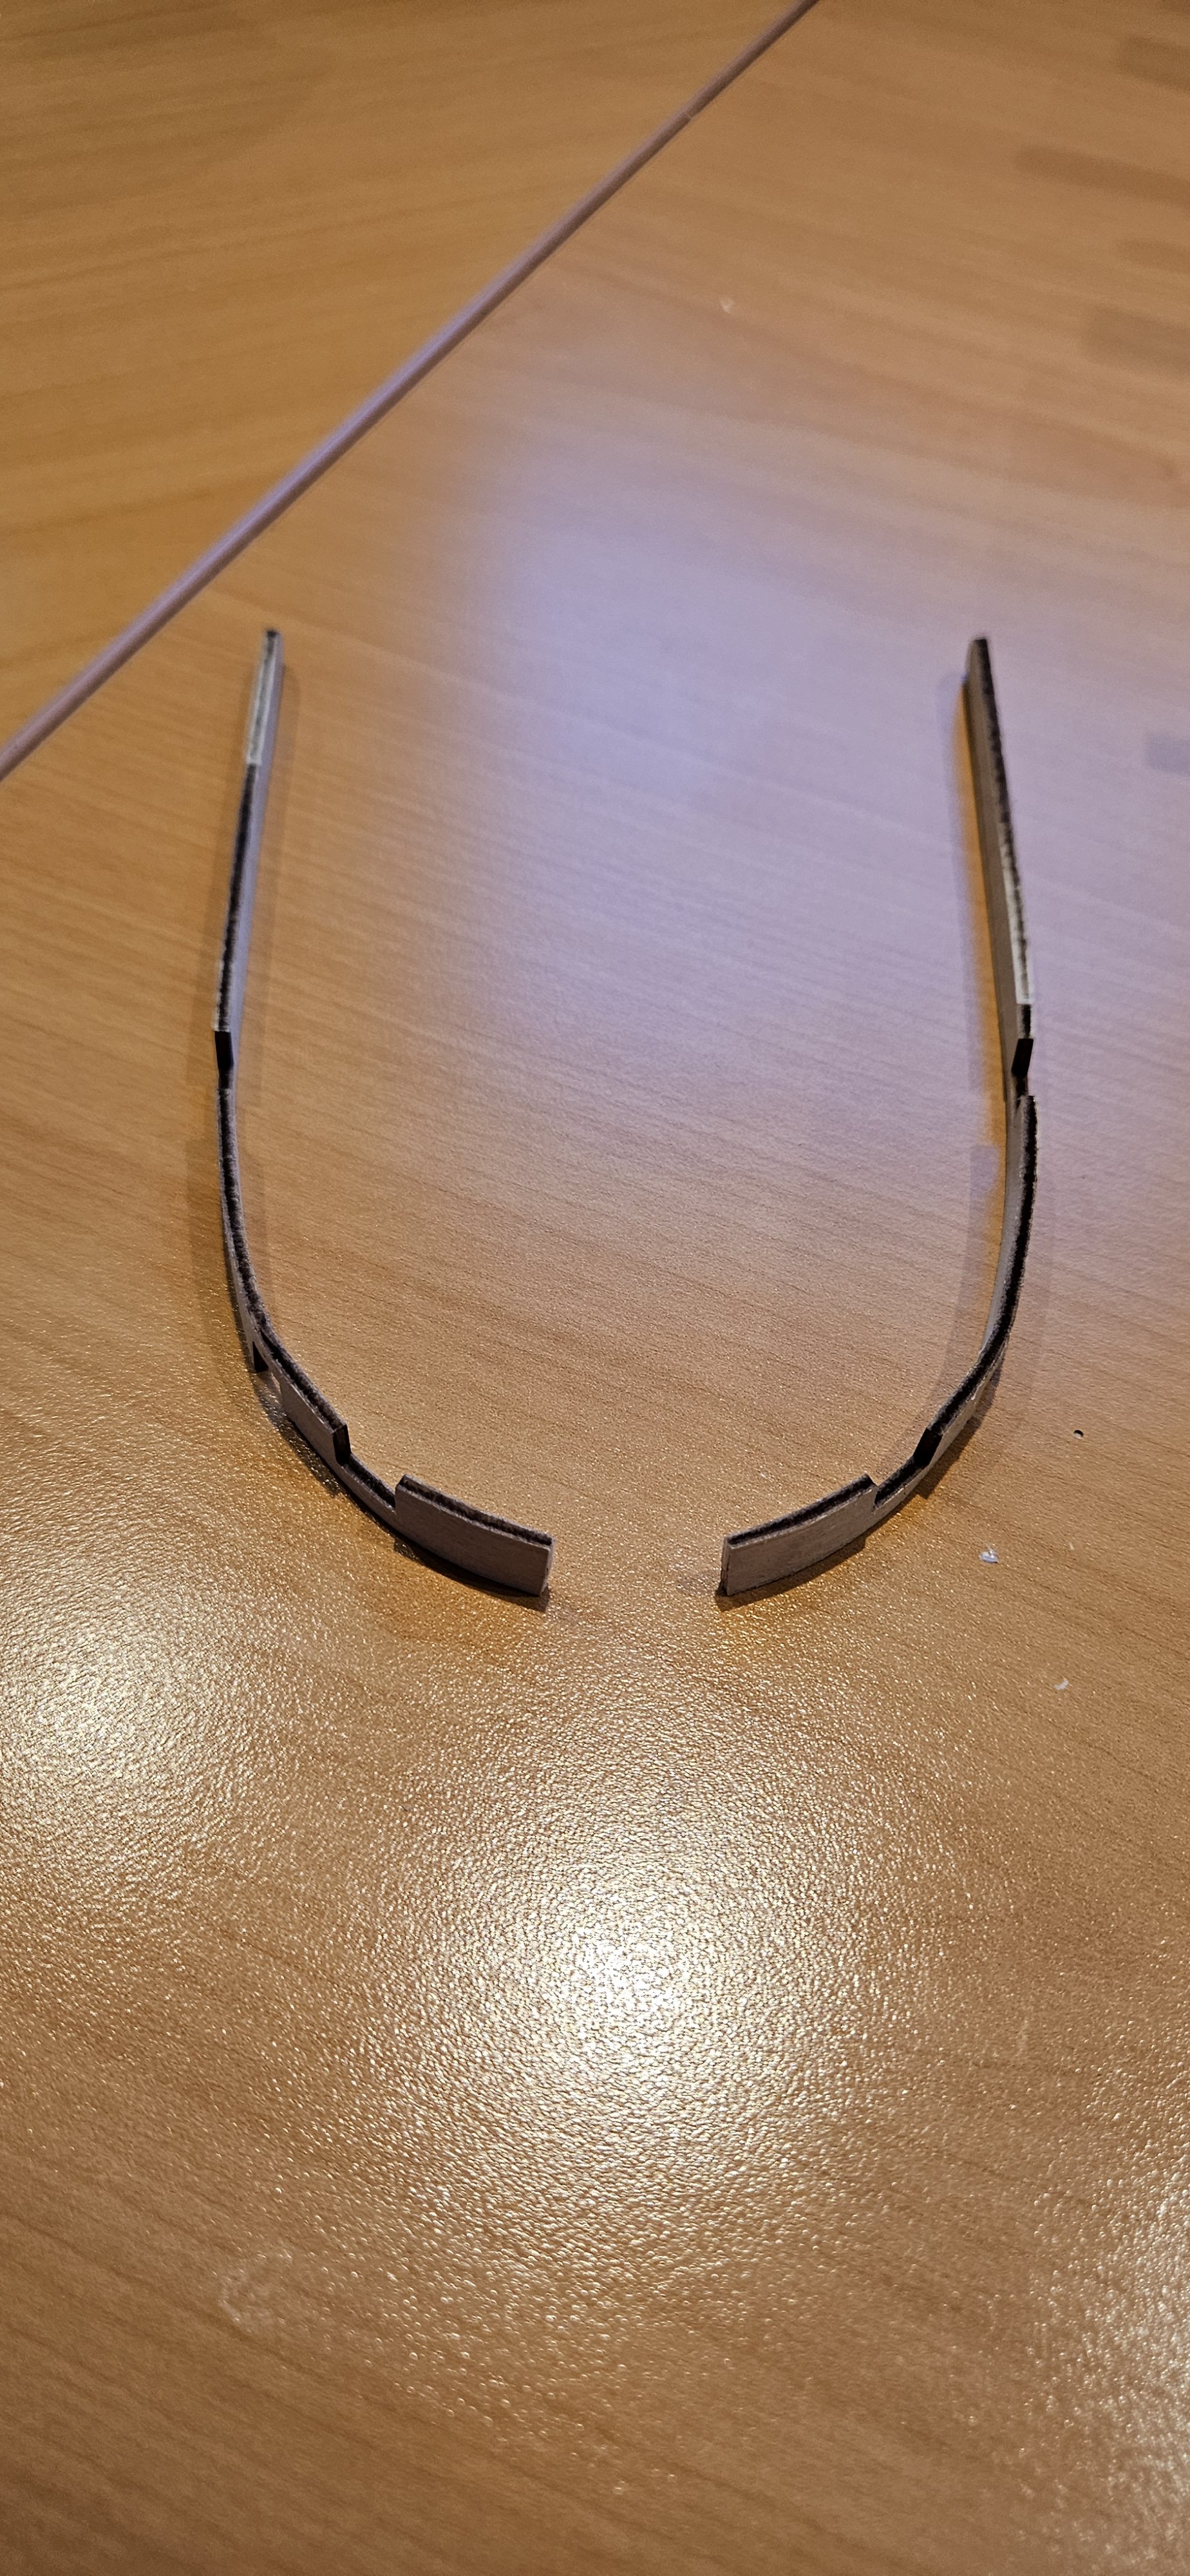
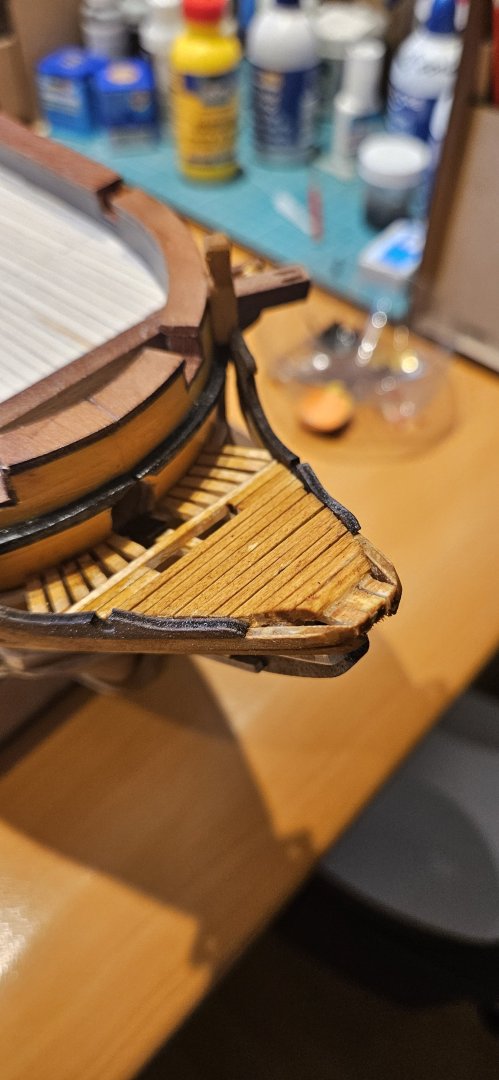
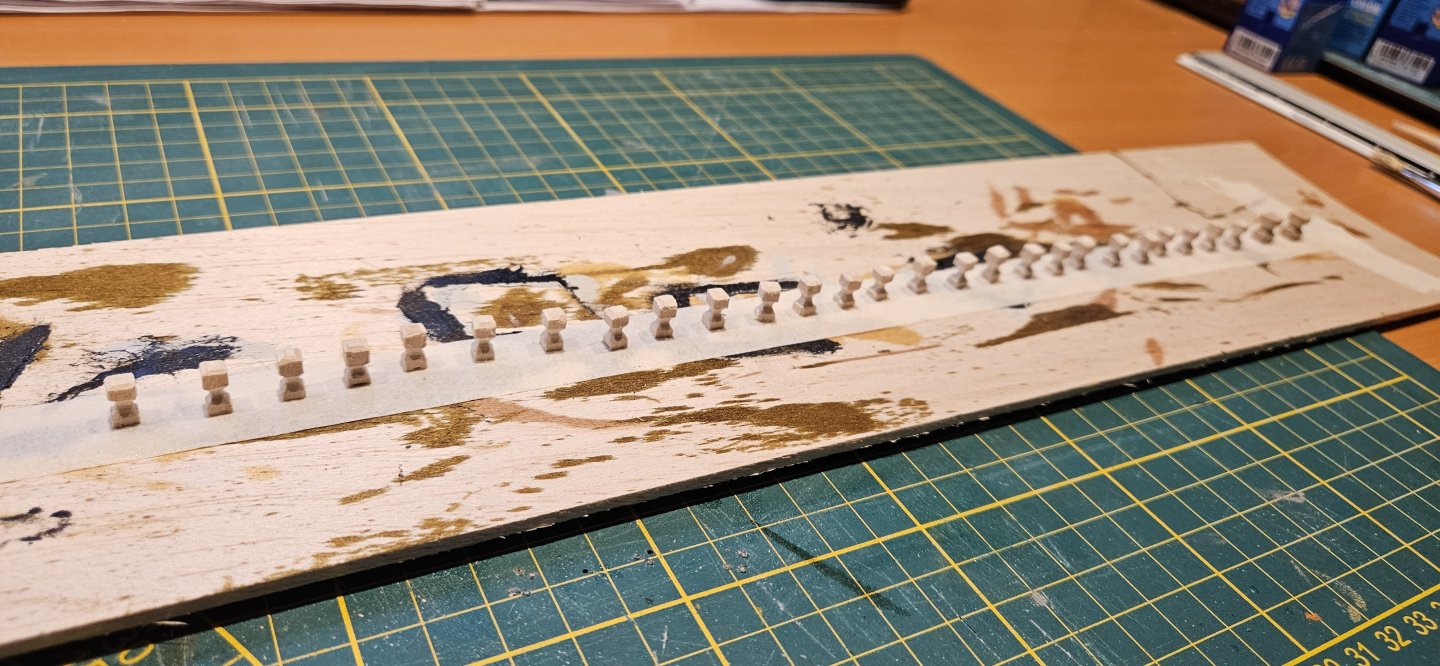
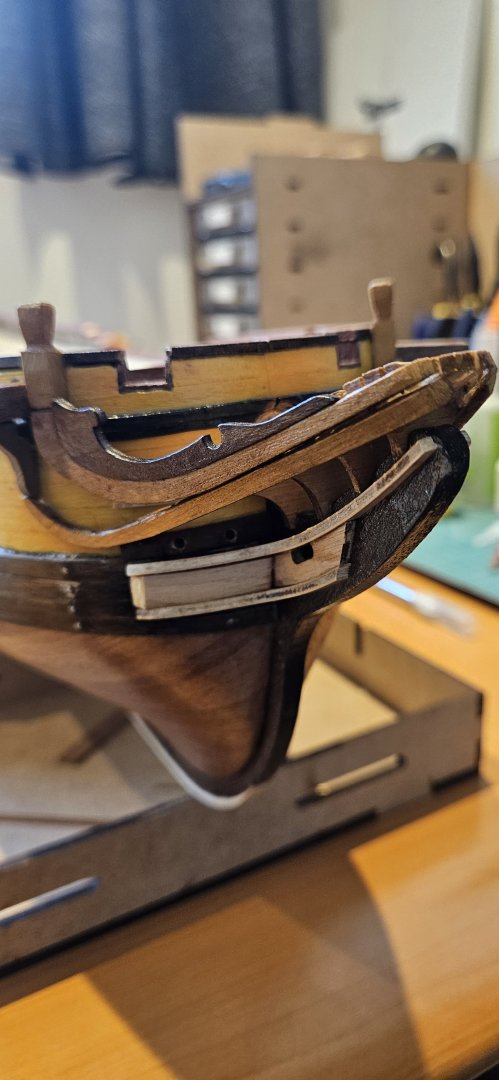
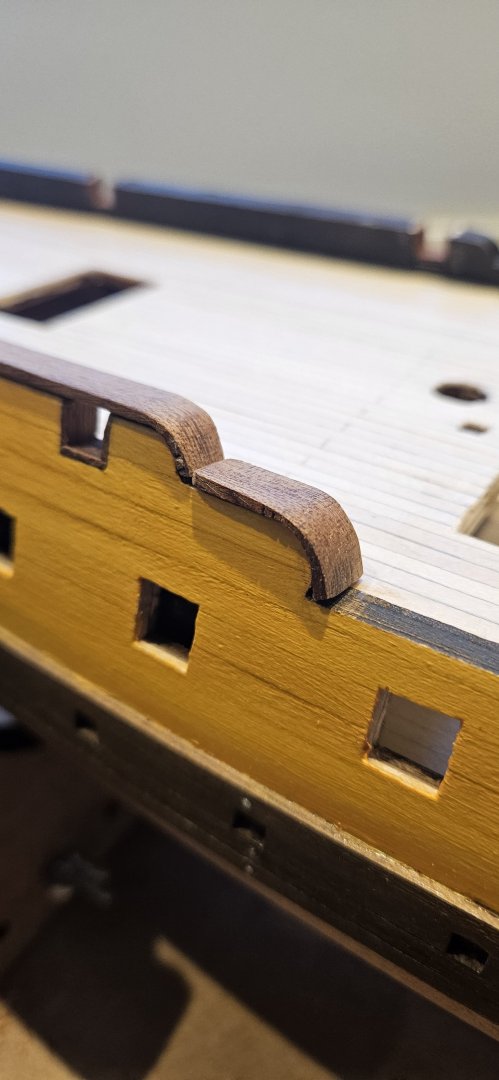
So i did not have much time to work on the model, but i made some progress. I made the top part of the davit. I did not use small blocks to make the bend parts. Instead i cut the wood with a small saw and then soaked it and next bend it. Also i made the anchor davit. Before i placed the wood i have painted everything black were needed.


-
robert952 reacted to a post in a topic:
18th Century Merchant Man Half Hull Planking Kit by Jim M - NRG - 1:48 - ON HOLD
-
Canute reacted to a post in a topic:
18th Century Merchant Man Half Hull Planking Kit by Jim M - NRG - 1:48 - ON HOLD
-
Following on this one 🙂 Hope you will enjoy it.
-
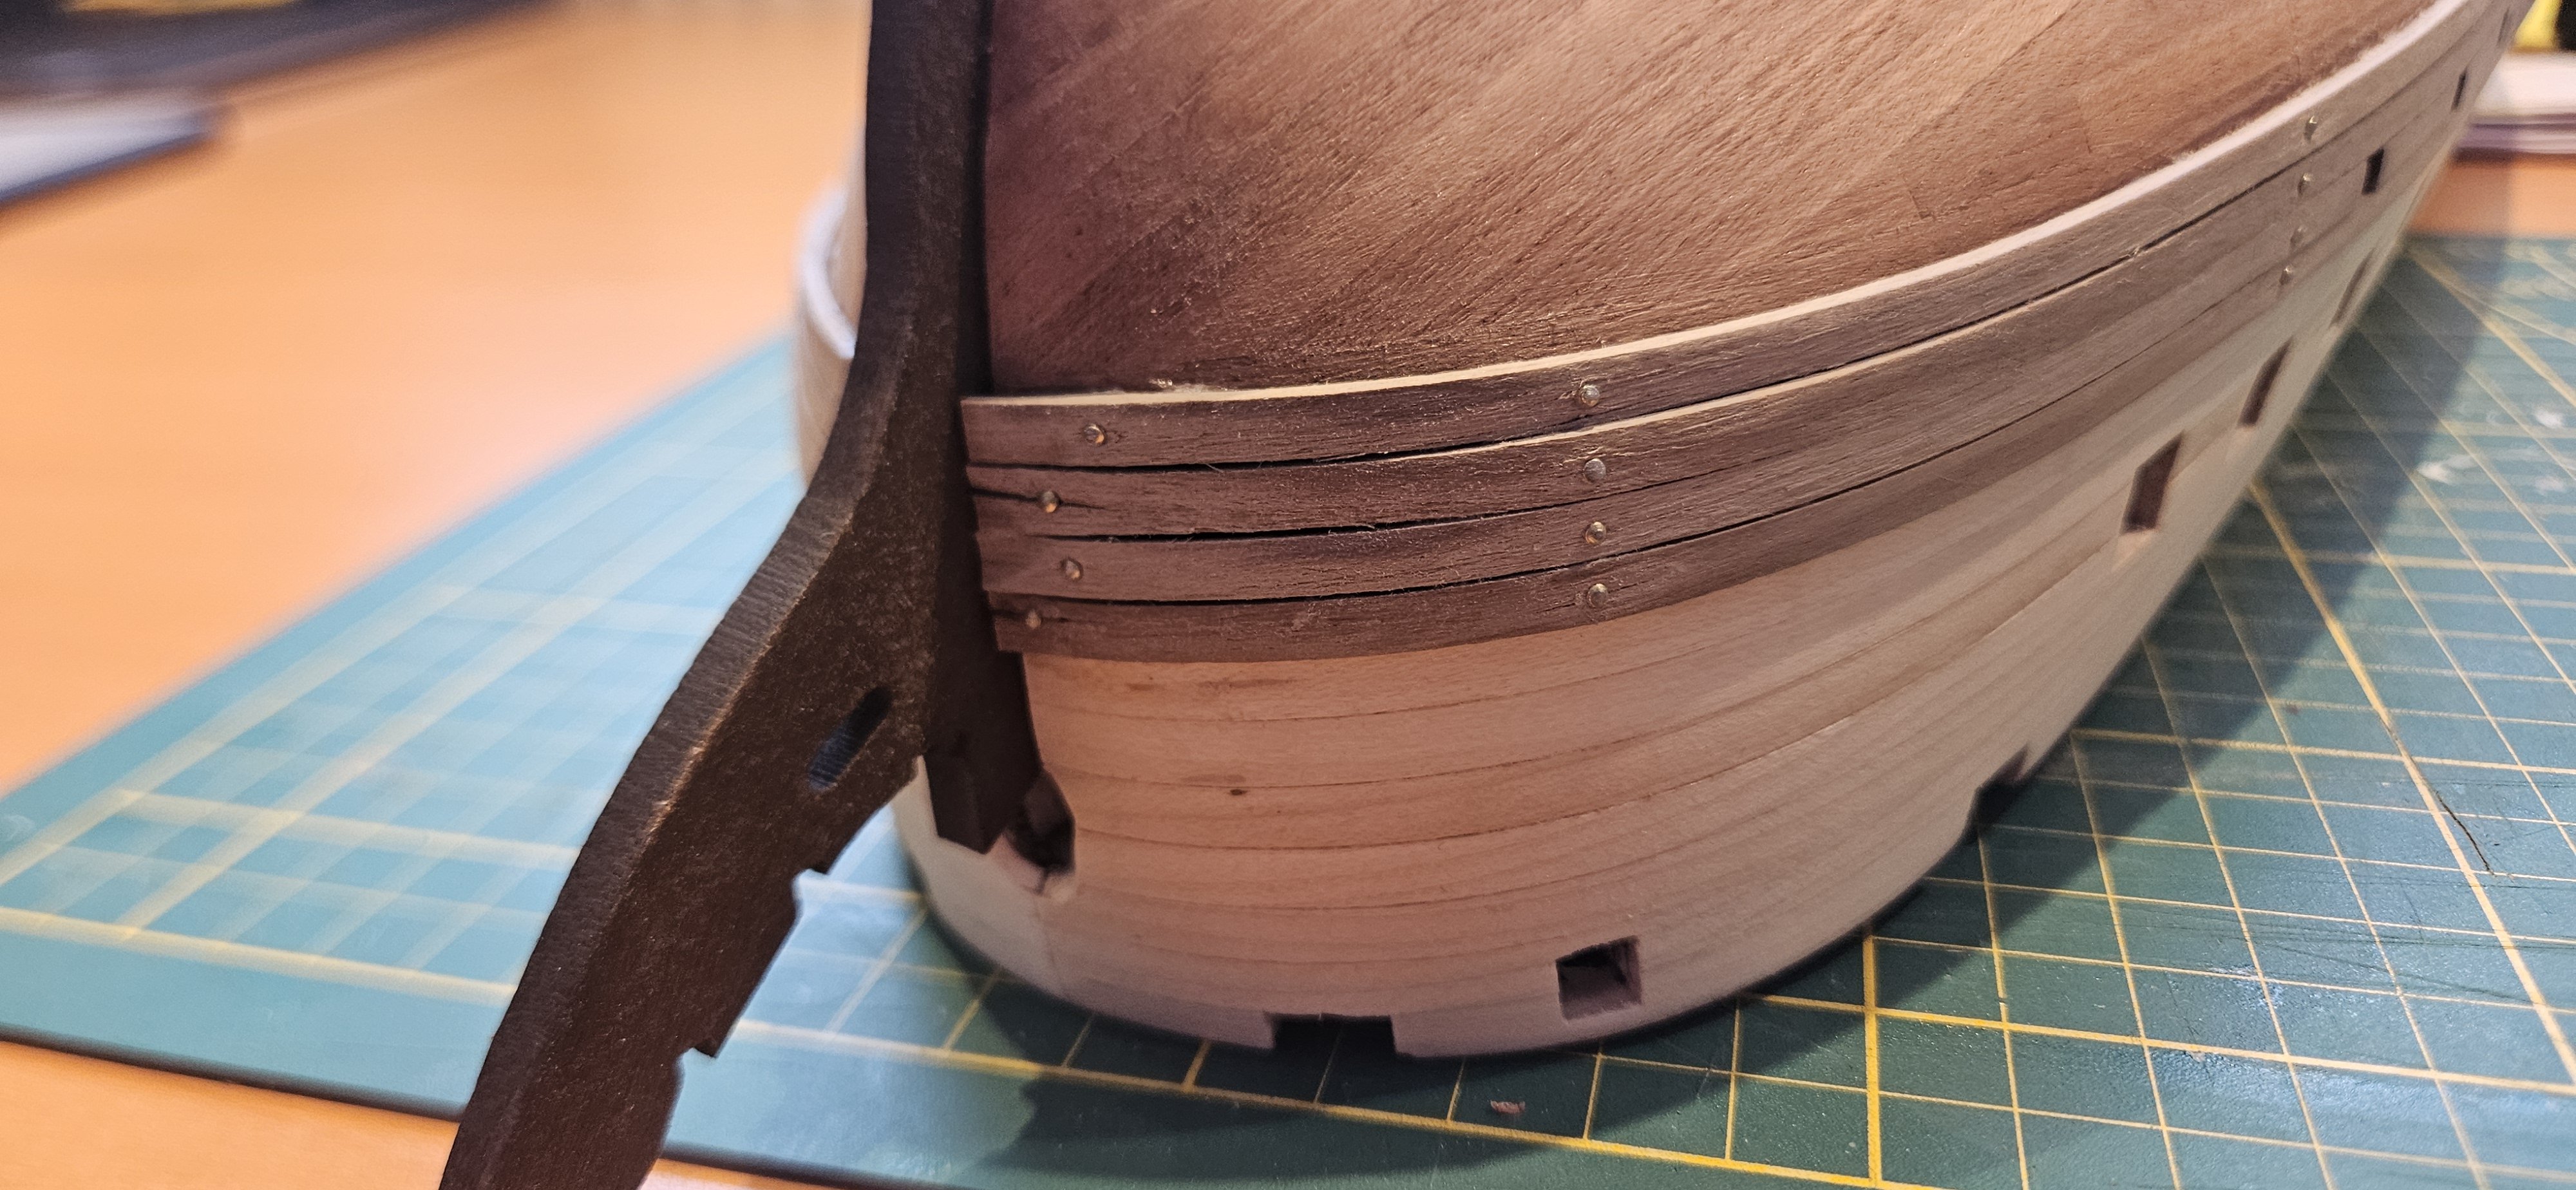
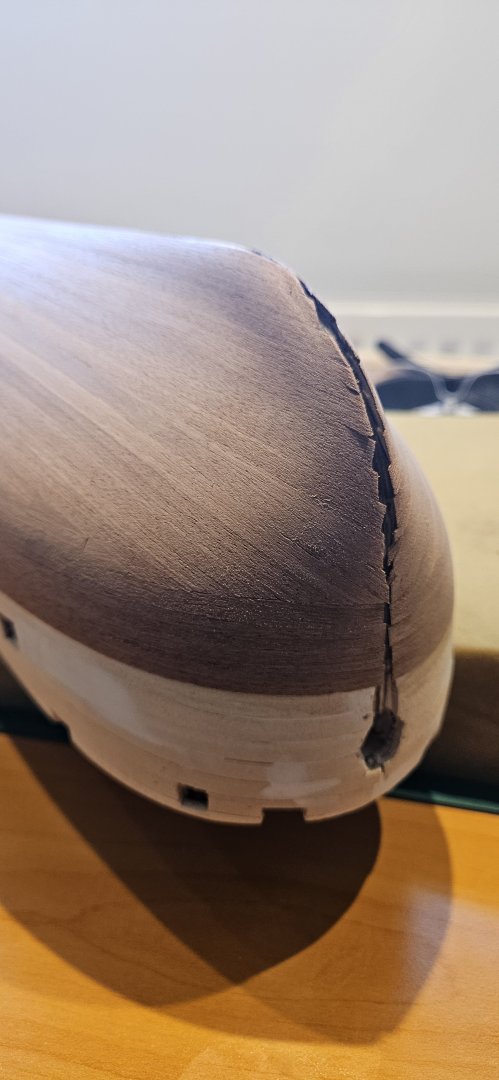
I have tried, did not work, so i sanded the varnish of as much as possible. I think i got it sorted now 🙂 Lesson, never varnish to early

-
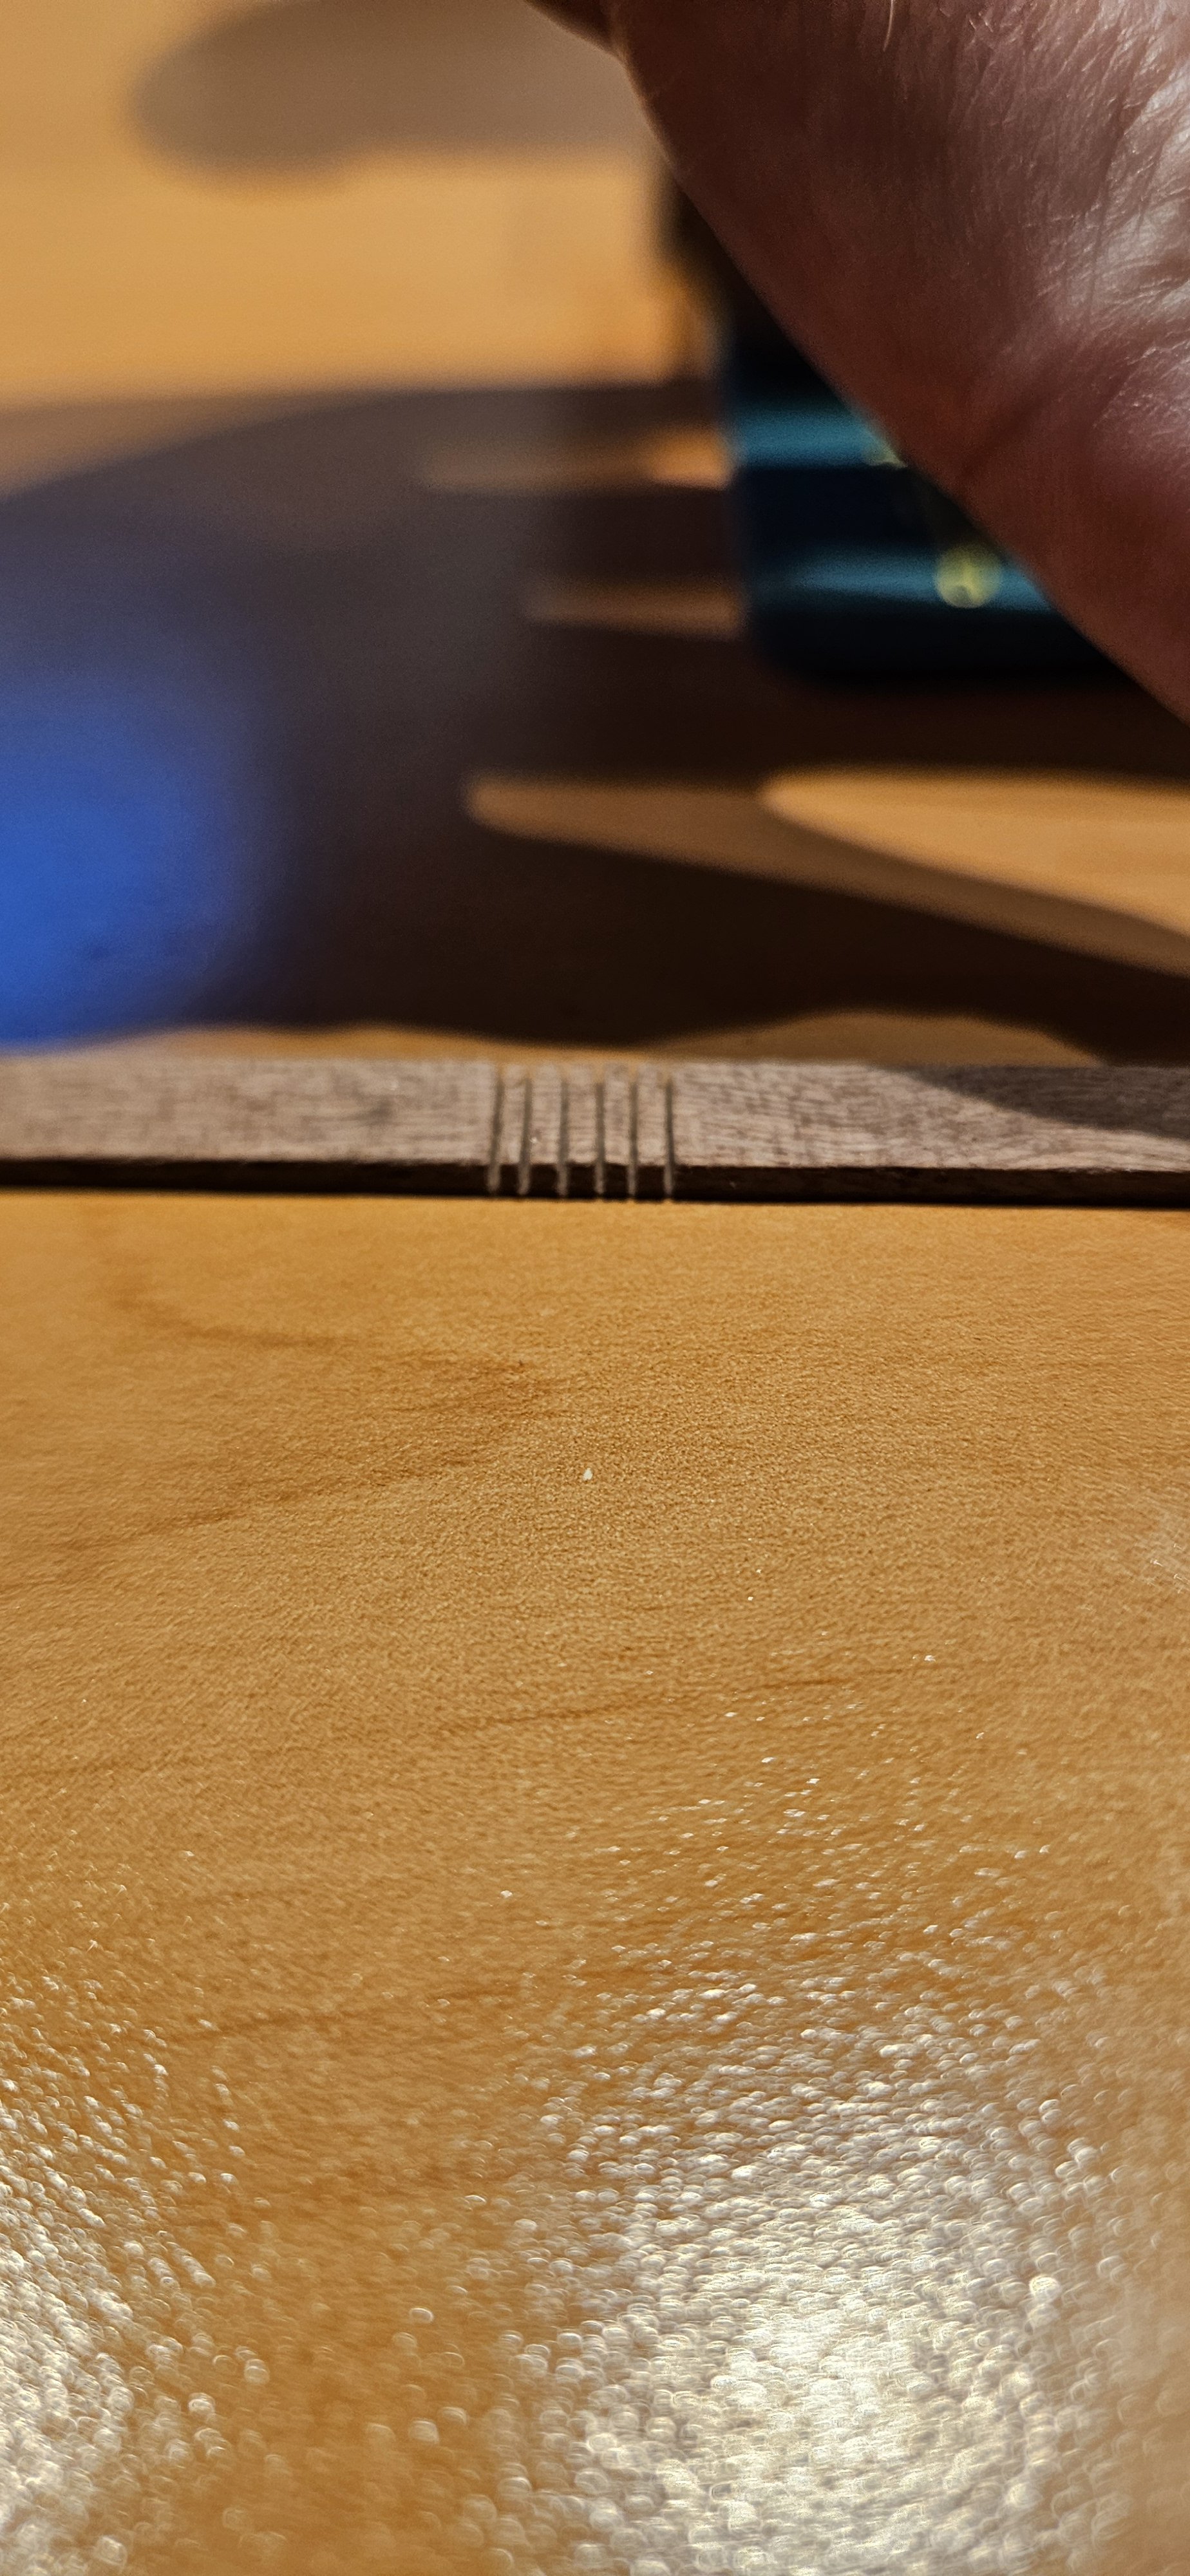
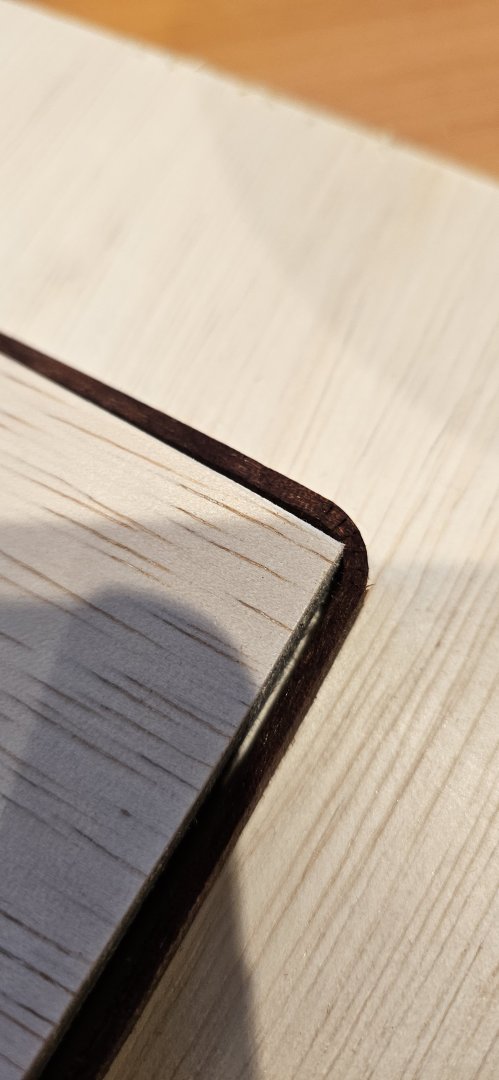
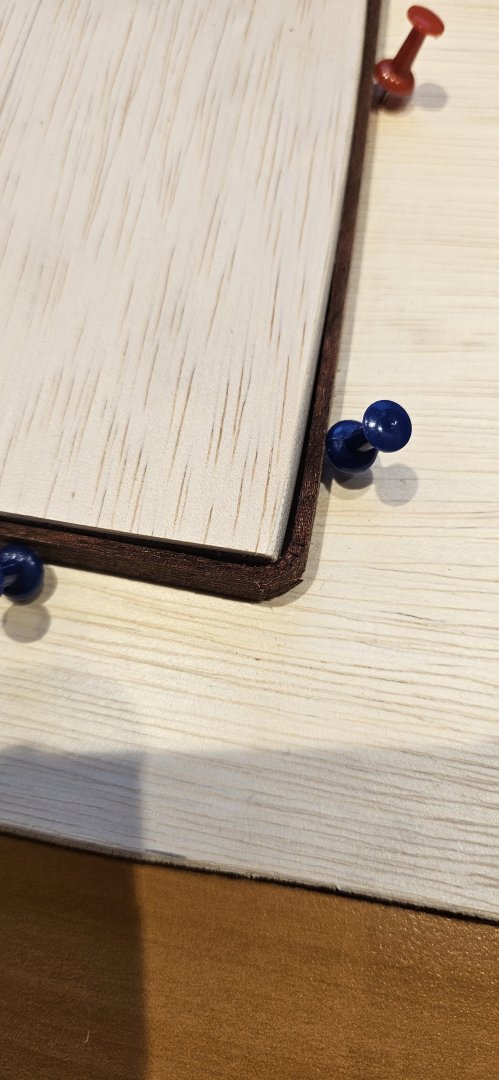
That would have been a perfect idea.........but i already put some clear varnish on it 😞 I thought let 's protect the wood a bit and put some varnish over it. I could sand it down again maybe. Did a test with some left overs: top is no varnish , then the light varnish , half dark varnish , dark varnish.

-
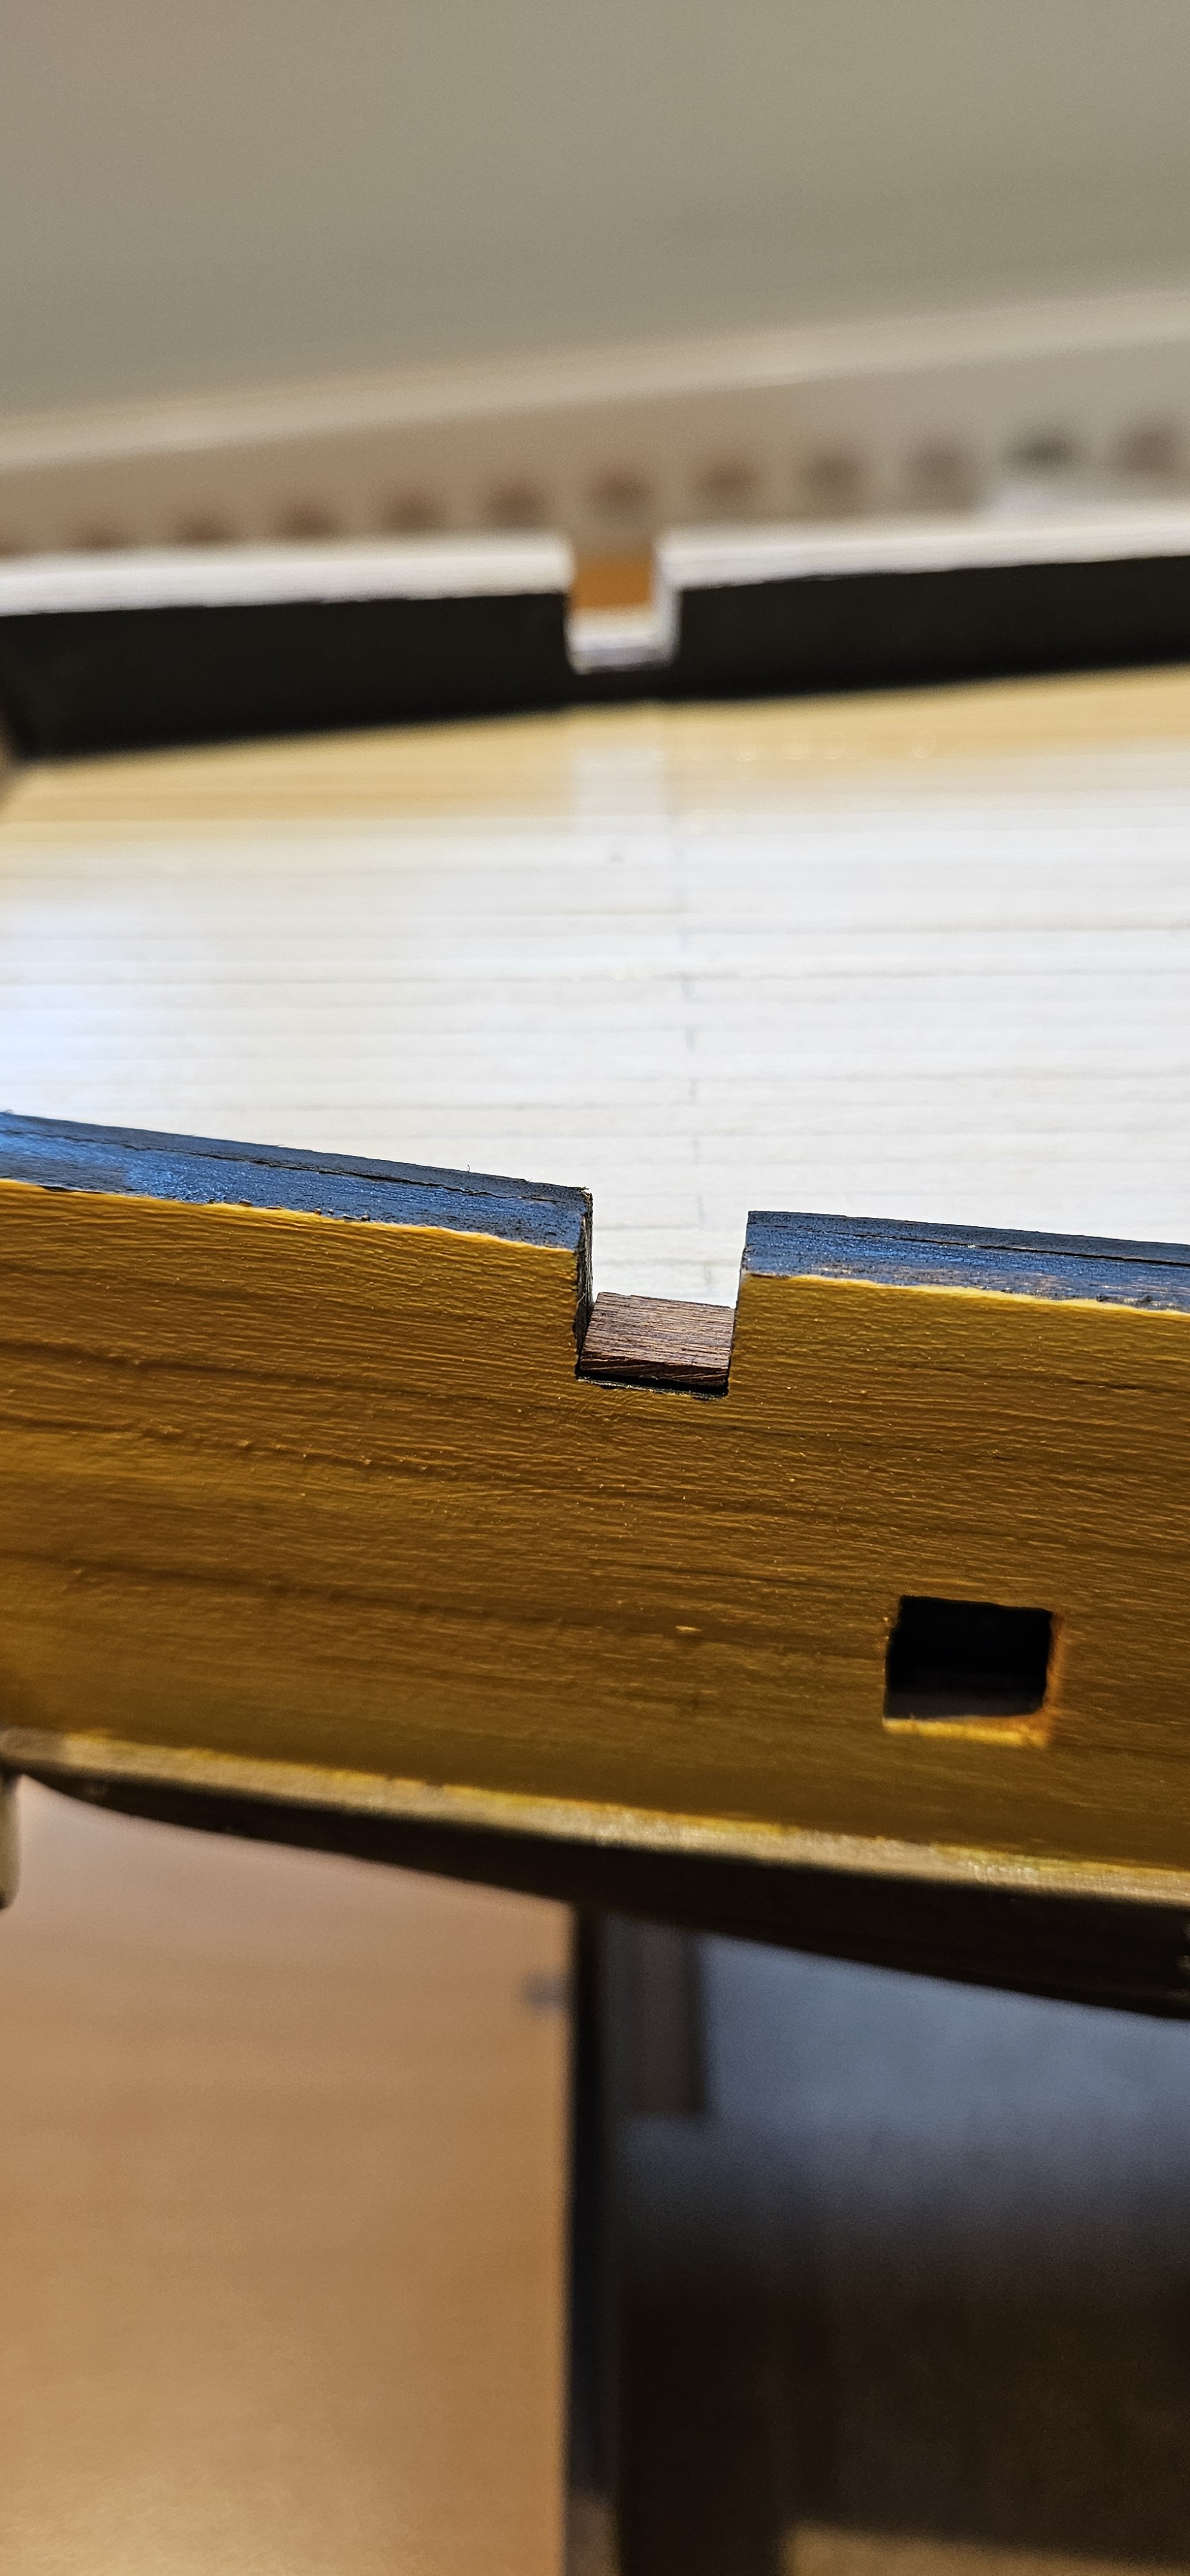
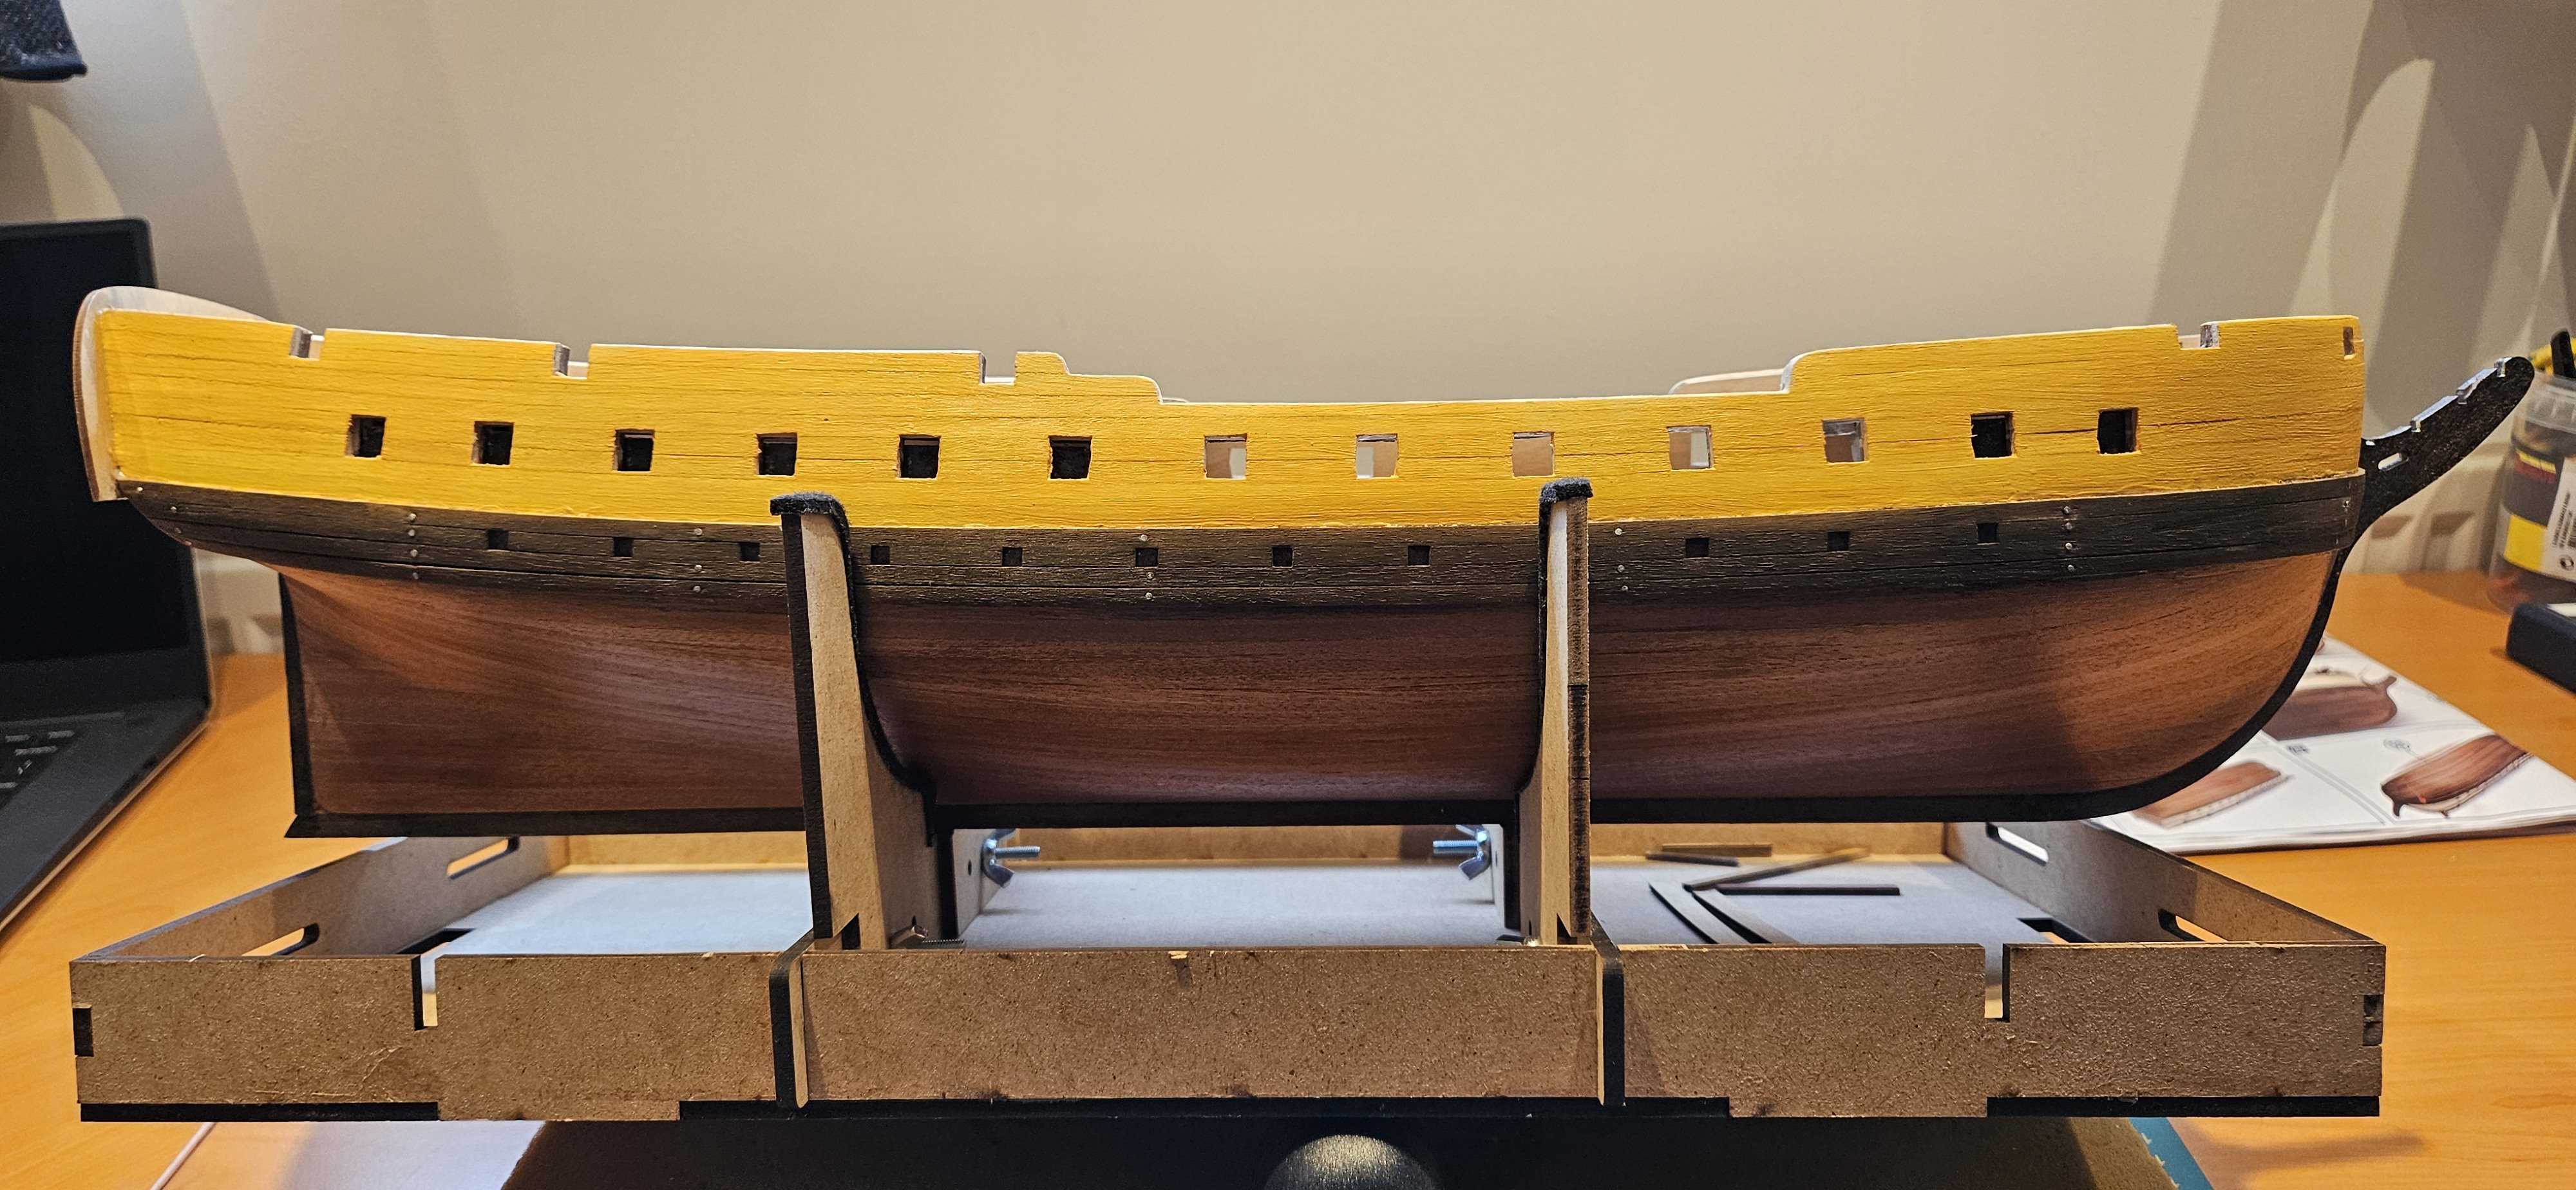
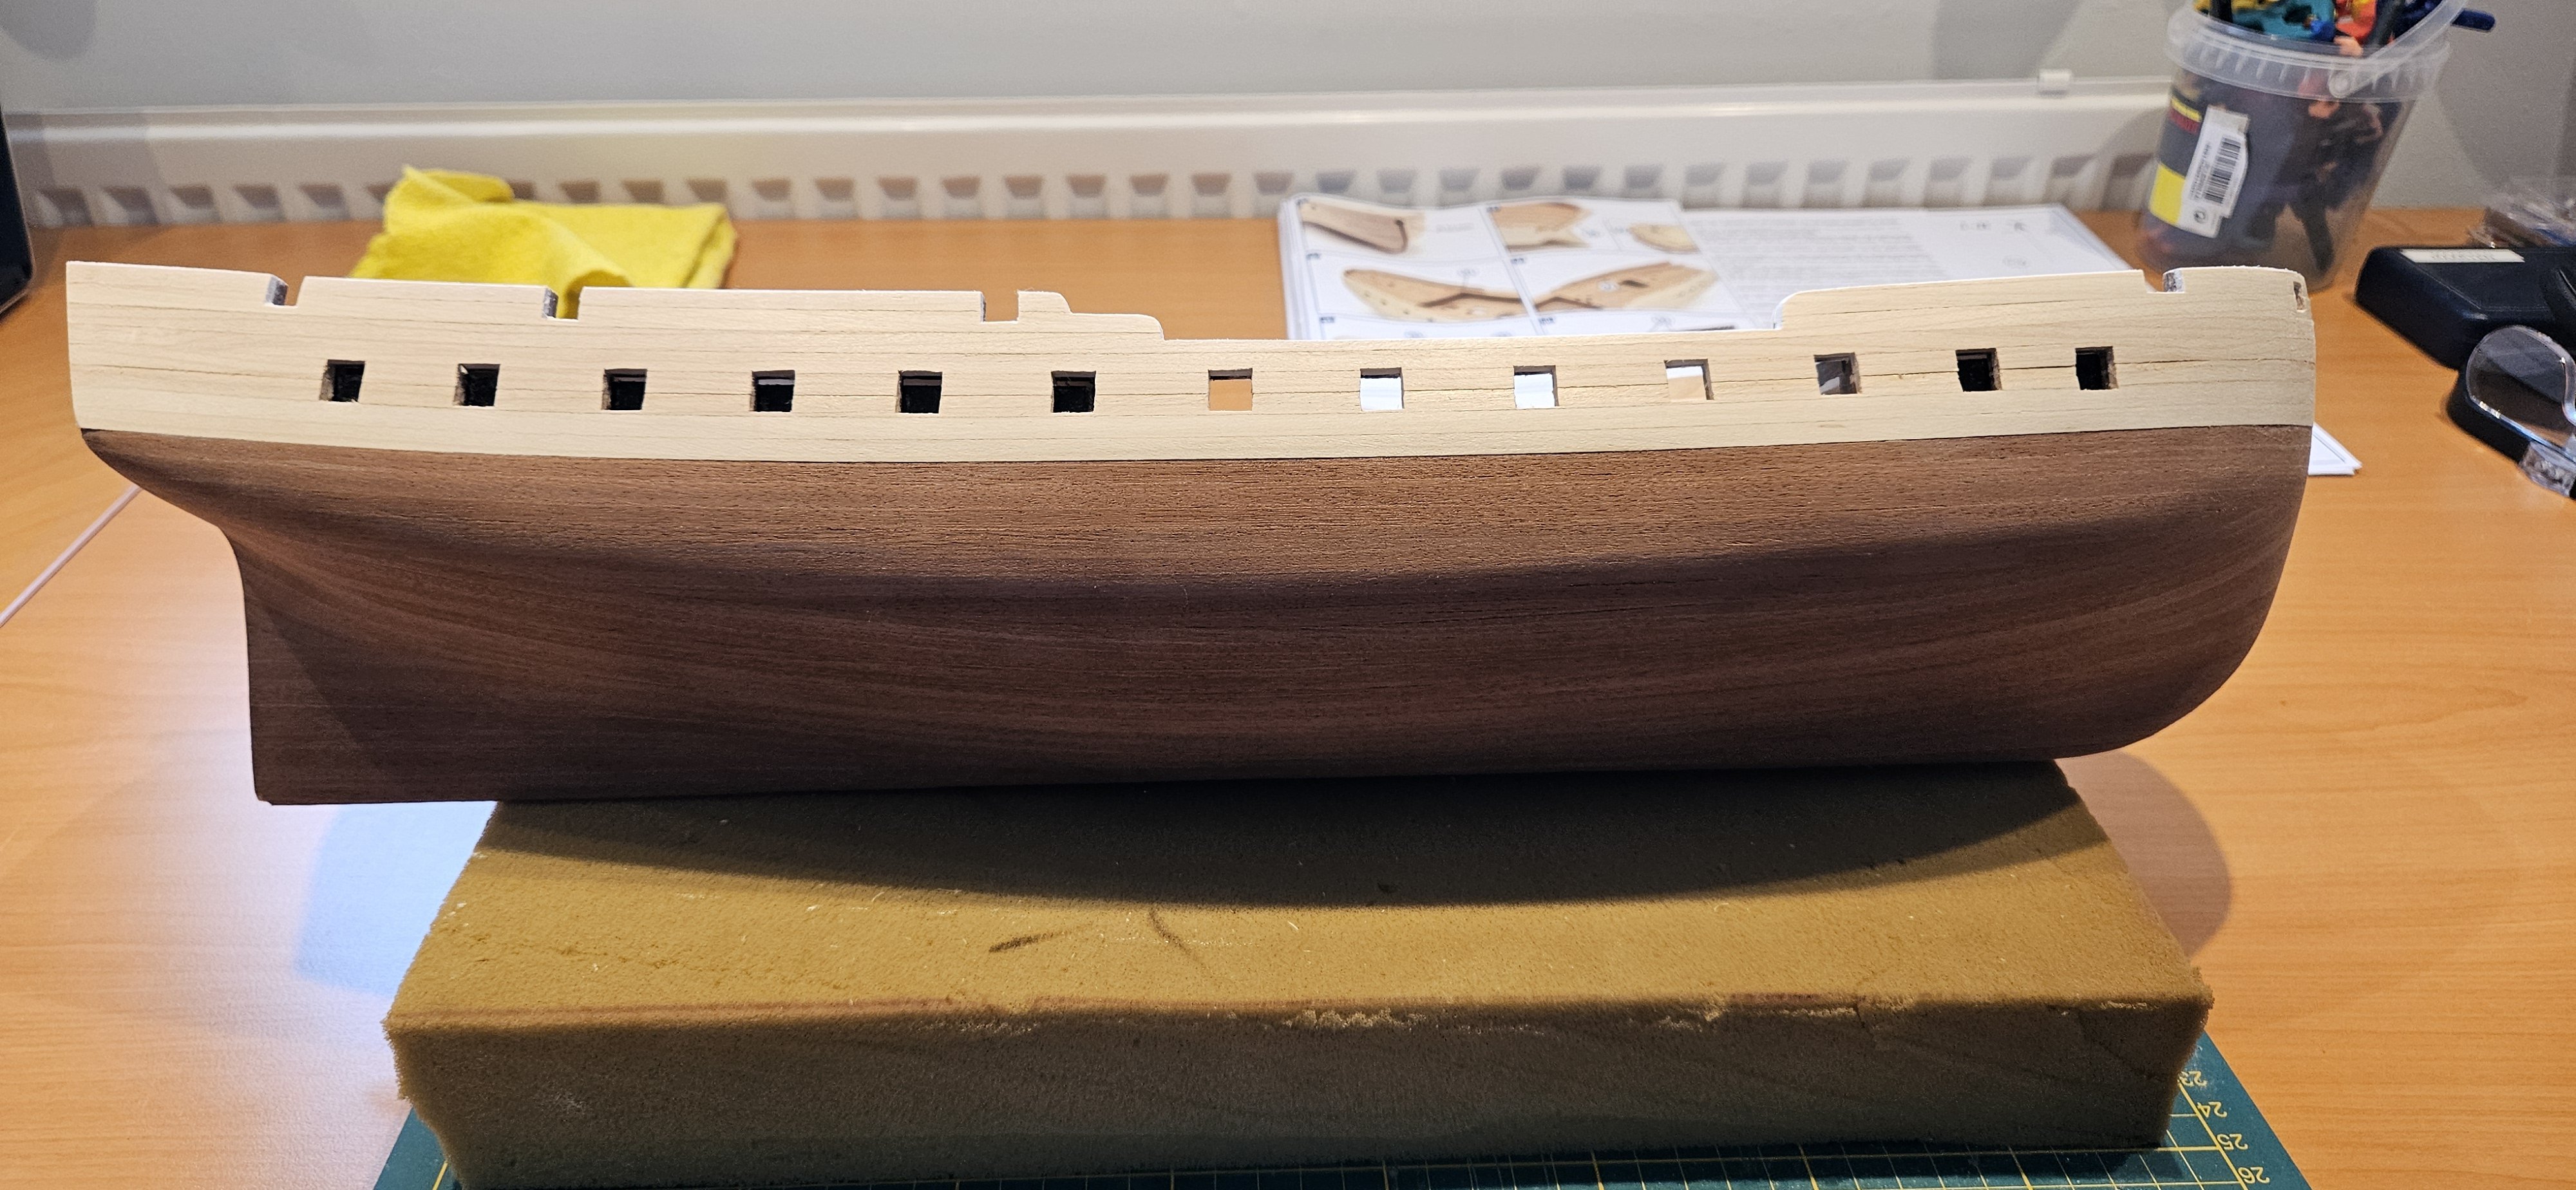
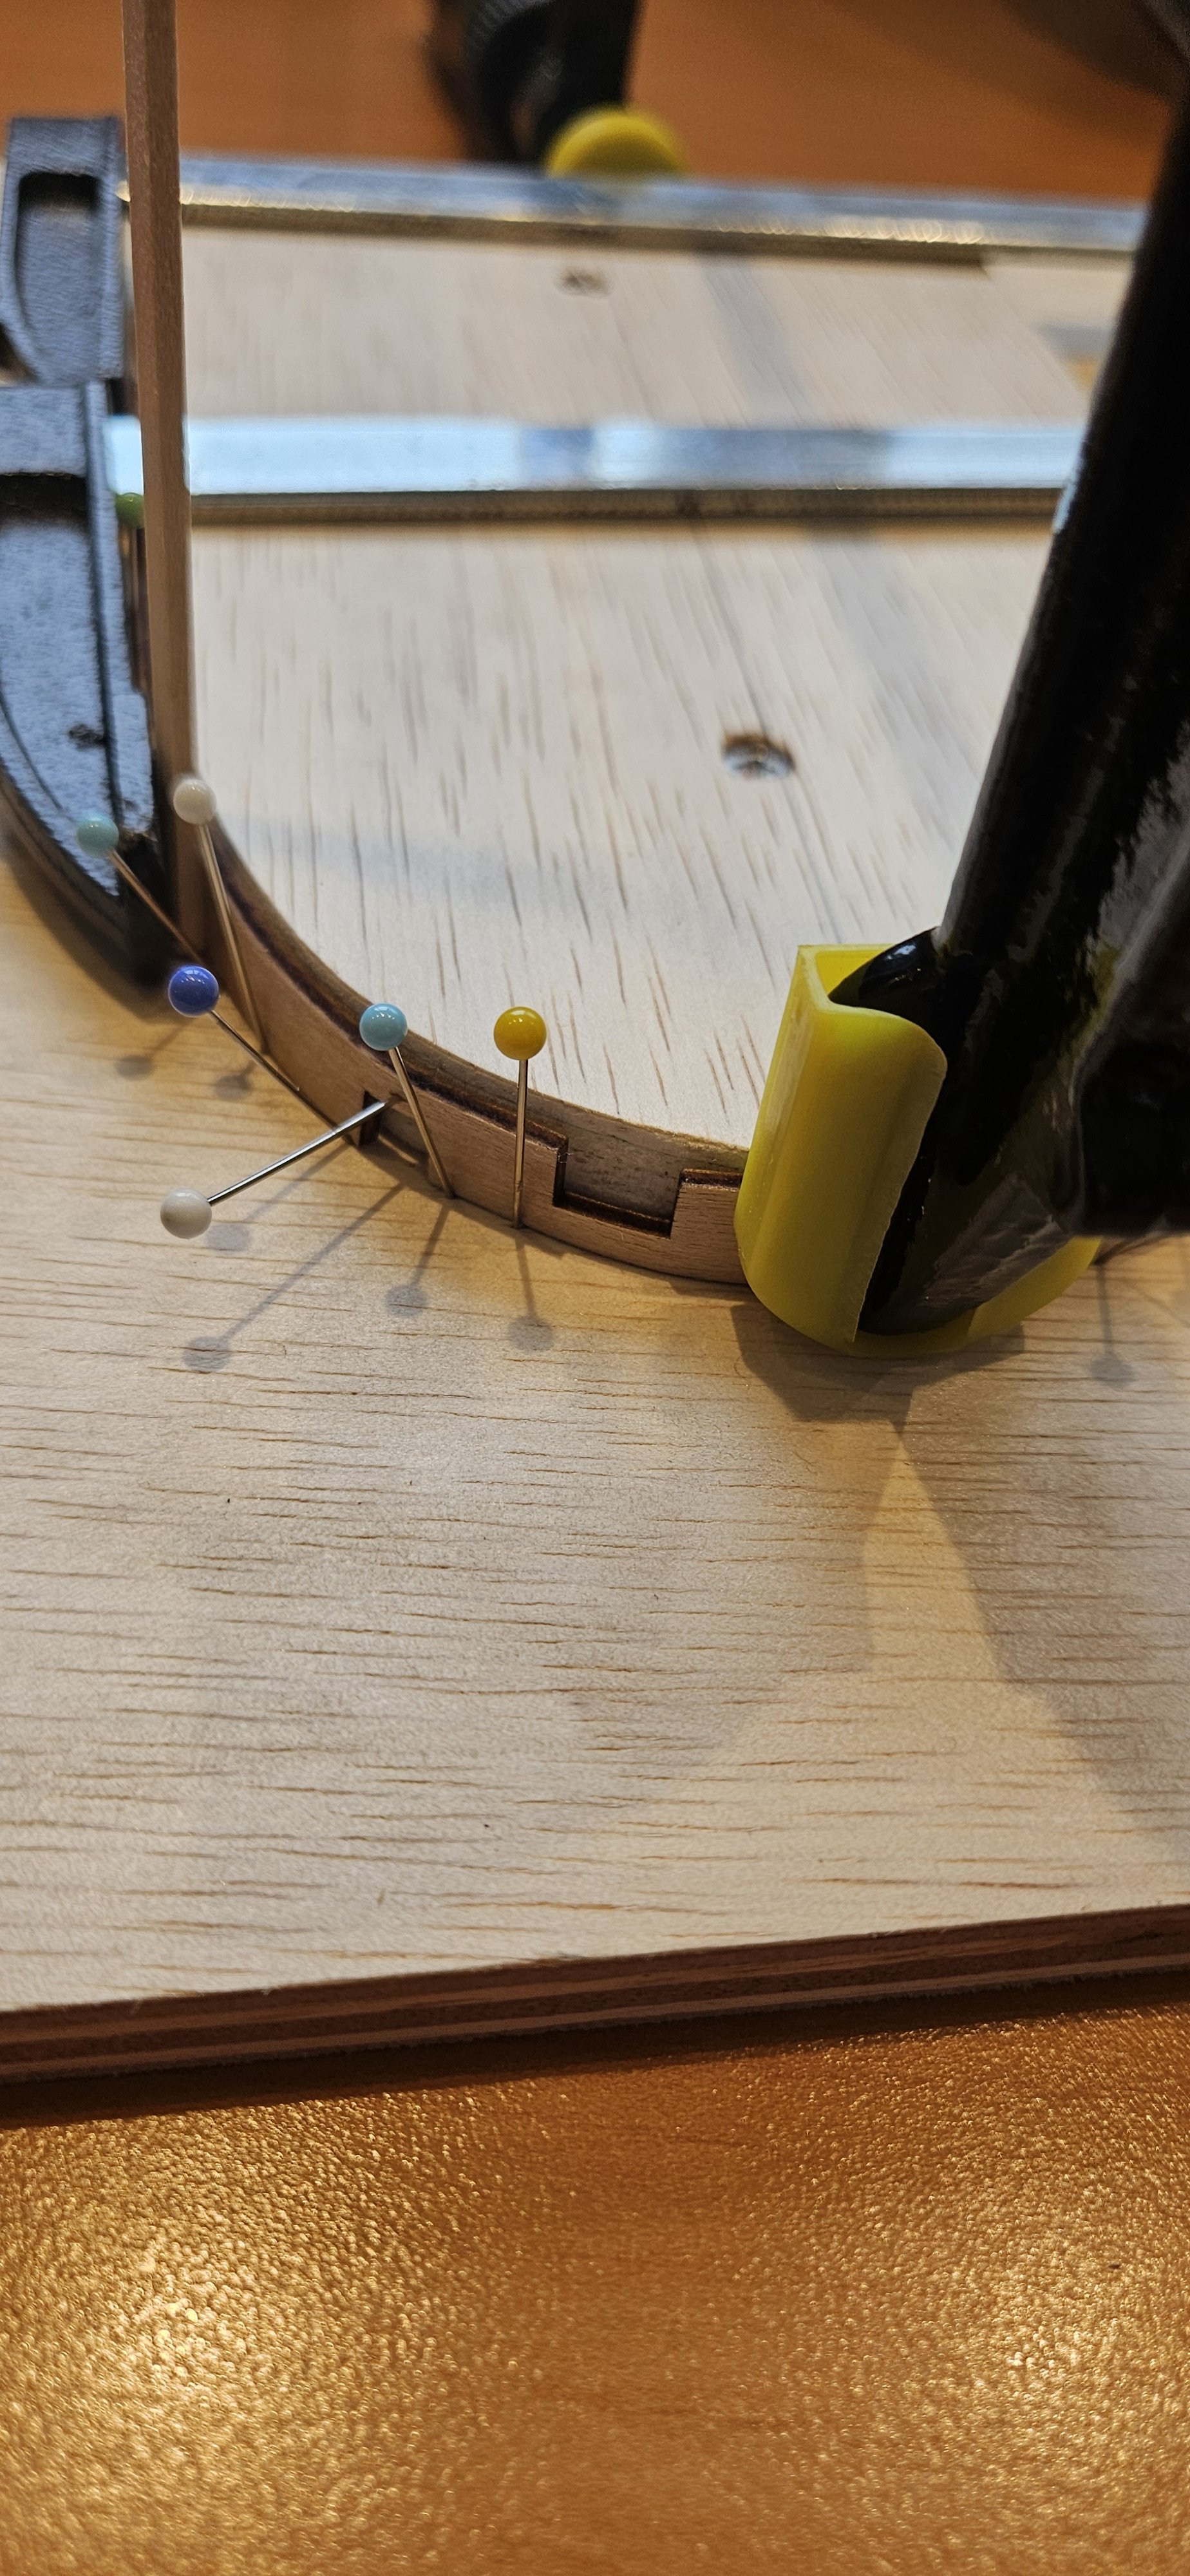
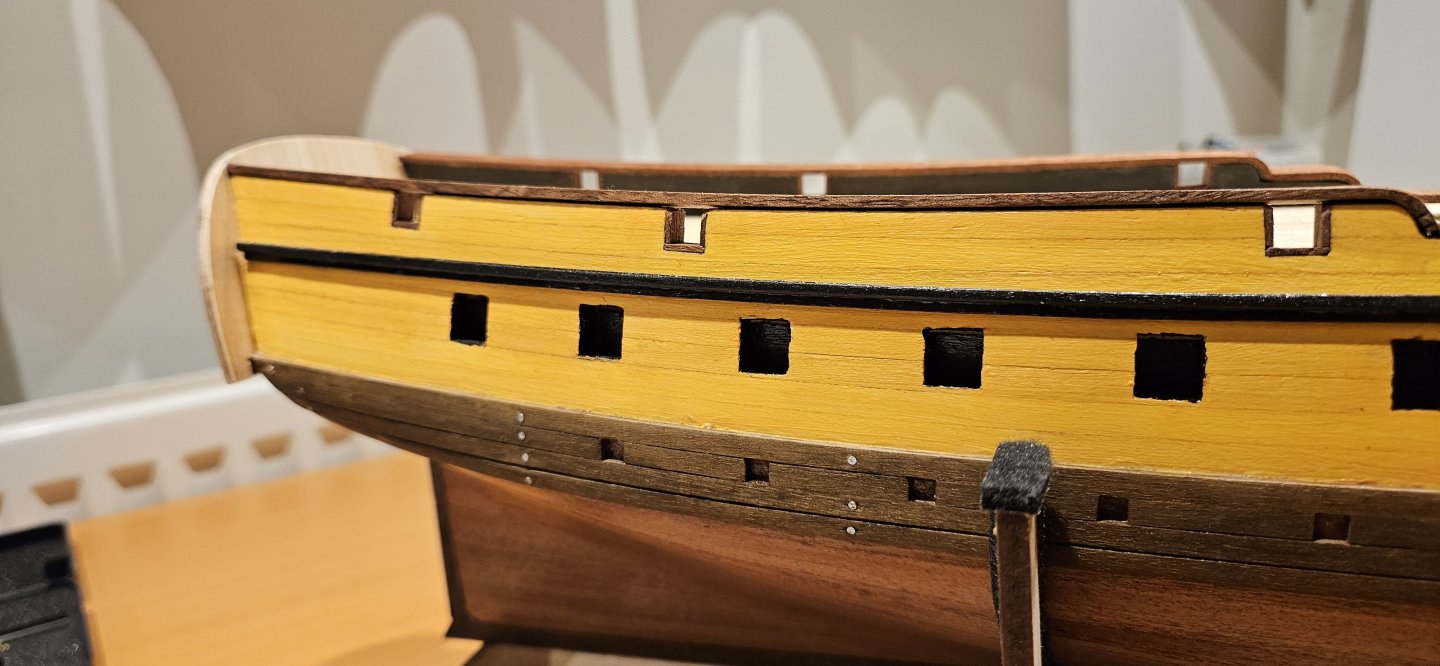
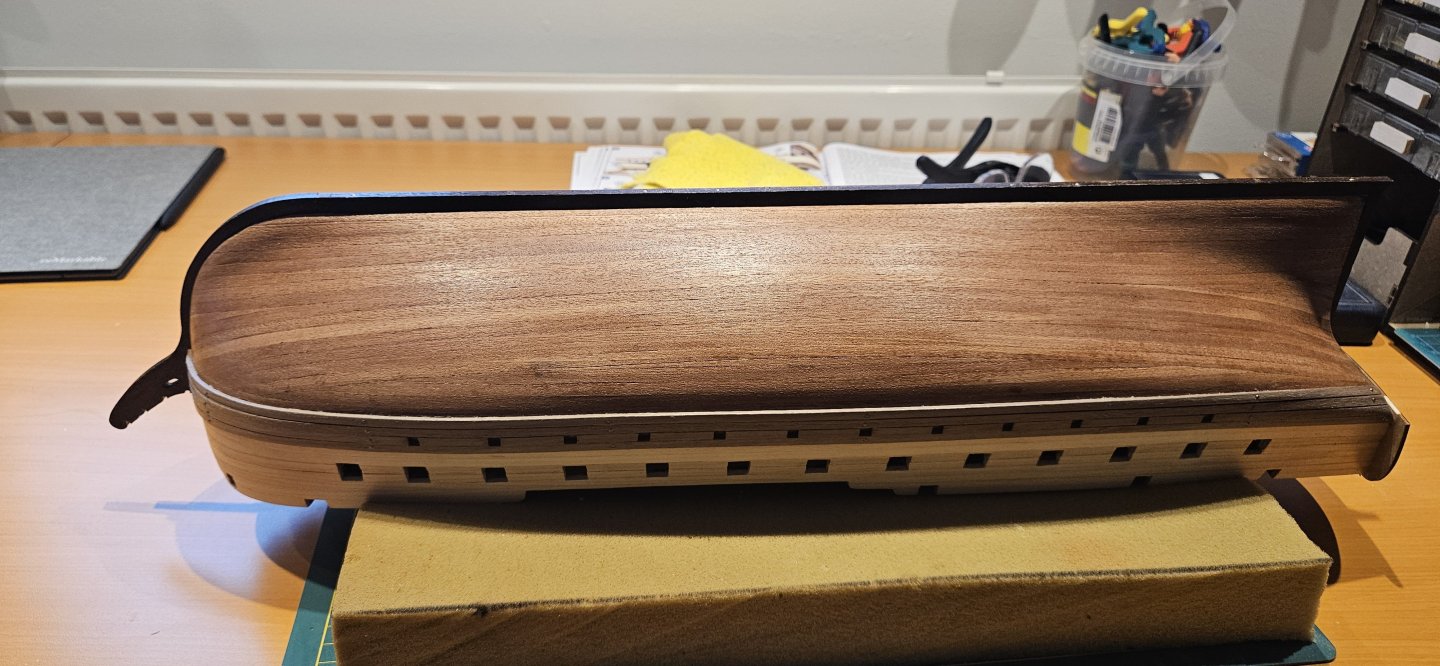
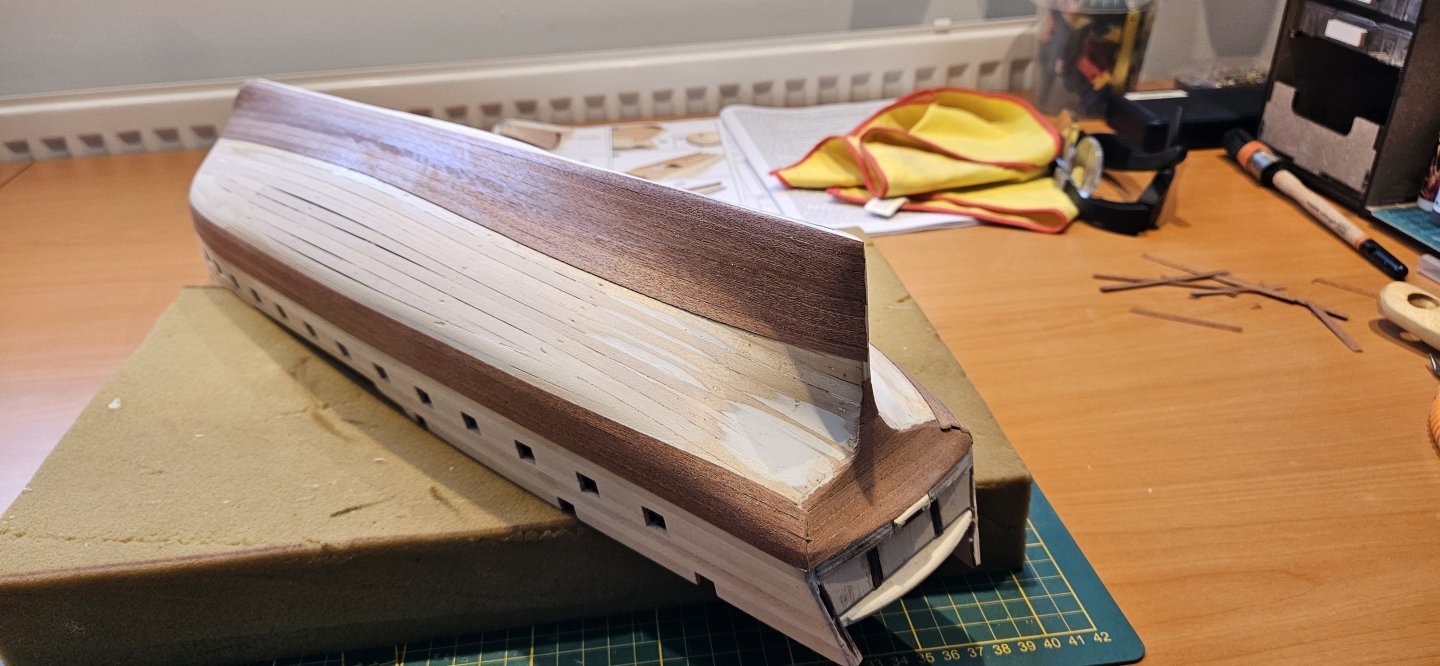
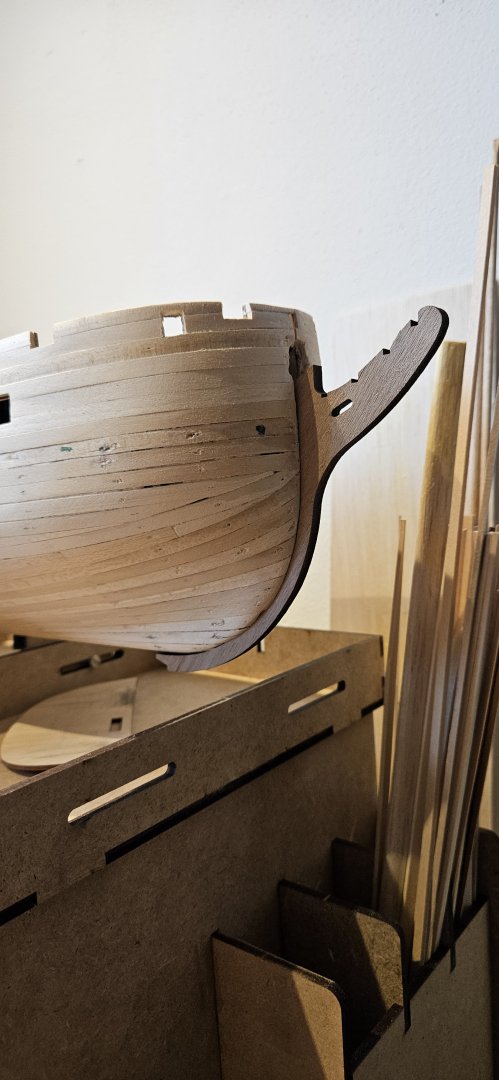
Thank you all for the nice words.... I had some time to continue the build and was wondering about the instructions supplied by occre, follow them or do it different. I first fitted the false keel and next fitted the rubbing strakes against it. It was easier to do, and i am also thinking about not painting the rubbing strakes black, because of the nice wood colour it has got now. Also fitted the rear, seemd more logic to me.


-
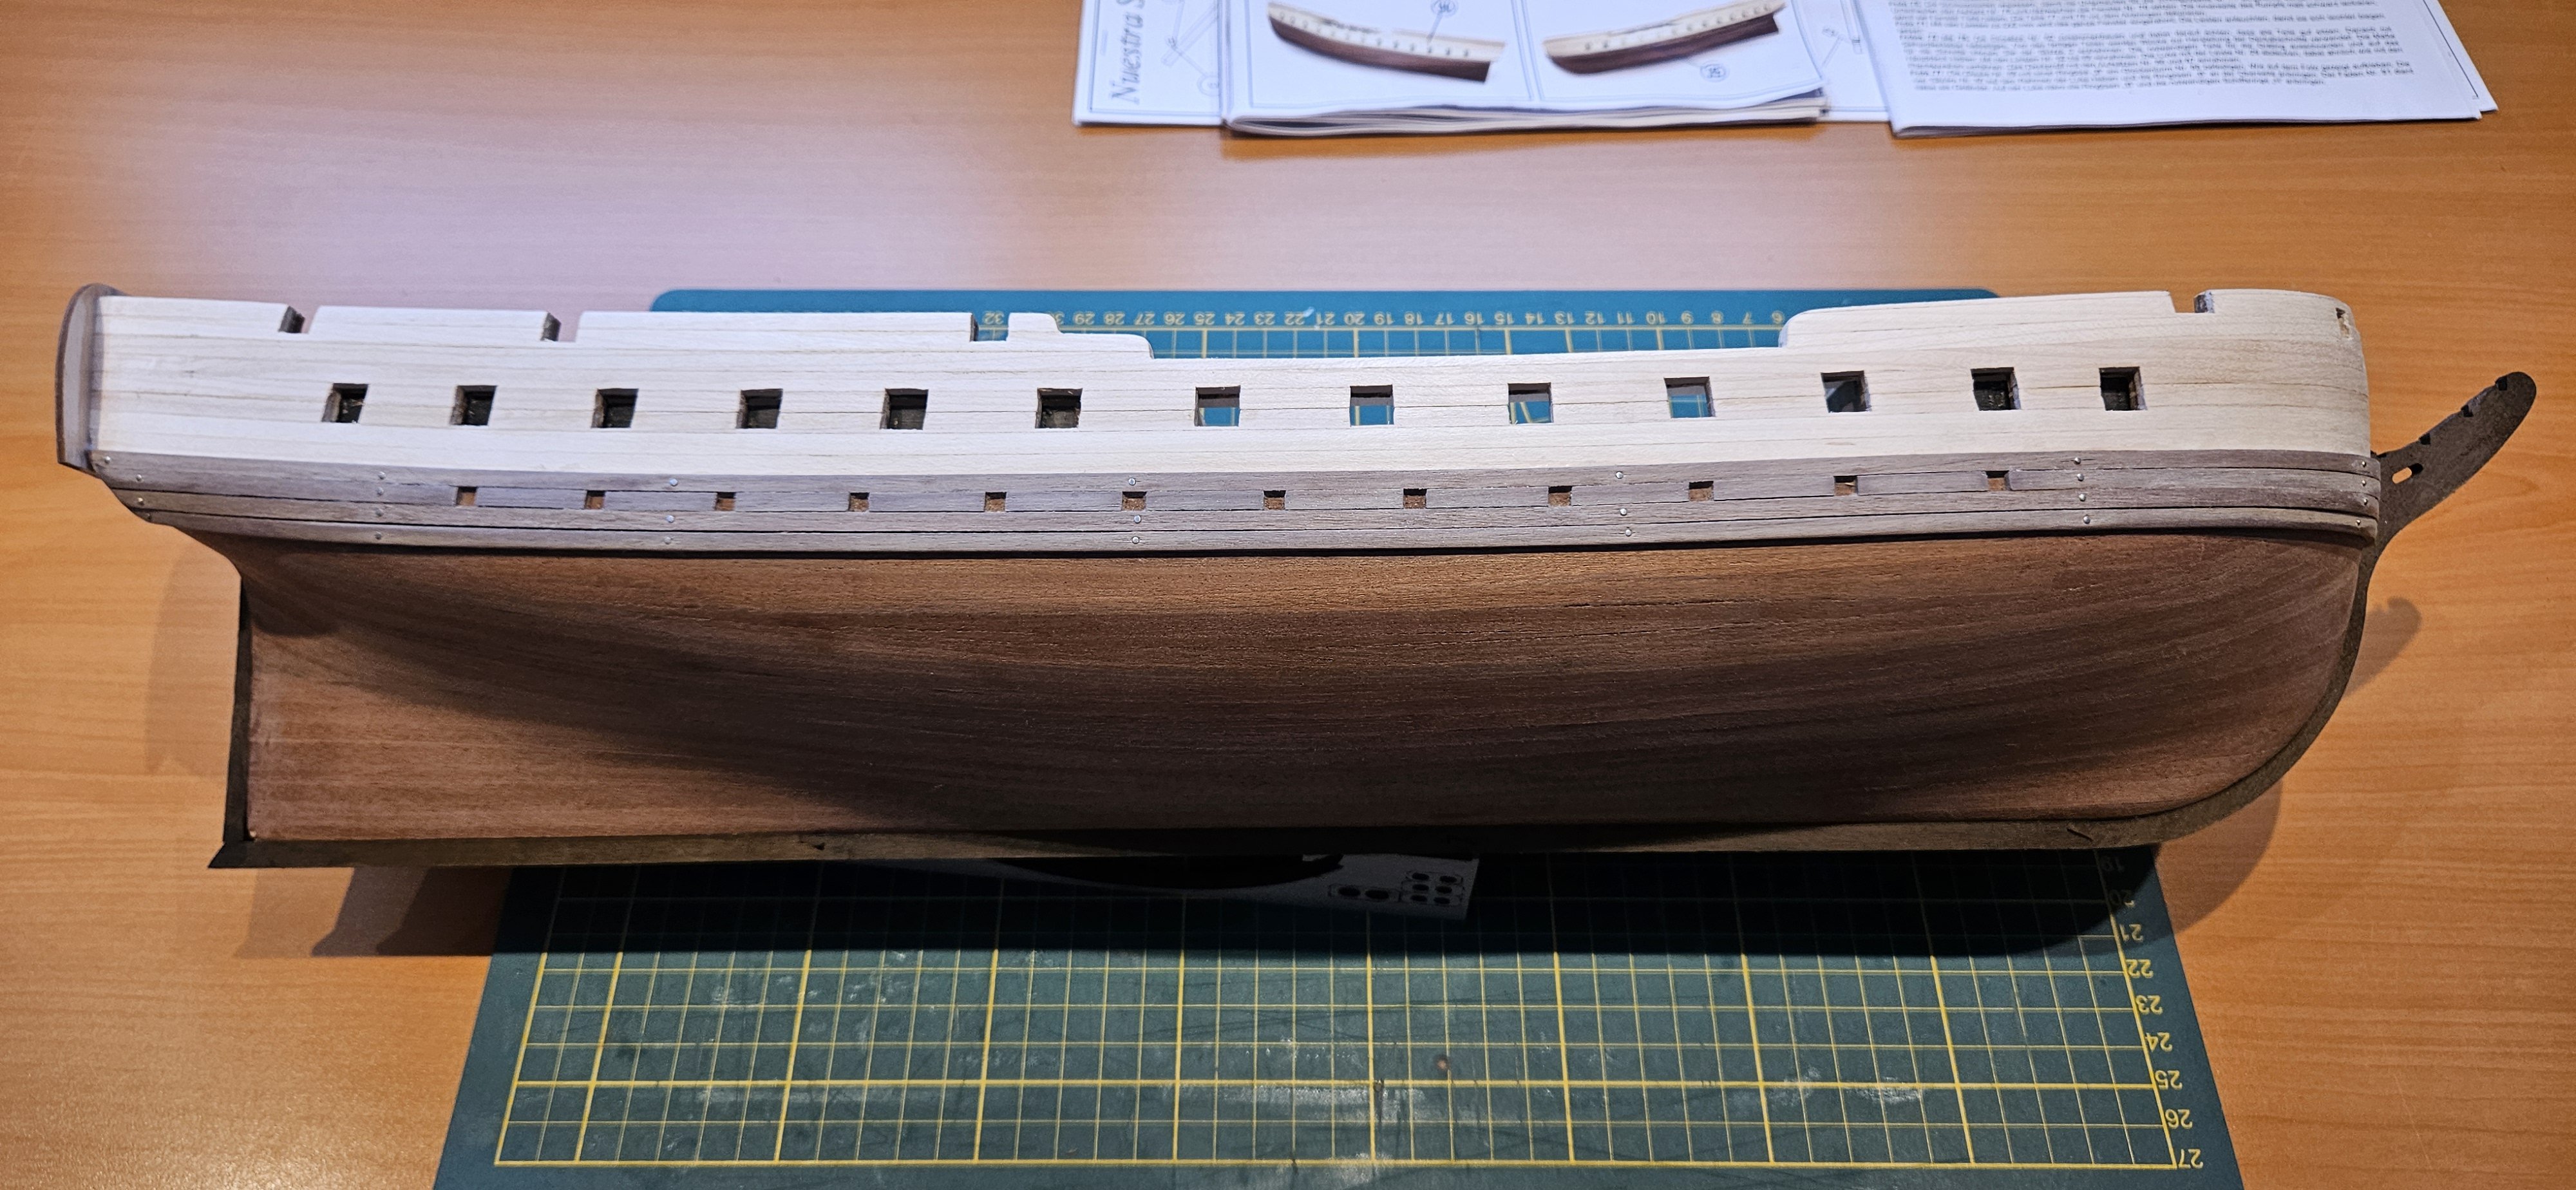
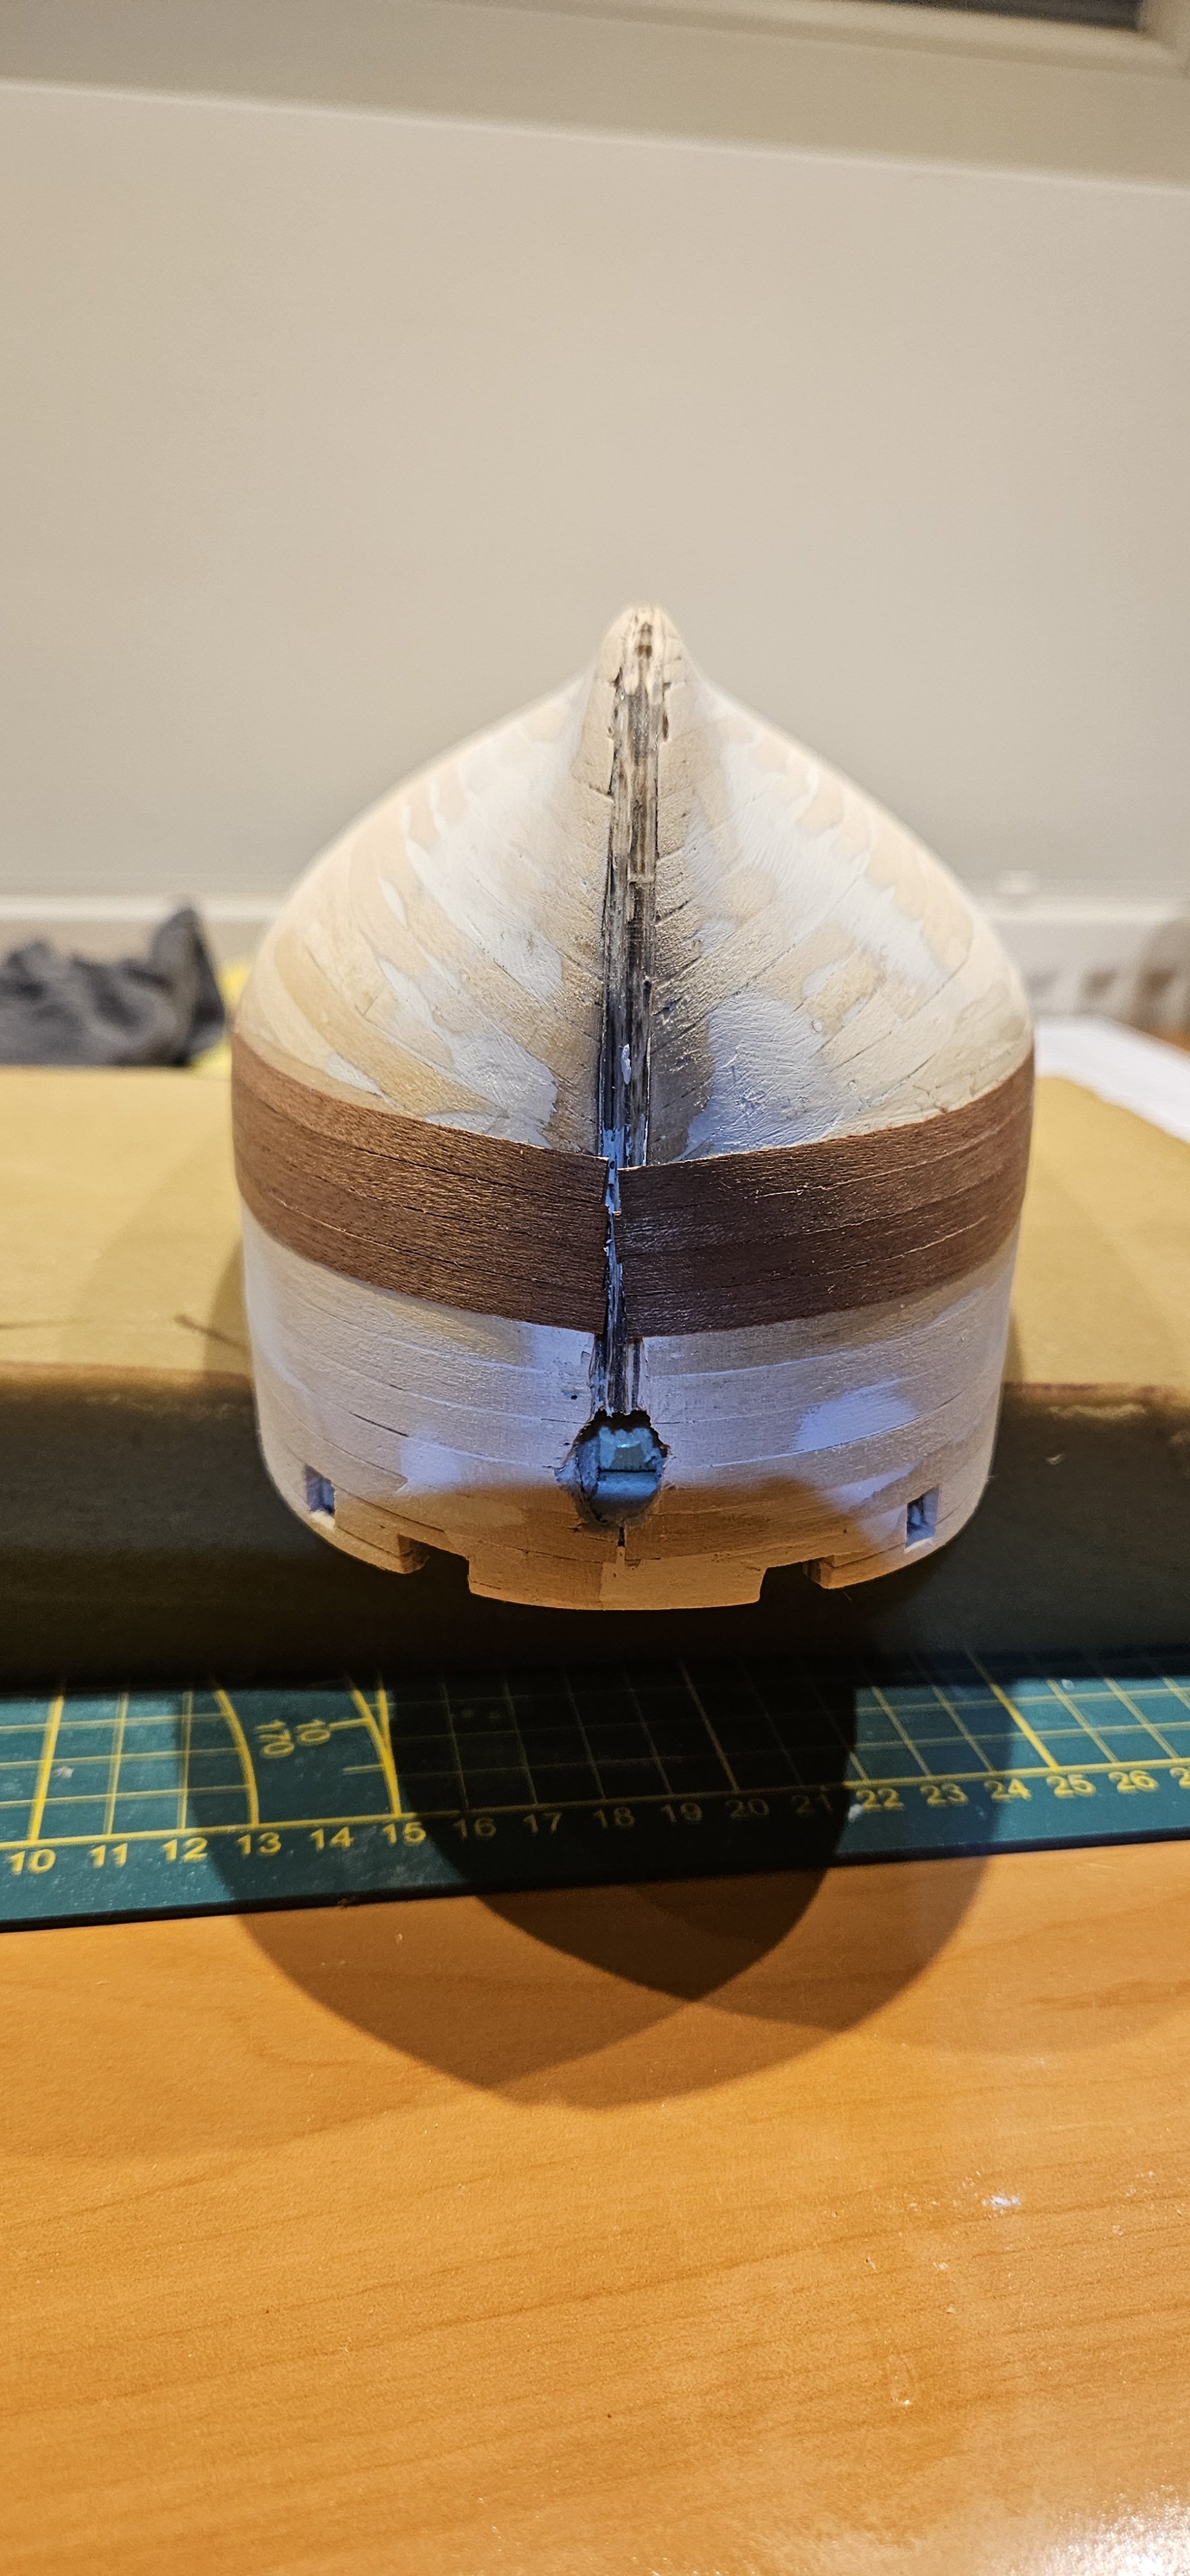
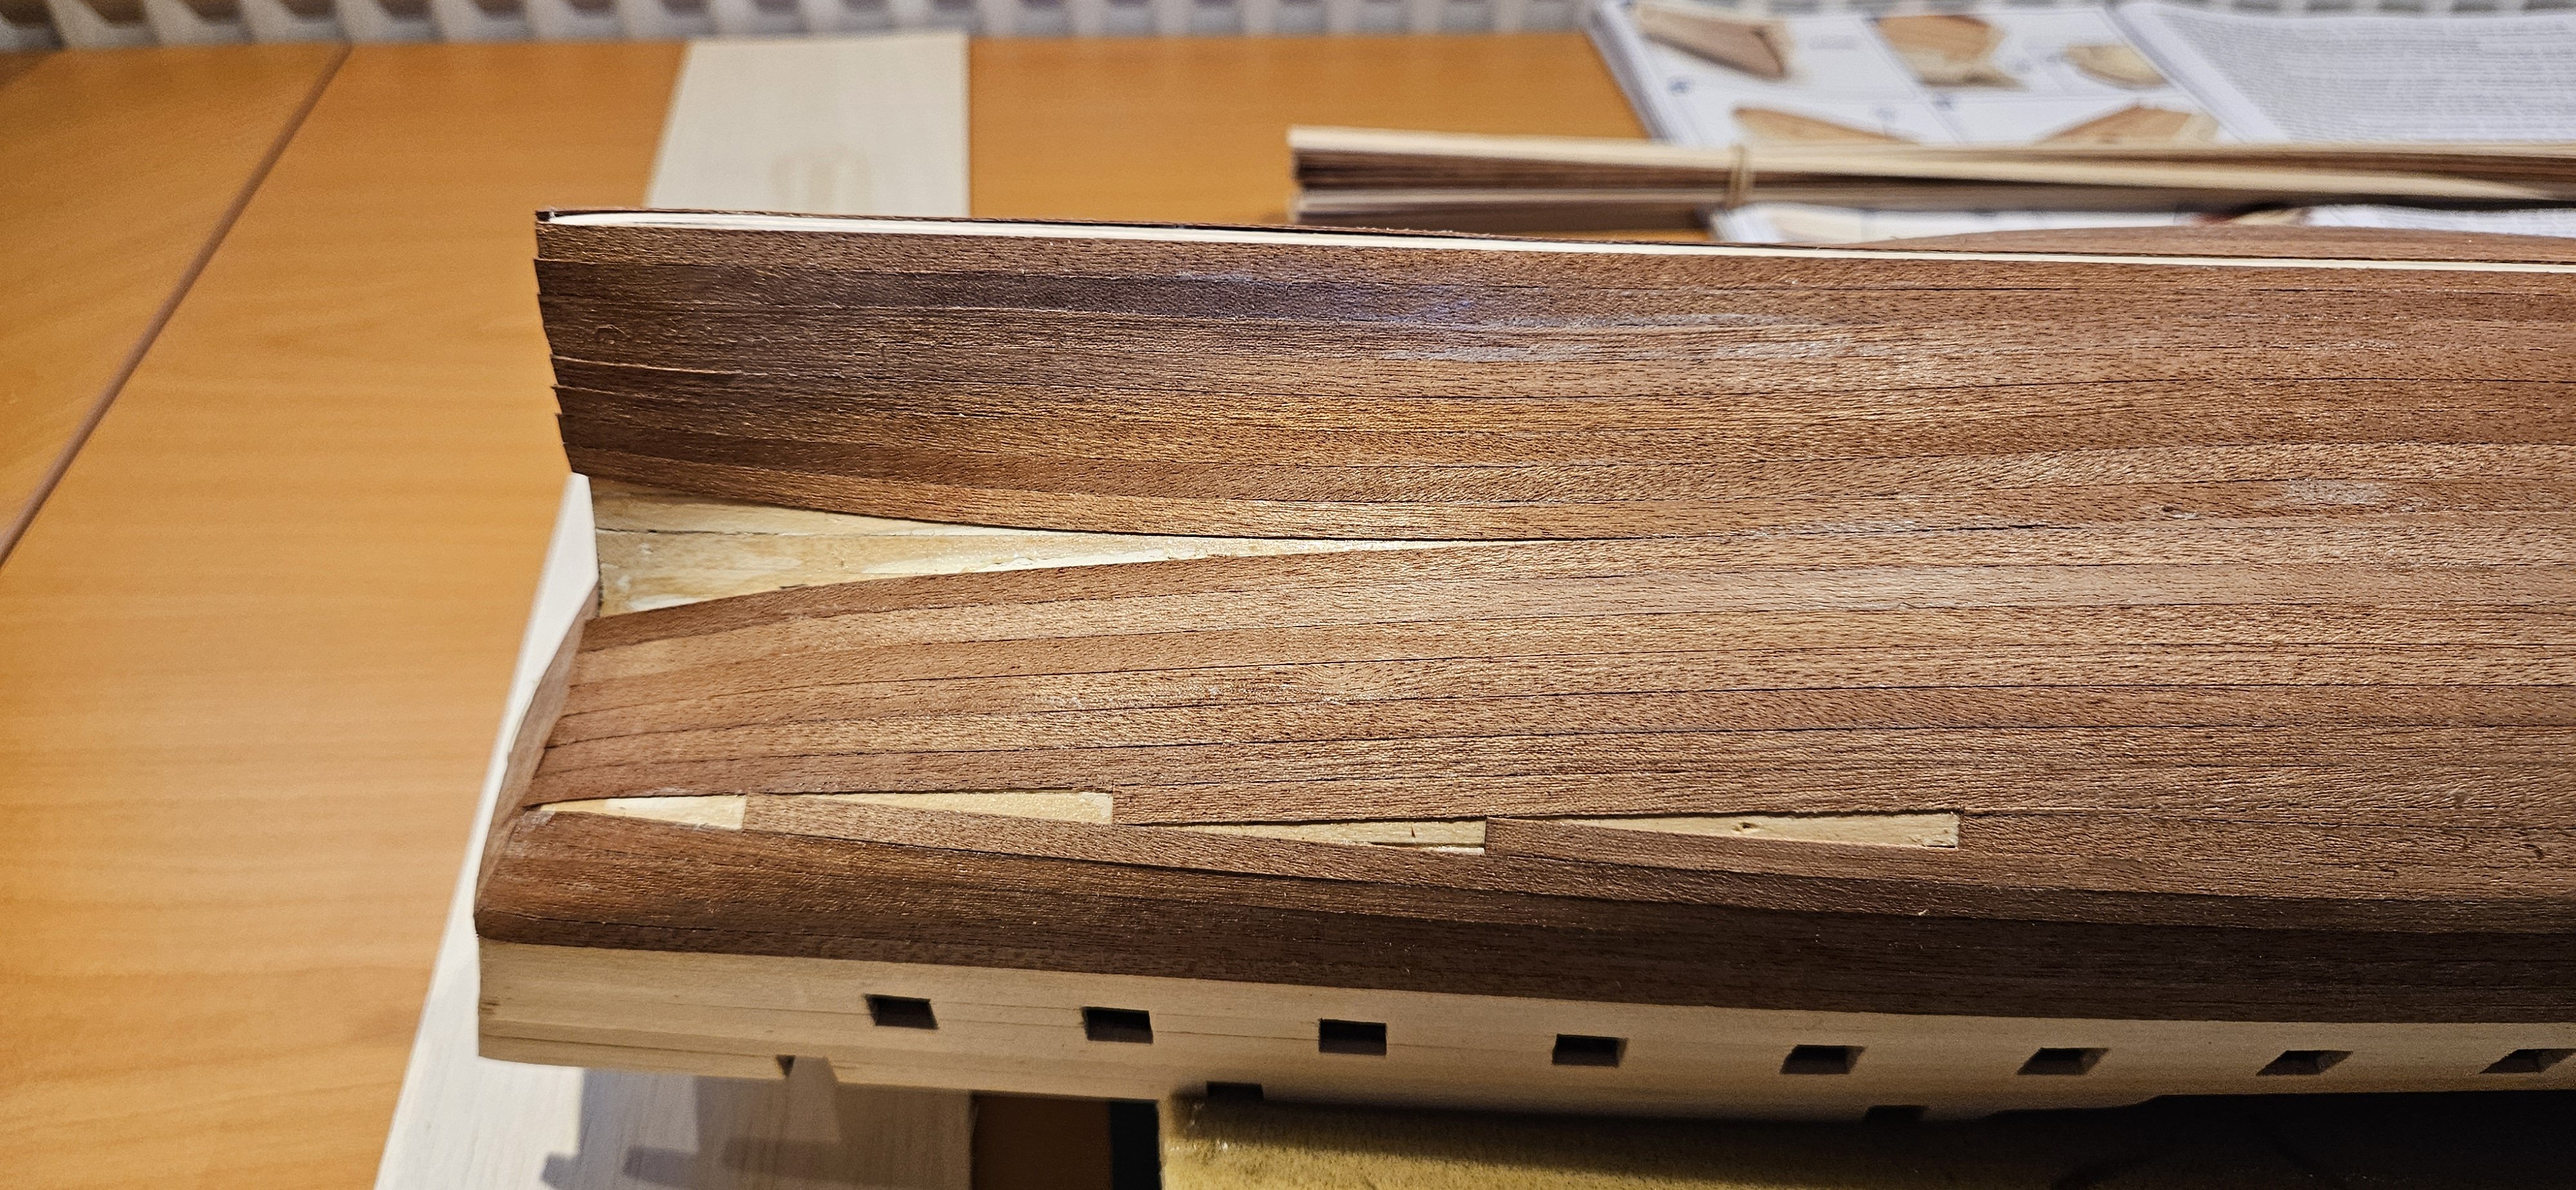
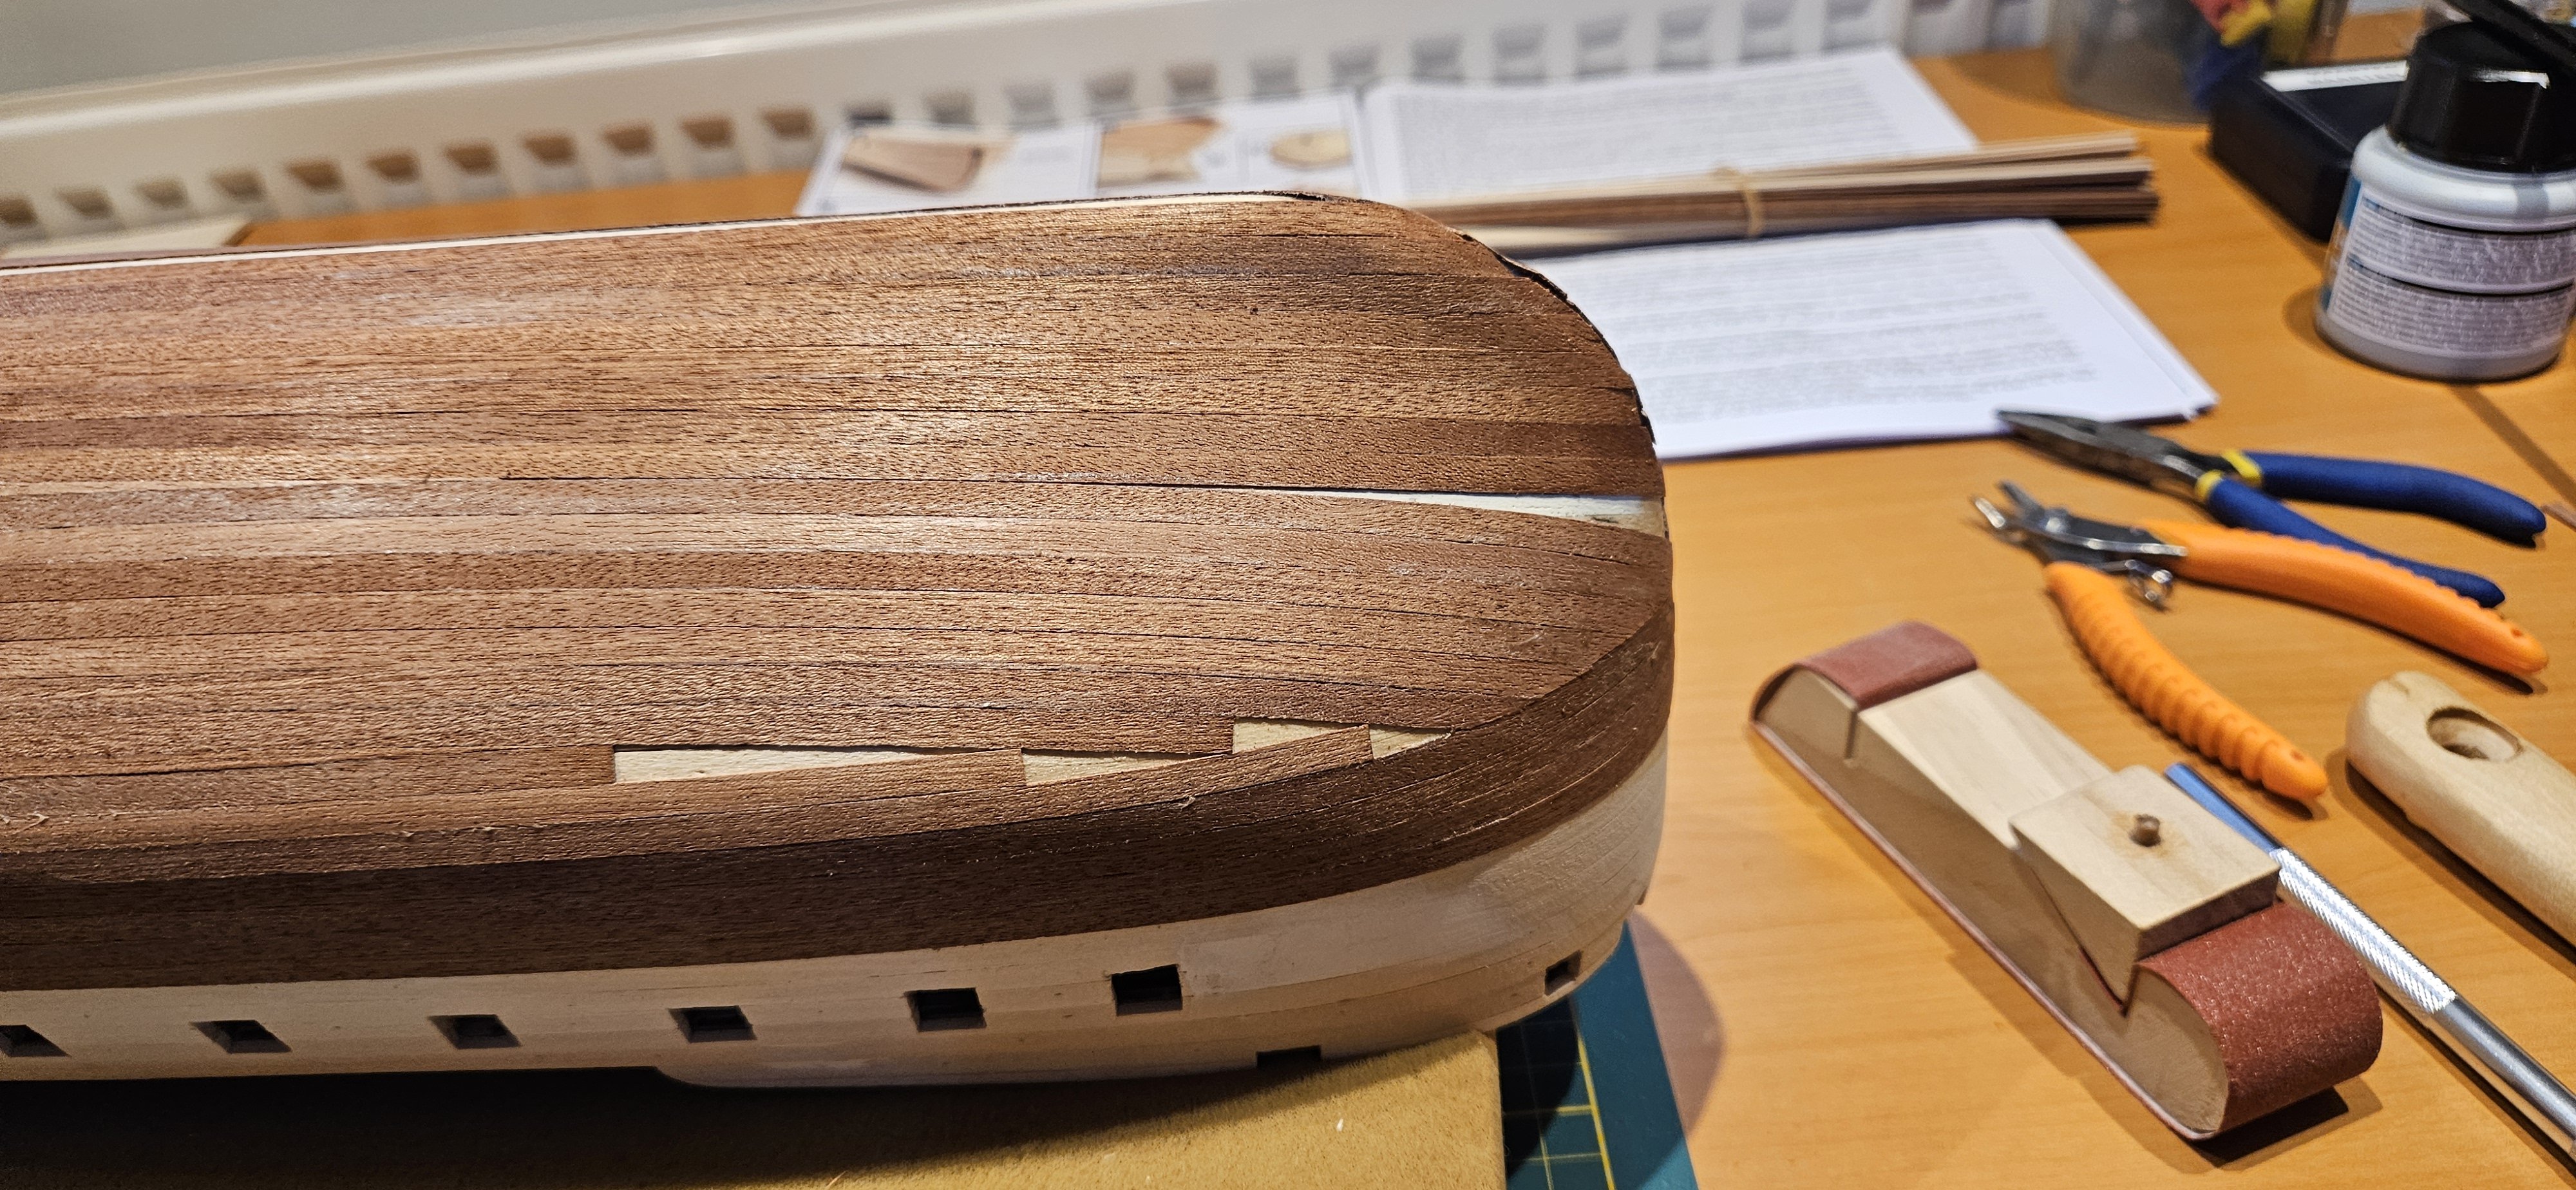
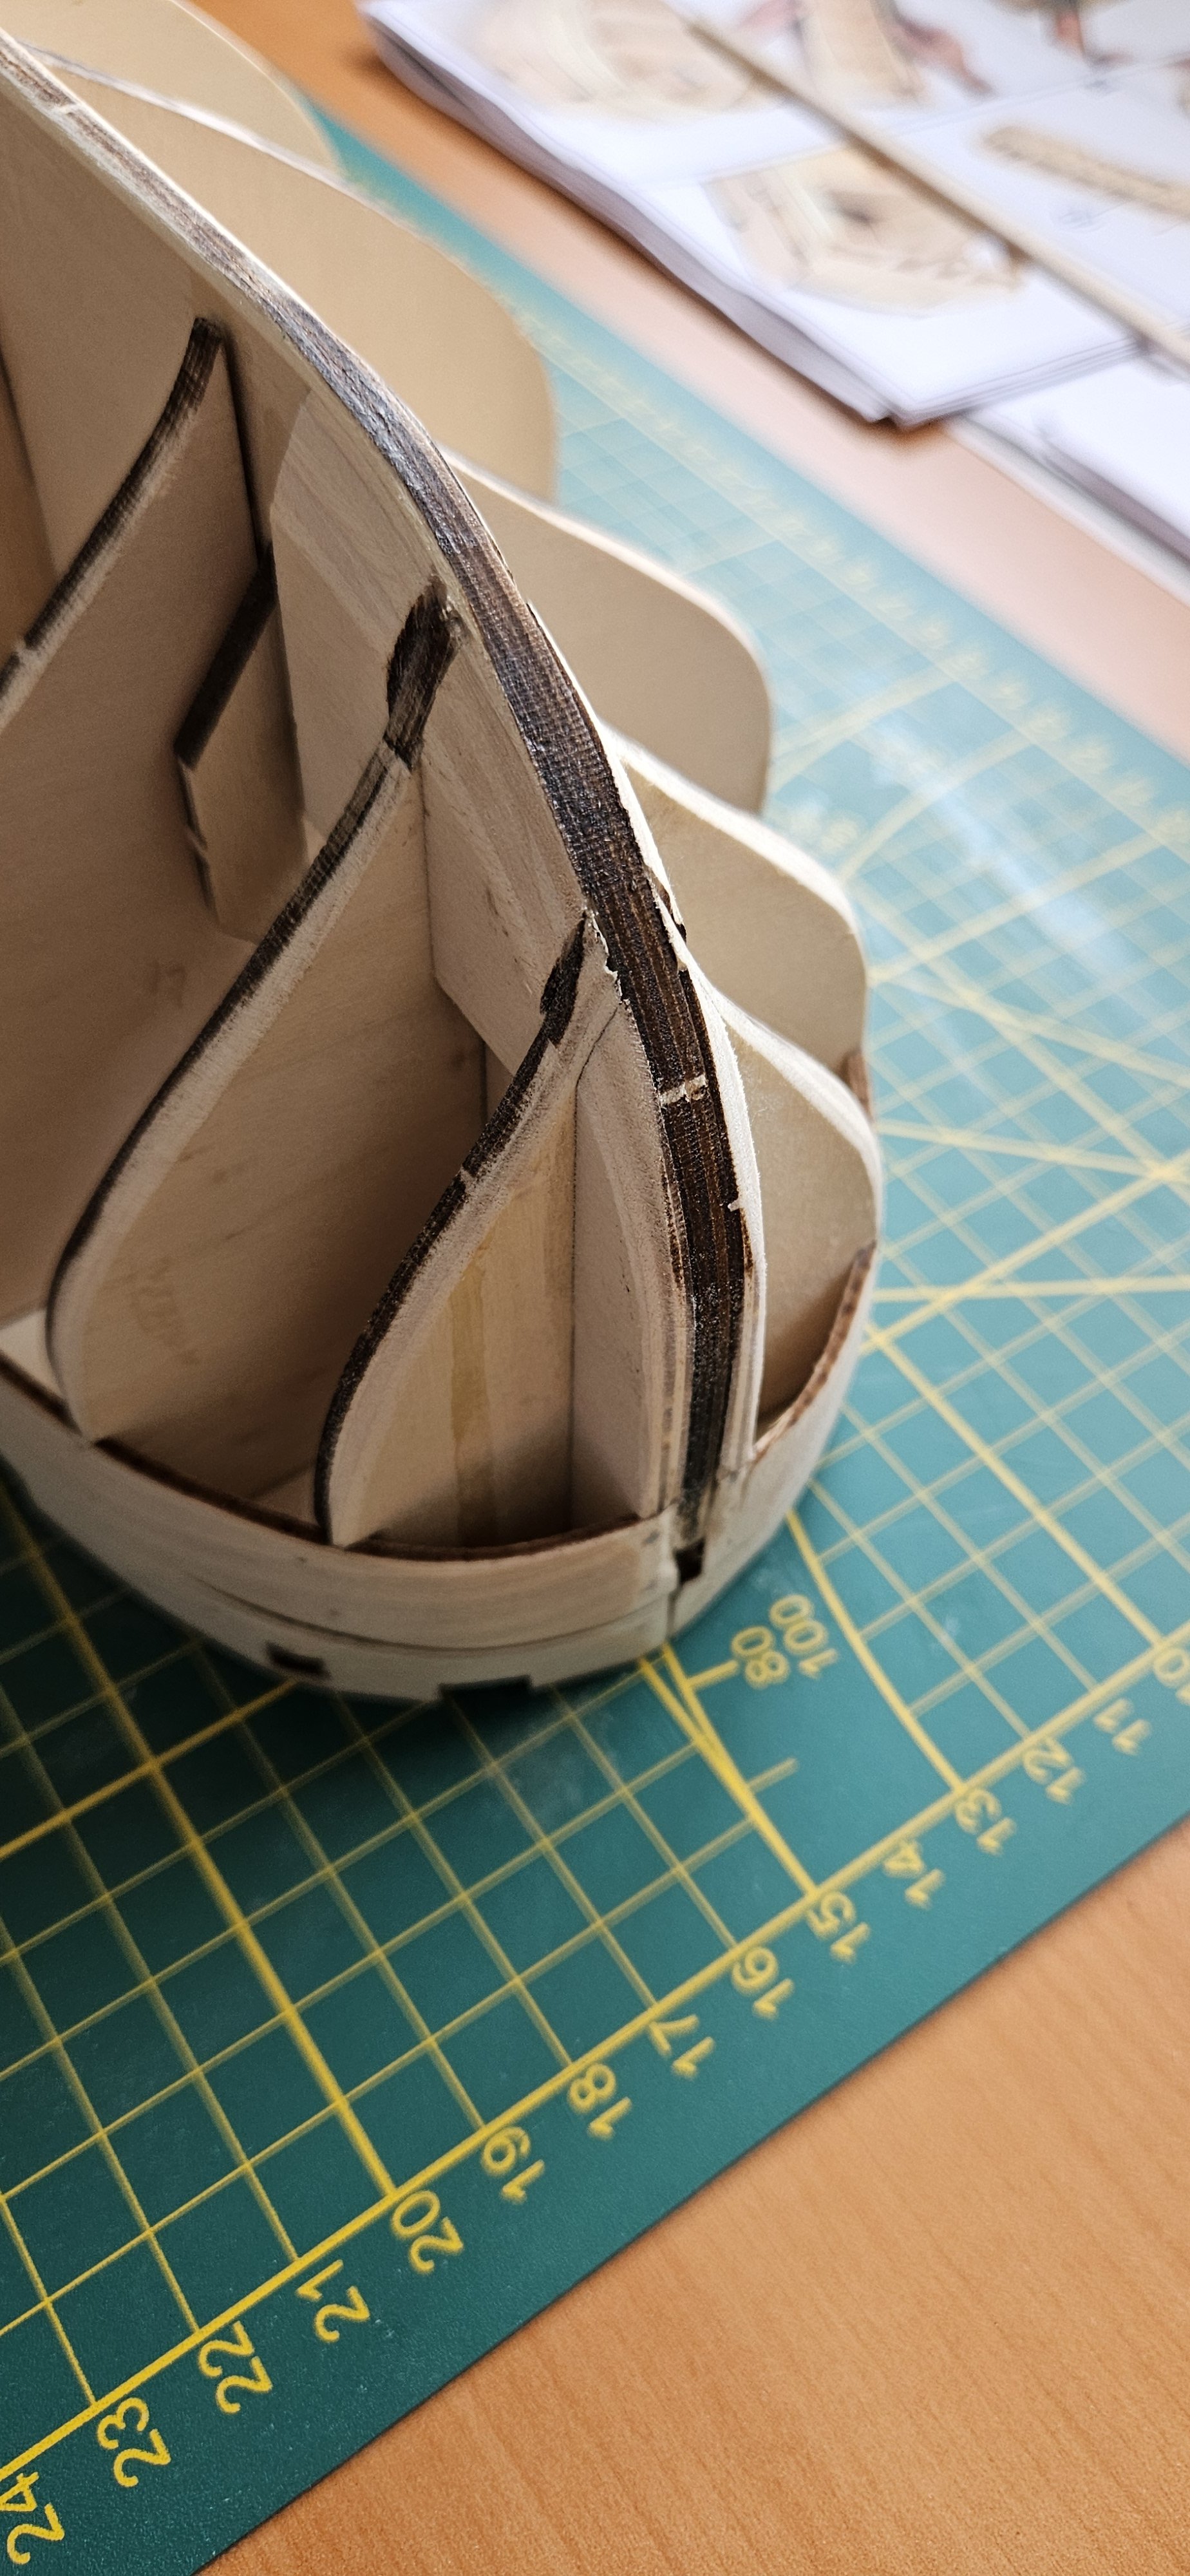
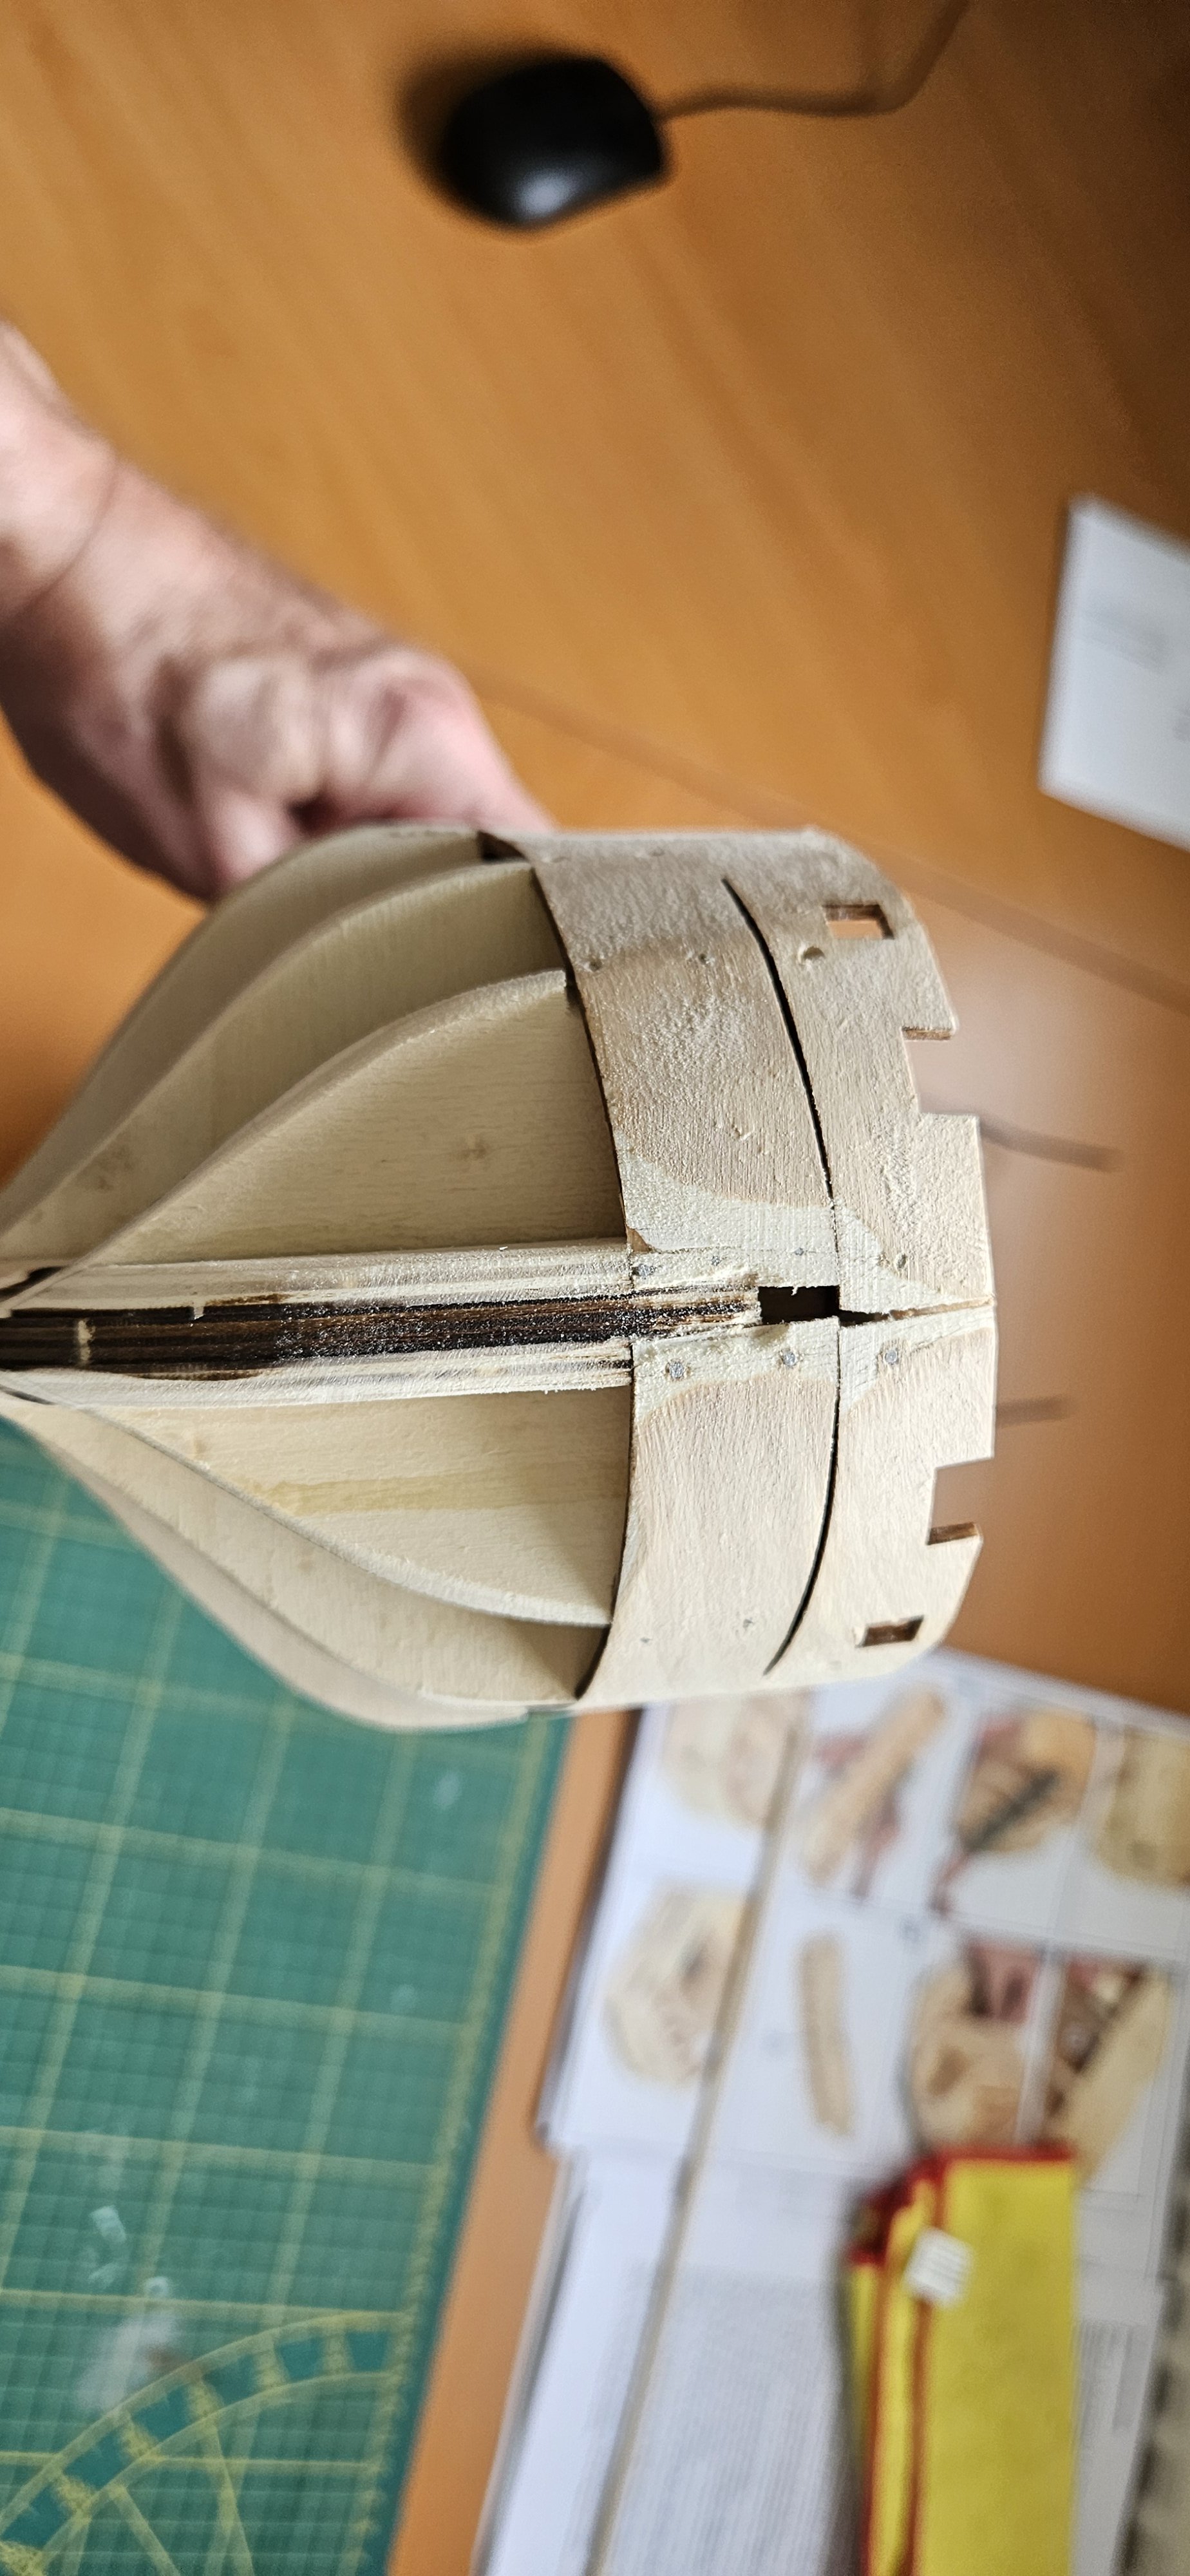
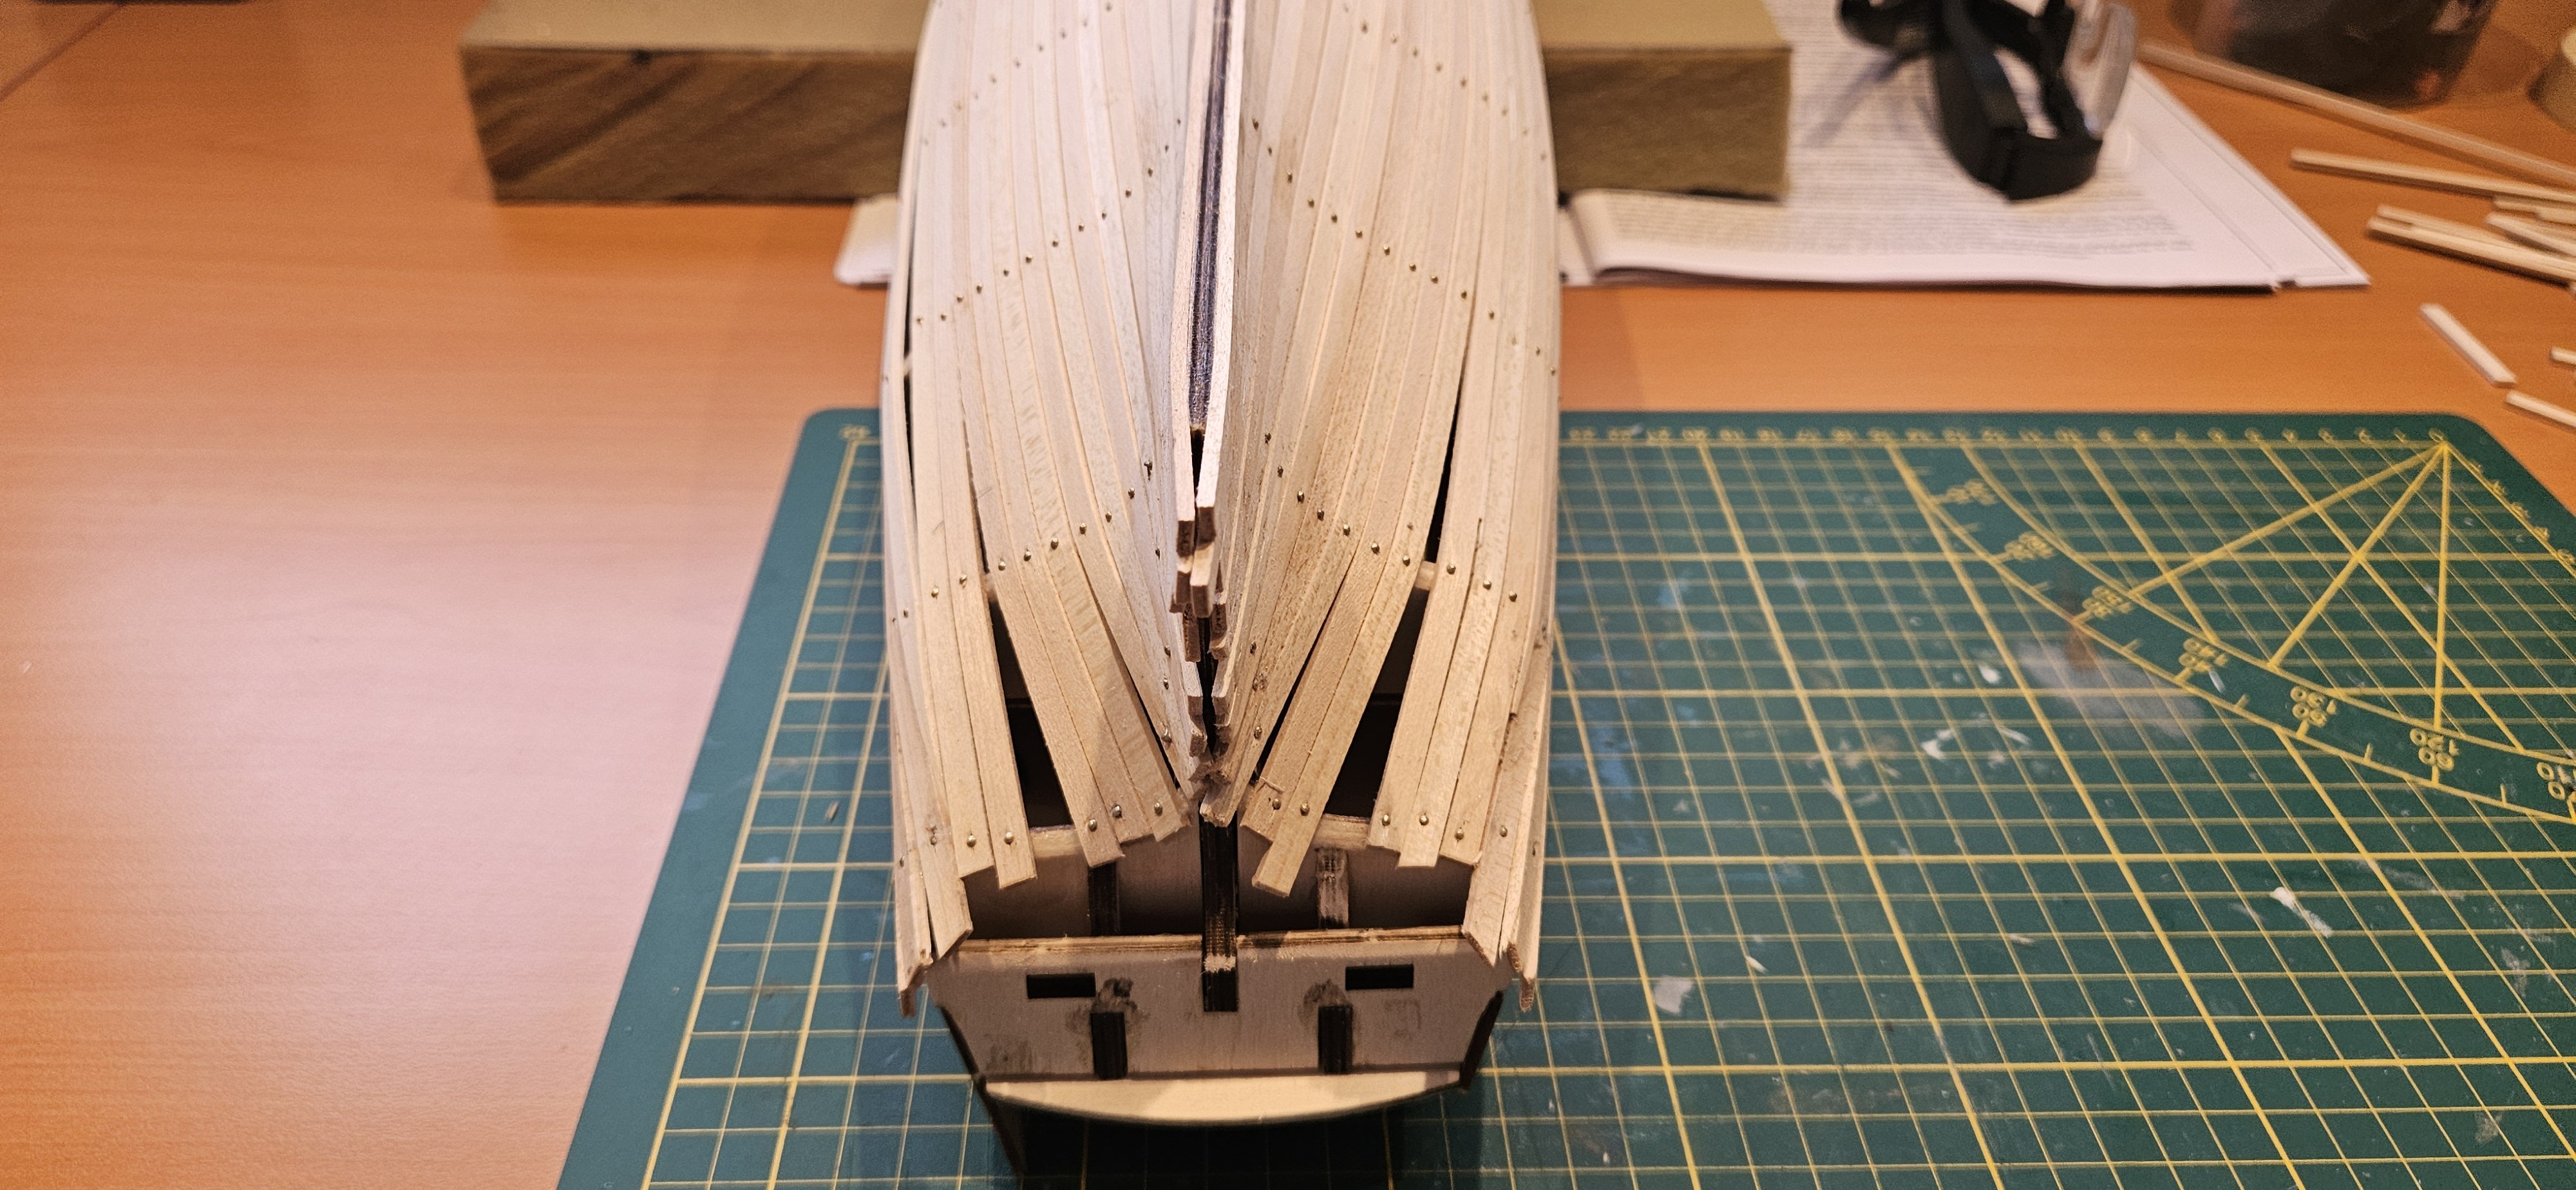
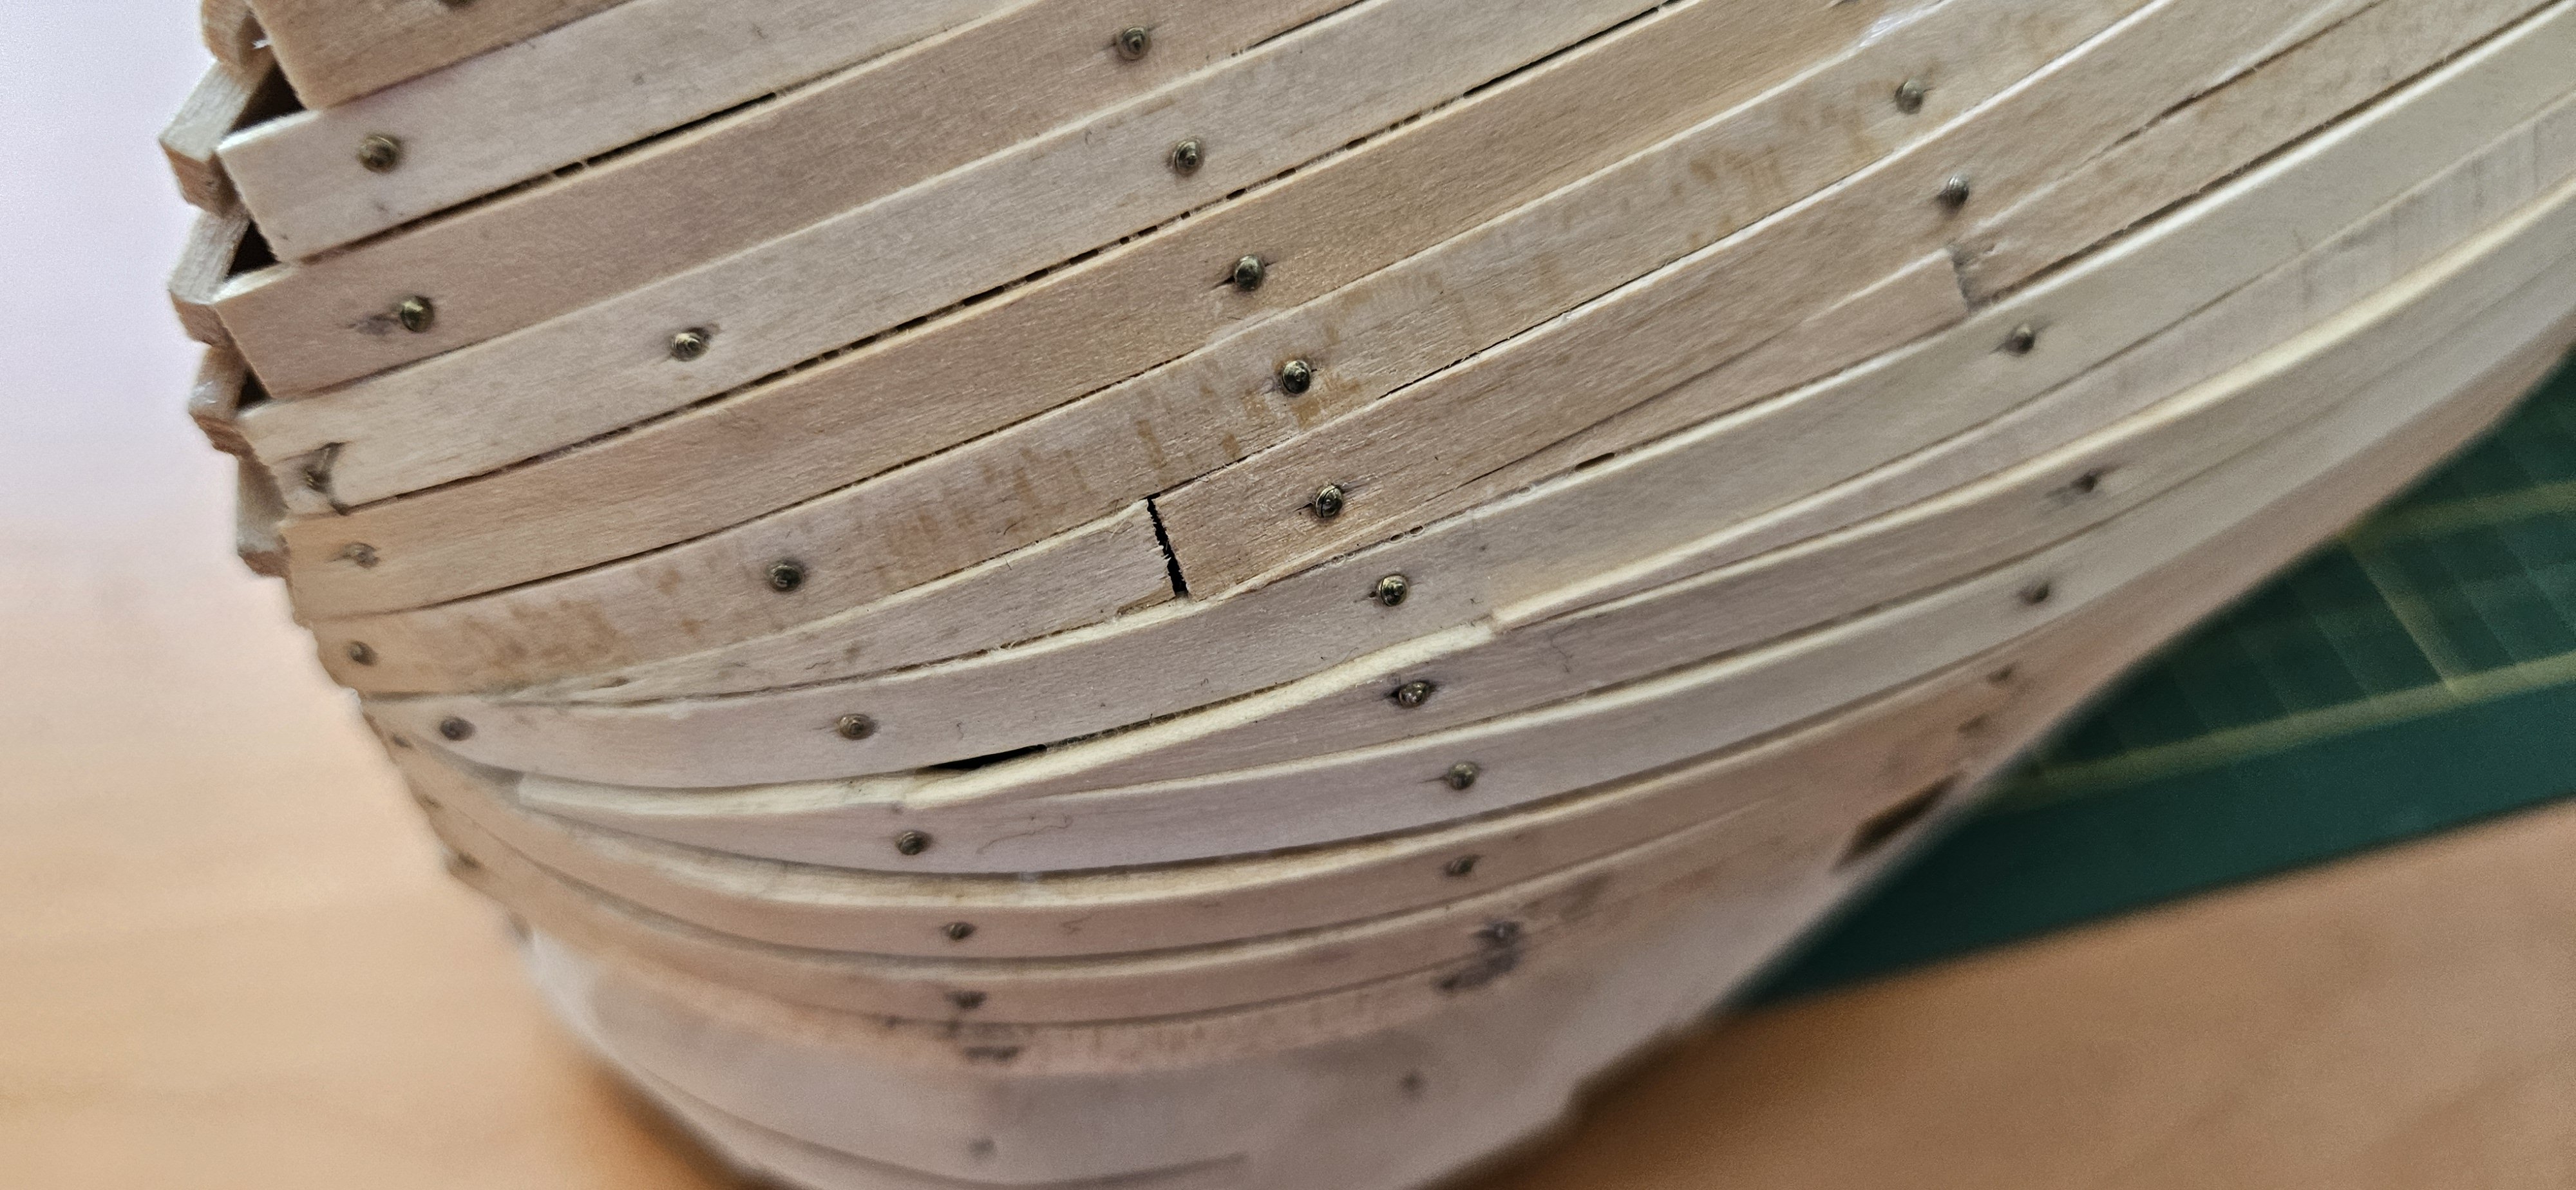
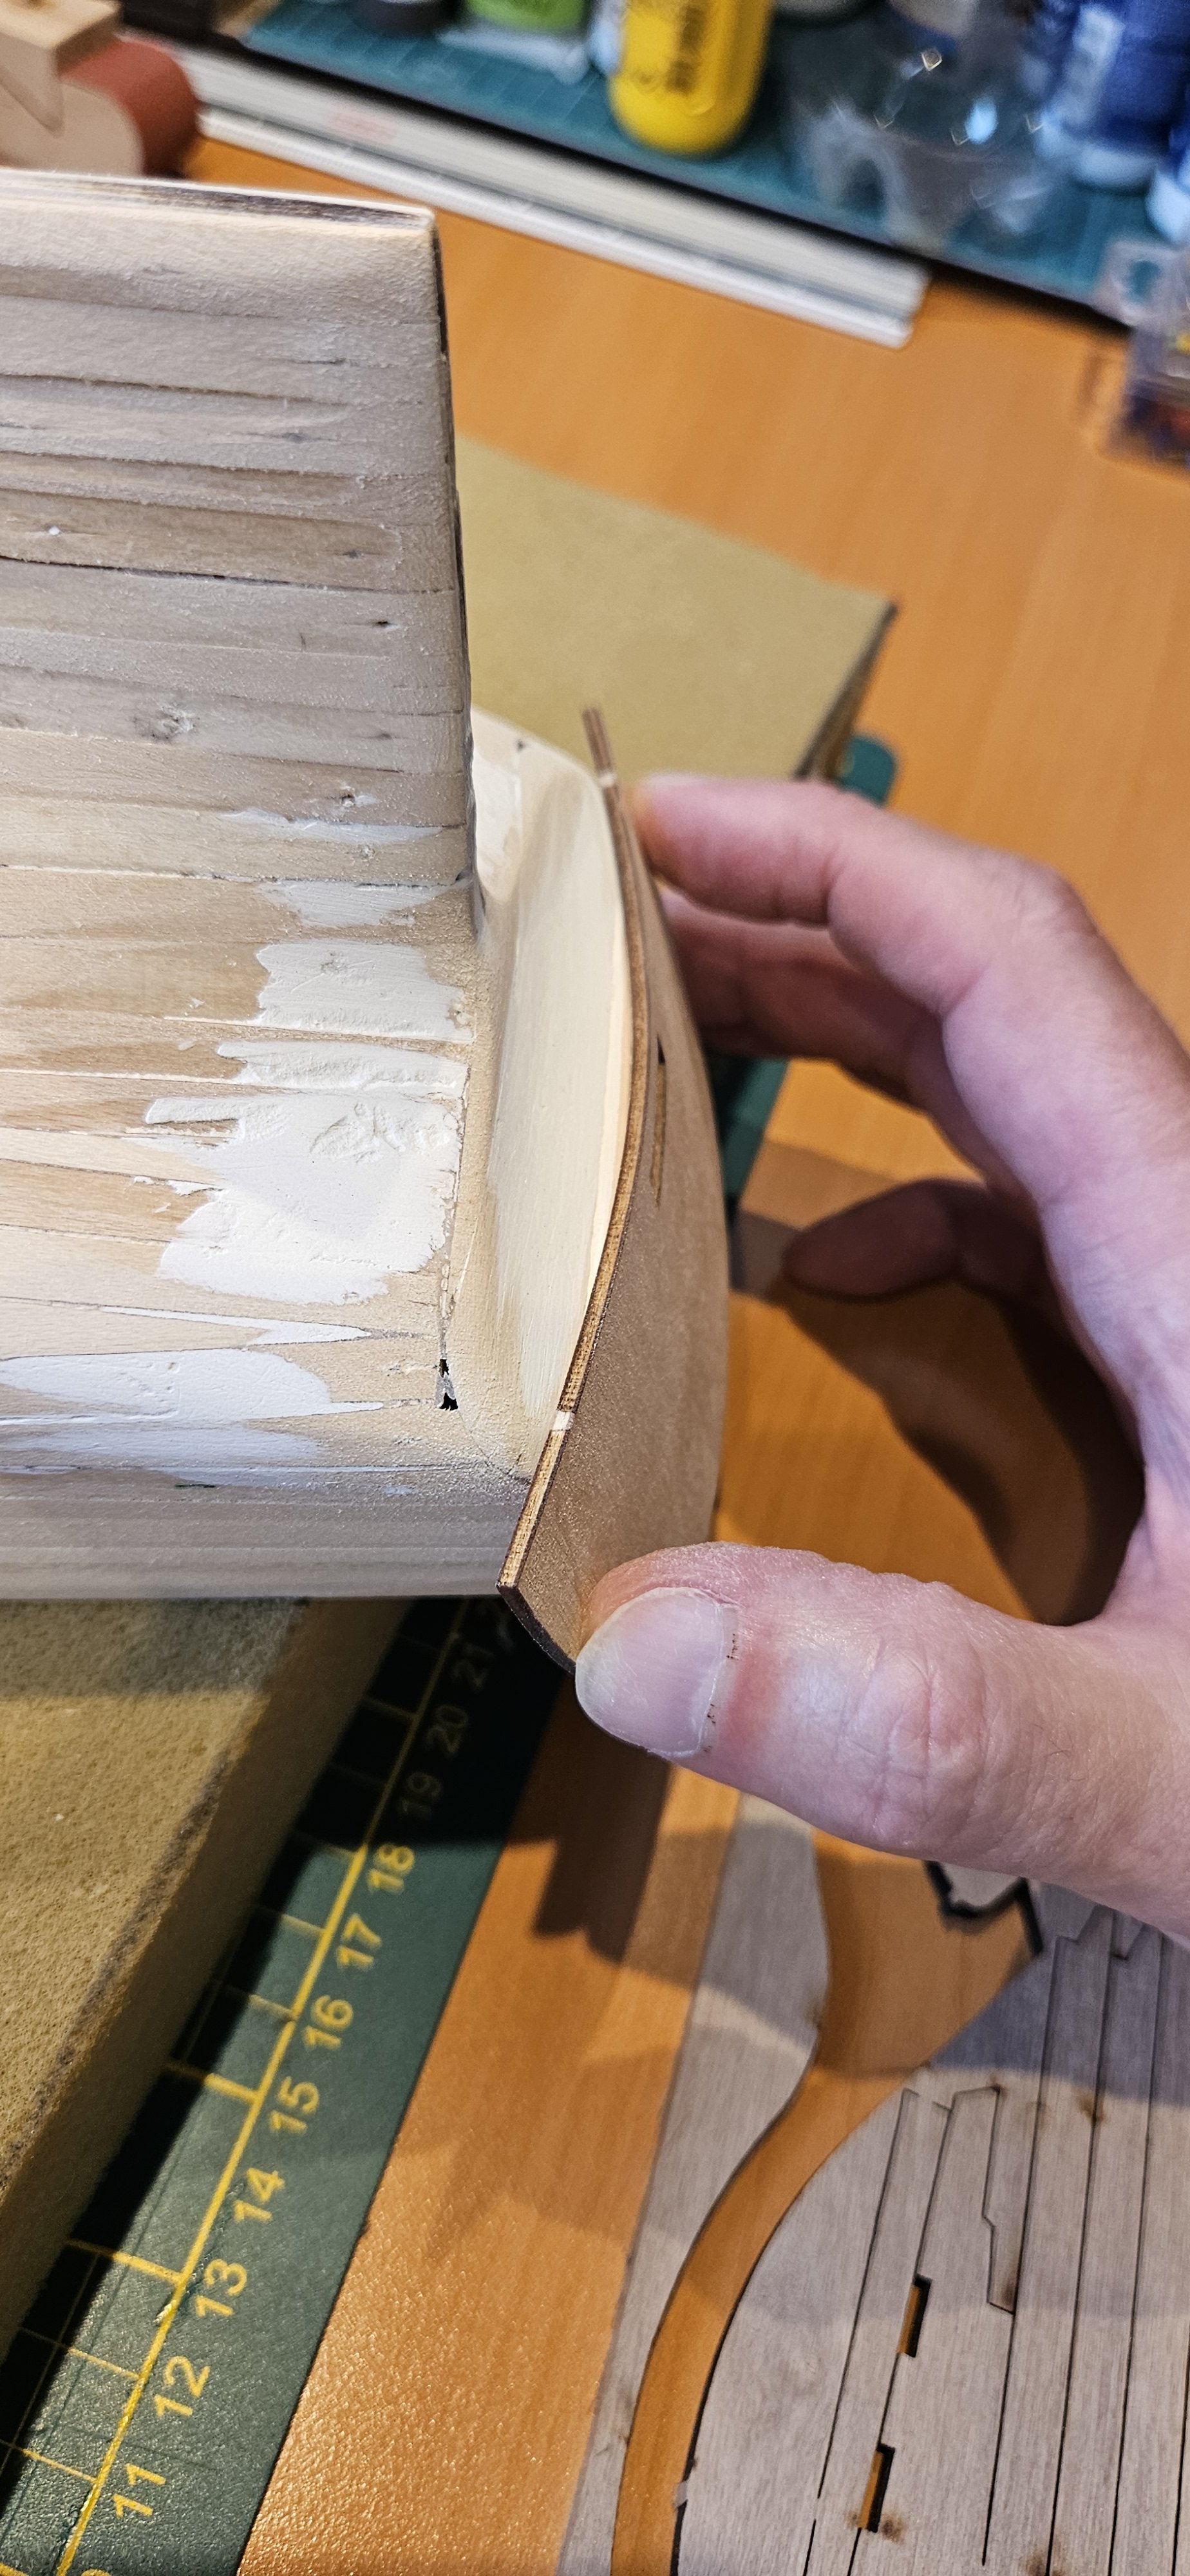
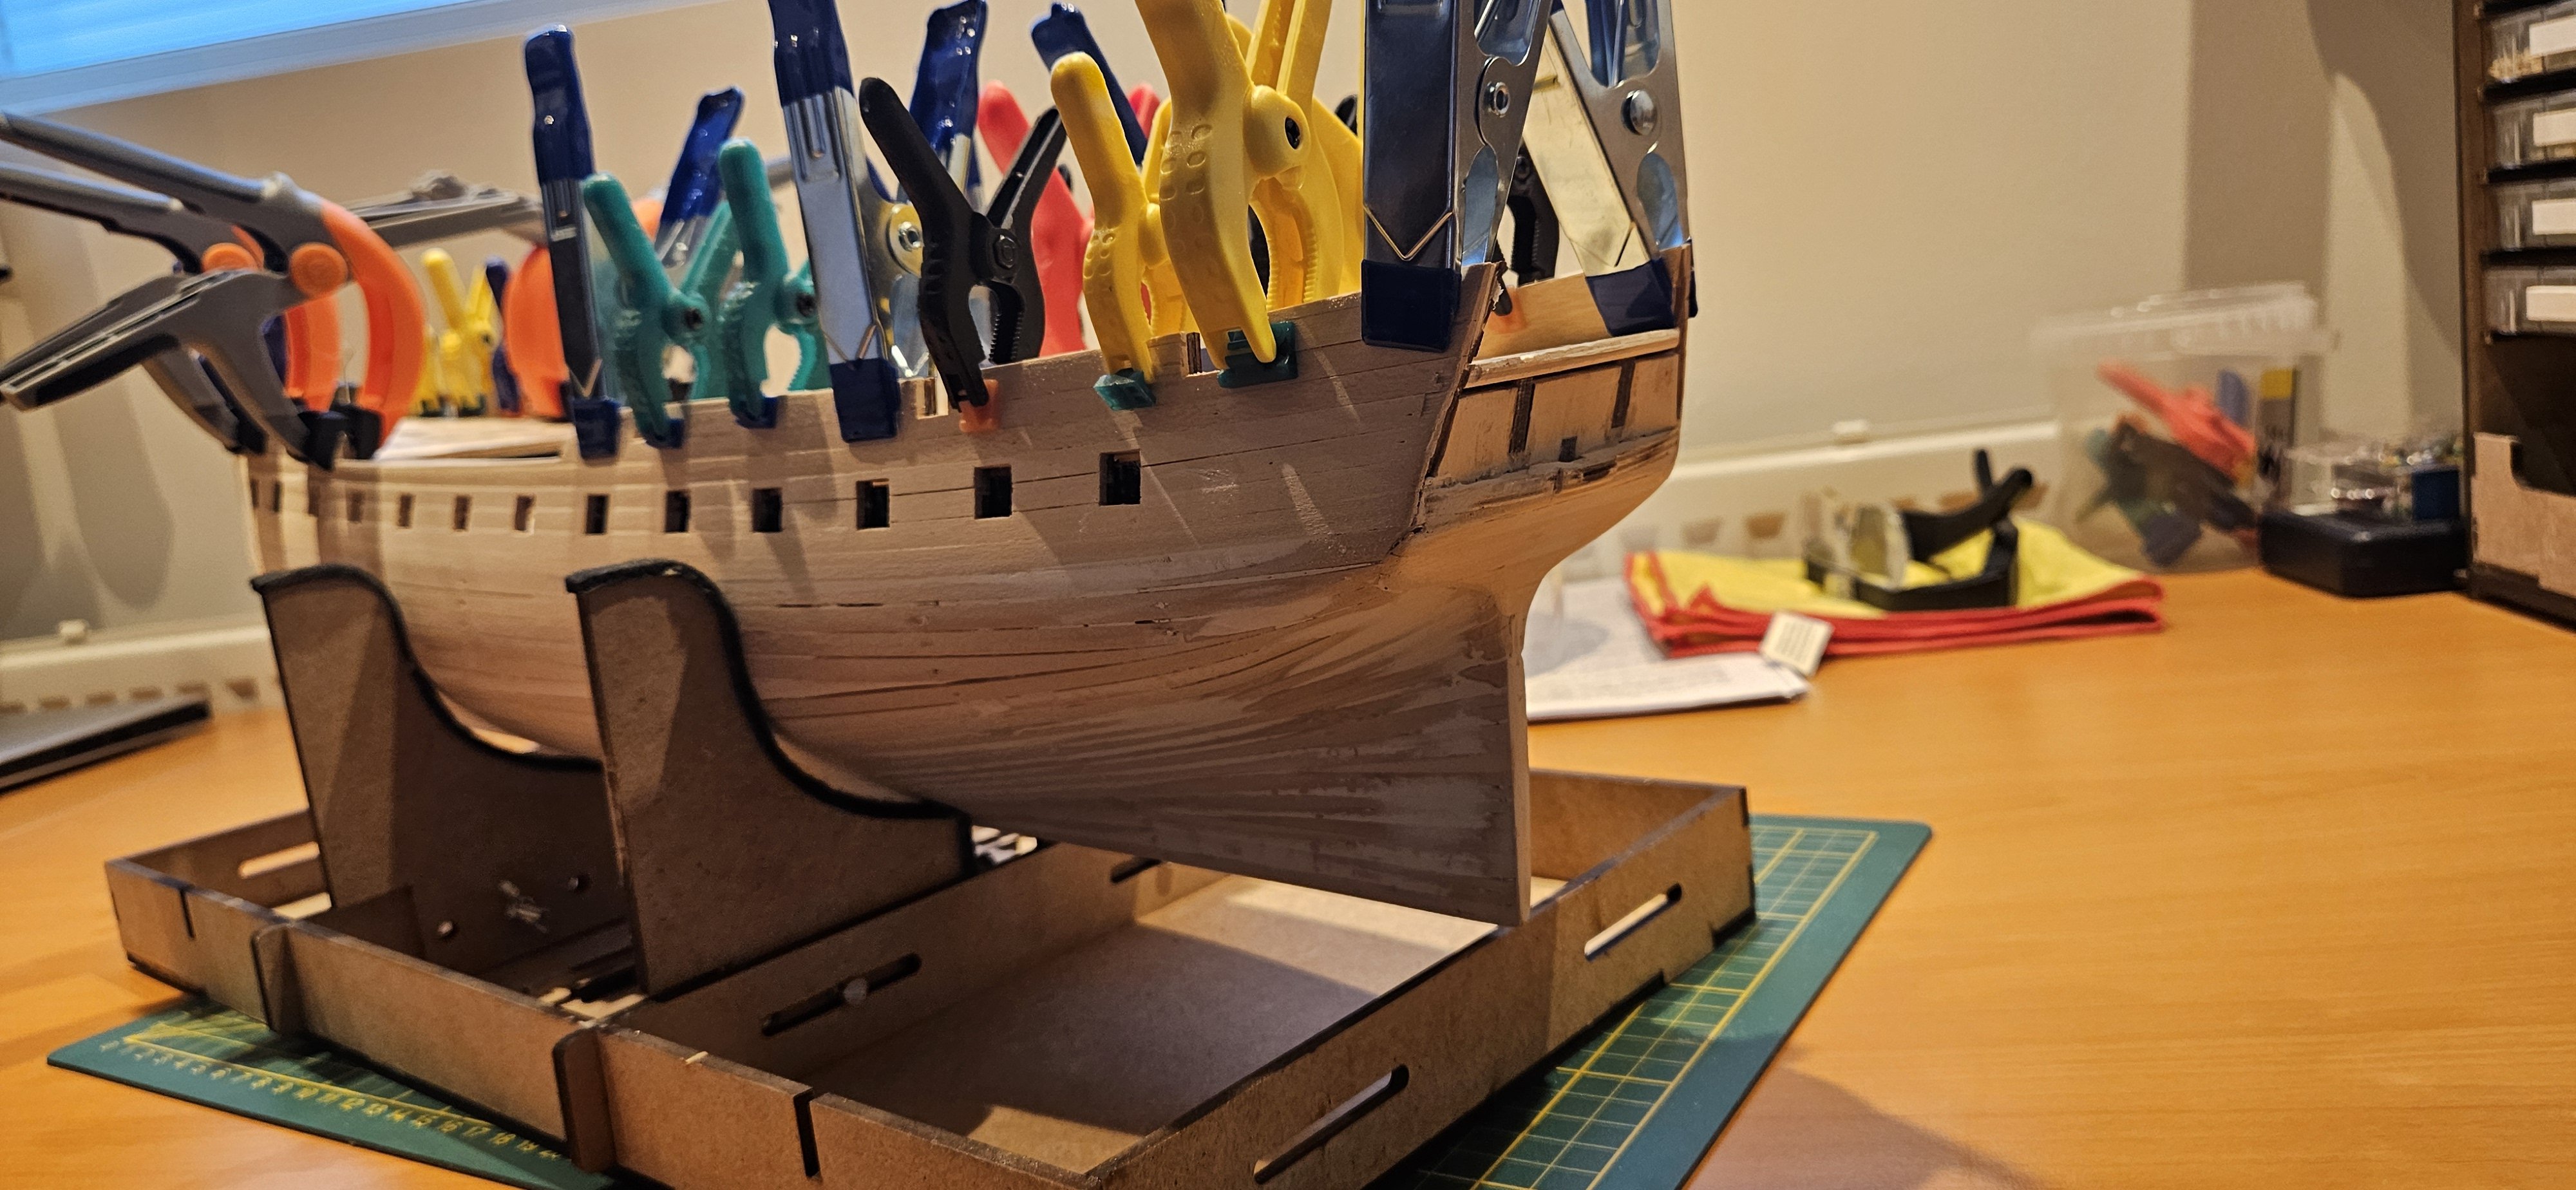
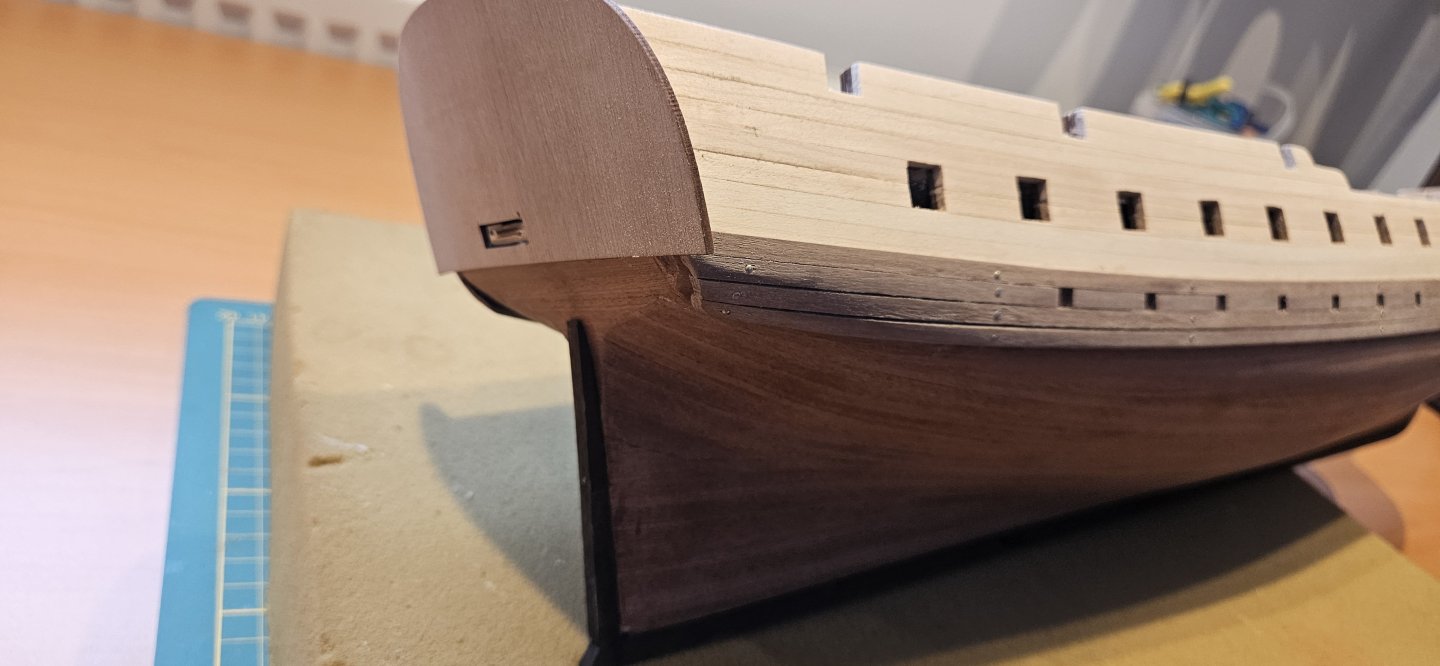
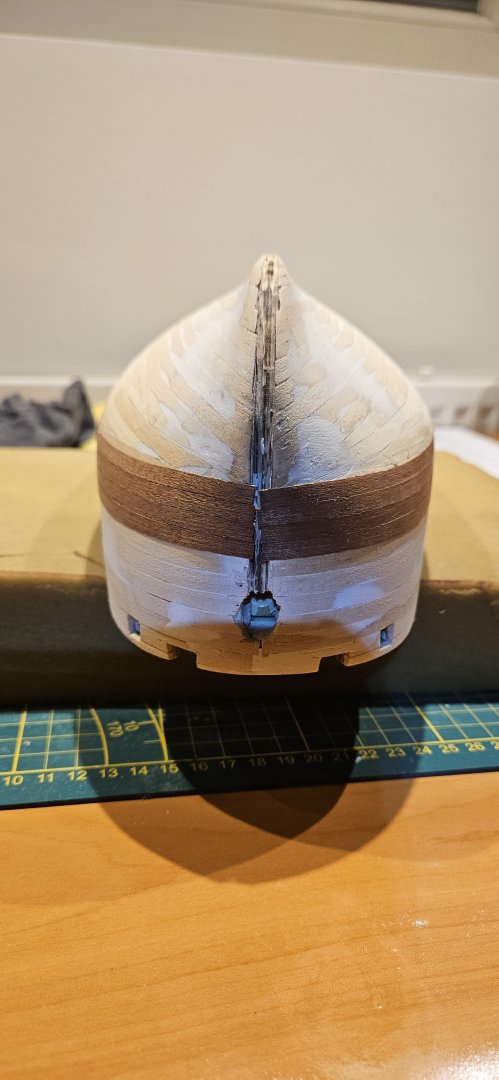
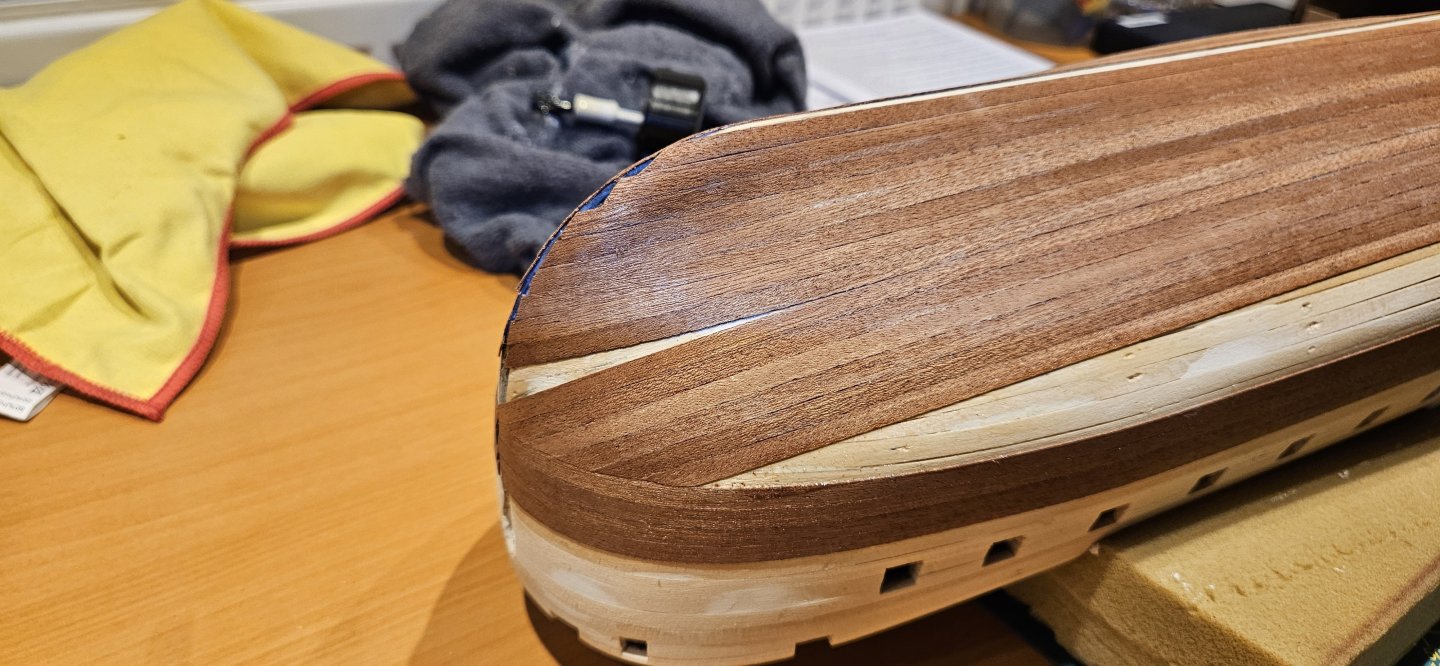
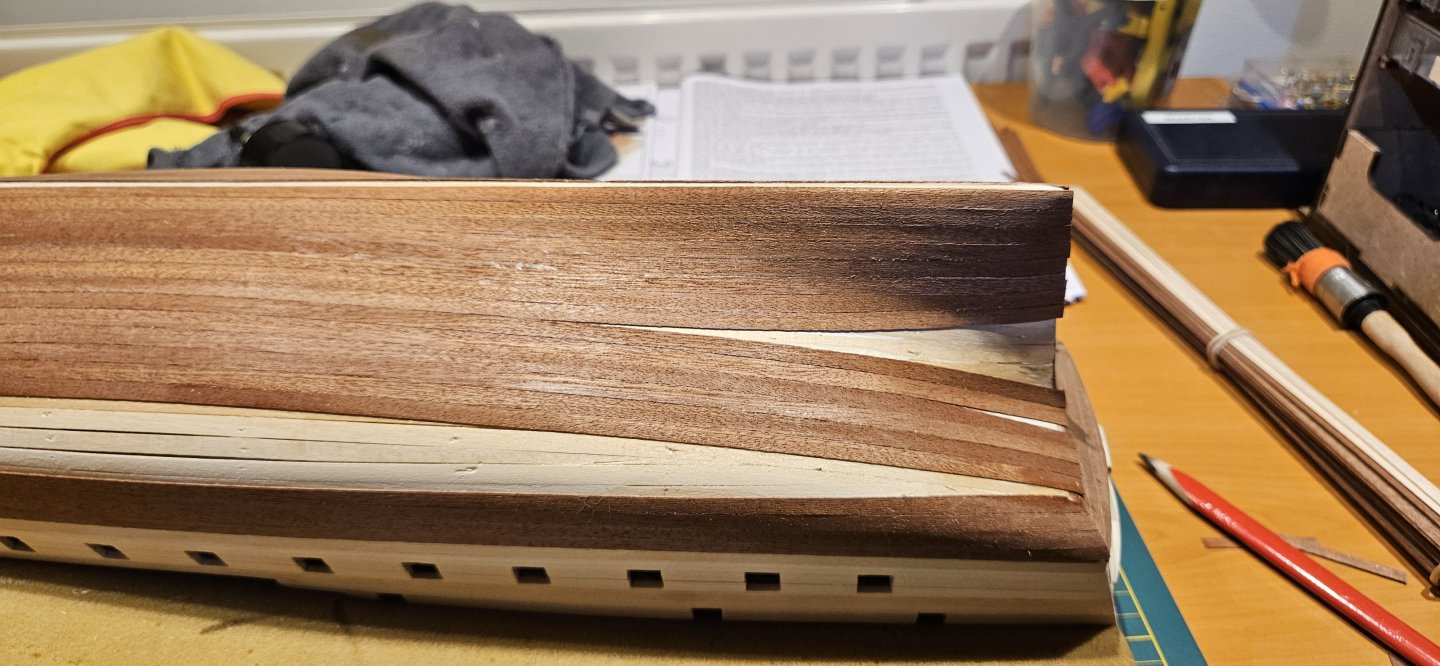
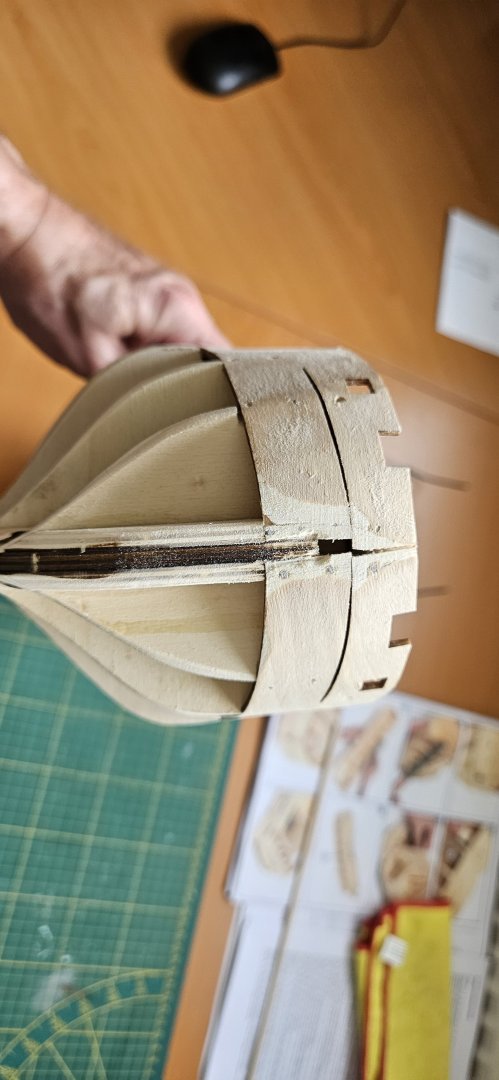
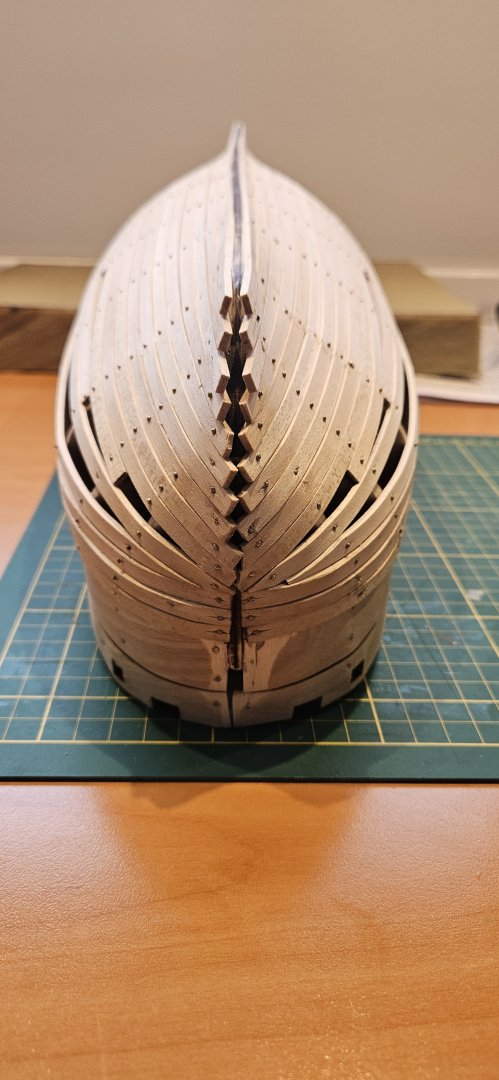
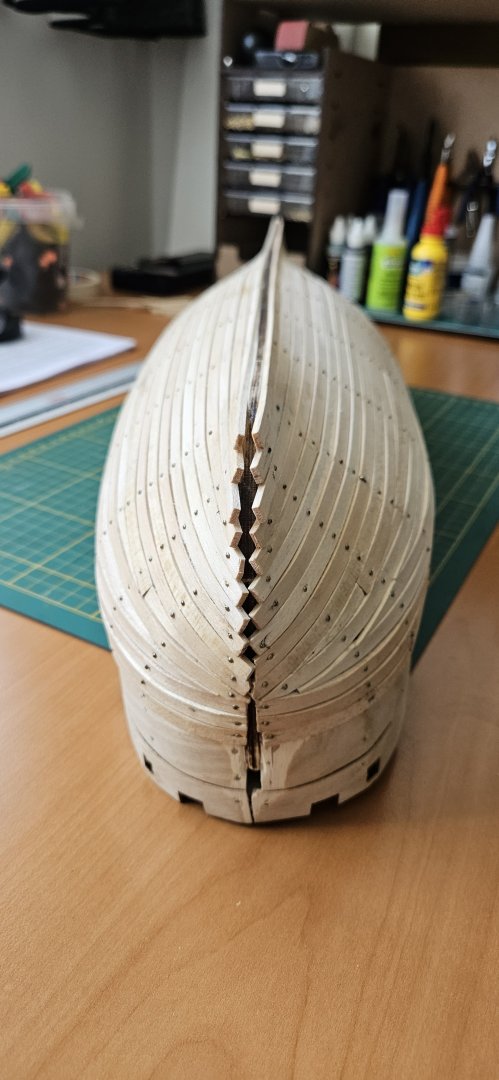
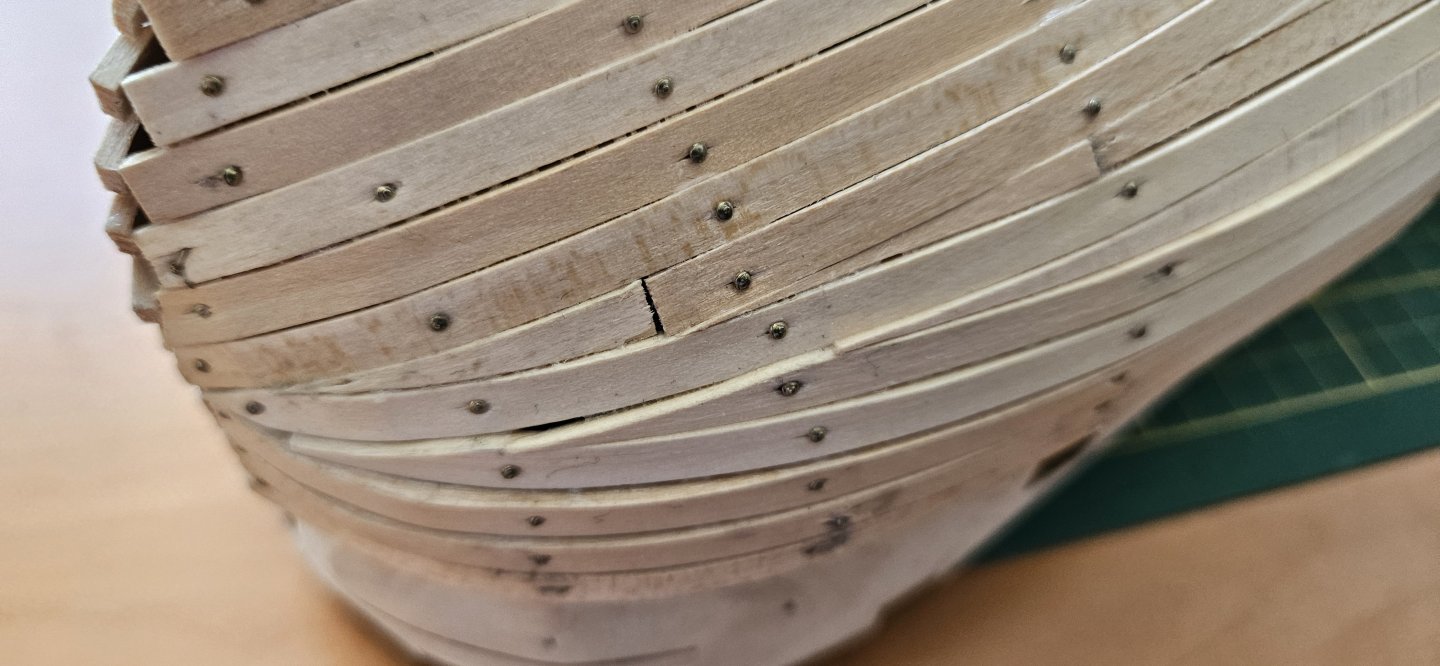
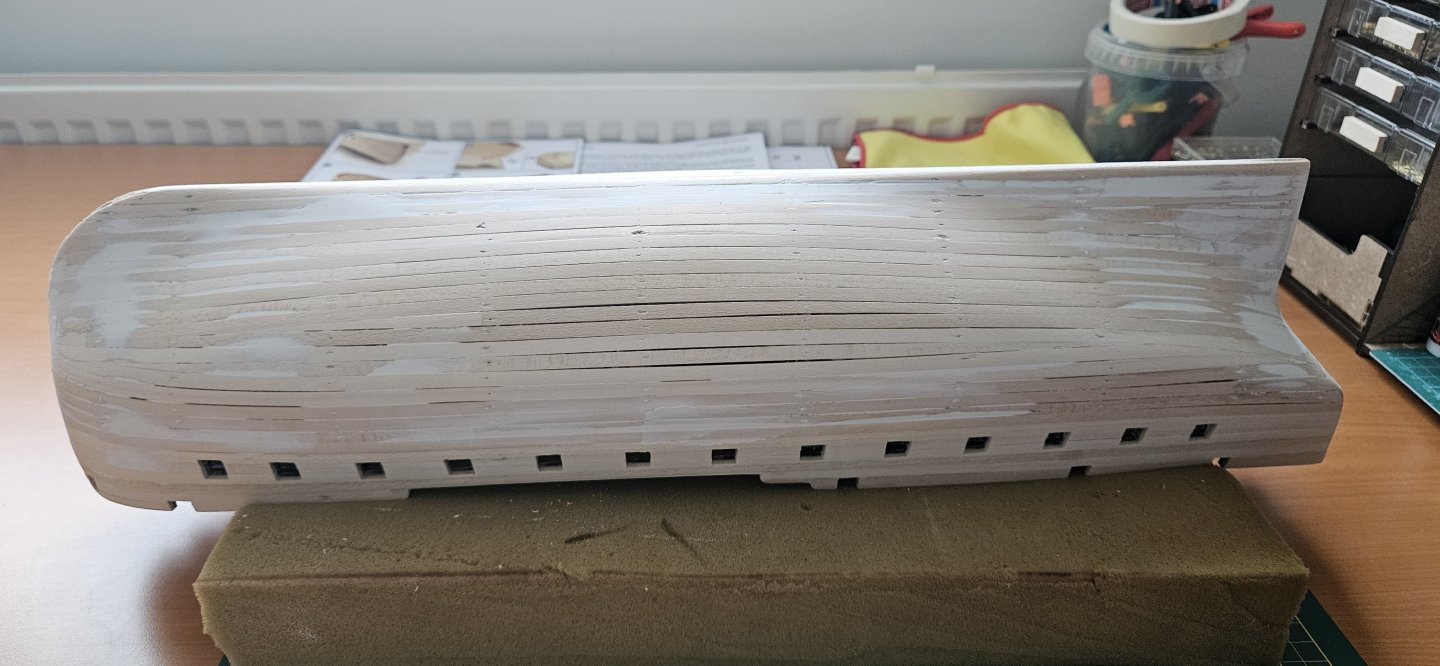
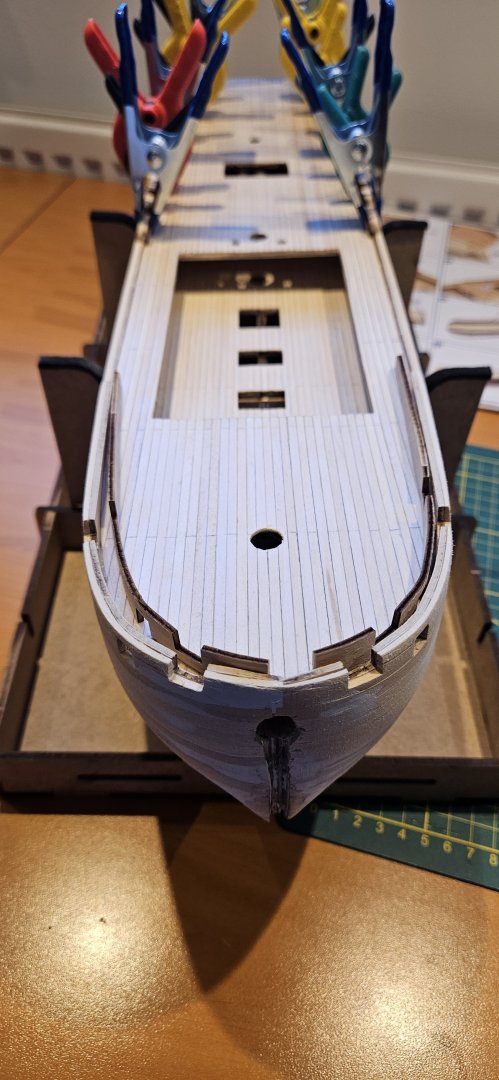
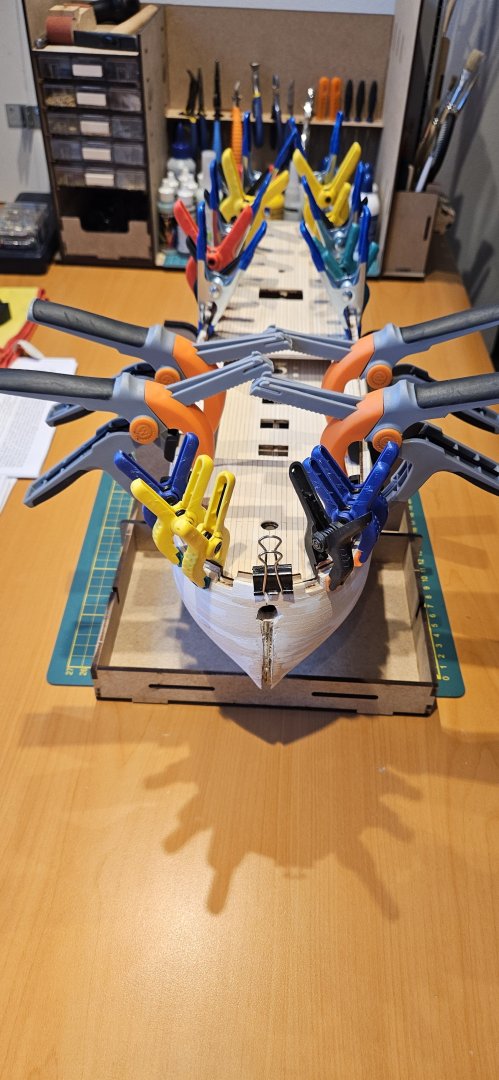
After a short brake, second planking and some sanding is done. You always think you messed it up and after some sanding and putty it turns out ok 🙂


-
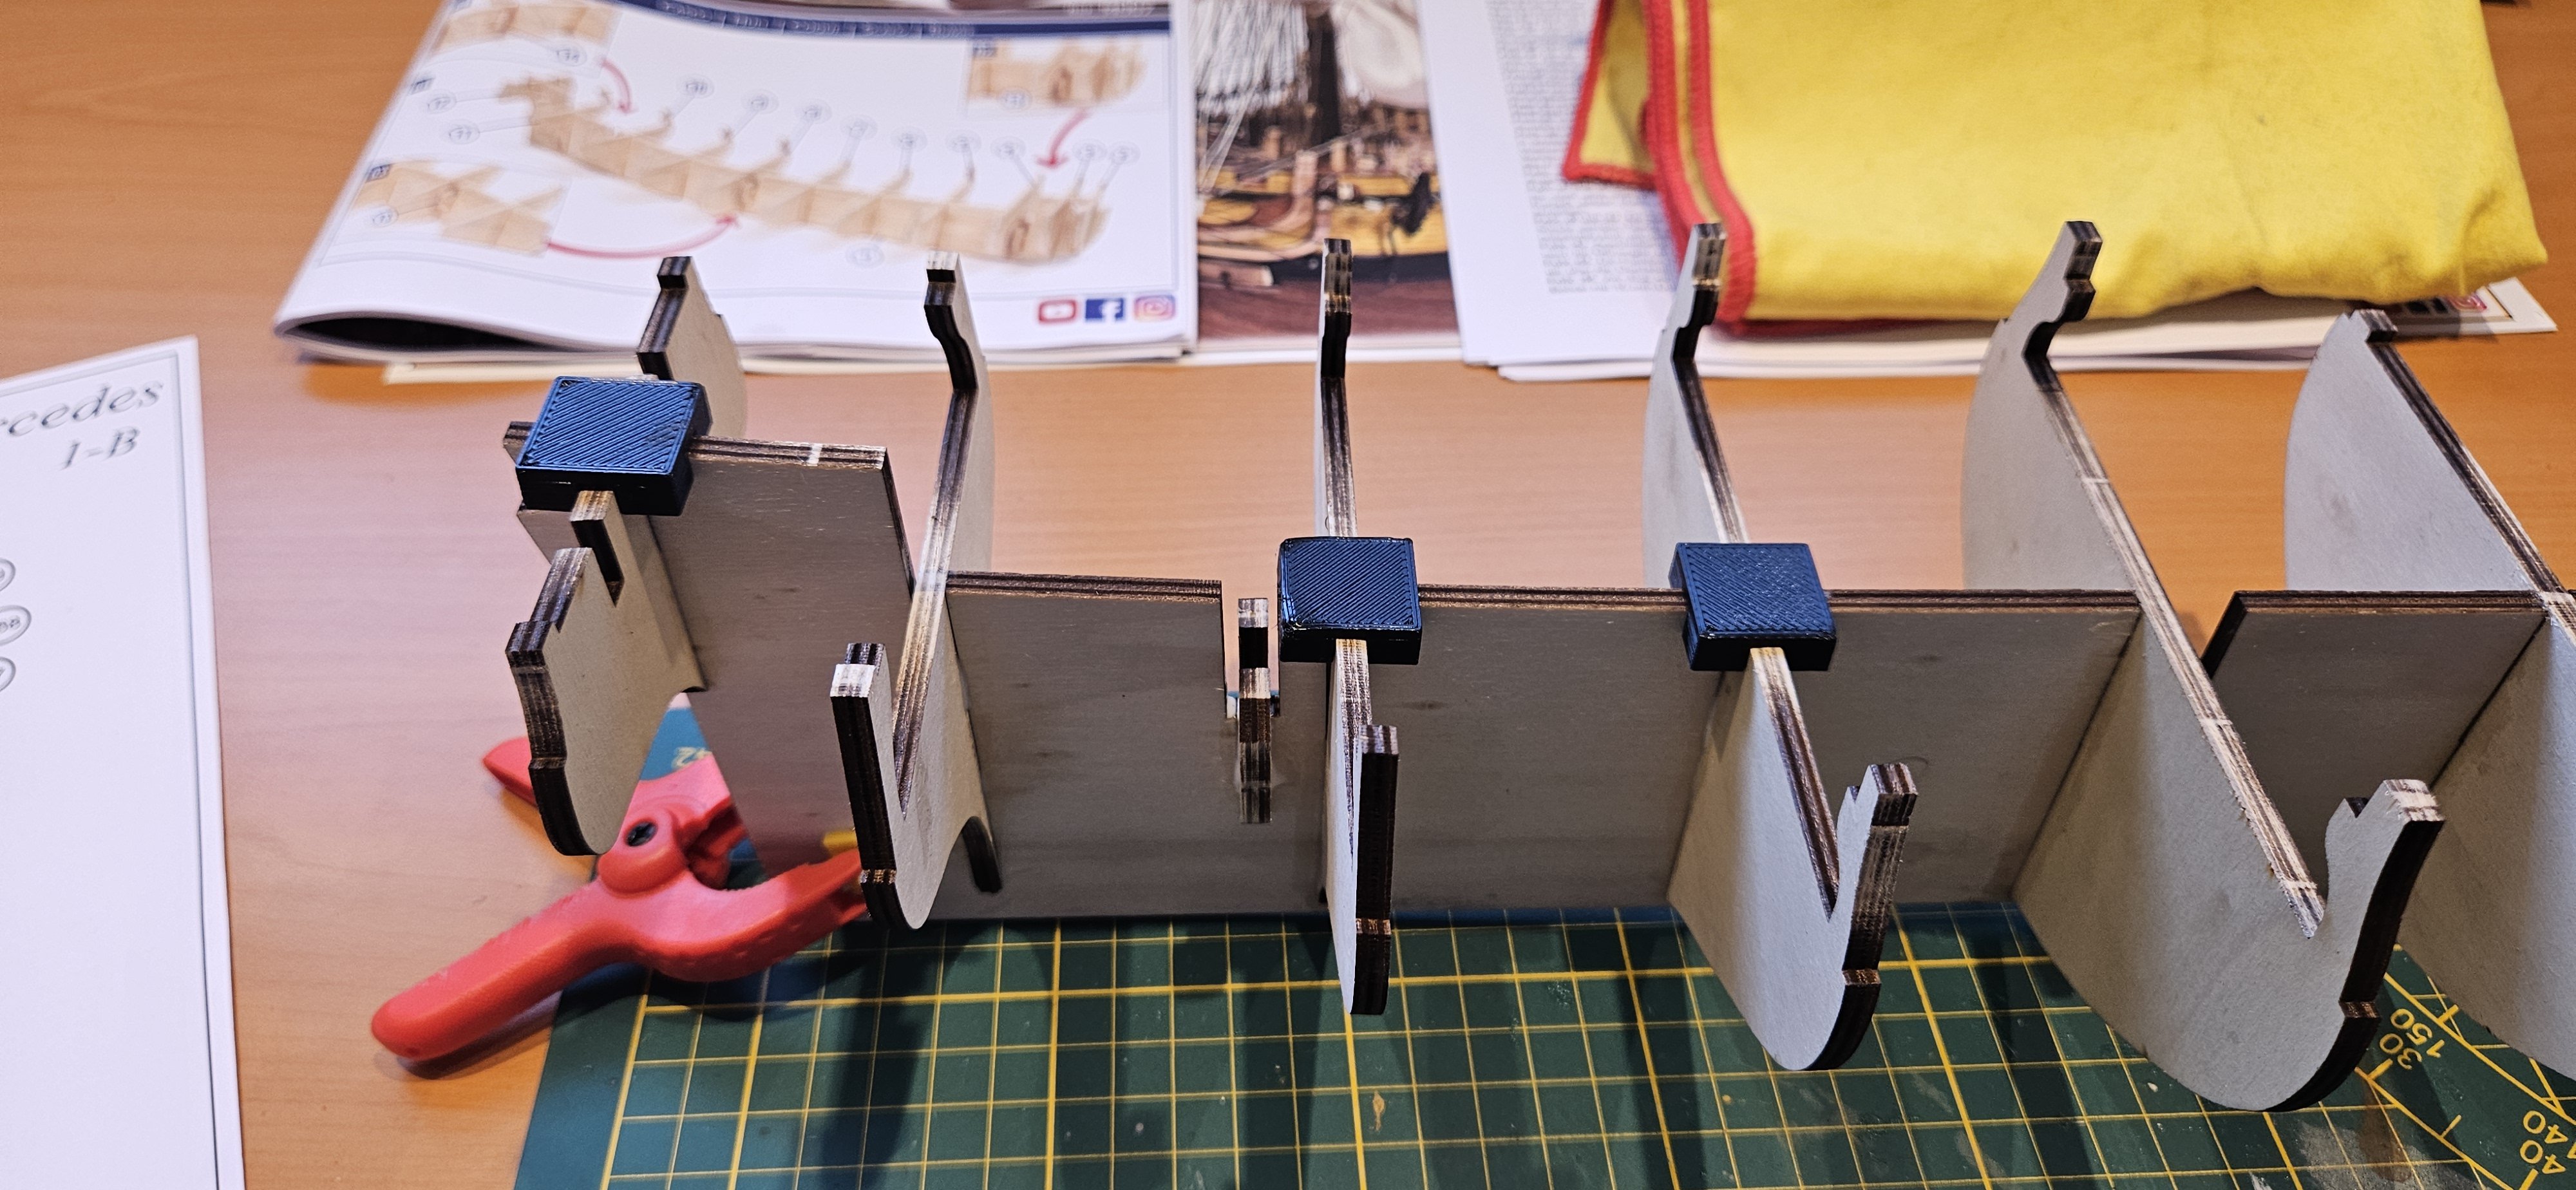
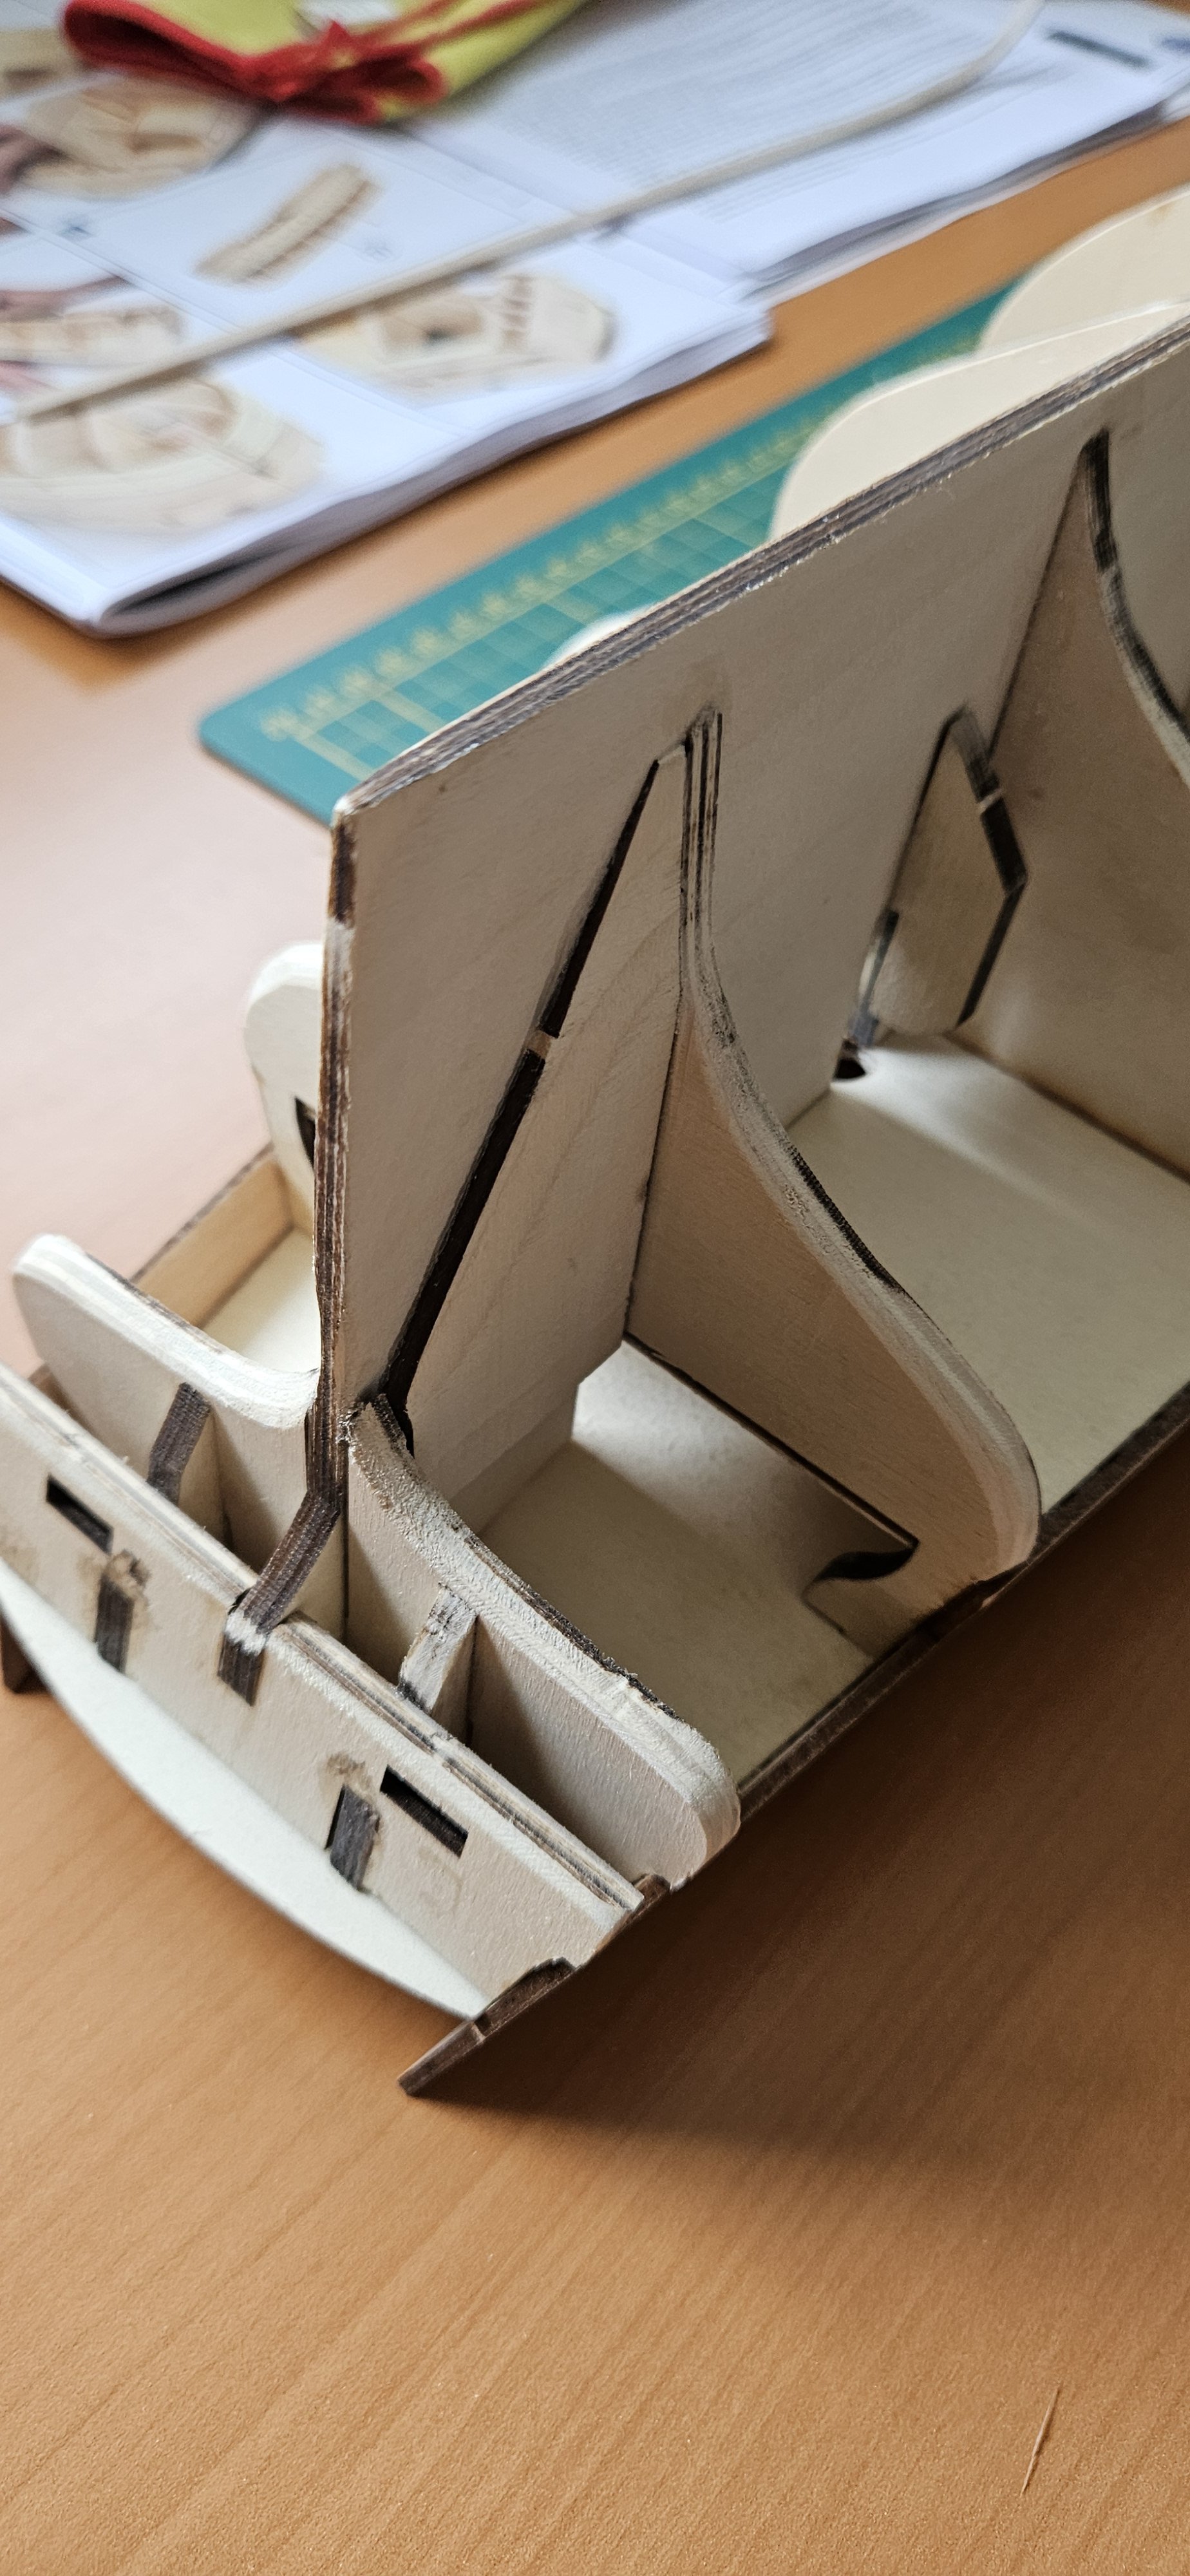
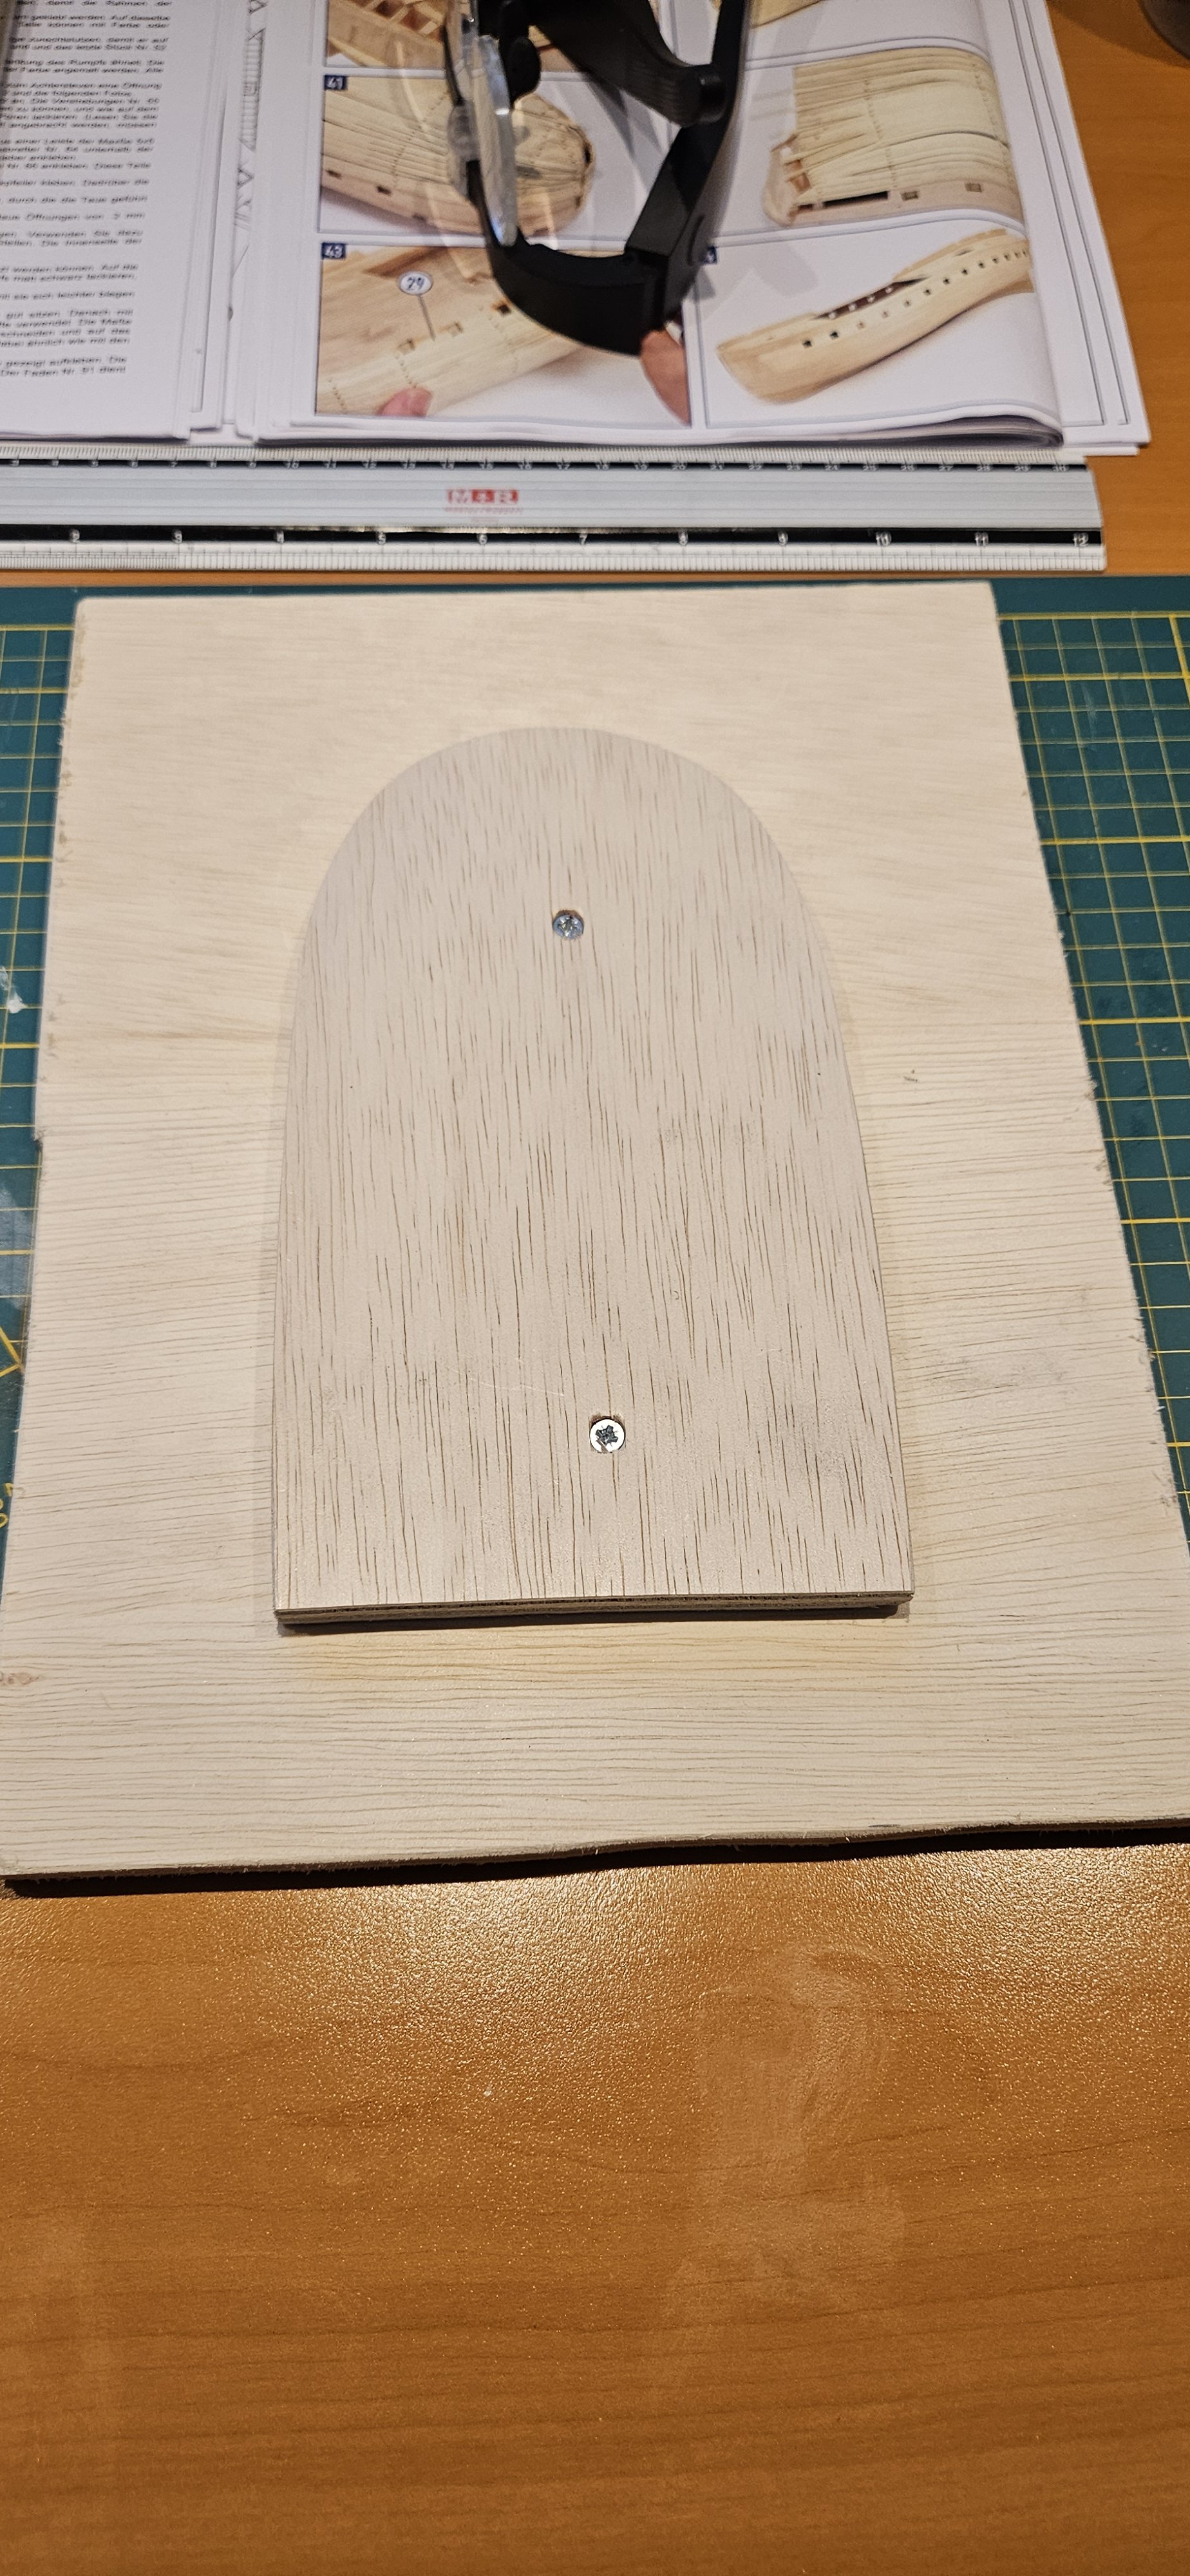
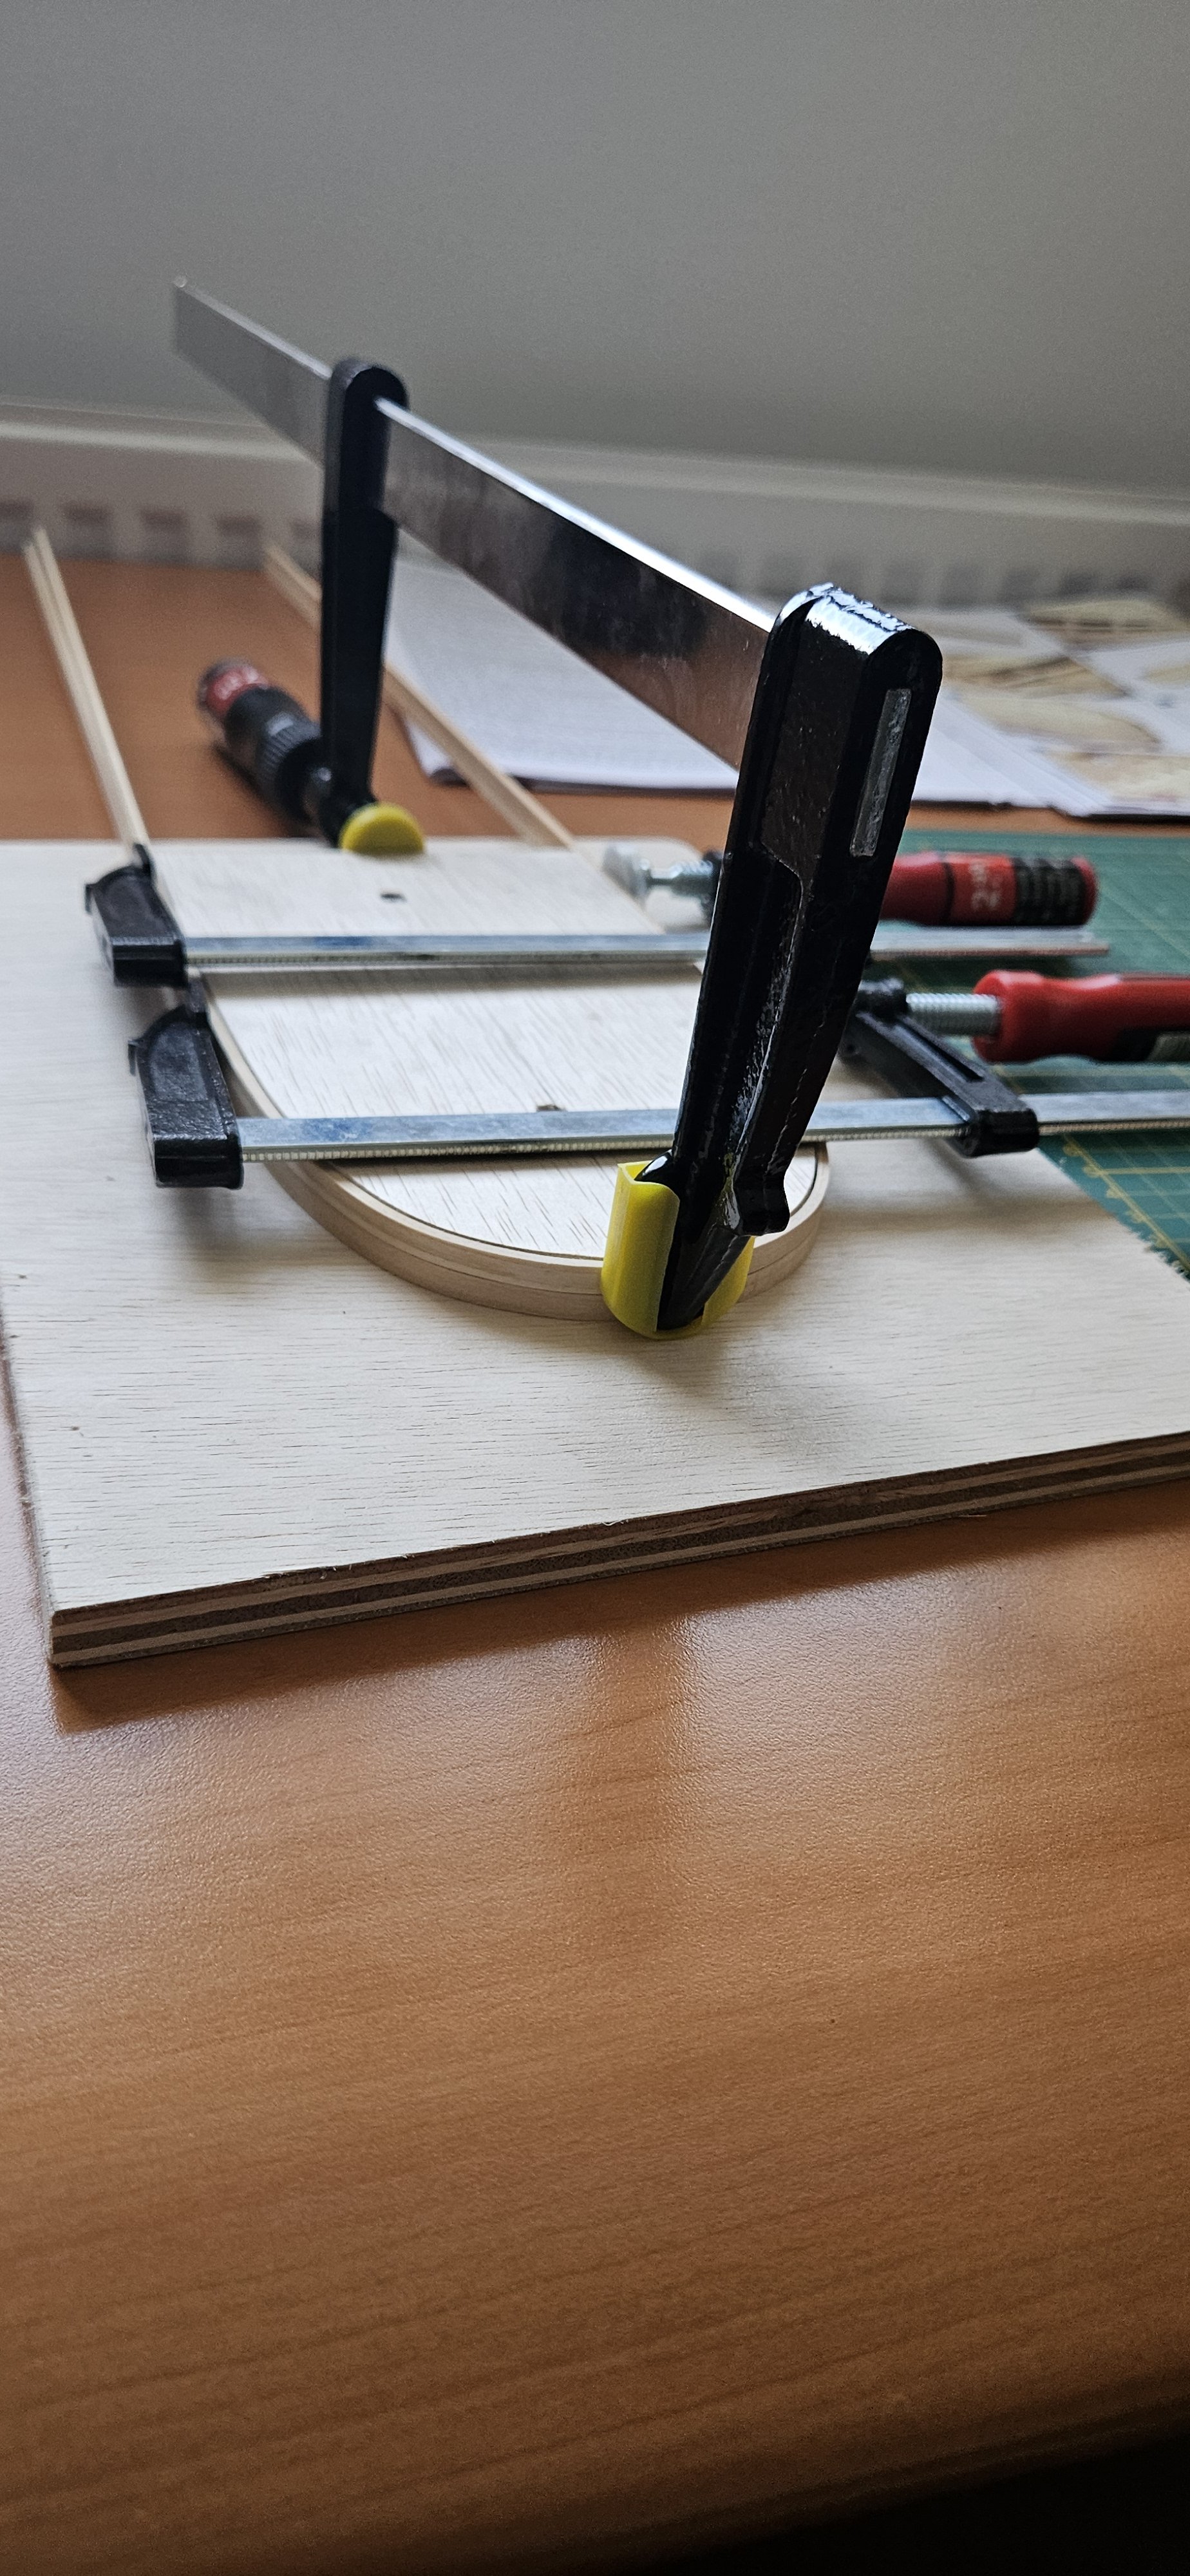
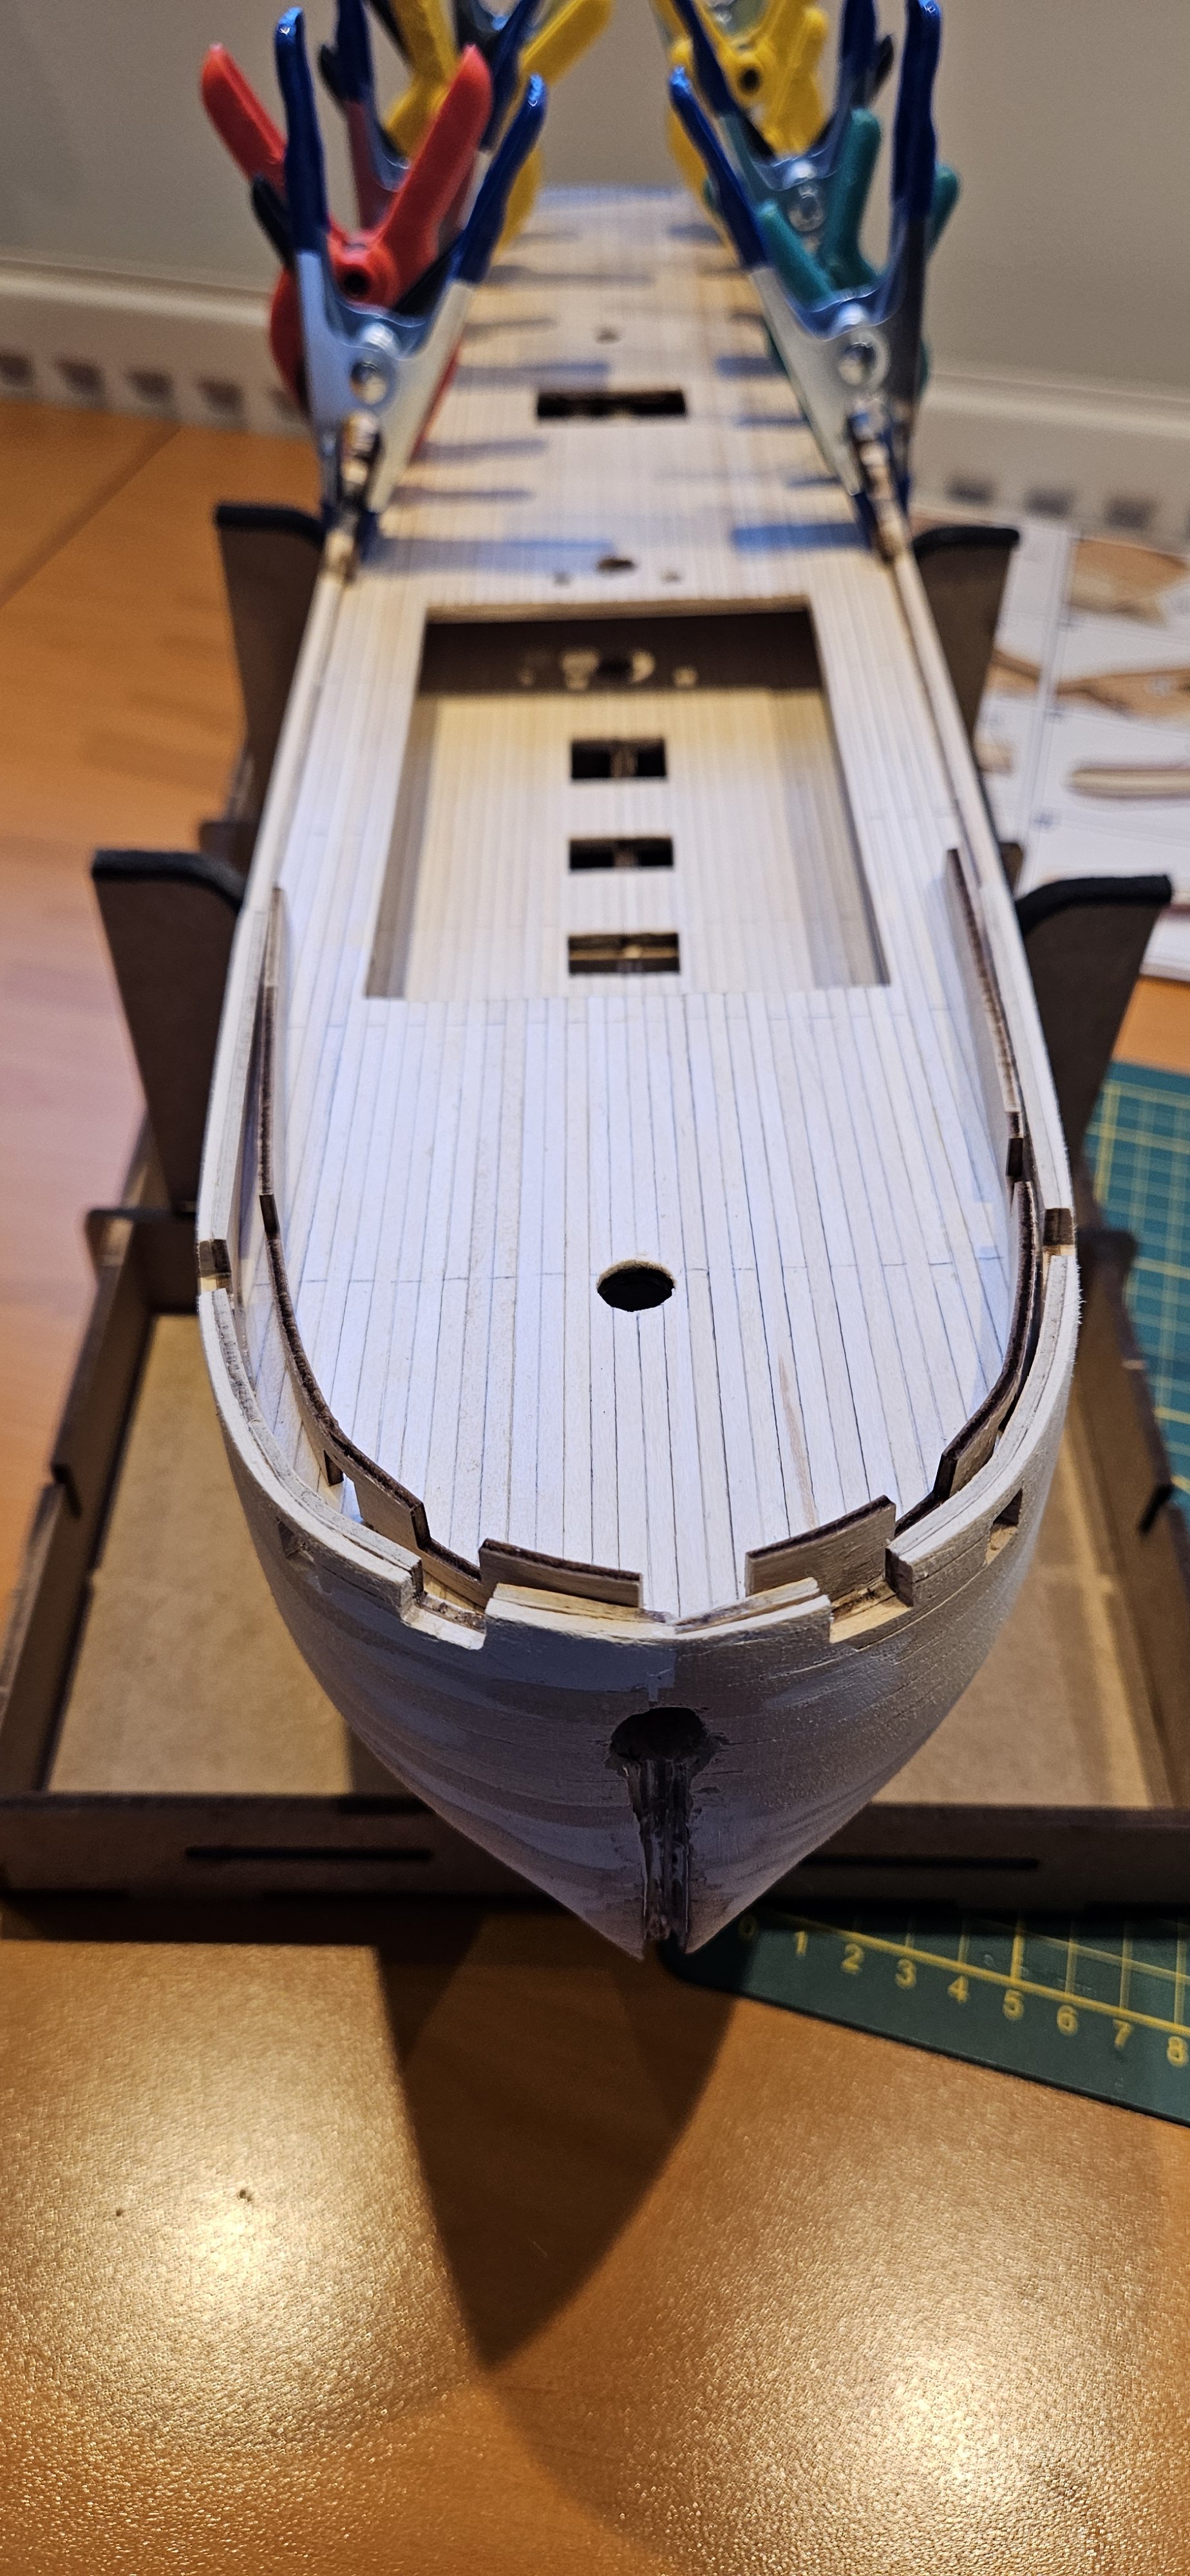
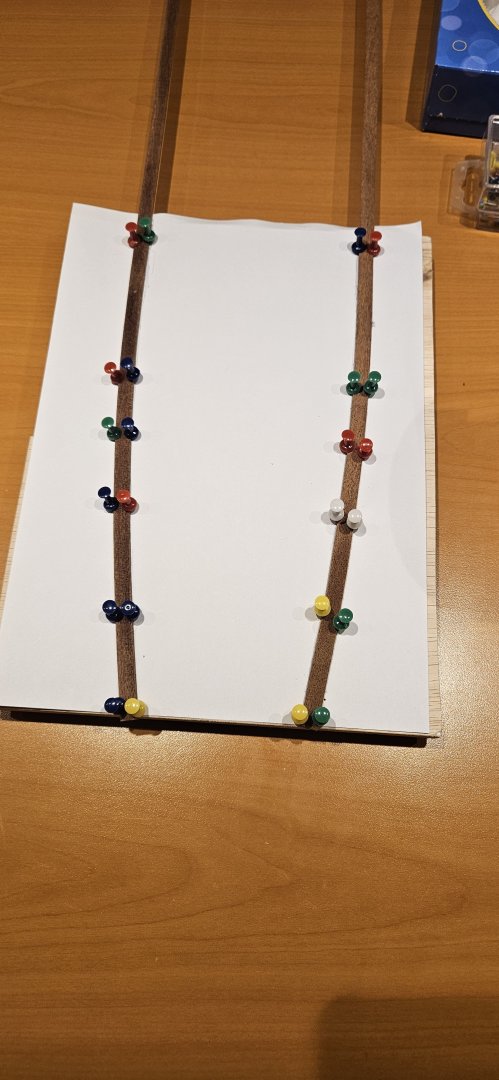
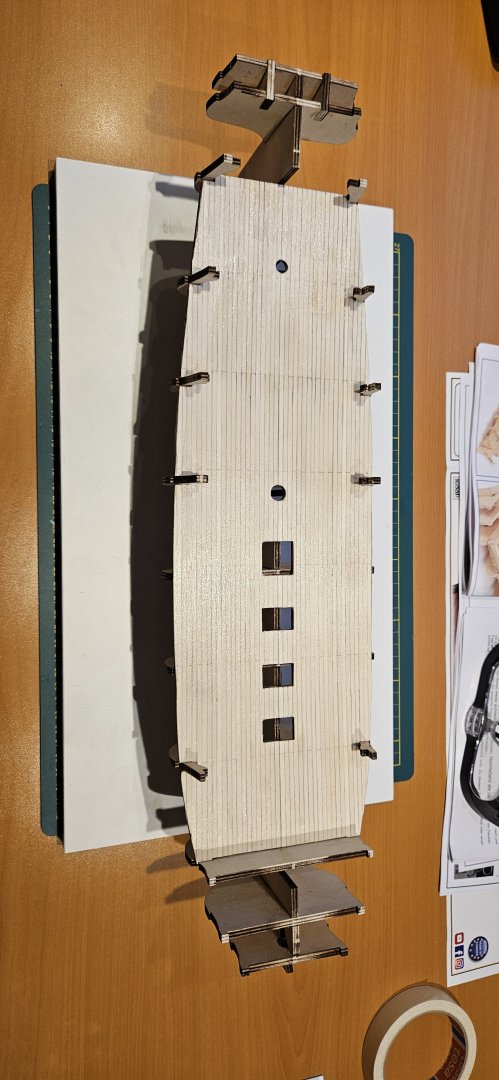
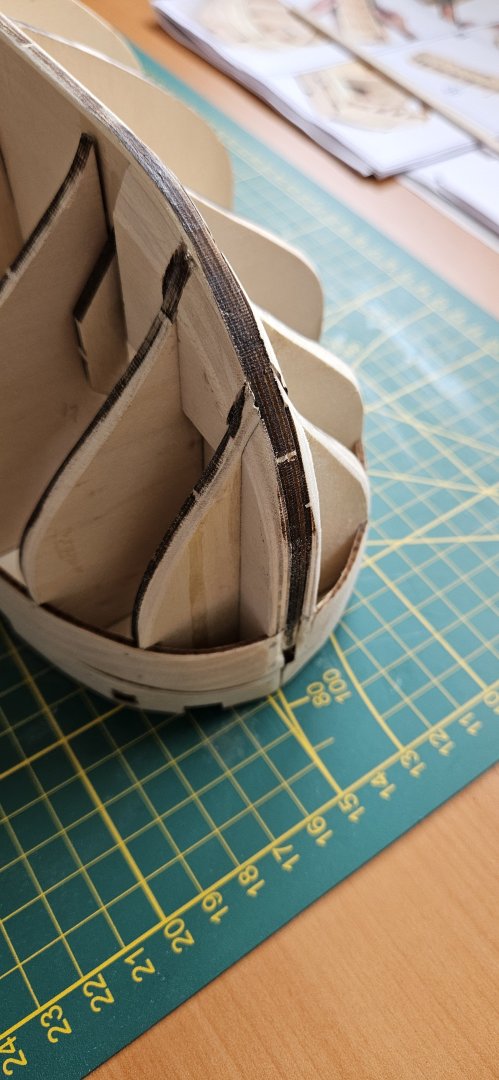
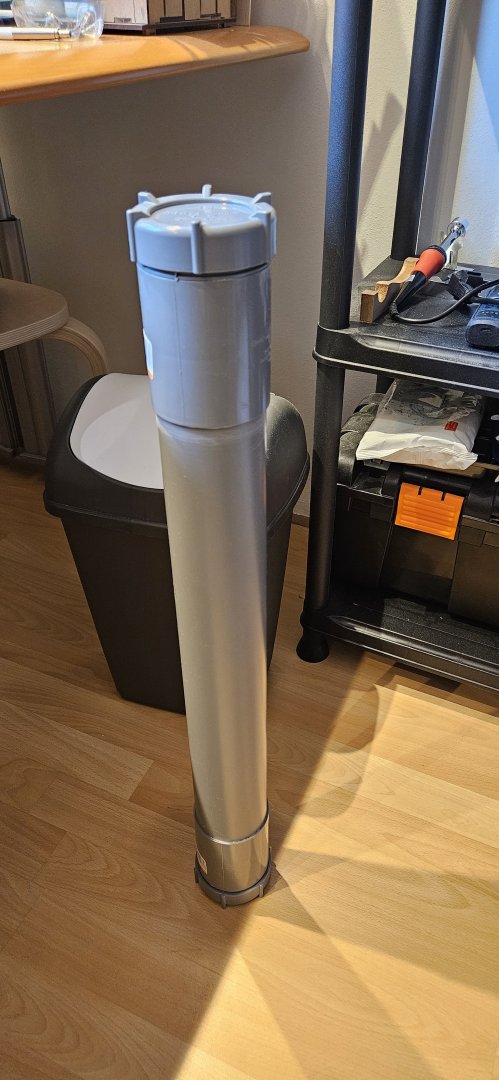
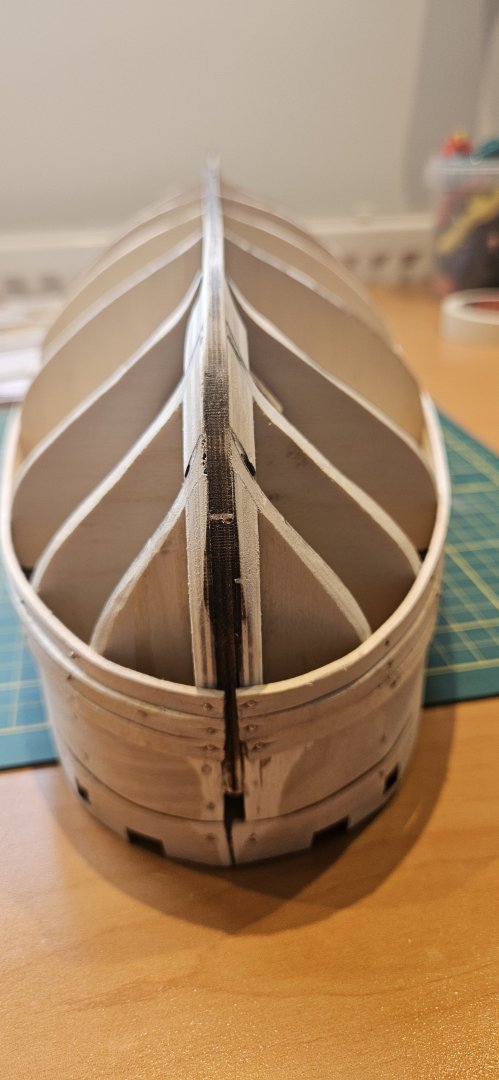
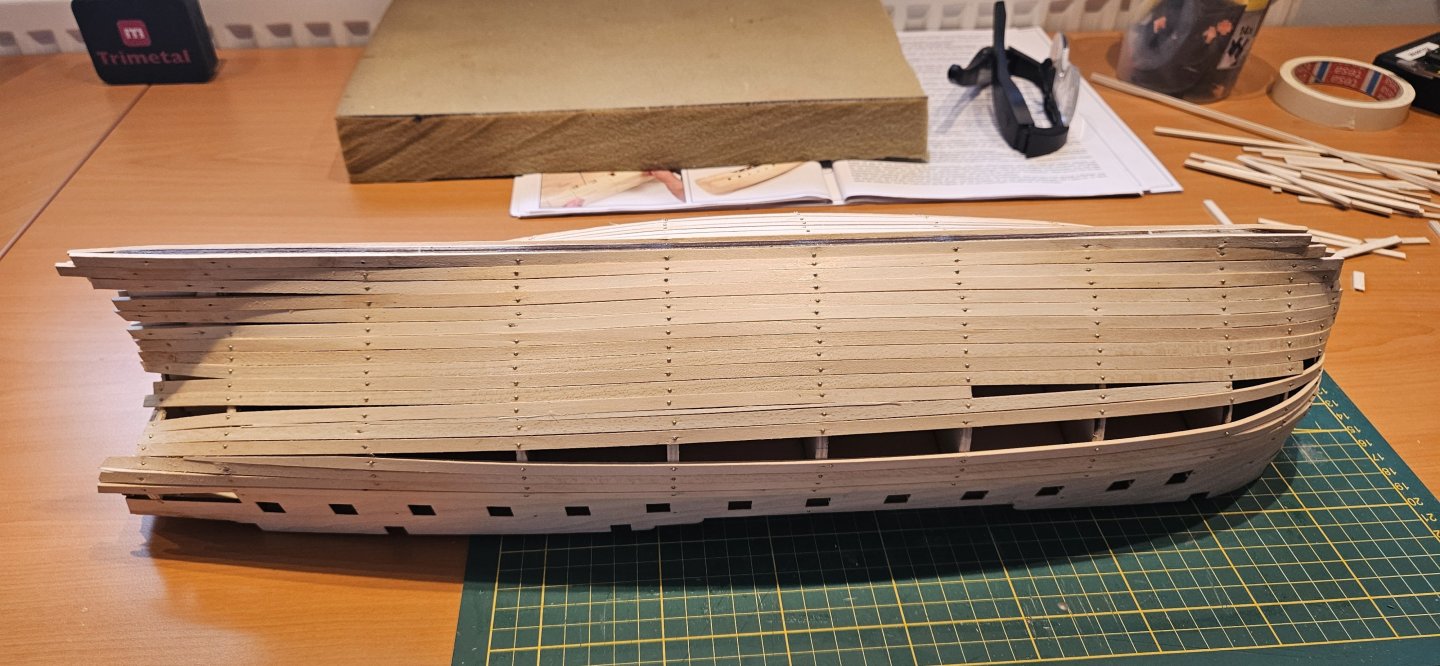
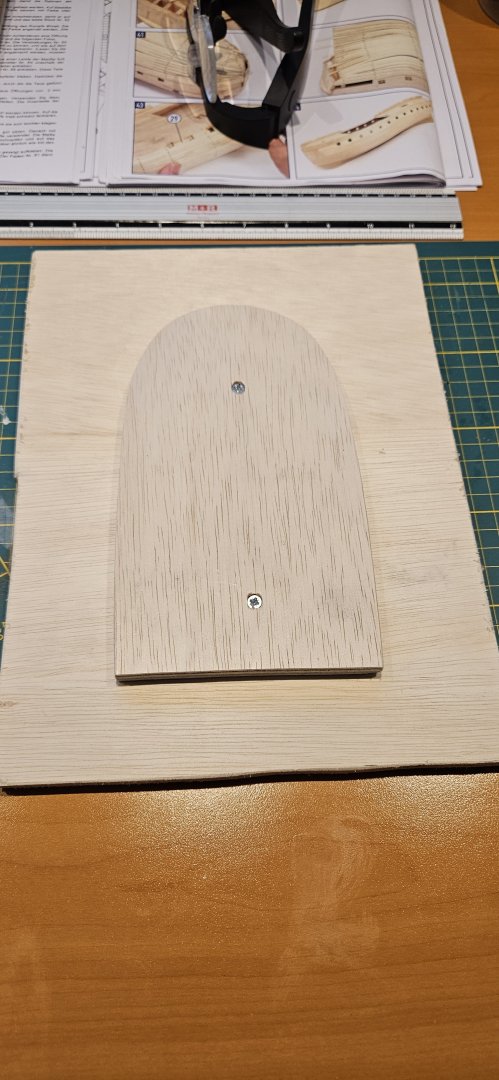
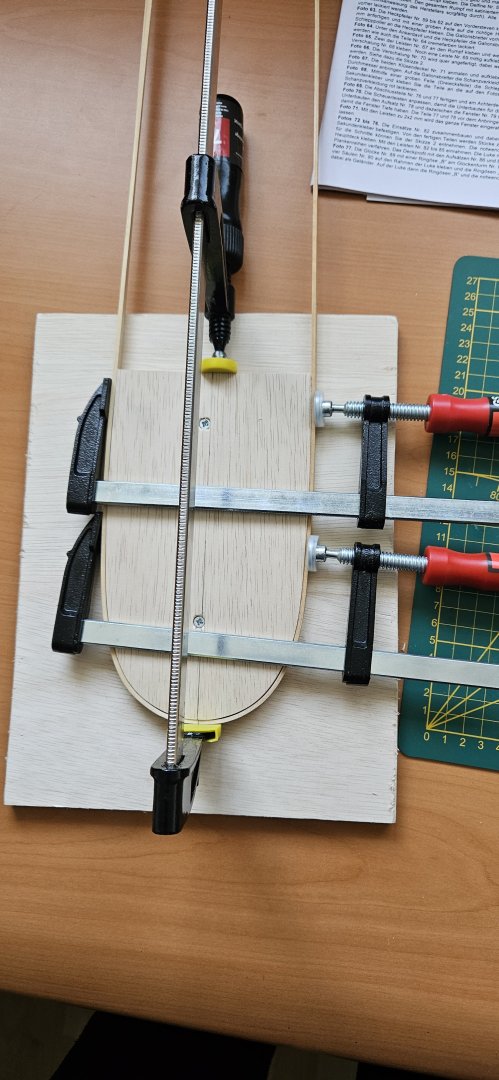
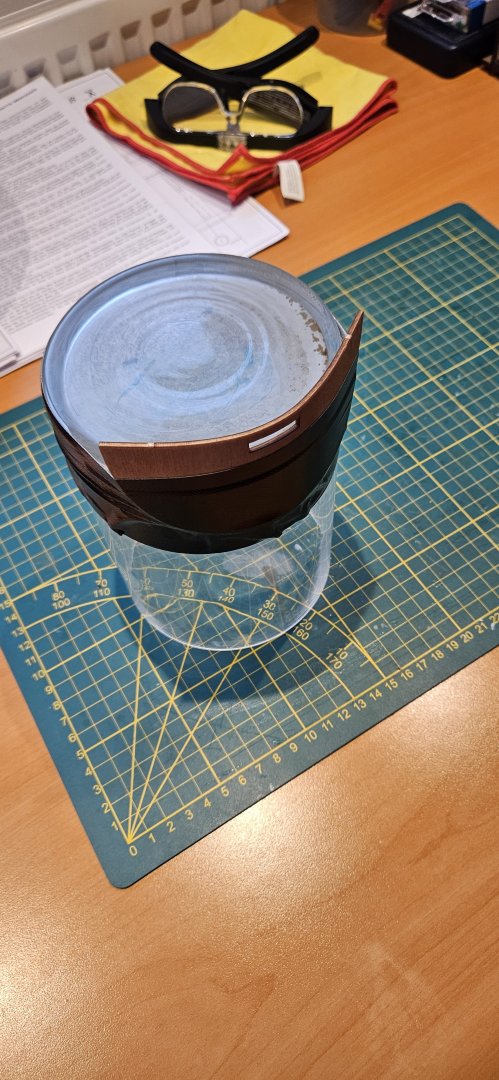
Hello Everyone, Started my second build, the Mercedes from Occre. I always try to picture every step, but this time i didn't think about it all of the time. The instructions from Occre are a bit minimum compared to the Polaris which i have build first. Thank god there is internet and a site like this one 🙂. It is so good to have experienced builders telling there tips and tricks. I did not want to upload to much pictures, because it would take to much space on the servers. Up until now everything is standard i think, if someone is going to build this kit, please take 30 minute to make yourself a jig like i did to bend the planks and at a later stage the inside of the deck boarding. An absolute lifesaver. The plastic tubing is my plank soaker. As i will progress, i will upload more photo's so other people can check what i am doing wrong and prevent them from making the same mistakes.


-
Thank you for sharing the photo's. I am building this as a second kit as well 🙂 Just started the build, so it great to see some examples on how it can be build.