
halvoric
-
Posts
84 -
Joined
-
Last visited
Content Type
Profiles
Forums
Gallery
Events
Everything posted by halvoric
-
Thank you Tim! High praise indeed!
-
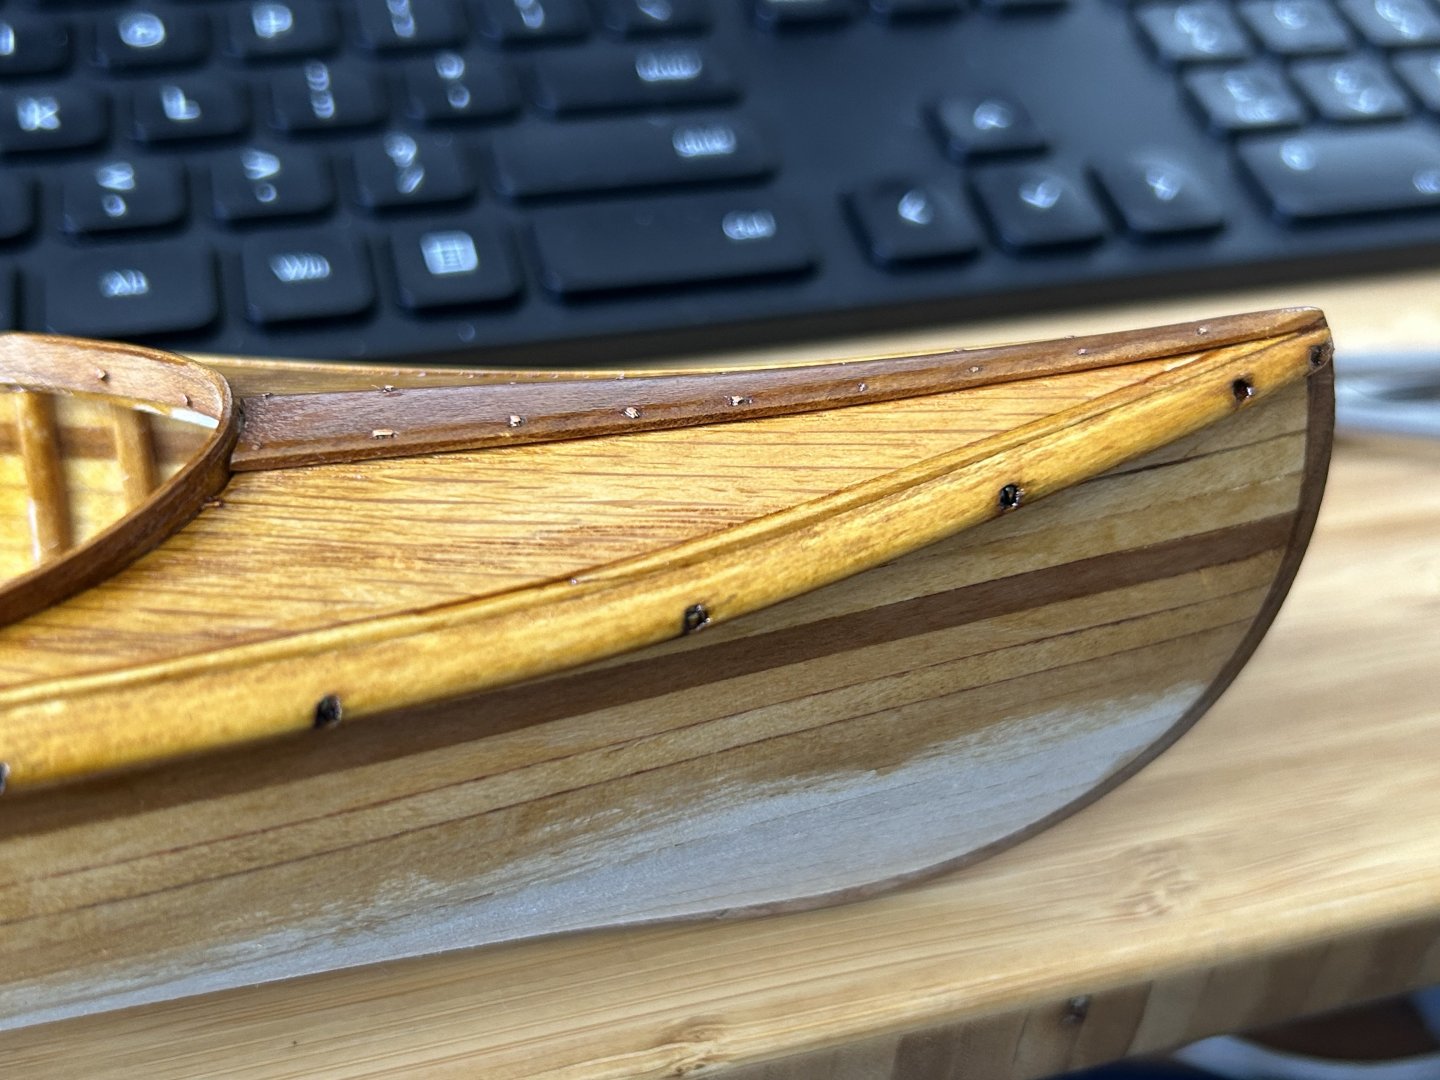
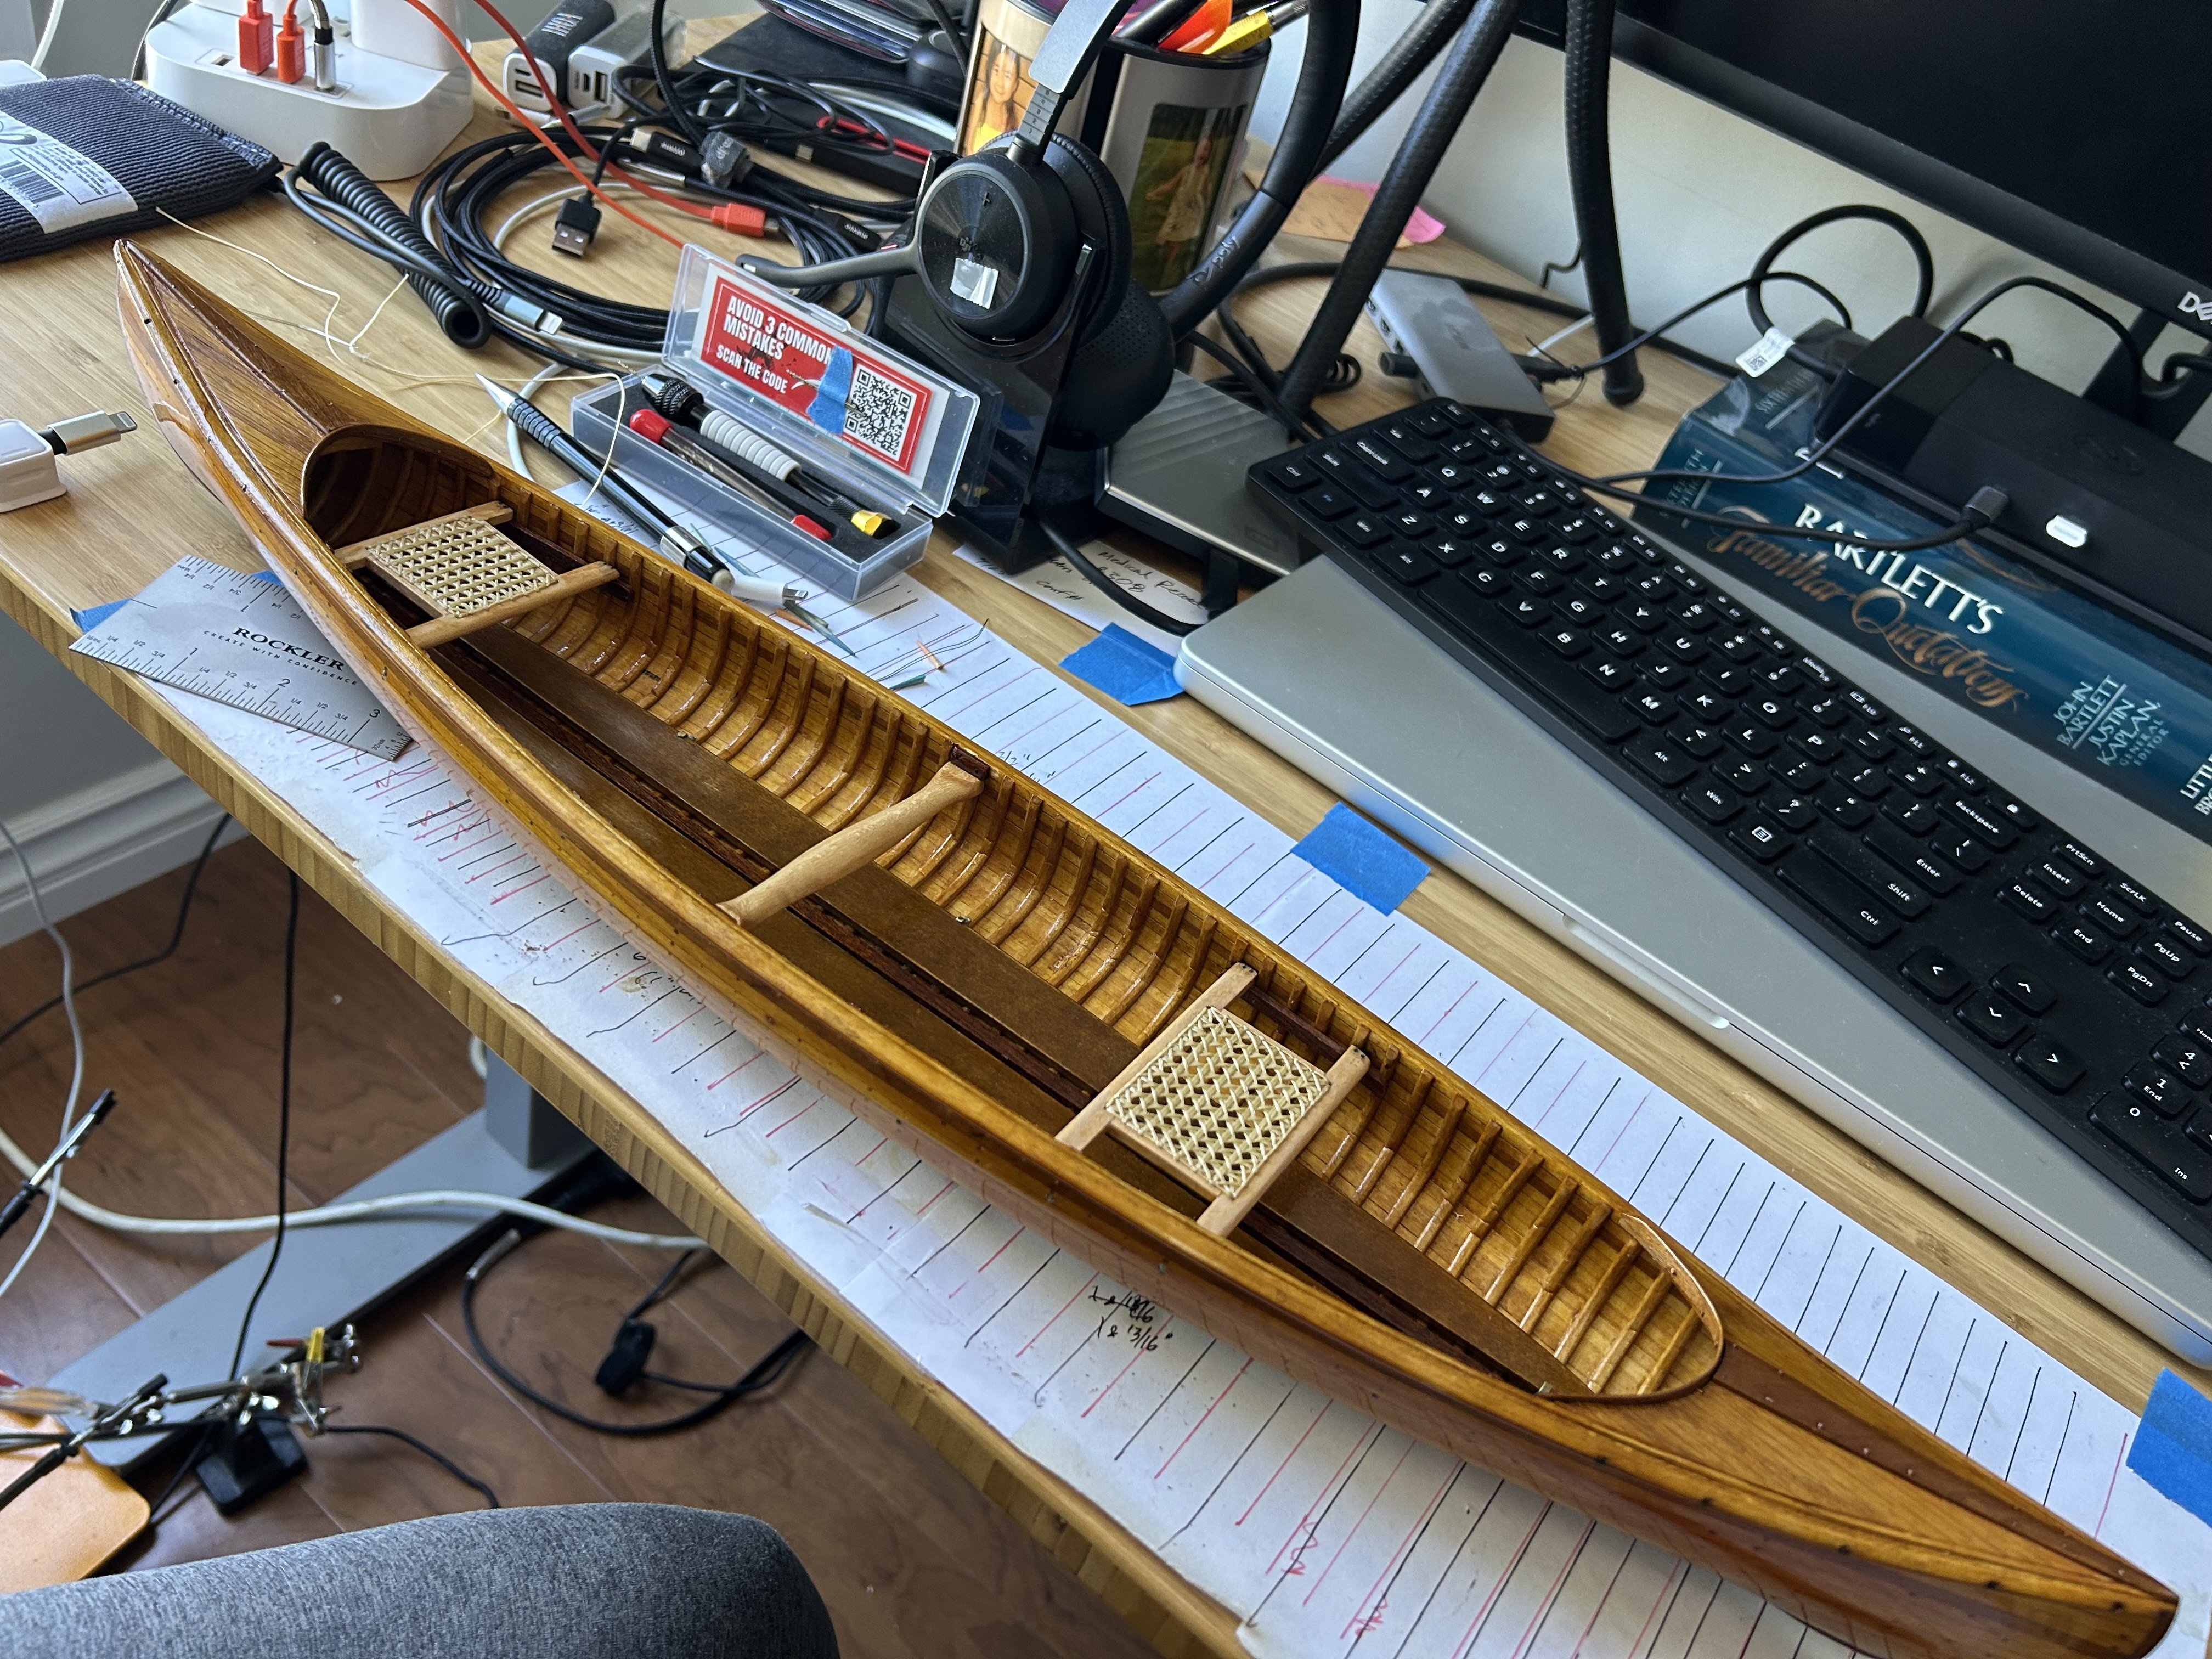
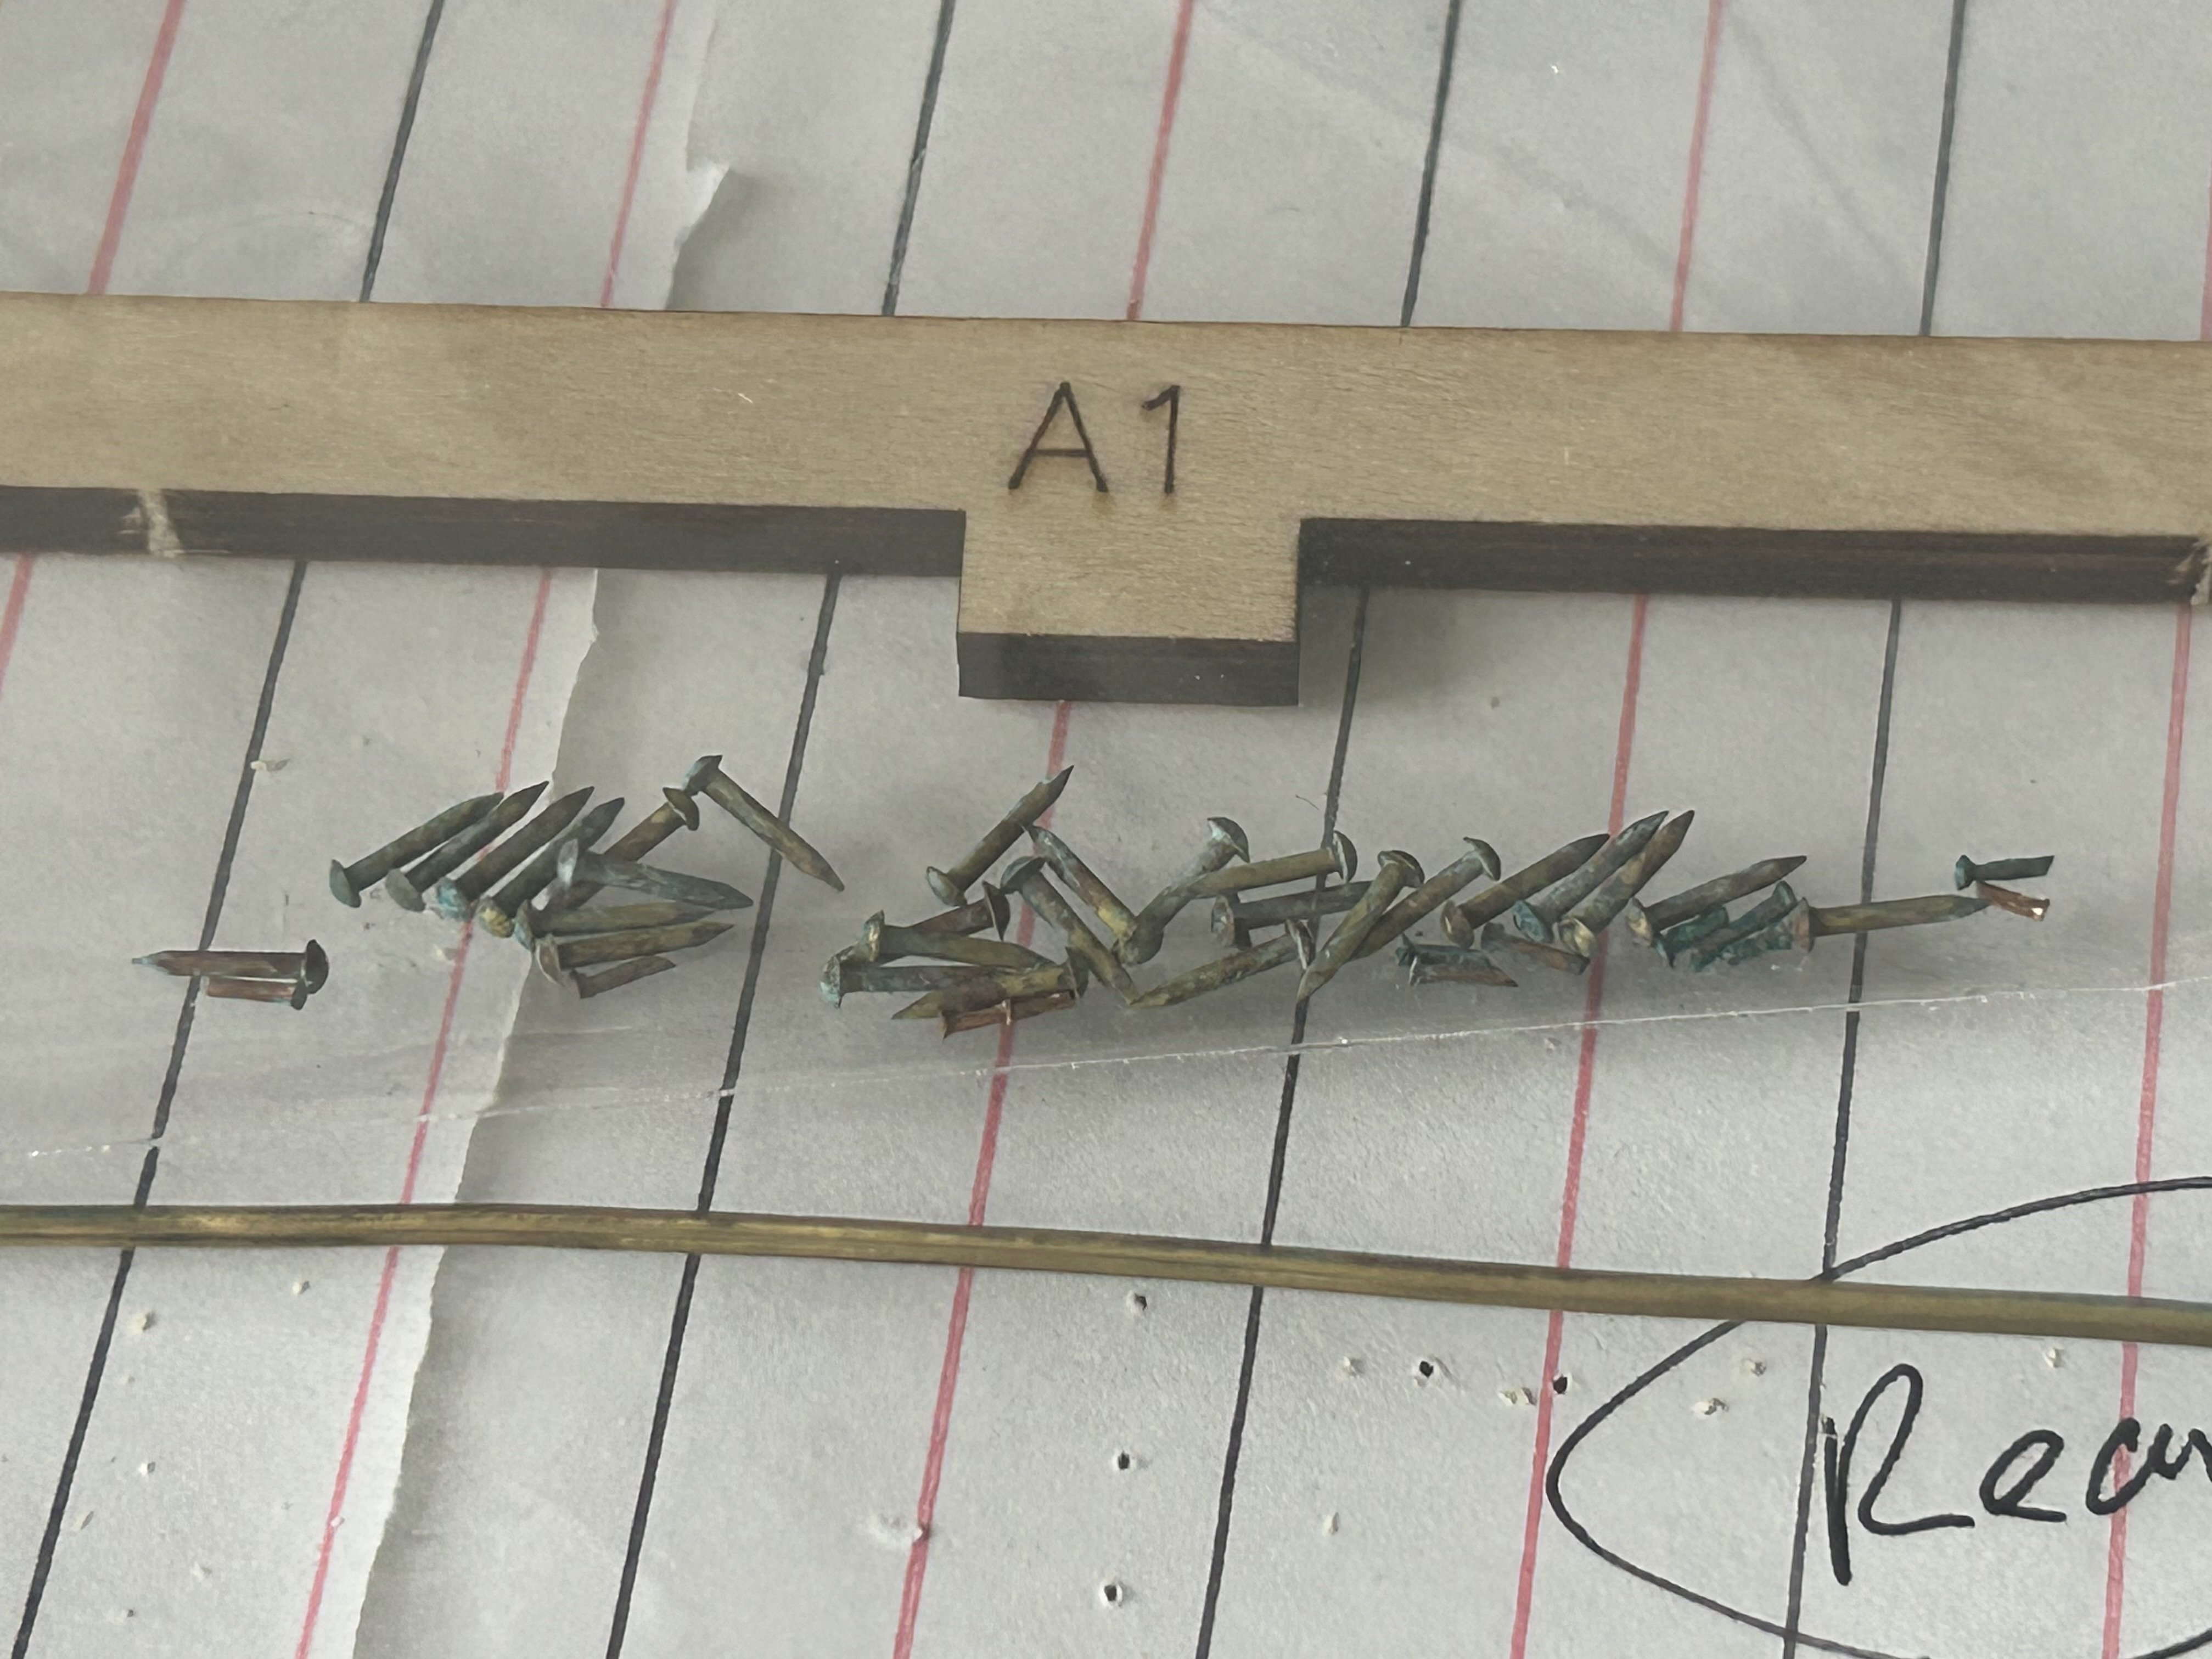
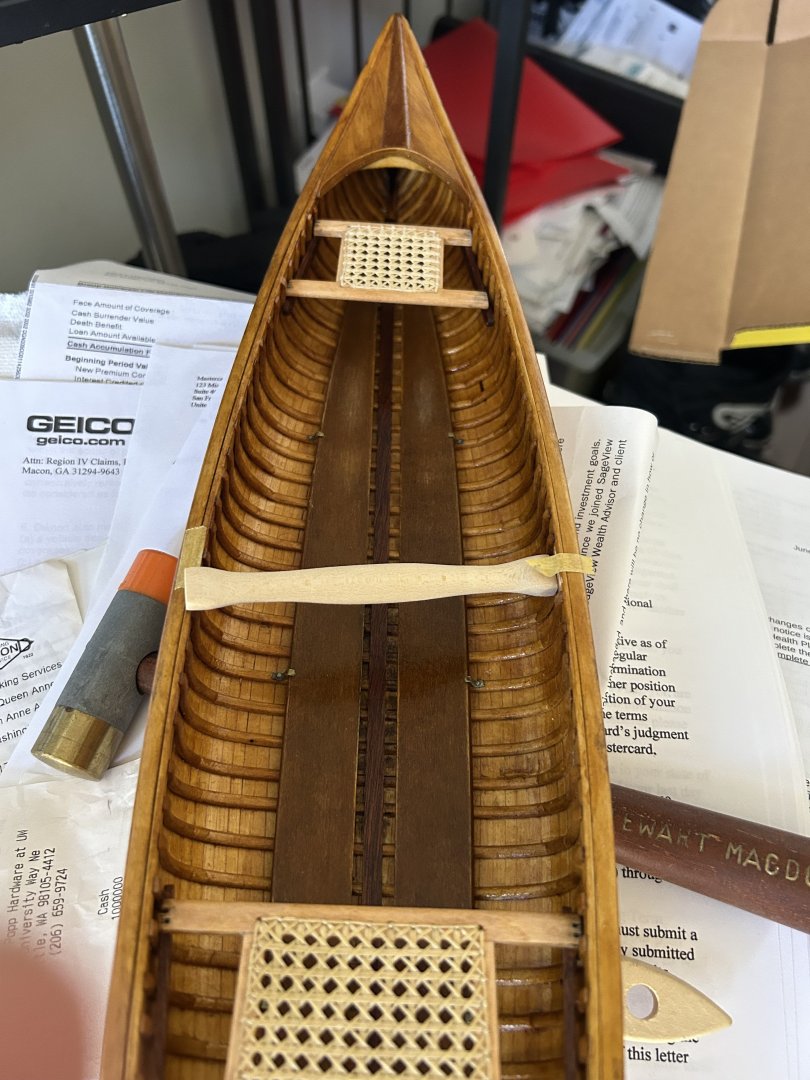
Stern seat and thwart now finished and installed. Now time to drill some tiny screw holes in the 1/16” wide patinaed brass rubbing strip for the stems/keel.


-
Stern seat is complete but for clear lacquer coats. Thwart is carved and still finish sanding.
-
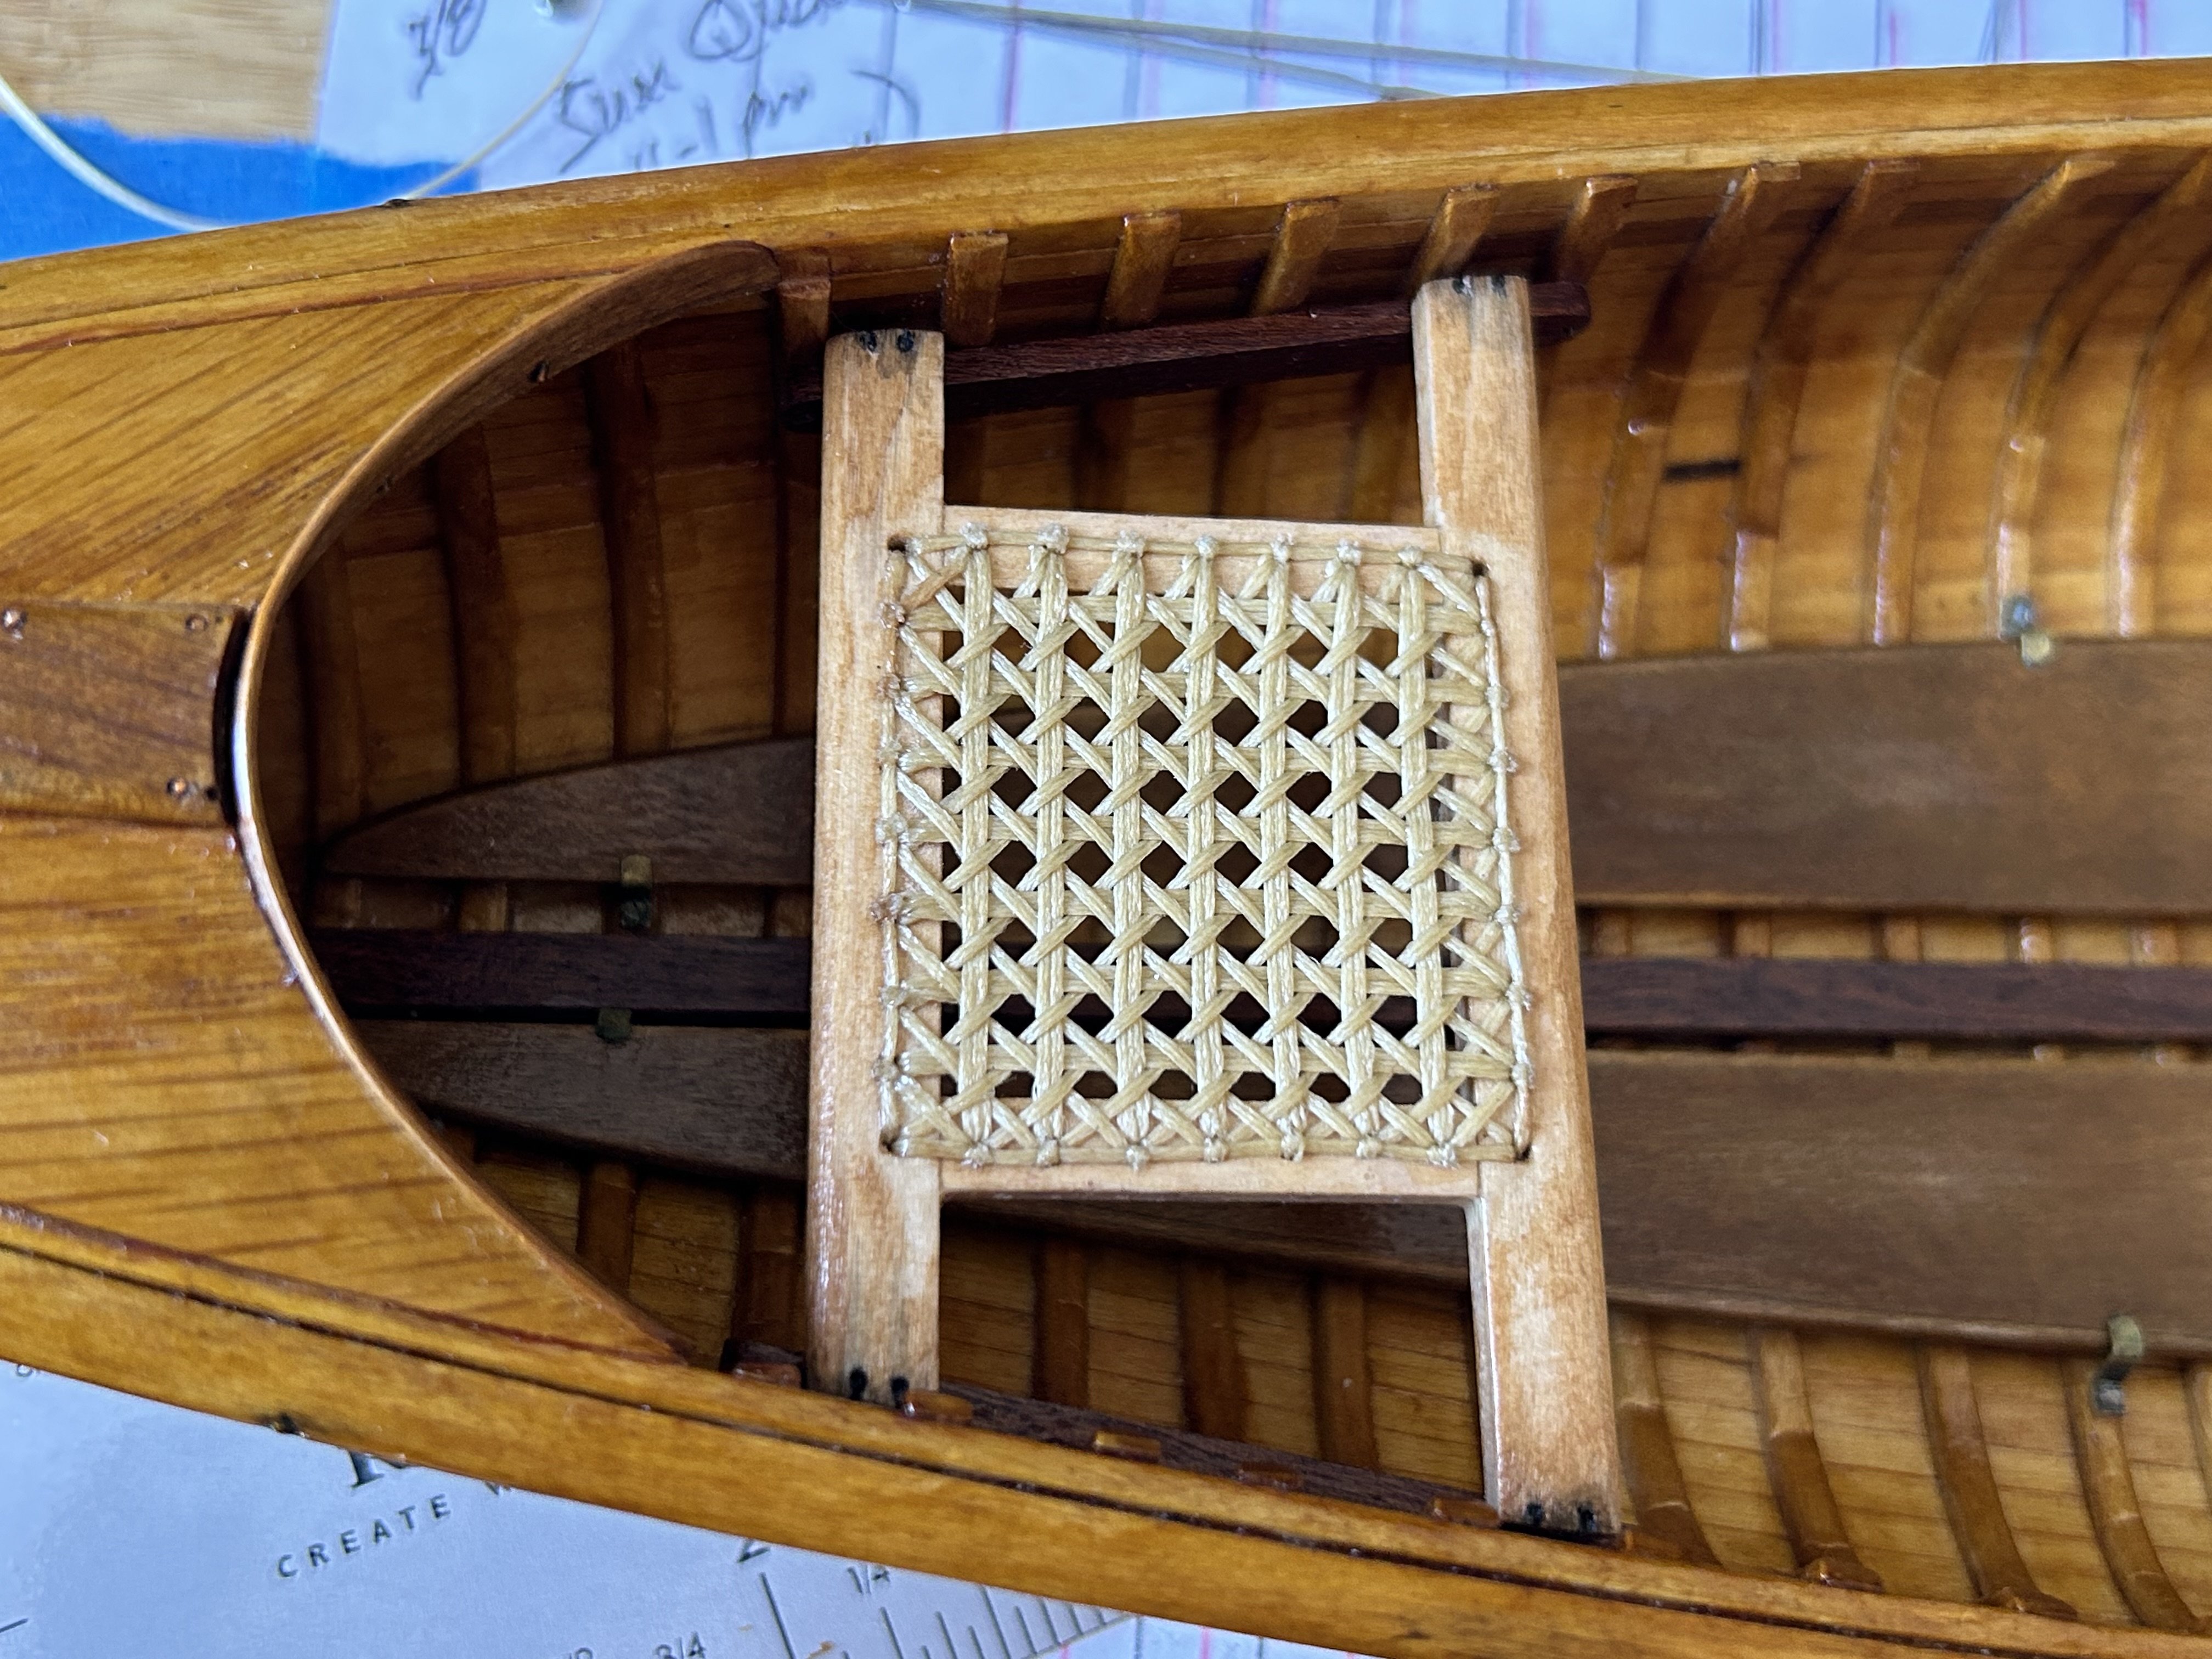
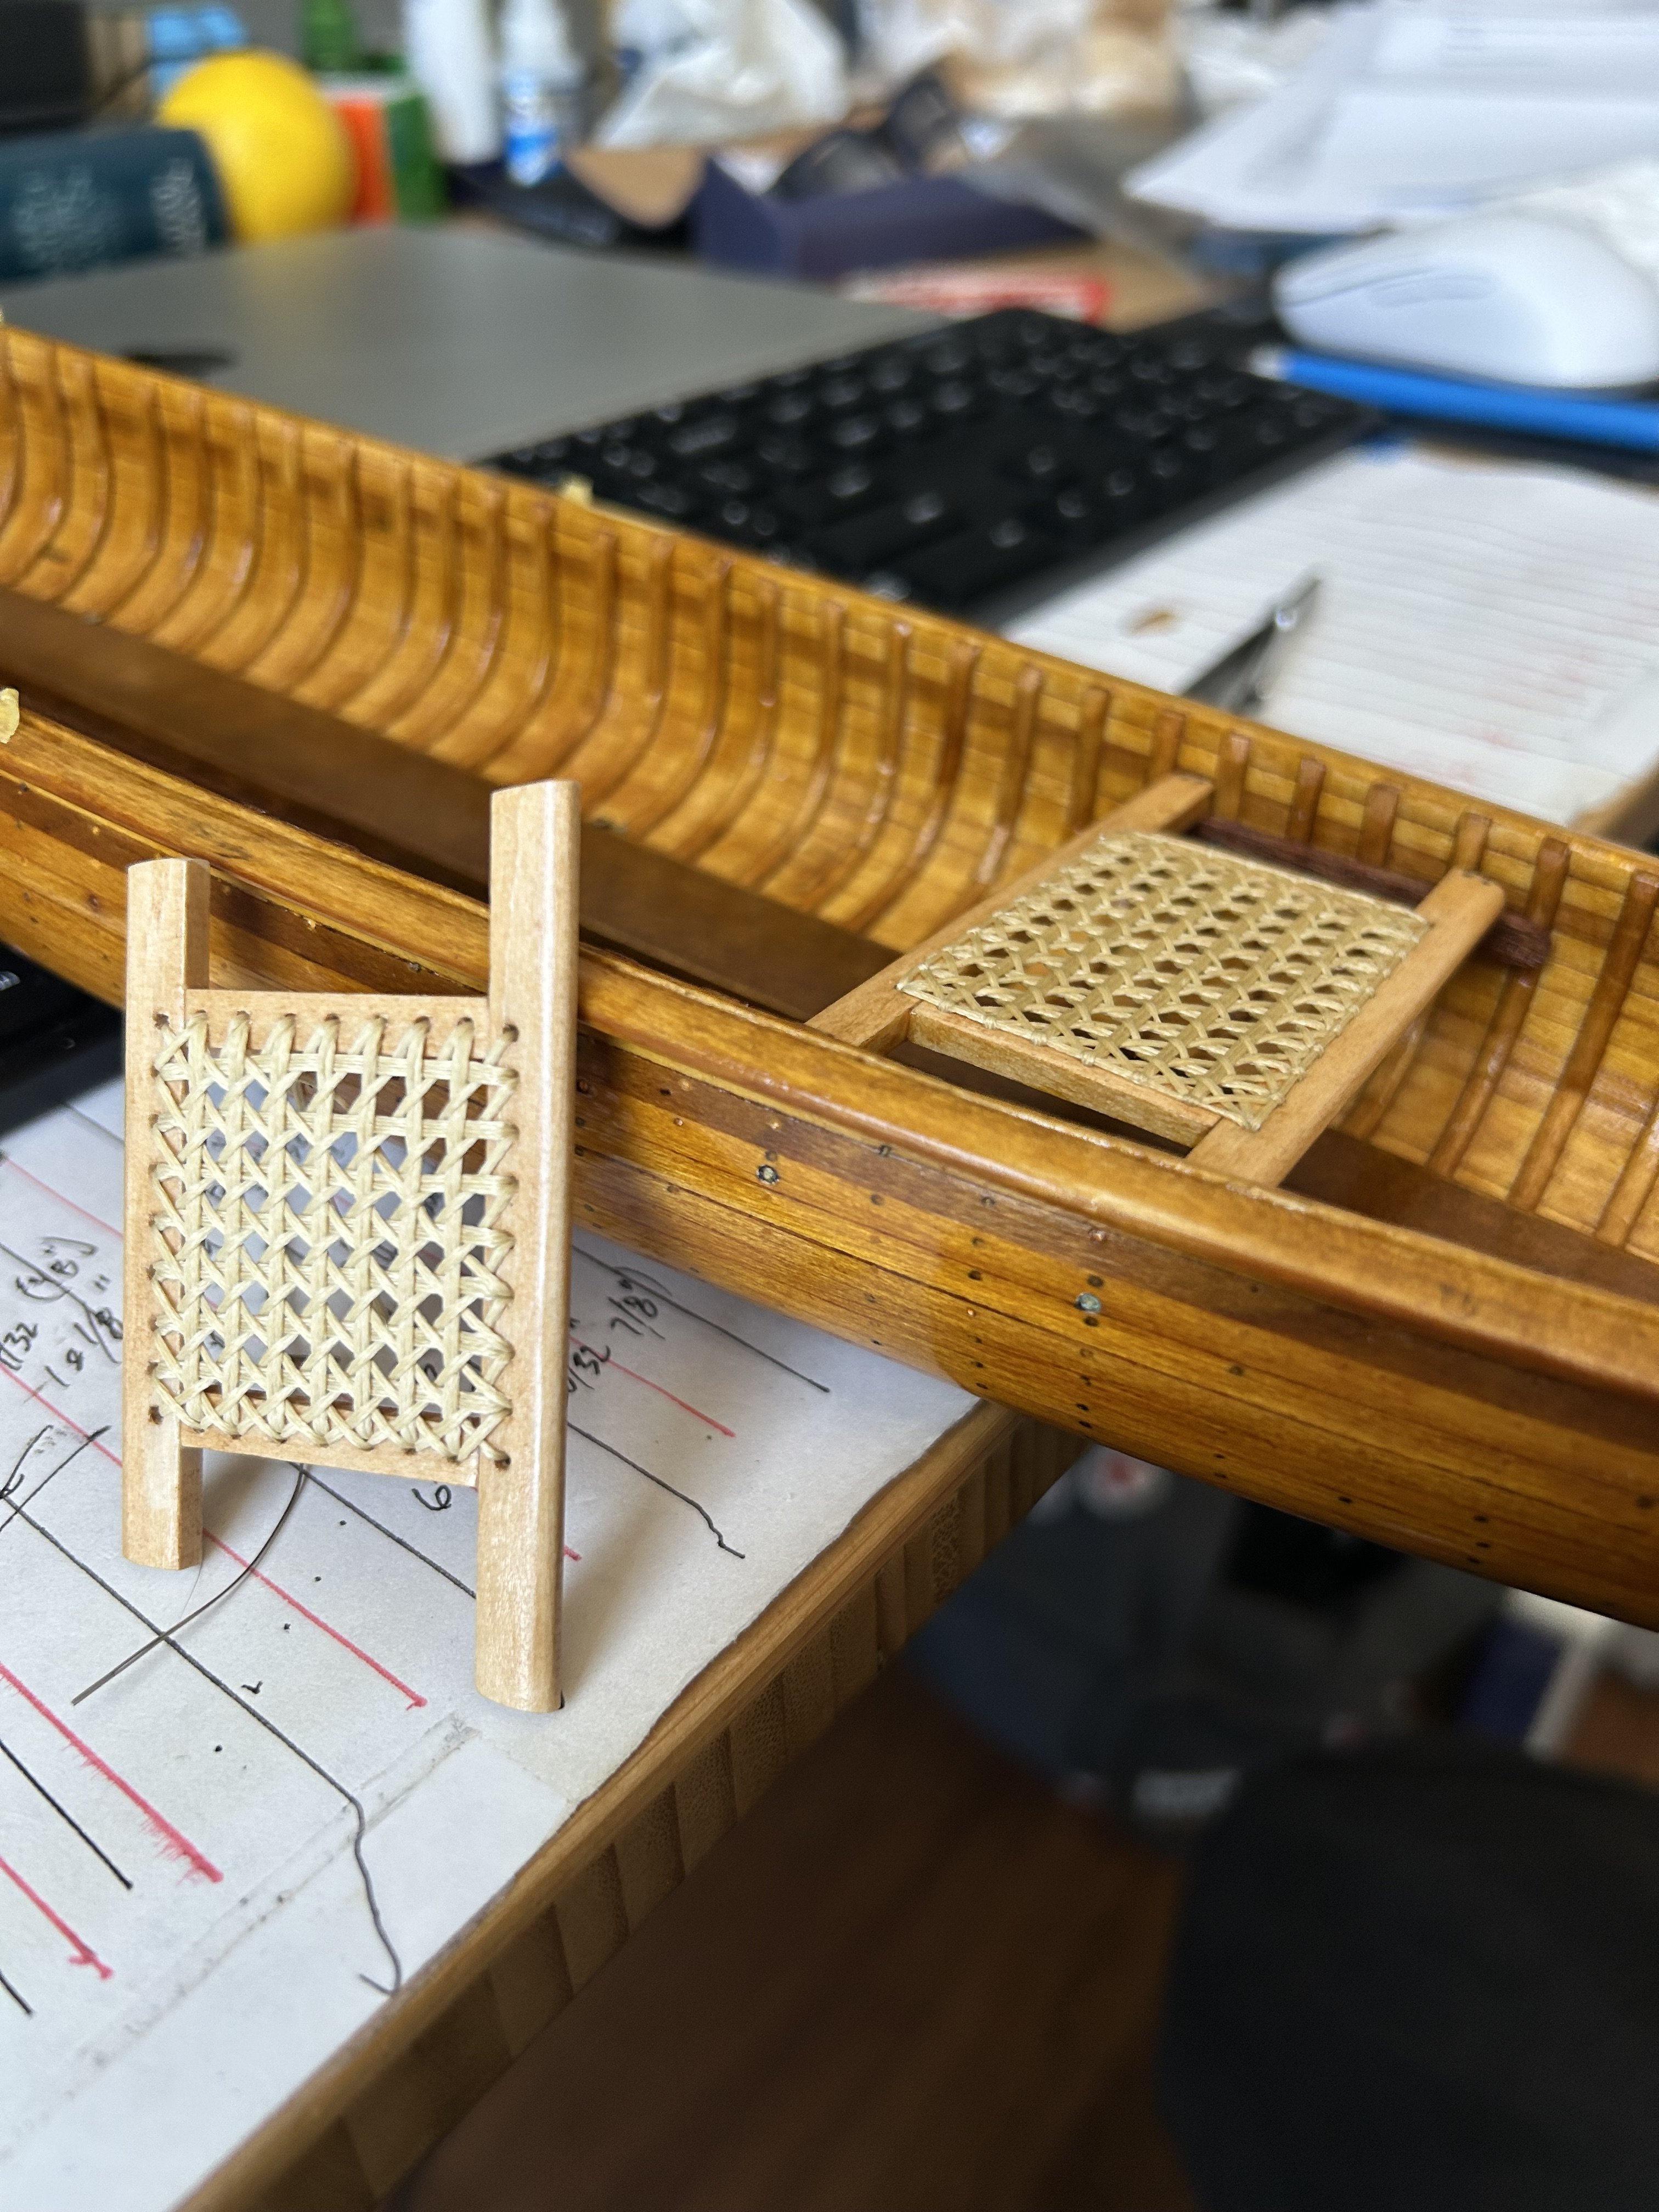
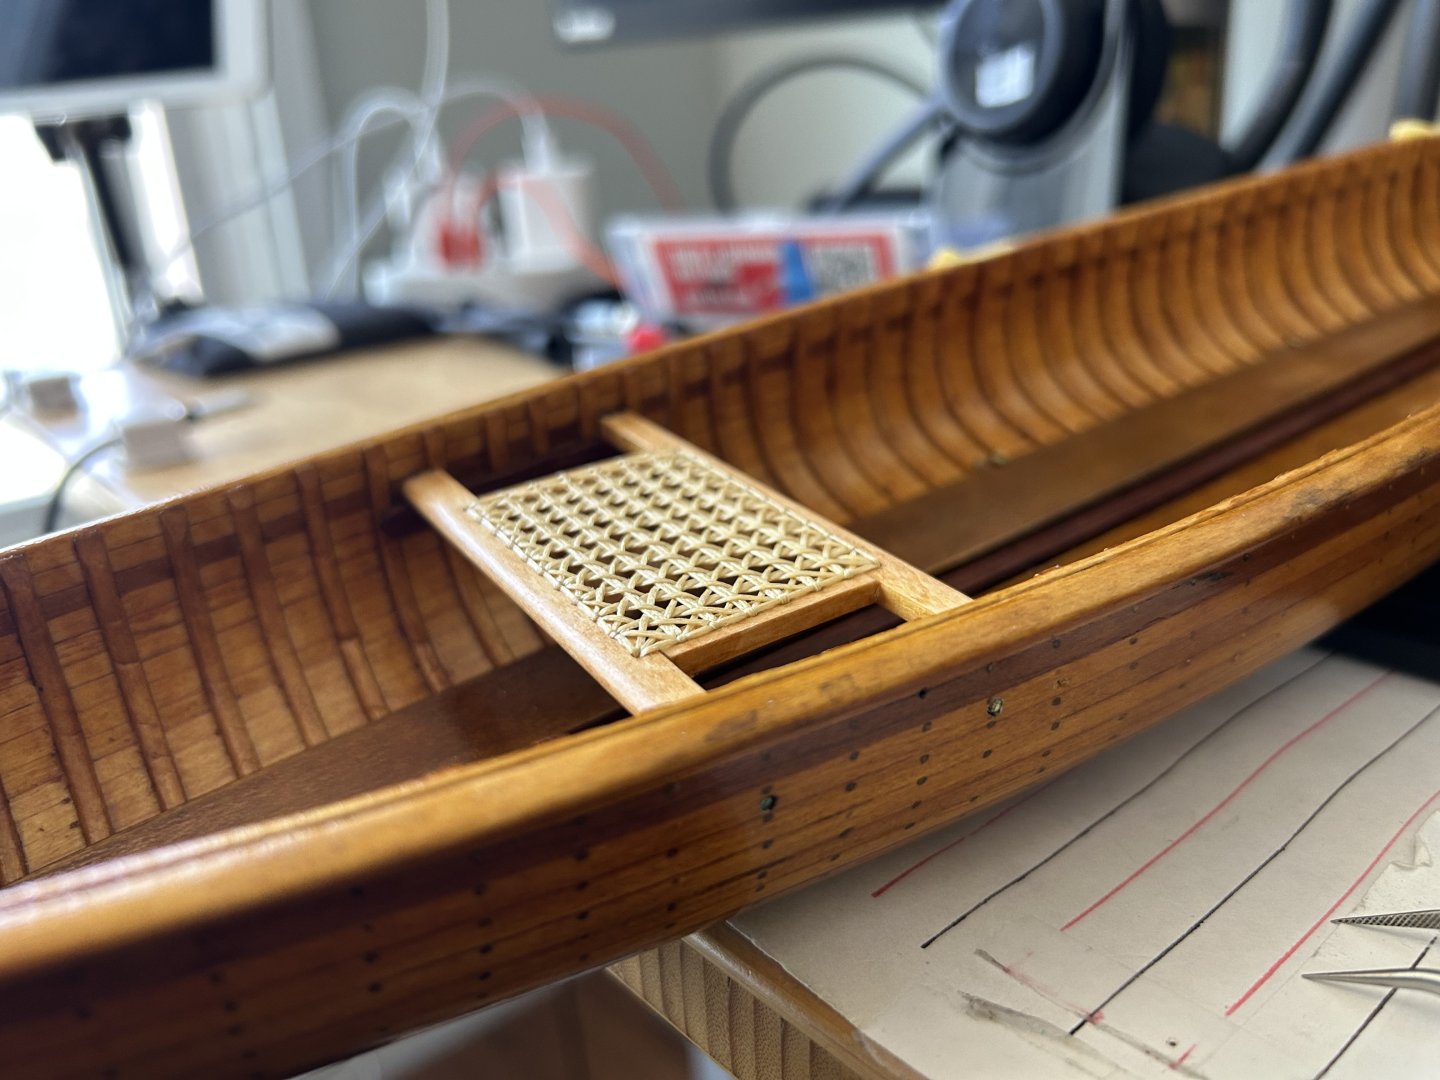
Bow seat supports and seat now installed; stern seat almost done with the “cane”.


-
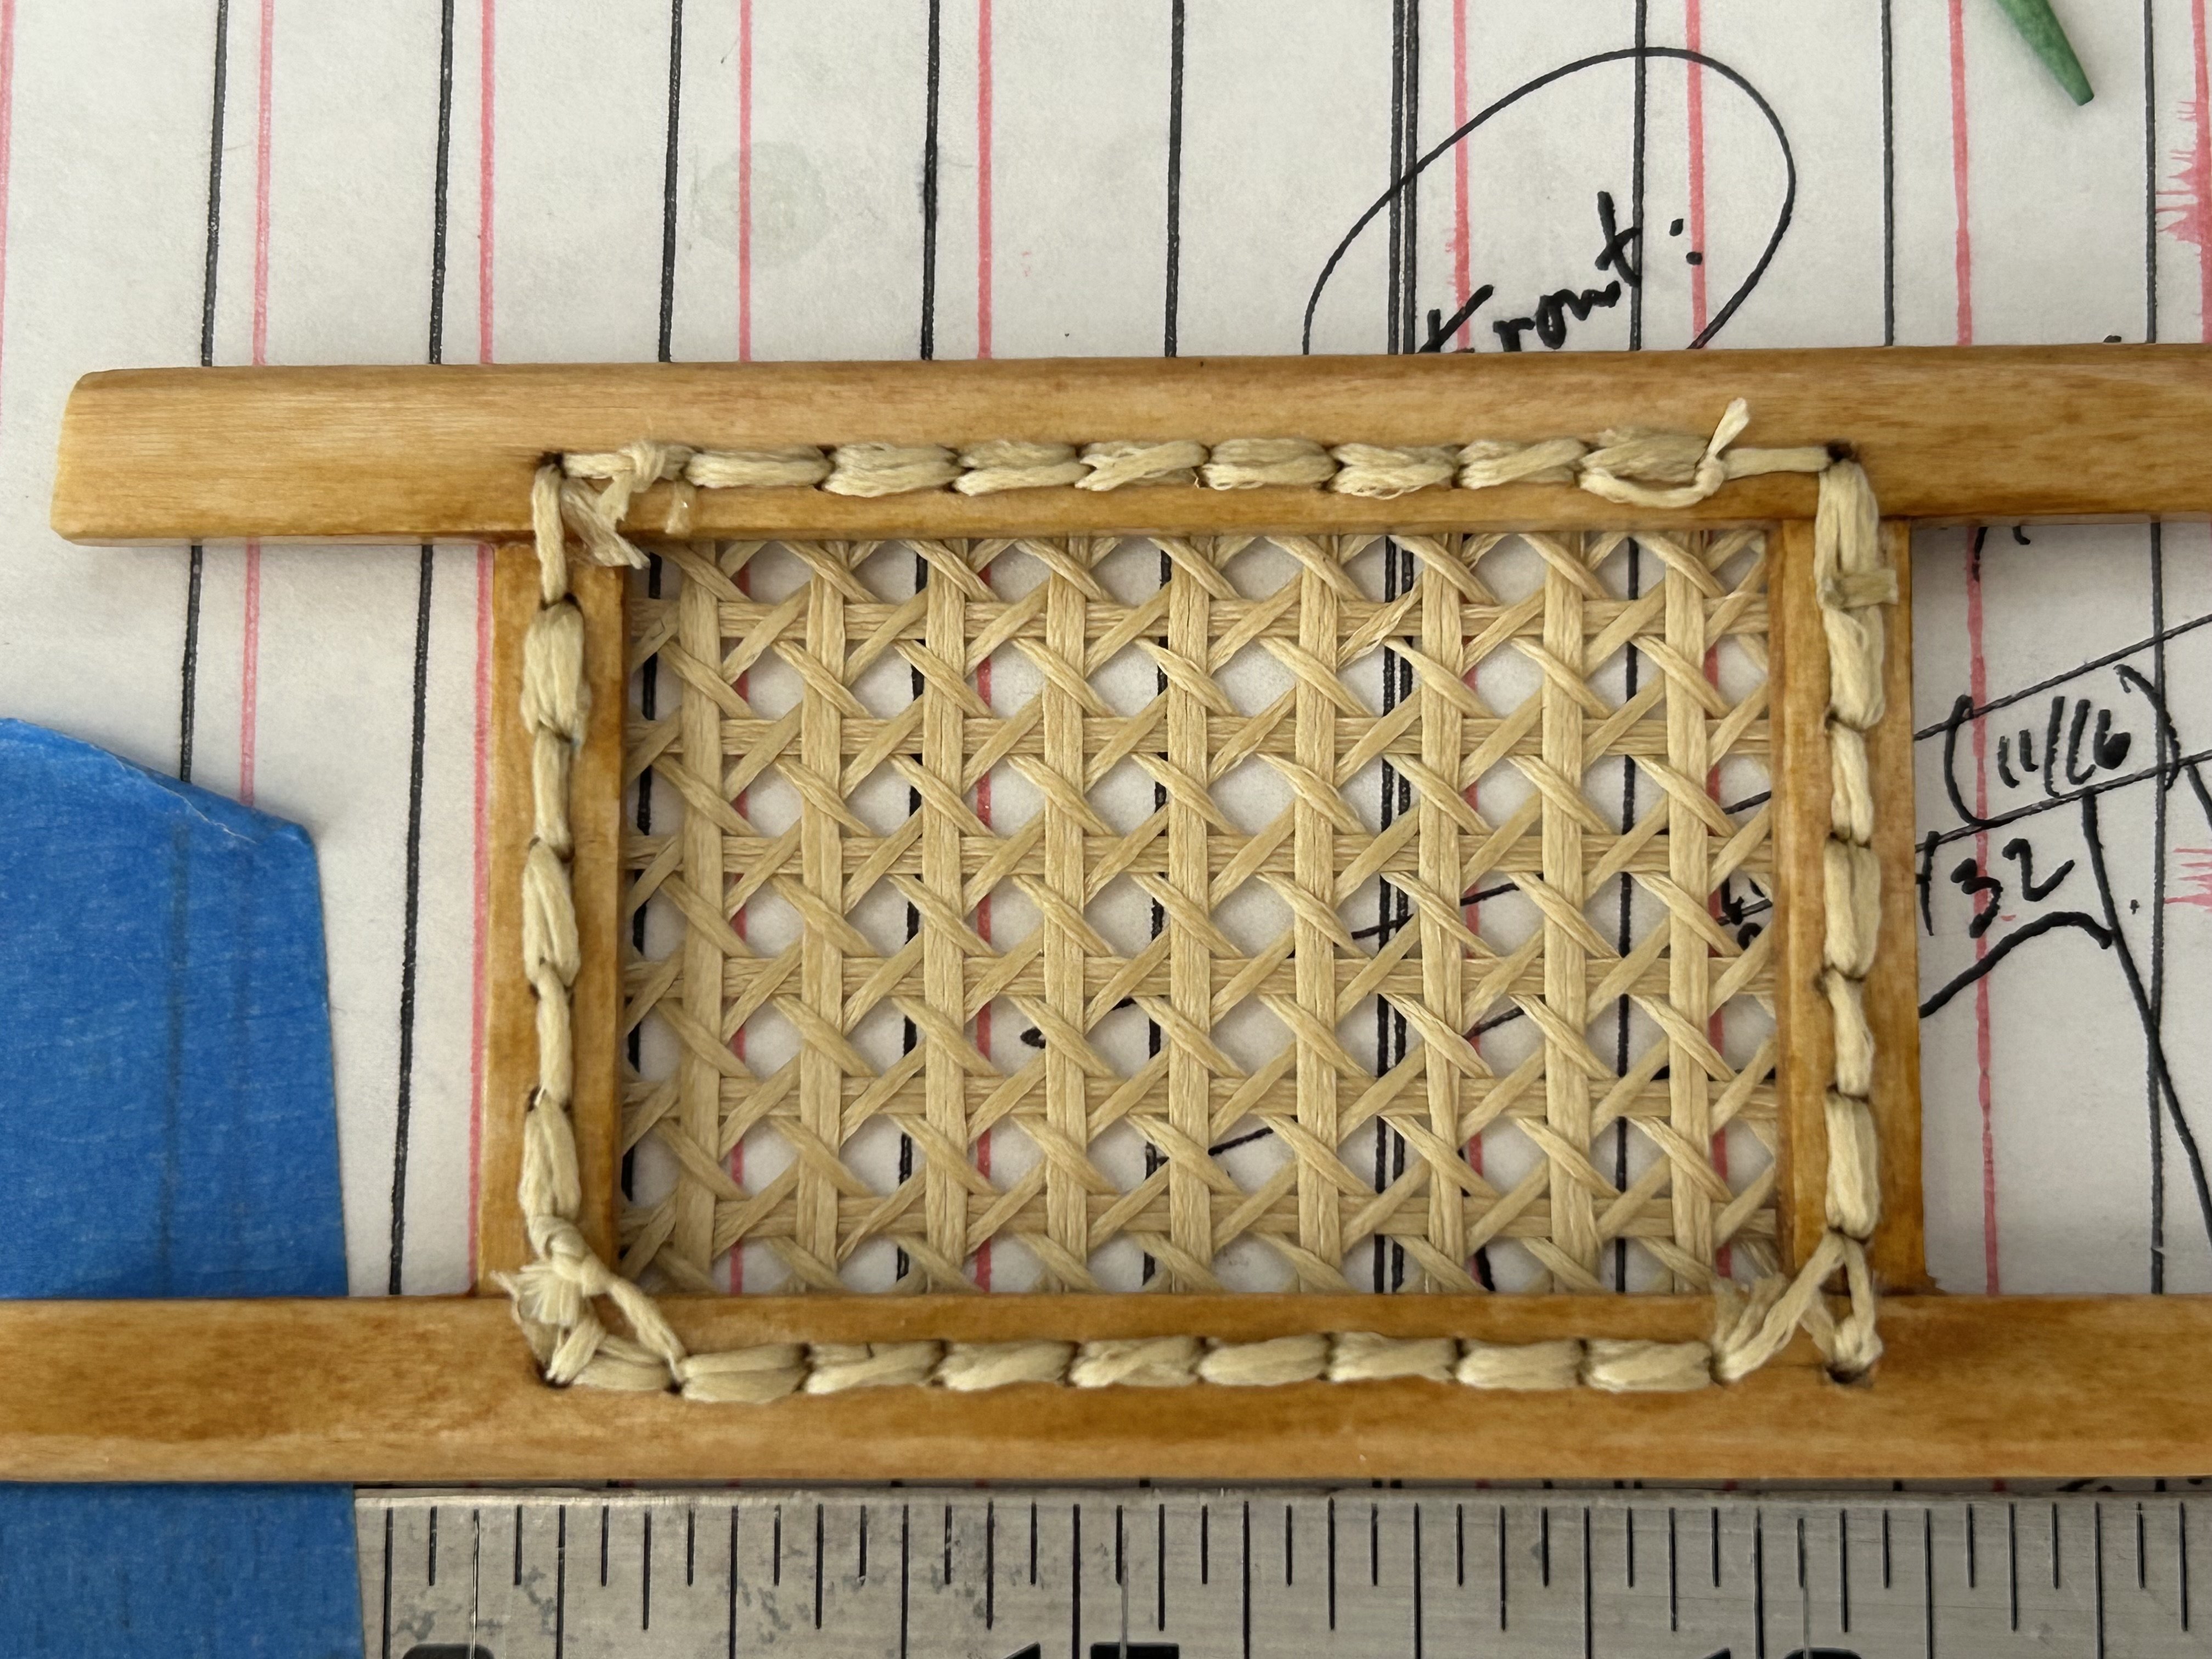
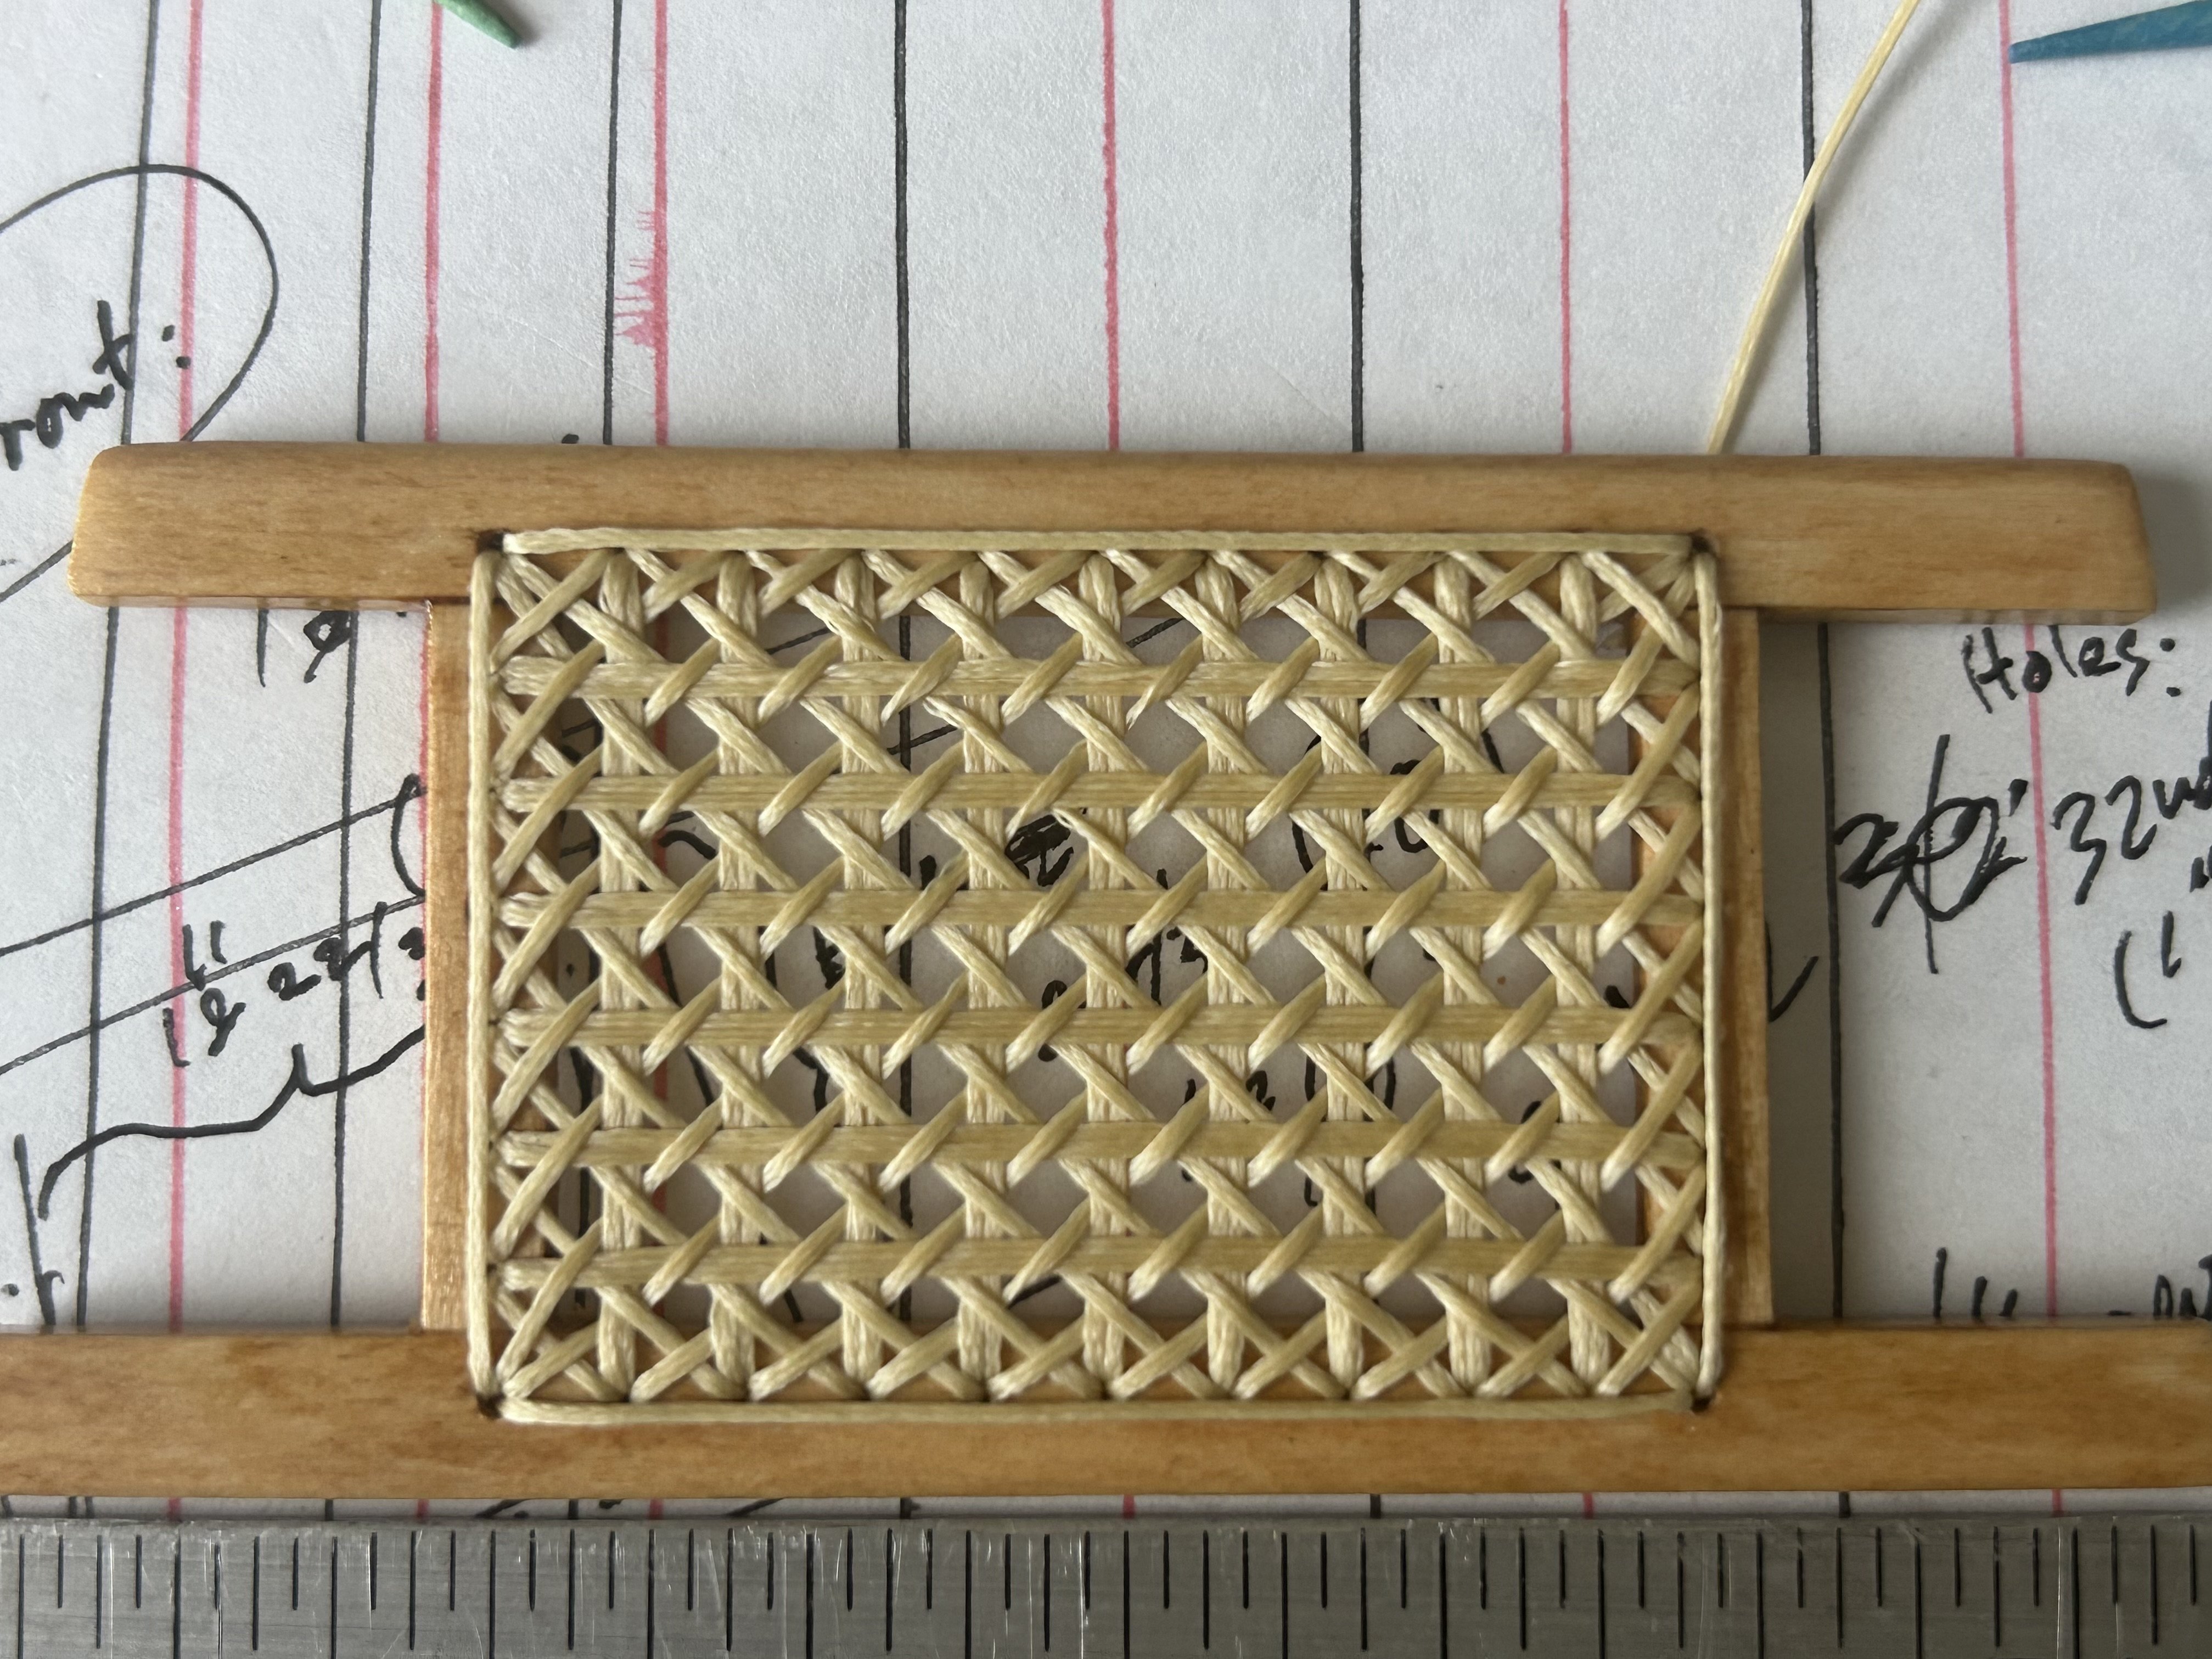
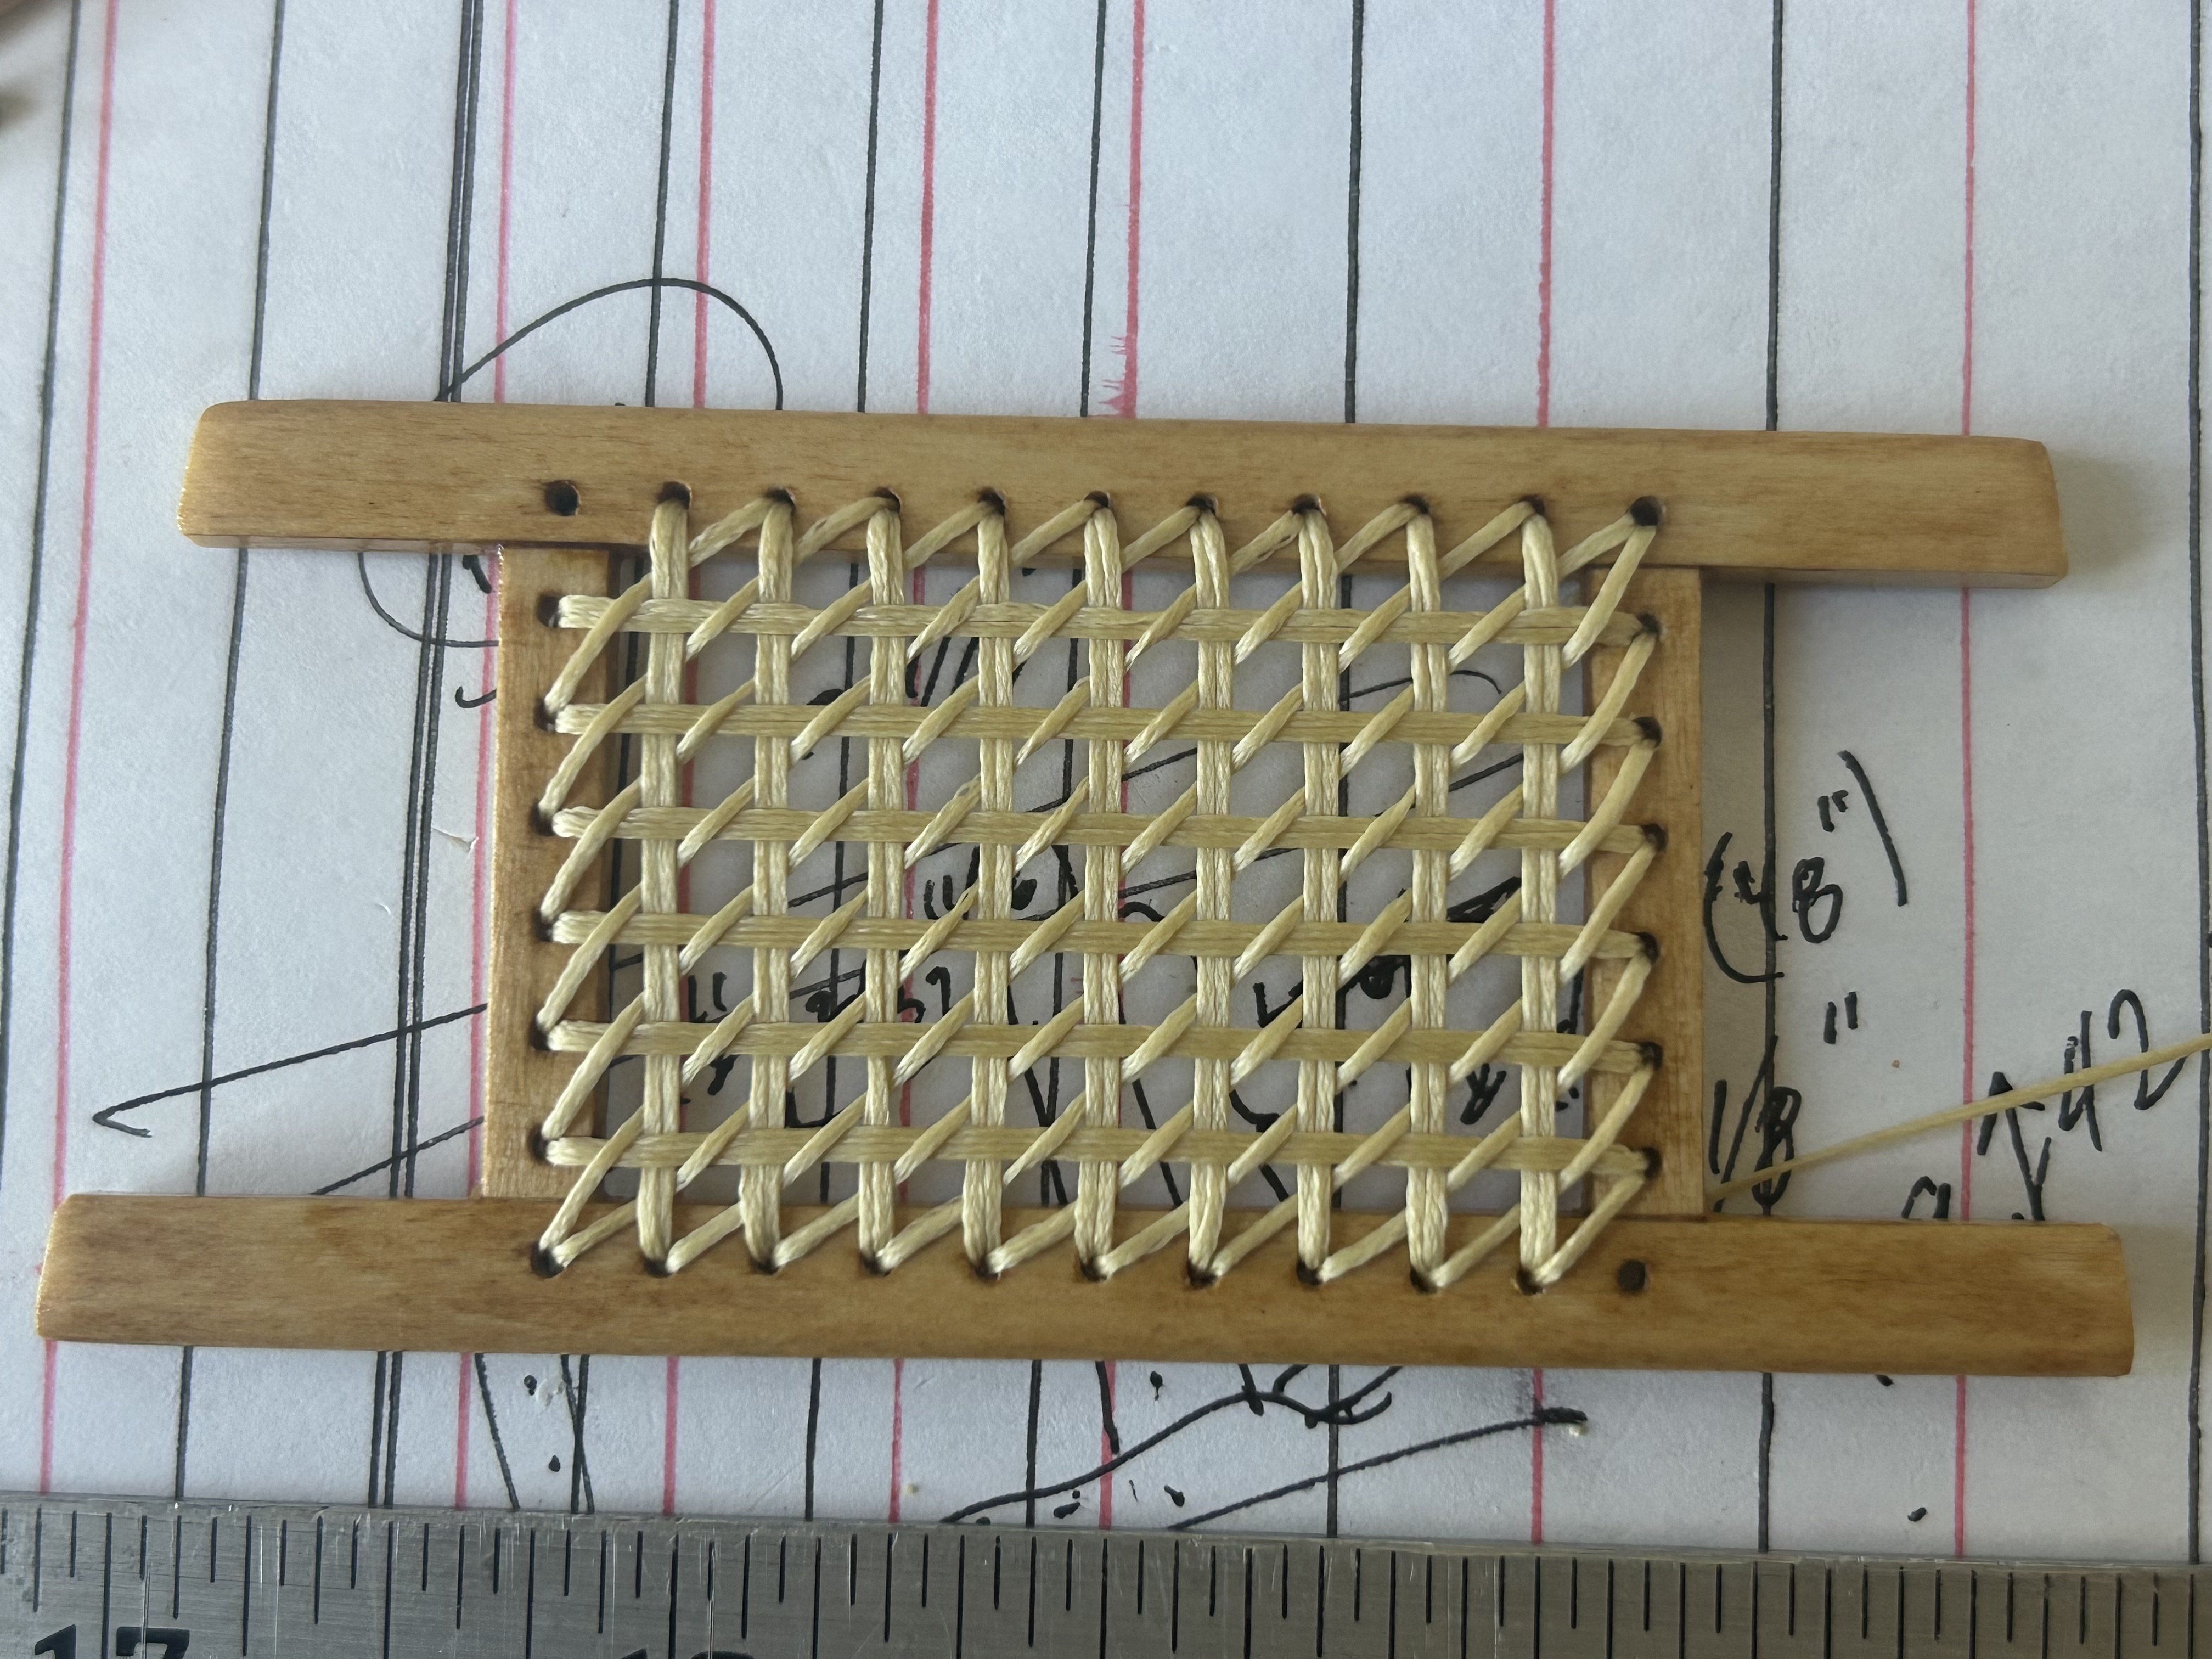
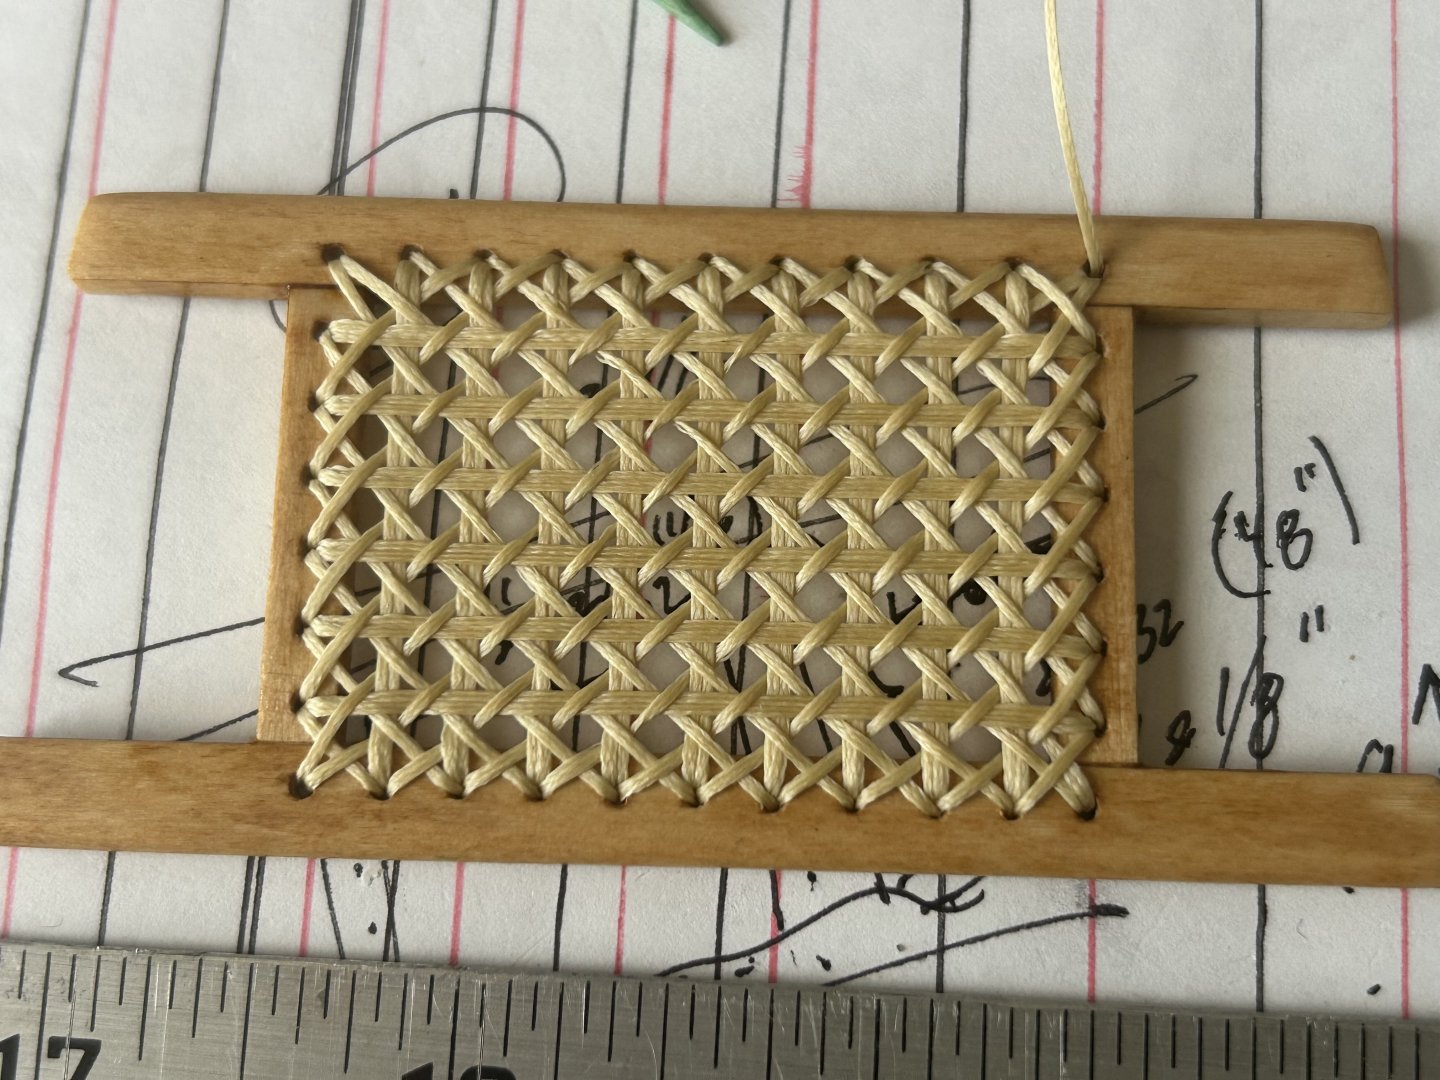
Here is the finished seat, along with a couple of the threading needles used to weave/lace the linen thread. And the backside. Stayed relatively neat & tidy. Next is a light coat of clear lacquer to give the thread that shiny cane look (I hope!).


-
Here is the seat with the second diagonal step completed. Notice there is a missing strand in the upper left corner—I will pick that up when I string the “couching” strands that are to cover the holes and make a nice border. And here I have run the couching strands and corrected the missing corner. All that remains is to run tie-down loops through every (or every other) border hole. Hopefully I can do that without too much drama.

-
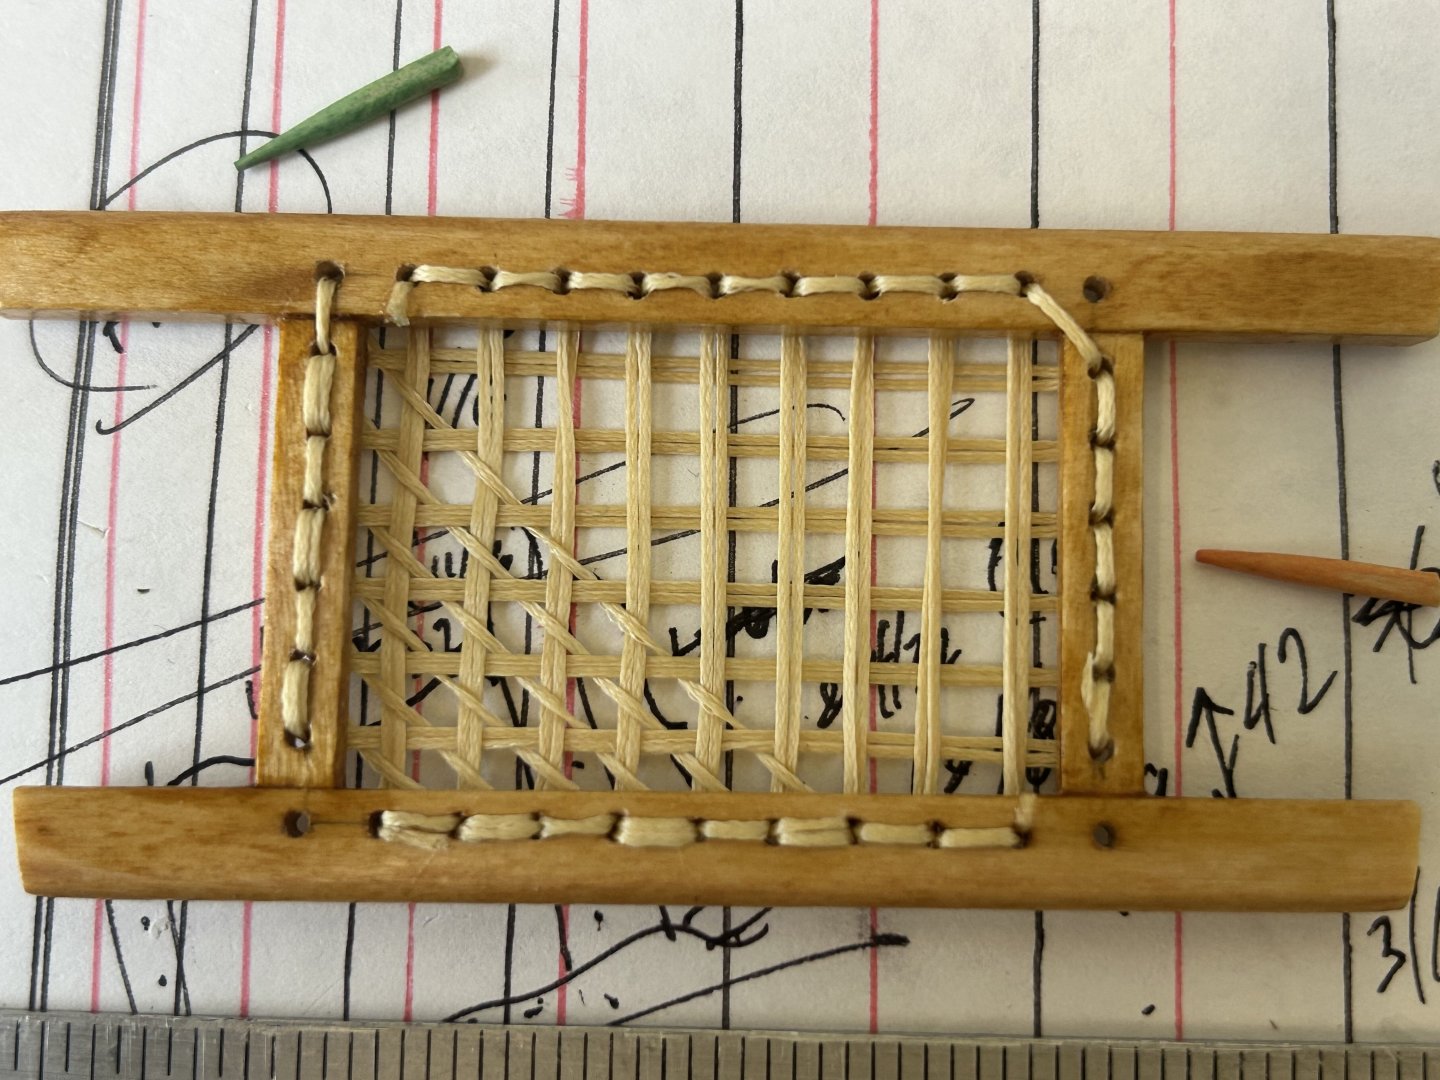
One diagonal completed: Starting the sixth & final step, the second set of diagonal strands. You can see the flaws—where I failed to get the twists out of the linen thread. Hoping this will not be obvious in the finished model.


-
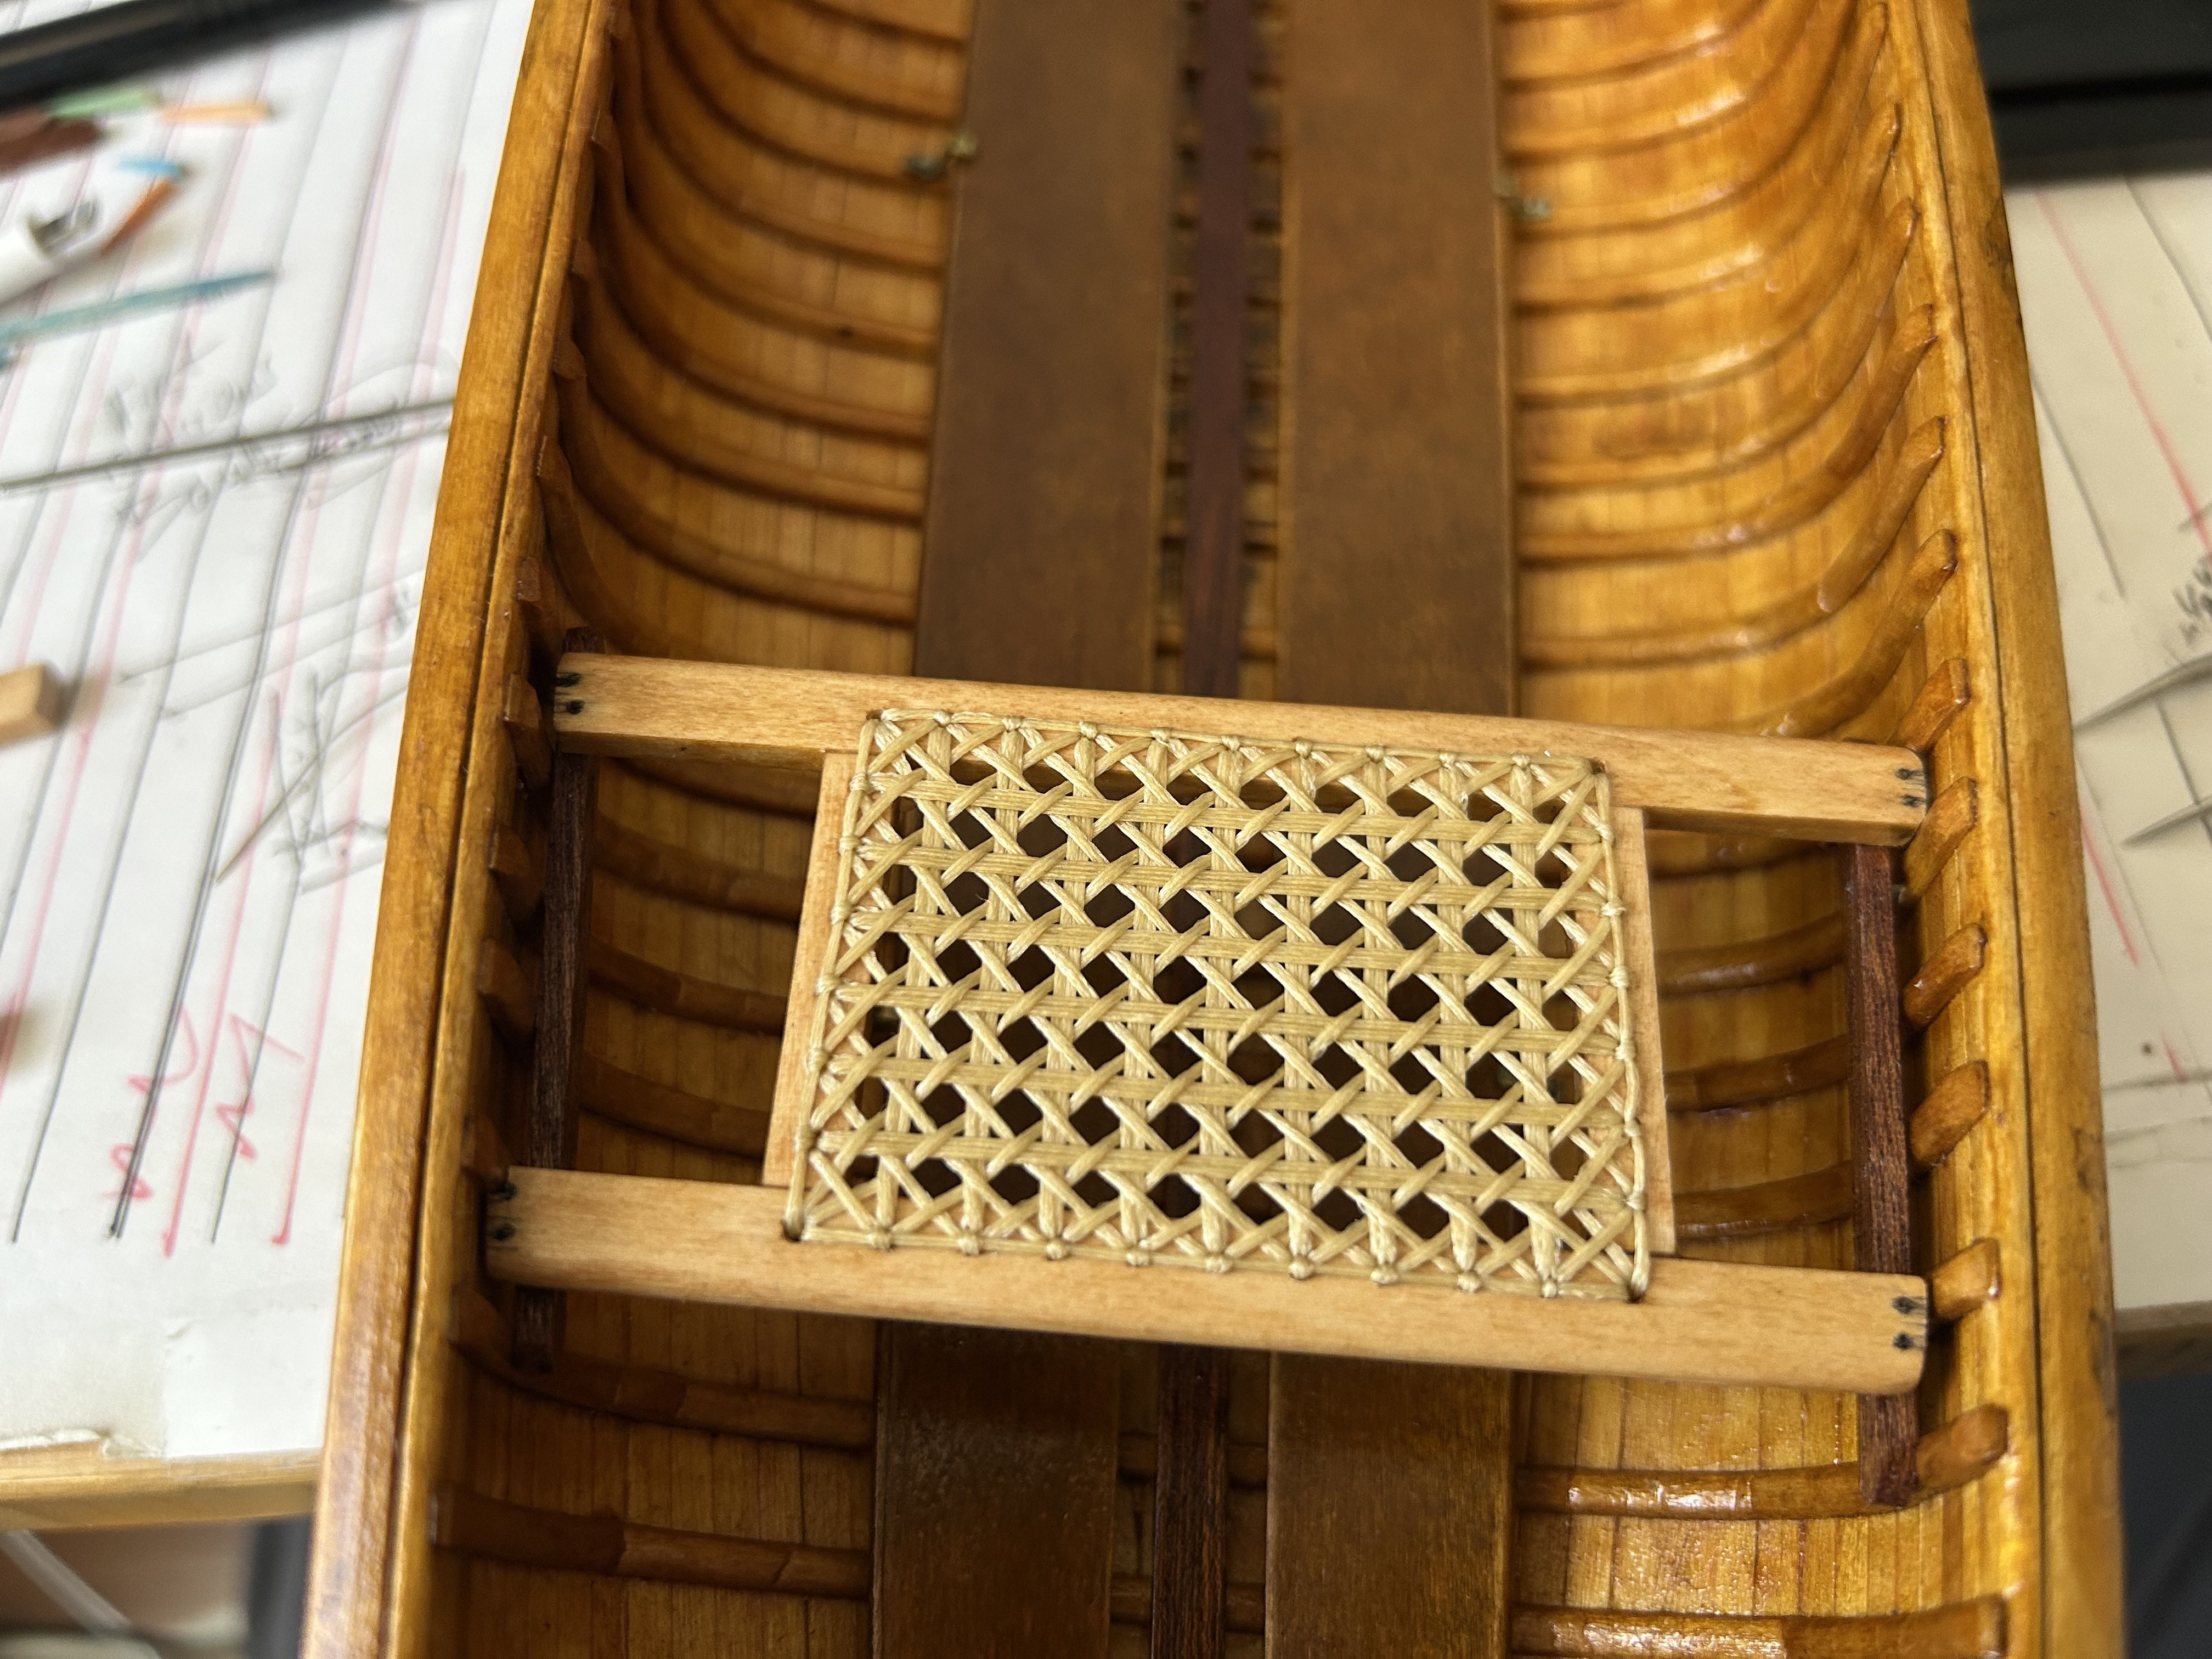
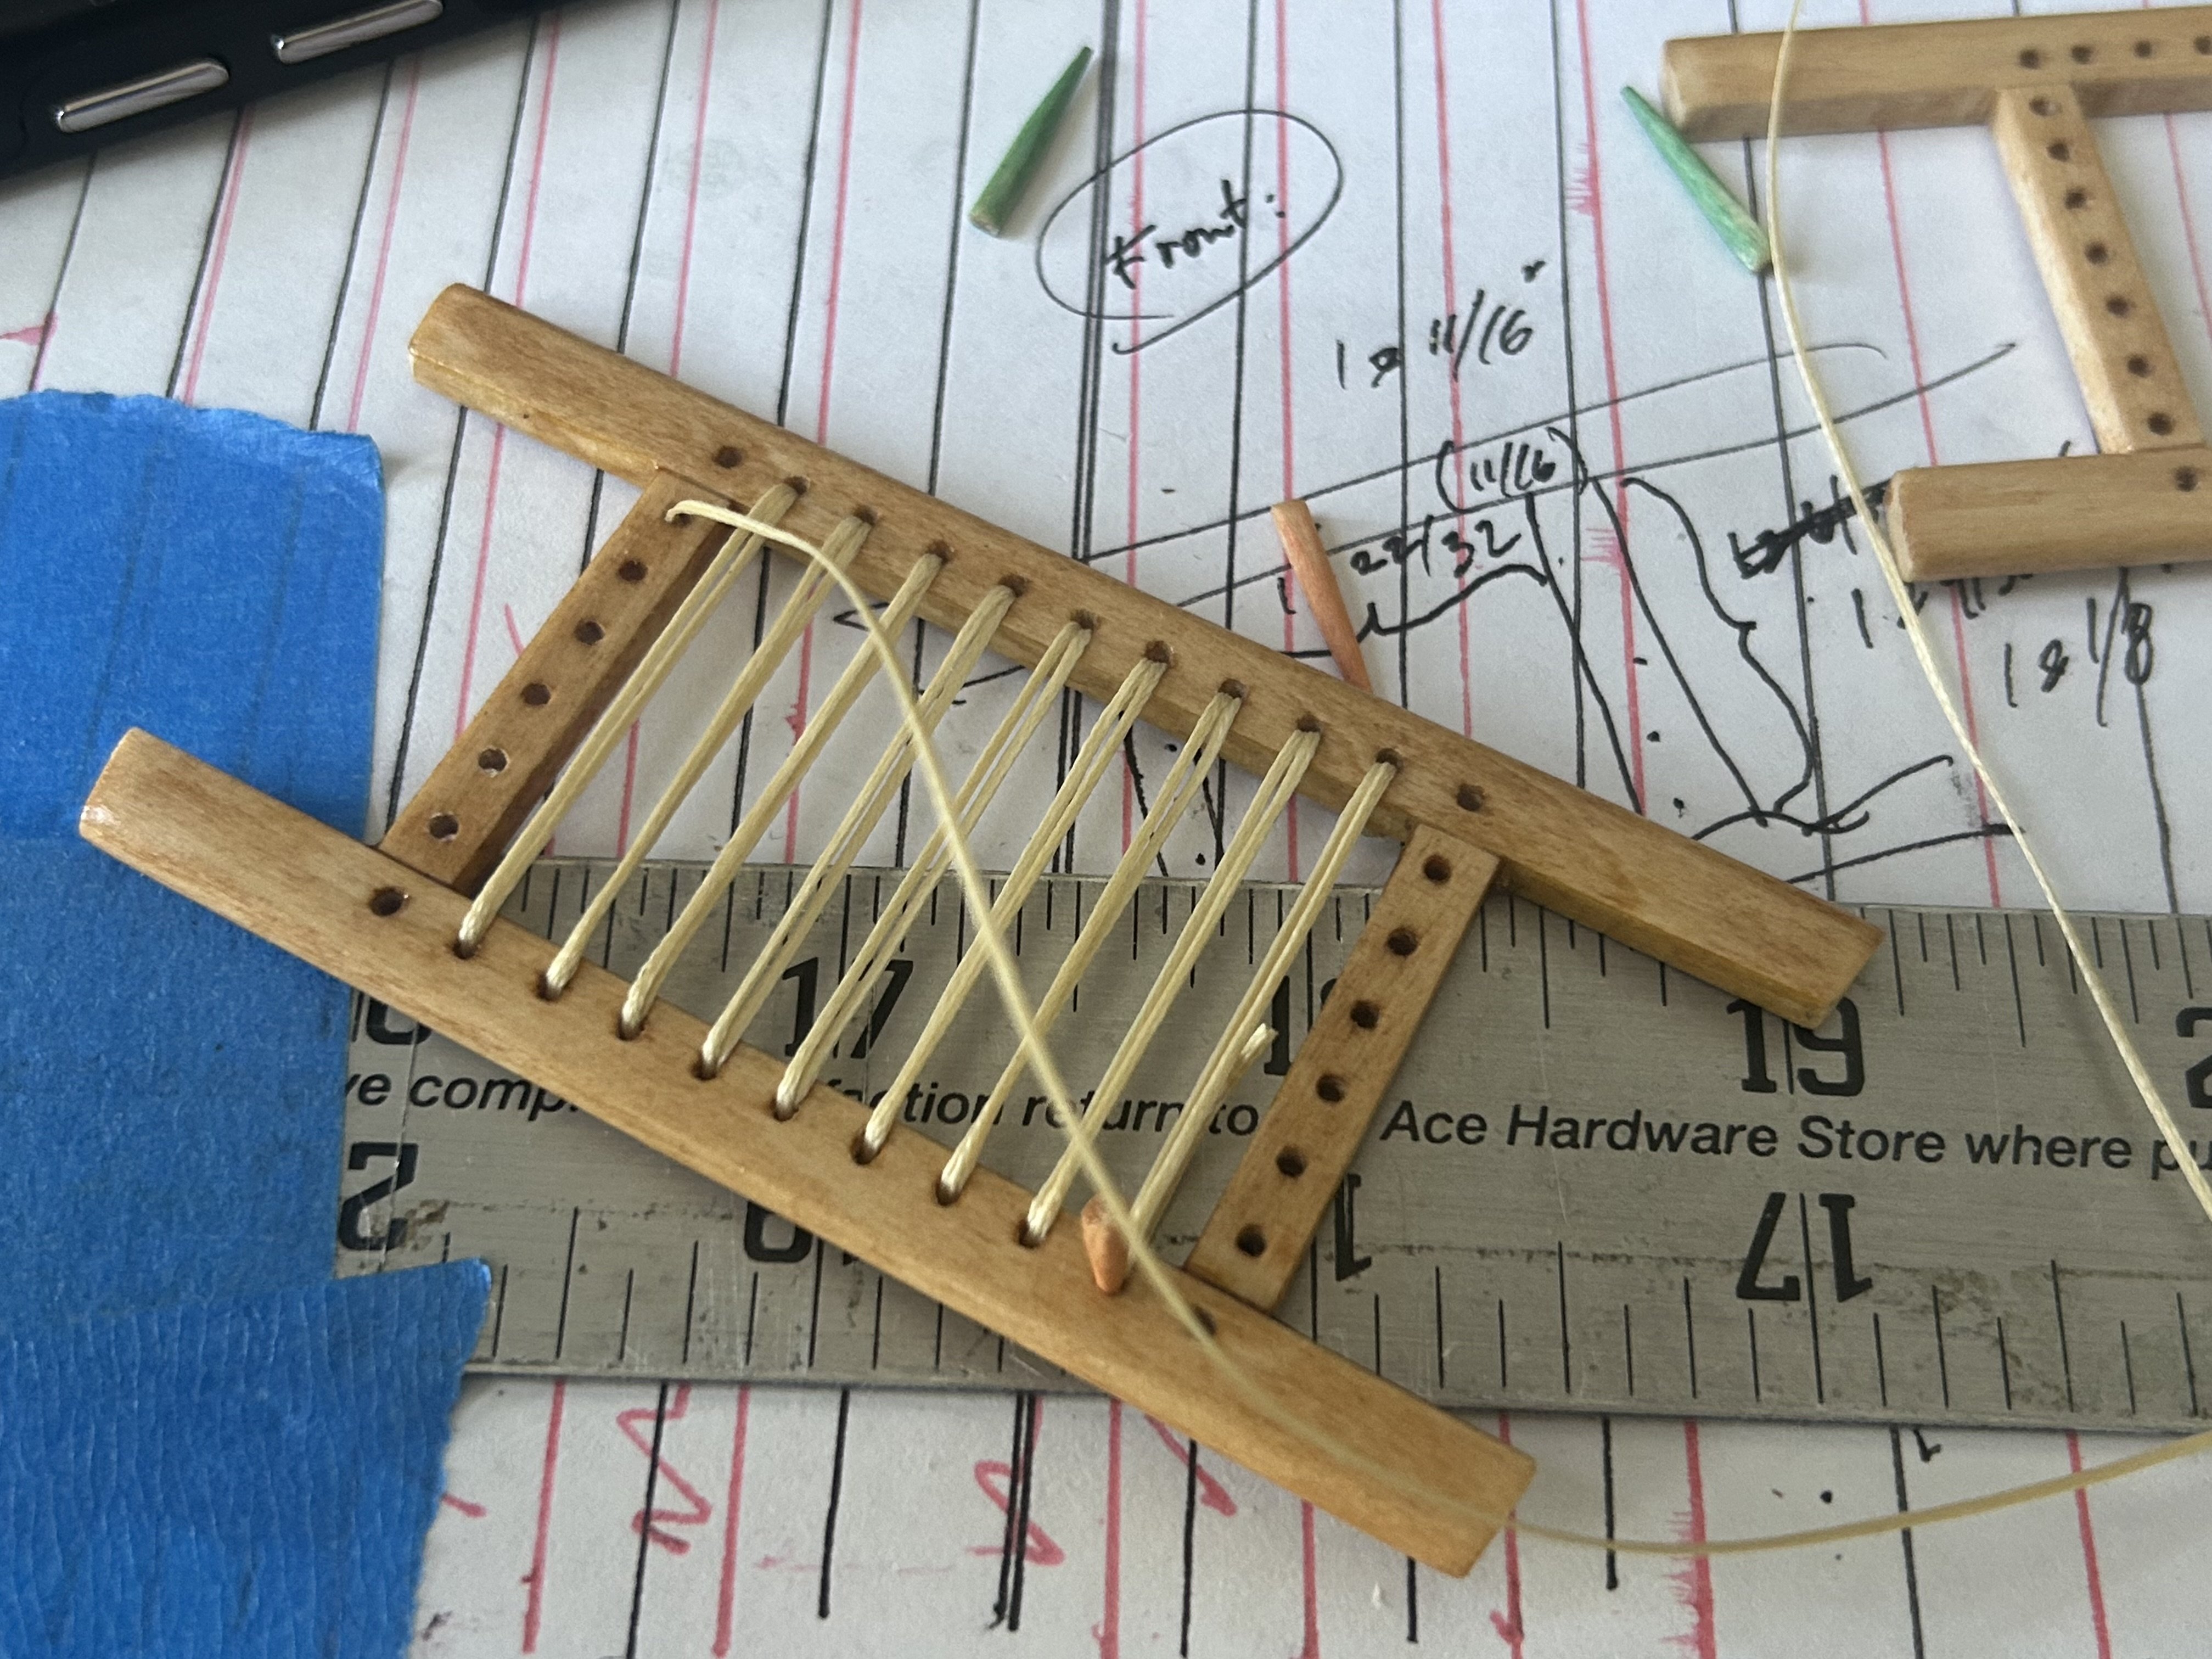
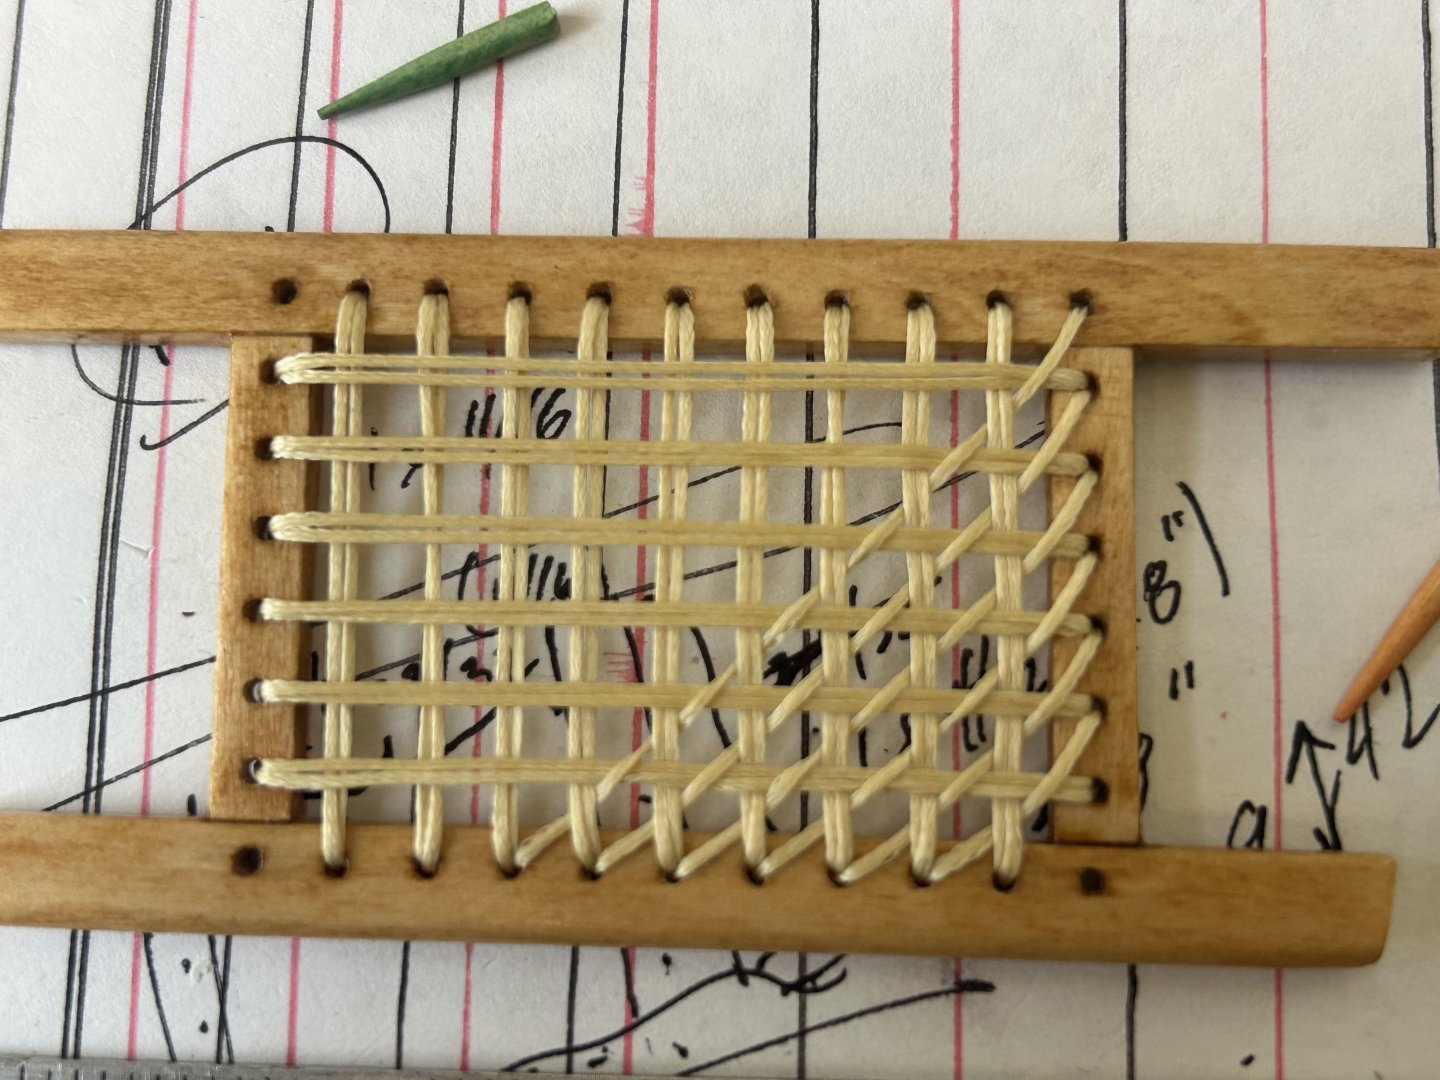
Doing the (larger) front seat first: Verticals and horizontals completed, diagonals about 20% complete: Trying to keep it neat on the underside: See lessons learned from the underside of my test weave: The sharp-eyed may notice a subtle difference in the pattern between the test (traditional warp-and-weft pattern) and the current seat weave (the Peterborough “quick” pattern). This is intentional and based on my research (and great debt owed to Mike Elliott’s “This Old Canoe” books). There was also a Chestnut Canoe Co. version of the “quick” pattern. What the two quick patterns have in common, and in contrast to the traditional pattern, is that they skip the weaving that normally happens in the fourth step of the vertical/horizontal matrix. The difference between the Chestnut and Peterborough quick patterns is quite subtle and is just in the last diagonal step (which strands the diagonal goes over versus under). And now you know more than you will ever need to (or wanted to) about canoe seat caning patterns. 😆

-
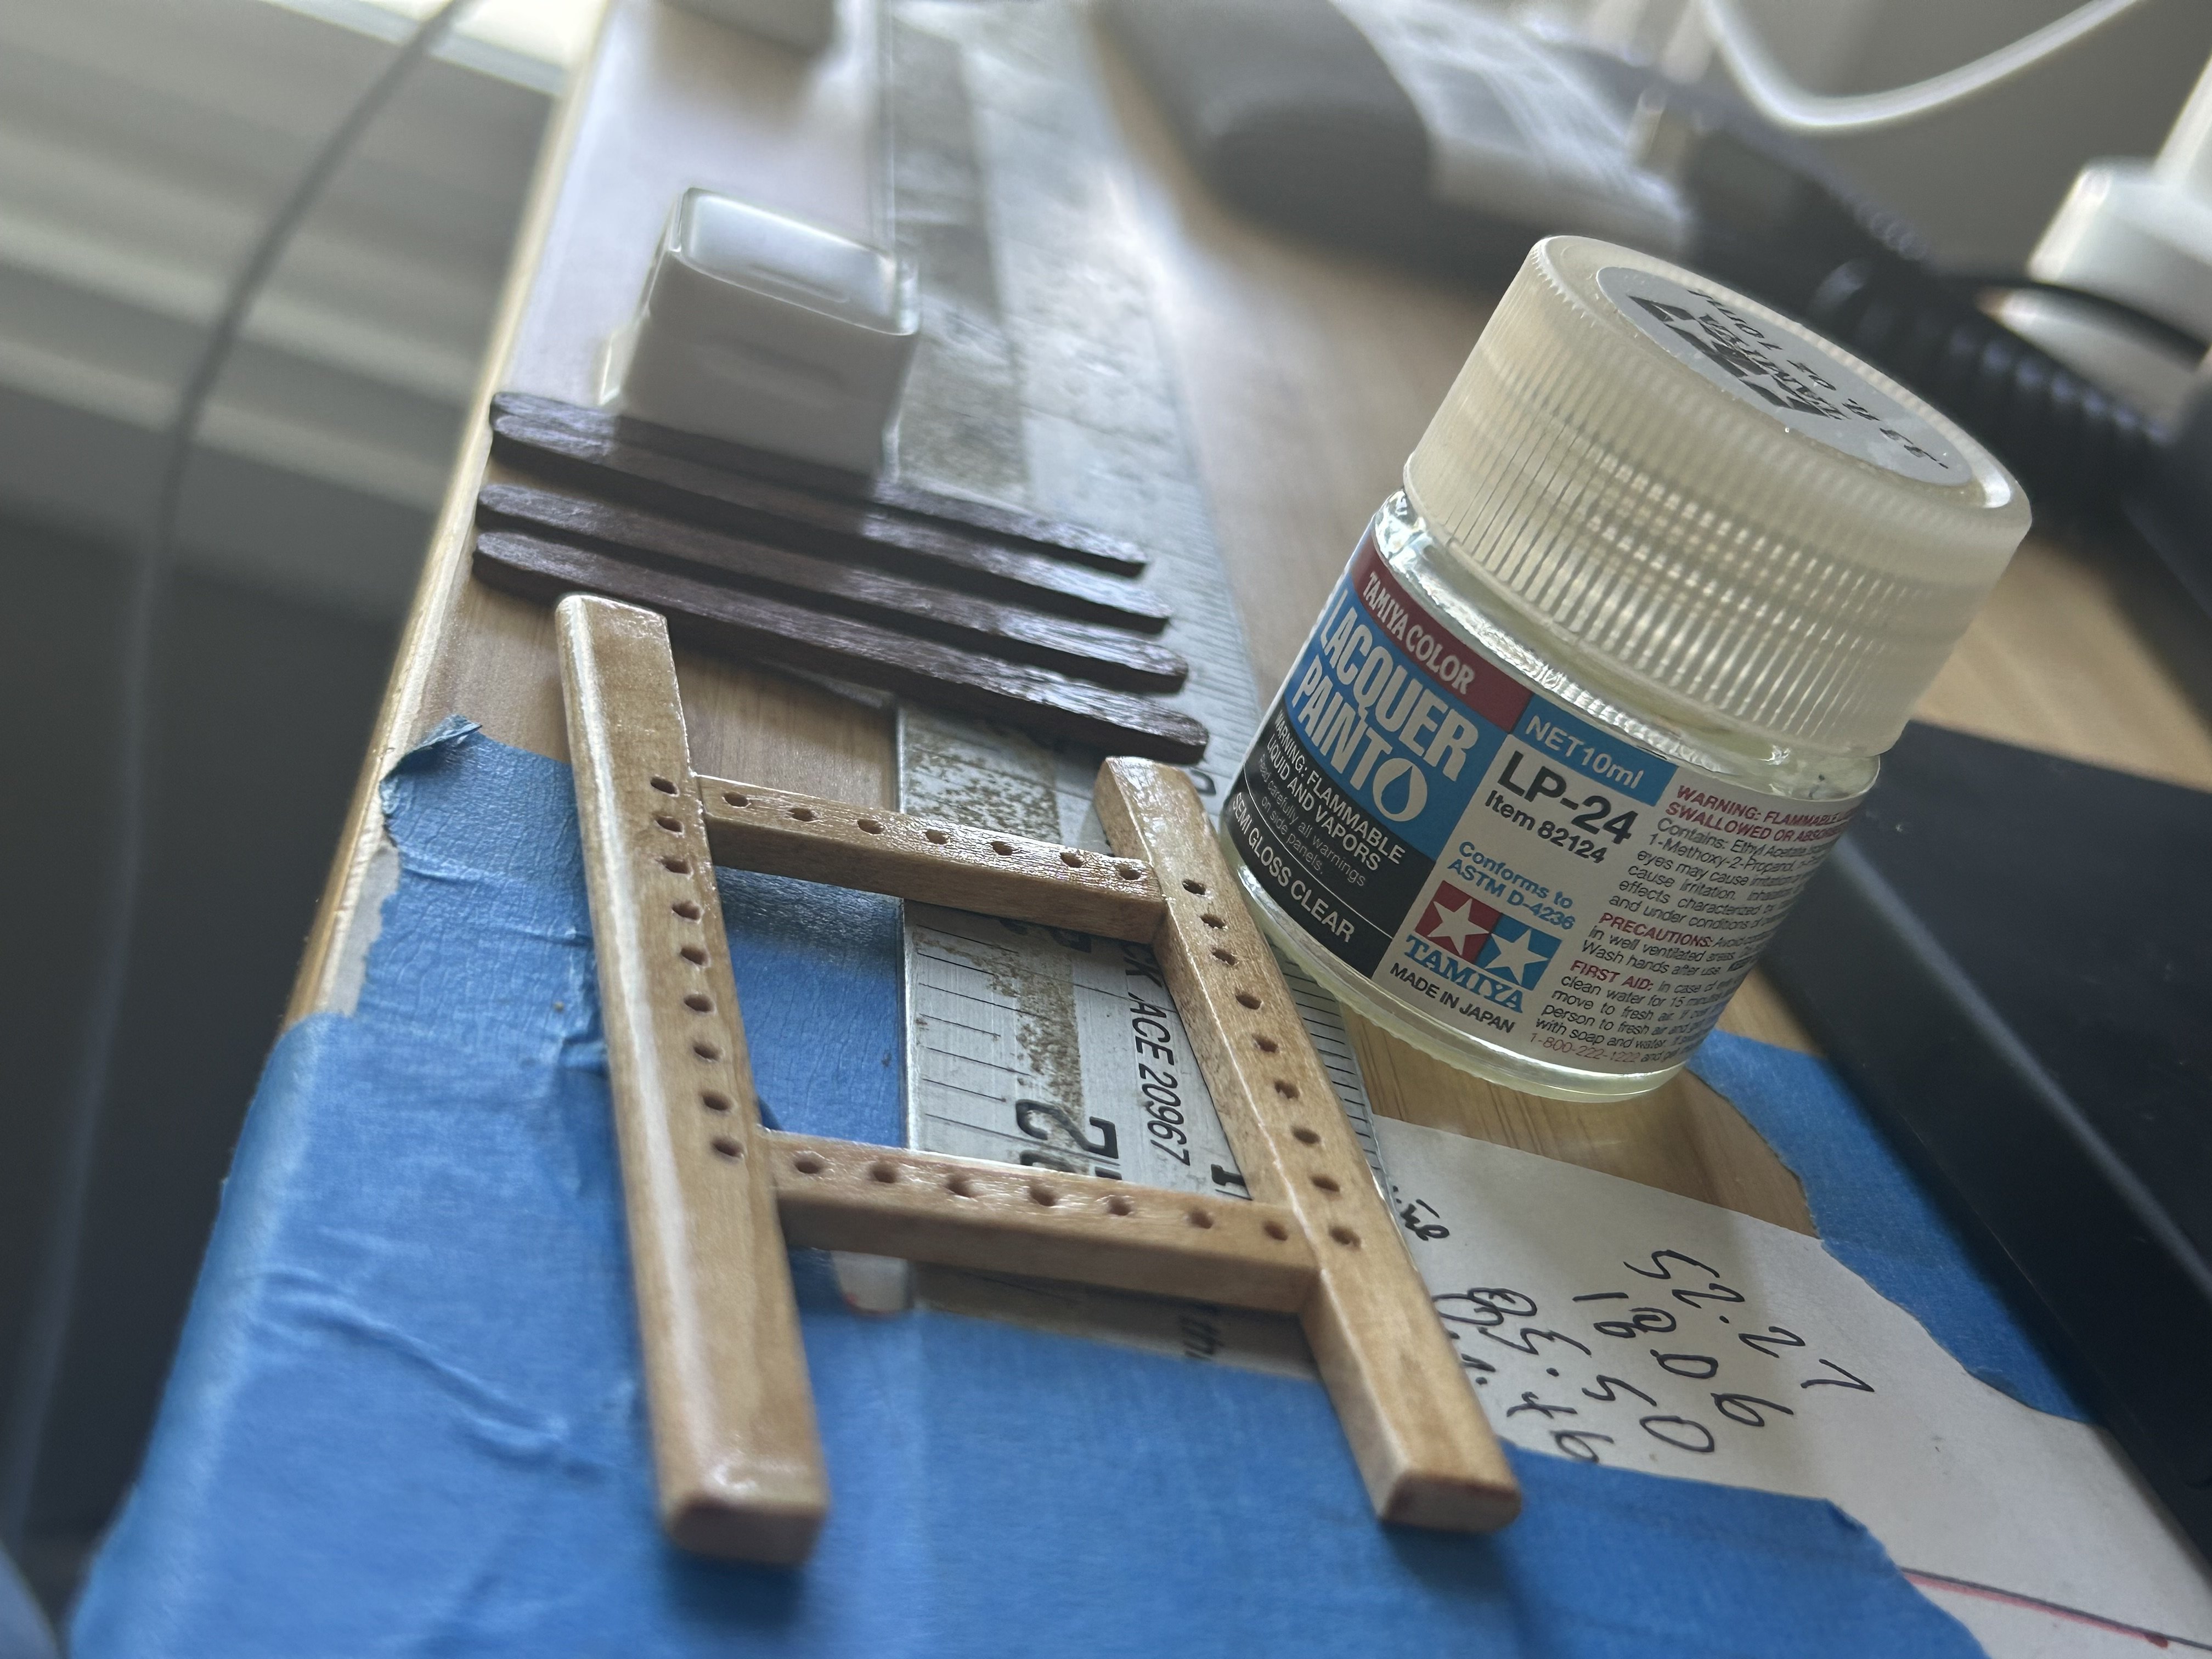
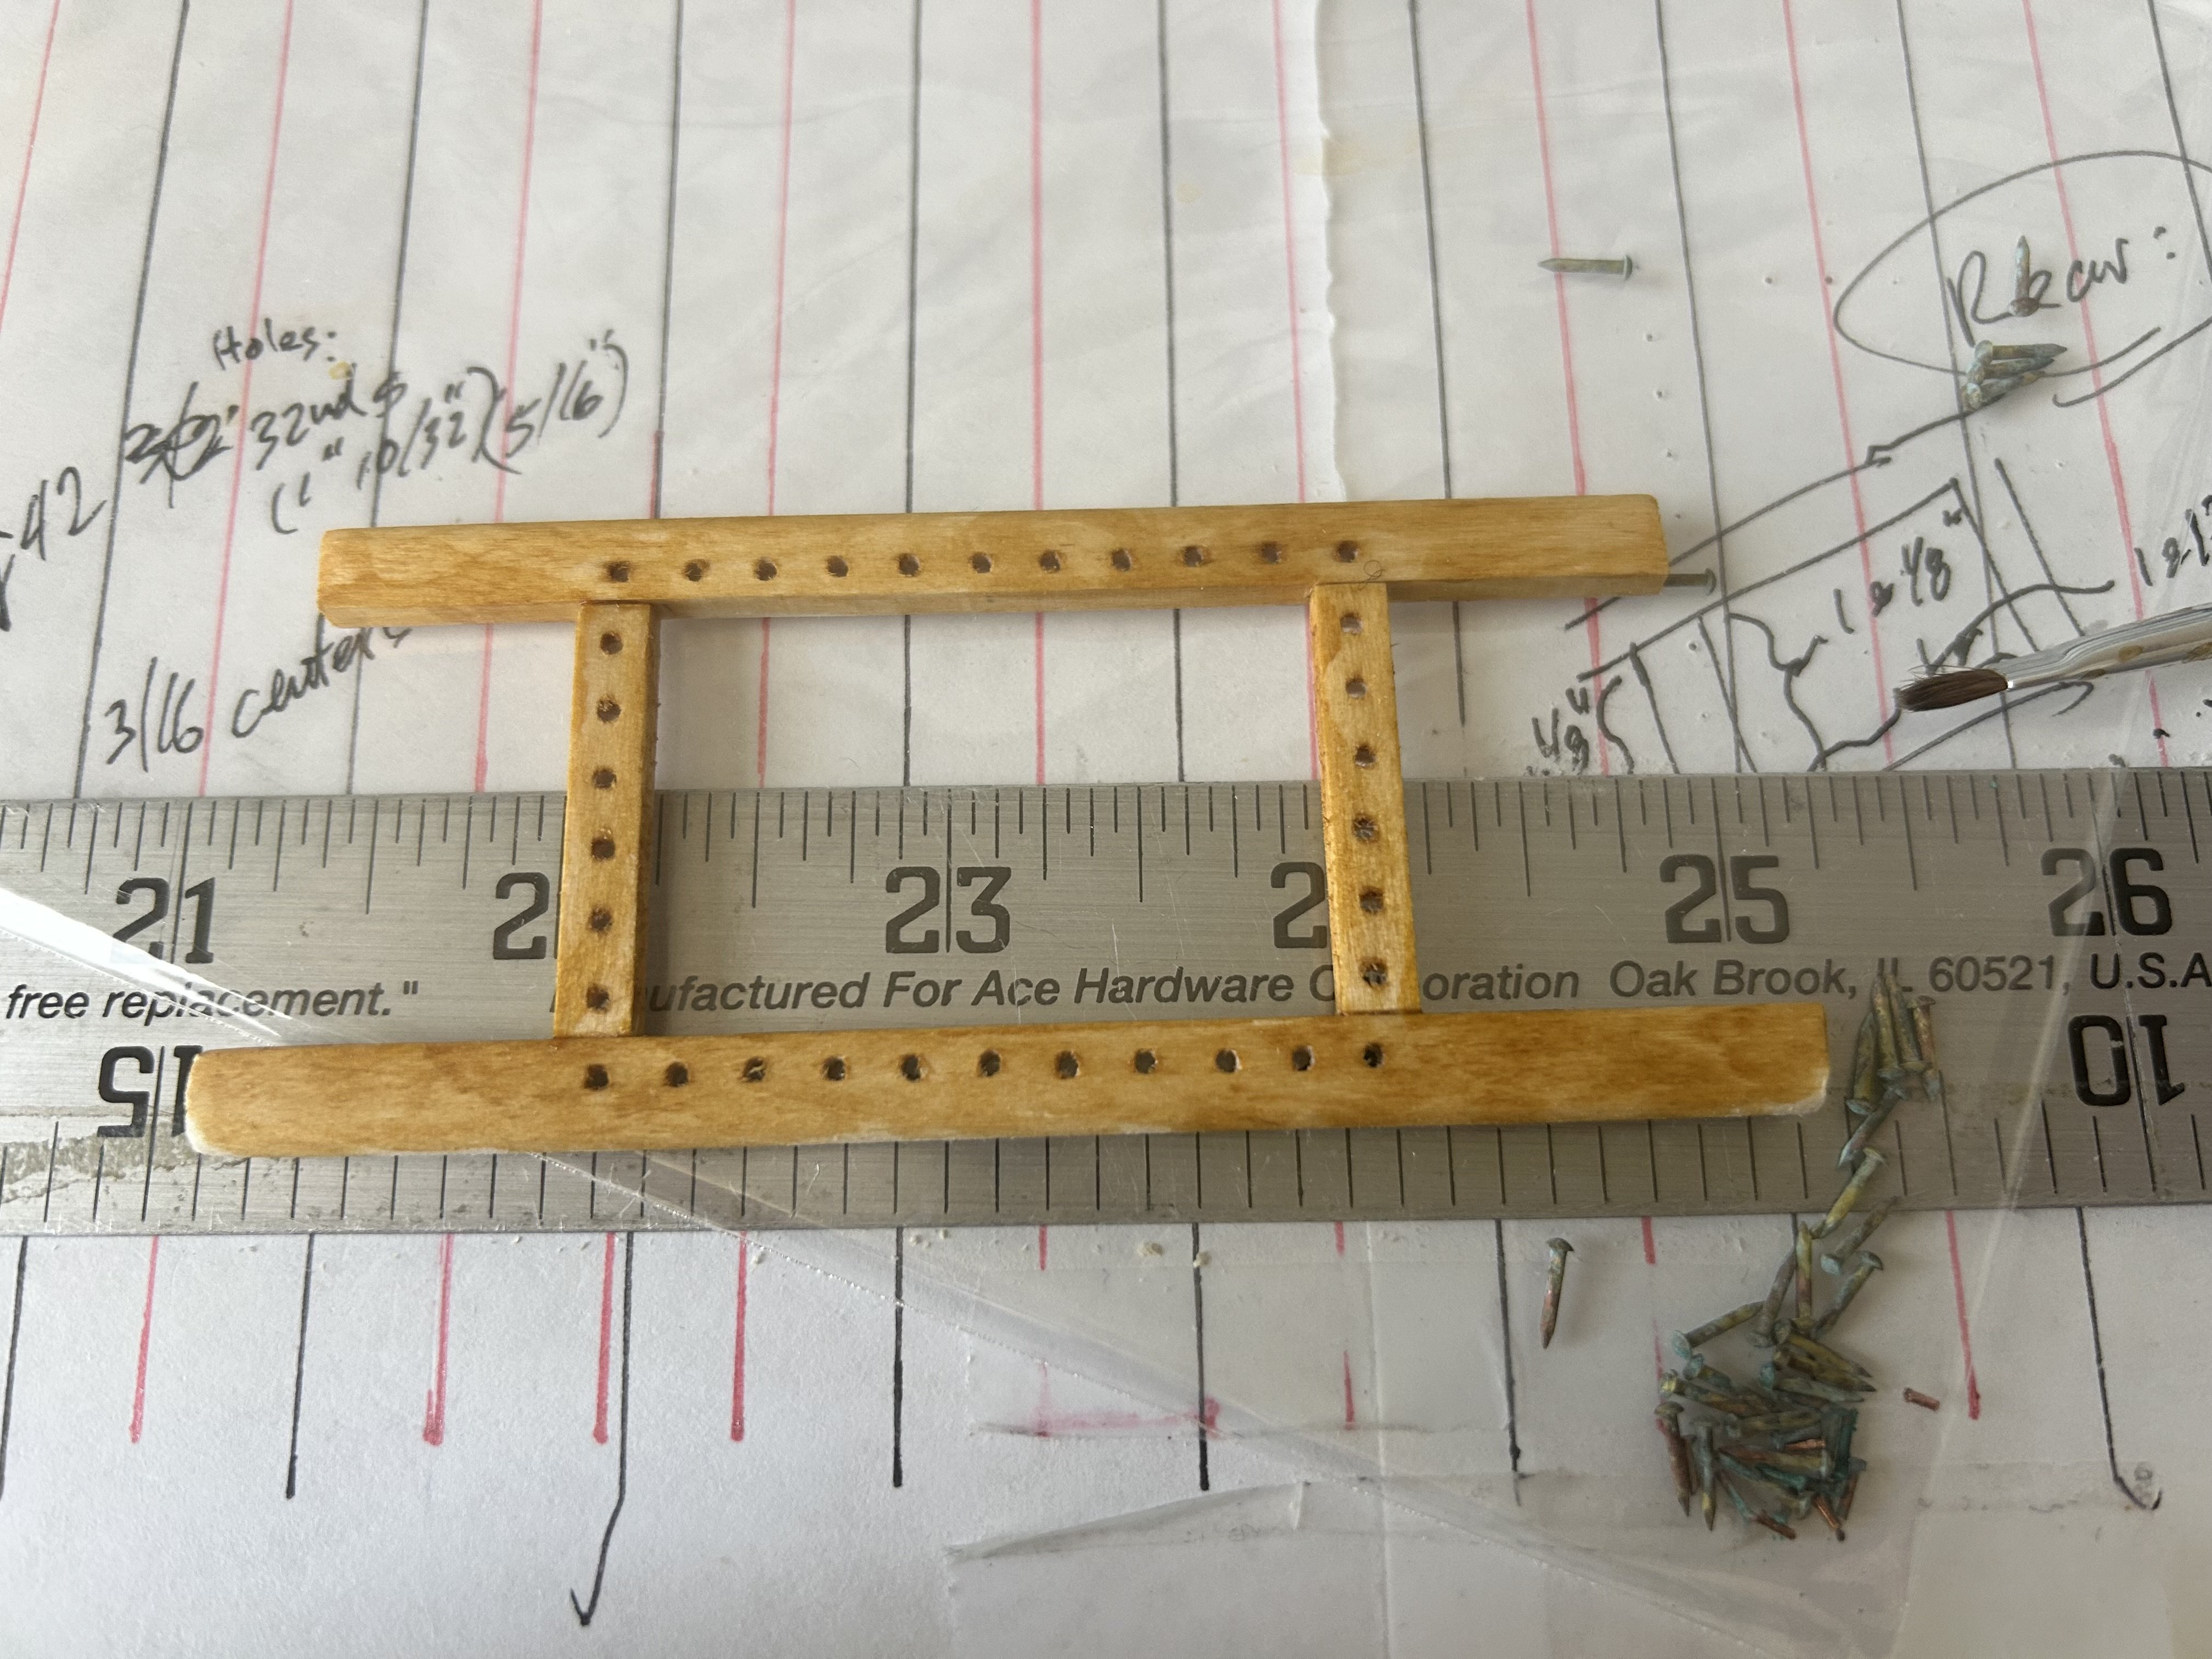
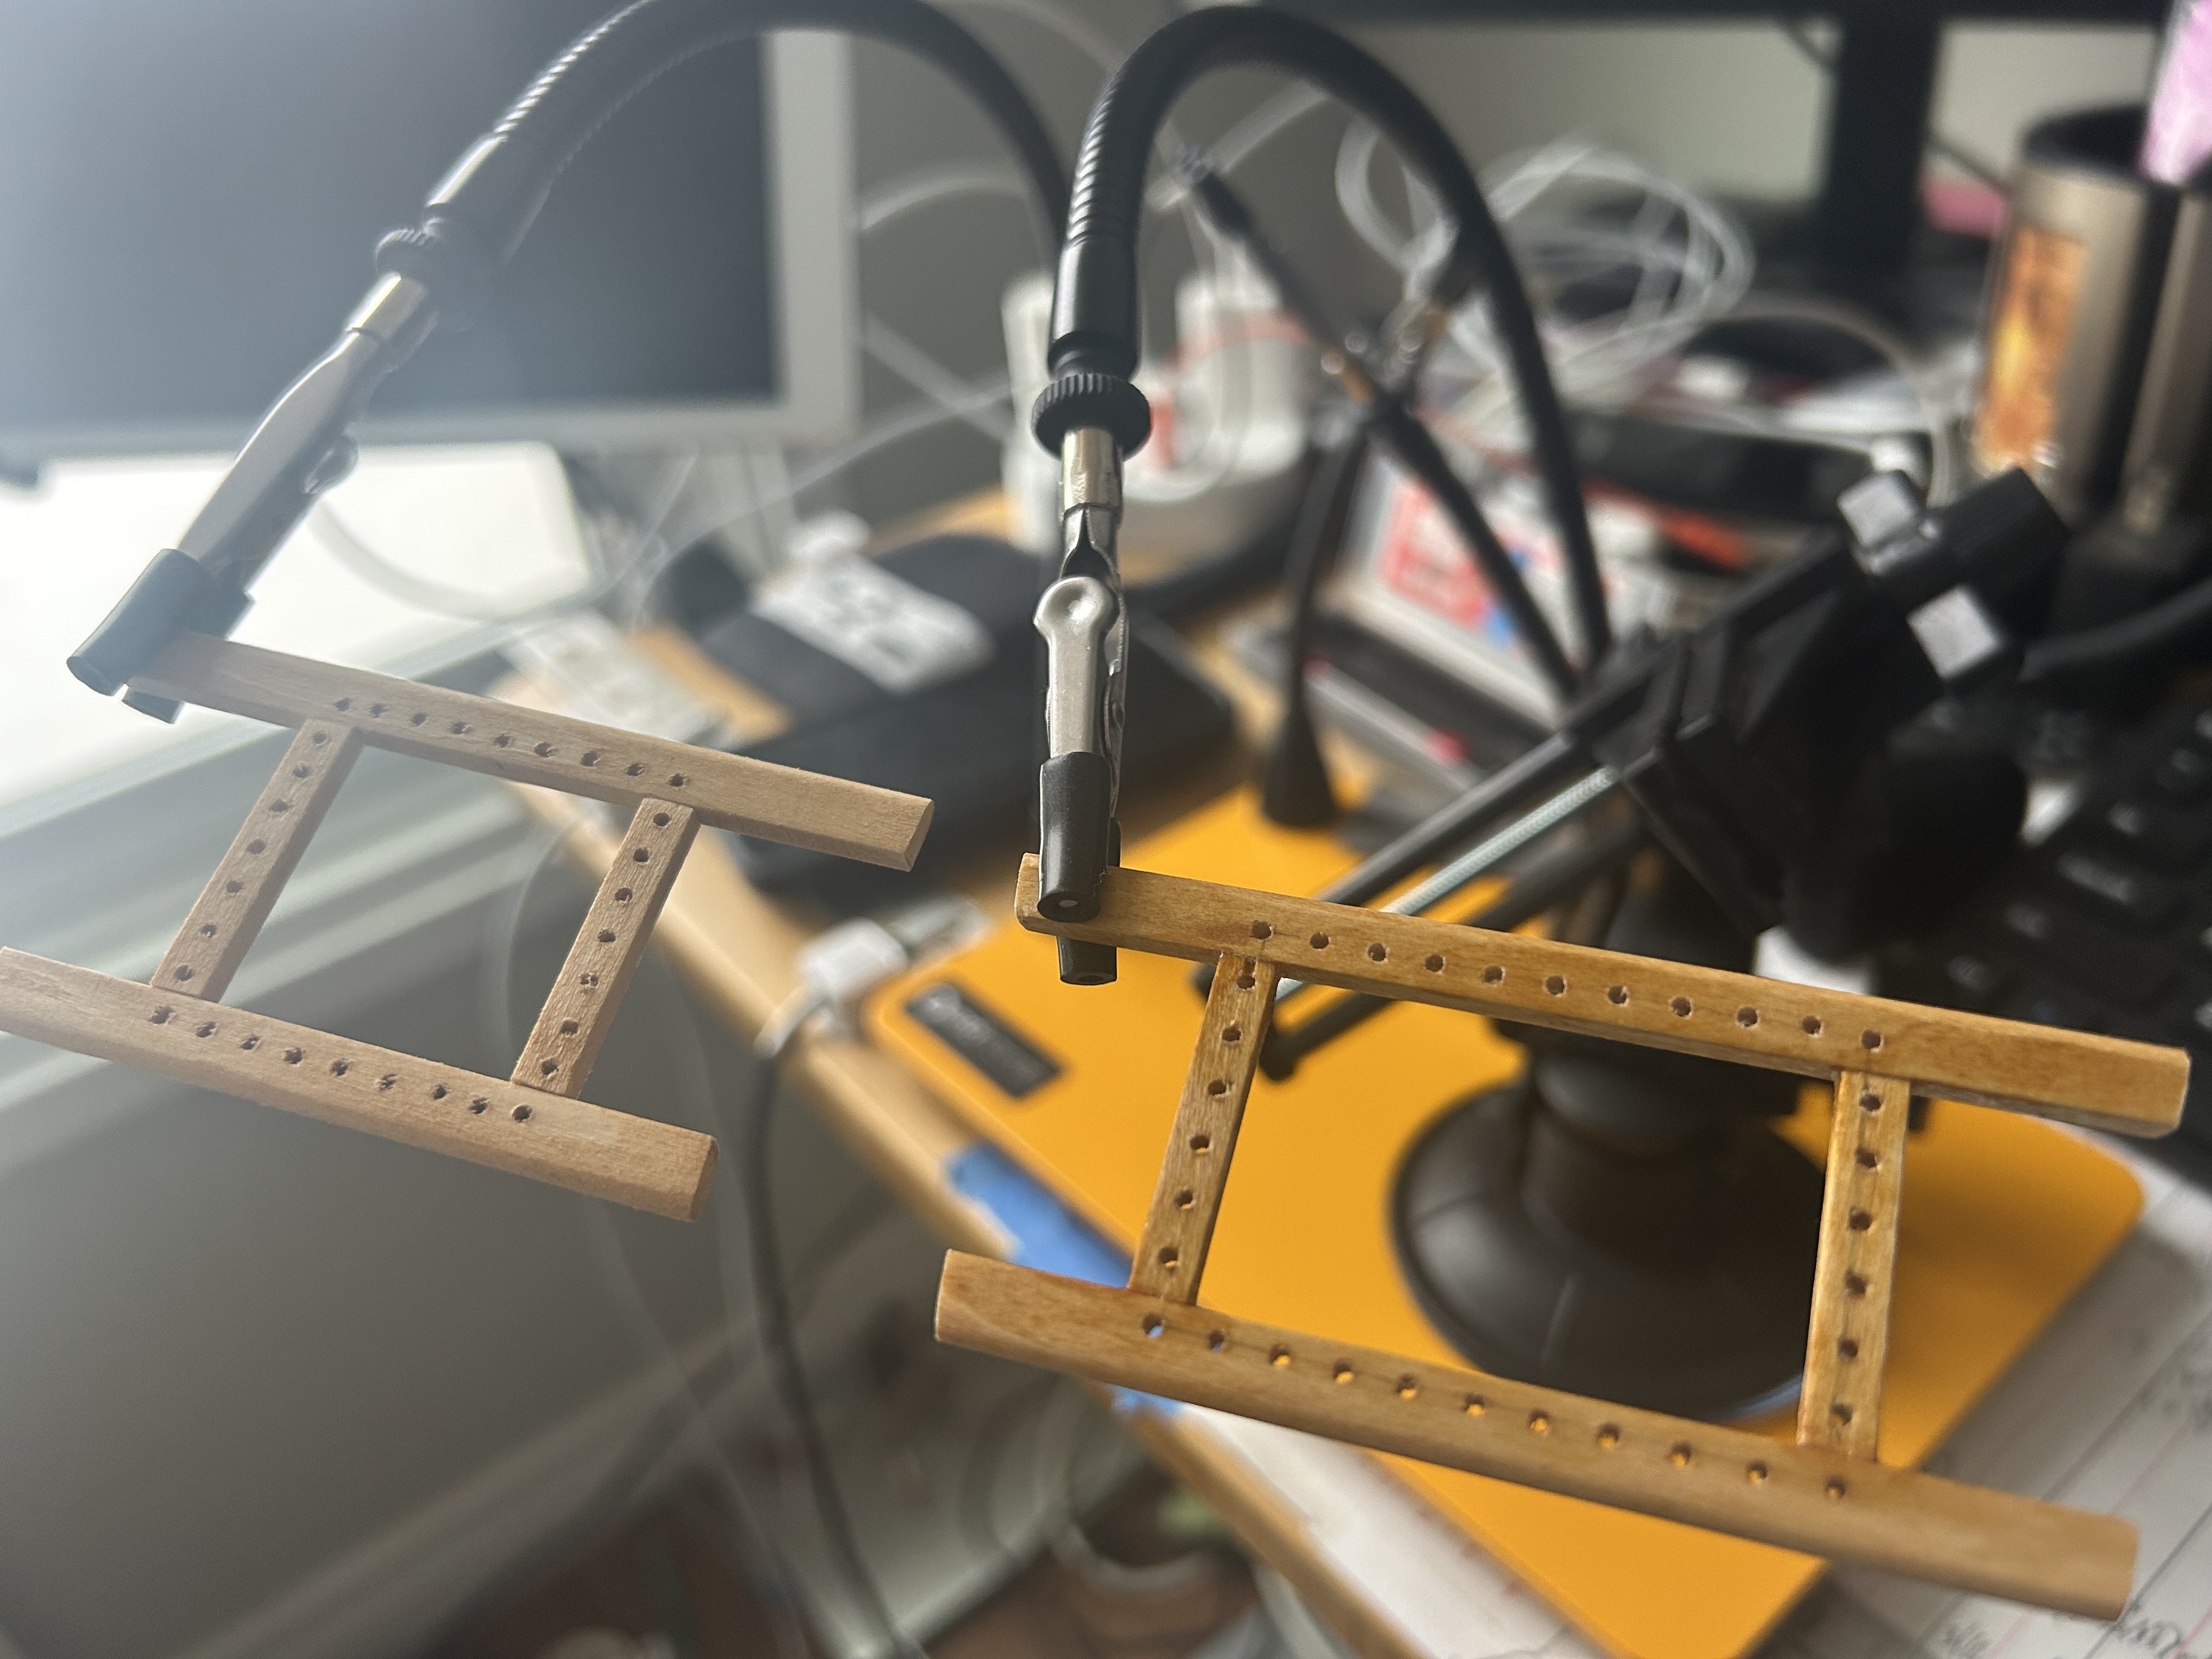
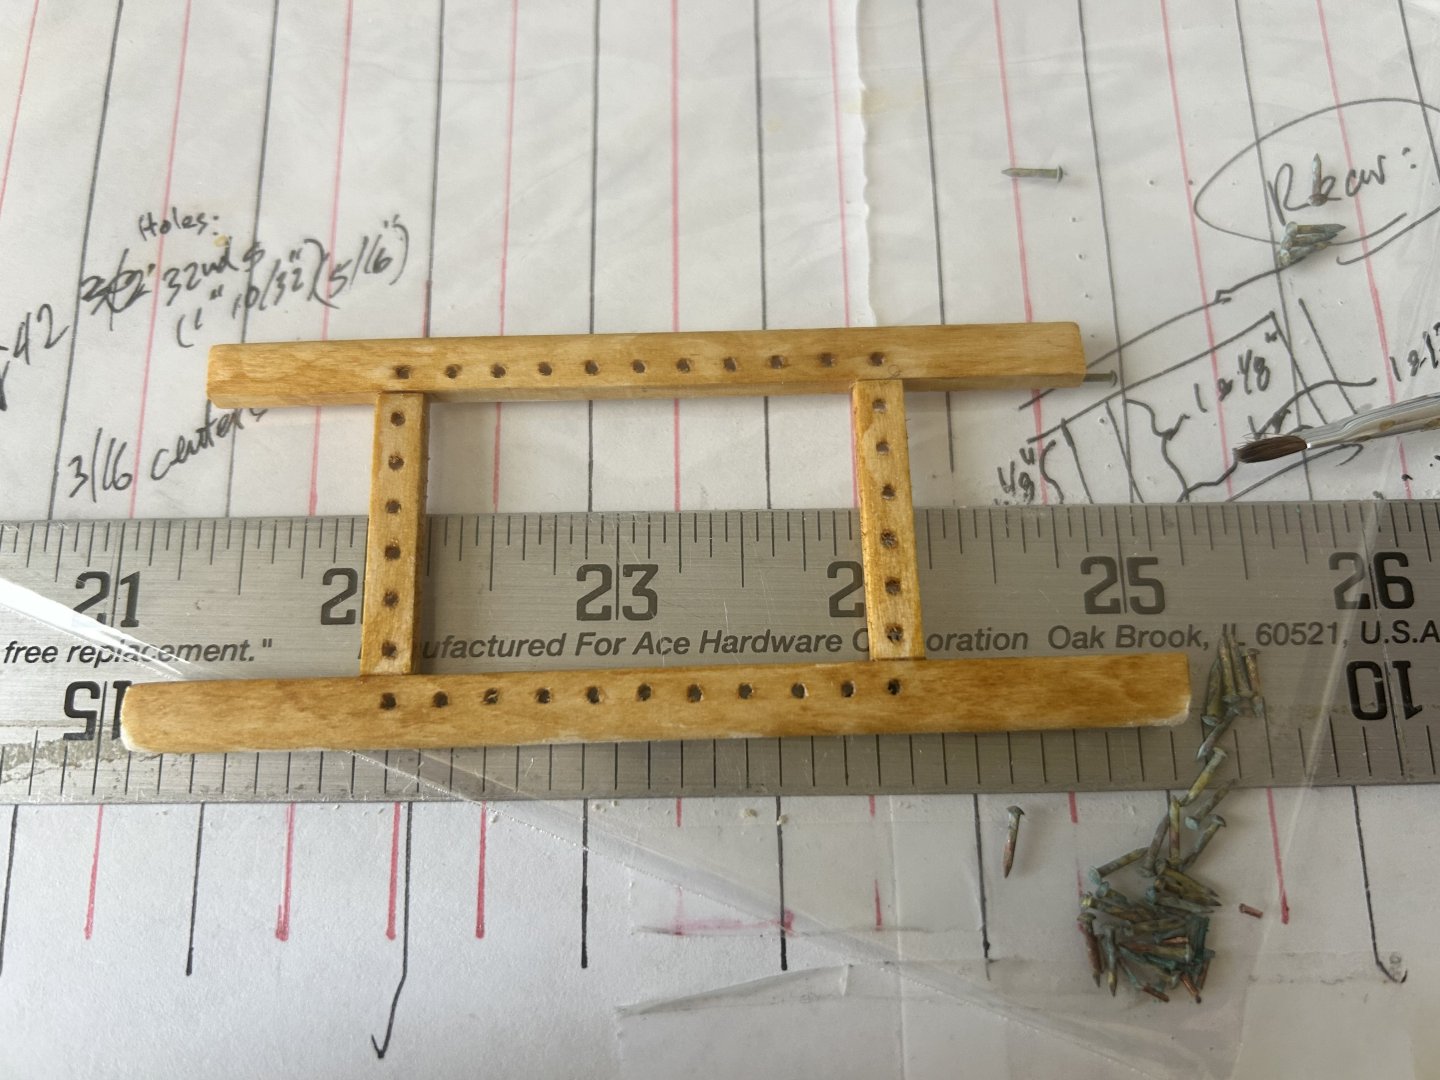
The seats frames are finished along with the mahogany supports. So now begins the tedious caning process. Have to take care to keep twists out of the visible linen thread, to maintain the flat “cane” effect. I like that my miniature “caning pegs” are just cutoff toothpick ends. 🤓


-
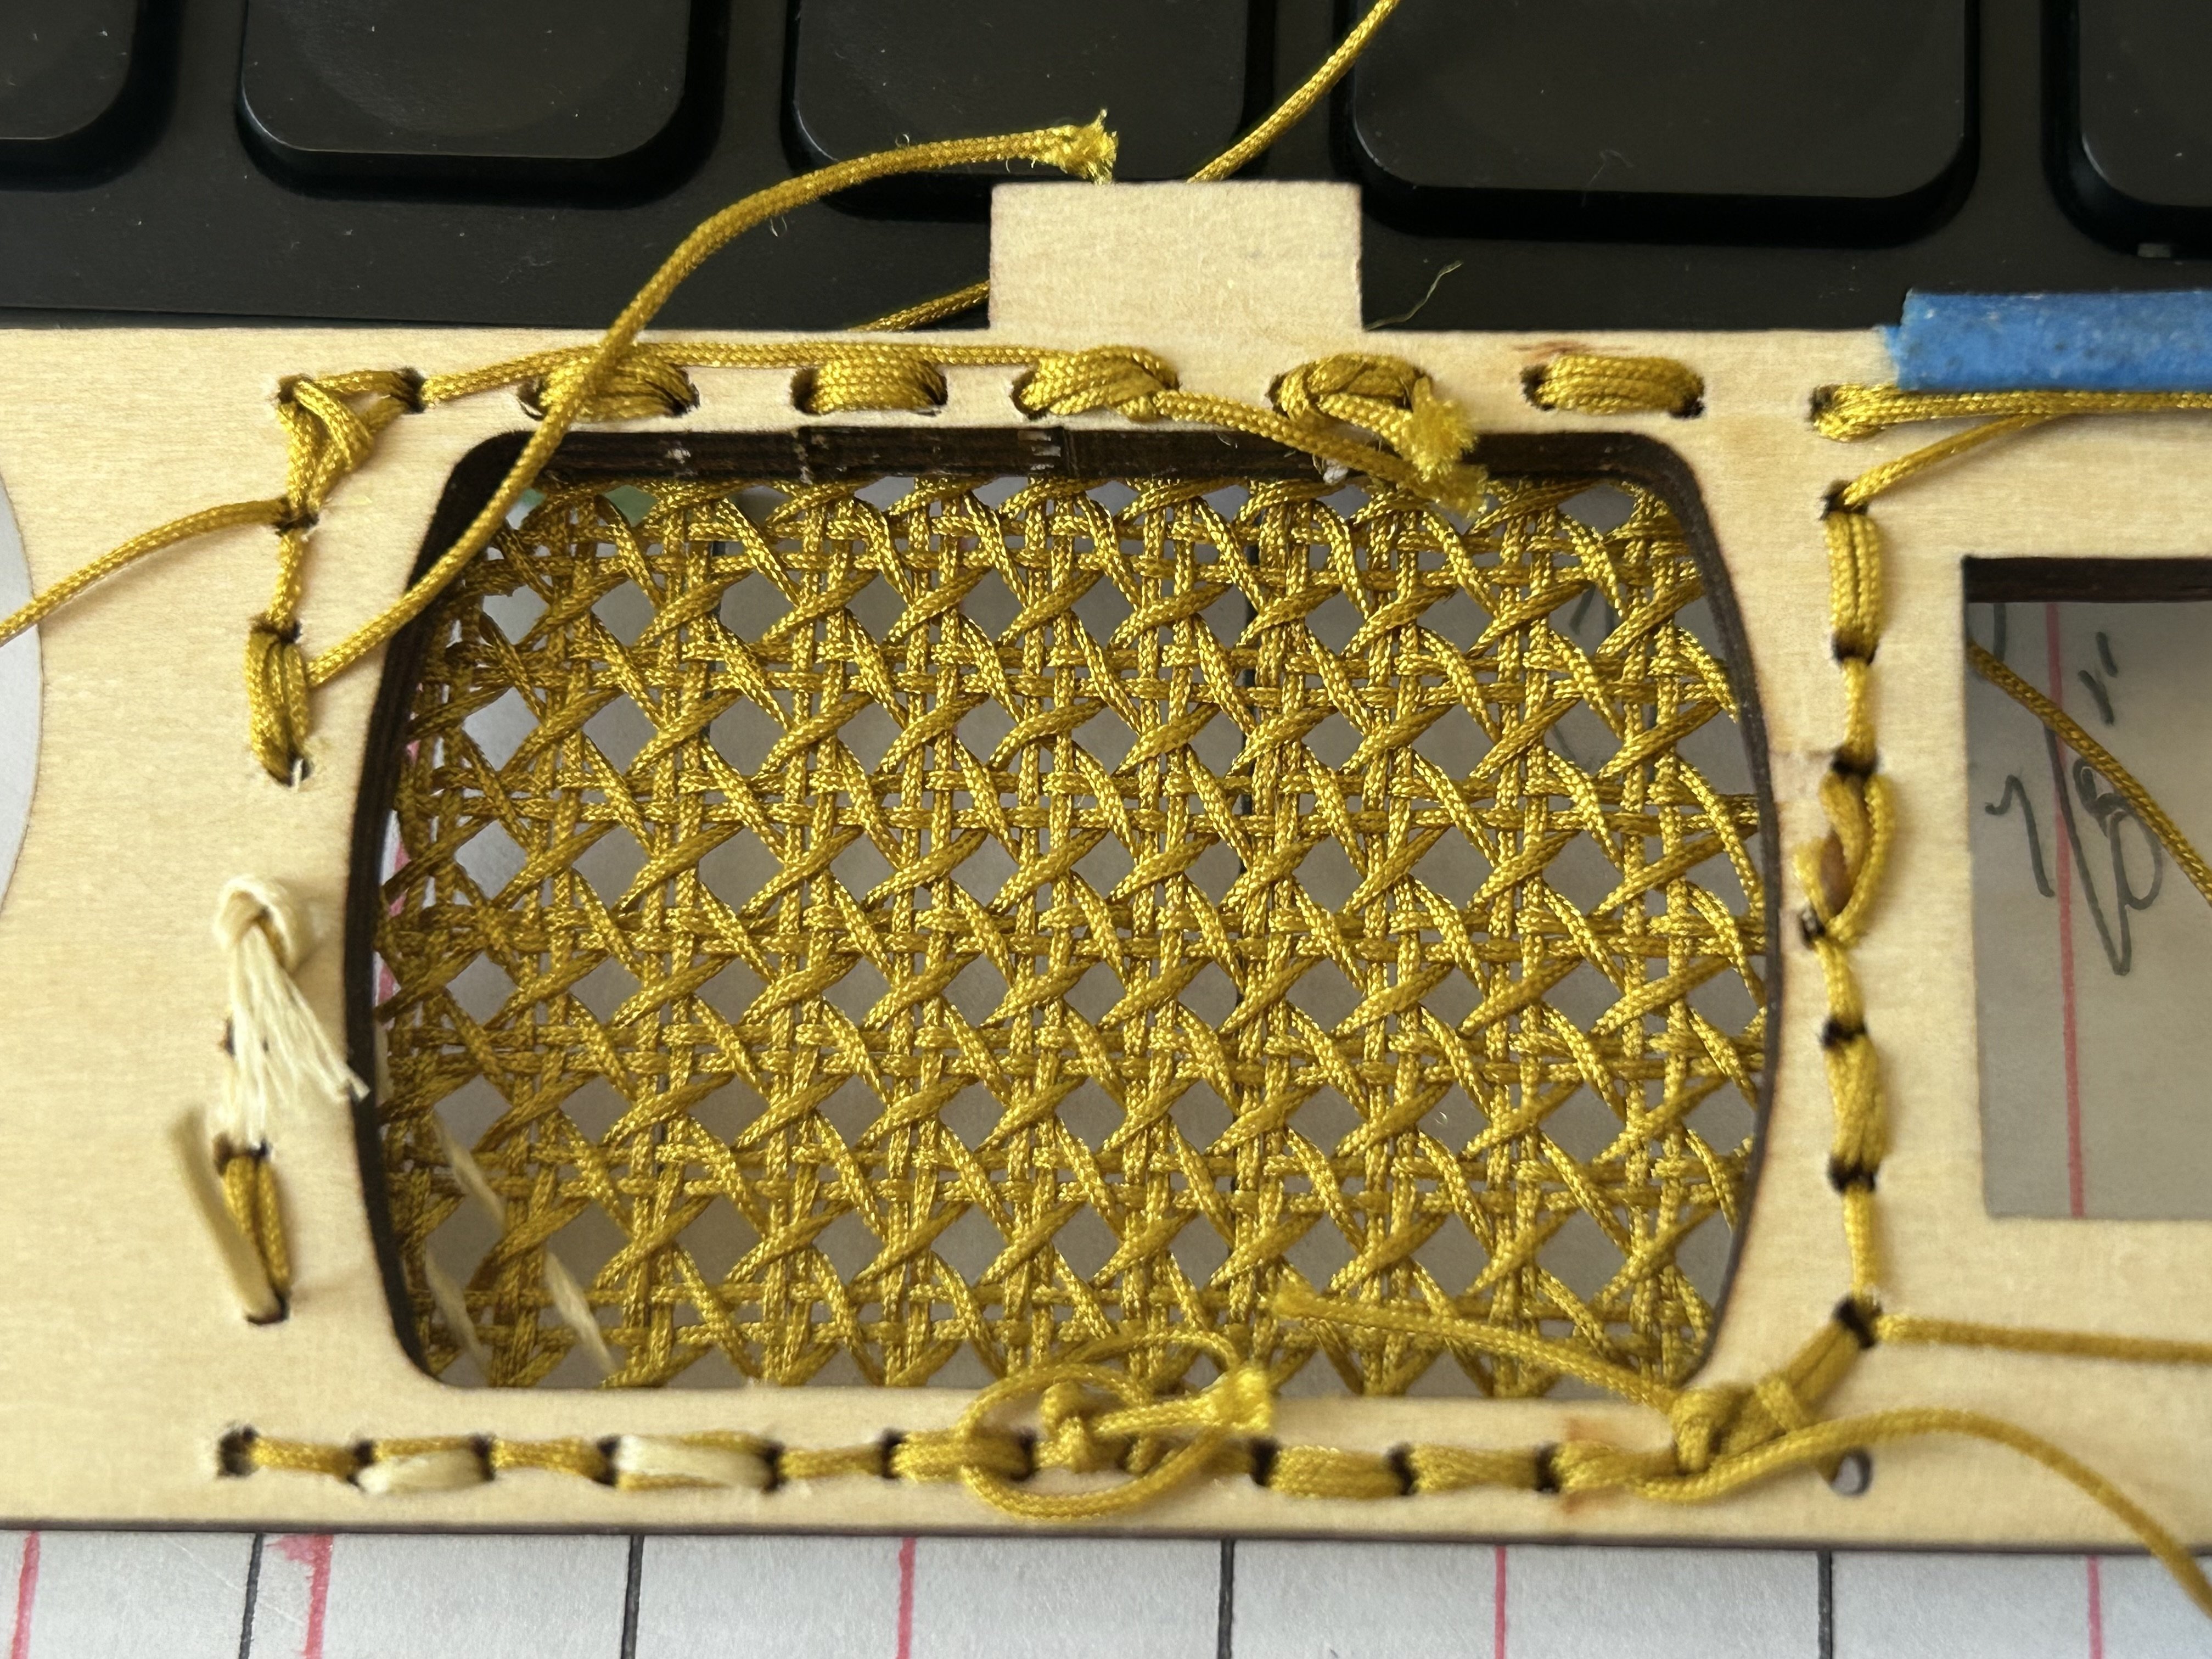
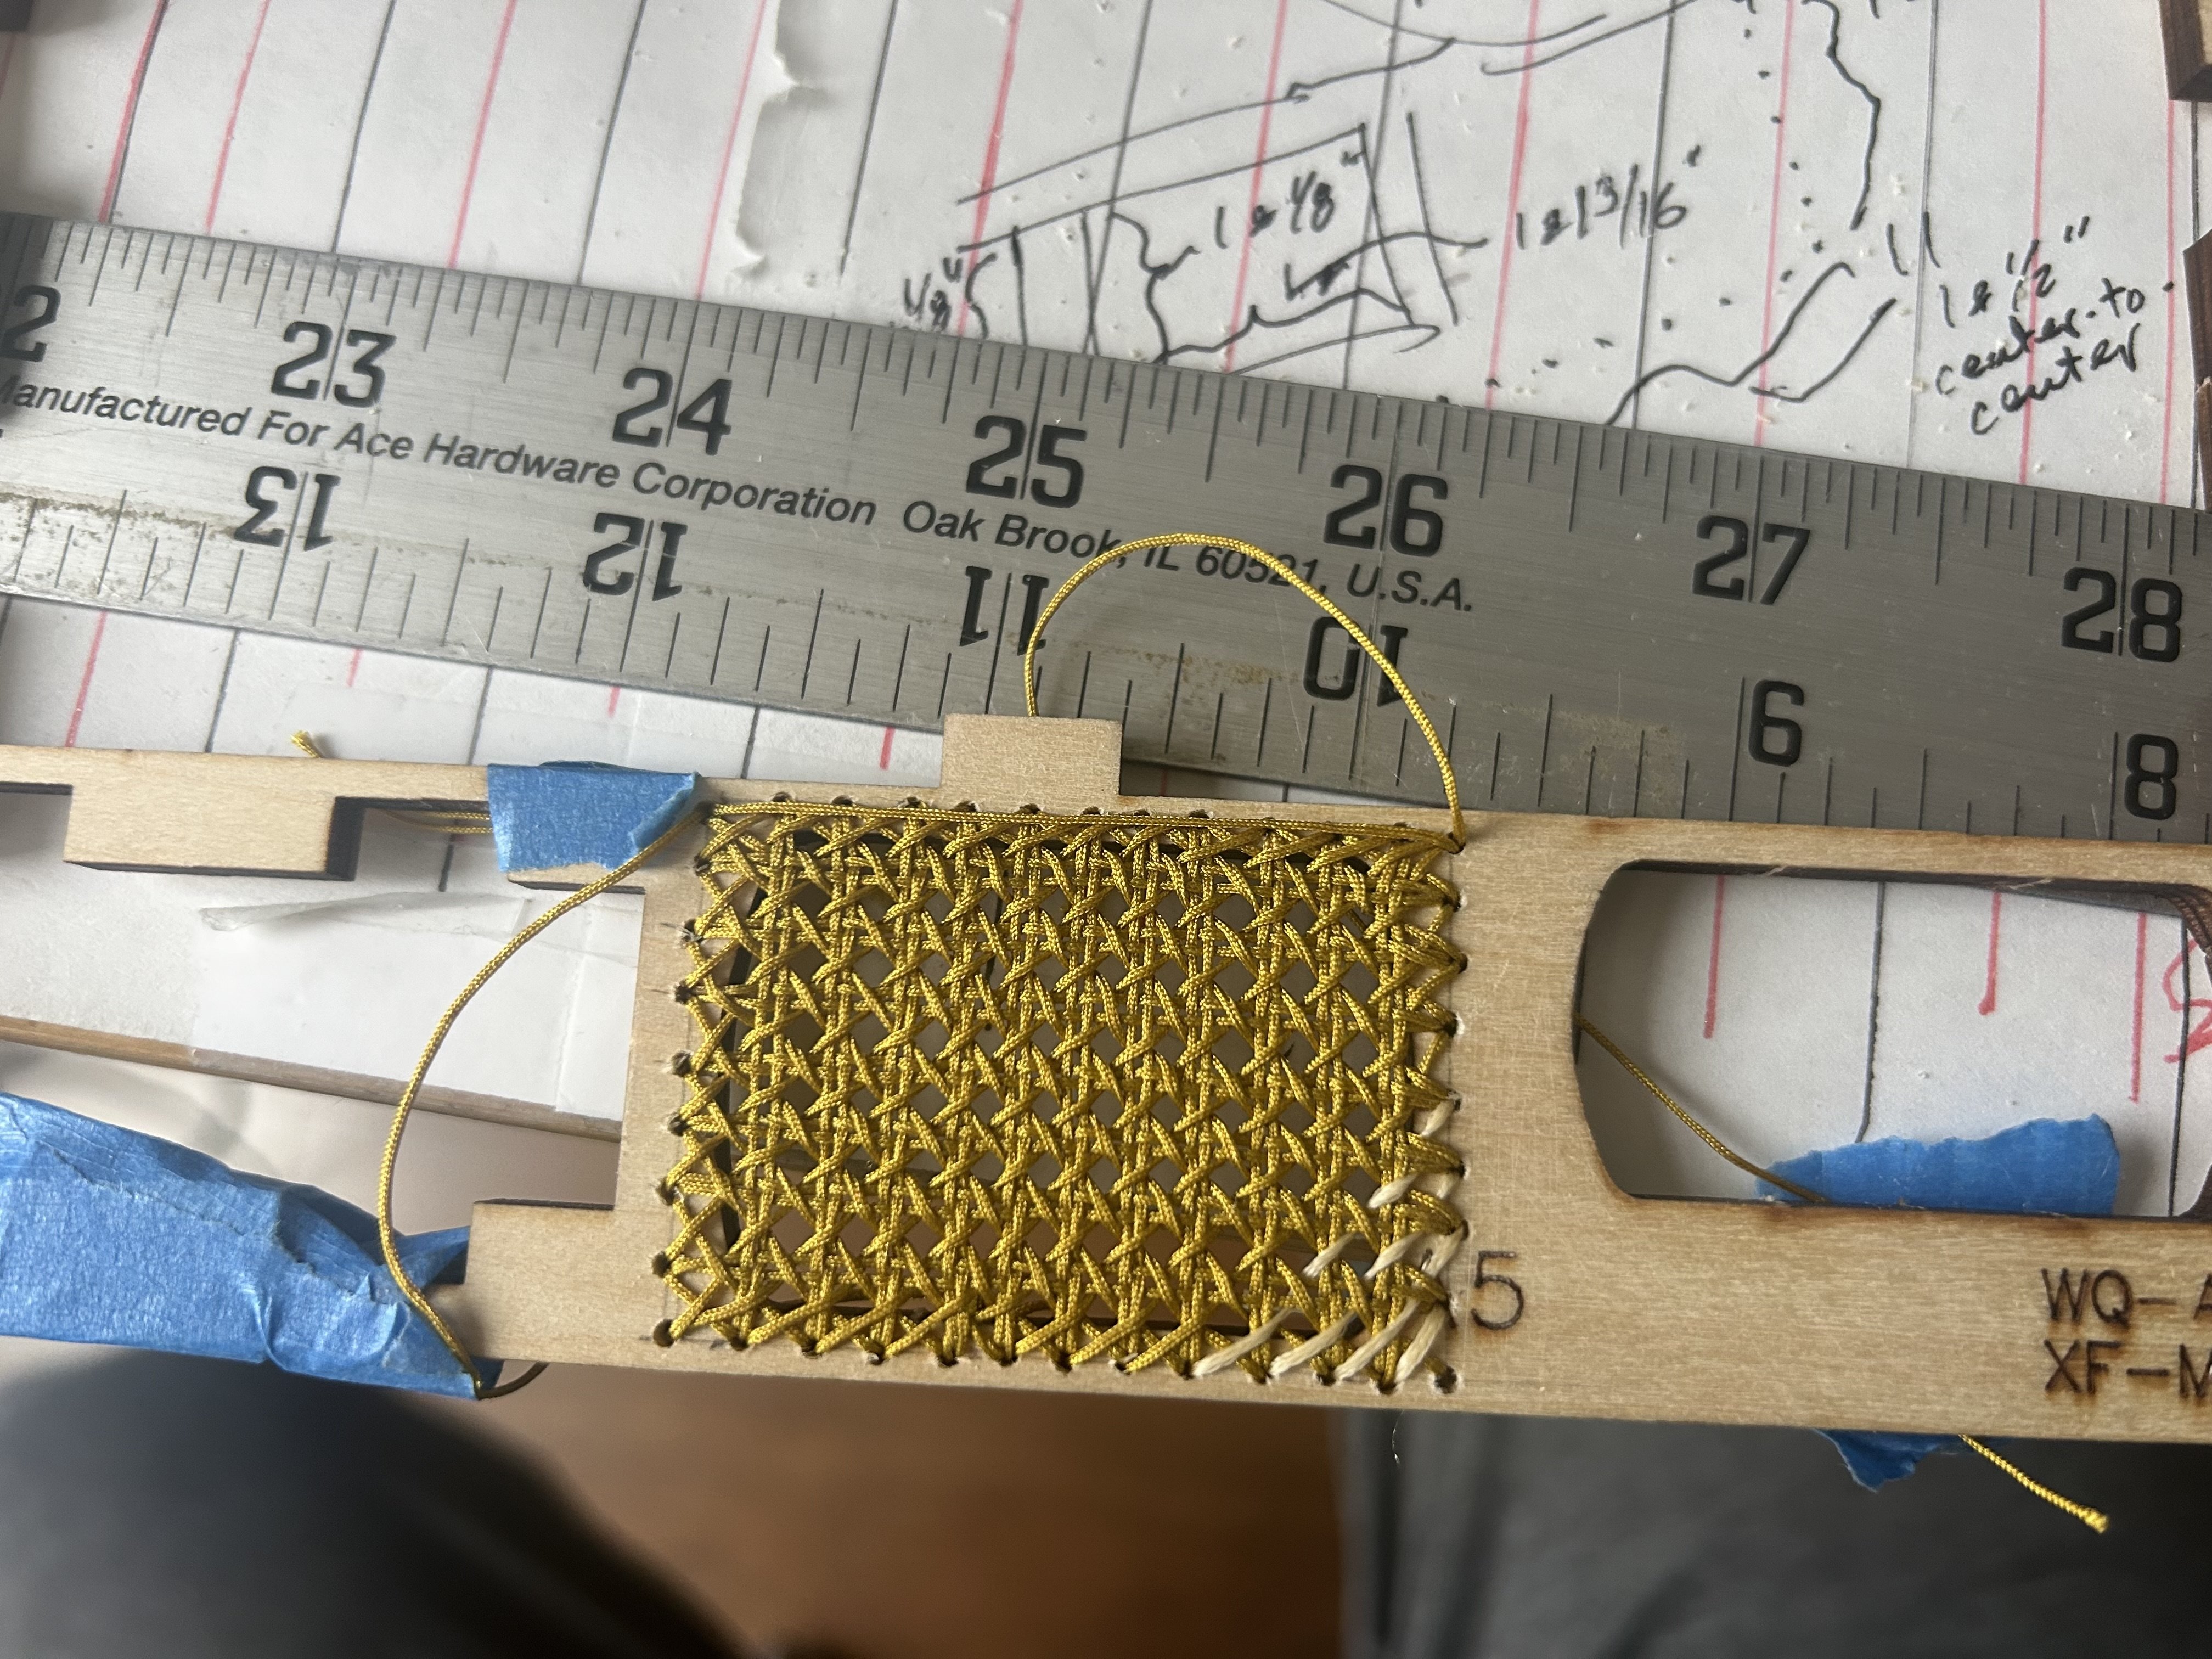
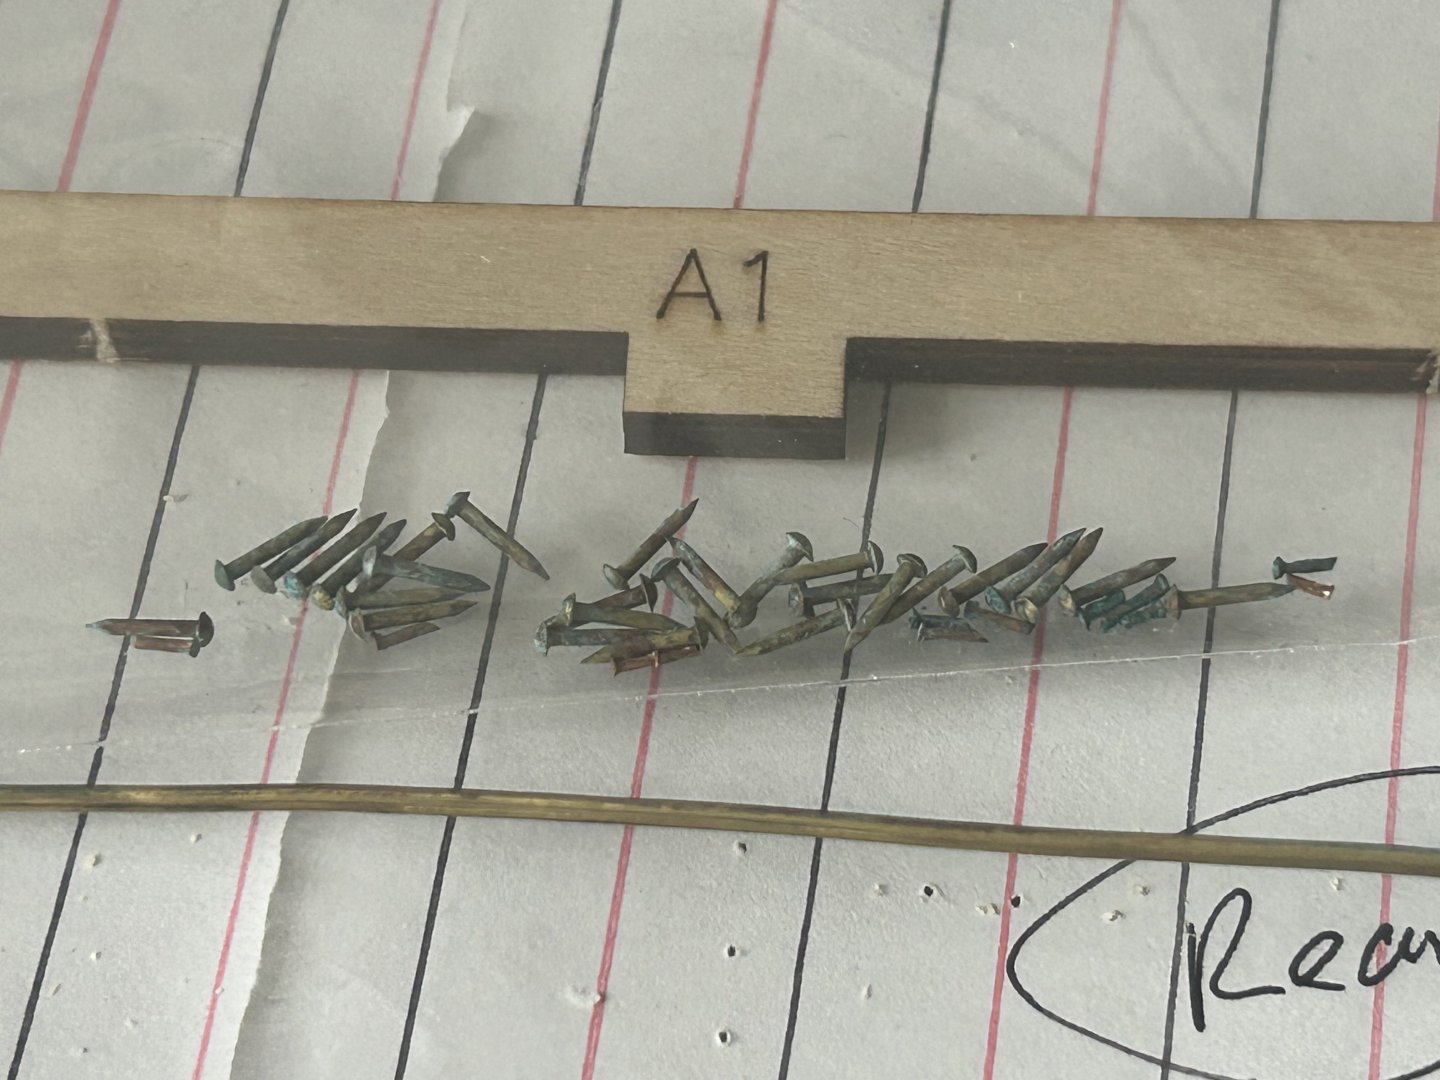
It’s taken me a while to plan out exactly how to manage the seats (basswood, with a light stain, and a semi-gloss clear lacquer varnish) and seat supports (3/32 x 3/16 mahogany), and to settle on the sizes and hole patterns for the caning. Still not sure if I’ll be happy with the scale (thinking they may read as a bit oversized), but if not perfect I can always re-make them with another 30 hours of meticulous labor (😆). Another batch of screws/bolts will be needed for the seat supports, and some tiny screws for the brass keel strip, which has been weathered/patinated, just needs straightening. Here is the test warp & weave caning job at scale, although I will be using the flat waxed linen thread (visible in lower right corner) rather than the gold woven thread. Already screwed up the front seat (was supposed to be 9 rows high by 11 wide, somehow I only made 8 rows high).


-
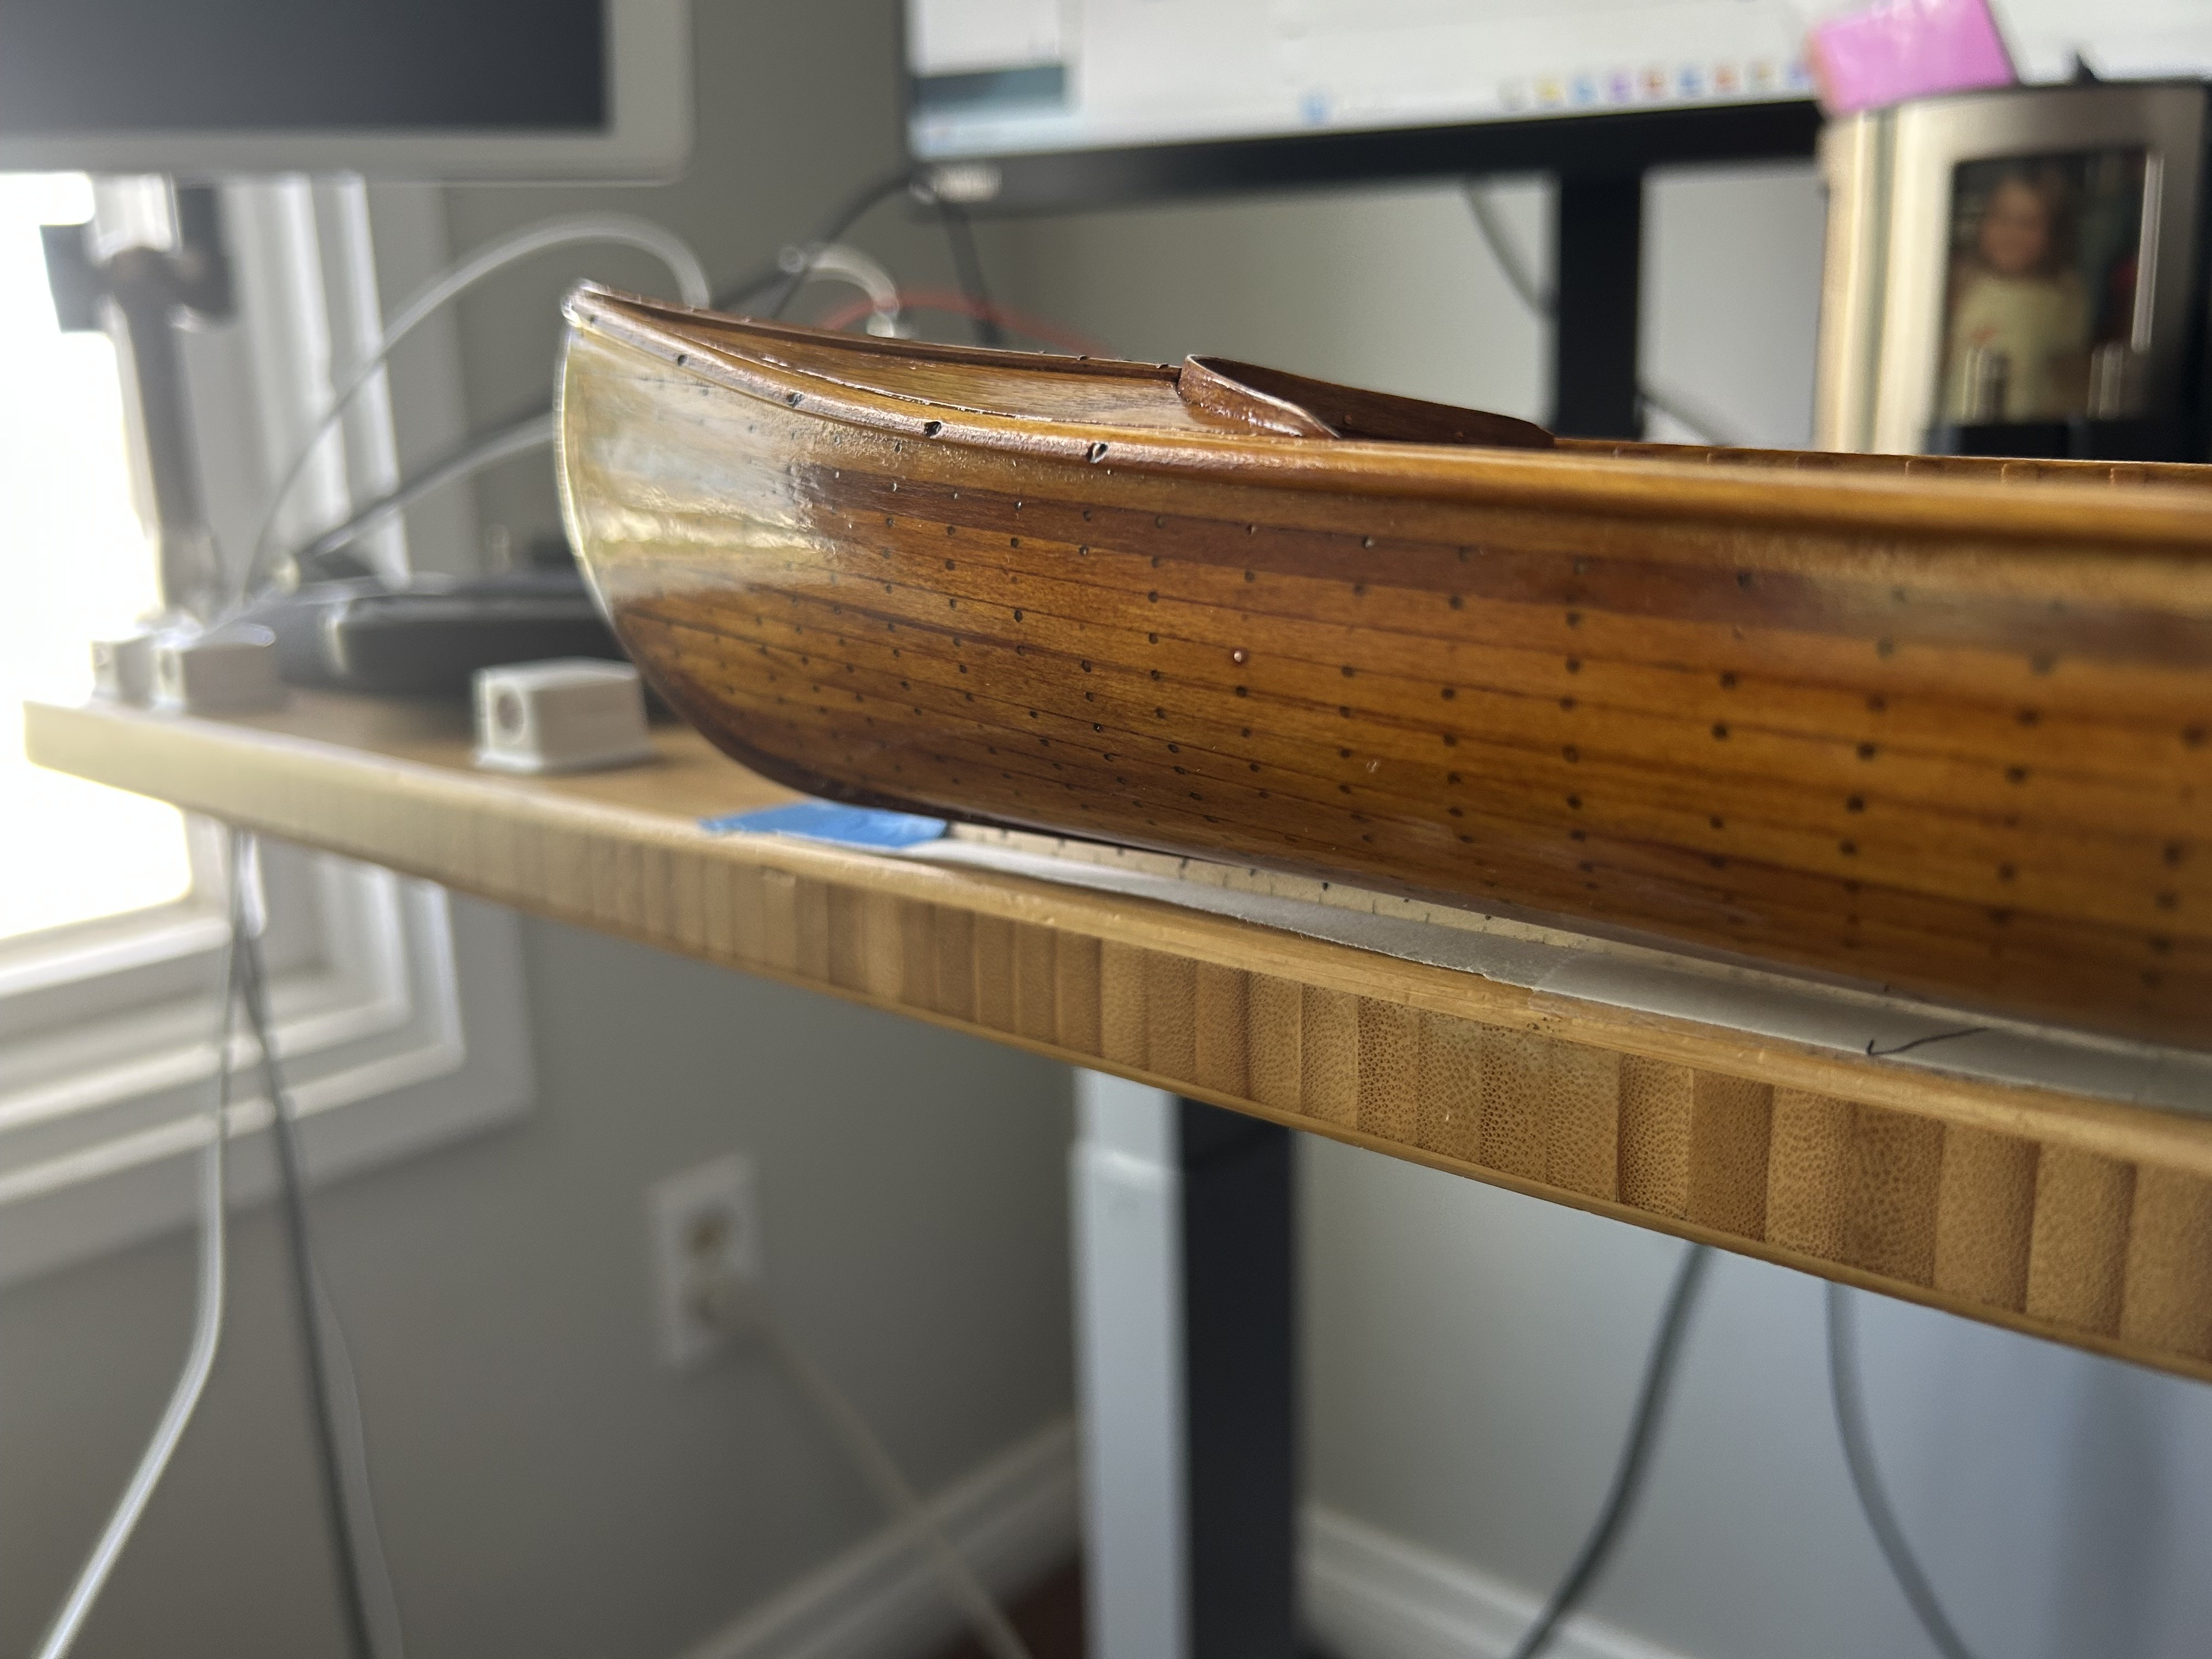
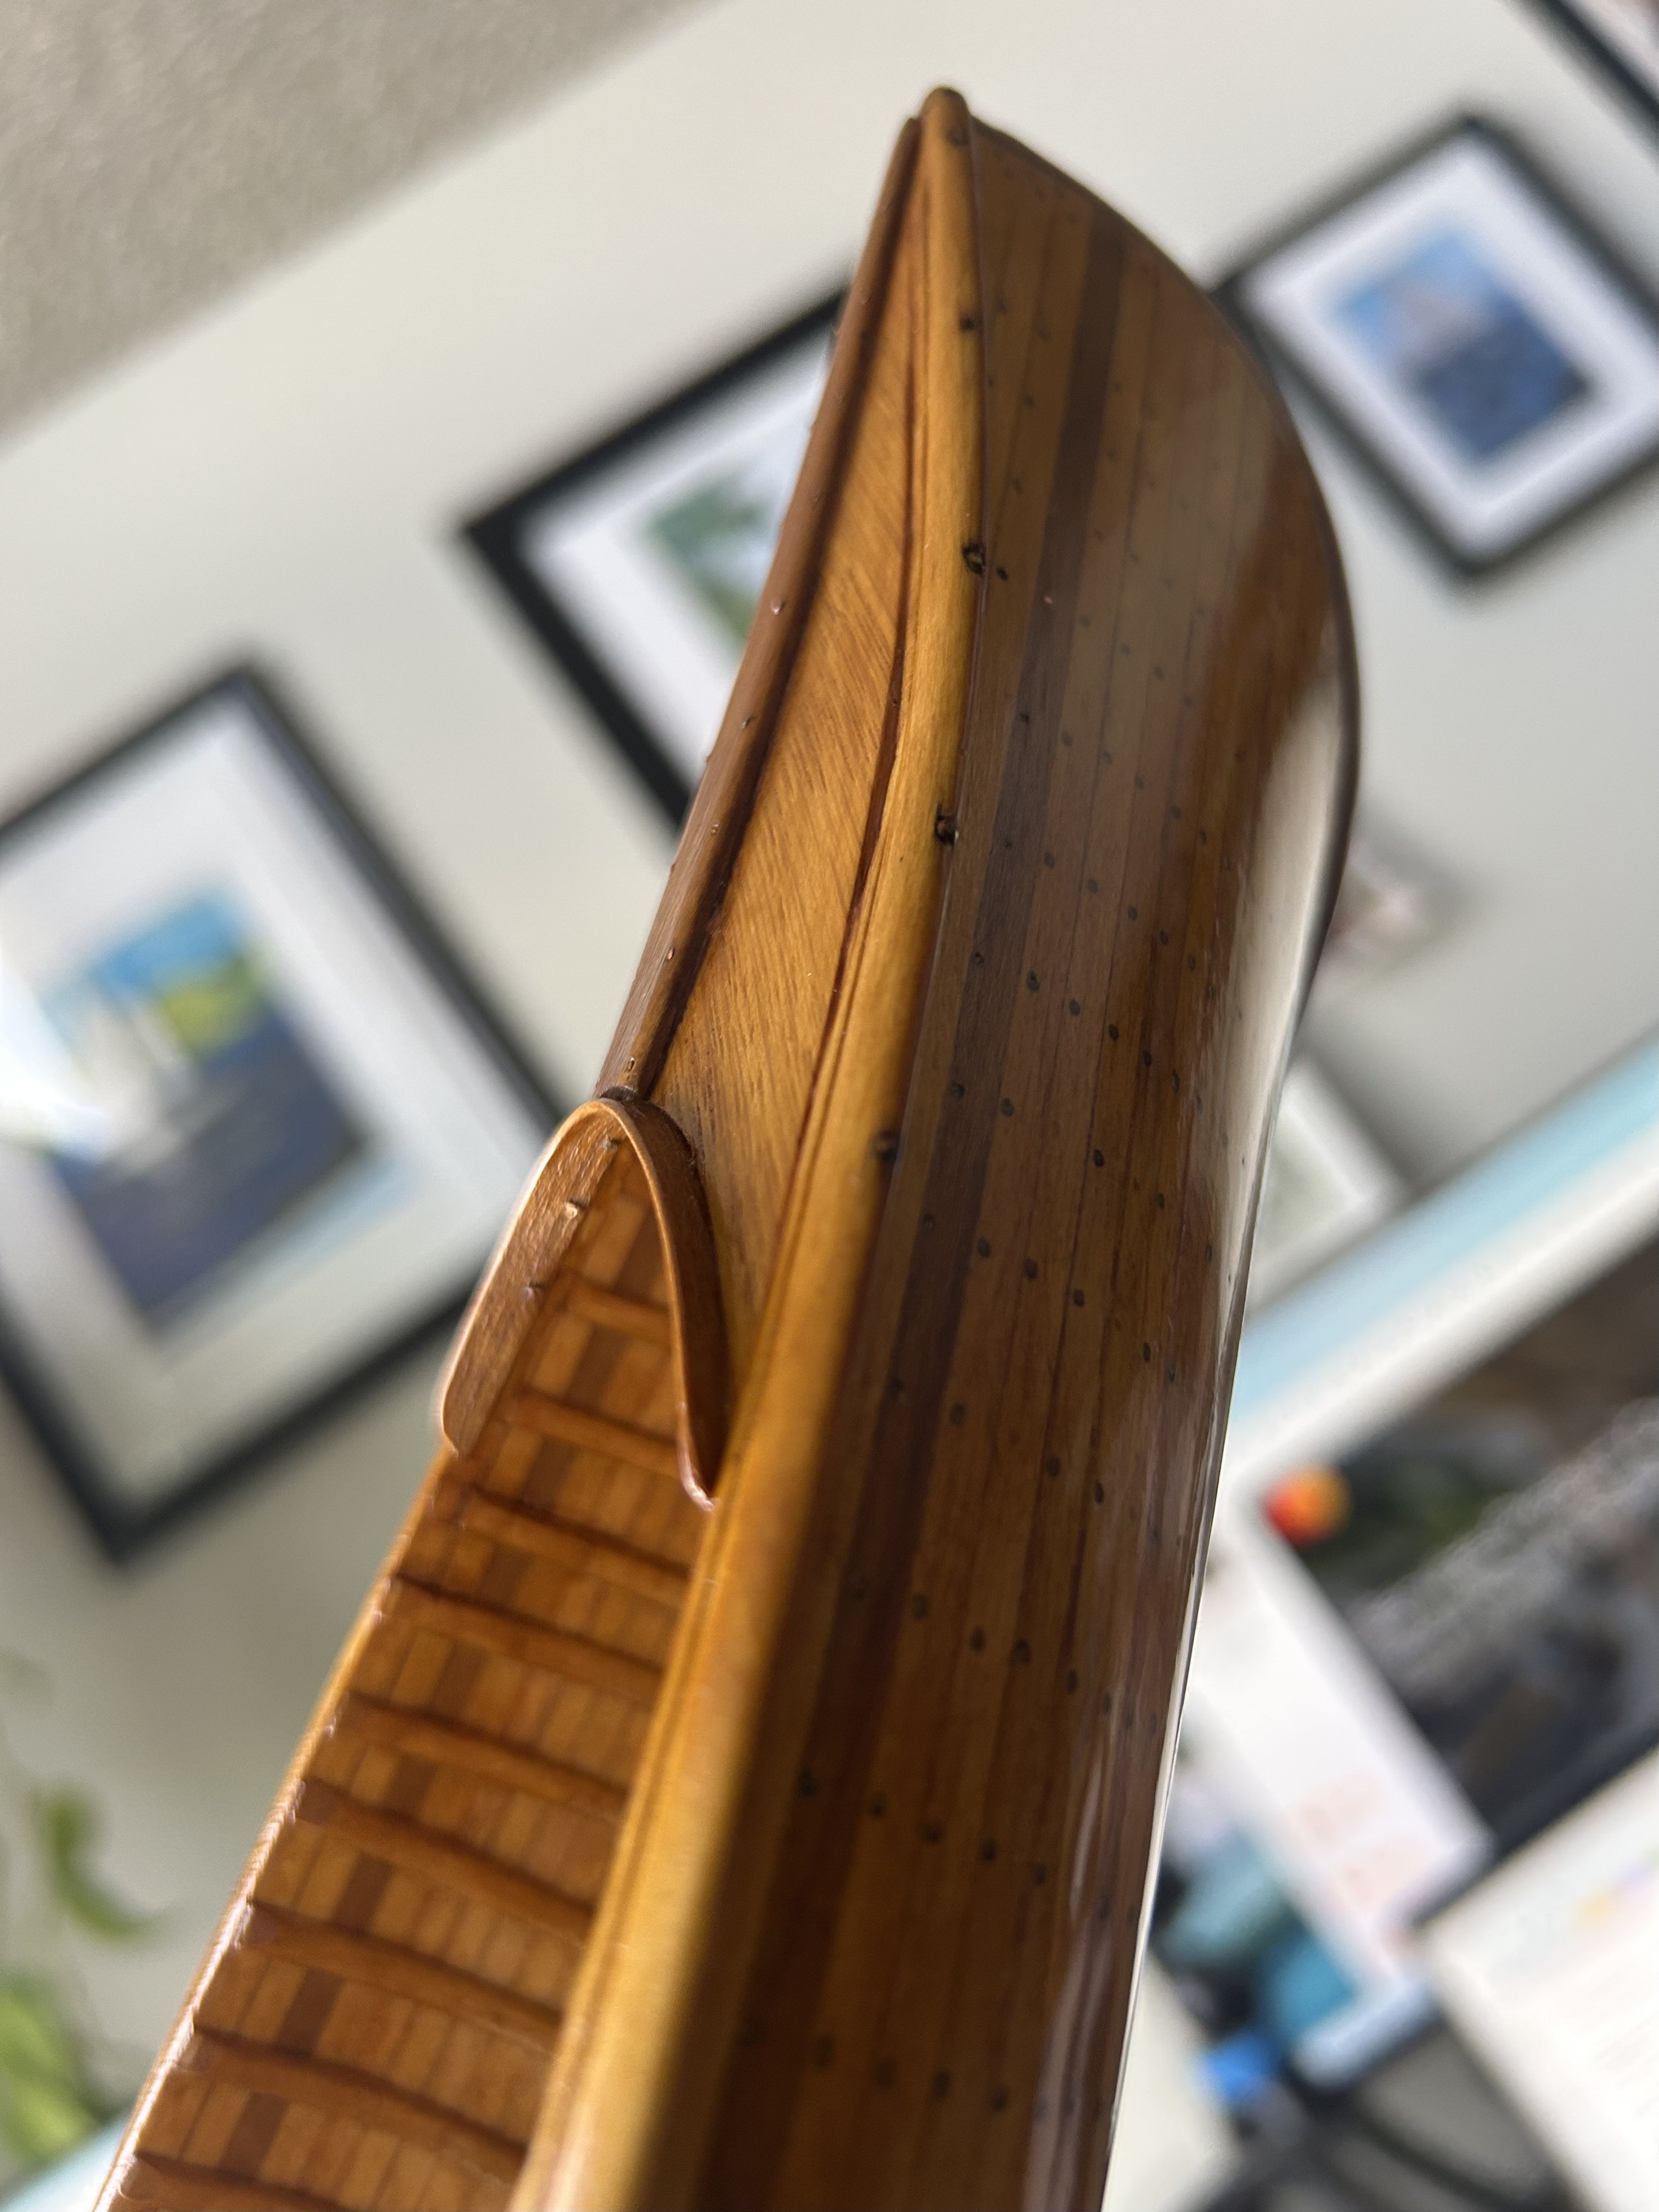
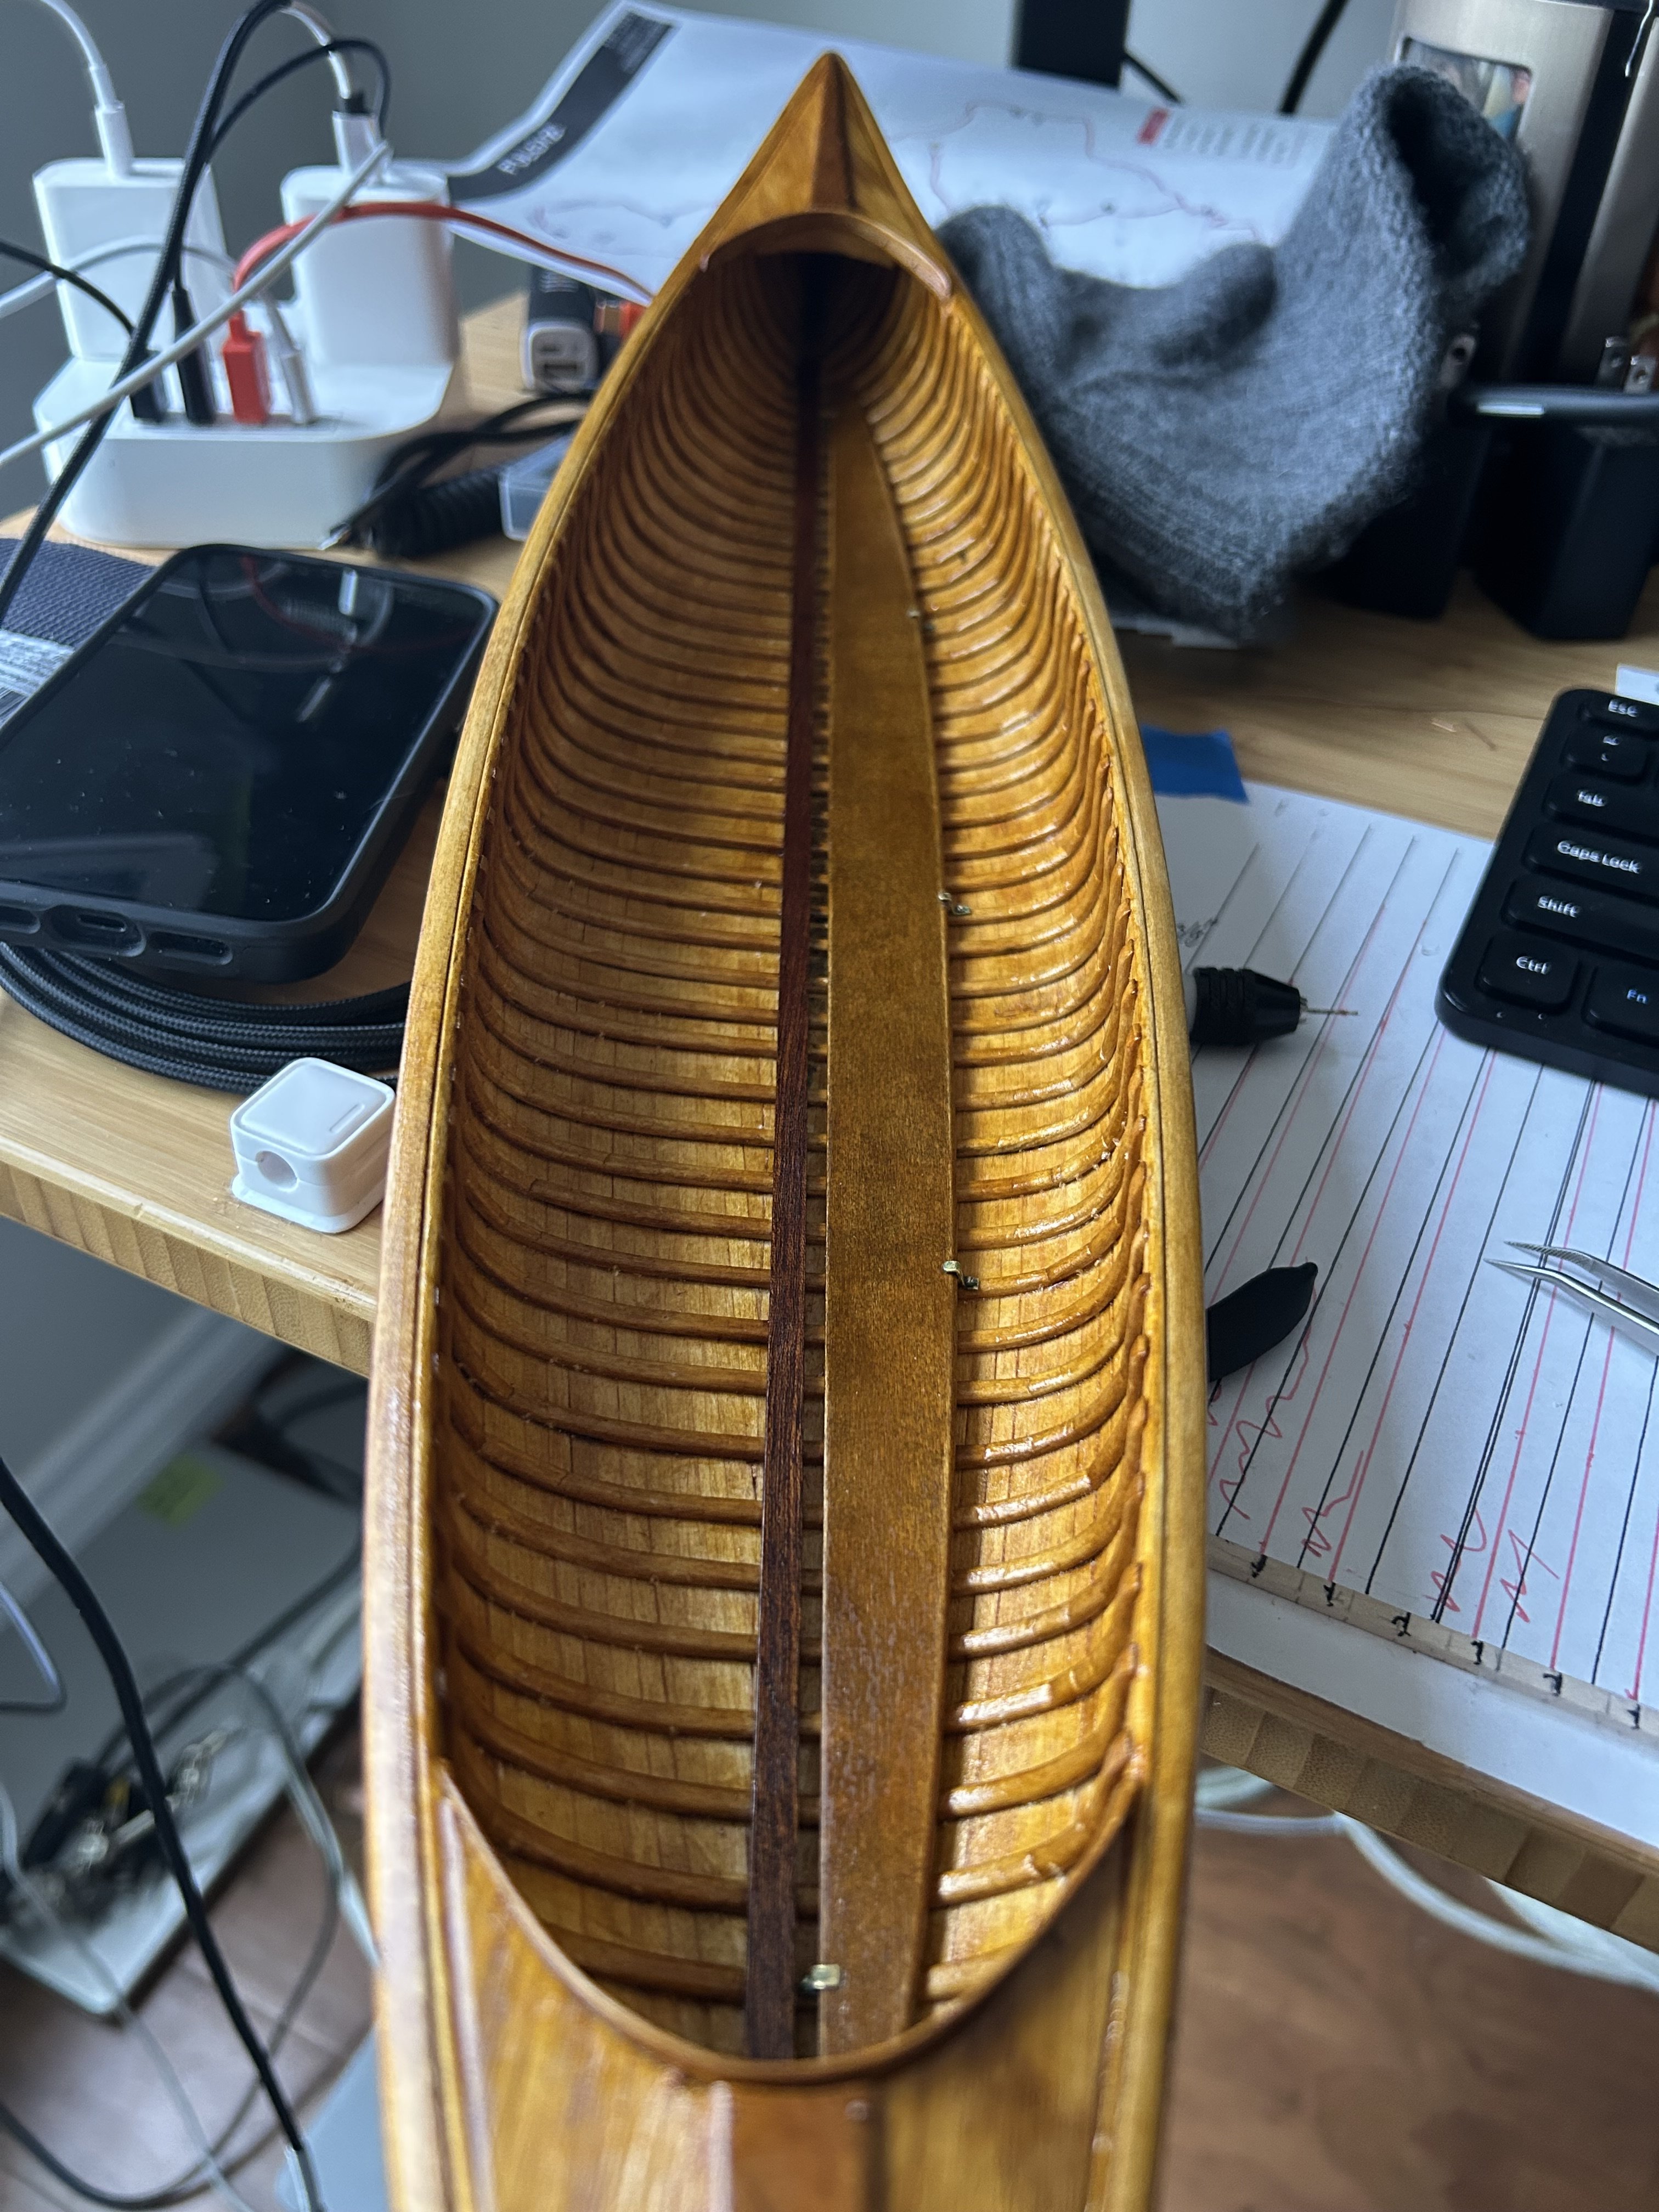
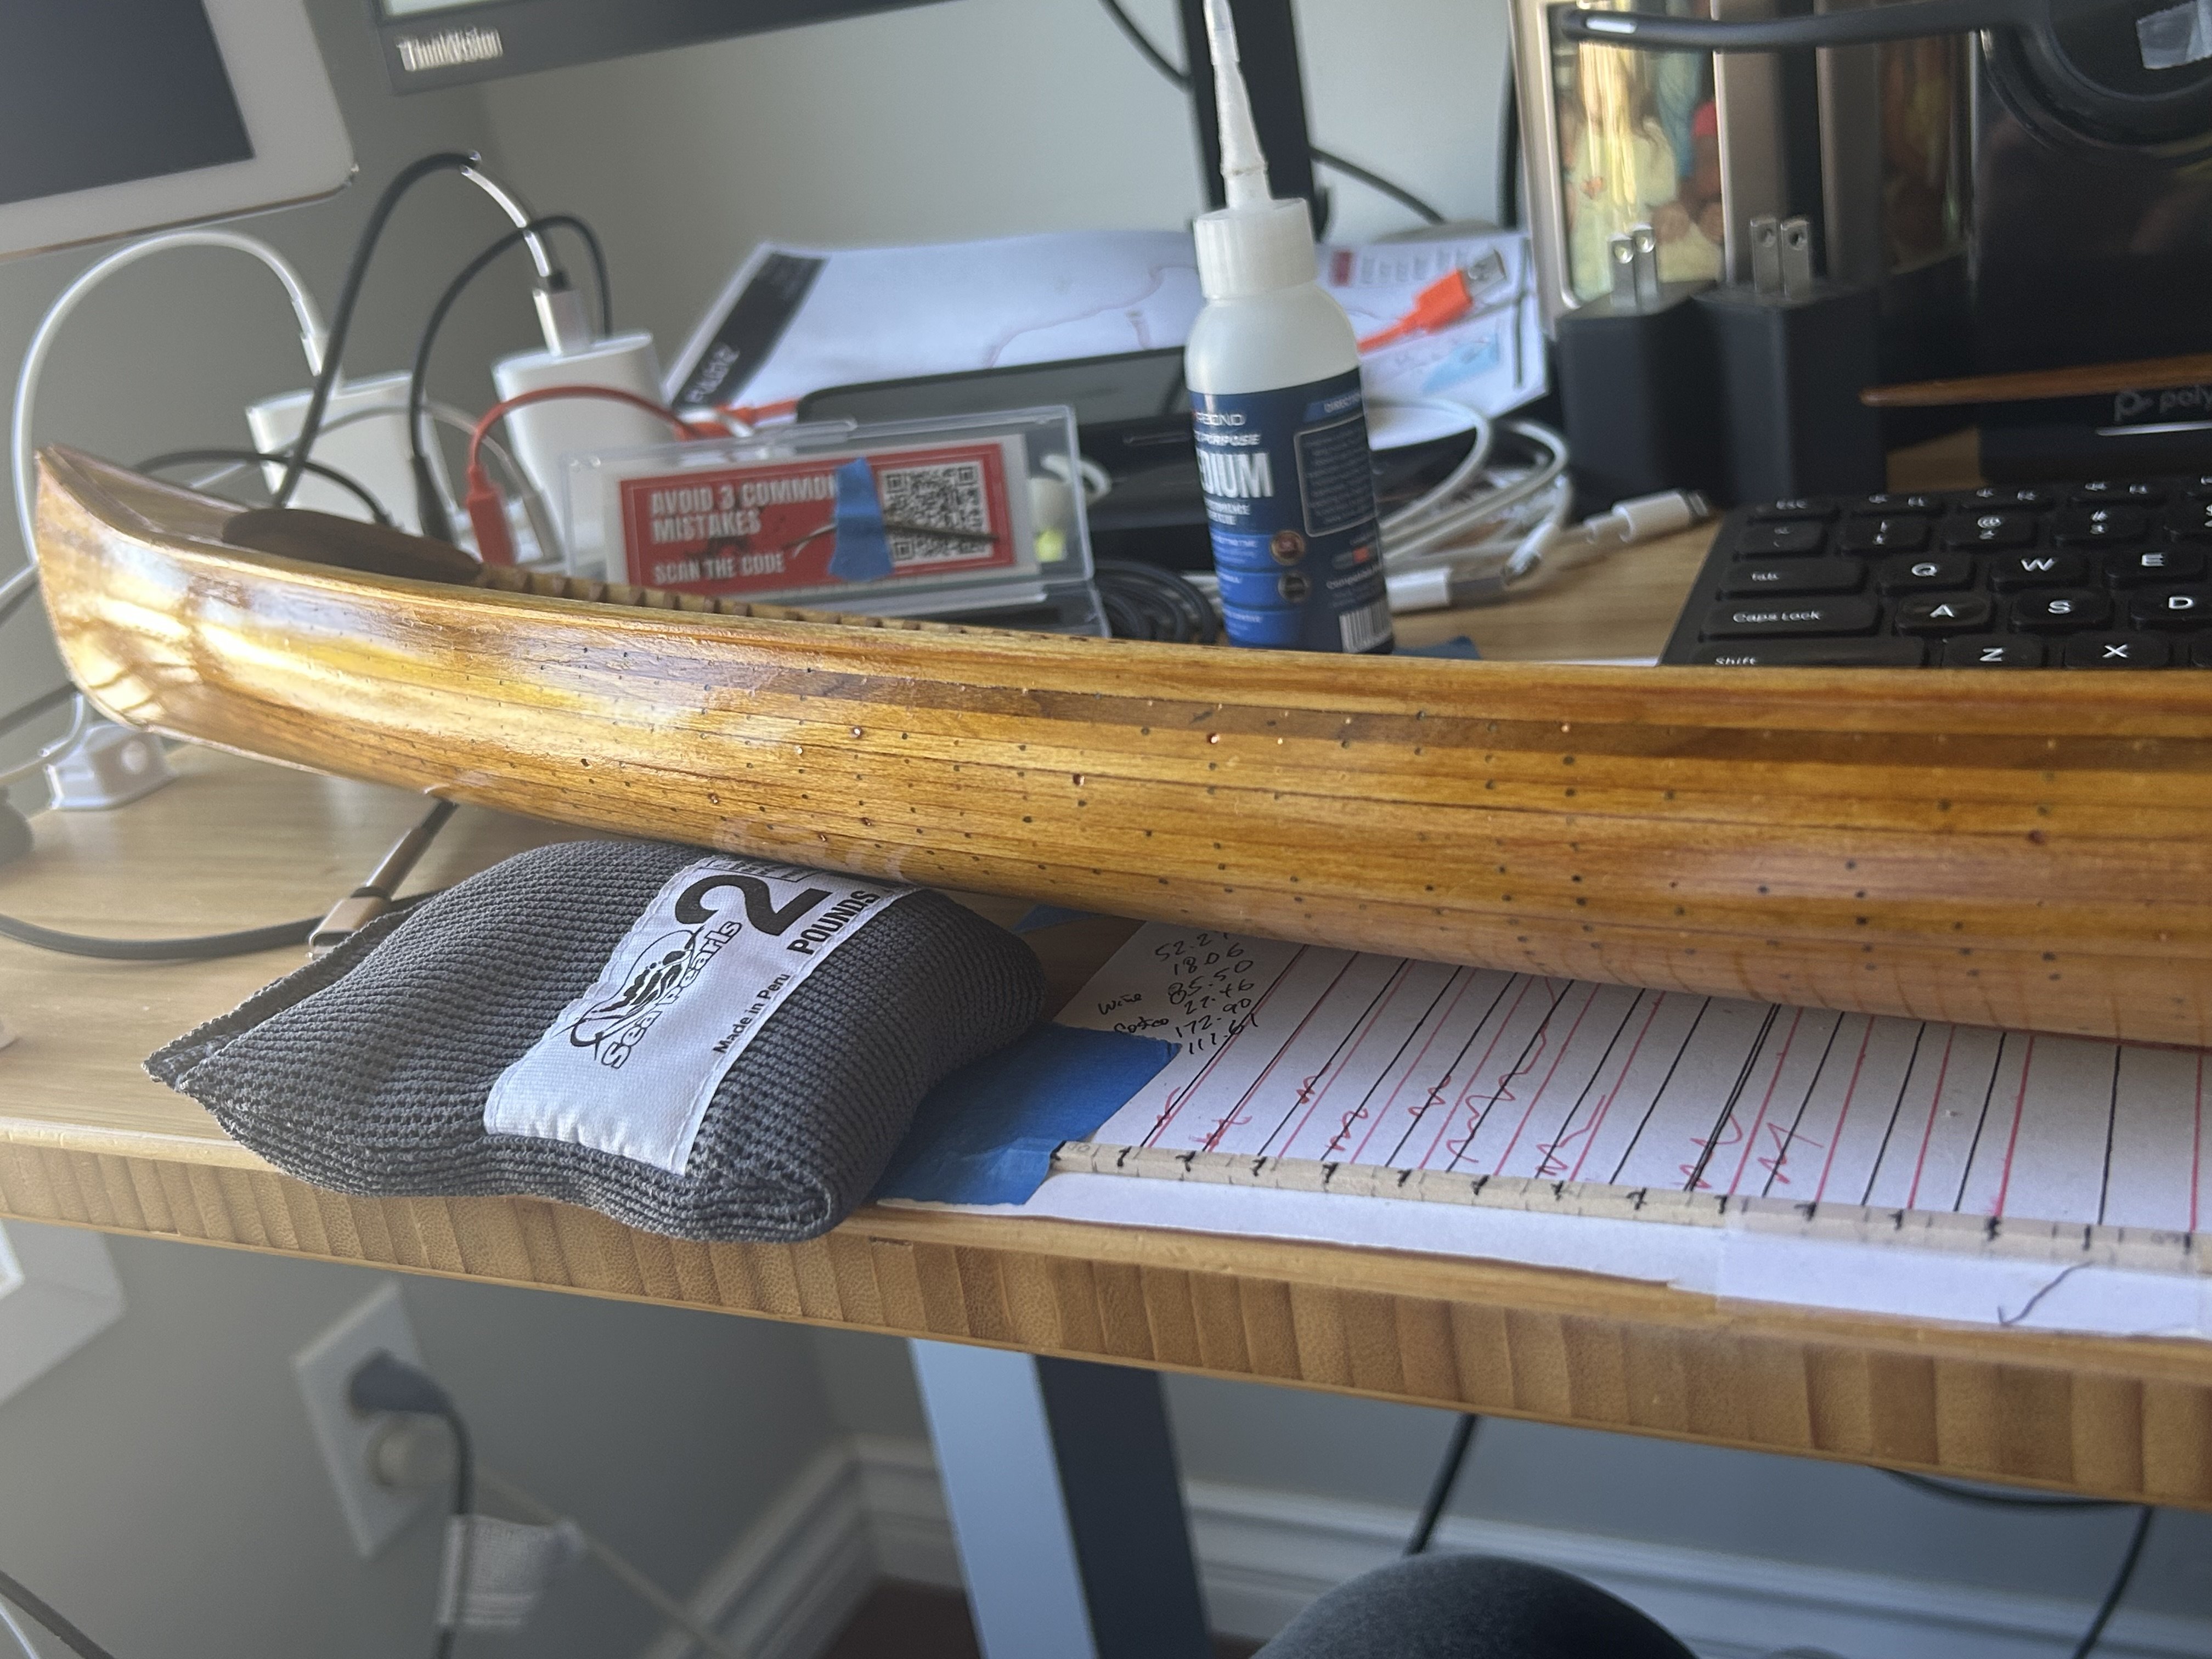
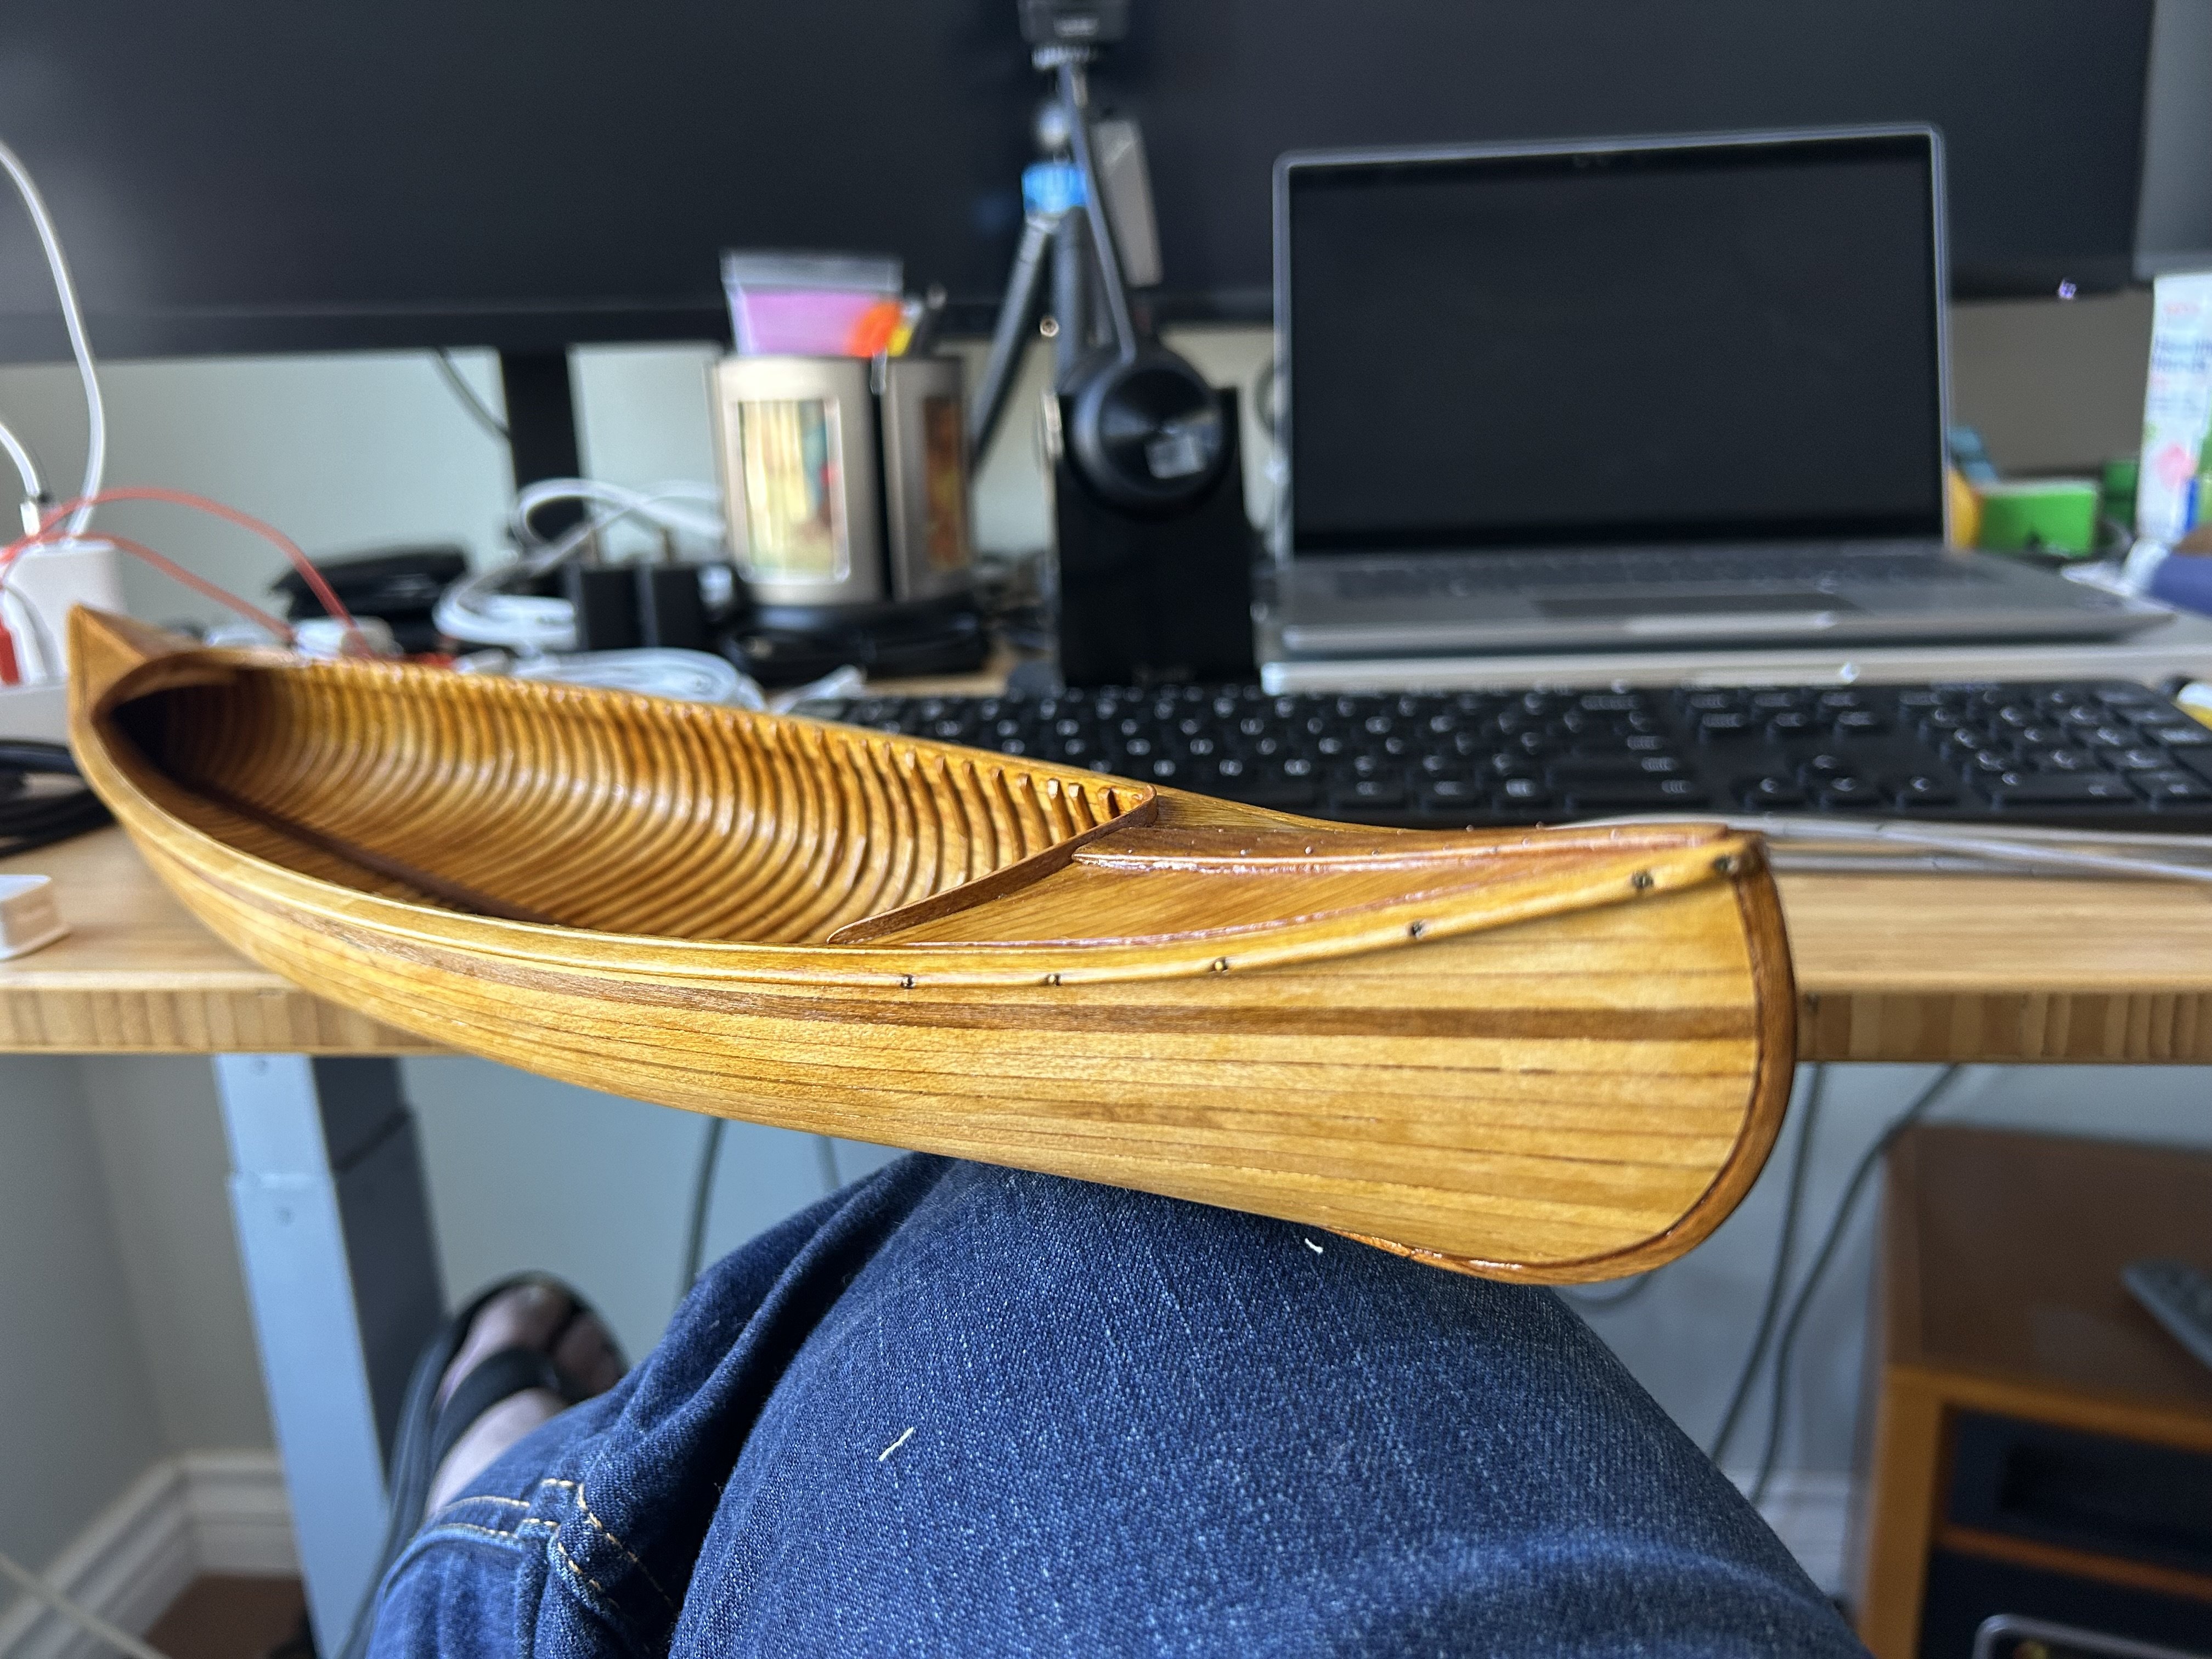
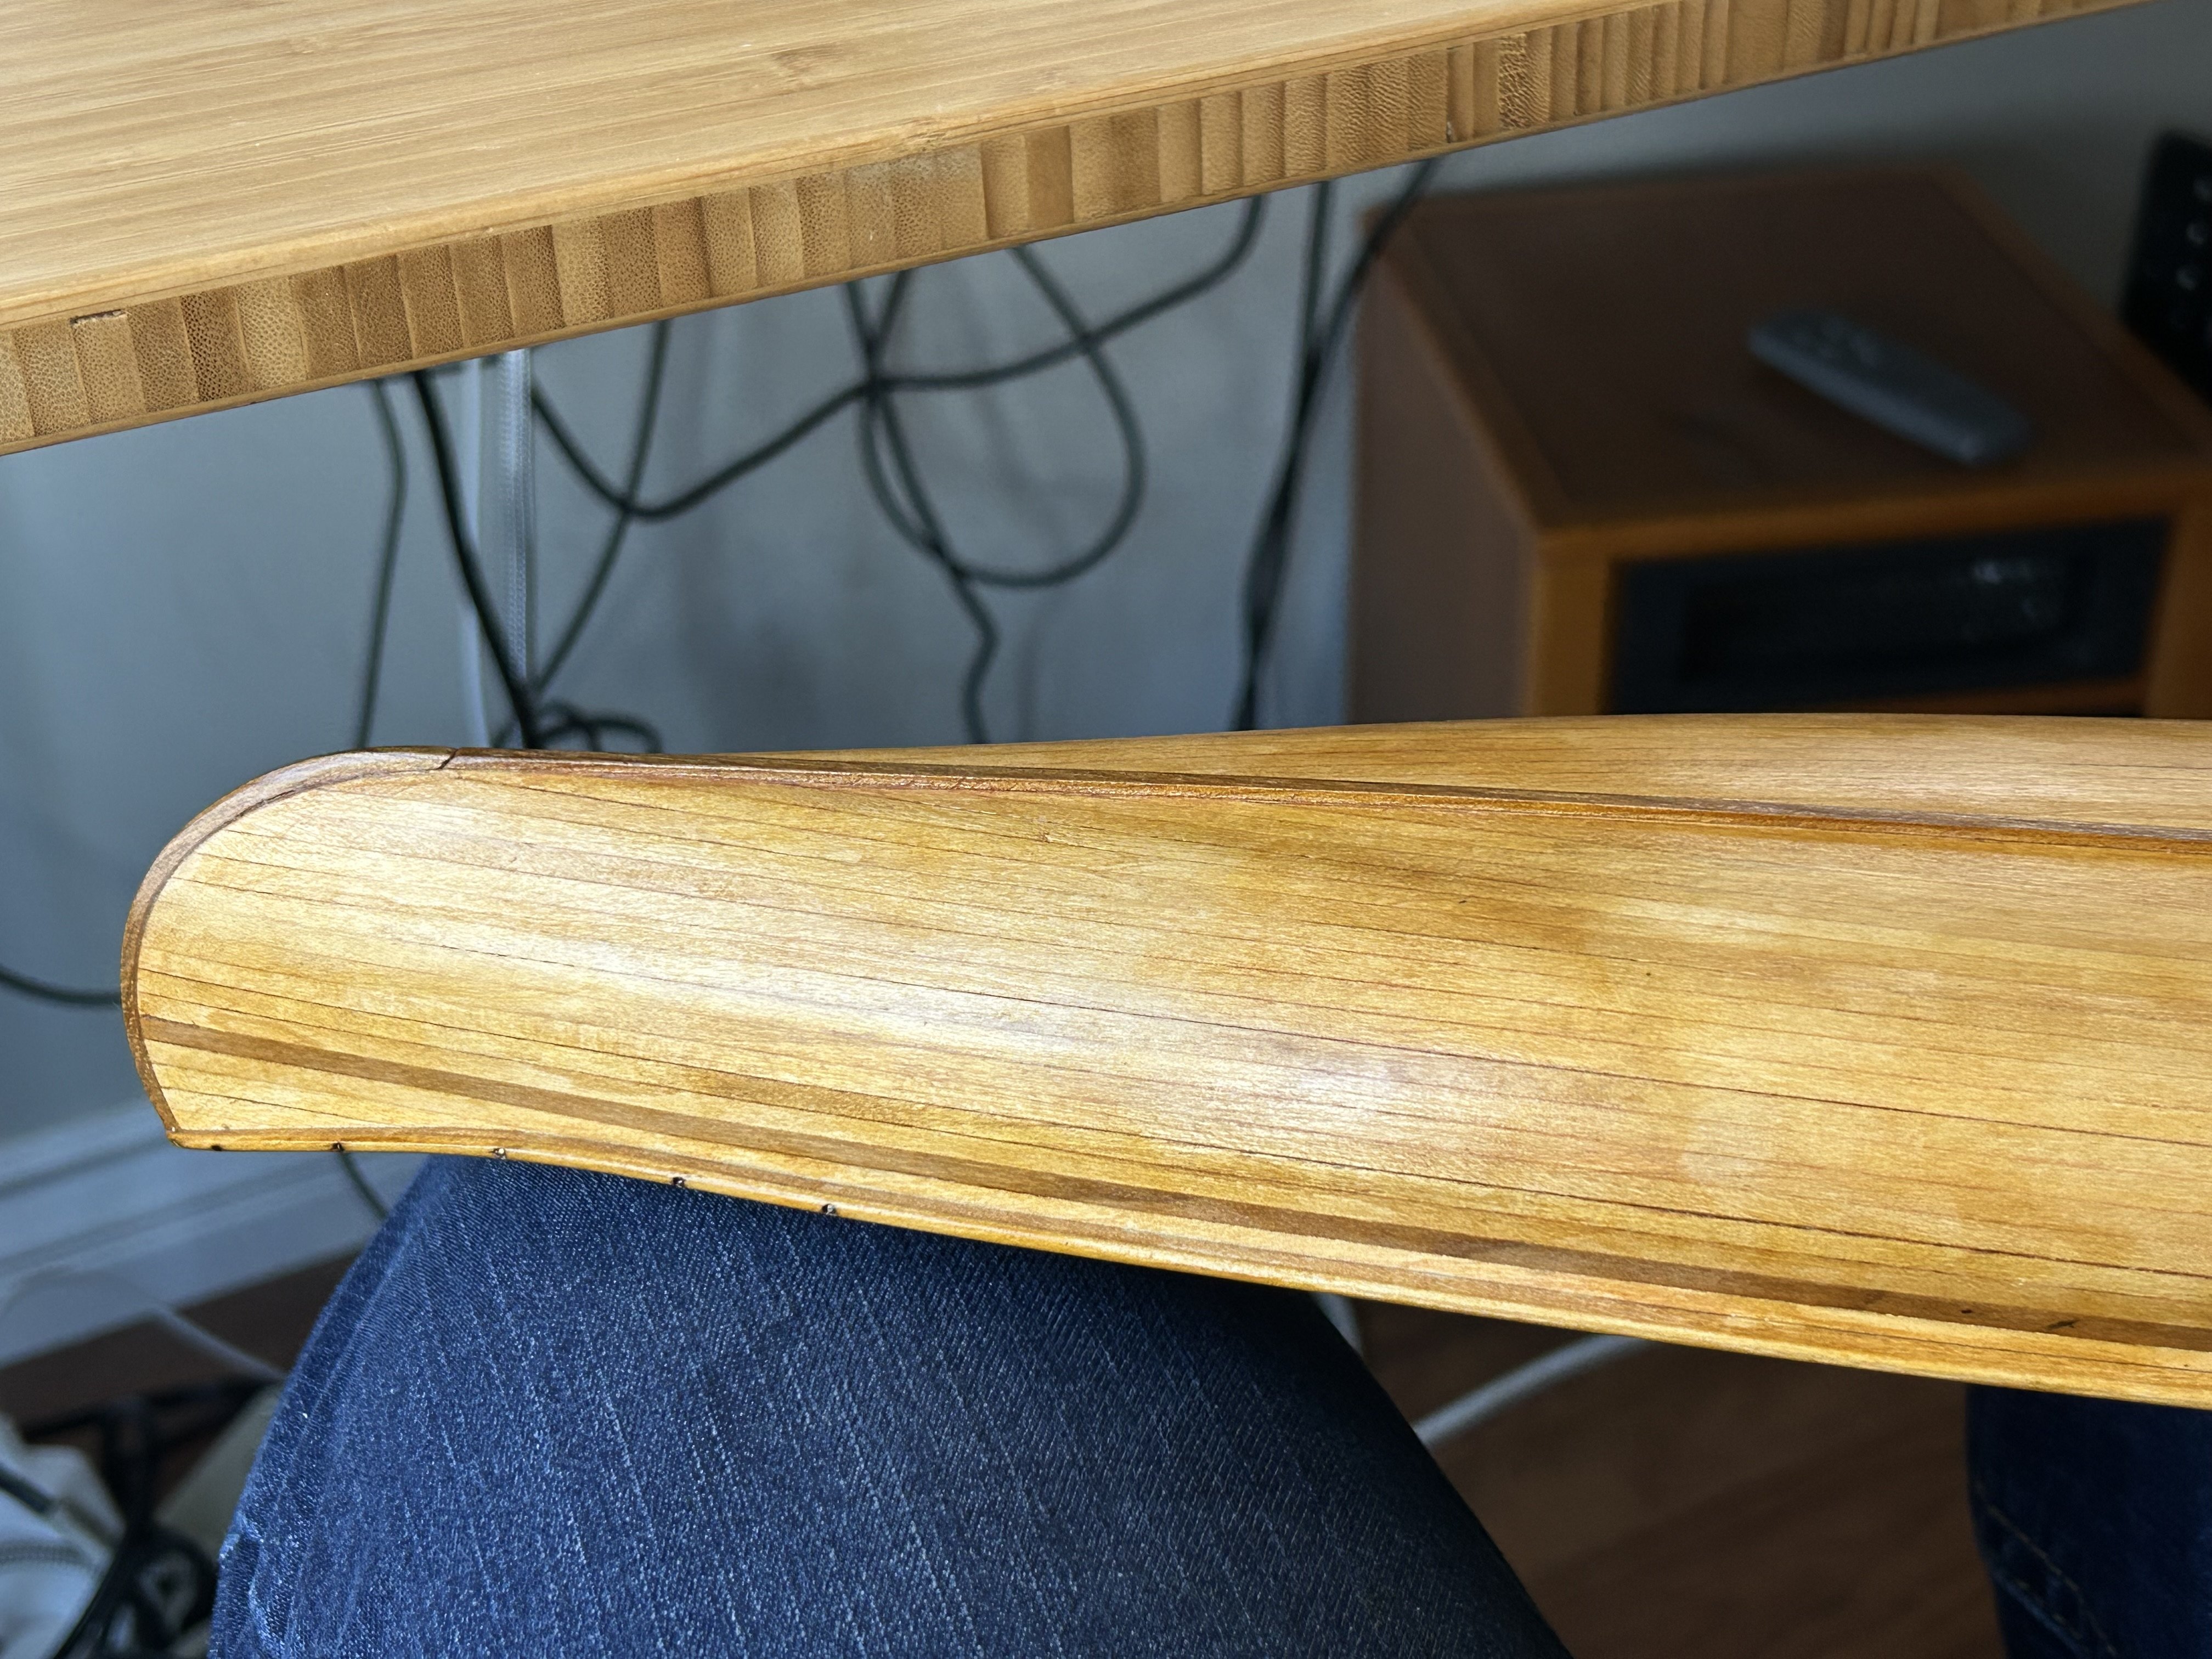
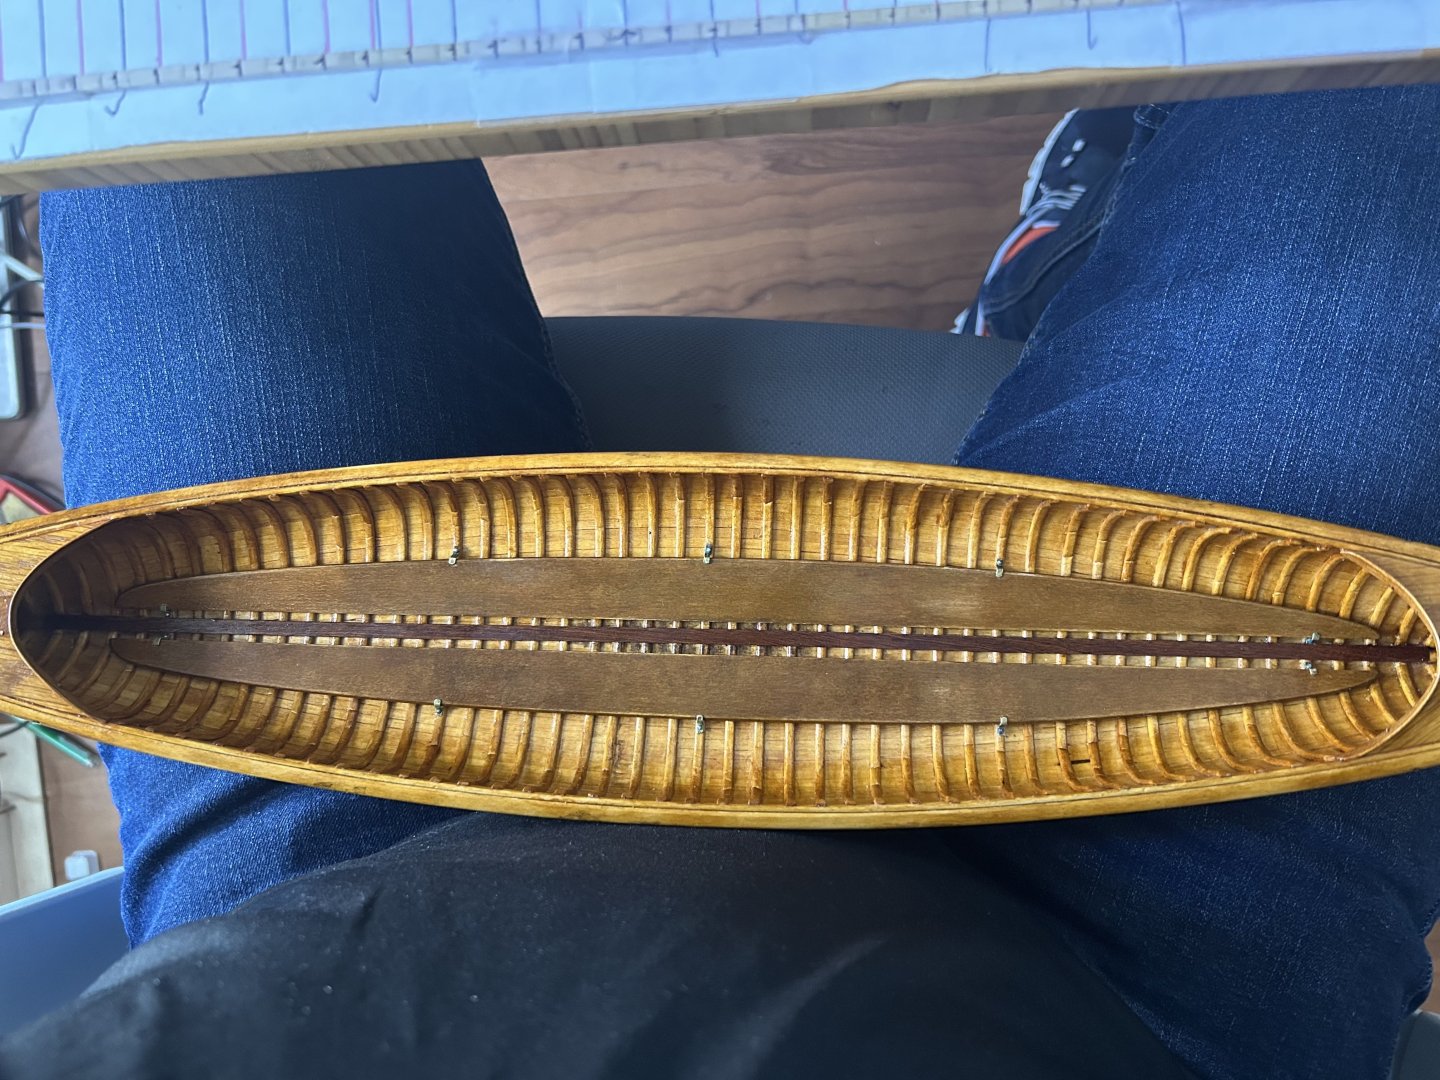
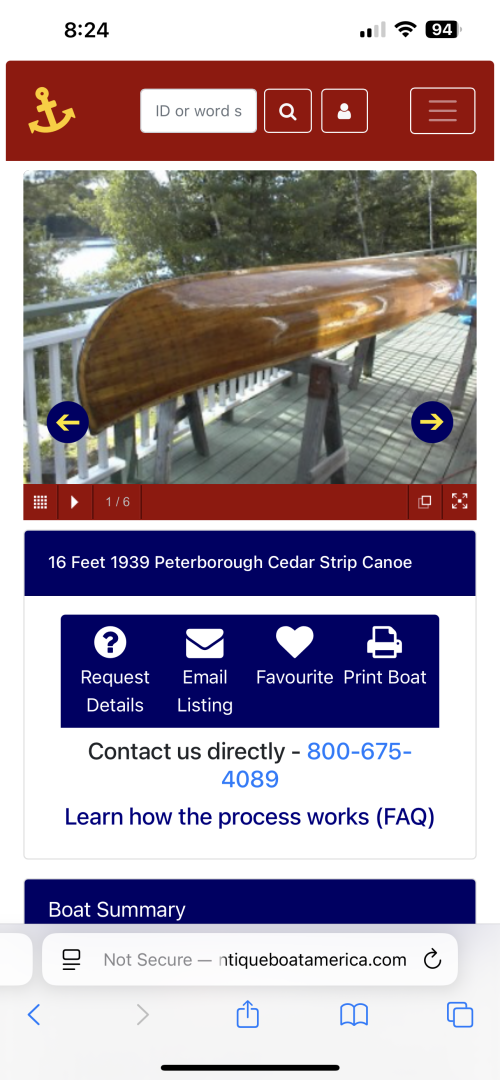
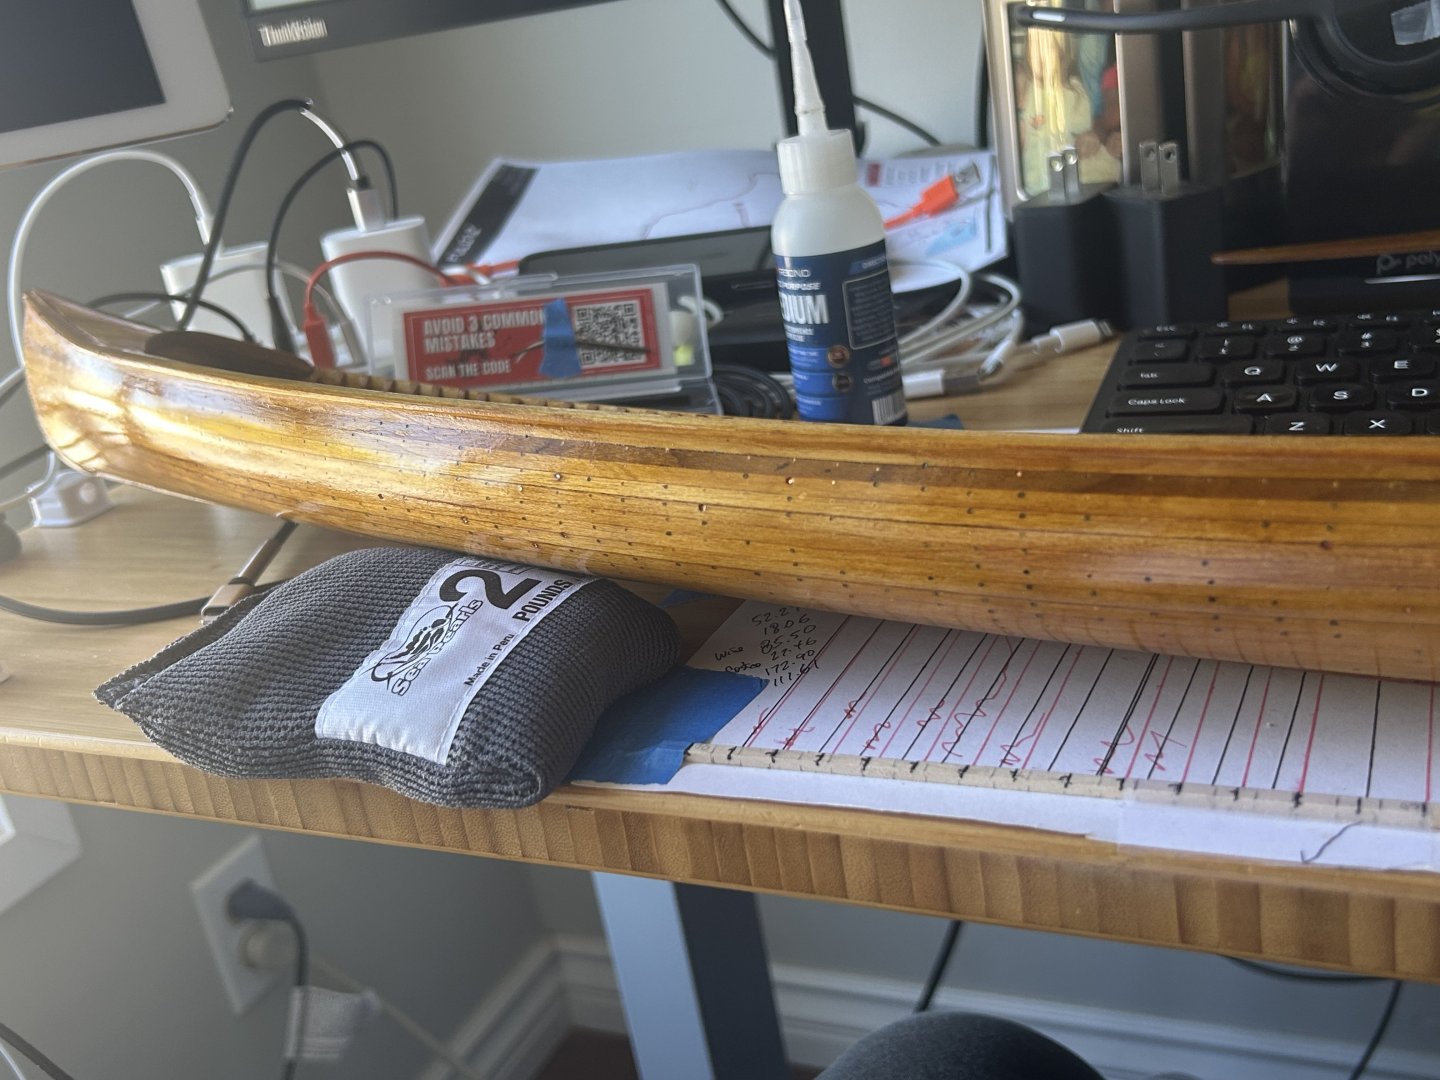
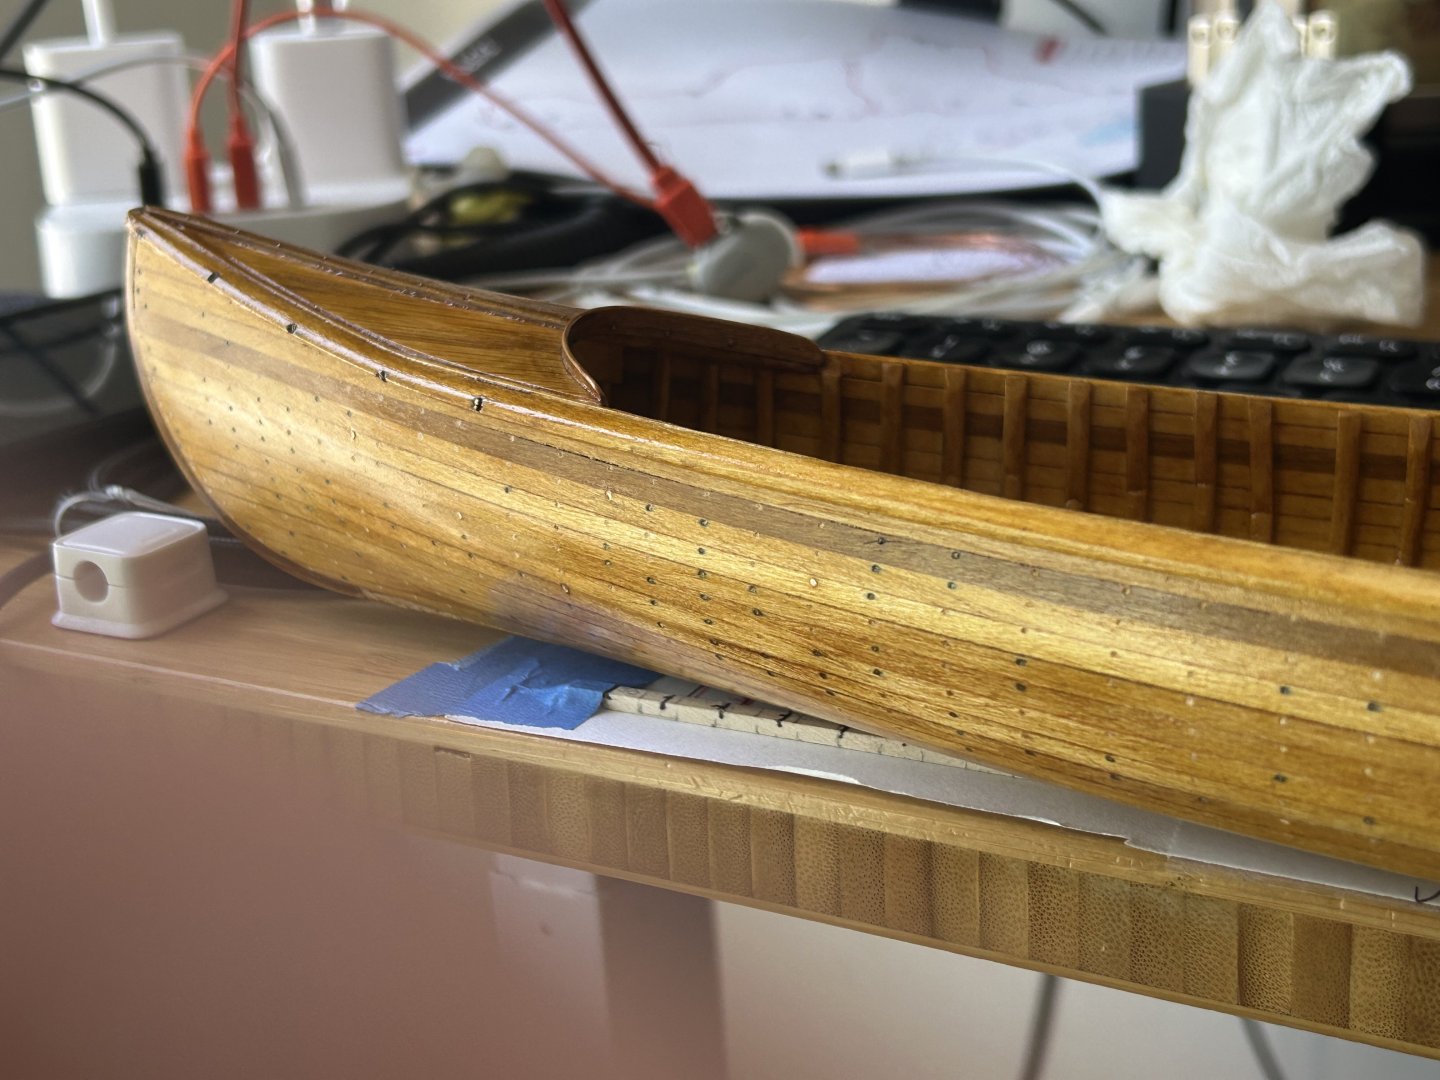
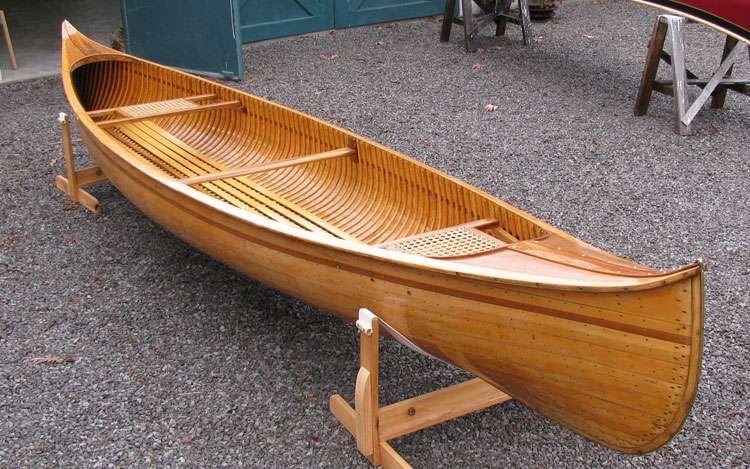
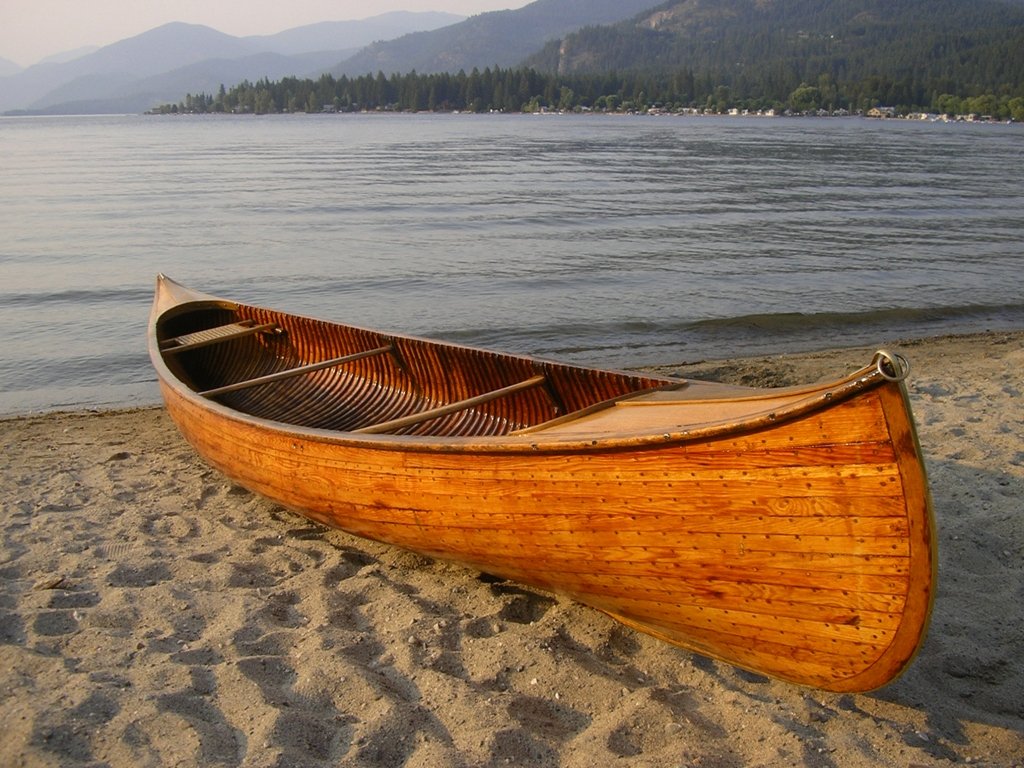
Now both floorboards are in and the hull polish is “done” (it’s hard to resist adding a micron or two more and then buffing it out again). Had to add a few coats to one side as my very last floorboard bracket screw hole popped all the way through. Oops. And I’ve found one more reference canoe online, this one with the glossiest finish I’ve seen yet. Makes me feel a bit more “scale”. Now for a lot of measuring twice and cutting once as I decide where the two seats and single thwart and their mounting pieces need to go. Not really looking forward to caning the seats as it is remarkably tedious work. But worth it I hope.

-
The French polish magic is pretty much complete. Now it’s on to the second floorboard. Then seats and center thwart.

-
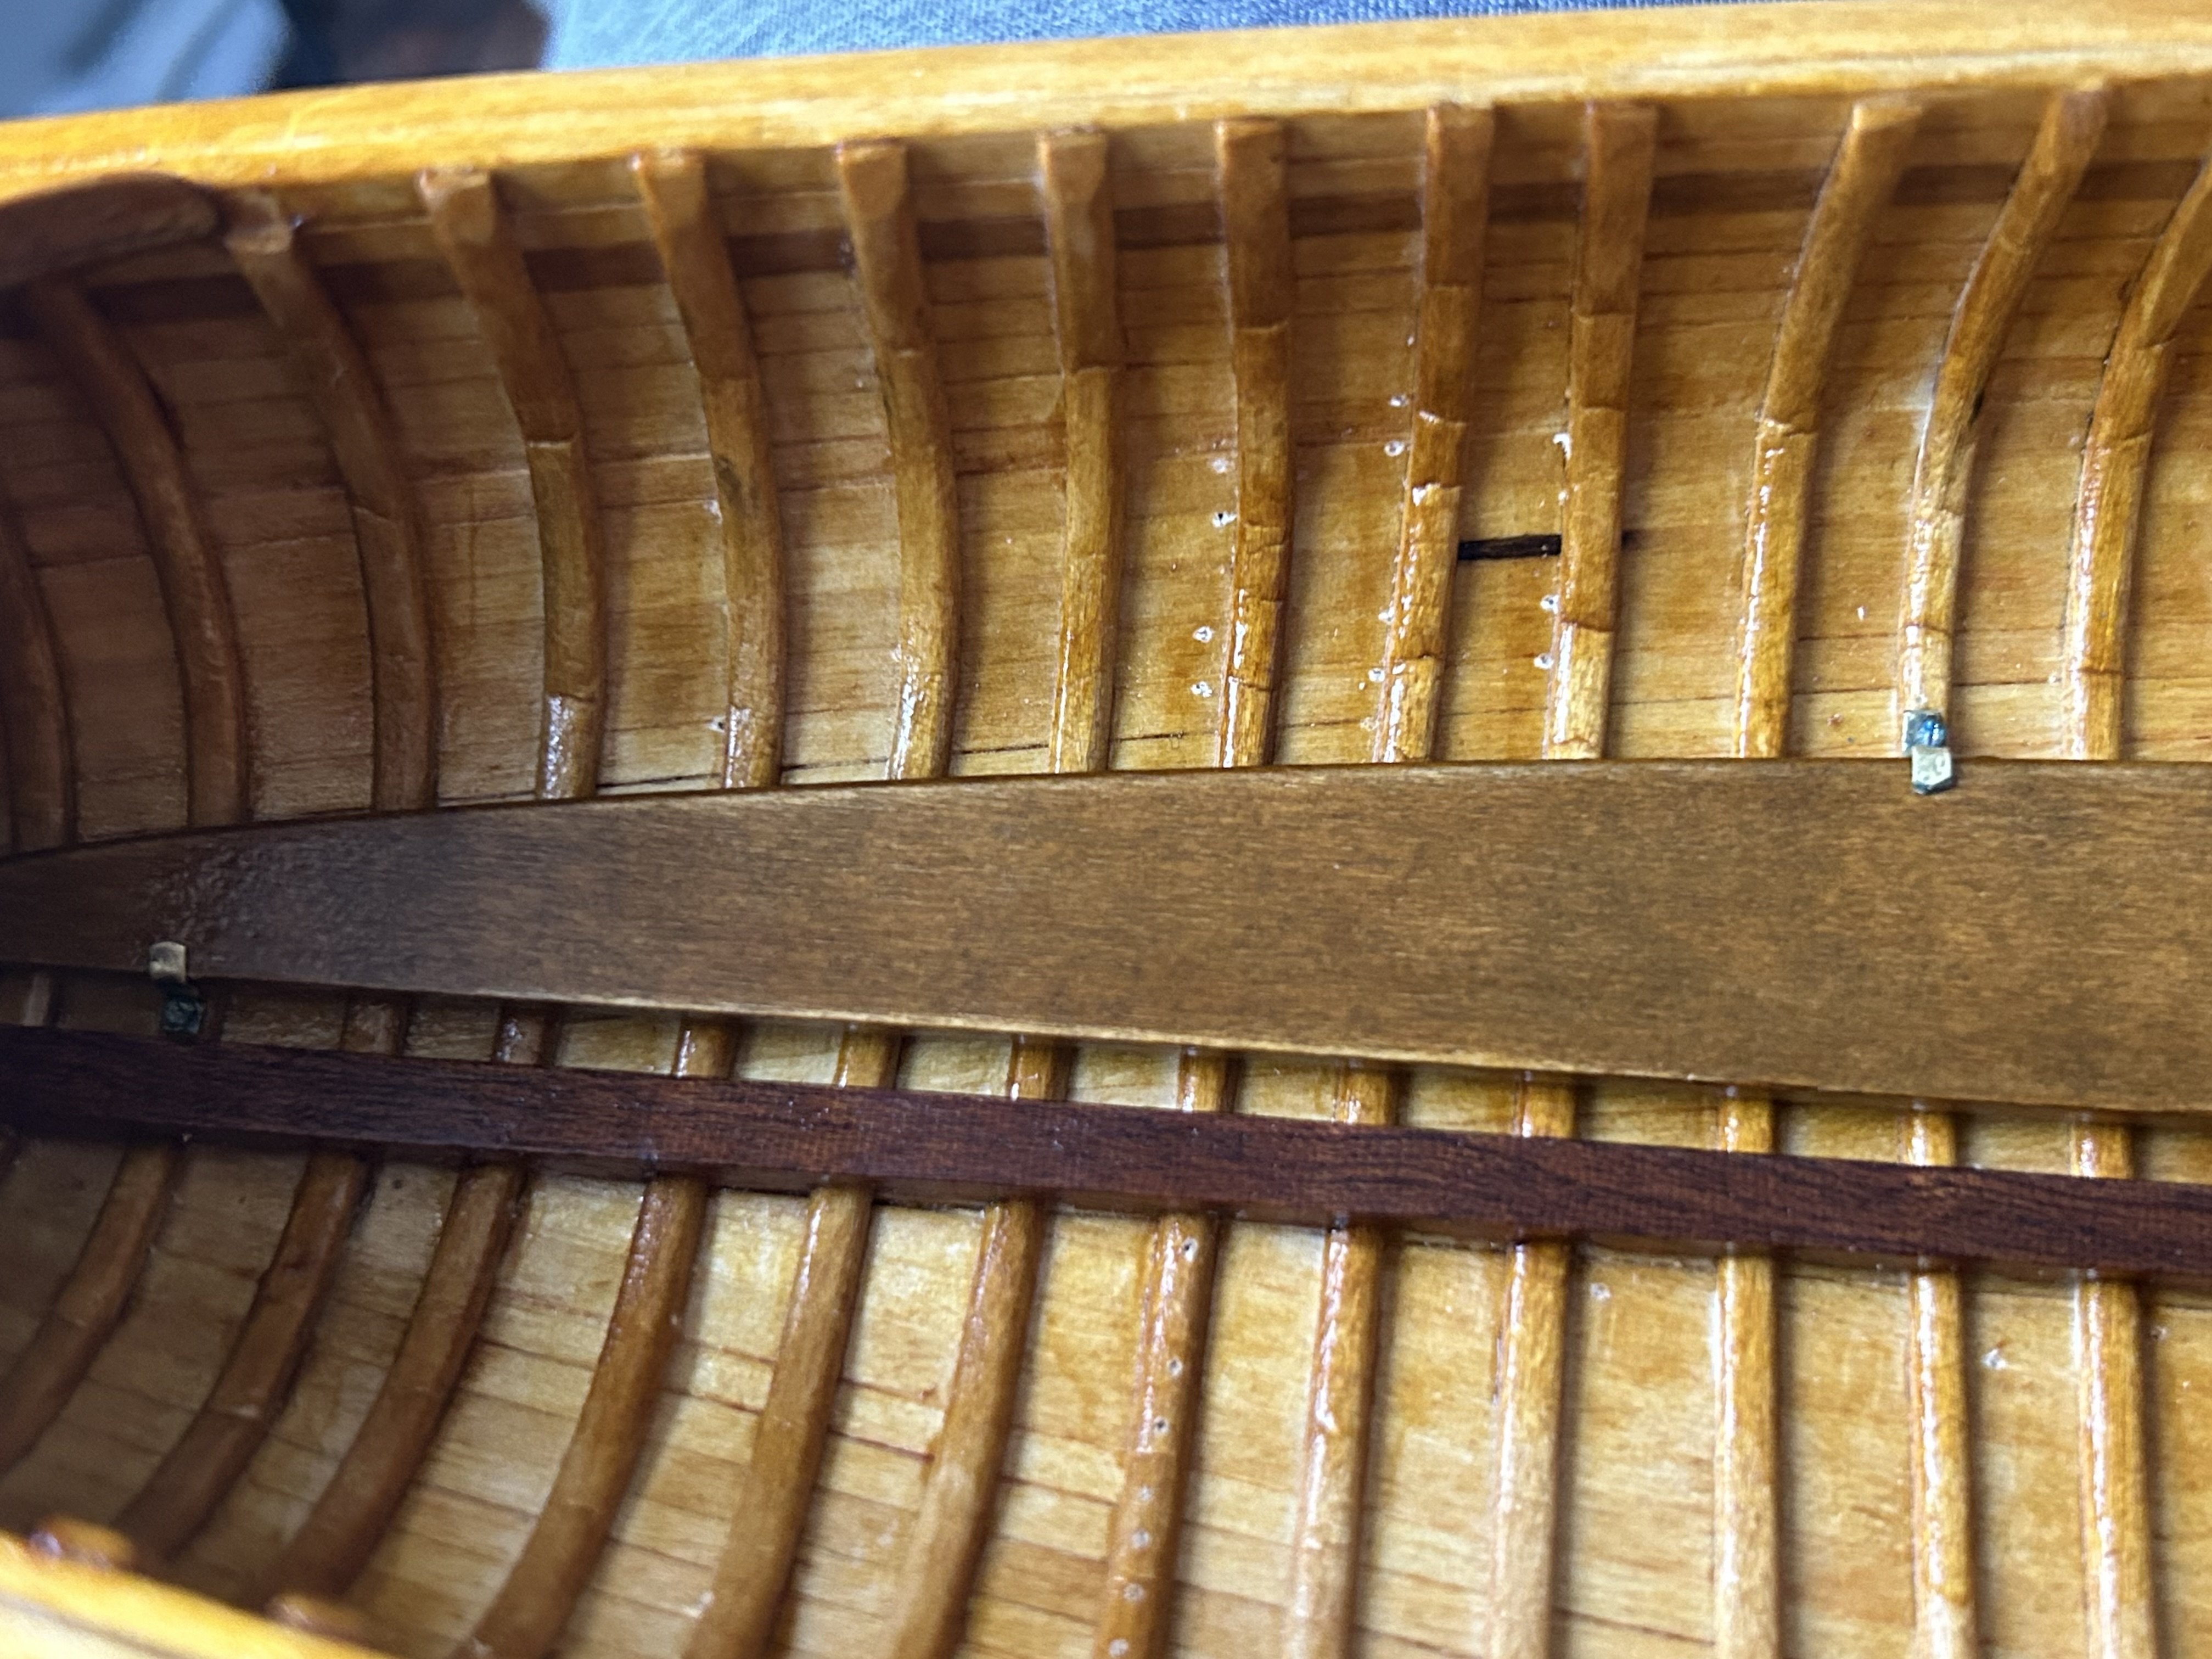
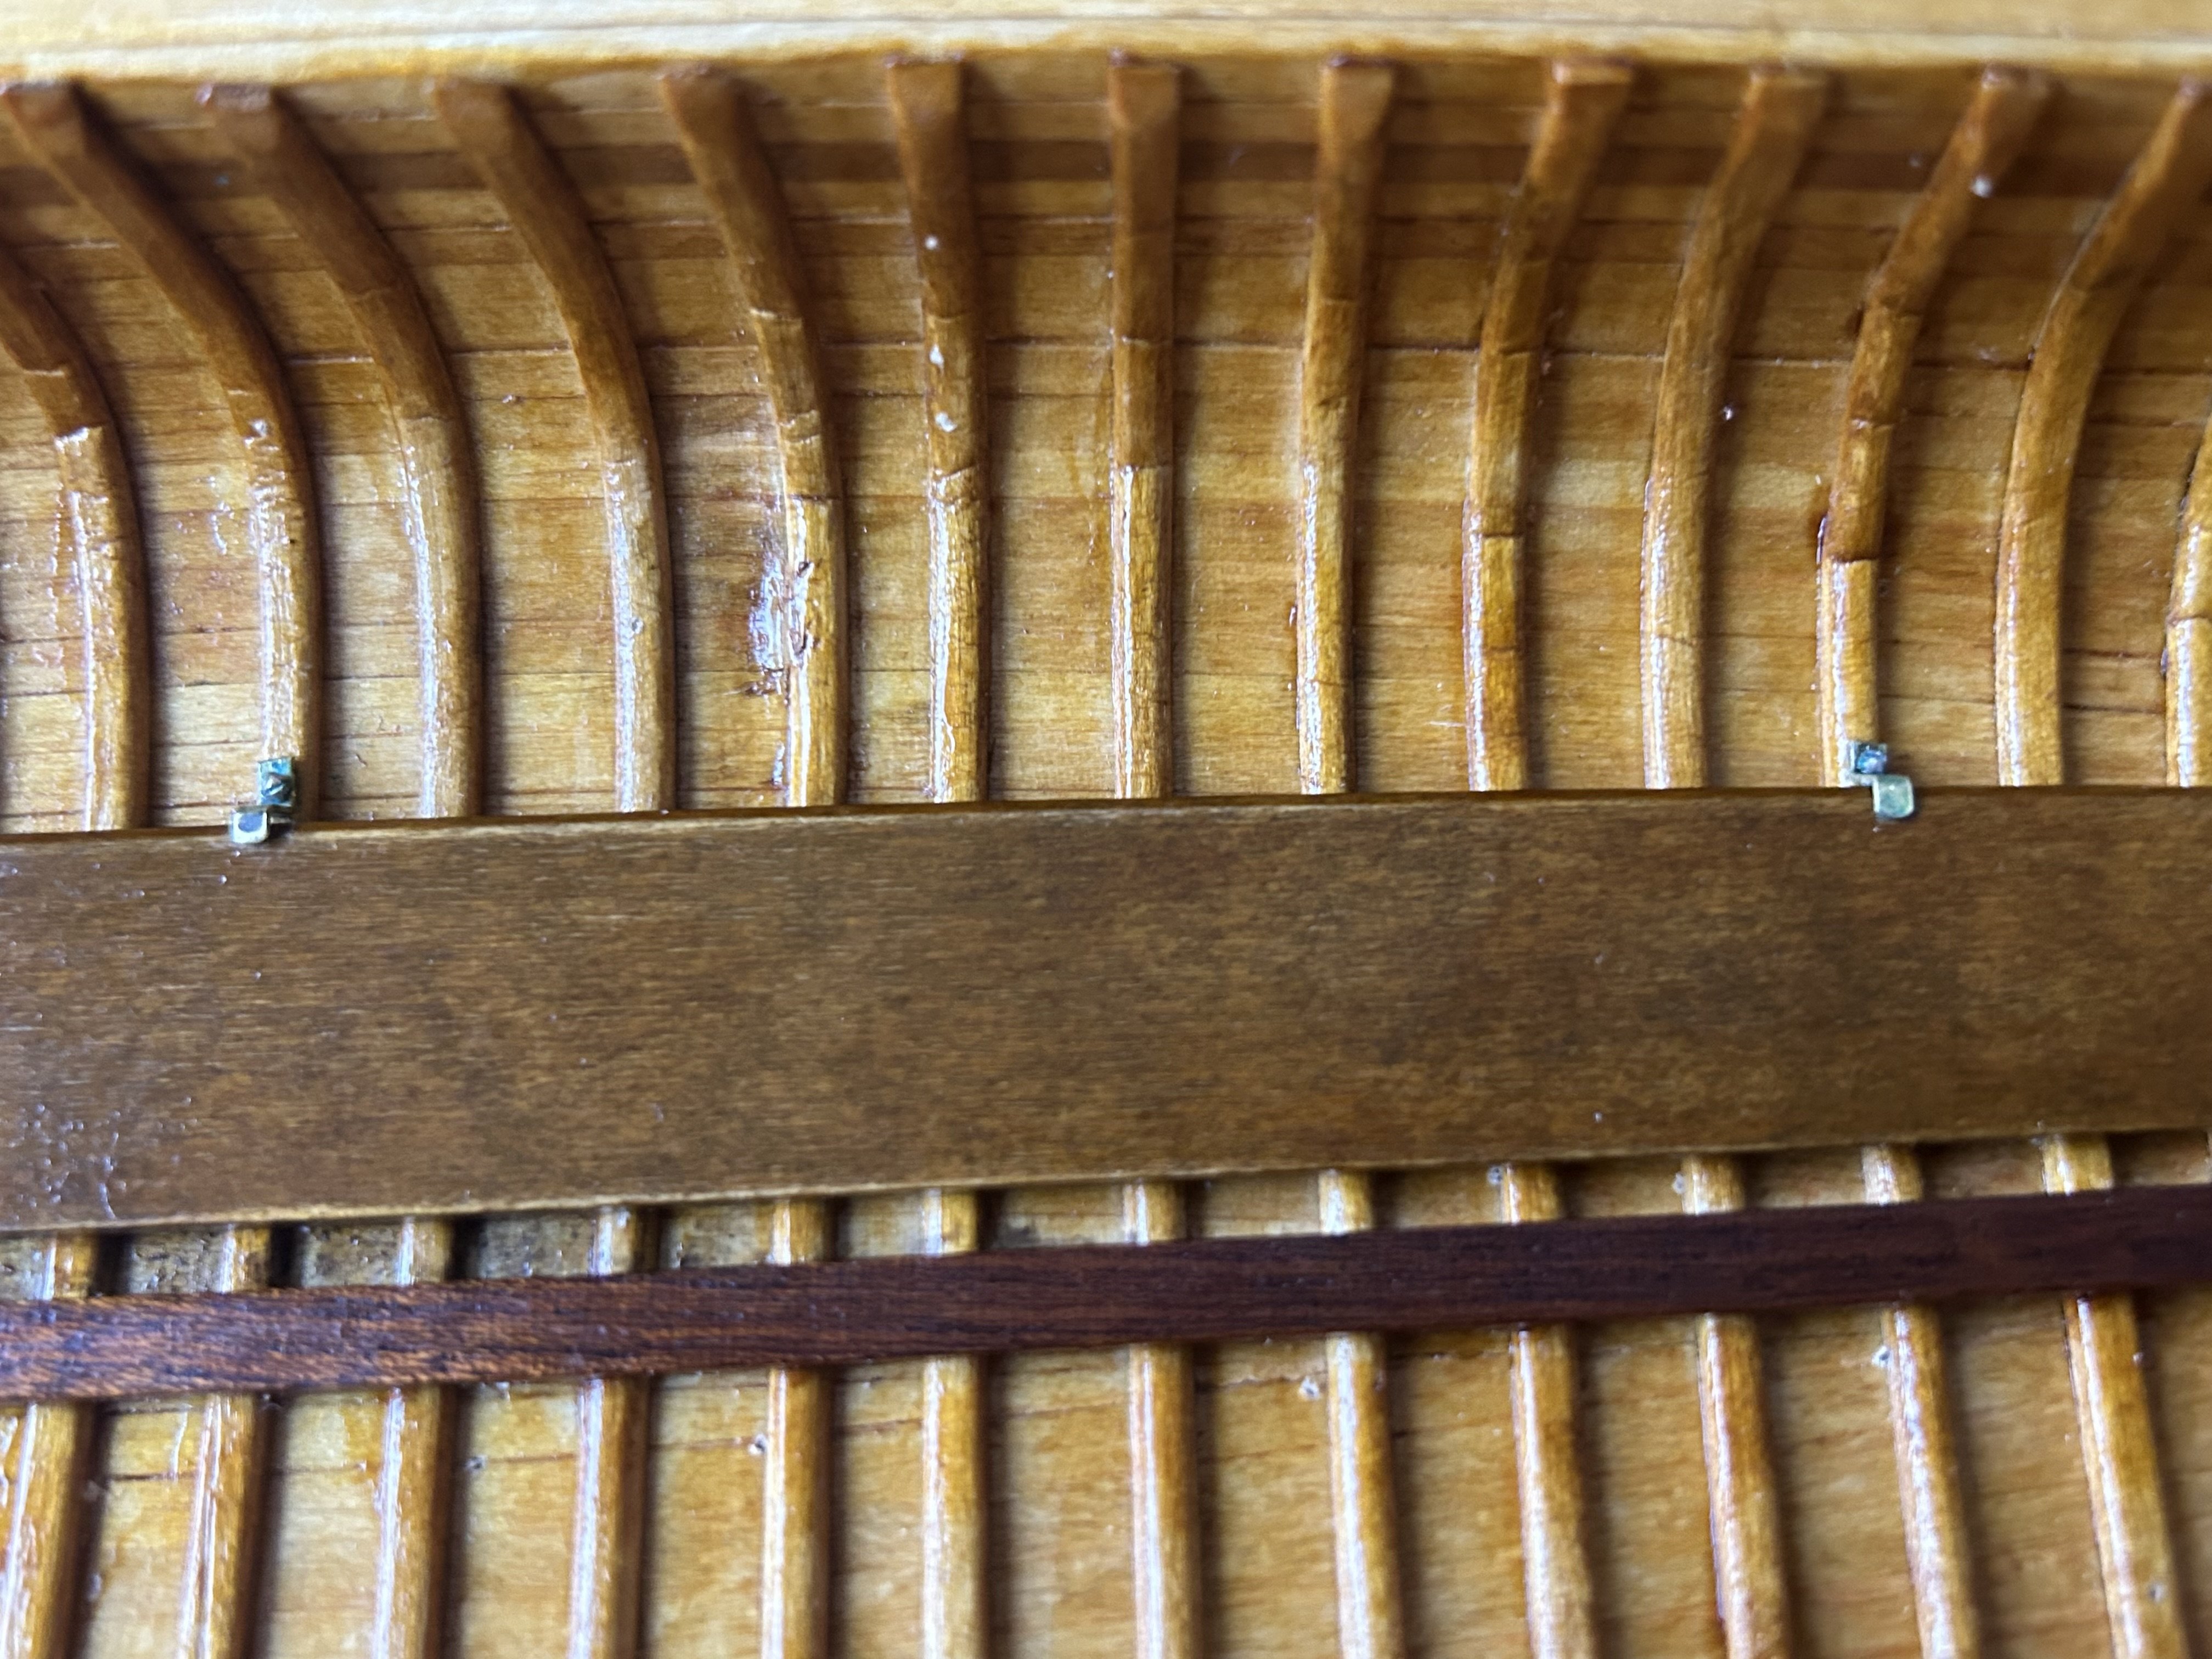
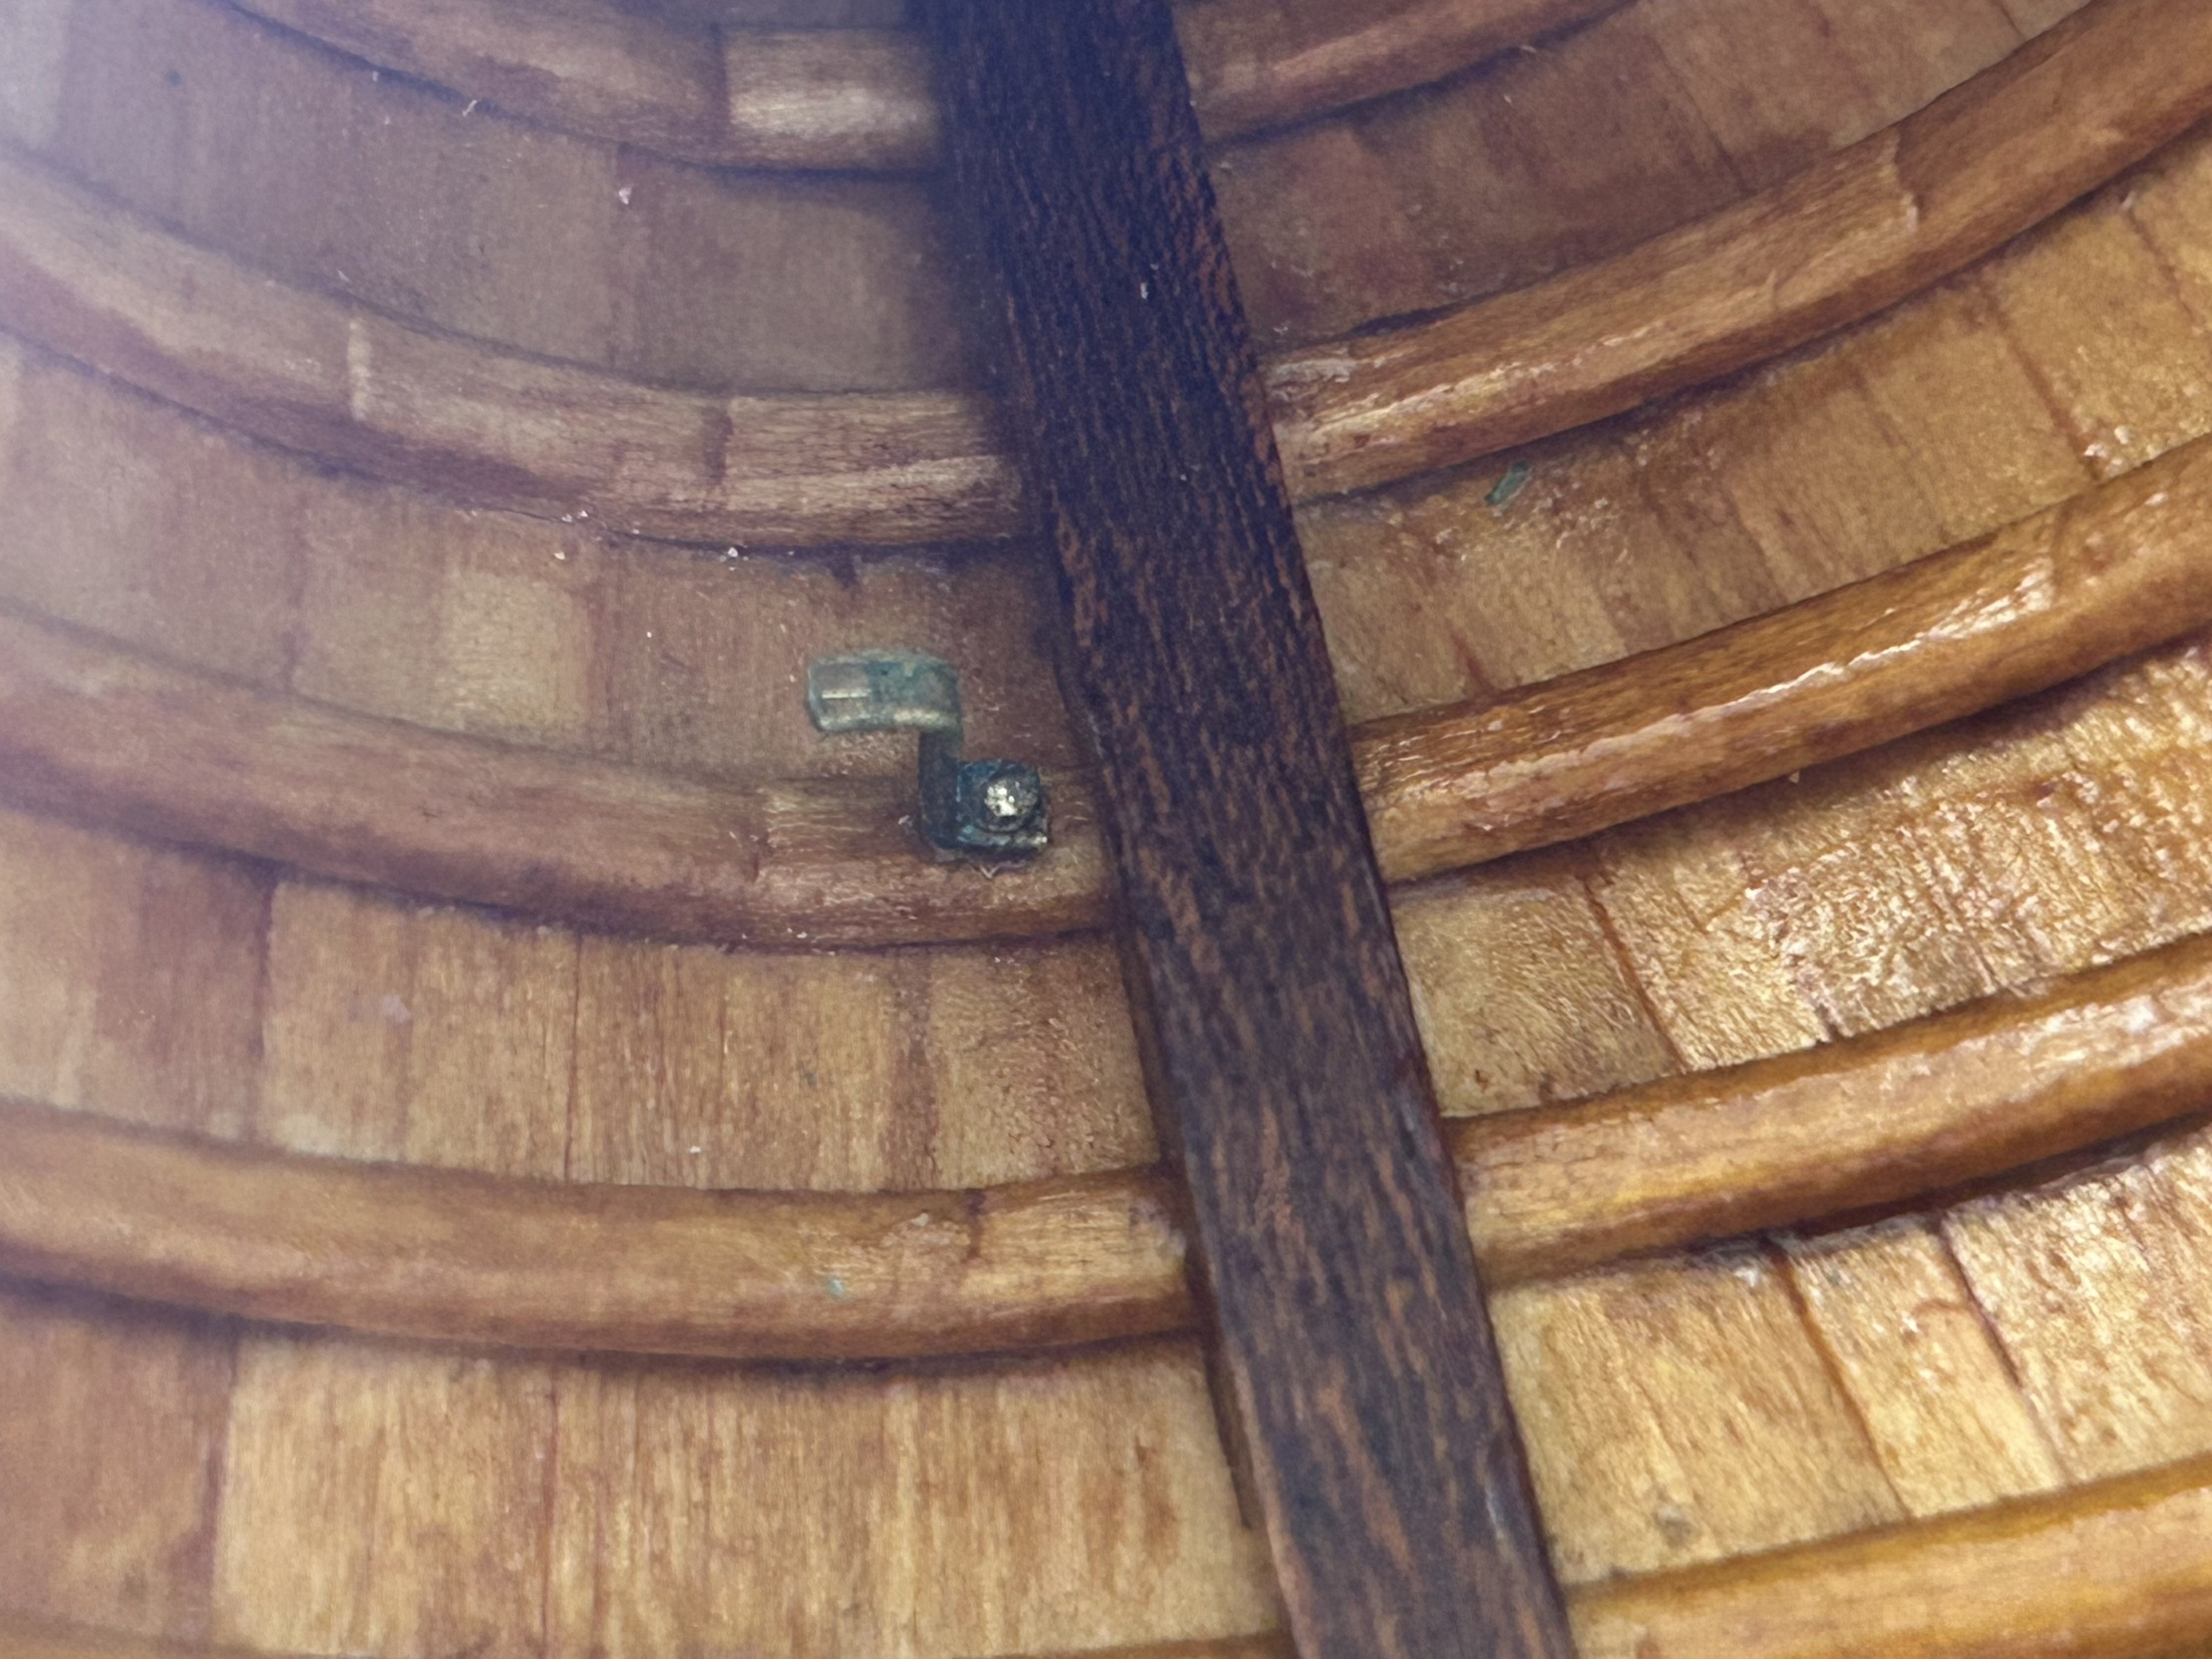
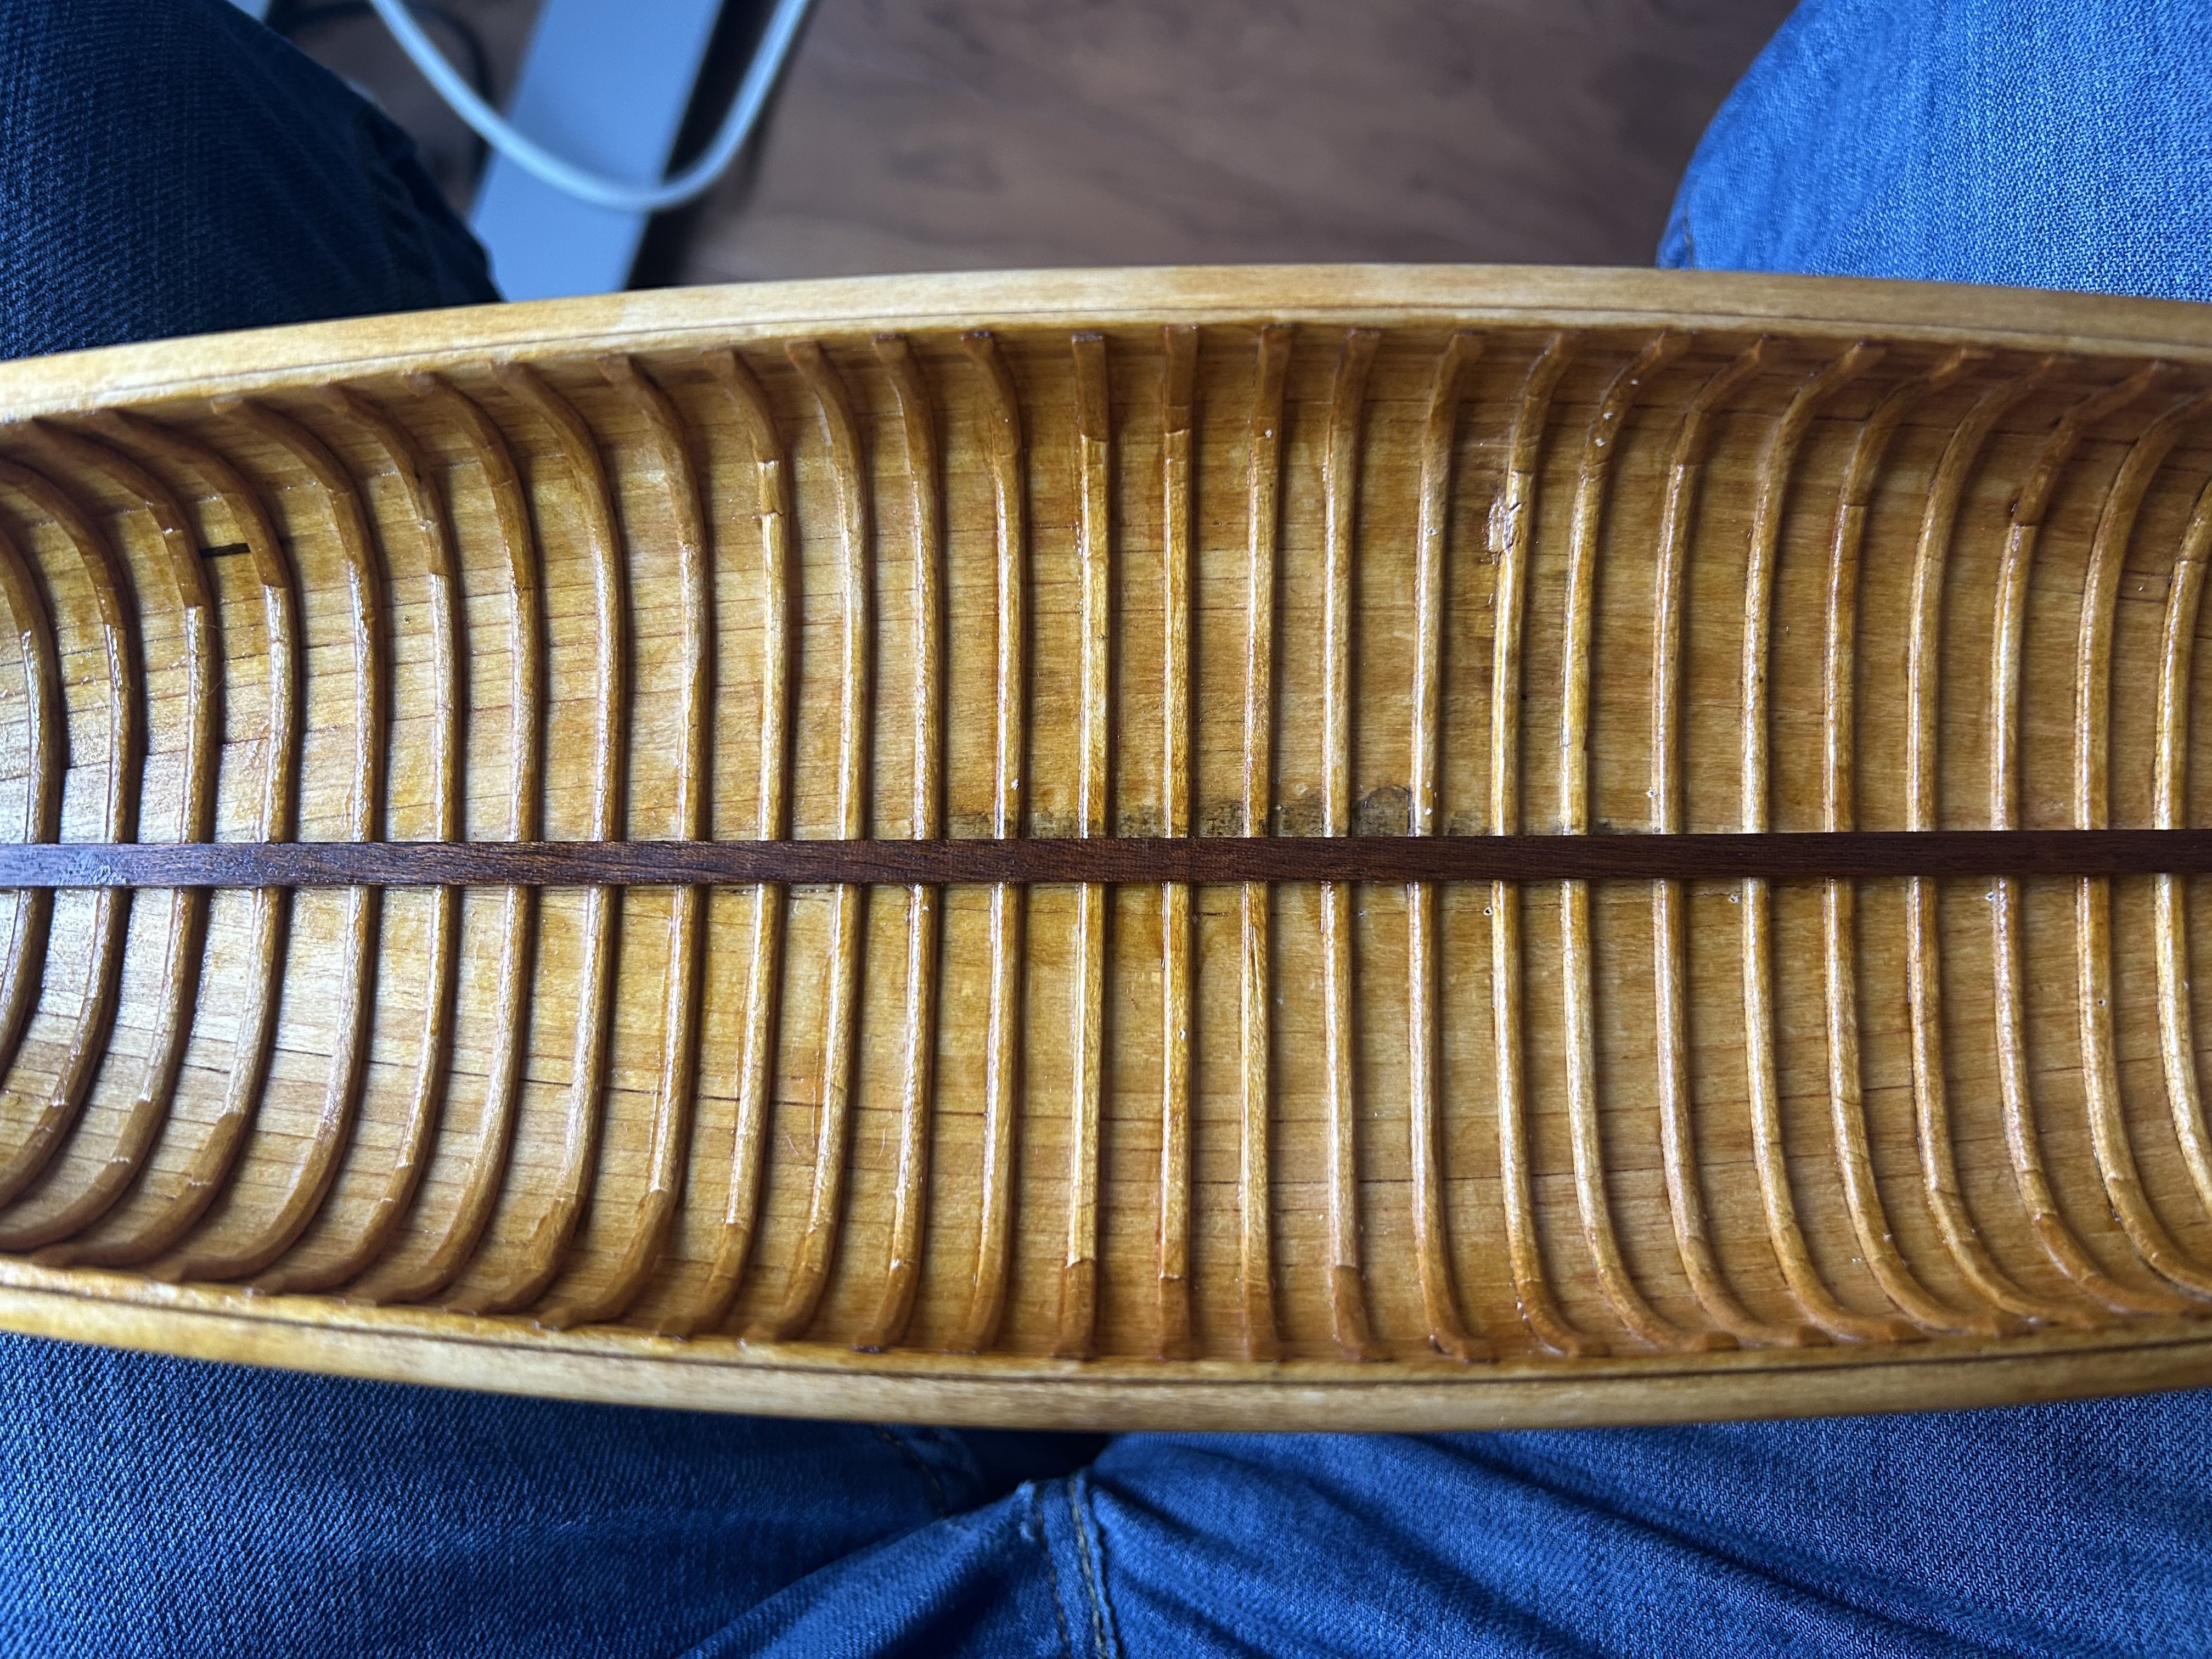
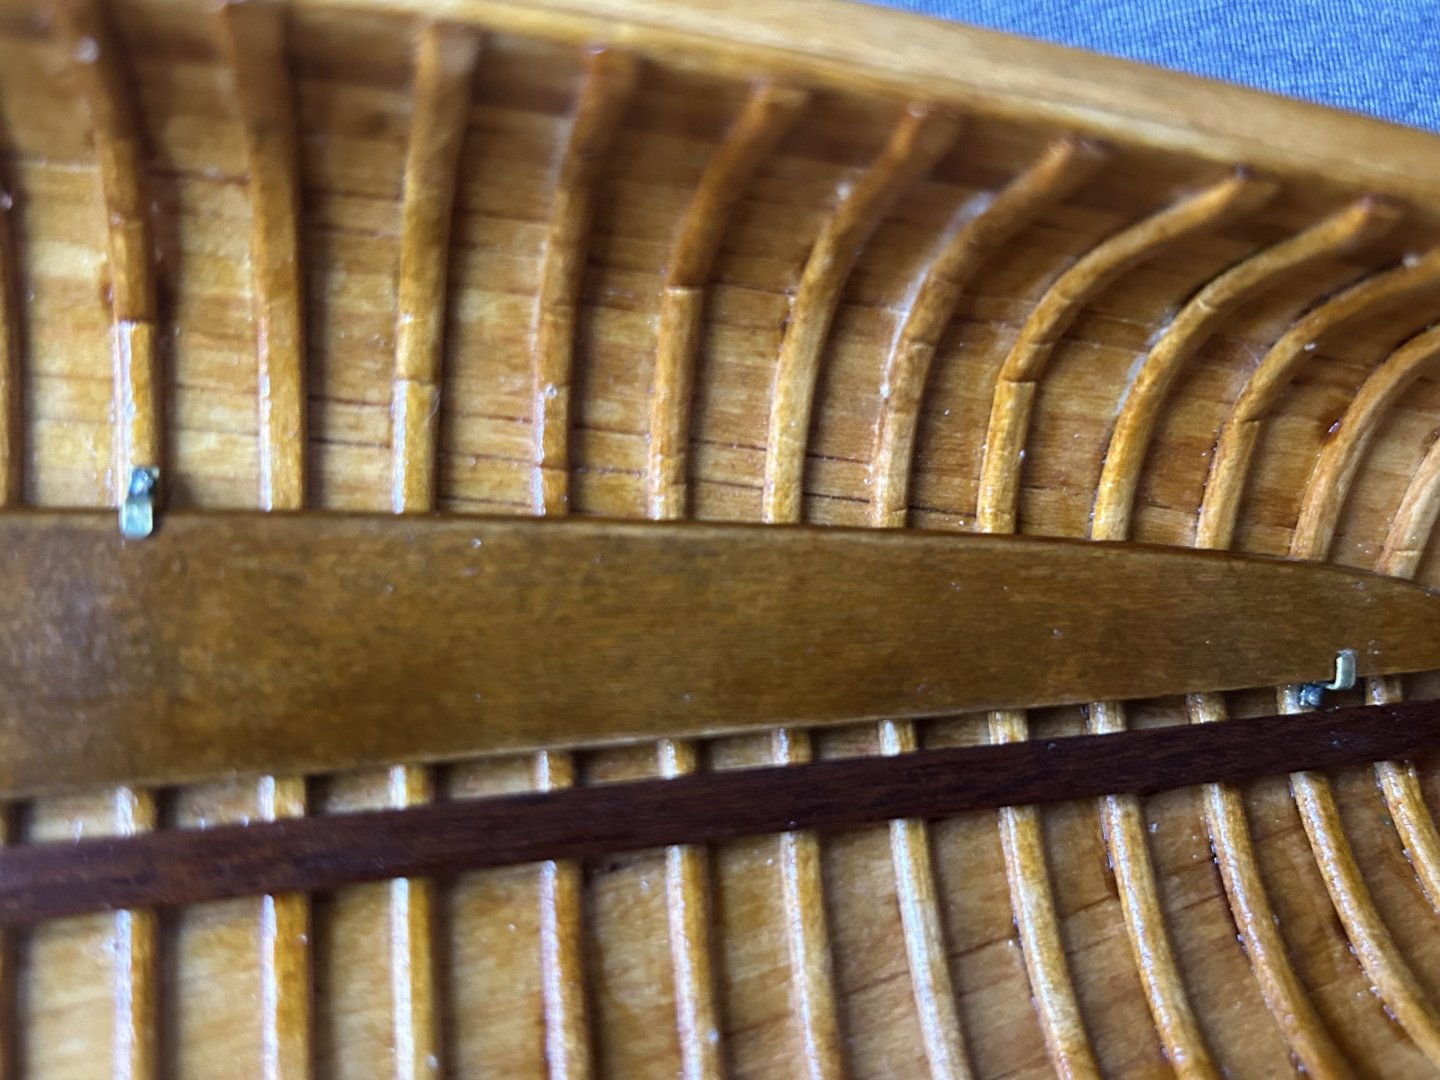
One floorboard fully installed. I will be touching up the shellac on the ribs/interior to hide the nail holes. and the hull finishing is coming along slowly but surely


-
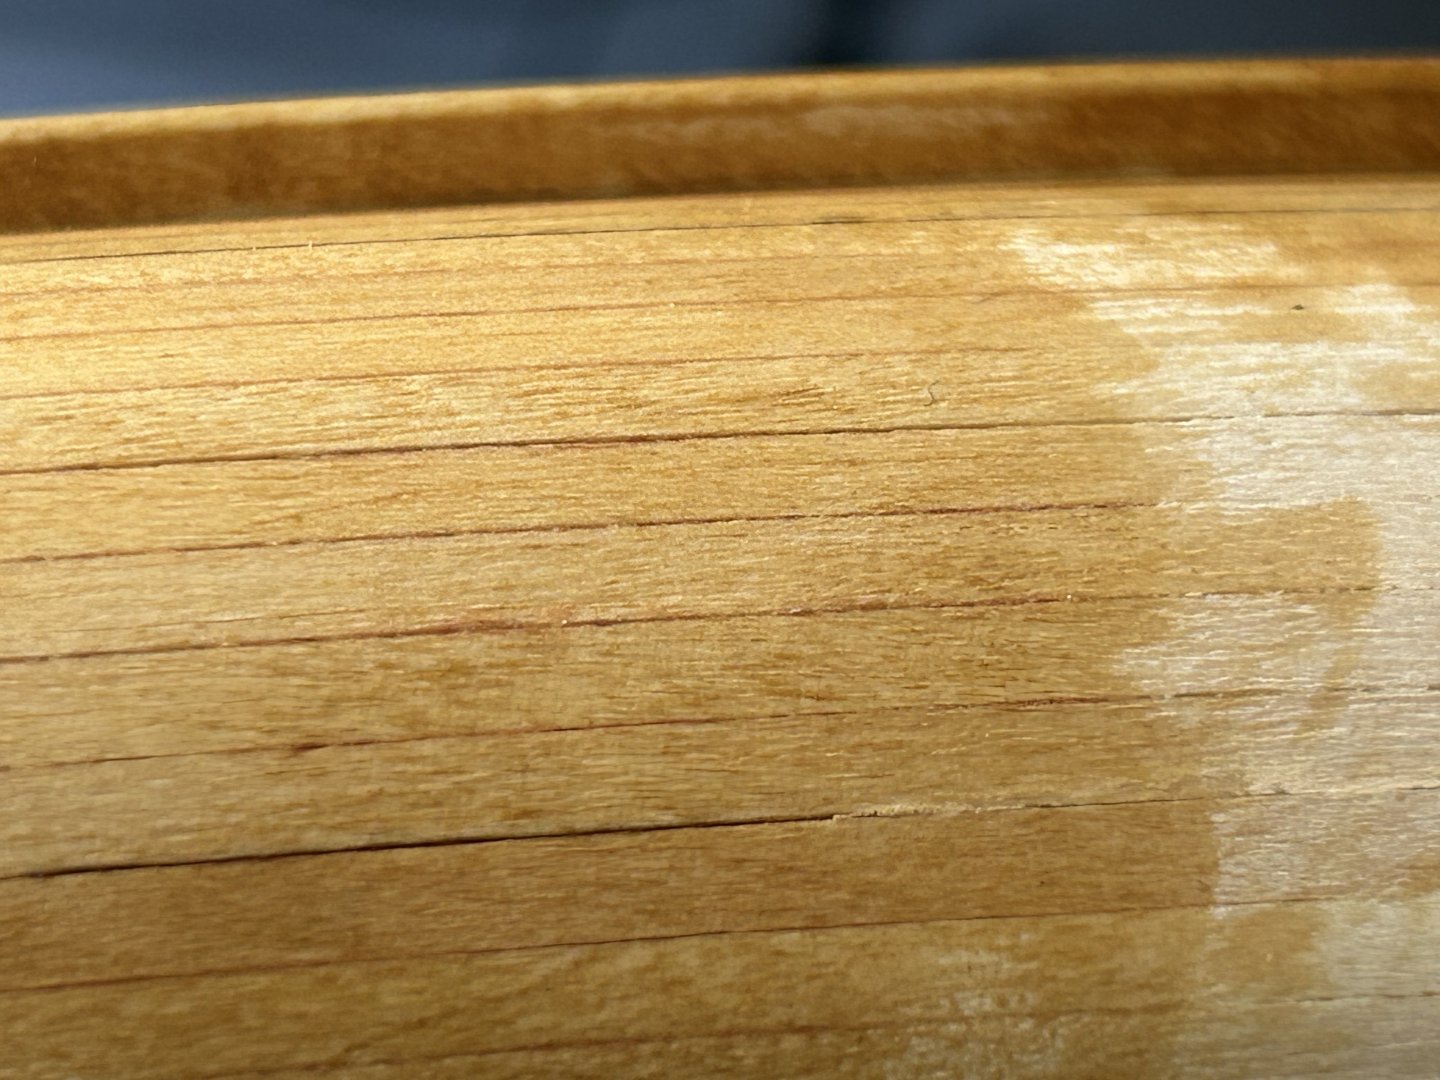
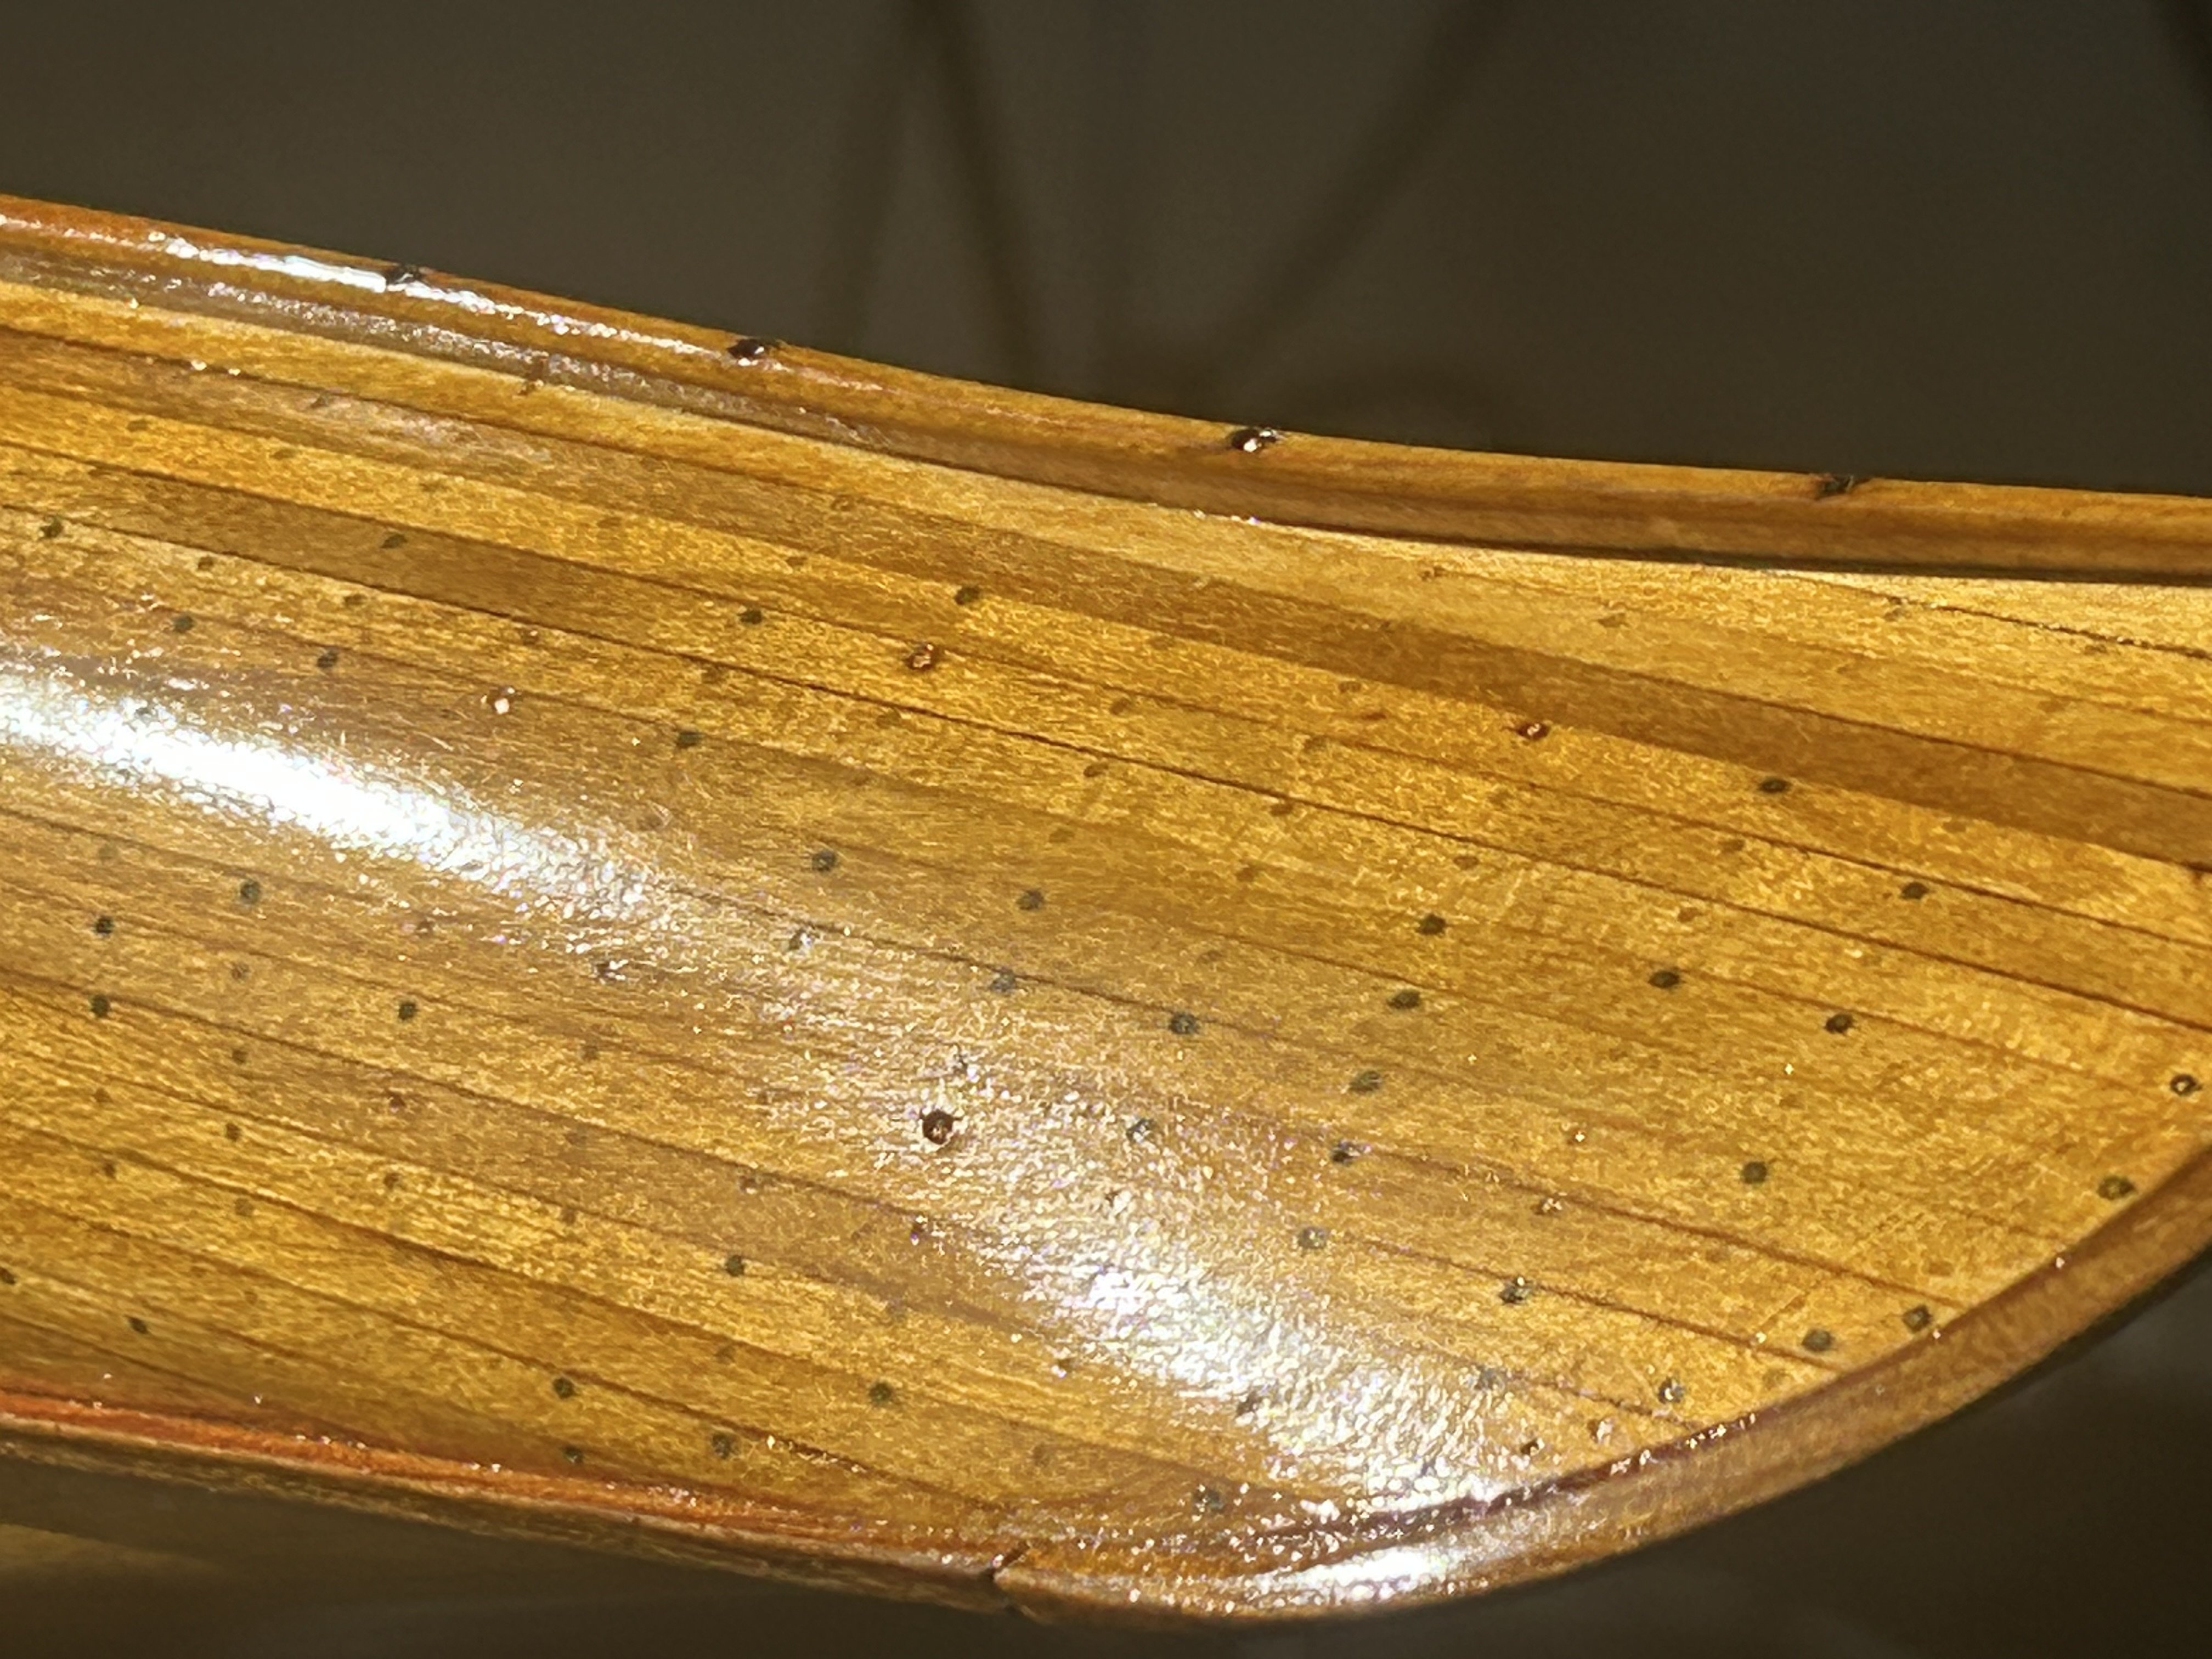
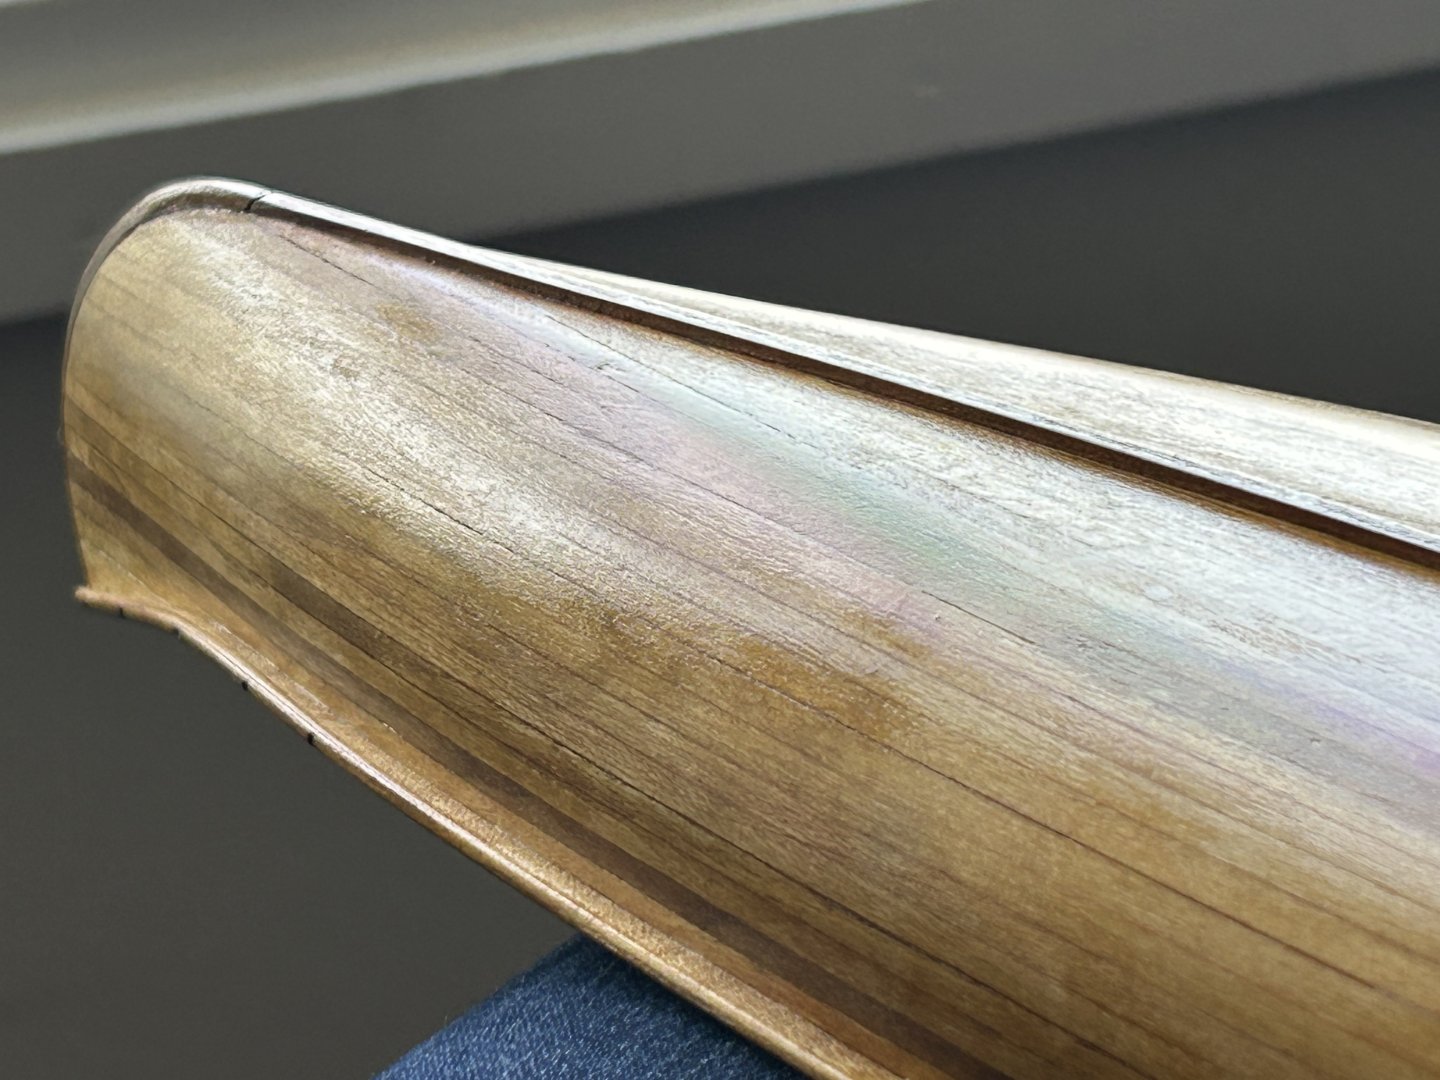
More detail shots of the finish (about half done). The surface is a bit pebbly right now bc I am laying some thicker coats down. Will be smoothed at later stages with a lighter charge of alcohol/shellac in the pad.


-
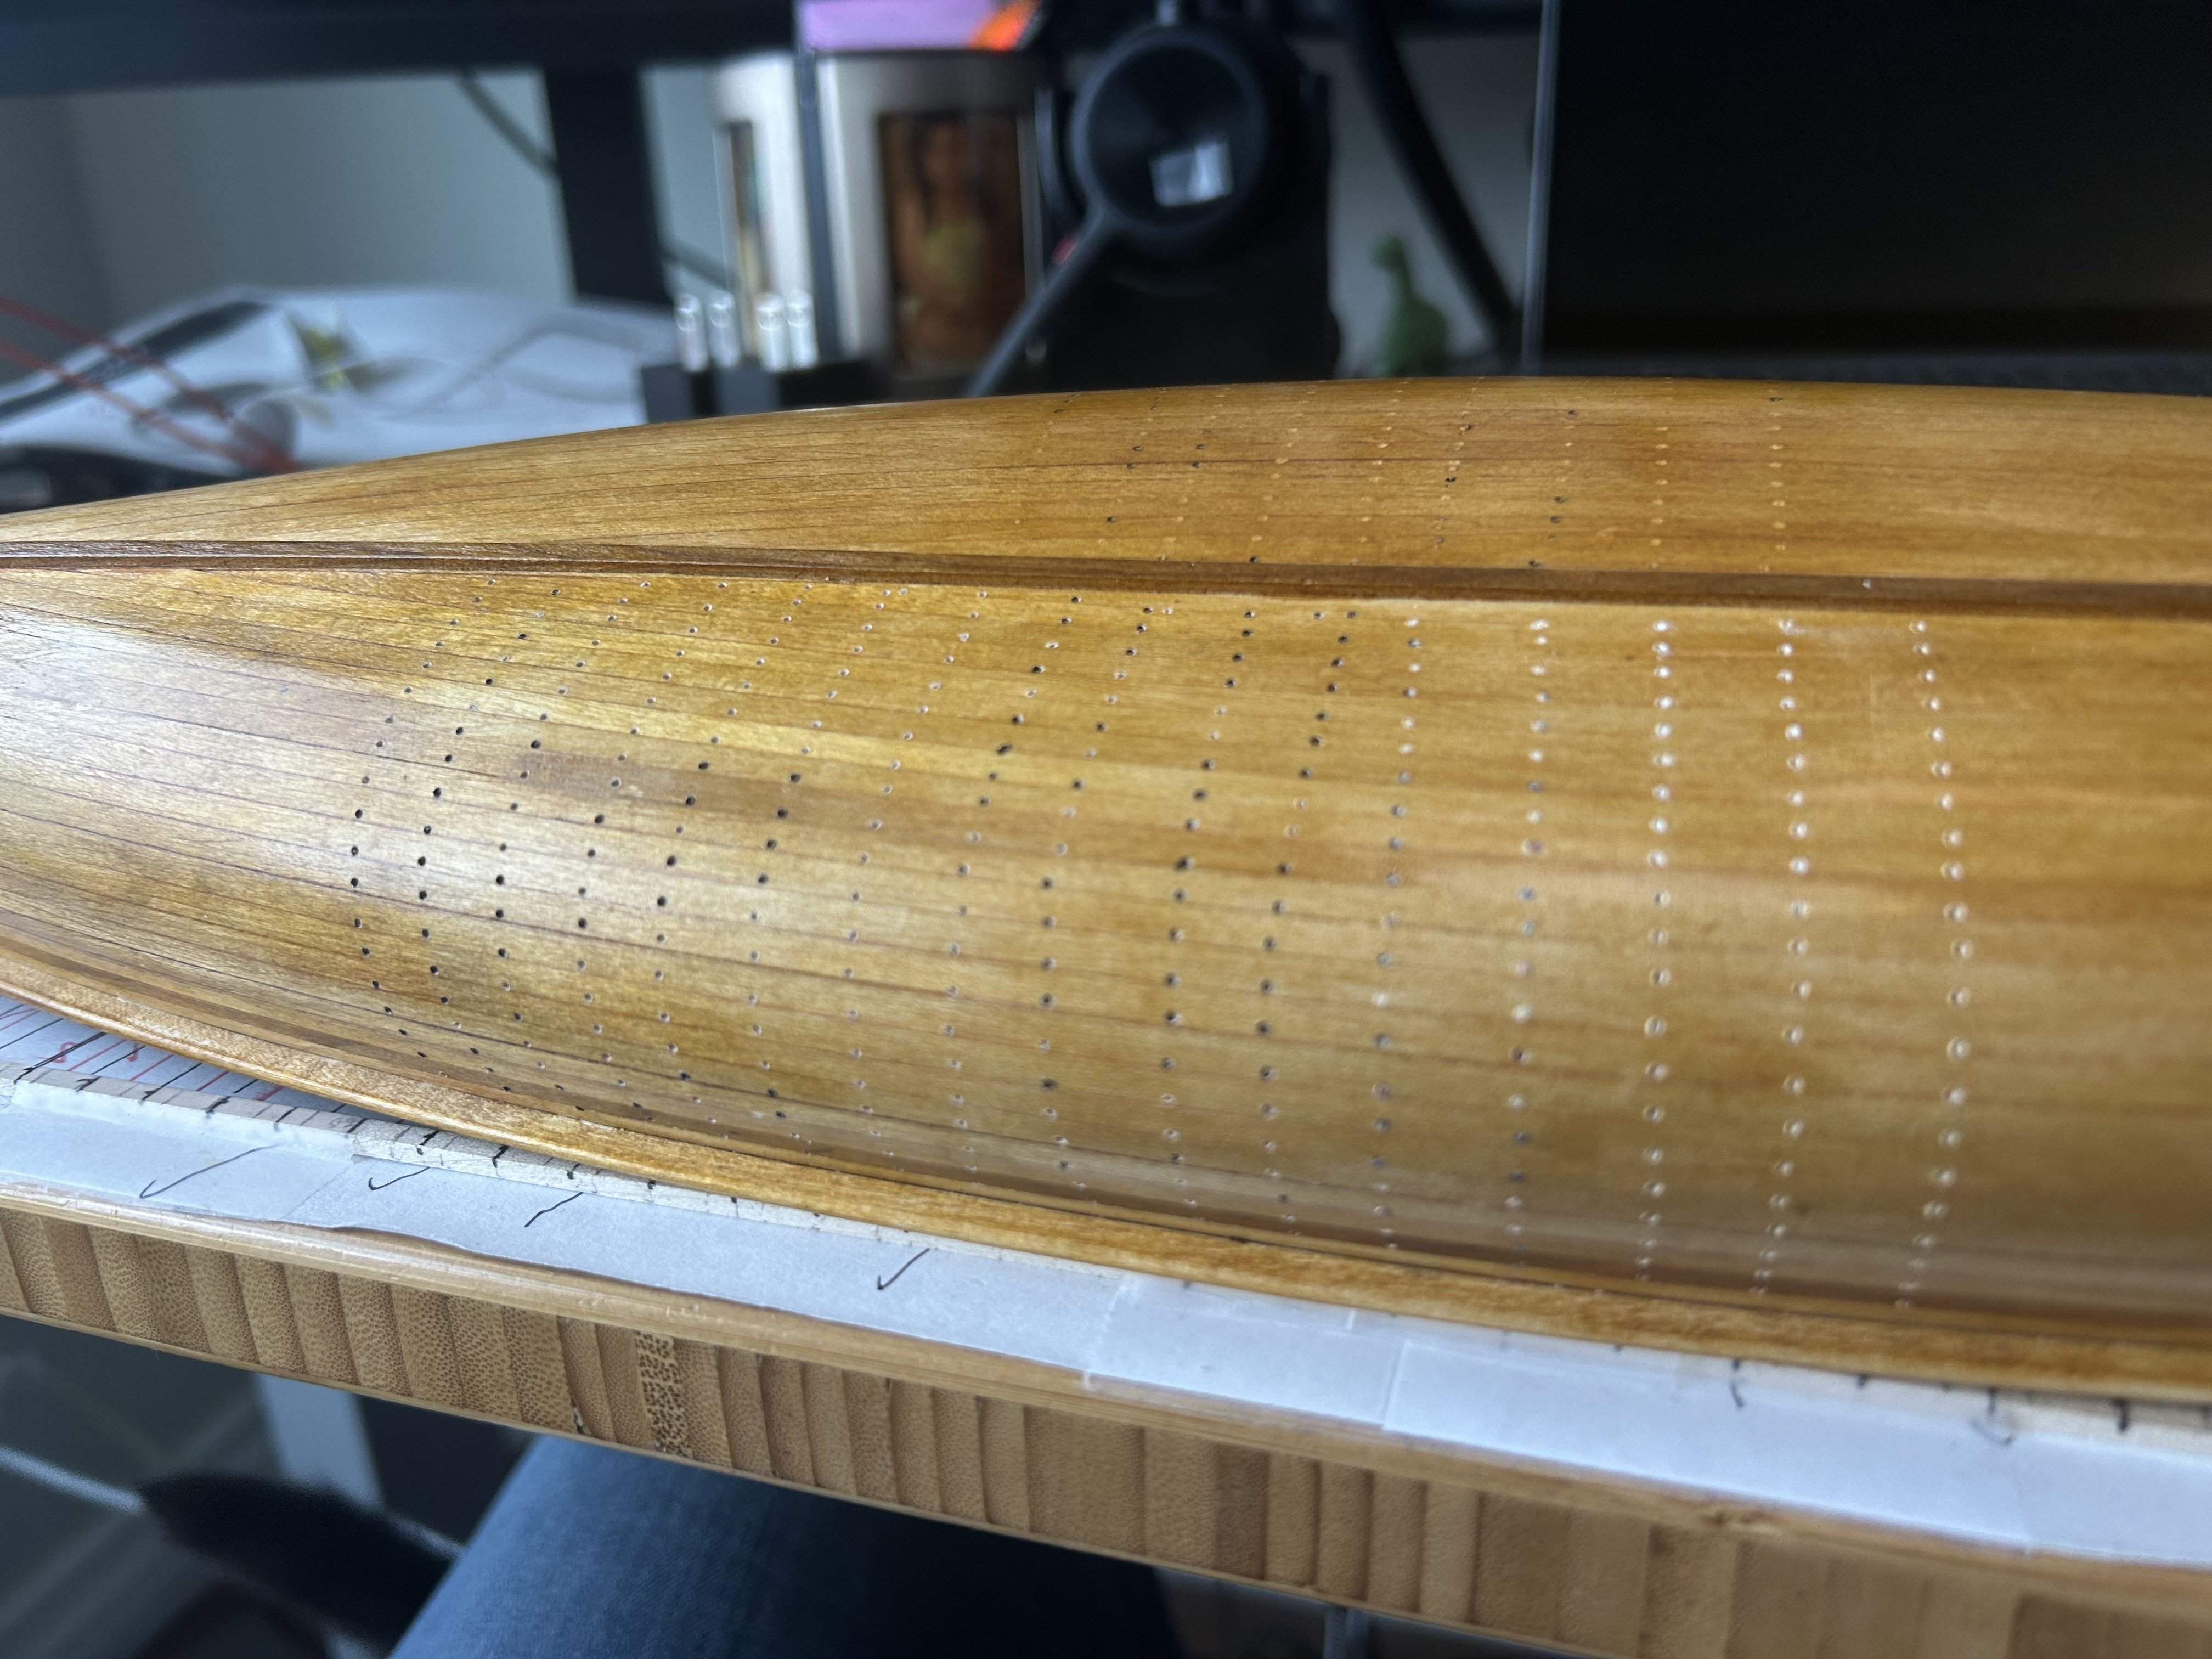
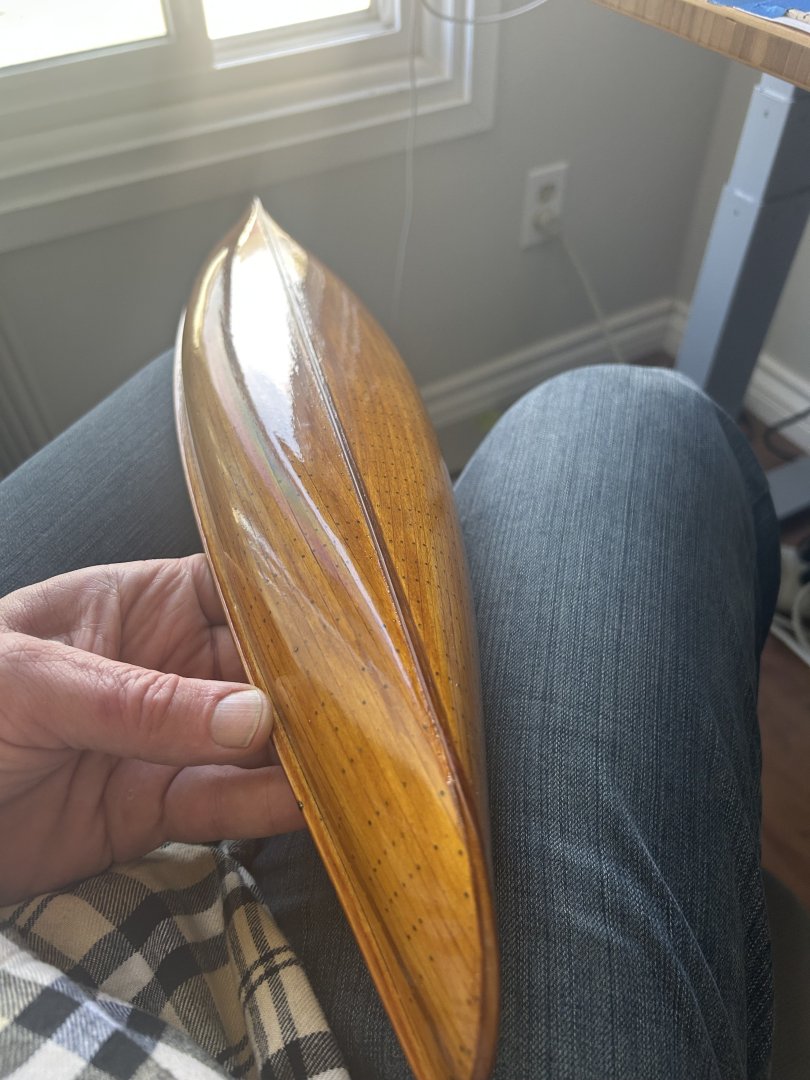
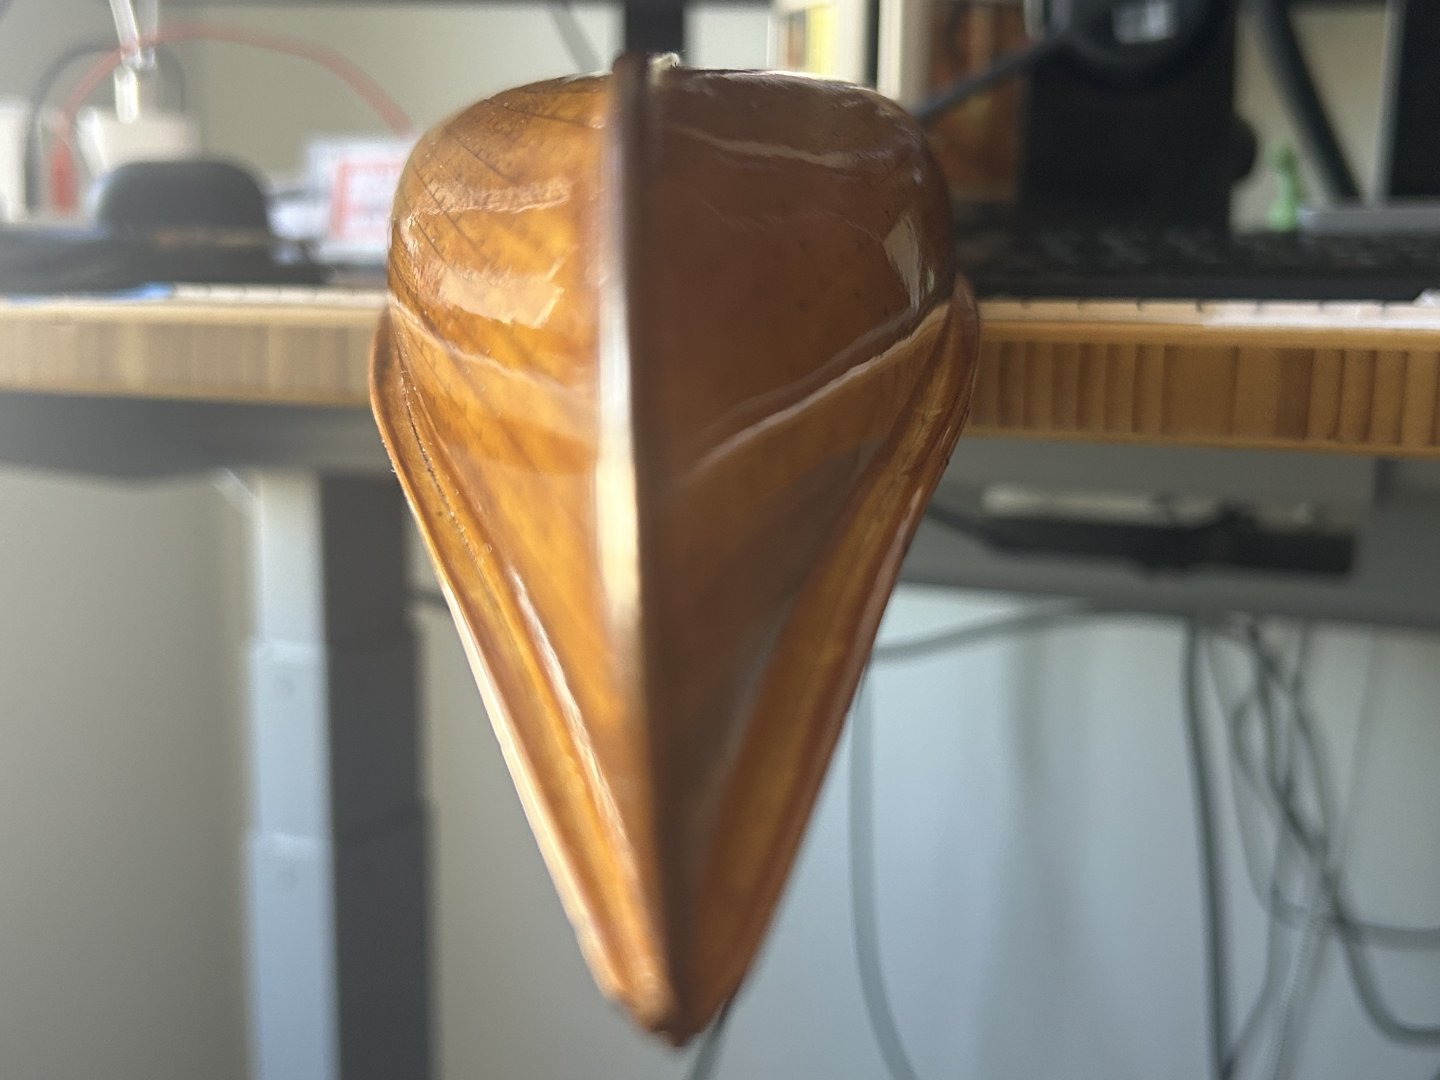
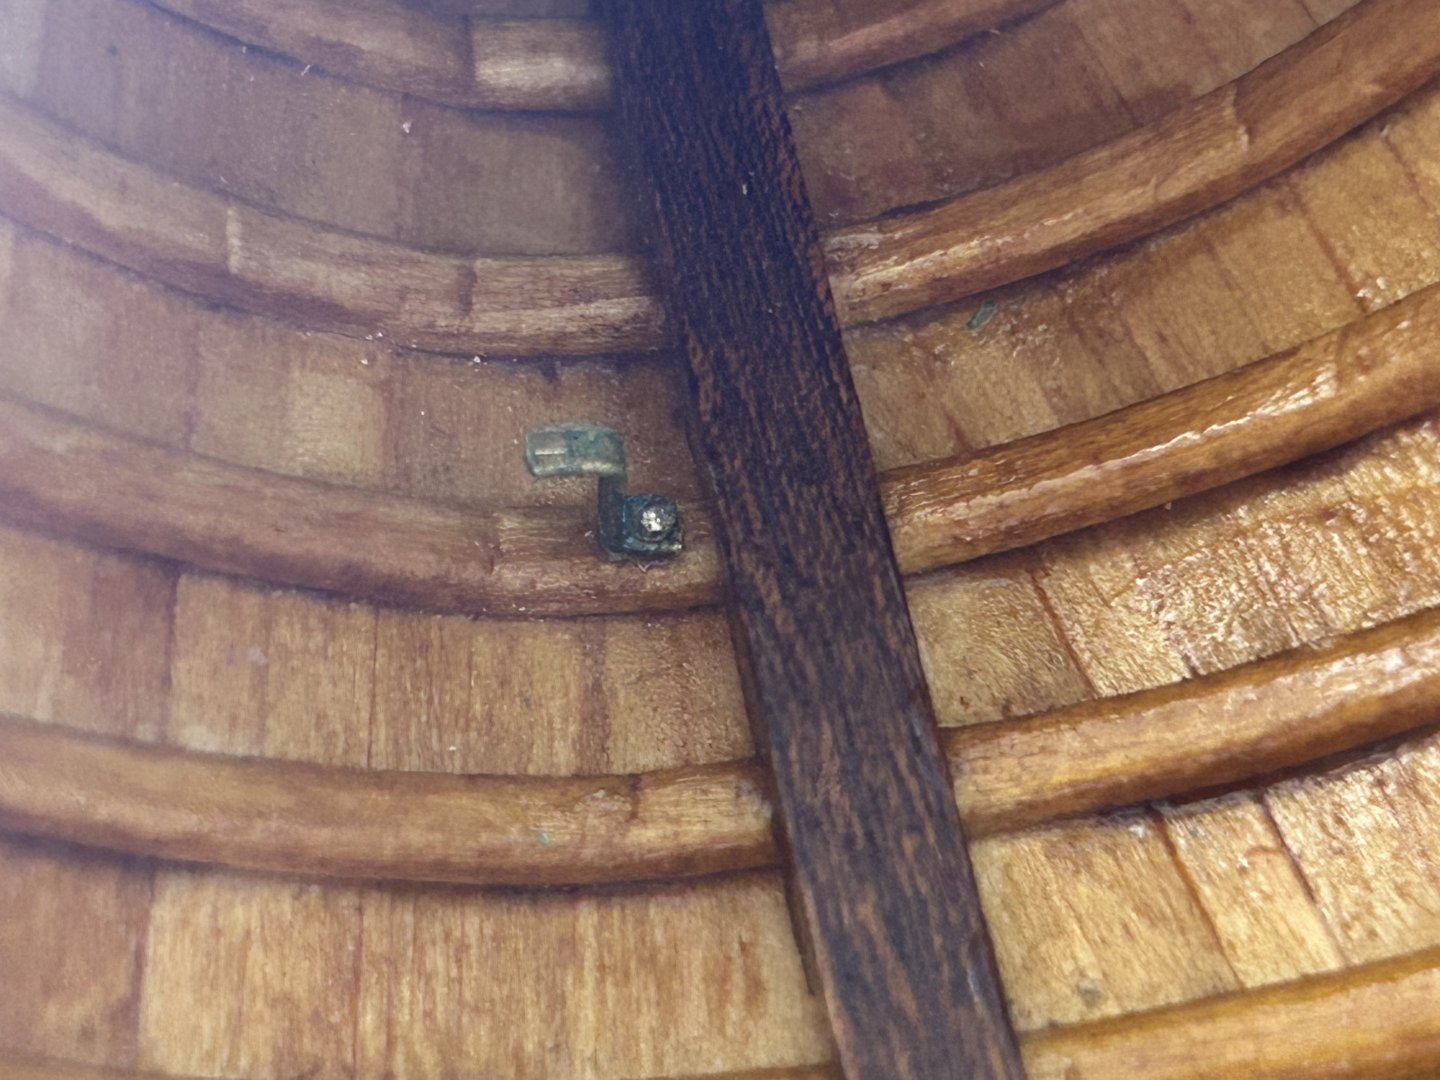
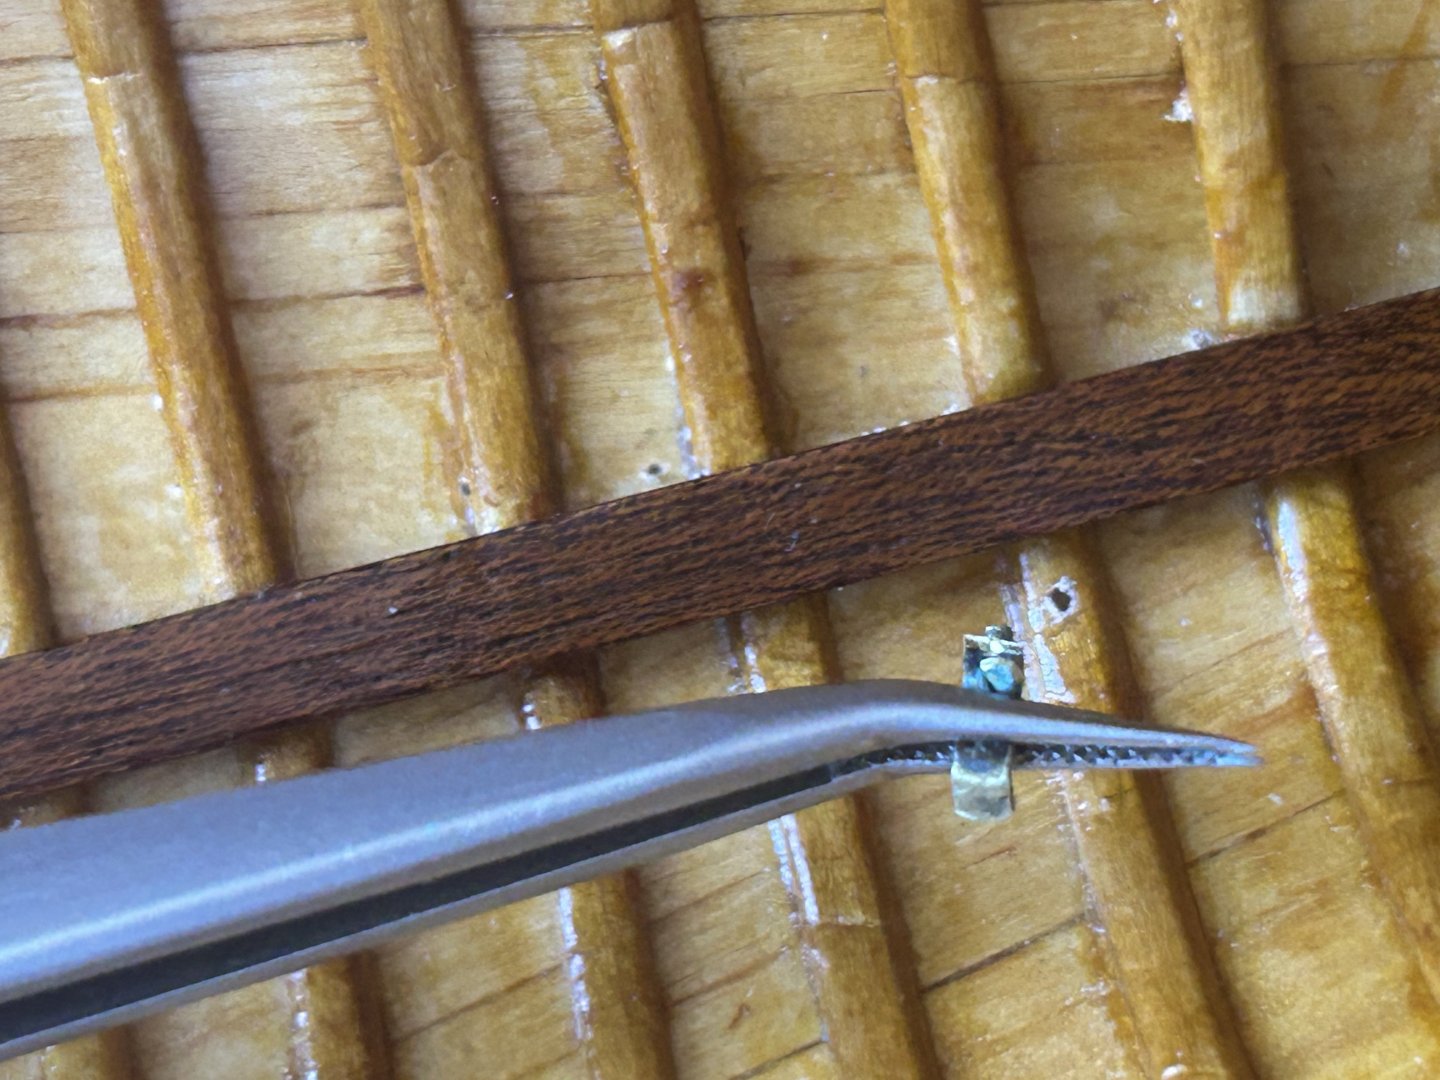
Building up to about 8 coats on the french polish so far. Sheen is getting deeper. French polish really can give a mirror finish: And here’s some incredibly fiddly work: installing the brass brackets for the floorboards:


-
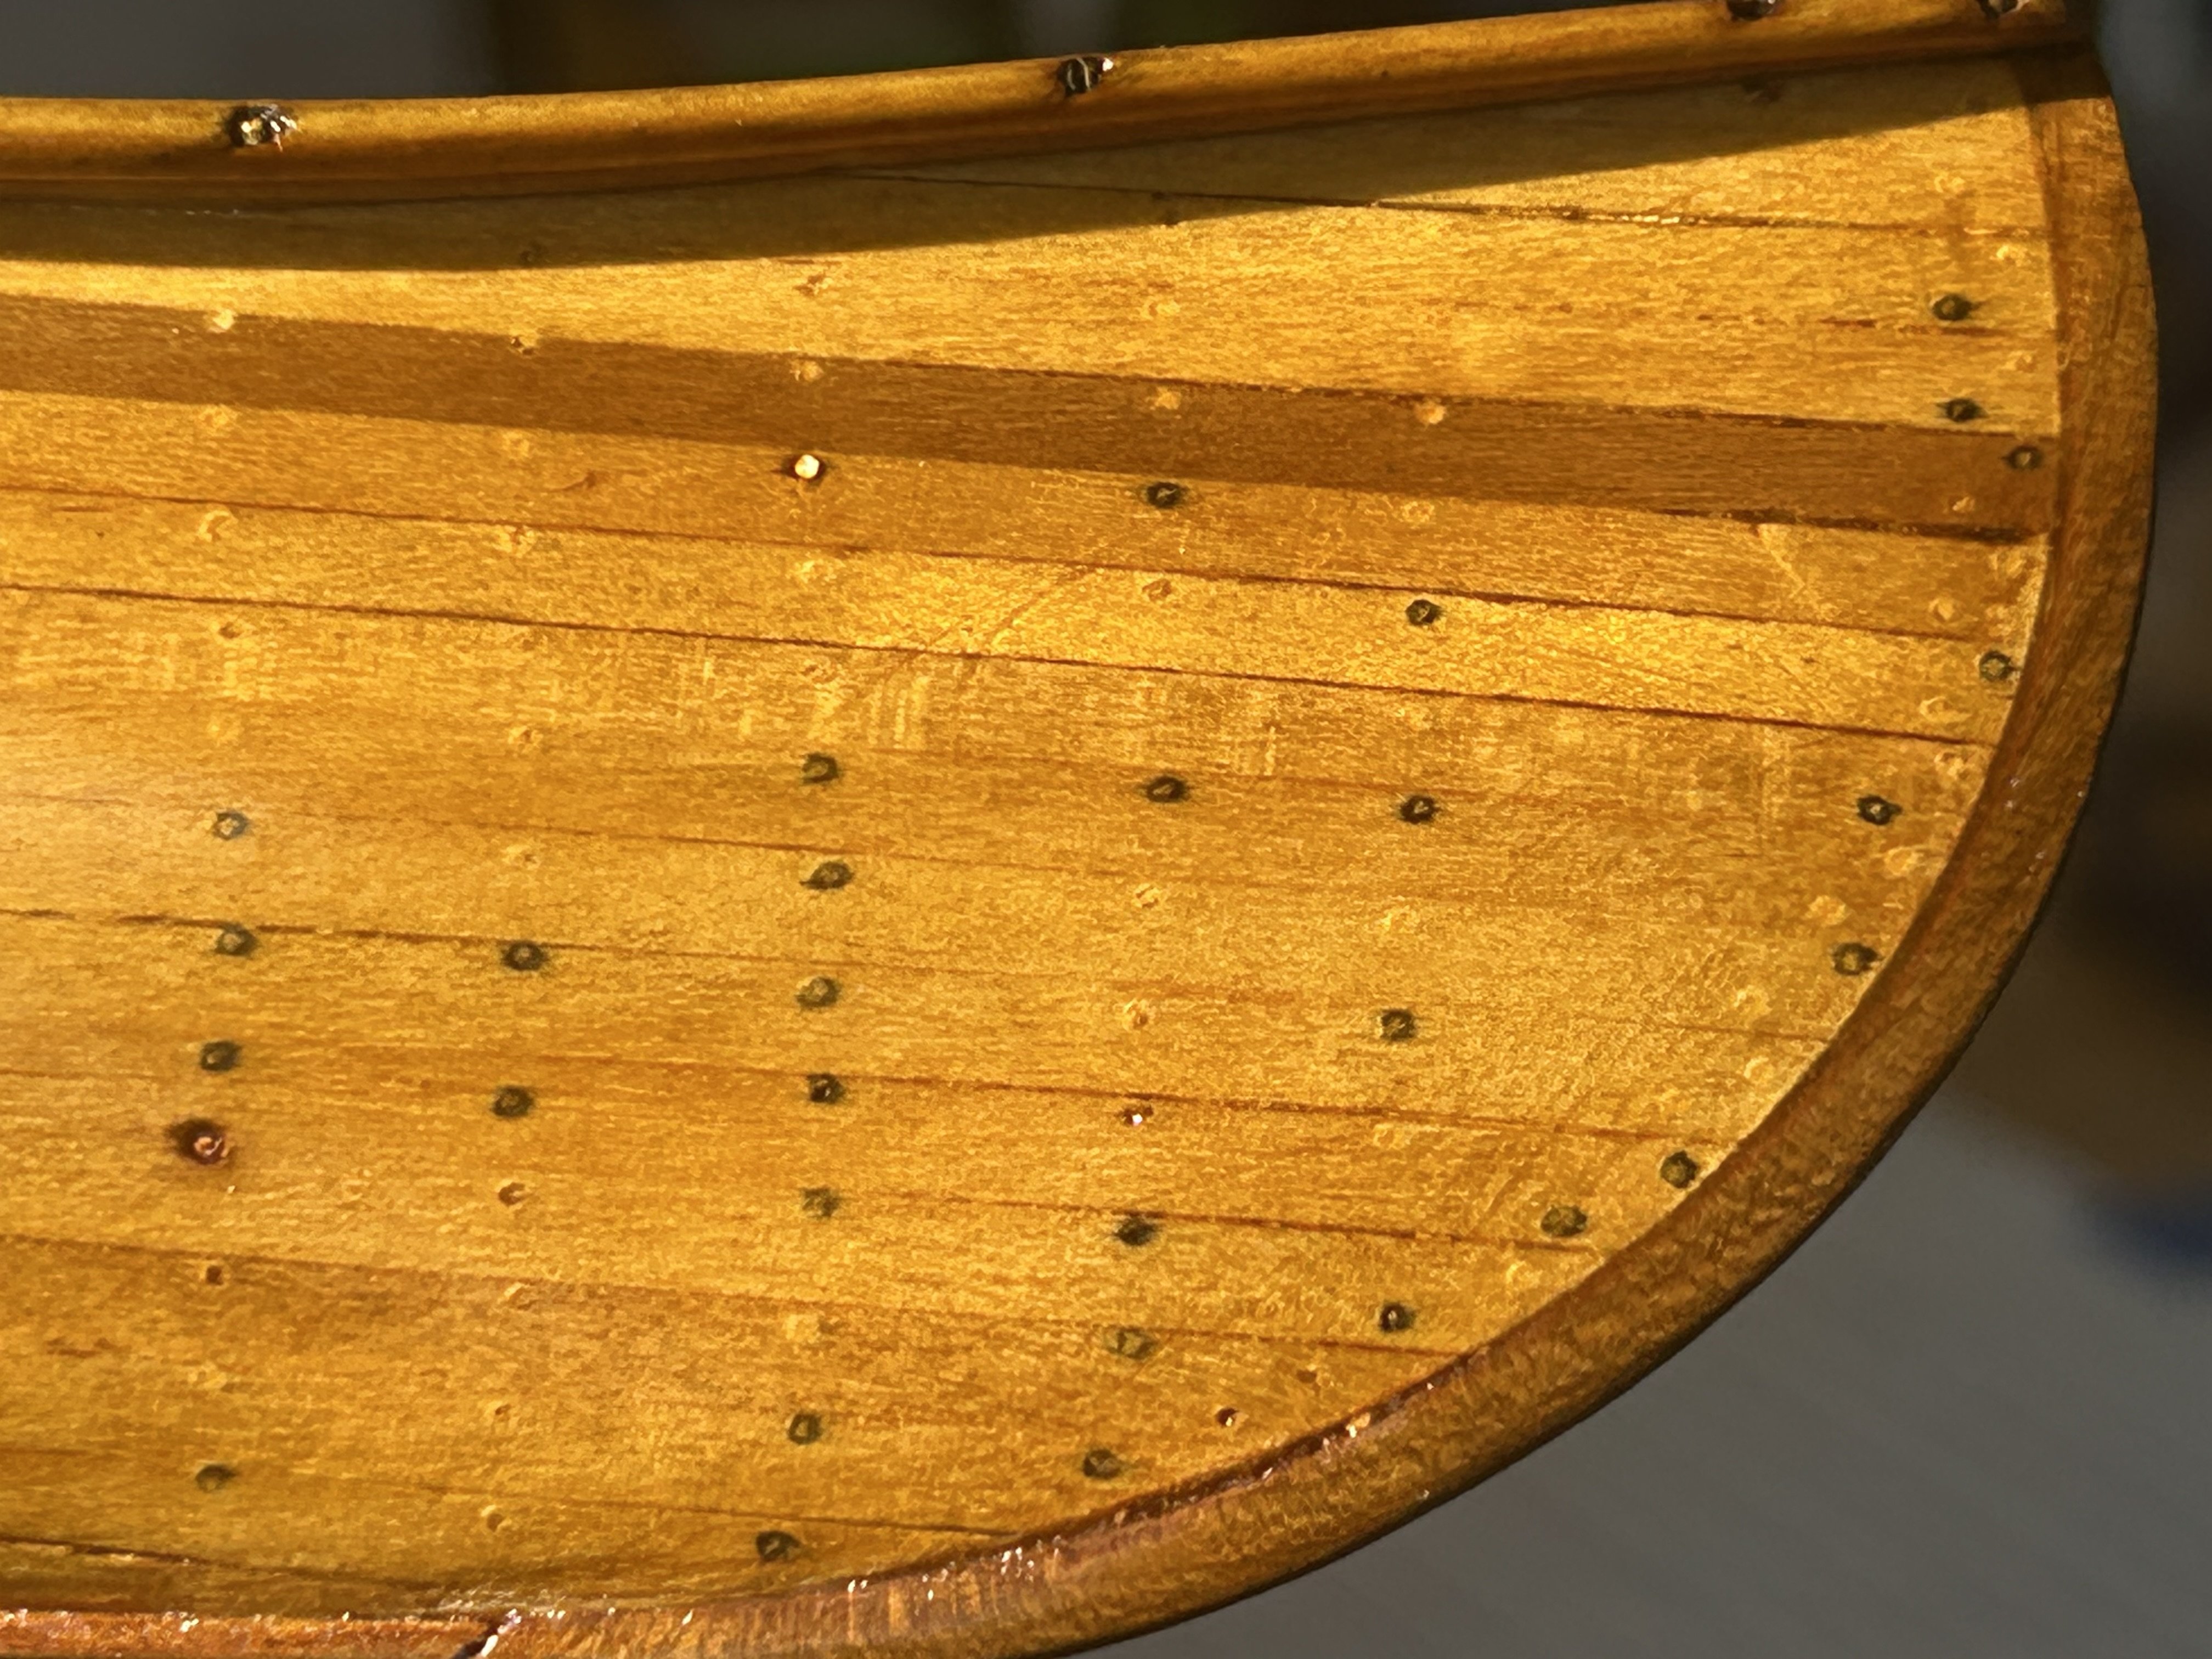
Finished all the holes, blackening, nails and filler for one side. With the very first rubbed coat of shellac. Also realized I could countersink/finish the nailheads with a punch/nailset. This will need/get SOOO many more coats of rubbed-on French polish shellac. Probably something like 20 coats—their thickness is measured in microns I think. Overall I am happy with the results so far.
-
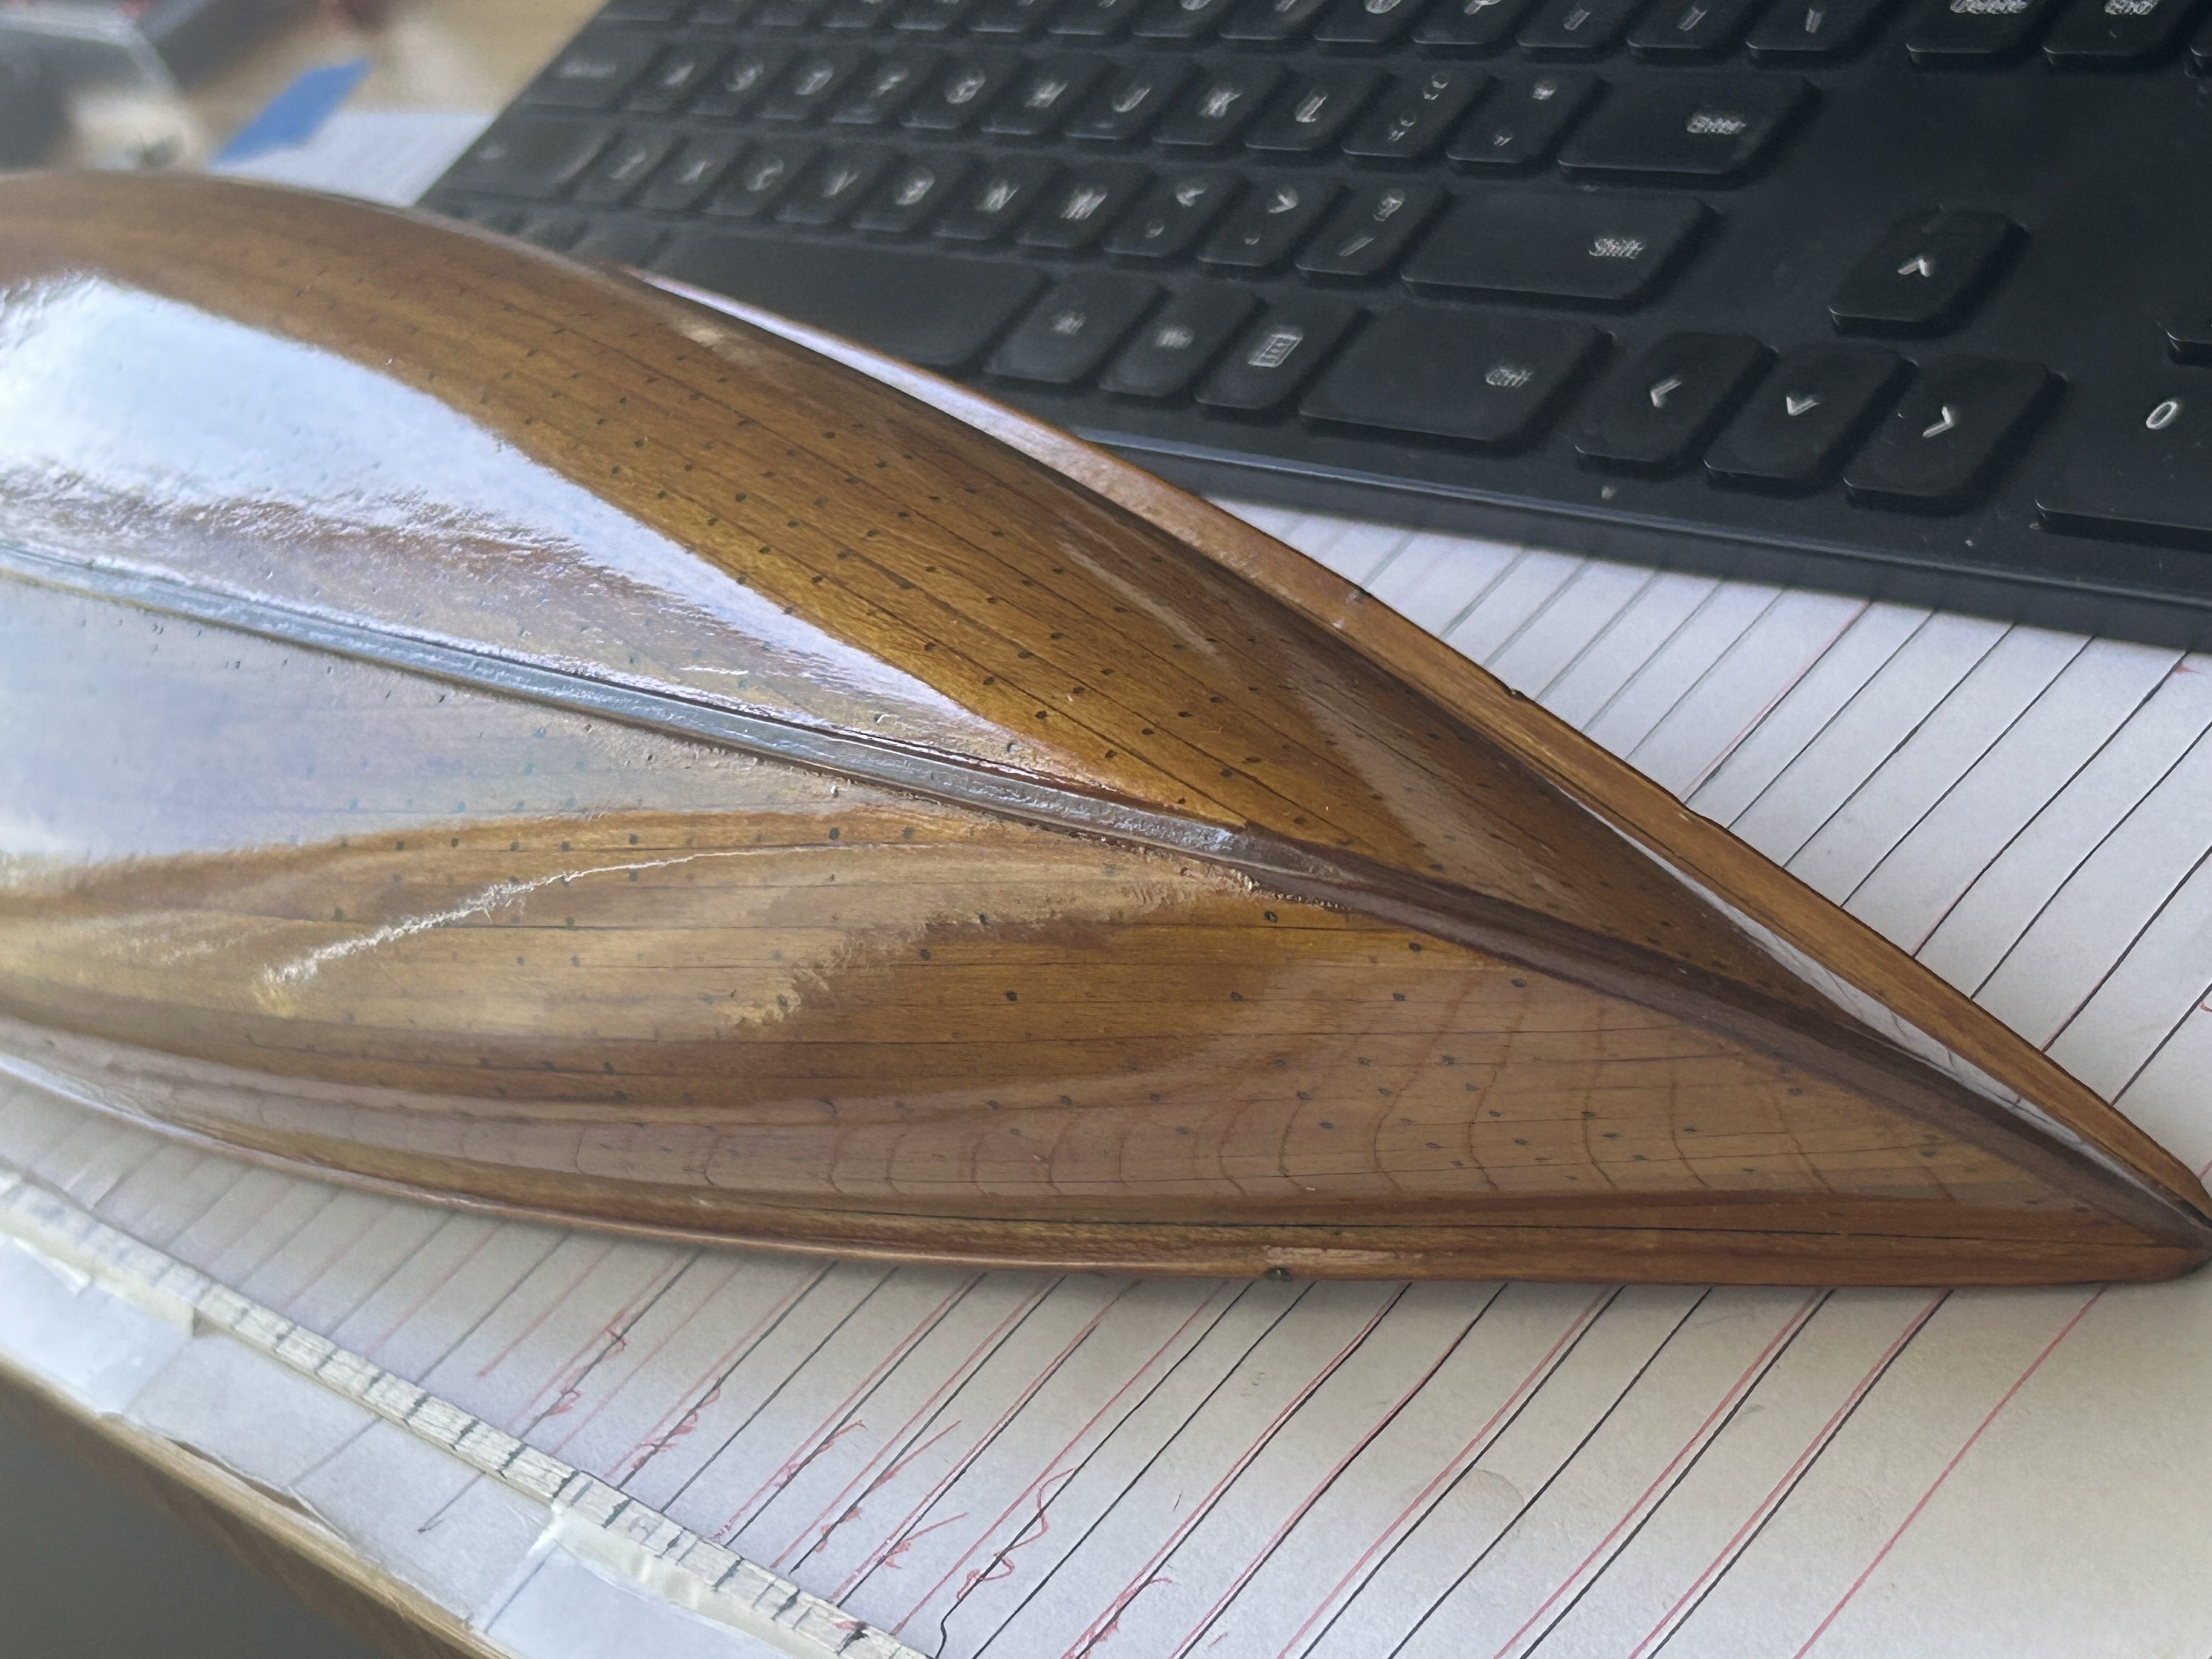
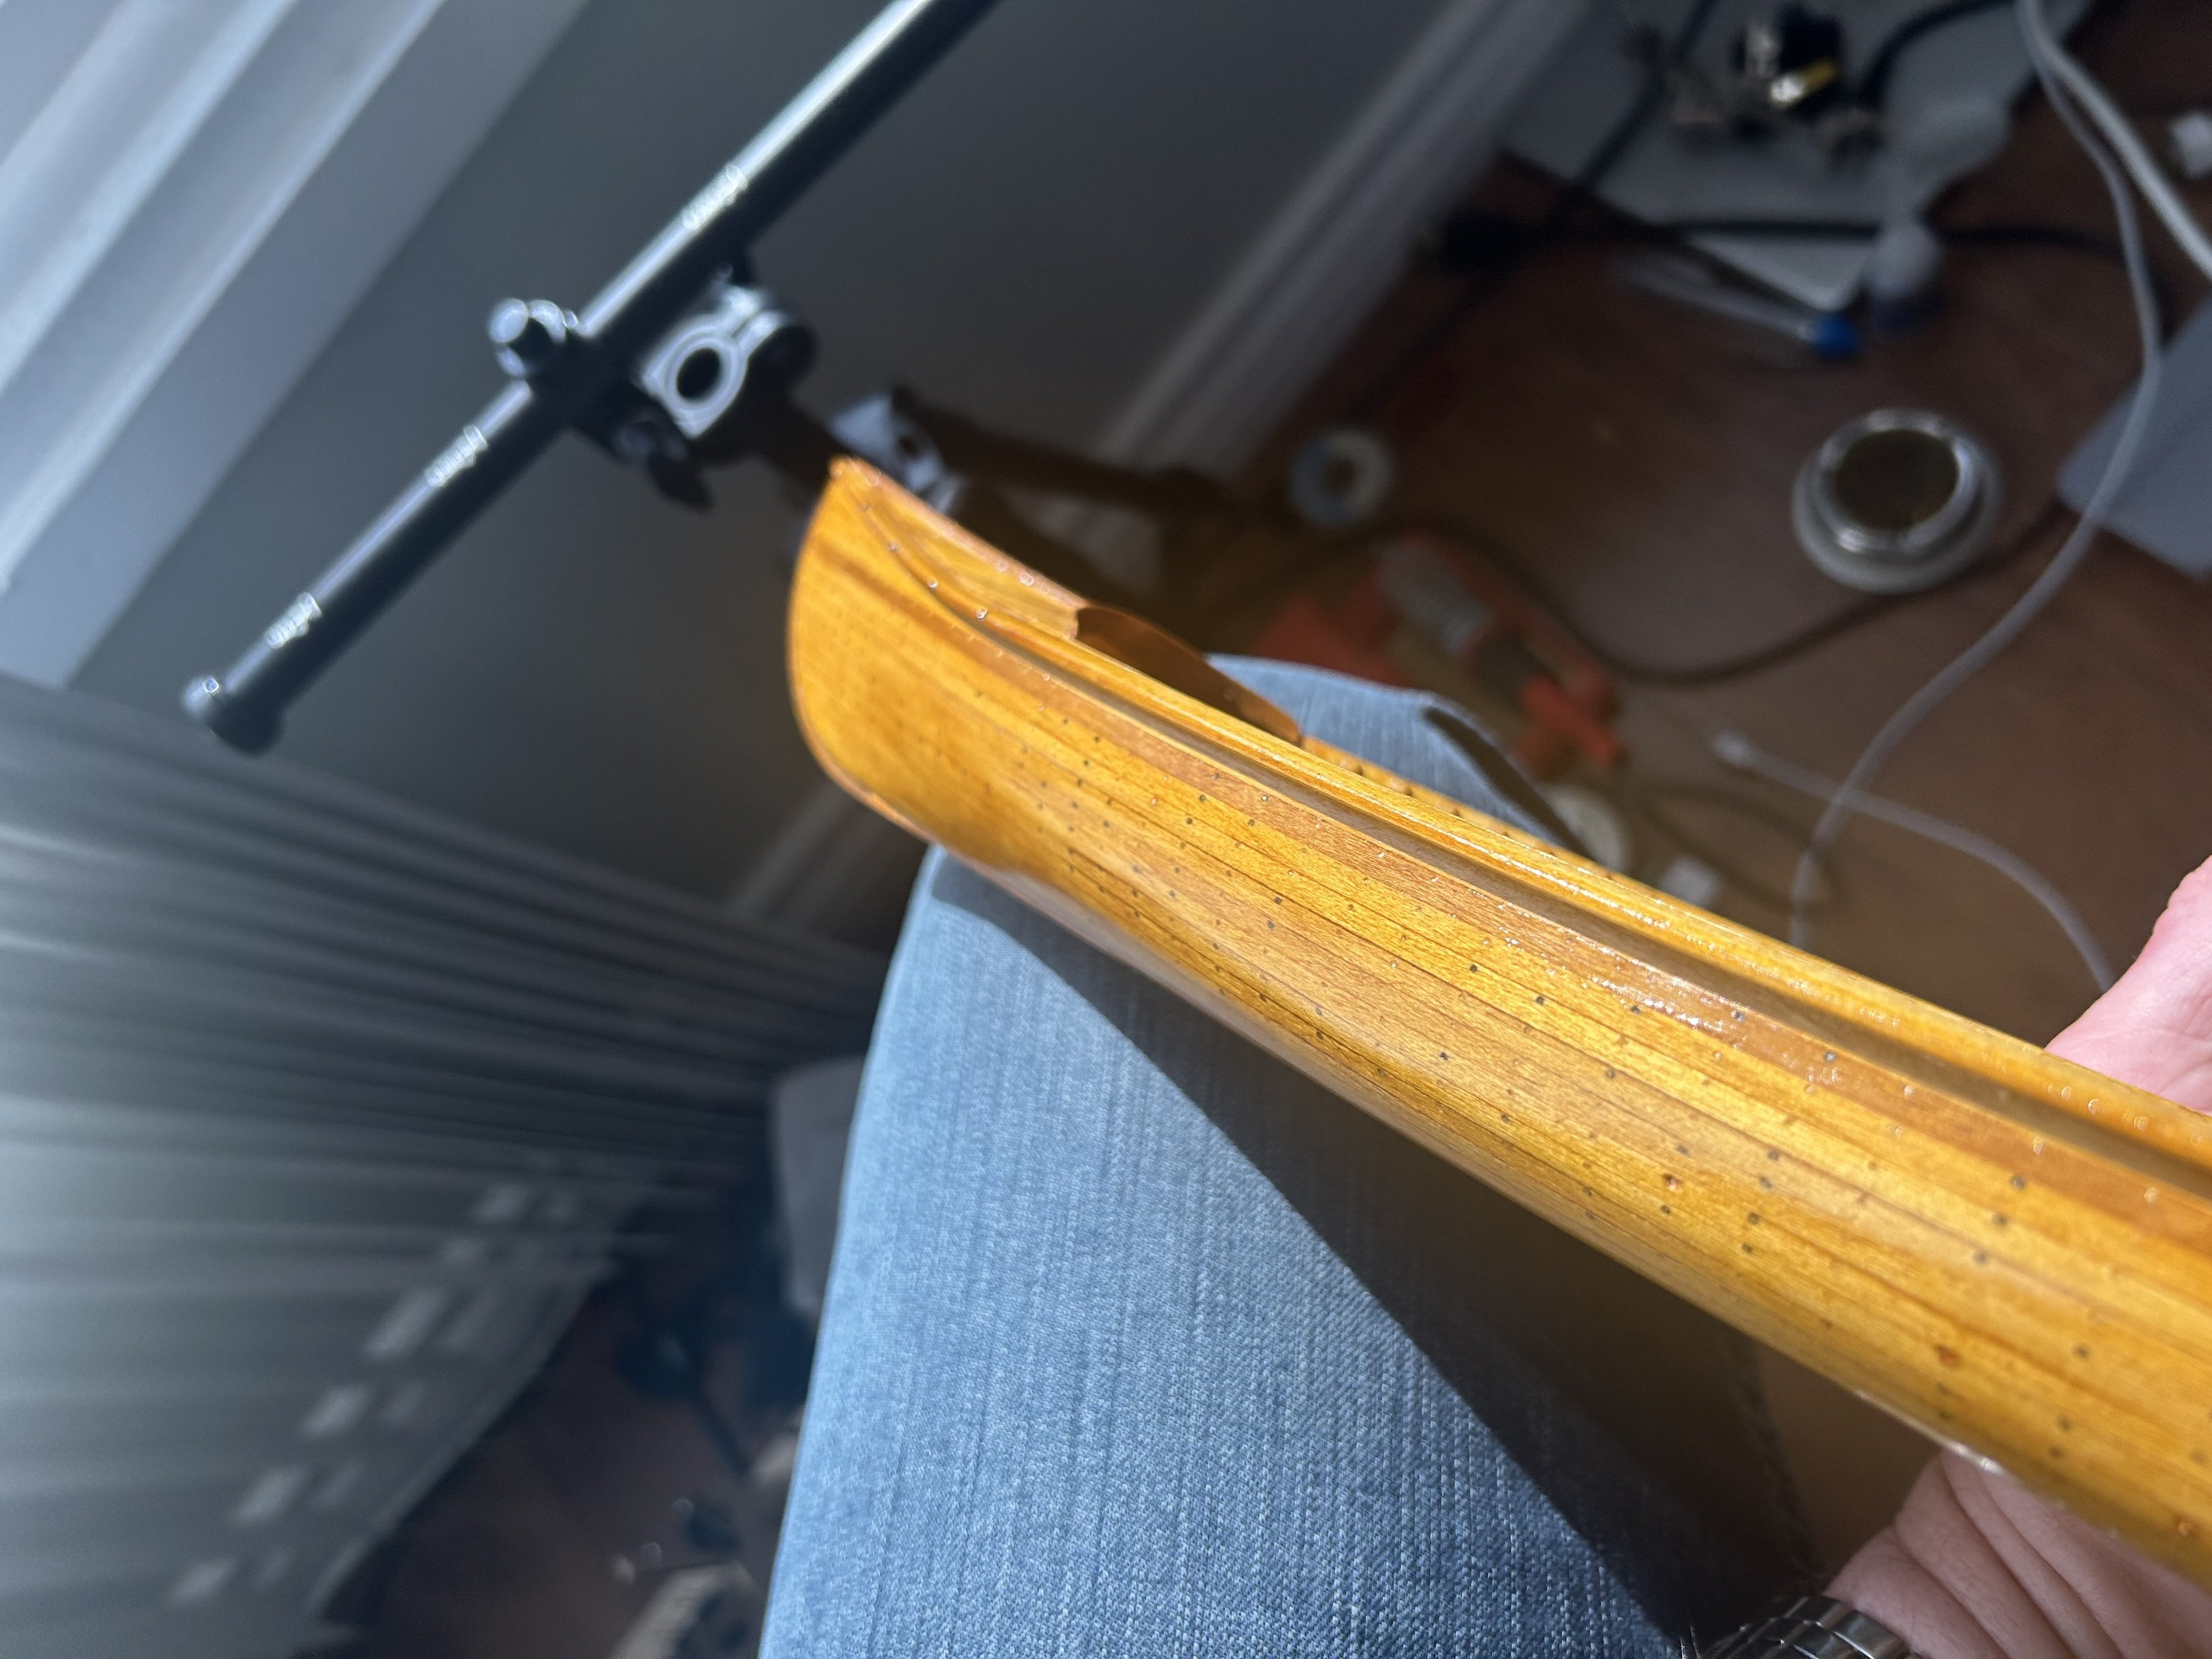
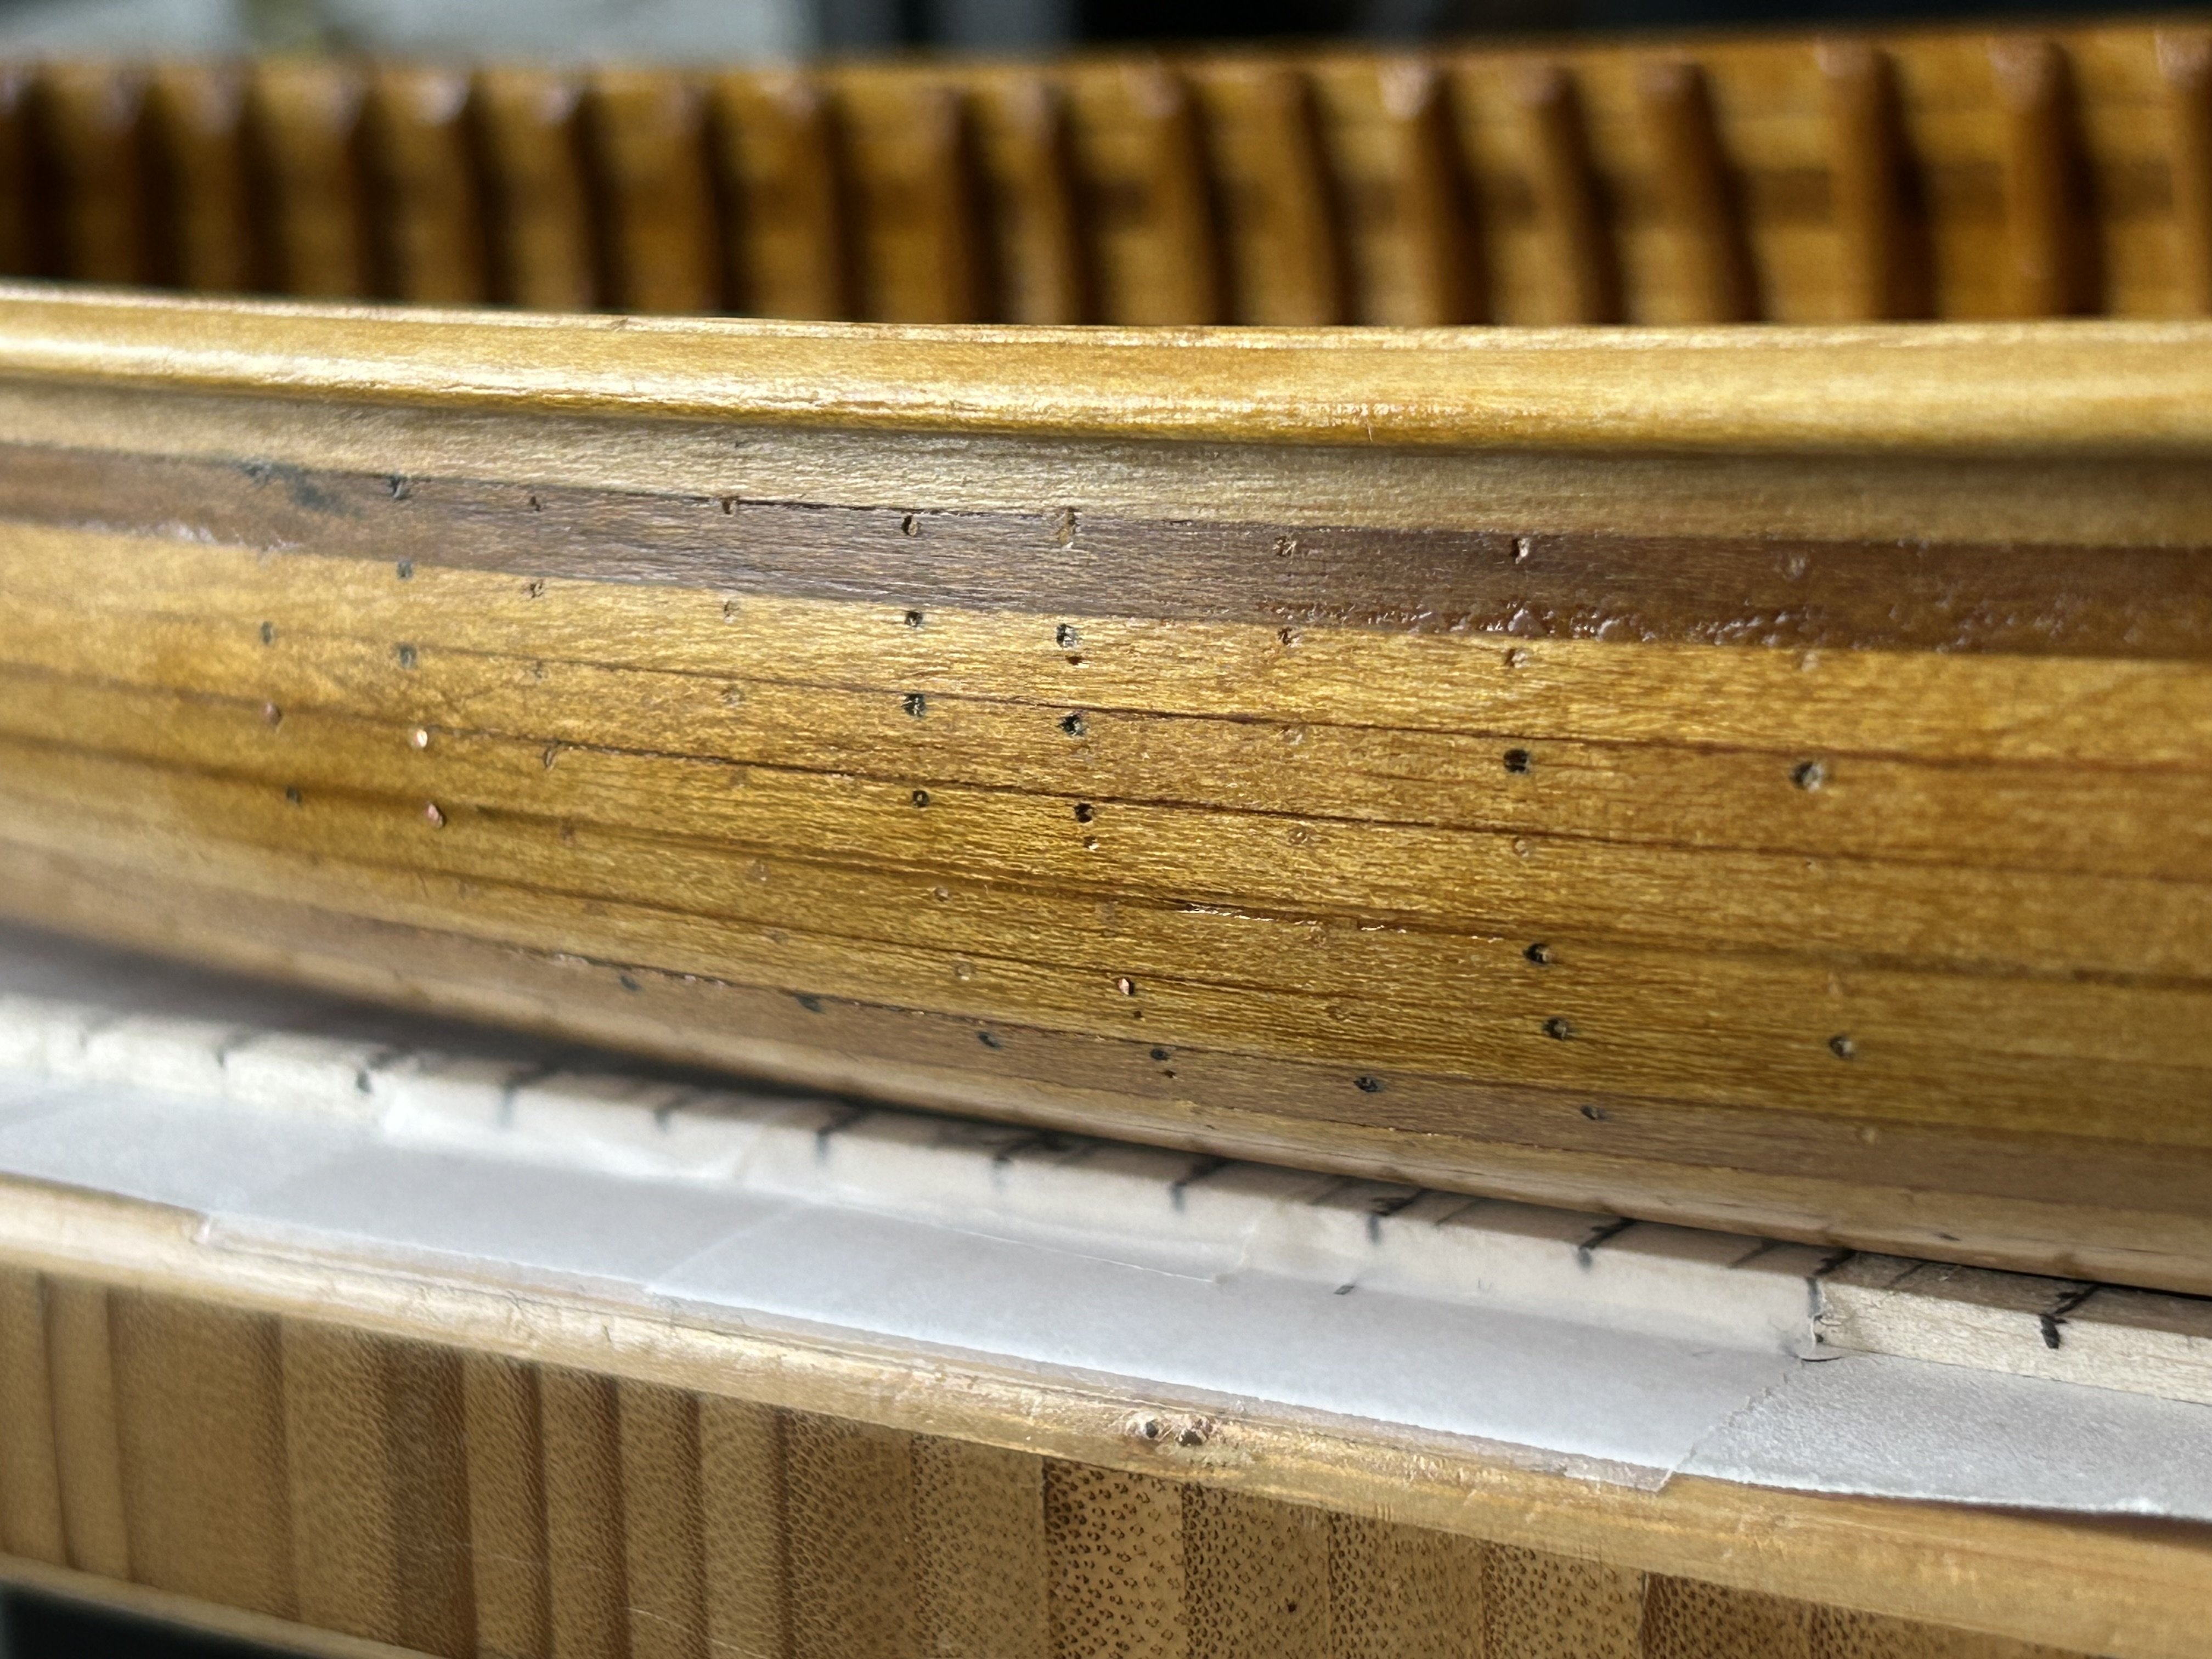
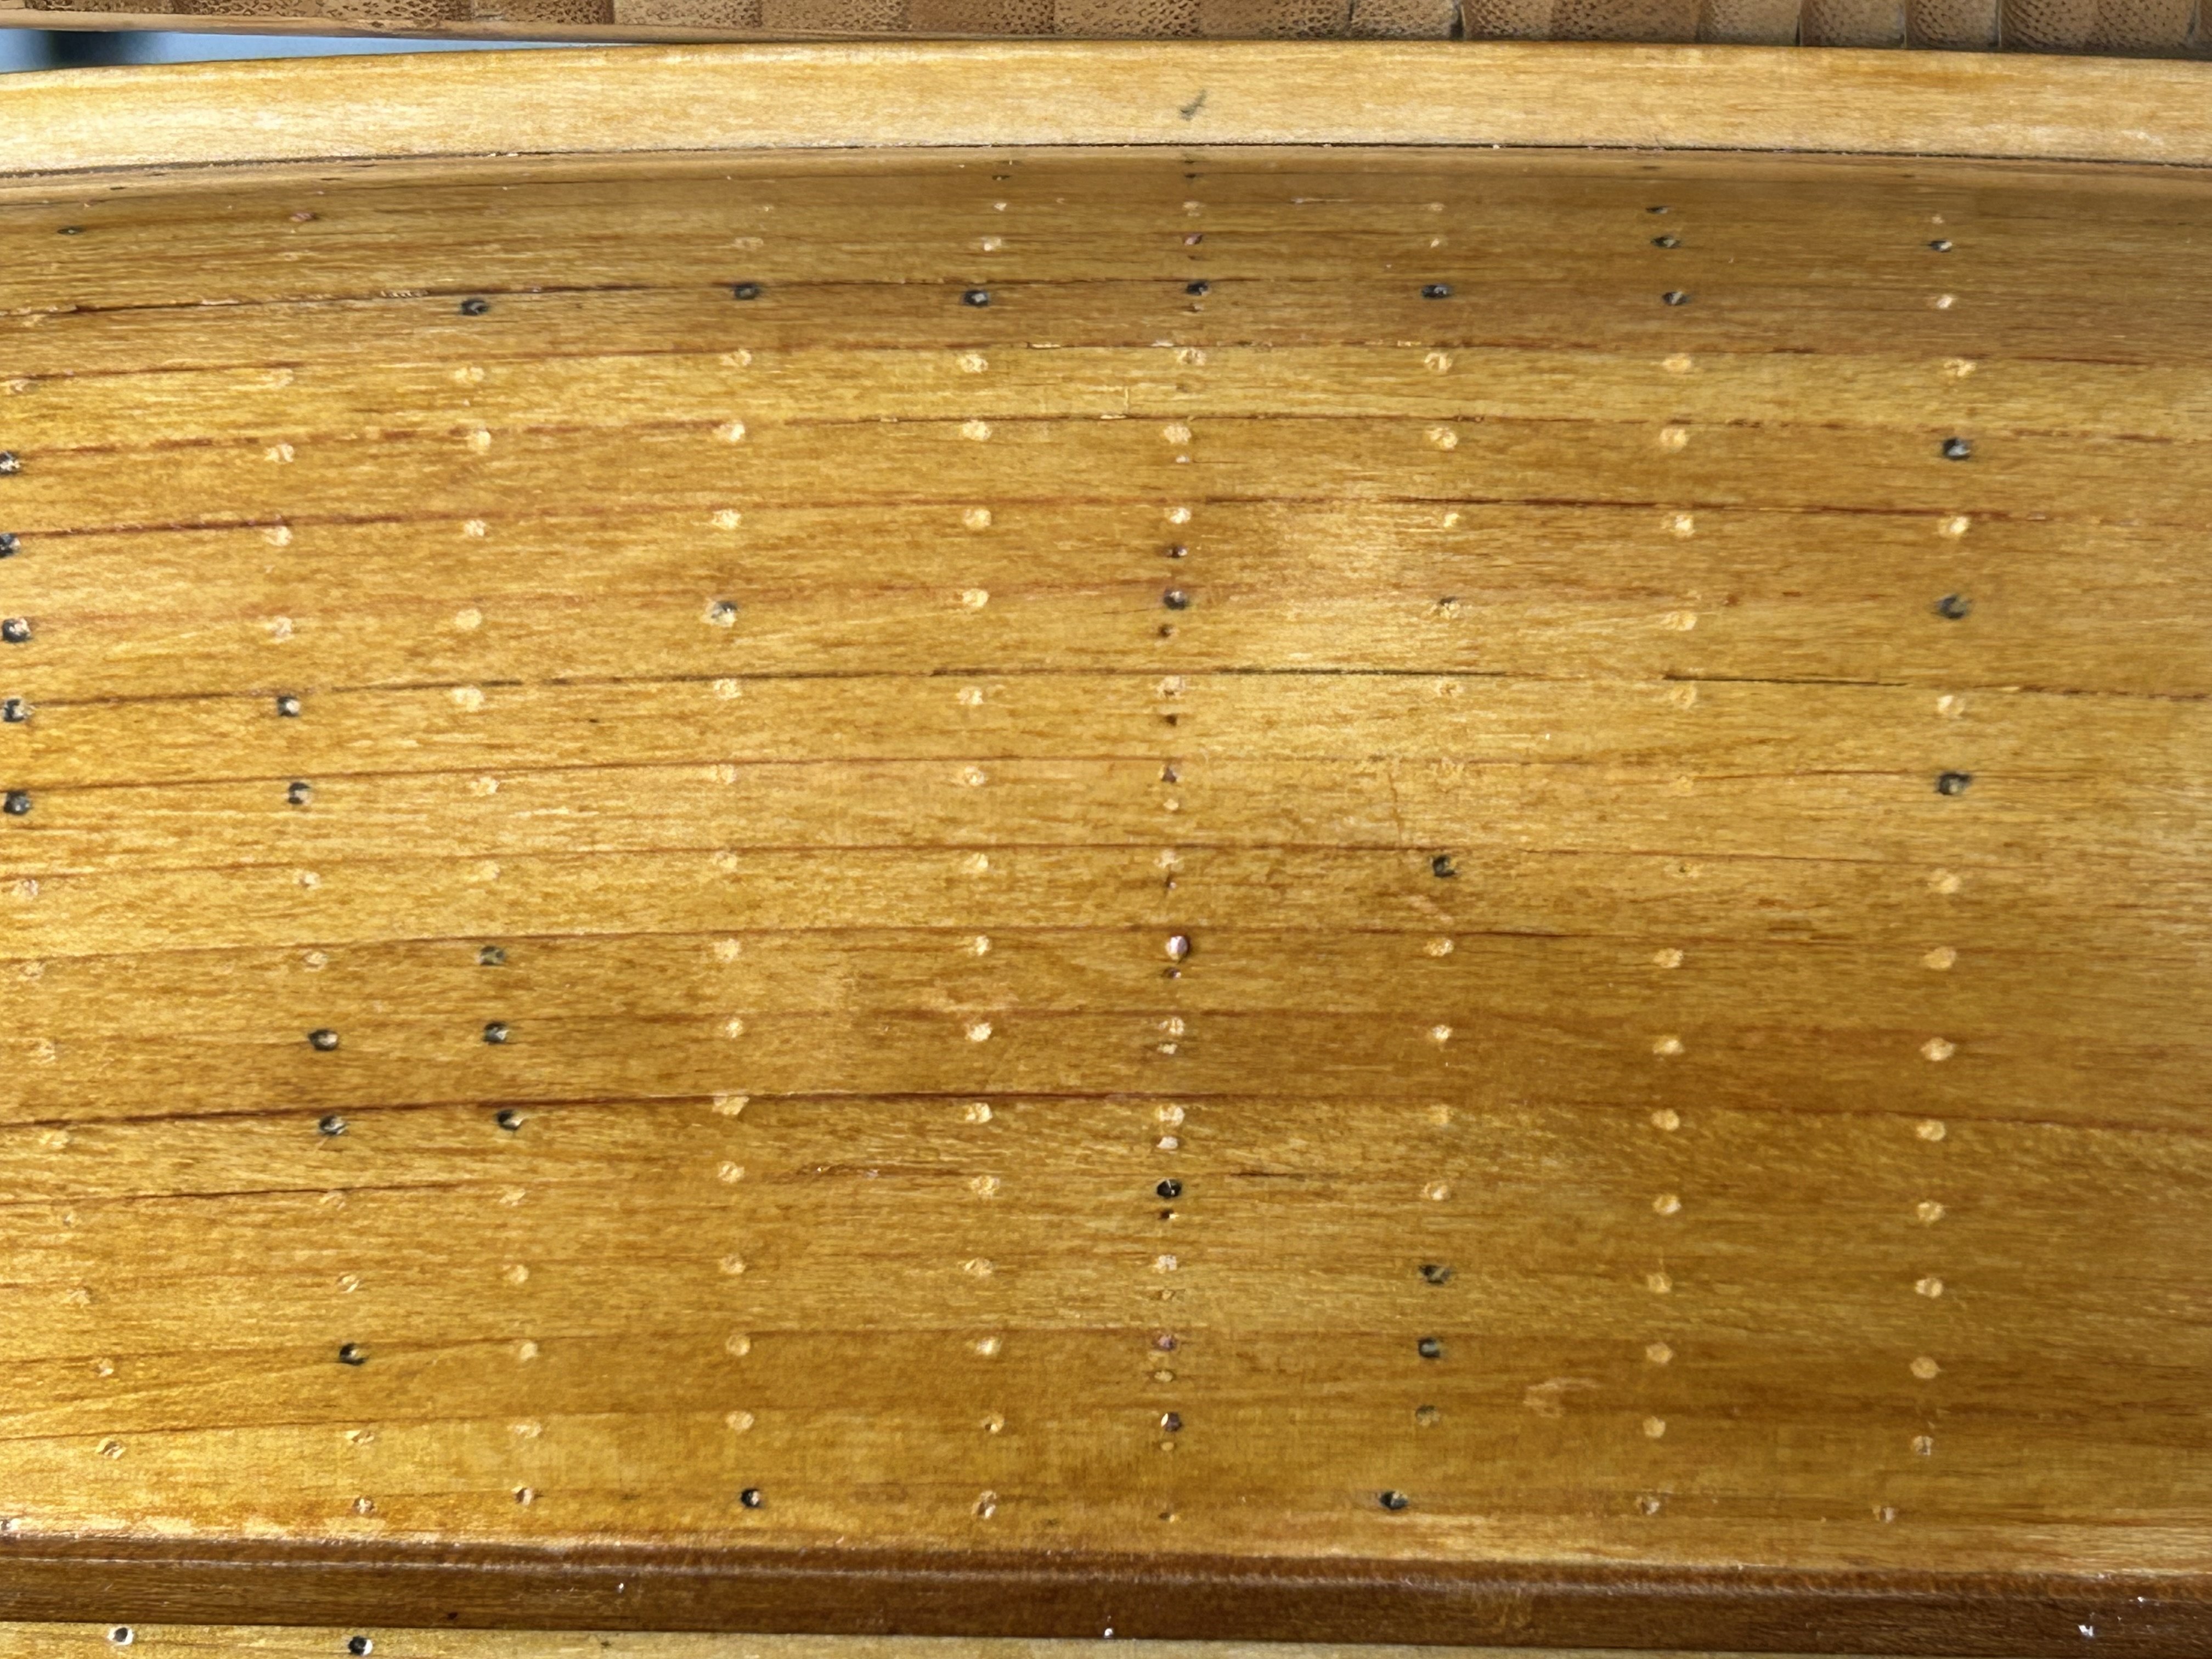
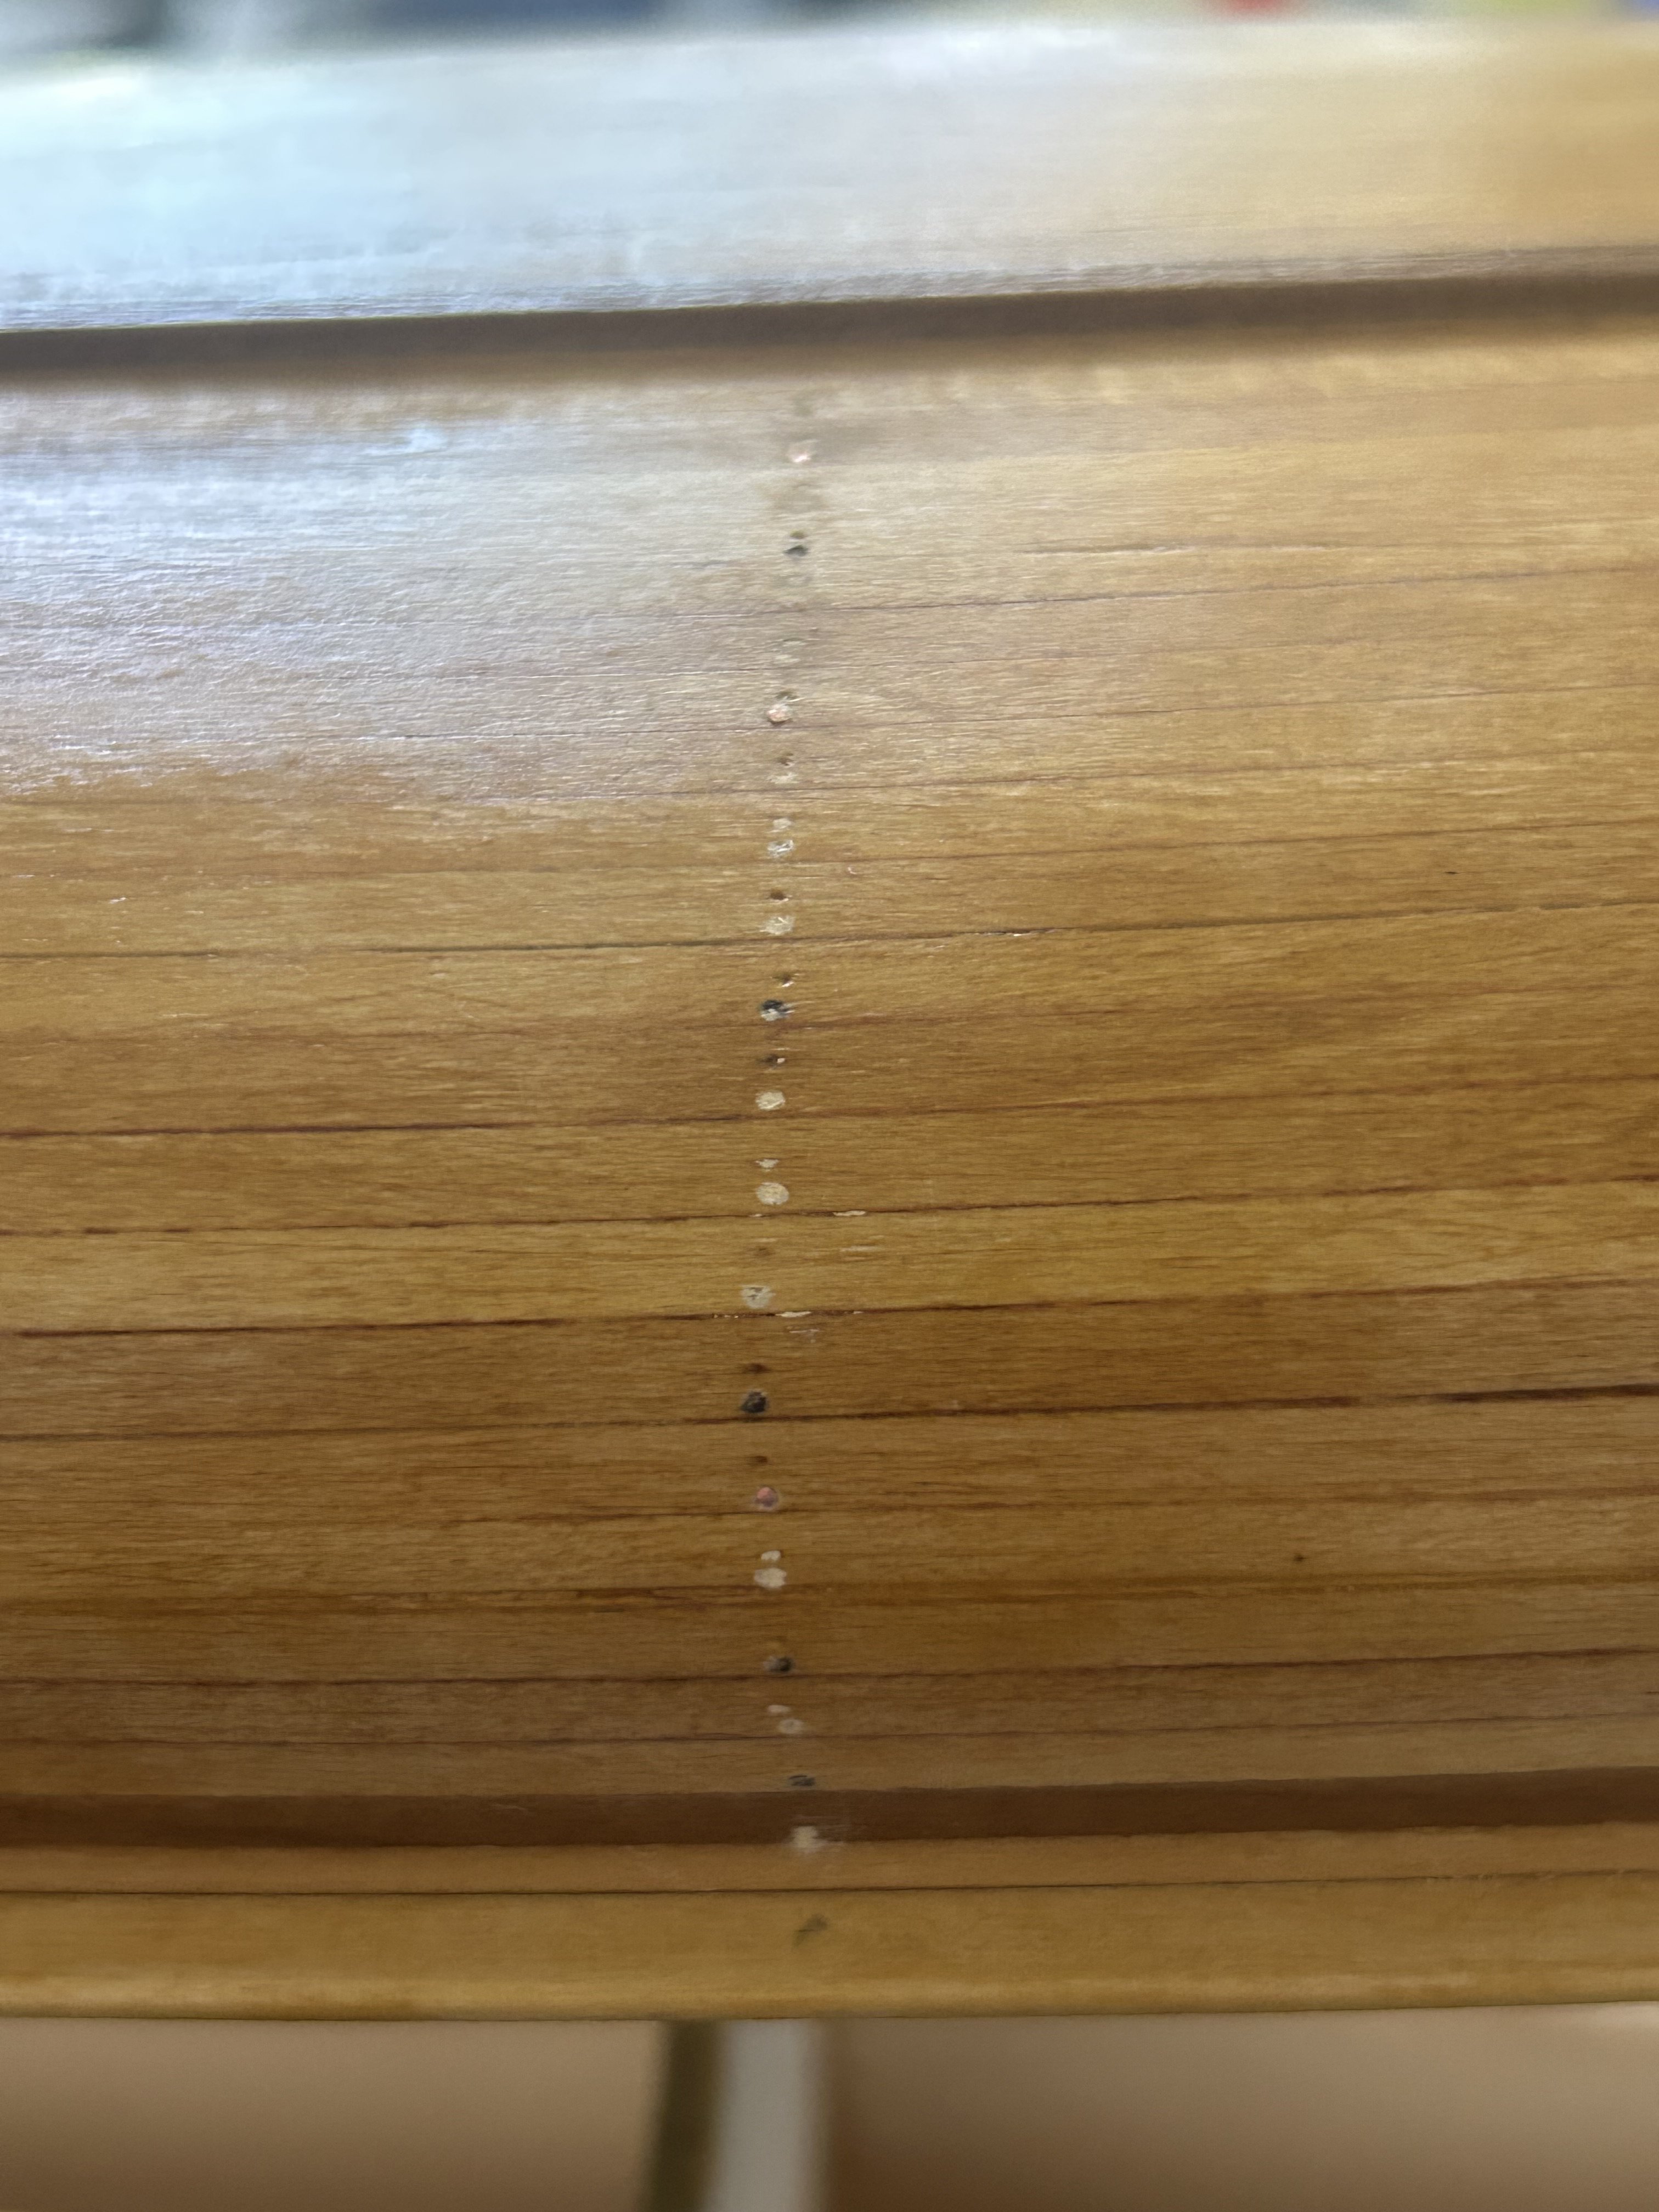
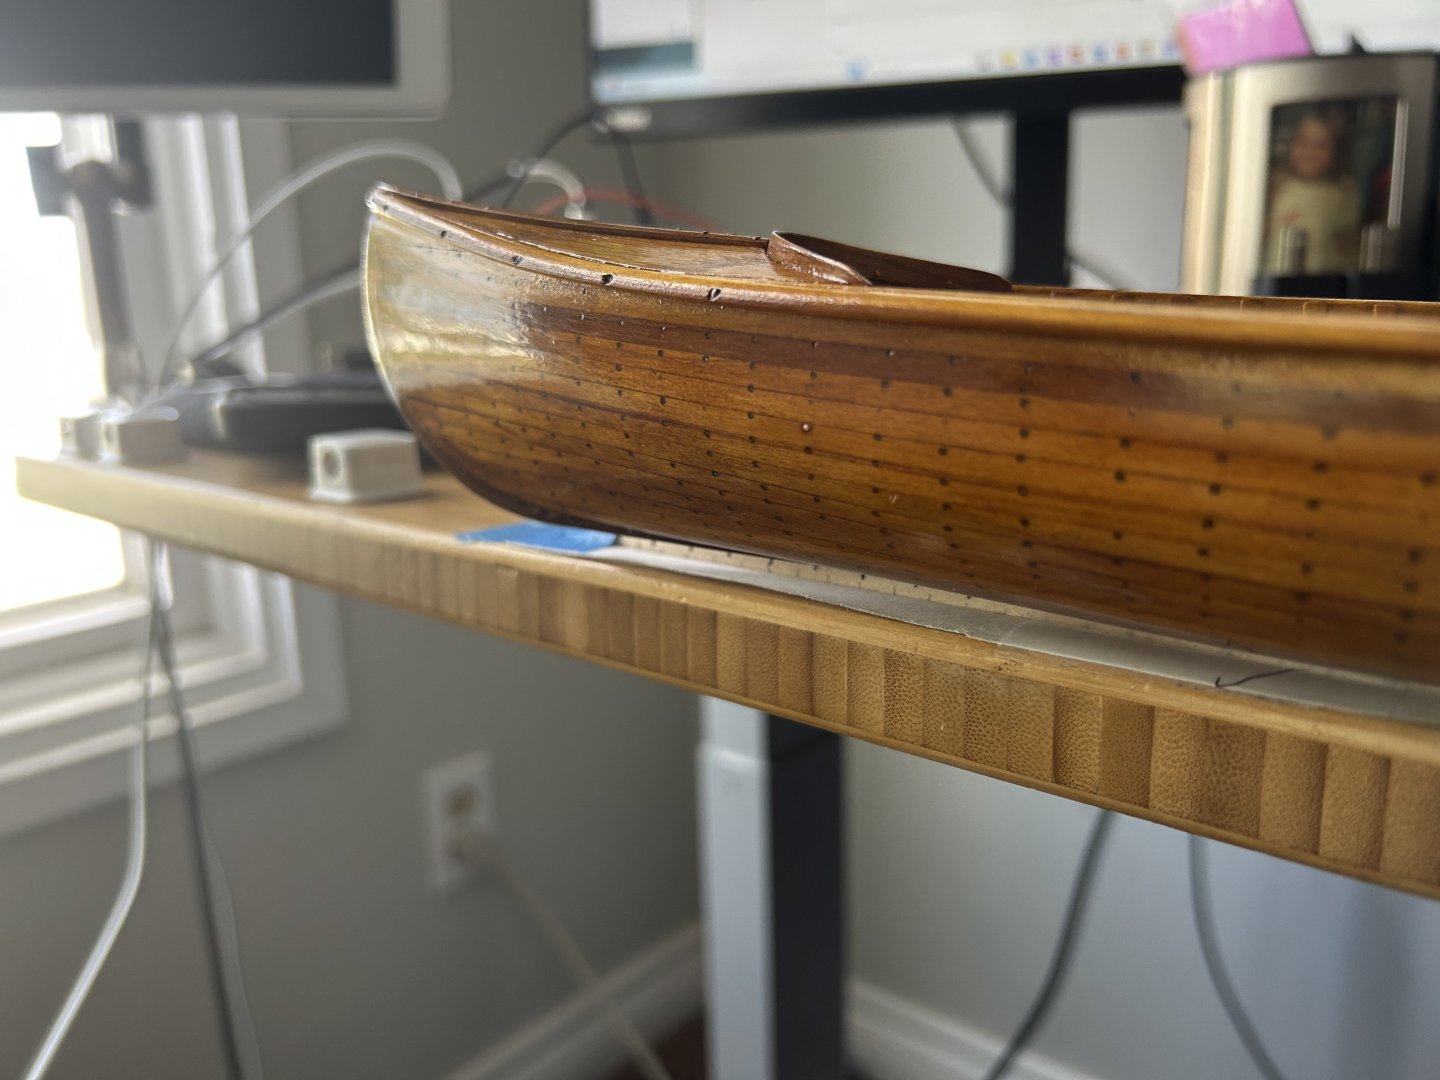
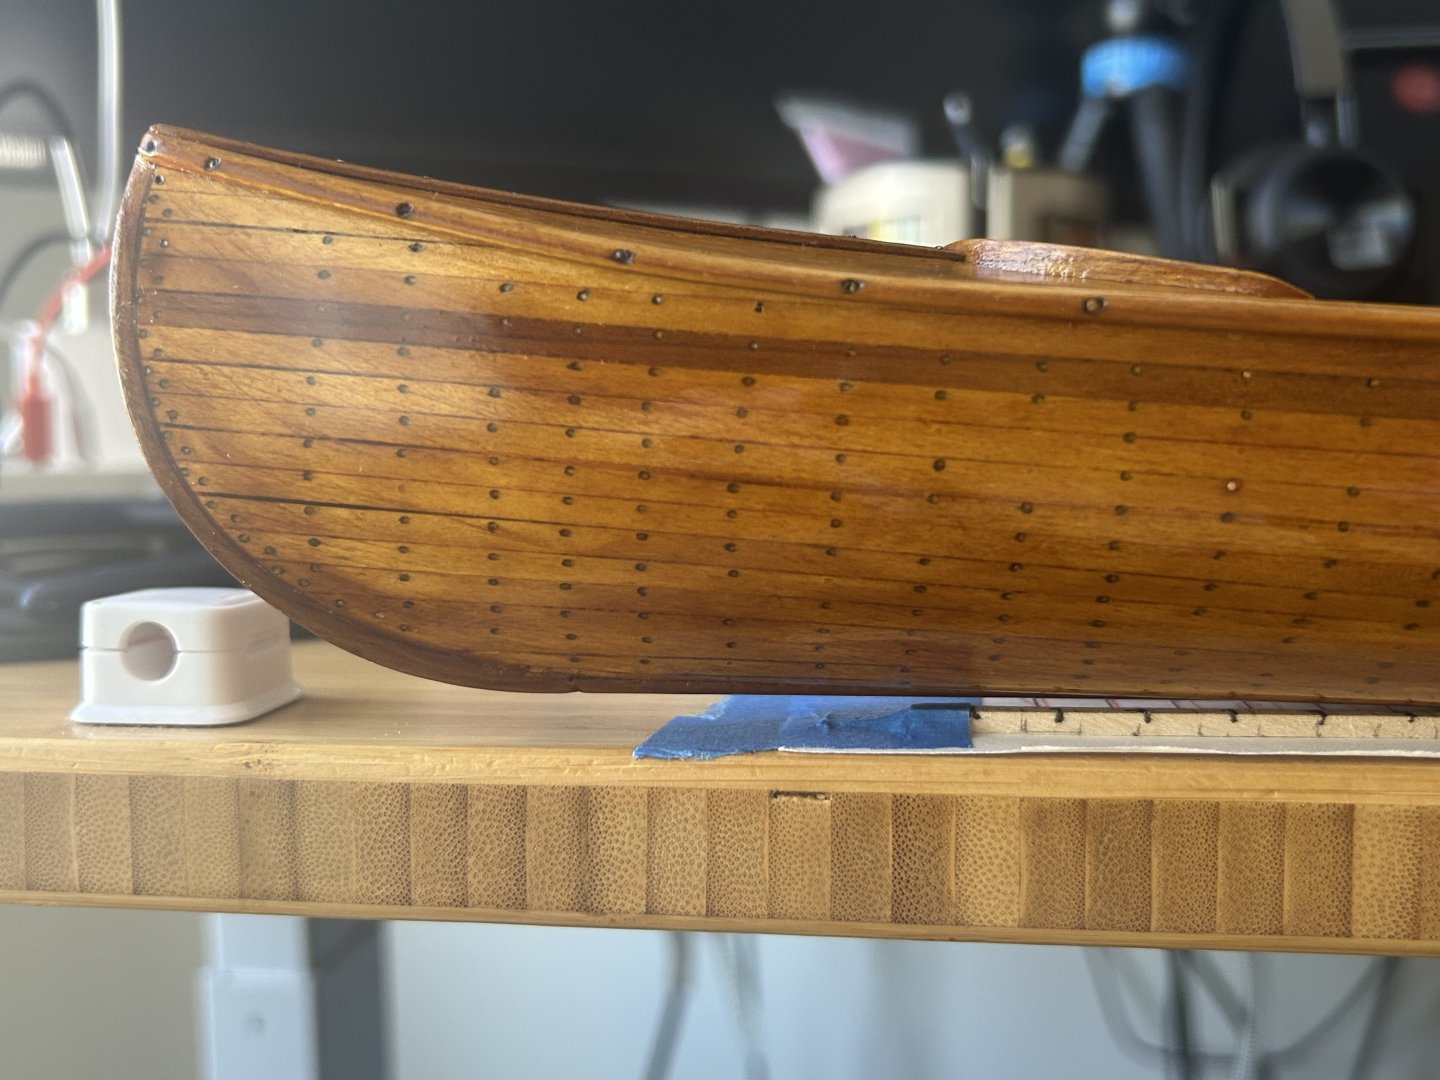
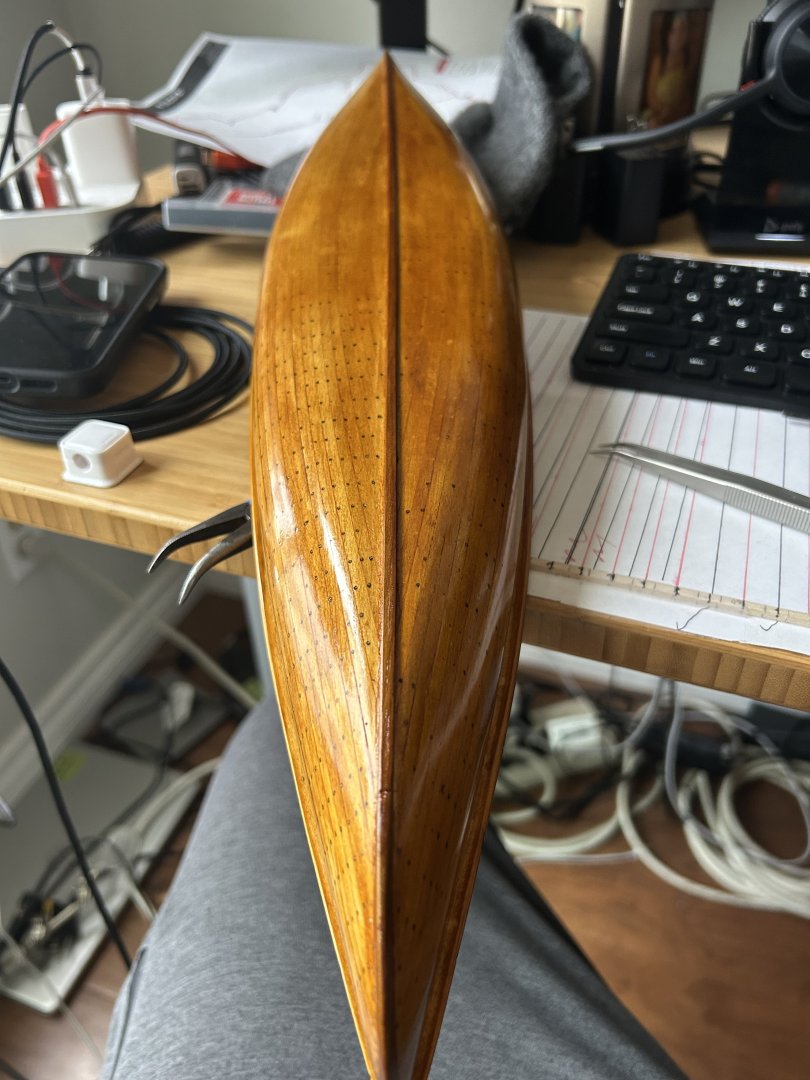
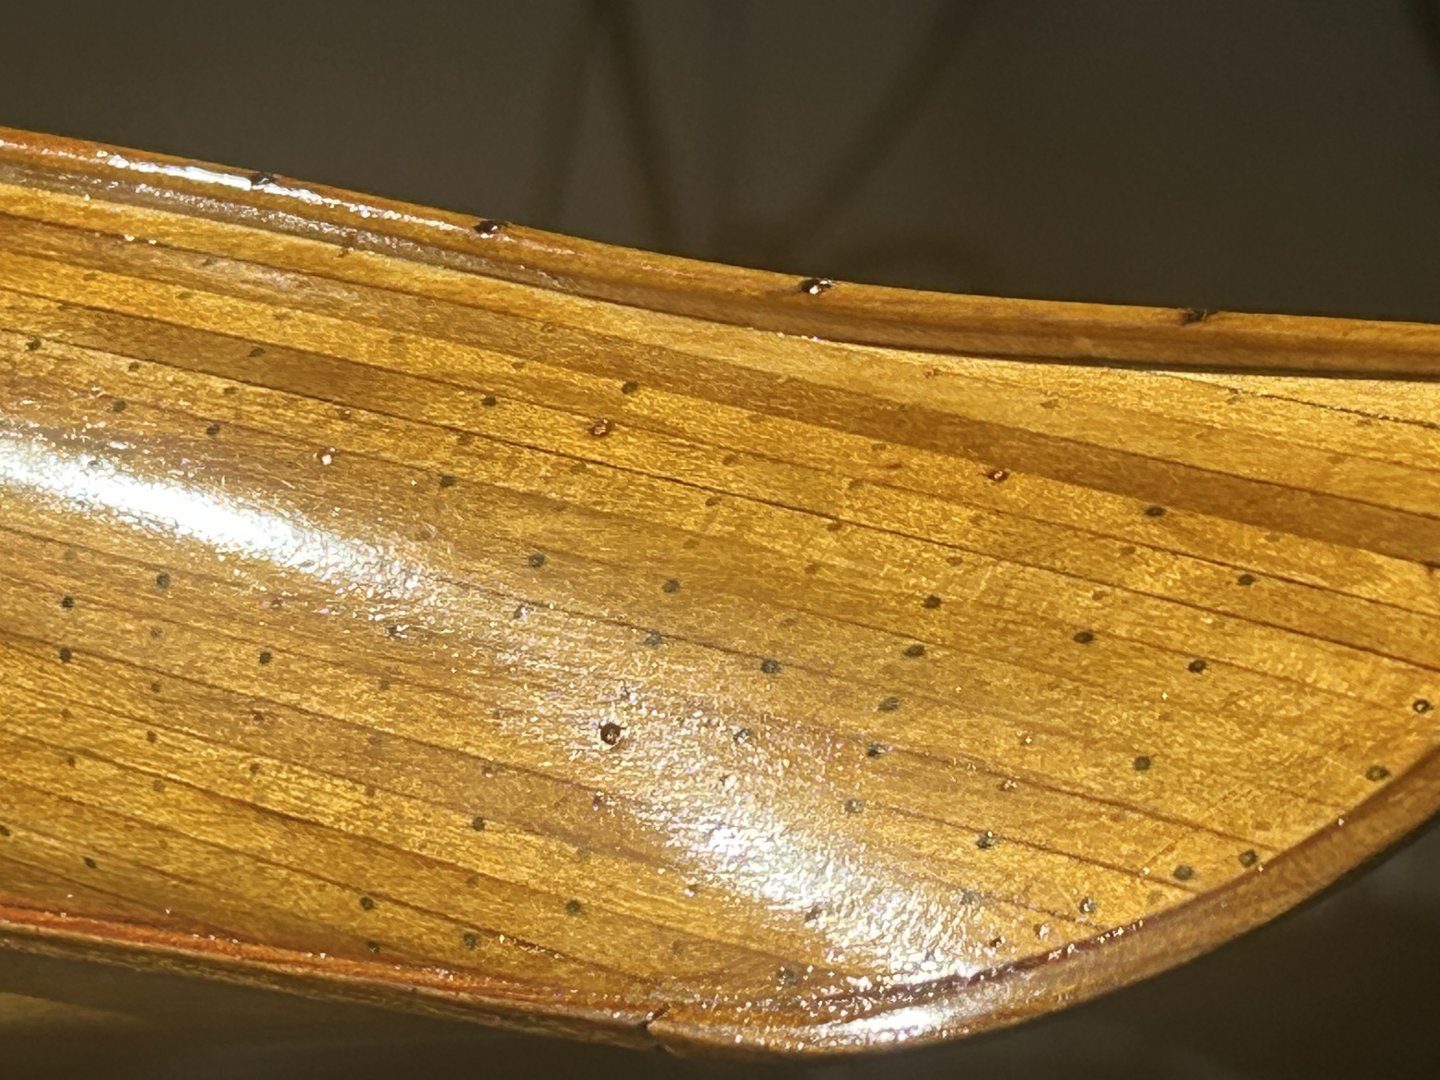
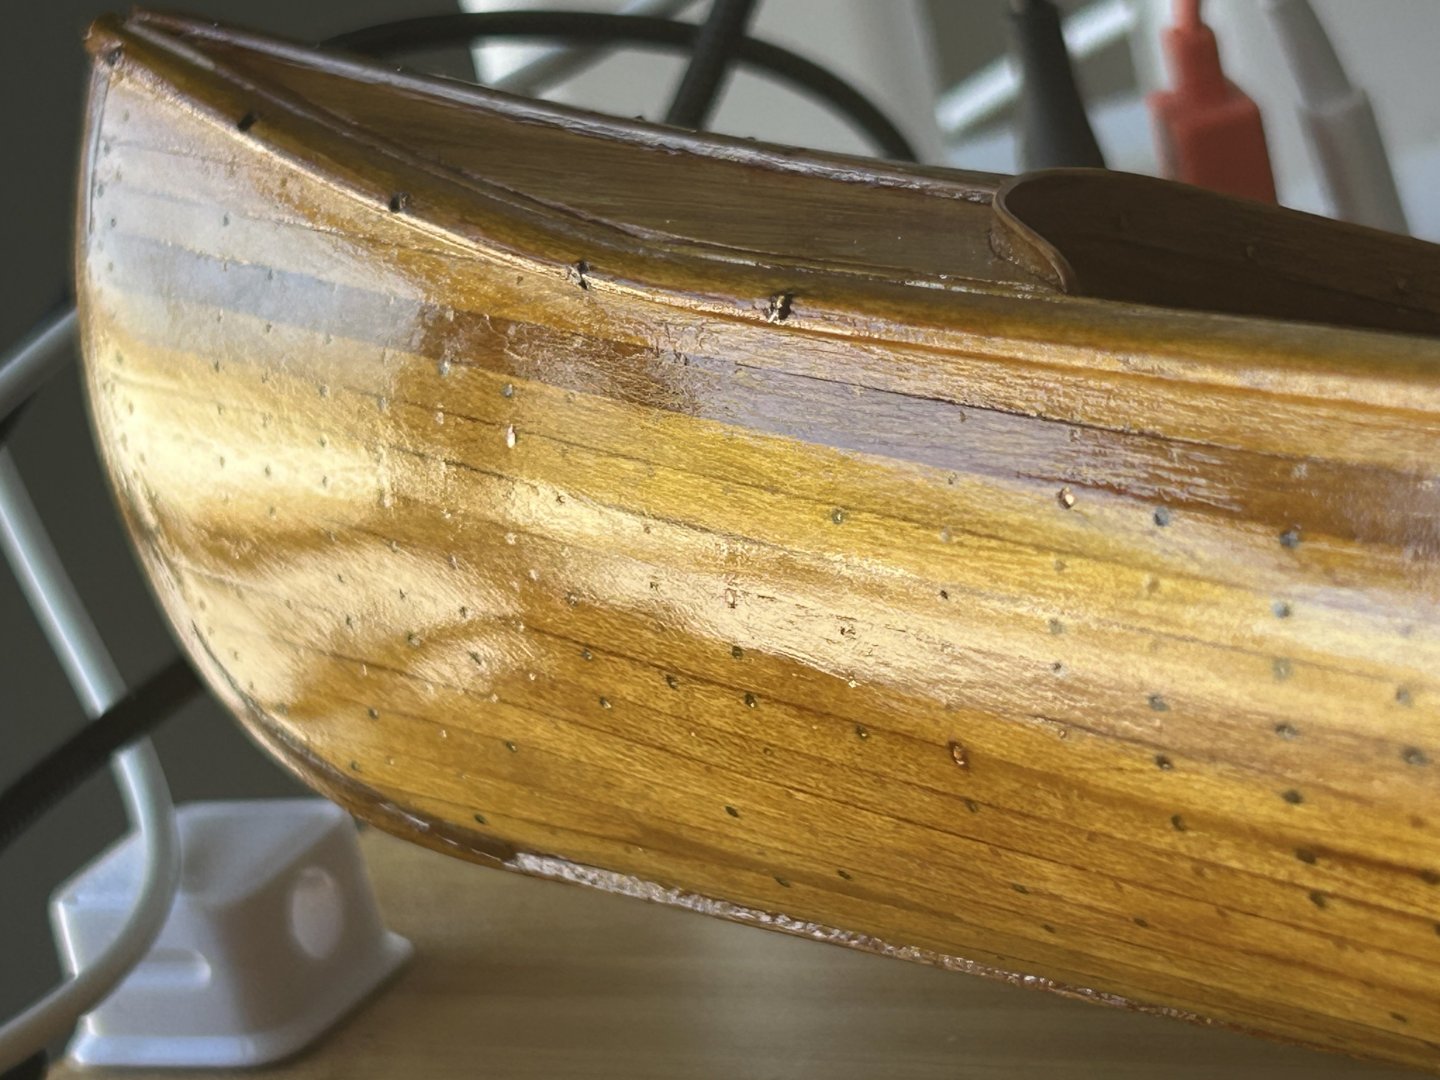
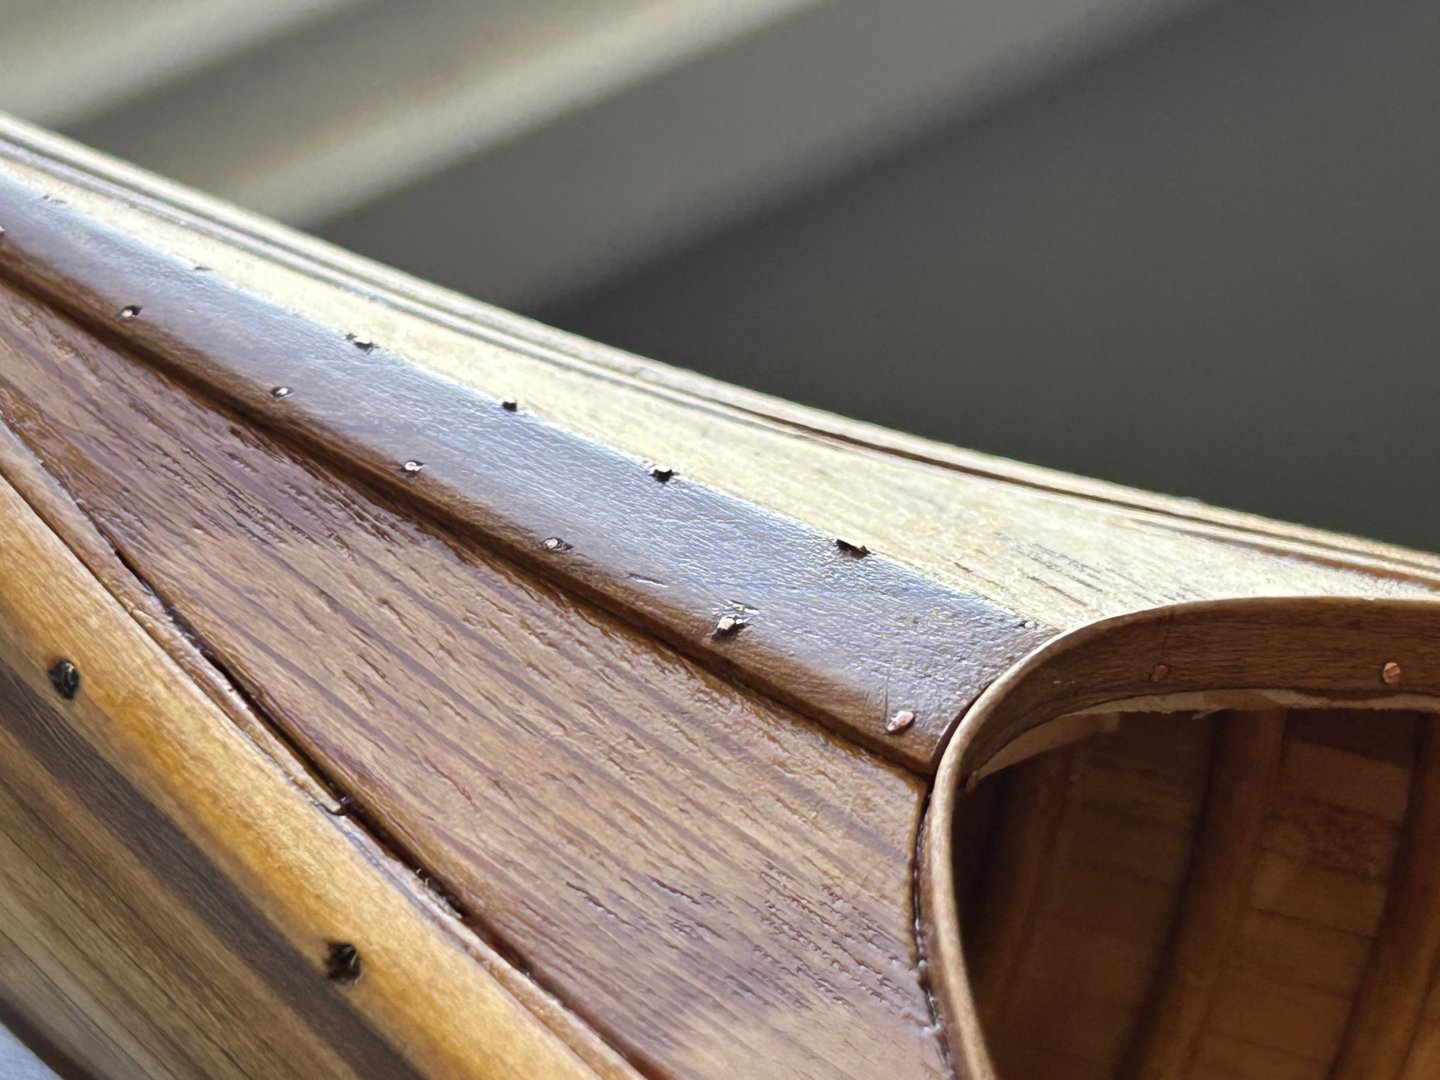
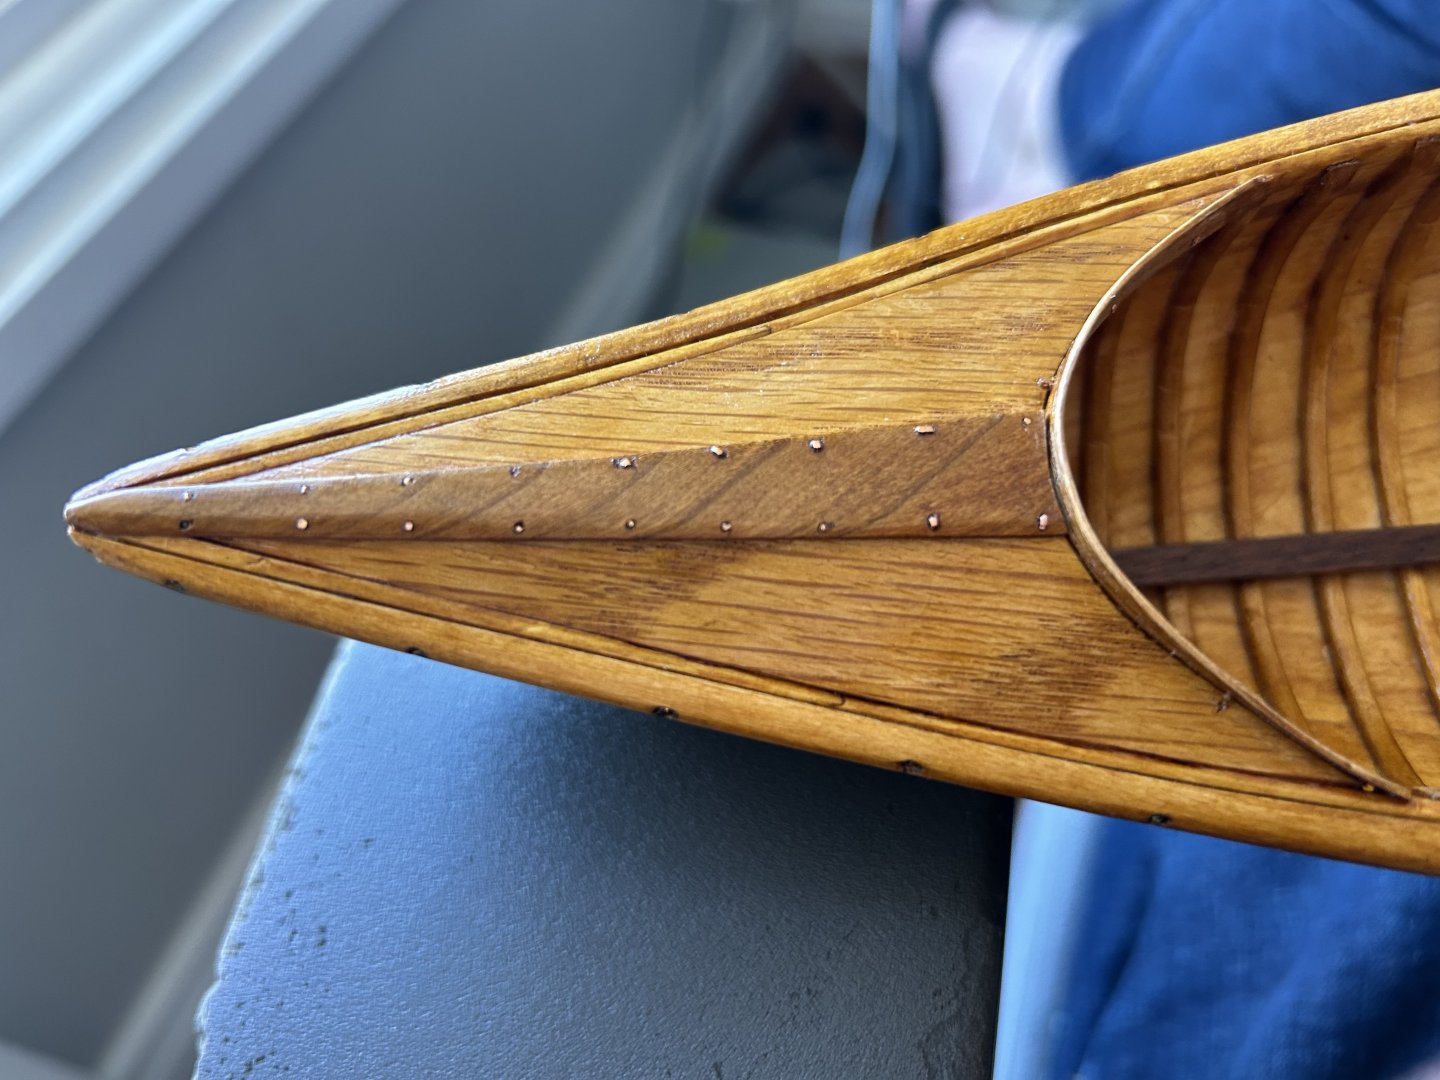
After drilling 525 holes I seem about 25% done. On one section, I have added random nails and “water stain” darkening and put about 30% of the total thickness of French polish shellac that it will ultimately need. The effect seems close to what was desired. This is the half-finished section beginning to show the depth and lustre of the final French polish. I will keep going until most of the divots are leveled; the copper nail heads will probably still sit proud of the finish. The full section from an angle that better reveals the DAP “Natural” wood filler in most of the holes. And here is the total progress to date. No shellac on this side yet; adding darkening and nails as I go along in stages. Surprisingly few ugly holes bored all the way through the hull.


-
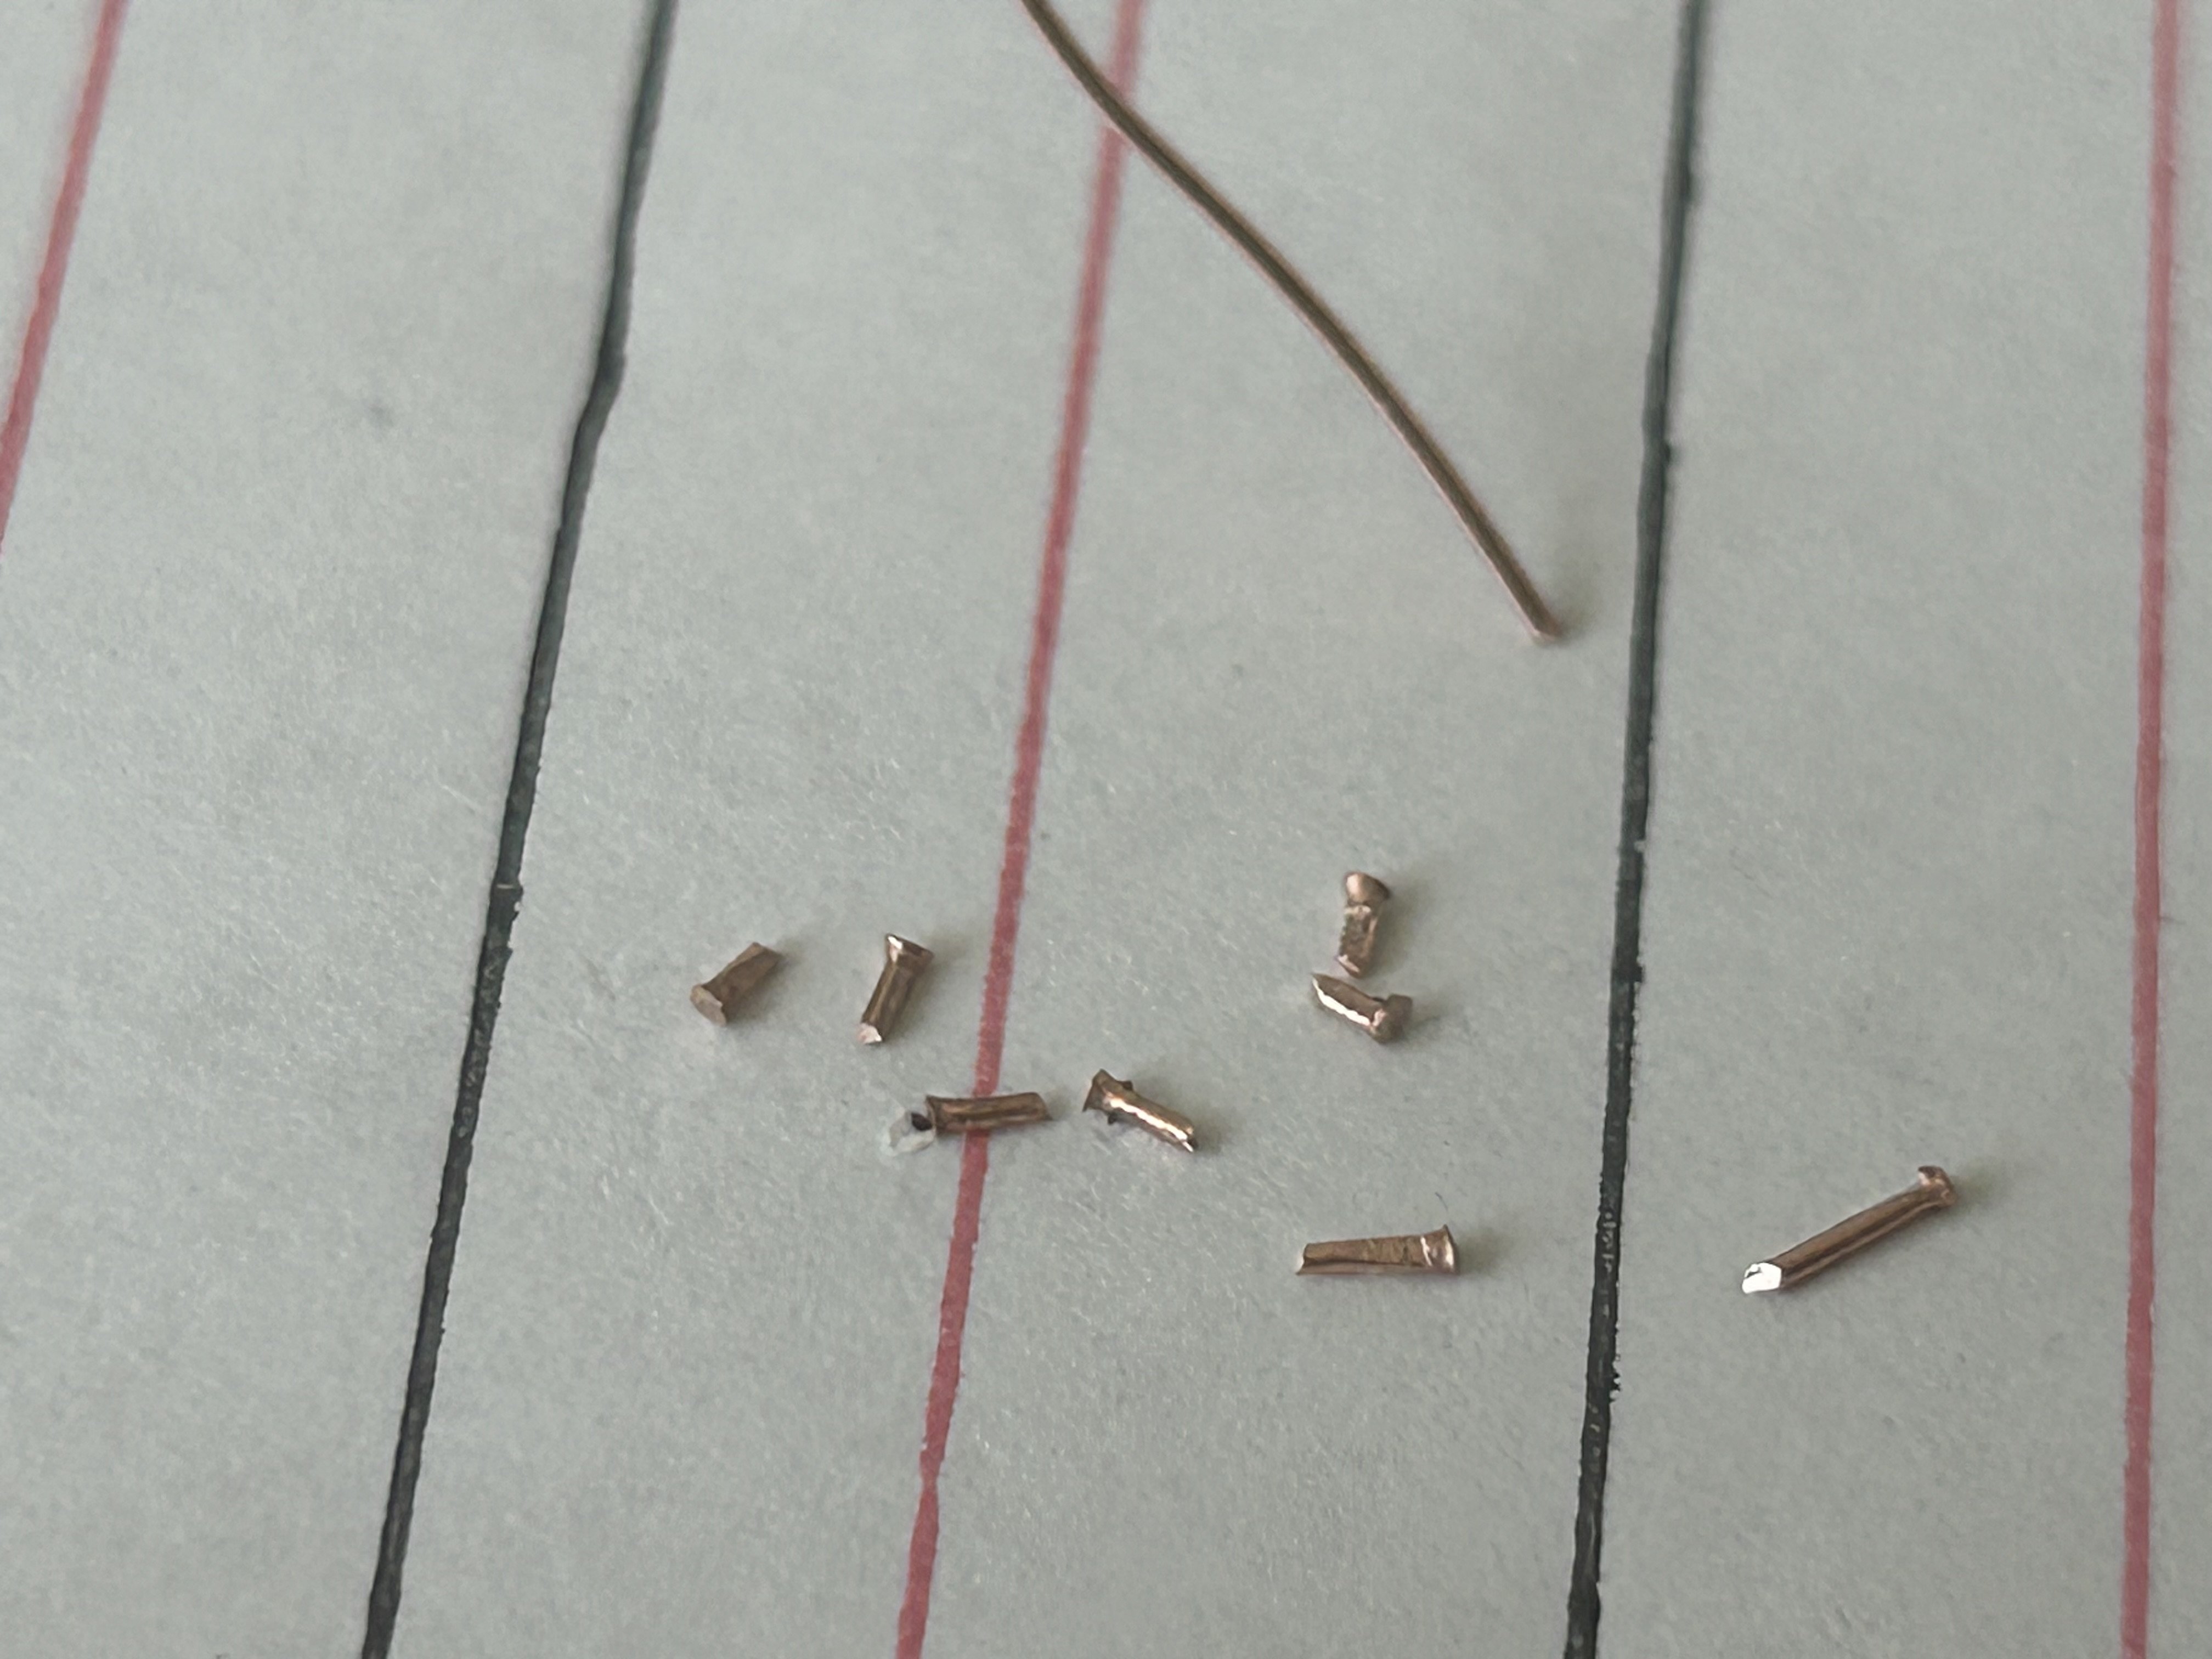
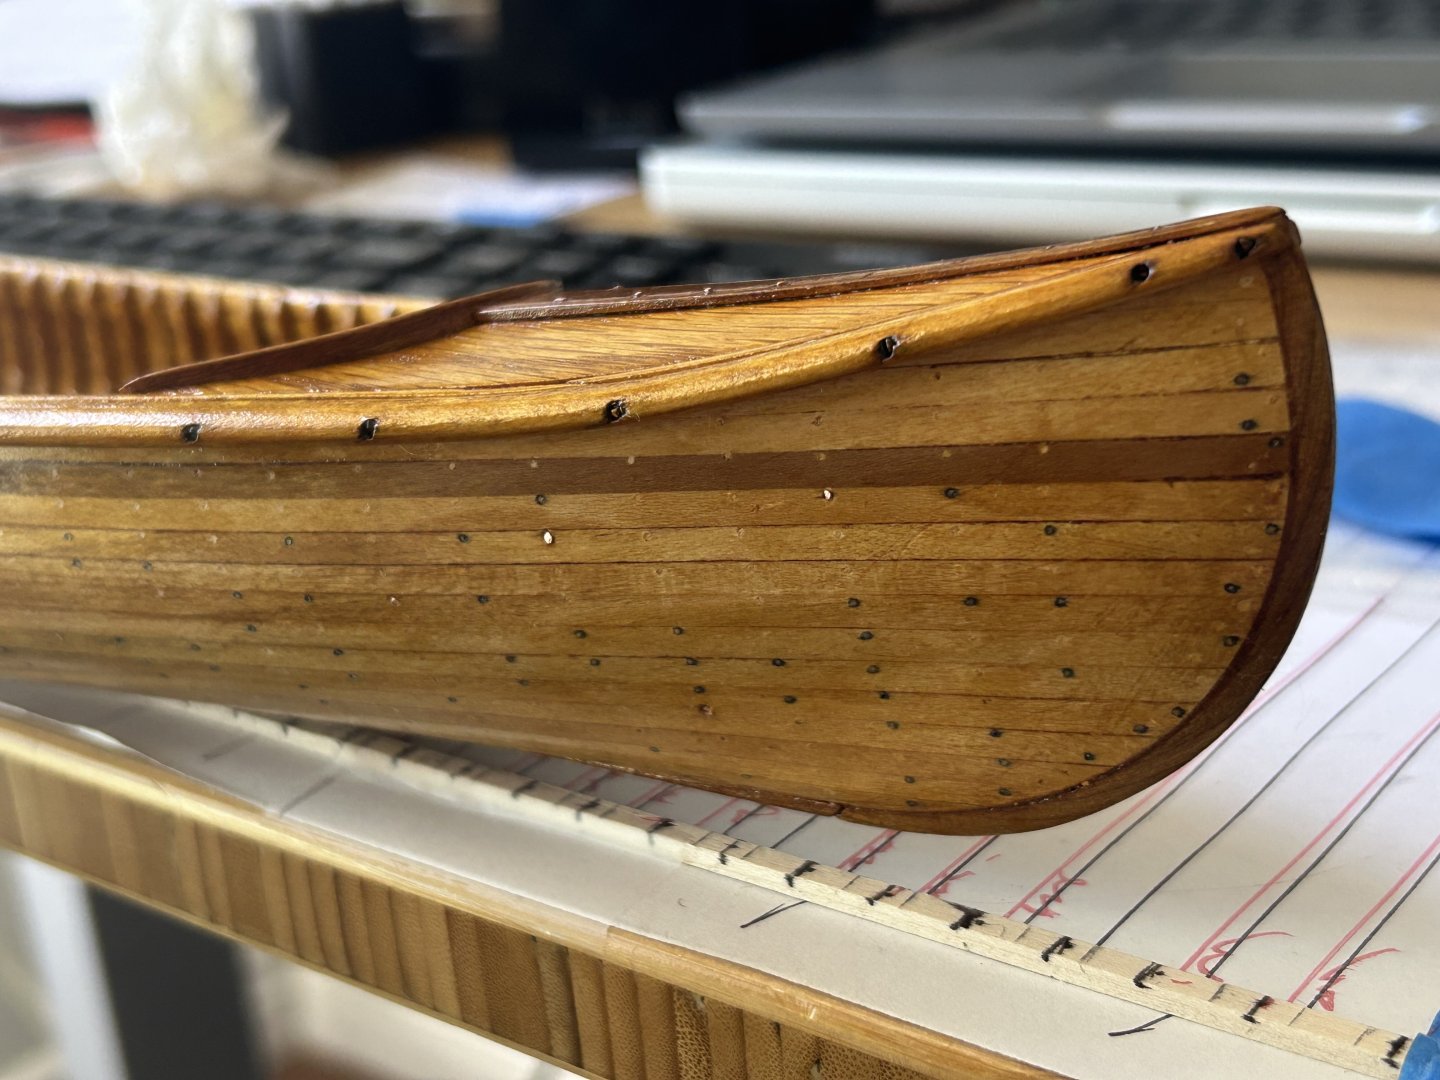
The first hull nails test: I am planning to make them mostly filler, with a few showing darkening/waterstaining and a few copper nailheads showing through. Ignore the “ghost” holes; I impatiently launched into making my starter holes (with an awl/stylus) without recalling from my source materials that the nails need to be at the (upper) EDGE of each plank (toenailed I think that is) to look like the original. Hopefully this one set of ghost holes won’t stand out when it’s all done (and if they do that side will face the wall 😂). Making tiny nails from 24ga wire. Production is slow.


-
Kurt— Yes, I’ve definitely checked out that first link for BIG model canoes (I think they may even offer a 1:1 scale kit, not sure). Seems they like to make pool table/bar lamps out of them. Was tempted to get one of their kits—maybe after this model is done (girlfriend would be THRILLED).
-
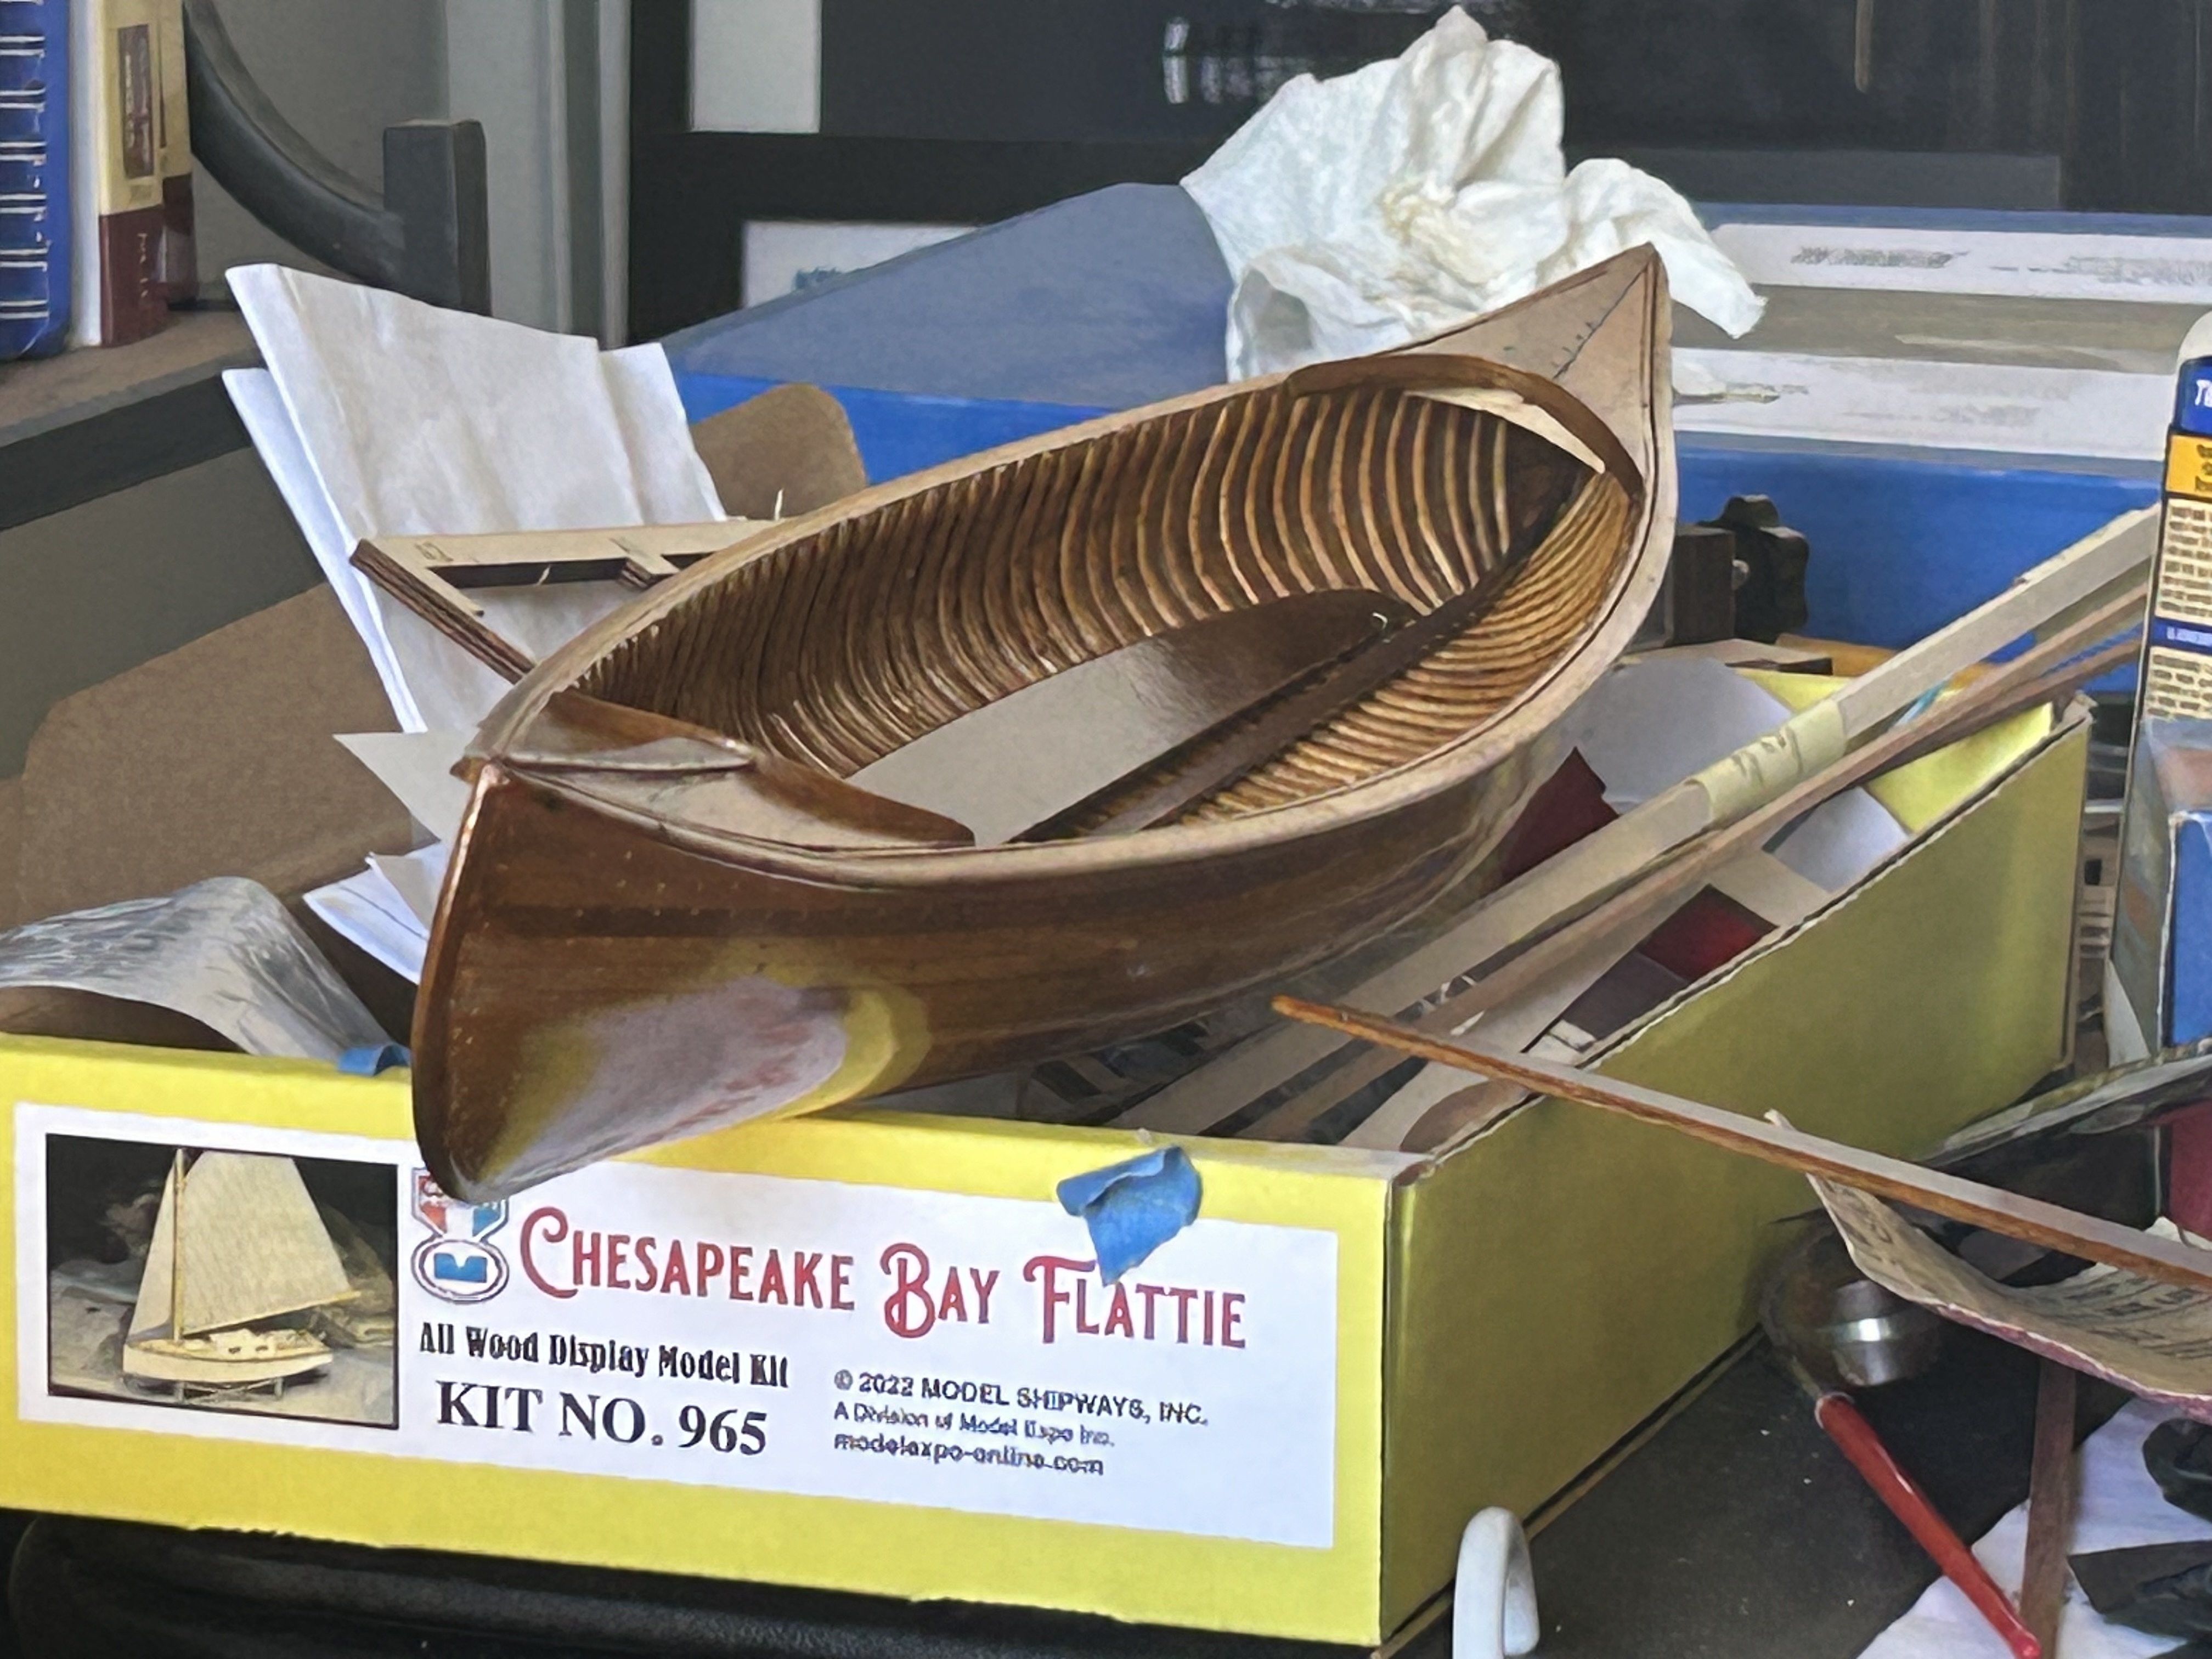
Thanks! Your canoe looks exactly like the kit I am bashing, if built to the plans. I’ve made a lot of changes to mine for scale realism, but the basic plank hull is identical. I think Midwest had a predecessor kit to my 1:8 scale (Canadien Canoe, based on the Peterborough Model 44) that was a bit smaller but very similar. The kit features no seats, just three thwarts, like yours.
-
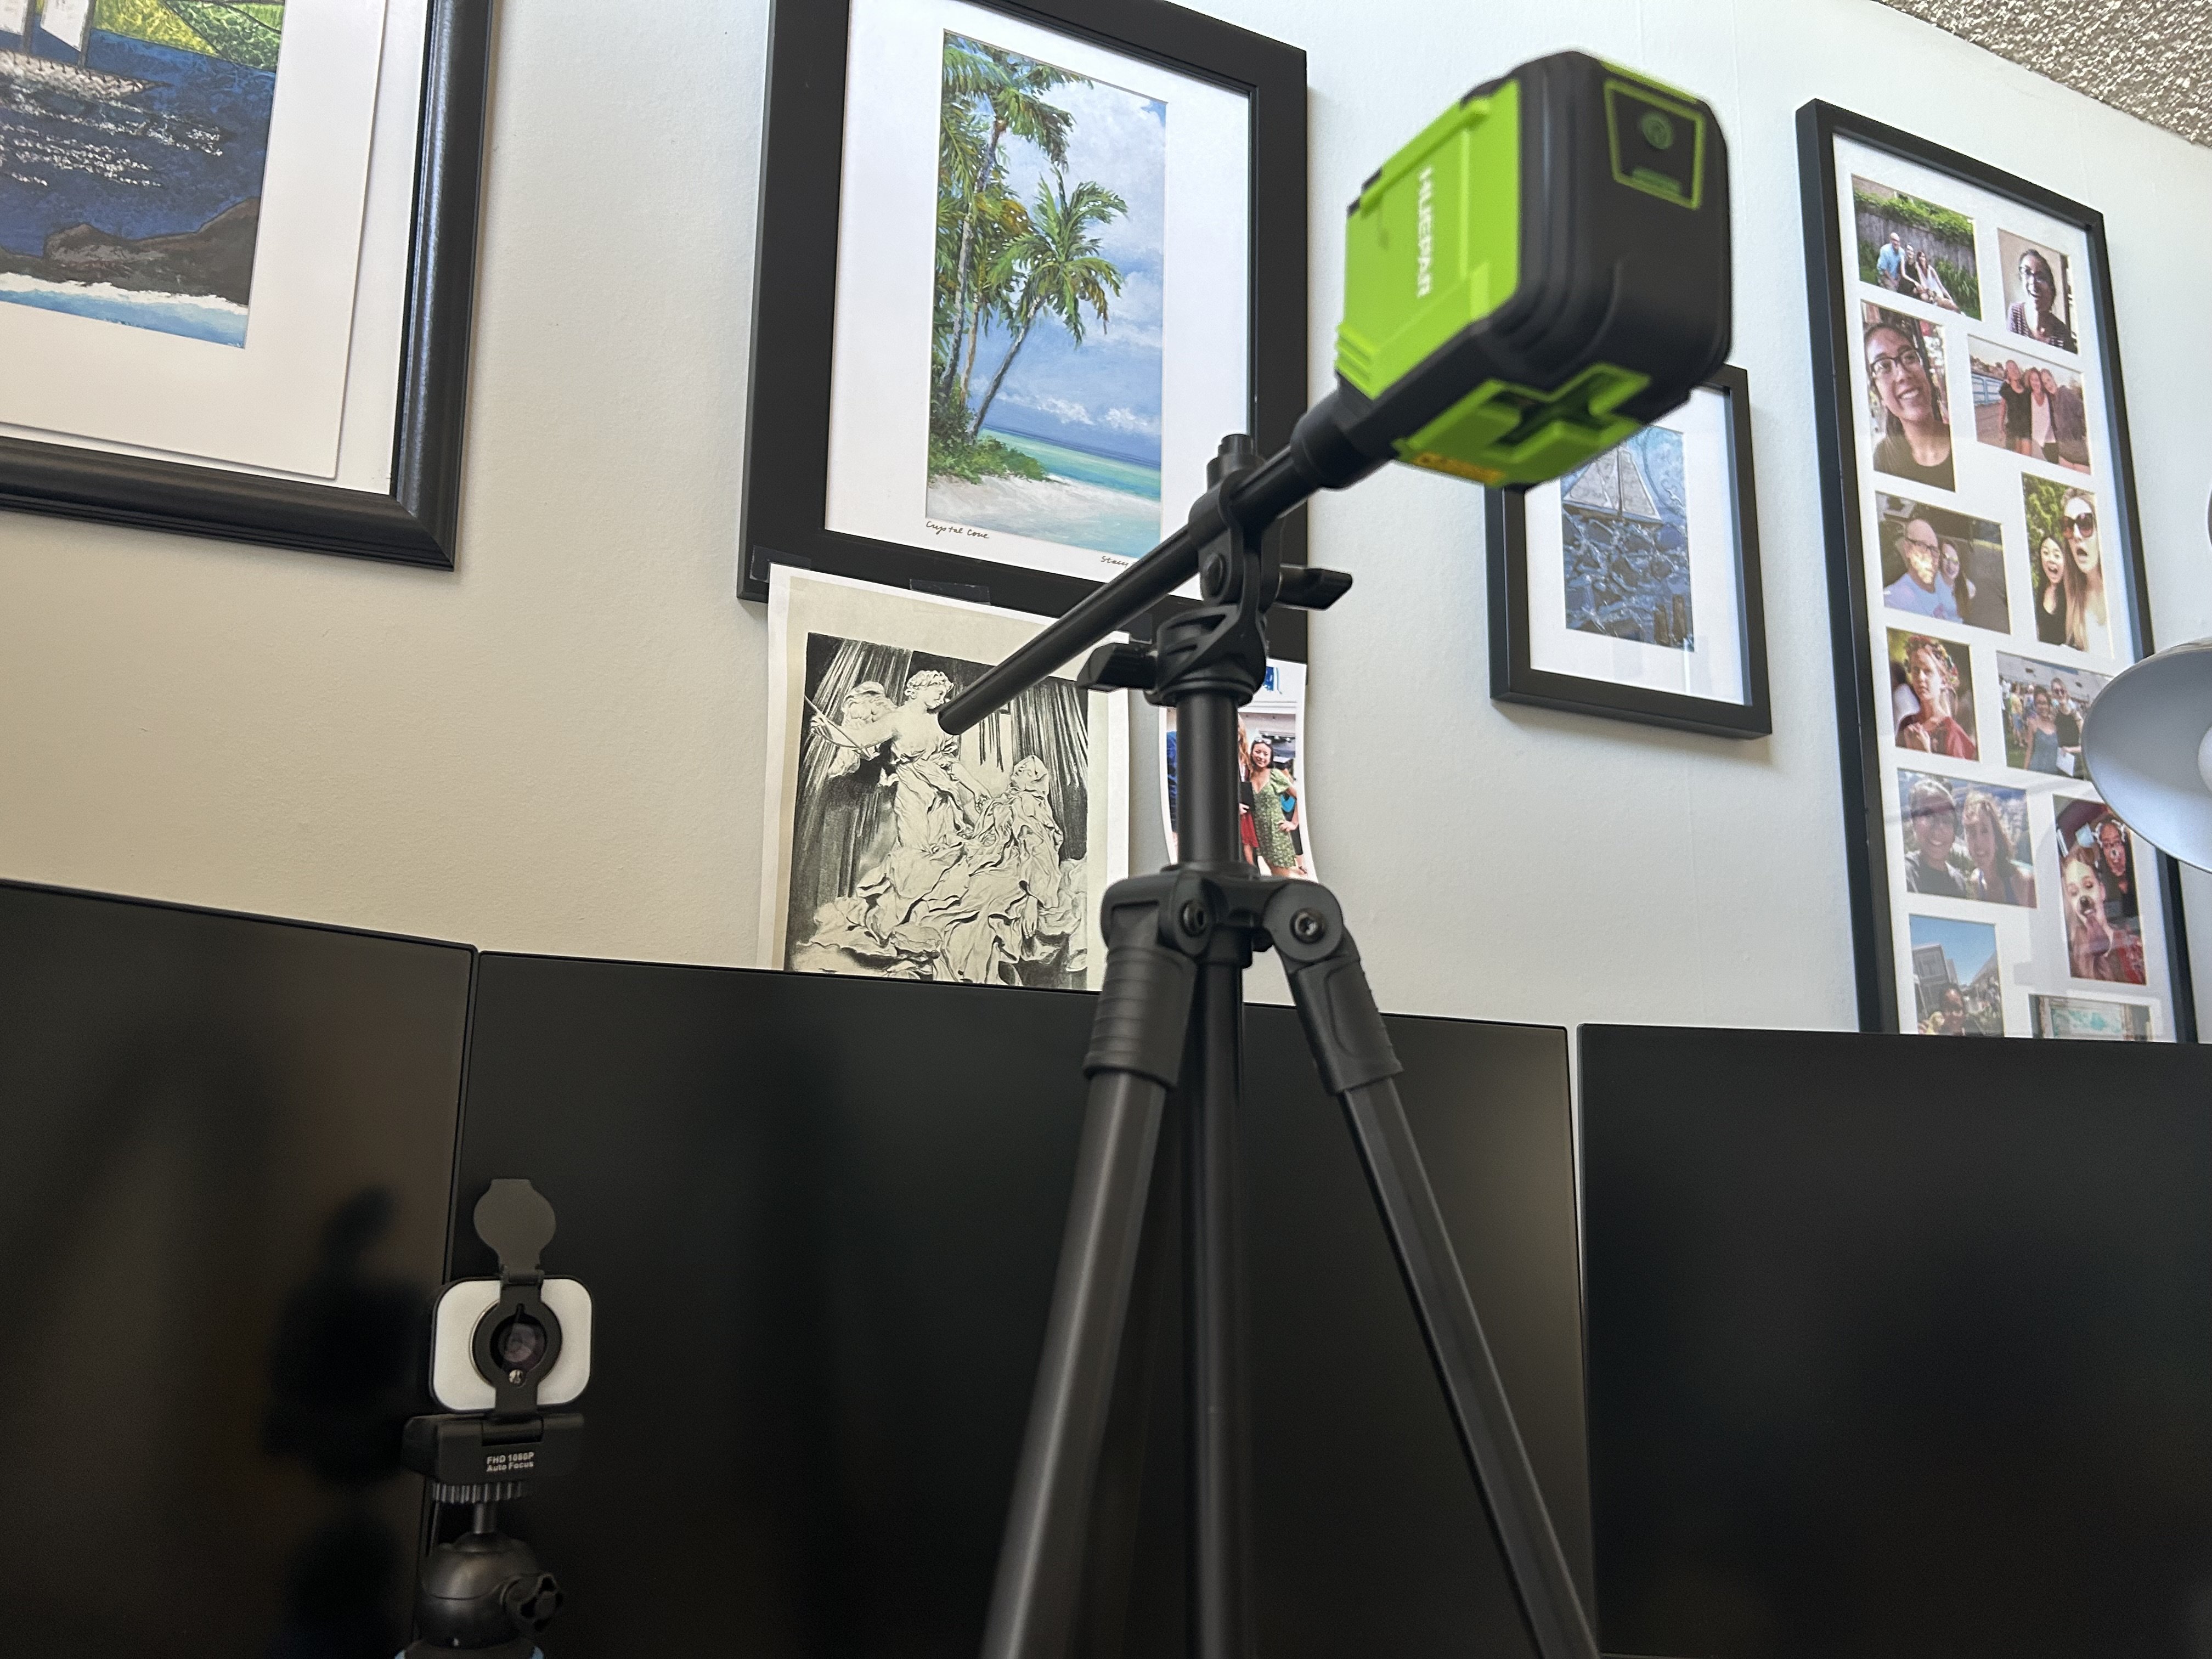
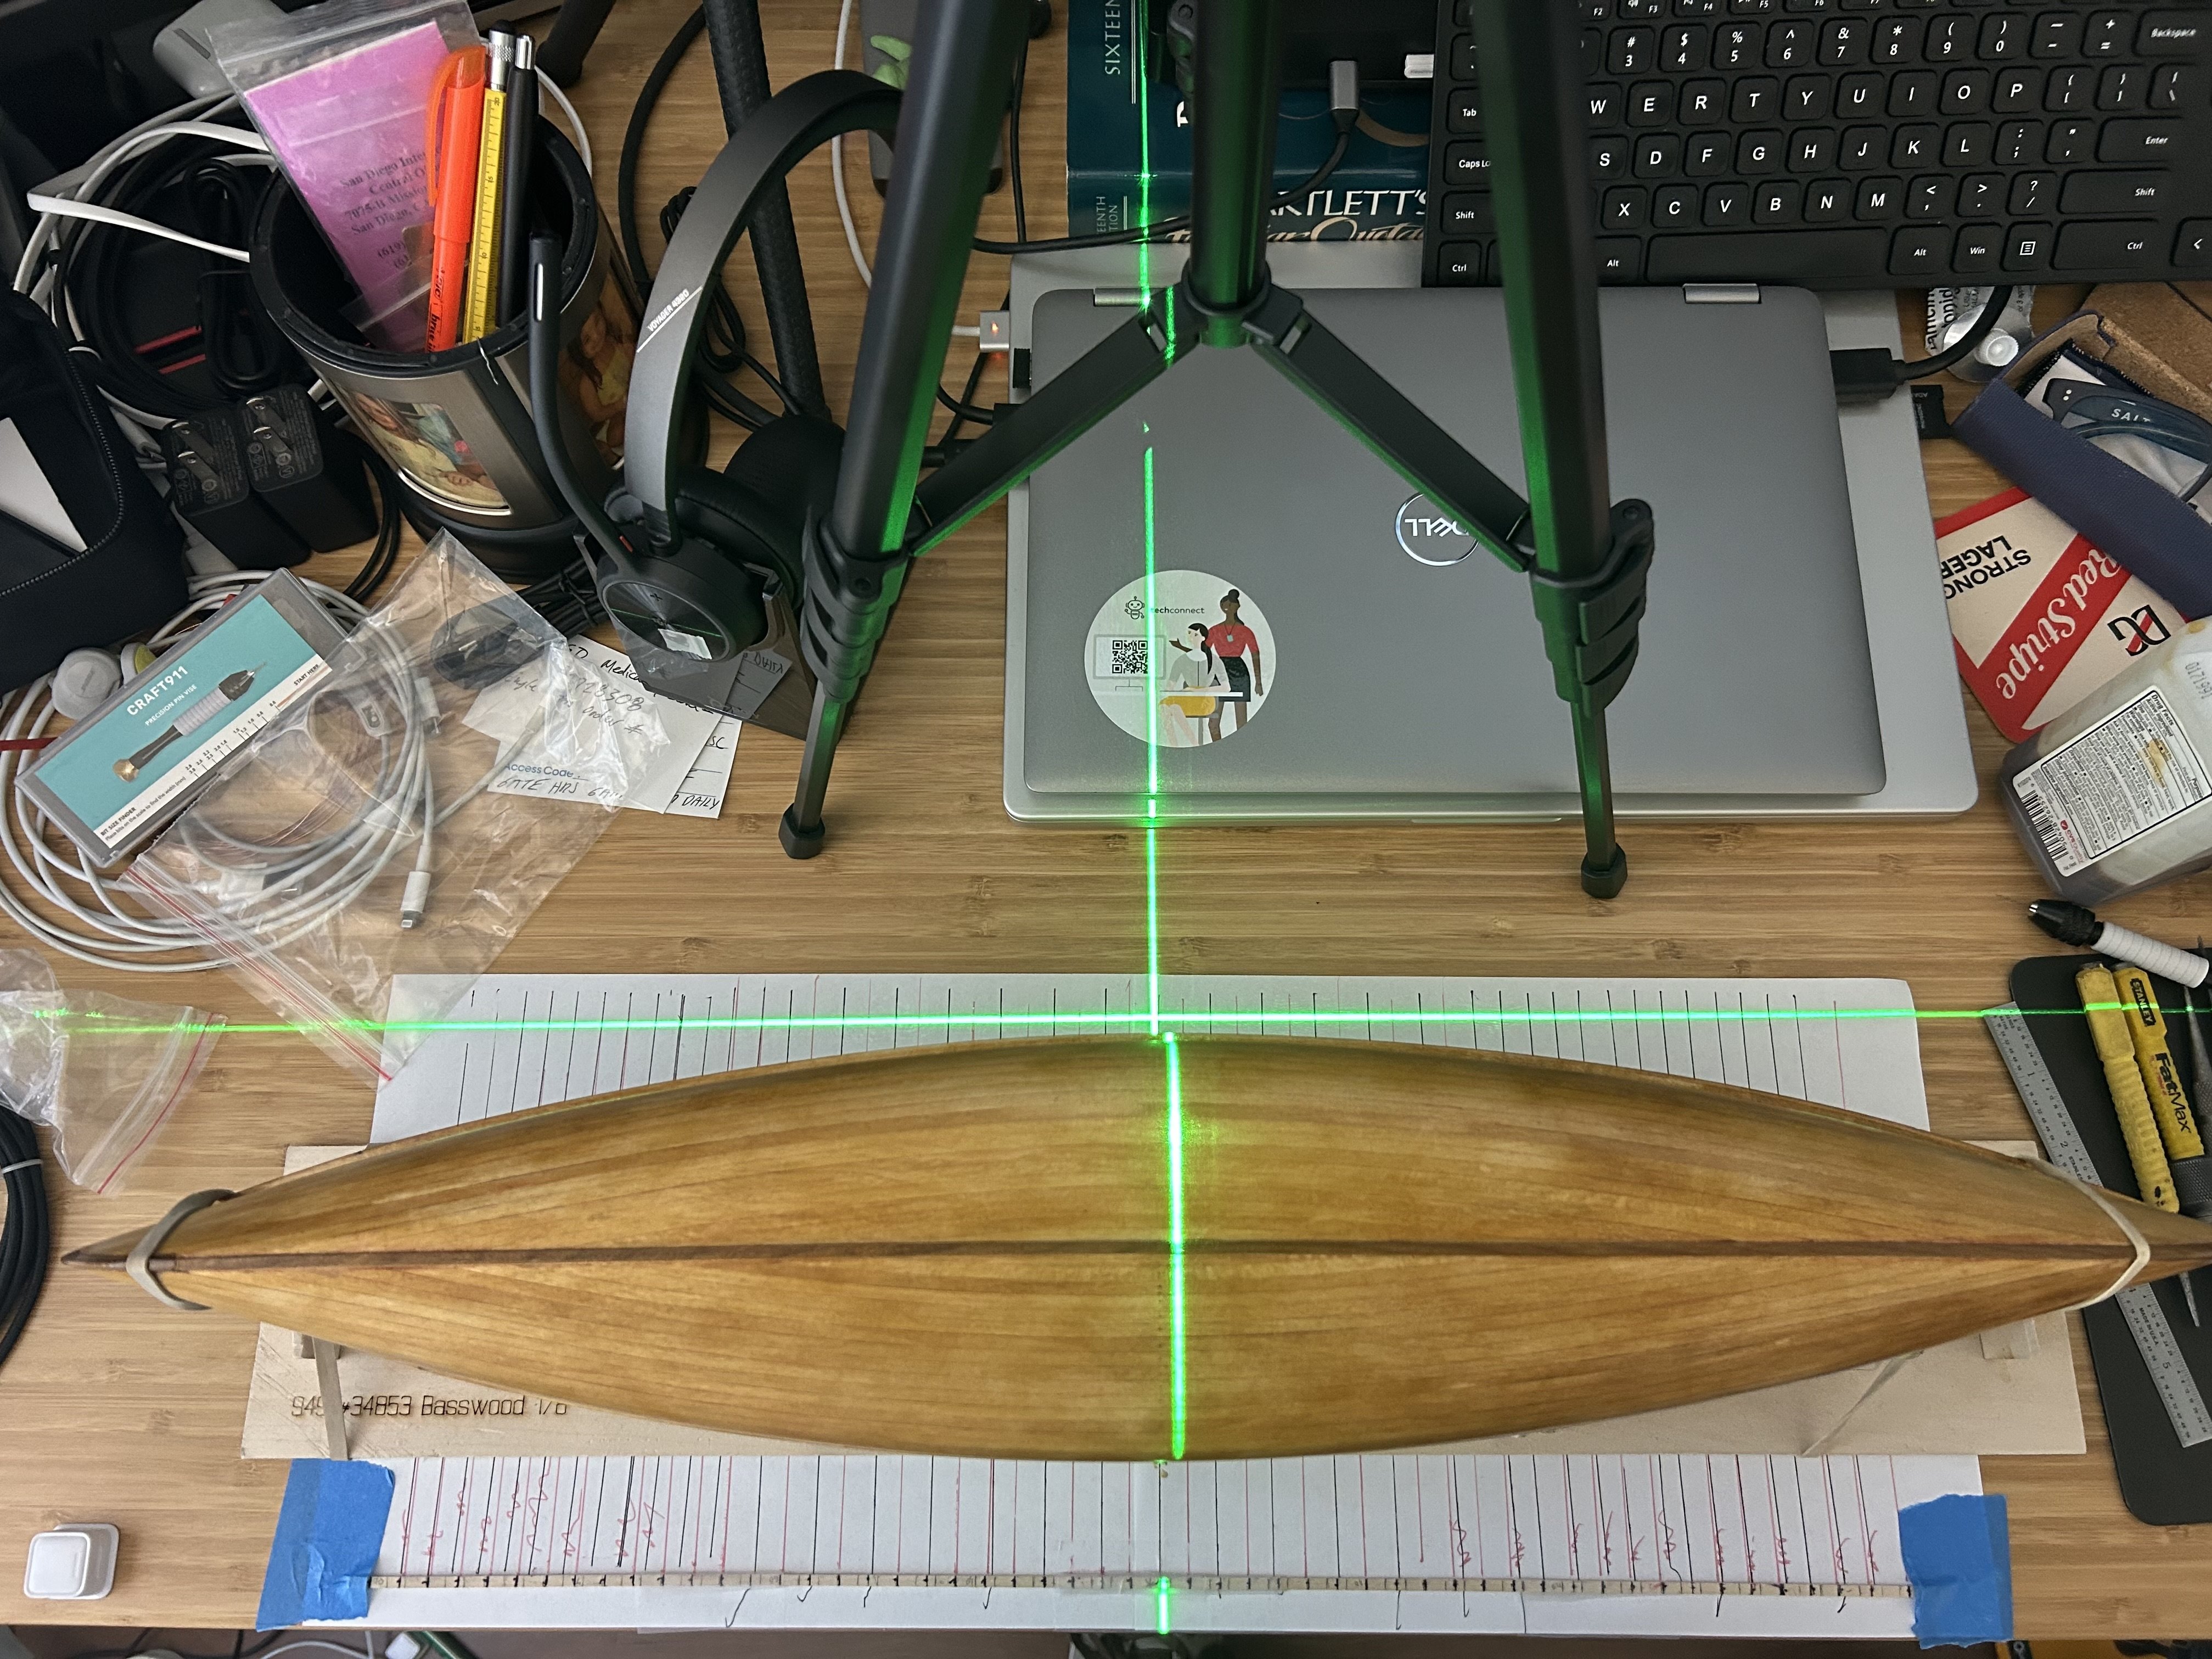
The layout methodology gets more complicated (as usual 😂).


-
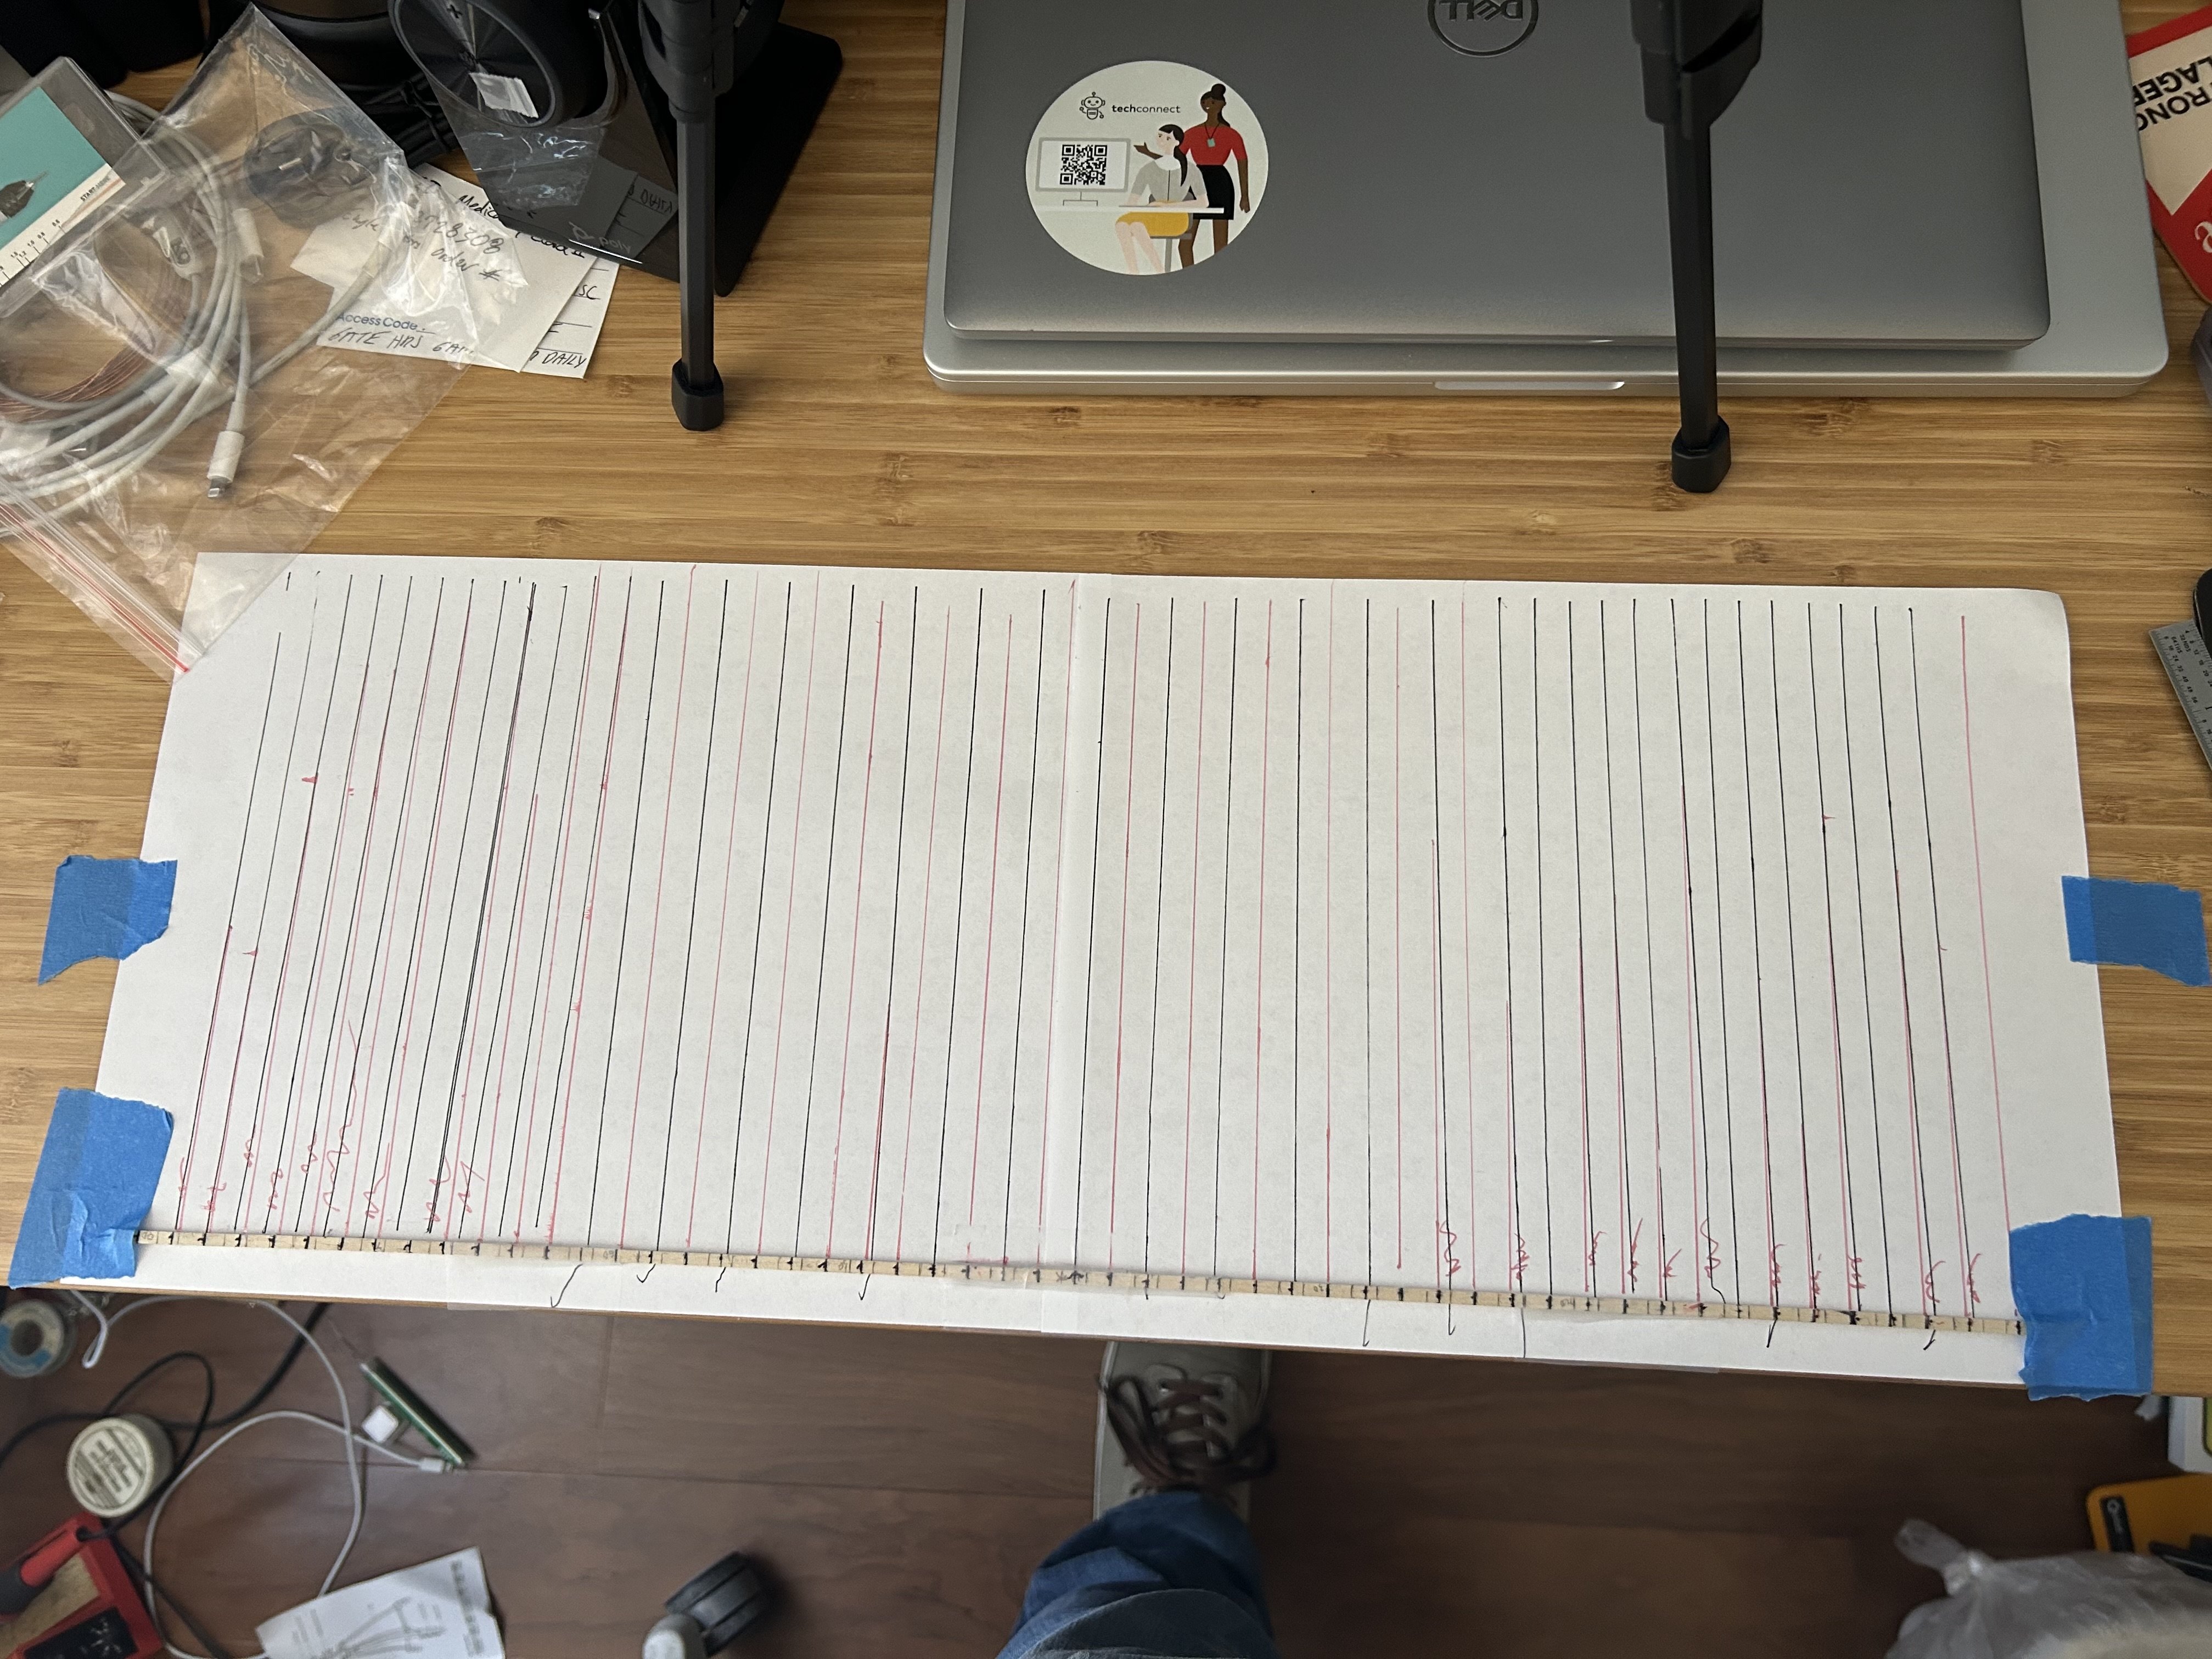
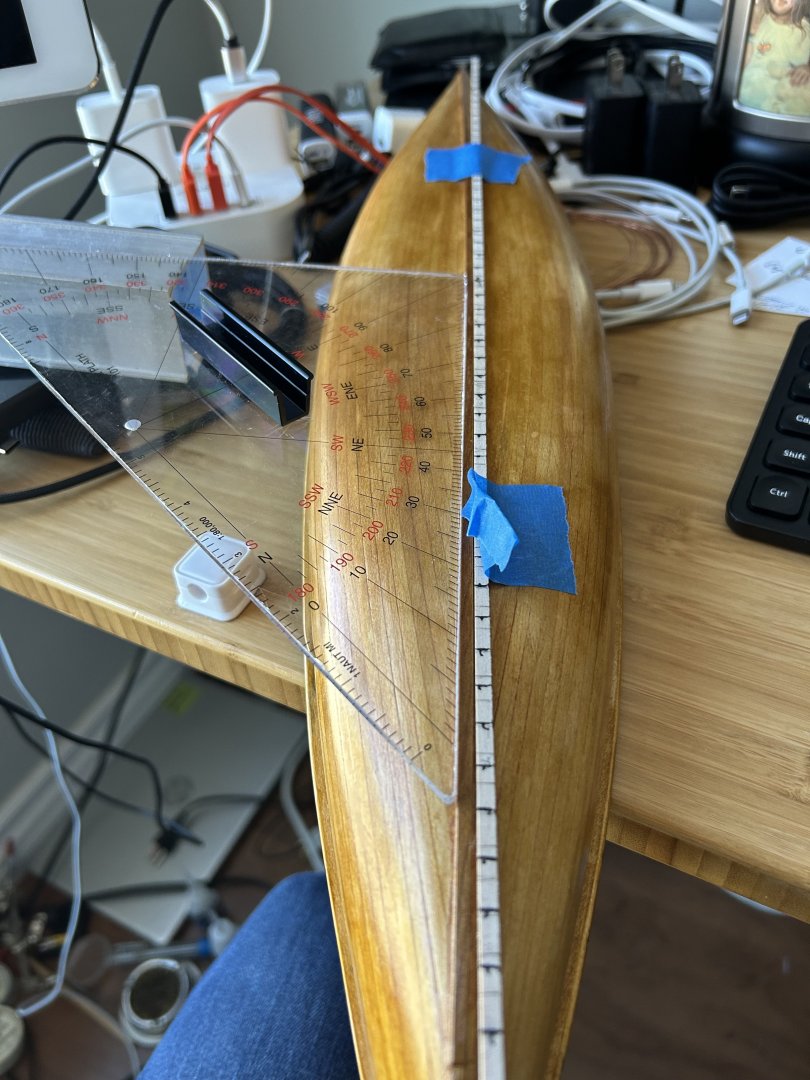
For the nail effect, I want to simulate this: Assuming I will need to start with several hundred tiny (and shallow) holes. I think I can lay out the rows with a stylus, using the spacing guide I originally made for rib spacing, and my trusty Weems & Plath triangle:


-
Pores/grain and scratches are getting filled in the decks area:
-
First pass at smoothing/grain filling with shellac and pumice polishing. It’s nice to get something into the pores of the wood and get a sense for what the grain profiles and seams will look like once there is a full finish.


-
All the screws & nails are in place and now starting the first shellac stages of finishing. A few coats on the decks/outwales/king planks/coamings and interior. I will be smoothing some of the finish on the surfaces with a French Polish technique using old-school linen “rubber” and 4F pumice powder, followed by additional french polish coats (if you’ve done french polish you know how long this can take. For the hull I am just doing an initial fill coat of shellac which will be knocked down with pumice/alcohol and repeated shellac steps to fill seams and grain. When that first smoothing phase is done, I will decide how to do simulations of the 800+ copper nails that hold the strips to the ribs. It seems like a crazy amount of holes to drill, but let’s see how much patience I have. Installation of the floorboards, seats, thwarts and brass keel strip will follow that nail project, then final french polish finish for the hull. (And making a couple of paddles)