HOLIDAY DONATION DRIVE - SUPPORT MSW - DO YOUR PART TO KEEP THIS GREAT FORUM GOING! (89 donations so far out of 49,000 members - C'mon guys!)
×

halvoric
-
Posts
84 -
Joined
-
Last visited
Content Type
Profiles
Forums
Gallery
Events
Everything posted by halvoric
-
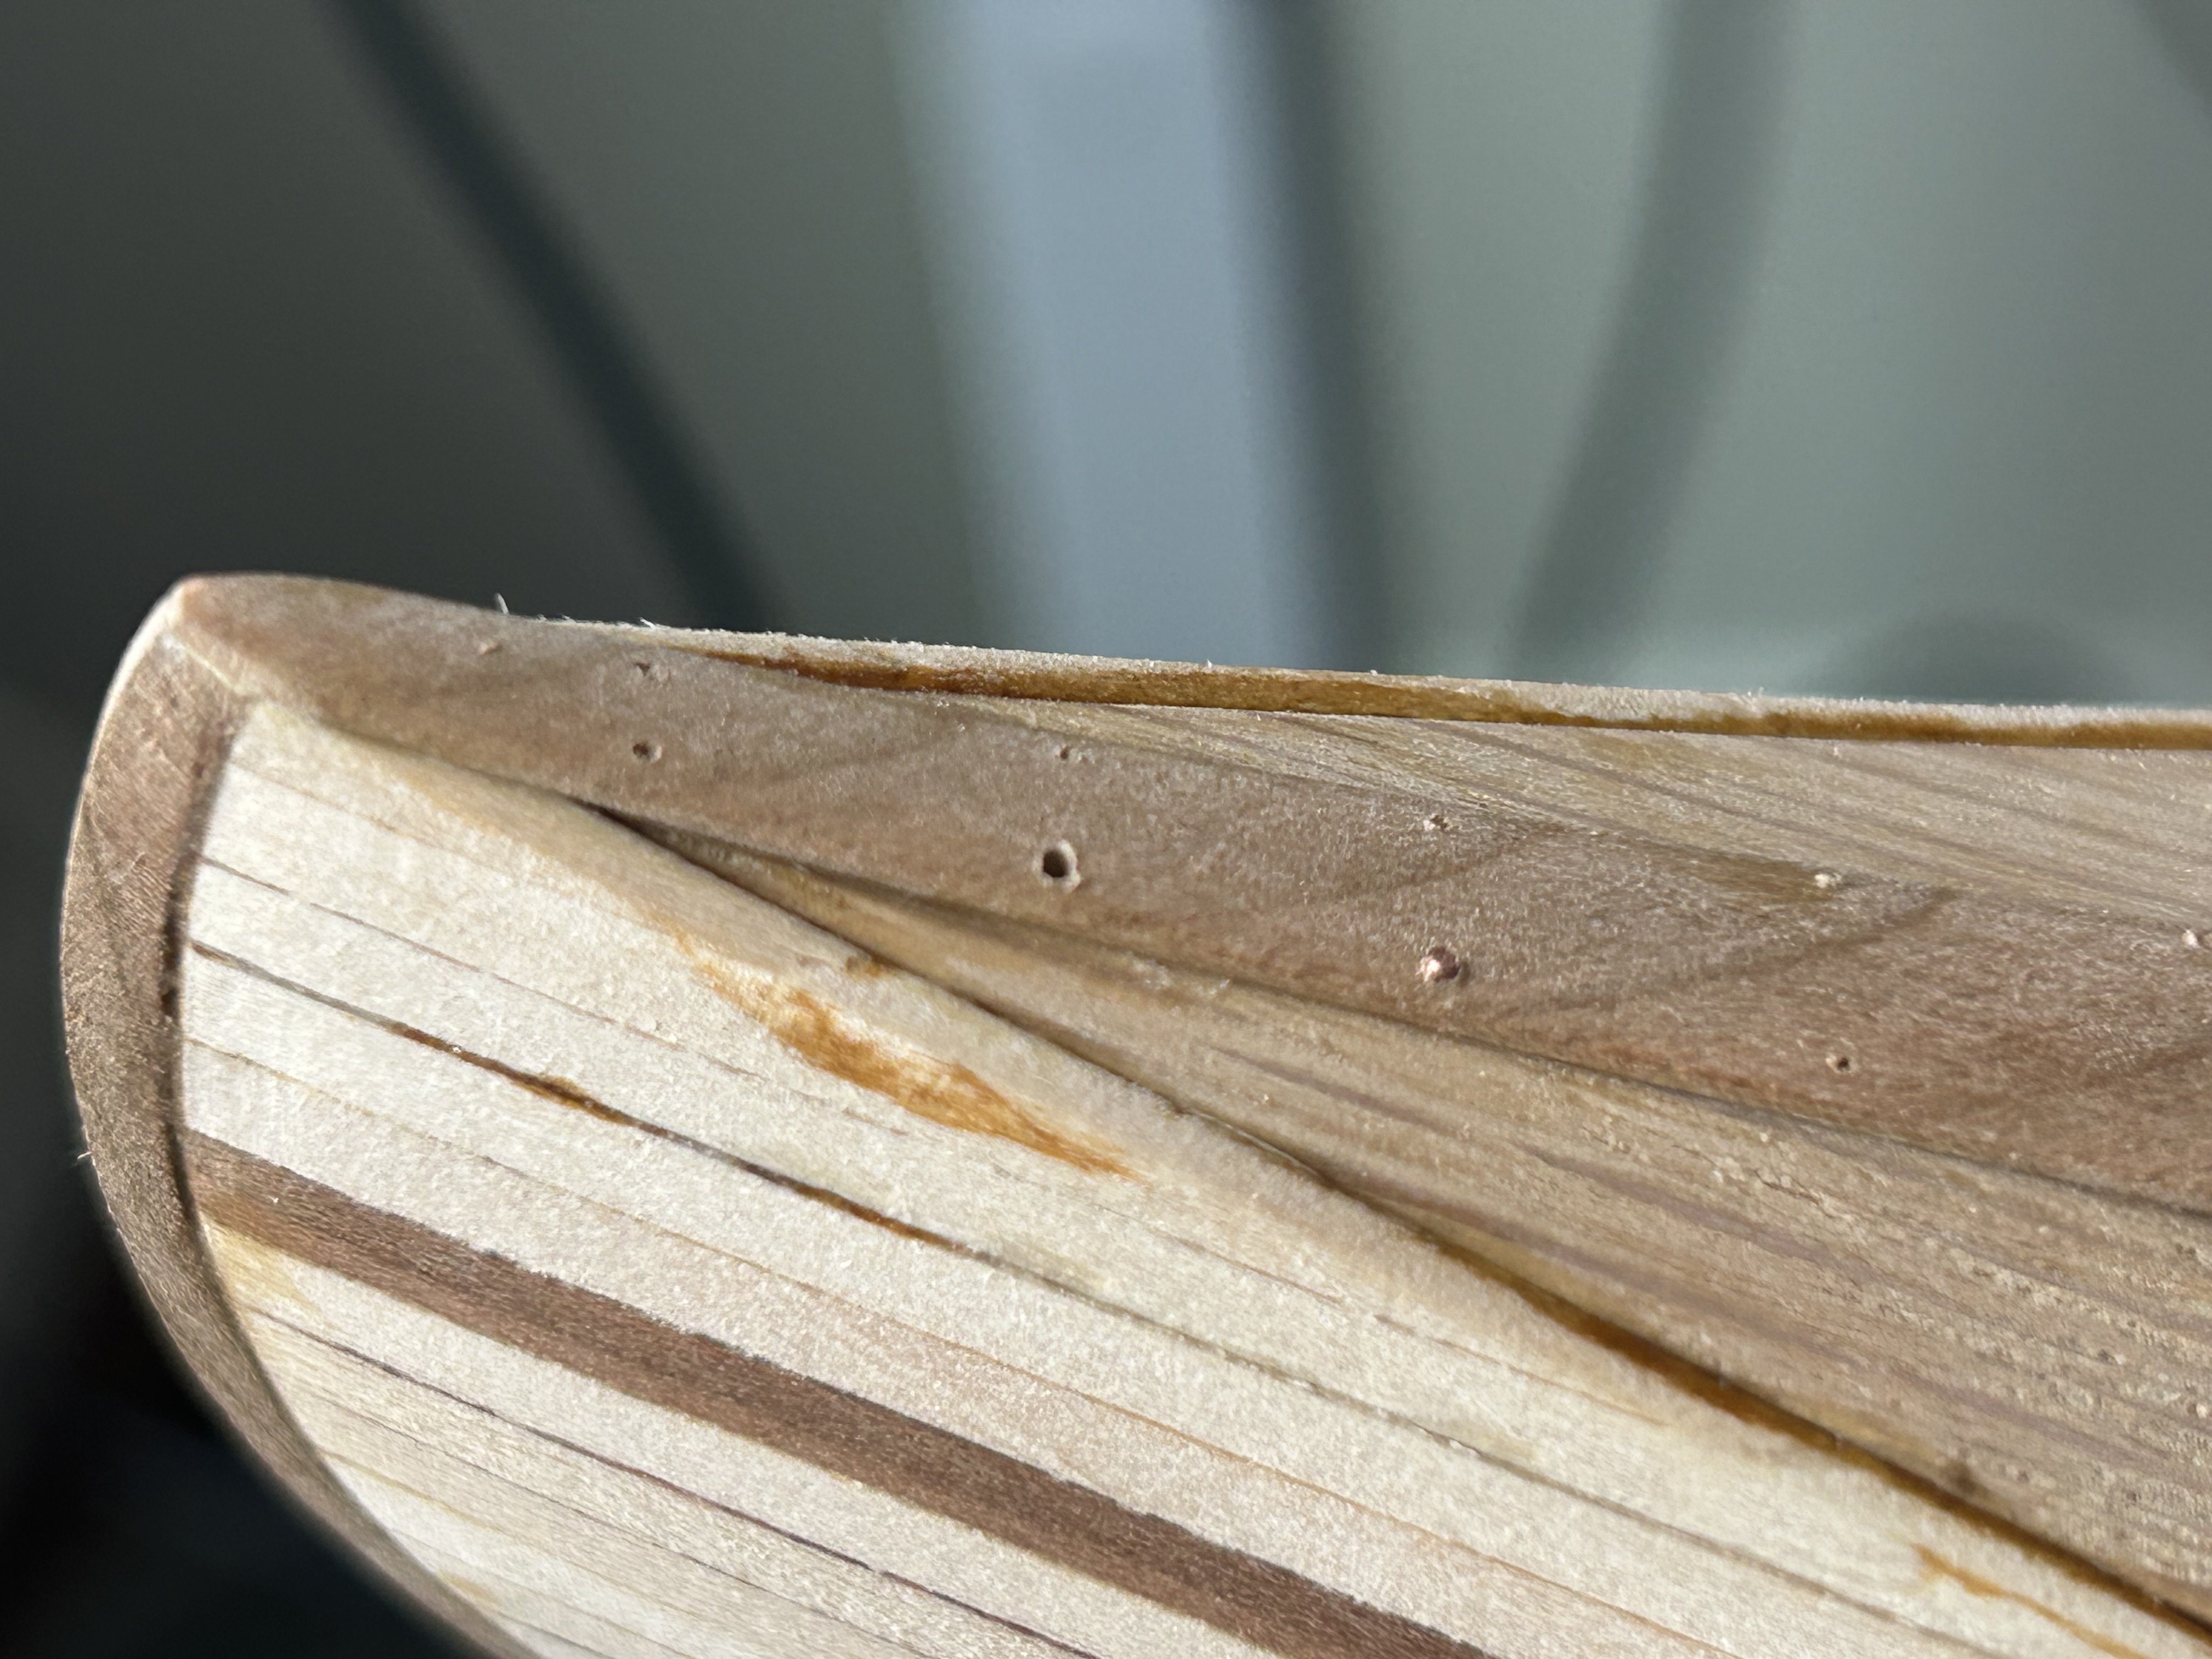
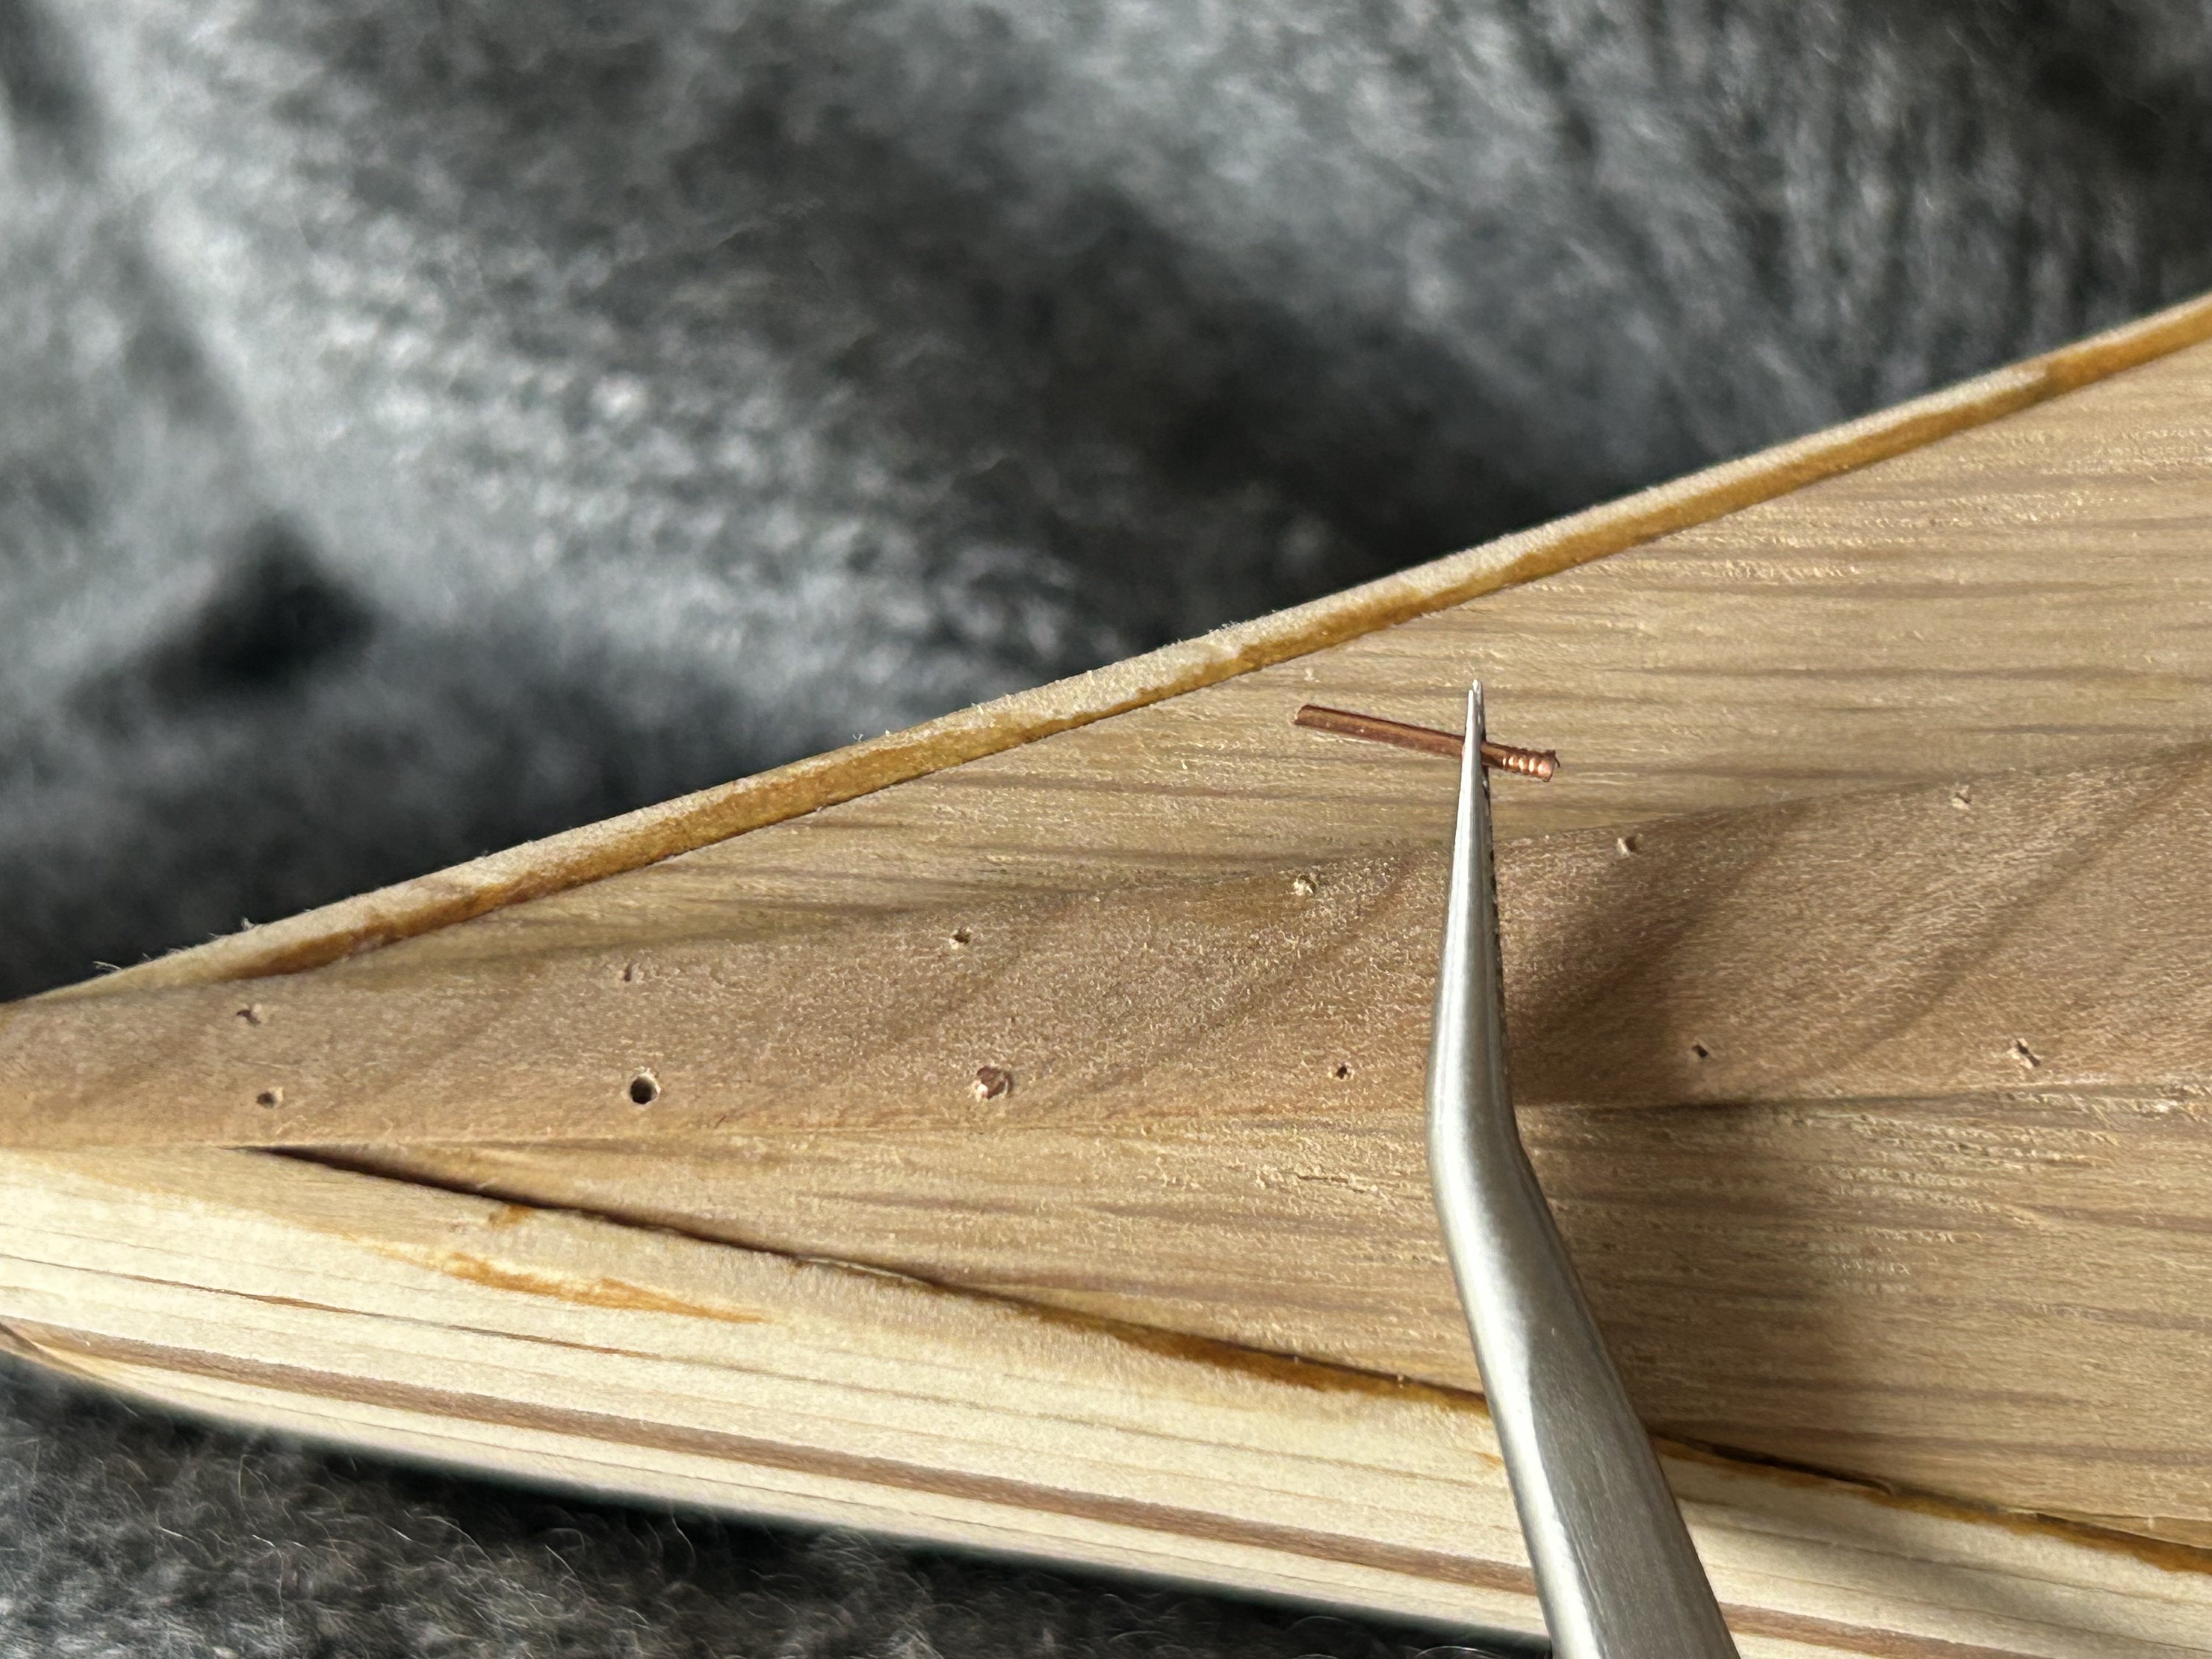
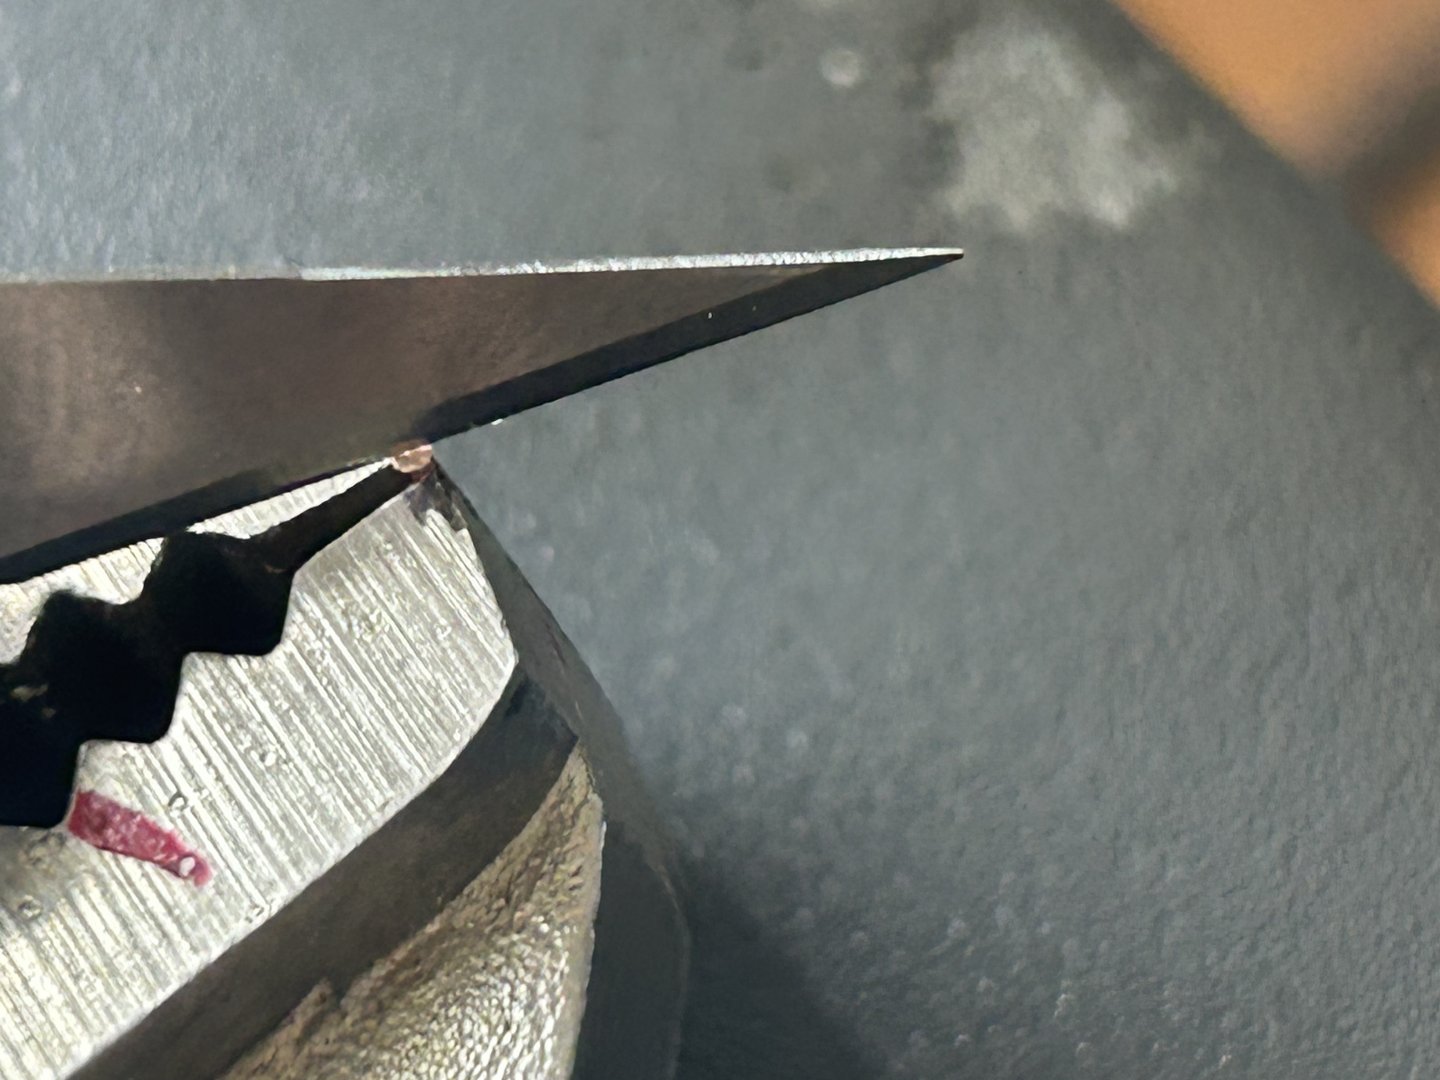
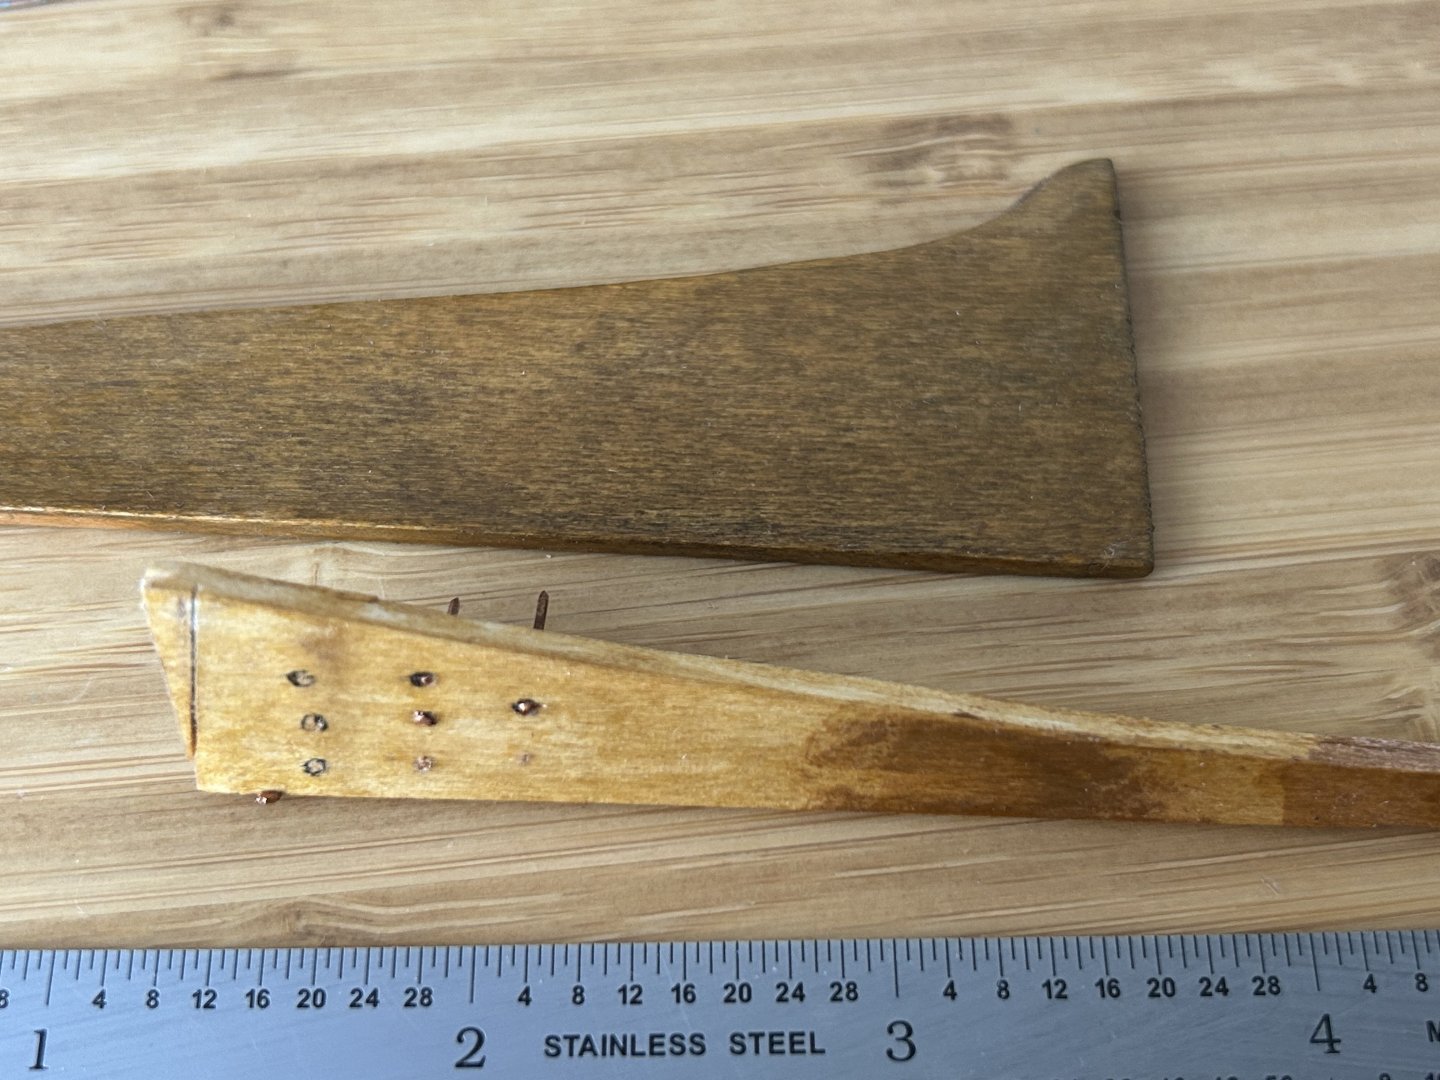
Added the first of the two coamings made from 1/32” cherry strip: CA, then added six screw holes: Making screws from 22 ga copper wire. Clamped in the old vise grips, I planish the head with brass hammer, then add a screw slot with #11 blade and a tap from the hammer. Then snip at an angle with Xuron 440 photo-etch shears.


-
Thanks Alan! It’s the upside of obsessiveness I suppose.
-
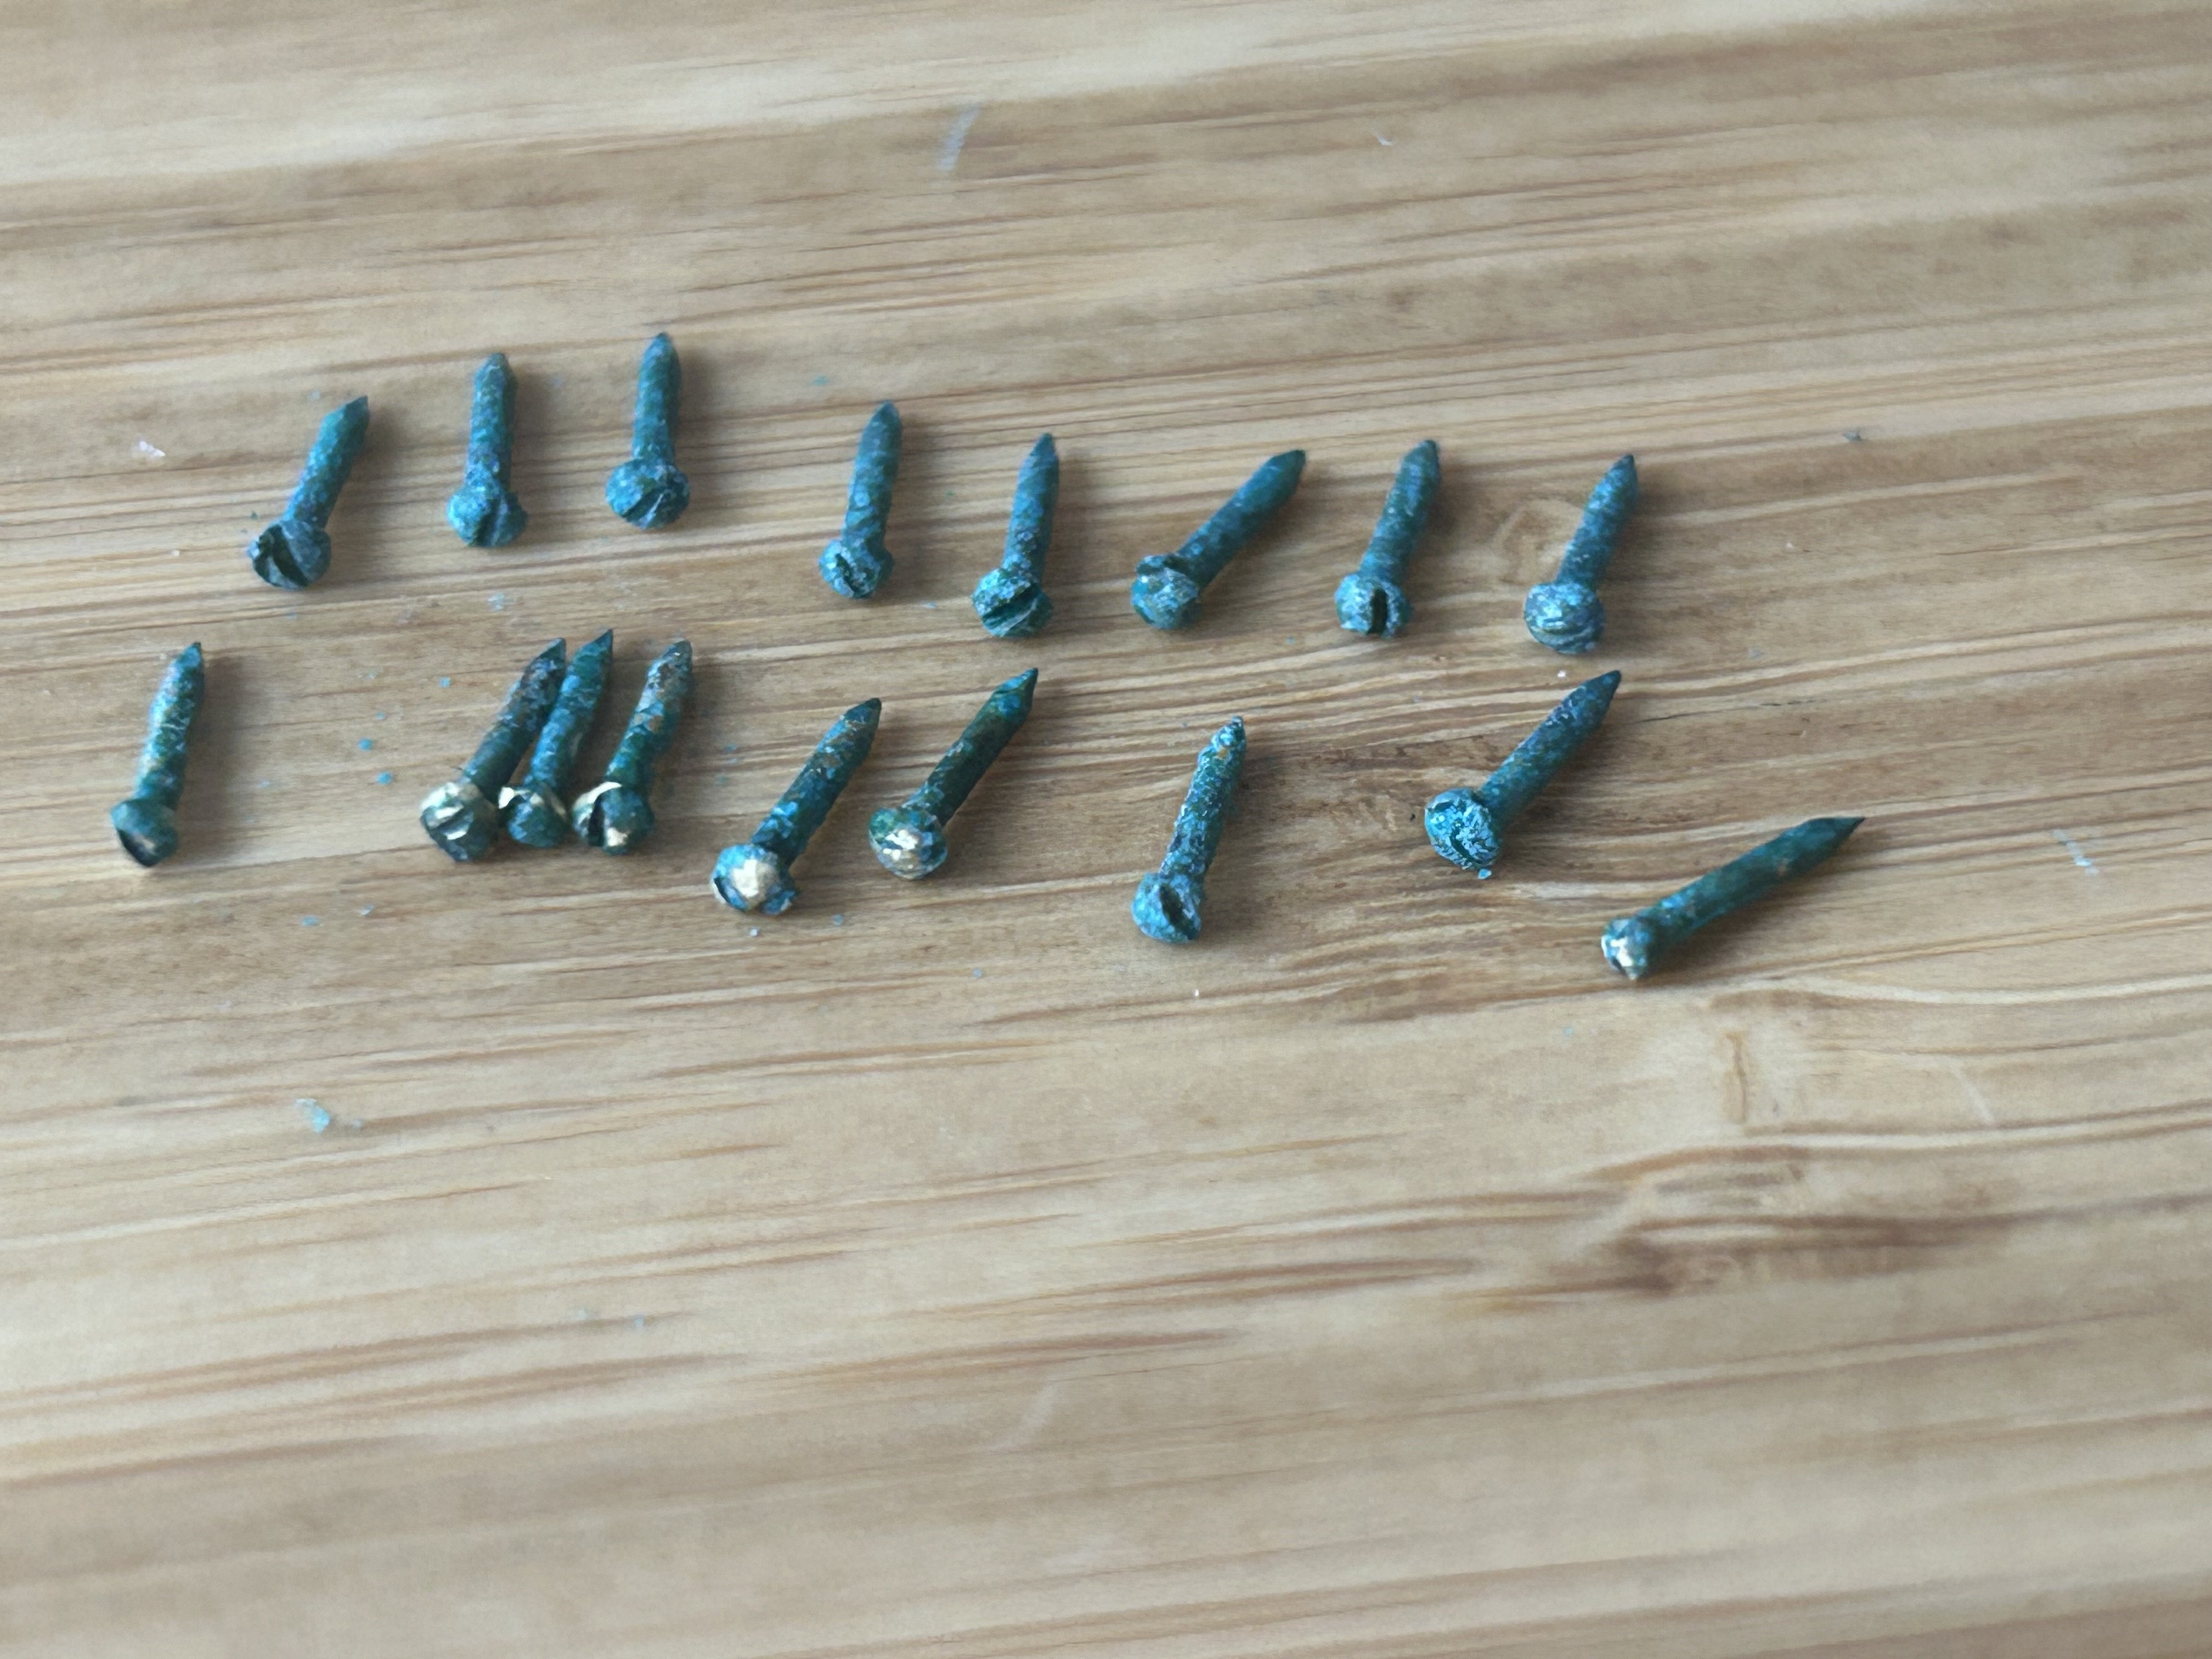
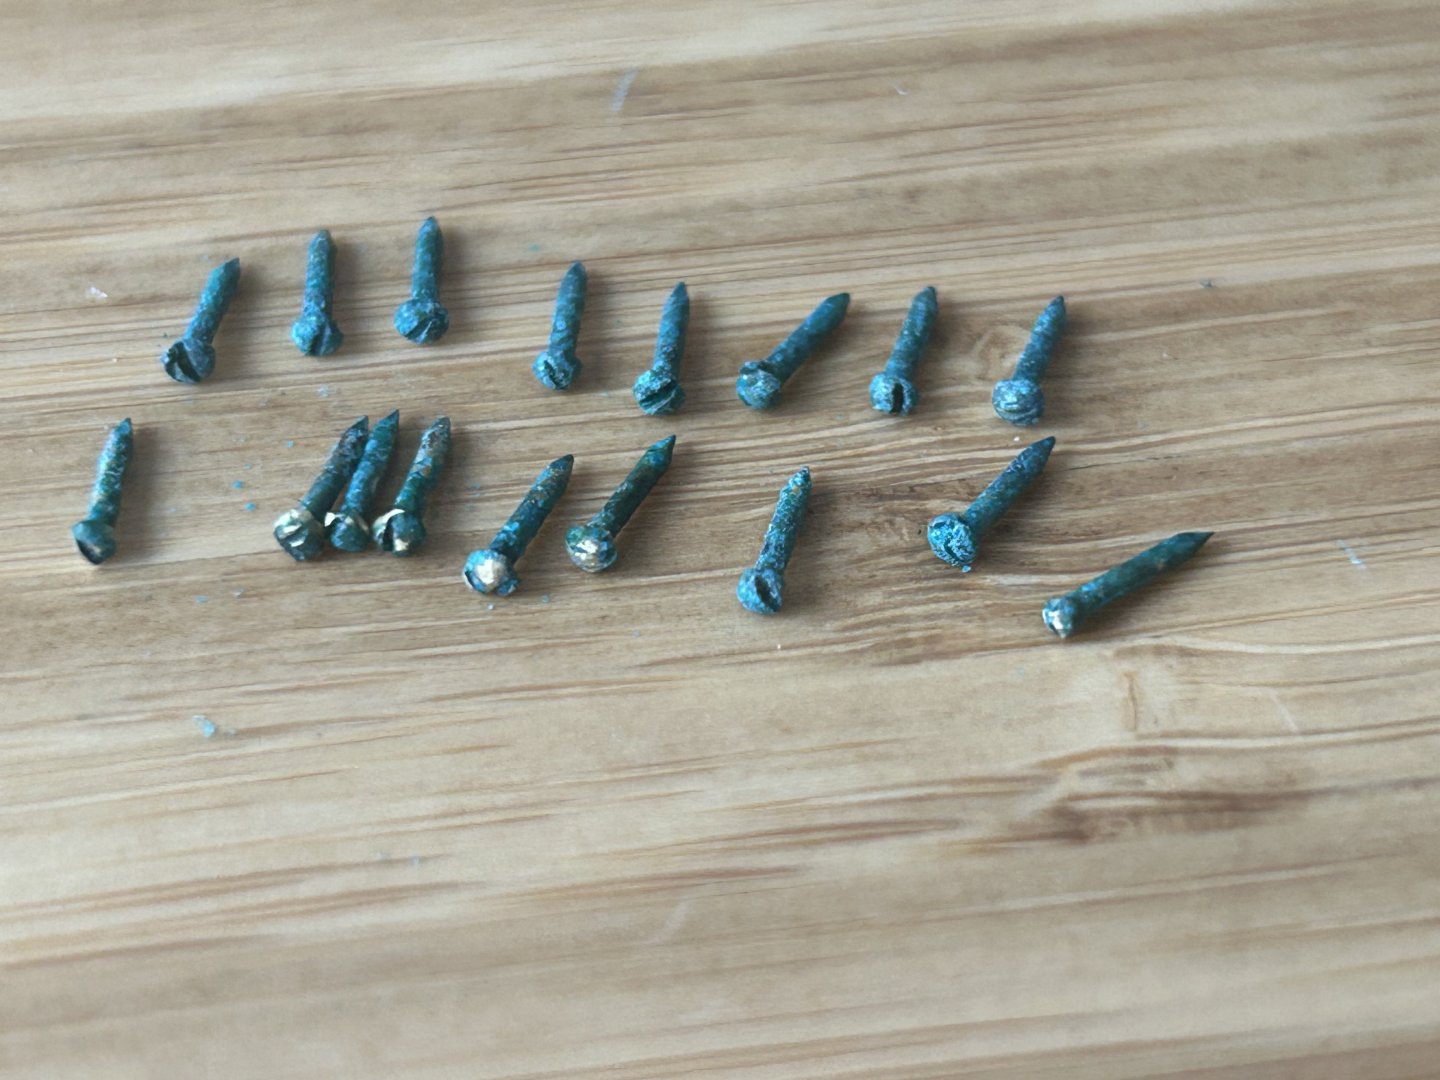
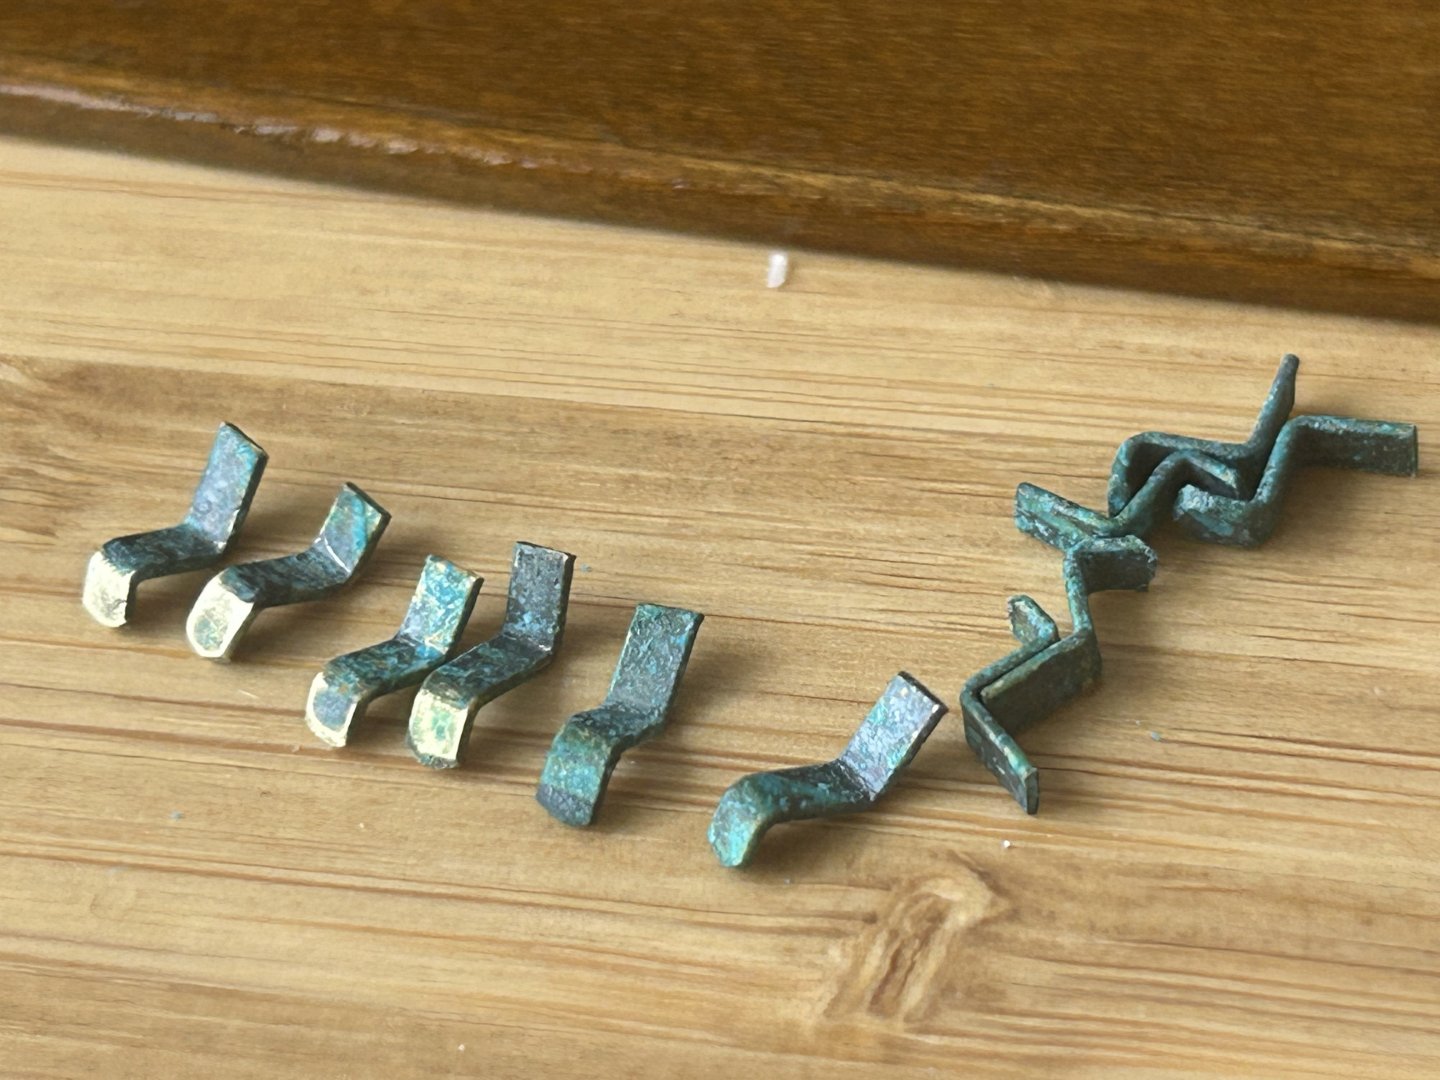
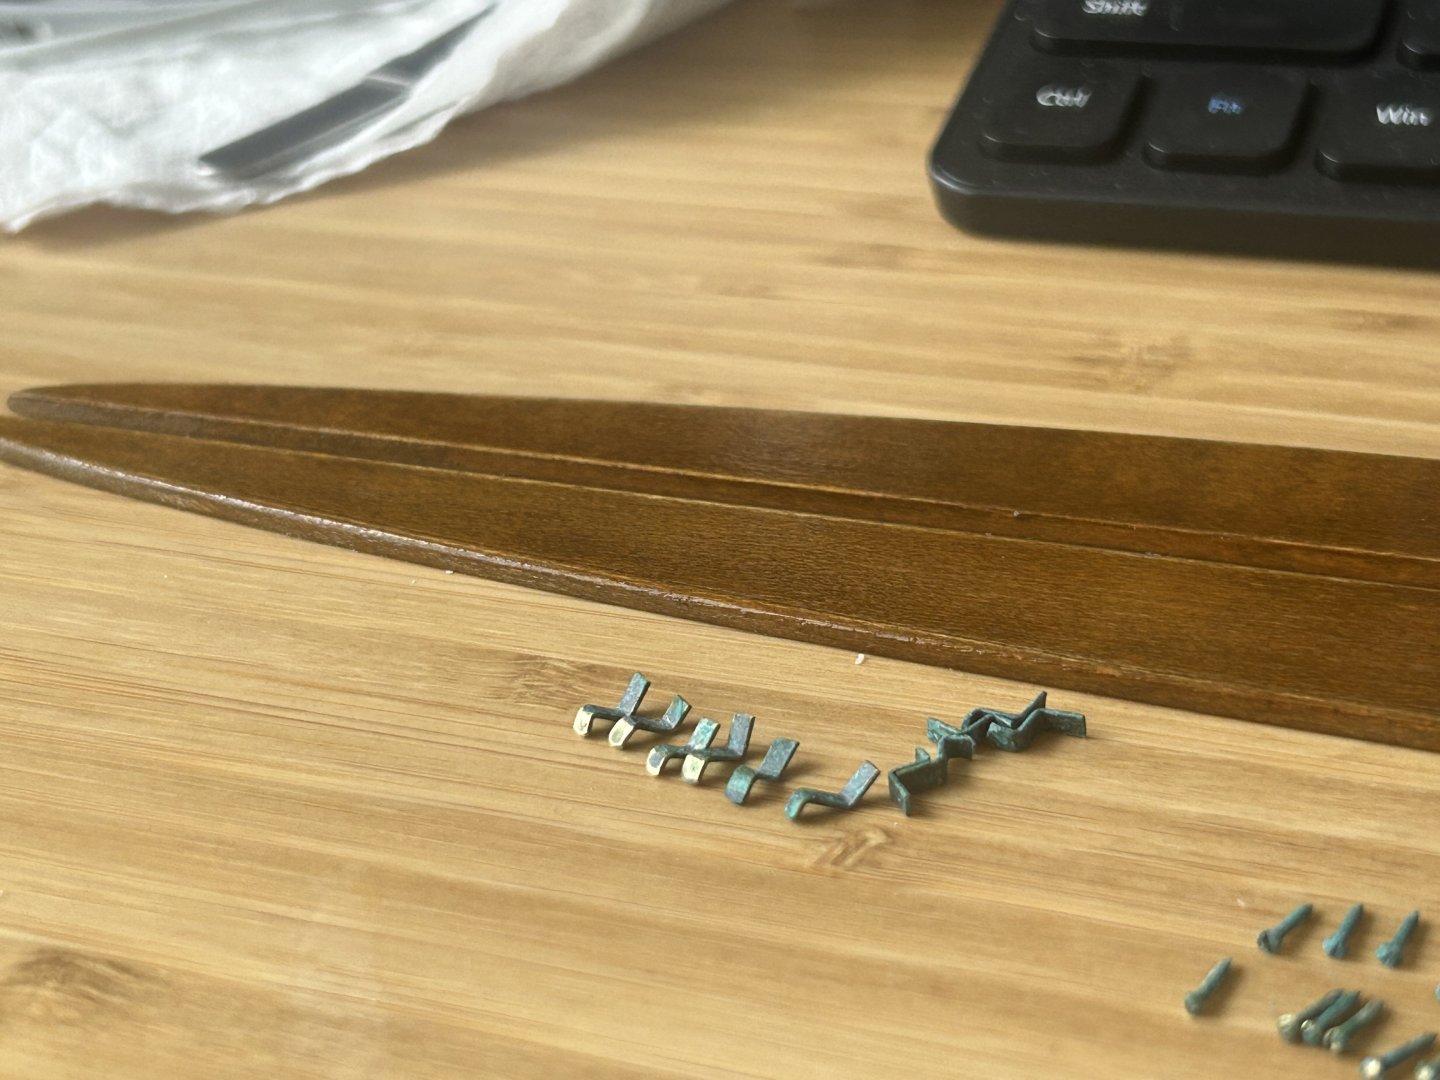
And here are the screws after patina. I have polished up a few so far, and will leave some fully oxidized. The brass brackets for the floorboards. Some have been polished with 400, 1000 & 2000 grit paper. The floorboards (in background) have been finished with diluted Judea Bitumen and English Oak (from Model Expo), then 3-4 light coats of Amber shellac (Bullseye/Zinser). How they will attach:
-
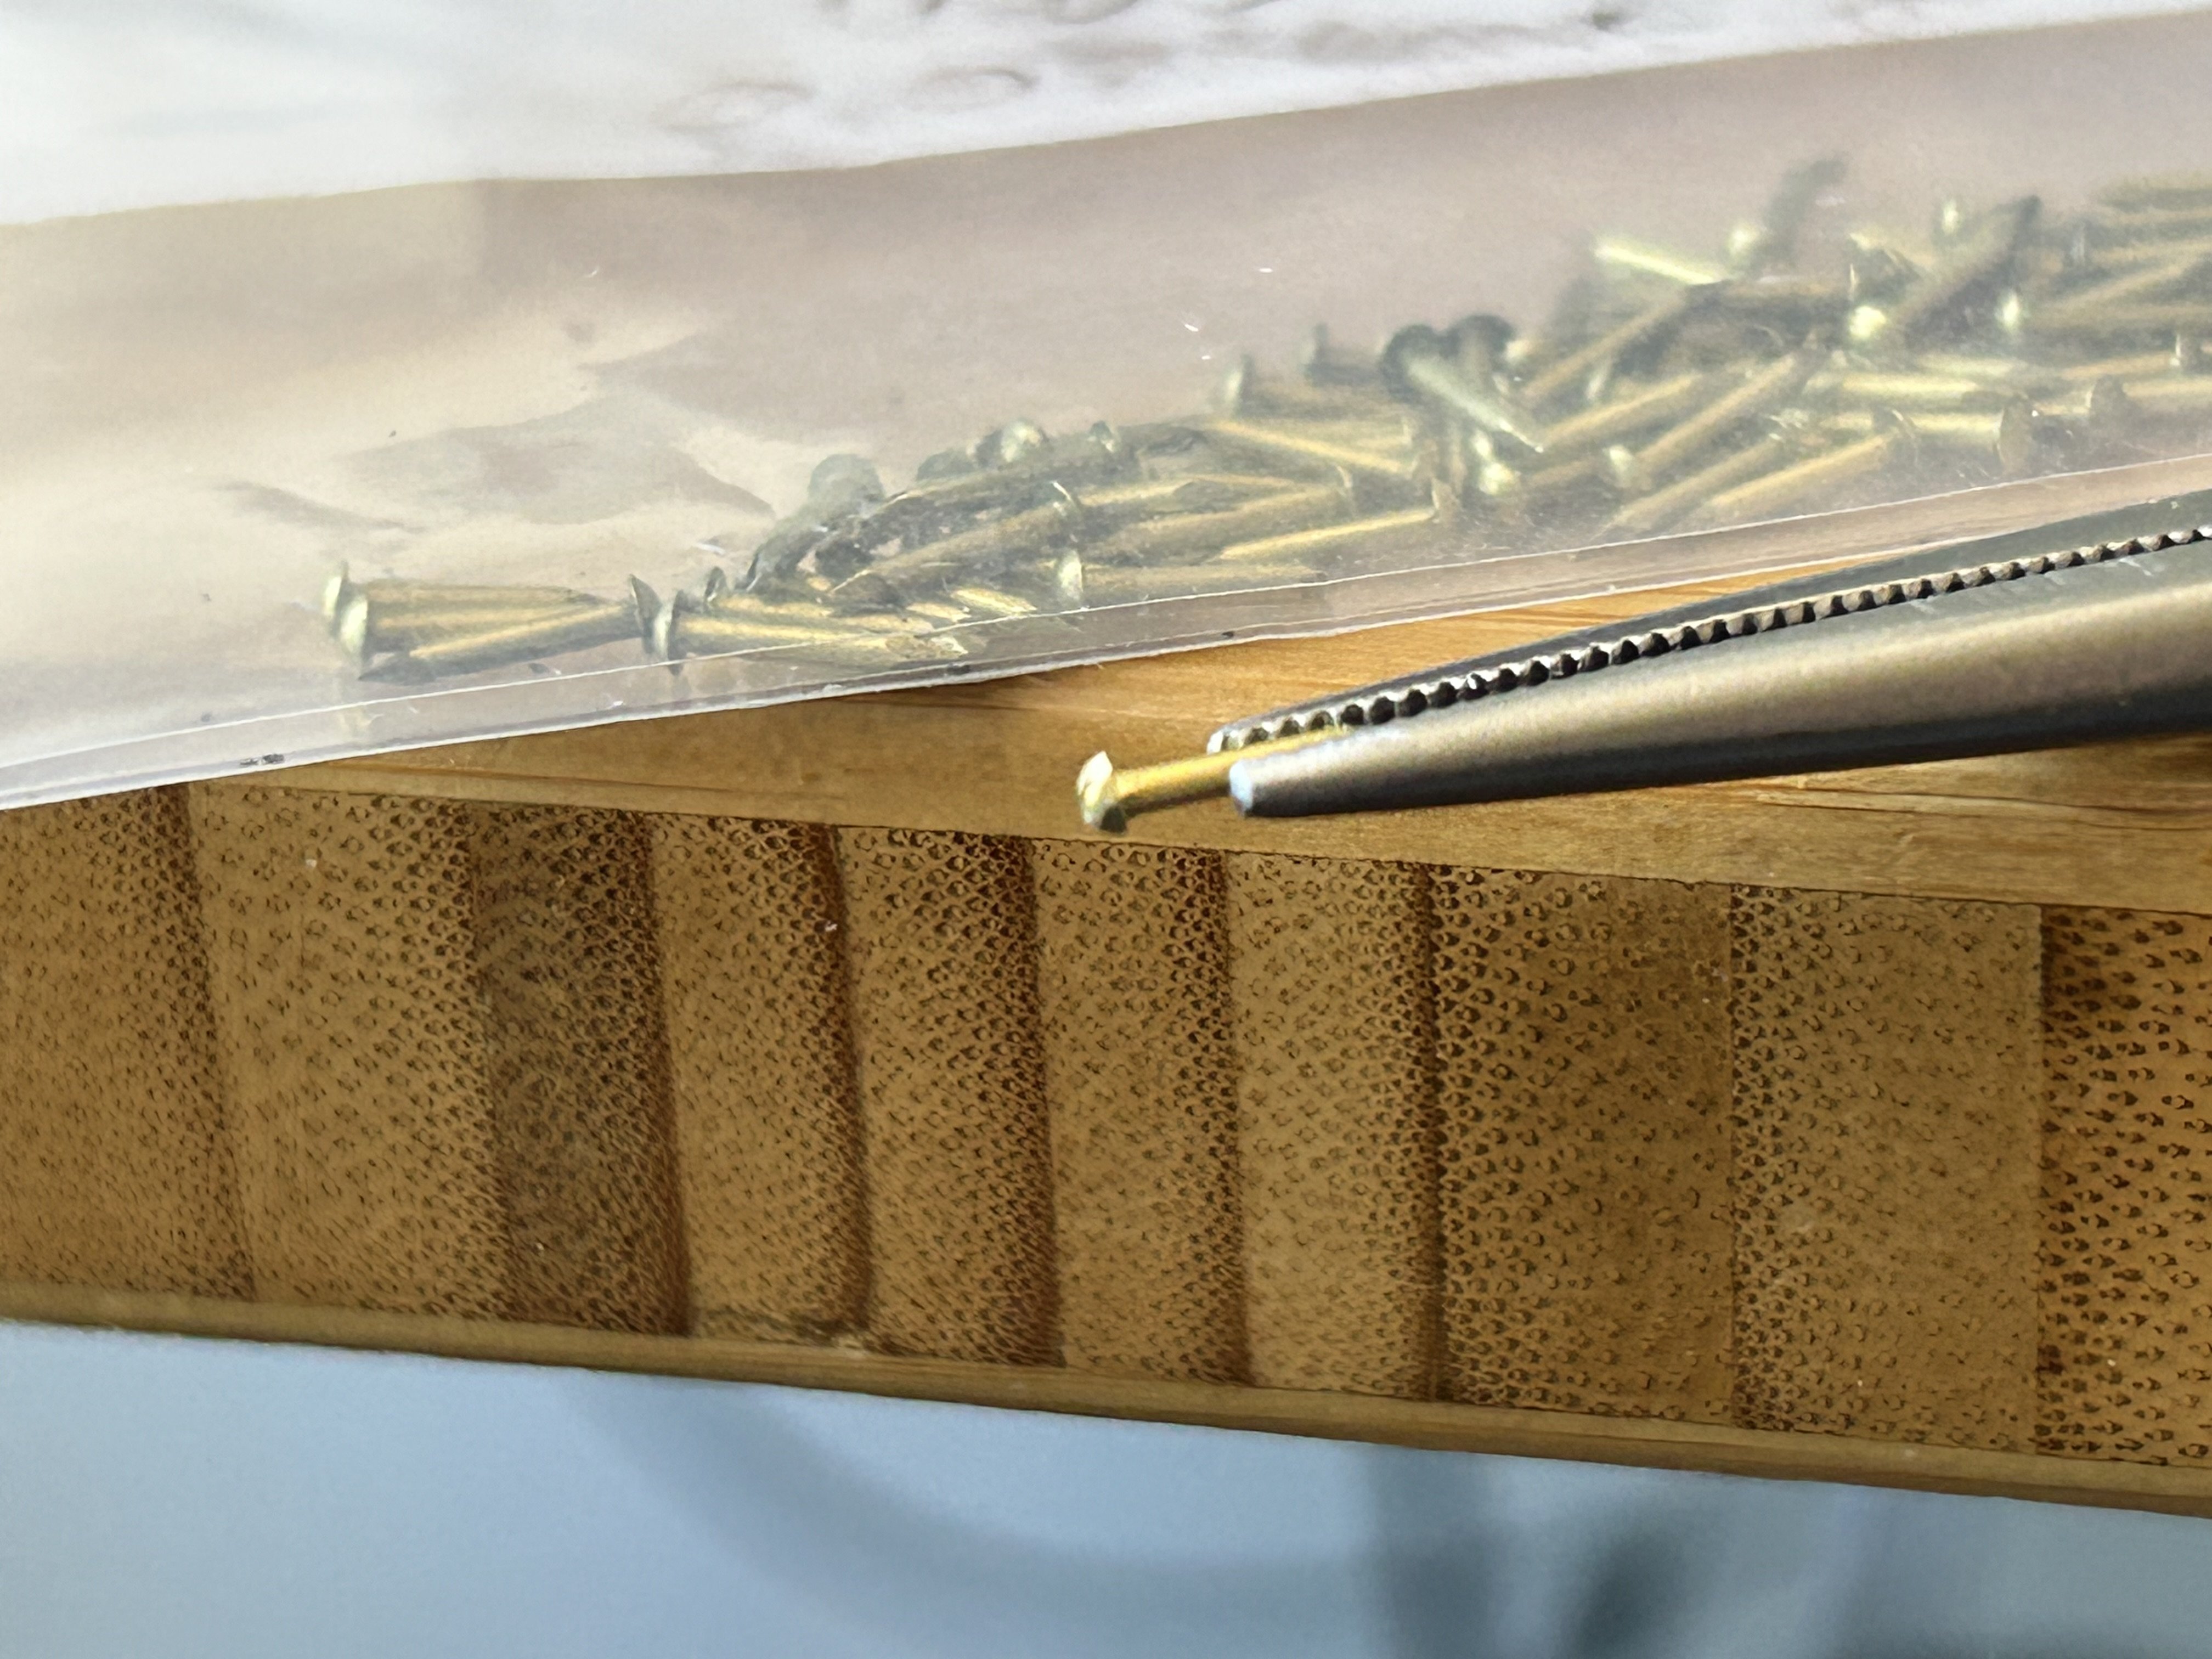
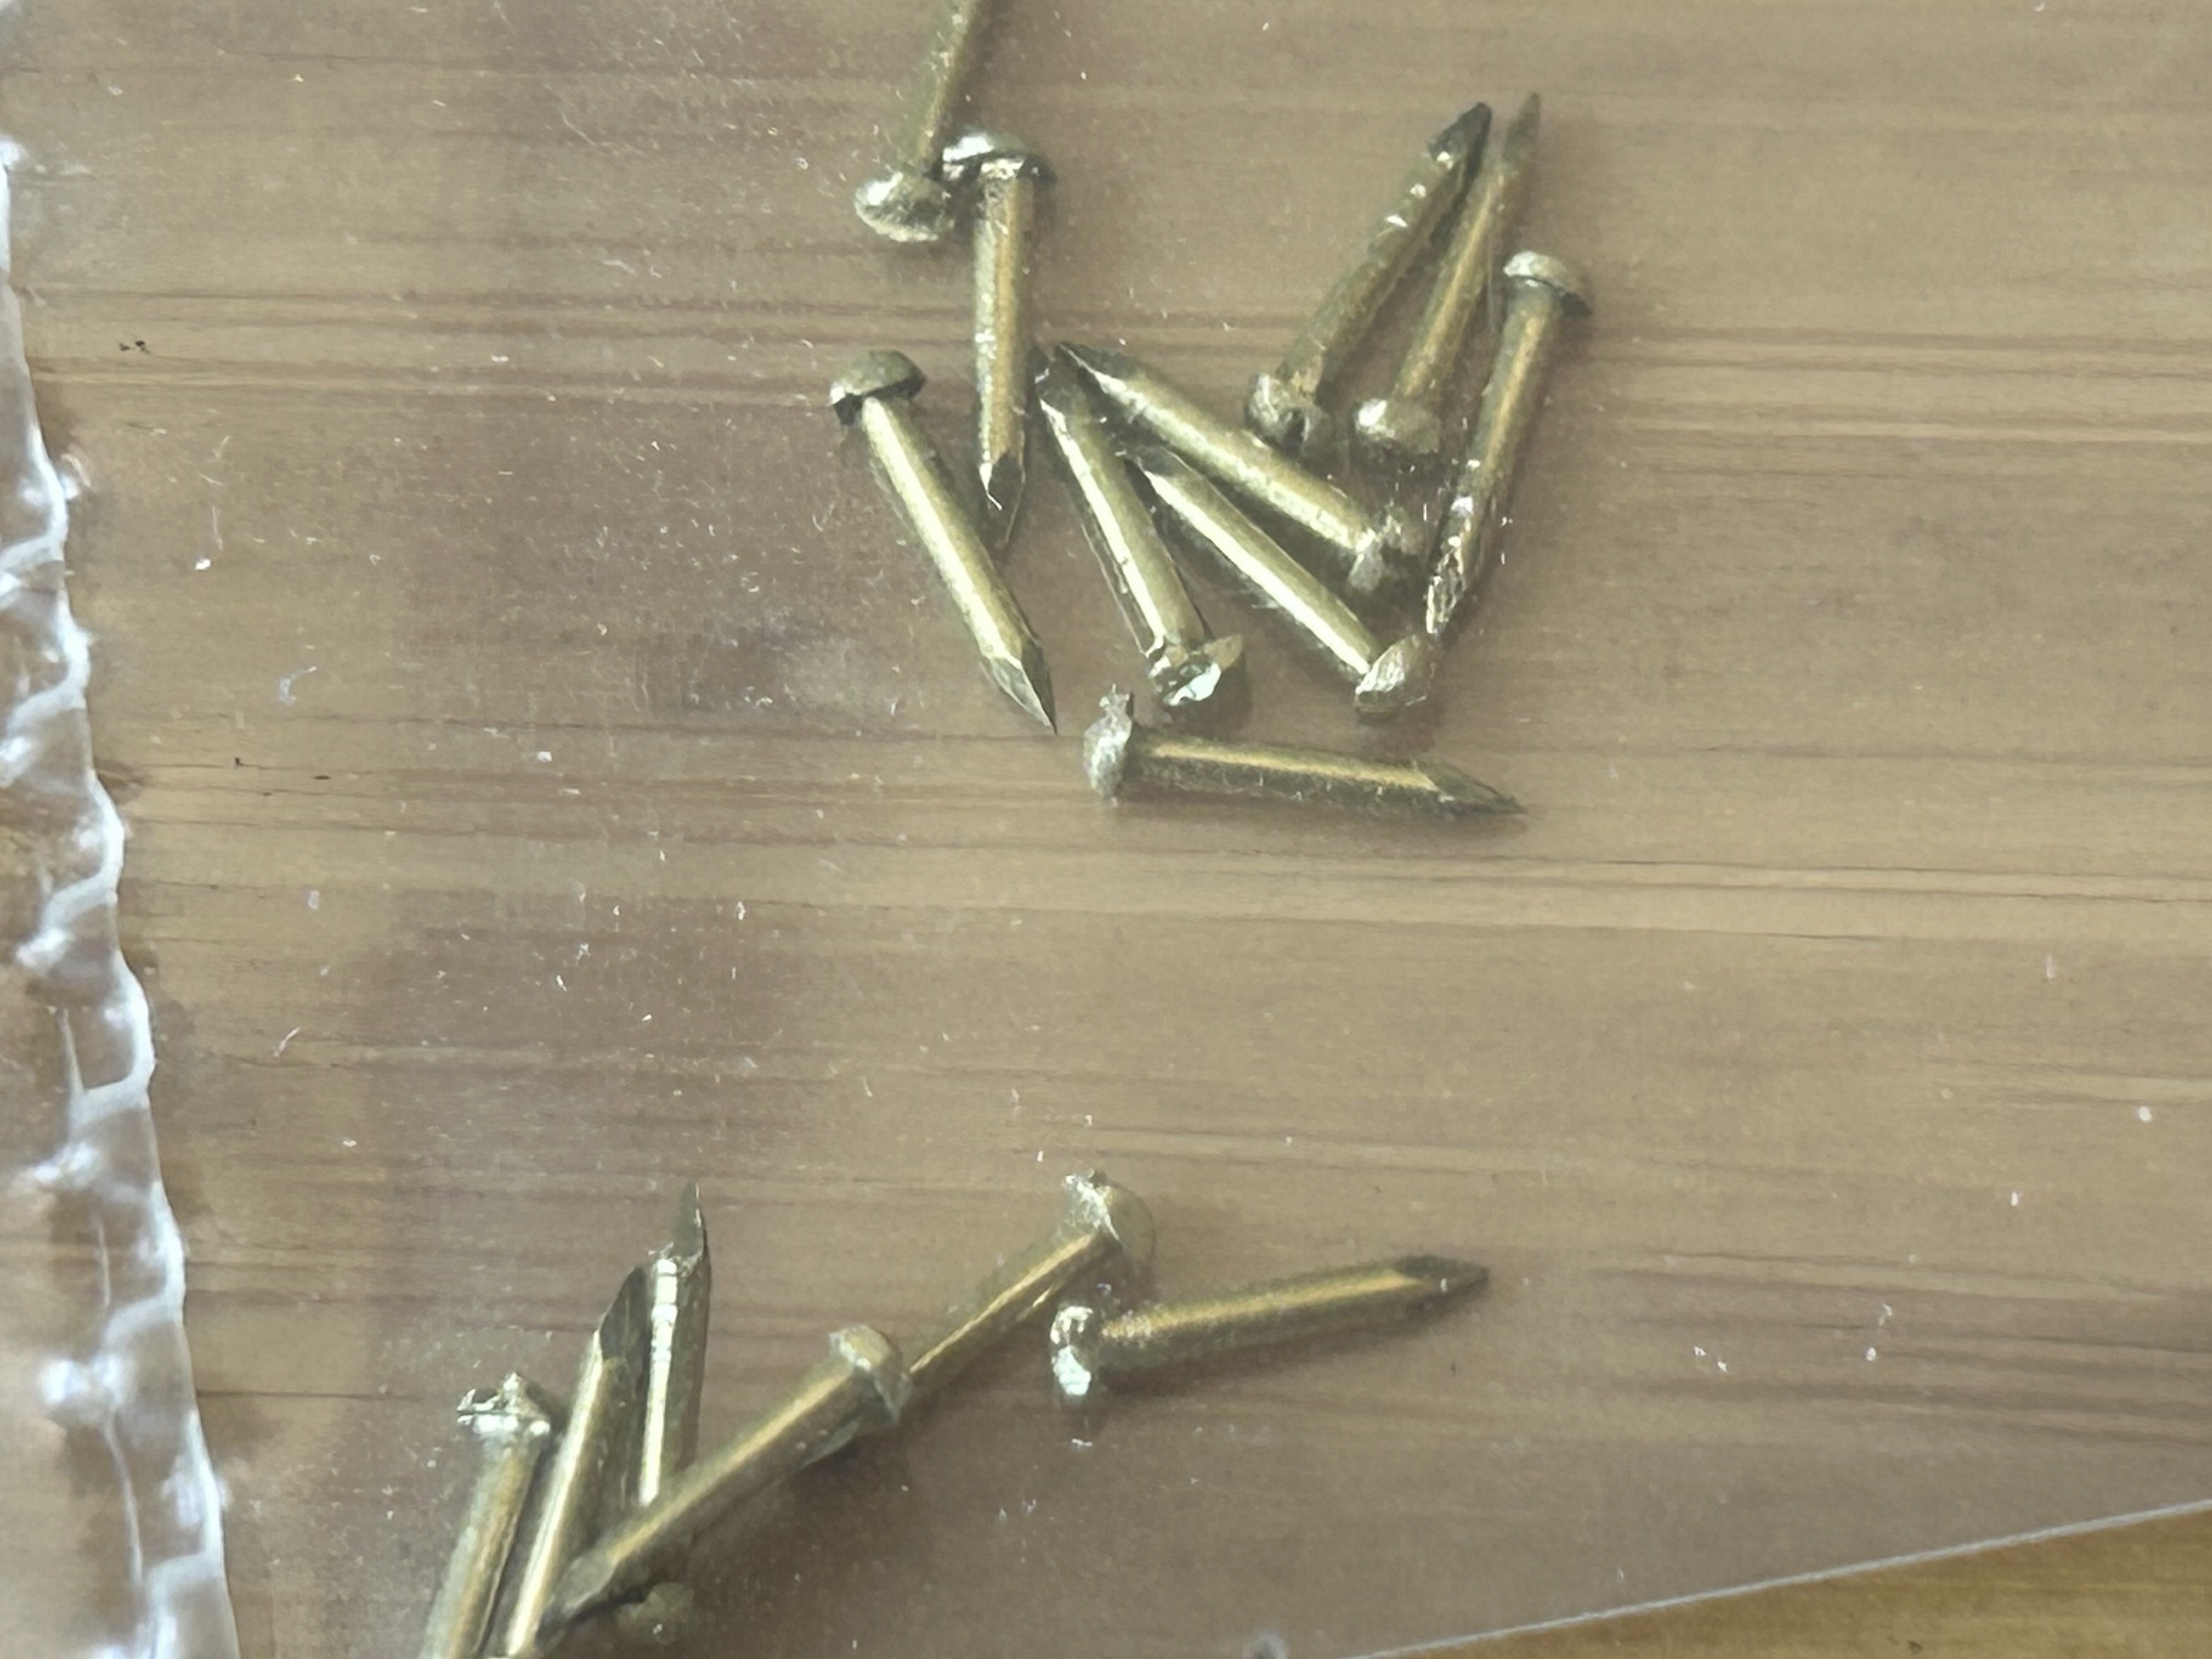
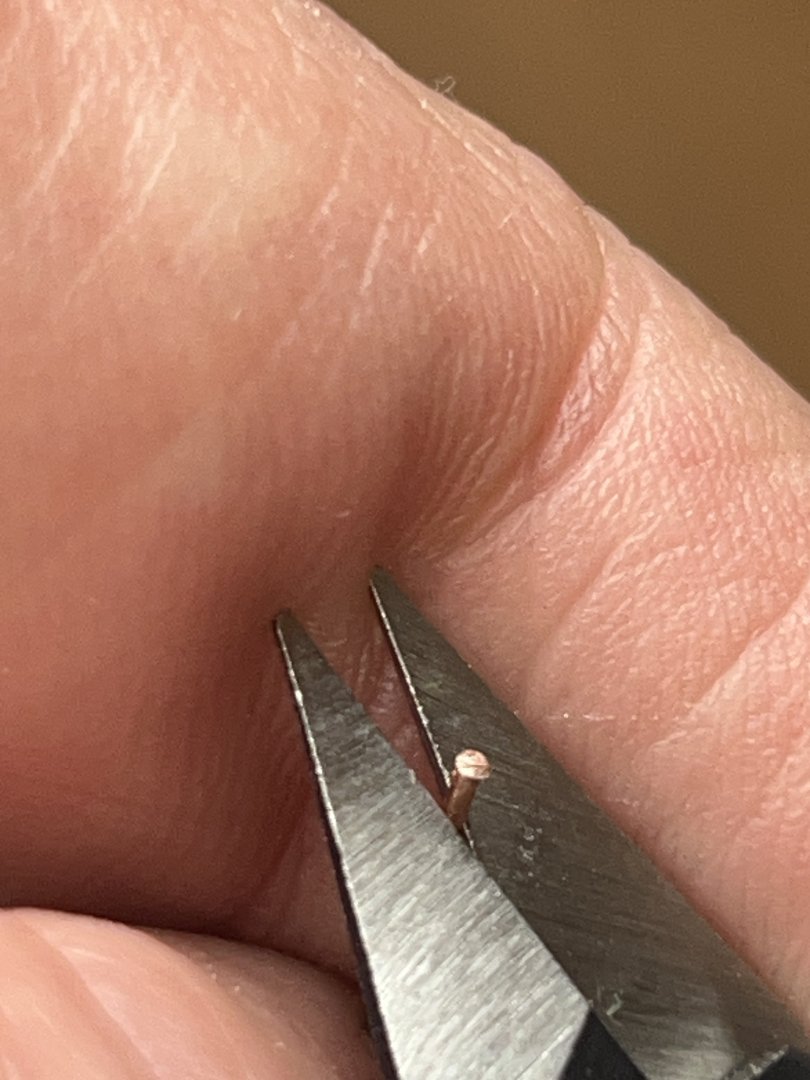
Making old-looking faux screws, part one: Starting with these teensy brads, I clamp them in some Vise-Grip pliers as an anvil and then cleave the heads with a cold chisel and little brass hammer. Then sand the heads to reduce the diameter a bit, giving us these (some of the chisel cuts are off center and either look like a Phillips screw or, more often, like garbage). Then they get suspended over a mix of 1 part Miracle-Gro fertilizer powder to 3 parts red wine vinegar, to accelerate a verdigris patina. I just started using the tea ball (don’t tell the girlfriend) and it works great. There’s a piece of paper towel in the solution to act as a wick and speed the evaporation. I get a good thick patina on copper or brass in about 12-24 hours with this setup.


-
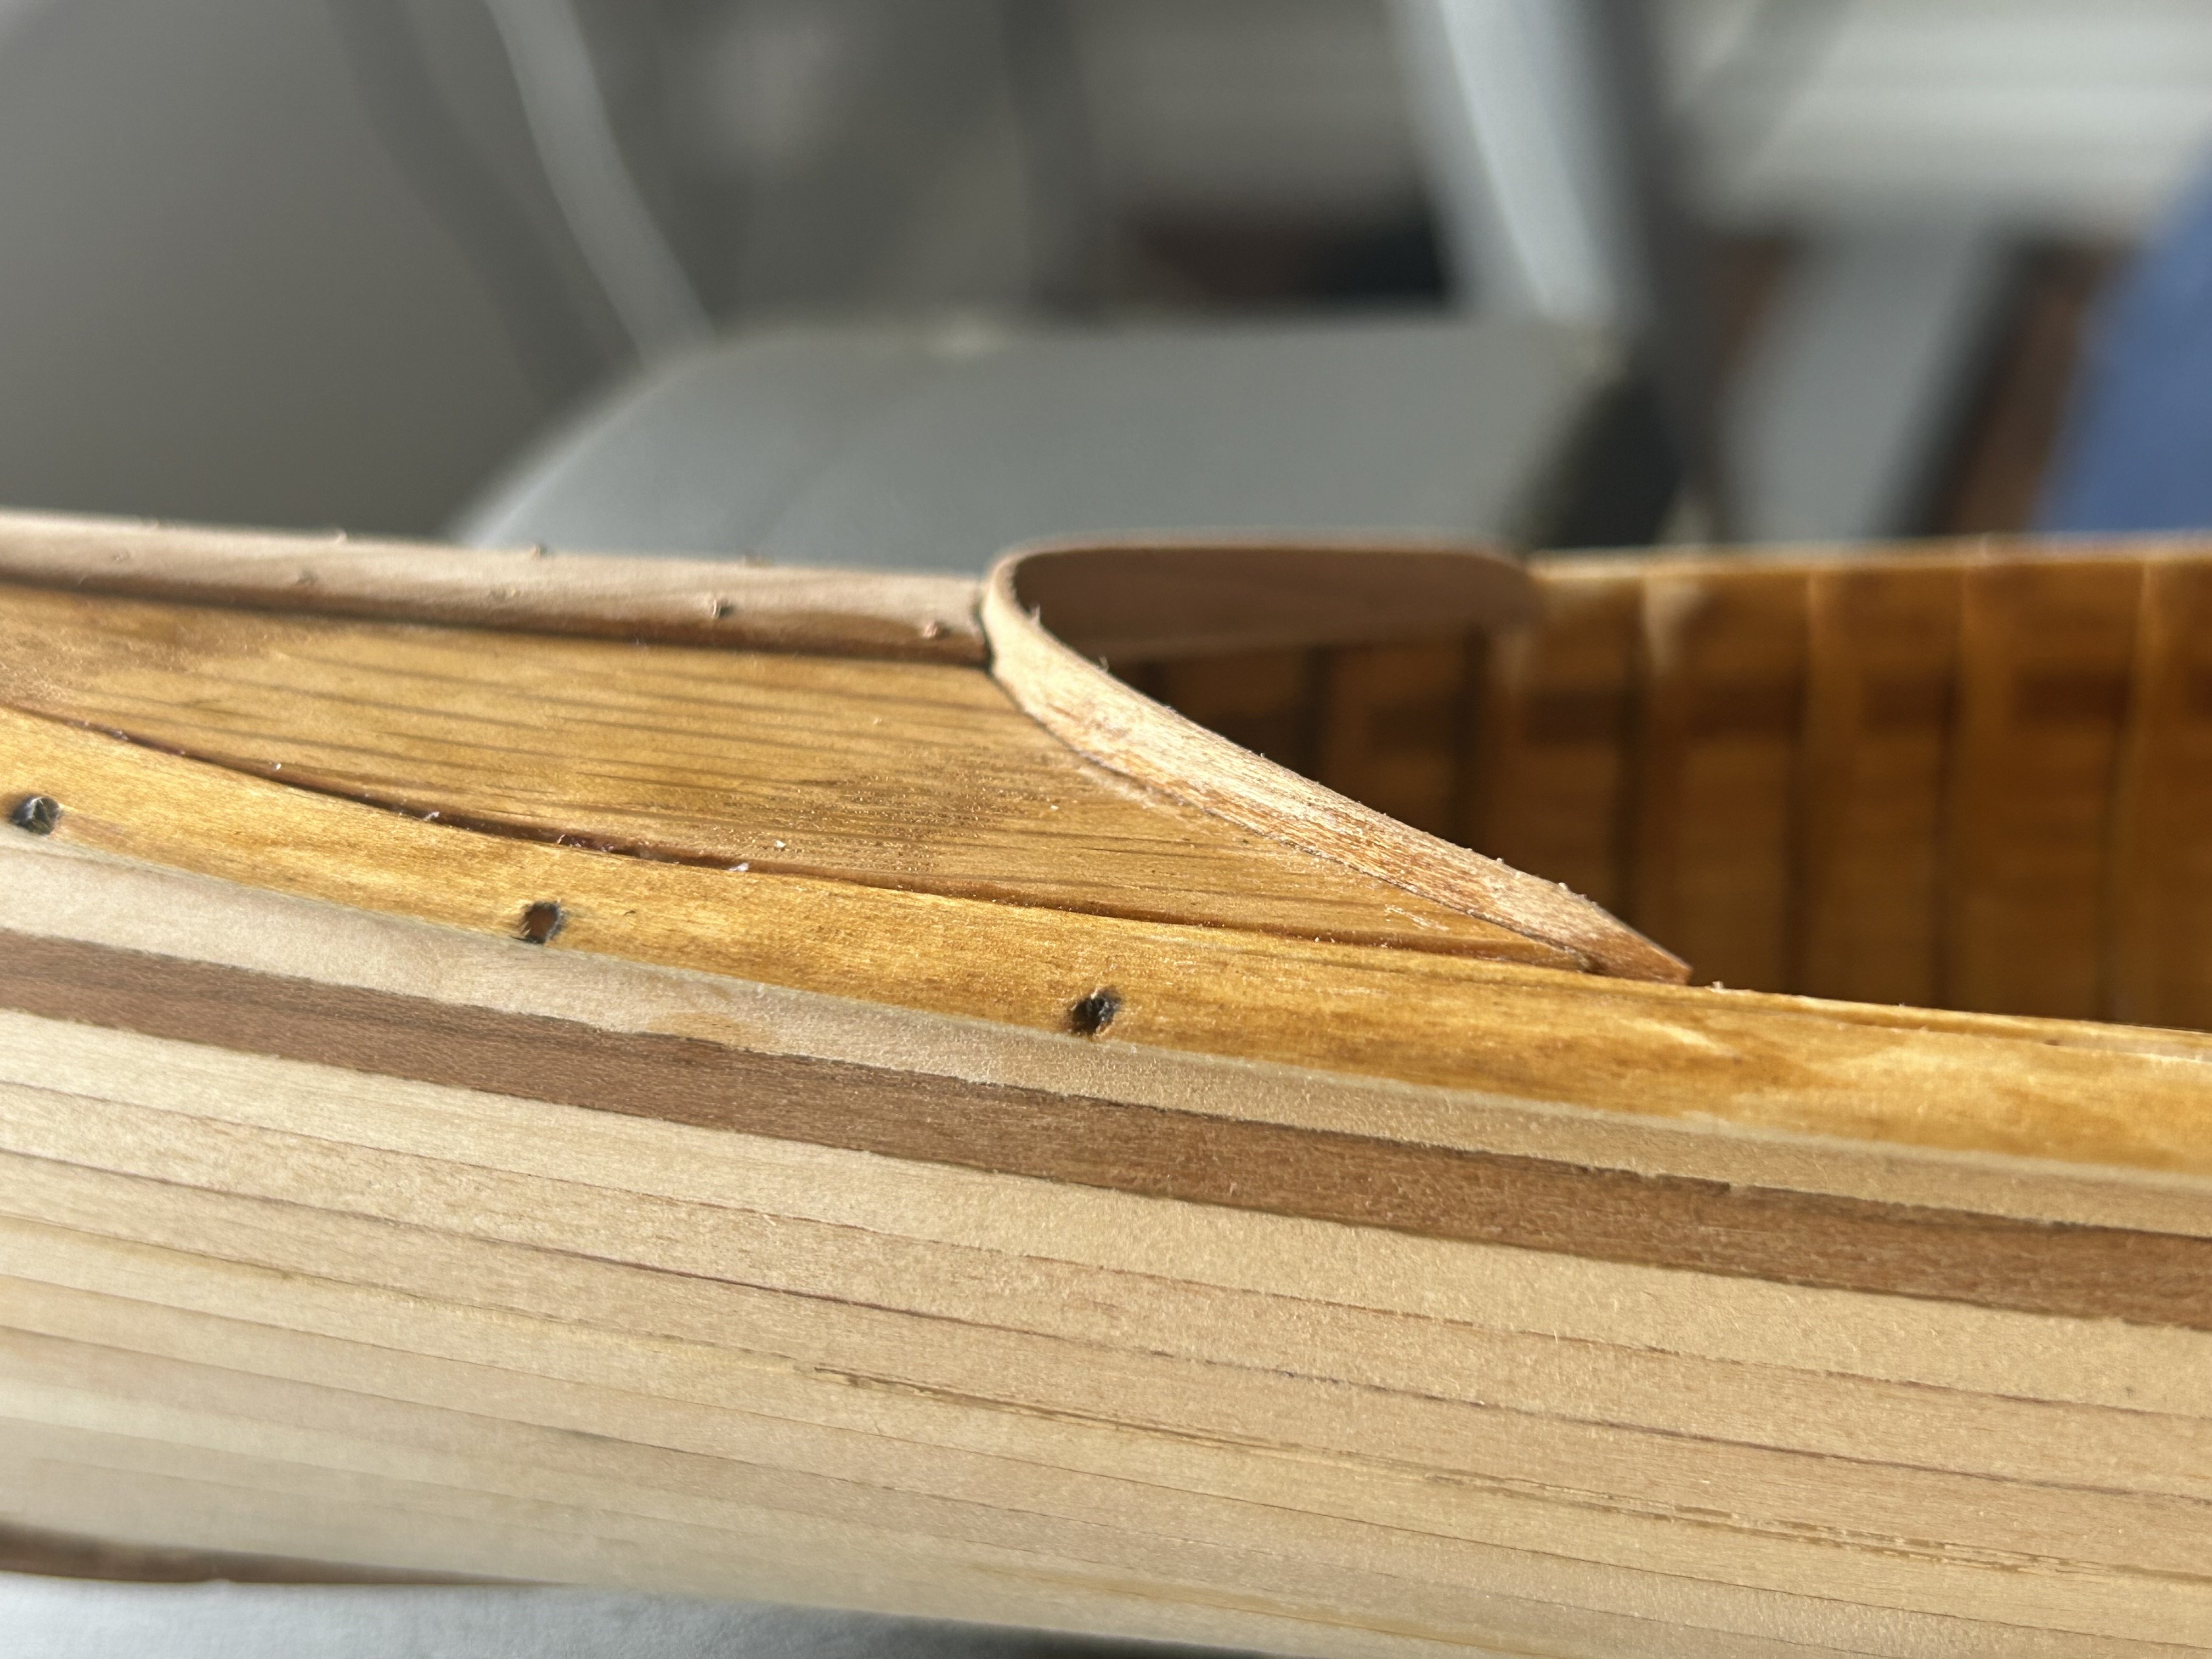
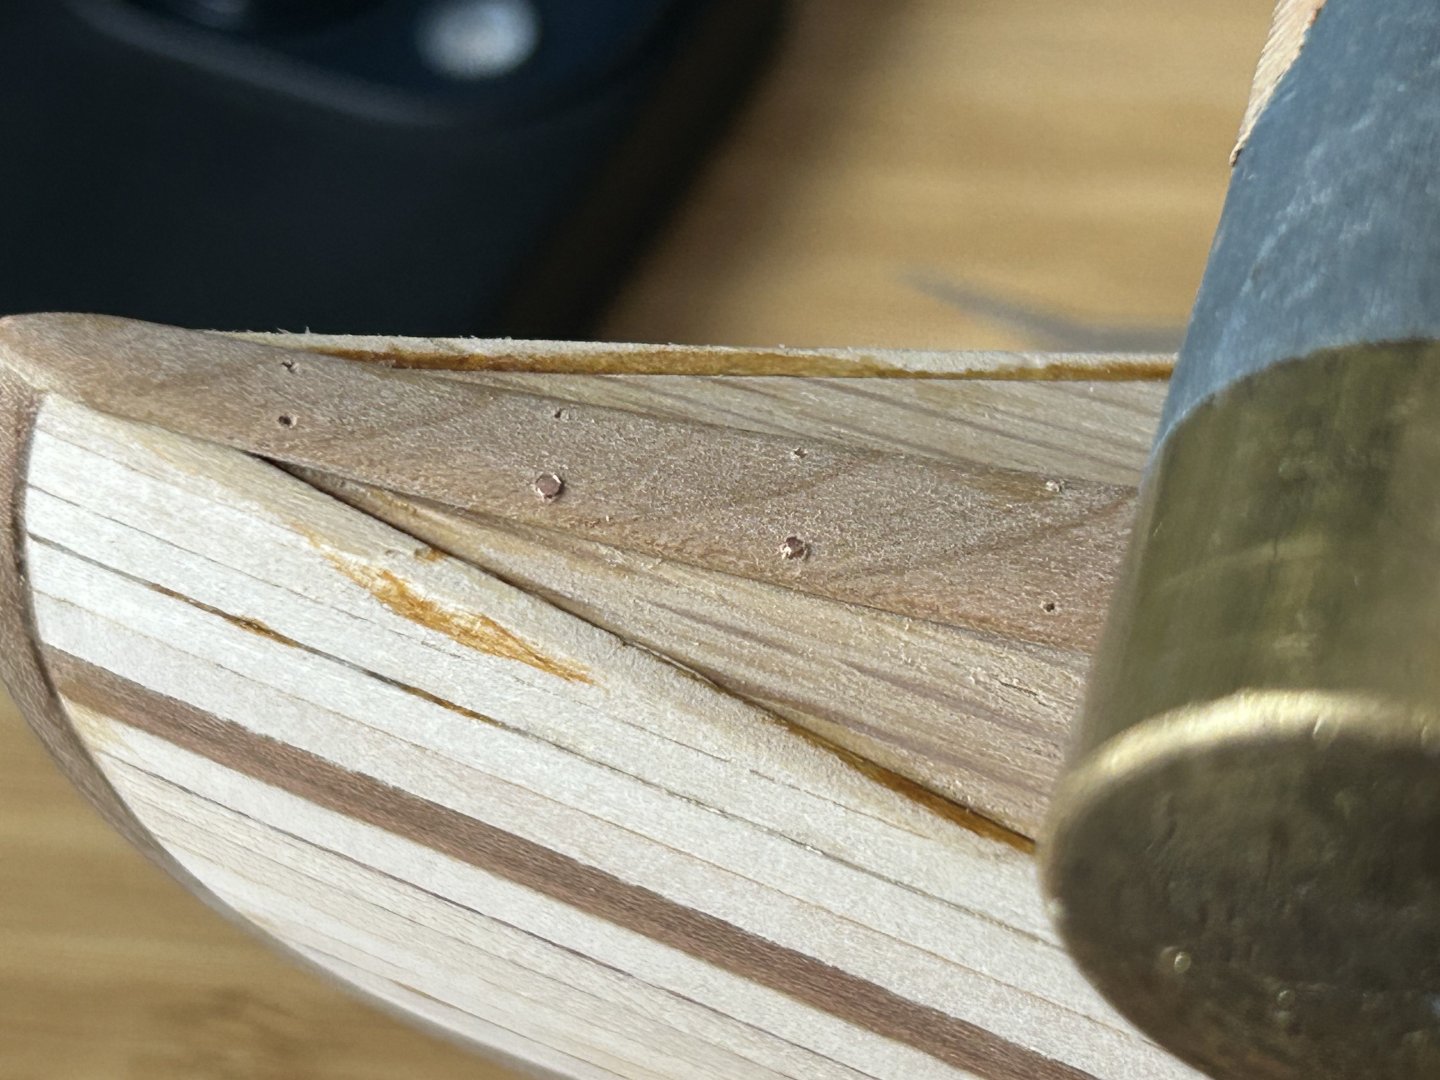
Four of the six “screws” installed. Countersunk pockets were darkened with Bitumen of Judea, then a first thin coat of shellac applied to see the effect. These surfaces will probably get three more coats of shellac applied. closeups


-
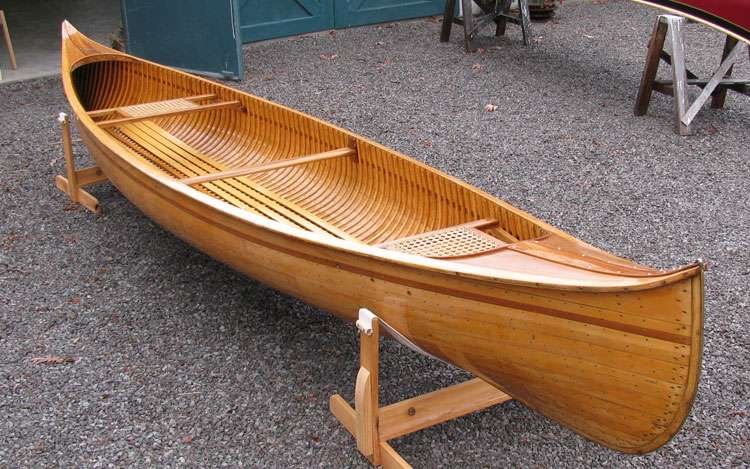
Next step will be adding the 6 screws (countersunk/pocketed I think) holding each to the decks on the ends. Research examples: I notice a fair amount of variation among the research canoes on the final shape and width of the outwales (many are restorations). So I will try to hit a happy medium.
-
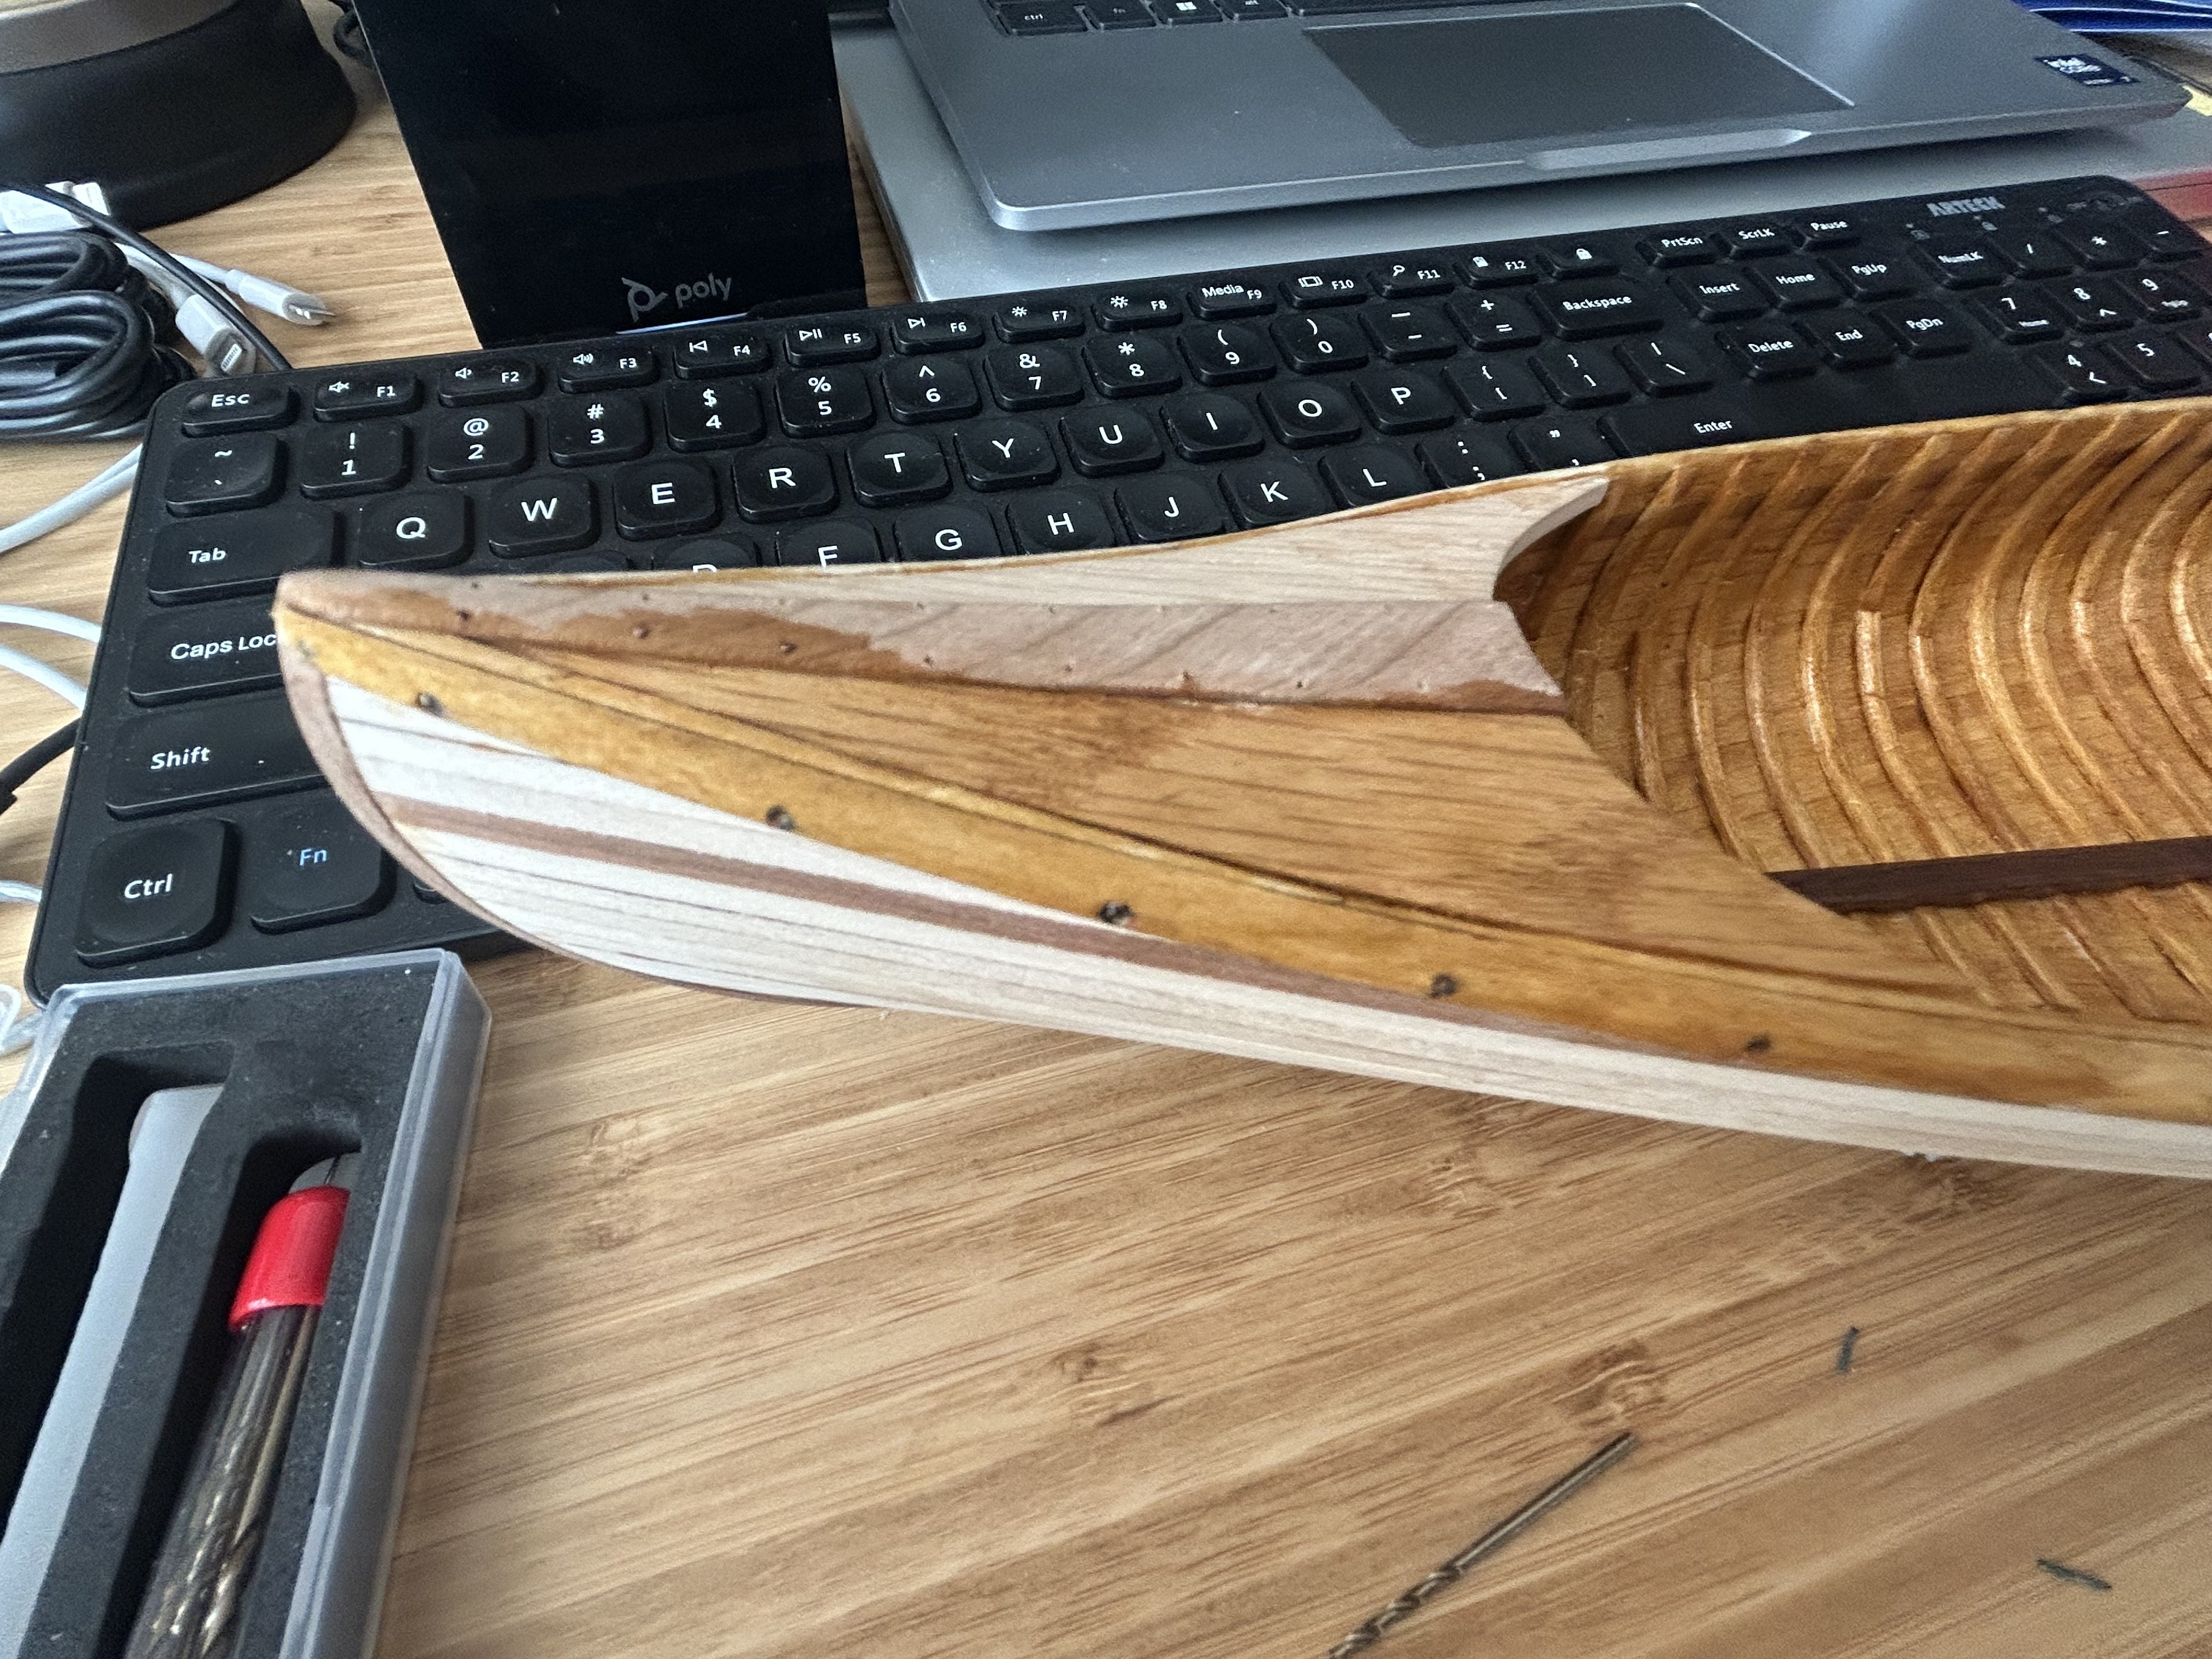
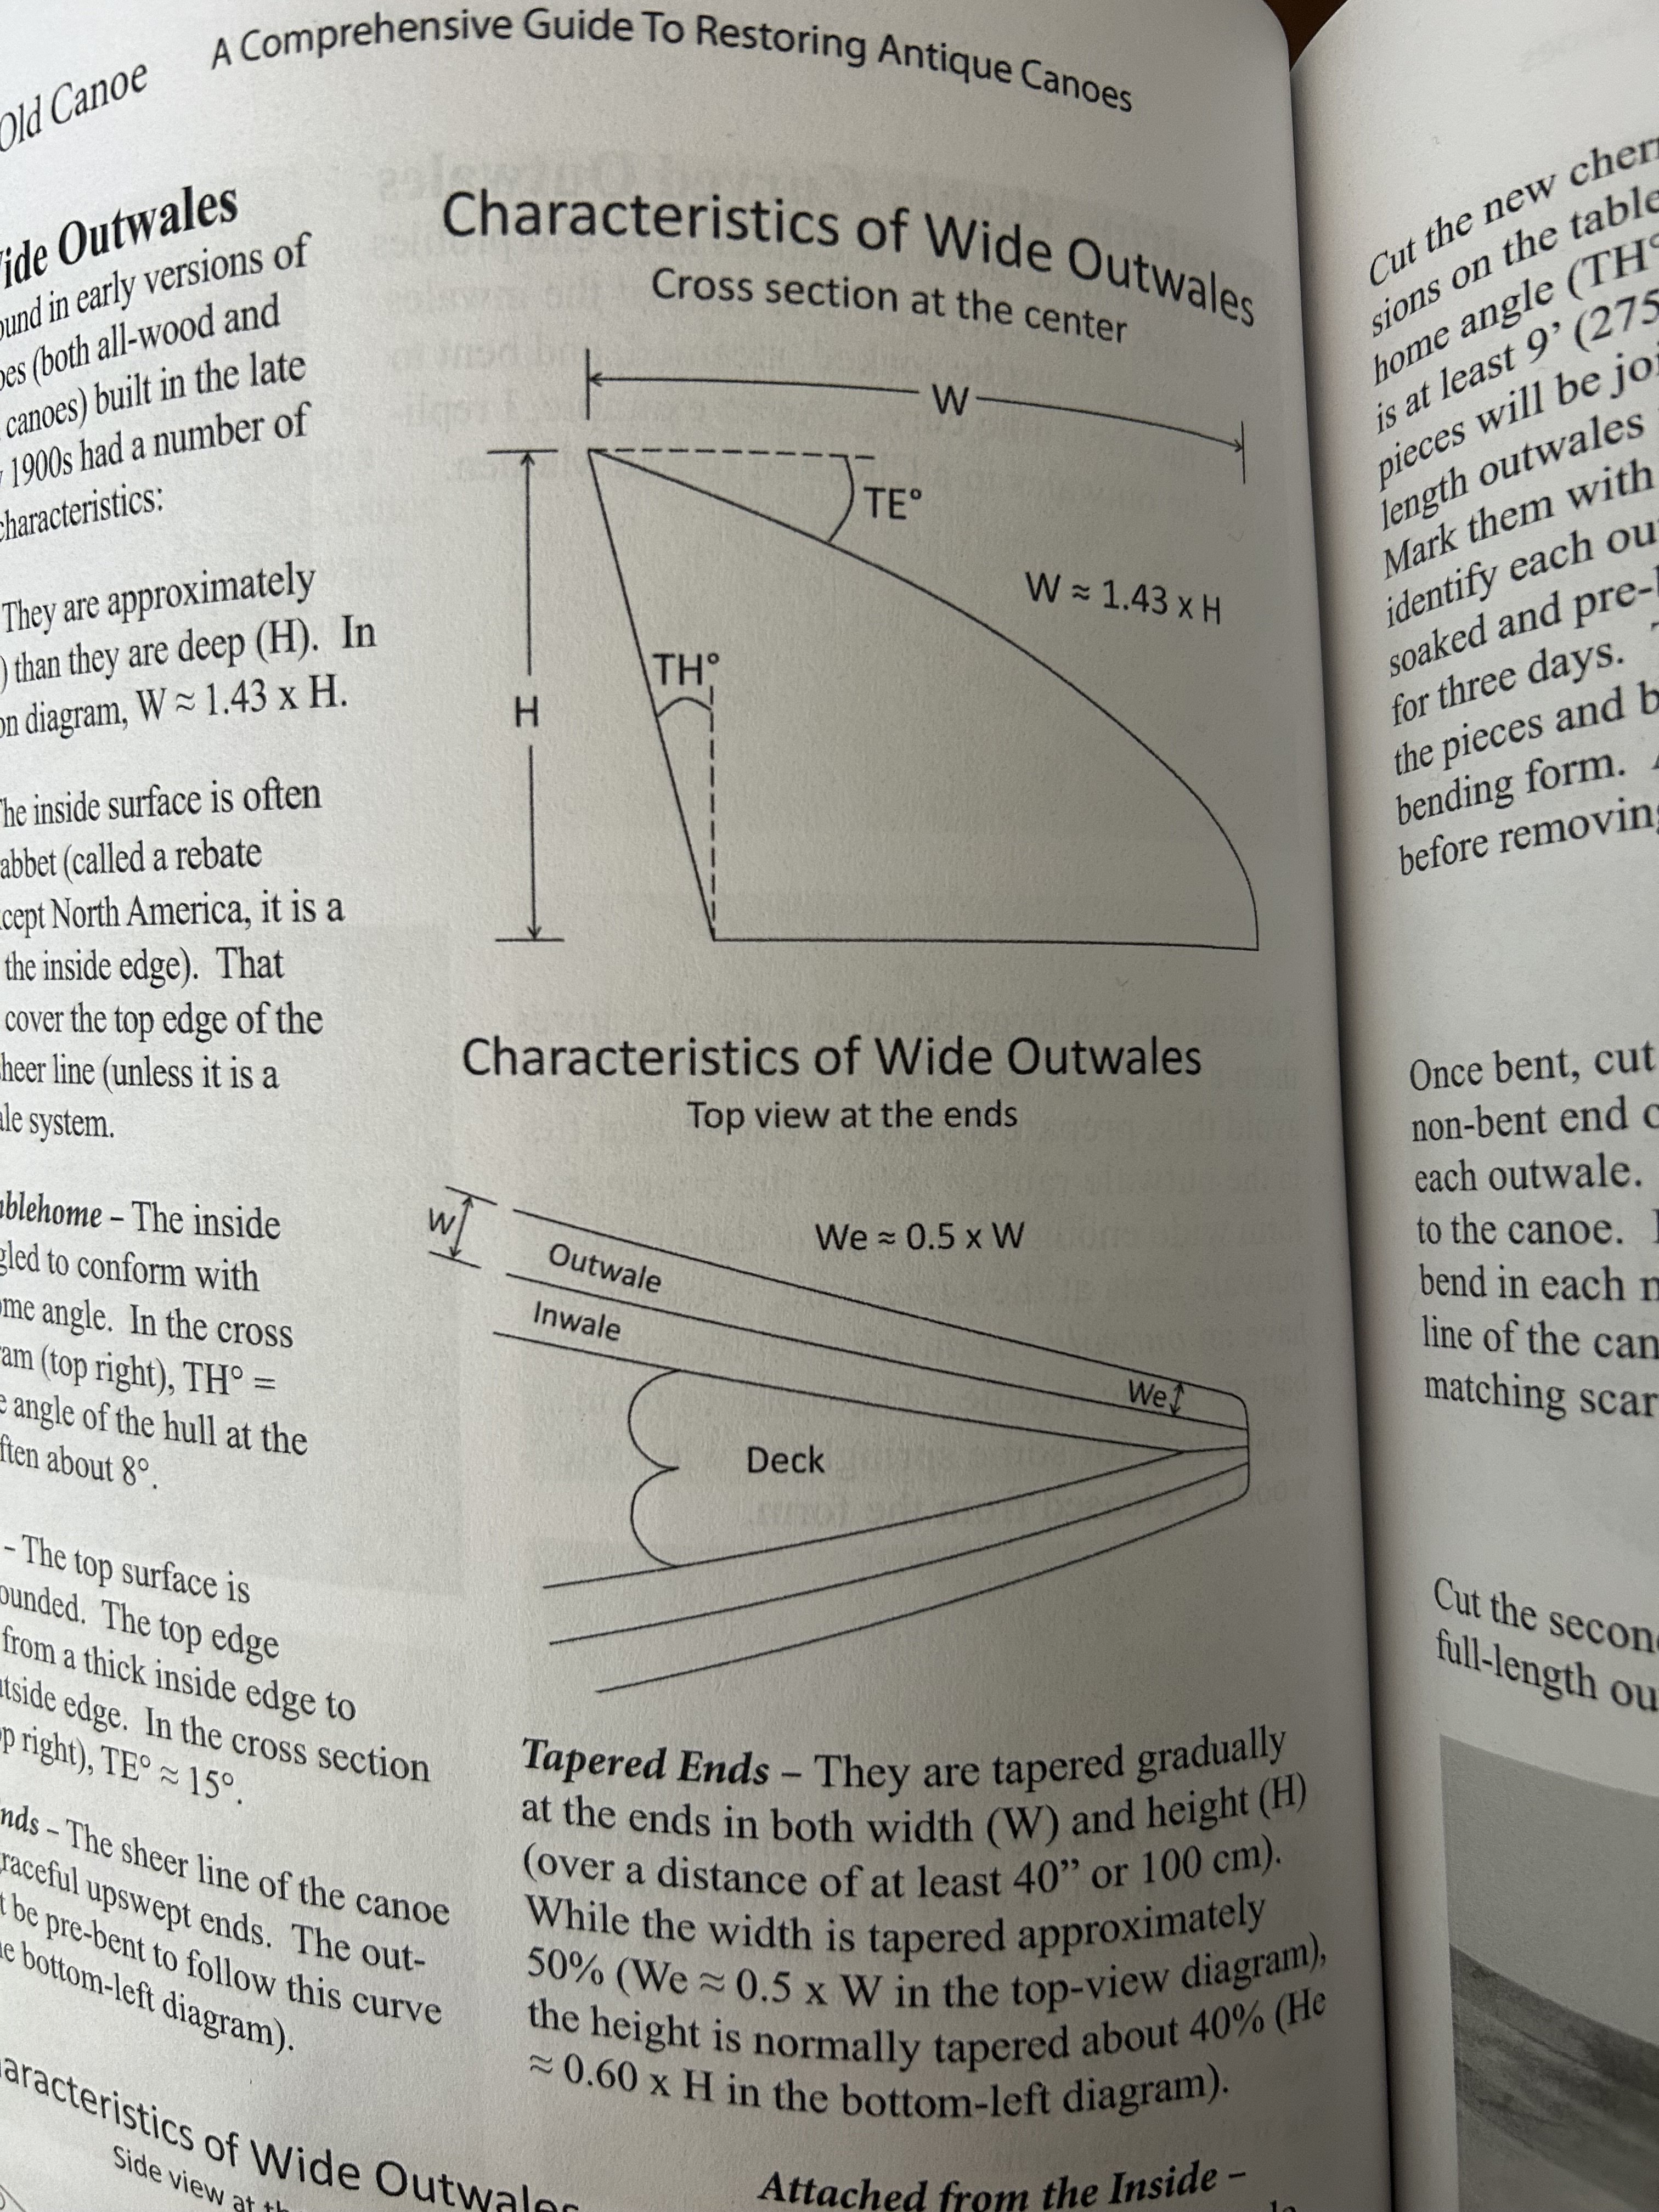
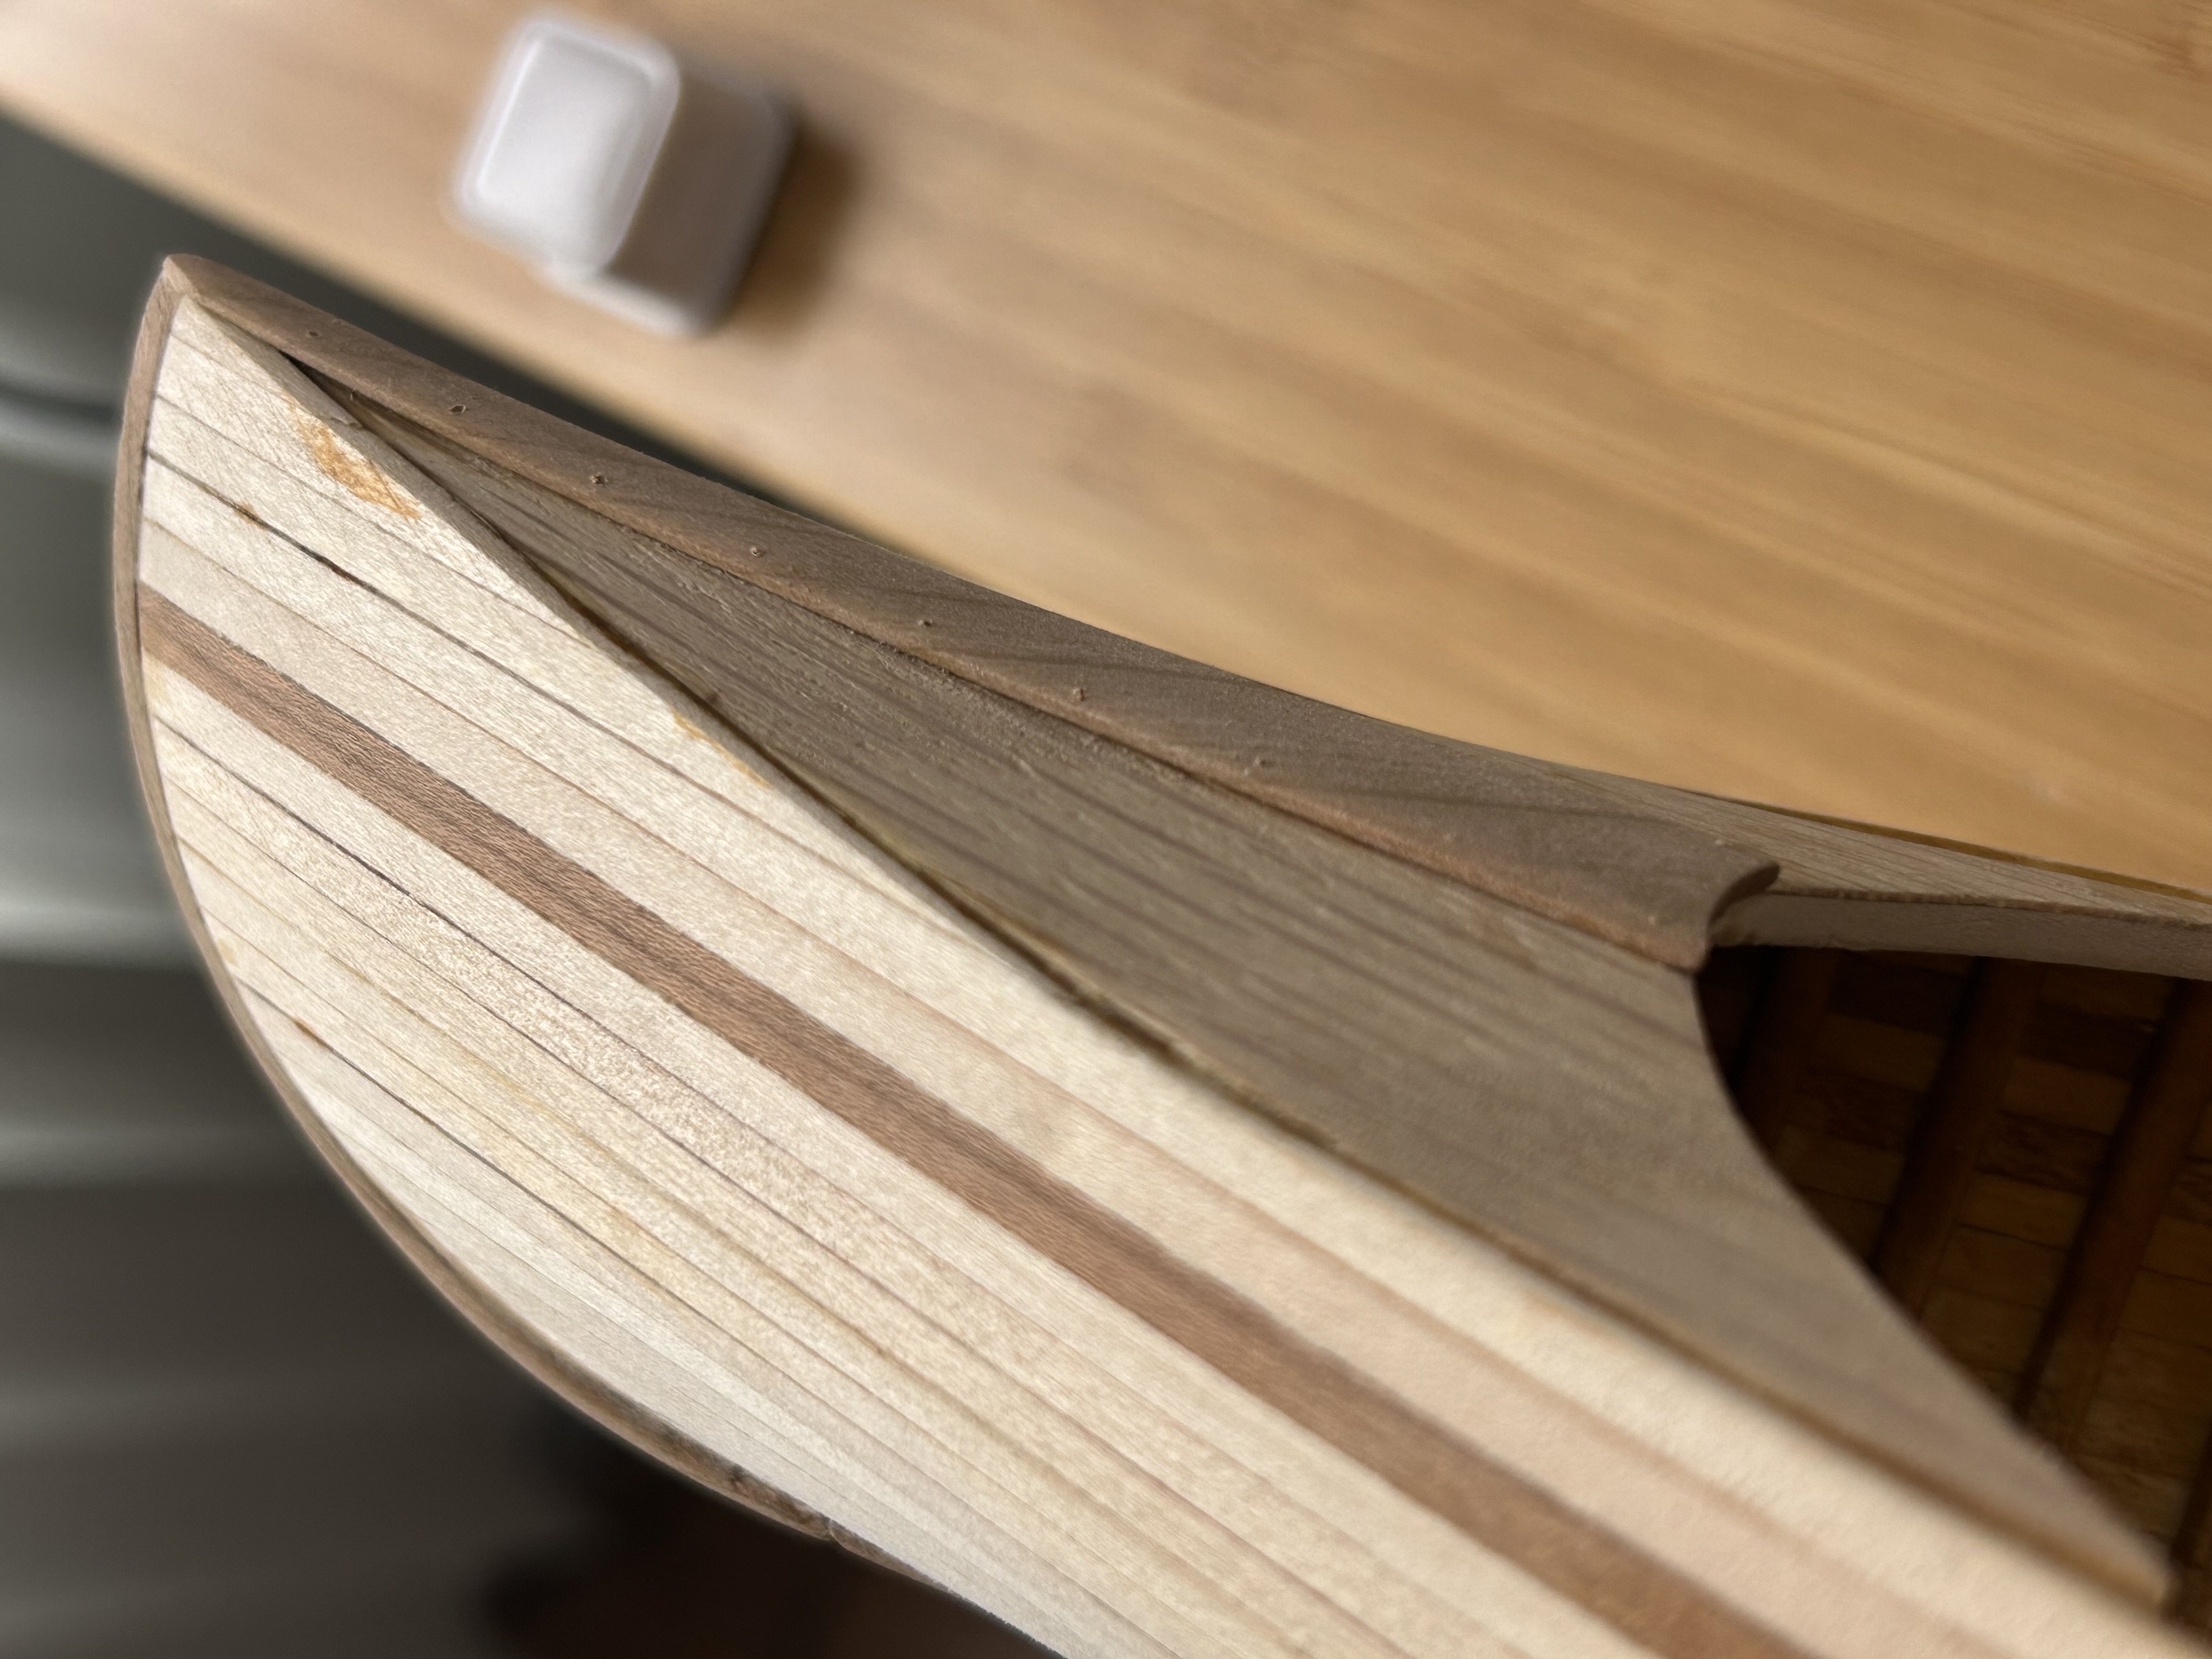
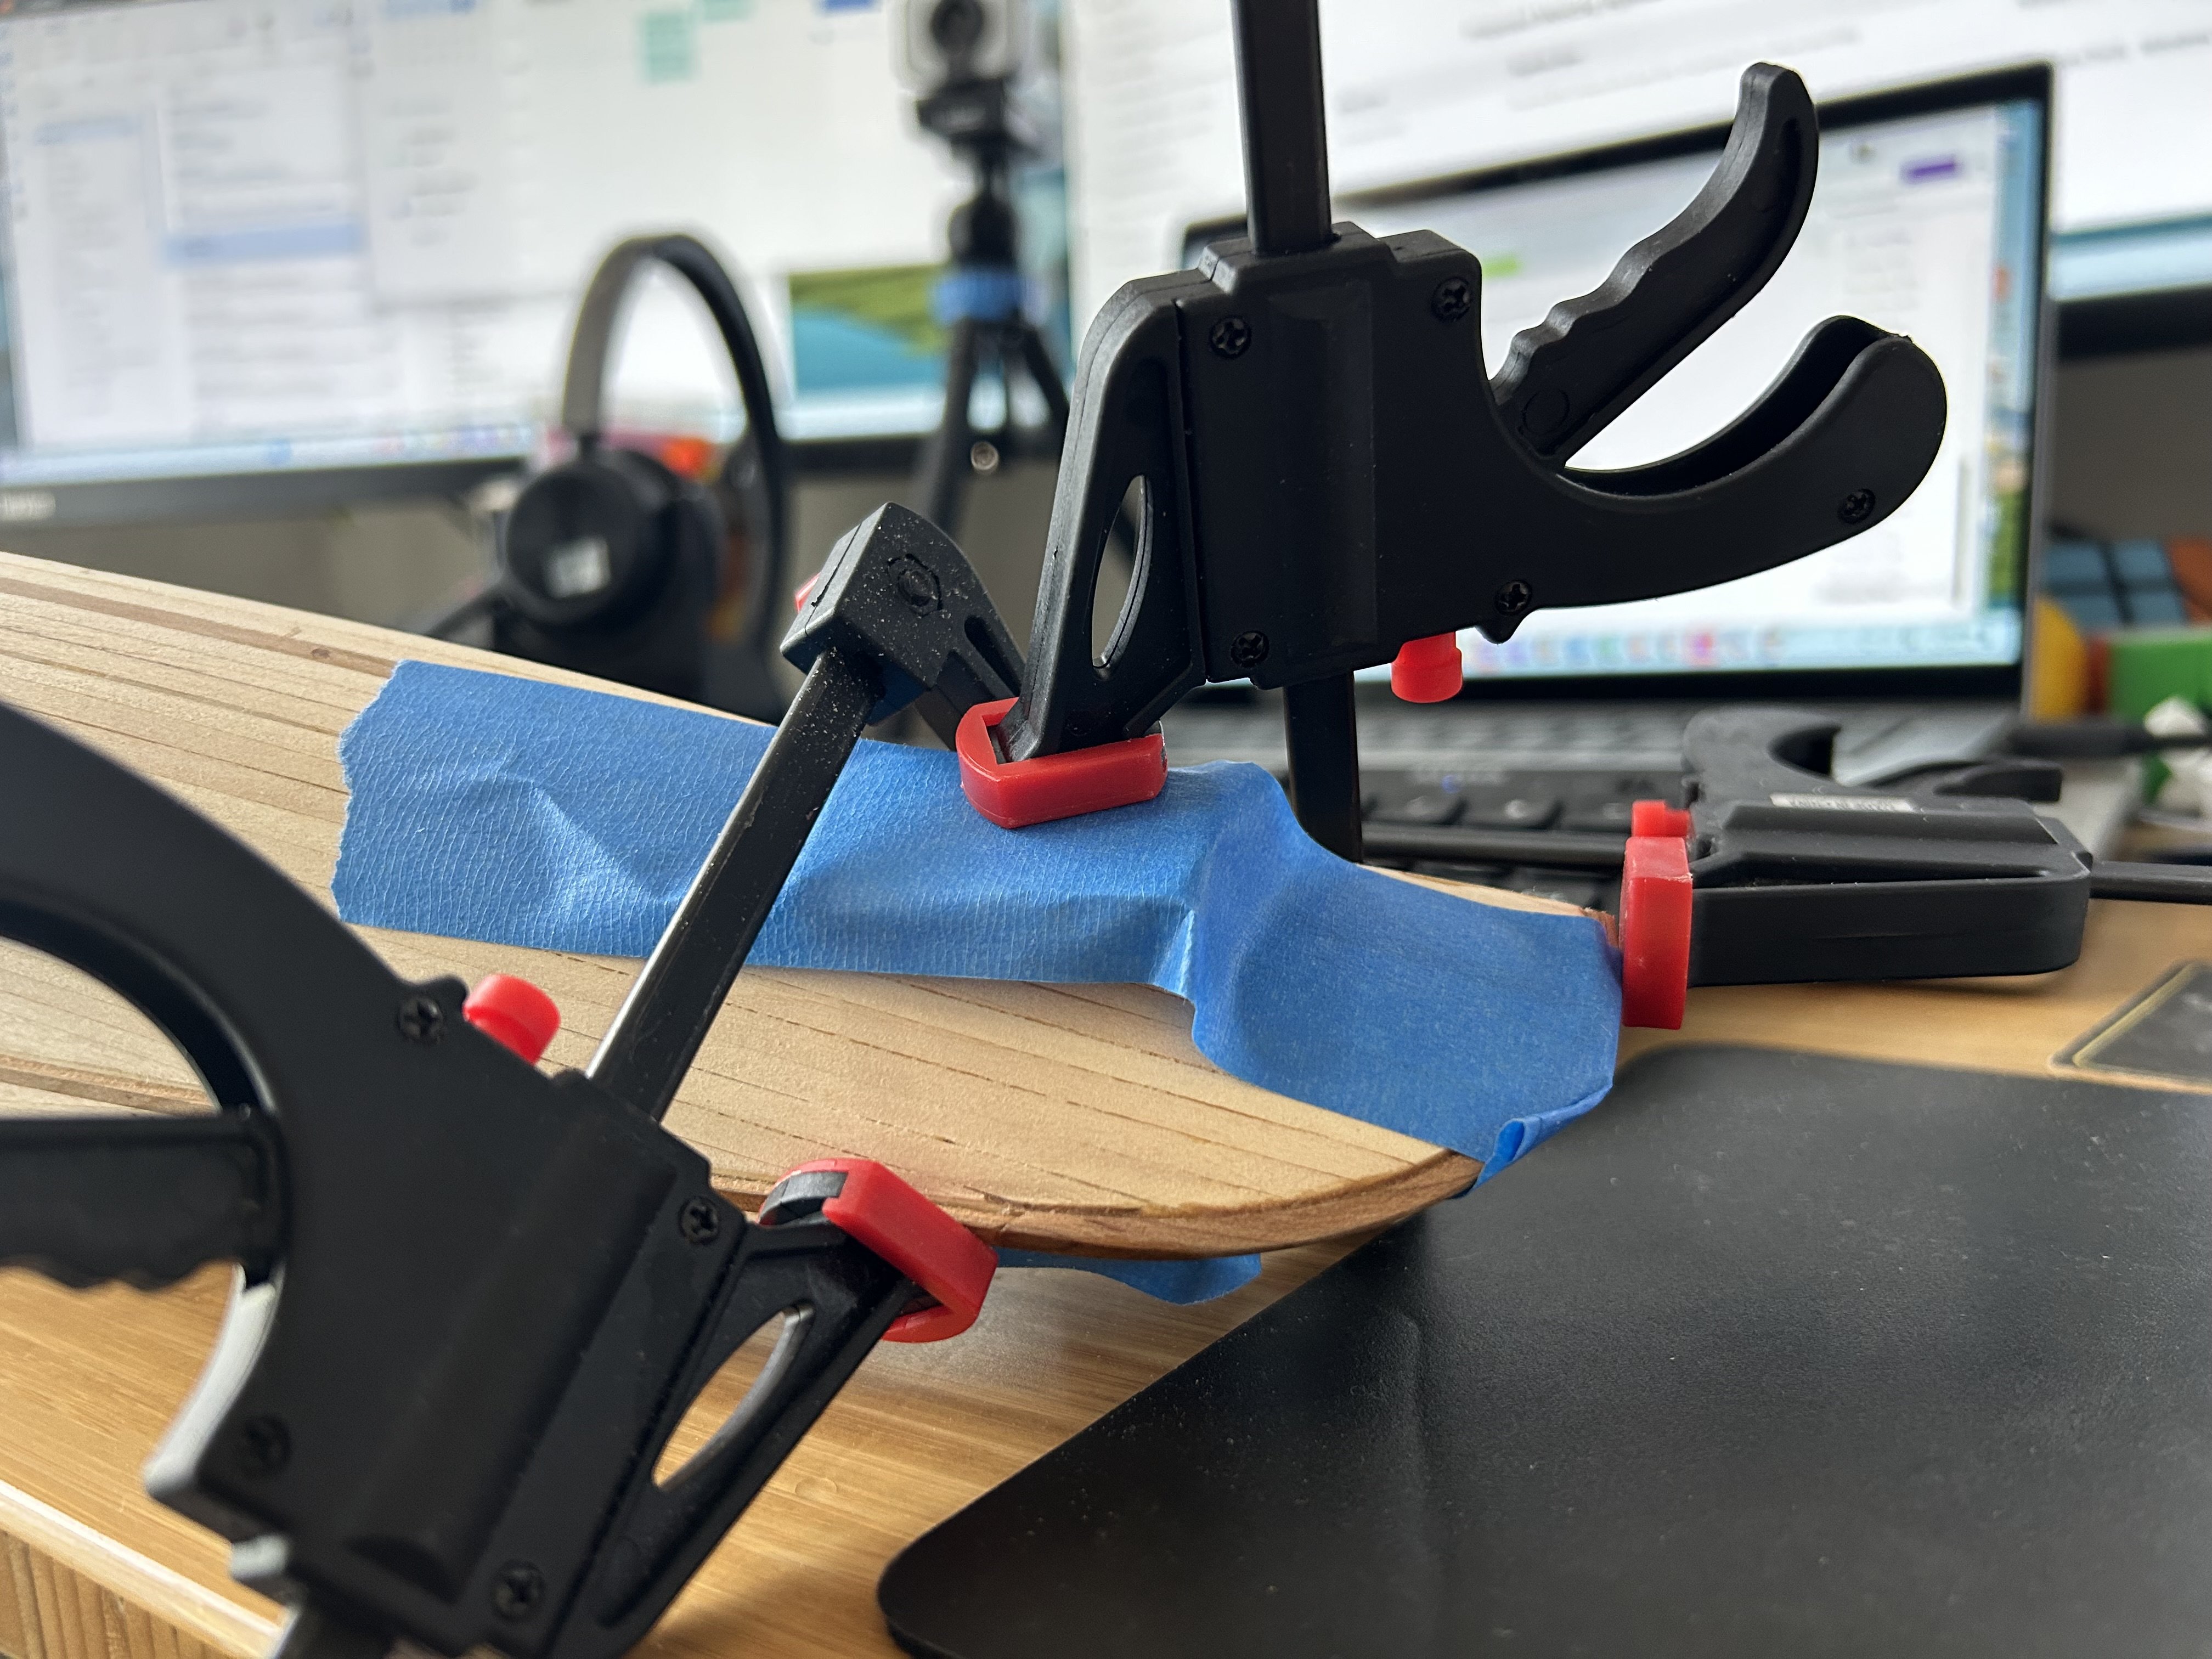
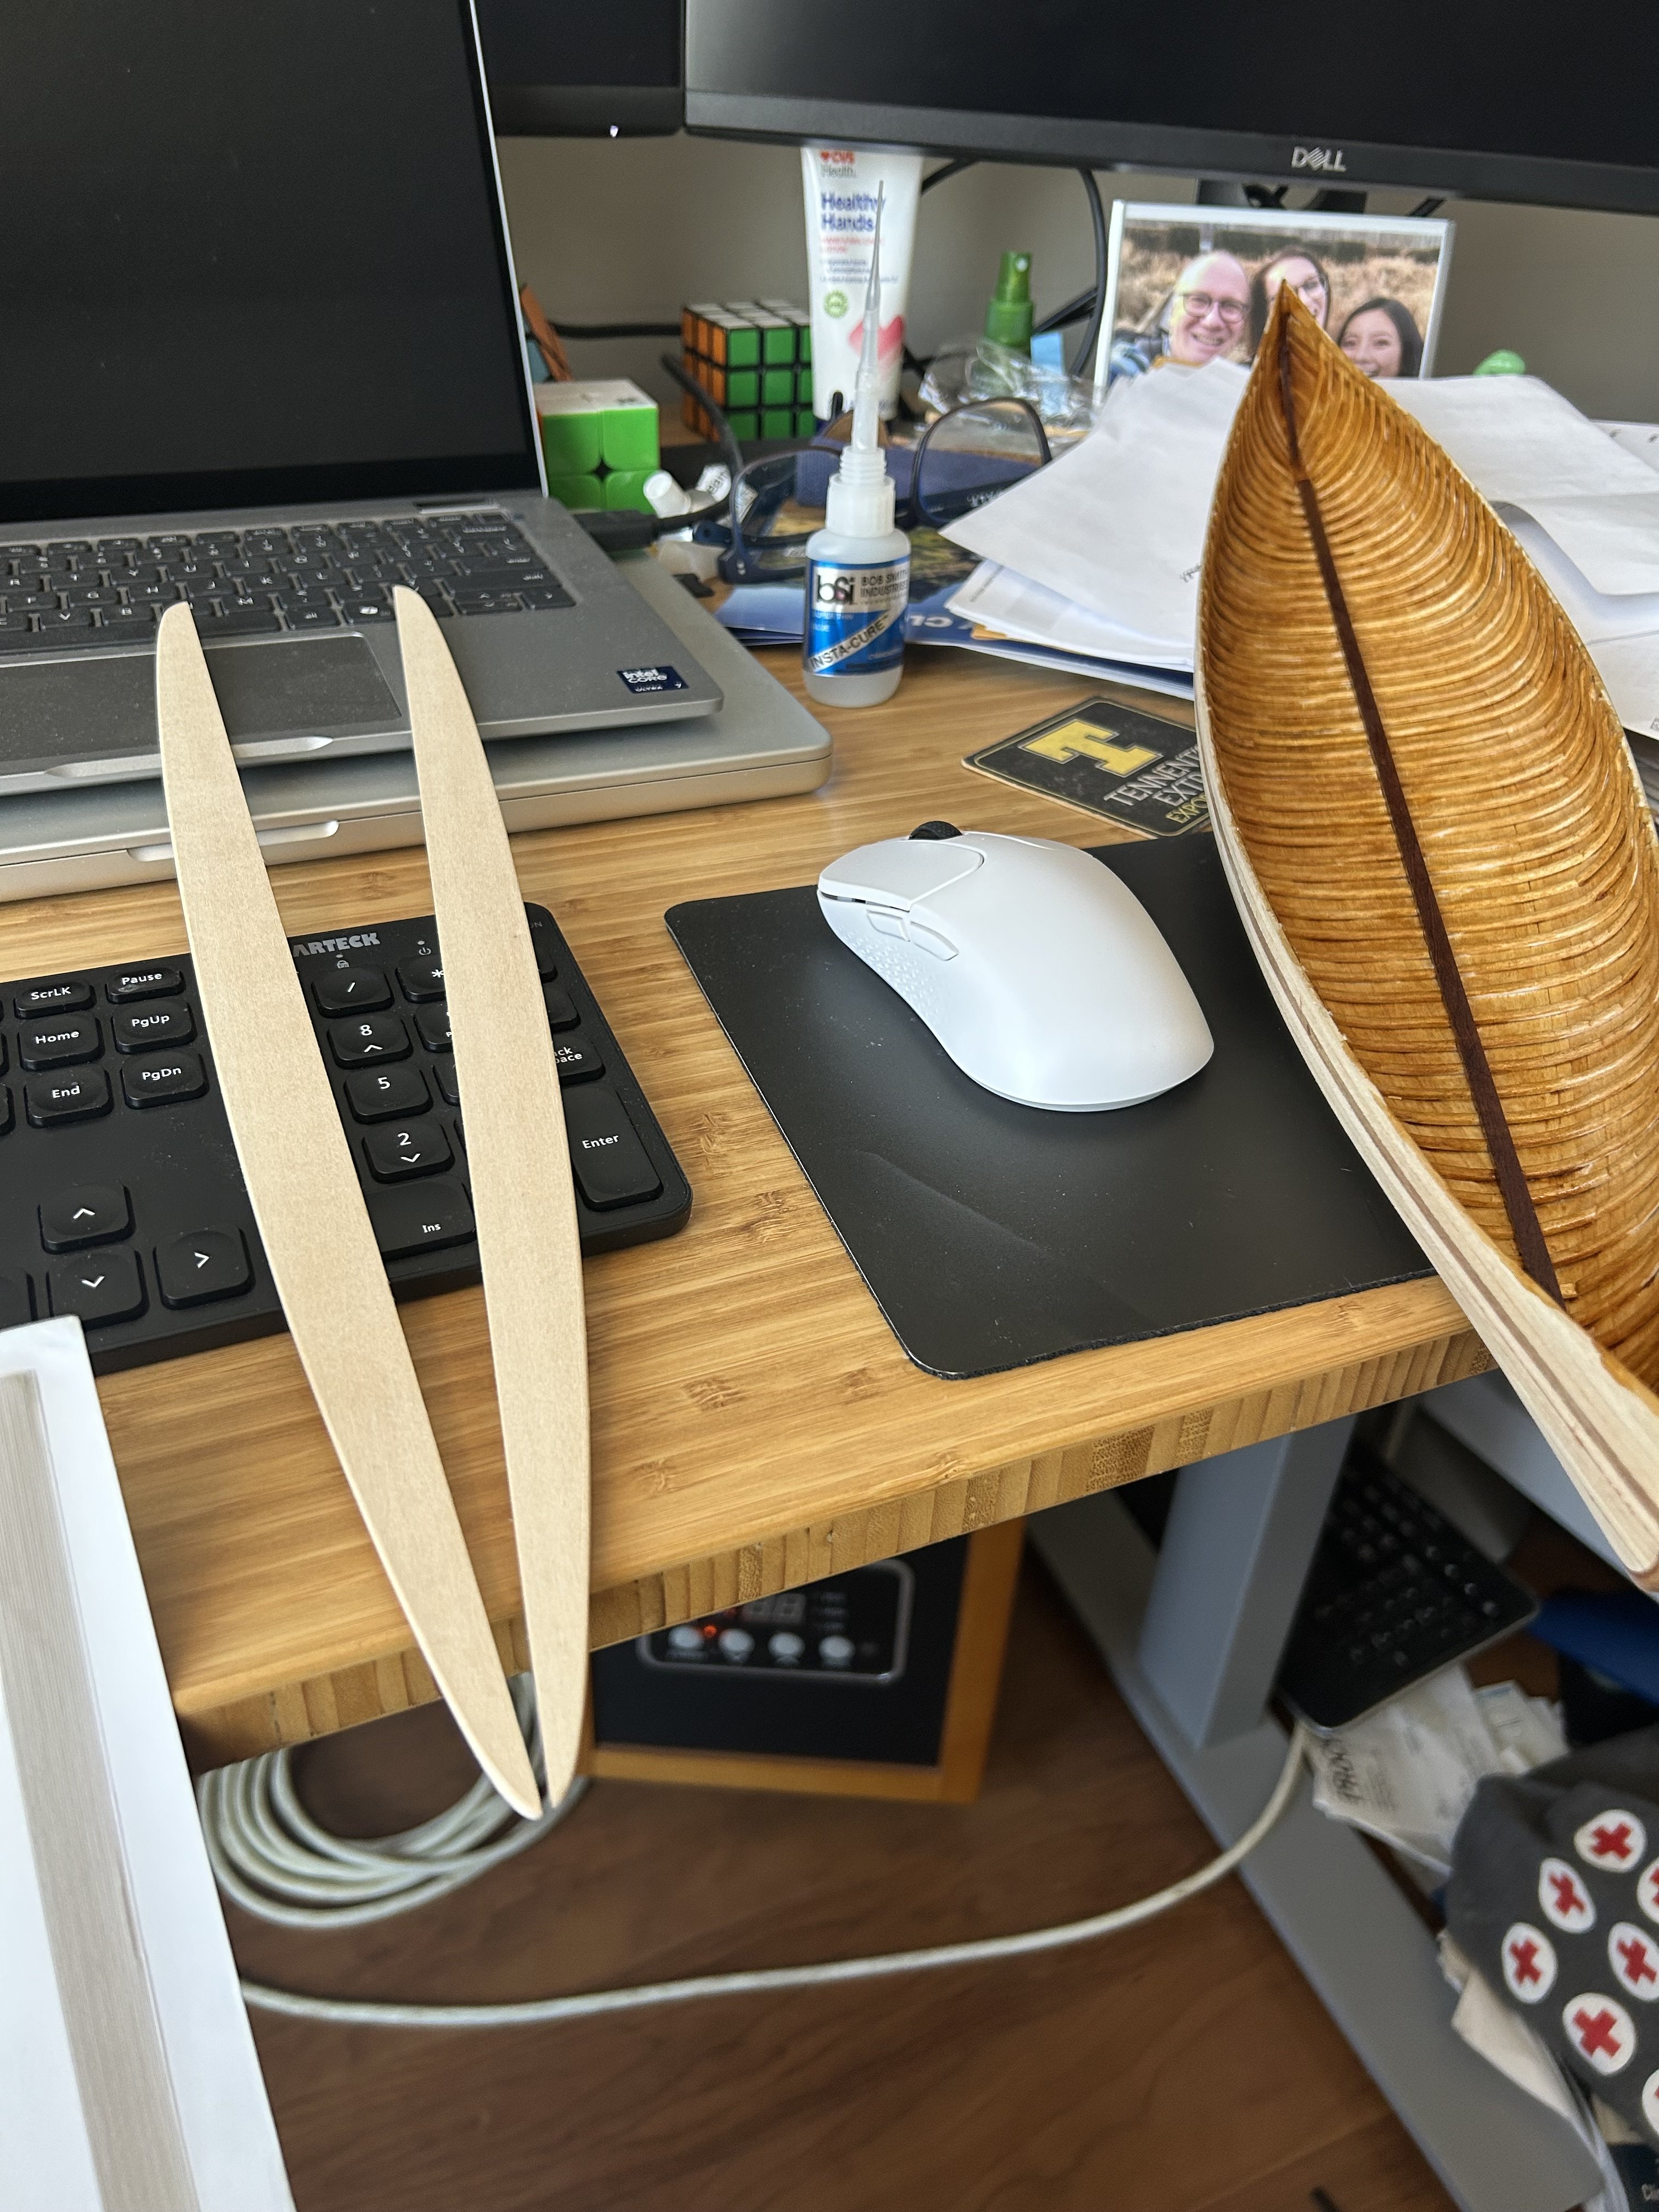
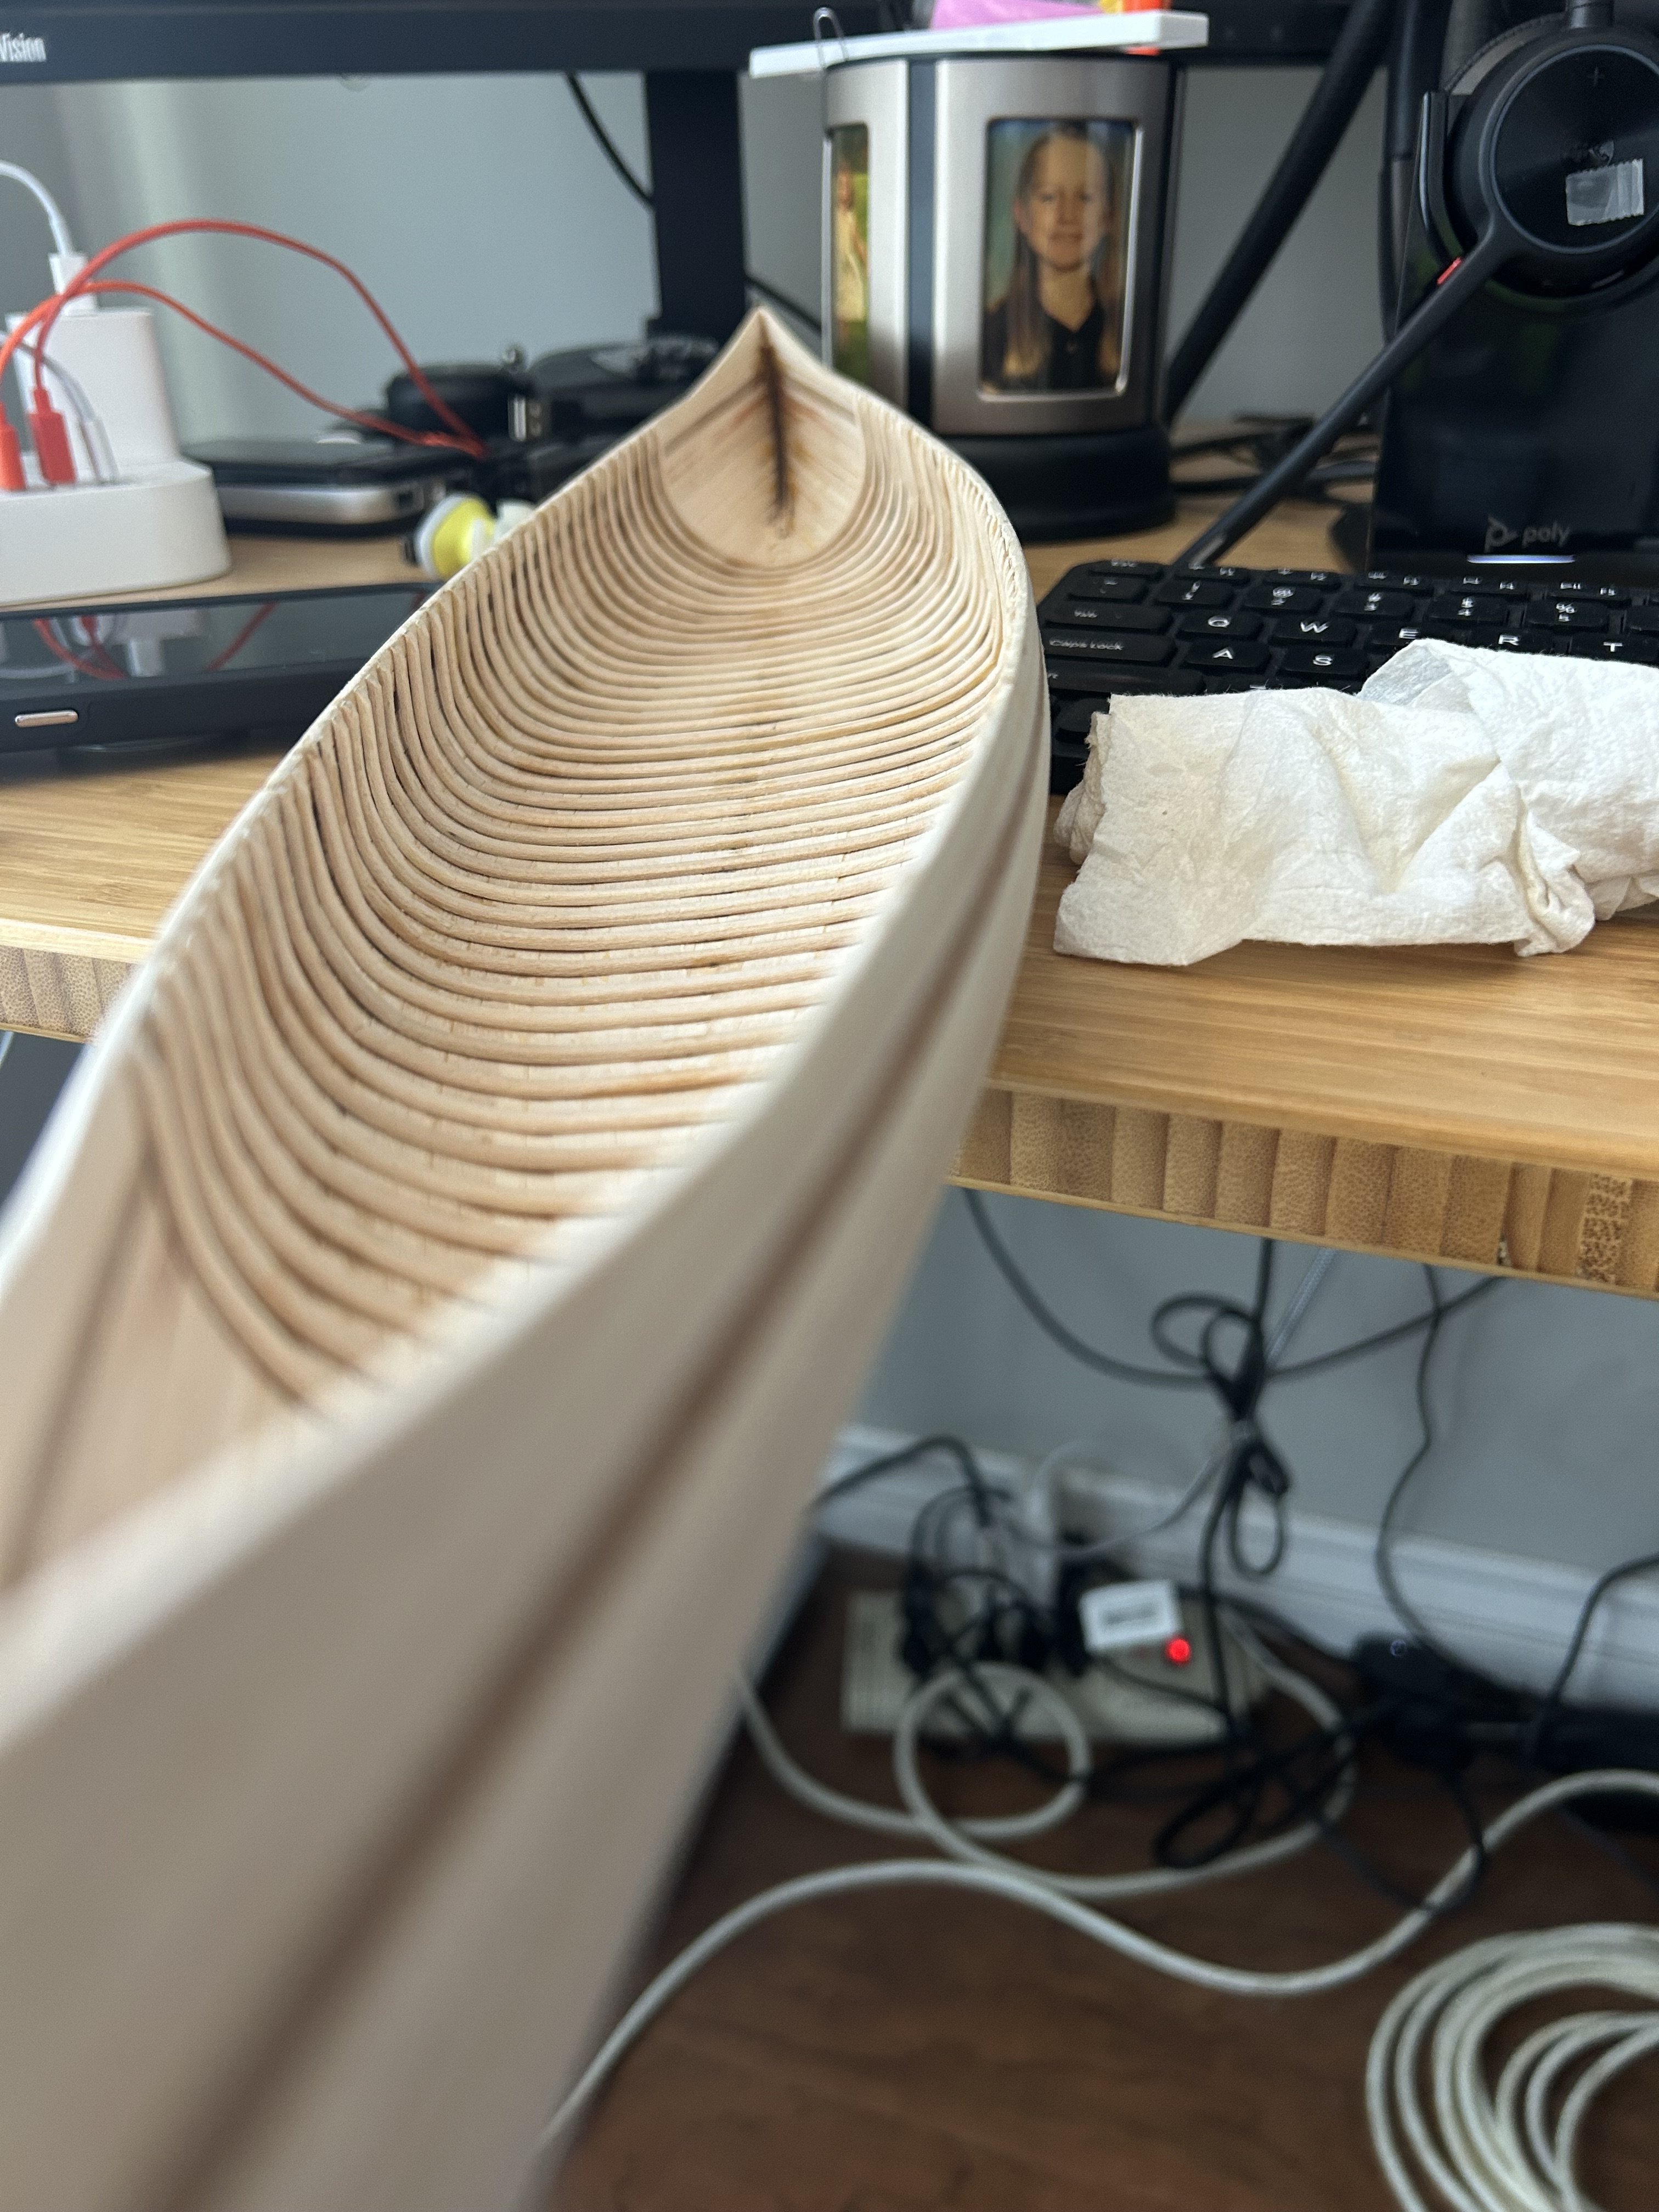
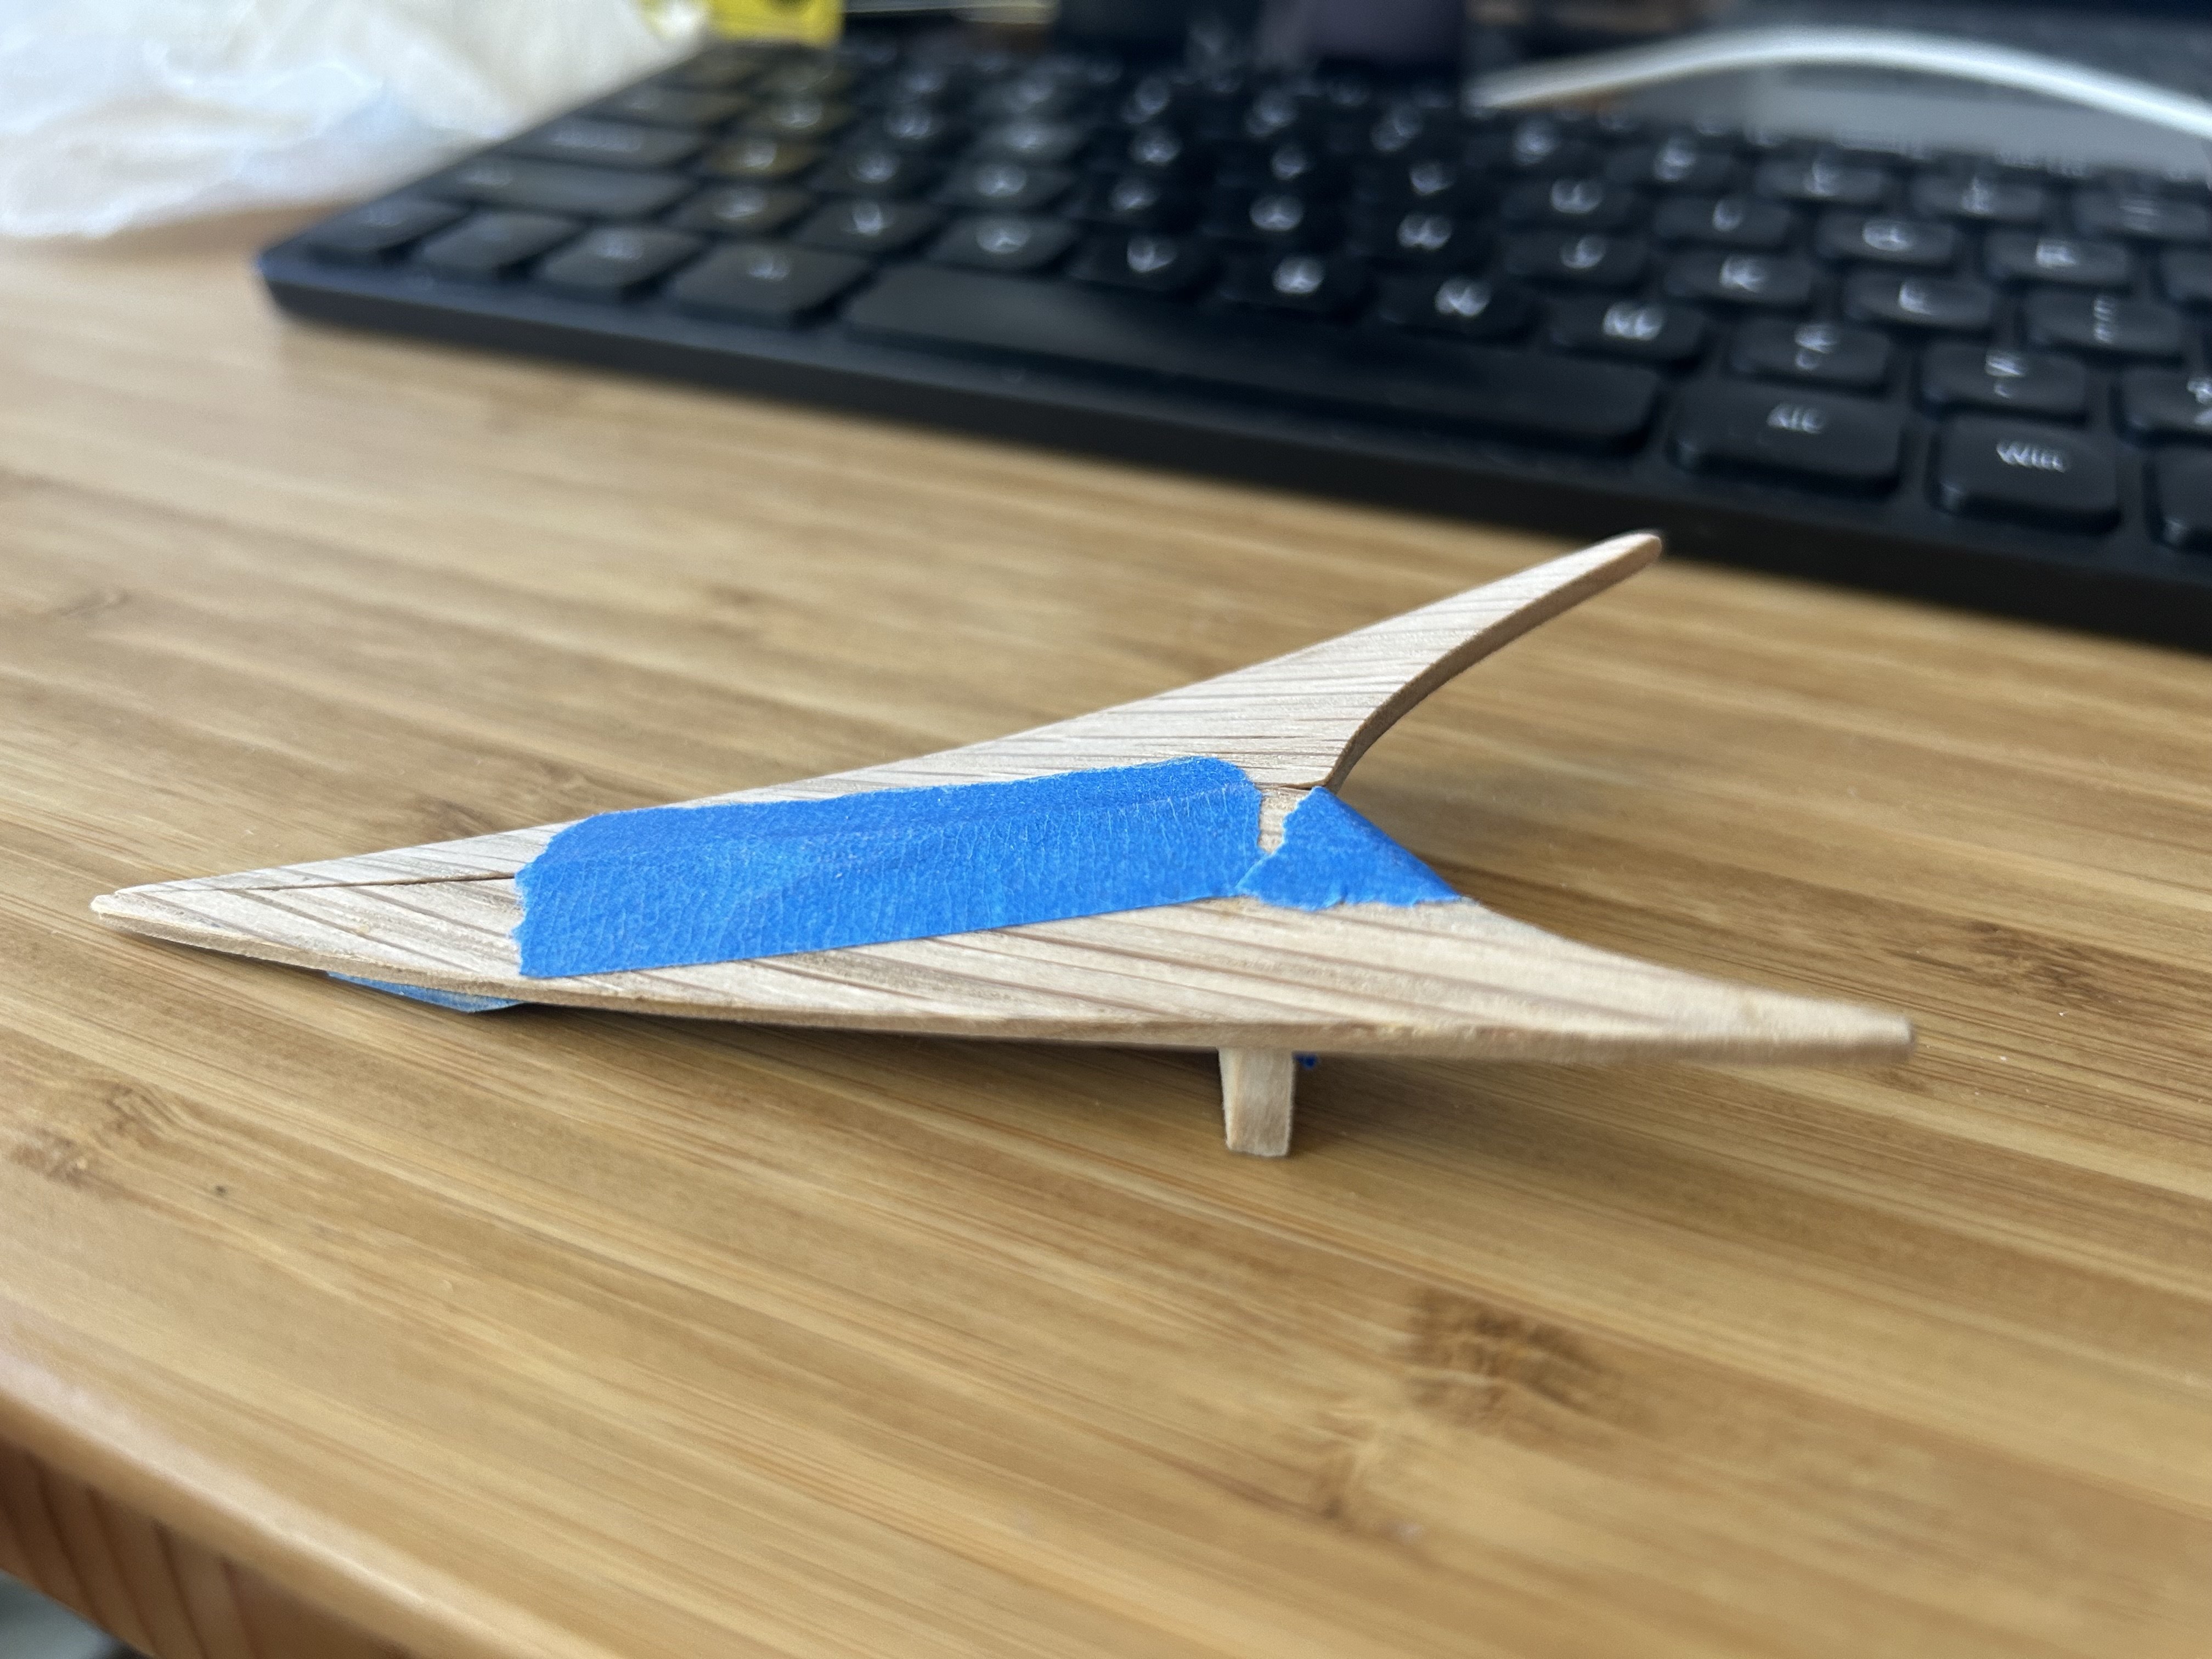
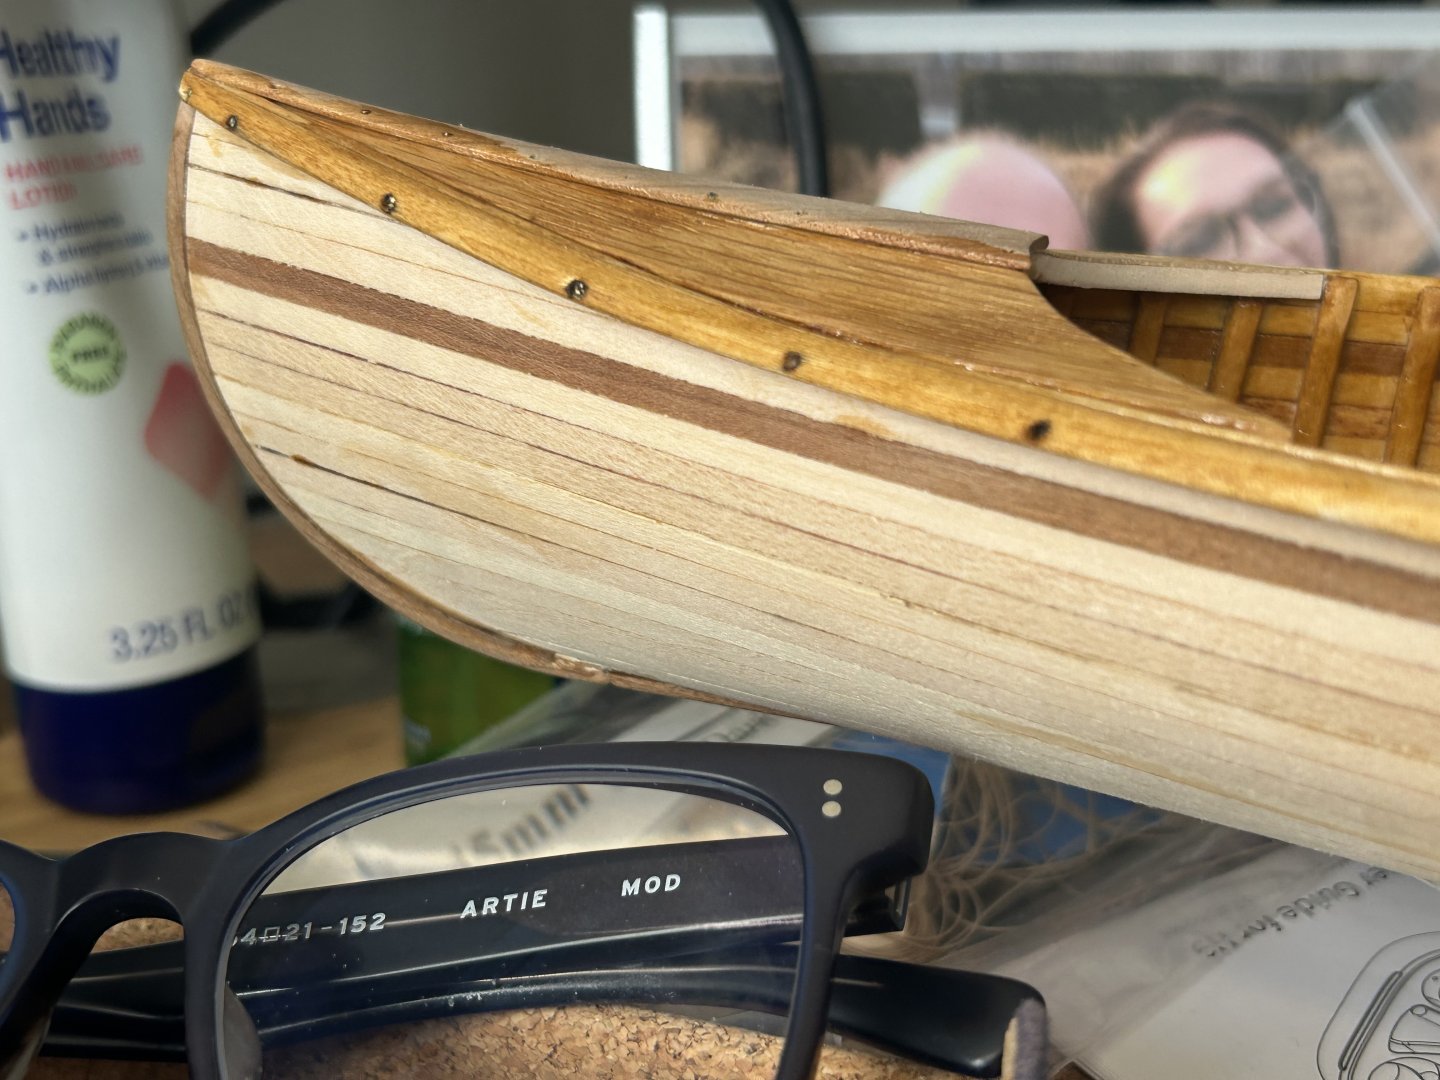
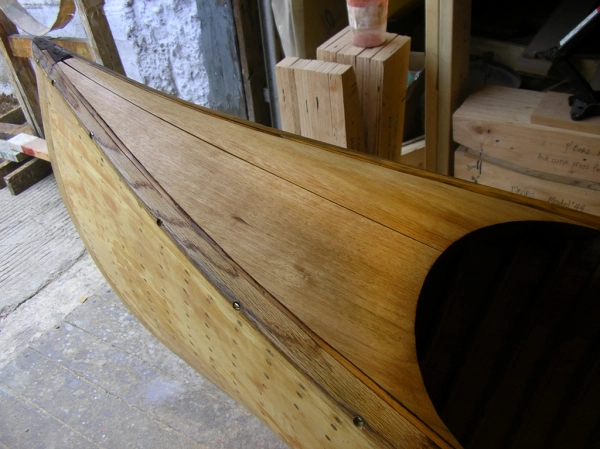
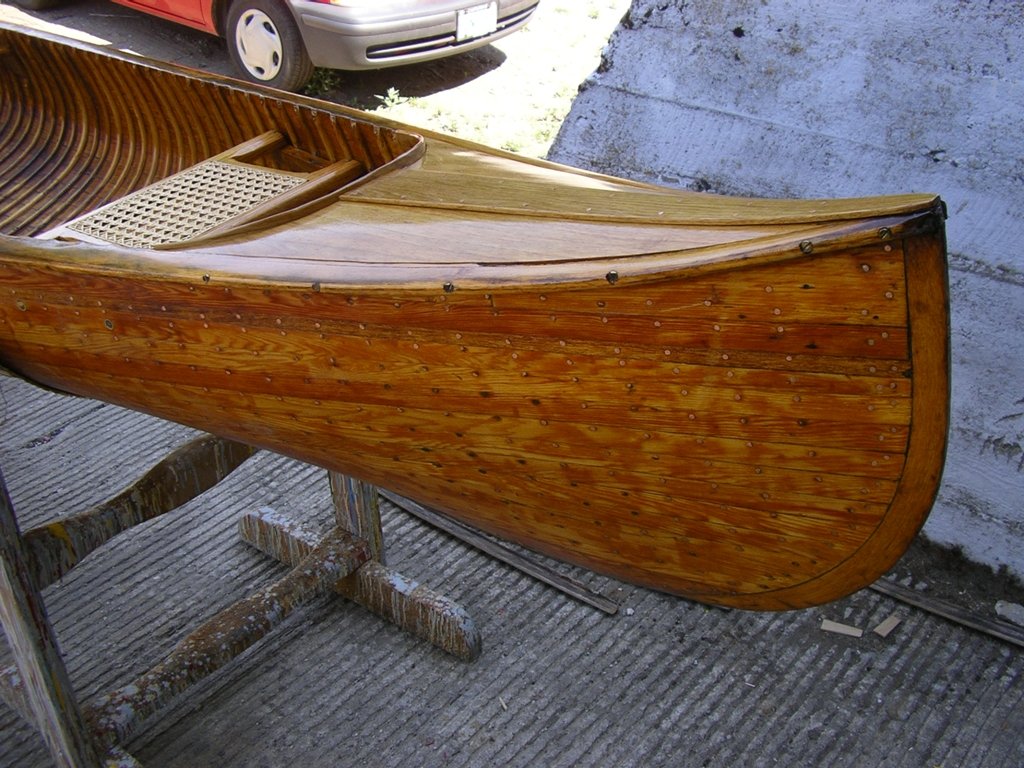
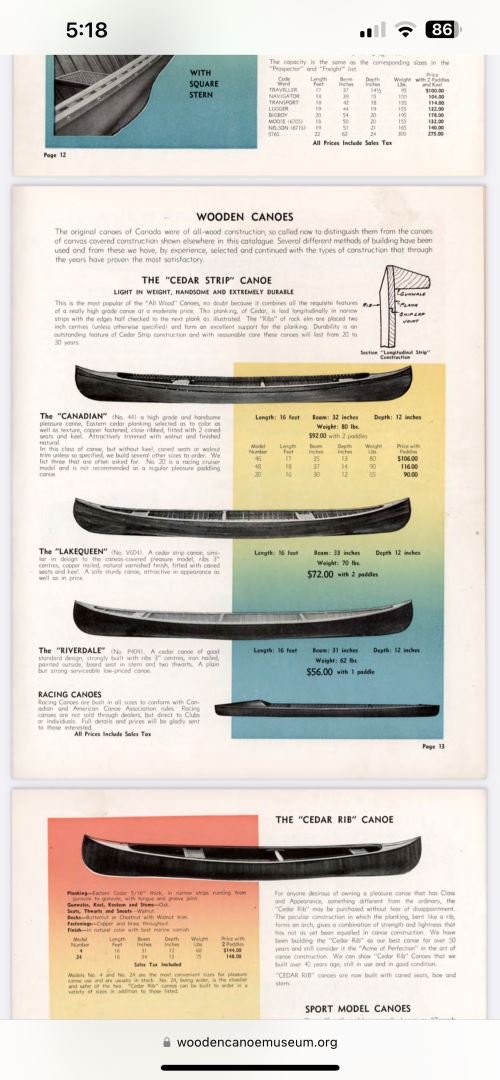
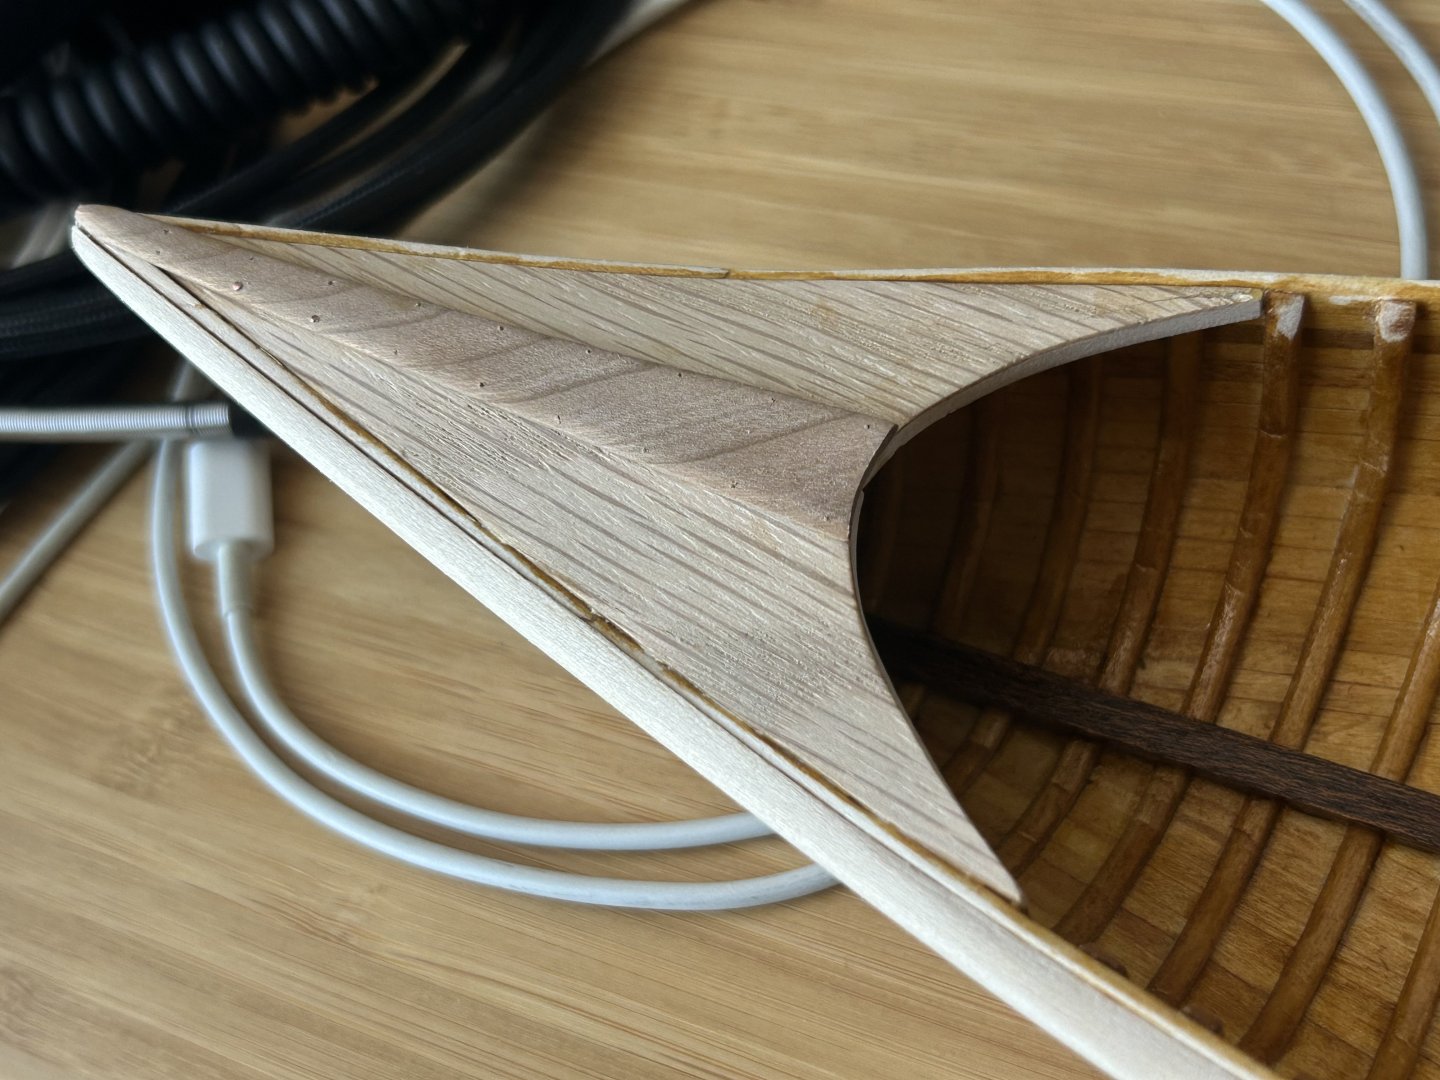
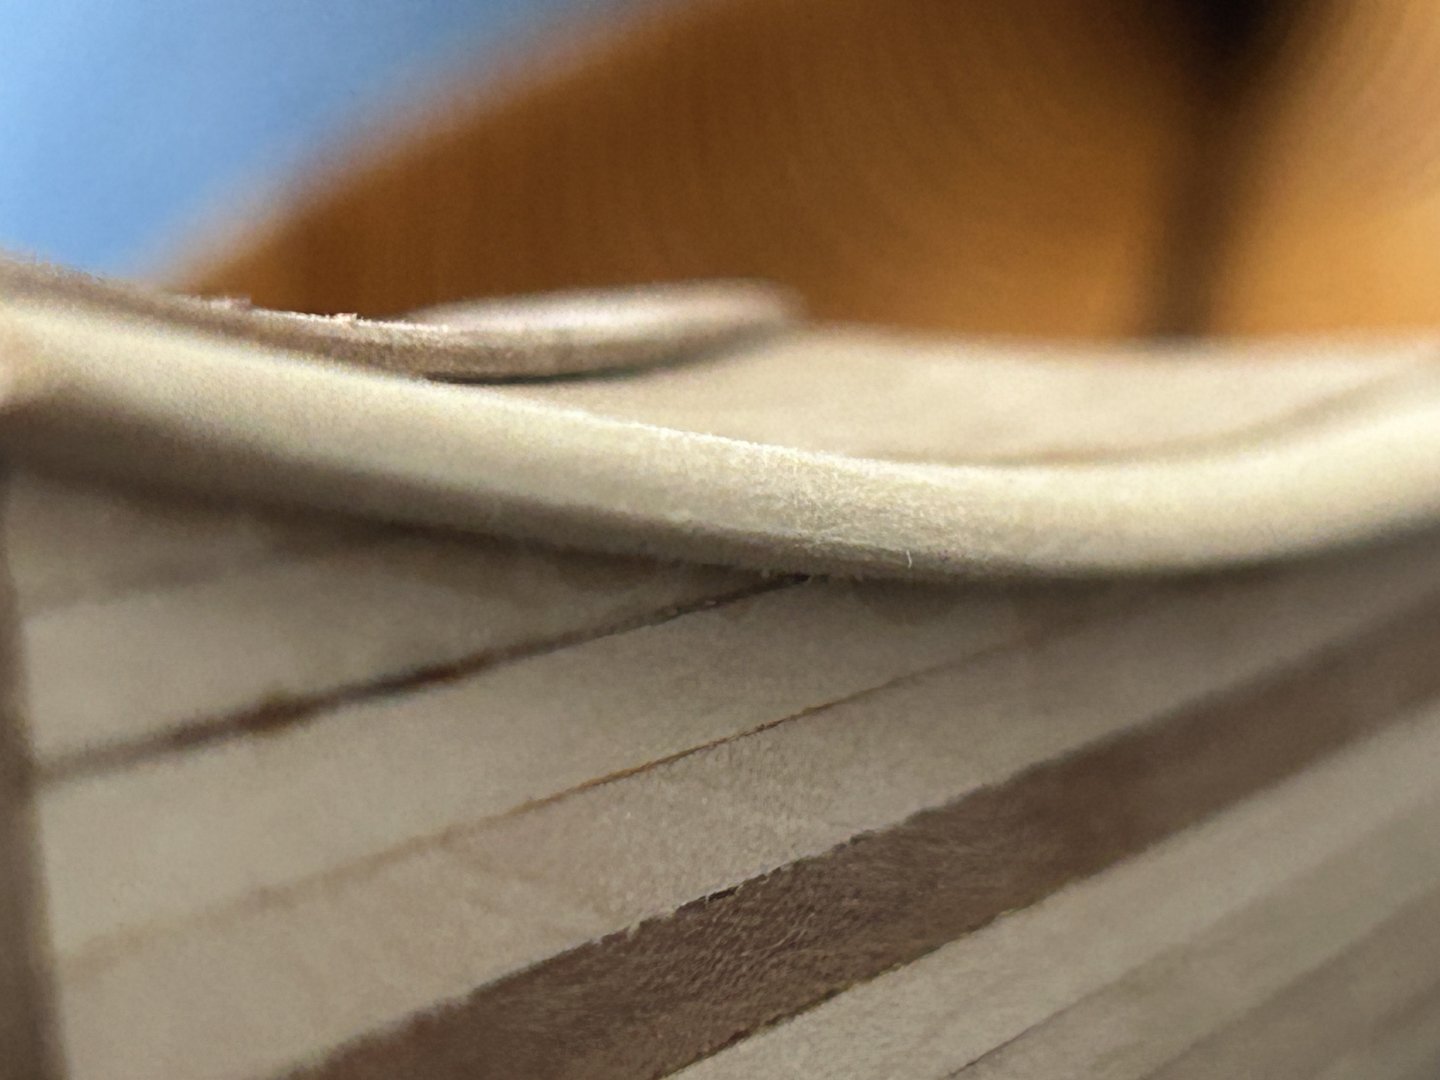
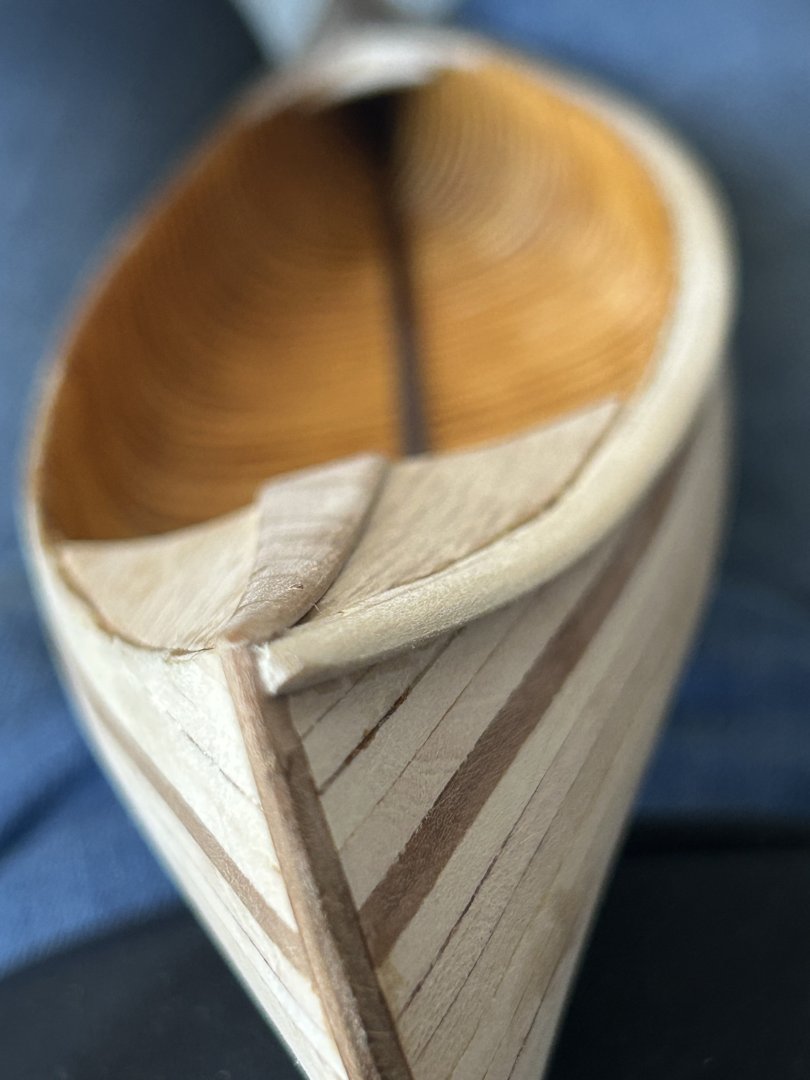
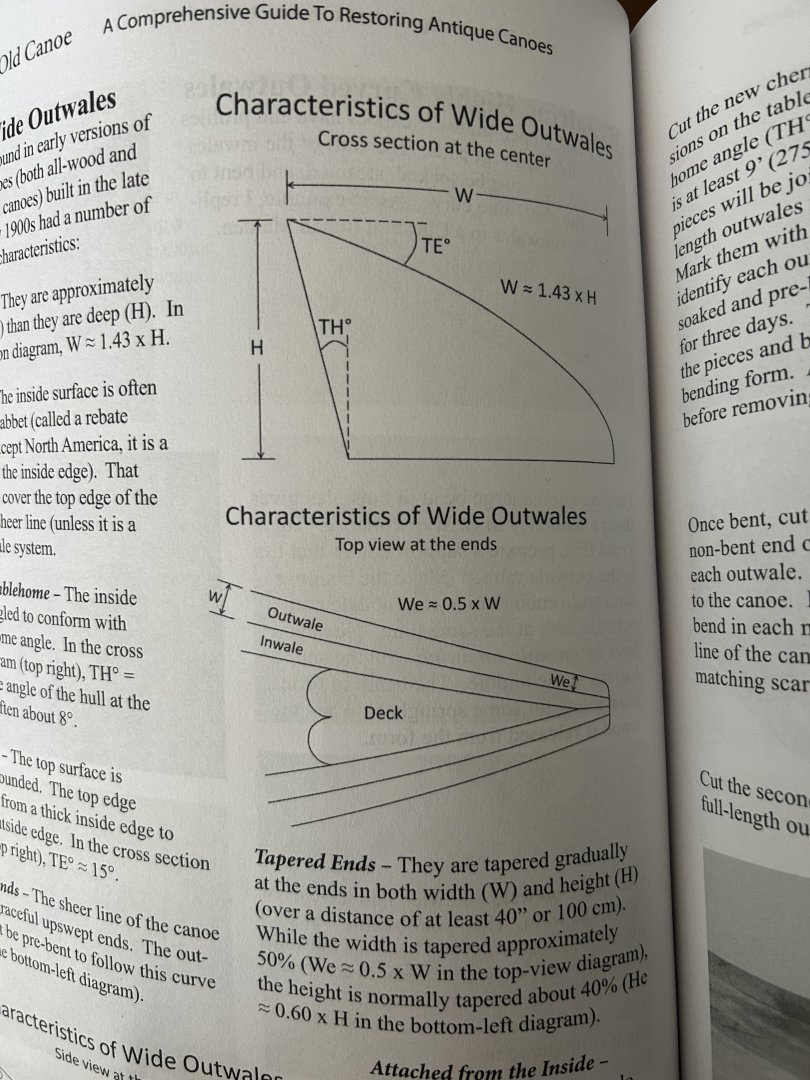
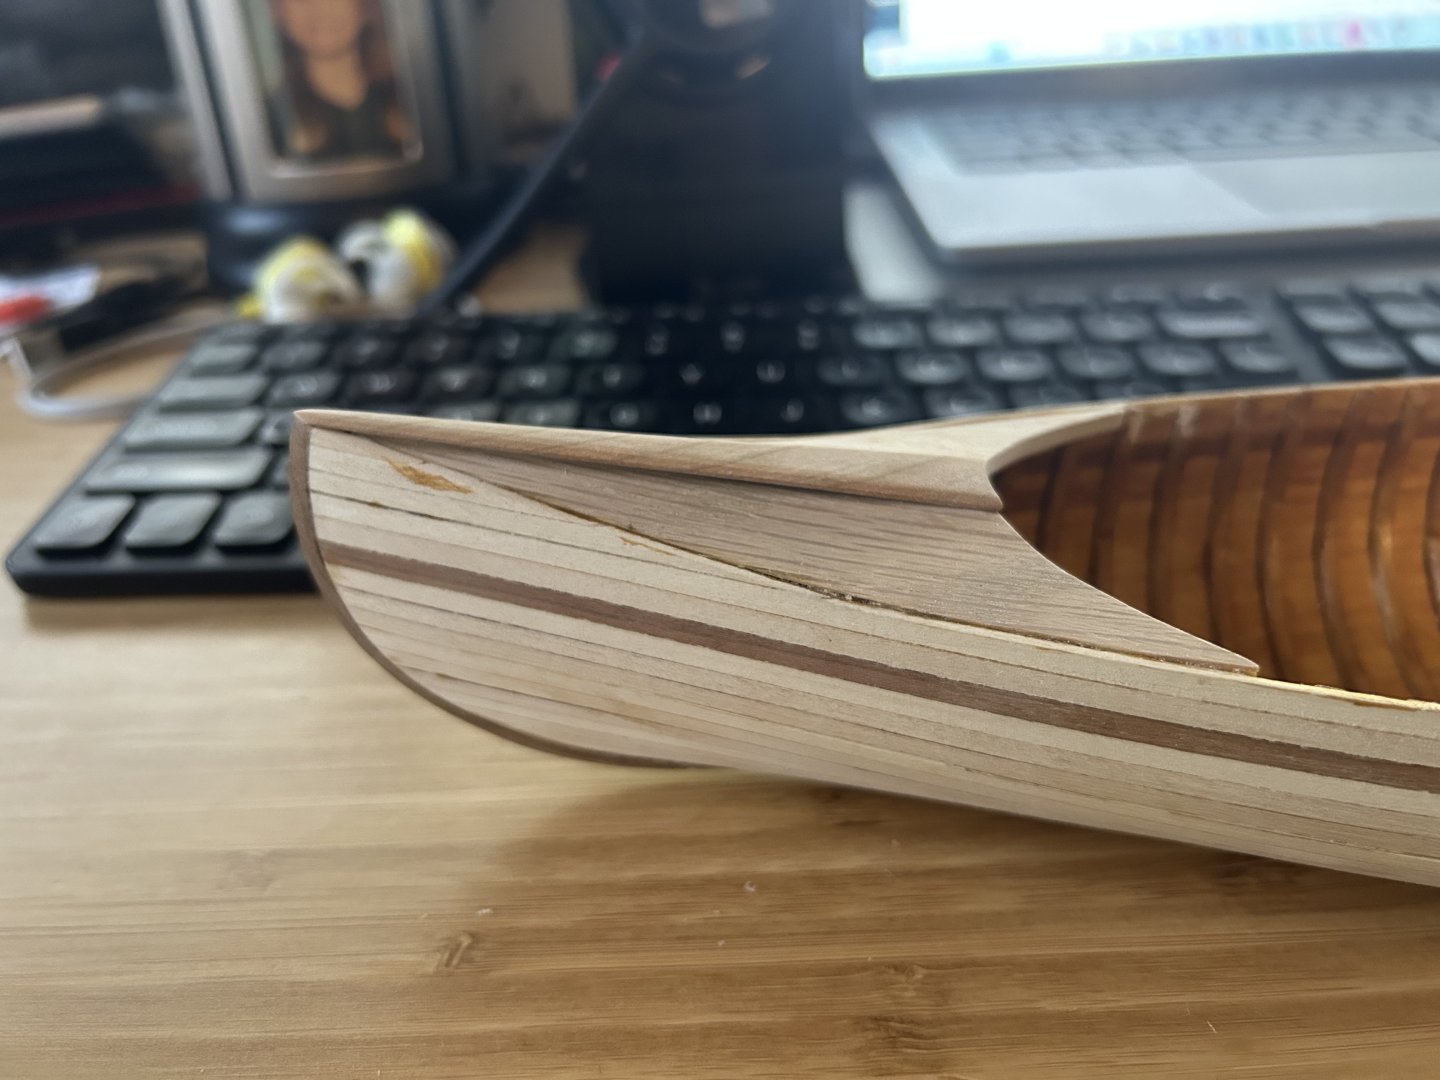
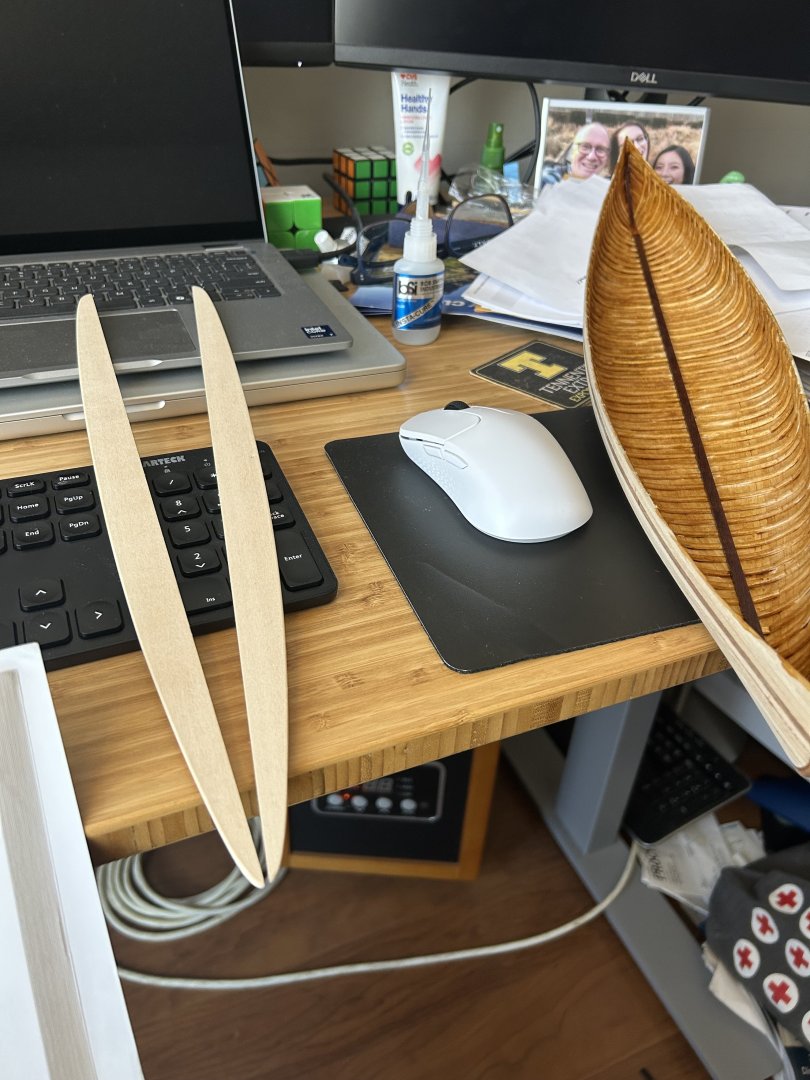
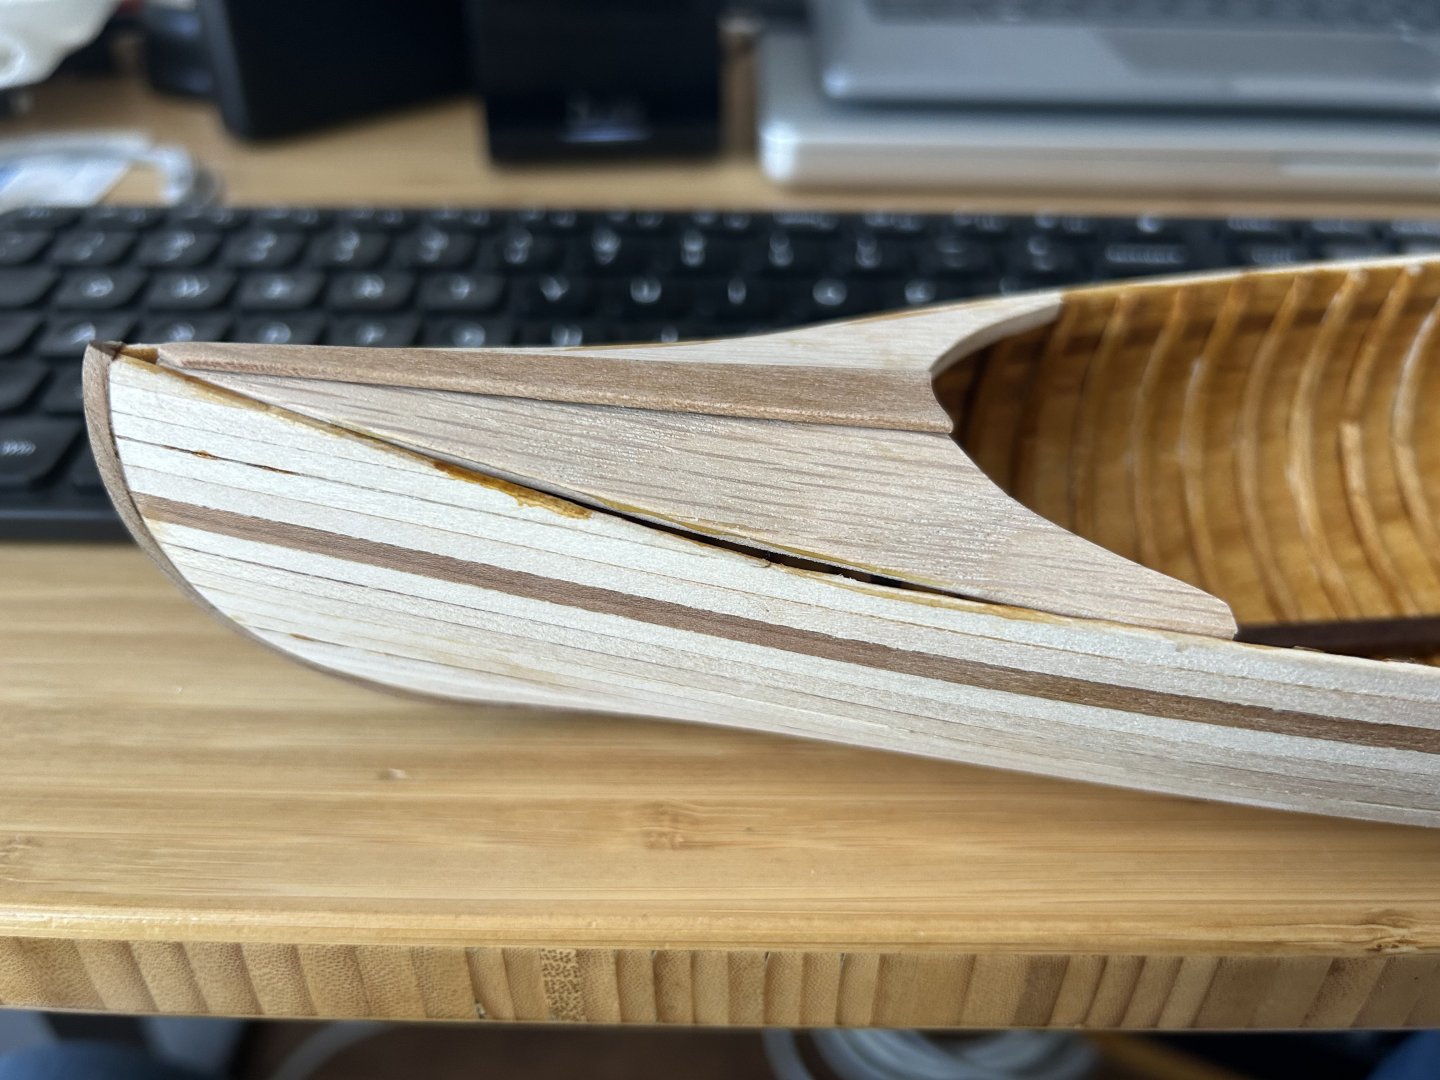
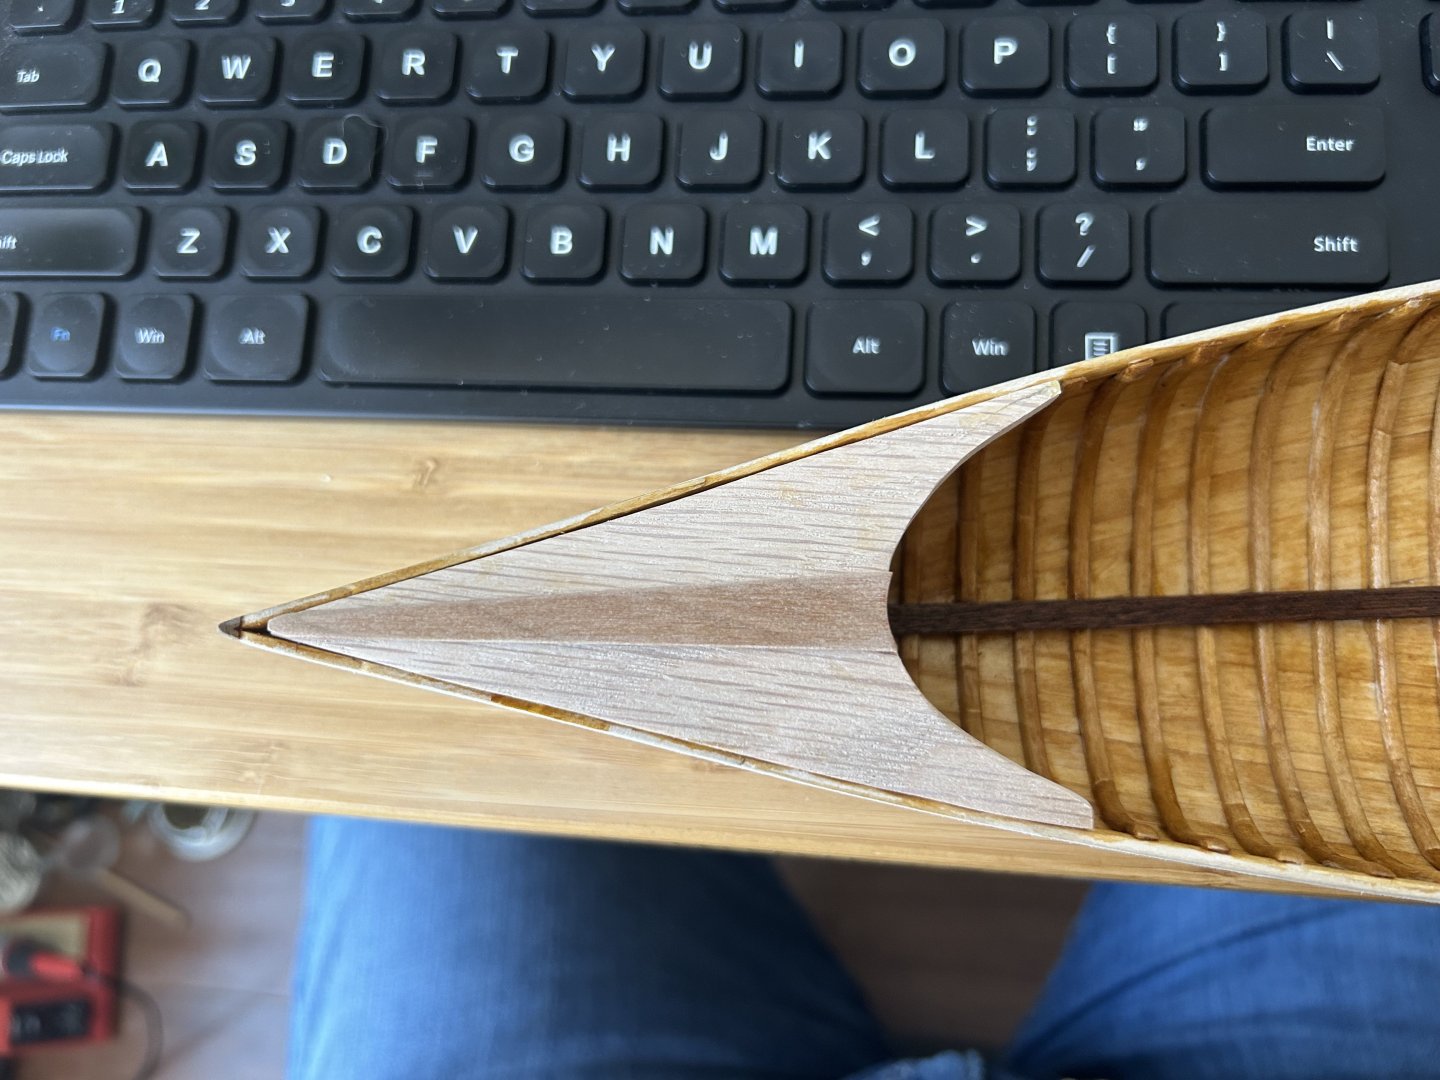
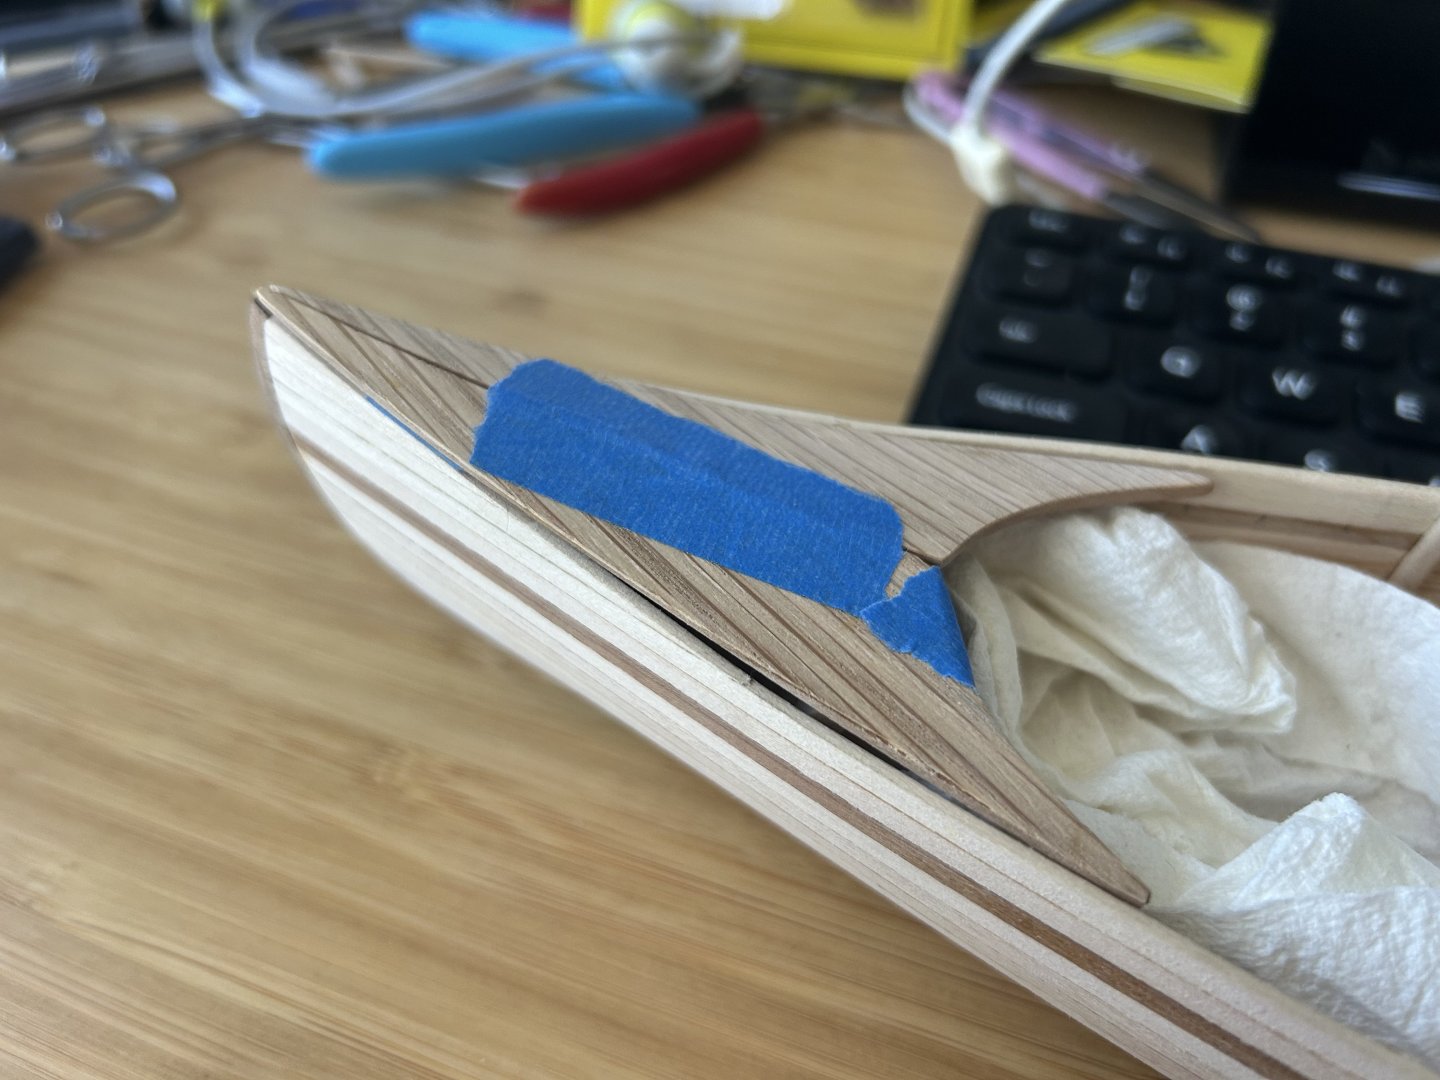
The outwales are made from 3/16” x 1/8” x 24” basswood strips. Looking at resource photos, the Mike Elliott book, and the archival Peterborough catalog, it’s clear that there is a particular shape to the outwales on the Model 44, the profile of which is best seen in the catalog at the top of the strip canoe page: The Elliott book also shows a similar profile (“wide outwales”) found as well on canoes of other makers: I first sanded the inside edge camber to match the top plank, then soaked and bent the two ends to match the curve of the stem end decks (neglected to take a photo). Then sanded most of the top bevel into the strip before attaching, to minimize the amount of shaping needed once on the canoe (still had to do a lot of shaping). For the other side I will also thin the ends in both taper (horizontal) and thickness dimensions before attaching. I glued it on with medium CA in 2-3 inch sections, taking care to keep the stock flush with top plank and matching the upturn curves on the deck ends. The photos don’t show the shaping very well unfortunately. I think the shape looks more accurate to the full-scale in person.
-
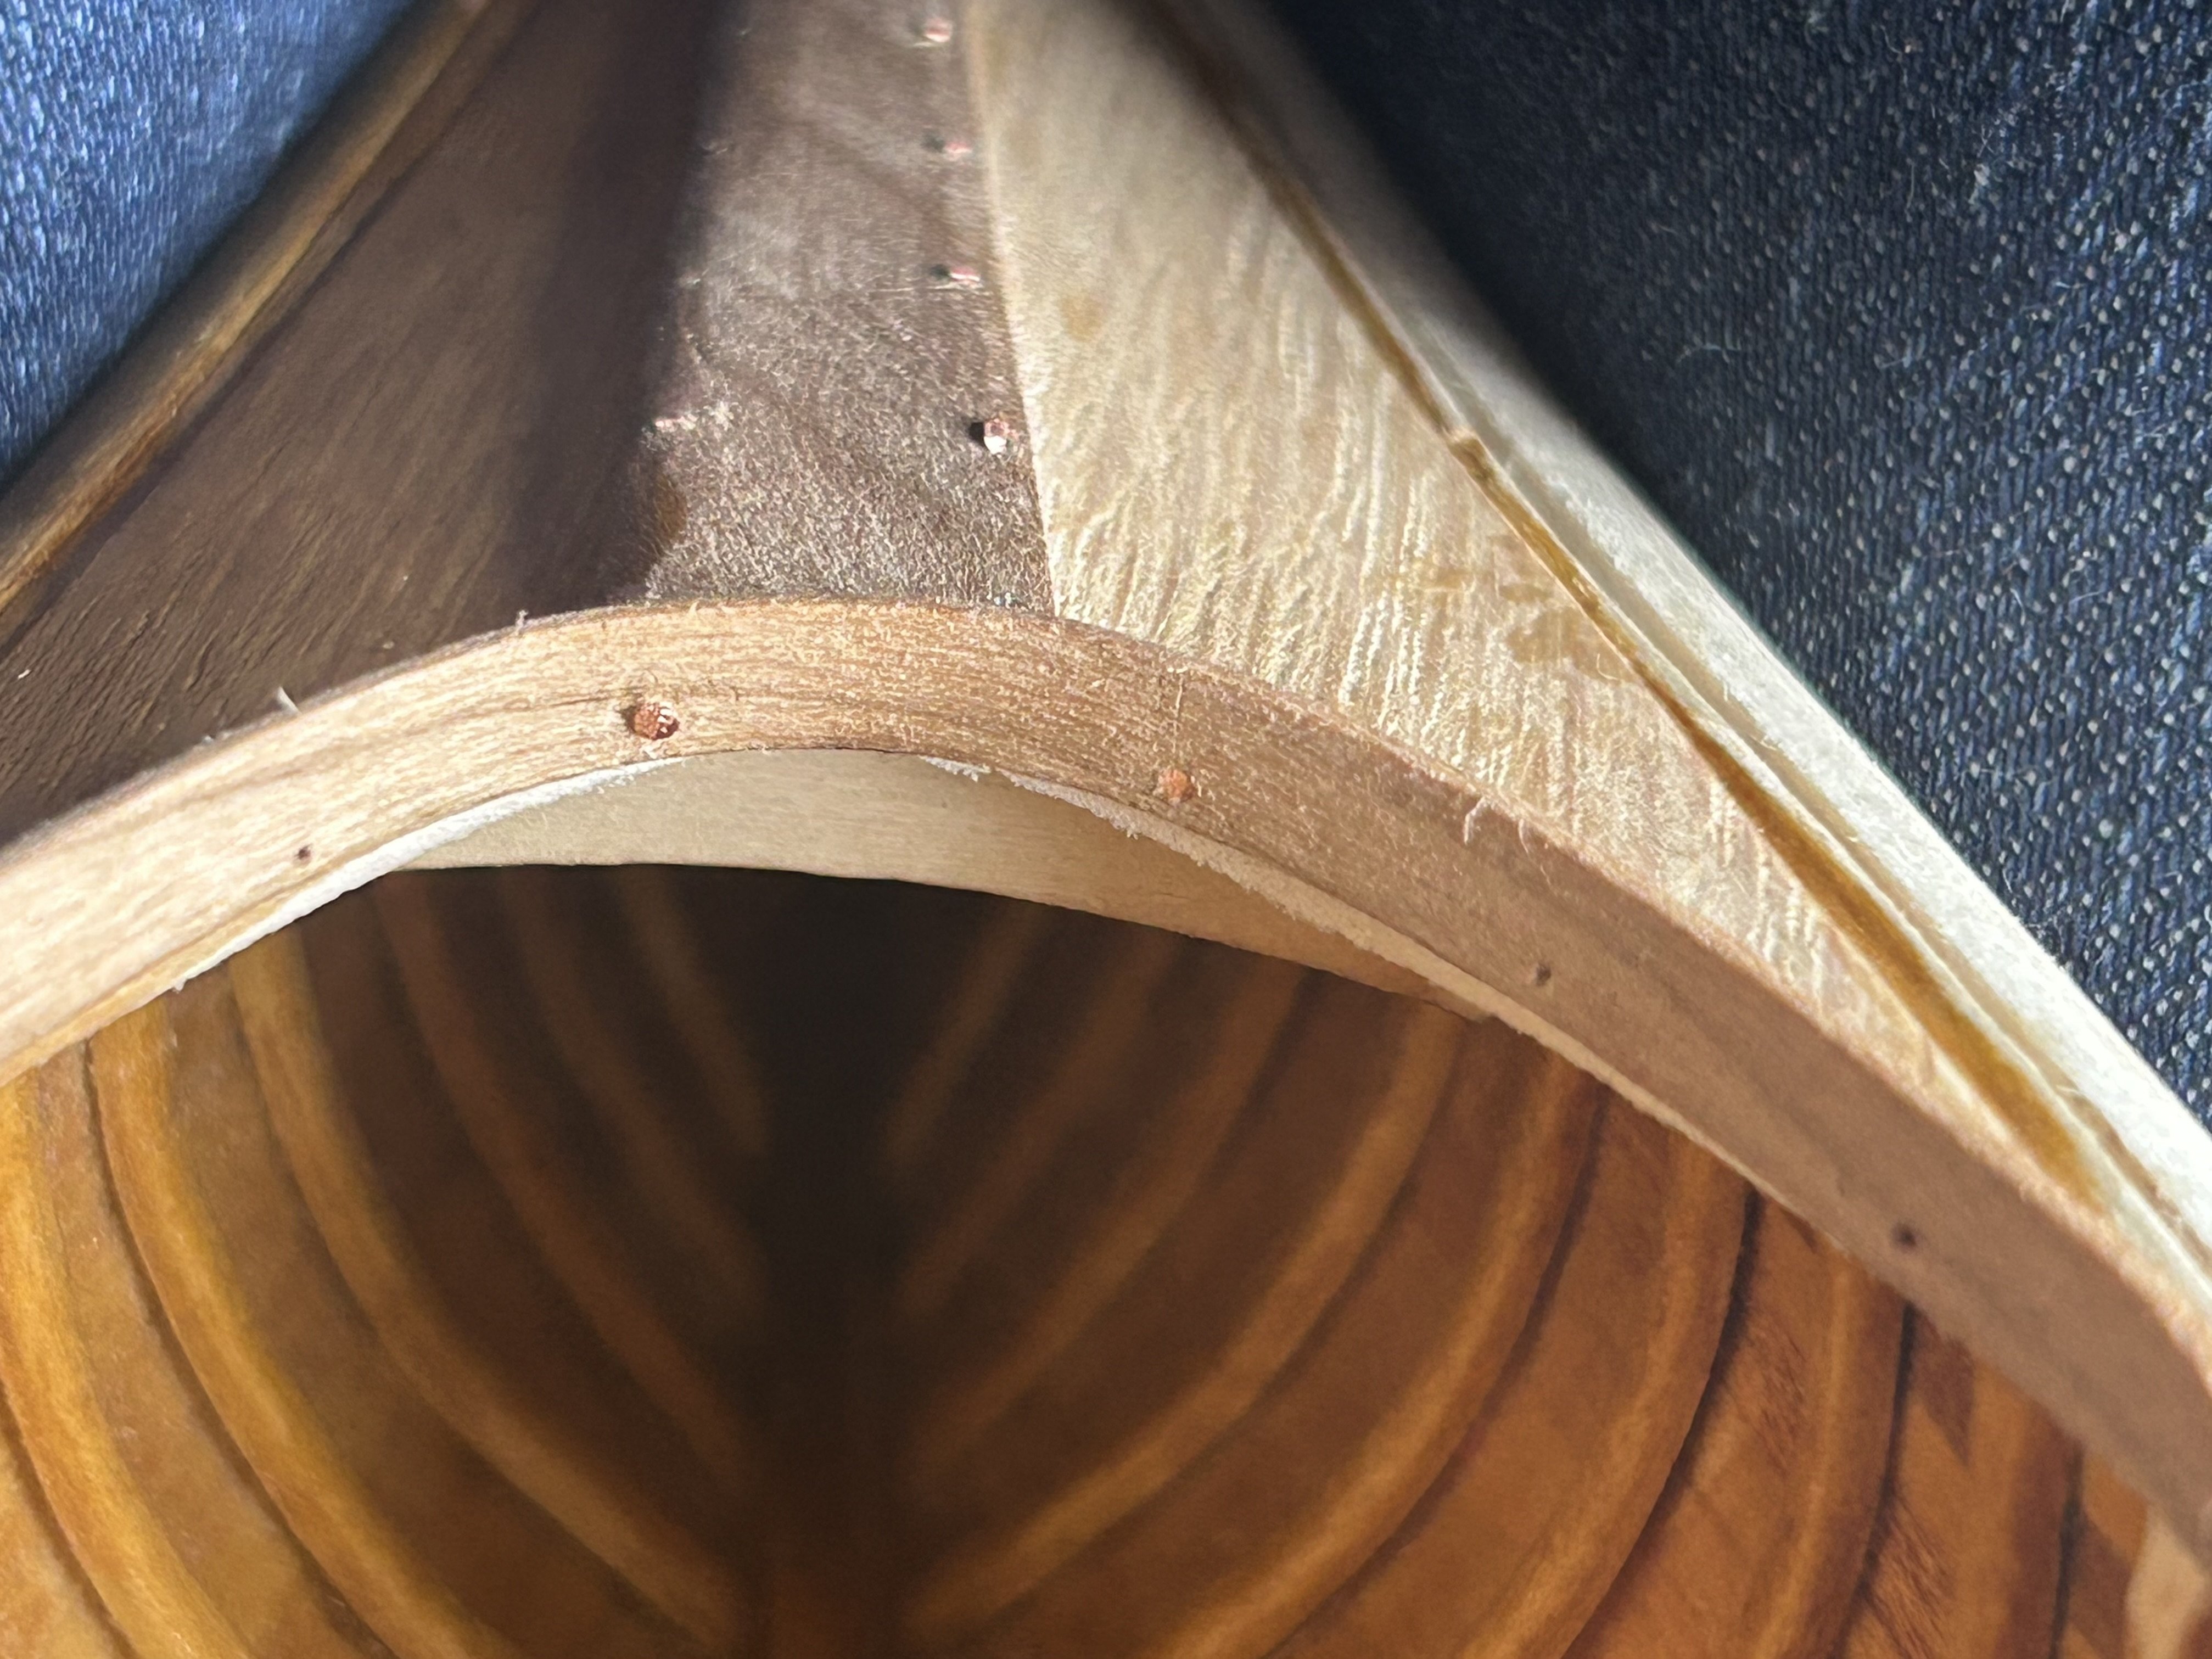
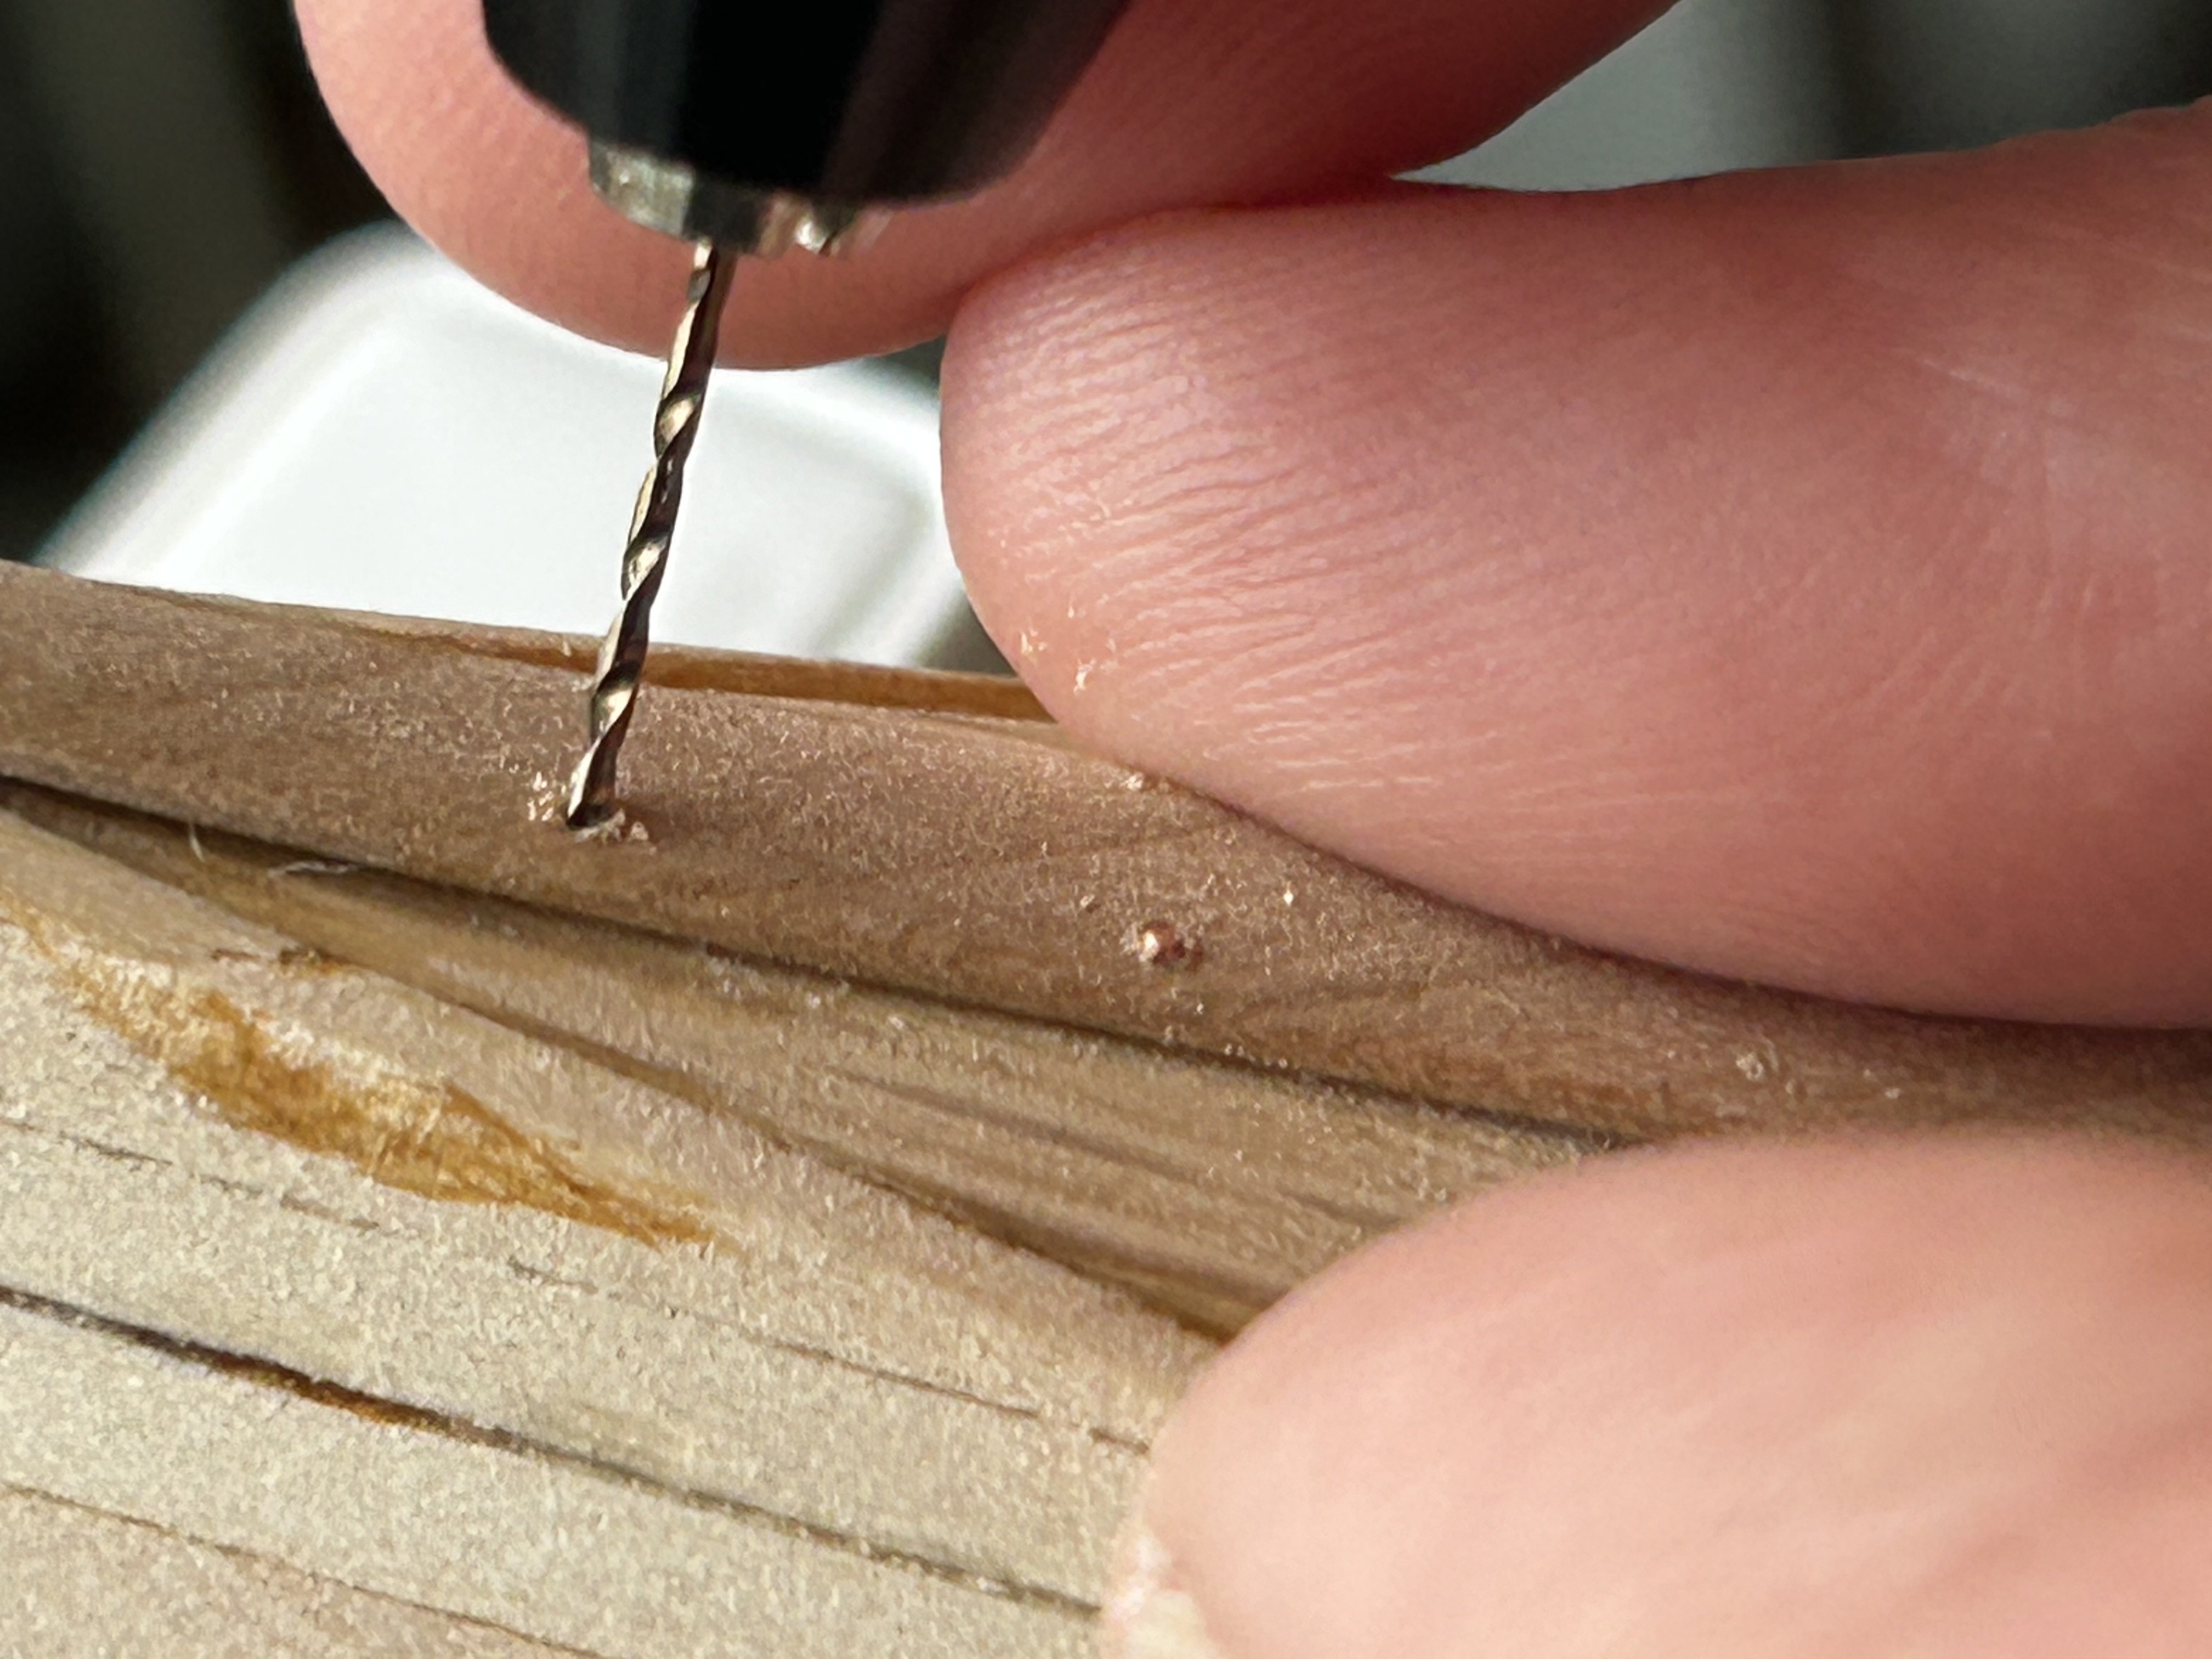
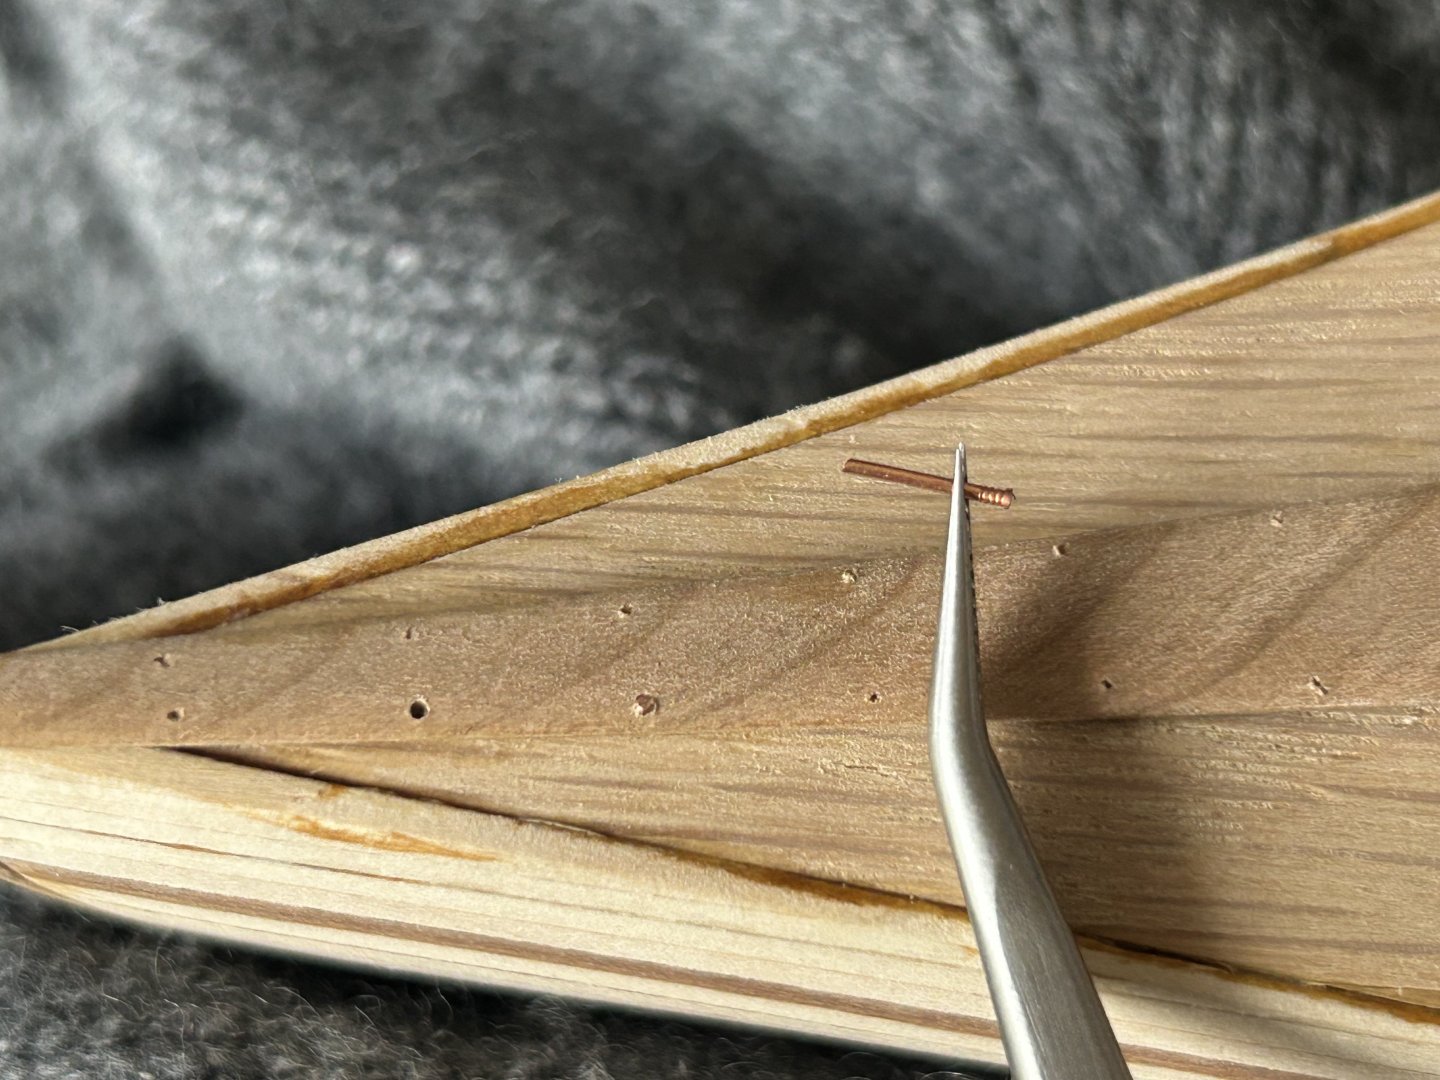
The nails for the king plank are made from 24 gauge bare copper wire, half hard, from Craftwire. I have some 22ga as well, may use that for bolts or screws if my Etsy-sourced brass brads are too big. The pin vise bit is 1/32”, approximately a No. 69 size (about 30 thousandths). I’m leaving the nails longer than they need to be as no one will see the ends. Maybe will get obsessive about scale length on the next model 😂.


-
King plank, glued and shaped, markout for “nails” started: Glued and clamped the second deck:


-
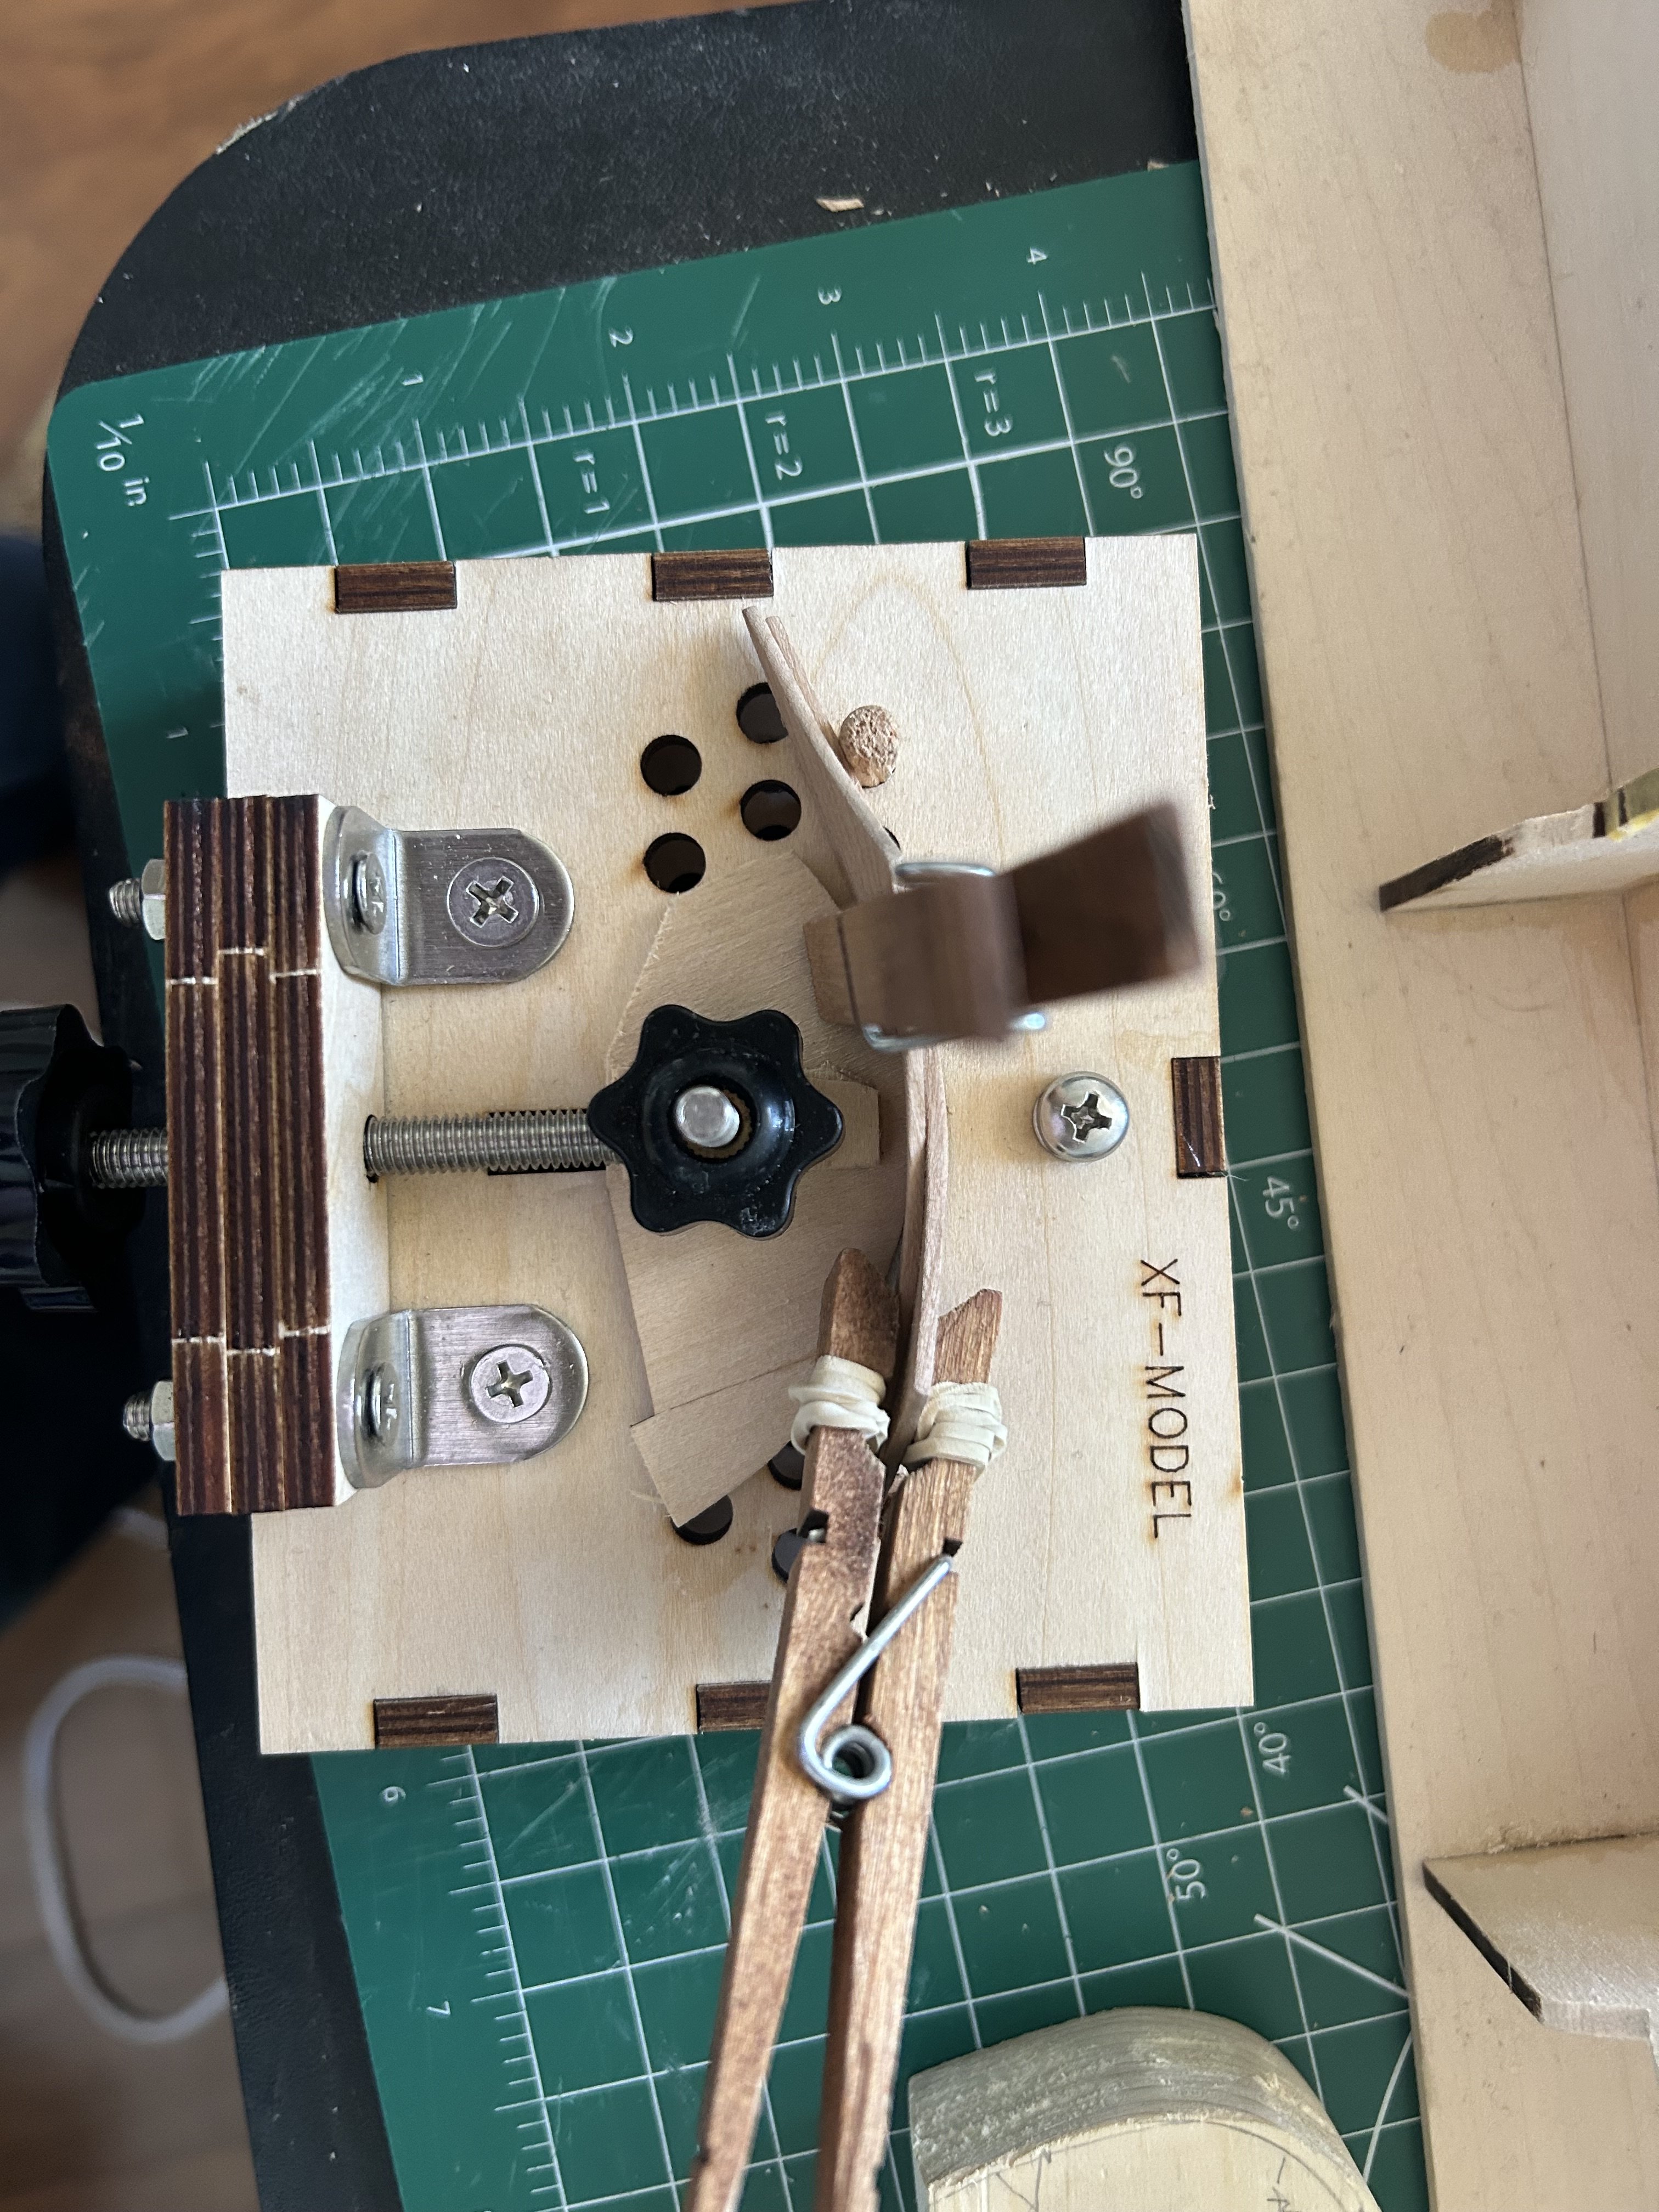
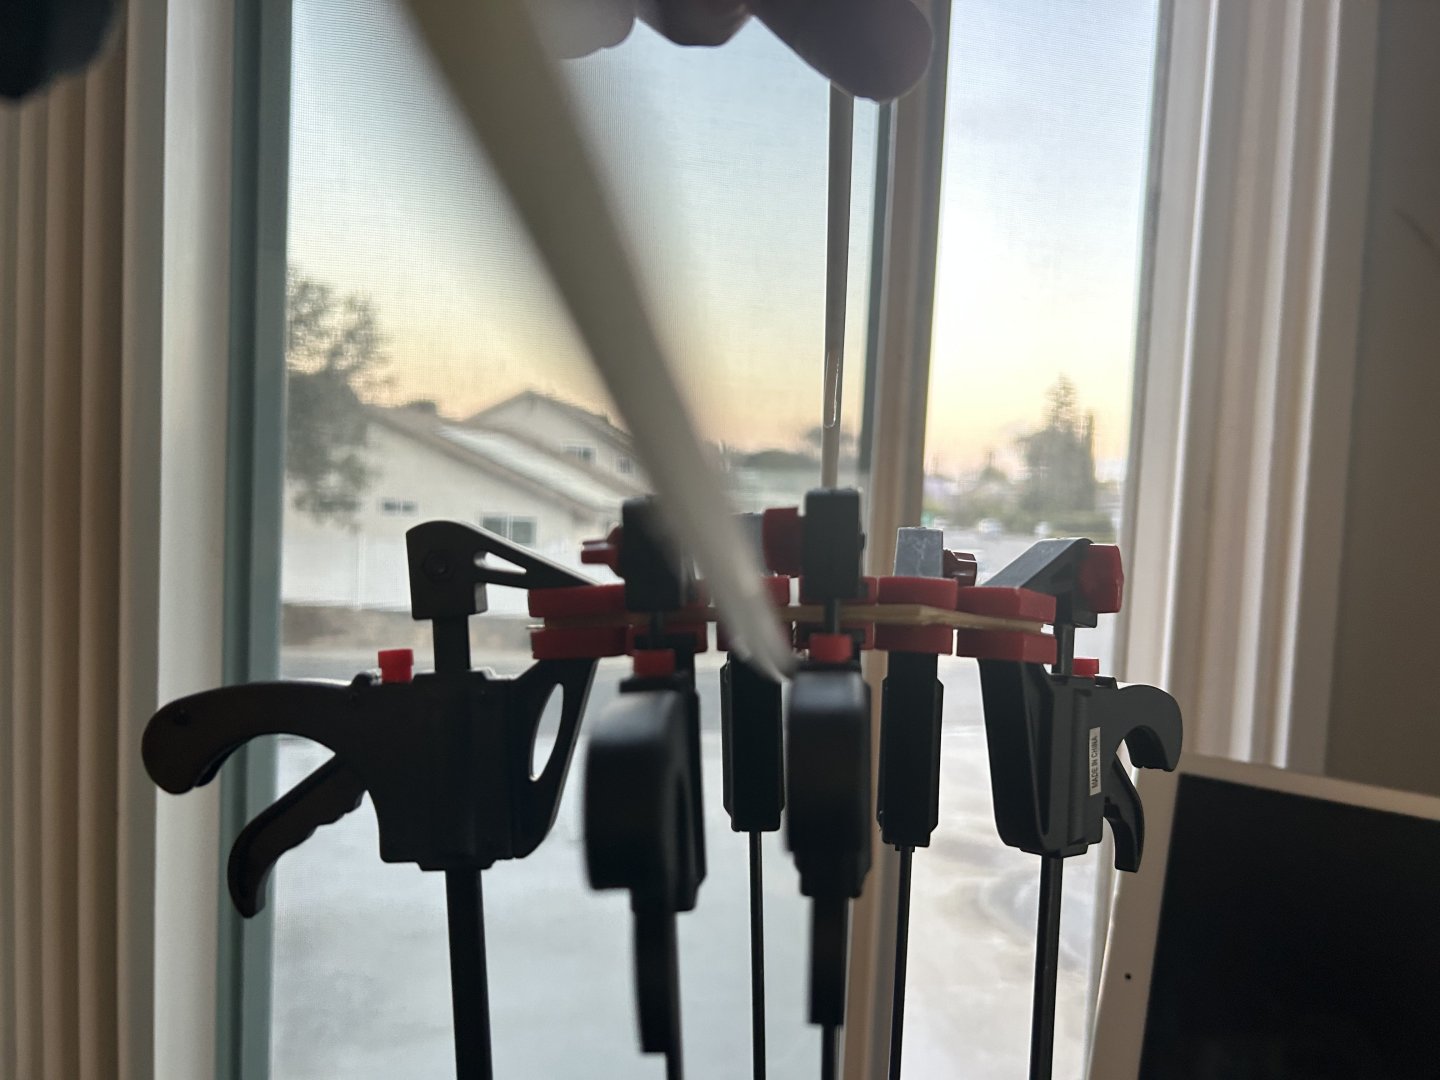
King plank, final shaped but not yet glued down: Clamping set-up for the veneers (hanging on a plastic coat hanger):
-
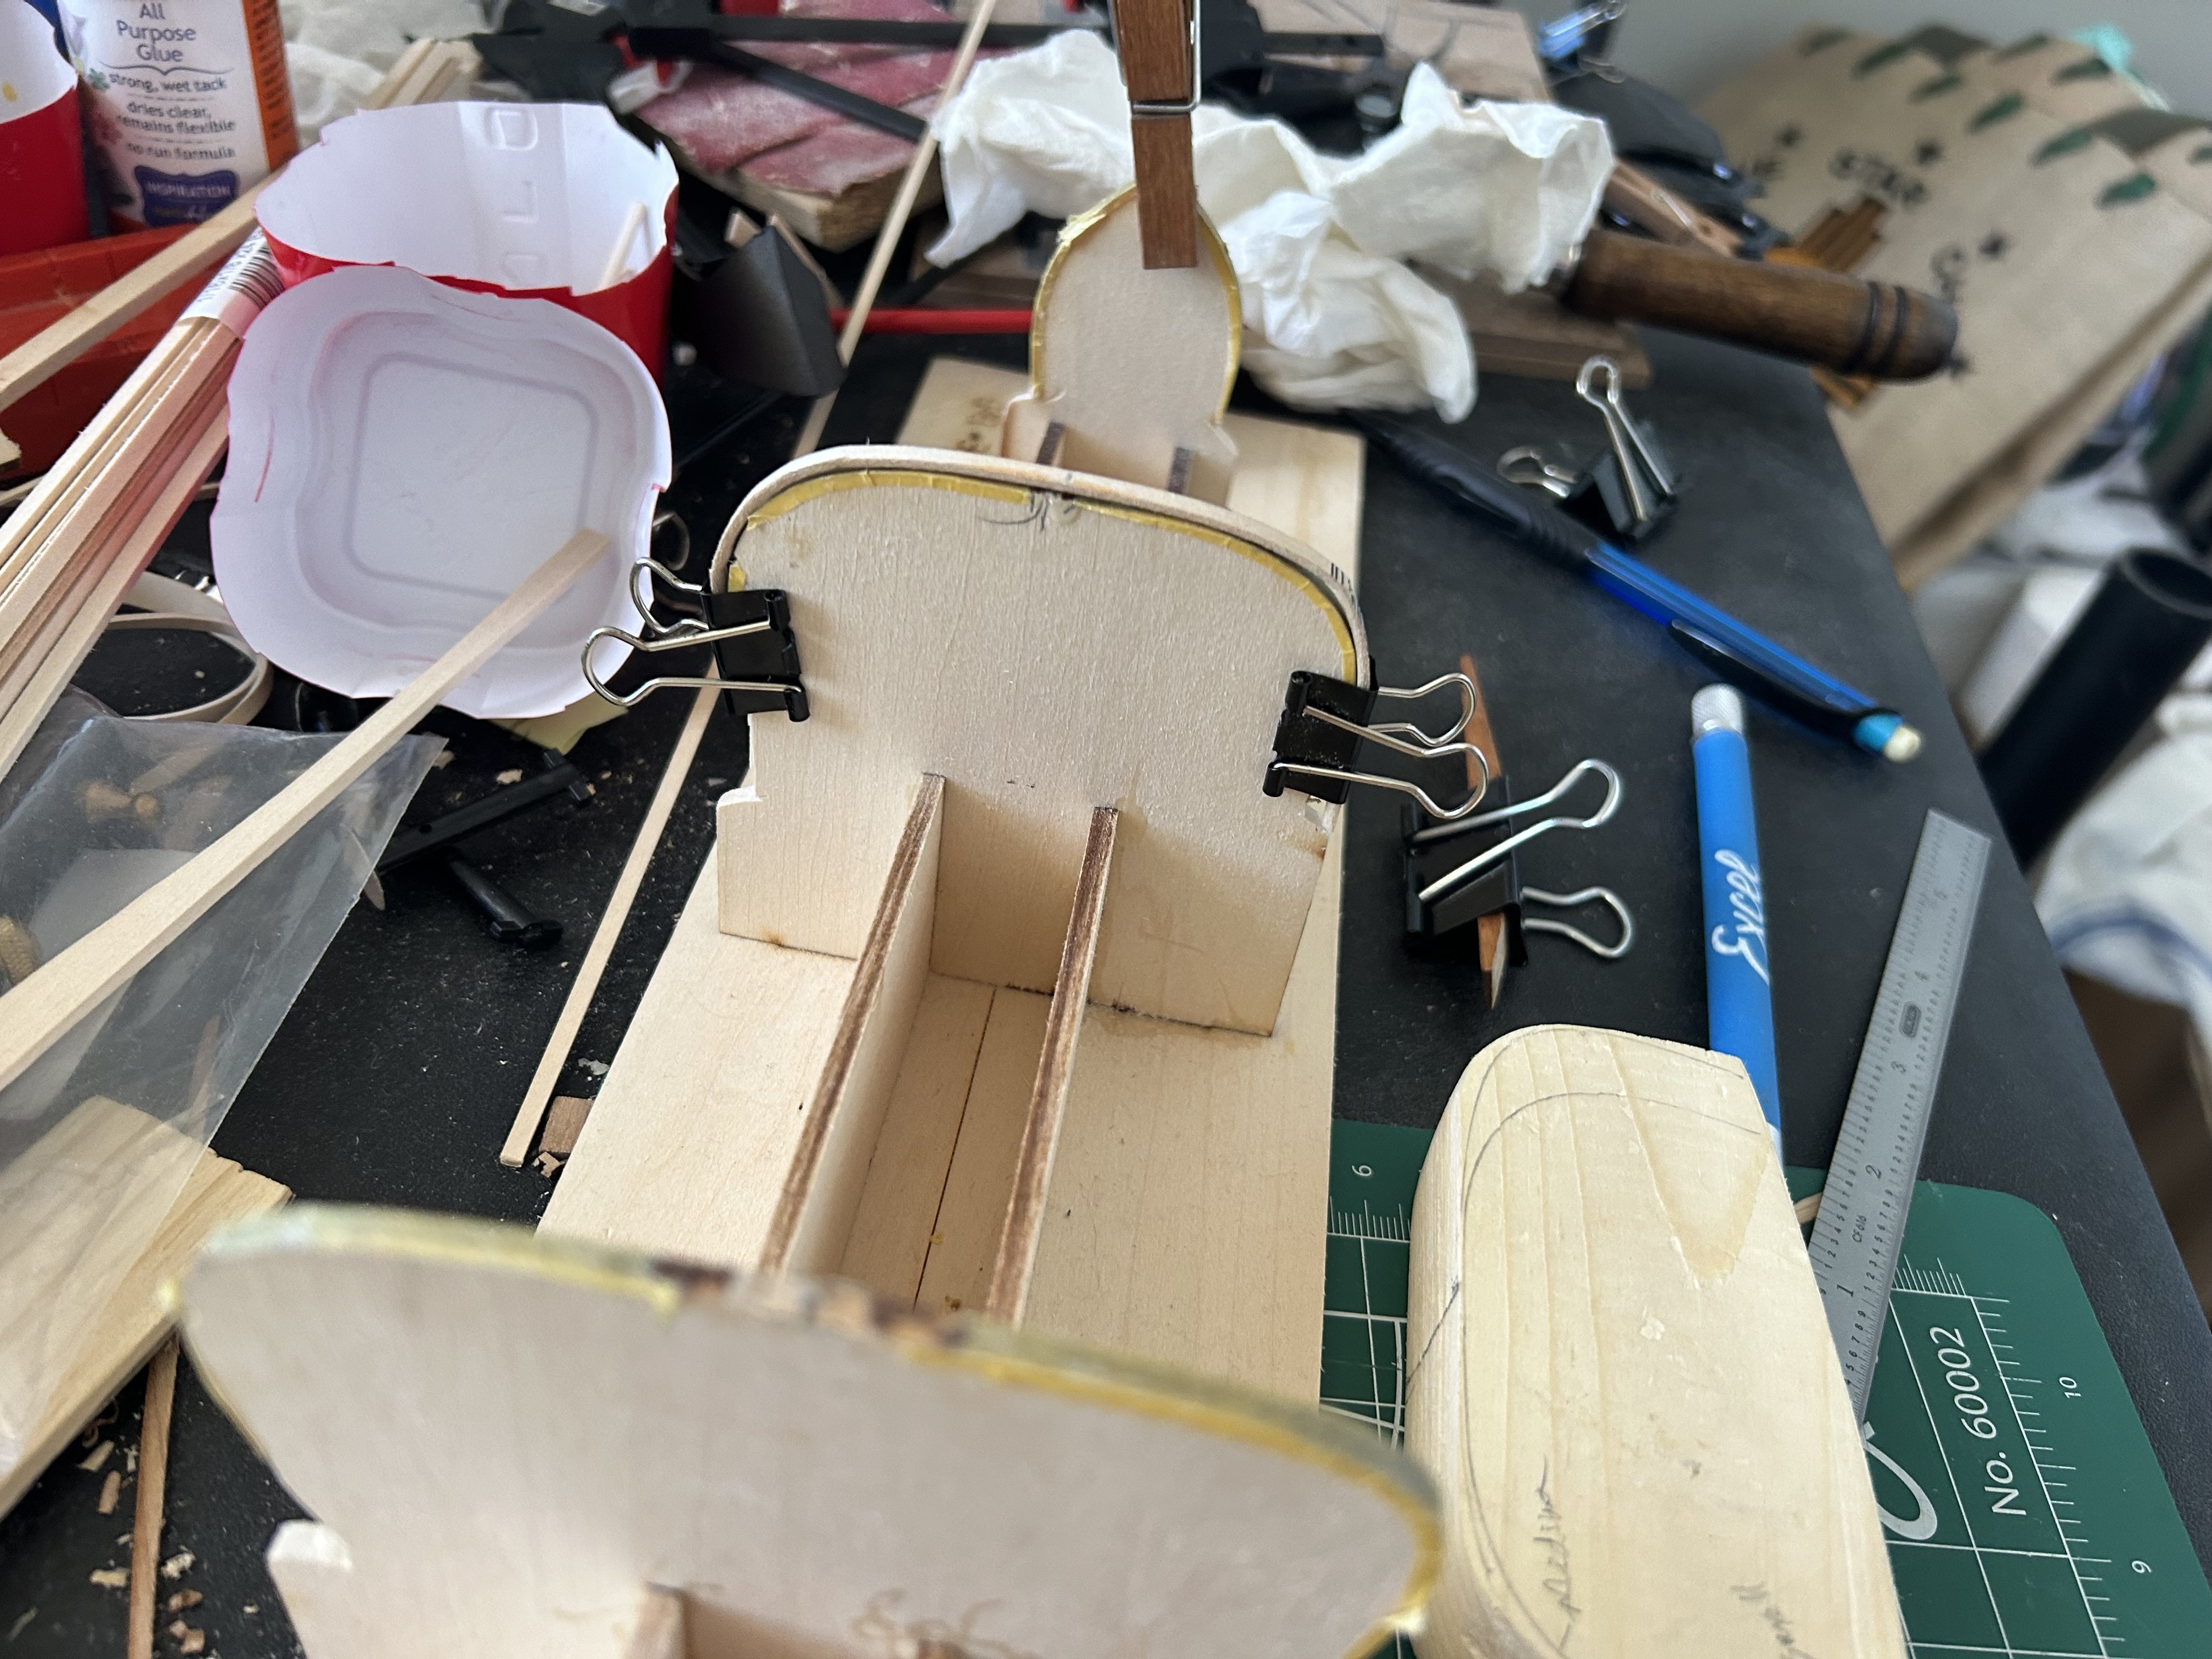
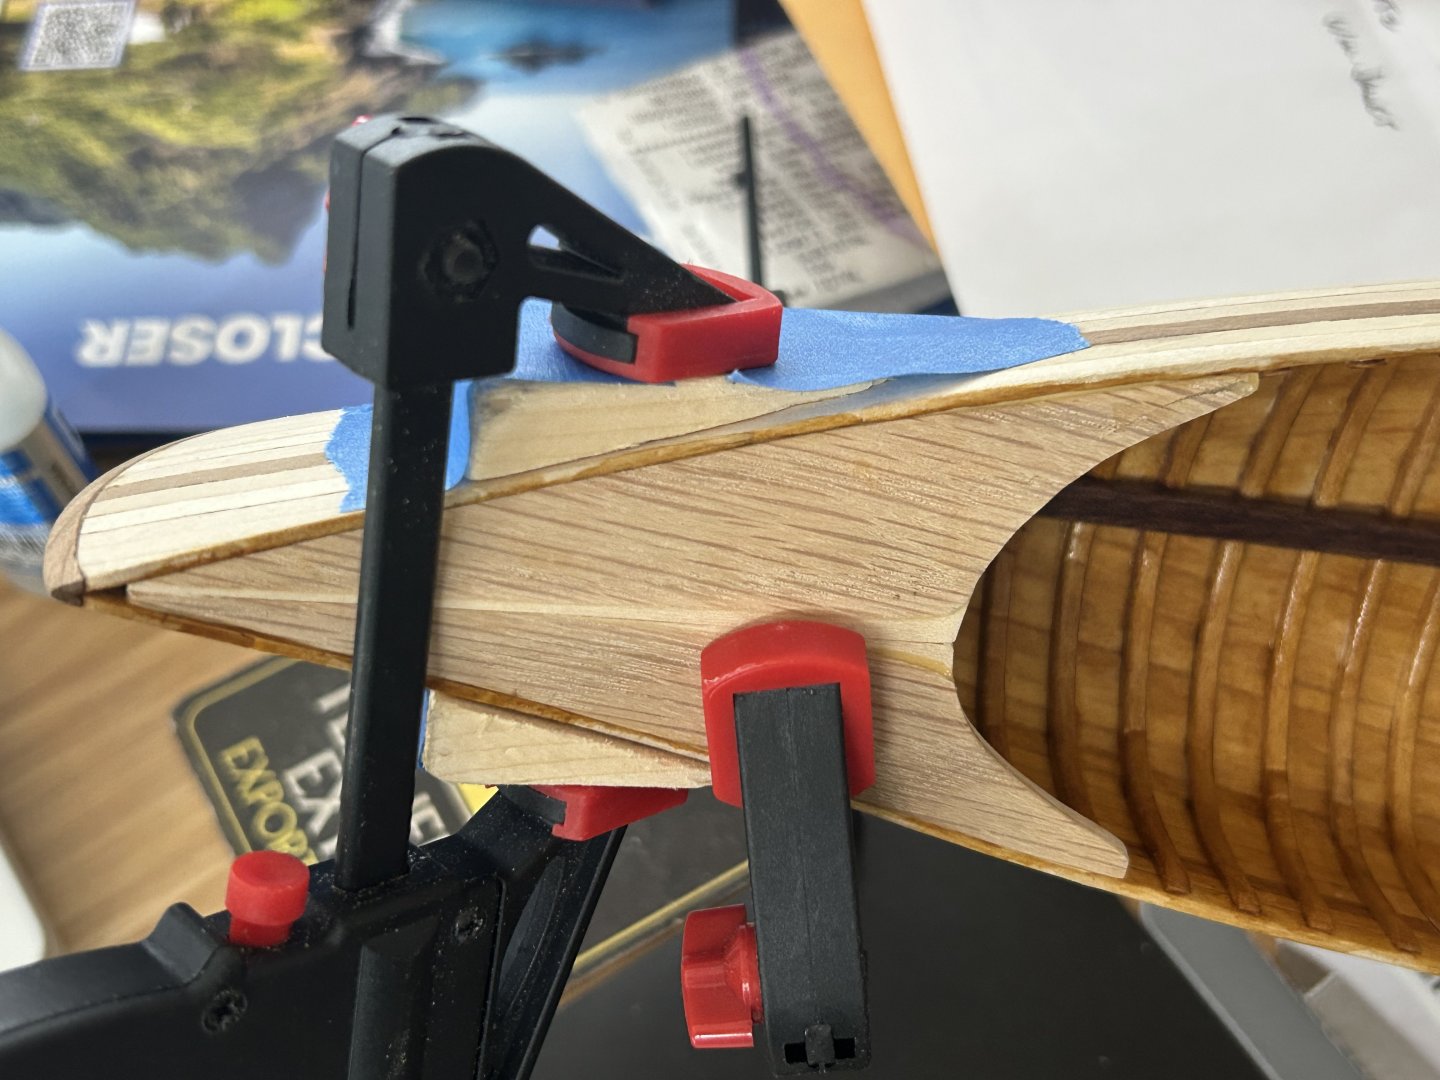
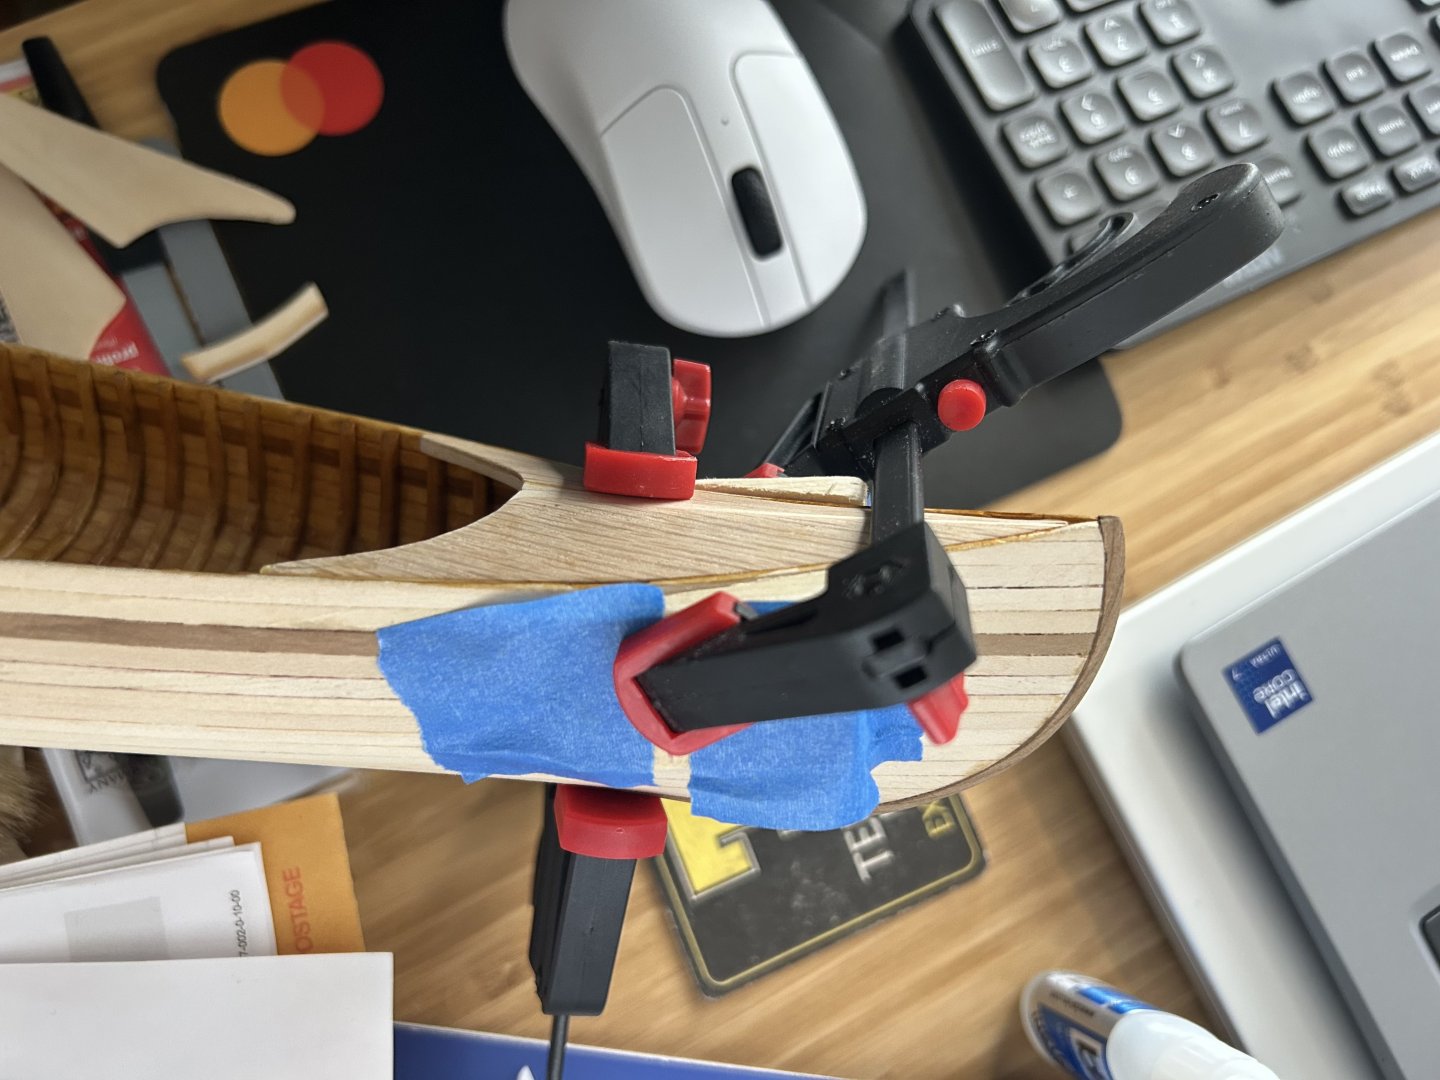
Gluing/clamping the first of the two decks (is this one fore or aft? Won’t know until I install the seats I guess). I actually had to make these two-piece, cambered and oak-veneered deck units twice. The first ones somehow got just a bit too narrow, from not taking enough care when shaping. Had to fashion a couple of angle blocks to make a conventional clamp work (held in place with masking tape). The second clamp is to compress the left side down flush with the side planking. My pre-bending got the parts close to a perfect fit, but not quite. The flat center section will get a tapered cherry “king plank” glued/nailed over it.
-
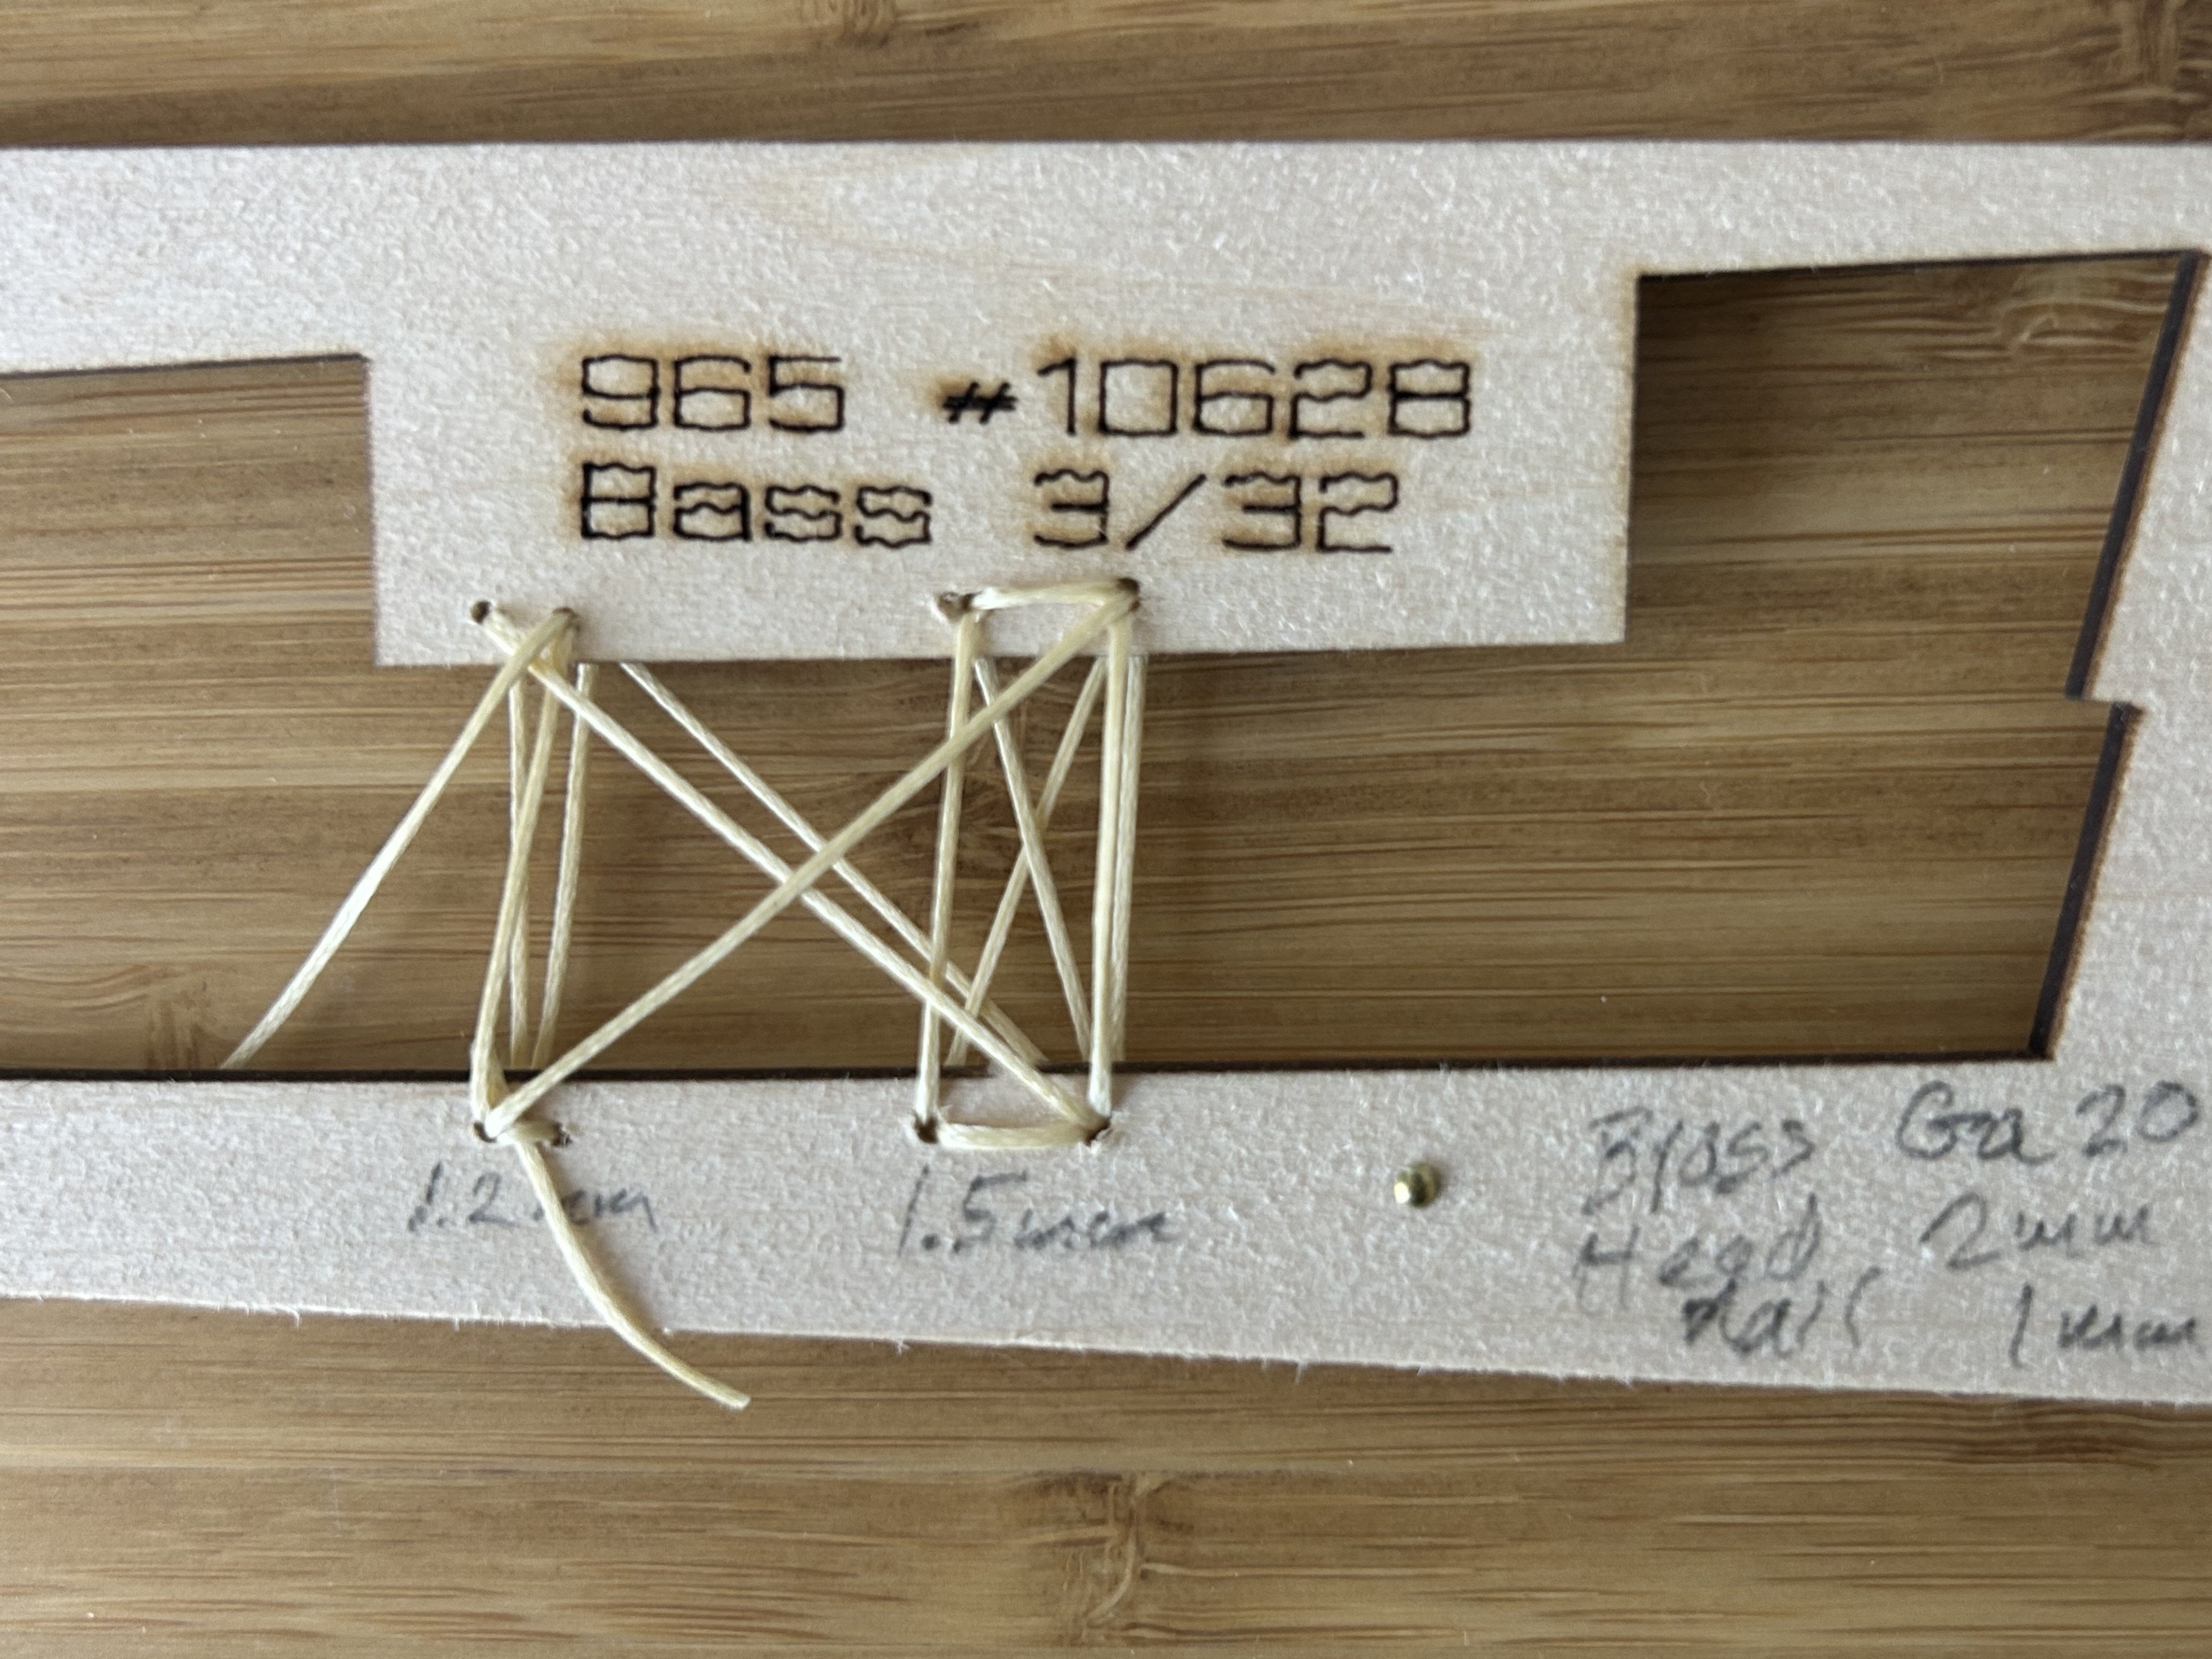
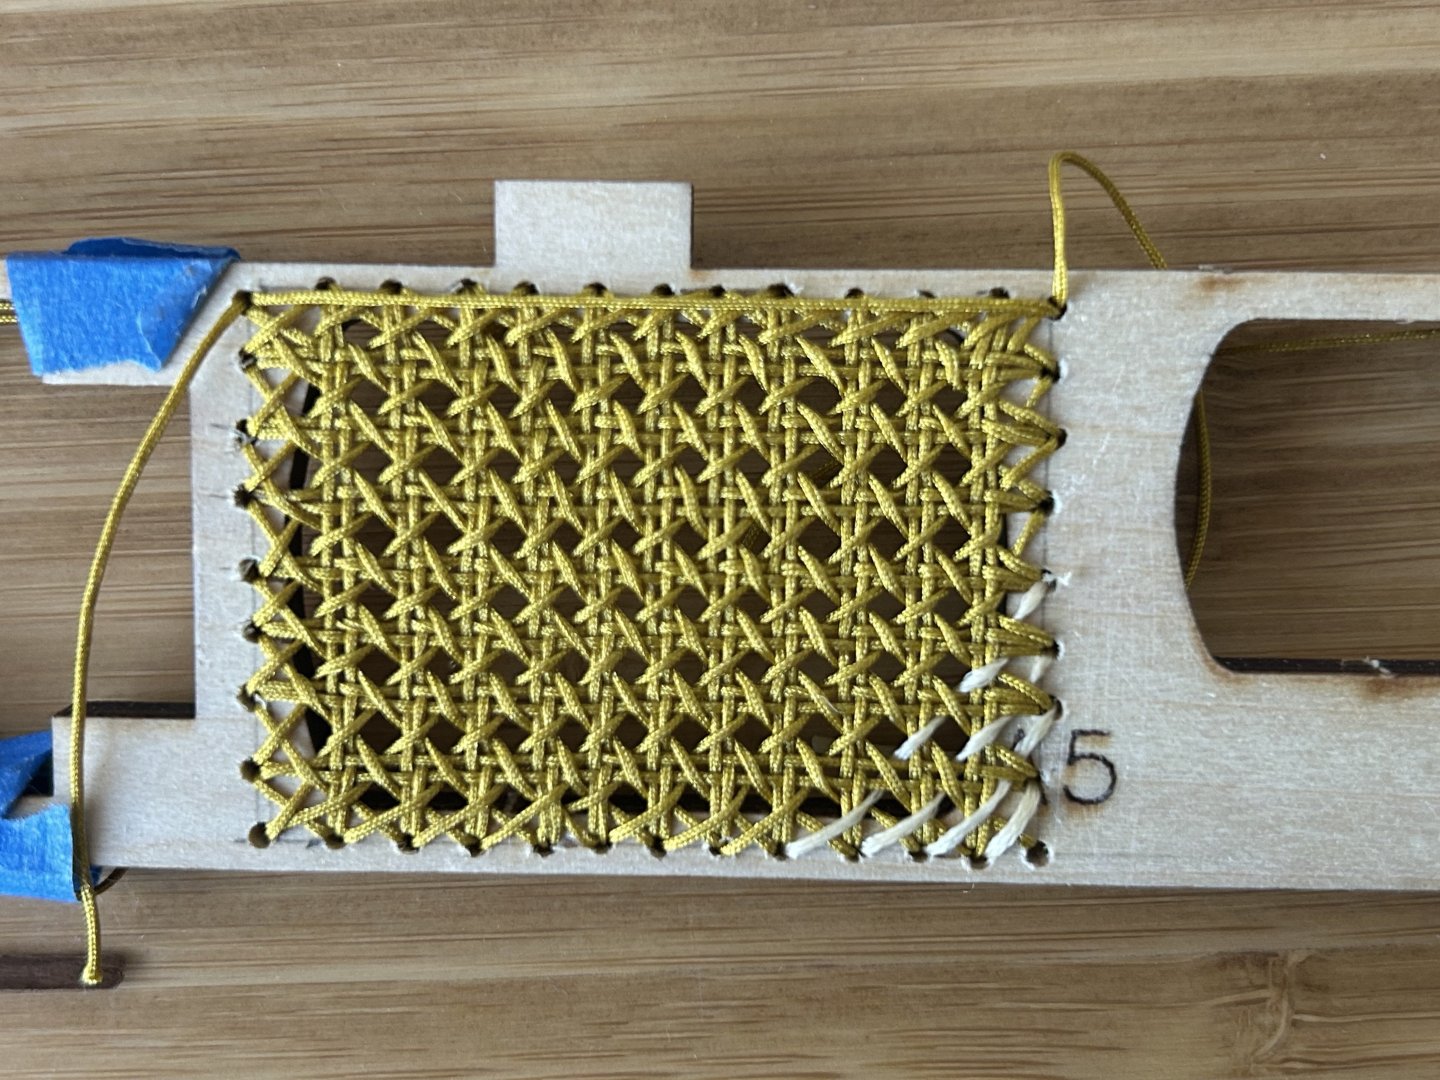
Thanks David! This Midwest kit has no cloth and in fact the plan does not include seats, only three kneeling thwarts (also used for portage). Of course being a compulsive kit-basher I have made plans for seats, and did a cane test in a Gold colored woven polyester thread, which looks ok: But I felt the color was not right, so kept searching and found a nice flat linen thread in beige/tan color which I will use in the model. Looks a bit more like cane: But your wife’s suggestion was a great one. That looks quite convincing with much less work! Dan BTW the planking on your Indian Girl looks flawless to me, judging from the interior!

-
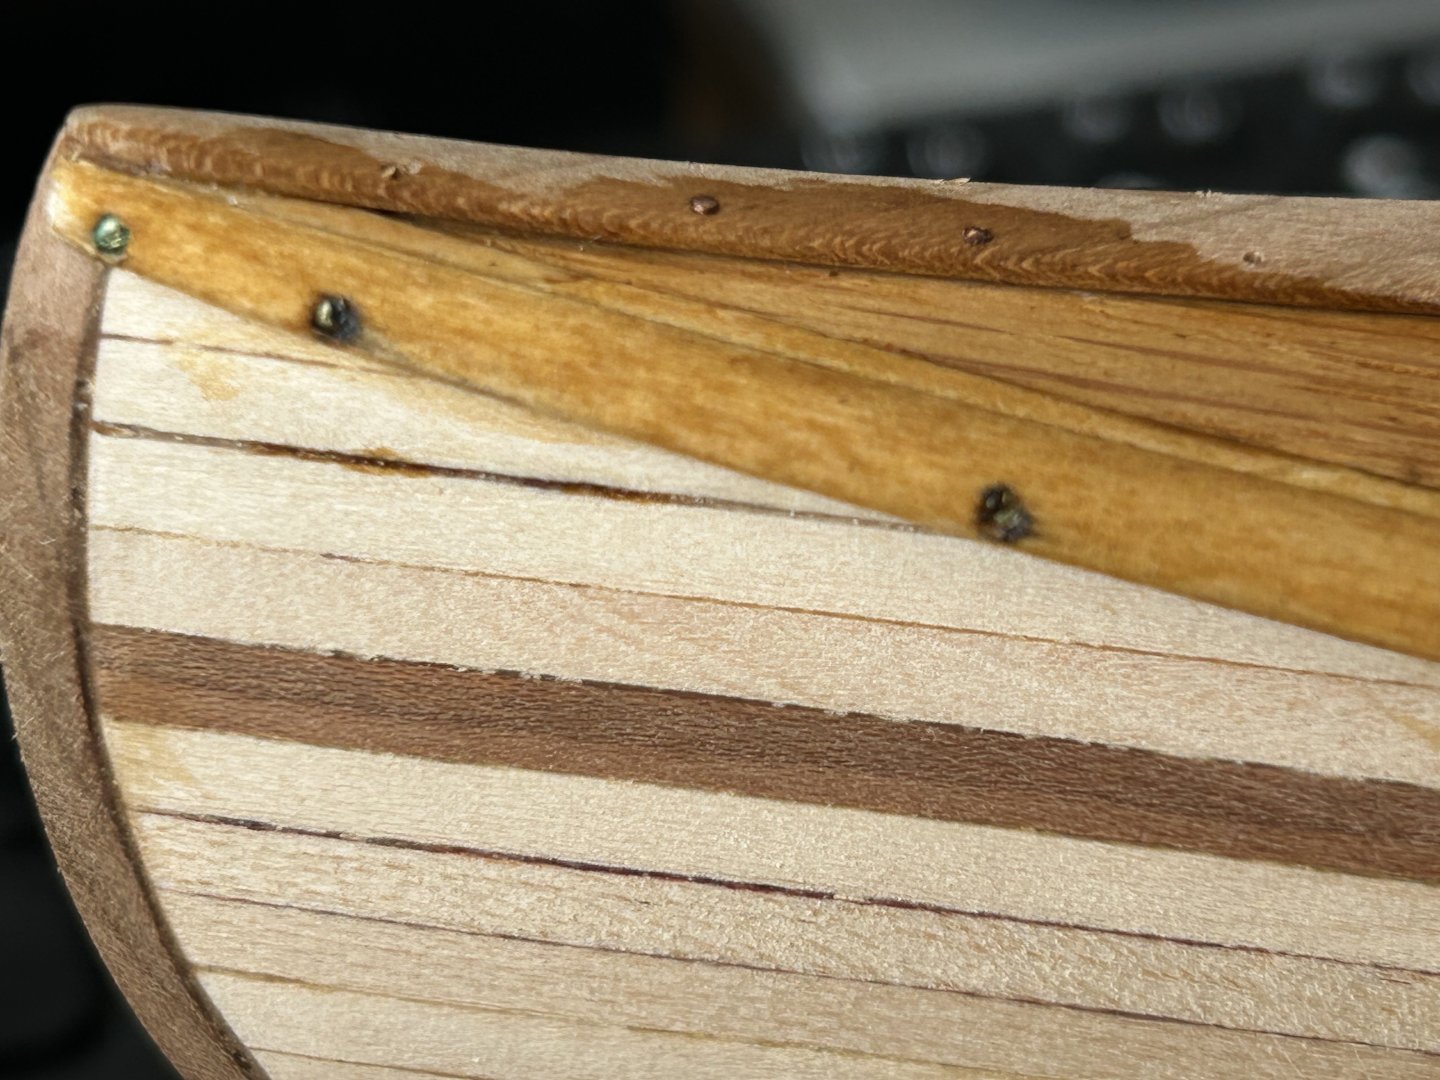
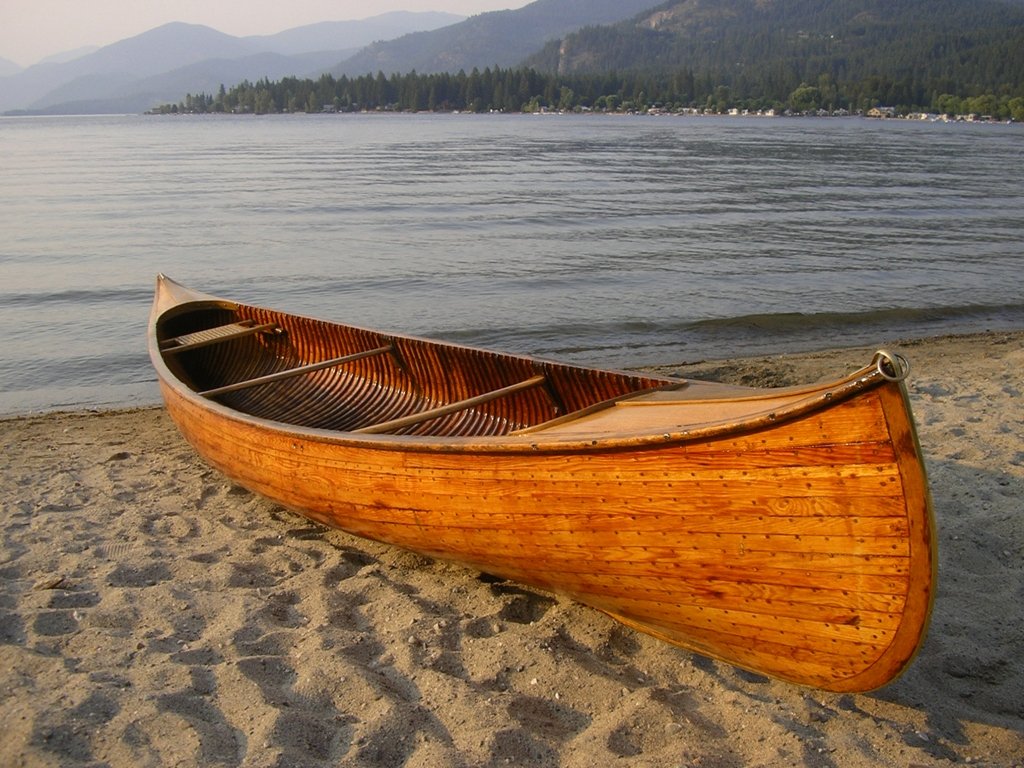
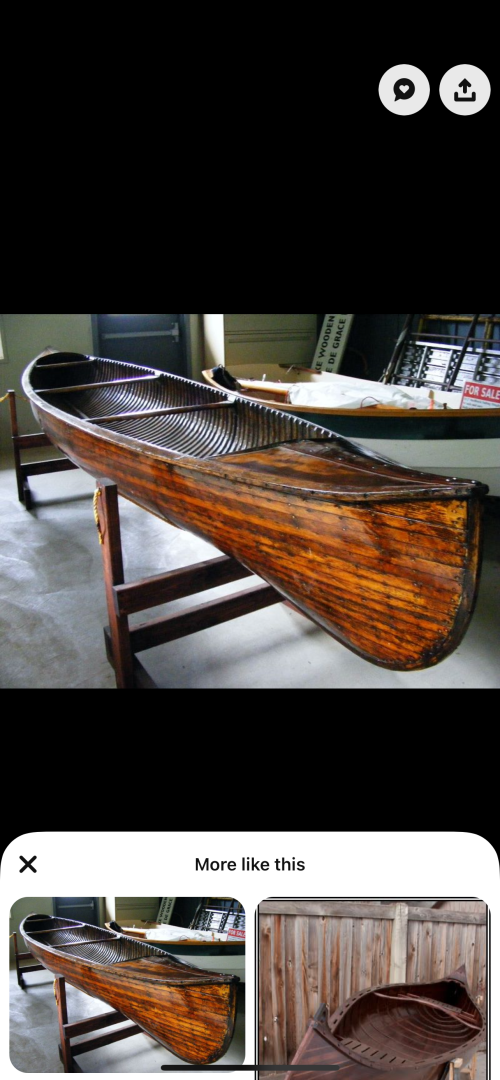
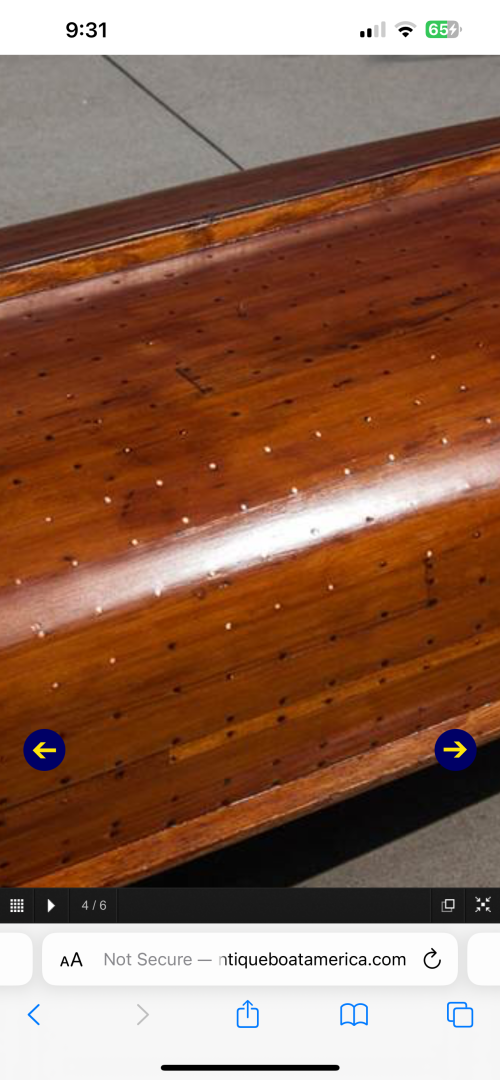
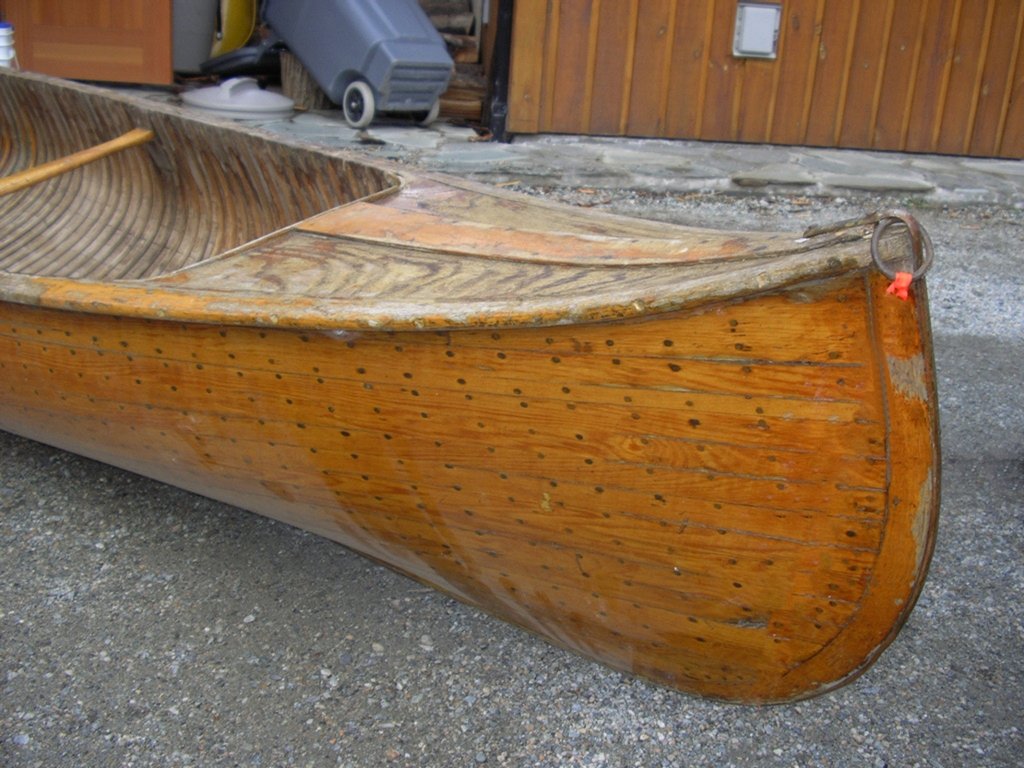
Also working on a way to recreate the look of the dubbed copper nail construction method of the original canoe, which binds the longitudinal strips (“planks”) to the ribs. Some examples here. Original or partly restored look: Freshly restored look (bright copper, no patina or putty visible): My initial test includes a few bright copper nails (on the upper right and lower left), some with a Bitumen fill around the nail, and some putty simulations (upper left). The flat basswood in the back shows what a wash of diluted Bitumen of Judea (applied as the first coat, under stain and shellac) does to age/dirty up the wood.
-
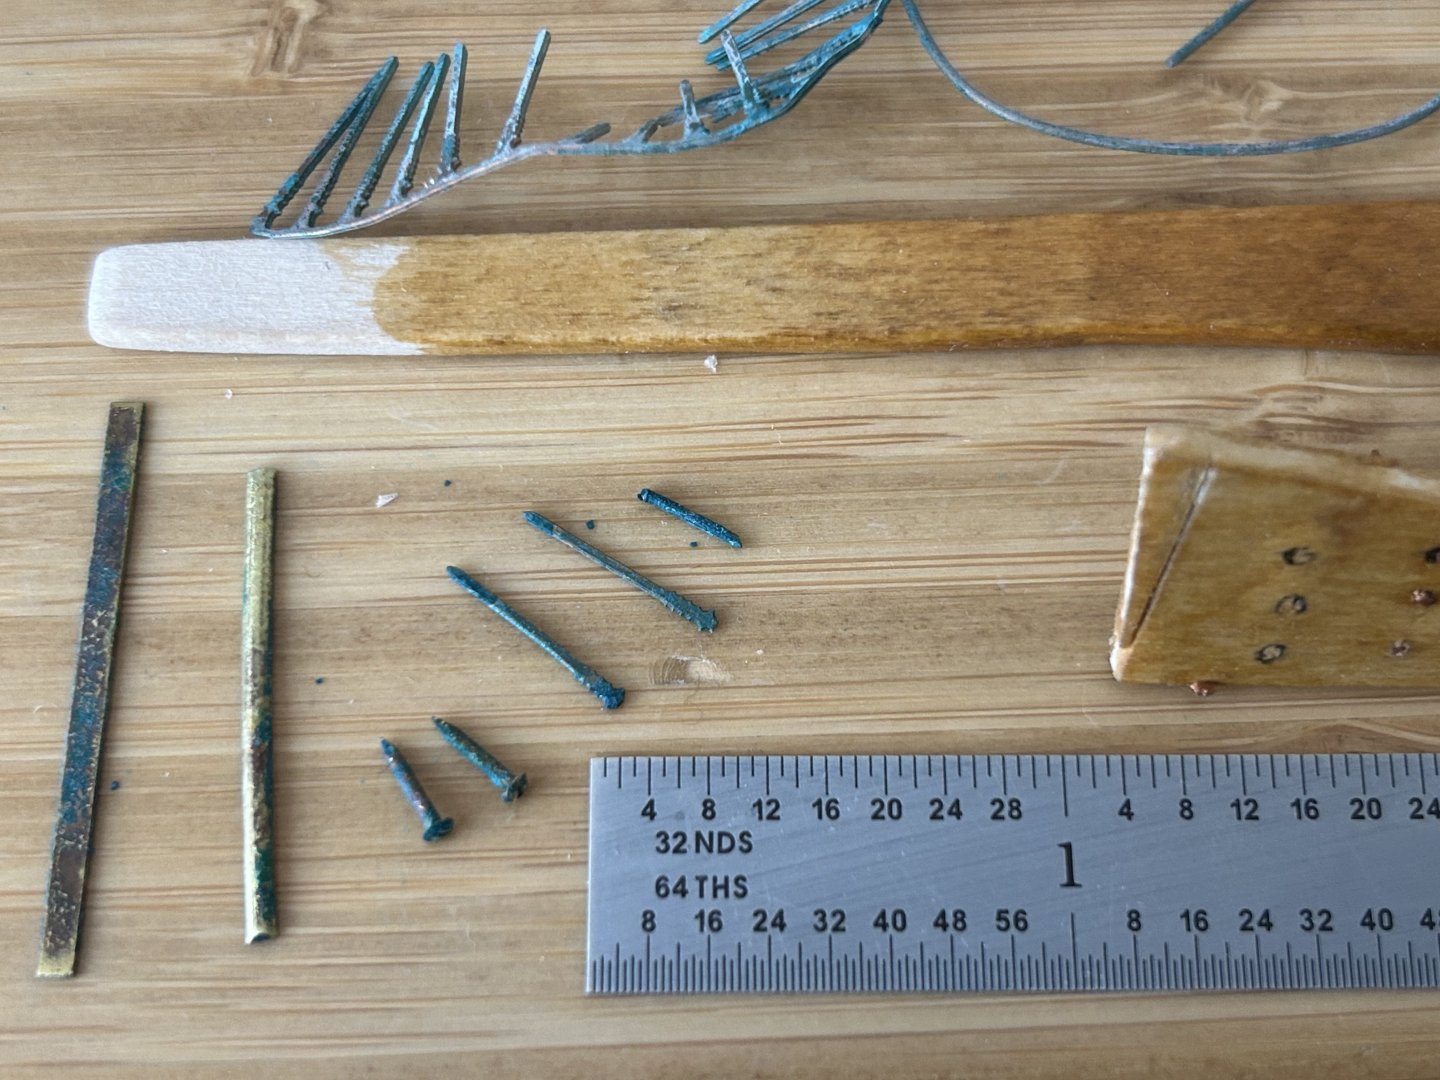
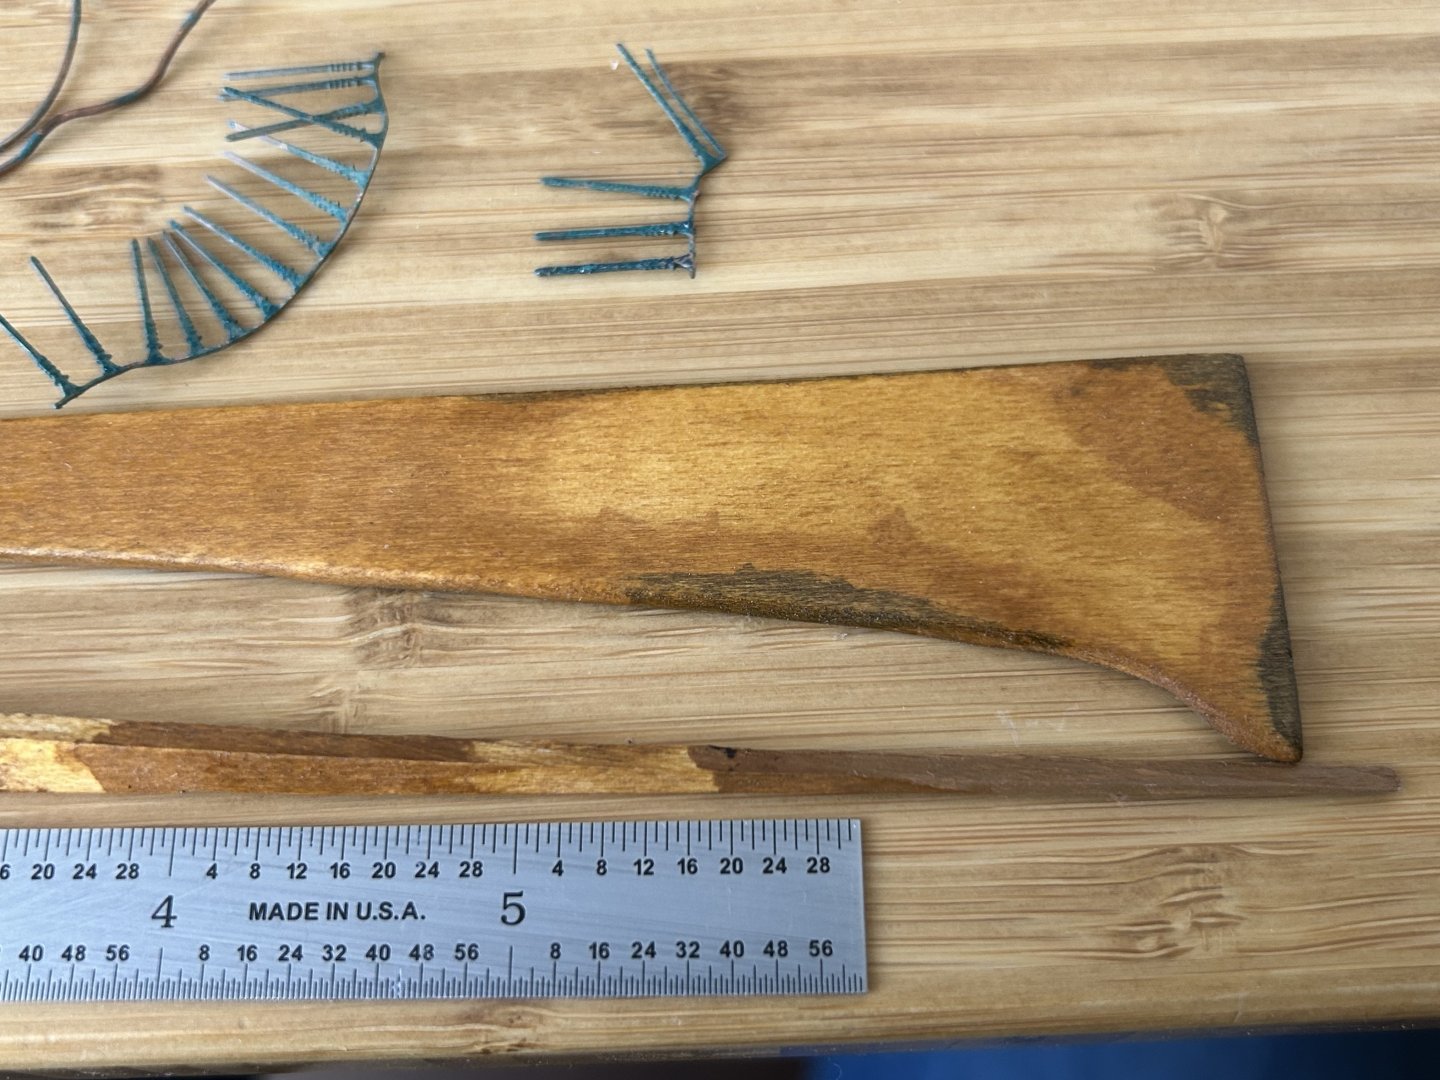
Also including here some of my finish and patina experiments for aging the metal and wood in the finished model. A variety of brass strip (flat & half-round) and some copper wire for nails (and purchased copper strip/treenails and small brass nails) were patinaed with Miracle-Gro in a solution of red wine vinegar, to produce a verdigris patina. I’ve found that immersion in the solution does almost nothing to bring about the verdigris—some oxygen must be required. So I suspend the pieces in a cup above a small amount of the solution—the vapor rising off the solution (combined with atmospheric air) does the trick within 12-24 hours. This solution seems to work just as well on brass as it does on pure copper. Scraping or sanding off the outer green layer reveals a darker patina which I think will make a very nice aged look on most metal parts. The basswood samples were finished with differing layers of an “English Oak” stain and Bitumen of Judea, both ordered from ModelExpo. Then amber shellac applied over these. The darkest waterstained-looking bits are from the Judea Bitumen. Fascinating stuff—it’s basically soluble tar in a jar, and apparently naturally derived and has been around for centuries.
-
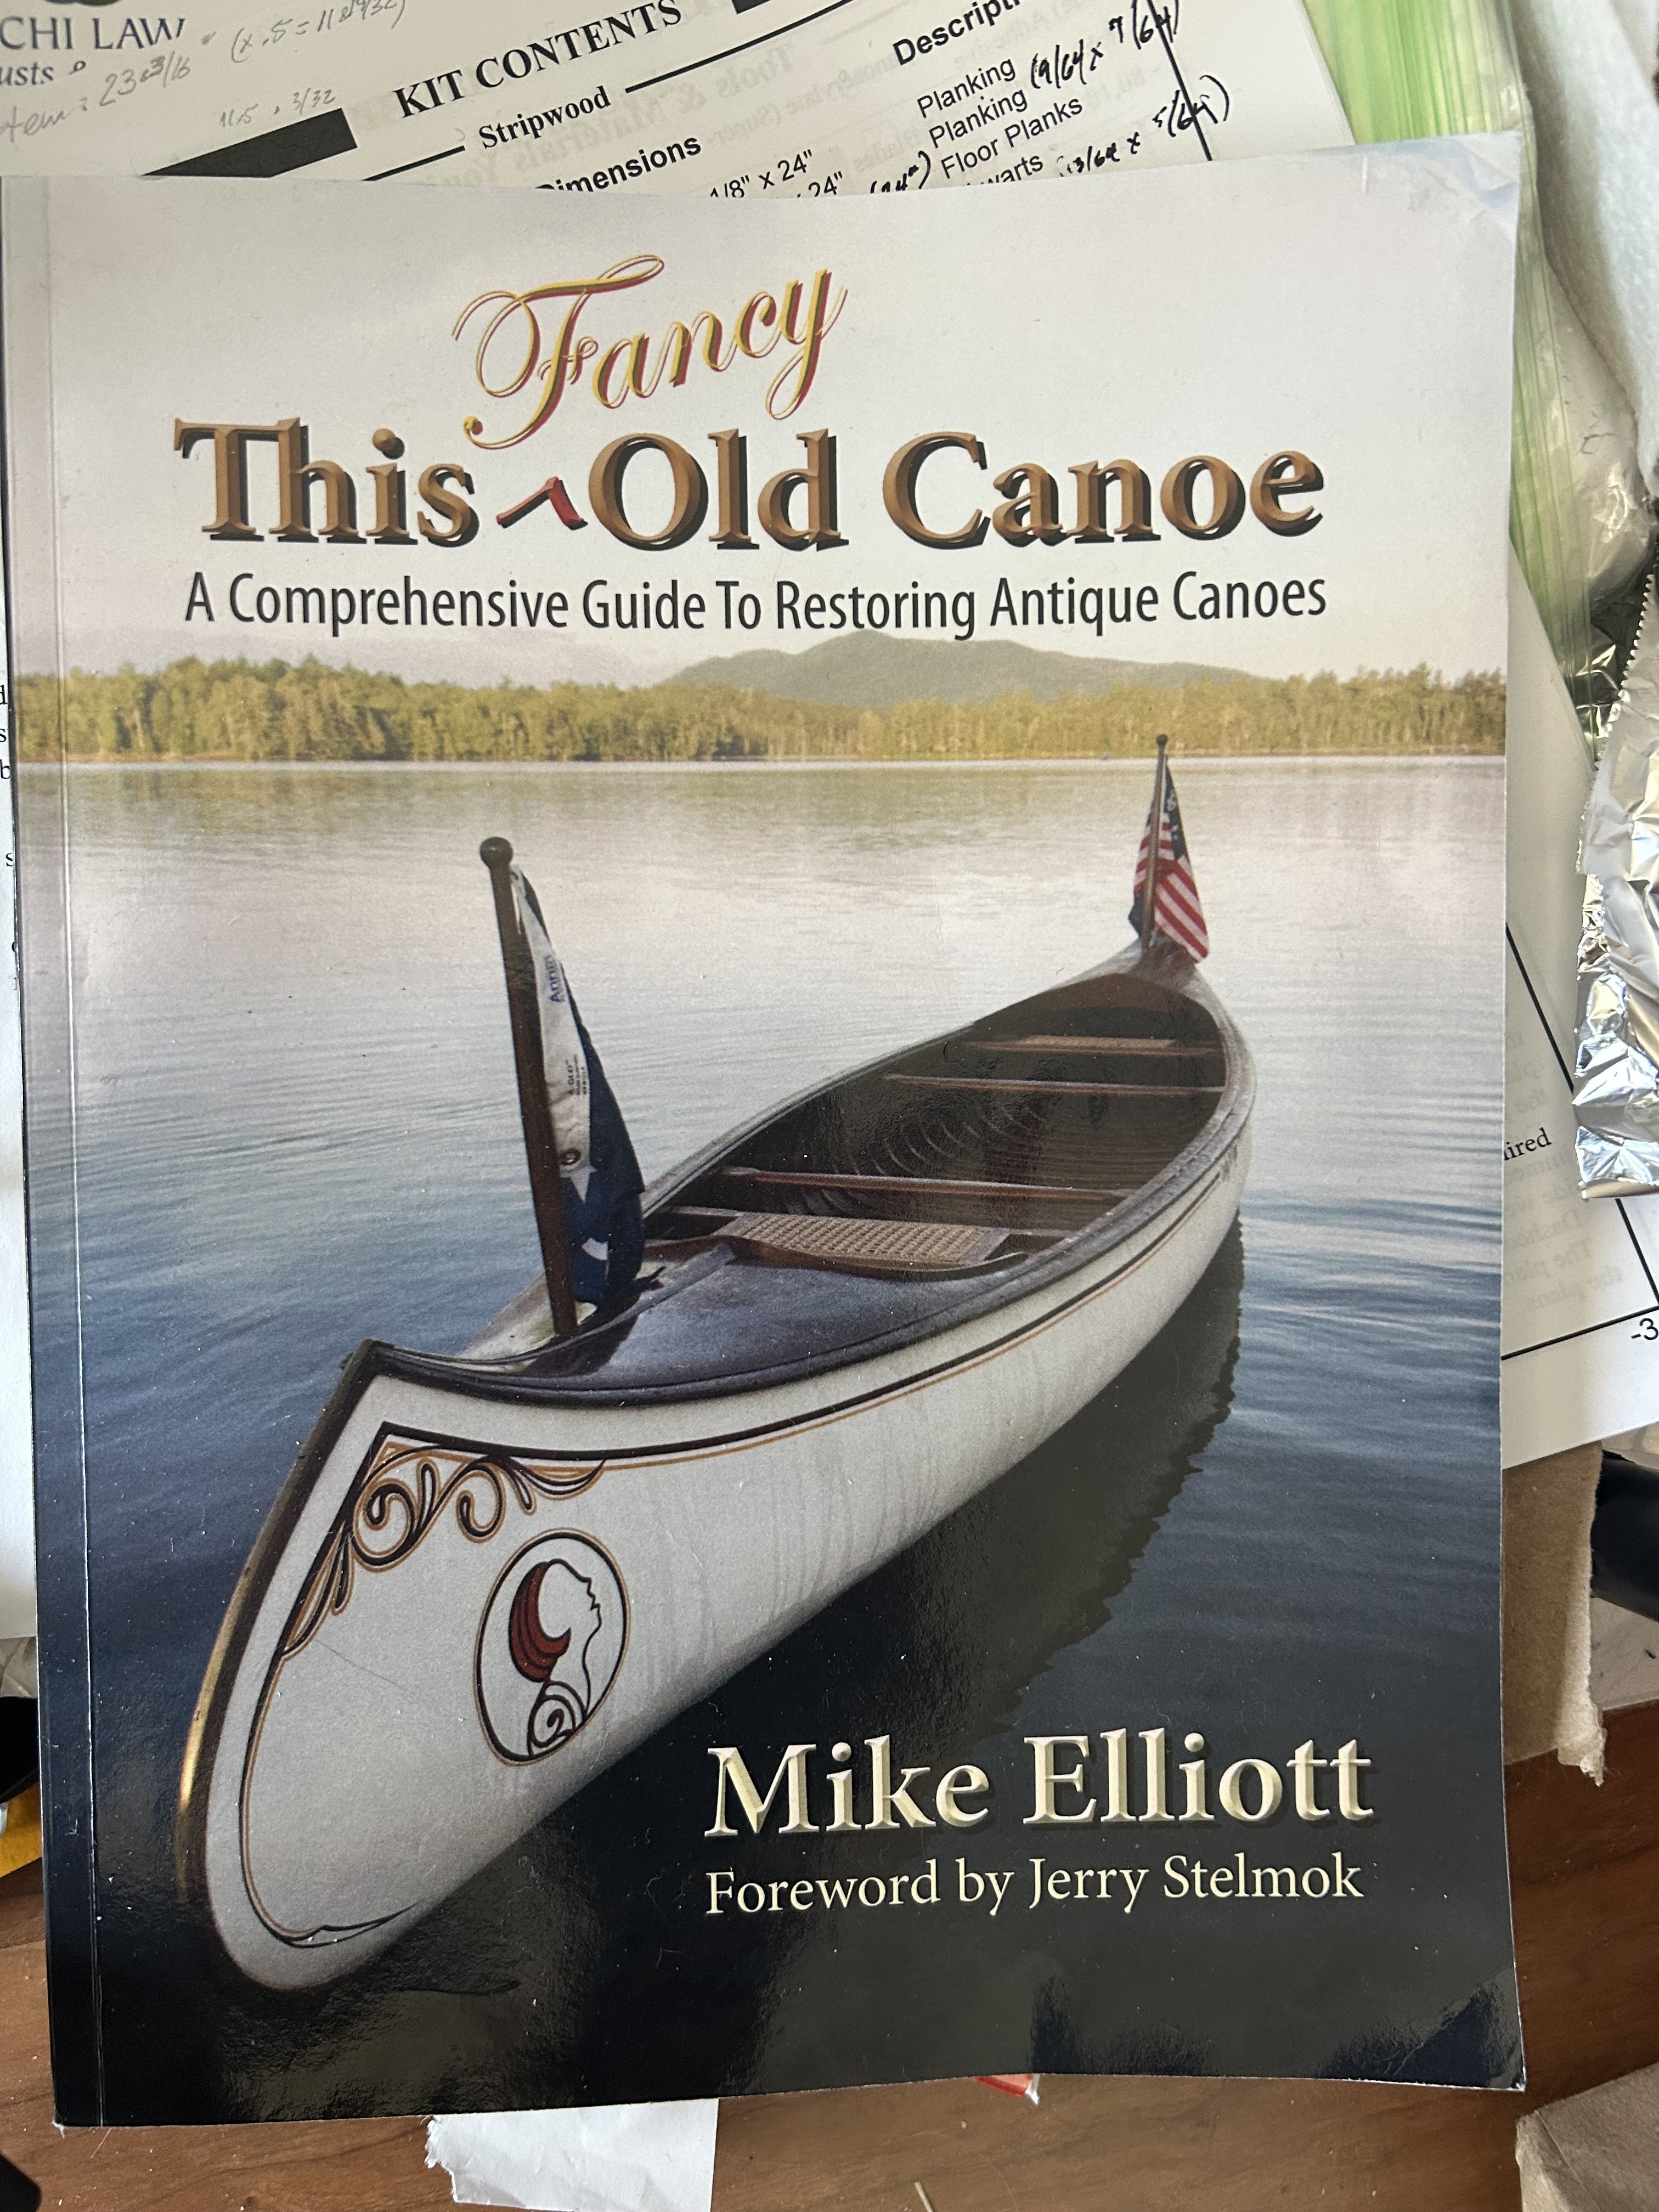
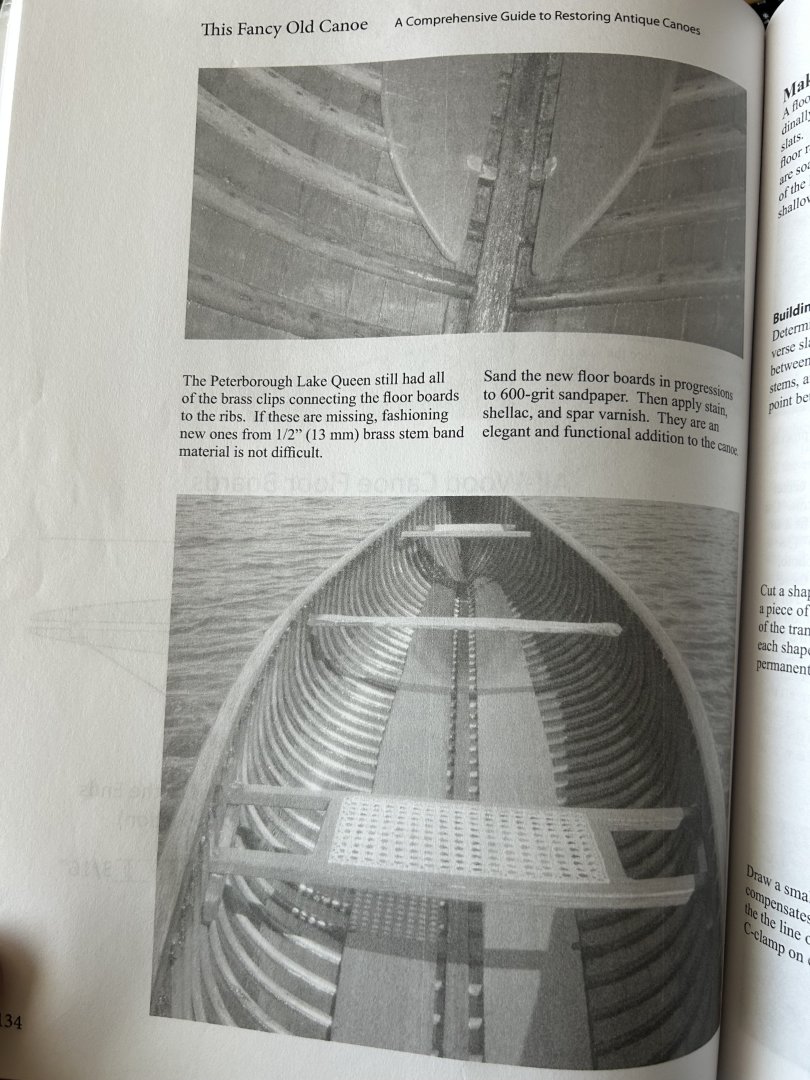
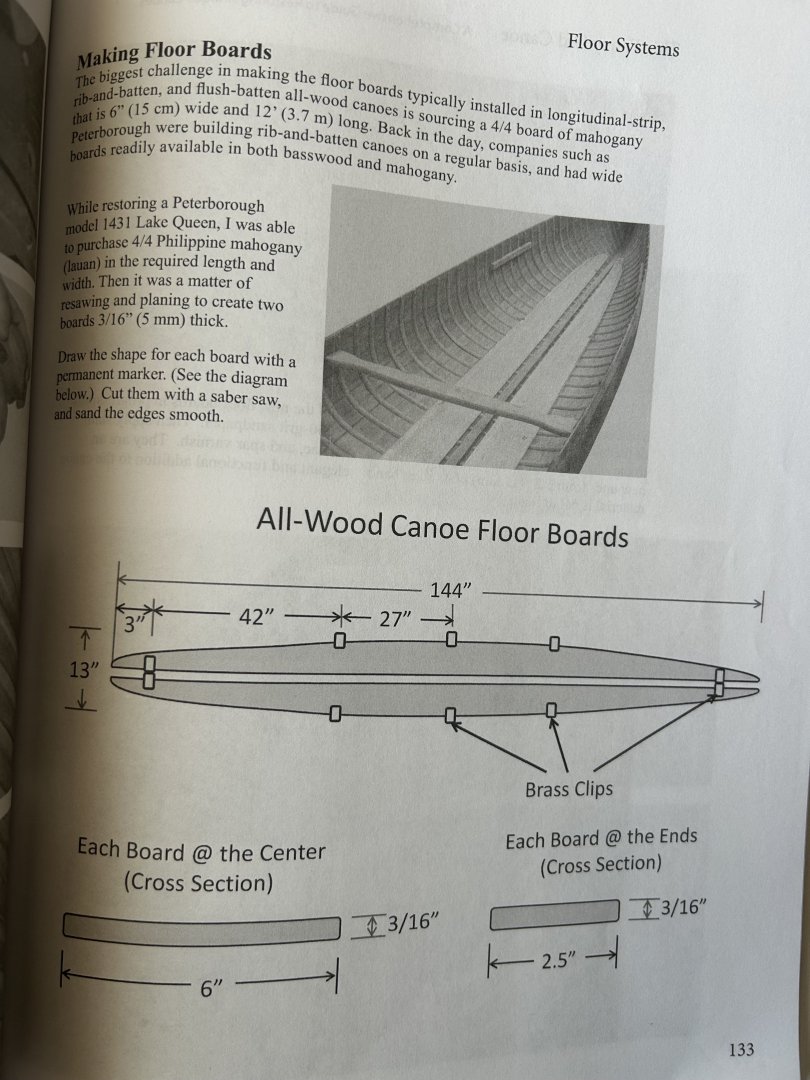
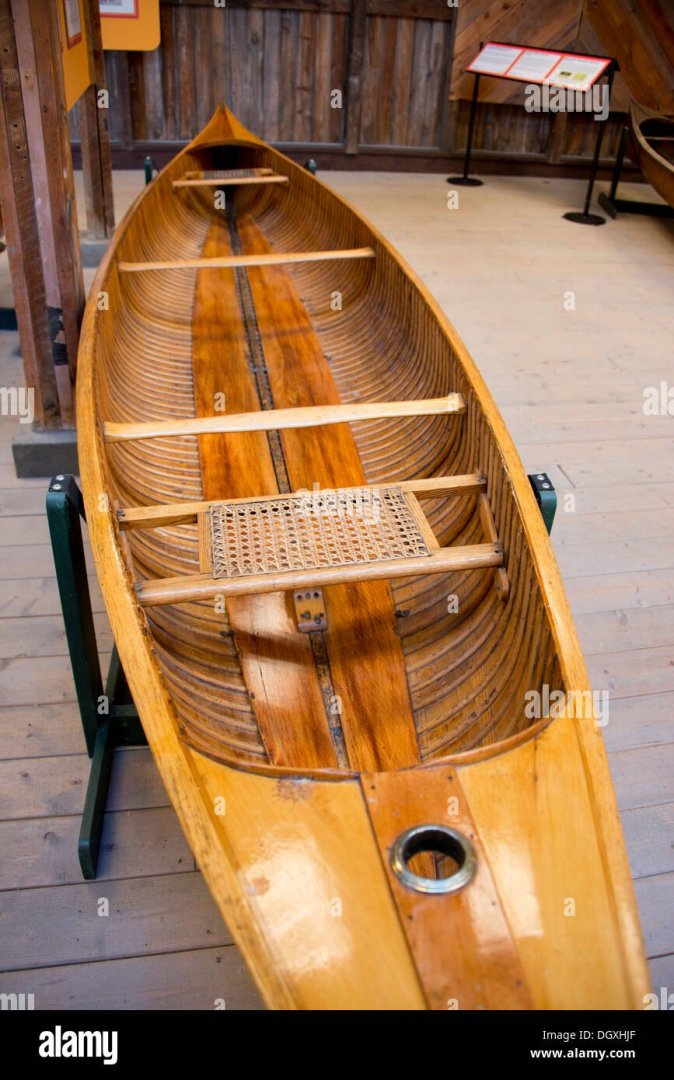
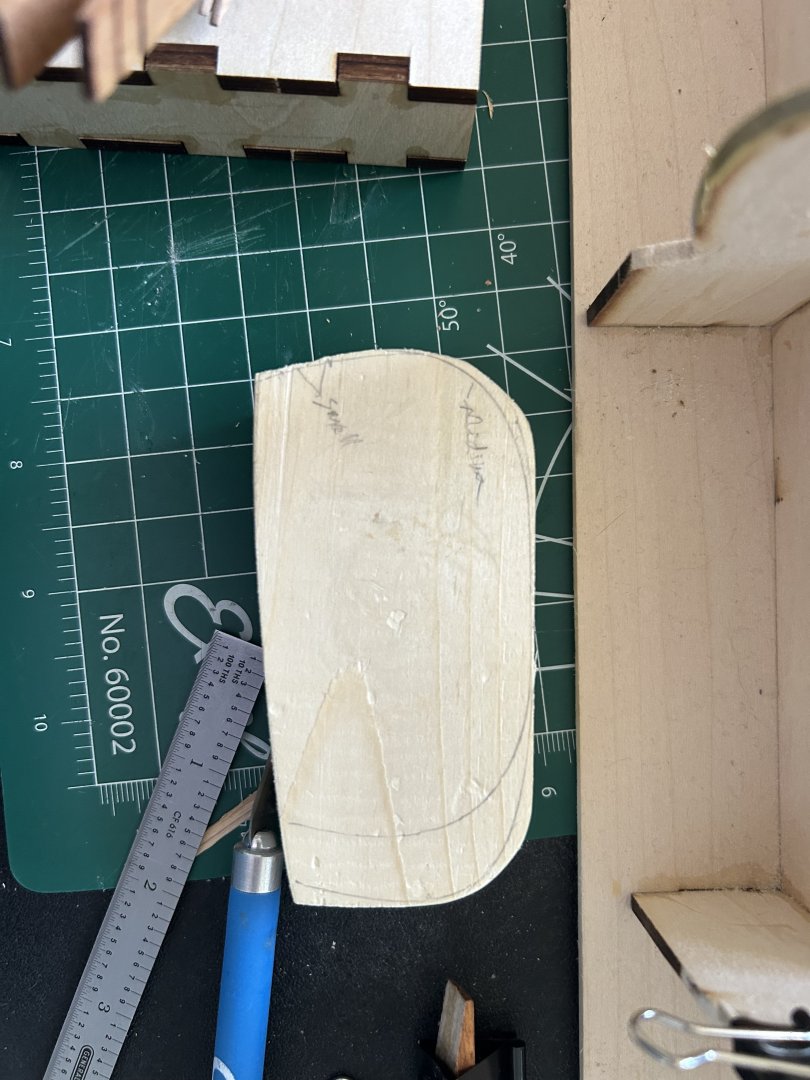
I have made the floorboards (basswood), following what I think was the original design for the Peterborough No. 44 in the old catalogue I am using for reference. Again, Mike Elliott’s book “This Fancy Old Canoe” ( https://a.co/d/hhiVDuu ) is an invaluable reference for details:

-
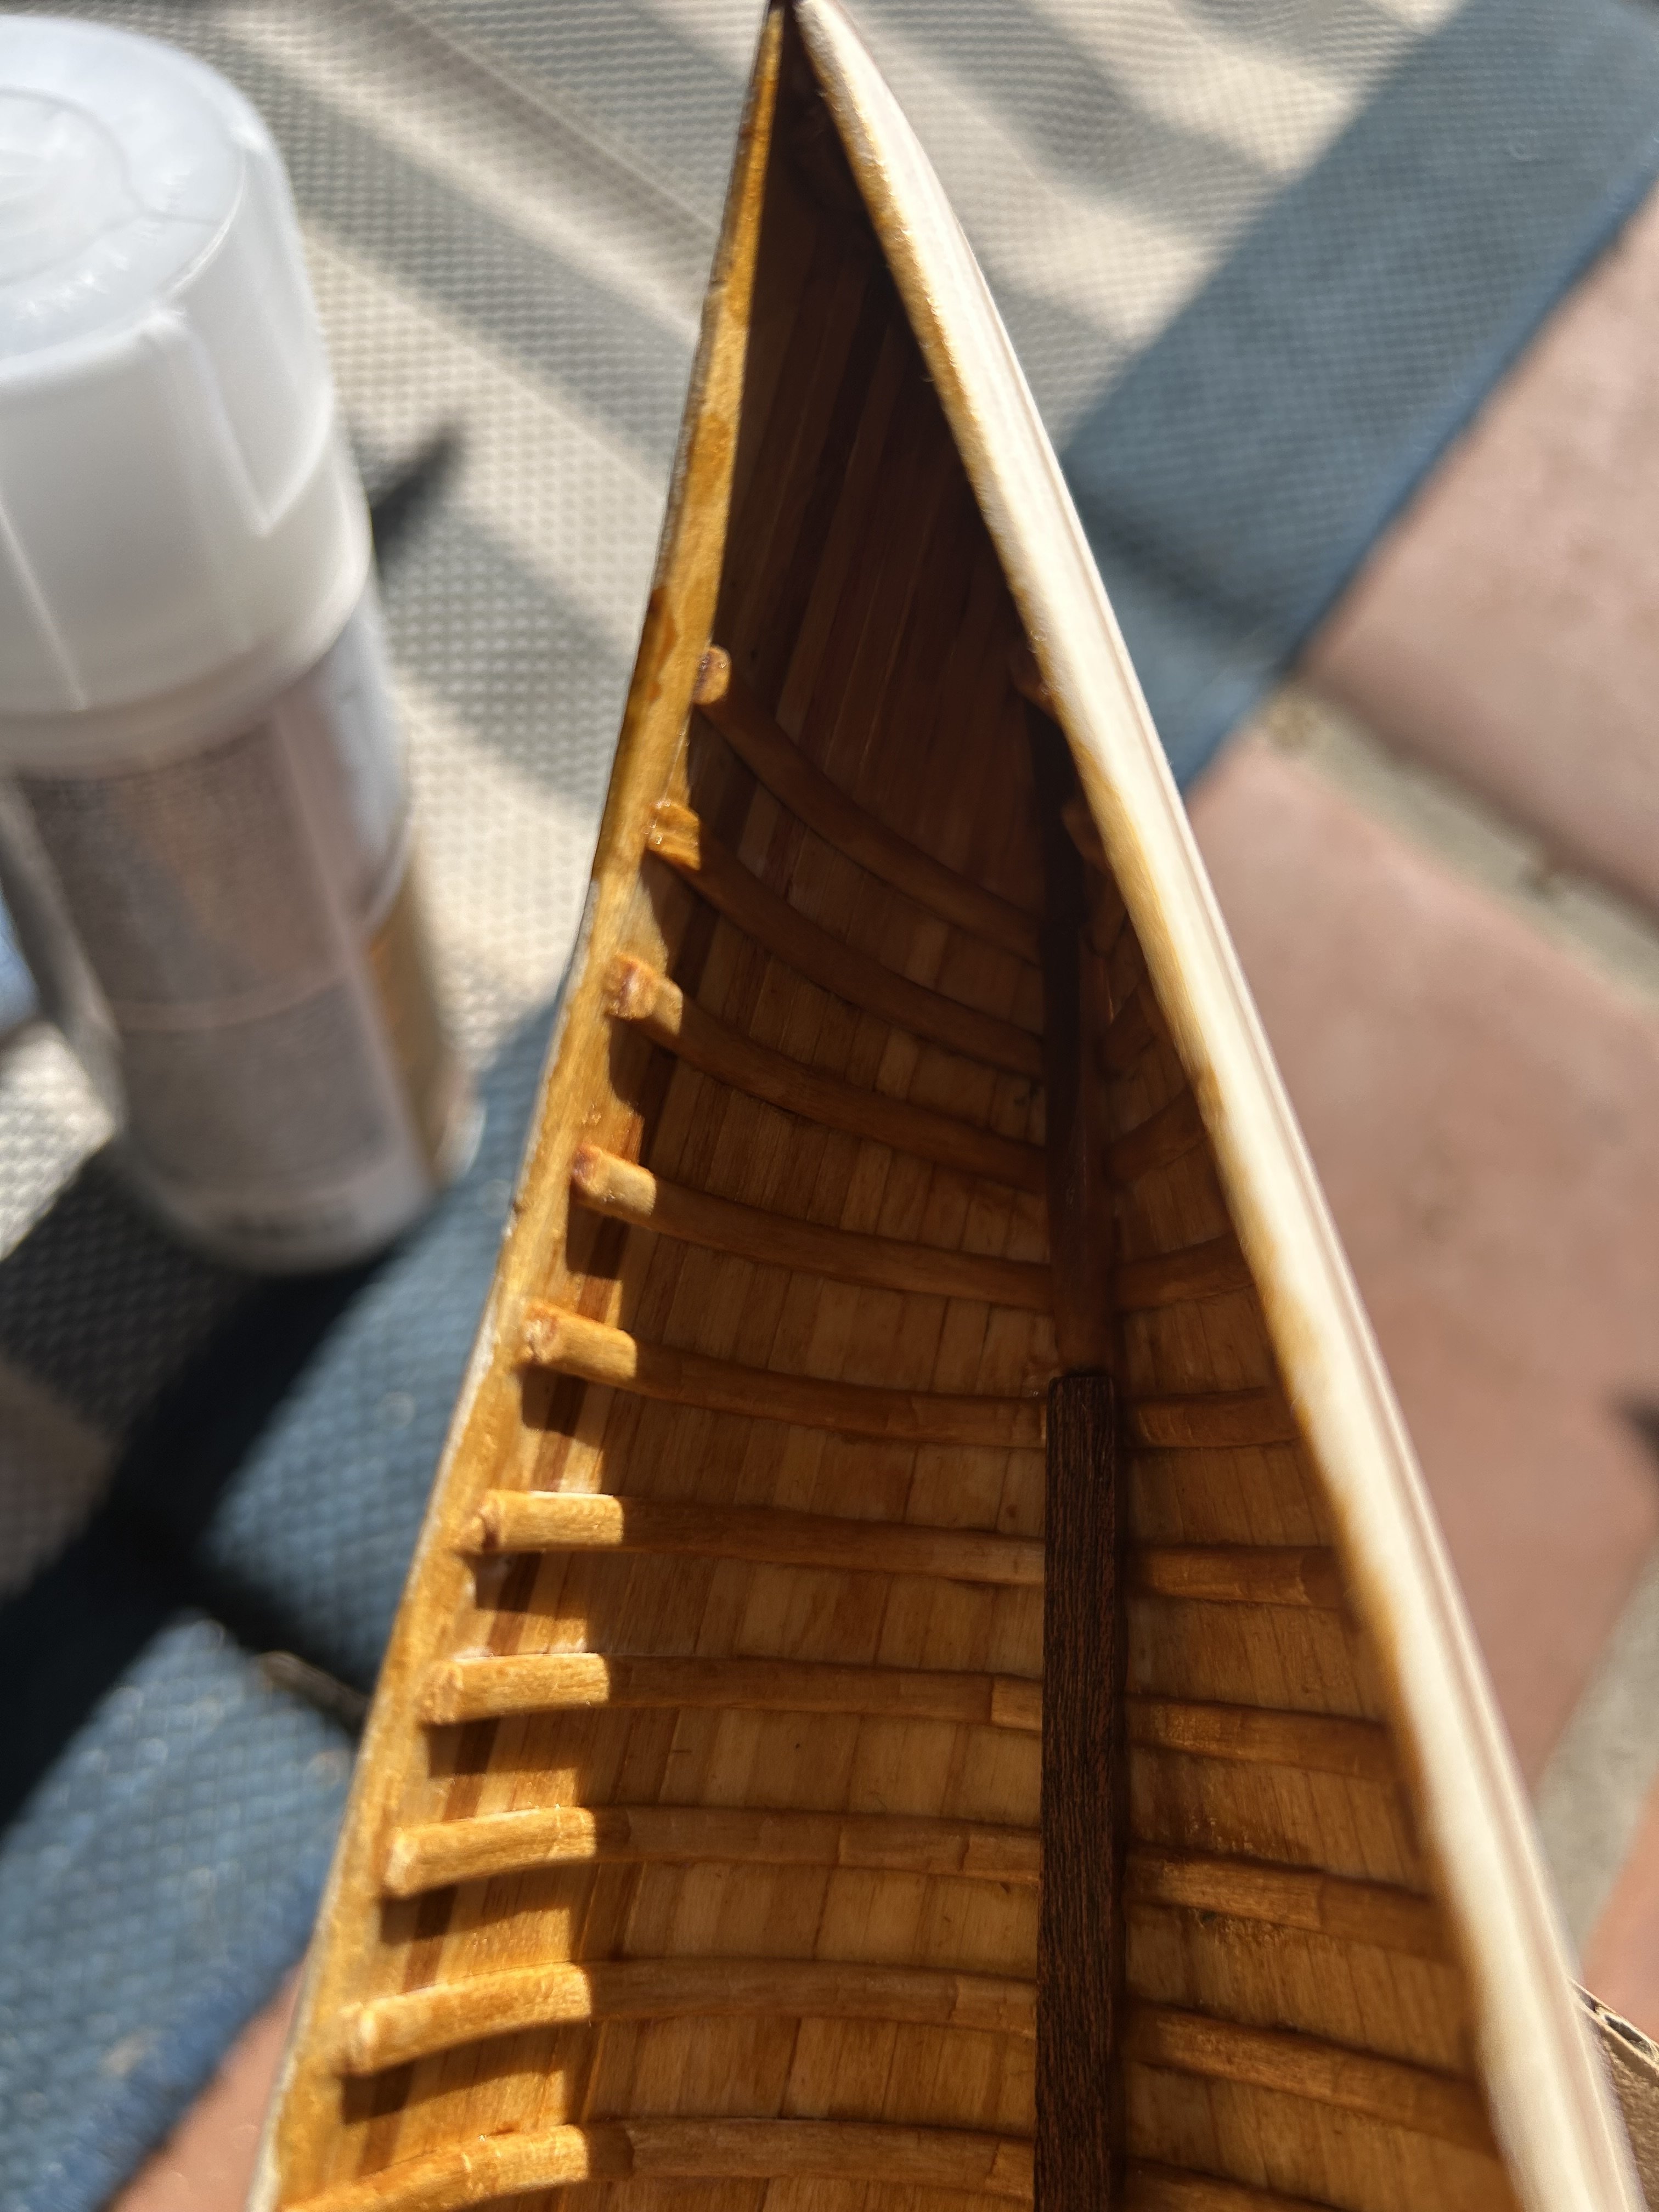
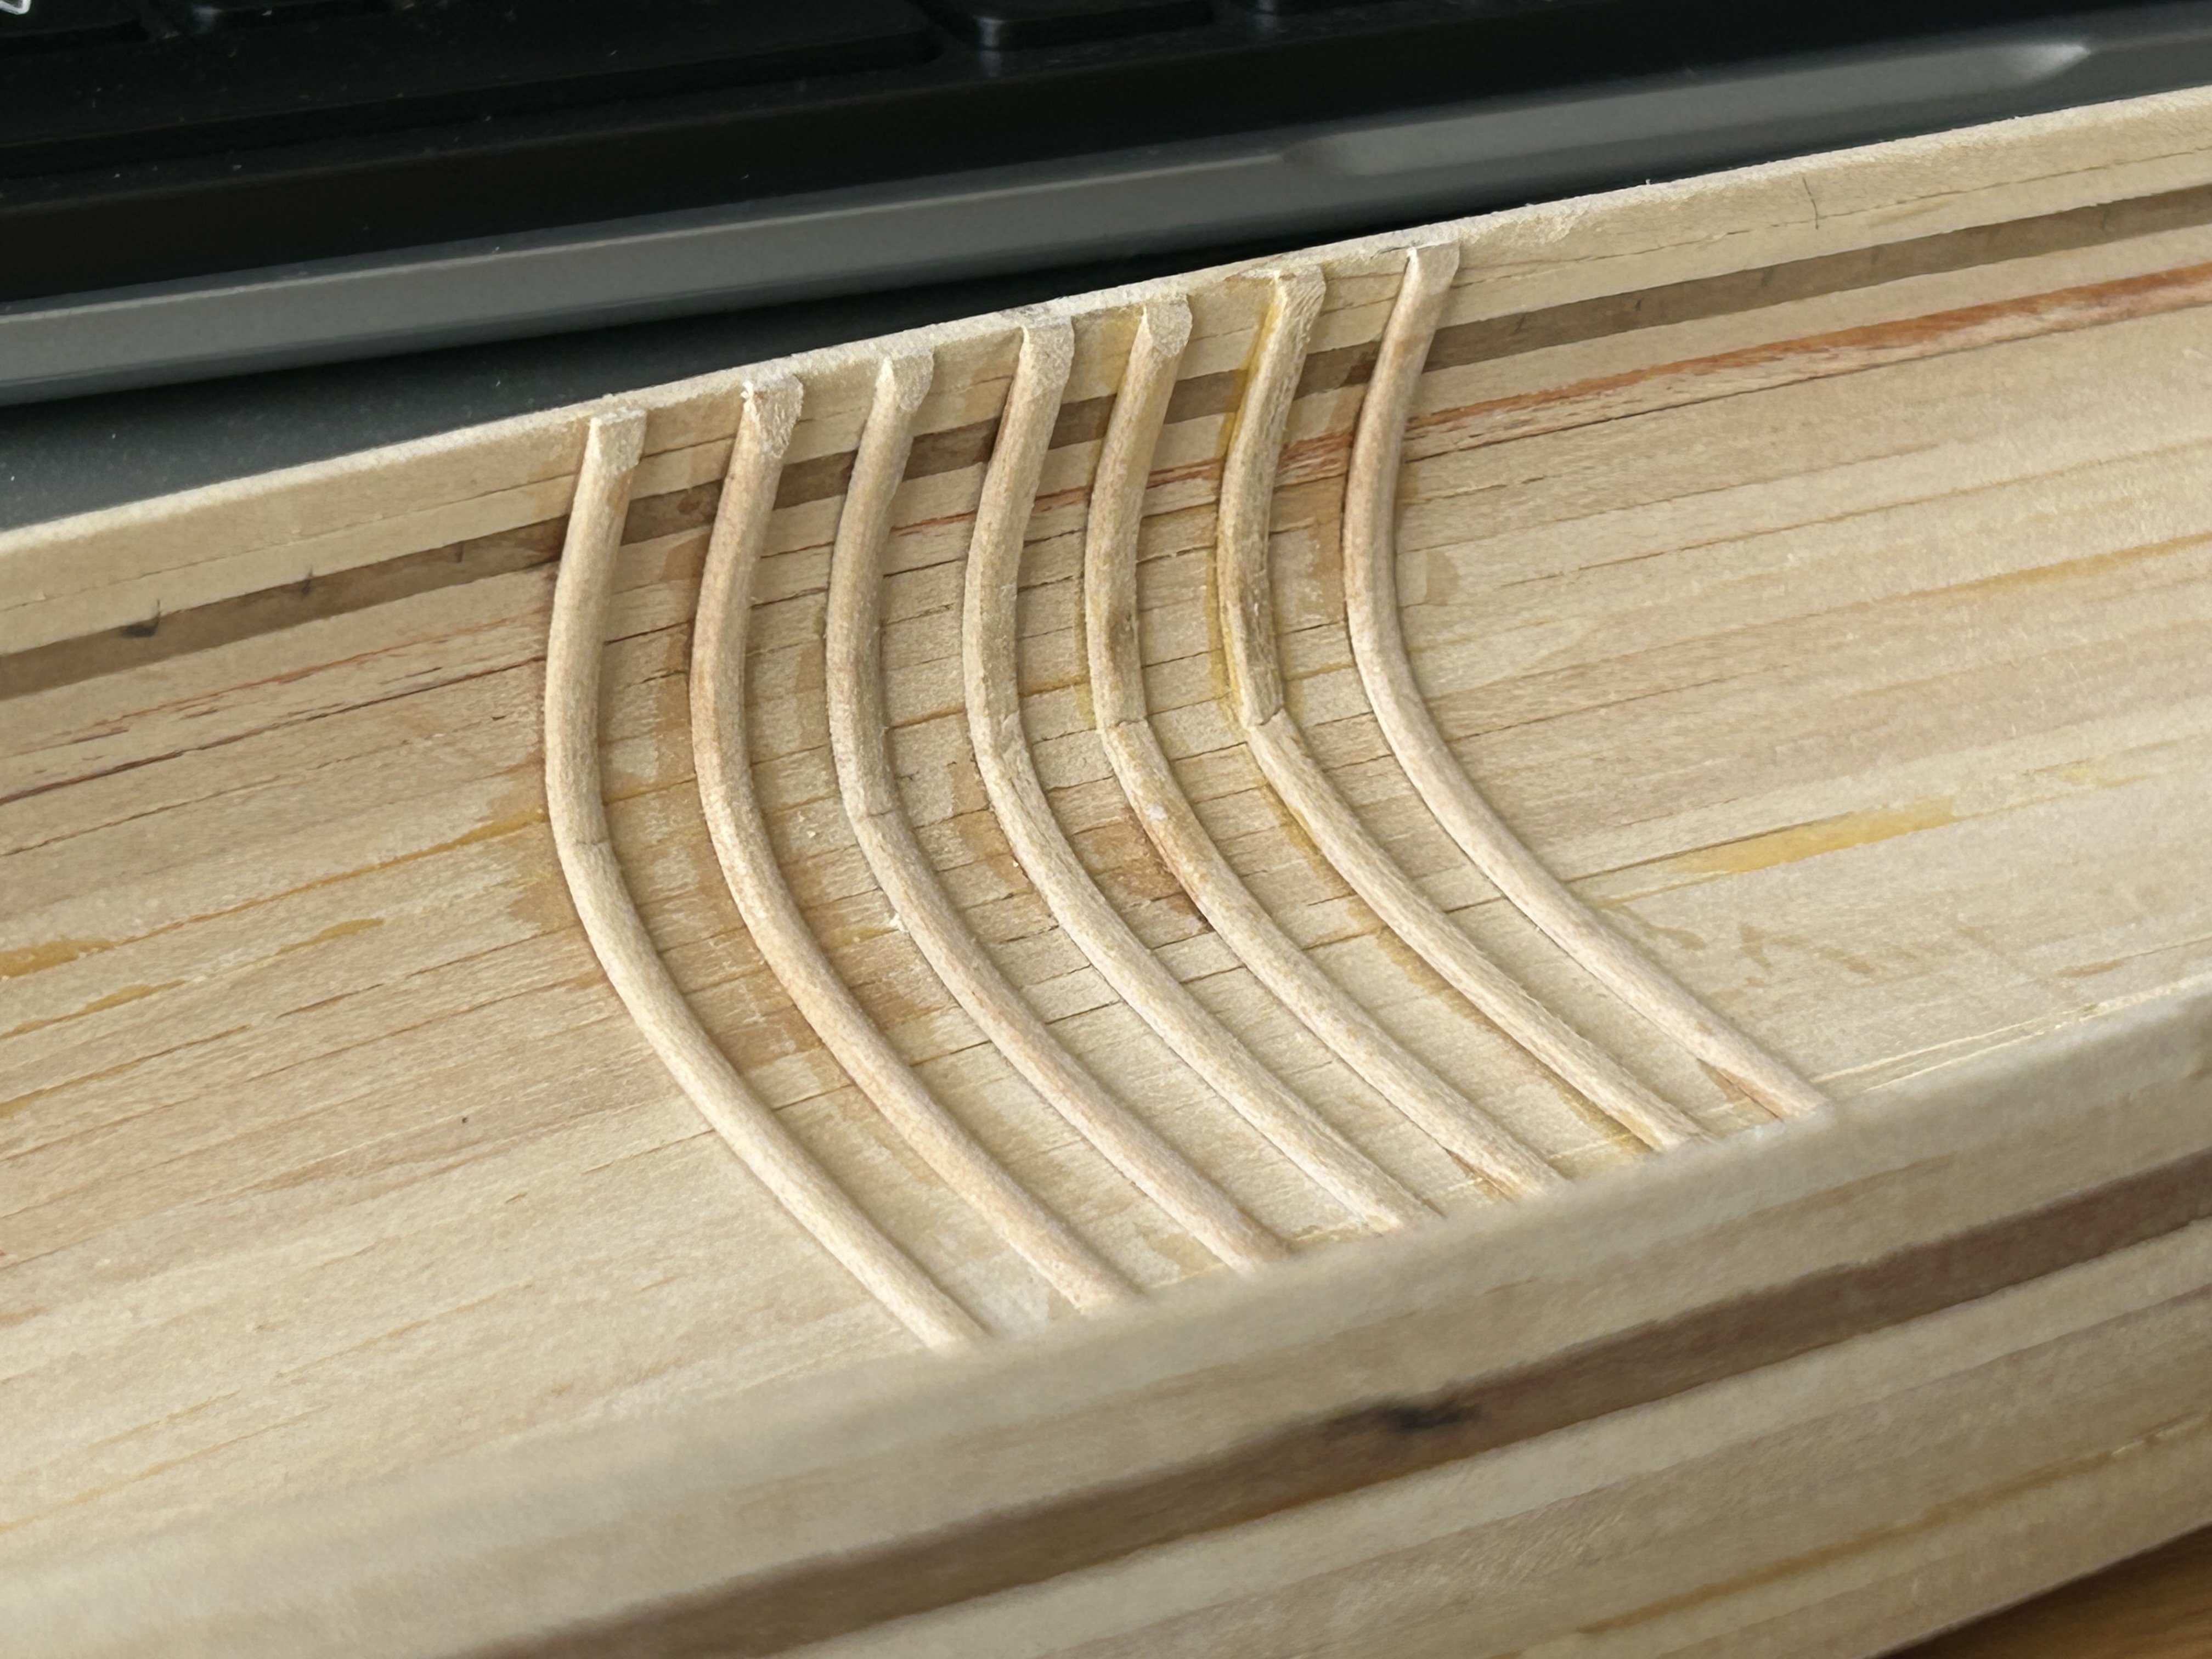
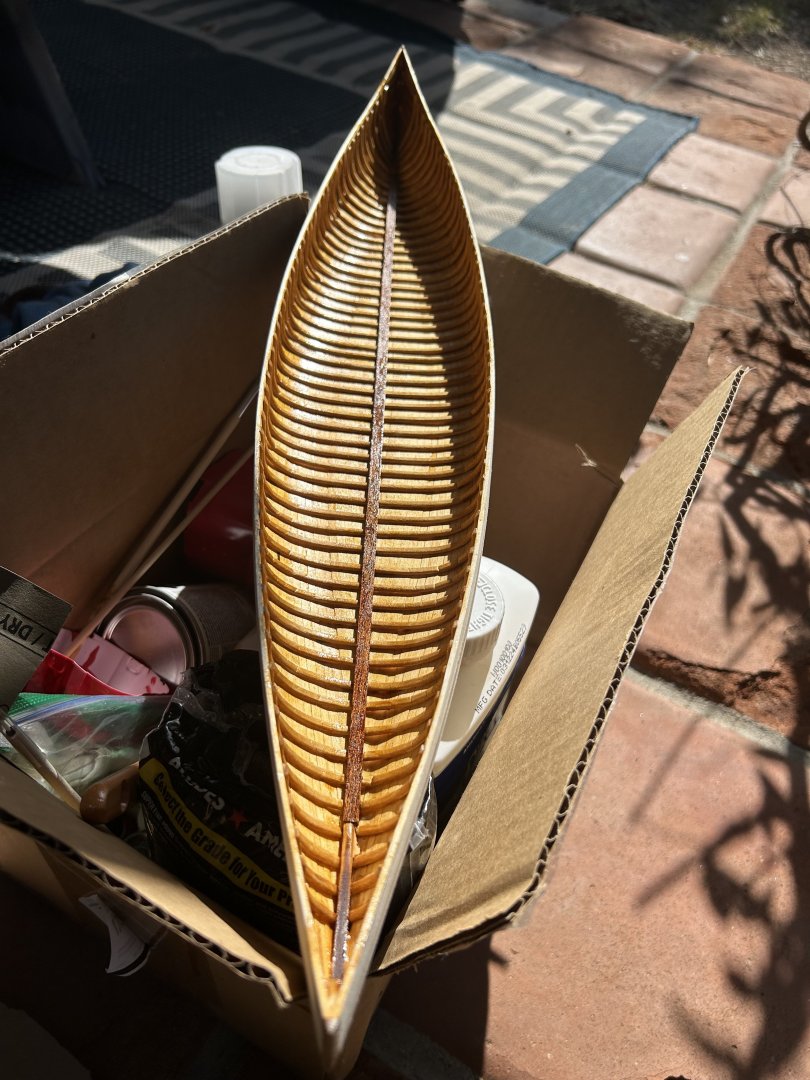
Ribs complete, Mahogany keelson installed, and first coat of amber shellac applied. I have notched out the tops of the ribs where the decks will be installed, so the decks can sit flush with the top plank and outwales. After a bit more shaping, (and clamping and gluing), decks will fit thusly:

-
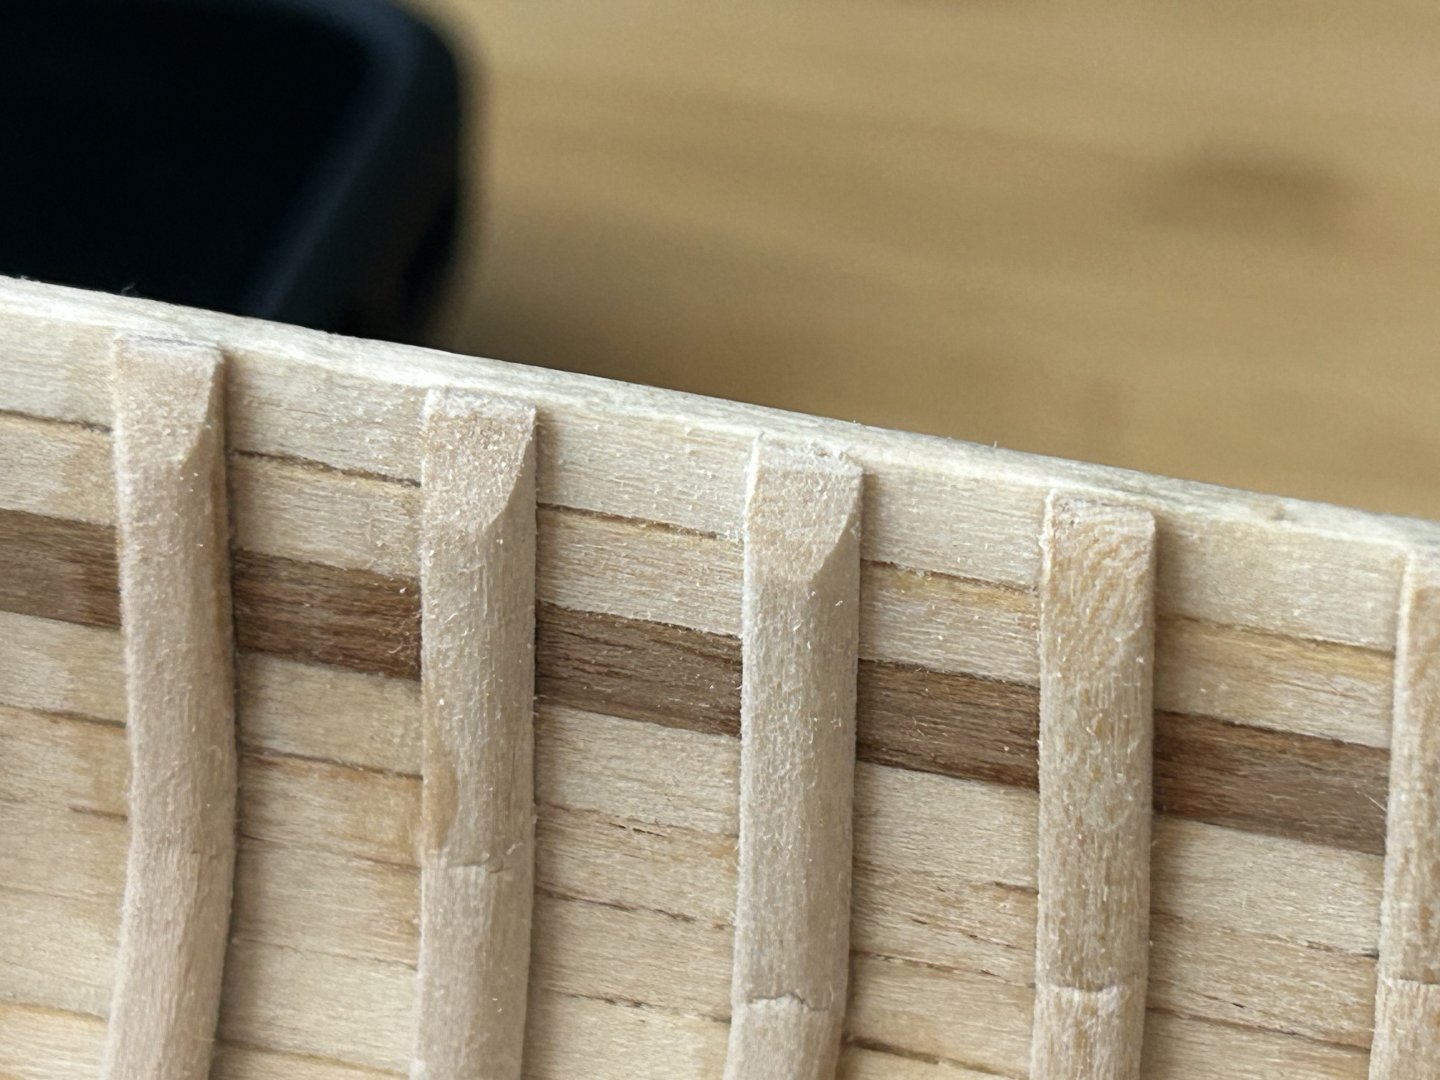
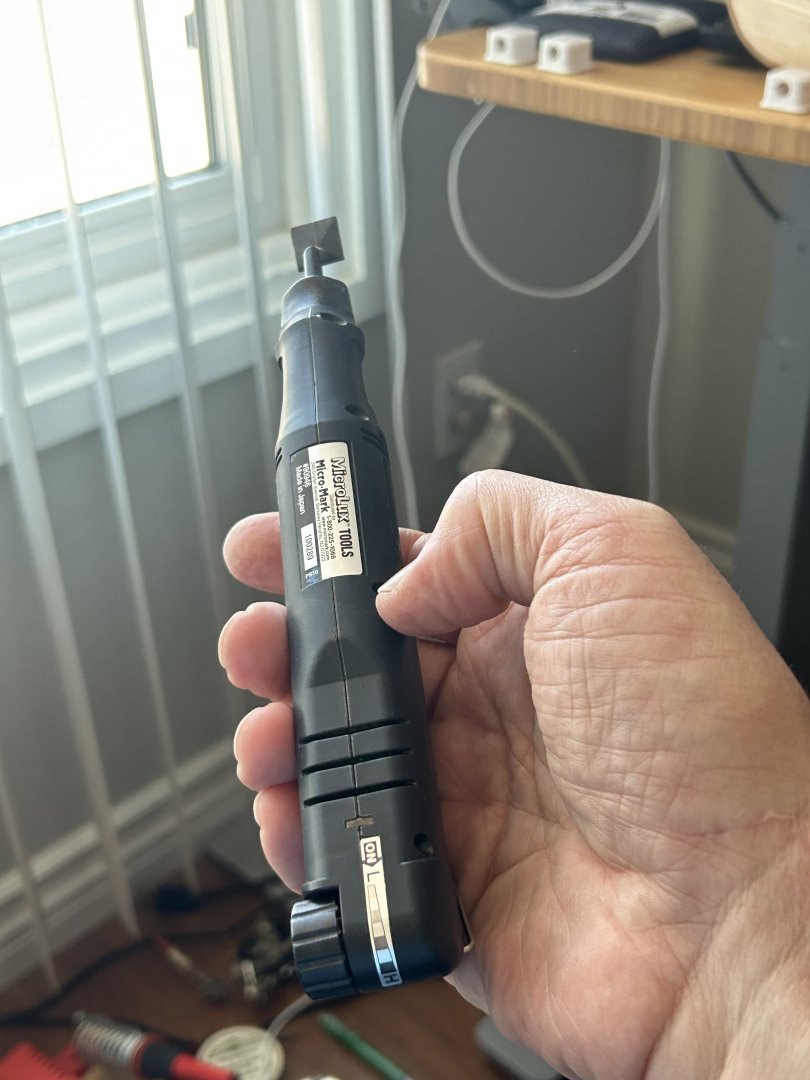
Ribs about 85% done. The tops of the ribs are beveled with Micro-Mark sander. On the full scale, these get nails through them from the inside to attach the outwales.

-
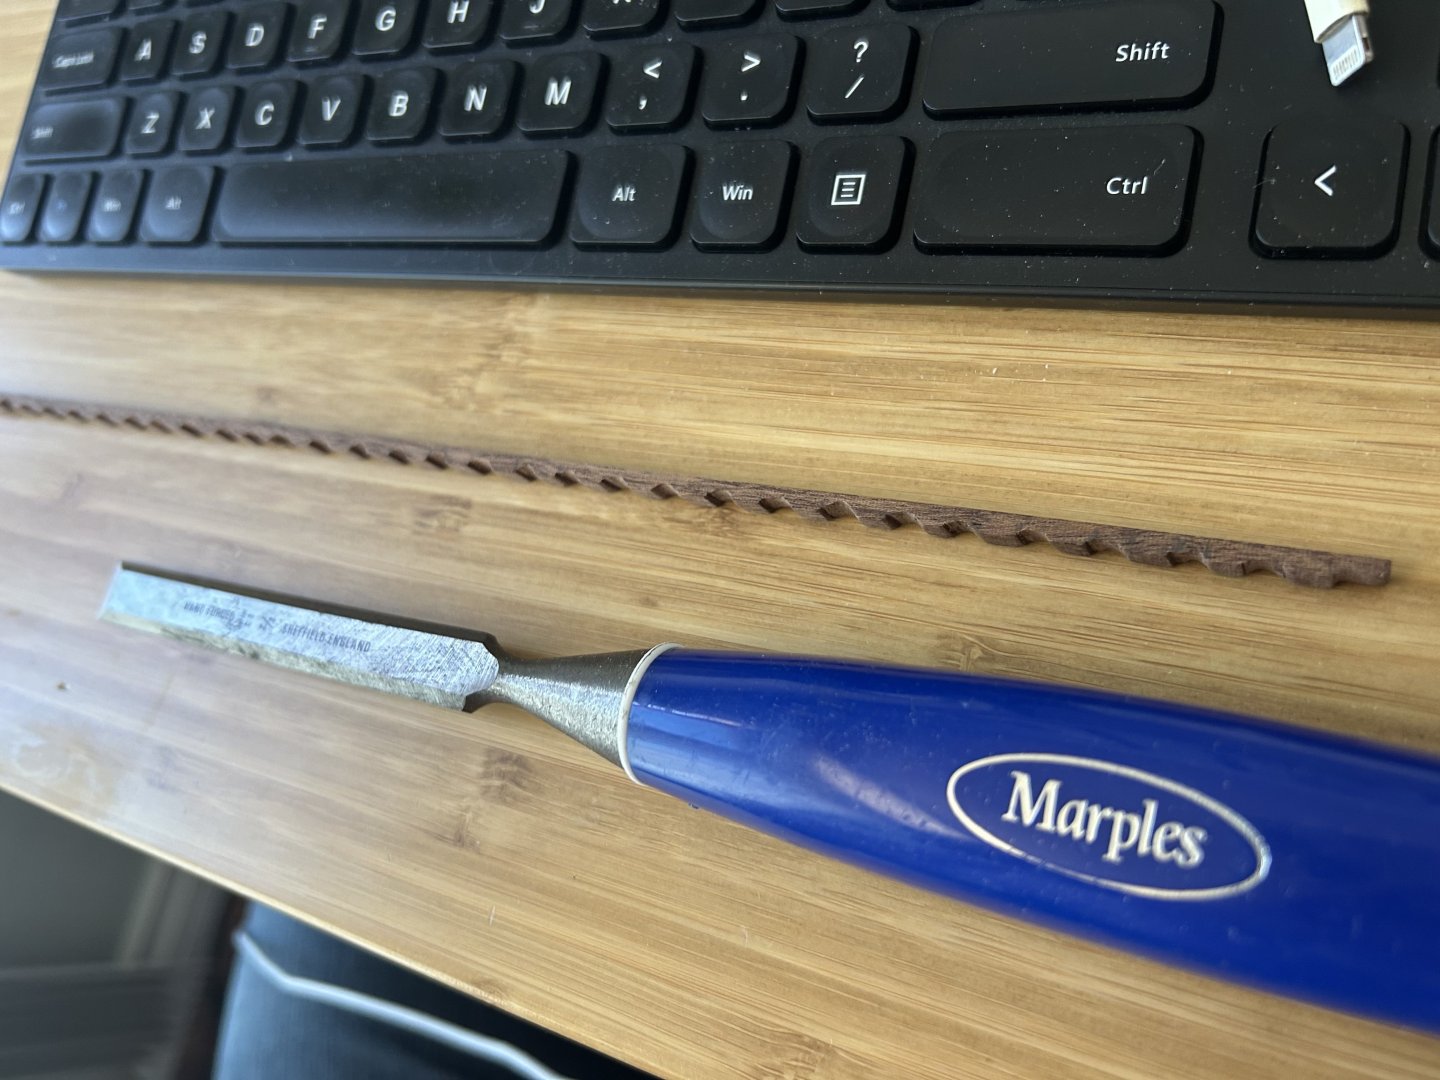
The general concept for the deck. Tapered outwales will be fitted on the outside of the top planks. Ribs proceeding slowly, tediously. About 3/5 done. Mahogany keelson notched by hand w razor saw, chisel and sandpaper. Tried to figure a way to run a Dremel router to do the notches and this just ended up being simpler. Rib bending forms: I first used the center former on the strong back, then a slightly smaller carved form, now on to the middle sized former.

-
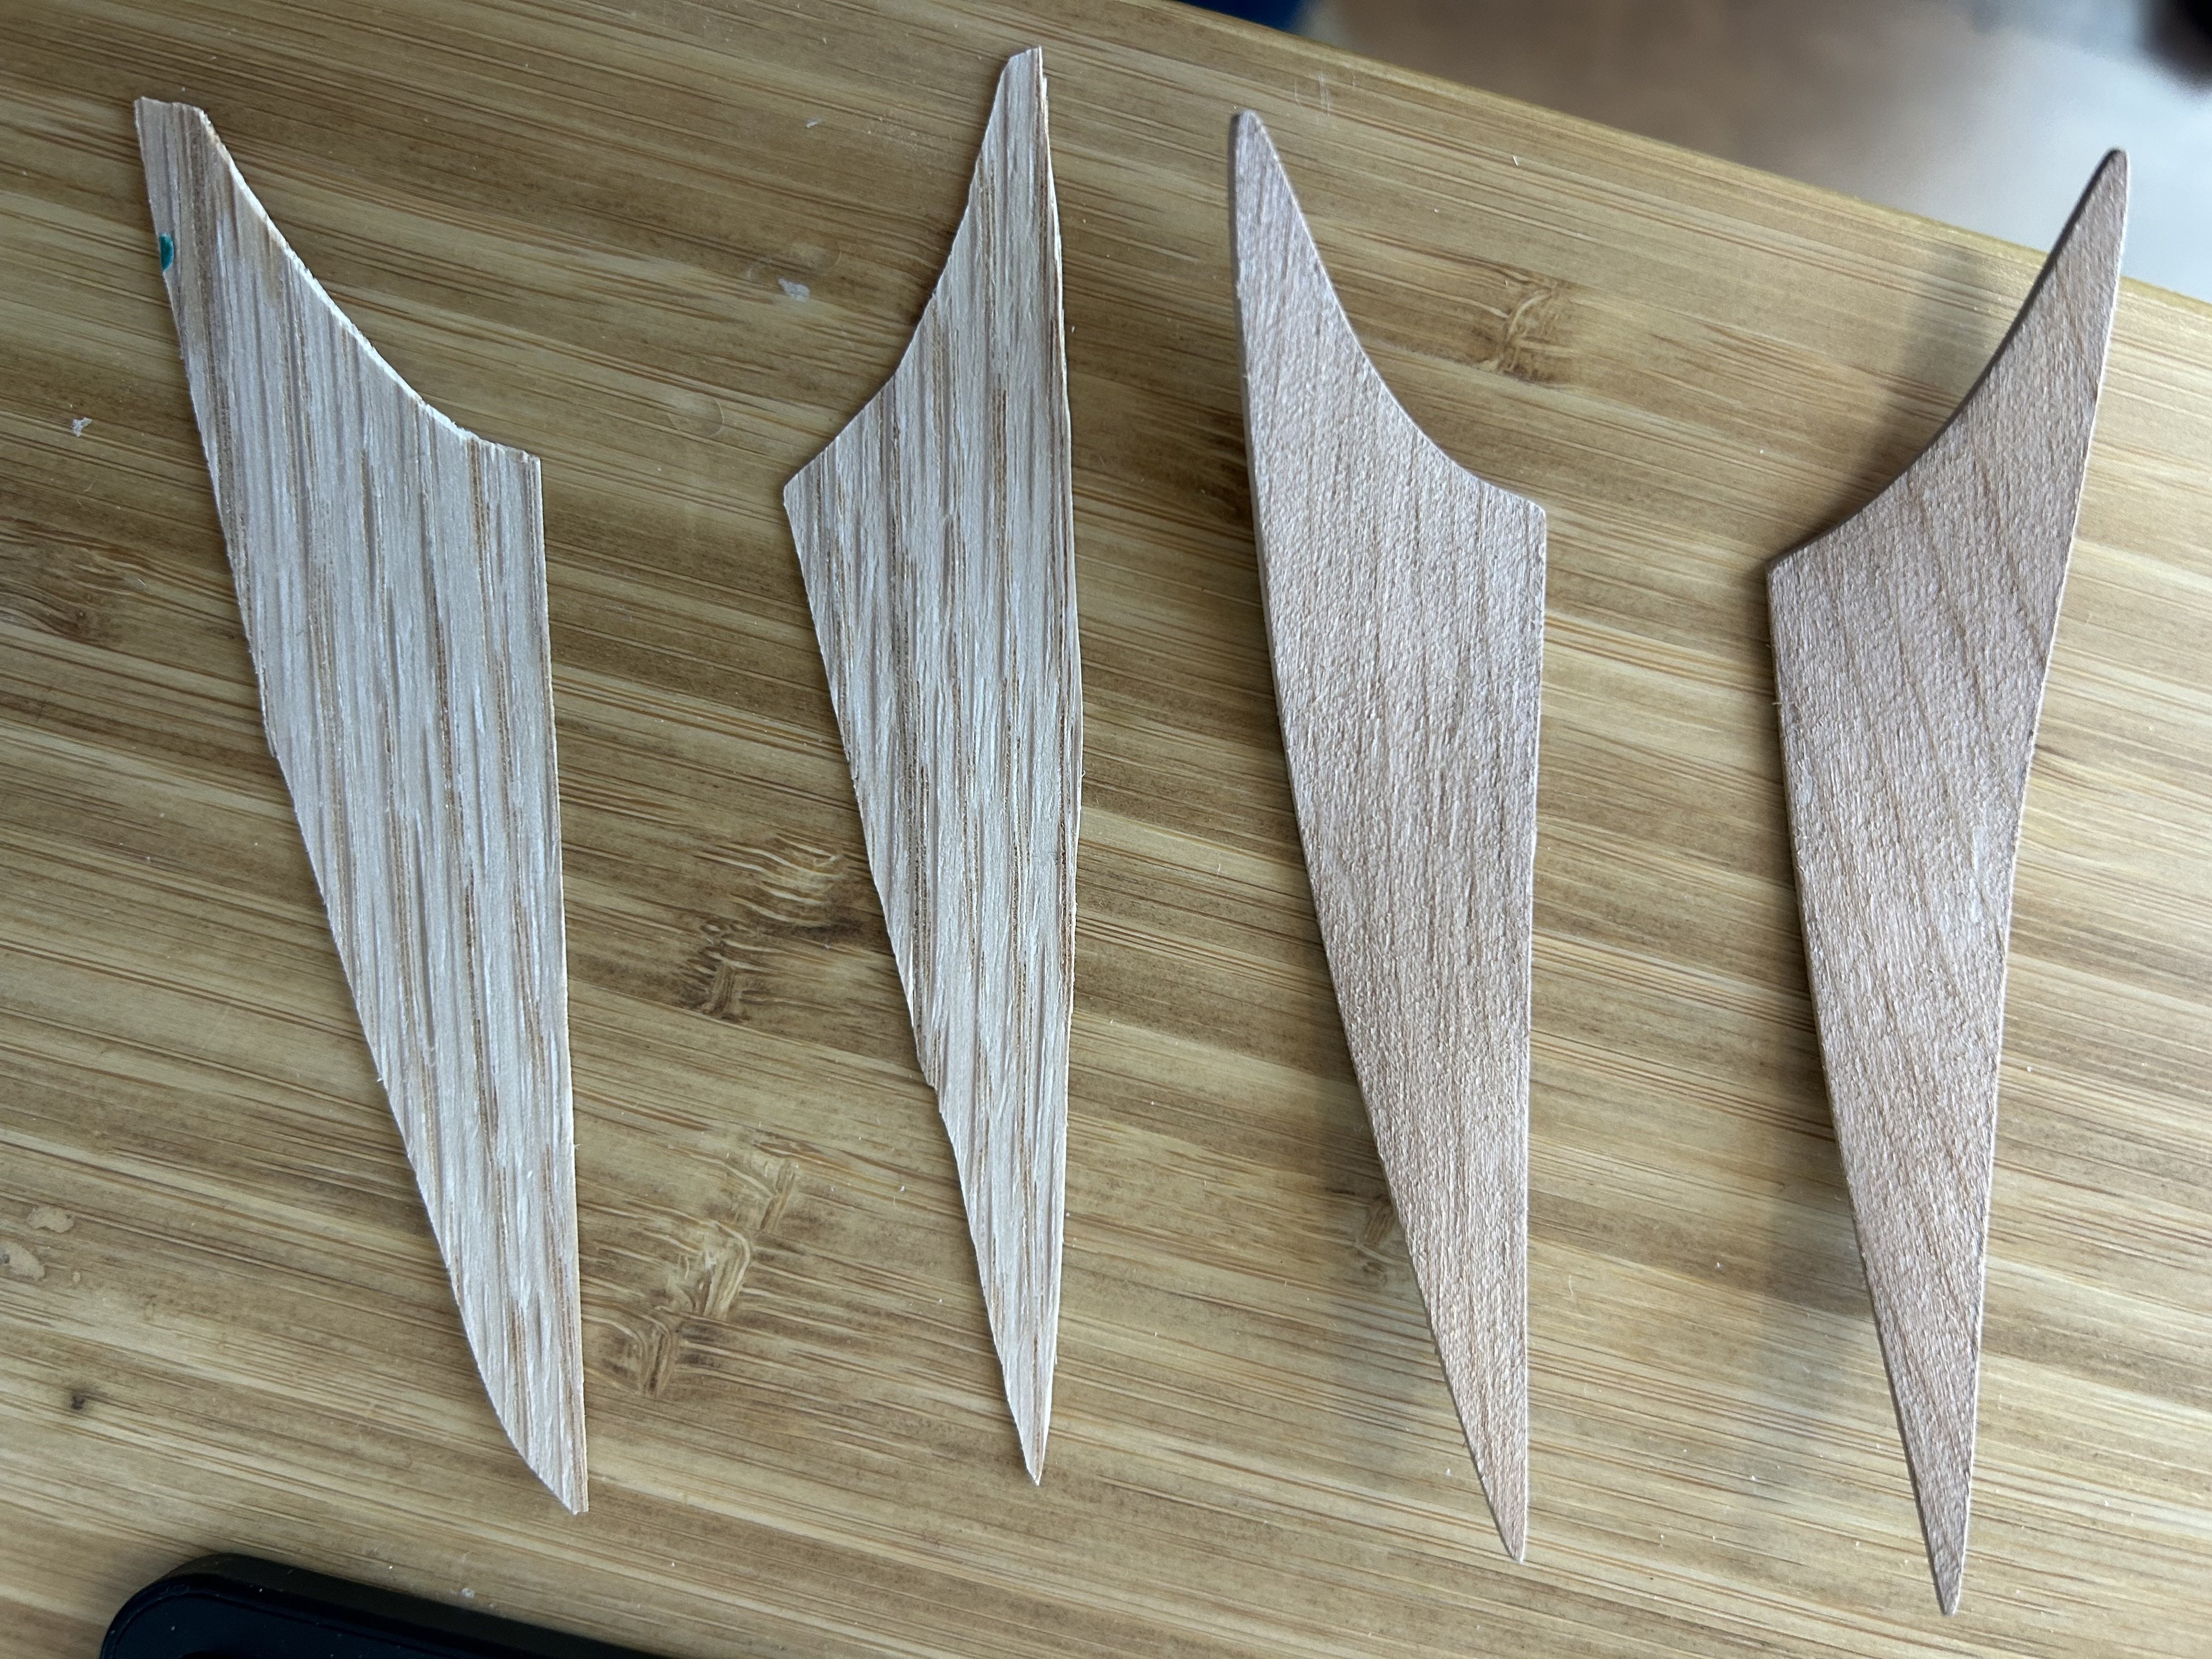
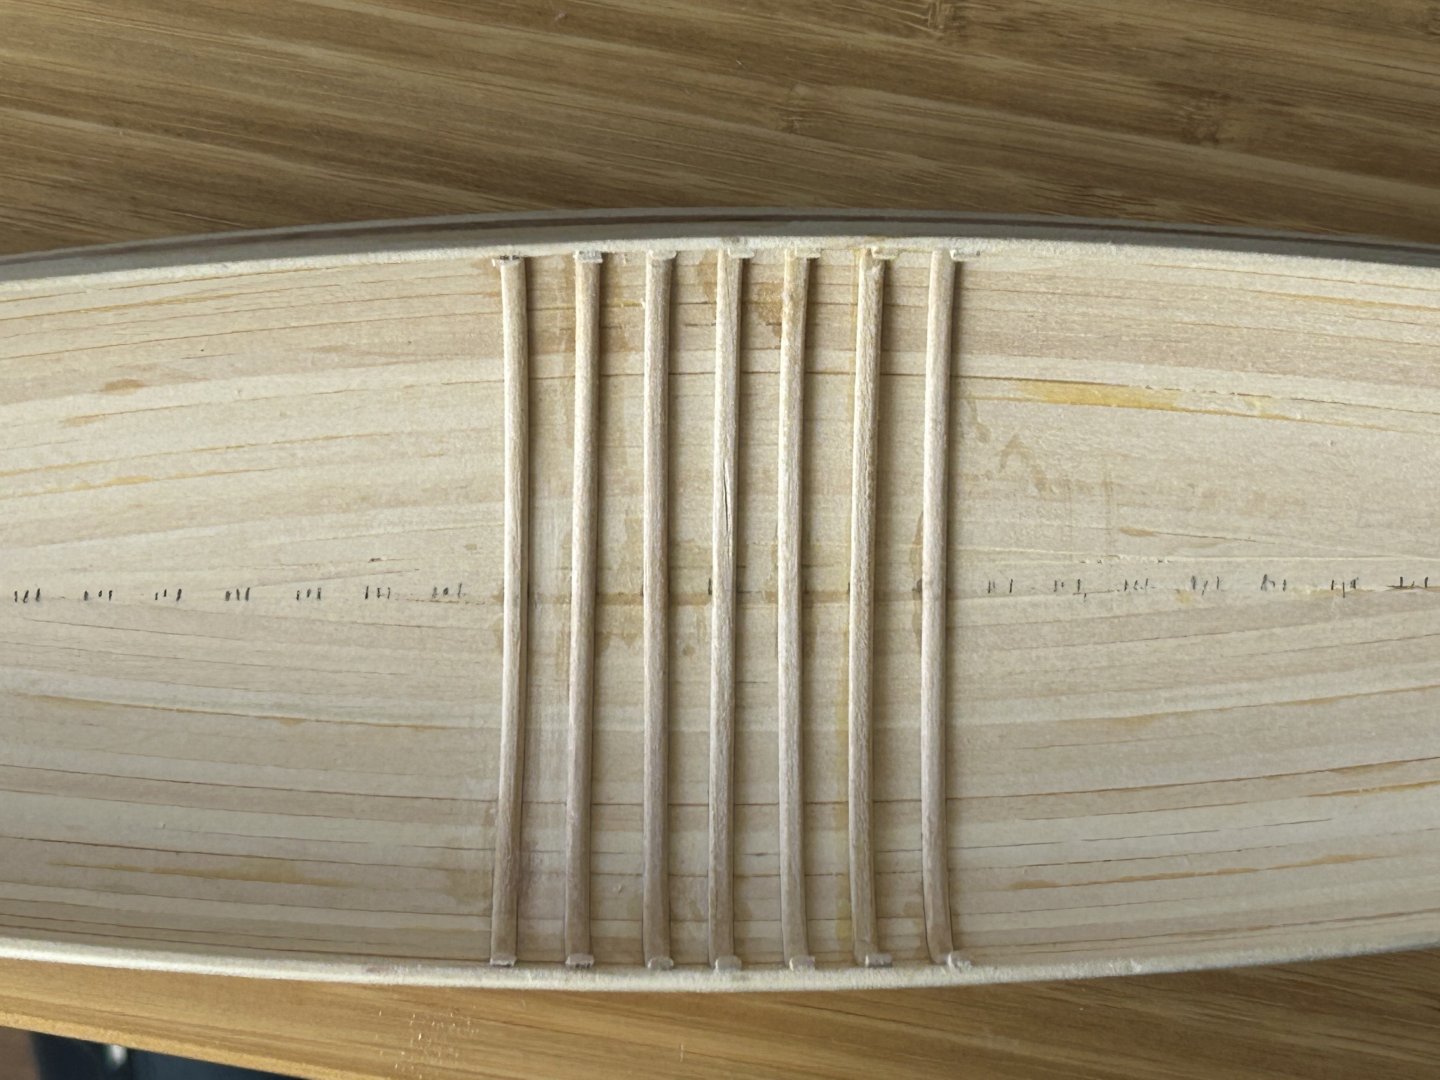
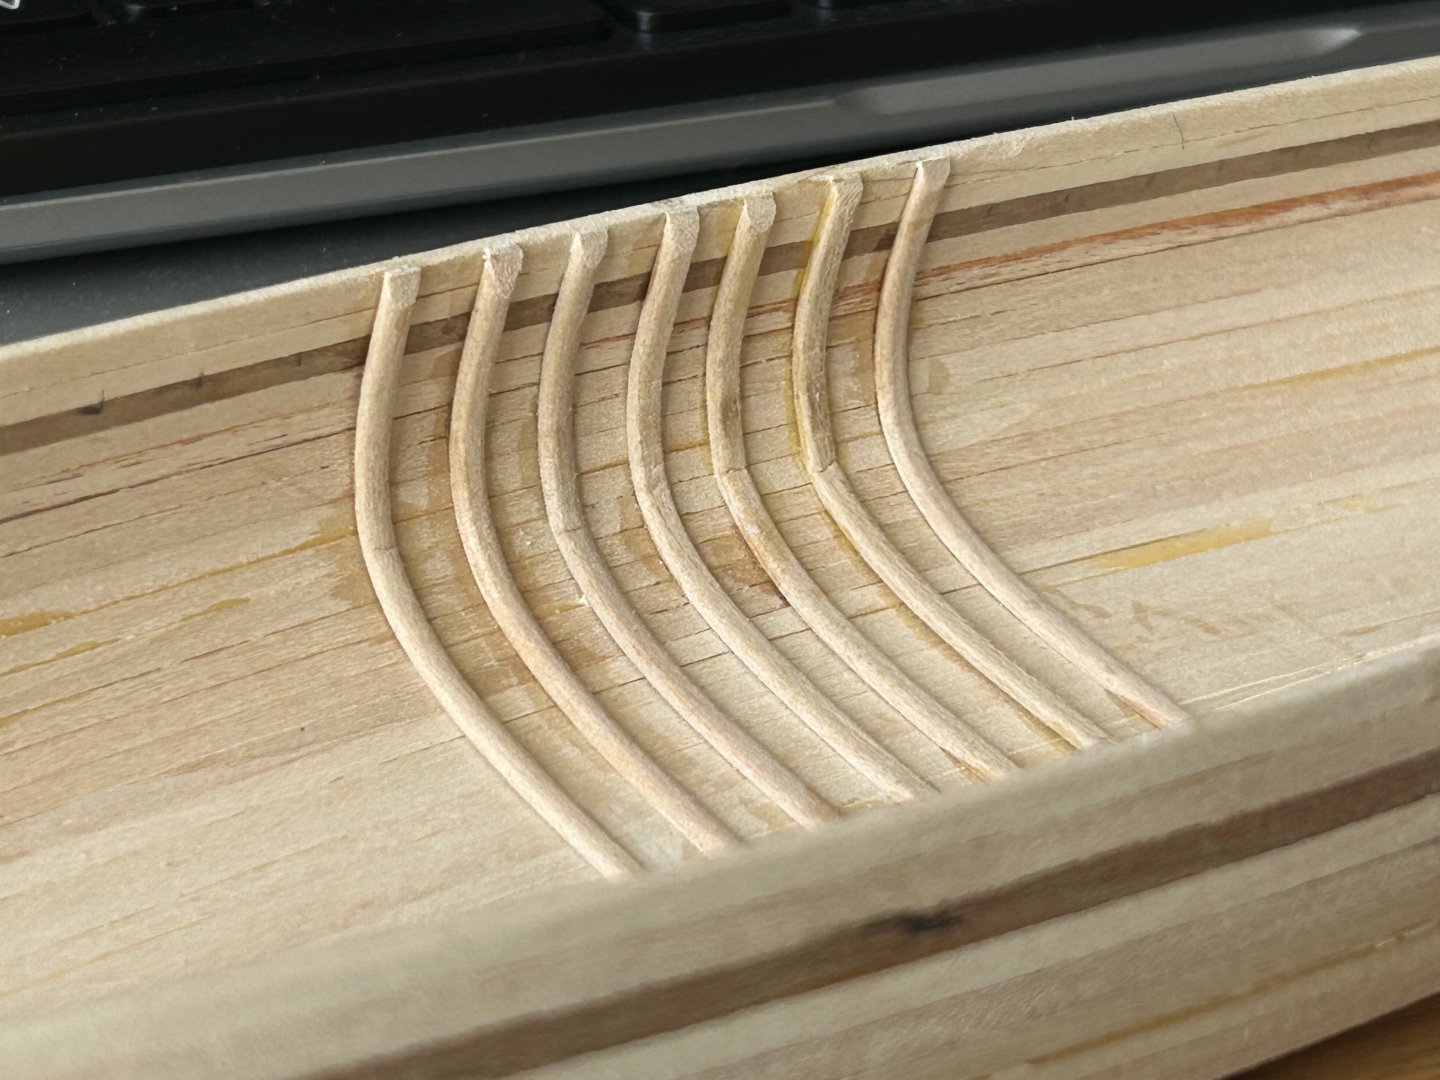
The plank bender used on decks to match the sheerline arc: Oak veneers, next to the cherry decks,before gluing and trimming: The veneered deck, before final sanding to fit and gluing. Will not install until all the ribs are in and finish applied to the interior.


-
Also adding detail to the deck design from the kit, in terms of splitting and mitering the deck pieces and following the scale fitment. Will also try to veneer these cherry pieces in something that looks closer to the chestnut/butternut used by Peterborough in the original. Very helpful for researching the original construction details is Mike Elliott’s second book, “This Fancy Old Canoe”:


-
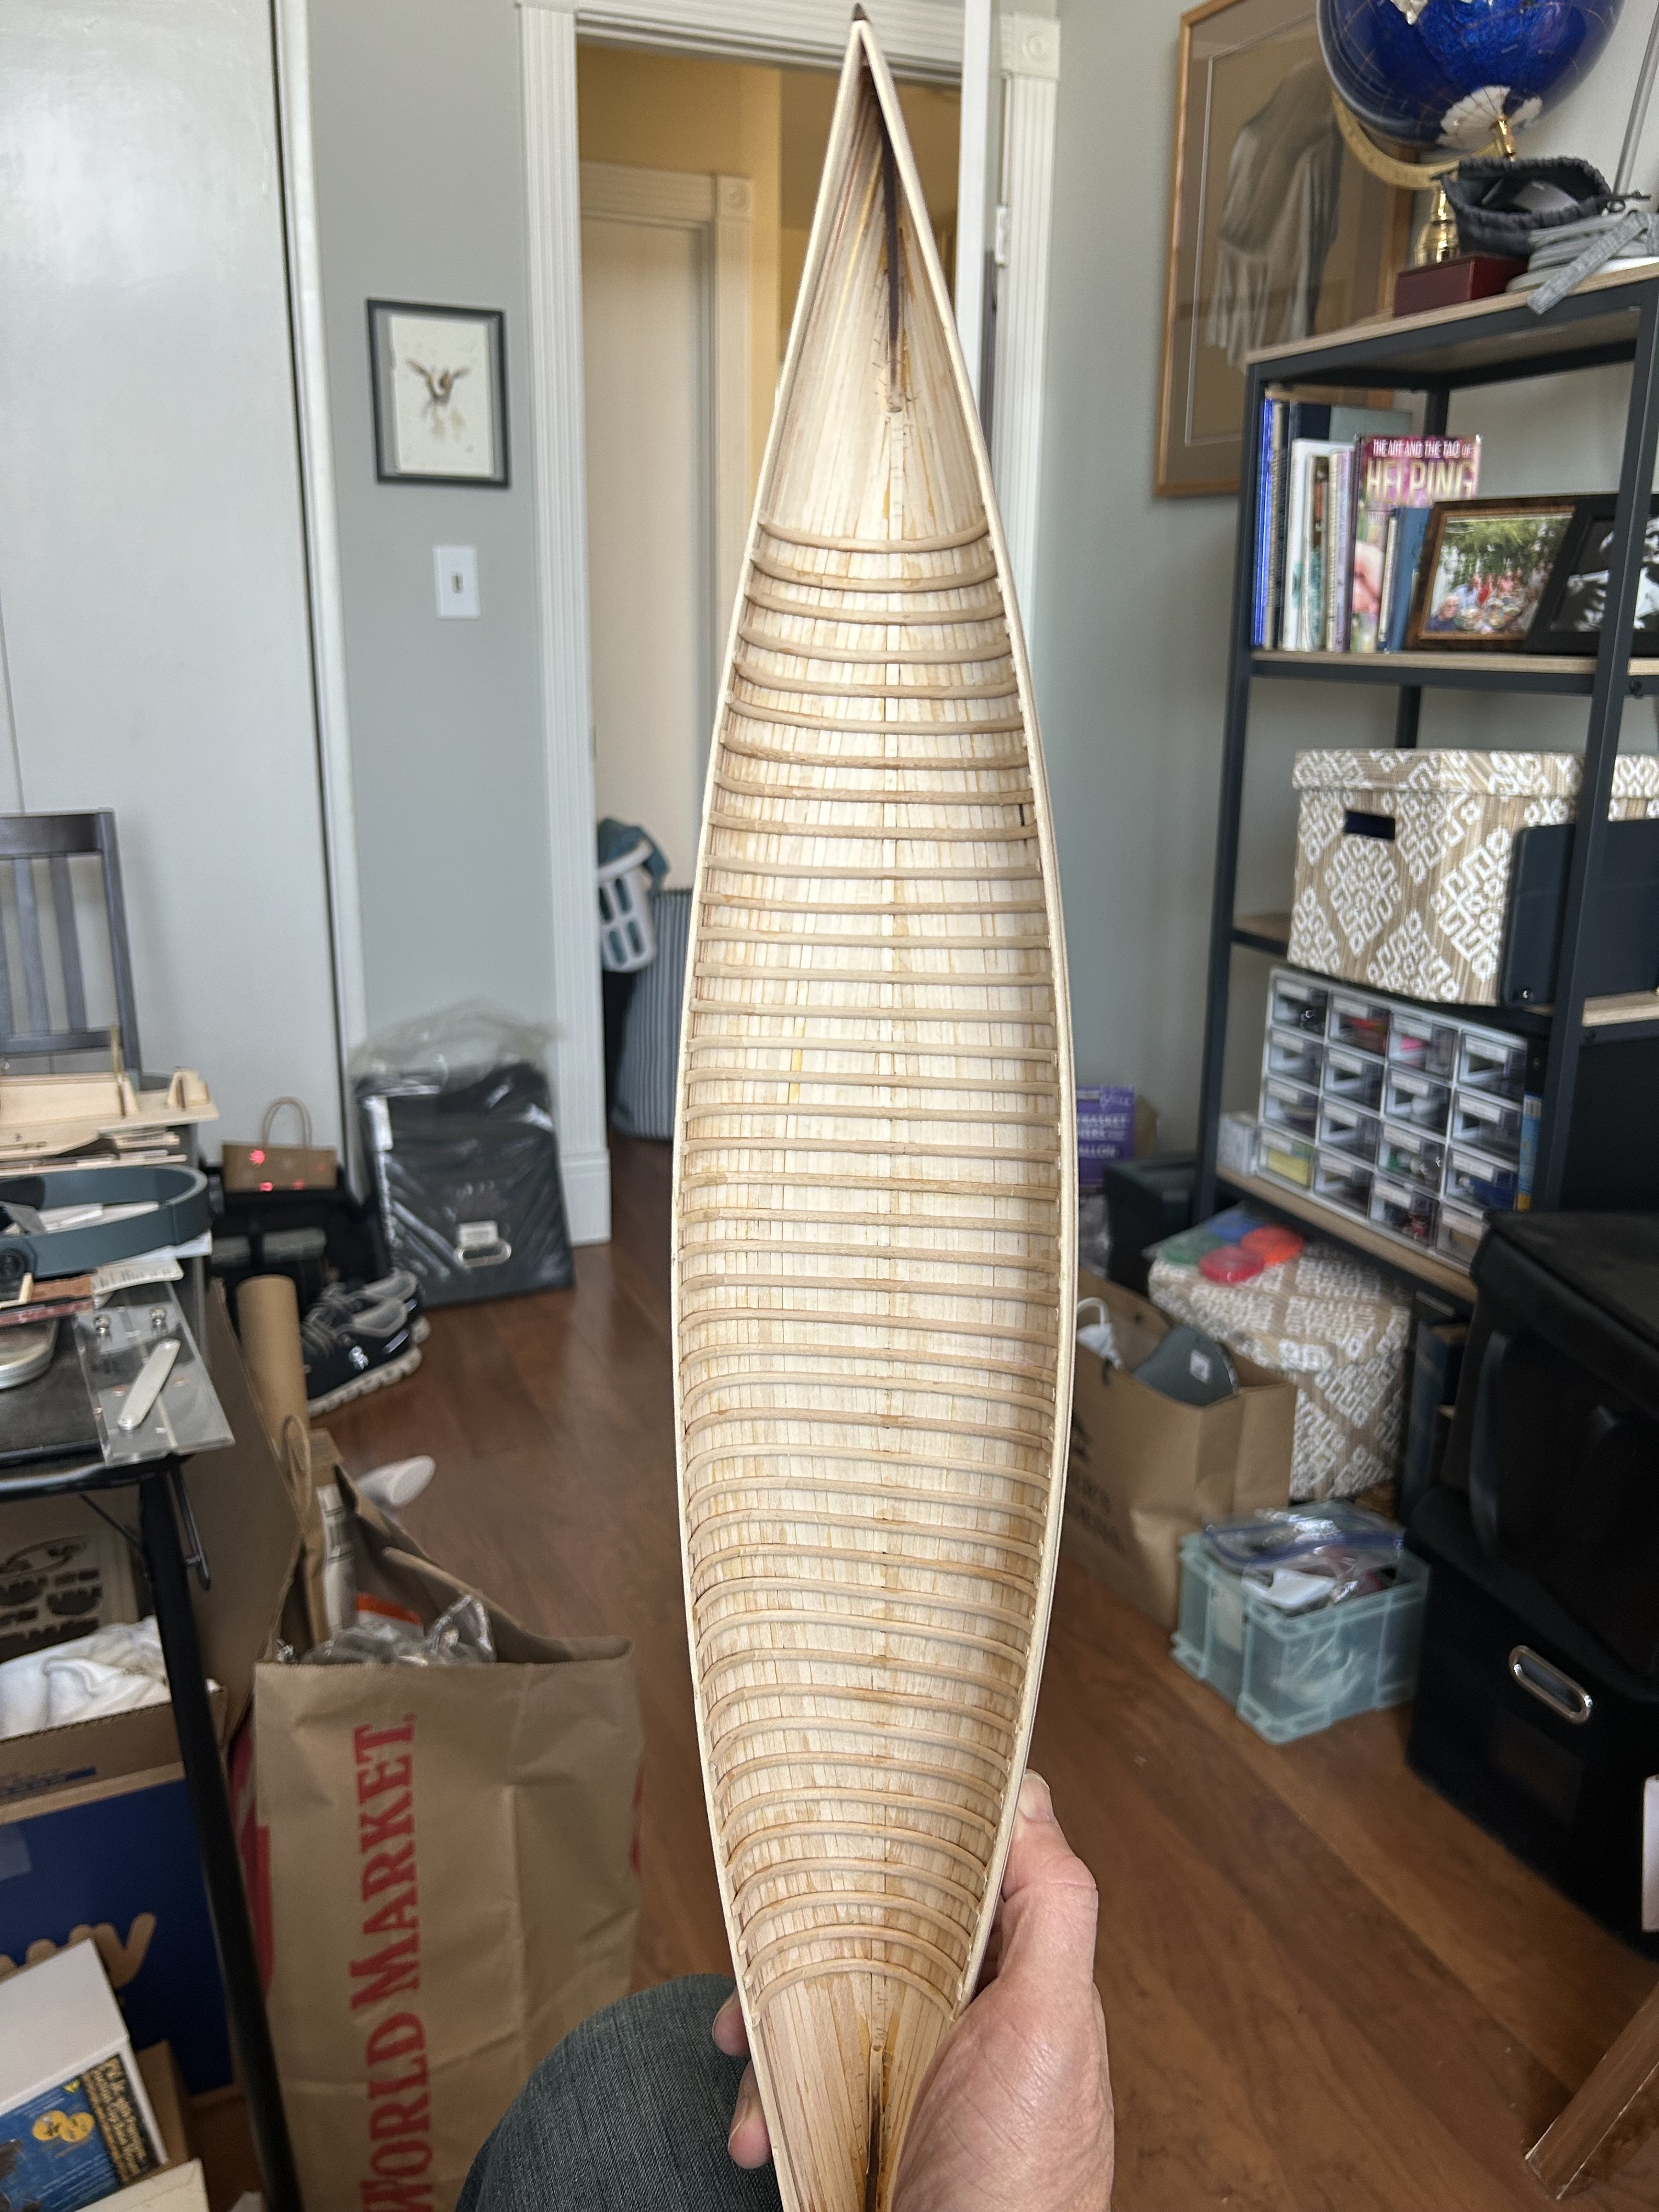
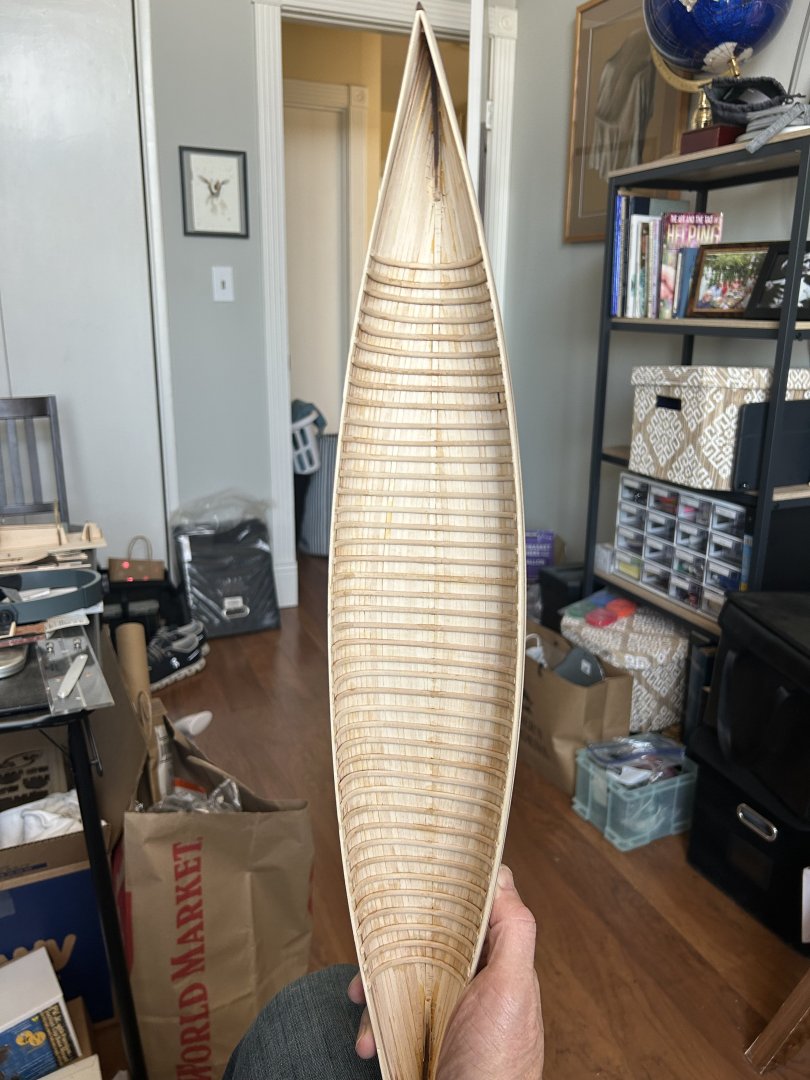
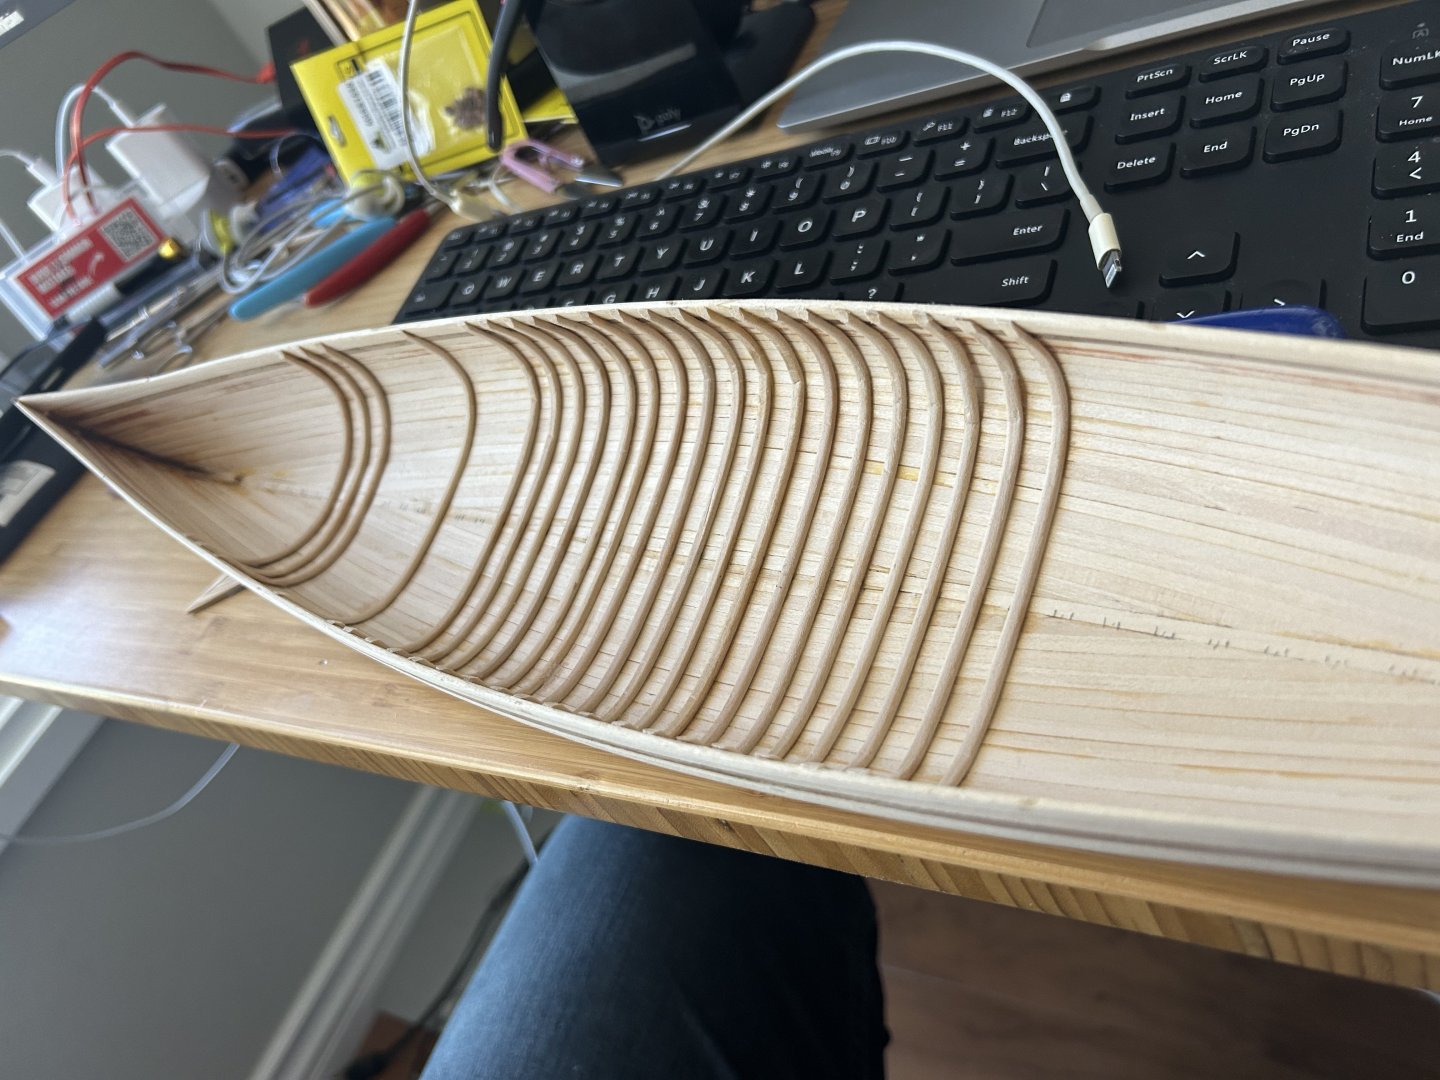
Making slow progress on the ribs. This has been a long series of compromises. 😤. I wanted half-round ribs like the full size subject. Also more of them, to match scale. I tried a number of different sizes of stock, soaking, steaming, and bending using the center form from the strongback as a buck. Unsatisfactory kinks and fractures in every size (except the original rectangular strips that are out of scale). Settled on using 1/8 x 1/16” basswood and sanding a sort of half-round profile into each strip, then bending. Giving us this: Not completely happy with the gluing options/process. Kit calls for CA, I tried Titebond and a variety of clamping strategies. Eventually settled on thin CA, downsides being seepage and an unending procession of clogged !#%🤬 tips. Hoping the untidy CA stains will be adequately masked by the stain/shellacking to come, but we shall see.
-
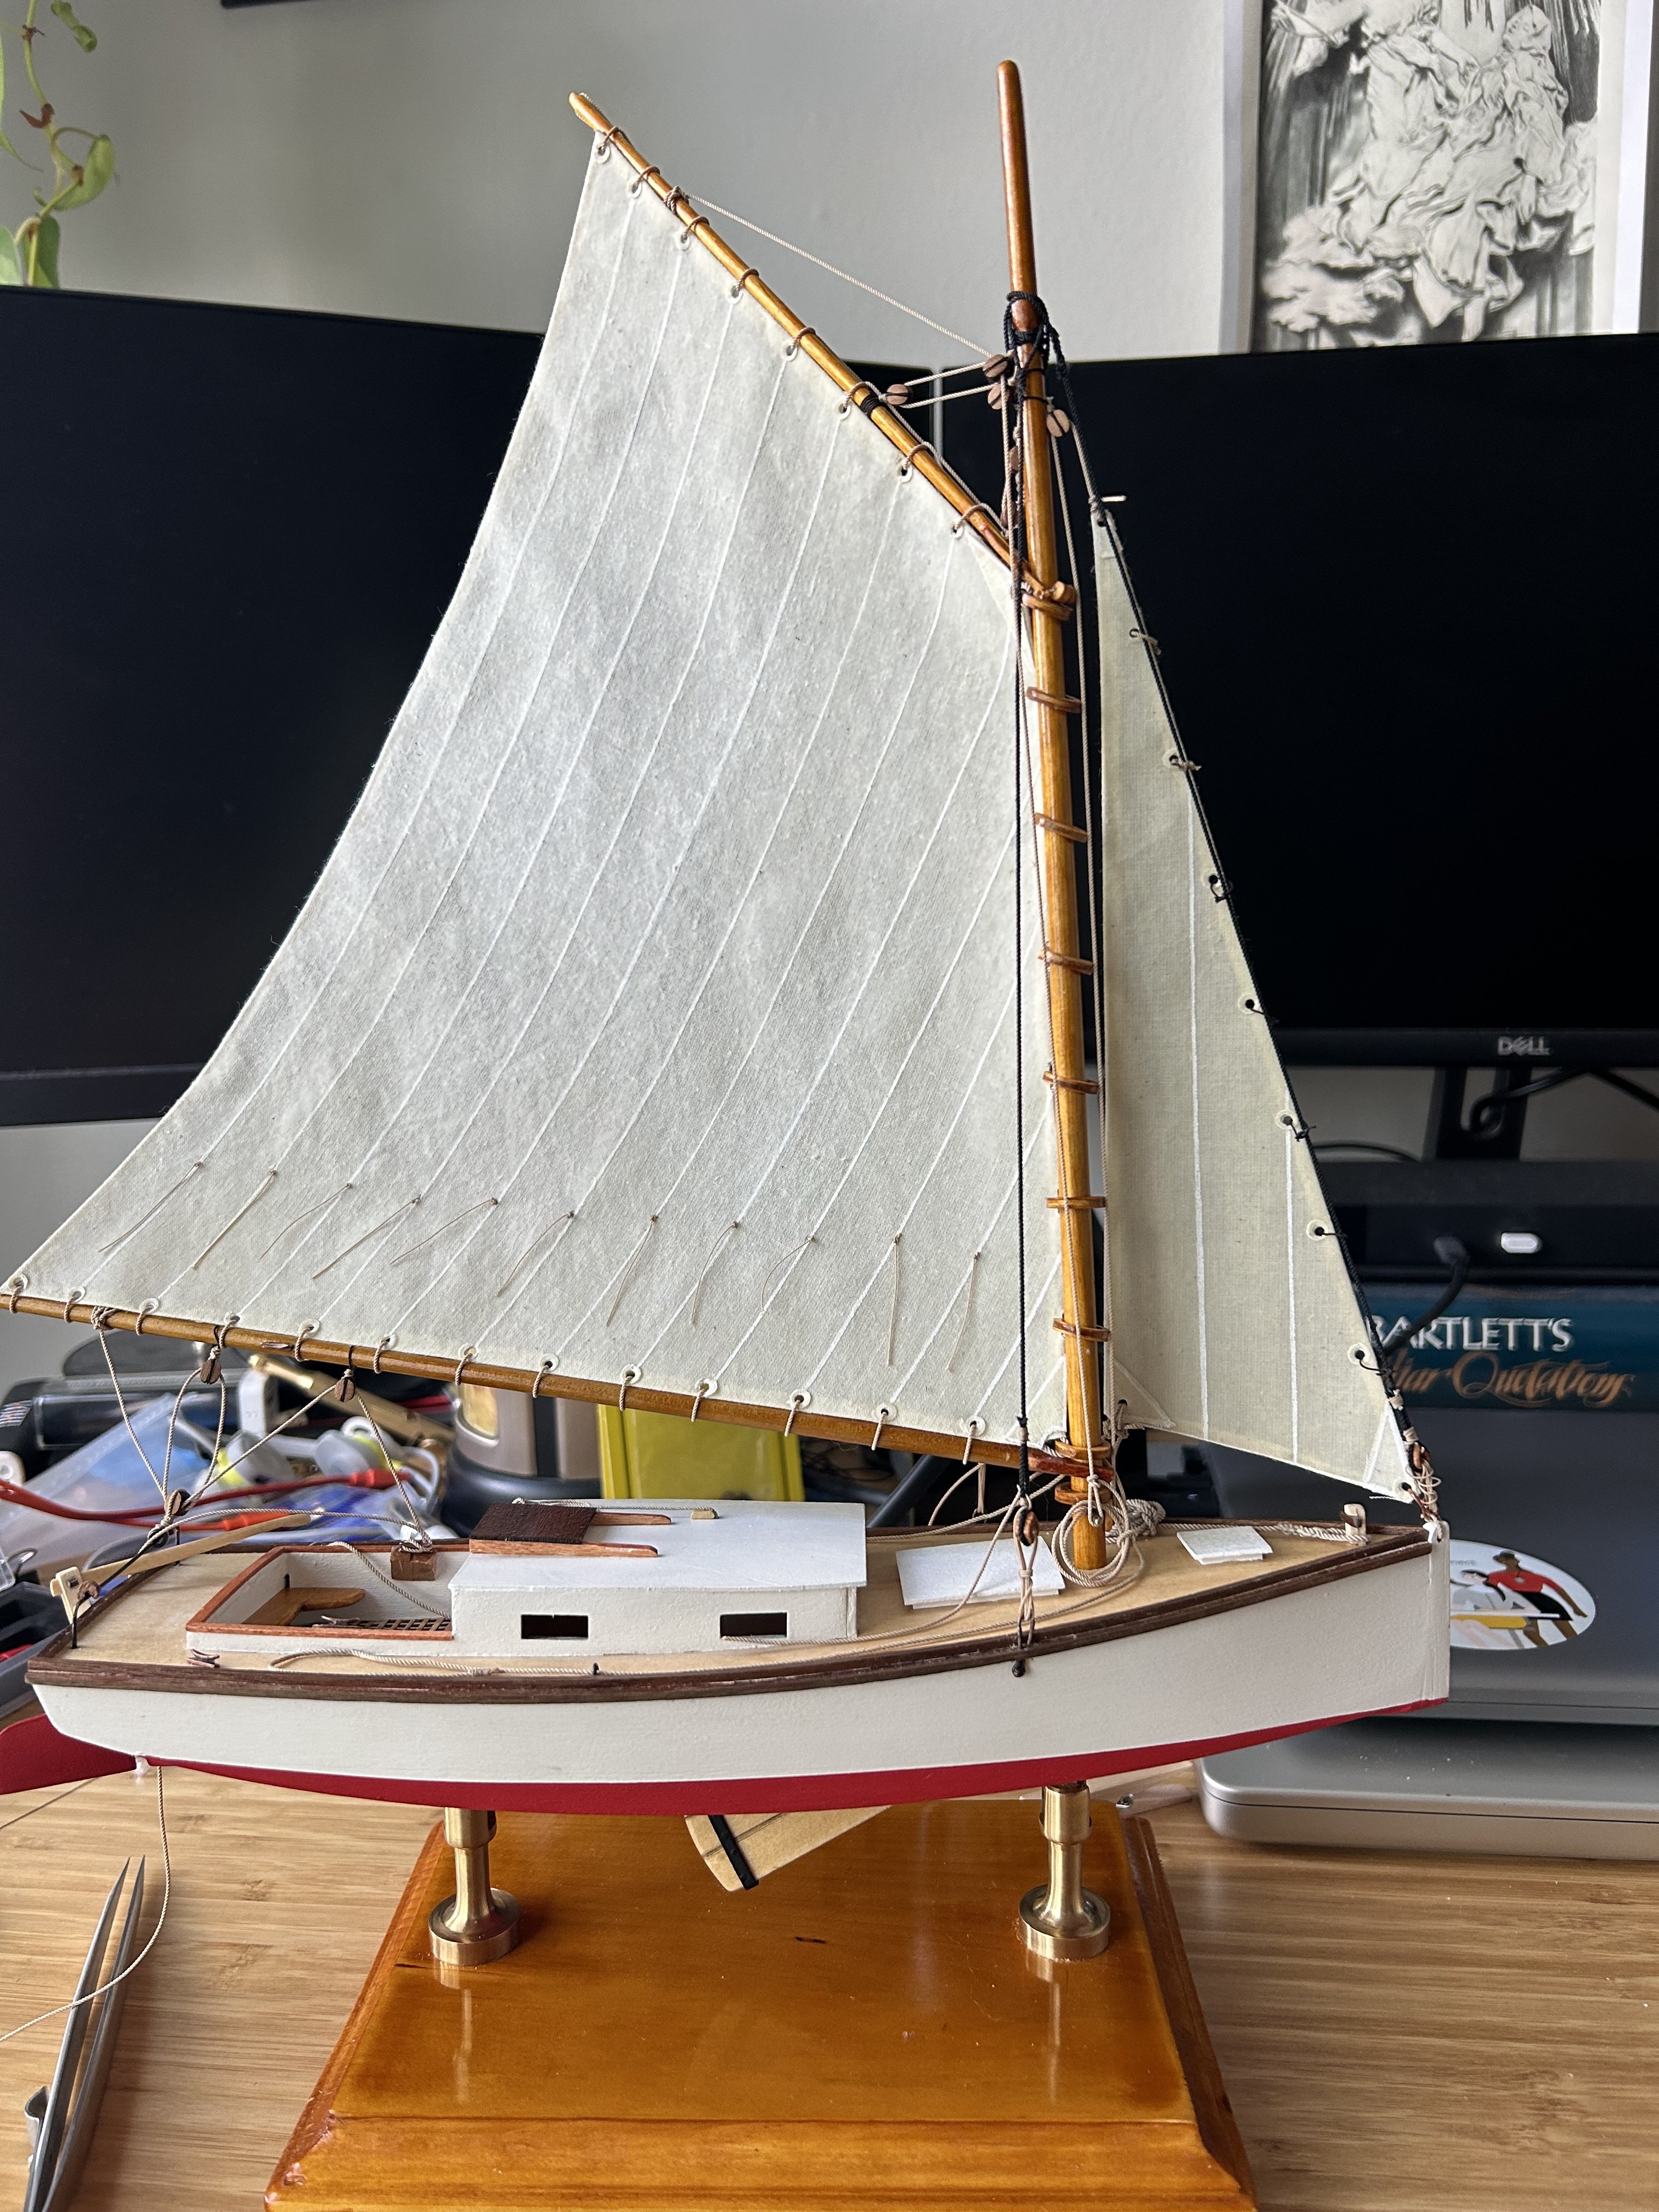
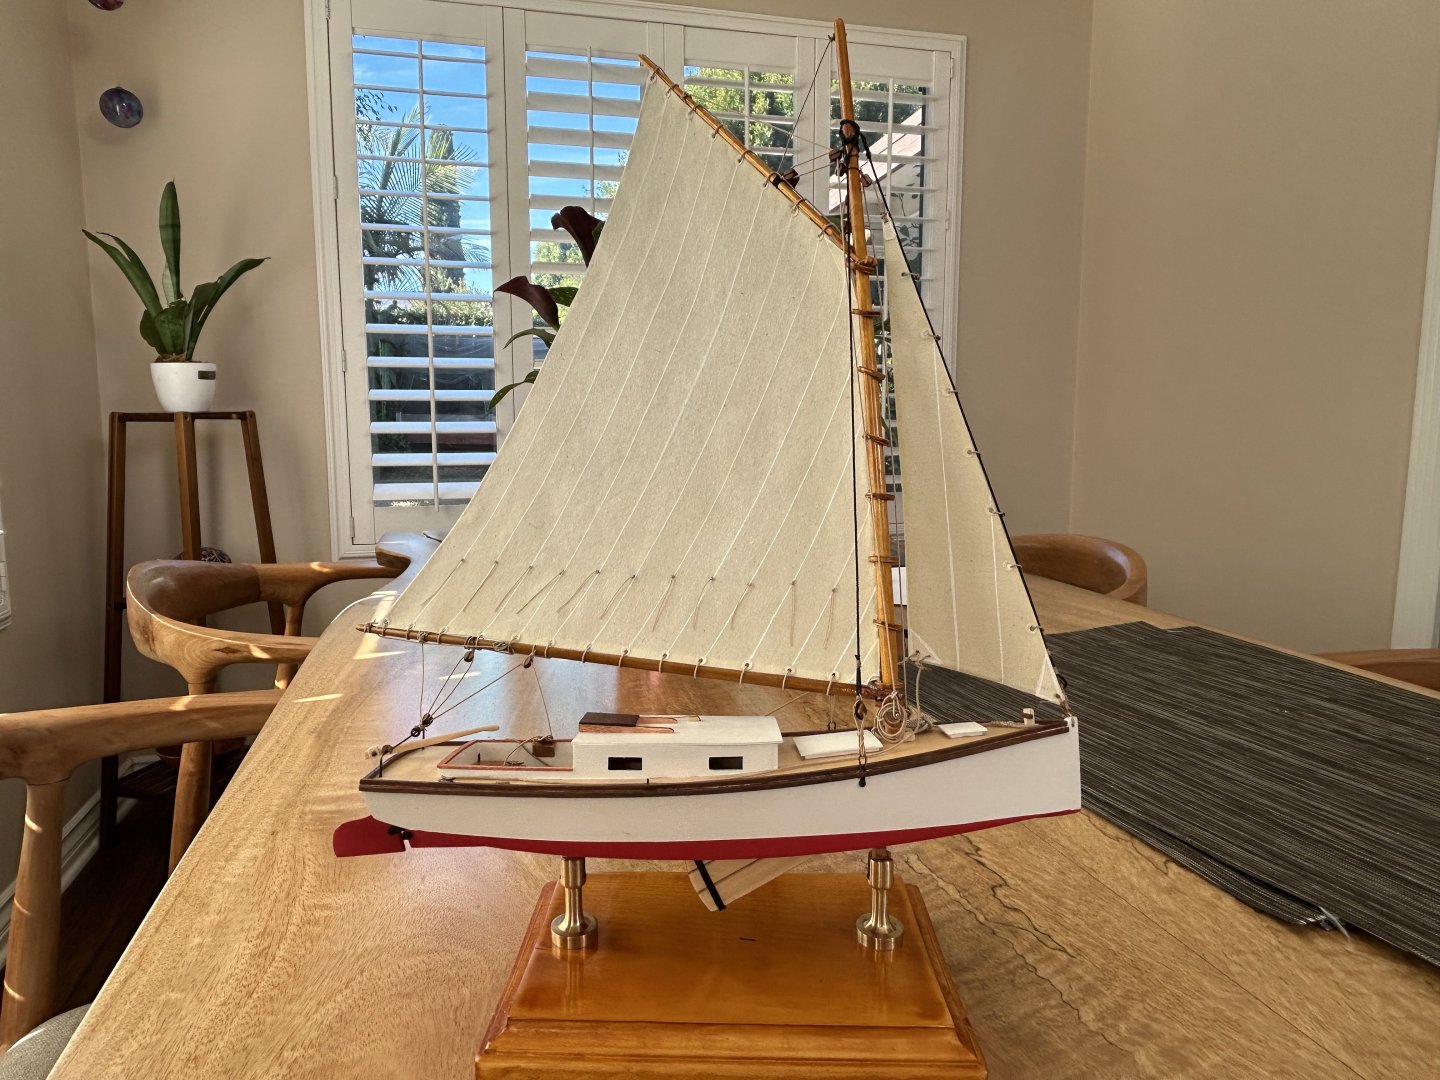
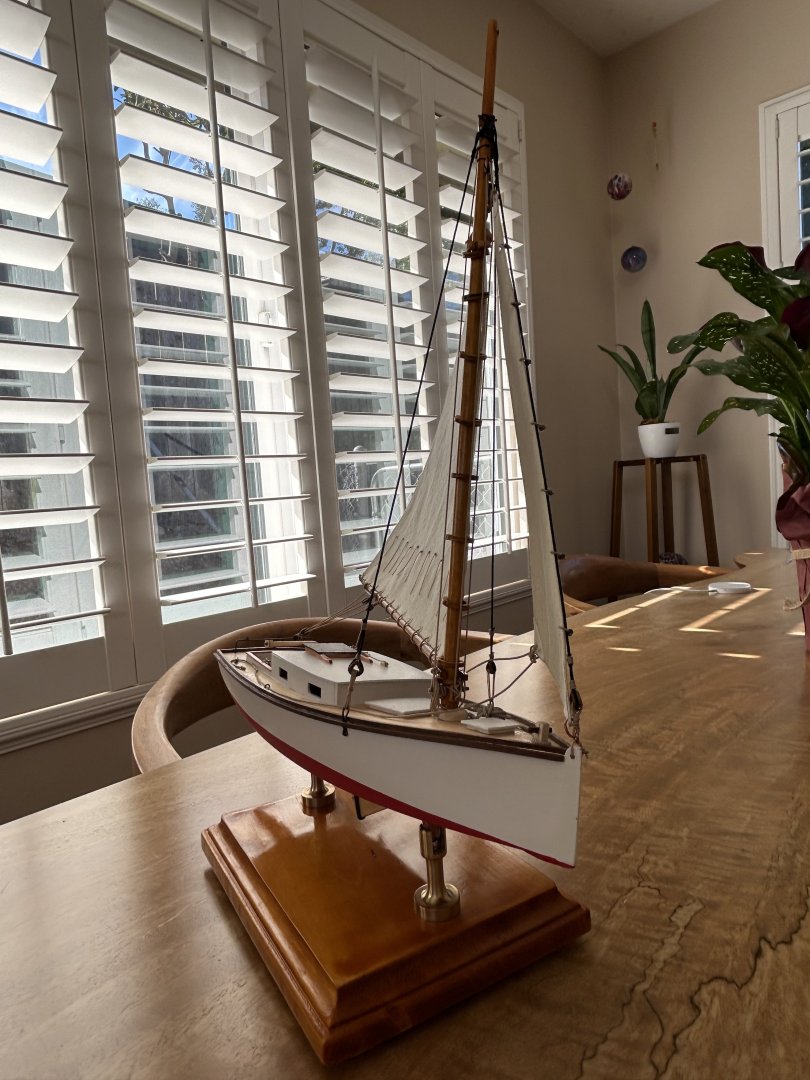
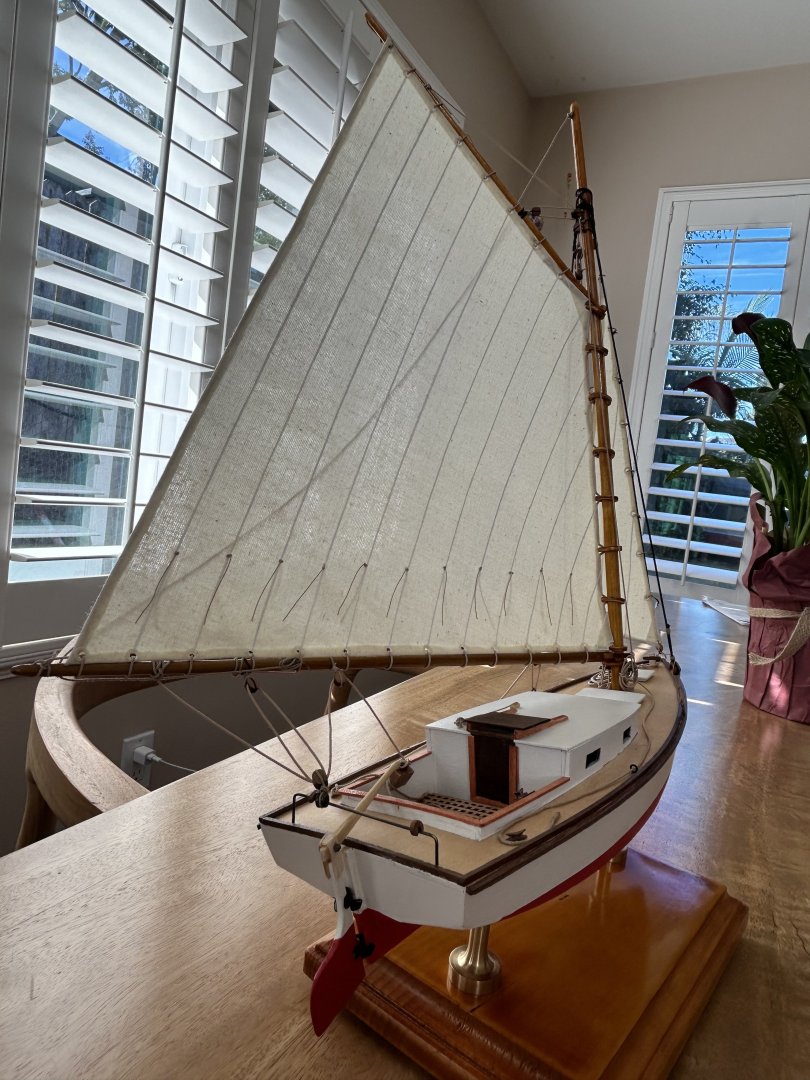
I’m calling it done. Decided to leave out lazy jacks, at least for now.

- 38 replies
-
- 4
-

-

-
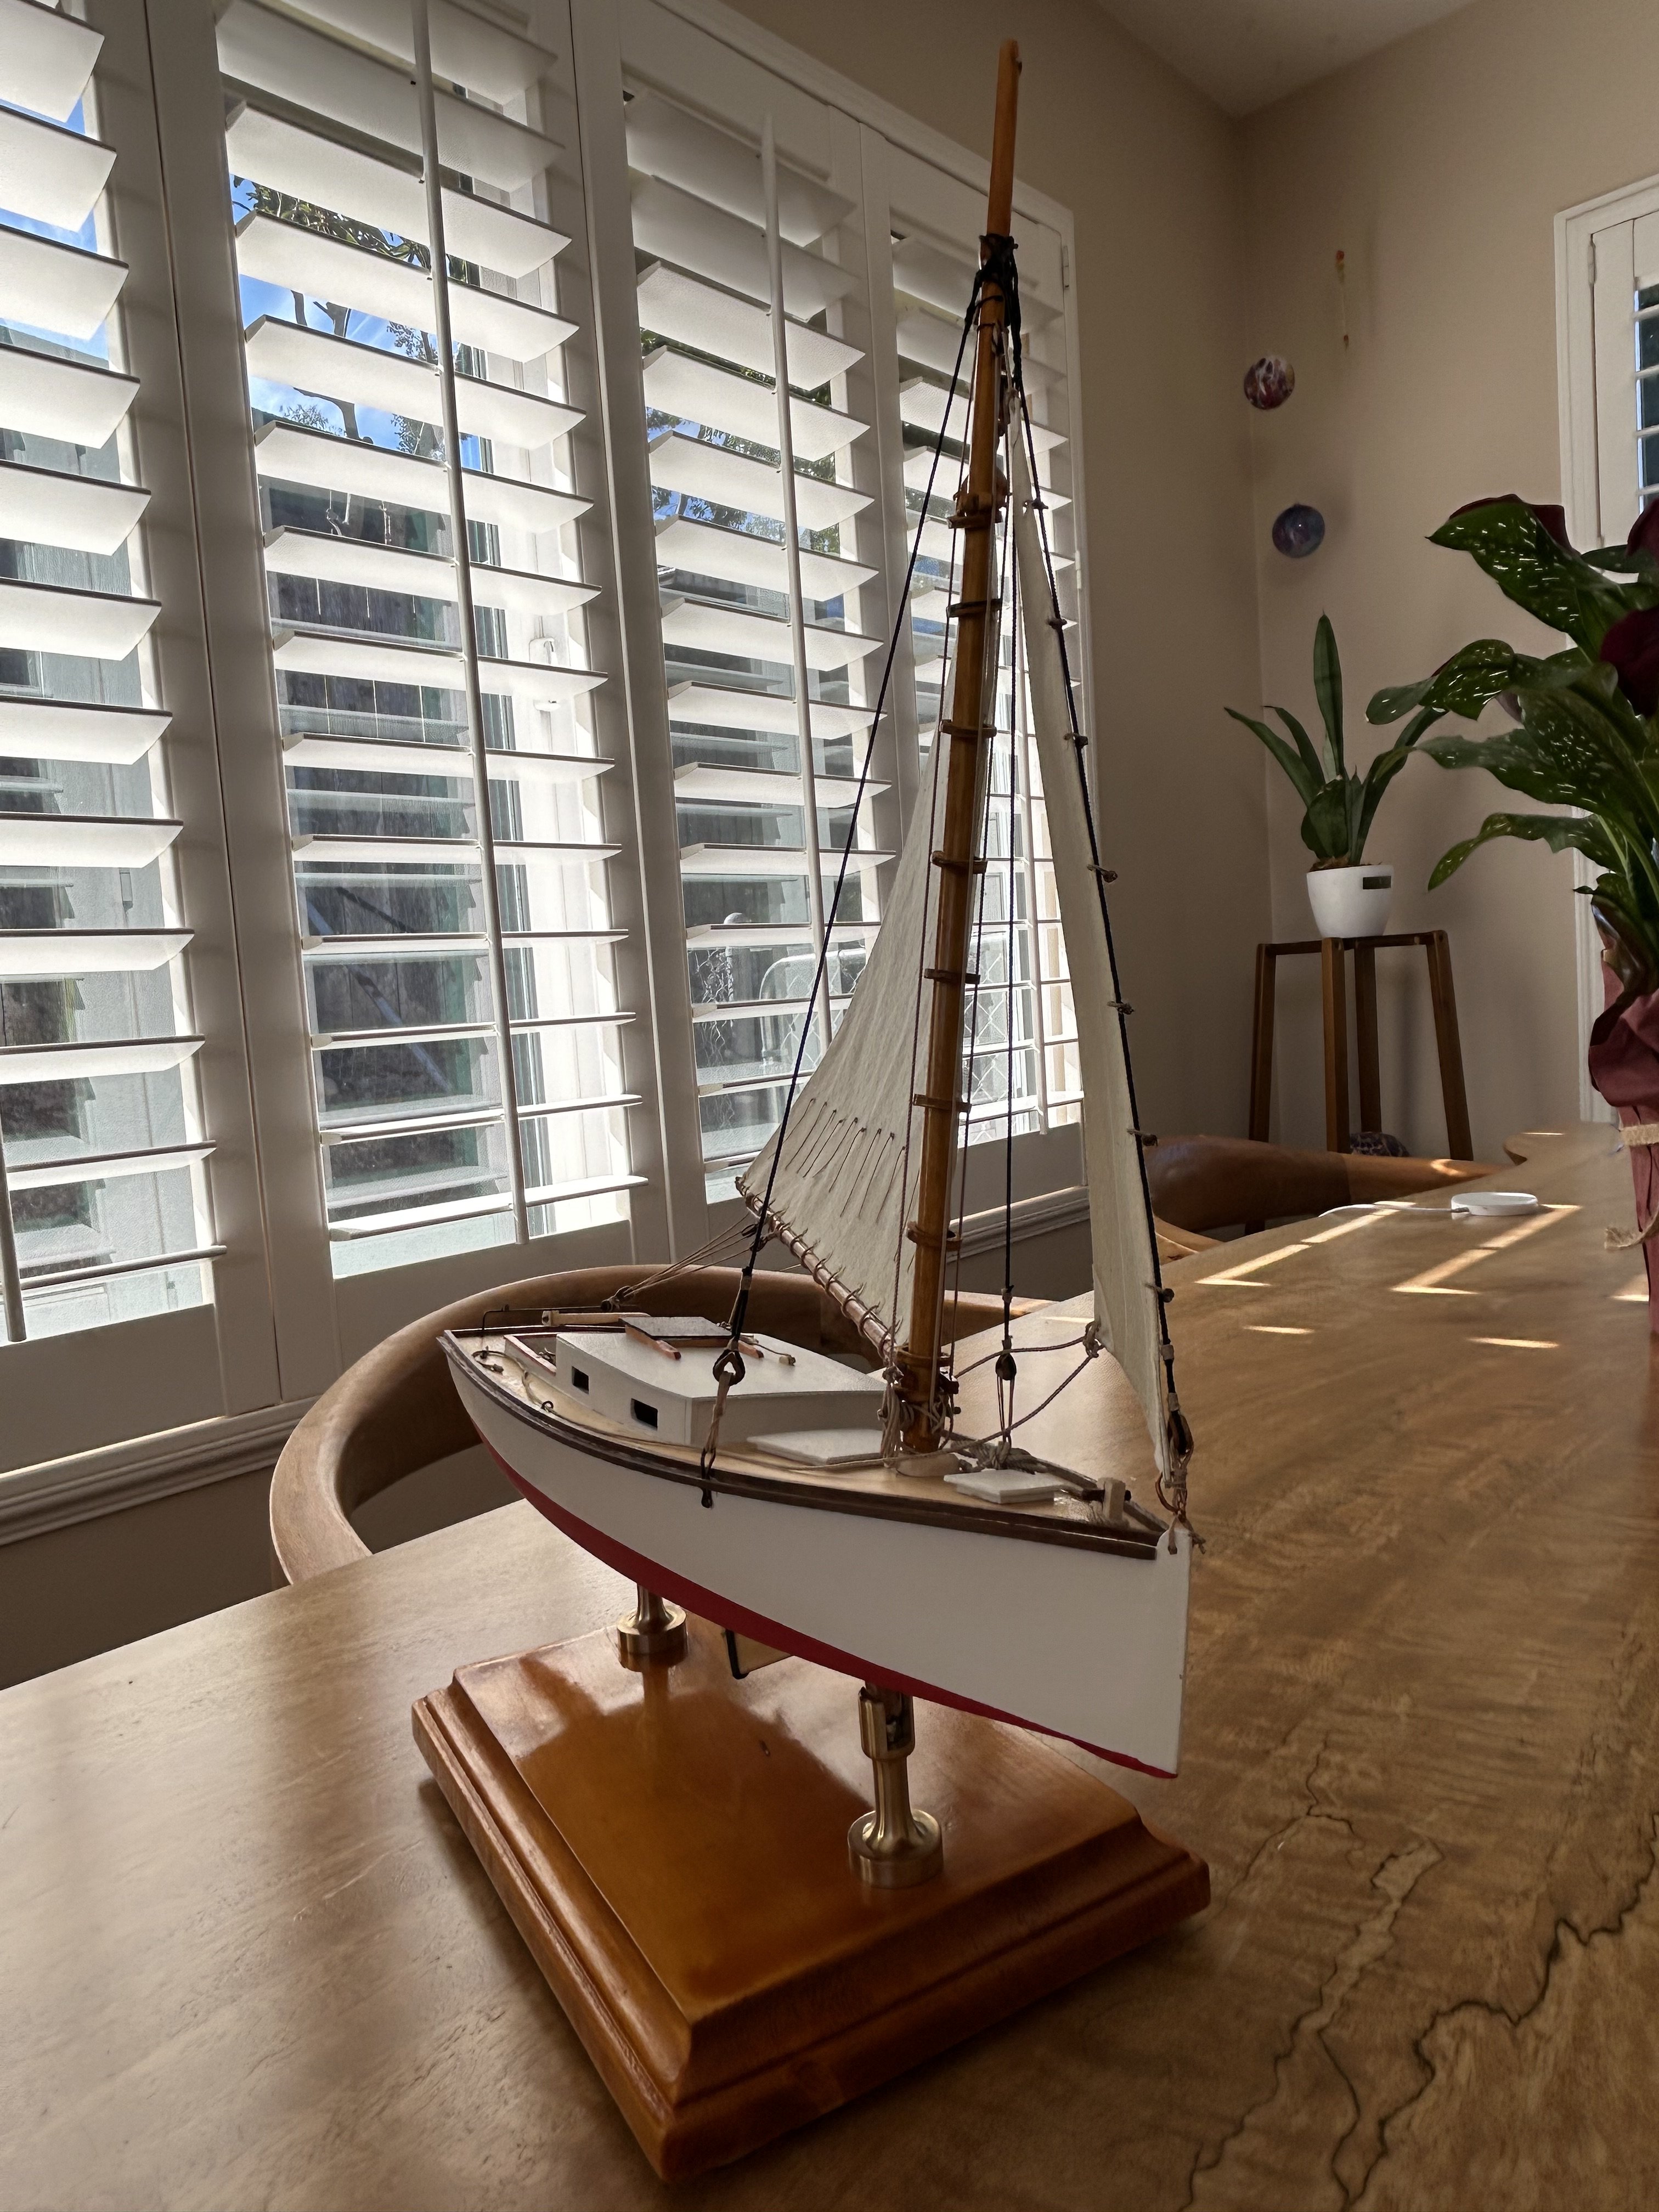
- Chesapeake Bay Flattie
- Model Shipways
- (and 2 more)
-
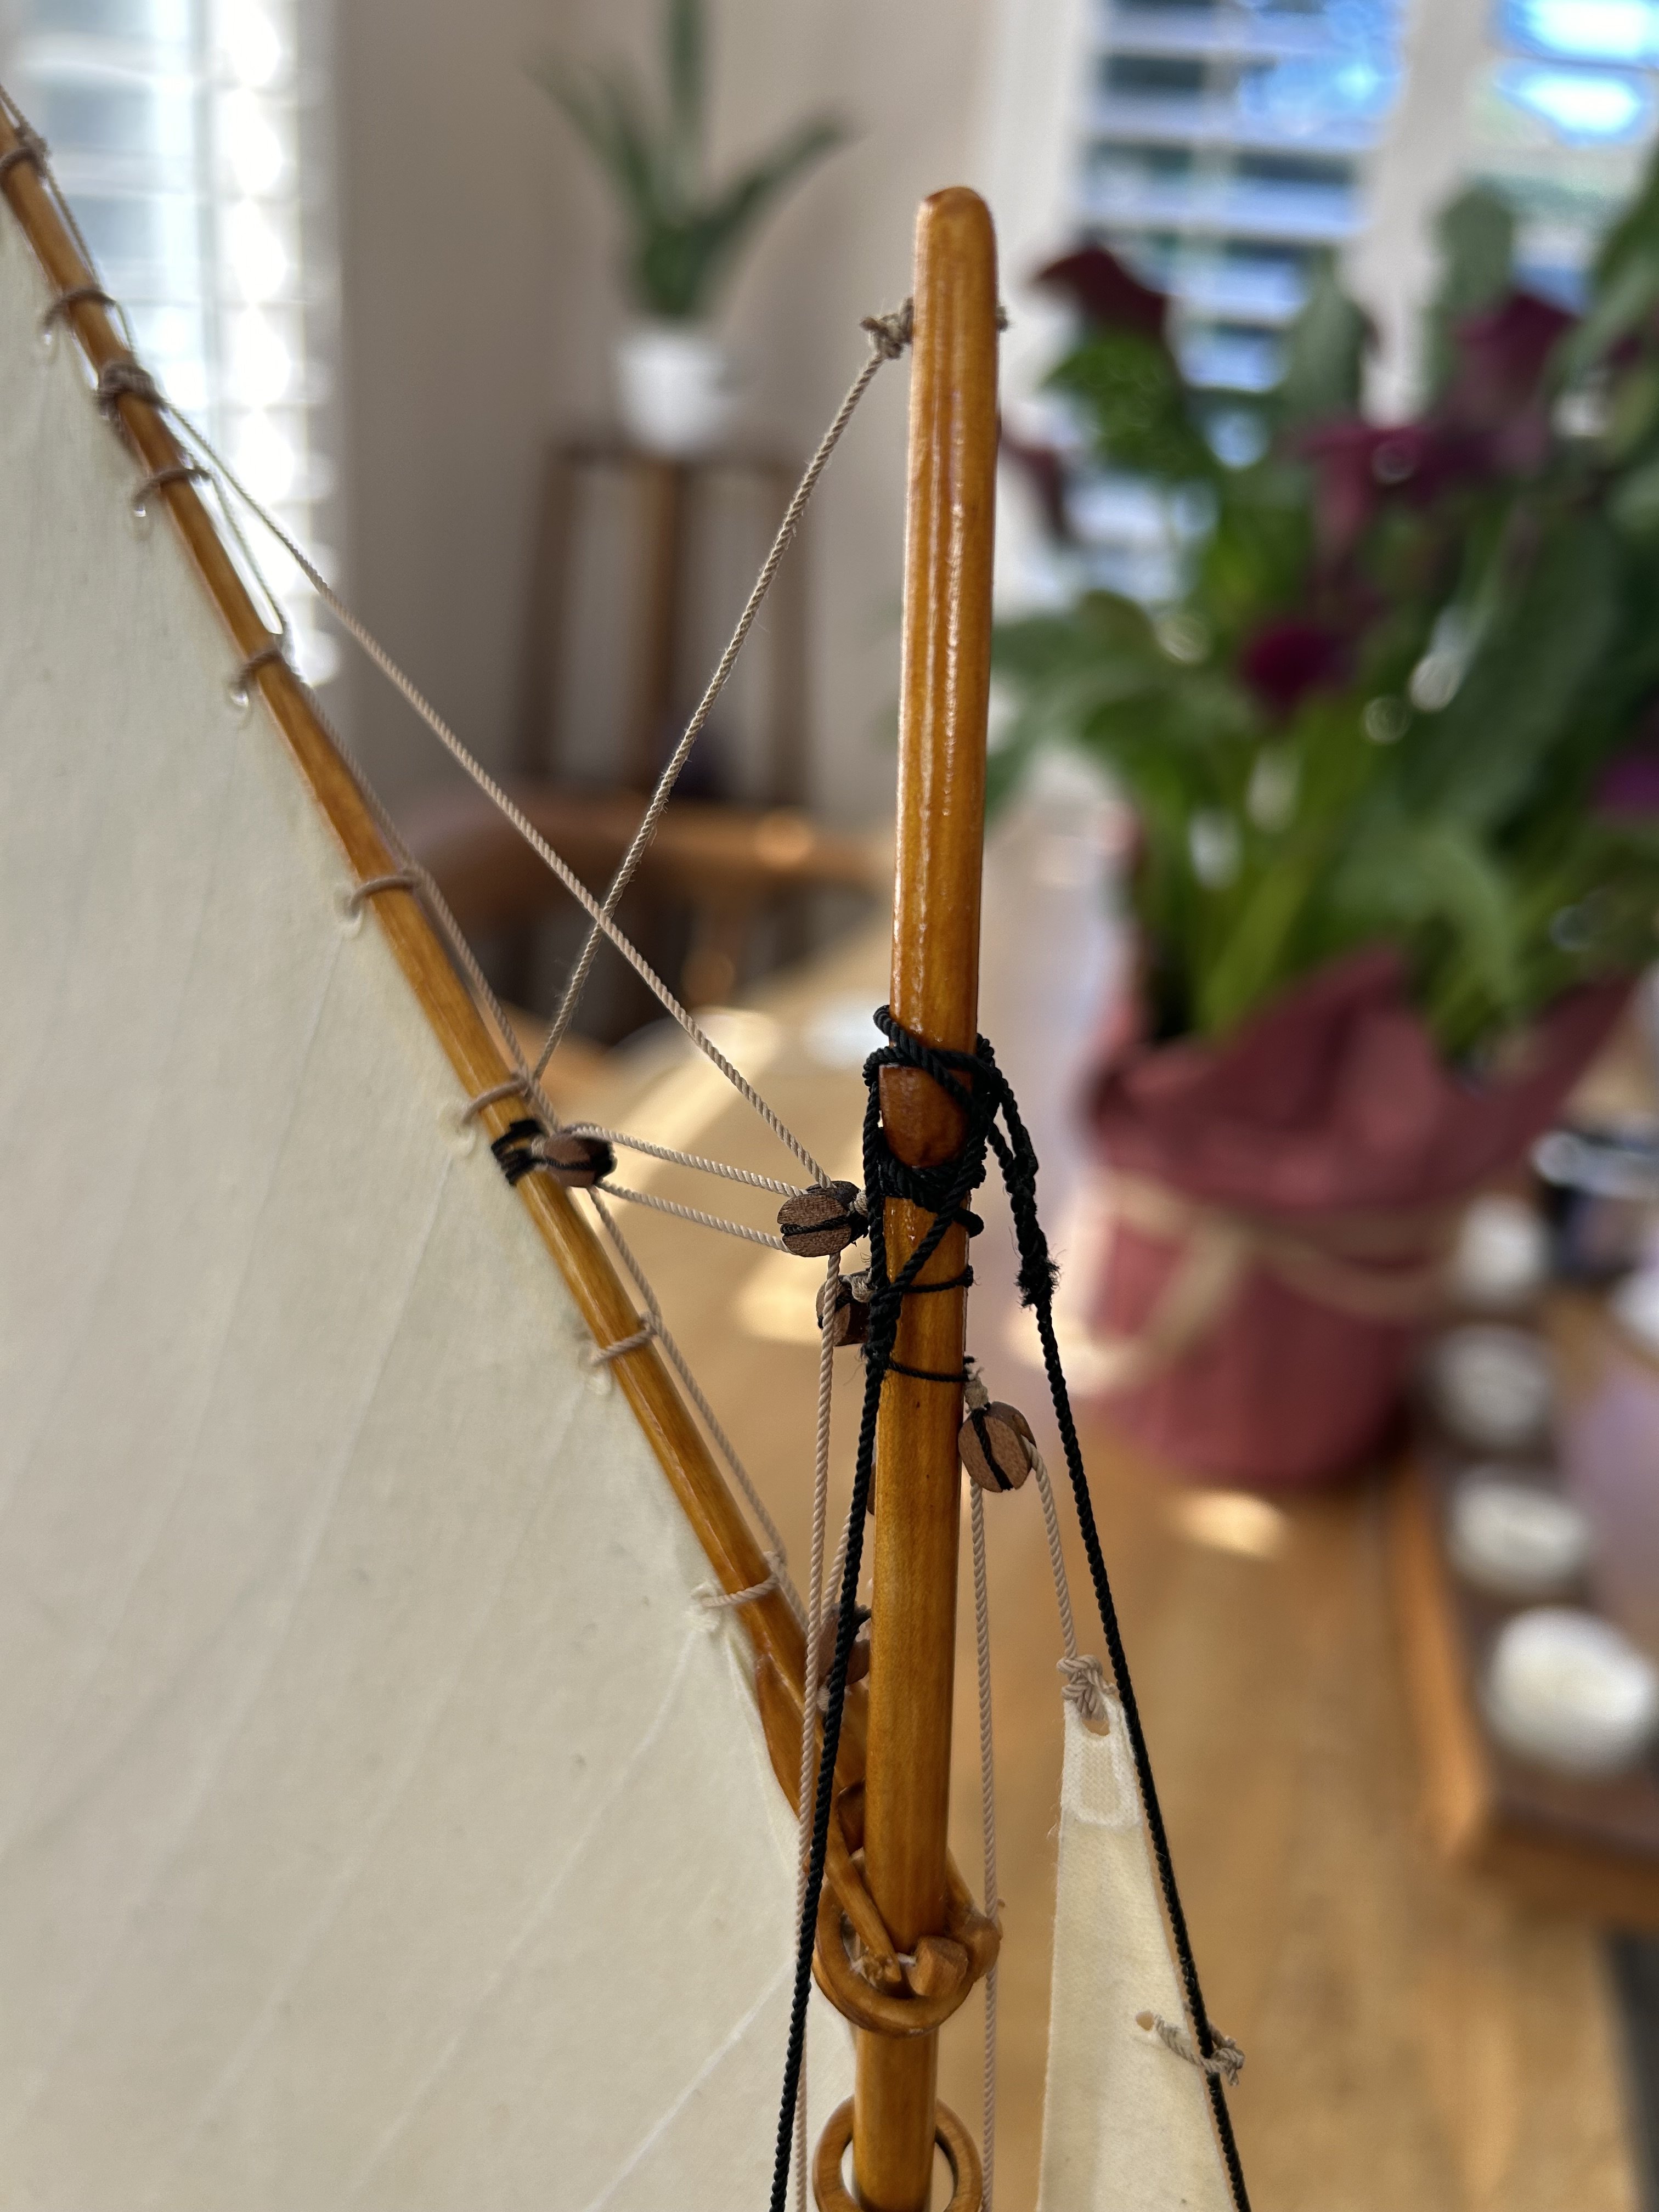
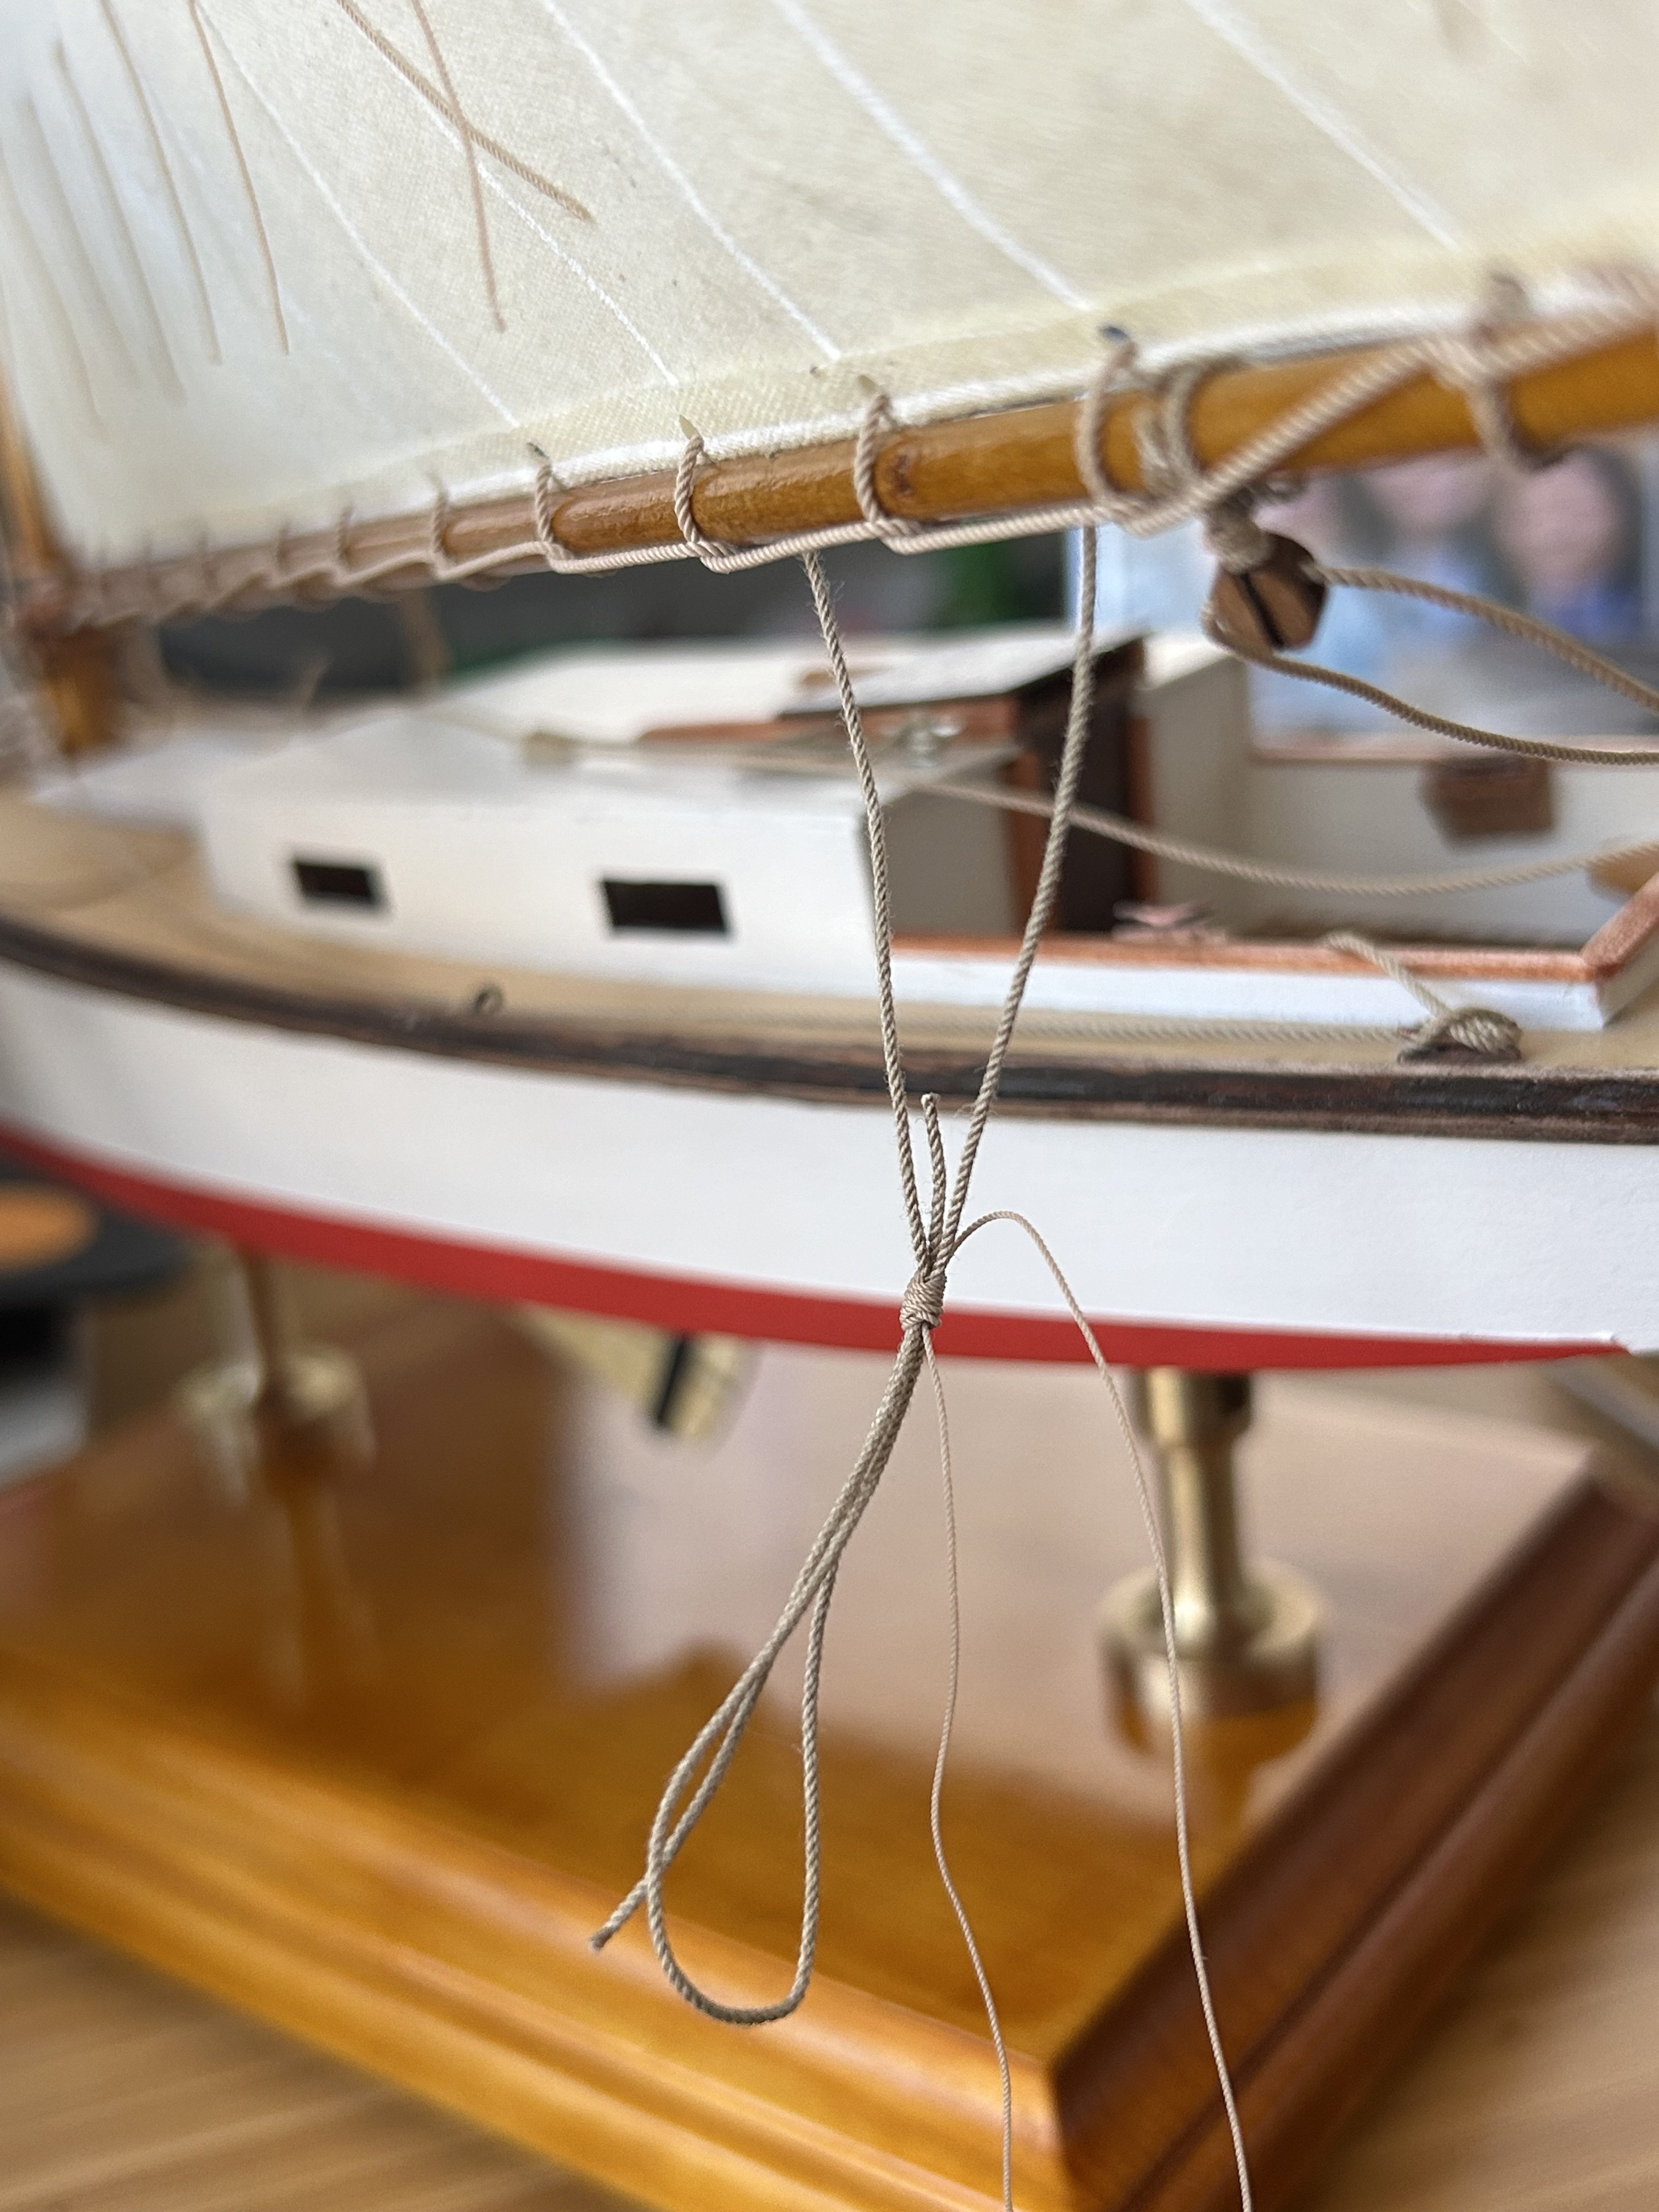
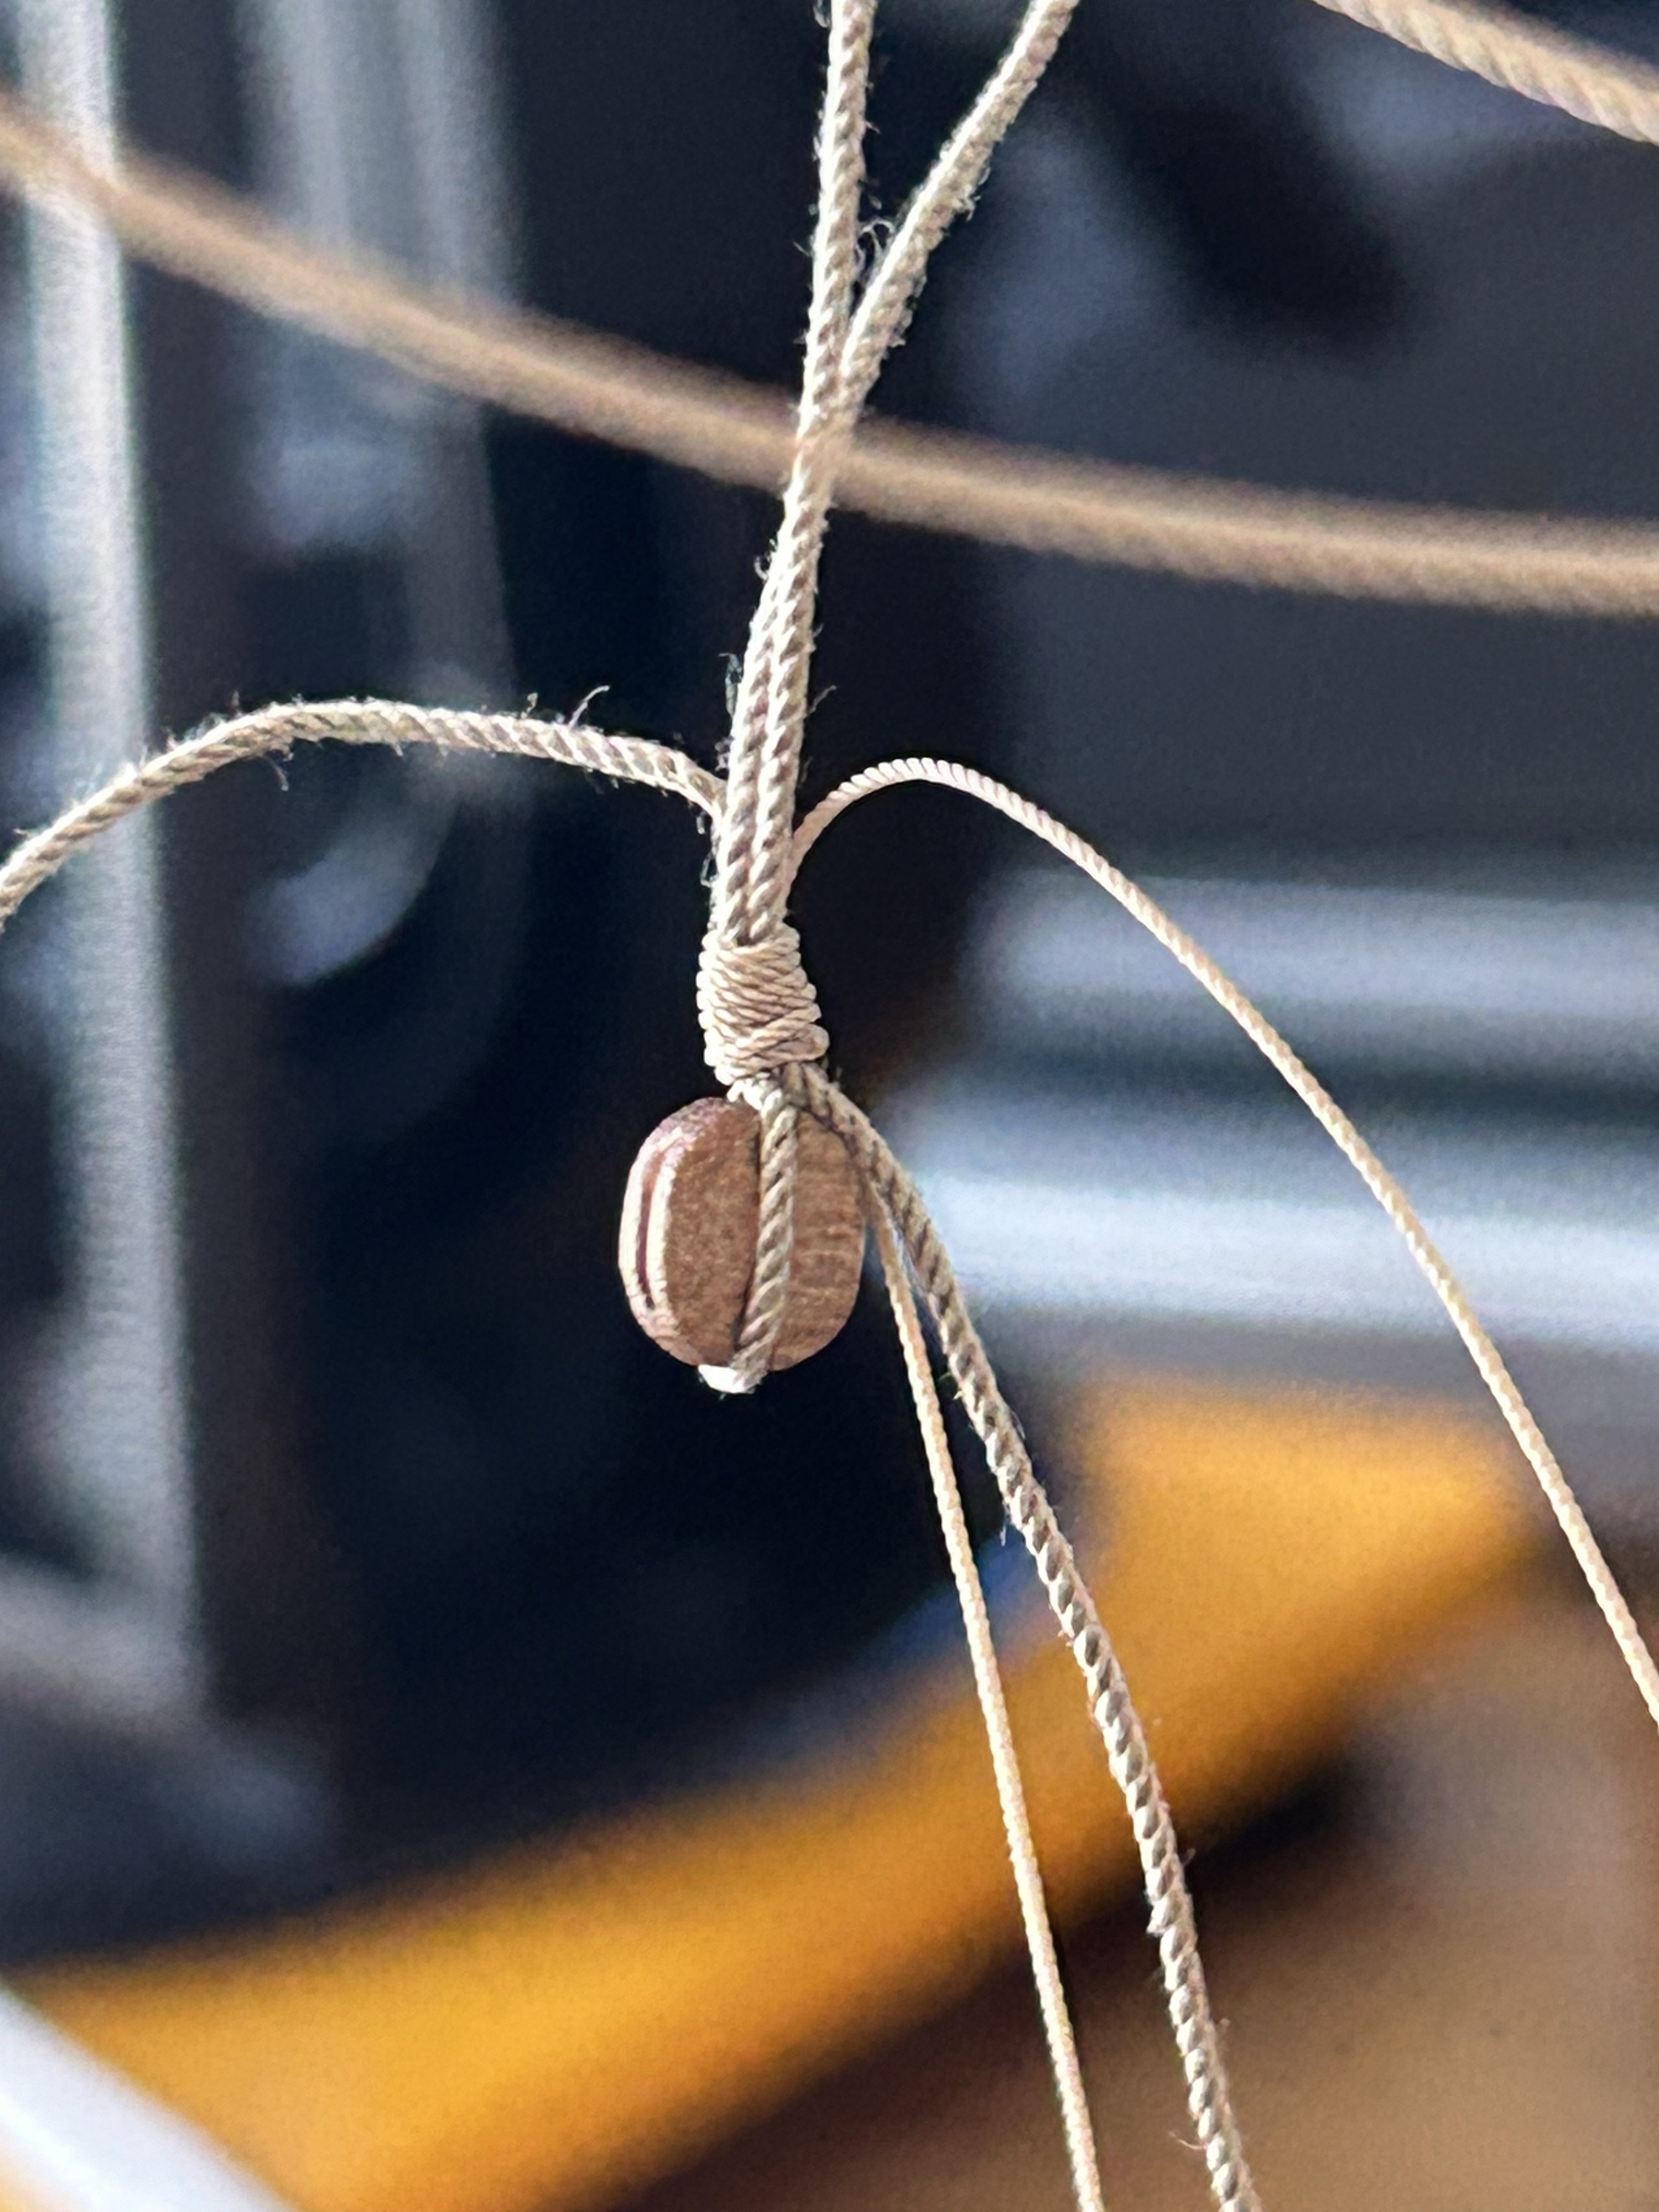
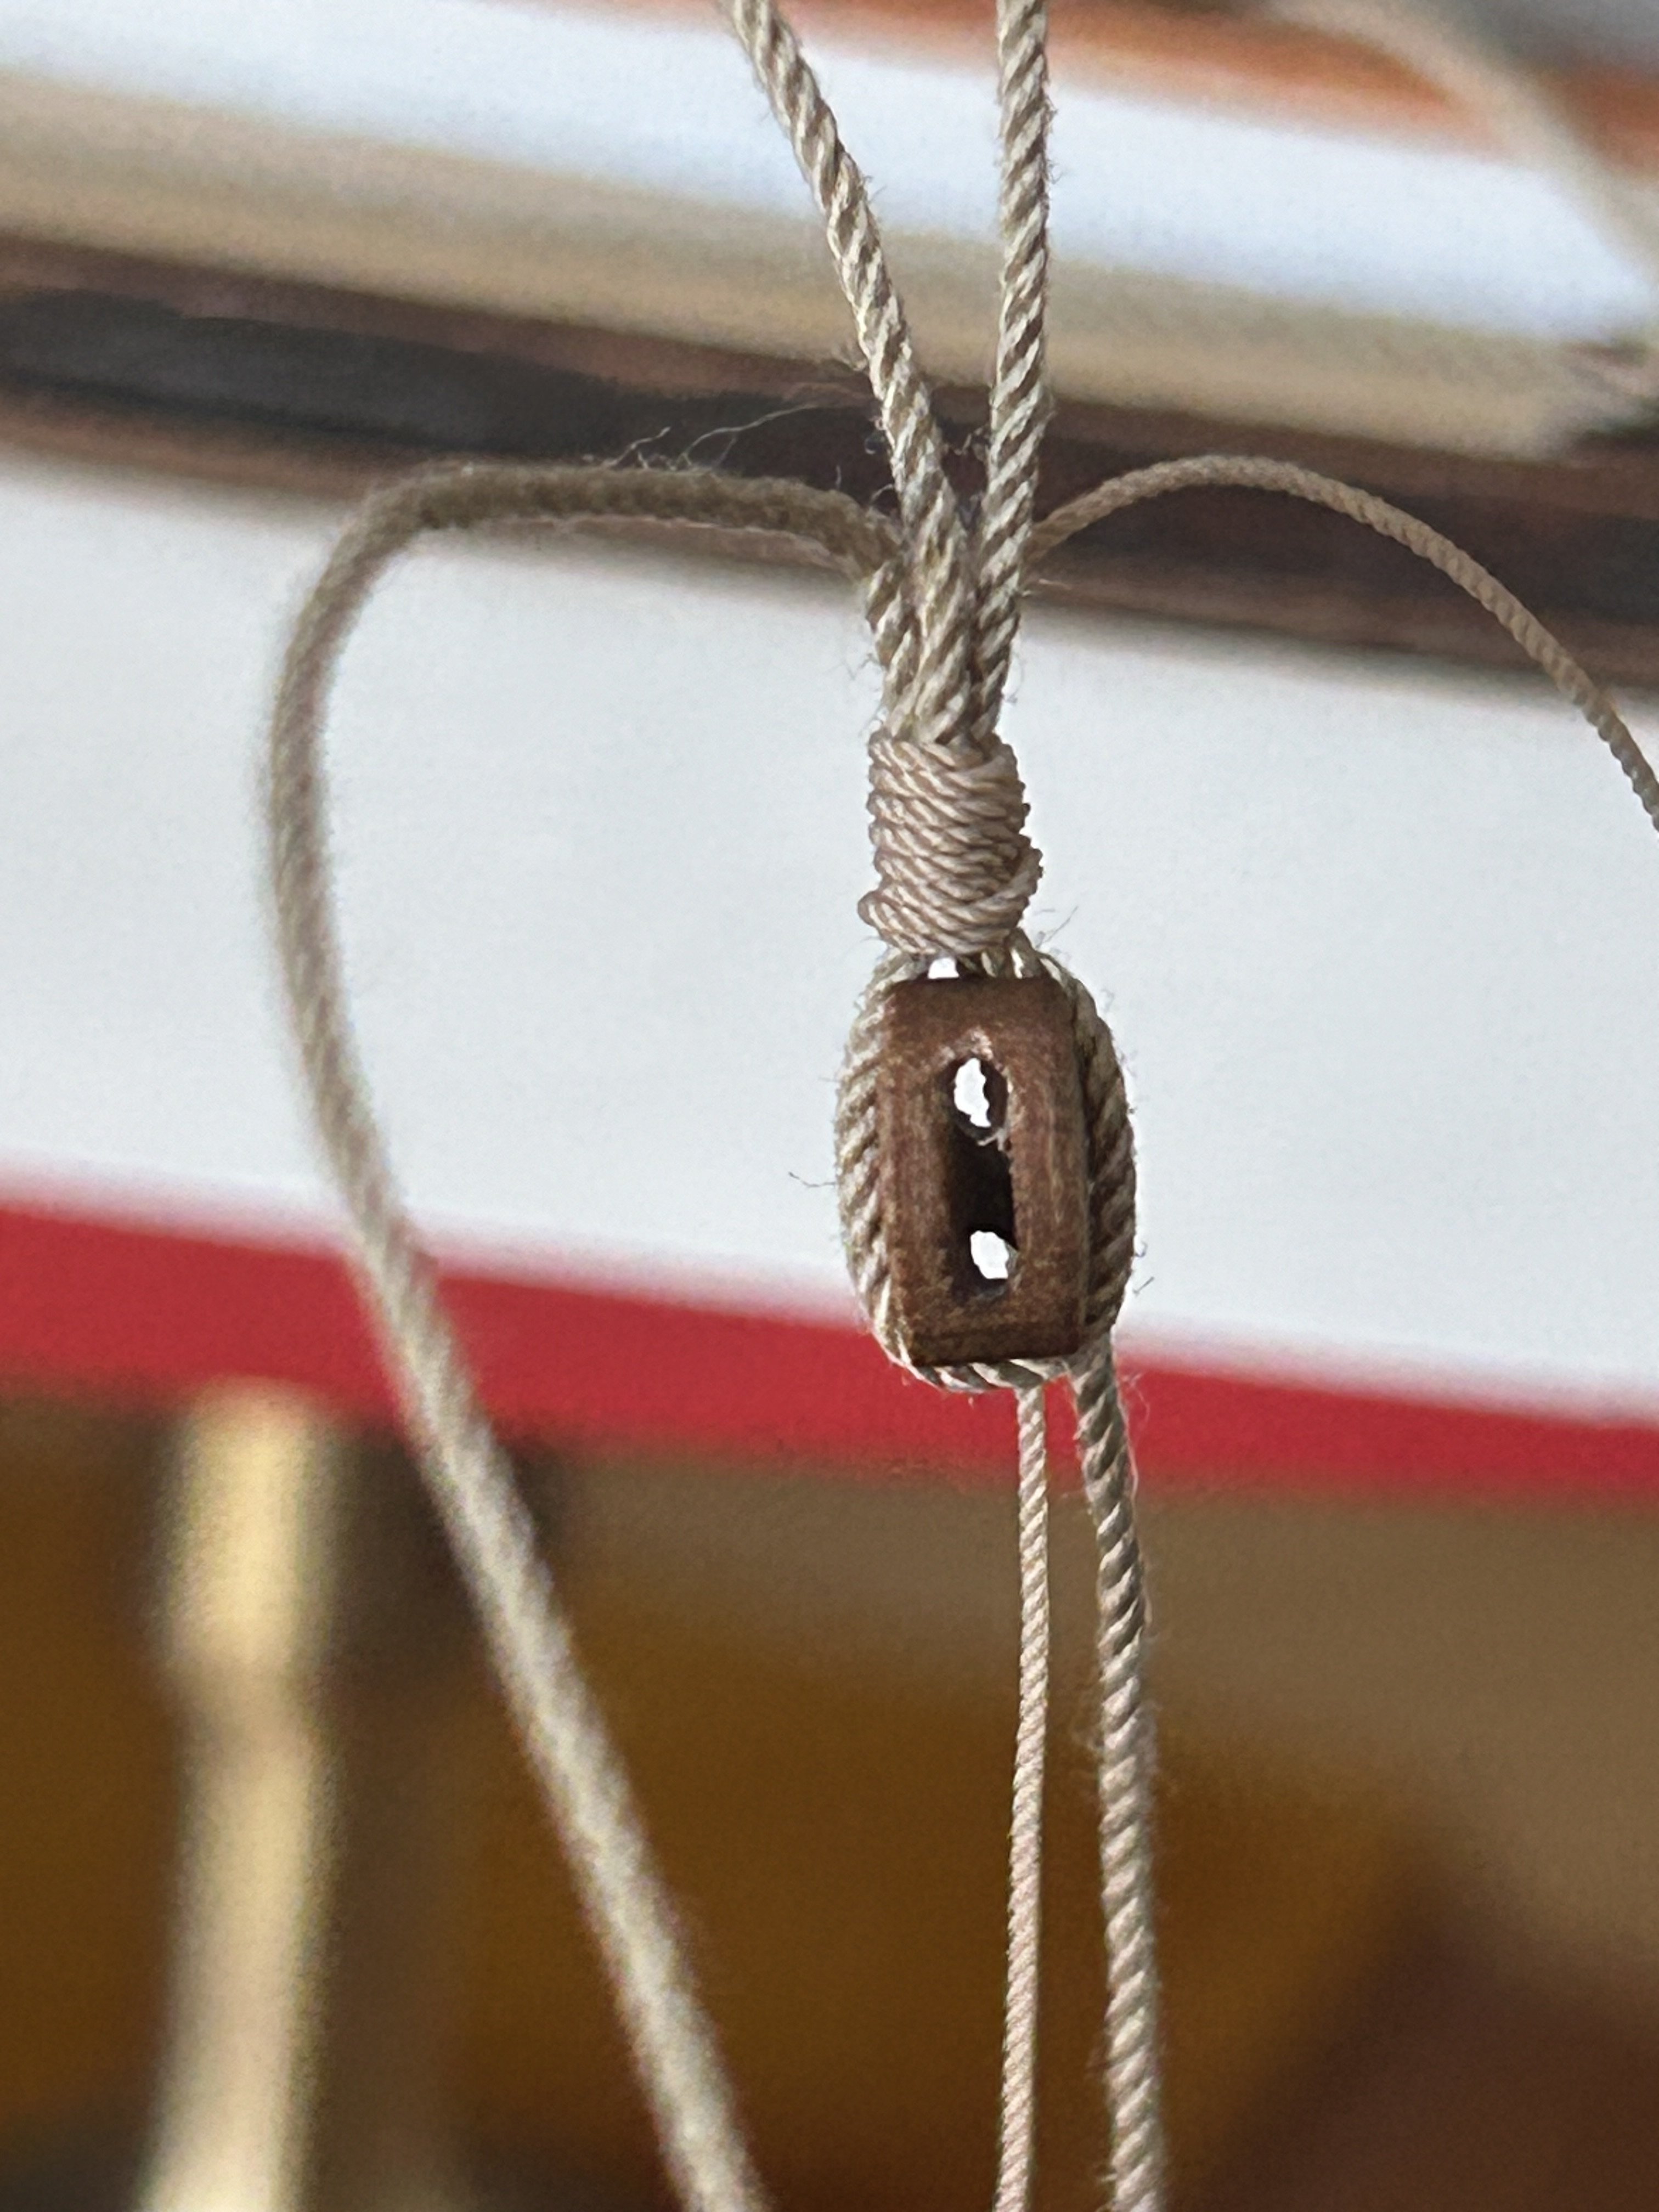
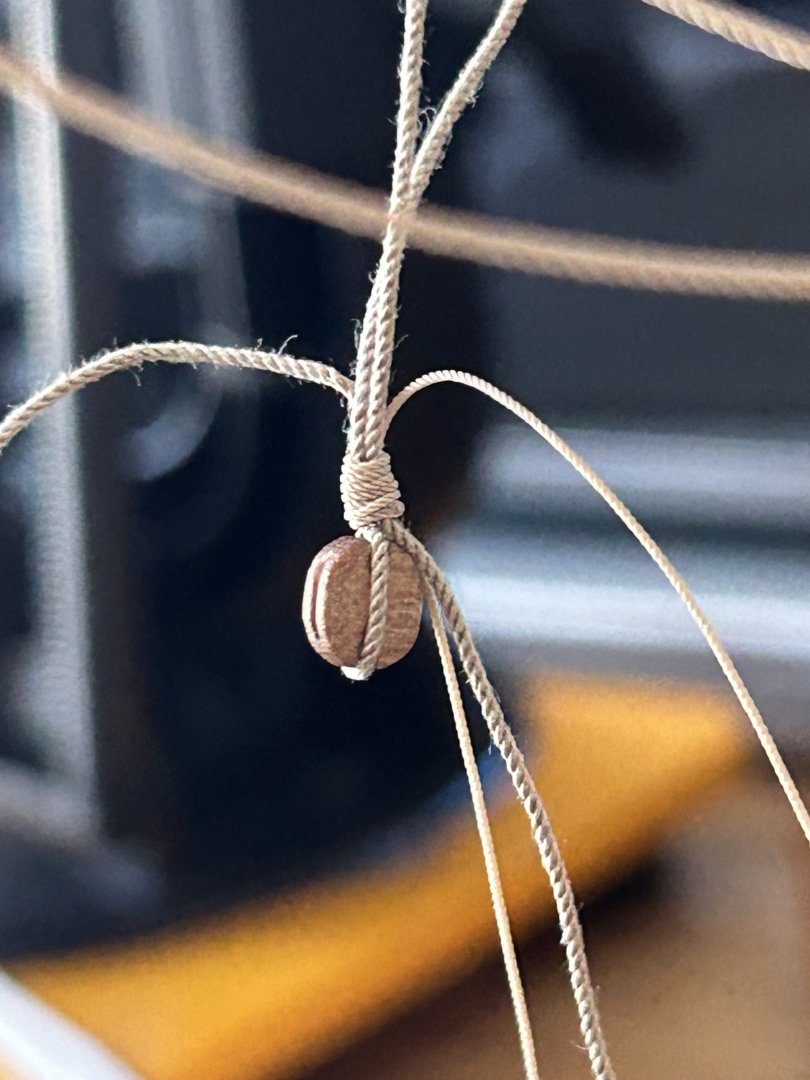
Shots of part of the boom tackle rebuild: doing a figure-eight seizing of a block to the boom. The wraps came out pretty well-behaved on this one.


- 38 replies
-
- 5
-
-
- Chesapeake Bay Flattie
- Model Shipways
- (and 2 more)
-
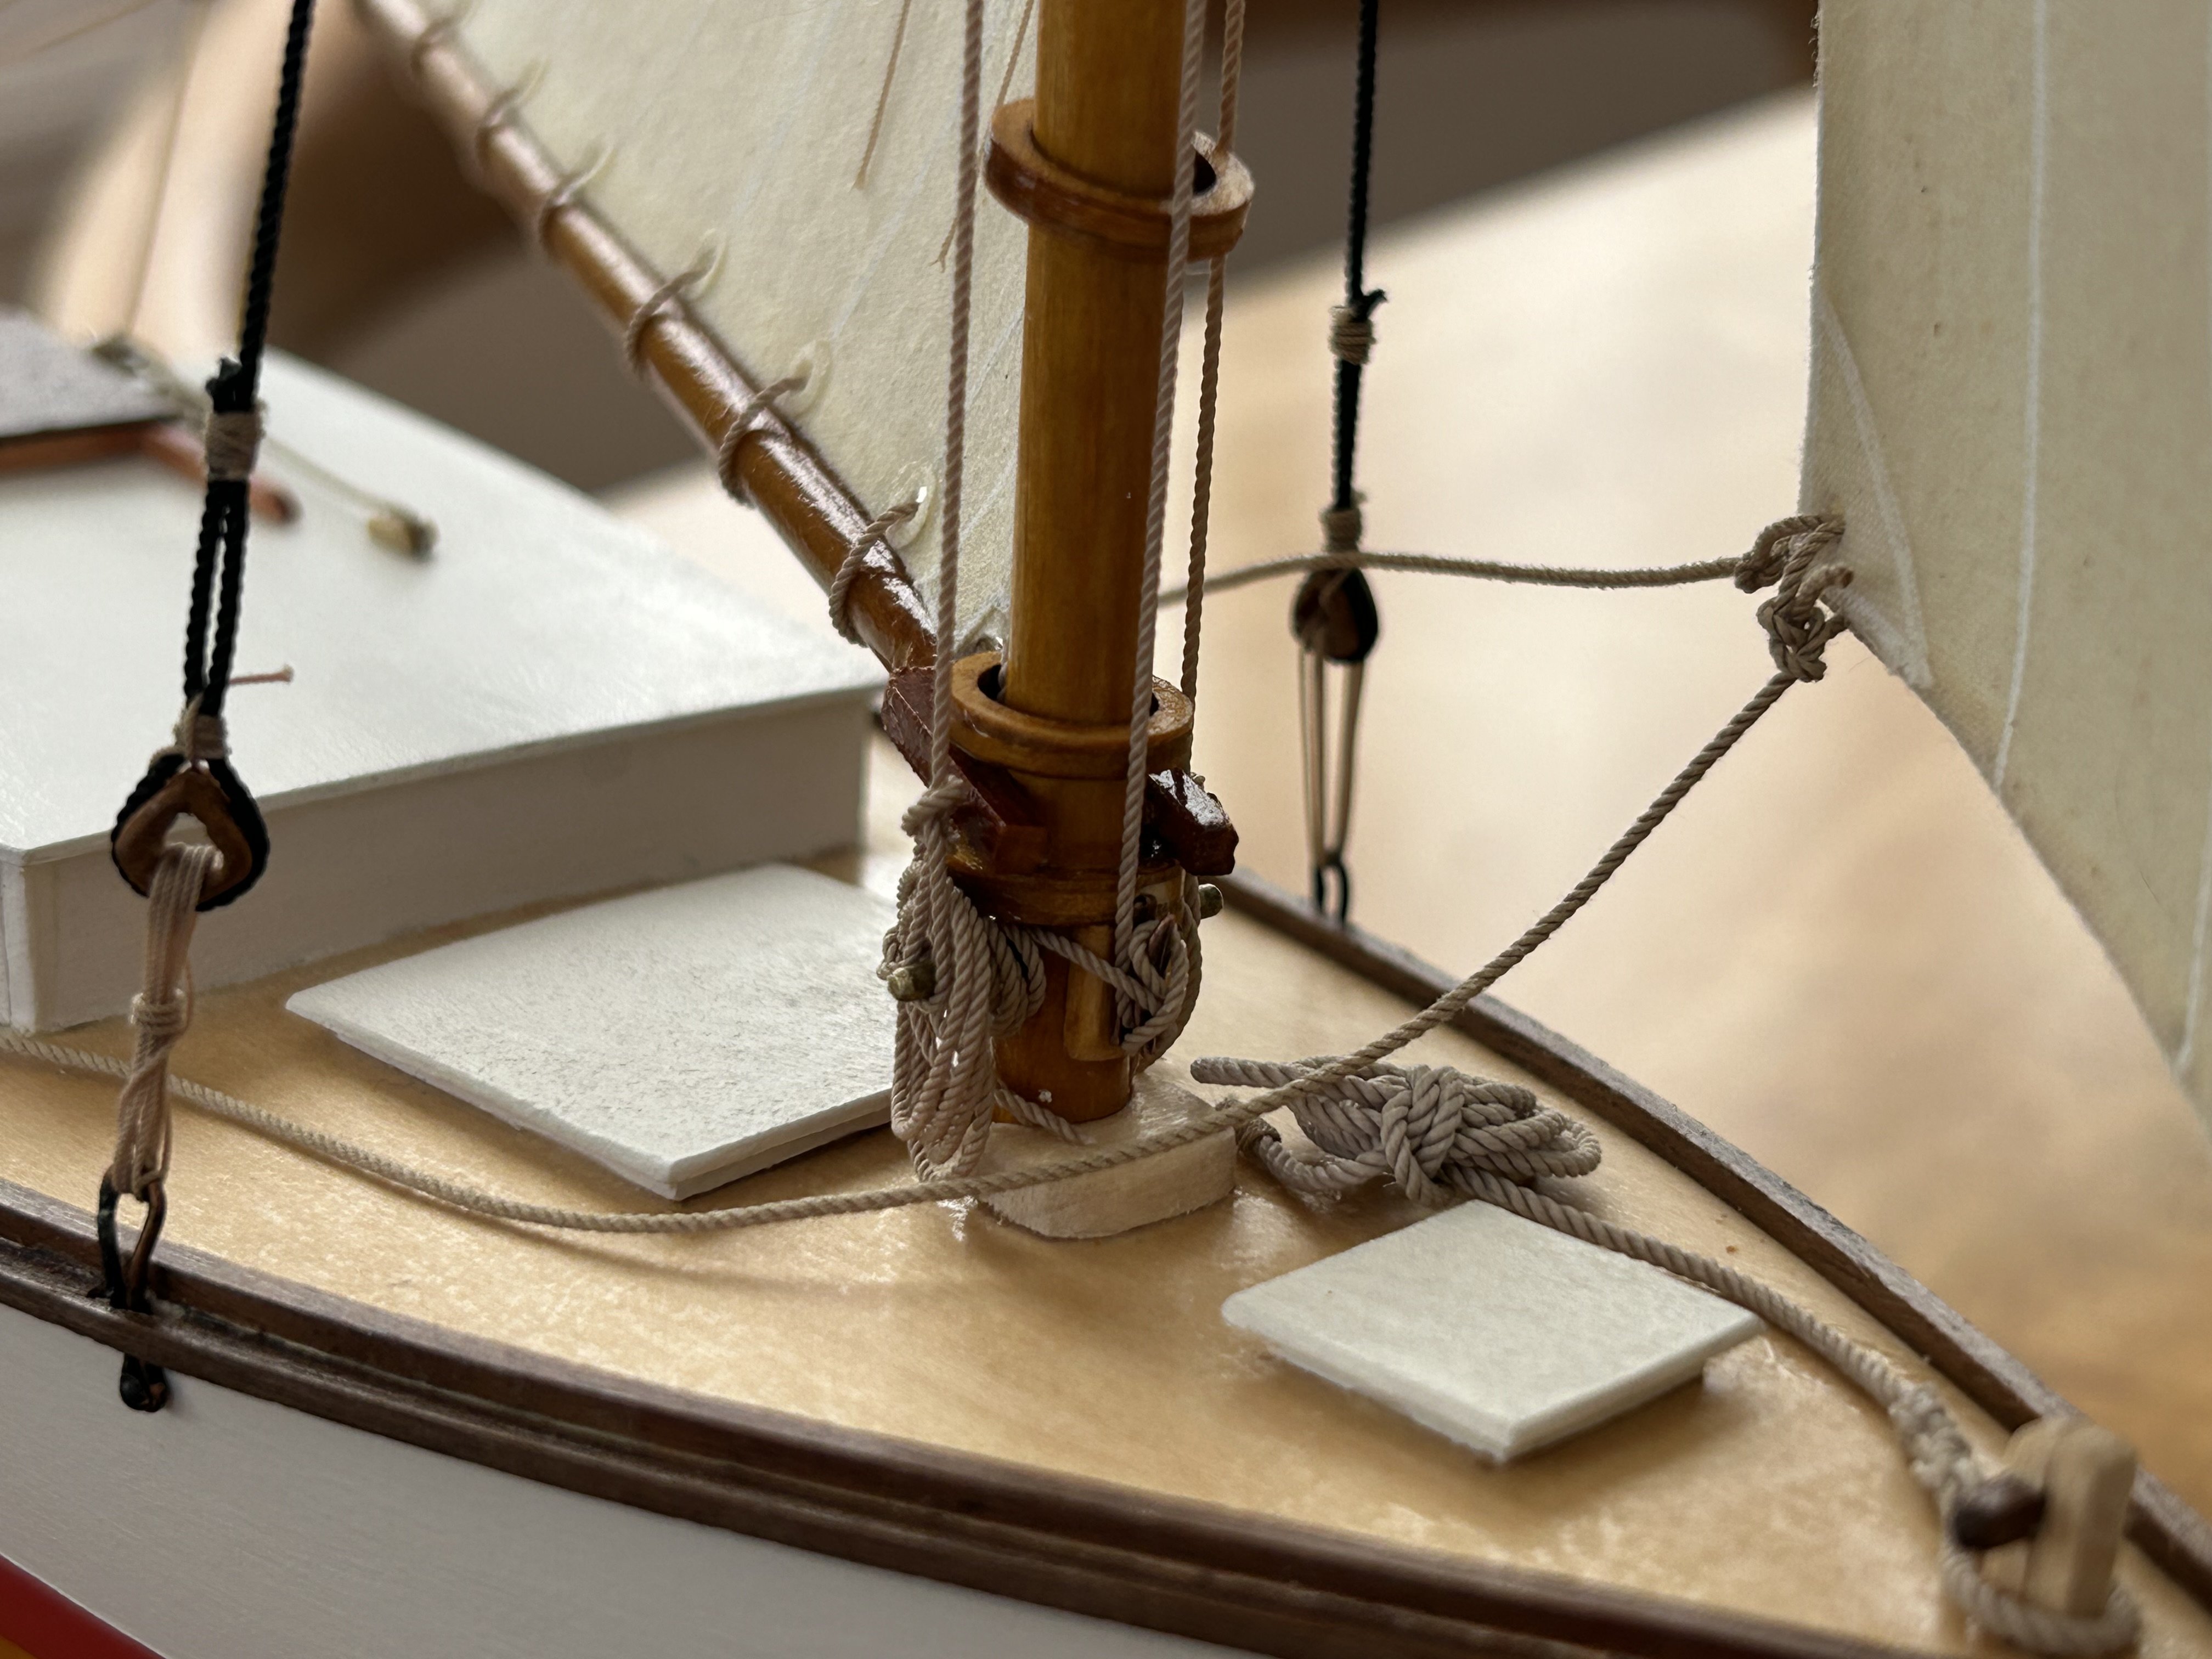
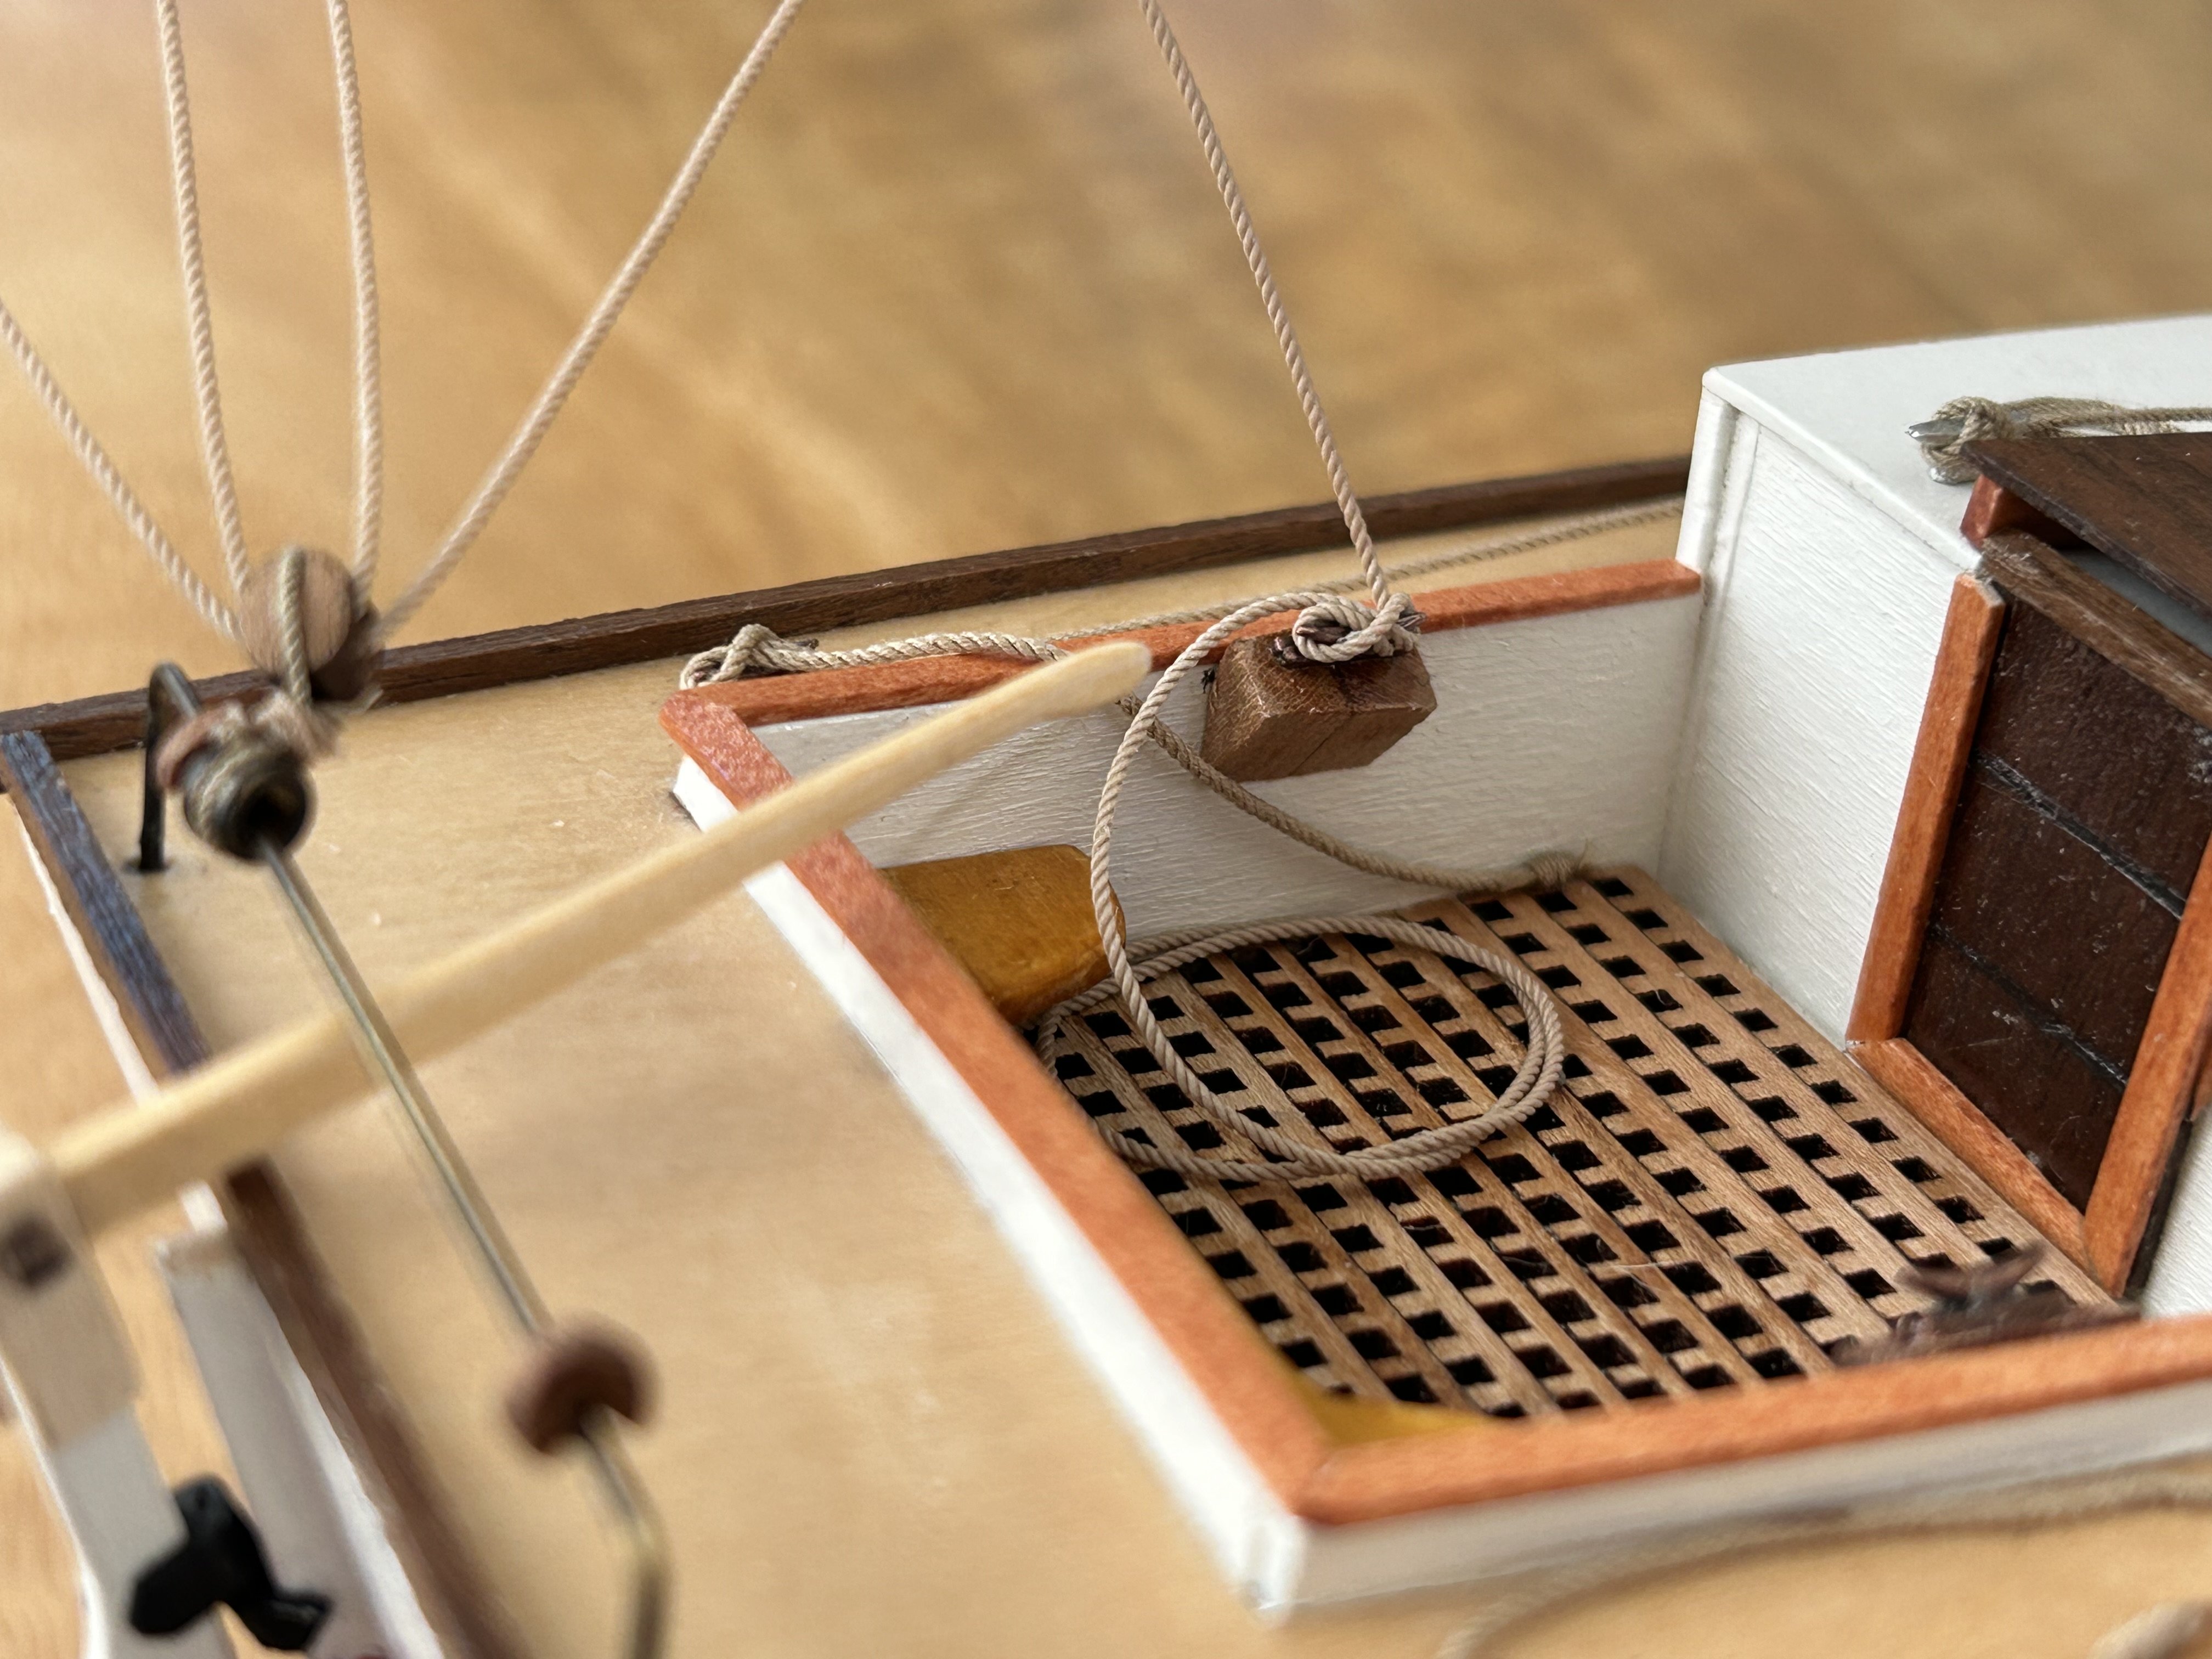
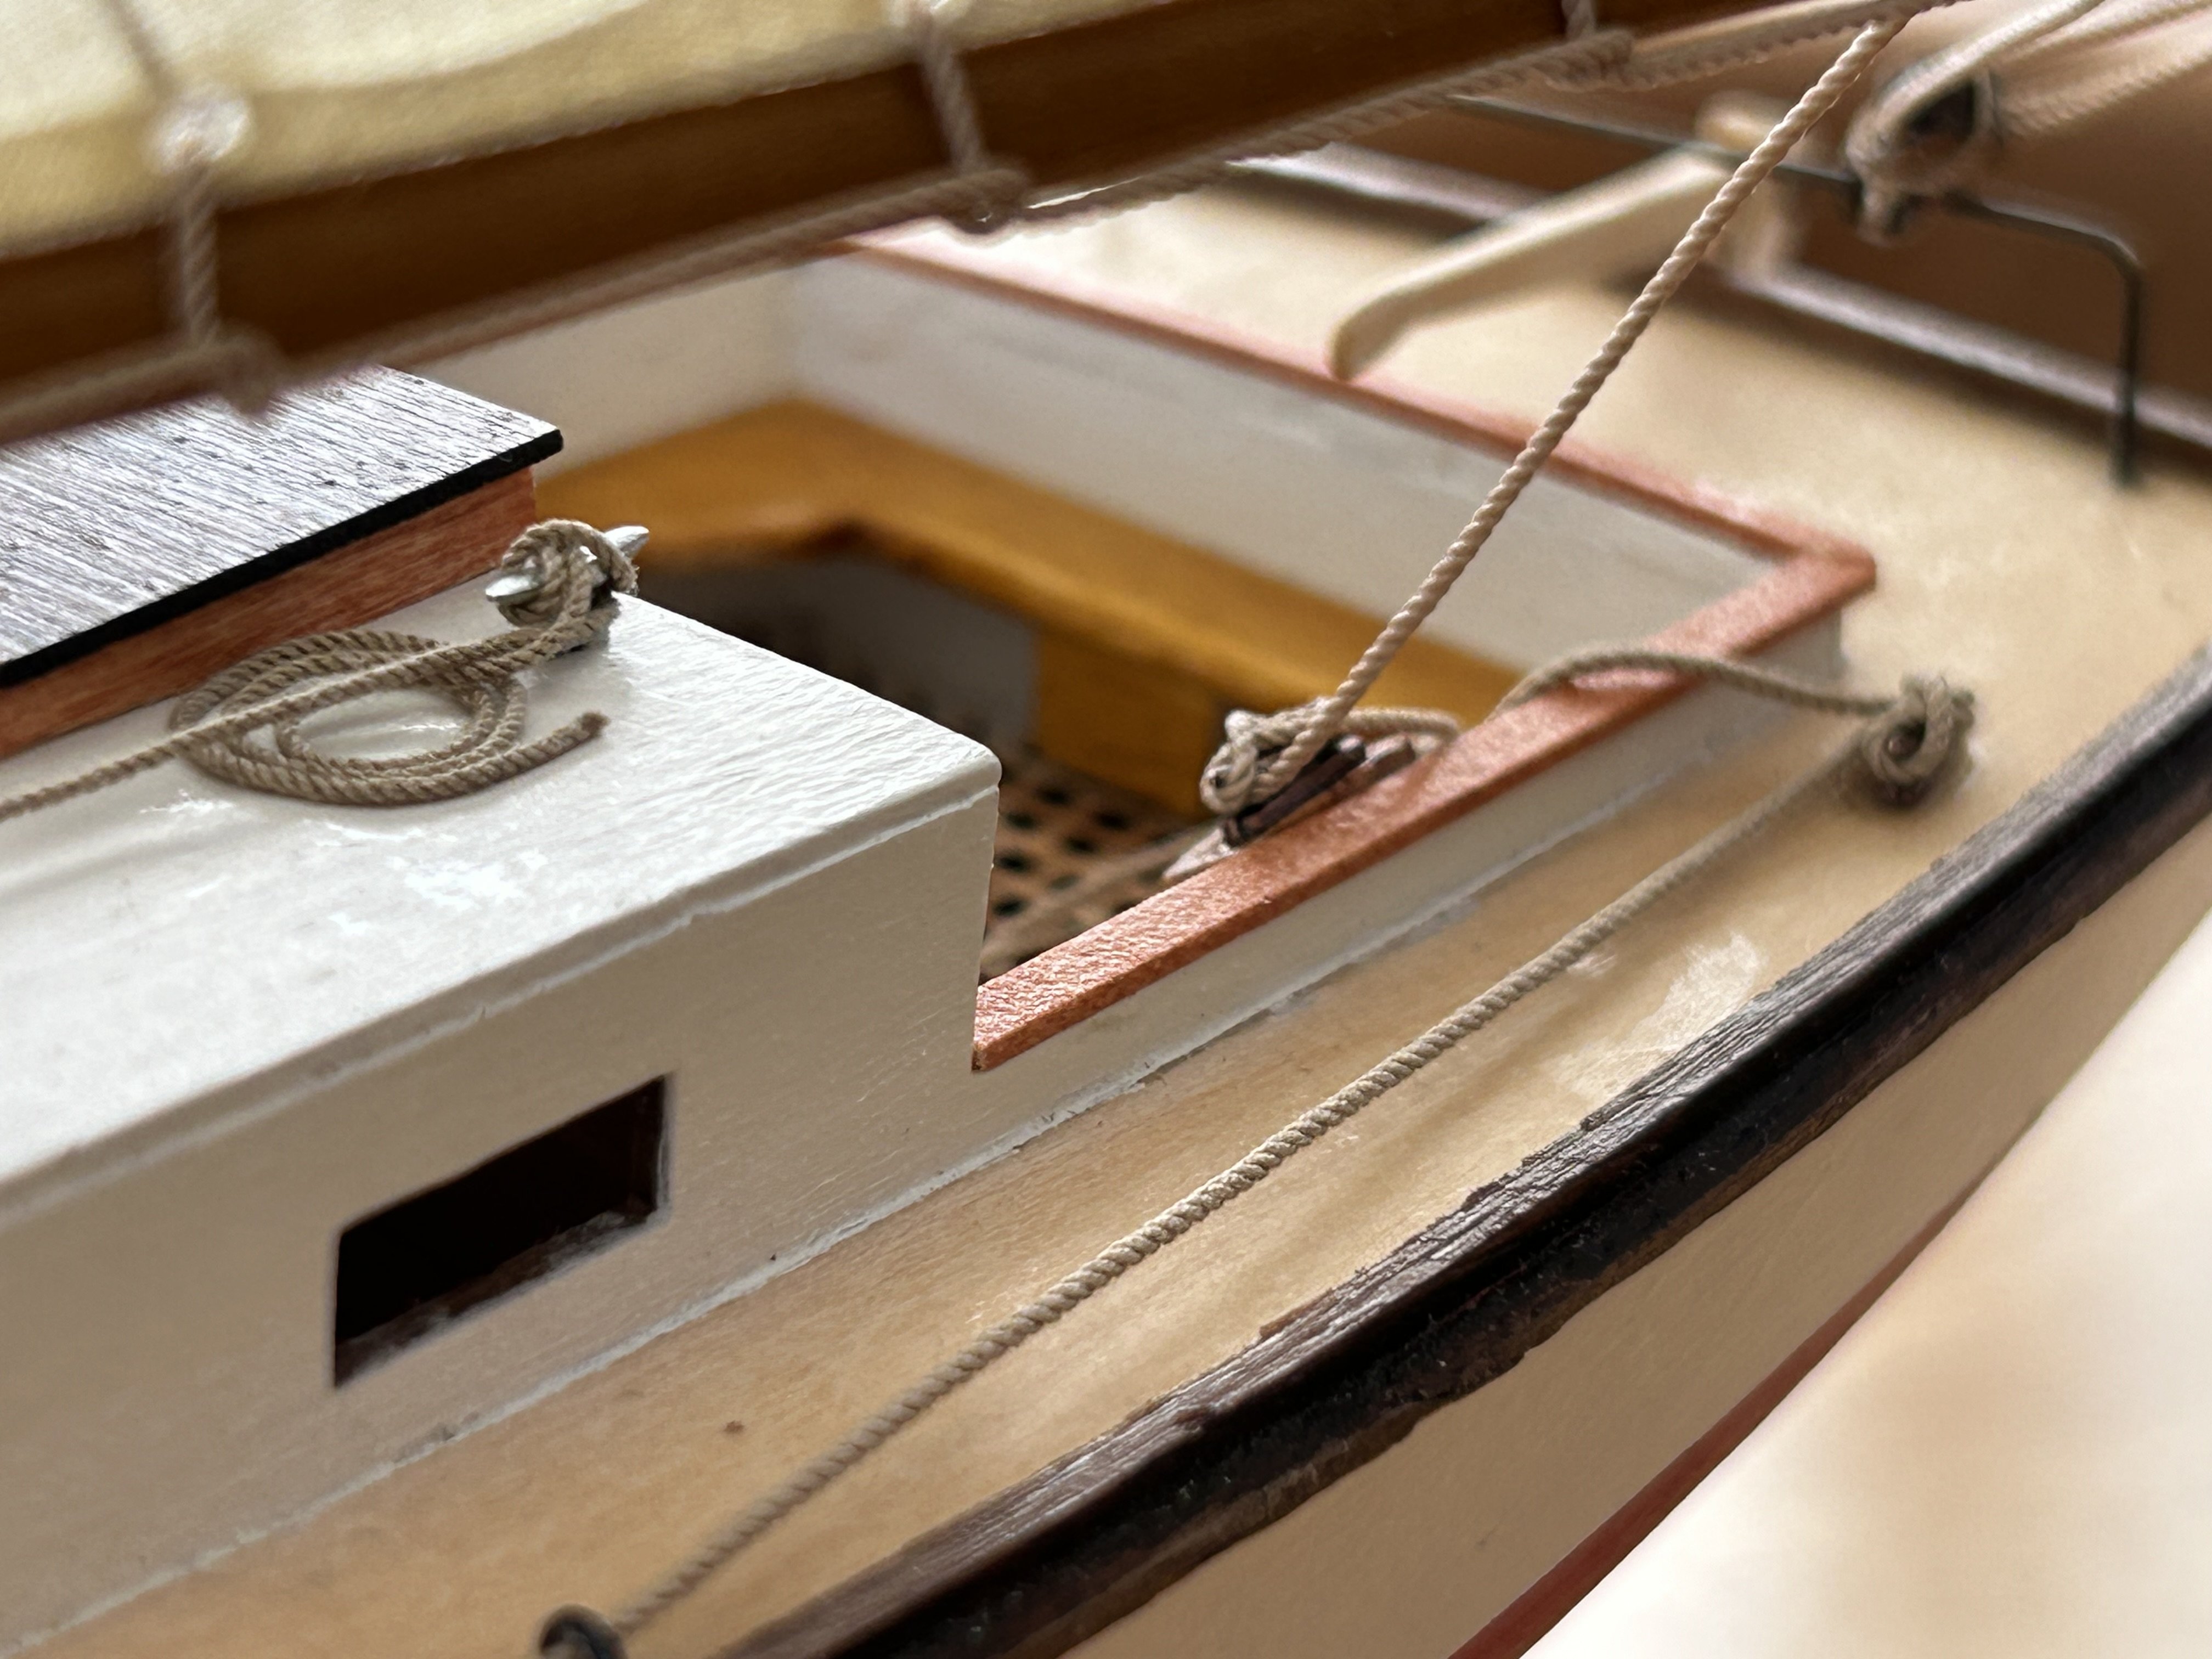
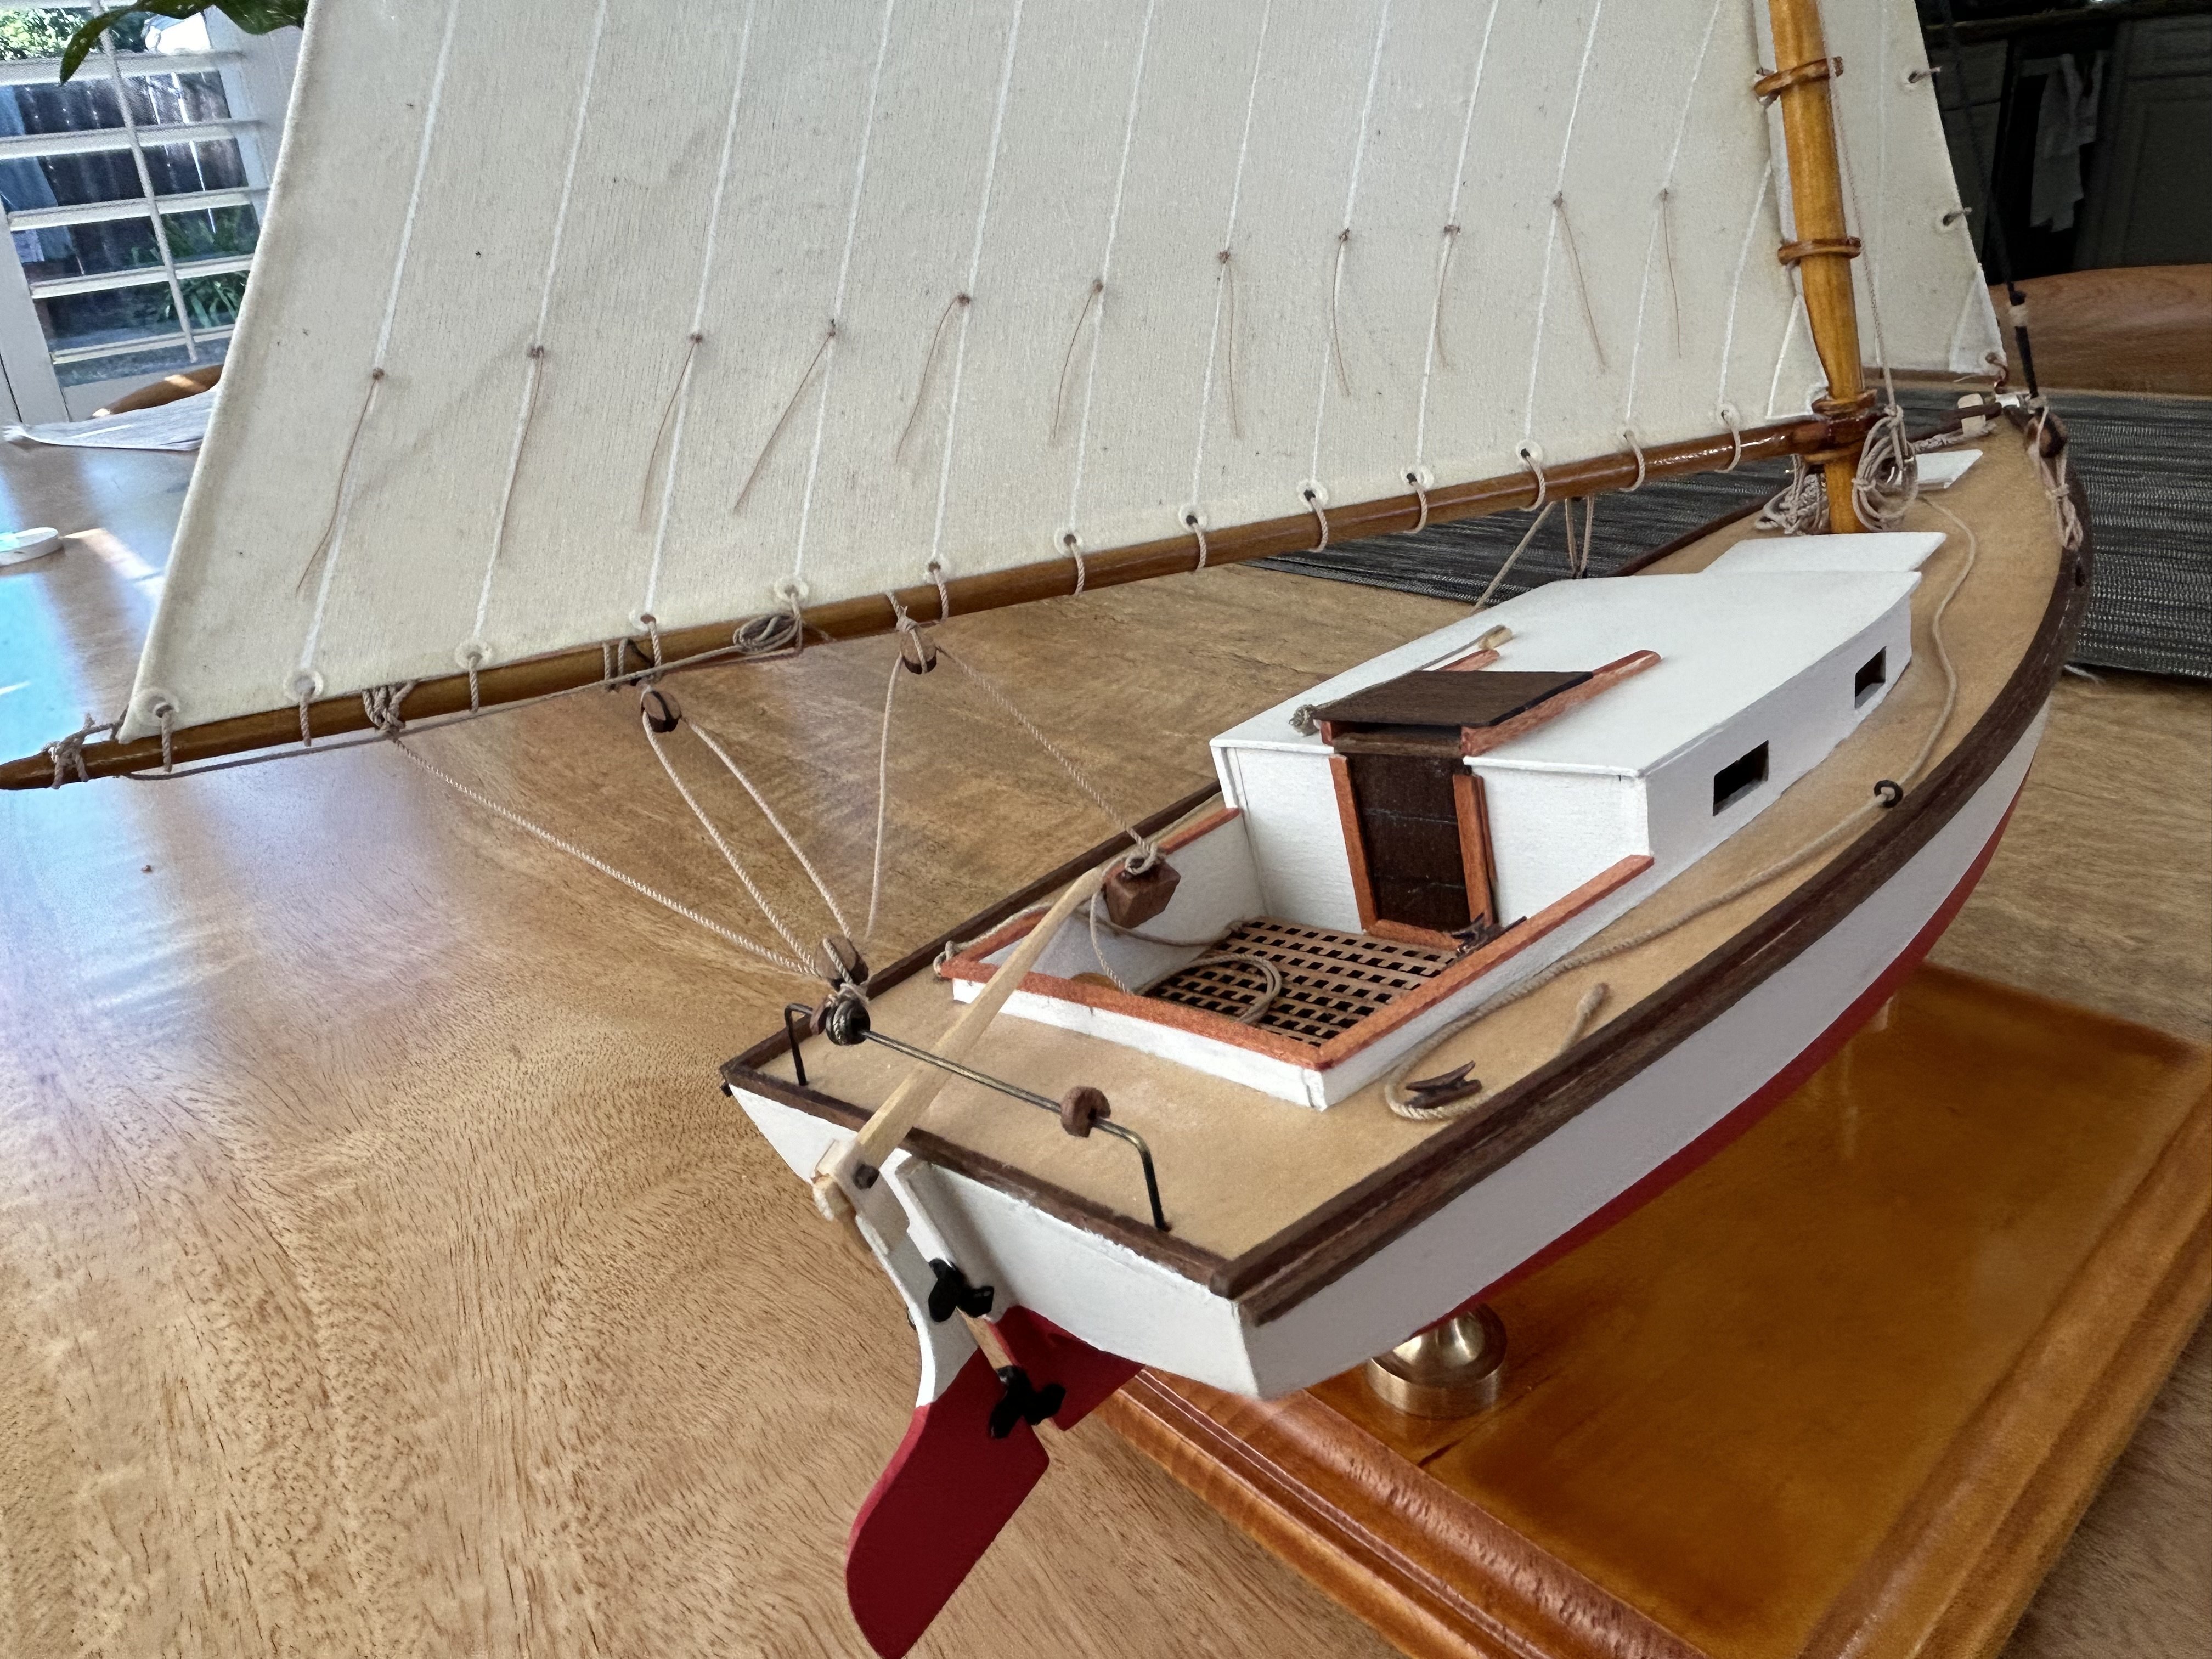
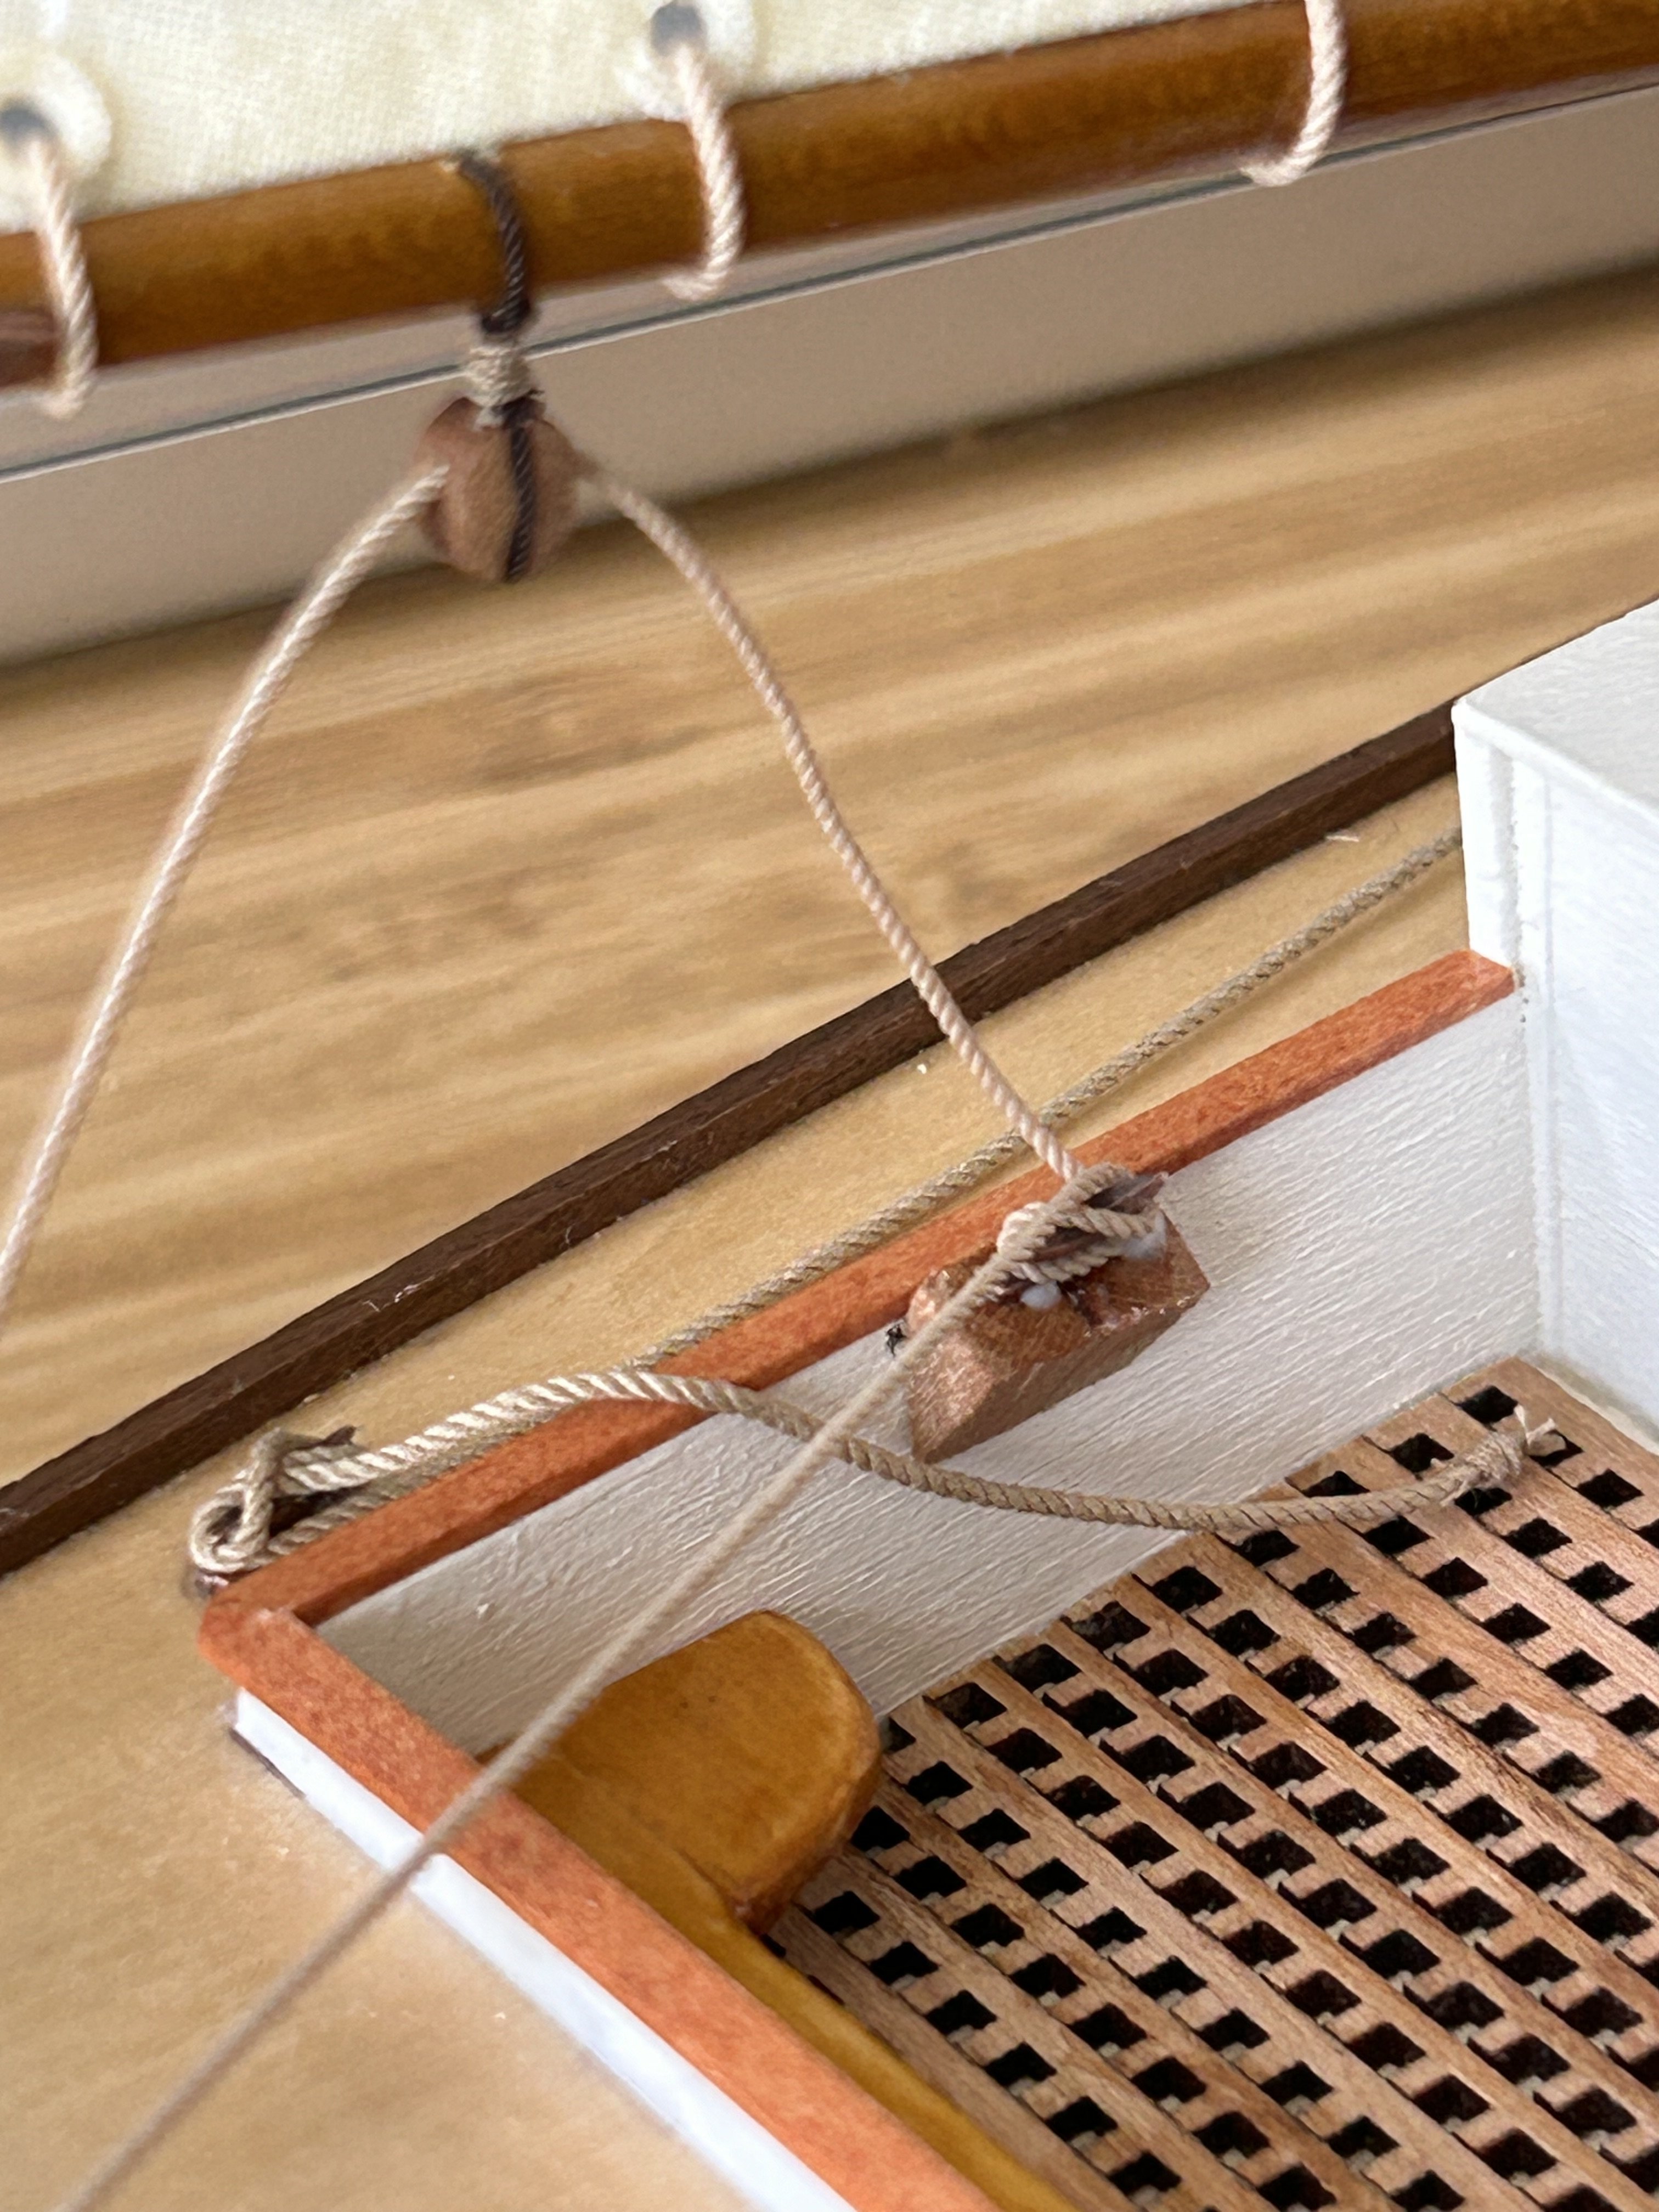
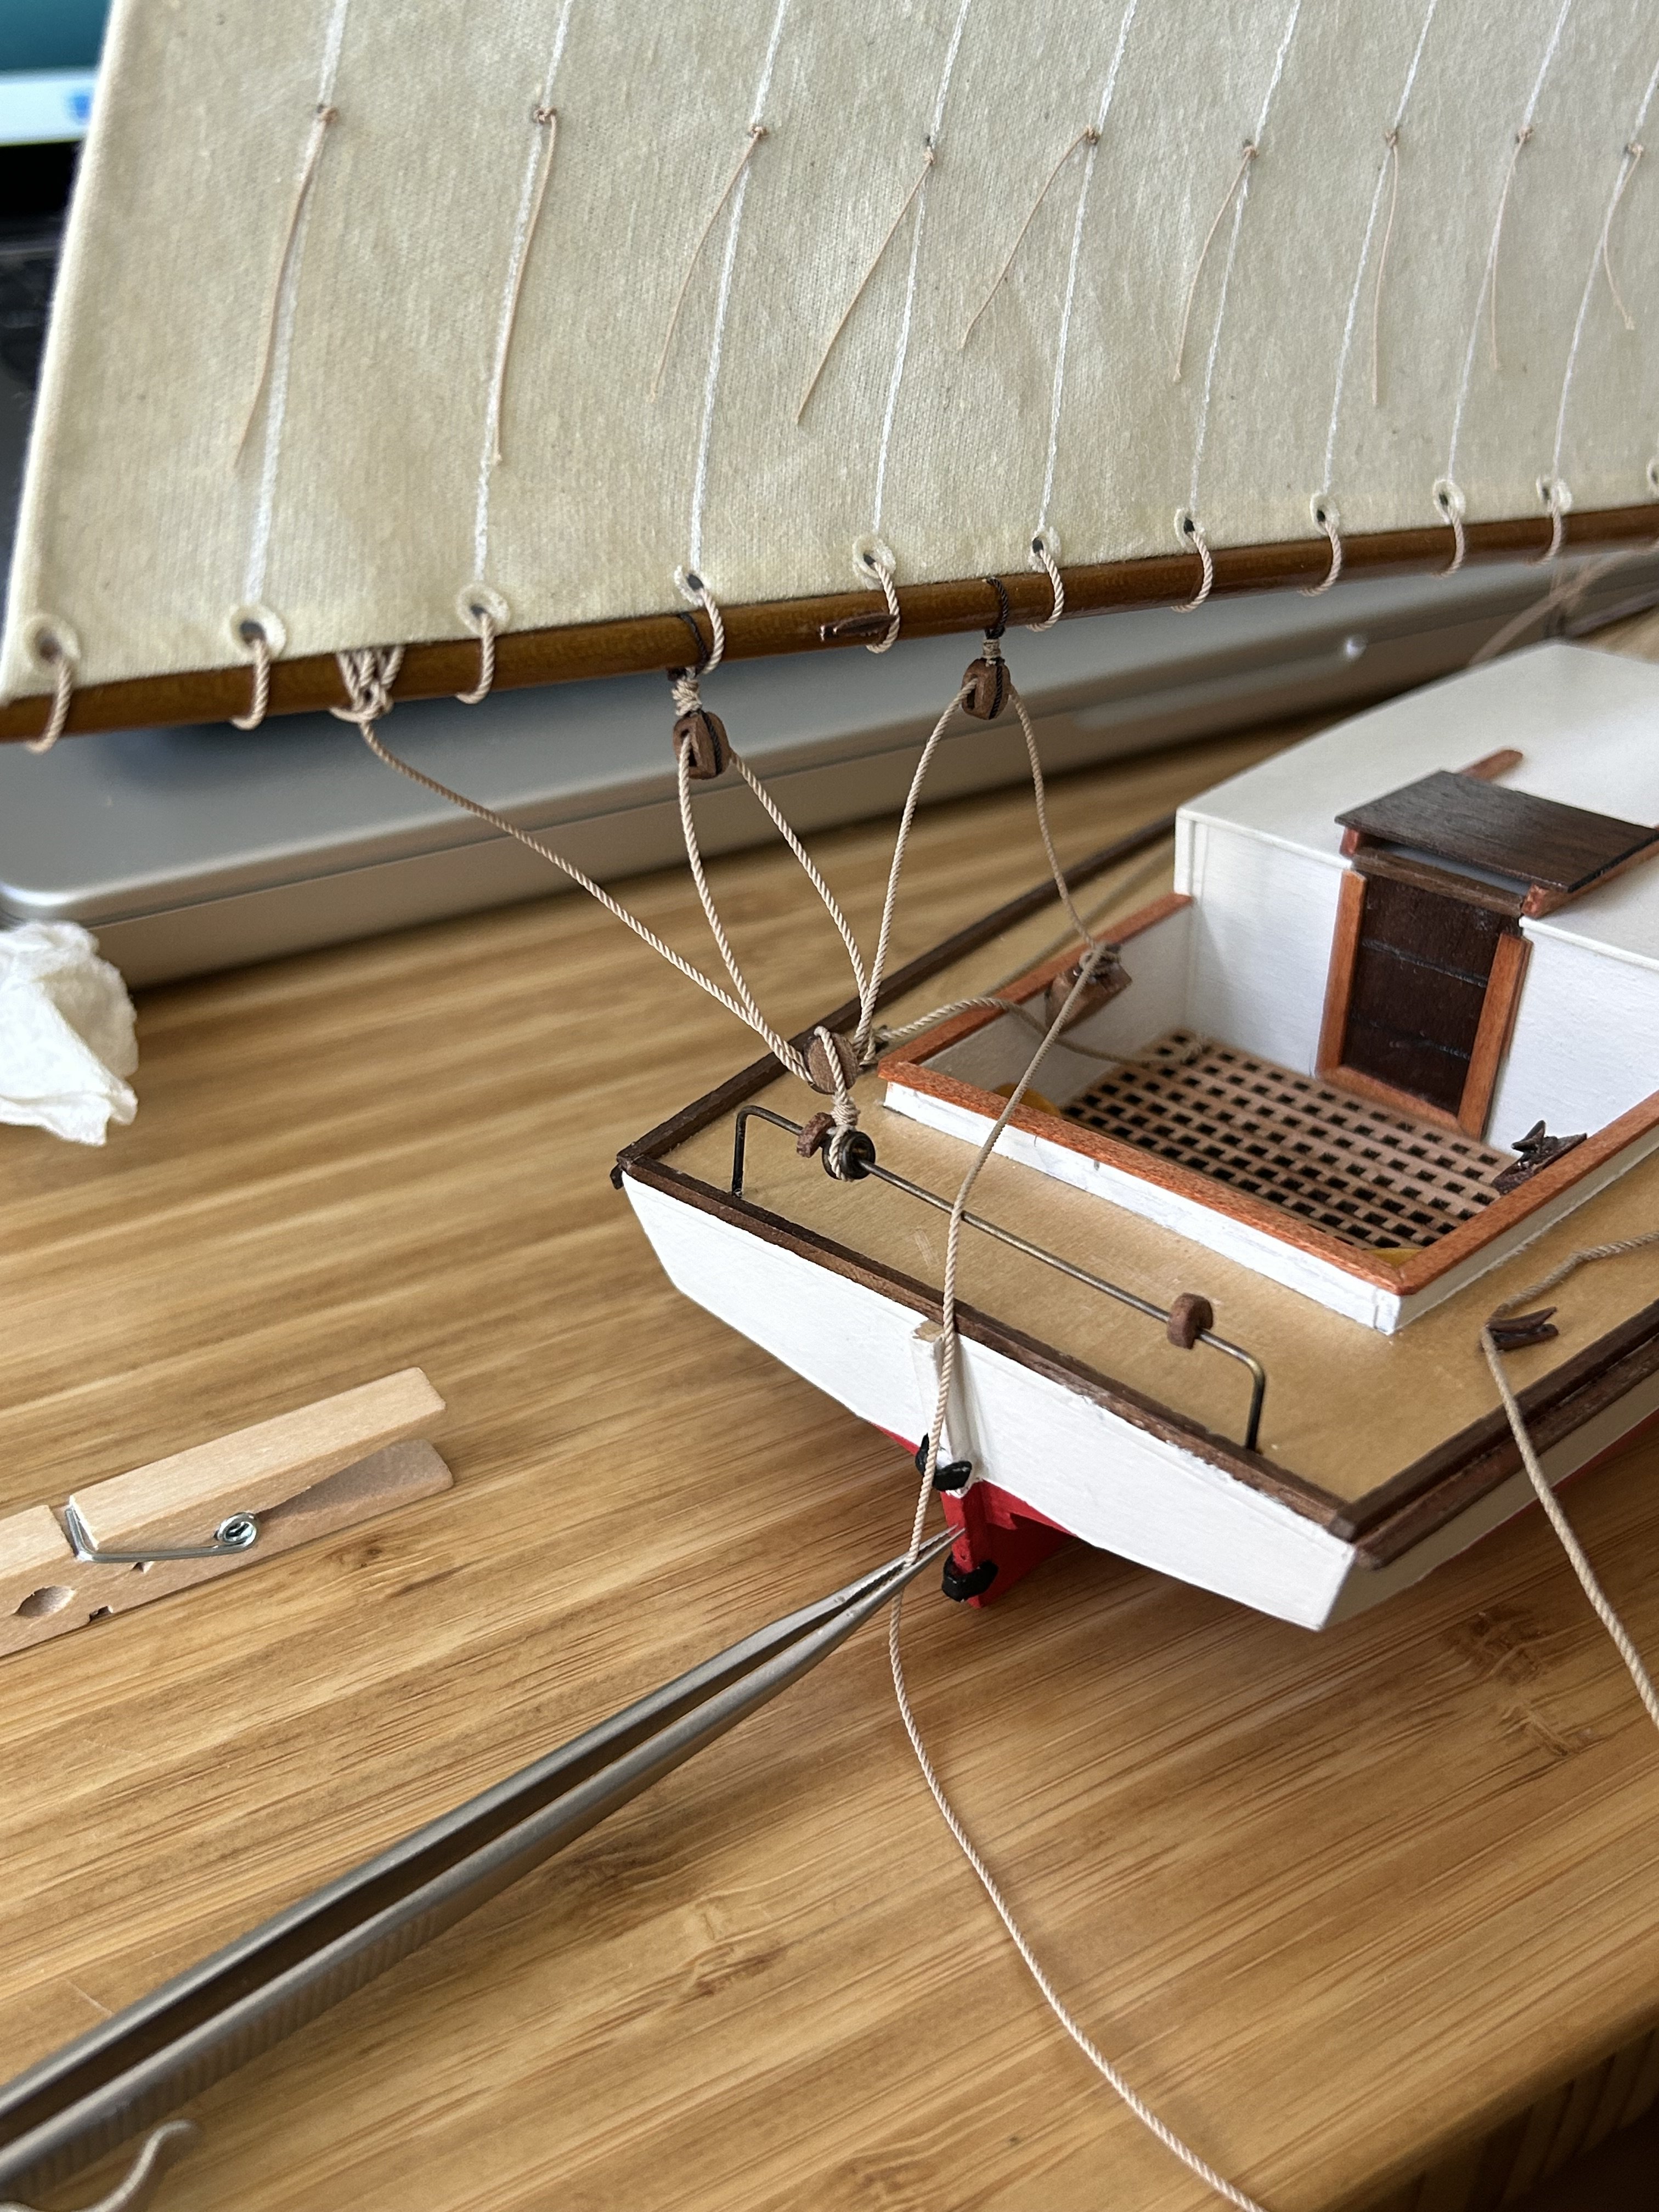
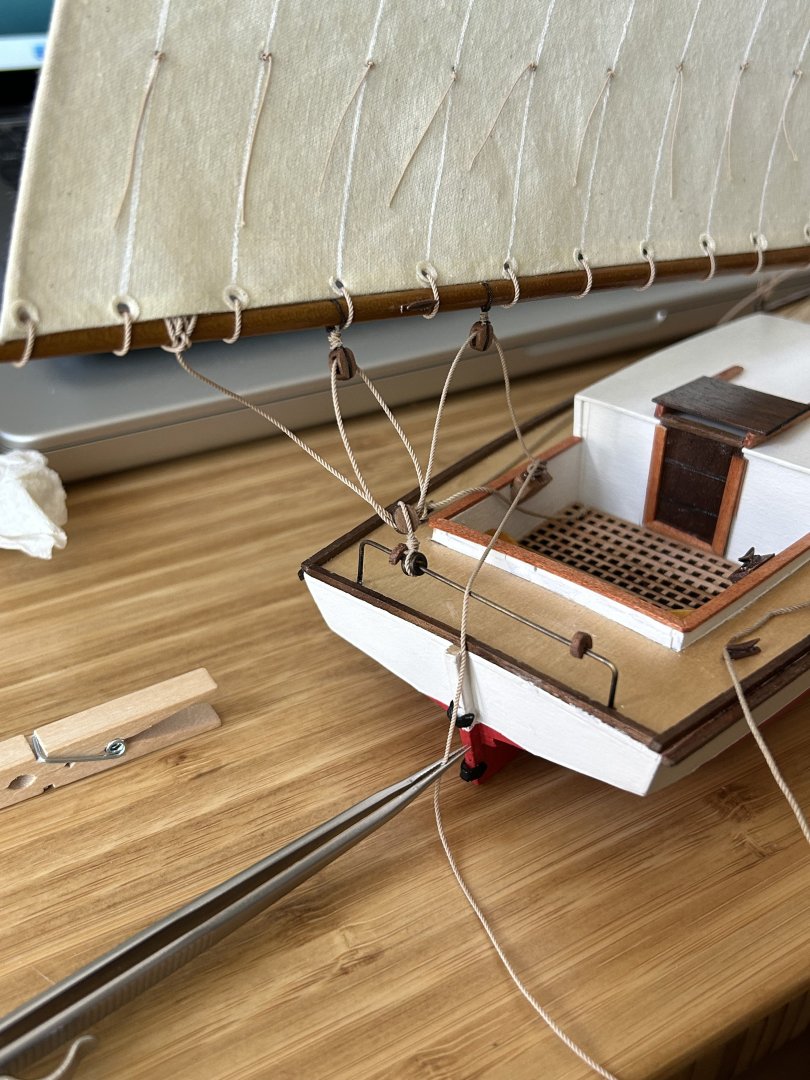
Puzzled for quite a while over where to put cleats for the mainsheet. Can’t find any research materials showing placement, and the kit plan shows a real compromise, sticking them on the cockpit sides (running the sheet over the angle of the cockpit rail did not look right to me). Made a center pedestal and thought about putting it somewhere in the middle of the new cherry grating, but it just didn’t look right. Finally arrived at the idea of beveled mountings on the inside cockpit edges. Still doesn’t solve the problem of where to cleat when you are close-hauled, but I decided “good enough”. After these were taken I ended up having to rebuild the three-block tackle rigging on the boom (almost dropped the whole model while setting up the pedestal). 😬🙄


- 38 replies
-
- 3
-
-
- Chesapeake Bay Flattie
- Model Shipways
- (and 2 more)