HOLIDAY DONATION DRIVE - SUPPORT MSW - DO YOUR PART TO KEEP THIS GREAT FORUM GOING! (89 donations so far out of 49,000 members - C'mon guys!)
×

halvoric
-
Posts
84 -
Joined
-
Last visited
Content Type
Profiles
Forums
Gallery
Events
Everything posted by halvoric
-
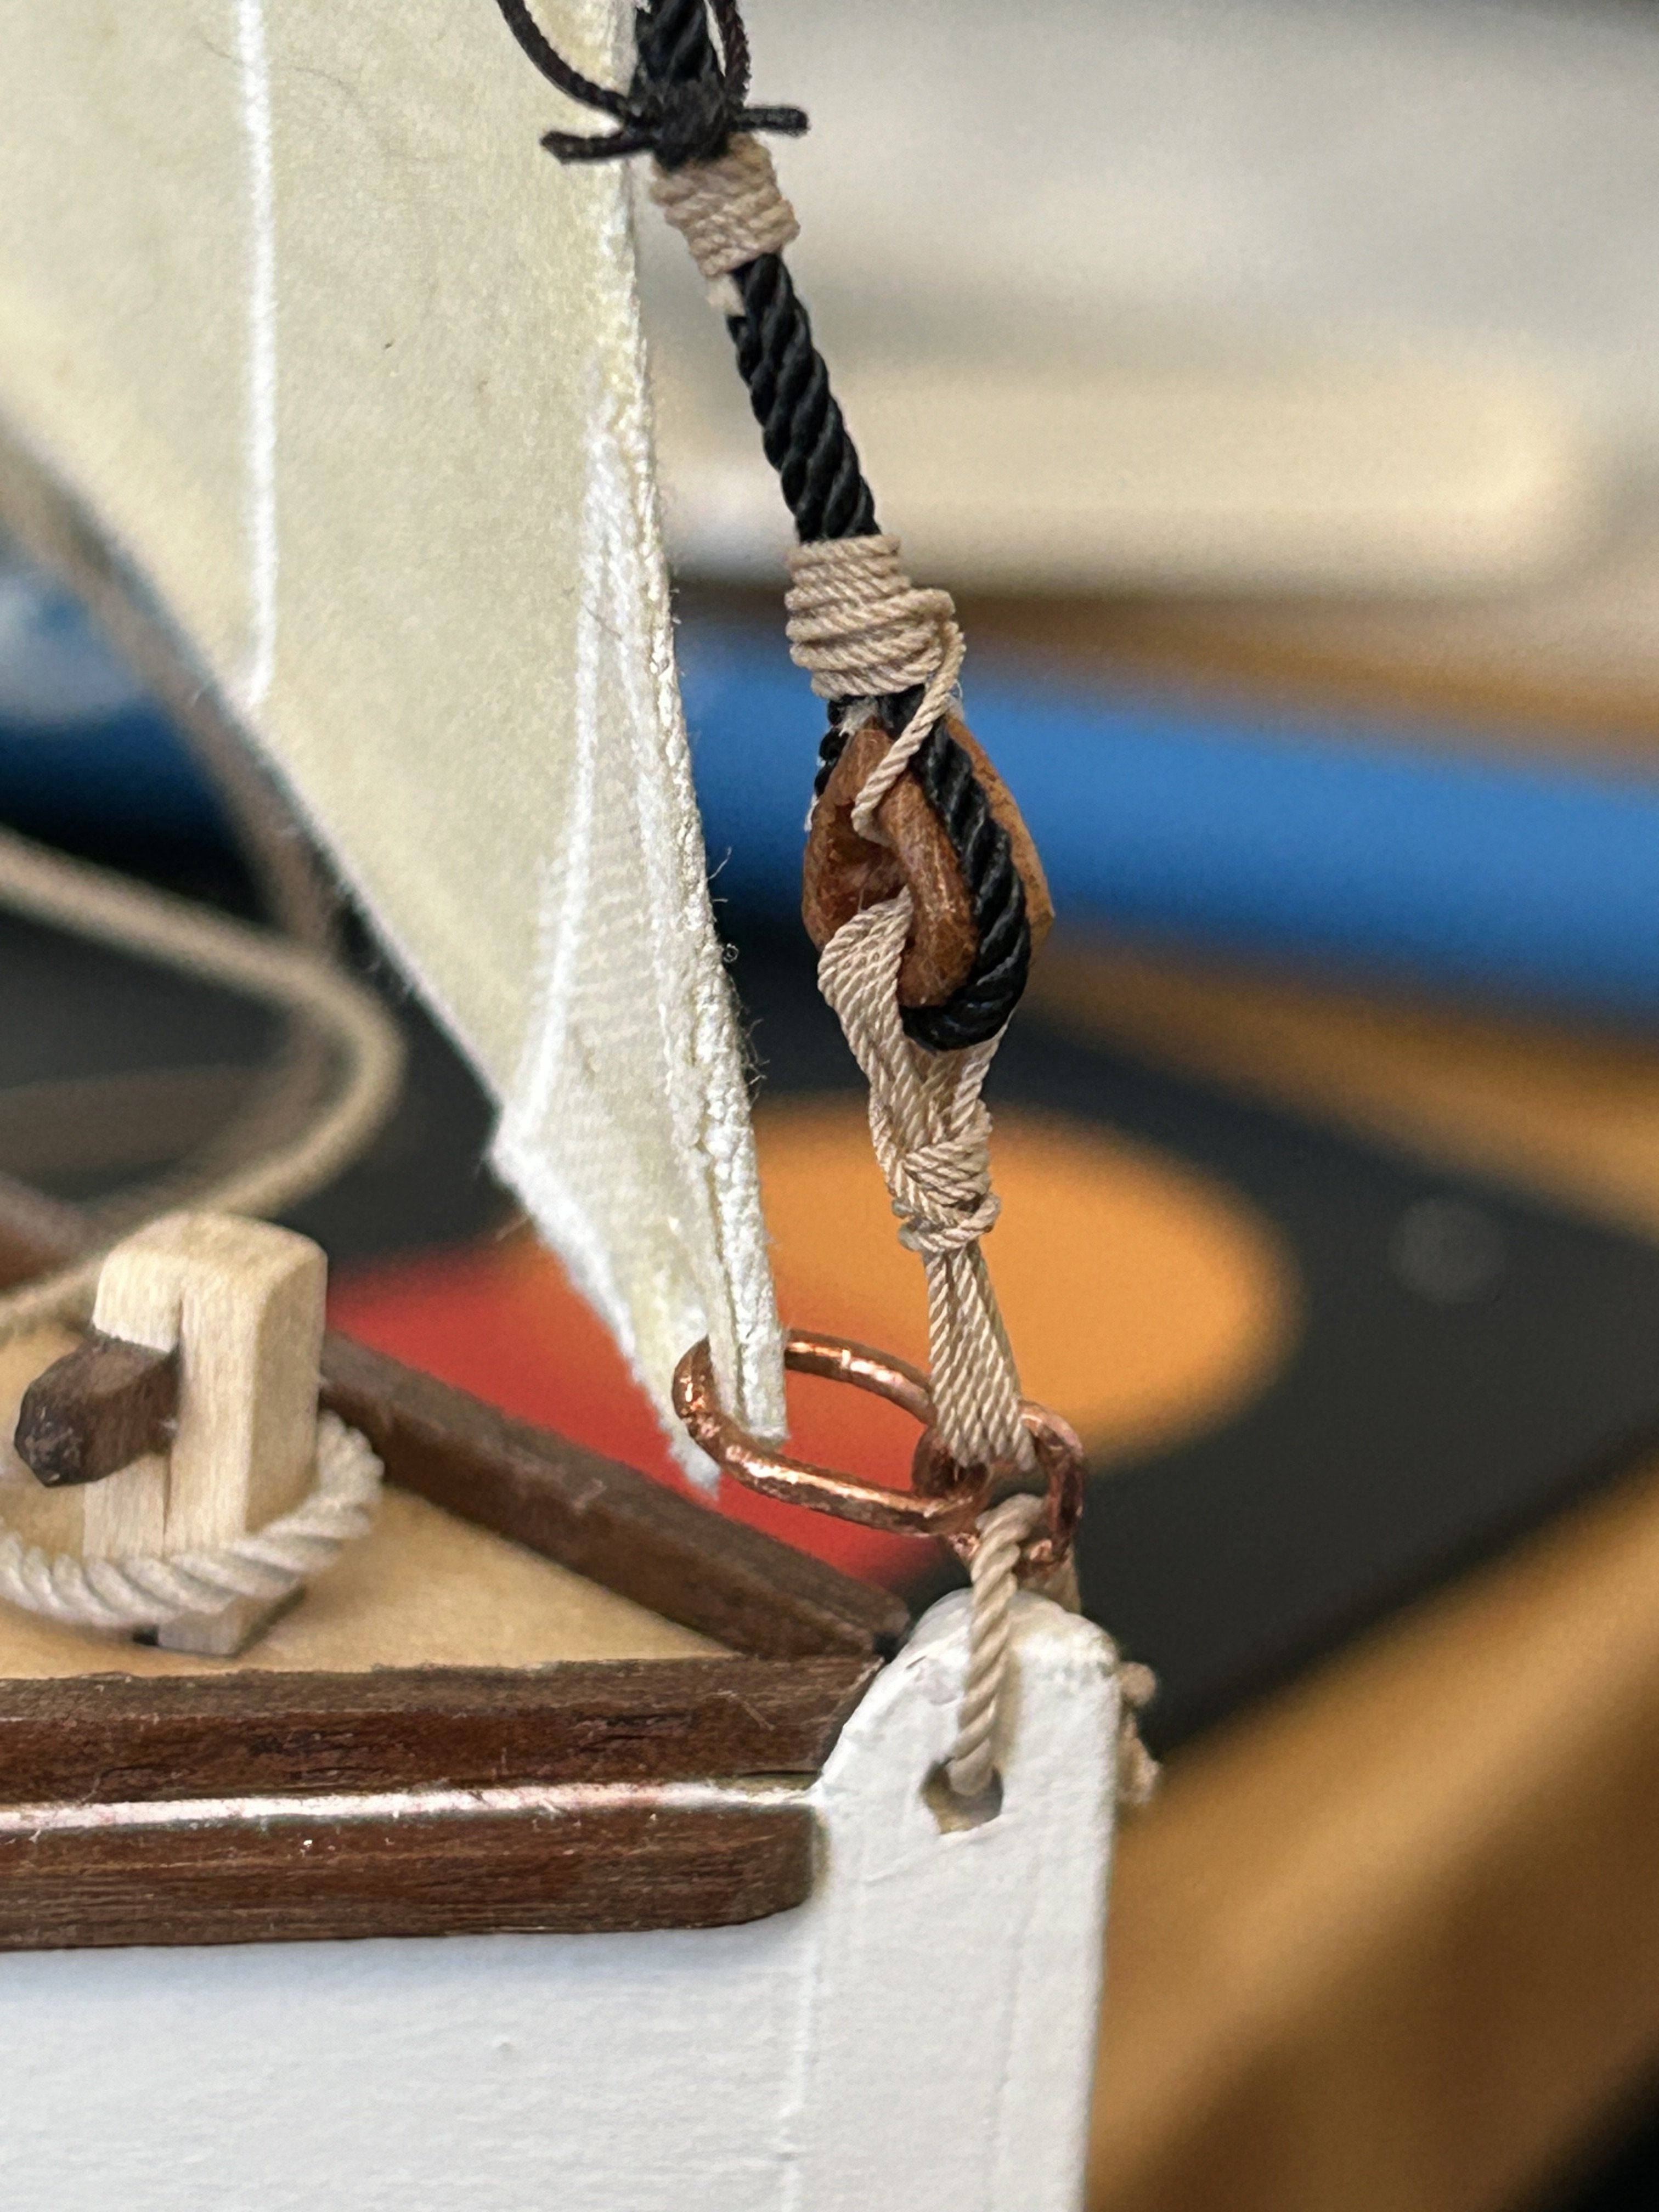
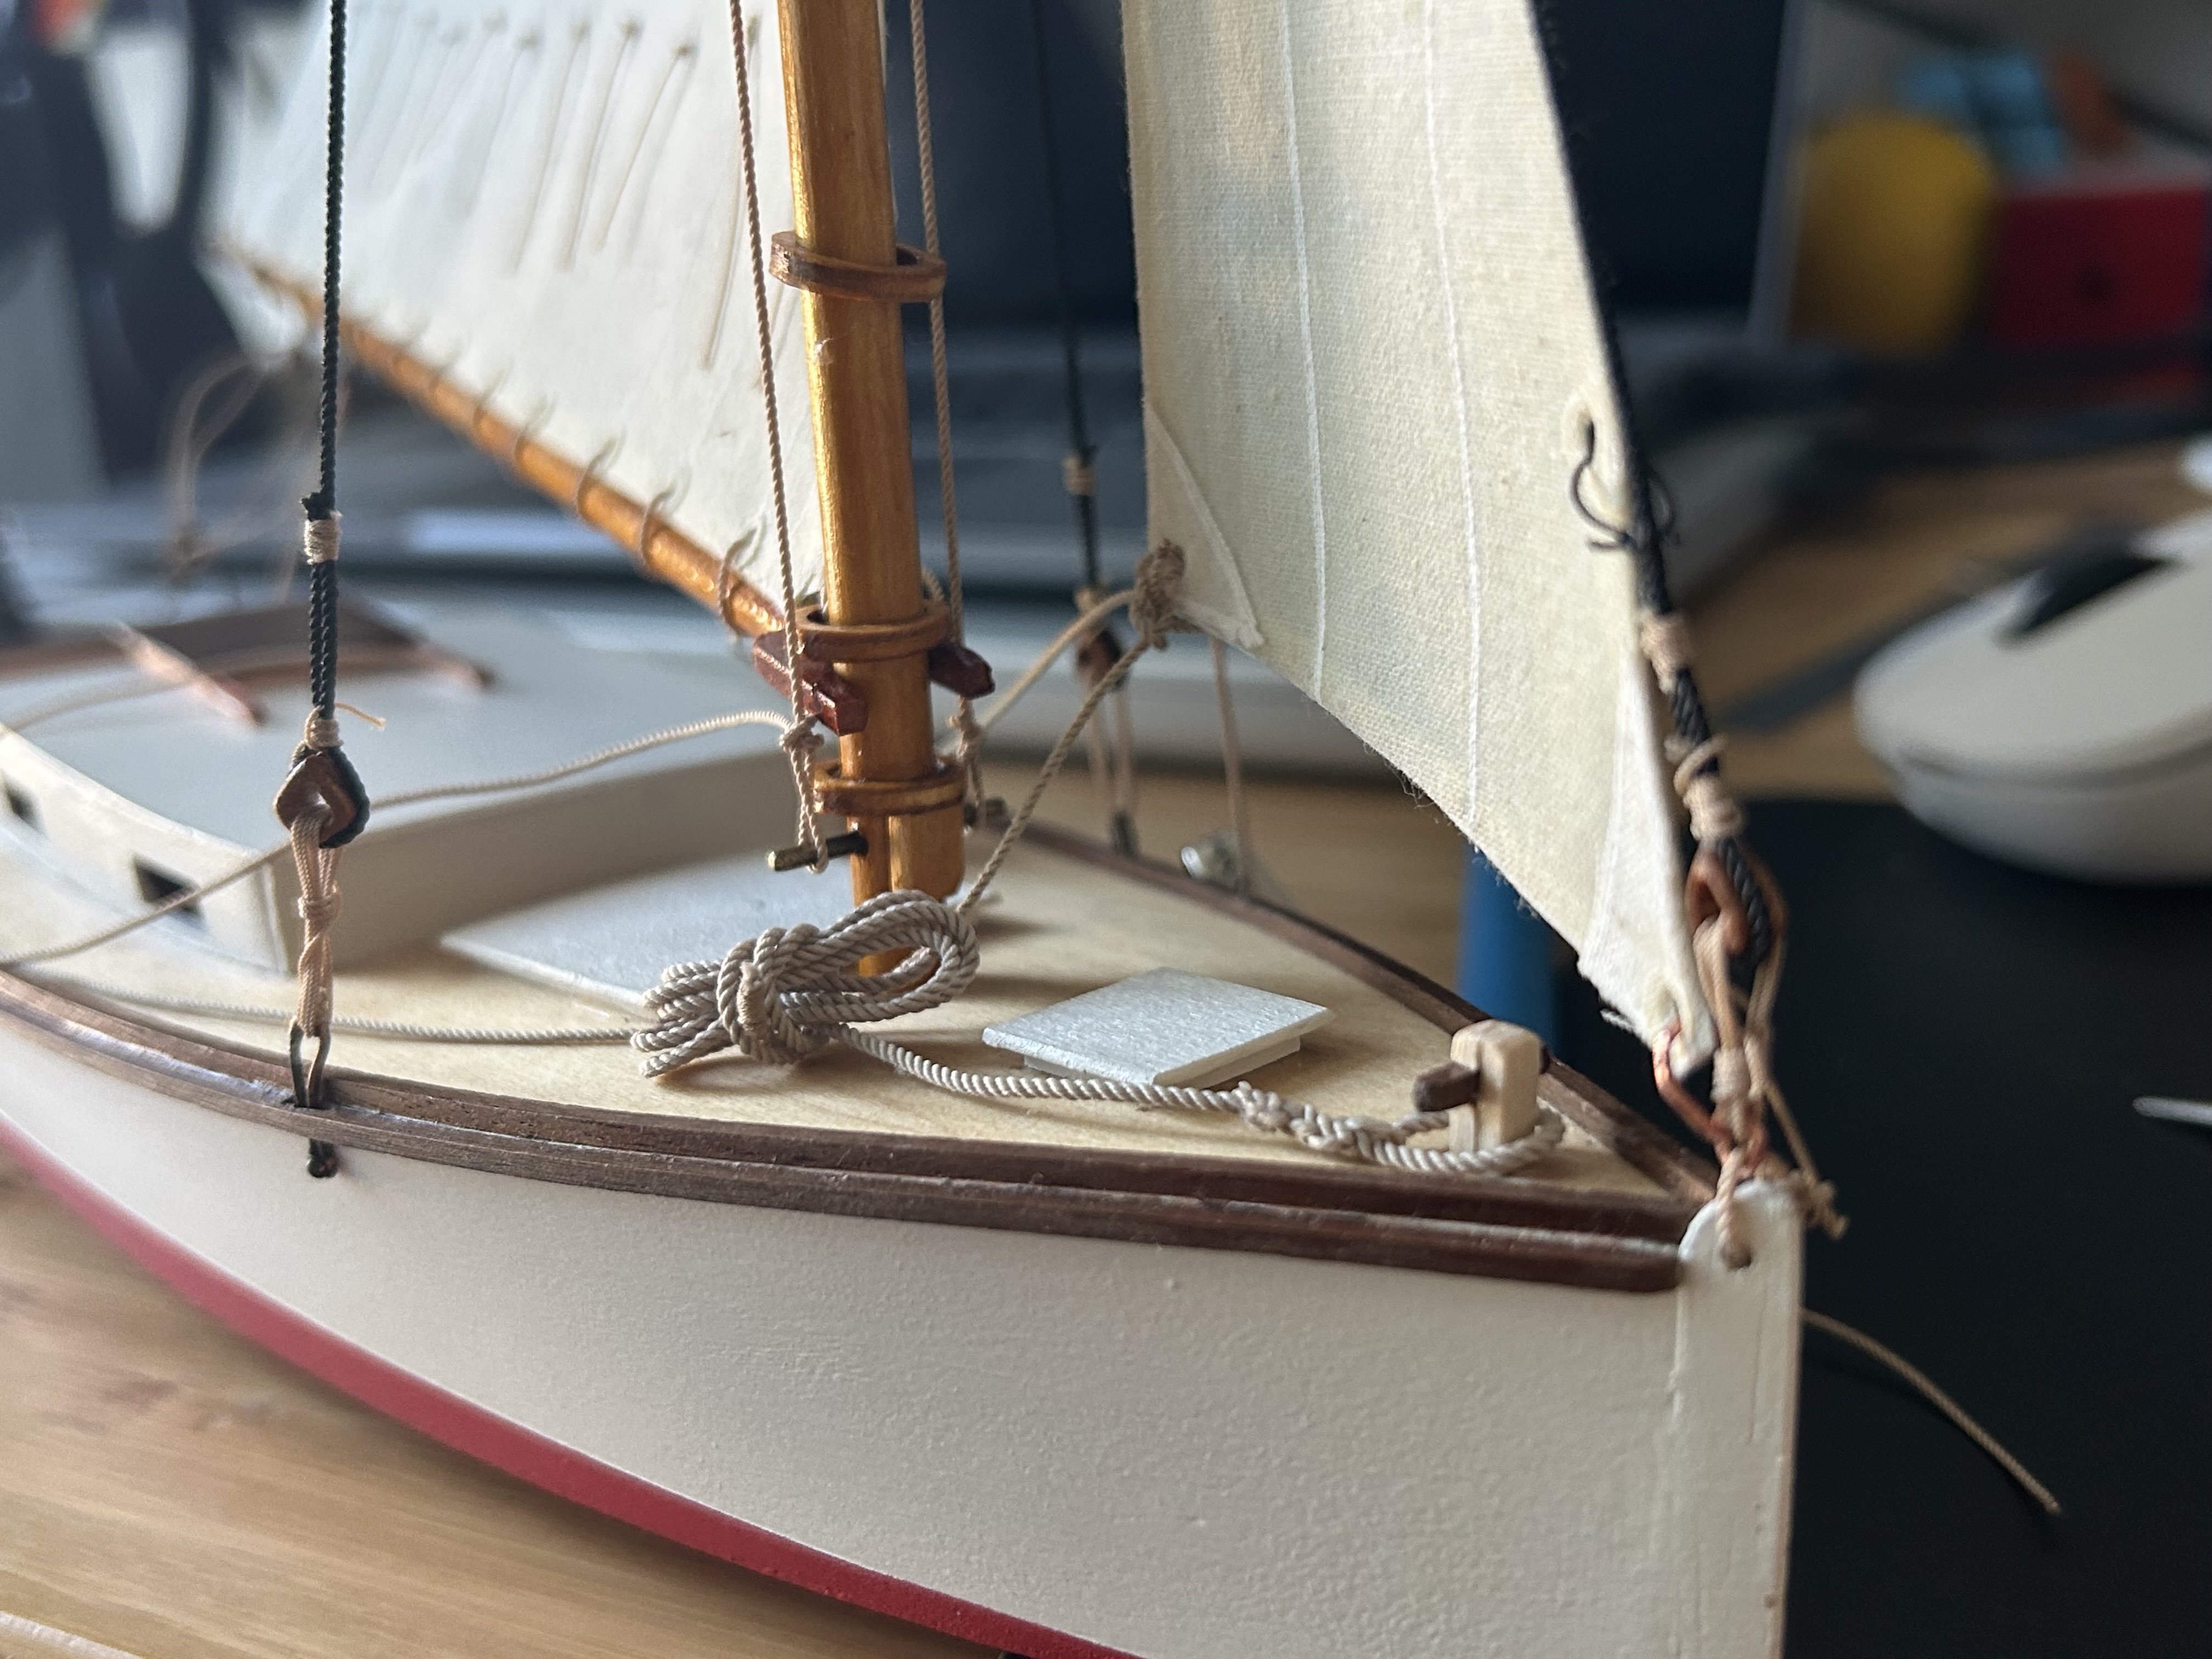
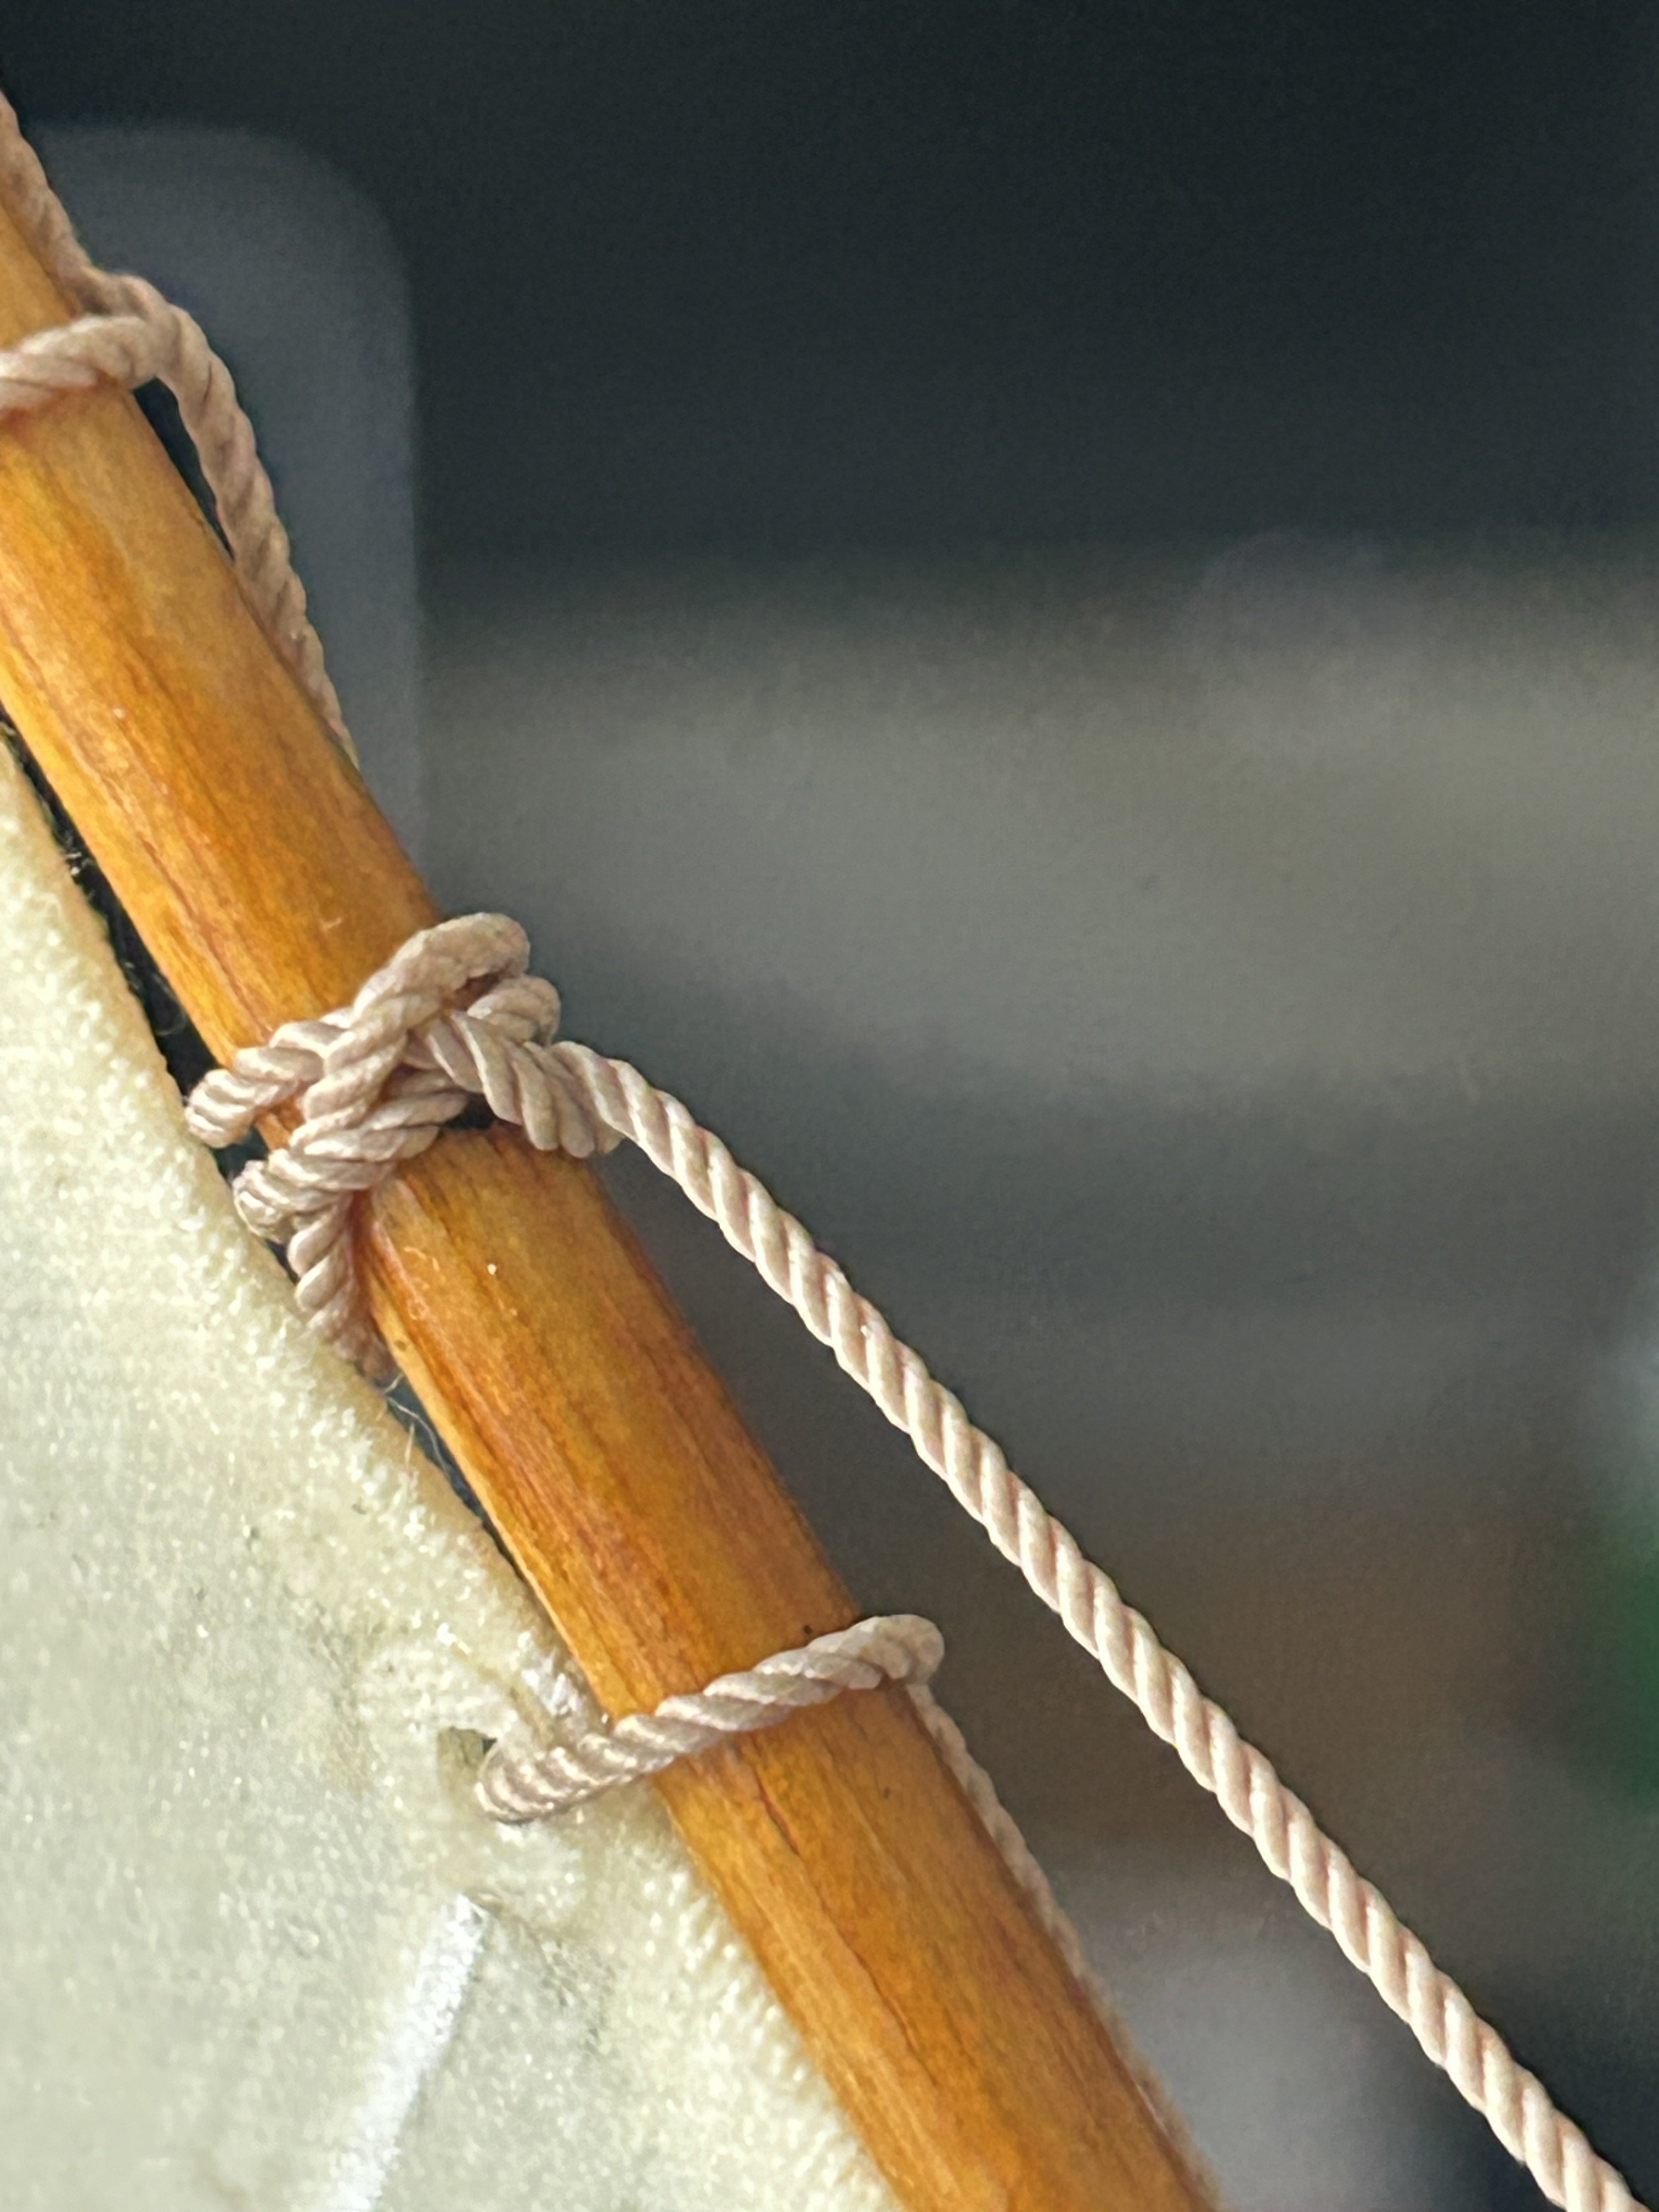
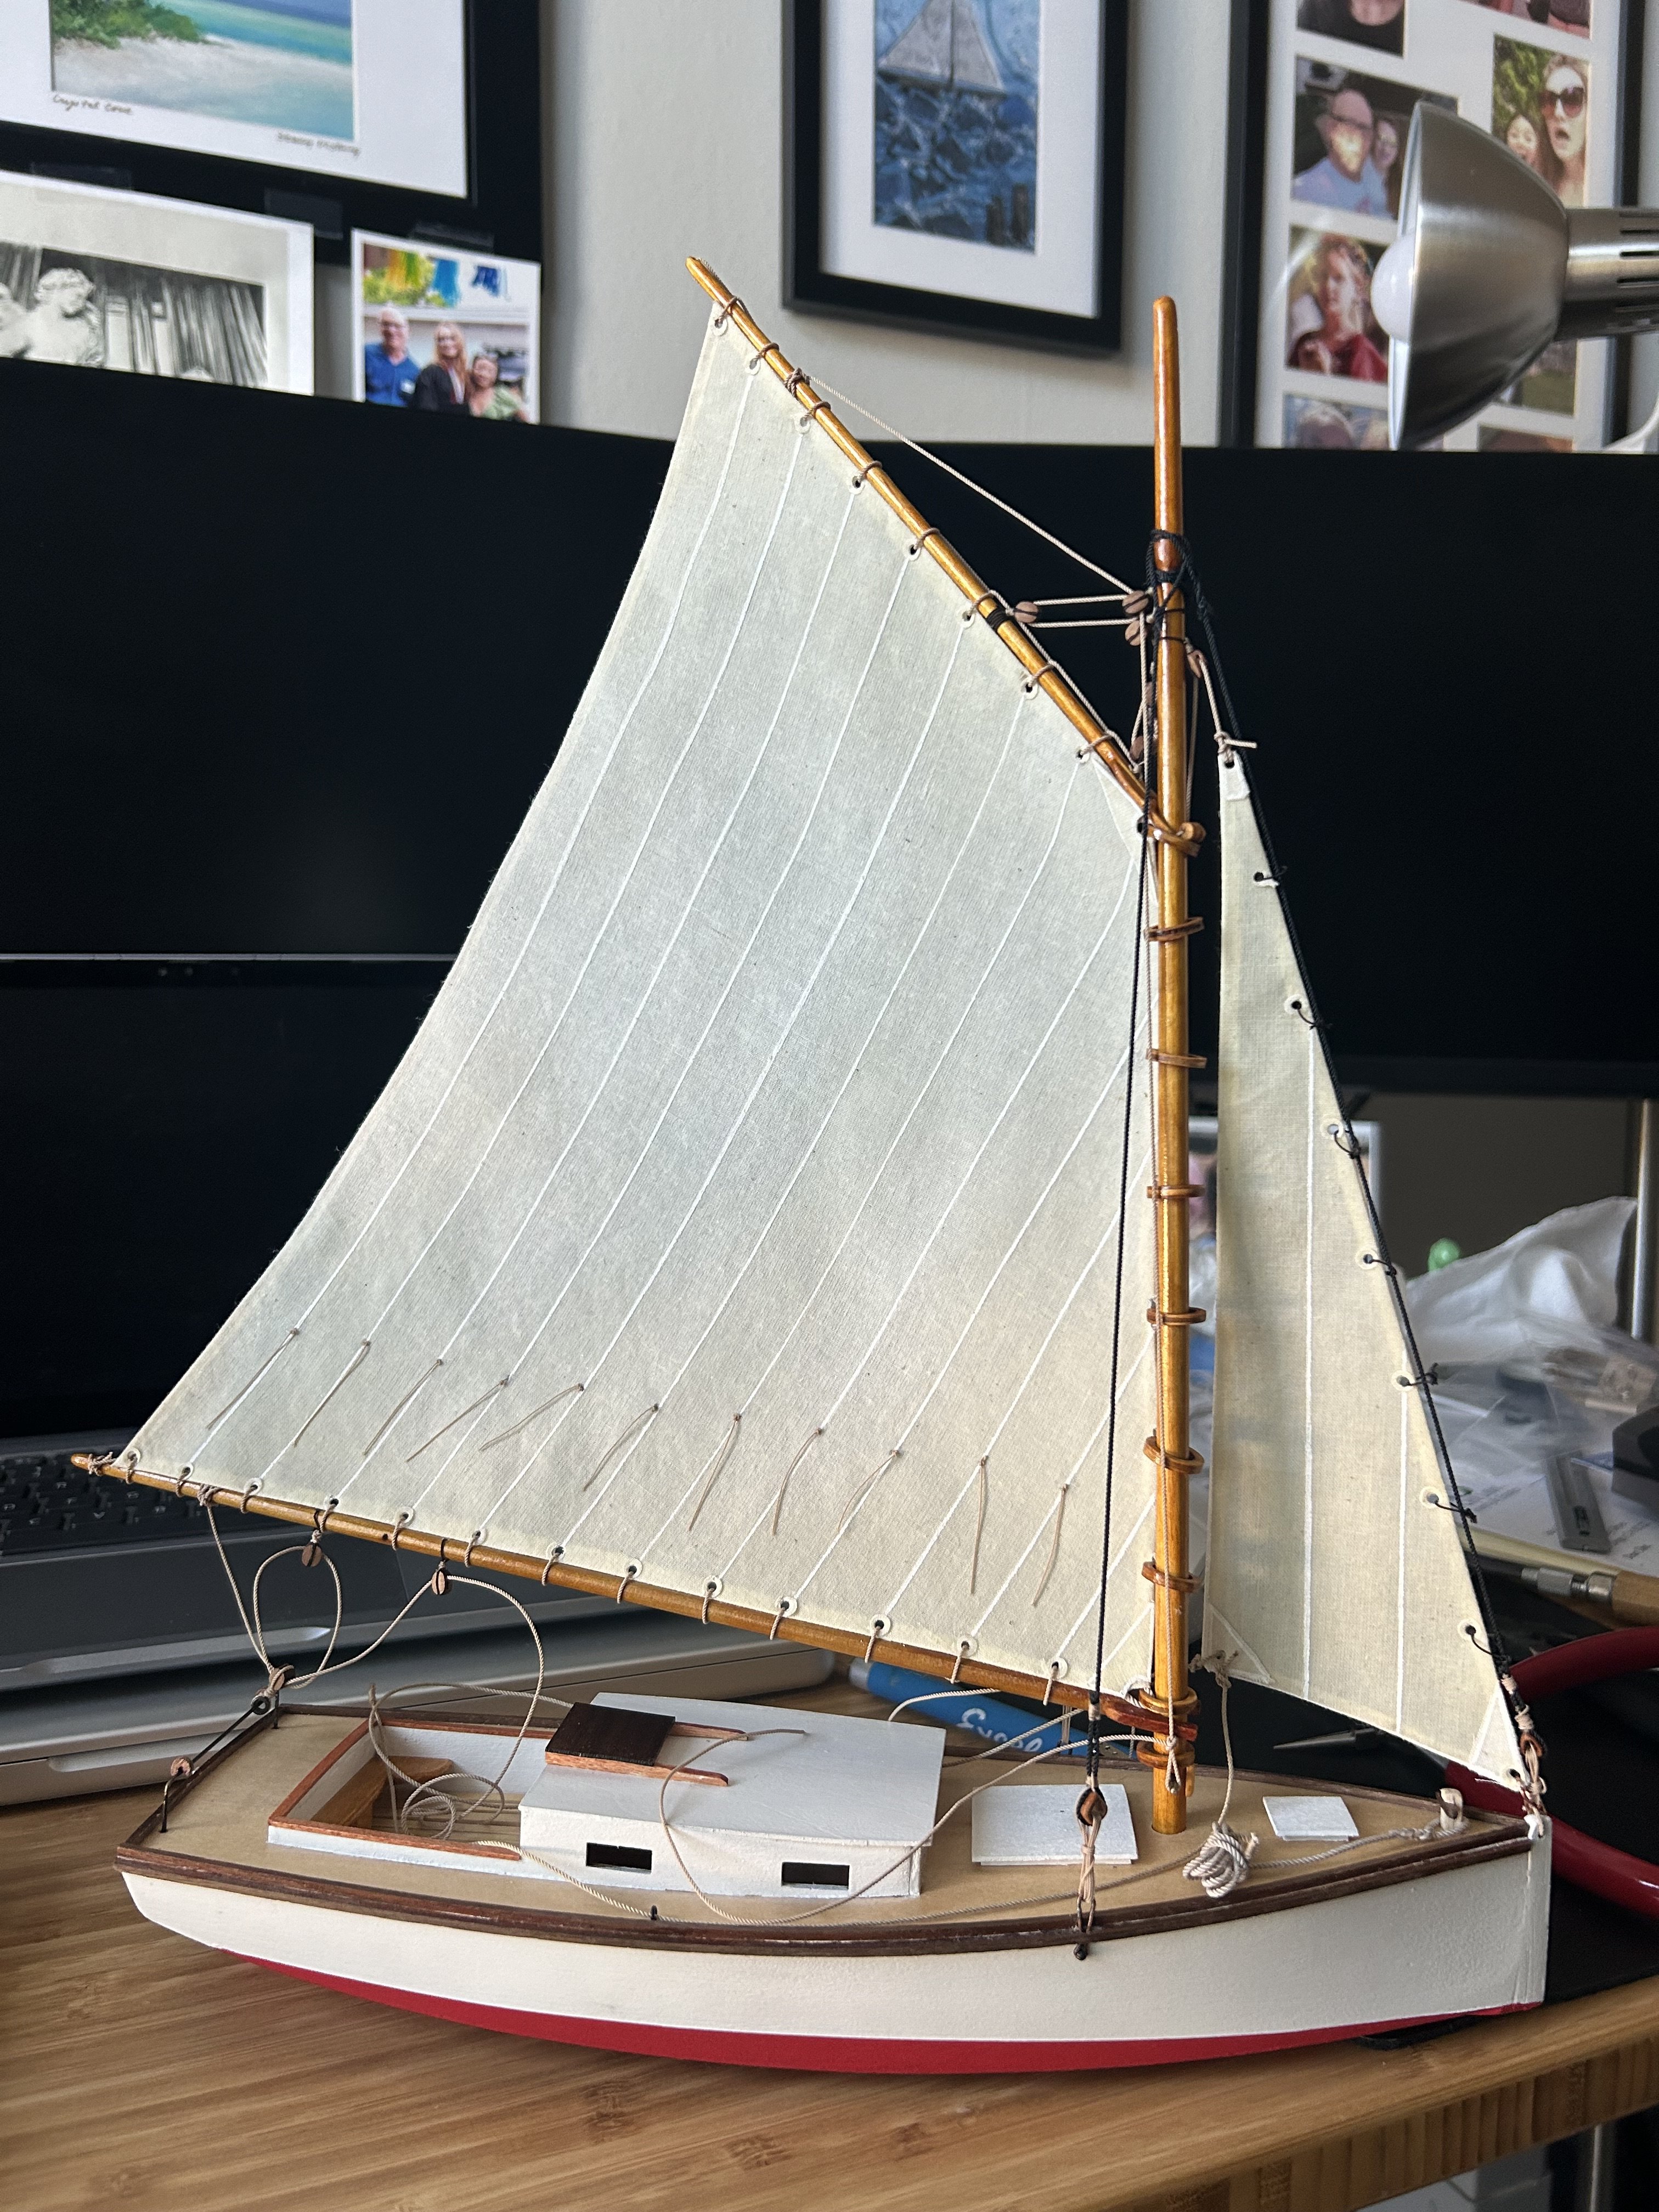
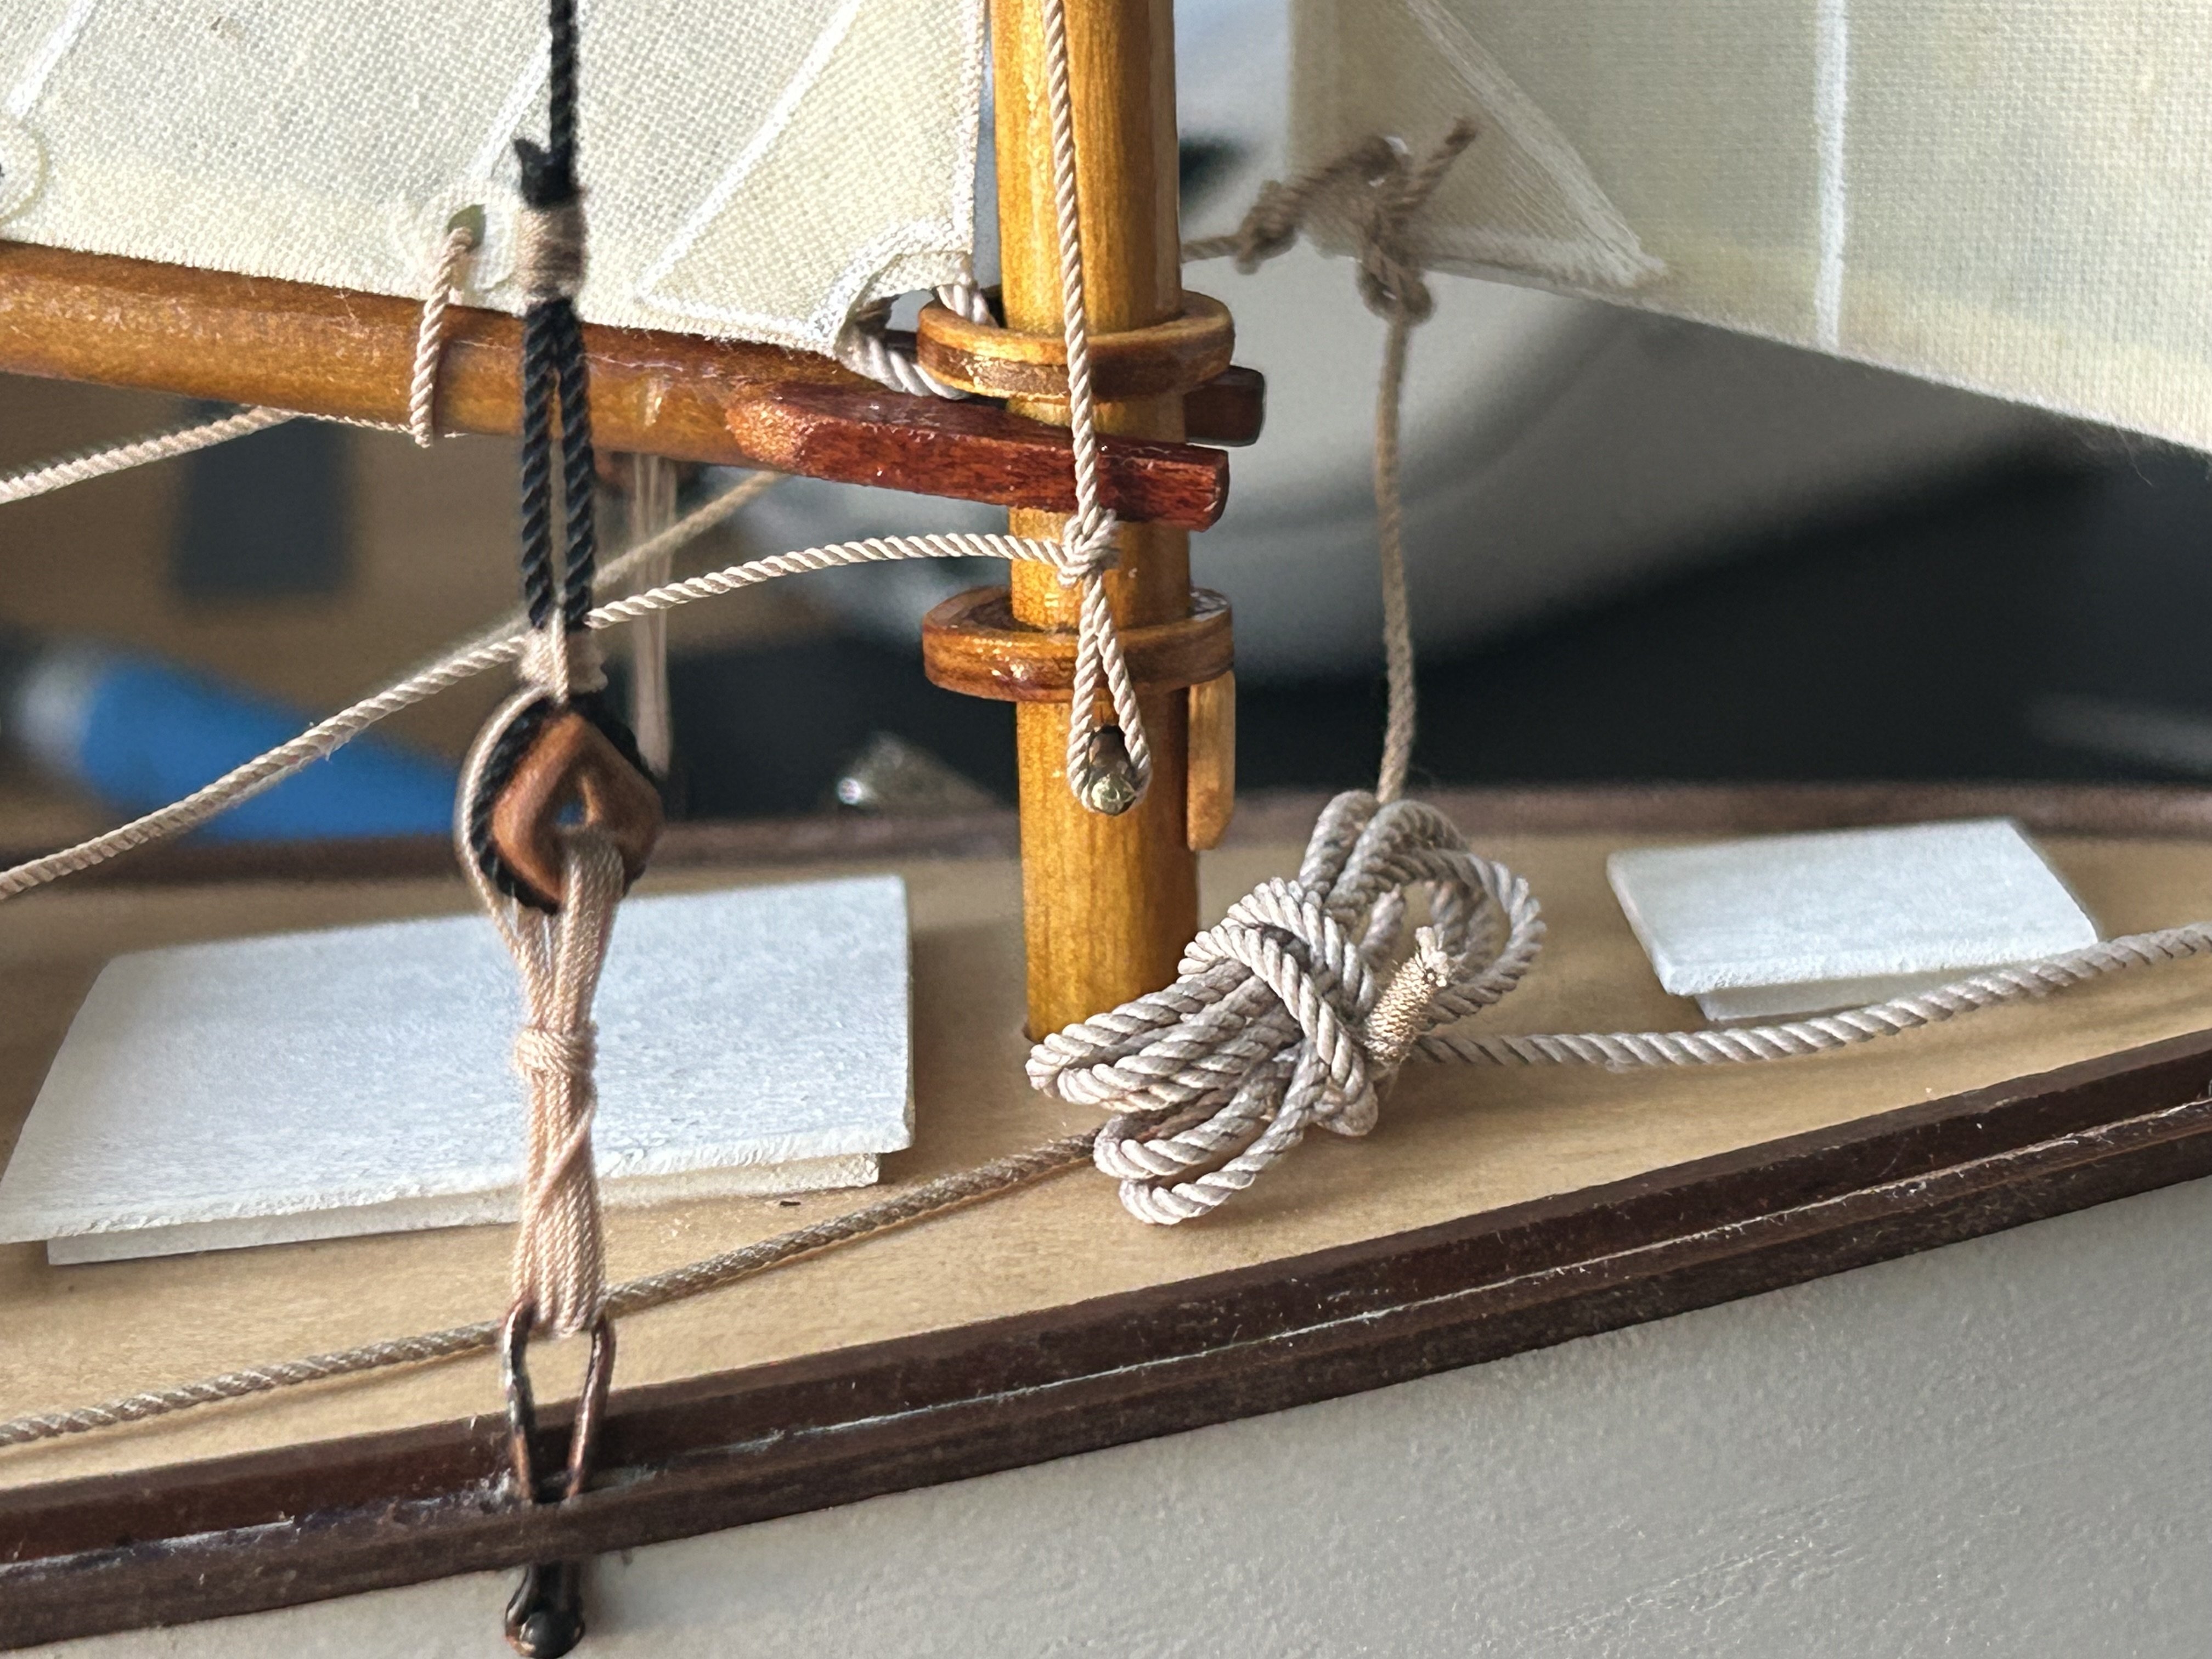
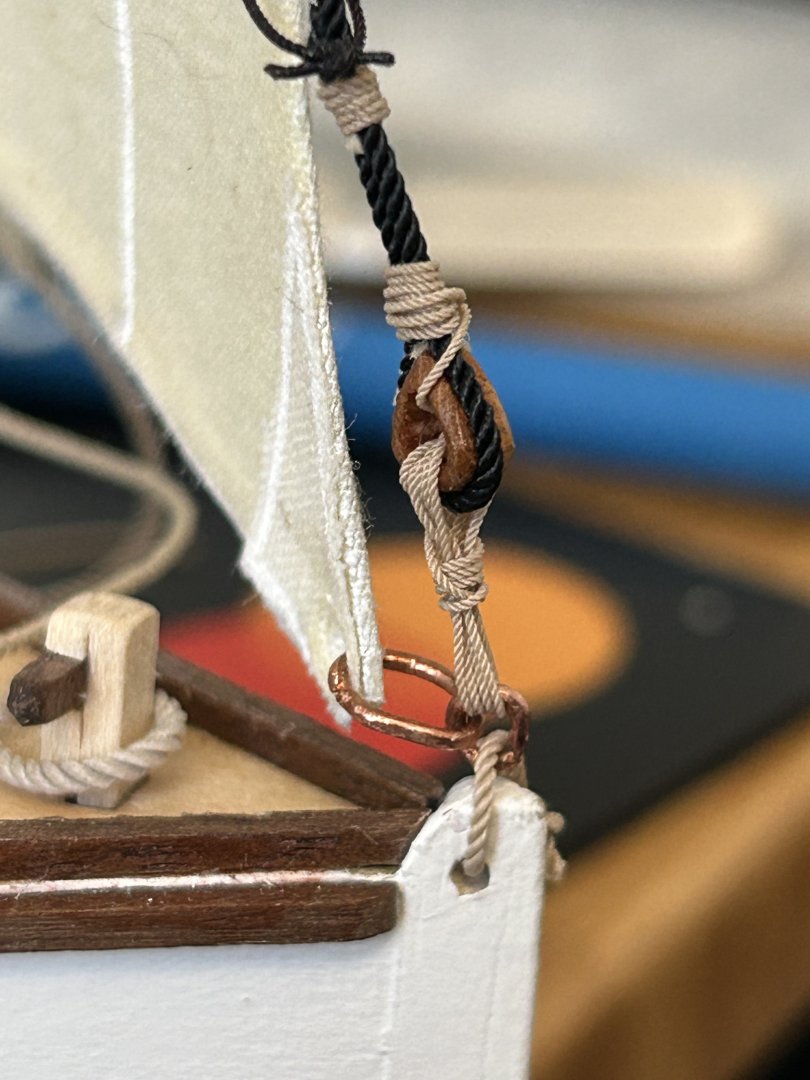
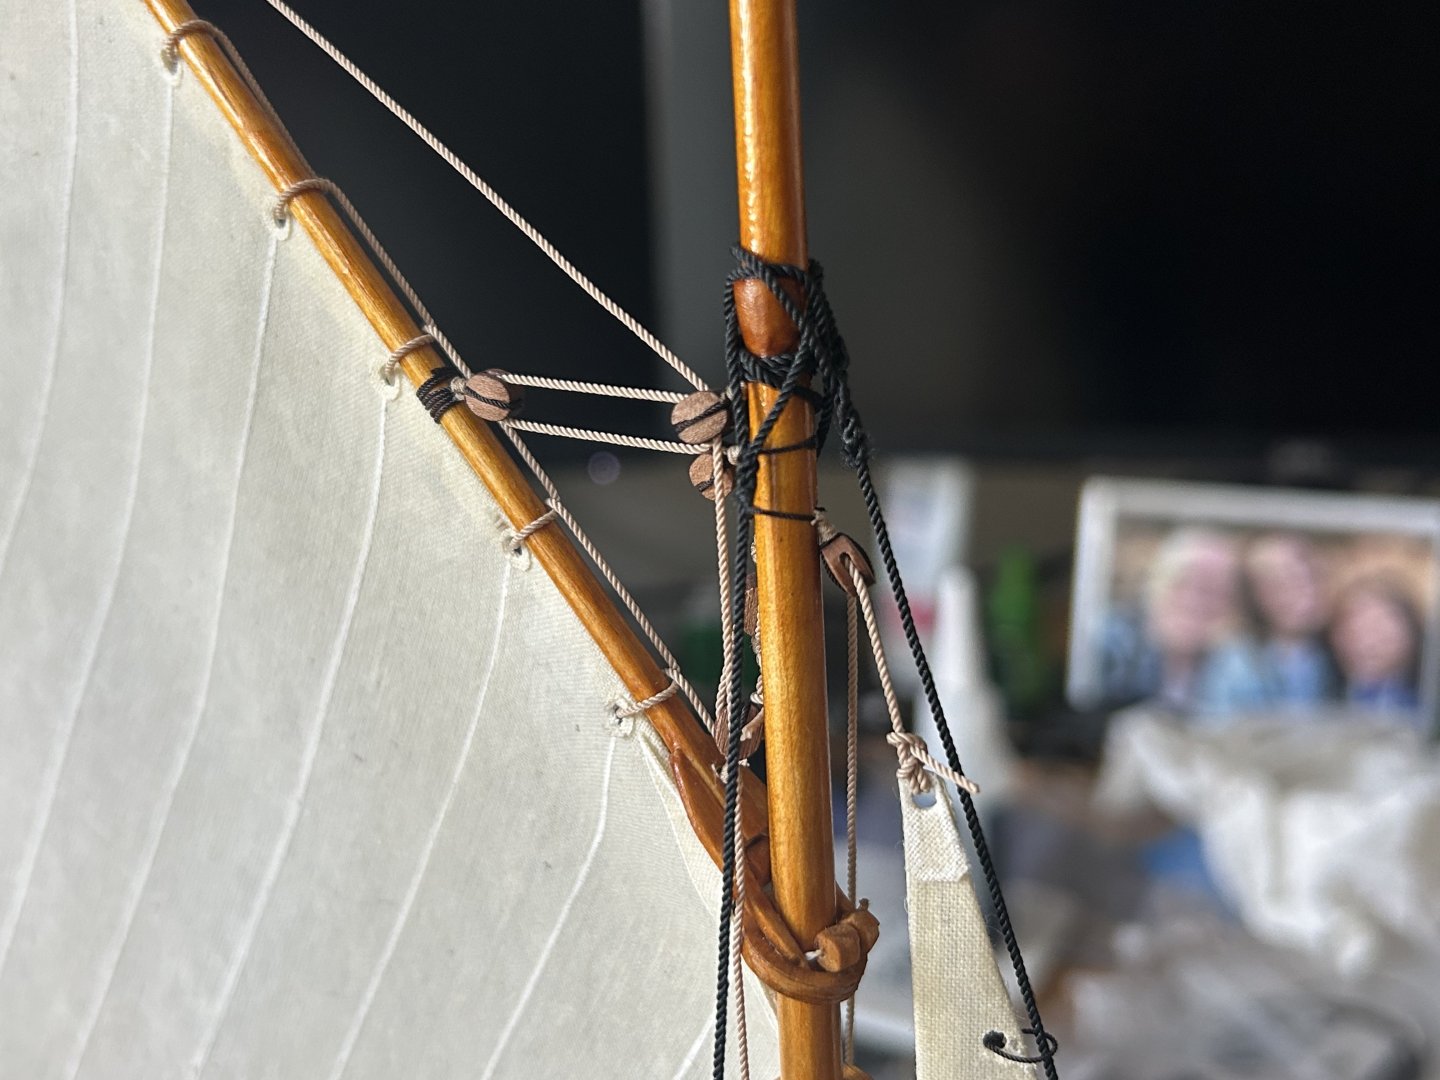
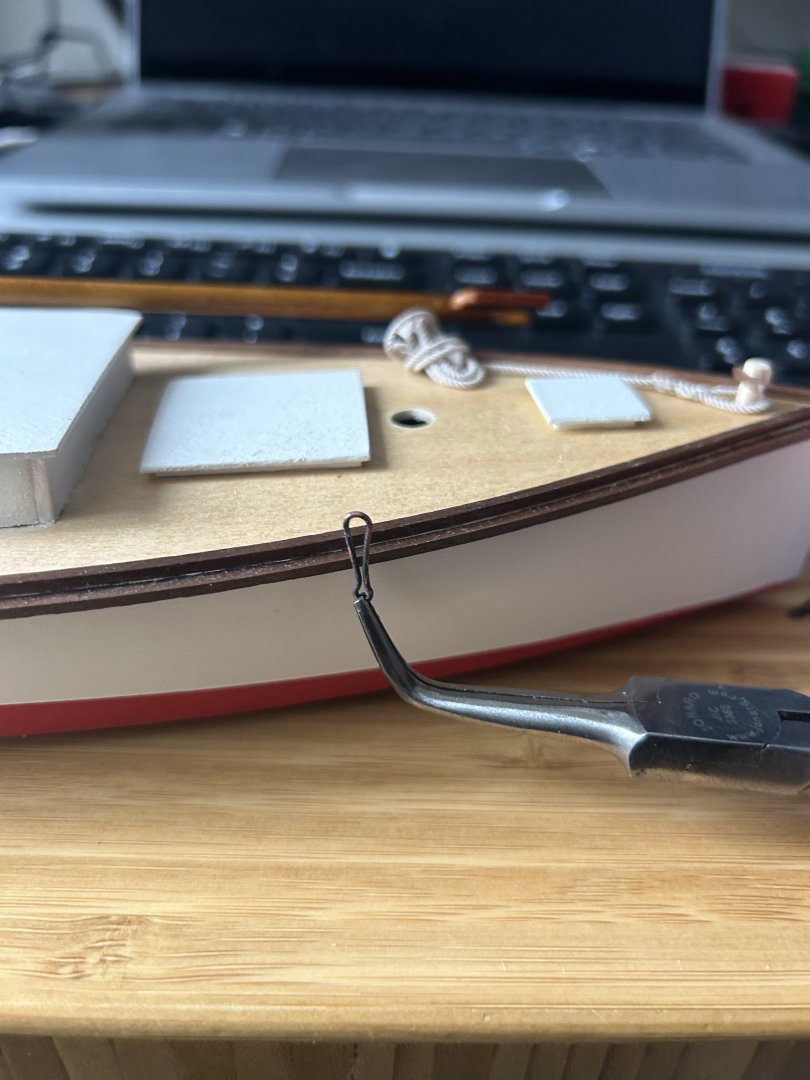
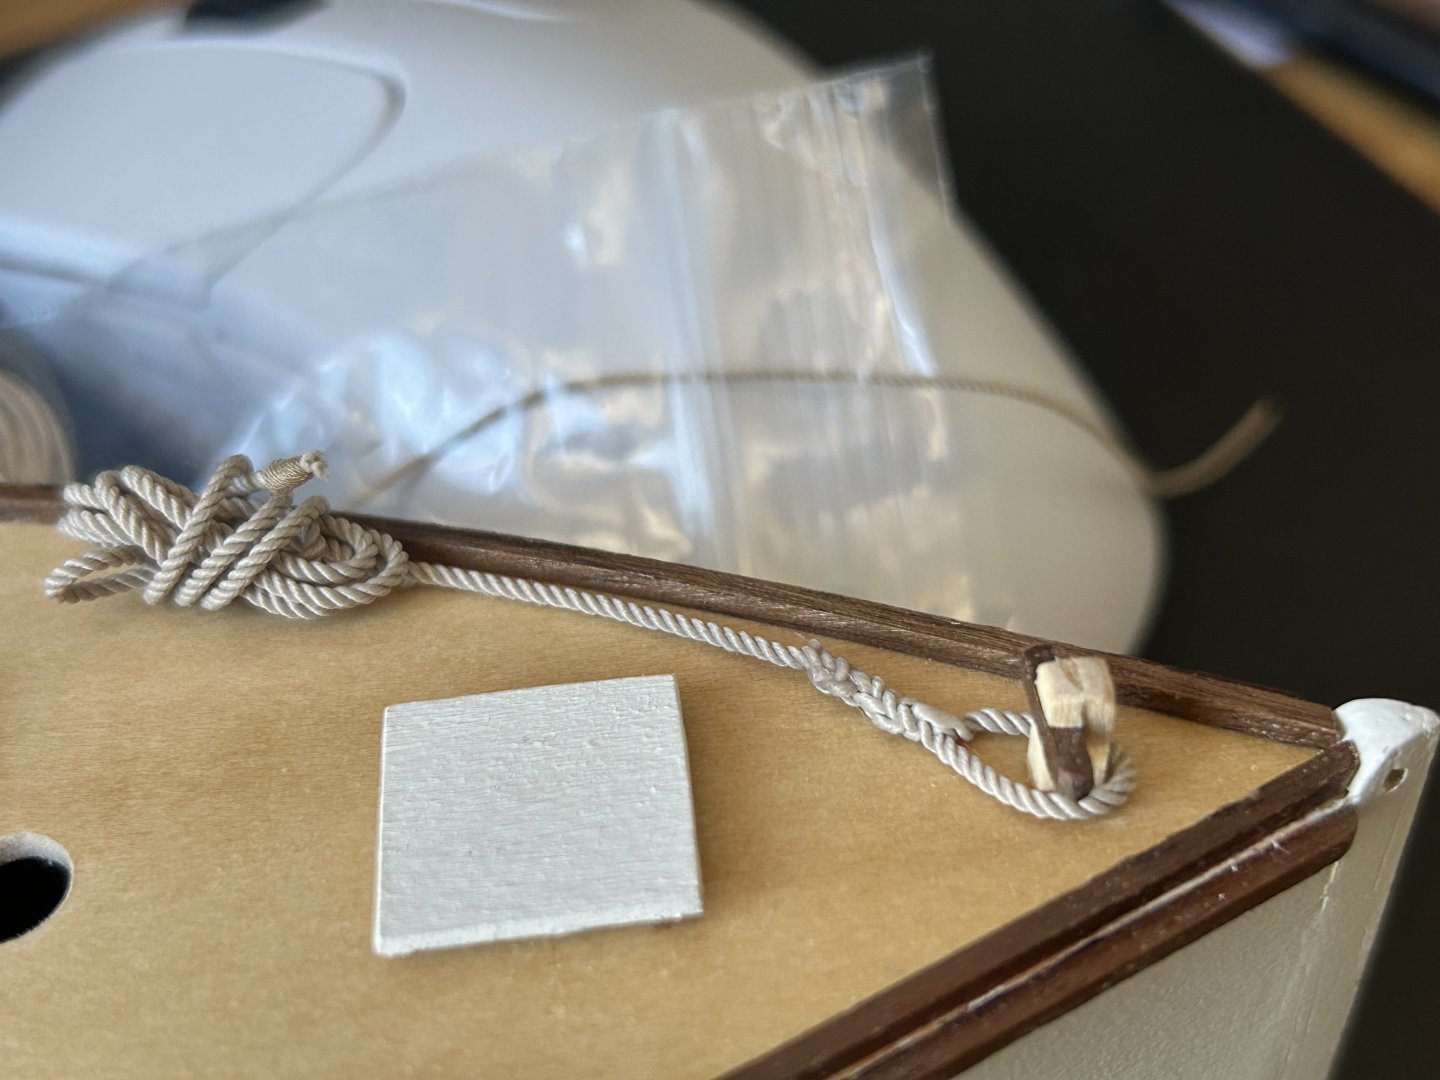
Thanks for the encouragement, all. Just received my superior cleats from Modelers Central in Australia so I can finish the Flattie soon: One more detail shot of the forestay and jib tack (drooping bc the jib halyard is slacked). I have not gotten the forestay tension to my liking (I made it a bit too long) but will likely call it good unless it continues to keep me up at night….
- 38 replies
-
- 2
-

-
- Chesapeake Bay Flattie
- Model Shipways
- (and 2 more)
-
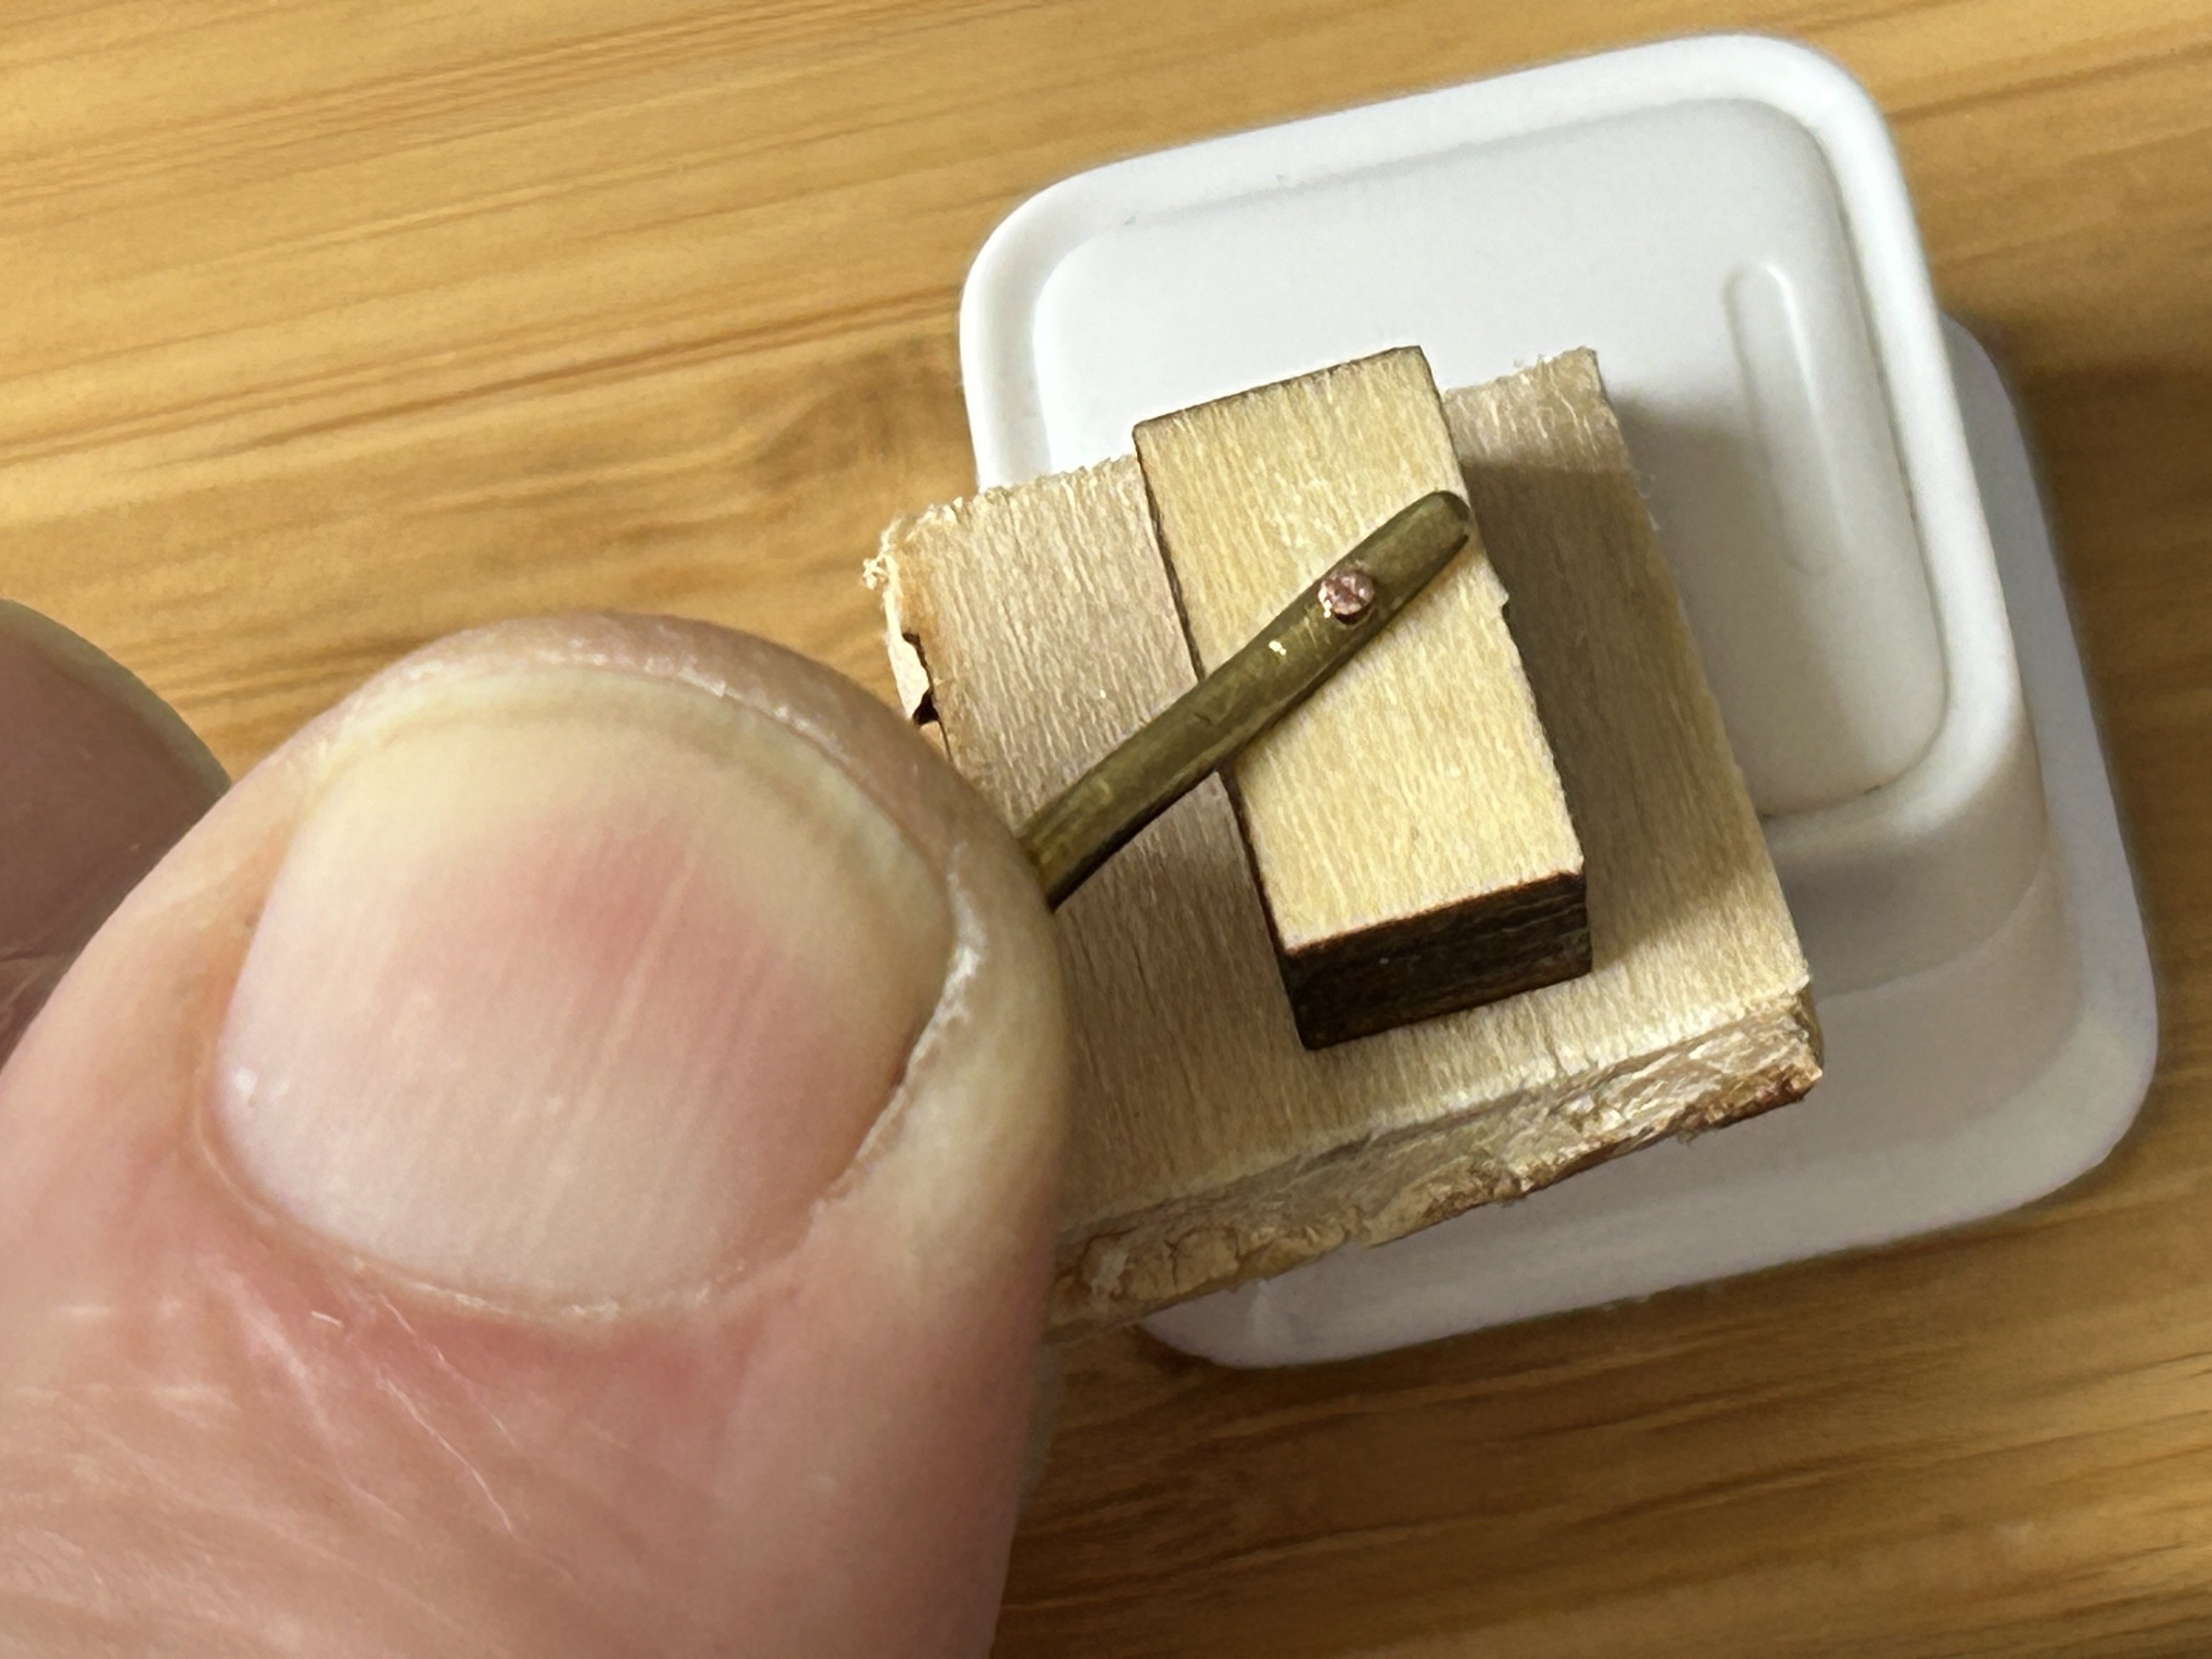
Brass strip examples: Brass strip mock-up/finish test. With a first attempt at micro screw:

-
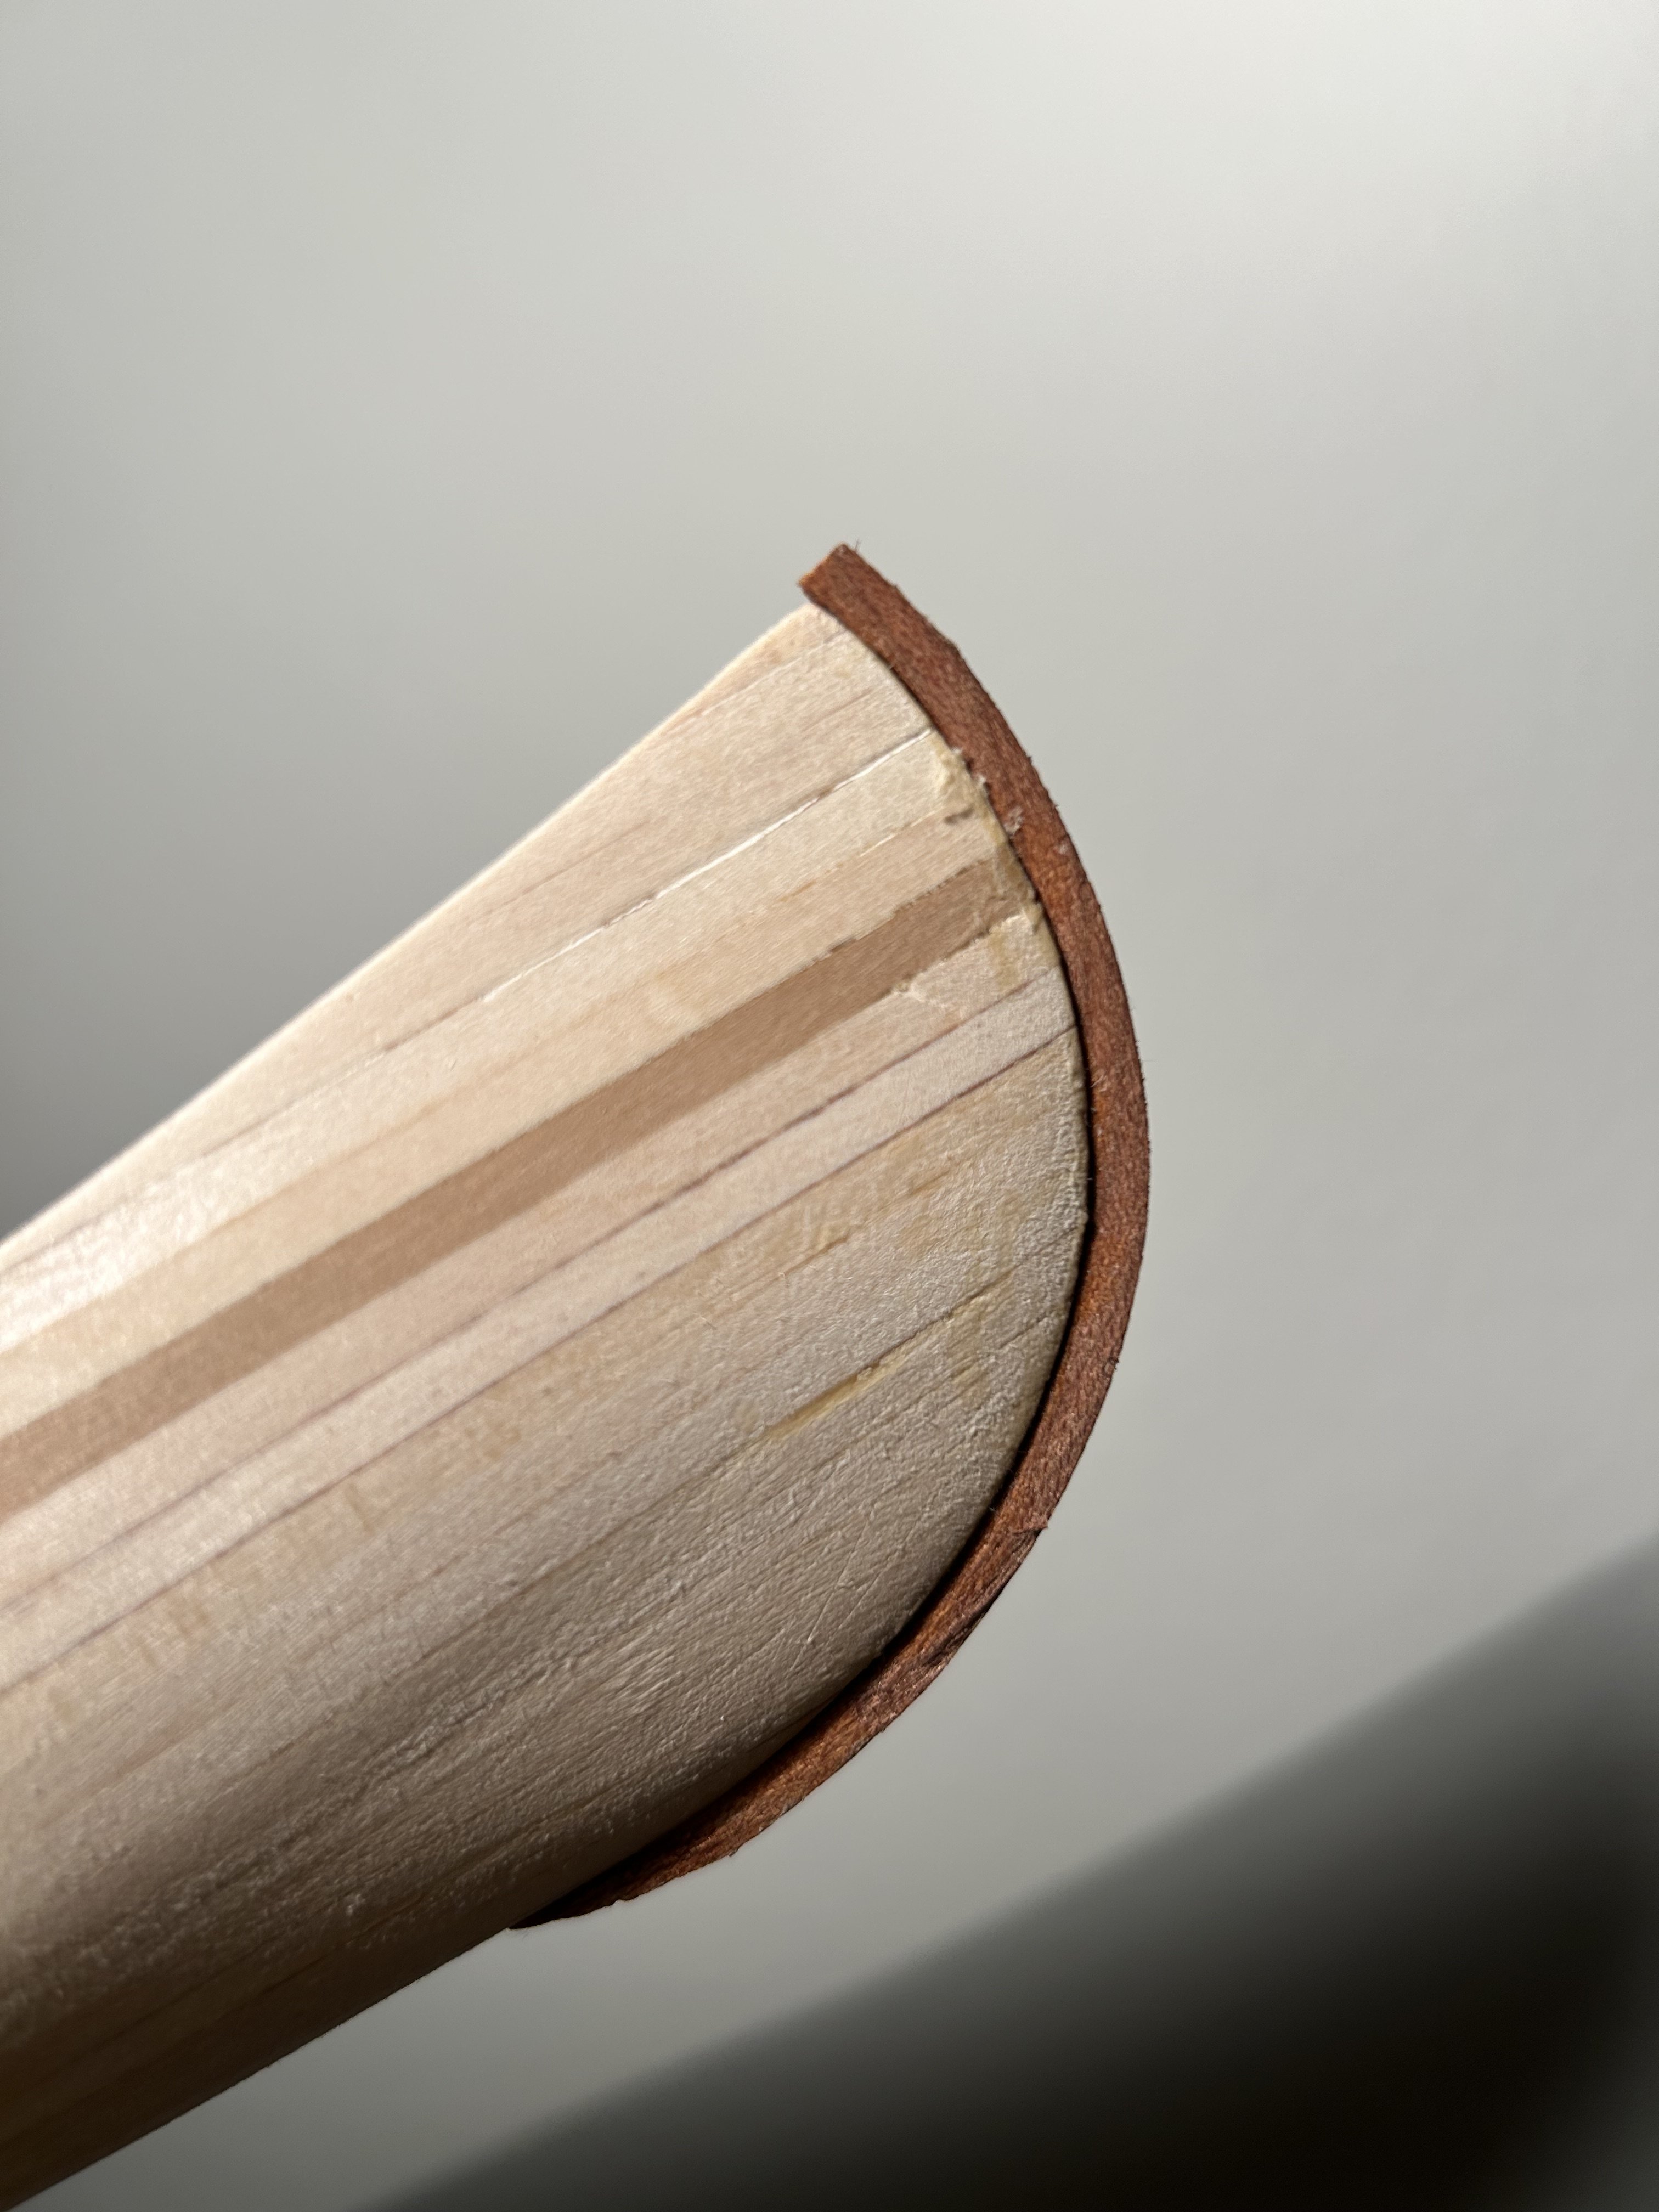
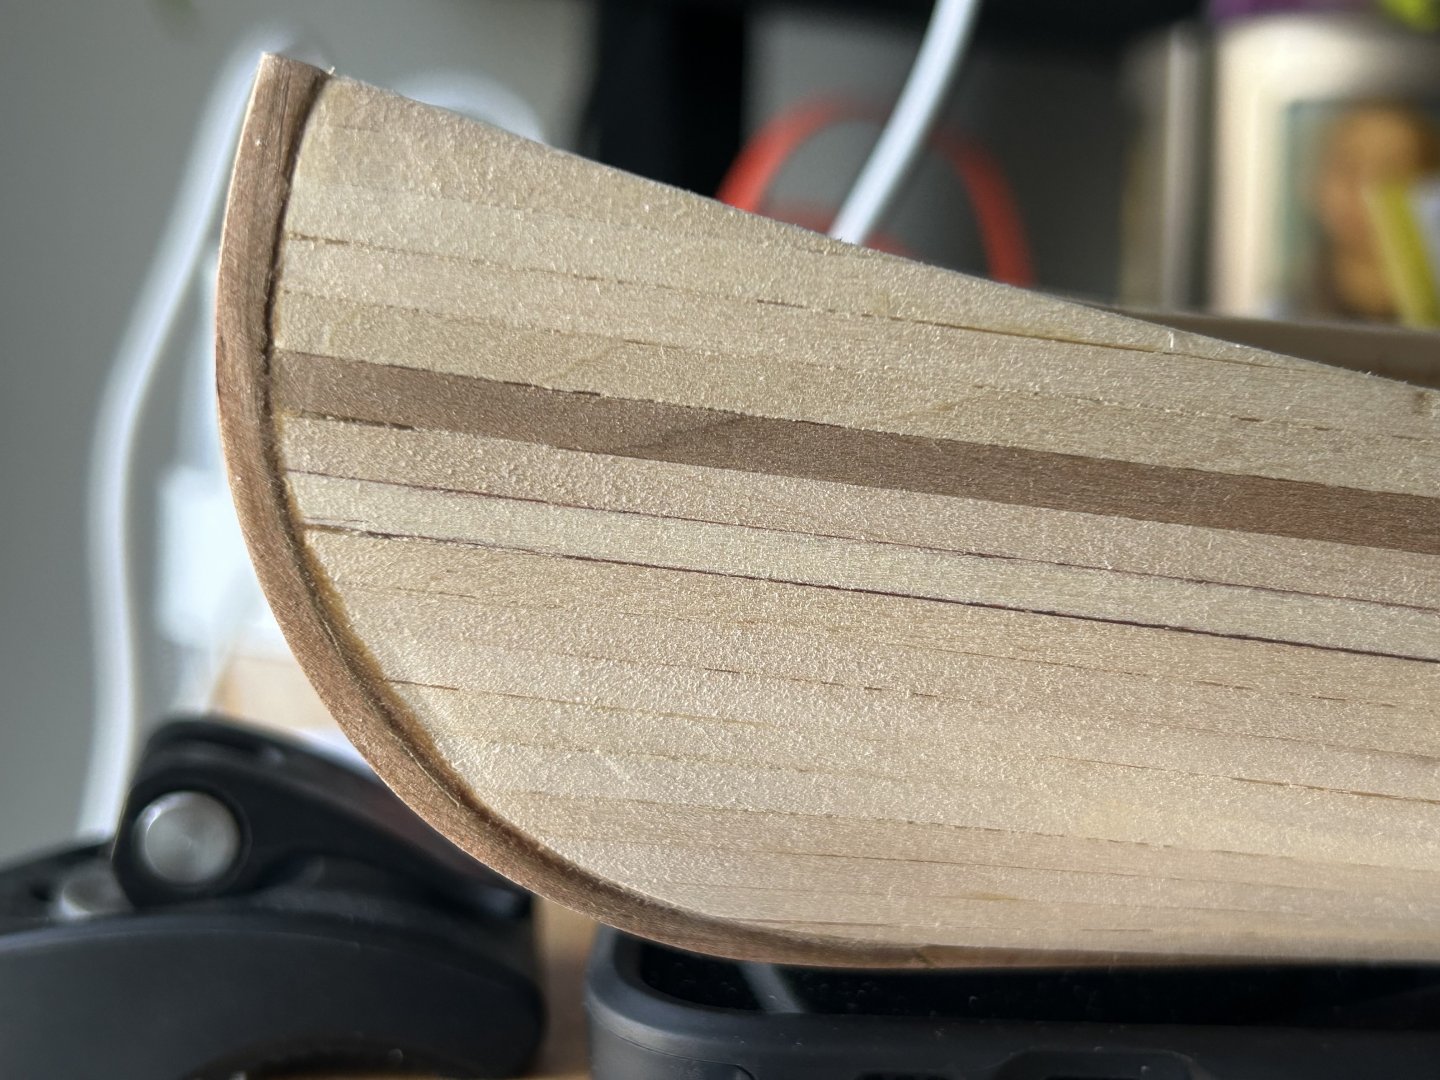
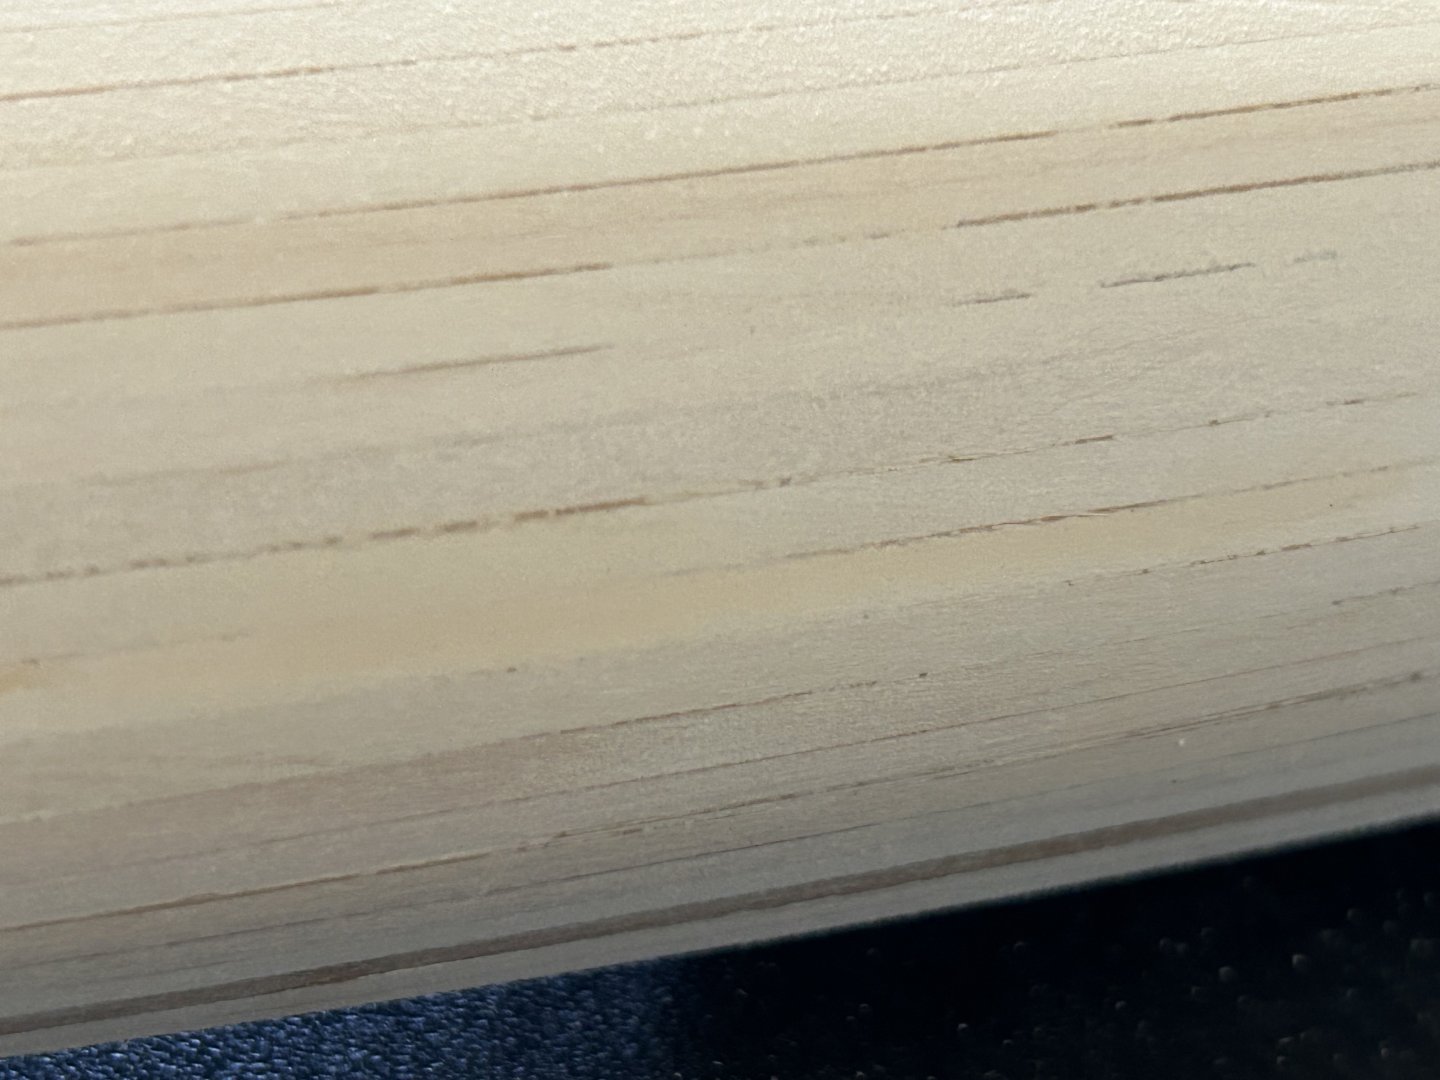
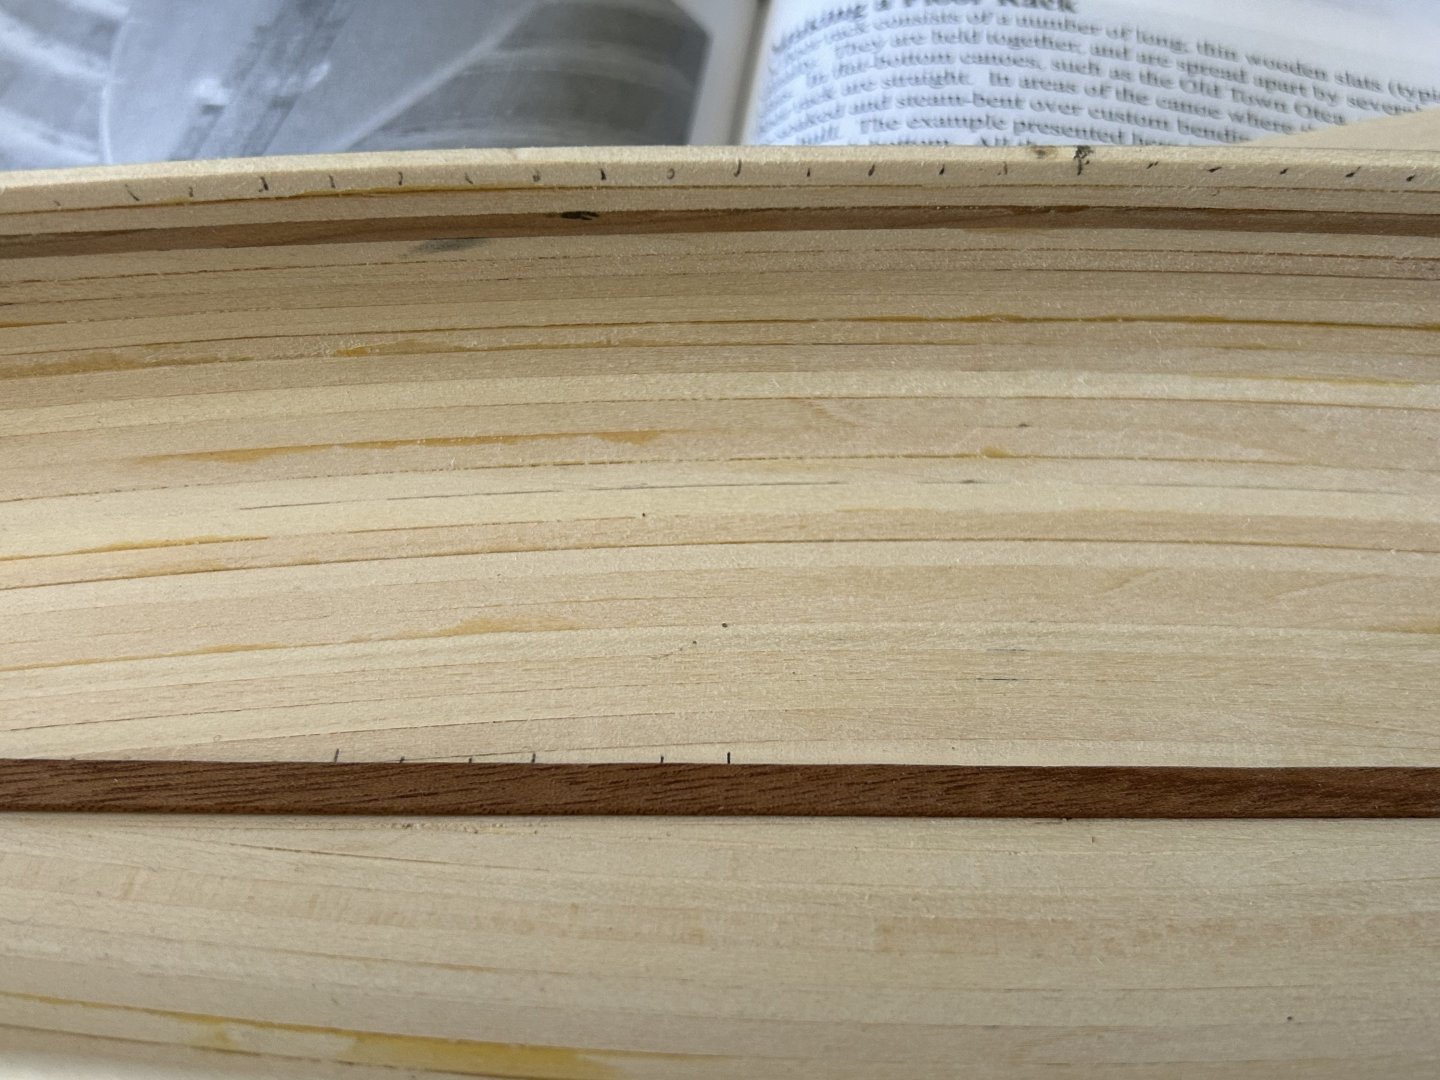
After gluing, I saw a few tiny gaps on the joints. Sanding filled them in (sawdust) for the most part, but I wanted a better fillet there so made a bunch of cherry sawdust and mixed with Titebond for a putty. Wish I had used white glue instead—the Titebond was a bear to sand. Some residue is visible in these shots: Cut a scarf joint for the join with the 1/8” x 1/16” keel stock. I’m planning to add a brass rub strip to the stems/keel, about 1/16” wide. Almost done with the finish sanding; need to straighten up the taper from keel to stem:
-
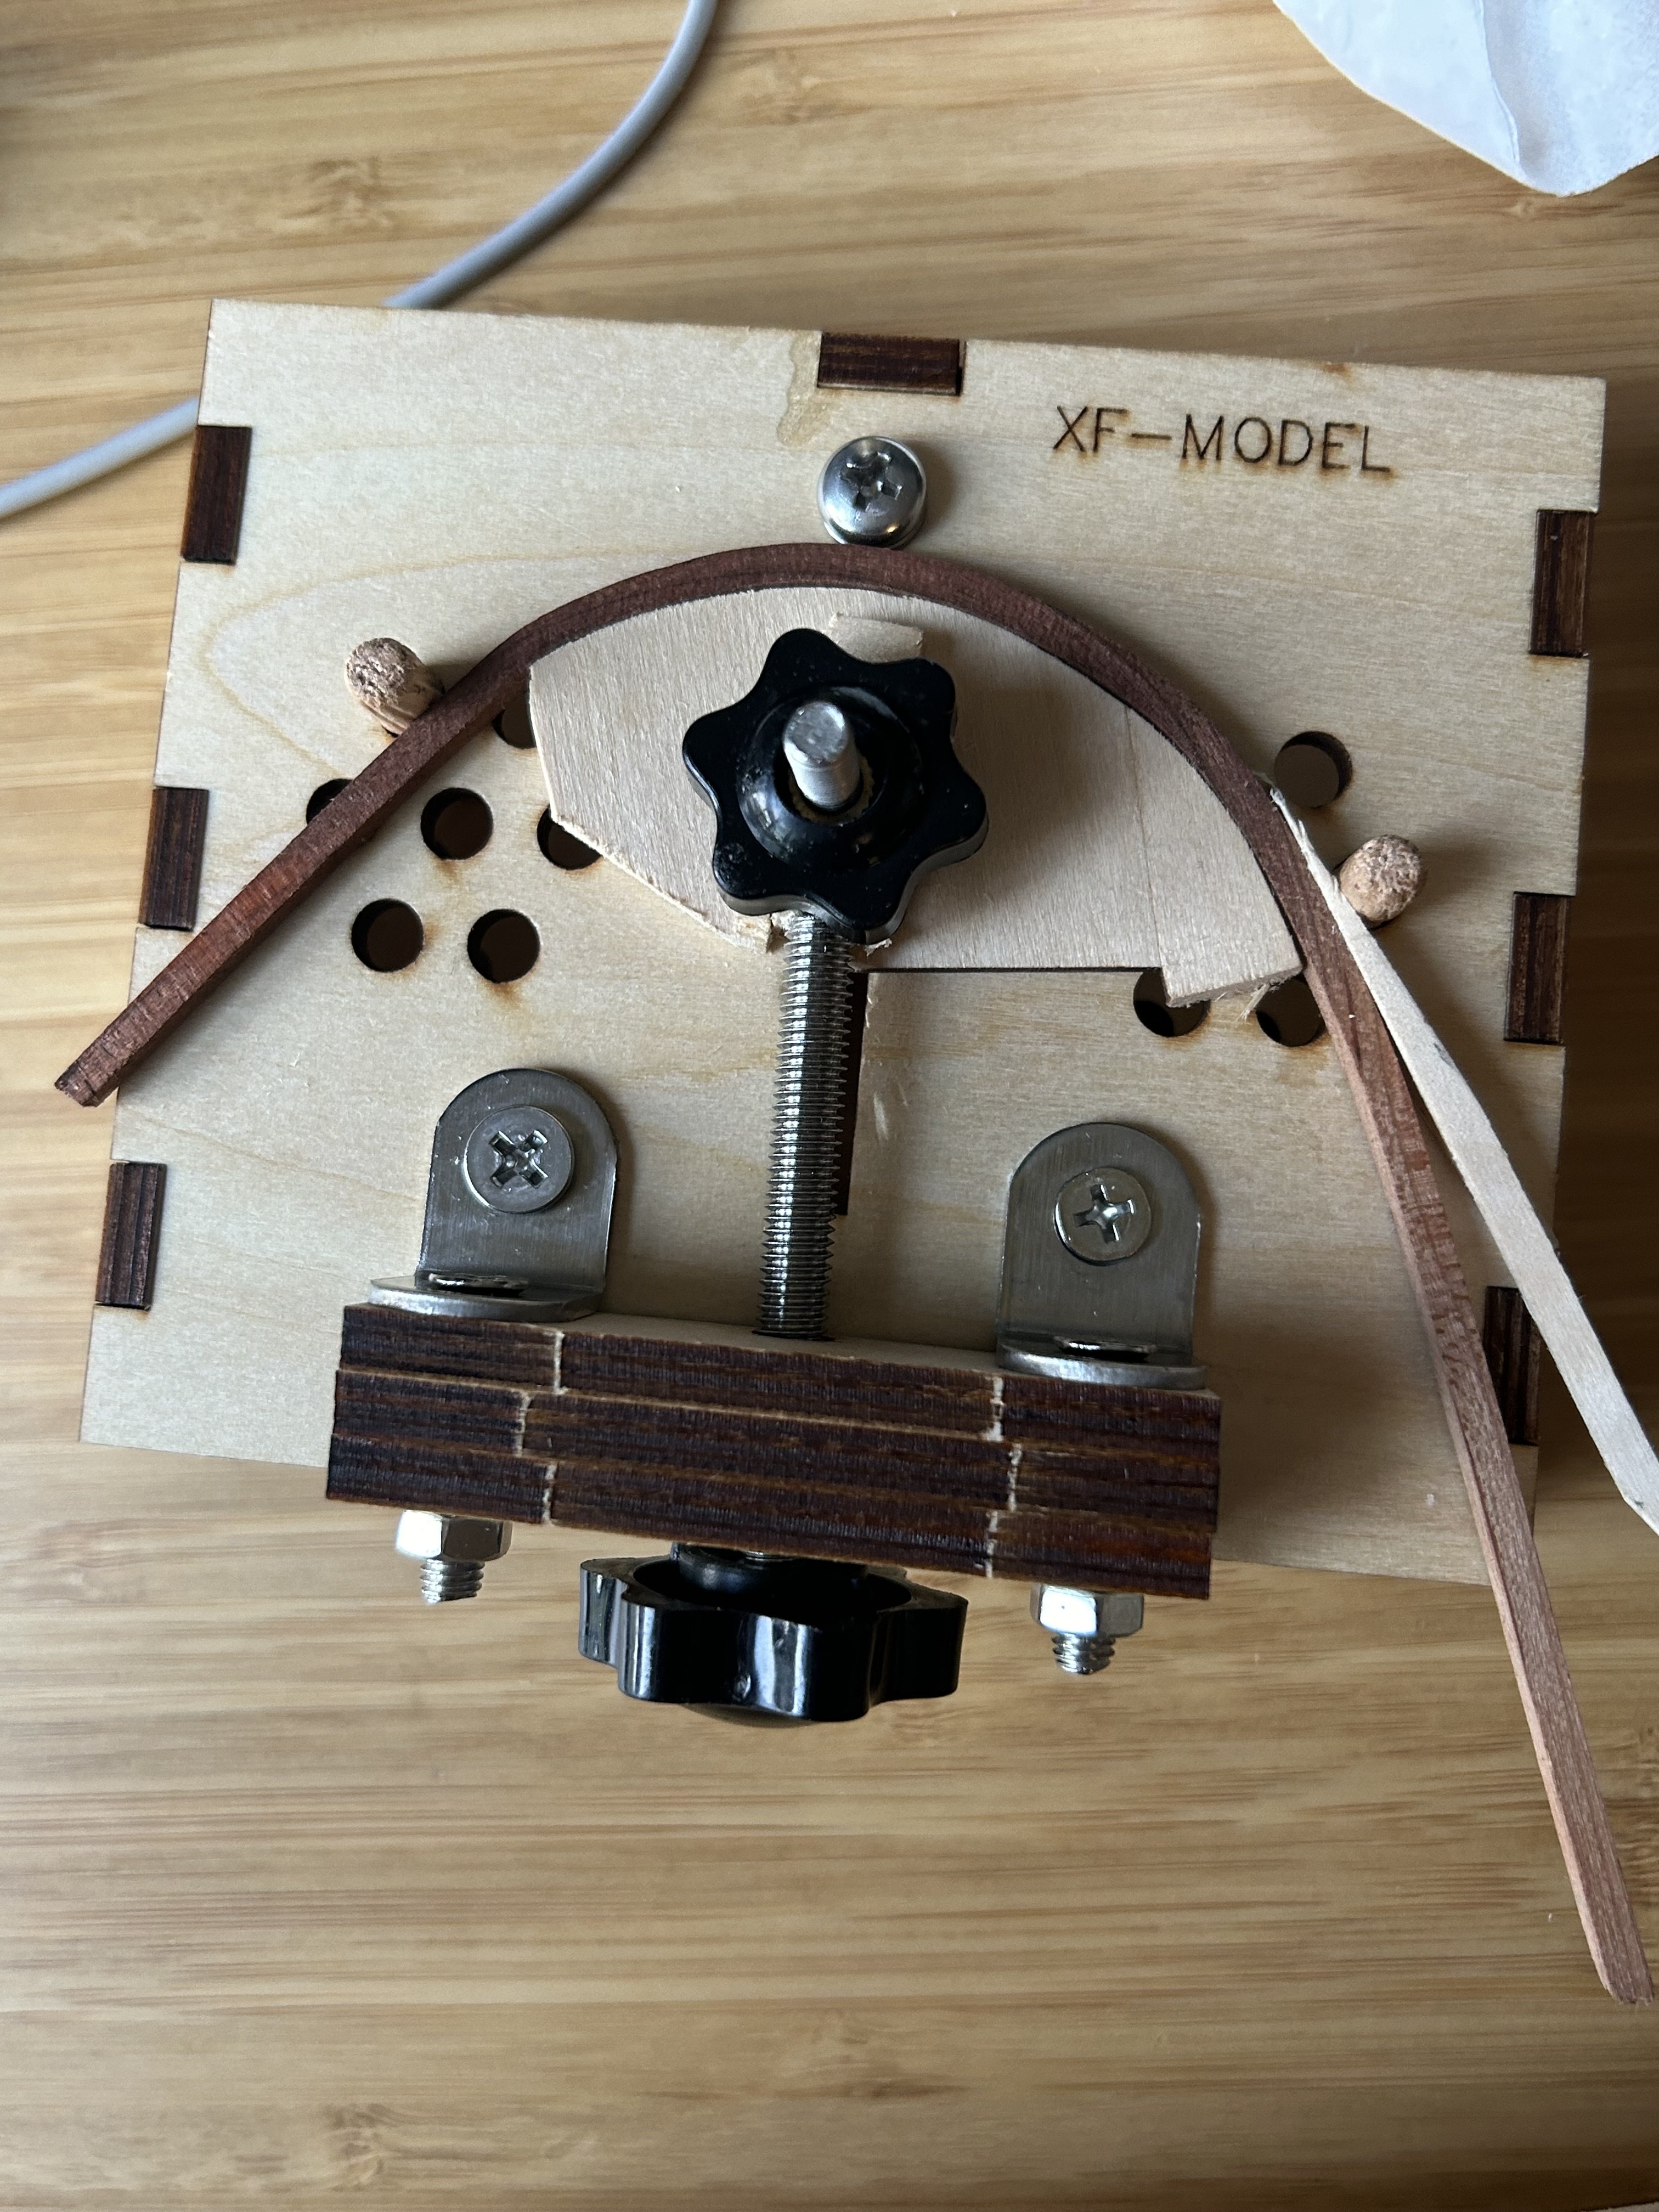
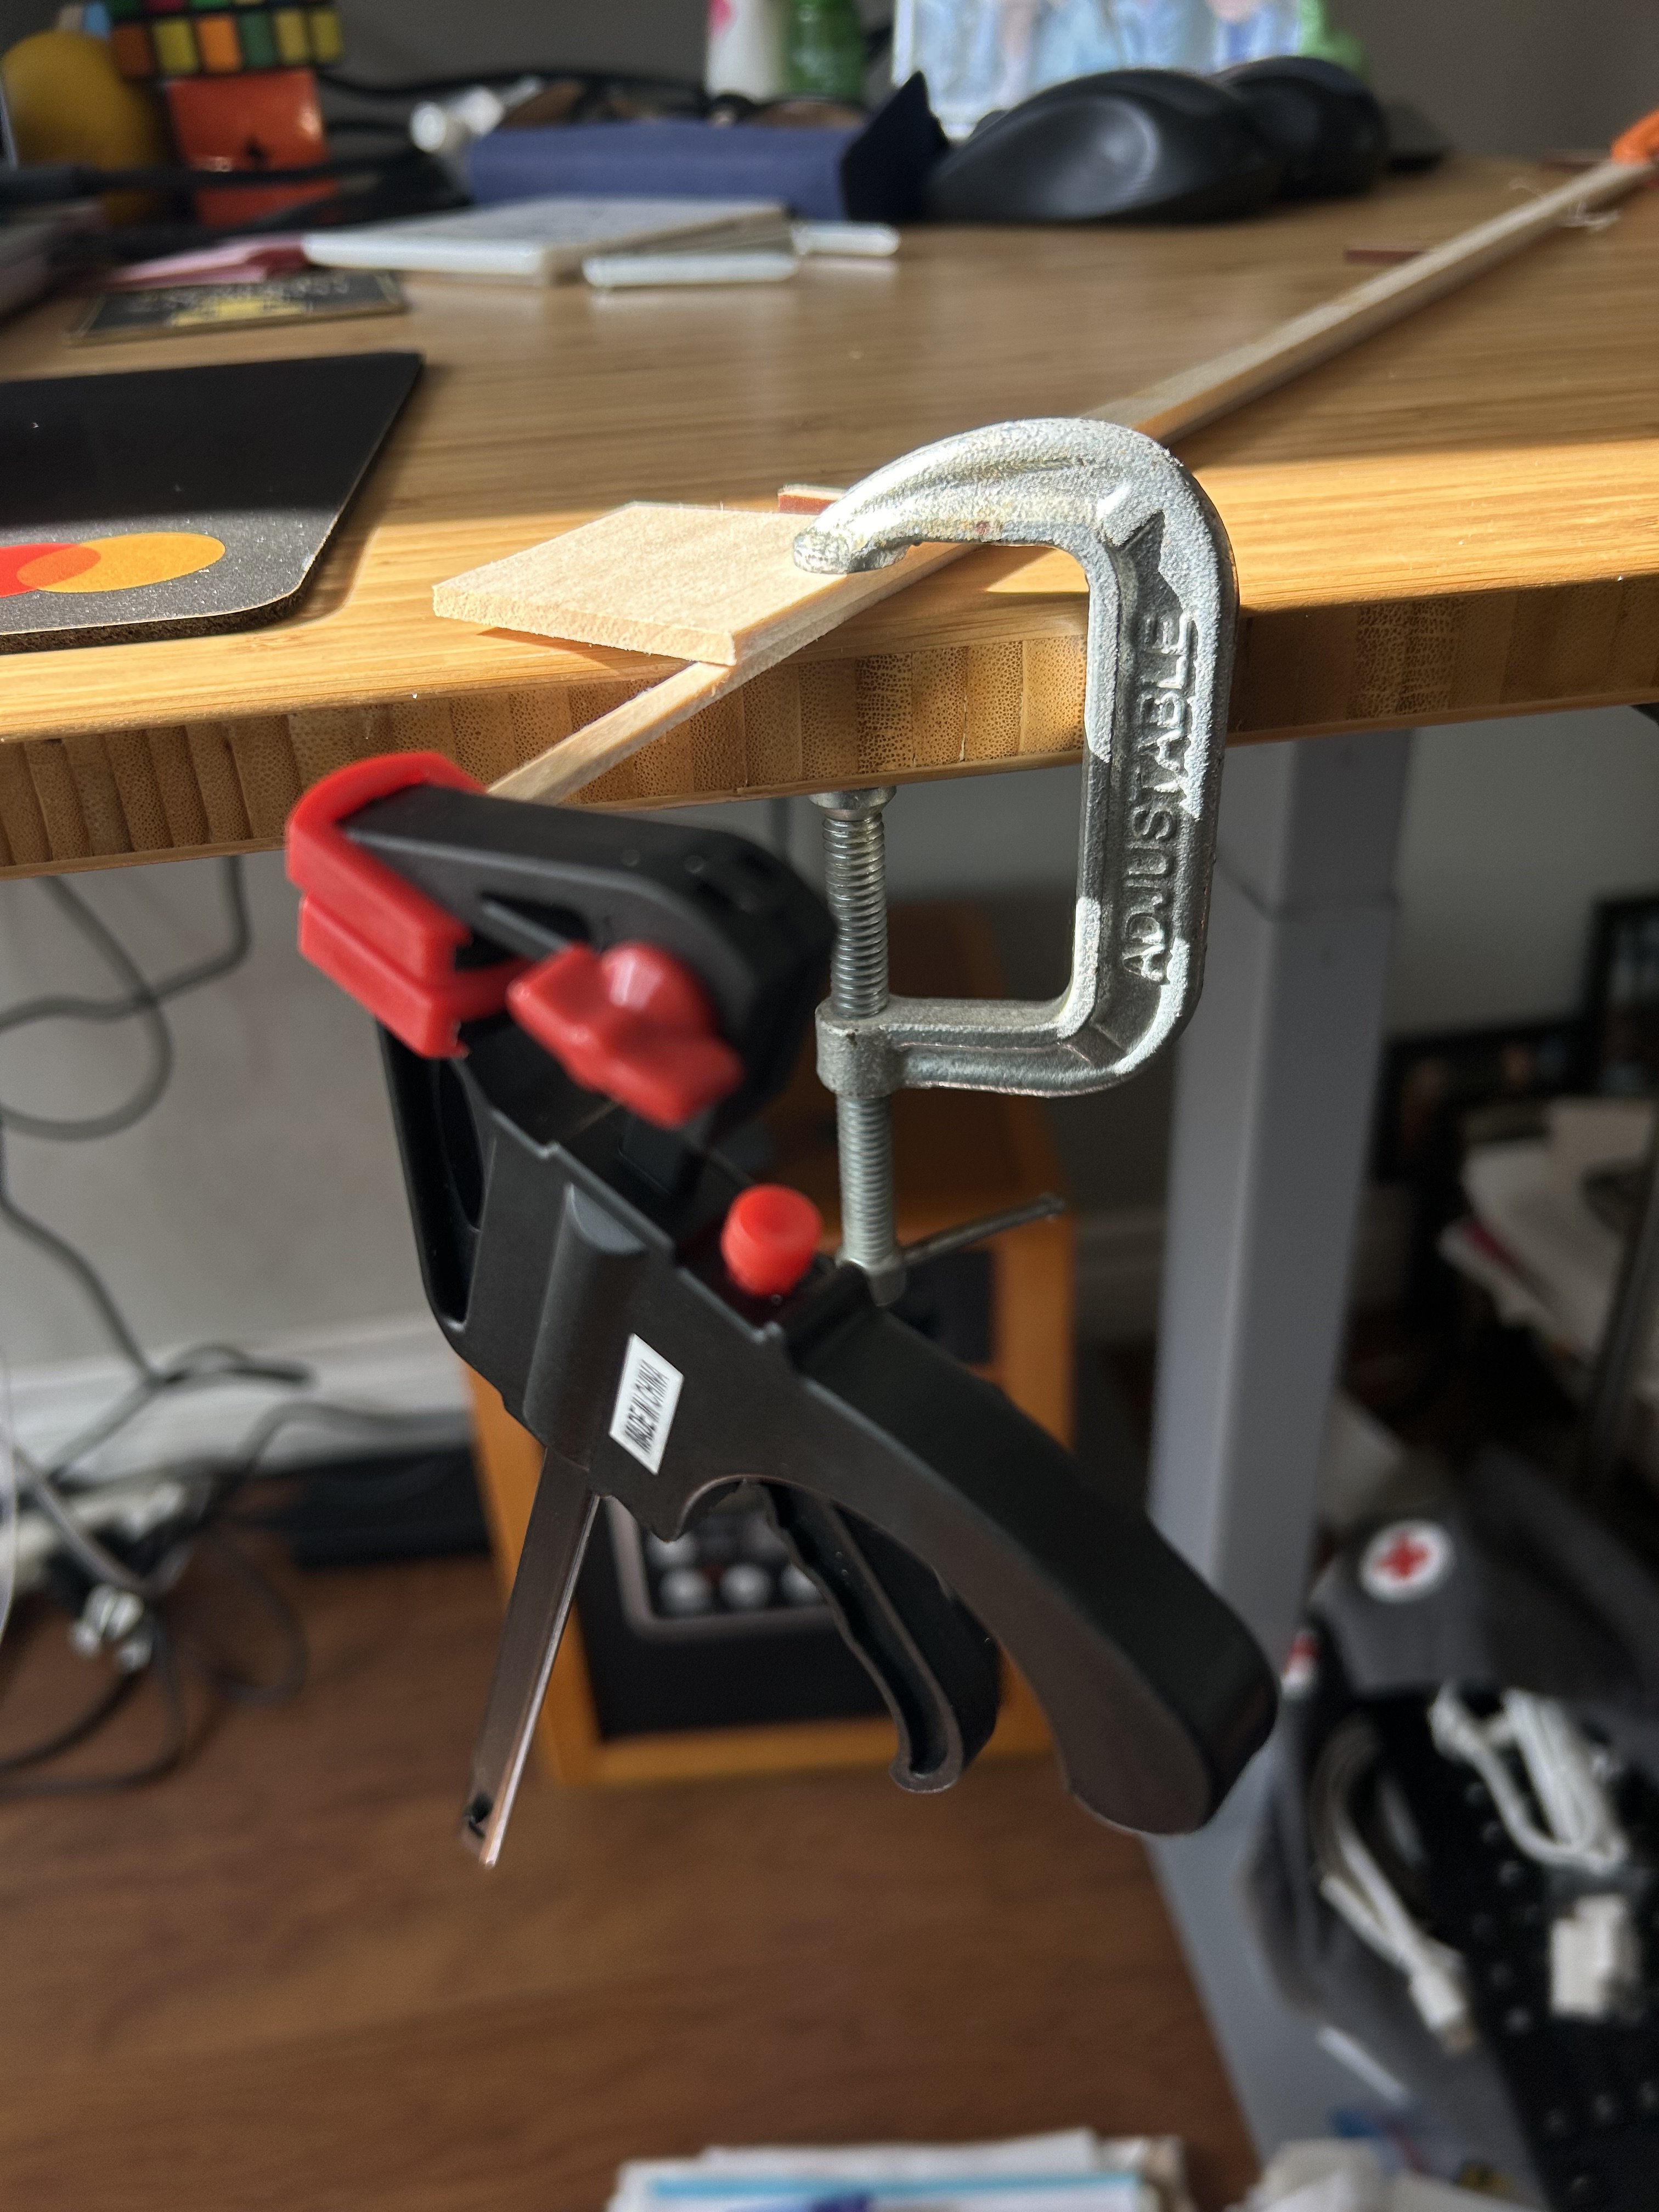
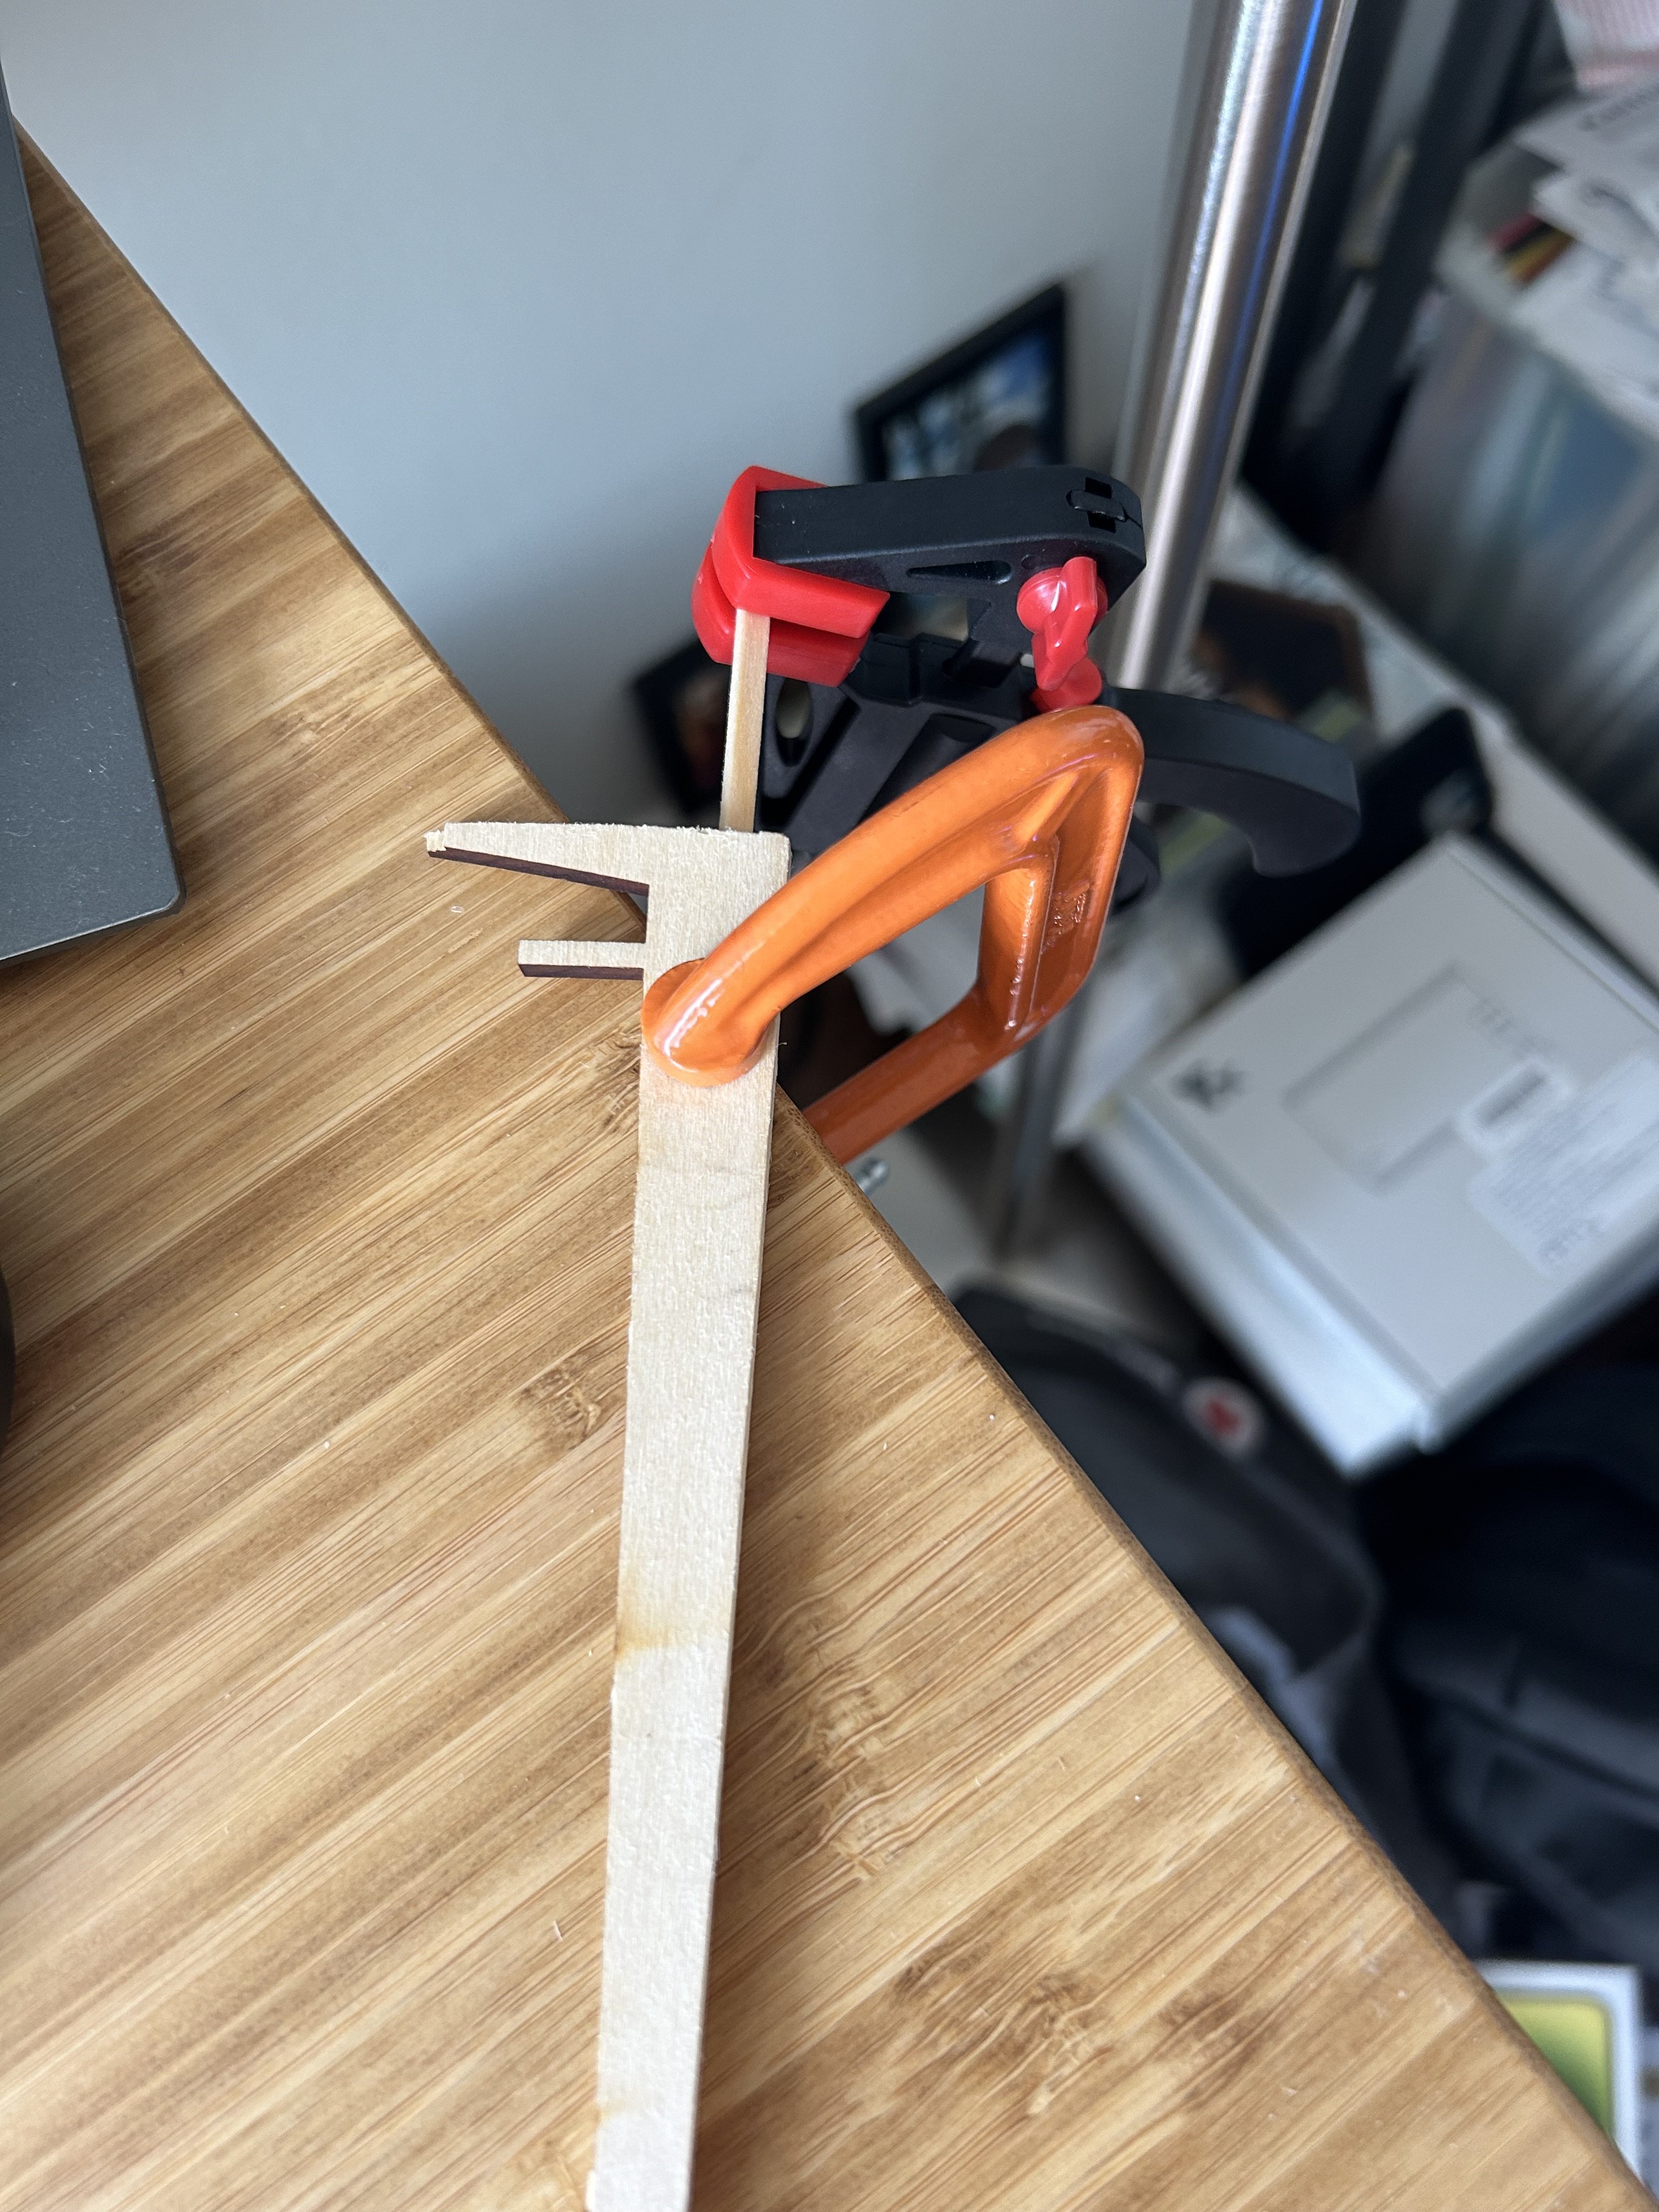
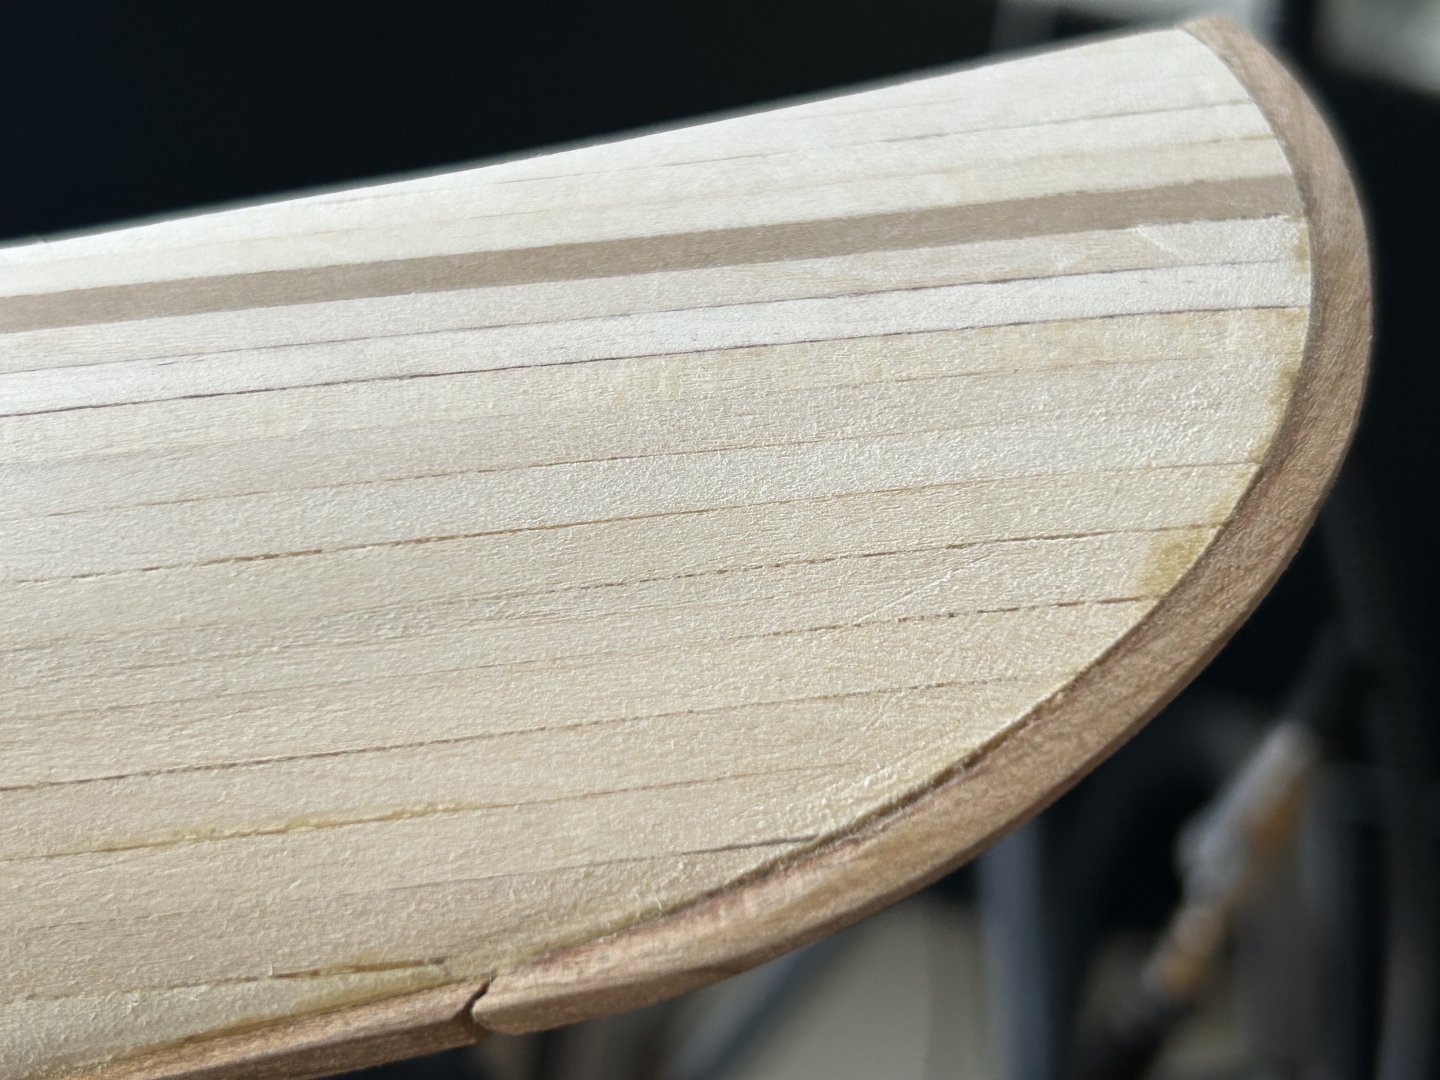
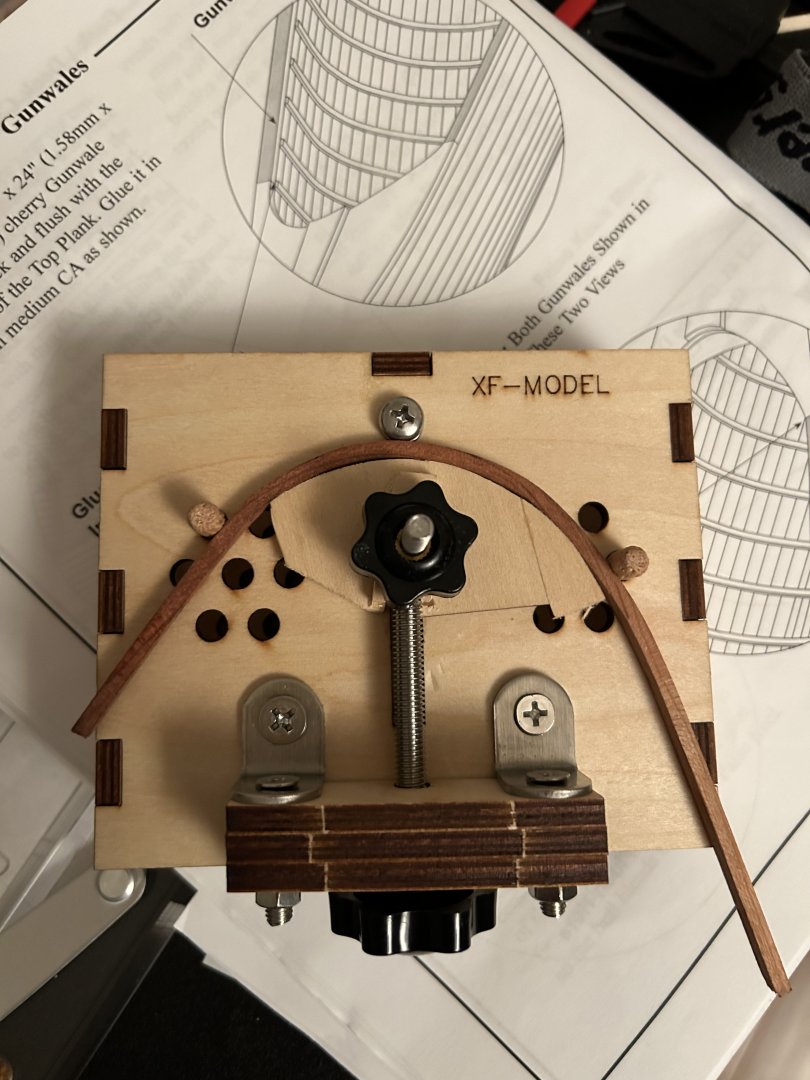
I had ordered some 1/8” square by 24” strips, in part for this purpose, and initially tried using my trusty plank soaker with 212F/100C hot water. Promptly began splitting pieces of Cherry in the assemble-it-yourself bending jig I found on Amazon: (cracked/split/broken pieces not shown) I also had to fashion the custom bending die (matching the canoe stem end curve) shown here on the jig. Seeing that soaking was not enough, I turned to steaming a 6-8” length of Cherry on the stovetop (lidded saucepan with veggie steamer) for 20-30 minutes. The steaming did the trick to make the square stock bendable (also had to select a section with minimal grain, or at least keep the grain from being oriented parallel to the bending force). Also had to help my form/die out a bit with a wedge (shown here) to close up a gap in the bent stock. After a few tries and re-bends, got it to where I could glue. IIRC I tried clamping and Titebond, encountered complications, and eventually broke down and used CA.


-
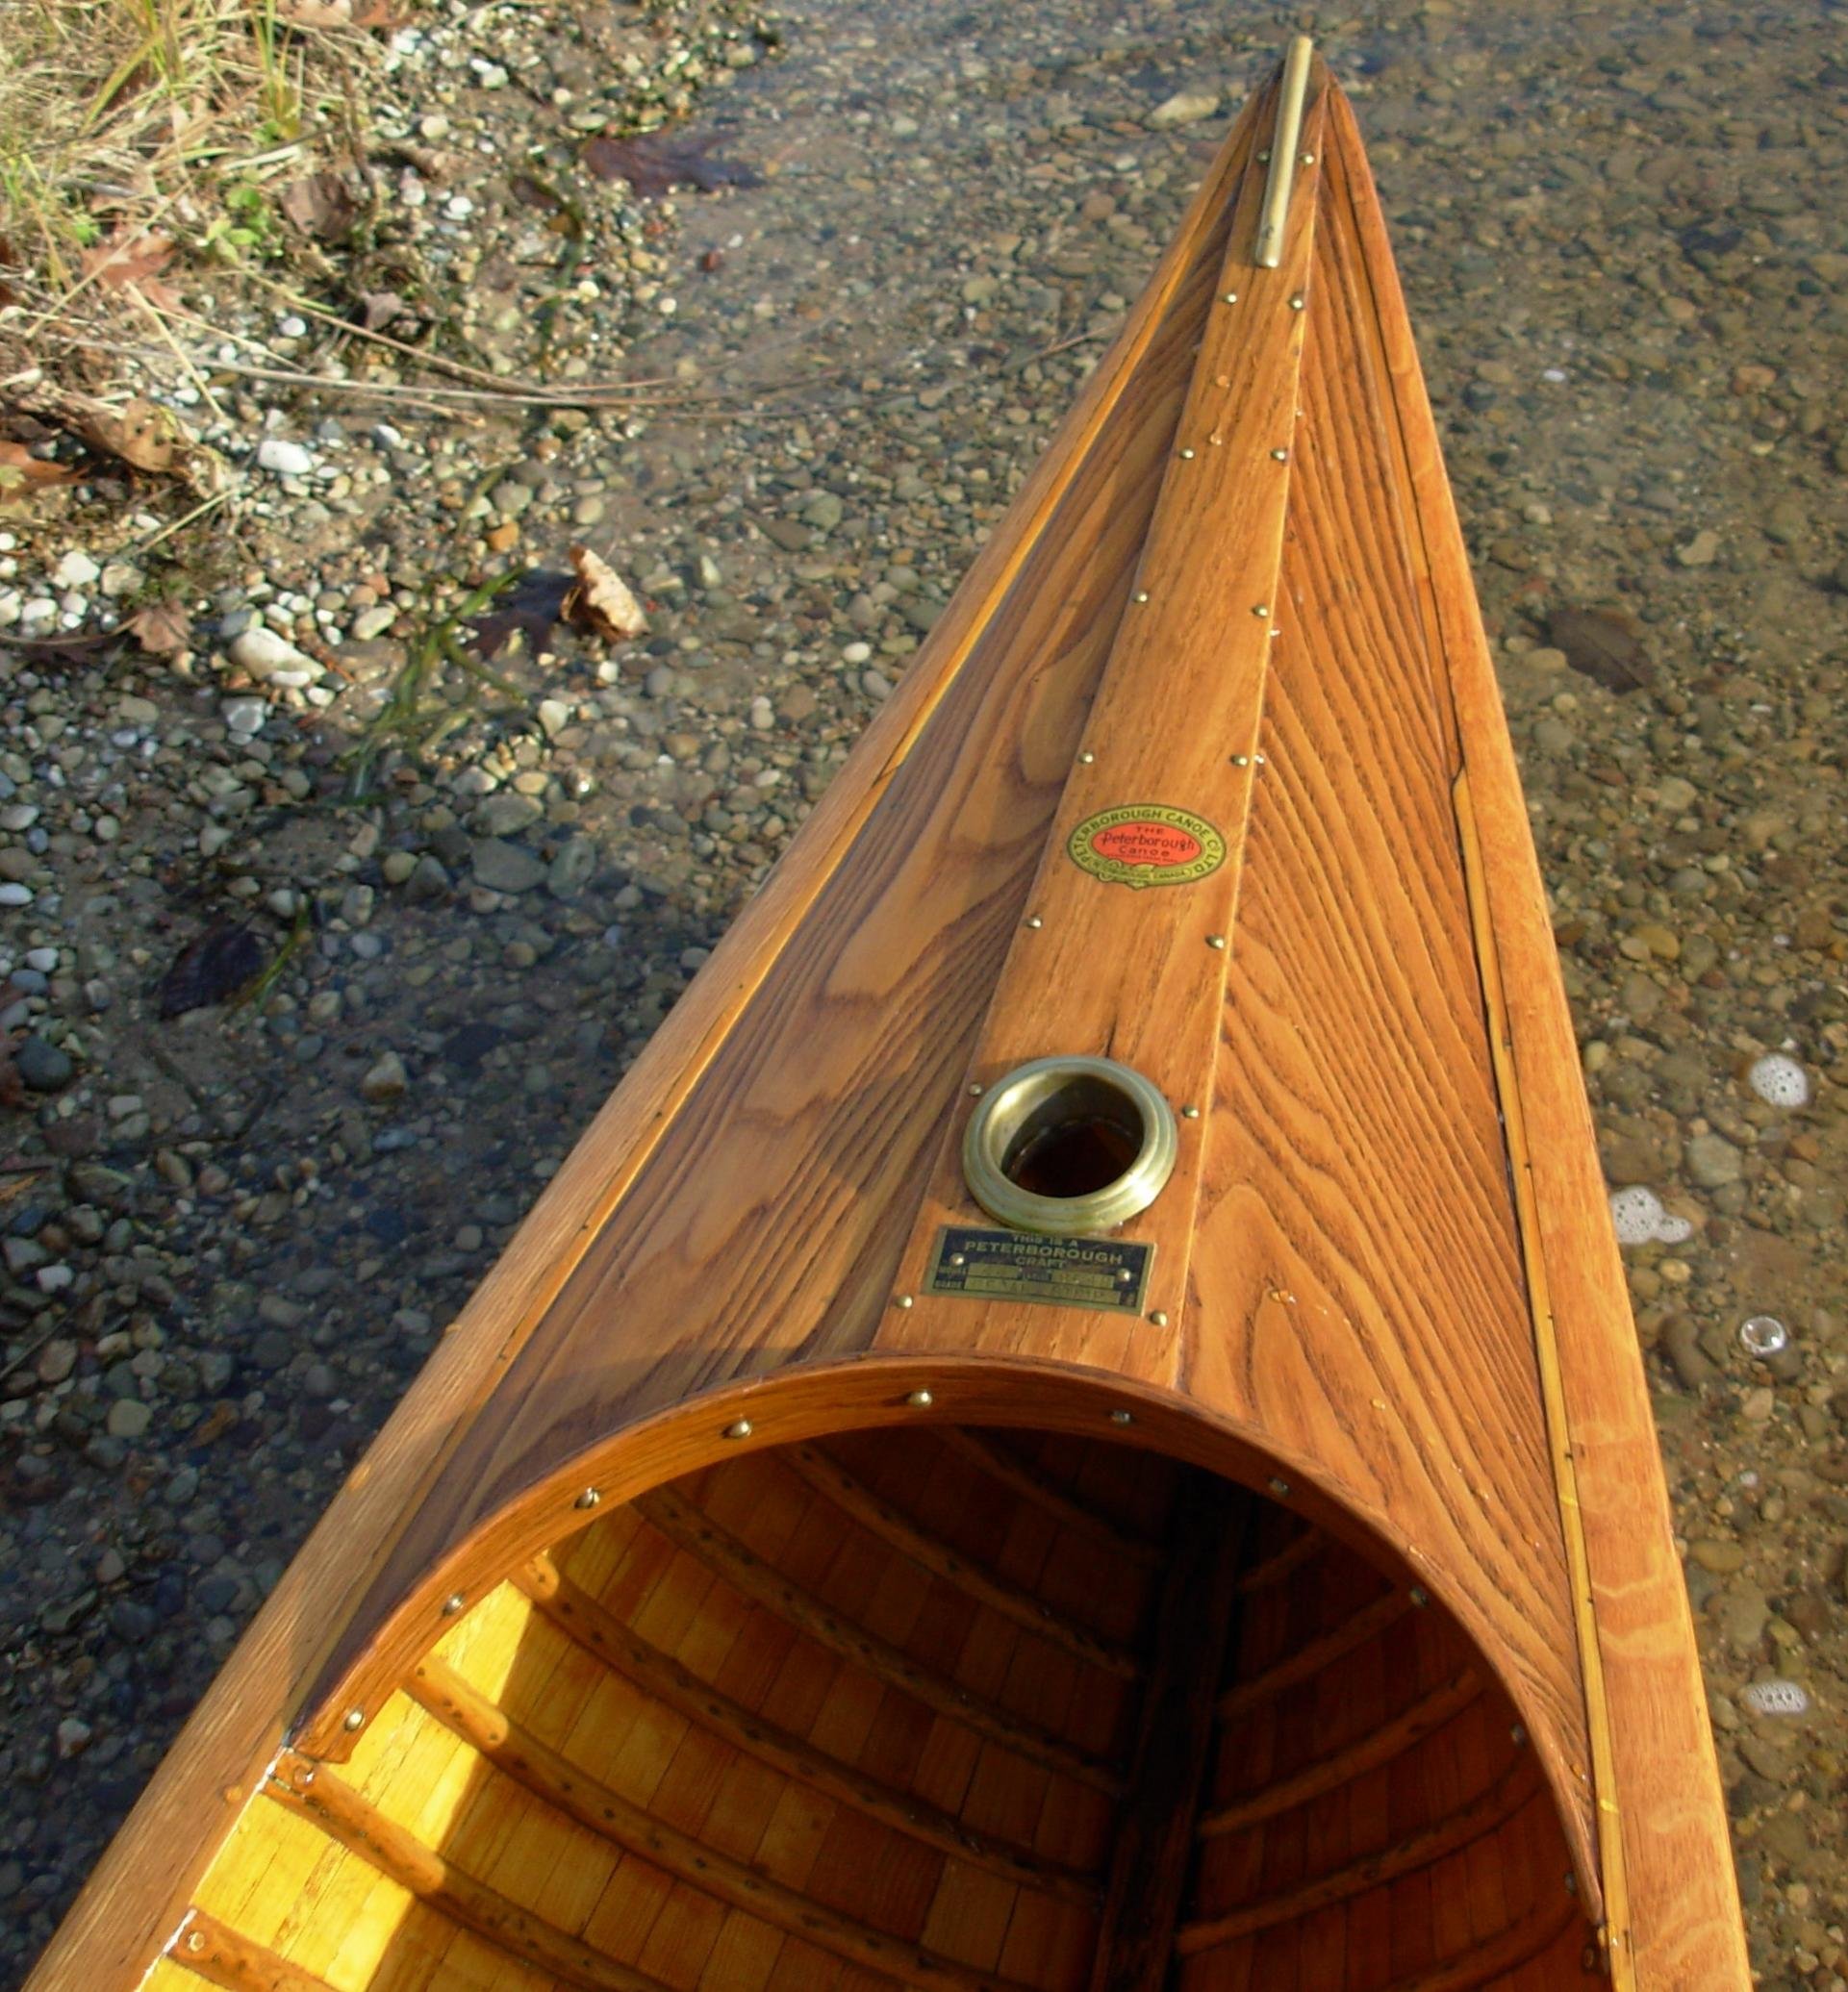
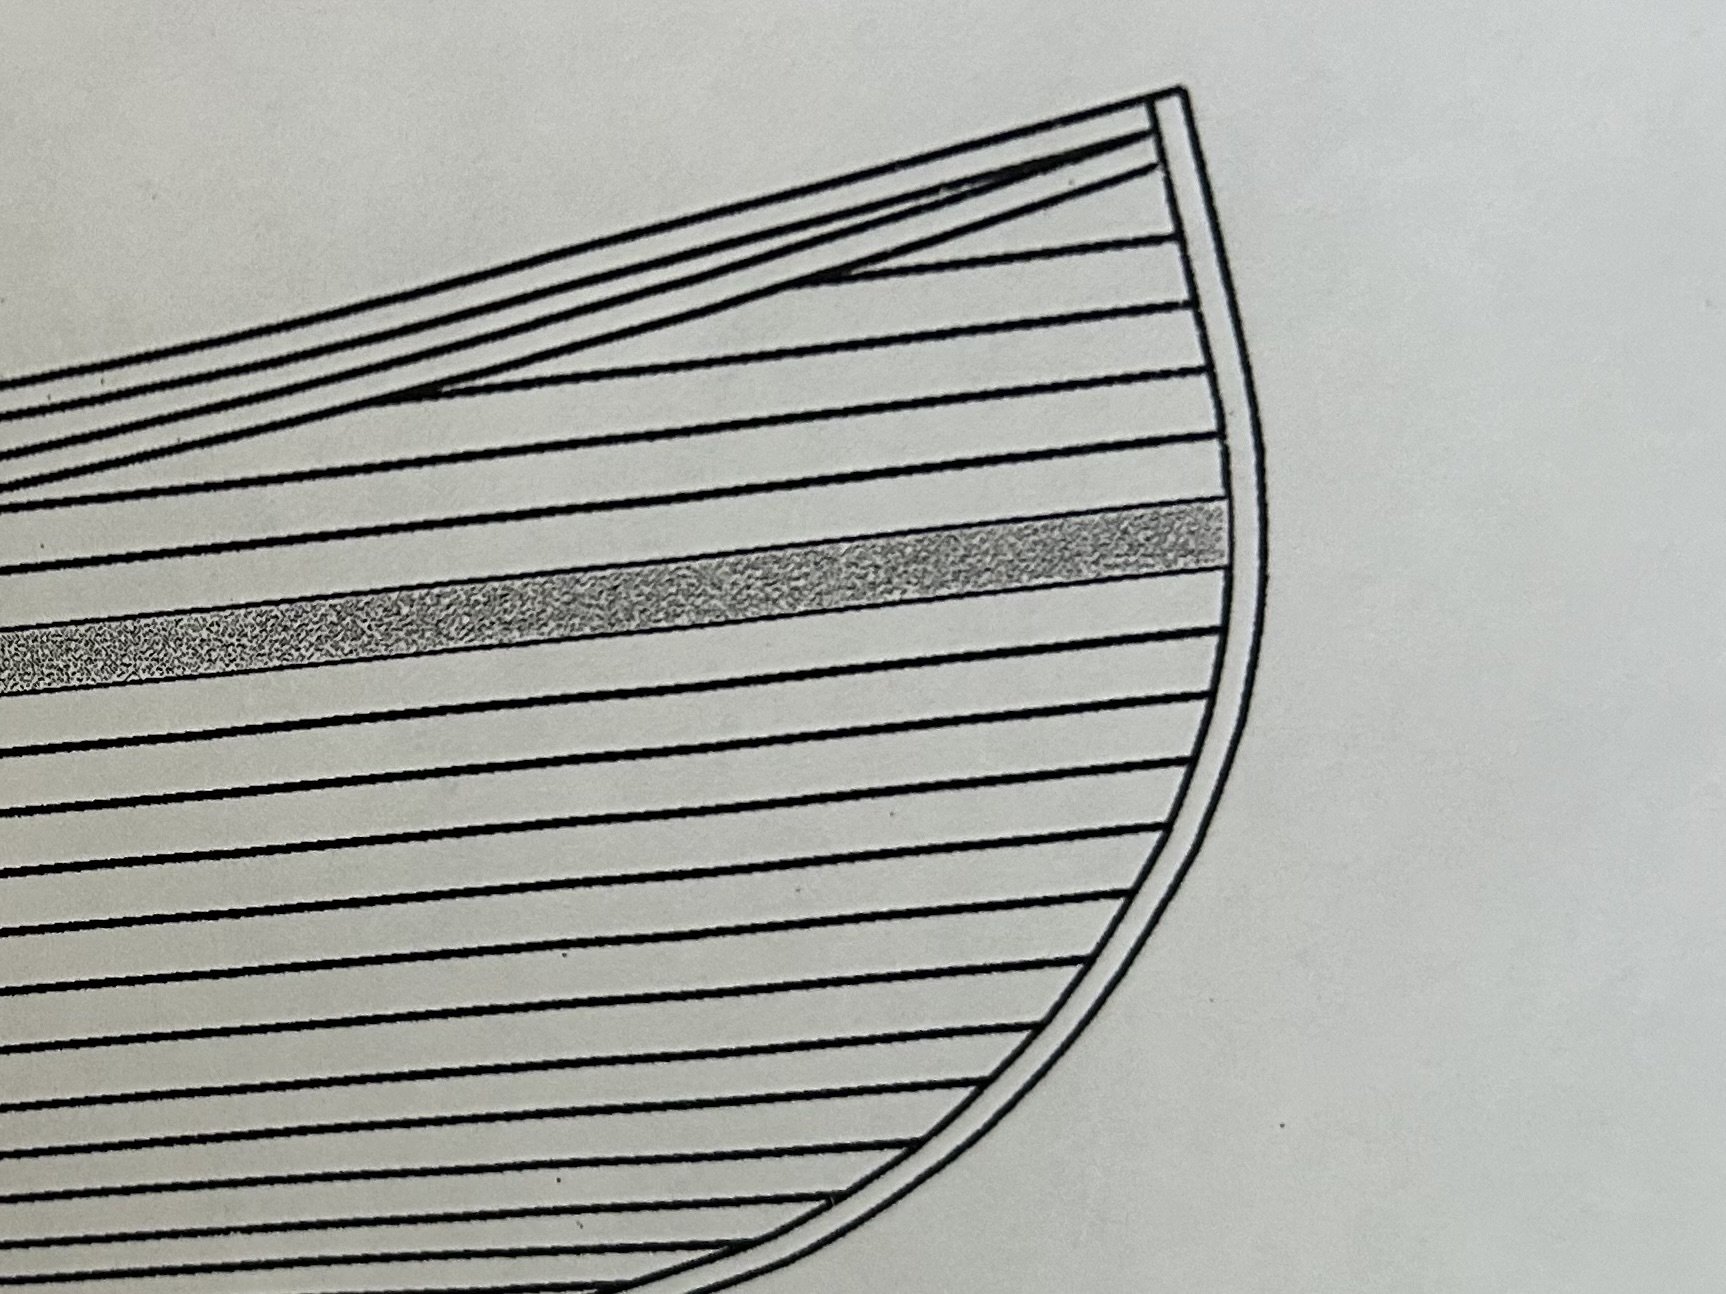
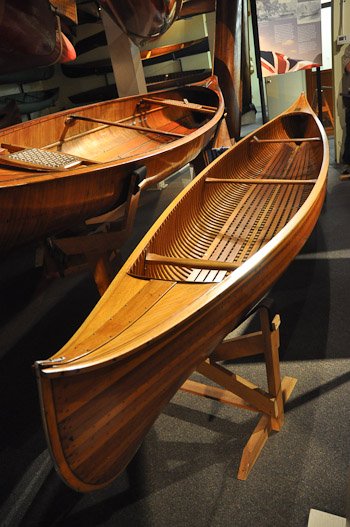
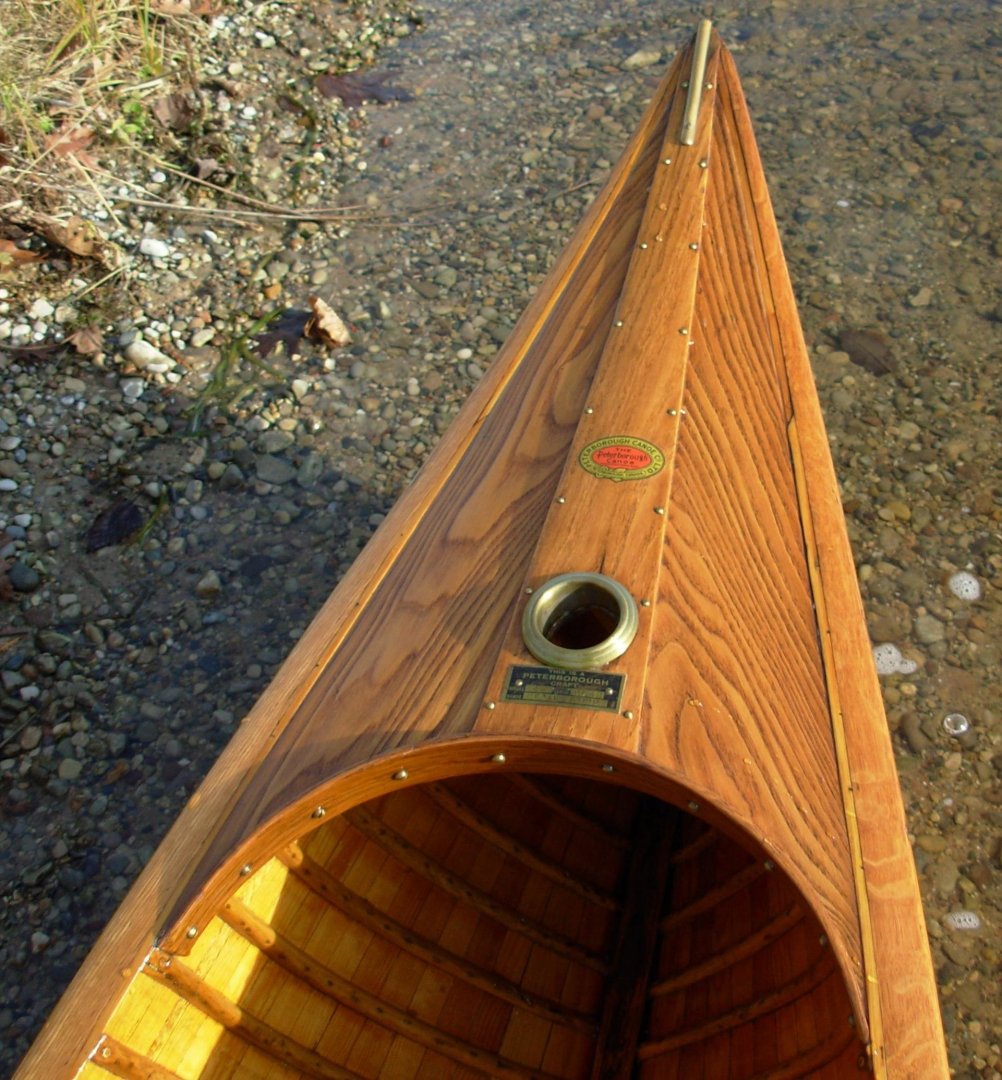
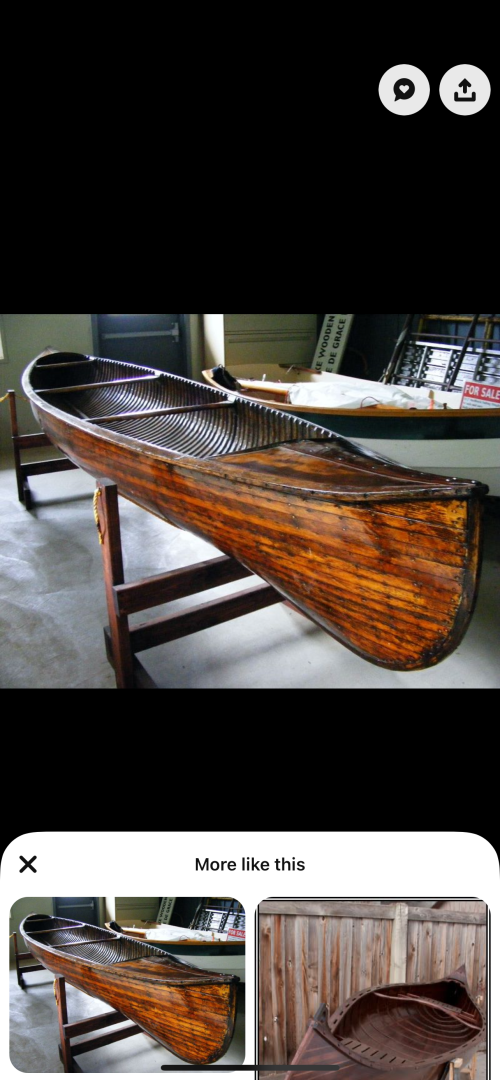
The first thing I wanted to modify from the kit was the false keel/external stems. The kit calls for 1/16” x 1/8” cherry strips for this, and I did use that lumber for the hull bottom. But my research photos for Peterborough Model 44 “Canadien” (or similar horizontal-strip models like the “LakeQueen”) showed thicker stock on the stems: This may have been a kit designer’s concession to ease of construction—bending the 1/16” thick Cherry strip is much easier than what I ended up doing. But I wanted this detail to match the original, so resolved to use 1/8” square Cherry here.


-
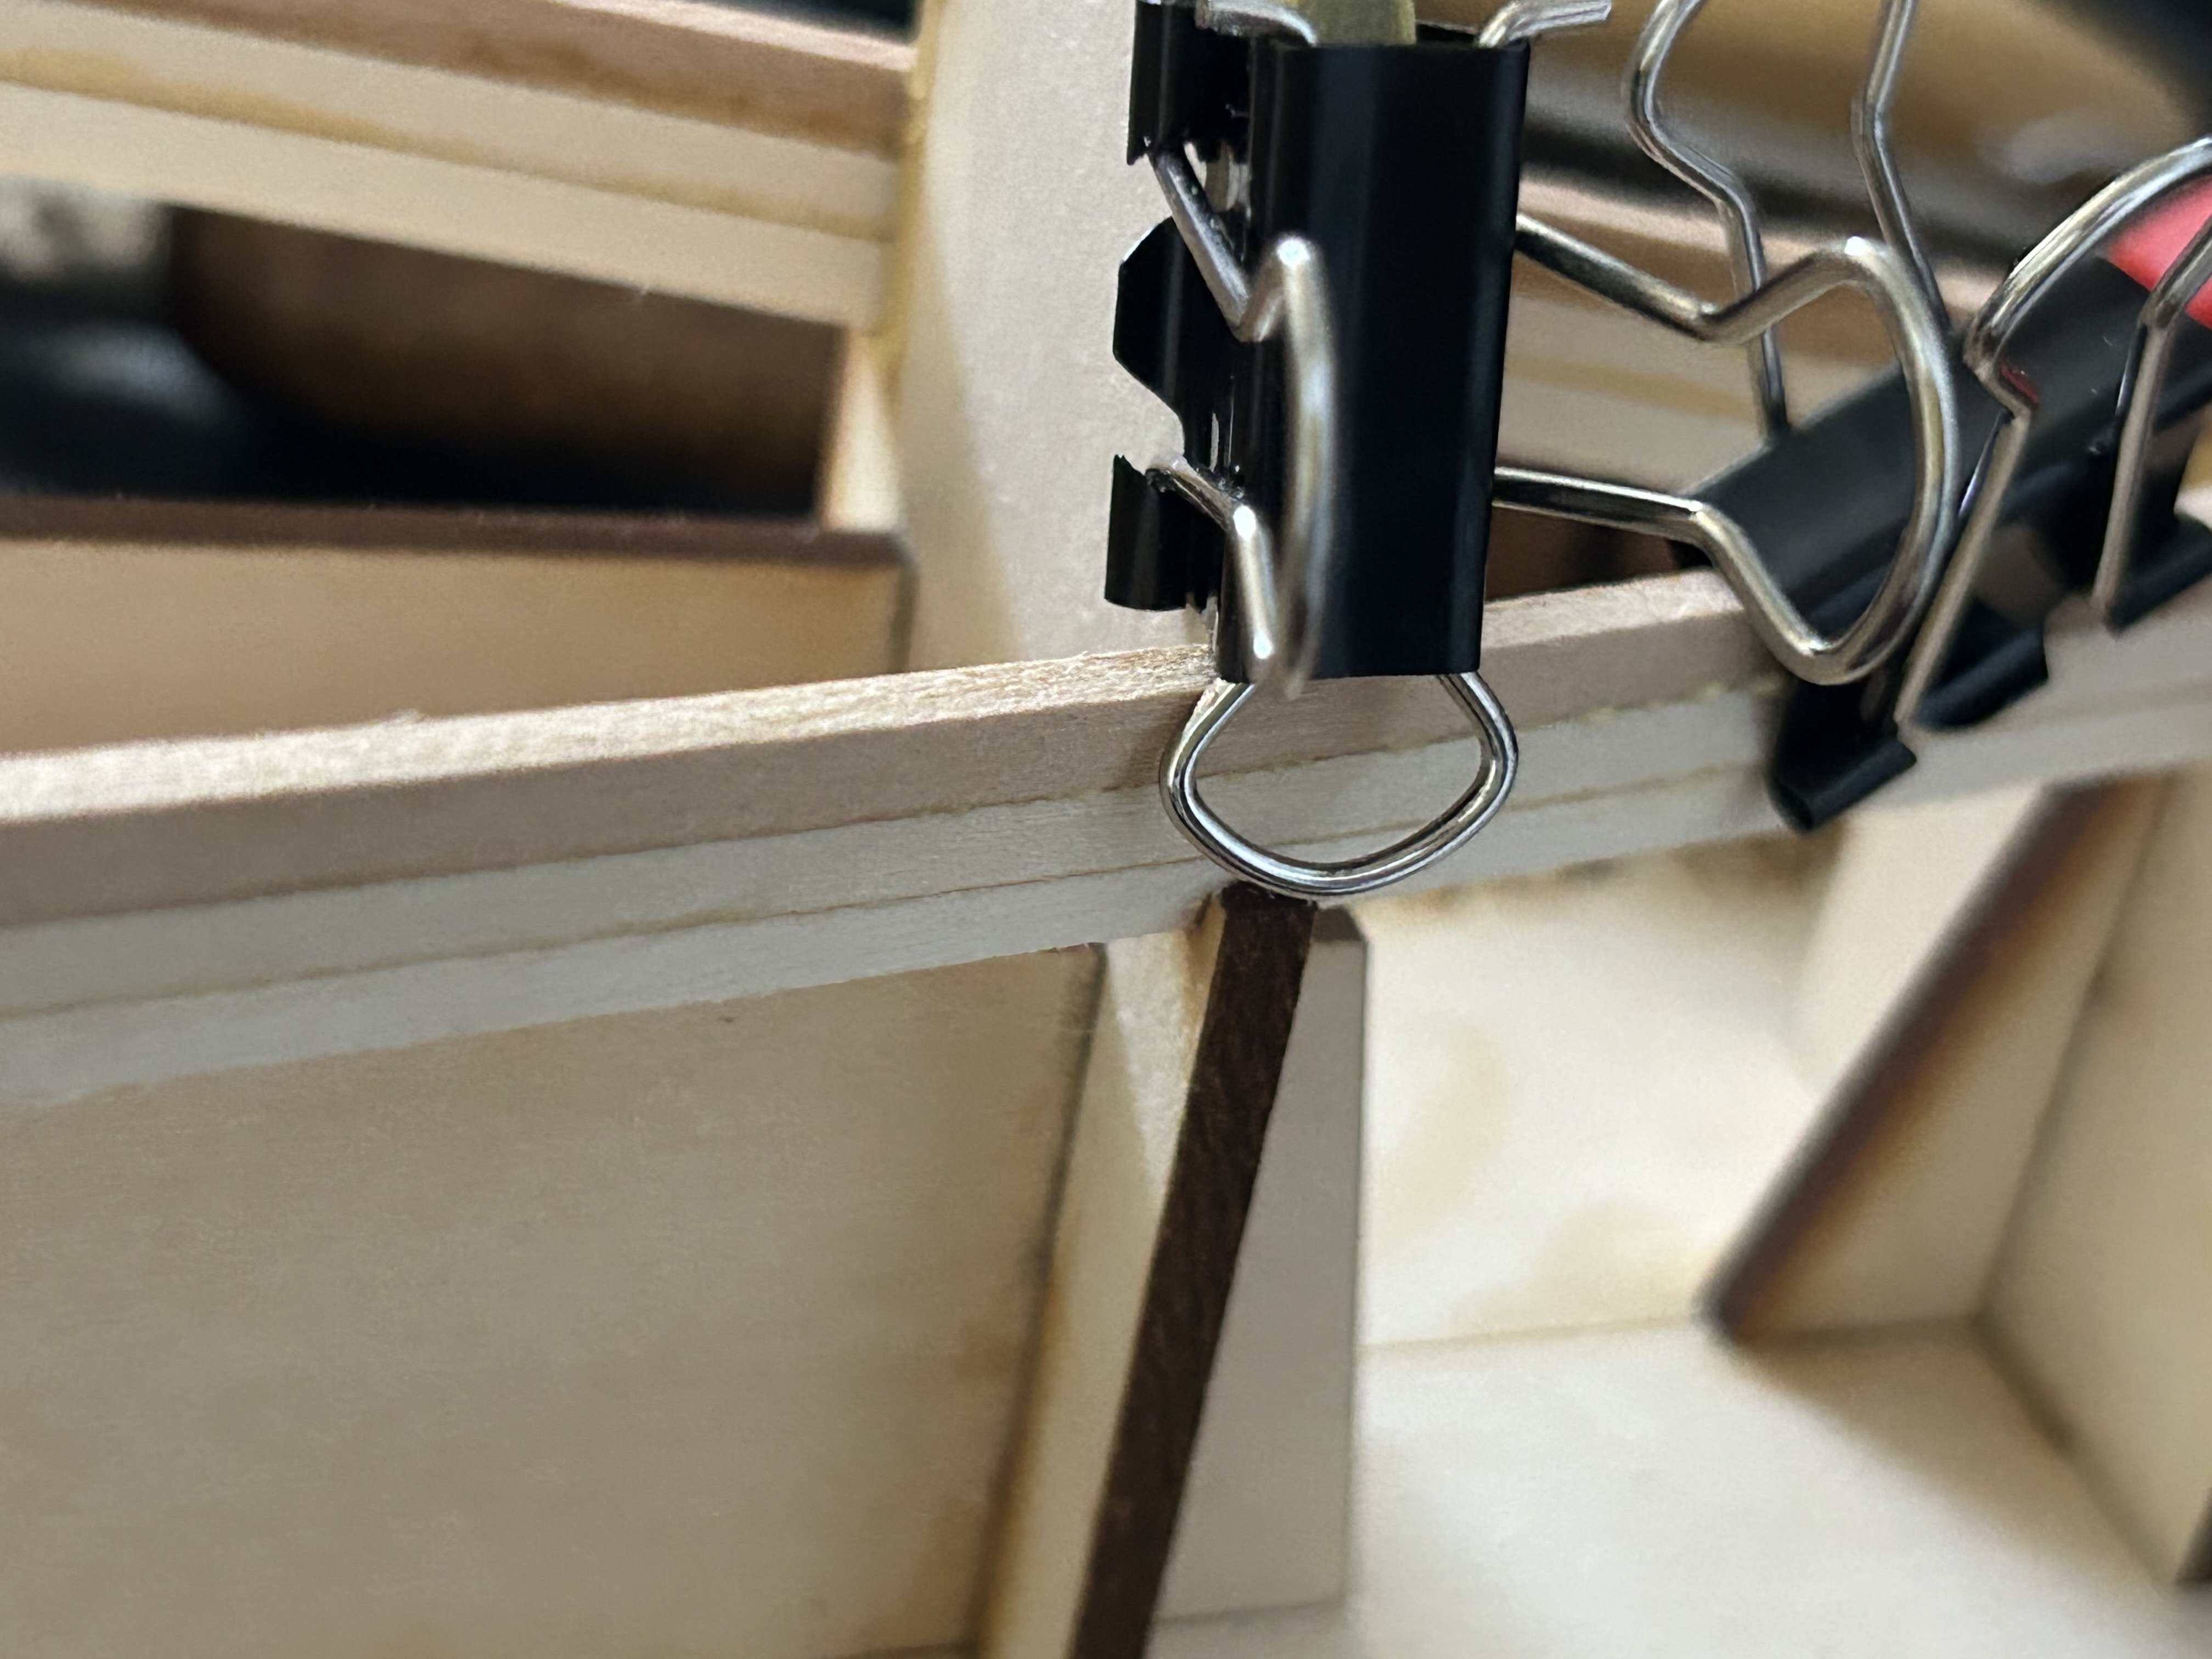
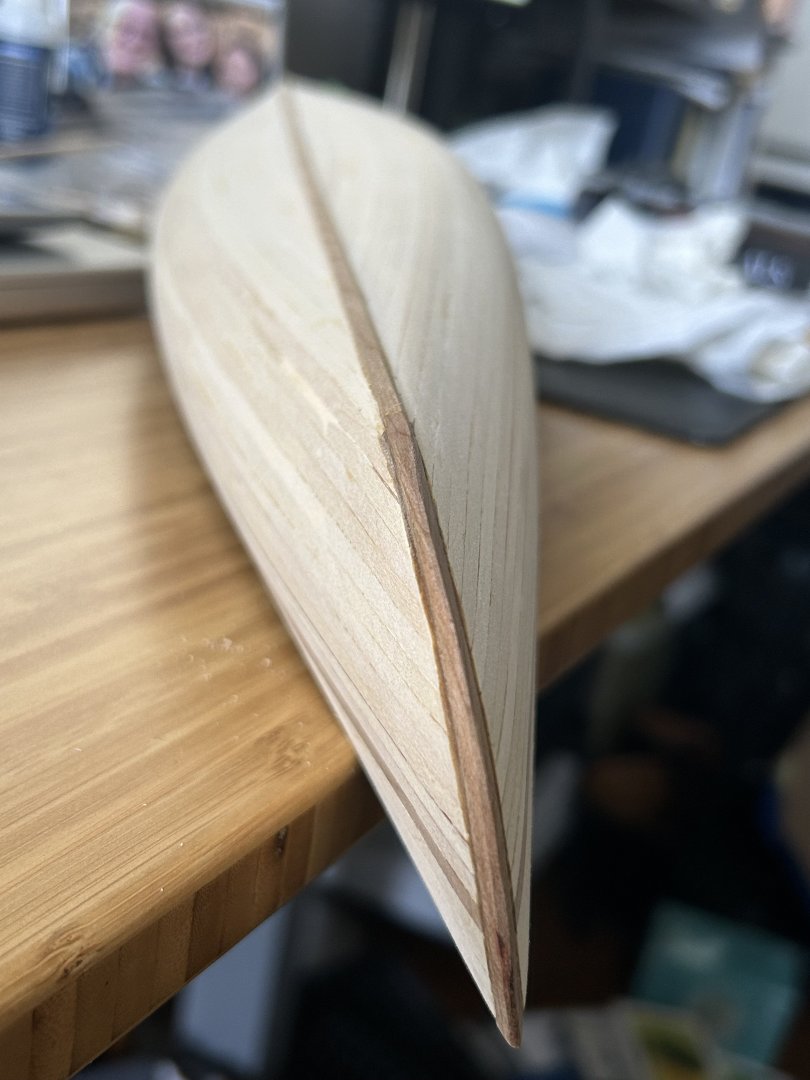
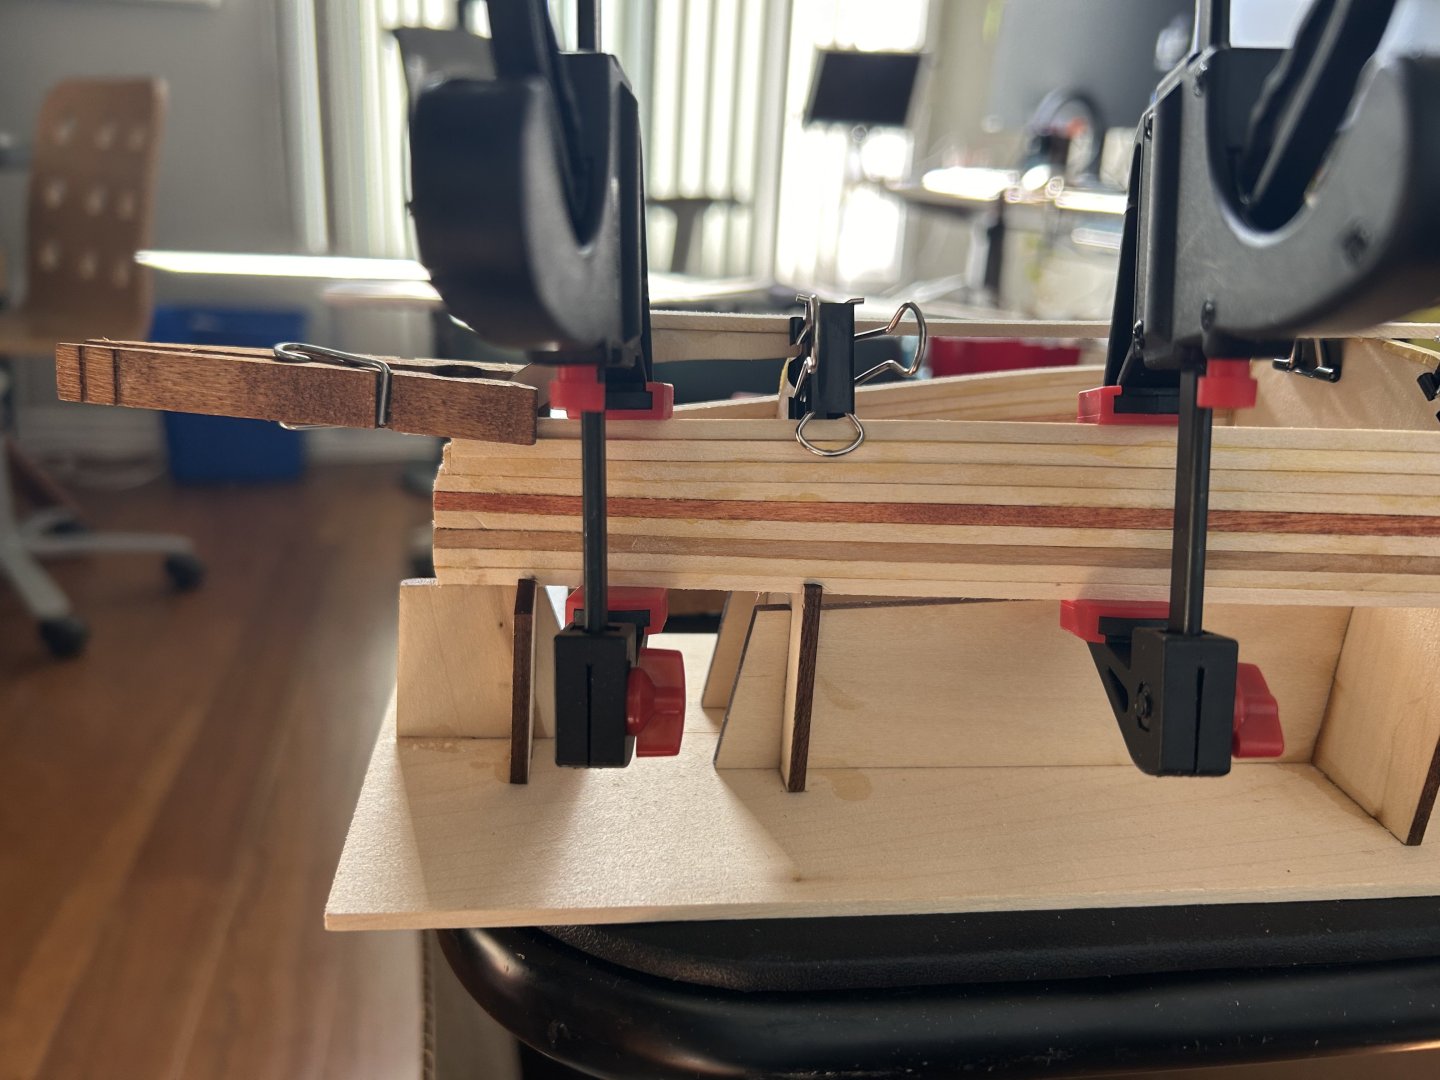
Adding the sheer-line sections was trickier than I expected. First one I managed to find a way to clamp and used Titebond; the second would not cooperate so I broke down and glued with CA and the 15-second “hand clamp” method. Alignment suffered, but as always, sanding to the rescue.


-
Thanks Jacques! Your Peapod build looks great! I will be studying the oar shaping section with great interest. BTW I have the same mini plane from Amazon—works very well for me, and good quality for the price.
-
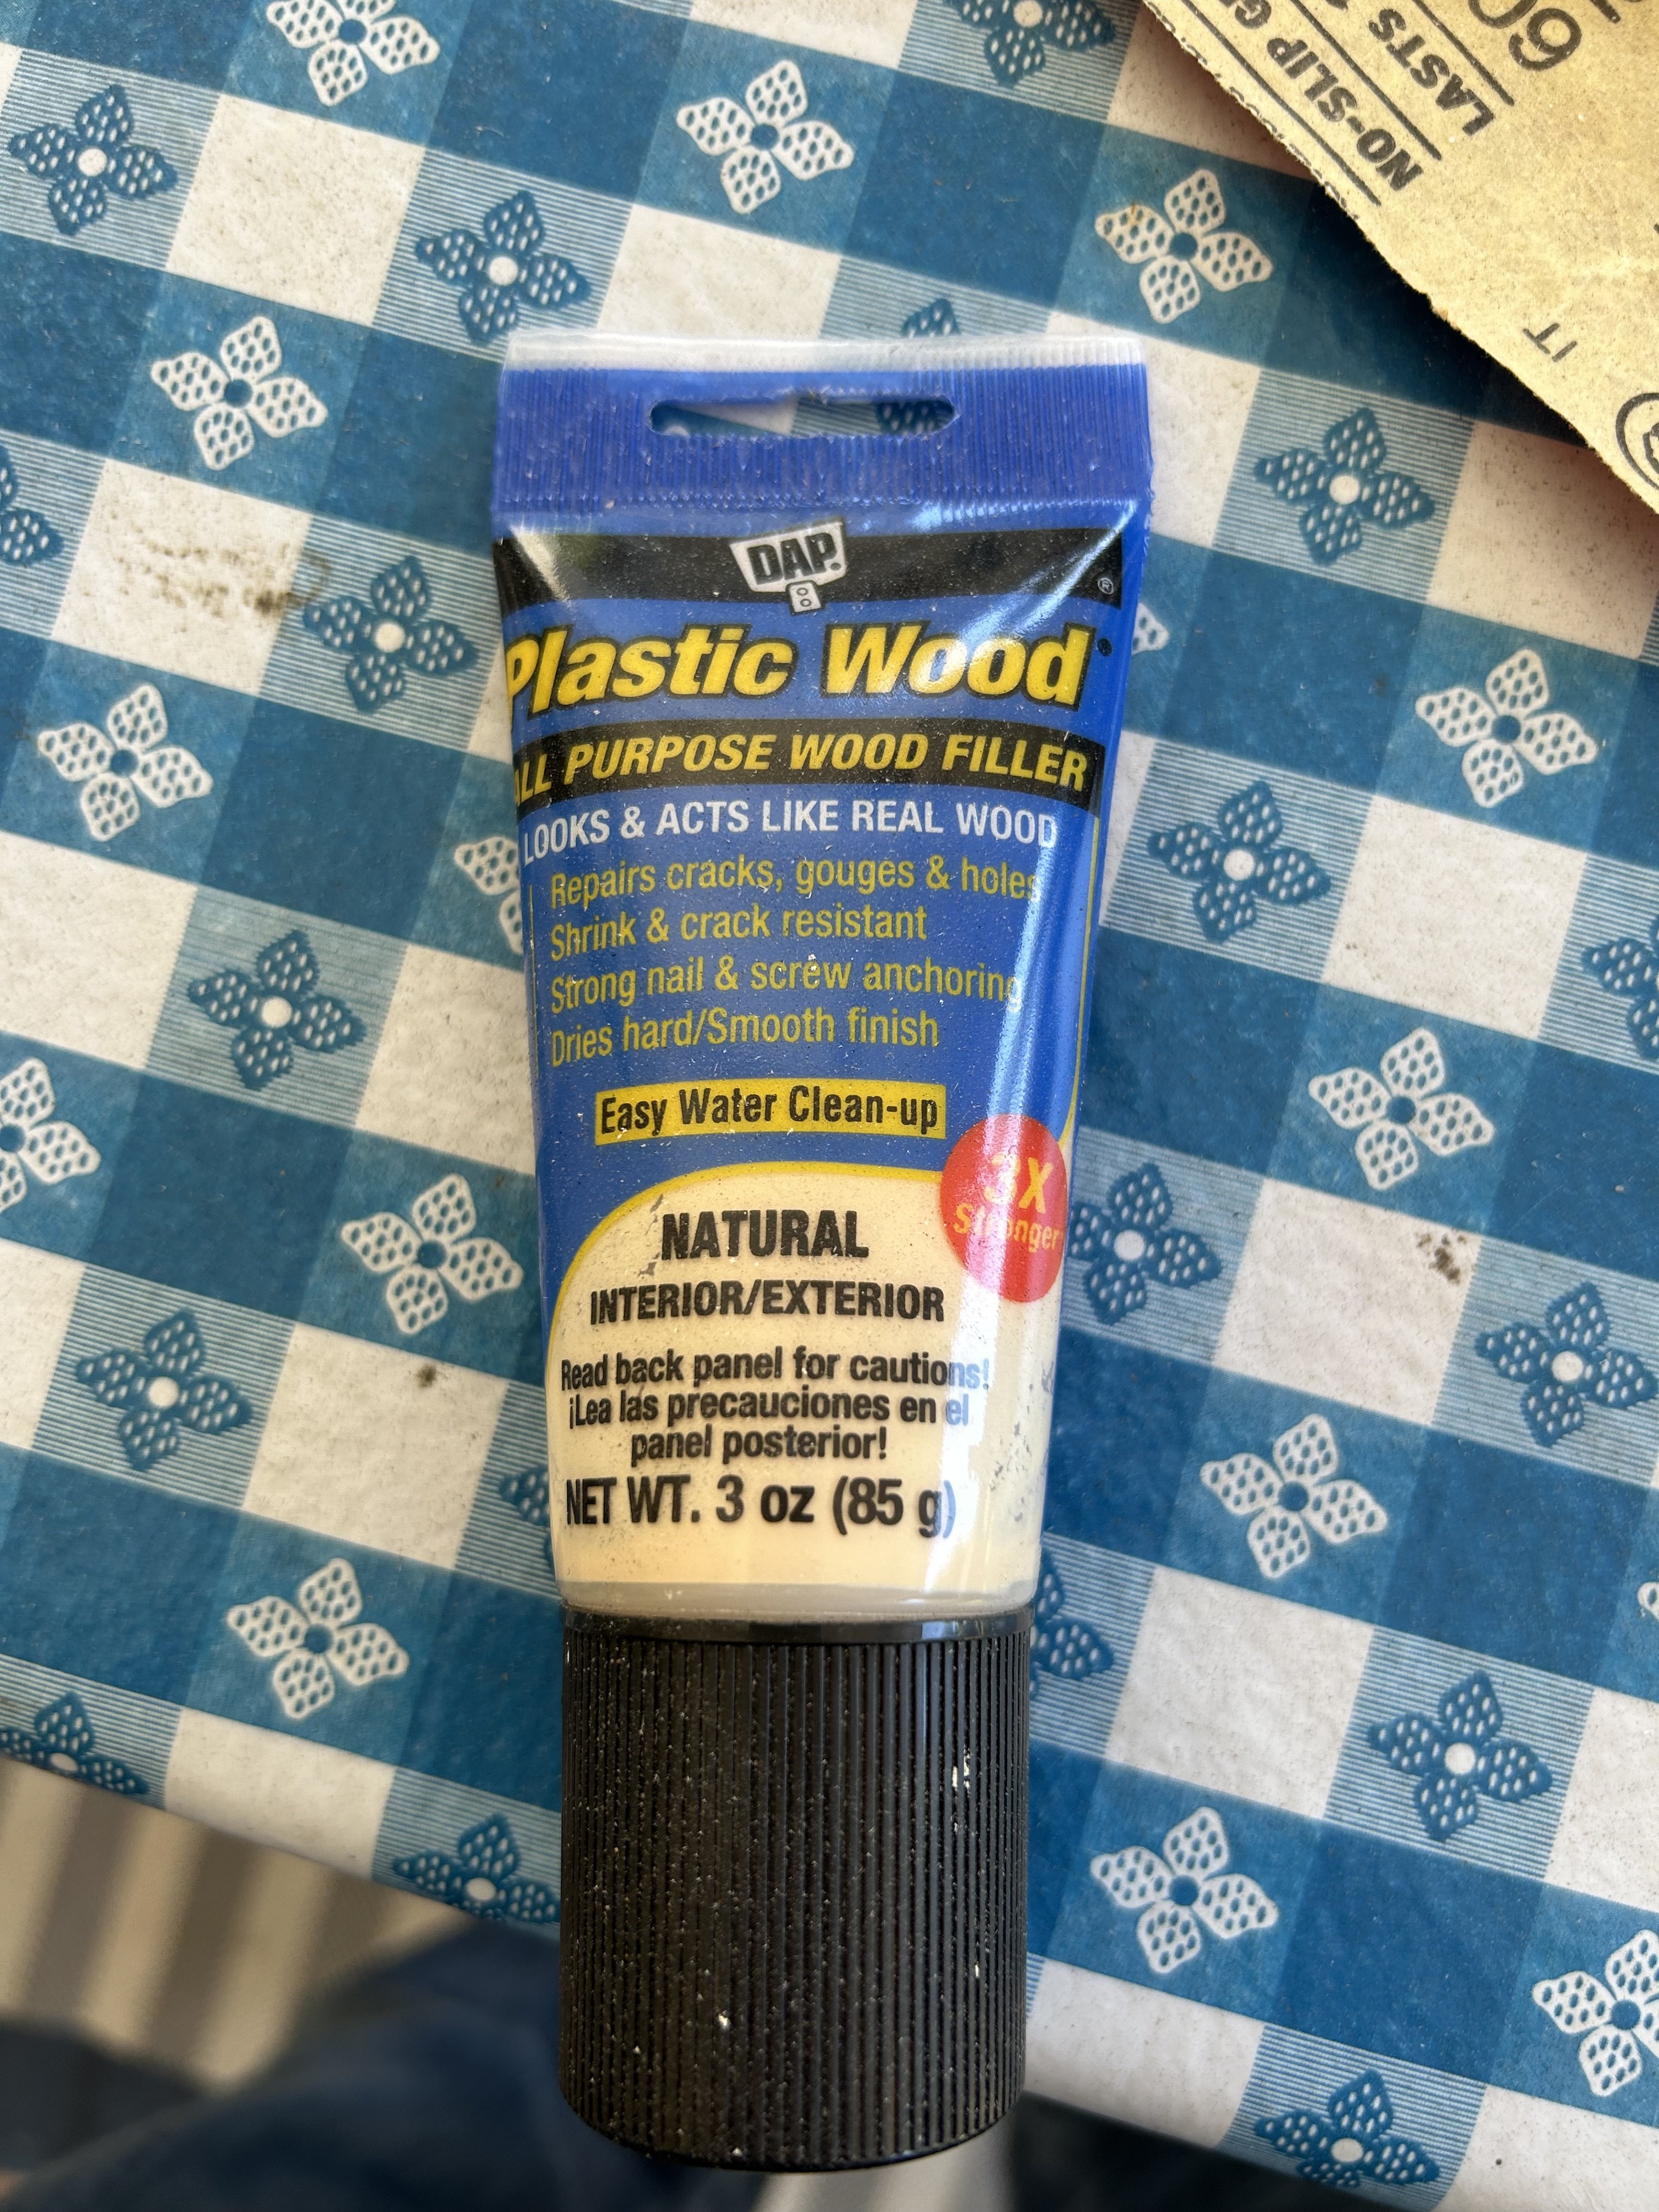
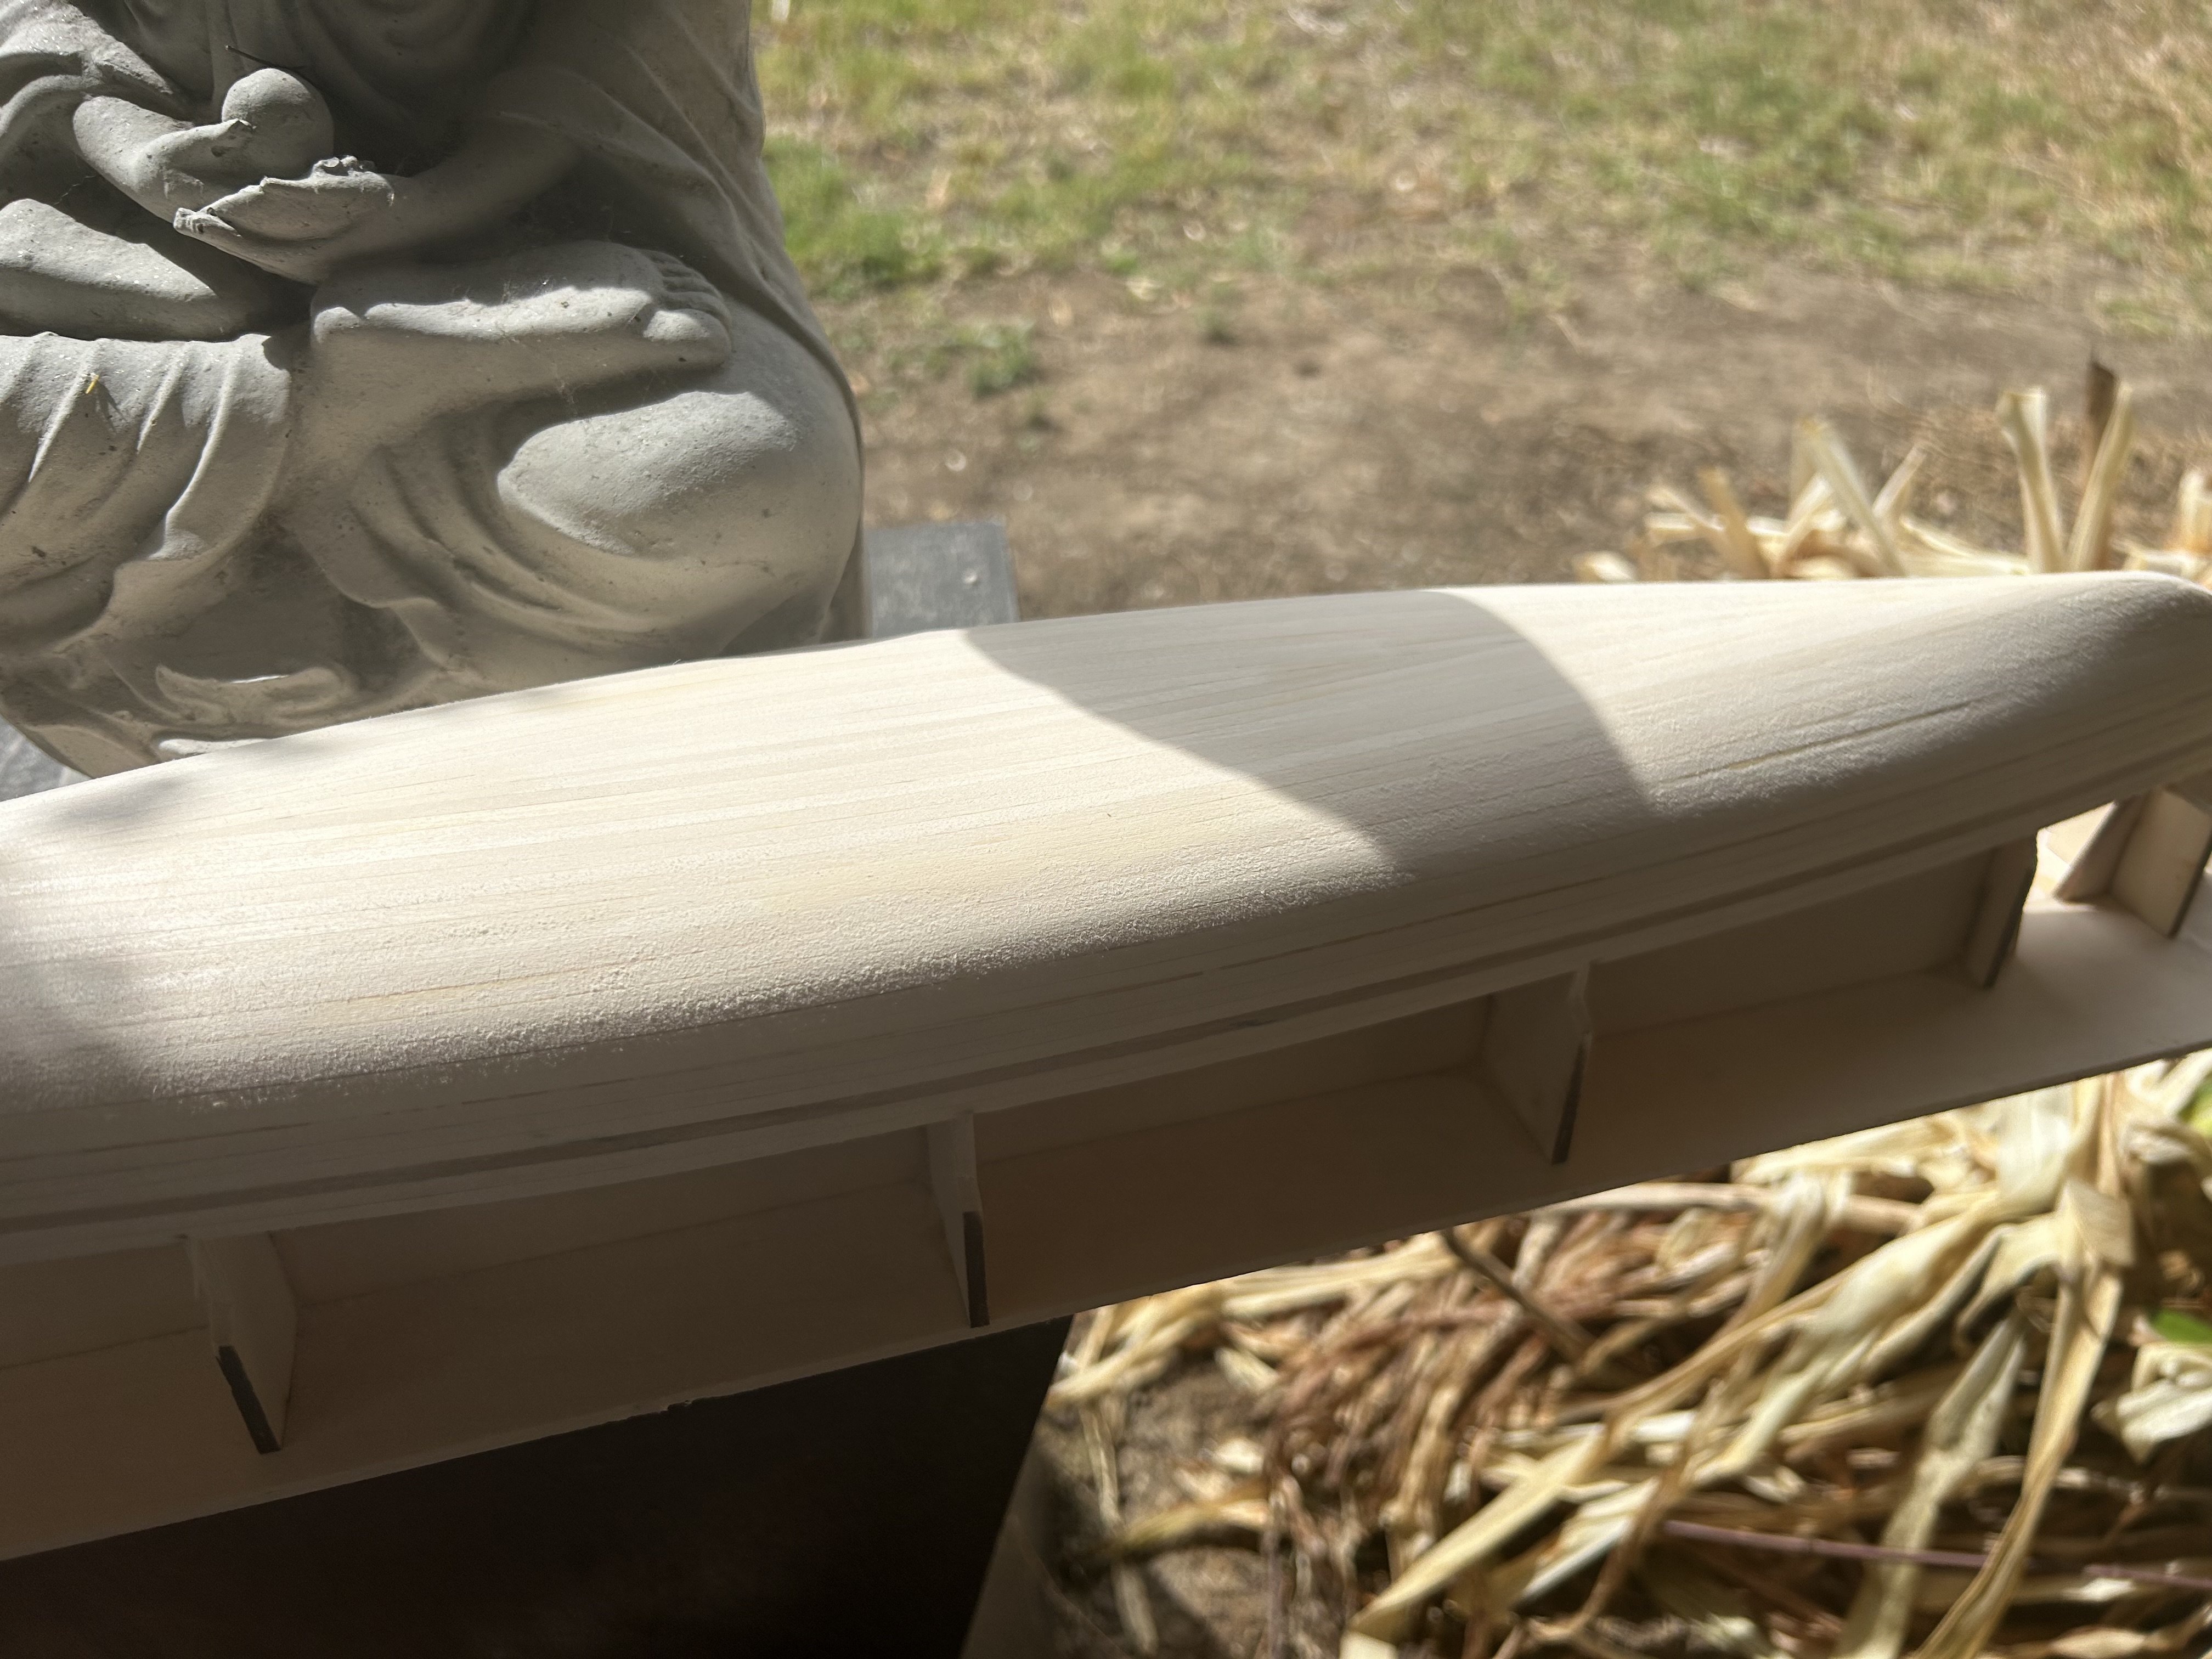
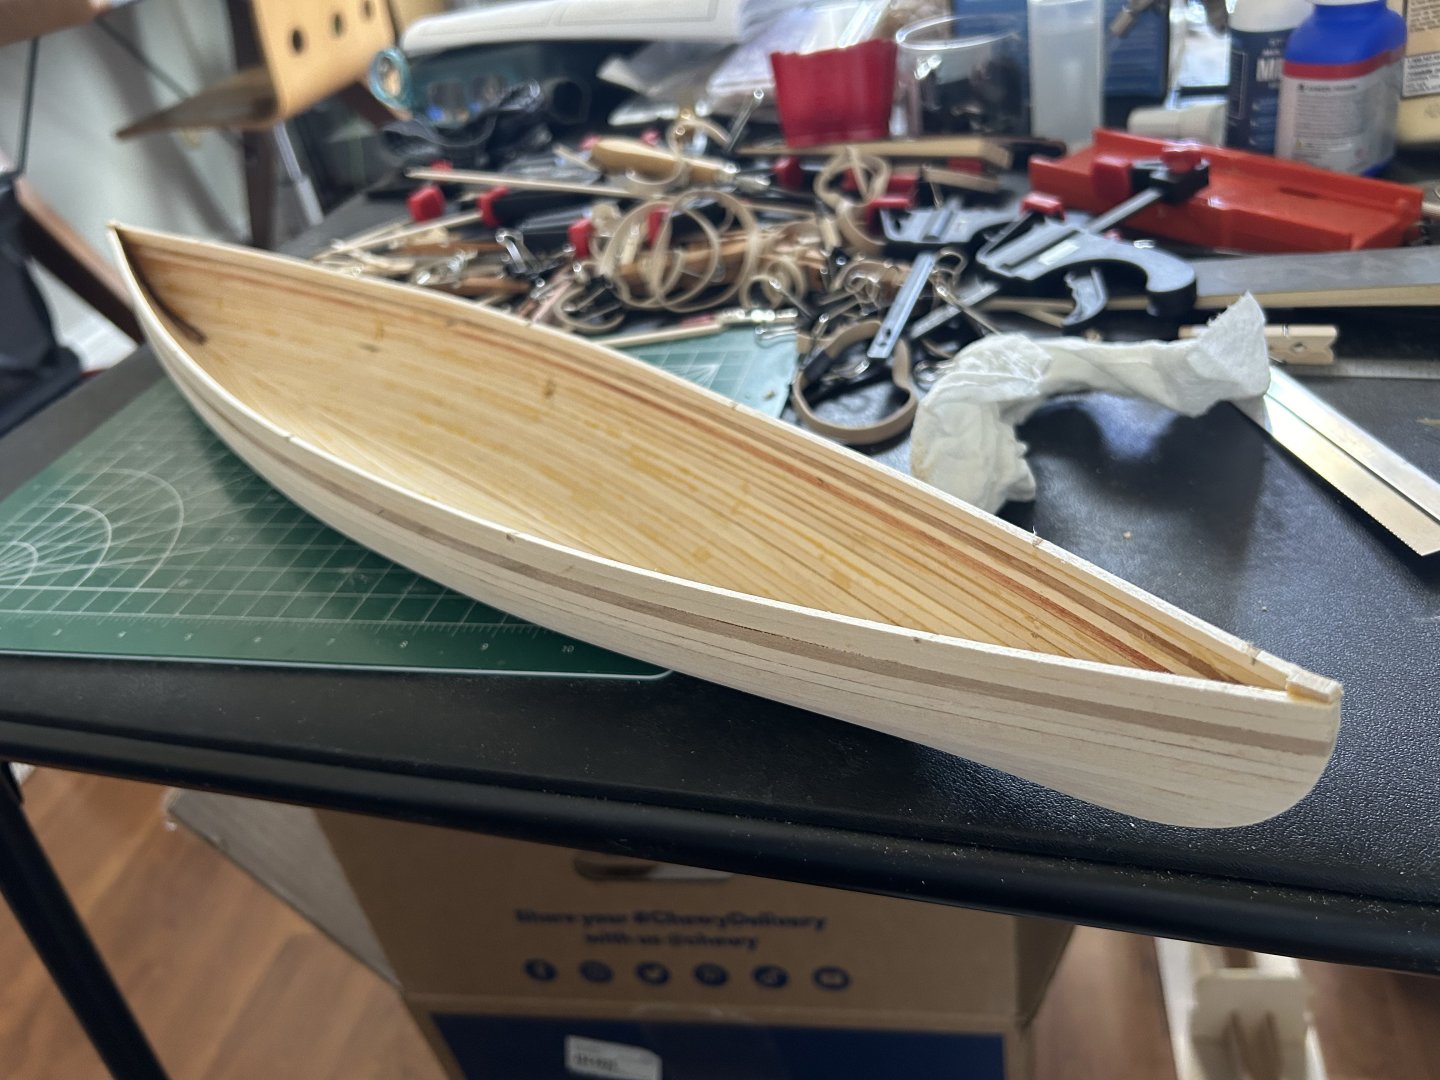
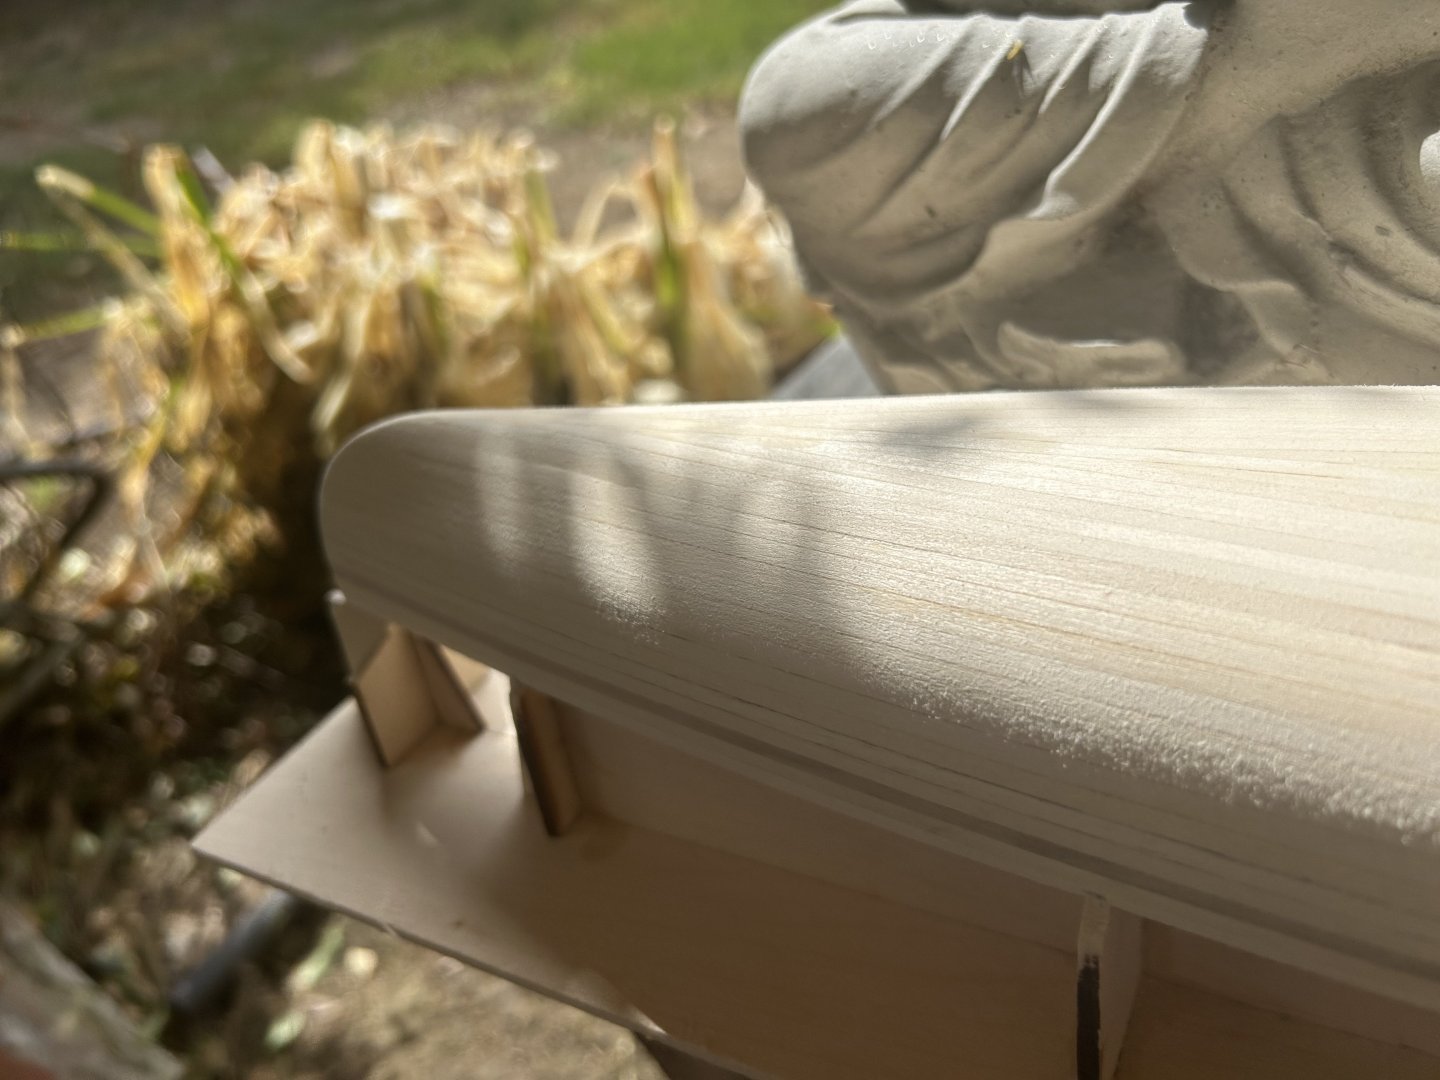
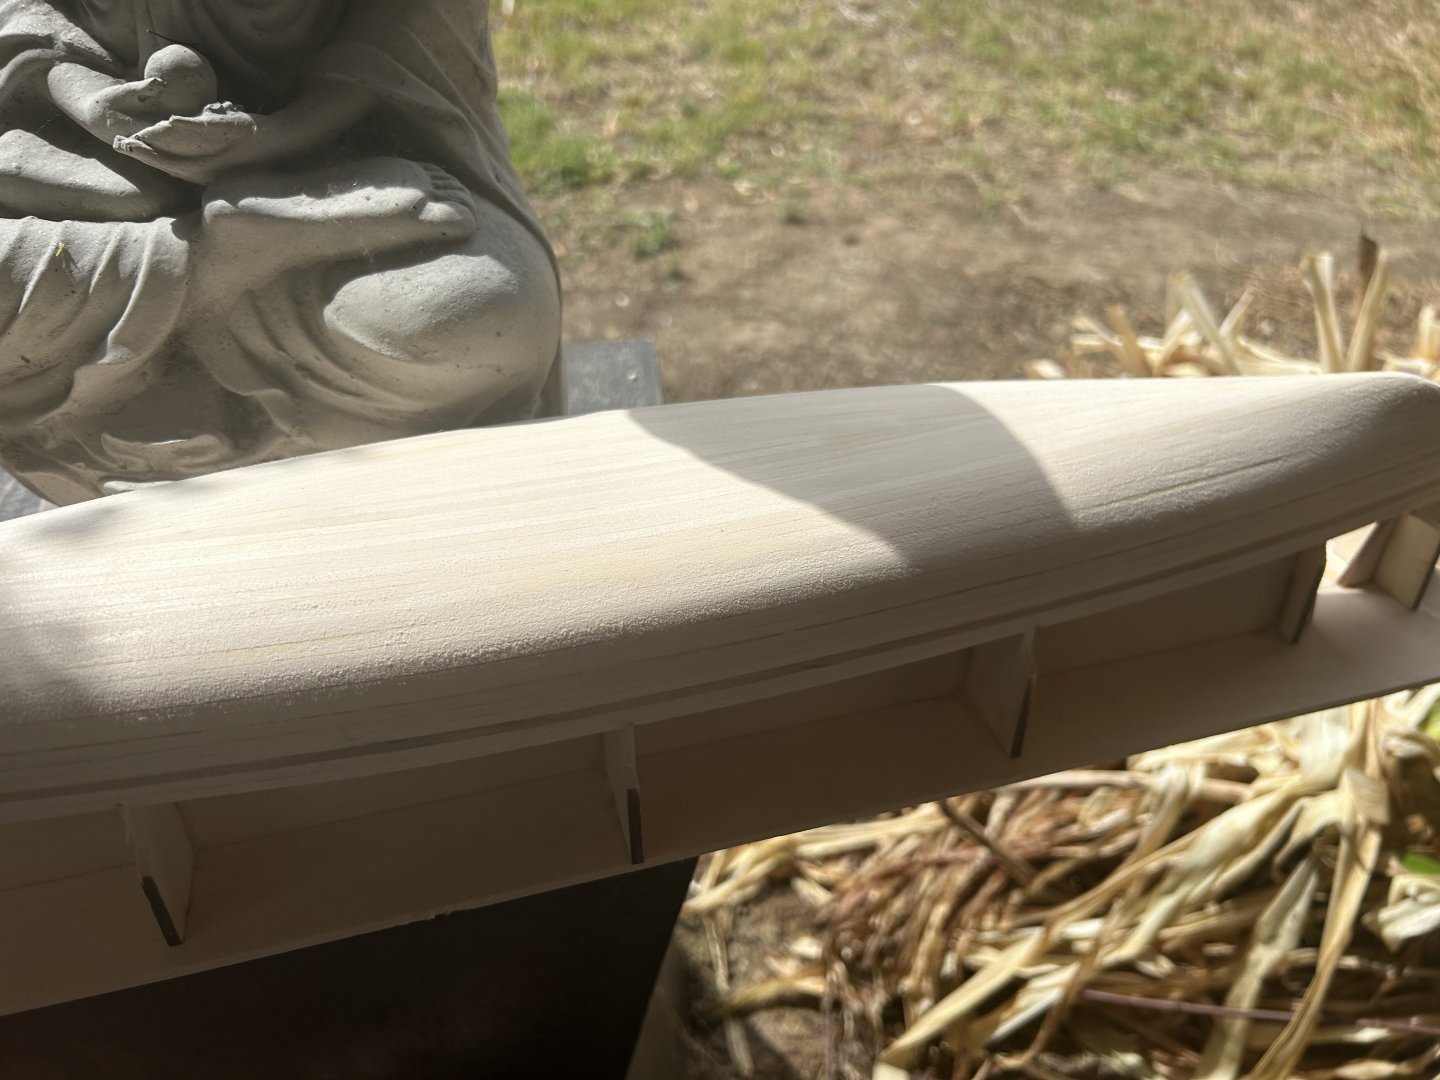
DAP plastic wood seems to work well as filler; won’t know for sure until after the shellacking it’s going to get. Then it was time to sand the inside, which seemed difficult at first became simple over time, just using a small piece of sandpaper in areas where a block won’t fit. Last 2 fotos are before/after: it feels a lot smoother than it looks.

-
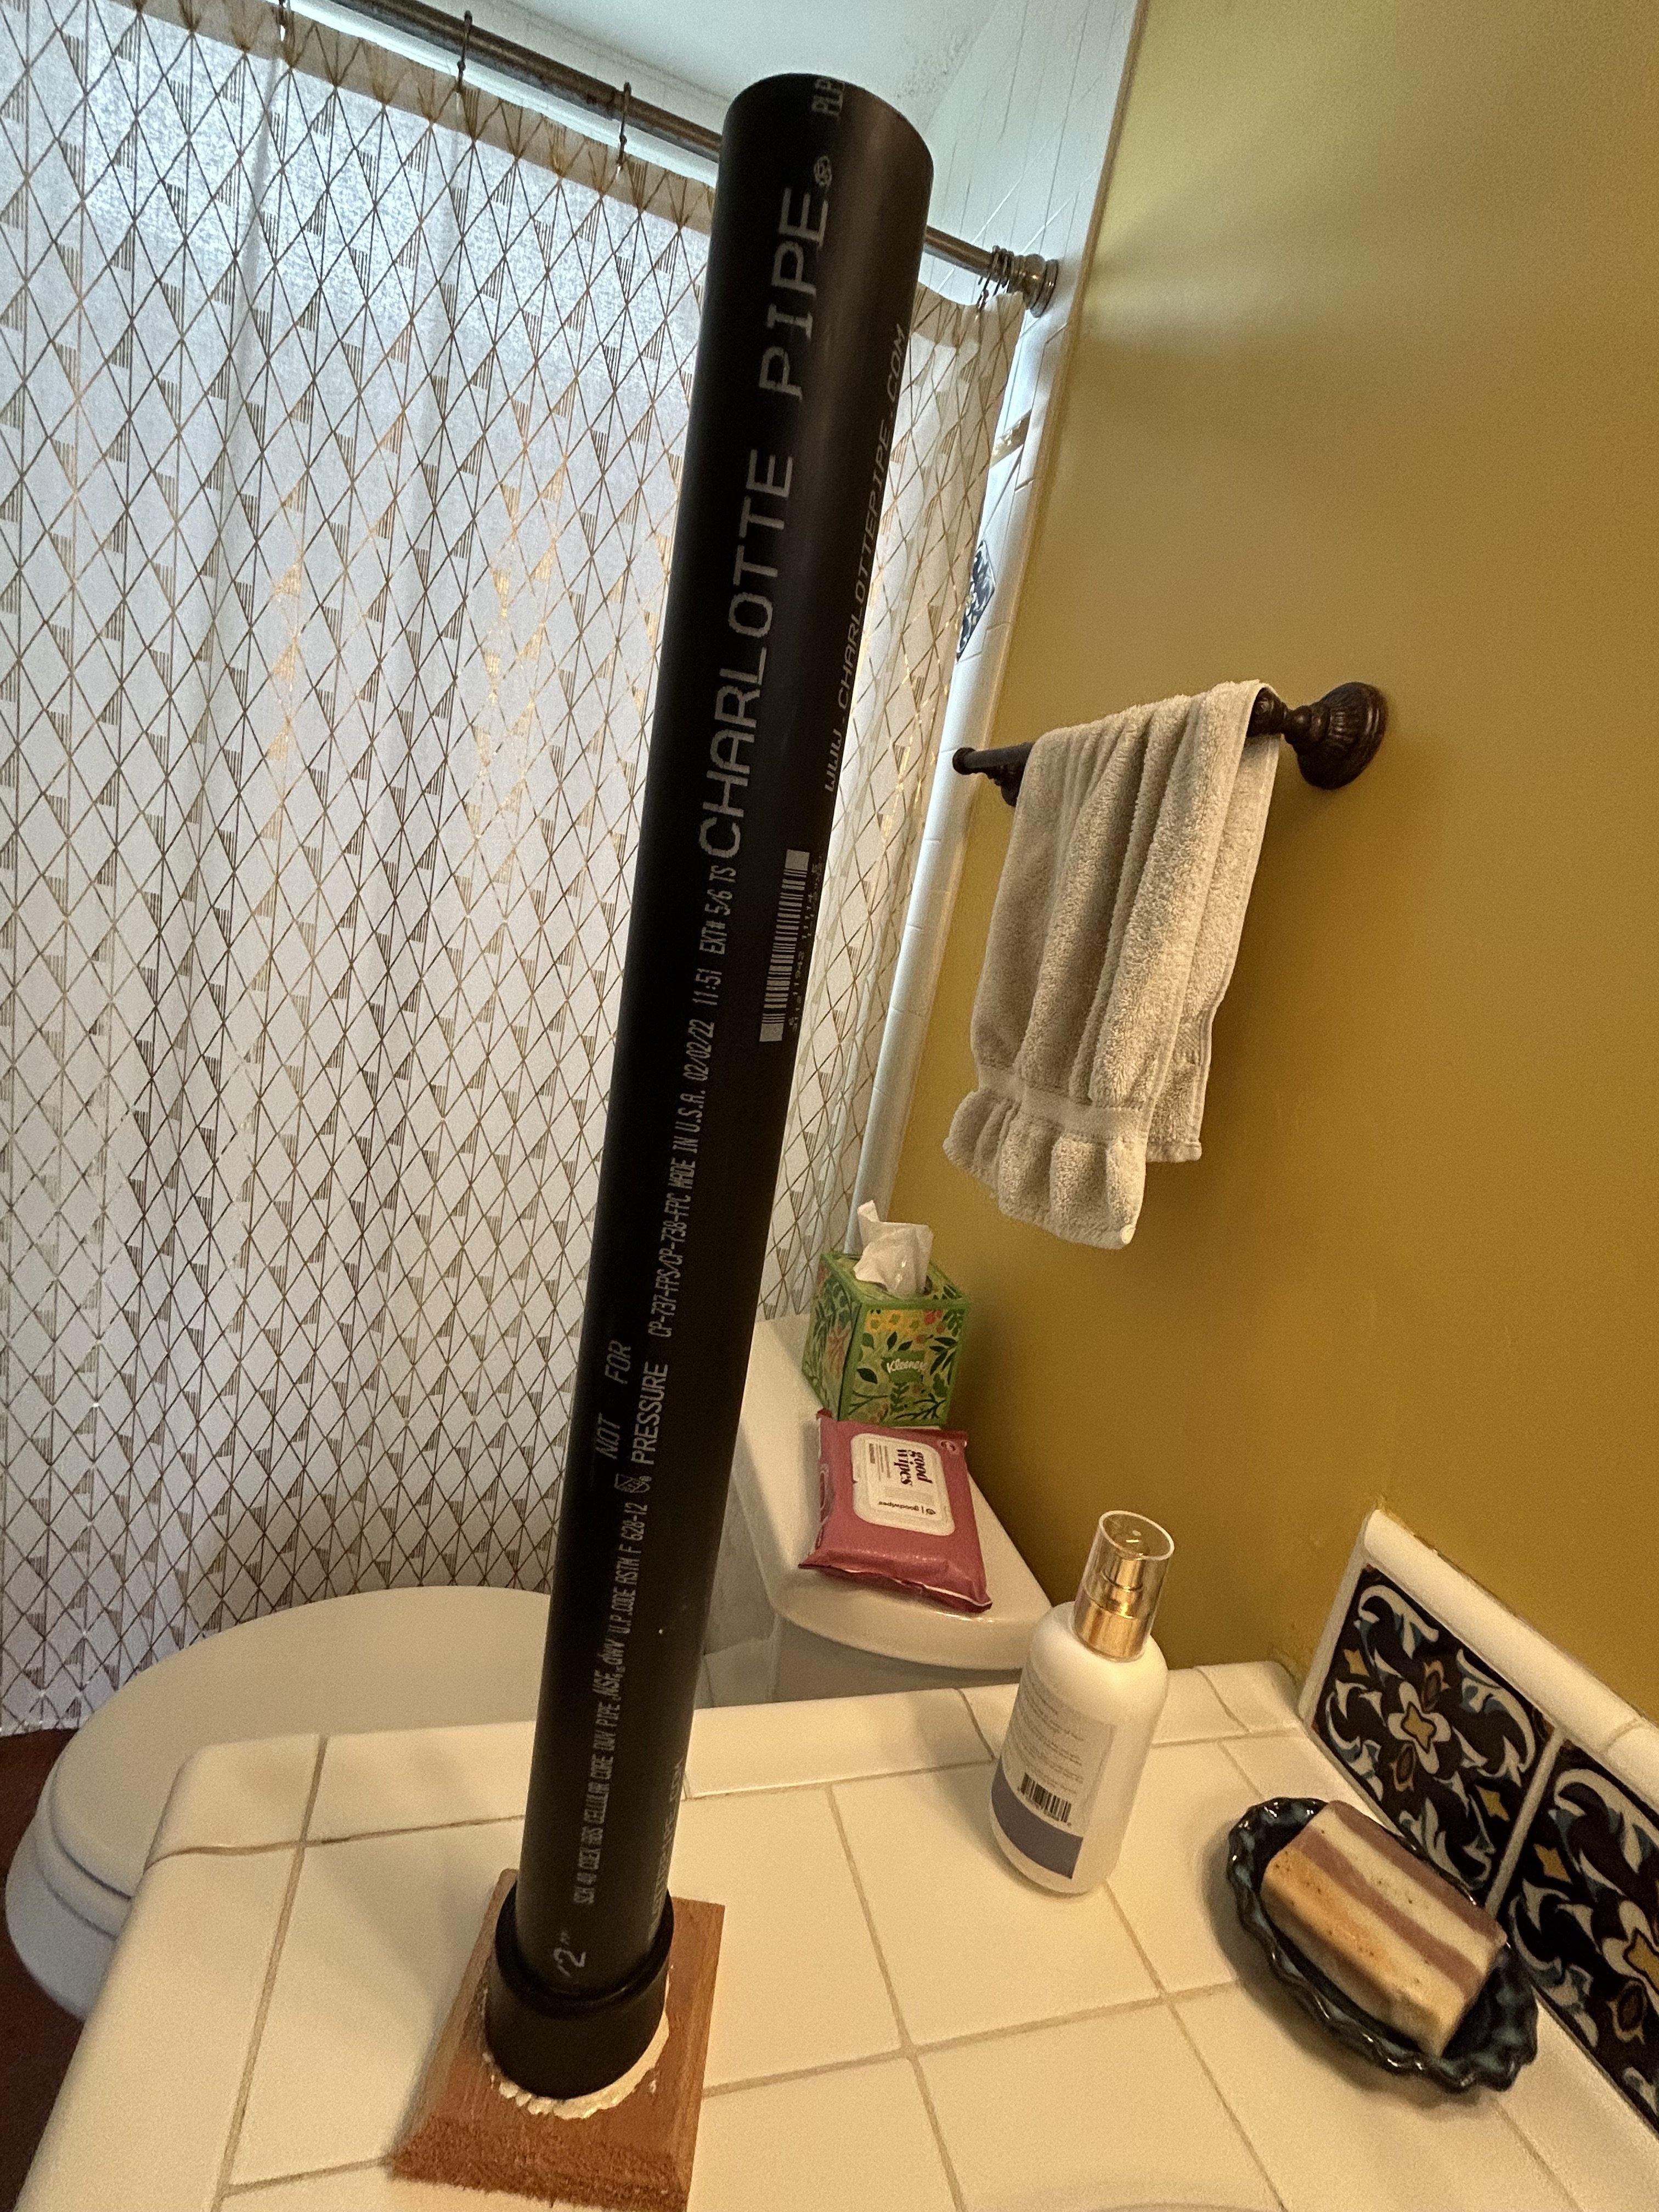
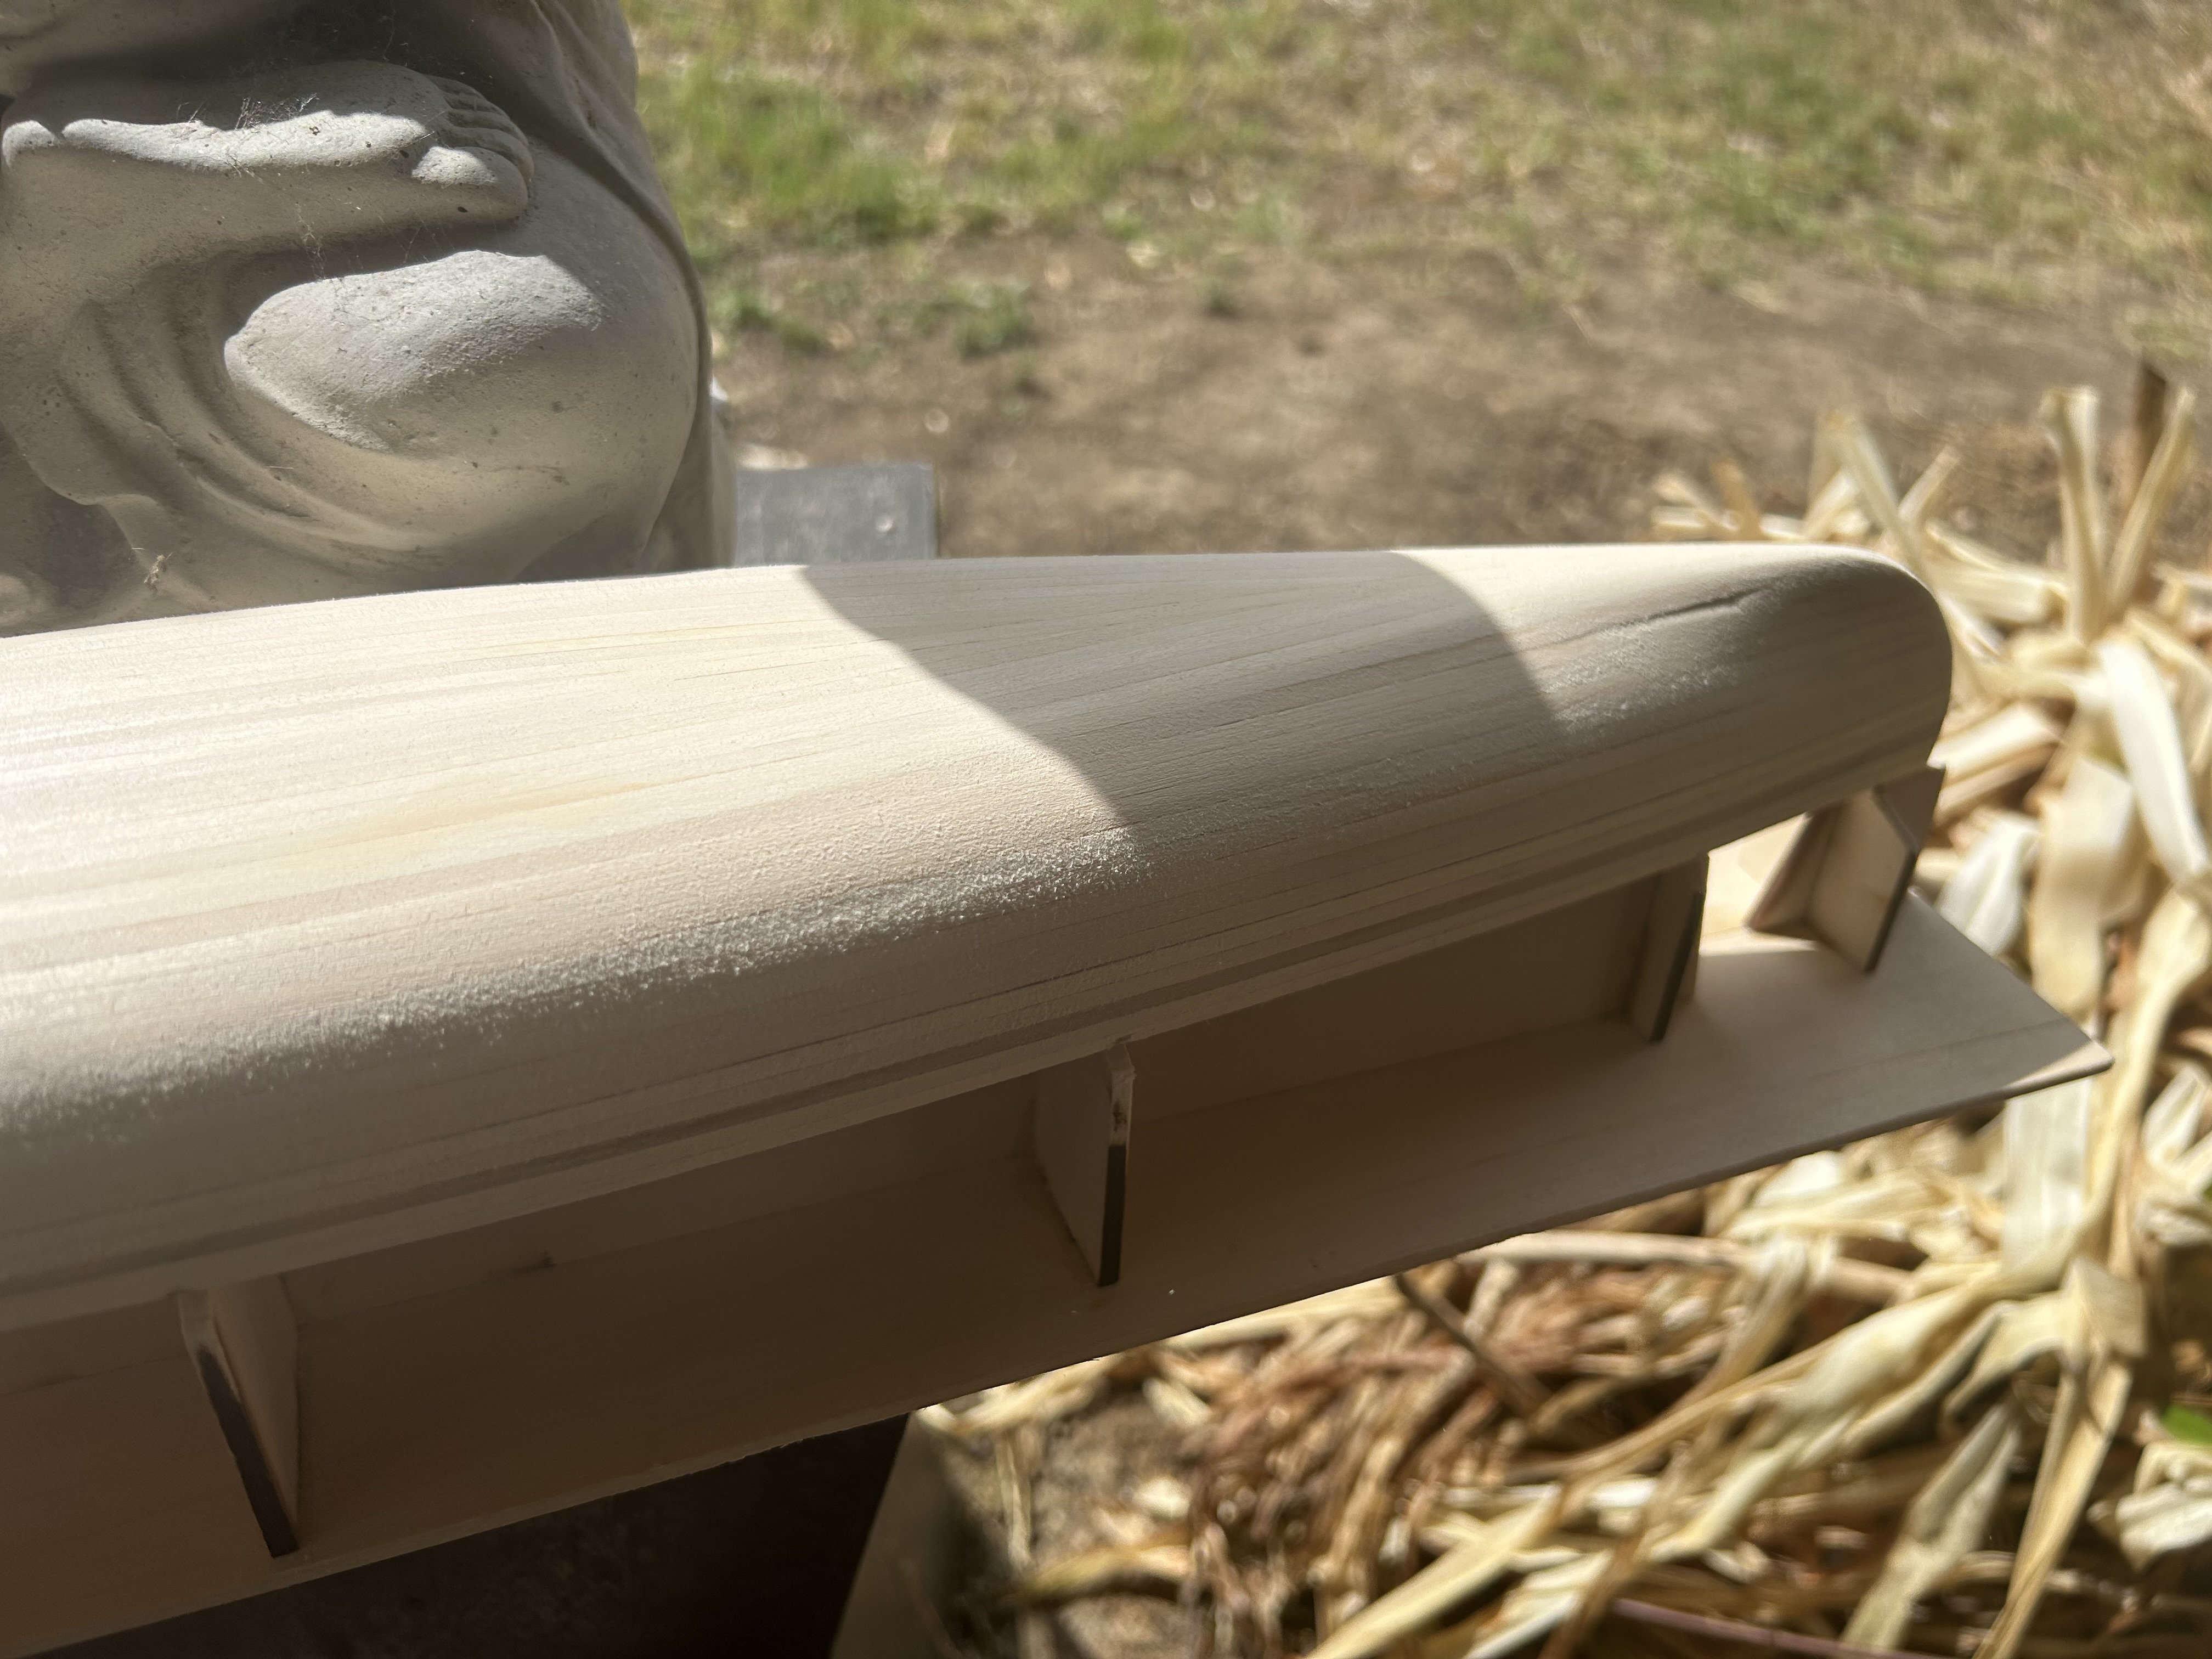
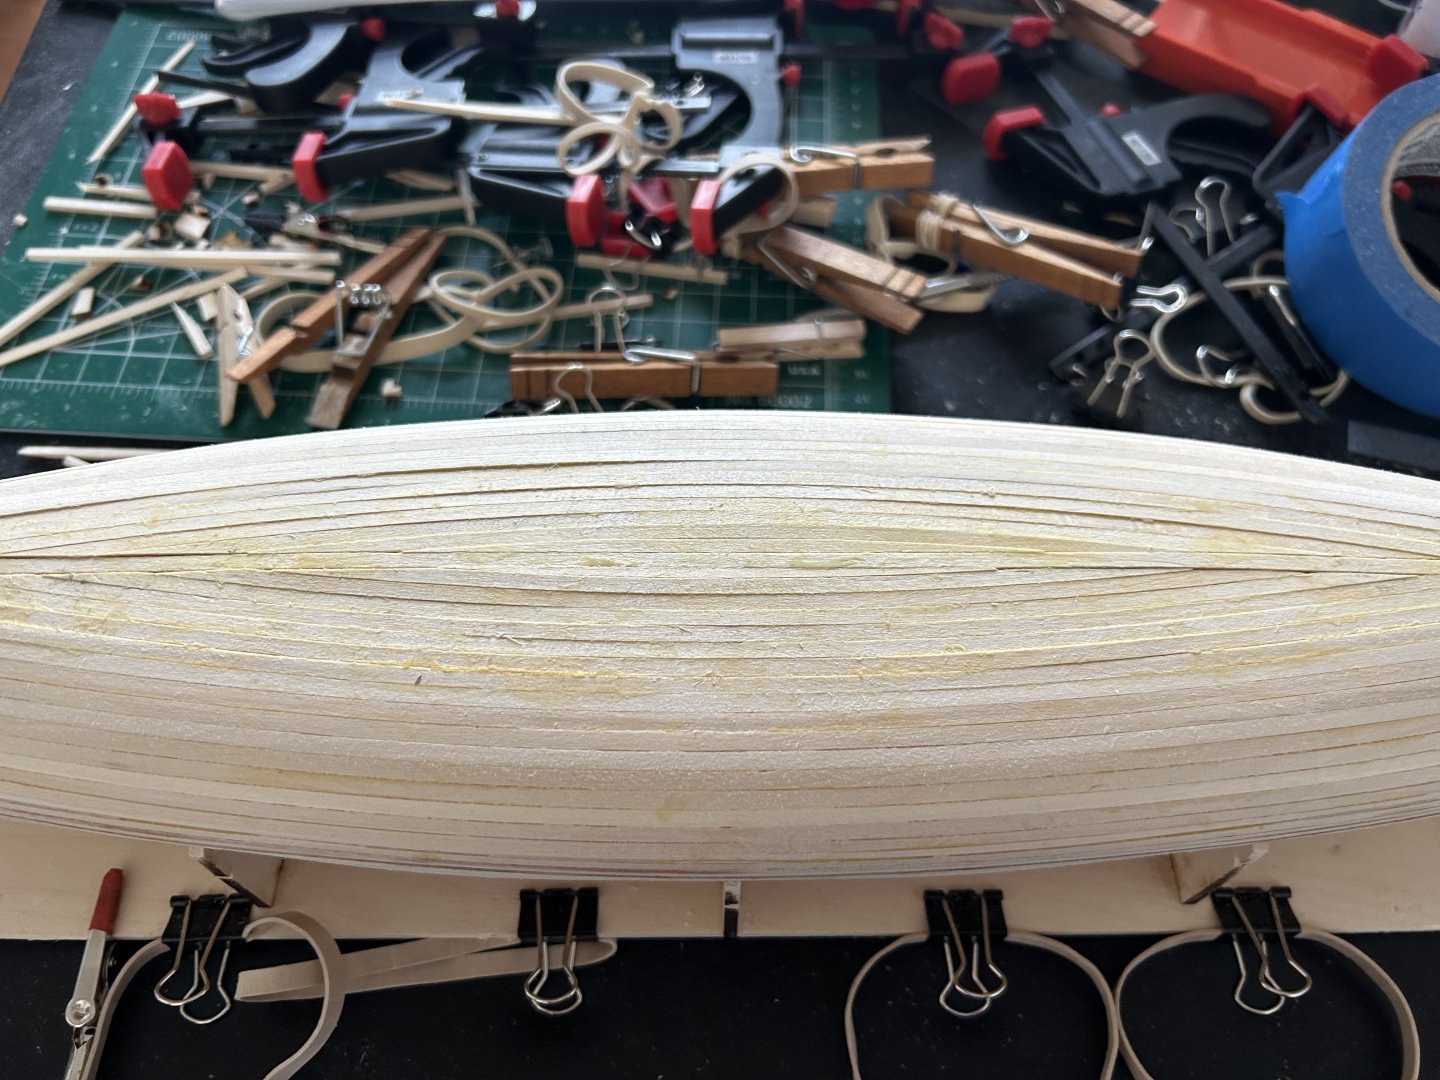
Plank soaking tube made from 2” ABS pipe 21” long (leftover scrap from a plumbing fix). Once planking was done it was sanding and more sanding. Out to the backyard for some specular illumination to really see the low/high spots.


-
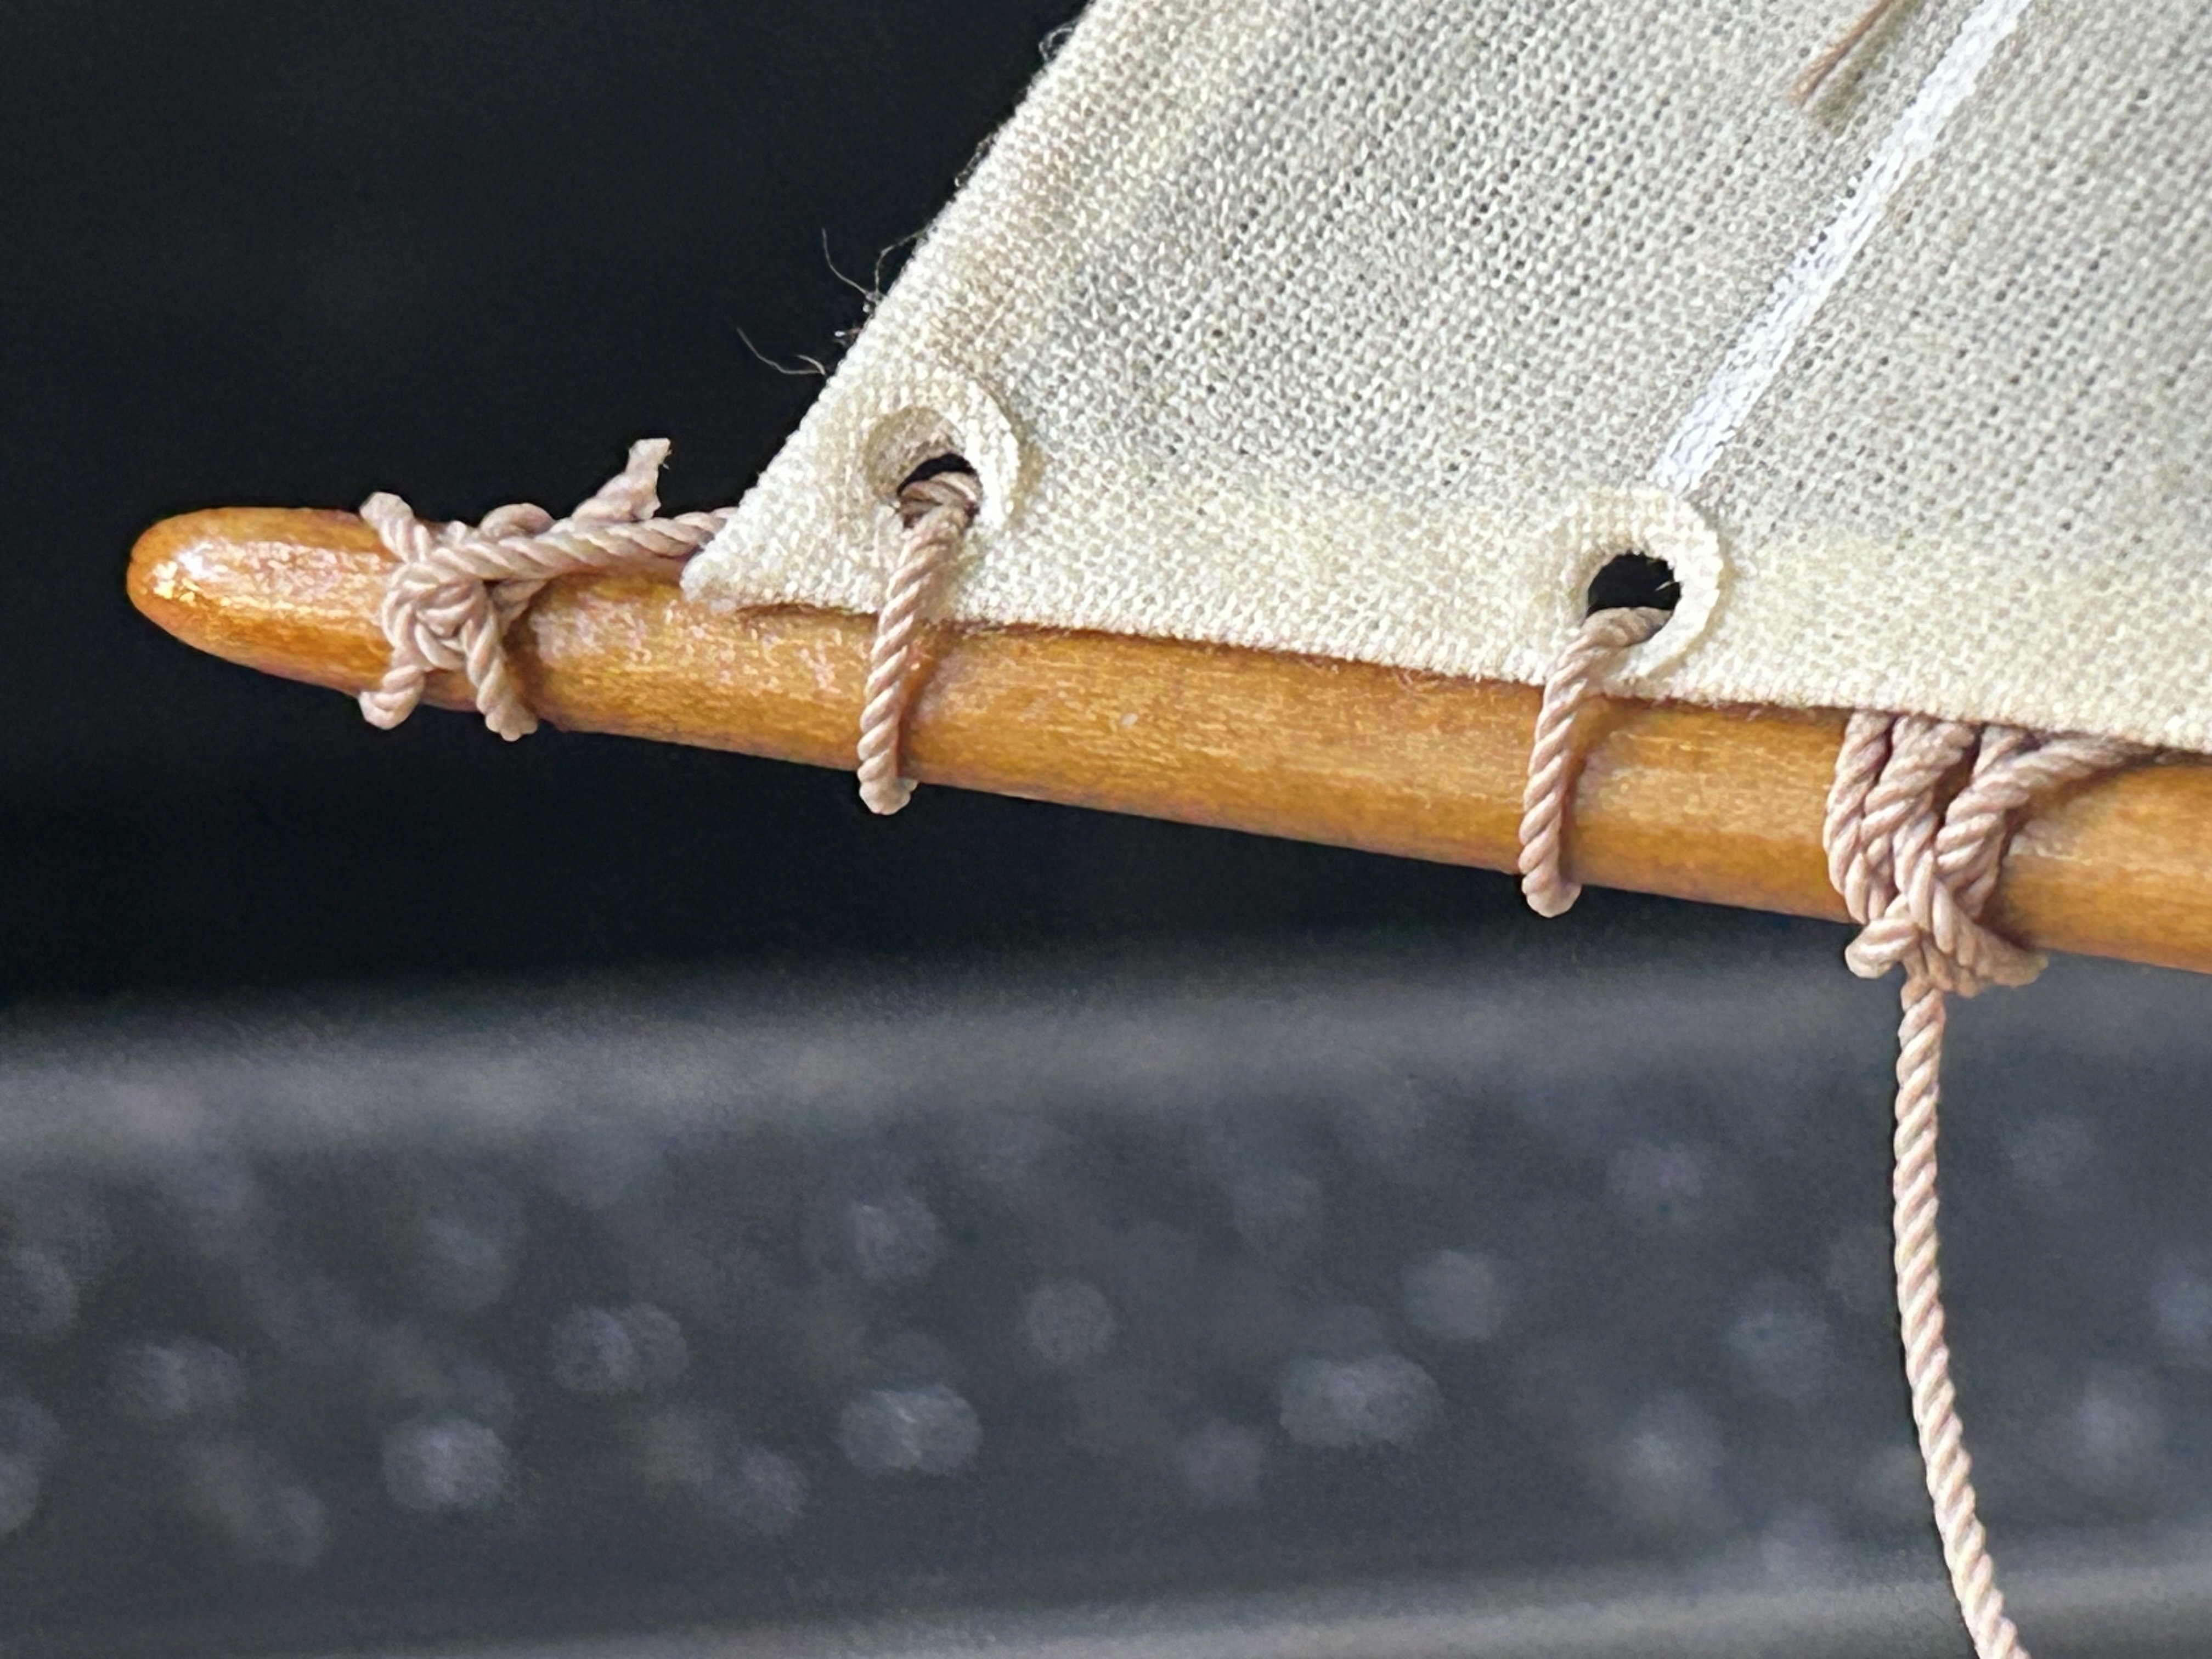
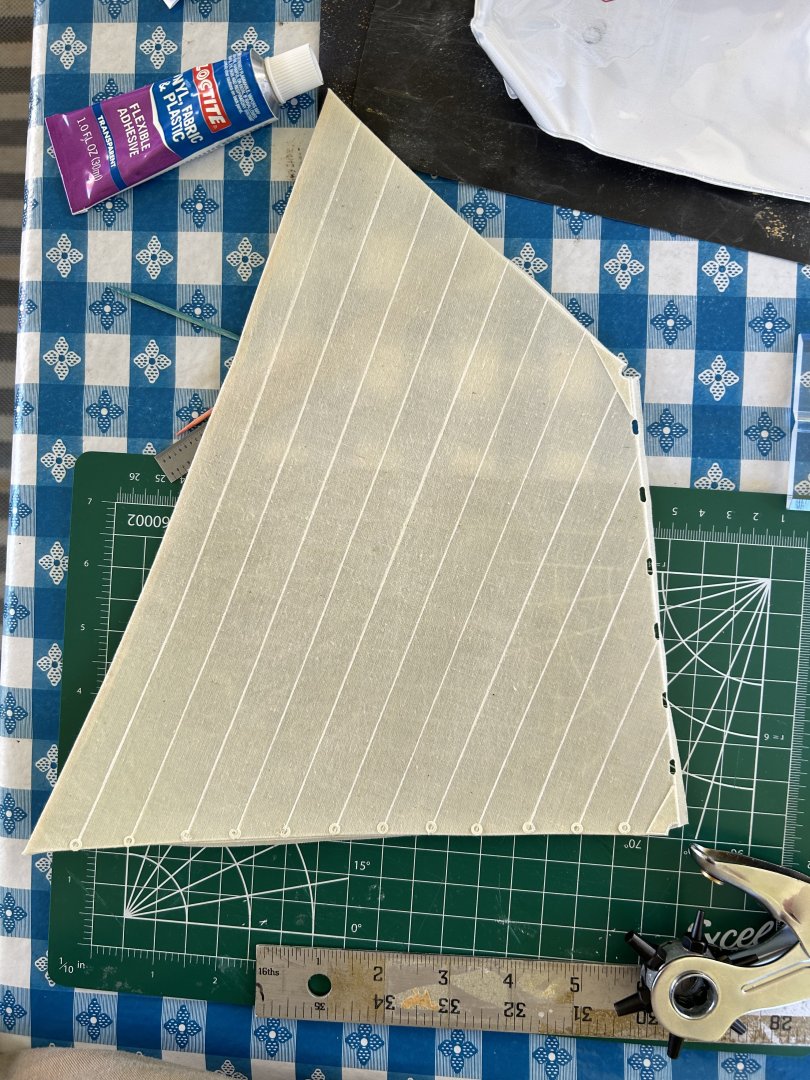
Yes, craft store cheapie leather punch came in handy there.
- 38 replies
-
- 1
-
-
- Chesapeake Bay Flattie
- Model Shipways
- (and 2 more)
-
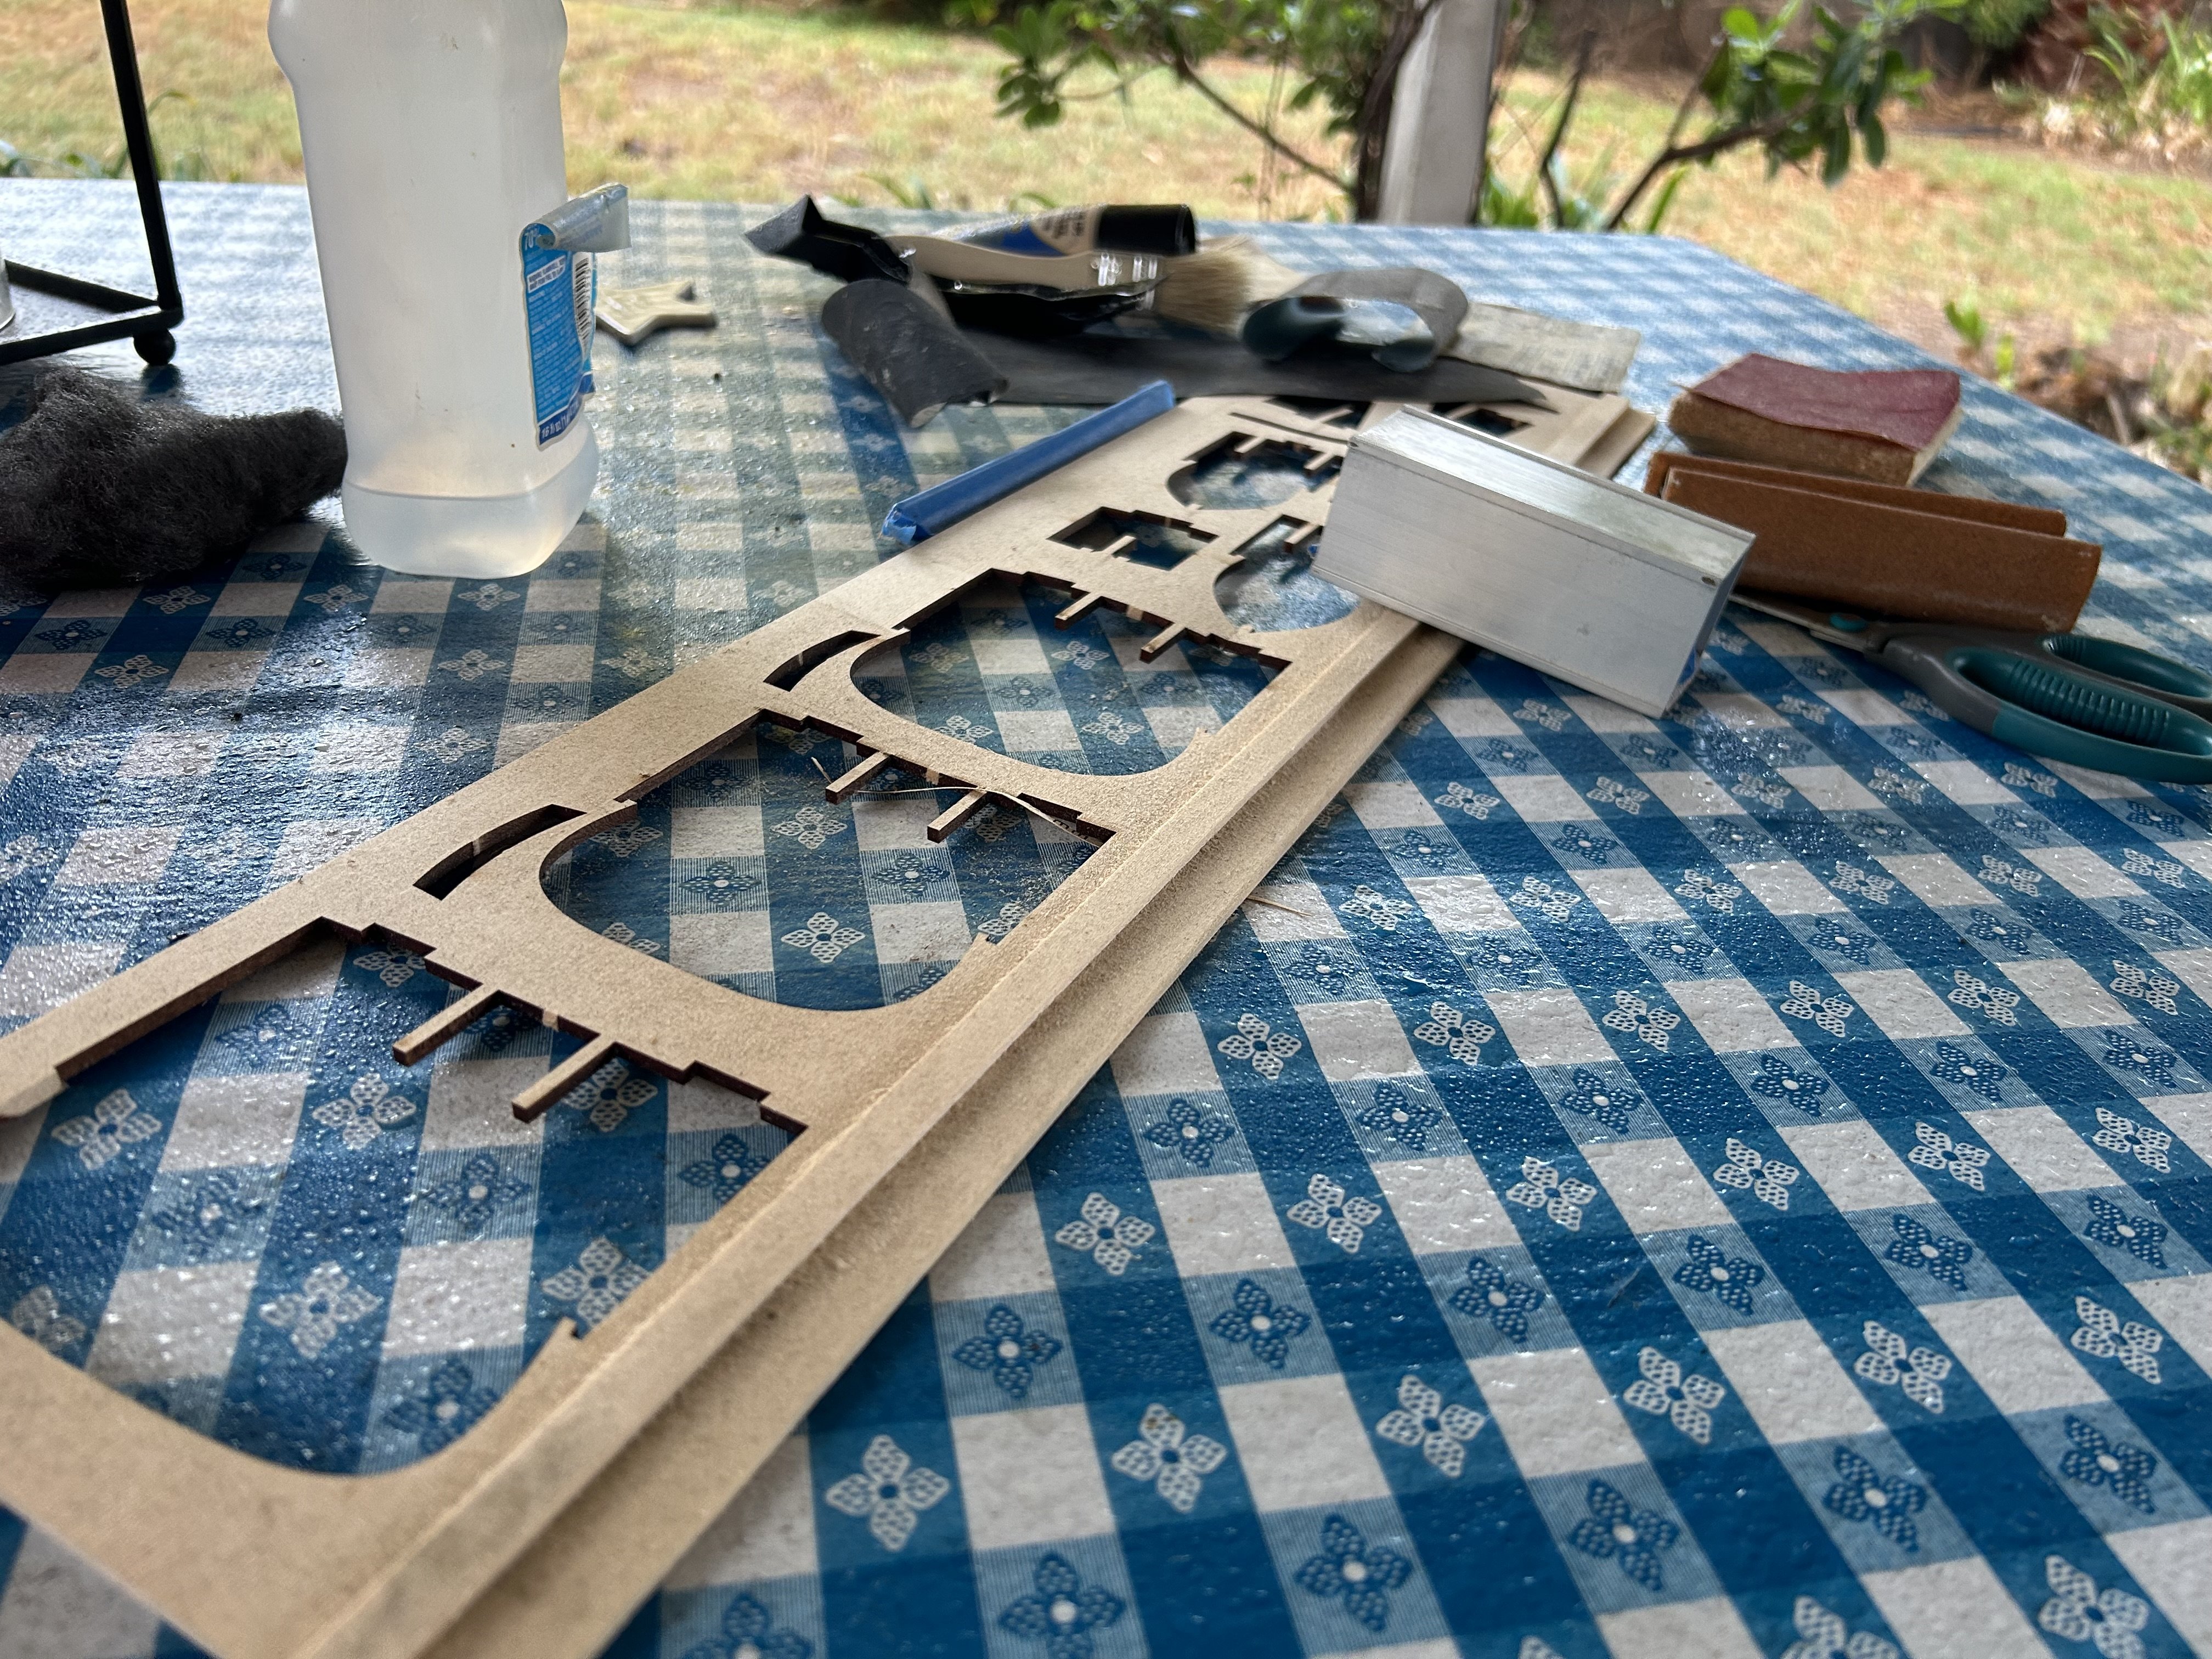
Simple jig for edge sanding bevel on strips.

-
Most of the strips needed a bevel along the mating edge (varying in angle between the center and the ends) and the last eight or ten had to be shaped to a point. Reading others’ build logs about the “Peterboro” (predecessor Midwest kit to this one) showed me how to manage it.
-
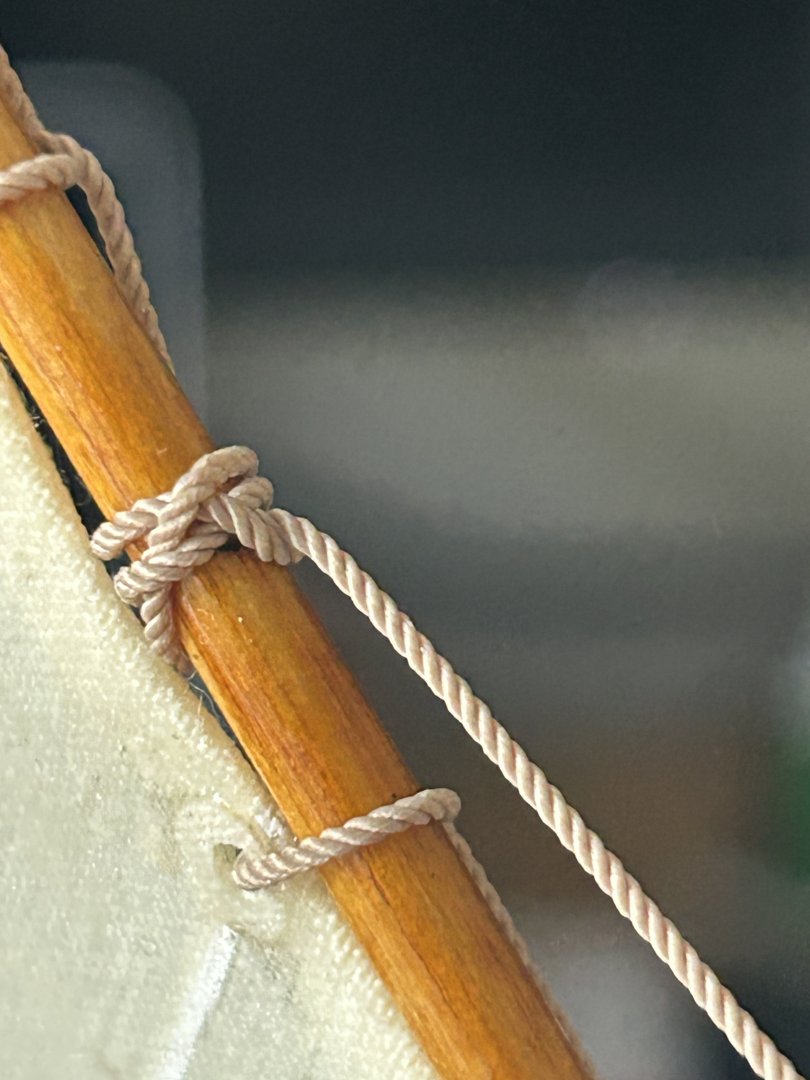
I’m a sailor and kind of a knot nerd, so I used buntline hitches on the halyard belays and boom or snuggle hitches on the gaff (for uphaul) and boom (for the mainsheet attachment). The mess at the clew of the main I just made up and it looked right to me.


- 38 replies
-
- 10
-

-
-
- Chesapeake Bay Flattie
- Model Shipways
- (and 2 more)
-
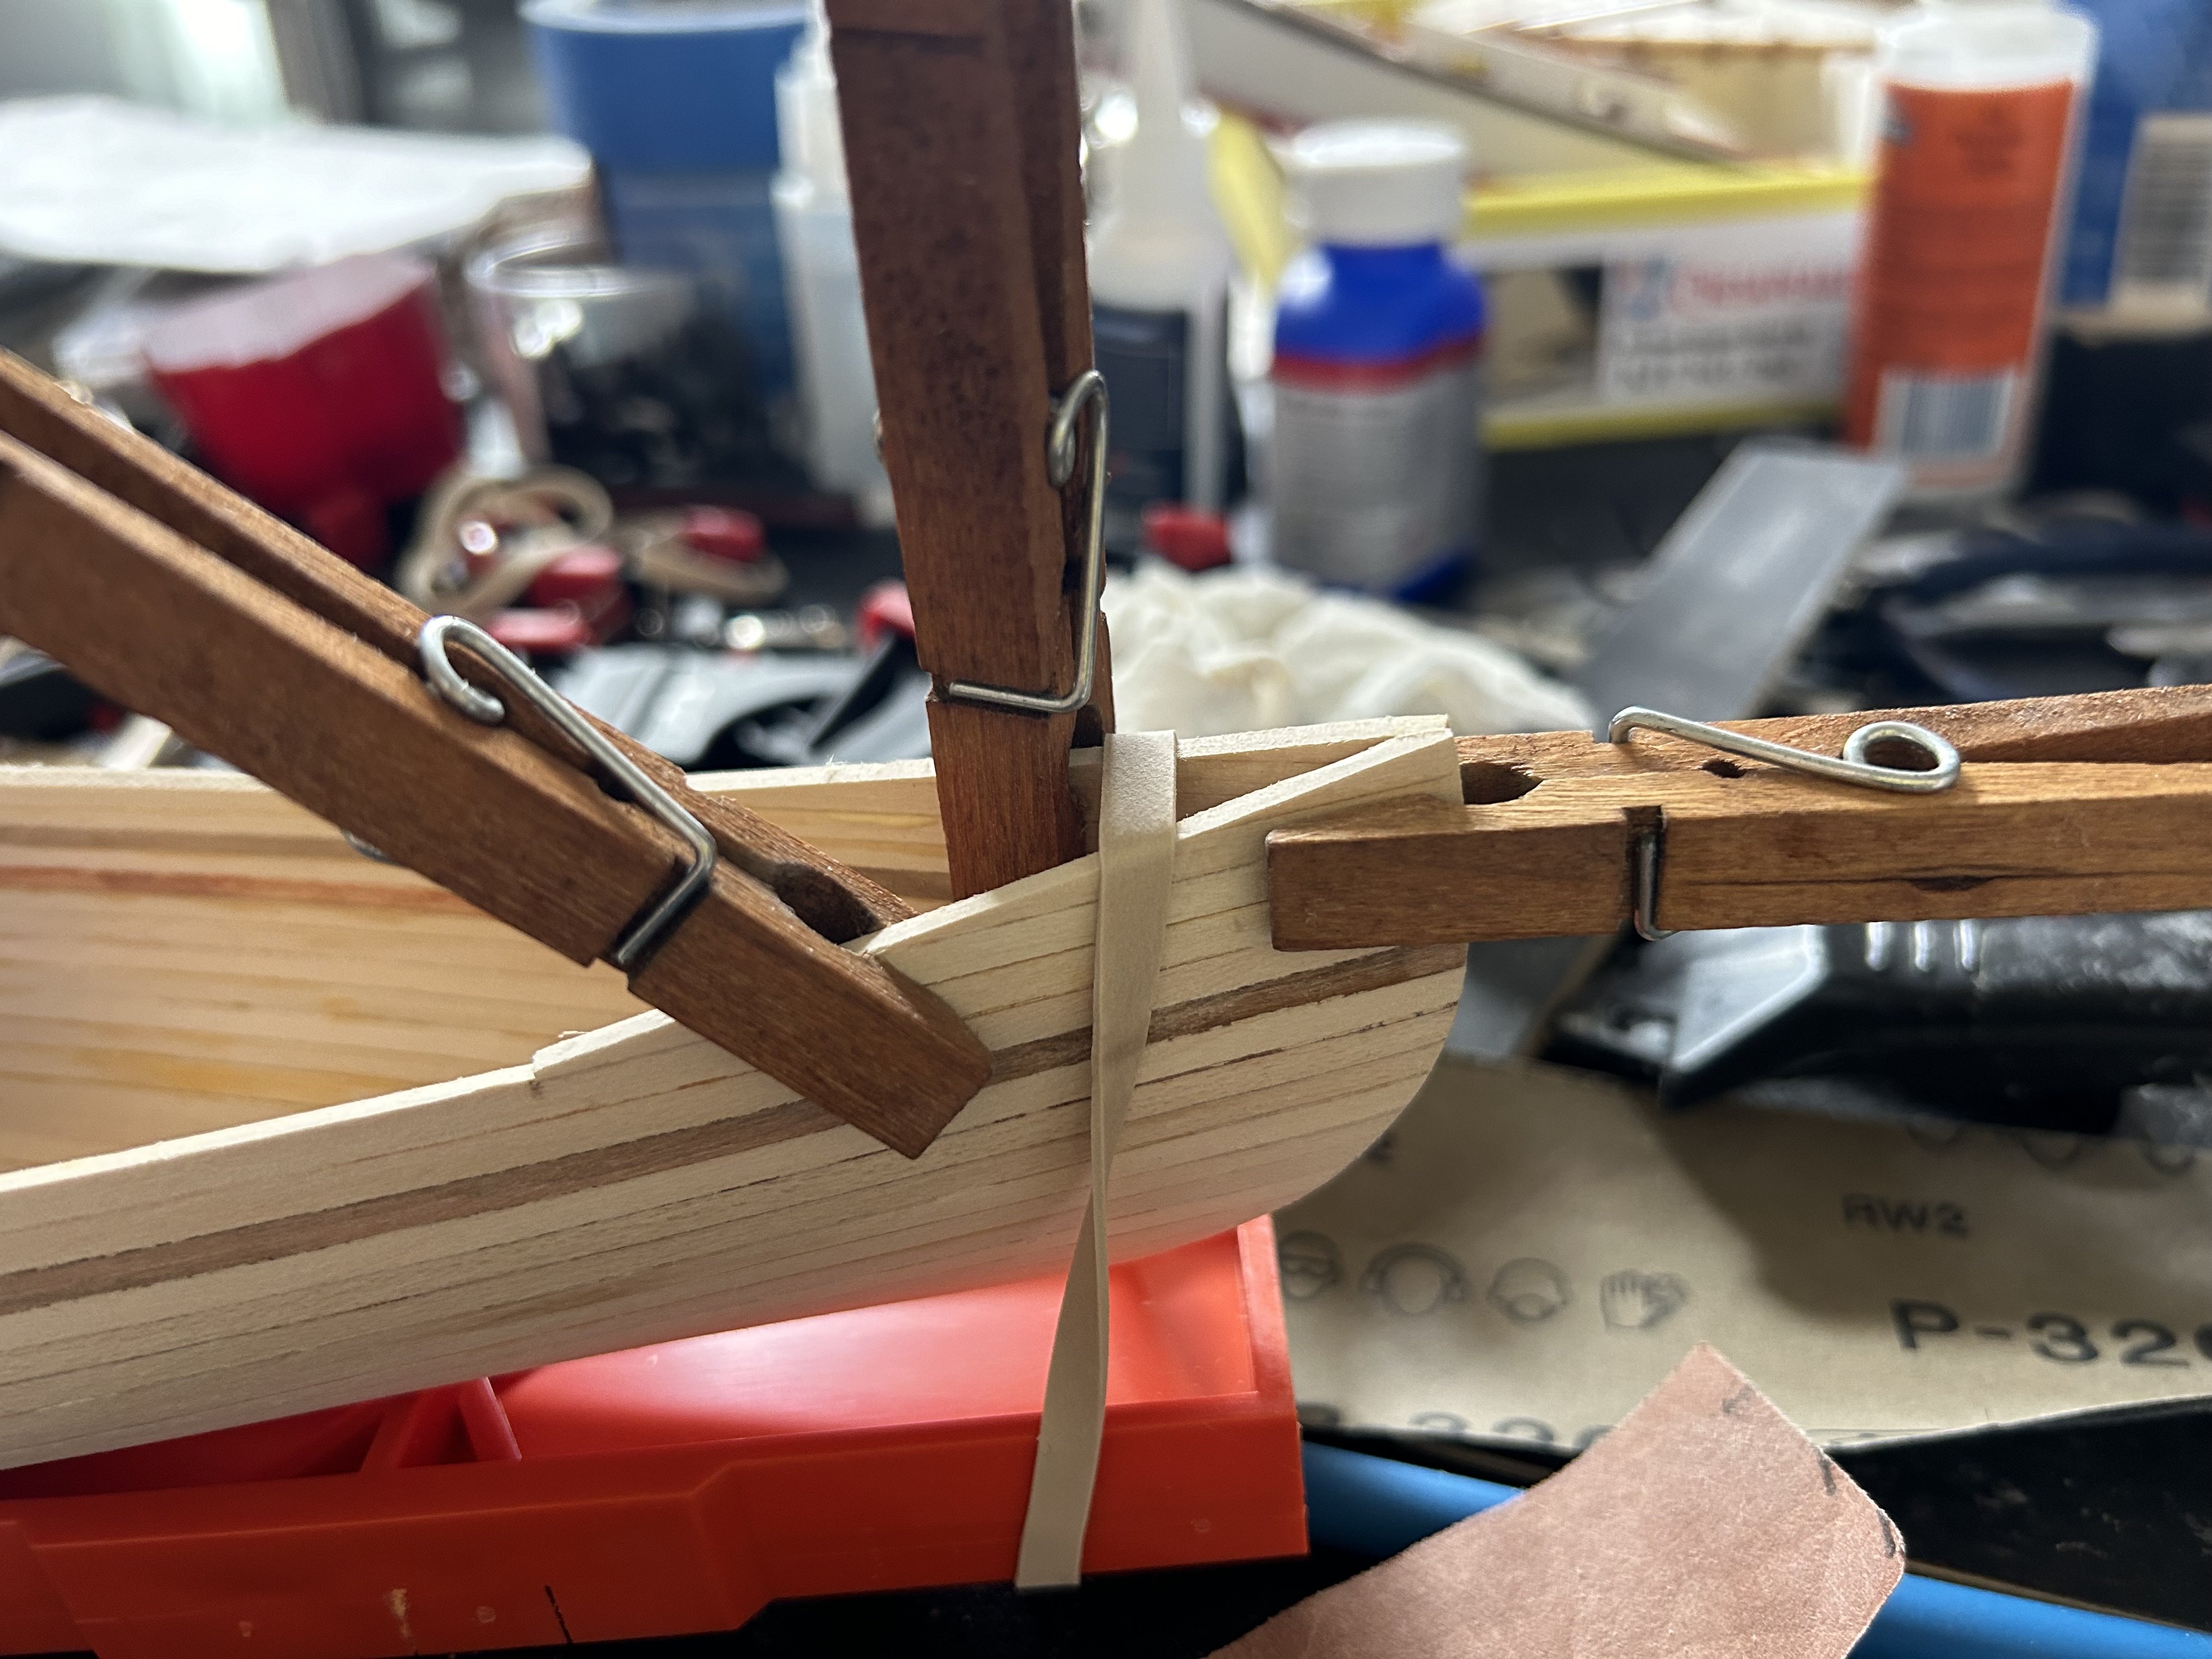
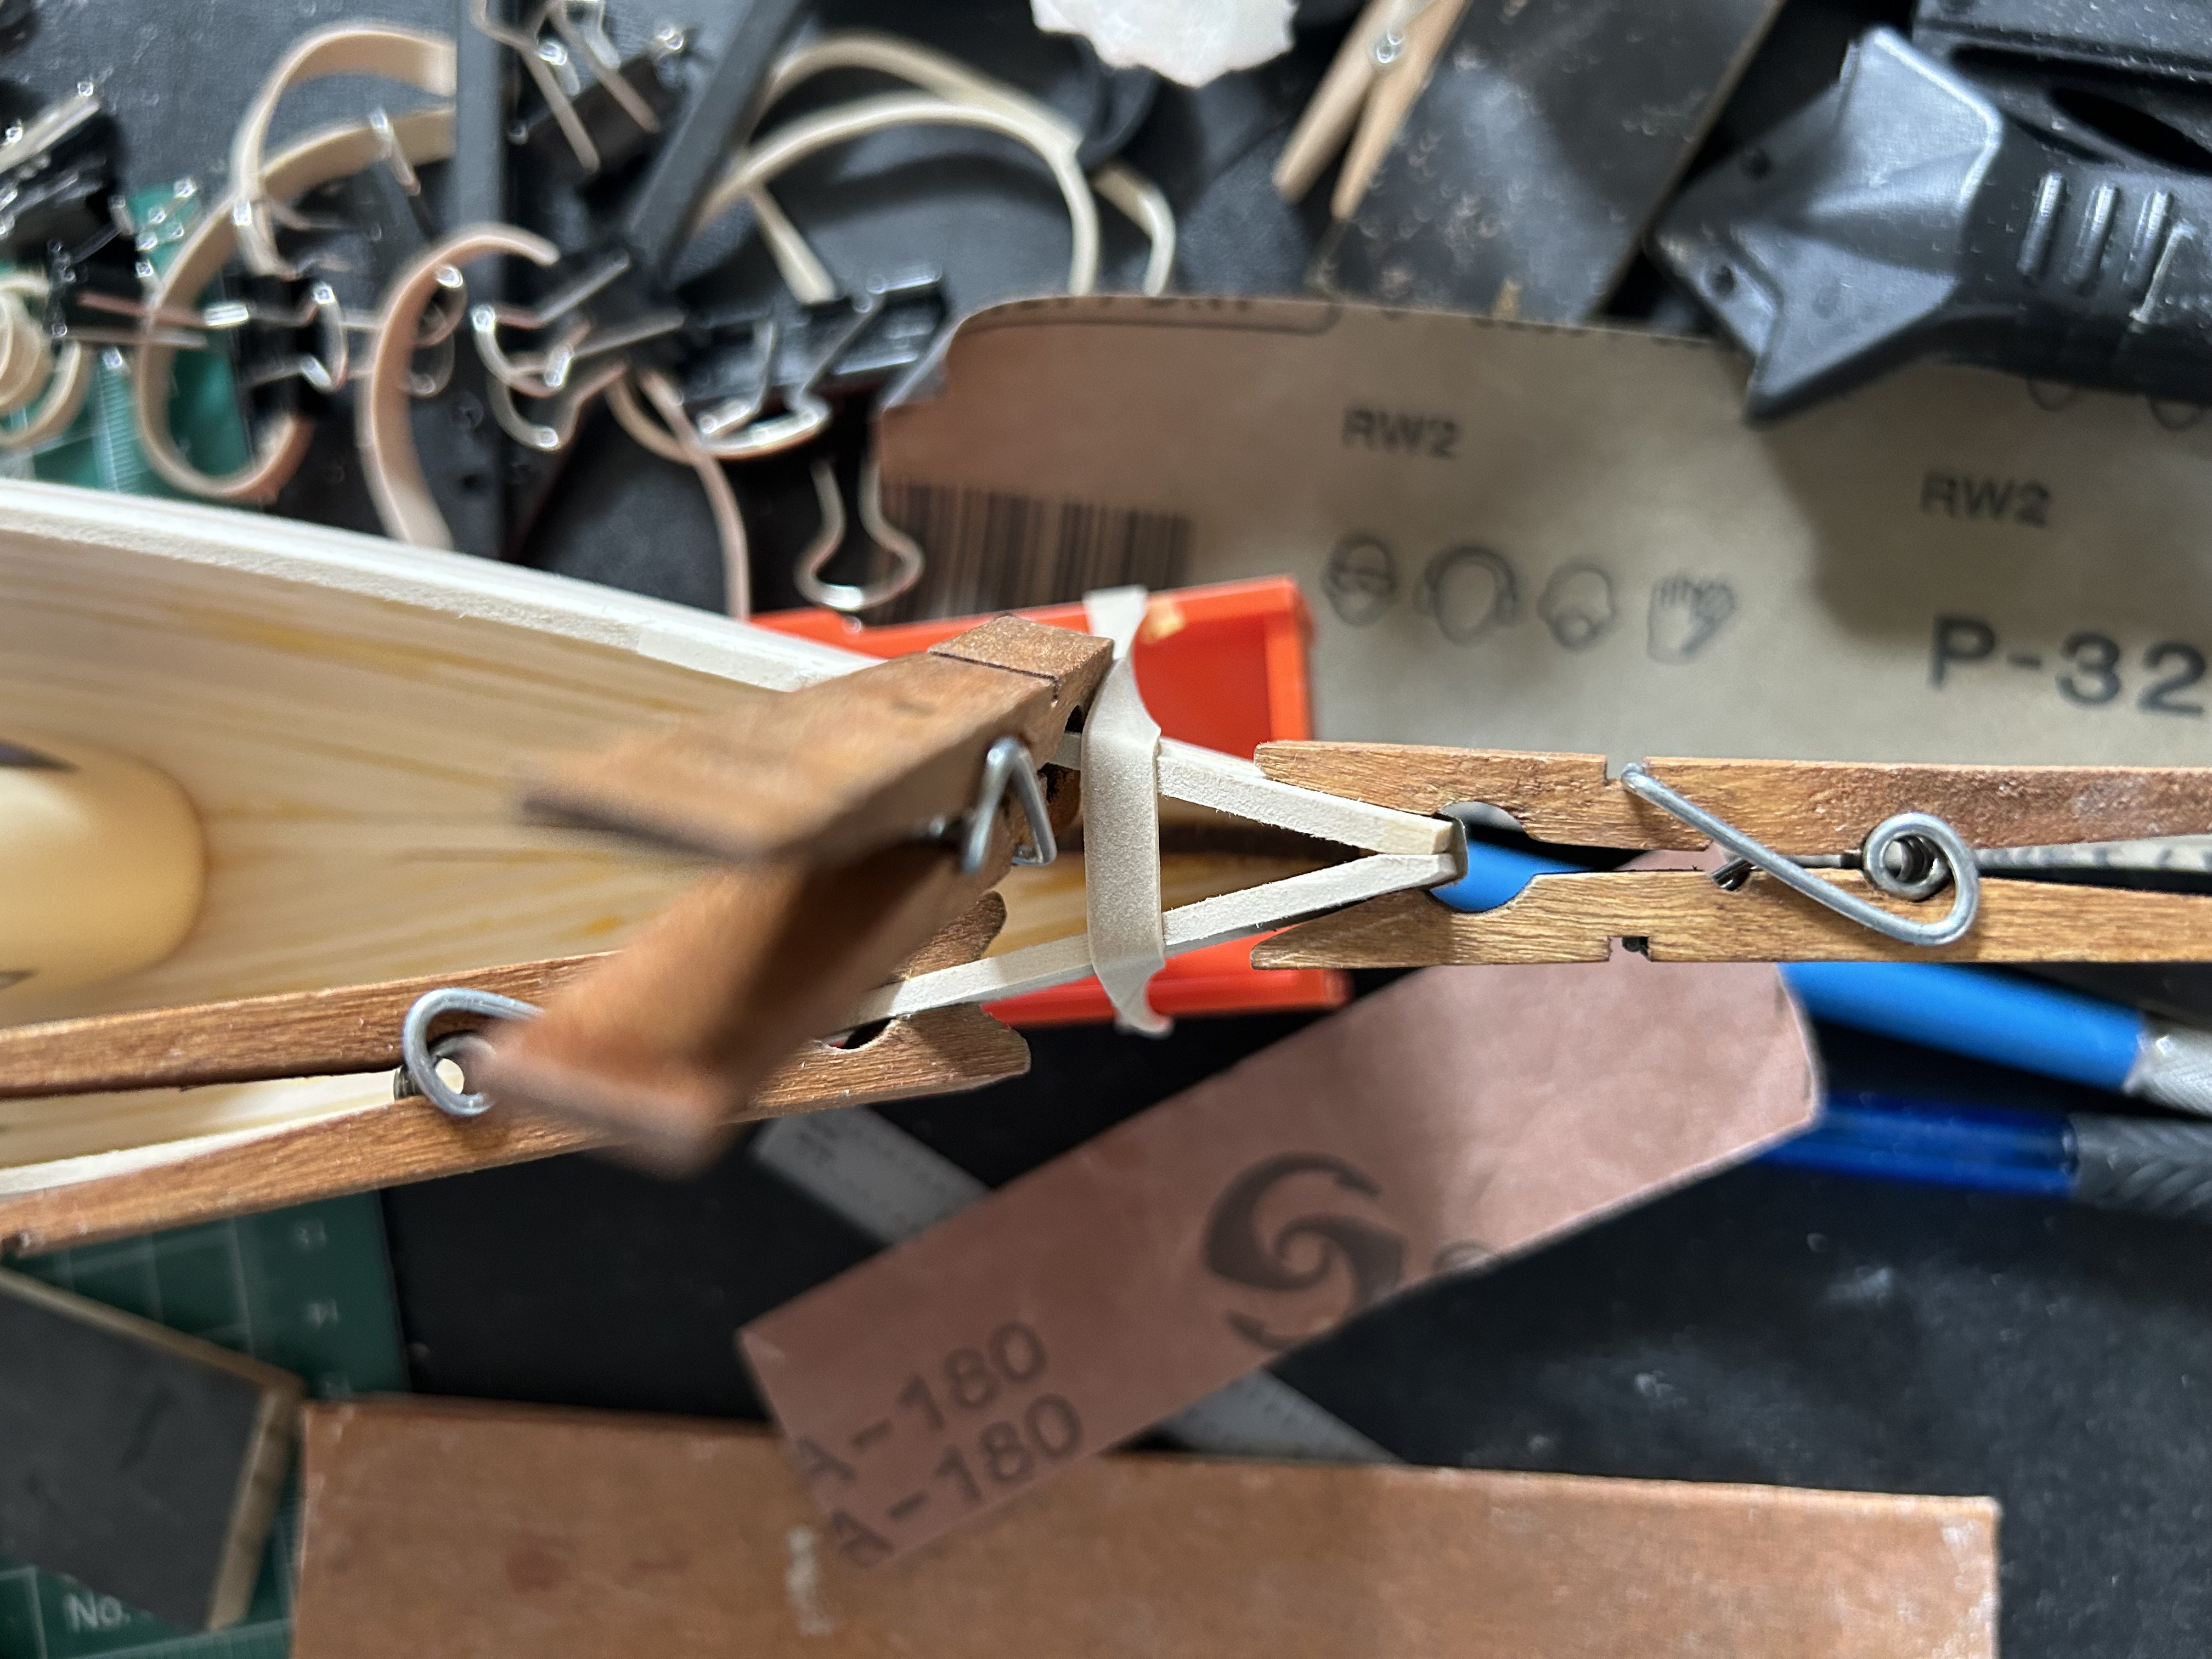
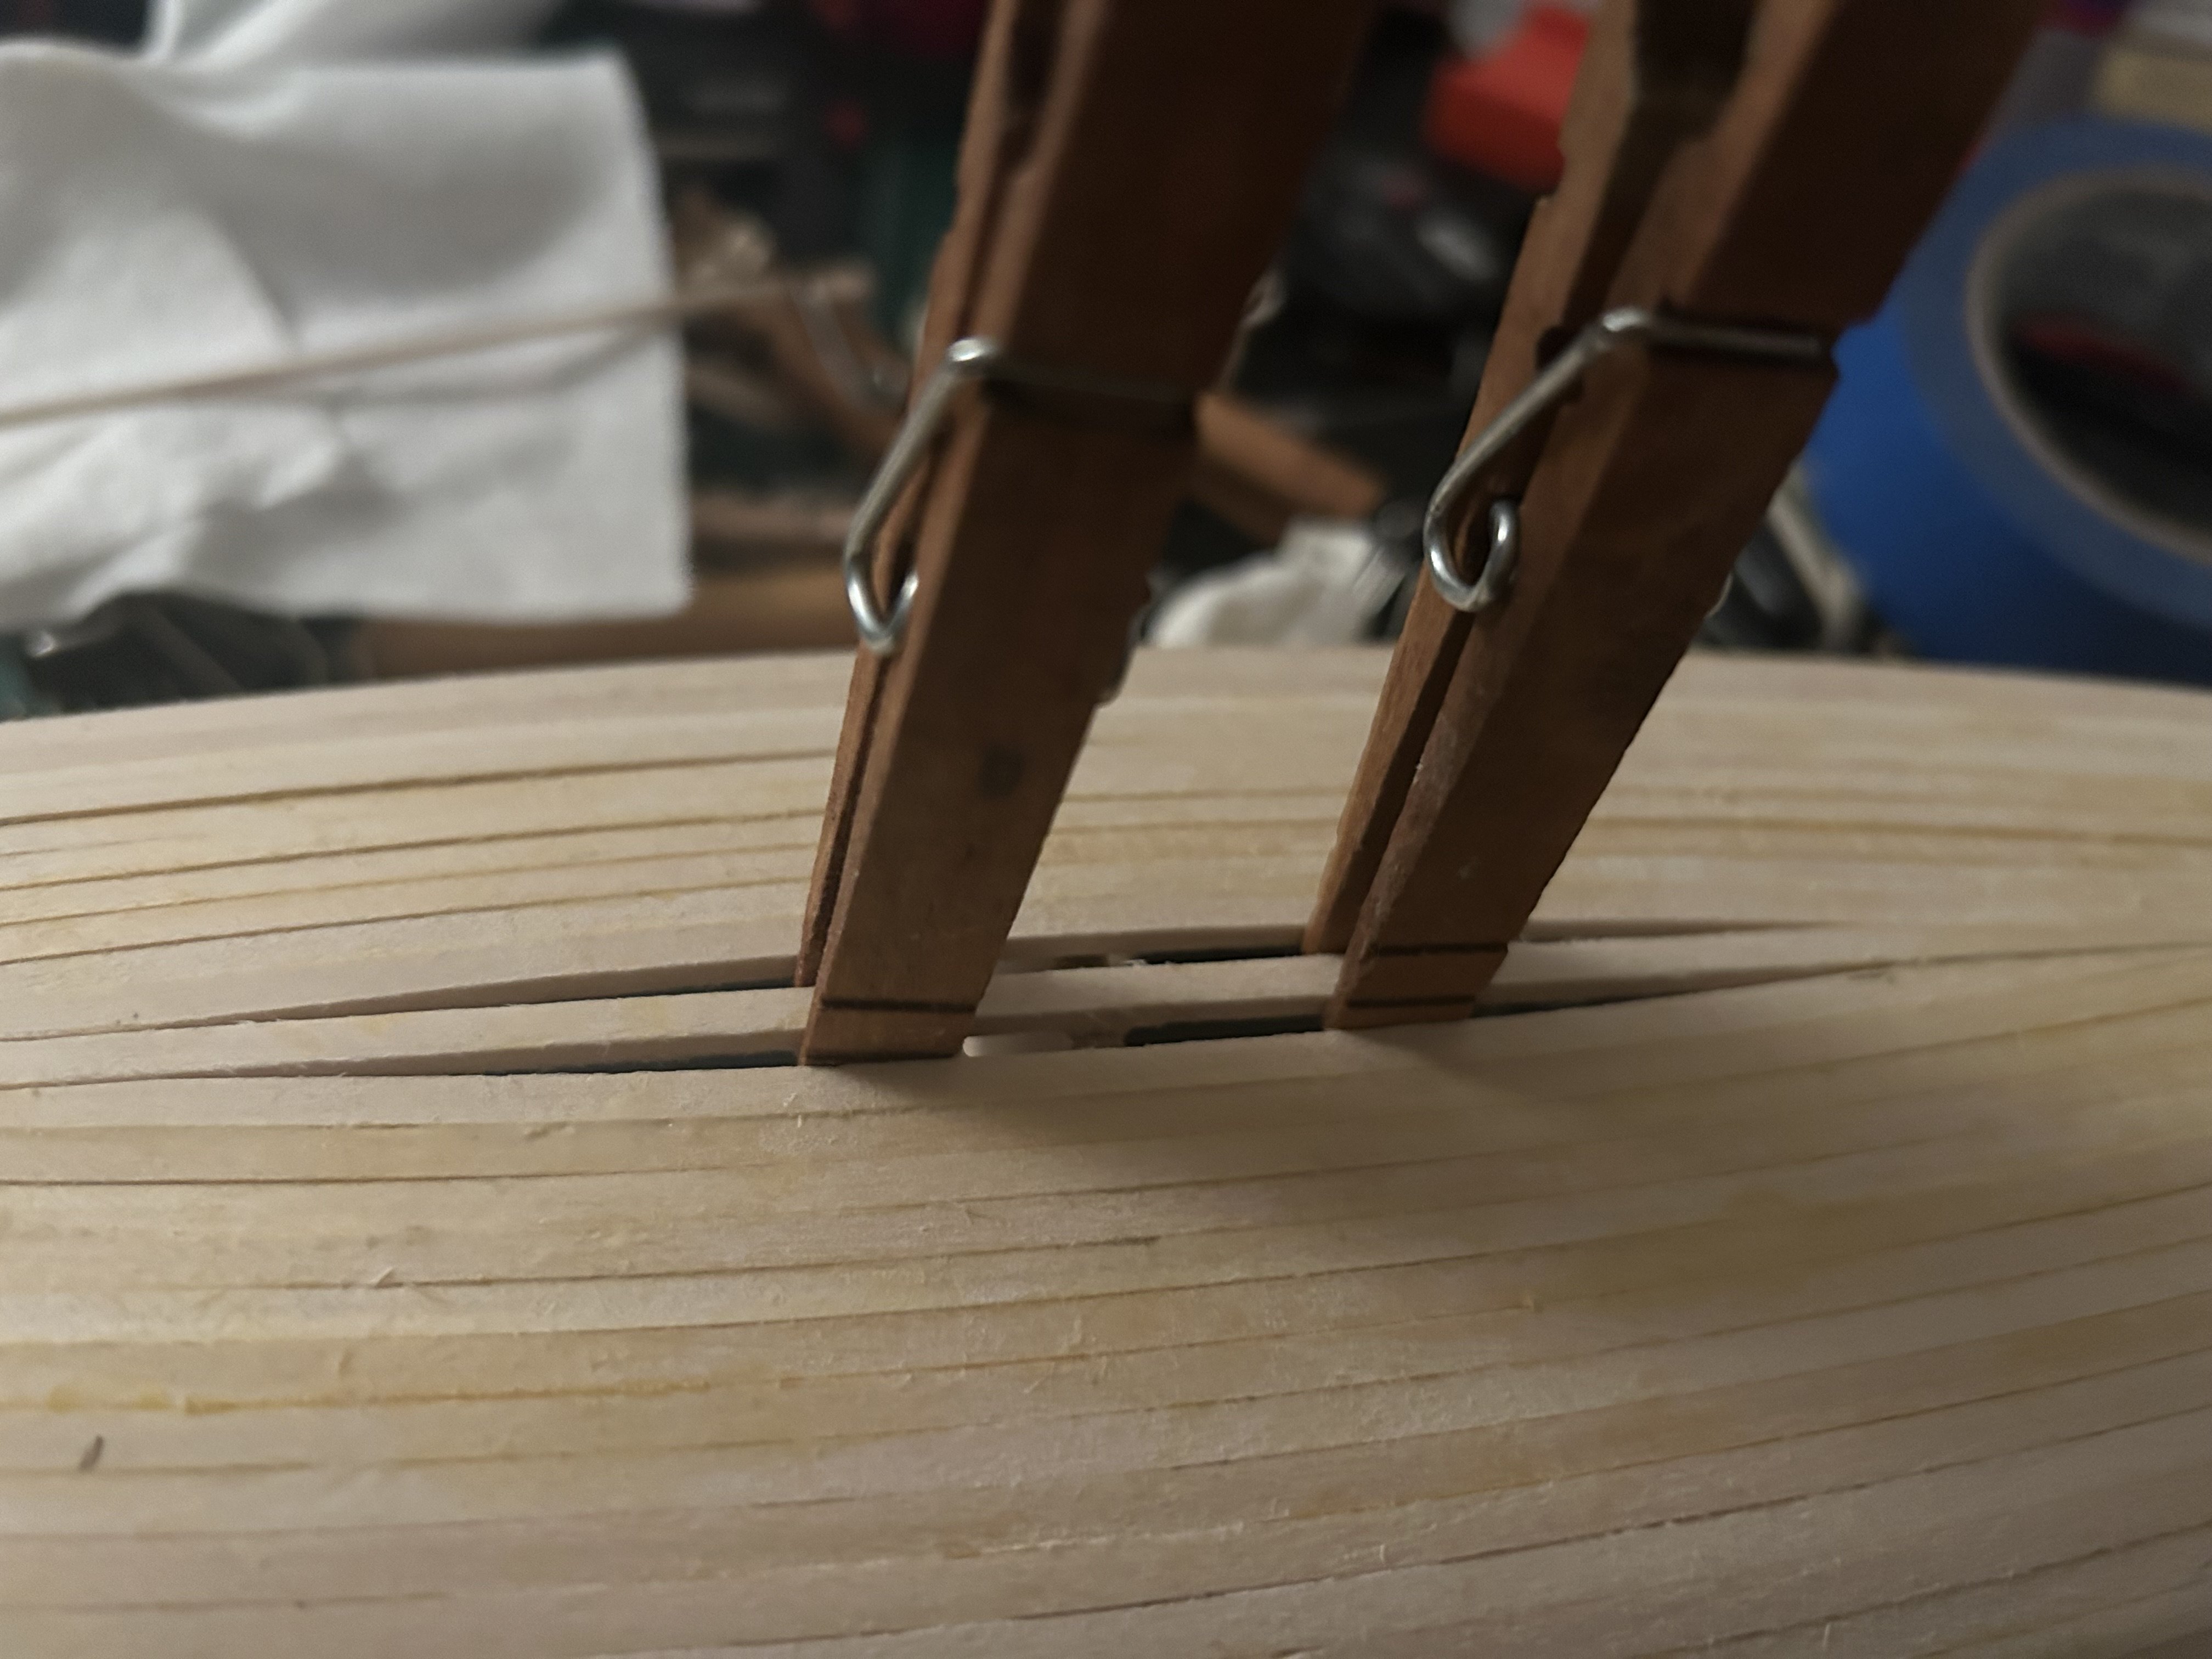
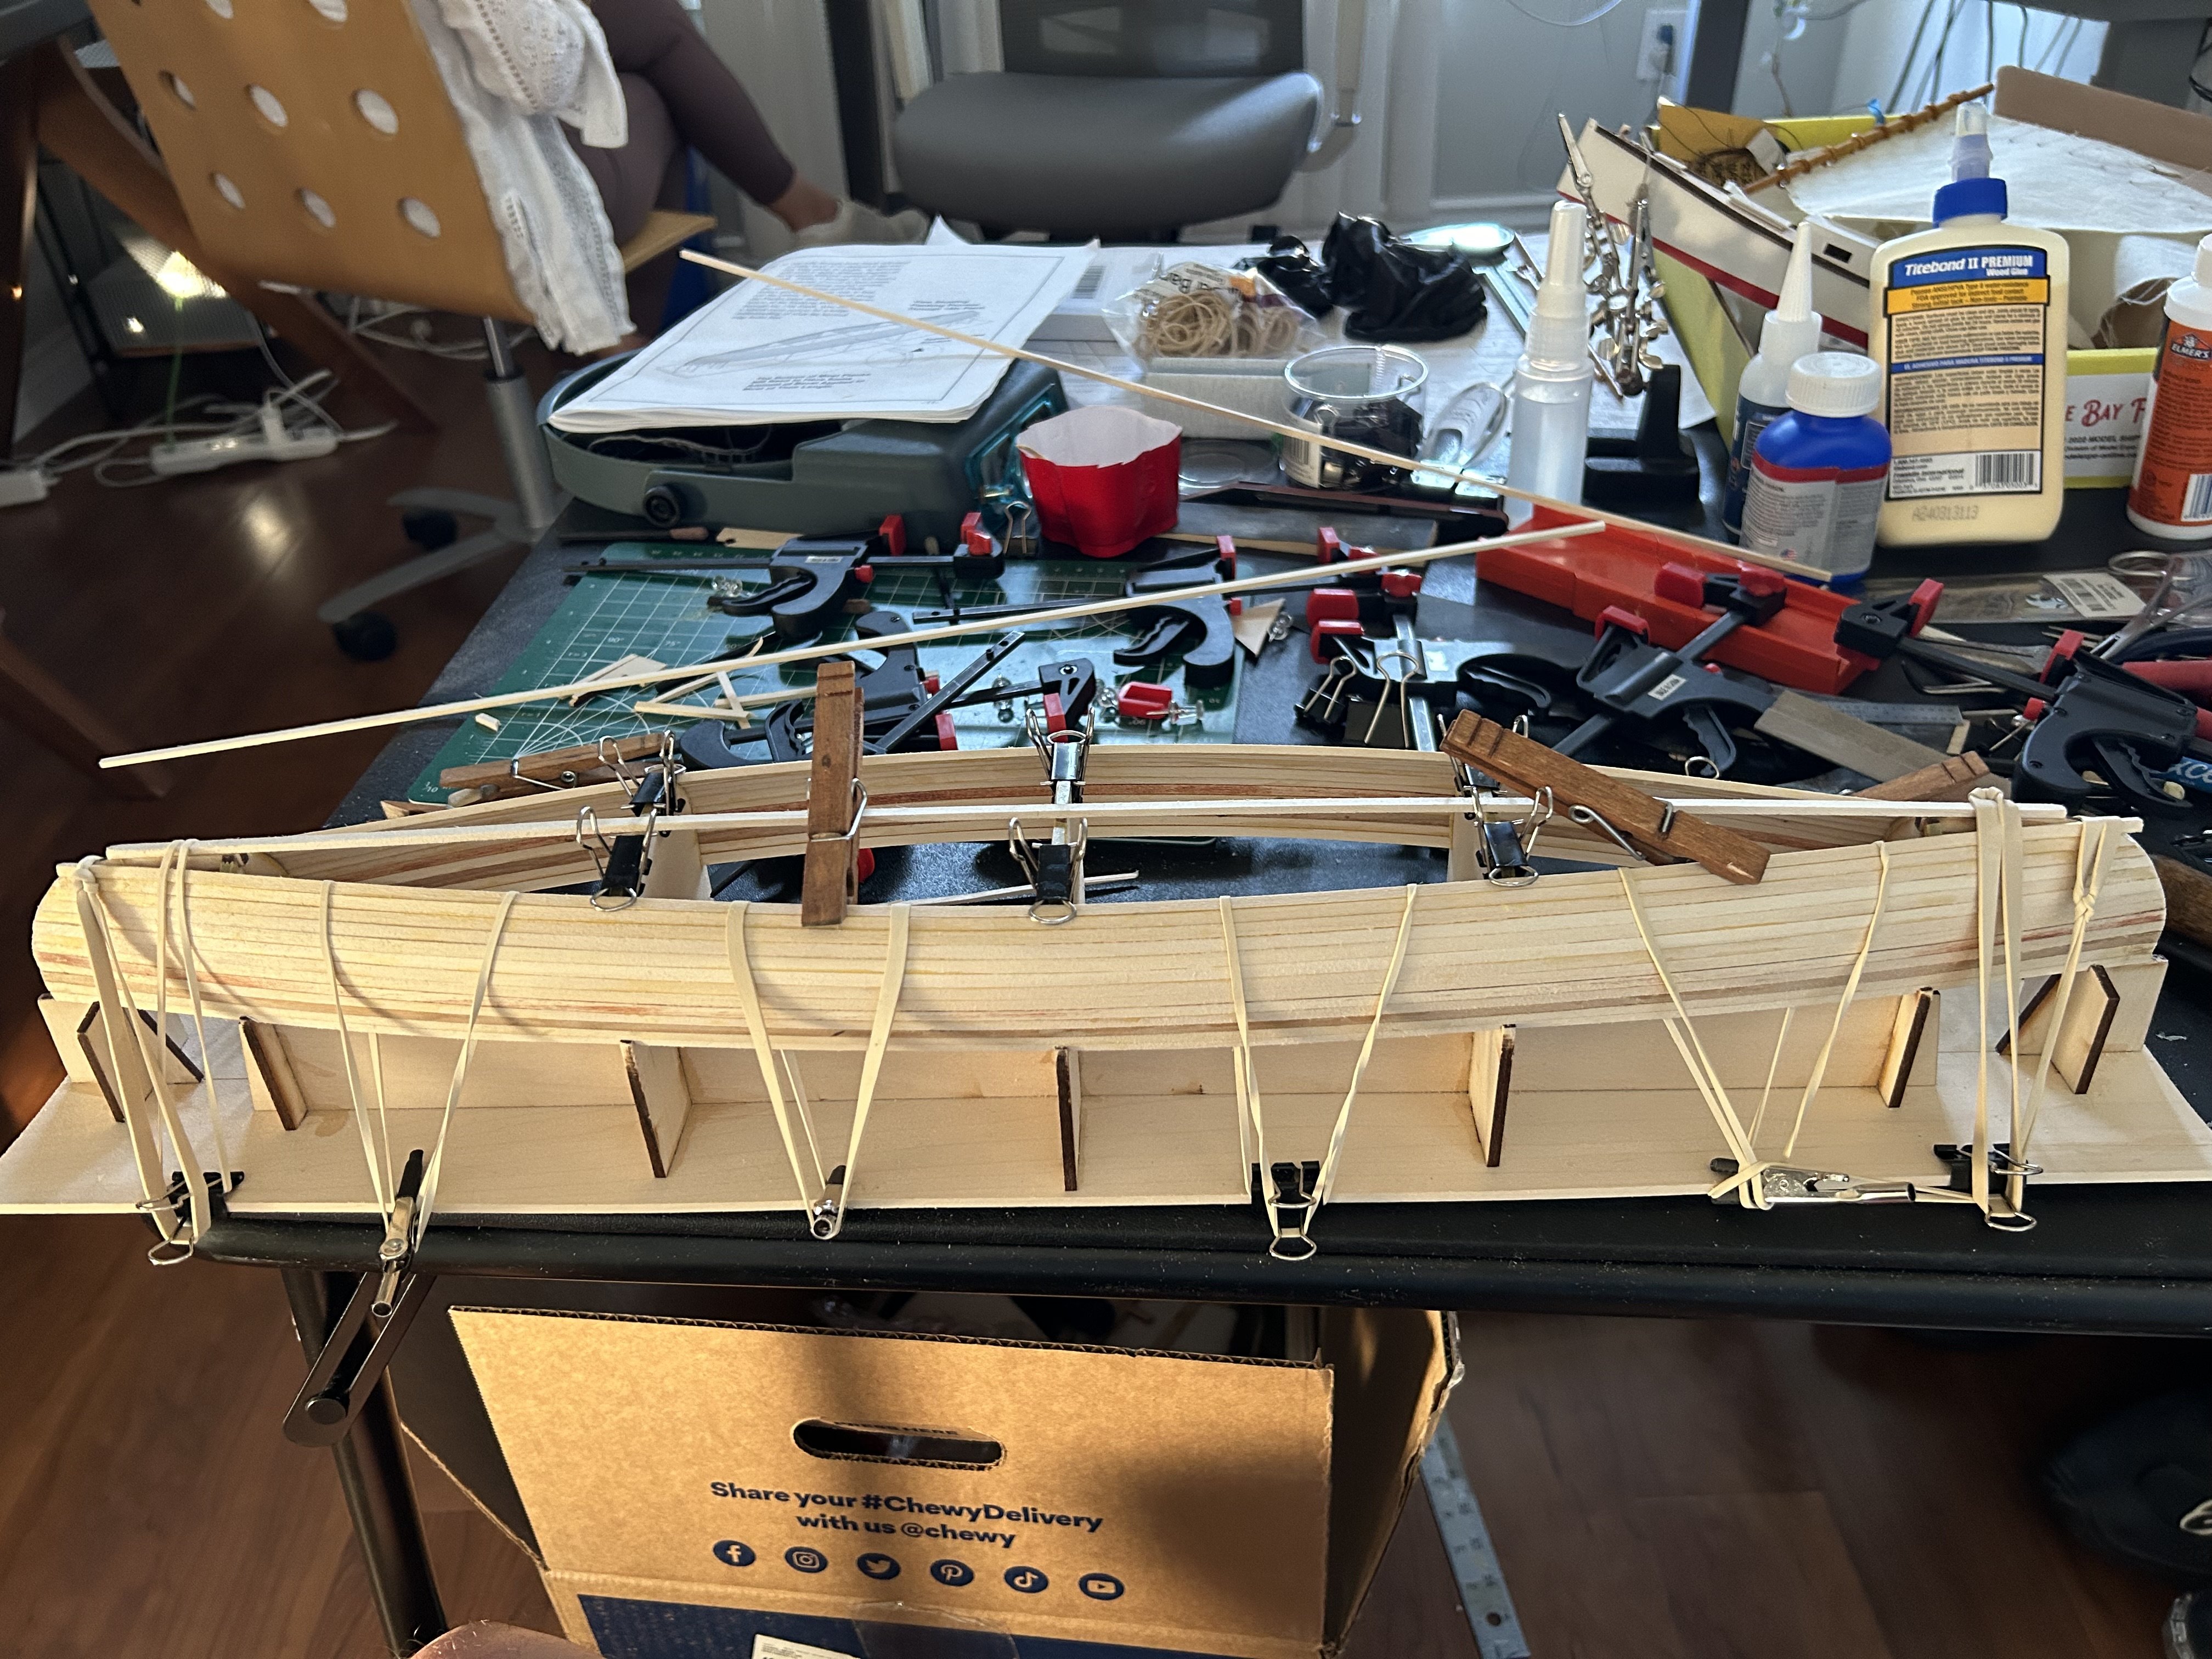
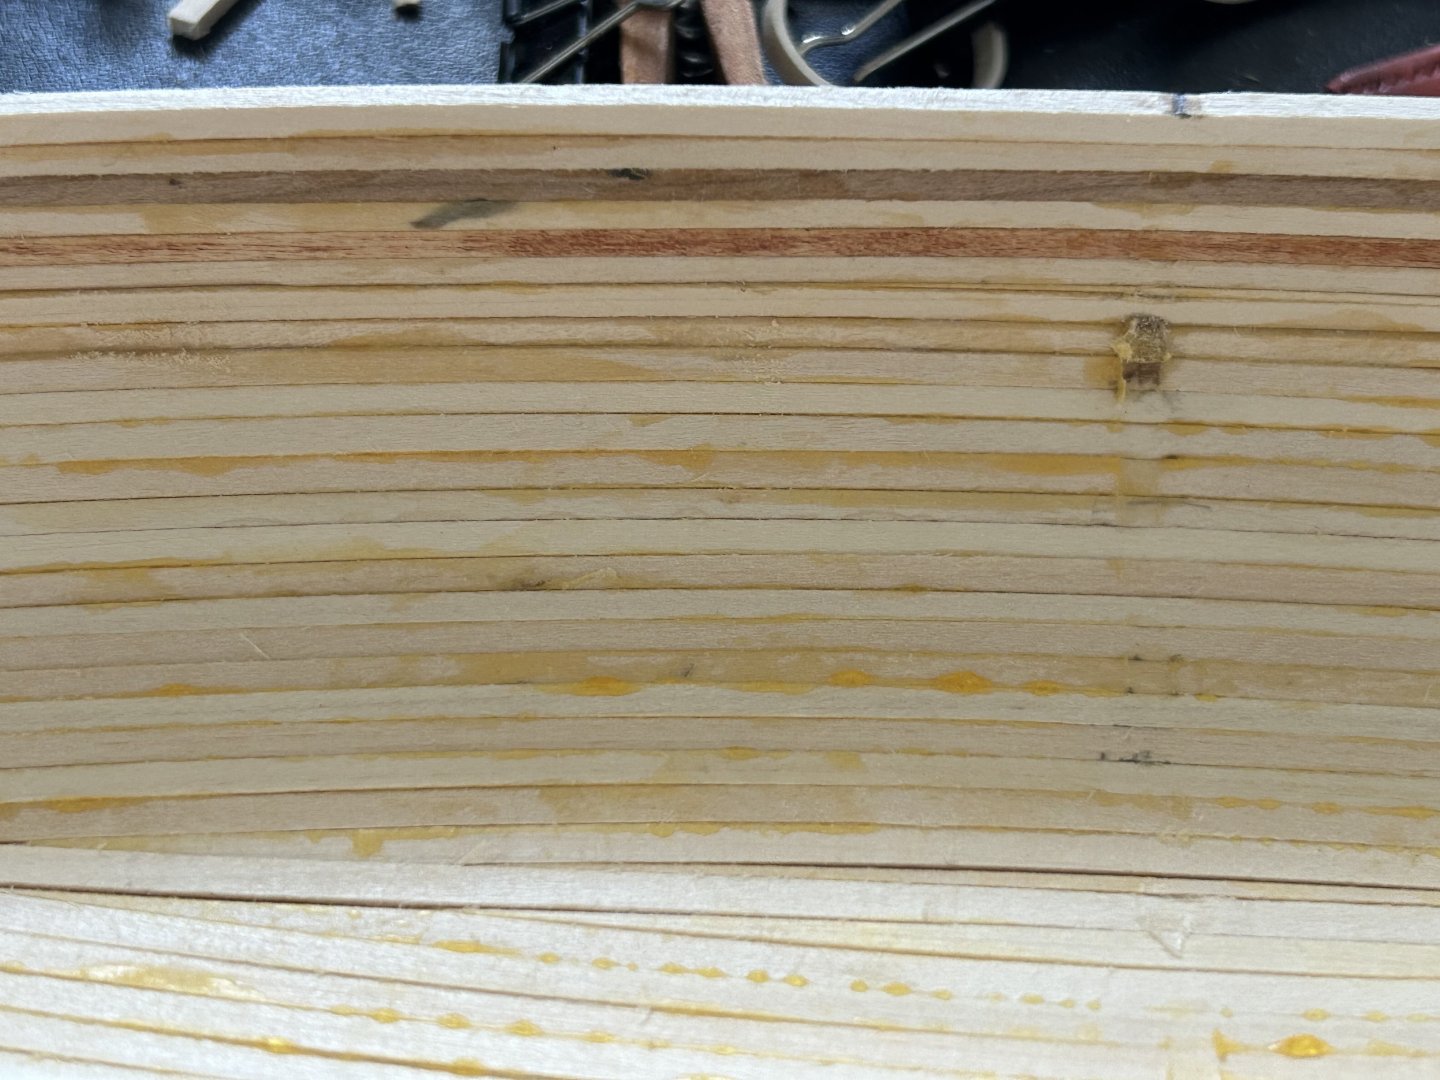
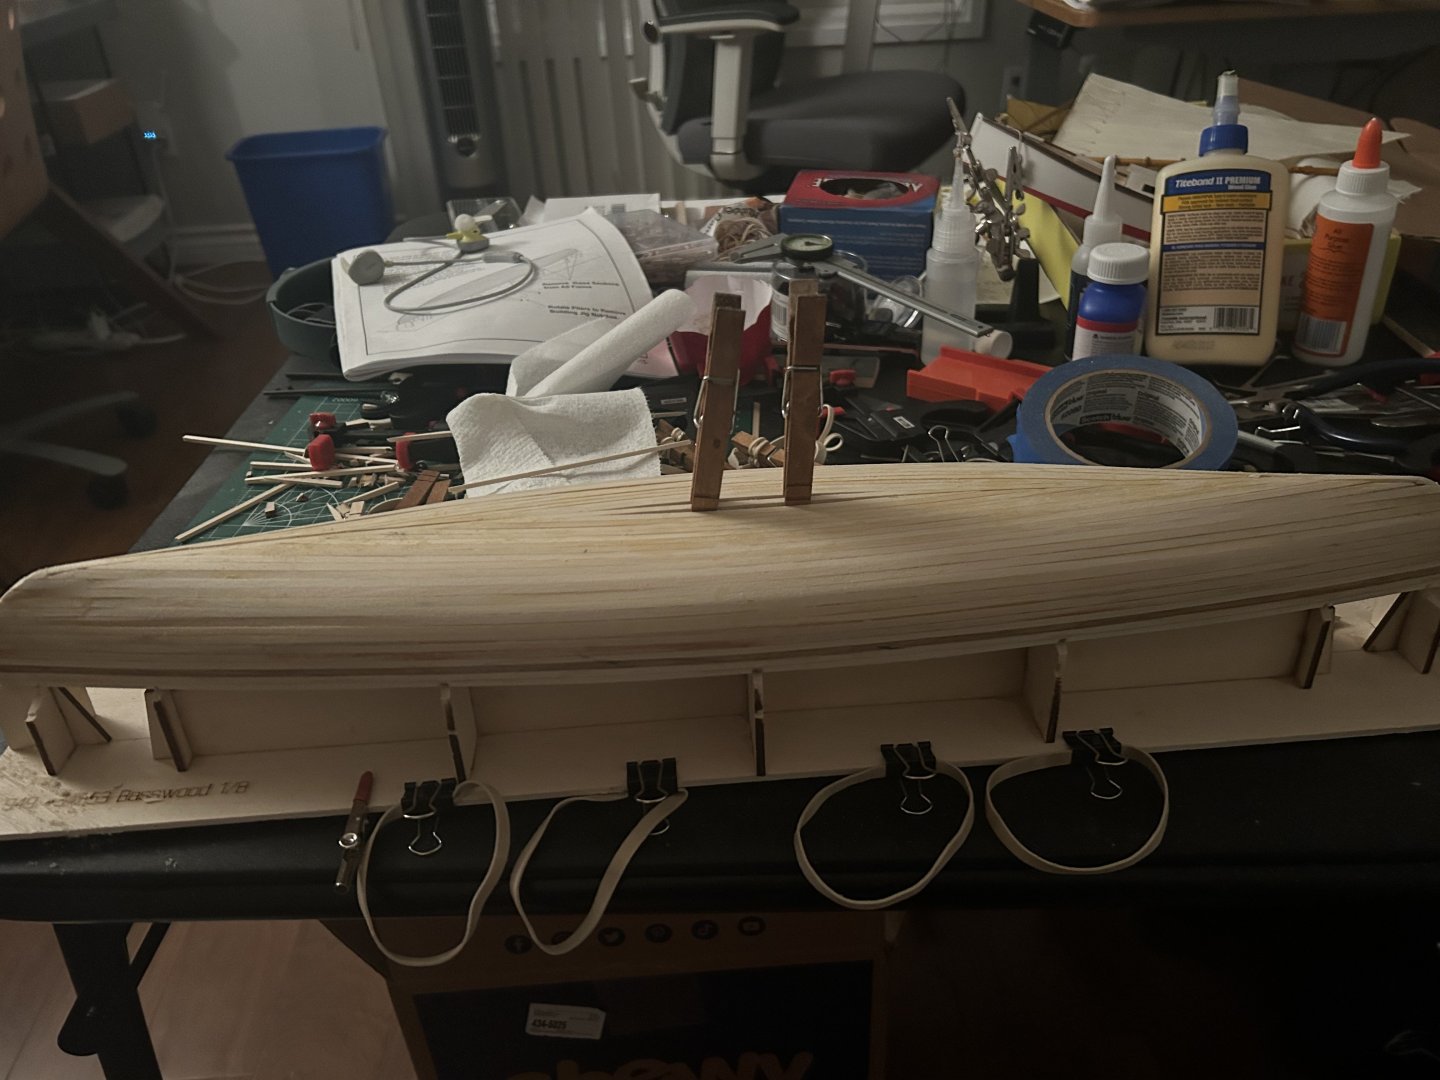
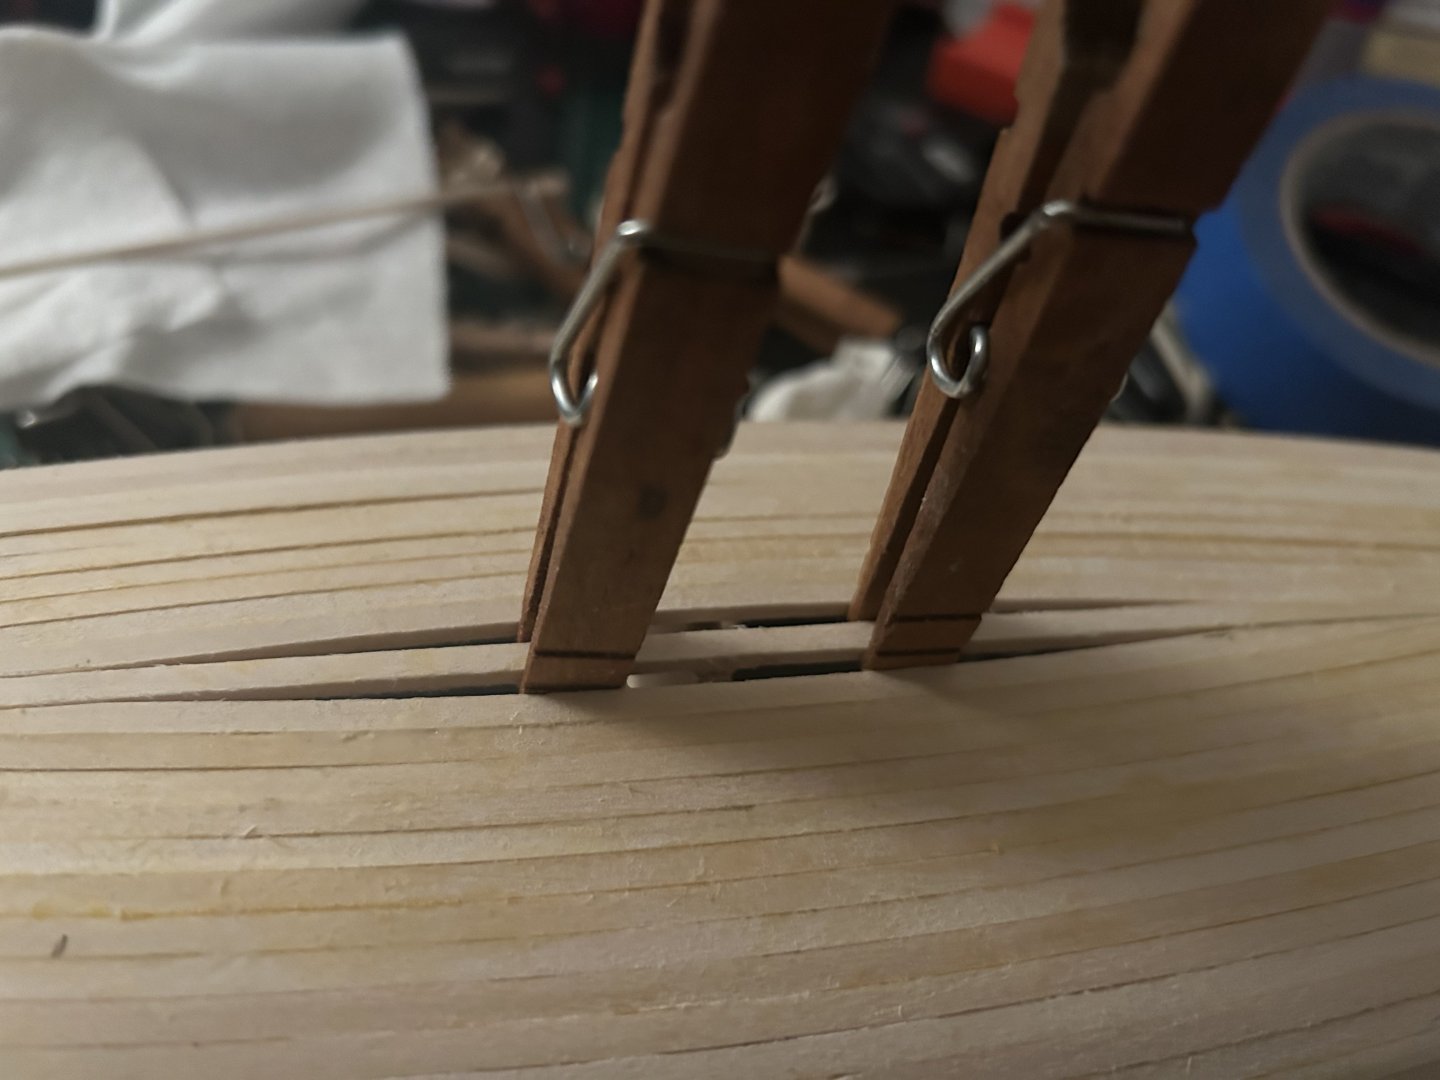
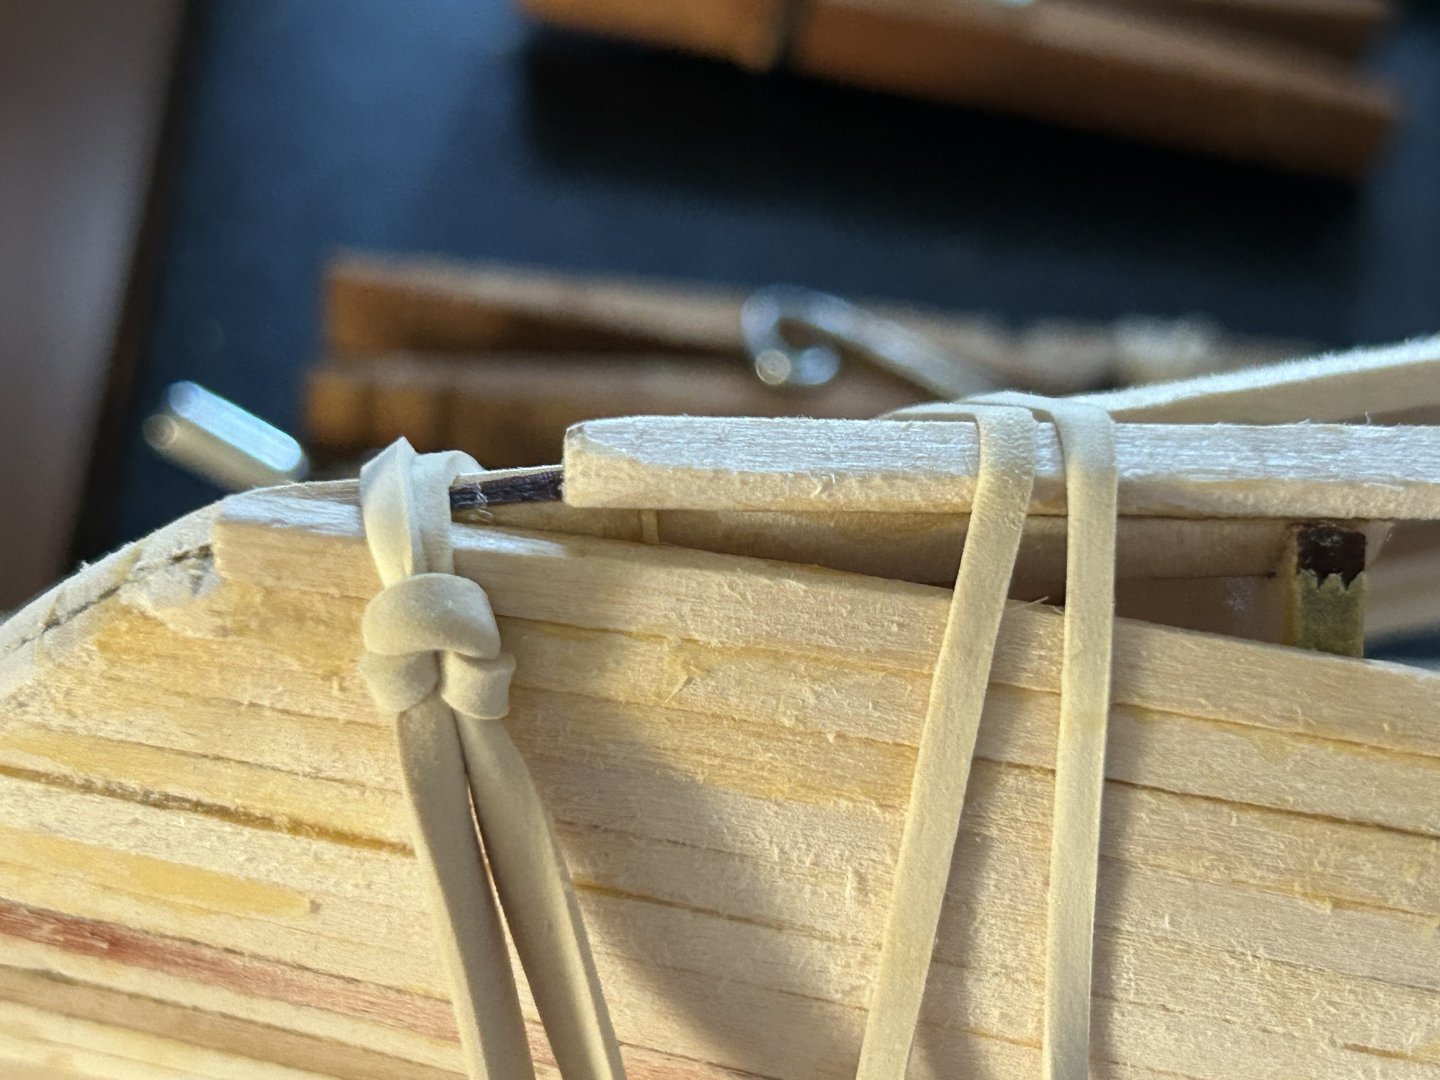
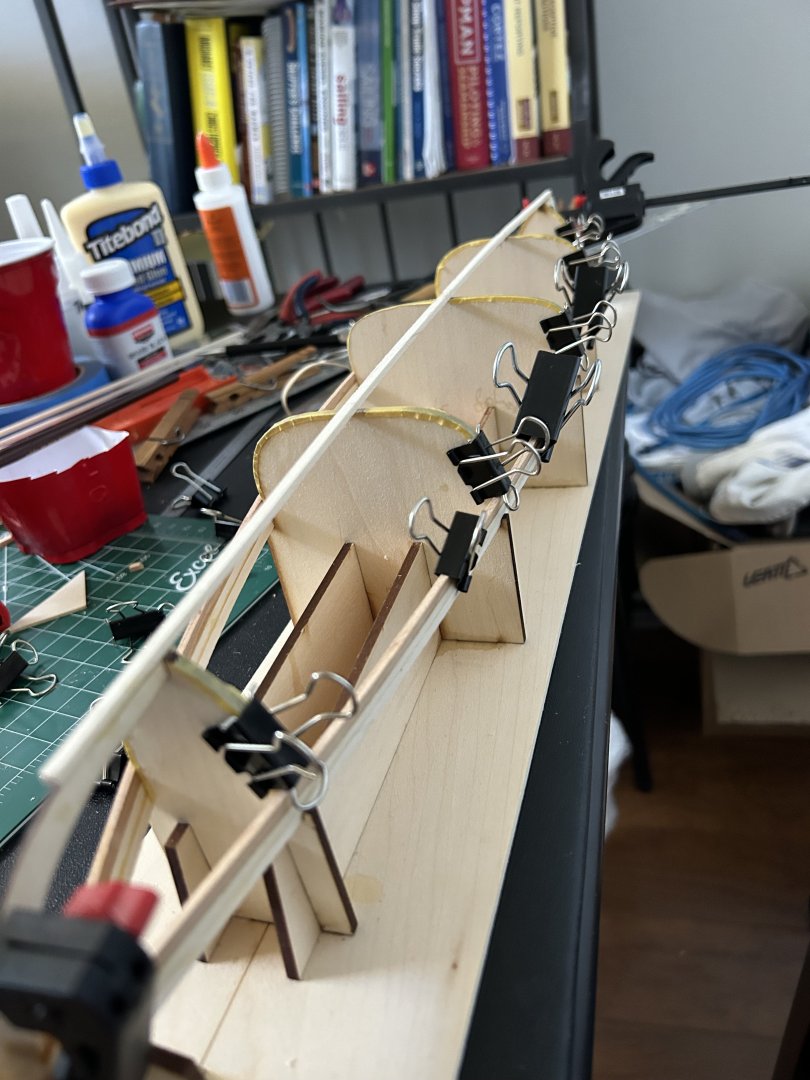
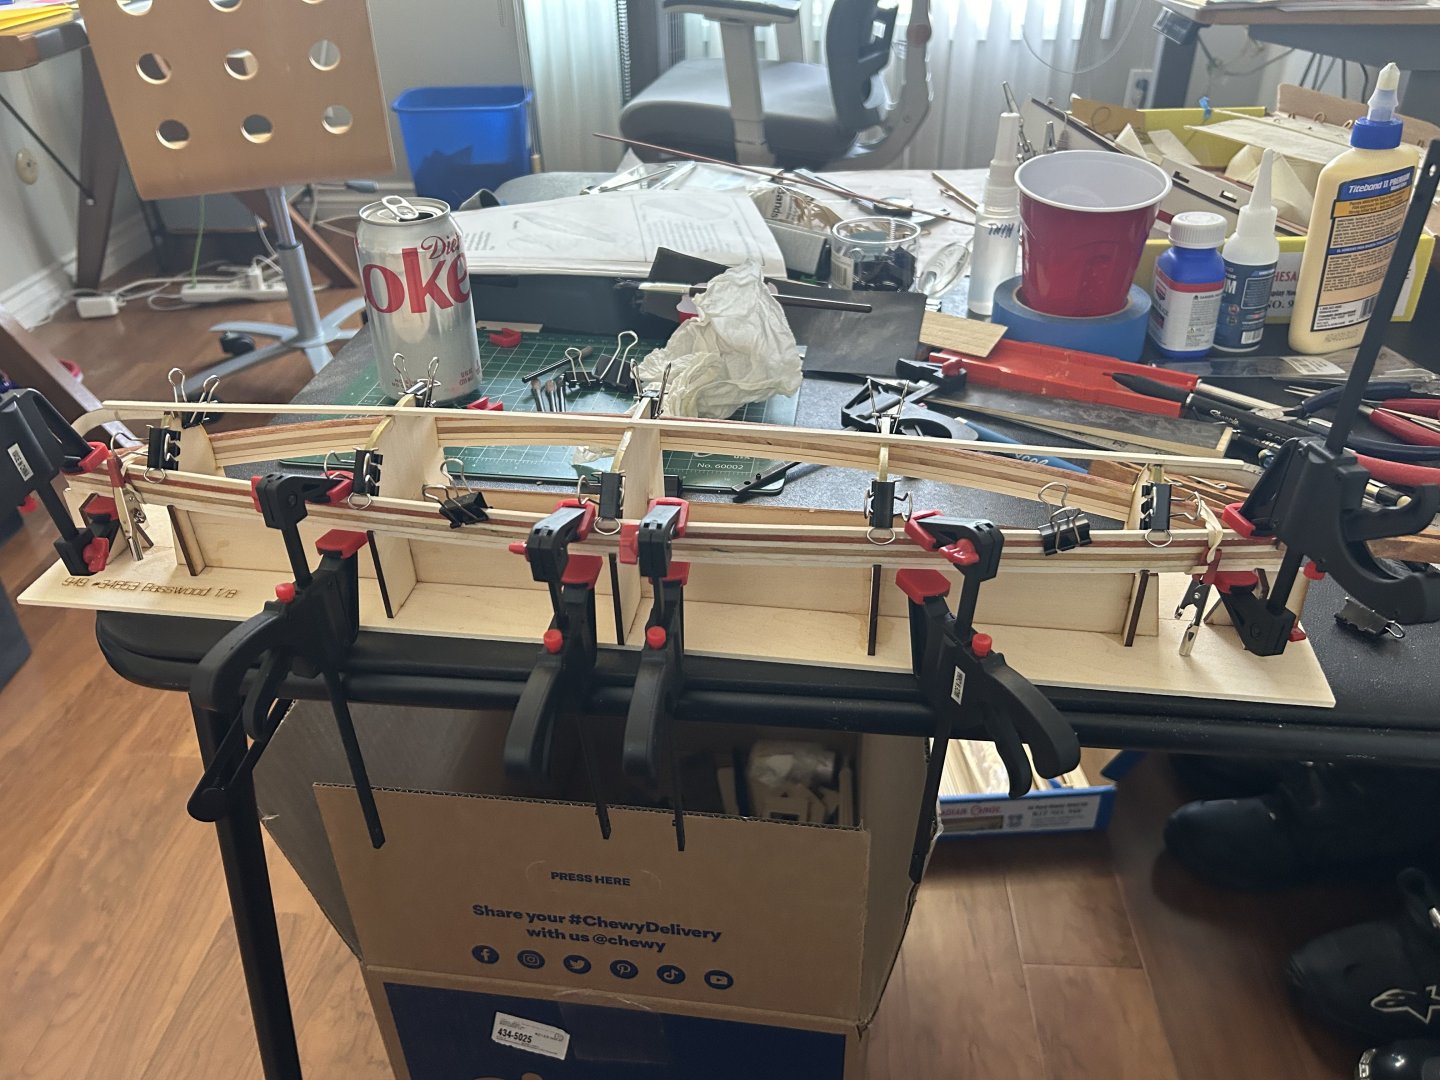
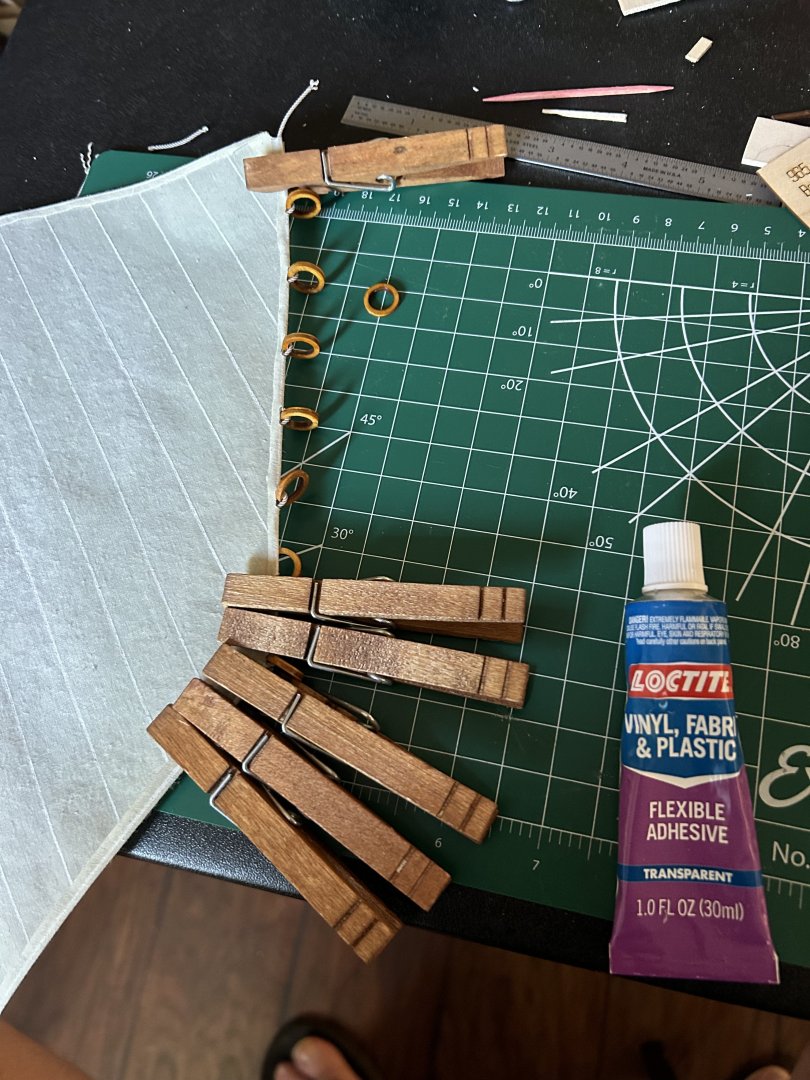
As I ran out of room for adjustable clamps and binder clips, I found a method using rubber bands and clothespins to keep the planks tight and flush.

-
The kit instructions recommend CA but I am trying to use Tite-bond wherever possible to make correction of mistakes more feasible. So this required a lot of clamps. I added a fifth plank (“strip”) that was plain basswood stained red with Varethane English(?) Oak. This turned out to be pointless as all the sanding required later removed all the stain. Followed advice I found elsewhere on MSW to fashion a method for putting twist in the ends of the planks.


-
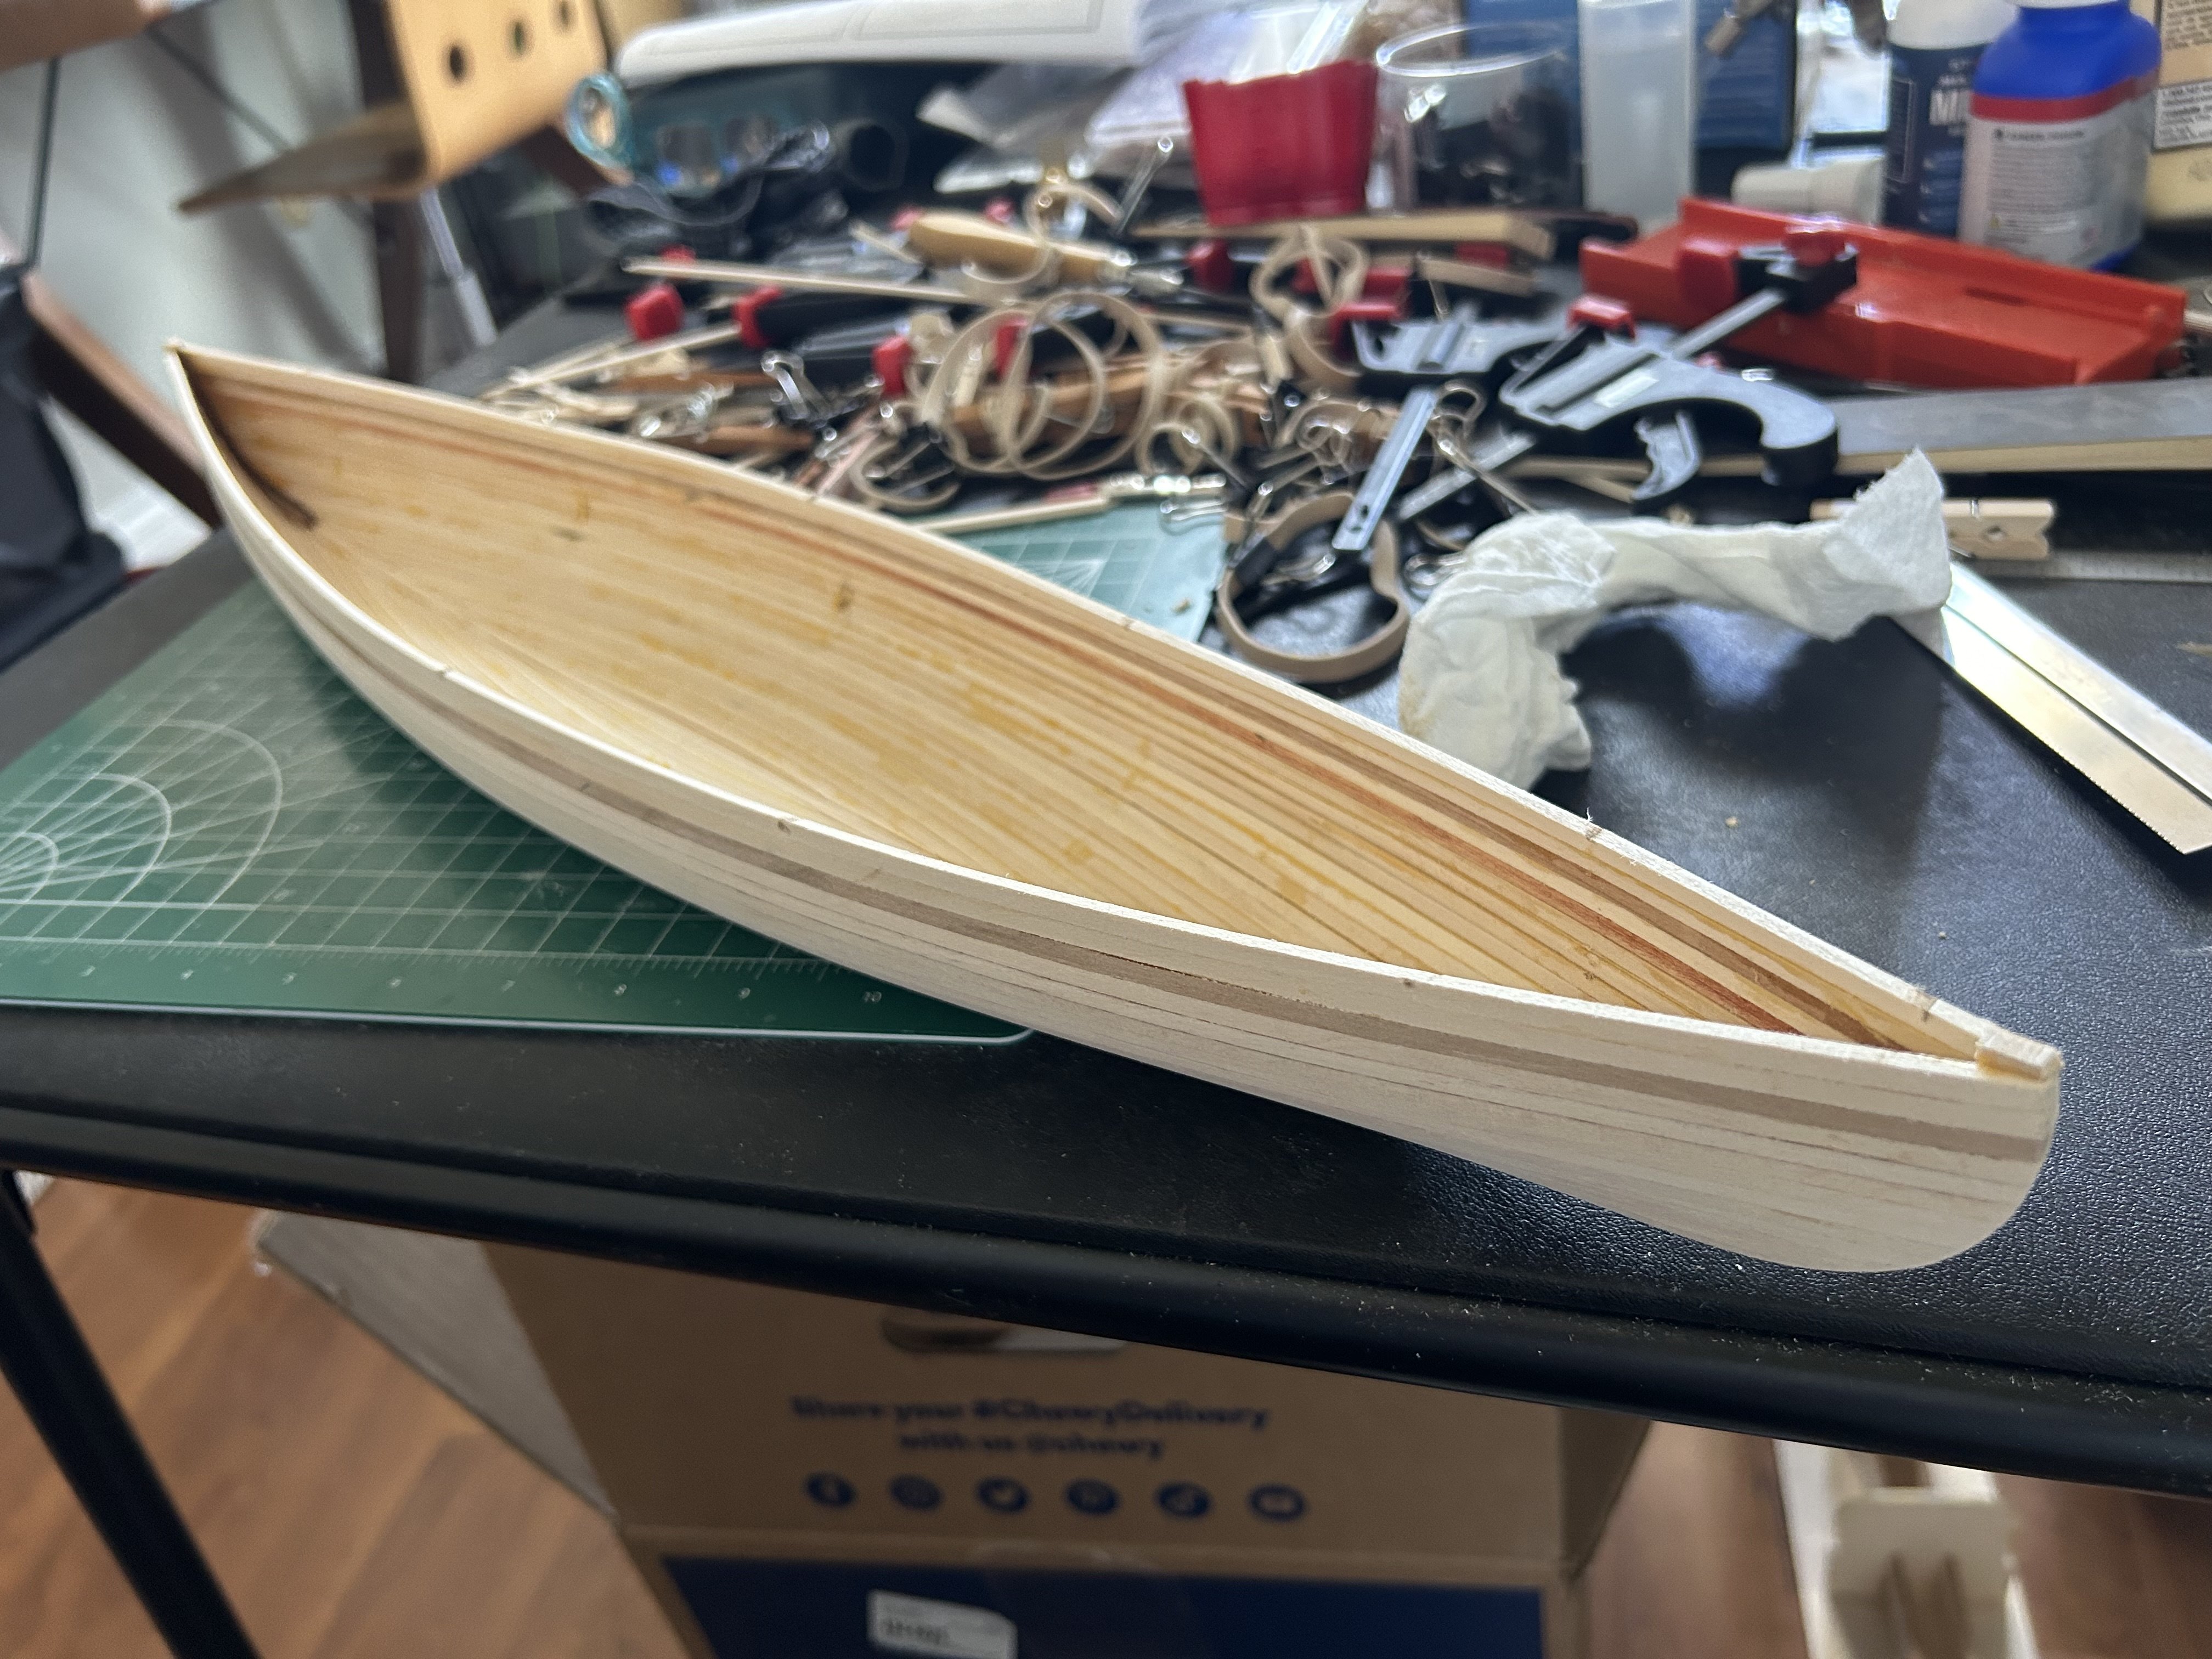
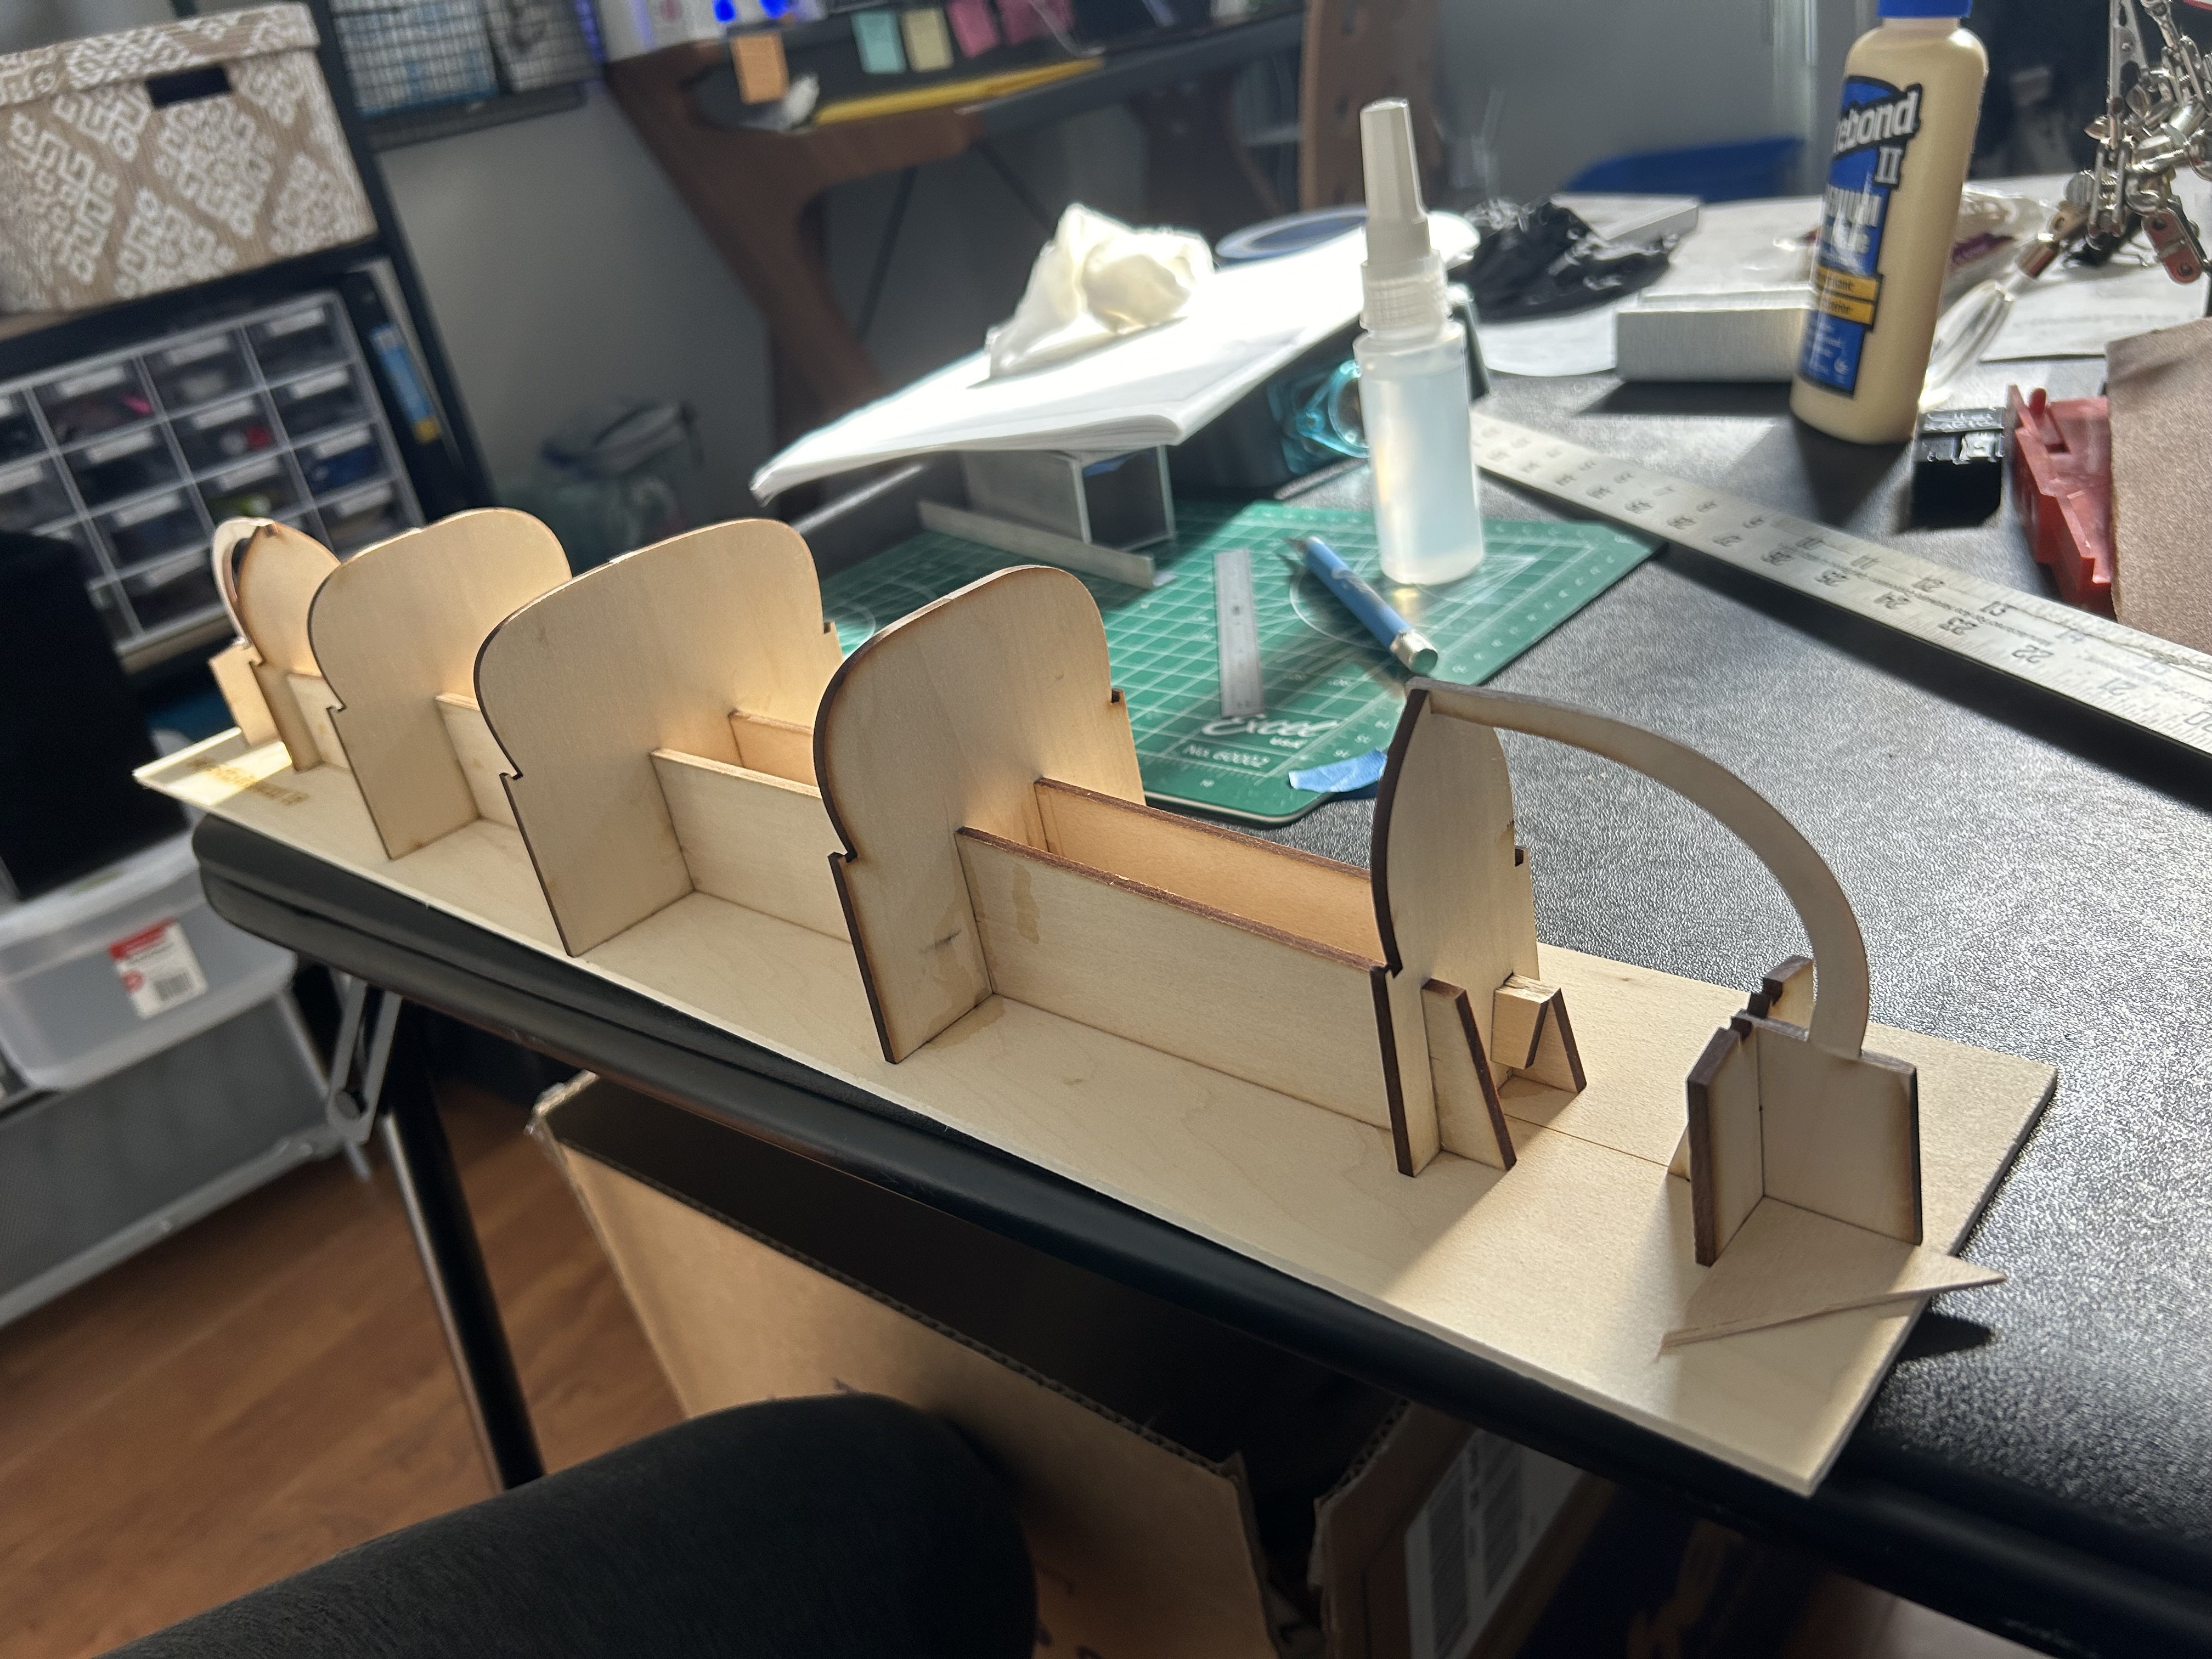
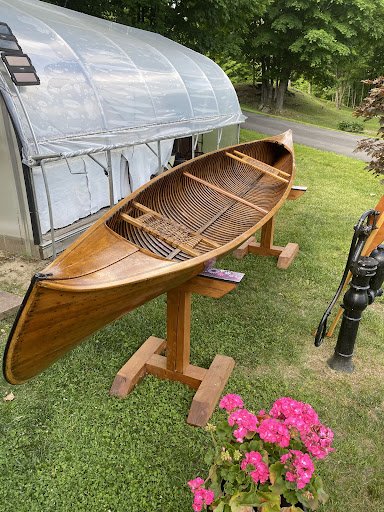
Started building this BIG kit (24”) while waiting for upgrade/kitbash parts for my Chesapeake Bay Flattie. I’m planning a finish in Amber shellac and a lot of kitbashing to add details like cane seats, scale-correct ribs (every 2”), scale outwales, and hardware. Also plan to change the floorboards to a more correct design for this Peterborough Model 44-based model.


-
Getting closer to done on the rigging. Shrouds and forestay are rigged along with jib and its halyard (and tack) and jib sheets (with authentic bowline attachment). I ordered better cleats from Modelers Central in AUS so waiting for the international post to arrive before I can clean up the sheets/lines. Centerboard halyard/uphaul still to be done, and I think I will replace my homemade basswood cockpit floor with Cherry grating. Also need to build something to place the mainsheet cleat in center cockpit. Will turn to assembling the base/stand now.


- 38 replies
-
- 8
-
-
- Chesapeake Bay Flattie
- Model Shipways
- (and 2 more)
-
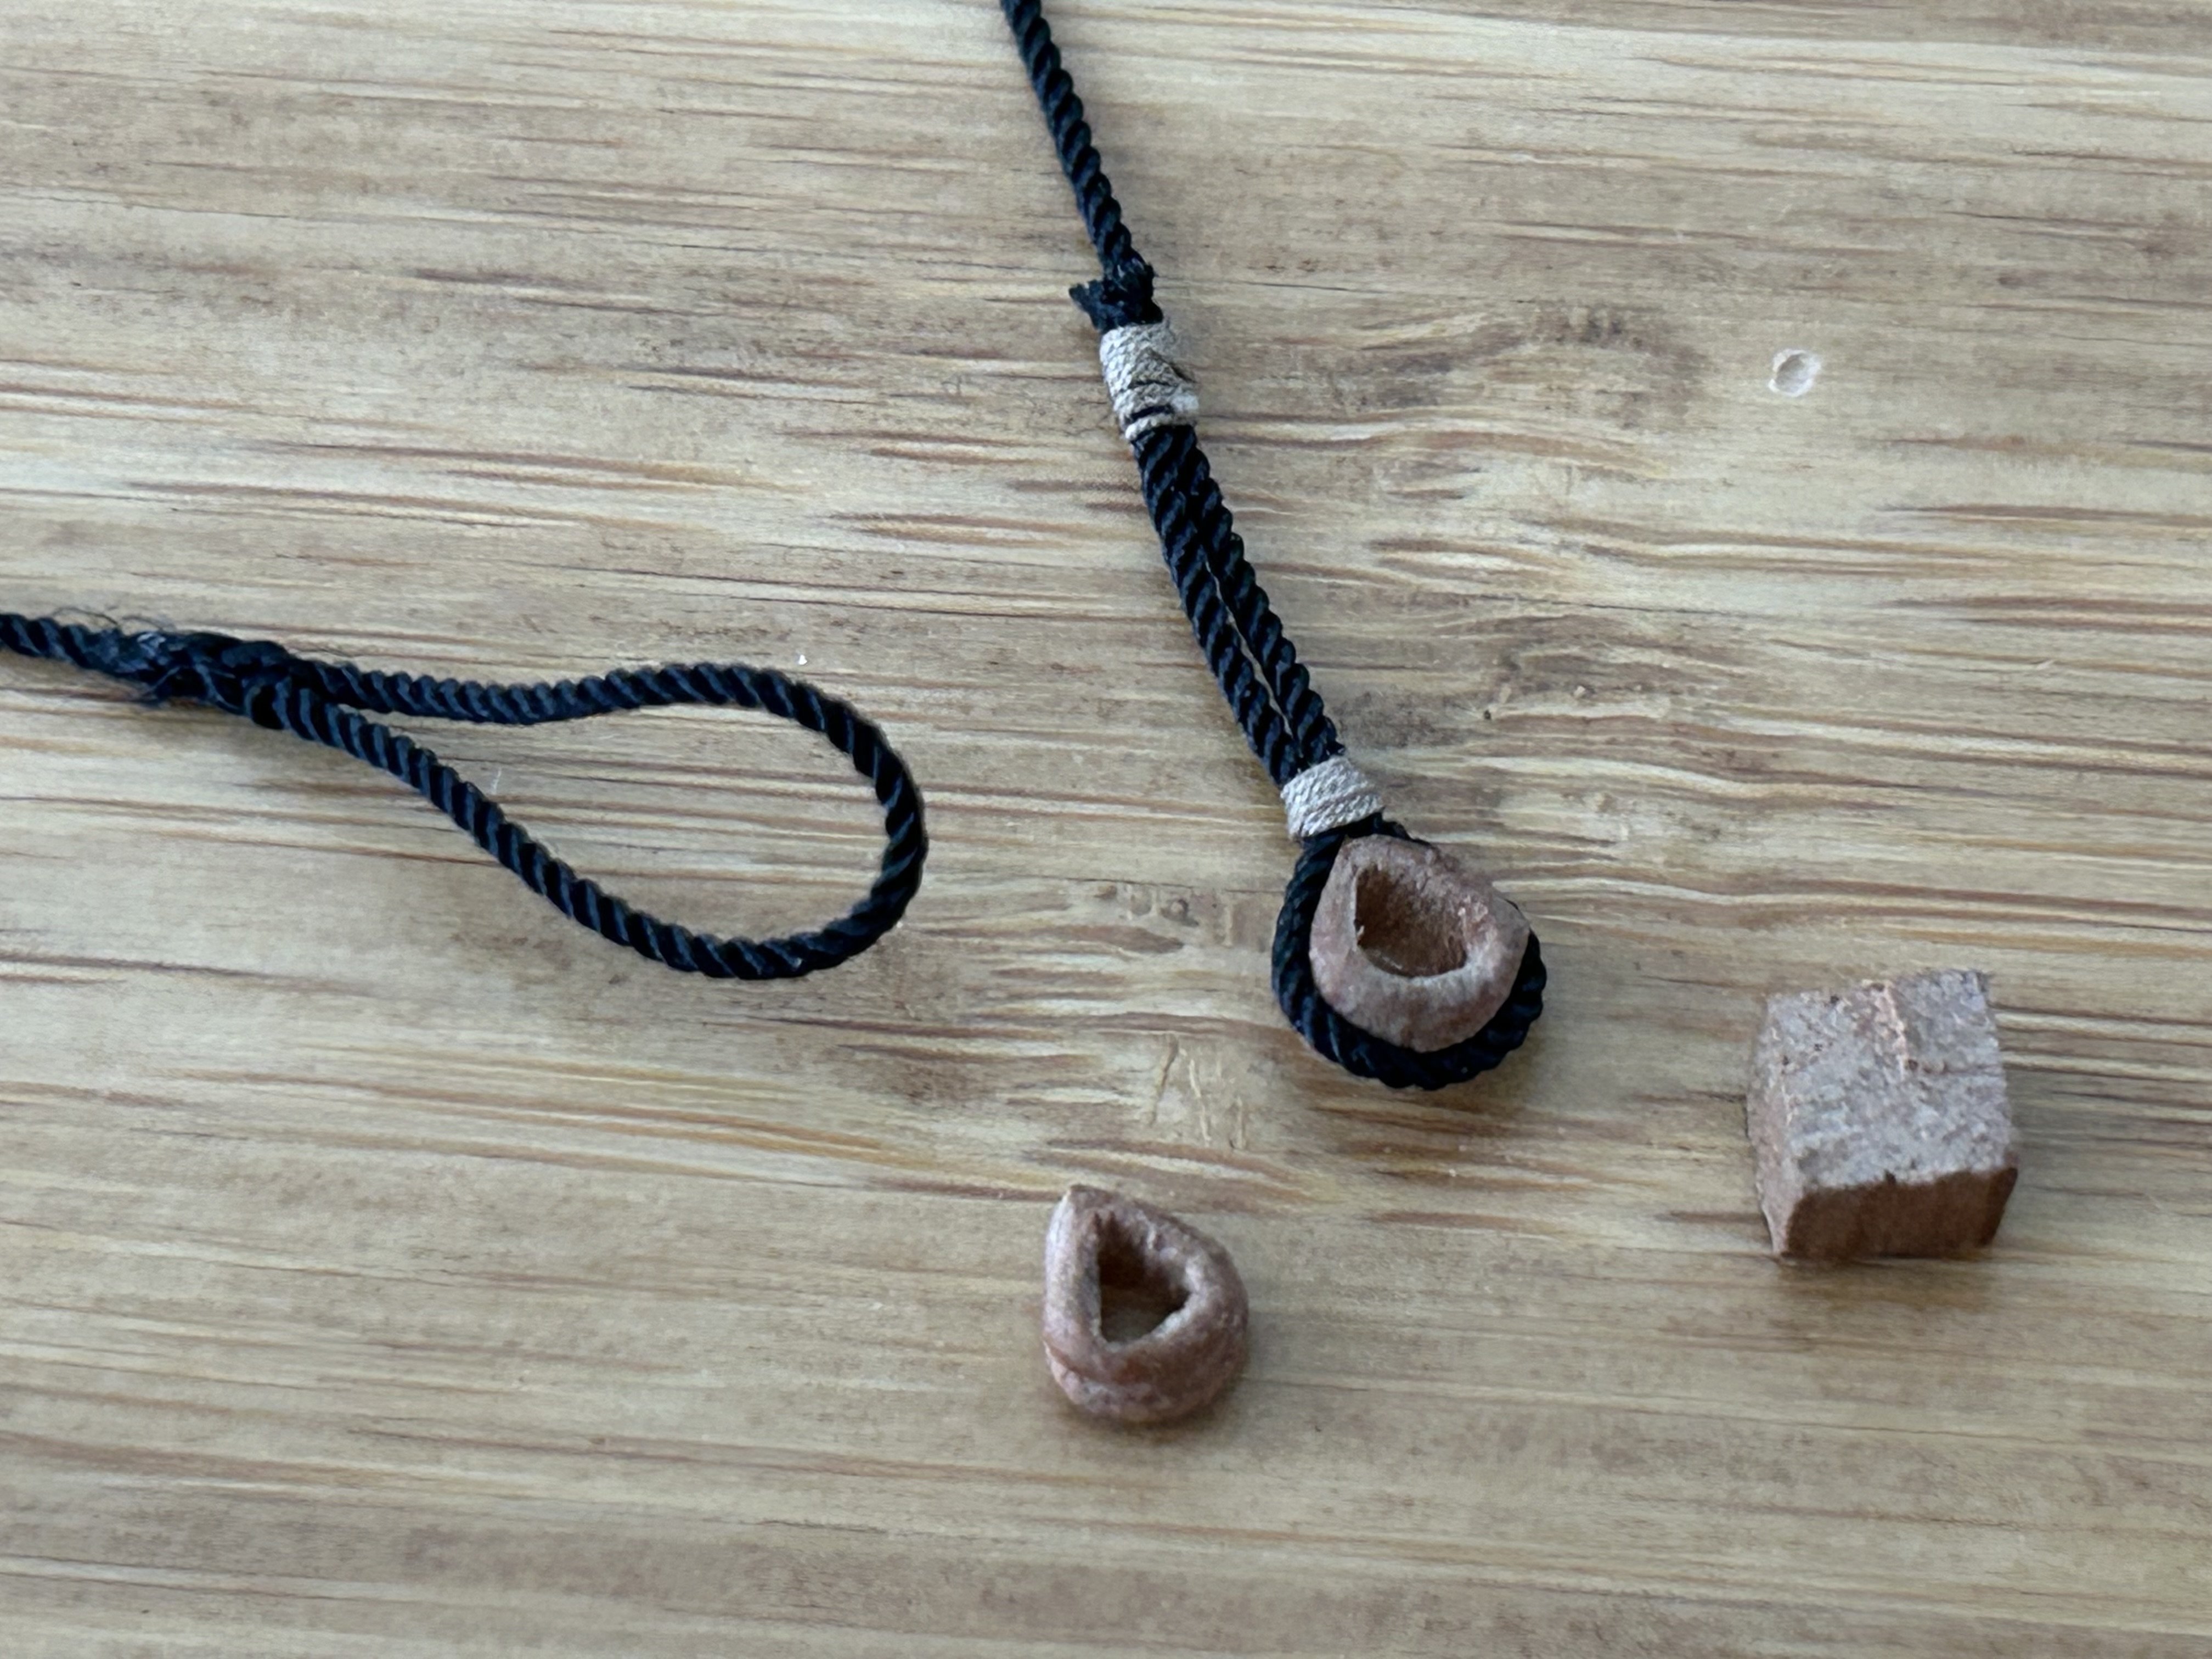
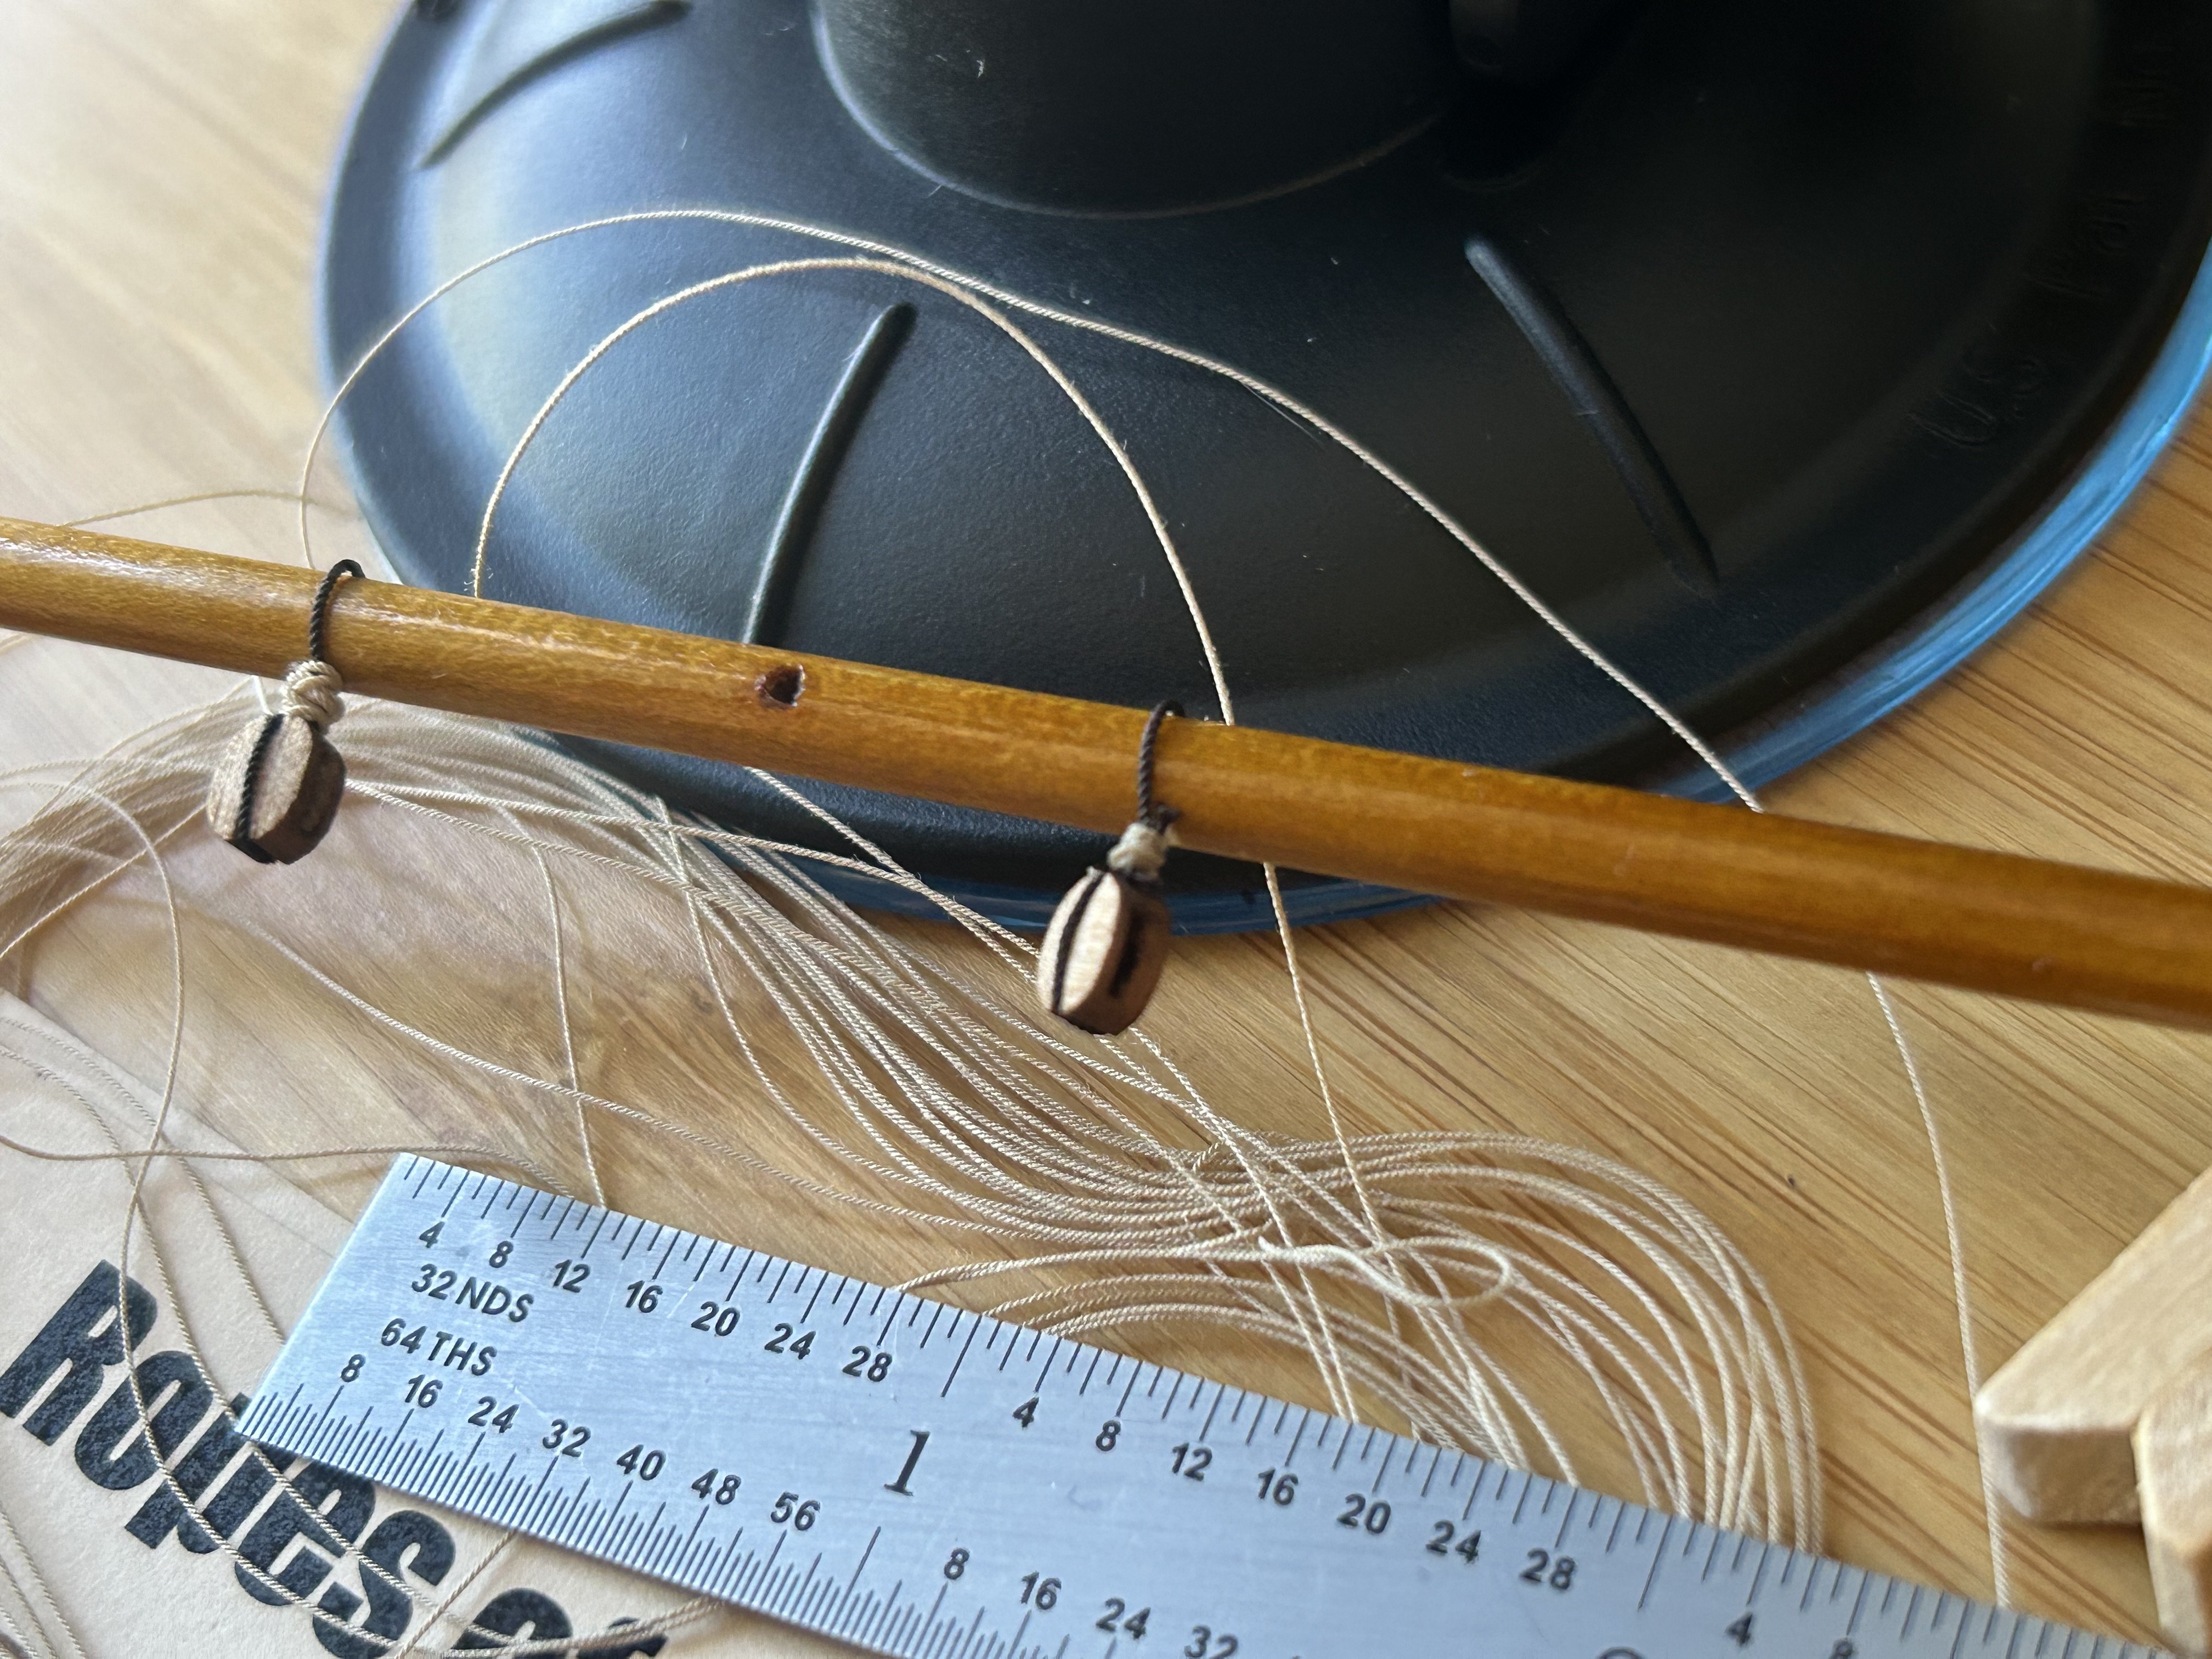
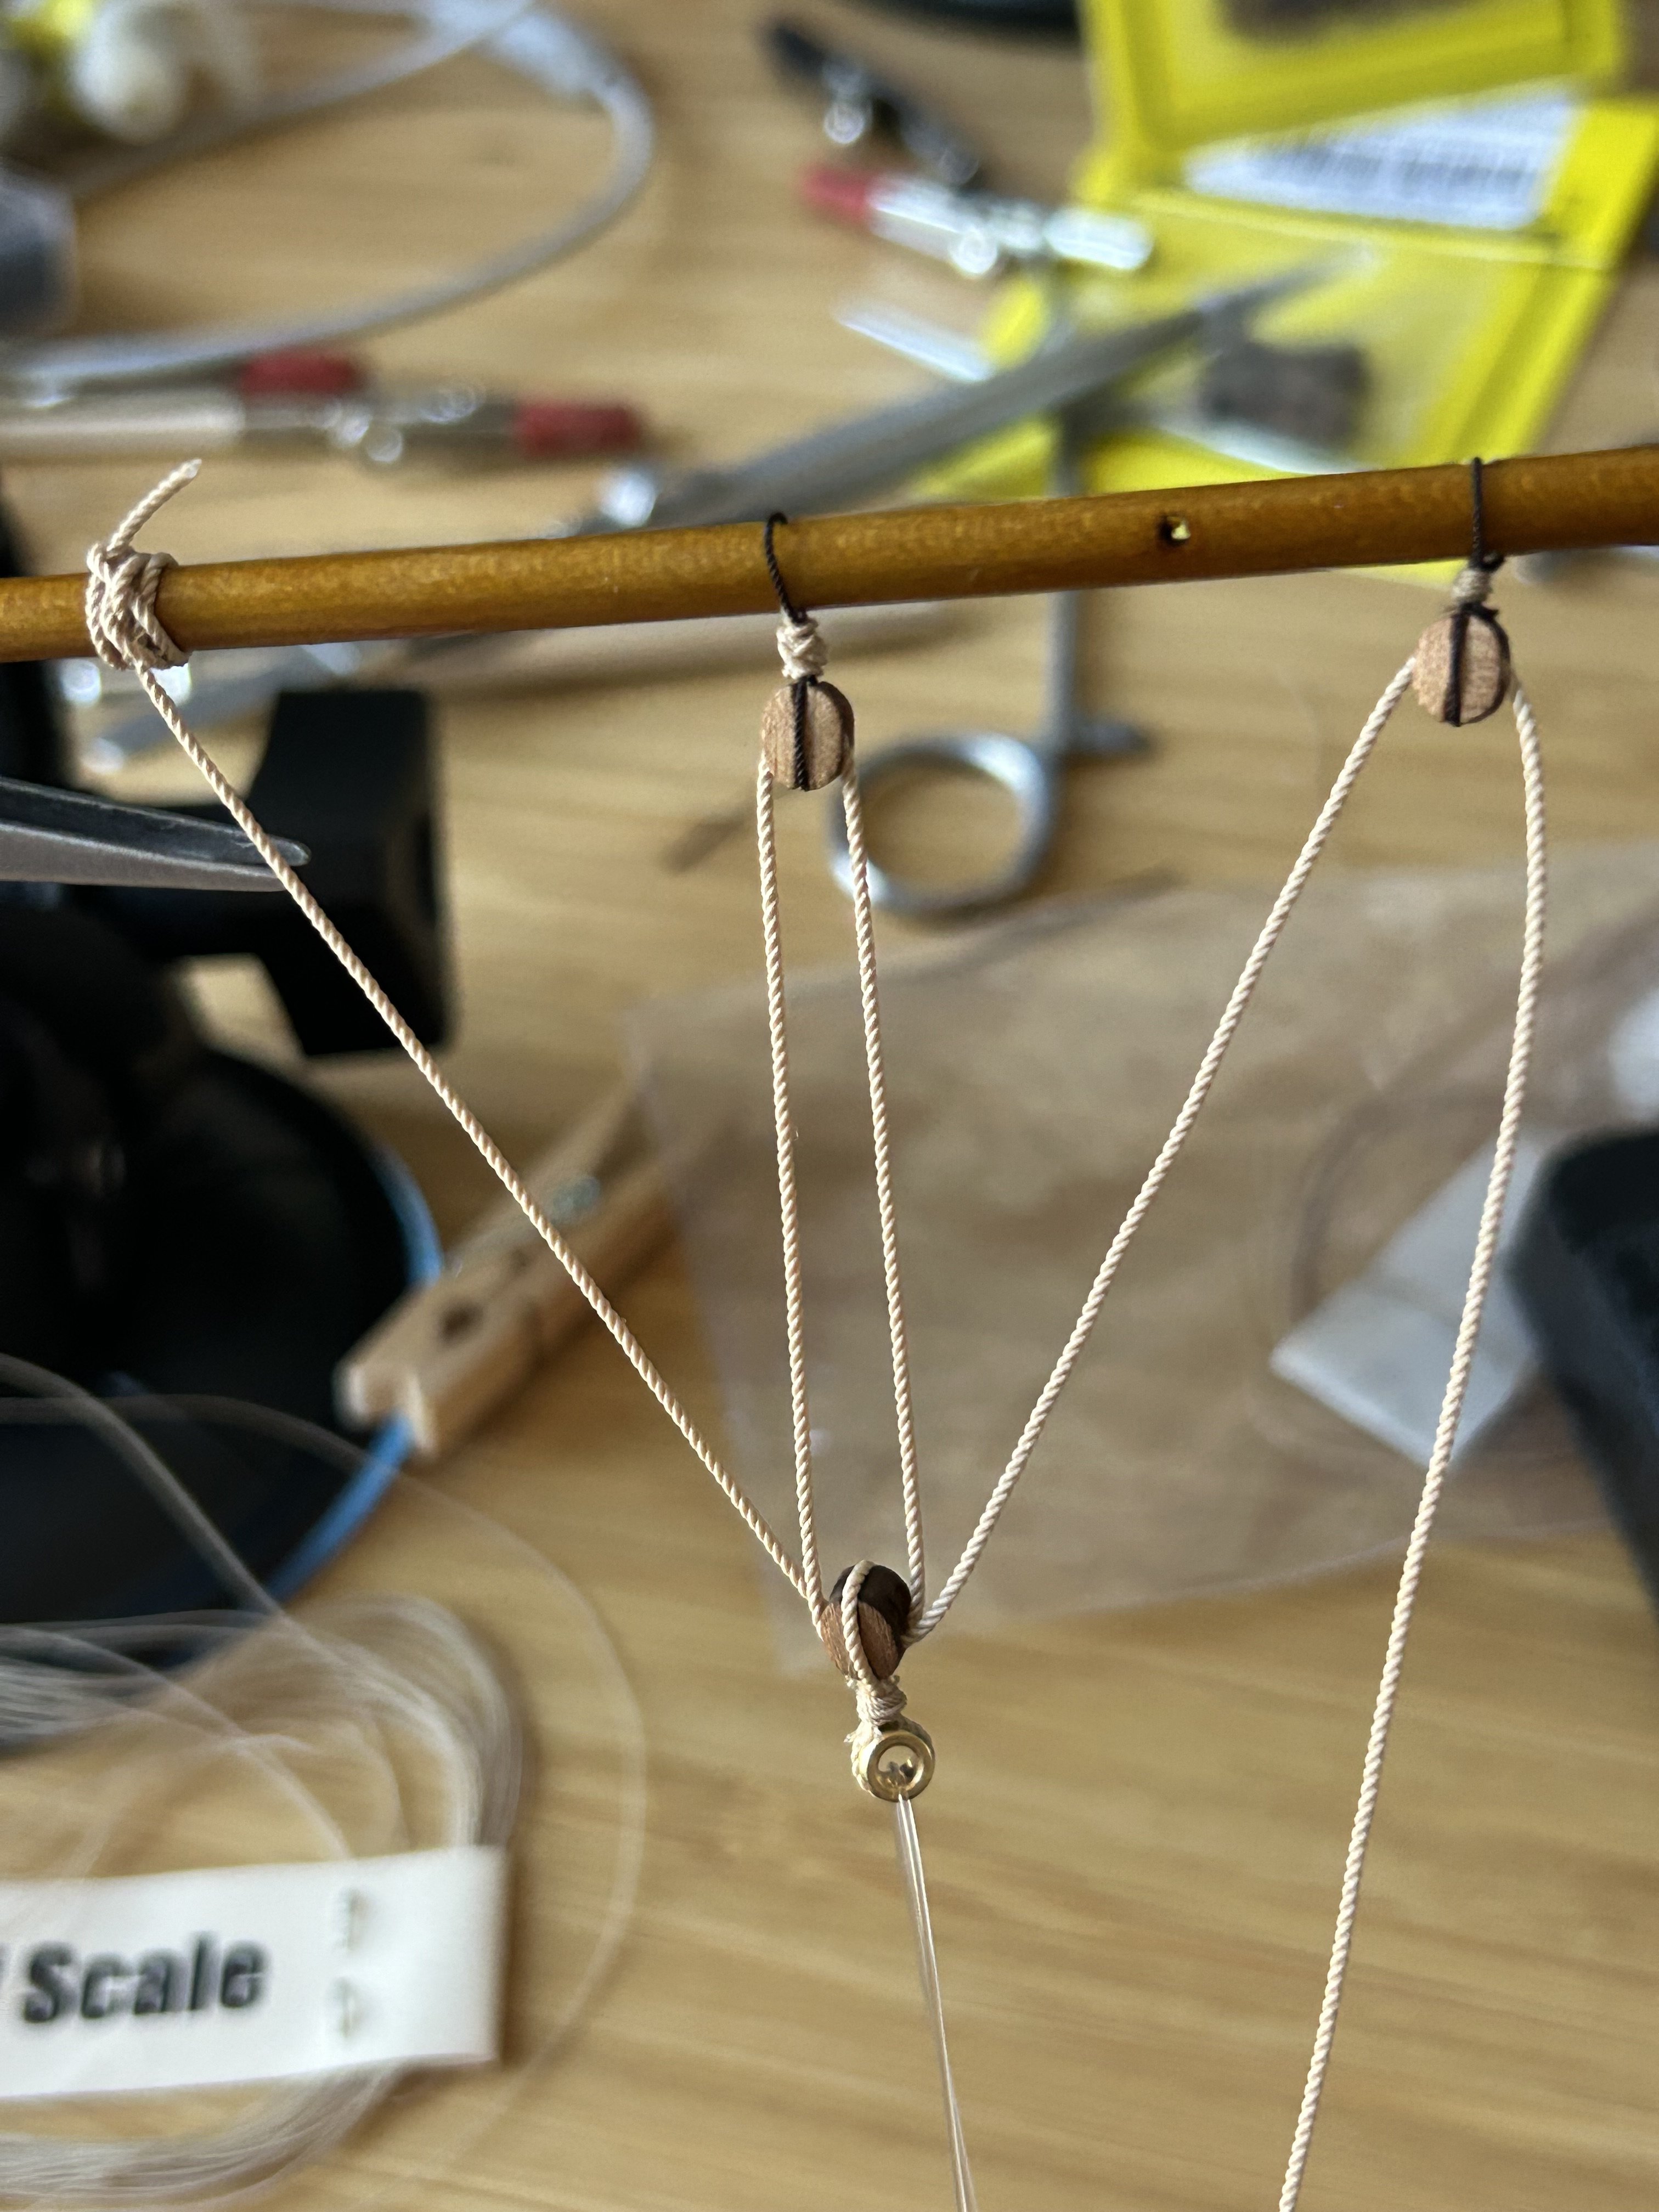
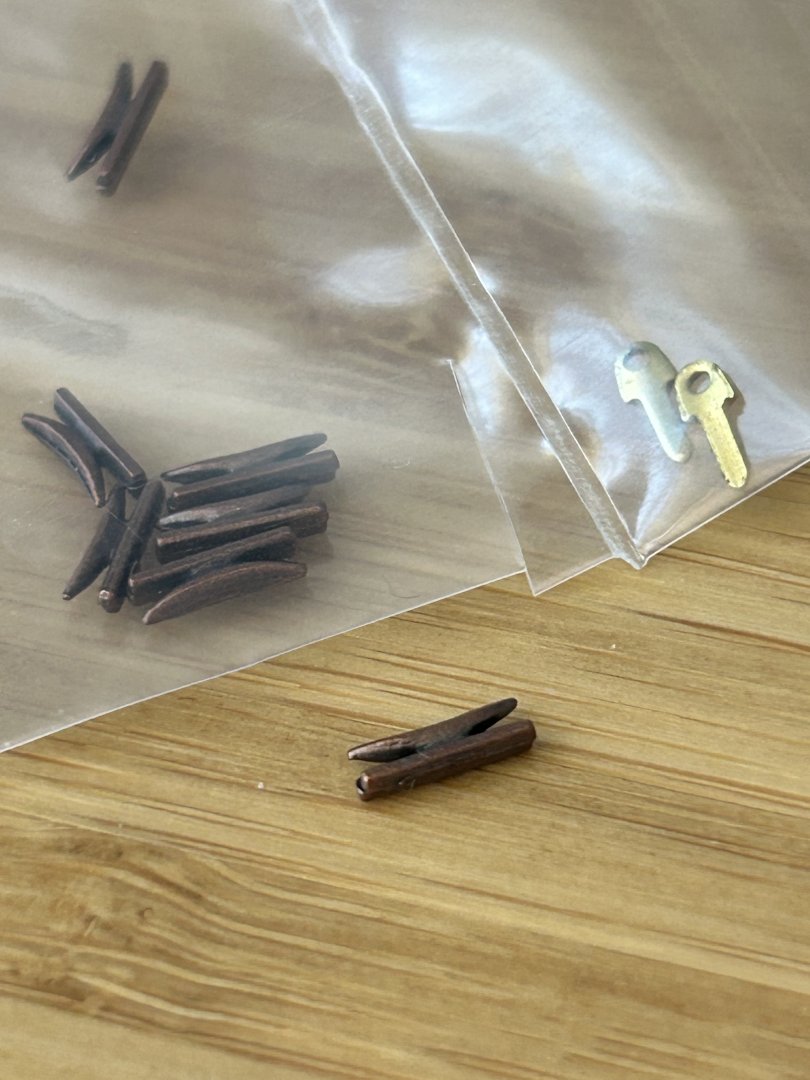
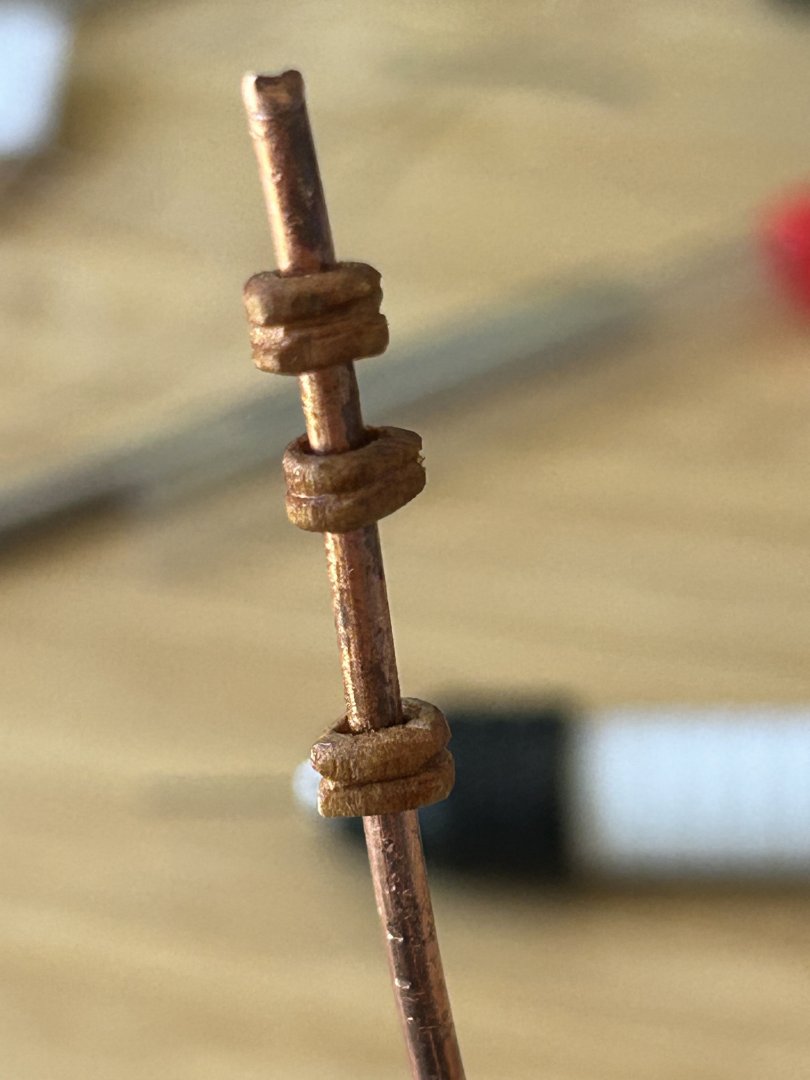
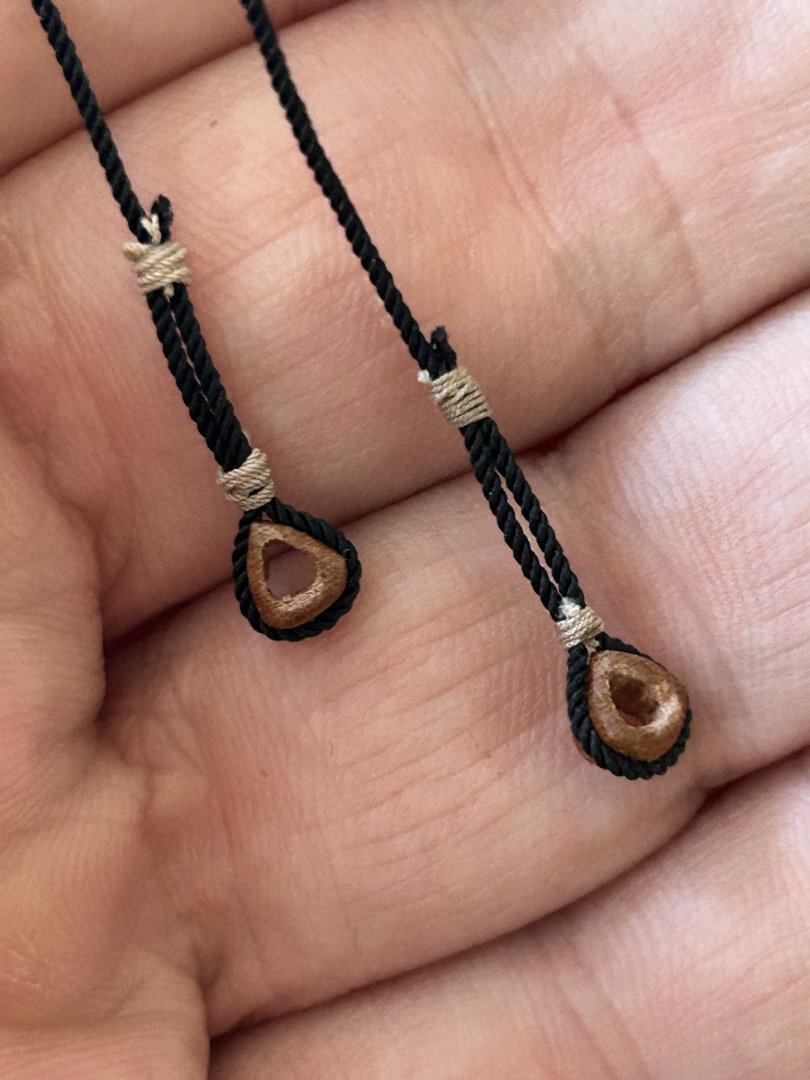
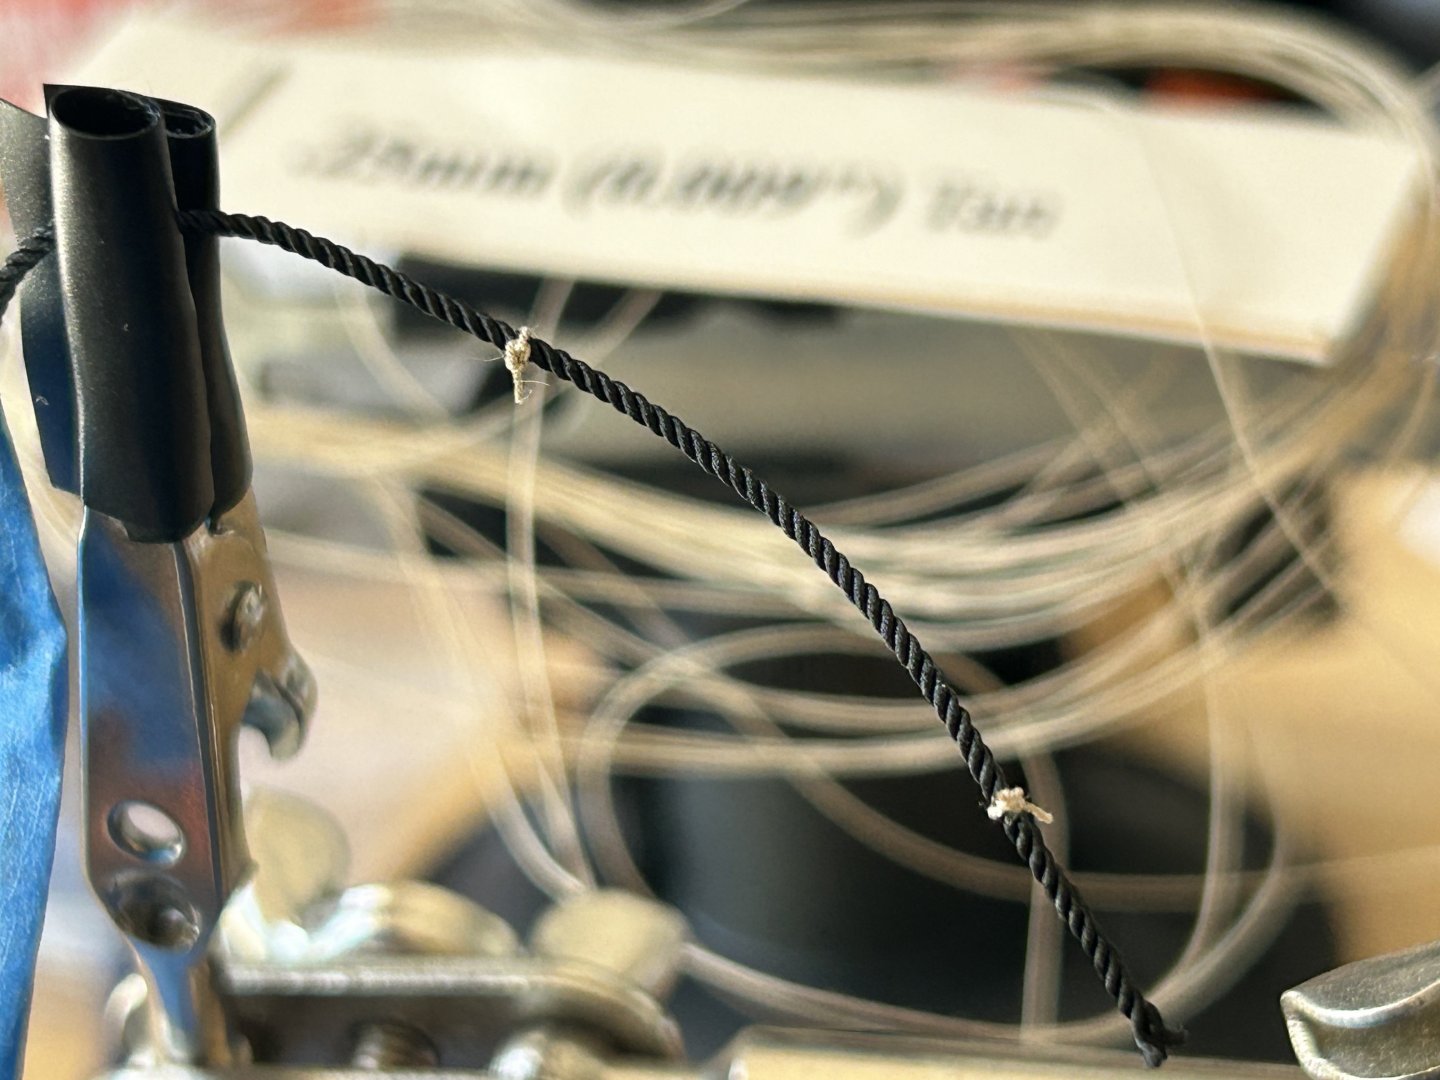
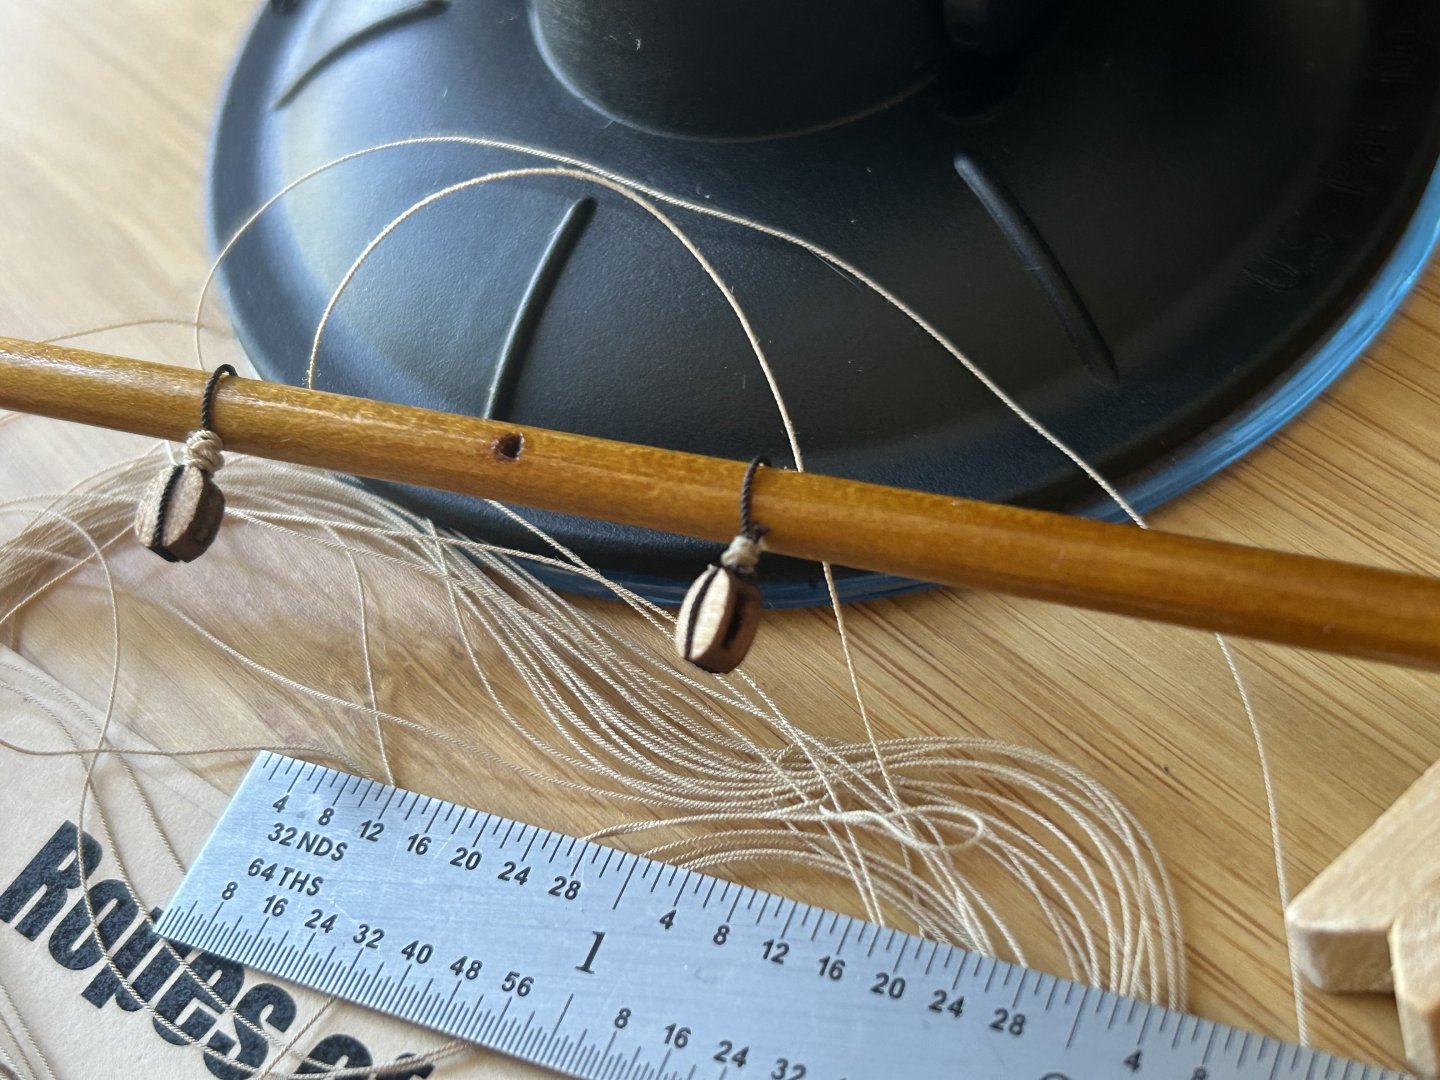
I decided to make a few closed hearts for shrouds & forestay, as I didn’t want to wait for them to be shipped— so the realism is a bit compromised. Also still trying to find the best technique for tying seizing wraps. The nail knot method using a fisherman’s knot tying tool works, but it’s difficult to get all the wraps to come off the tool and lay down flat on the line. I end up with a lot of crossed wraps usually.

- 38 replies
-
- 5
-
-
- Chesapeake Bay Flattie
- Model Shipways
- (and 2 more)
-
Micro tweezers and hemostats, and a new Quad Hands were also needed.


- 38 replies
-
- 2
-
-
- Chesapeake Bay Flattie
- Model Shipways
- (and 2 more)
-
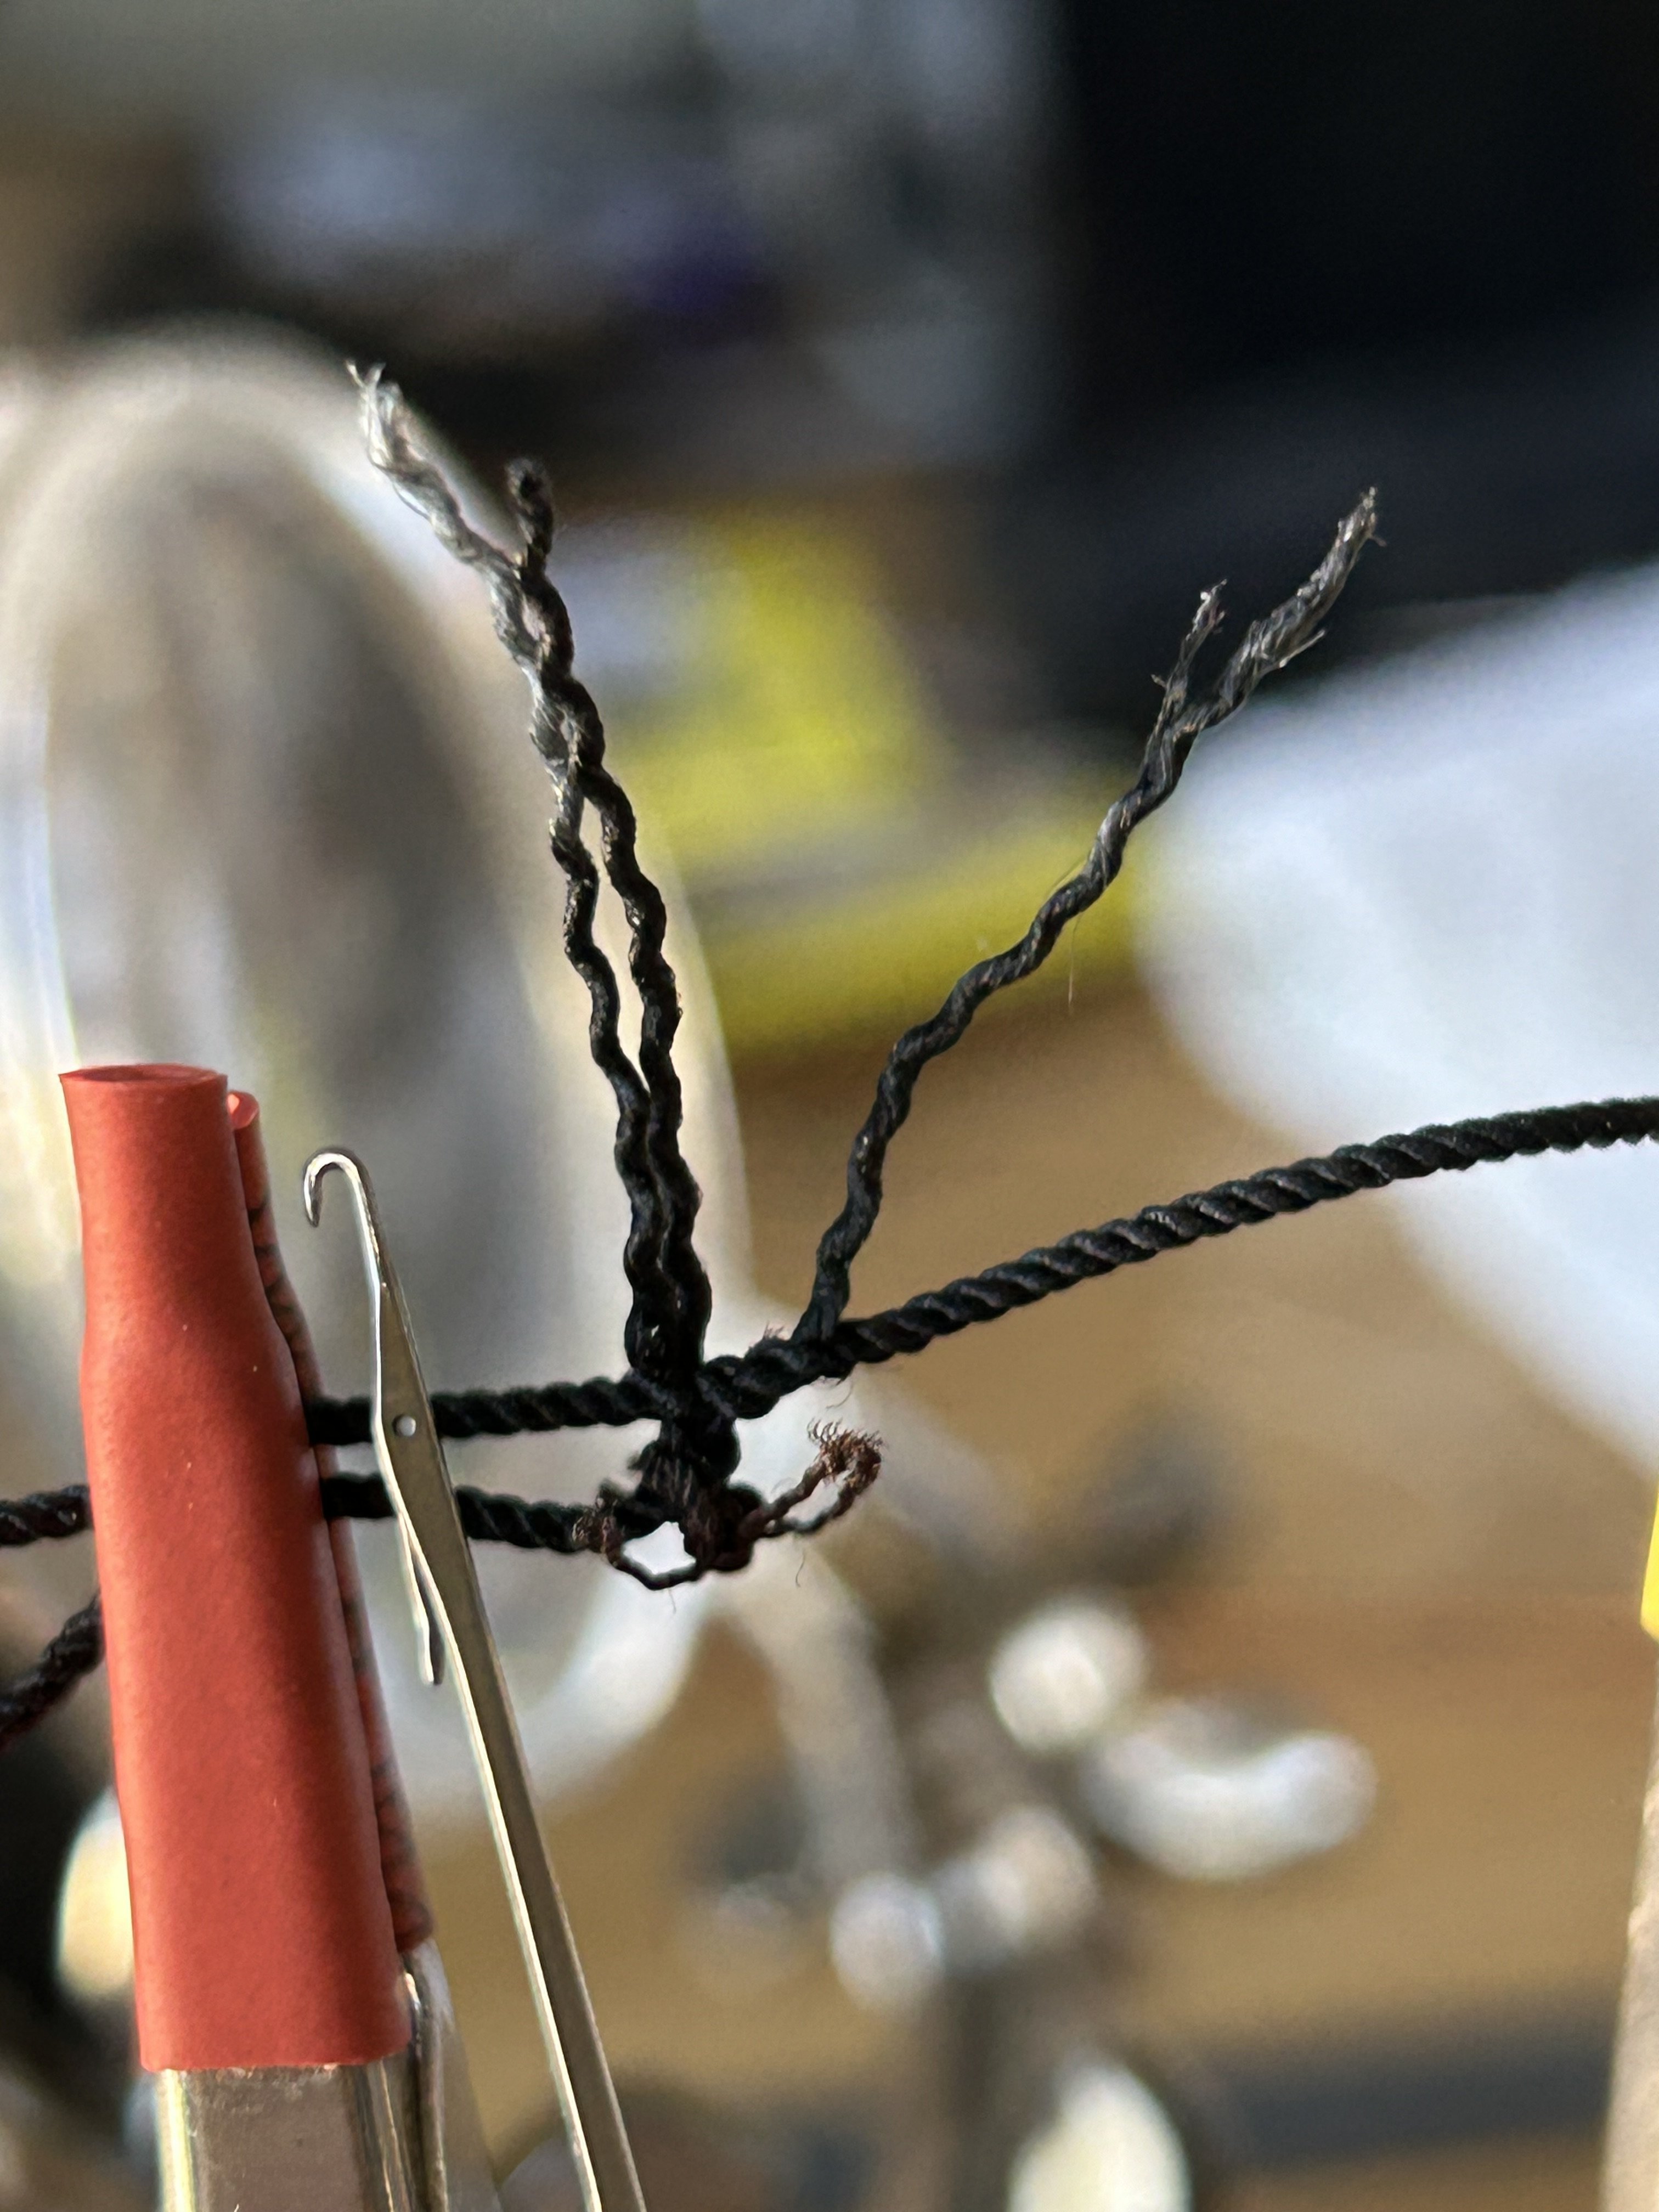
Making an eye splice in 0.9mm polyester 3-strand braided rope required finding new tools. The micro crochet hook I found on Amazon in a set of 6 sizes (it’s the smallest—the hook is less than a mm in diameter). Unfortunately the strands tended to split and fray from being dragged through the standing part of the line, even after binding the ends with CA. My first shroud splice I could only get two weaves done before it became a clumpy mess and I just put CA on it, trimmed and called it done. The third one, after practice, I managed a full four weaves.


- 38 replies
-
- 3
-
-
- Chesapeake Bay Flattie
- Model Shipways
- (and 2 more)
-
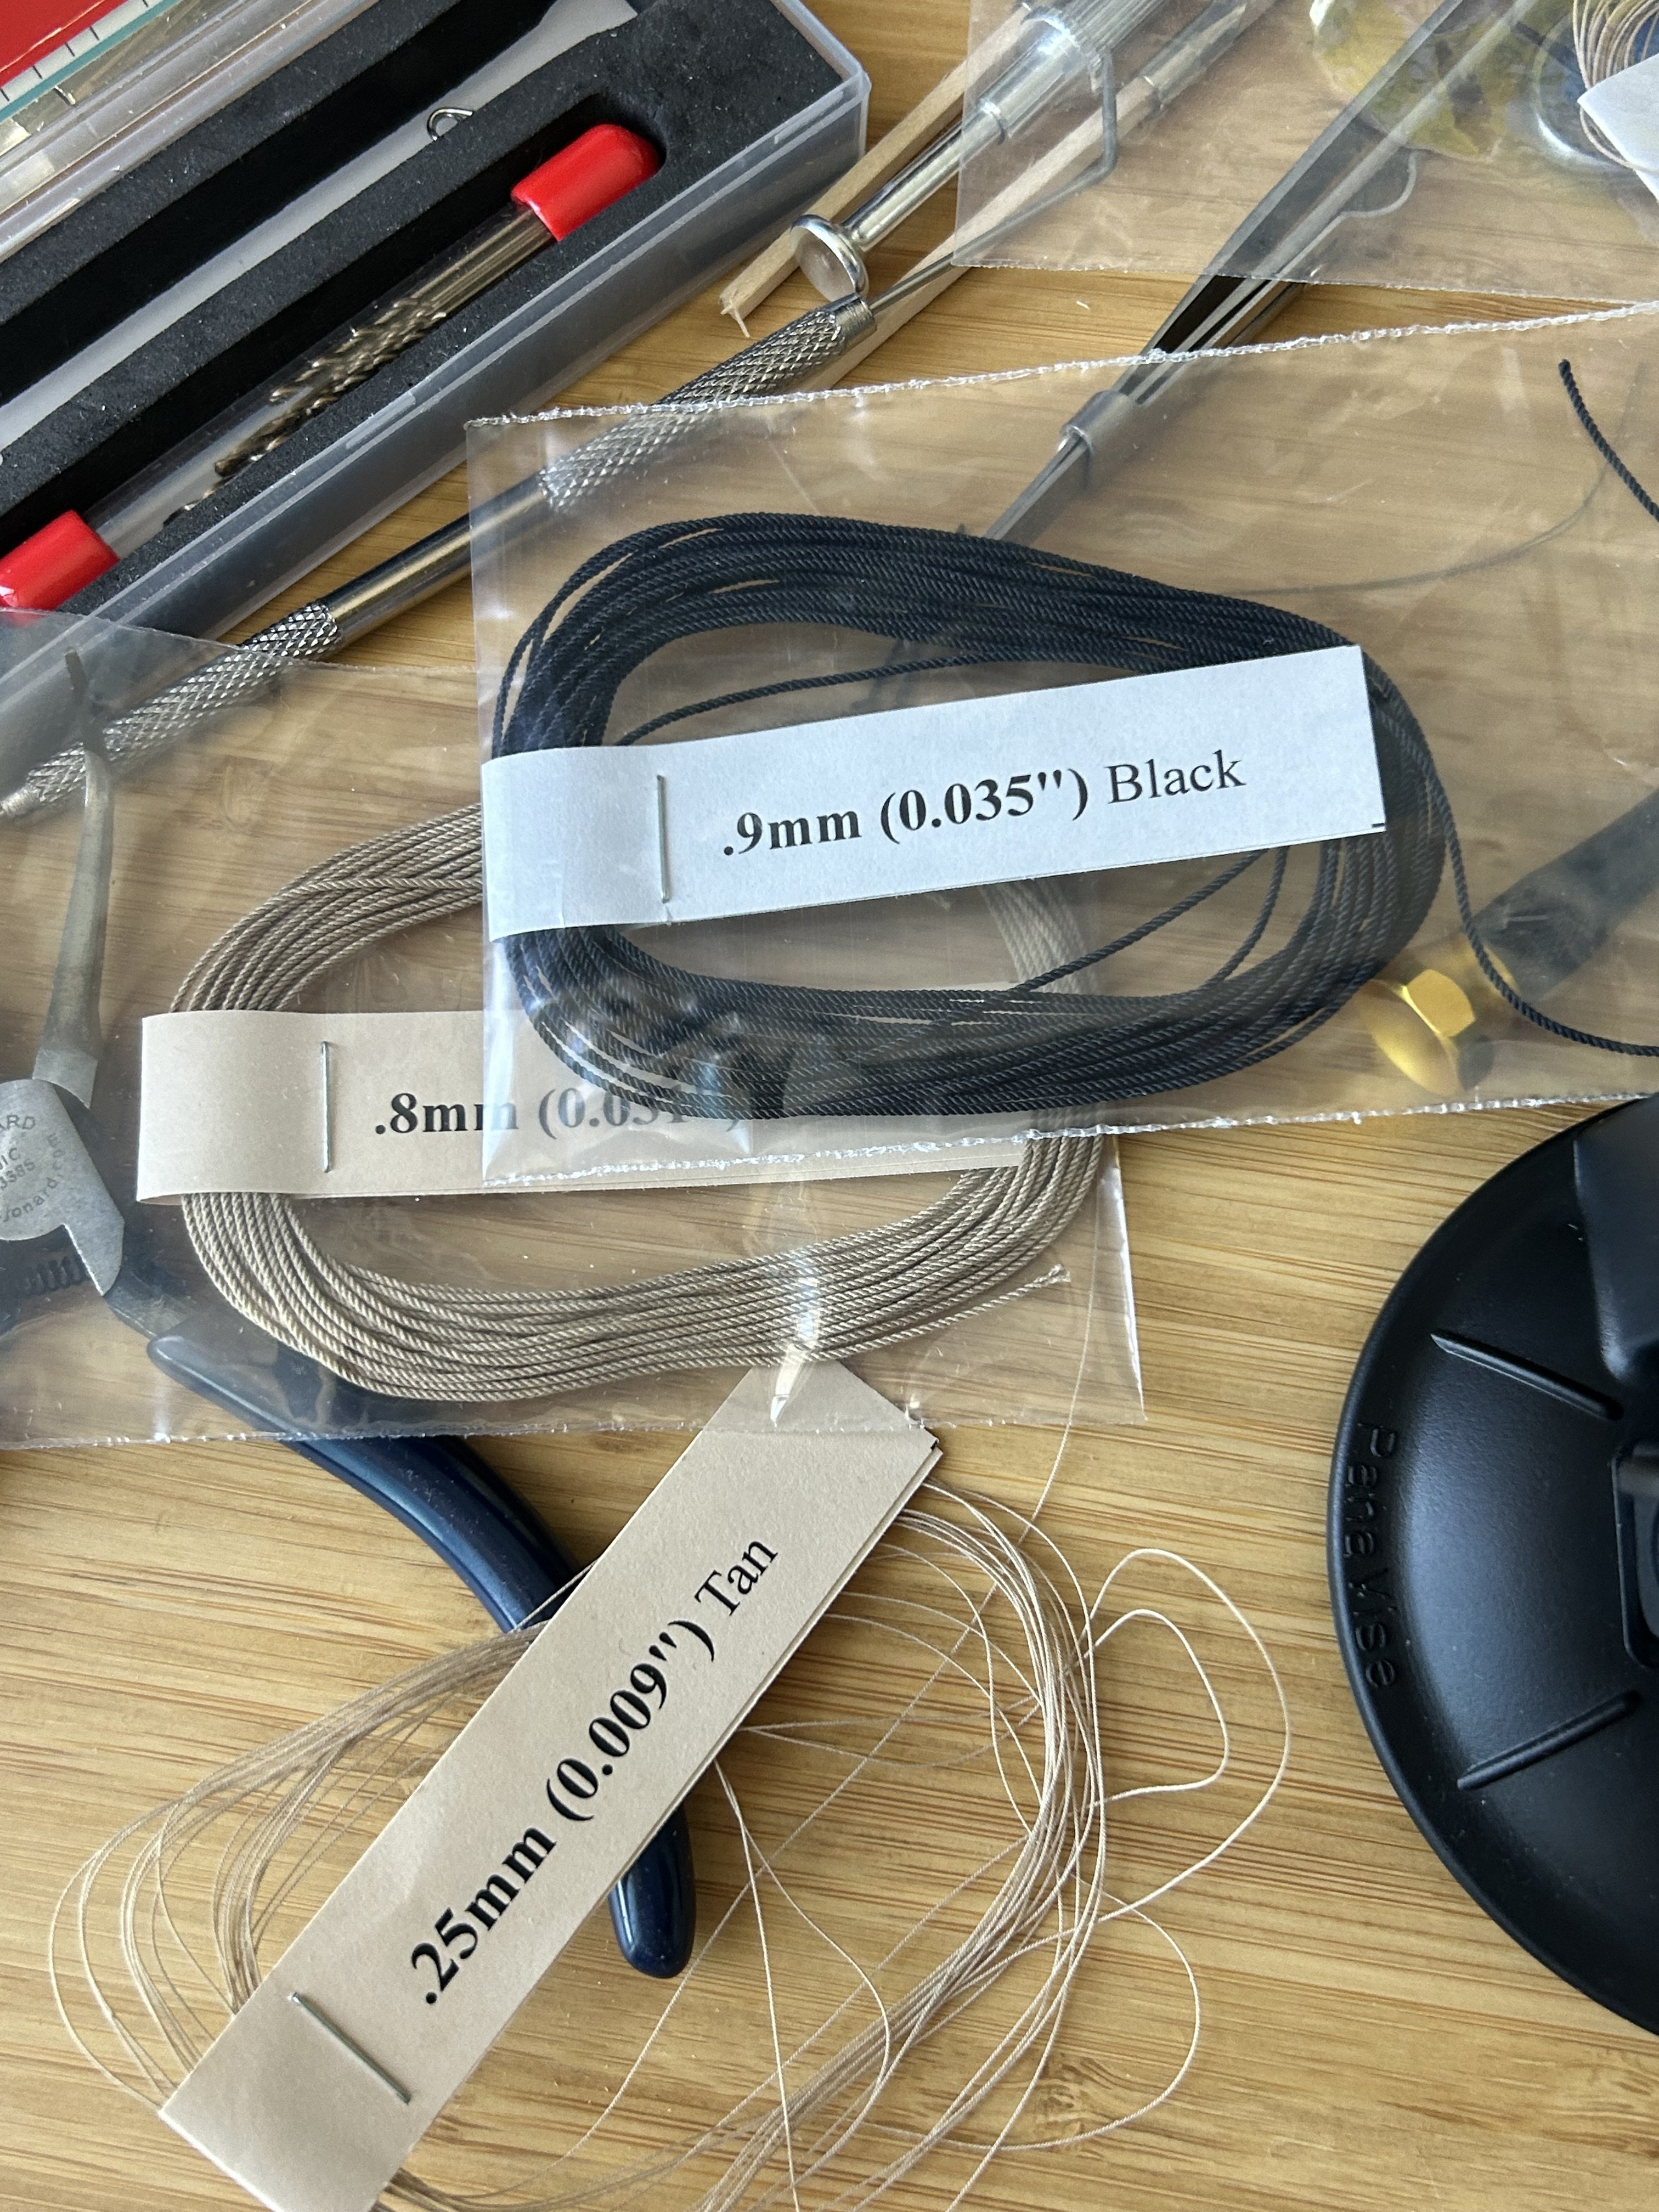
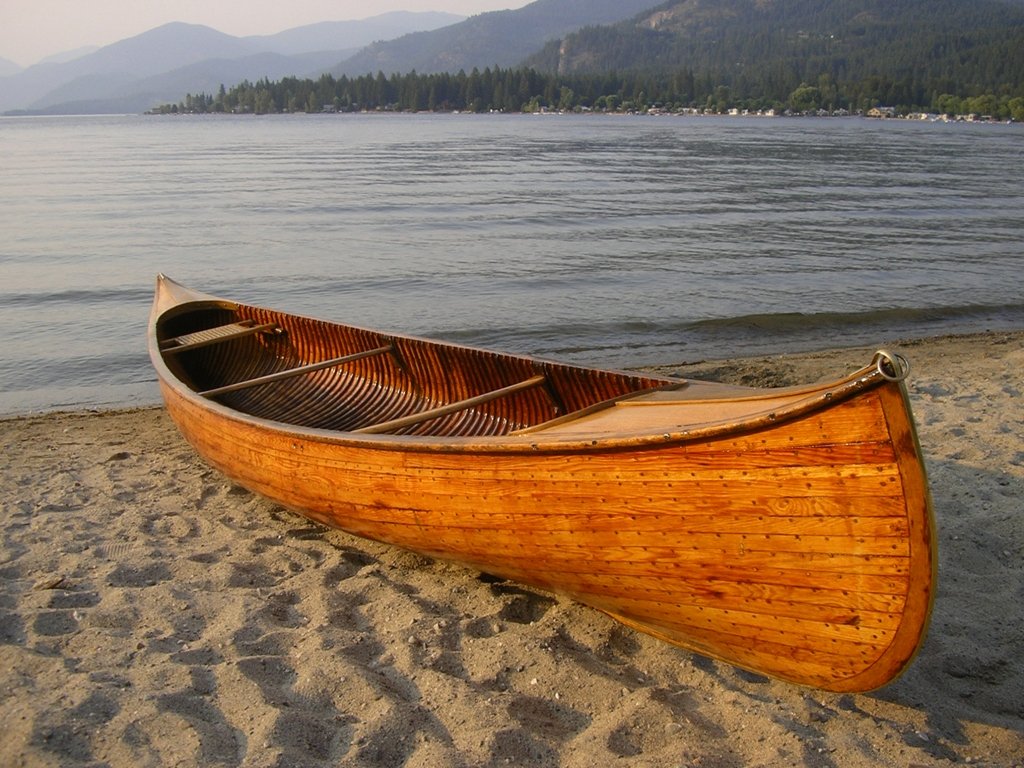
Thanks, John! I decided to upgrade a lot of things like using scale rope and Model Shipways blocks (5mm). Teaching myself to do seizing serving and whipping. Lots of new micro tools. I have started a Midwest Canadian Canoe (1:8) and am also kitbashing quite a bit. Ordered half-round basswood strips for the ribs and a making a number of changes to make it closer to a scale replica of a Peterborough Model 44 horizontal strip canoe (“the Canadien”). Will start a build page for that one soon.

- 38 replies
-
- 5
-
-
- Chesapeake Bay Flattie
- Model Shipways
- (and 2 more)
-
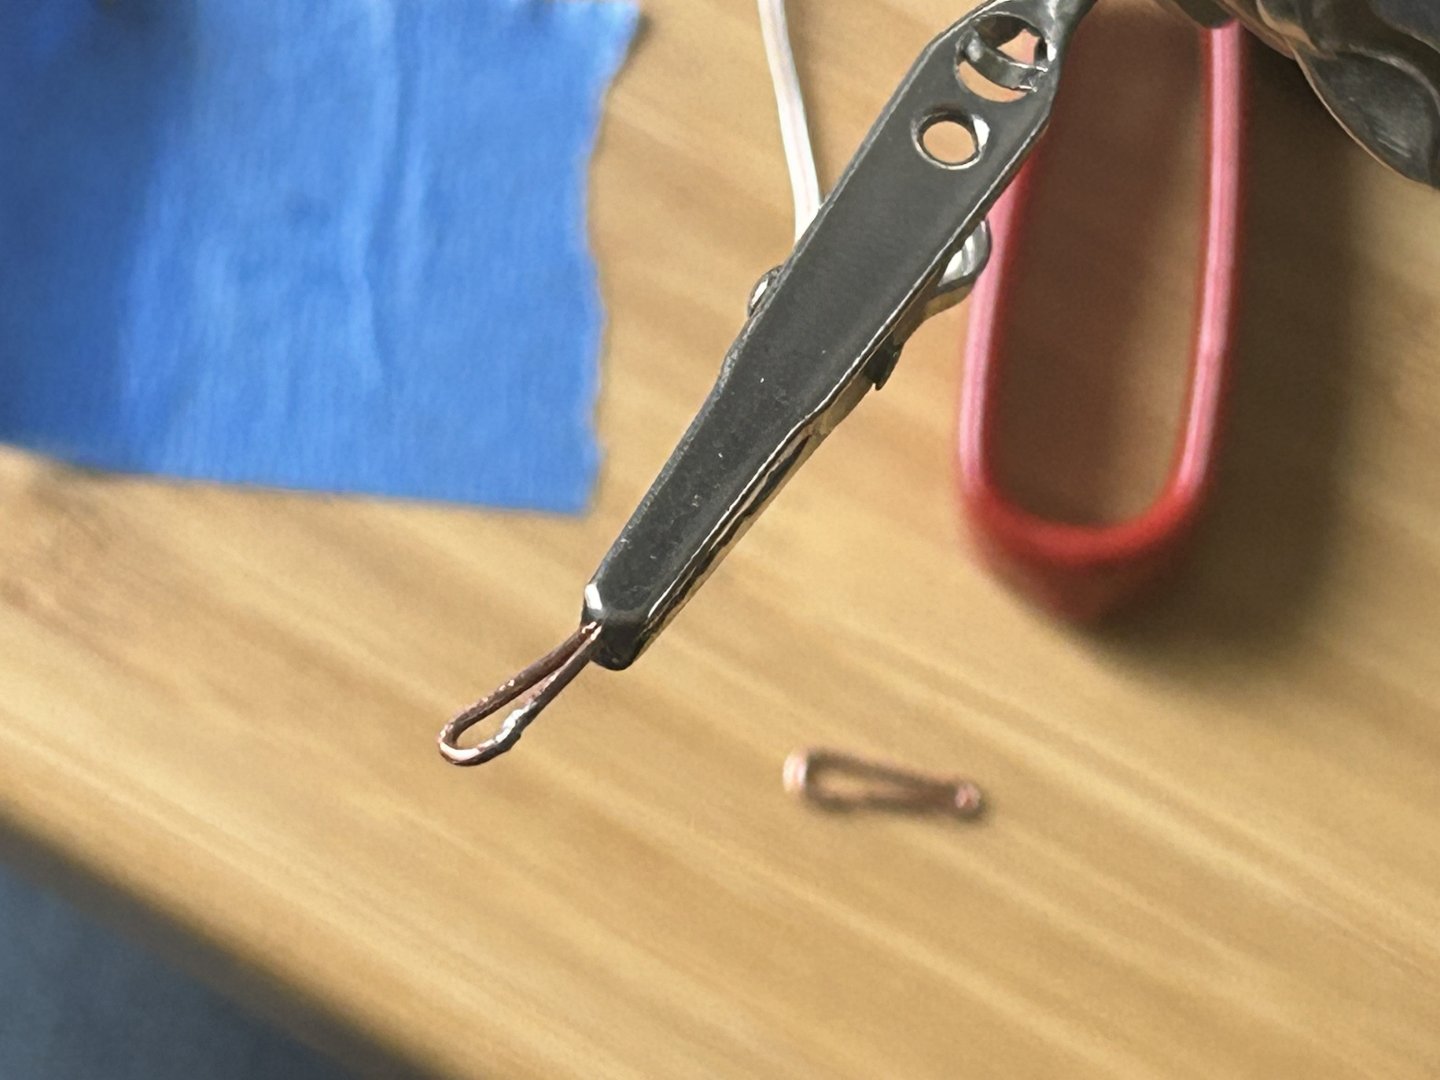
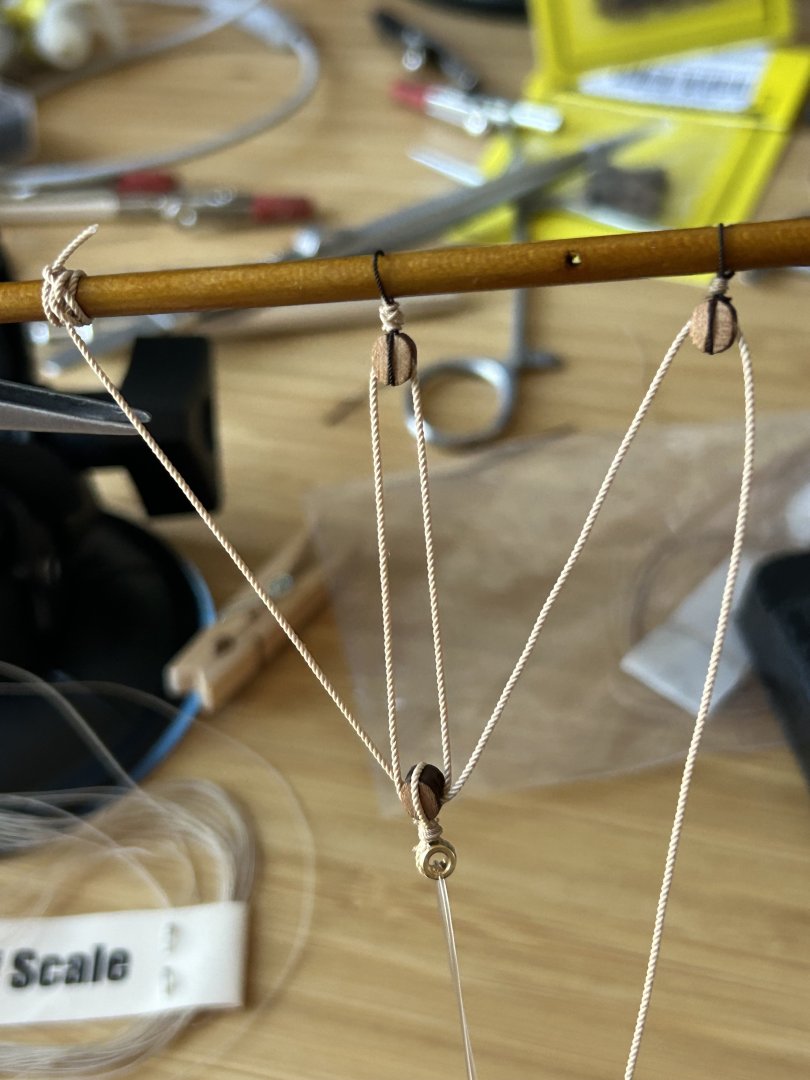
They’re not in the kit but I decided to add shrouds, as most of the research showed them. Needed to solder a couple chainplates from brass wire:
- 38 replies
-
- 5
-
-
- Chesapeake Bay Flattie
- Model Shipways
- (and 2 more)
-
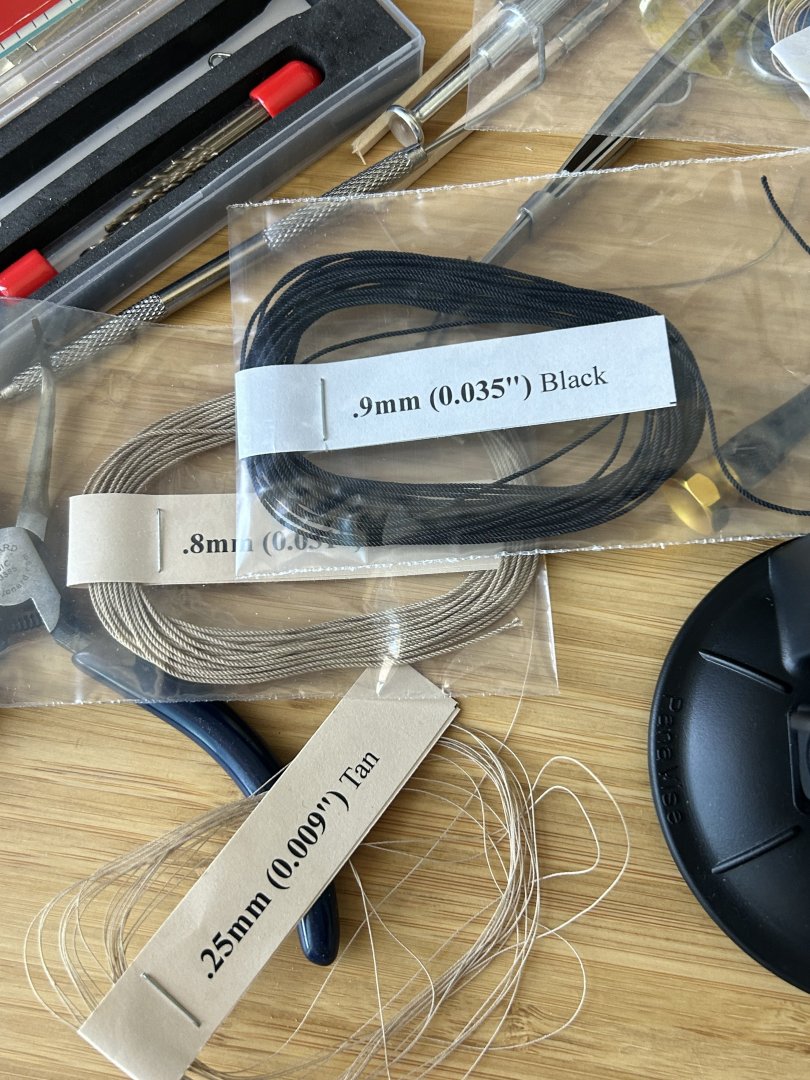
Working on the rigging now. Making an eye splice in 1.1mm miniature rope is fiddly business (the hawser on the Samson post). The mainsheet is .7mm polyester. Got all the mini rope from Ropes of Scale.
- 38 replies
-
- 6
-
-
- Chesapeake Bay Flattie
- Model Shipways
- (and 2 more)
-
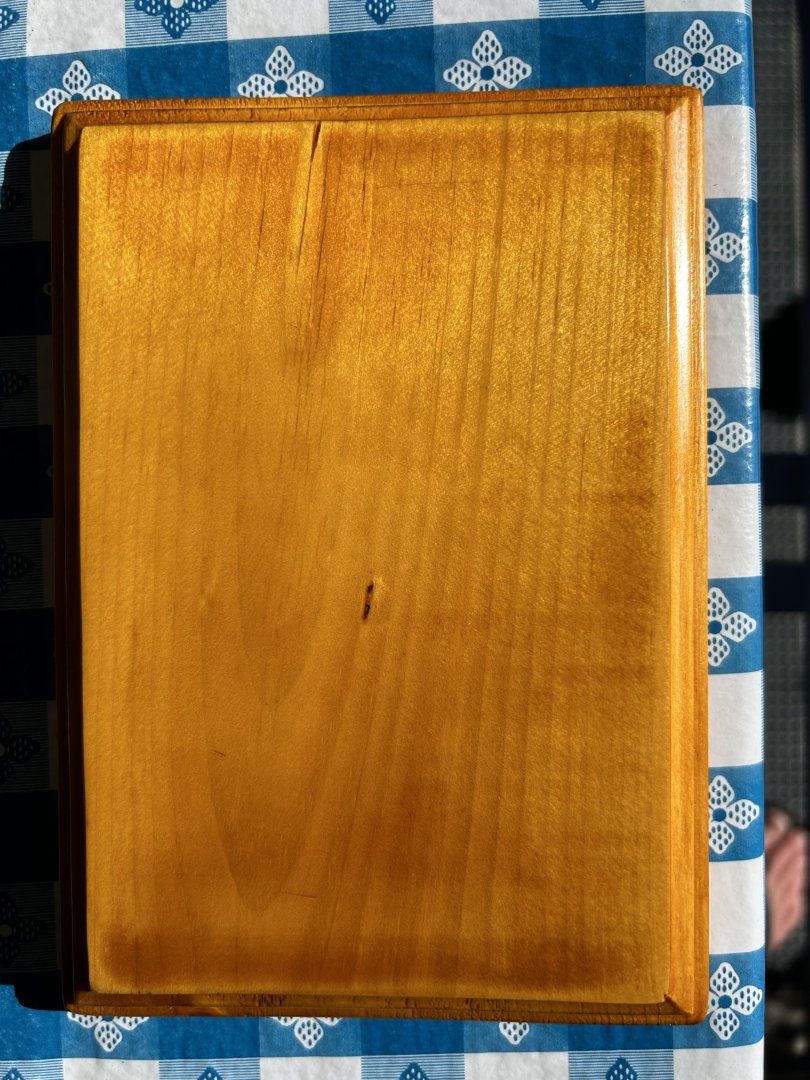
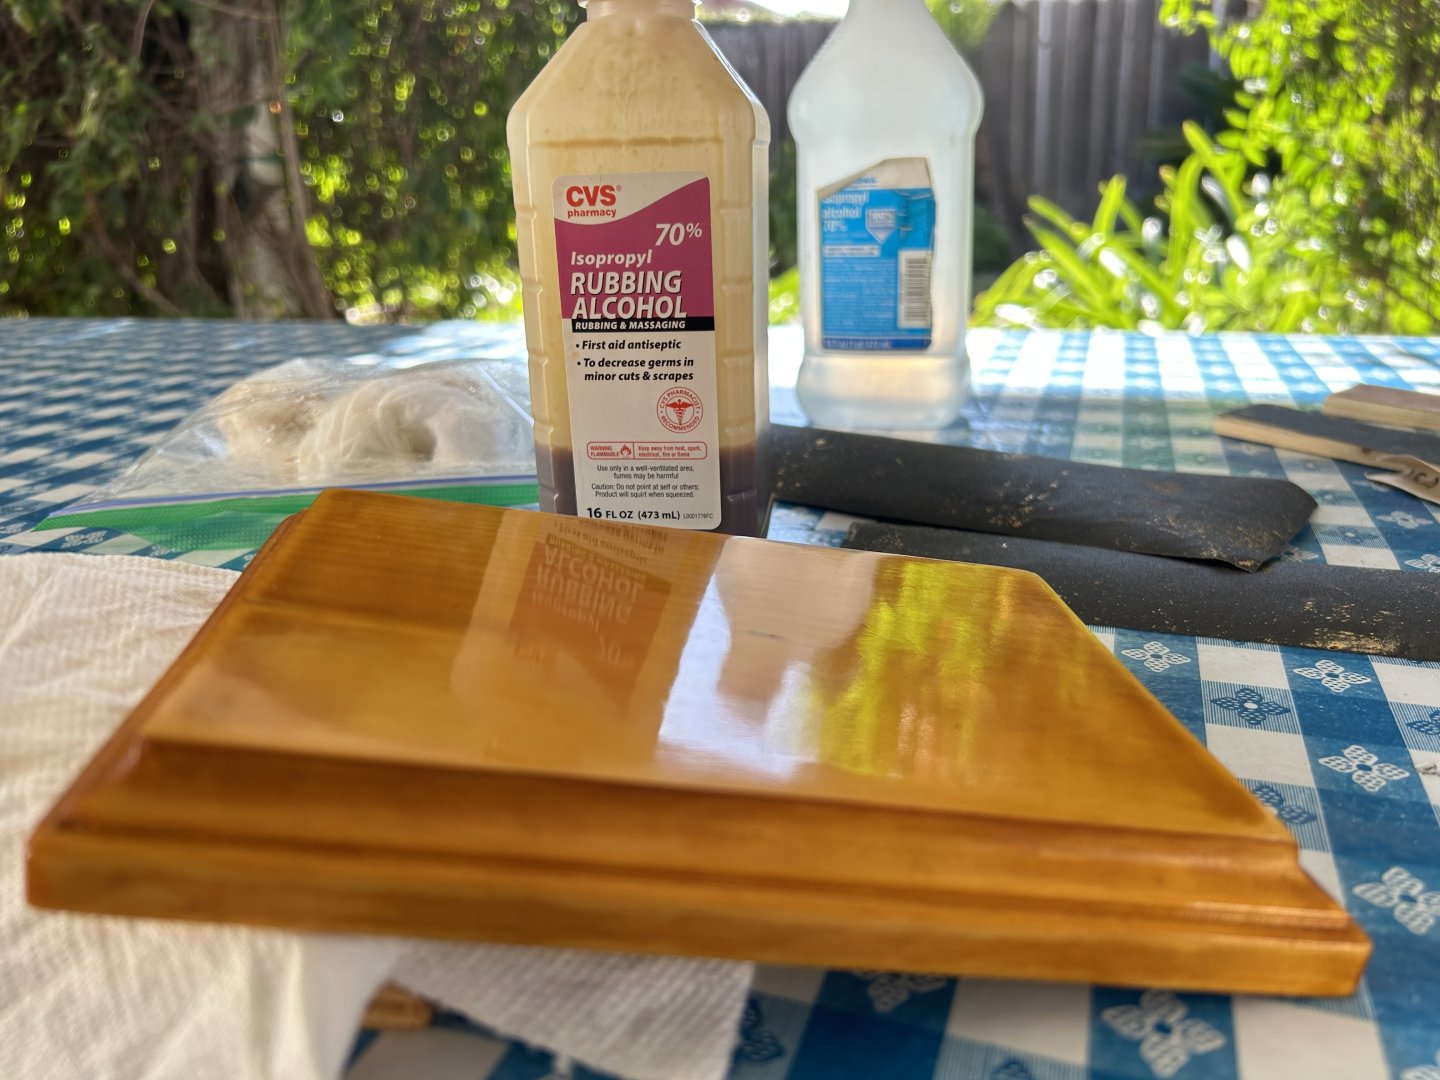
Thanks John! Pine base is nearly done. 4 days of hand-rubbed French polish (shellac).
- 38 replies
-
- 4
-
-
- Chesapeake Bay Flattie
- Model Shipways
- (and 2 more)
-
Mainsail nearly done (first reefing line installed).

- 38 replies
-
- 6
-
-
- Chesapeake Bay Flattie
- Model Shipways
- (and 2 more)