HOLIDAY DONATION DRIVE - SUPPORT MSW - DO YOUR PART TO KEEP THIS GREAT FORUM GOING! (Only 66 donations so far out of 49,000 members - Can we at least get100? C'mon guys!)
×


BradNSW
-
Posts
61 -
Joined
-
Last visited
Content Type
Profiles
Forums
Gallery
Events
Everything posted by BradNSW
-
The lighter color of the boxwood on the lower deck would highlight the geometric construction. Then the upper deck geometry would be highlighted the same? Then using the pink pear for deck planking, furniture, etc. The inverse would be nice also...darker geometric construction and lighter (scrubbed/washed/moped) decks. Either way, your work is superb!
- 968 replies
-
- 1
-

-
- hahn
- oliver cromwell
- (and 1 more)
-
Hello with first question on my first build
BradNSW replied to Ratdude's topic in New member Introductions
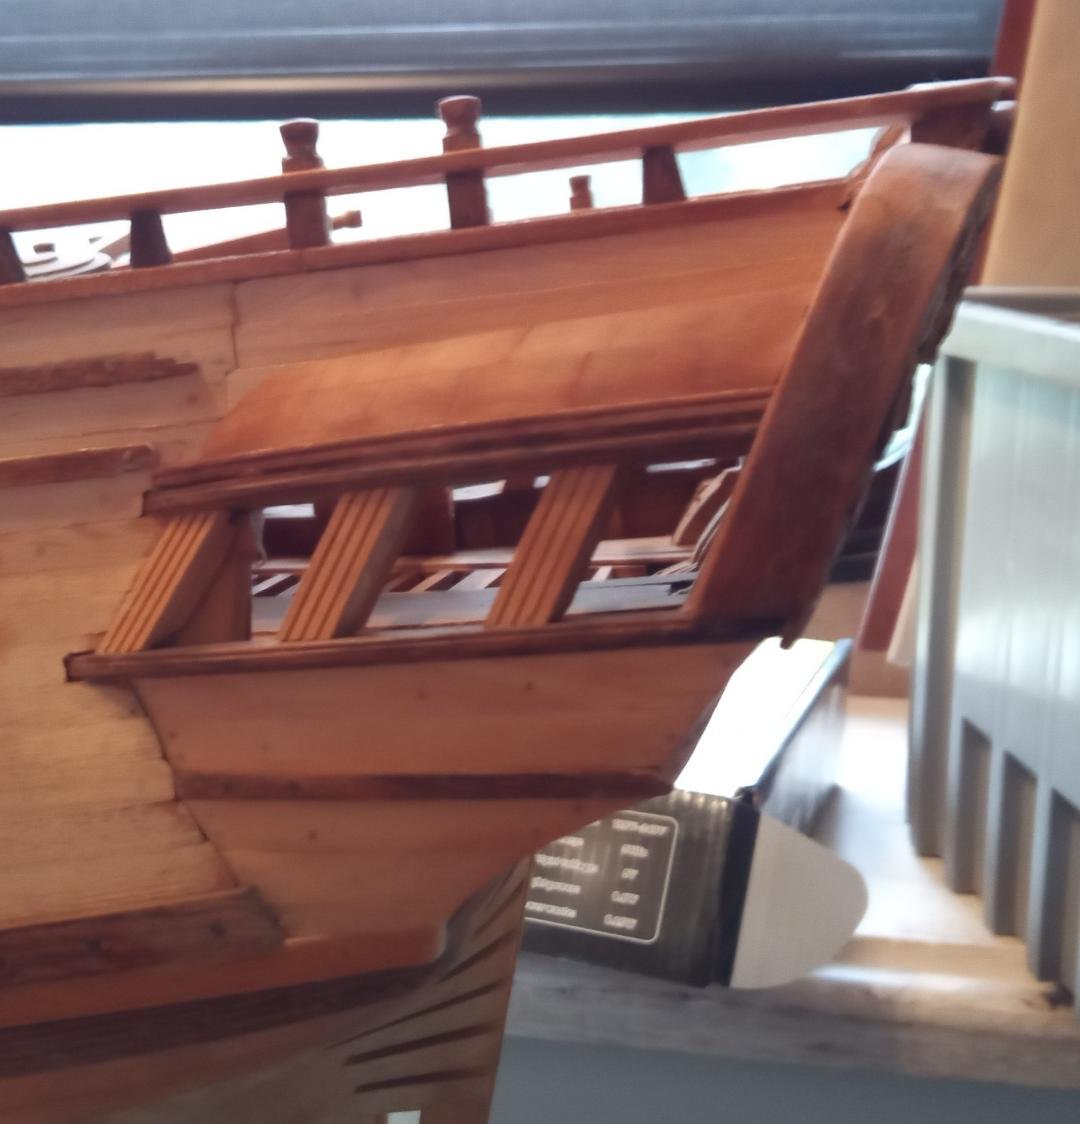
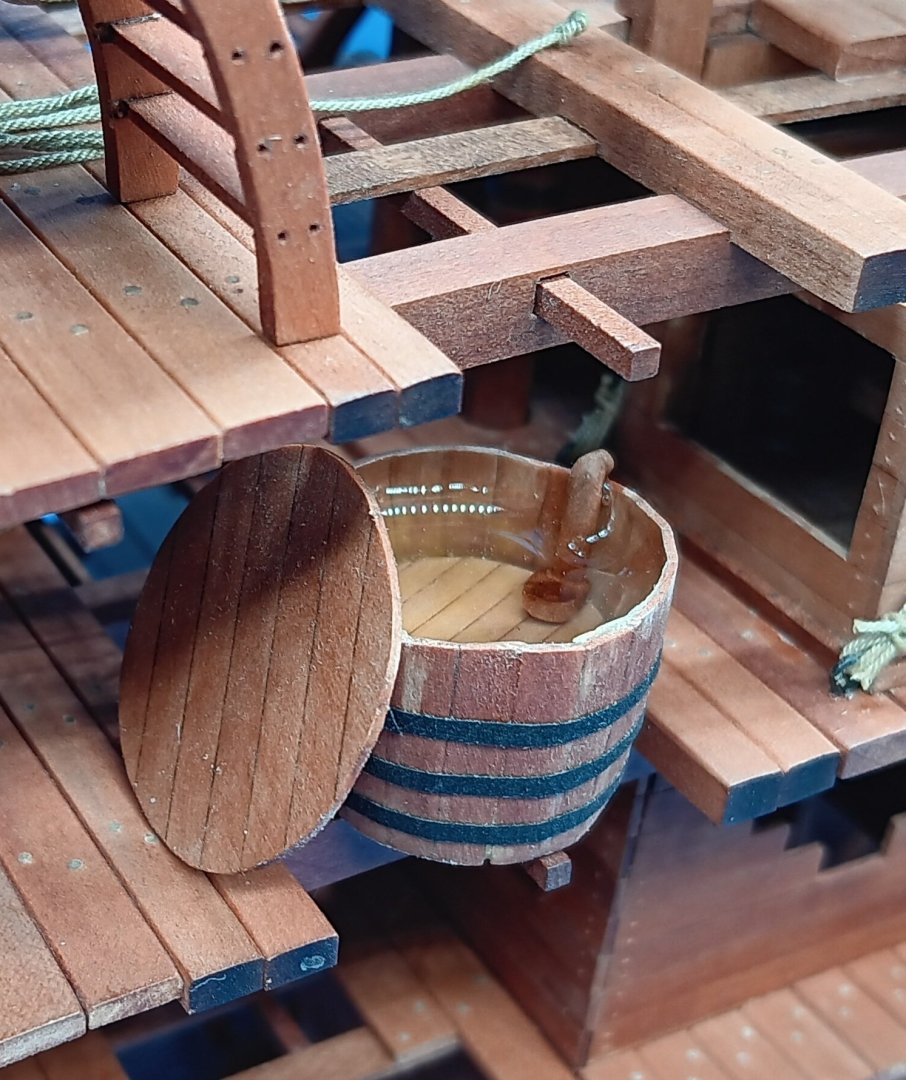
Pictures of the guns, ships oven and water station. My build log is on another forum. BHR build log Thanks for your interest.
.thumb.jpg.7d760fb2fdb85f66ce3b4d58a79e9450.jpg)
-
I've discovered your build log and spent two evenings just trying to absorb all the detailed info! Your incredible joints, milling, plane and chisel work, as well as the accuracy of your measuring and set-up will be something I strive for when I begin my next scratch build!! Thanks for sharing this wonderful work with such thorough documentation and photography!
-
Hello with first question on my first build
BradNSW replied to Ratdude's topic in New member Introductions
They are all much smaller scale than your superb build. The corkscrew effect was just wire wrapped around a small toothpick. The button in the tampion is brilliant and well executed! -
Agreed...it was my inspiration, while studying Naval Architecture there. I began my first scratch model several years after graduation and finished it 30+ years later. I drag my wife through the displays, every time we visit. Not so sure she finds them as inspiring as I do!!! The POW bone models never cease to amaze me. Your work is superb and I will be following!
-
Hello with first question on my first build
BradNSW replied to Ratdude's topic in New member Introductions
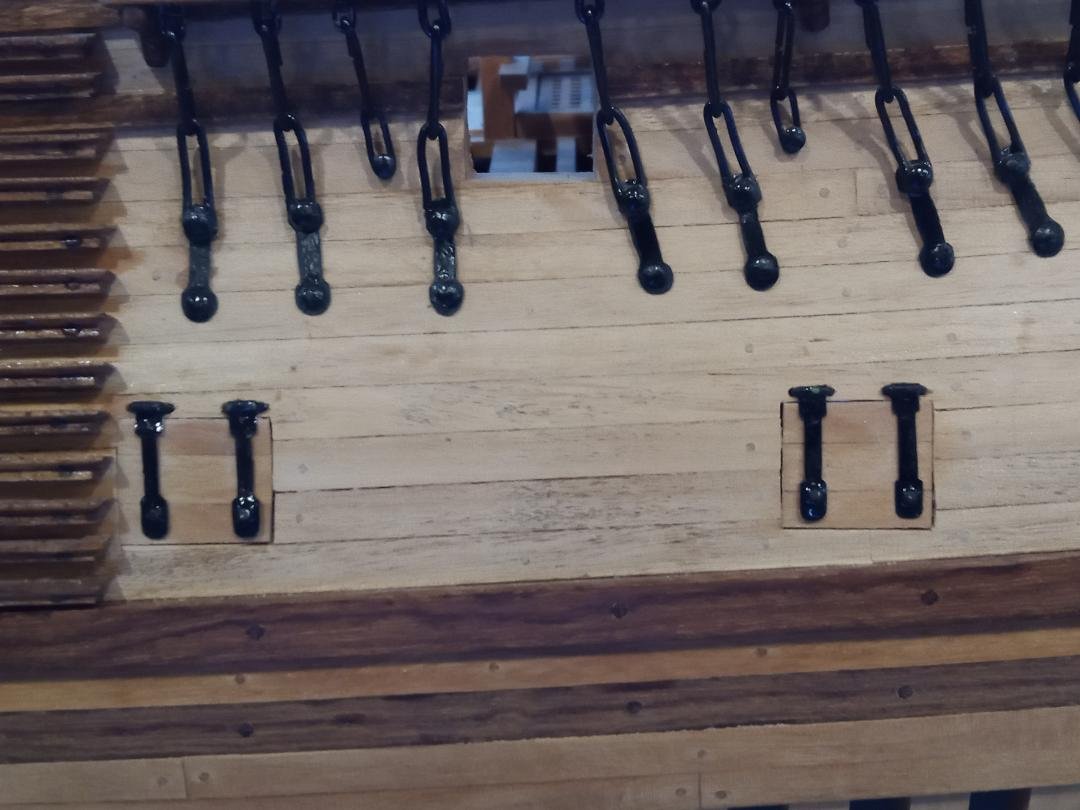
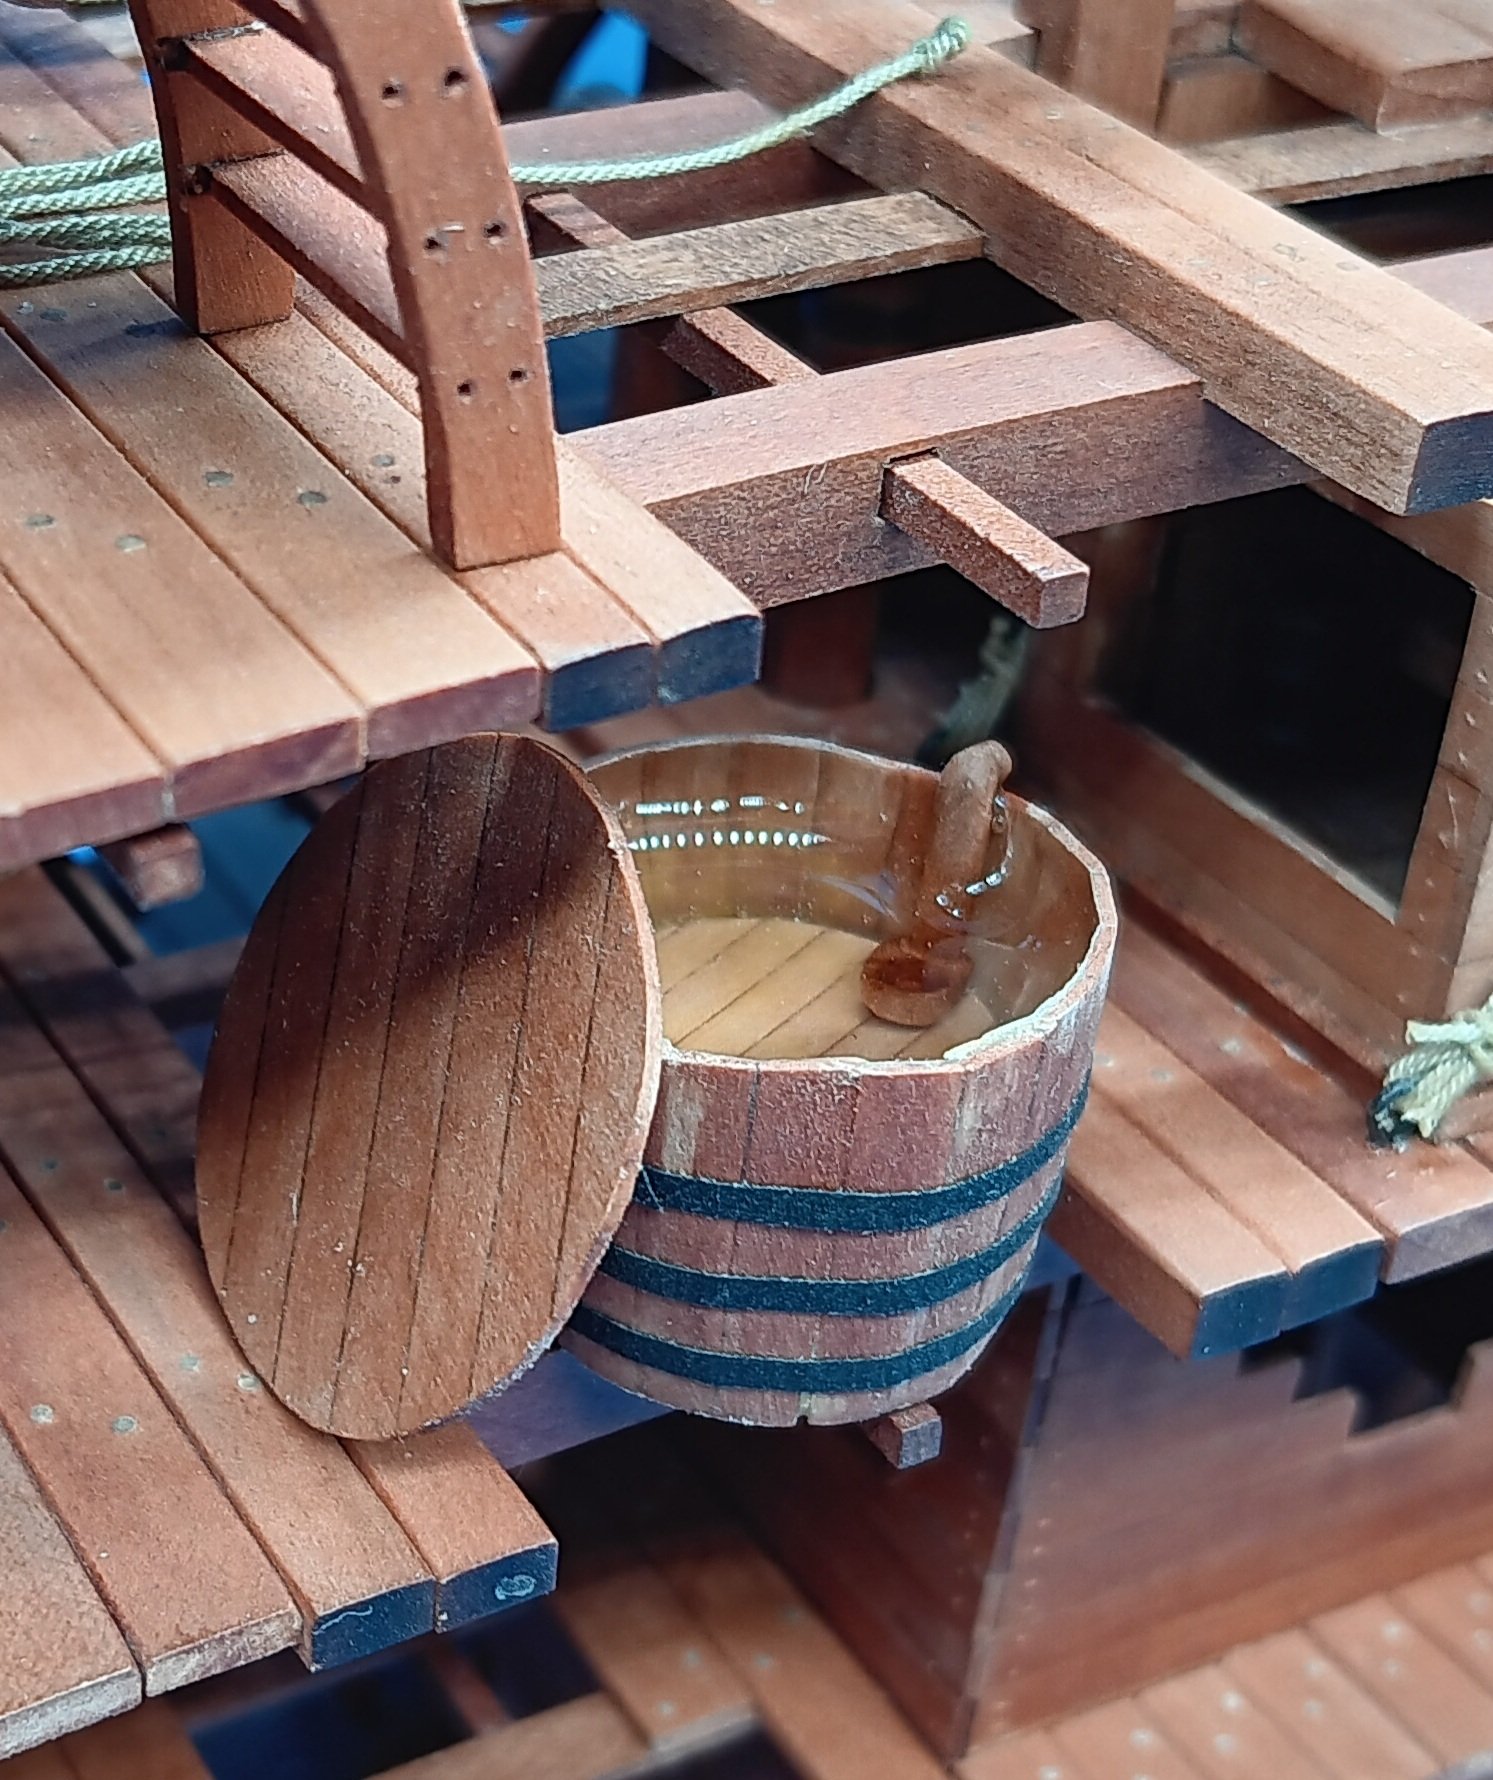
I love the chain shot and water bucket! I may need to add the tompion (barrel cover) to my cross section of the Bonhomme Richard...yours looks awesome!! Have you thought about adding some of the tools needed for reloading? I added a few to each station on my cross section (see below). Thanks for sharing!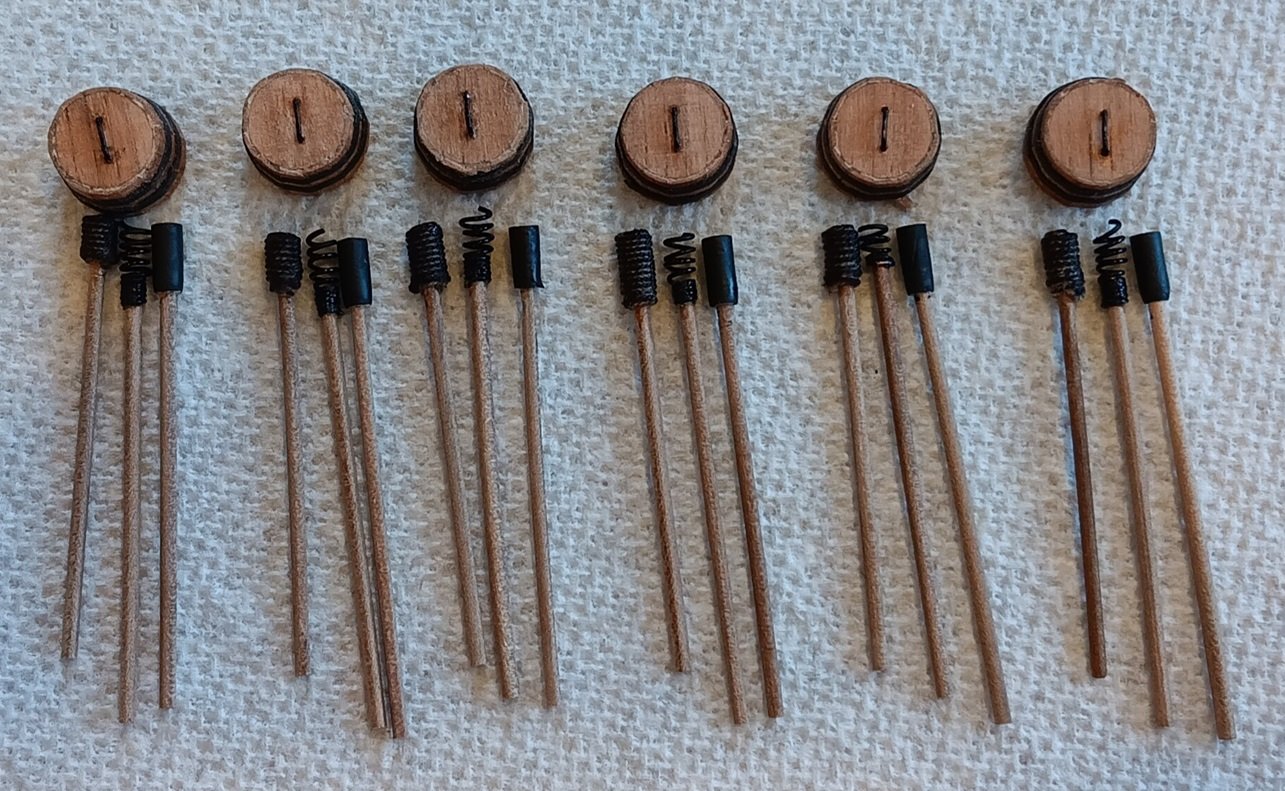
-
Thanks for the invite to the Denver Club. I've attended two meetings. I brought my latest project: a Bonhomme Richard cross-section, the 2nd time. I'm up in Loveland, so it's a bit of a drive. I'm also on the road in our RV for 6-7 months/year. I'll continue to attend, when time and travel permit...and look forward to meeting you. I was also a member of the San Diego guild off and on, when I wasn't deployed or living overseas. I looked over your build log and am impressed with how it's coming along!!
-
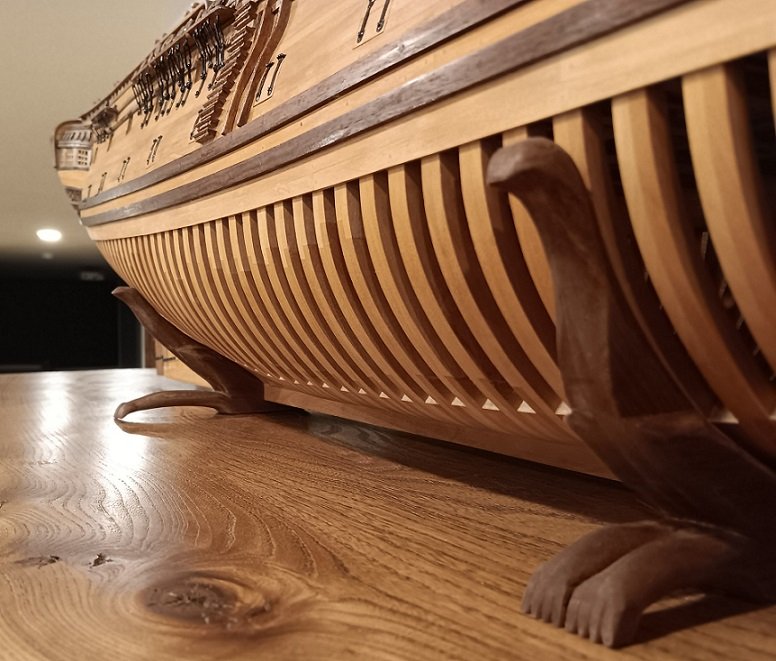
I had two Artesia Latina kits under my belt. The Scottish Maid and King of the Mississippi. My first scratch build and first carvings. For the cradles, I traced the frames where I wanted them to sit, then just started whittling until they began to take shape (a dinosaur or sea creature or???). Yeah, I'm a stick-with-it guy (or as my wife says...stubborn as a mule):)!
-
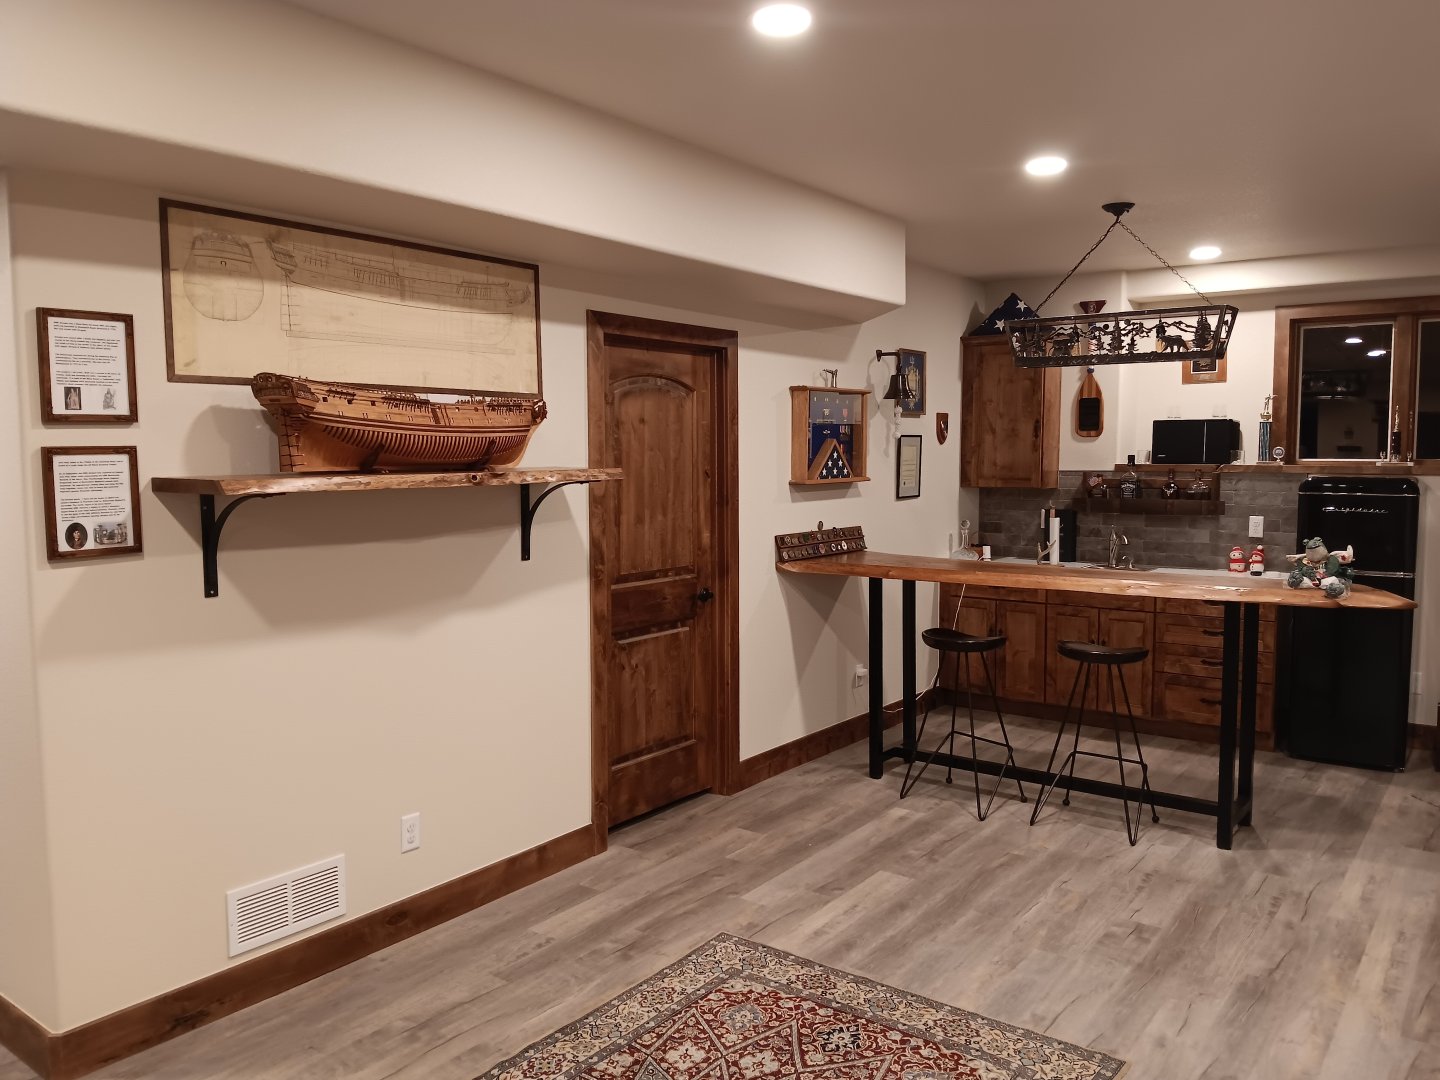
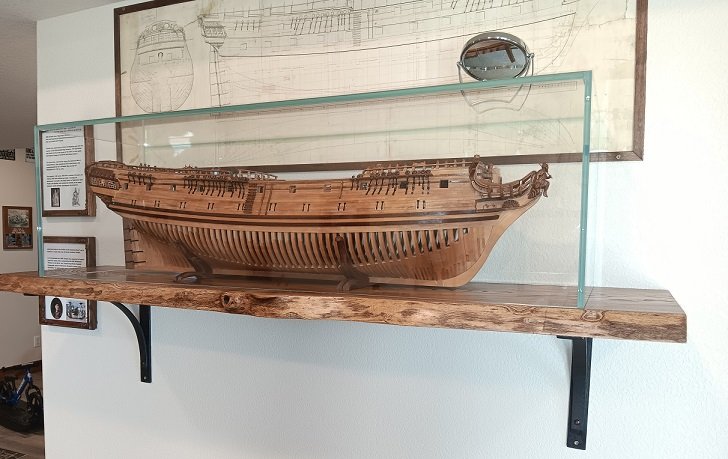
I've got 100s of other pictures documenting the build, but I'll close with pictures of how she sits now. Following 3 years on the road in our RV, we finally bought a home in Loveland Colorado. A corner of the basement is my "Navy Bar", where the finished model finally landed.


-
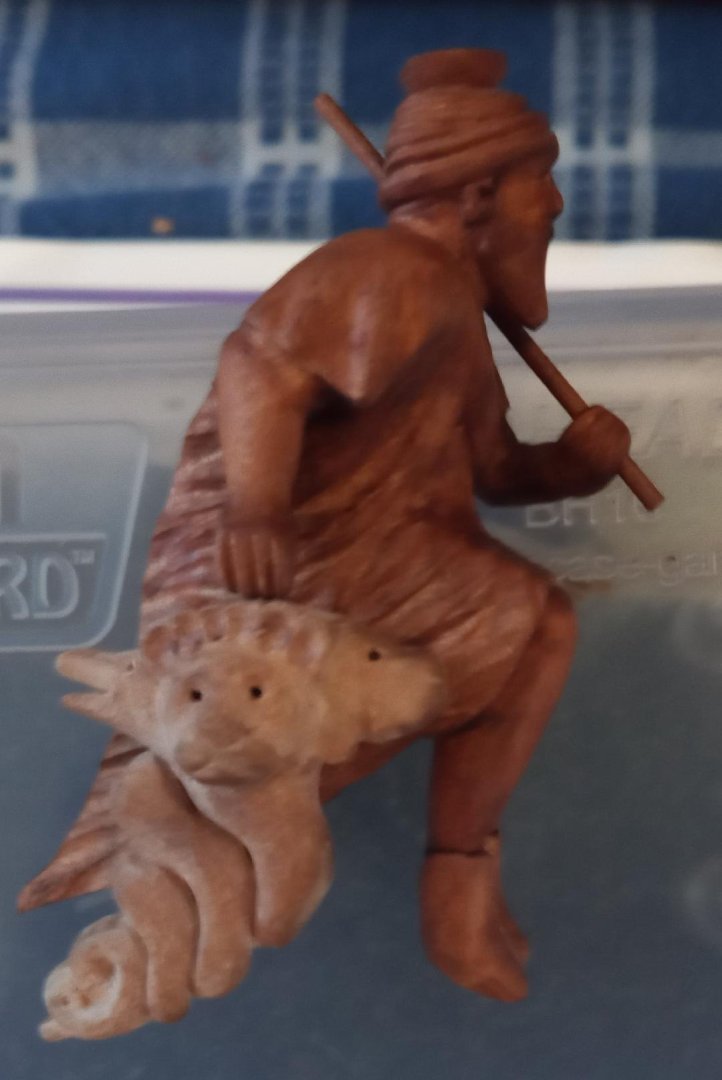
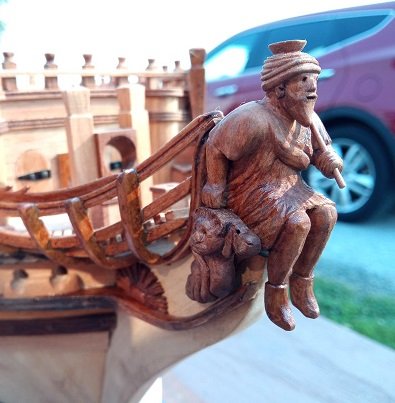
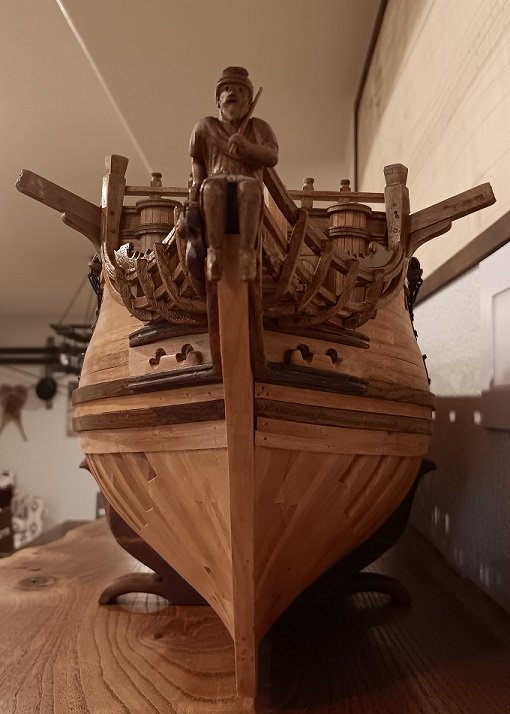
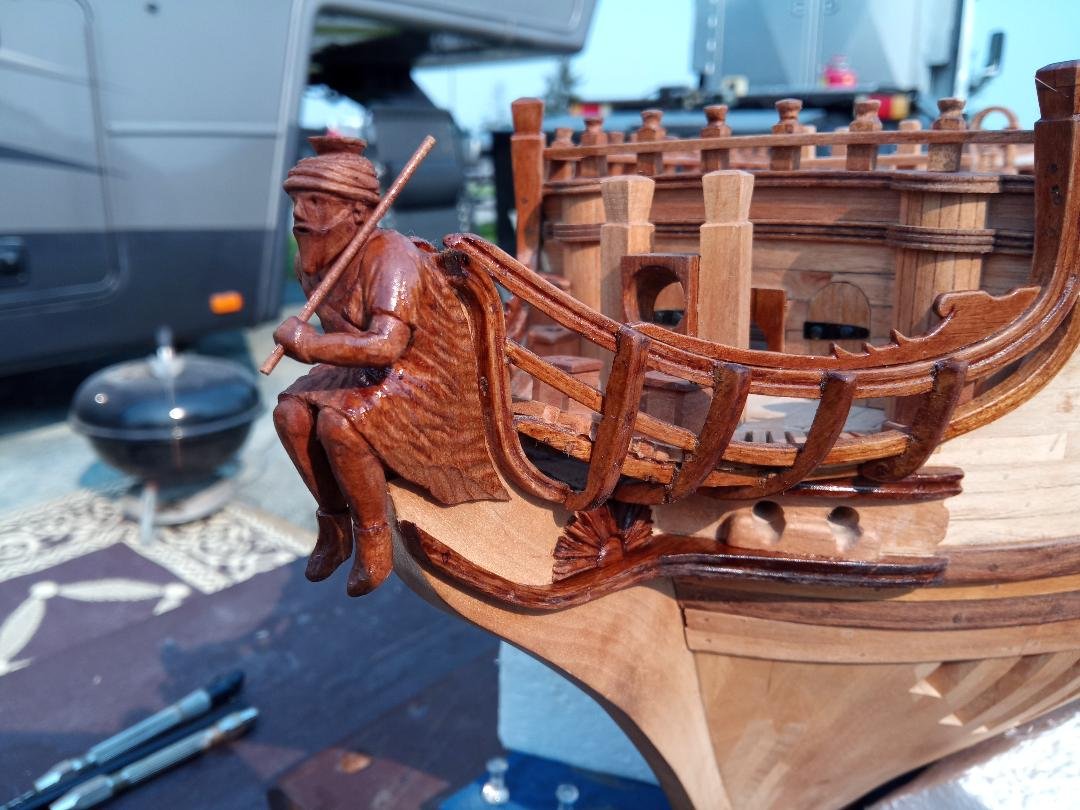
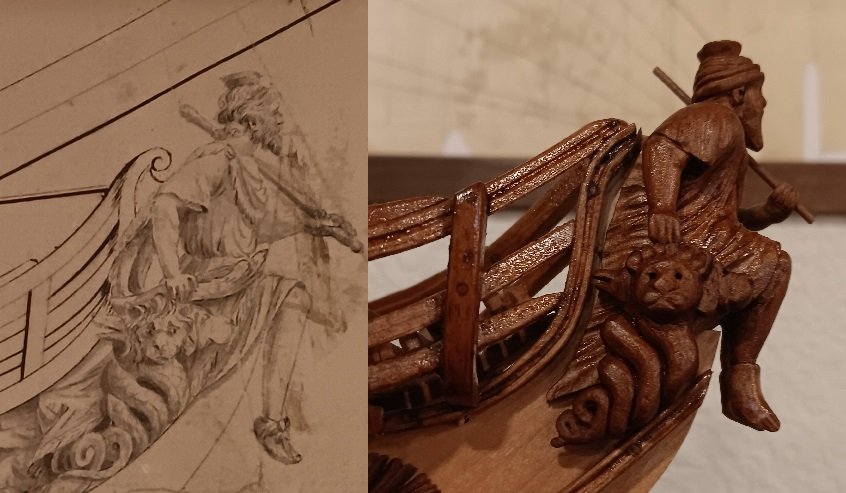
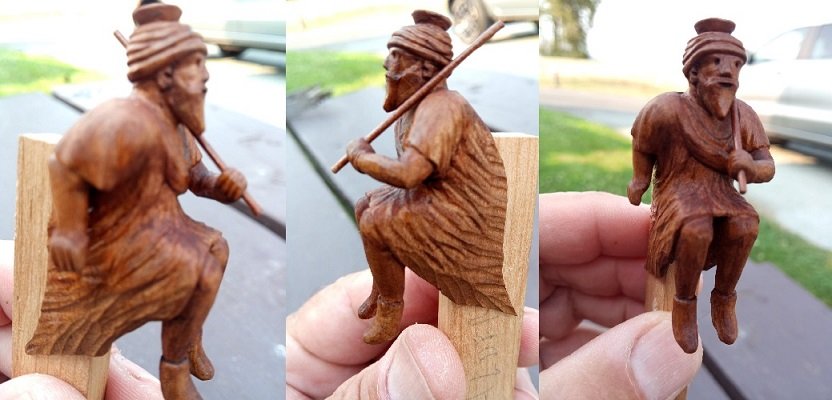
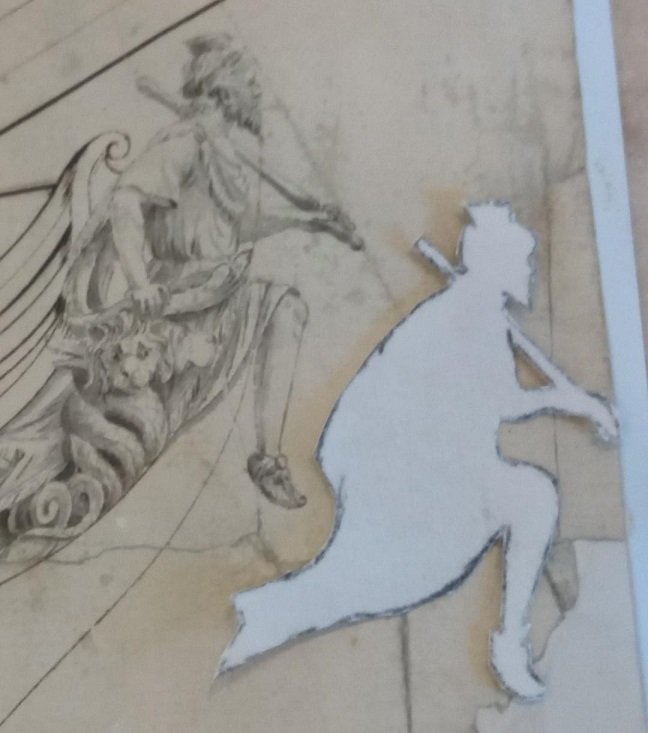
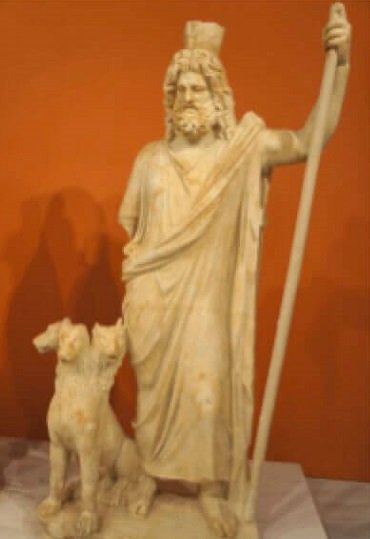
Finally ready to tackle the figurehead. Serapis is an Egyptian Bey who guarded the gates of Hades with his three headed dog Cerebrus. He is always depicted with an upside-down bowl/grain holder on his head. Tracing the figurehead from the Serapis 1782 drawings. The finished results.
-
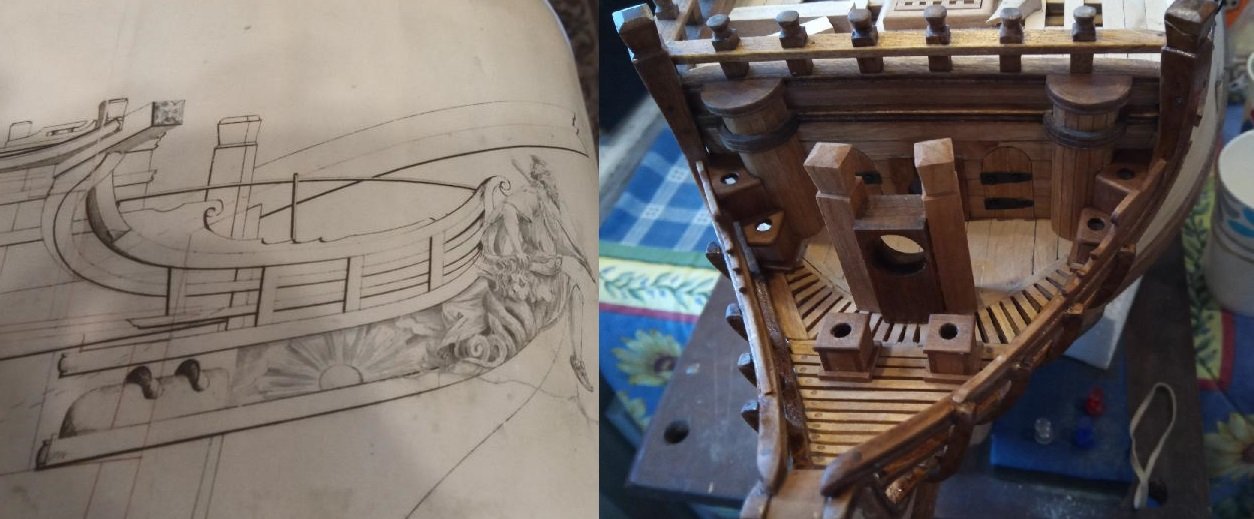
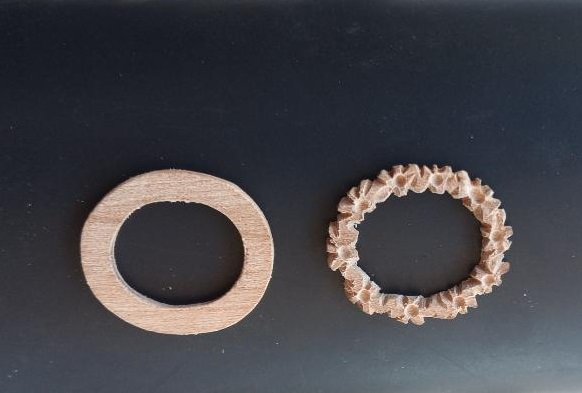
Quater gallery construction and carvings.


-
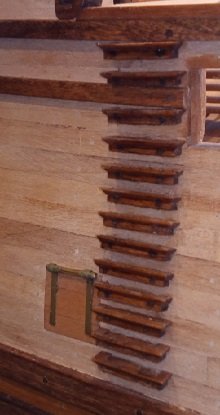
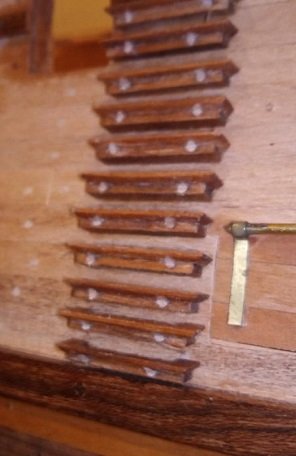
Cannon port covers, backstay chainplates and quarterdeck accommodation ladder.
-
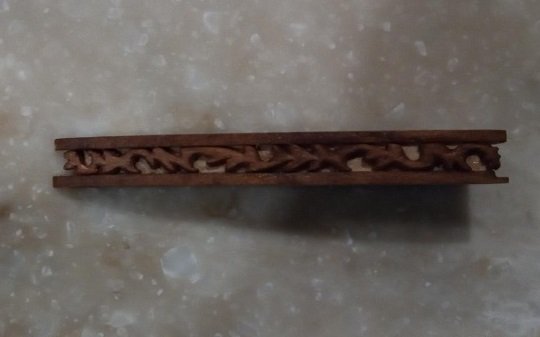
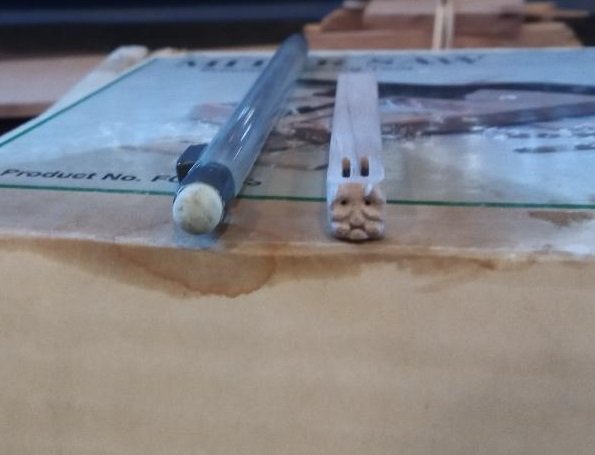
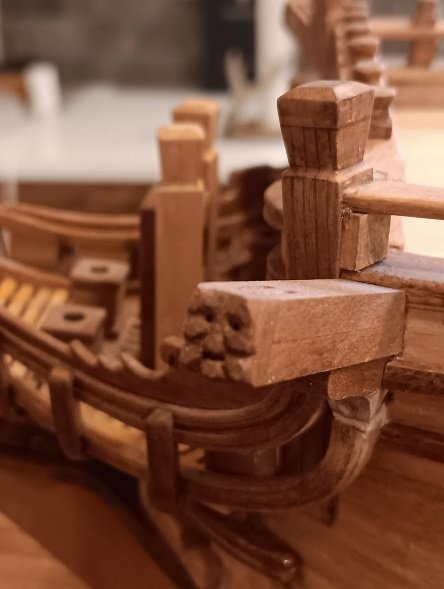
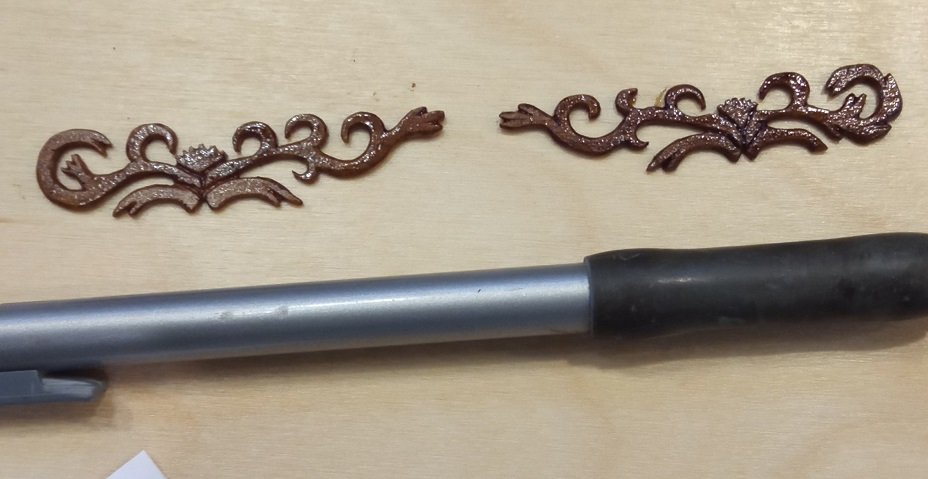
I got some additional carving practice, before trying the figurehead, while decorating the cathead.
-
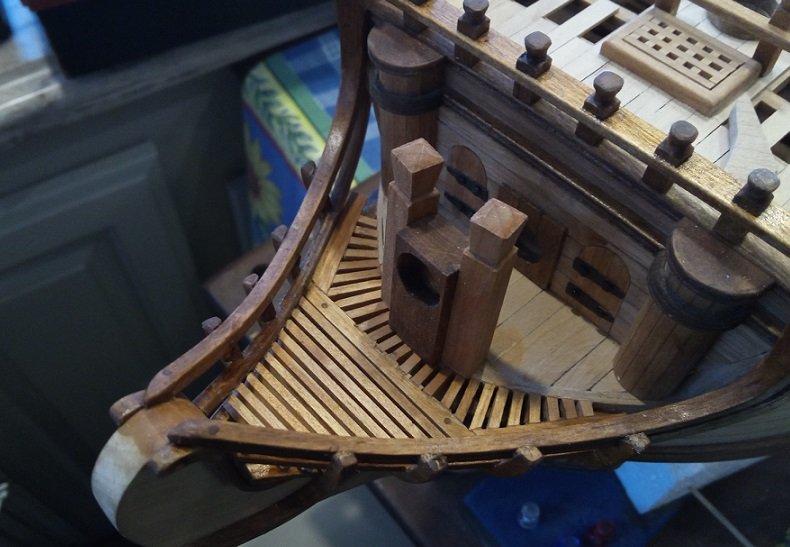
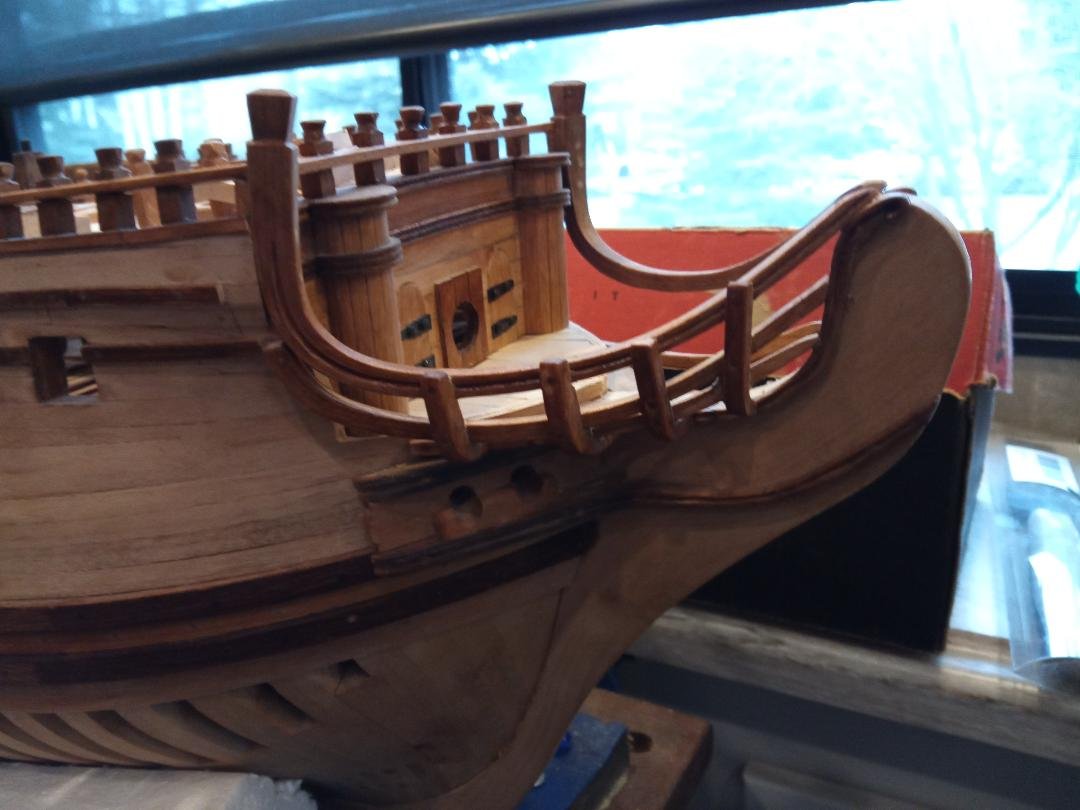
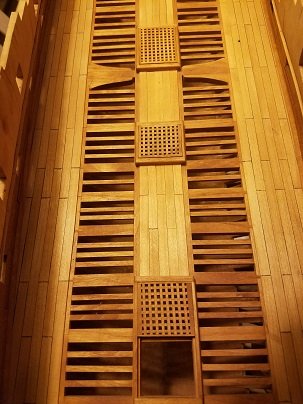
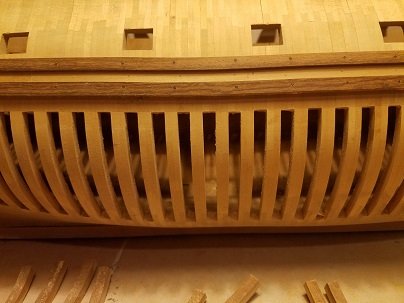
Next were the bow gratings and seats of ease.
-
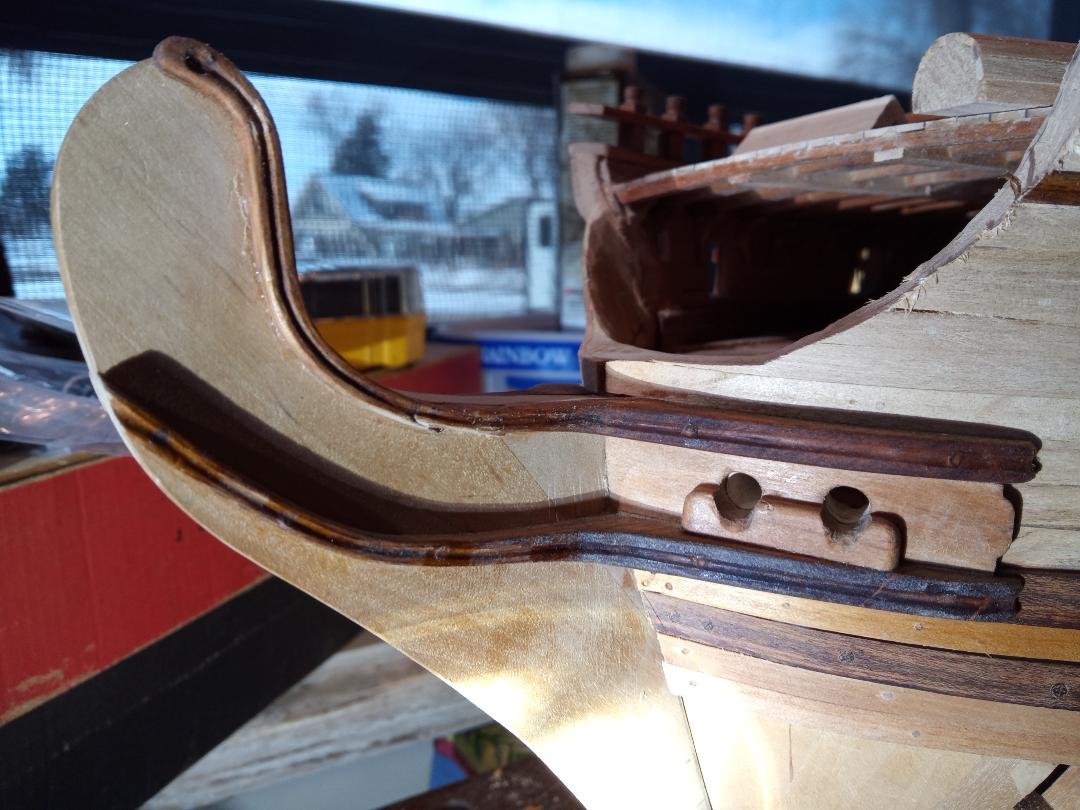
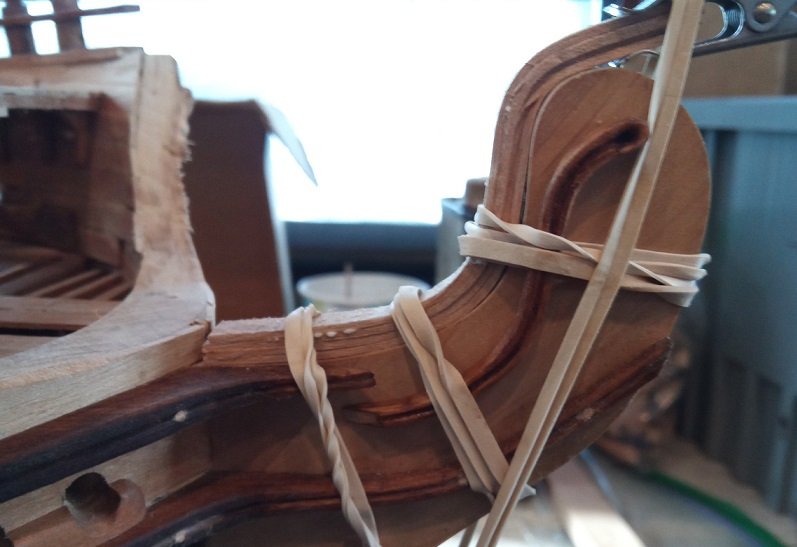
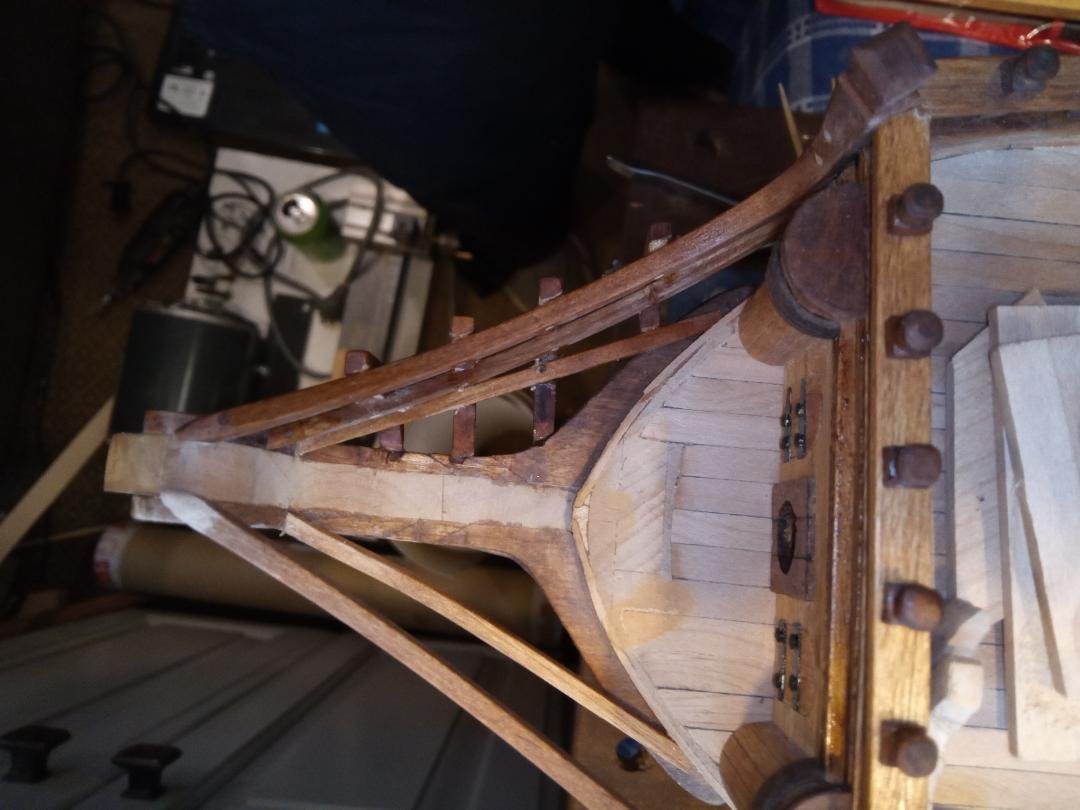
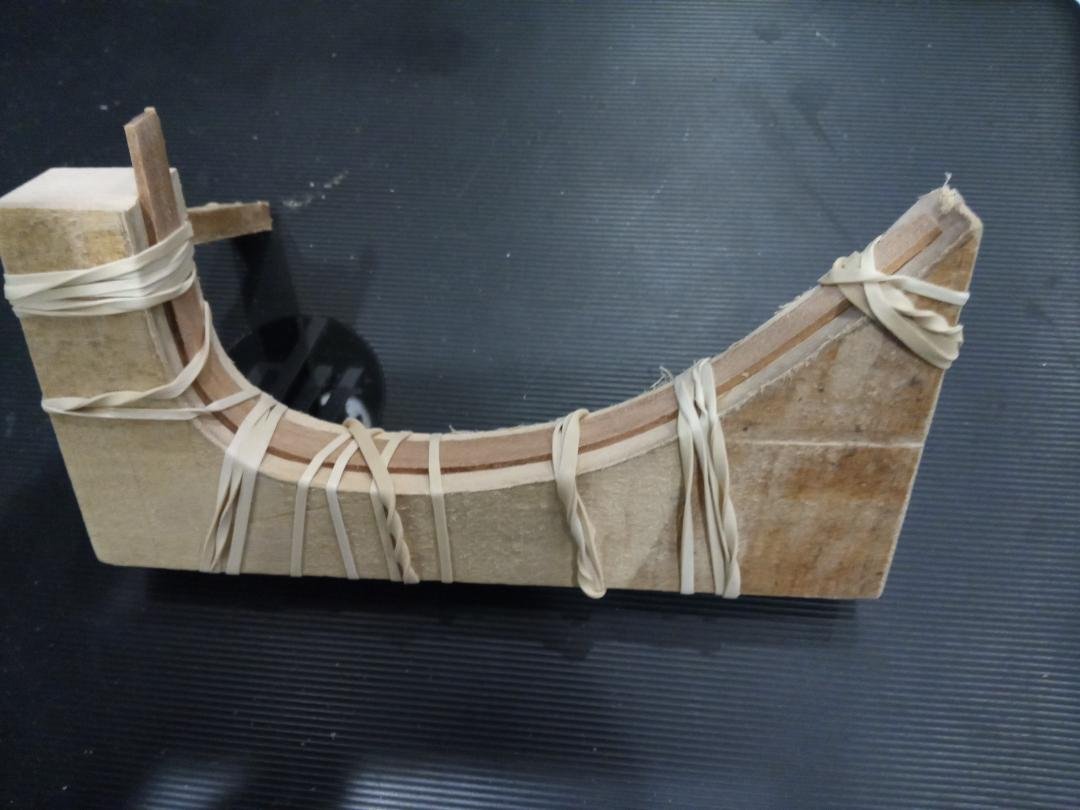
My next big task was the anchor rails and main head rails. Below are pictures of the anchor wale construction. The mainrail supports were the most difficult parts of the model to create. Below is a jig I mad to get the proper curve, using laminated alder planks. Below shows the result of 4-layers of lamination. After applying WATCO wood oil (dark walnut), the lamination lines are almost imperceptable. Finally, an overhead view of the Main Rails and the lateral support beams.
-
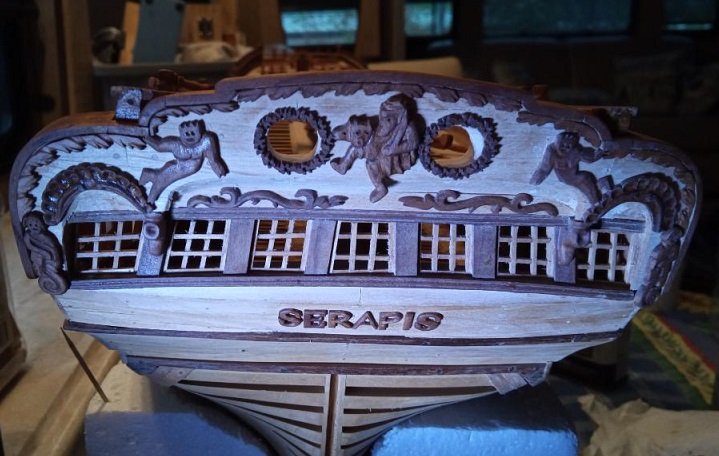
Around this time, COVID hit. I we went on the road full time in our RV and this became my mobile shipyard. Below is how the stern, with carvings eventually turned out, while I learned to carve in campgrounds across the USA! This is where I discovered pearwood. I started on the stern, hoping to gain some skill before tackling the figurehead!!
-
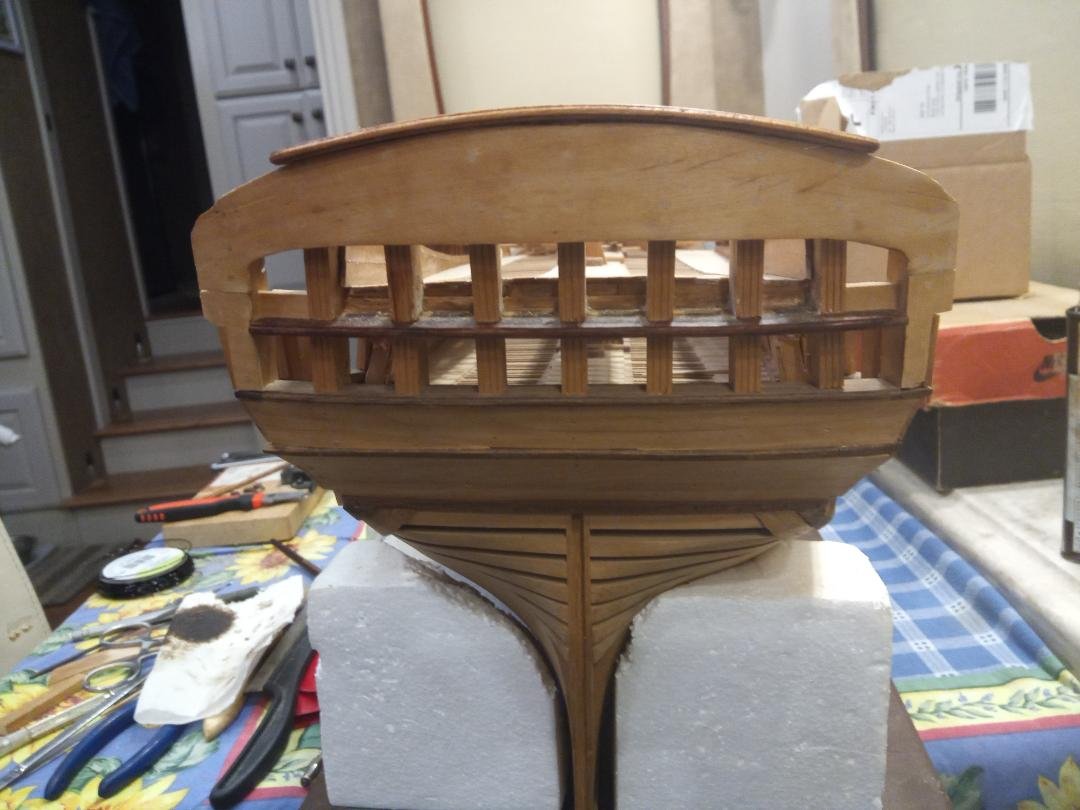
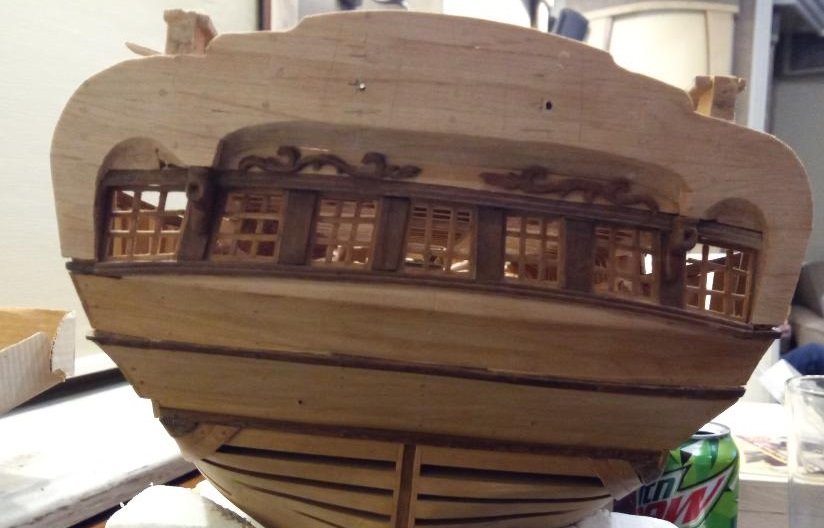
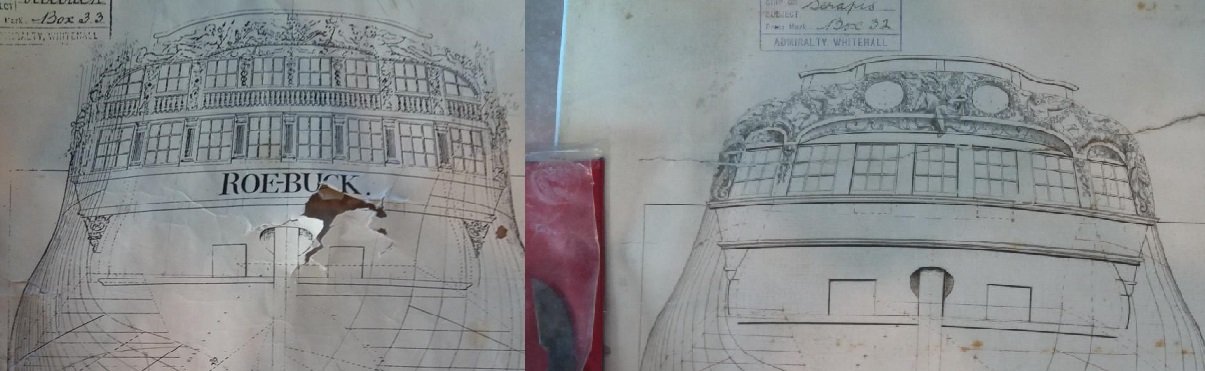
Back in the mid-1980s, I wrote the Maritime Museum, and they eventually provided a set of plans for the HMS Roebuck (lead ship of the class from which Serapis was built). Being a young LT in the US Navy, recently married and two kids emerging on the scene, the Scratch Build proceeded extremely SLOW! It started on Ford Island, in Hawaii, followed us to Machrihanish Scotland, San Diego CA, Manama Bahrain, Monterey CA, and finally Denver CO (where I retired and finished the project)!!! I don't have much documentation of the first 25 years of the build but I'll provide a short photo montage of the last decade, with comments when needed. This is how she looked after 25 years...the main gun deck beams, grating and decking. I used alder for everything and several shades of WATCO wood oil to "paint" the model and accent different aspects. Eventually, when I got to the carvings, I used Pearwood. In 2021, I had built the stern up according to the Roebuck plans, with two levels of windows (from my understanding, they only shed light on one deck but were supposed to simulate/deceive others into thinking it was a larger ship). See photo below. Around this time, I discovered there is debate on whether the Serapis actually was built with the two layers of false windows. I also discovered there were plans for the Serapis 1782 from the NMM. Instead of 3 months snail mail, I ordered these plans online and received them in 2 weeks!! Since the argument has never (to my knowledge) been definitively answered, I opted to redo the stern with one row of windows. I also found the carvings on the 1782 very helpful in deciding how to carve the stern decorations and figurehead. Here is the redo of the stern. Finally, the Roebuck plans and 1782 stern plans side by side.

.jpg.b70e40e70d72270b3ee15d9d3aadcd95.jpg)