Peter S
-
Posts
44 -
Joined
-
Last visited
1 Follower

-
 Peter S reacted to a post in a topic:
His Britannic Majesty's Cutter Sherbourne 1763 by Paul White - Vanguard Models - 1:64
Peter S reacted to a post in a topic:
His Britannic Majesty's Cutter Sherbourne 1763 by Paul White - Vanguard Models - 1:64
-
Peter S reacted to a post in a topic:
HM Armed Cutter Sherbourne 1763 by Nick 843 - Vanguard Models - 1:64
-
Nick 843 reacted to a post in a topic:
HM Armed Cutter Sherbourne 1763 by Peter S - Vanguard Models - 1:64
-
Peter S reacted to a post in a topic:
Lady Isabella by palmerit - Vanguard Models - 1:64 - Zulu
-
AJohnson reacted to a post in a topic:
His Britannic Majesty's Cutter Sherbourne 1763 by Paul White - Vanguard Models - 1:64
-
Peter S reacted to a post in a topic:
His Britannic Majesty's Cutter Sherbourne 1763 by Paul White - Vanguard Models - 1:64
-
Paul White reacted to a post in a topic:
His Britannic Majesty's Cutter Sherbourne 1763 by Paul White - Vanguard Models - 1:64
-
Peter S reacted to a post in a topic:
His Britannic Majesty's Cutter Sherbourne 1763 by Paul White - Vanguard Models - 1:64
-
As has been said by many before. Slow and steady. treat each plank as its own project. Am watching with interest as to how you go. Be a little while before I will be ready to begin planking unfortunately
-
Peter S reacted to a post in a topic:
HM Cutter Sherbourne 1763 by Bomber_County - Vanguard Models - 1/64 - First Build
-
Peter S reacted to a post in a topic:
HM Cutter Sherbourne 1763 by Bomber_County - Vanguard Models - 1/64 - First Build
-
Peter S reacted to a post in a topic:
HM Cutter Sherbourne 1763 by Bomber_County - Vanguard Models - 1/64 - First Build
-
Peter S reacted to a post in a topic:
HM Cutter Sherbourne 1763 by Bomber_County - Vanguard Models - 1/64 - First Build
-
Peter S reacted to a post in a topic:
HM Cutter Sherbourne 1763 by Bomber_County - Vanguard Models - 1/64 - First Build
-
Bomber_County reacted to a post in a topic:
HM Armed Cutter Sherbourne 1763 by Peter S - Vanguard Models - 1:64
-
Paul White reacted to a post in a topic:
His Britannic Majesty's Cutter Sherbourne 1763 by Paul White - Vanguard Models - 1:64
-
AJohnson reacted to a post in a topic:
His Britannic Majesty's Cutter Sherbourne 1763 by Paul White - Vanguard Models - 1:64
-
Good job! Fairing always takes a while. Just when you think it is right you find some more to be done. What I did learn from my first model is that getting the fairing right makes the planking so much easier.
-
AJohnson reacted to a post in a topic:
His Britannic Majesty's Cutter Sherbourne 1763 by Paul White - Vanguard Models - 1:64
-
Paul White reacted to a post in a topic:
His Britannic Majesty's Cutter Sherbourne 1763 by Paul White - Vanguard Models - 1:64
-
Following along closely, as I am only a little behind you. I will be taking it slowly making sure I understand each step along the way. Have you checked the videos on this build?
-
Geordie Tyne reacted to a post in a topic:
HM Armed Cutter Sherbourne 1763 by Peter S - Vanguard Models - 1:64
-
Geordie Tyne reacted to a post in a topic:
HM Armed Cutter Sherbourne 1763 by Peter S - Vanguard Models - 1:64
-
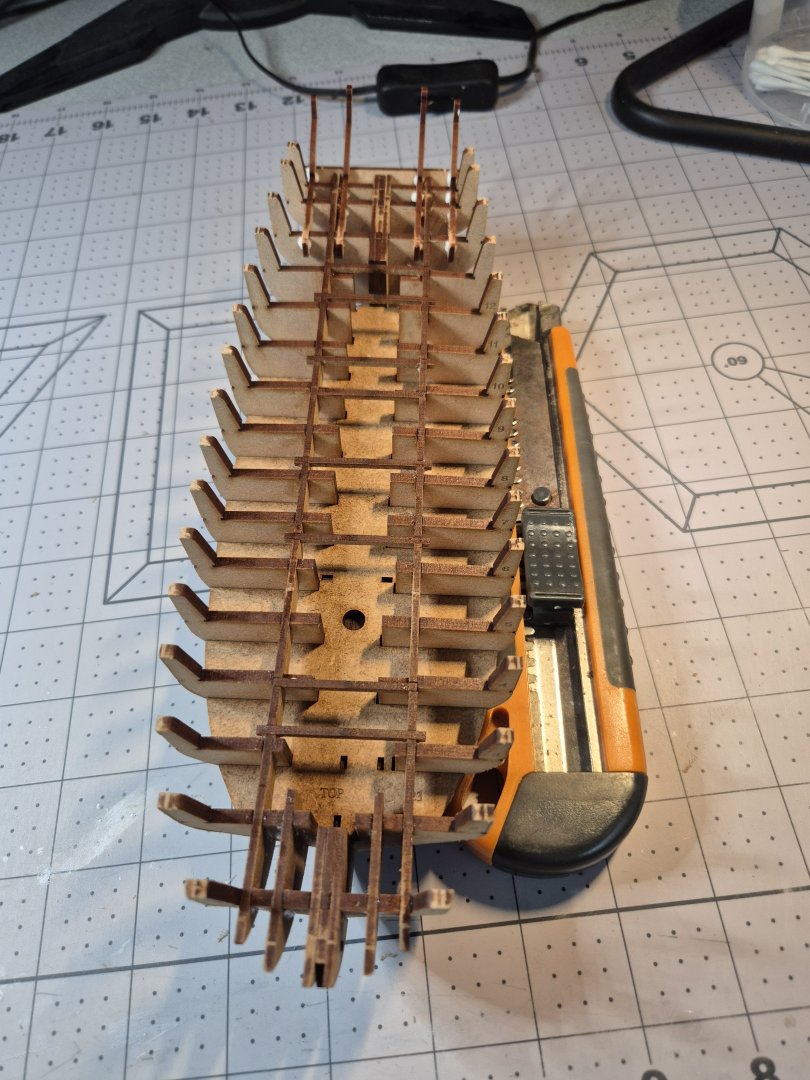
Glued the broken piece in place and left it overnight. All looked good today so continued on with the next steps. All was going well until I noticed that one of the frames (#2 the one I broke!) was sitting a little lower than it should. Looks like I had glued it slightly lower than it should be. I didn't notice this until I was adding the lower deck pattern. Ended up removing the broken piece (again) and the reseating and gluing in the correct position. No damage done and with all the other pieces now added, the broken piece is held in place securely. Phew! Whilst adding the longitudinal support patterns, I managed to break one of those (two thumbs at the moment!!). Not a big deal as I just glued it as two pieces and all is well. A good morning's work done. Time to let the glue dry before attempting the next steps.

-
Thanks @ccoyle and @palmerit. I was thinking (hoping) that might be the best approach. I also thought about cutting a thin brace on either side straddling the break. Will try just gluing in place first. Am sure once the keel supports and lower deck pattern has been installed it will be plenty strong enough. Thanks for the comments.
-
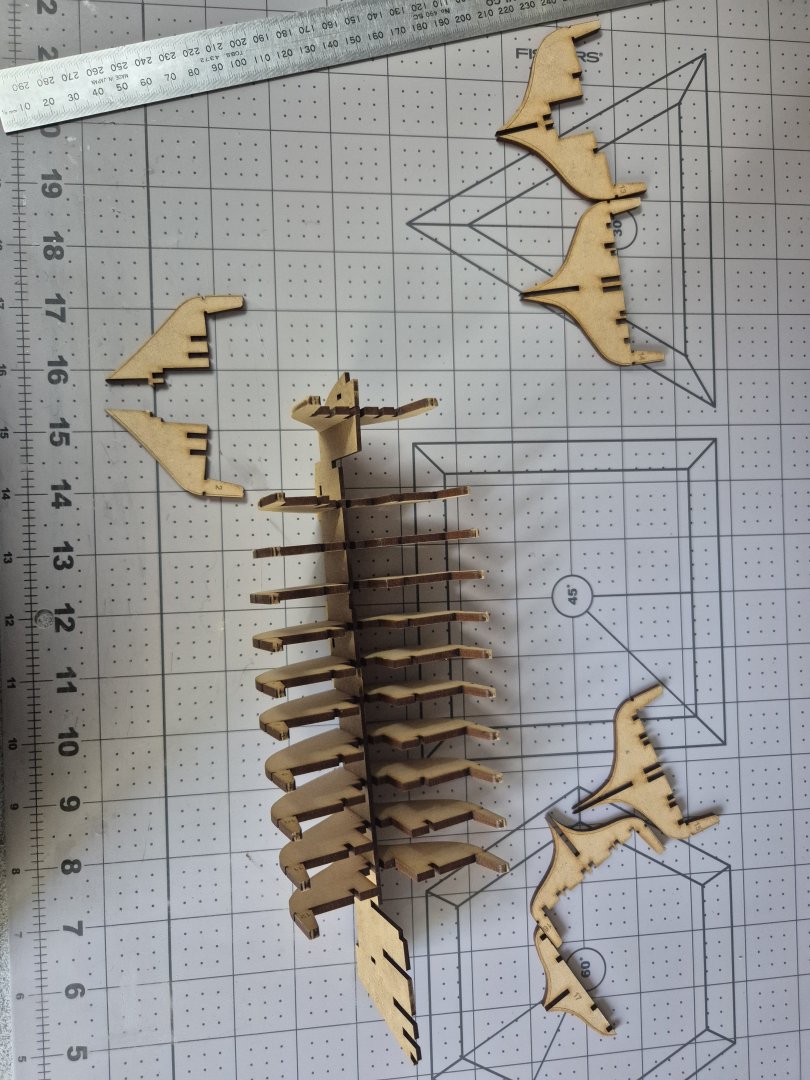
Started work today. First step was to remove the bulkheads and then chamfer as required. Removed the spine and started attaching the bulkheads. Found that they were a very tight fit and required some force to get them into the correct position. All was going well until Bulkhead 2 then disaster struck. The bulkhead split into two right at the spine. Now thinking about the best way to address this. Have stopped work for today to mull it over. The photo below shows the offending piece.
-
This will be my 2nd build. I bought this model following all the great recommendations from this forum. I know I won't be disappointed. Now the holiday season is over and a new year has begun it is time to start work on the model. I had previously opened the packaging and checked out the contents so am quite excited to get started. I will try and keep up to date with the log but am definitely not up to the standards that others have set. Have been reviewing most of the logs and looking at some online videos. Plenty of good material to reference which I am sure to need.
-
Thanks 🙂 It was a great kit to have as my first model. Learnt heaps but know that there is so much more to learn. There are some fantastic modelers out there with extraordinary talents. I am happy with my results. Even though there are lots of things that could have been done better the outcome was better than I could have hoped. Obviously we are on the same wavelength! I have already purchased the next project which is Vanguard's HM Cutter Sherbourne. Will be starting that in the New Year after the festive season has settled down. Doing lots of reading and planning, etc. The good news is there are lots of videos and logs to look at and help guide through the construction. Will start a build long for this project as well. Appreciate your help and comments throughout the build.
- 51 replies
-
- 3
-
-
- bounty jolly boat
- Artesania Latina
- (and 2 more)
-
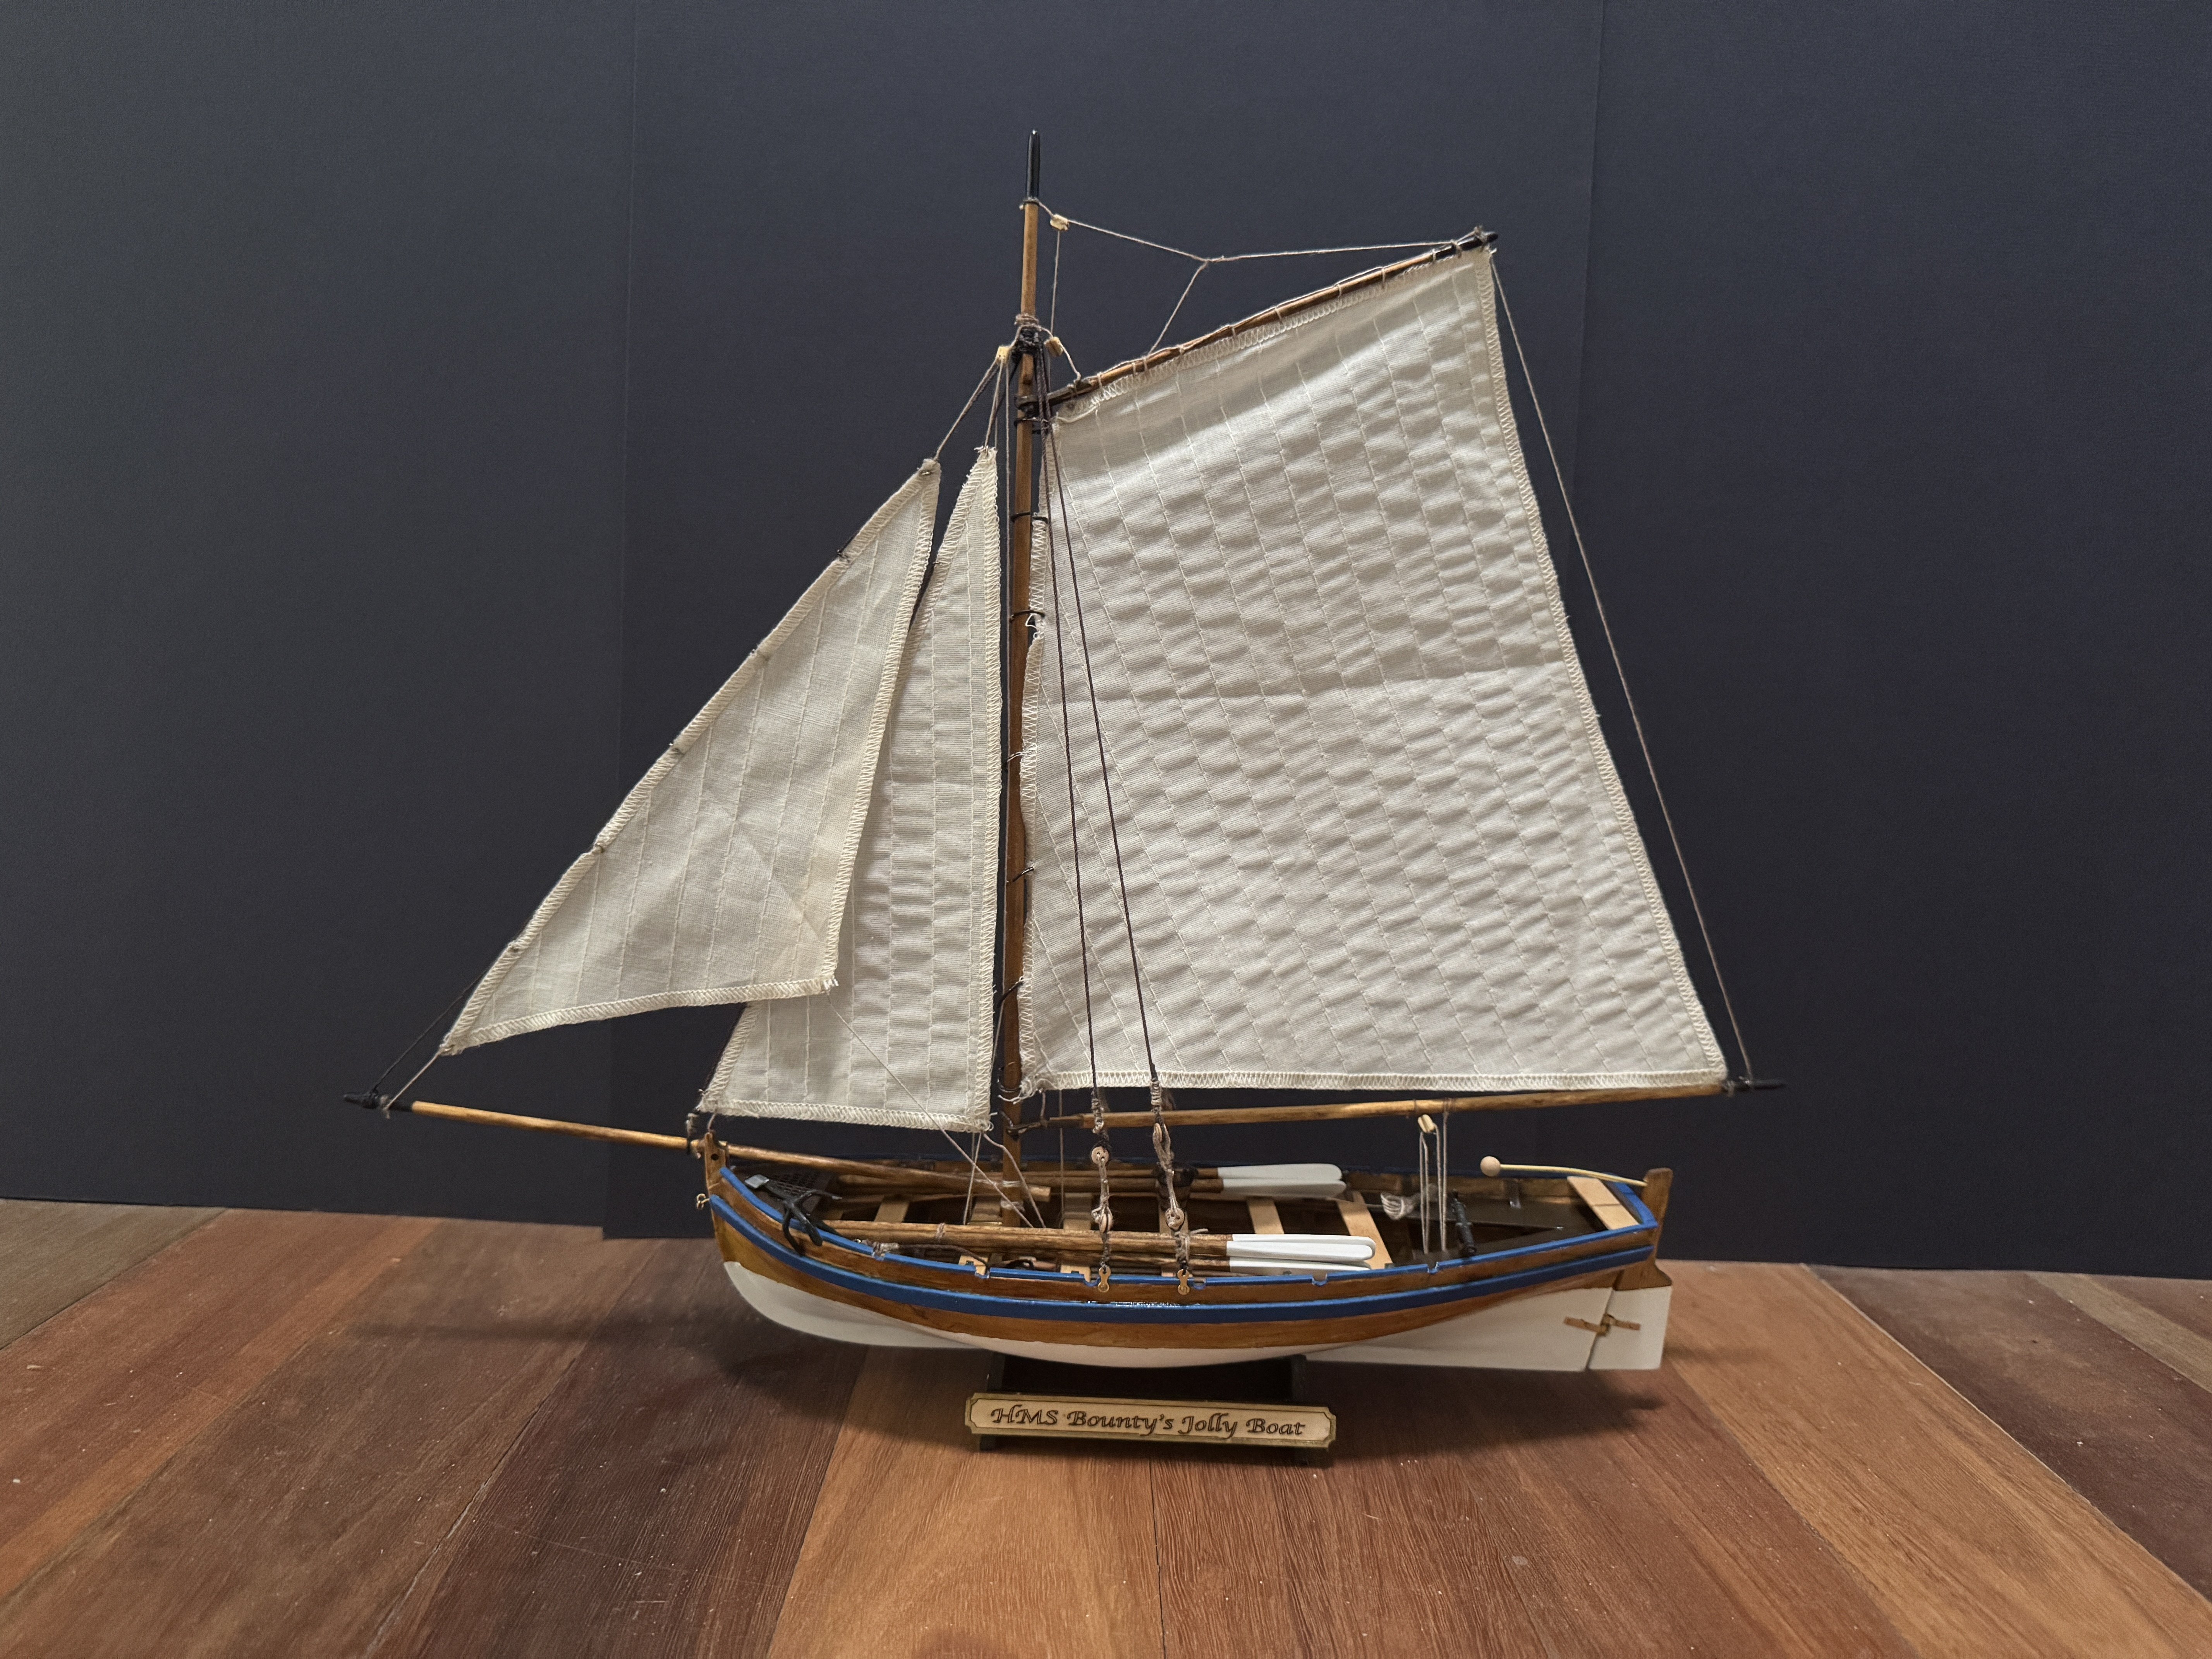
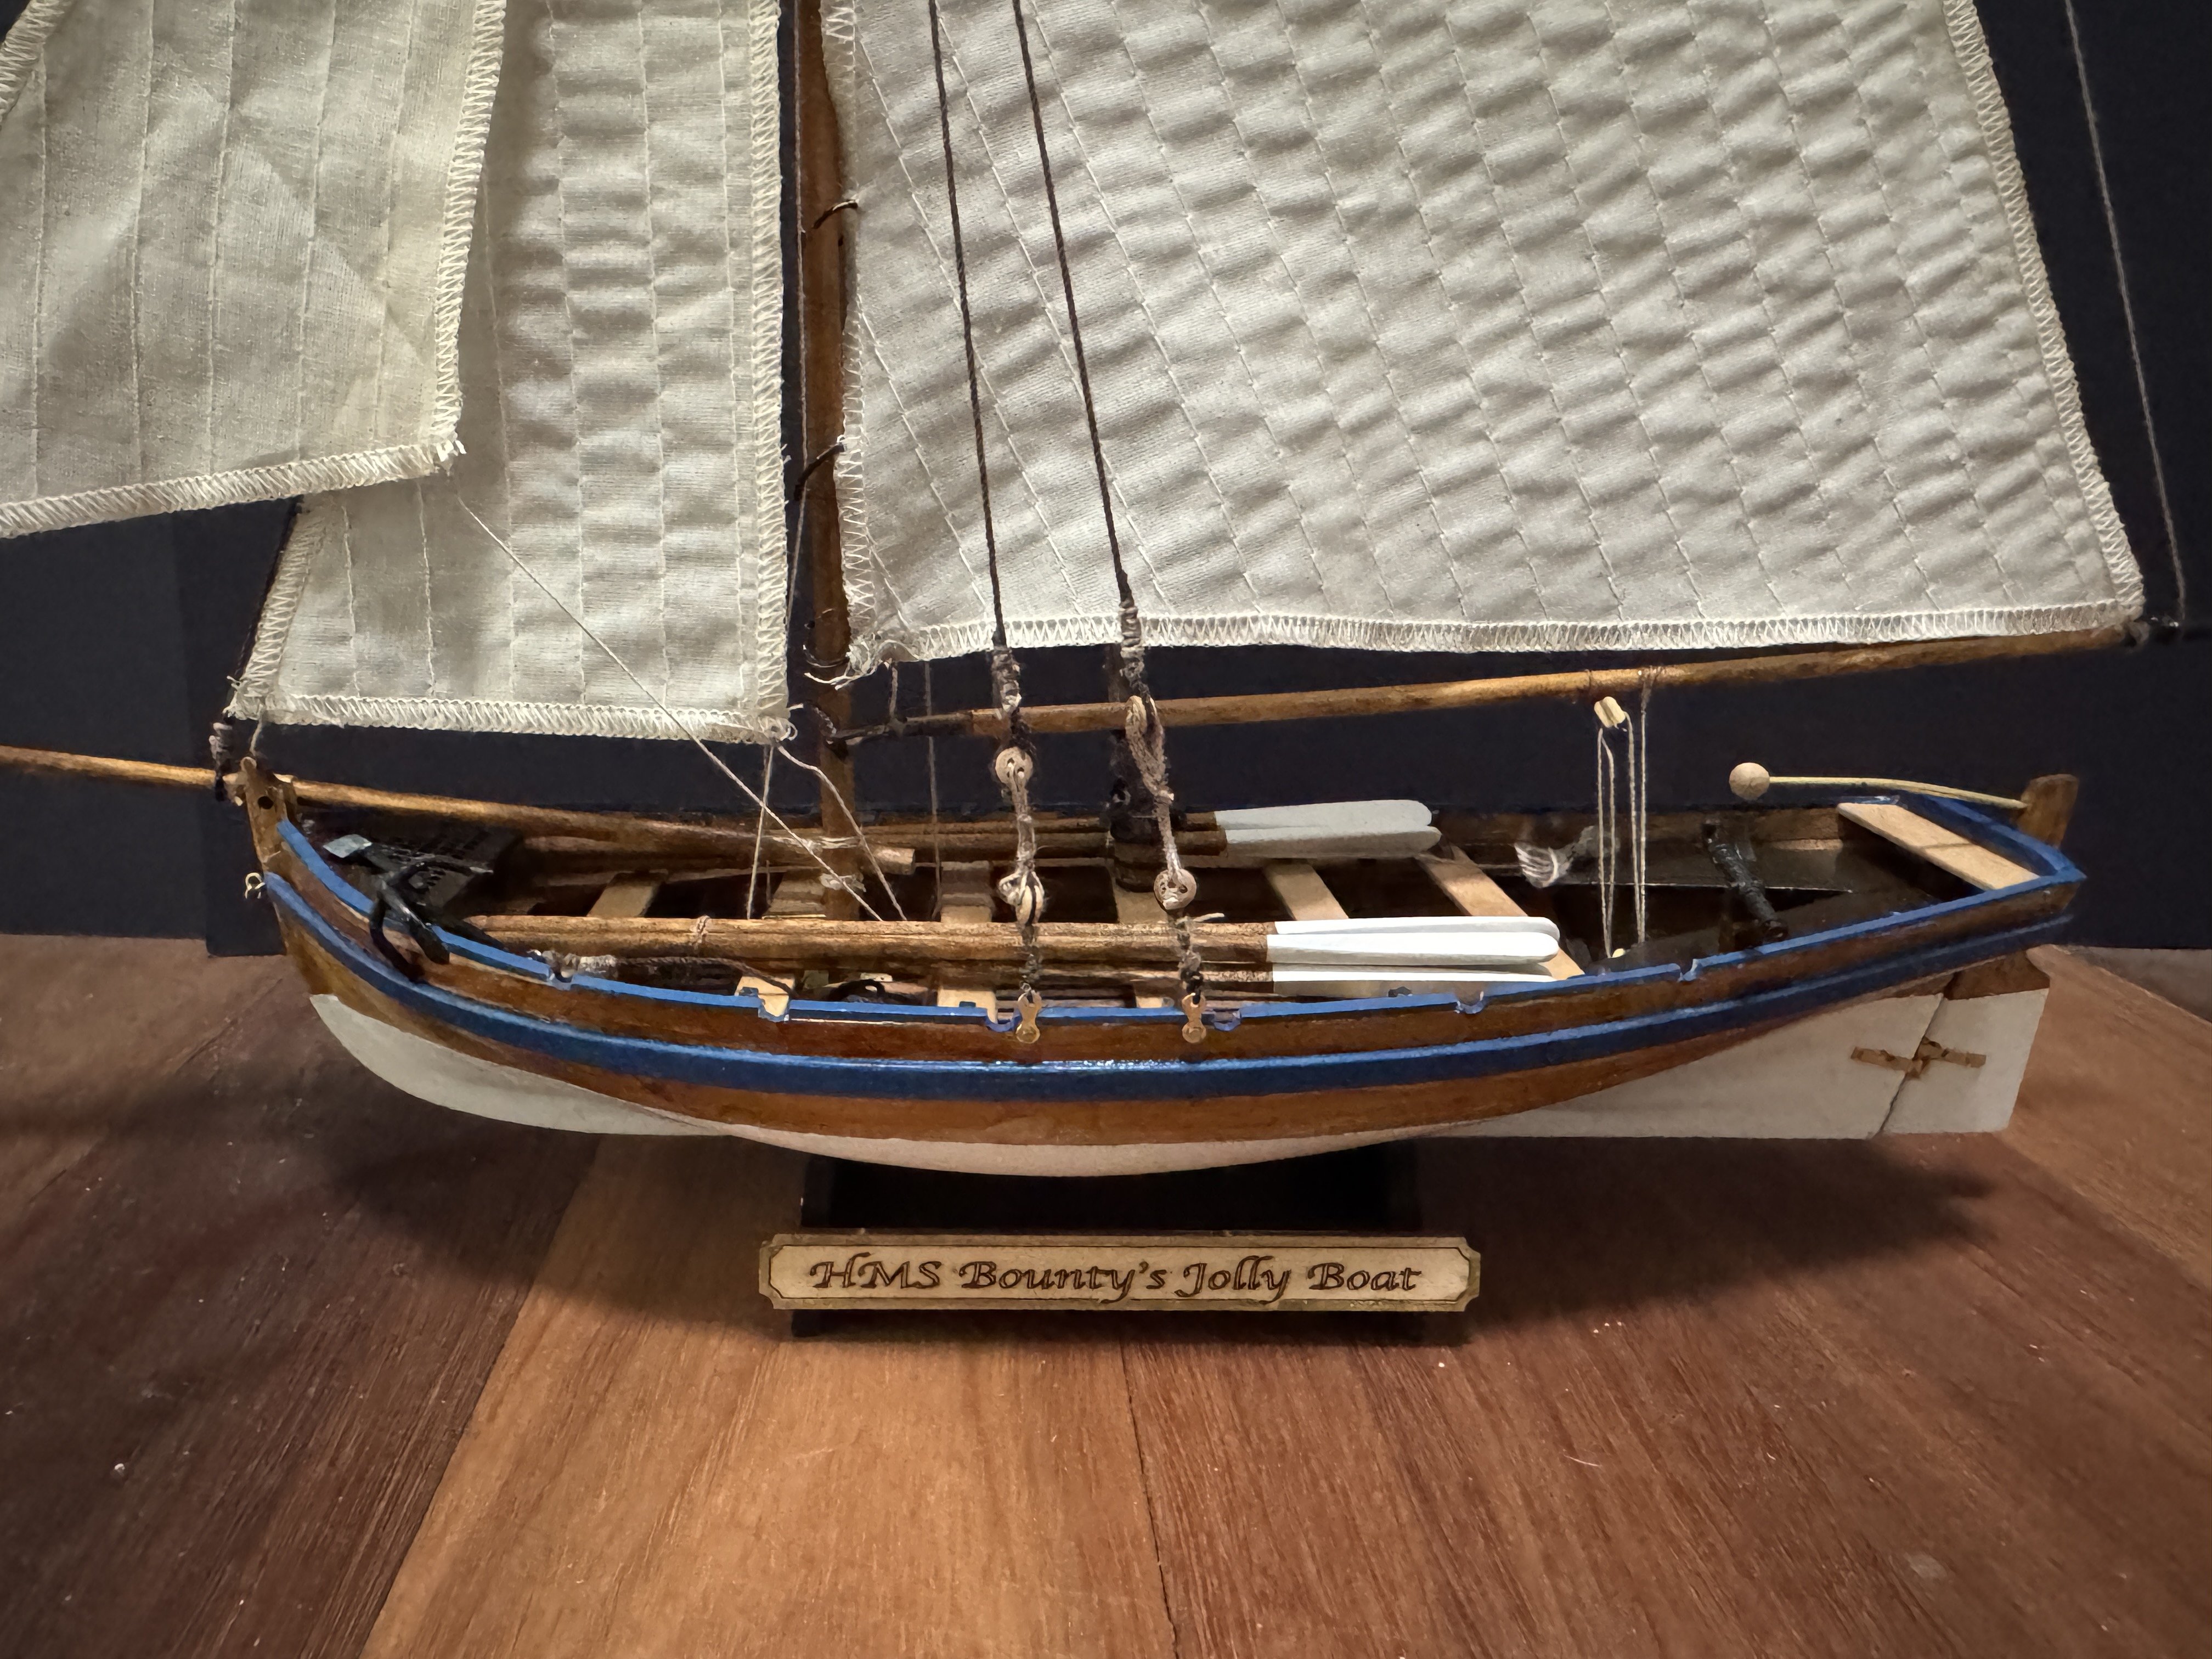
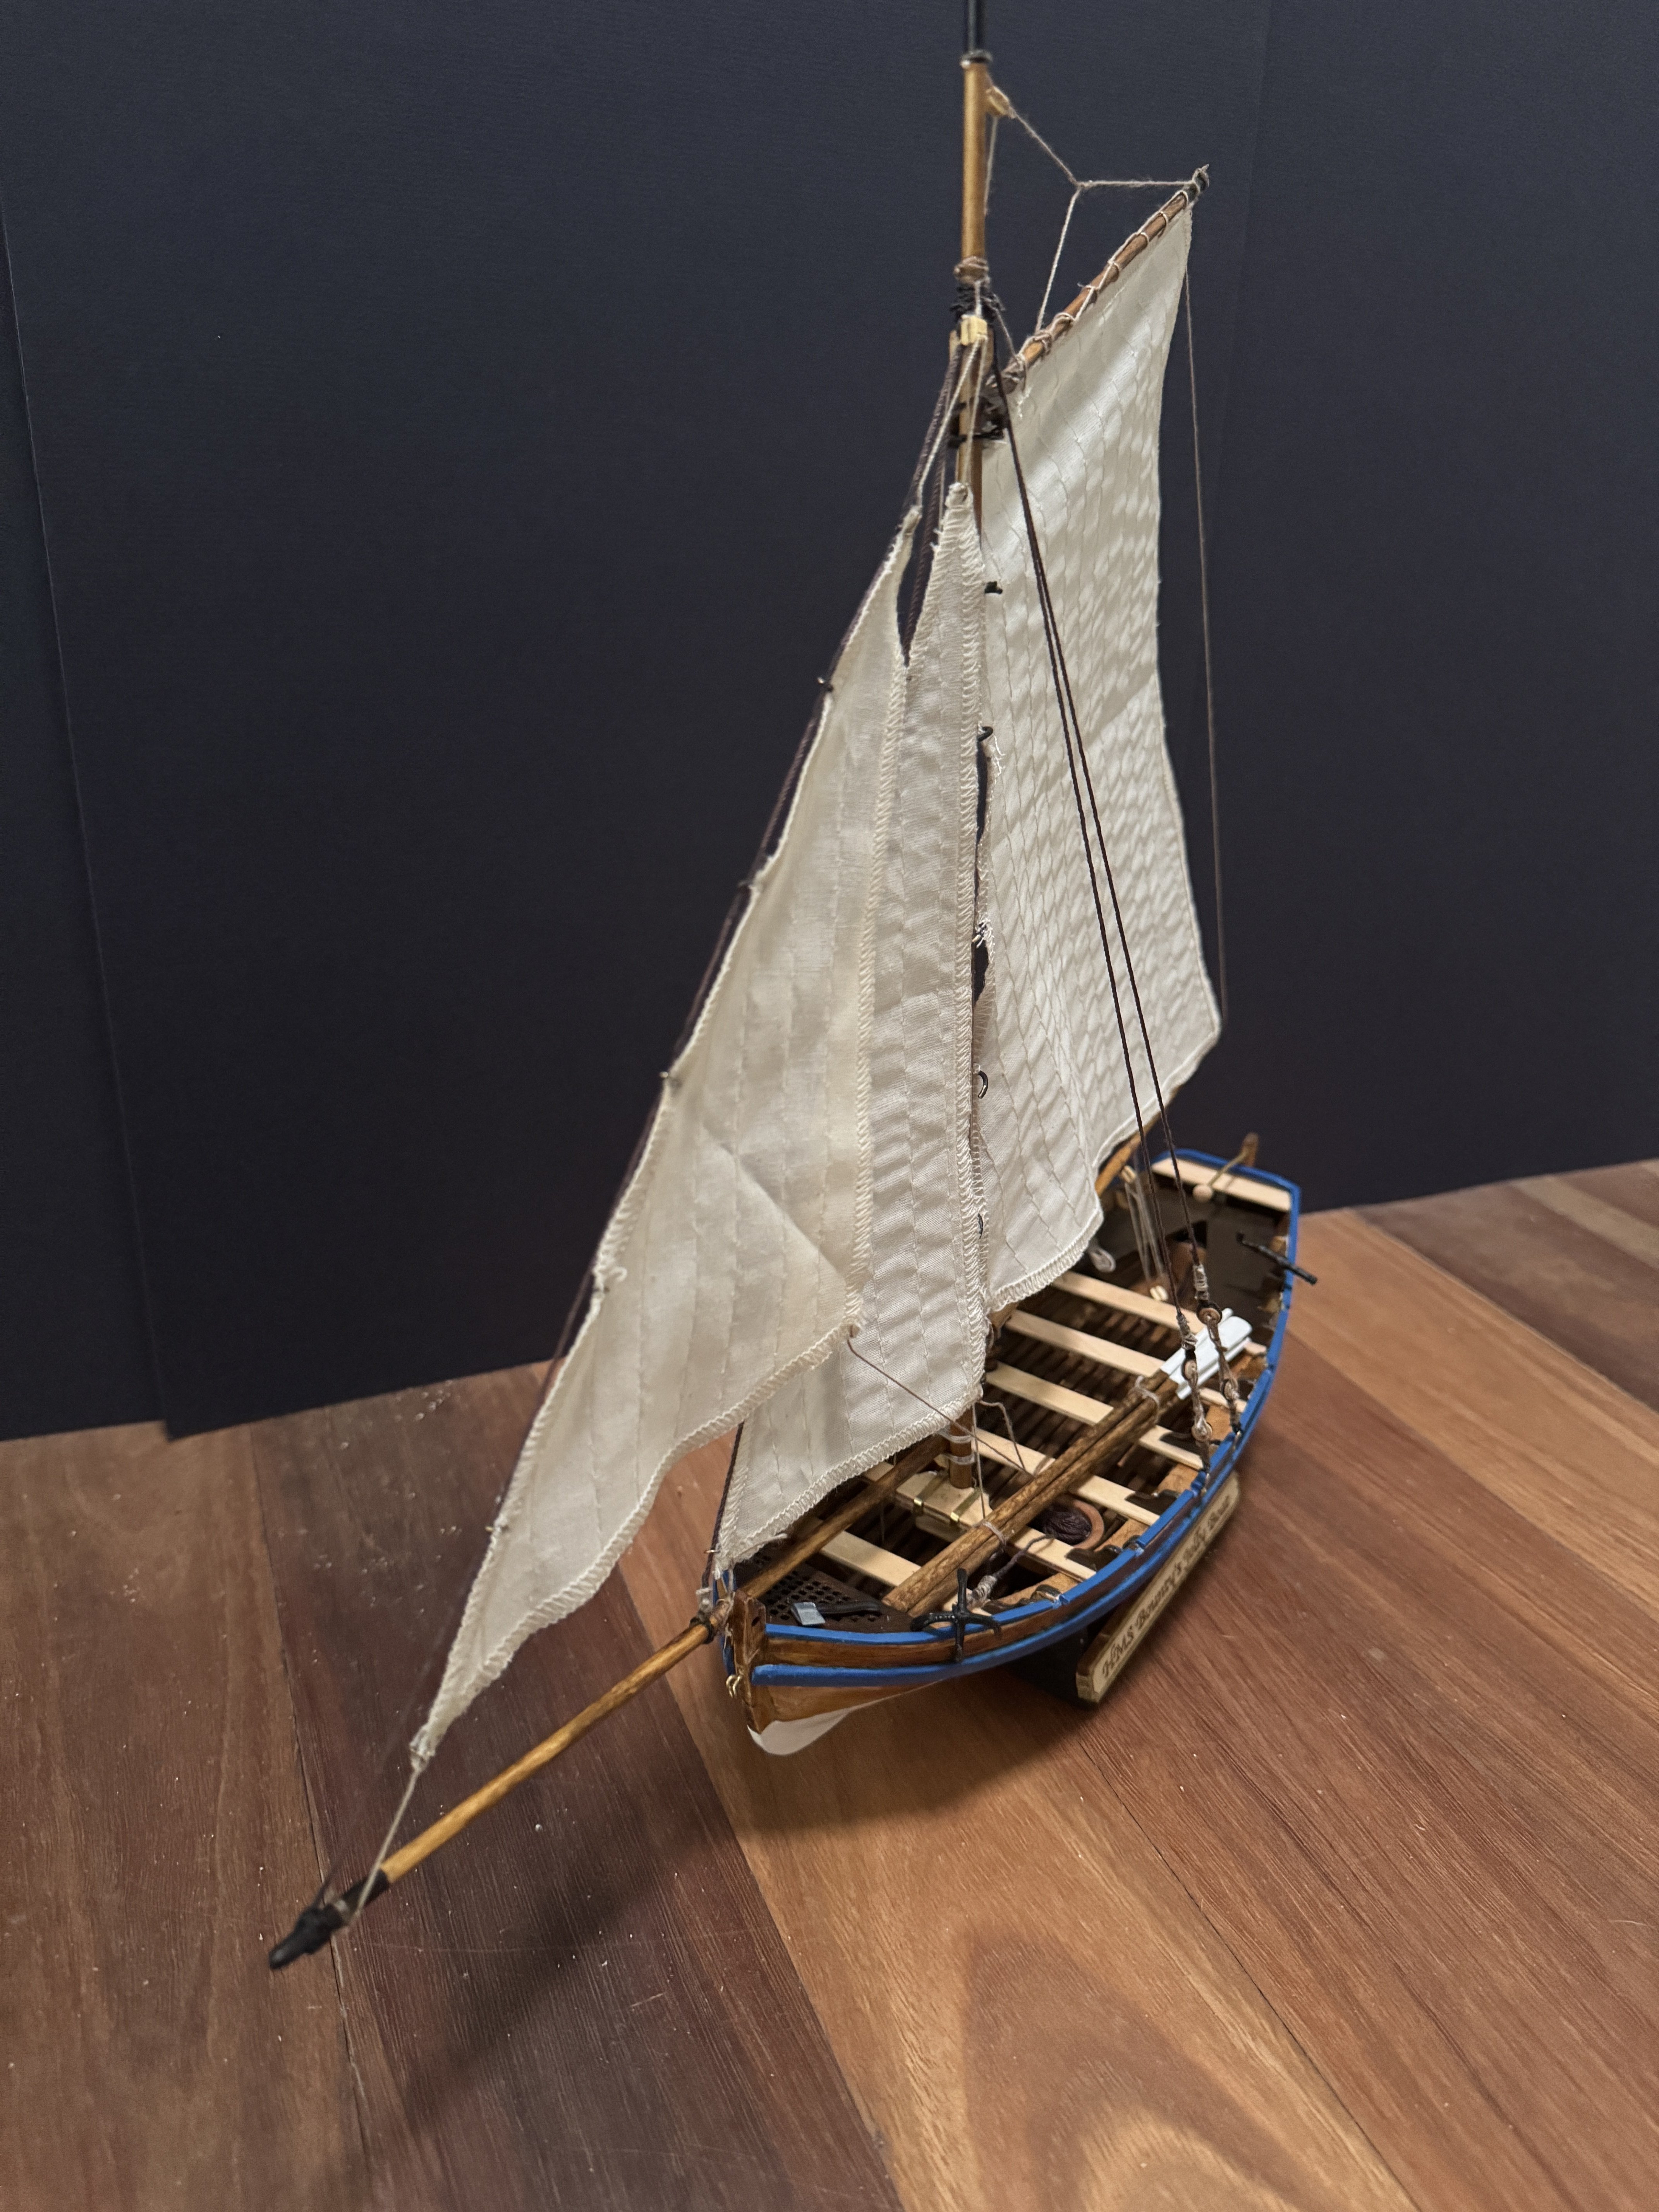
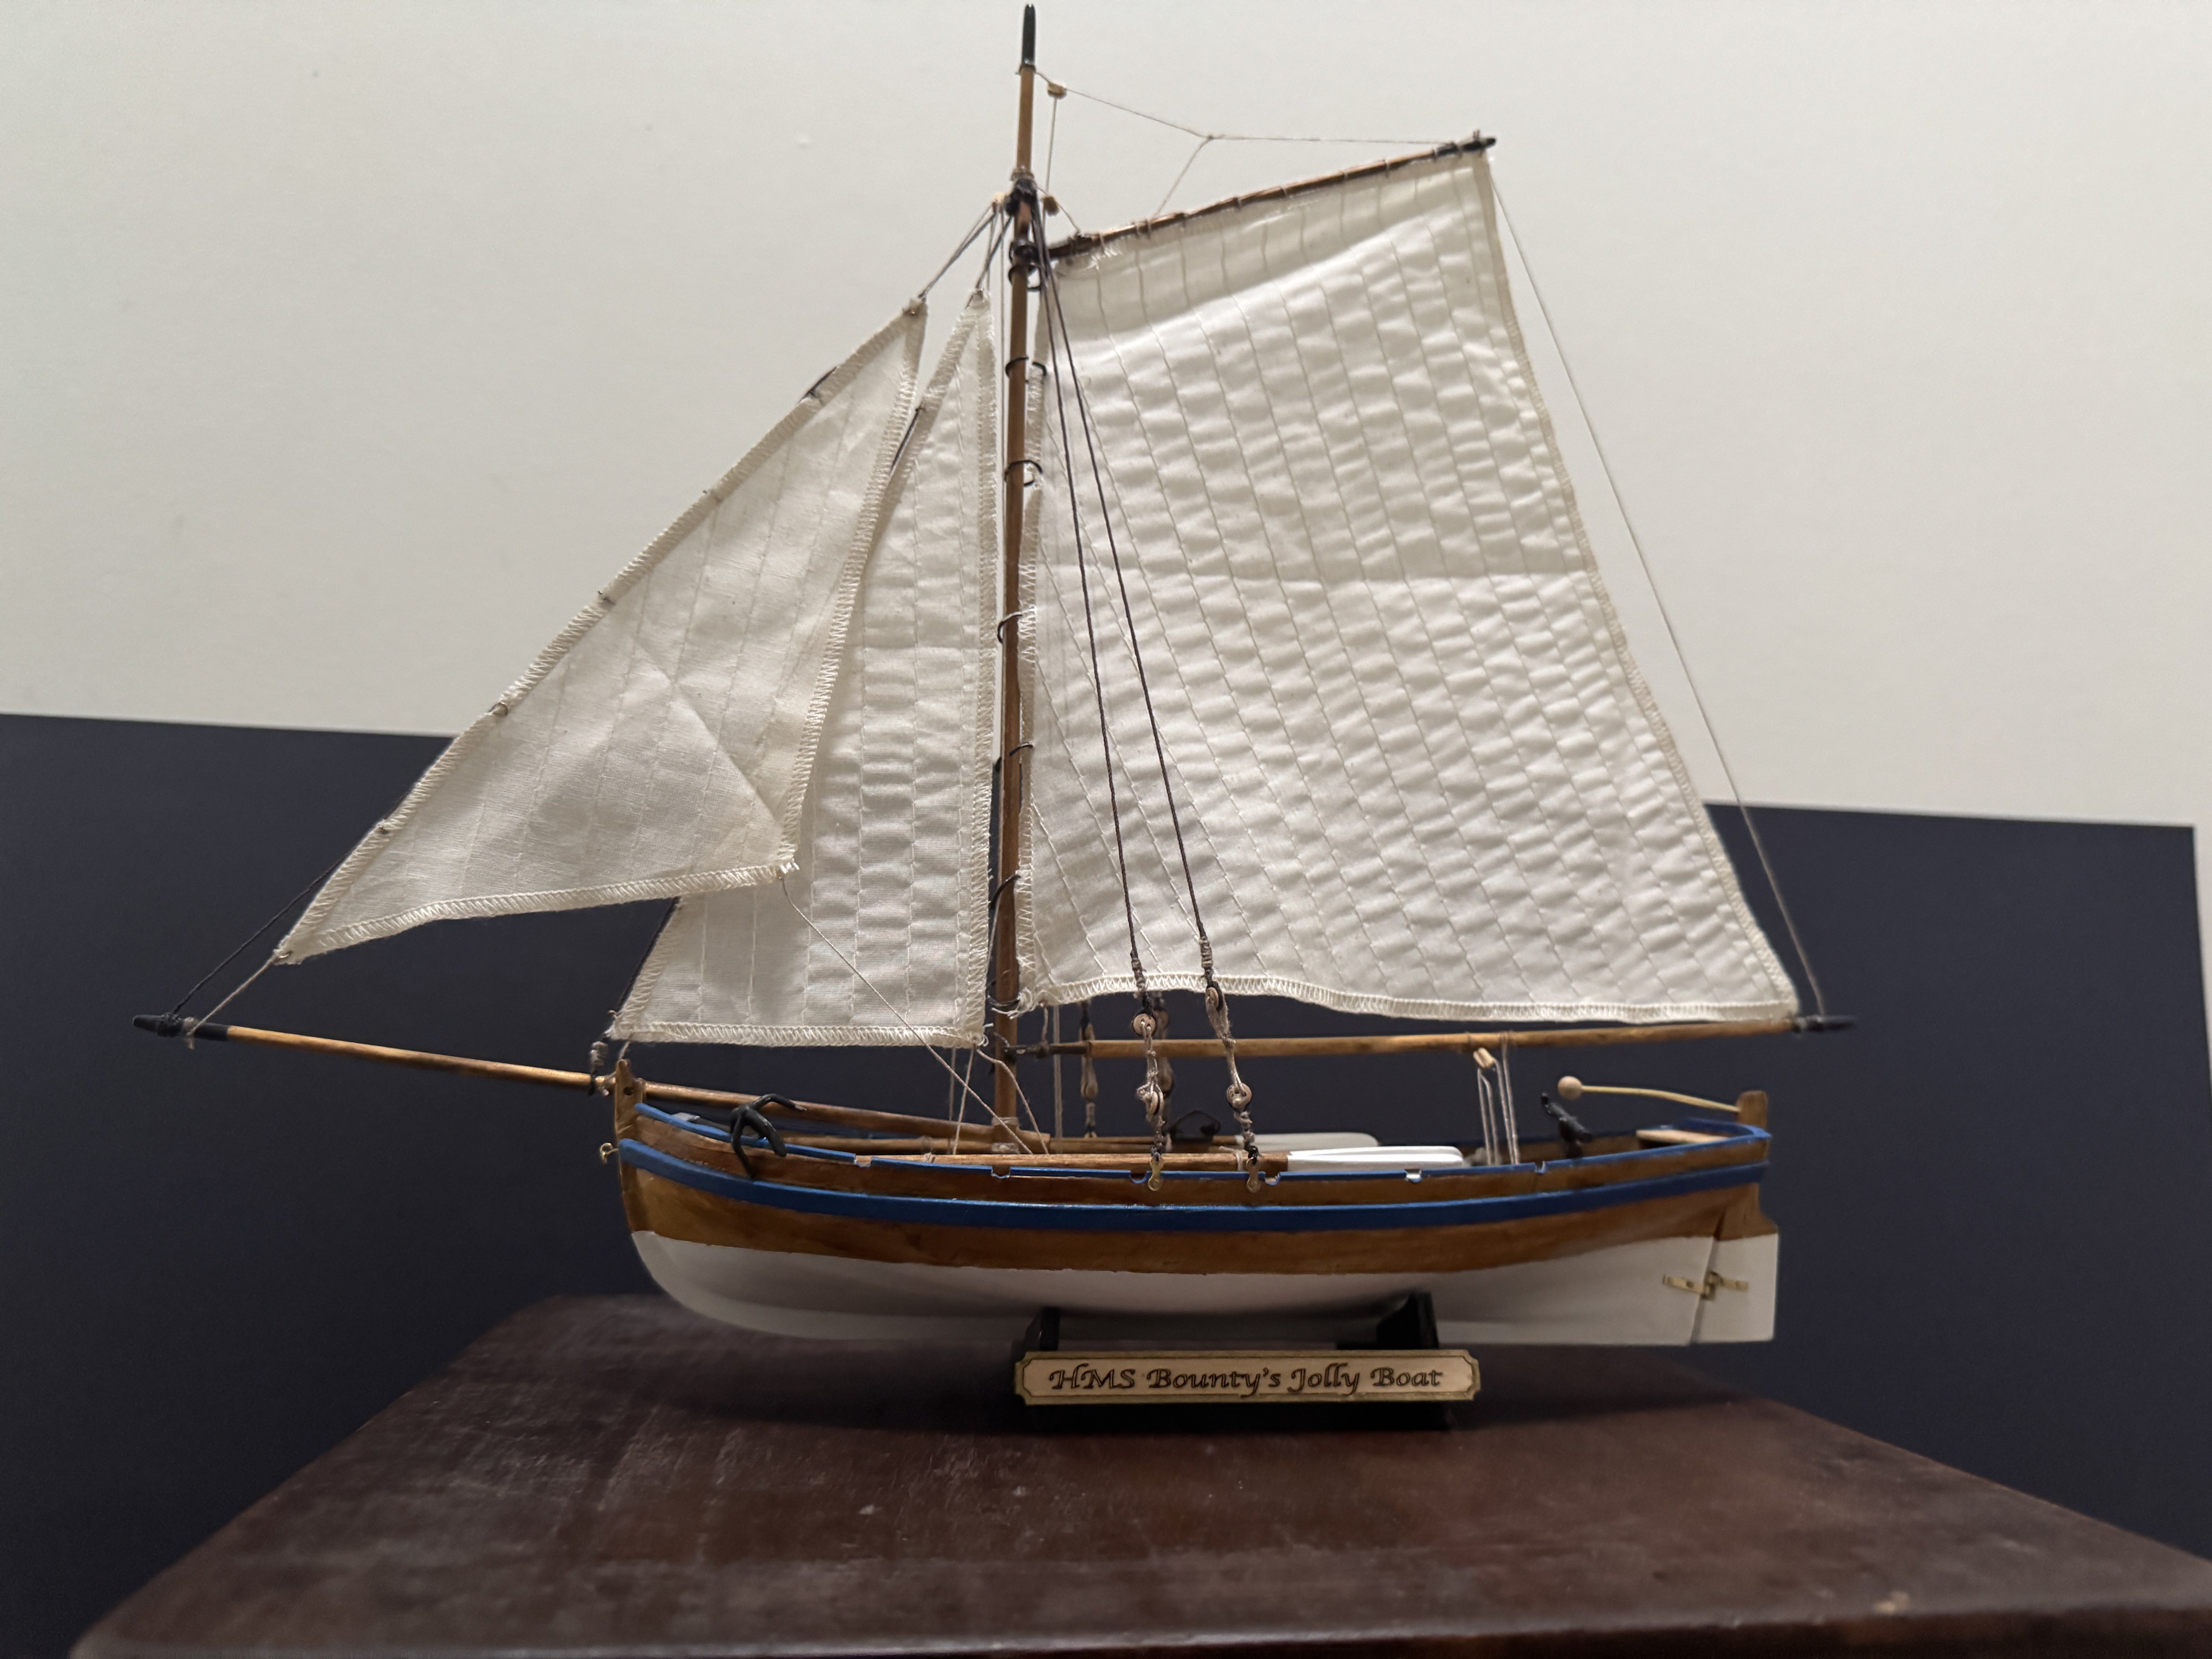
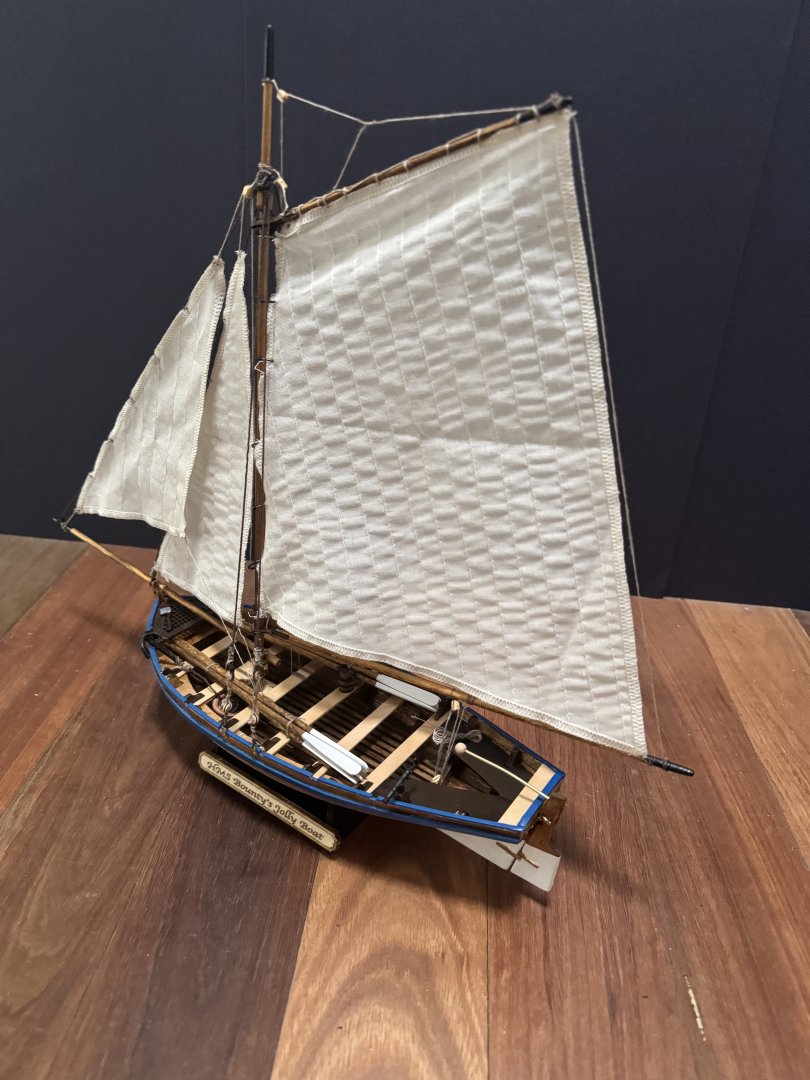
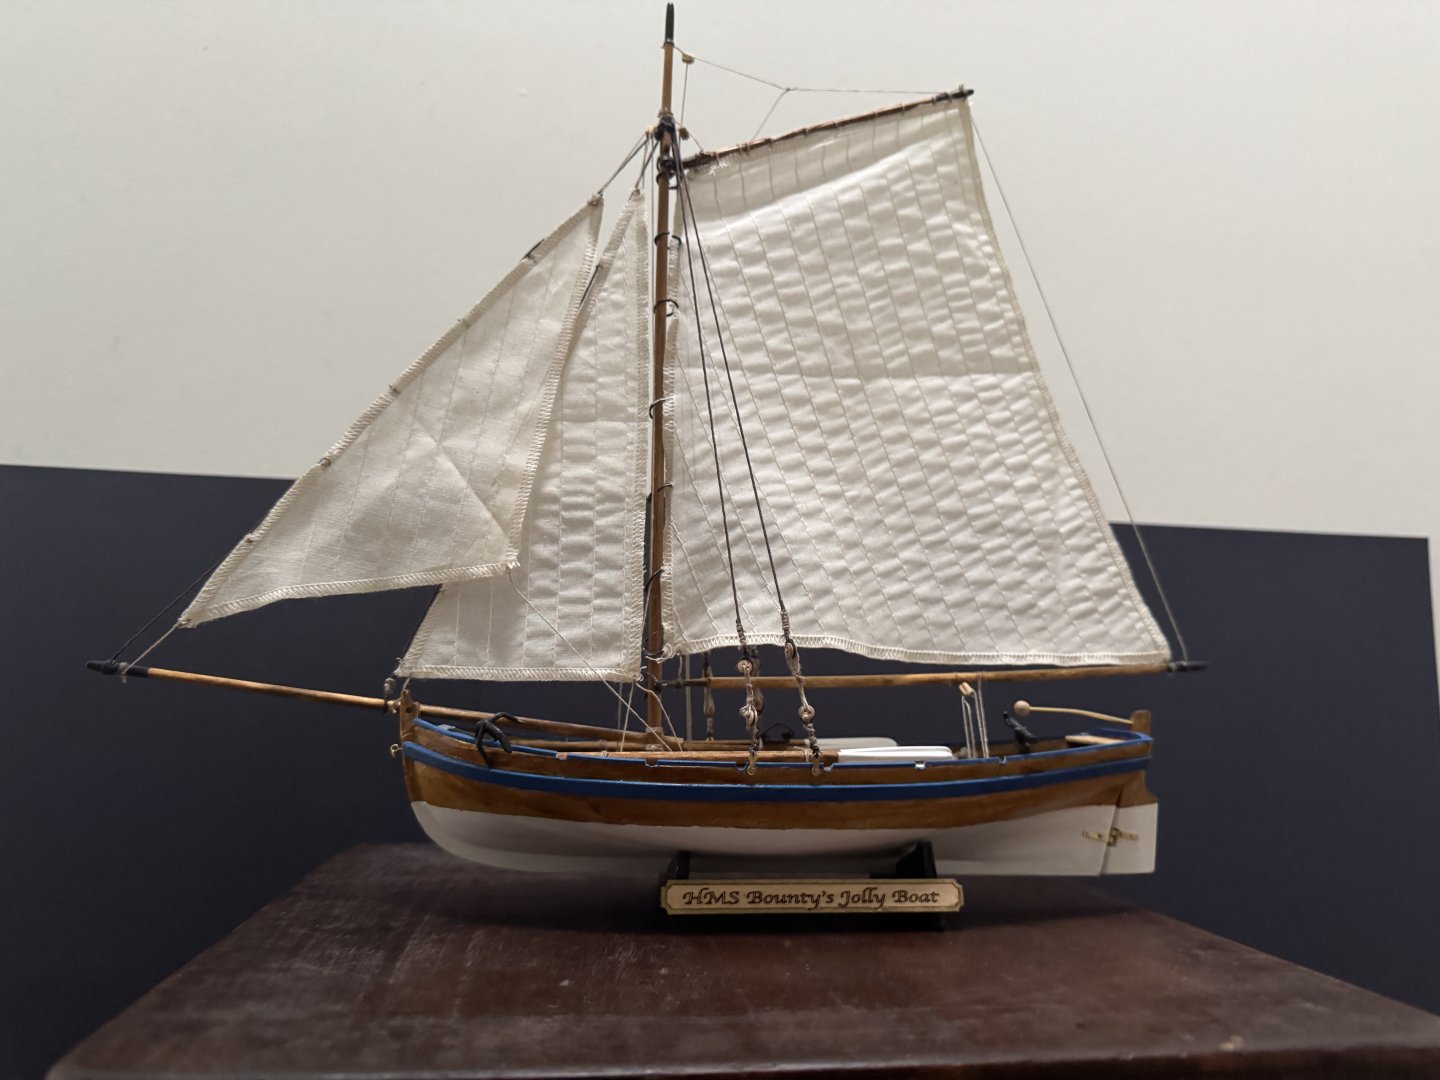
Finally finished or as far as I intend to go with this model. Really enjoyed building this model. It was very challenging and not everything worked out exactly as it should but am still pretty happy with the results. Surprisingly (at least to me) I found the sails the hardest part especially with the rings attached to the foresails. I really never got them right. Even though I ironed the sails they still show the original creases from when they were packaged. Might have to look at that if I ever build a kit with sails again. I decided not to use the flag provided, as I think that it detracts from the model. The other change I made was where the main sheet was attached. I noticed that a number of the logs added a wire horse to attach the main block but I decided just to attach the main block to the deck floor so that it was out of the way of the tiller. Learnt so much but know that there it will always be a learning process.


- 51 replies
-
- 9
-
-
- bounty jolly boat
- Artesania Latina
- (and 2 more)
-
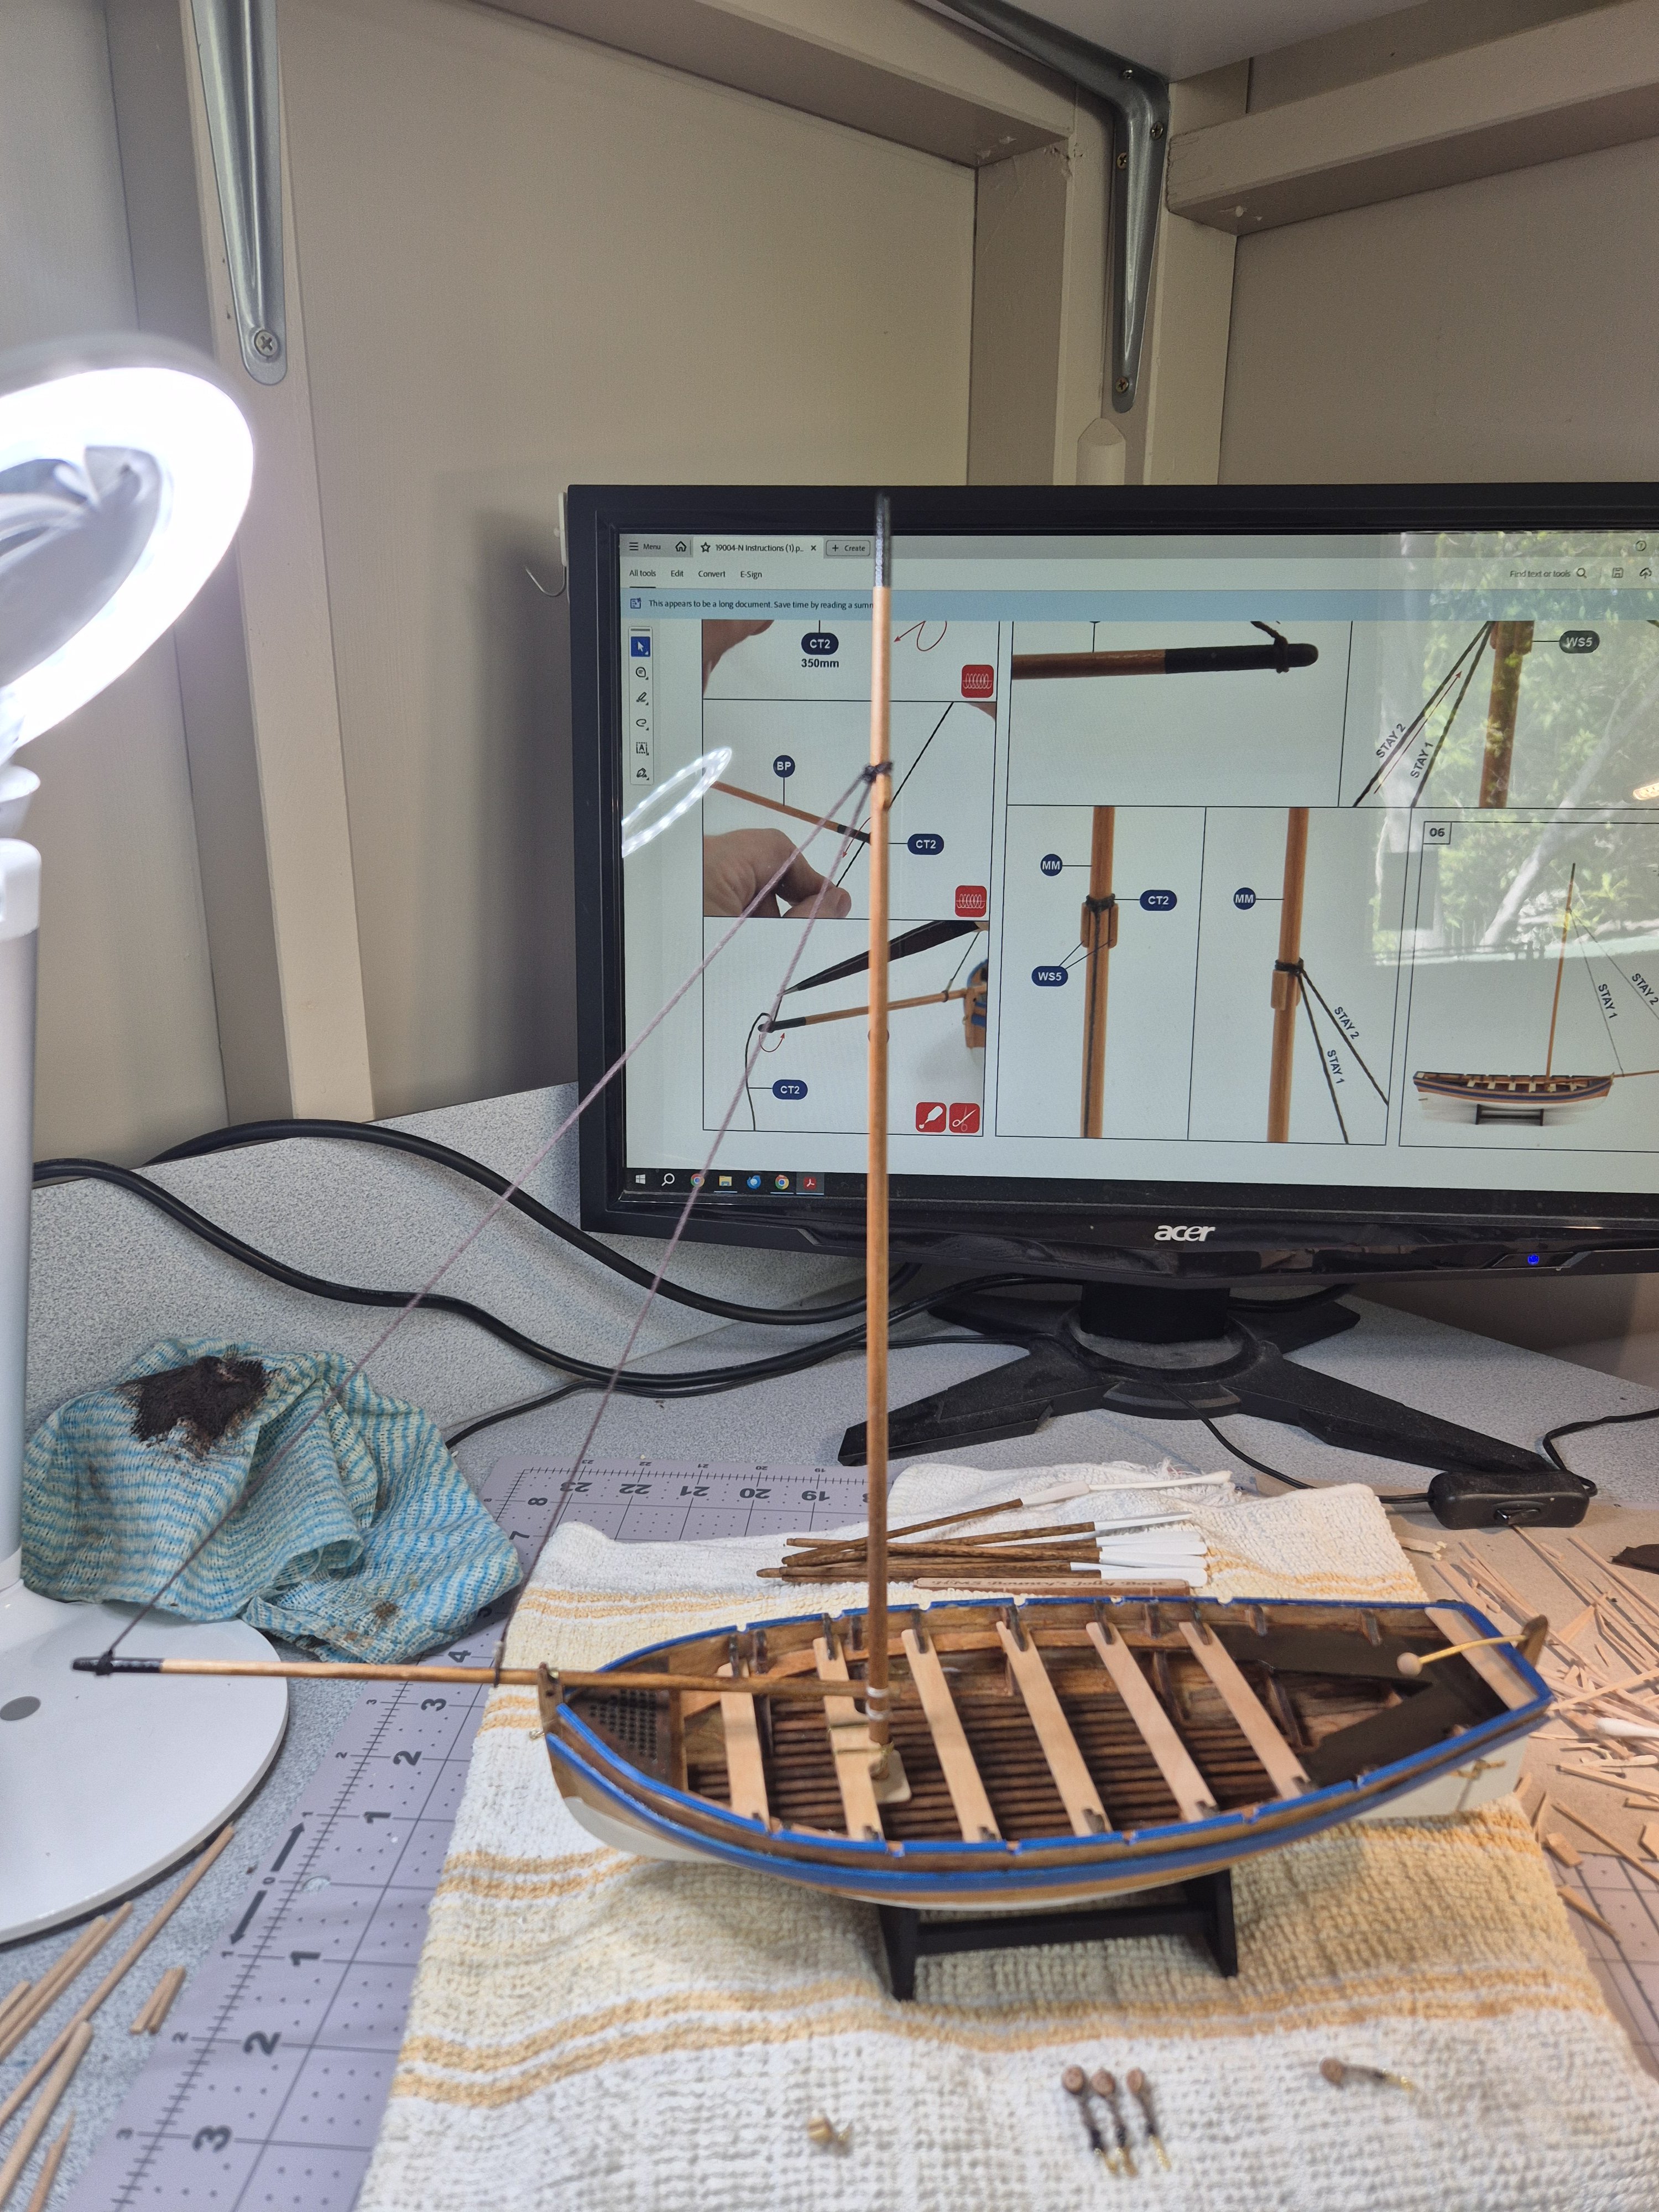
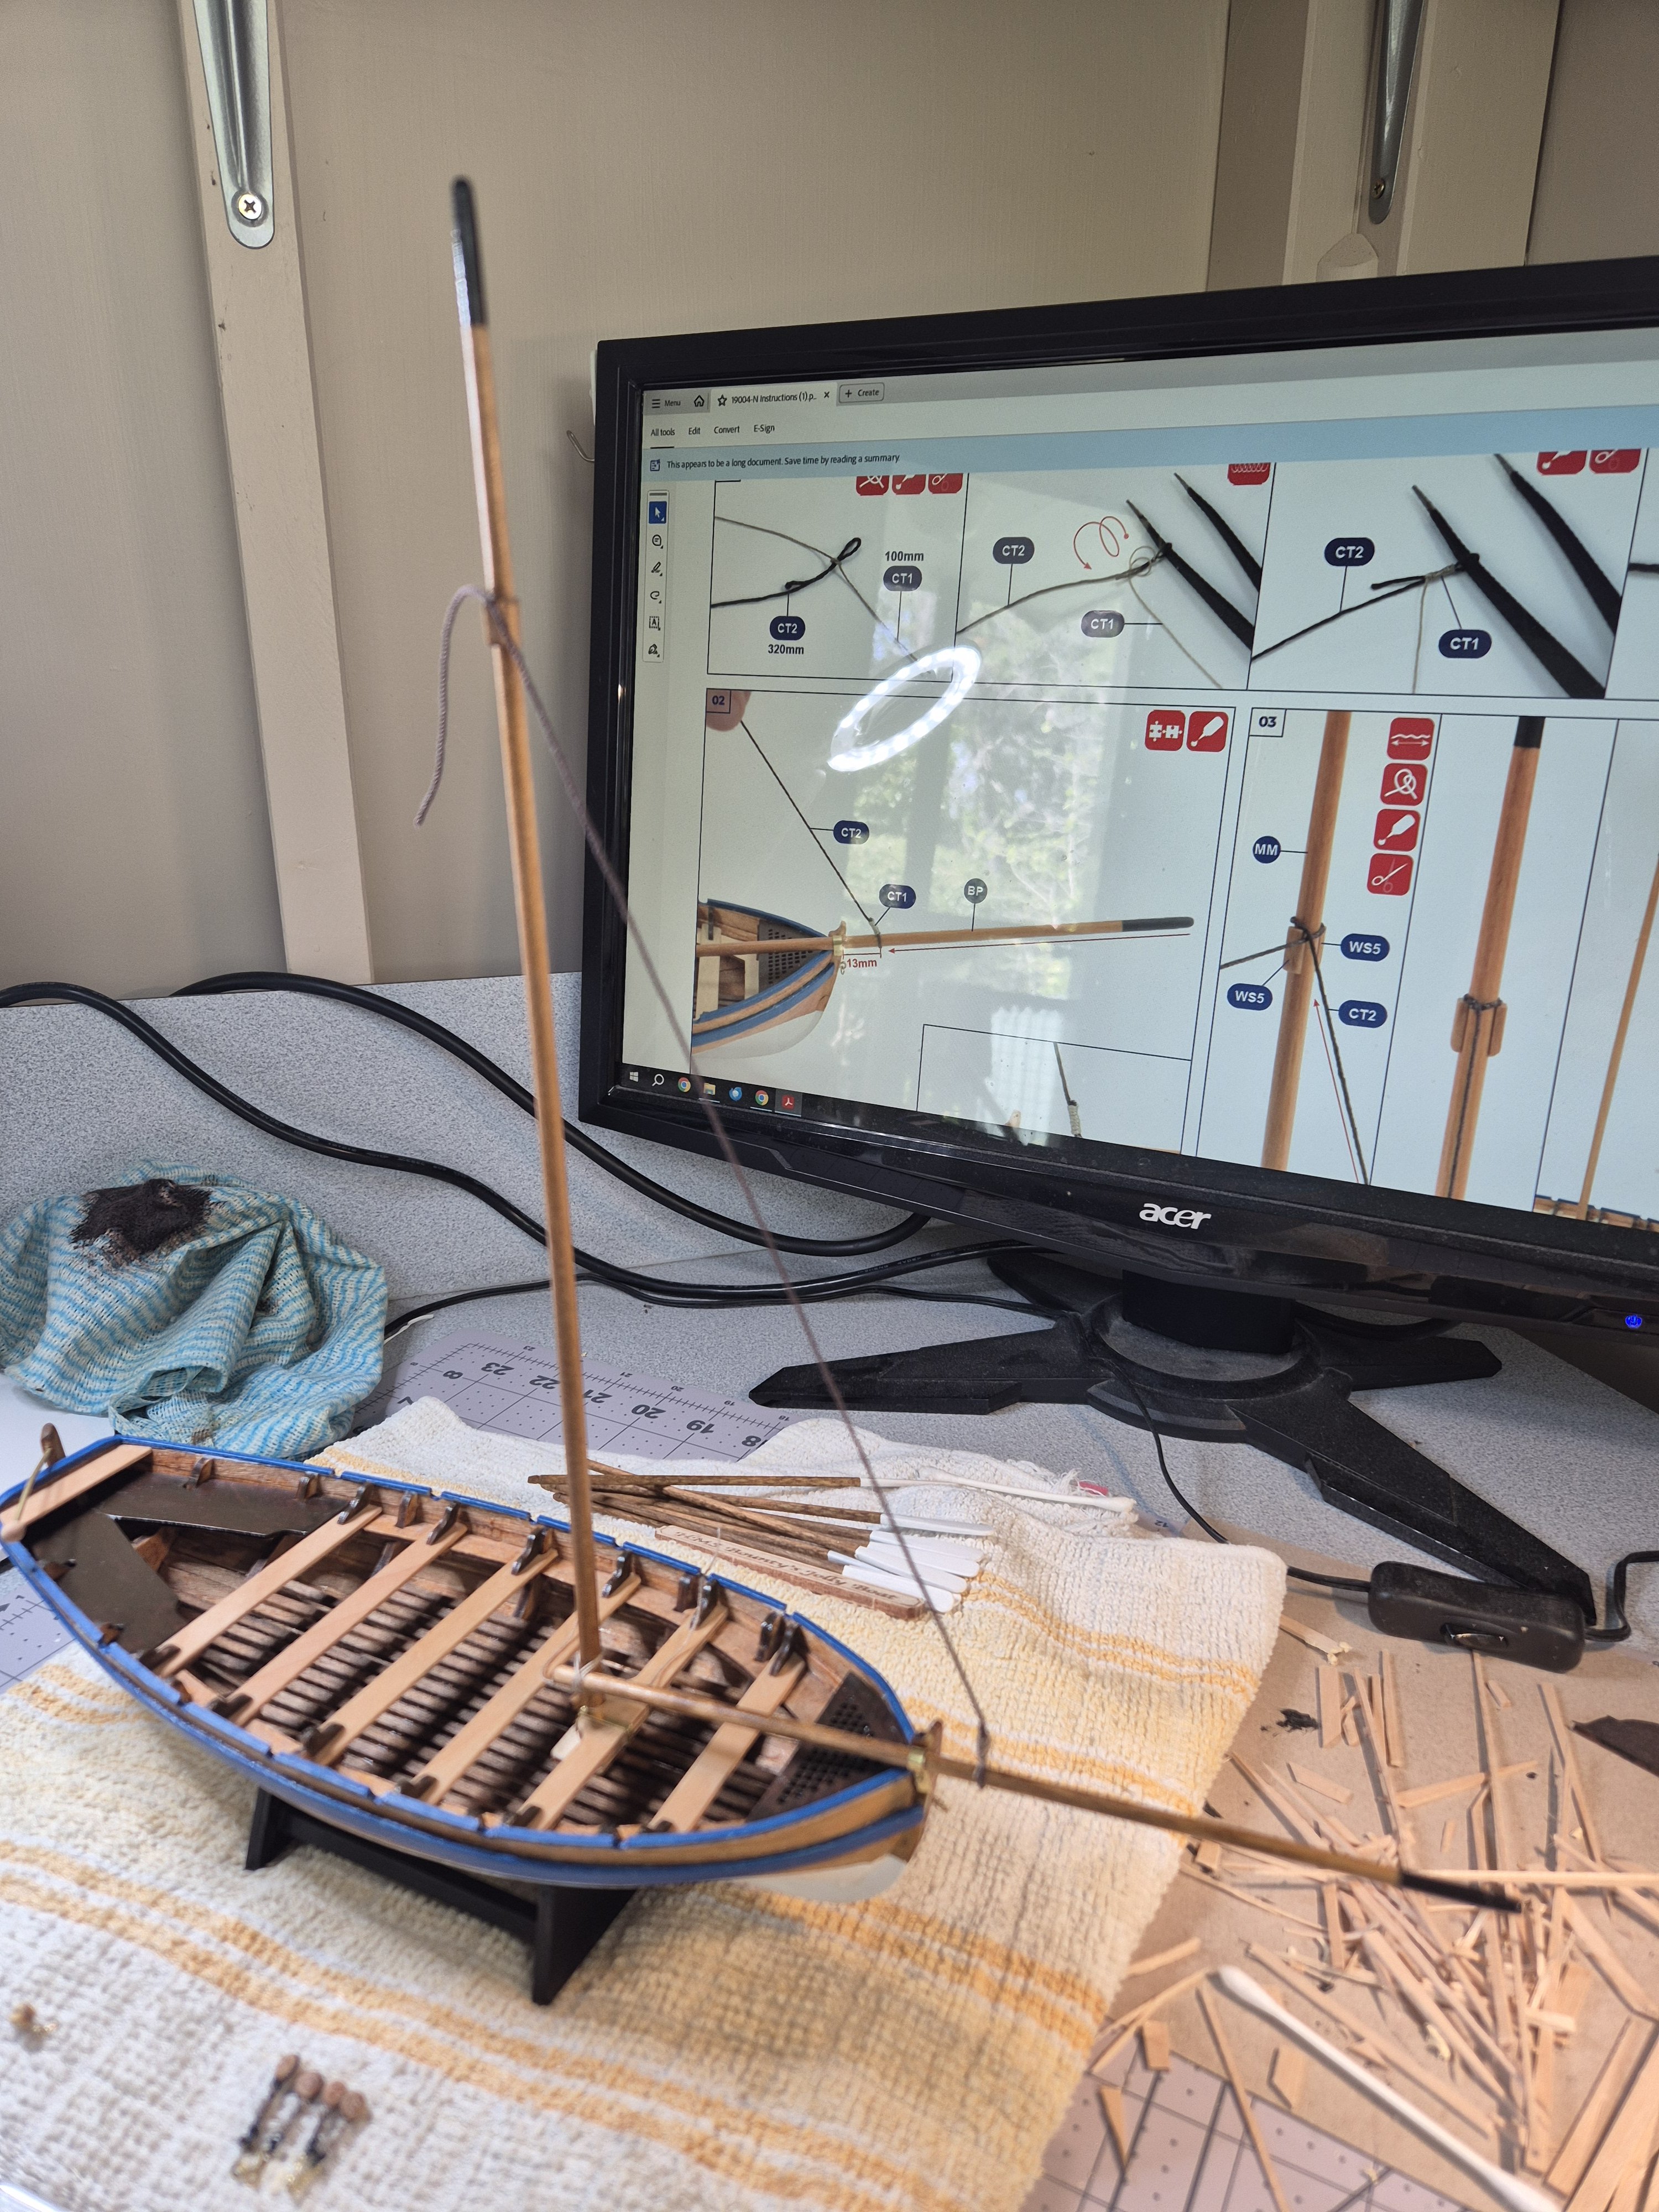
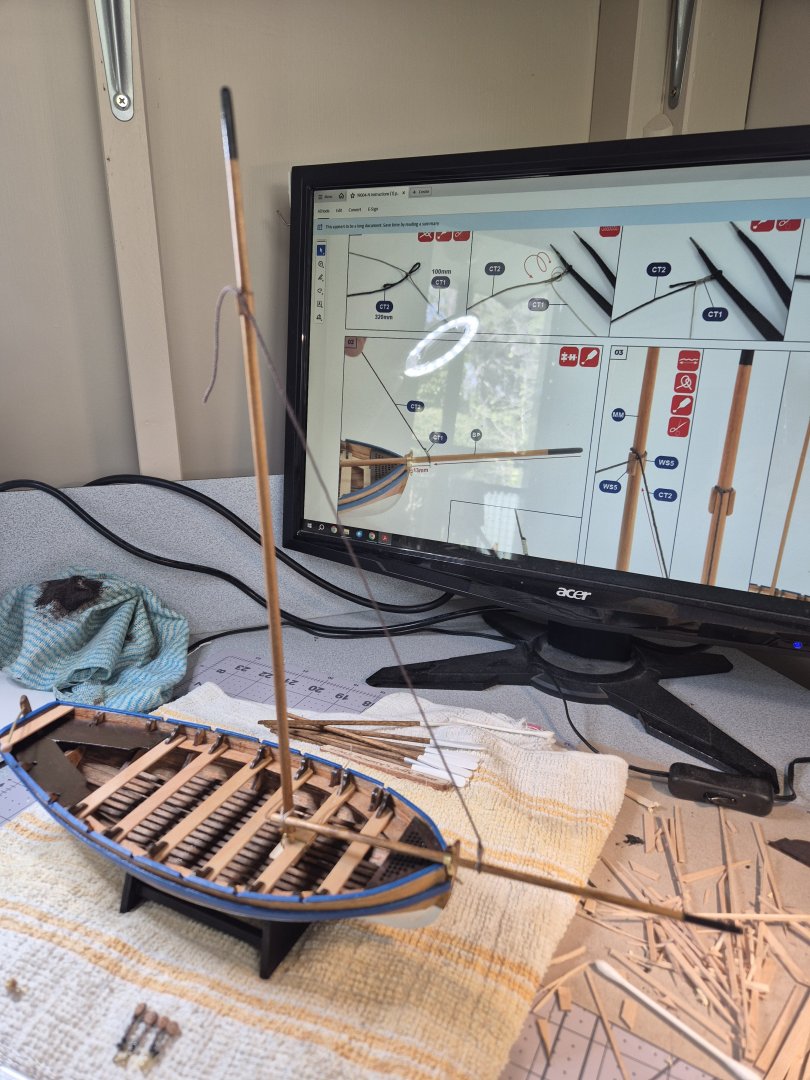
Have been travelling overseas but have made some inroads since we got back. Making good progress, indeed, am almost finished hopefully will be able to show the completed job by the end of next week. Going away for a few days so have to wait until I get back. Got the two foresails installed. Had a lot of trouble with the tiny rings that attach to the sail and then to the forestays. Just couldn't get the rings to close around the forestay. Ended up leaving the top and bottom off! A few pics of what has been done to date. Next step is rigging the mainsail. Having issues loading the pics. They just get an error 200 from the server. Will need to try again later.
- 51 replies
-
- 2
-
-
- bounty jolly boat
- Artesania Latina
- (and 2 more)
-
Looking really good. I hope to be starting my build of Sherbourne in the new year after I finish my Bounty Jolly Boat build (getting very close). Have been following your progress and like what you have done so far and am always interested in the experiences that you encounter along the way. Your paint job is awesome. Did you use a brush or spray? I have also found it difficult to get wipe on poly here in Australia. (I might not be looking in the right places!)
- 21 replies
-
- 2
-
-
- Vanguard
- Sherbourne;
- (and 1 more)
-
Have been making a little progress. Lots of outdoor projects with the admiral are taking most of the time at the moment. Also about to head overseas for a few weeks so no further progress until I get back. However, the good news is that all the stays and deadeyes are now installed. Found that adding some CA to the end of the thread and then running my fingers along it makes it nice and stiff and much easier to push through the deadeye holes. Finally seeing the light at the end of the tunnel. Next step is installing the sails.


- 51 replies
-
- 5
-
-
- bounty jolly boat
- Artesania Latina
- (and 2 more)
-
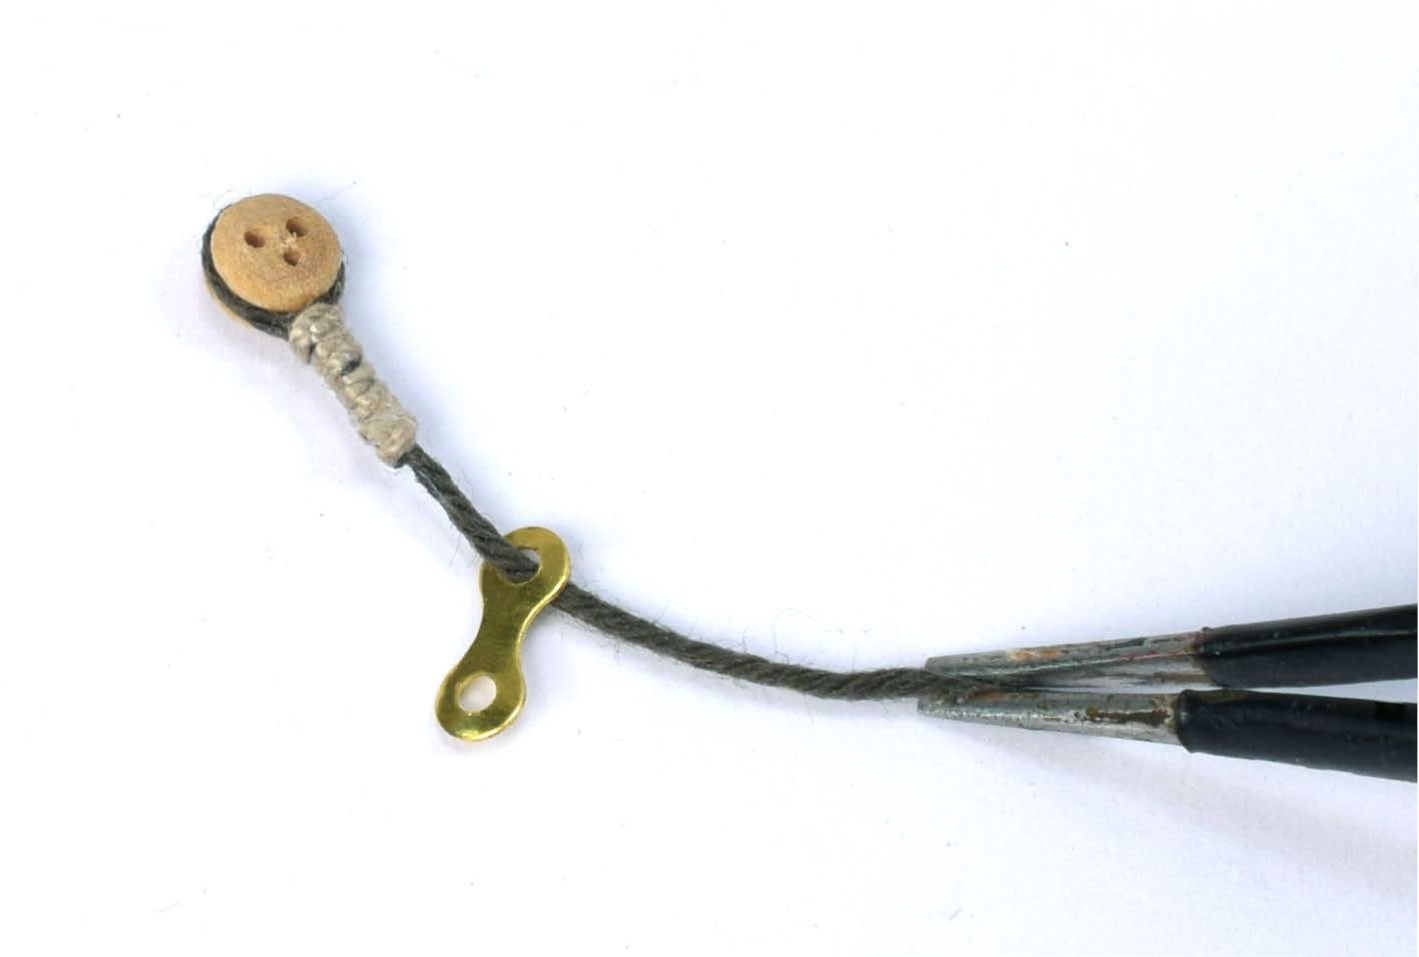
I did manage to get one of chainplates threaded more by luck than anything else. Put a tiny bit of CA onto the end of the thread and then was able to pass it through the eye of the chain plate. Then remembered I had a the HM Sherbourne kit and the thread there is a much better quality so used that thread instead. Big difference! Big learning curve doing the seizing. Not as easy as I thought. Really only one out of the four was reasonable. But learnt a lot which was what this model is all about! Have not the mast and bowsprit installed and put the two forestays in place.

- 51 replies
-
- 2
-
-
- bounty jolly boat
- Artesania Latina
- (and 2 more)
-
Thanks for your suggestion Chris. In the end I used the broken bit and pushed the piece that was broken further in which left just enough room to fix the tiller. Reasonably happy with the outcome. Rudder is now installed. One question I have is do you let the rudder swing freely or do you lock it amidships with some glue? Started building the deadeye assemblies while waiting for some pain to dry. The kit calls for the chain plate to be seized to the deadeye. However trying to pass the thread through the chain plate is near impossible. Or at least I have not yet been able to manage it. The thread just starts to fray. The hole in the chain plate is 1mm and the thread is 0.5mm. Has anyone got any ideas on how to achieve threading the chain plate. The pic above is from the instructions. Hoping there might be a few tricks to try that I am not aware about. I suspect that a big part of the problem is that quality of the thread is not very good. Cheers Peter
- 51 replies
-
- 1
-
-
- bounty jolly boat
- Artesania Latina
- (and 2 more)