Maid of the Mist
-
Posts
69 -
Joined
-
Last visited
Content Type
Profiles
Forums
Gallery
Events
Everything posted by Maid of the Mist
-
 I have a book about Erebus by Michael Palin, which I believe was a similar sort of ship to Terror. I think they were both originally designed to fire mortars or primitive rockets (hence their suitably scary names!) So yes, they weren't meant to be particularly speedy ships, haha.
 -
Thank you everyone for your detailed responses. Is there anywhere else I can access those PDFs, please? I always get this error:

-
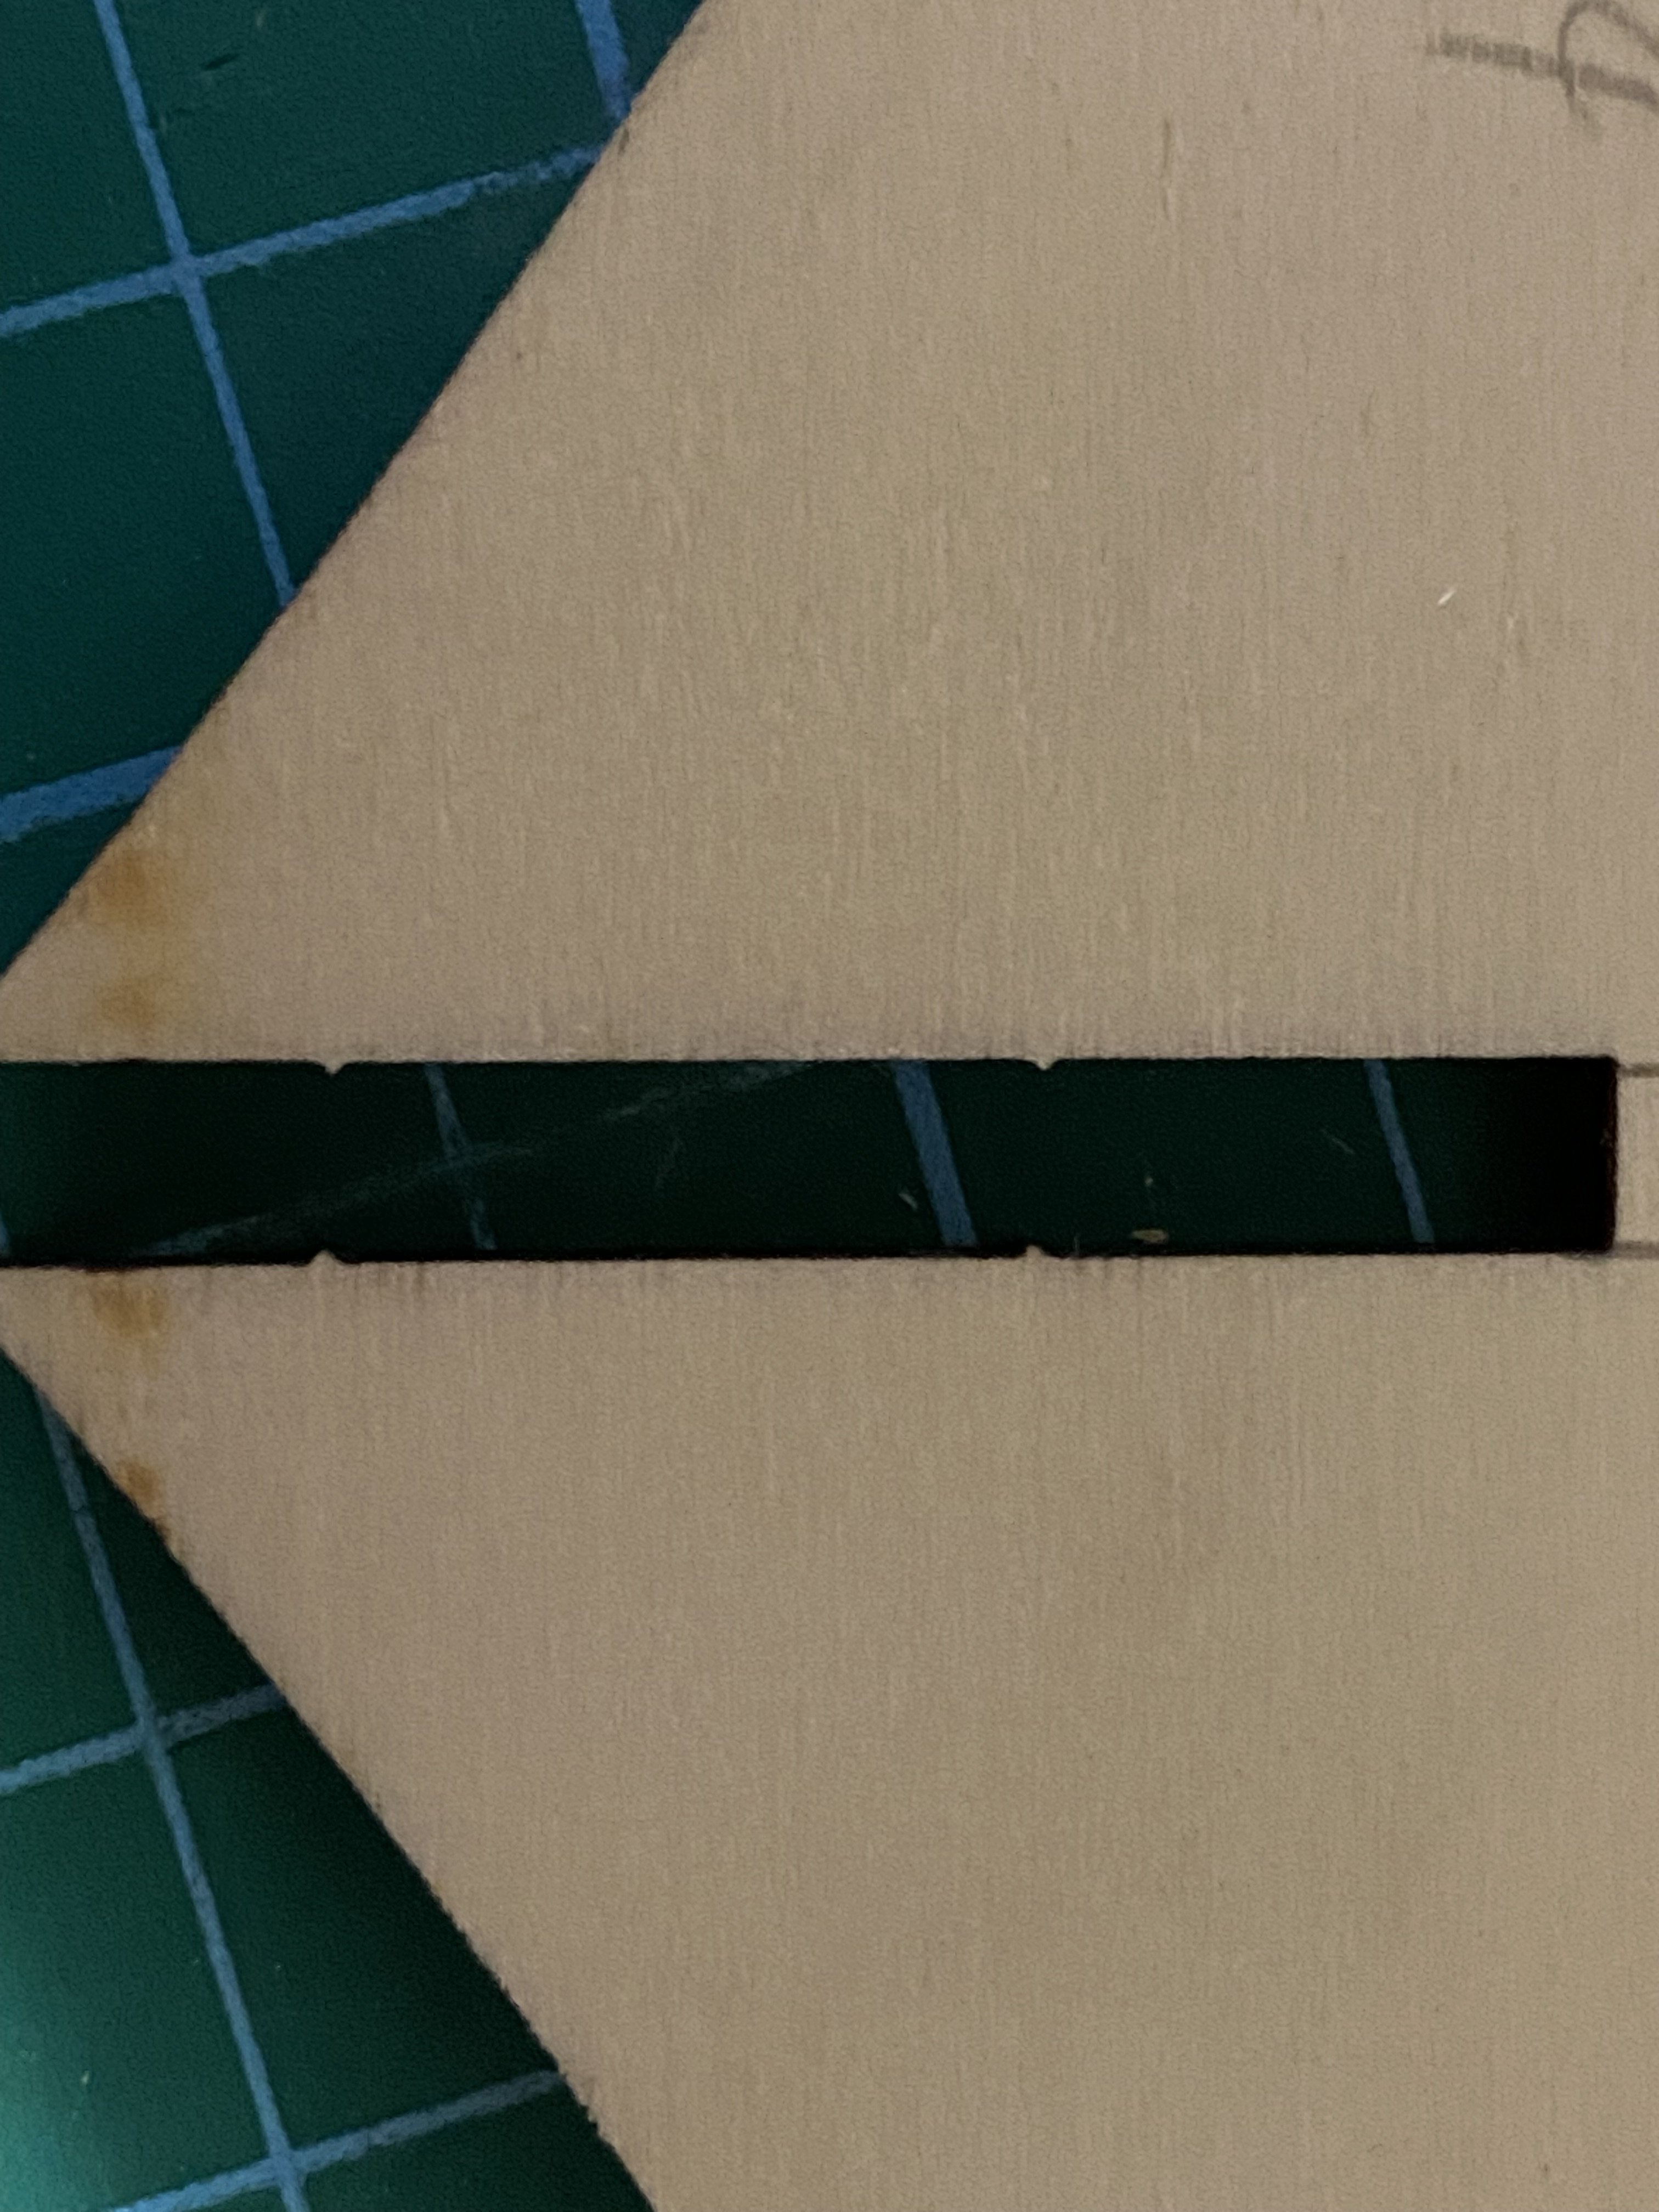
I understand the principle of tapering planks narrower at the bow and stern so they fit properly, but what I don’t really get is how you achieve the level of precision needed so that each plank sits flush without gaps. Since so much of this process seems to be done freehand with pencil marks and dry-fitting, how do you actually cut the planks with the tiny tolerances needed for a clean fit? When I watch experienced builders on YouTube using a mini plane, the plank just seems to drop into place perfectly but I can’t tell if that’s because they’ve been at it for 20+ years and have the eye and muscle memory or if there’s some method or tool that helps remove the guesswork. At the moment, every plank for me feels like a painstaking trial-and-error exercise or I have to settle for something scrappy and make up for it with filler. Is that just the nature of planking, or am I missing a trick? Related to this, on my OcCre Beagle I’ve had to use wood filler to smooth out the first layer of planking. Will I run into problems later using PVA glue on that filled surface when it comes time to lay the second layer of veneer planks?
-
A little under two weeks into this build and I have made quite a lot of progress. Frame construction: The bulkheads slotted in beautifully, everything lined up straight away without any fuss. I barely needed my trusty Lego jig, just a quick check on each one and I was off to the next stage. Deck: I decided to go with the 6cm planks as per the instructions, using a 2-butt shift so that each change was a neat 2cm. Cutting and laying each plank individually was a good call, it gave me a nice mix of wood grains across the strakes. I skipped the tree nails this time, thinking it would keep the deck looking clean and tidy with the shorter planks. I had a little experiment with pencils for the caulking lines, my first choice (6B) smudged more than I expected an dirtied some of the planks, but switching to an HB gave me sharp, clean results that looked better. By the time I reached the bow and stern decks, the process felt smooth and enjoyable. As for the dirty planks...well, it's not a royal yacht. The doors and windows: I followed the instructions here and had fun adding some colour to the doors. I learned that scraping away stray paint isn’t the best approach, but it’s no big deal, those little imperfections will be hidden under all the exciting deck details later on. I'm happy that I managed to get the bulkwarks to line up at the bow. This will help me a lot later on! I haven't started tapering the planks yet, but will do so for the planks below the bulwarks. I expect to make a fair few mistakes but nothing that a bit of sanding and wood putty can't put right.


-
Is using filler blocks a common method? I haven't seen it before and it seems like a lot of extra work
-
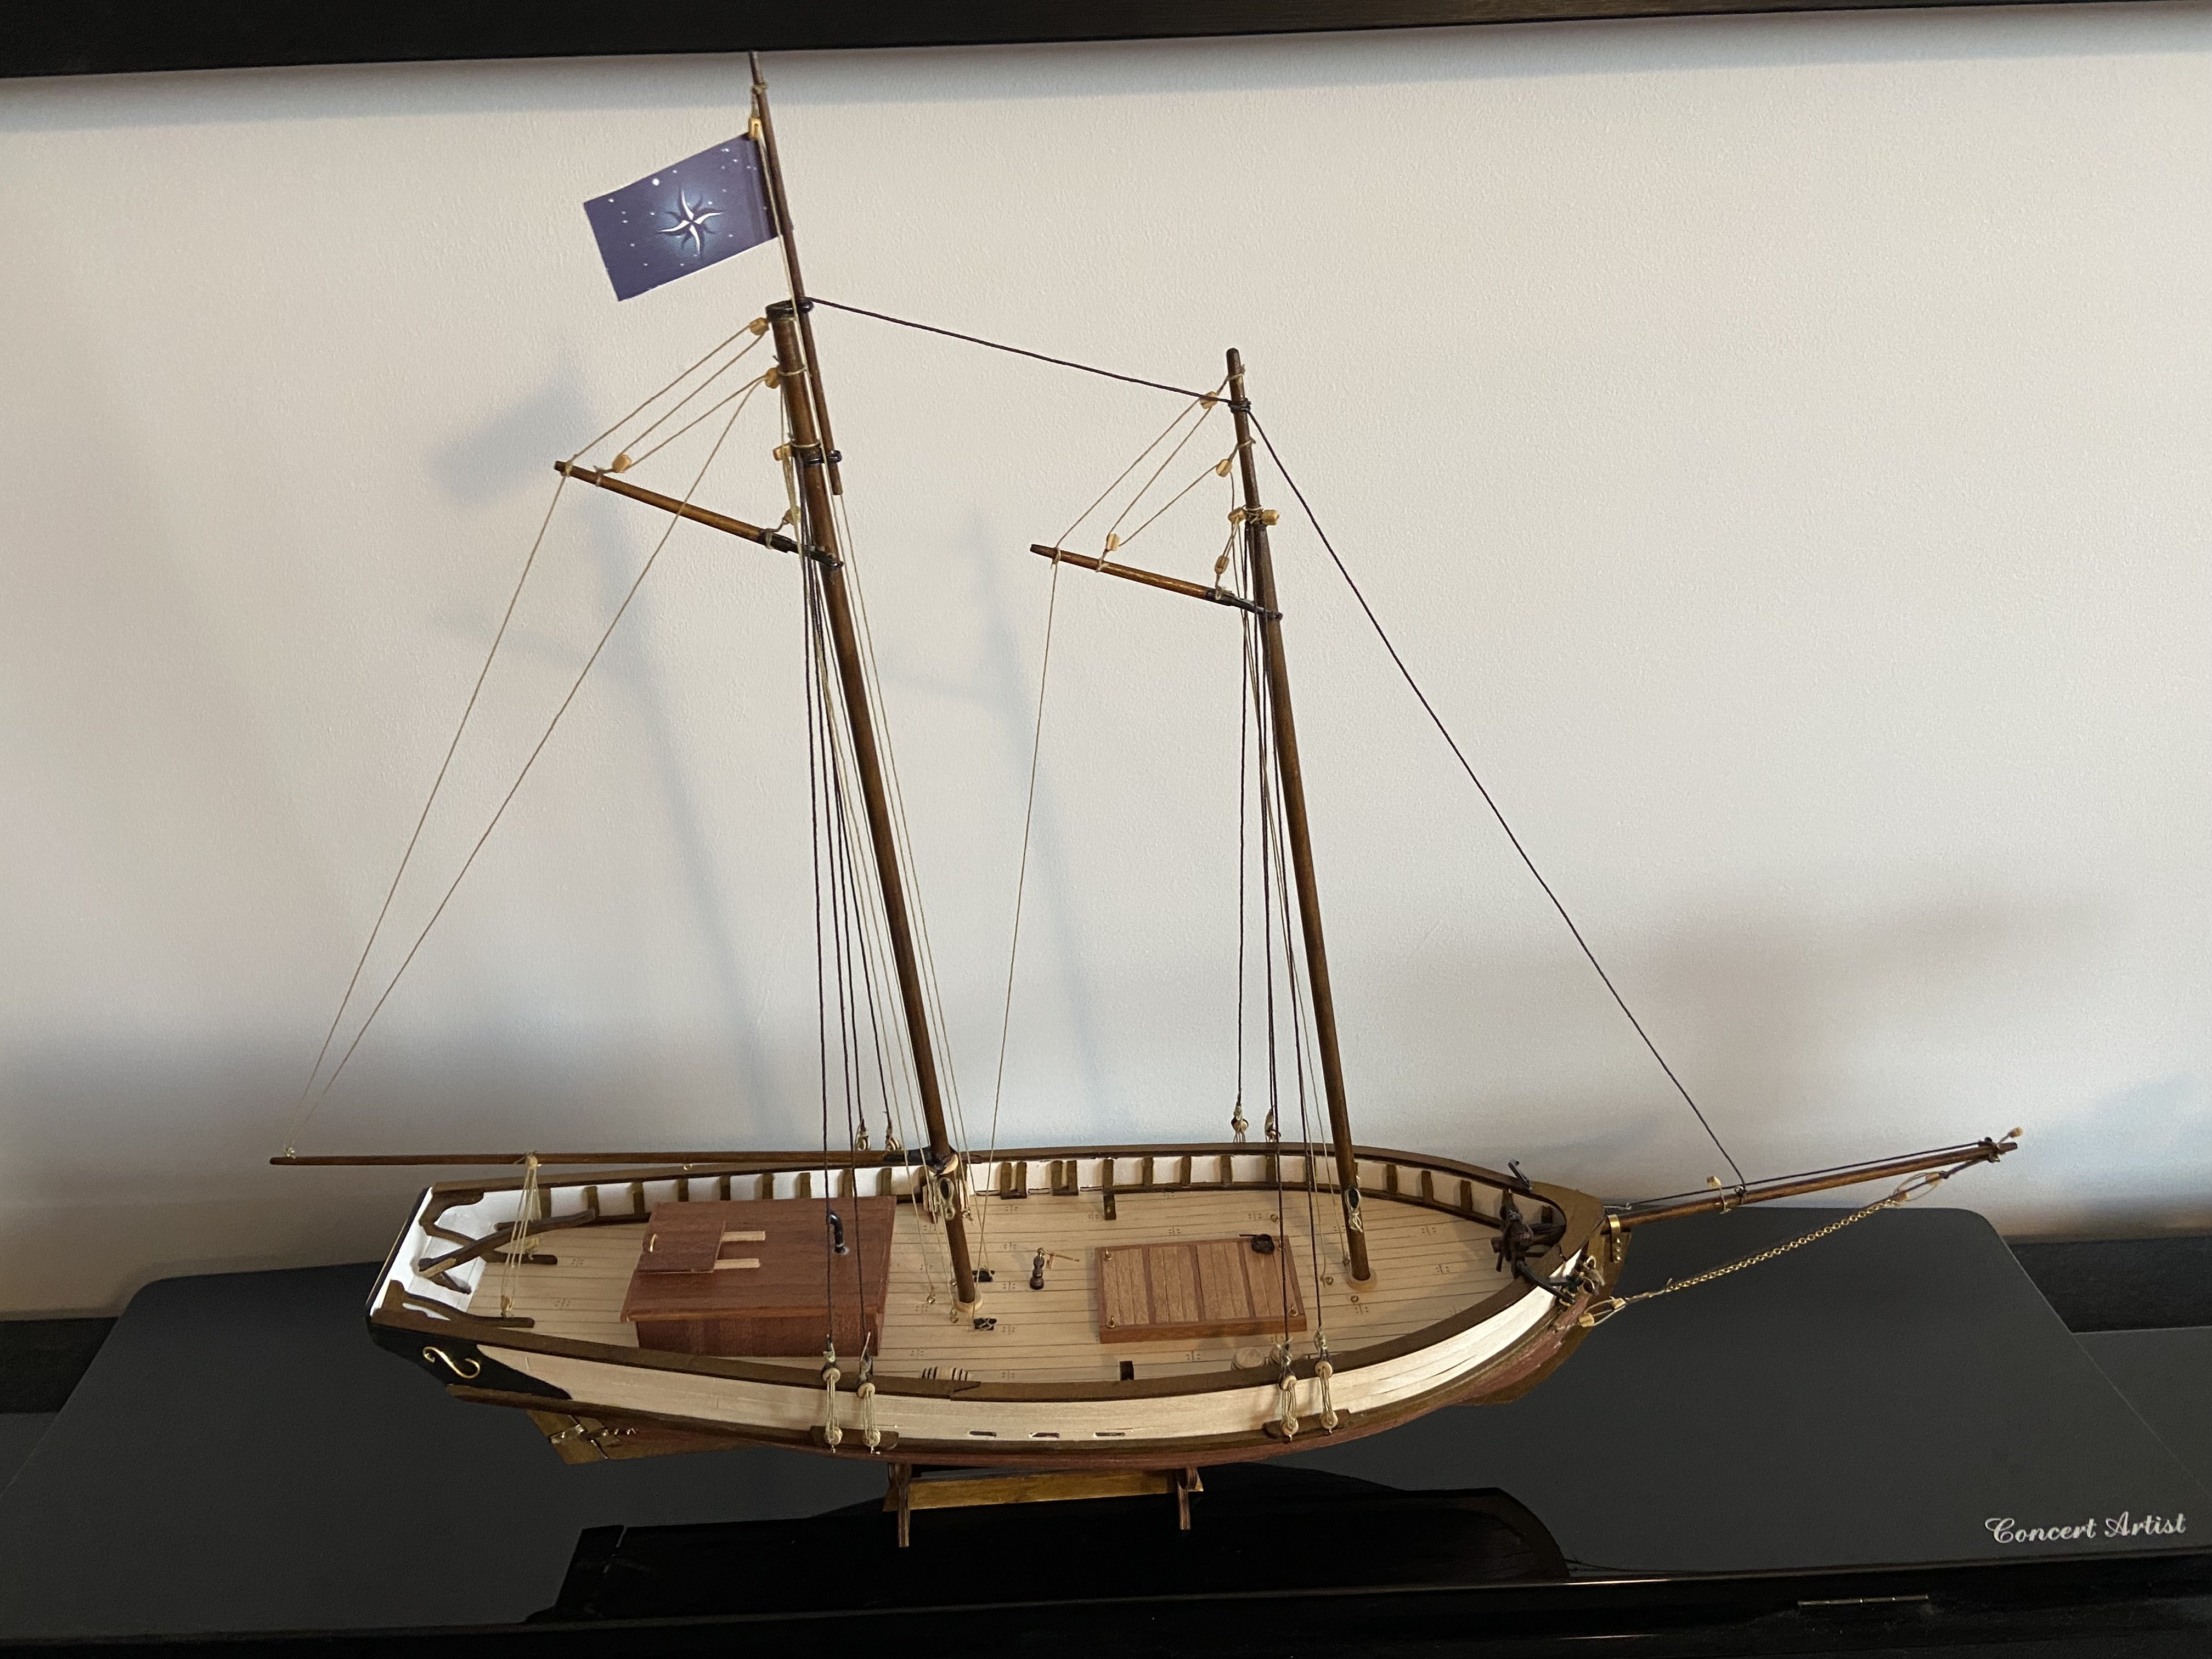
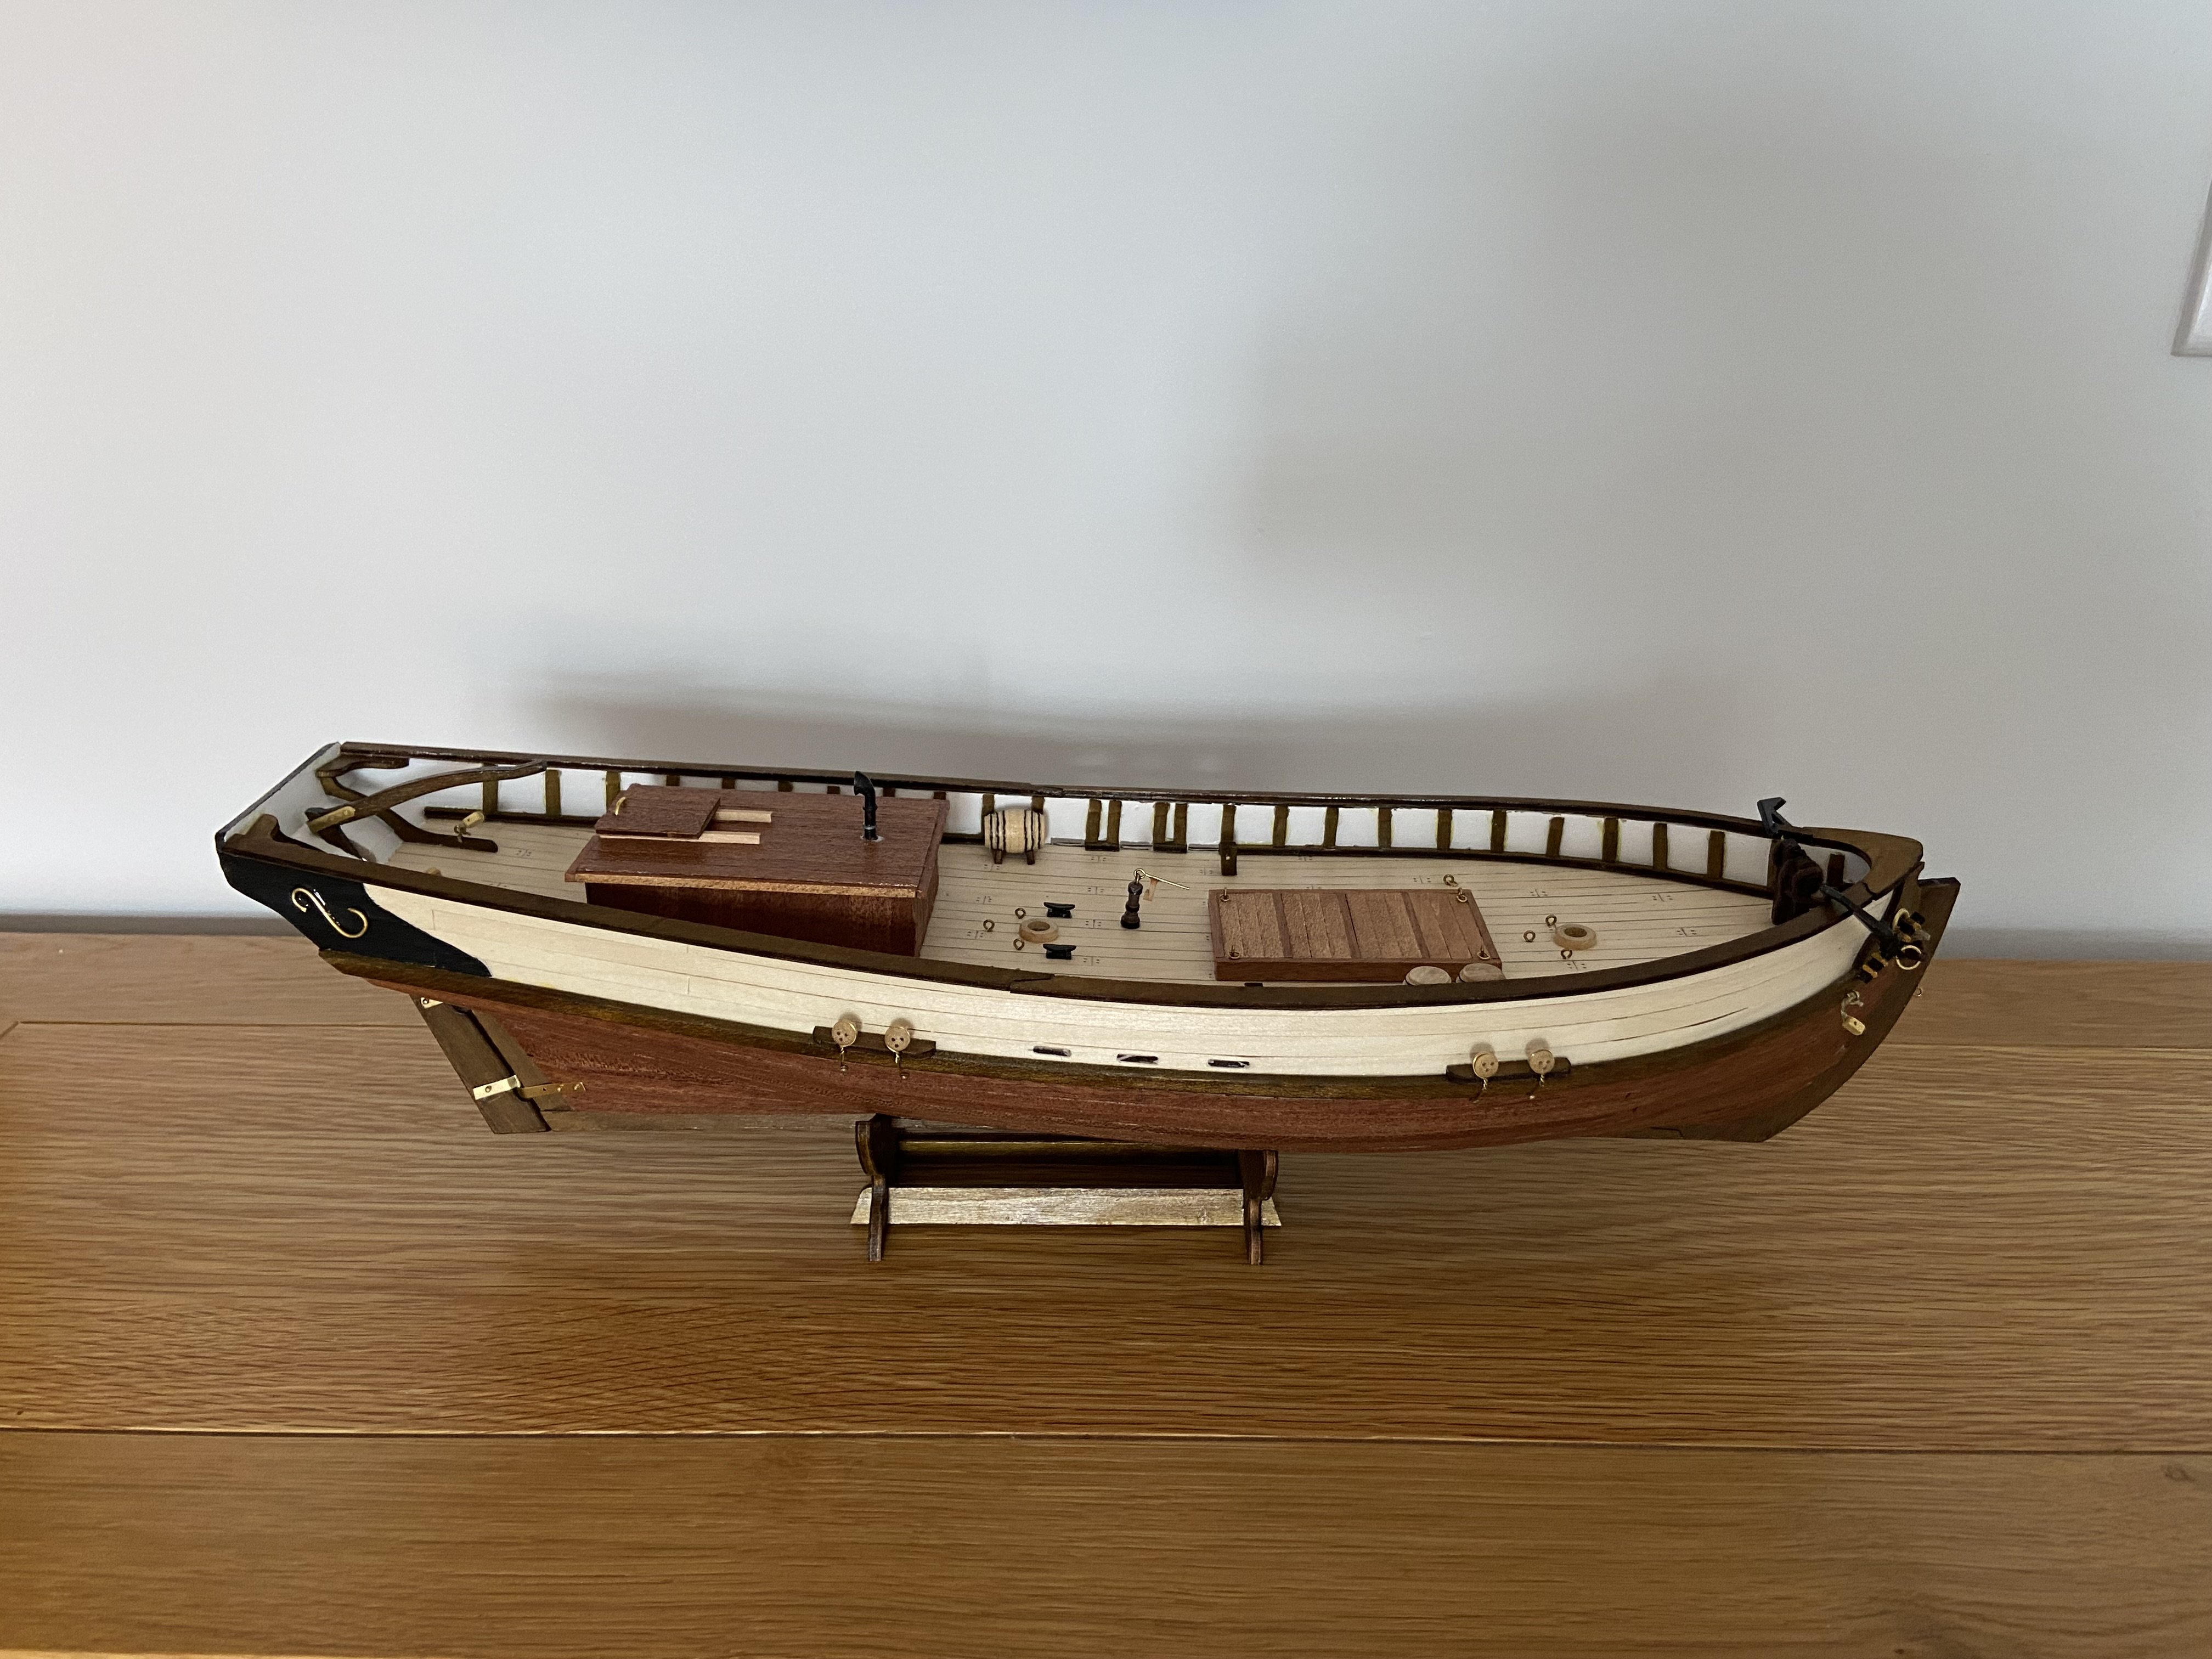
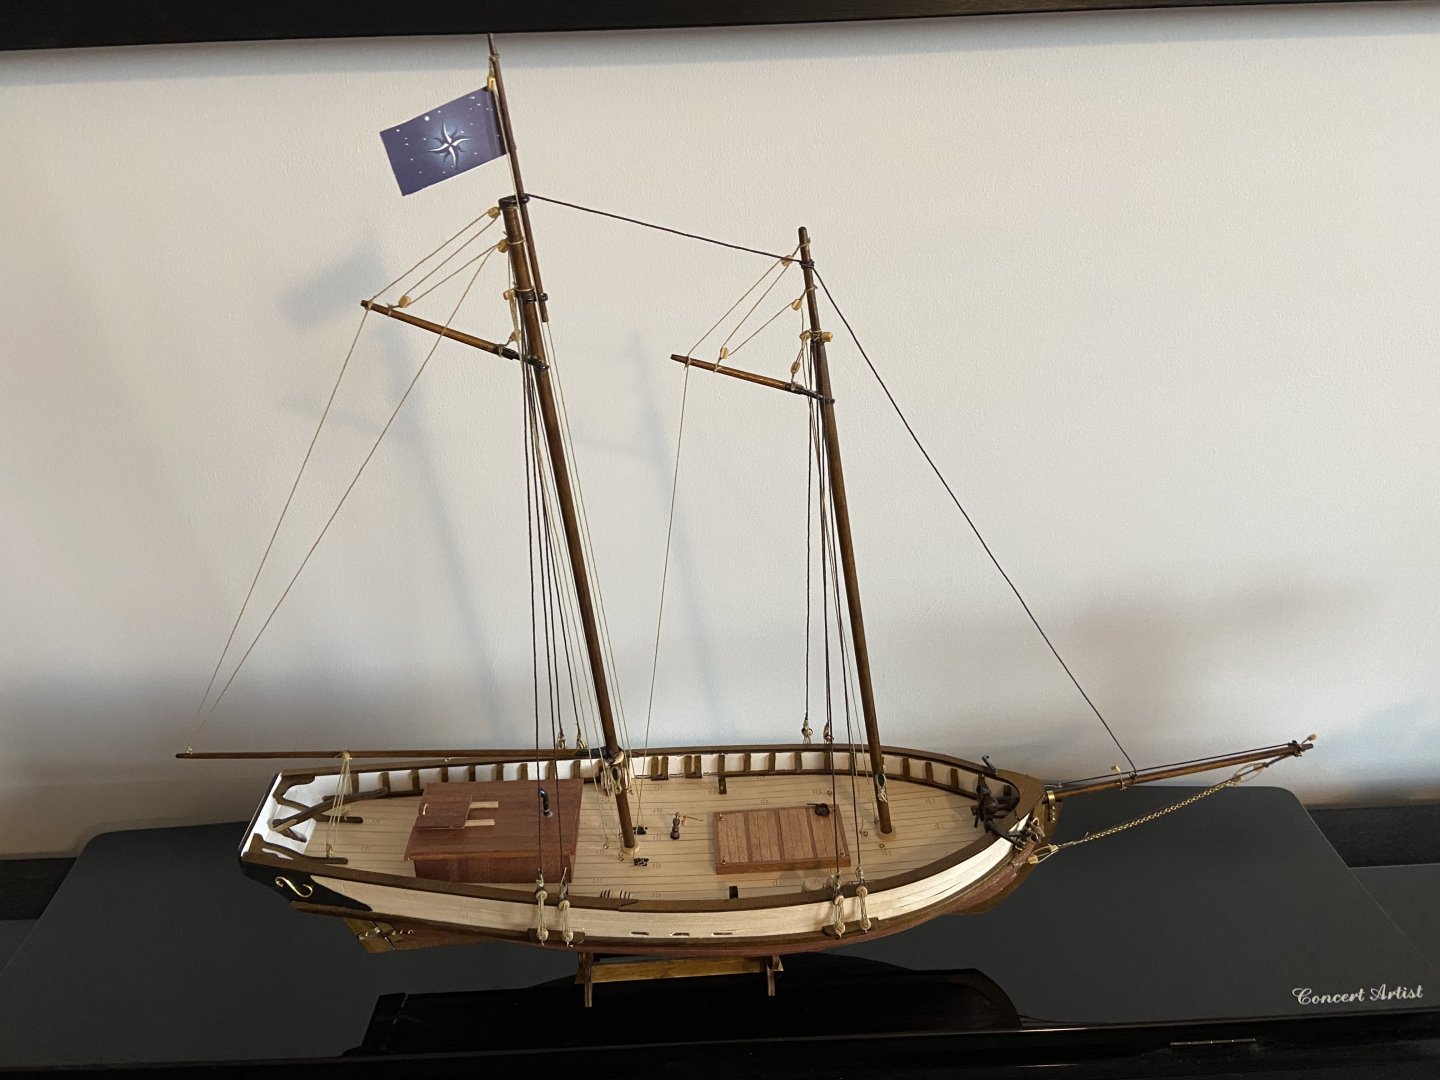
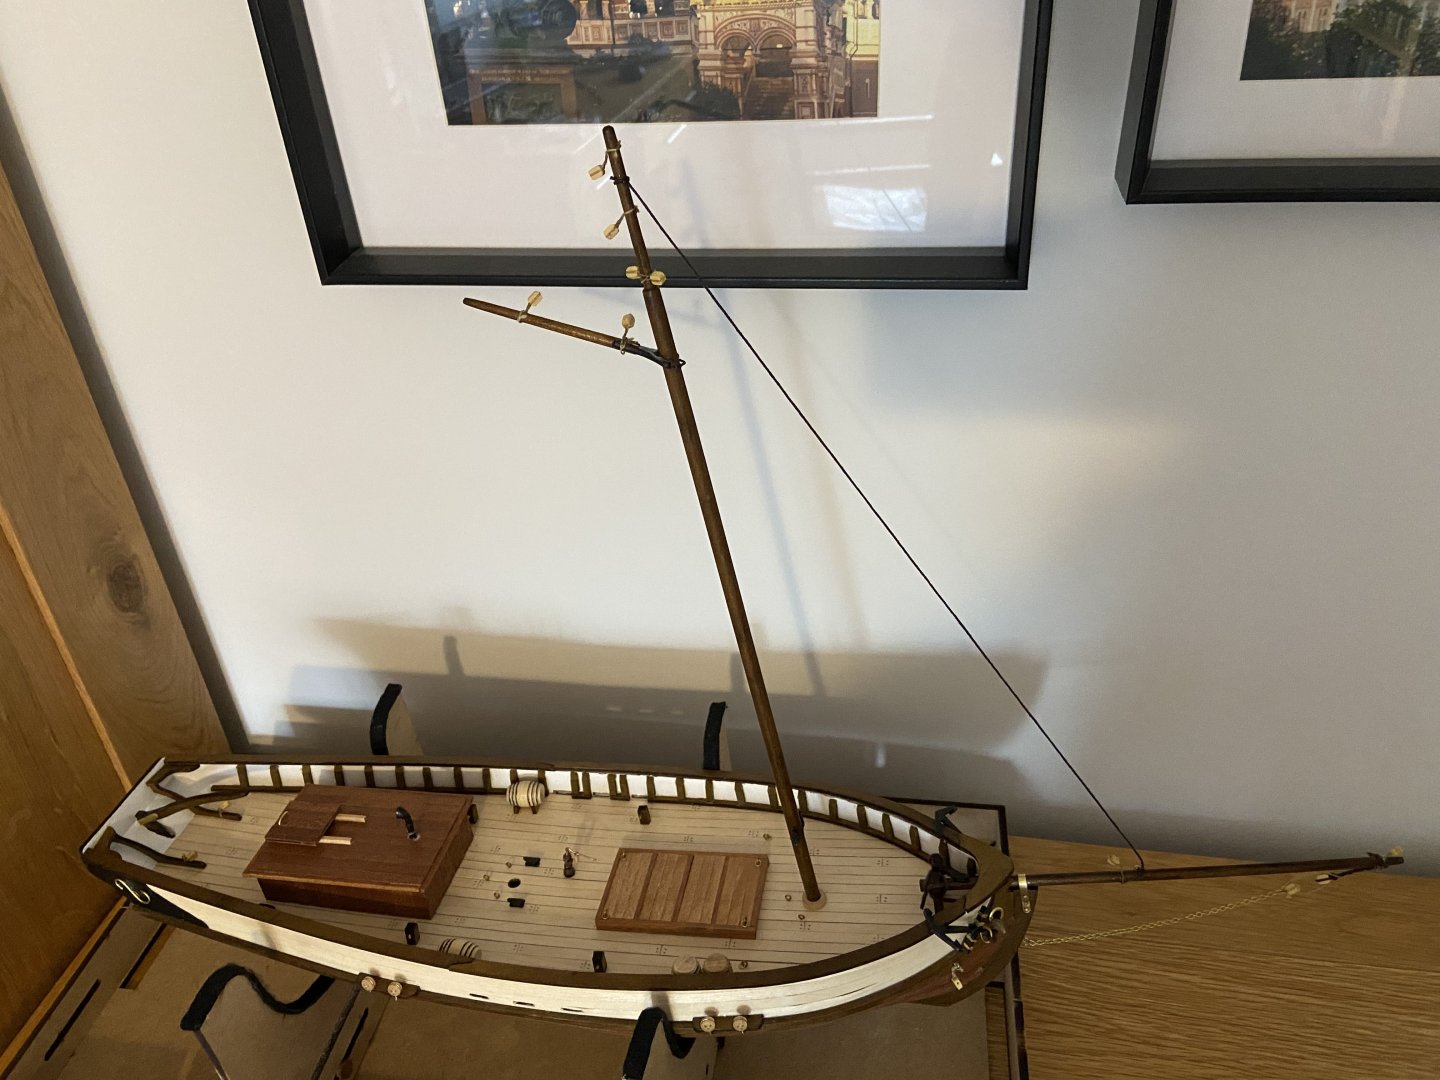
That's all she wrote. I decided against adding sails. I think they're too difficult to get right and, if I'm honest, I much prefer the clean look of the masts and rigging so I won't be adding them in future builds either. Overall I'm very happy with how this turned out. It's not the professional-looking job that some people manage with Polaris, but I think it's a beautiful little model. My journey into shipbuilding continues with HMS Beagle, and I learnt a huge amount from this build which I'm already applying!
-
The exact same thing happened to me with my OcCre Beagle. The same parts escaped too! I'm still finding the odd one on the floor.
-
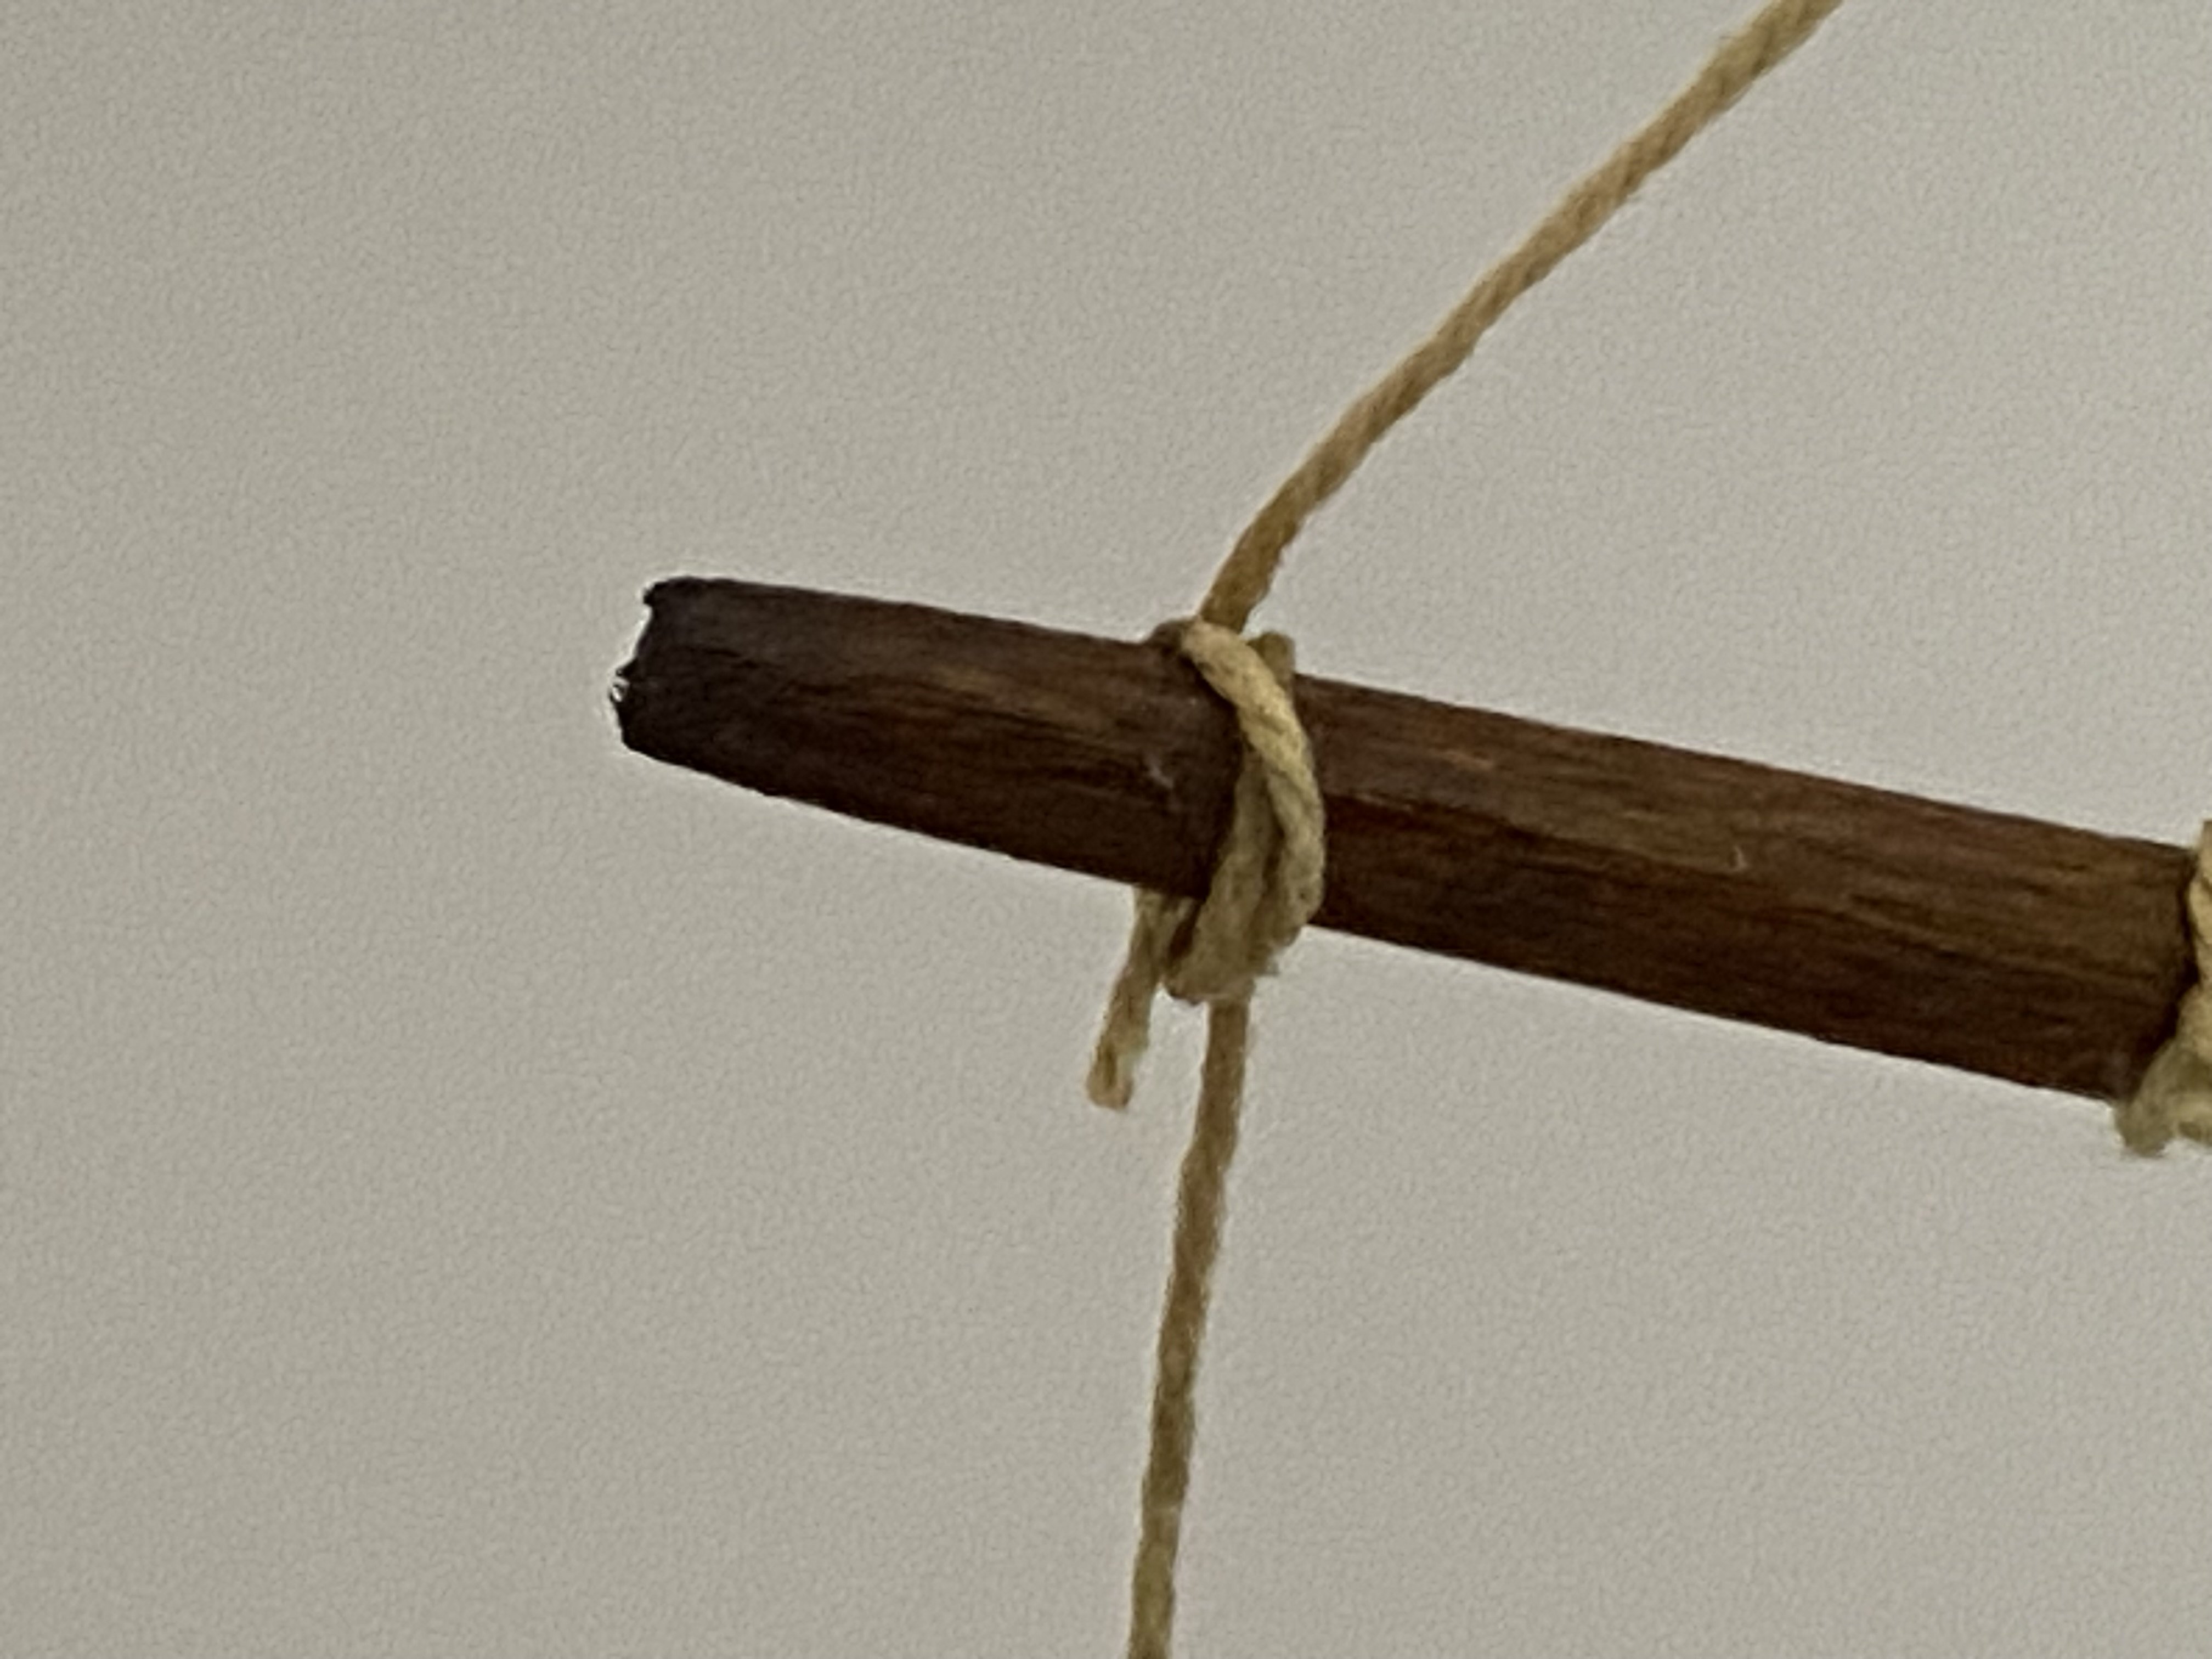
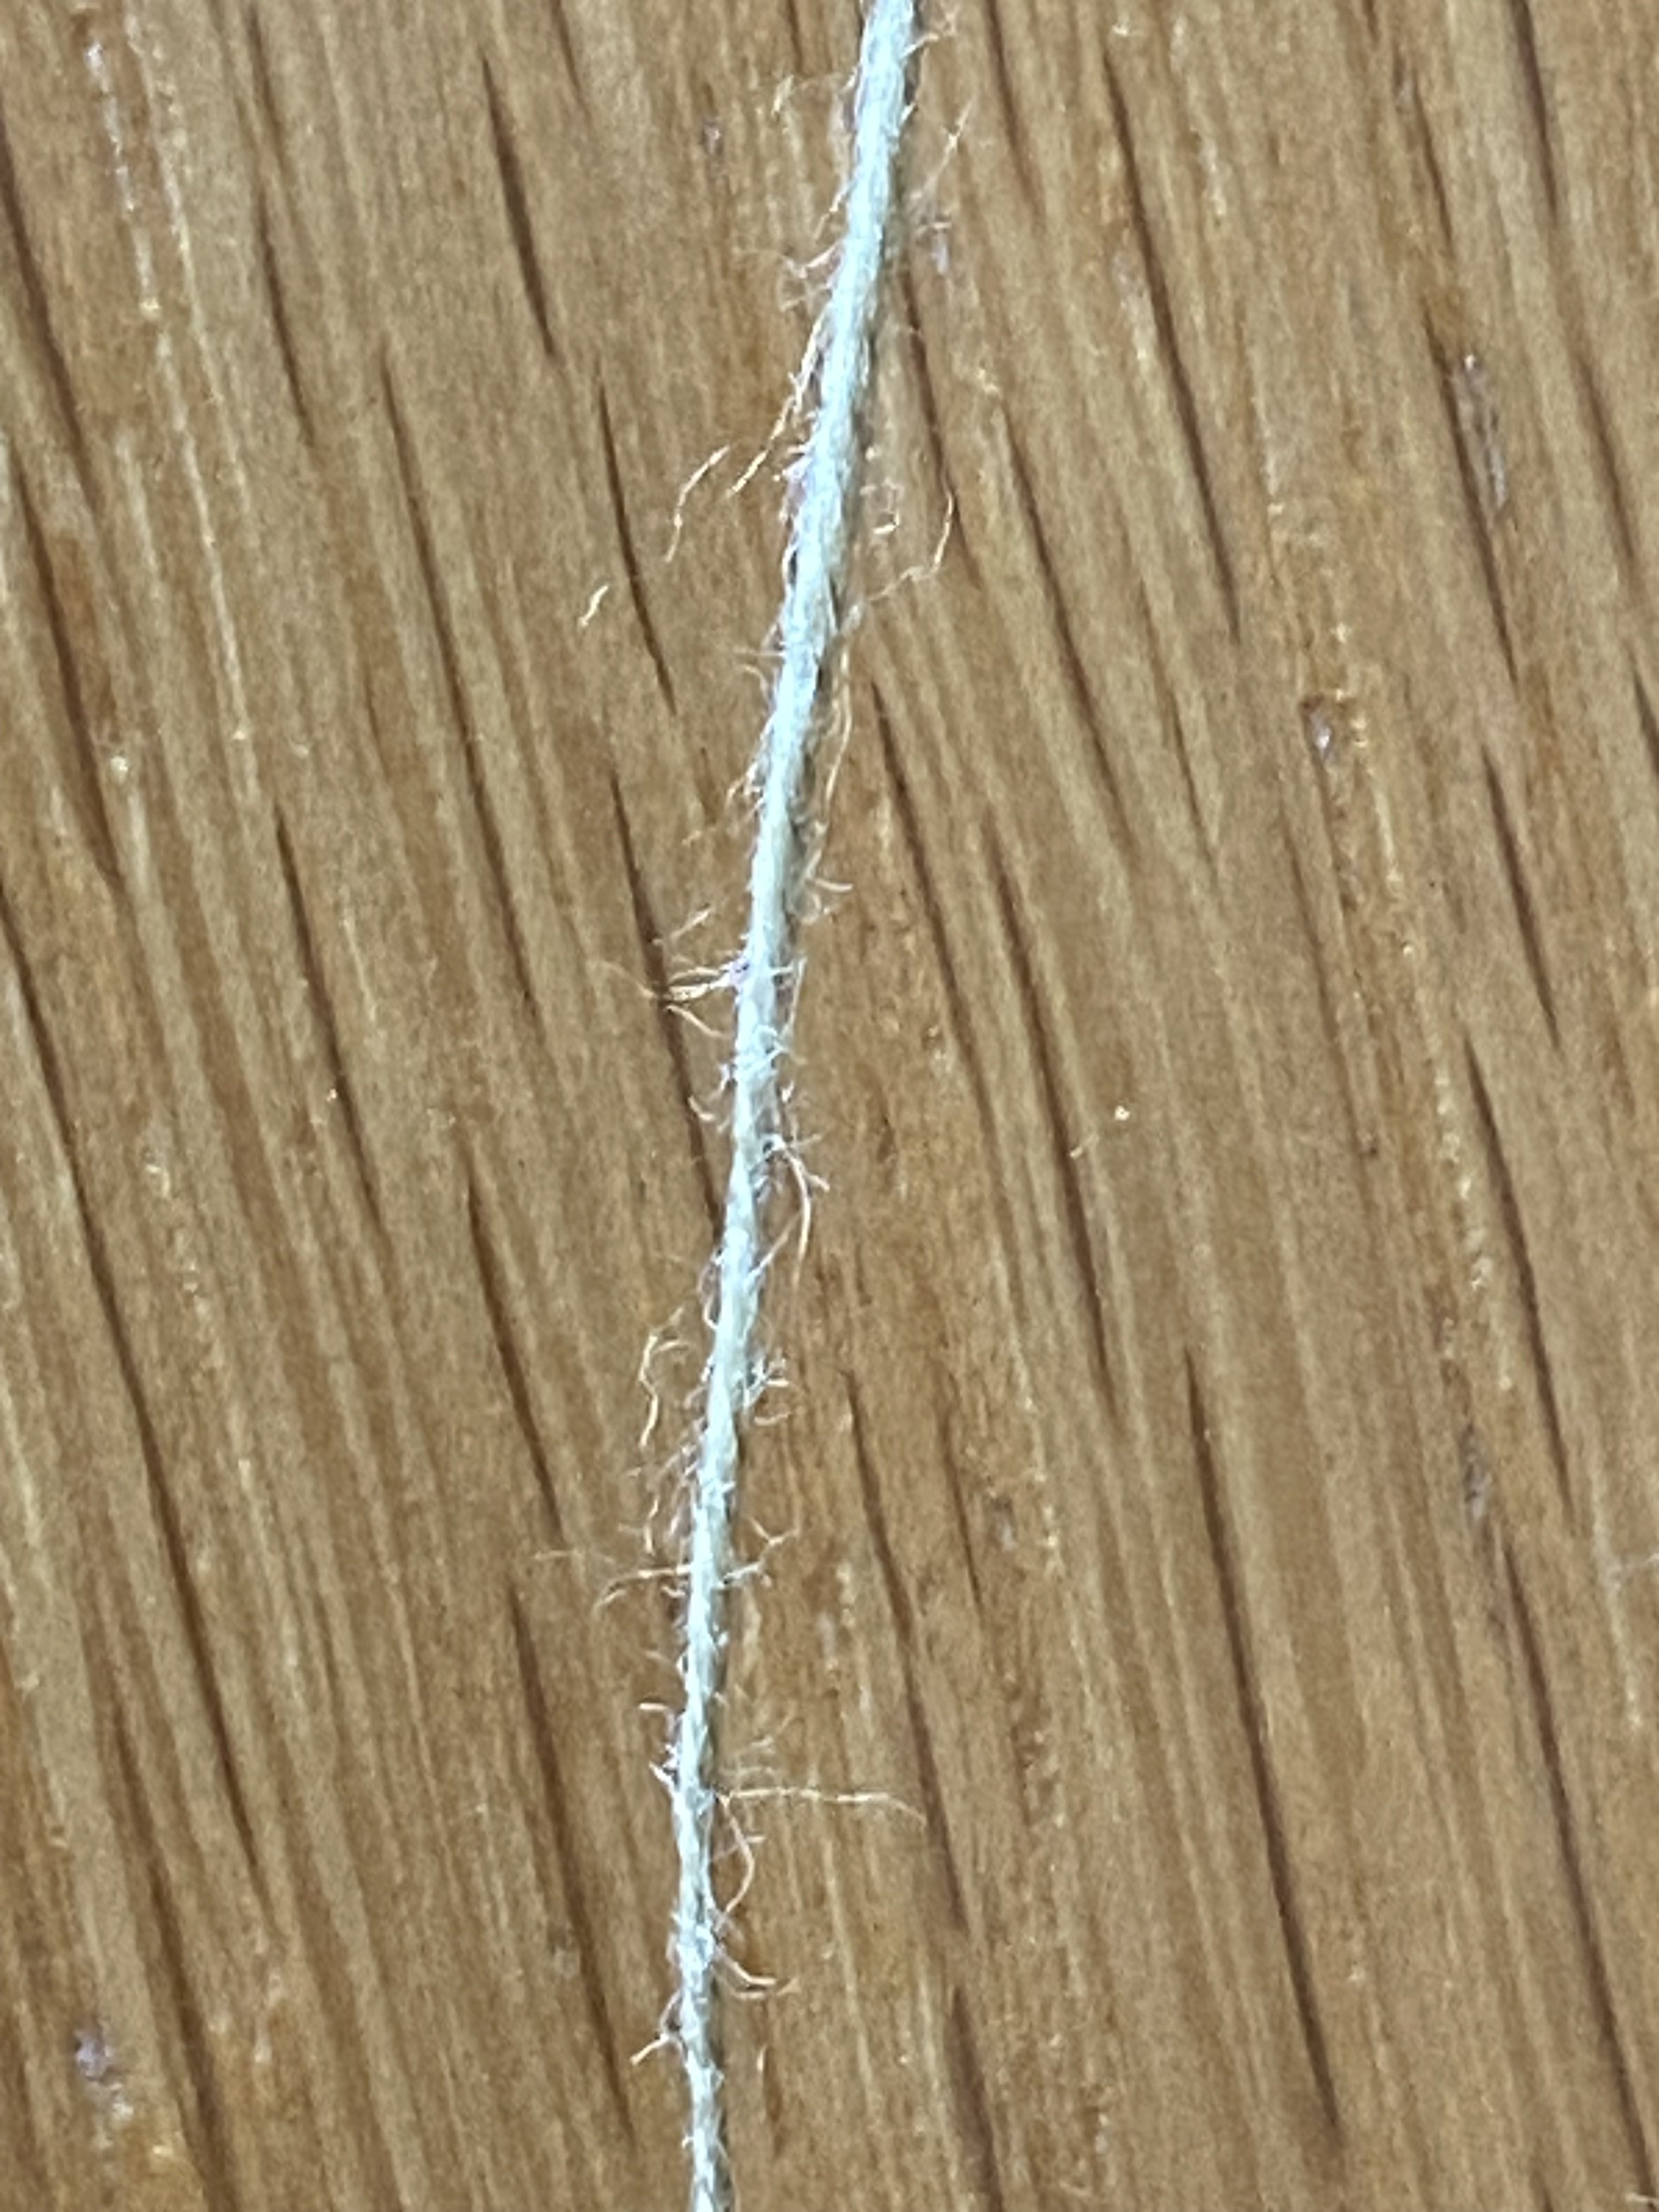
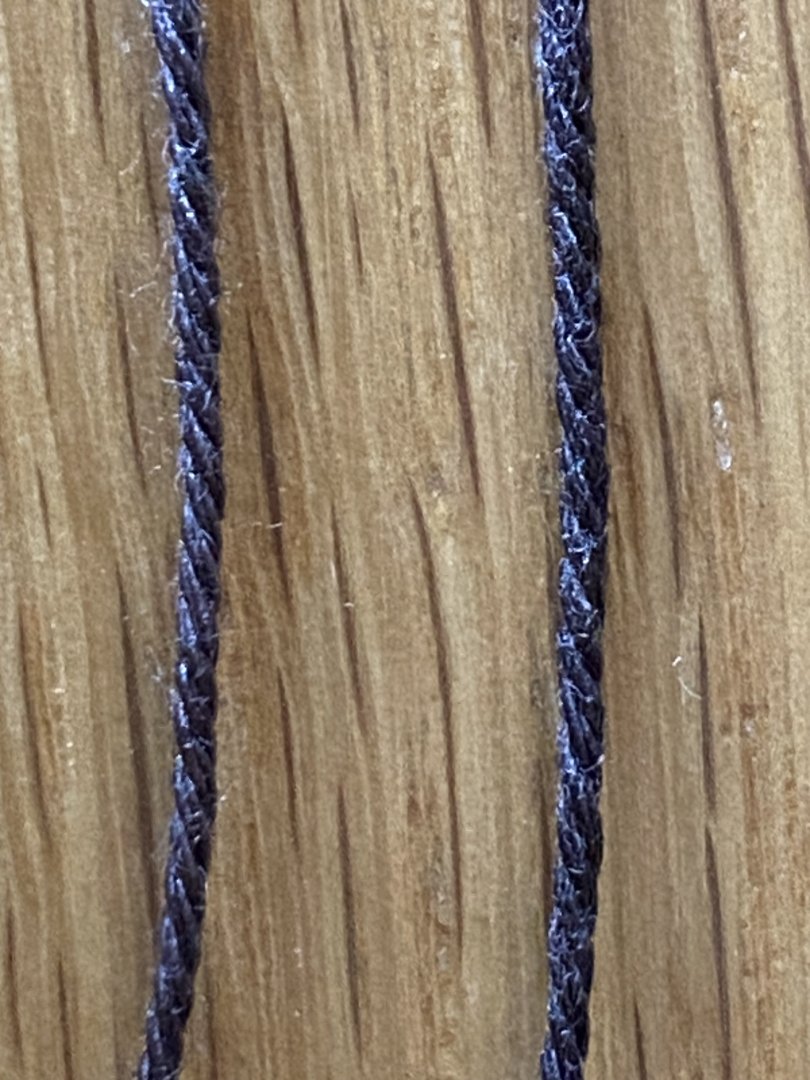
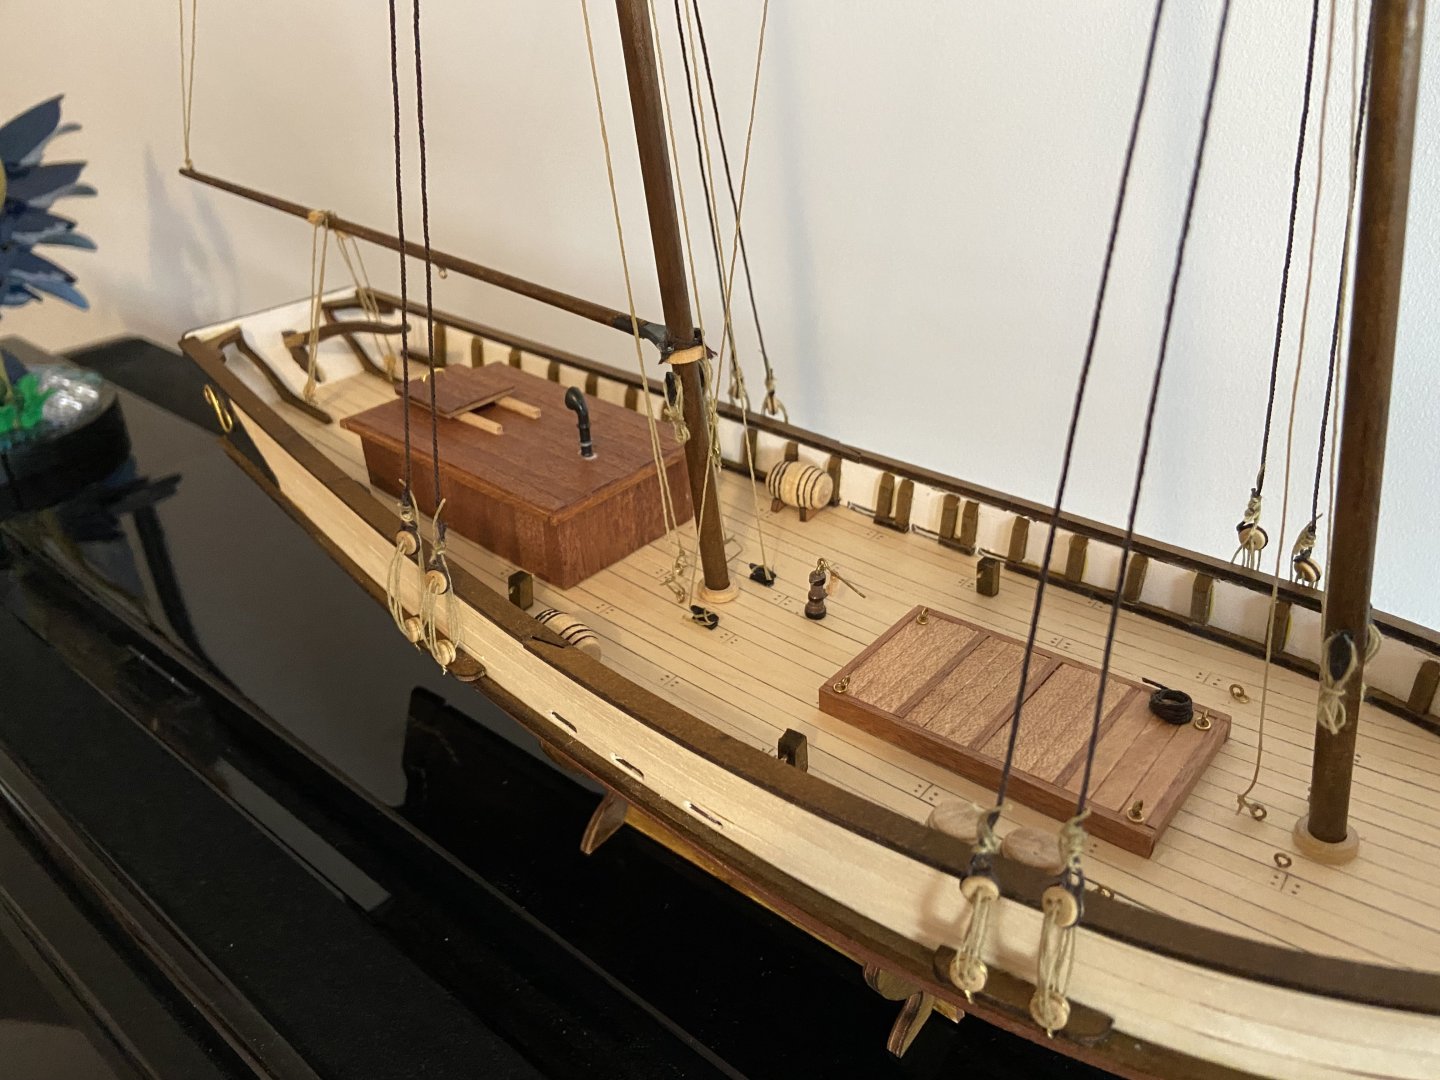
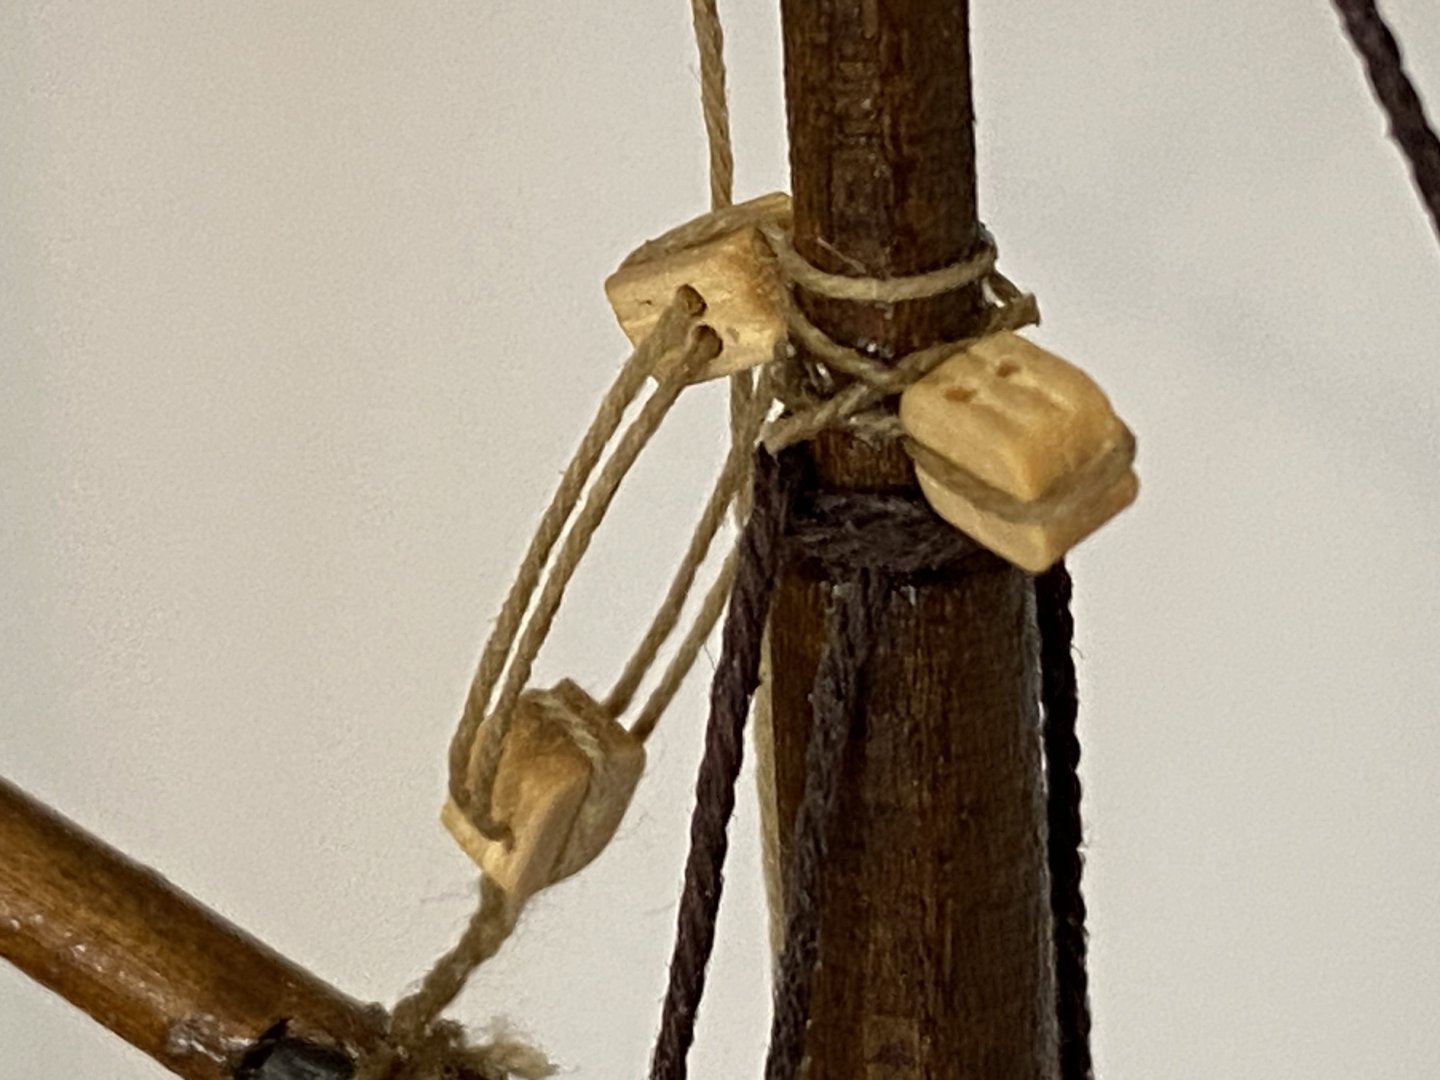
Polaris comes with three types of rope, though one is used exclusively for the anchors, so in practical terms, you’re left with just two: 0.15mm raw thread and 0.5mm brown thread. While the brown thread has a fairly finished look, the raw thread absolutely needs some treatment to get rid of the dreaded fuzziness. At first, I considered buying beeswax but while browsing the MSW forums, I came across a cheaper alternative that worked brilliantly. The method was to soak the thread in a 50:50 mix of white glue and water for about 15 minutes. After soaking, I squeezed out the excess by gently running the thread between my fingers, then hung it up to dry naturally. The results were excellent. The raw thread dried in about an hour, while the thicker brown thread took a bit longer. Once dry, the treated thread was darker in colour, completely free of fuzz, and had just a touch of stiffness to it. That stiffness turned out to be a huge advantage, it made feeding the thread through blocks much easier and gave the illusion of tension in the rigging, helping the ropes hang in nice, clean lines rather than sagging. An nice little trick, and I only wish I could remember who originally shared it on MSW, whoever you were, thank you! Raw thread after glue treatment: Brown thread before (left) and after (right) glue treatment As for the deadeyes… well, you may notice they’re not perfectly aligned. Some are higher or lower than others. I’ve decided to embrace this as a case of “realism through imperfection”, as on actual ships, deadeyes weren’t always set at precisely the same height either!


-
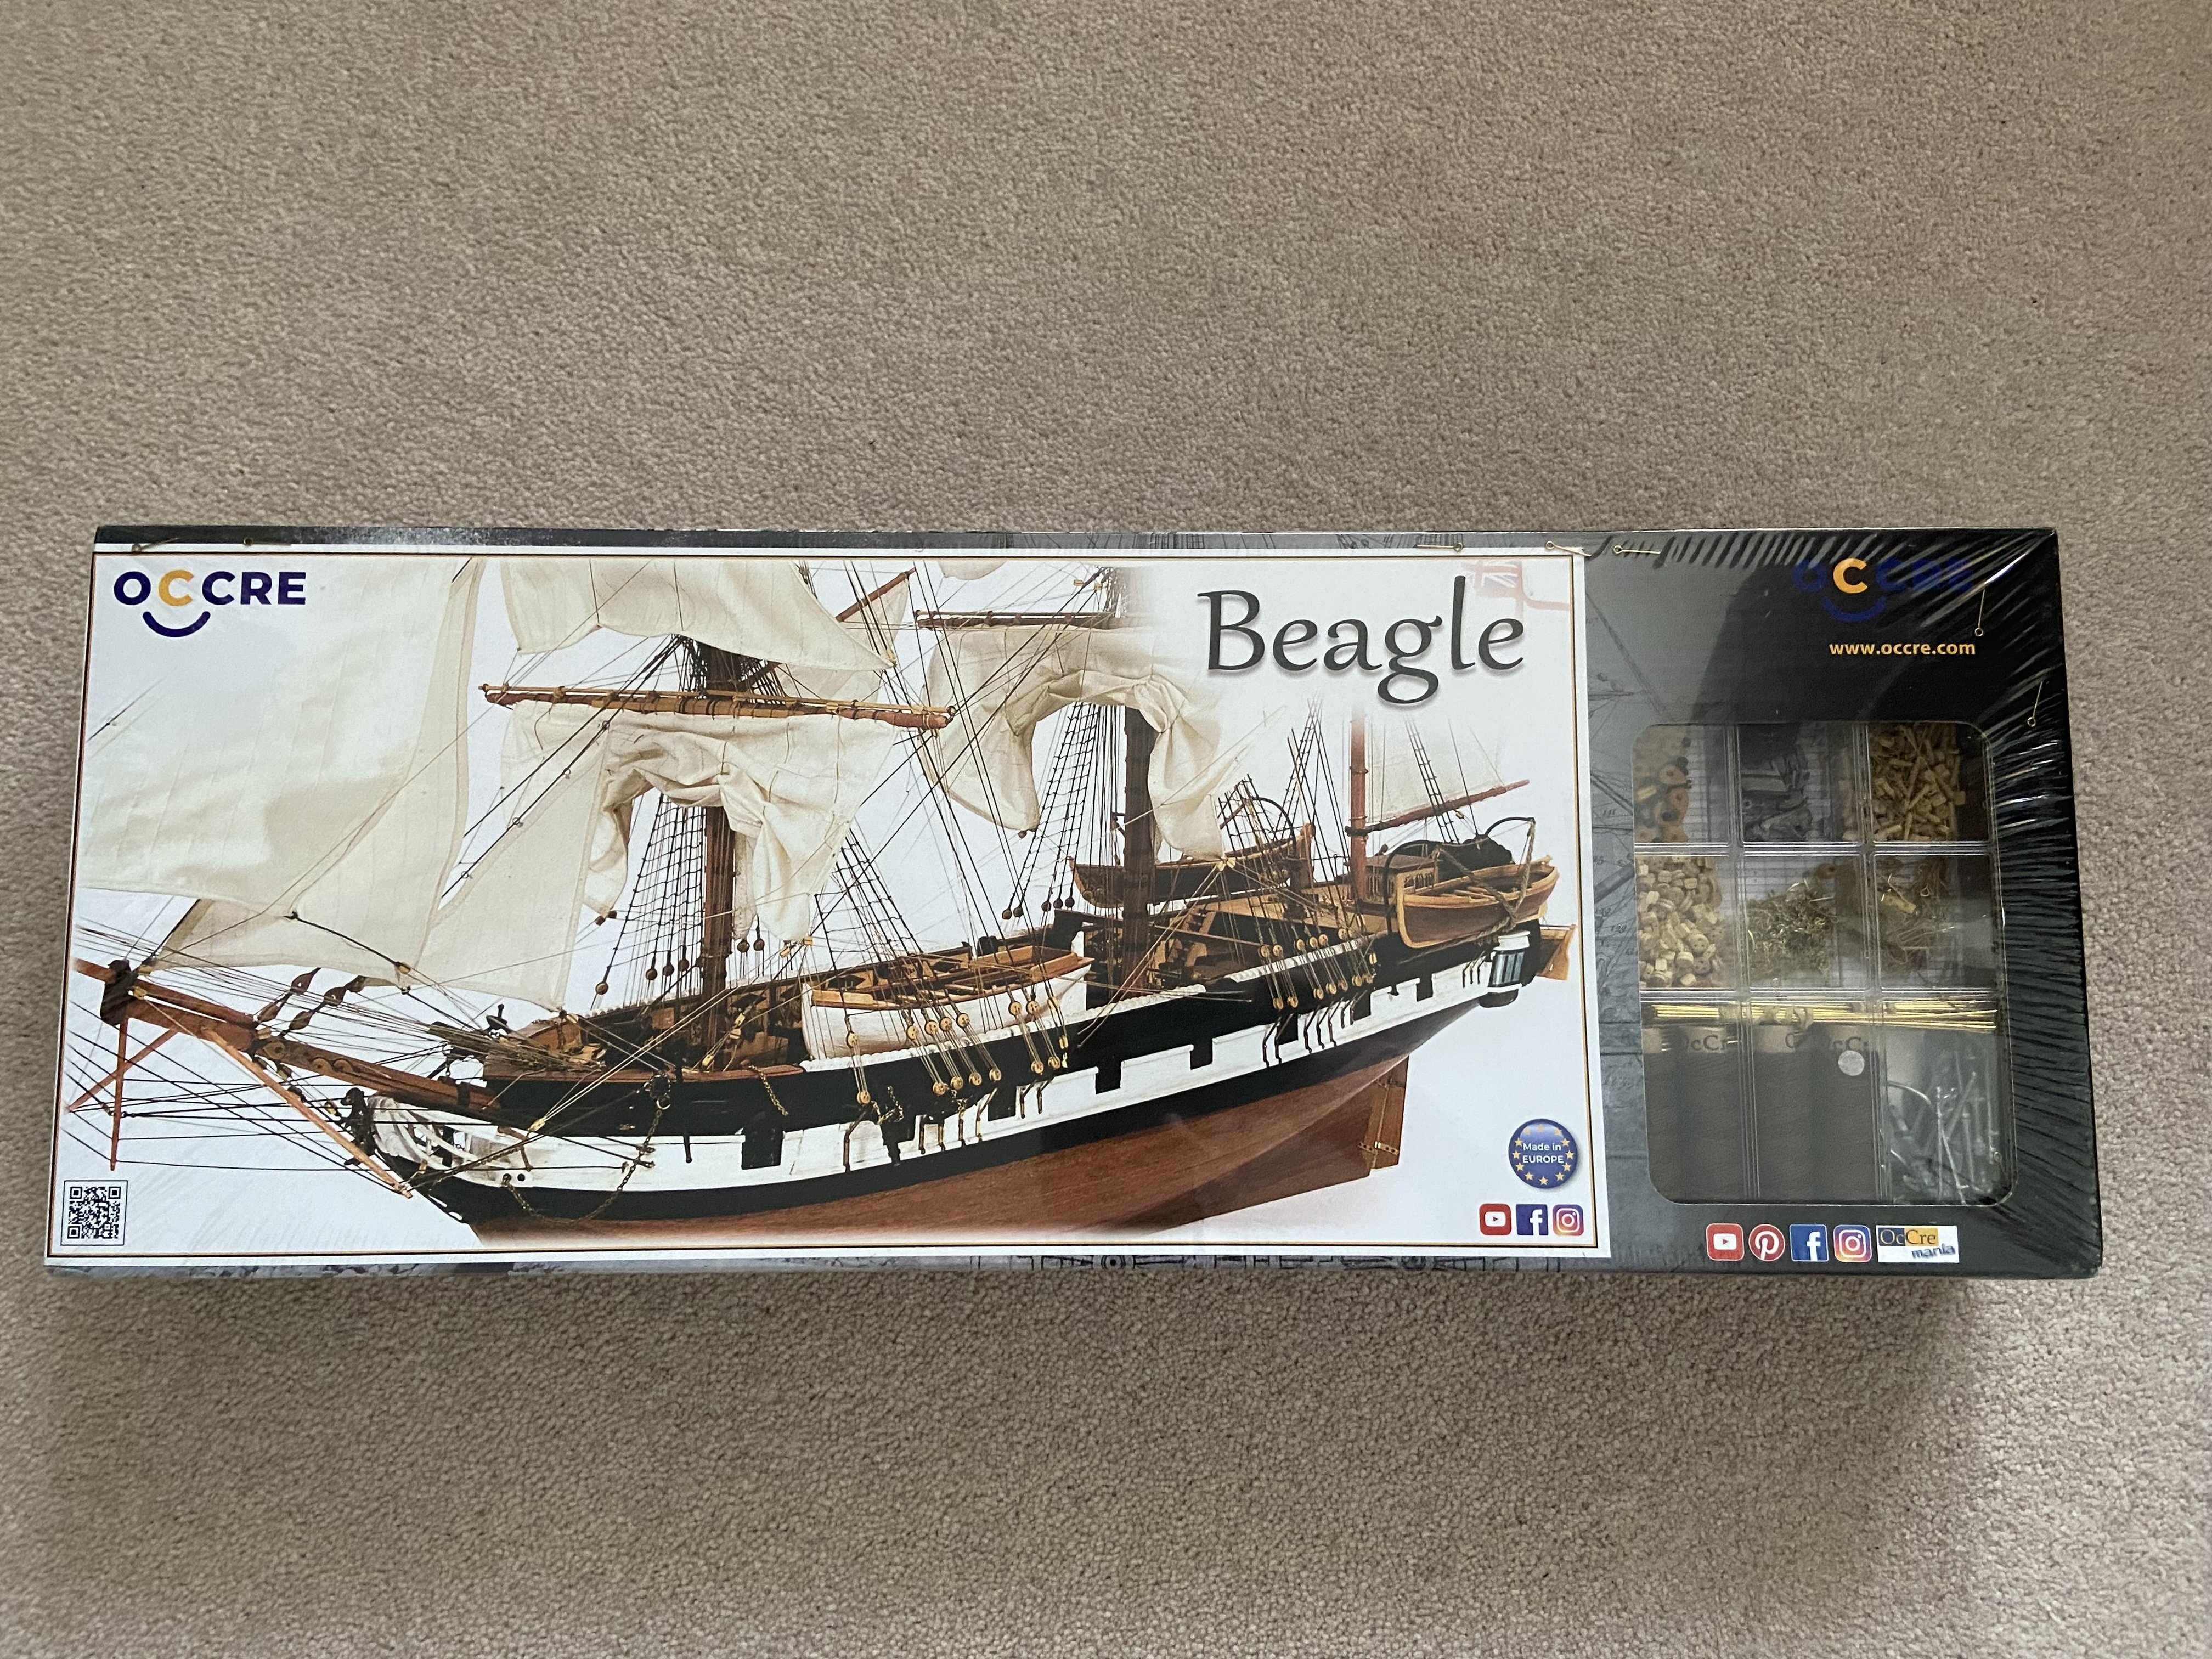
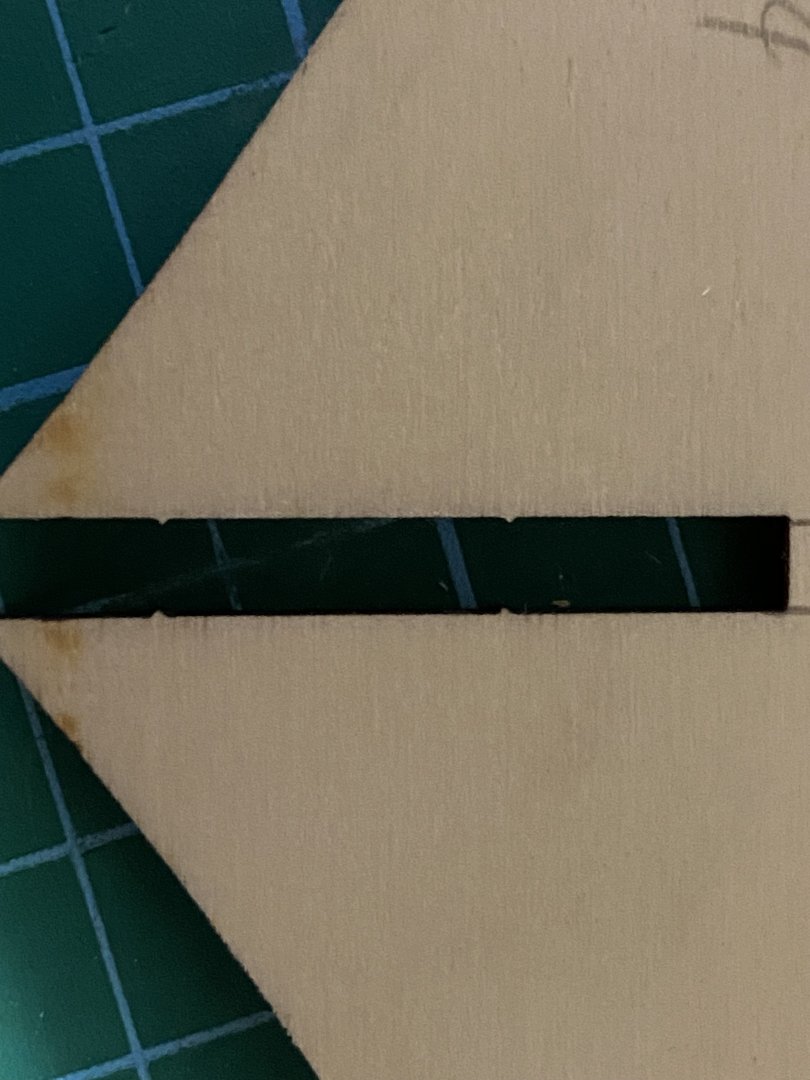
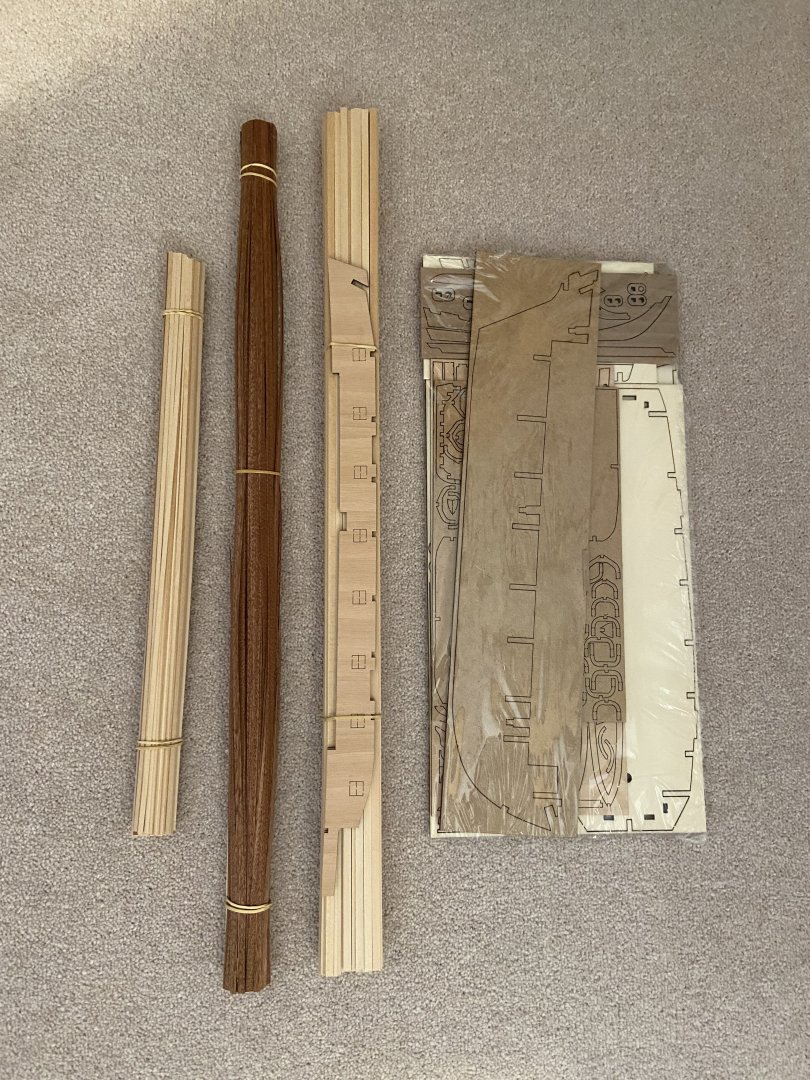
Okay guys, my first real ship and my first real ship log. HMS Beagle just arrived this evening. This is going to take me considerably longer than Polaris, not least because I intend to do it more carefully.... I will probably only do updates once every couple of weeks, but it depends how I go. So without further ado, first impressions: Nice box, nice materials. It's noticeable how much longer all the pieces of wood are, I guess this kit is that much bigger. One of the veneer sapeli strips had snapped during transit, but that's not a big deal. You might be able to see in the box picture that some of the brass rings managed to escape. They were everywhere inside the cellophane, but I think I found them all. One thing I did notice that was different from Polaris is that the bulkheads have these tiny notches on the inside of their slots. These are part of the design, they're not to be sanded away and I think their purpose is to grip the false keel. I've slotted a couple of them in some far as they certainly seem to fit more snug than the same pieces did in the Polaris. Hopefully they'll stay straight without much assistance from Lego. That's it for this evening. Hope you guys will join me and Mr Darwin or our voyage.

-
I really enjoyed the process of making the masts, it felt like a classic bit of shipbuilding. After a fair amount of reading and browsing forums, I decided to go with the traditional method: chucking the wooden dowels into my cordless drill and spinning them into shape. Before getting started, I made sure to plan carefully. Once I measured out the exact lengths I’d need for each mast section, I added an extra inch to each piece before cutting. This gave me a buffer in case the ends got damaged when tightening the drill’s chuck, which can easily happen. To shape the dowels, I began with 60 grit sandpaper and worked my way along the length as the drill spun the dowel. I’d read a few cautionary tales about this technique, particularly where the builder applied too much pressure while sanding and ended up having the dowel splinter and snap. I used a kind of sweeping motion: applying more pressure with my fingers as my hand moved away from the drill. It felt almost like I was stretching the wood outward. This gave me far more control when working on the tapered ends, and let me gradually shape the dowels without creating any sudden changes in diameter. Once I was happy with the general shape and the masts were the right diameter, I gave them a couple of sweeps with higher-grit sandpapers (I think it was 160 and then 320) to smooth everything out. Such a satisfying step in construction, I felt like a real craftsman! To get the colour right, I used one coat of walnut dye, let it dry for five minutes, and then applied a second coat. After leaving them to fully dry for 24 hours, I finished with a layer of satin varnish and left for another 24 hours. The resulting colour was a deep brown and a close match to the OcCre instructions. Next up… the ropes.
-
Working on the deck furniture quickly became one of my absolute favourite parts of the build. These miniature components were deeply satisfying to put together. Neat, self-contained little projects. They gave a nice rhythm to the work: something intricate and rewarding to focus on. I tackled the hatch, the companionway, the bilge pump, the chainplates and the anchors one by one. Each had its own quirks and required a different approach, which kept things interesting. I found that taking my time over these details helped balance out some of the frustrations I’d had earlier on, particularly with the planking. There was something very calming and restorative about working on a single, small object and doing it as carefully as I could. With each new piece added to the deck, the ship began to feel more alive. Seeing all these details slowly come together gave me a huge morale boost. Despite a few mistakes along the way, the build was beginning to look like a real ship. I could see my progress reflected in the growing complexity of the model, and that was a deeply satisfying feeling. By this point, I had been working steadily for nearly four weeks. I was putting in at least two hours a day, sometimes much more, especially on weekends or evenings when I’d get lost in the work. It had become part of my daily routine, and I was loving every minute of it.

-
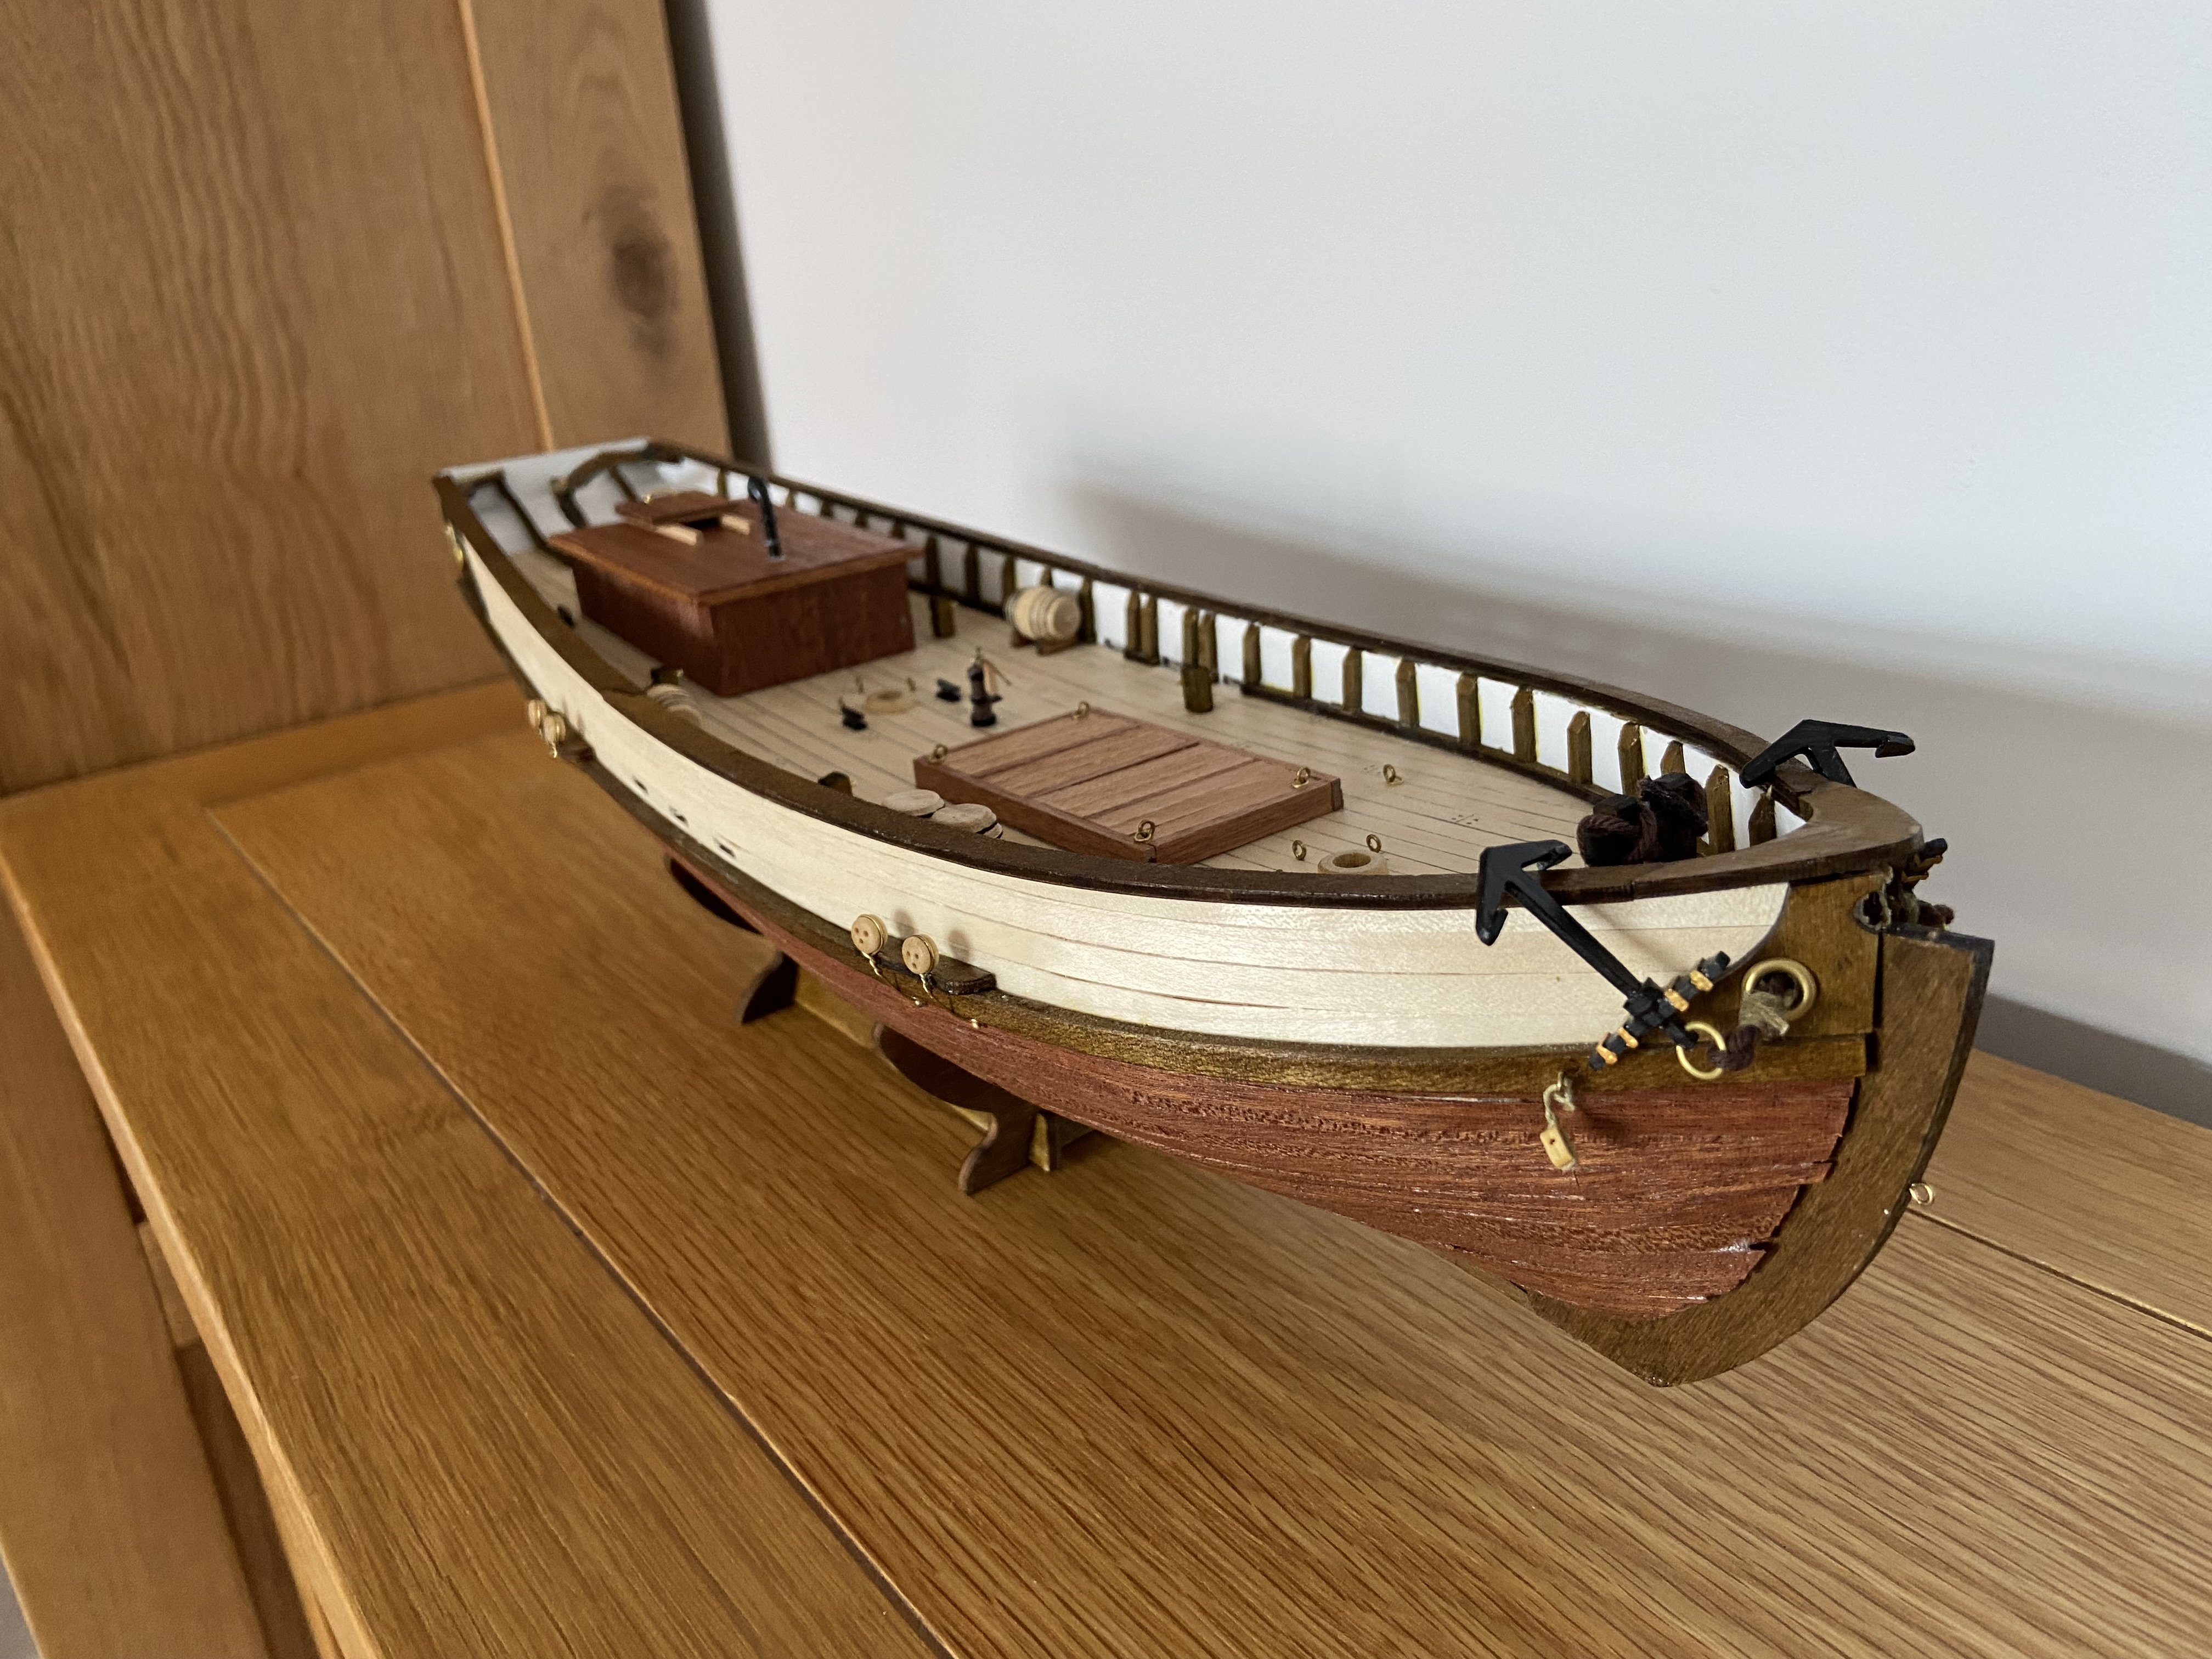
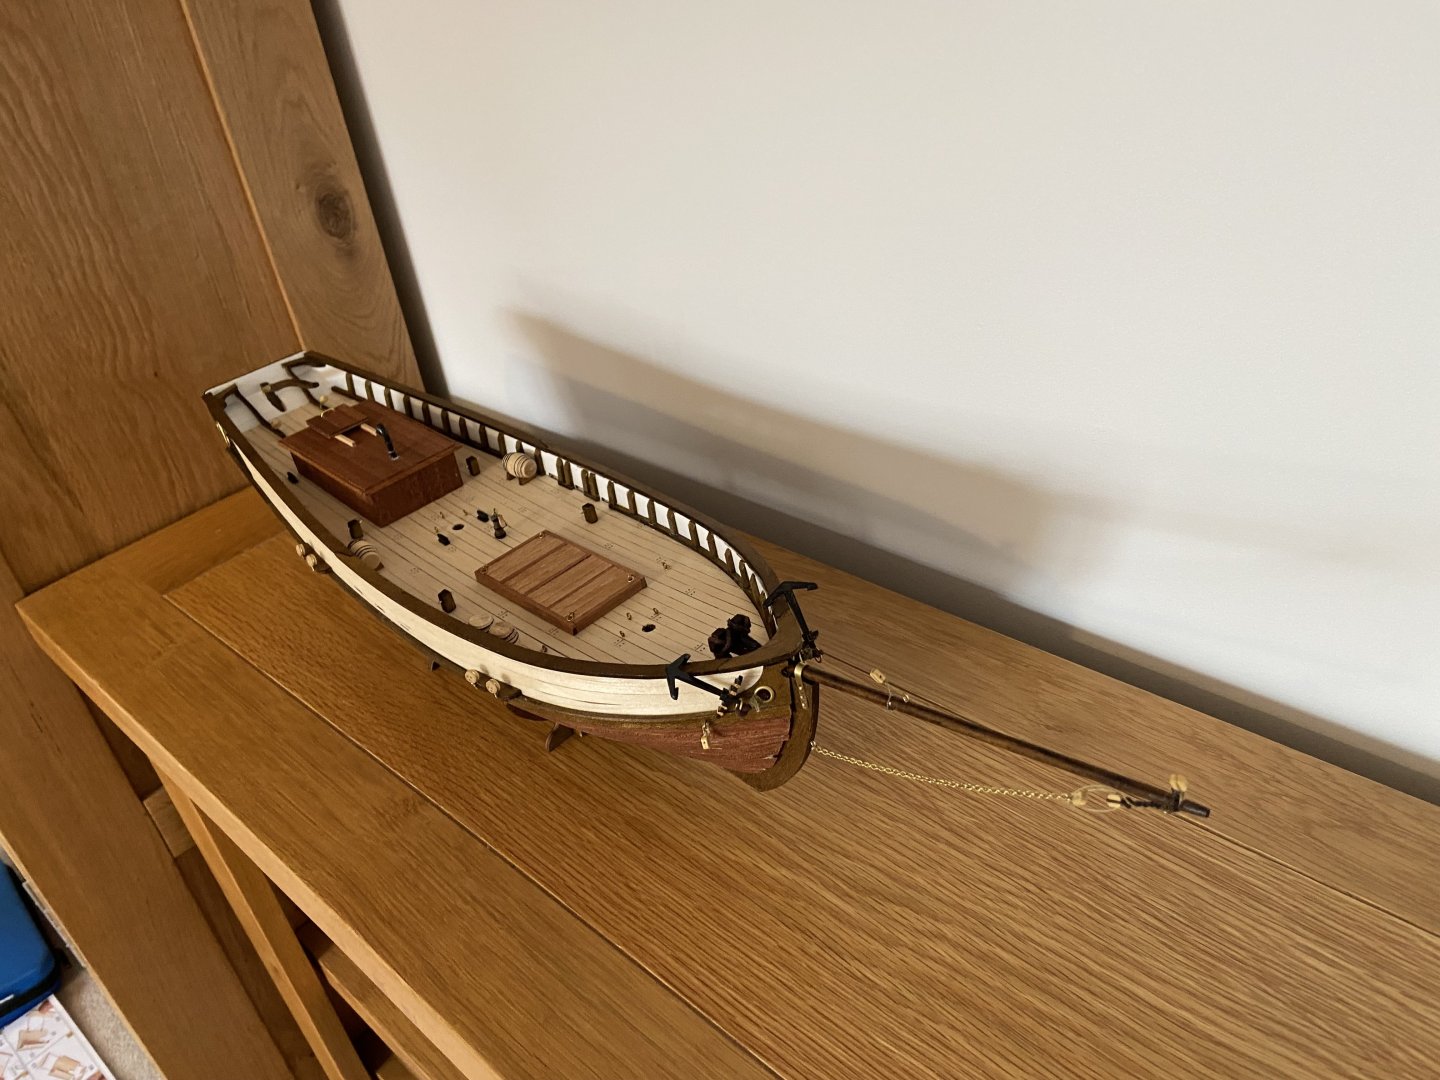
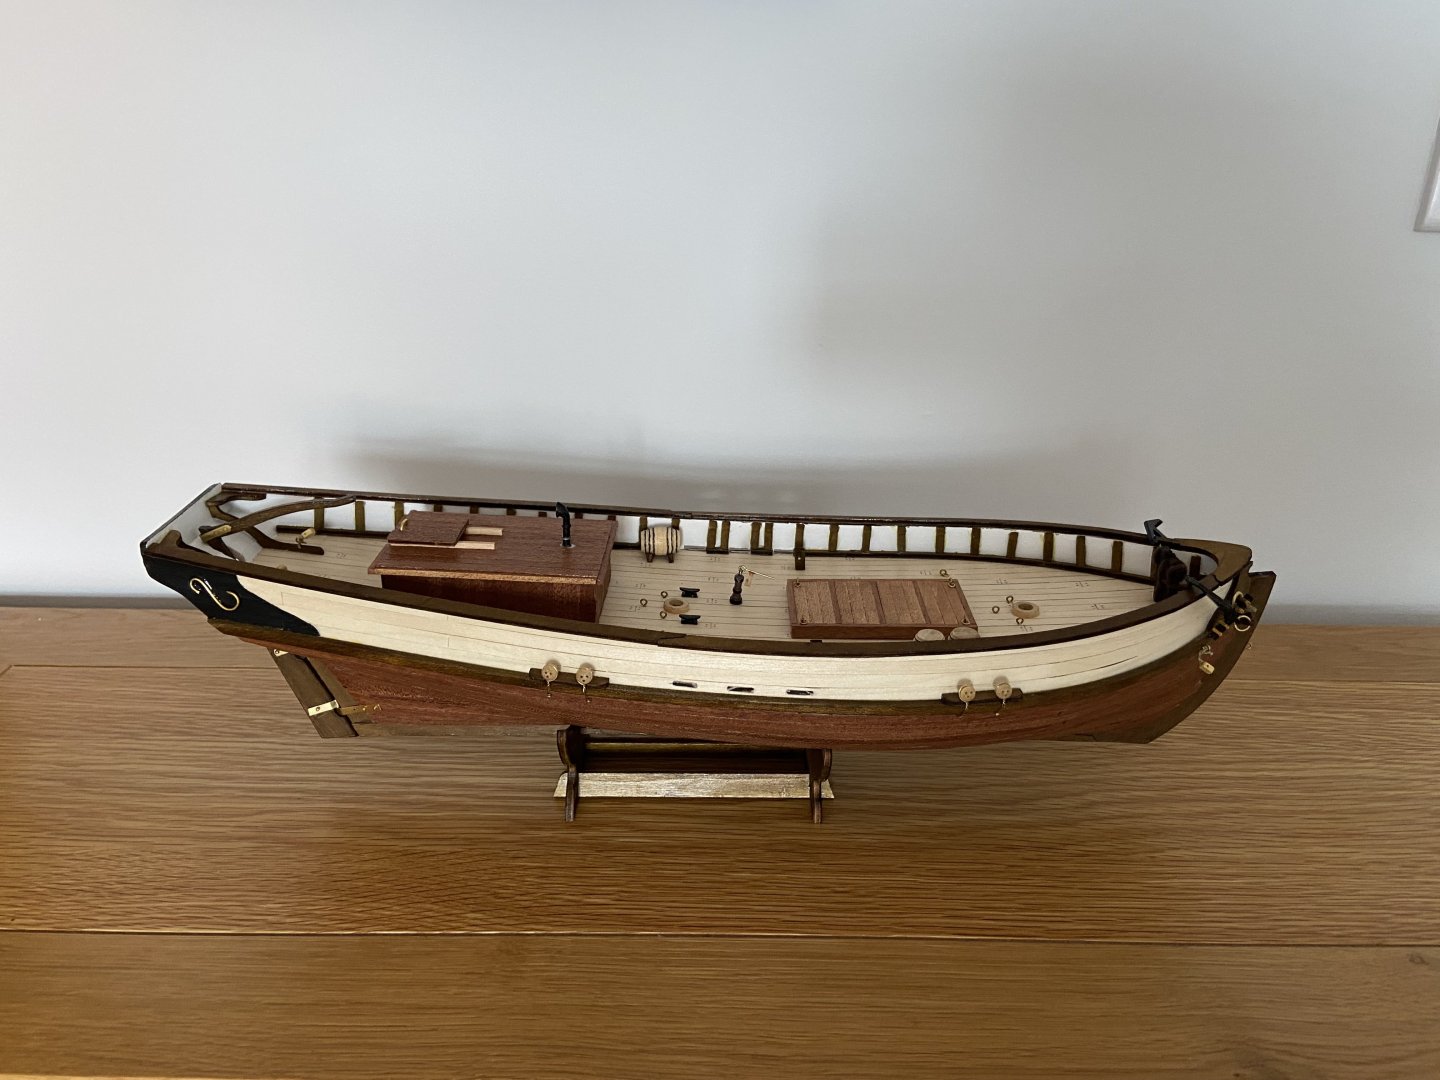
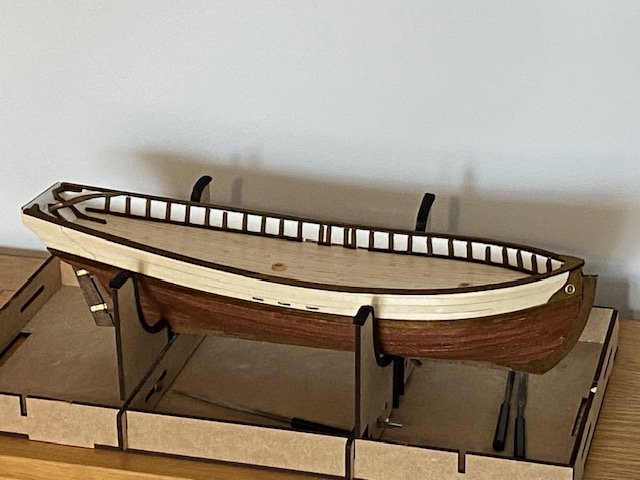
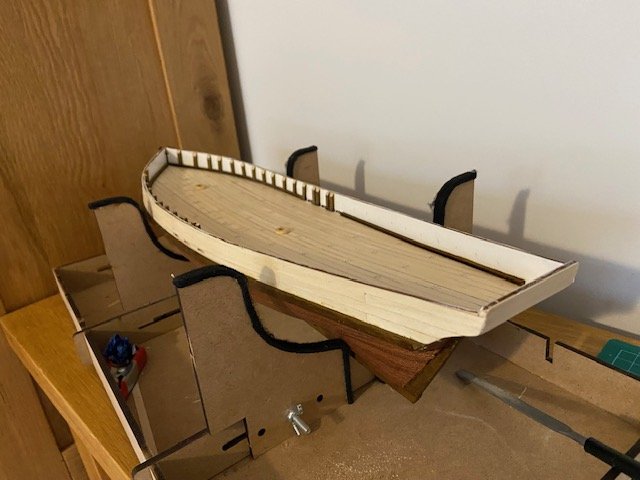
When I started work on the deck, one of the first tasks was cutting, shaping, staining and gluing over 50 wooden posts around the inner edge. Honestly, this was probably my least favourite part of the build. It was fiddly, repetitive and to make matters worse, the white glue caused the wood stain to bleed out and spoil the pristine white background I'd already given three coats to. I’m still not quite sure how I could’ve prevented that, maybe just using a lot less glue would’ve helped! Once that was done, I moved on to the rudder, which I really enjoyed. A lot of the detailing at this stage involved brass fittings. I know a ship from this period would’ve had very little brass (maybe just a bell) but I really liked the way the shiny details popped. I wasn’t trying to build a historically faithful prototype, I was going for an idealised version of a ship, where the wood is clean and the metal is polished! The black paint detailing at the stern was done using OcCre’s acrylics and following their instructions to the letter. Masking tape helped keep everything clean and sharp, and I was fairly pleased with how the lines turned out. The brass ornamentation was quite fiddly at first, but things improved dramatically once I got hold of a pair of jeweller’s pliers. That made shaping the wire much easier. I actually learned how to bend wire by watching a dentistry video from the University of Michigan, turns out orthodontists know a thing or two about precise bends! In the same photo, you can also see some of the deck details. To simulate the metal bands around the barrels, I followed OcCre’s recommendation and used a permanent marker. It worked surprisingly well, though it definitely demanded a steady hand.

-
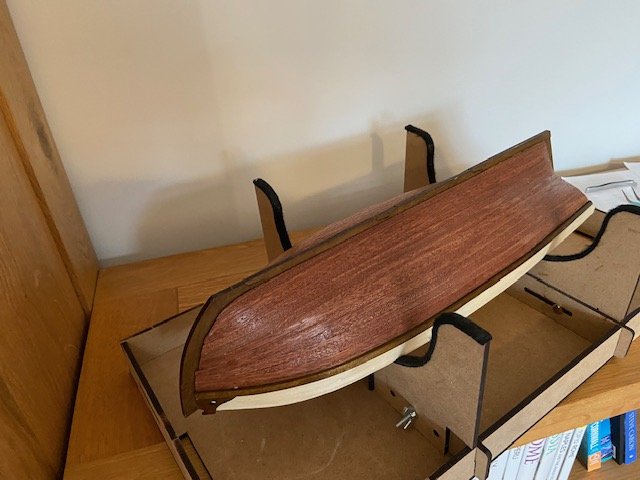
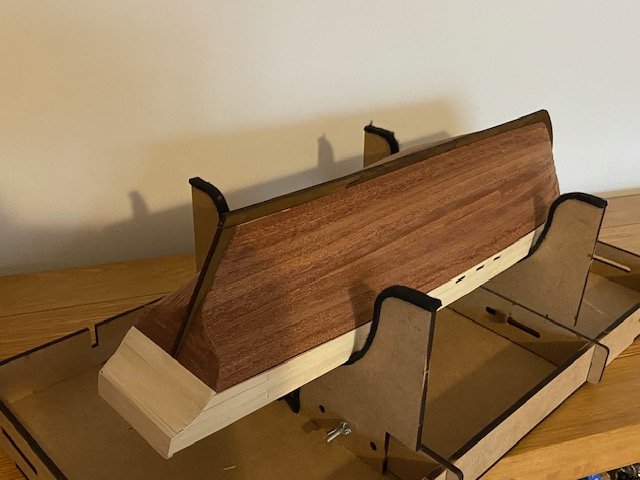
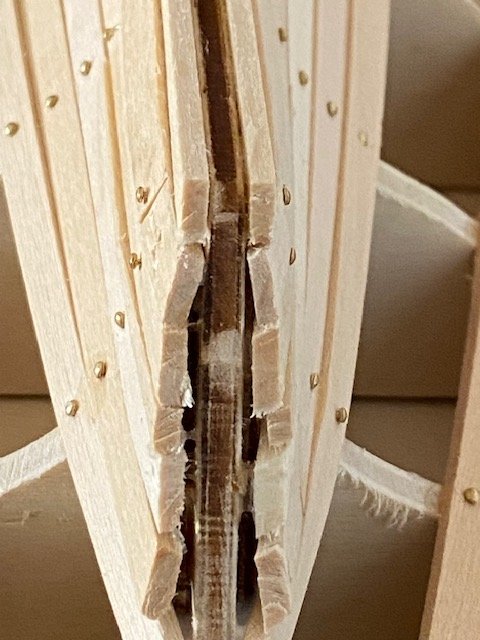
The veneer strips that go over the planking are one of my favourite parts of OcCre kits, they give such a warm finish. Not every manufacturer uses them. Just my personal take, but I think it’s a shame to cover wood up. I know ships from this period were usually copper-bottomed or coated in a toxic white gunk, but I don’t have the skill to do the copper properly and I think a gleaming white hull on an 18th/19th century ship just looks… odd. If you're going to the effort of building a wooden ship, it feels right to show off the wood! Anyway, I stuck with white glue for the veneer too, I didn’t trust myself with contact adhesive and wanted the option to reposition if needed. The most difficult area, by far, was the stem. Whether it was a sanding issue or a problem with how I laid the original planks, I couldn’t get things to sit flush or even close. If I tried to bend the strips inwards the angle was too sharp and they simply broke. From certain angles, it looks rough. Too rough to ignore, but too late to fix. In the end, I consoled myself with the fact that the model will usually be viewed in profile and no-one will be examining the bow up close. Likewise, the veneer didn’t sit totally flush with the keel or sternpost, but it’s not visible when the ship is upright. Still, this is something I got quite wrong and I’m determined to improve next time around. And, despite the missteps, once I put a coat of varnish on the fully veneered hull, I was feeling pretty happy! I could finally turn the ship the right way up and start work on the deck. Where did I go wrong here please? And what could I have done different?
.jpg.de44f32b4d4fda35244d8b4b1c7ce7a1.jpg)
.jpg.2dadd226550ec4e99fc2cbacb967b8b5.jpg)
-
Thanks JacquesCousteau! I’m enjoying writing this log. It’s a useful reminder of the steps that went well, or not so well! Even though it's too late to change anything, I would love to have some tips and tricks for MSW members. "Did you consider this..." "Next time, try this..." To continue… As I was closing up the hull, I came across a thread on MSW warning how tricky it can be to sand a hull that’s full of nails. OcCre, as usual, seemed to think this wouldn’t be a problem, they suggest you can just file the nails down. I didn’t quite trust that advice, so I went ahead and removed every single nail I’d used up to that point. Thankfully, I’d been using white glue and the planks held firm without them. For future builds, I’ll be taking another tip I picked up from MSW: using one and a half bulldog clips per bulkhead to hold planks in place while the glue dries. It’s a simple, cheap and elegant solution. I’m also considering trying CA glue at the bow and stern to help lock those trickier curves in place but ideally, if I get the shaping right, I won’t need to rely on that. I took the sanding stage seriously. I set up outside with several grades of sandpaper and spent about two hours working my way around the hull, trying to get it as smooth as I could. I managed to slim down the stern a lot. As for the rest, in hindsight, I really should’ve used wood filler to even things out more cleanly. I've seen some beautiful smooth results from other builders, but honestly, I thought even without it the result I got was not bad for a first build.
-
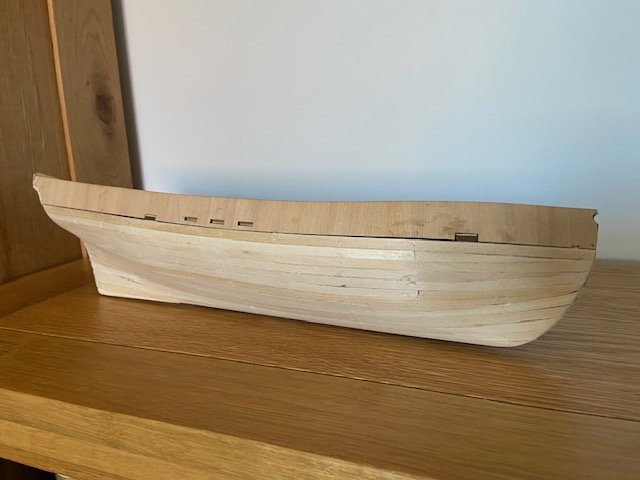
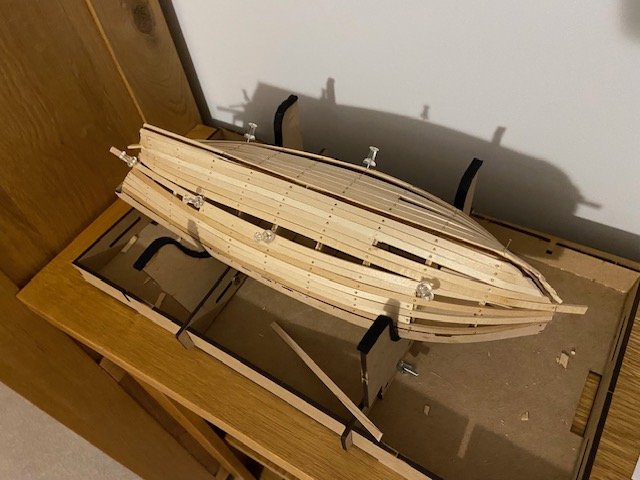
I should say at this point, despite the mistakes and rough edges, I was absolutely loving the build. Planking was one of the most satisfying stages for me. It was the first time it really started to feel like I was building a proper ship. I experimented with a few different plank-bending techniques. Most of the time, soaking the wood in water for about five minutes followed by ironing gave me an okay curve. For planks that needed a lateral bend, I made a simple jig using three nails and wedged the damp plank between them, leaving it to dry in shape. I also tried twisting damp planks by hand and using a hairdryer set on hot (clamped upright on my desk) to set the curve while I worked the wood in front of the heat. That method actually worked surprisingly well. Still, one clear takeaway for future builds: I’ll be buying a proper plank-bending tool next time. From what I’ve seen, people who use them get more consistent results, quicker curves, and a much easier time when fitting everything neatly. You can probably tell from the photos that both the bow and stern ended up ragged. I didn’t realise at the time just how much material I should have removed from the bulkheads and reinforcements, and I may also have placed the hull reinforcements incorrectly. As a result, when I laid the planks over the top, they bulged. I also didn’t give much thought at this stage to where the keel would be! Still, even with the imperfections, I was chuffed to see it all coming together. Slowly but surely, I was building a ship and even better, it was actually starting to look like one!
-
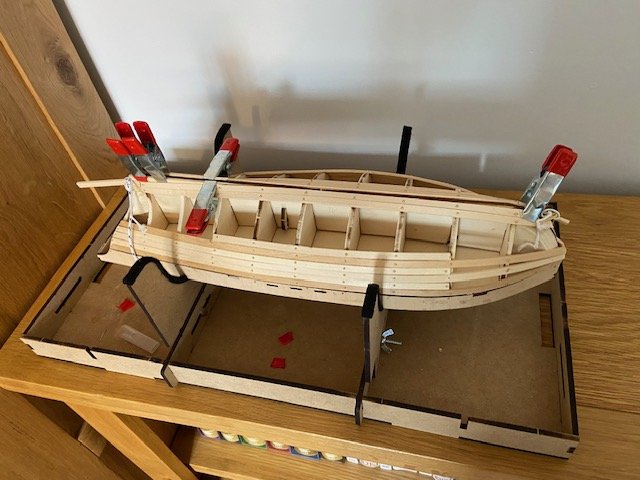
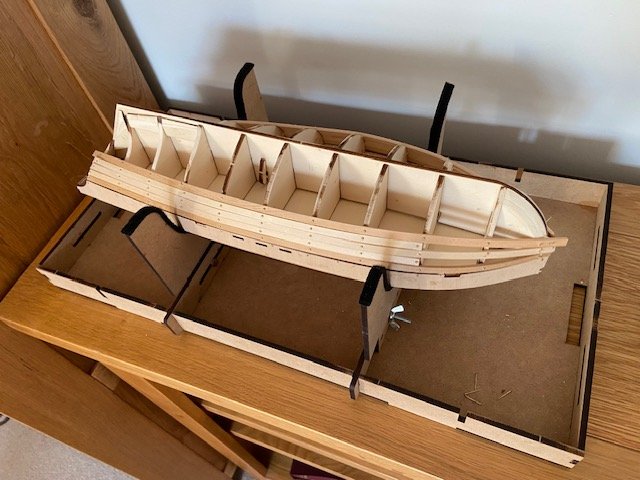
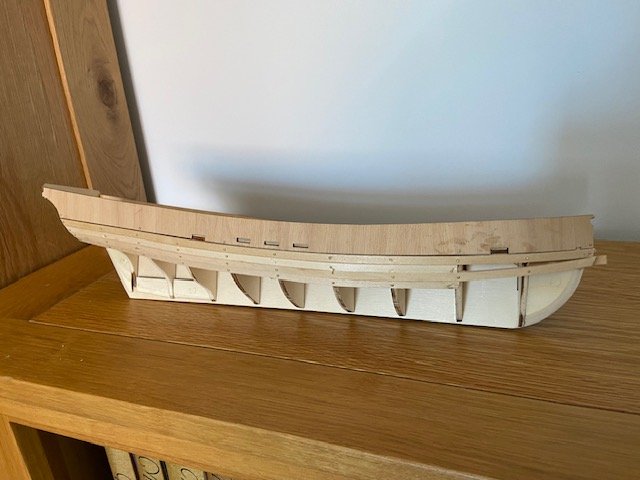
It’s not very clear from the photos, but this was the first point where I started to run into some real trouble. The deck isn’t supposed to lie completely flat, it should slope gently downward toward the centre of the ship and then rise slightly again. The deck piece itself, however, is entirely flat. So unless it’s clamped tightly to the frame while the glue sets, you won’t get perfect contact across the curve. Unfortunately, I didn’t have the right clamps to do this properly, so I decided to just make do and press on. I figured it looked decent enough in the end. The next challenge was bending and fitting the gunwales. I got this wrong. I didn’t spend enough time soaking and shaping them properly, and as a result, I never managed to get them to sit flush with the bow. I settled for something that seemed “good enough” at the time, but it left a visible gap. Now that the build is finished, I know the gap doesn’t jump out unless you’re really looking for it, but I know it’s there, and I know it had knock-on effects later in the build. Lesson learned: on future kits, I’ll spend far more time getting the early structural elements just right. They matter more than I realised at the time. Anyway, I pressed on and began the hull planking. For this part, I followed OcCre’s guide, although I know a lot of experienced builders consider their approach a bit unconventional. Rather than tapering the planks, OcCre’s method involves using as many full-width planks as possible and then filling in the gaps with stealers. It worked well enough, but for my next build I plan to try the traditional tapering method instead, it just seems to produce a cleaner, more even finish. In one of the photos, you can also see I made a start on the companionway. I really enjoyed these little deck details, they were a welcome change of pace while waiting for glue to dry on the main structure. The miniature builds added a lot of charm and gave a nice sense of progress between the more structural stages.
-
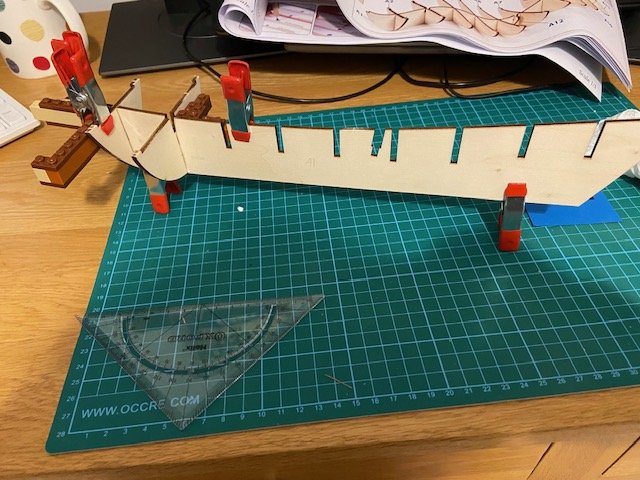
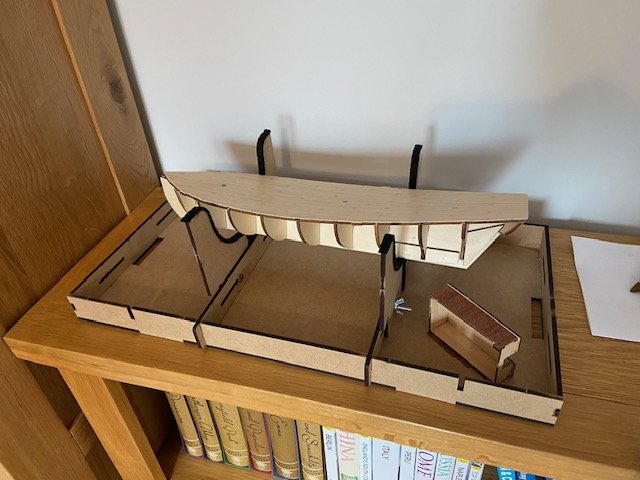
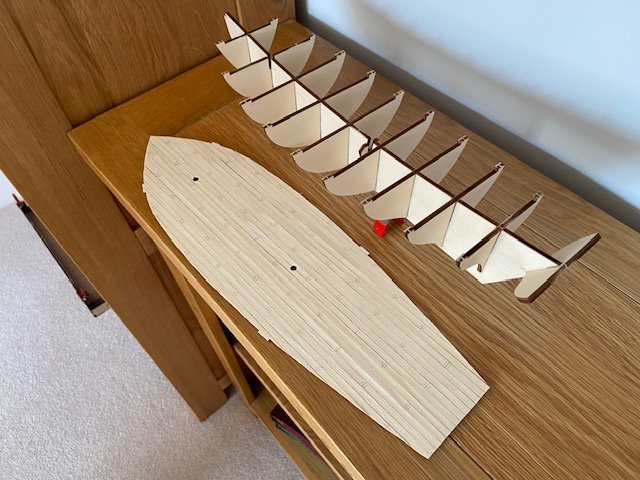
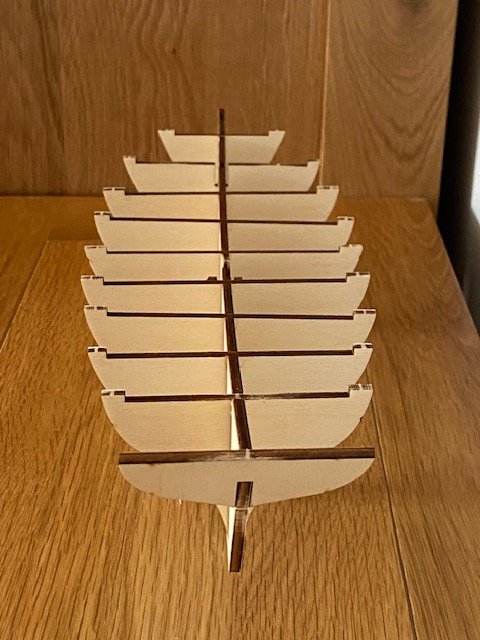
One of the first issues I ran into was a slight warp in the false keel. From what I’ve read, this seems to be a fairly common problem with the Polaris kit, but I wasn’t too concerned. Plenty of other builders have managed solid results despite it. You might also notice in the photos that a few of my bulkheads aren’t completely level. Looking back, I’m not quite sure how I could have prevented that—maybe using a small spirit level would have helped? I carried on and moved on to the deck. For the plank layout, I followed the pattern used by ibozev in his 2021 build log. I just thought it looked more interesting than the one suggested by OcCre, and it was a simple adjustment to make. To simulate caulking, I used a standard HB pencil between the planks. It worked well enough, but I’ve seen cleaner, darker results from people using softer pencils. Next time I’ll probably go with a 6B or similar. I also ignored OcCre’s recommendation to use contact glue at this stage. Honestly, I was pretty sure I’d end up with a sticky mess, so I stuck with good old white glue and had no regrets.
-
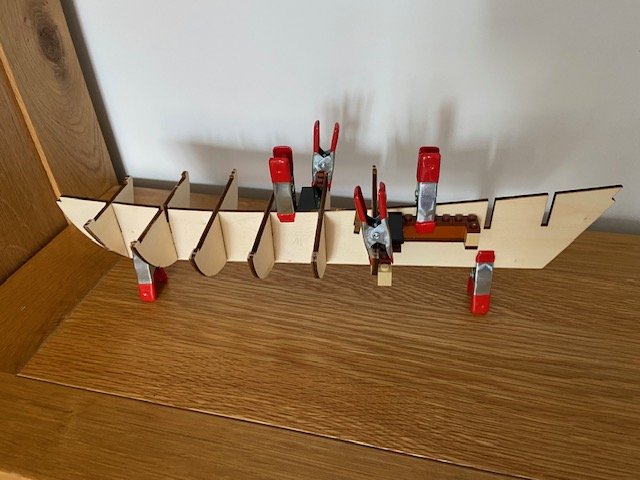
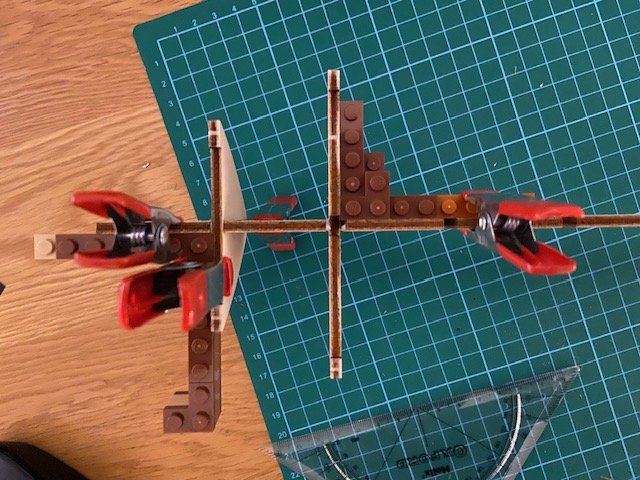
Hi all, I thought I’d share a retrospective build log of my first ever model ship, completed over July 2025. I’m completely new to the world of model shipbuilding, though I’ve always enjoyed construction hobbies: Lego, model railways and book nooks have all featured in my spare time. After a bit of research, I settled on the OcCre Polaris, often recommended as a solid beginner kit from a reputable manufacturer. Alongside the kit, I picked up a basic toolset, plus some paints, wood dyes and varnish. One of the first things I learnt? Tools marketed outside the hobby world are often much better value, something I’ll definitely keep in mind for future builds. The kit arrived on-time from OcCre, but I got caught out with a 20% import tax since the order value was well over £135. Ouch. Lesson learned: I’ll be avoiding direct orders from OcCre from now on. I kicked things off with the false keel and bulkheads, using Lego bricks to help get those bulkheads aligned at a precise 90 degrees, a tip I picked up from MSW that worked quite well.