Captain Amateur
-
Posts
13 -
Joined
-
Last visited
Content Type
Profiles
Forums
Gallery
Events
Everything posted by Captain Amateur
-
Thanks so much Dr.!
-
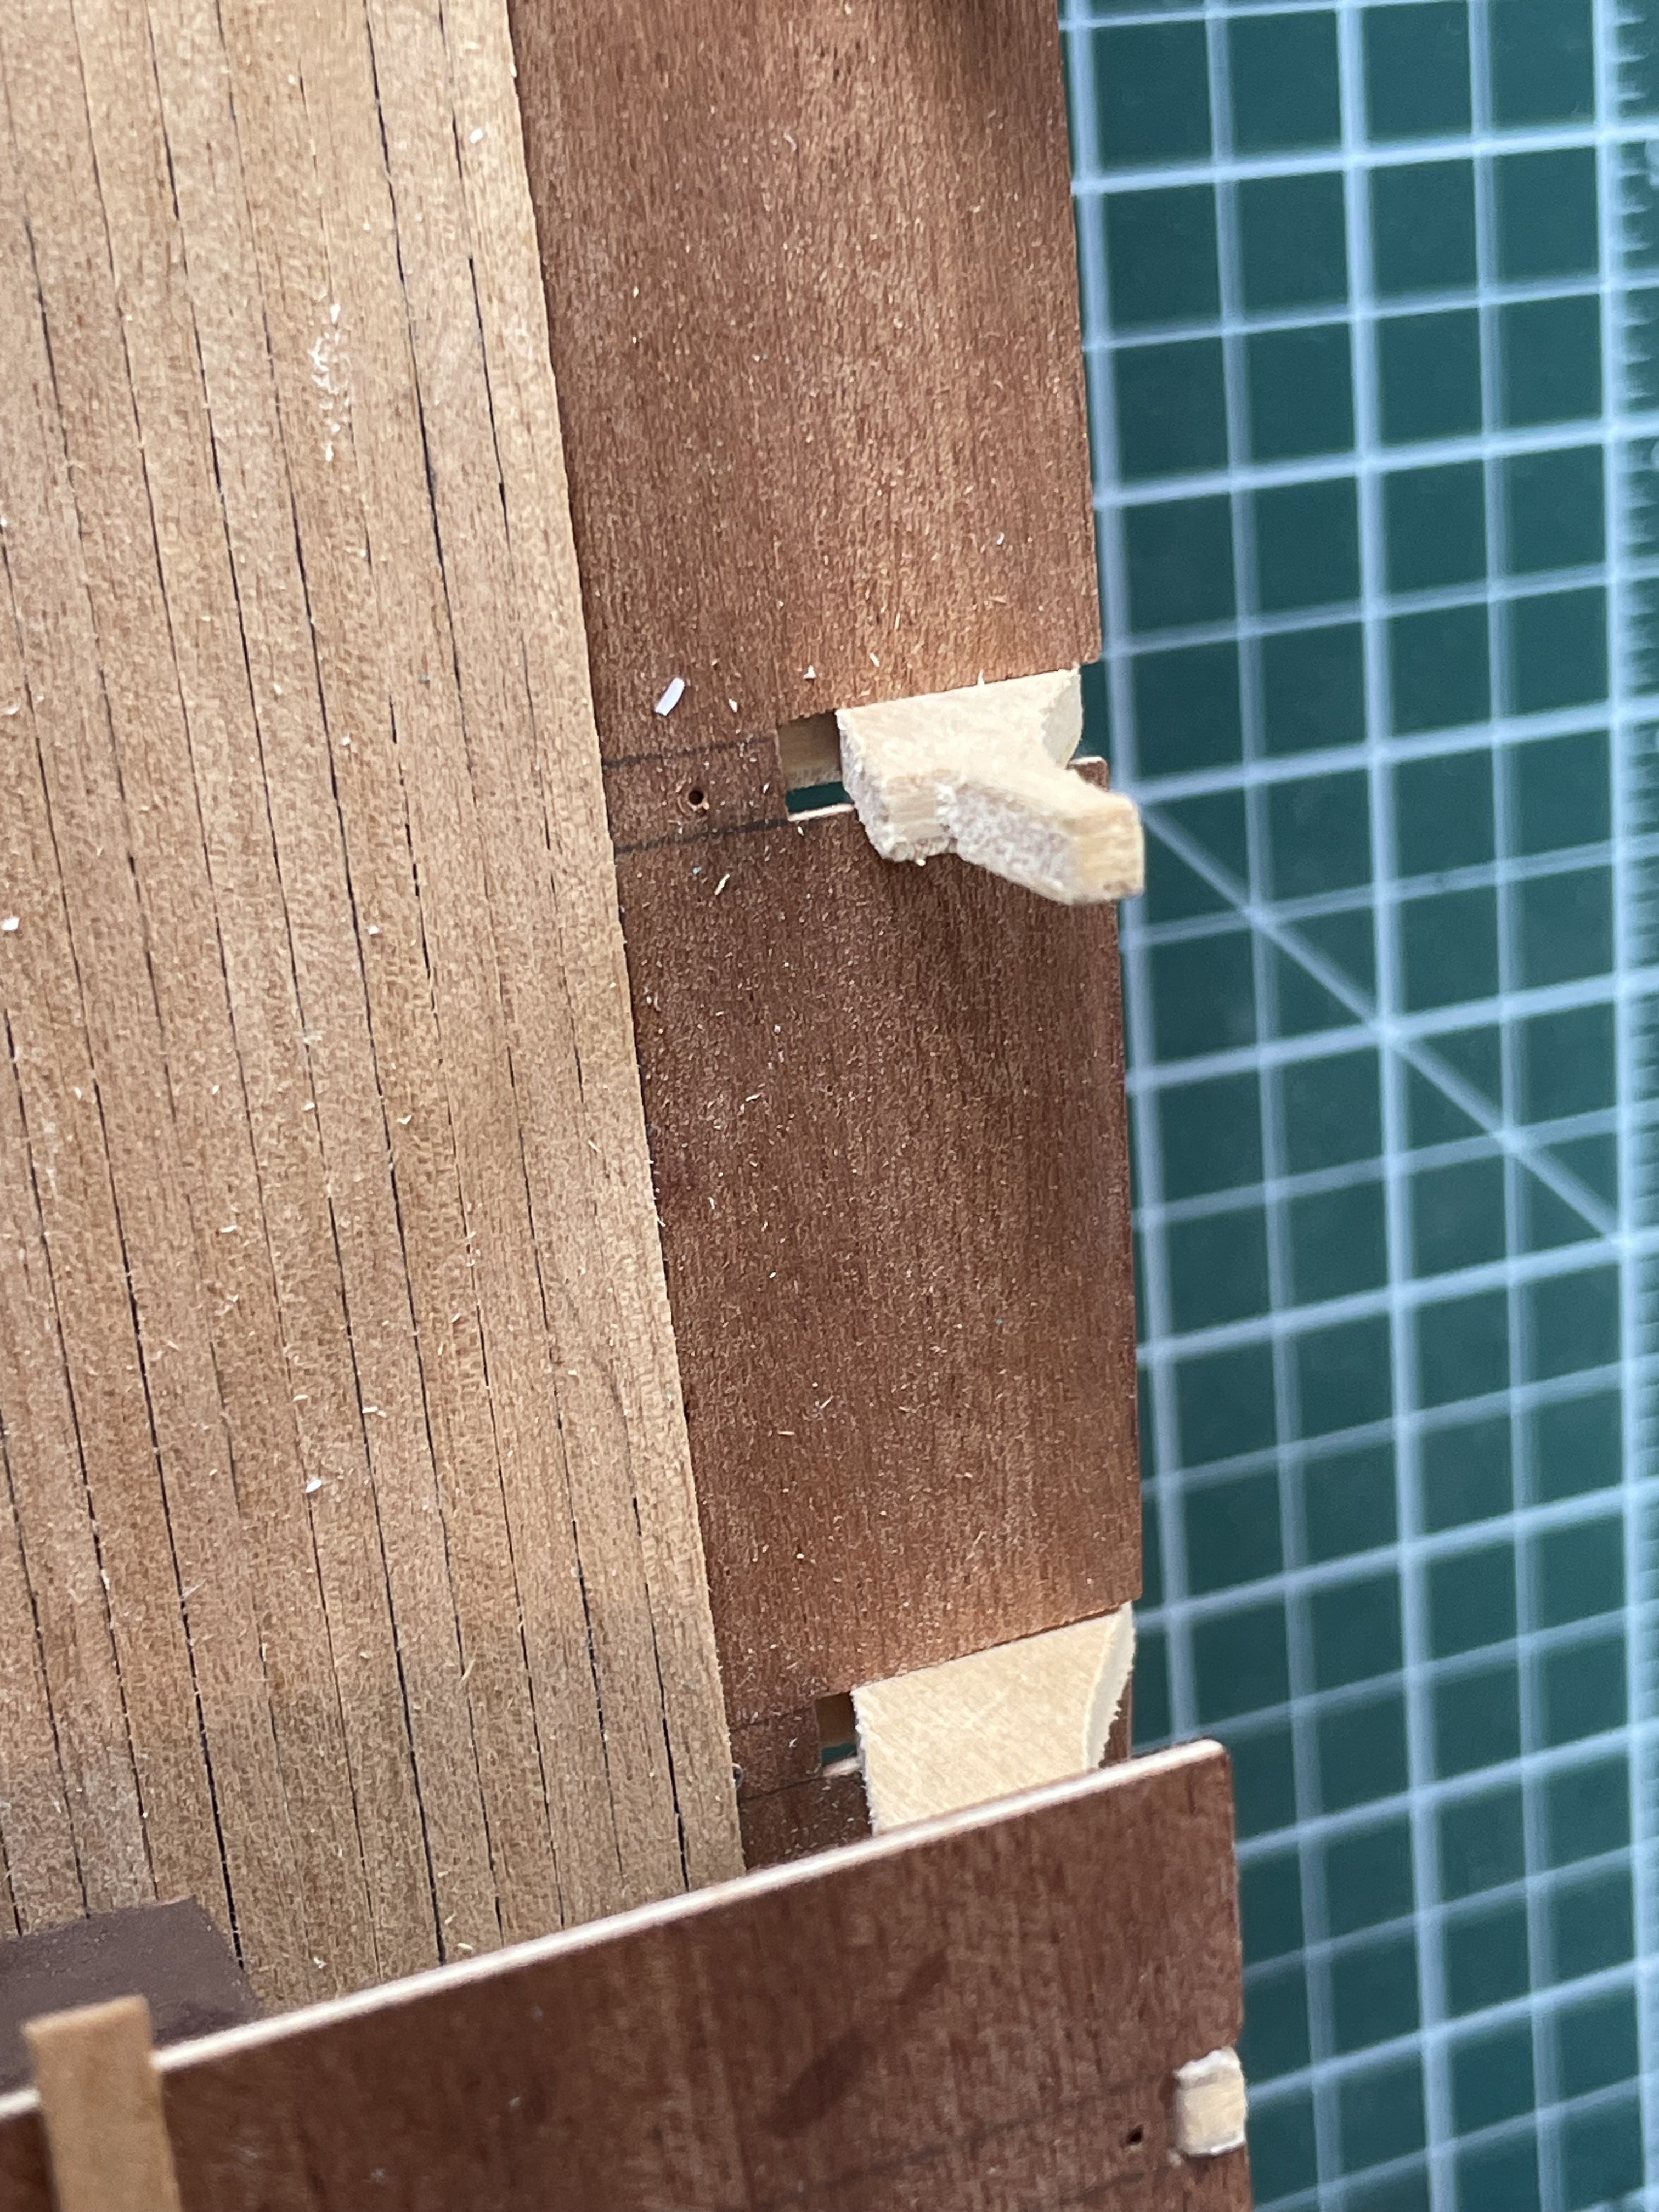
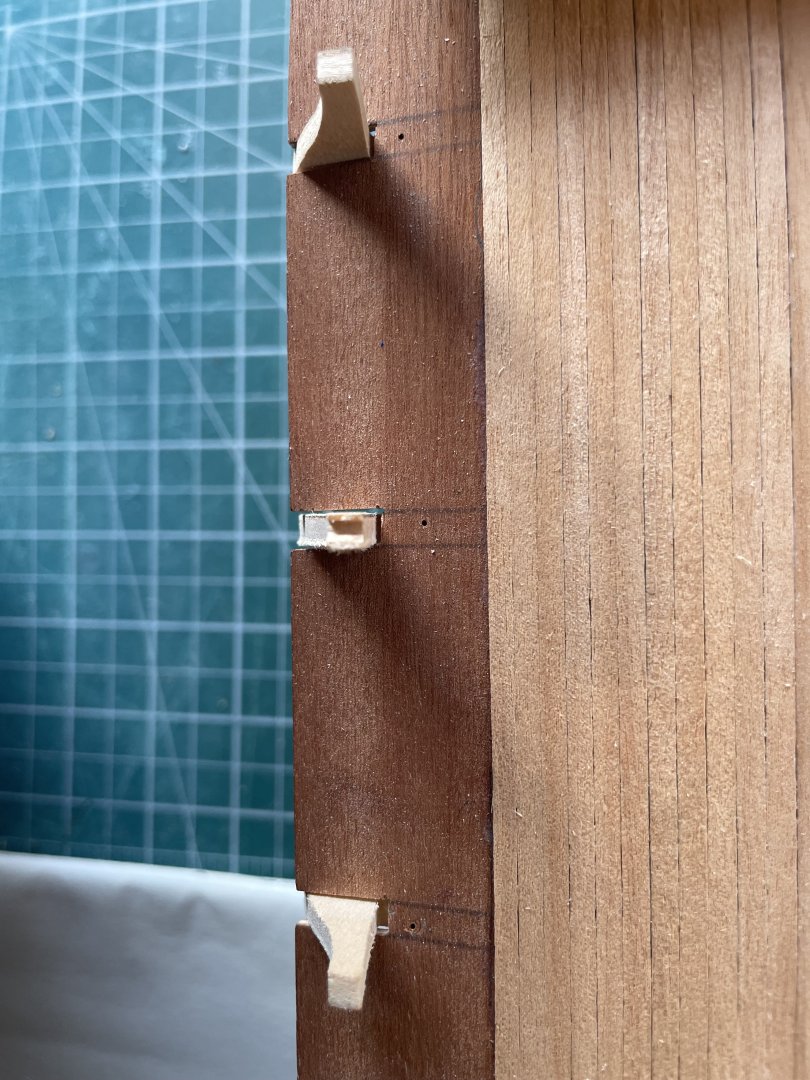
Hi. I'm building the HMS Bellona by Corel. Below the deck it has over 20 fake gun ports that are glued to the hull plank from the inside. They bond doesn't feel very strong and I can foresee them falling apart later when I actually drill holes in them and insert the guns. What's the view about applying epoxy glue on their connections with the planks? Thanks all.
-
That looks great. Wondering what brown did you paint the railing?
-
Thanks a lot for your answer. That's exactly what I was trying to figure out. I haven't started a log myslef. There's just very little chance I'll keep updating it...
-
Hi Andy. Your ship is looking great!! I'm at that stage with my own Bellona and are working on fairing the bulkheads. I noticed that some of your bulkheads were a bit short on the main false deck (i.e. not flushed with the deck). Including bulkhead #6 which is obviously shorter. I'm wondering how you went about that. Did you send down the edge of the deck? Or did you add some materials to the bulkhead? At least for #6, I'm assuming you shaved the deck. Thanks!!
-
Hi Northshore. I'm exactly at that stage with my own Bellona and are working on fairing the bulkheads. I noticed that some of your bulkheads were a bit short on the main false deck (i.e. not flushed with the deck). Including bulkhead #6 which is obviously shorter. I'm wondering how you went about that. Did you send down the edge of the deck? Or did you add some materials to the bulkhead? At least for #6, I'm assuming you shaved the deck. Thanks. And BTW - your ship is amazing.
-
ah....Thanks Ronald-V. That gives a new perspective...I thought the false deck is what I should align to... However, some of the bulkhead perfectly flush with the deck and a few aren't. I will likely fill in the shorter ones. Just need to find new strips and not overuse the kit's planks.
-
Thanks barkeater. I think I'll go with your first suggestion. And will add a plank from bottom to top. Potentially more than one until flushed with the deck.
-
Hi modellers. I'm about to plank my first hull (HMS Bellona by Corel) and have a question about the bulkheads. How do I feel with bulkheads that aren’t flushed with the deck? Obviously if they are wider I can taper them down. But what if they are a bit inside? How best to add materials? Adding a couple of pictures. Thank you all in advance!

-
Thanks Nearshore. I created a groove only for the first layer and will continue to rabbet line for the second. Hopefully will work out.
-
This is a great blog, Northshore. I’m about to start working on this model myself (it’s been sitting in the garage for 20-some years). If you don’t mind, I have a question about the bearding and rabbet lines - for you and for anyone else with the proper experience. While I see them in the drawings (tables 4, 5, and 6), I didn’t notice them mentioned anywhere in the instructions. So my questions are: Since this model has two plank layers, each about 1 mm thick, should the rabbet line be cut 2 mm deep on each side (which would leave only 1 mm thickness for the keel)? In table 5, there’s another dotted line between the bearding and rabbet lines. Is this meant to indicate where the first planking layer should end? I can see how that makes sense at the bow, but it’s less clear at the stern where the gap is naturally wider. Thanks!
-
This is a fantastic post. The most important tool is the space and environment. As someone who returned to modeling just lately after decades, I'm straggling with creating a proper and organized working space and this is a great help. BTW - LOVE your blog. I'm about to tackle the same model myself in a few weeks. Bought it in Tokyo more than 20 years ago. Its time has come!
-
Hi Mike. Great work. I just started my own Canoe. It's a practice model for me before I tackle a much larger and more difficult model. I'm and the planking stage. Completed the first 8 planks on each side and about to transition to the bottom. These are very thin planks. Did you pre-calculate how wide they should be at each section and trimmed accordingly (like when planking the hull of a larger ship)? Did you use a bender at this stage? Thanks!
- 24 replies
-
- 1
-

-
- Indian Girl canoe
- Midwest Products
- (and 1 more)