HOLIDAY DONATION DRIVE - SUPPORT MSW - DO YOUR PART TO KEEP THIS GREAT FORUM GOING! (89 donations so far out of 49,000 members - C'mon guys!)
×


daimosth
-
Posts
9 -
Joined
-
Last visited
-
 Russ2025 reacted to a post in a topic:
Enterprise 1799 by daimosth - Constructo - 1:51
Russ2025 reacted to a post in a topic:
Enterprise 1799 by daimosth - Constructo - 1:51
-
ccoyle reacted to a post in a topic:
Enterprise 1799 by daimosth - Constructo - 1:51
-
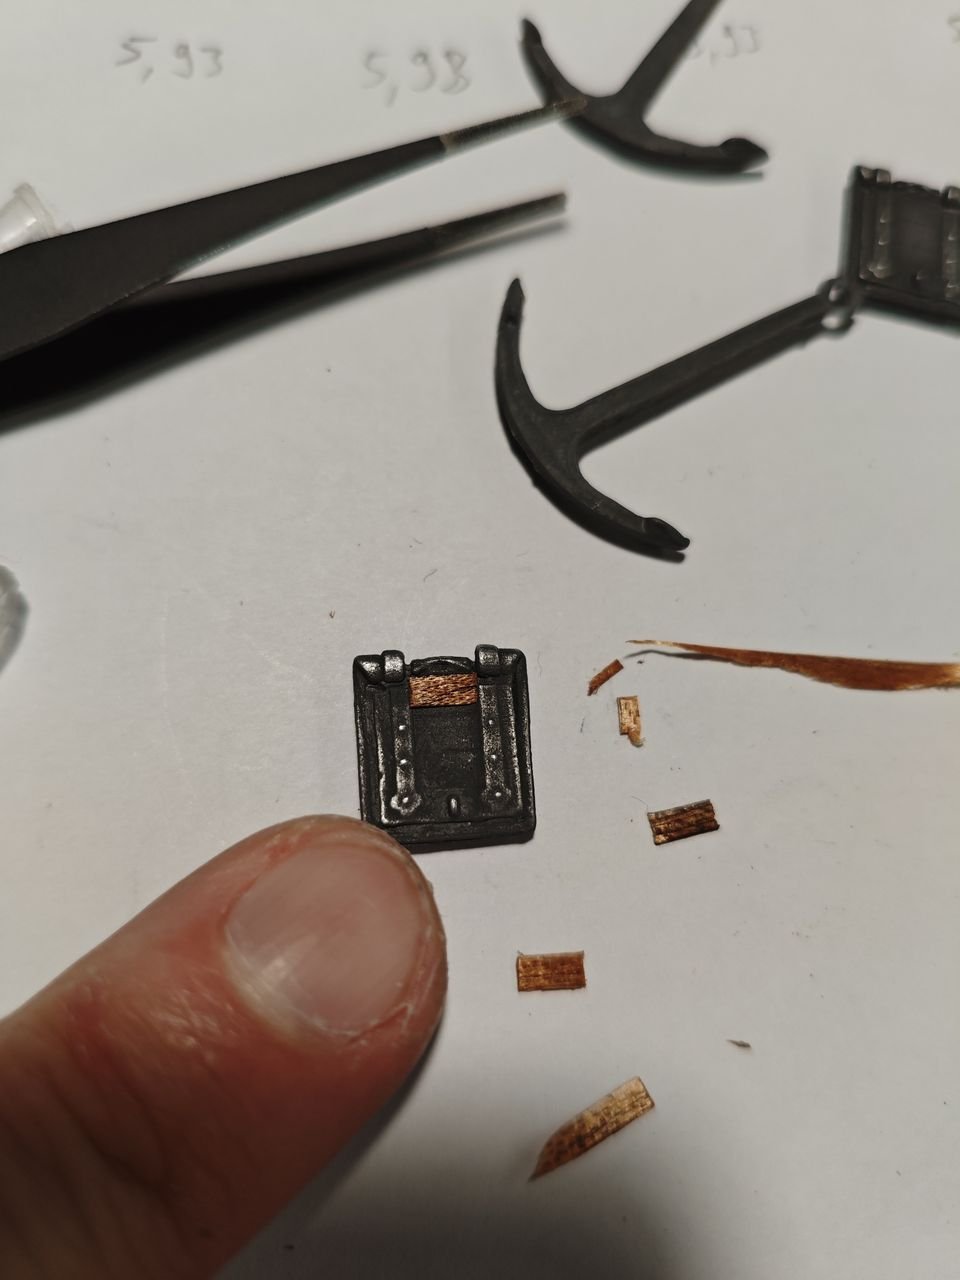
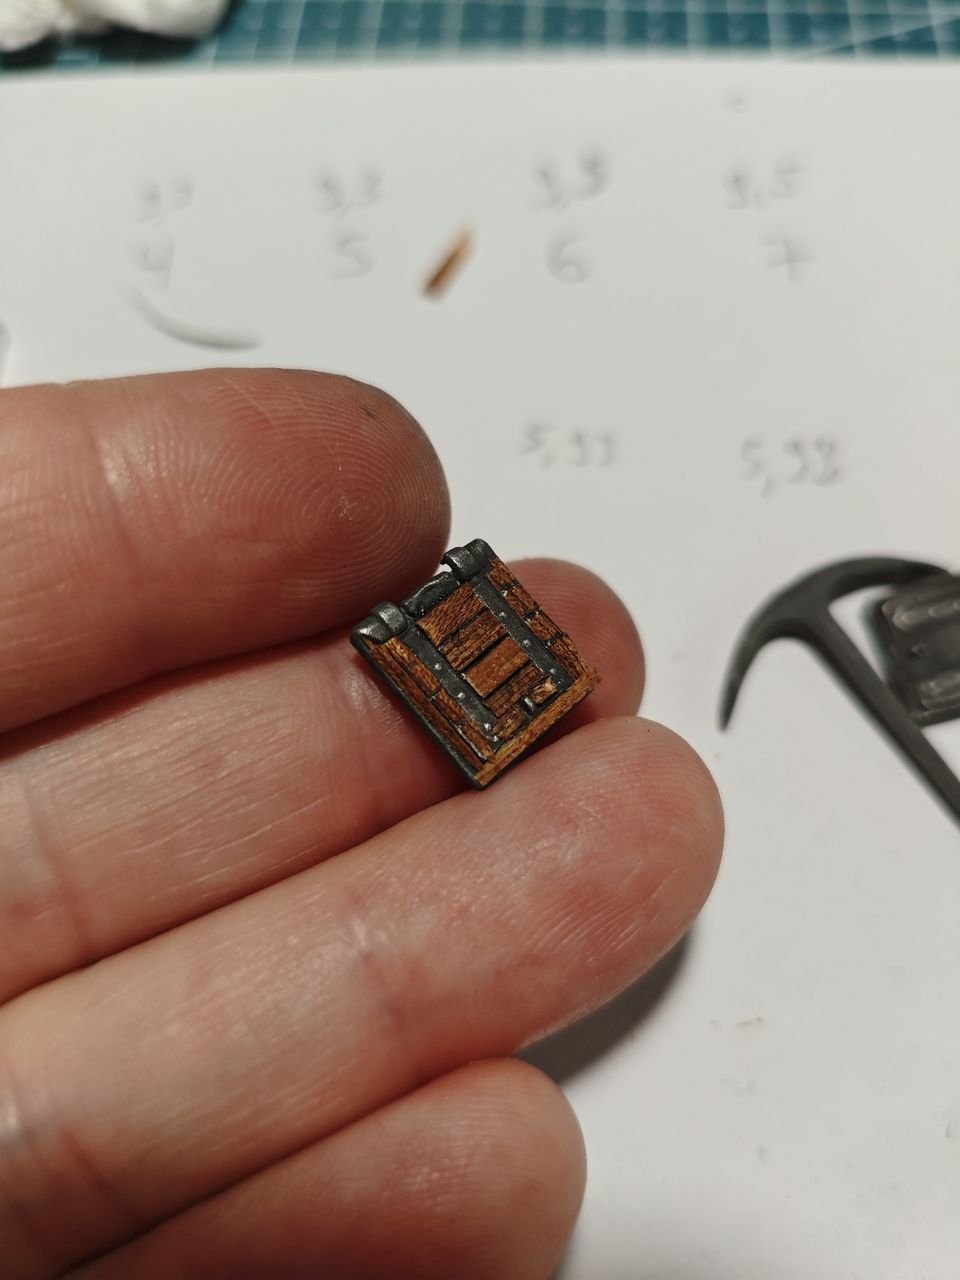
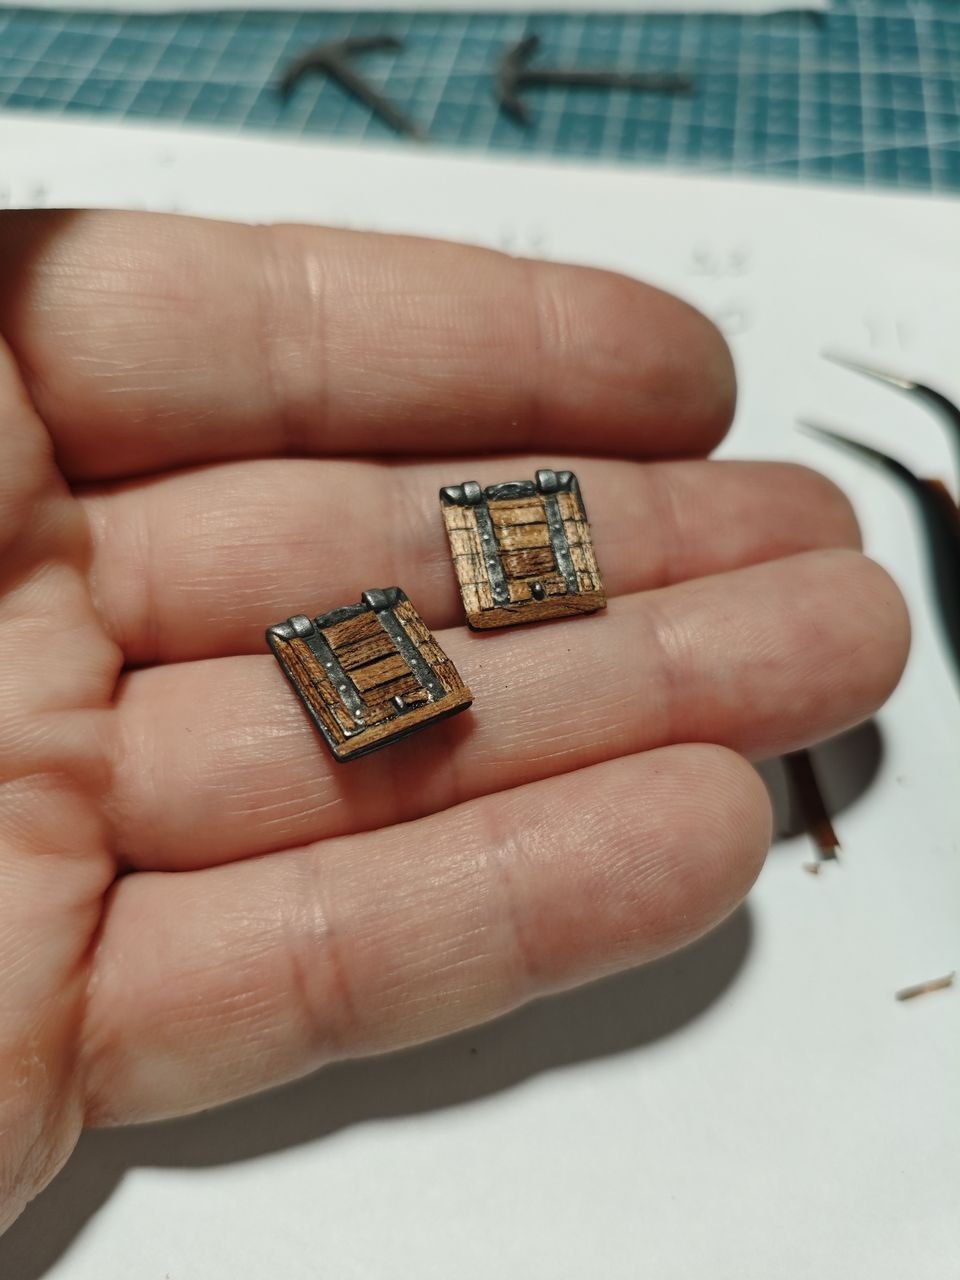
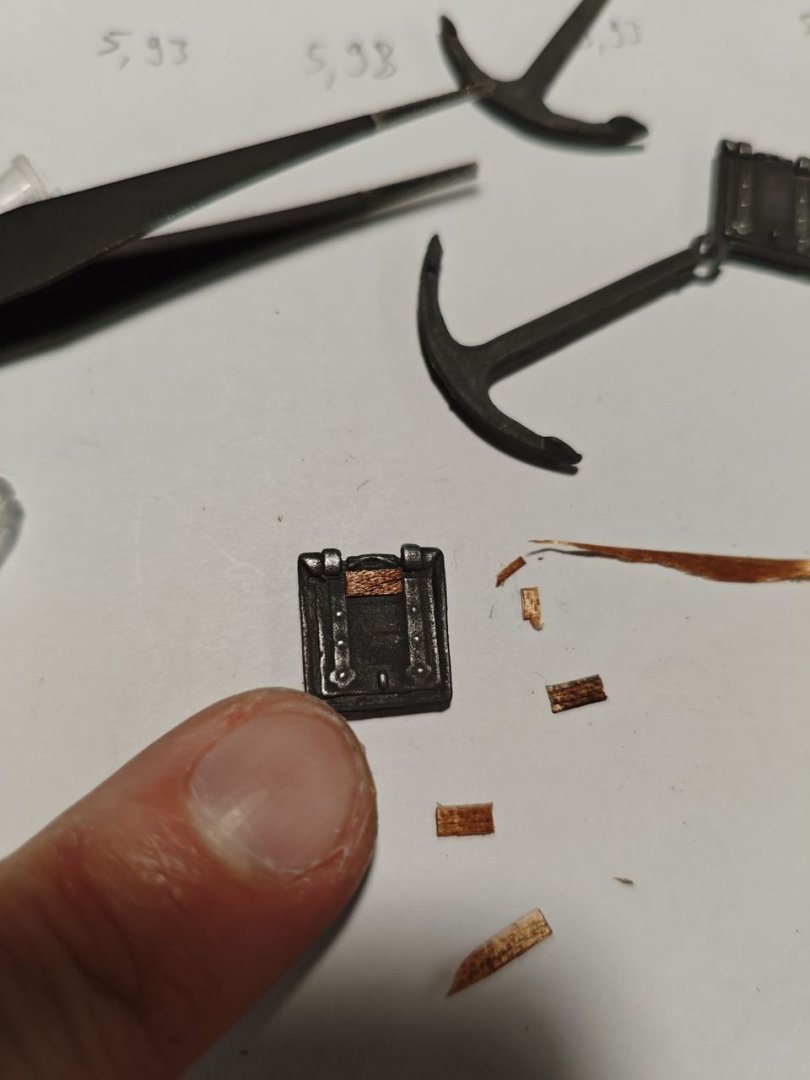
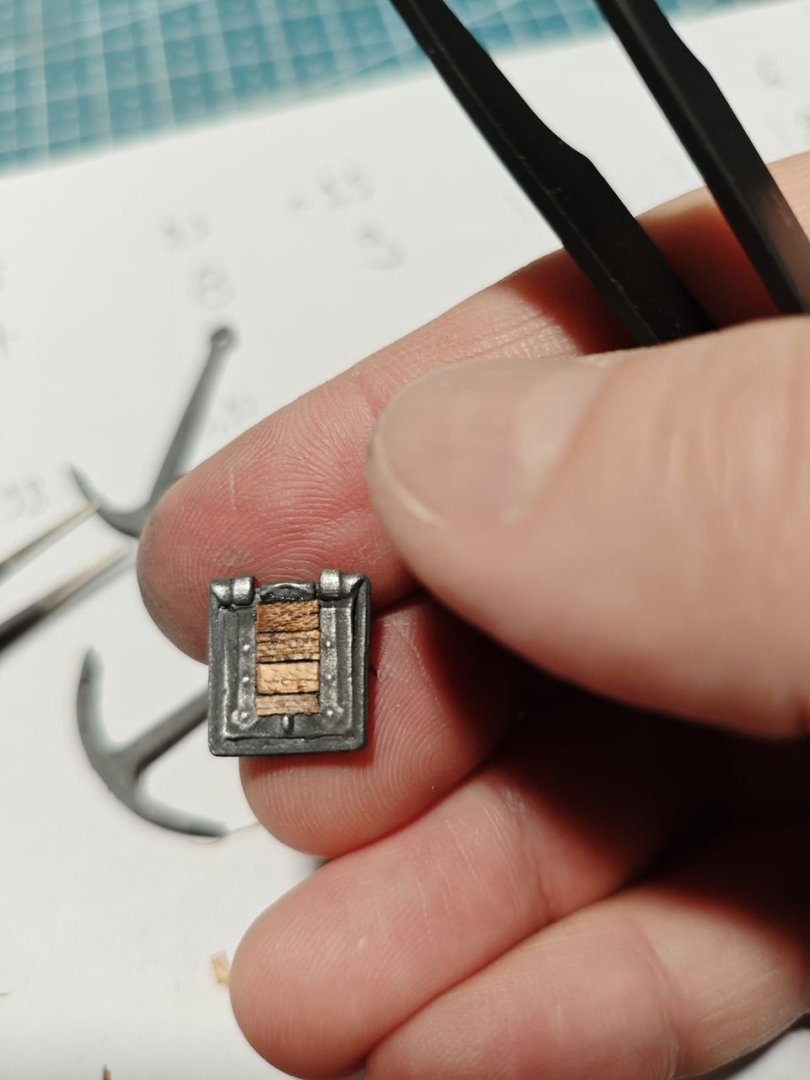
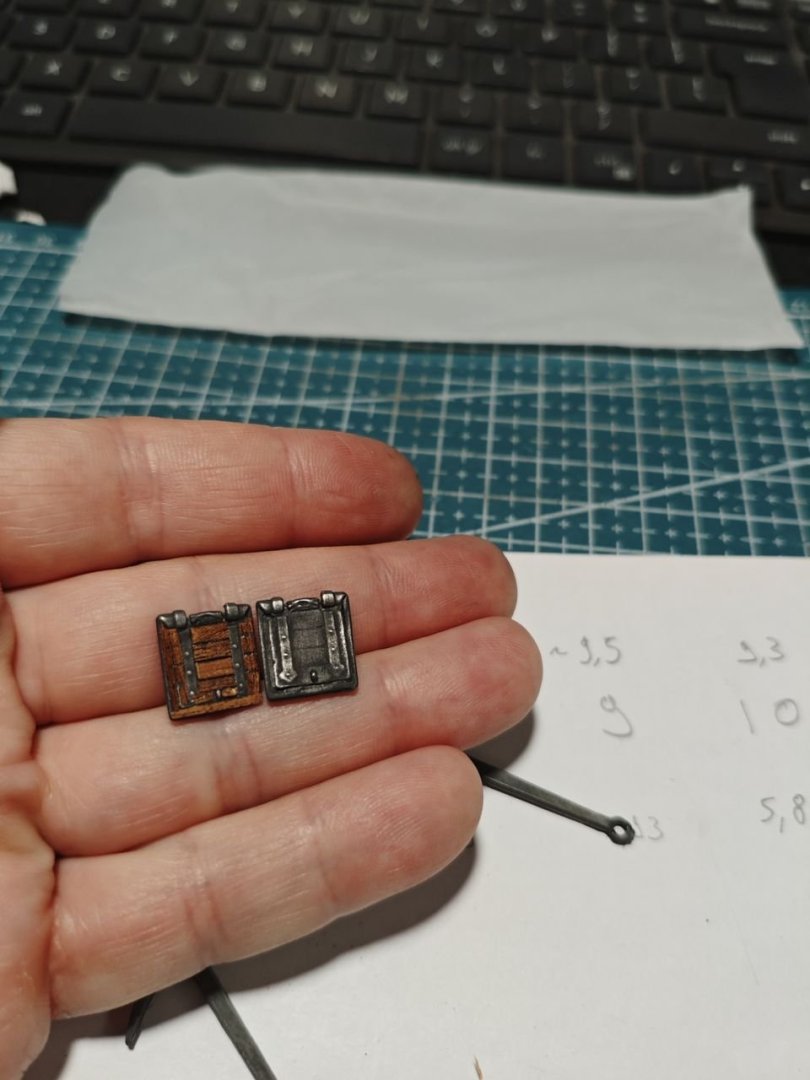
The kit provided two anchors and two gun ports for the transom stern, made from aluminum. I put the in a vinegar and salt solution to make them look a bit better. The gun ports wouldn't look good on a wooden ship, so i came up with this solution, using leftovers from tapering the planks.


-
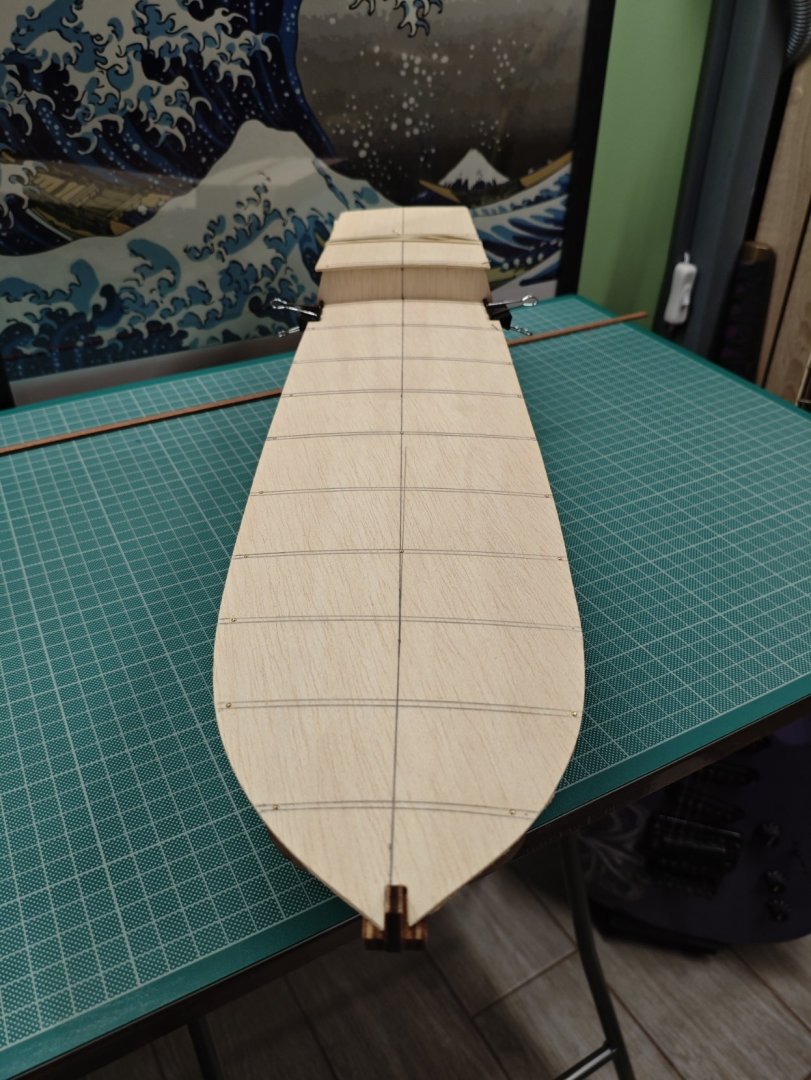
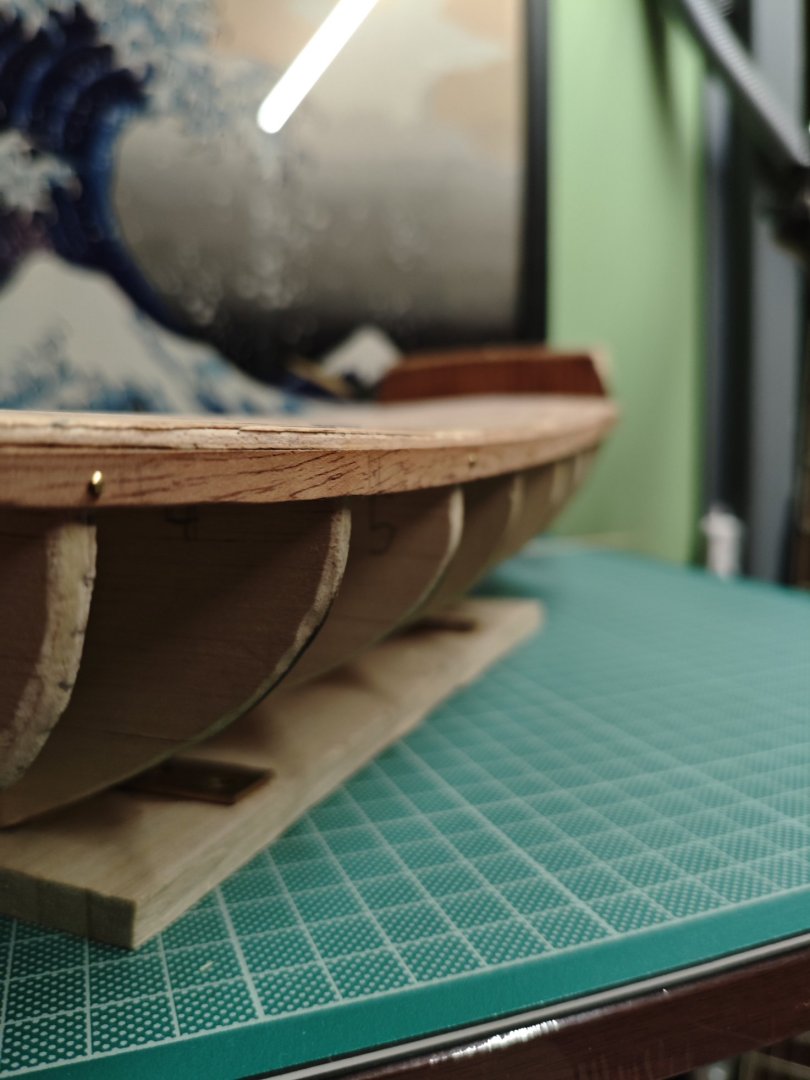
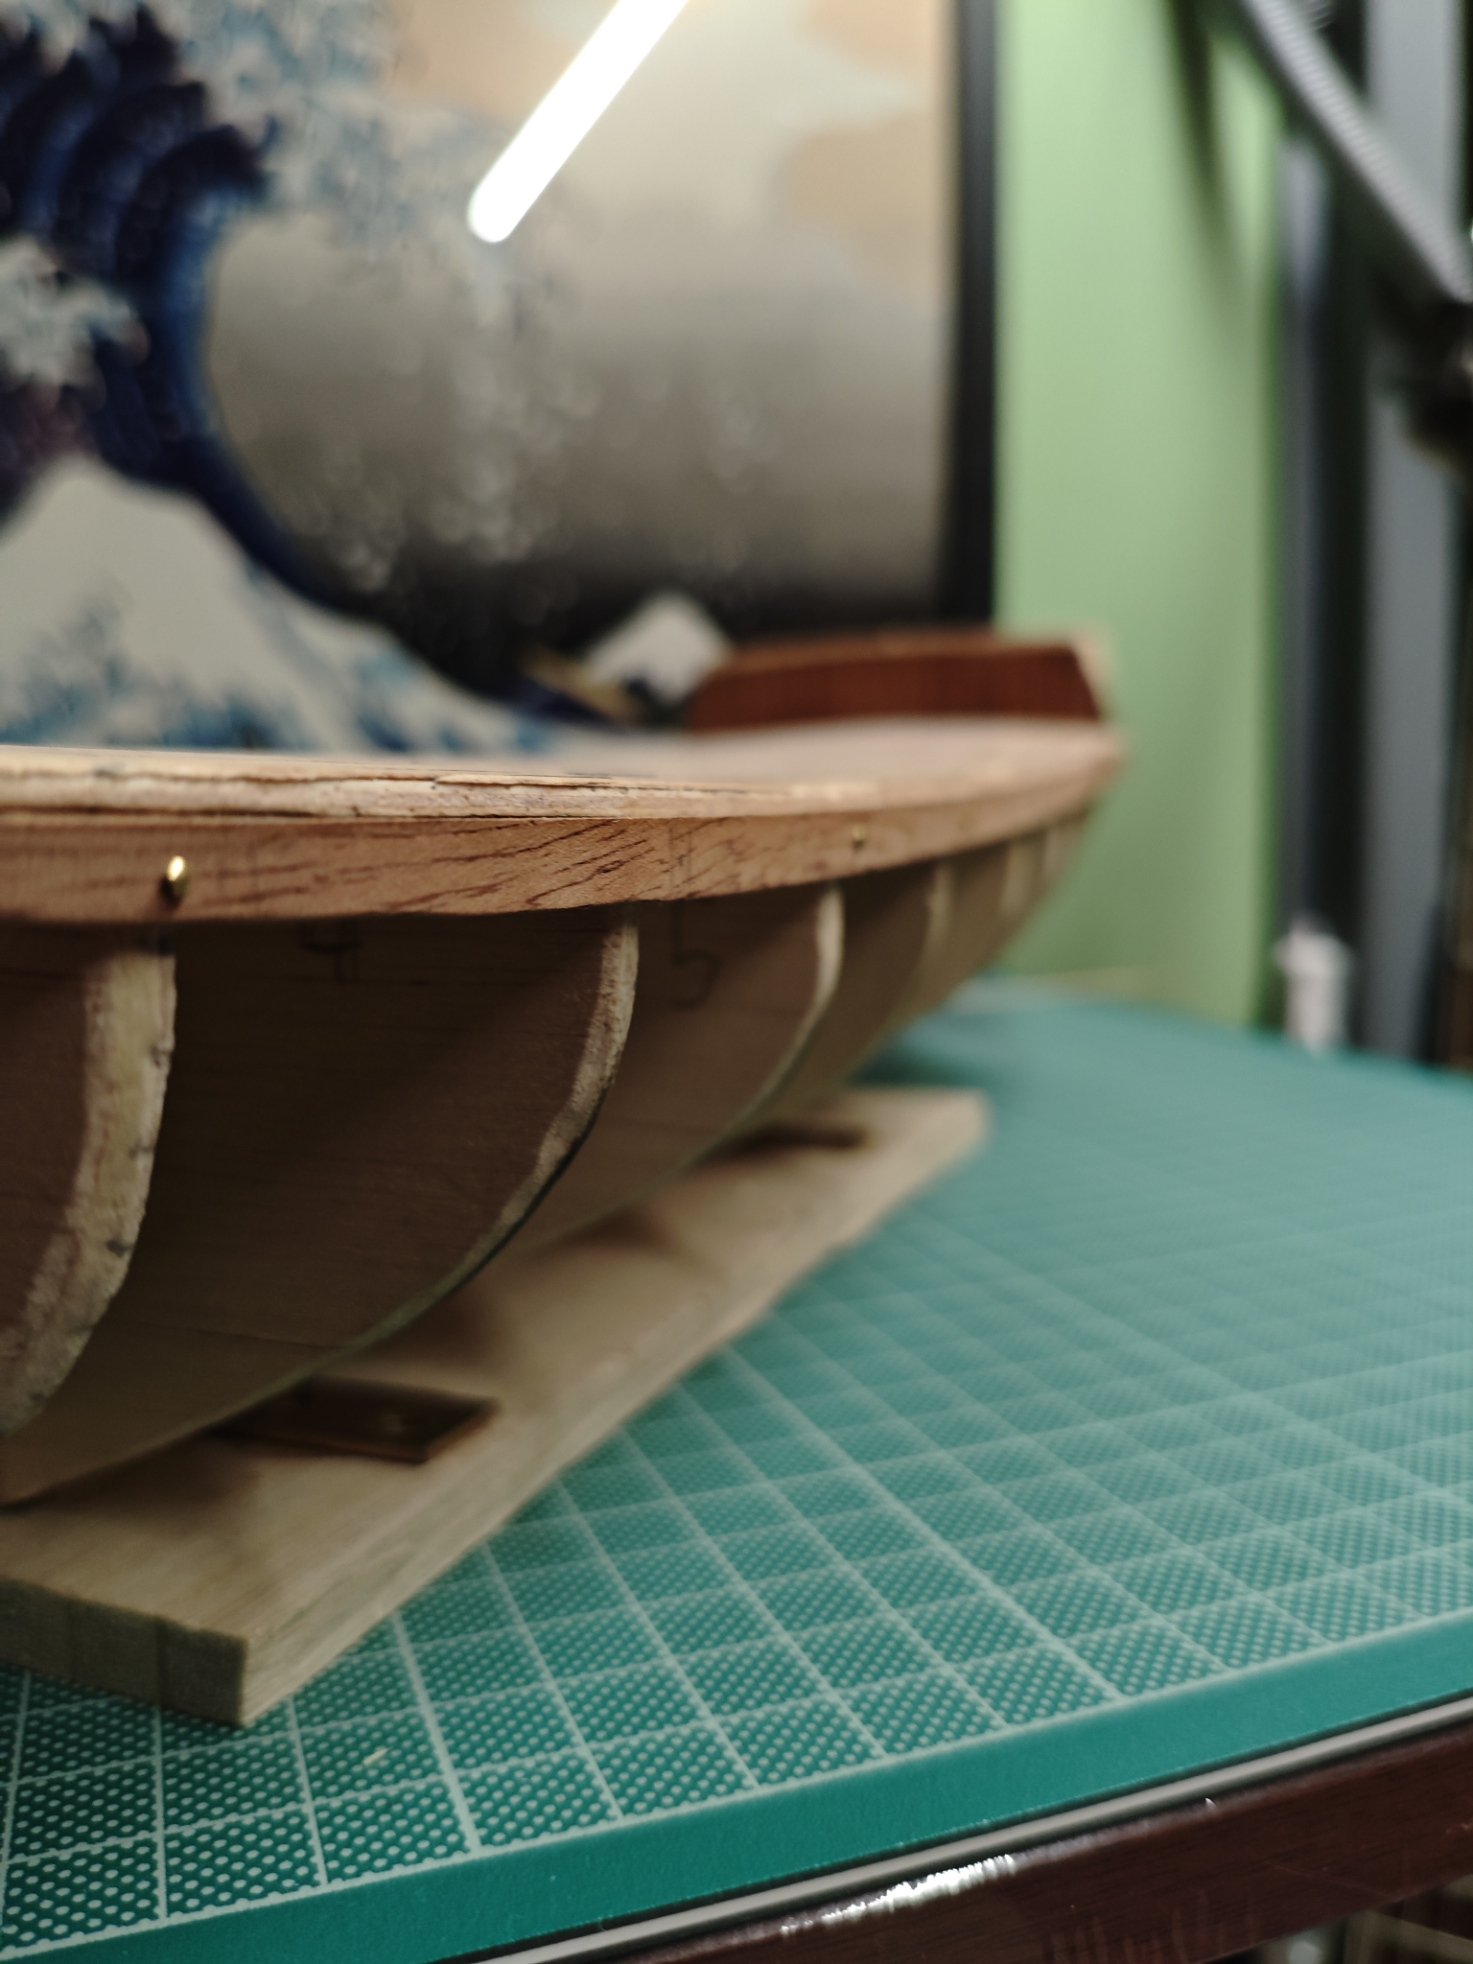
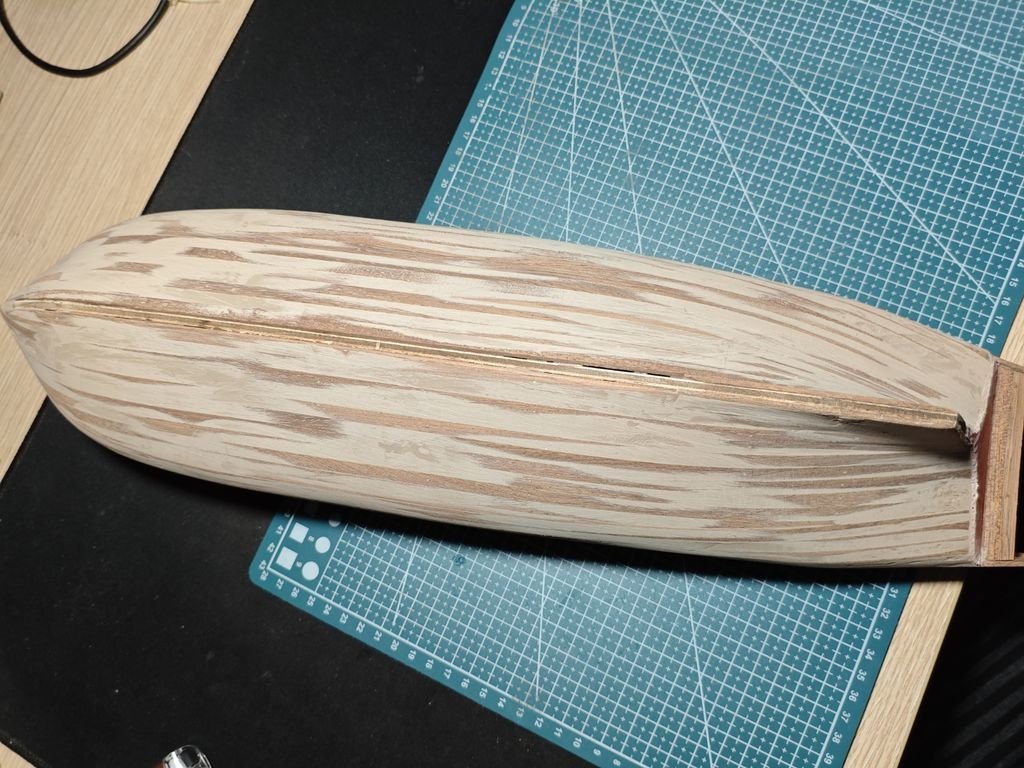
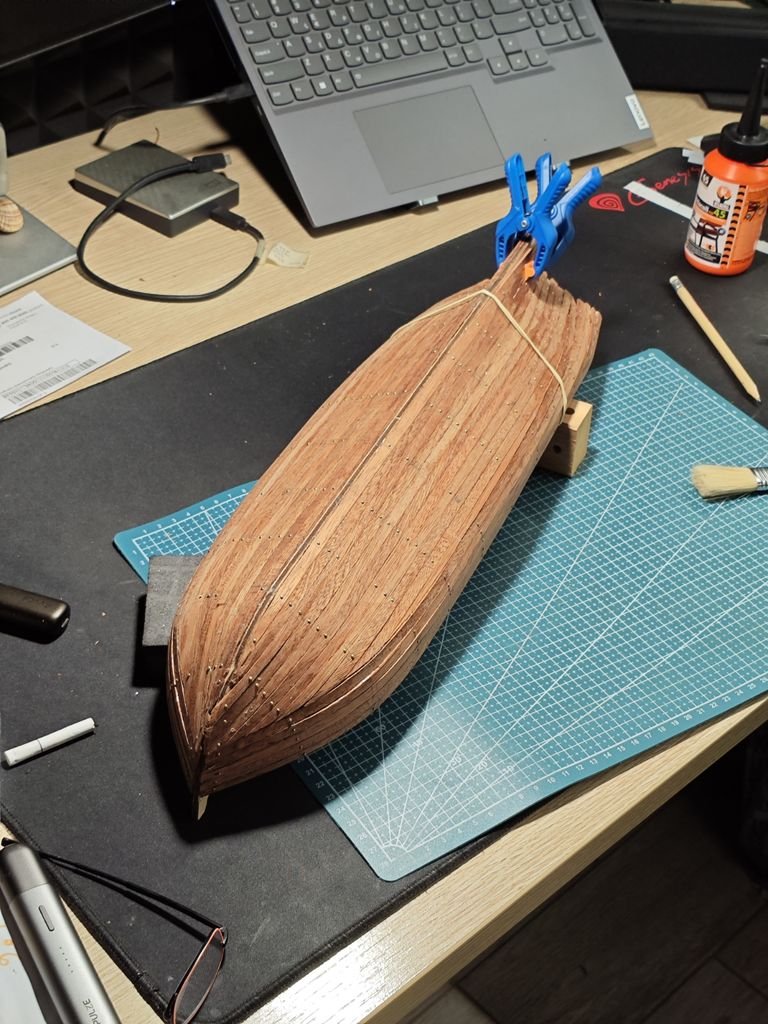
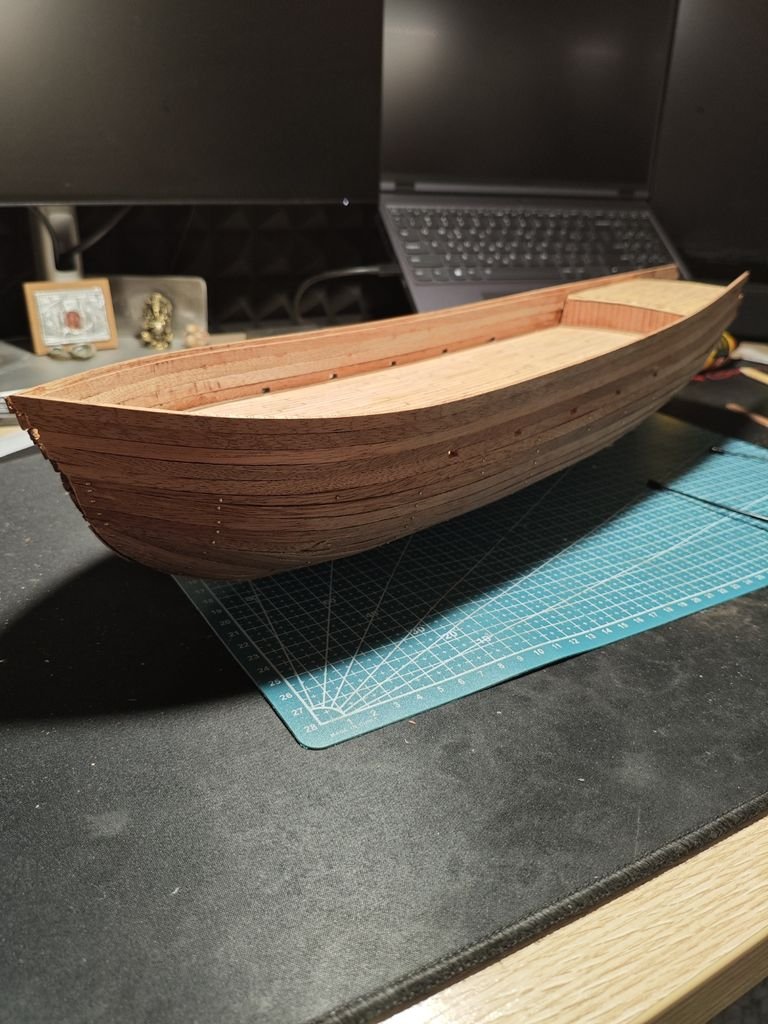
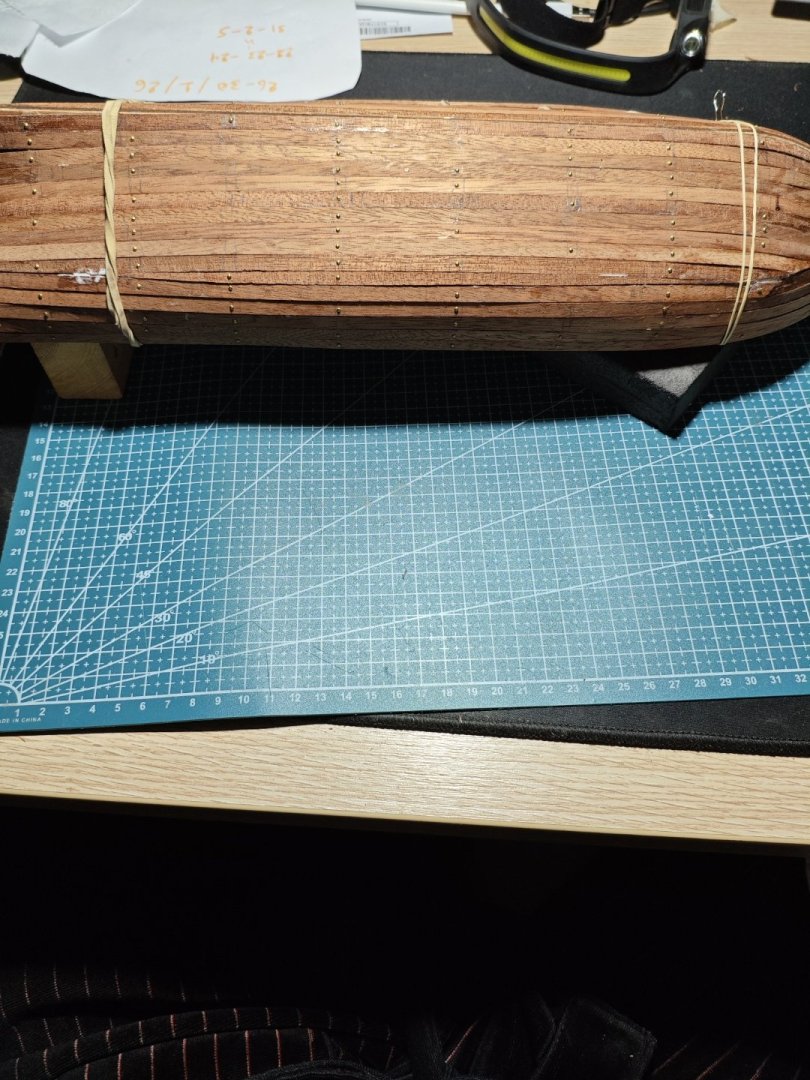
So i decided to go for it and i think it will do the job if i plank and file it correctly I added wood filler and started sanding it down Wood filler is an amazing thing. Couldn't believe how smooth the hull gets! A bit more sanding and hopefully will be good for second planking. I m not sure if i shall add the stem and sternpost before i start the second palnking. Will it be better to add them after the planking, so that i can maybe hide some mistakes? Anyway i really enjoy my first build. I thought i wouldn't have the courage for the second planking but now i m really looking forward.

-
ccoyle reacted to a post in a topic:
Enterprise 1799 by daimosth - Constructo - 1:51
-
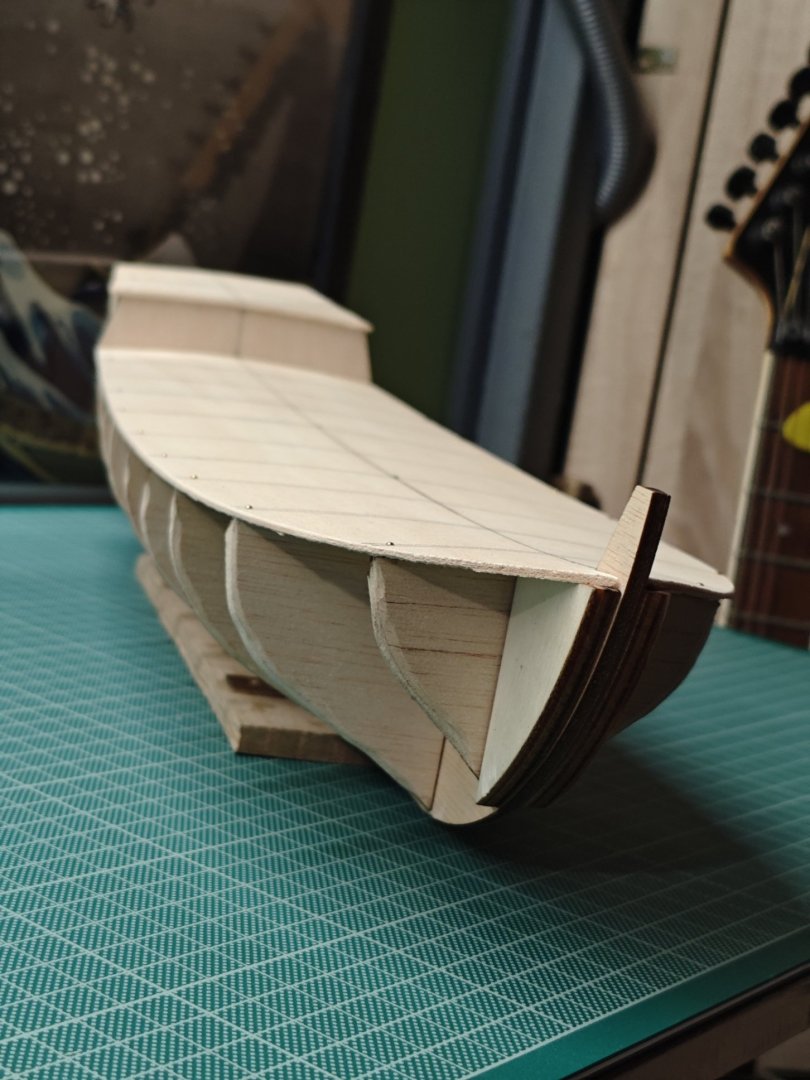
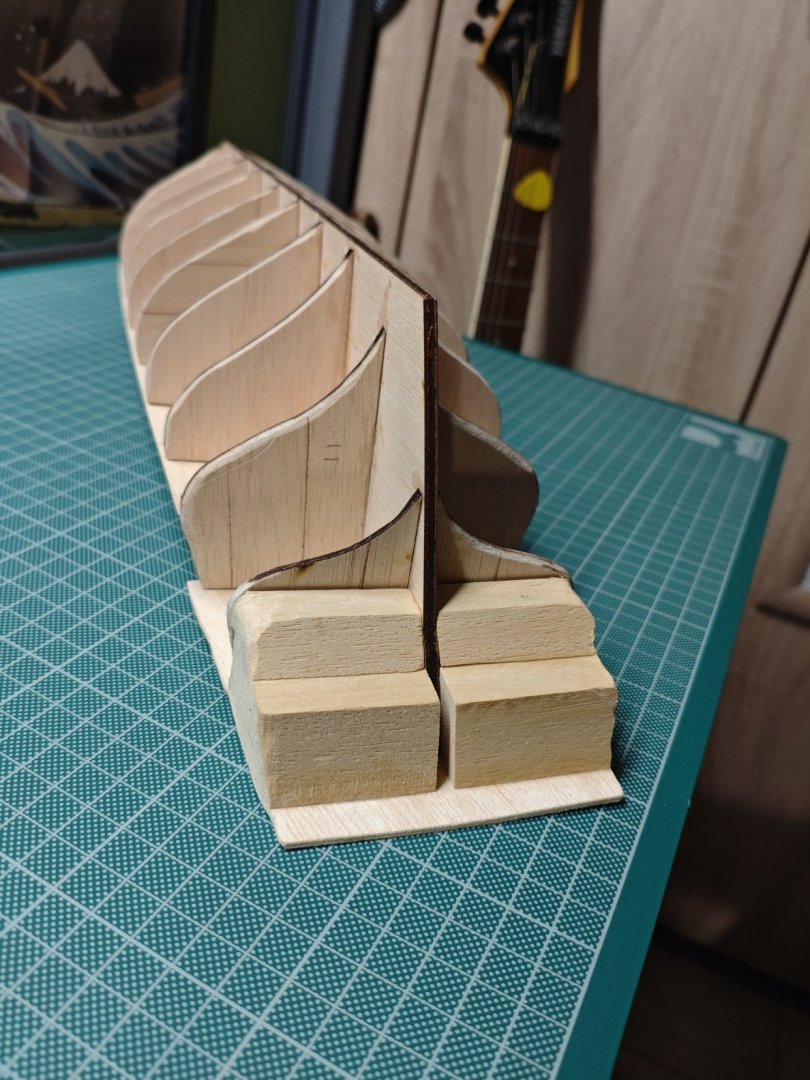
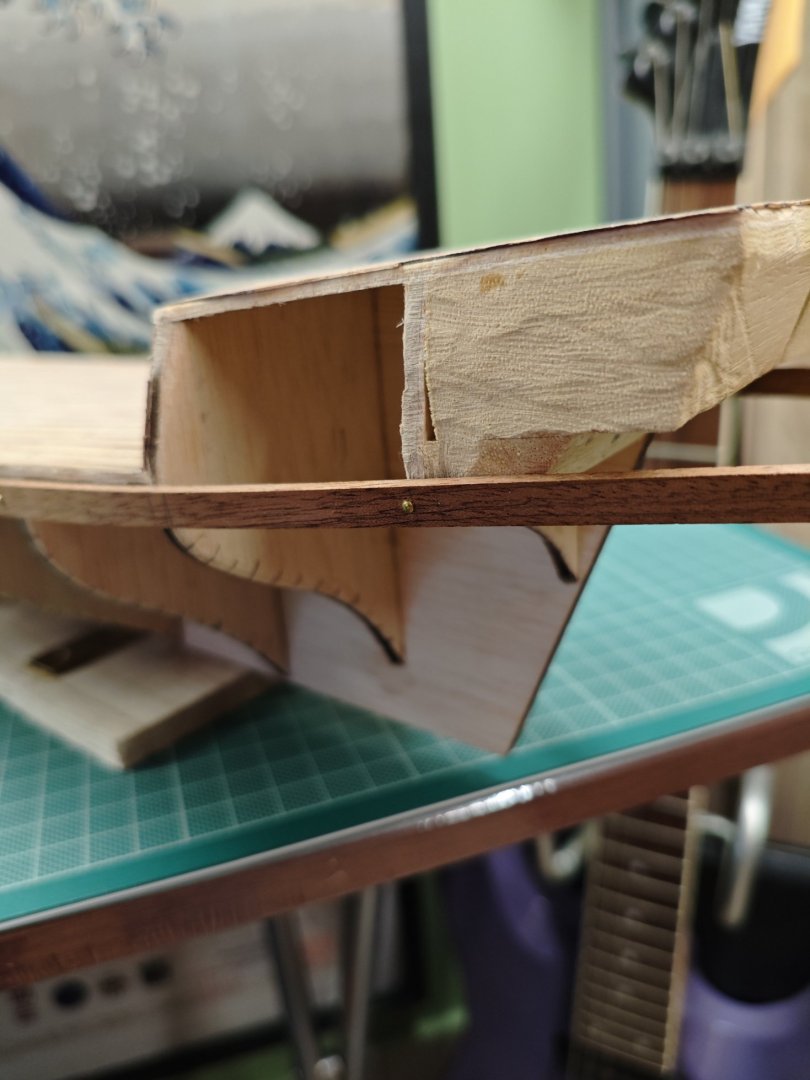
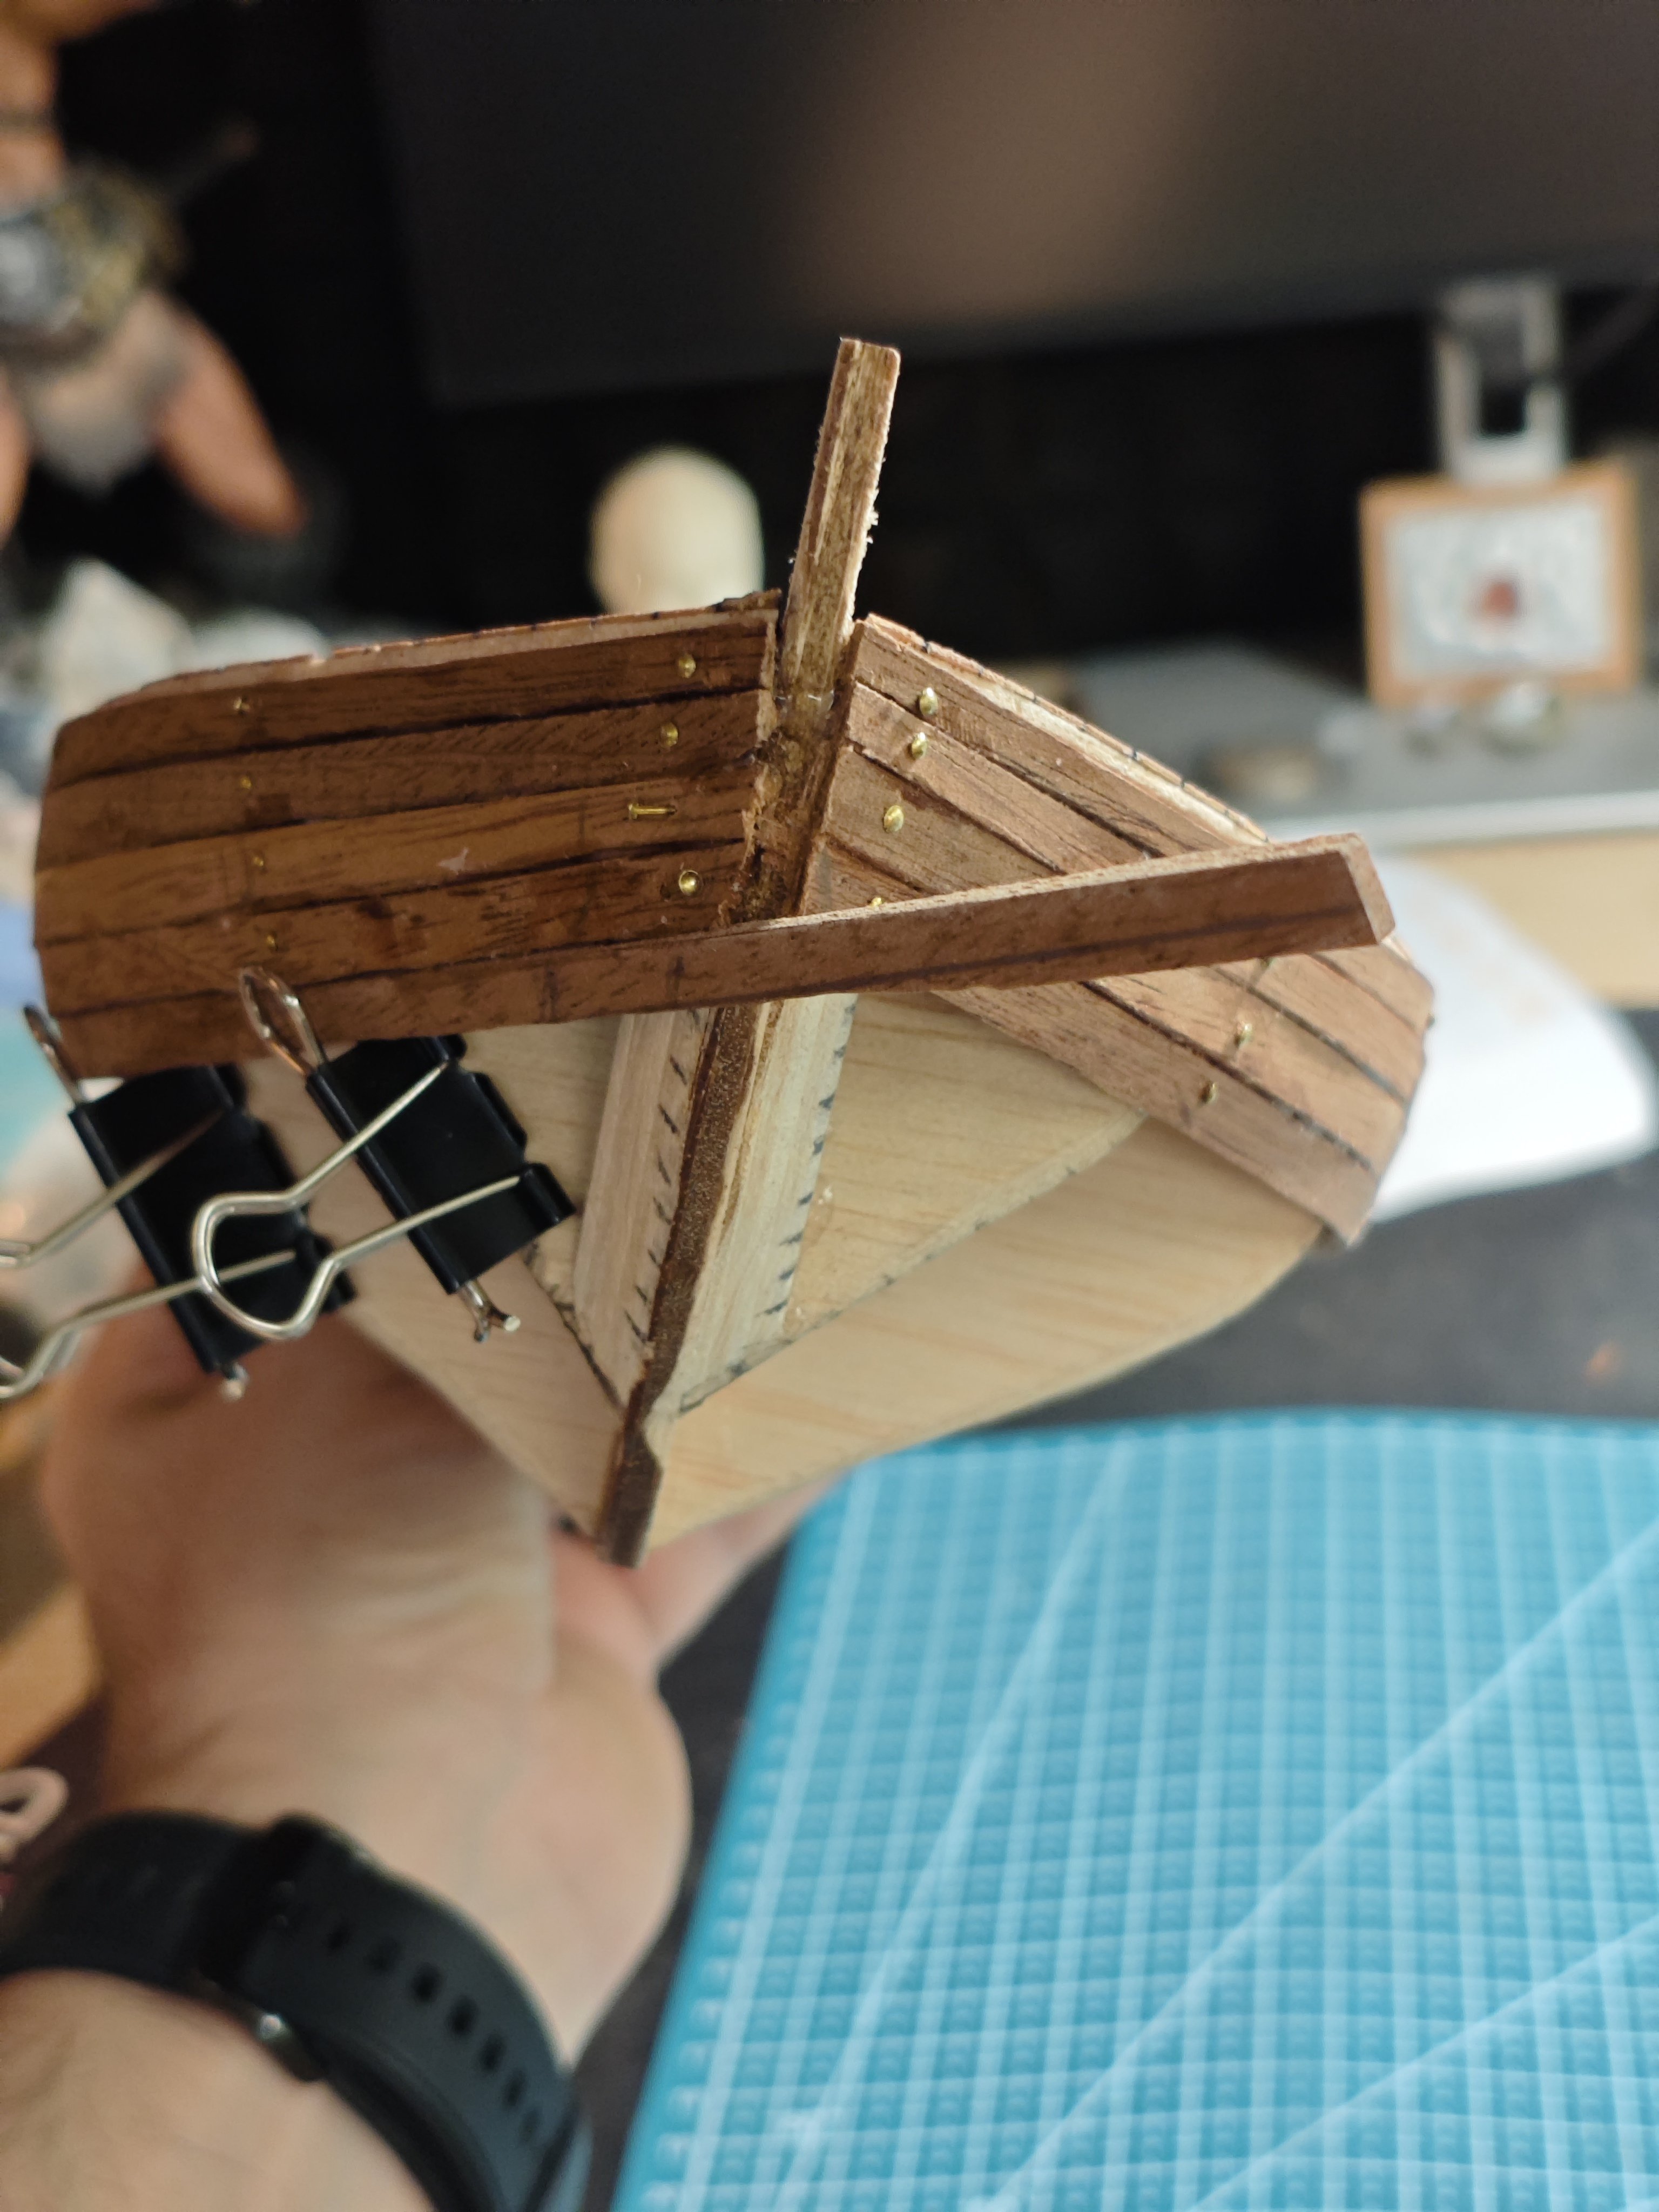
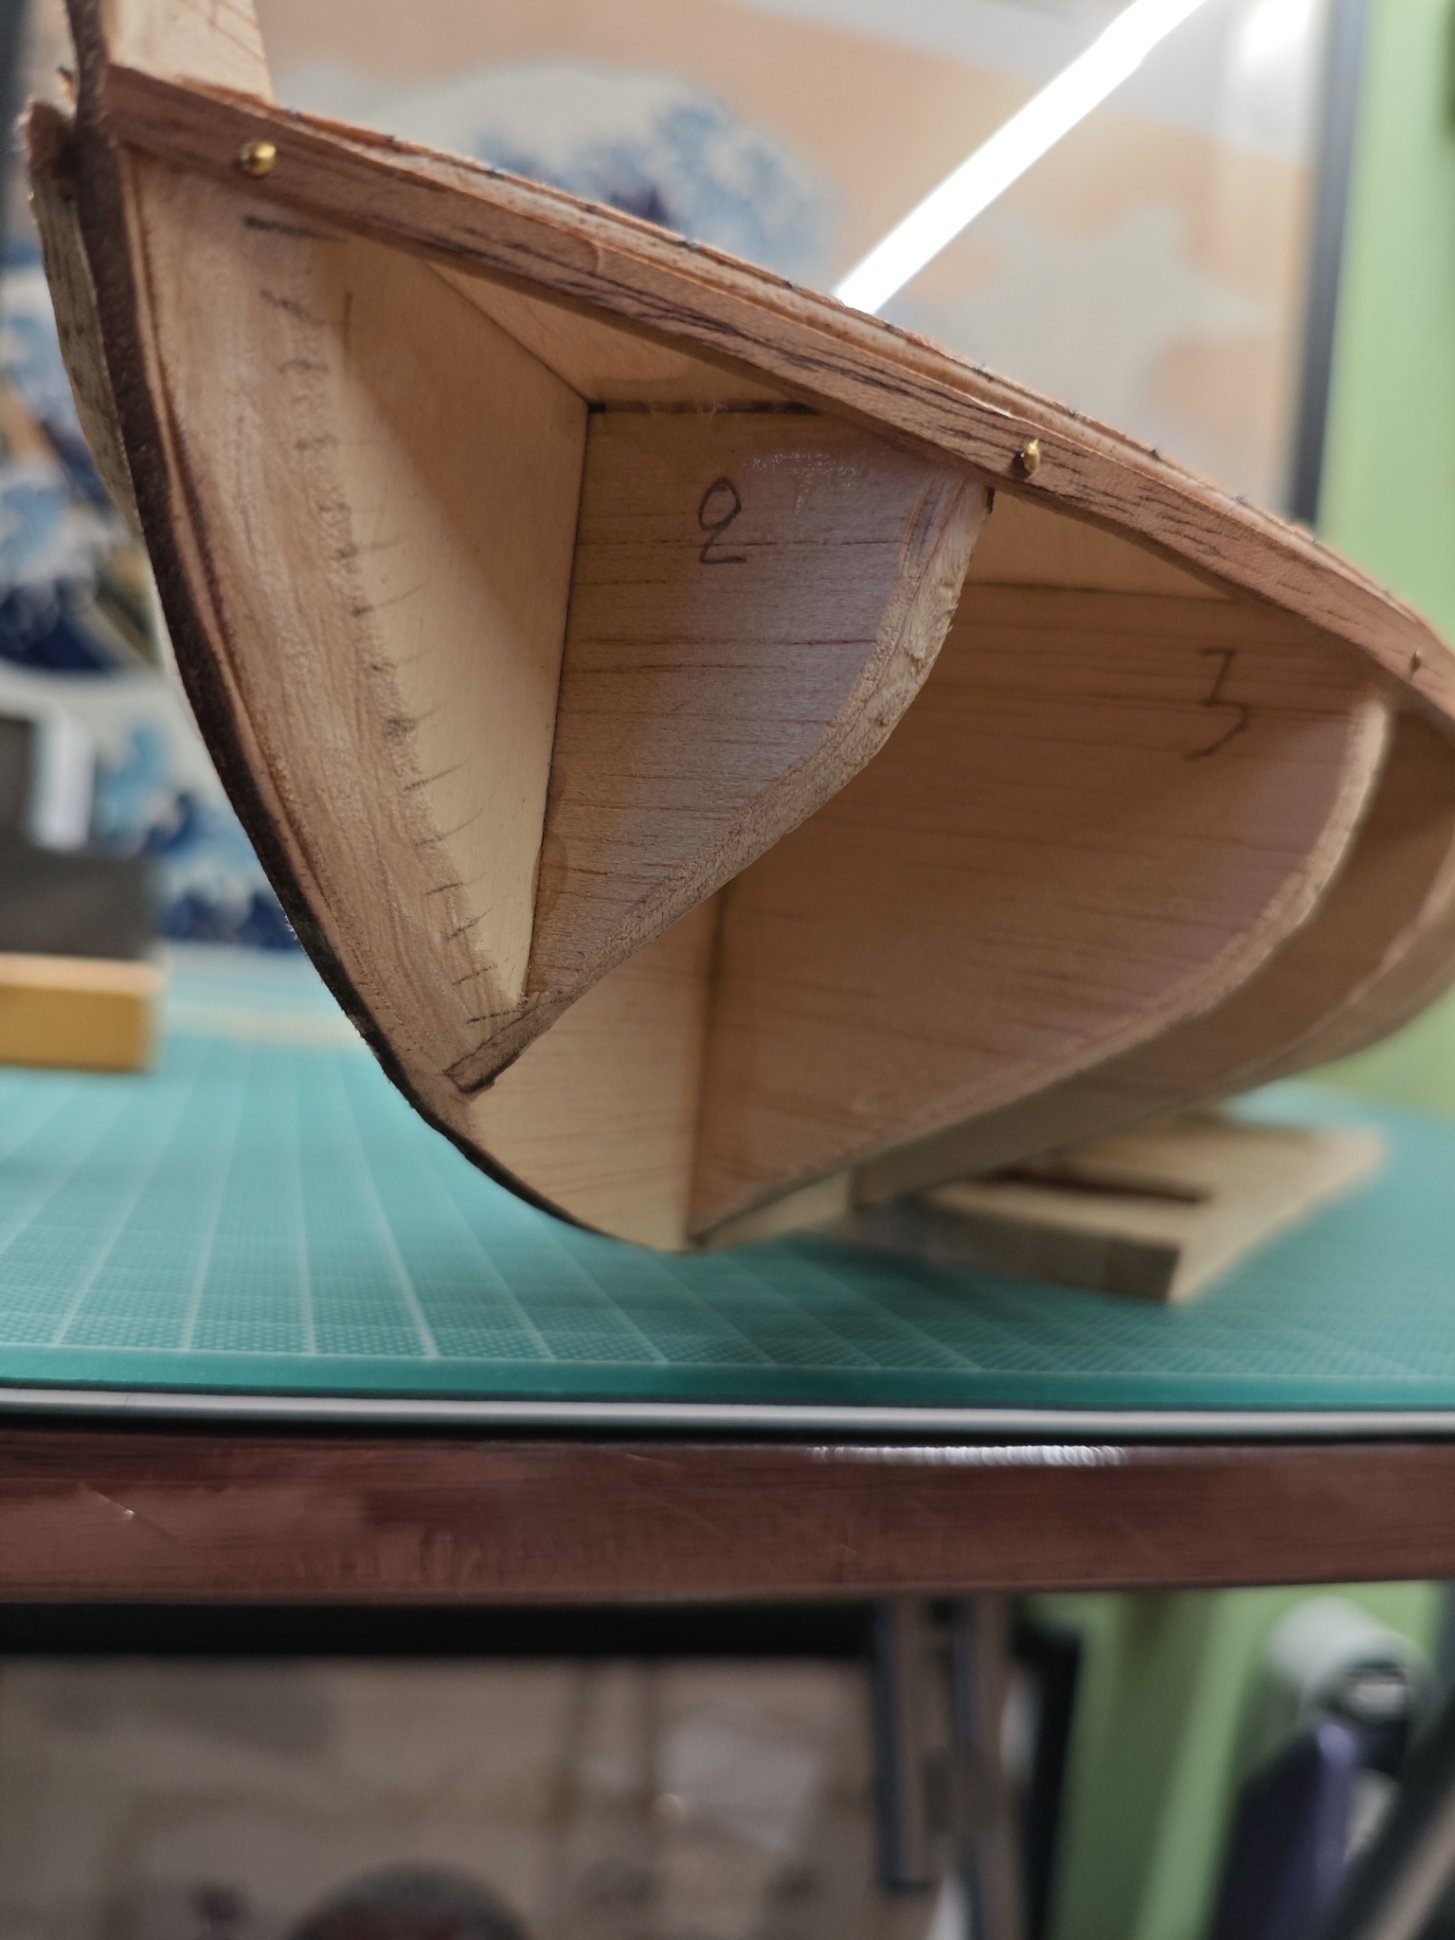
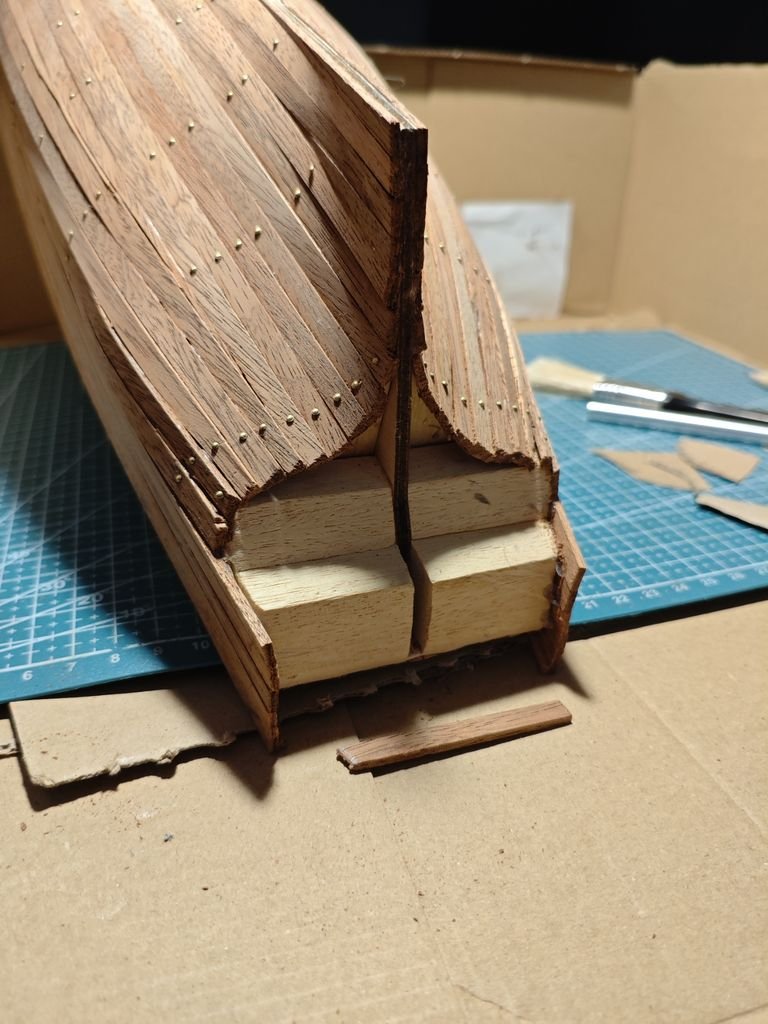
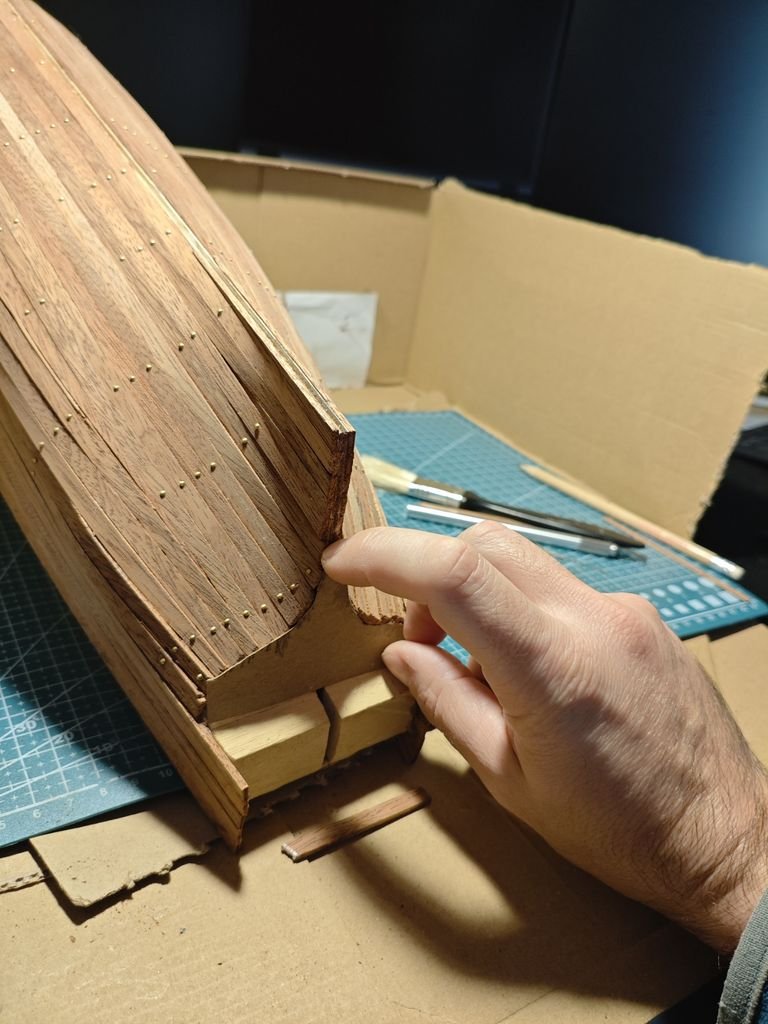
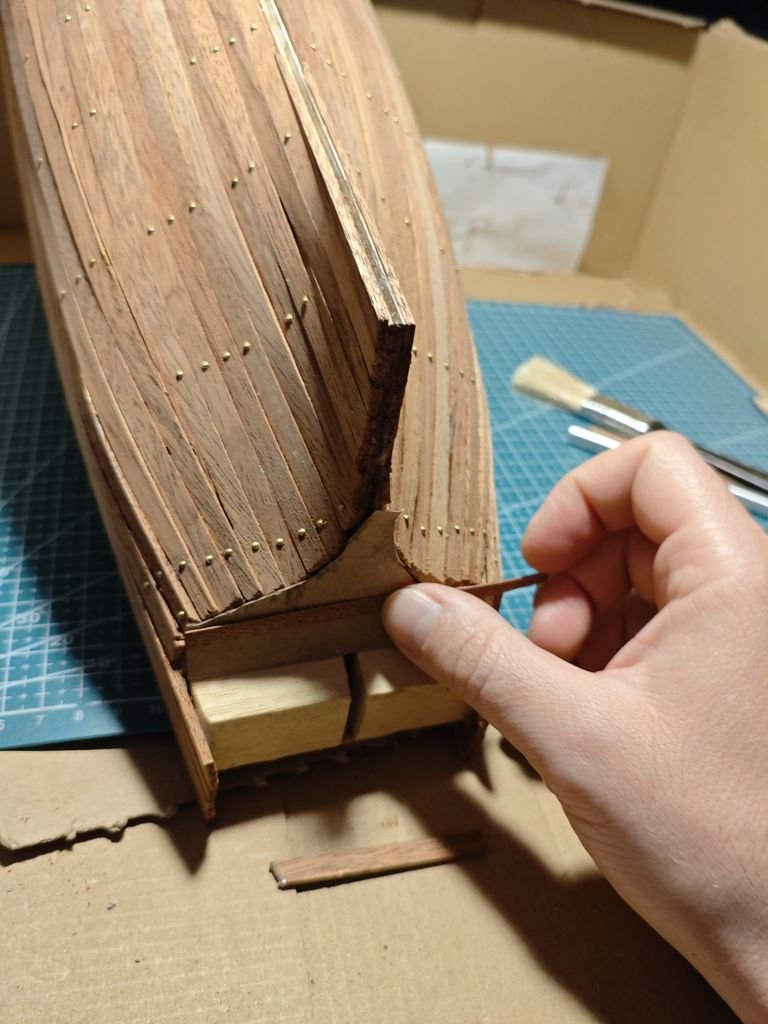
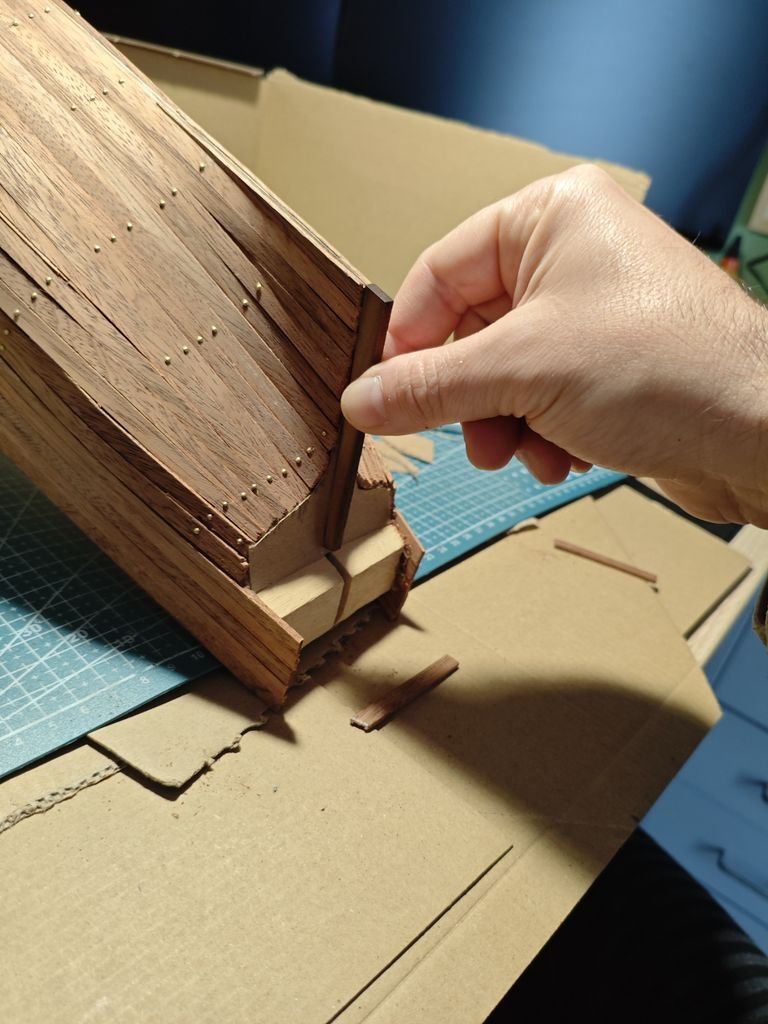
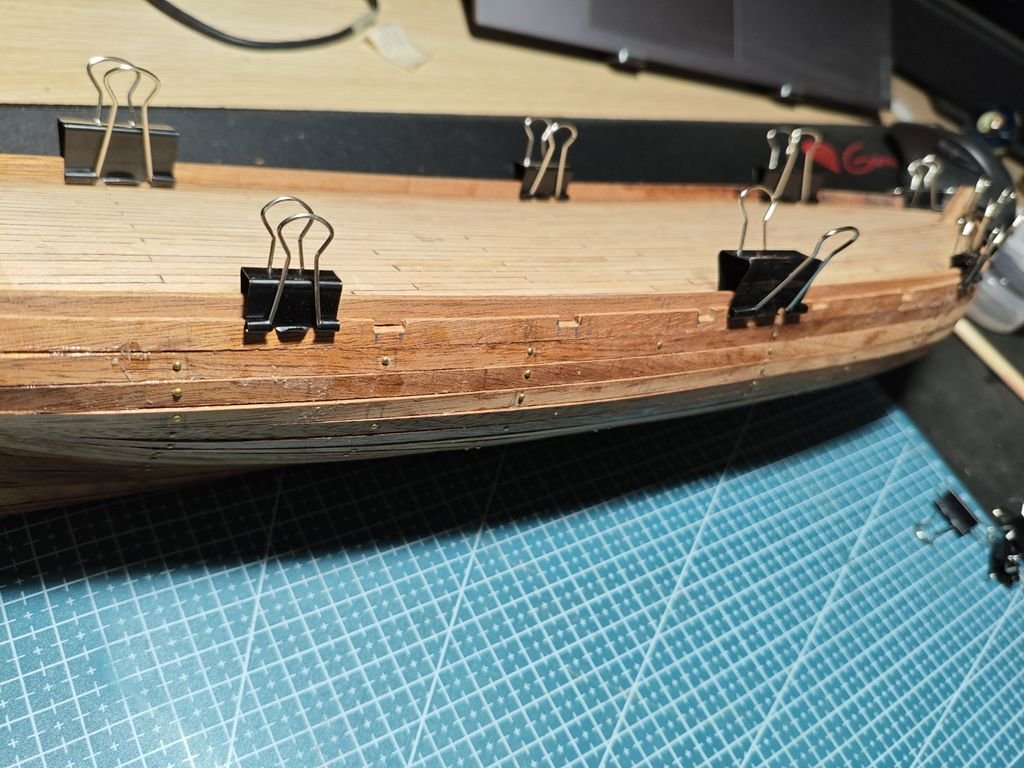
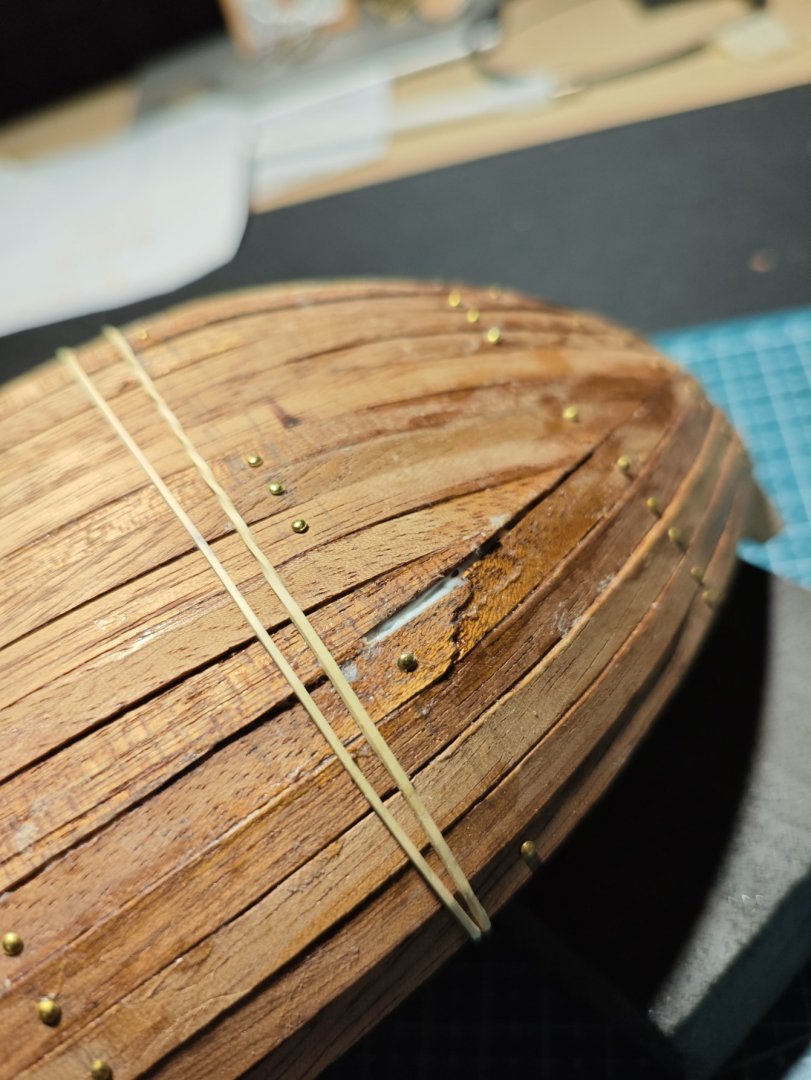
Hello again ! While i was planking, i knew i ll have a problem on the stern. So i cut the planks like this All this time i was thinking to make a flat surface and plank it with the second layer palnks which are thinner. and then add the sternpost Is this a good idea or will make the hull look weird? I m afraid that using a file wont round it enough to look descent. Are there any other solutions which my inexperience make me not think?
-
Gregory reacted to a post in a topic:
Enterprise 1799 by daimosth - Constructo - 1:51
-
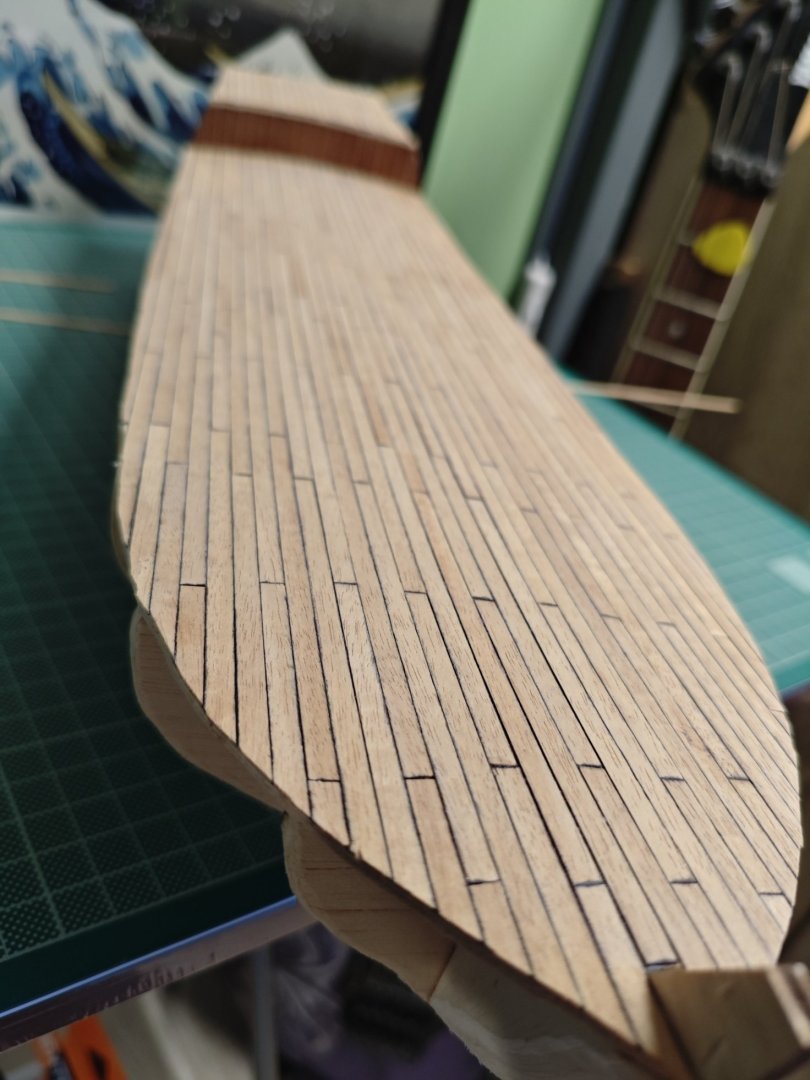
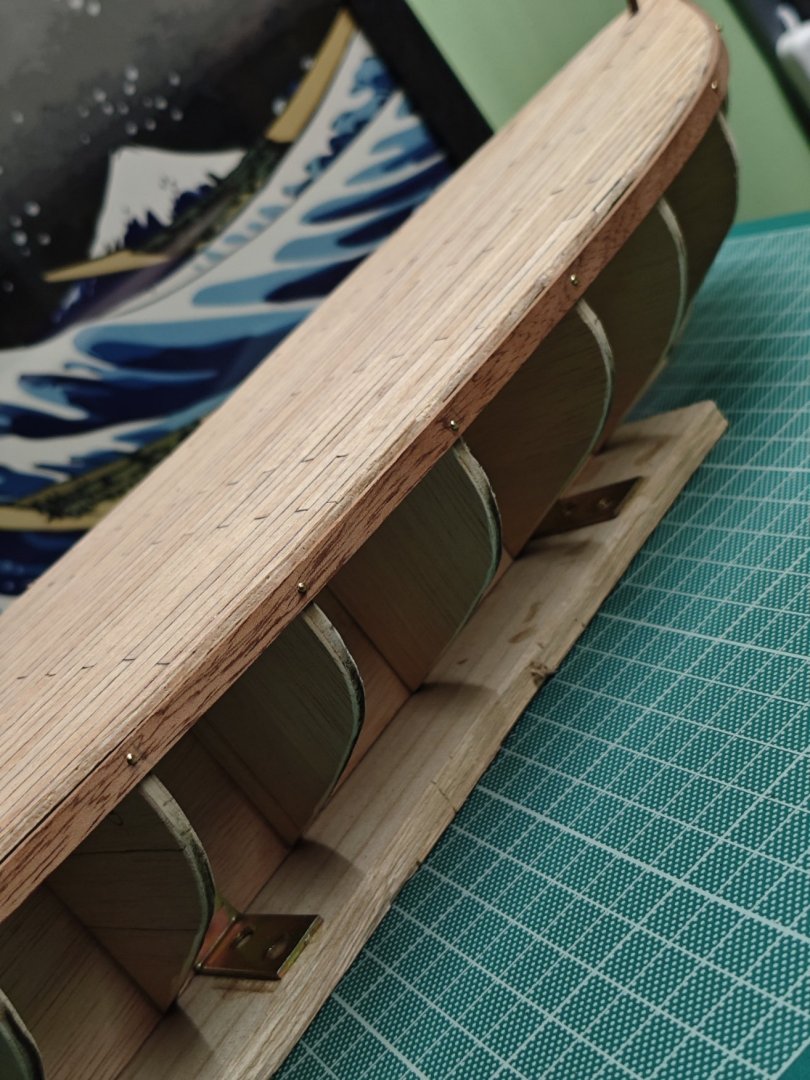
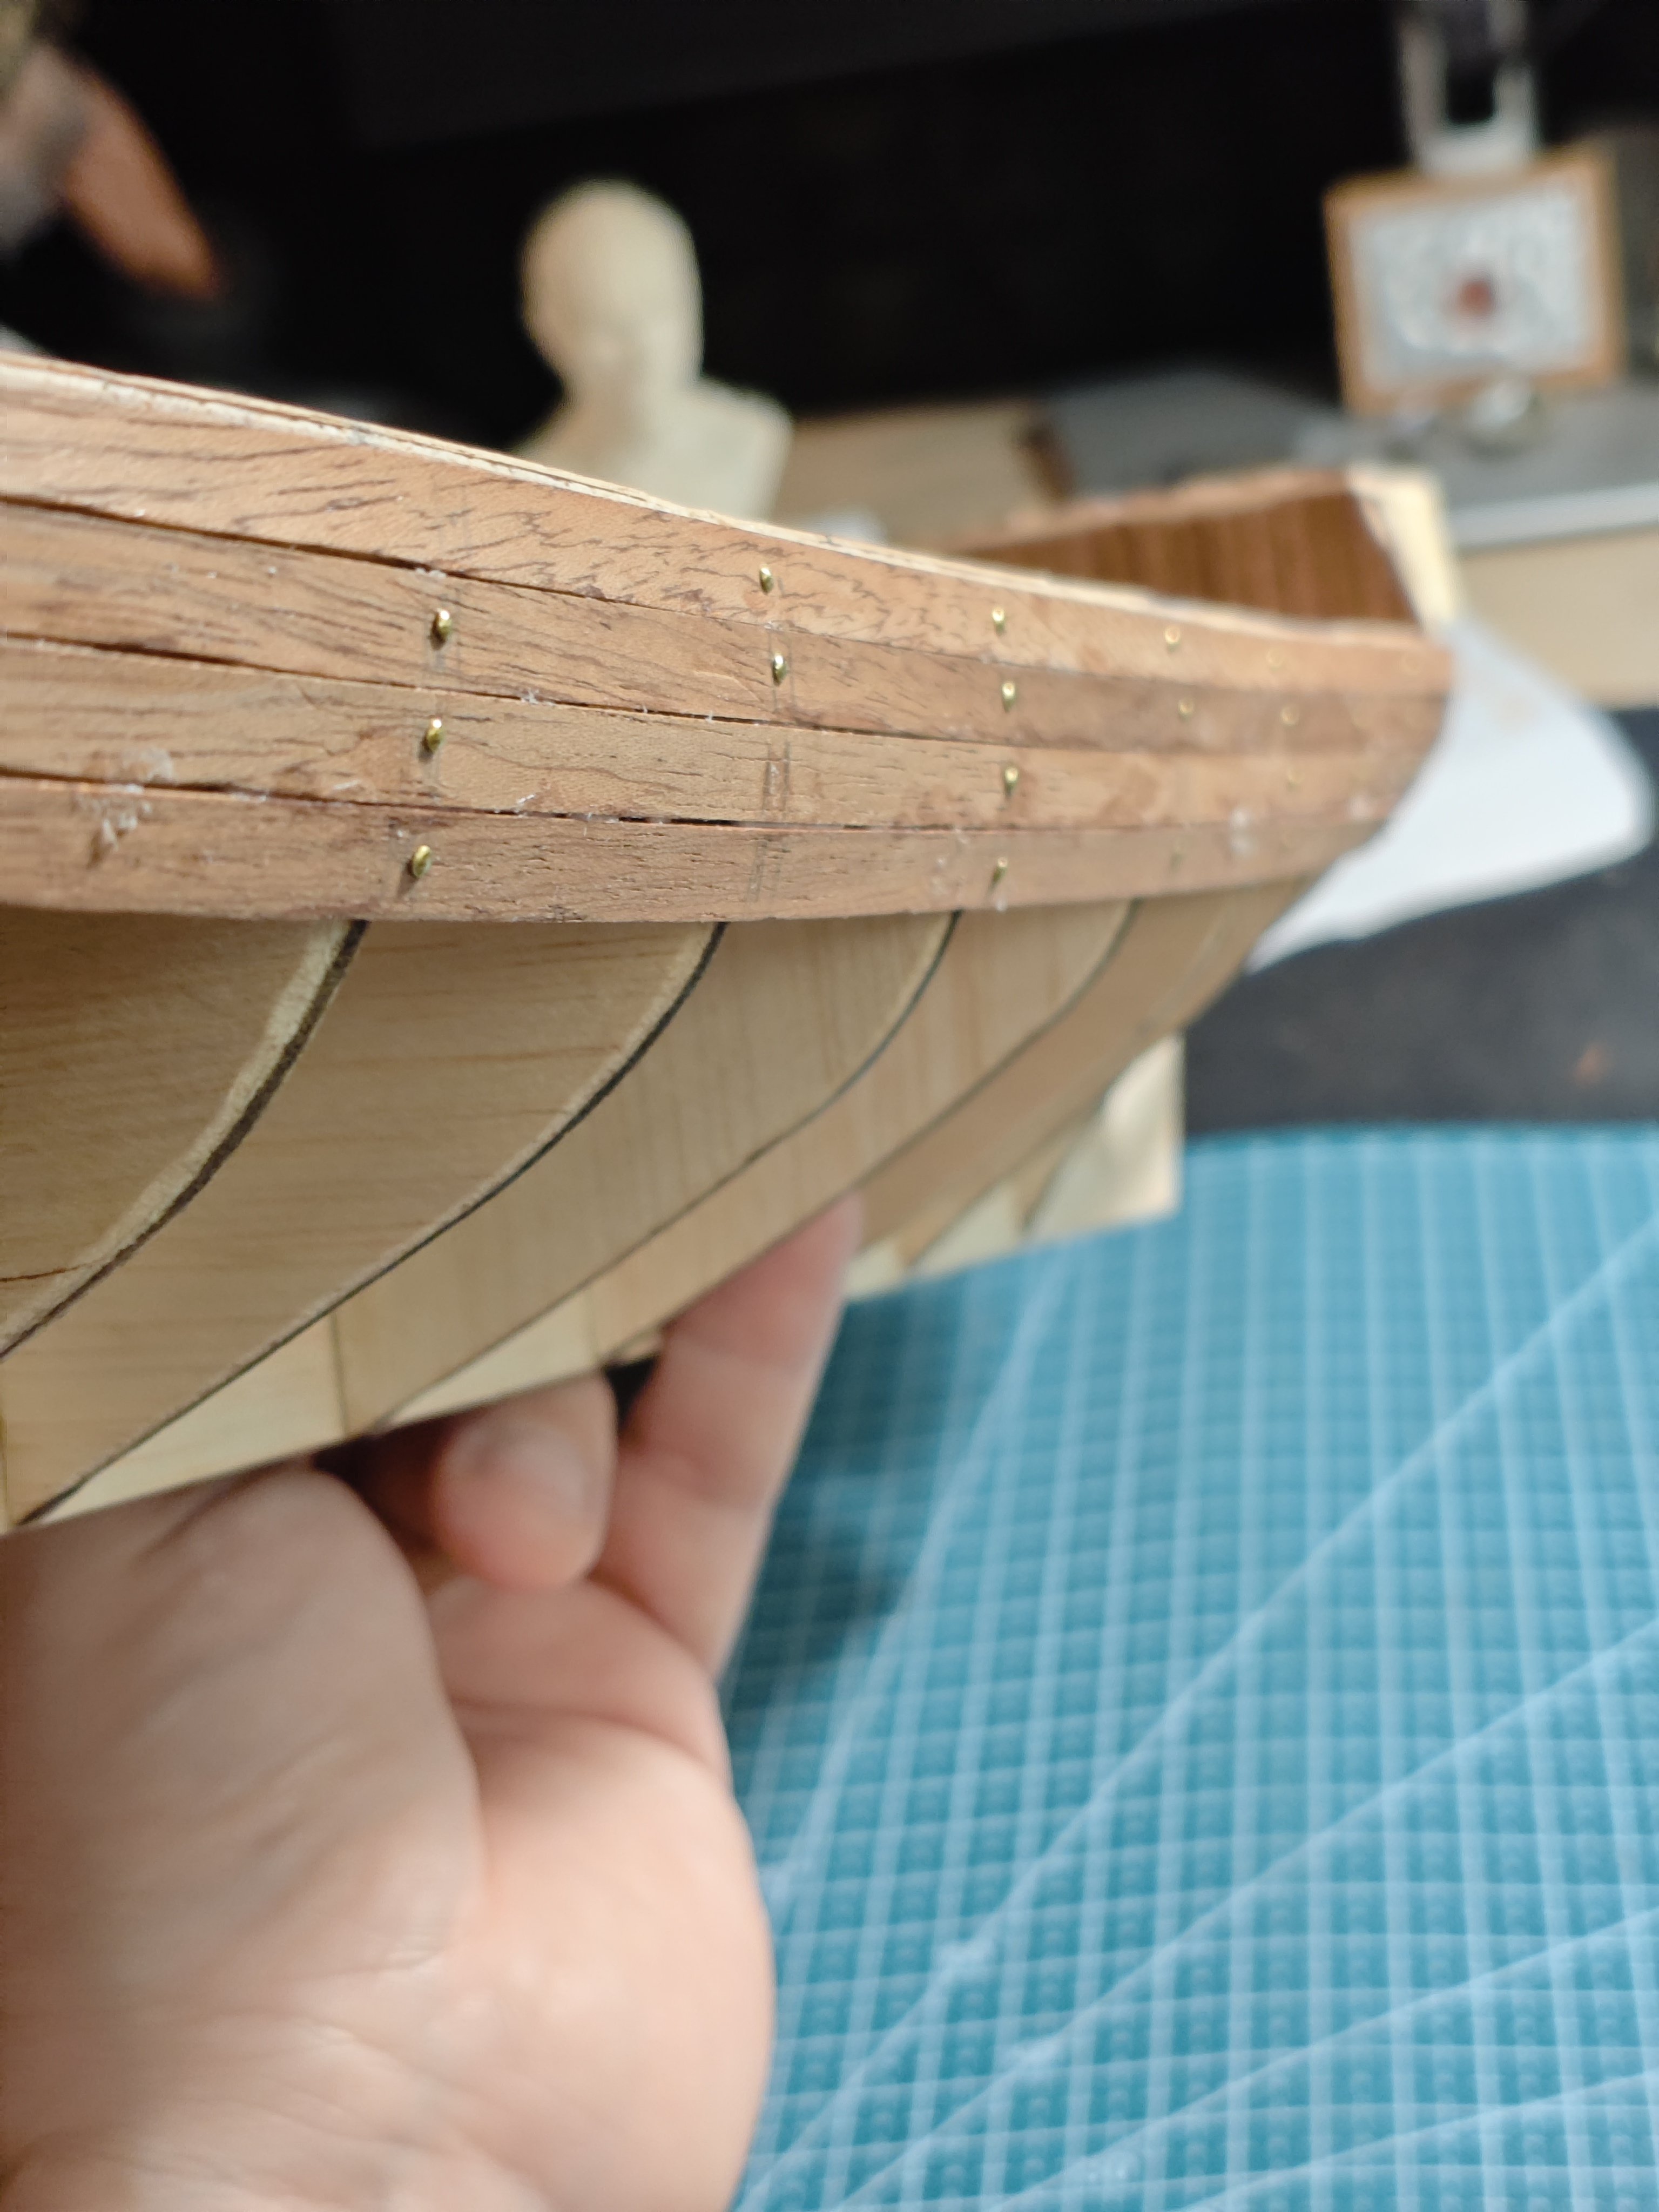
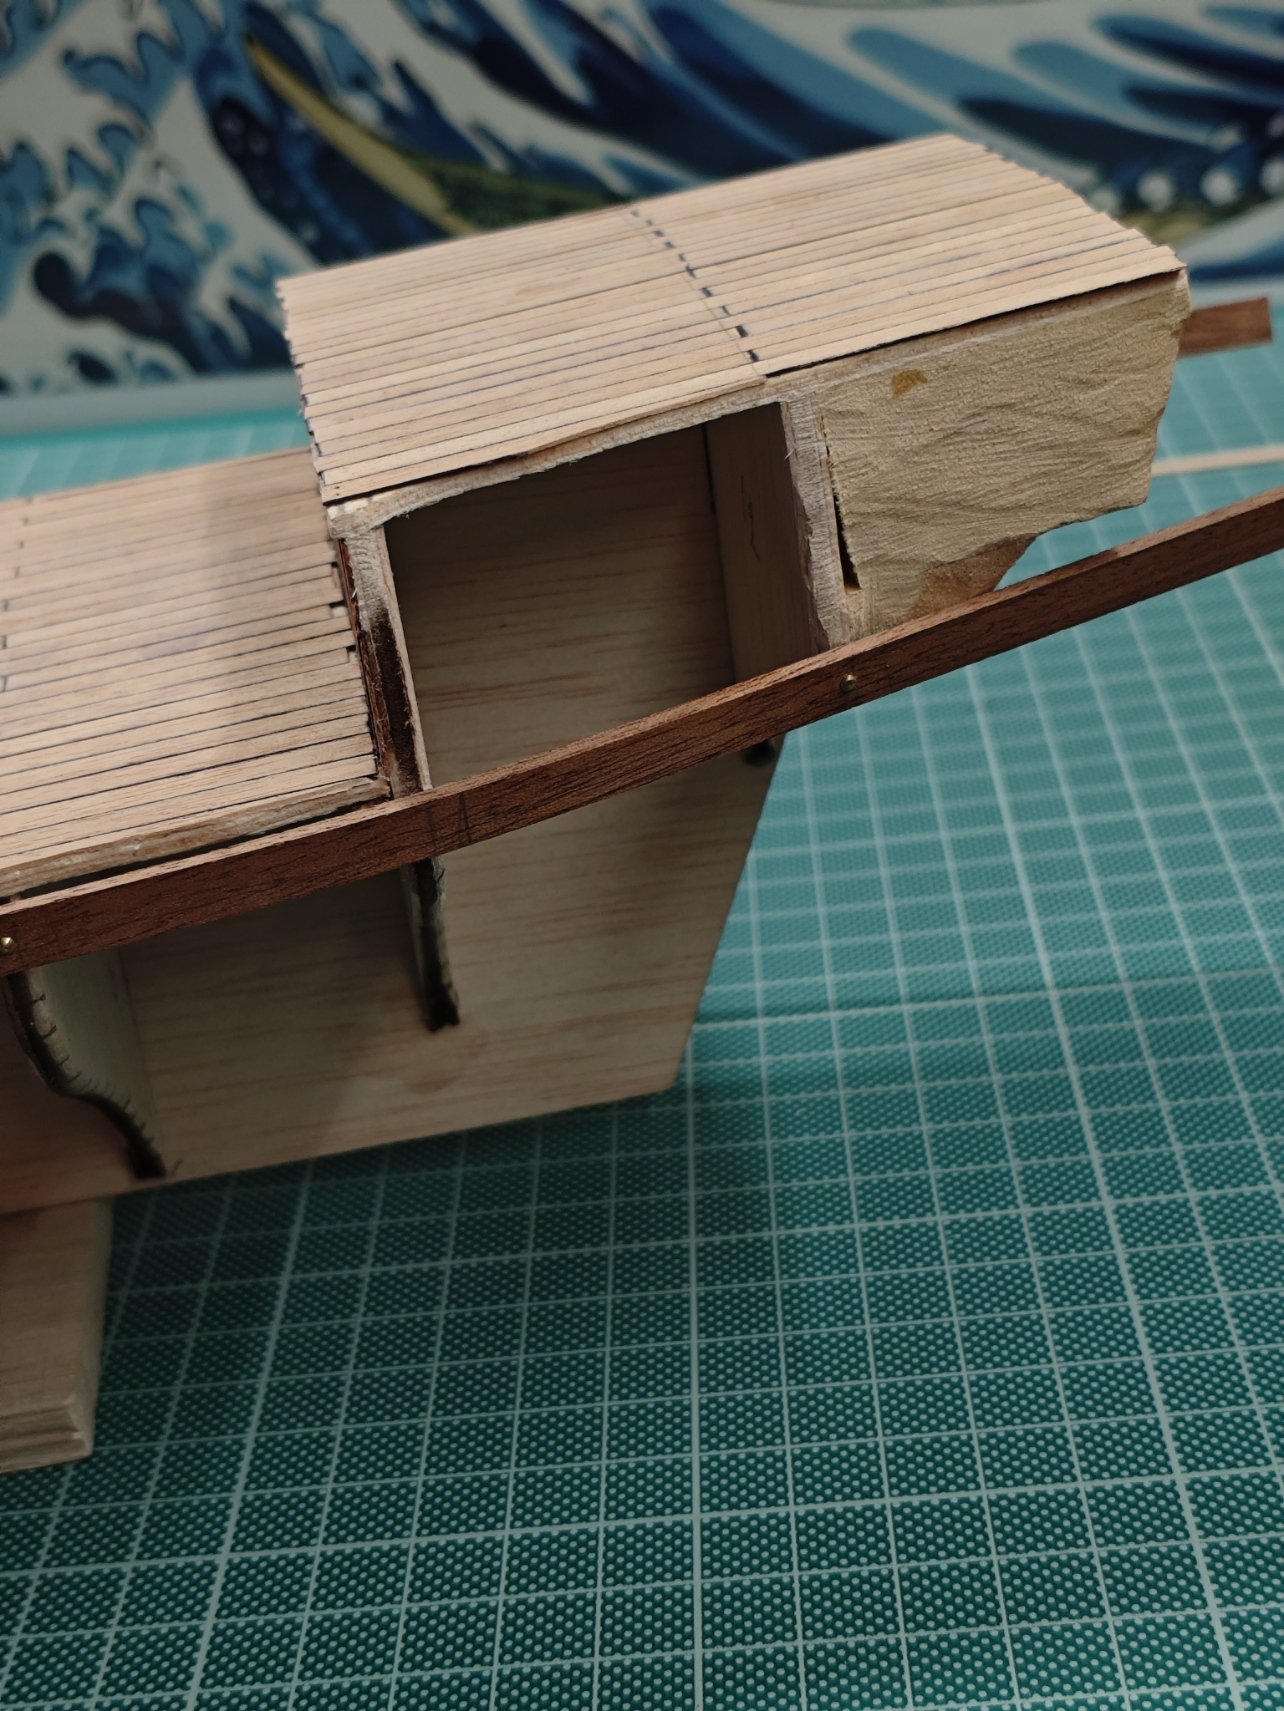
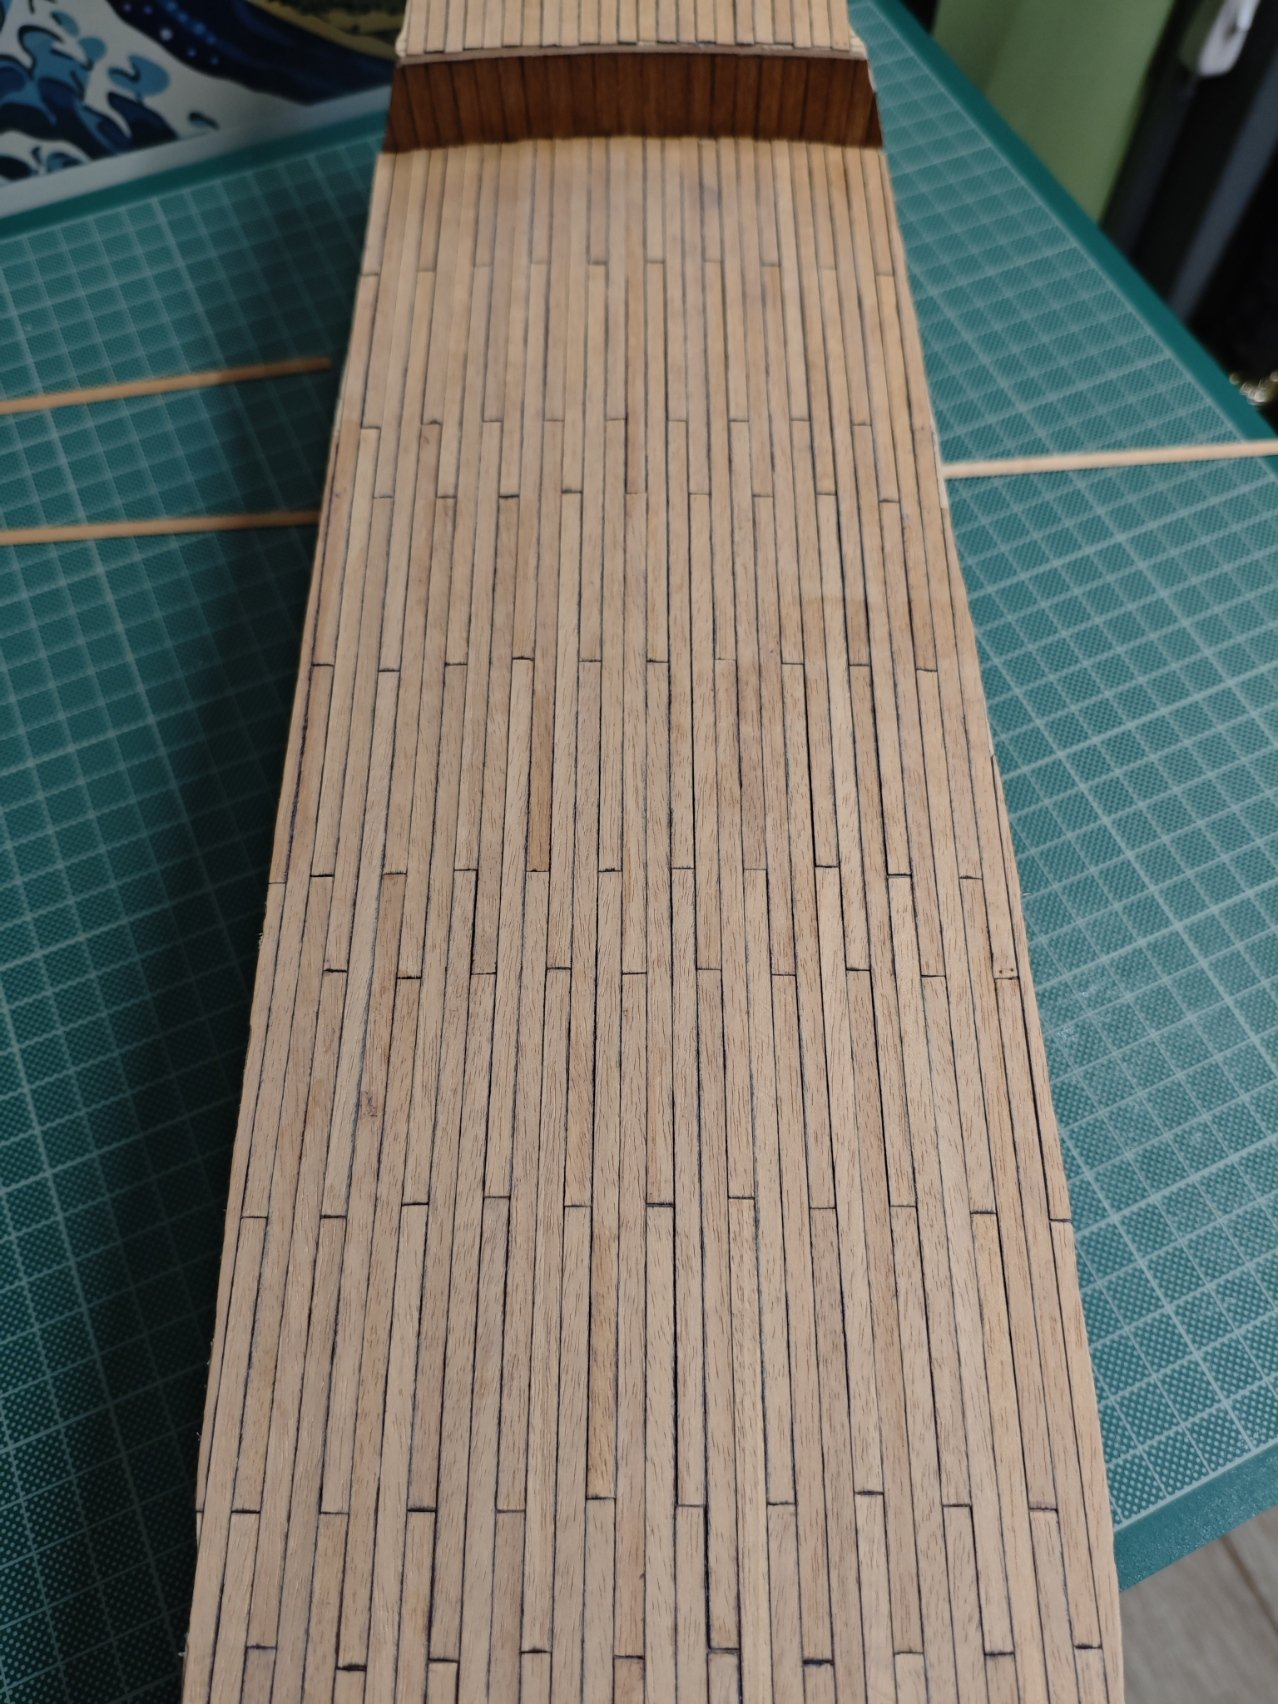
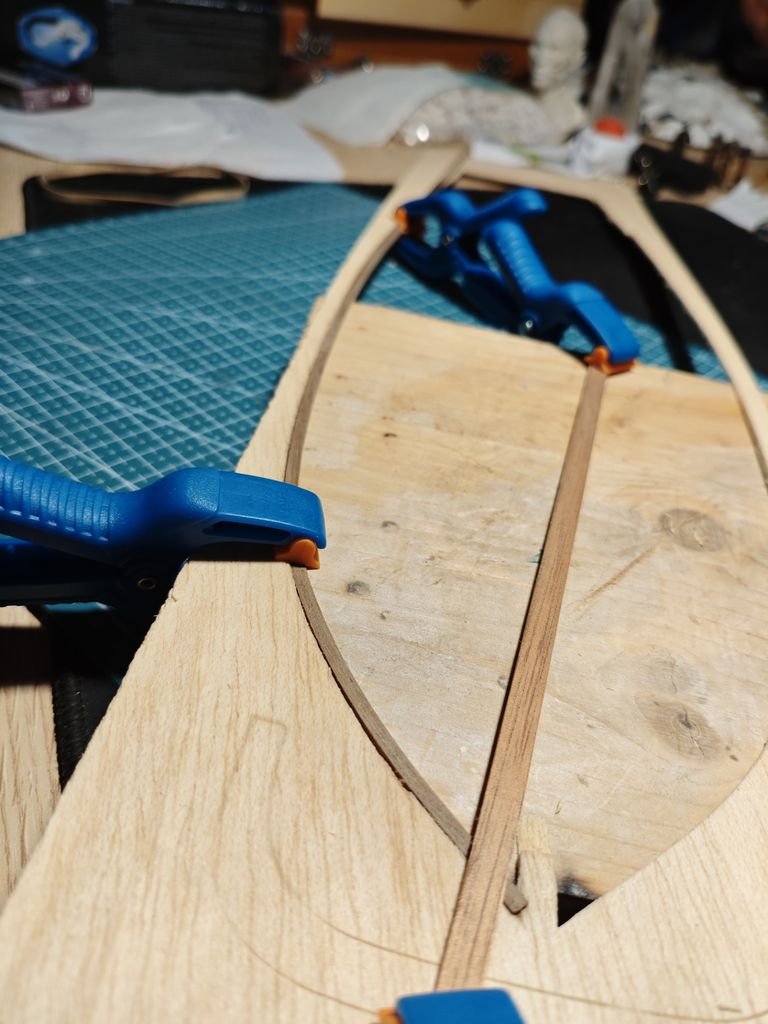
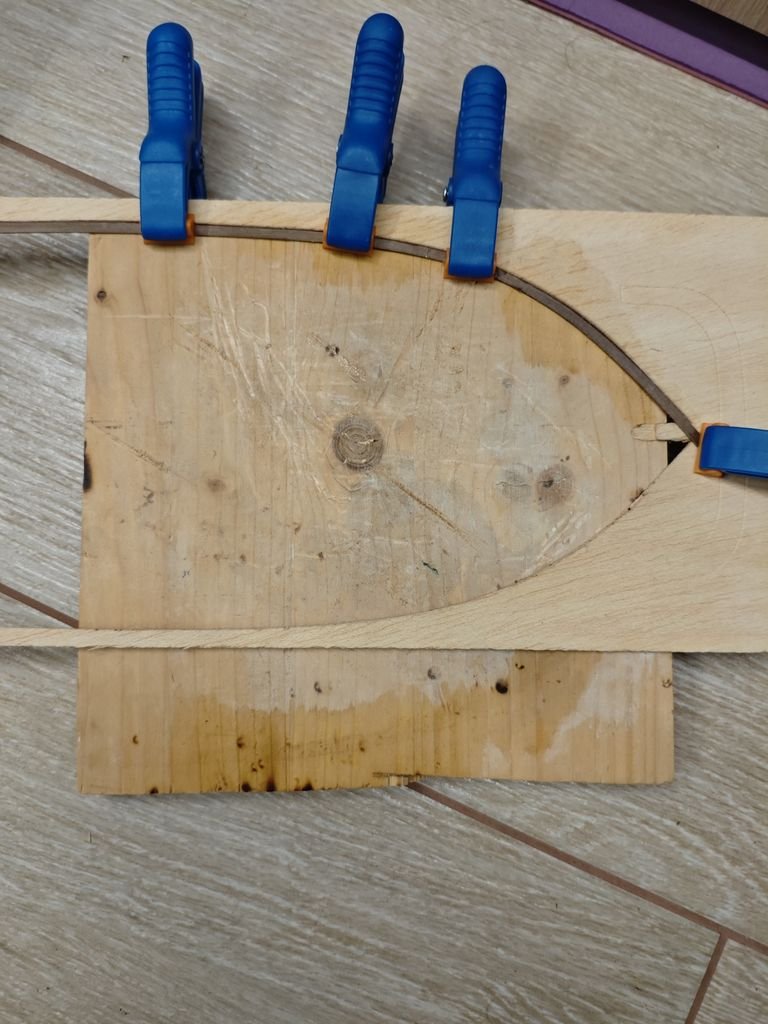
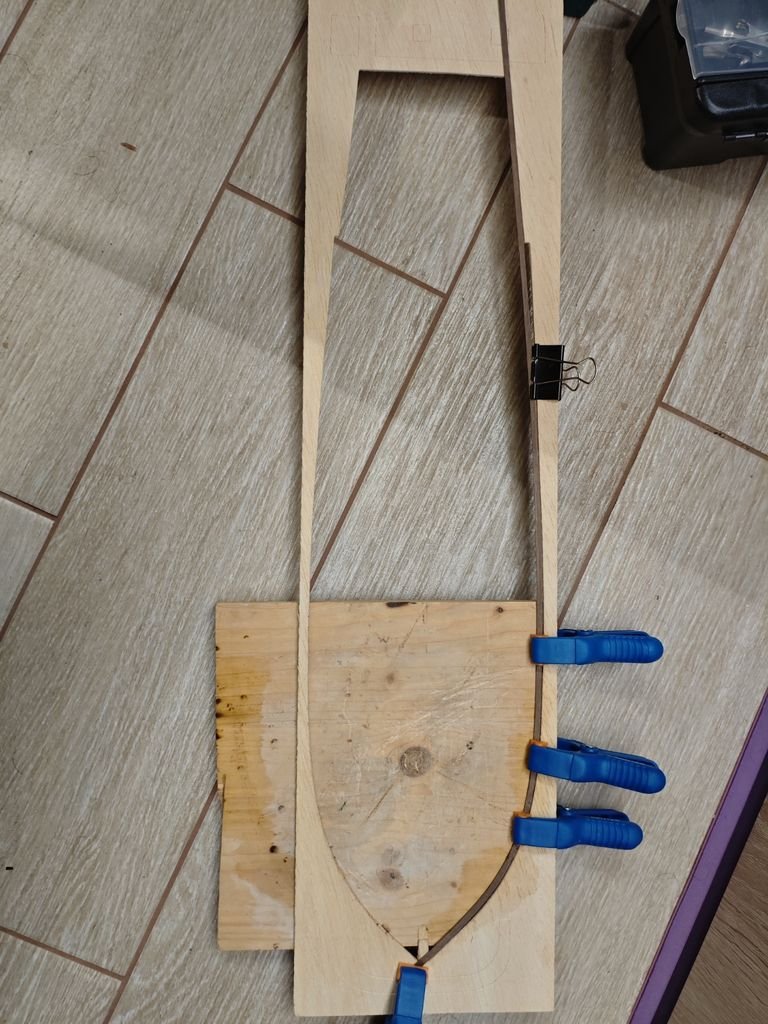
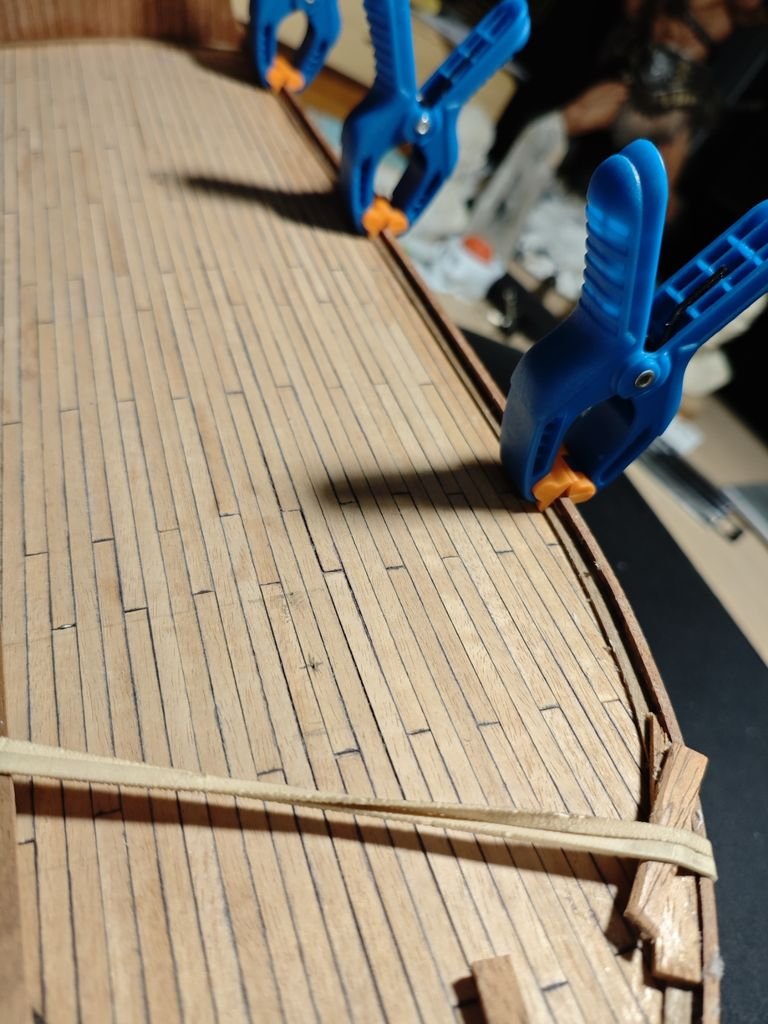
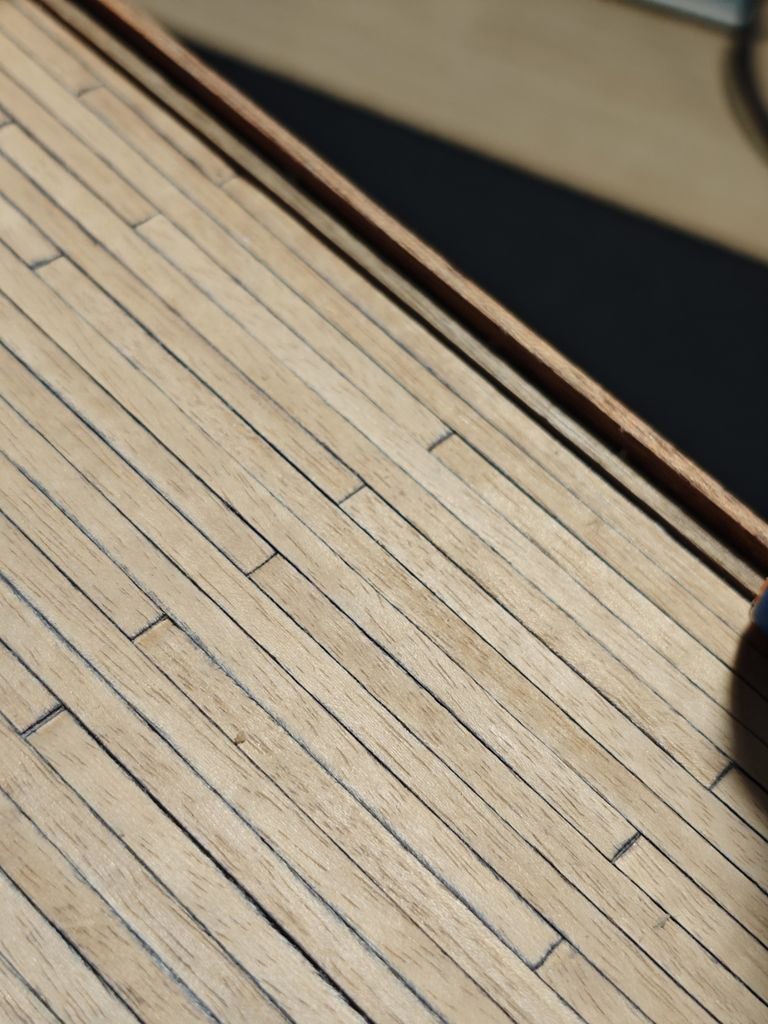
First planking is almost done Then it was time, according to the instructions booklet, to add the waterways. I ve used the board provided where the false deck was, to bend it exactly to the curve. Making the plank wet, bending it on the board and letting it dry while secured, worked really well. When it was totally dry, it was easy to glue I ve marked and cut out the holes for the scuppers and continued adding the planks This is where i am now
-
Ryland Craze reacted to a post in a topic:
Enterprise 1799 by daimosth - Constructo - 1:51
-
Ryland Craze reacted to a post in a topic:
Enterprise 1799 by daimosth - Constructo - 1:51
-
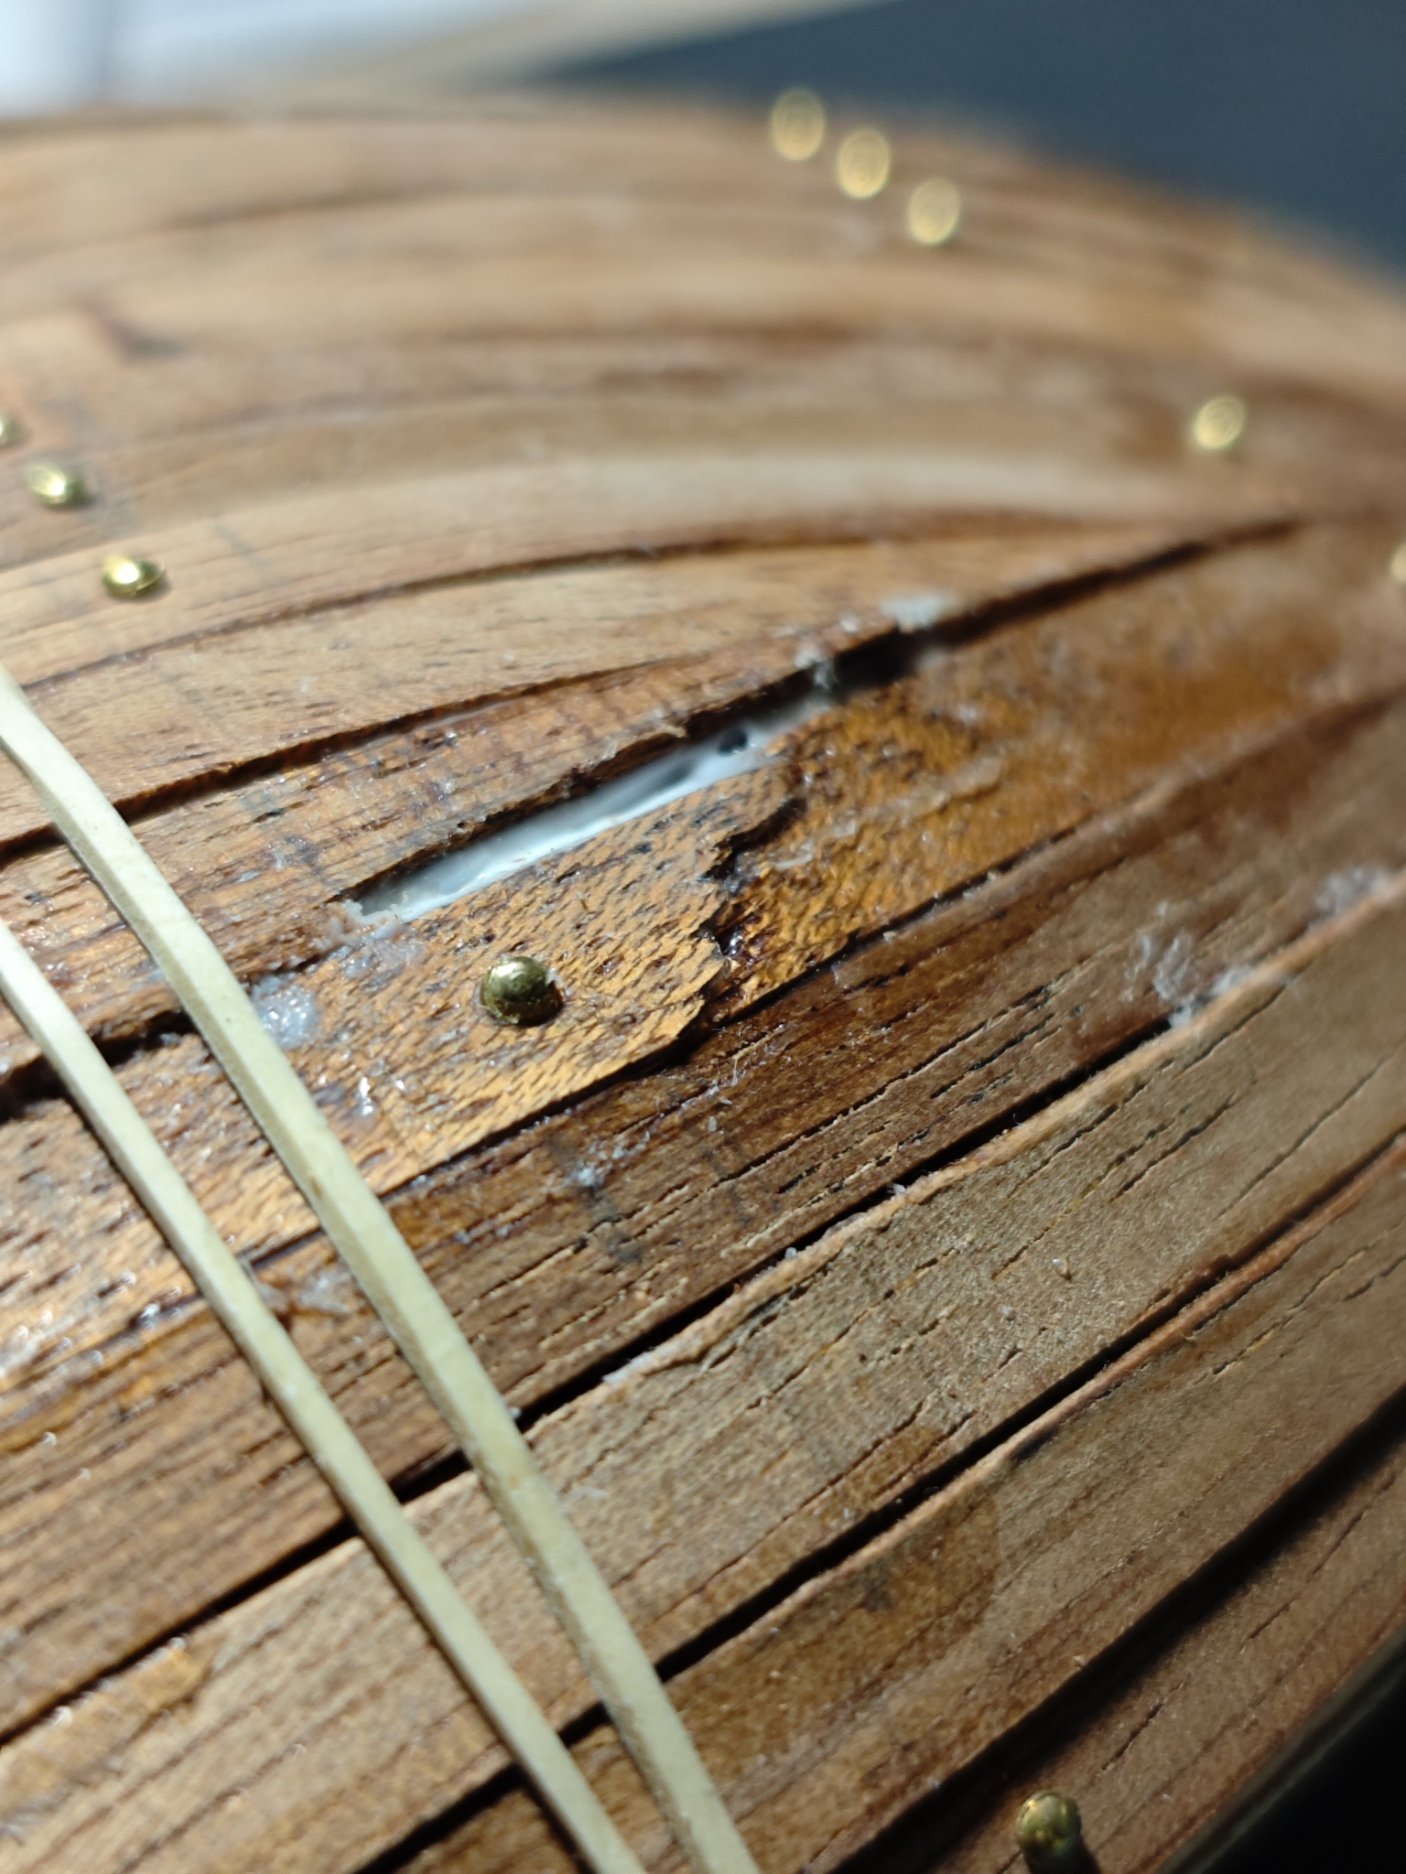
I had a bad break but decided to leave it and hopefully will fix it when sanding Still have the other side to do...


-
The happiness of adding the last plank


-
ccoyle reacted to a post in a topic:
Enterprise 1799 by daimosth - Constructo - 1:51
-
ccoyle reacted to a post in a topic:
Enterprise 1799 by daimosth - Constructo - 1:51
-
Ryland Craze reacted to a post in a topic:
Enterprise 1799 by daimosth - Constructo - 1:51
-
A few more planks added...


-
woodartist reacted to a post in a topic:
Enterprise 1799 by daimosth - Constructo - 1:51
-
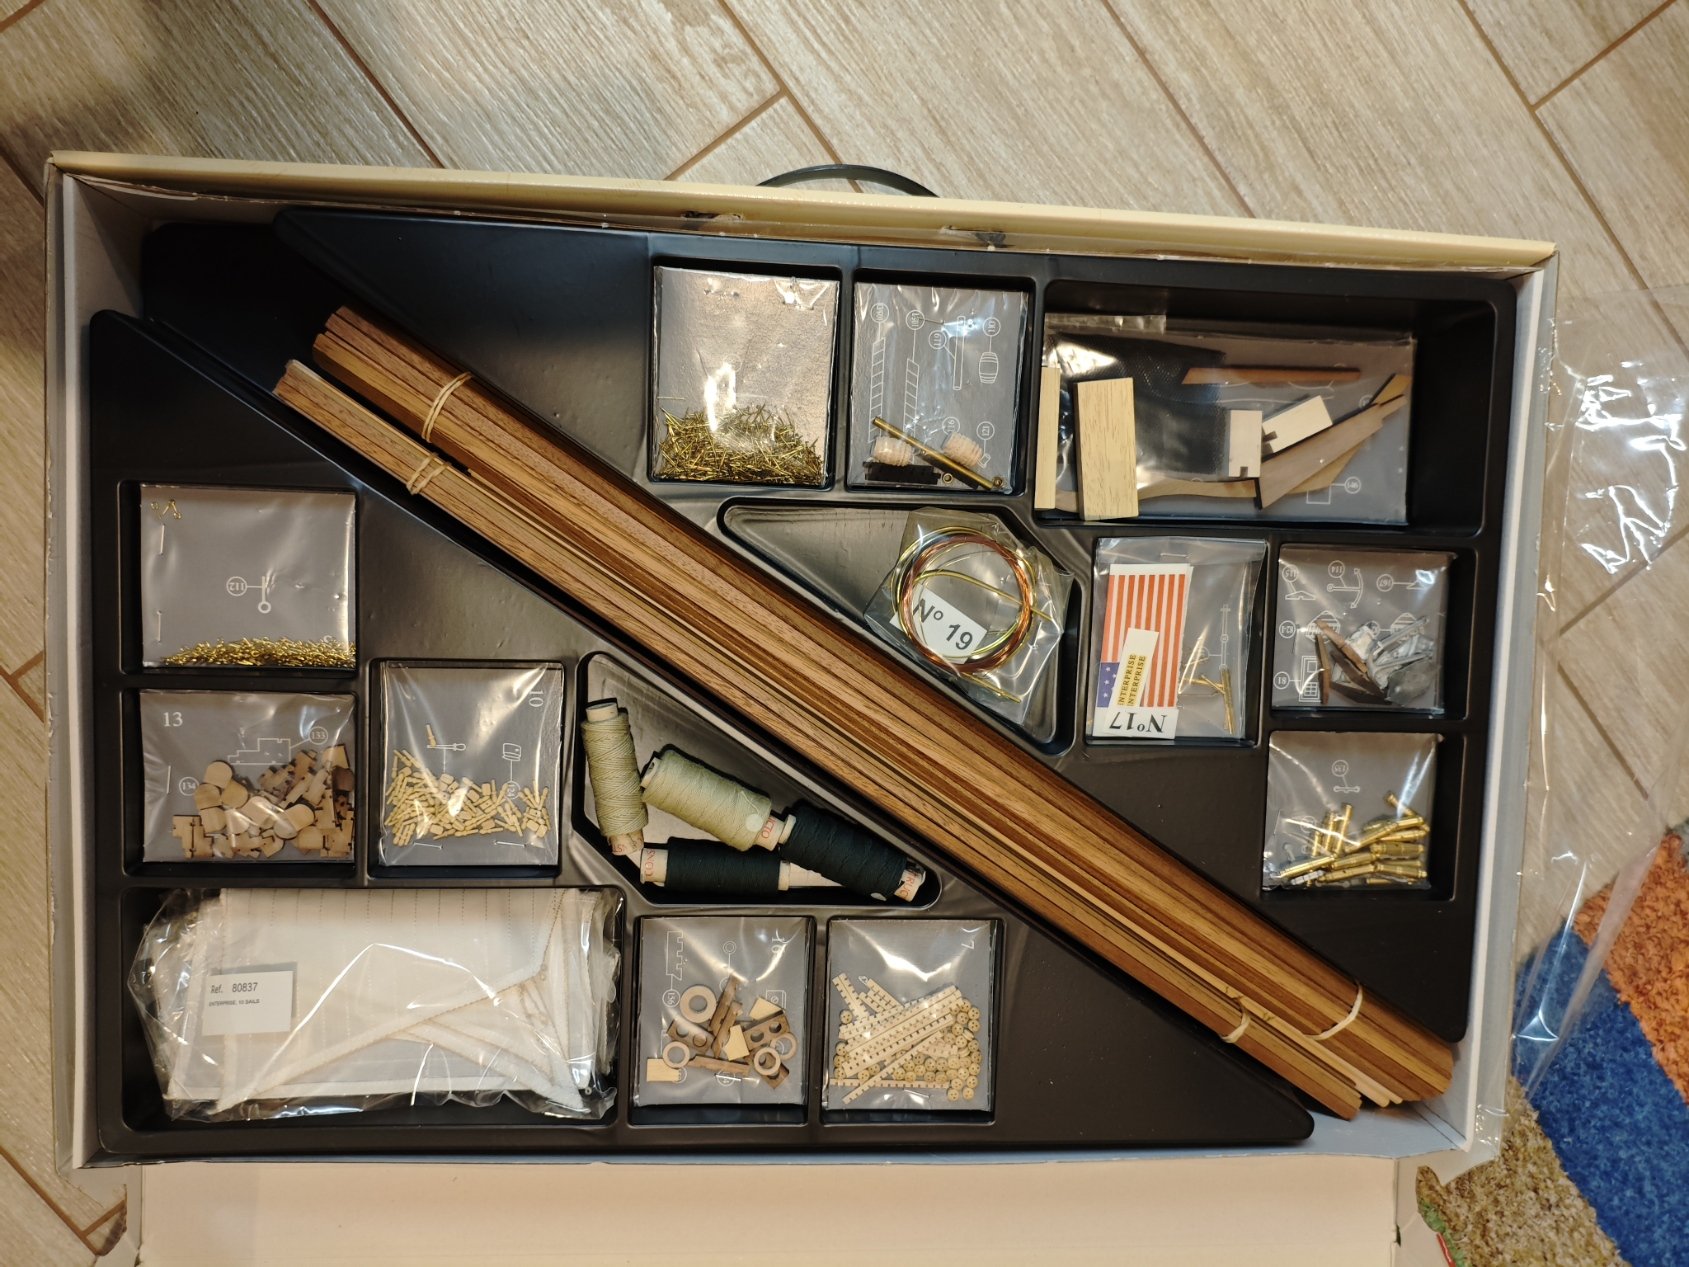
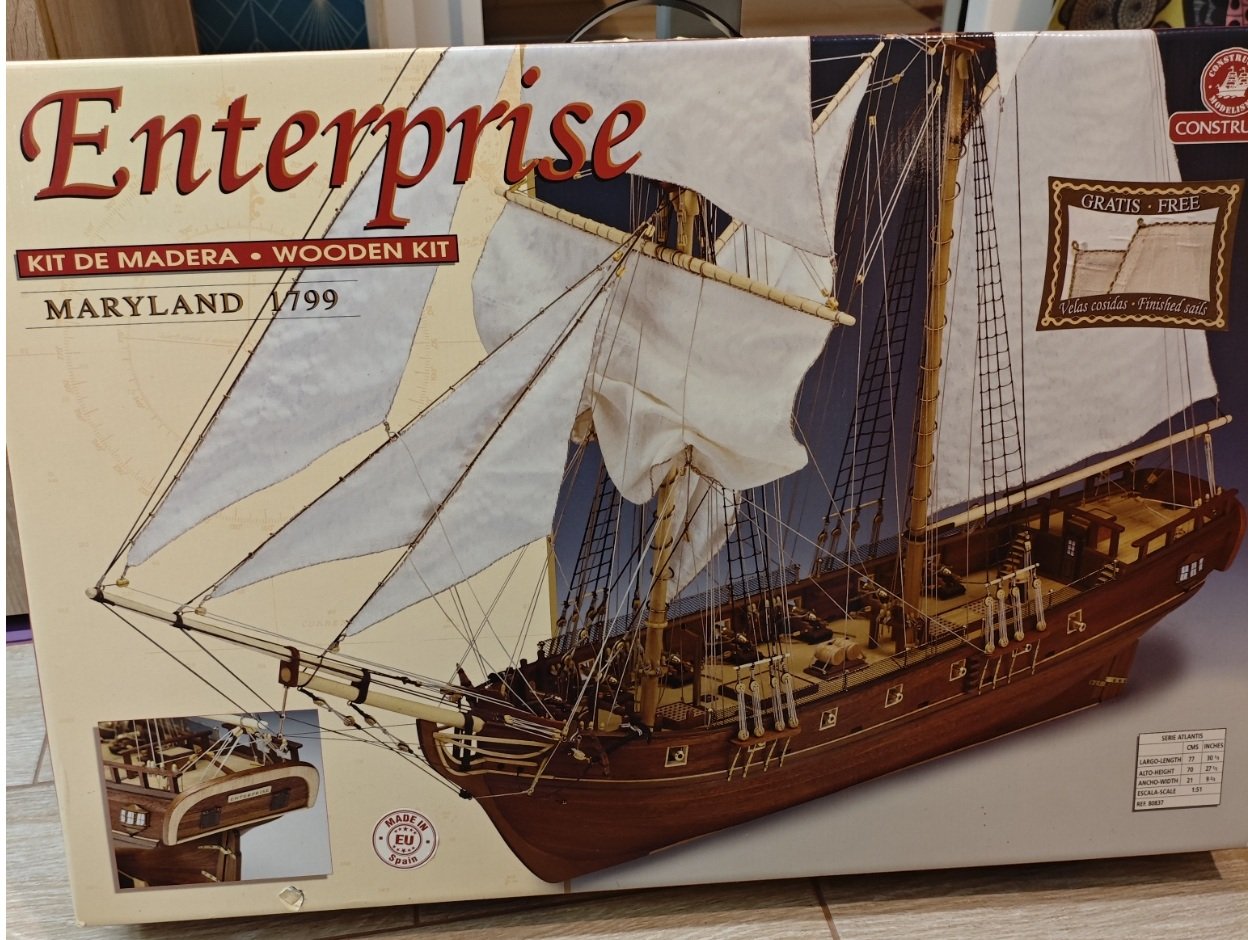
I forgot to upload a photo of the box and what is inside. So here it is

-
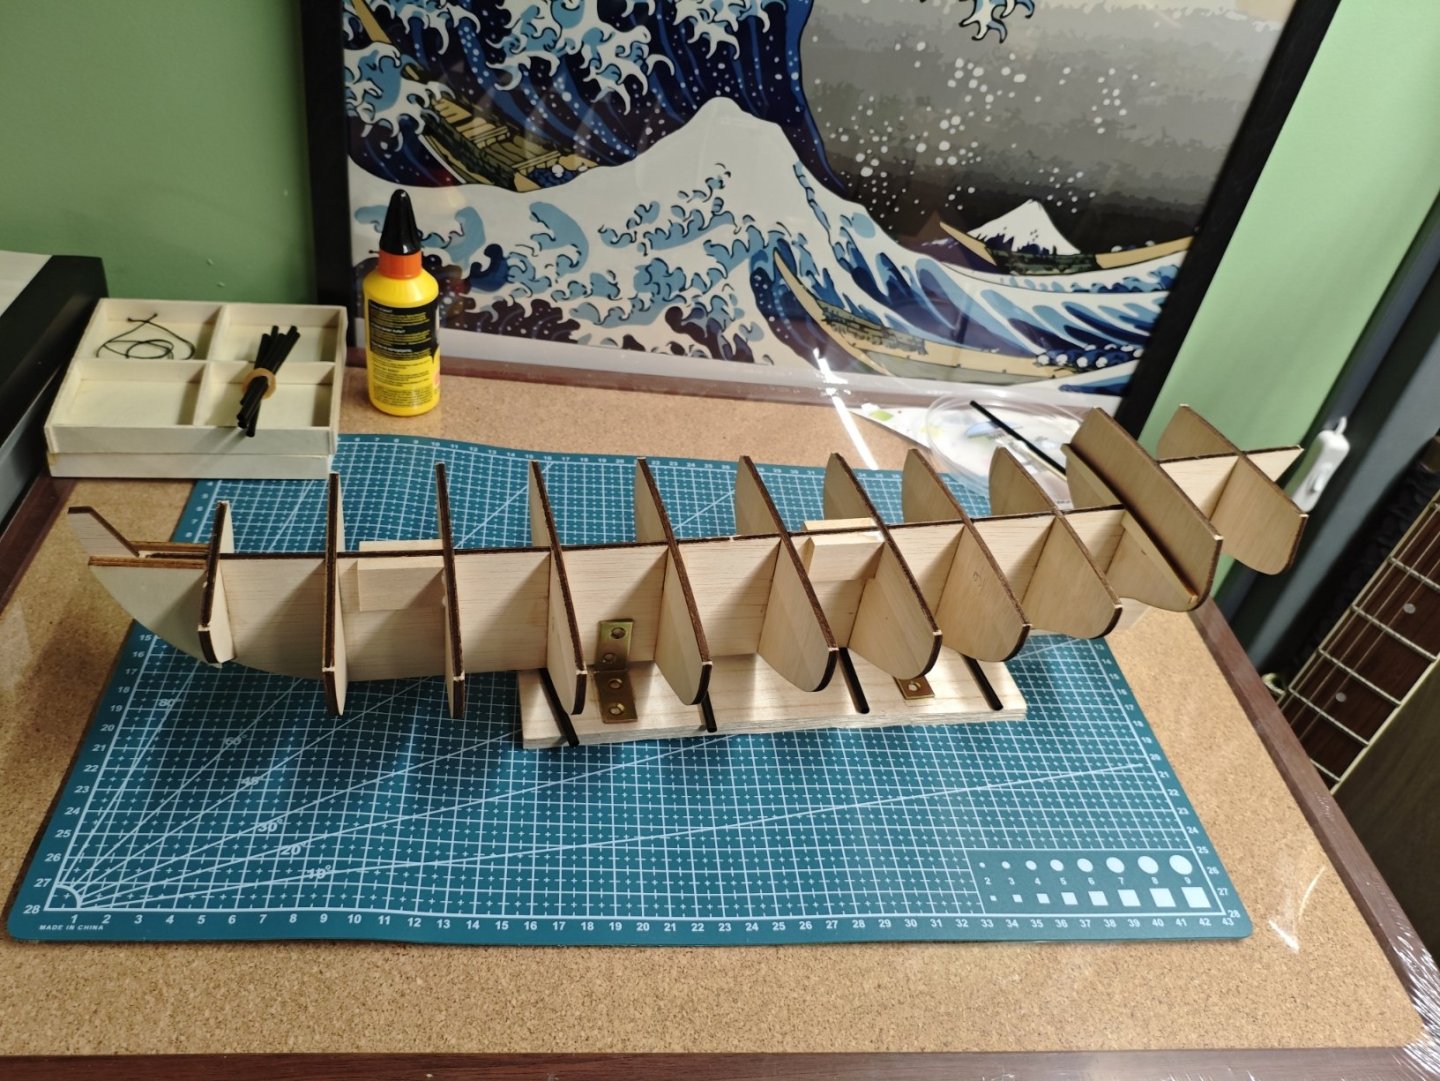
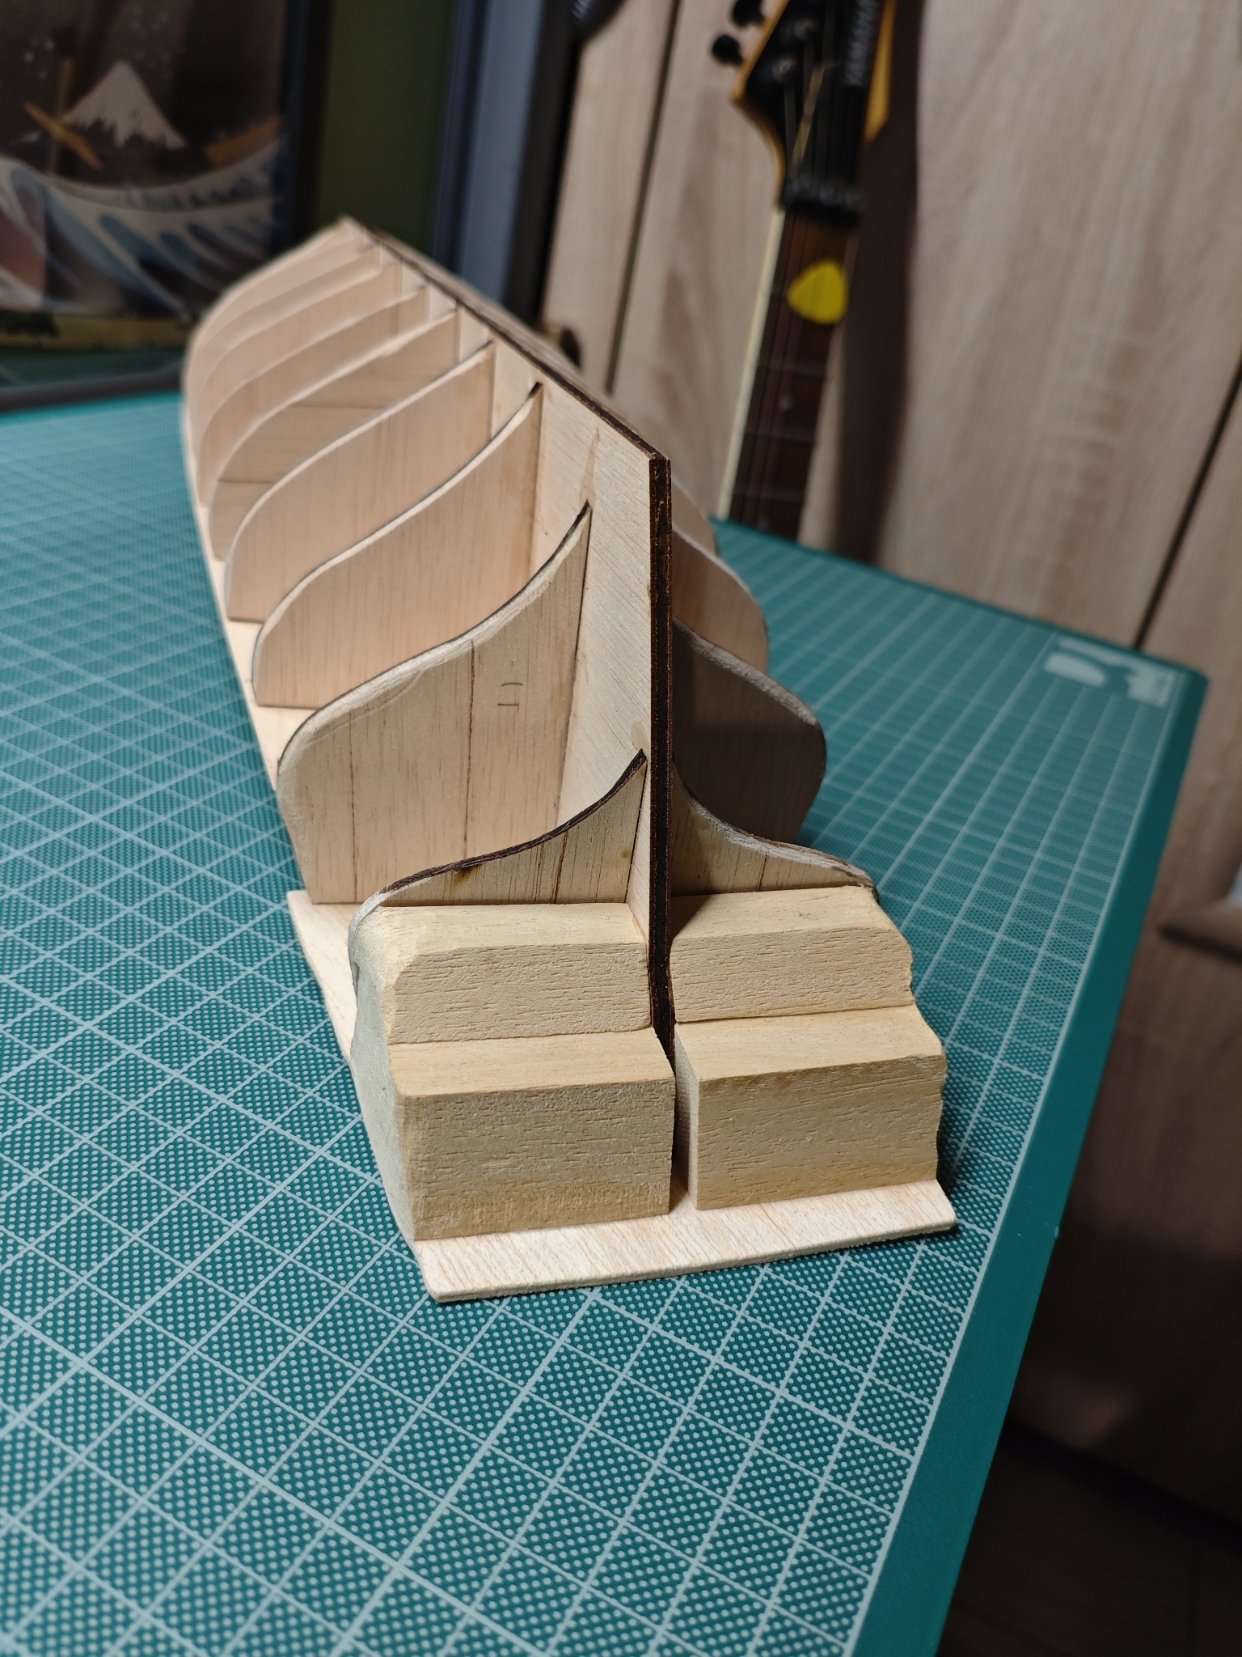
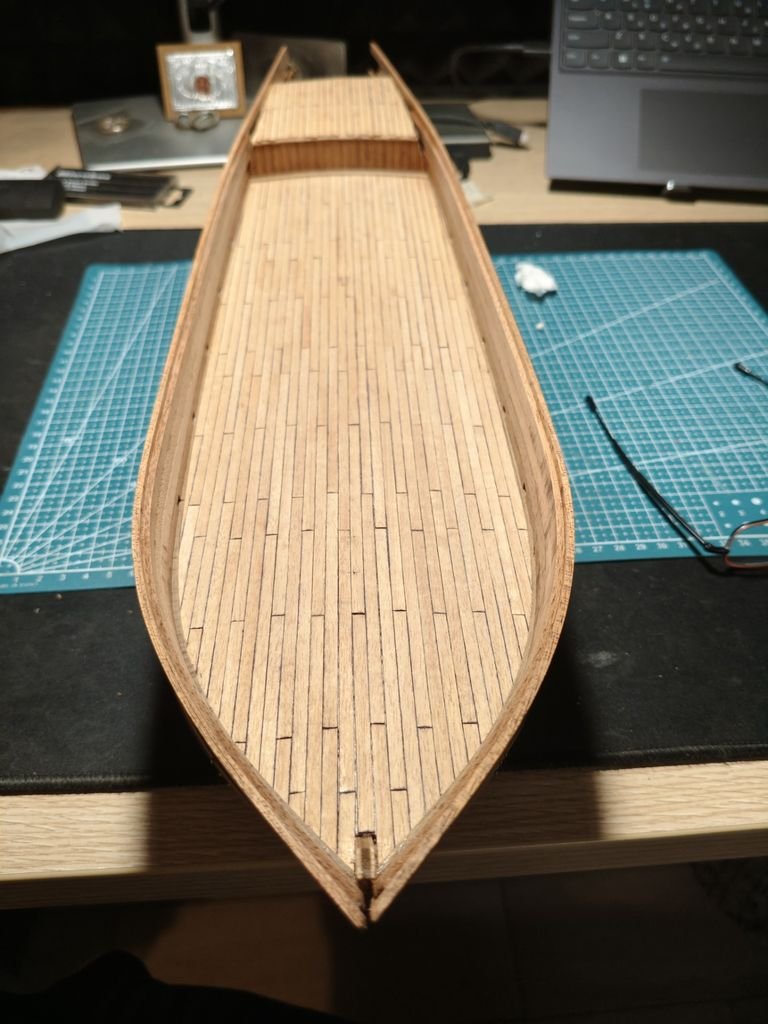
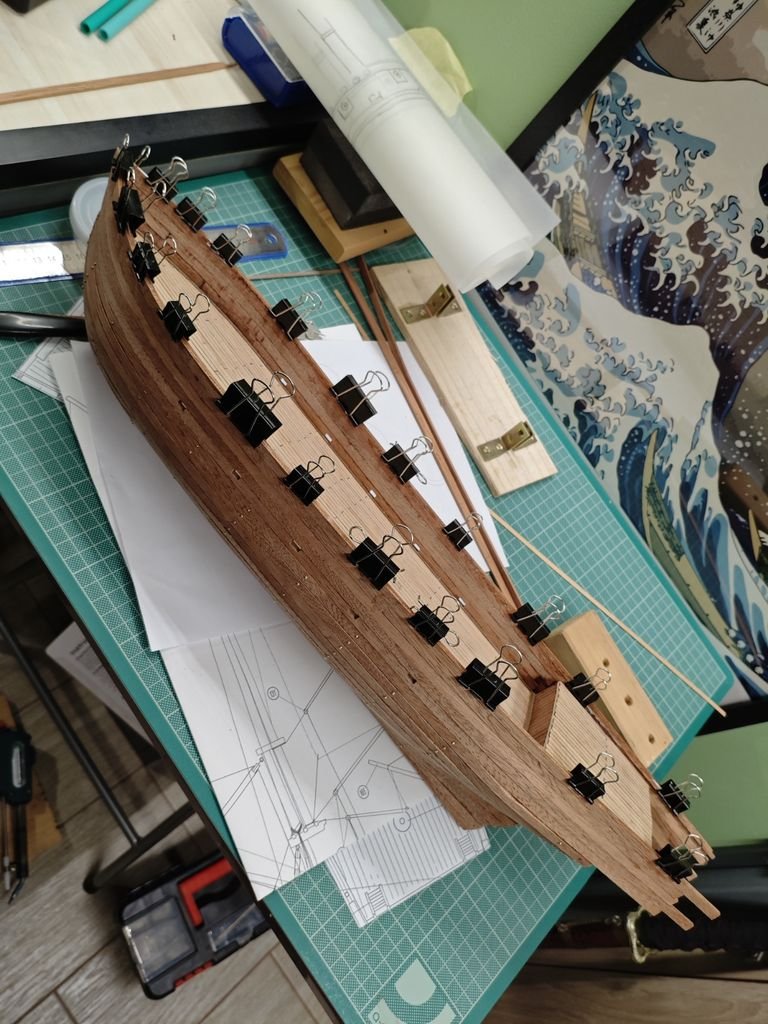
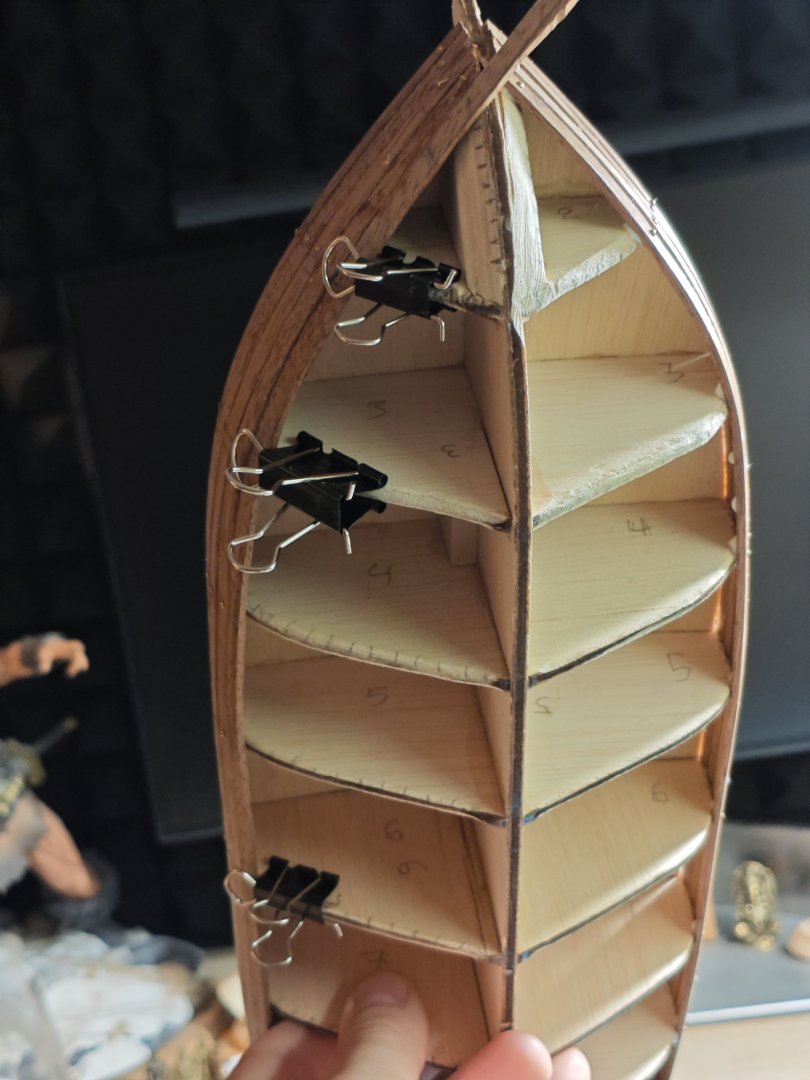
Good evening everyone I am new here, and the reason I found this forum was the purchase of the Enterprise 1799 kit by Constructo. Looking at the instructions manual, I realized it is not for beginners, and so, searching on the internet, I found this site. I ve seen other great build logs on Enterprise and decided to start my own. I ve learned a lot that without this forum would be impossible for a novice like me. I m still in the early stages so Weigh anchor! The very beginning... Next the false deck Bit of smoothing Next i planked the deck So.. right now i m in the part that scares me a bit. Planking the hull. Today i put my very first planks I m now trying to figure out what i shall do with the planks on the stern. I still dont understand where they should stop and and if i have to trim and smooth a bit more. So back to searching... Thank you all for your time