
Paul White
-
Posts
39 -
Joined
-
Last visited
Content Type
Profiles
Forums
Gallery
Events
Everything posted by Paul White
-
 After a couple of weeks the hull is closed with the first planking. Not entirely happy with everything that happened but I have learned a lot along the way. Possibly a bit more sanding to do but then we press on with the second planking!

-
Welcome aboard! I would recommend the Sherbourne as a first wooden model!
-
I can't really tell from your picture, and I am no expert myself by any means, but I don't think the bulkheads are supposed to sit square - rather the fairing process is meant to curve them fore and aft so that the planks make contact with the whole surface of the bulkhead despite the curving shape of the hull. But maybe that's what you've done, and I can't quite tell that from the picture.
- 35 replies
-
- 3
-

-
- Sherbourne
- Vanguard Models
- (and 1 more)
-
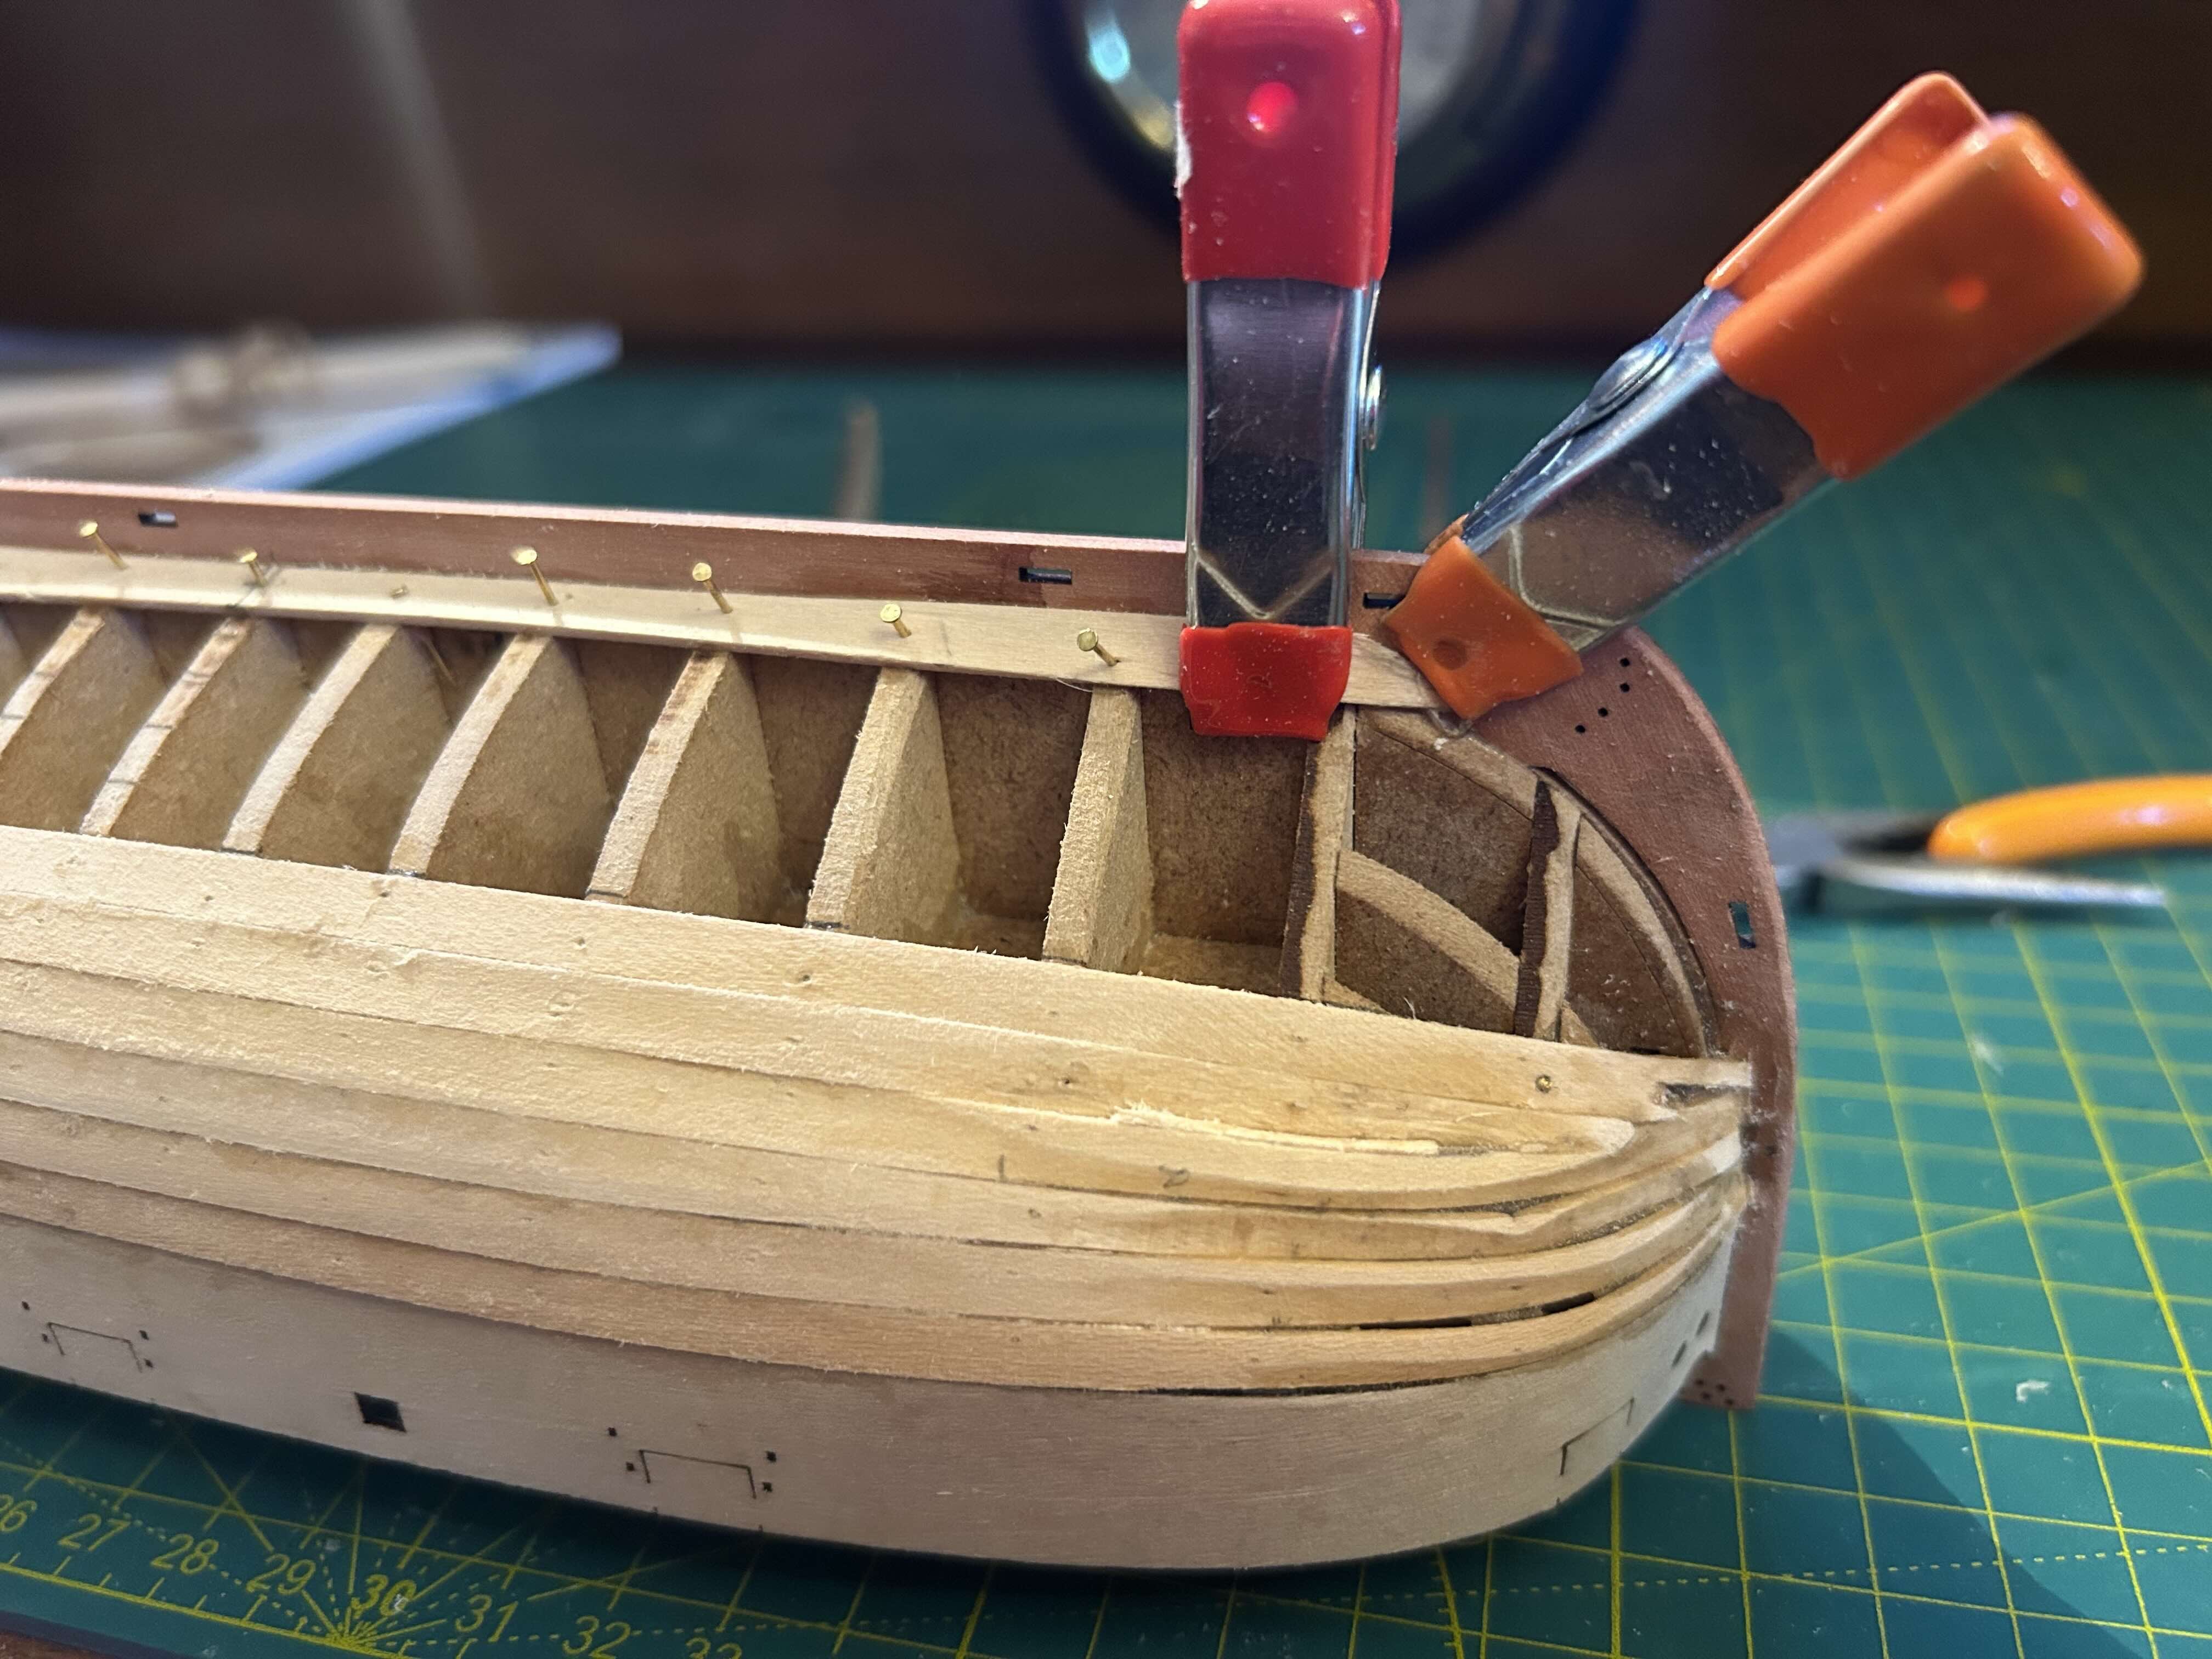
Today I put on the planks immediately above the garboard plank, allowing room at the stern for a stealer. The boat you can see just behind is a really bad boat which I found in an antique shop which I have stripped back, dyed the sail with tannin and will be re-rigging. However that won't be getting its own build log! It also means that I can play with a bit of rigging before I get there with the Sherbourne.

-
Thank you - I shall have a look at that.
-
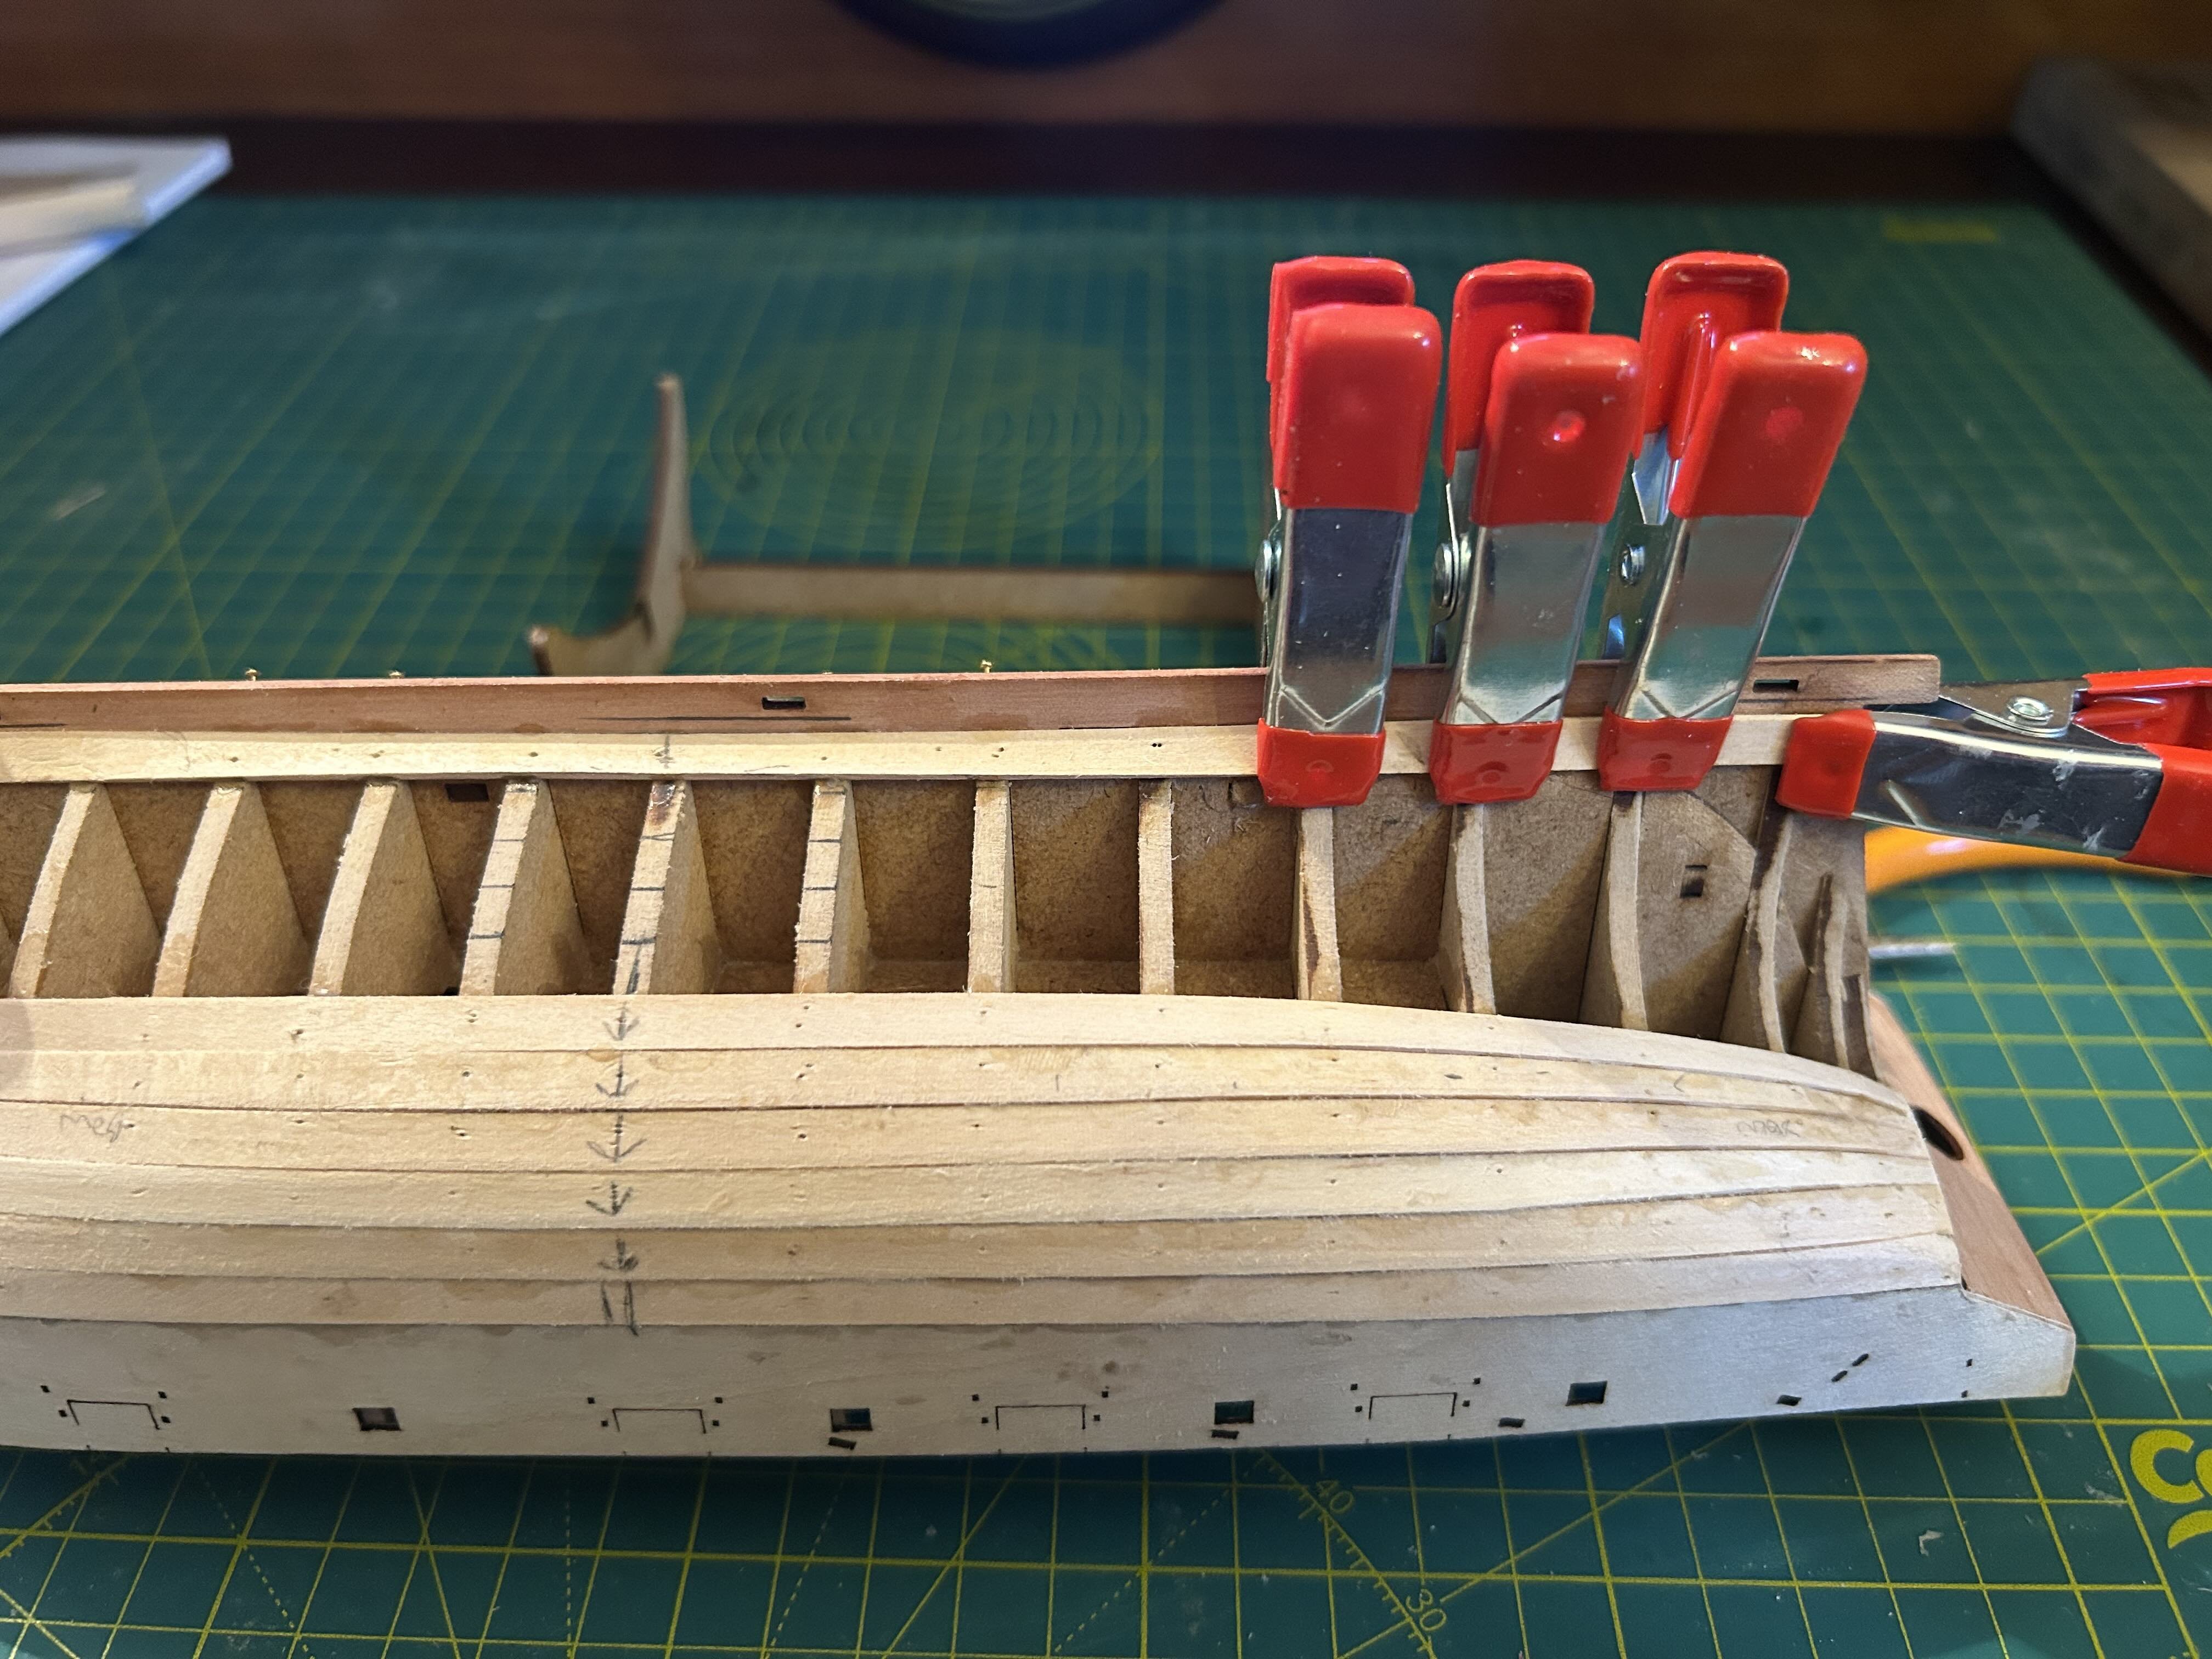
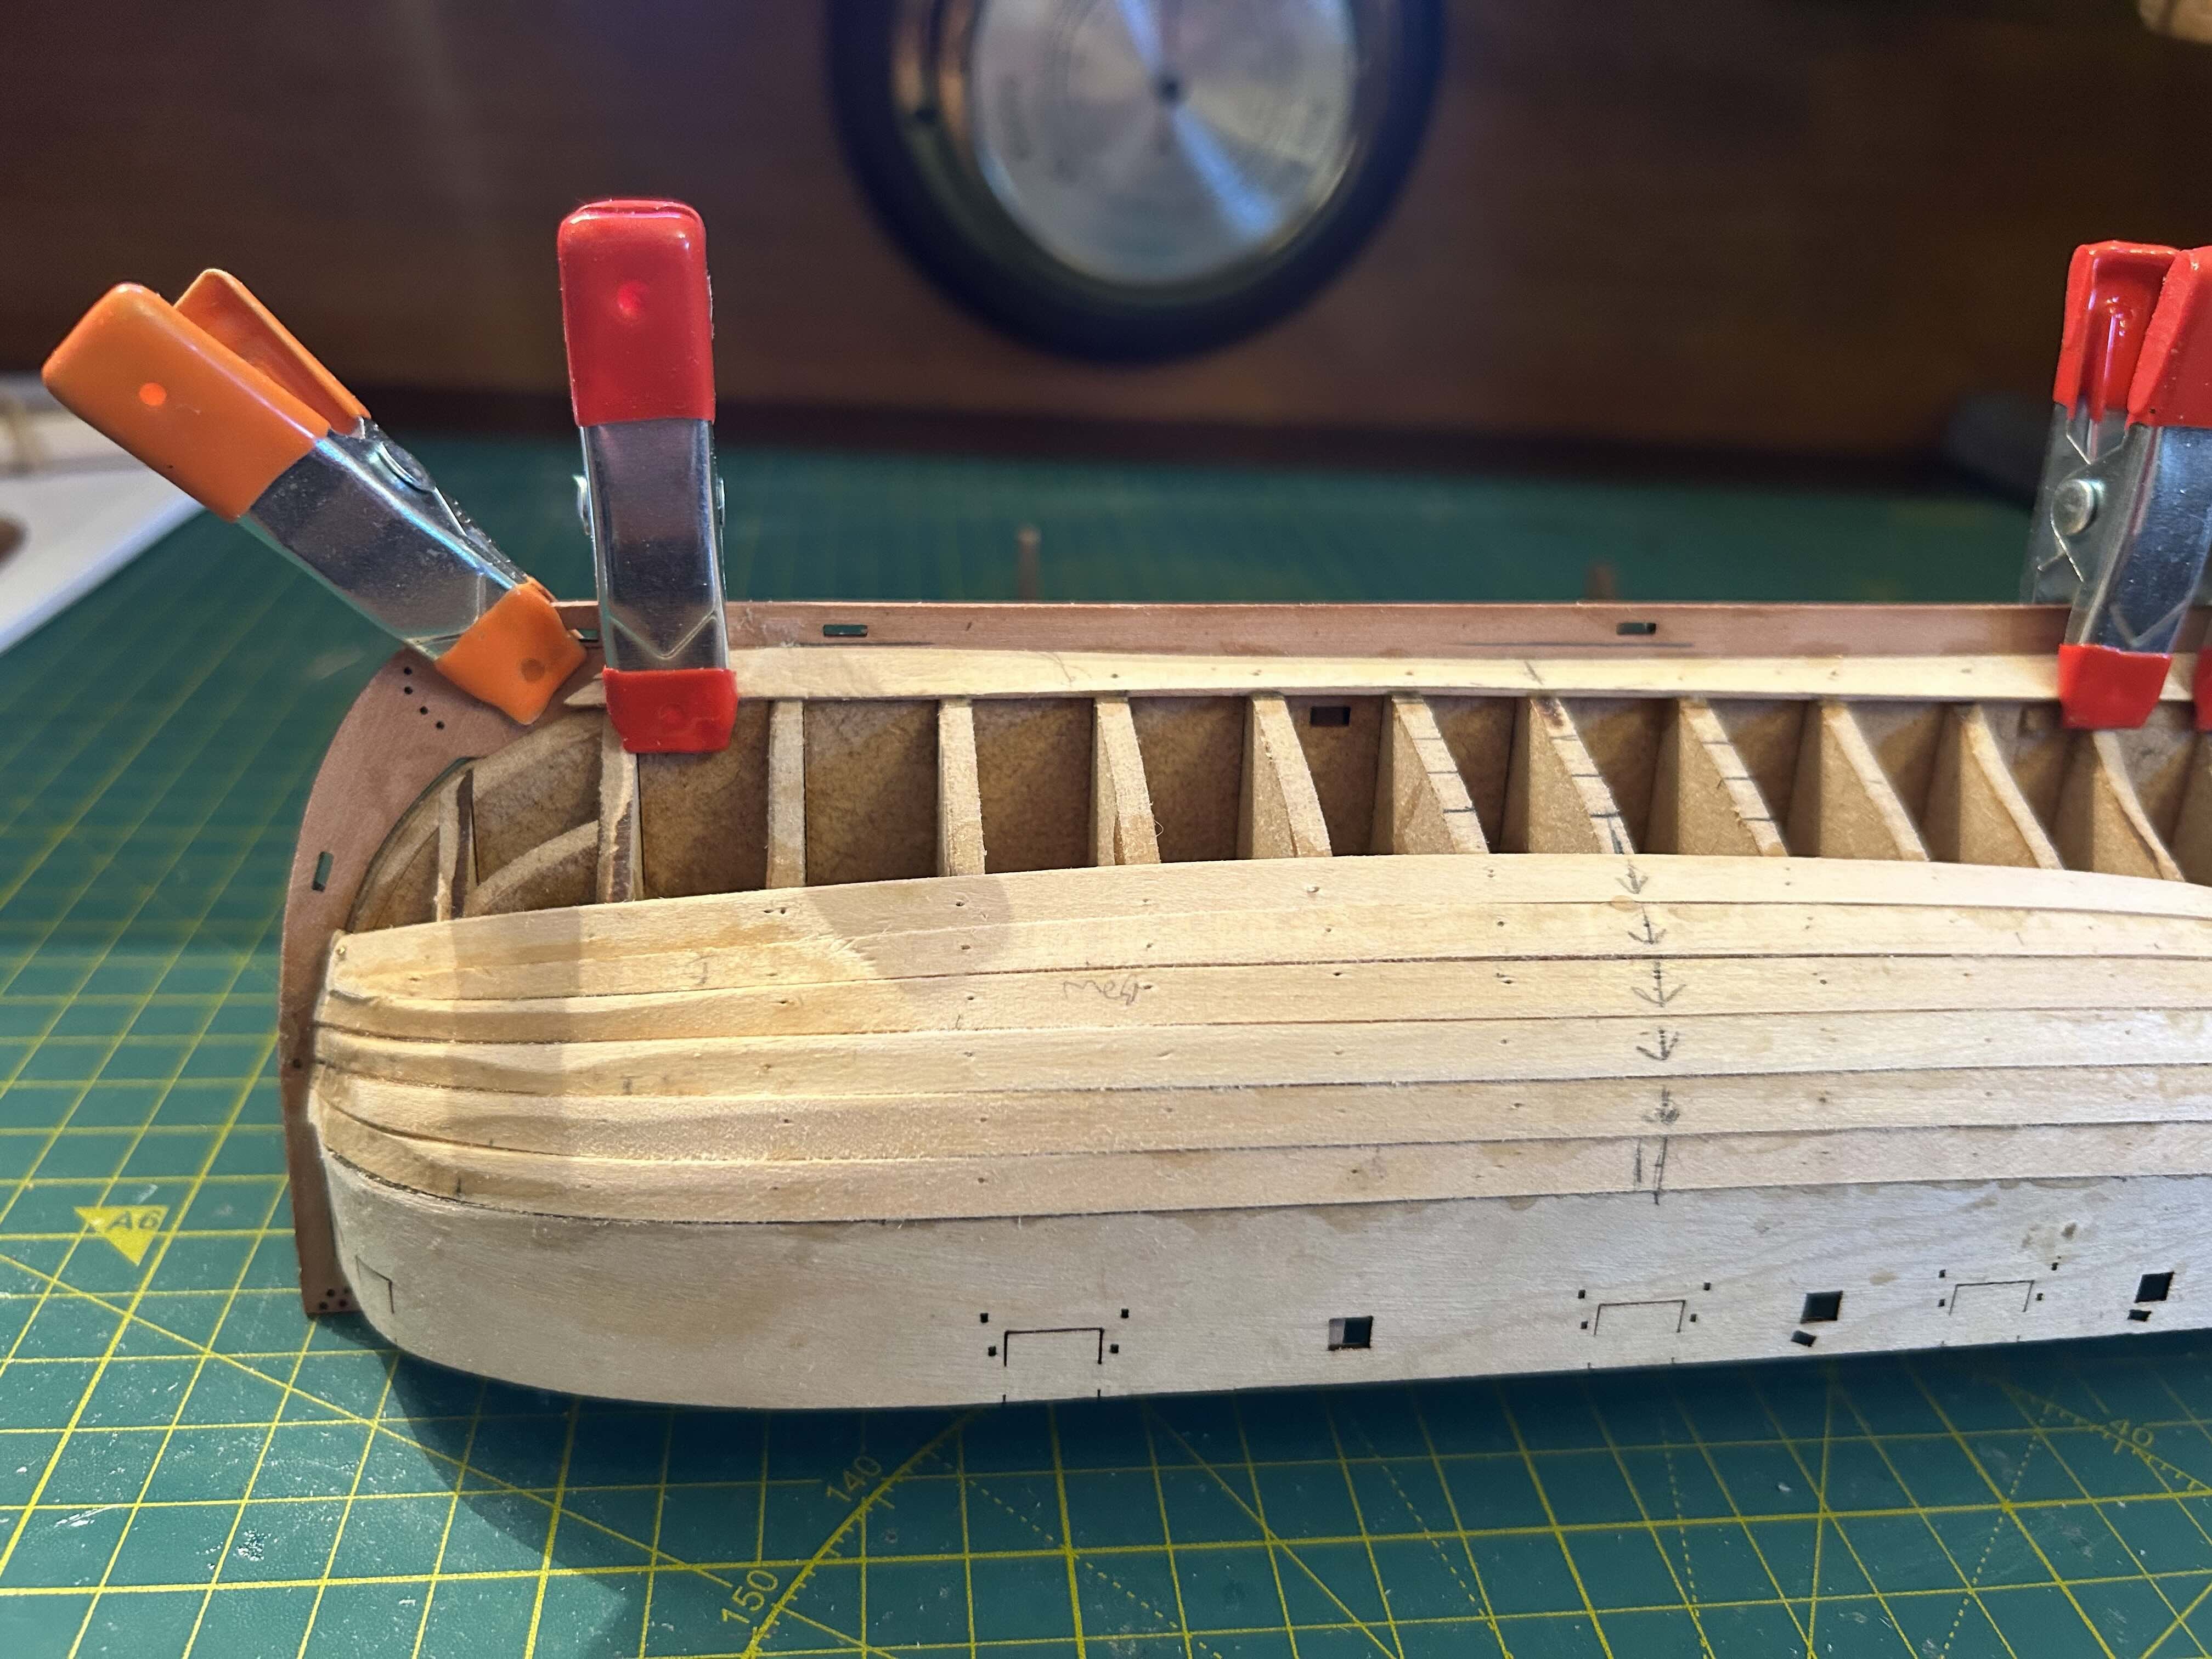
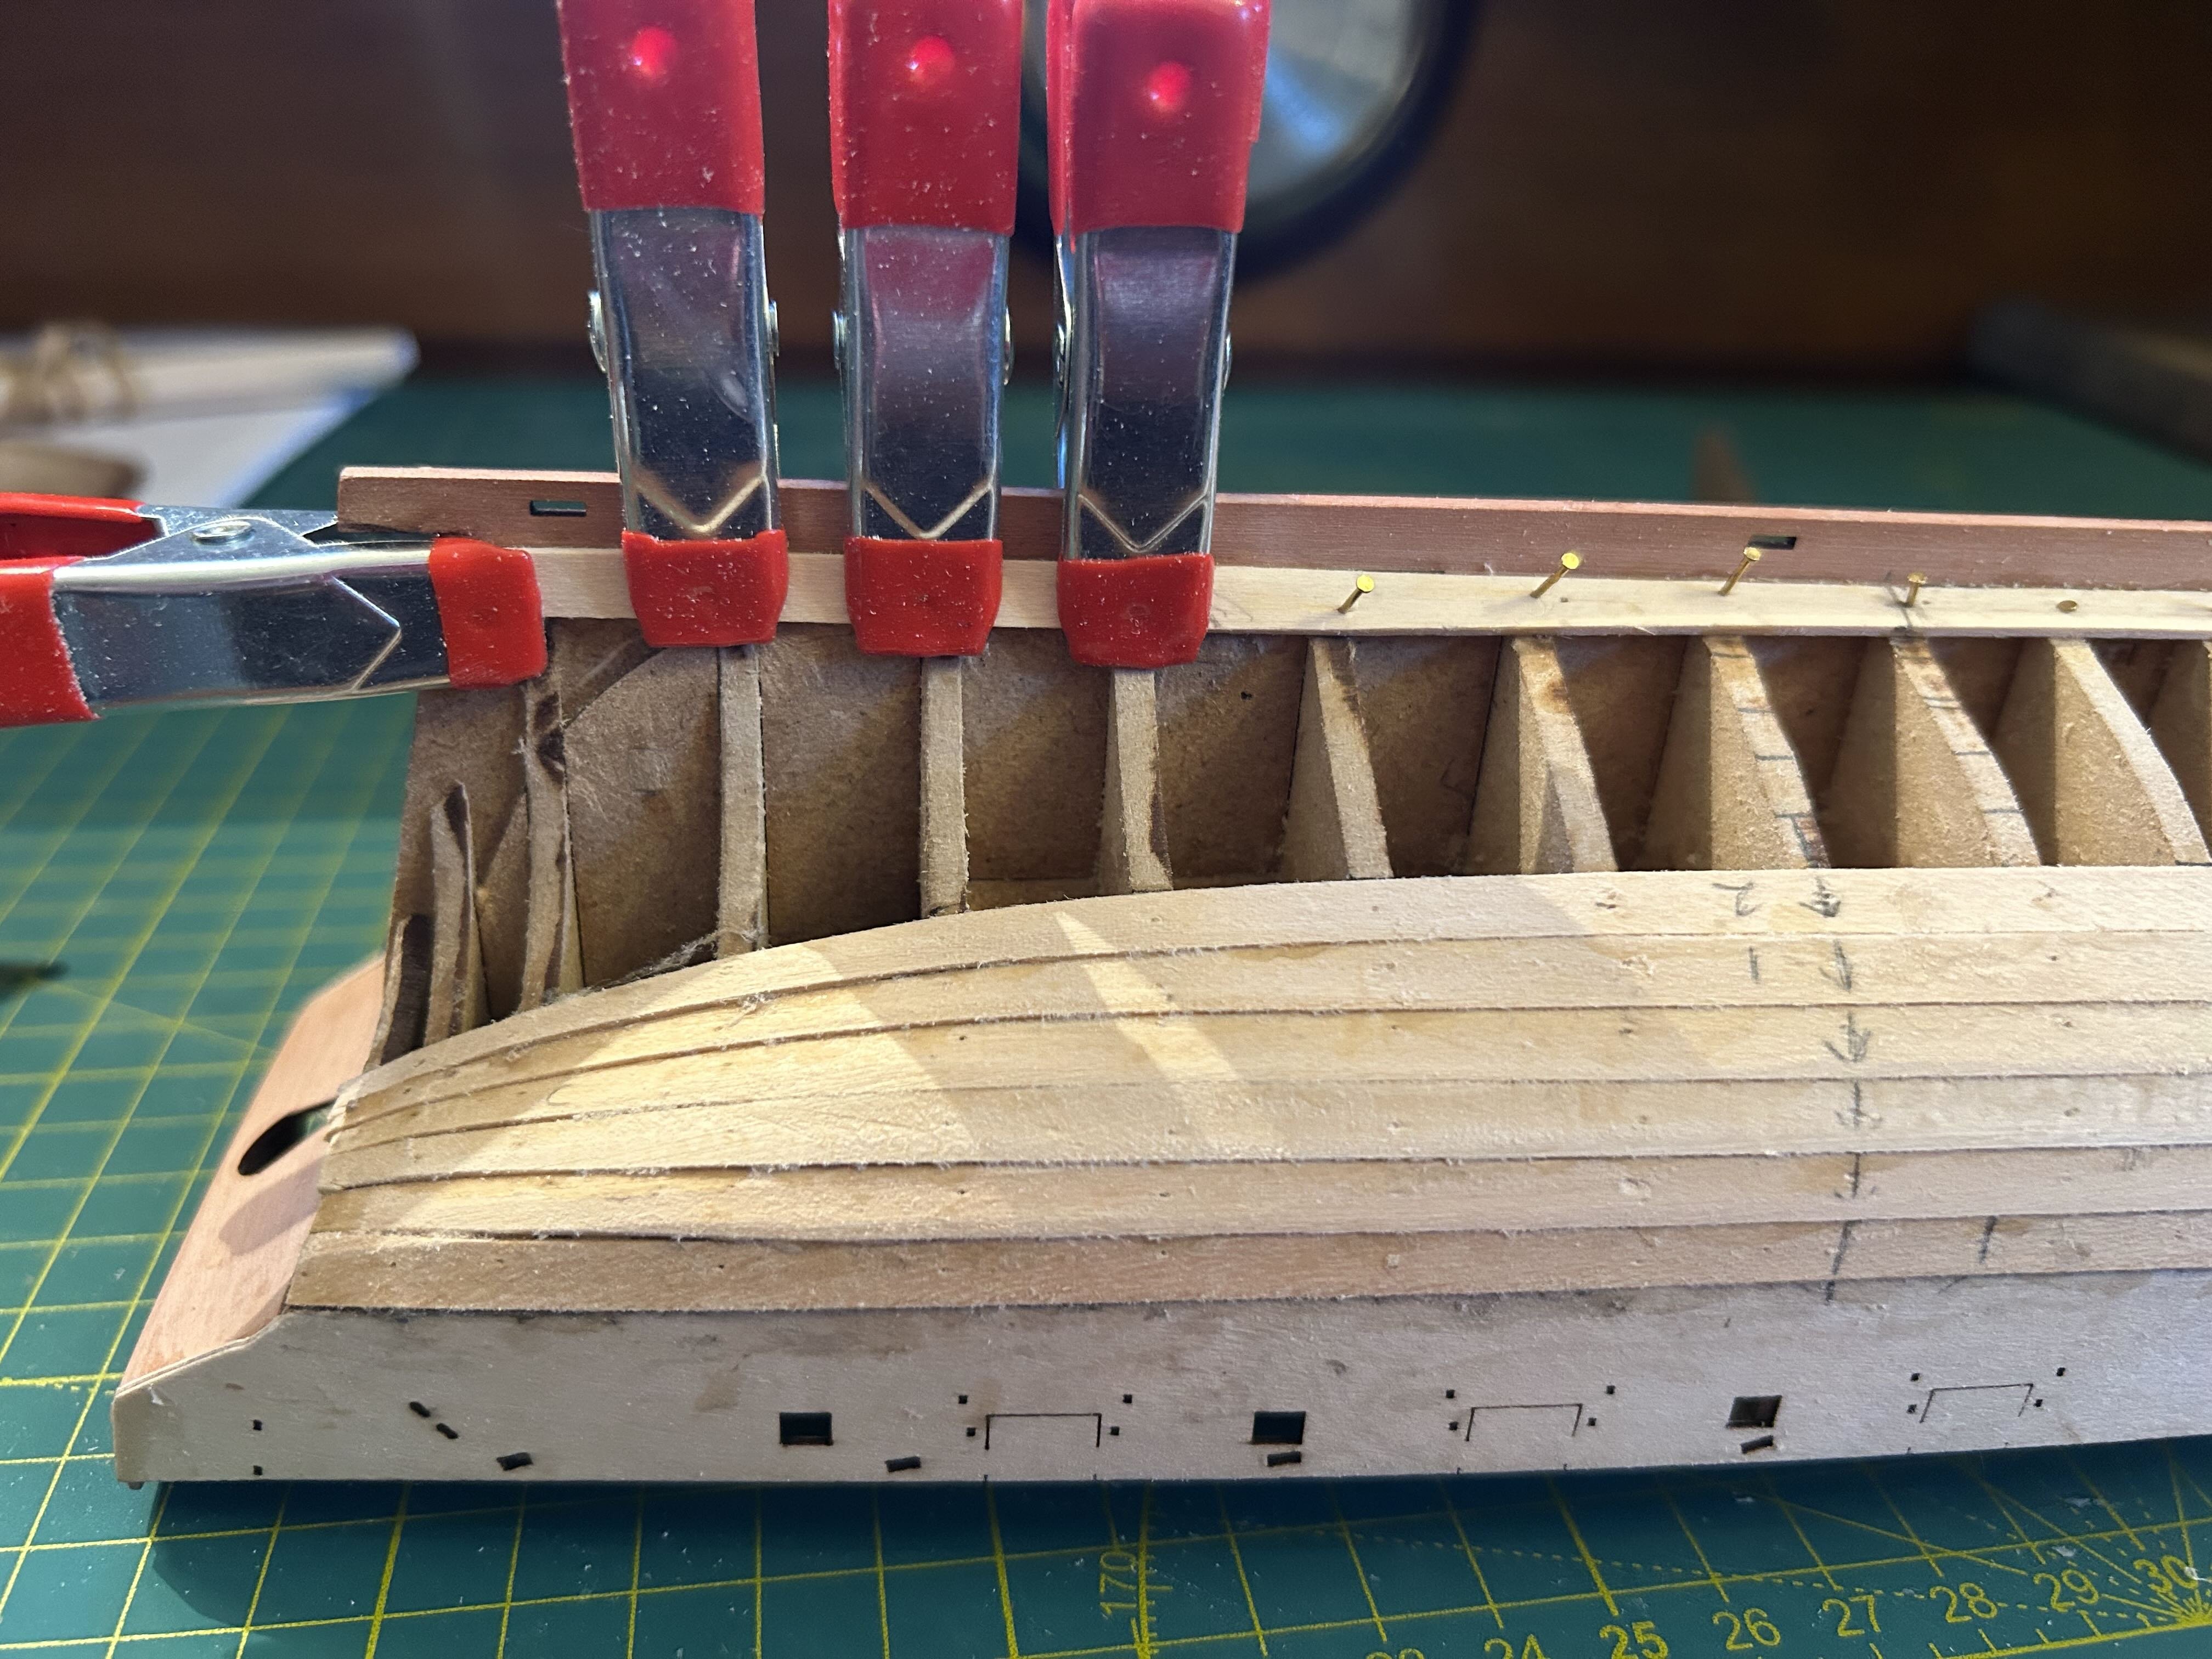
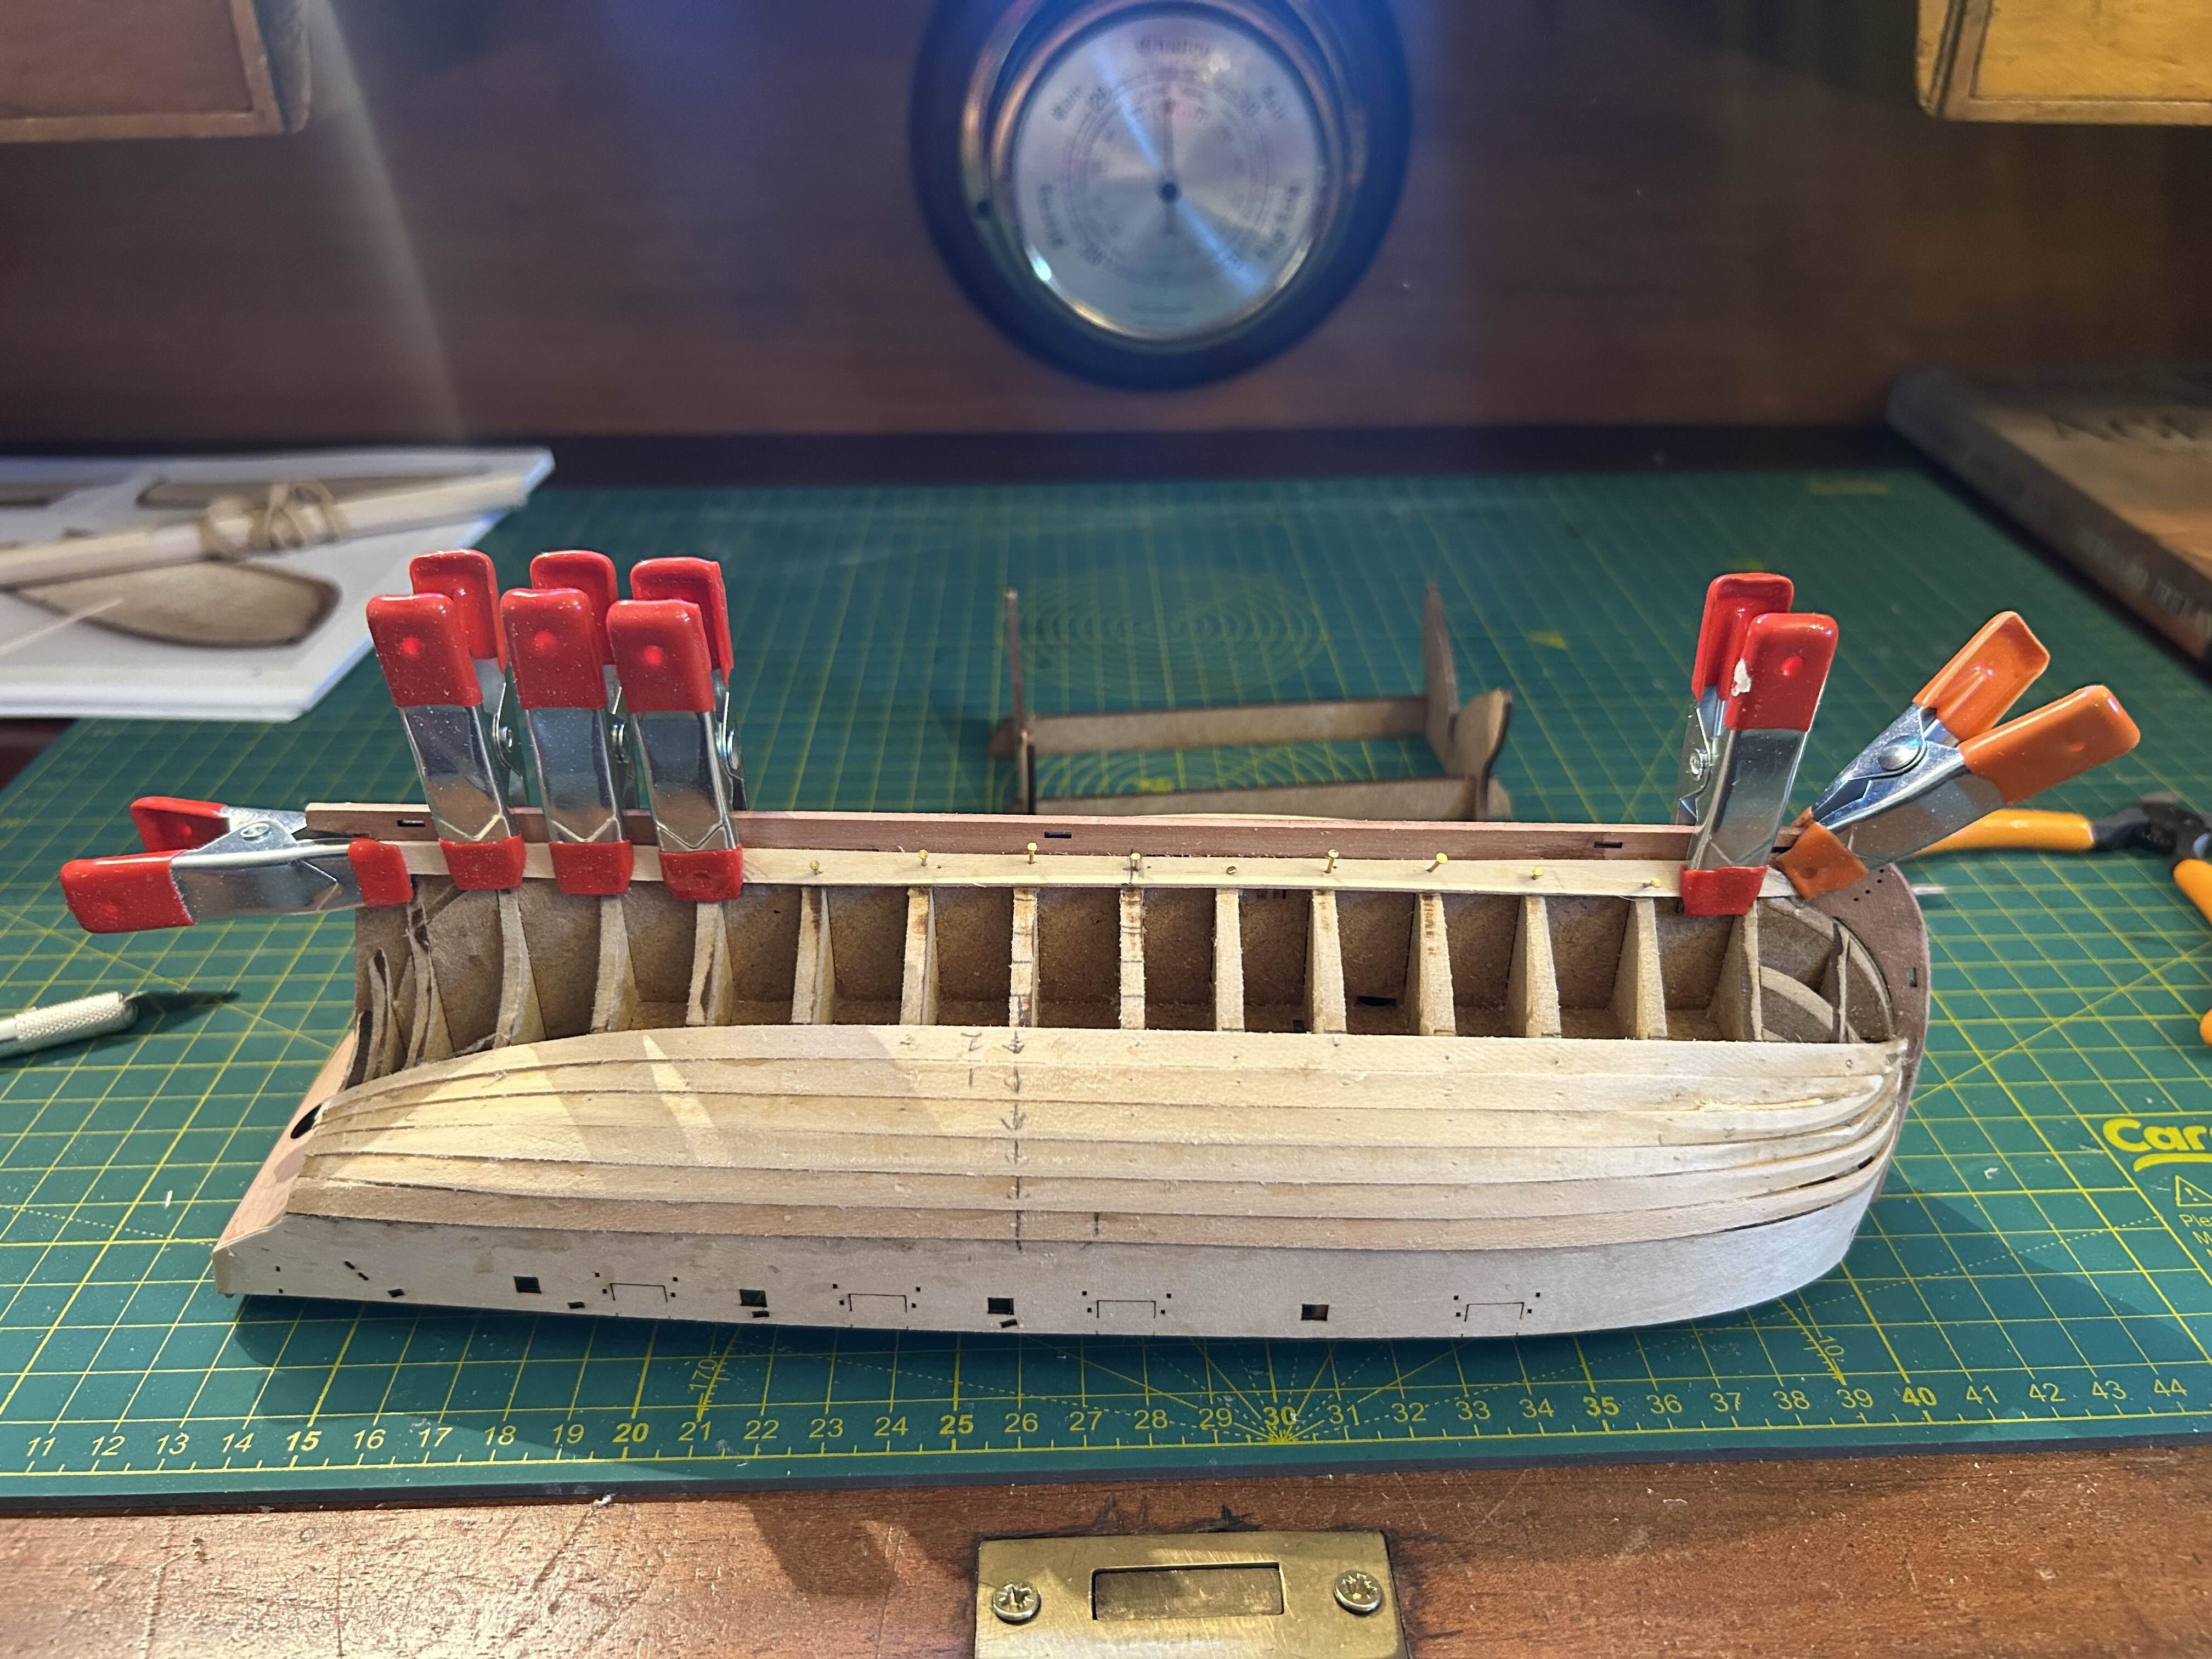
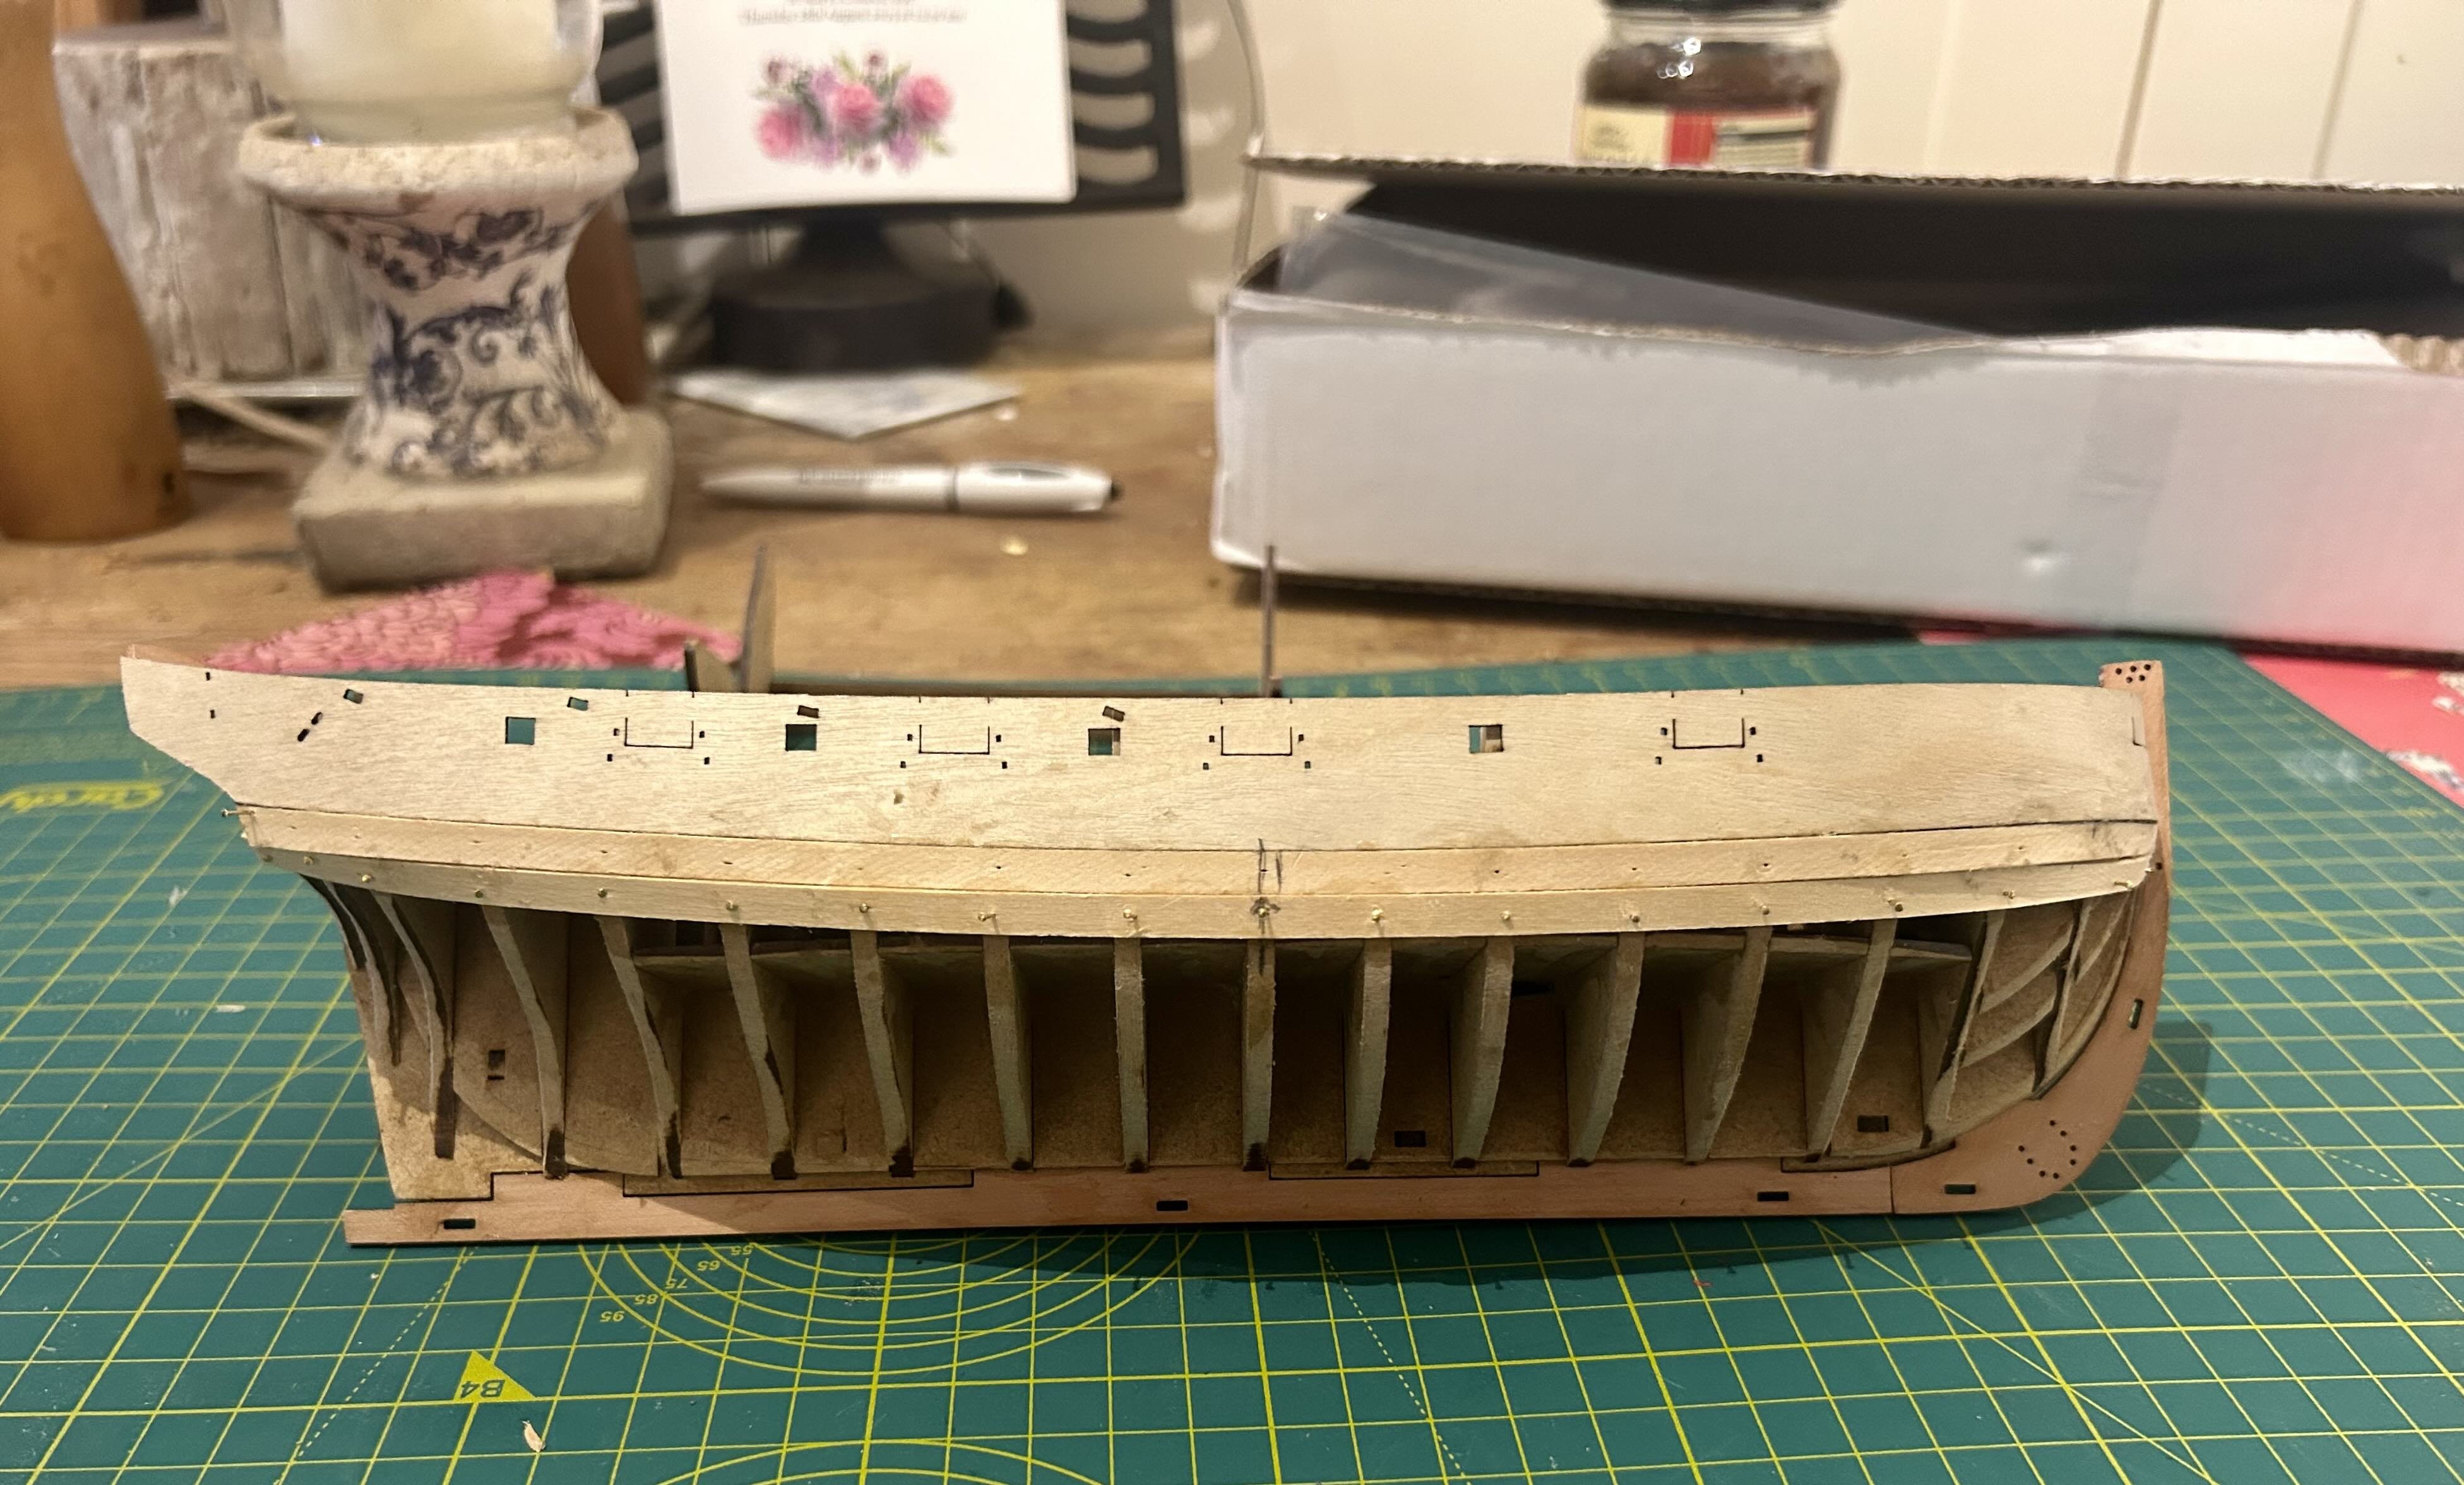
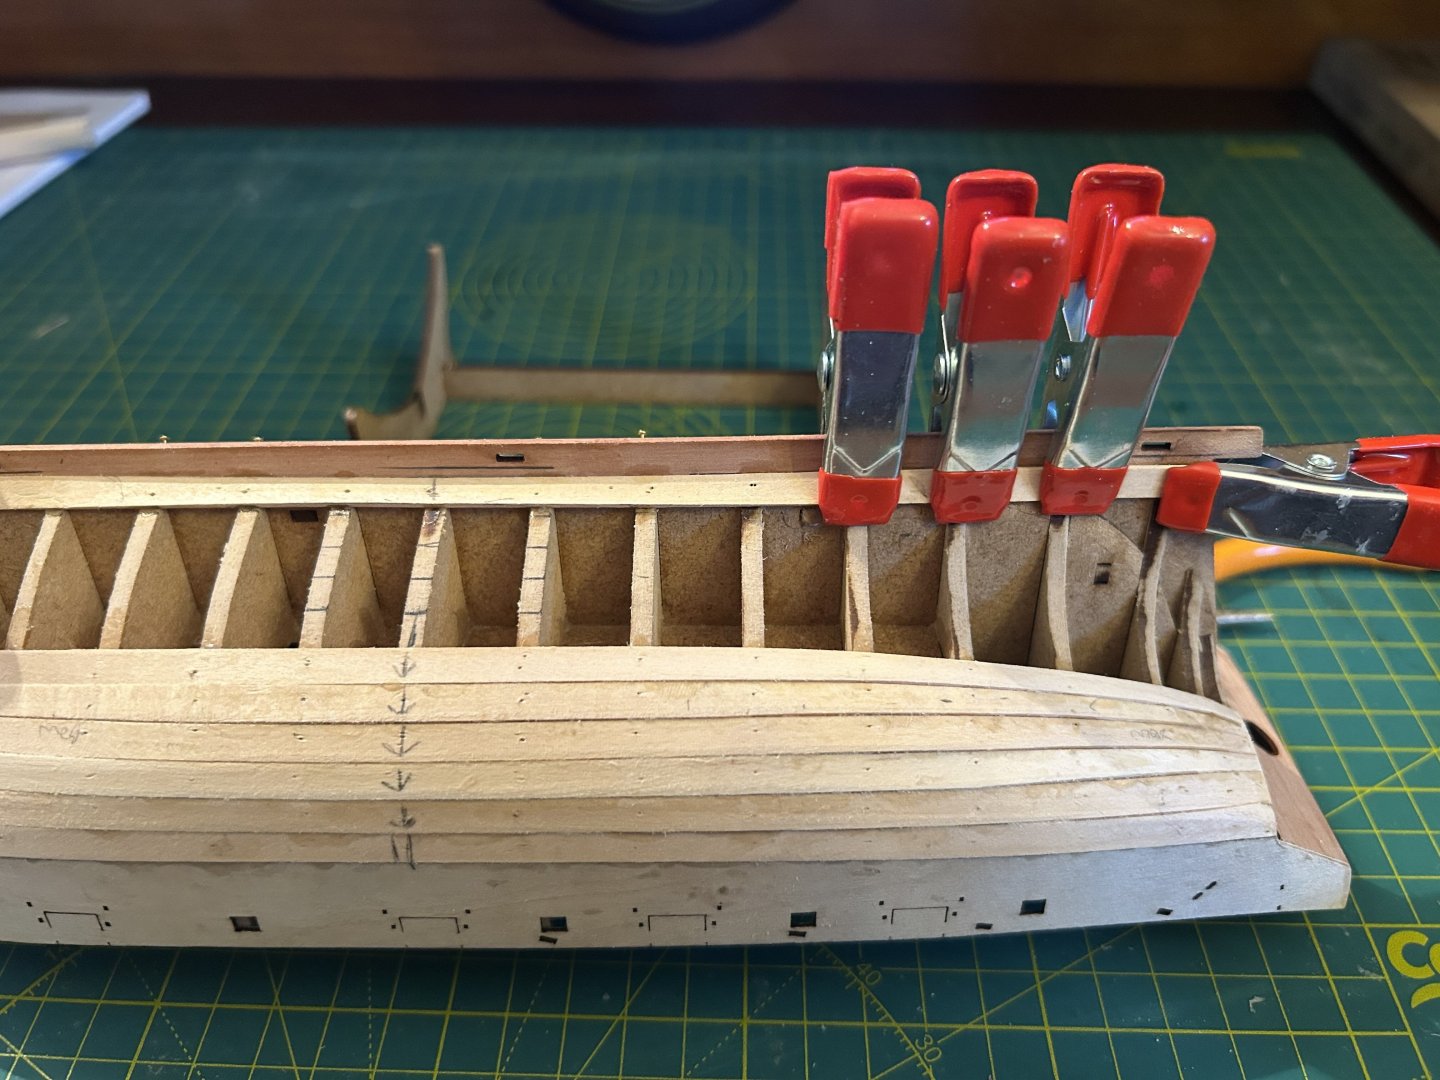
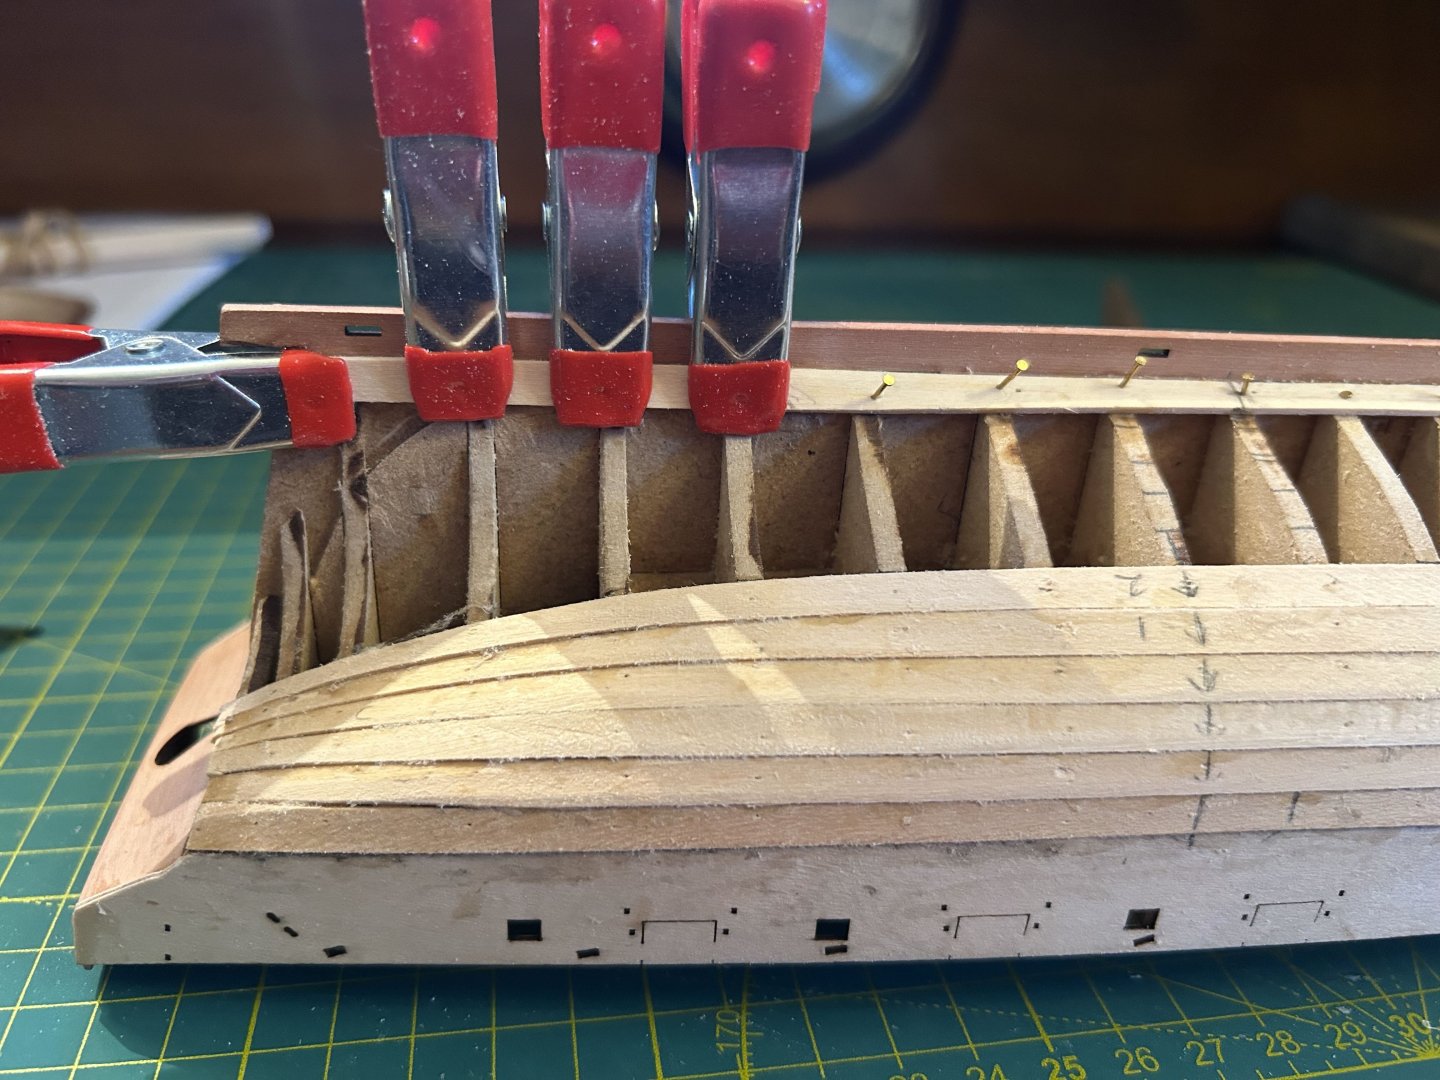
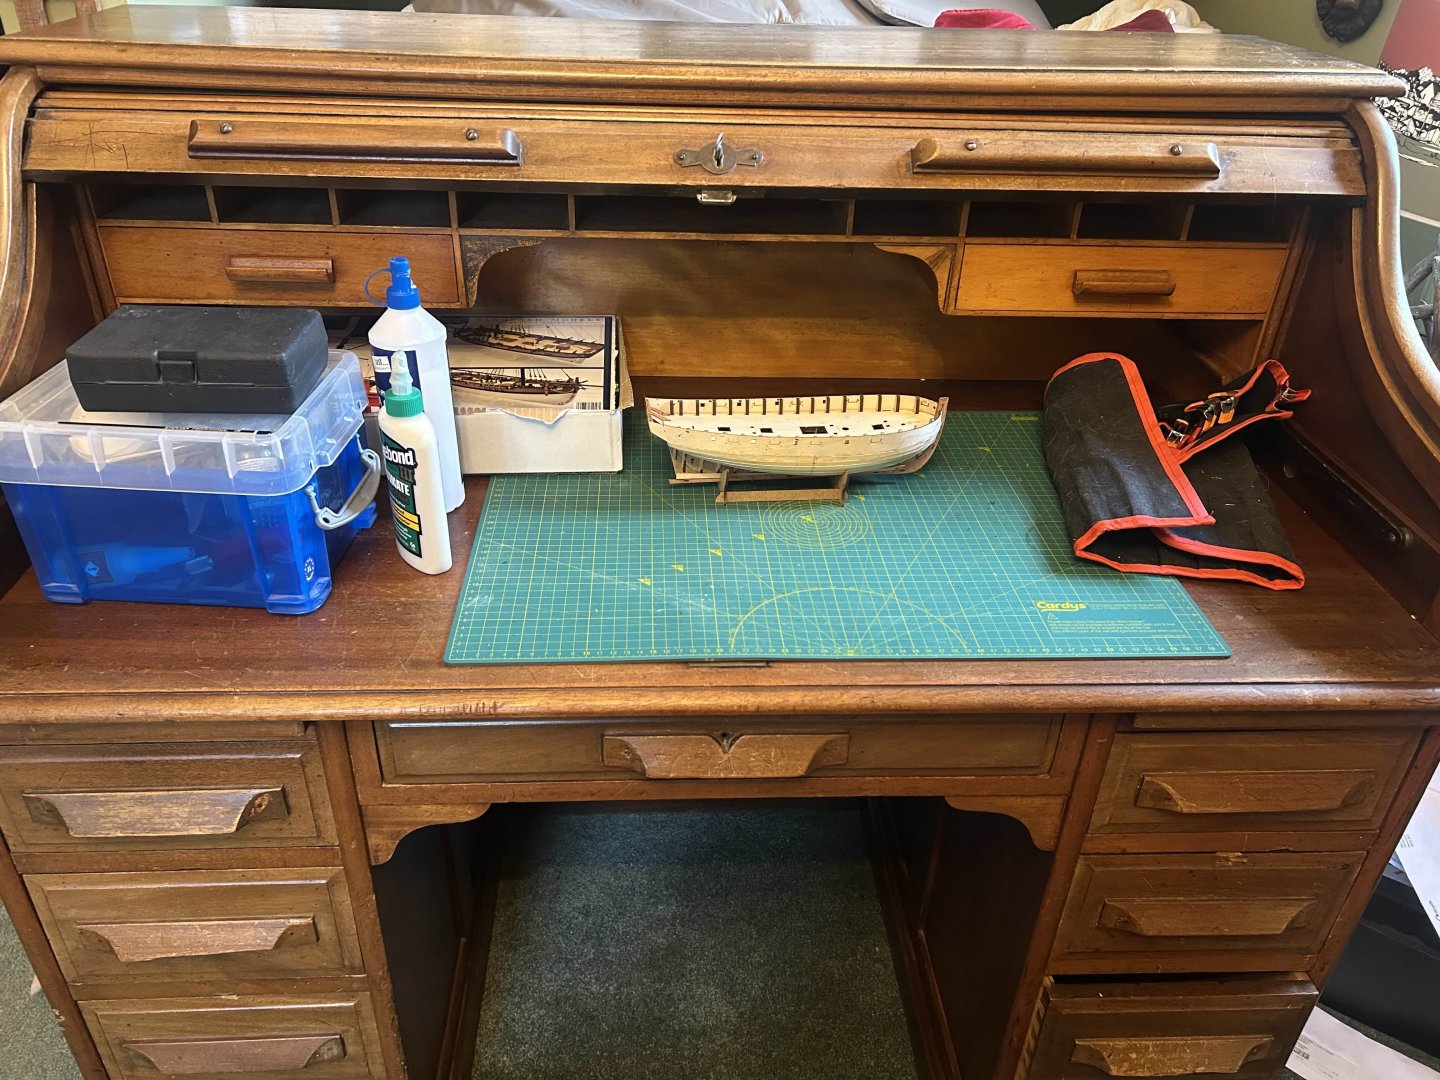
Although I haven't posted for a few days I have been getting on with things! Most excitingly I have bought myself an old wooden desk as my ship-building workspace. It has a myriad of drawers and cubby holes for equipment and now sits under a window so gets great light. It means I don't have to move everything when I want to work on a build, which makes it easier to do a little bit when I have a moment. Last time I posted I had two planks on each side. I now have six on each side coming down from the wales, and have just installed the garboard plank on each side too. Mostly I am OK with the results - the sides and the stern are alright. Where it goes badly awry is at the bow, but from watching the video and seeing other people's builds this seems like a common problem. I shall fill the worst gaps with wood and glue and, later with filler. Everything will then get a good sanding. I know that this is not the visible layer, and I feel like I have learned something with every plank, which I guess is the point of a 'novice' kit'. Still really enjoying it, and very happy with my new workspace on which to continue the build!


-
I'm only a rank beginner at this, but I think the keel always comes first.
-
Whilst fitting plank number three I managed to break the transom! My only defence is being a blithering idiot. Now fixing that before continuing, more carefully...
-
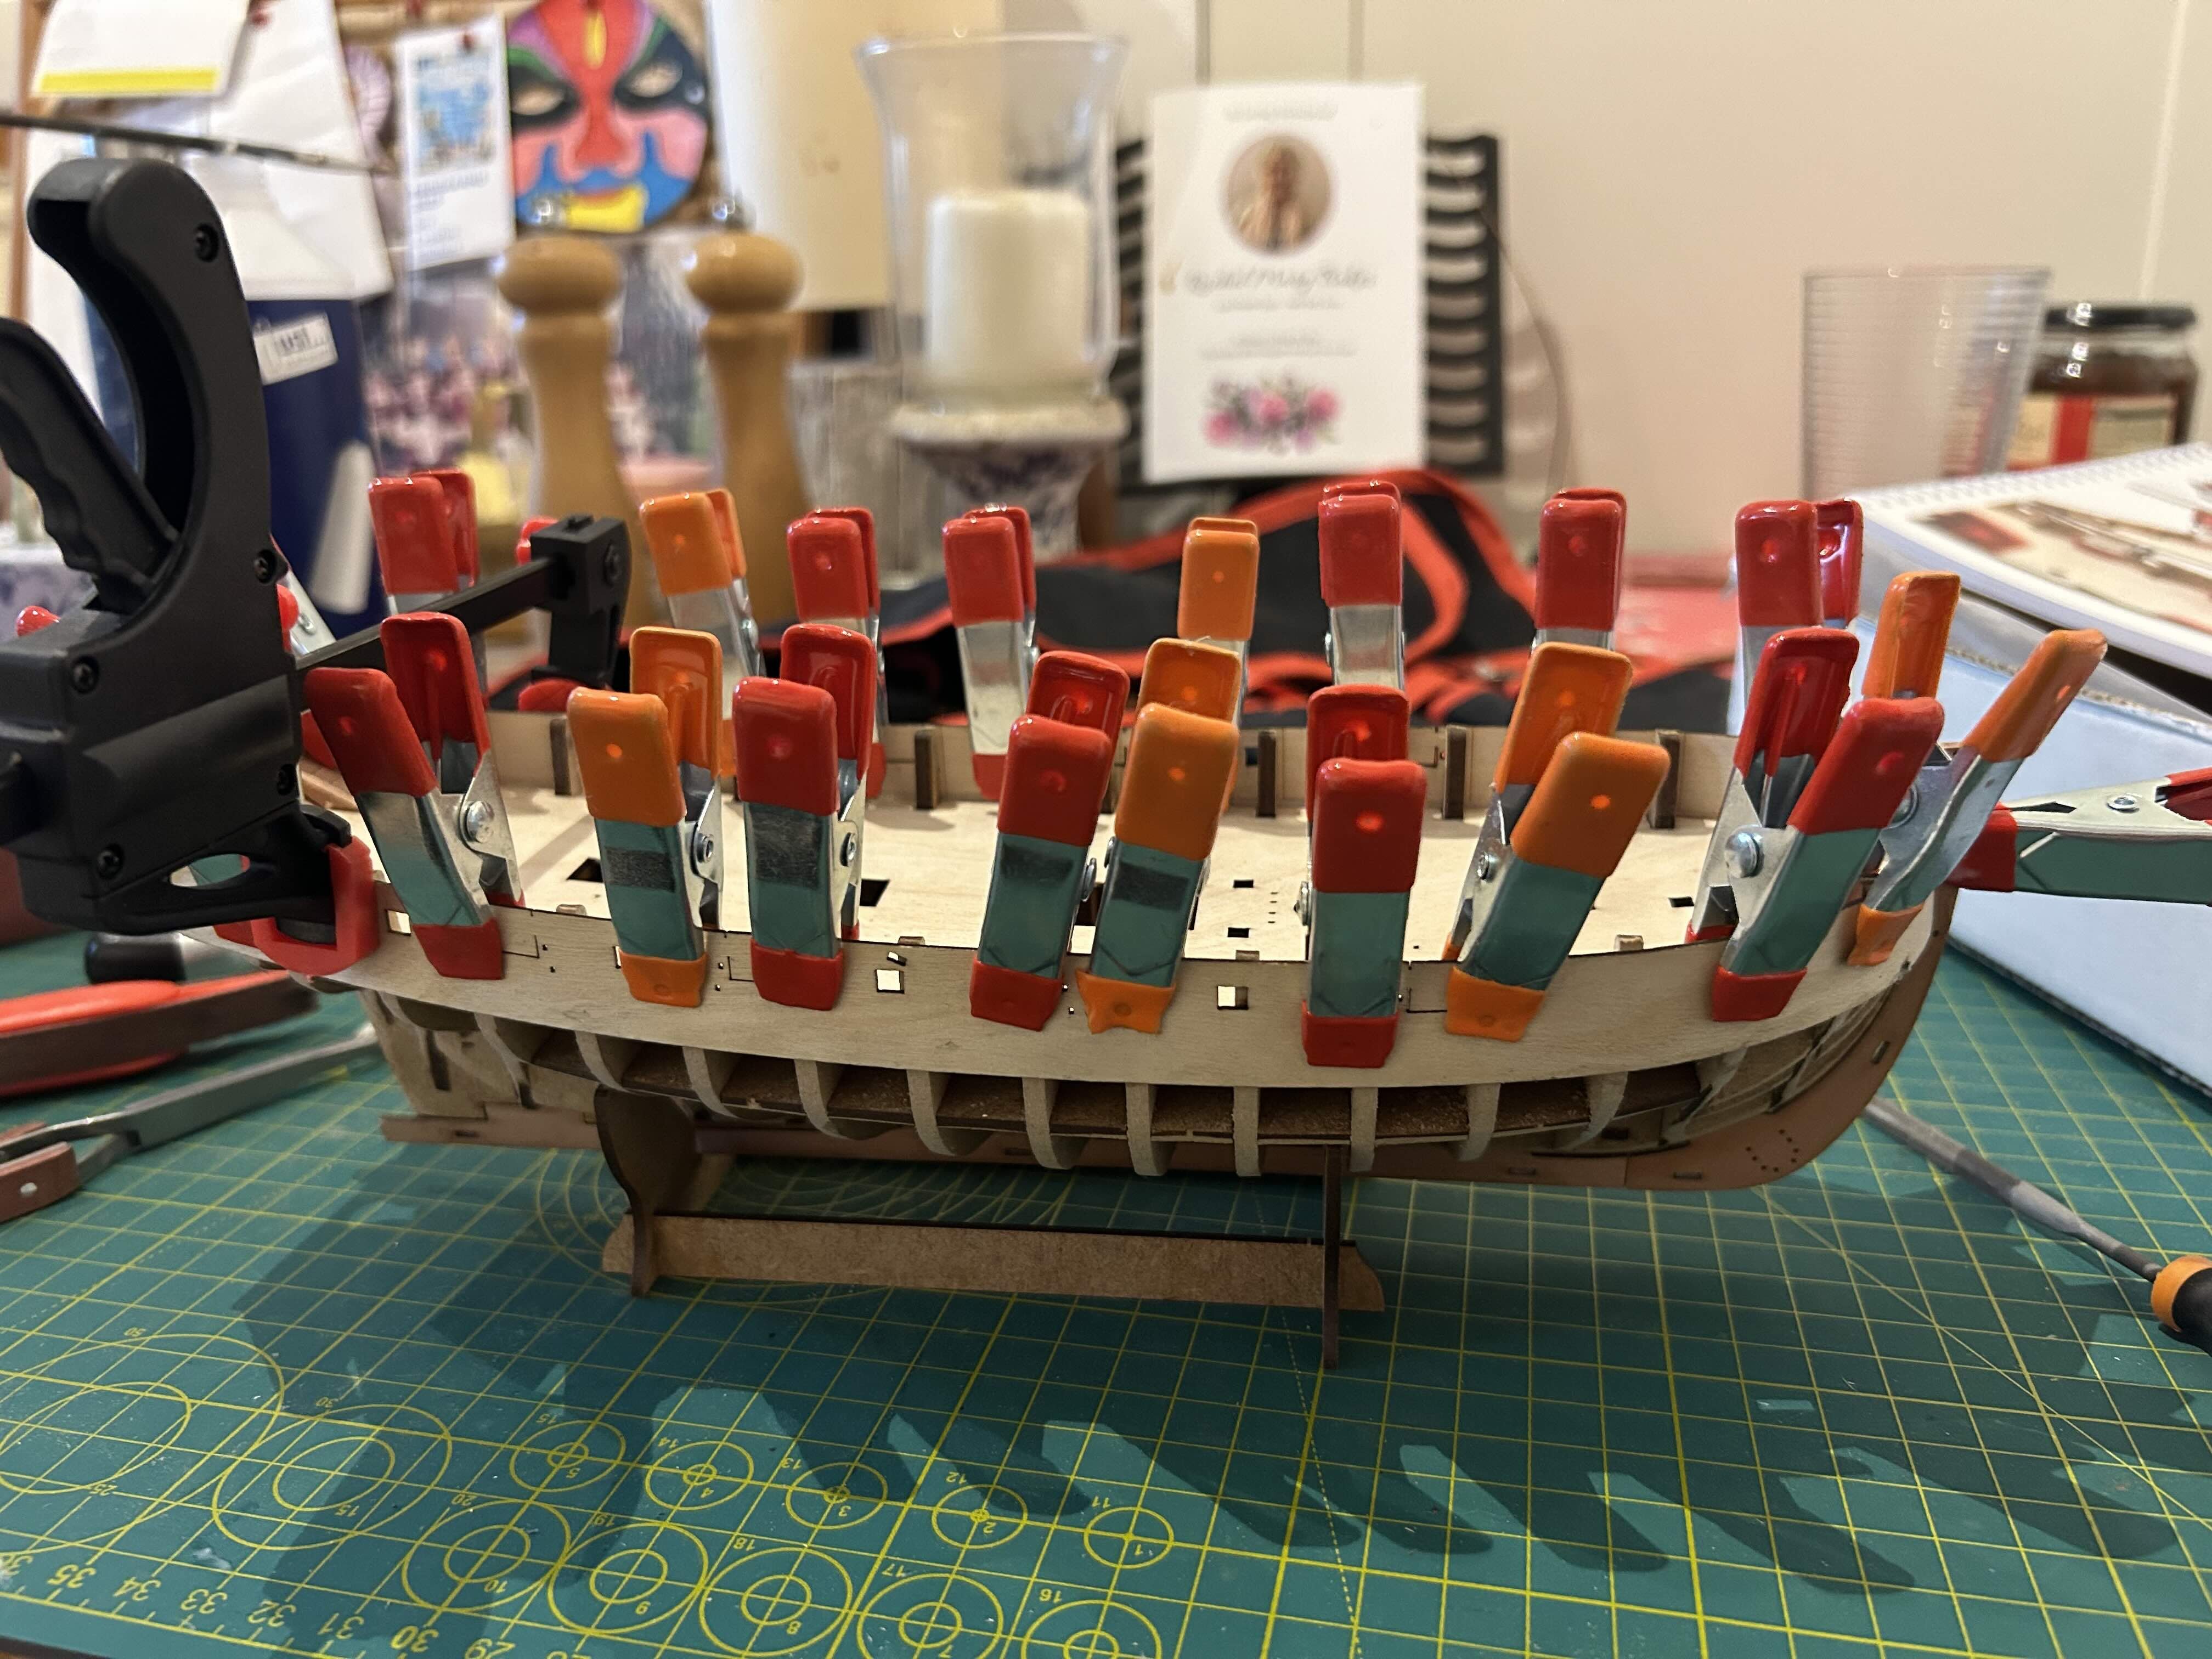
The gunwales went on ok, so I've now started the slightly dreaded stage of planking. I have two planks on each side, and taking it slowly, measuring and tapering carefully. About an hour per plank at the moment, but this may get faster as I get more experienced. Trying to make it as tight and smooth as possible, whilst also aware that there will be filling and sanding to come.
-
Welcome! Although I think that there may be a few historical inaccuracies in your Beagle... 😉 I am a complete beginner, just dipping my toes in, and enjoying it very much. Every encounter I have had here has been hugely supportive.
-
Welcome and have fun!
-
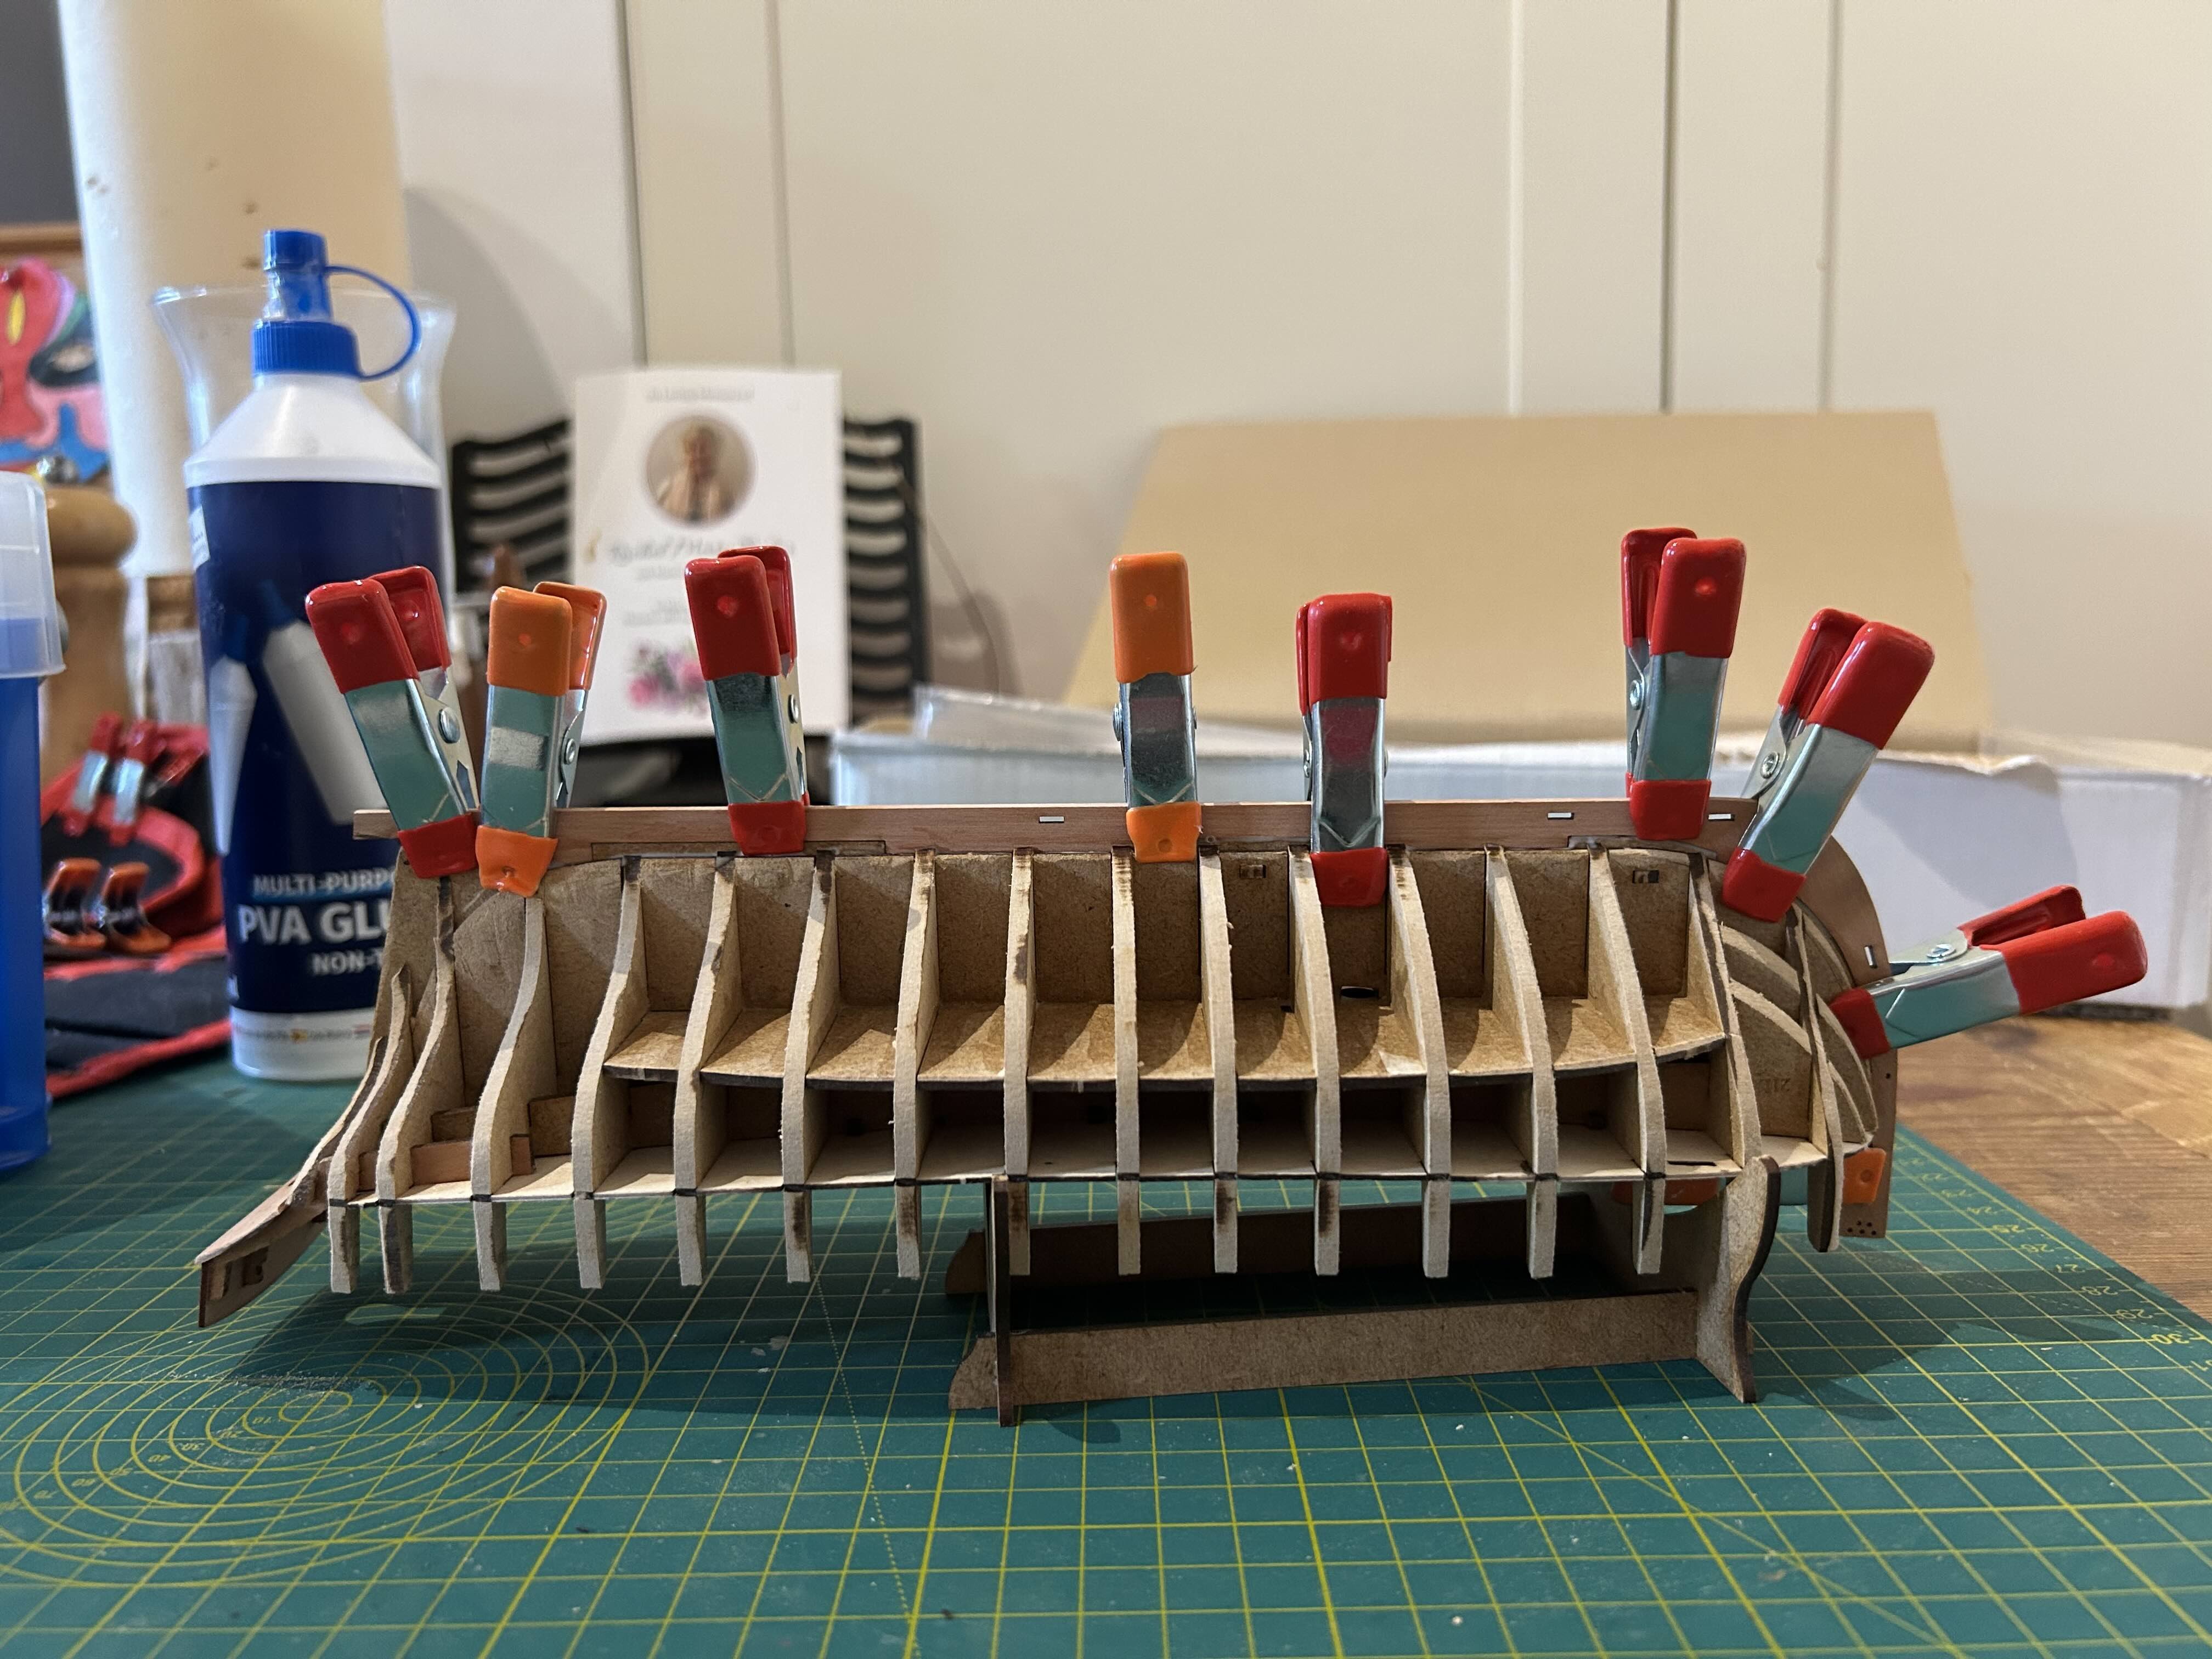
The gunwales are glued on, and now drying for 24 hours. I decided to bend the wales to shape (using steam from the kettle) and then dry fit and left it for a couple of hours. When I removed them for glueing they retained their shape perfectly and went back on nicely. I also spent some time doing so more fairing about the stern in order to get the wales reasonably flush with the transom.

-
The prow and keel are installed - can't do anymore today as this needs to cure overnight.

-
Yes - these are very good:
-
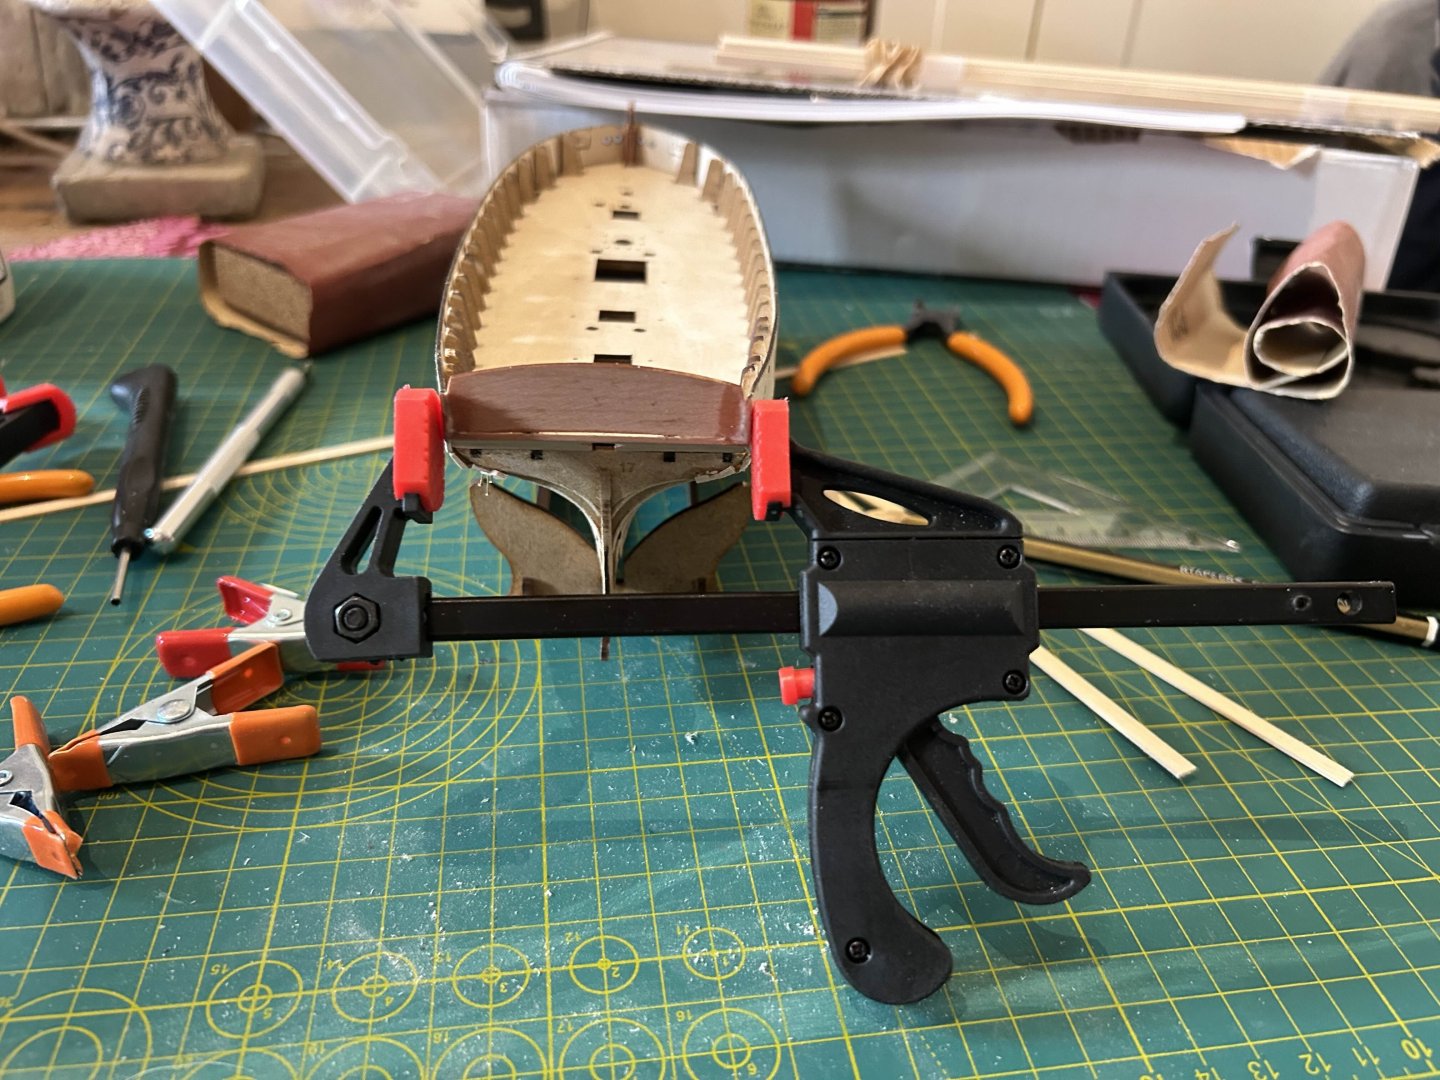
Fairing the hull.

-
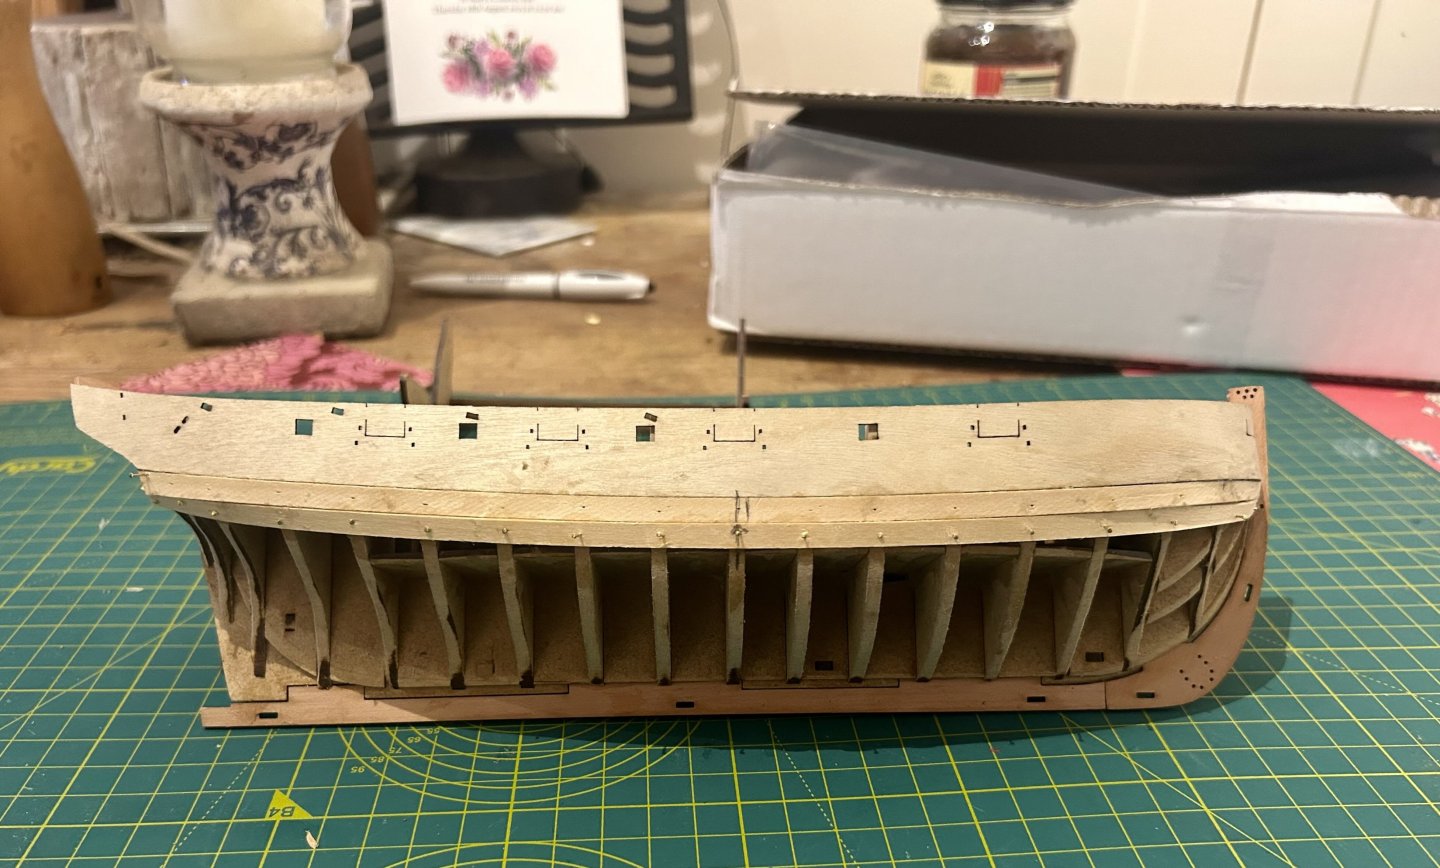
Completed steps 13 to 18, finishing with installing the false deck (part 29). The only slight problem was pressing the false deck down on the frame - I managed to break one of the delicate parts at the edge - my fault / inexperience. I have glued it and holding it with a clamp and hope it will be OK, otherwise more remedial work will be required. This is a lovely kit.


-
Little bit of progress today. I noticed from the instructions for other Vanguard models that the temporary stand is built very early in the process whereas, for some reason, in the Sherbourne instructions this does not happen until step 50. I thought it couldn't do much harm to bring this forward, as it would allow the hull to dry in a better position. The keel side-pieces (19 L & R) went in easily. The keel keys (part 22) were mostly fine, apart from one slot which was very tight and the MDF key kept breaking whilst pushing in. Fortunately there were 3 spares provided, and this was enough. Then the lower deck (part 23) went in well and has been glued. Now let everything dry.

-
Thank you - we've got this!
-
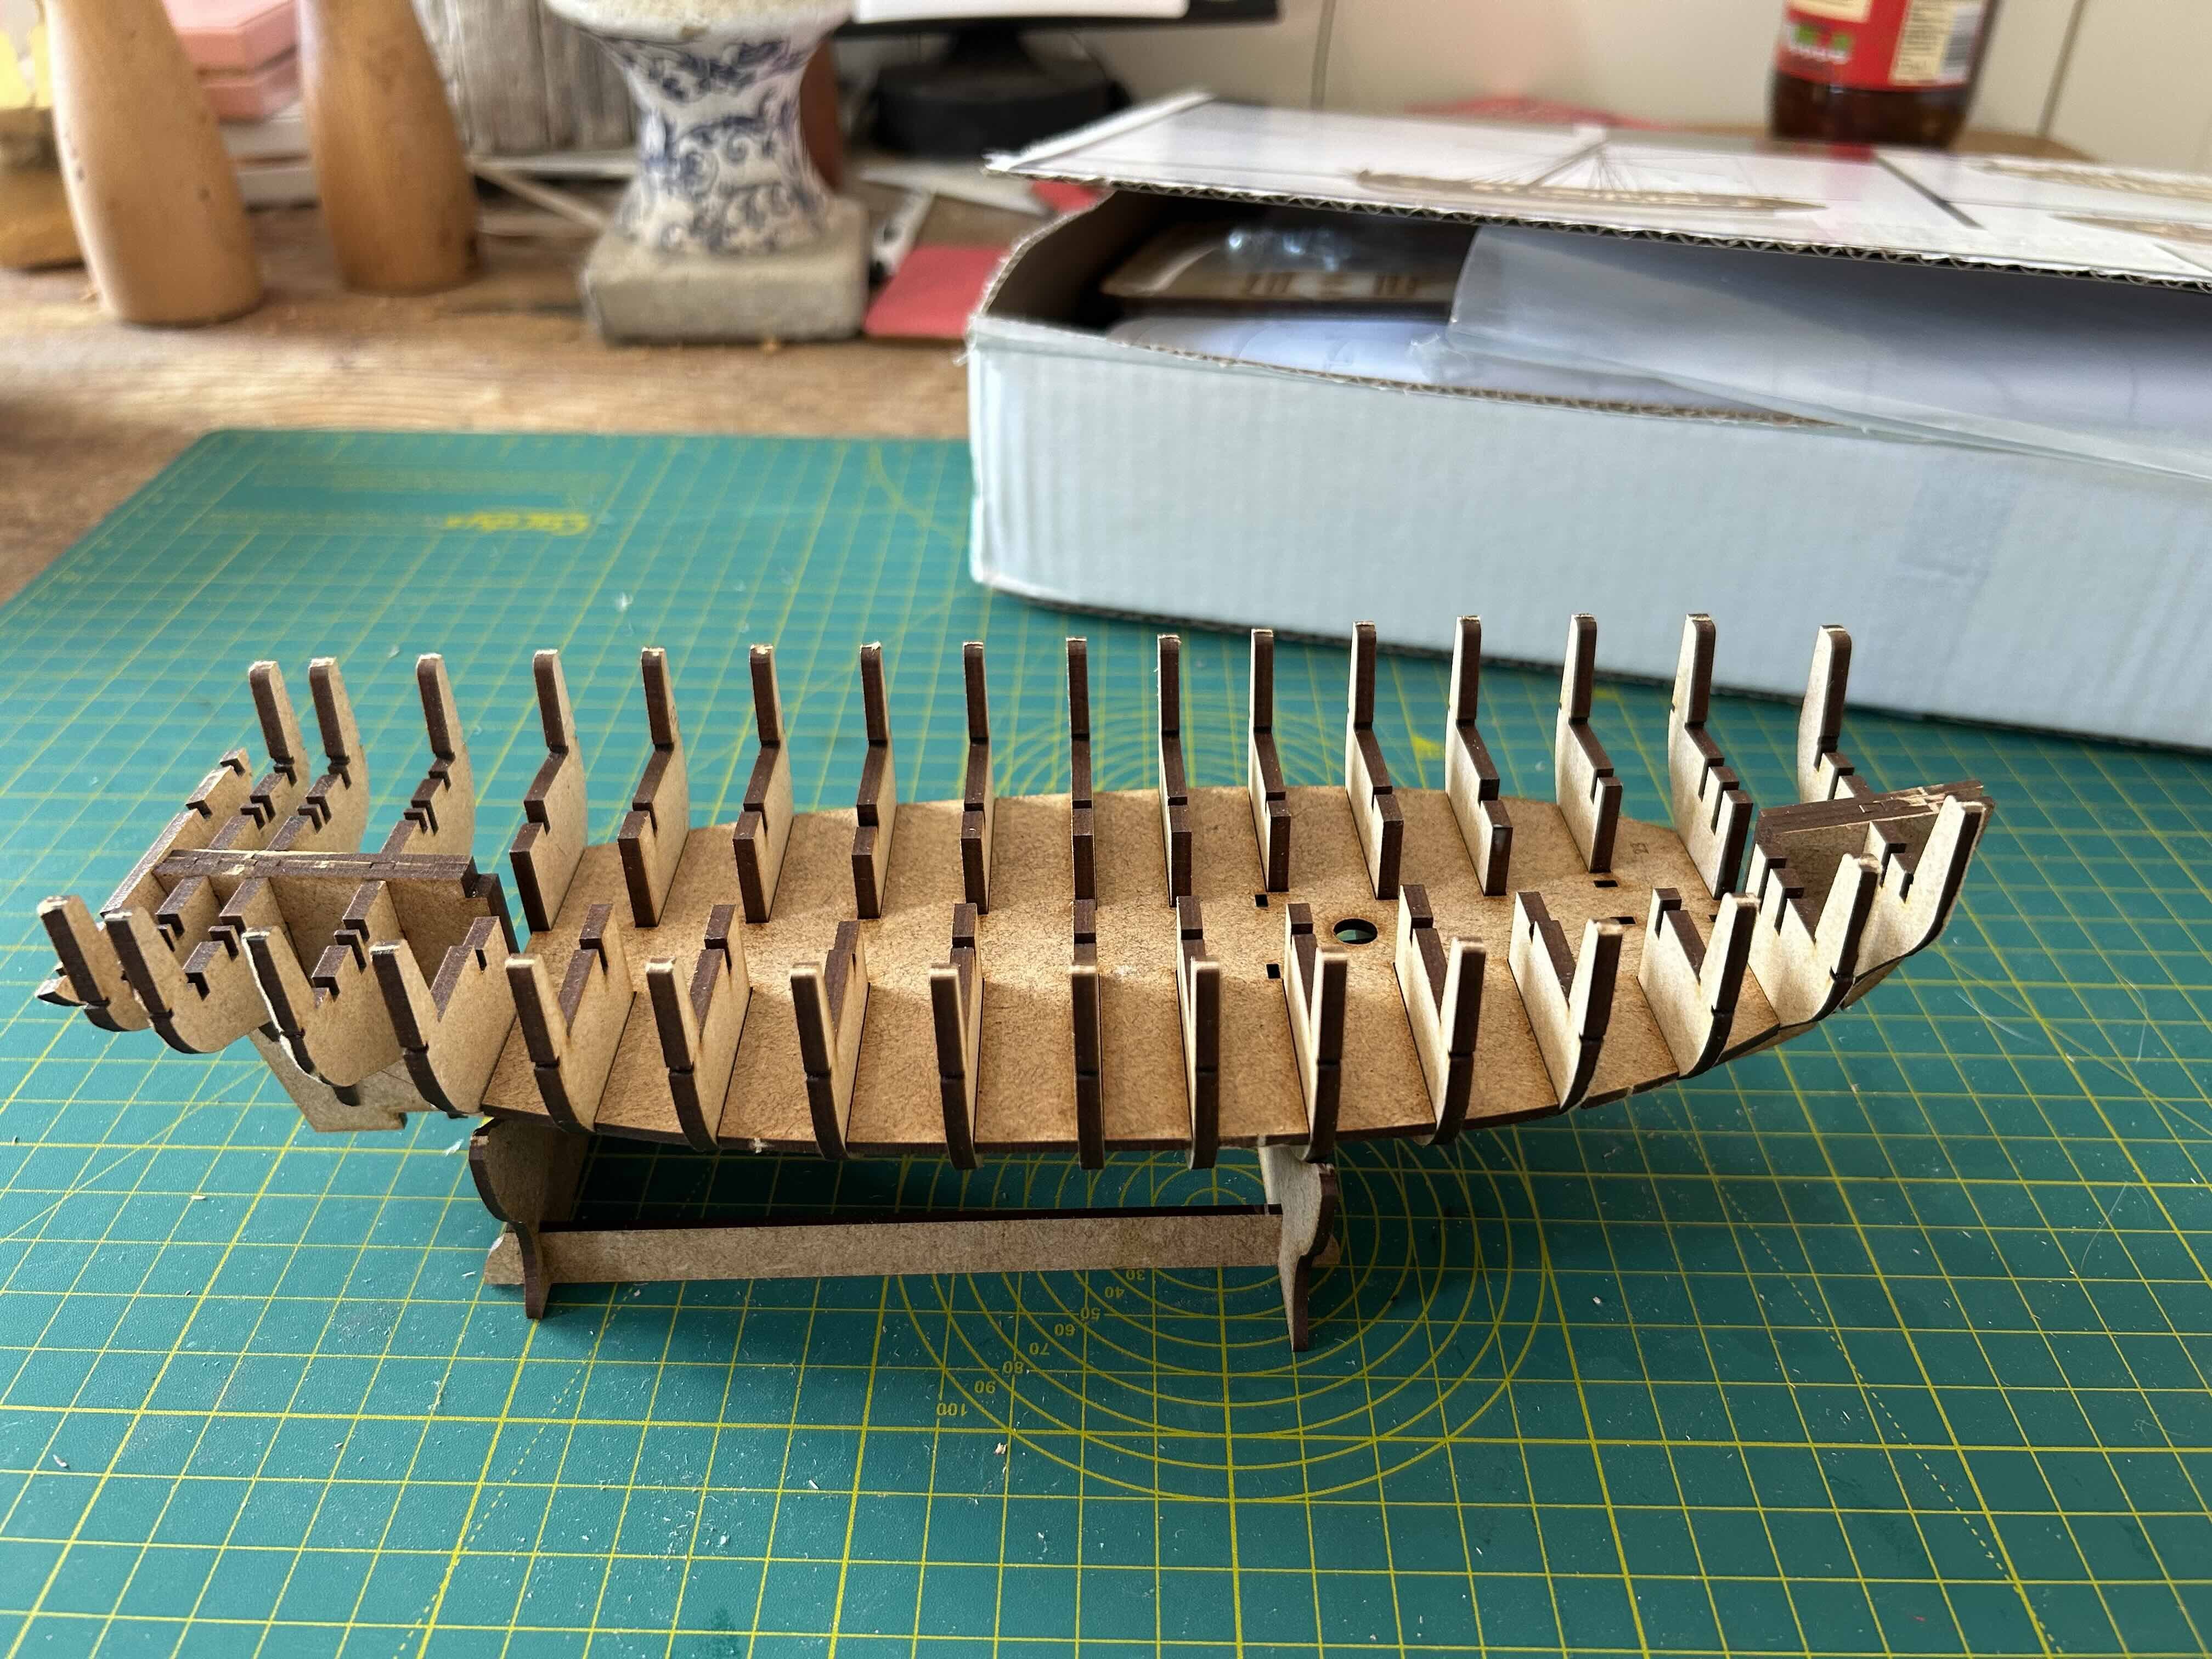
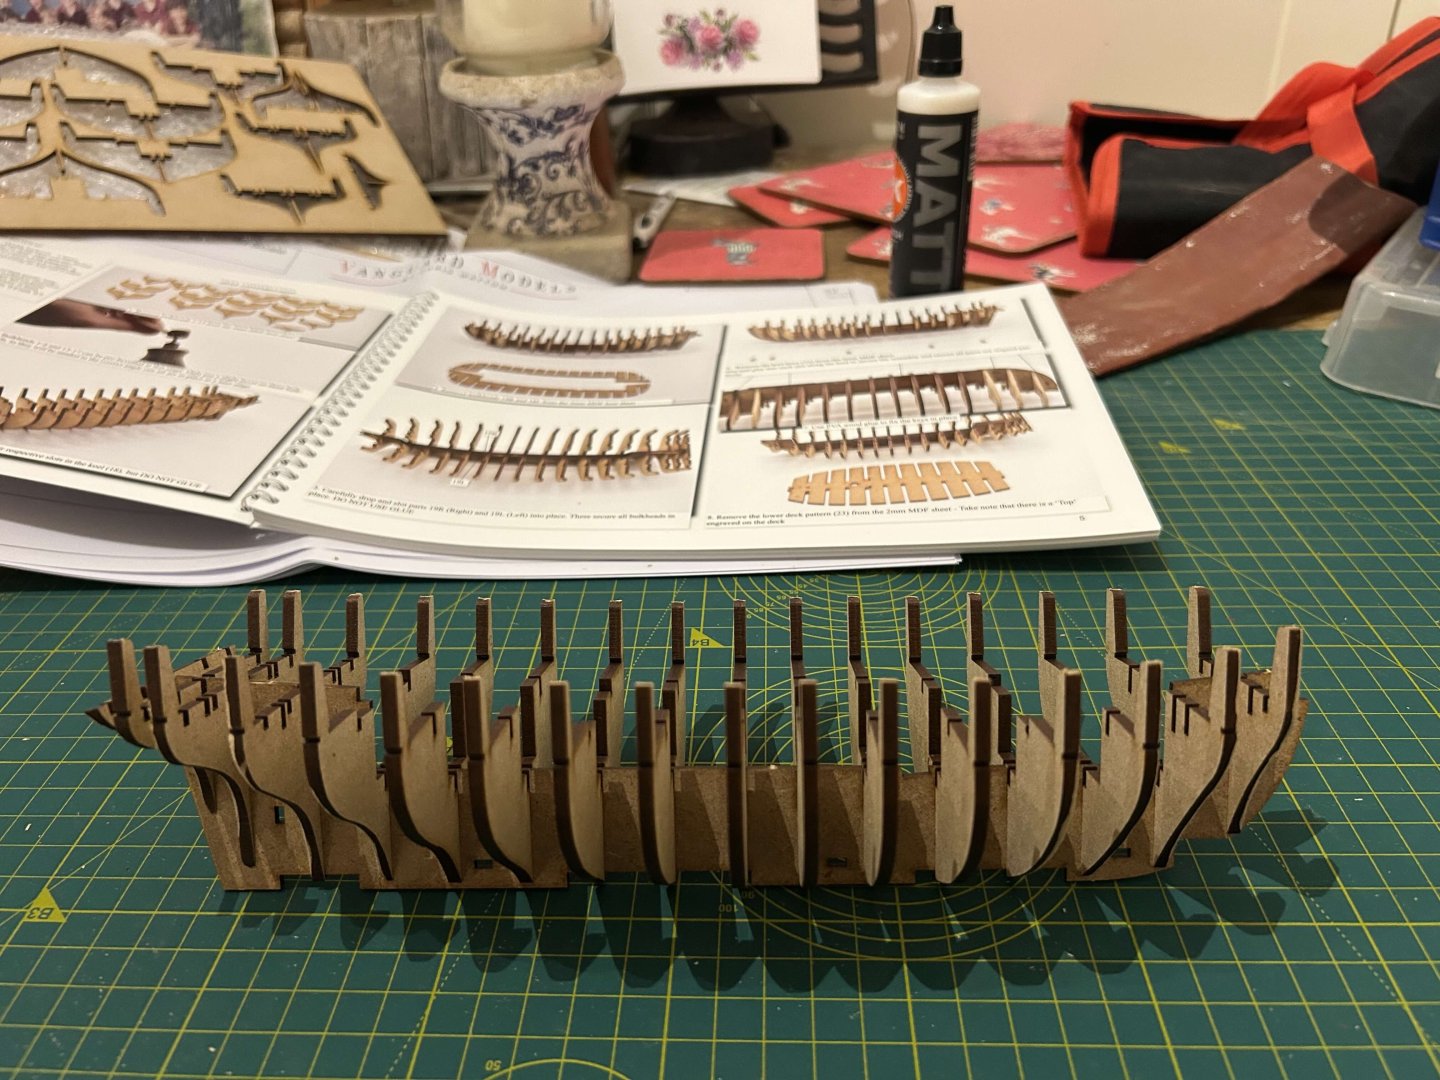
I was ever so slightly scared of starting it - so I thought it best to do something tonight rather than put it away for 'later'. A nice easy 30 minutes cutting the bulkheads out of the MDF sheet, sanding them where indicated and dry fitting them to the keel. I now have a clear sense of the size. Everything fitted perfectly and inspires confidence for the next step.
-
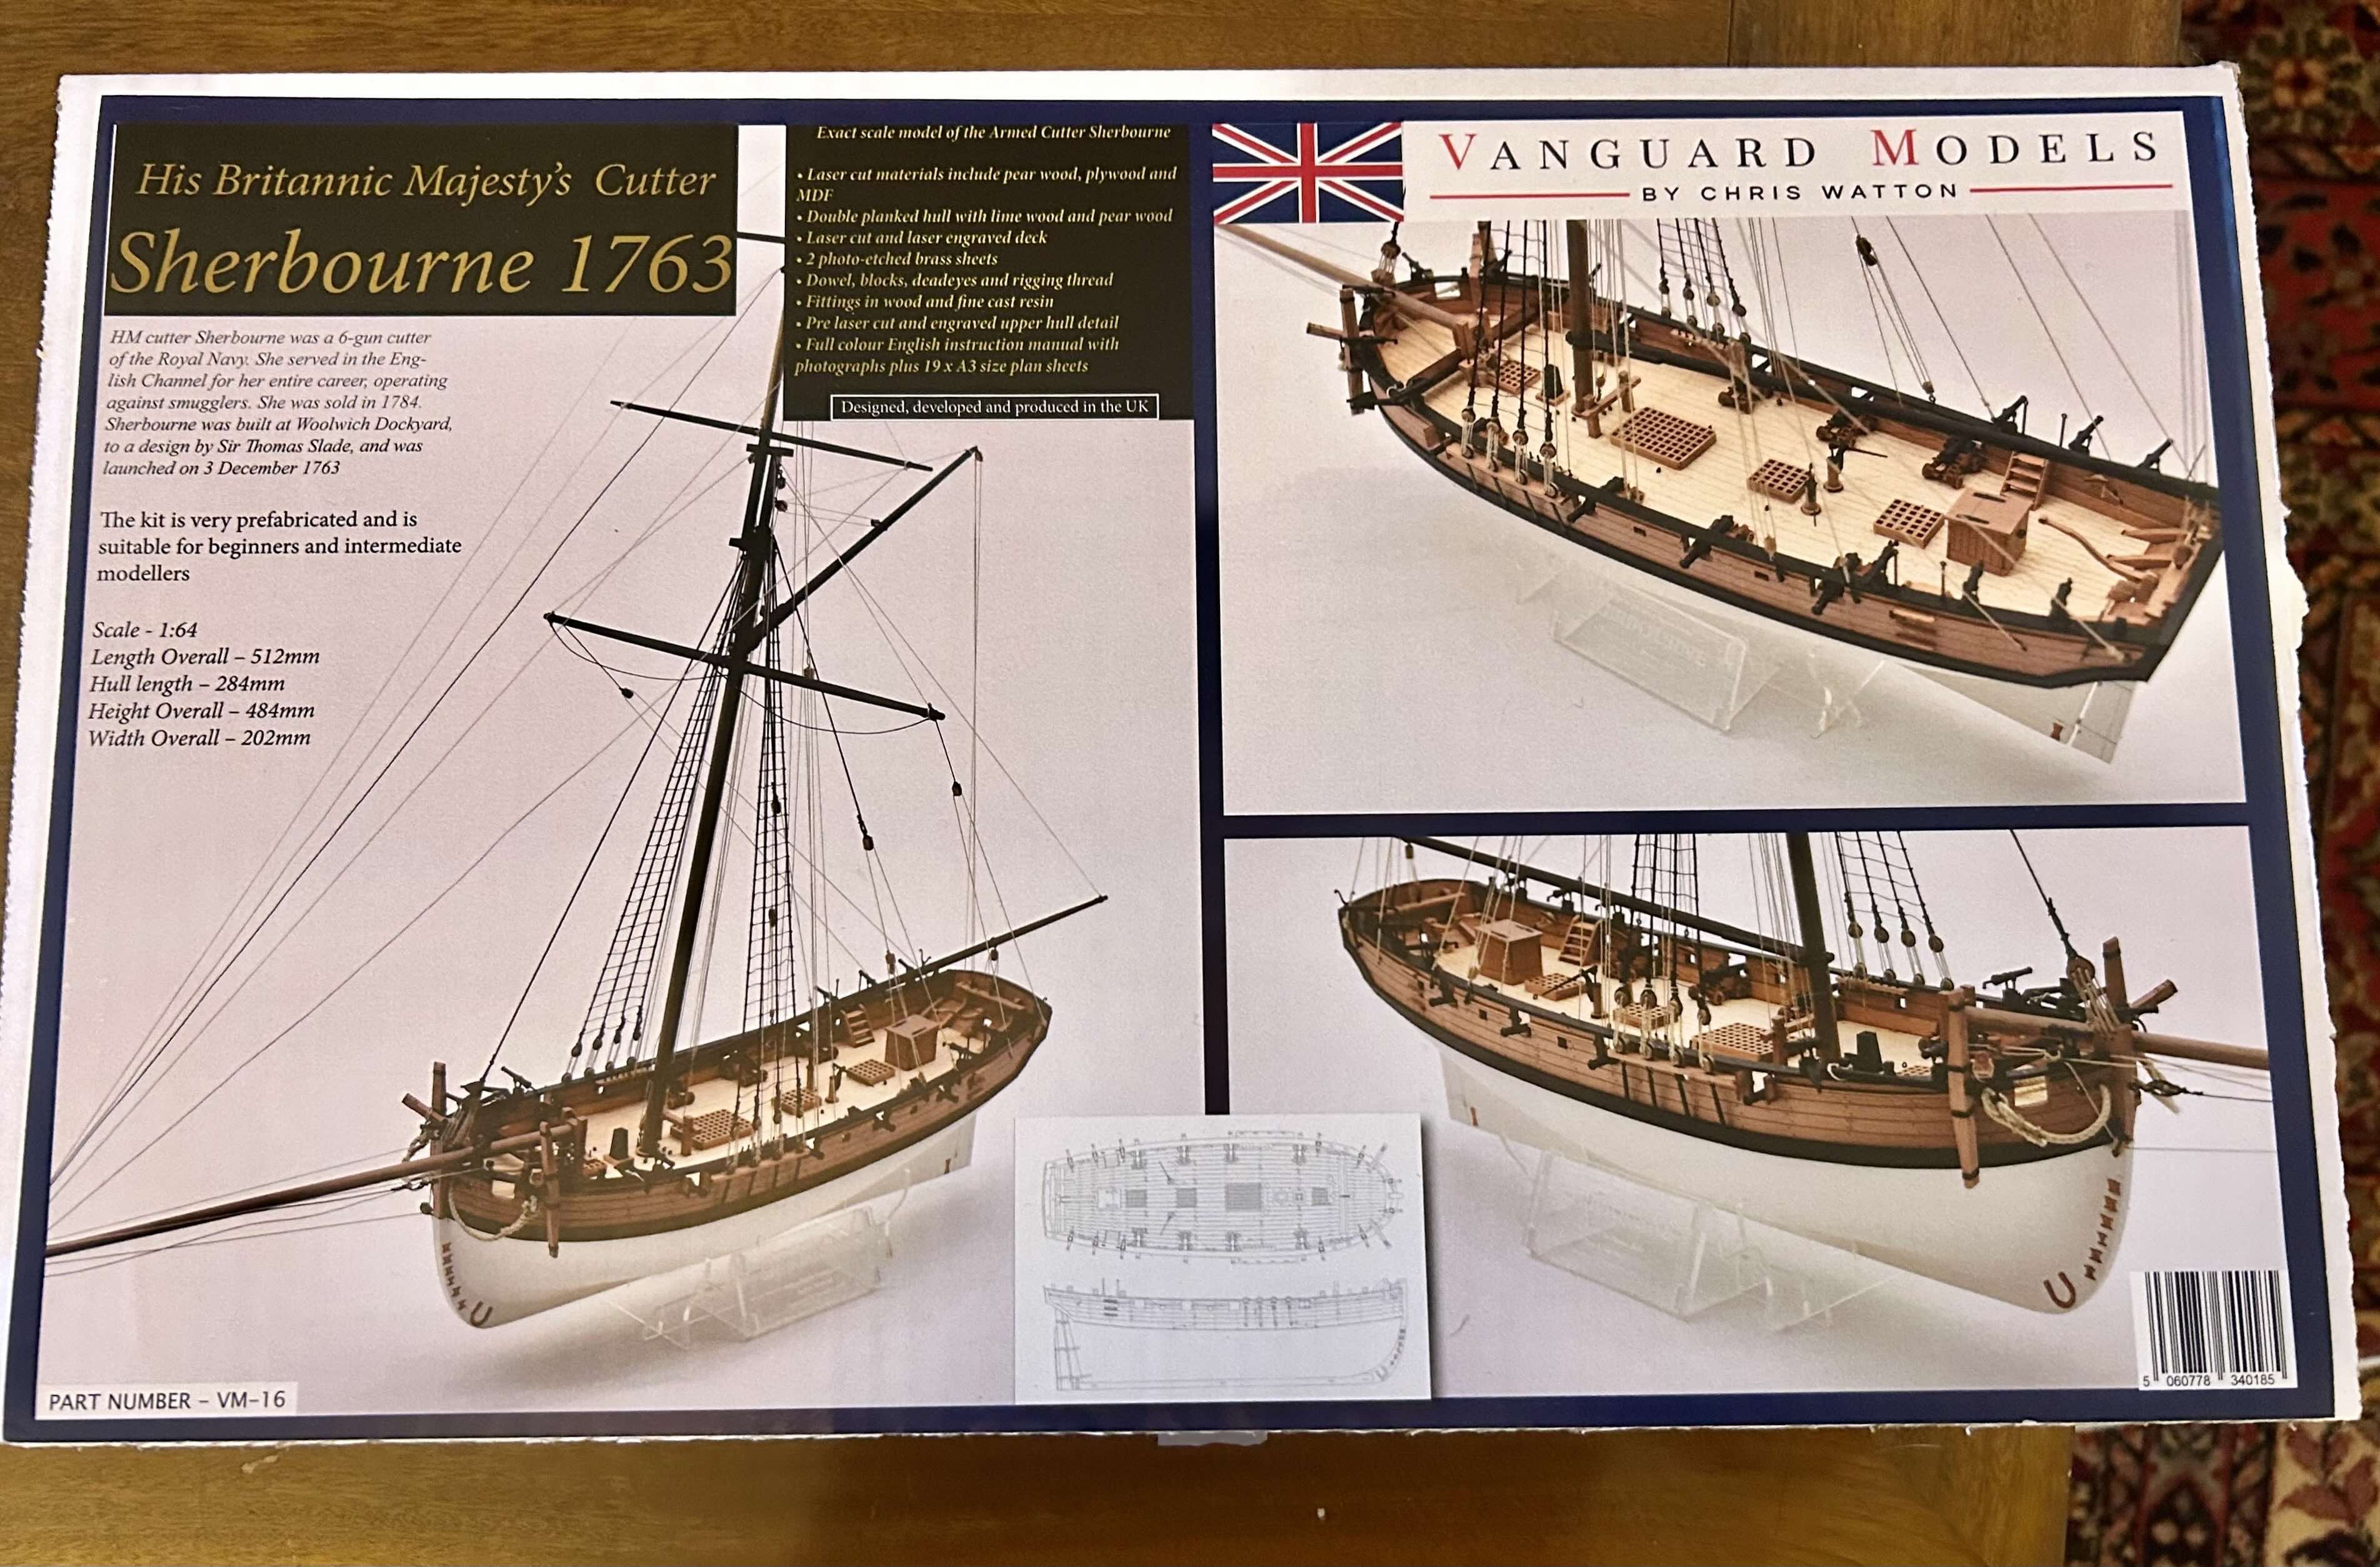
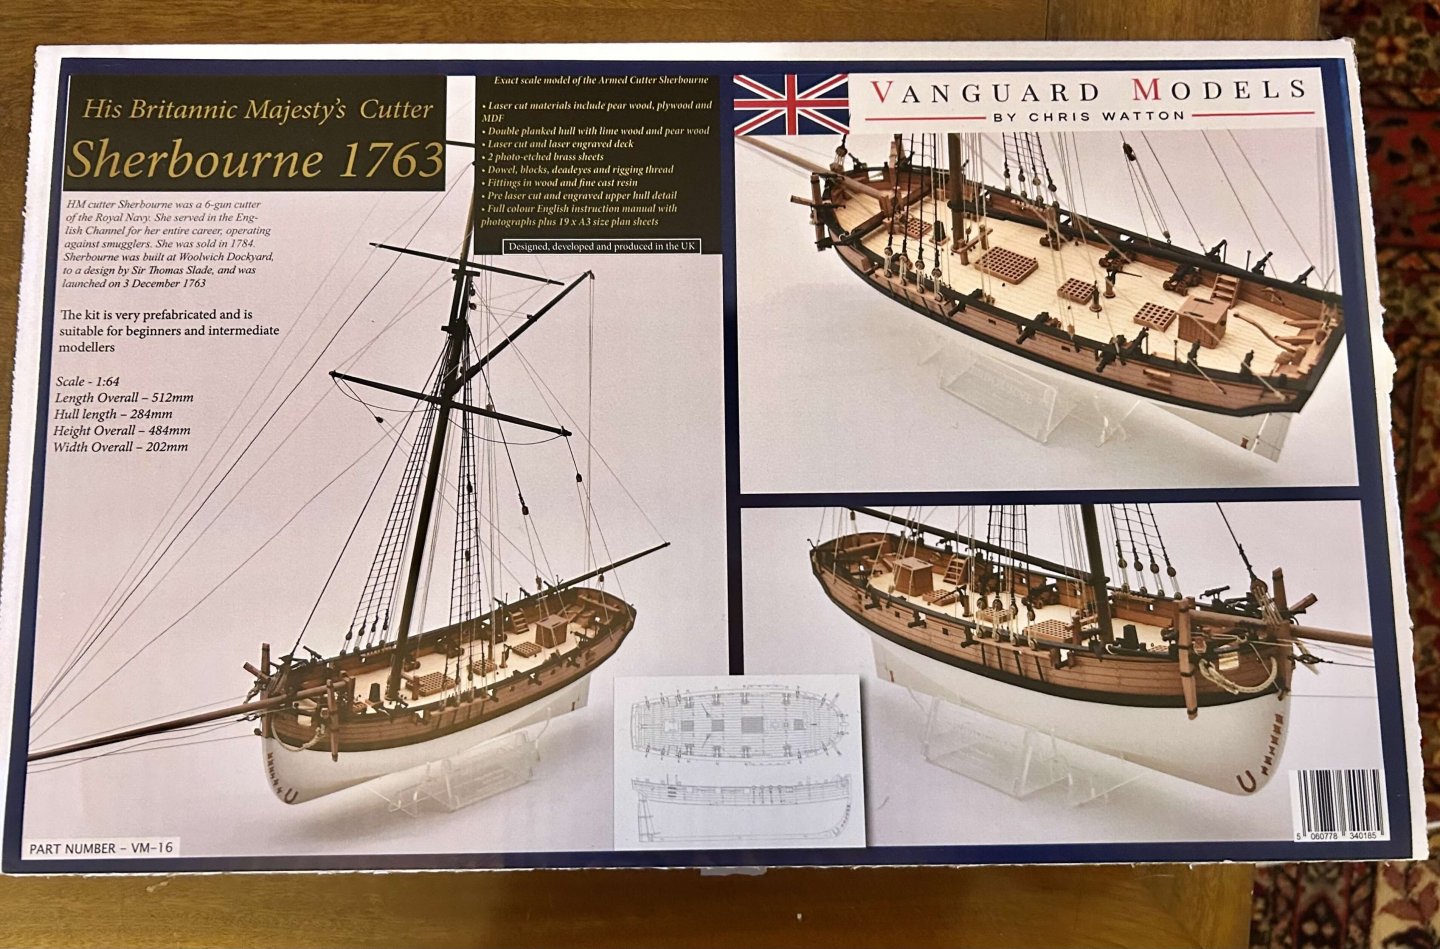
The Sherbourne has arrived and, as everyone else has said, the quality of the packaging, the instructions and the material looks first class. This is going to be my first 'proper' build, apart from the small launch also from Vanguard, and this is going to be my first build log. Wish me luck!
-
Thank you!