MORE HANDBOOKS ARE ON THEIR WAY! We will let you know when they get here.
×


bundybear1981
-
Posts
59 -
Joined
-
Last visited
Content Type
Profiles
Forums
Gallery
Events
Everything posted by bundybear1981
-

Using Blacken-IT
bundybear1981 replied to fnkershner's topic in Painting, finishing and weathering products and techniques
Could anyone please point me to where I can buy the below that Blue Ensign used in Australia? I would like to have it in my equipment for future use and am having trouble finding where I can buy it from (I don't have any hobby shops locally, Toyworld is the closest thing I have) thanks in advance Jason -
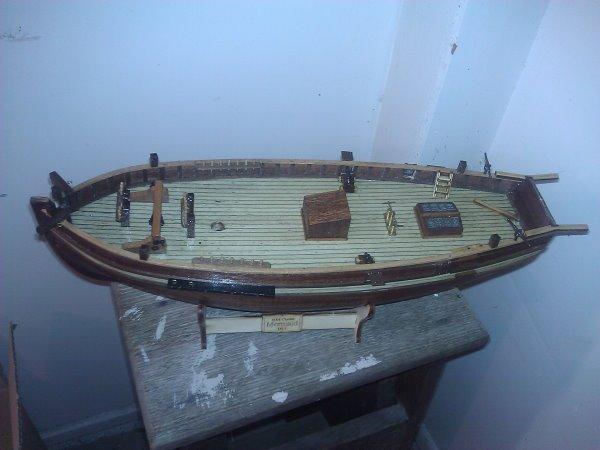
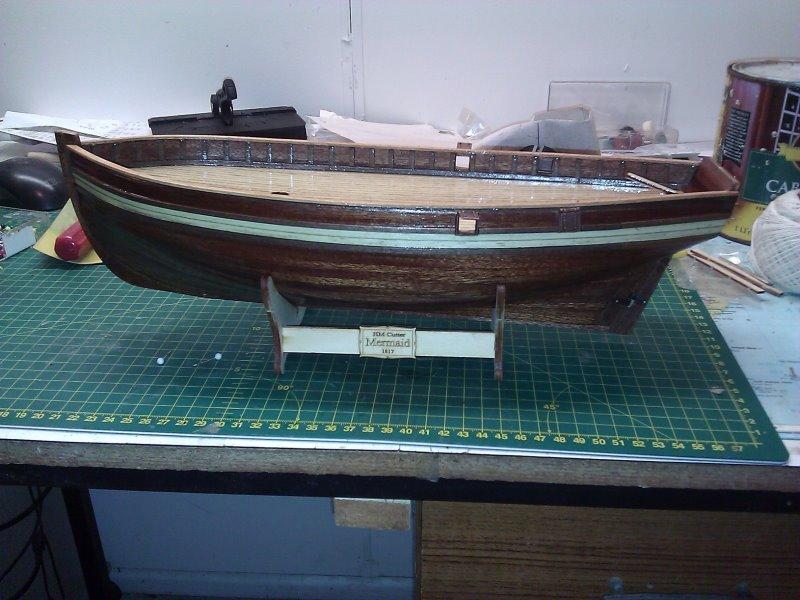
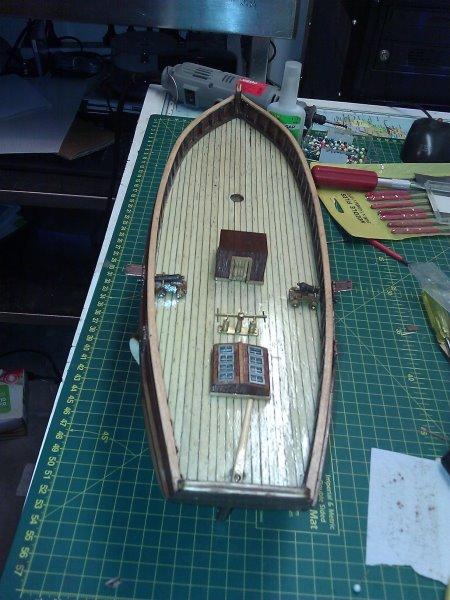
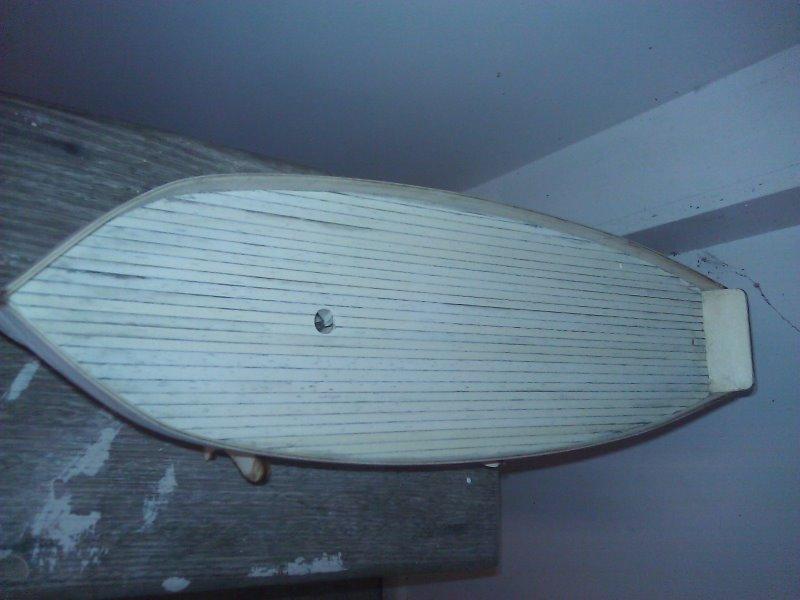
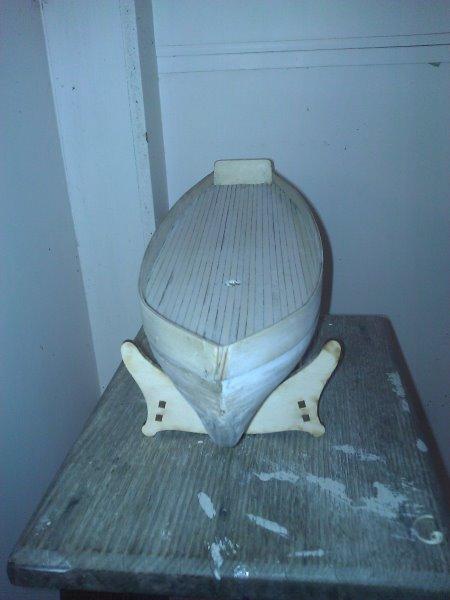
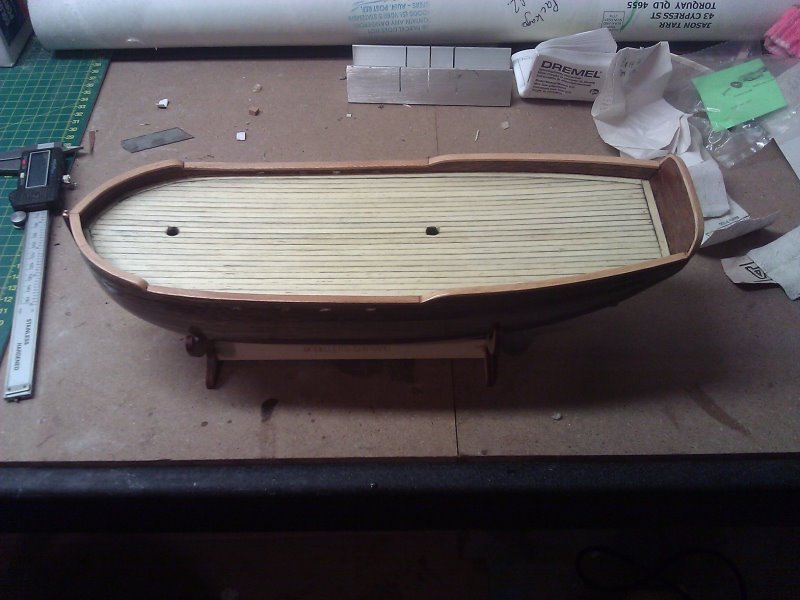
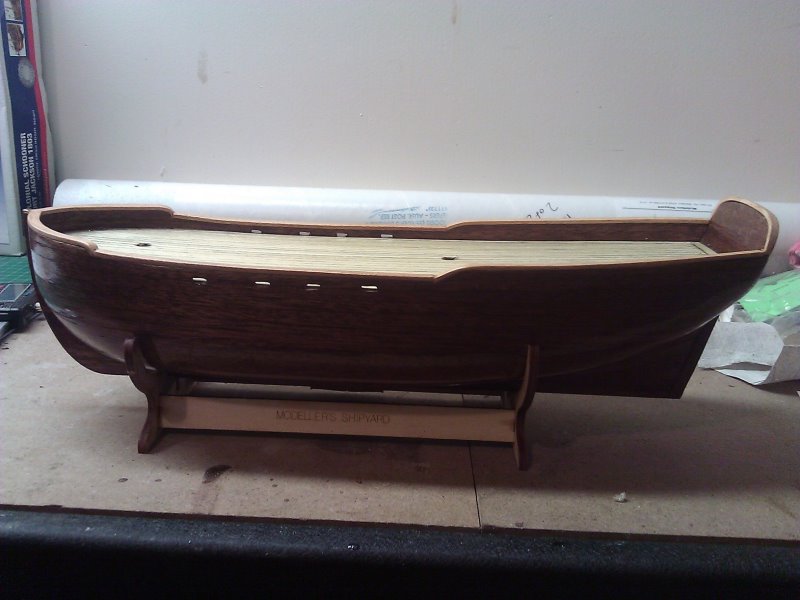
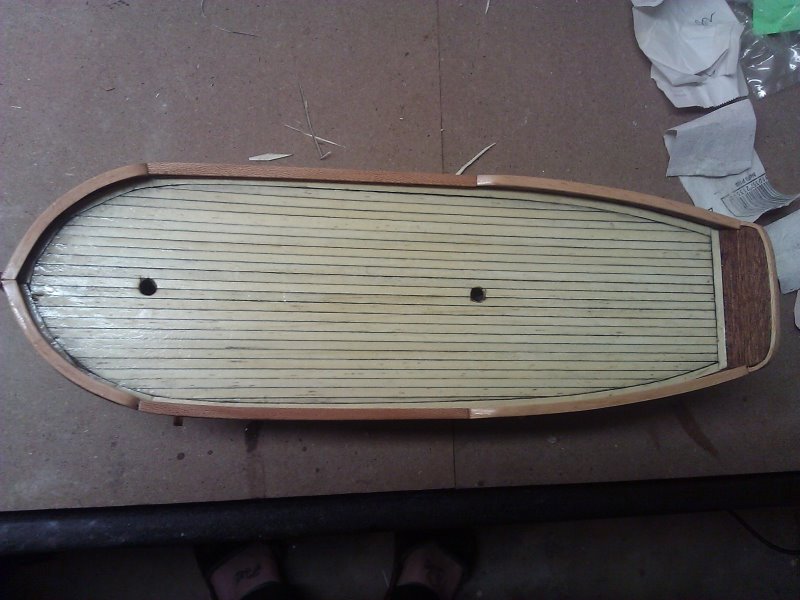
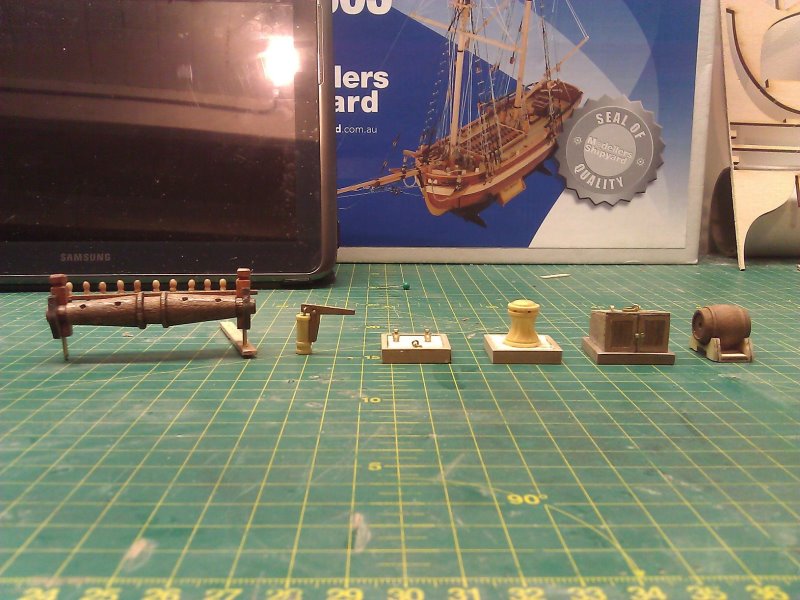
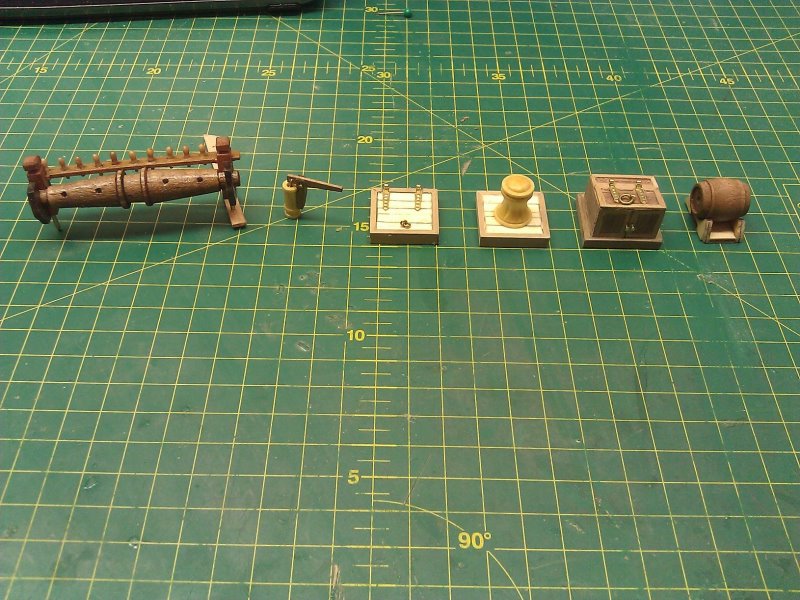
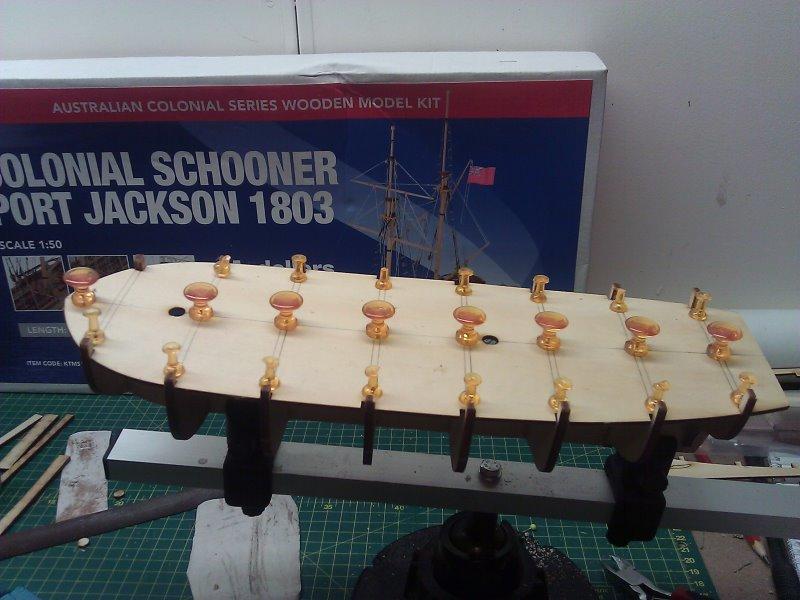
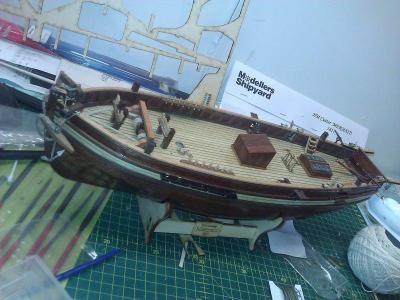
Another update of my build I've completed the decking, added the caprails and made most the deck furniture. Had some issues with doing the decking, in the video it showed joggling but I was unable to find reference to it in the written plans or the timber mentioned in the video on the parts list or in the plans. I ended up forcing a plank around the outer run which came up well. Some of my deck furnishing waiting to be installed.
-
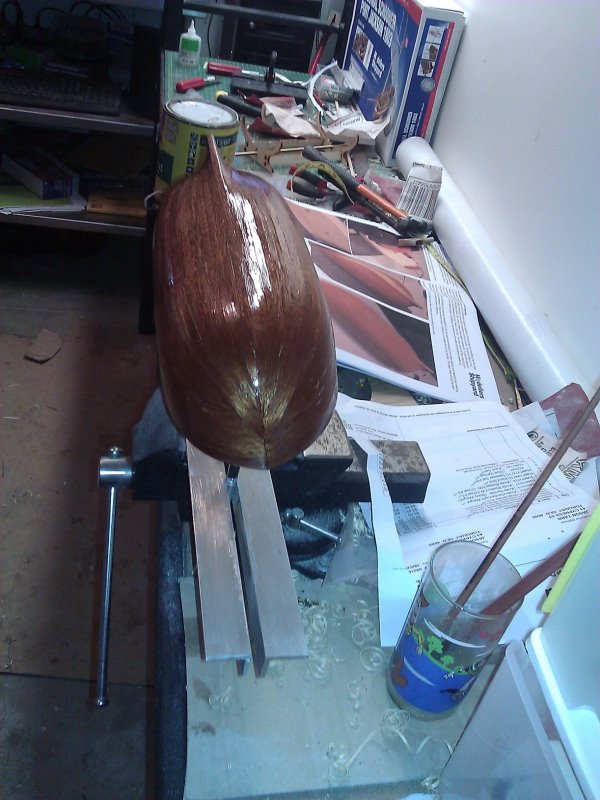
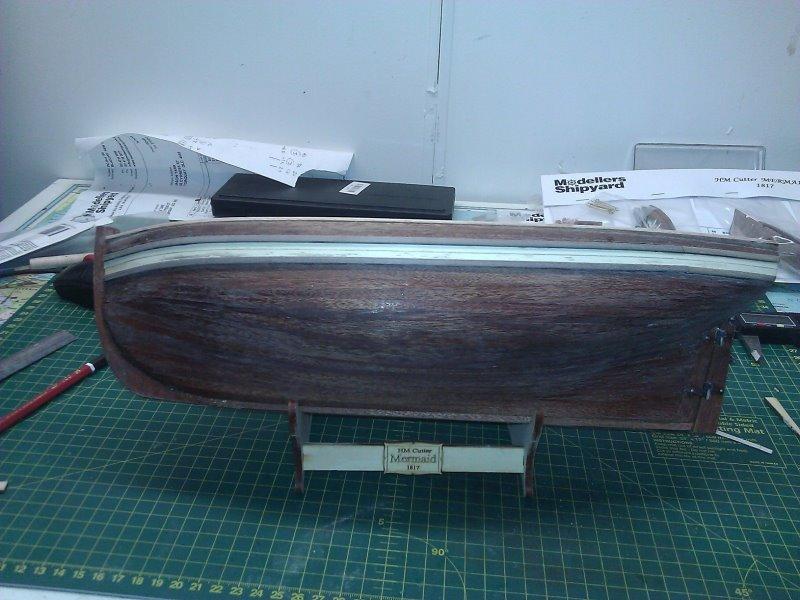
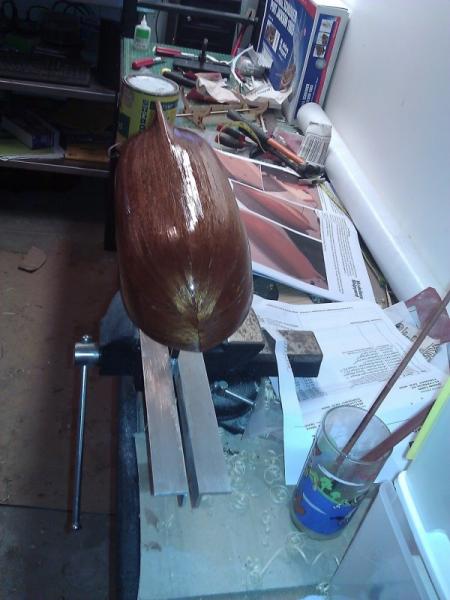
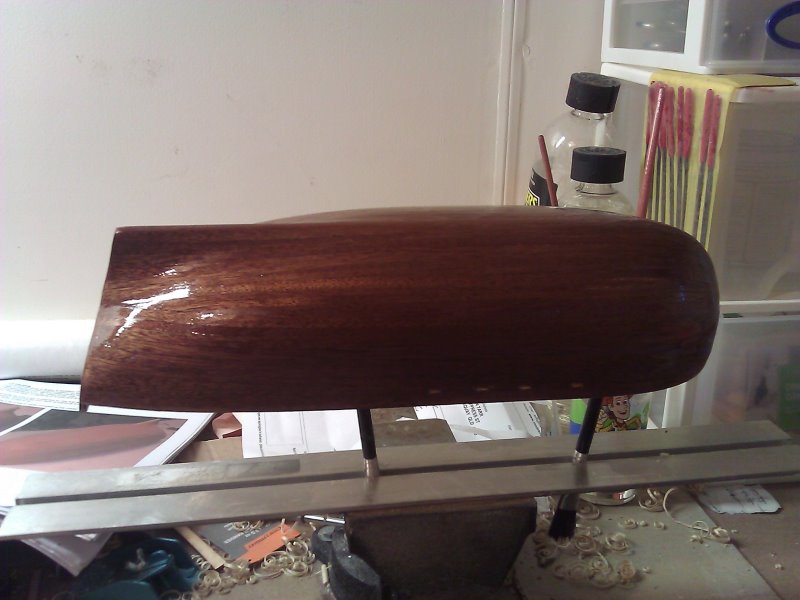
Over the last week I made an effort on the 2nd planking layer. I was quite happy with the results. The next stage will be the decking The finish is still wet here making it look more shiny then it actually is...
-
Hi Russell, I had a pretty good run with the rigging. Had some tweezers for getting in the fiddly bits and I used a dab of superglue on the end of the rigging lines to ease getting them through the blocks and I retouched the holes with a small drill to make sure they were clean.
- 25 replies
-
- 1
-

-
- mermaid
- modellers shipyard
- (and 1 more)
-
Thanks for the history lesson Jim Its always nice to learn more about these things and our own history. When shes finished I'll have to include a $20 note in her display case.
-
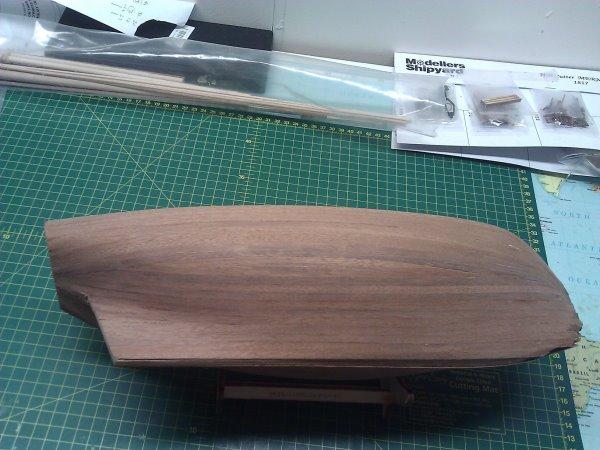
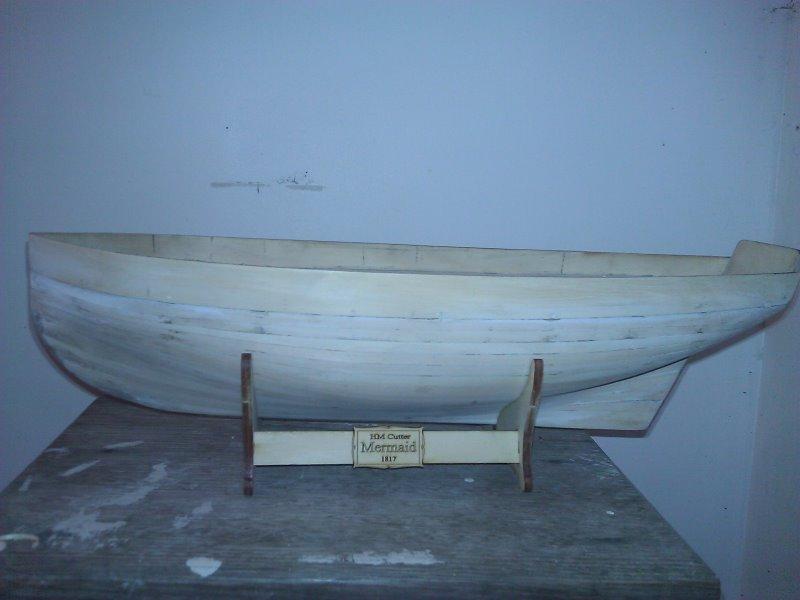
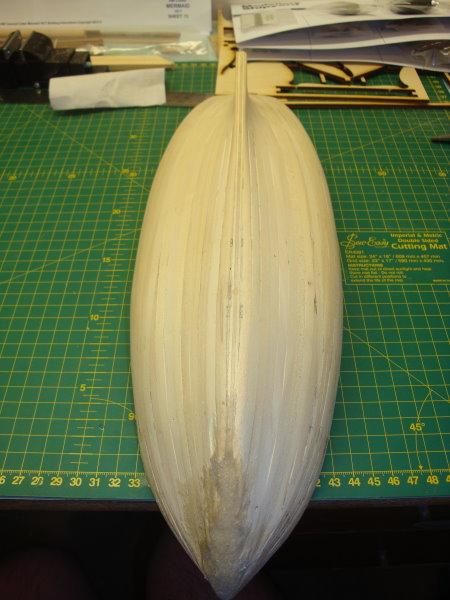
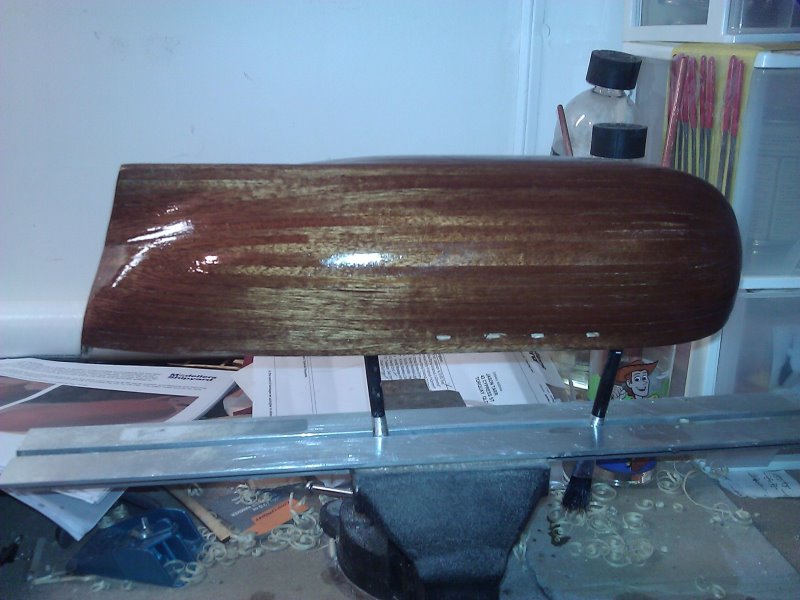
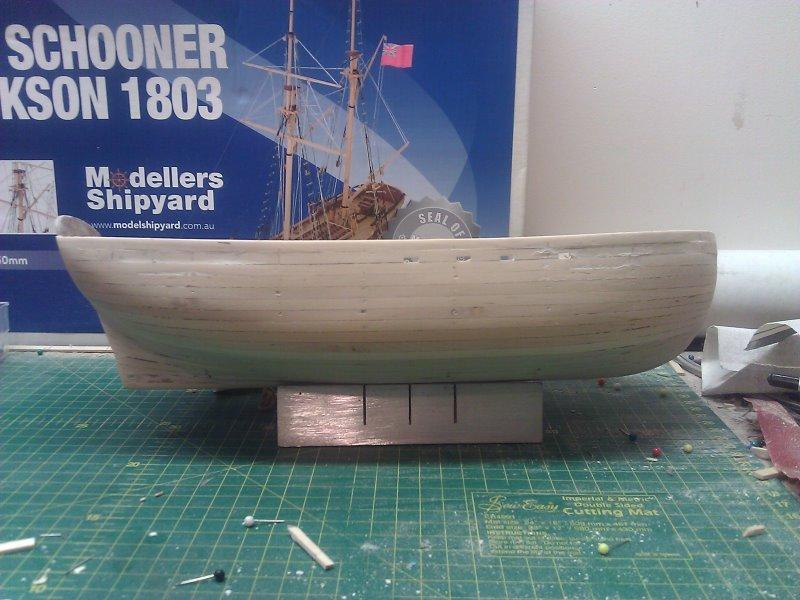
My next effort was sanding and finishing of the 1st layer of planking. After the sanding was completed the end result was one that I was very happy with. The next step will be the 2nd layer of planking this weekend. Finish of 1st Planking Run Sanding Ready for 2nd Planking

-
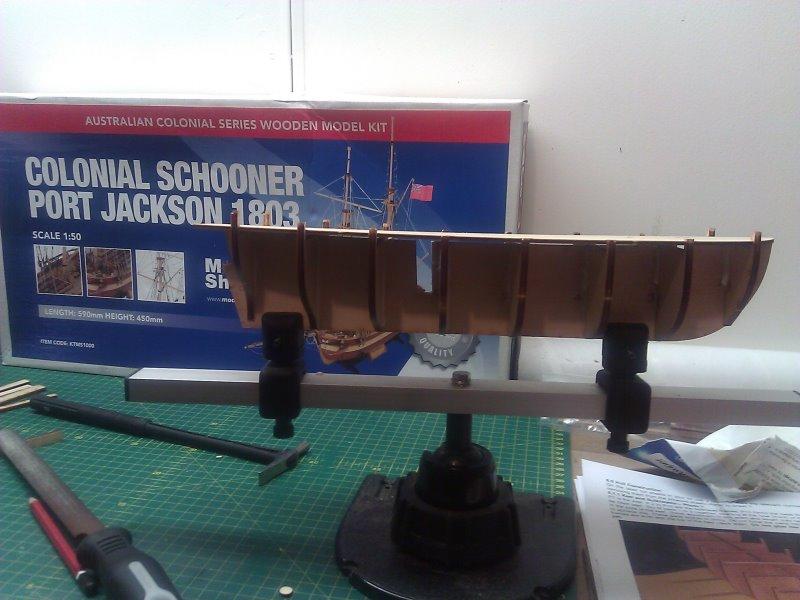
Today I made a start on the first layer of planking. First Plank Run First Group of Planks Second Group of Planks Third Group of Planks This time I had a much nicer finish on the first planking layer with much better meets on the bow and a more even run to the keel.


-
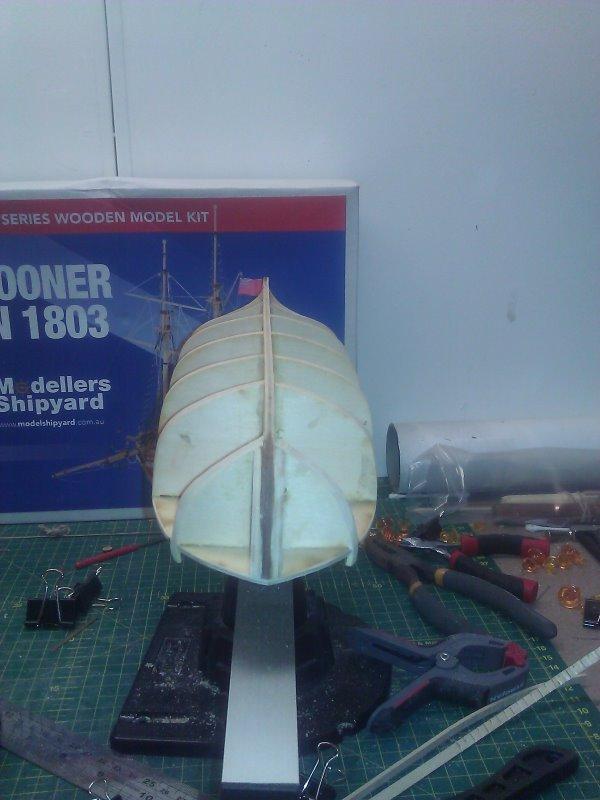
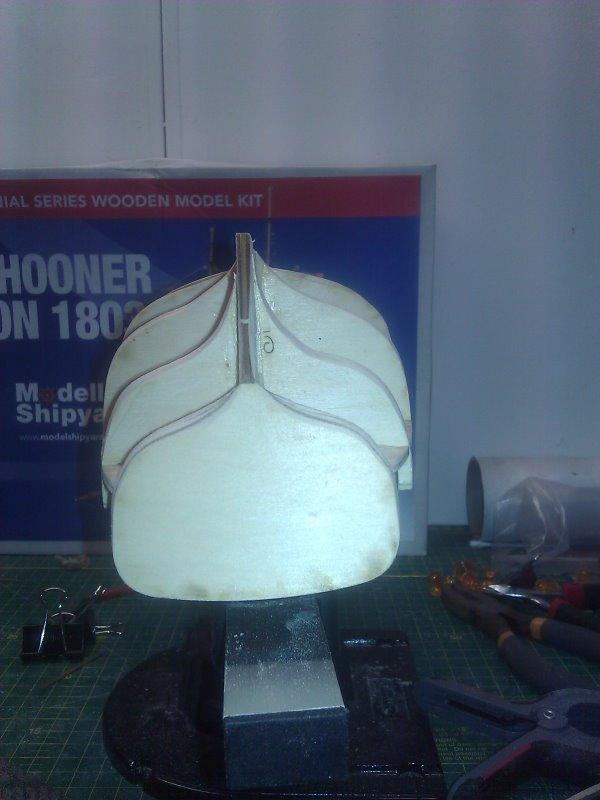
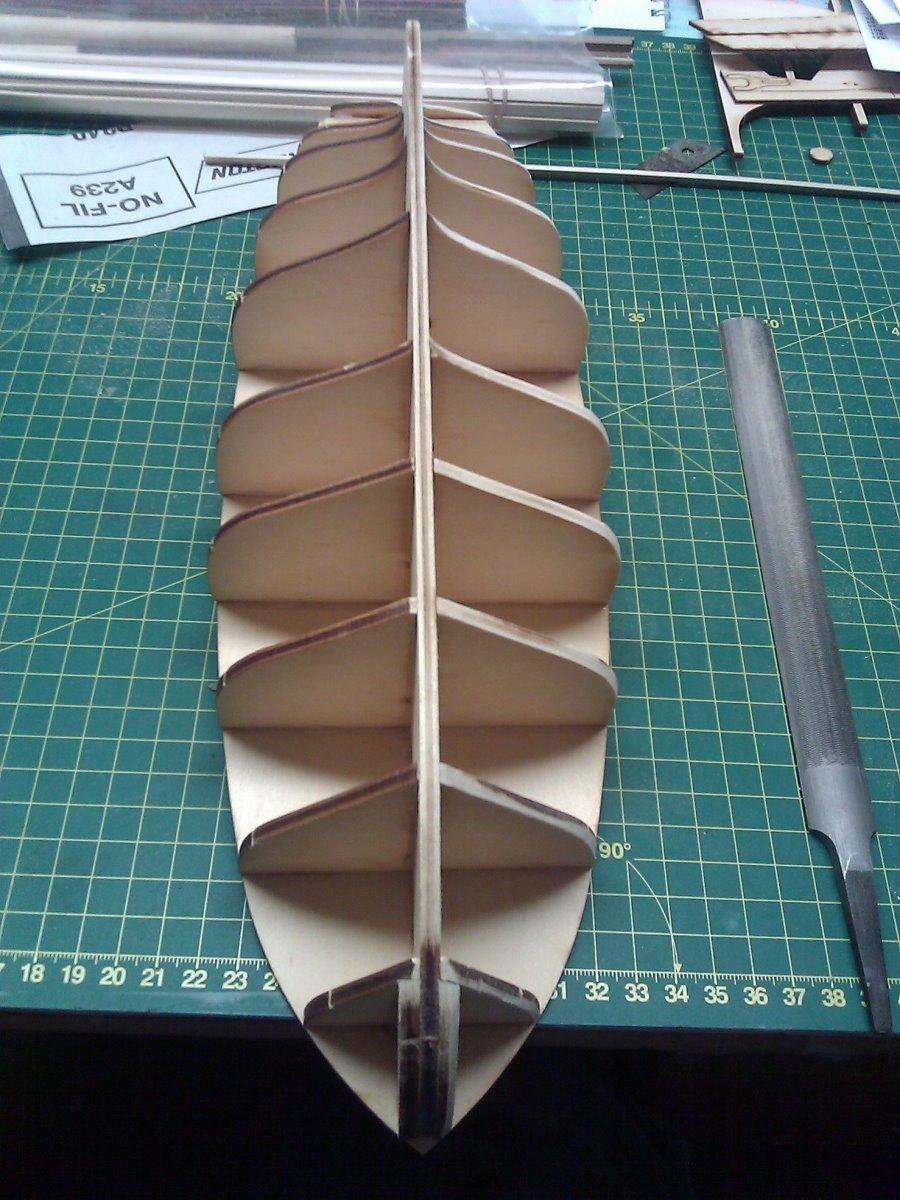
Today I made a start on the faring. On my last build this set wasn't done as well as it could have been leading to issues during the planking so I spent more time to get it exactly right this time.
-
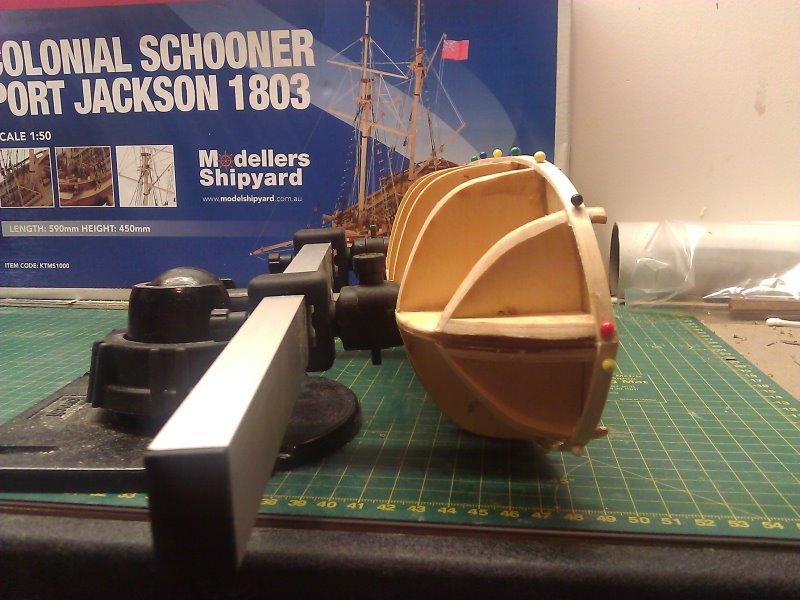
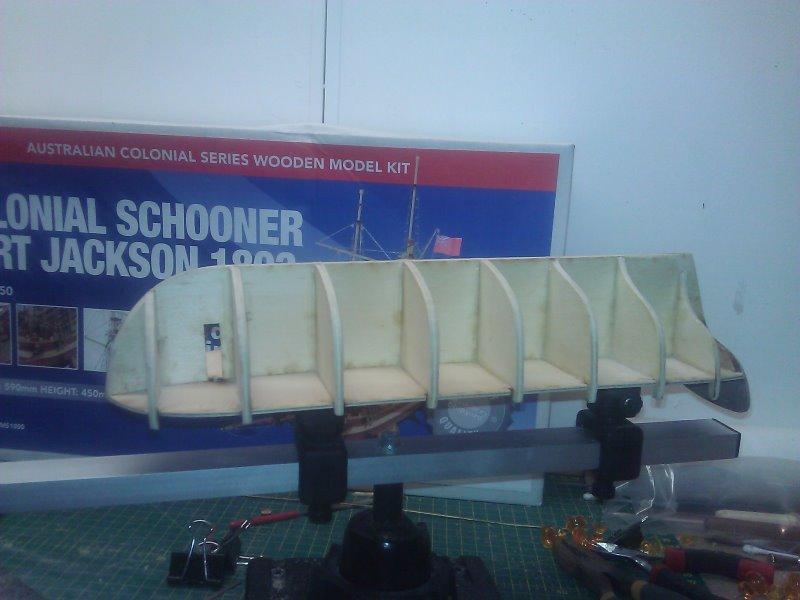
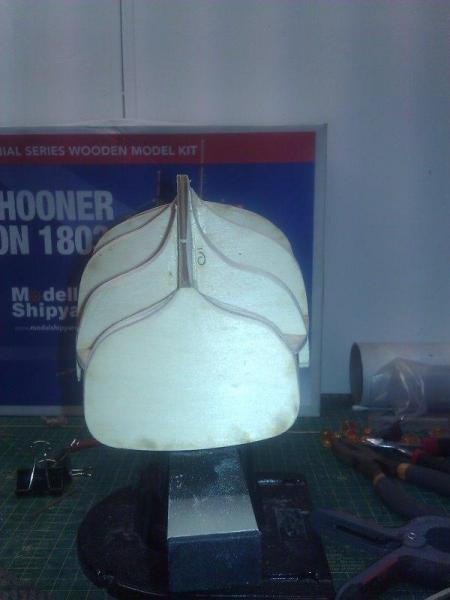
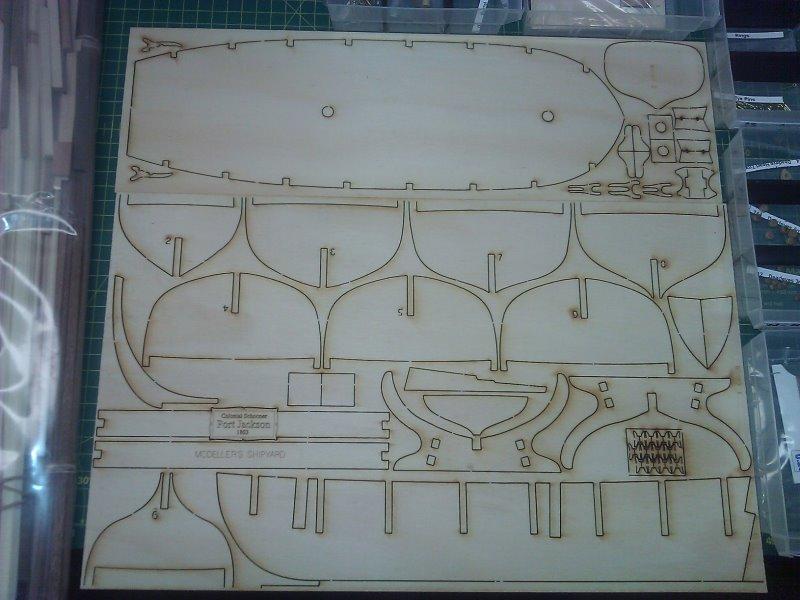
Today I made my start on the Jackson. I carefully cut the bulkheads out of the laser cut ply and checked for a true fit. Some adjustments were required (a couple needed lifting and others needed to be lowered) Bulkheads Glued (Deck is floating to help square the bulkheads) When checking the fits after gluing I noted one bulkhead had slightly lifted (#7, you can see in the first picture it no longer has a true fit to the keel). I adjusted it before the glue had a chance to set. After leaving this to dry for 24 hrs I then glued the deck to the model, pinning down the centre and along each bulkhead towards the outside. This was now left to dry overnight.
-
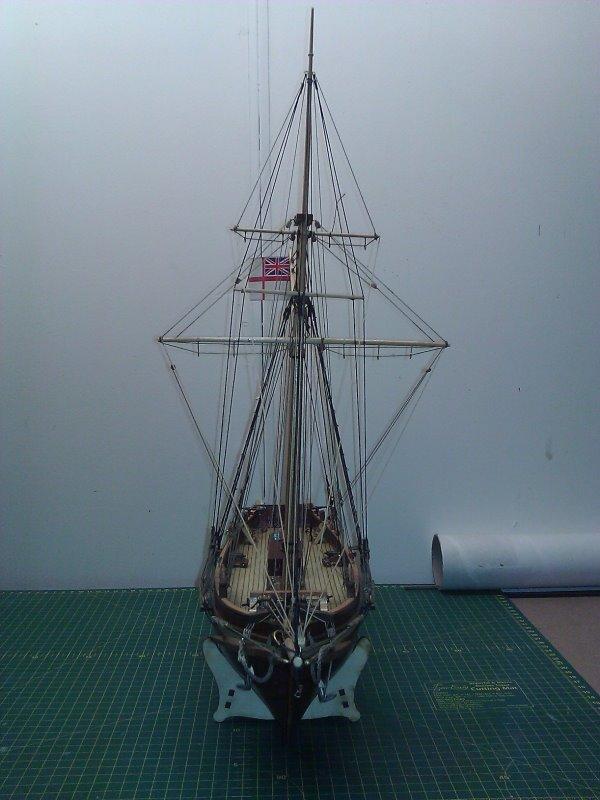
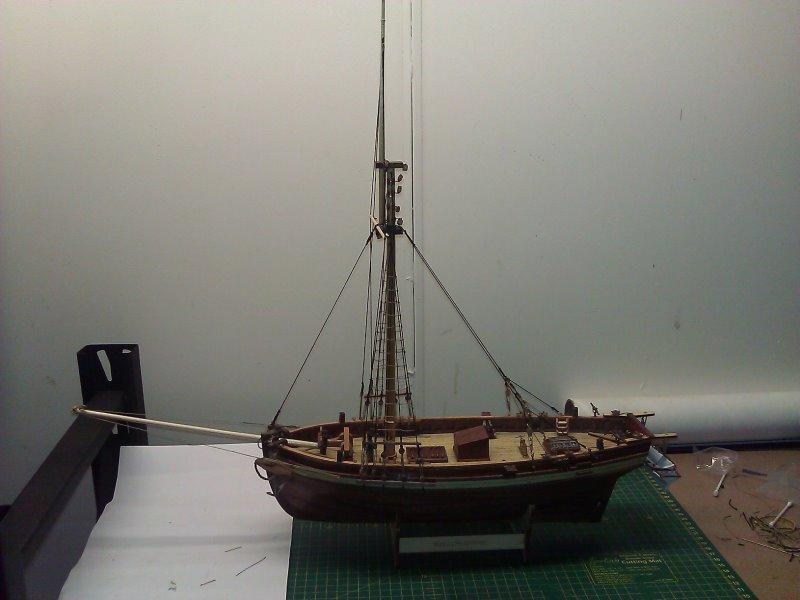
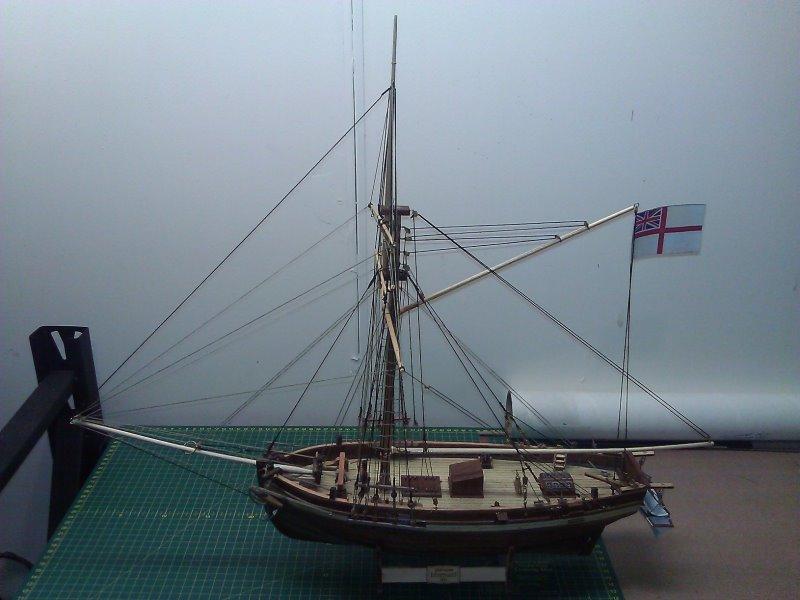
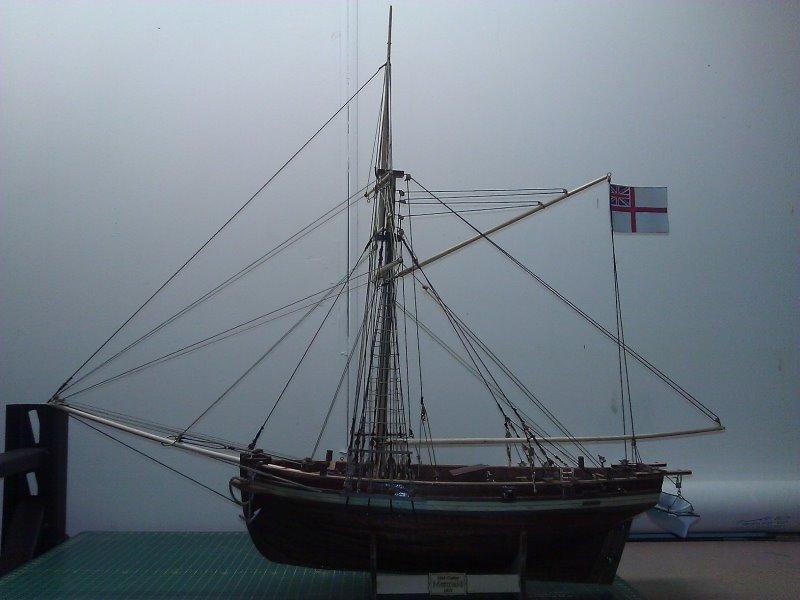
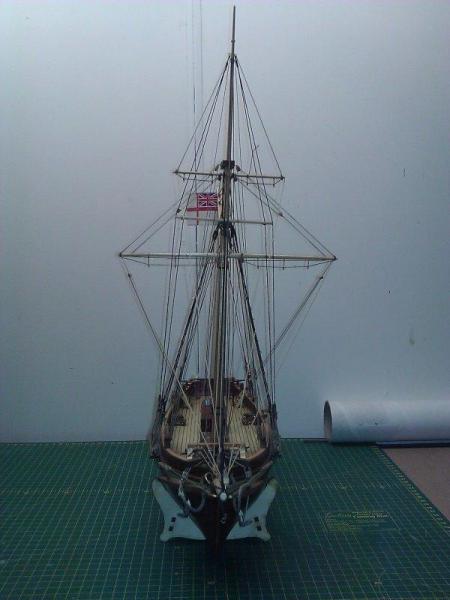
Sorry for delays in updates here, had my laptop die. Just got my replacement one today. Fortunately I had the data backed up elsewhere so losses were minimal. Back to the subject at hand, over the past few weeks I've completed the rigging process for the Mermaid. Overall I was quite happy with how she came out and learnt a lot on the way. I found the rigging to be quite enjoyable overall with only a few little frustrations. First Rigging Works Some more works on the rigging Rigging Completed In summary, I found this to be a nice kit although I did run short on a few bits (quite likely due to my error or not reading instructions clearly enough) It was a fairly easy build (they rated it at a Skill Level 2, with 6 being the hardest) and the instructional DvD was a great help during the process. I greatly built up my tool collection during the build too. Now off to build my next model, the Colonial Schooner Port Jackson.
- 25 replies
-
- 3
-
-
- mermaid
- modellers shipyard
- (and 1 more)
-
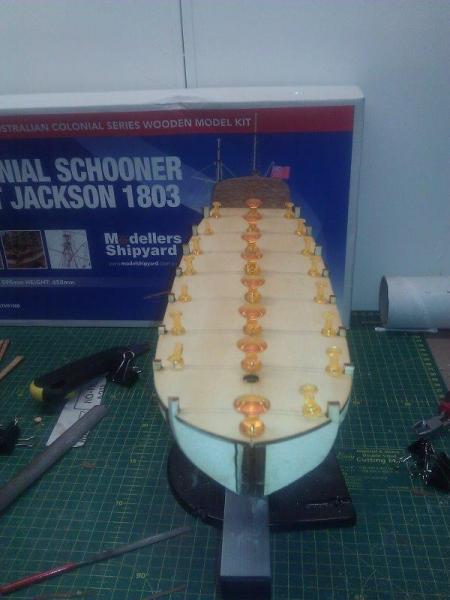
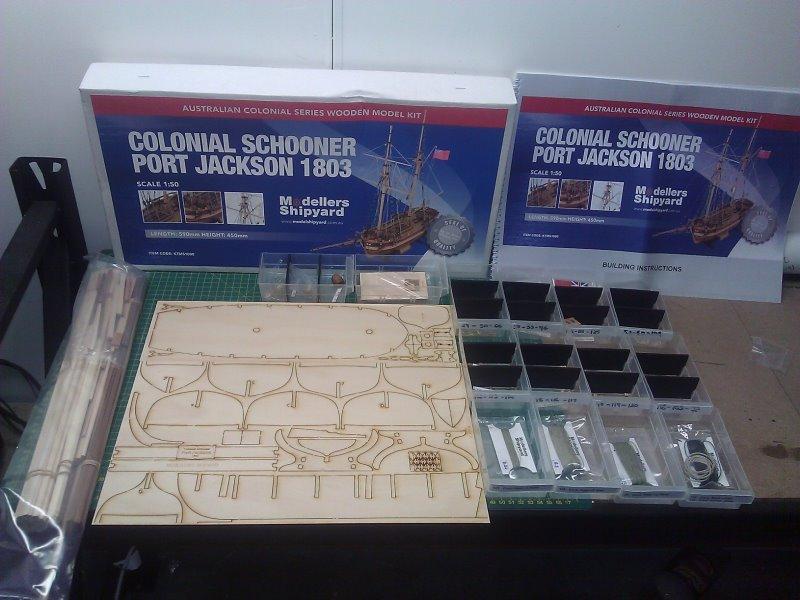
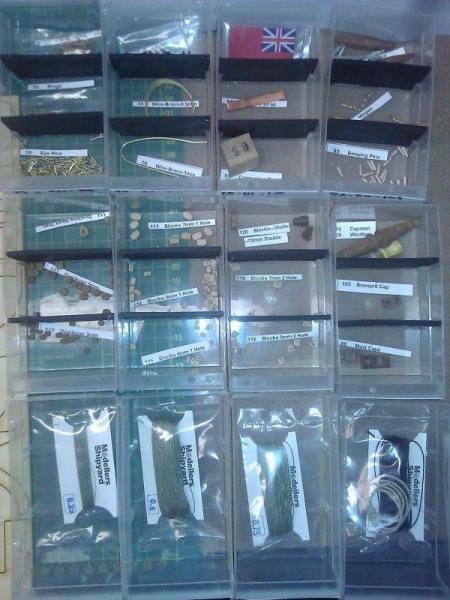
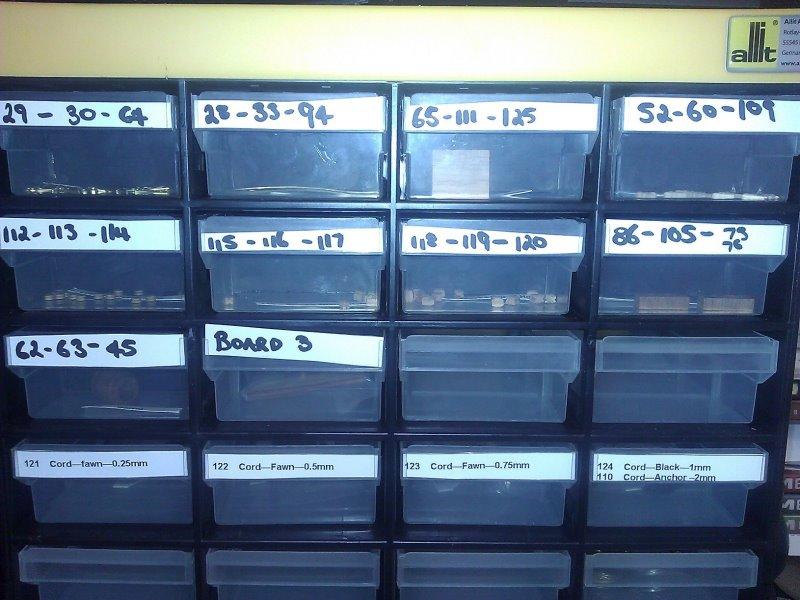
After building my first kit, the HM Cutter Mermaid, I decided to go with another of the Australian Colonial series of models from Modellers Shipyard with the Schooner Port Jackson 1803. Kit Contents Check Laser Cut Sheets This time I sorted and labelled all the parts at the start to make it easier to find the bit I need as I built. The Card Parts Organized Drawers Labelled with Parts
-
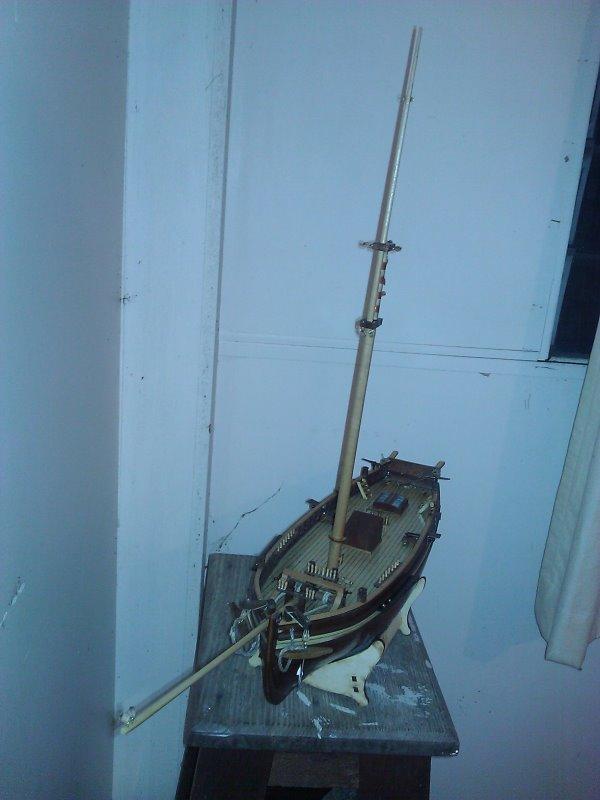
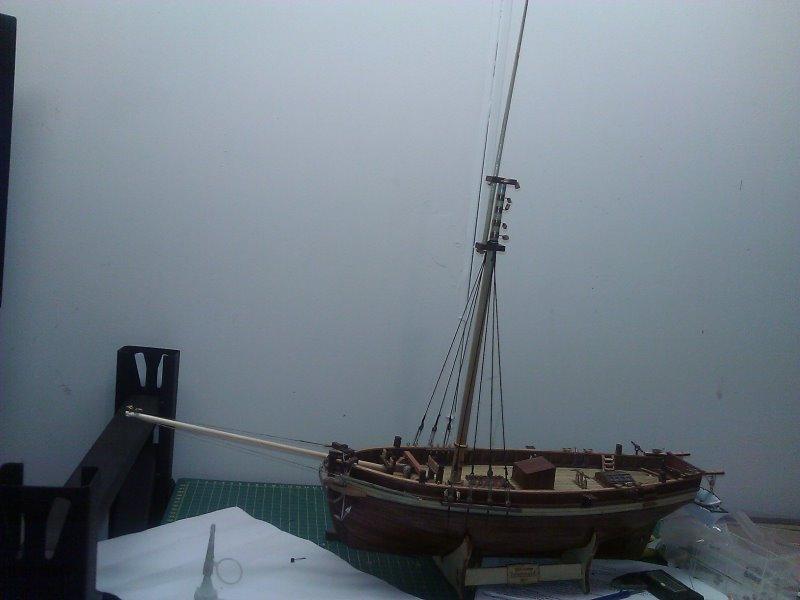
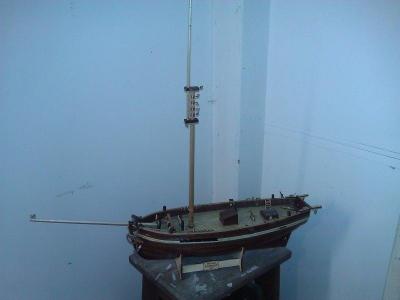
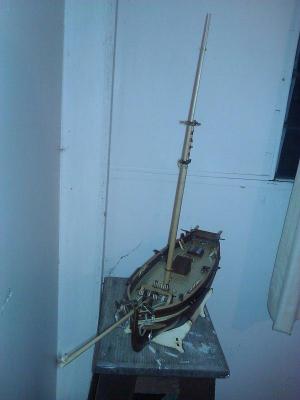
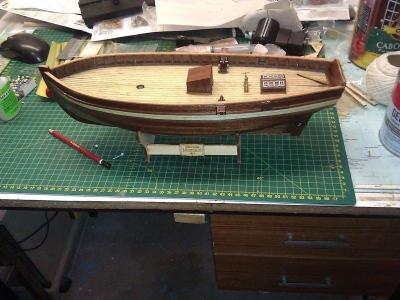
Day 13 Well I've caught the build log back up to where I am up to. If I think of anything I have missed I'll add them in as I go But back to what I'm up to. Today I fitted the mast and bow stem. Next will be starting to do all the rigging work. The Mermaid is starting to look like a ship now!
-
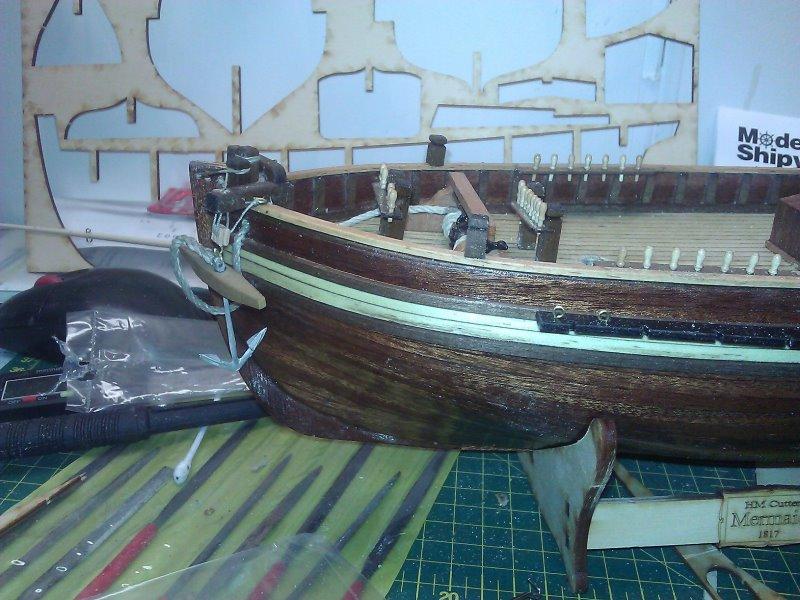
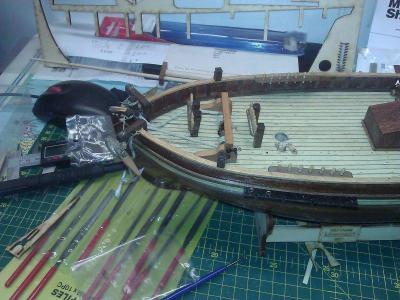
Day 12 Slowly doing all the fiddly bits and fitting the cleats, bitt heads and starting to fit the brass eyes, blocks and the likes. I've got the anchors fitted as well. Its all been going quite smoothly at this stage and haven't had too many issues.


-
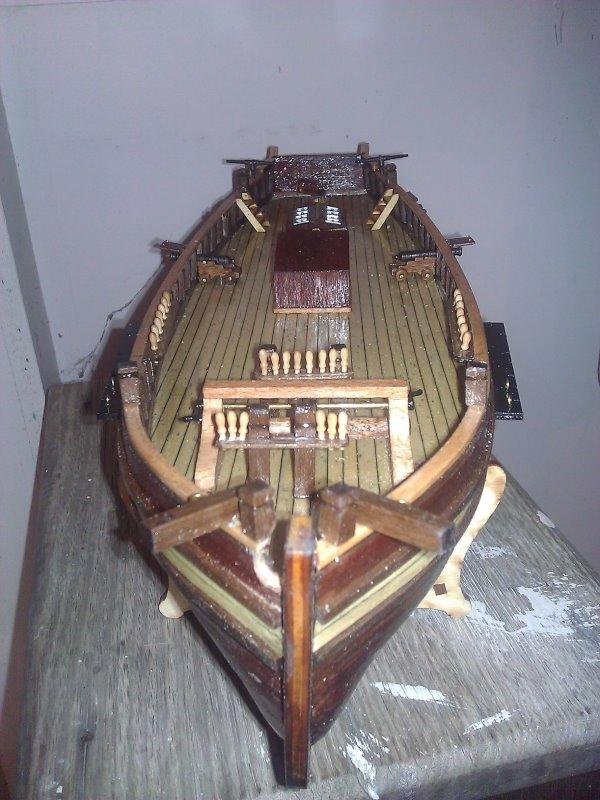
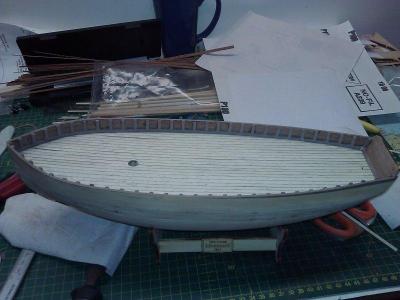
Day 11 Over the course of the last few nights I've constructed the bitt heads, cat heads and pin rails and fitted them to her. The small triangle file was a great tool for carving the timber grooves, made it so easy. Deck Furnishings Pin Rails Placed


-
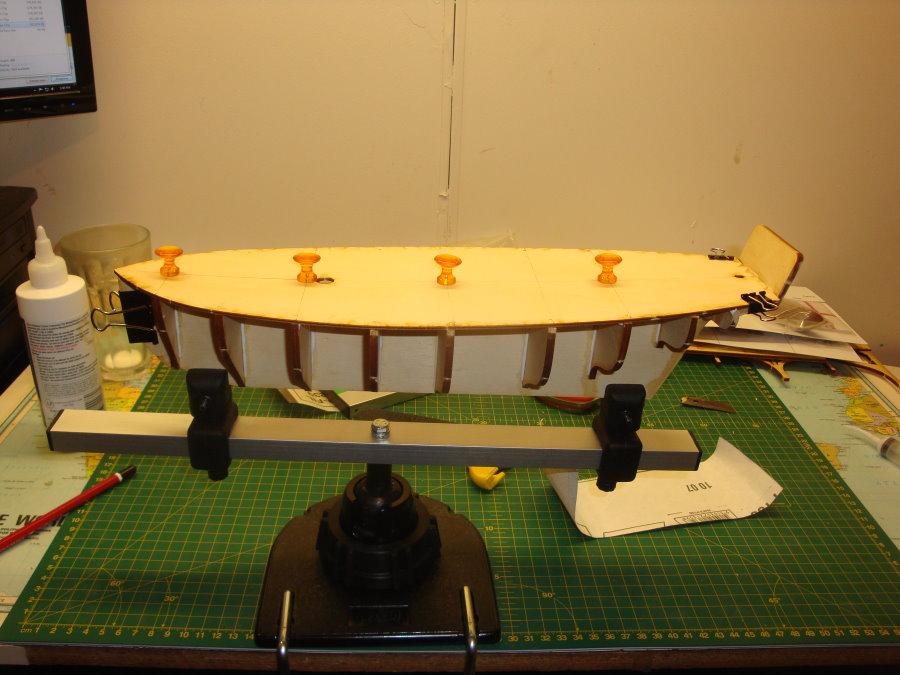
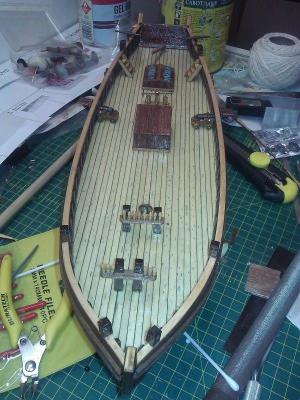
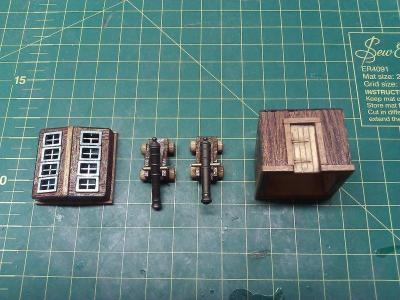
Day 10 She's starting to take shape now. I've started to work on construction of the deck furnishings and the added the whales to the outside. Whales Fitted Gun Holes Fitted Deck Furnishings Made Dry Fit of the Deck Furnishings (to see how they will look)


-
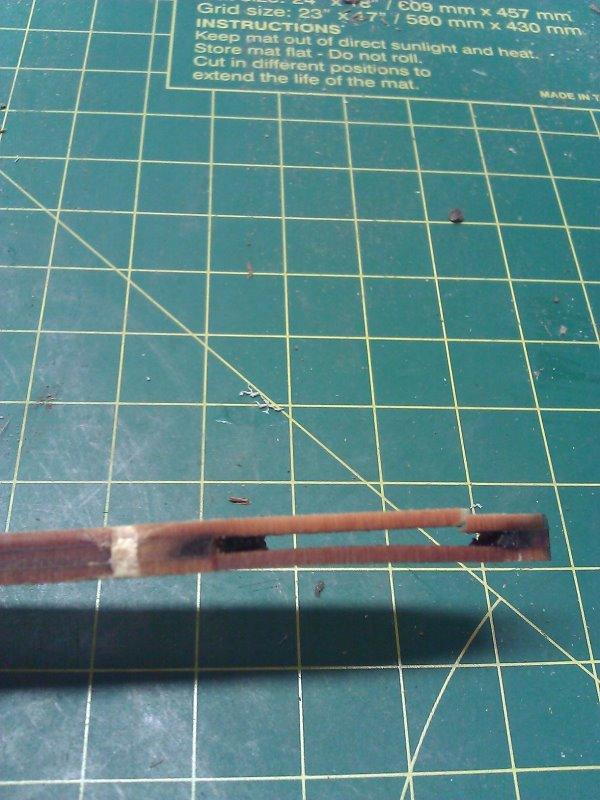
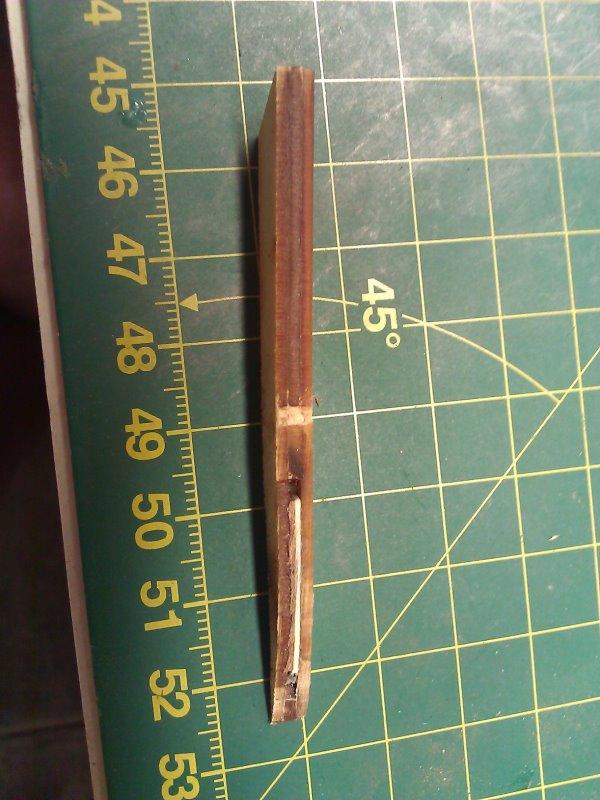
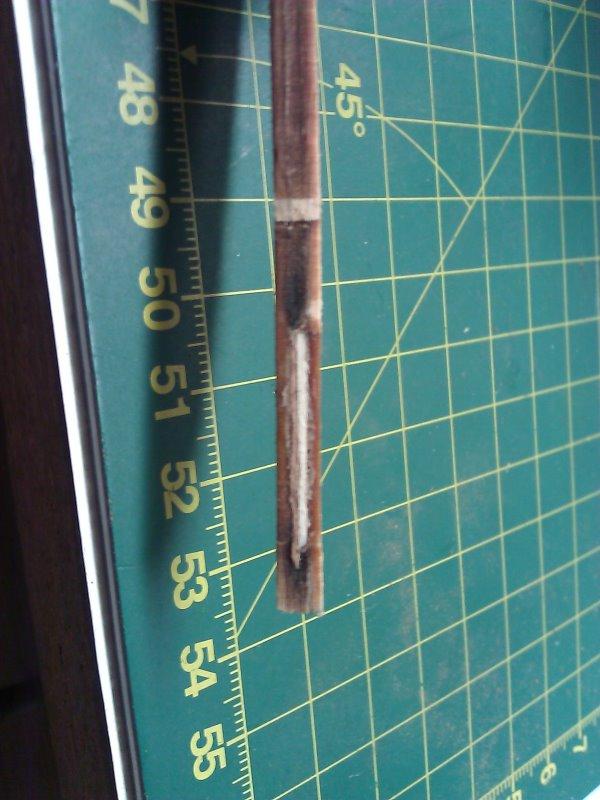
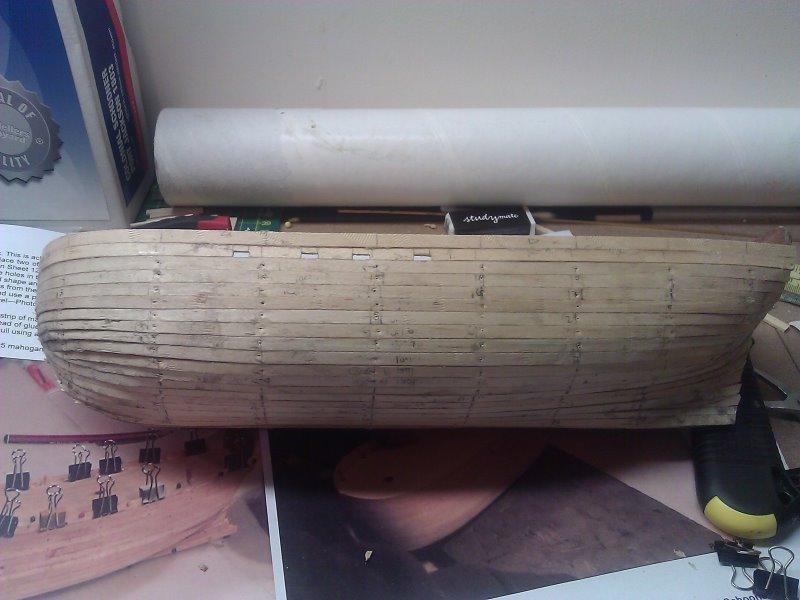
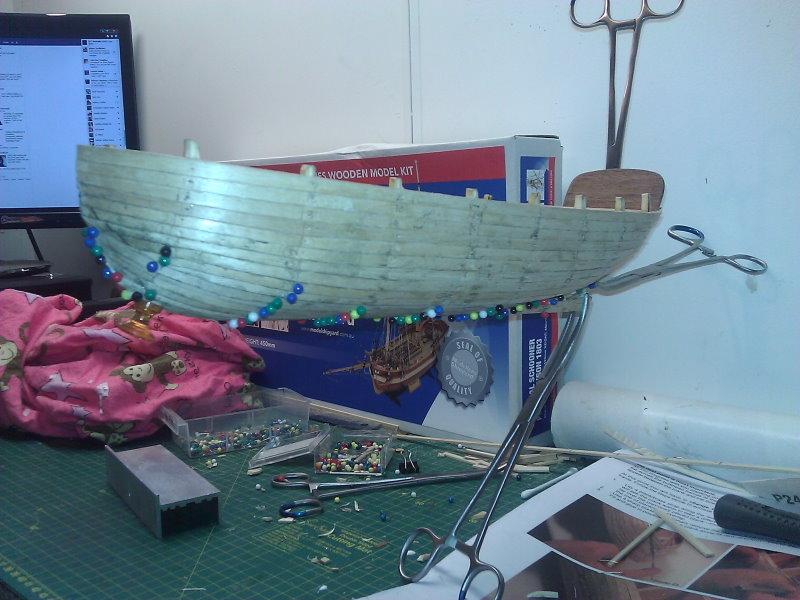
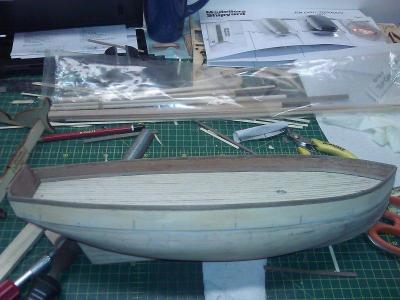
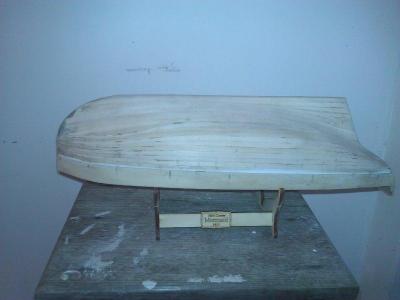
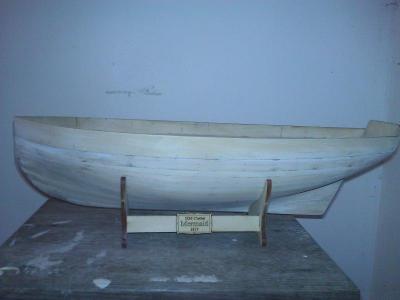
Day 9 Over the course of the last few days I've fitted the 2nd layer of planking. Contact adhesive made easy work of fitting them on the first planking layer. There was a slight issue where I didn't sand the whales back far enough and ended up with a bit of raise that made planking a bit more difficult but was able to work around this. For any others building this model I'd say to make sure that its all smooth and flush along the sides. 2nd Planking Layer - Rear Shot 2nd Planking Layer - Side Shot Had a slight issue with a hollow spot on the laser cut ply for a part of the rudder setup but was able to use some scrap to fill the hollow nicely.


-
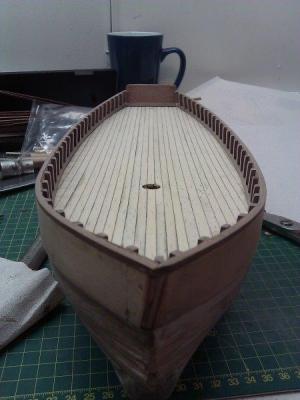
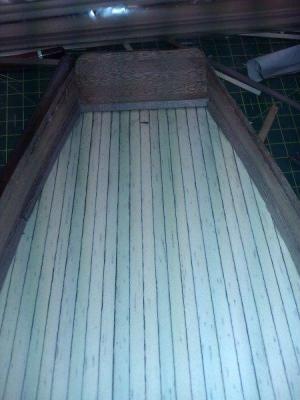
Day 8 Today I lined the inlay of the whales and installed the inlay timber on the whales. A fiddly and time consuming days work, but quite easy overall. I used some scrap to make the spacer jib to make it easier to ensure correct spacing. The master cutter was a great tool for cutting the small inlays accurately. Timber Lining in the deck Timber Inlays Installed
-
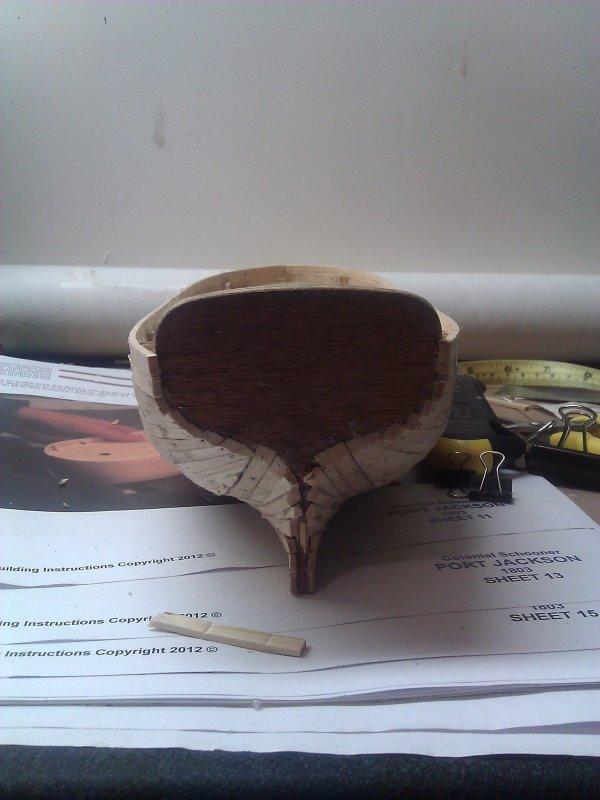
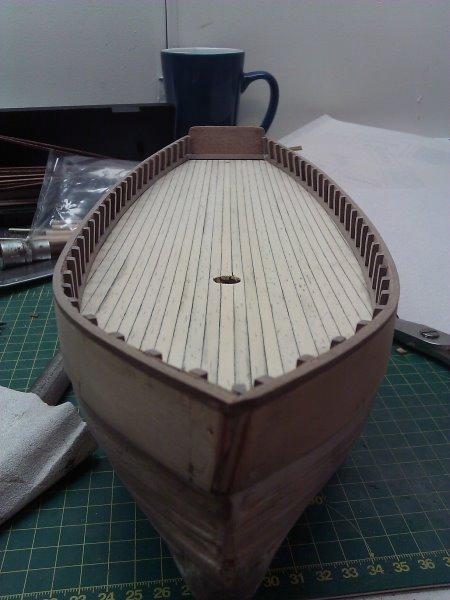
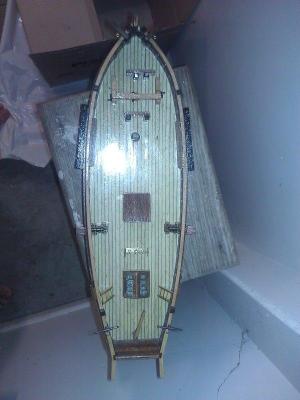
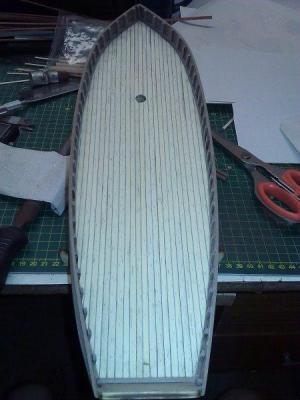
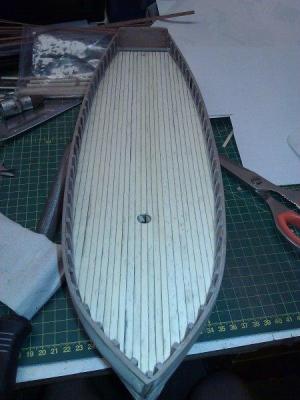
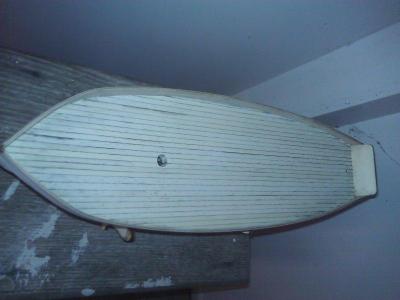
Day 7 Today I fitted the whale board and completed the deck planking. The deck was a nice change of pace from the 1st layer of planking, much easier and faster. Whale Board On Deck Planking
-
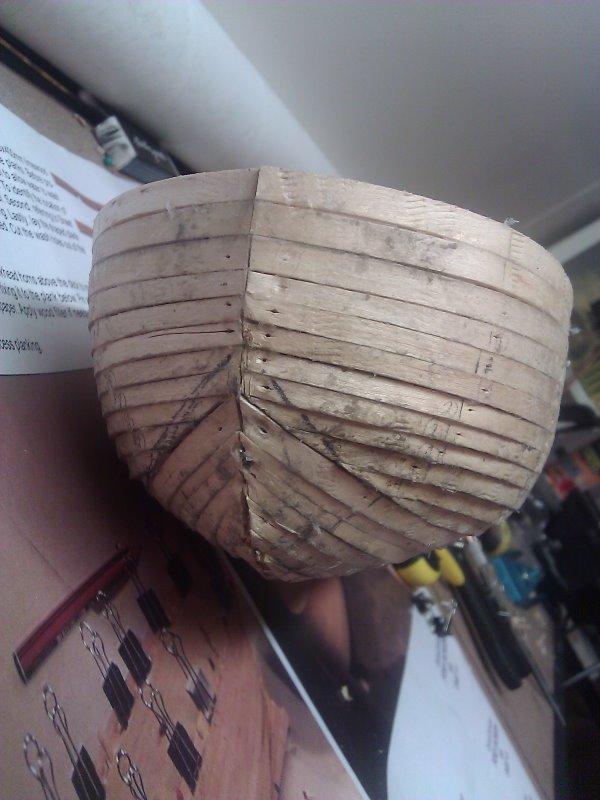
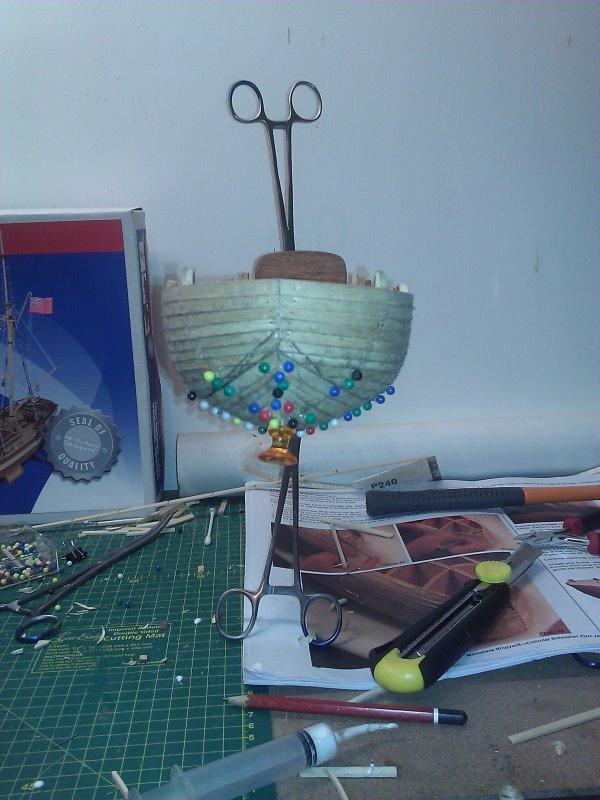
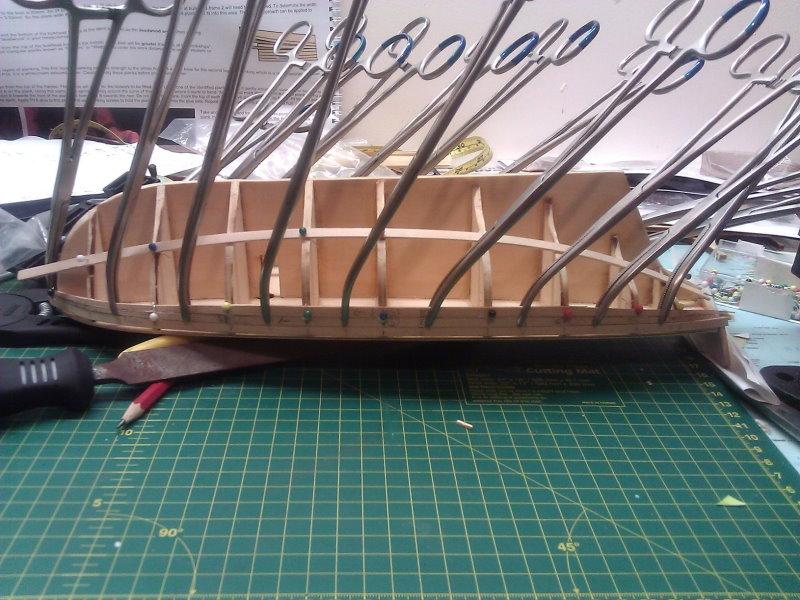
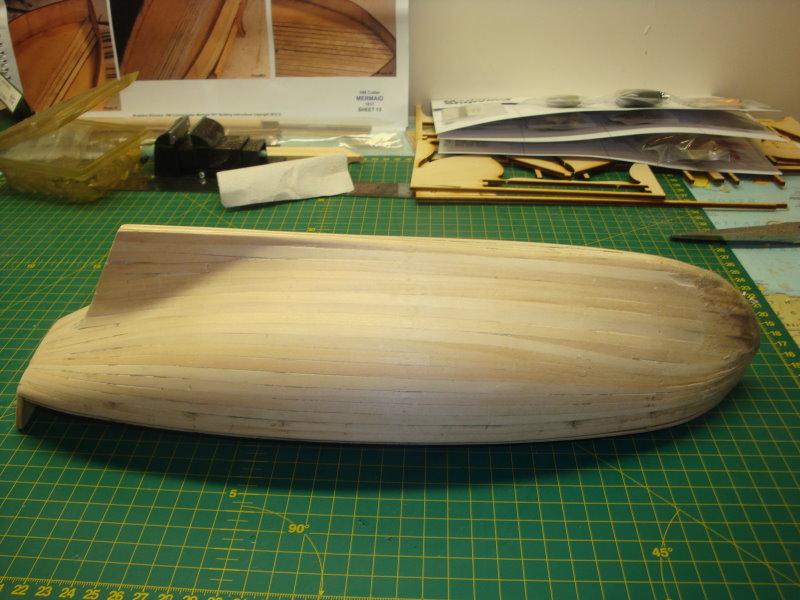
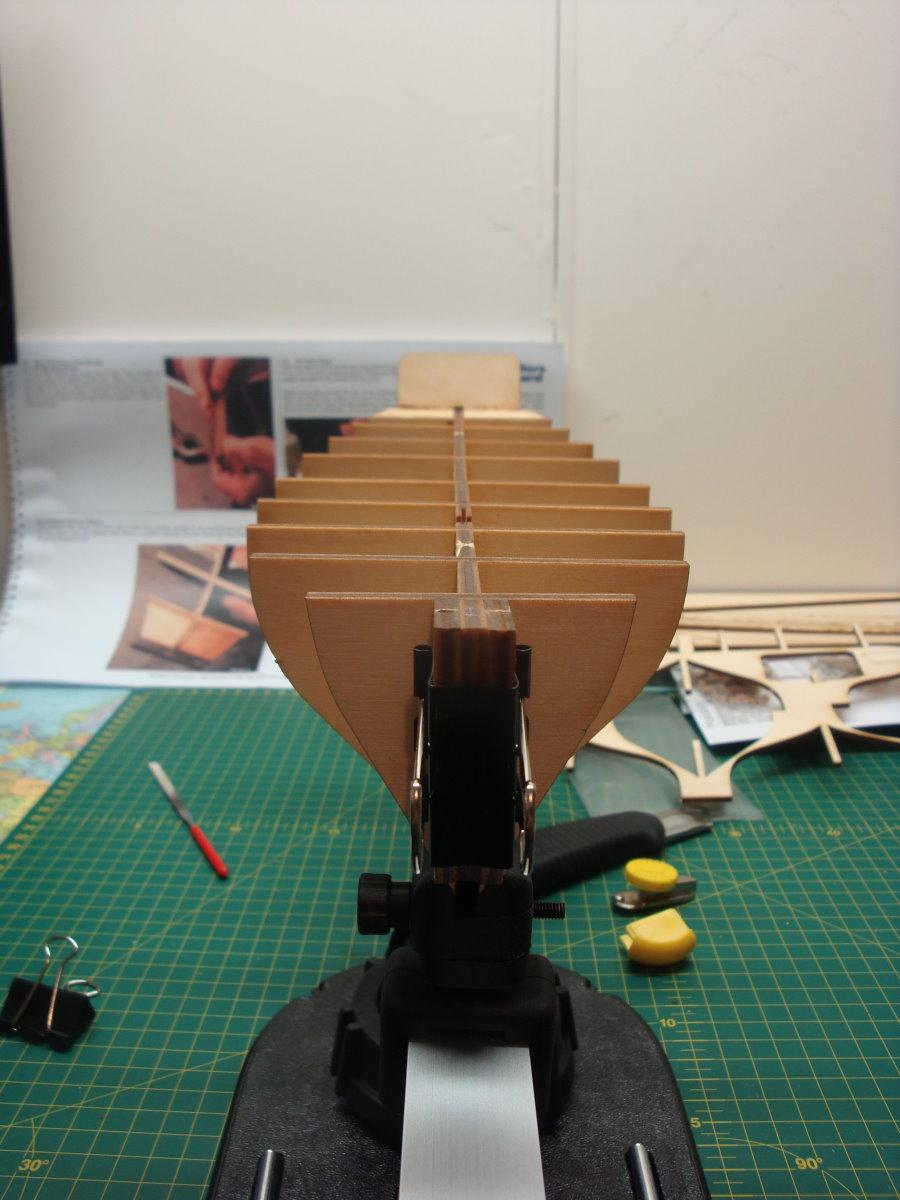
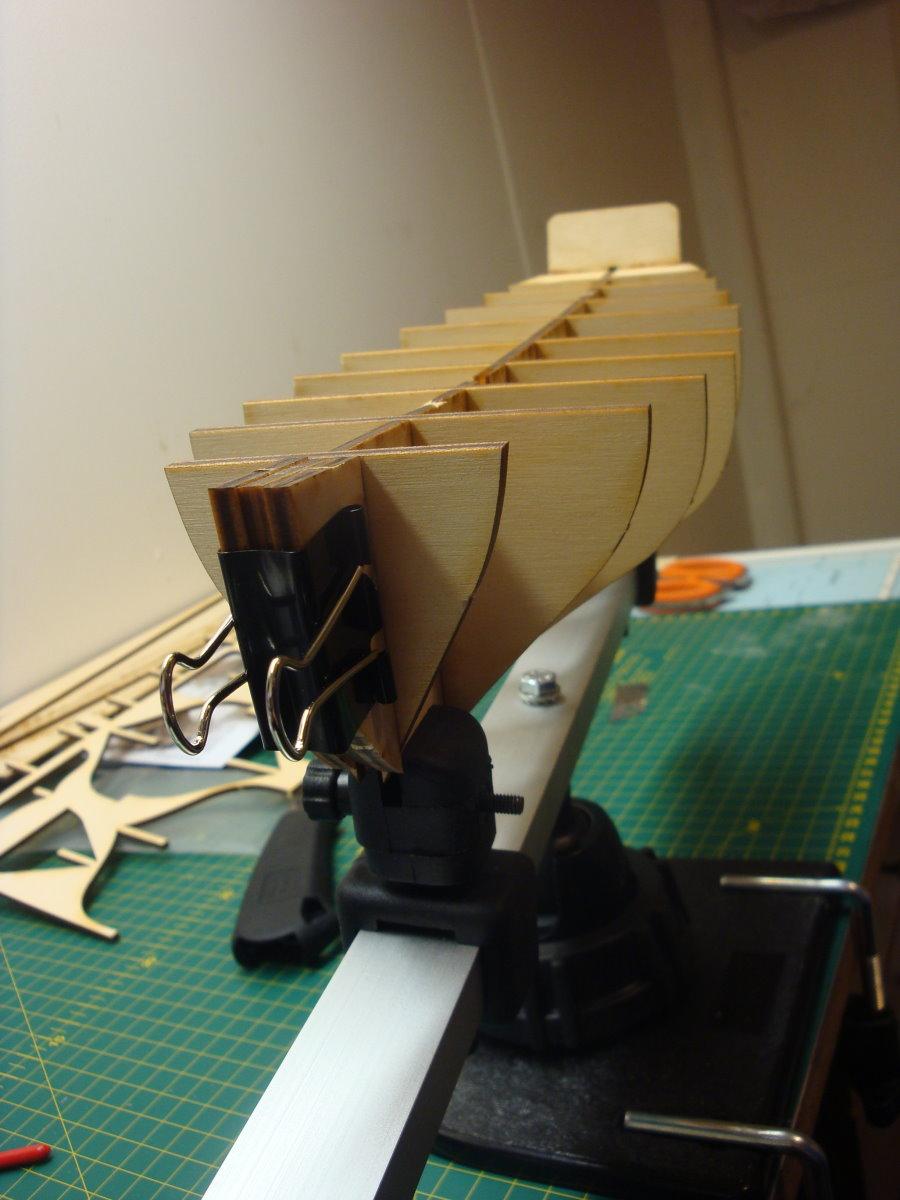
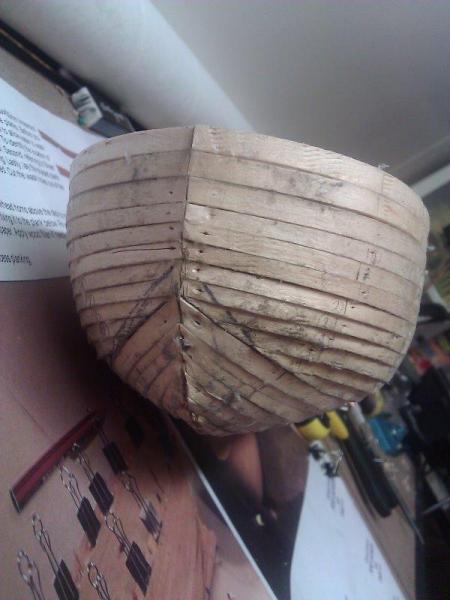
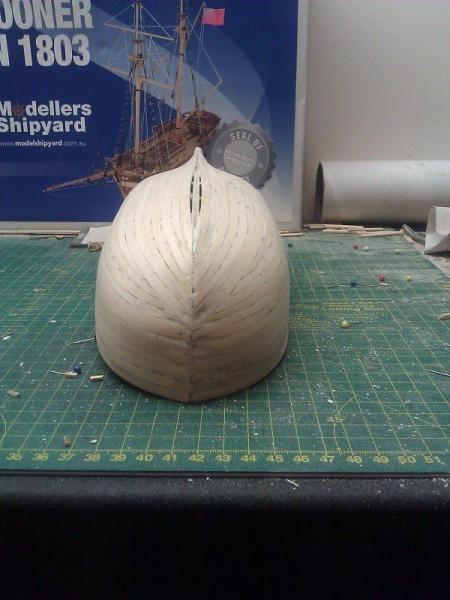
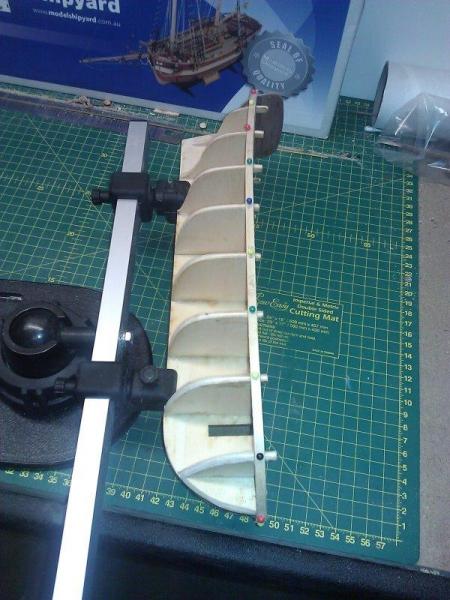
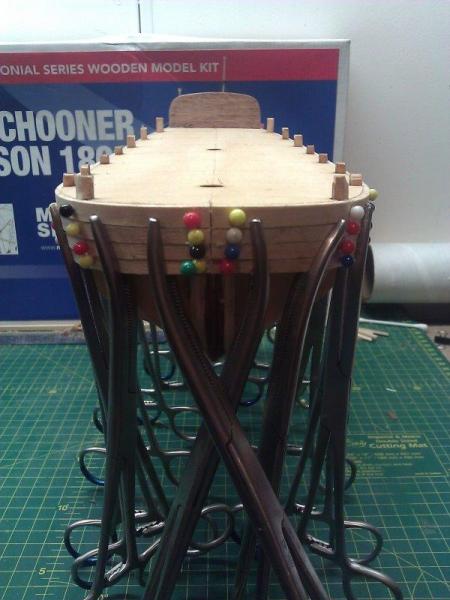
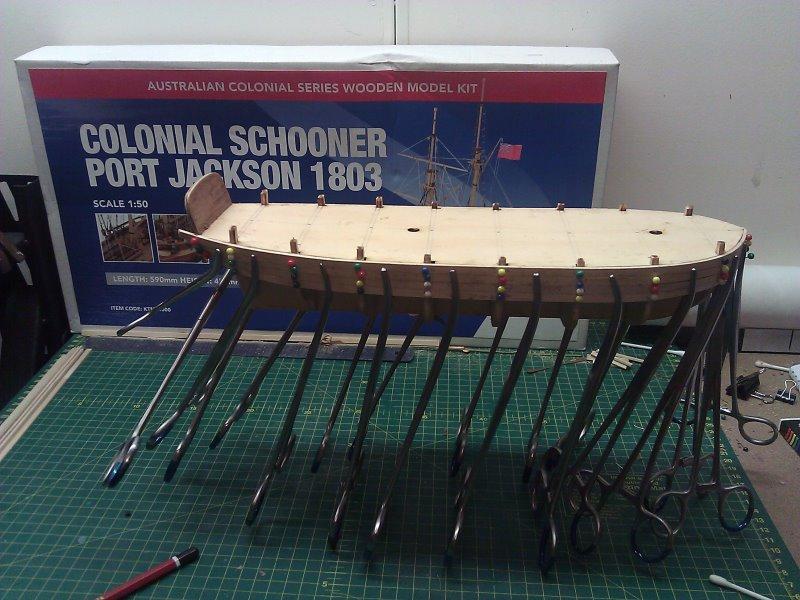
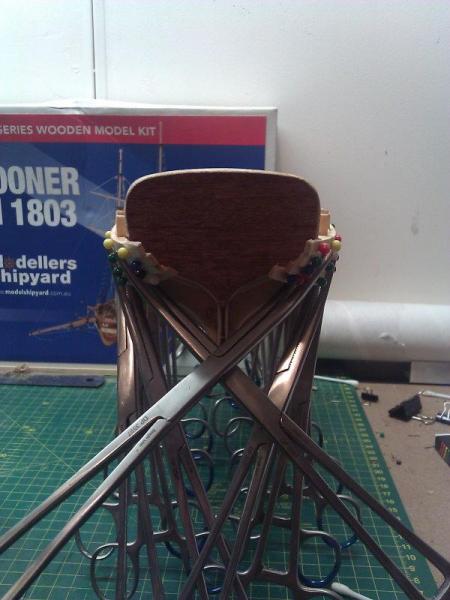
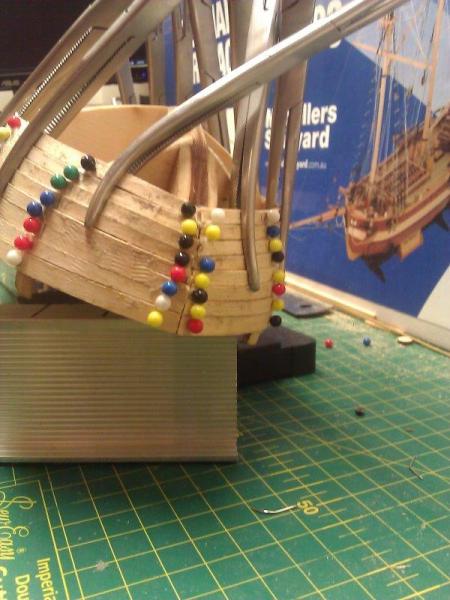
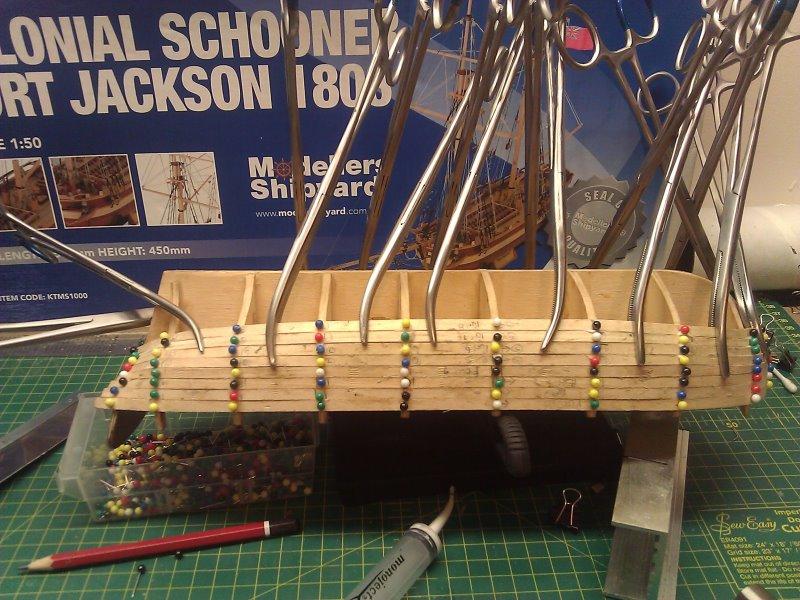
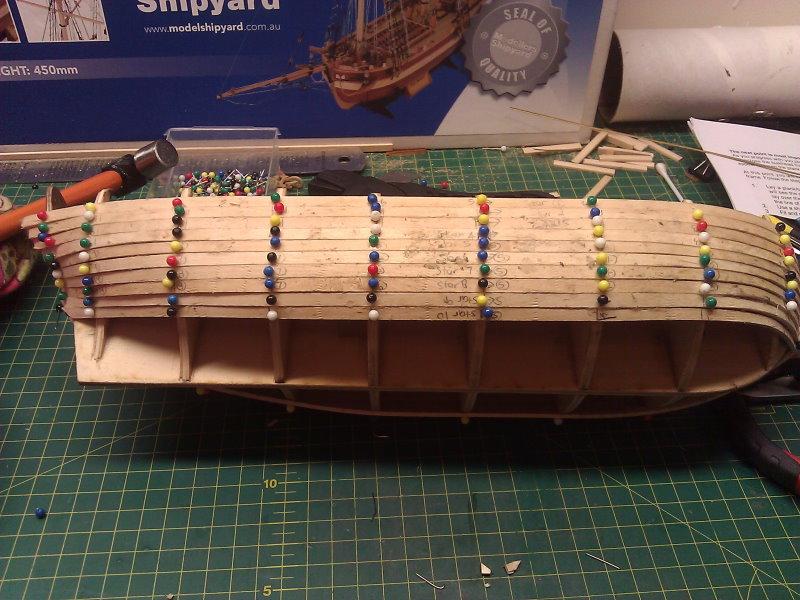
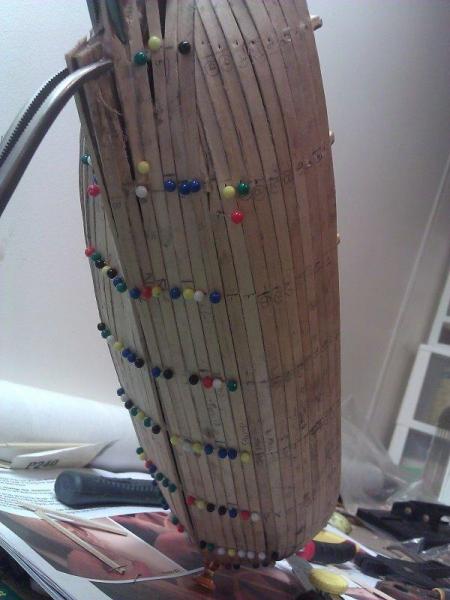
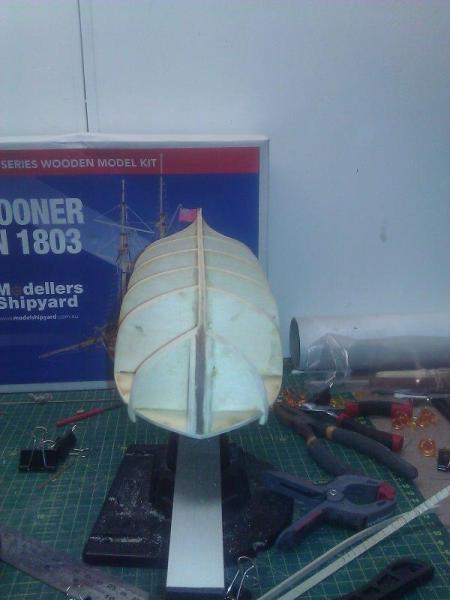
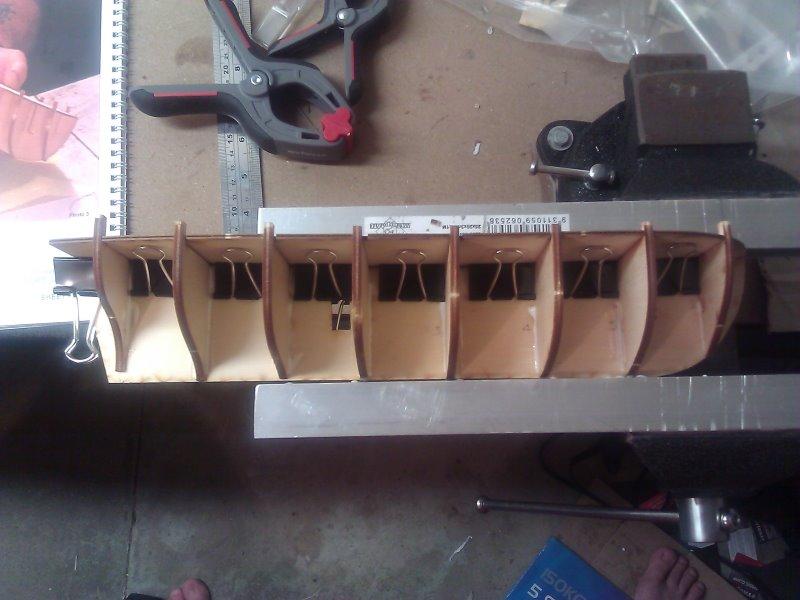
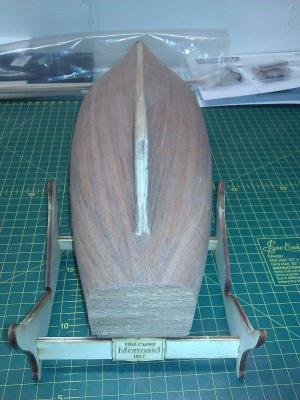
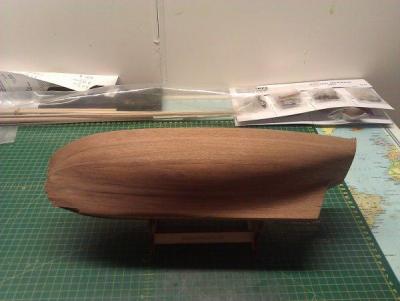
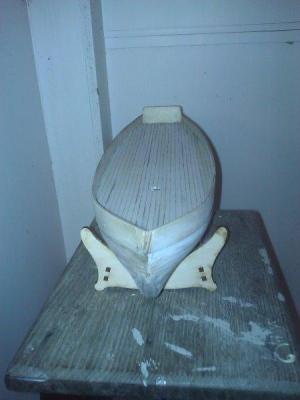
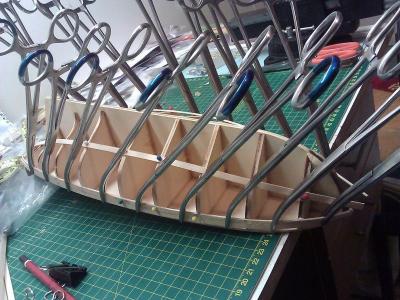
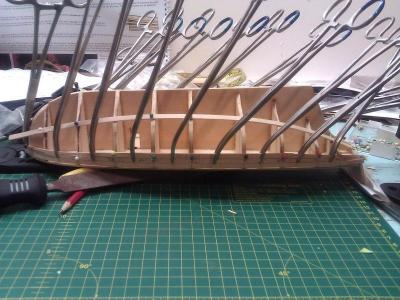
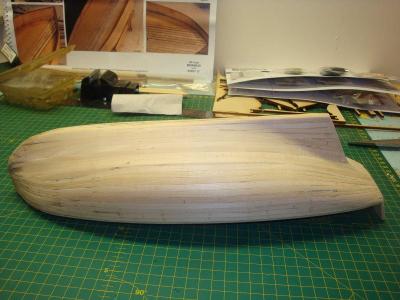
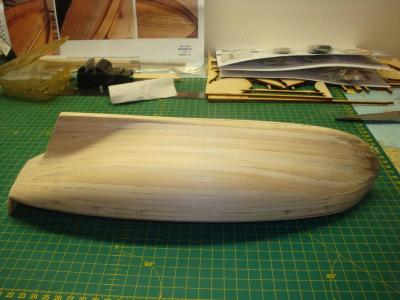
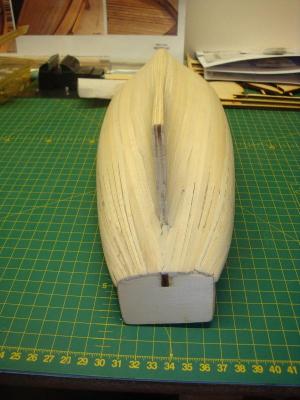
Day 4 - 6 Throughout the next few days I worked on doing the first layer of planking. Some mistakes were made during this first layer but will be covered up come the 2nd planking layer. I used medical vascular clamps to help with alignment of the earlier planks (this tip was shown on the instruction DvD that accompanied the Mermaid) 2nd Plank - Port Side 2nd Plank - Starboard Side 3rd Plank Planking Complete - Side Shots Planking Complete - Front Shot Planking Complete - Rear Shot

-
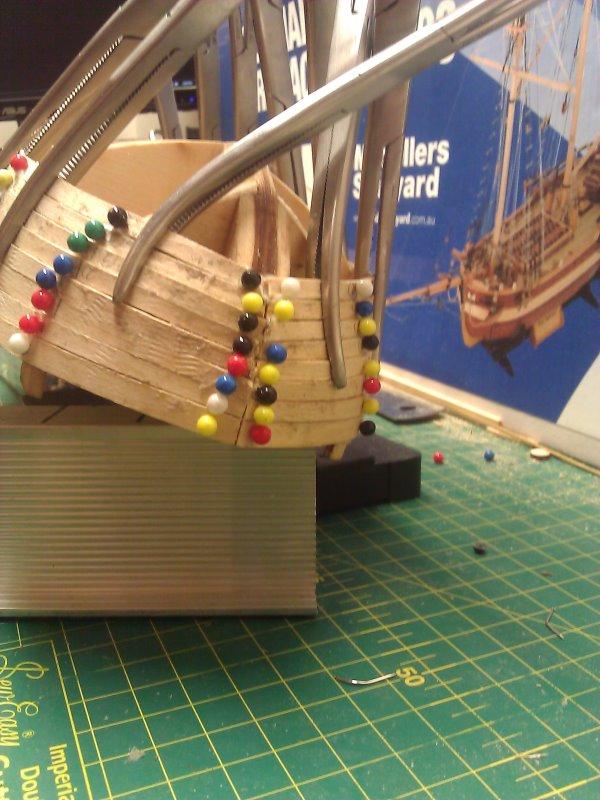
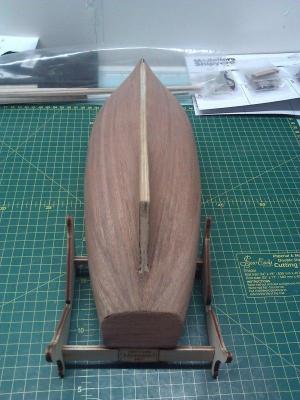
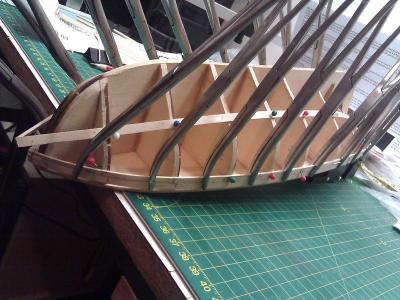
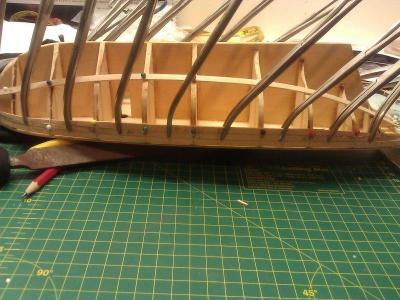
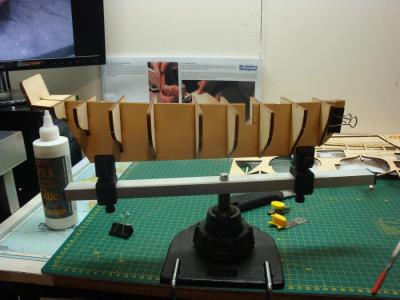
Day 3 Today I finished shaping the bulkhead ready for the first layer of planking. Bulkhead Prepped and fared First Plank in place I found the dressmaker pins were a bit too big for the overall use so I ended up switching over to smaller map pins. They tend to be single use (the heads fall off them) but they are pretty cheap so its not an issue.

-
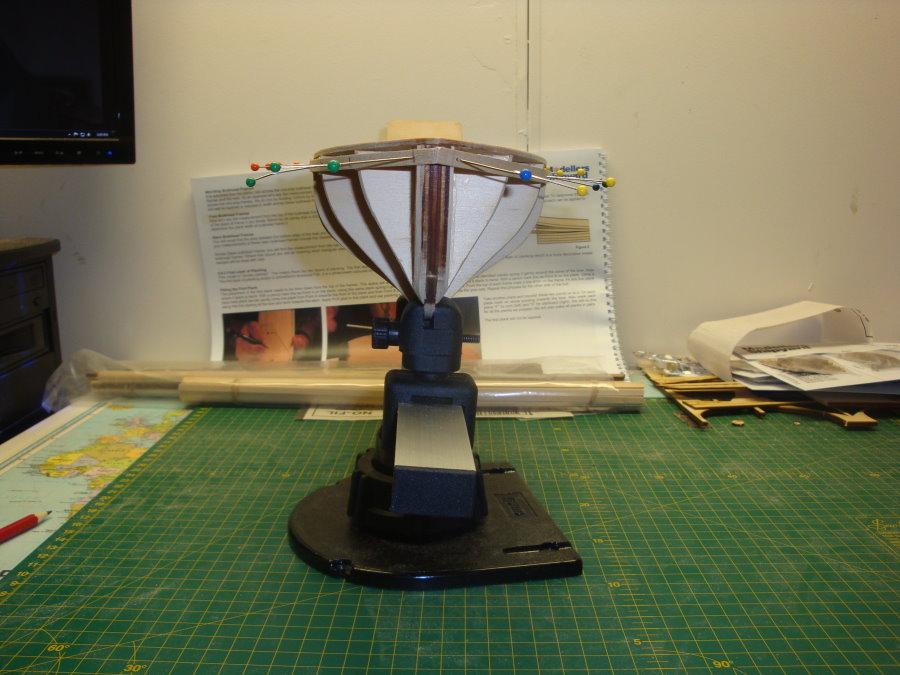
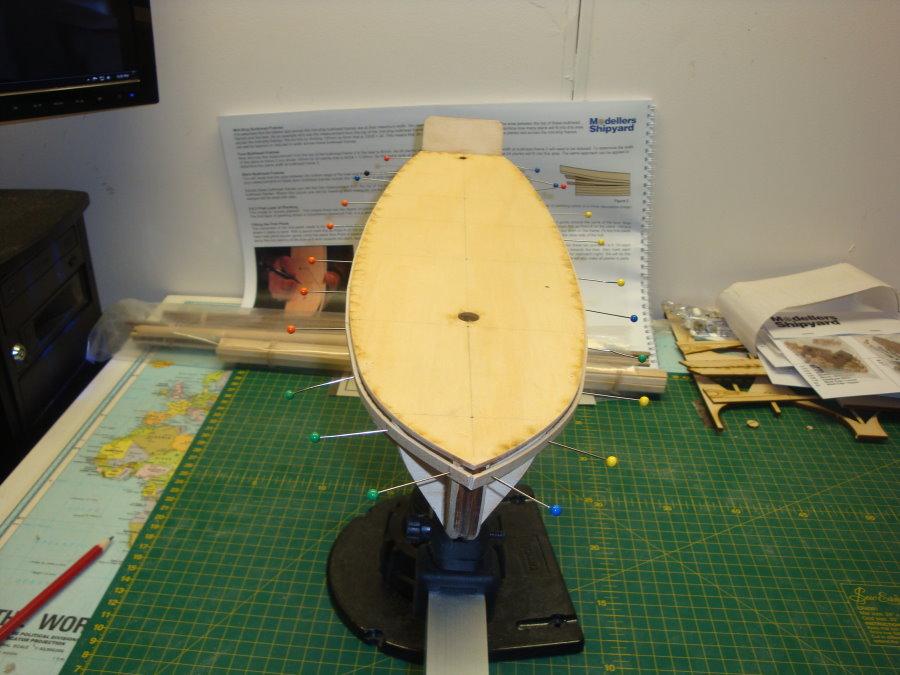
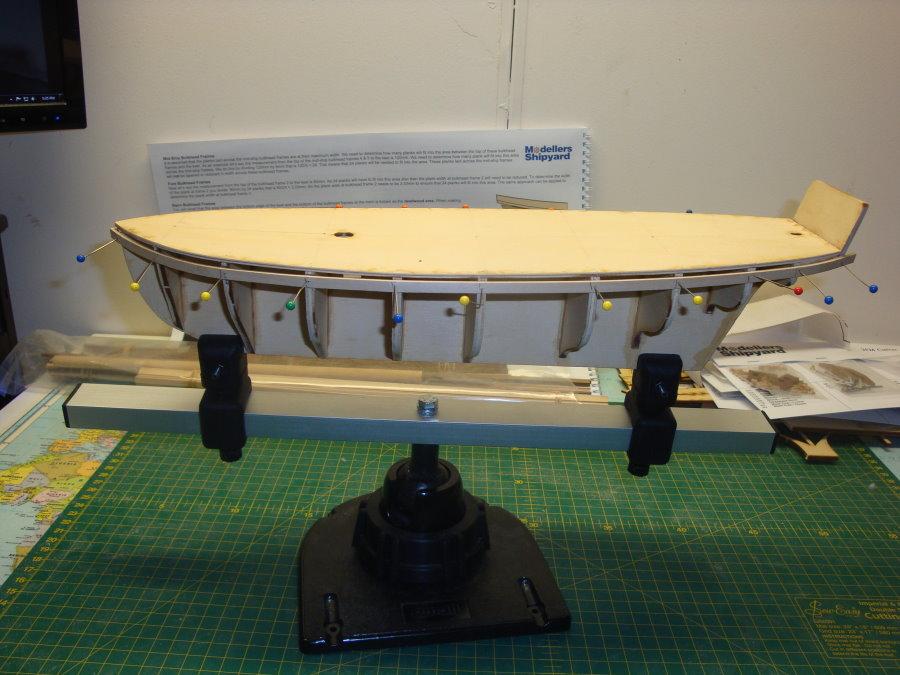
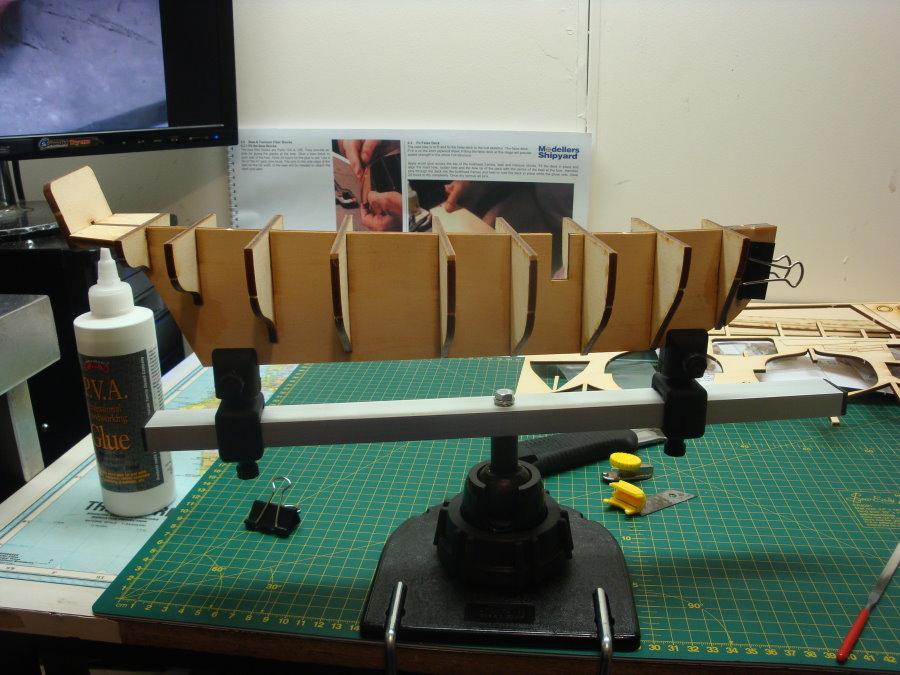
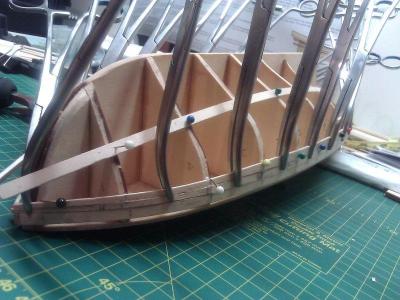
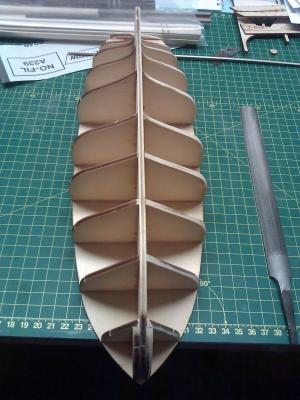
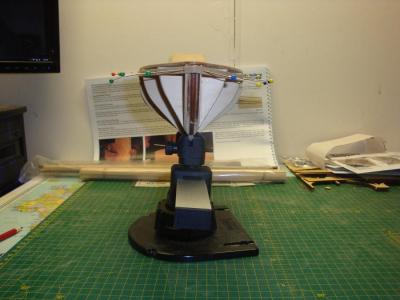
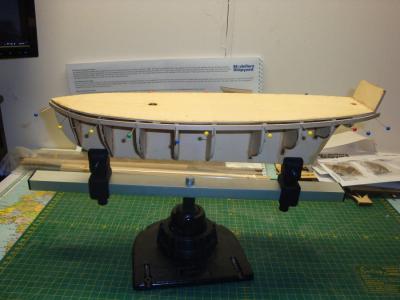
Day 2 Today I made a start on the Mermaid. I've cut the bulkheads out of the laser cut ply and fitted them together. Most required minimal faring to get a nice and true fit. . Side on view . Front View . Angle View . . After leaving it to dry for the day I went back that evening and fitted the deck to her. Now to leave it dry for the next couple of days.


-
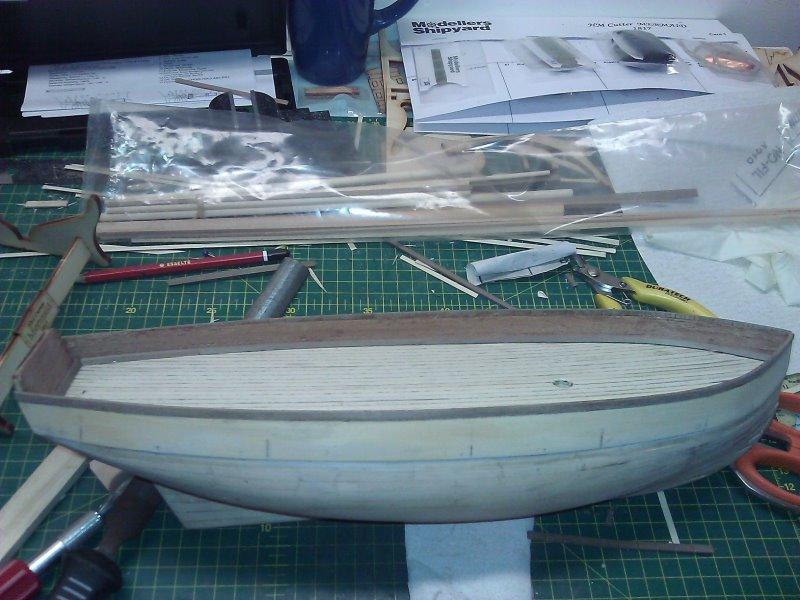
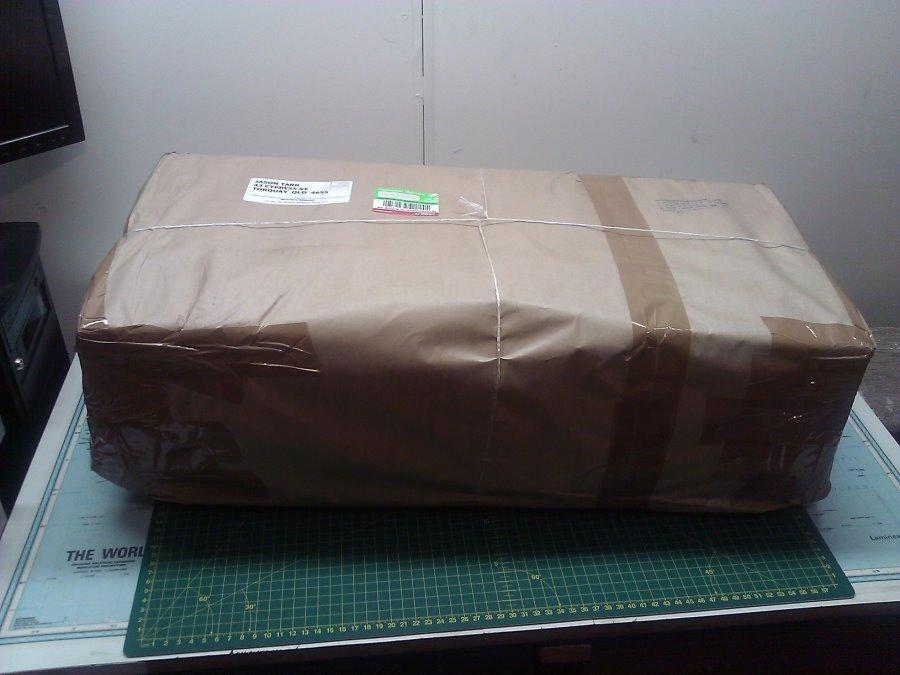
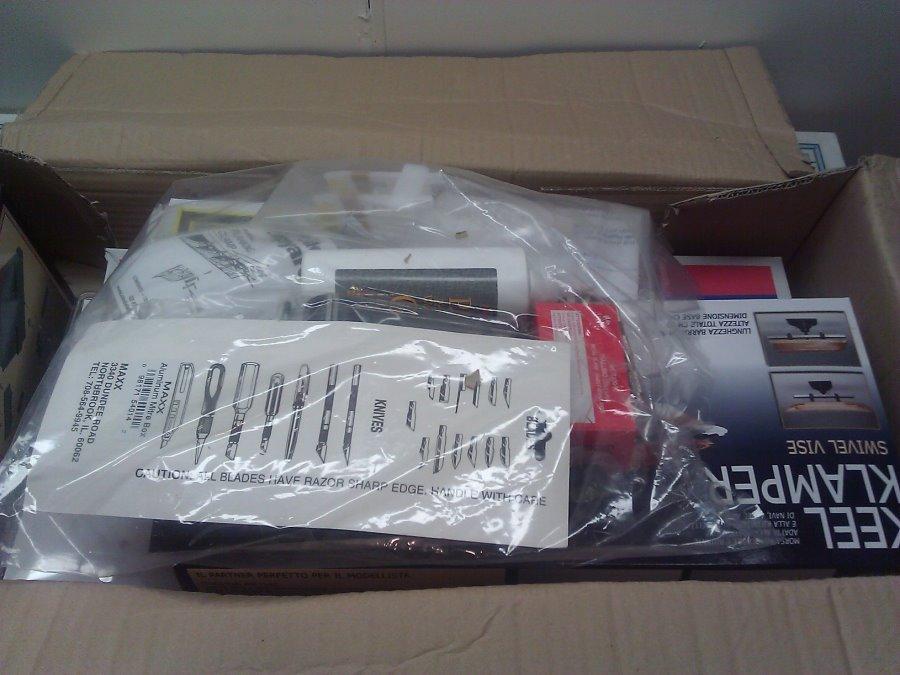
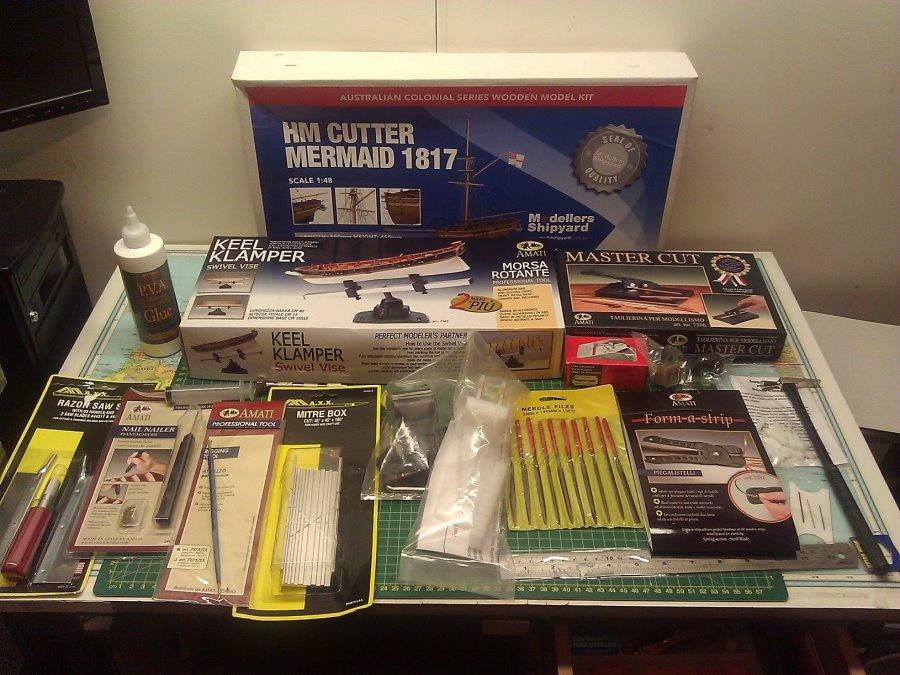
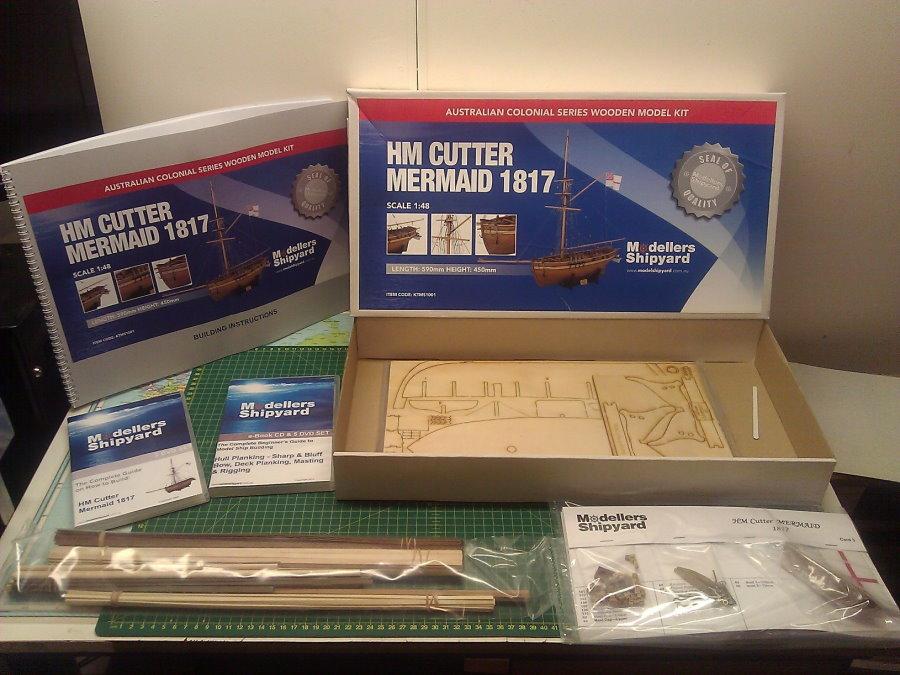
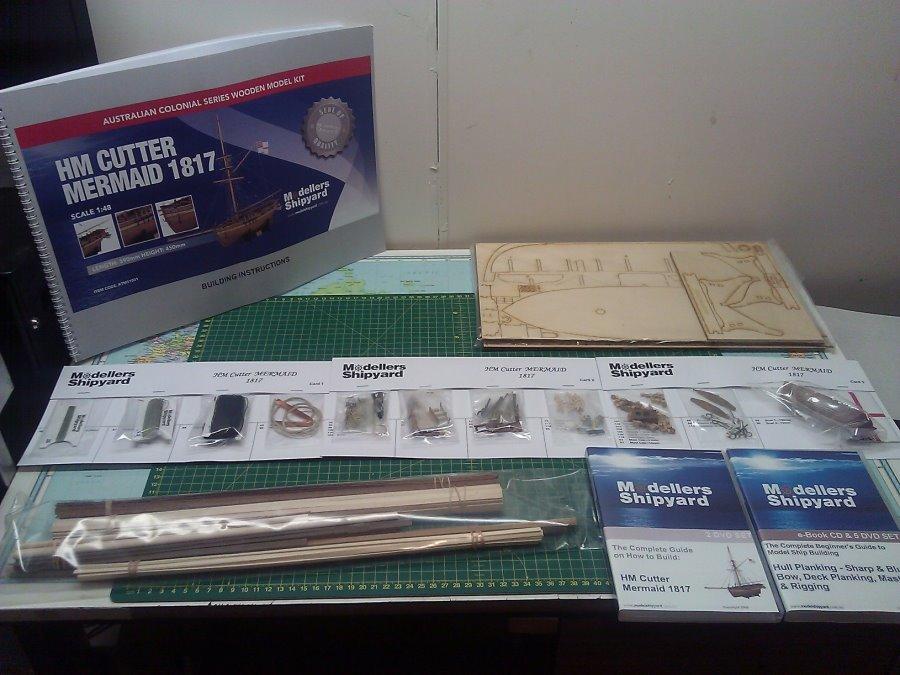
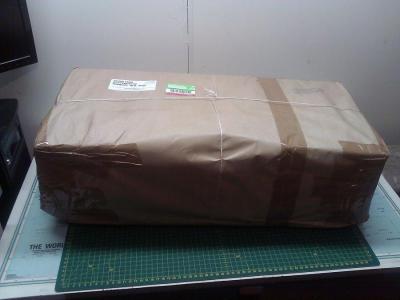
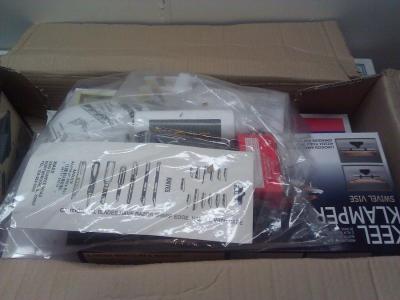
And back to the build log. Each "Day" is broken in to the days I have spend building this model. Some times there are a many days between work days (letting glue works dry ect.) Day 1- I get home from work and find my lovely package waiting for me The Contents of the box The contents spread on the desk The ship kit All the contents of the kit spread on the desk


-
Hey all. After the untimely loss of all the data on this site I'm going back and re-doing my build log from the start. This is my first model, the HM Cutter Mermaid 1817. Its part of Modellers Shipyards' Australian Colonial Series of ships. I'll try and remember all the little hiccups I encountered throughout the build as to help others who get this kit make it without the same issues I encountered. I'll work on getting back to where I am on this build tonight on here (luckily I still have all the pictures on my computers) Cheers all Jason Tarr
- 25 replies
-
- 2
-
-
- mermaid
- modellers shipyard
- (and 1 more)