Desert_Sailor
-
Posts
93 -
Joined
-
Last visited
Content Type
Profiles
Forums
Gallery
Events
Everything posted by Desert_Sailor
-

decals question
Desert_Sailor replied to PopJack's topic in Painting, finishing and weathering products and techniques
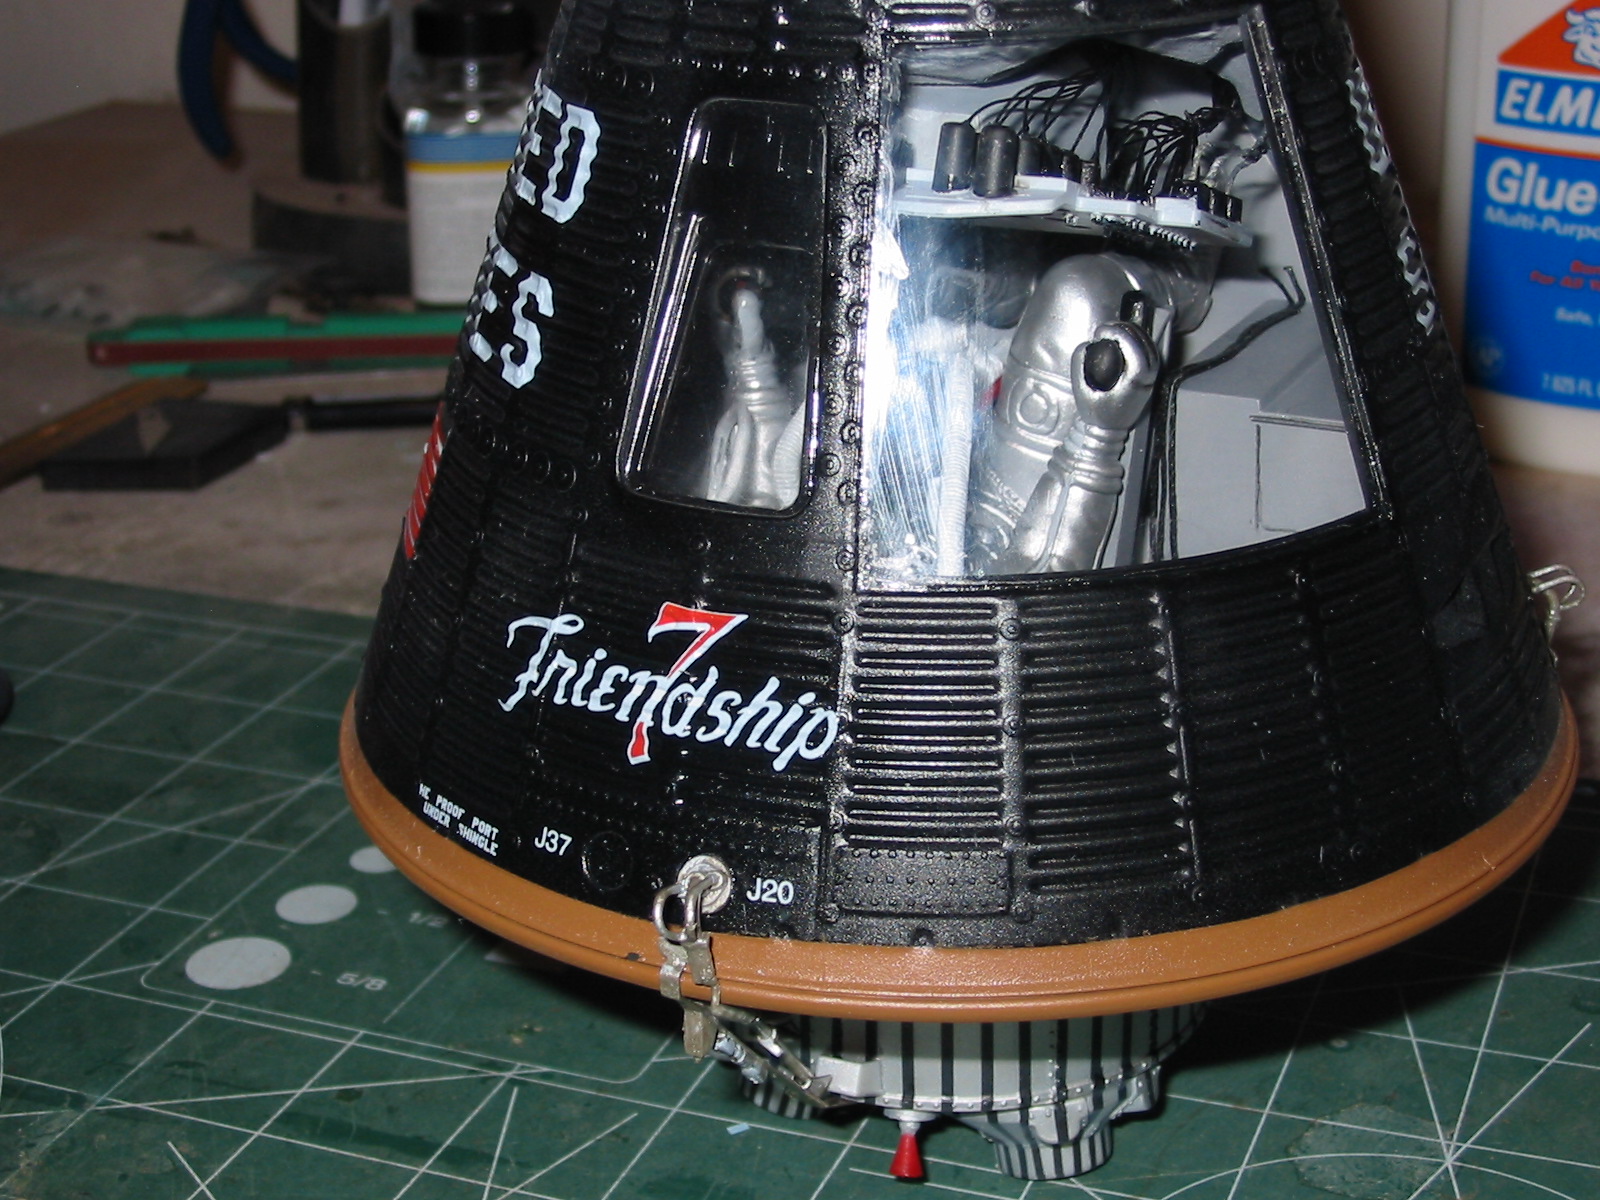
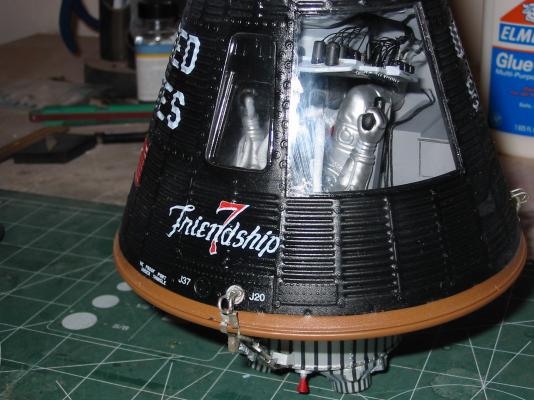
I've made custom decals for several years and, for the most part all, the advice here is spot on... But what I can't emphasize enough is for the surface to be absolutely smooth. Applying several thin coats of clear gloss with an airbrush is the best way. Several thin coats will build up the surface without "globbing it up." Once the decal is in place and you apply the SolvaSet (setting solution) DO NOT TOUCH IT... and keep the surface flat... As the Solvaset begins to attack the clear film backing, the decal will get all shrivelly and krinkly.. Again, this is normal DO NOT TOUCH IT... When the solvent evaporates, the decal will smooth out and conform to a the surface contours, looking like its painted on.. wait about 24hrs before proceeding ( this is the hard part!!!!) Then once everything has dried, apply several more thin coats of clear gloss... this will help seal the finish.. Finally, apply a thin coat of matte to kill the shine. and you're done.. see attached photos Doing this on a Black surface is the hardest: see Mercury capsule...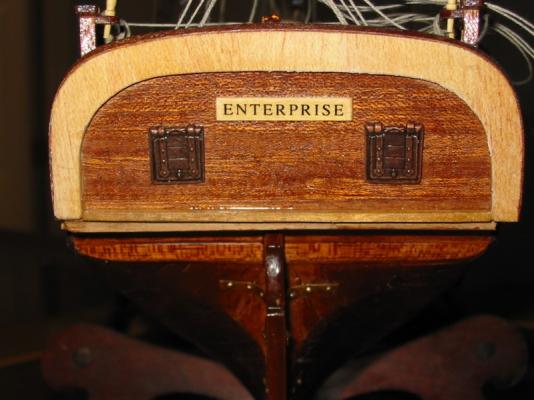
-
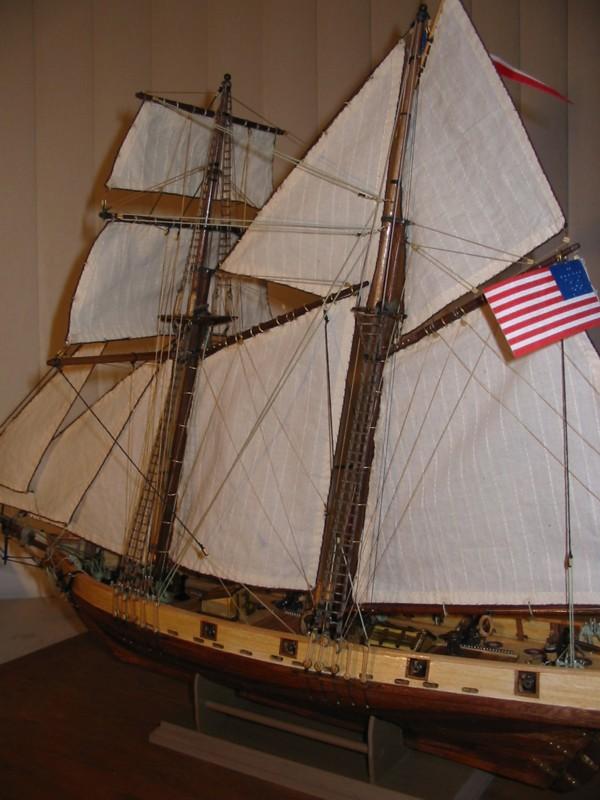
I'm currently building Ranger. It would be an OK 2nd POB kit.. The only negative I 'v seen is the casting quality of the metal parts. It's not very good. I've had to drill out the holes in the cross trees and mast fittings and do ALOT of filing.... The rudder gungeons are VERY fragile and do not bend to the curvature of the aft hull as shown in the drawings .. So be VERY CAREFUL... Also, one of the metal anchor "T's (?) " was missing so I had to scratch two new ones... I've just started the rigging The rigging looks complex but patience will win out...
-
Thanks.. I have my moments ( it's when the stuff waers off or kicks in... haven't figured that out yet !!) What I did was to soak 1 - 2 x2 strip sufficiently to bend it along the curve of the gunwale and then glue/clamp it place along the gunwale. Since the gunwale is ~ 2-3 mm thick, you can easily align it and there will be "meat" to which to adhere ... Then take the next 2x 2 strip and repeat the procees on the opposite side.. aligning the strip heads together at the bow.. Then start you laminating with successive strips.... Don't forget ... take into account that if you align the remaing strips at the head, be sure the strip is long enough to run the entire length of the gunwale all the way back to the transom or else you got some butt splicing to do.. not hard, but why do it if you got adequate length stock..? good luck
-
When I built mine I had the same problem.. The issue is basic engineering mechanics. Bottom line... as we all know its really hard to bend something thin and wide along the wide side .. Too much stress..... on the wood and YOU!! My solution was to build up , one at a time, 4- 2x2 mm strips to make the 2 x 8 mm cap rail.. then sand the surface smooth. It was much easier to bend the 2x2 strips... then clamp/glue them together. I've used that trick many times on caps and other wide horizontal curves.... never fails to work.. good luck..
-
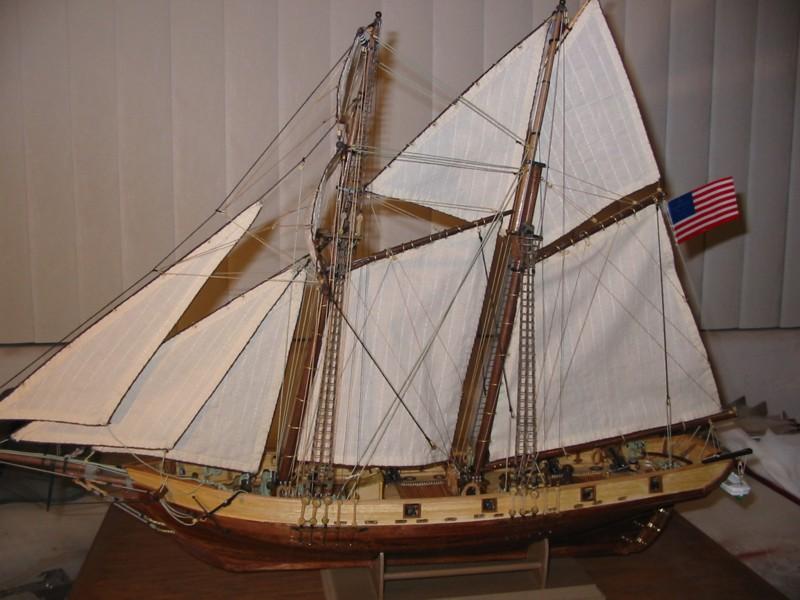
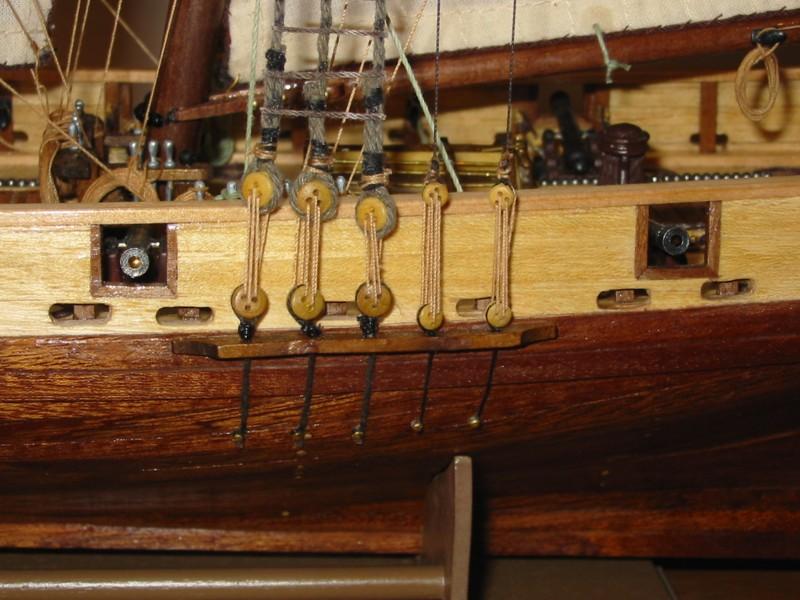
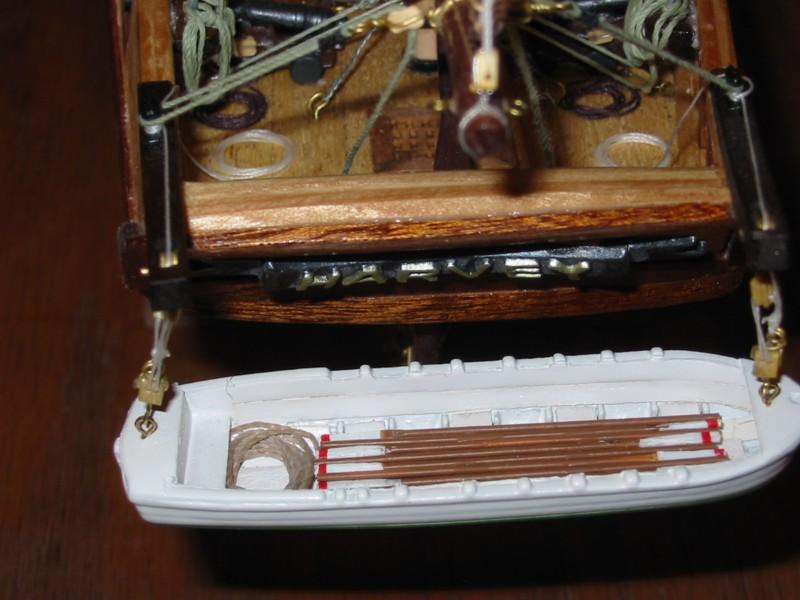
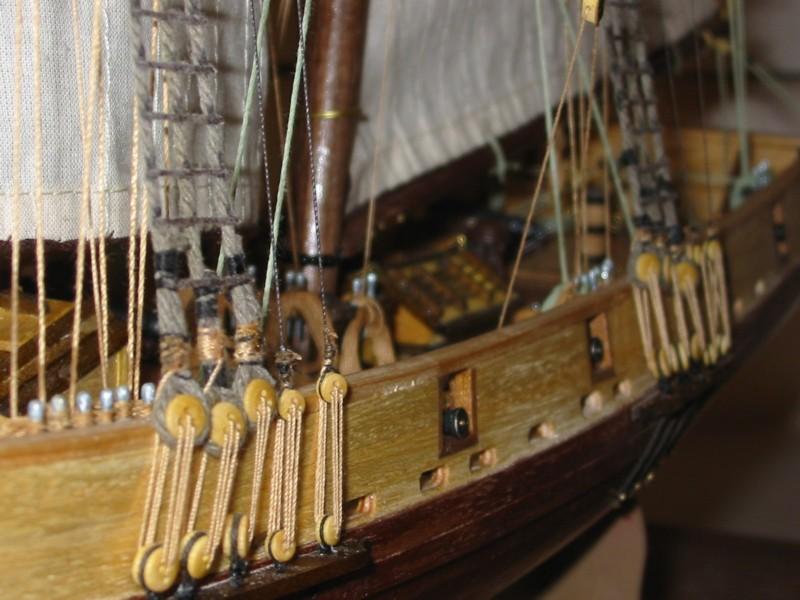
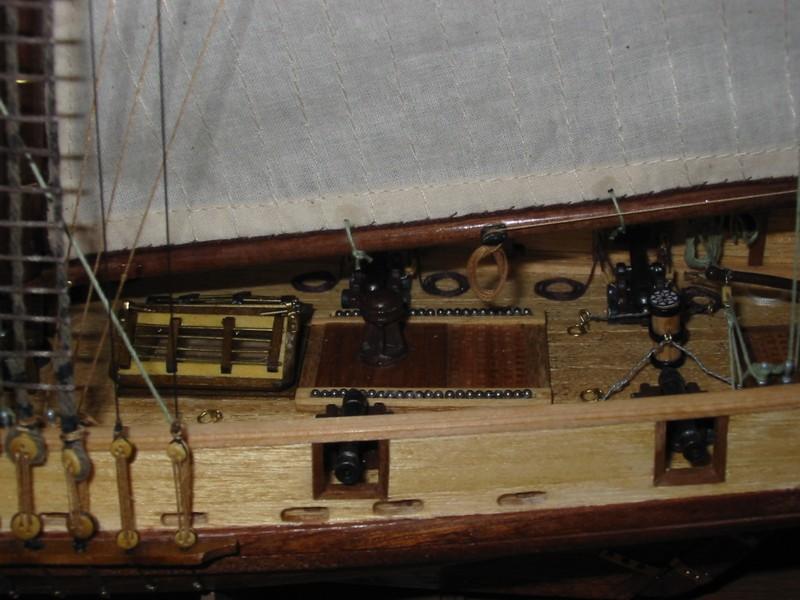
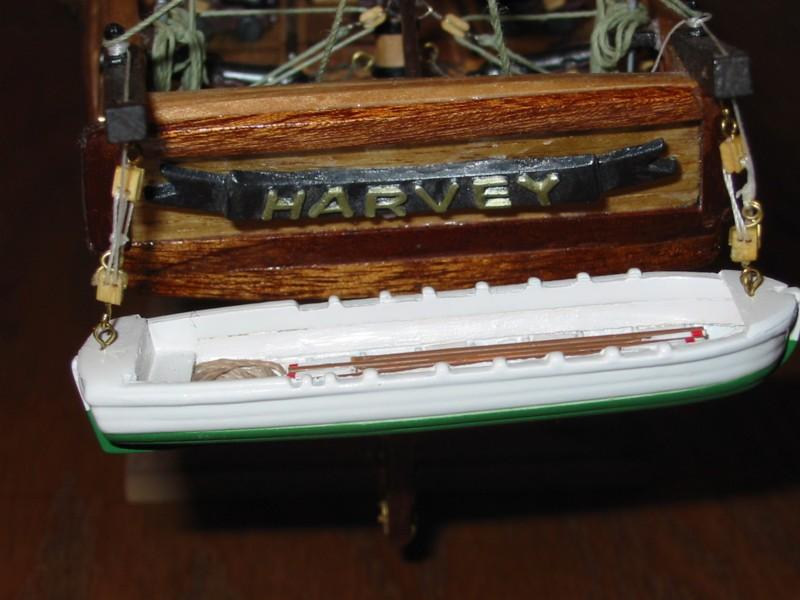
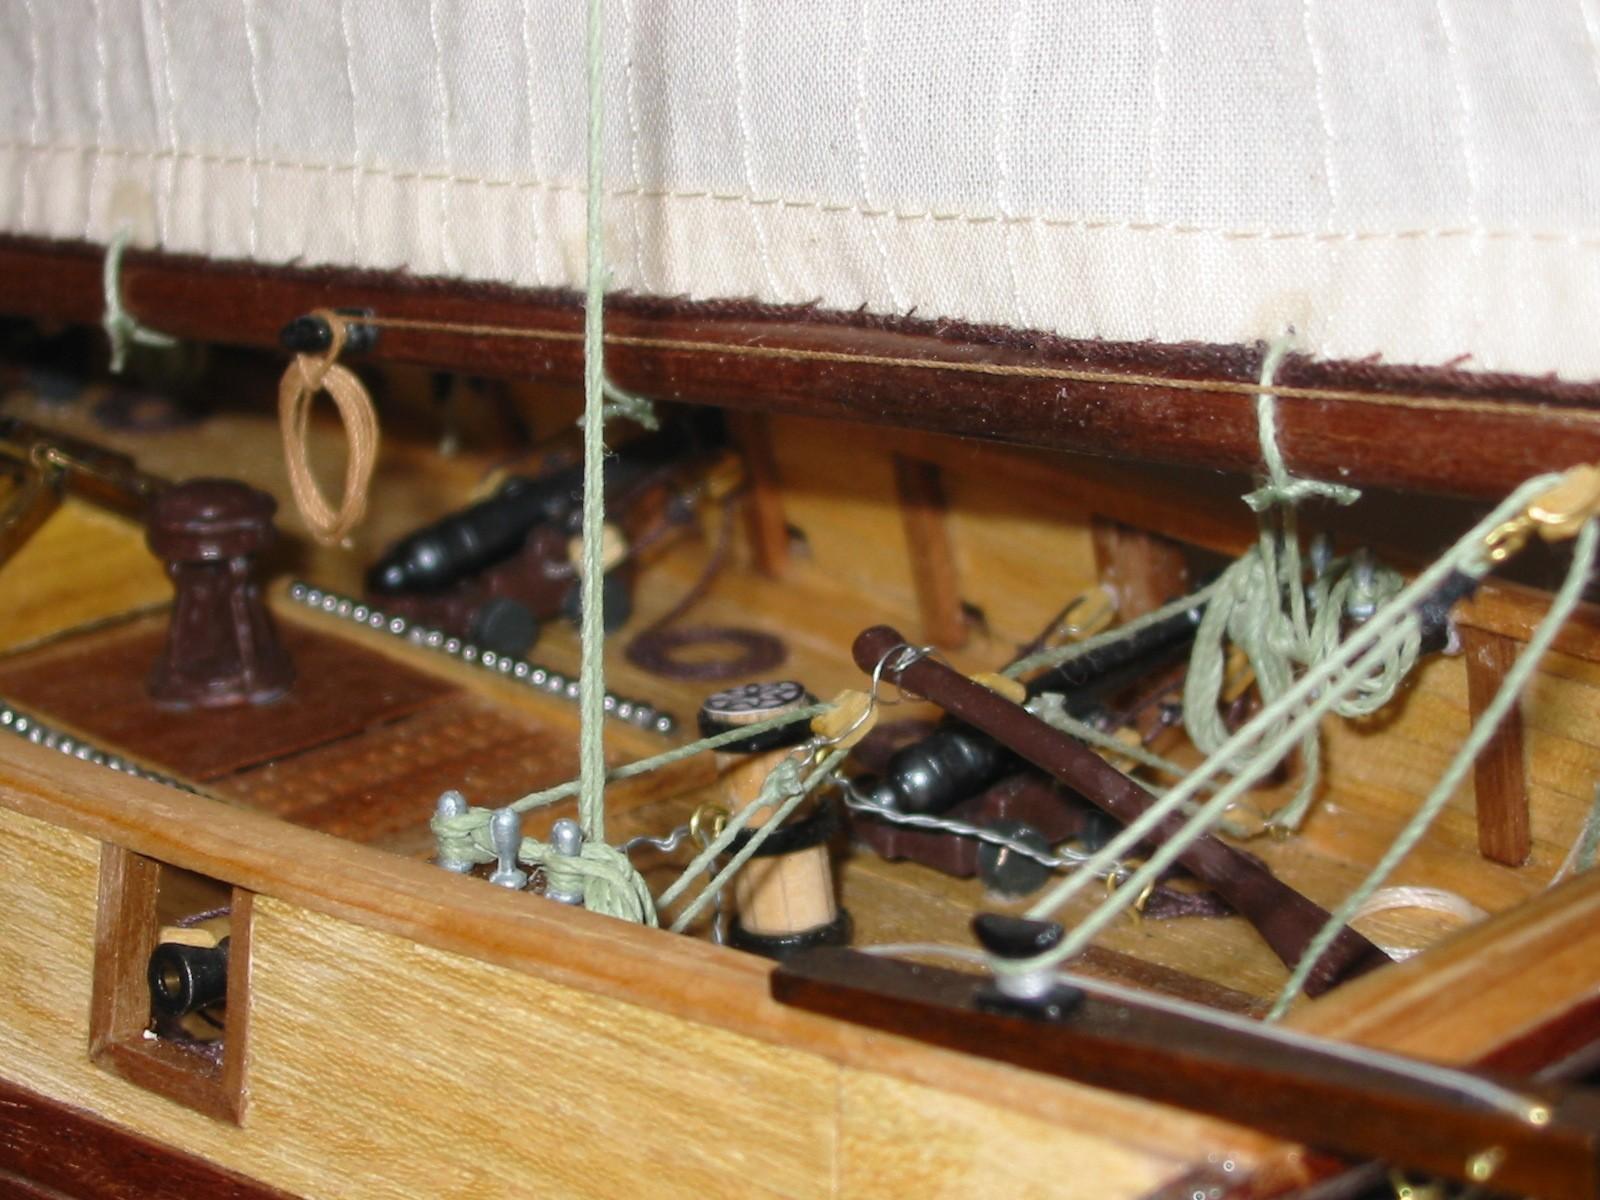
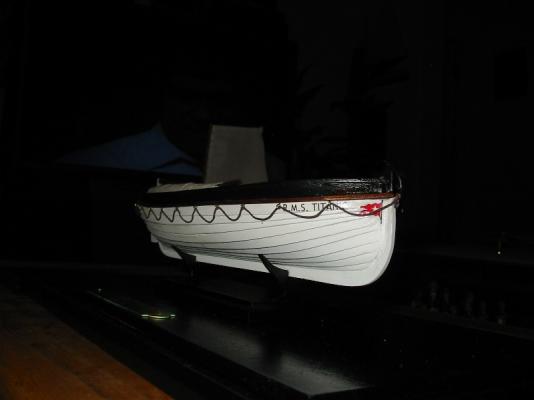
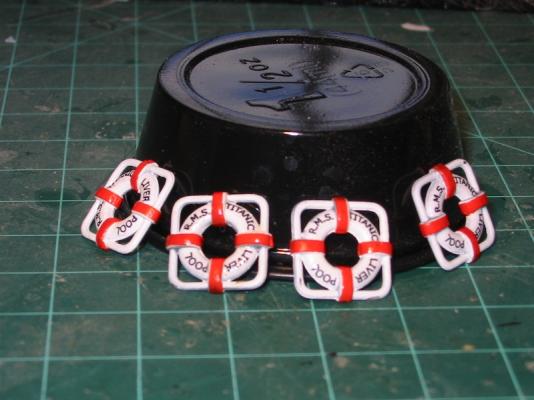
I built mine in ~2007-2008 .. I sent teh instruction booklet and plan to a MSW member in the UK about 18 months ago so I can't really tell you when the kit was made.. But the markings on your box were similar to mine "Harvey 1847.." My life boat was cast metal... I added some details like the benches and oars .. The hardest part was making sure all the gun ports were aligned.. and the scuppers were positioned properly..(i.e just above the deck line)
-
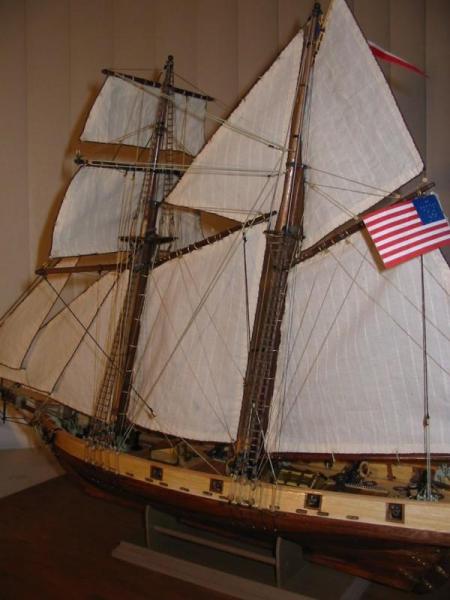
Not knowing any better... I built this " Harvey" right out of the box - no modifications