-
Posts
62 -
Joined
-
Last visited
Content Type
Profiles
Forums
Gallery
Events
Everything posted by chompsalot
-
I'm still new to the hobby, but to me the framing needs to be right. I could be wrong, but if things are off from the beginning, you may fight it though the entire build. If it can be taken apart without breaking things, then maybe that's an option. Or if it isn't that bad, you might be able to straighten it out during fairing? Also make sure that your bulkheads line up on the reference and bearding line. That's just my 2 cents, there are pleny of more experienced modelers here who might have a better insight on this
-
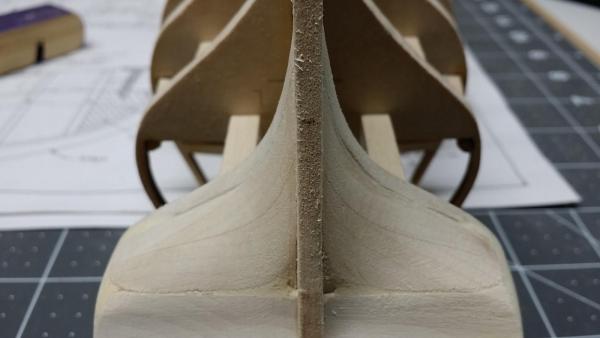
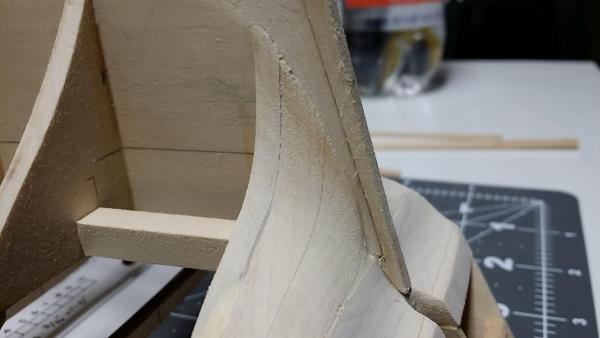
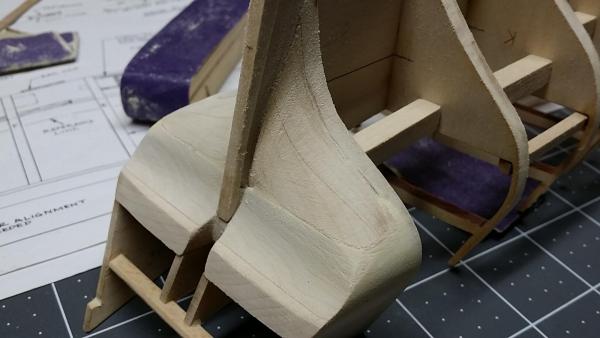
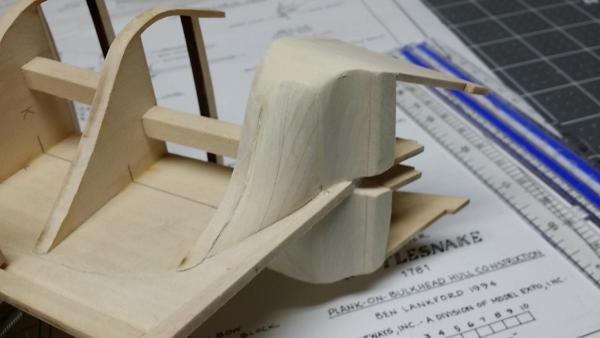
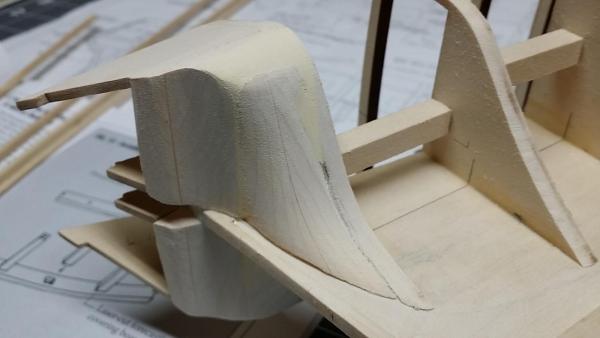
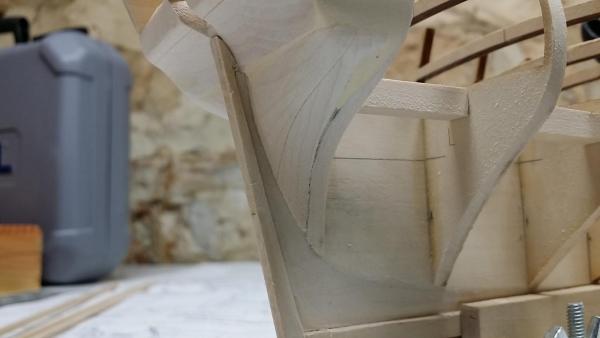
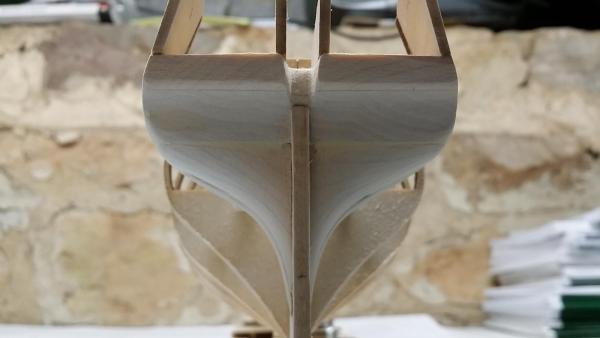
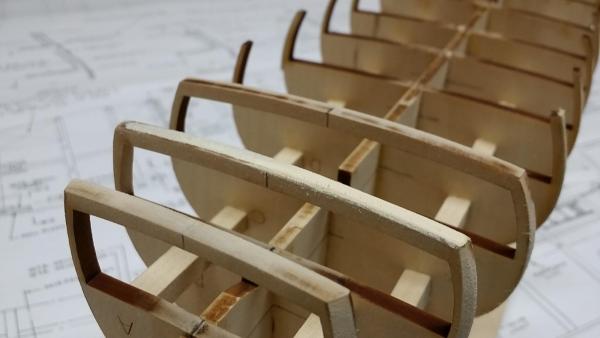
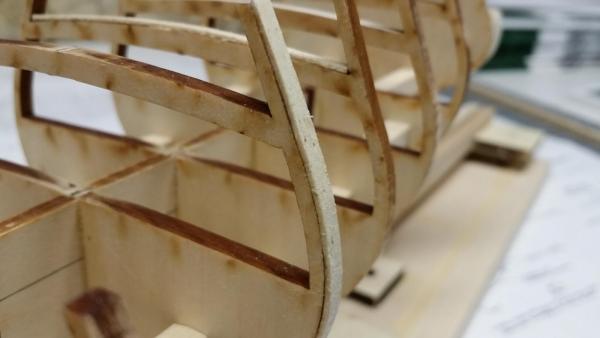
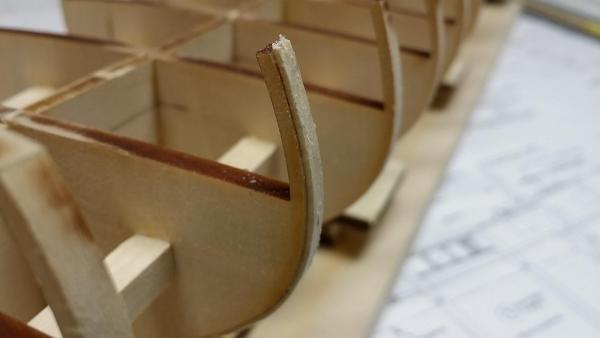
Thanks Scott. I think I might have tapered my filler block too much, which is weird since it matched the plans exactly.... That's about the postion I was checking. The plank seems to twist more than I think it should, which maybe it's suppossed to?. Yours looks like it flows nicely to where it sits.
-
Thanks, they are still a bit rough looking at the moment. Once I added some color, I seen a few more flaws, more sanding to come...lol I believe there were 3 bulkheads in this kit what were way off also. I should have thrown them out, but wasn't sure if I was up for making new ones. In hindsight, I don't think it would be too difficult to make a better set. Time to buy a scroll saw, the wife is going to love that idea!
-
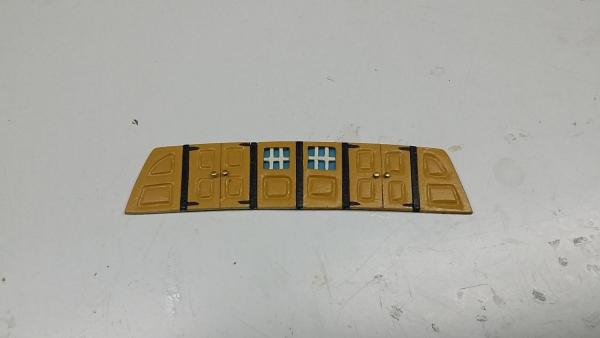
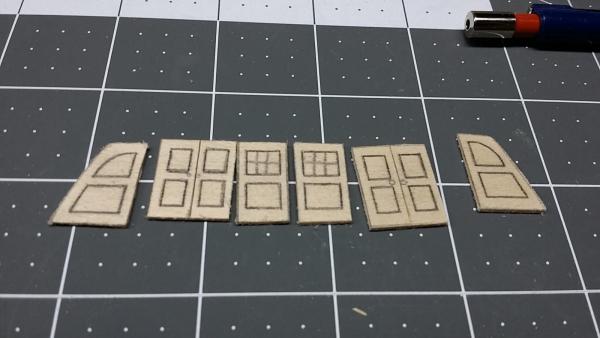
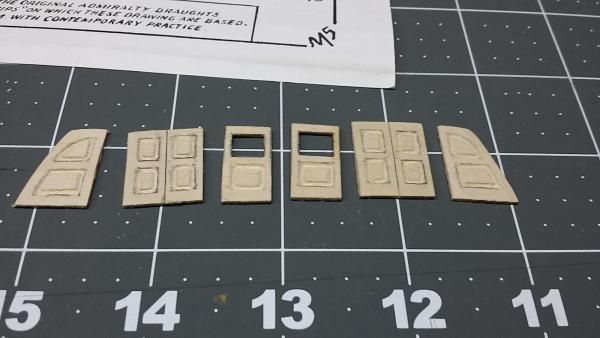
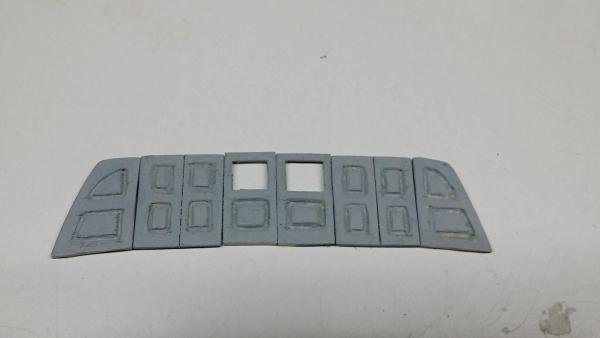
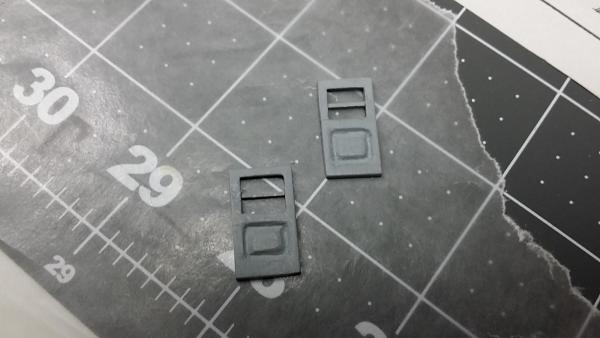
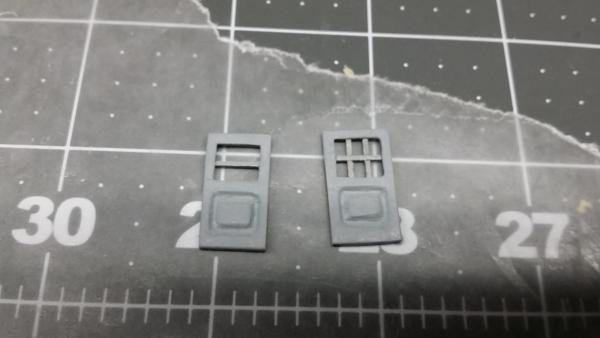
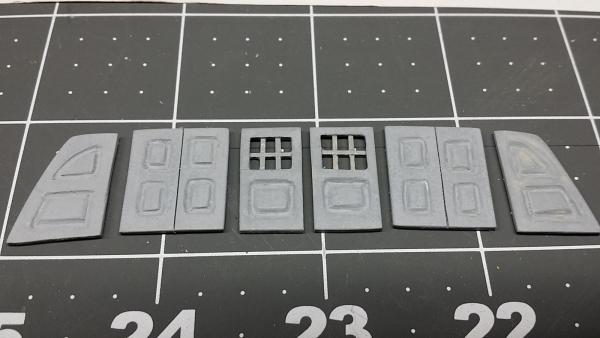
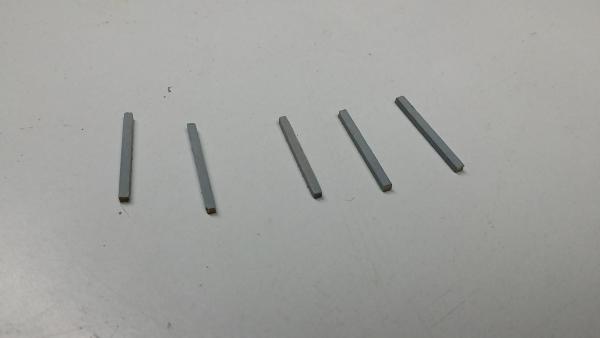
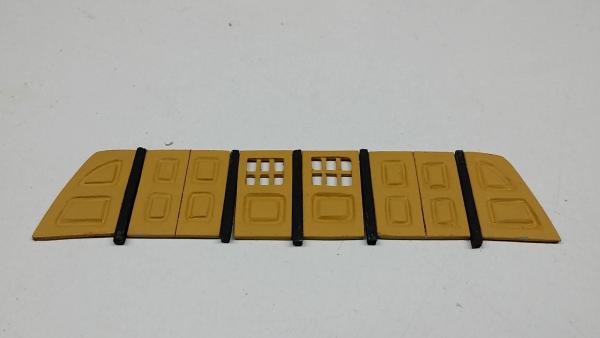
So instead of starting planking, I decided to get sidetracked and build the cabin access doors. I used the 1" strip wood that came with the kit. Lifted the pattern from the plans and cut them out. I used a micro burr in the Dremel and got the shapes roughed in. The basswood is so soft that it furs up a lot. I rolled up some small strips of 220 sandpaper and got them a bit better. Here they are primed. They still needed work, so spent a bit of time with some 600 grit paper. Time for the windowpanes. Cut some posts out of 1/16" square stock. Basic layout here. I haven't decided exactly how I want them to sit. Laying flat on the table here, the posts protrude a bit. I could flip them over, and flush mount everything. I could also recess the posts. Or I could do a combination of flush mount the doors, then recess everything else? I guess I'll dink with it some more tomorrow.
-
It's looking good Scott. I'd like to see the wale position at the stern if you have a couple pictures.
- 264 replies
-
- rattlesnake
- model shipways
-
(and 1 more)
Tagged with:
-
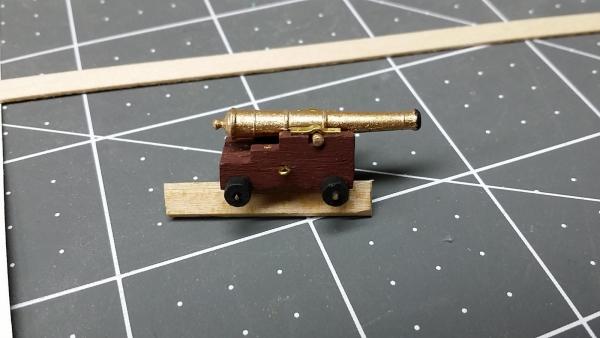
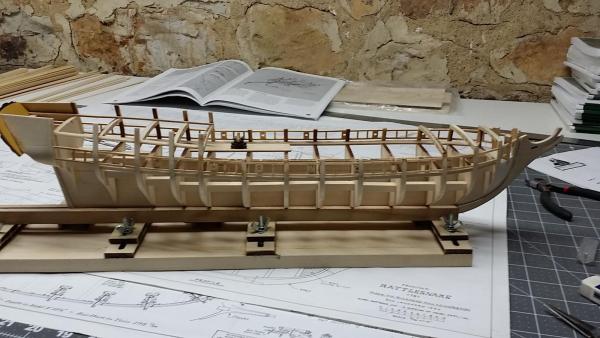
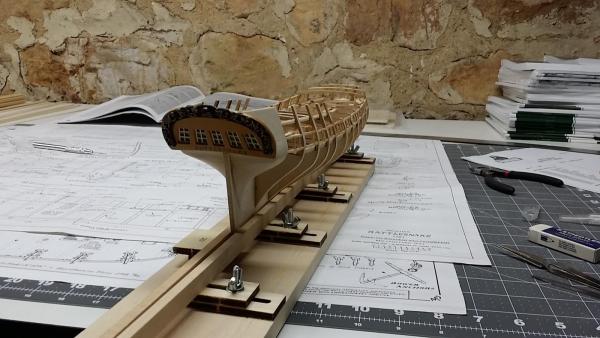
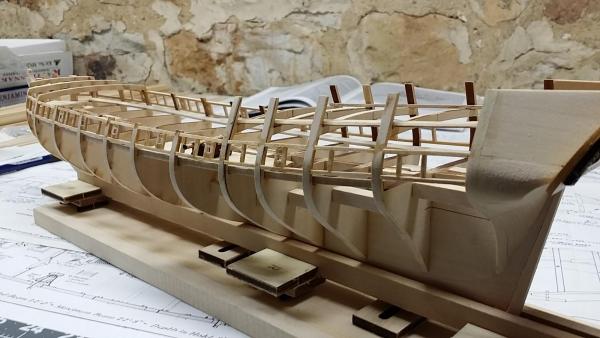
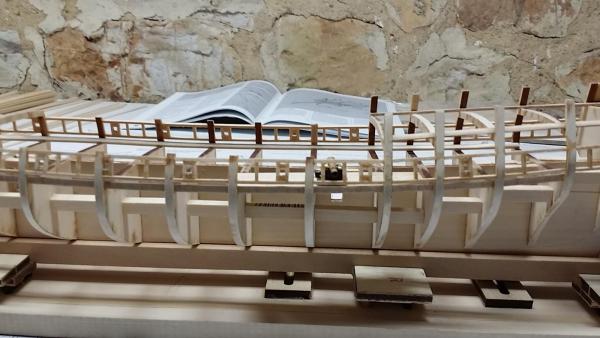
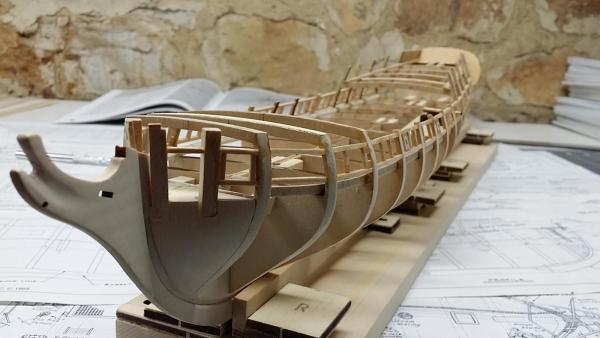
I haven't had a whole lot of time lately, but I'm slowing plugging away. My next step was to do the cannon and oar port framing. I decided to make one of the cannons and a small deck platform for reference. I still need to add a few more details to the cannon, but it works for now. Here are several shots (probably too many) of the gunport/oar framing. I did make a "jig" for the gunport openings like previous folks here have. However, I found it was easier for me to install the bottom rail, then used the "jig" just to get the correct height. Then I used a divider to get my spacing off the plans. Next step is to add the breast beams to the forecastle and quarter deck. And then it's planking time....
-
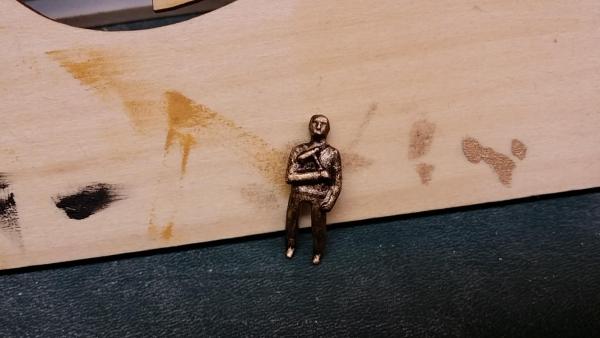
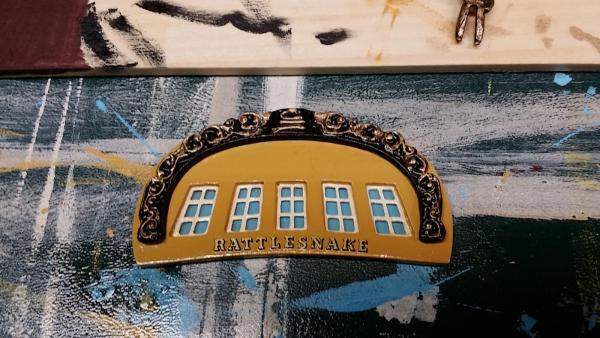
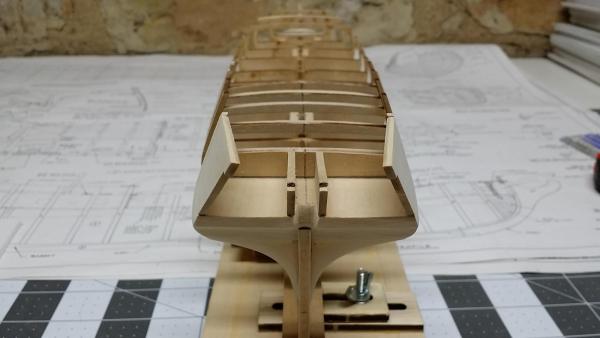
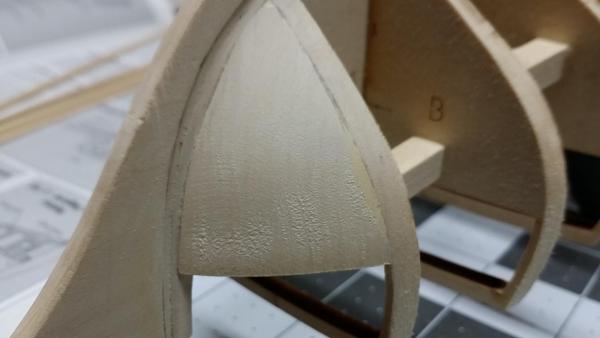
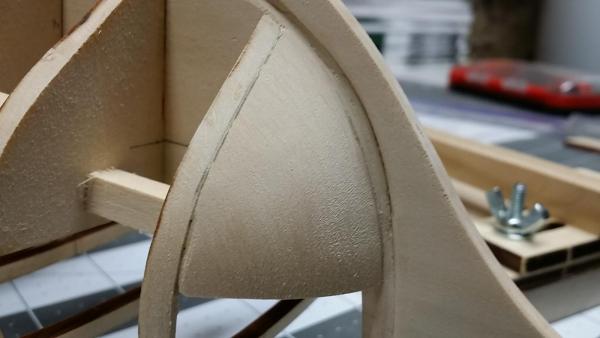
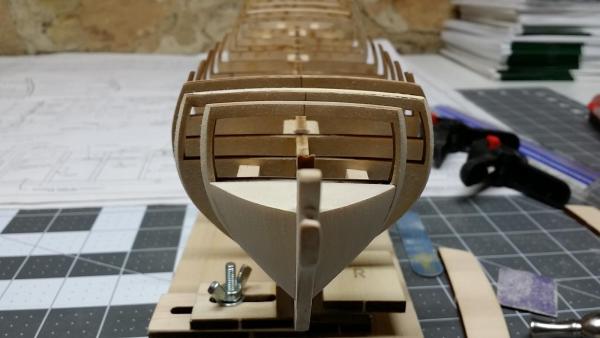
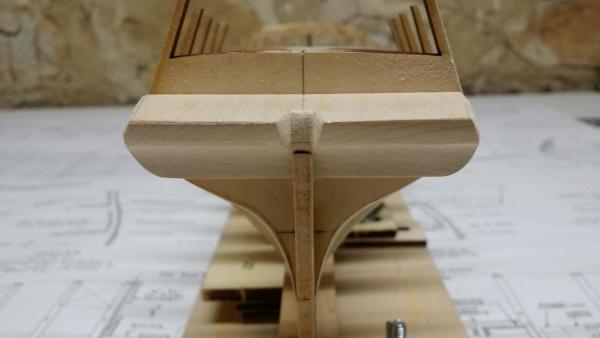
It's been awhile since my last update, but I haven't made a whole lot of progress lately. That being said, here is what I've done this week. Sanded the stern filler blocks some more. I've tested with a plank at several points and I think it's about right now (crosses fingers) Added the gun deck waterways. I fit and shaped the covering boards on the poop deck, but didn't glue them in since the transom wasn't installed yet. Painted the figurehead with gold, then rubbed on some black to antique it a bit. And here is what I've been spending too much time on. I cut off the top edge of the carving and shaped it some. The "Rattlesnake" lettering is done with dry transfer decals, each one cut and placed individually..... The lettering is kinda crooked, and it looks like the actual word is rattling...haha. If anyone noticed I'll tell them it was by design, but we all know better.
-
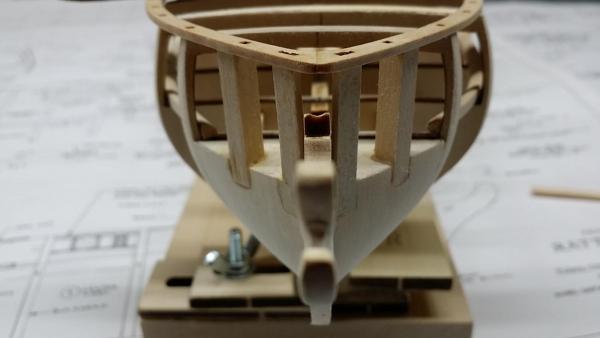
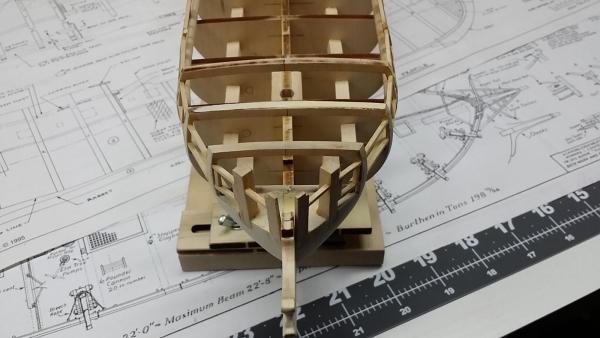
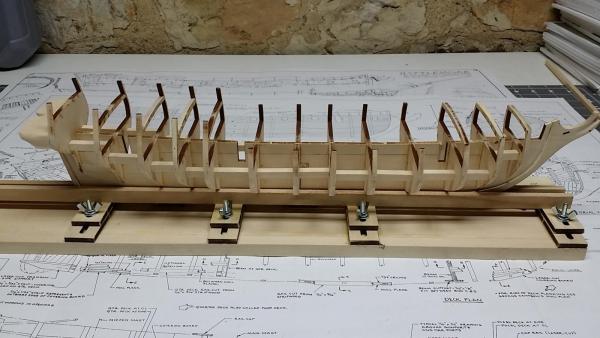
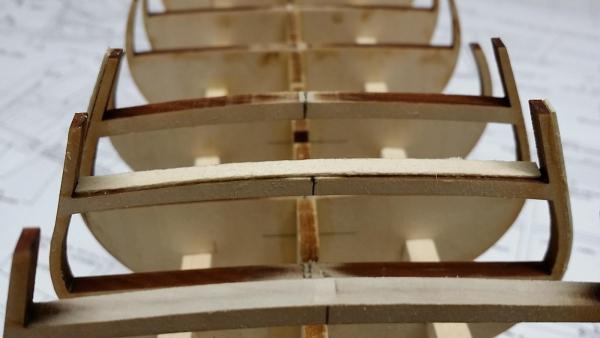
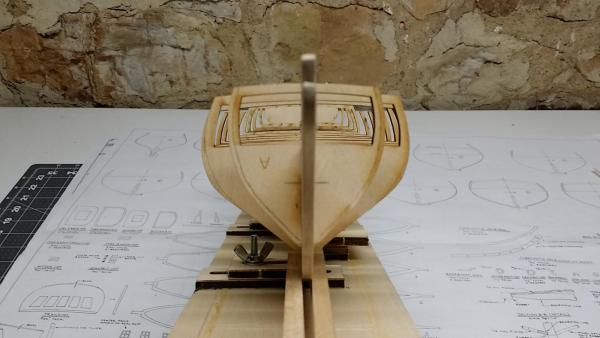
Greetings again. So after a few days of shimming and sanding, I believe the fairing is complete. I moved on to making the filler blocks. The bow filler was pretty easy to make.I used the blocks that were provided with the kit. I measured the hull line and bearding line from the plans, then scribed the bulkhead line with the block against the keel and bulkhead A. A few minutes with the Dremel drum sander and the shape block was complete. I made the stern filler blocks from two pieces of 1/4" sheets to make up 1/2". This is probably not necessary, but I figured the less sanding here, the better. Using the same method as the bow, I made the ones for the stern. With the roughed in shape I decided to go ahead and glue them in place. After it dried for a day, I shaped them with some 100 grit paper. They look good to my untrained eye, but I'm not sure if they are correct. The bend of the planks are not a 90 degree angle, but it is a drastic bend. Any advise here would be greatly appreciated! I also added the transom framing and covered the mast slots. My next step is to install the waterways. Based off the plans, the stanchions appear to all be 1/6". In reality however, they are not. After adding 1/32" shims on several, and on one 1/16" they are much wider the they should be. So here is my question. Should I try to get the all down to 1/16" now, or move on to something else? They are very fragile, so I was thinking that it might be better to have the sides planked first?
-
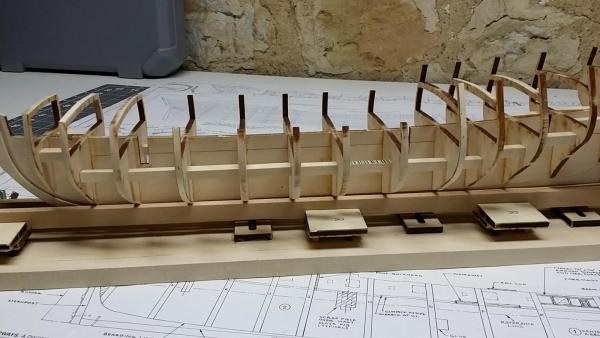
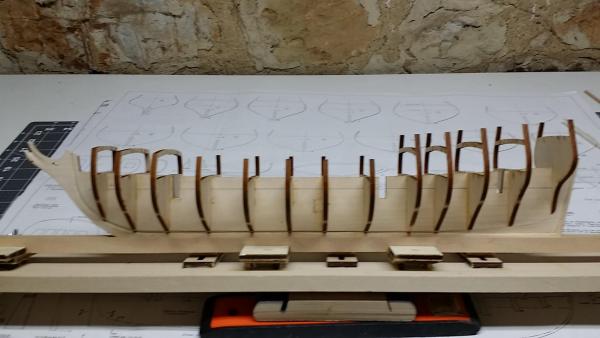
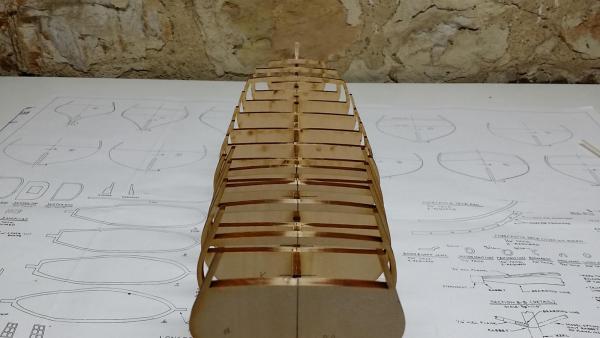
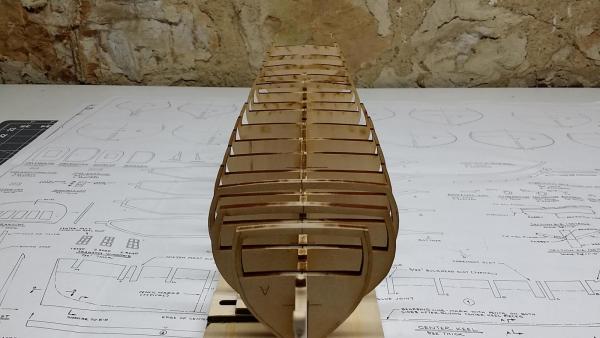
Scott, thanks for the tip. I was thinking about running some supports under the rails, but wasn't sure if they would get in the way of other things. Popjack, I was wondering the same thing. There were several pieces that weren't even close to what the plans show. I suppose this might not be a big deal for those that have been doing this for awhile. But for a rookie like me, it is a bit to overcome. I decided to reinforce the hull since the bulkheads are so flimsy. I just used a bit of 3/8 square stock I picked up. Started fairing the frame. Got it pretty close, and then added shims on a few bulkhead sides, and a couple on the deck rails. So for the stern filler block. The kit came with a piece of 1"x1"x6" block. The plans show 1 1/8"x 5/8"x 3". The math didn't add up, but I made an attempt at it. And I hated it. So I decided to make a new one. I combined a 1/4" and a 3/8" strip and made my own to match the plans. I left some meat on the sides so it can be shaped more after I get the lower ones made and installed. I'll fair the frame some more tomorrow once the shims have dried over night. One side is a little better than the other right now, so I may need to add more shims to the other. Kind of a slow process, but I want it to be right before doing anything else.
-
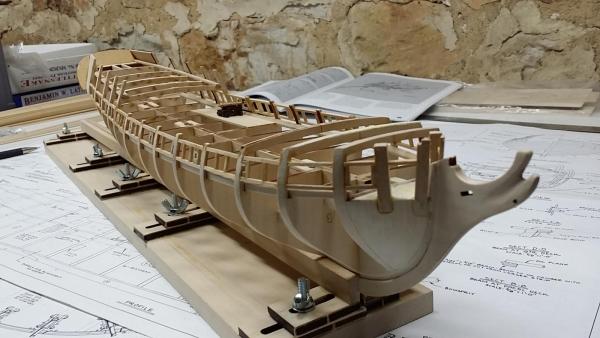
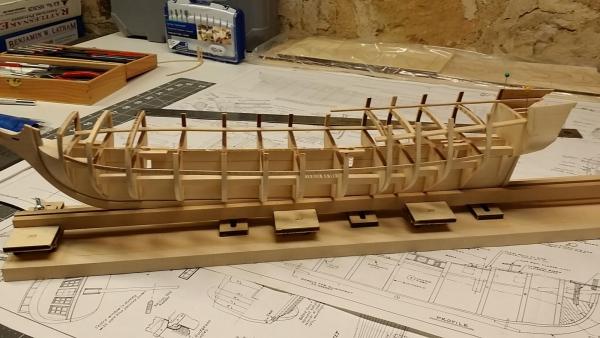
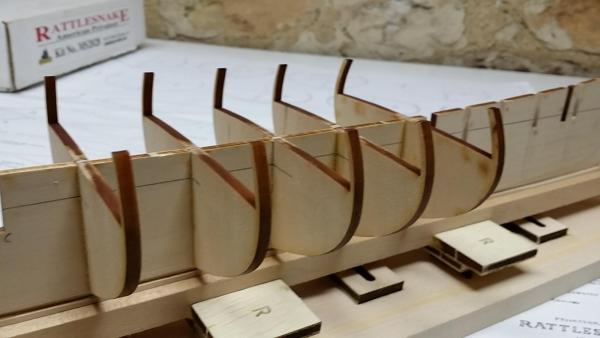
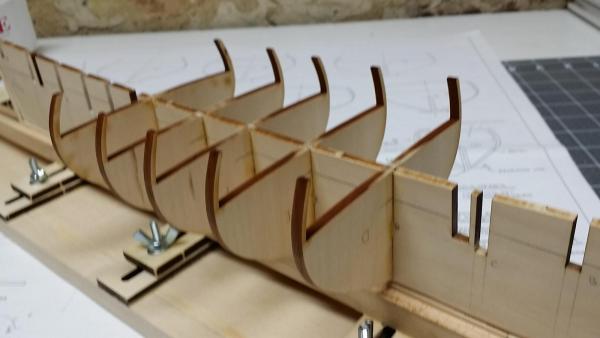
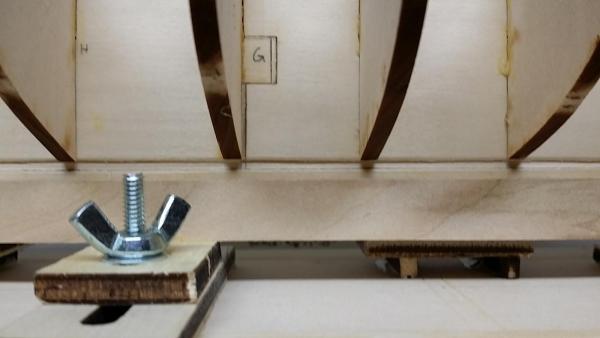
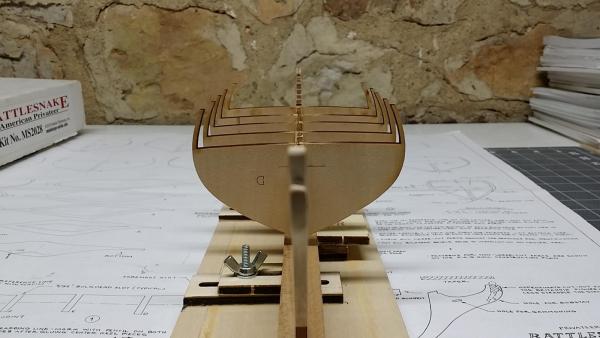
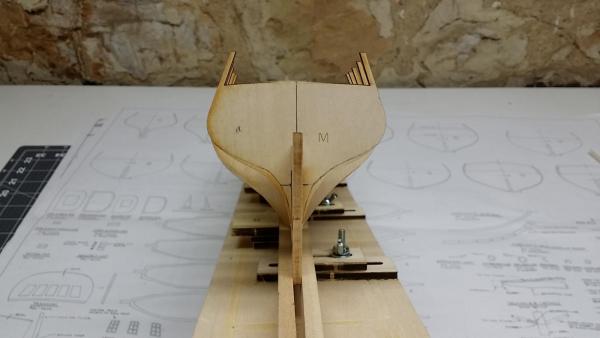
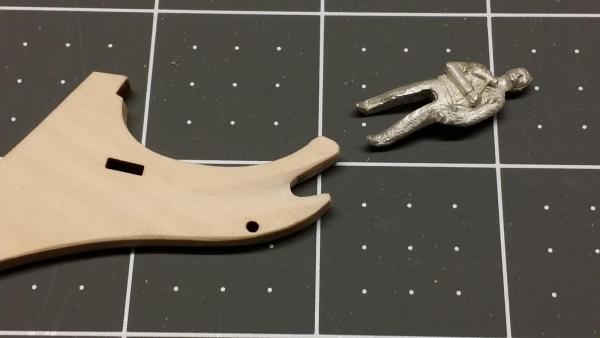
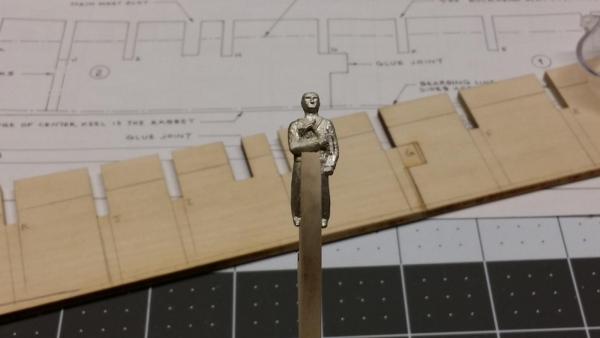
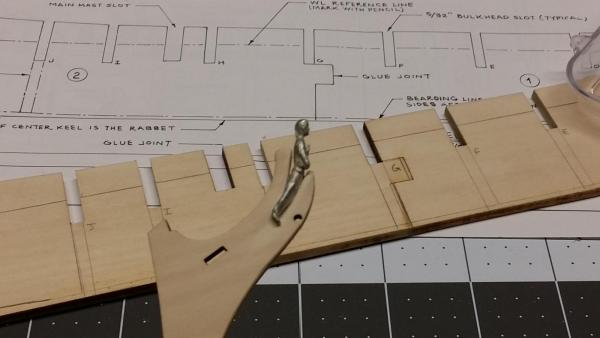
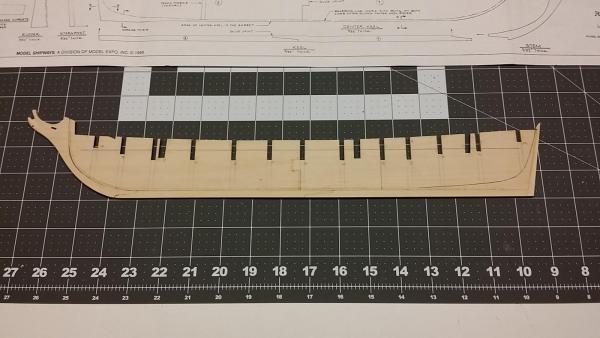
So with several bulkheads not matching the plans, I decided to wing it. I centered all the bulkheads and matched the main deck line. I measured from there and marked the reference line. Every bulkhead slot had to be adjusted from one side or another, and the depth as well. Several hours later, they all went in and matched perfectly with the reference line, rabbet, and bearding line. Well, with the exception of 1... Bulkhead "I" went past the rabbet by about 1/4". I sanded it until it lined up with the rabbet. I will have to shape it to match the profile of the other bulkheads when fairing the frame, but I "think" it will be ok. As you can see, I did not bevel any of the bulkheads. However, I did not glue bulkhead "A" or "M" yet. I have been wondering if those should be beveled or not, or do it all during fairing? Anyway here are a few shots of where I'm at.
-
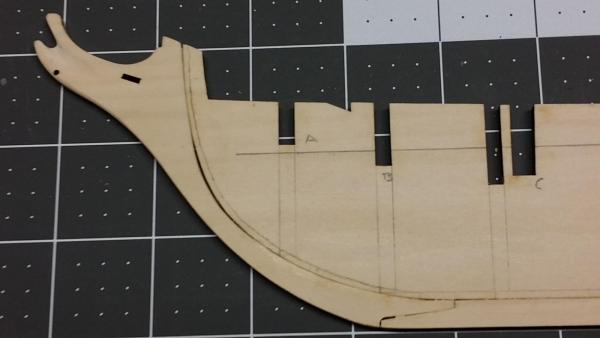
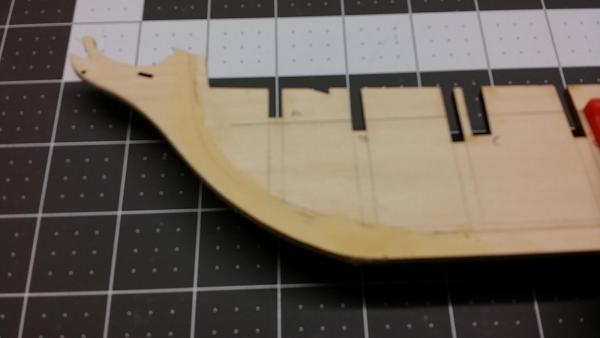
I skimmed the long boat with filler today. It has to setup for 24 hours before I can really sand it. So I started to work on the center keel. Who ever was running the laser must have had a few too many cocktails. It starts off pretty good at the stern but gets progressively worse towards the bow. I spent a lot of time making the bulkhead slots wide enough to fit the actual bulkhead. Some were close, others not so much. I also added a few shims in the middle of the center keel to push everything forward to match the plans better. A bit of carving for the figurehead. I'm pretty happy with the end result. I had to carve out the inside of the bow keel stem to get everything to line up. It wasn't perfect and left a small gap in the front. But a little filler and nobody will know the difference.
-
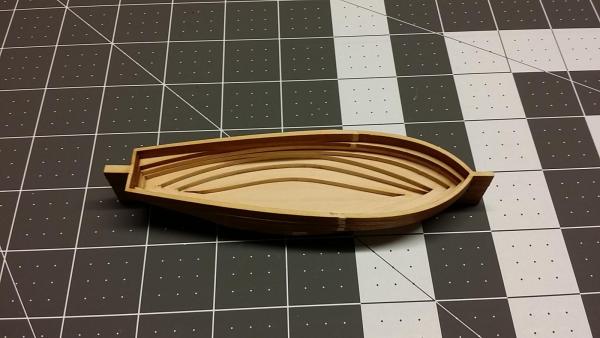
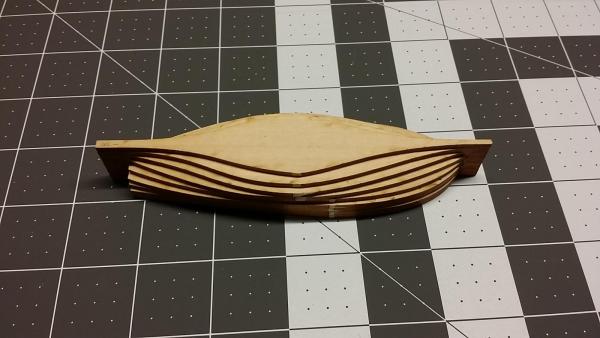
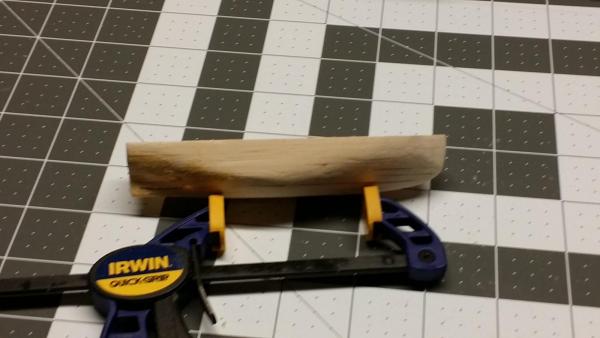
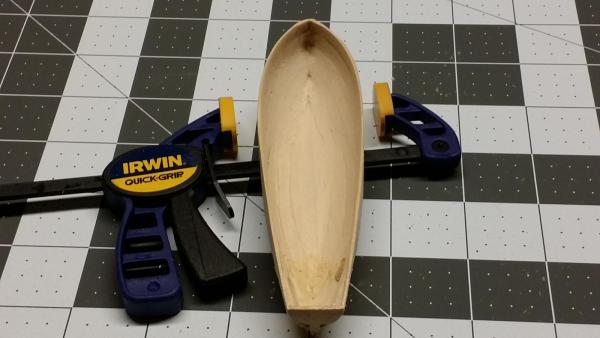
I started my Rattlesnake build today. I figured I'd start with the longboat. I've seen a few posts about it not being the greatest, but to me it's good practice. I aligned the lifts per the instructions, which throws a few of the lines off. I think if I had to do it over, I would adjust the boats lines a bit. Woohoo, a new toy! Here are the 9 very thin pieces going together. Bottom side. Here is the rough shape after playing with a Dremel for the first time. Inside view. If you notice towards the stern, I did burn through the hull a bit. I added some glue and sawdust, but I think I'm going to skim a coat of filler inside and out. Then I should be able to get rid of some tool marks and get a little better shape.
-
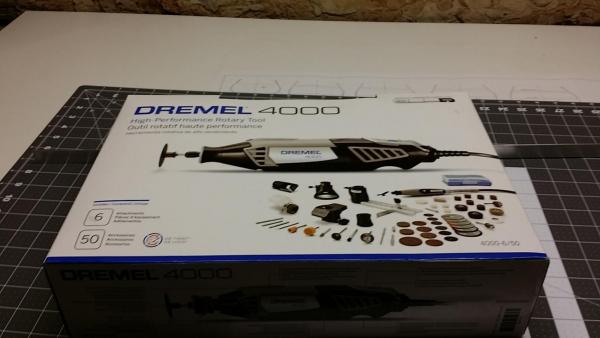
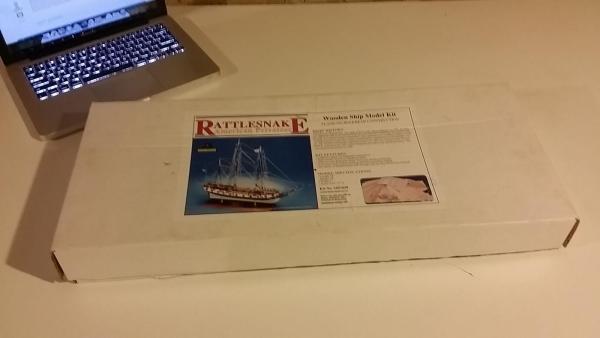
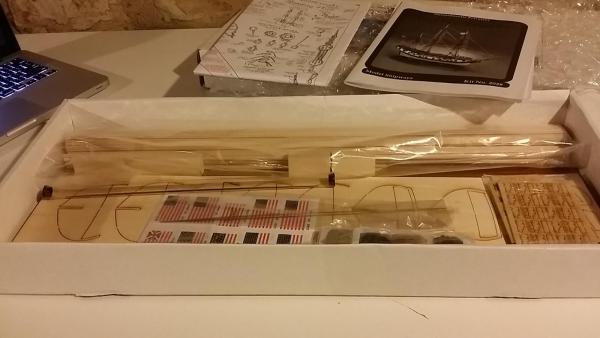
A friend of mine purchased this kit several years ago, I think he cut the tape, looked in the box, closed the box, and put it on the top shelf in his closet, never to be seen again. So when he heard I had started the Latham, he asked if I wanted it. After a crisp $50 bill, it was headed for it's new home. While waiting for parts for my Benjamin Latham, I figured this might be a good build to switch to for now. I inspected the parts against the parts list, and it seems everything is there, and in good condition. I also broke down and ordered a Dremel 4000 6/50, which will be here tomorrow.
-
Thanks for the pics Popjack. Your Bluenose looks great! I believe I'll do the same, if not the stanchions will always bug me to look at. I think my mistake was shaping the stanchions before installing the bulkheads. Then once the bulkheads were on, I had to fair the frame, and then shape the stanchions more. My next build I think I'll do the stanchion shaping after the fairing.
About us
Modelshipworld - Advancing Ship Modeling through Research
SSL Secured
Your security is important for us so this Website is SSL-Secured
NRG Mailing Address
Nautical Research Guild
237 South Lincoln Street
Westmont IL, 60559-1917
Model Ship World ® and the MSW logo are Registered Trademarks, and belong to the Nautical Research Guild (United States Patent and Trademark Office: No. 6,929,264 & No. 6,929,274, registered Dec. 20, 2022)
Helpful Links
About the NRG
If you enjoy building ship models that are historically accurate as well as beautiful, then The Nautical Research Guild (NRG) is just right for you.
The Guild is a non-profit educational organization whose mission is to “Advance Ship Modeling Through Research”. We provide support to our members in their efforts to raise the quality of their model ships.
The Nautical Research Guild has published our world-renowned quarterly magazine, The Nautical Research Journal, since 1955. The pages of the Journal are full of articles by accomplished ship modelers who show you how they create those exquisite details on their models, and by maritime historians who show you the correct details to build. The Journal is available in both print and digital editions. Go to the NRG web site (www.thenrg.org) to download a complimentary digital copy of the Journal. The NRG also publishes plan sets, books and compilations of back issues of the Journal and the former Ships in Scale and Model Ship Builder magazines.


