DONATION DRIVE - SUPPORT MSW - DO YOUR PART TO KEEP THIS GREAT FORUM GOING!
×


_SalD_
-
Posts
848 -
Joined
-
Last visited
Content Type
Profiles
Forums
Gallery
Events
Everything posted by _SalD_
-
 Patrick, I just wanted to say that your work is magnificent and I'd like to thank you for taking time to look at my first build log of the Phantom. You've must have done this for quite some time. I'll be following your build in hopes that I can learn from a master. Sal
 -
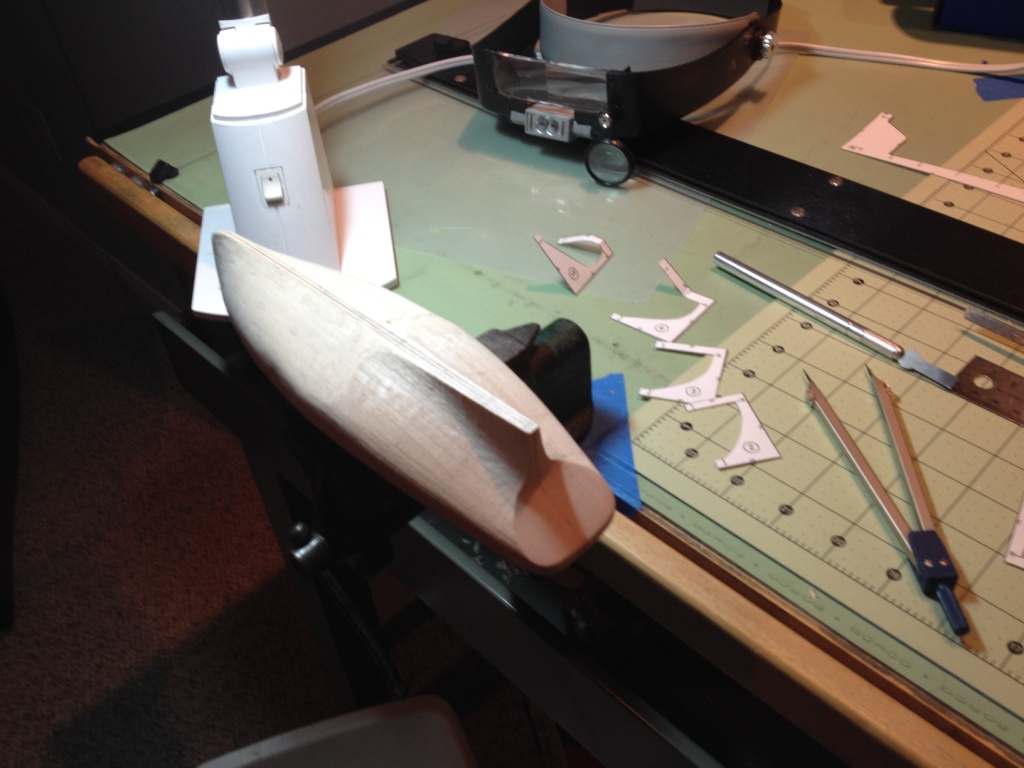
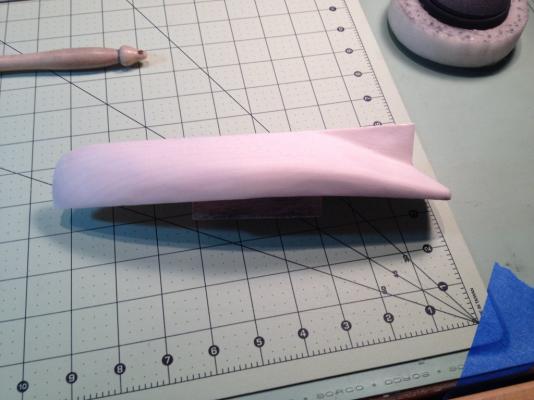
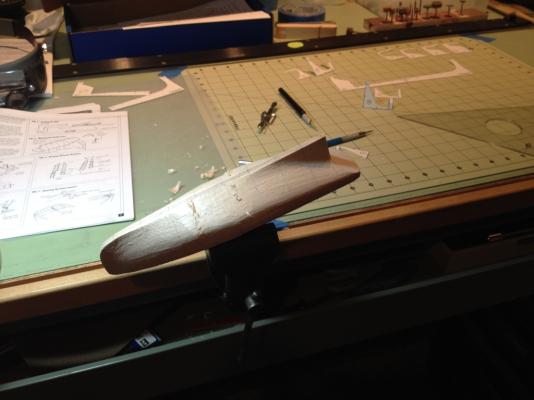
Day 4: Started carving from station 5 to stern. Actually starting to enjoy this. Need to remember to keep chisel sharpened. Finished rough craving and sanded hull. Came out better than expected. Have one dent but nothing real noticeable, may try filler to even it out.
- 139 replies
-
- 4
-

-
- phantom
- model shipways
- (and 1 more)
-
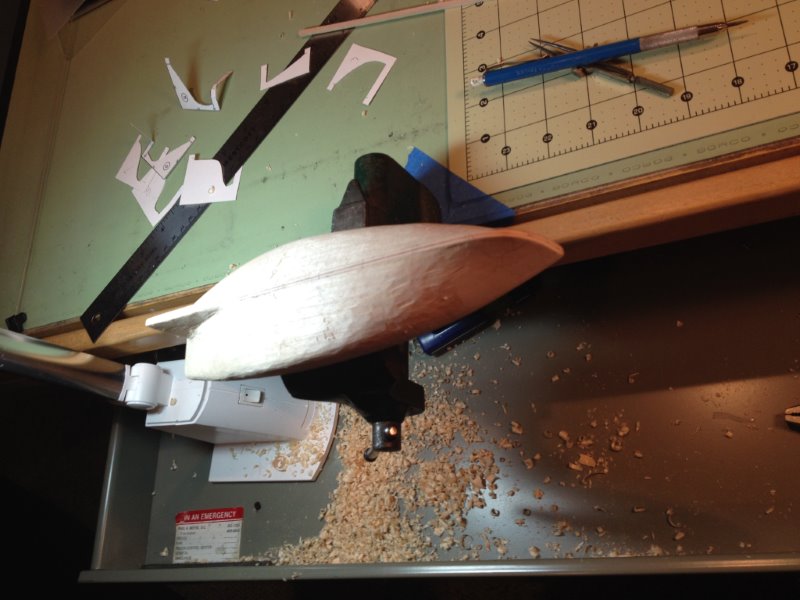
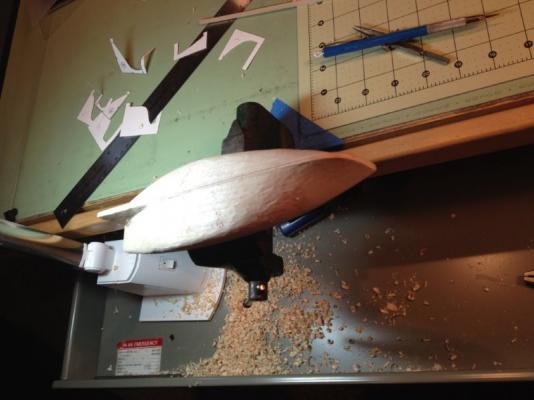
Thanks for commenting patrickmil. Day 3: Well, I've read Mr. Passaro's guide and the directions that came with the kit for about the fifth time trying to work up enough nerve to start carving. Finally started reducing the keel width and carving the hull at station 5. Slow going, first time jitters, don't want to remove more wood than I'm supposed to. Using 1/4" wide wood chisel and x-acto knife. Carving continues. Getting more confident. Finished rough carving from station 5 to bow. D.W.

- 139 replies
-
- 2
-
-
- phantom
- model shipways
- (and 1 more)
-
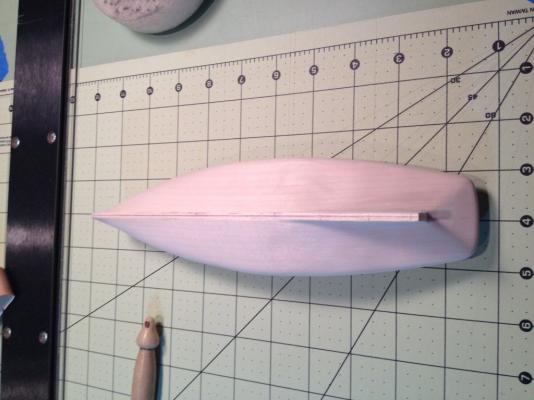
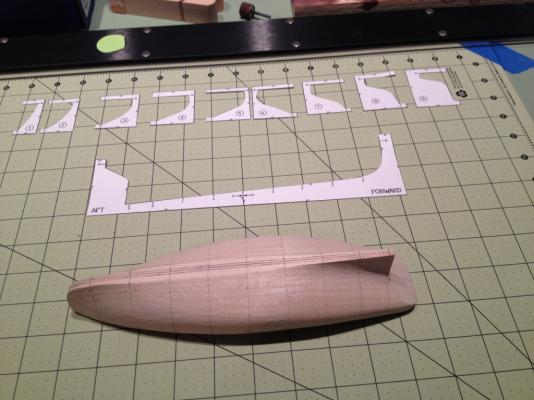
Day 2: Using an x-acto knife I cut out the hull profile and station templates. I wasn't sure if I should leave the line or cut the line off the template; I went with removing the line. Next I adjusted the ship's profile by sanding the bottom of the hull and removing a portion of the stern. One question I had was why do you need to cut the profile template in half? To me it makes more sense to leave it as one piece to give you better control of shaping the keel. Next I marked the centerline and offset that line a 1/16" on both sides to mark the keel. It took me a while to decide where to mark the centerline because I realized that this line needs to continue all the way around to the deck. After trying a few different locations I picked the one that visually appeared to line up along the center of both the top and bottom of the hull. I should probably mention here, like so many others have pointed out, that these drawings and templates are, as we say in the profession, N.T.S. ( not to scale). Being a structural engineer and working with scaled drawings everyday these drawings are not at an 1/8" per foot.
- 139 replies
-
- 2
-
-
- phantom
- model shipways
- (and 1 more)
-
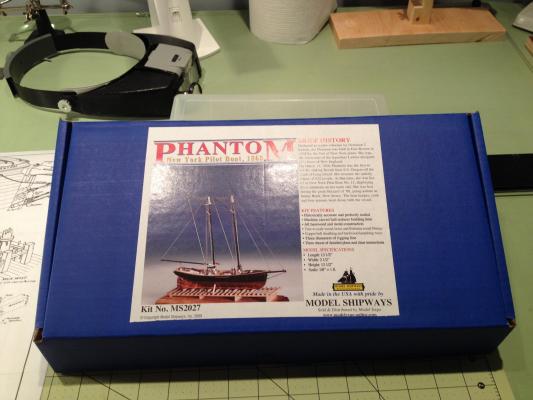
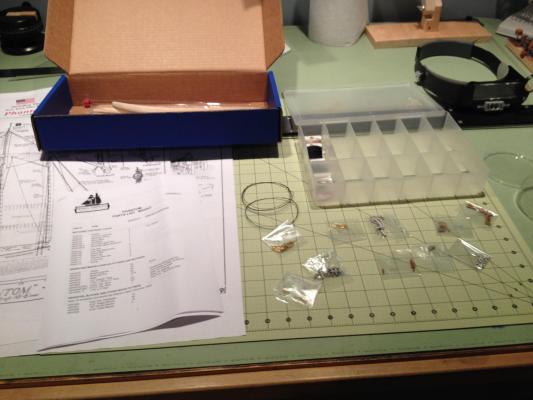
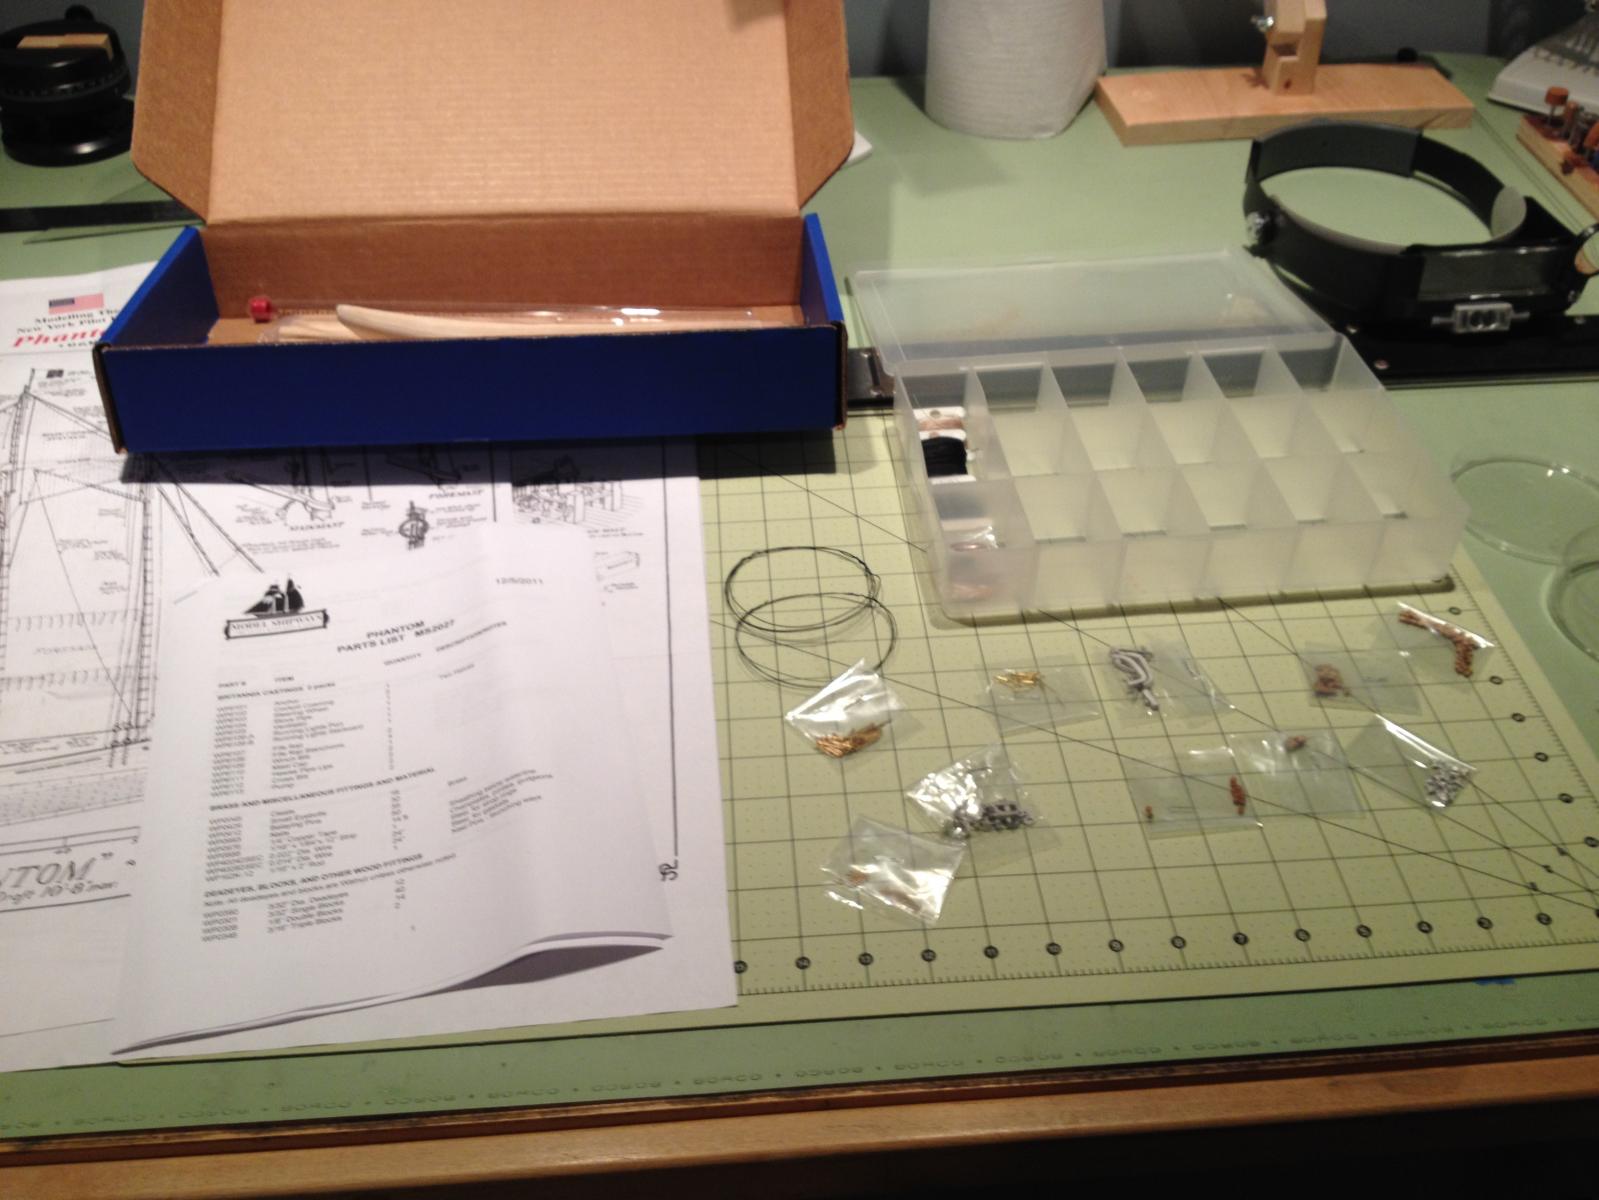
Hello all, I am new to this website and also to model ship building. I have built other types of models in the past and have always wanted to try a wooden ship. I've been putting it off for a number of years now but have finally decided to bite the bullet and give it a try. After researching the different types of ship models, solid hull, POB, POF, (and keeping my ego in check) I decided on the entry level, solid hull 'Phantom' by Model Shipways. I've read a number of the 'Phantom' build logs and have found them to be ever interesting. I've downloaded, printed, and read Chuck Passaro's guide for this kit and hope that together we can build something that somewhat resembles the picture on the box. Day 1: Received kit, took inventory and everything in there, a good start.