flipperphil
-
Posts
32 -
Joined
-
Last visited
Content Type
Profiles
Forums
Gallery
Events
Everything posted by flipperphil
-
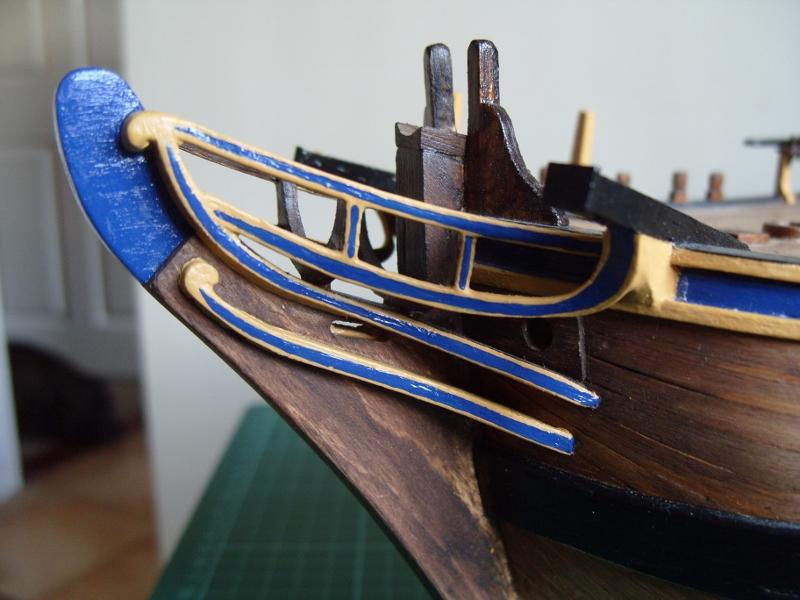
 Hi Salty Sea Dog Sorry for the delay in this reply, I don't get too much spare time to go on the computer. Thanks for looking in and the kind words. The stripes on the head rails were painted free hand as was everything else. Regards Phil
 -
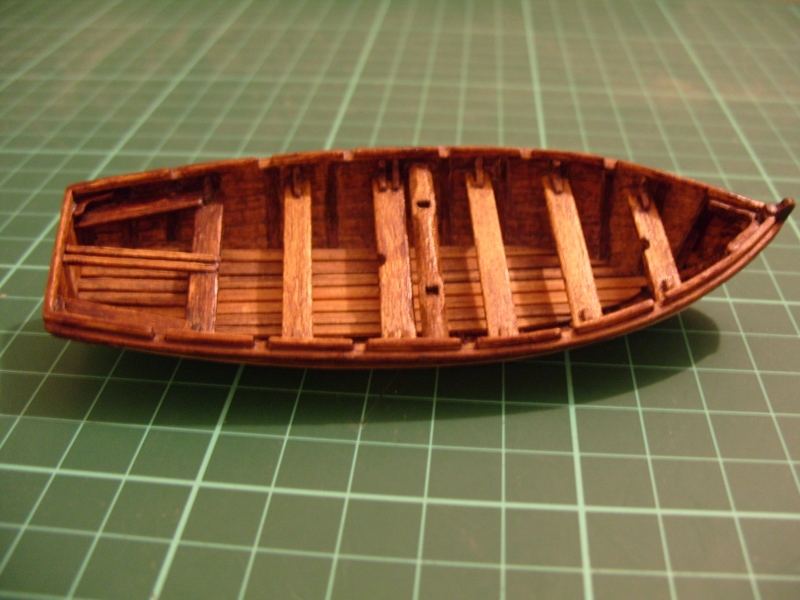
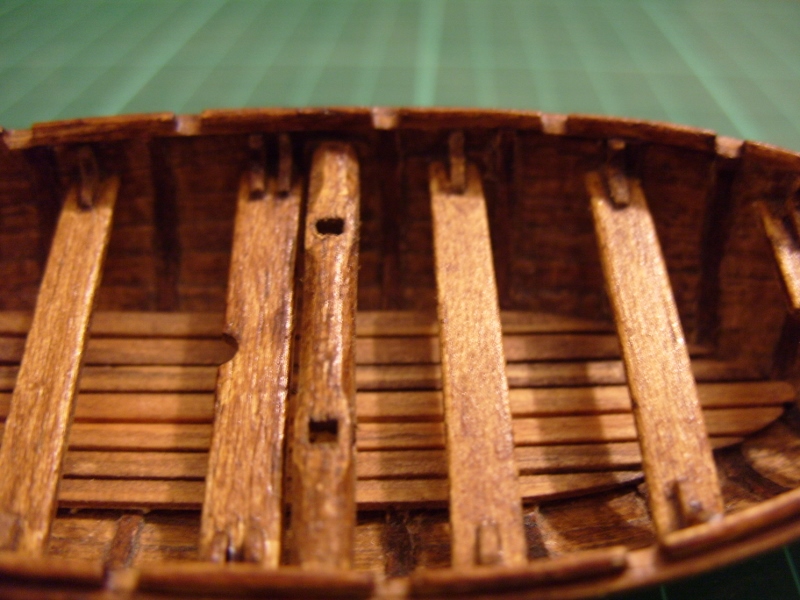
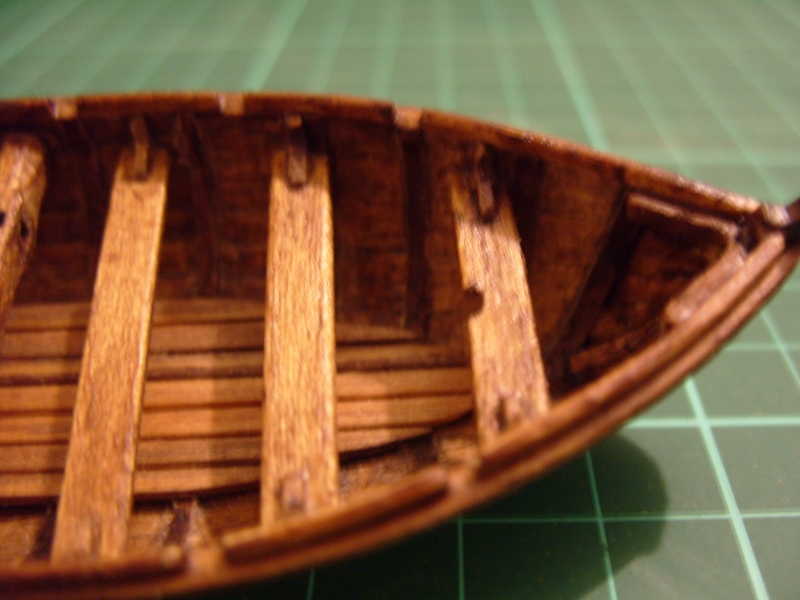
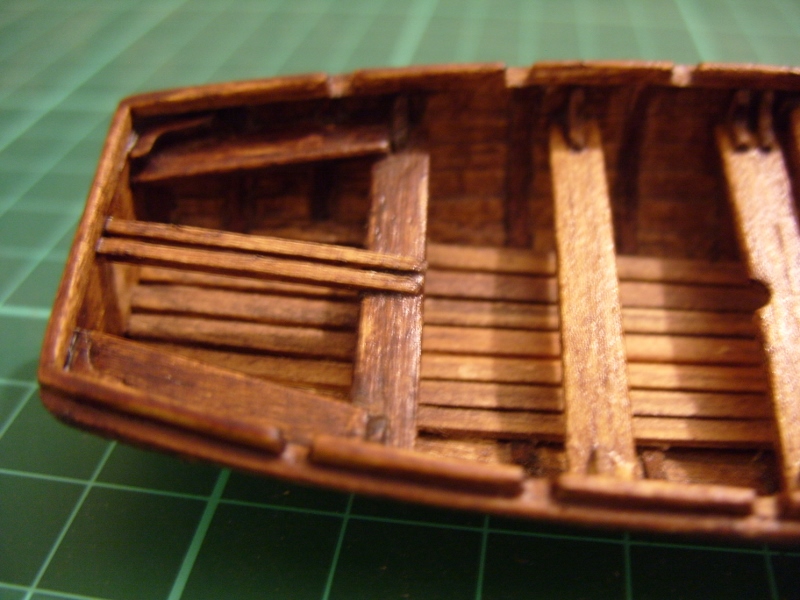
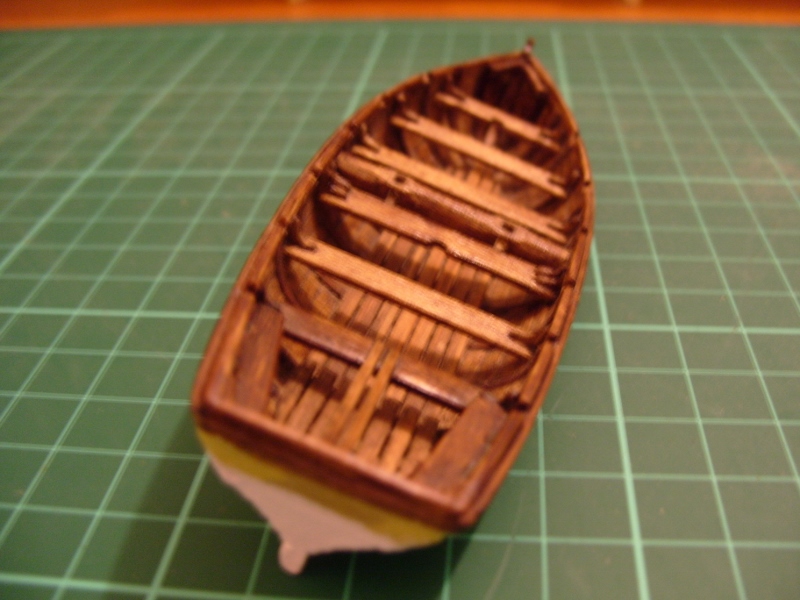
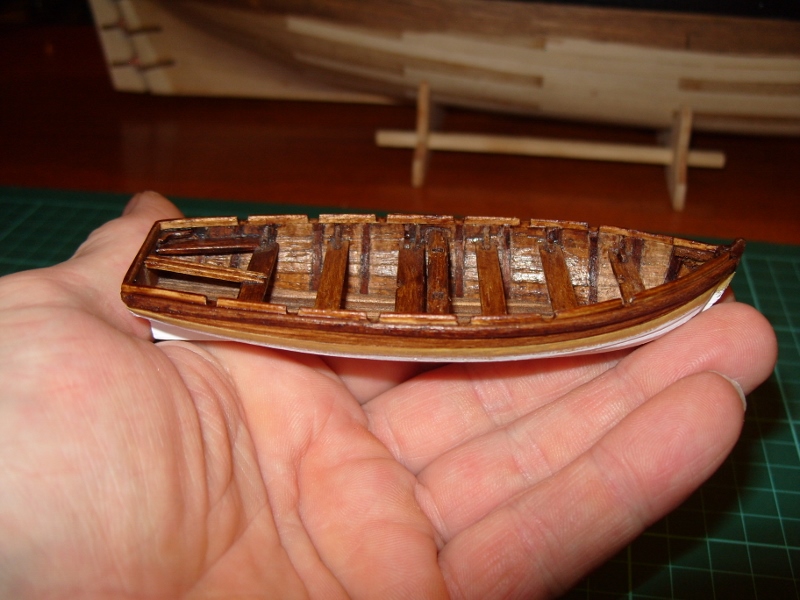
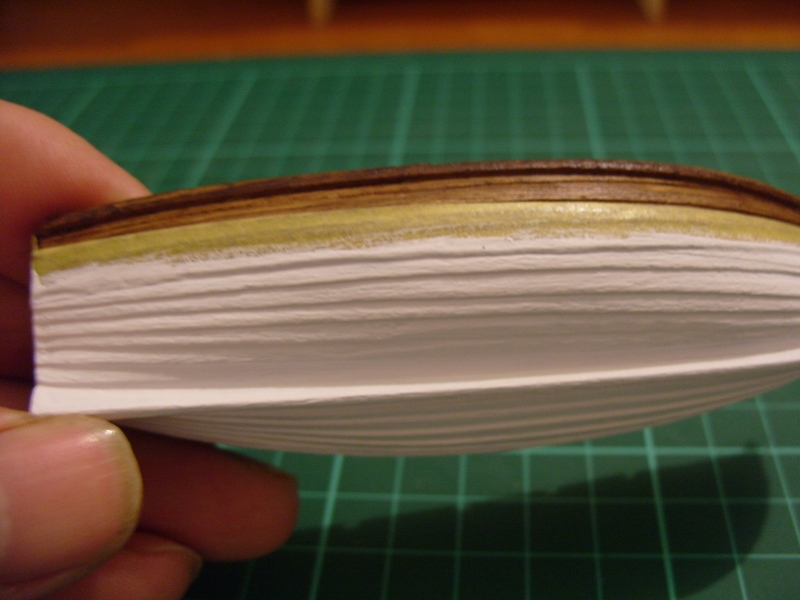
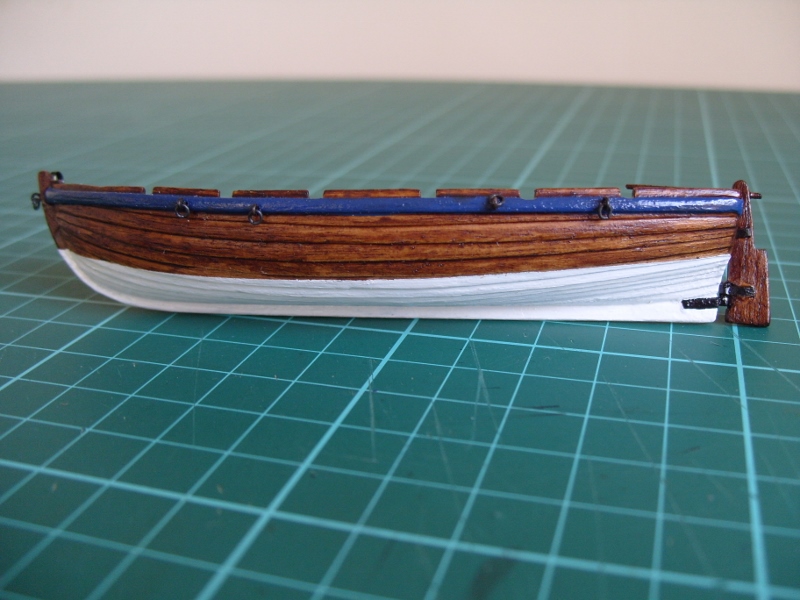
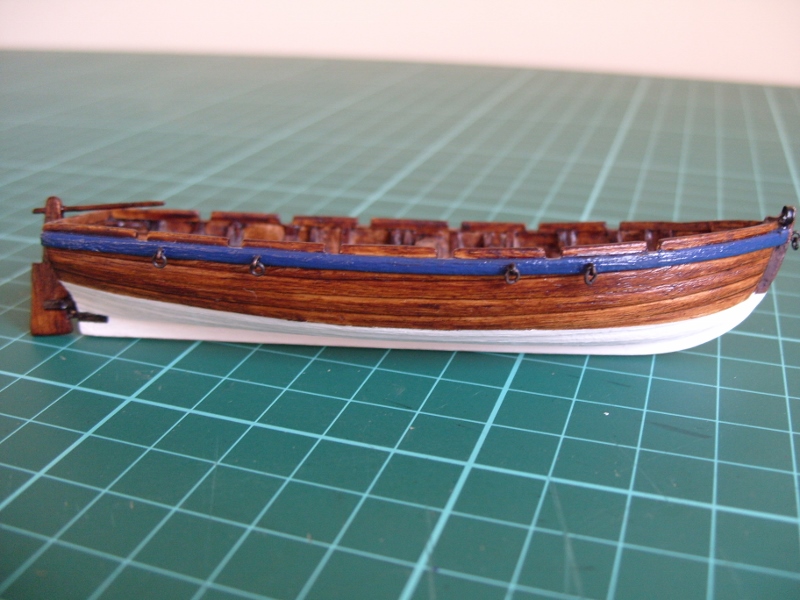
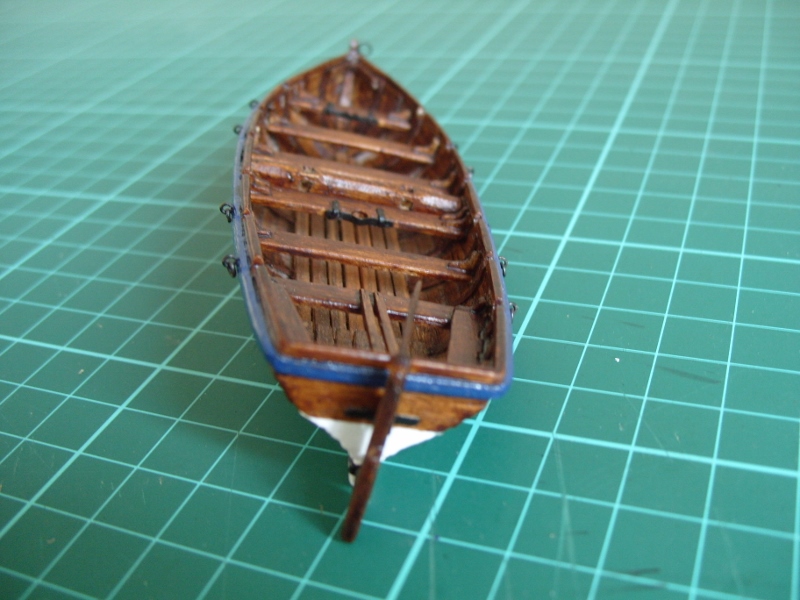
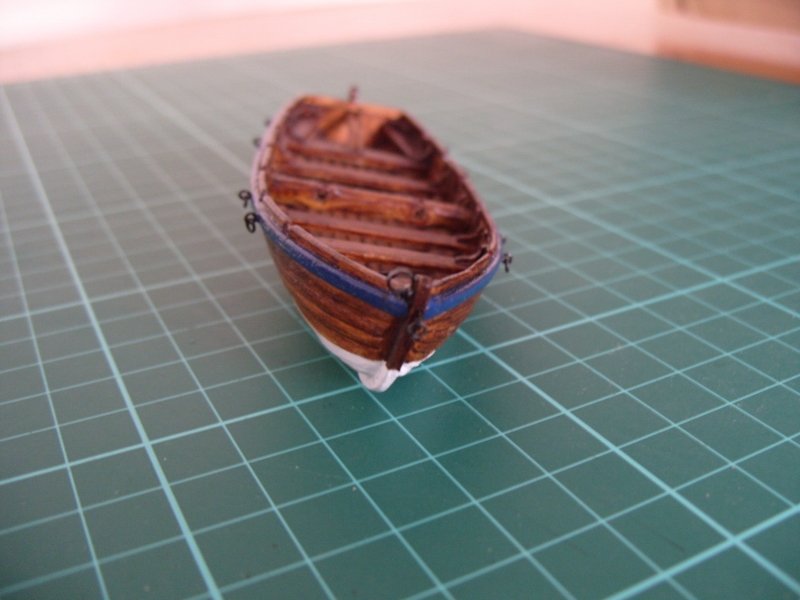
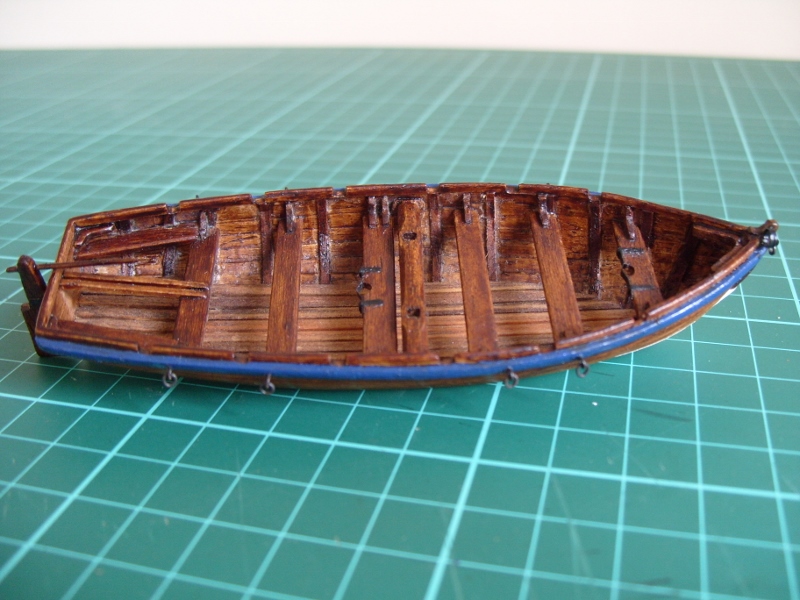
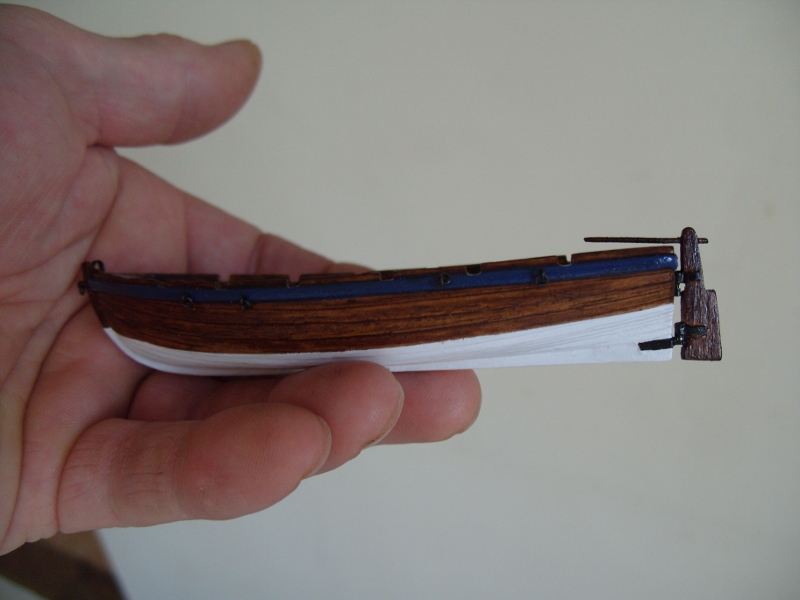
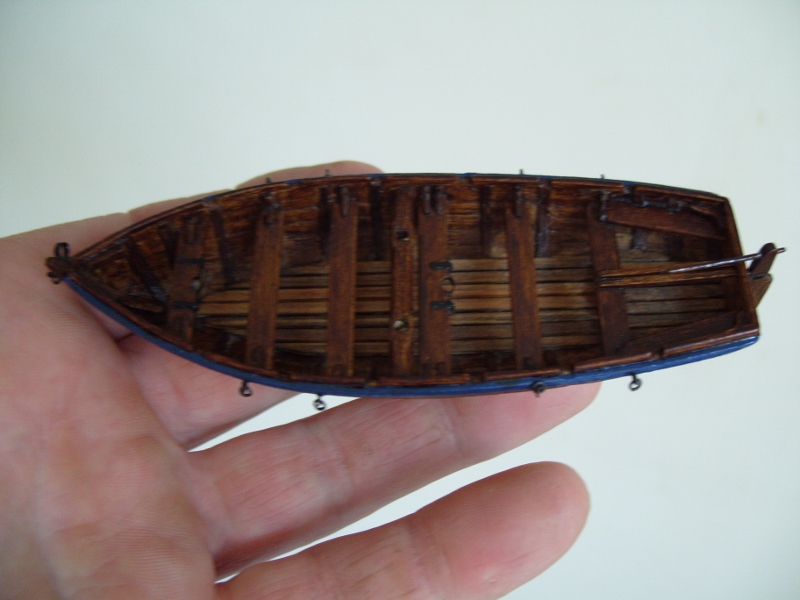
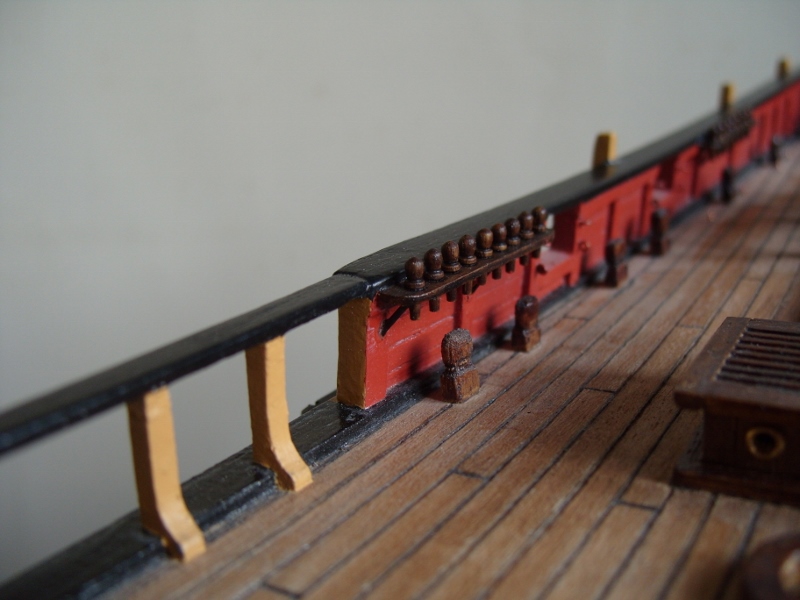
Next came the ship's boat, this was supplied as a block of balsa wood which needed to be shaped into the correct profile. Once this was done the plans showed 1.8mm x 7mm planks to go around the outside of the shaped balsa block. I chose to do this using 3mm x 0.5mm thick planks. This was done twice and the planks were allowed to overlap each other to give a pleasing clinker affect and a much better scale appearance. Once this was done the balsa block was removed from inside the planked shell. Next the frames were cut and glued into position, followed by the floor boards. Thwarts were made and glued into position along with the windlass. The coxswain's seat was next up followed by the rudder. The top half of the boat was stained and the bottom painted white. Various other small pieces were made and glued into position. Just some oars to make and maybe the masks and sails at a later date. Next was all the pin rails, these I made up using parts from the kit, but I did change the pins for wooden ones instead of the brass ones supplied. I also added supports to the rails and repositioned them as shown in the ATS book. Regards Phil

-
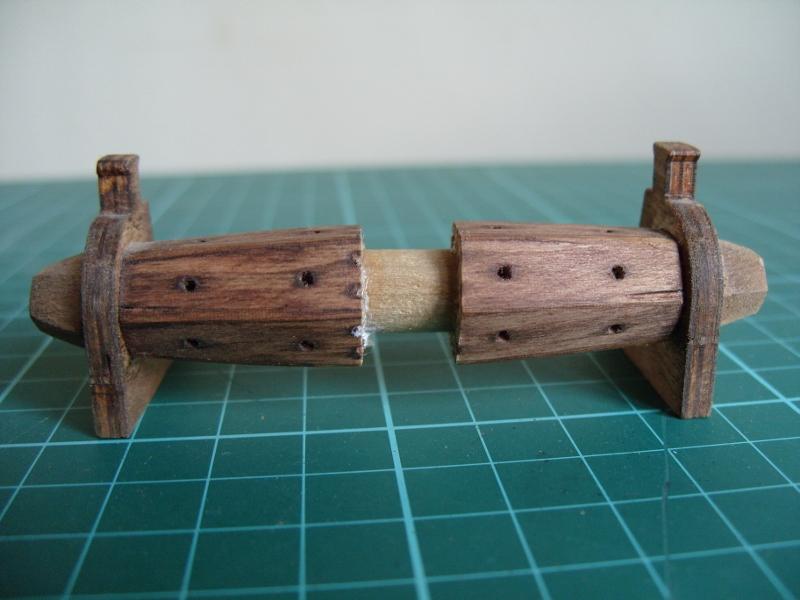
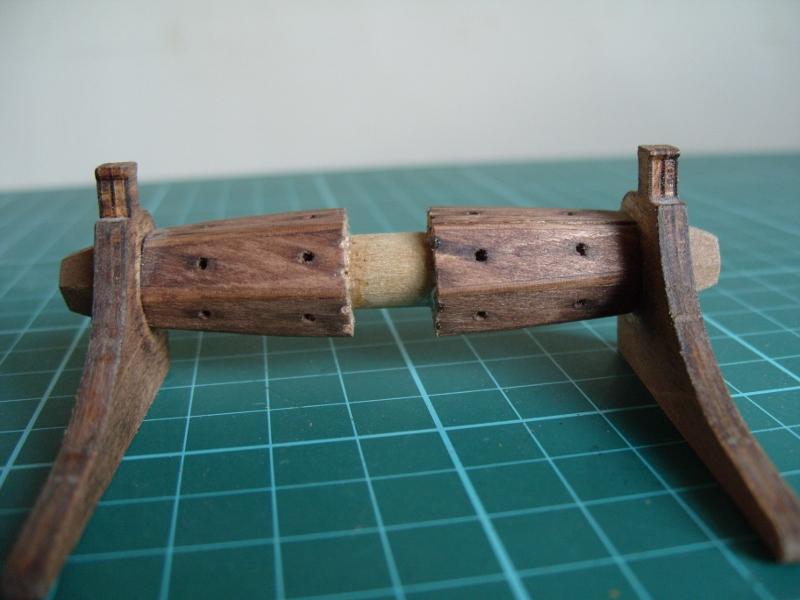
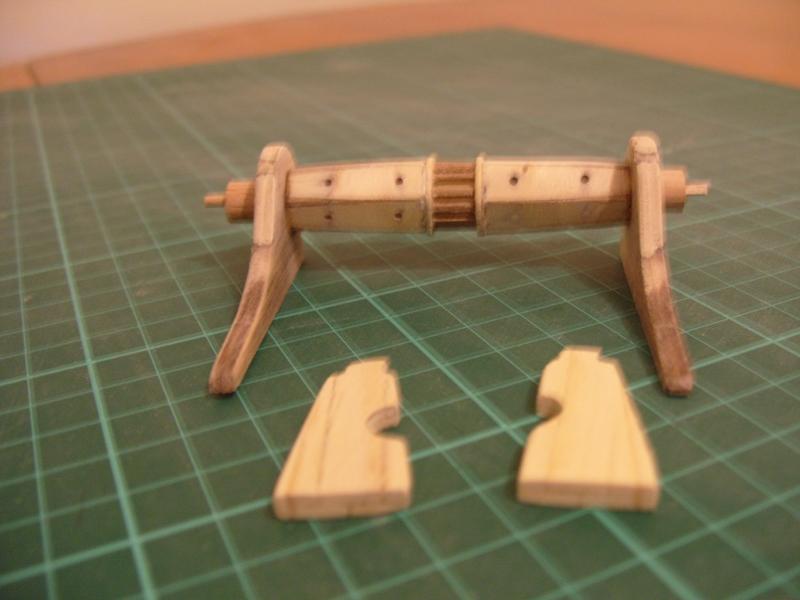
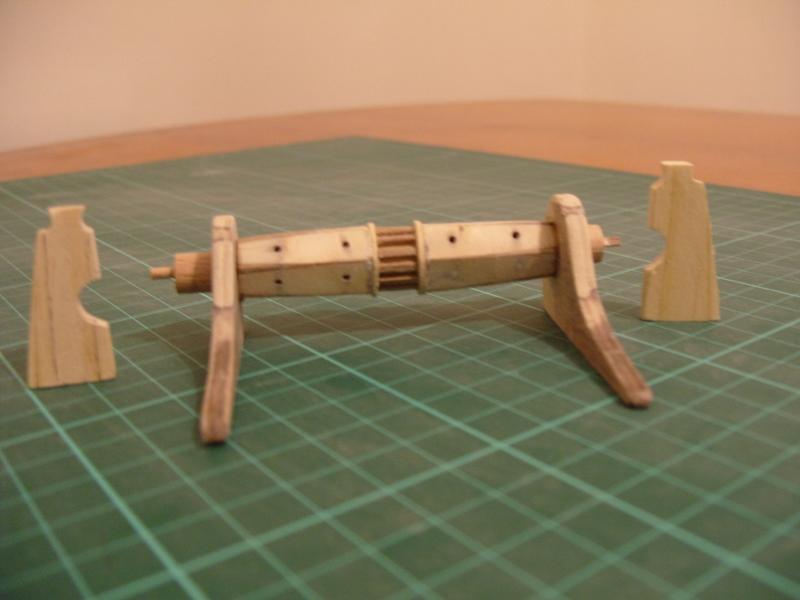
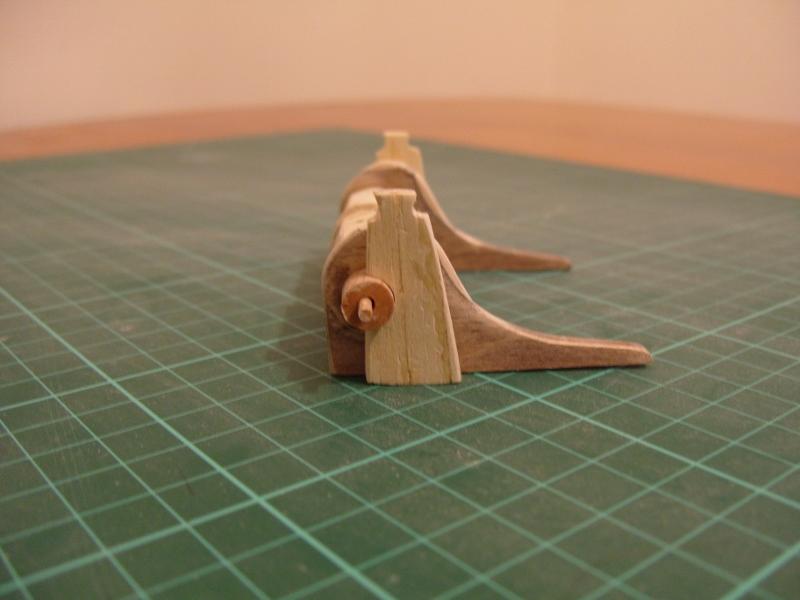
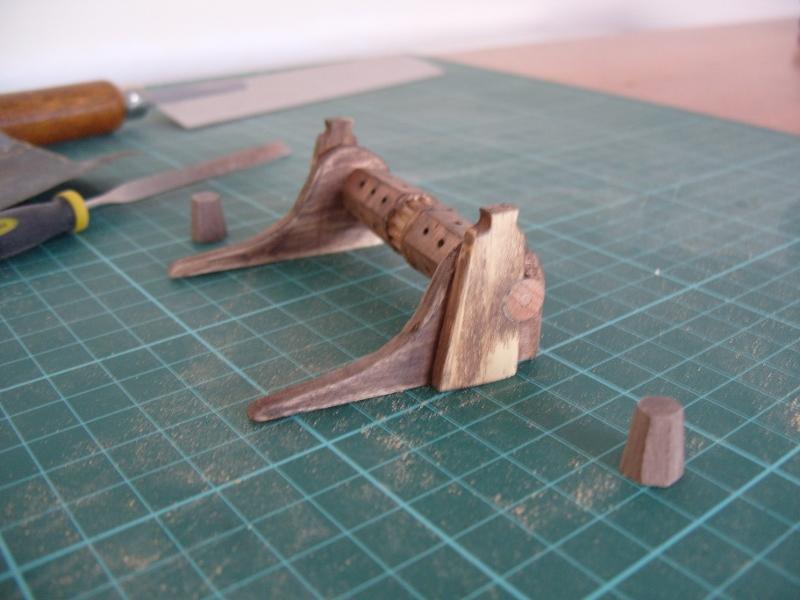
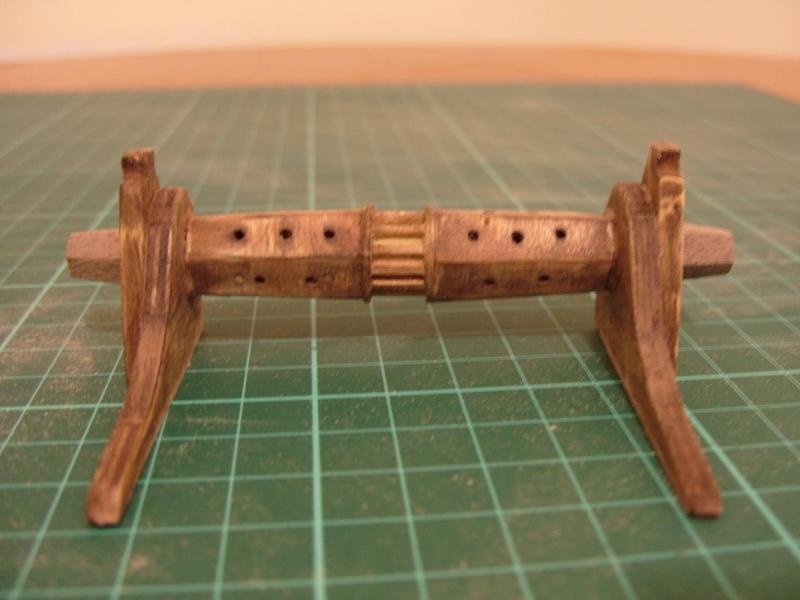
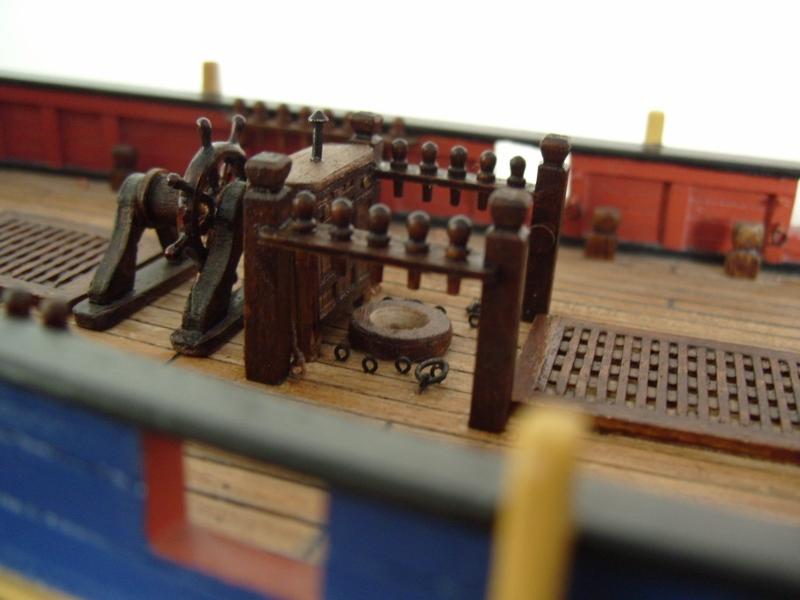
Moving on to the windlass, I made this up from the kit parts, but it just didn't look right. So I decided to alter this using the diagrams in the ATS book as a guide. The first job was to remove a section from the middle and replace this with a piece of dowel. Around this was placed 1mm x 1mm strips to represent the pawl rim, then the rest of the drum was filed down to a more respectable thickness. The shape of the carrick bitts was altered next and two new posts (not included in the kit) were made from scraps. This was then all glued together and two metal straps were made from brass to hold the drum onto the carricks and posts. Small cleats were made and added, all this was then stained and varnished, ready to be glued into place on the deck. The mizzen topsail sheet bits were made from scratch and placed in there correct position on deck, either side of the mizzen mask, not as shown on the Billings drawings. The fore brace bitts were made using the kit parts, rings were added and then stained, varnished and left ready to install at a later date. Various metal rings were installed on the deck in their relative positions as per the diagrams in the ATS book. Regards Phil
-
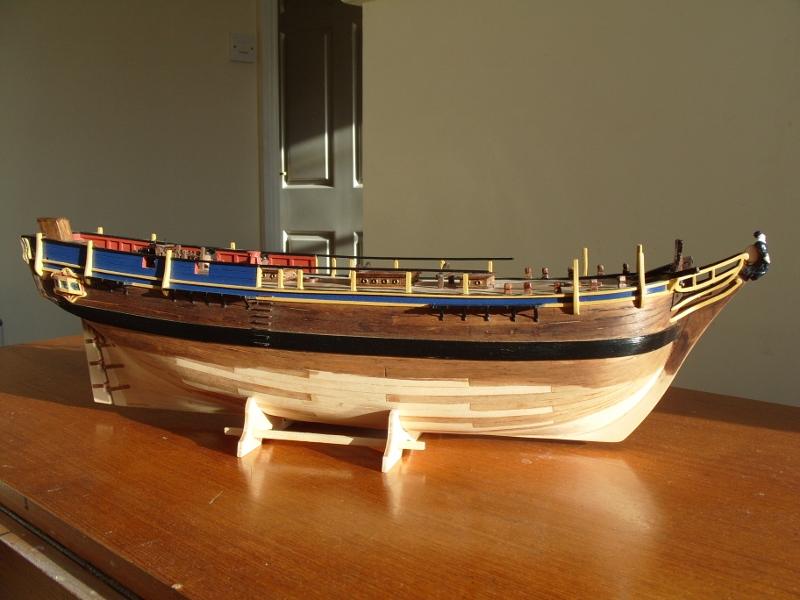
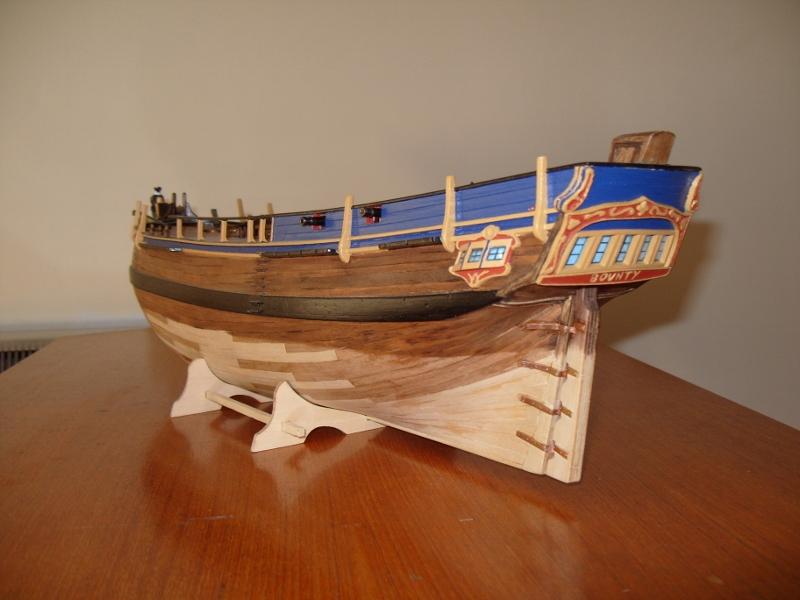
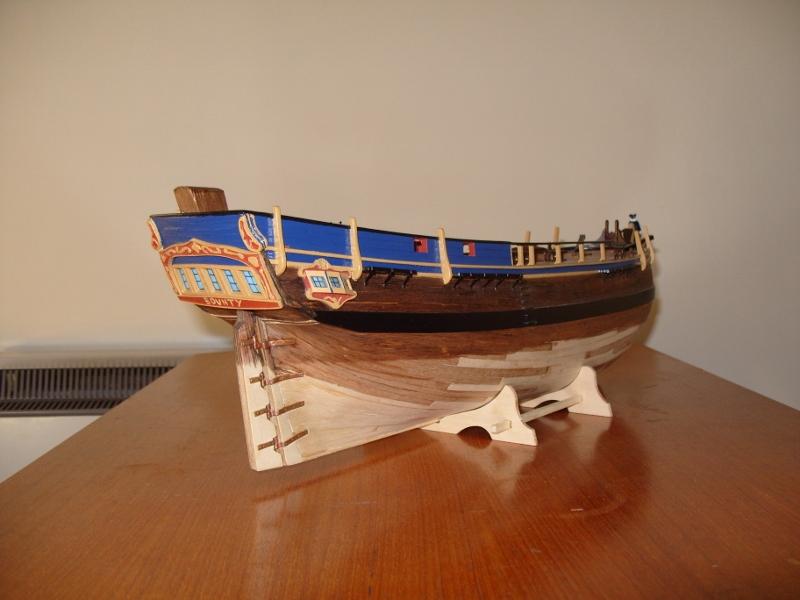
Hi Spiff Nice of you to look in on my build, the reason there is a colour difference in the planking is because I did a second planking which meant I had to buy new planks. So to keep the cost of this down, I purchased walnut planks for above the water line and lime planks for below as these were cheaper and I was thinking of coppering below the water line anyway. In the end I painted below the water line white as I did not think it was worth the expense of buying the copper plates. If you do decide to build the Bounty, it would be nice if you could start a log on this forum, I would love to see it. Regards Phil
-
Hi Jarlaxle 26 Thanks for looking in and it's good to hear from someone else who's building the Billings Bounty. Yes, I did find the instructions somewhat lacking, but then again these kits are not really recommended for the beginner. I think you will find that the further you get into your build the clearer things will become. If I can be of any help to you then don't hesitate to ask, I will be only too pleased to help where I can. Regards Phil
-
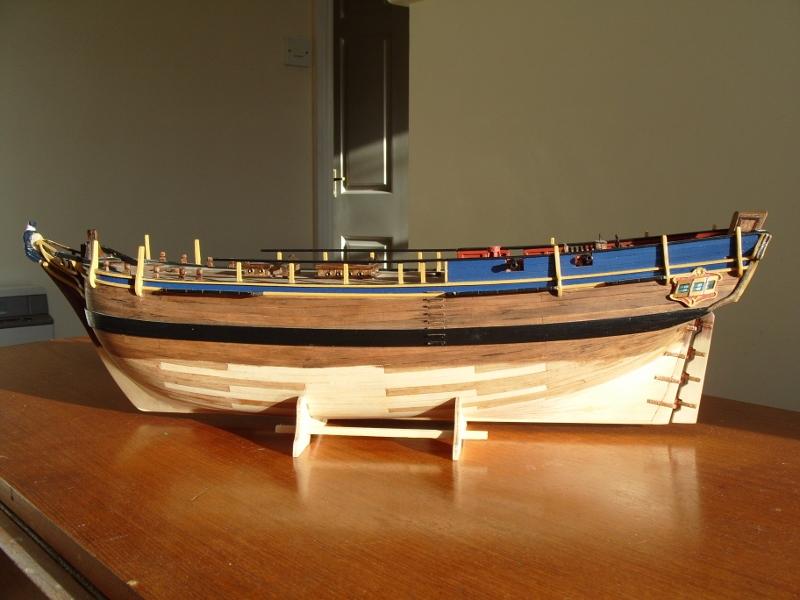
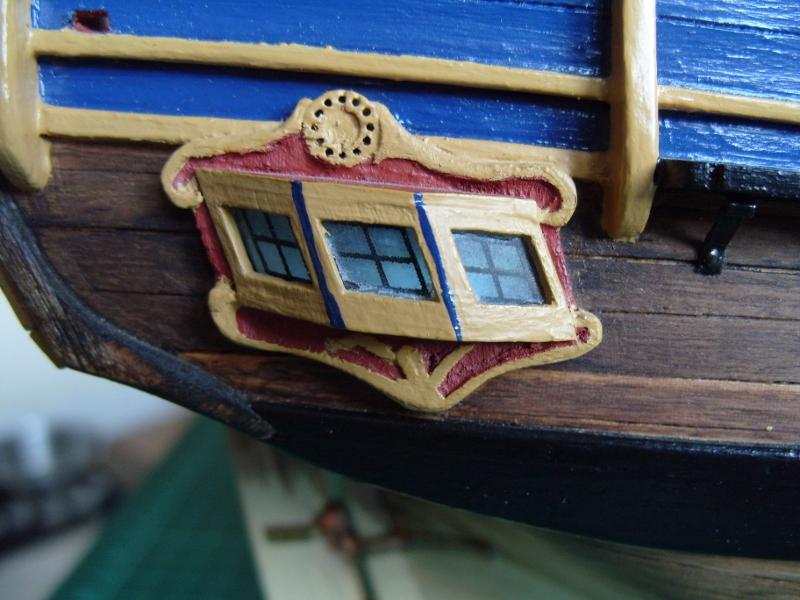
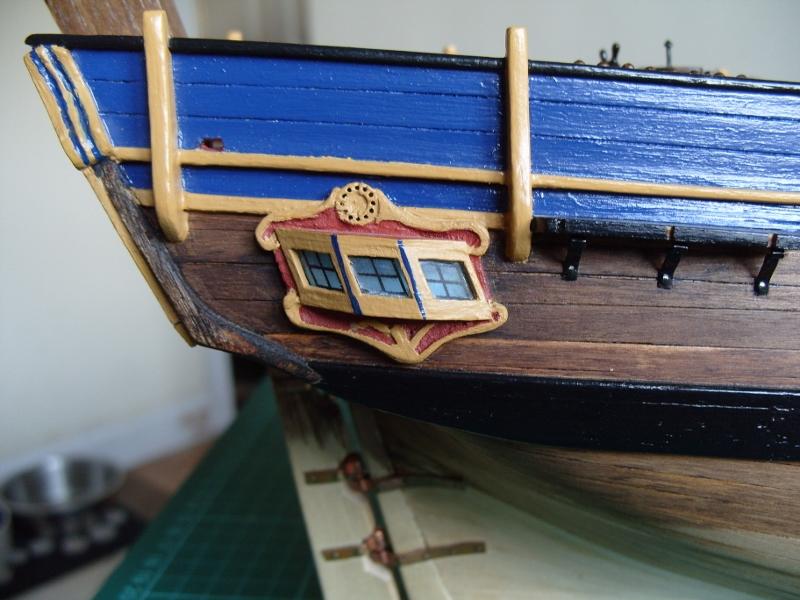
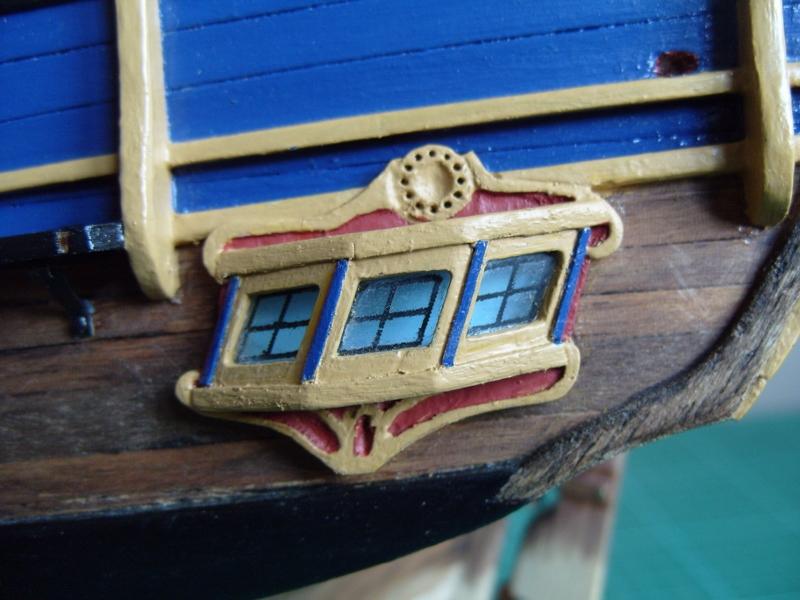
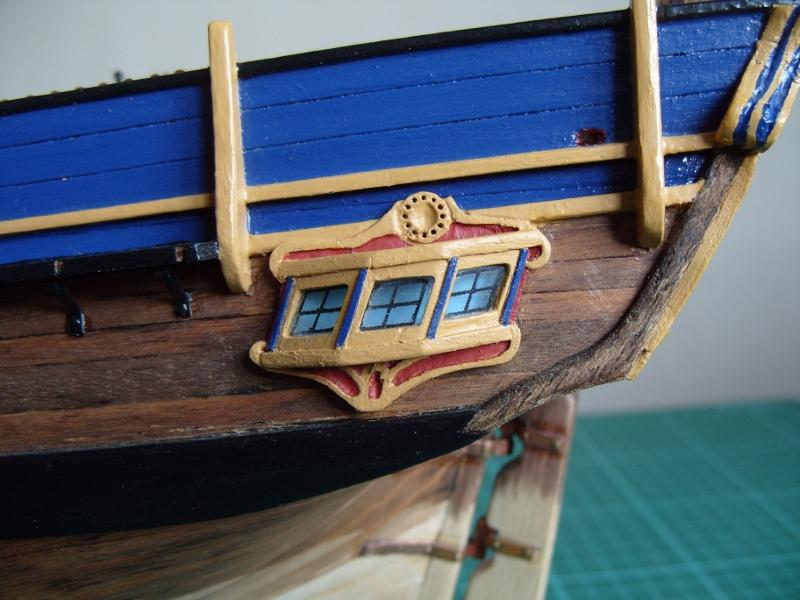
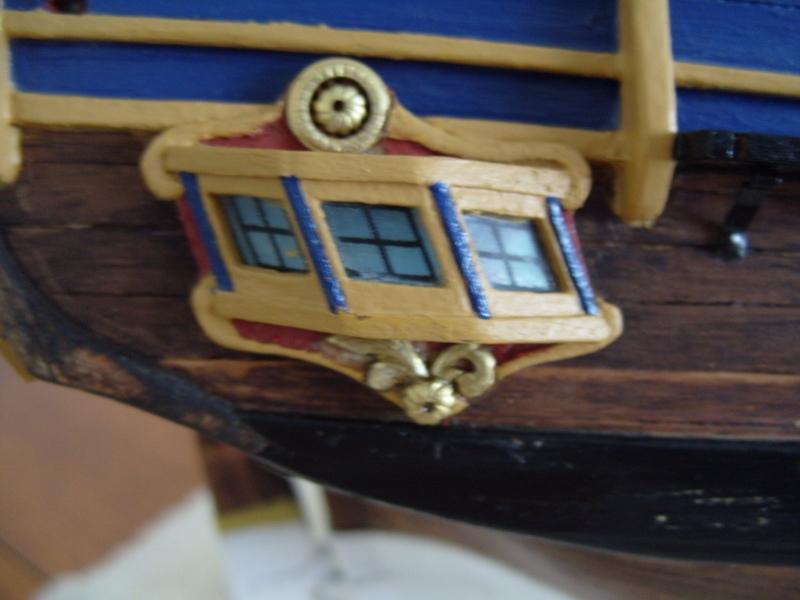
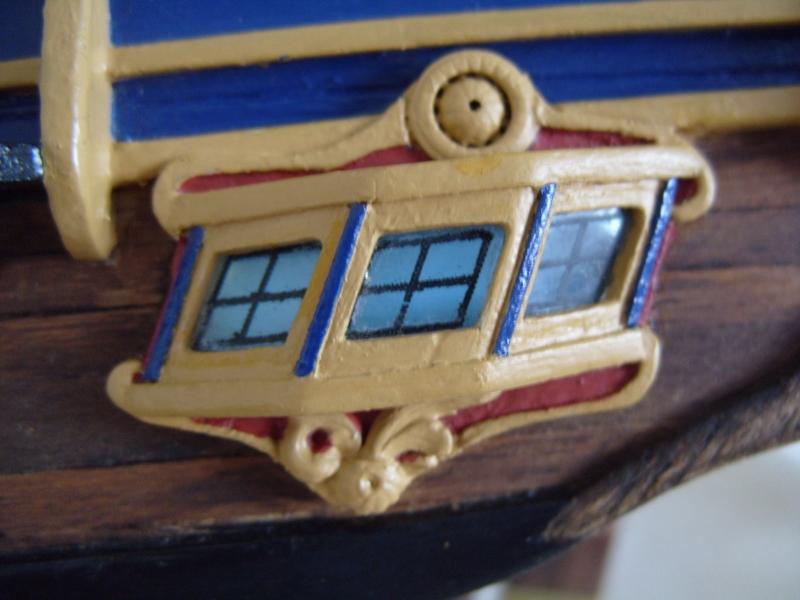
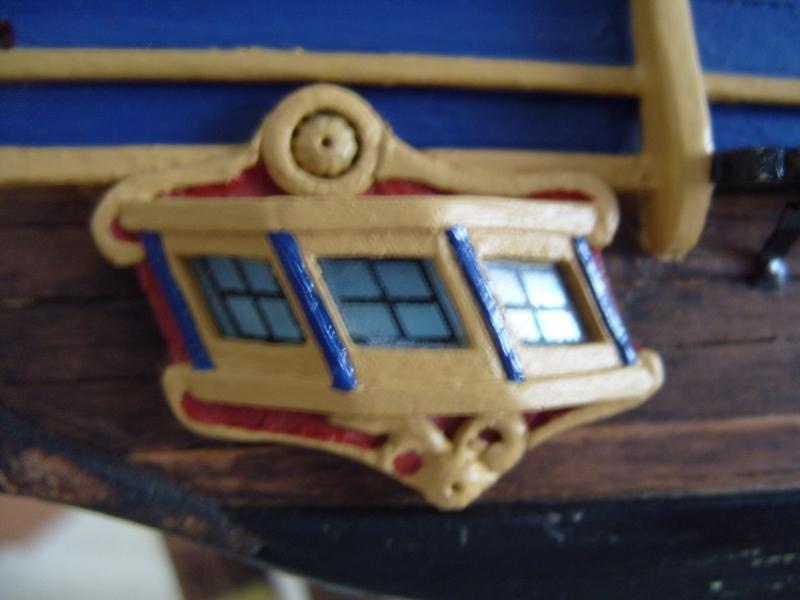
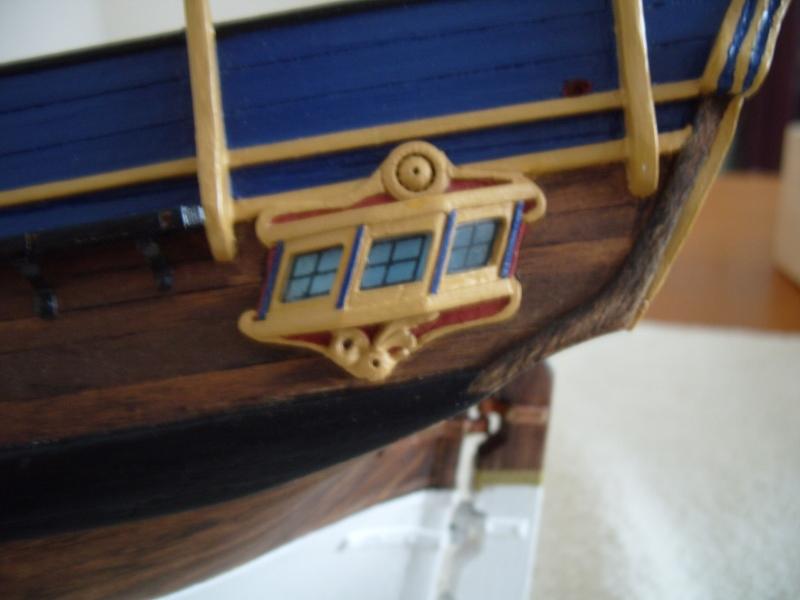
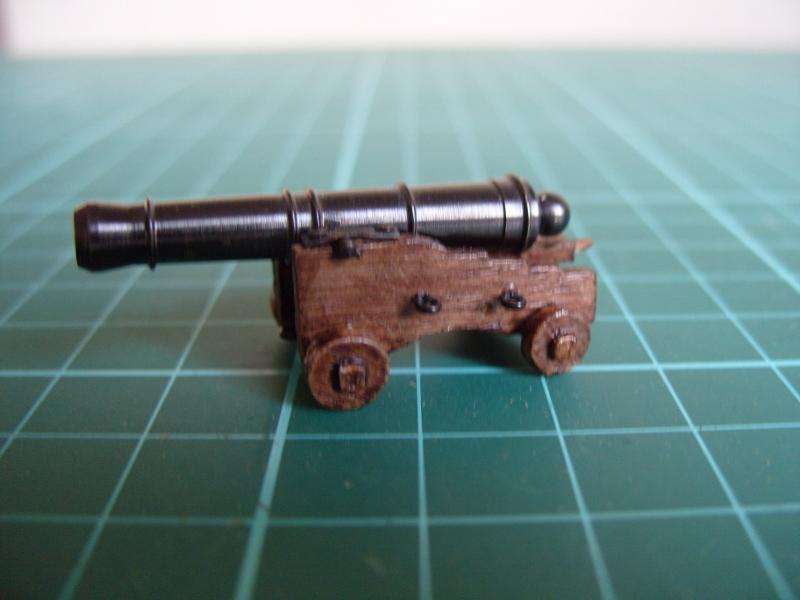
Well, in my haste to get this log going again I forgot to mention about the stern and its decorations. This part of the build was done in conjunction with the second planking. There was no ornamentation provided in the kit for this and so I decided to have a go at carving my own, this proved to be quite difficult to do, the finish isn't the greatest but at least it's better than nothing. Around this time I purchased the book Armed Transport Bounty by John McKay and this is what the stern and the rest of the build is based on. The quarter galleries were made up from the kit parts, although these do not represent the shape as depicted in the book, I could not see an easy way of making new ones owing to the shape, so the kit ones were used. I did try to carve the decorations on these, but they did not come out too well, so I obtained some brass decorations and adapted these to fit, which gave a much better look. The rudder was made up and fitted at this stage, no problems here other than the hinges in the kit were plastic. so these were replaced with brass (much better). The figurehead was supplied as a plywood silhouette which needed to be carved to get the details, this proved to be almost impossible so a new one was carved from some scrap wood. This came out quite well and I just need to adjust the facial details to get a better look in the area. The capstan was made up from the kit parts which looks ok. Next came the cannons, the ones in the kit had plastic carriages, so these were replaced with wooden ones. Next up was the windlass but more on that next time. Hope you enjoy the pictures. Regards Phil


-
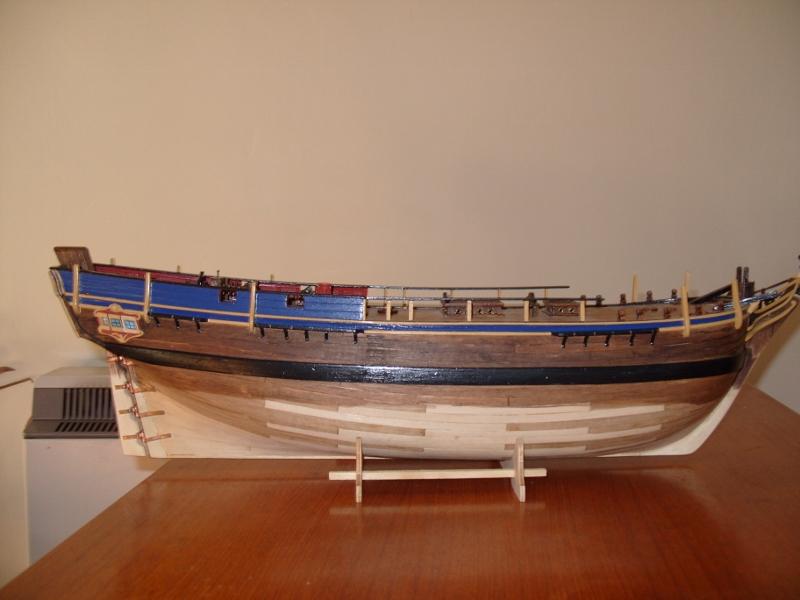
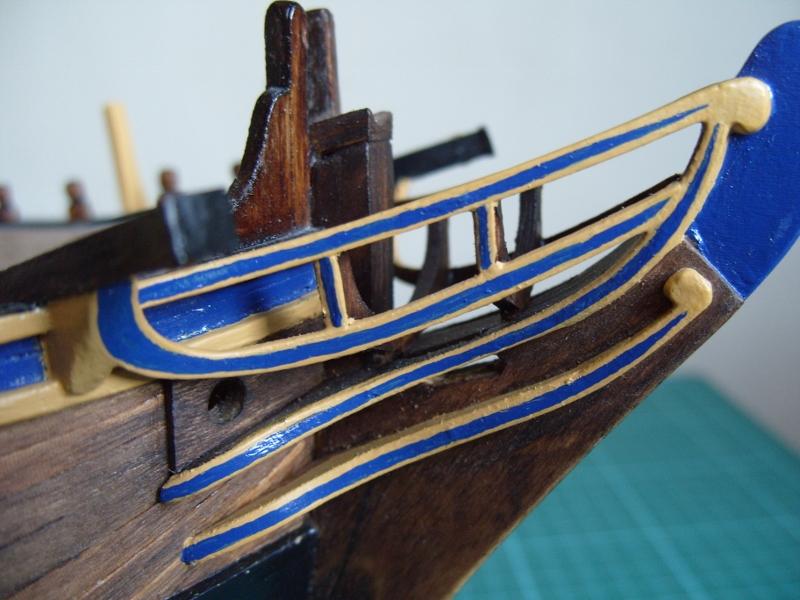
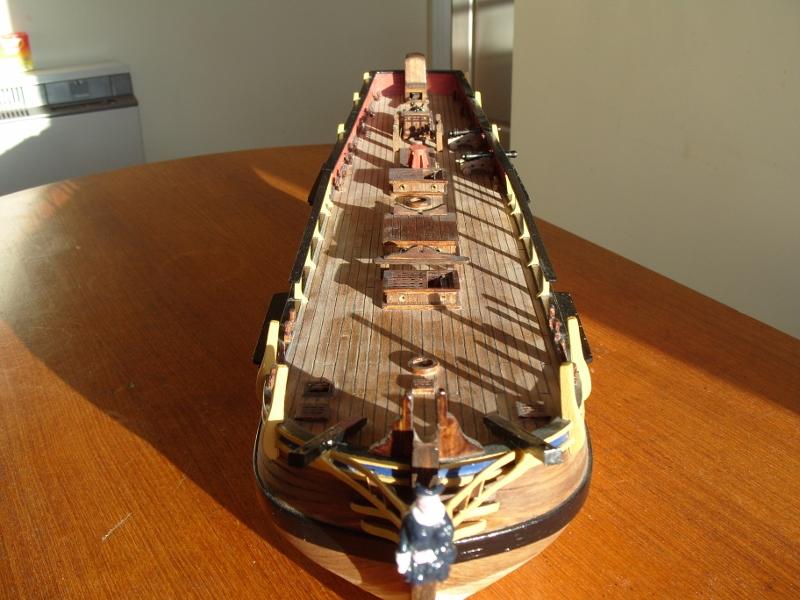
Hi all Well, I decided to re-do this build log, the only thing is the first part will be missing owing to the fact that my old computer packed up working and I lost all the photos and log details of the early part of the build. The old build log was only started after I had got the hull and deck planking done anyway and there was never any photos of this part of the build. Various other parts of the build were completed before the mishap with the computer, so I hope you will all bear with me as I try to recreate this log as best I can. It all started nearly two and half years ago when the Bounty was given to me as a Christmas present. The only other boat kit that I have built is a Bluenose II, so I am pretty green to model ship building. As usual the build began with the bulk heads and false deck, this all went together without any trouble and the fit of all the parts was very good. Once this was complete the carcass was made ready for the planking. Once underway with the planking my problems began, having never planked this type of ship before, I had no idea about how to go about achieving what I was trying to accomplish. In the end it all worked ok, other than where the planks were bent around the bow. These ended up having a clinker affect, which needed a lot of sanding to get a nice smooth end result. In doing this some of the planks became very thin around this area and so I decided to double plank it. (The kit is a single plank construction). The second planking was a lot easier owing to the planks being quite a bit thinner. Next was the deck planking, this went very well and the finish looked good, to me anyway. This was followed by the planksheer, this went on without encountering any problems. This was followed by the gratings and companionways all made up from the kit parts and installed in their respective places. At about this time I decided to deviate from the kit by adding a flag locker and binnacle. These items were not supplied in the kit and so had to be made from scratch using odd pieces of ply and leftovers from the planking. The steering wheel was made up using the kit parts supplied and fitted into its position. Moving on, the knightheads, headrails and the catheads were completed and this brings us to the part of the build where I can show you the pictures of the work completed so far. So here are a few for you to enjoy, more will follow when time permits. Regards Phil