juleslucas
-
Posts
52 -
Joined
-
Last visited
Content Type
Profiles
Forums
Gallery
Events
Everything posted by juleslucas
-
That one is already solved... I have a small table at the balcony, and I used that place when I sand extensively, and also the wind solves most of the cleaning problem (so far no word from the neighbors about extra sand and dust in the district )
- 74 replies
-
- 1
-

-
- del prado
- cutty sark
- (and 1 more)
-
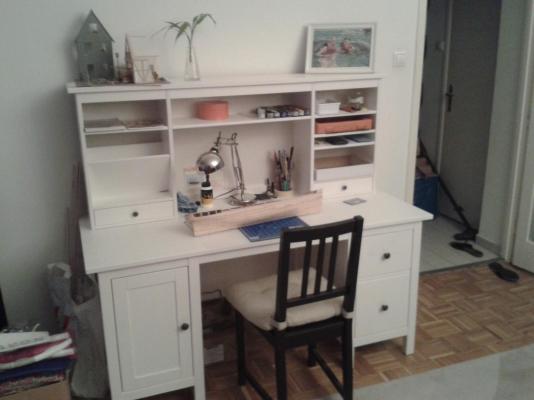
Well, during the weekend we went to buy some furniture in IKEA to our flat. Admiral wanted to move, because she got bored of our current flat.... Finally I was able to persuade her to buy some new furniture and redesign the interior instead of moving... saved some money on that, but also spent the entire weekend with constructing the different items, cleaning and packing... But out of everything the best part is that now, I have my own working table, with lots of place to store and lots of place to work on Her and my other models!!
- 74 replies
-
- 1
-
-
- del prado
- cutty sark
- (and 1 more)
-
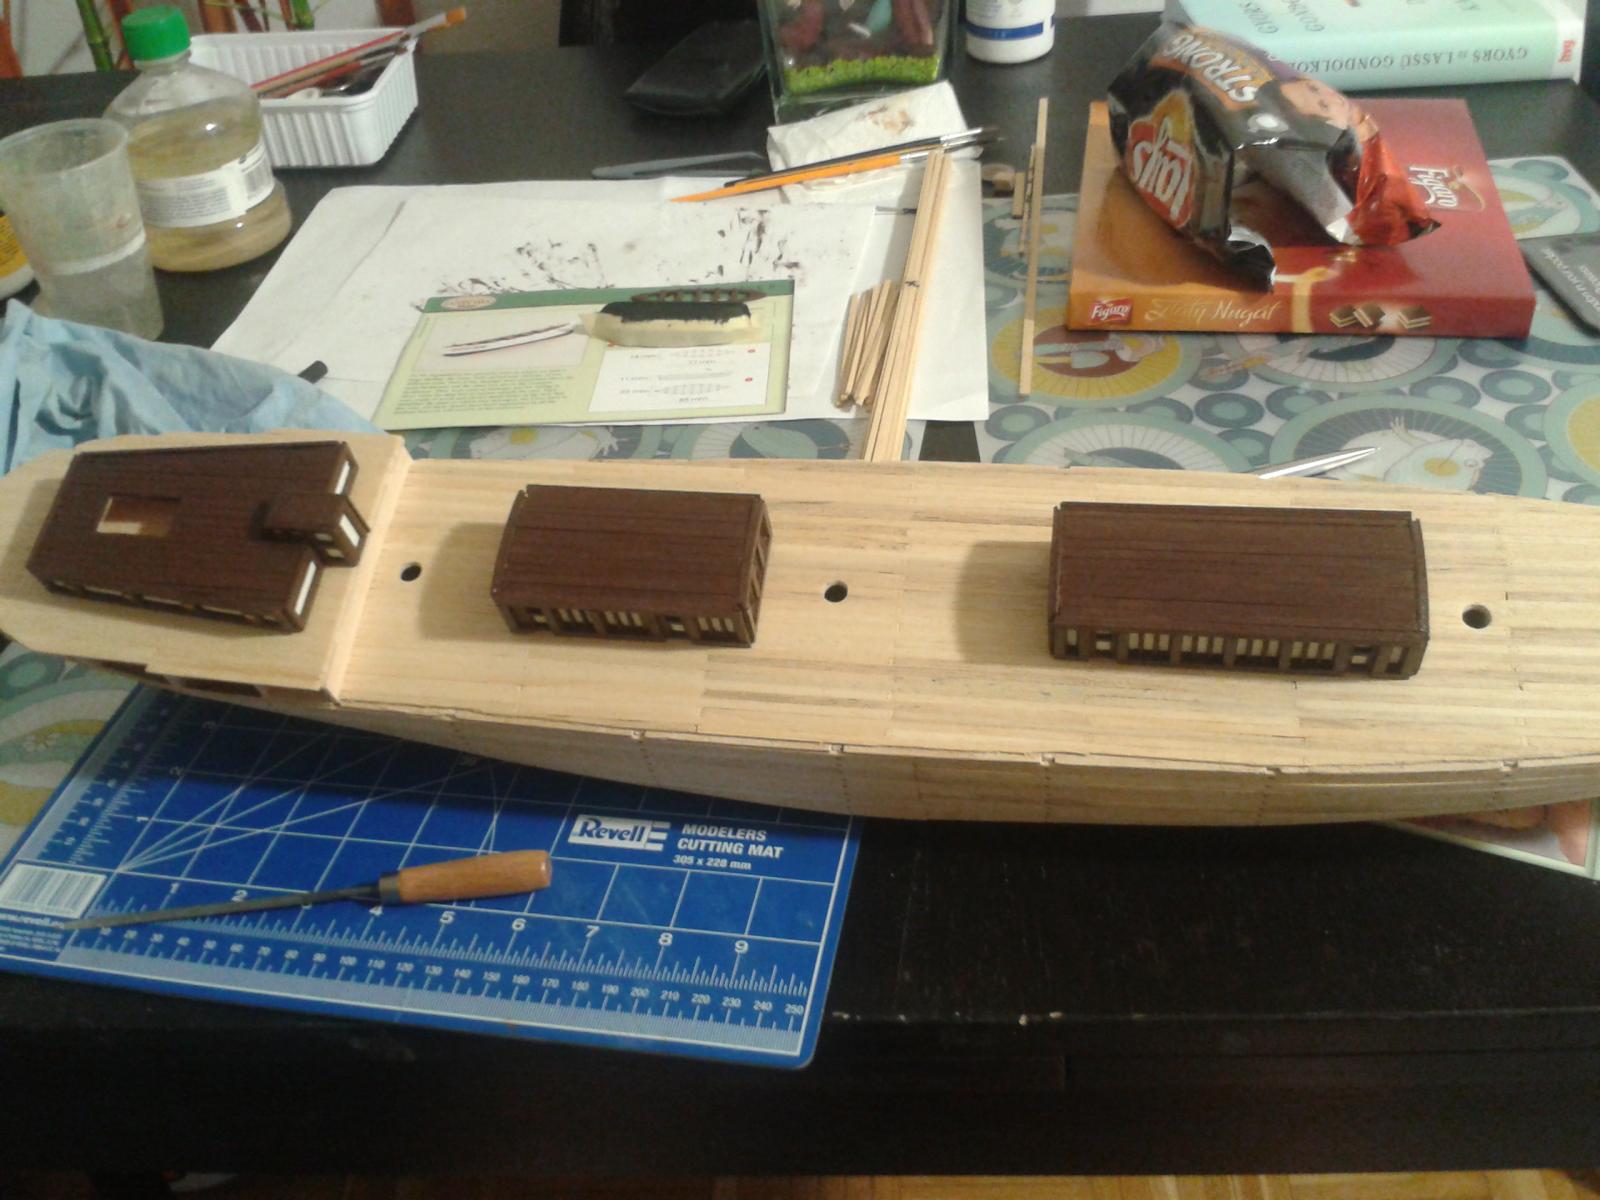
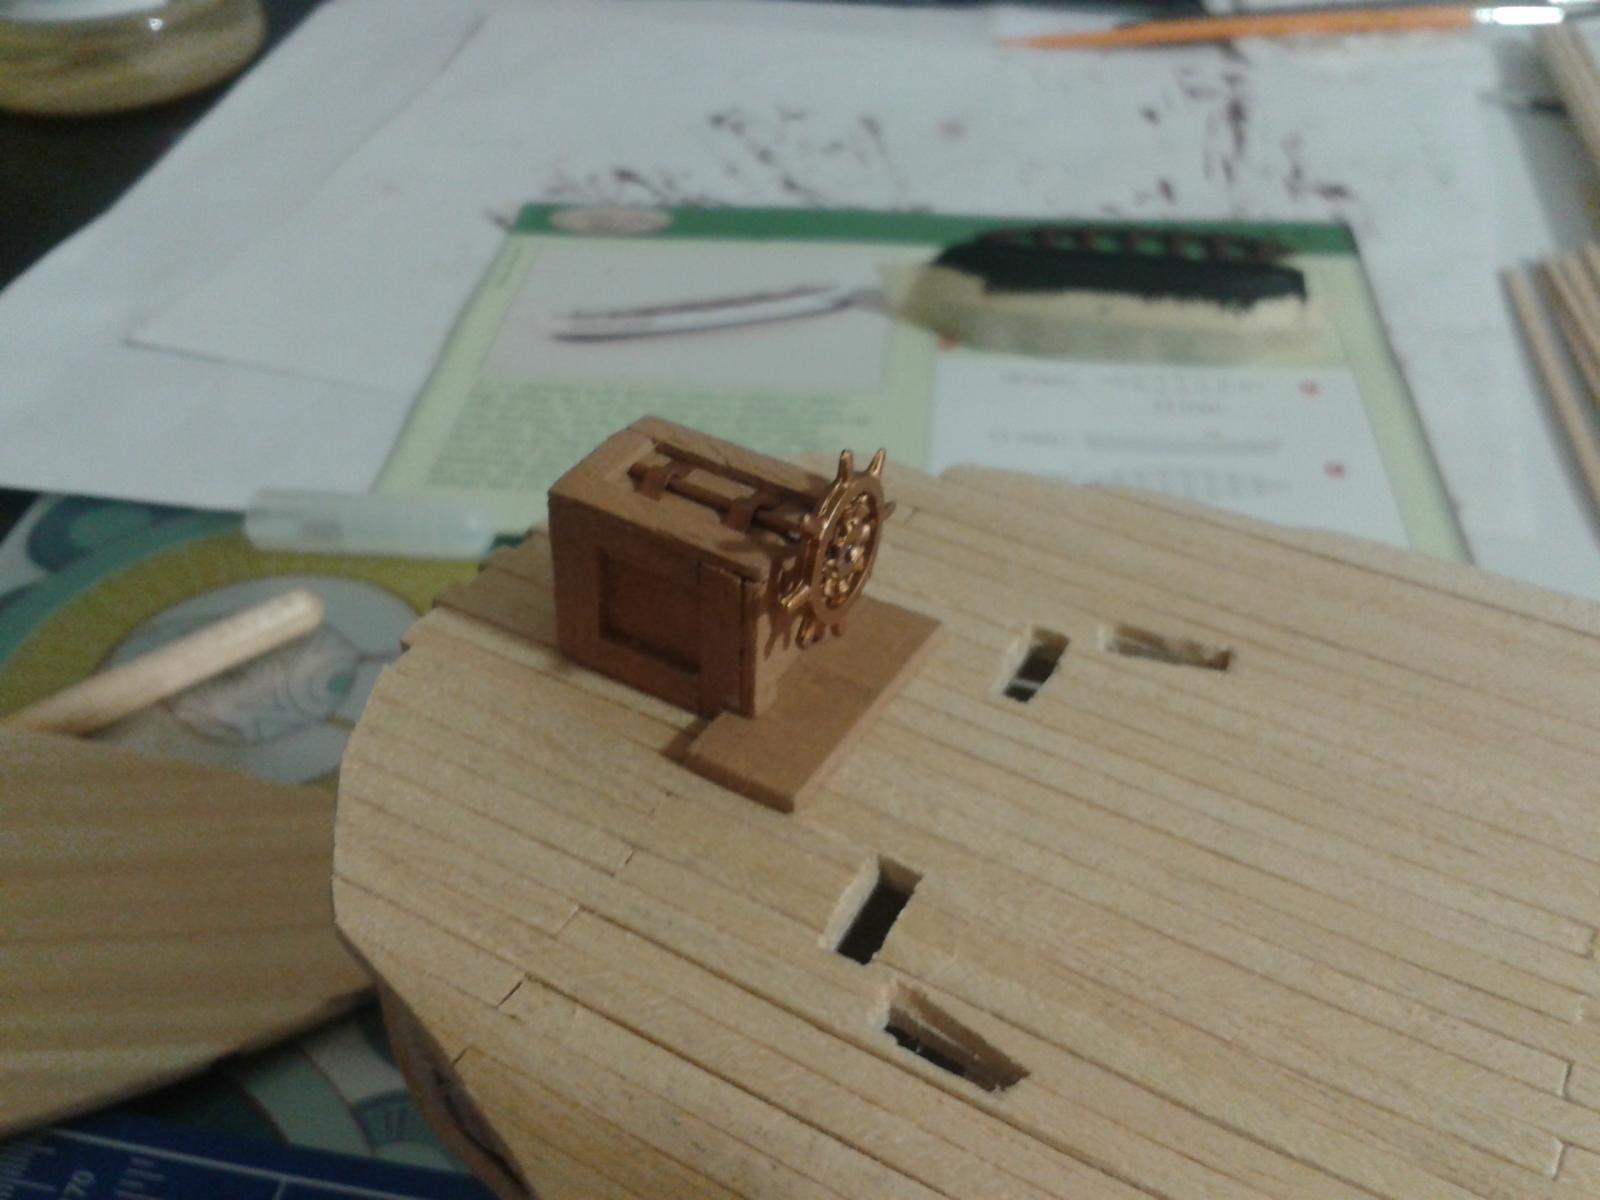
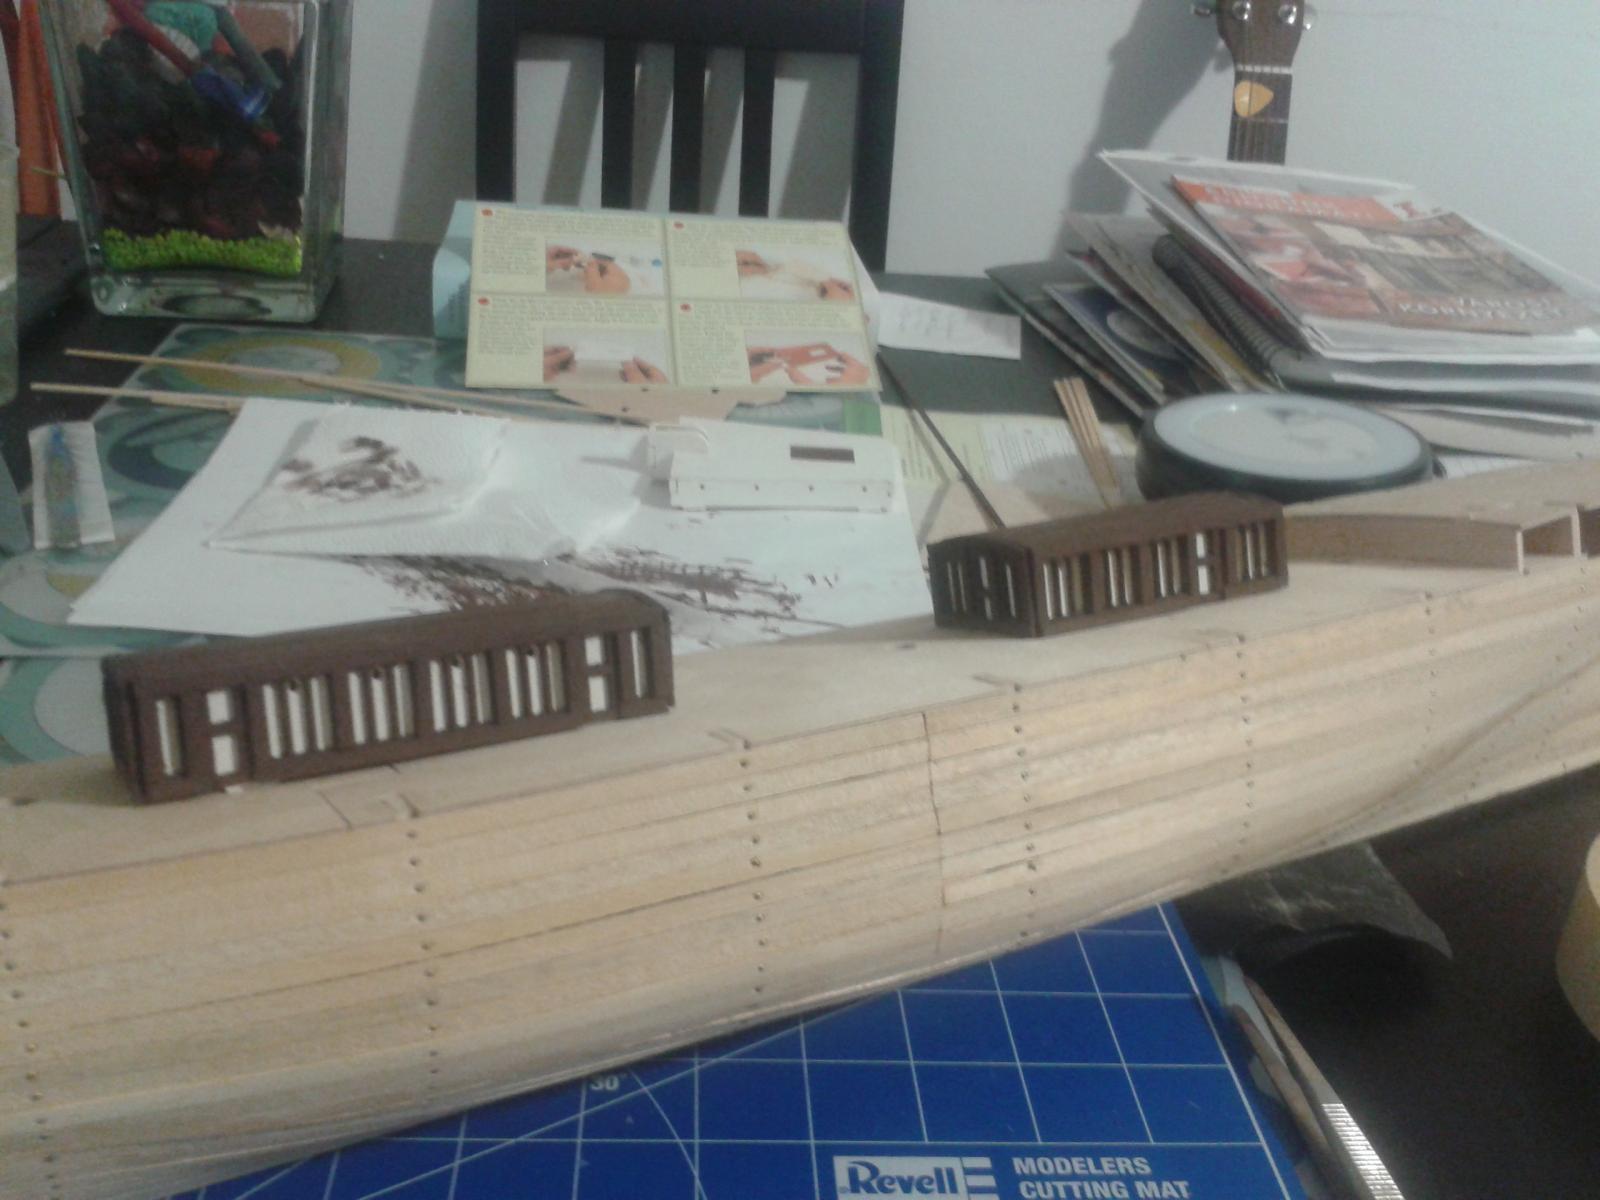
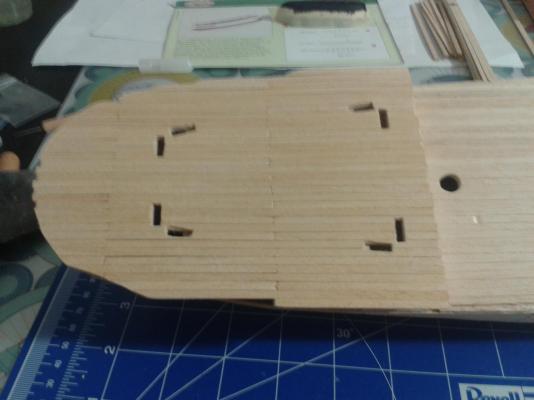
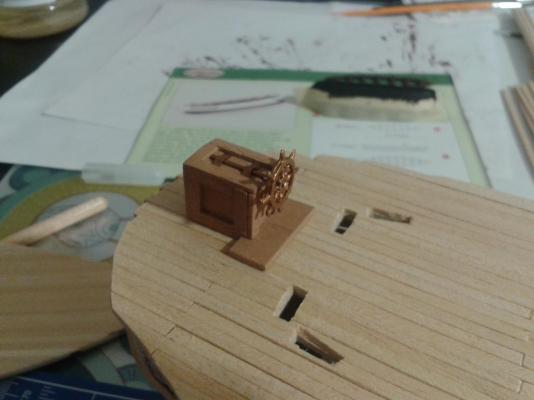
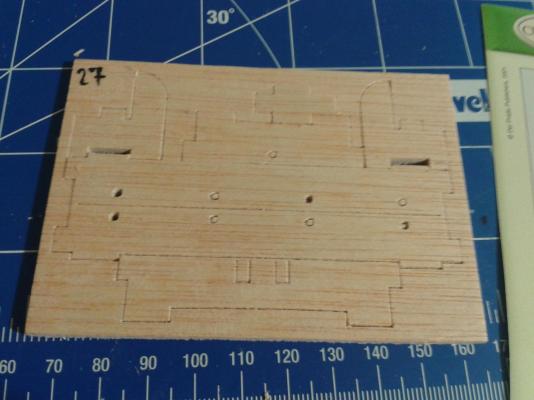
Okay, as promised some further pictures... The below one shows better lines and more sanding and it is a bit blur I have also started the lining of the poop deck, and sanding started... I have created some tiny holes, where two strakes meets, both on the poop deck and on the main deck. Once stained I am expecting that these will imitate the nails, used fasten the lining, results will be seen later... excited And a picture showing the varnished deckhouses on the new lining: ... Other progress on Helm box: Here are the pieces that makes up the helm box, I think professional eyes can see that it has nothing to do with the shape of the real CS helm box, but since at least it looks like a helm box I will not spend time on recreating the original look, but will use the material provided (unlike I did for the hencoops). And here is the final, assembled, painted and varnished helm box... Any opinion? Shall I destroy it and create one that looks similar to the original one?


- 74 replies
-
- 1
-
-
- del prado
- cutty sark
- (and 1 more)
-
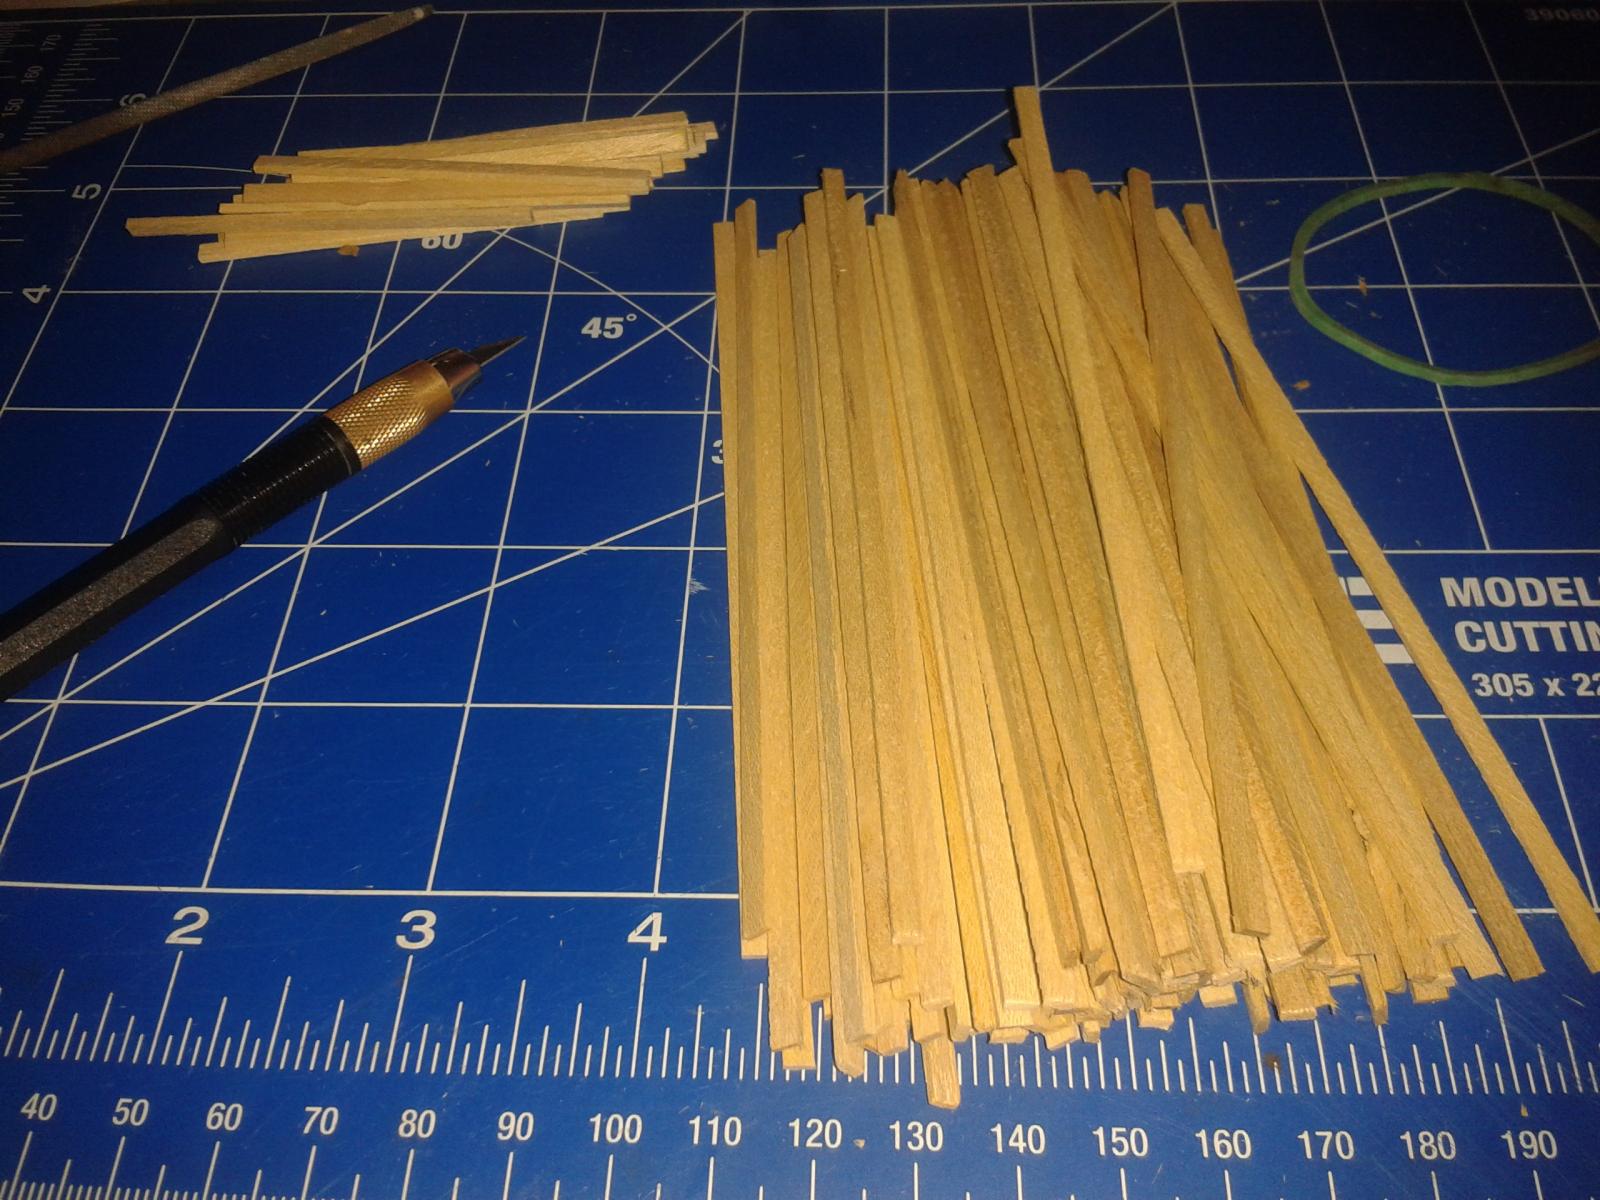
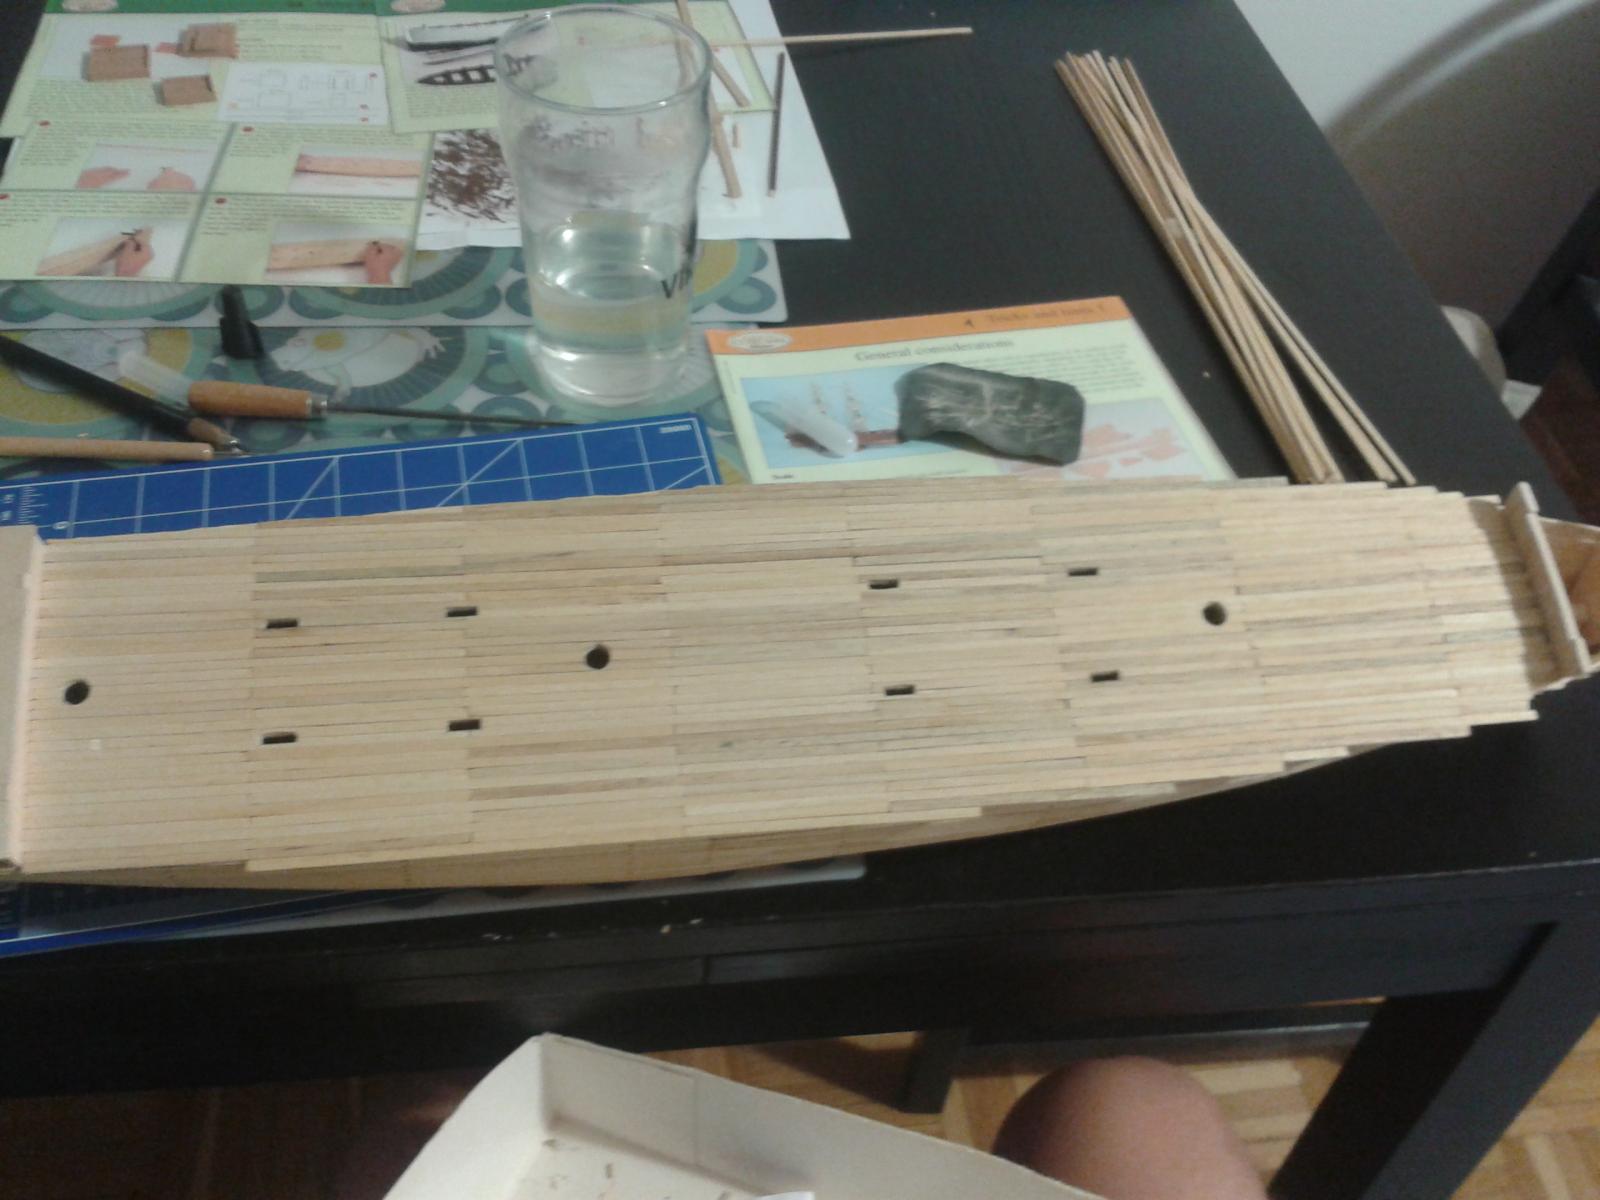
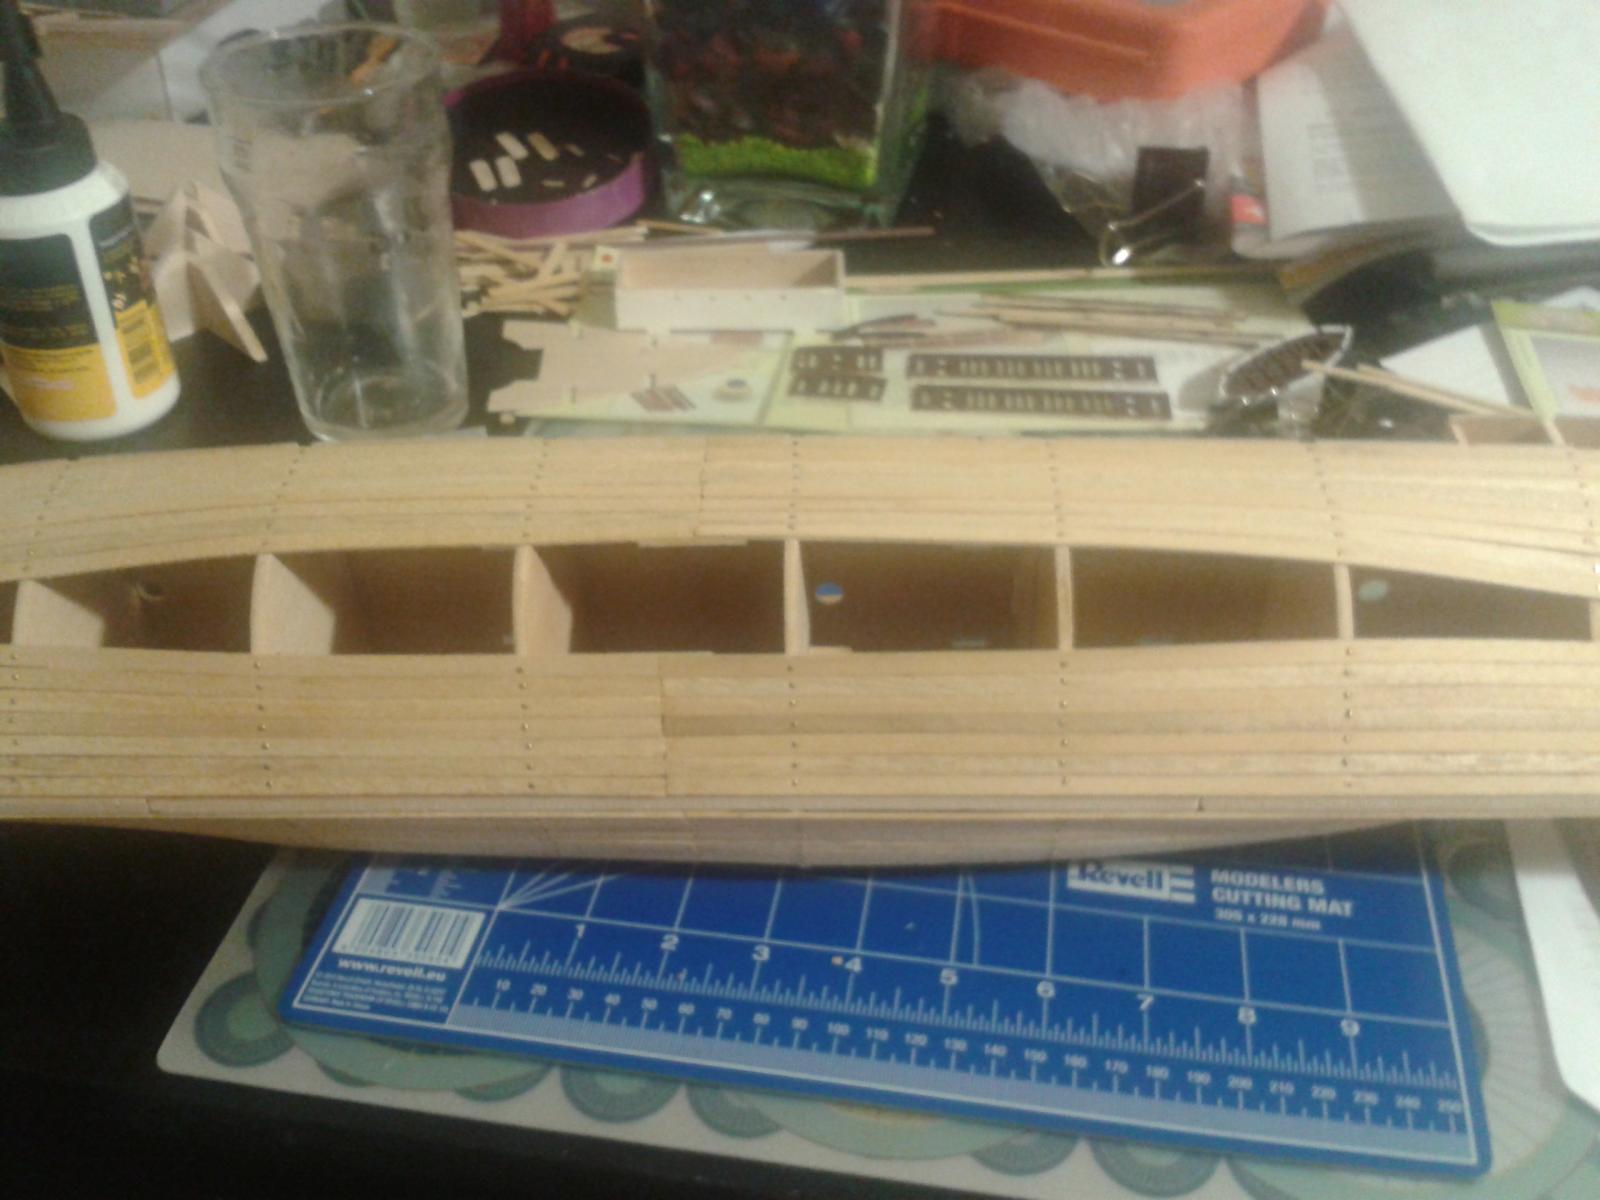
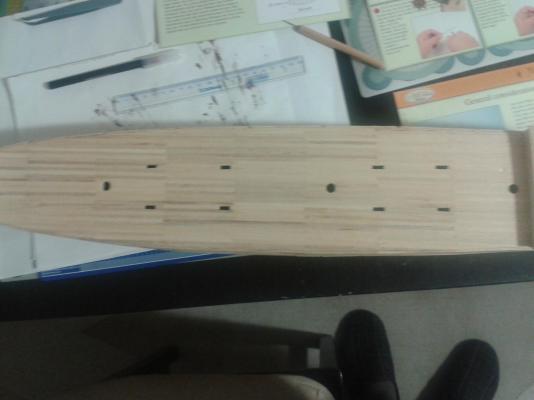
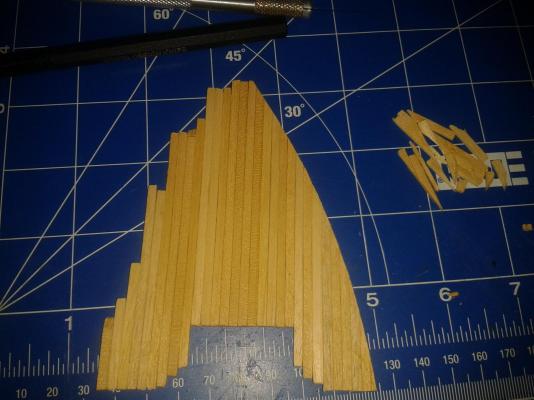
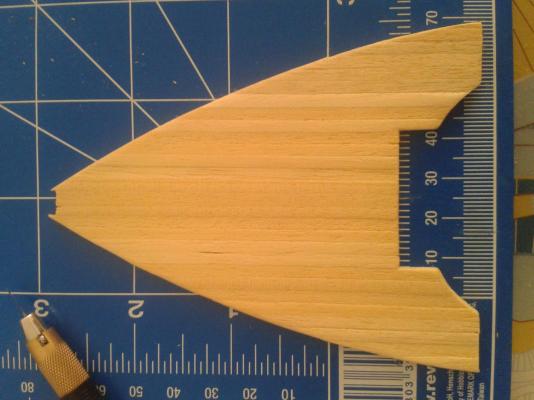
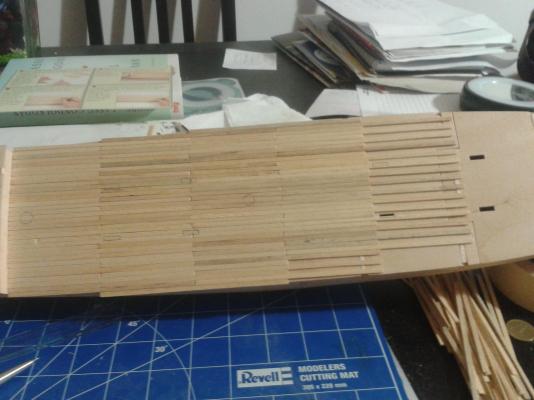
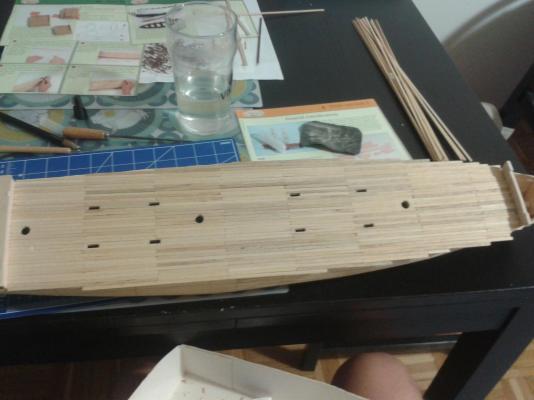
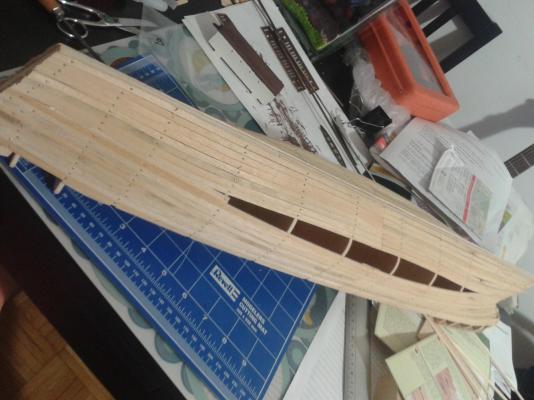
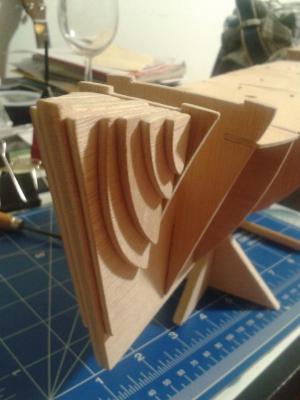
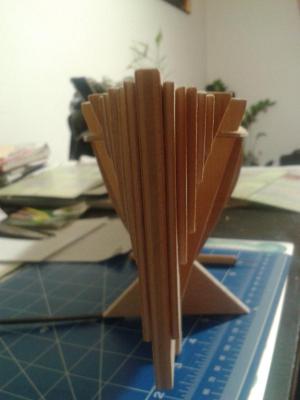
Going on with Cutty Sark the next step in the instructions was to start the lining of the Deck. 3mm wide strakes are provided in the kit and according to instructions I have cut a couple of 12,5 cm long strakes, and also a couple of 6,25 cm long ones, to accommodate the beginning of the ship. That couple of strakes actually added up to 110 pieces and to a sore in my finger, as I was using a hobby knife to cut the strakes into the correct size. I have started with the foremost deck section, which is not yet attached to the hull. I glued the strakes (modified a few into nearly correct size) and after proper drying I cut the edges and started to sand the surface to make it even everywhere, pretty satisfied with the result as always As next step, and a bigger step in its own, I have started lining the main deck itself, by gluing 6,25 cm and 12,5 cm long strakes alternately. In the middle of the work, sometimes I realized that the remaining gap is either too big or too small, so with correct replacements or even with sanding I was able to find the perfect matches for most of the cases. As I approached I always indicated the places of the grooves for Masts and deckhouses, so I was aware which places to remove from deck lining. So main deck lining is completed, wholes are cut and sanded... also sanding of total deck has started, more pictures to come shortly.

- 74 replies
-
- 1
-
-
- del prado
- cutty sark
- (and 1 more)
-
My Admiral picked the colors for CS, after showing some possible shades and pictures. Also the top part of the hull will be of sapele color and not black, so this CS will be a unique version of the original one
-
Thanks Nenad, What do you want to say with the above?
-
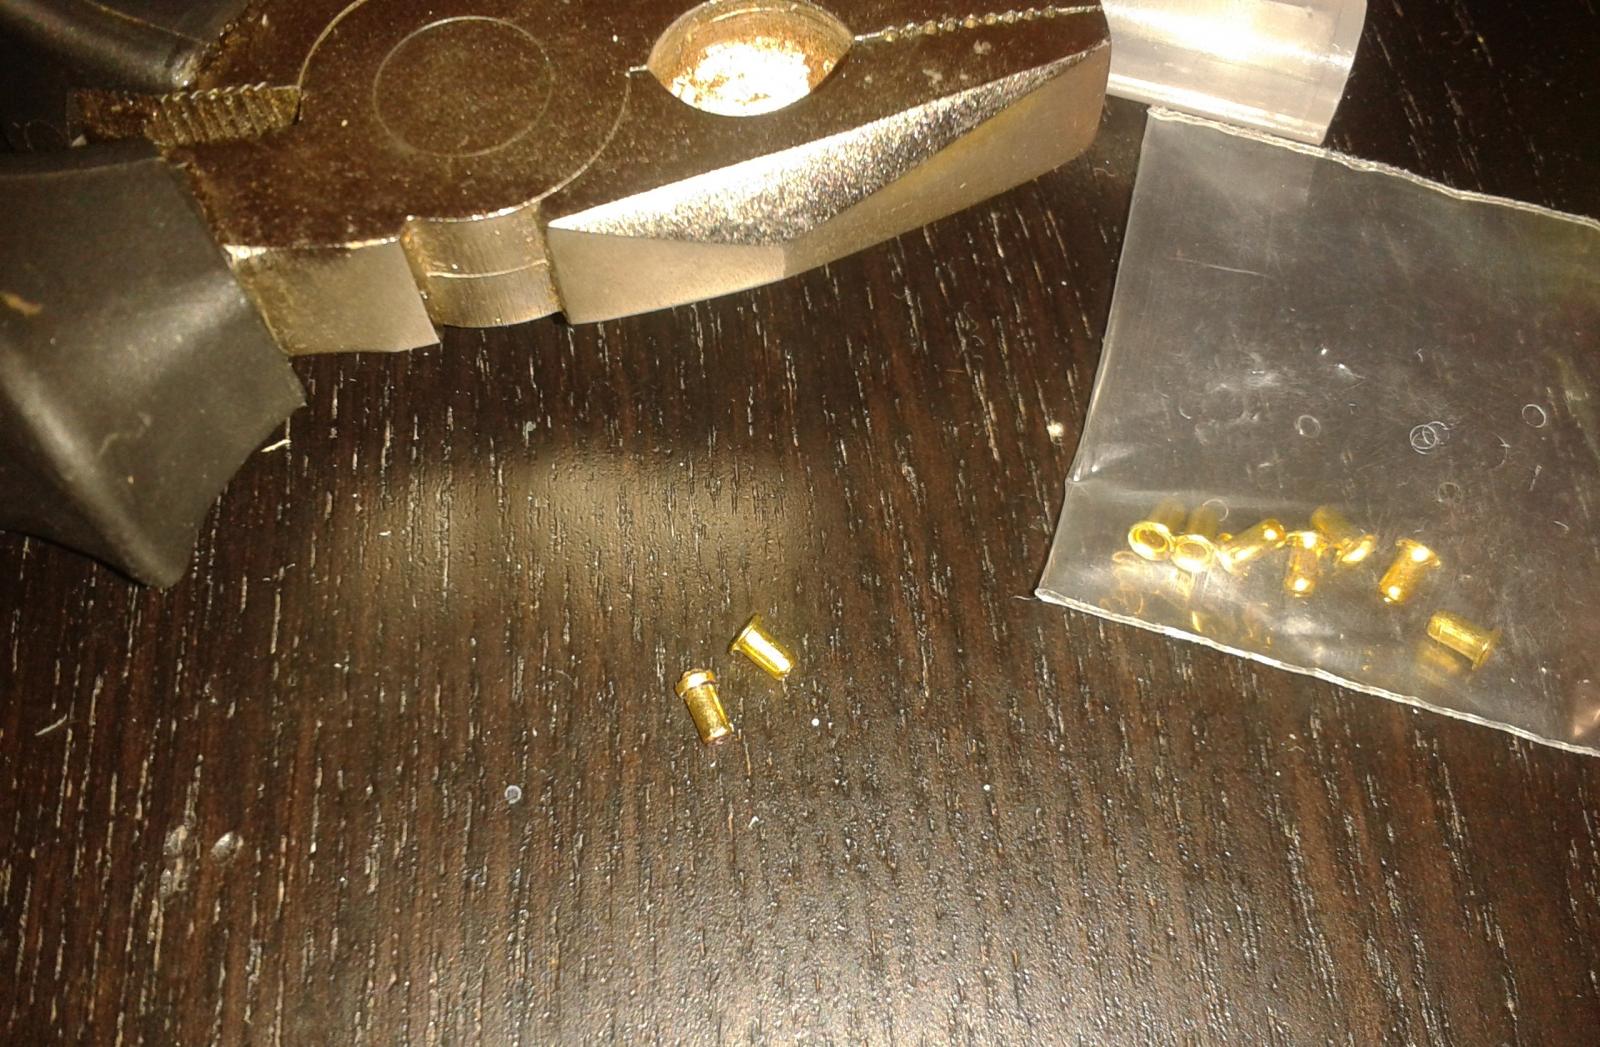
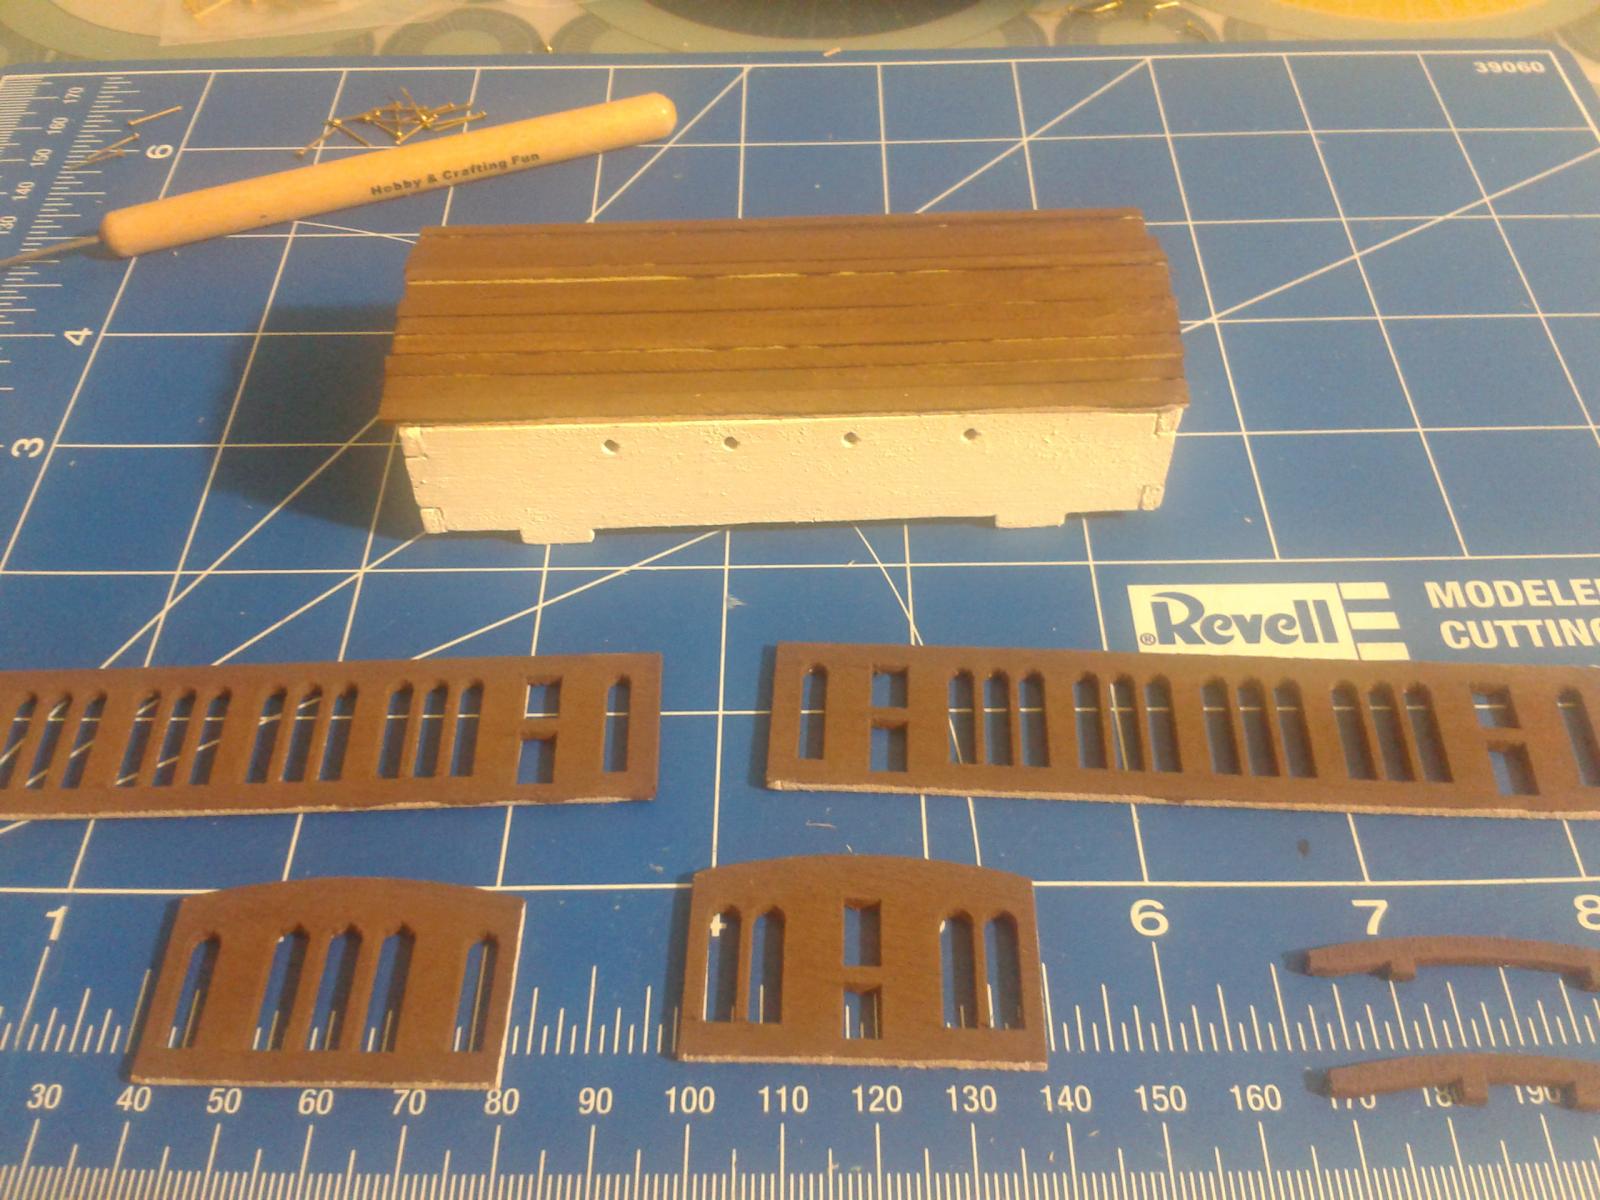
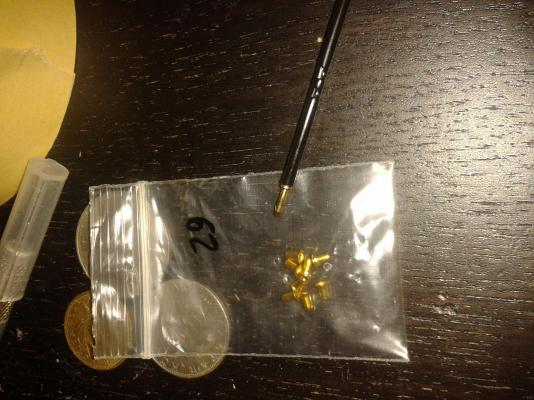
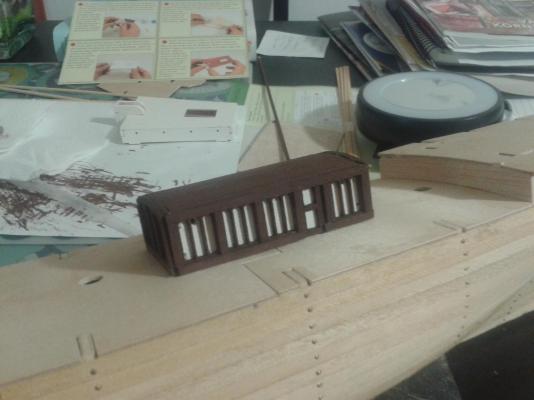
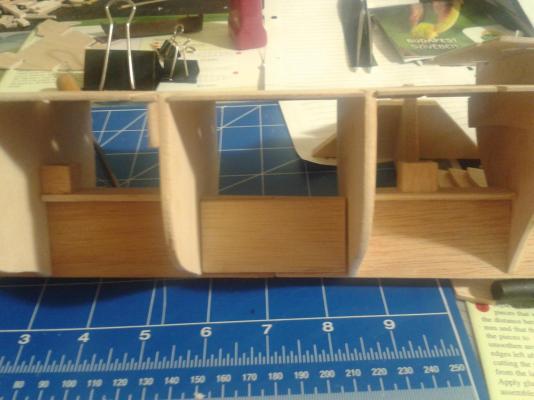
I have finished the 3rd deckhouse as well, it was a bit easier to assemble than the other two, but more precise planking was required for the roof. The stern deckhouse will have a sun window as well (or how it is called) made of a metal alloy, but it will be fitted at a later stage. In the kit they provided some copper windows for the deckhouses. All together 21 pieces, and the instruction also talks about 21 pieces, but as I counted the wholes in the buildings it is 22.... So brainstorming started, where to get a similar piece without leaving the room, without spending extra money on it... And realized that ball point pens have something I might use. After a couple minutes of cutting, bending, sanding, forming piece 22 was created. Not 100% same, but looks fine and will not be really visible once the ship is finished!!! And this is how the 3 deckhouses look like when inserted in their place on the deck:


-
Happy Birthday Bob!! That is a nice looking machine, when you described it I was expecting something bigger, we in the eastern block of Europe got used to much bigger machines I guess
-
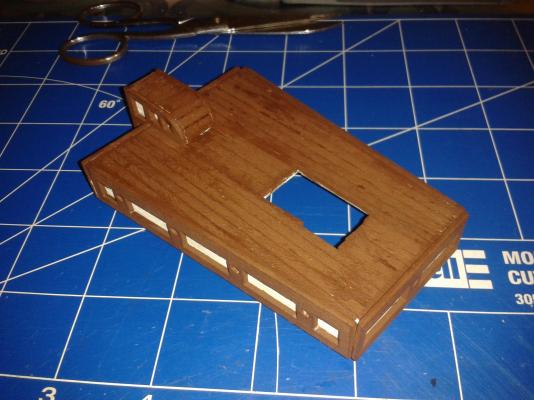
Thanks for the tip Nenad, I have taken a few beers and have not touched the hull so far (as I am following strictly the instruction sheets I received). The next item to build was the main deckhouse. I attached the four sidewalls and painted in white. When I started to work on the outer decoration I quickly realized that it was the same decoration that came for the foremost deckhouse.... aaargghh ... the problem is that the foremost deckhouse is much longer, it has its holes in different places, and also the pattern is different (according to the picture attached to the instructions). So I had to start cutting them in pieces, measuring and gluing them in correct position to achieve the correct length. Well I guess I achieved a quite good finish, at least I am very glad with the result. In the back, you can see my progress on the poop deckhouse as well.


-
Thanks Bob, appreciate it!
-
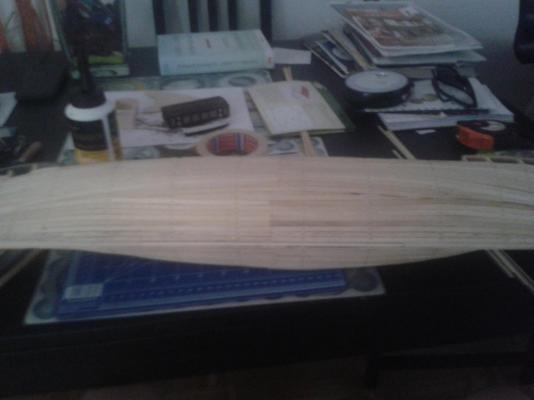
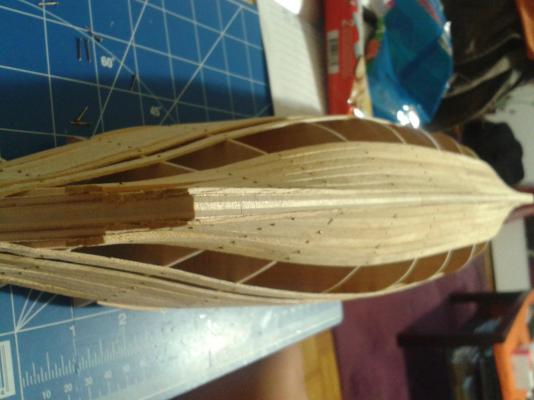
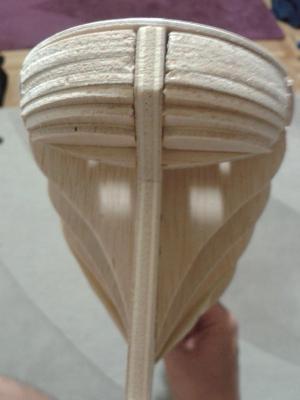
Let's not forget about the planking of the hull. The process went on, by creating one long strake out of two 380 mm long strakes, soaking them, bending them and nailing them in place. As I approached to the finish line, I also had to measure and cut and sand the ends of the strakes to fit into the remaining place. And finally I was able to finish the first layer of planking, both sides of the ship, hurray!!

- 74 replies
-
- 1
-
-
- del prado
- cutty sark
- (and 1 more)
-
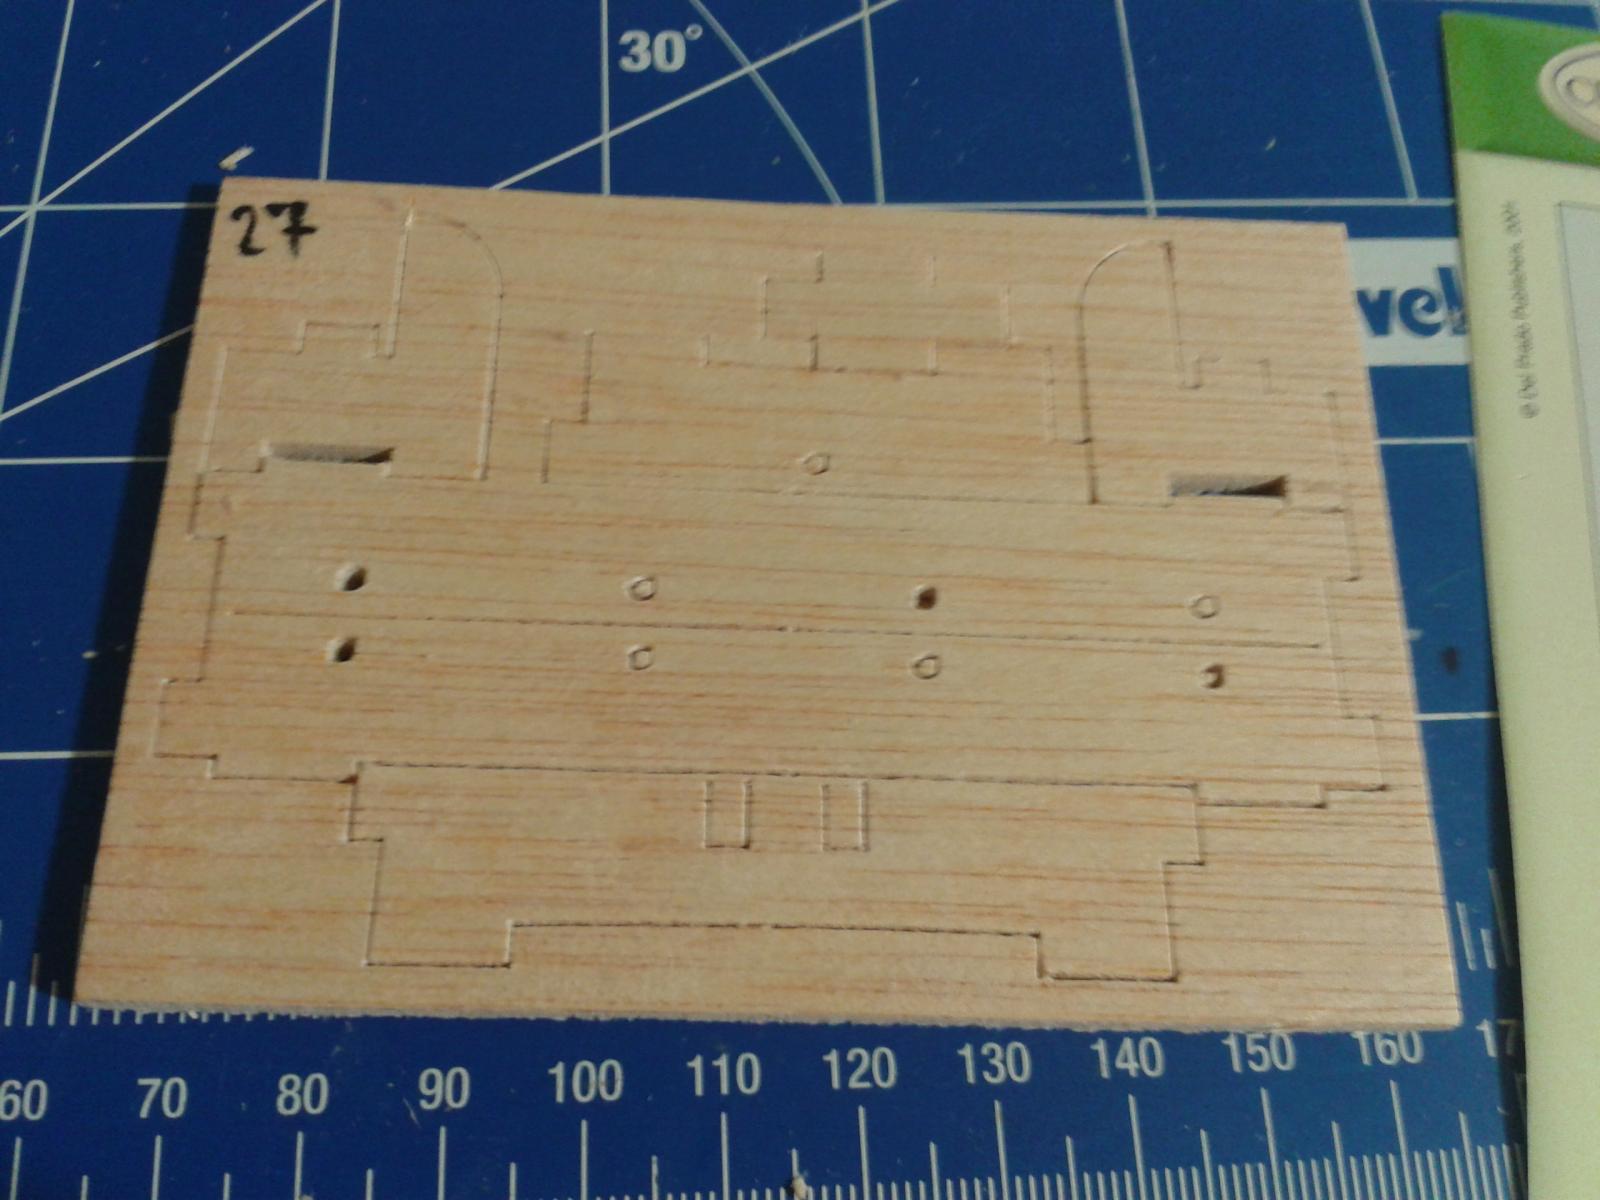
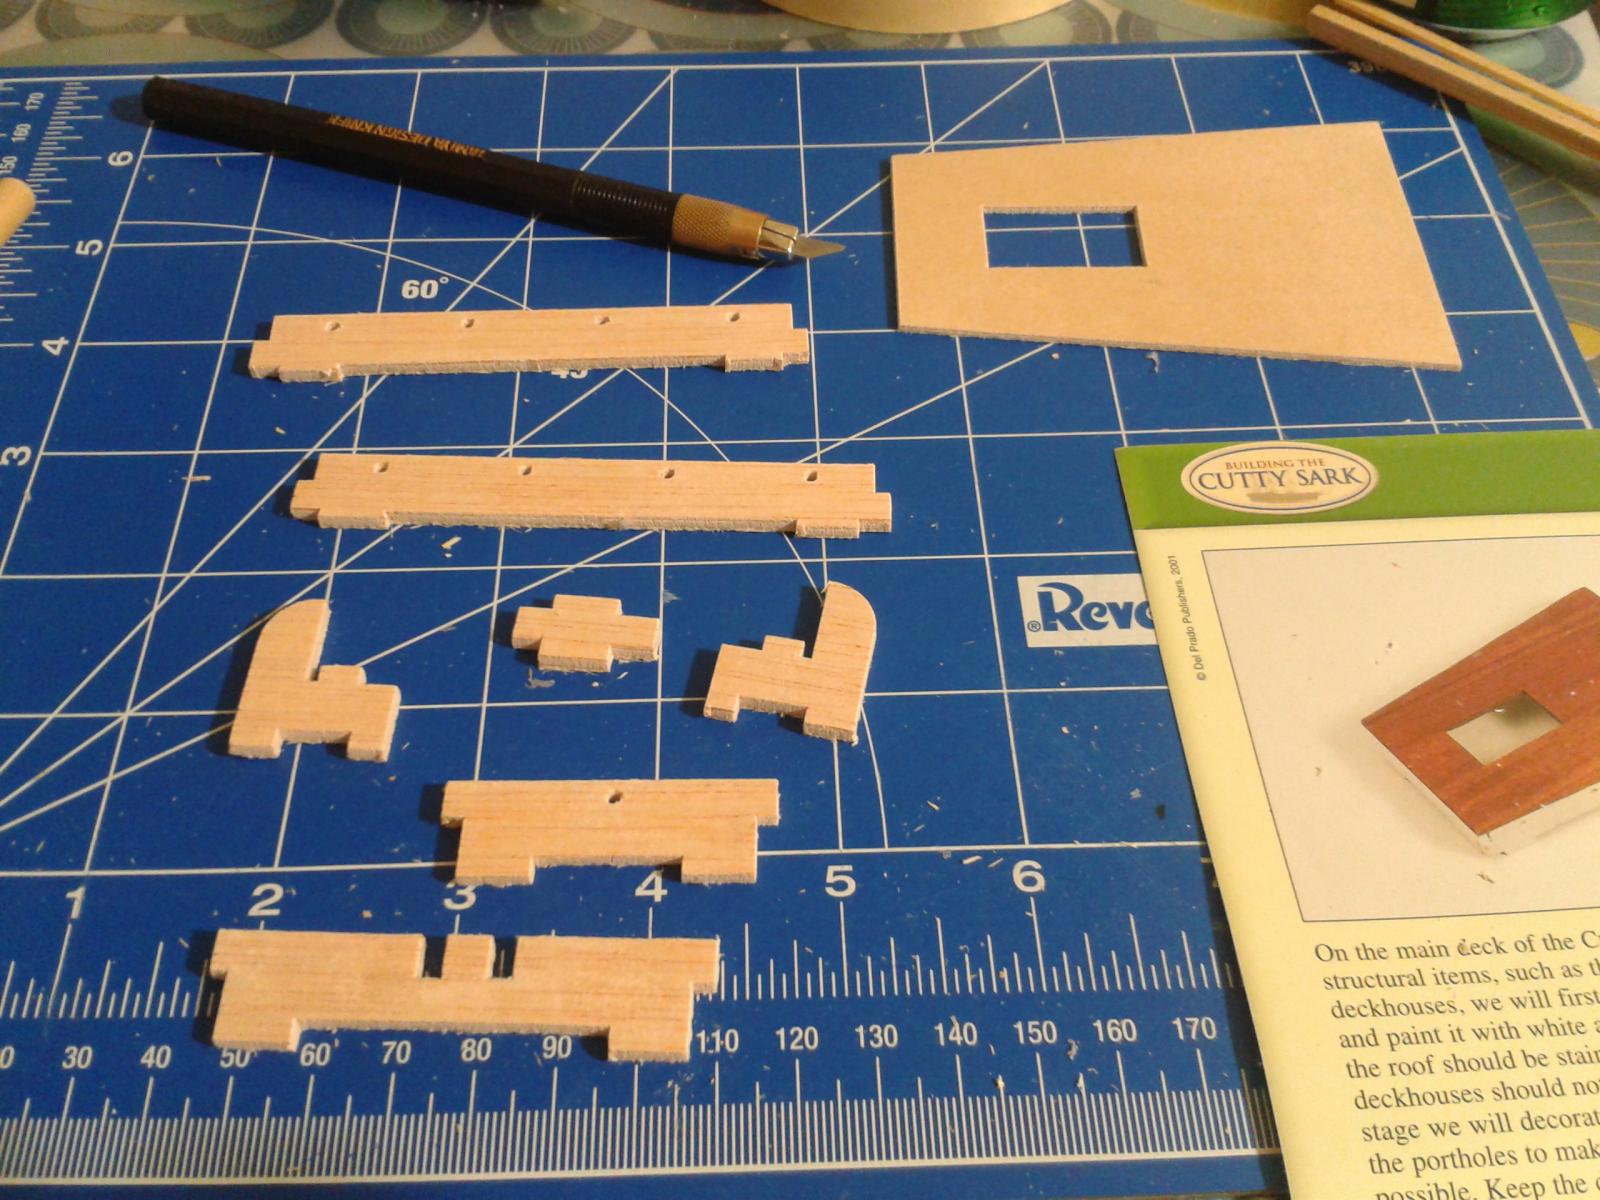
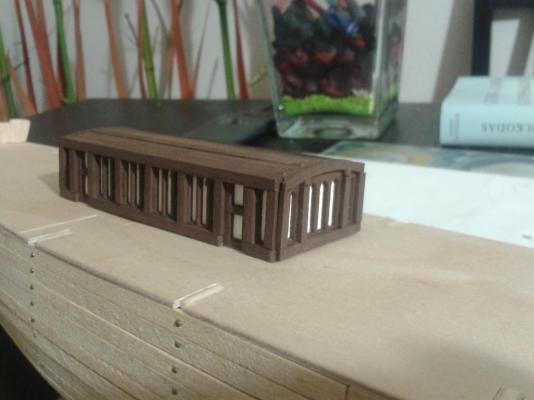
Also an other section of the ship I had to start to work on is the foremost deck house. I had to cut the pieces out carefully from the sheet, first the four sides, then the panel decorations. I also had to cut strakes into the correct length to make the roof and the dimension for the side of the deck house. To be honest, I know that acrylic paint is the best solution to paint wooden models, although as I have a huge collection of different color paints in enamel, I decided not to invest in buying extra paint for the ship as of now... So I asked admiral to pick a color for the deck house and for the different decoration elements for CS and I used that color to paint the roof and the decoration elements, and simple white to paint the four walls. All in all, the deck house looks pretty to me, although I have to put it aside, as there is still much to do with the deck before I get them installed.

- 74 replies
-
- 5
-
-
- del prado
- cutty sark
- (and 1 more)
-
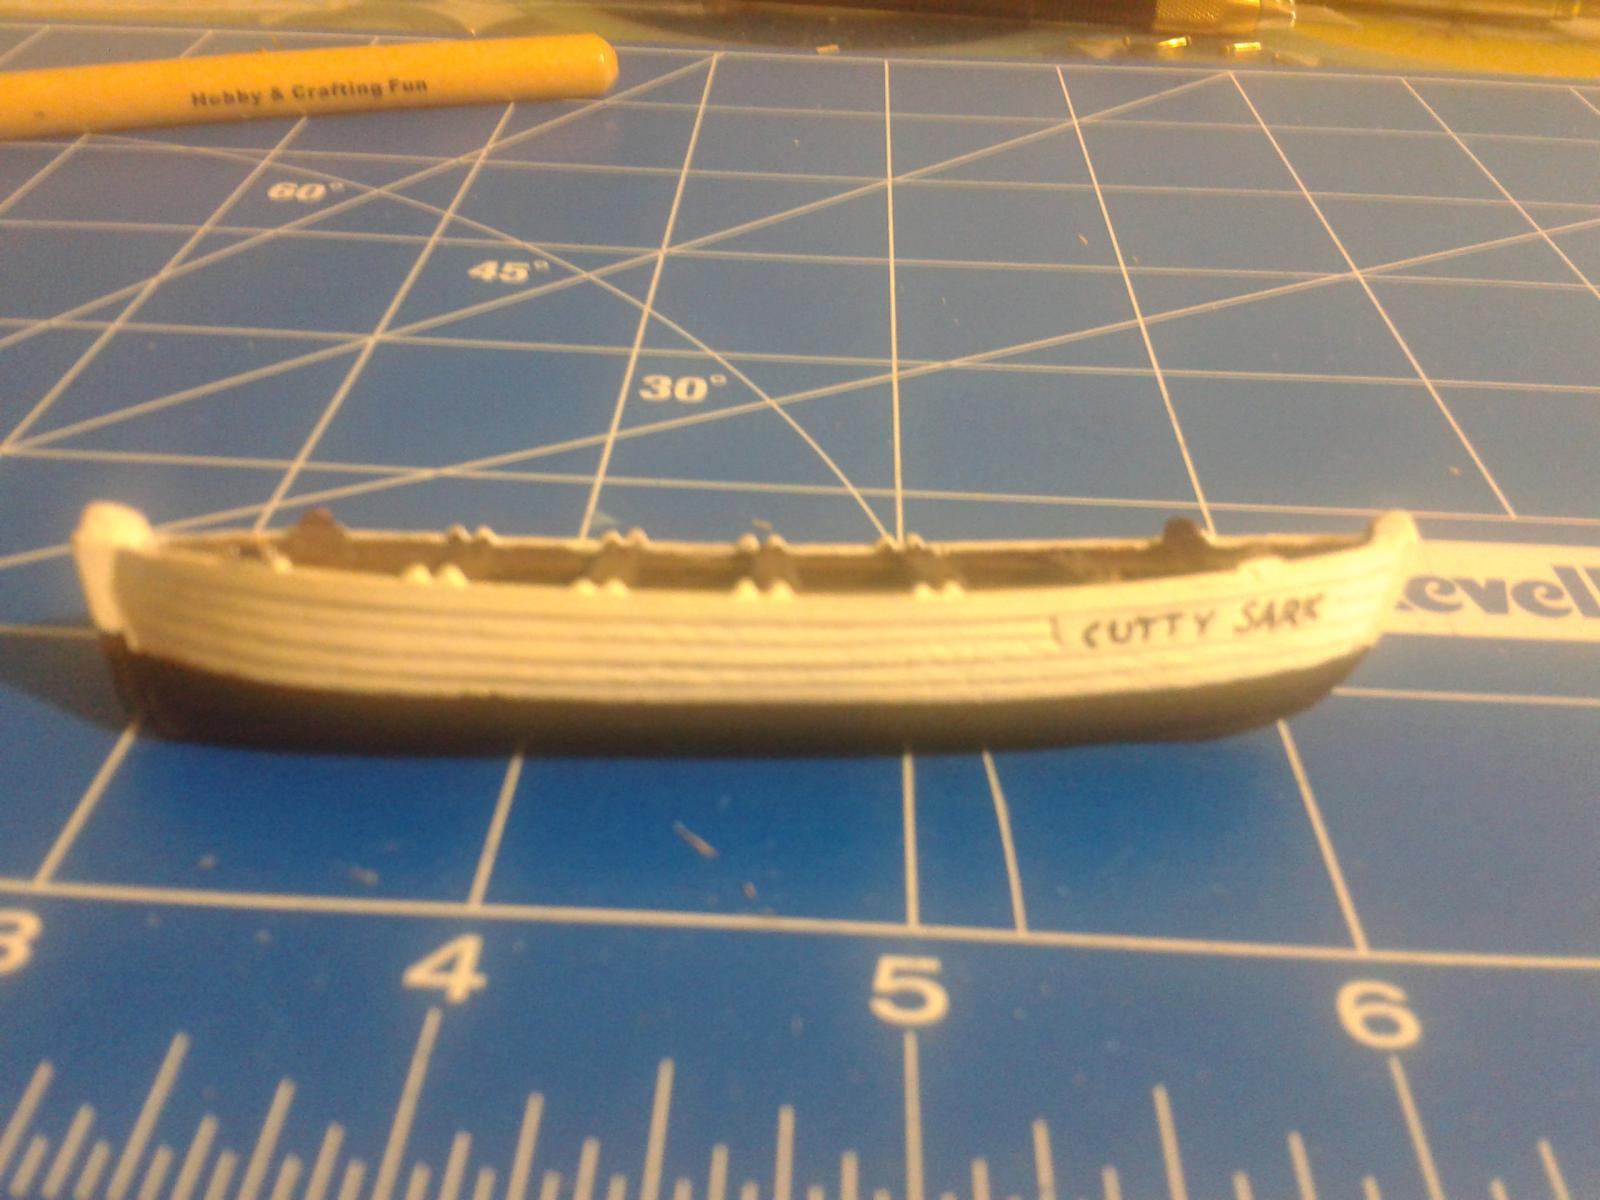
According to building instructions I had to start working on one of the shallops as well. Not much work on it as it comes in its real shape, made of some kind of metal alloy. All I had to do is to paint the pieces inside out with brown, black and white and glue the benches to the gunport section of the little boat. Then I used 0.5 mm alcoholic pen to write the name Cutty Sark on both ends. I am satisfied with the result

- 74 replies
-
- 2
-
-
- del prado
- cutty sark
- (and 1 more)
-
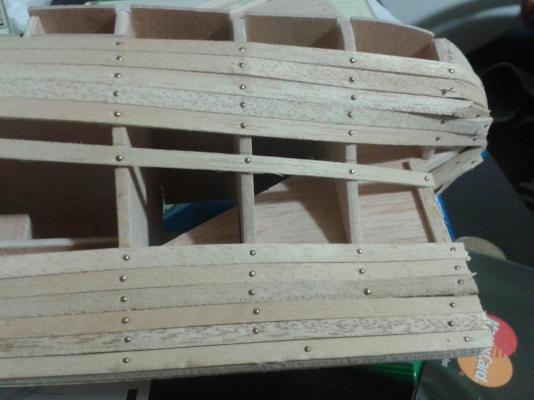
Well planking goes on... According to instructions I had to measure 15 mm from top strake and nail one right under it. I do not really understand what the purpose of it, but since I have seen no damage or risk in it, I did accordingly. And then followed a next strake to the top, and 1 pair to the bottom. It is still the easy part of the planking, as all I have to do is soaking and nailing So far I did not have to measure much, but as I nail more and more strakes to the hull I can see my future, that it is not only about using long planks, but by the end I will have to cut these wood in correct length, width and shape. So the fun part is still to come. Also I realized at one section that the 15 mm from the top was not 15 mm everywhere or my 5 mm wide planks are not 5 mm wides everywhere... Either way some fixing will be required. More progress to come later this week, hopefully
- 74 replies
-
- 2
-
-
- del prado
- cutty sark
- (and 1 more)
-
Actually I had a very great time, and I love weddings (even though not cheap events ), but I wished I had time for both party and building, but on Sunday with the hangover I had.... I guess I would have put the planks perpendicular rather than paralel...
- 74 replies
-
- 1
-
-
- del prado
- cutty sark
- (and 1 more)
-
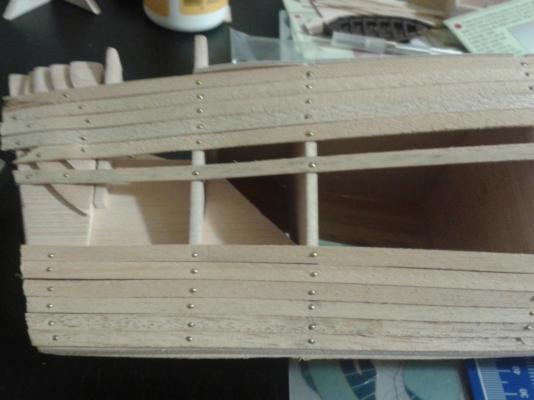
So here comes planking. I try to strictly follow instructions provided, so I took the 5mm wide and 380 mm long strakes, and glued them together in pairs - creating 760 mm long planks. After soaking each end for 30 mins I started to nail them to the braces of the false keel. One strake to portside and other one to starboard... Even though I soaked the wood it broke a few places when attaching to the stern, but I am not that scared as some putty and sanding will solve the situation. By the way - is there some special wood filler that should be used or normal model putty is just fine for this purpose? So I went along with planking 6 to the top (3-3 on each side) and 6 to the bottom (again 3-3 each side). This is where I am now, since I spent most of the weekend on the other side of the country participating in my best friend's bachelor party (lost some valuable time ) And the same will happen this week as we are going to the wedding - although this would be much more fun that bachelor party - I hope. Gyula

- 74 replies
-
- 2
-
-
- del prado
- cutty sark
- (and 1 more)
-
Wow, this looks amazing... Is the last picture from a real ship or your model ))) Shocking details, I wish I could do something like this one day...
-
Cutty Sark by NenadM
juleslucas replied to NenadM's topic in - Build logs for subjects built 1851 - 1900
This looks amazing, also super quick comparing with your pre-calculation. Congrats. Gyula -
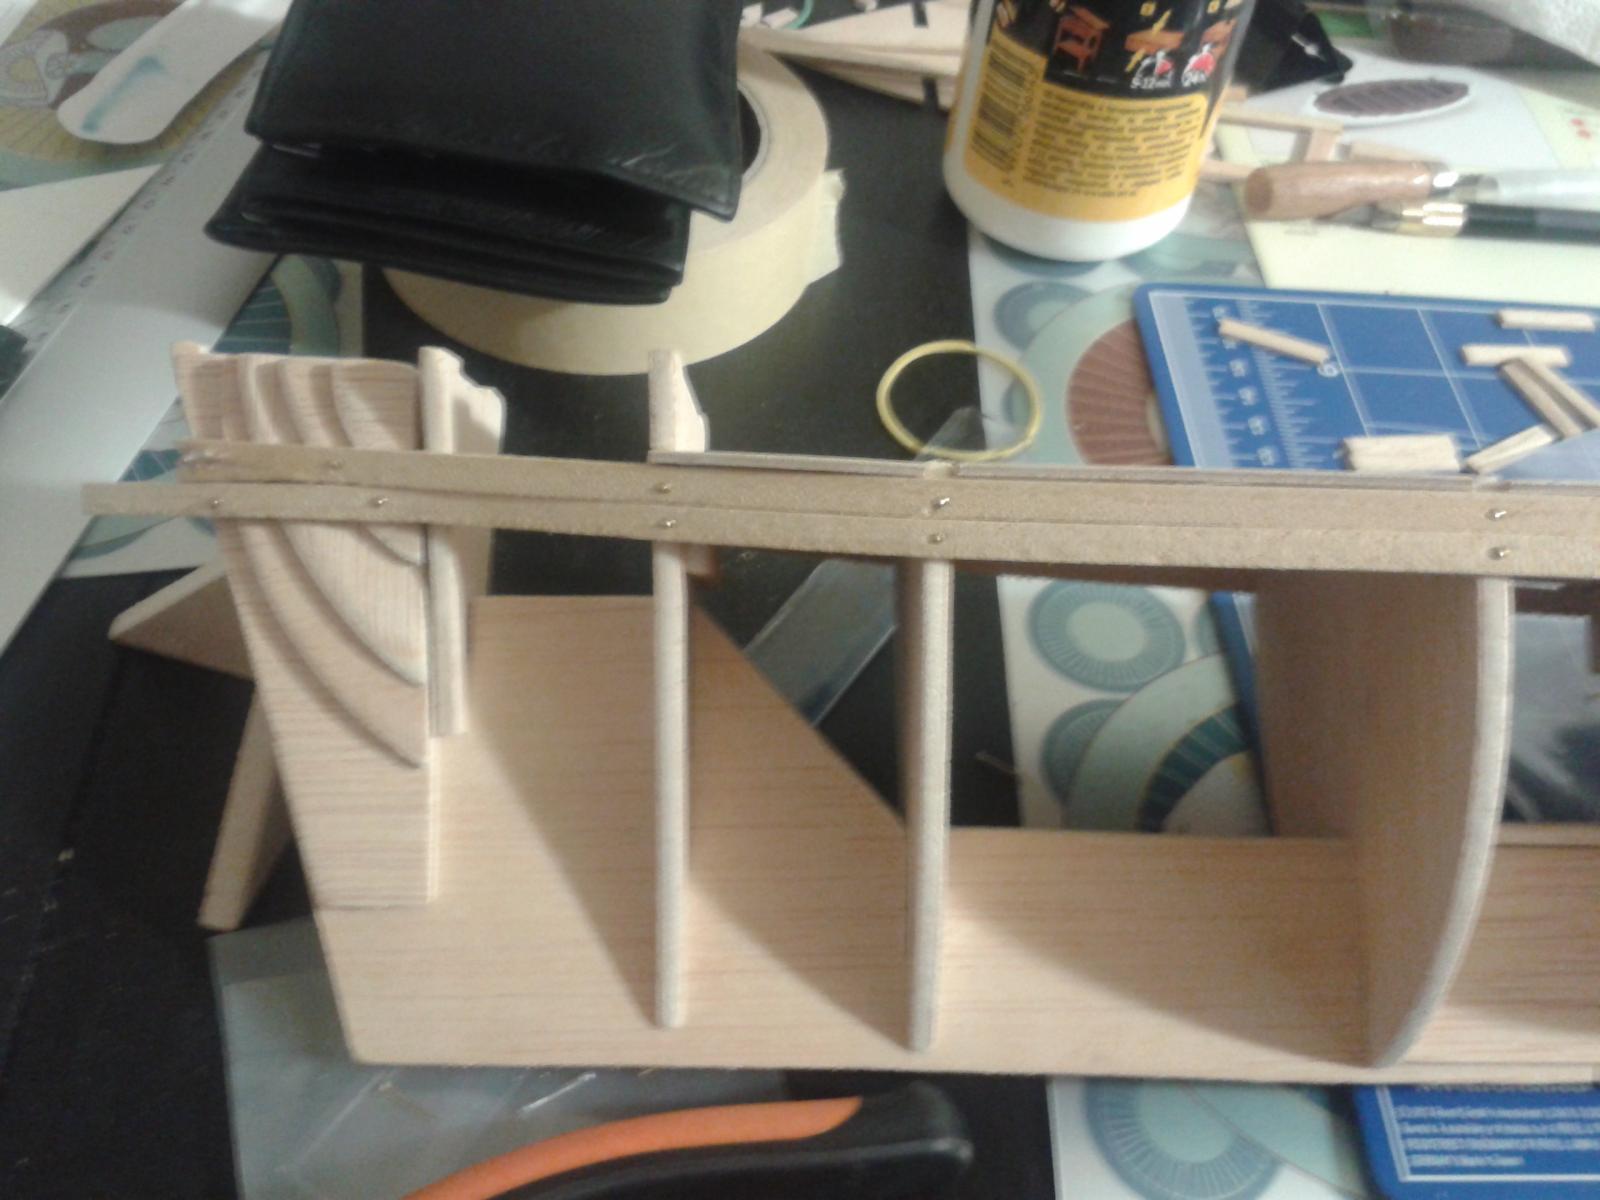
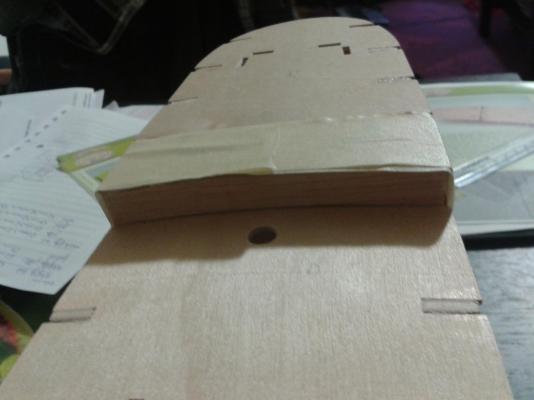
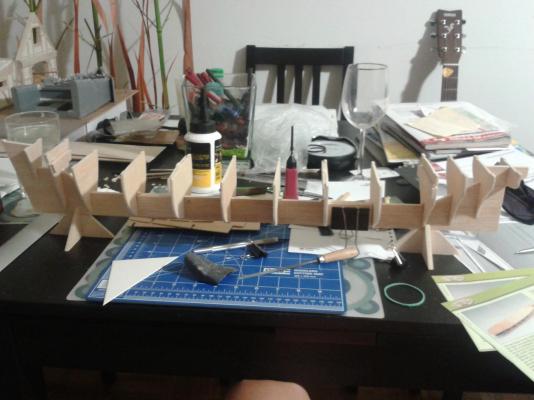
Okay, I did some small adjustments before the planking.... Honestly this going to be last post before a planking post... I attached the poop deck bulkhead in its place, with some help of adhesive tape to keep the two different levels of false decks in place, looks fine, still waiting for complete dry. Also as mentioned earlier I prepared the braces for the stern section as well. I will nail the strakes to these braces when time comes. I guess I will have to dump this end of the strakes in water for 30 mins, cause I really need to bend them But it fits fine for me, there is a slight need of sanding obviously, but should be fine. Planking to come soon... promise
- 74 replies
-
- 1
-
-
- del prado
- cutty sark
- (and 1 more)
-
Thanks Bob! Very useful parameters!! Once I got there will work on the hencoops accordingly
-
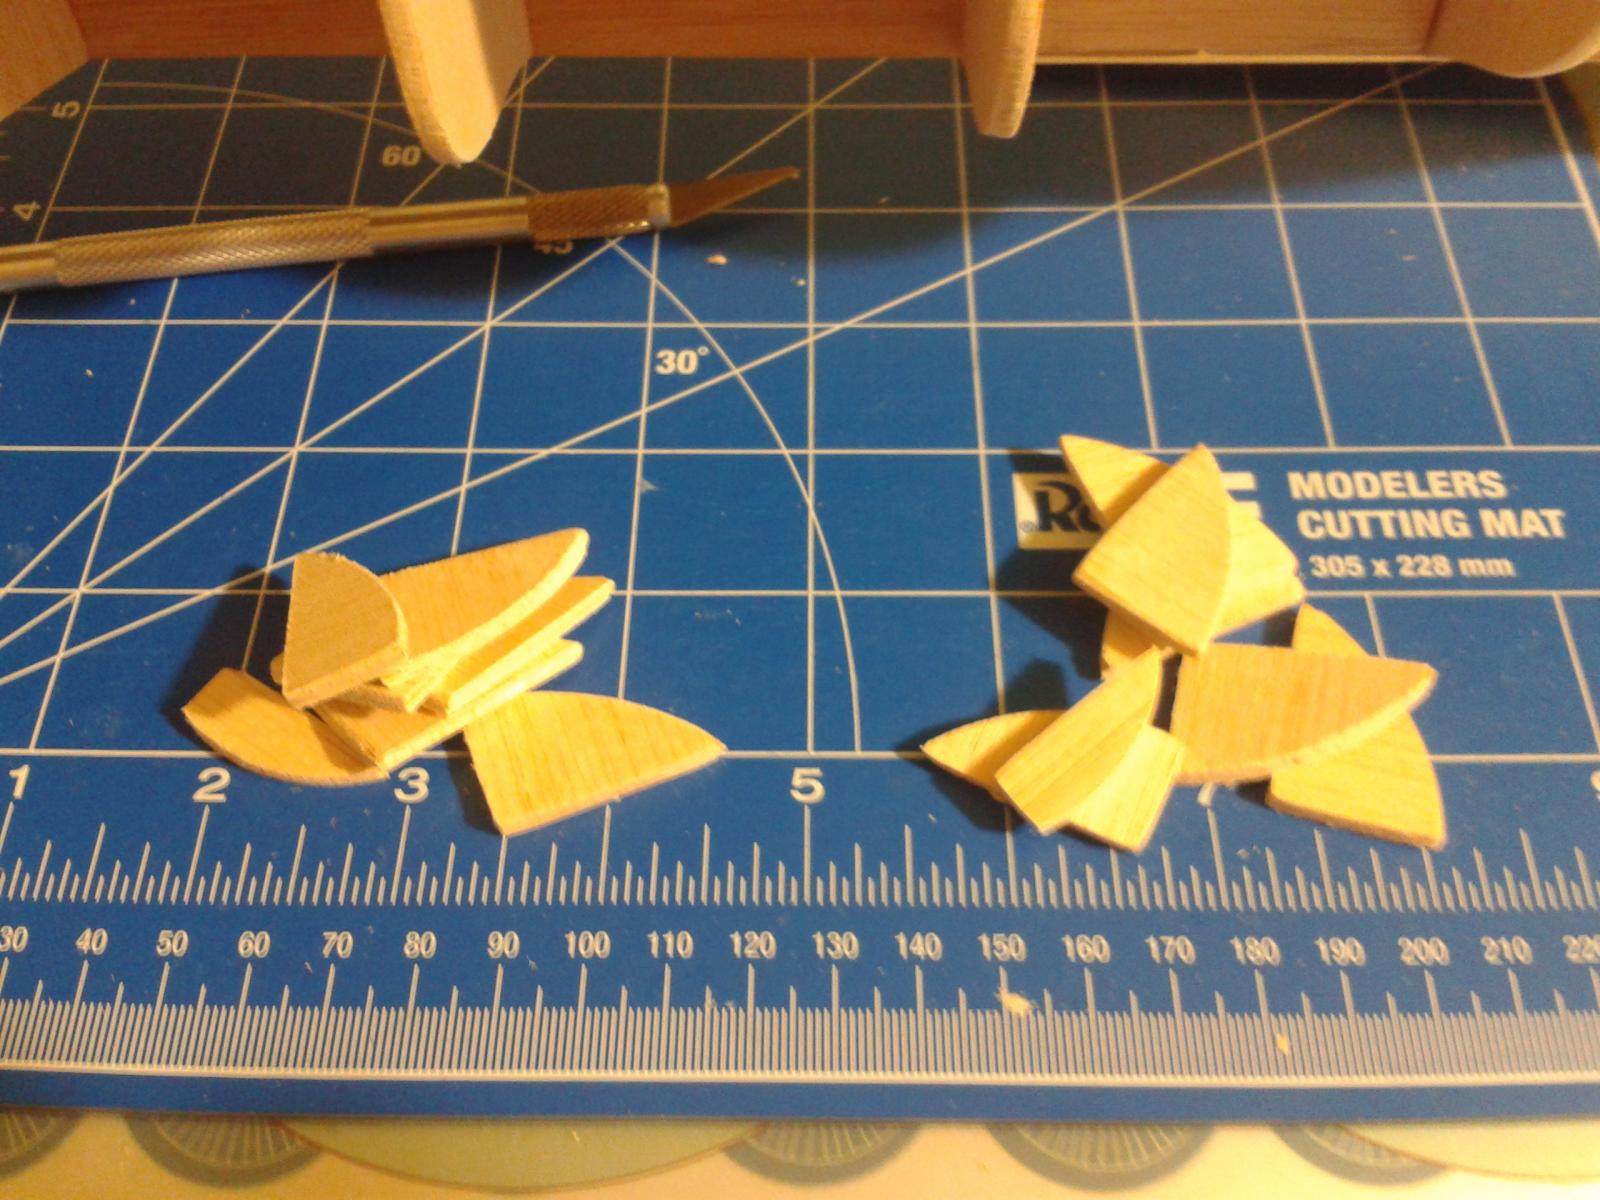
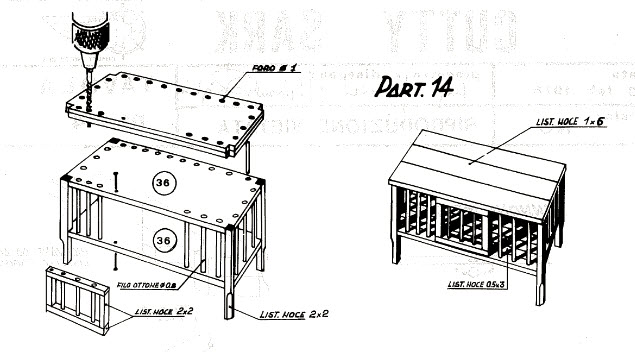
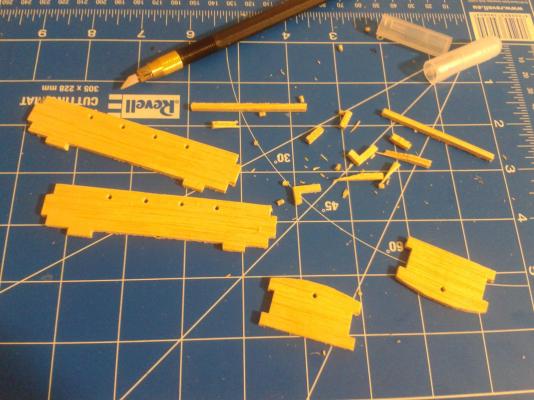
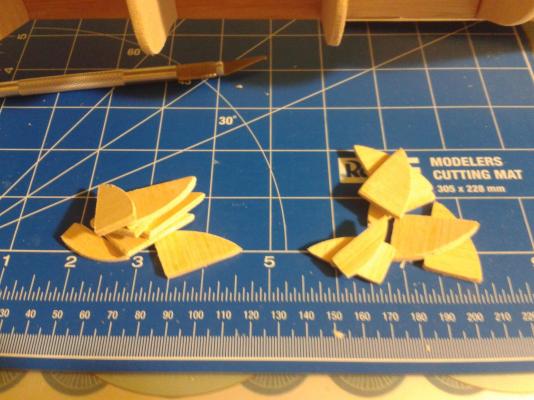
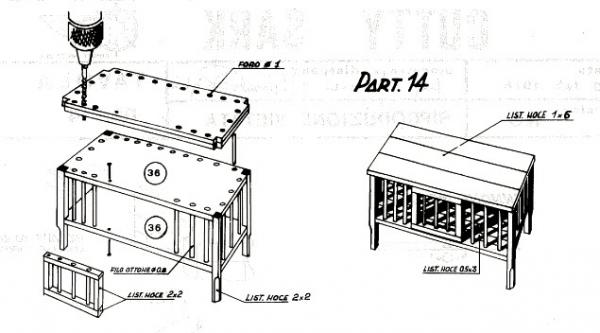
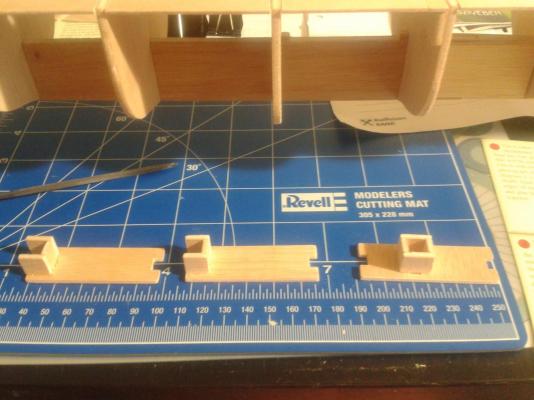
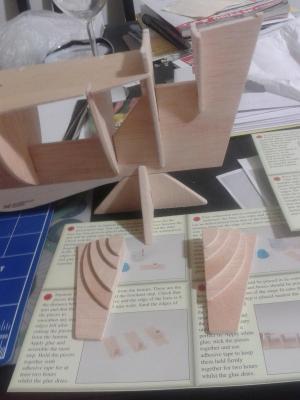
At the beginning I mentioned I will be building this ship out of the materials the kit came with and I will try to stick to the original description, but whenever I see it necessary I will do my best to make some changes/alteration. Well.... according to the building instructions a next step is to prepare the hencoops.... not to glue them on the deck, just prepare it. And now I am going to show you the four pieces that make up the 2 hencoops: And the instructions: Glue the two parts together and paint them white.. Whaaaat? Is this a joke? I will not put such useless chunk of wood on my boat, I guess they would better not even thinking of naming these hencoops but rather two white wooden box...... Can someone expert give me the original dimensions of the hencoops so I can recreate them on my scale of 1:90??? I have the plans of Seagal - Cutty Sark that has a pretty good picture of how the hencoops look like, but I do not have the dimensions for them... Thanks in advance for the help

- 74 replies
-
- 2
-
-
- del prado
- cutty sark
- (and 1 more)
-
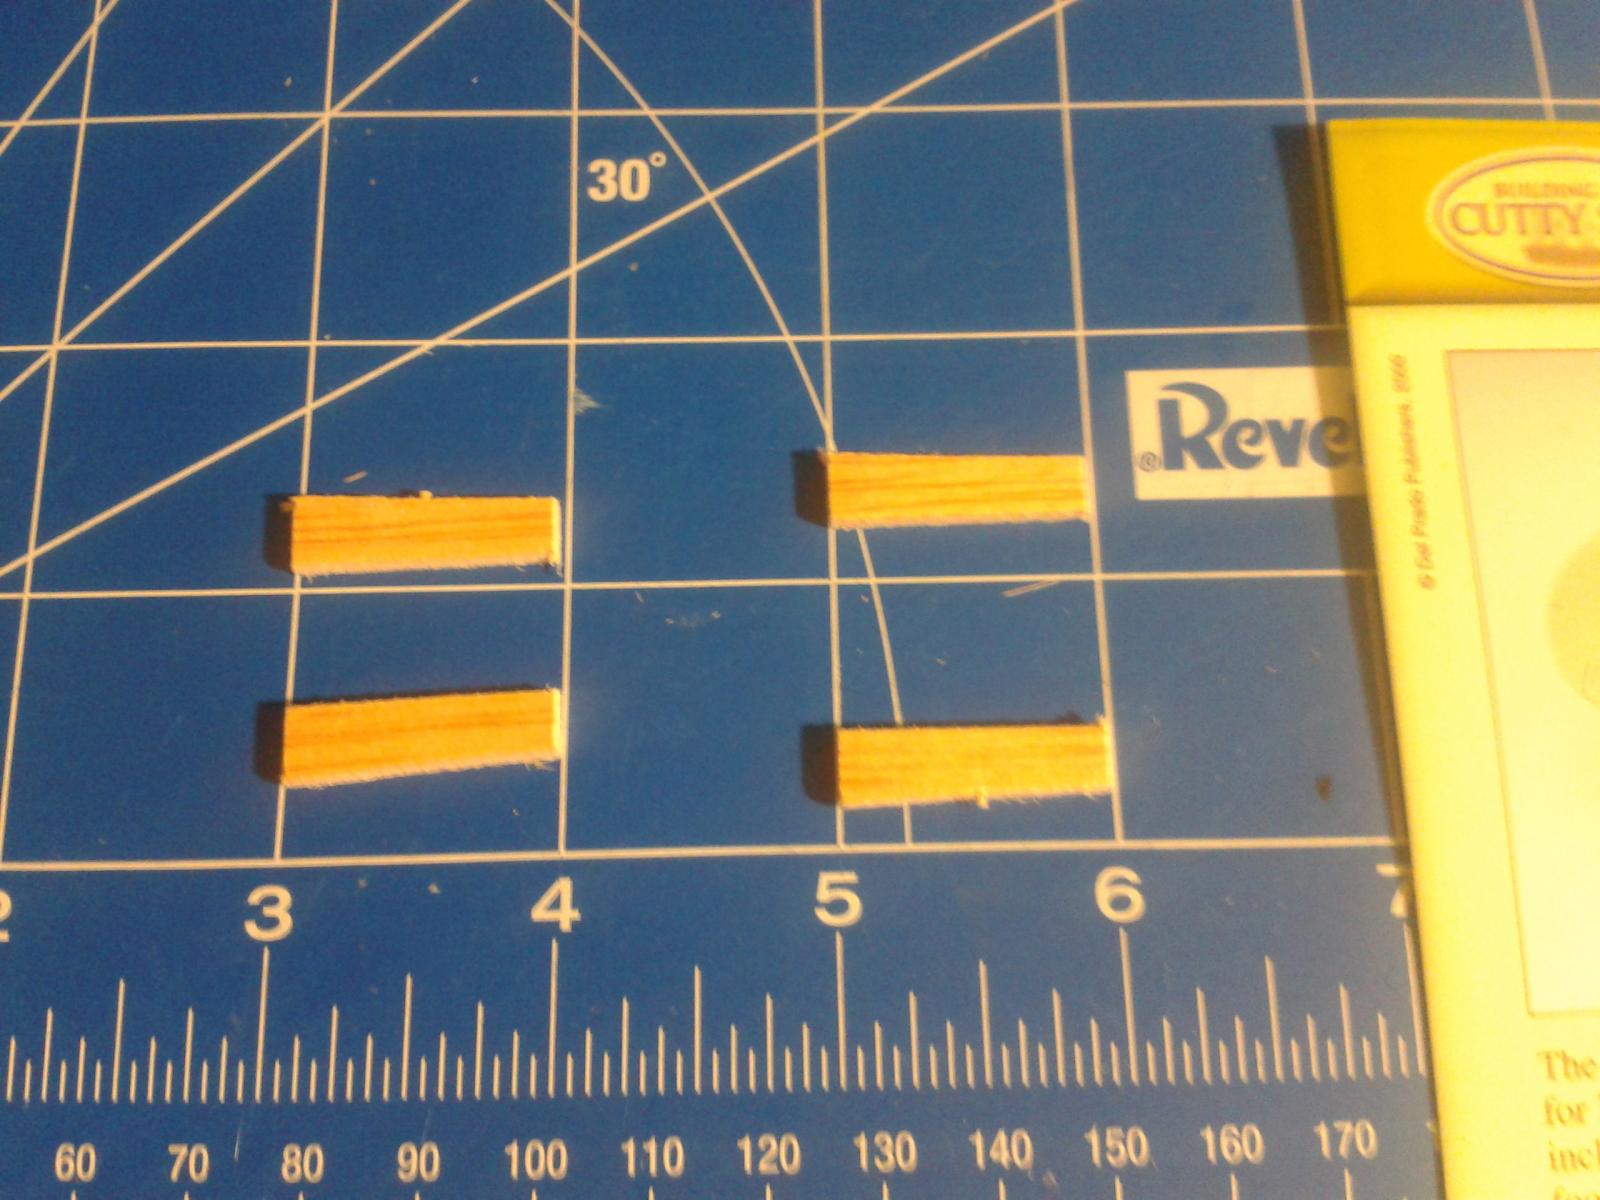
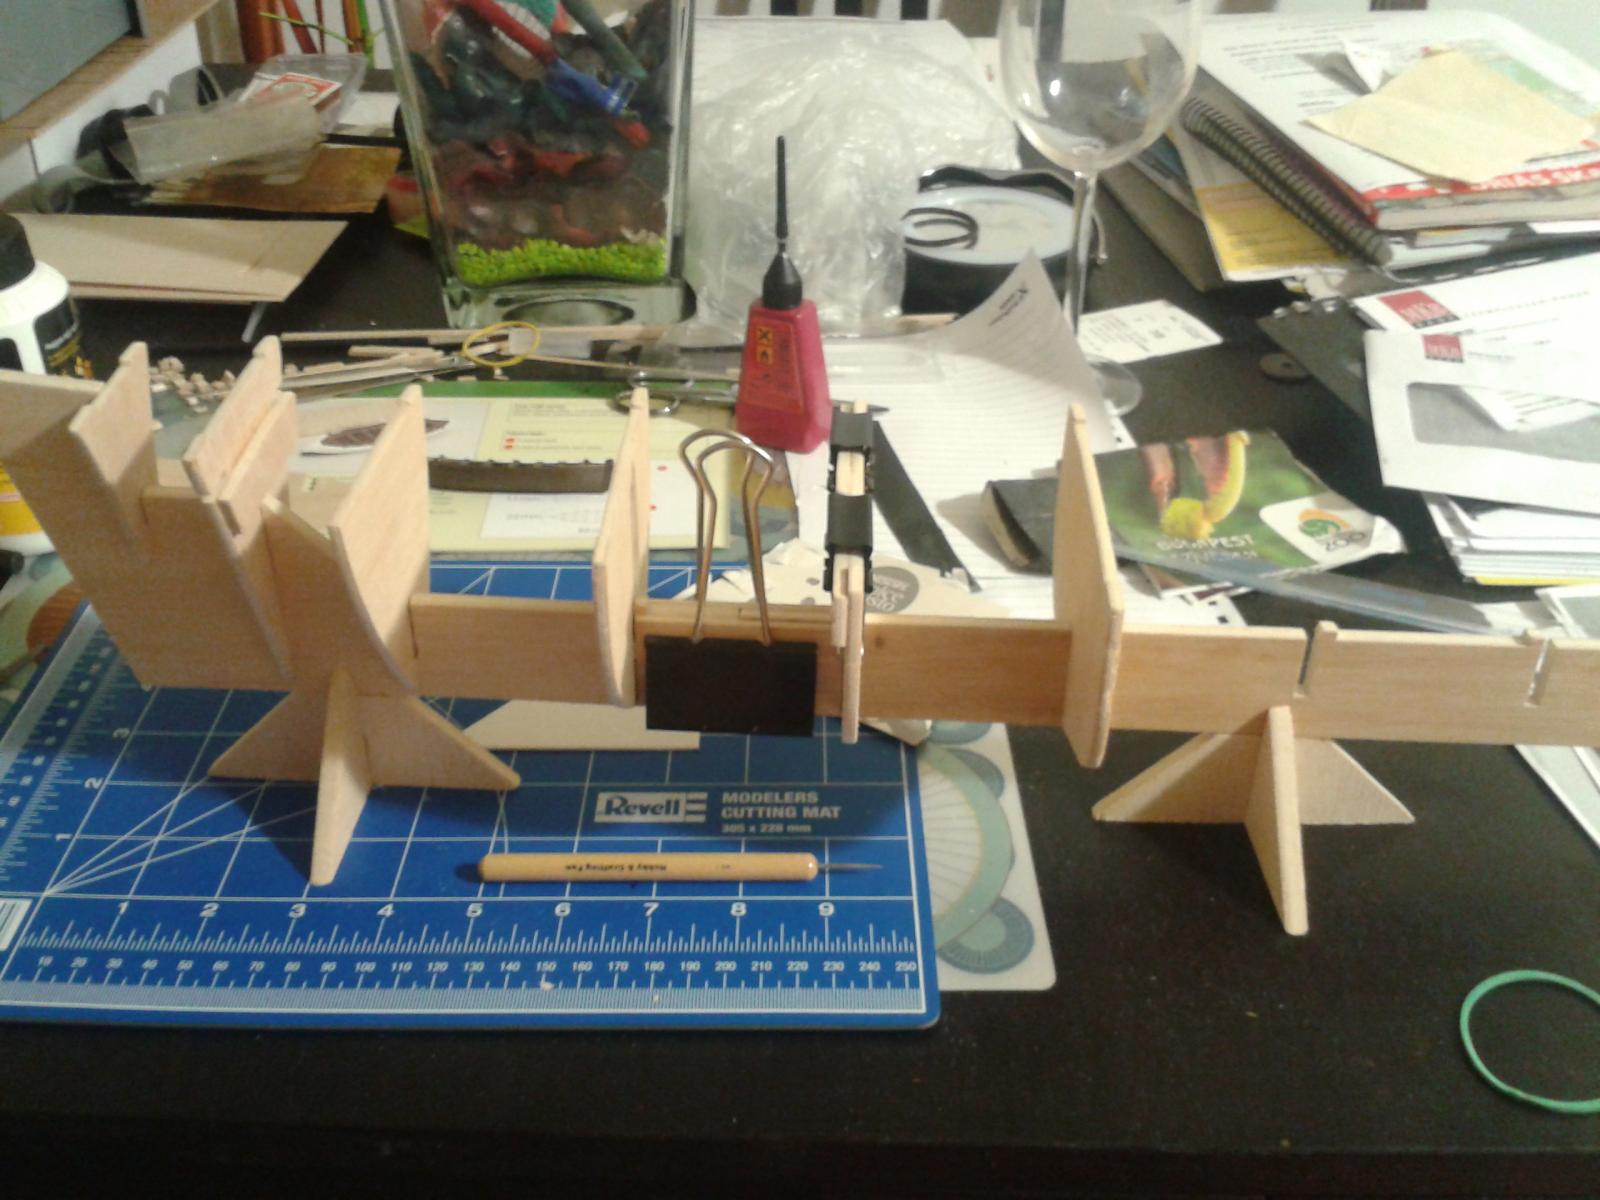
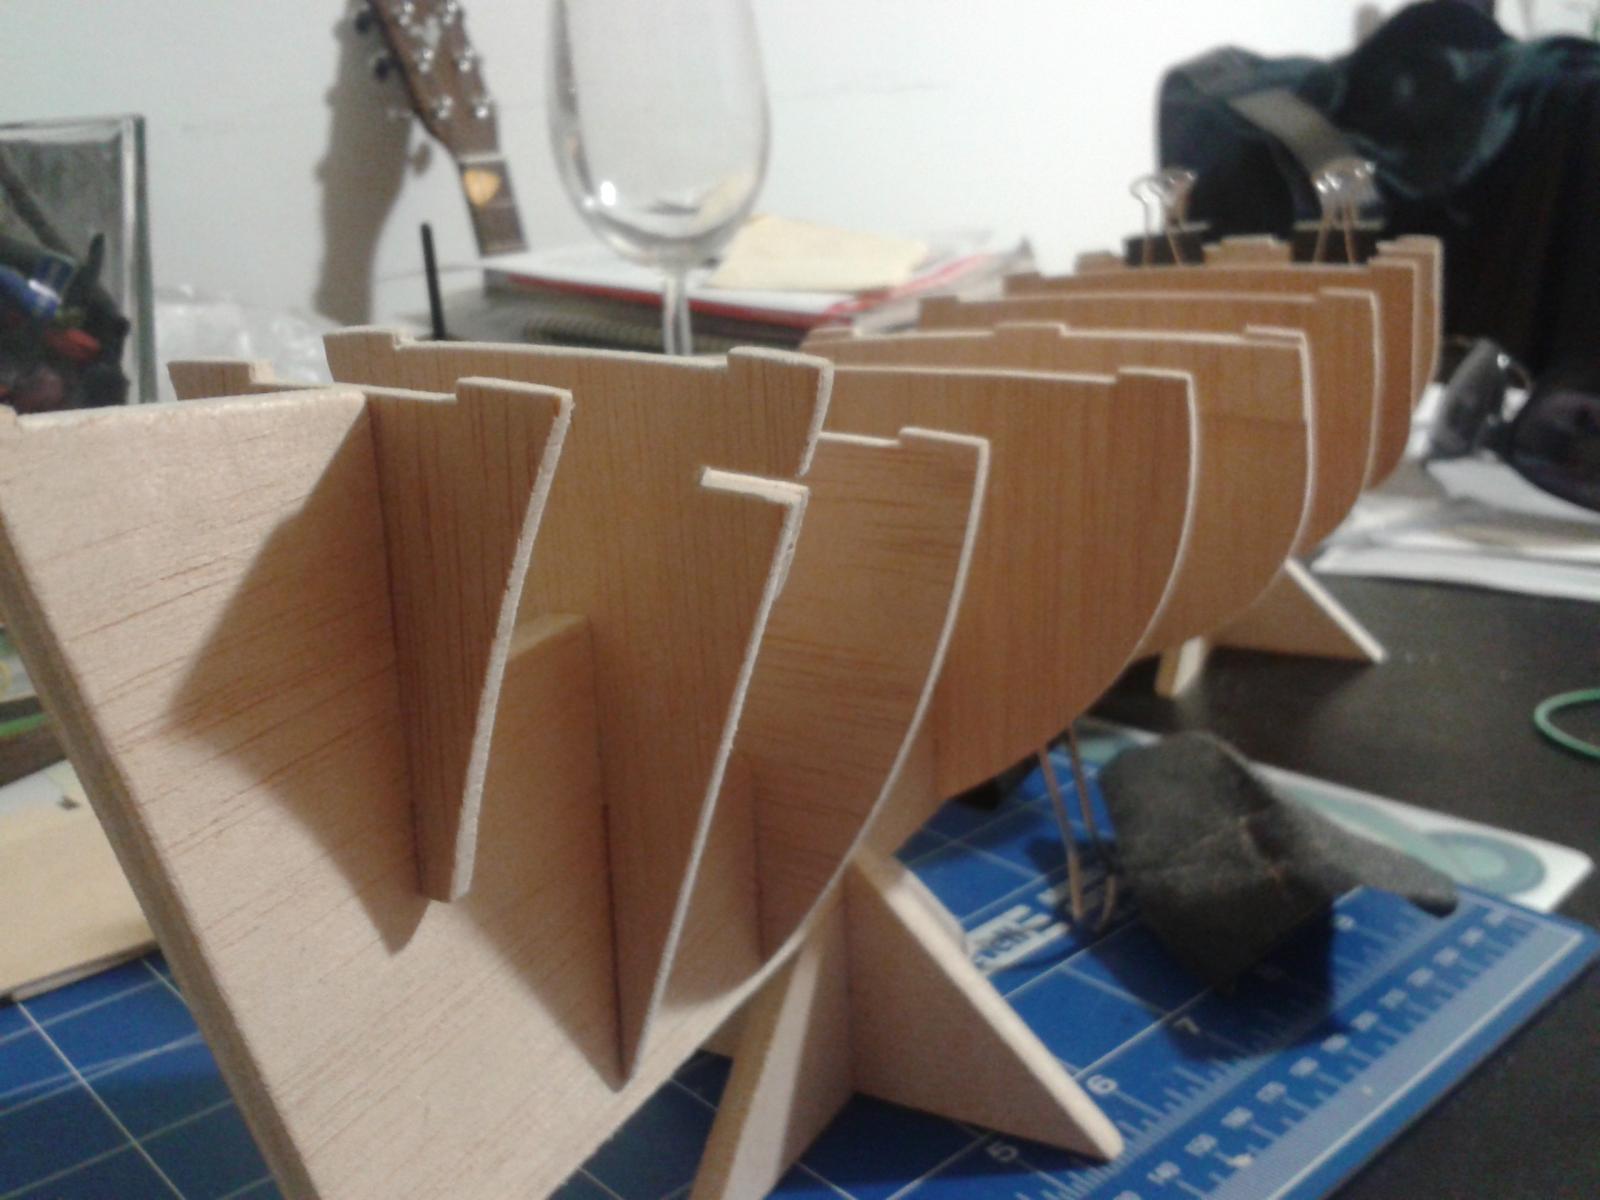
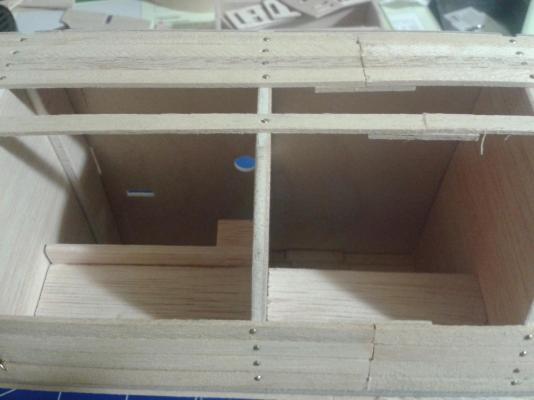
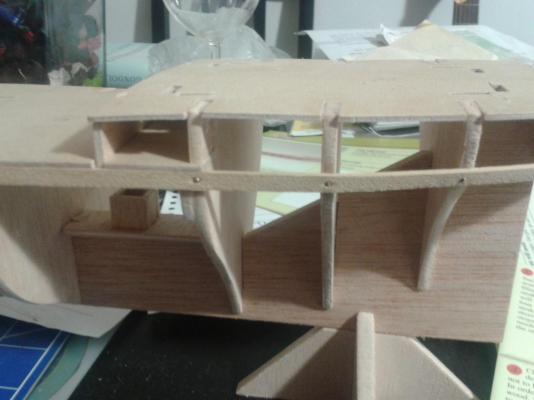
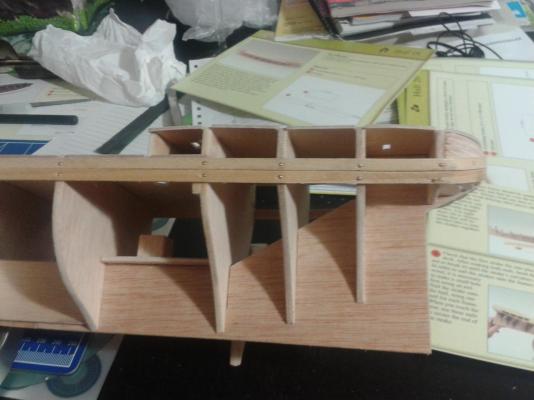
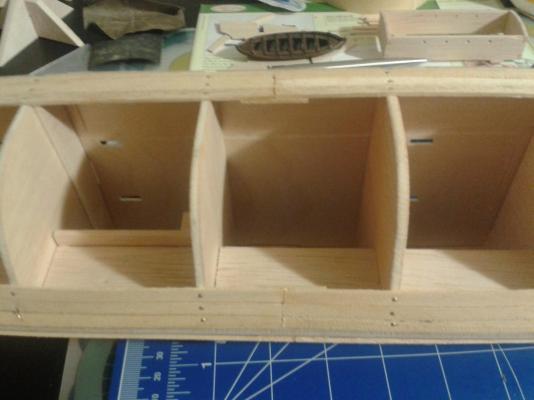
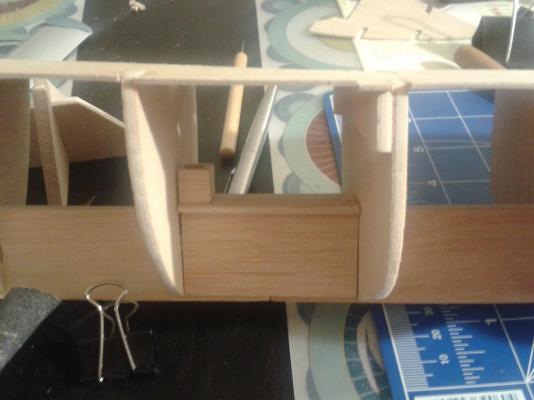
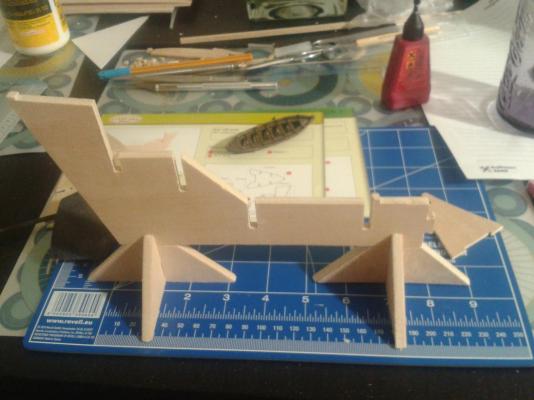
Before the planking I just realized that there are some minor elements I need to add to the keel. Firstly the mast steps. According to the instructions this will give some extra strength to the Masts and will help me to keep them in place Here are some pictures of the assembly: Also I added some extra braces to the bow section which will help me bending and attaching the first layer of planking. Same will be added to the stern, maybe tomorrow. So far, so good, finding lots of pleasure in the assembly and mostly in the sanding ))))
- 74 replies
-
- 1
-
-
- del prado
- cutty sark
- (and 1 more)
-
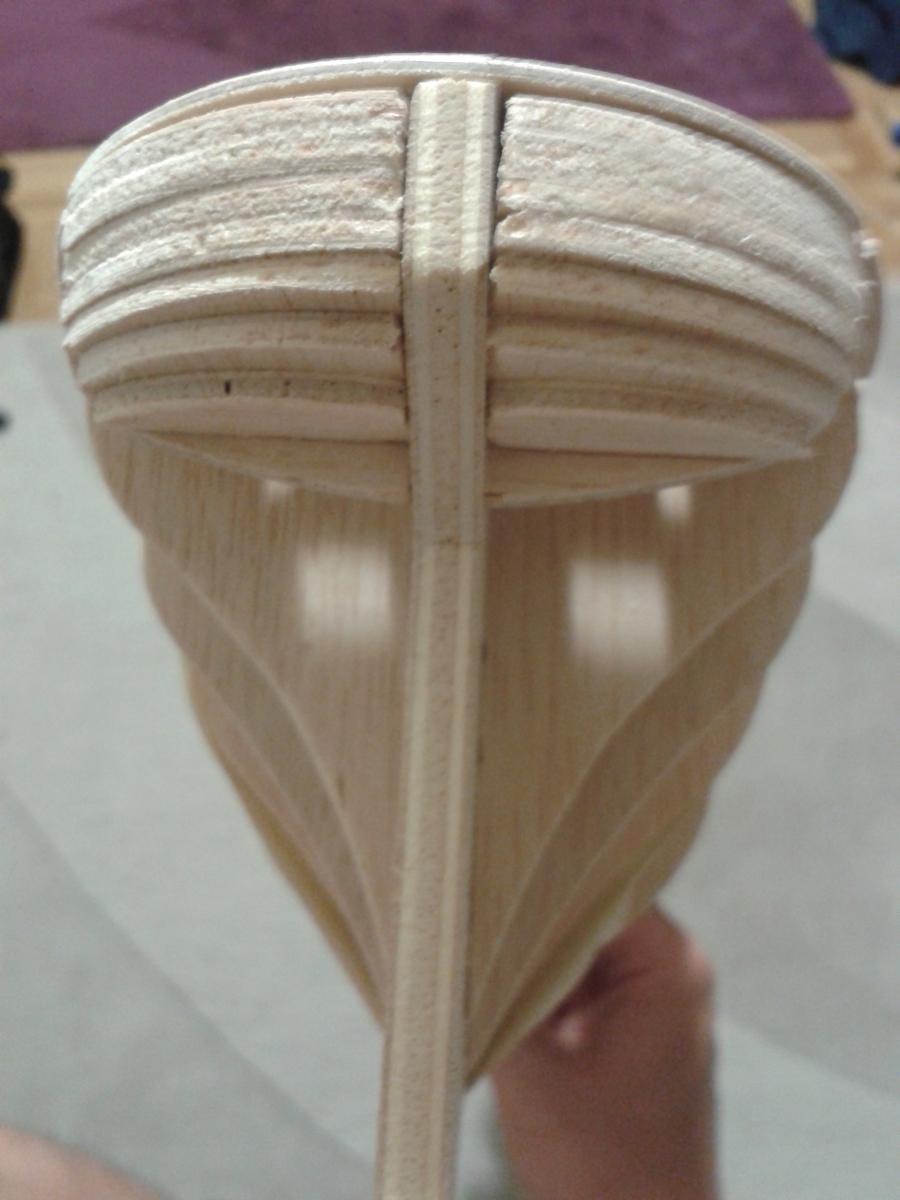
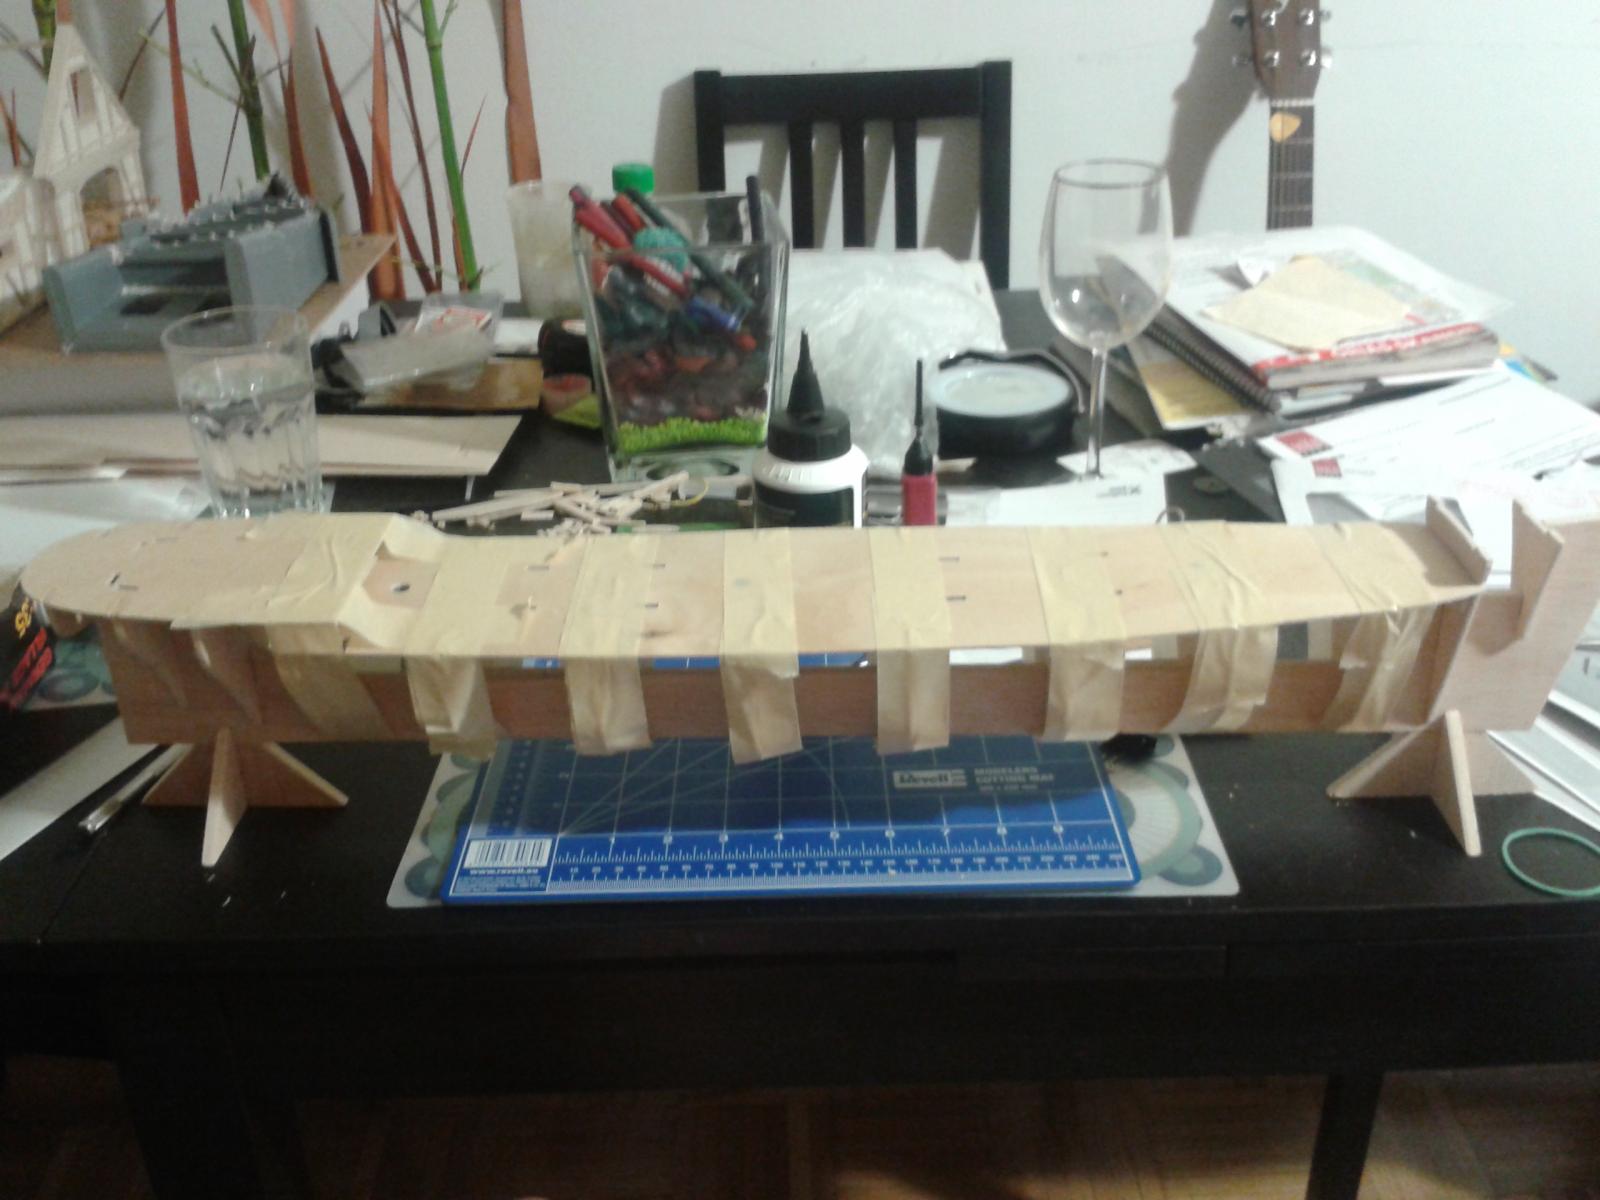
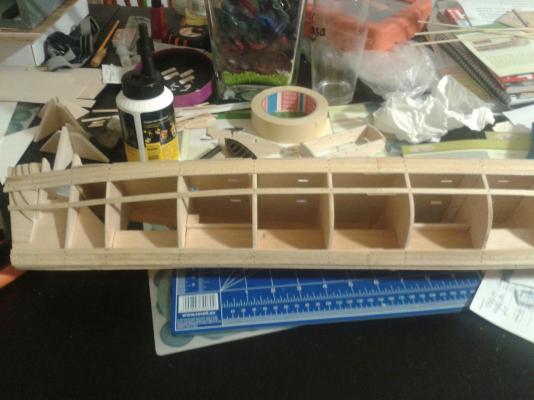
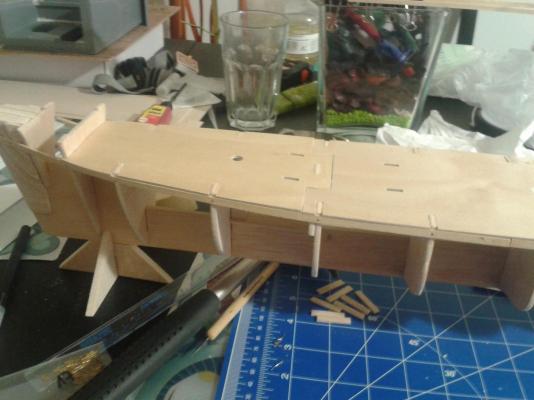
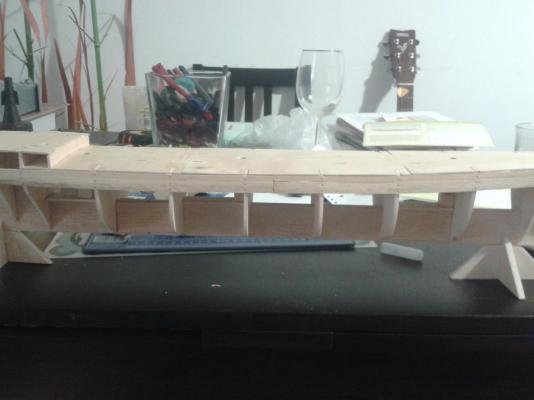
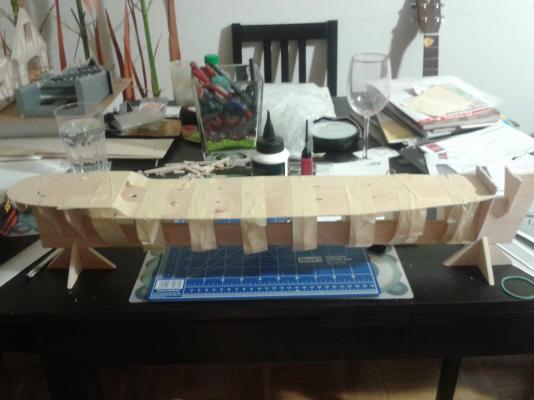
After checking the lines of the false keel I found it suitable to continue my work and attached the false decks on it. Now it is waiting to stick with some help of masking tapes. The deck will be covered later on with strakes. I am really excited to start the planking of the hull
-
Nenad, There will be 2 layers of planking, for the bottom copper plates and thin wood for the upper part, so I guess there will be no trouble with the bulwark distance. Thanks for the info on checking the lines and axis, I was not thinking of it, but surely can spare some aaarrrgghhhs later
- 74 replies
-
- 1
-
-
- del prado
- cutty sark
- (and 1 more)
-
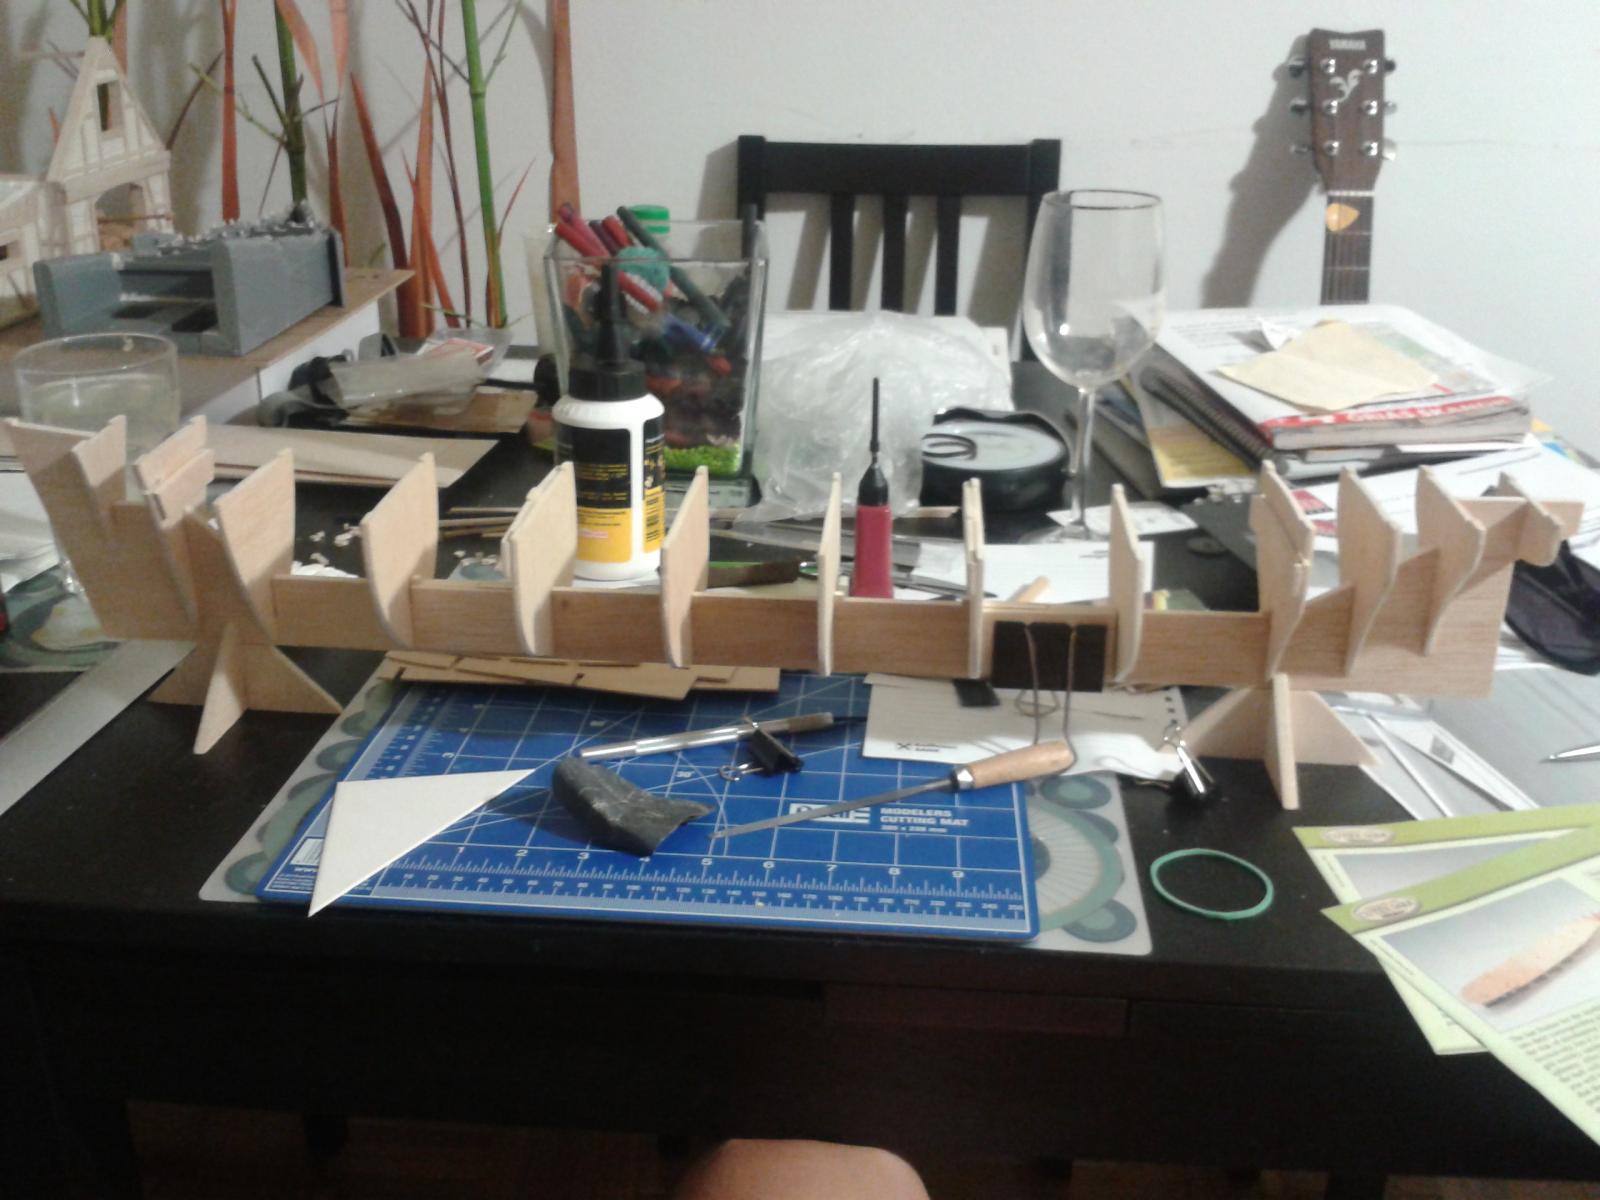
Bob and Nenad, thanks for the warm welcome. Admiral asked me if the boat will be ready for her birthday which is end of August... Well I explained her to expect it to be ready by her next birthday ) So here come the photos. First here are the details out of which this beautiful ship will be built. And here is a few picture of my progress with the false keel and the frames. The instructions are saying that no real sanding is needed... well my experience is that excessive sanding is needed to achieve a smooth surface... but so far I have it know, the frames look to be in right position, I started to gather my strength to start the planking of the hull. Opinions are more than welcome!!


- 74 replies
-
- 1
-
-
- del prado
- cutty sark
- (and 1 more)