HOLIDAY DONATION DRIVE - SUPPORT MSW - DO YOUR PART TO KEEP THIS GREAT FORUM GOING! (Only 51 donations so far out of 49,000 members - C'mon guys!)
×


chevygrunt
-
Posts
28 -
Joined
-
Last visited
Content Type
Profiles
Forums
Gallery
Events
Everything posted by chevygrunt
-
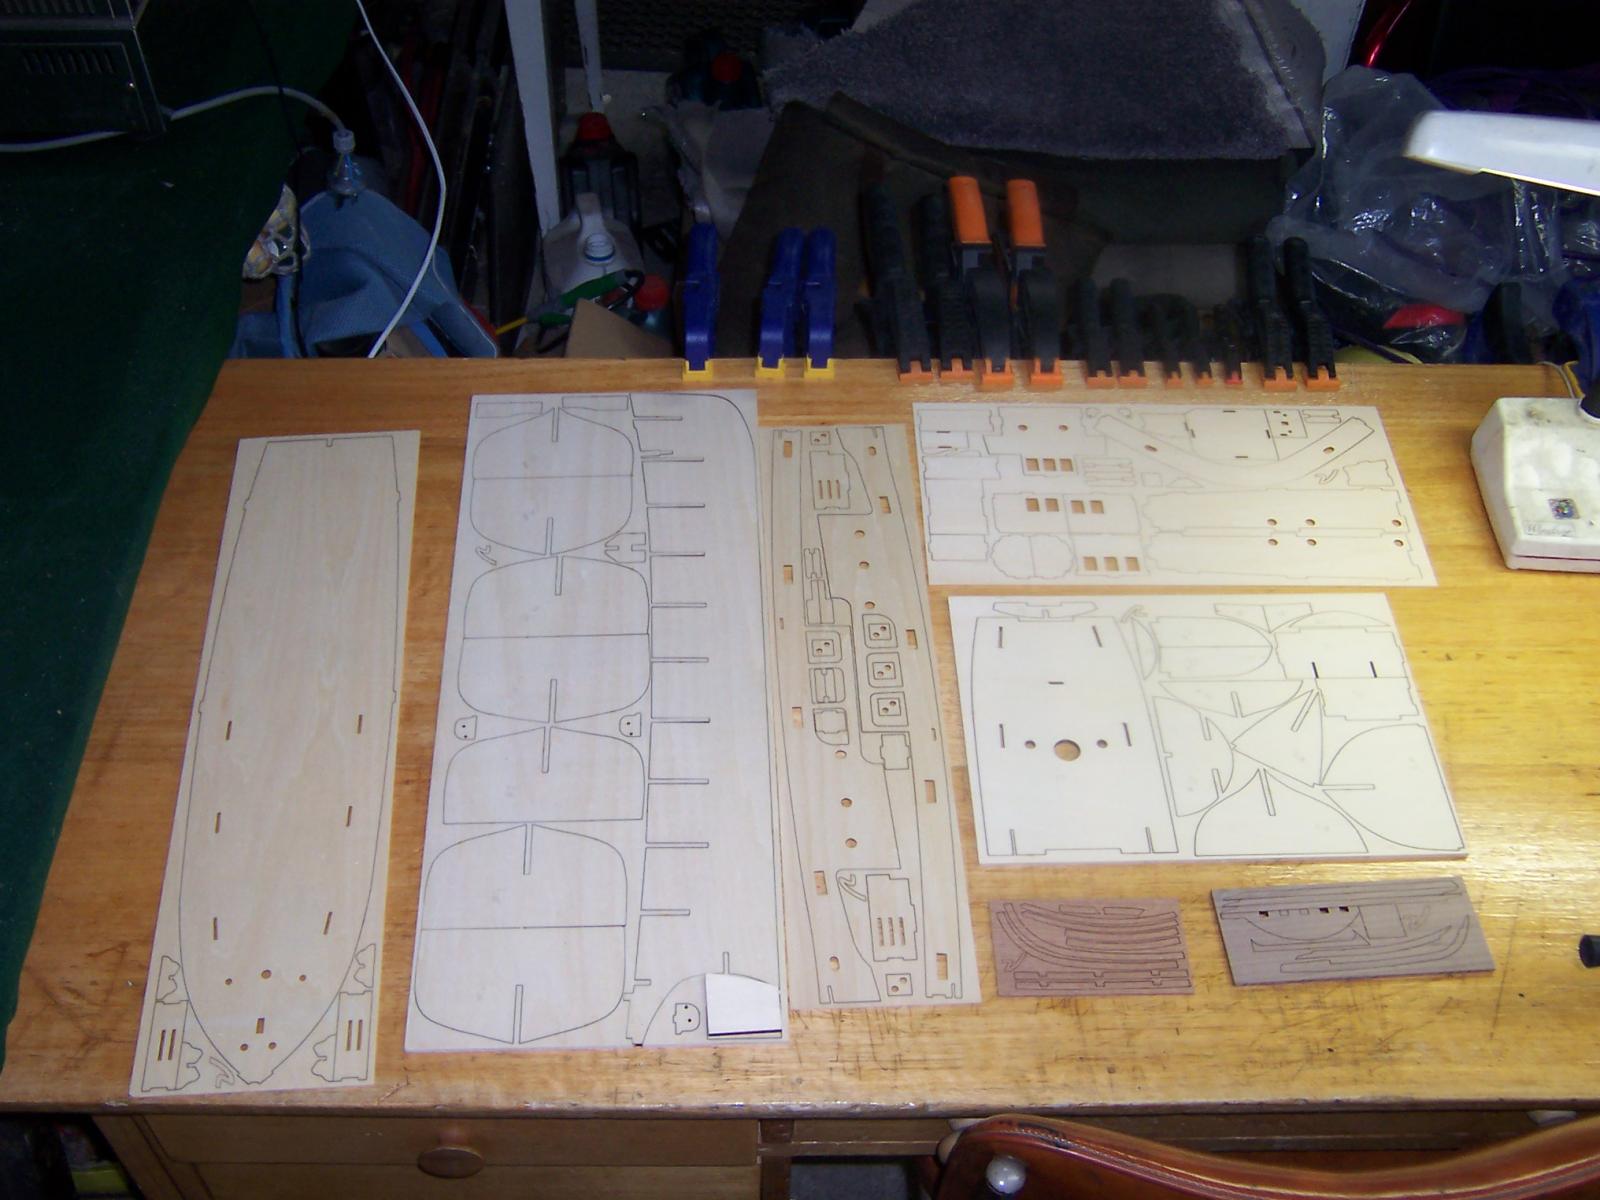
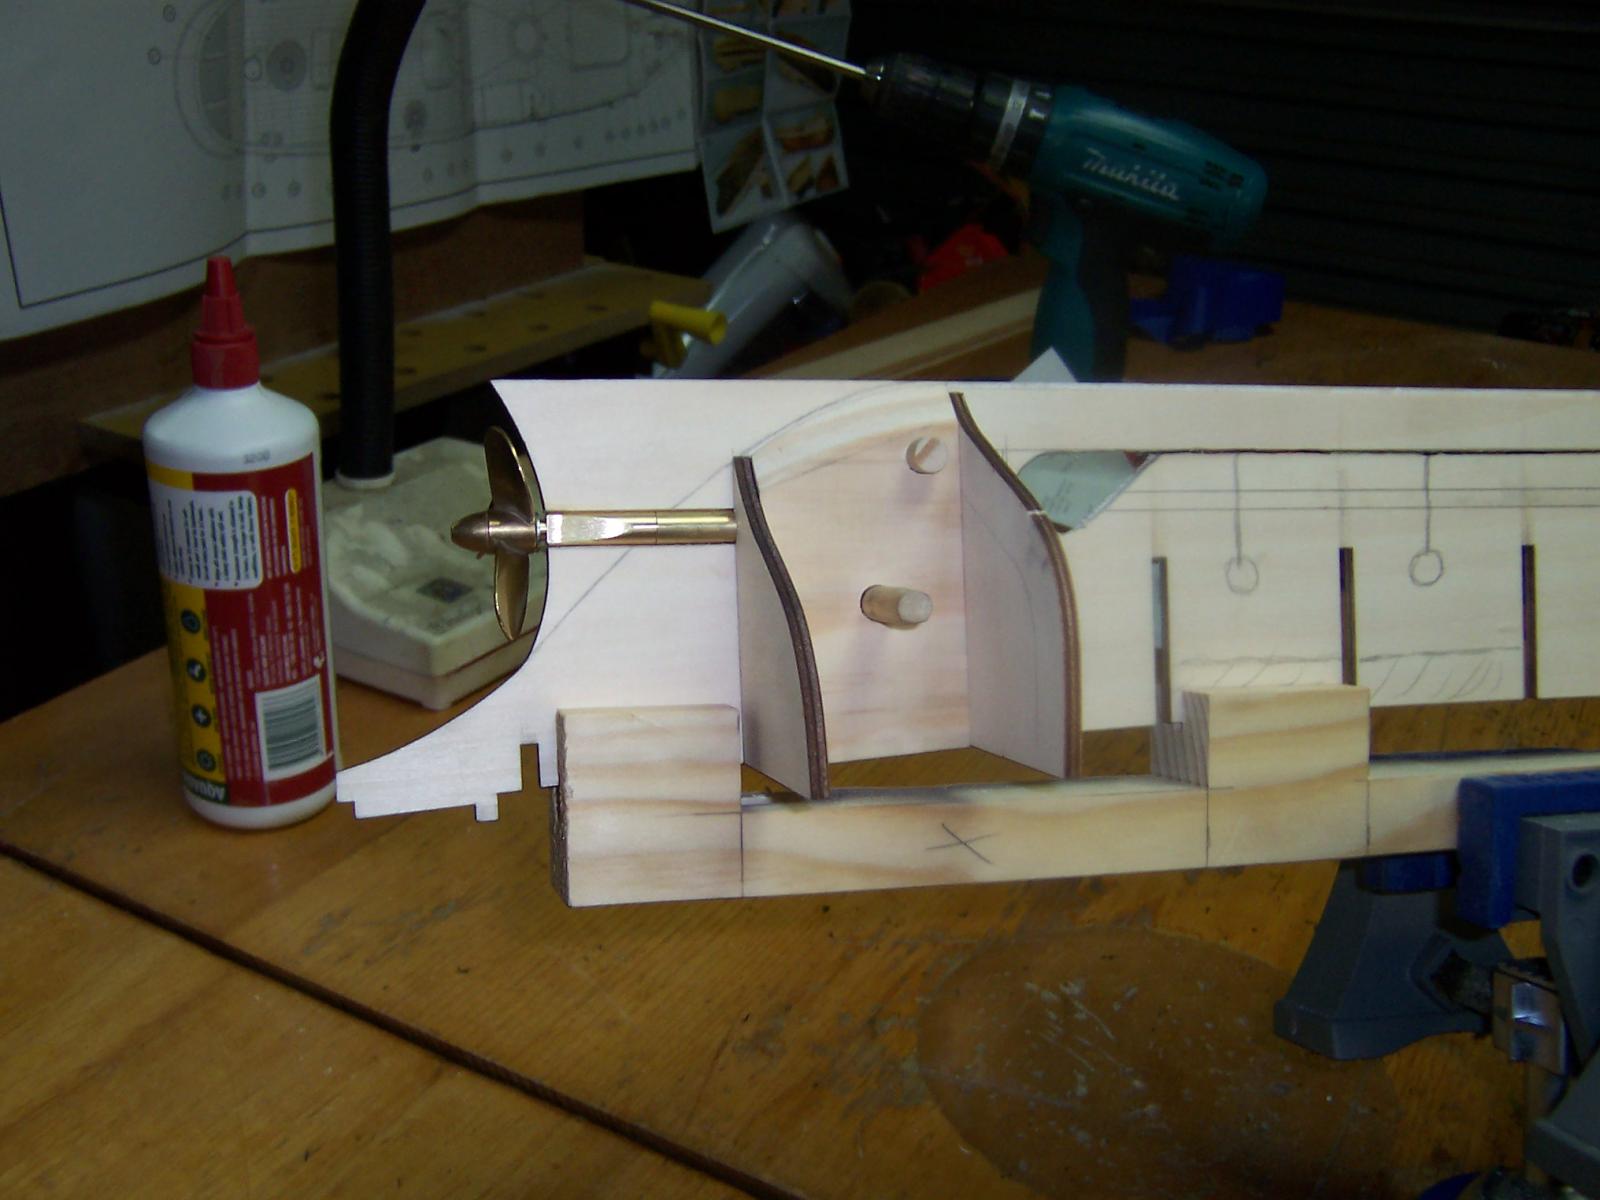
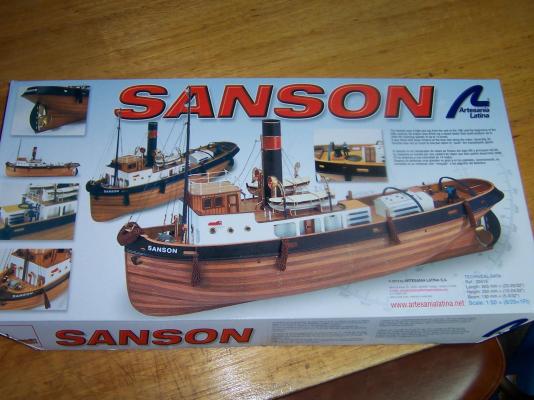
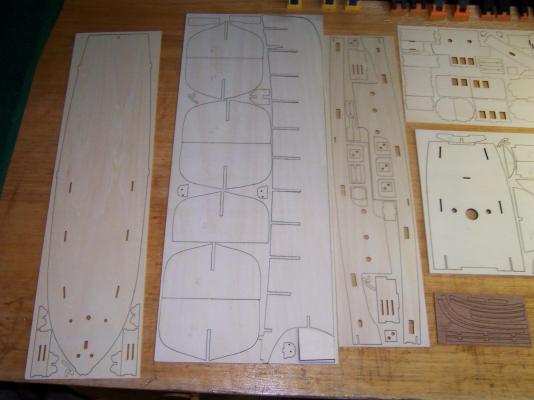
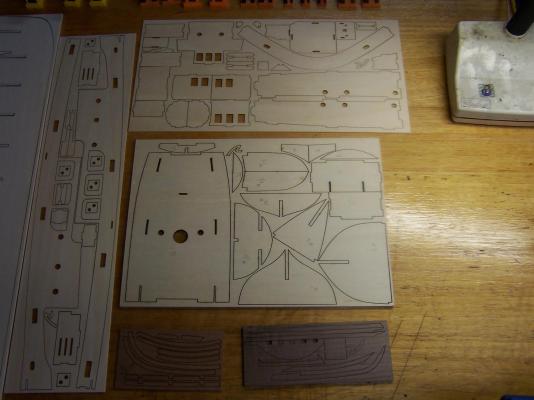
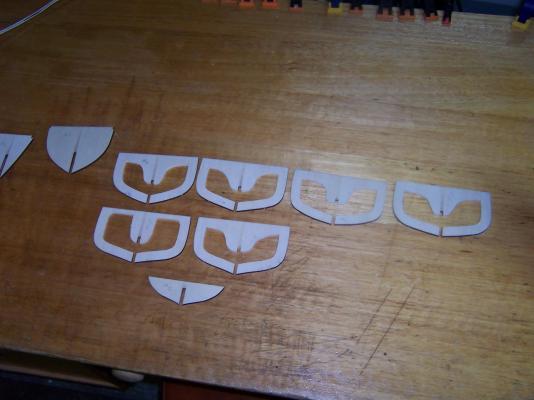
G'day All, Here I am starting my second log and my first planked hull. This time I am going for a challenge by trying my hand at fitting a working steam engine and radio gear into what is a static model kit. Yes, I may be crazy trying this on only my second build (& the first isn't finished yet either)!! My choice for this comes from building stand alone steam engines, and wanting to take it a step further by adding the building of a boat to house one. My choice of kit came from being happy with my first kit from A.L, & the fact I fell in love with the shape of the hull on this tug. Some background on myself, as I am newish to the site and probably should introduce myself. I am a Fitter and Turner by trade, and have little patience for working with wood (yes, I think it's funny too). I live down here in the lovely state of Tasmania in Australia and this gives me access to a wonderful selection of specialty timbers native to this area. I am also blessed with a hand-me-down collection of hard to get timber such as Tasmanian Huon Pine, Black Heart Sassafras, King-Billy Pine and Myrtle. I look to incorporate some of these into the ship. I am married, with two daughters, one aged 4 yrs and the other 5 months. This means I spend a lot of time with my trusty hound (the only other male in the house) building things in my shed. I work full time as a maintenance fitter and have too many hobbies. This may mean I get distracted for periods of time, working on other projects and I apologize now if I leave you waiting for updates from time to time. O.K, Time to get started! Some pics of the pre-cut parts. My first step was to start working on making room in the hull for the go-bits. This was a headache as the finished size of this model is about 600 mm (24") long and I am trying to fit lots in it. I decided to use the cutout for the prop-tube to make a cut along the keel to help remove the unwanted framing material later. Then the necessary bulkheads were marked and cut on a scroll saw to aid removing the centers later. I will try to let the pics tell the story as I am slow at typing and struggle to explain things sometimes. Any questions on how or why I am doing things the way I am will be explained the best I can, so feel free to ask. Cheers for now, Scott.


- 33 replies
-
- 6
-

-
- sanson
- artesania latina
- (and 1 more)